Blog by Steve Laug
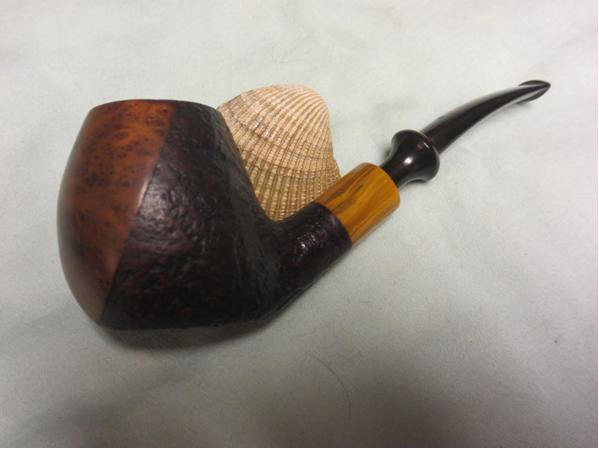
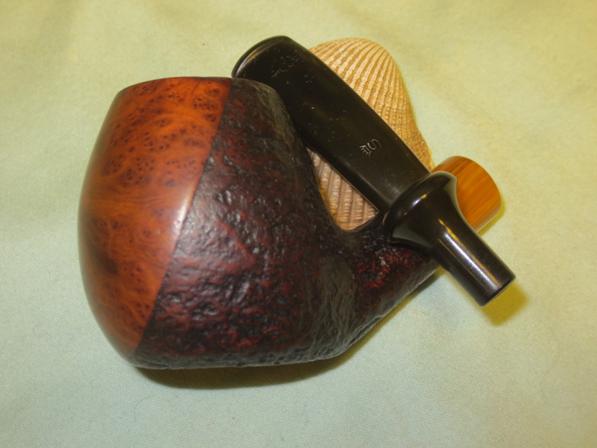
This pipe came to me in the last box of pipes that my brother sent me. It is a Stanwell as can be seen from the shape and finish. From my research I came to understand that it came from the Stanwell Buffalo line. It is stamped on the smooth underside of the shank with the words Stanwell Made in Denmark and the shape number 606. The shape number is very visible and I was unable to locate that number on the internet shape charts.The front of the bowl was smooth and there was an acrylic horn-like material as a shank extension. The bowl had a light cake and looked as if it had been reamed recently. The rim of the pipe was really dirty with lava overflow from the bowl but underneath I could see that it was originally smooth like the front of the bowl and the portion where the stamping was on the underside of the shank. There was some burn damage on the outer and the inner edges of the rim that would need to be addressed. The pipe was a mix of medium and dark brown stains and the finish had a light sand blast on the surface of the sides, back and bottom of the bowl and the top and sides of the shank. The finish was dirty with lots of grime in the grain of the blast. The stem is a military style stick bit. The stem was in good shape with only one tooth mark on the underside toward the right side of the pipe. The fit in the shank was snug. The stamping on the stem showed the Stanwell Crown and S and it was faint but visible.

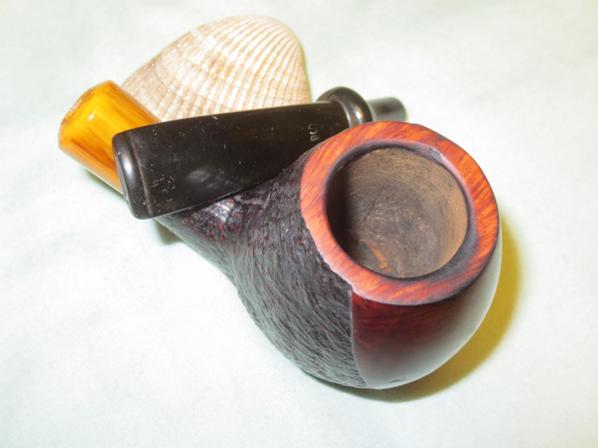
 I took a close up photo of the rim to show the state of things when I started. You can see the buildup on the surface and the burn damage on the front inner edge of the rim.
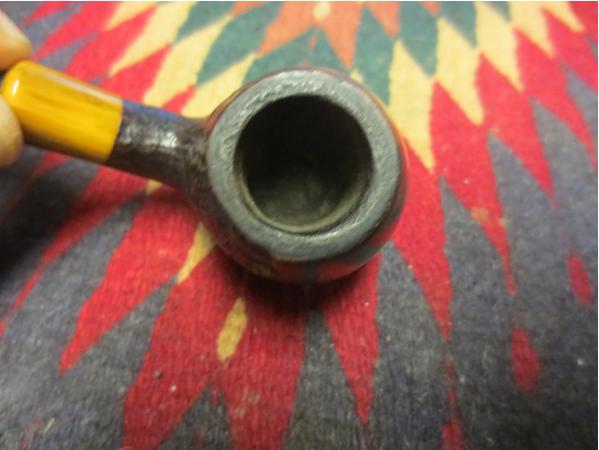 I cleaned up the reaming with the Savinelli Pipe Knife and then cleaned out the internals of the bowl, shank, mortise and airway in the stem. I used pipe cleaners, cotton swabs and alcohol to remove all of the oils.
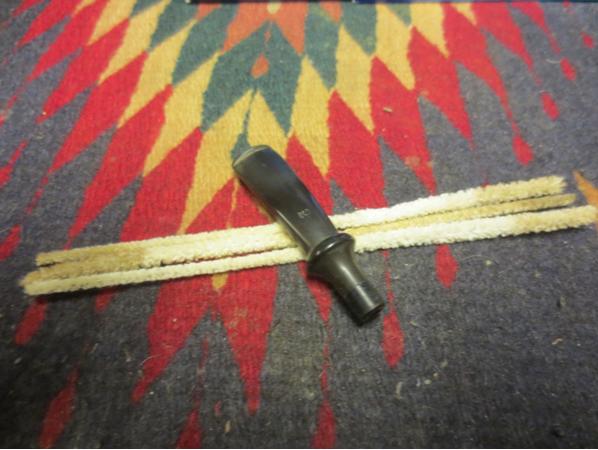
 I scrubbed the stem with Meguiar’s Scratch X2.0 plastic polish to remove the oxidation. I sanded the tooth marks on the underside of the stem with 220 grit sandpaper until the stem was smooth.
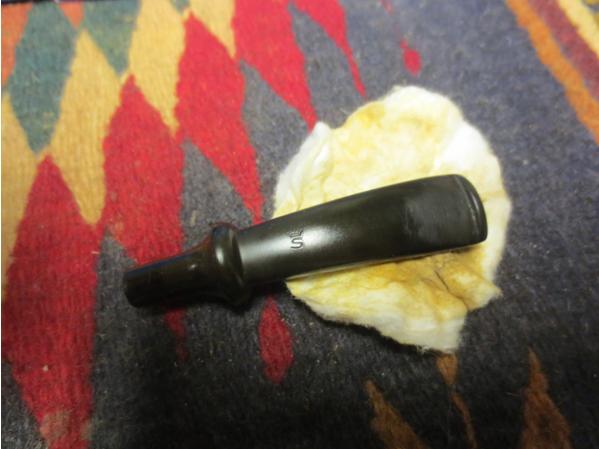
 I lightly topped the bowl on the topping board. I wanted to remove the damaged surface and clean up rim edges. I also wanted to expose the burn marks so that I could address them.
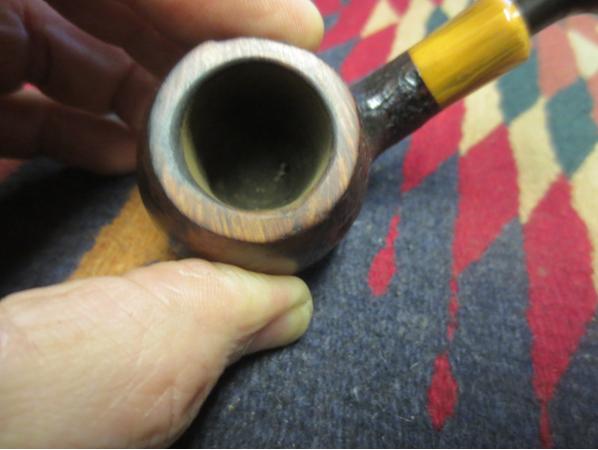
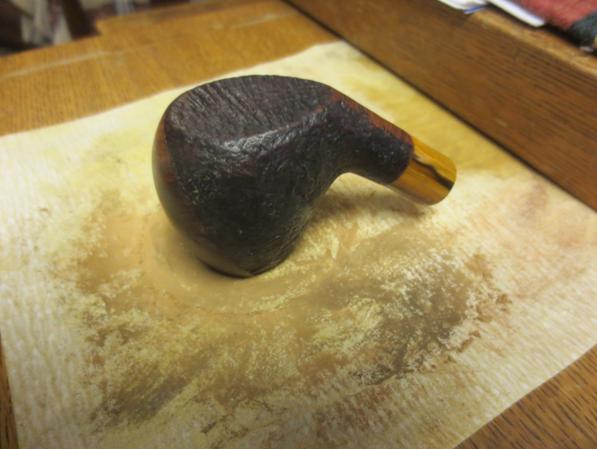 I sanded the rim top with 1500-2400 grit micromesh sanding pads to smooth out the scratching. I then stained it with a medium brown stain pen to match the smooth portions of the pipe. You can see the burn damage on the inside edge of the front of the bowl.
 I folded a piece of sandpaper and worked on beveling the inside edge all the way around the bowl to minimize the damaged area on the right front edge. While the damage is still visible it is much more subtle than it was before the beveling.
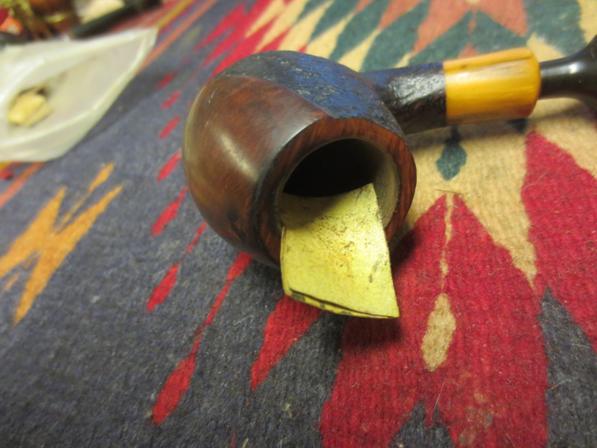
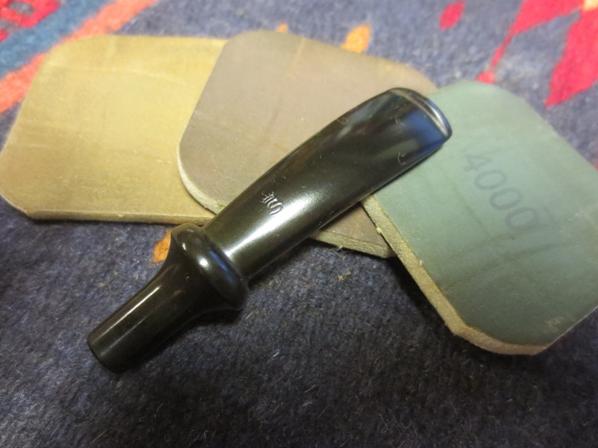
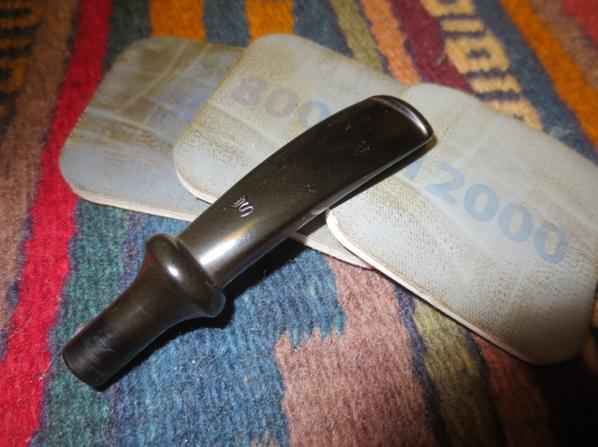
 I set the bowl aside and worked on the stem. I sanded it with 220 grit sandpaper to clean up some of the oxidation and then worked on it with micromesh sanding pads. I wet sanded the stem with 1500-2400 grit sanding pads and then rubbed the stem down with Obsidian Oil. I dry sanded with 3200-4000 grit pads and gave it another coat of oil. I finished sanding with 6000-12000 grit pads and gave it a final coat of oil. I set it aside to dry.
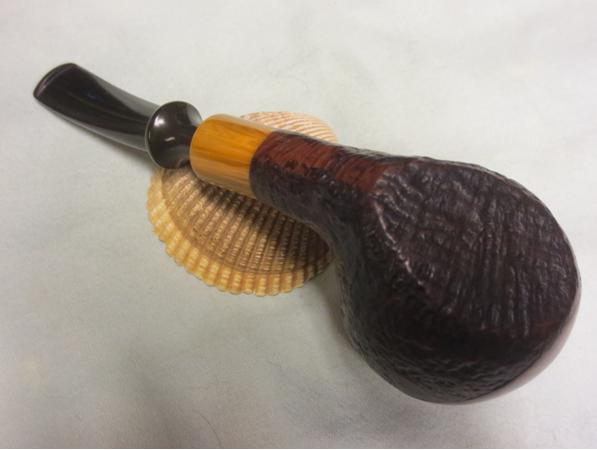
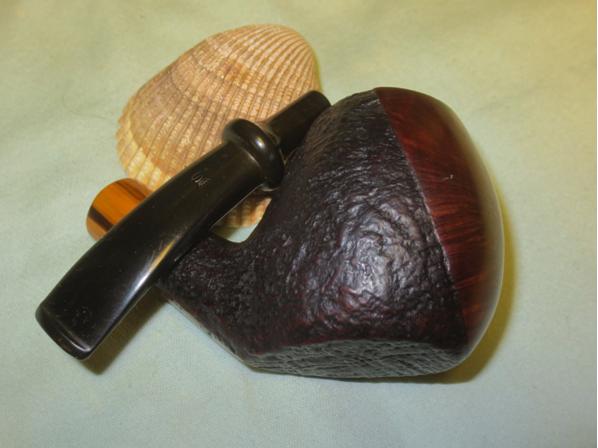
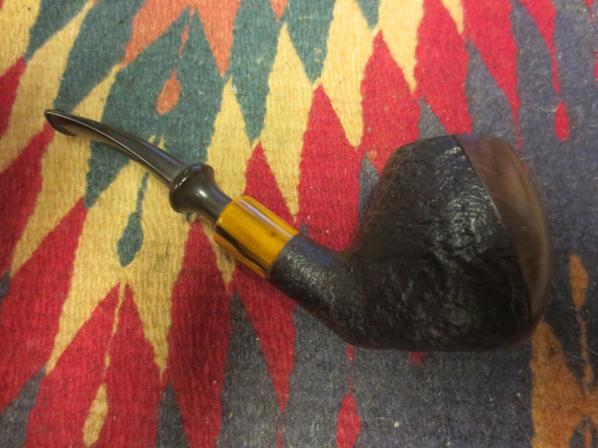
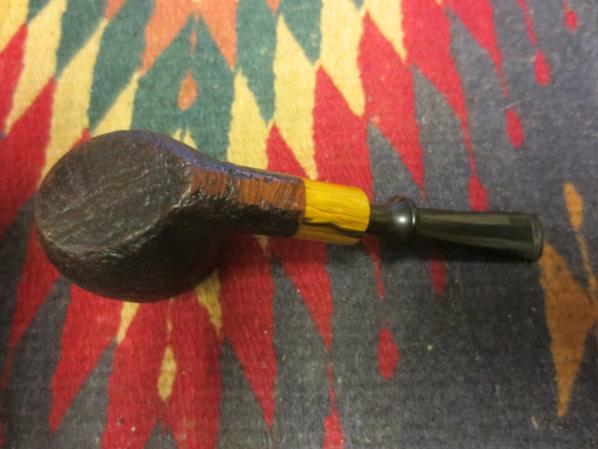
 I buffed the pipe with Blue Diamond (lightly on the bowl except for the smooth areas and the rim top and more concentrated on the stem). I gave the stem several coats of carnauba wax and buffed with a clean buffing pad. I hand waxed the bowl with Conservator’s Wax. I hand buffed the bowl with a shoe brush. I finished buffing the pipe with a microfiber cloth. The finished pipe is shown in the photos below. I am still debating rusticating the rim to match the bowl and stain it darker to blend with the sandblast but not sure… time will tell. Thanks for looking.