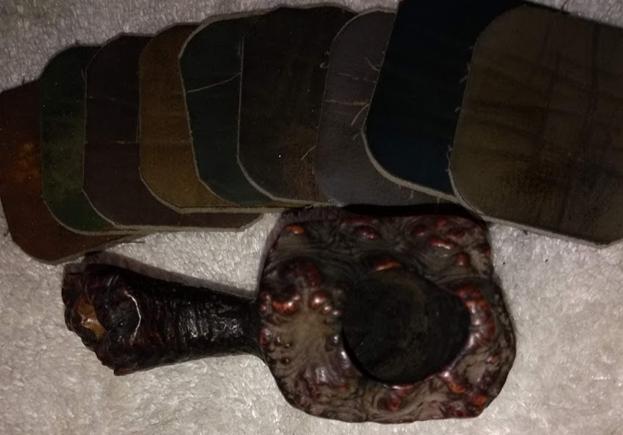
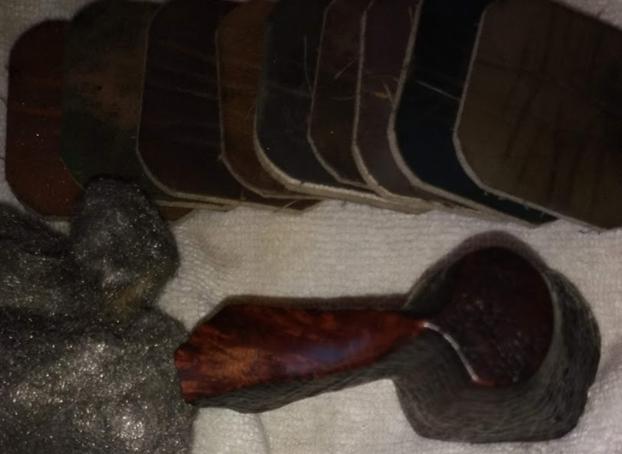
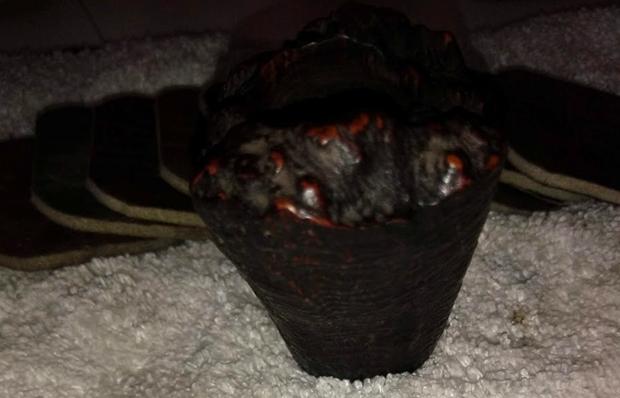
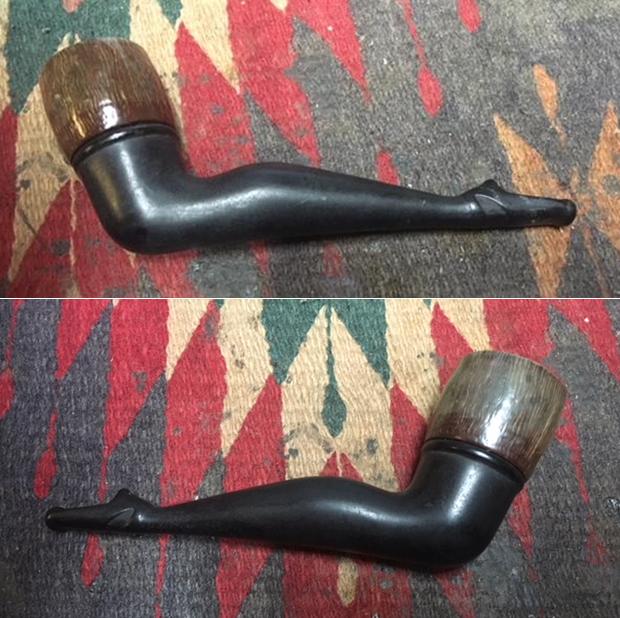
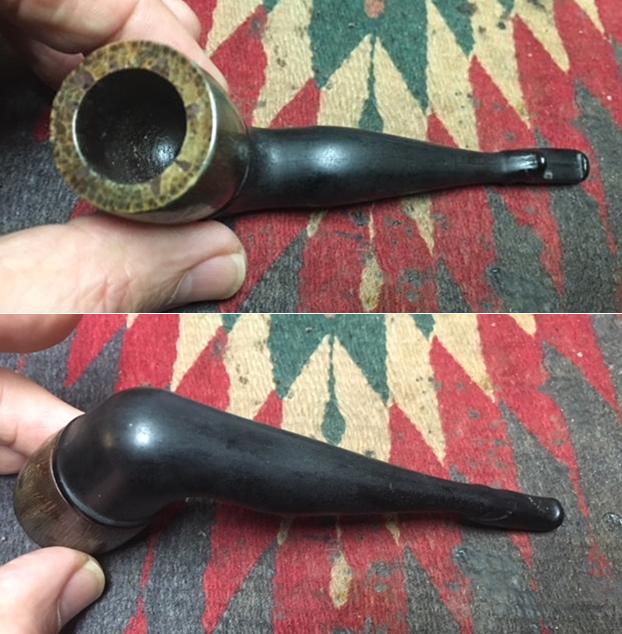
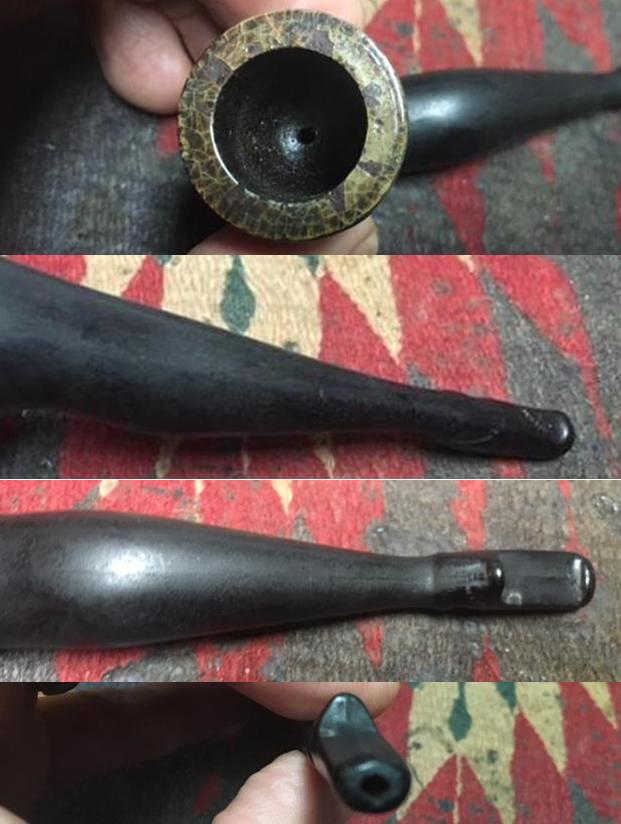
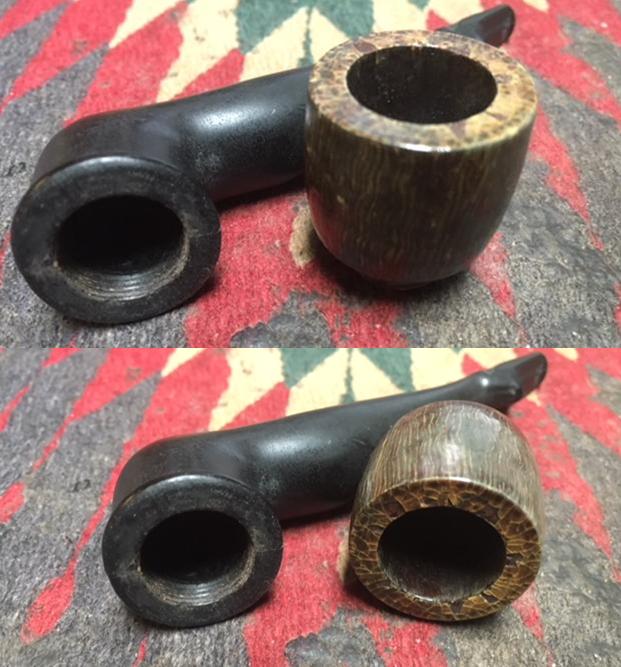
Blog by Dal Stanton
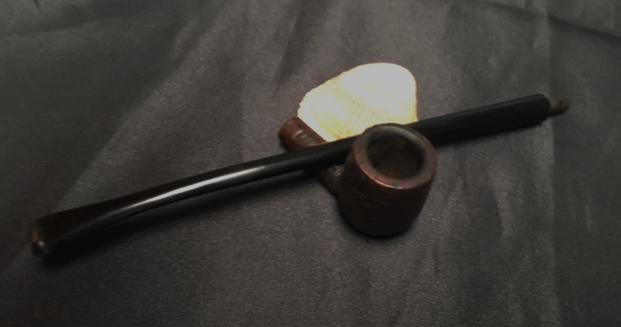
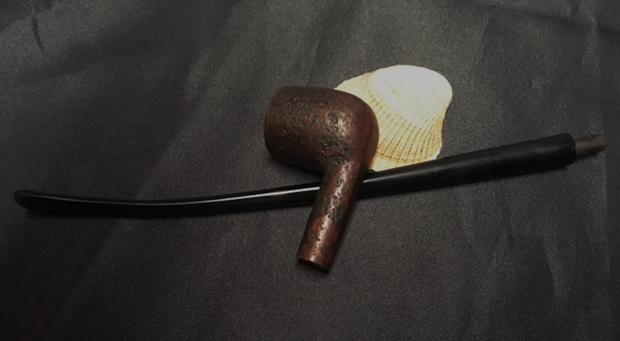
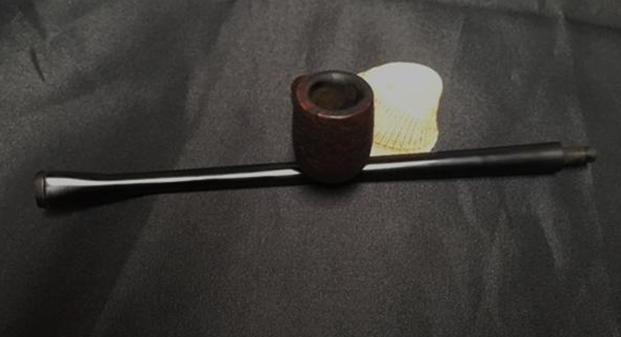
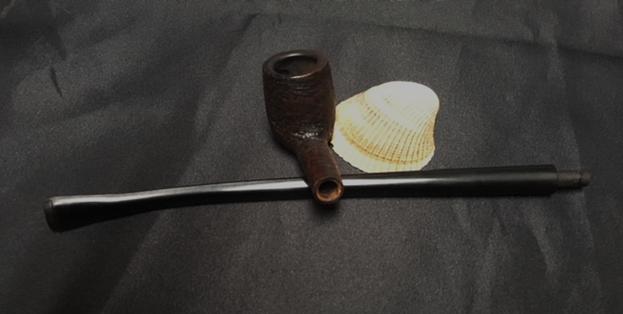
The first of the 3 was true born, but of hobbit stature. He dreamed of walking in the world of men and of wizards – seeing eye to eye but anxious to serve. The second was bound to the first but he held no claim to royal lineage. He stood proud in the best sense of the word and cherished his Green Land’s heritage and history. The third of the 3, was free and bound to no man. He was born into humbler circumstances but found favor in the Maker’s eye and the Maker dubbed him The Wise – a valuable gift to any man. All 3 strong, bound together in one tale, bring hope to the Daughters of men.
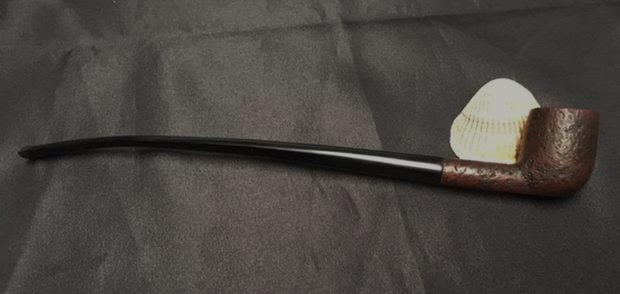
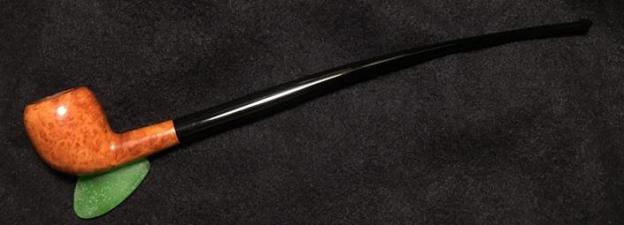
I am sure that if J.R.R. Tolkien were to write this blog about the restoration and creation of 3 Churchwardens, he might begin the tale something like this. Every pipe man and pipe women, if they do not have a Churchwarden in their collections, are hoping one day to find one – each looking for that special bond. Why? Simply stated, Churchwardens are cool. I have a Churchwarden that I’ve named, Gandalf – there are probably many Churchwardens out there bearing that name. Why? Simply stated, Gandalf the Wizard – first The Grey then The White – is cool. He smoked a Churchwarden like no one else, packed with ‘Old Toby’ and who doesn’t want to be like Gandalf?
There’s A LOT of information on the internet easily obtained by a simple search of ‘Churchwarden’ and I don’t want to repeat what’s easily found. The short of it is this – ‘Churchwarden’ is an old shape as far as pipes go. Of course, they were prevalent throughout Middle Earth. As the story goes, there were men back in the days when they didn’t lock churches at night, who were employed as ‘wardens’ of the church – whose responsibility was to guard the premises. To be faithful to their charge, they were not allowed to leave the walls of the church. That created an unusual dilemma between guarding the holy confines and the desire to enjoy one’s evening smoke. The moral dilemma was creatively solved by a stem. The length of the stem enabled the church wardens to tend to their evening bowls as they stood vigilantly inside the church walls while the stems extended through the windows…so the story goes (see Pipedia’s article).
Another very interesting factoid about Churchwardens comes from Bill Burney’s Pipedia description of the Churchwarden that it is unique among all pipes: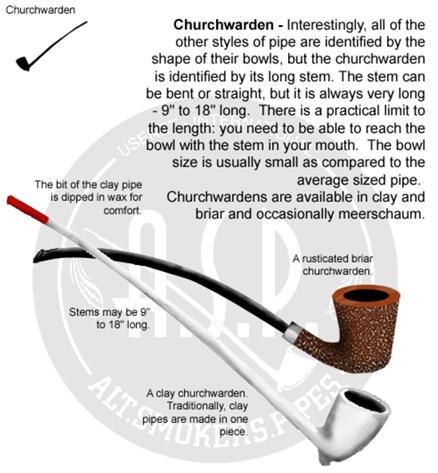
 I want to include one other interesting link for those of you who are Middle Earth and Churchwarden enthusiast. The question has always been asked by discerning folk, while Gandalf was smoking his Warden, or Bilbo, Merry and Pippen were puffing on theirs, what exactly was packed in their bowls?? Of course, we all know that the bowls had ‘Old Toby’ packed in them – or simply, ‘Pipeweed’. This link goes to a fun site that explores the minutia of J.R.R. Tolkien’s Middle Earth including the story of pipe smoking and the mystery of what exactly inhabited the bowls of Middle Earth! Enjoy!
The first of the 3 was true born, but of hobbit stature. He dreamed of walking in the world of men and of wizards – seeing eye to eye but anxious to serve.
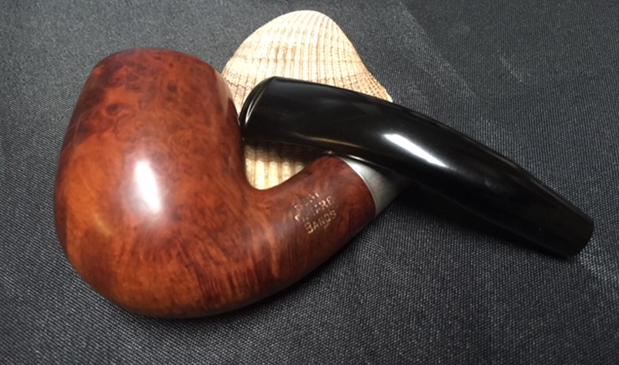
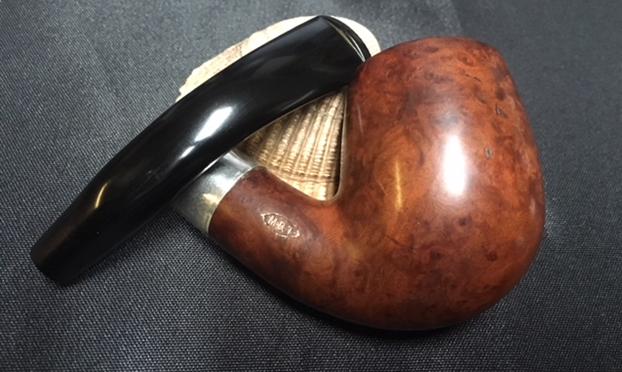
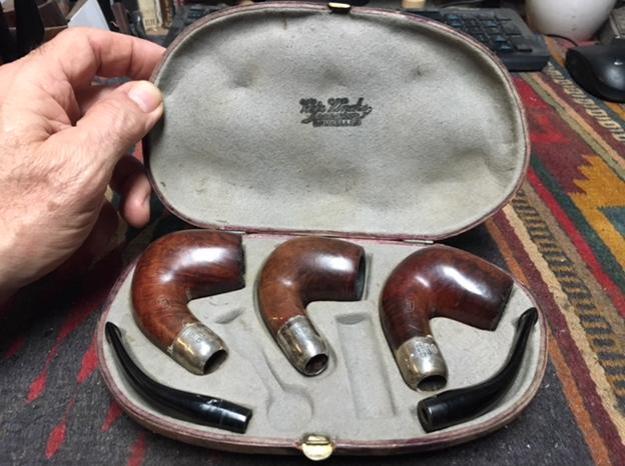
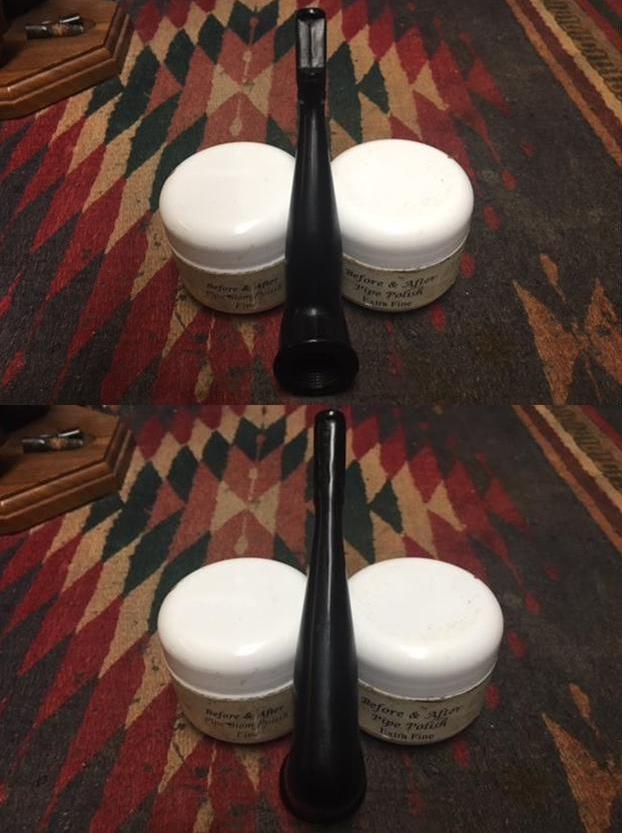
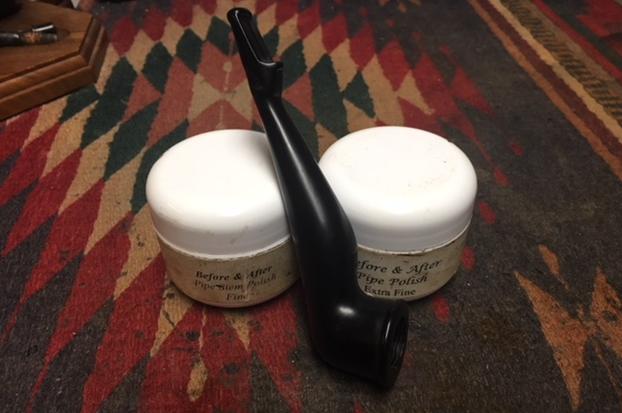
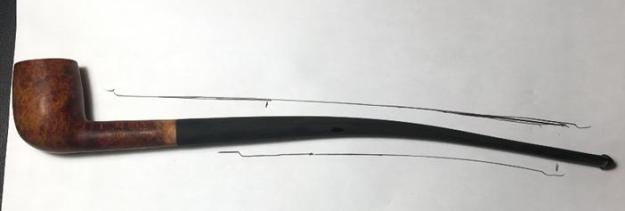
My ‘Tolkienesque’ opening, like Tolkien’s ‘Lord of the Rings’, holds some truth in the telling. The ‘Tale of the Three Churchwardens’ started when I received an email from Toby – yes, I’m not making this up! Gandalf smoked ‘Old Toby’ and a younger Toby from Germany wrote me about commissioning the “Imperial Churchwarden” (the ‘true born’ Churchwarden with royalty) as a birthday gift for a friend which he discovered in my website’s section, For ‘Pipe Dreamers’ Only. We came to an accord and I put the Imperial Churchwarden from France in the queue to be restored in time for his friend’s birthday celebration. 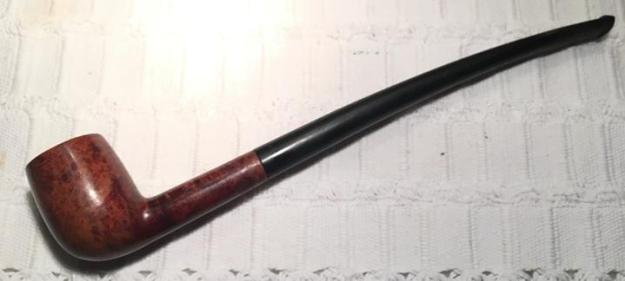 Later, when I found the Imperial in the “Help Me!” Basket, I was a little concerned. The stem was shorter than I had originally thought – it was more of ‘Hobbit stature’ – a miniature Warden. The stem was 5 ¾ inches beyond the shank or the total length of the pipe was about 8 ¾ inches or 22 cm – not really the coveted ‘Gandalf’ size. I wrote to Toby with a proposal of adding some stature to the Imperial with a longer Churchwarden stem I had on hand – it would be more of a ‘Gandalf statured’ Churchwarden as a result. I sent this picture with the proposed stem giving a total length of 11 inches or 28 ½ cm. My Gandalf was on top for comparison. Toby liked the idea and said that his friend was a huge ‘Lord of the Rings’ fan and that an extra 5 cms was a good investment for his friend to have a ‘Gandalf’ pipe.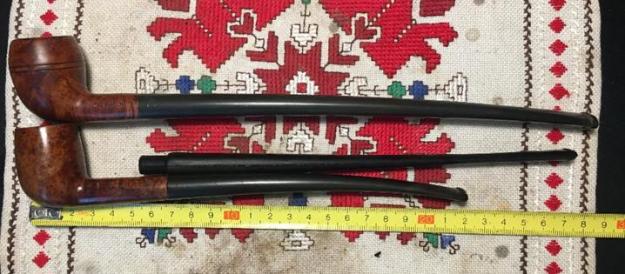
The second was bound to the first but he held no claim to royal lineage. He stood proud in the best sense of the word and cherished his Green Land’s heritage and history.
Then Toby asked if I might have another long warden stem in my stores – he thought it might be good for him to add a Churchwarden to his collection – perhaps that both he and his friend could blow smoke rings into the air in proper wizard fashion on his friend’s day of celebration! I ordered 3 more 8.5” Churchwarden stems from Tim West at http://www.jhlowe.com and they arrived in Bulgaria from the US with a returning colleague. At this point I moved from restoring a Churchwarden (true born) to creating a Churchwarden with re-purposed bowls. I went through my stores to find potential bowls to be wedded to a Warden stem and transformed to a Churchwarden (thank you Bill Burney!). I sent two options next to the Imperial – a Dublin and a Rhodesian. Toby chose the Dublin with the canted bowl which to him was more ‘Gandalf-like’. And so, the Dublin will mast the Churchwarden stem – representing a strong and resilient people proud of their ‘Green’ heritage and history.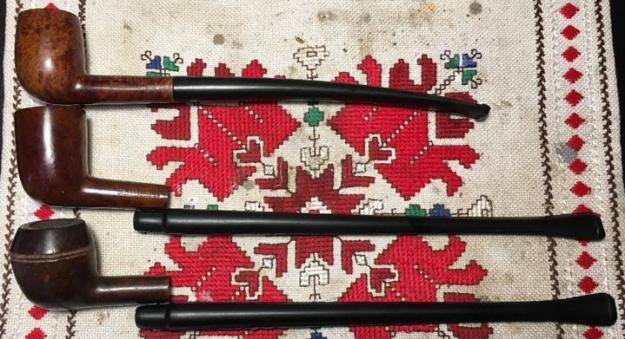
The third of the 3, was free and bound to no man. He was born into humbler circumstances but found favor in the Maker’s eye and the Maker dubbed him ‘The Wise’ – a valuable gift to any man.
All 3 strong, bound together in one tale, bring hope to the Daughters of men.
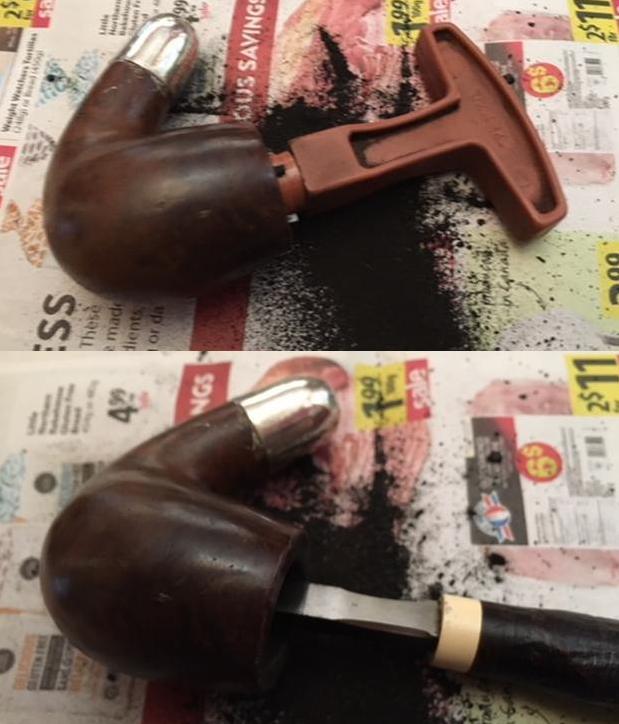
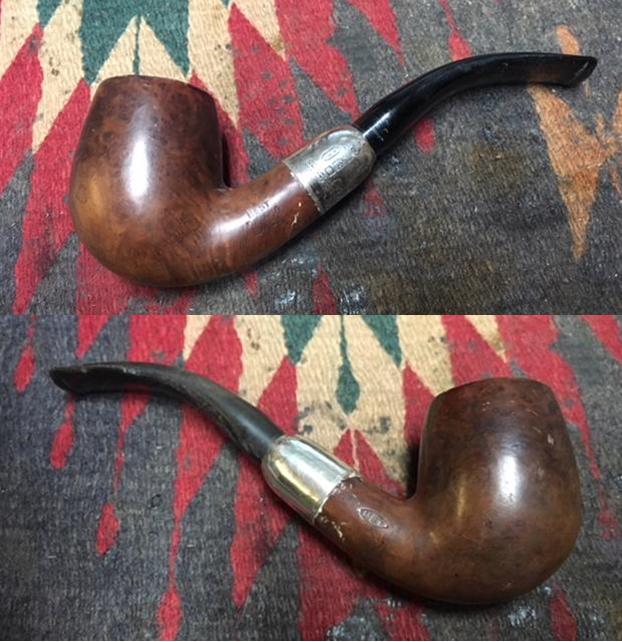
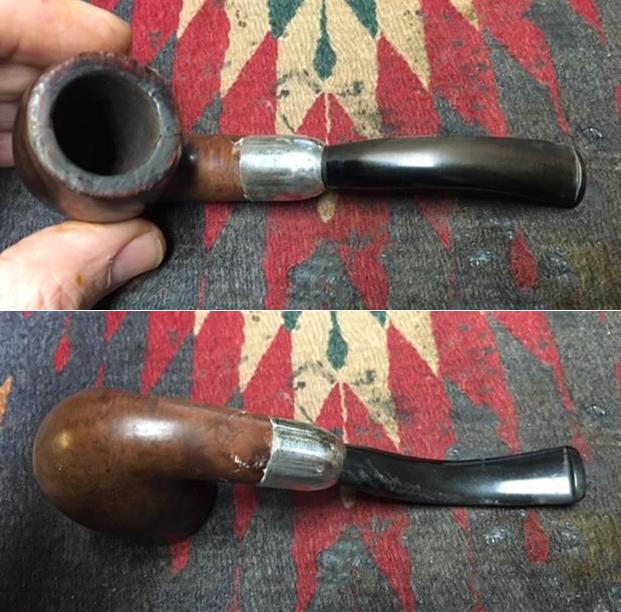
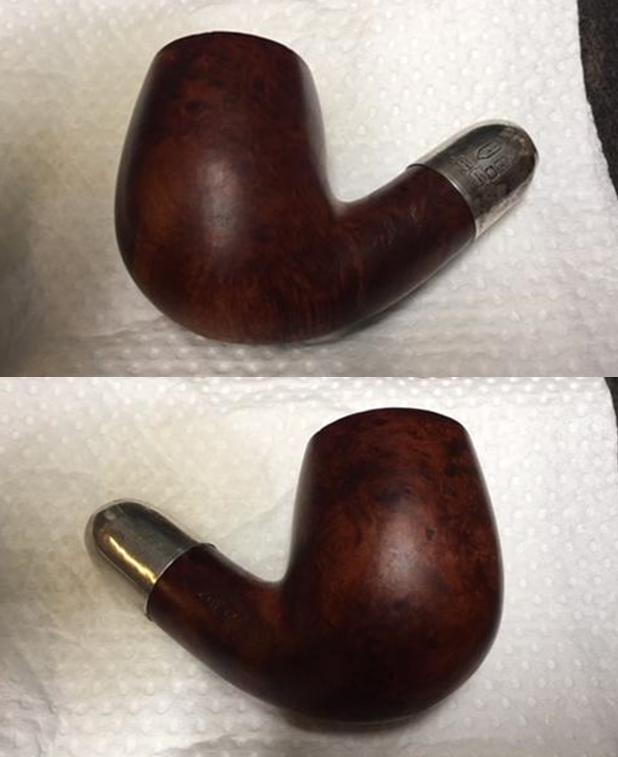
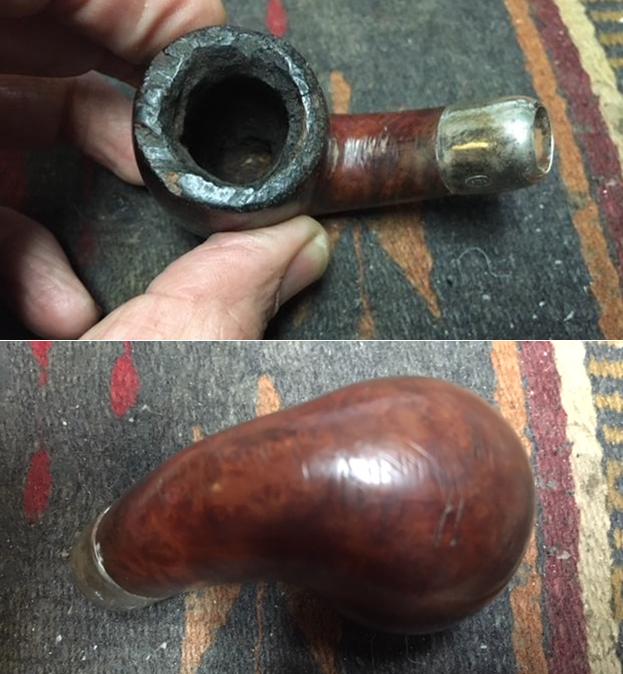
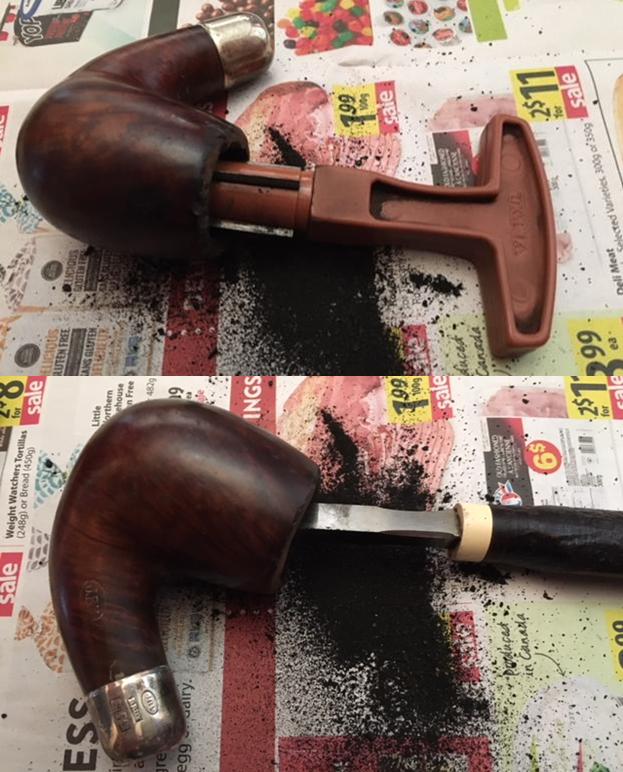
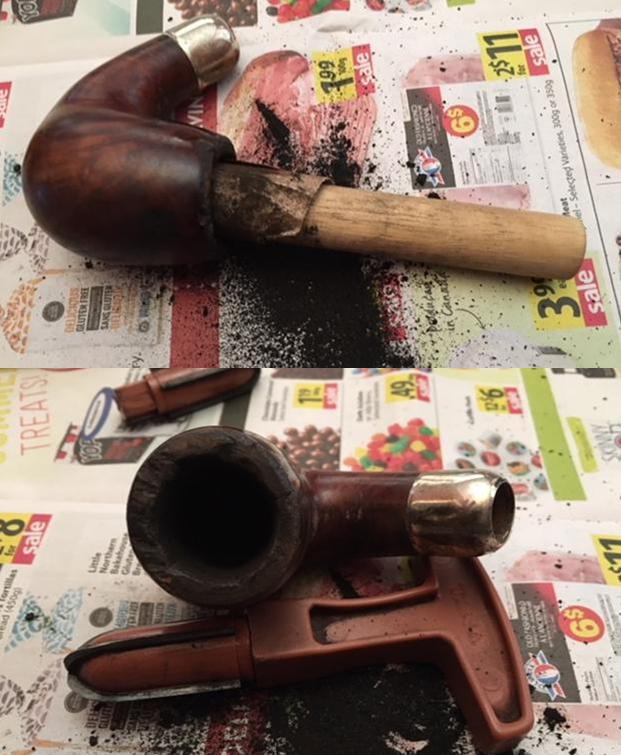
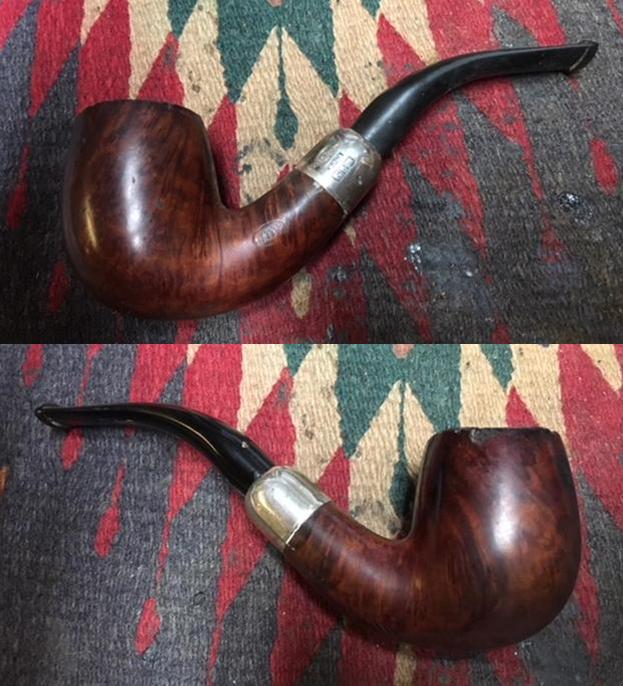
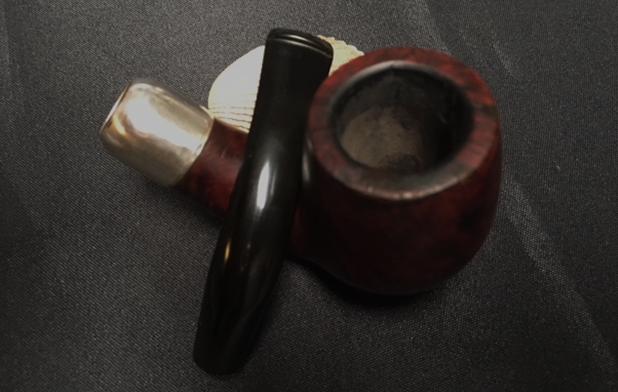
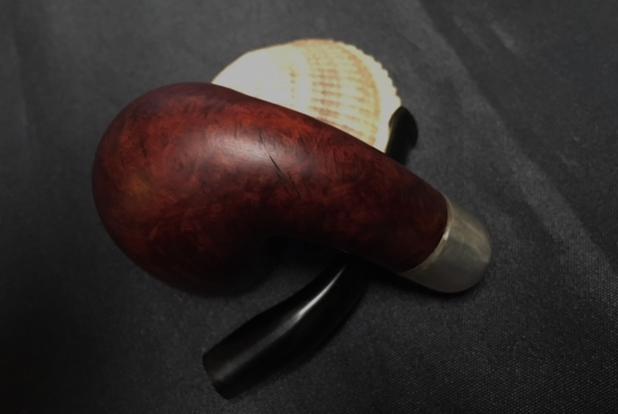
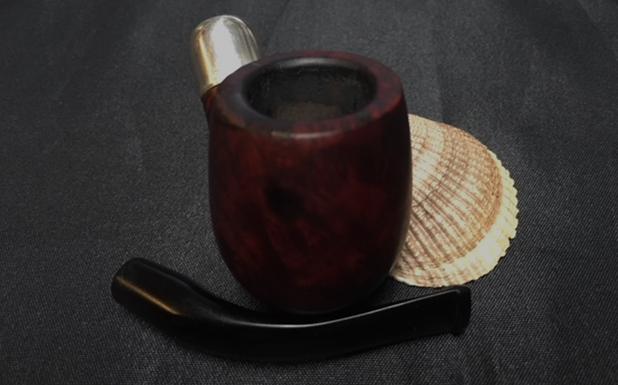
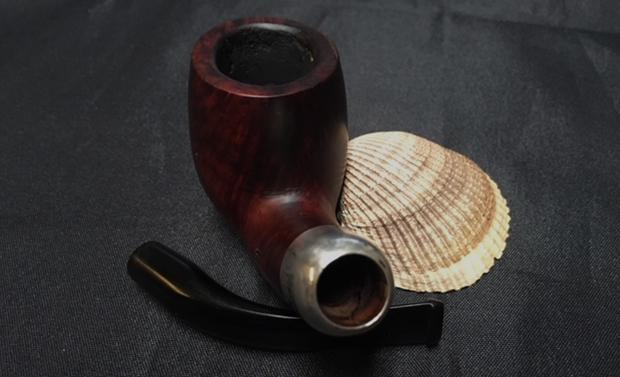
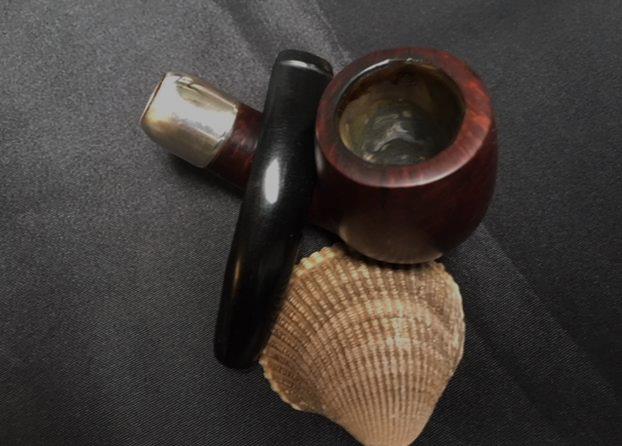
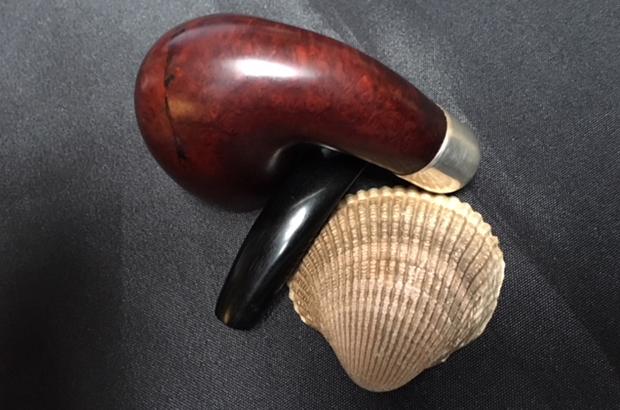
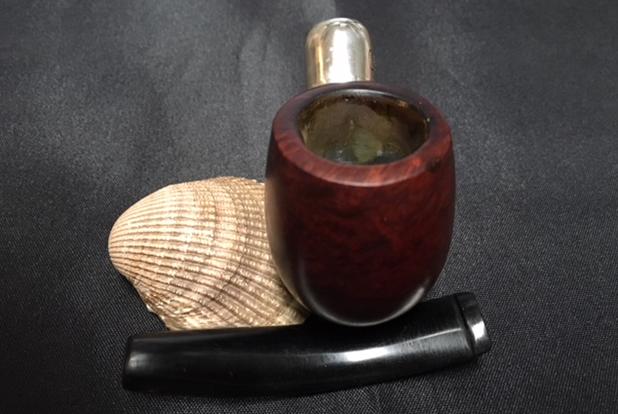
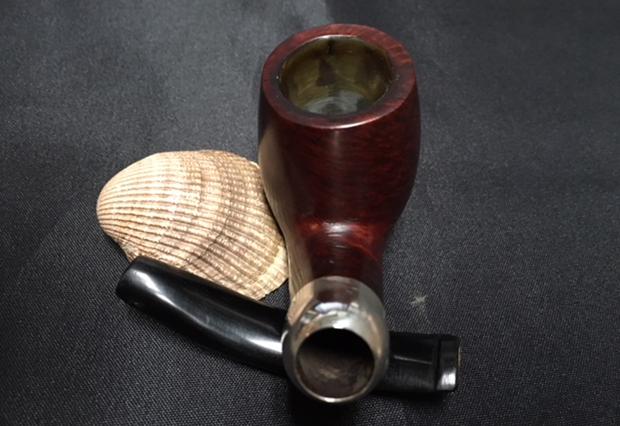
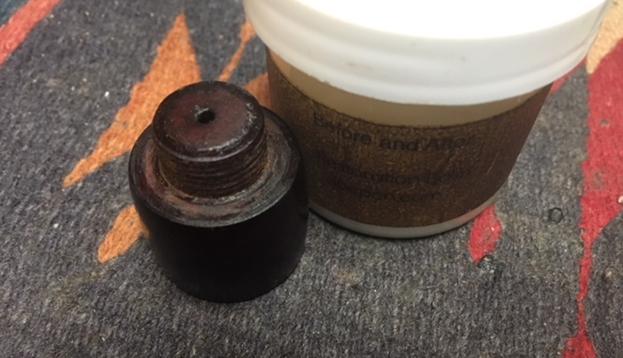
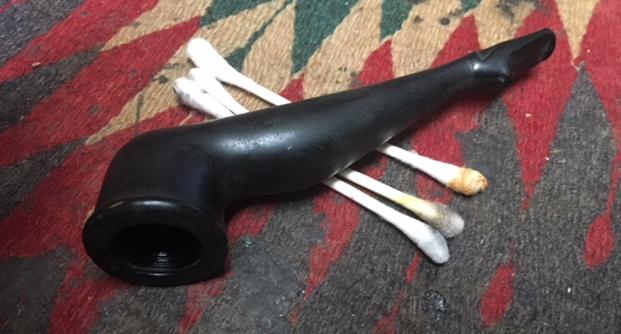
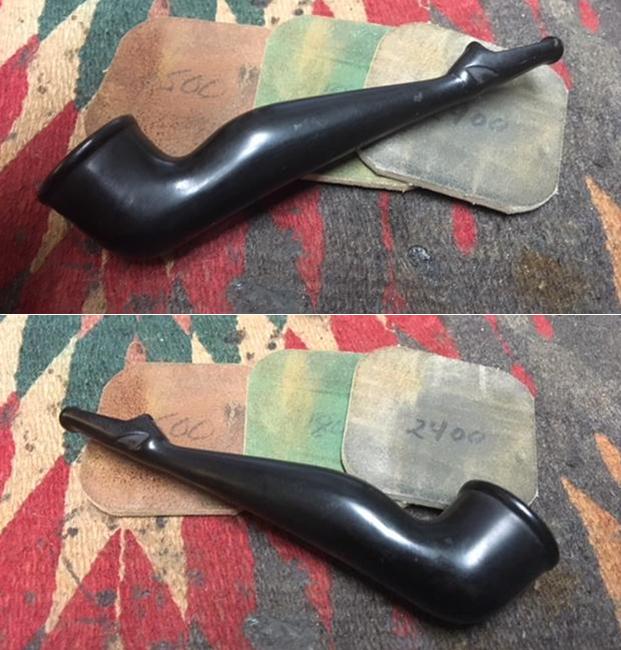
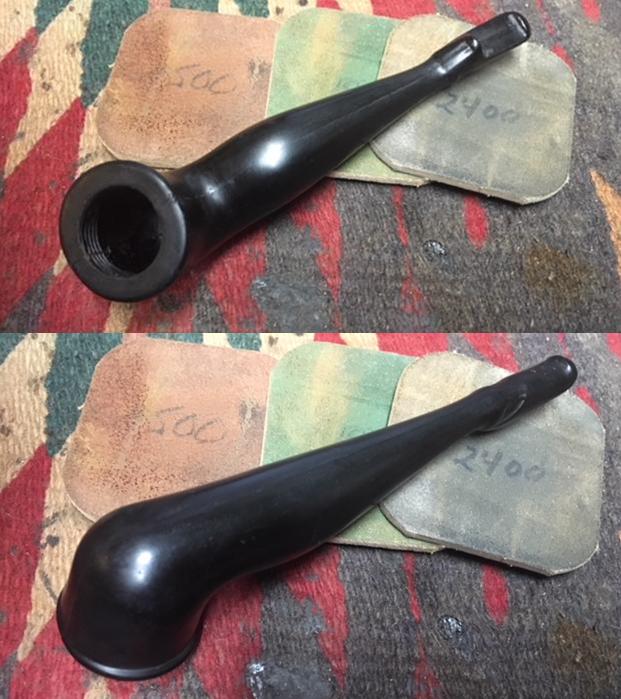
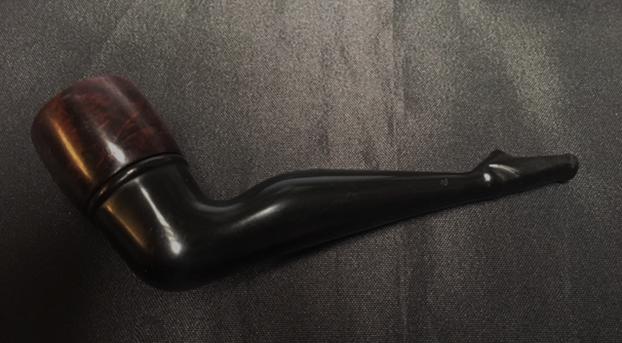
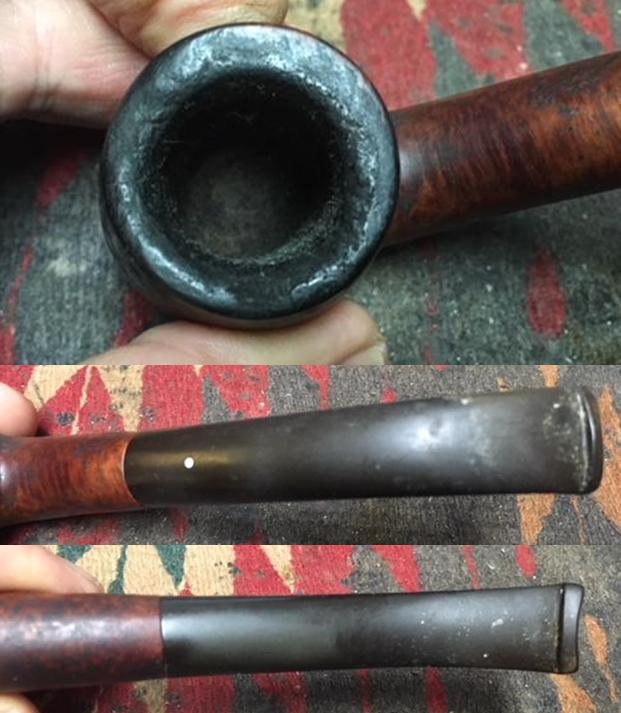
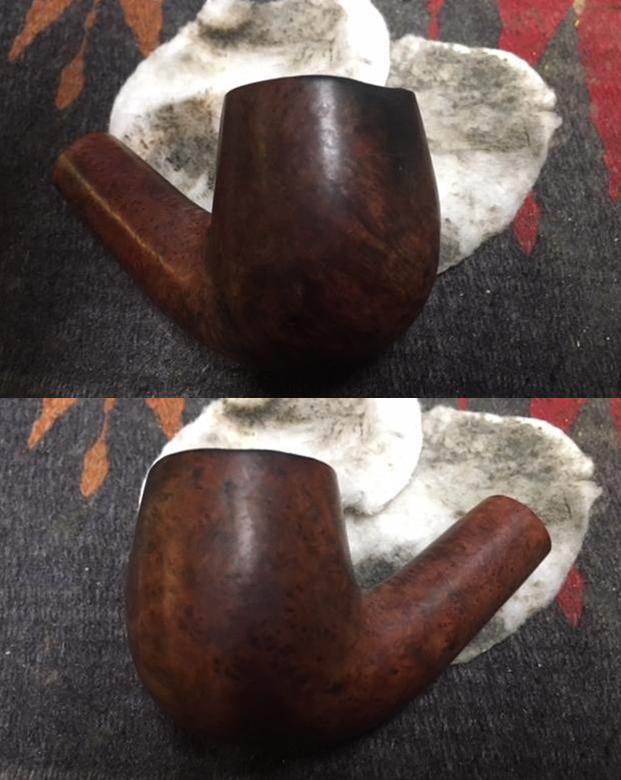
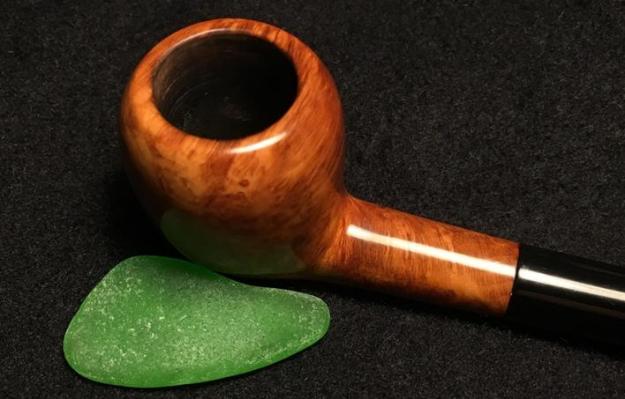
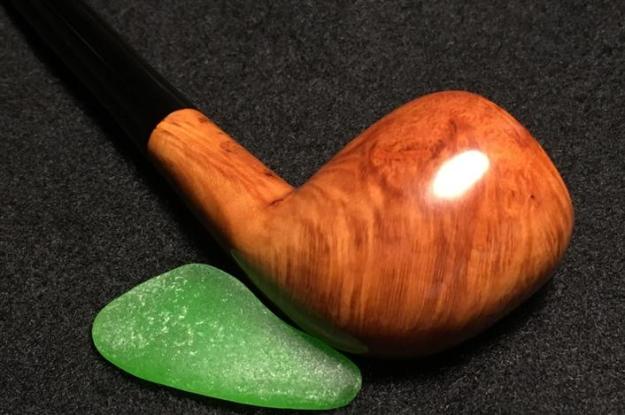
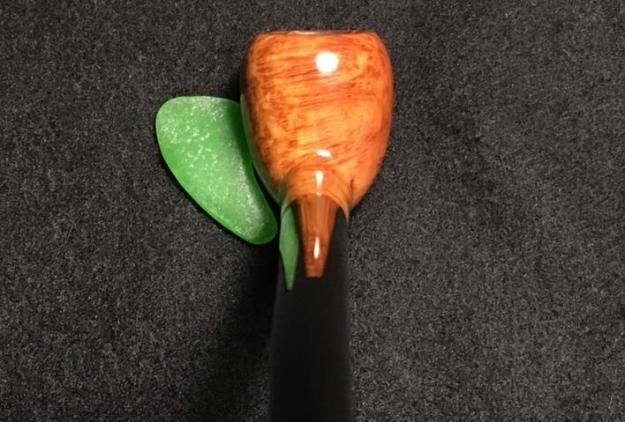
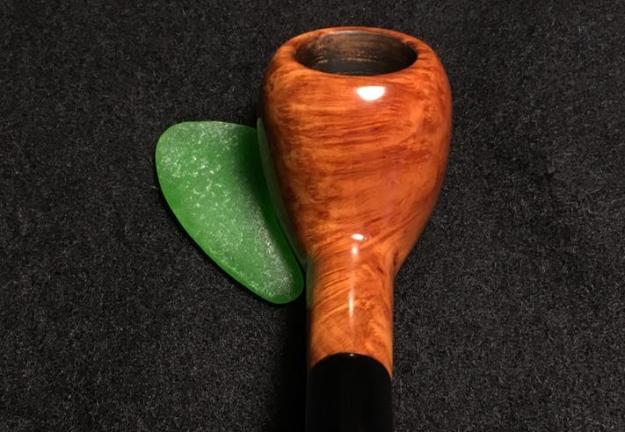
With two Churchwardens bound to Toby – one for his friend and one for himself, I was thinking, while I’m working on restoring and creating these Churchwardens, why not fashion another to put in The Pipe Steward Store for another steward to add to their collection. I found a small bowl that I really liked – a Yello Bole ‘Air-control’ Imported Briar. I looked at the Air-Control stem mechanism and my thought was that no one will ever want this Yelo Bole as he is now attached to his ‘high-tech’ stem, but I really liked the Apple shaped bowl. I think he’ll look great mounted on a long-bent stem – a third Churchwarden, a wise choice for anyone wanting to add a Churchwarden to his collection! All three Churchwardens will benefit the Daughters of Bulgaria – women and girls, the ‘Daughters of men’ who have been trafficked and sexually exploited.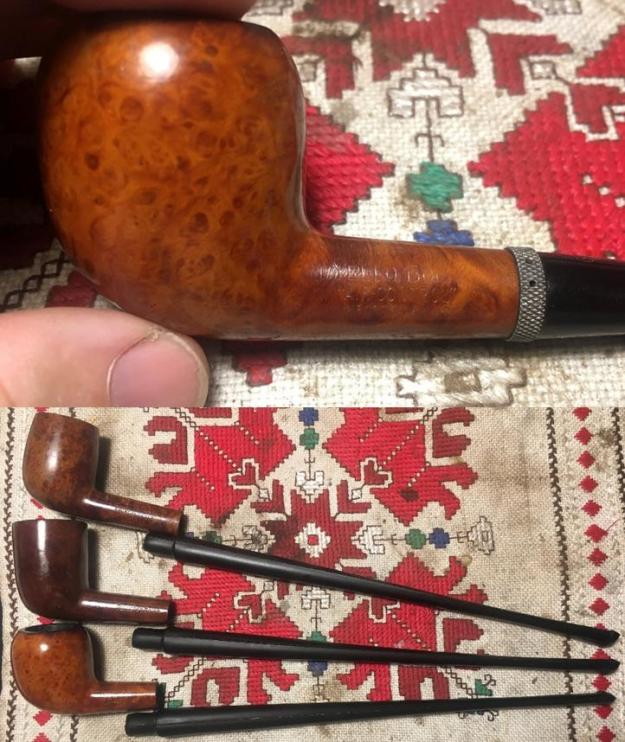 I want to thank Charles Lemon of https://dadspipes.com up front for his input that led me to add two new tools to my tool box and expanding my ‘restorative reach’ with pipes. The first is a PIMO Tenon Turning Tool that I ordered at Vermont Freehand after seeing the tool on Charles’ Worktable and Man Cave blog. Charles’ later restoration, Re-Stemming a Butz-Choquin Marigny Deluxe Hand-Made Calabash was very helpful providing a step by step description of its use in replacing a tenon and the use of the tool. The other wonderful tool that I coveted reading the same ‘Re-Stemming’ blog was the electronic caliper which Charles uses hand in hand with his many stem repairs. I hadn’t seen an electronic caliper in Bulgaria, but then, I had never looked for one either! Joy of joys, I found a German made electronic caliper in the local ‘Bricolage’ – I was a happy camper! My new toys – that is, tools 😊 pictured next.
 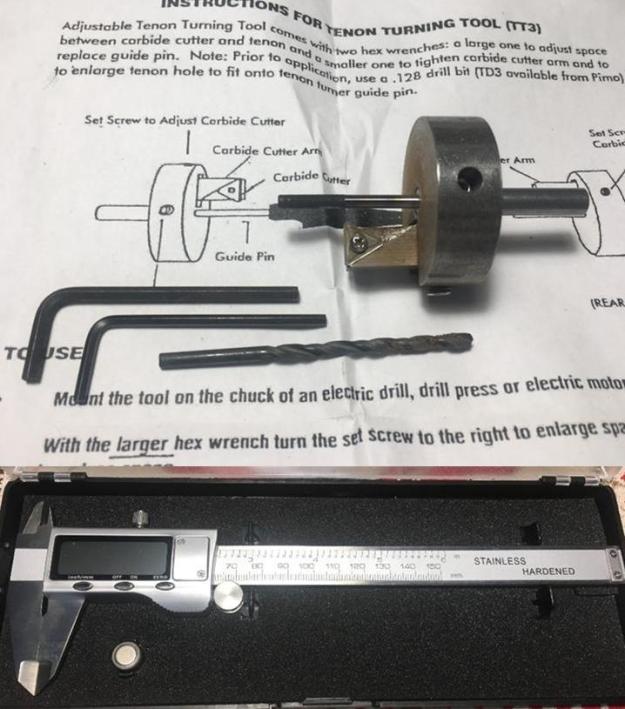 As I approach the restoration and creation of the 3 Churchwardens, I will try to work in the reverse – starting with the ‘Free Born’ Yello Bole, then the ‘Green Land’ Dublin and finally, the ‘True Born’ French made Imperial. Why this order? As I get used to my new tools, I would rather start with the ‘non-commissioned’ pipe first to hone in on the techniques, working toward the most important Churchwarden, the Imperial, destined to be a gift. To experiment and practice, I have already turned one stem with the PIMO tenon turning tool – a French Jeantet Jumbo which came to me without a matching stem and has been waiting patiently. Without description, this is what I did last night while watching the World Cup match between Sweden and Mexico (my wife rooted for Mexico where she grew up!). Sweden prevailed. The Jeantet Jumbo will be completed sometime in the future – he’s a ‘big boy’ pipe!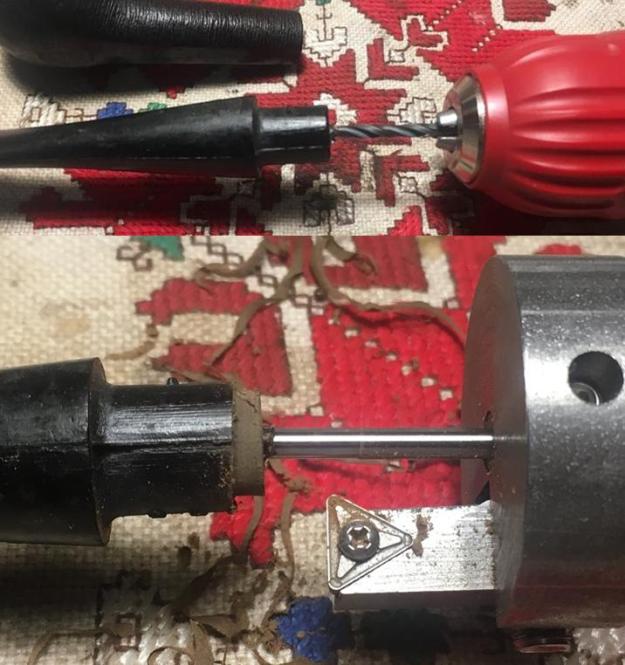
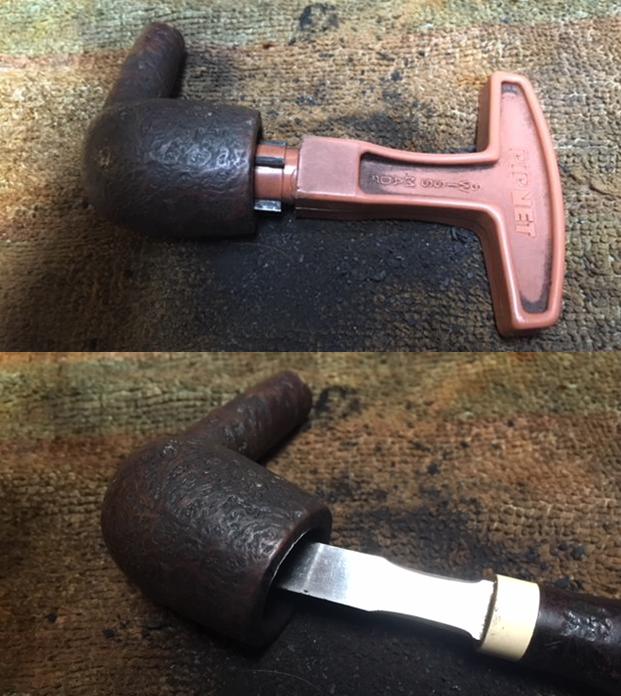
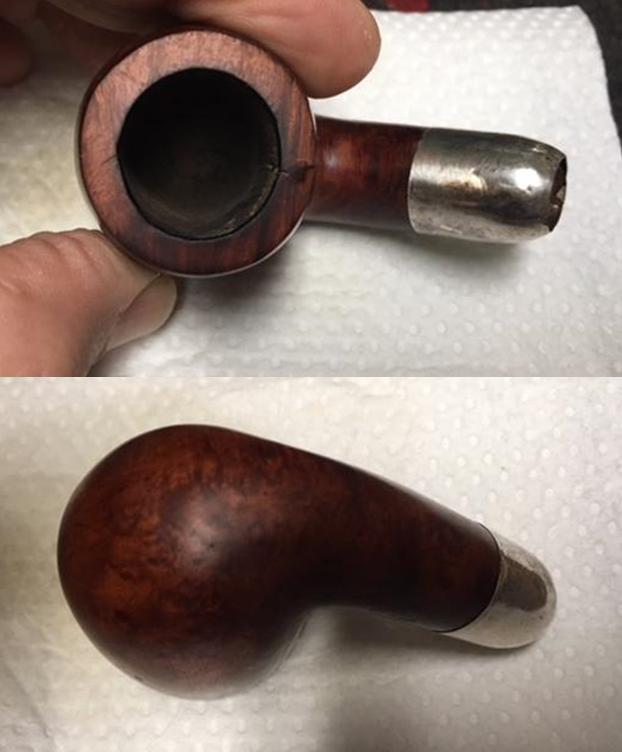
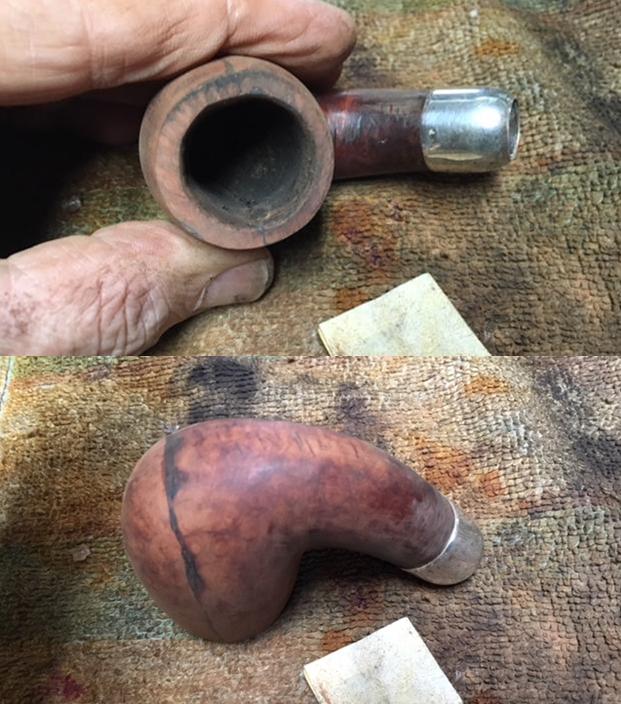
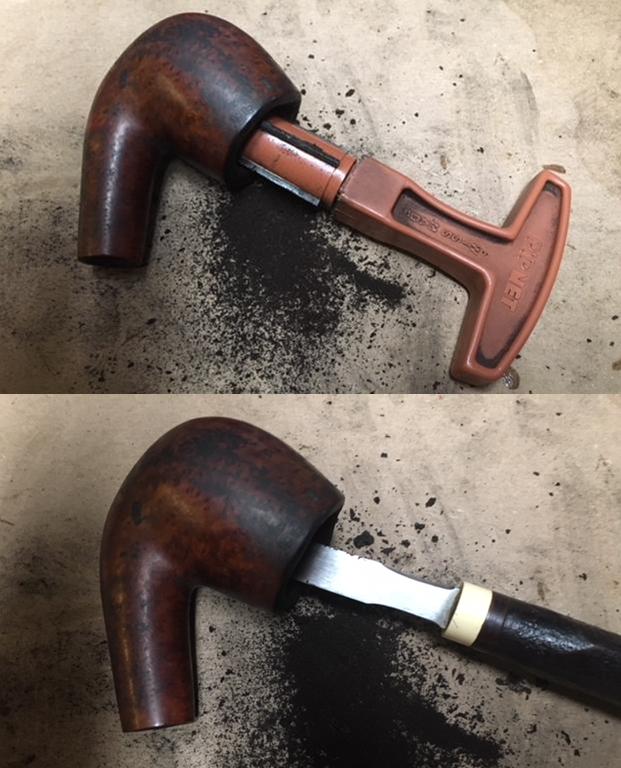
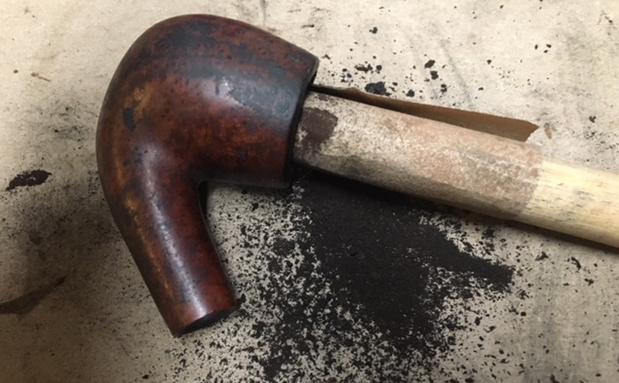
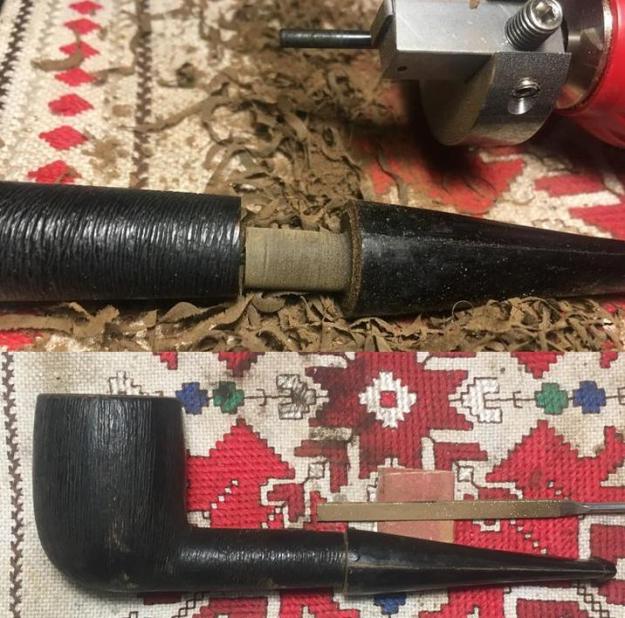 Turning now to cleaning the stummels of the Churchwardens, I start first by reaming each with the Pipnet Reaming Kit. Each stummel uses only the smallest of the 4 blade heads available. I then fine tuning each with the Savinelli Fitsall tool, followed by sanding the chambers with 240 grade paper wrapped around a Sharpie Pen. Finally, each is cleaned with a cotton pad wetted with isopropyl 95%. After clearing the light to moderate cake in each bowl getting down to the briar for a fresh start, the chambers look good in each – no problems I can see.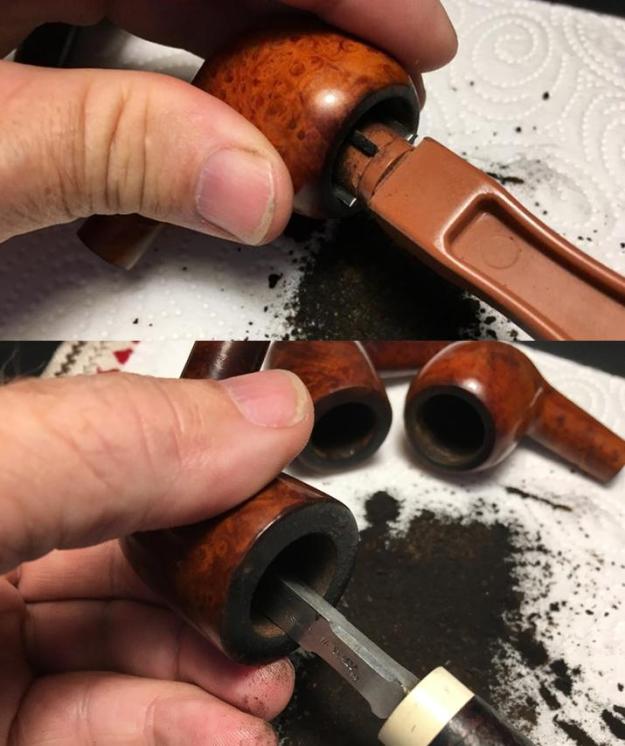
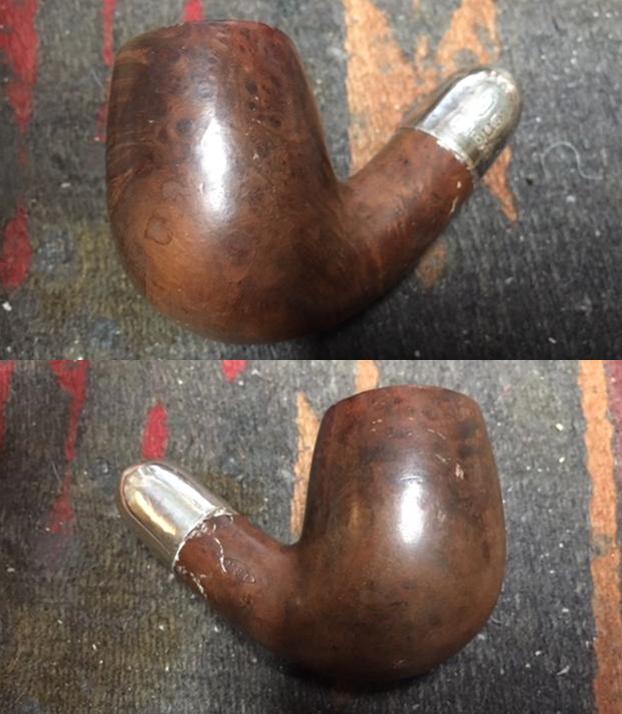
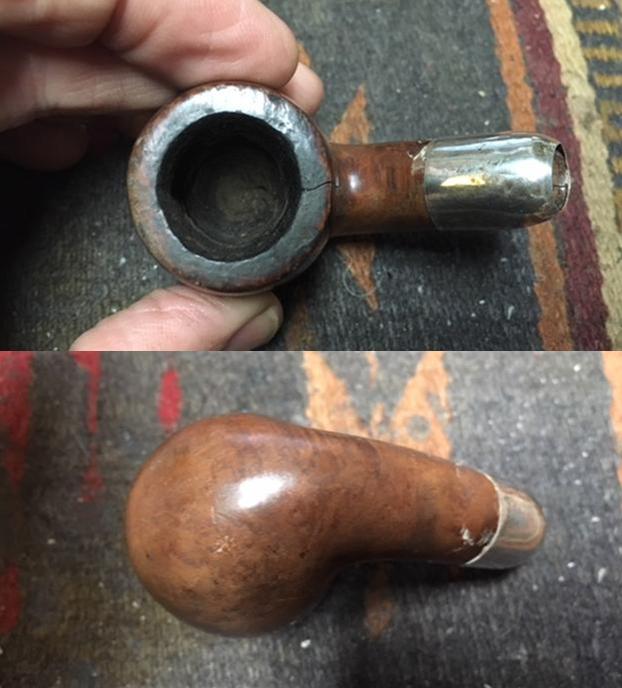
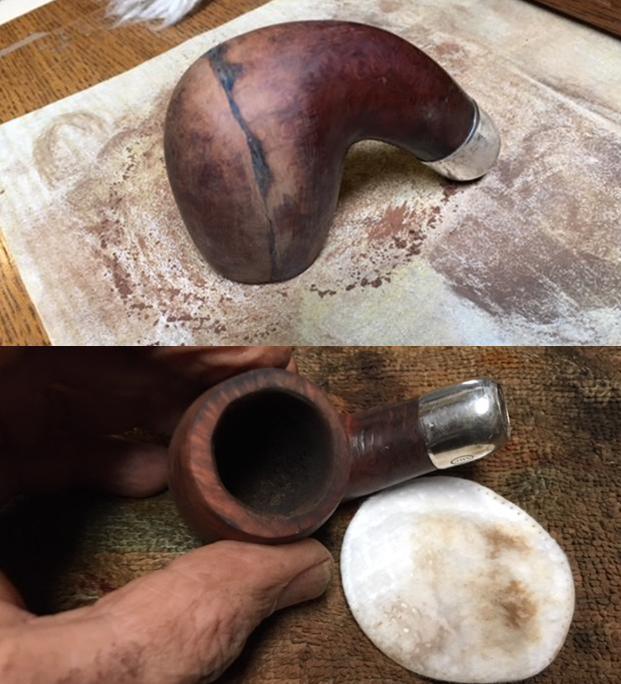
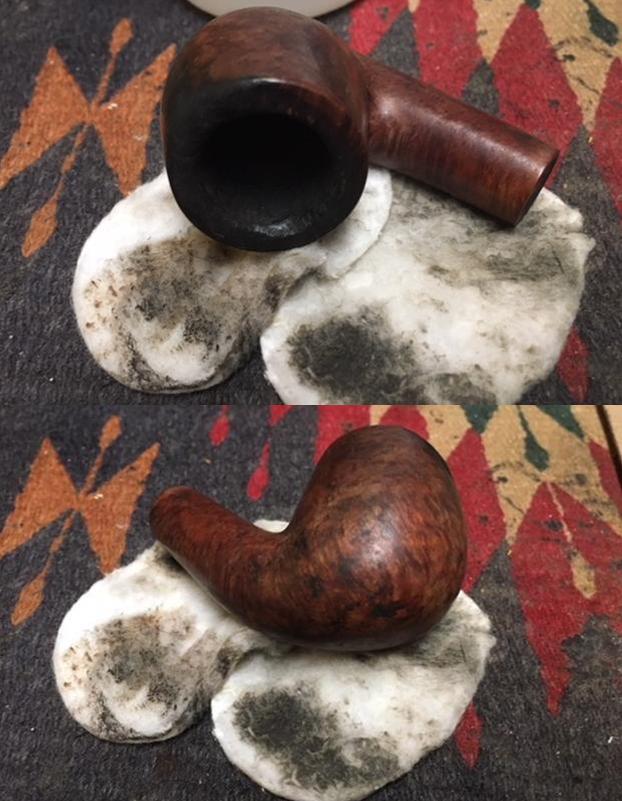
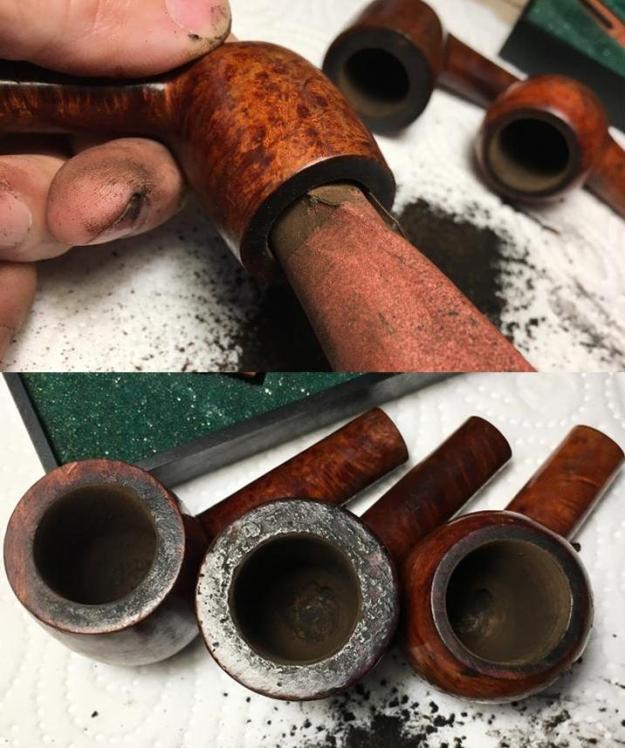 Turning now to the external surface I use undiluted Murphy’s Oil soap and cotton pads to scrub each. The Dublin (center above) has the most lava over the rim, while the other two, not as much. In addition to cotton pads, I utilize a brass wire brush for the rims and use a knife blade carefully to scrape the Dublin rim. The Dublin and the Imperial will both need some sanding on the rim to clean them up. All 3 stummels’ finishes reveal that they are thin and worn. Murphy’s took much of the finish off but not all with the Yello Bole and Imperial bowls. The Dublin’s finish is gone.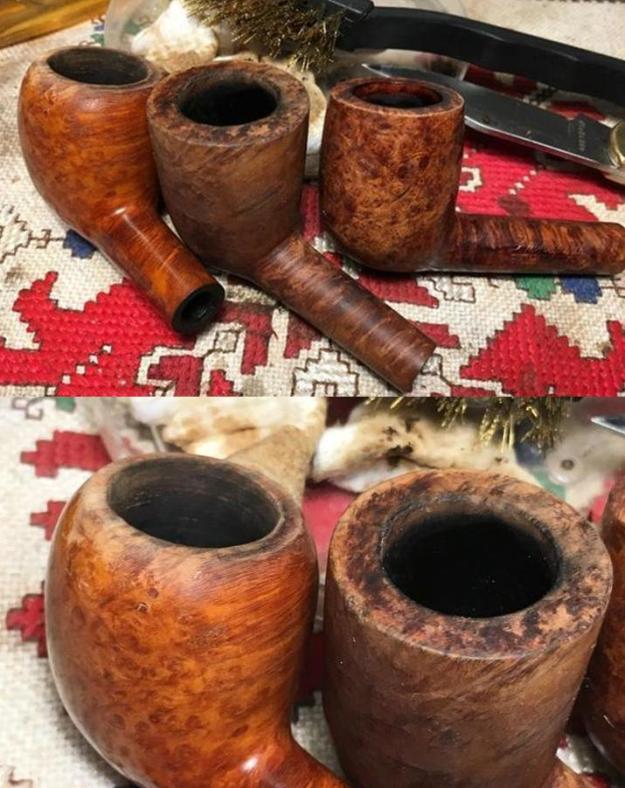
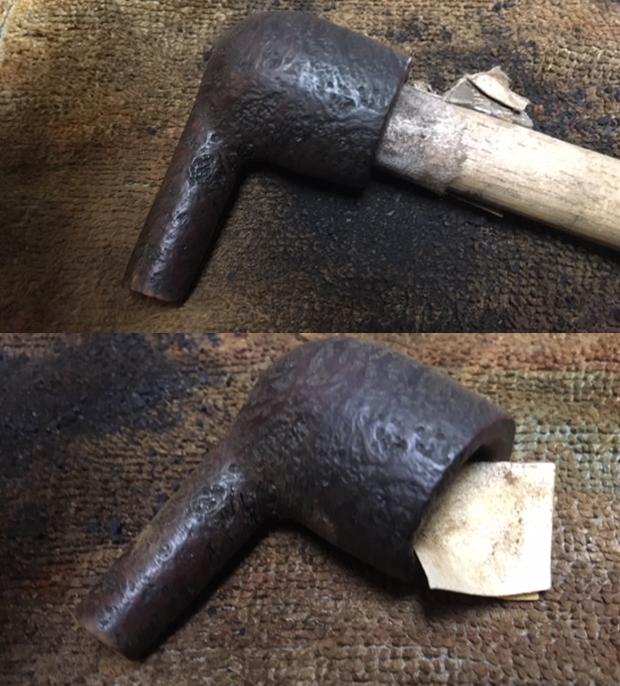
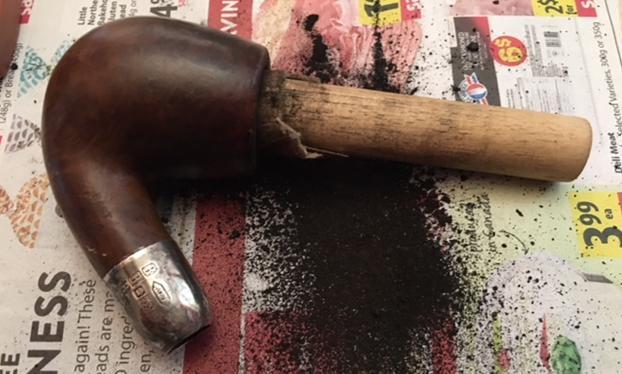
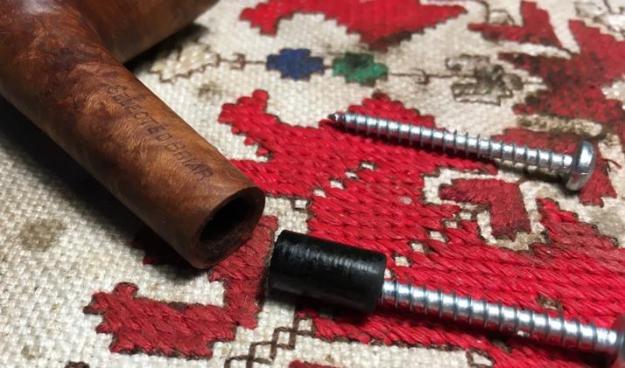
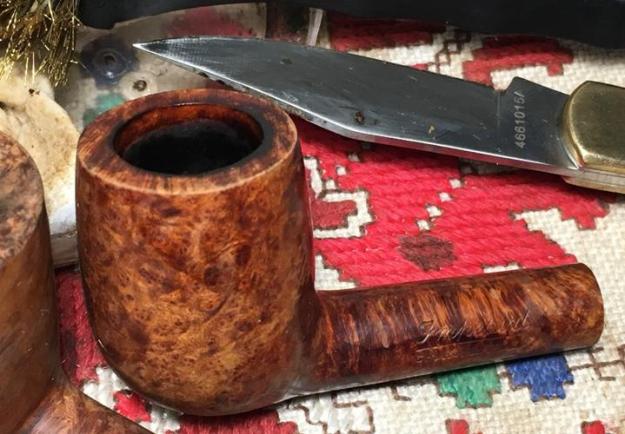 During the cleaning, I discover that I missed the remains of a broken off tenon in the mortise of the Dublin. I keep screws of different sizes on hand for just these occasions. Using a small diameter screw, I screw into the airway hole of the tenon just enough to grab some vulcanite and gently pull out. I don’t want to insert it too far into the broken tenon to not expand it and crack the shank. As hoped, a little pressure and thankfully, the tenon comes loose.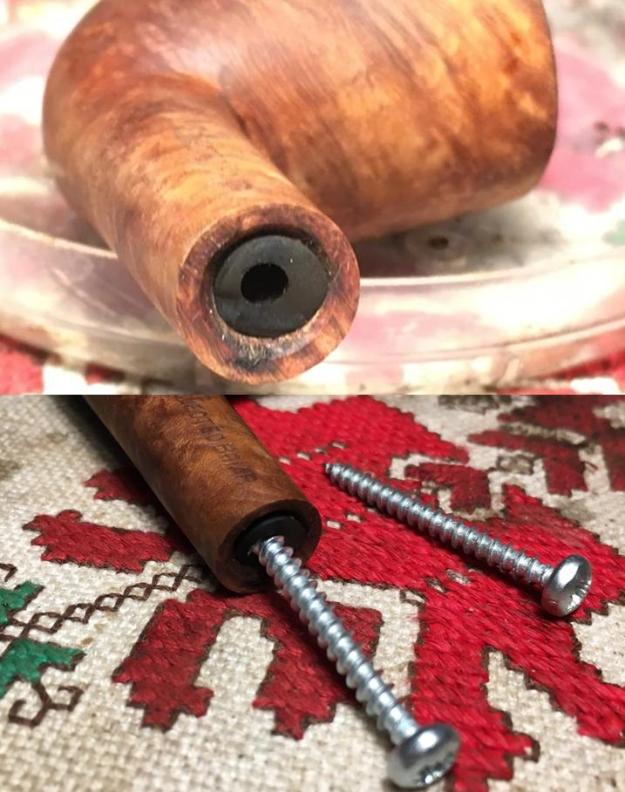
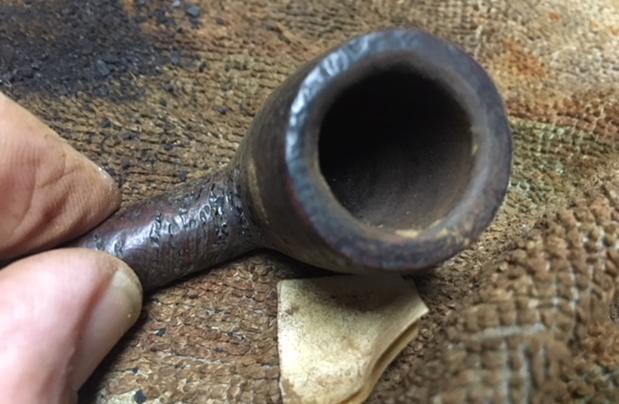
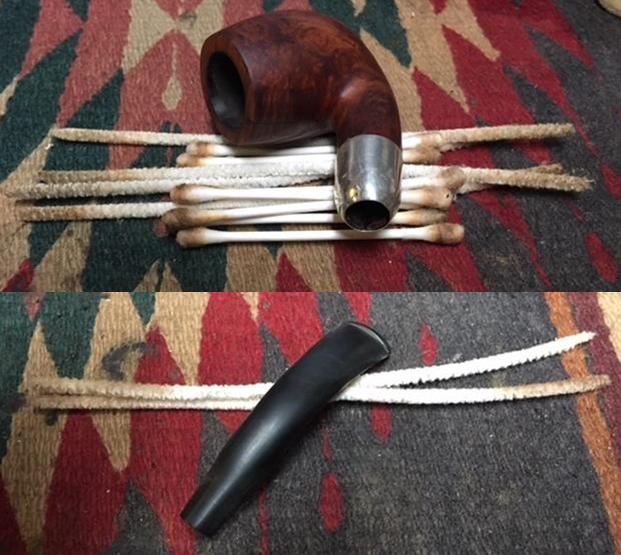
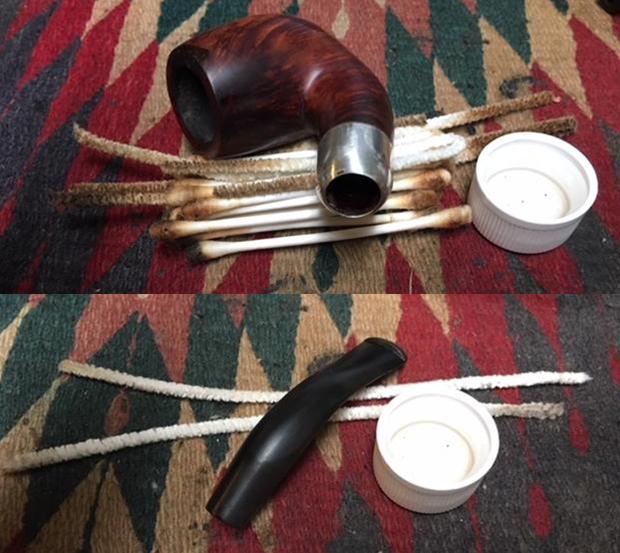
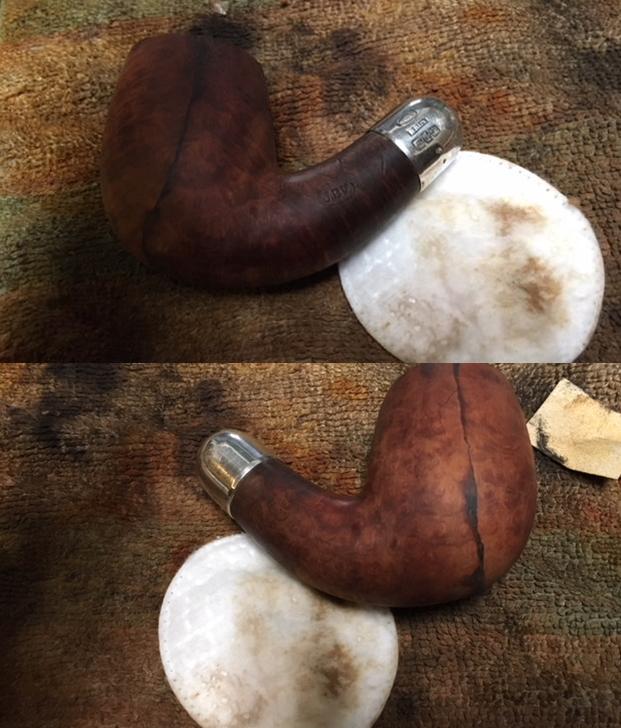
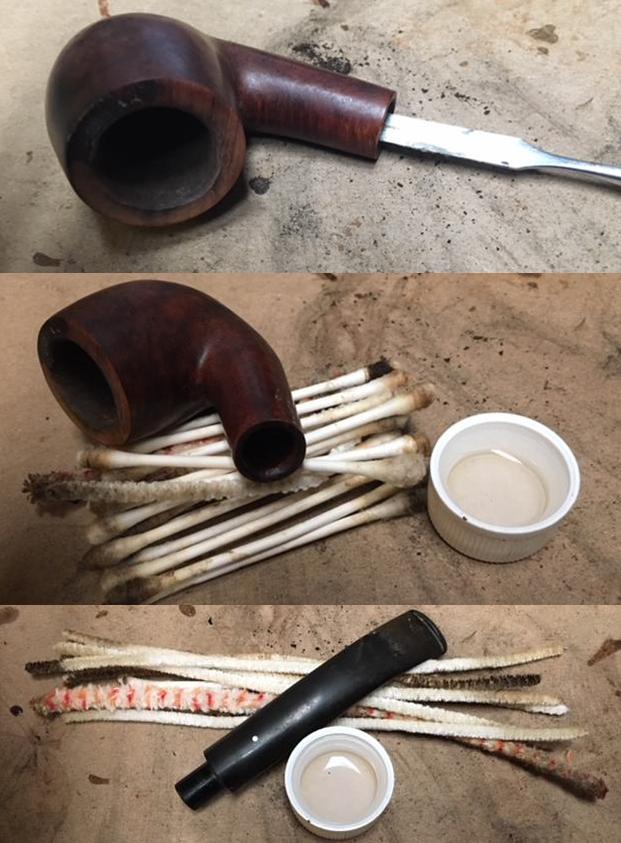
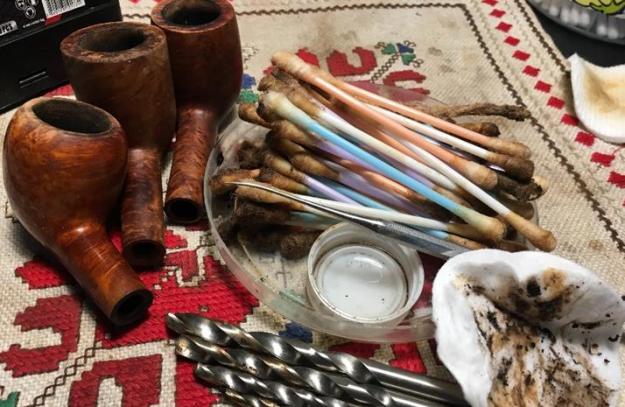
 With the mortise cleared in the Dublin, I proceed to clean the internals of all 3. I use pipe cleaners and cotton buds dipped in isopropyl 95% to do the dirty work. Here is a truism: Just because you’re cleaning a smaller stummel doesn’t mean it’s a smaller mess! Each stummel required boocoos of cotton buds, pipe cleaners – I also scrape the sides with a sharp dental probe as well as hand-turning drill bits down the mortises to excavate the tars and oils. The pictures show the finish line of sorts – later, before I turn out the lights, I’ll give each a kosher salt/alcohol soak through the night to provide more stealth cleaning.
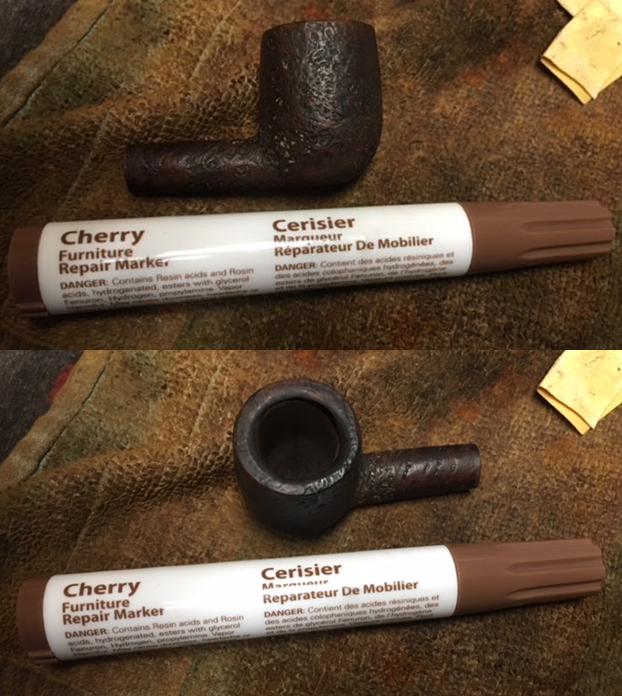
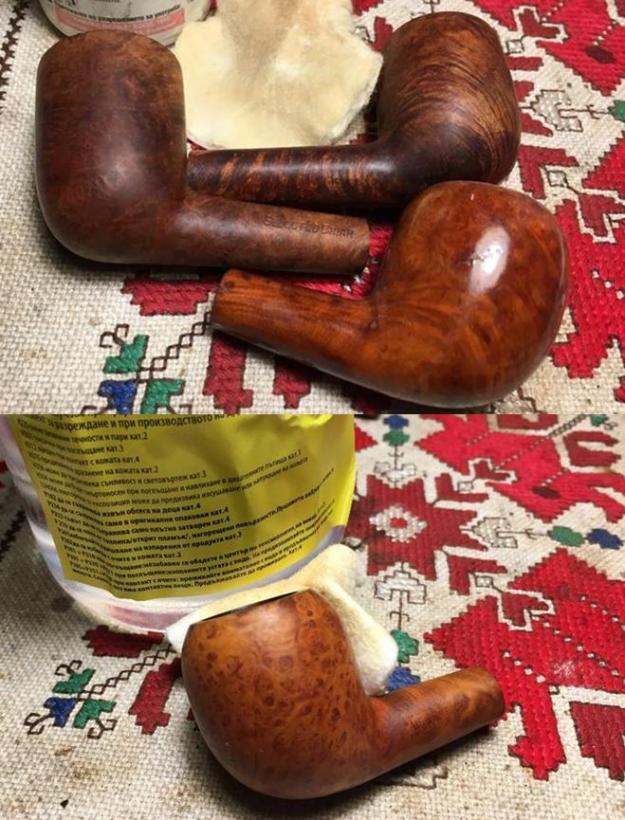
 To remove the old finish from the stummels I wipe them down with isopropyl 95% and cotton pads. The alcohol fully removes the old tired finish off the Imperial and the Dublin, but the Yello Bole’s old finish is persistent. The first picture below reveals the sheen left on the Yello Bole but the others are dull. To deal with the ‘Candie Apple’ finish that remains on the Yello Bole stummel I use acetone on a cotton pad. This does the trick and now we’re down to the briar on all the stummels.
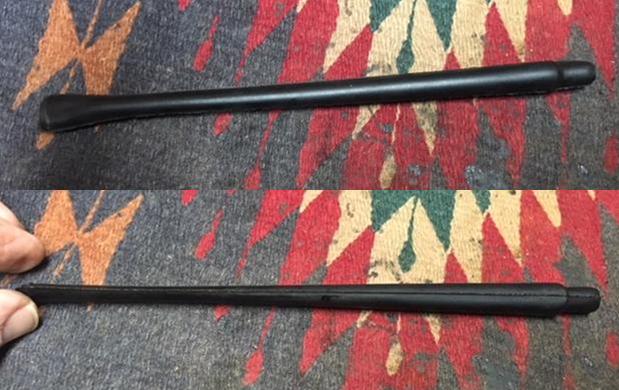
 With the stummels clean inside and out, the next step is fashioning the Churchwarden stems from the precast stems I acquired for the job. I start with the Yello Bole by making an outside measurement of the original stem’s tenon which, of course, fits perfectly. The measurement with the electronic caliper is 6.83mm. From Charles Lemon’s blog that I noted above, Re-Stemming a Butz-Choquin Marigny Deluxe Hand-Made Calabash, Charles recommended a conservative approach to using the PIMO tenon turning tool which I employed on my first run with the Jeantet Jumbo, to first do a test cut of the tenon at approximately 40mm more than the target measurement. This allows a more conservative sanding of the tenon to gradually bring it down to a good fit – not too snug and not too loose. The Pimo tool comes with a drill bit to pre-drill the tenon airway on the precast stem to serve as a guide for the guide pin on the tool. Adding my margin of error of 40mm to 6.83mm target size leaves me a practice cut of about 7.23mm to aim at for the conservative approach. The pictures move through the steps.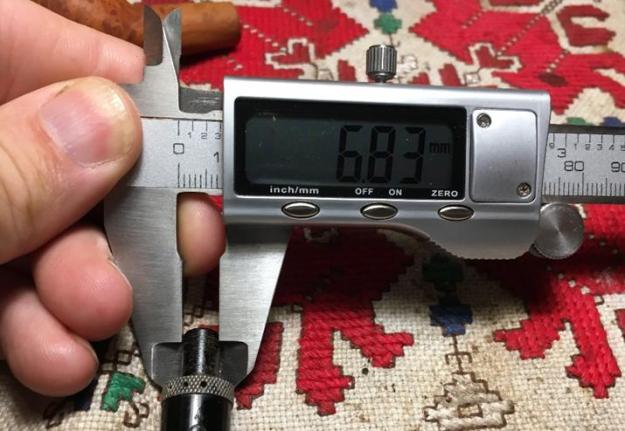
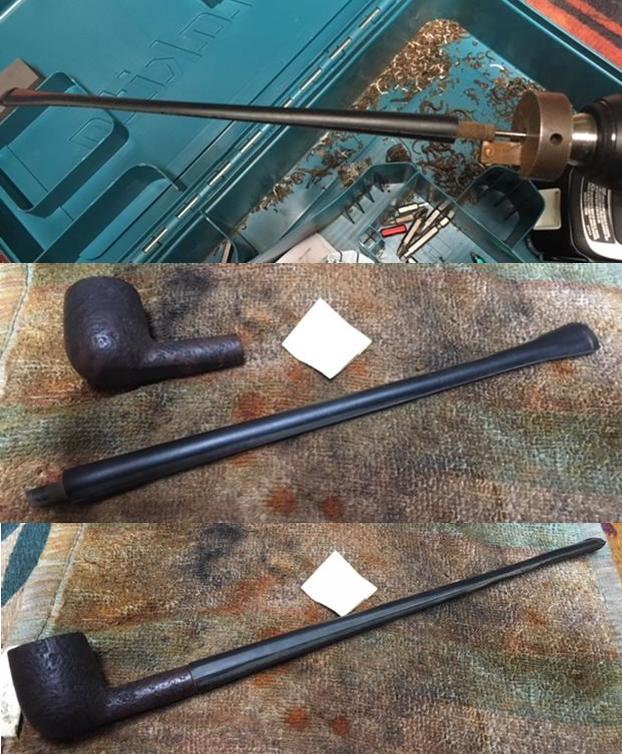
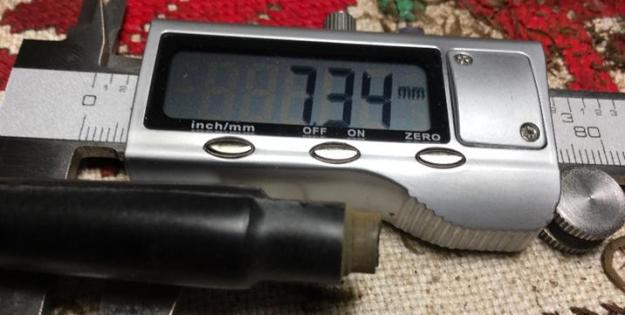
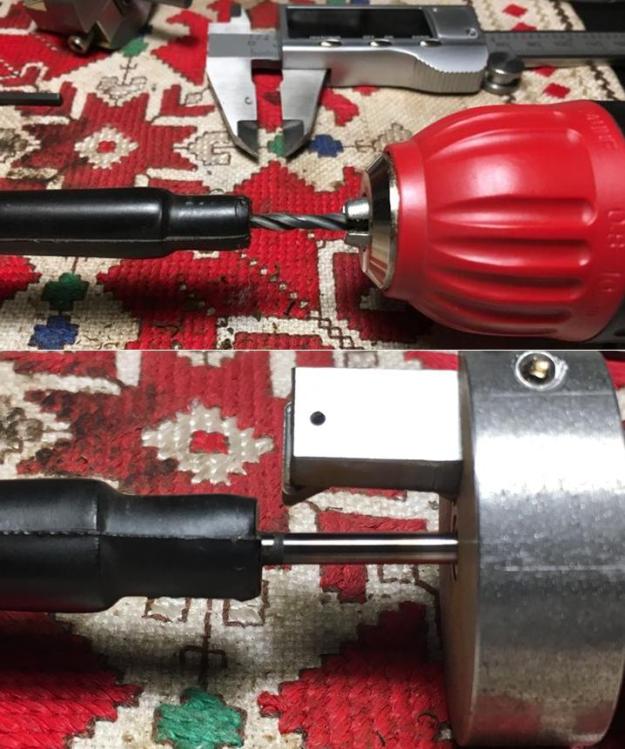 The tenon turning tool is in the drill shock and when powered rotates at high speed. With the cast stem’s airway guided by the guide pin, I push the stem steadily against the revolving blade of the tool and it peels away the vulcanite. The blade peels the vulcanite in spaghetti-type curls. My first practice cut is measured, and it is 8.45. Another 1.20 mm can come off. With the enclosed allen wrench, I adjust the Pimo tool to remove more vulcanite and the next measurement is 7.34mm. That is a .51mm difference and places me in the conservative sanding zone.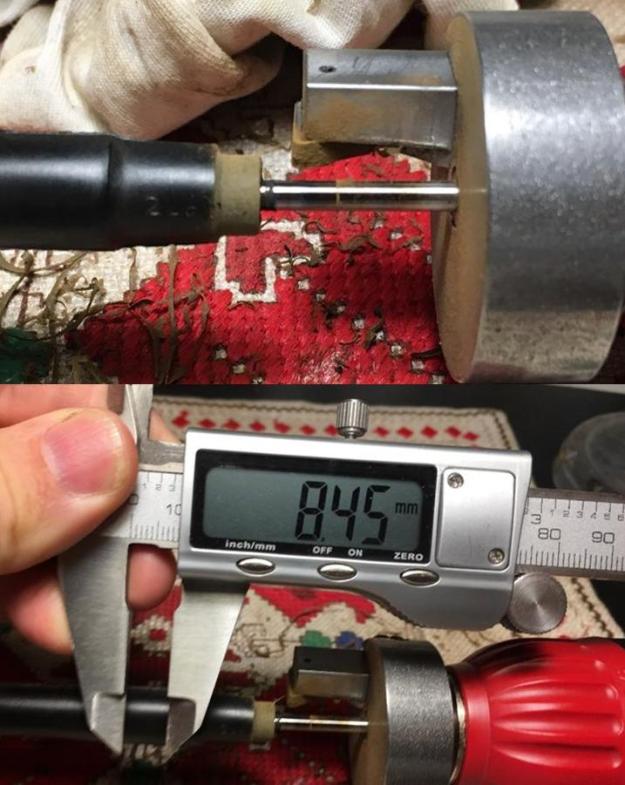
 Now, I complete the cut of the entire tenon – all the way to the face of the stem. I haven’t figured out how to minimize the vulcanite shavings that spew out everywhere!
 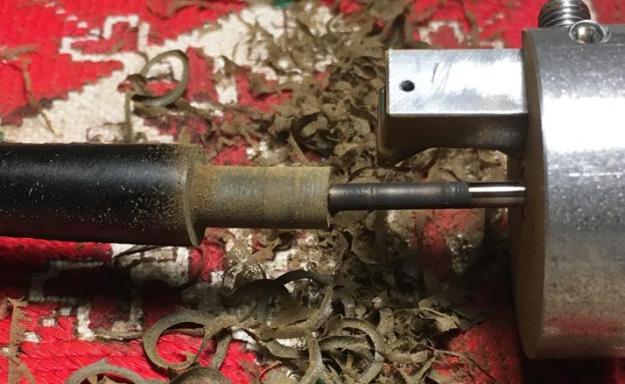 I note that the original stem’s tenon is shorter. I use a sanding drum on the Dremel and take off the excess. The cut looks good and now it’s time to take file and sanding papers to gradually bring the tenon to size.
 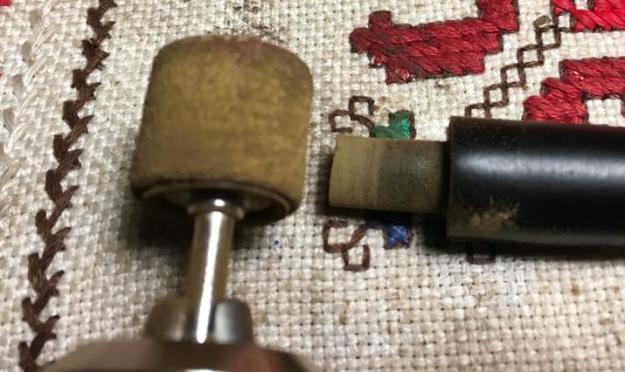 Now, as I watch several episodes of Grimm which I discovered on Netflix here in Bulgaria, I gradually sand the tenon to a snug but not too tight fit. I use coarse 120 grade paper to start – always sanding around the tenon to maintain proper round. Then, using a flat needle file and 240 grit paper, I fine tune the tenon sanding – again, maintaining proper round by sanding around the tenon evenly. I must admit, when the tenon gets down to the target size – when it starts to marginally slide into the mortise, my stress level increases! I know how easily one can crack a shank by rushing the tenon’s entry into the mortise. It takes ‘100s’ of sanding cycles followed by testing the fit (carefully!) before the tenon safely and fully engages and finds a new home! Success!
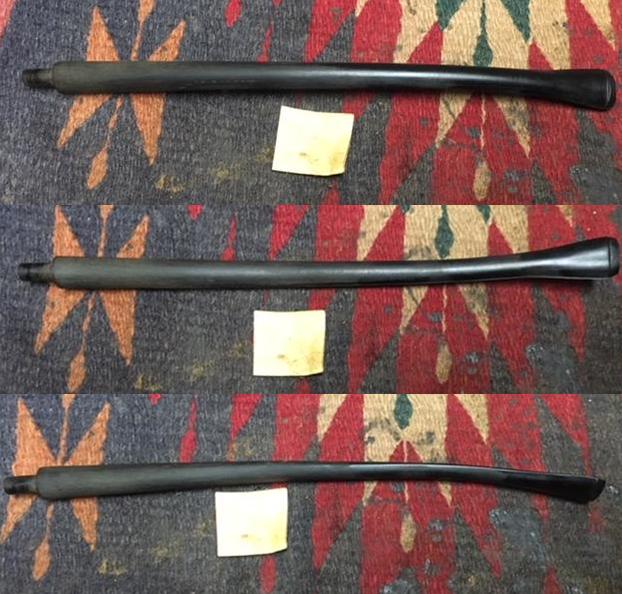
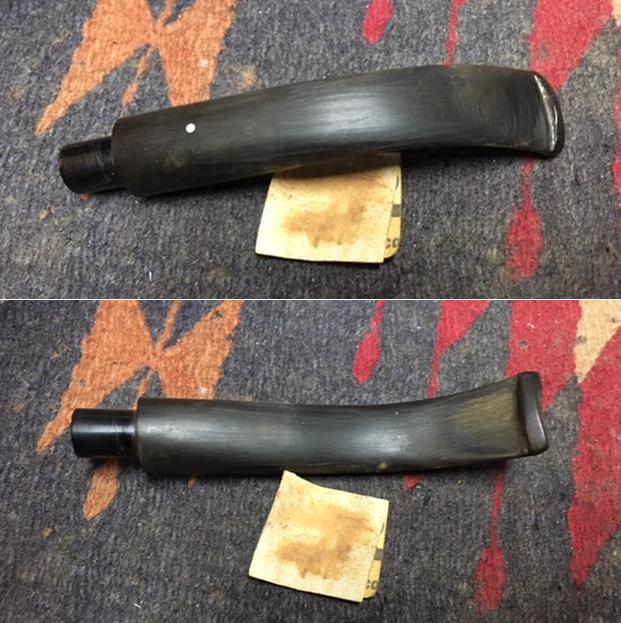
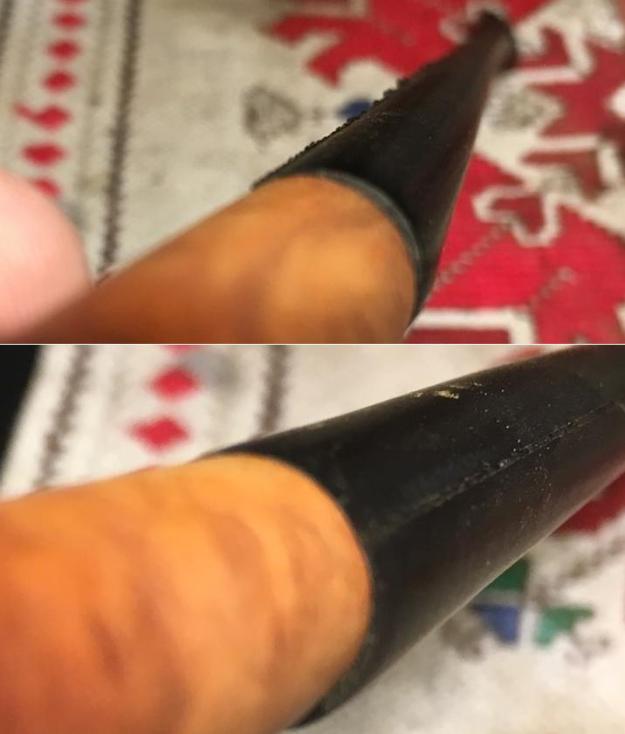
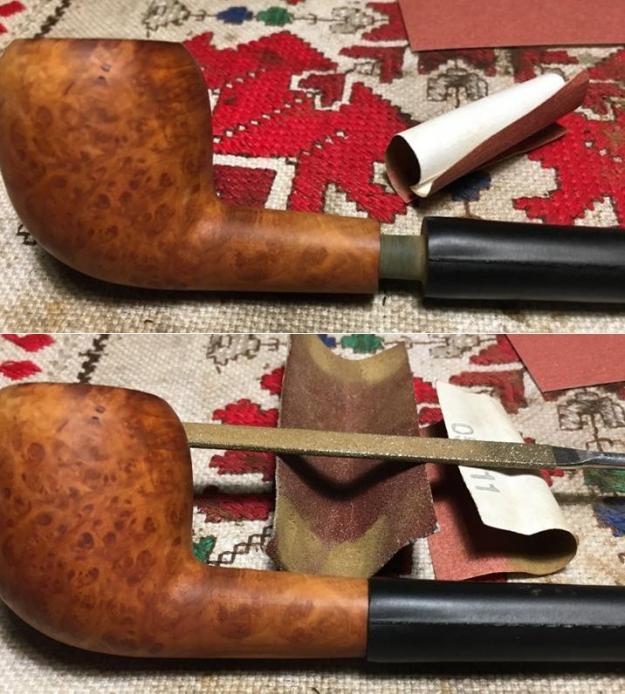 The tenon is snug and secure, and now I take some pictures to show the ridges that need to be removed and tapered through the shank and stem. Also, the precast stem has casting ridges down the length on both sides and the button is in very rough form. The entire Churchwarden stem needs to be sanded, smoothed and shaped along with the shank/stem transition.
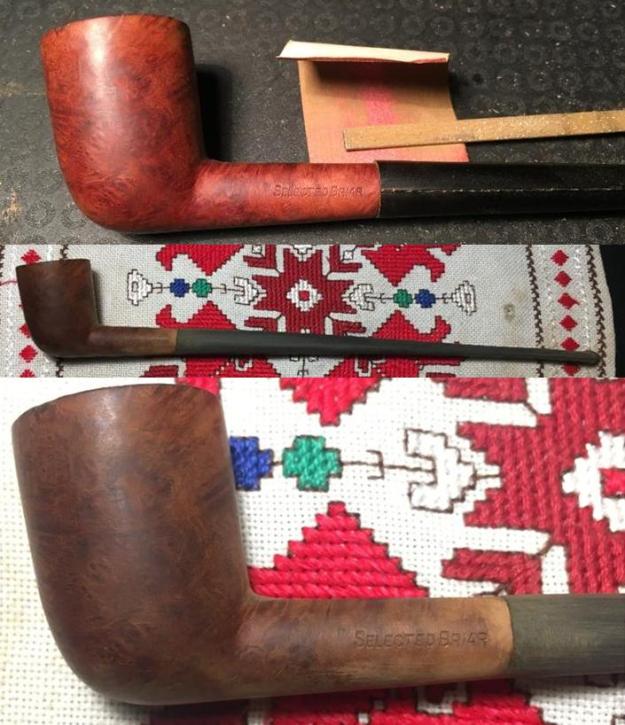
 One picture to show the growth in stature this Yello Bole stummel now enjoys before retiring the old stem to the stem bucket.
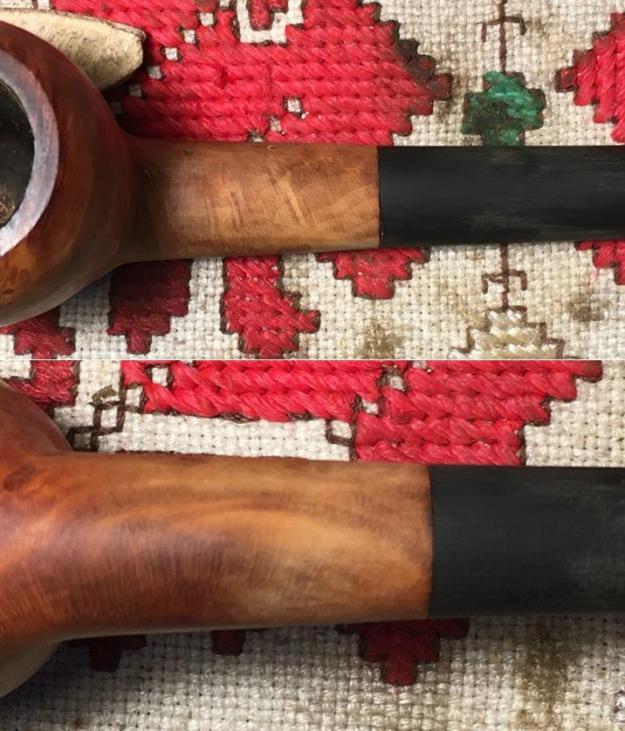
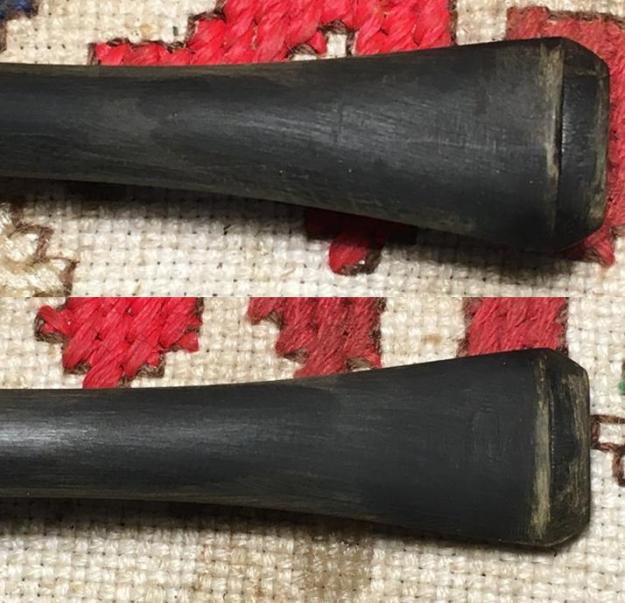
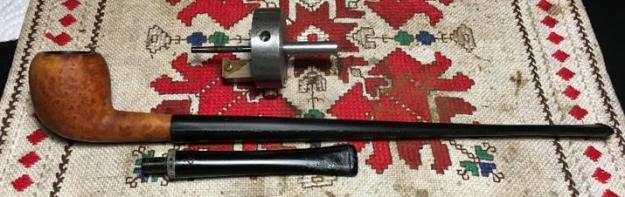 Several episodes of Grimm later, I’m satisfied with the rough sanding and shaping of the stem. I show the full length and then some closeups of the shank/stem transition and the button shaping. I like what I see.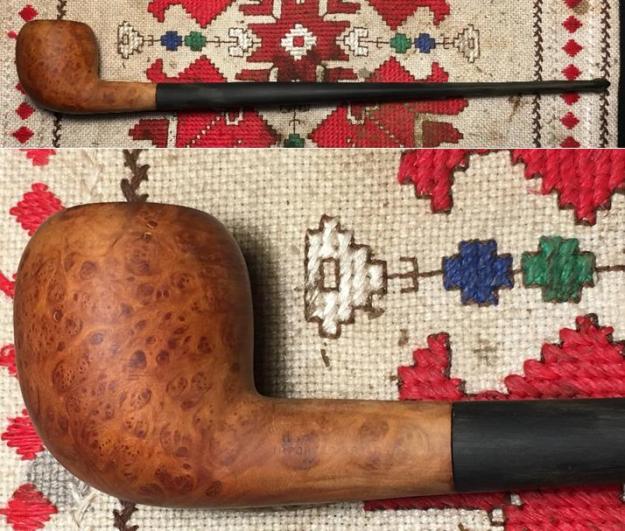
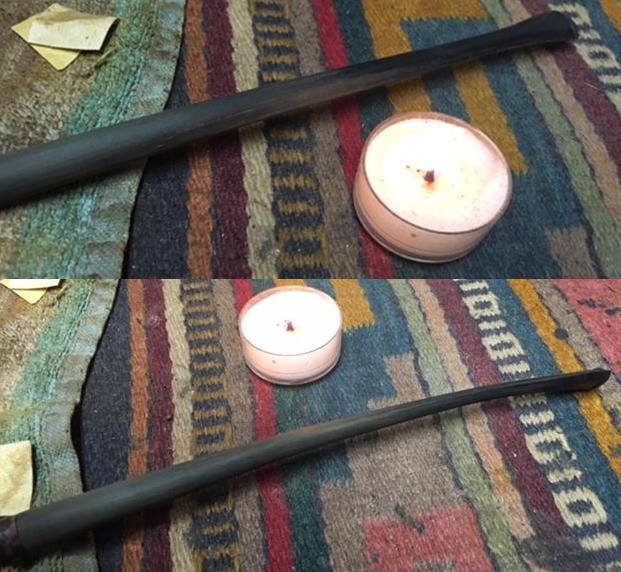
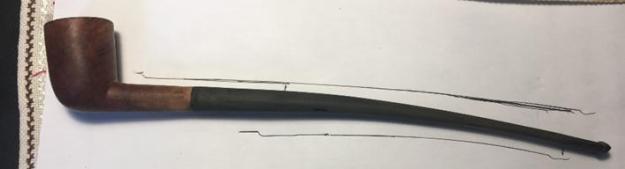
 The next step is to introduce a gentle bend to the stem. This will aid the future steward of this ‘Free Born’ to know which way the stem is properly positioned – there is an up and down after the custom sanding and fit – there is no standard stem fit – echoing the words of Charles Lemon’s blog! To give me an idea of where and how much the bend should be, I used my Gandalf as a template on a piece of paper. I also draw an outline of the original, smaller Imperial stem for comparison. I mark the stem at the point that Gandalf’s stem’s bend began. Bends are very subjective, but this gives me an idea what to shoot for. After I insert pipe cleaners in both ends of the stem to guard the airway integrity during the bending, I heat the target area of the stem with a hot air gun and bend it when it becomes supple. I take the bend to the faucet with cool tap water to set the curve. At the start, I found that I was bending too much. Thankfully, vulcanite is very forgiving – to correct the bend all I do is re-heat the stem and it straightens on its own. After a few tries, I find a bend I’m happy with – a compromise between Gandalf’s slightly longer stem and the shorter, original Imperial.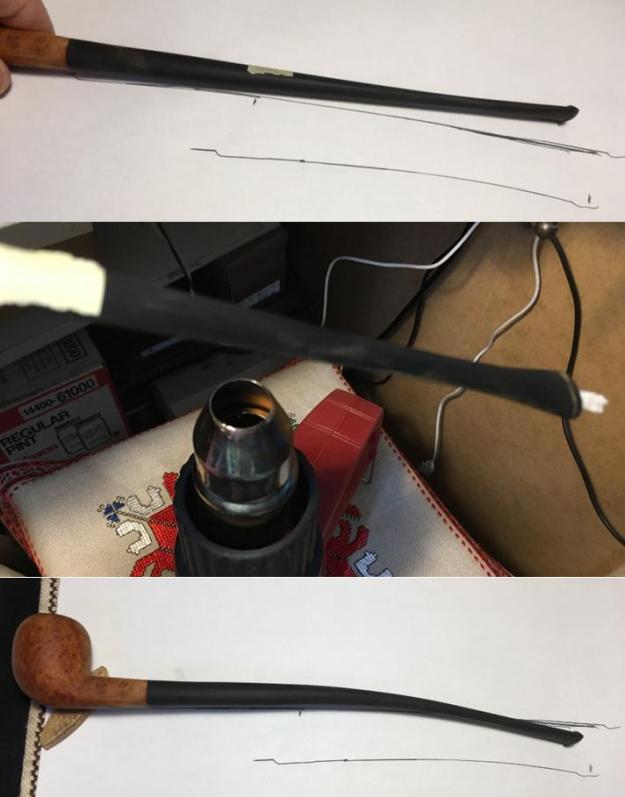
 I put the Yello Bole ‘Free Born’ aside and now turn to the Dublin. The following pictures are lacking my standard background working mat – it needed to be cleaned! I start by doing an inside measurement of the mortise – 7.19mm. That is the target width of the tenon that is shaped. I use the drill bit provided and drill the airway to receive the PIMO guide pin. I then bring the blade down to just touching the tenon and cut a test like before and measure – 8.15mm. That leaves .96mm to the target size. I make a quarter turn of the wrench, closing the blade that much and take another cut – 7.46. The quarter turn took .69mm off the tenon. I now have .27 mm of ‘fat’ left on the tenon. Again, the pictures show the steps.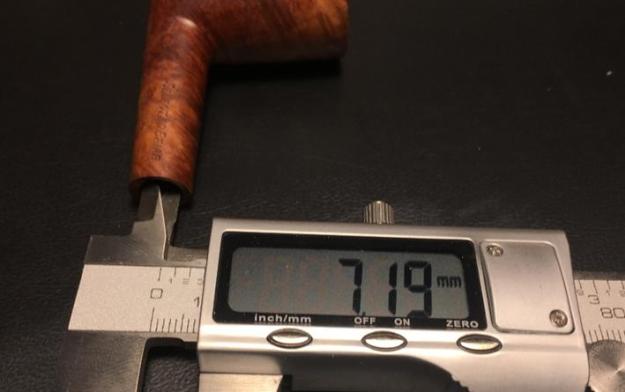
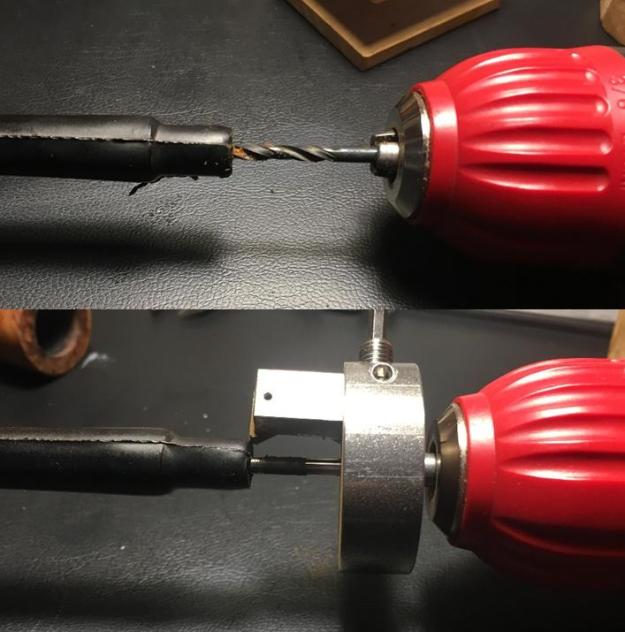
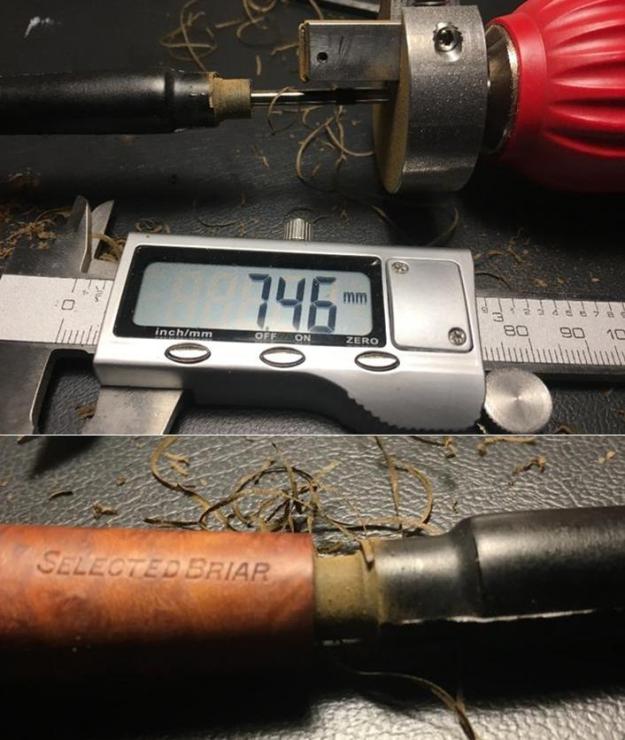 Now, well within the conservative sanding zone, I use a flat needle file and 240 grit paper and sand the tenon down to fit with appropriate snugness. I then sand down the stem and button as before with the Yello Bole. I’m aiming for a fluid transition from shank to stem. The Dublin shapes up nicely!
 I use the same template to give the Dublin’s new fitted stem a gentle bend over the hot air gun.
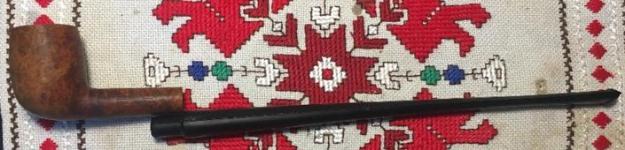
  Now to the Imperial. The same methodology is employed as with the former 2. I fast track describing the process with each picture.
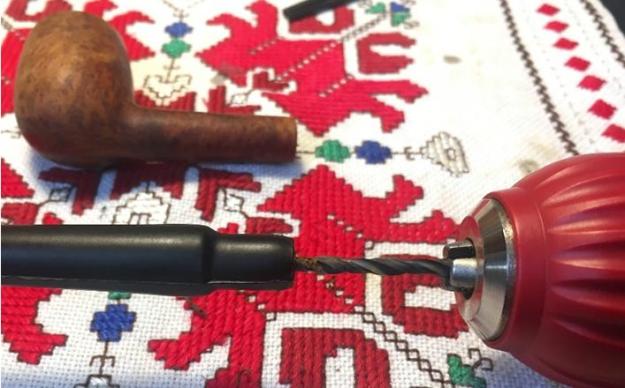
 I drill the airway to guide the Pimo guide pin.
 The mortise is measured for the target tenon size – 7.56mm.
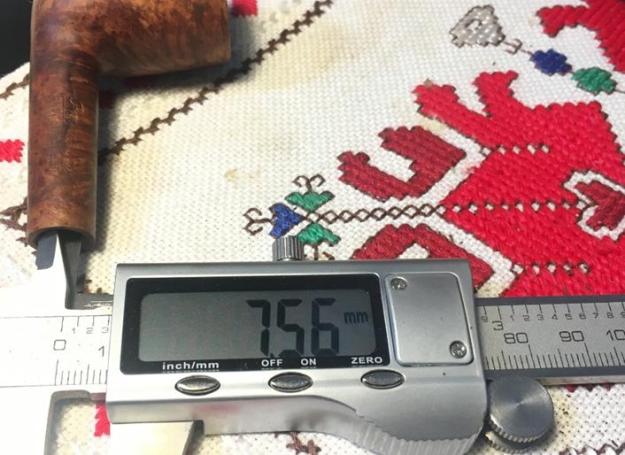 With the PIMO tool I cut a ‘fat’ initial tenon that measures about 40mm larger than the target – conservative sanding zone. I measure the length of the original Imperial stem tenon and shorten the precast Churchwarden tenon to match using the flat needle file as a saw.
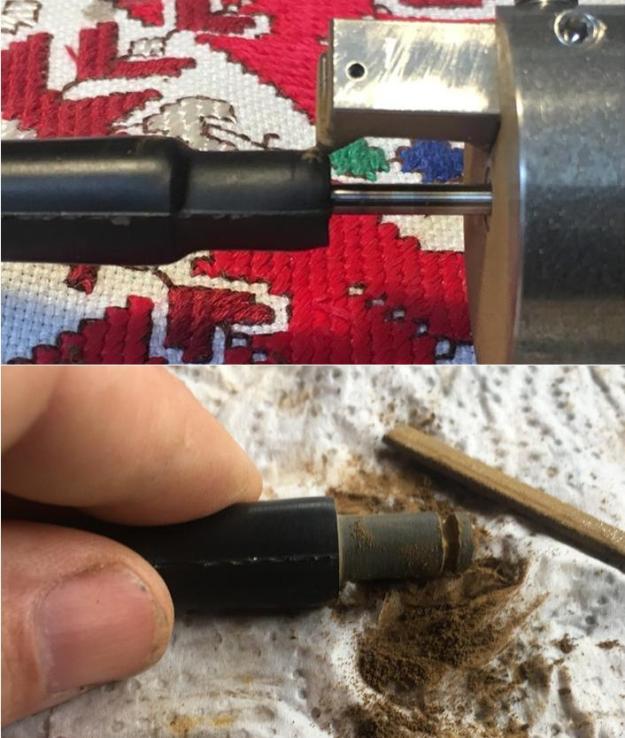 After sanding the tenon down to a snug fit, I’m left with filing and sanding the ridge and tapering the warden stem. I cover the Imperial’s nomenclature with masking tape to protect it from the shank sanding.
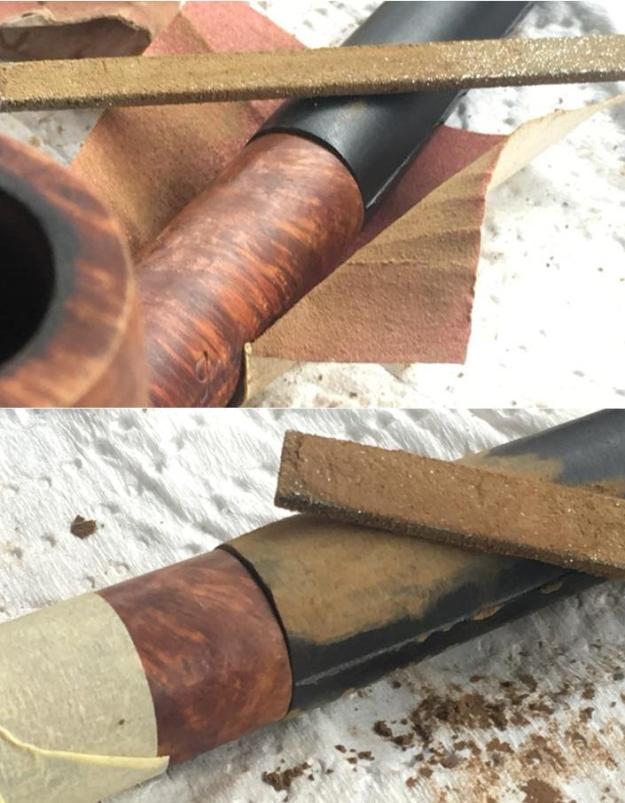 After some filing with a flat needle file and sanding with 240 grit paper, the transition from the shank to the Warden stem is shaped and the button is shaped from the rough precast stem.
 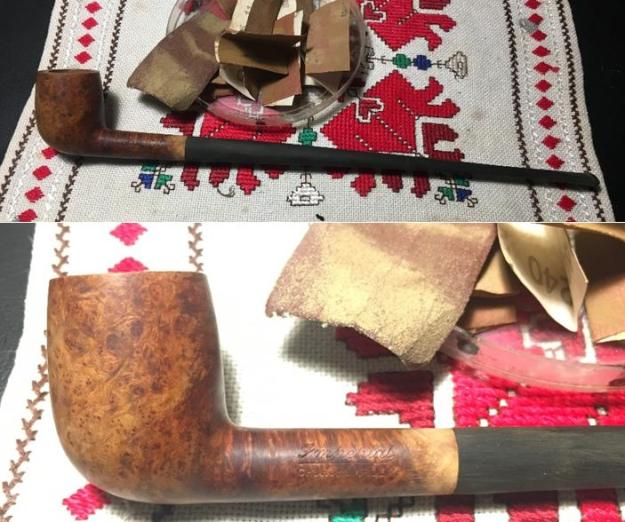 As with the other two, I heated the Warden stem with a hot gun and when it became supple I give it a slight, gentle flowing bend and seal the bend under cool tap water.
 The 3 are looking good and the transformation is taking shape!
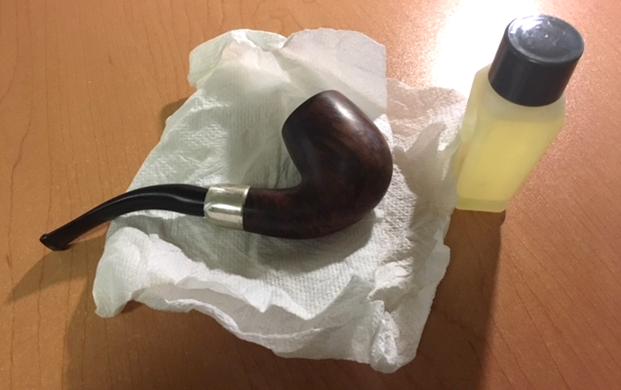
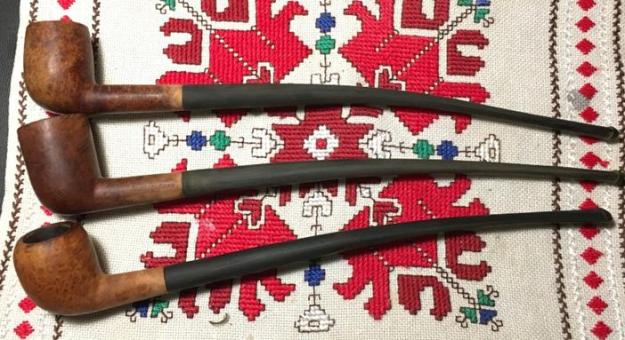 I then take each of the Warden stems through a wet sanding with 600 grit paper and then used 0000 grade steel wool to continue the sanding but also buffing up the fresh vulcanite. To hydrate each of the 3 Wardens I wipe the stems and stummels with light paraffin oil (mineral oil in Bulgaria), which serves to give me a sneak peak at the finished Churchwarden pipes. I like what I see!
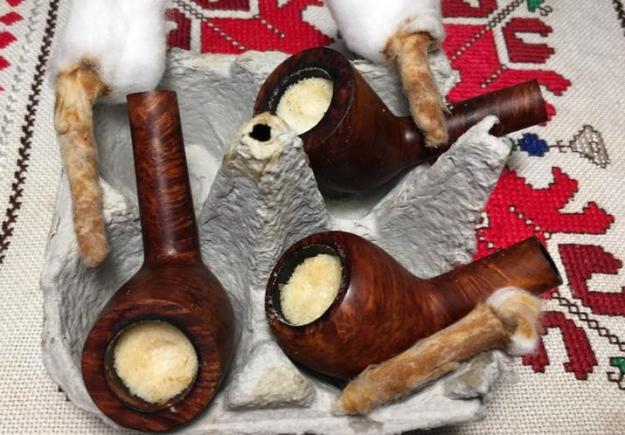
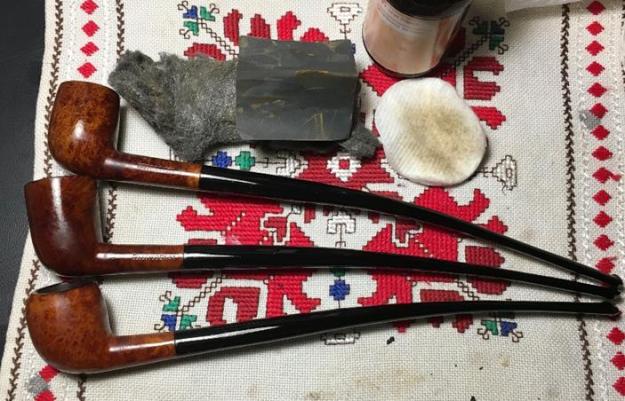 With my day coming to a close, I utilize the night by allowing the stummels to clean further by using a kosher salt and alcohol soak. I fashion cotton ‘wicks’ from cotton balls and insert them down the mortises into the airways. They act to draw the additional tars and oils out of the briar. I then fill each bowl with kosher salt which leaves no aftertaste as iodized salt does. I then fill the bowls with isopropyl 95% until the alcohol surfaces over the salt. I top each stummel off in a few minutes and I turn out the lights.
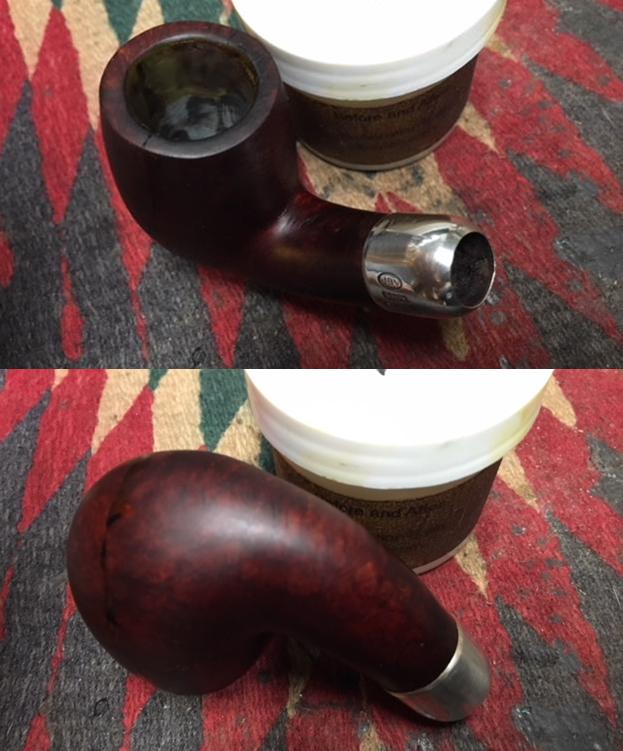
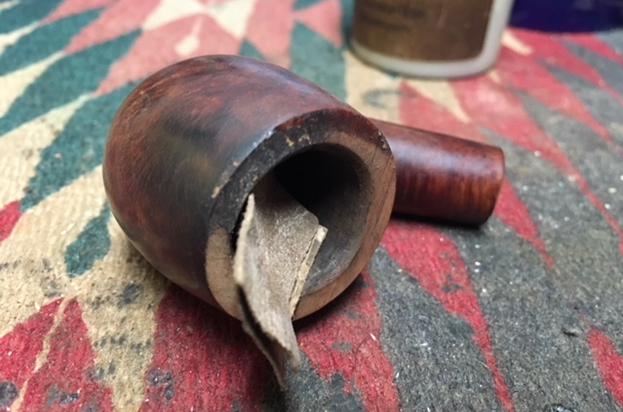
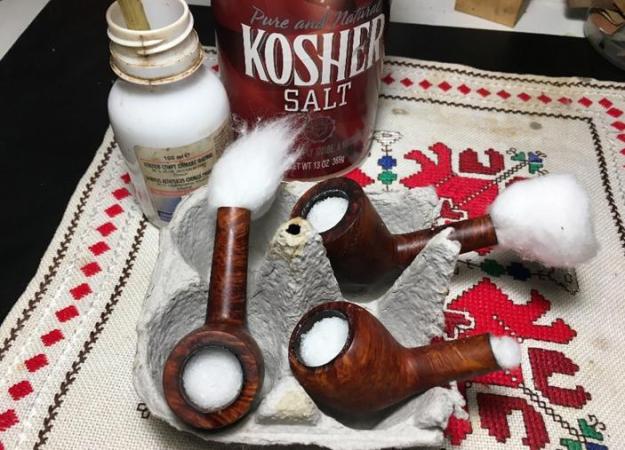 The next morning, I wasn’t disappointed. The salt in each bowl had darkened and each of the wicks had discolored indicating further extraction of the tars and oils. The salt went into the waste basket and I cleared the excess salt by wiping the bowls with paper towel and blowing with some force through the mortises. I also follow with pipe cleaners and cotton buds to make sure all was clean. Only the Dublin resisted further but soon pipe cleaners and cotton buds were coming out clean. Stummels are cleaned and ready for their future stewards! The picture shows the final carnage.
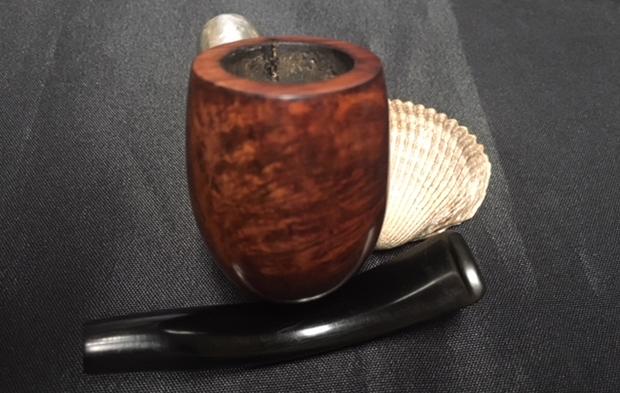
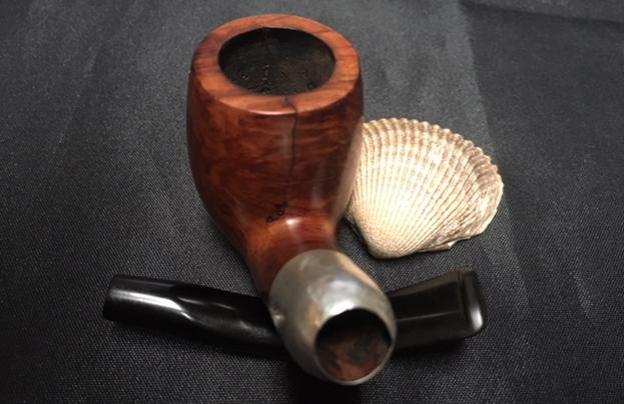
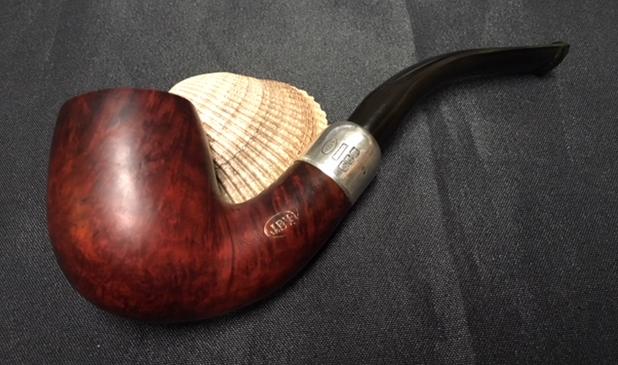
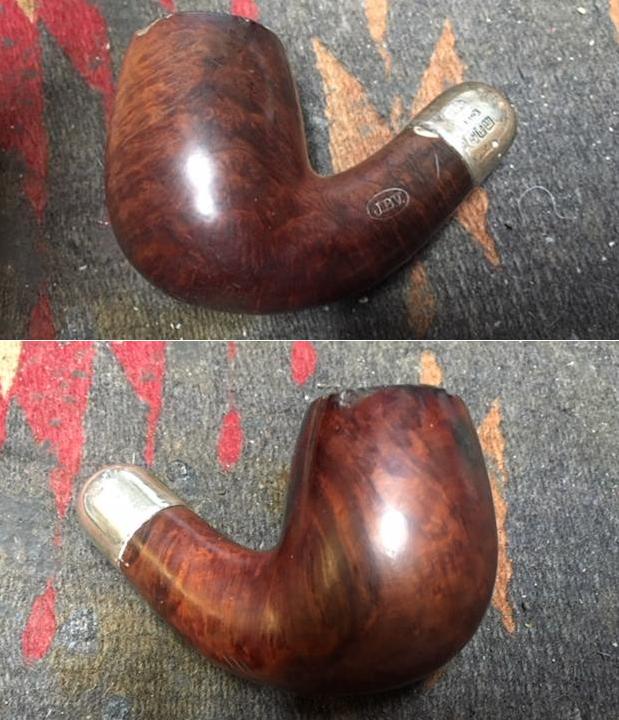
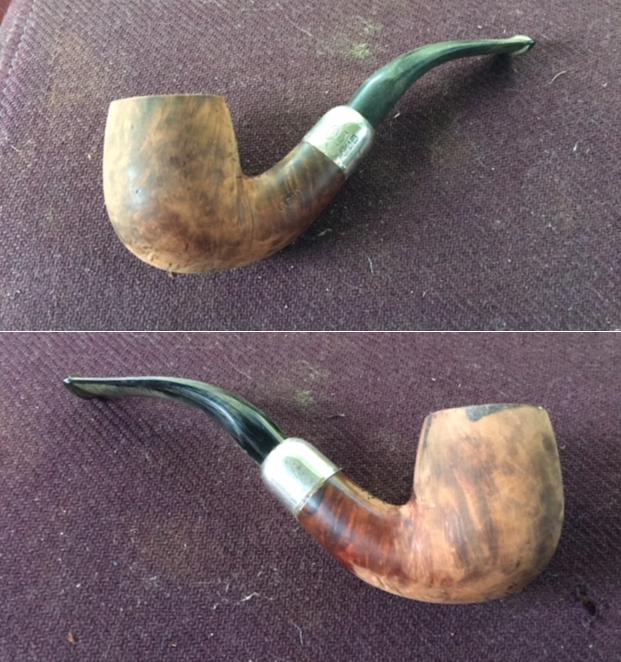
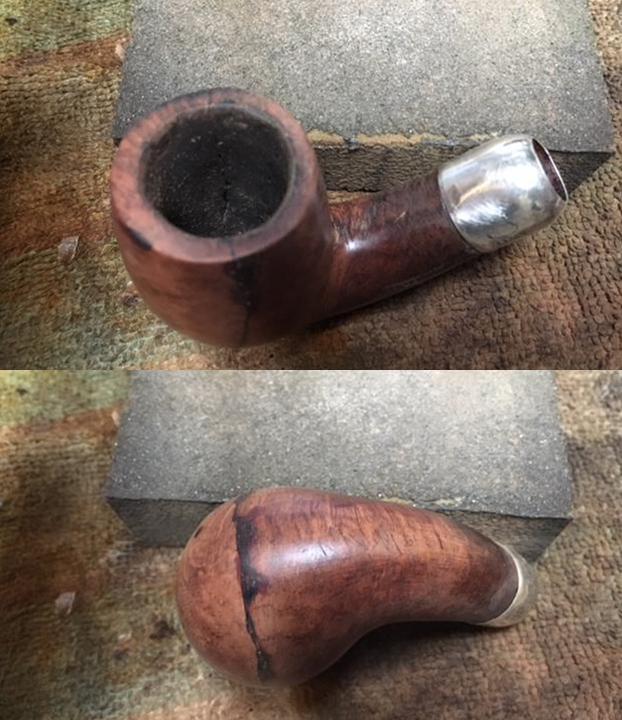
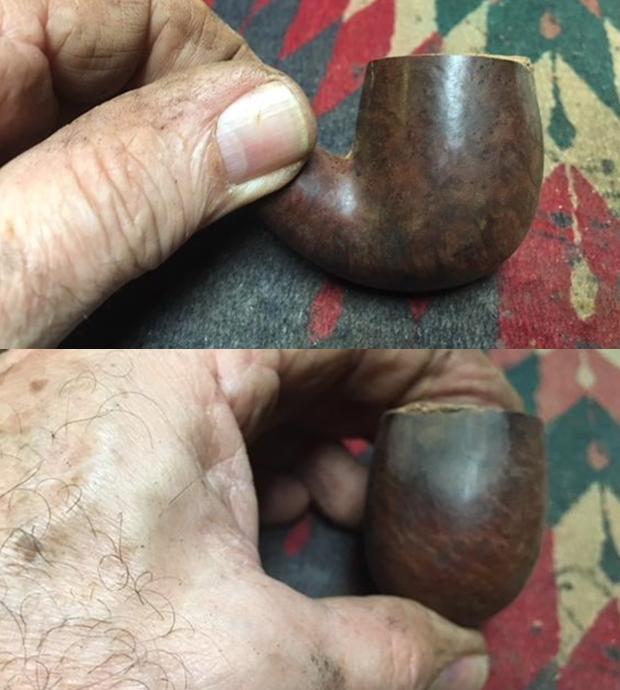
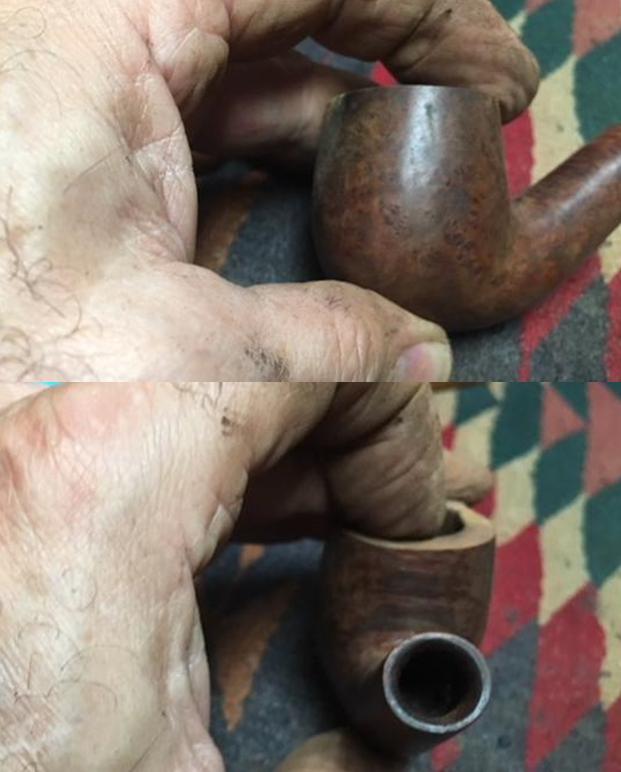
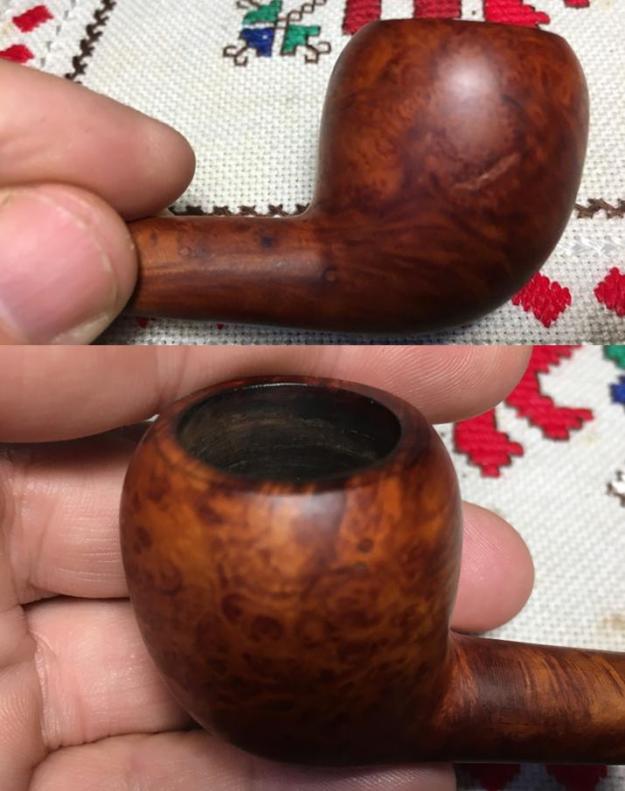
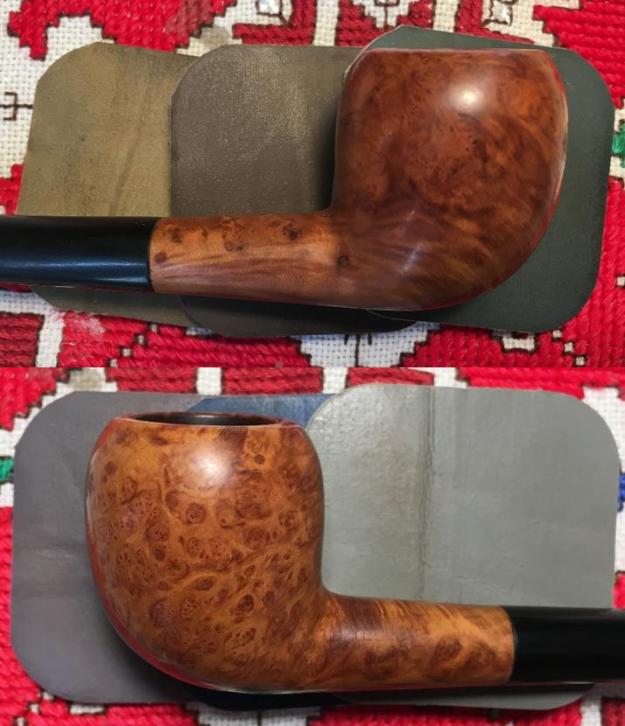
 Now, turning from the labor-intensive stem work, I look at the stummels. Starting with the ‘Free Born’ Yello Bole that drew my attention. The small Apple shape fits well the classic Churchwarden motif. The grain is active with lateral grain expressing in bird’s eye perspective on the sides. There are some fills in the stummel – one larger one on the right side of the stummel then a few pocket fills. The fills all seem solid, but I will keep my eye on them as I sand.
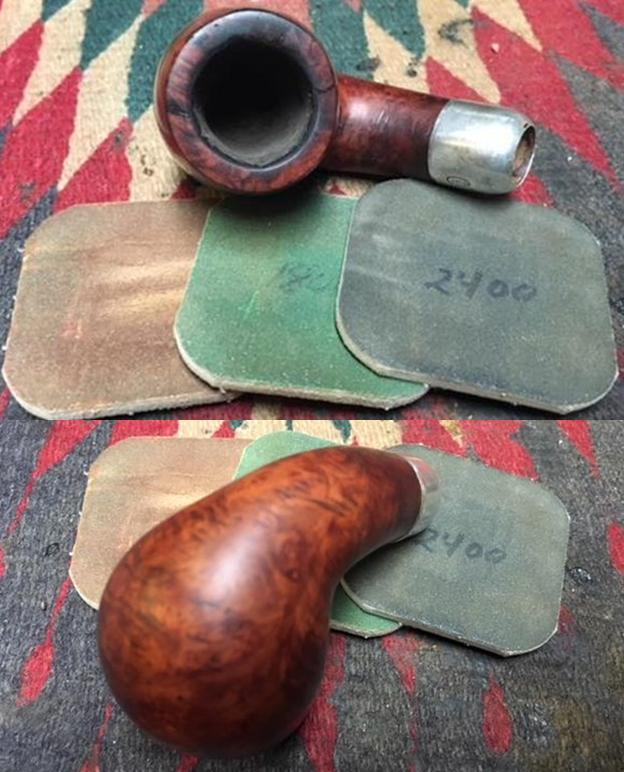
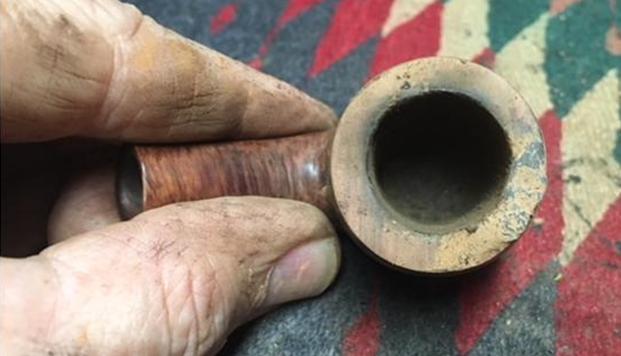
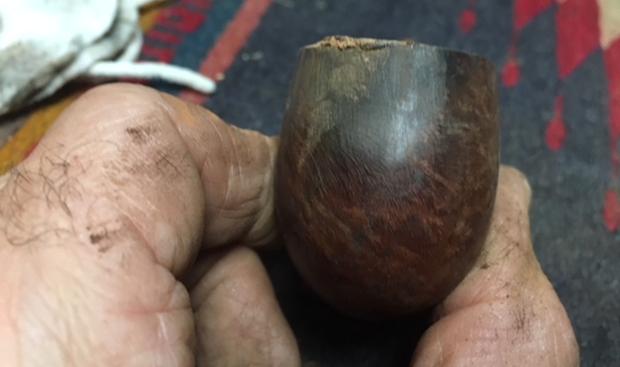
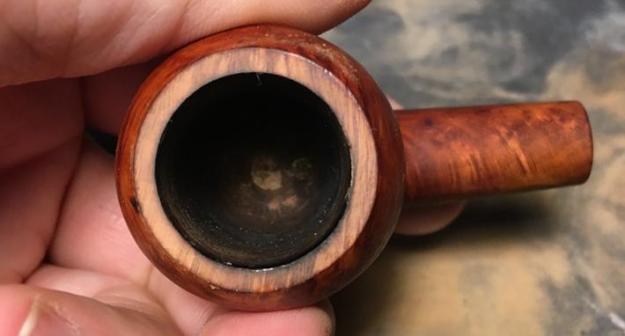
  The rim is darkened from tobacco lighting and the inner edge of the rim is scorched. I decide to give the rim a very light topping using 600 grade paper – more of a clean up to reestablish crisp lines and to remove the charring. I use a kitchen chopping board and put the 600 paper on it for the topping. It doesn’t take much.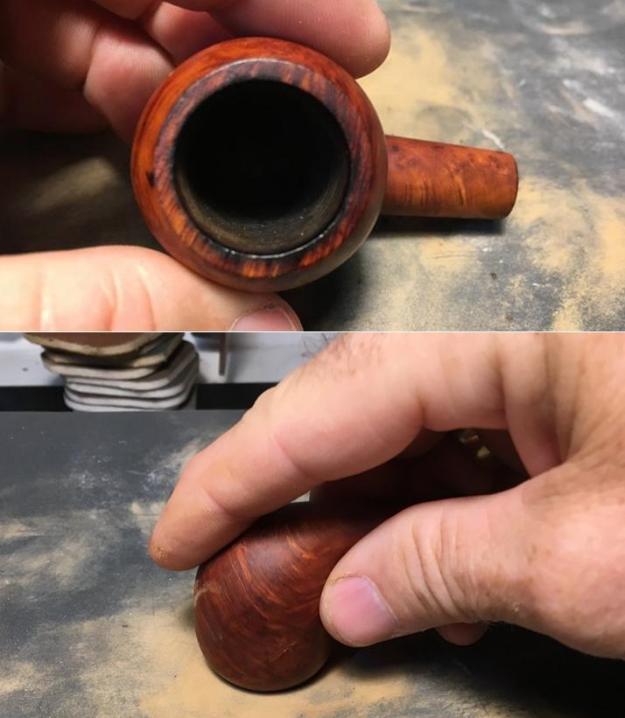
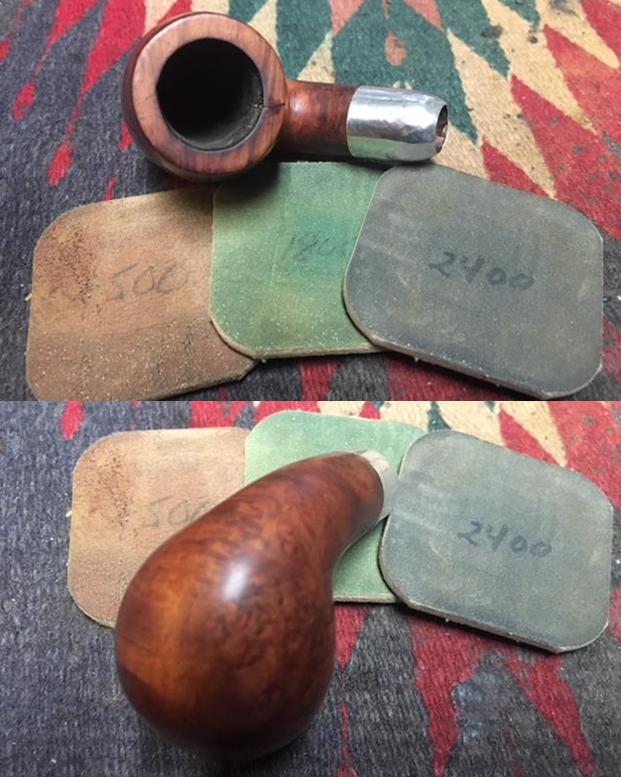
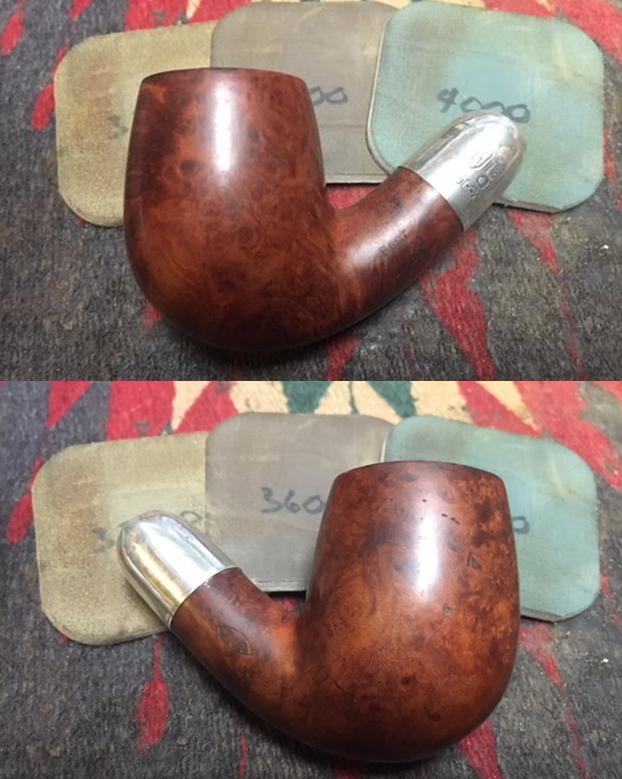
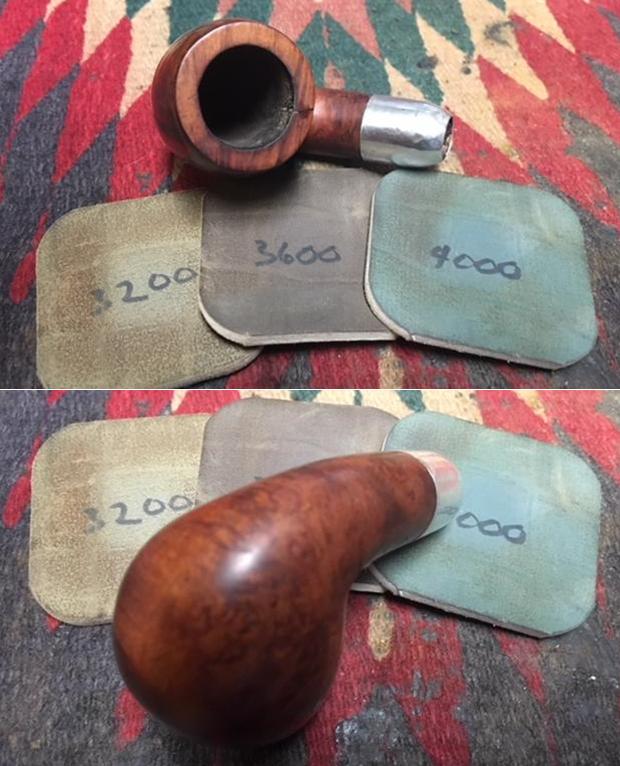
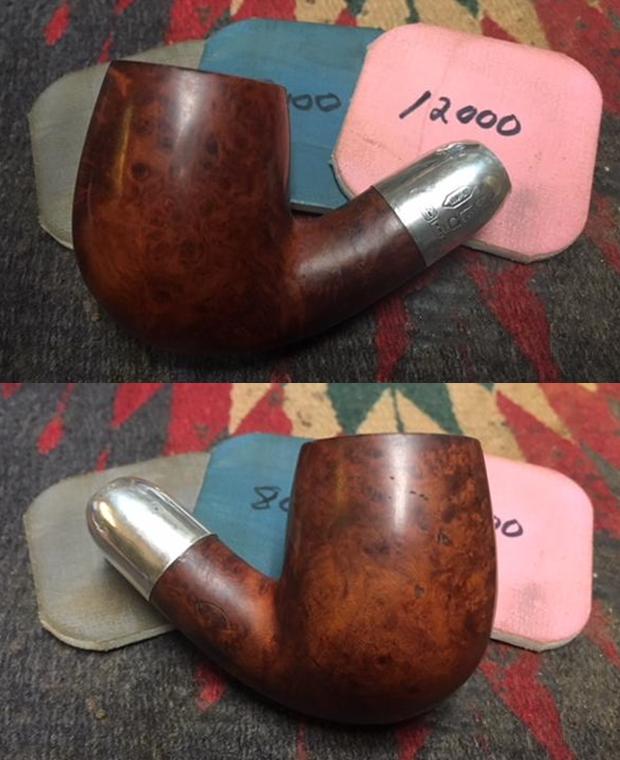
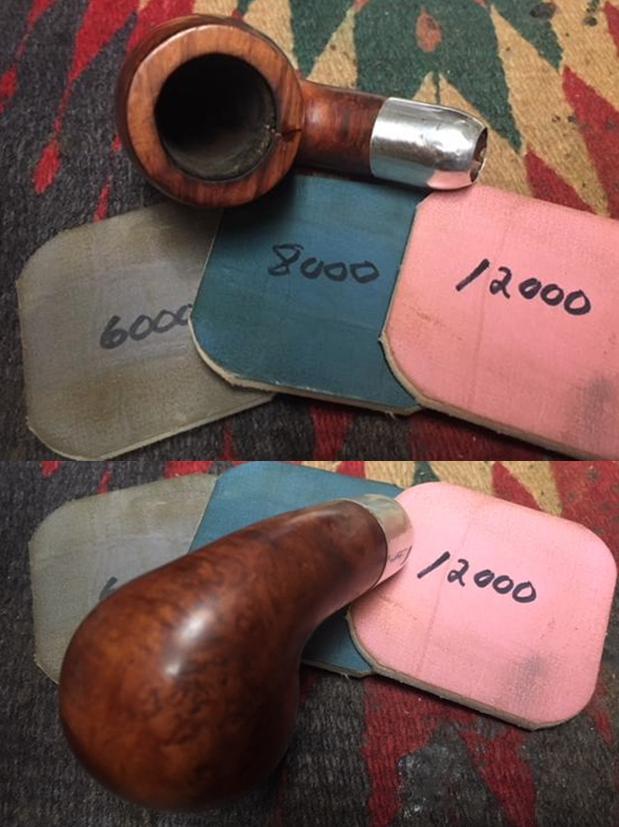
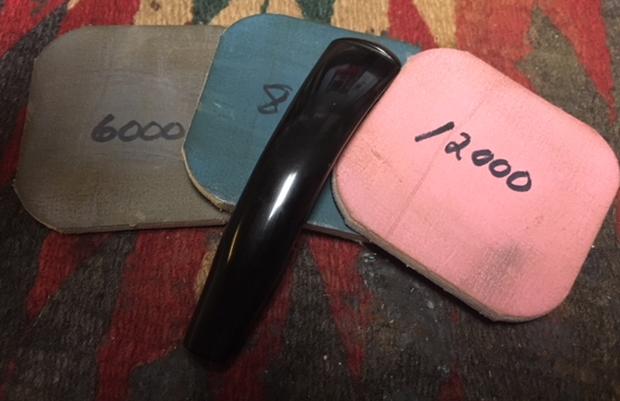
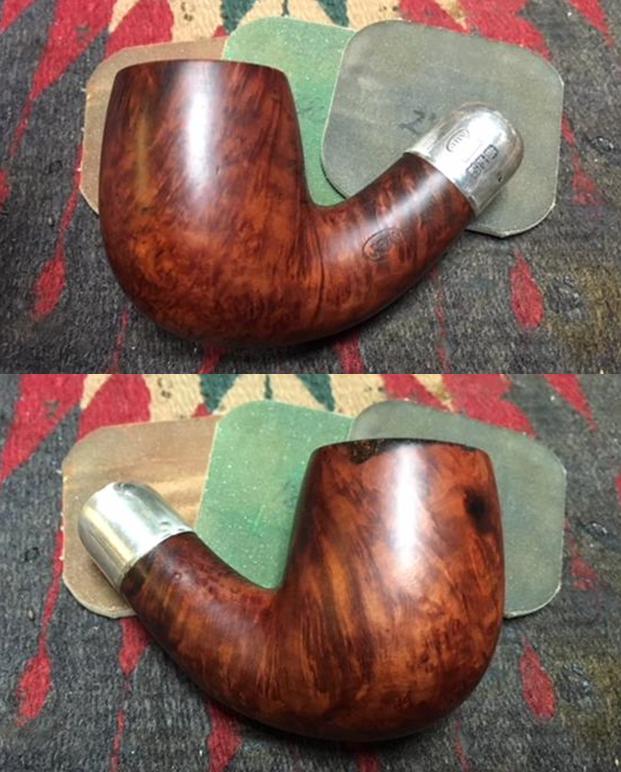
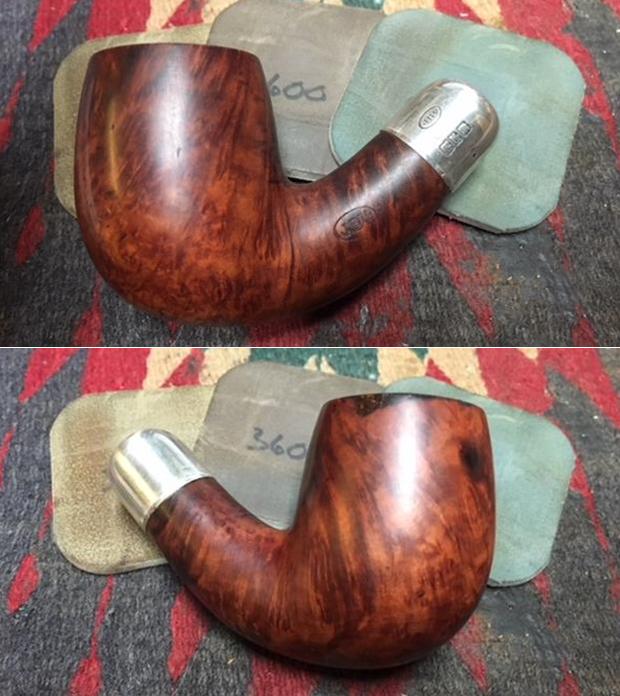
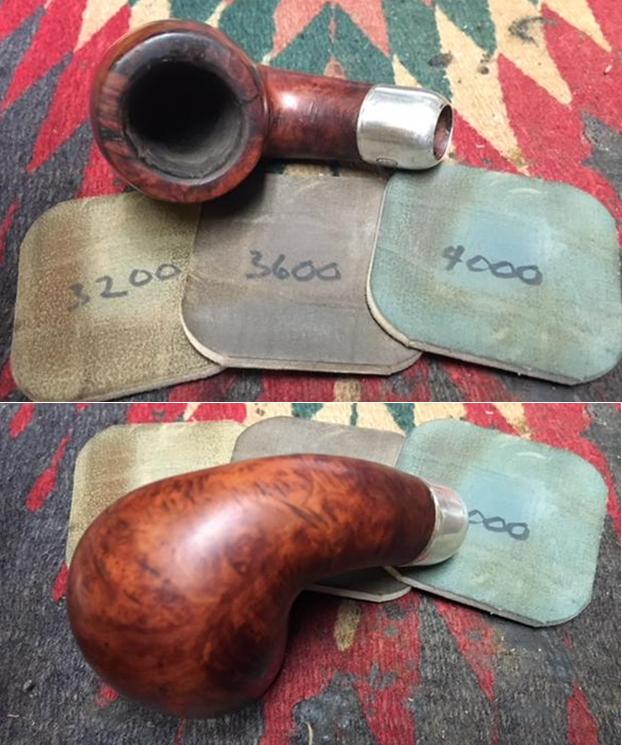
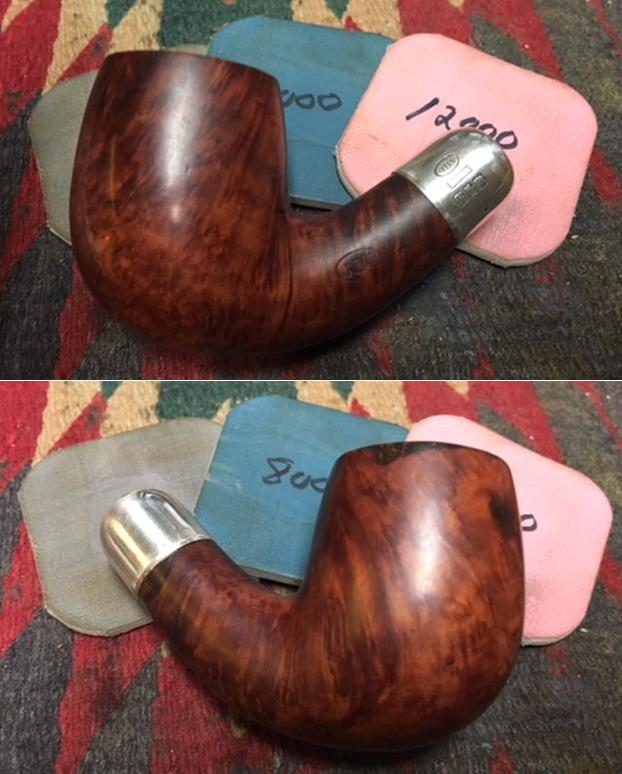
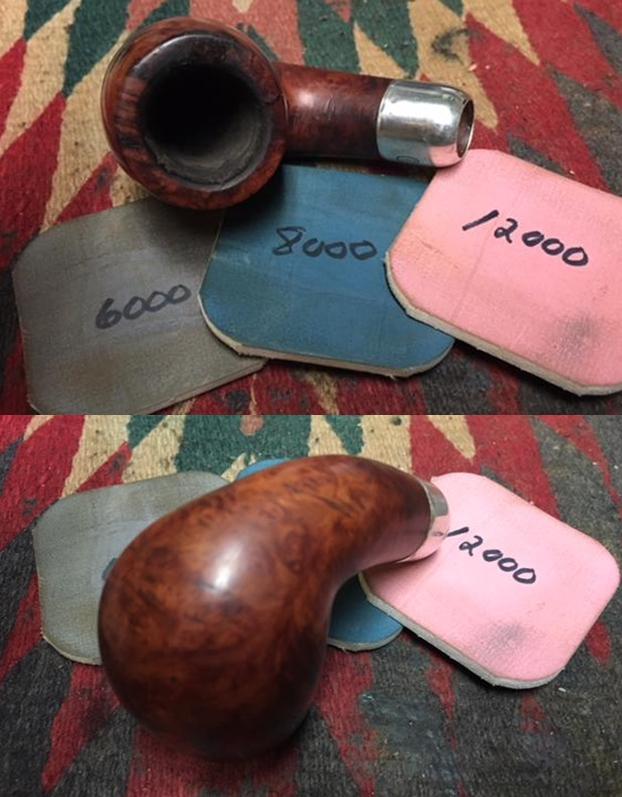
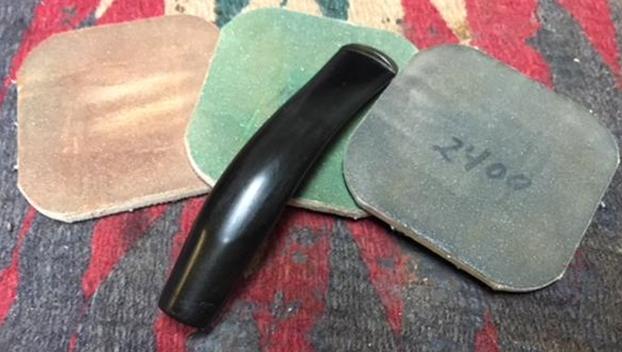
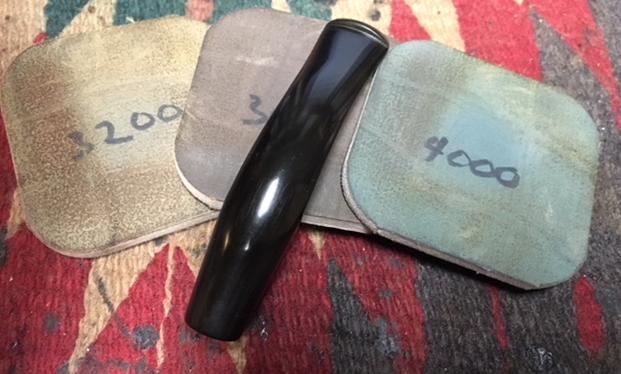
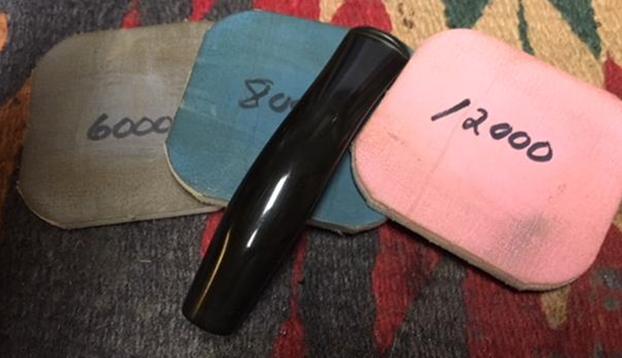
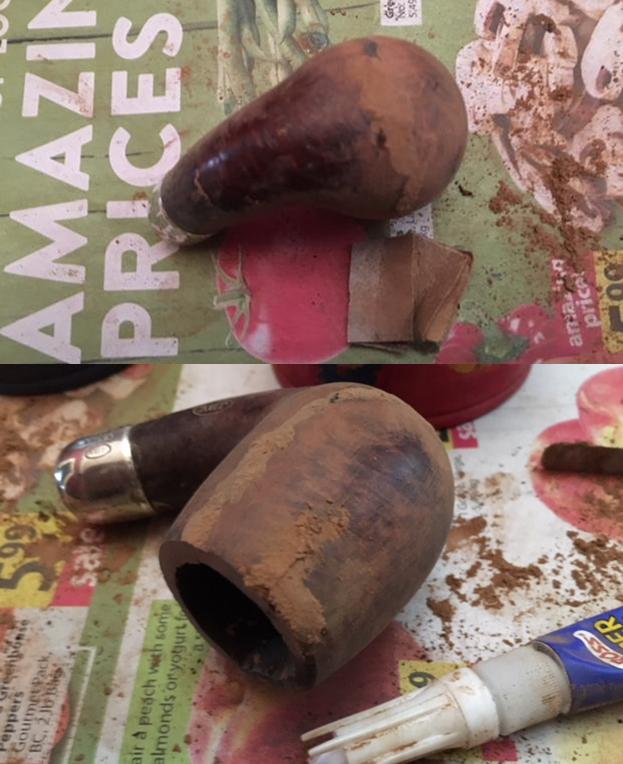
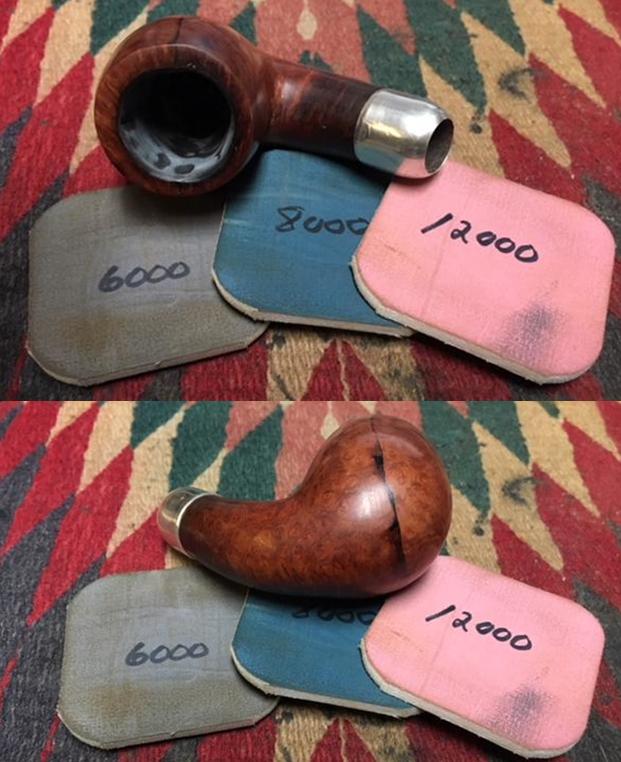
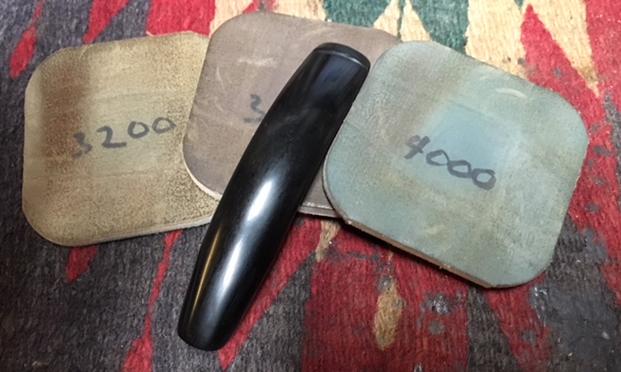
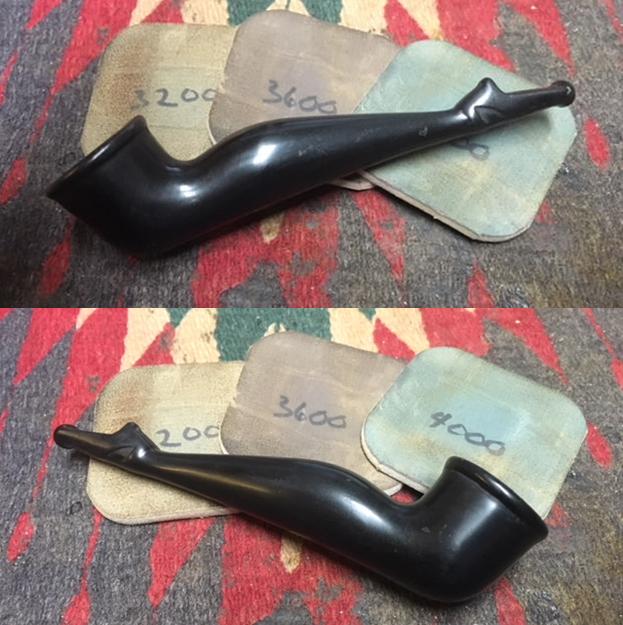
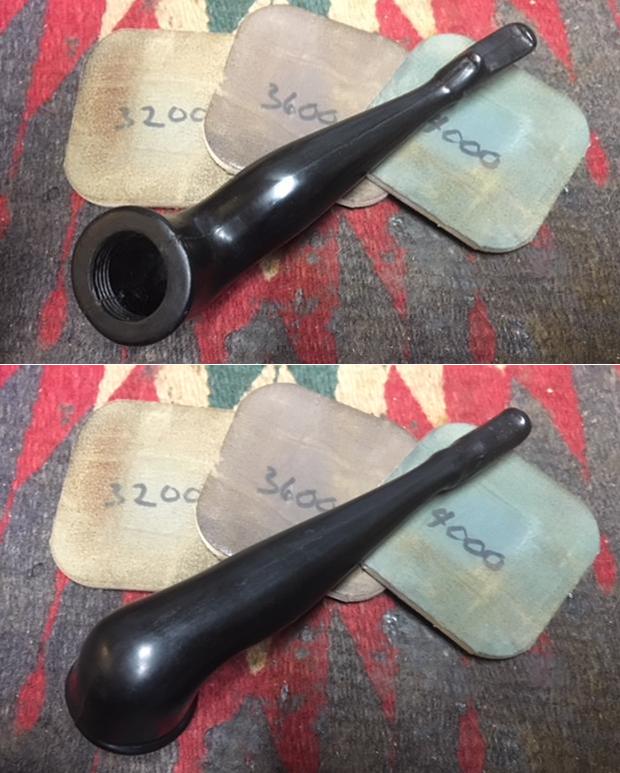
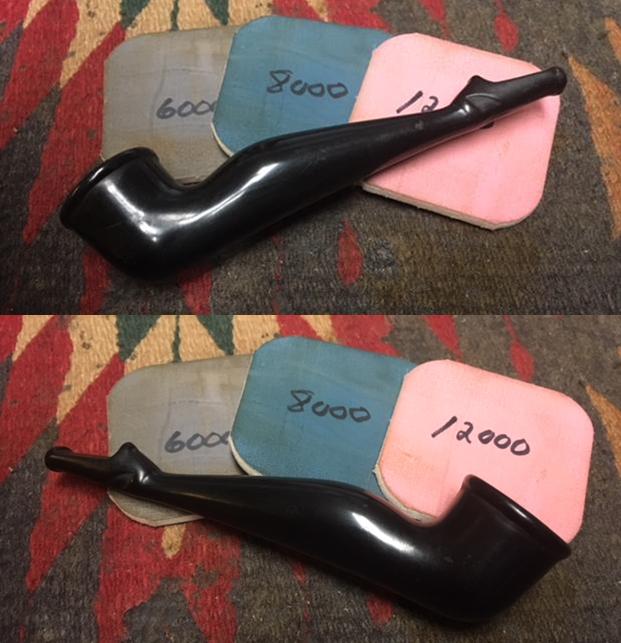
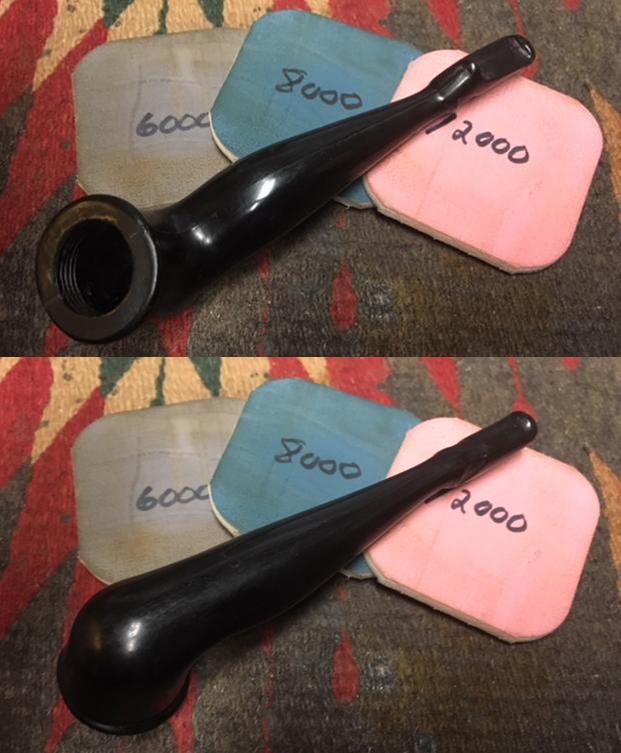
 To address the normal nicks and dents on the stummel I use micromesh pads 1500 to 2400 and wet sand the stummel. After the wet sanding I again look at the old fills that caught my attention before to see if they softened. They remain solid, but I can see very small pockets that might benefit from repair. I do not dig out the fills but simply painted the fills with a very thin layer of thin CA glue with a tooth pick – like the repair to miniscule air pockets that emerge with a CA glue/charcoal patch on vulcanite stems. The painting is thin, so it cures very quickly, and I focus sand the spots again starting with the 1500 micromesh pad to the present was sufficient. There is no impact on the surrounding briar. I complete the micromesh cycles by dry sanding with pads 3200 to 4000 and 6000 to 12000. I keep the Warden stem mounted on the stummel to guard against shouldering the shank face – keeping a nice seamless transition from shank to Warden stem.
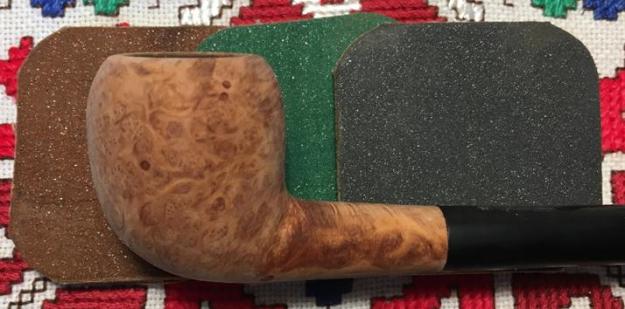 Here I picture the right side of the stummel to show the results of the ‘paint patching’ the larger fill and a few on the shank. It blended well.
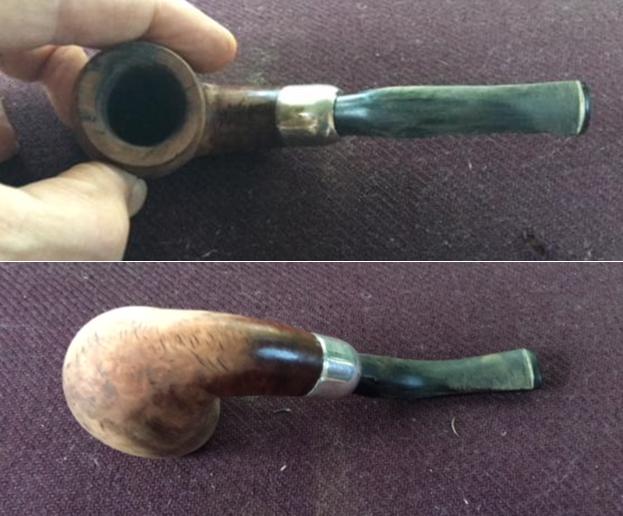
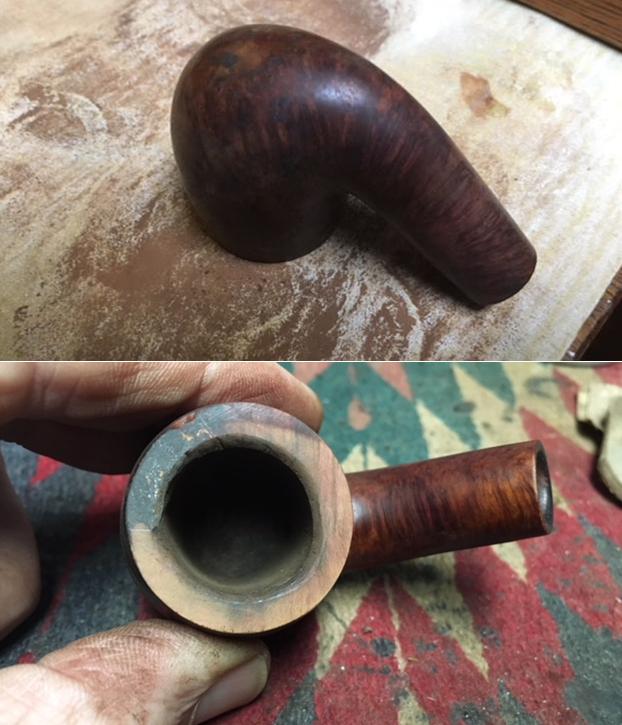
  Now, the Dublin is next in line. This Dublin has ‘Selected Briar’ stamped on the left side of the shank. It has nice looking briar, but the finish has lost its luster – it’s dull, tired and bored. The rim is dark and has several dings on the edge. There is one noticeable fill on the right front of the Dublin stummel. The canted bowl of a Dublin has always attracted me and when Toby chose the Dublin to mast the Warden stem, I agreed it was a good choice – it will be an impressive looking Churchwarden. I take a few pictures to get a closer look.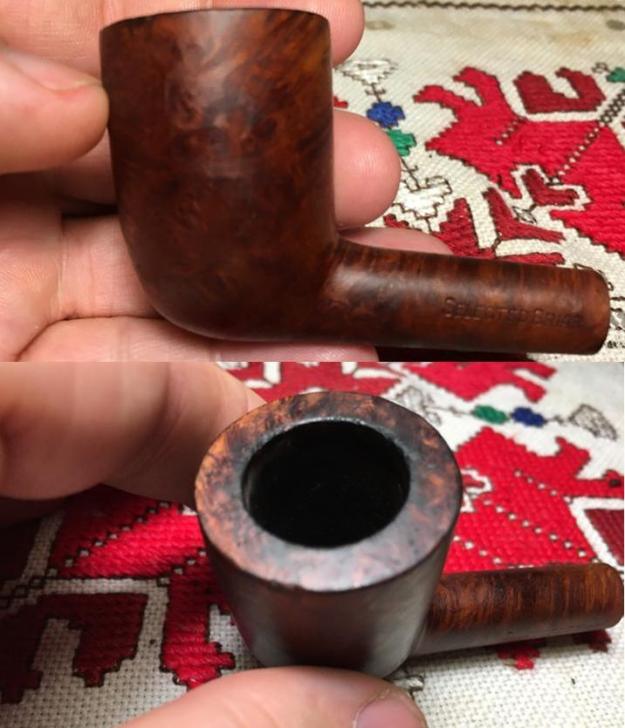
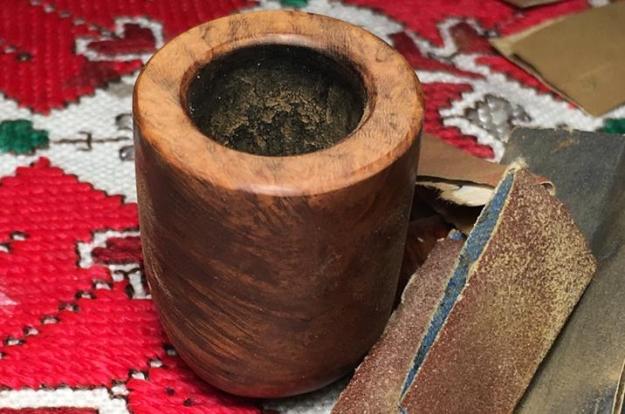
 I start by taking the Dublin to the topping board using 240 grit paper. Removing the tired finish and re-establishing the lines of the rim will go a long way in sharpening this stummel. After turning the inverted stummel on the 240 paper a few revolutions, I switch too 600 grade paper and smooth out the scratches of the 240.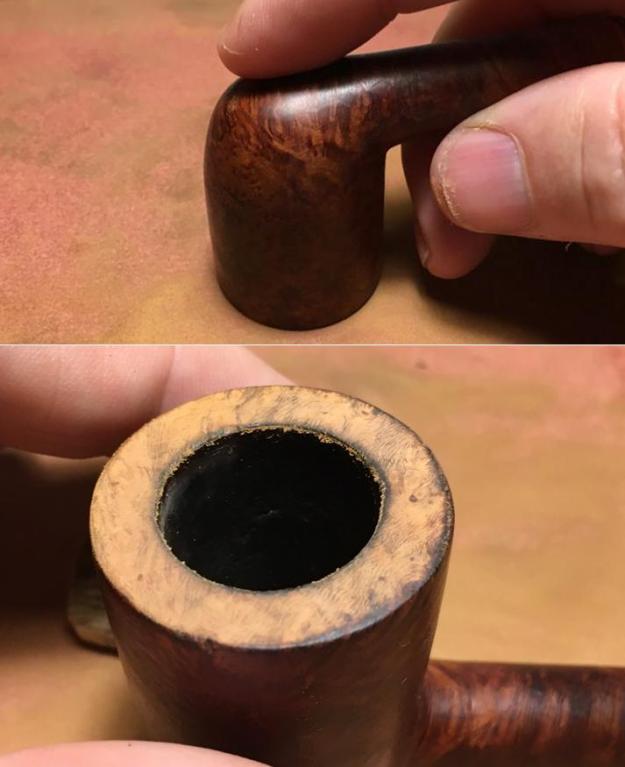
 Then, using 120 grit paper I cut an internal bevel on the rim followed by 240 and 600 grade papers. I also cut a very small bevel on the external edge of the rim with the 240 and 600 papers. I create the bevels to soften the look of the stummel and to me, it’s a classy touch.
 Next, I take the stummel through the full micromesh pad cycle by wet sanding with 1500 to 2400, followed by dry sanding using pads 3200 to 4000 and then 6000 to 12000. The Dublin’s attitude is shaping up nicely!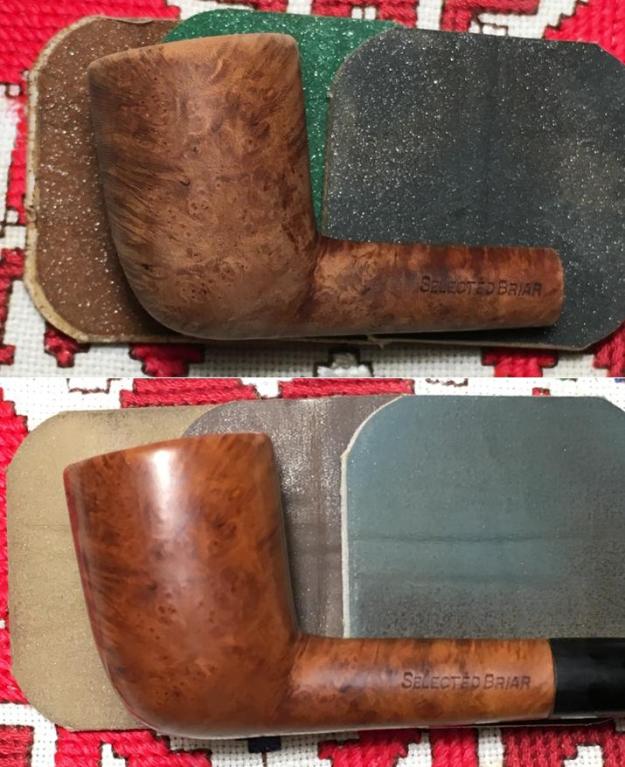
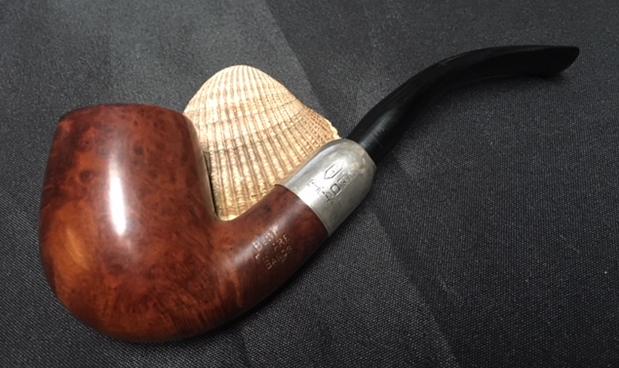
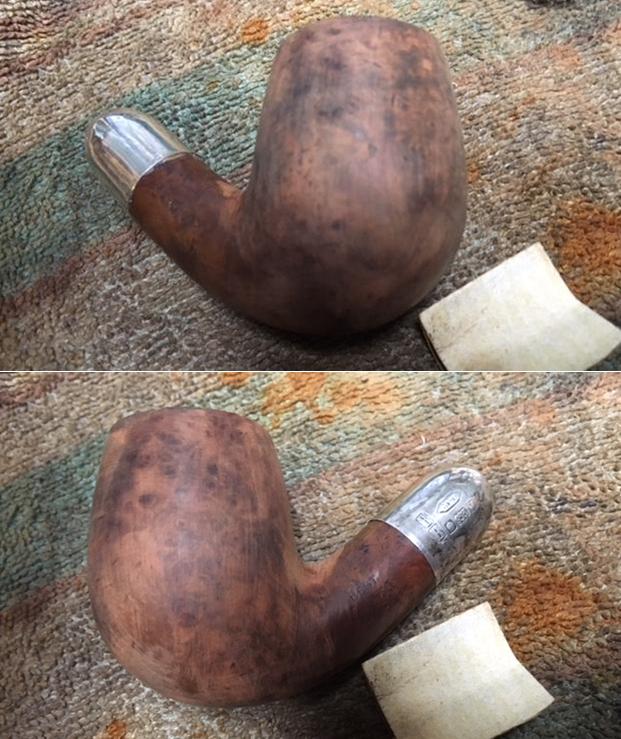
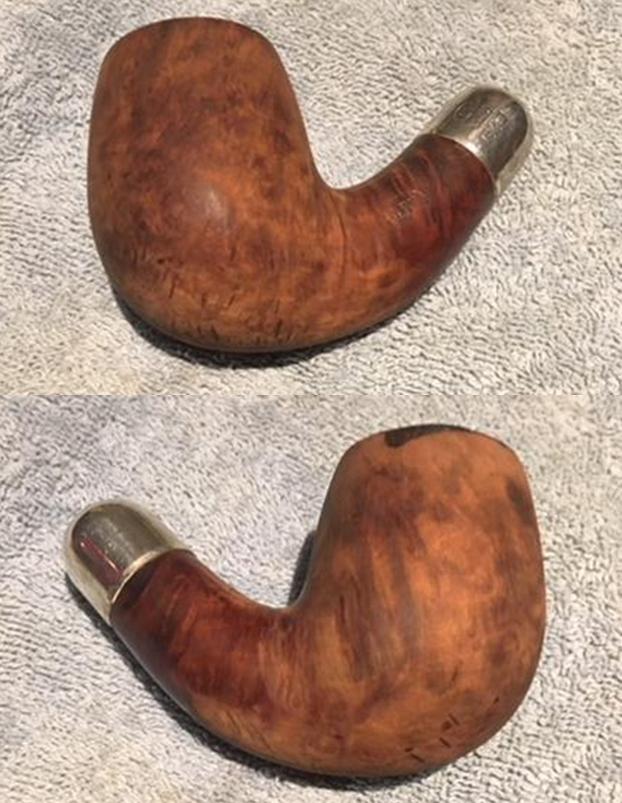
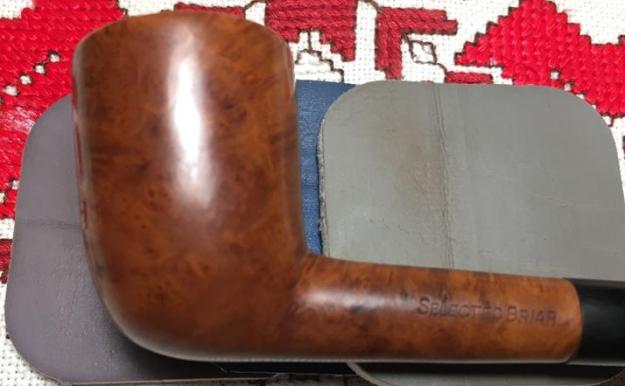 Turning now to the ‘True Born’ Churchwarden, the nomenclature stamped on the left side of the shank is a cursive, ‘Imperial’ over ‘CHURCHWARDEN’ in full block letters. ‘Algerian Briar’ is stamped on the right. The COM is France, stamped in very small block letters on the lower shank along the shank face. These pictures show what I see.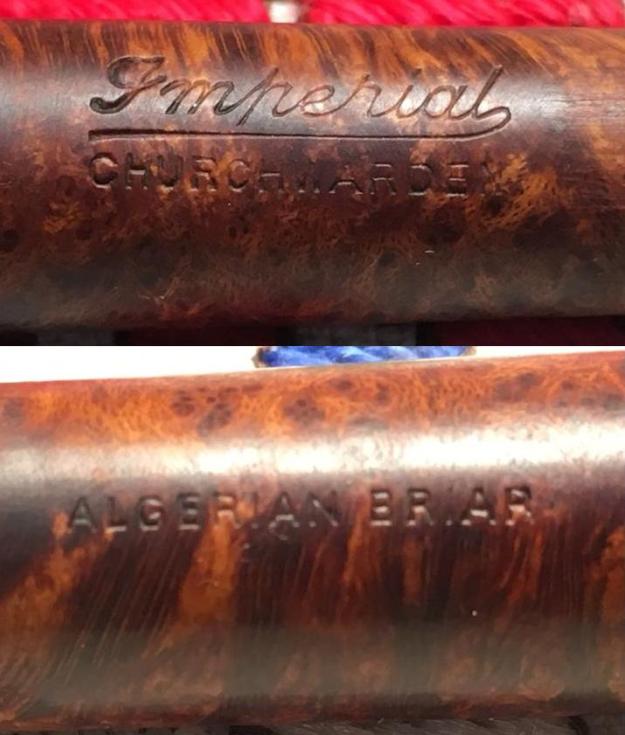
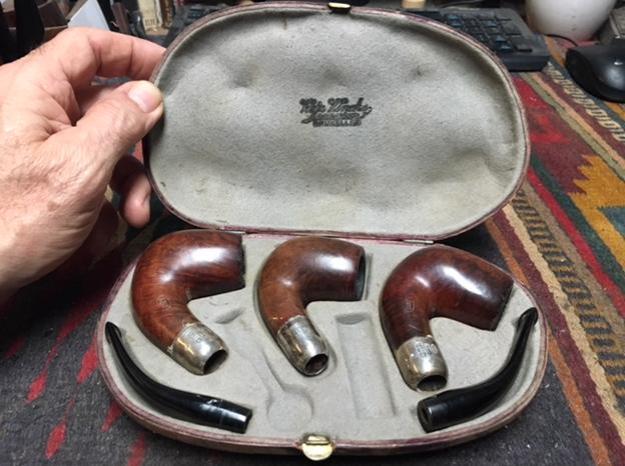
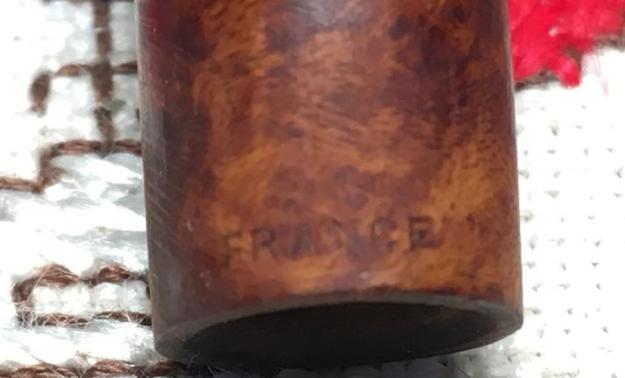 It did not take long to match the unique ‘Imperial’ nomenclature found in Pipedia’s very short article about the Imperial Tobacco Co. referencing Lopes:
From Pipes, Artisans and Trademarks, by Jose Manuel Lopés’
The Imerial Tobacco Co. (Imperial Tobacco Ltd.) was founded in 1901 through the merger of several British tobacco companies. In 1902 it went into partnership with the American Tobacco Company to found the British American Tobacco Company.
Brands involved: Comoy’s, Bewlay, Nording, Ogden’s, Salmon & Gluckstein, and Steel’s
This example was provided by the courtesy Doug Valitchka to let me know that I had locked into the right company.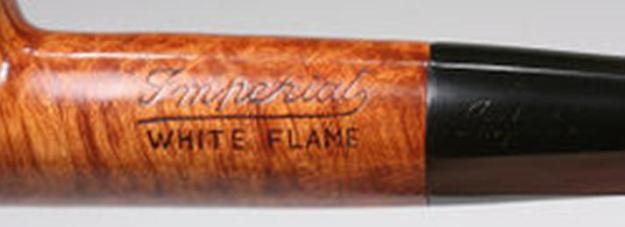 Pipedia’s article on Imperial Brands goes into more of the history of the multitude of acquisitions that happened in the early 1900s to maintain competitive edge. Today, Imperial Brands is an international consortium primarily involved in cigarette sales and is based in the UK. I found only one reference in the article to a French-based connection referencing the closure of a factory in Nantes, France, in 2016. The company website, http://www.imperialbrandsplc.com contains an extensive history of the company, but I found no references to pipe productions in France! In Pipedia and in Pipephil – Imperial, references to Imperial, the country of manufacturing is consistently the UK and no mention of France. So, the French connection to this True Born will remain shrouded in mystery!
The Imperial stummel has a dulled finish as the Dublin but promises a very nice briar grain beneath. The bowl and rim have normal wear nicks and dents. 
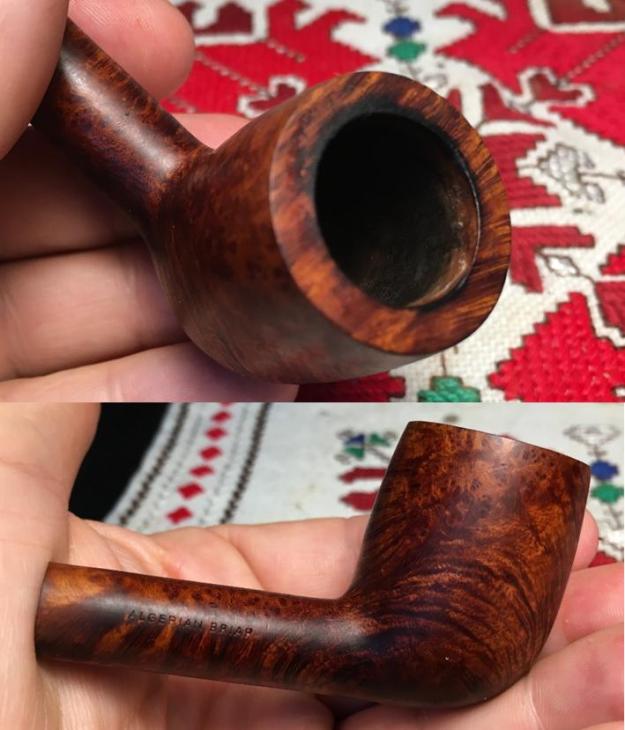 I also detect residue shininess of old finish that didn’t come off when I cleaned with Murphy’s Oil Soap. I quickly dispatch this using a cotton pad wetted with isopropyl 95%.
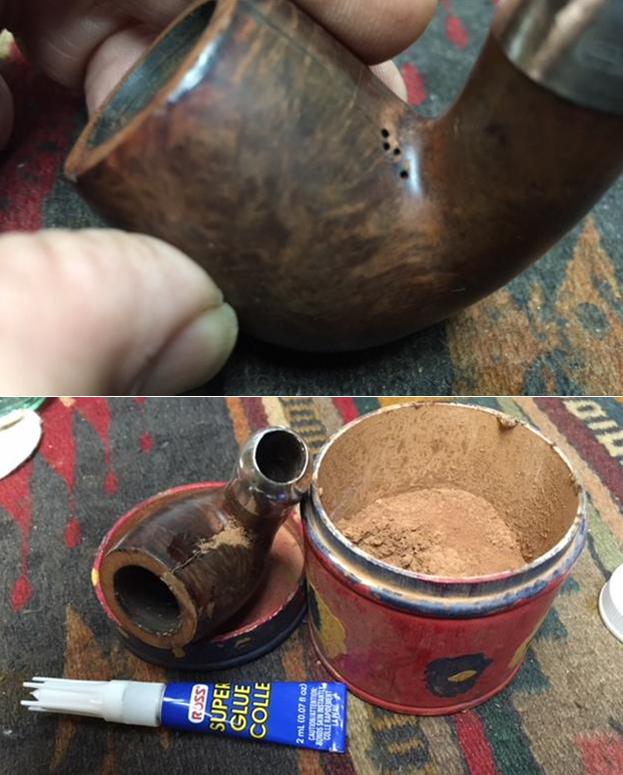
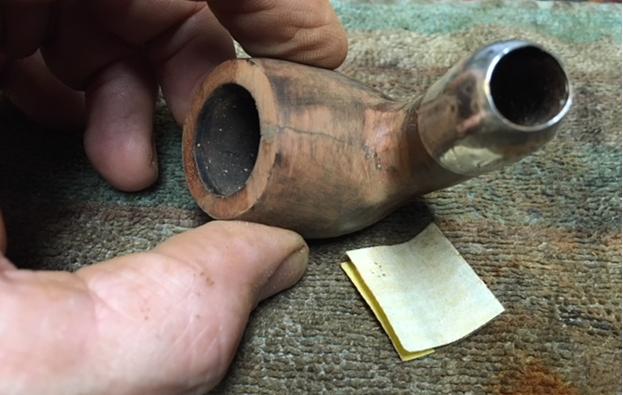
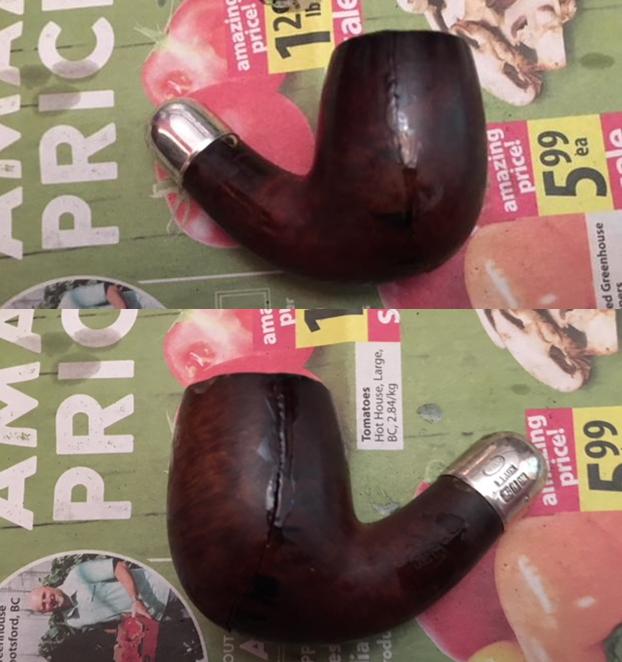
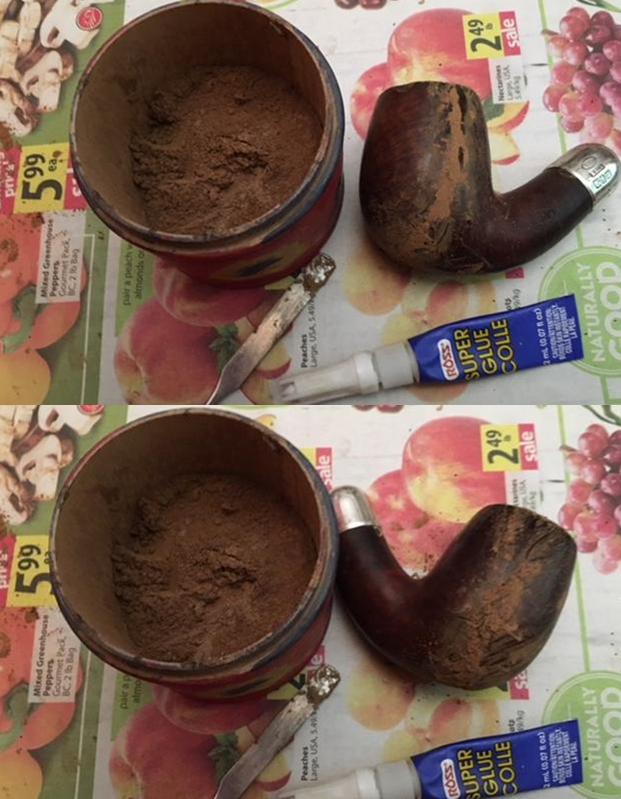
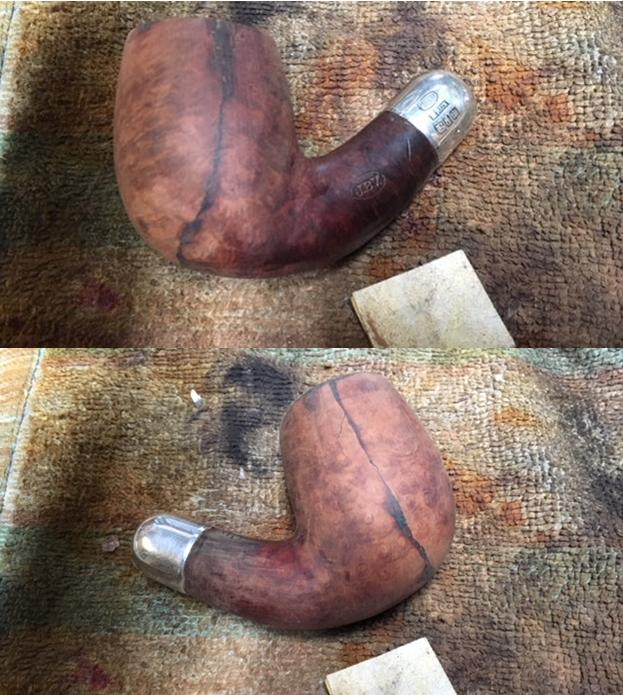
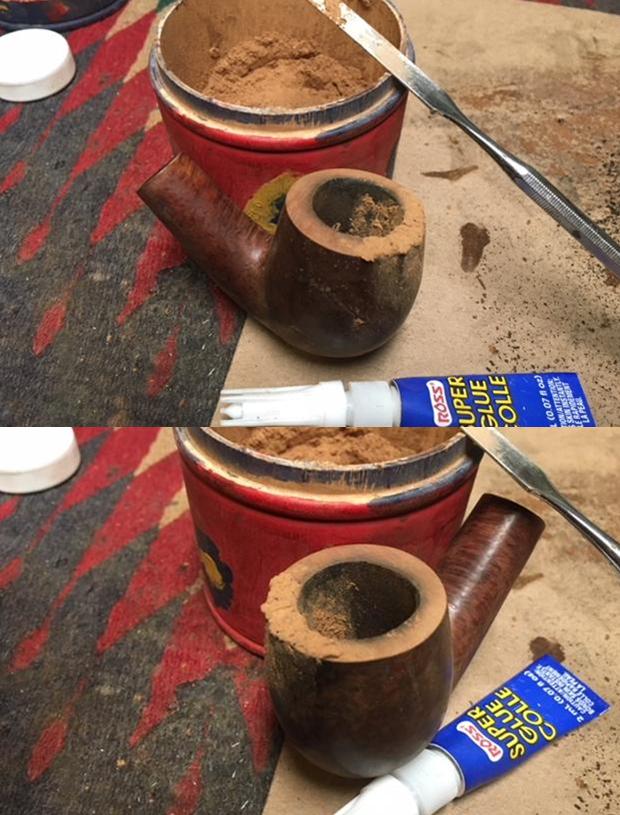
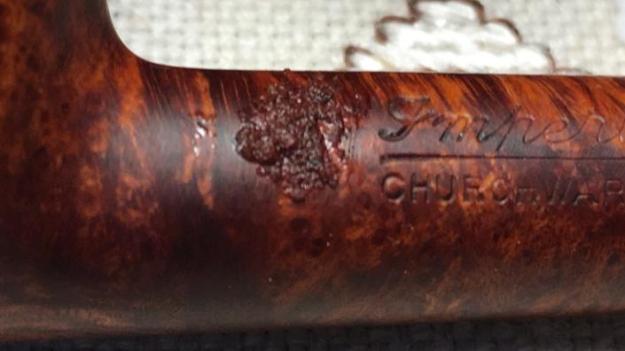
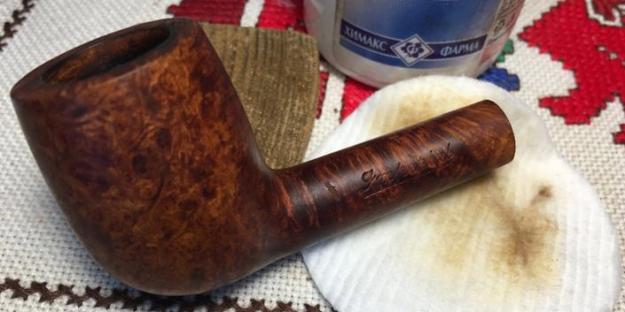 Inspecting the surface I find on the left side of the shank, near the ‘Imperial’ stamping, a chip that needs patching. I mix a small batch of CA glue and briar dust to patch the chip – this will blend well after sanded down. I put a small mound of briar dust on an index card and place next to it a drop of regular CA glue. I mix a small bit of the briar dust into the glue and when I find the resulting putty about the consistency of molasses, I apply it to the chip and put the stummel aside to cure.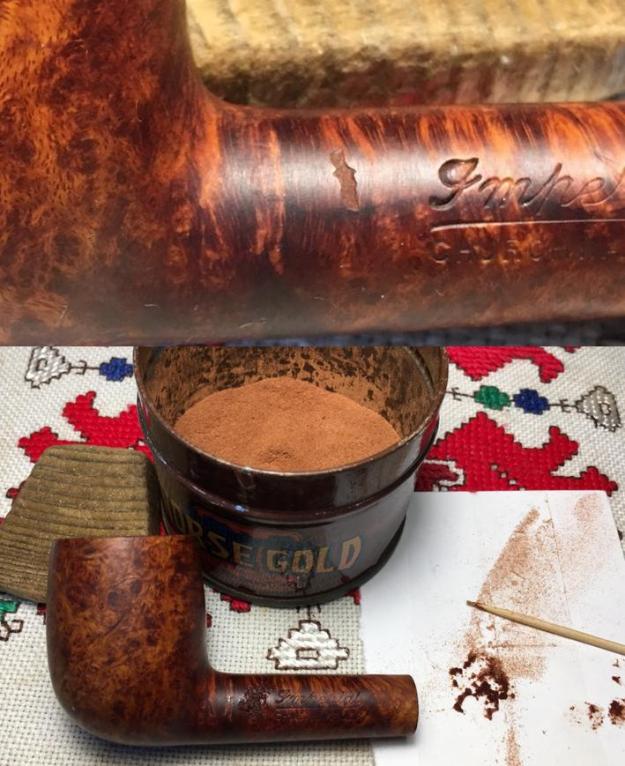
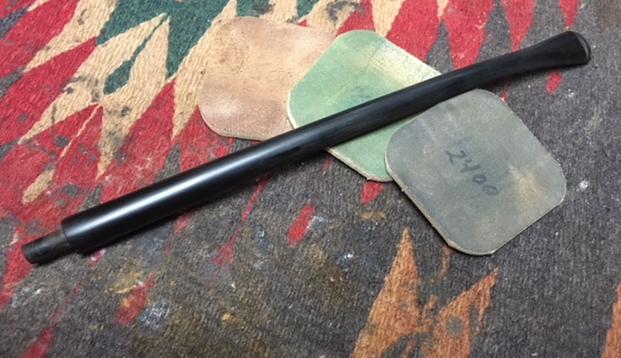
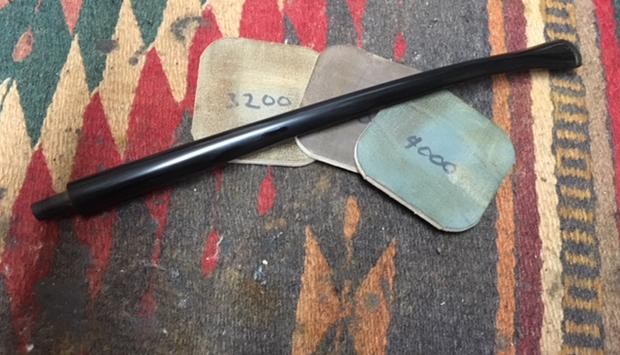
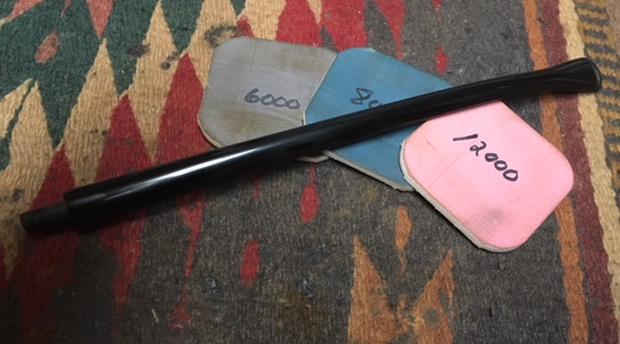
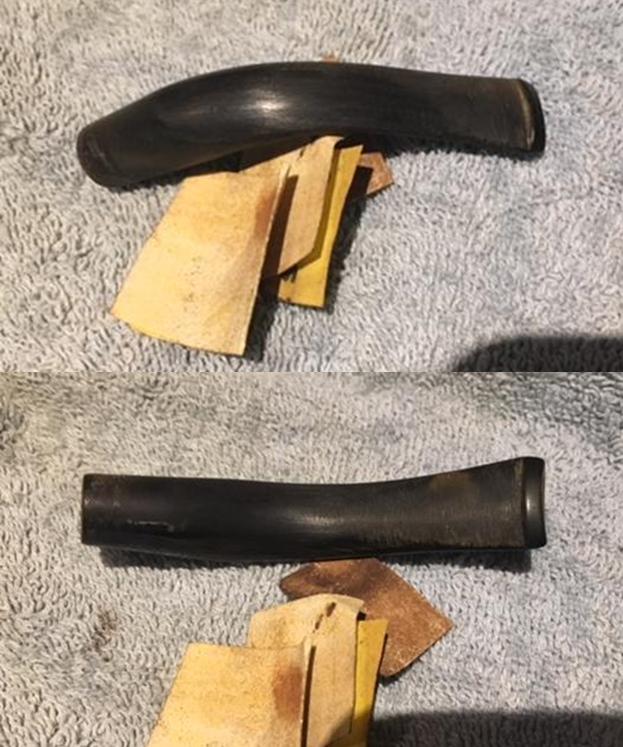
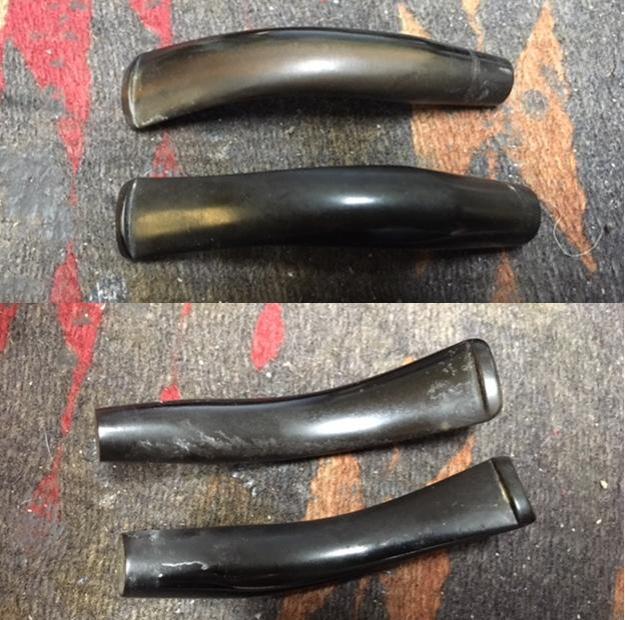
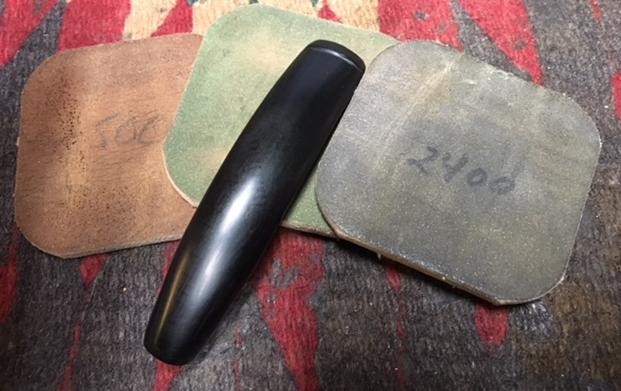
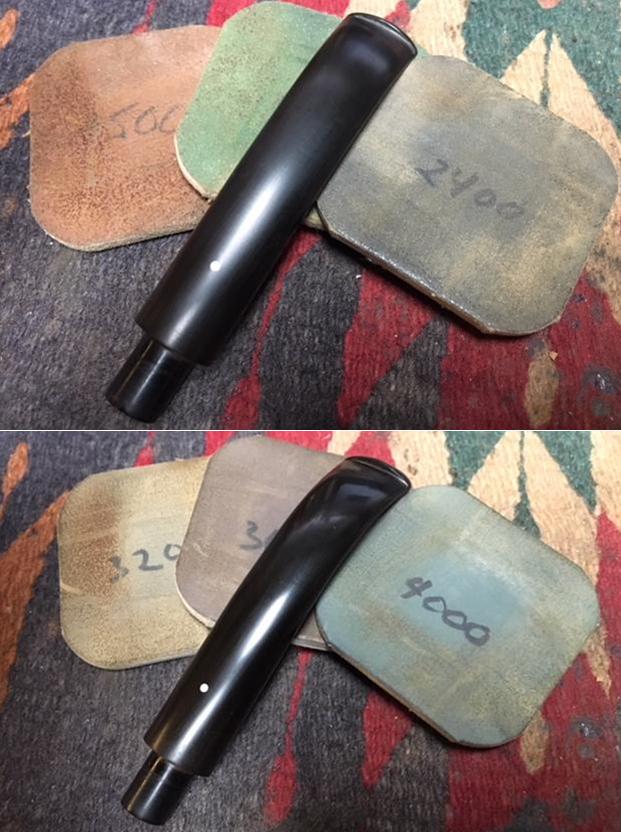
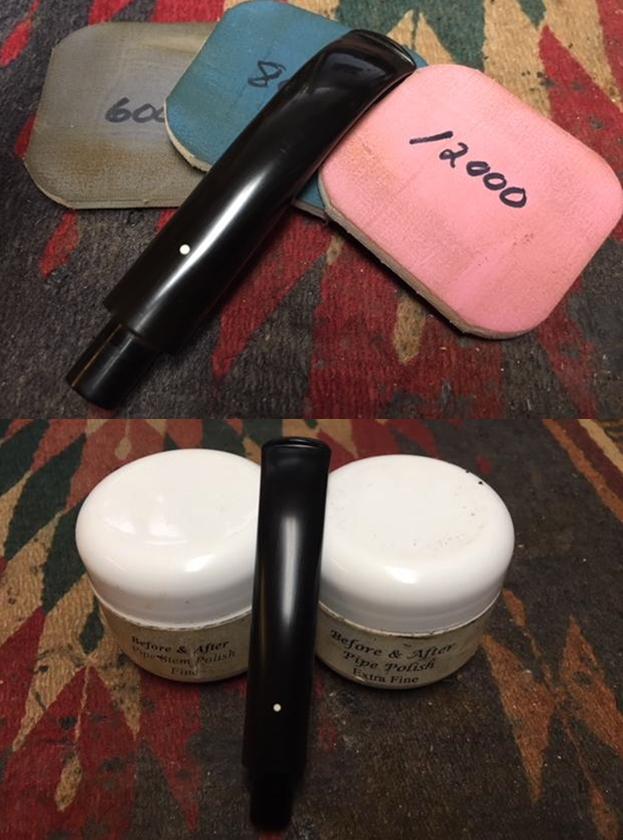
 While the patch is curing, the large job of continuing the sanding of the Churchwarden stems jumps to the fore. I decide to do all 3 Wardens together by first wet sanding using micromesh pads 1500 to 2400. I follow by dry sanding using pads 3200 to 4000 and then 6000 to 12000. After each set of three pads, I apply Obsidian Oil to each stem to vitalize the vulcanite. There’s a LOT of vulcanite real estate to sand with a Churchwarden stem! It’s also not easy taking pictures of the long Warden stems.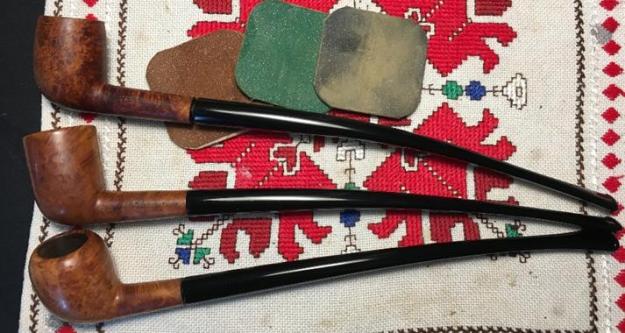
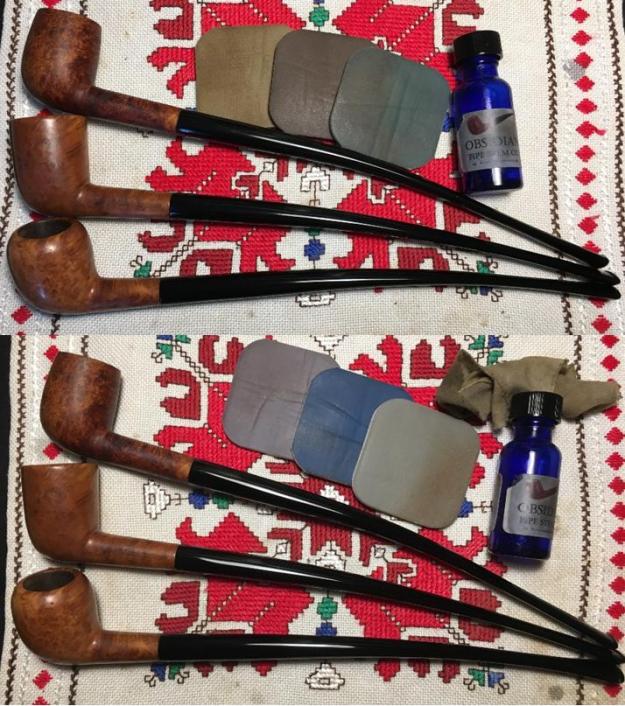 Turning again to the bowls, and the Imperial’s cured patch of CA glue and briar dust, I carefully file the mound/excess down toward the briar surface. I’m careful to stay on the excess patch material so not to damage the nearby briar and nomenclature. I then switch to 240 paper, rolled tightly and then 600. The patch looks great.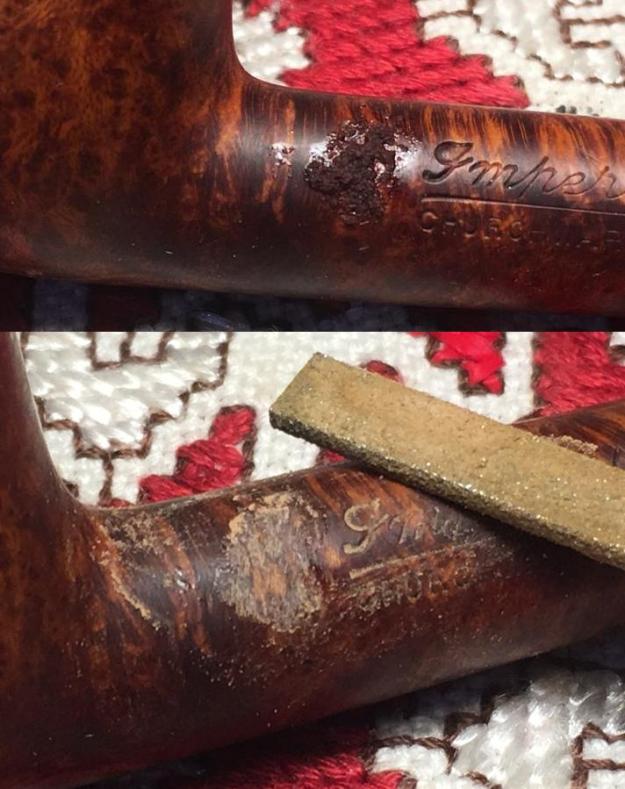
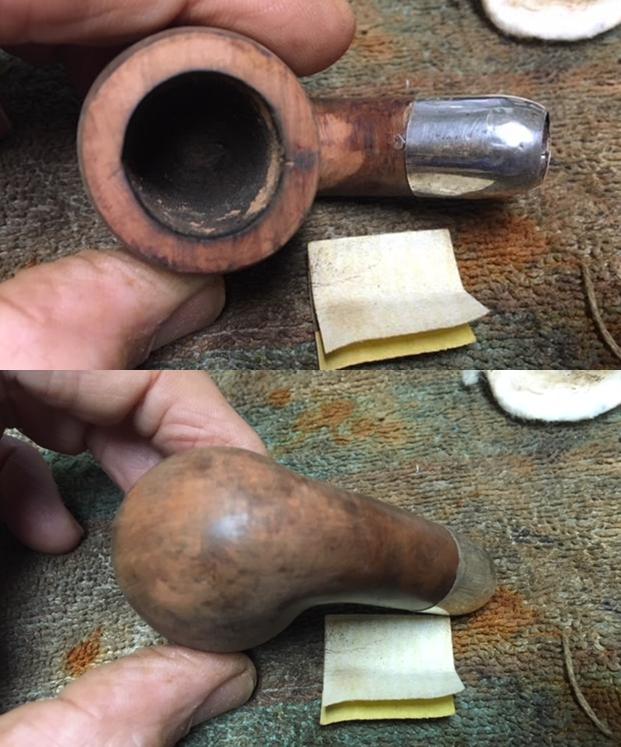
 As I take a closer look at the Imperial stummel, the rim is blackened on the internal edge. I start by giving the bowl a very light topping with 600 grade sanding paper to clean it and to reestablish lines. I then bevel the internal rim edge enough to clean it up as well as giving the external rim edge a bevel to soften the rim and to ‘class it up’ a bit. I like how it’s shaping up.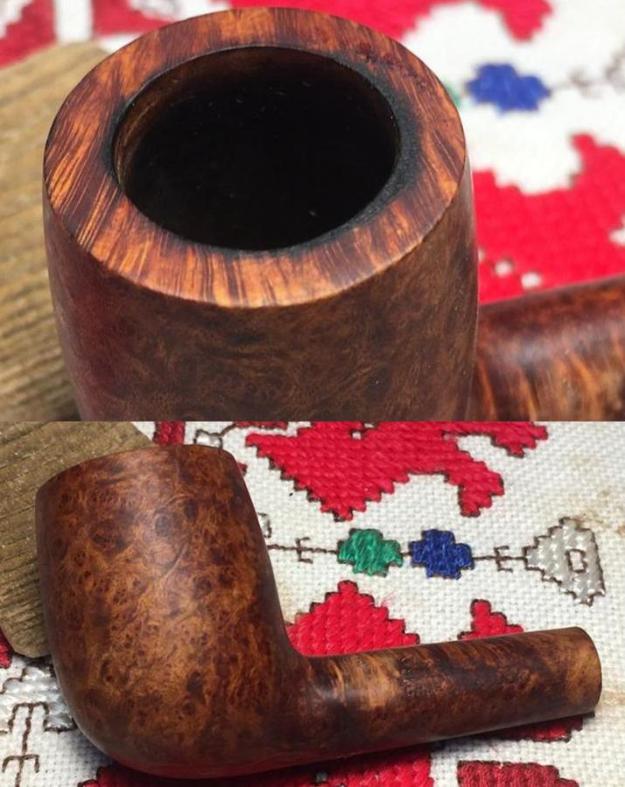
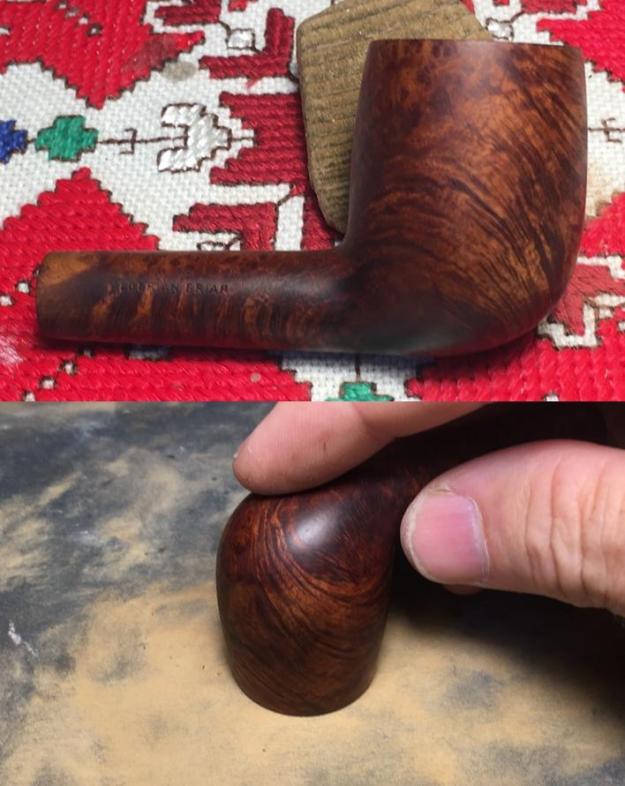
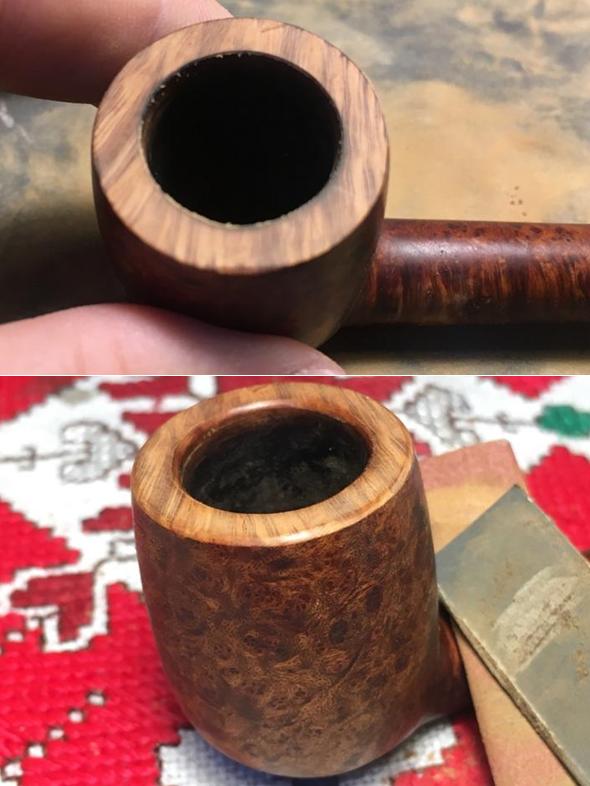 With the rim restoration complete at this level, I use micromesh pads 1500 to 2400 and wet sand the entire stummel. I follow with dry sanding with pads 3200 to 4000 and finish with 6000 to 12000.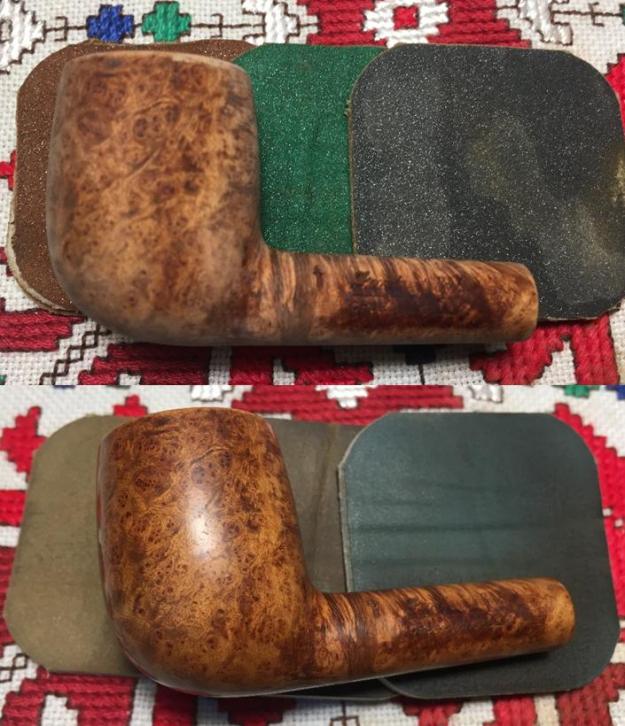
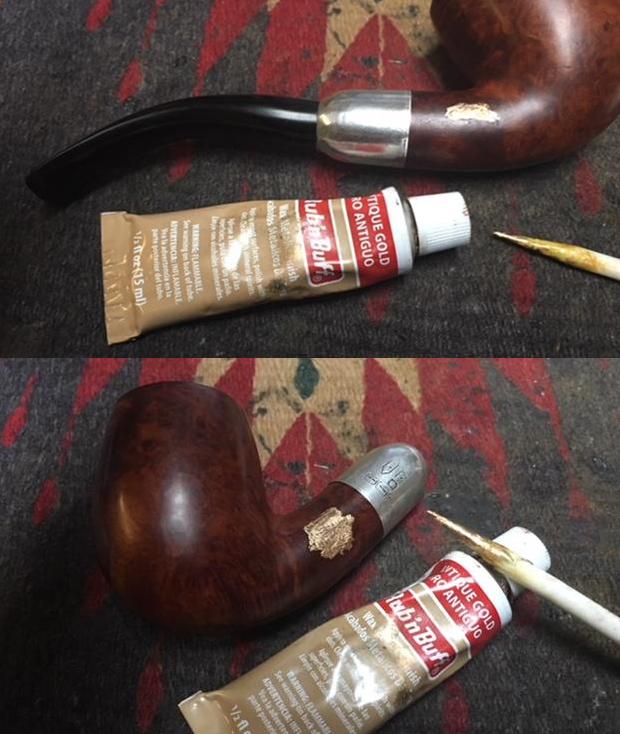
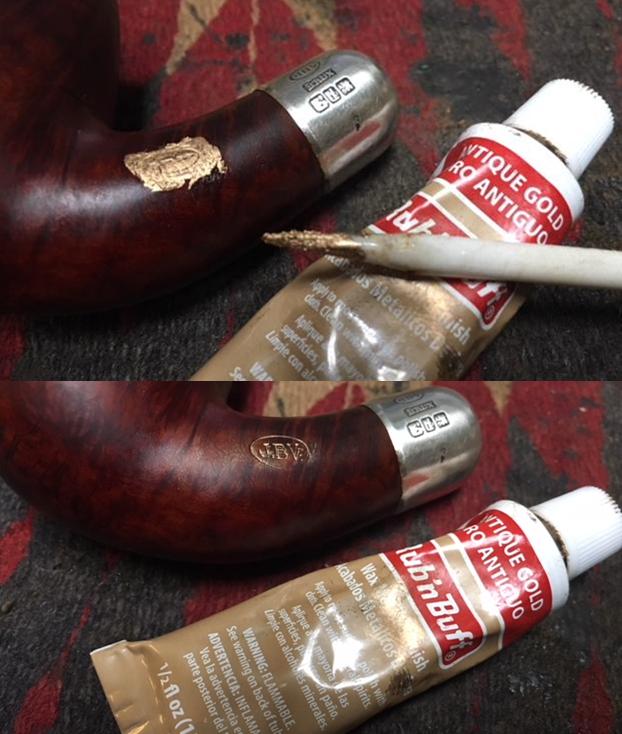
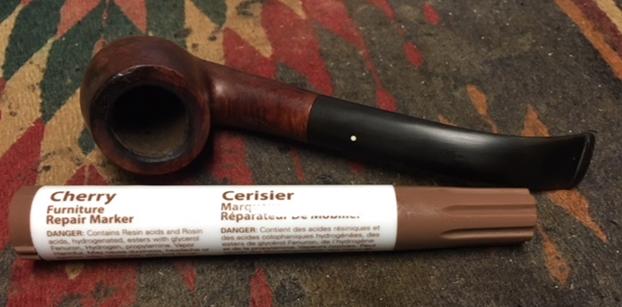
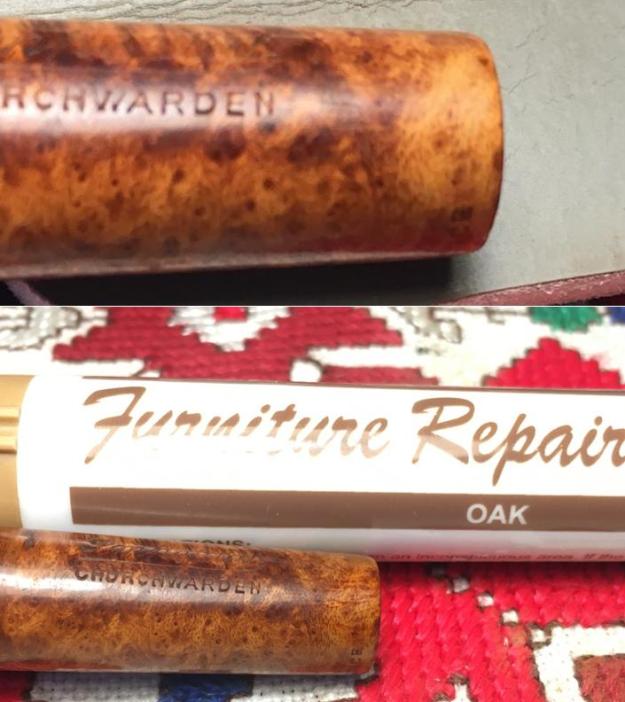
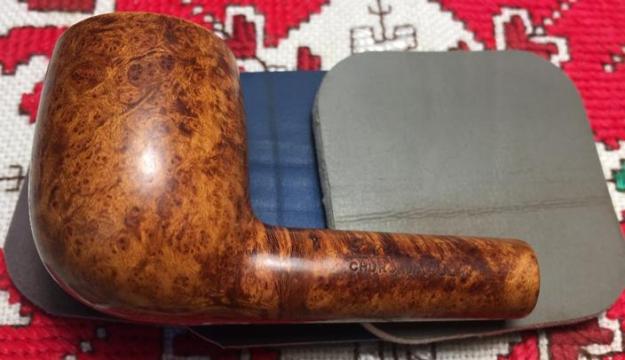 I have noticed on the shank a lightened area that was a result of the stem/shank fitting process where more sanding was necessary. To darken and blend this area, I use an oak Furniture stain stick to do the job and it looks good. I take a picture.
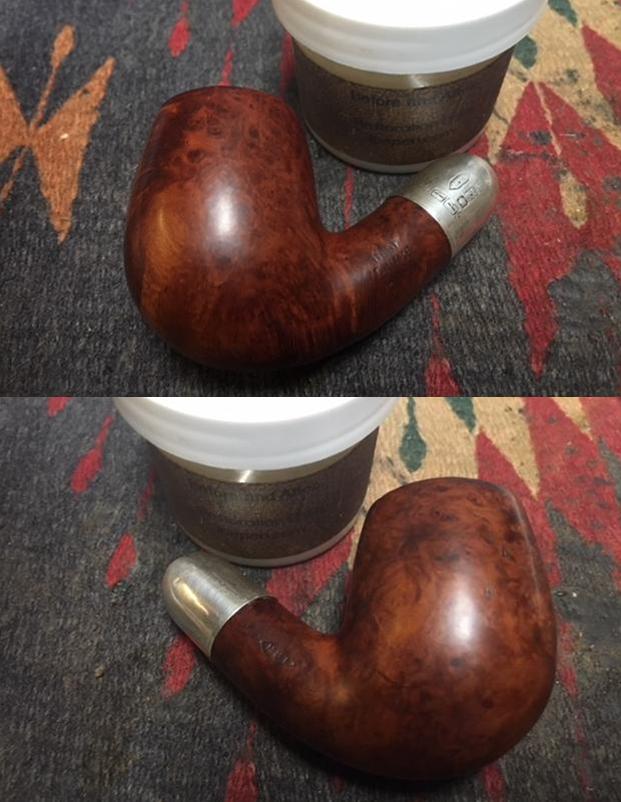
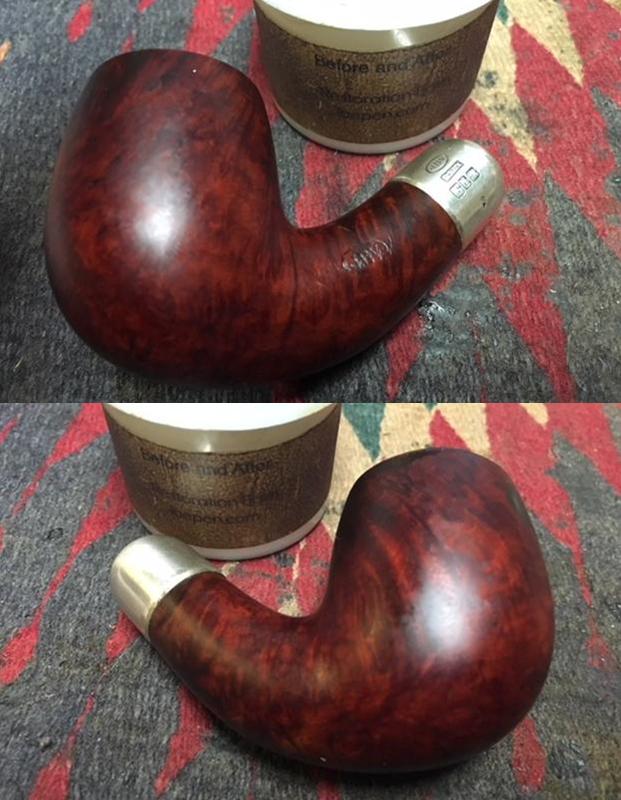
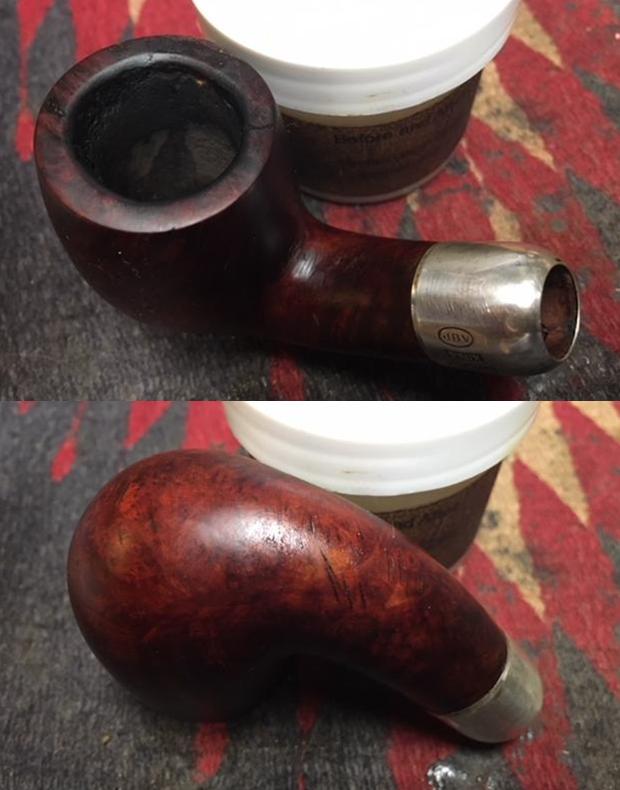
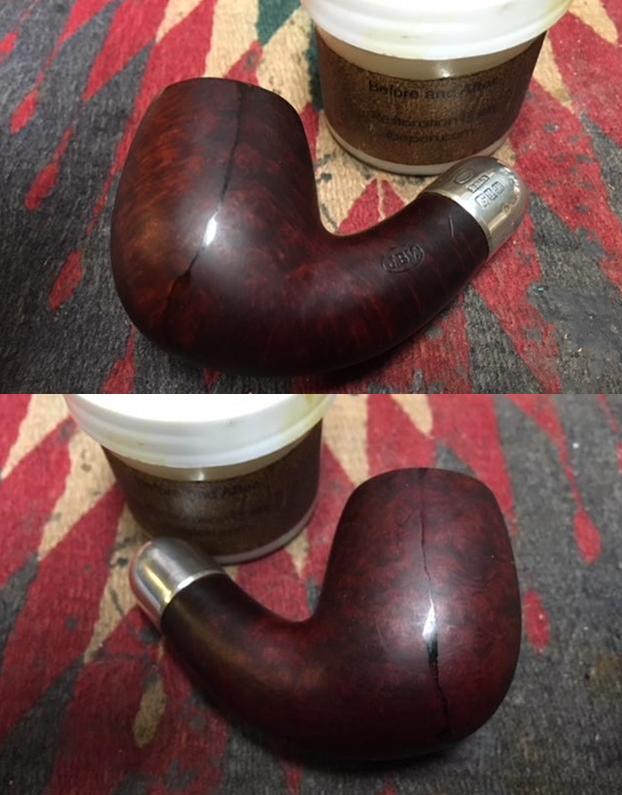
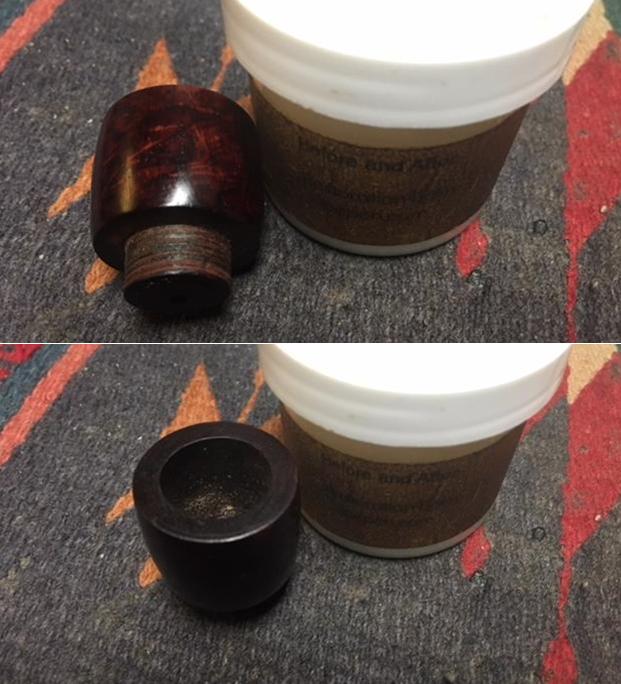
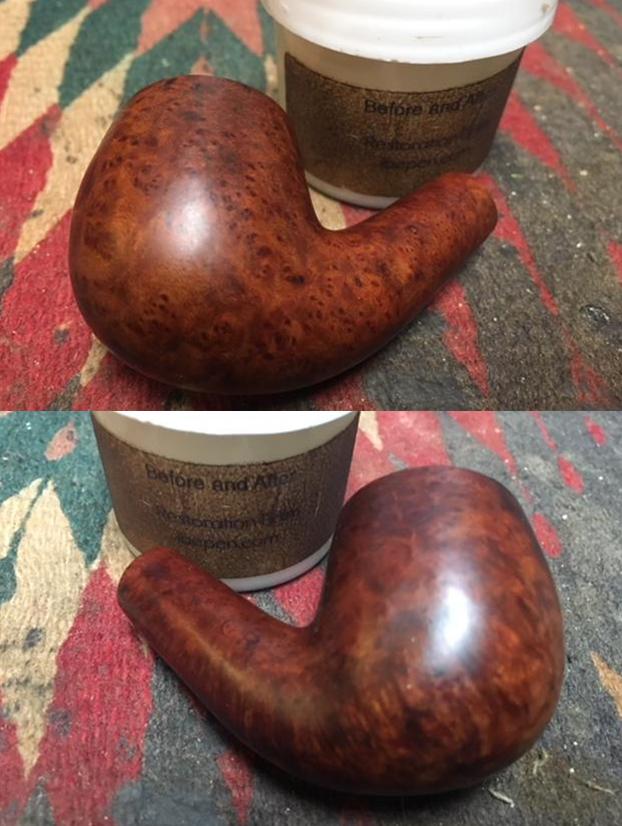
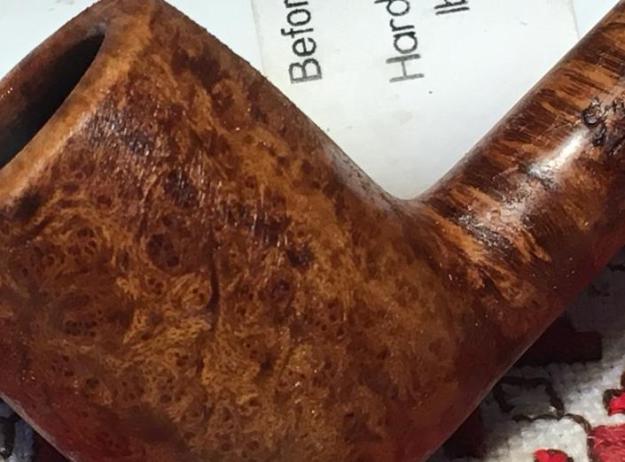
 Now, to deepen and enrich the briar of the French made Imperial Churchwarden, I apply Before and After Restoration Balm to the briar surface. I put some on my fingers and work it into the surface. The Balm does an amazing job bringing out the richness and the luster of the briar grain that is already beautiful. After about 20 minutes, I wipe the Balm off the stummel with a clean cotton cloth. It buffs up nicely. I take a picture of the stummel with the Balm on it.
 Next in line is the Dublin bowl. As with the French Imperial, I take the Dublin through the full 9 micromesh pads, 1500 to 12000. I show the progress after each set of three pads – the first three wet sanding, the last 6, dry.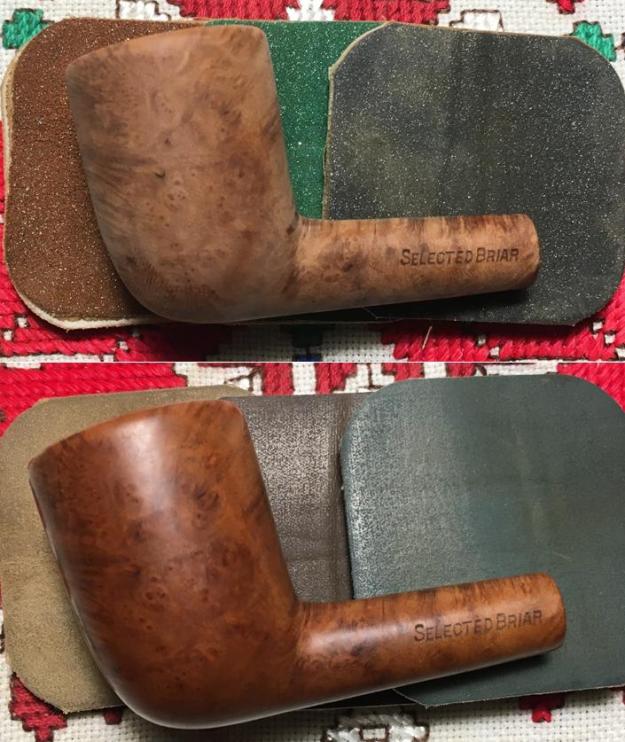
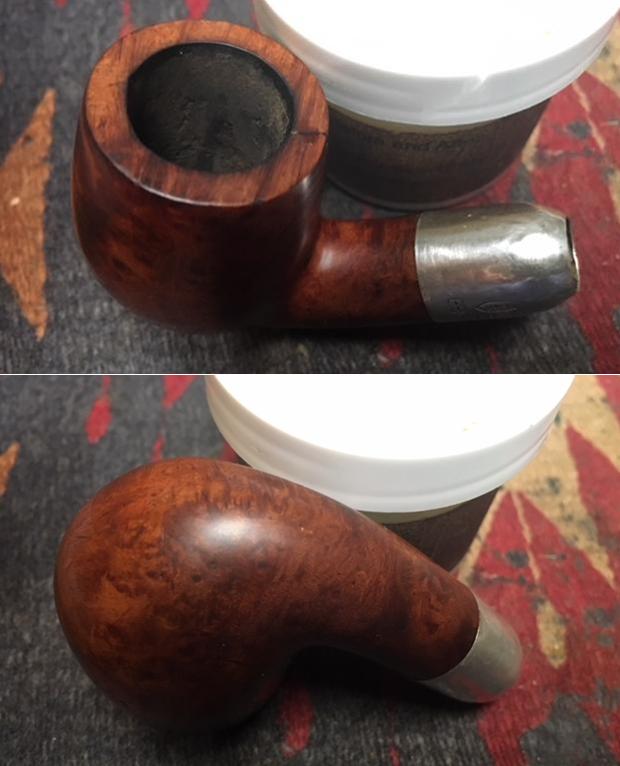
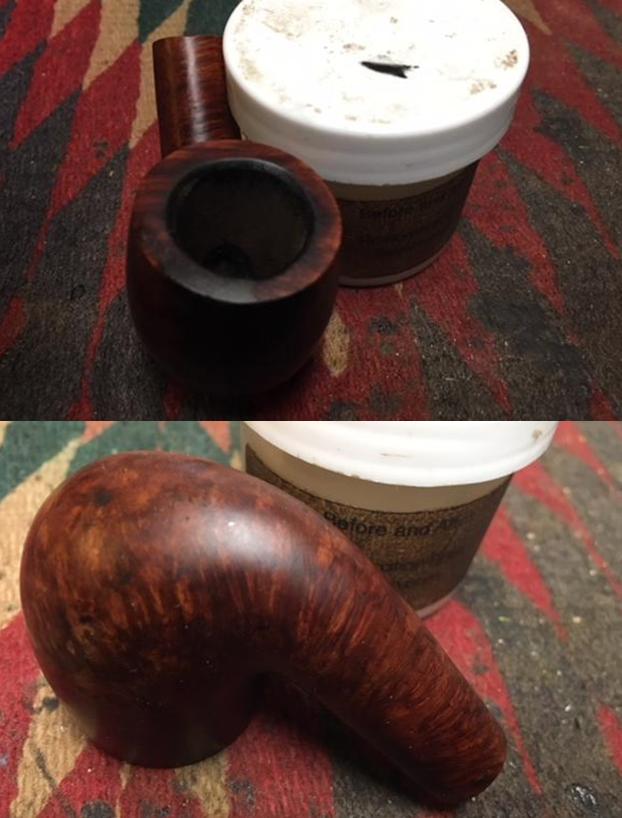
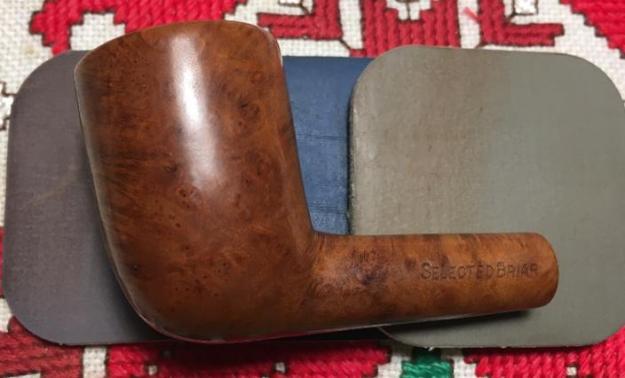 As with the Imperial, I apply Before and After Restoration Balm to the Dublin bowl. I put some Balm on my fingers and work it into the briar. The Balm starts with the texture of light oil then as I rub it into the briar, is thickens into the texture of a thicker wax. After I work it in I set the stummel aside to absorb the Balm. After a time, I wipe off the Balm using a cotton cloth – it buffs up as I wipe the stummel.
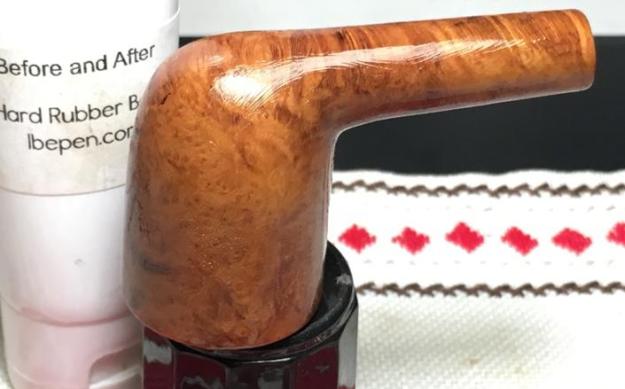 The final stummel is the Free Born Yello Bole. Since the stummel has already gone through the full micromesh pad sanding process, it is ready to receive the Before and After Restoration Balm to deepen and enrich the nicely emerging briar grain. As with the others, I apply the Balm with my fingers and after setting is aside for about 20 minutes, I wipe/buff off the Balm. I take a picture of the Balm on the stummel and afterwards.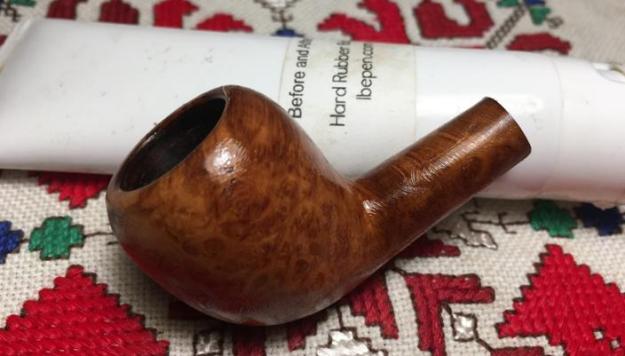
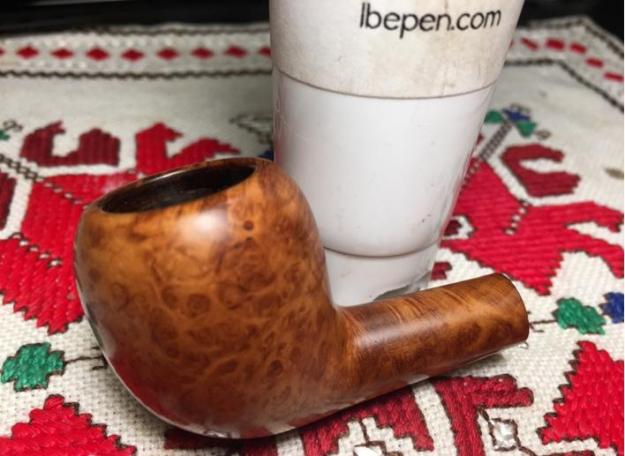 At this point, using the Dremel mounted with dedicated cotton cloth buffing wheels set at the slowest speed, each of the three bowls I apply Blue Diamond compound and White Diamond compound is applied to the stems. After the application of the compounds, I buff each Churchwarden with a felt cloth to remove the compound dust before applying wax. I then mount another cotton cloth wheel on to the Dremel, increase the speed to about 40% full power and apply carnauba wax to stems and stummels. After applying a few coats of wax, I give each Churchwarden a rigorous hand buffing with a microfiber cloth to raise the shine.
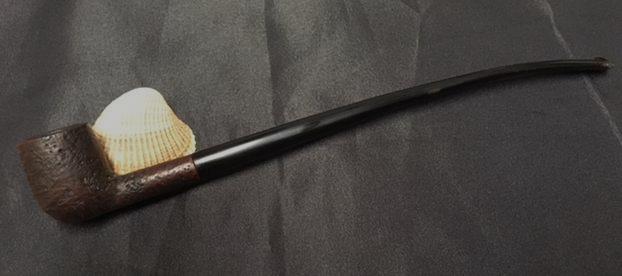
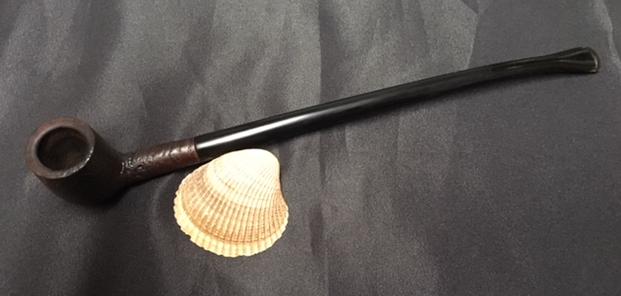
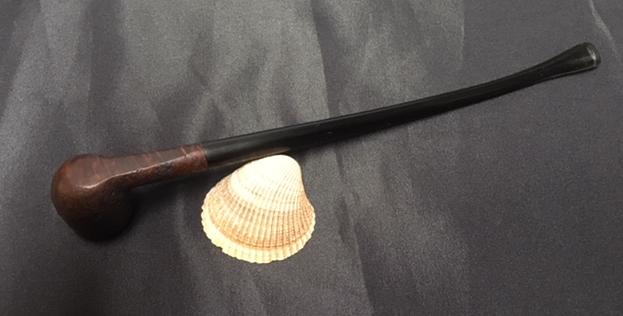
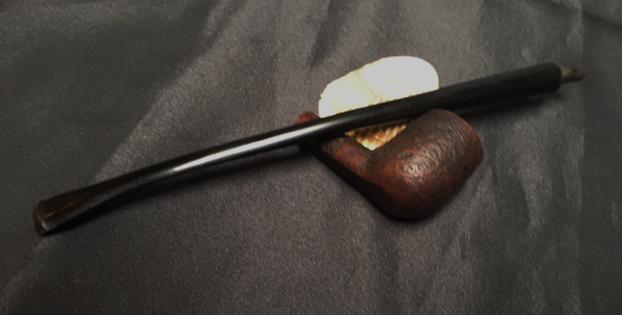
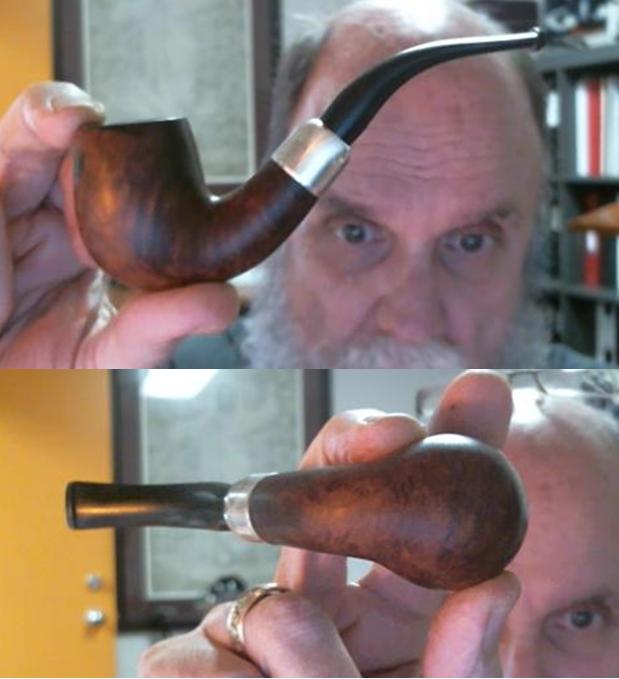
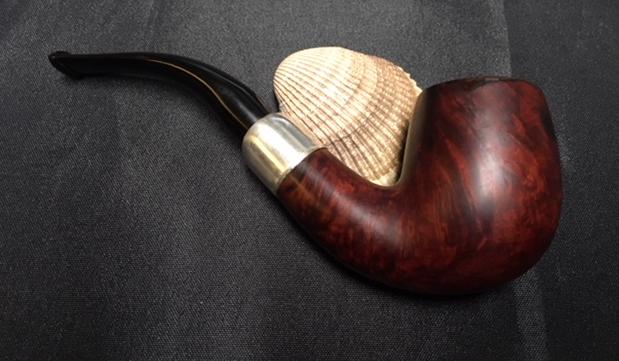
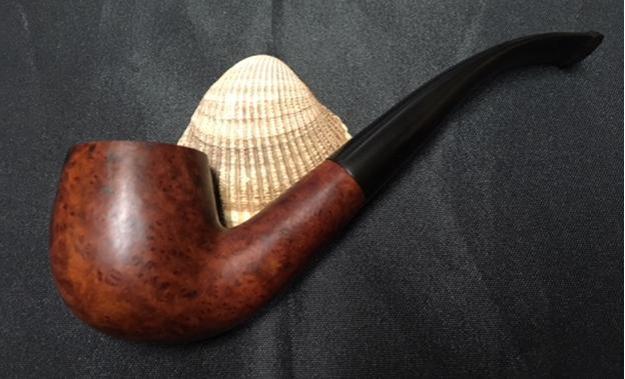
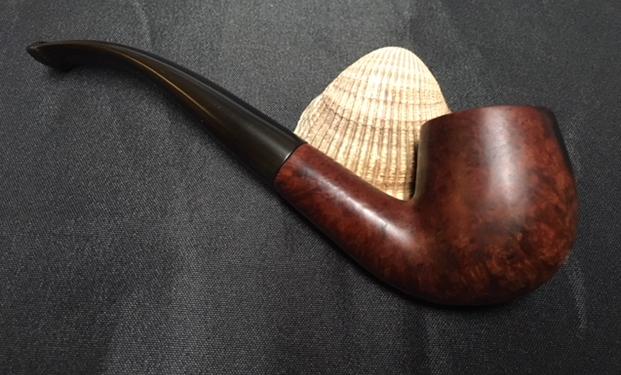
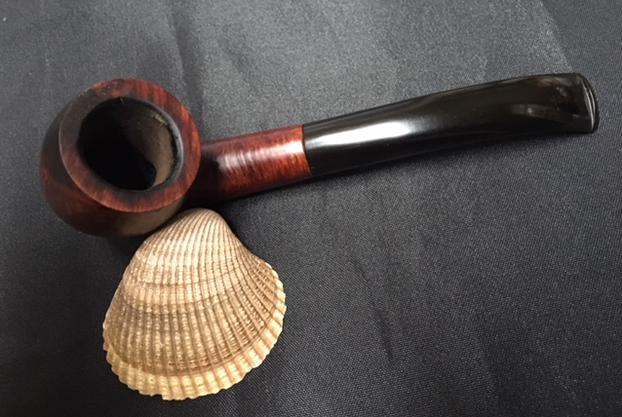
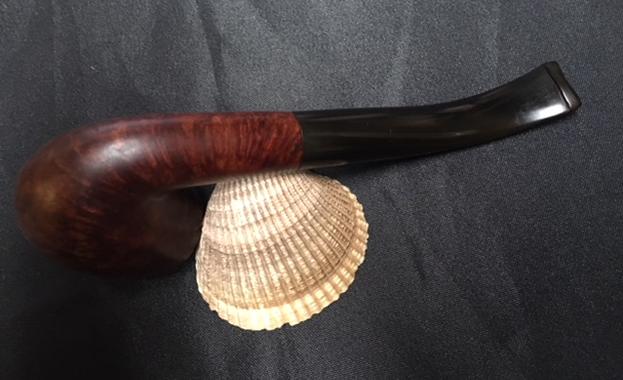
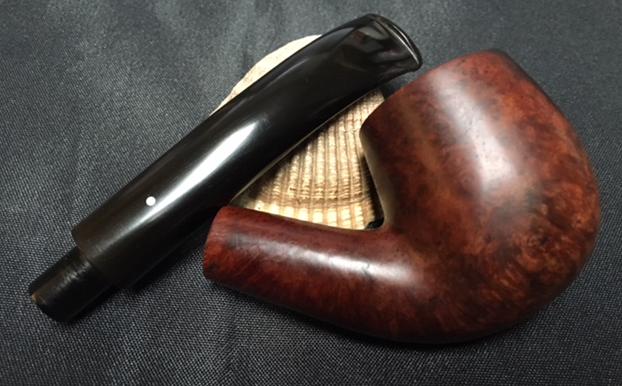
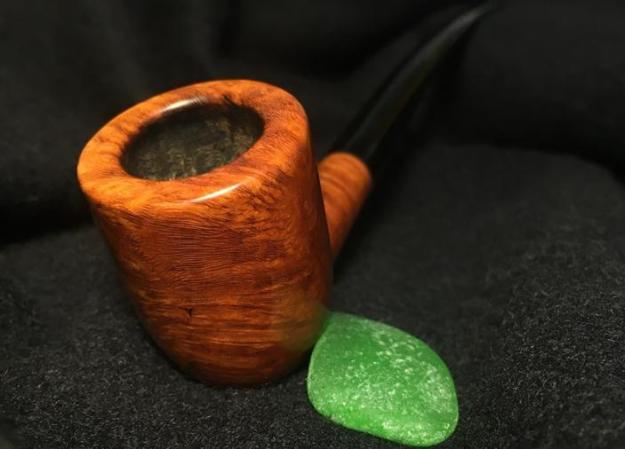
The Tale of the Three Churchwardens is now beginning. I am pleased with the results. Each bowl responded well displaying a myriad of grains and patterns. Each now displays that classic, long, graceful, wise aura of the Churchwarden genre. It is true, only one of the Churchwardens started has a Churchwarden – the True Born. He is now no longer of Hobbit stature and will walk with men and wizards. The other two re-purposed bowls look great – I’m pleased. Tobias of Germany commissioned the French made Imperial Churchwarden and the Dublin. He will have the first opportunity to secure these Churchwardens for his friend’s birthday present and for his own collection in The Pipe Steward Store. As ‘fate’ would have it, the third Churchwarden bound to no man, was claimed also by a person also living in Germany! A colleague was visiting Bulgaria and saw the 3 Churchwardens on my worktable. Thankfully, I was able to finish ‘The Wise’ to return with his new steward to Germany. I declare that Germany receives the Middle Earth Award! Each of these Churchwardens benefits the Daughters of Bulgaria – a noble cause of helping women and girls who have been trafficked and sexually exploited. Thank you for joining me in the telling of the Tale of Three Churchwardens!
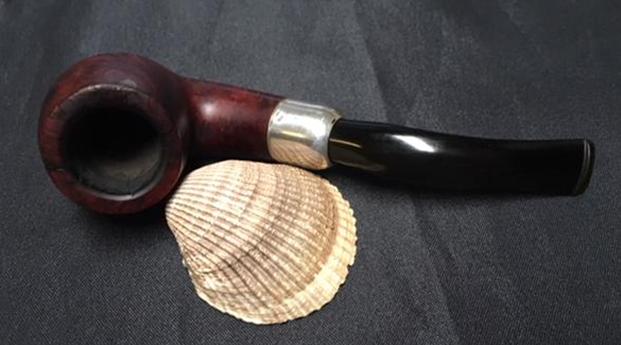
The first True Born Imperial Churchwarden of France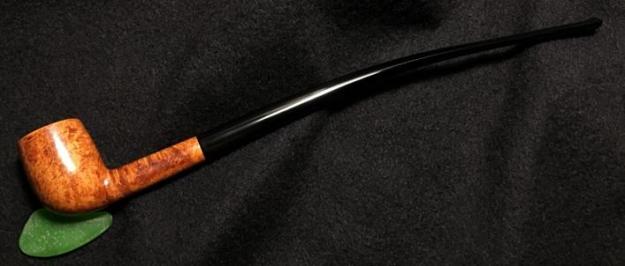

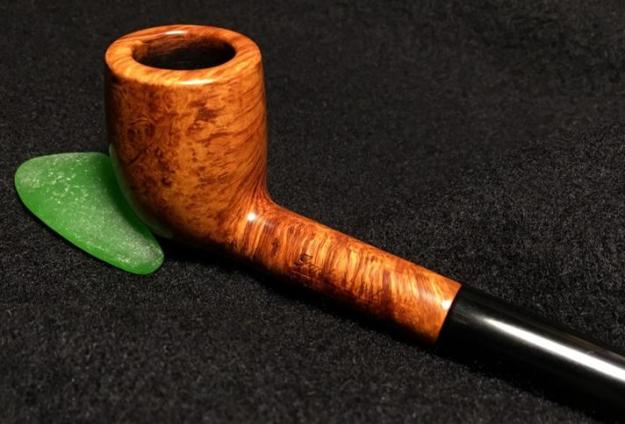
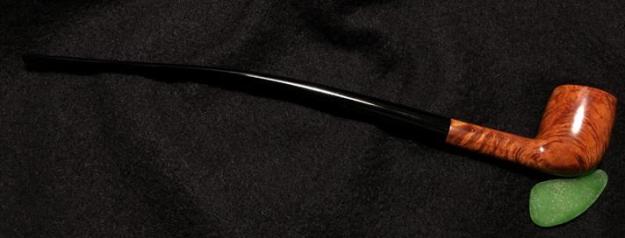
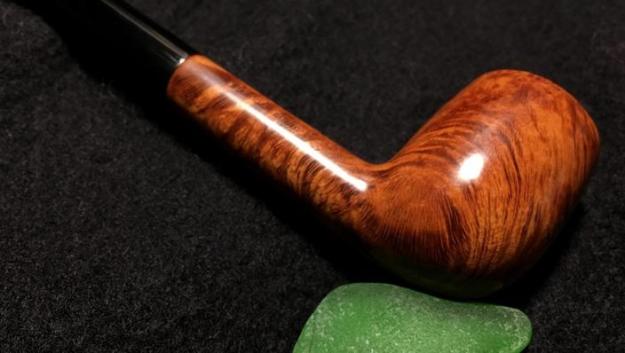
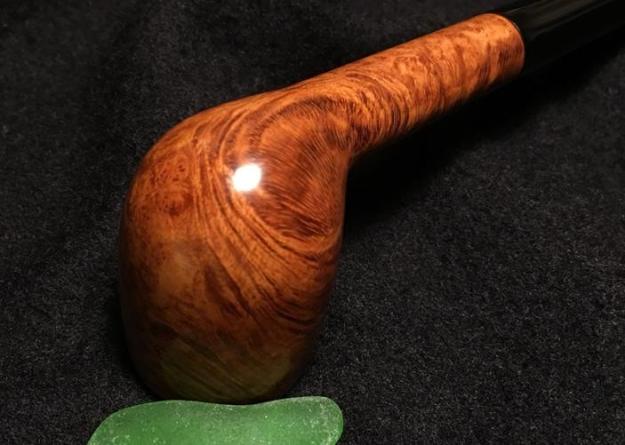
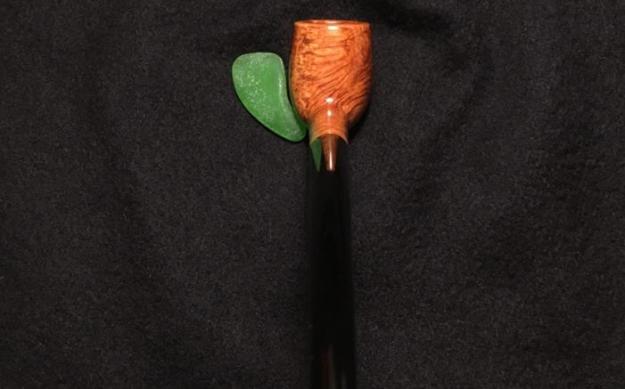
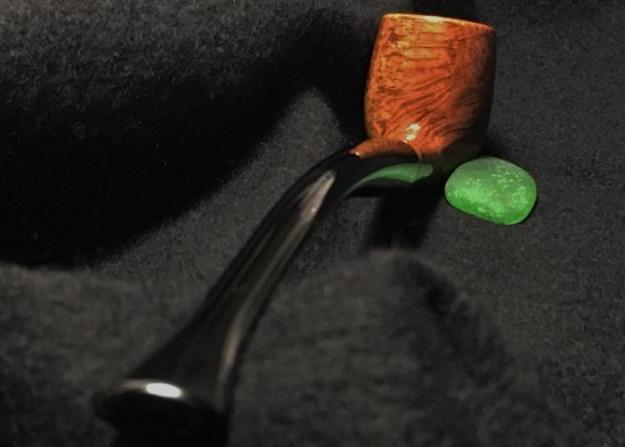
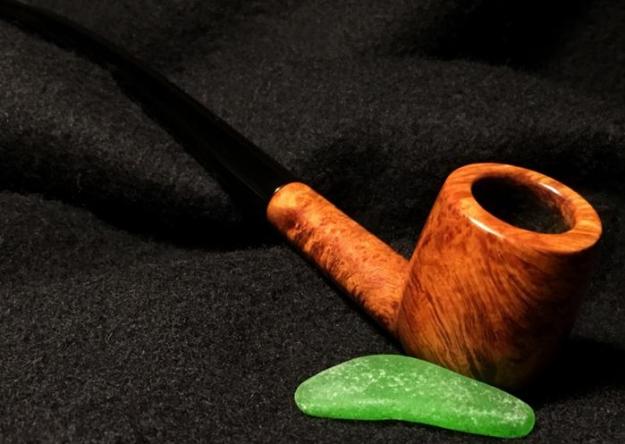
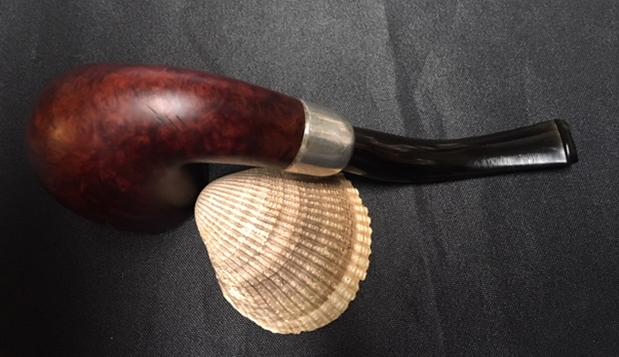
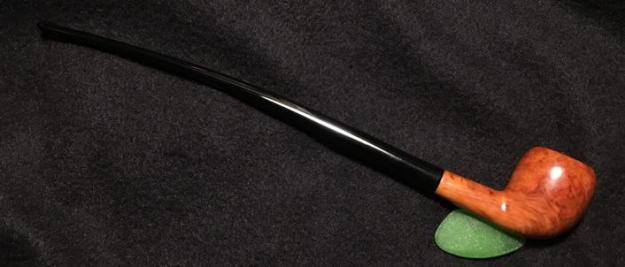
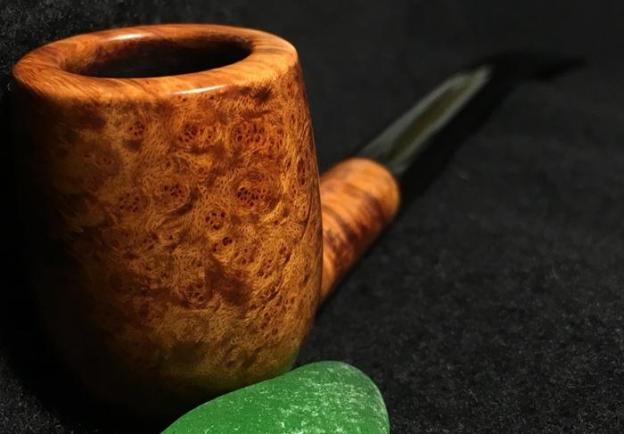 The second was bound to the first, the proud Dublin Green Land Churchwarden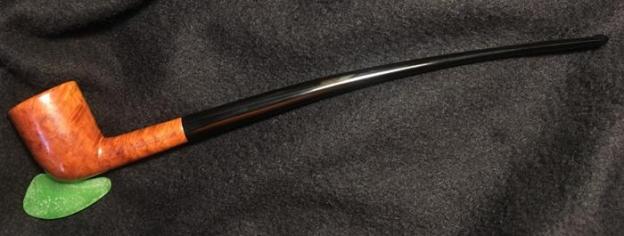
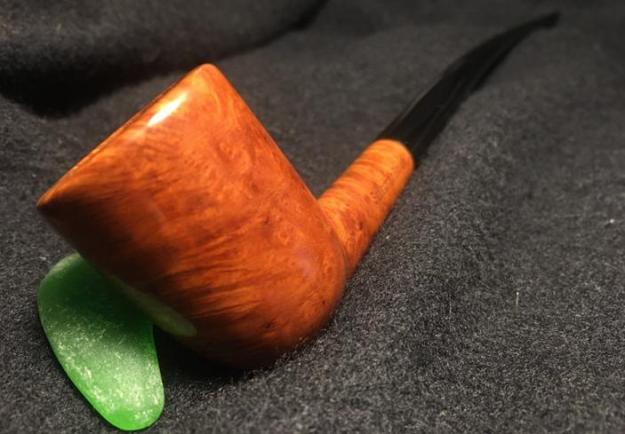
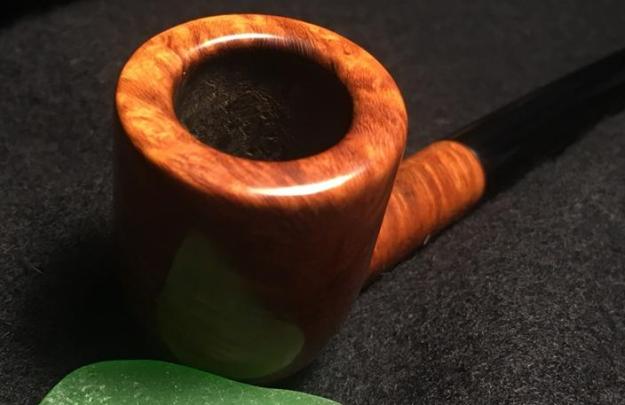
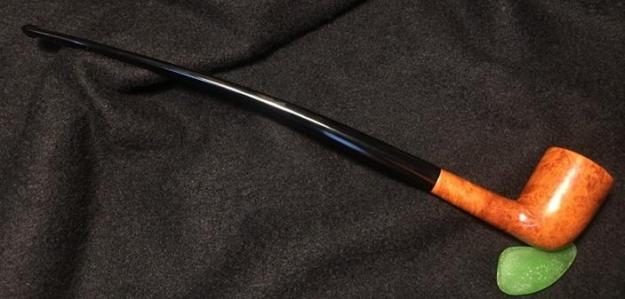
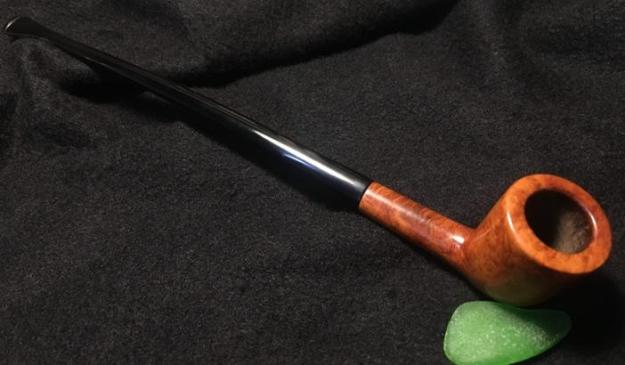
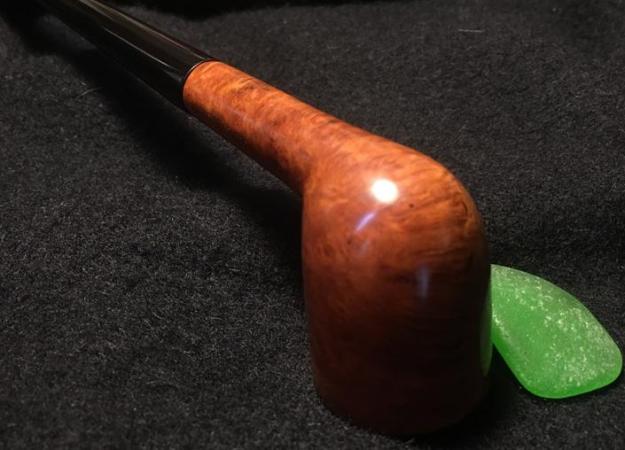
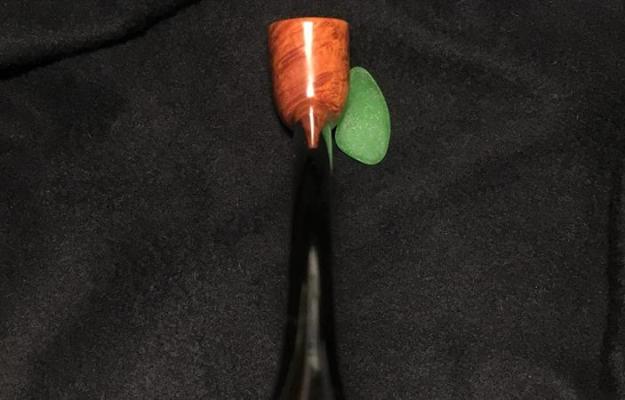
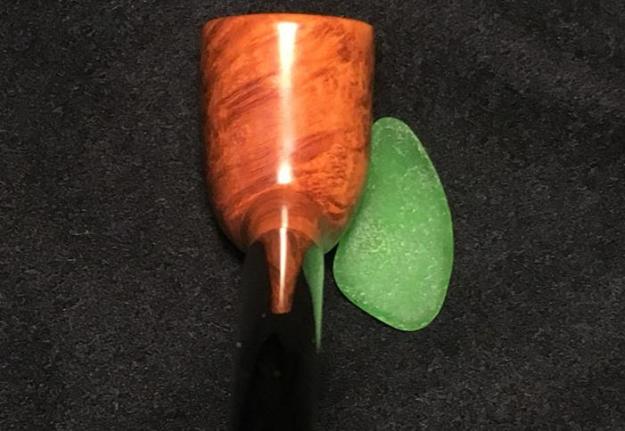
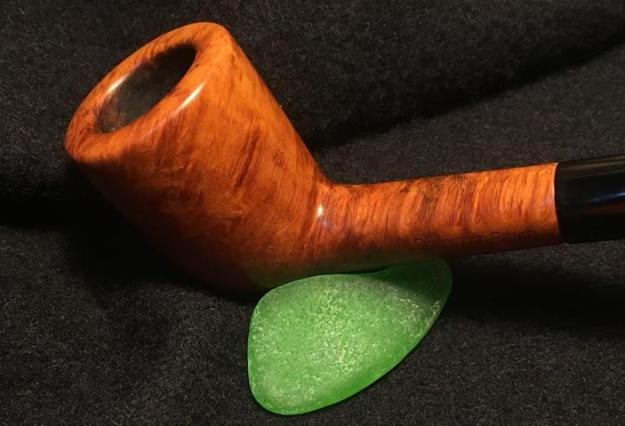
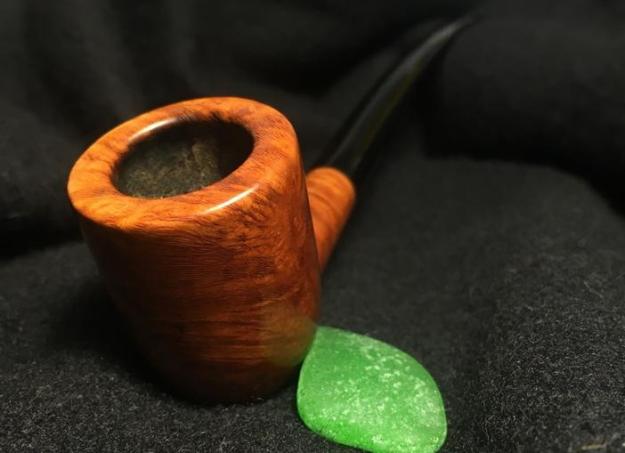
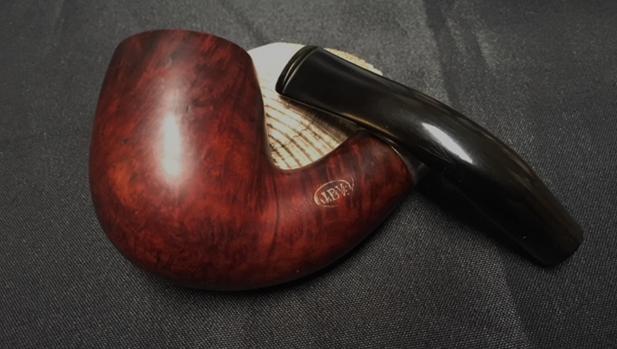
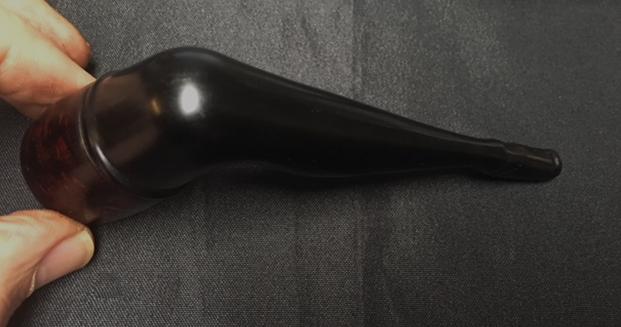
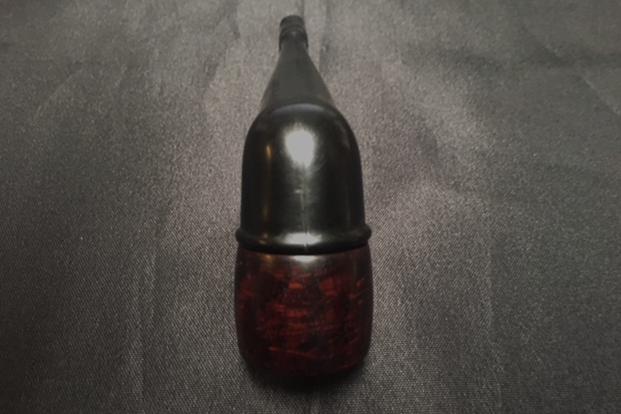
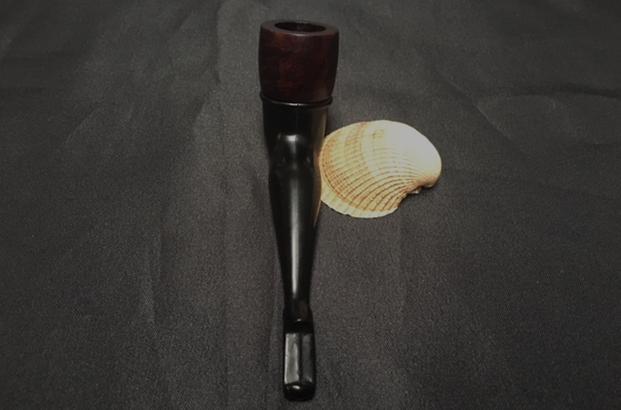
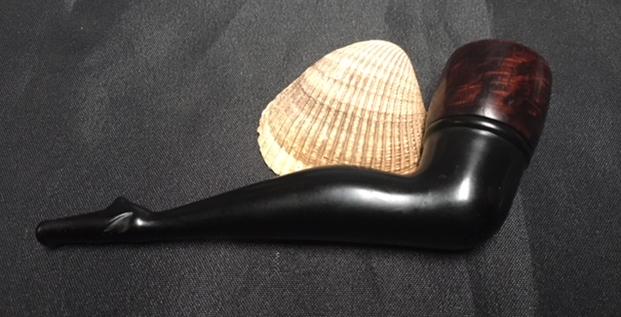
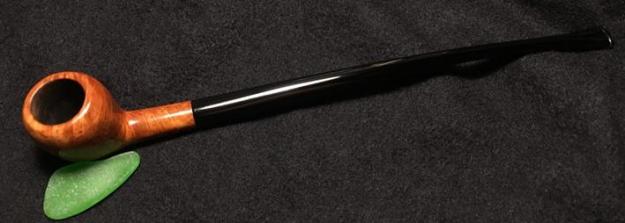
 The Third ‘Free Born’ Churchwarden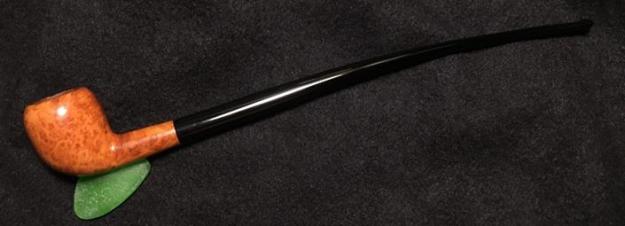
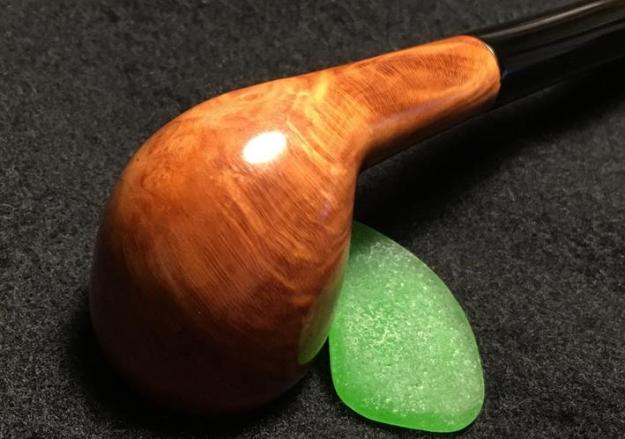
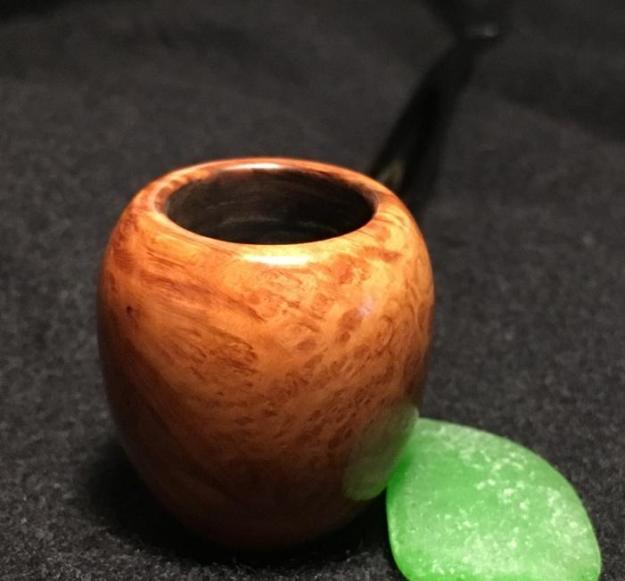
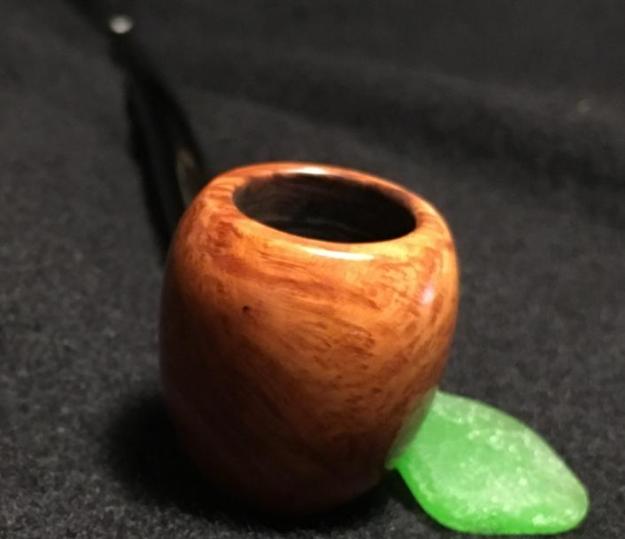

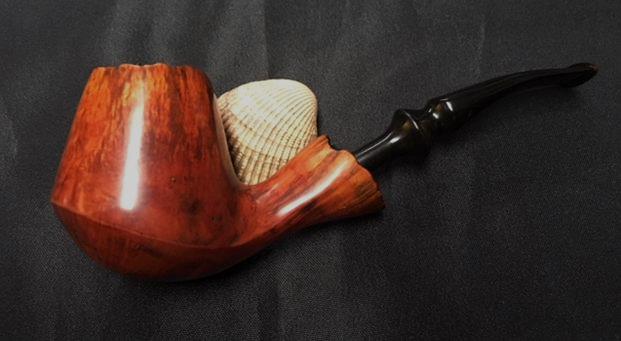
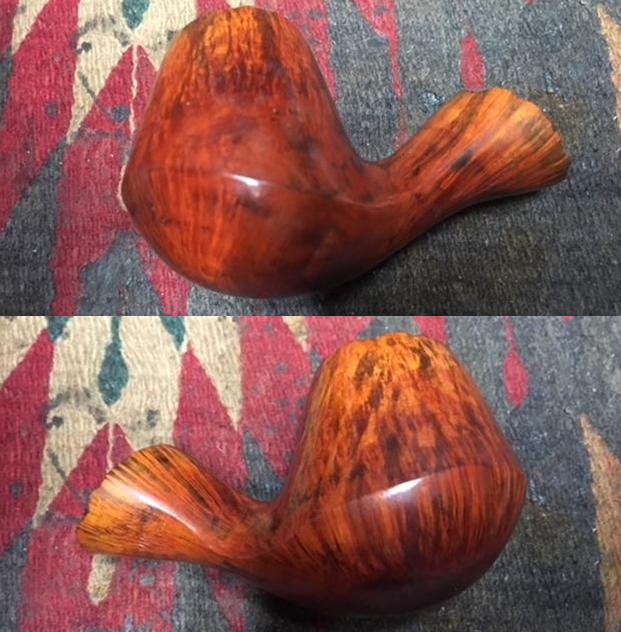
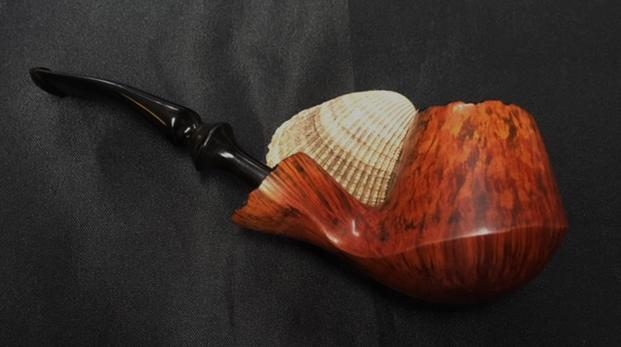
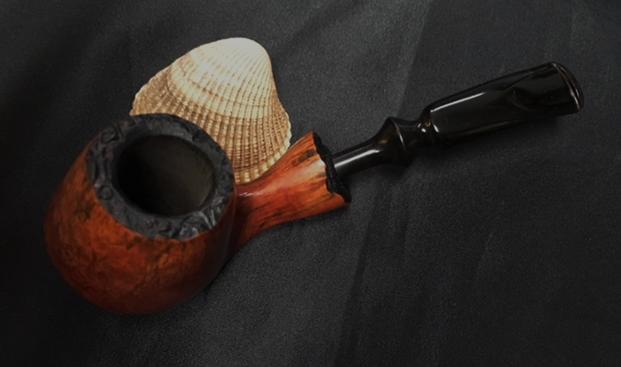
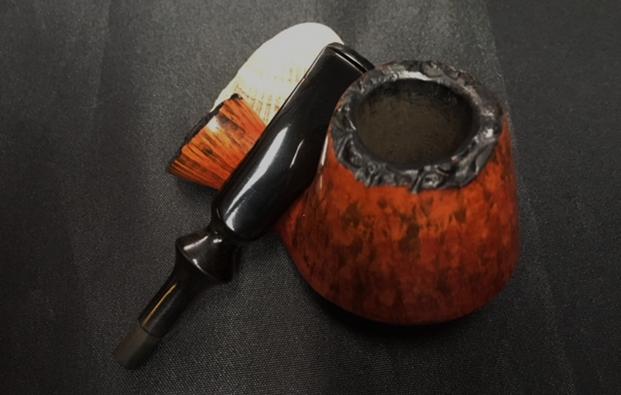
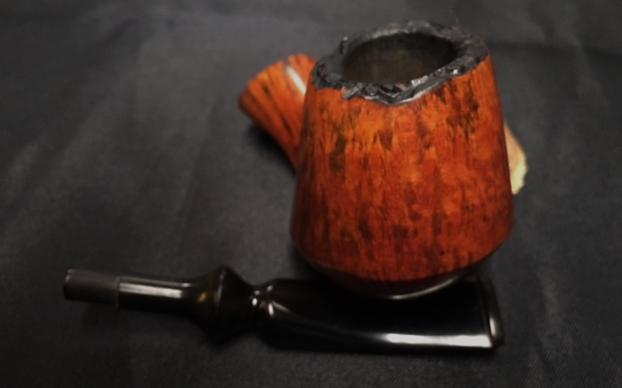
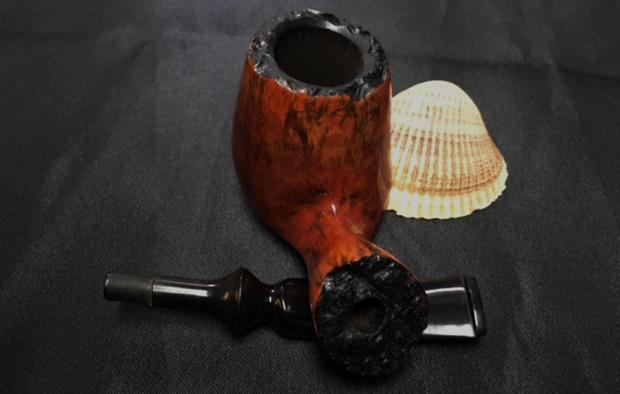
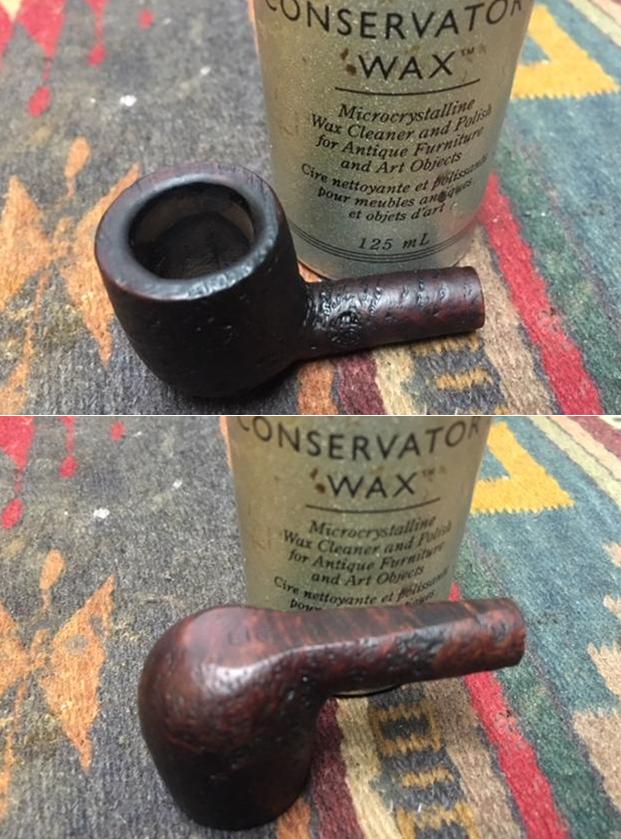
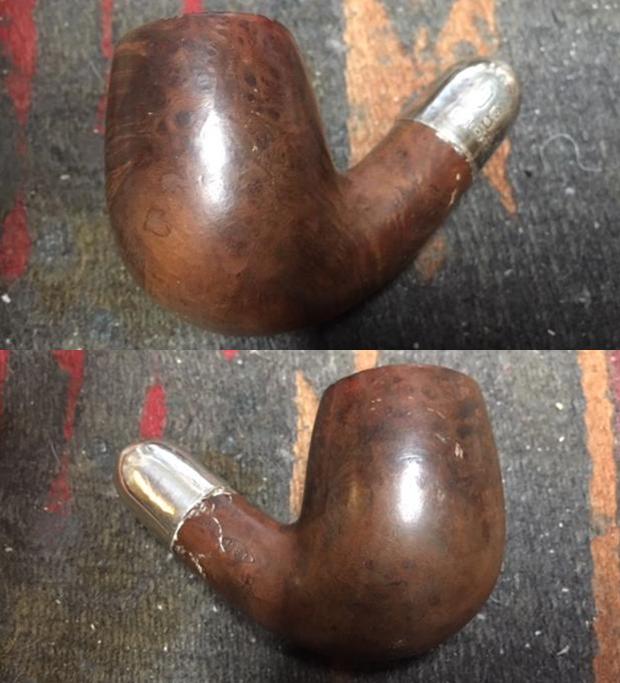
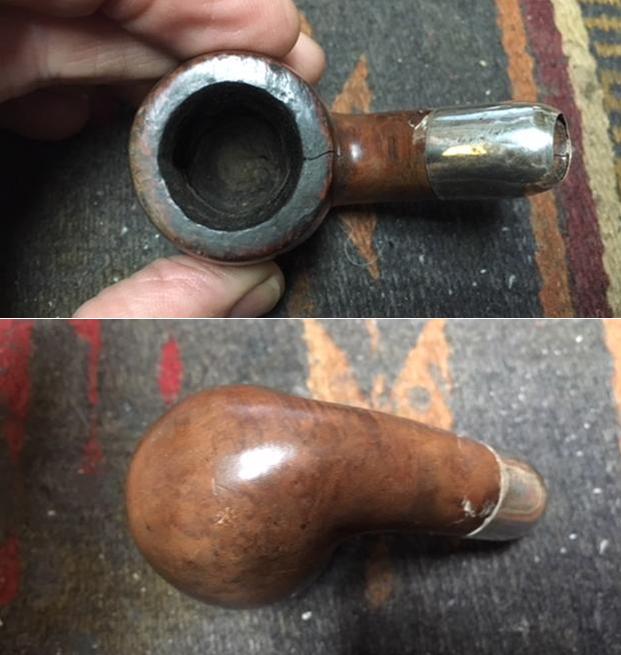
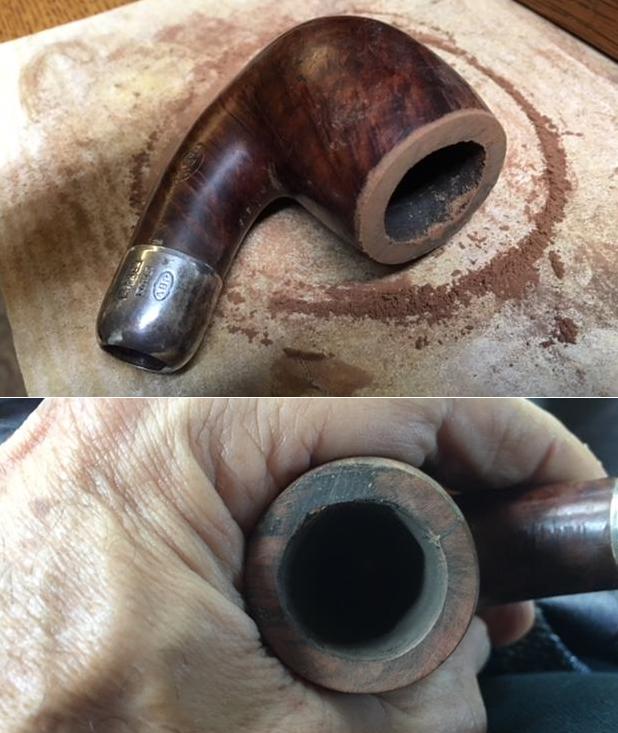
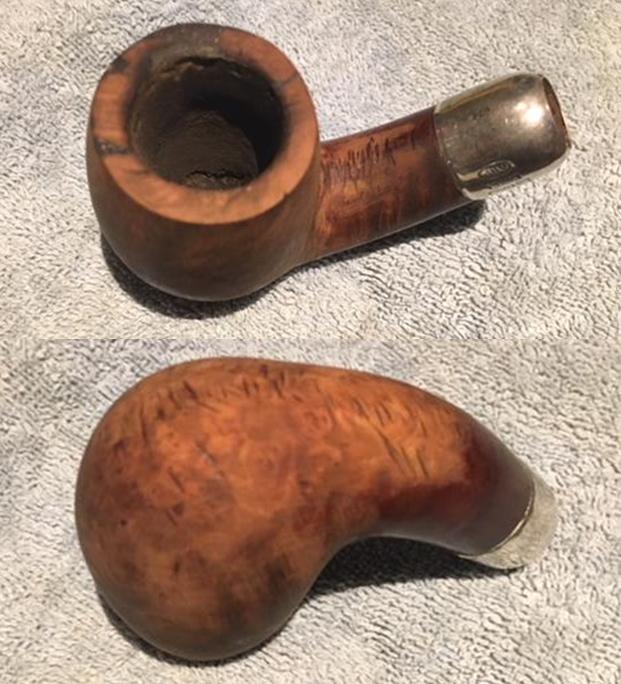
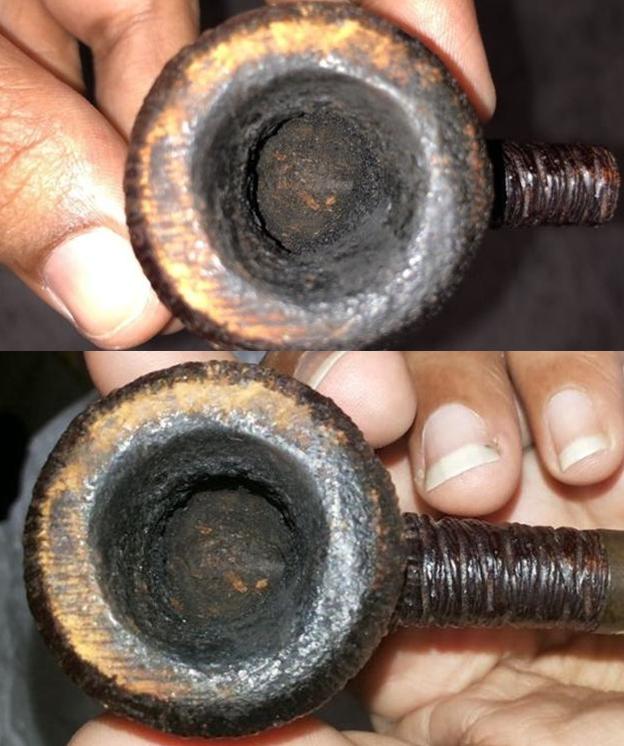
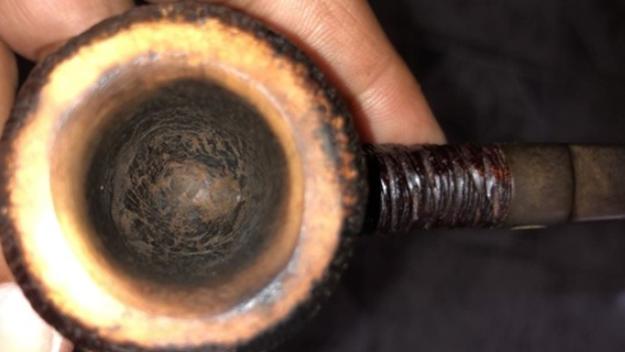
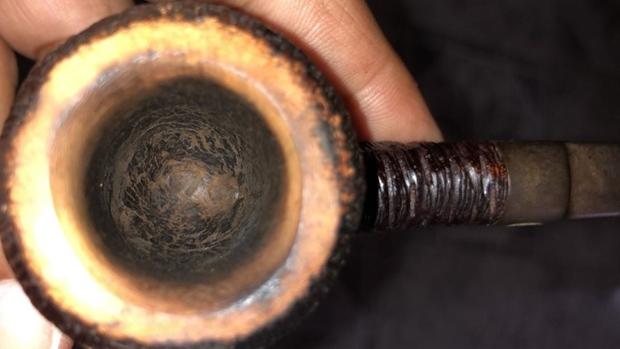
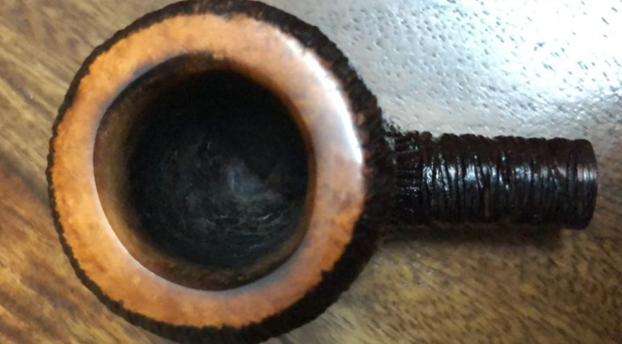
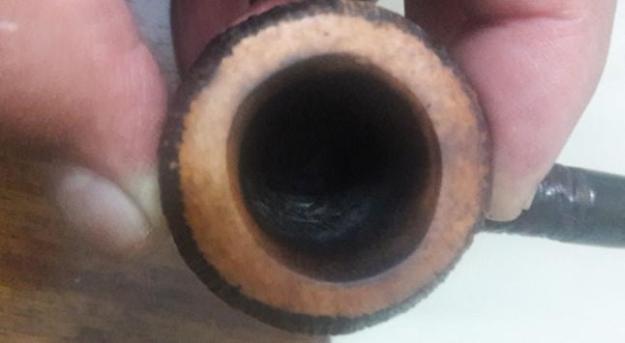
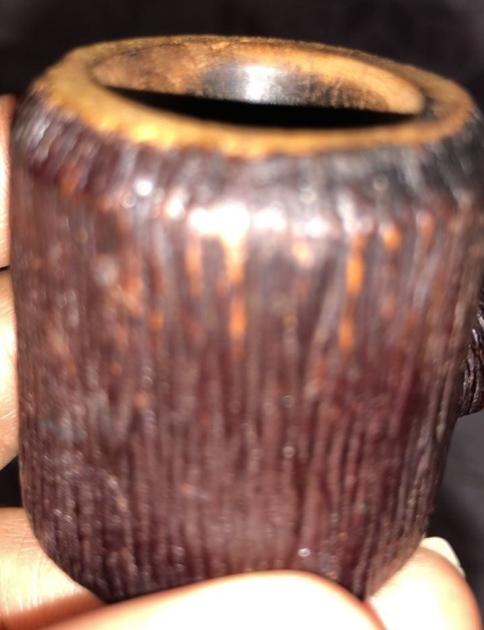
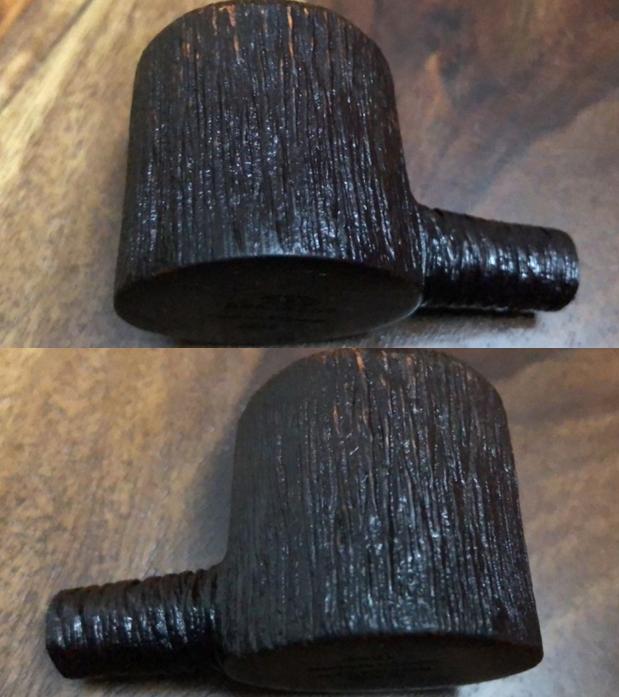
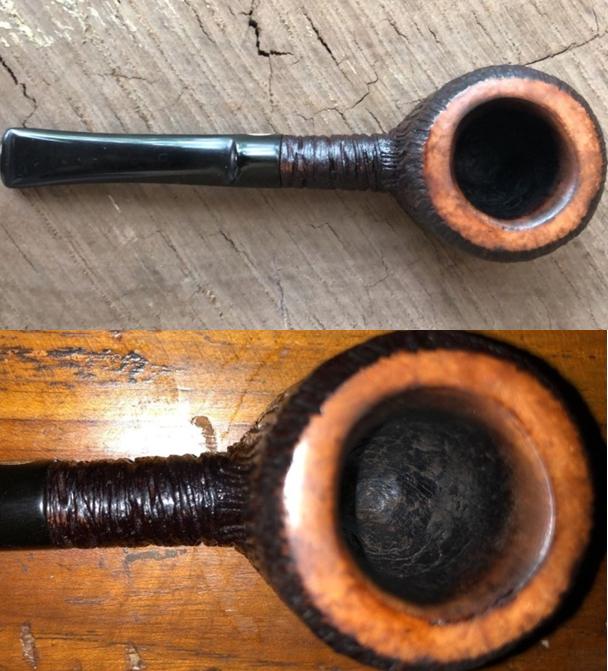
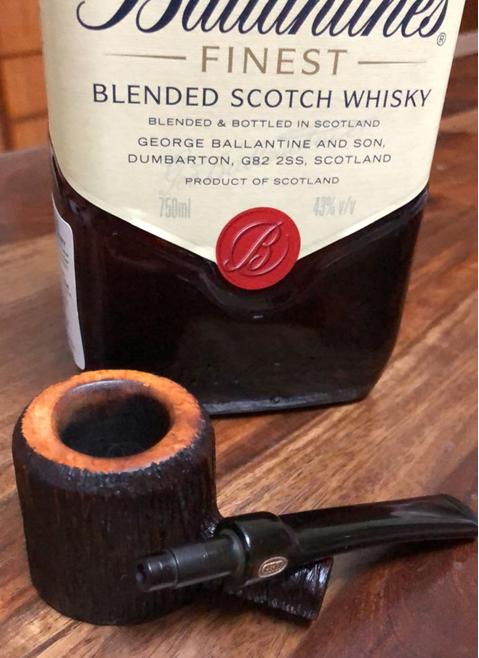
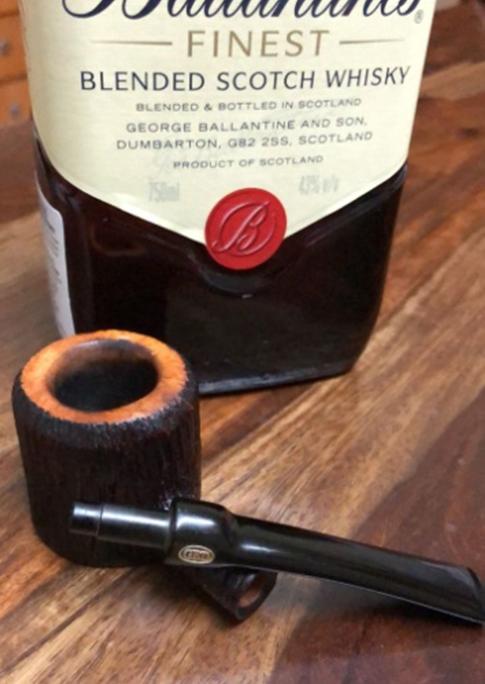
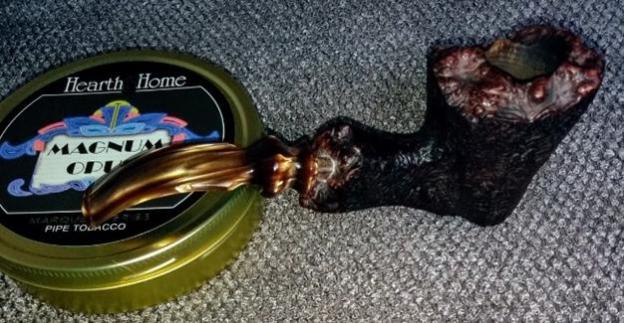
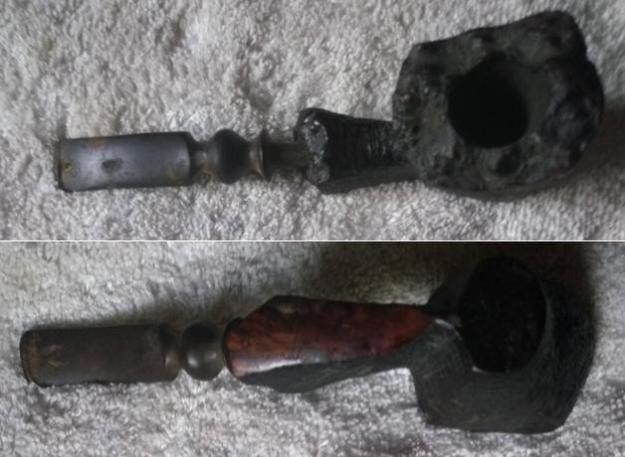
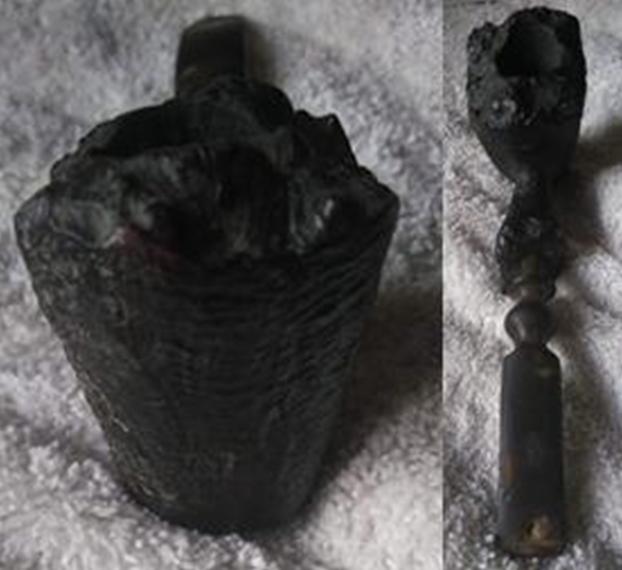
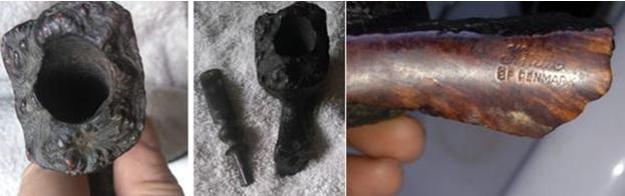
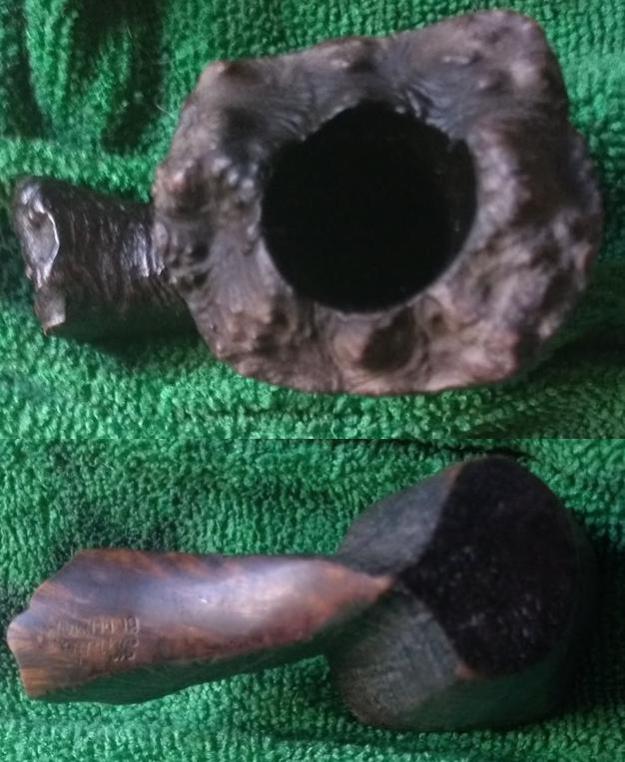
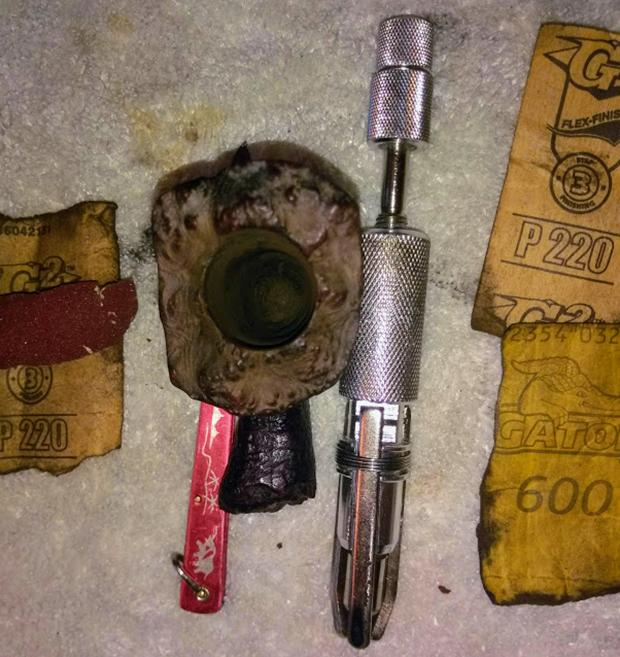
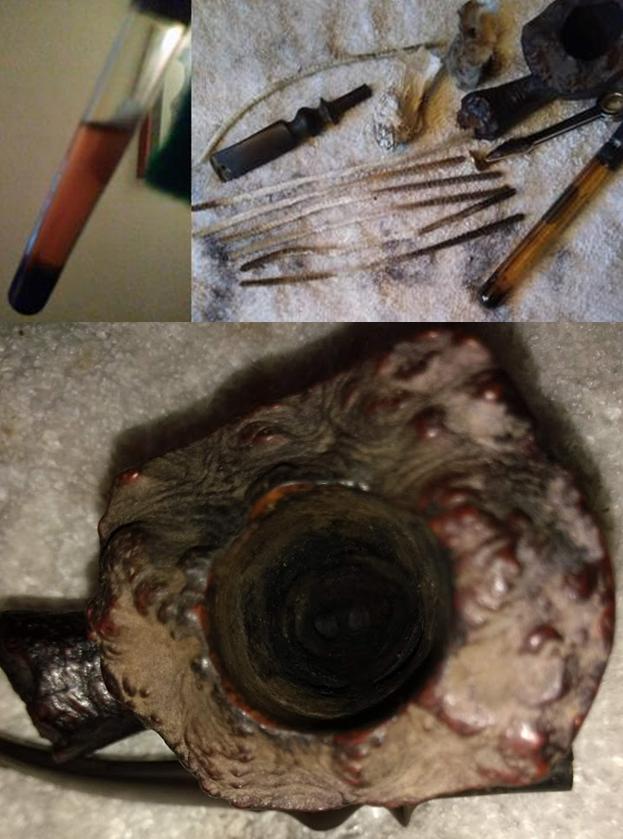
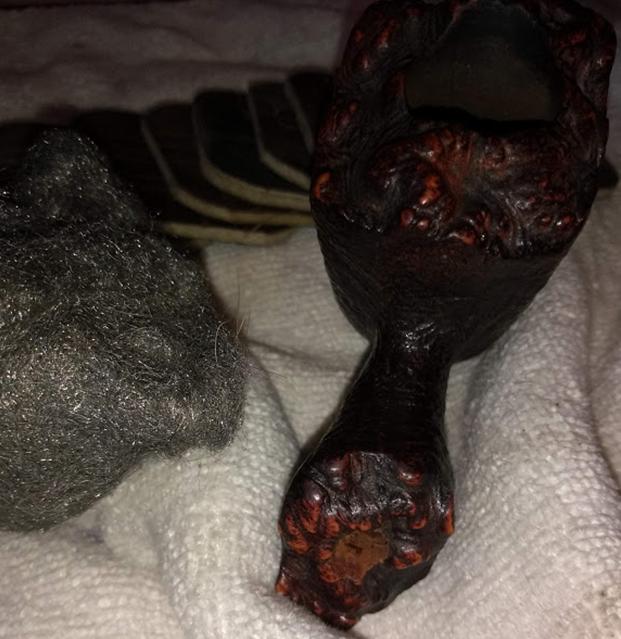
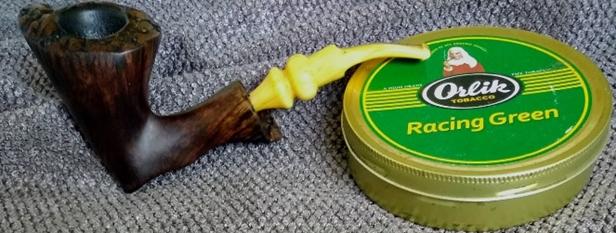
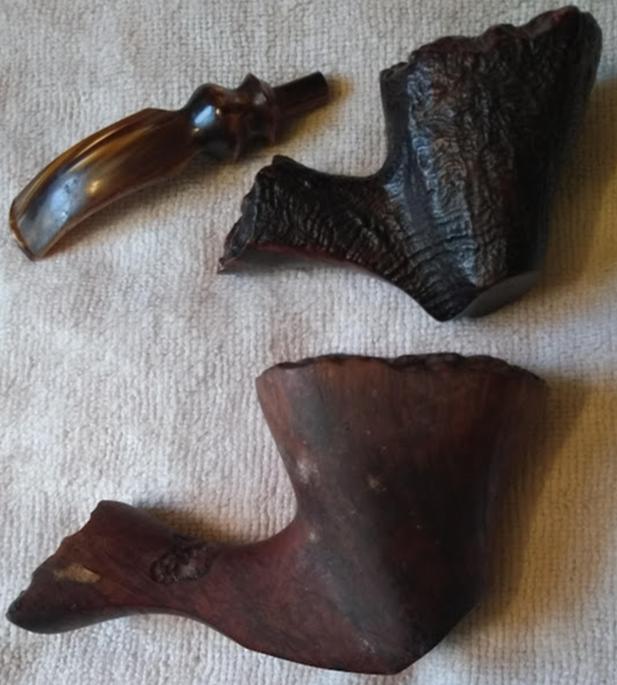
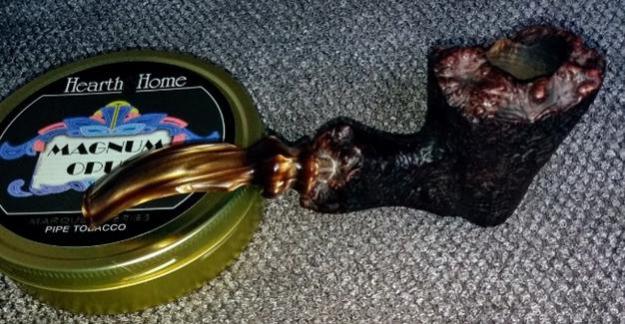
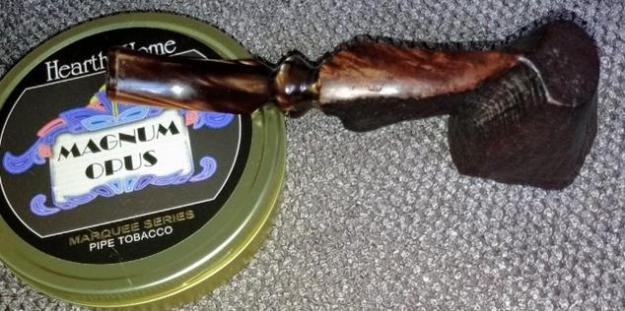
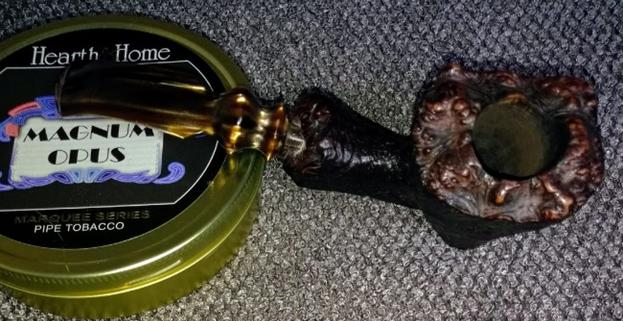
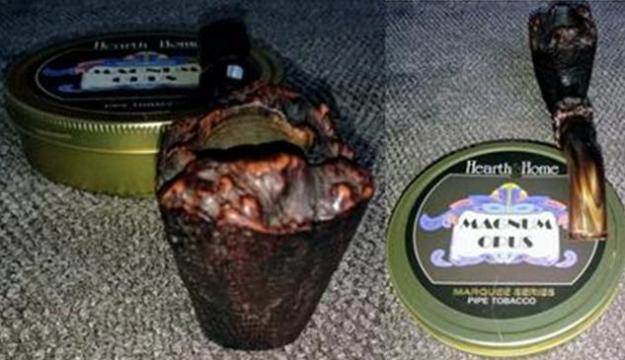
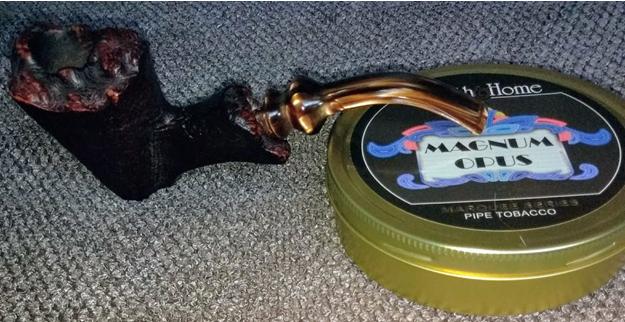
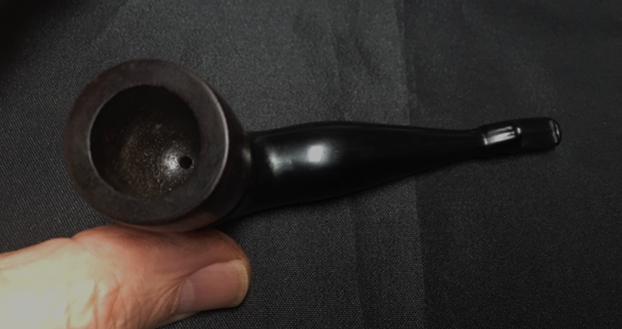
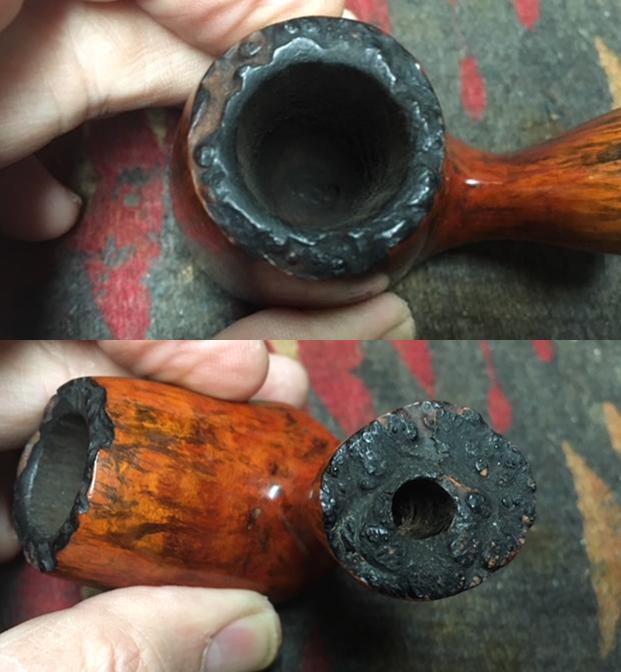
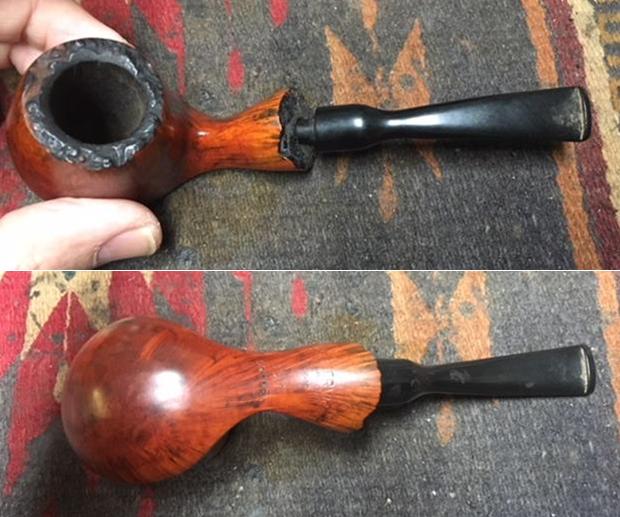
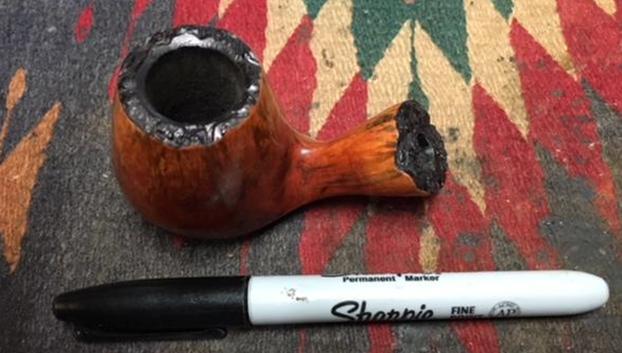
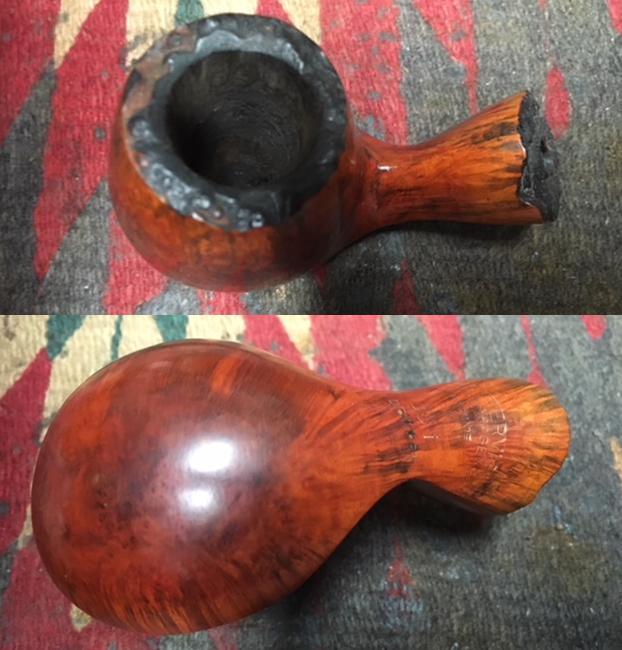 I took close up photos of the rim top and the shank end. I believe that the plateau “style” top of the rim was carved rather than natural. The shank end has a combination of carved finish and genuine plateau. The inside of the bowl has a thick cake around the bowl and some tar and oil on the top of the rim filling in the finish. Some of the original black finish was also worn off.
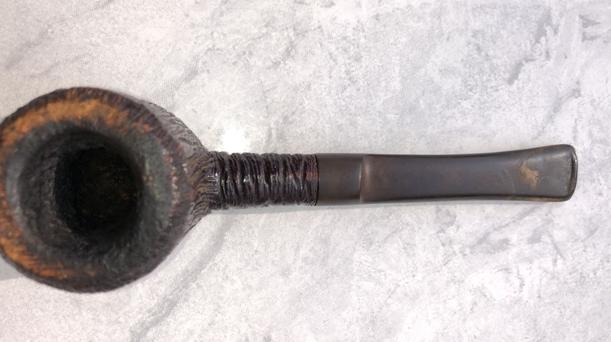
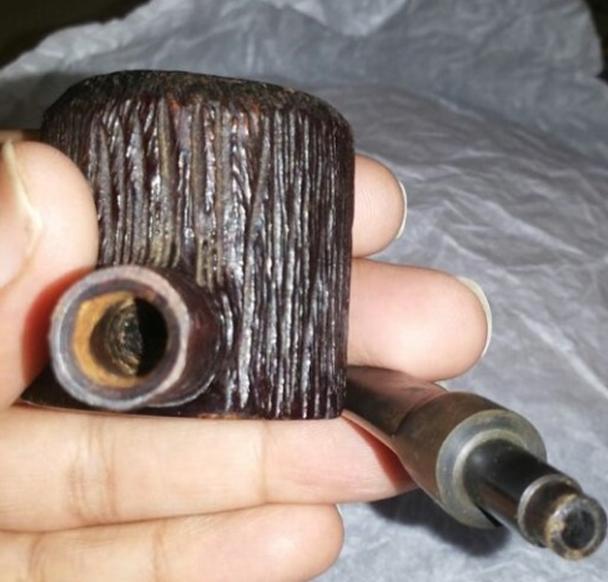
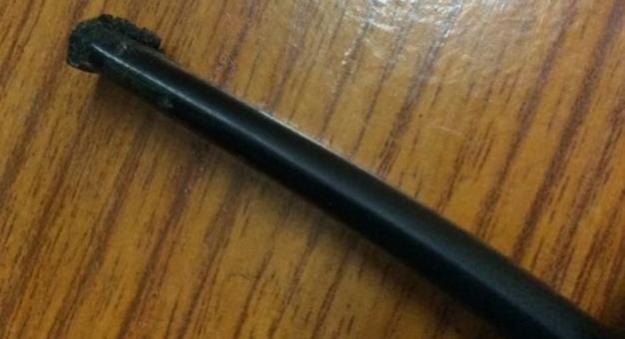
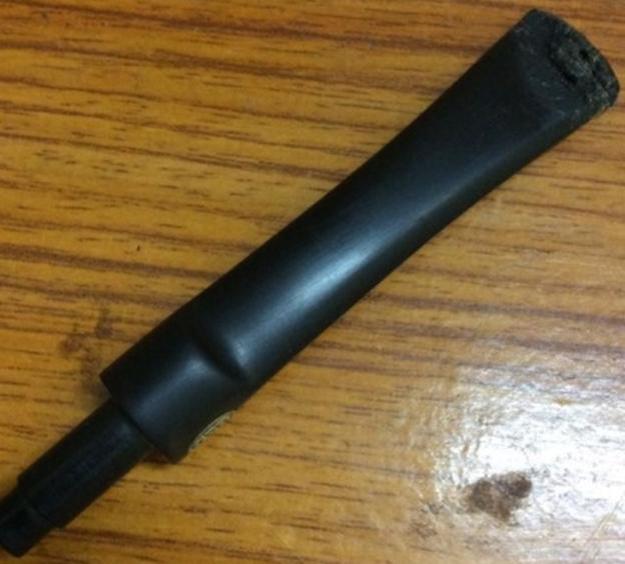
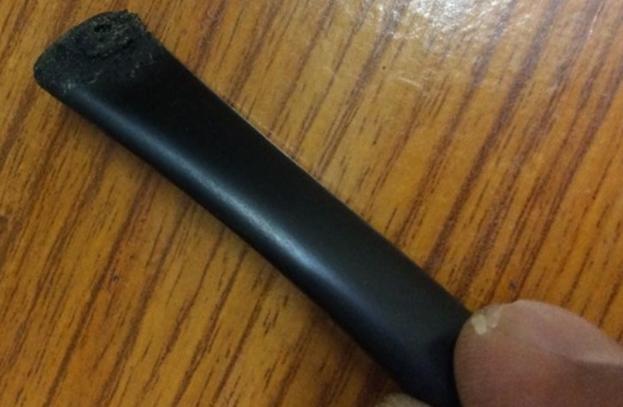
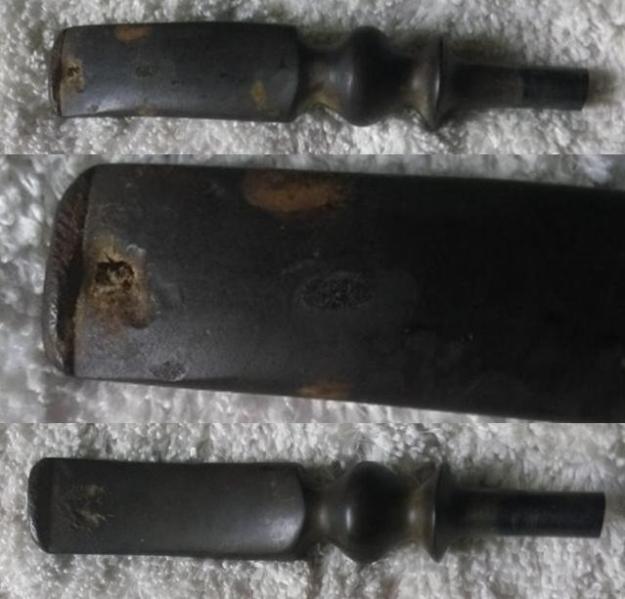
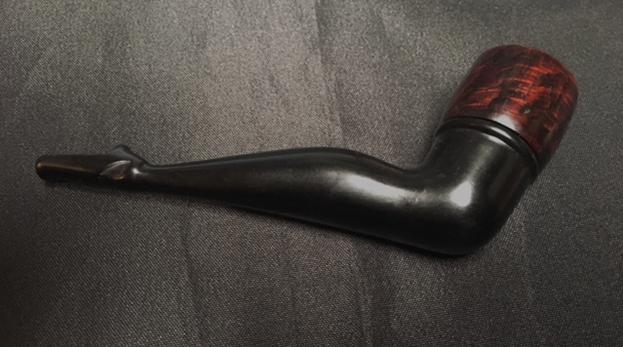
 I took photos of the pipe with the stem it had on the bowl when it had been found. It is a saddle stem made to fit flush against a rounded shank. It was not made for plateau style freehand shank ends.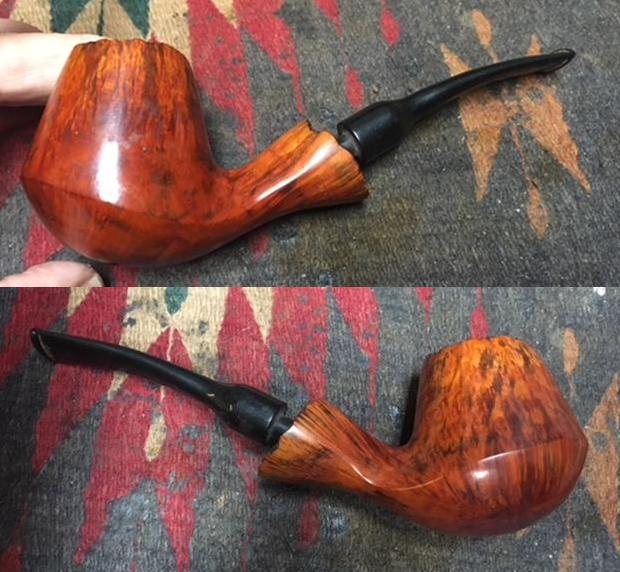
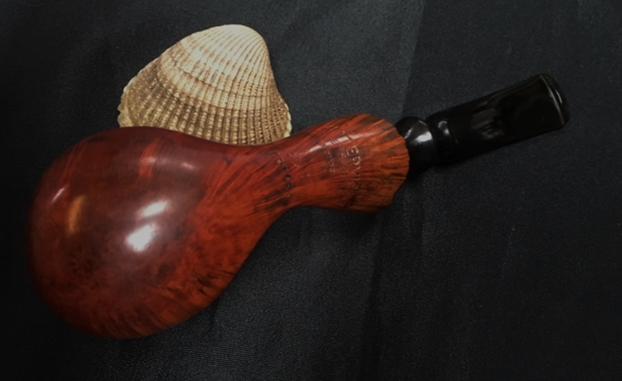
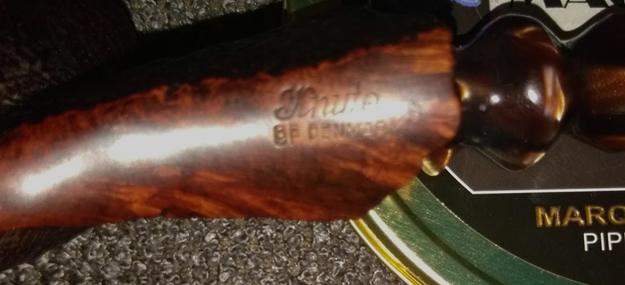
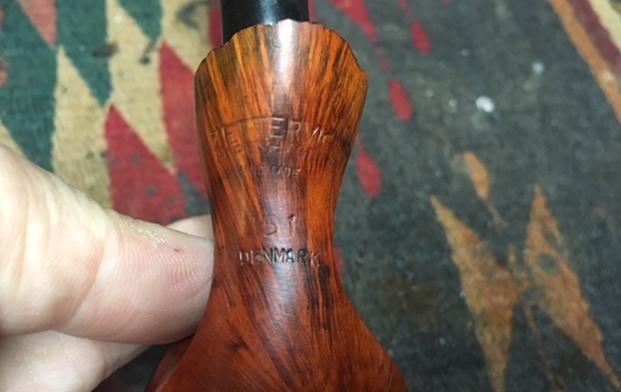
 I took a photo of the stamping on the underside of the shank. It is very clear and readable. The stamping is clearer than the photo shows.
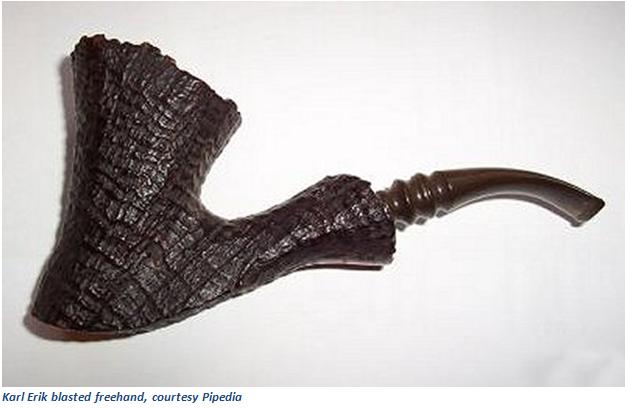
 I decided that I would look up some information on the Zettervig brand before I started the clean up on the pipe. I looked up information on two of my favourite sites. The first was Pipedia. Here is the link: https://pipedia.org/wiki/Zettervig. I quote in full:
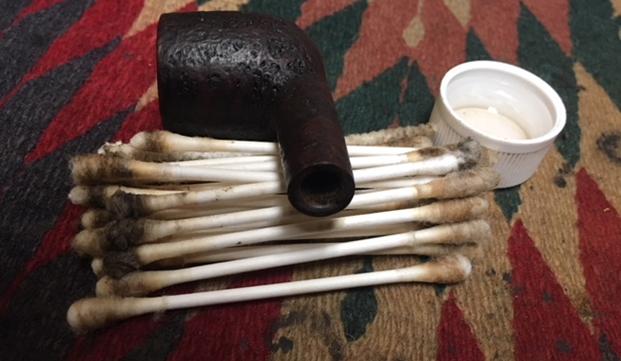
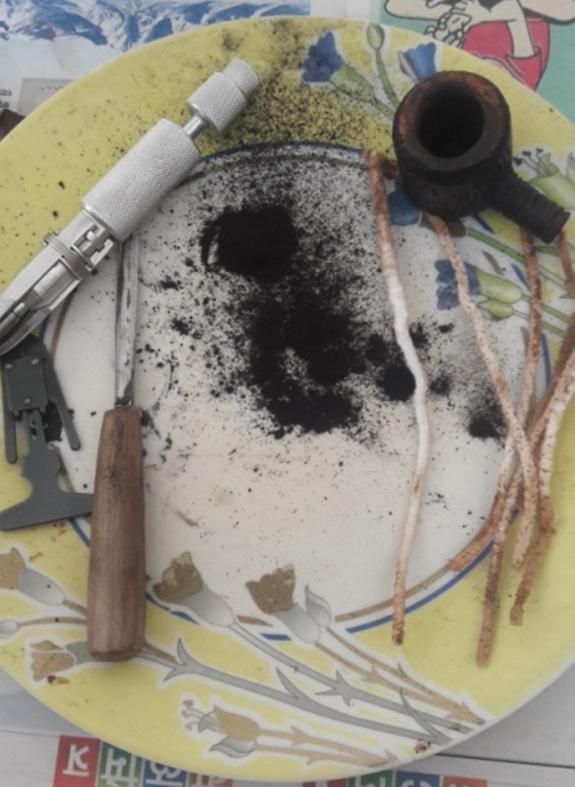
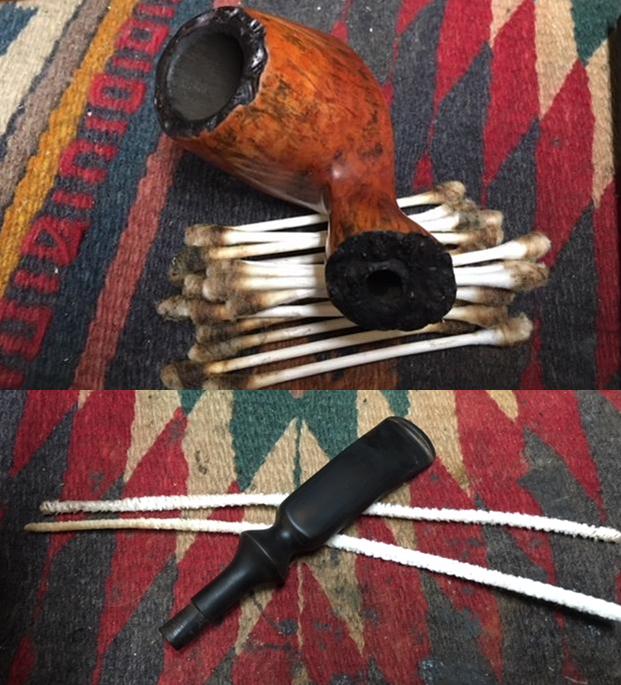
 I started my clean up on the bowl with reaming and then cleaning out the airway to the bowl and the inside of the mortise. I reamed the bowl with a Savinelli Fitsall Pipe Knife to remove the cake on the walls. I used a dowel wrapped with sandpaper to sand down the walls on the bowl. I cleaned out the airway with alcohol (99% isopropyl), pipe cleaners and cotton swabs until they were clean on the inside.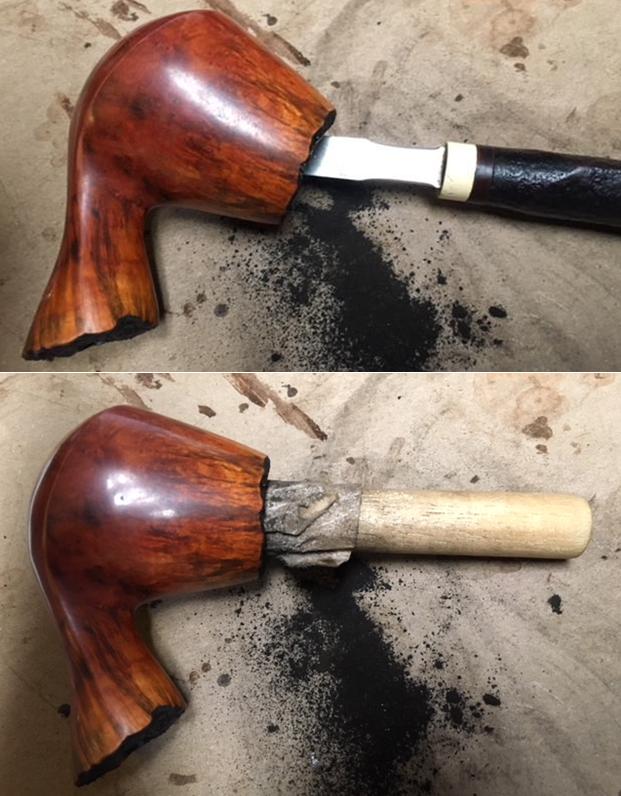
 I tried to wipe down the bowl with acetone to remove the shiny coat. It did not even begin to permeate the surface. I scrubbed the surface hard to try to break through the finish. It did not work. I sanded the finish with micromesh sanding pads to break the topcoat on the finish down. I wet sanded with 1500-2400 grit micromesh pads. I dry sanded it with 3200-12000 grit pads. I wiped it down after each pad with a cotton pad and acetone. That combination of sanding pads and acetone worked to break down the finish.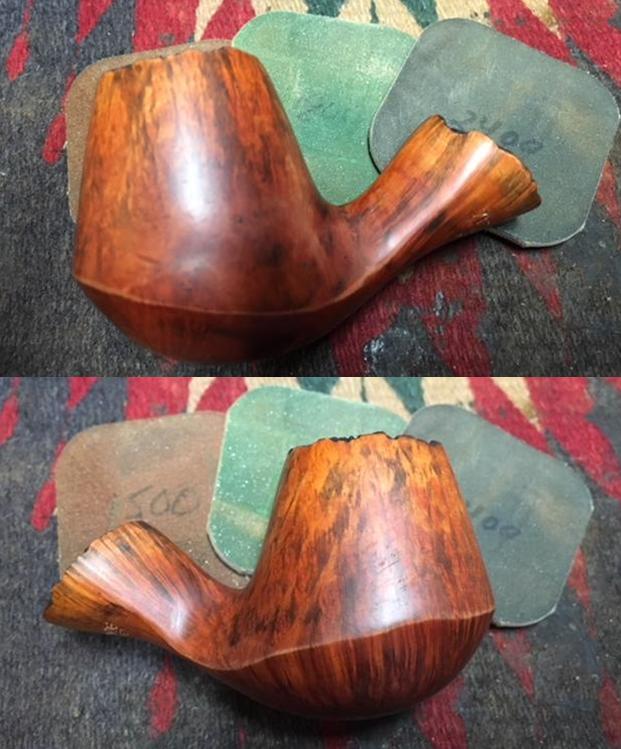
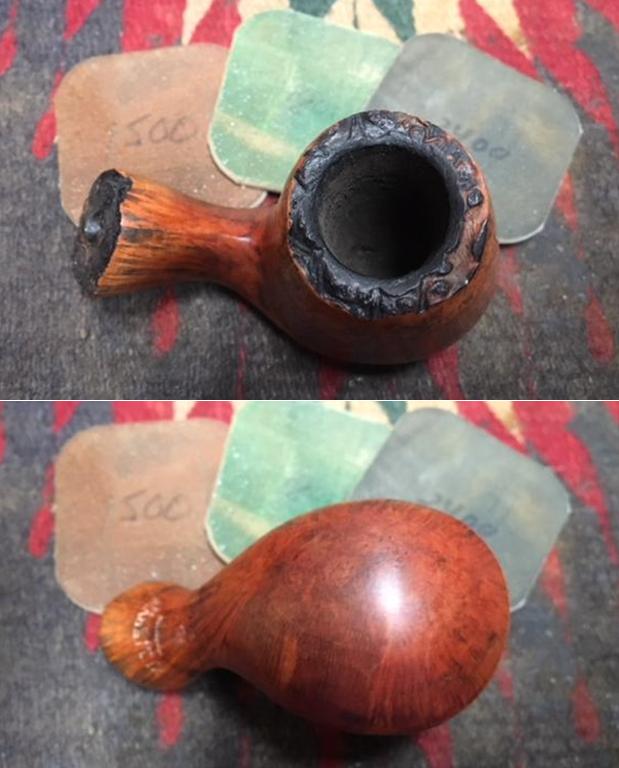
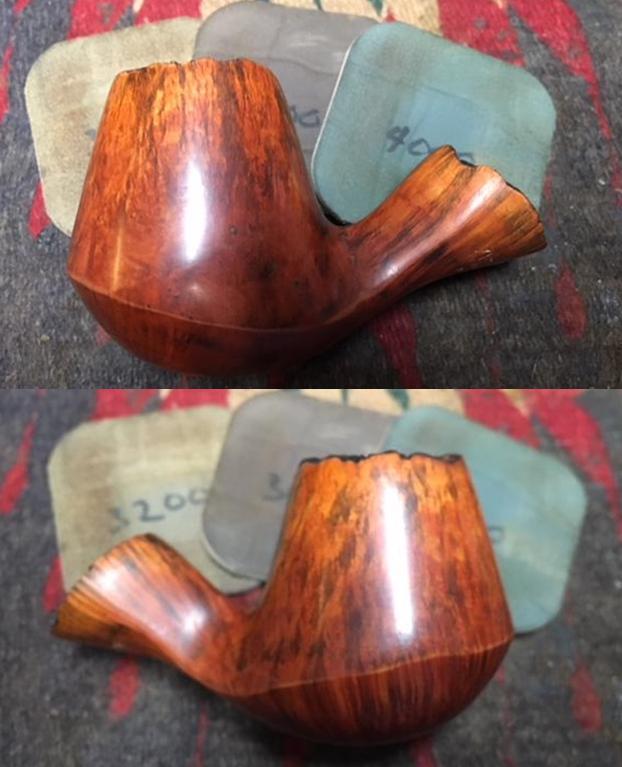
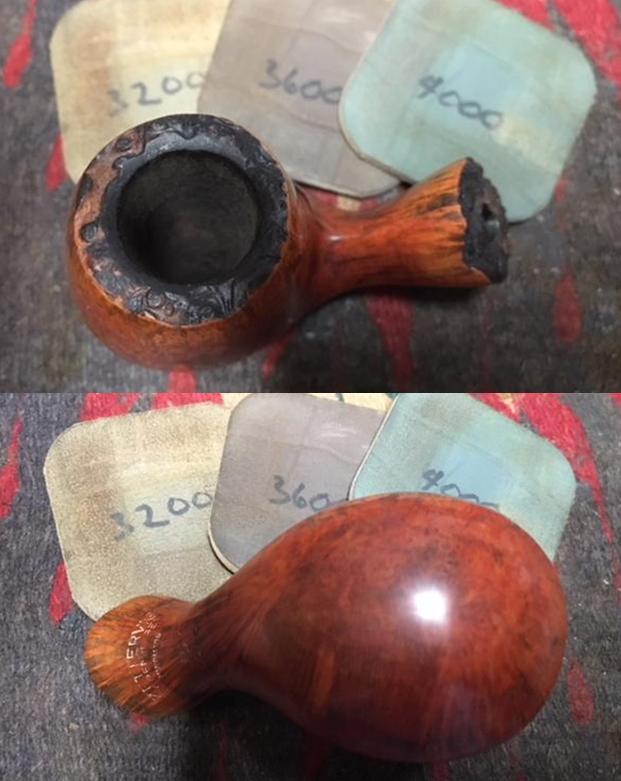
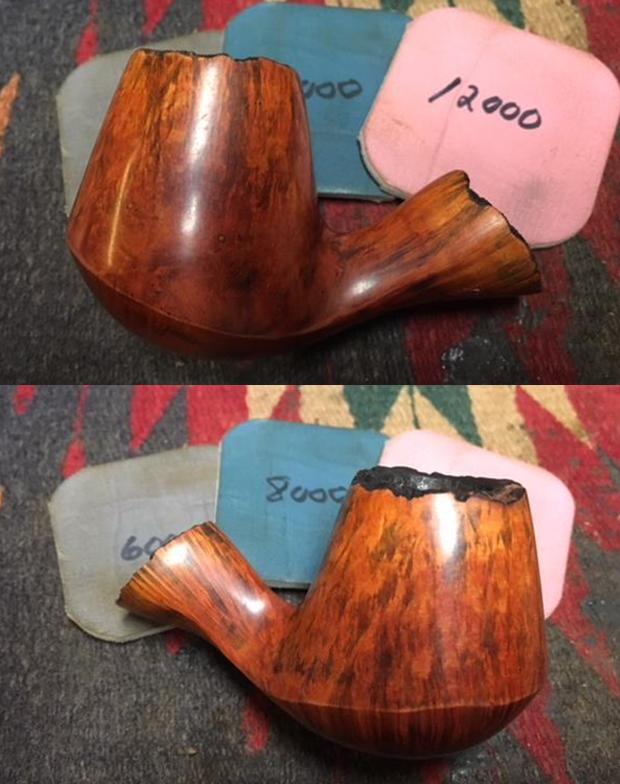
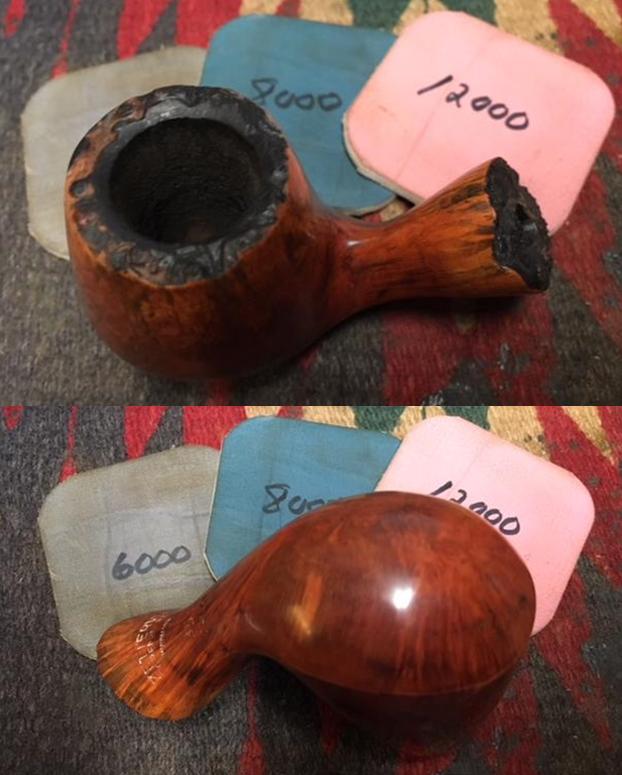 I used a black Sharpie Pen to restain the rim top and the shank end. It was originally black and I have found over the years that the black pen matches the colour of the original stain.
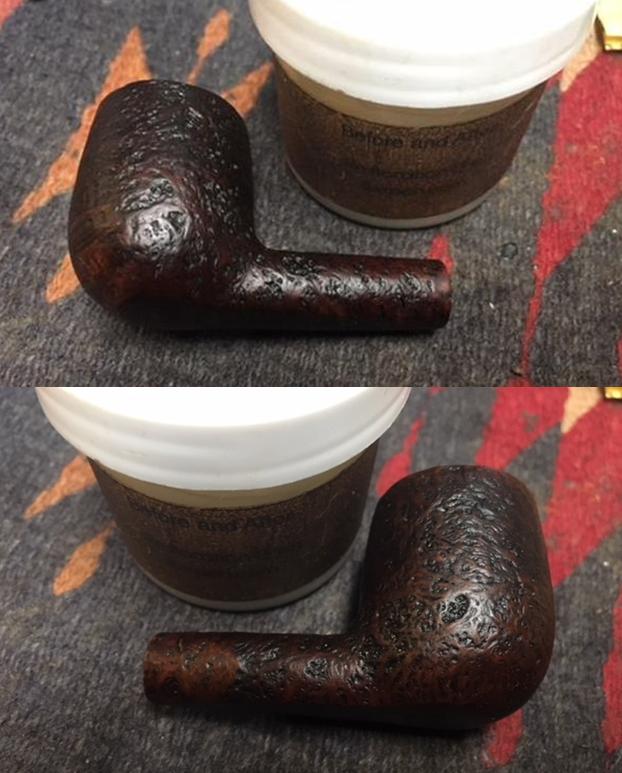
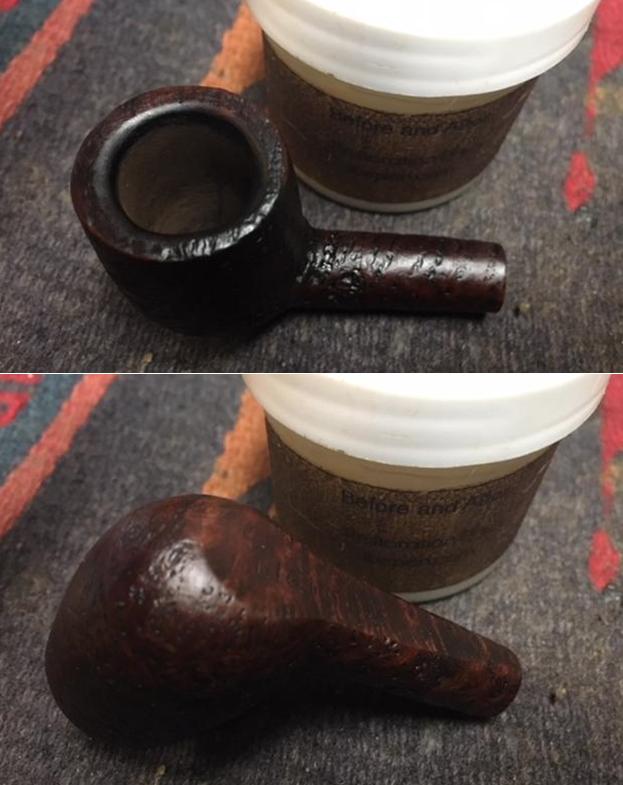
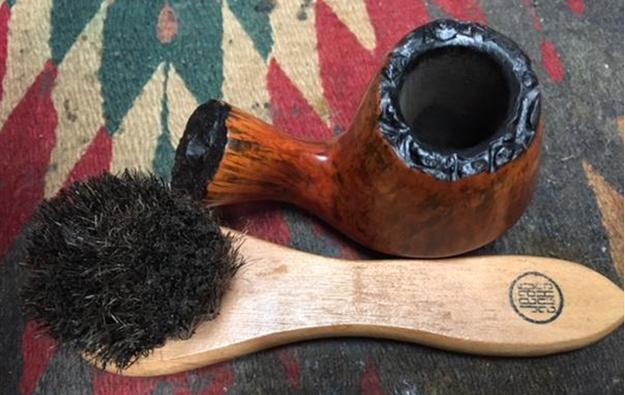
 I rubbed down the briar with Before & After Restoration Balm. I worked it into the finish and the plateau style rim and shank end with my fingertips and finished working it in with a shoe brush. The balm worked to clean, preserve and enliven the surface of the finish on the small bowl. The briar was coming alive so I took some photos of the pipe at this point.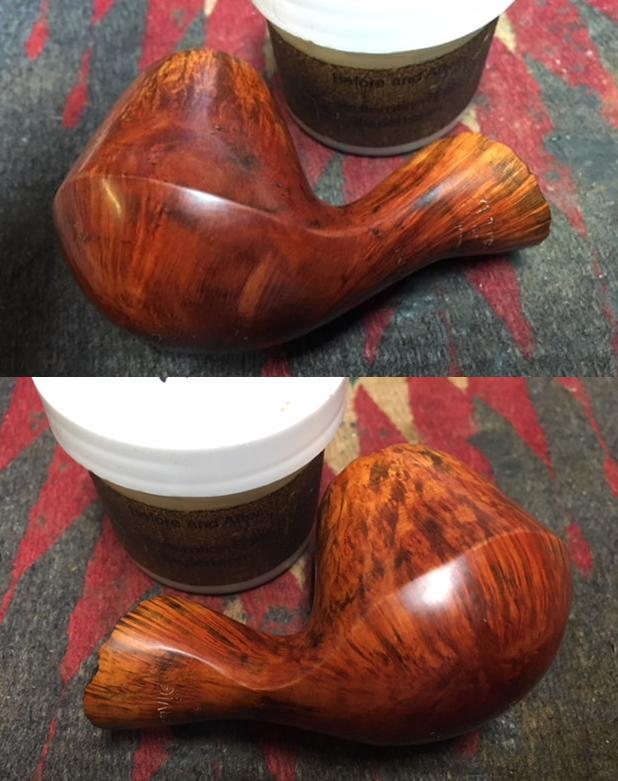
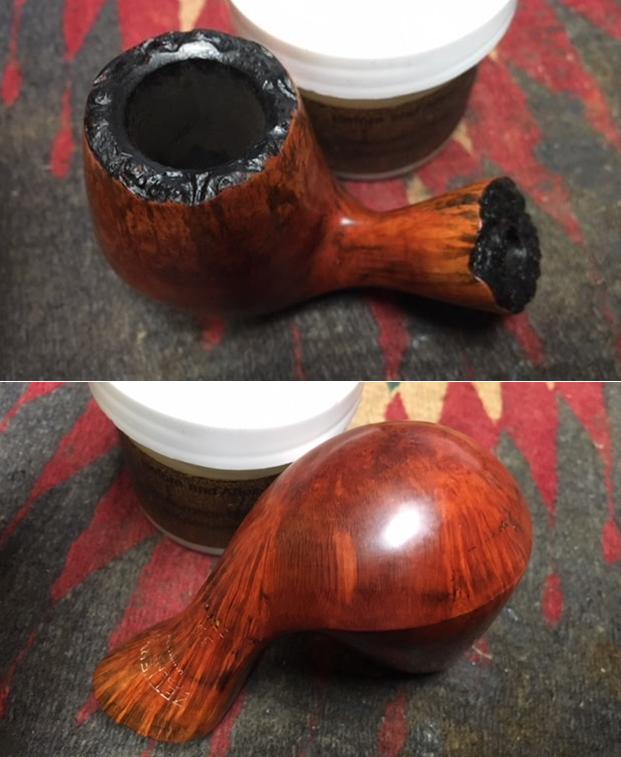 I buffed the plateau style rim top and shank end with a horsehair shoe brush to give it a shine.
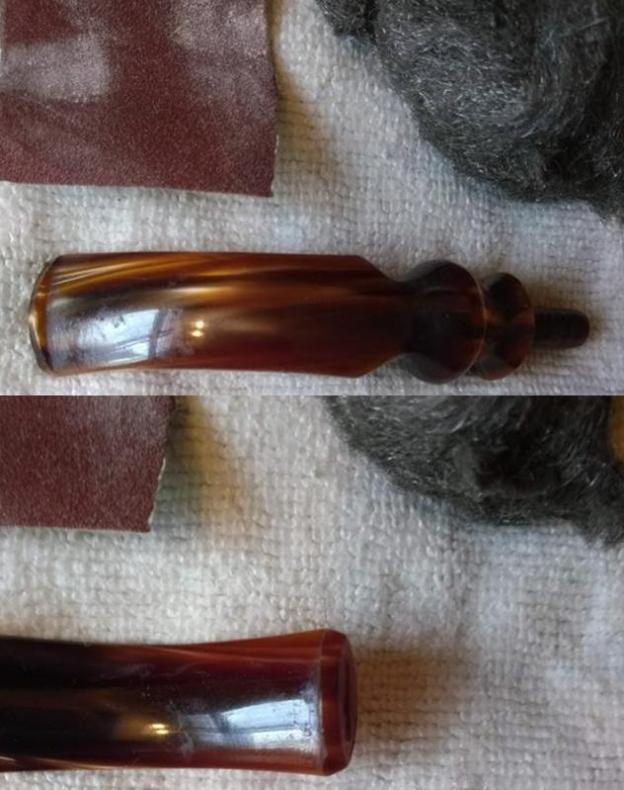
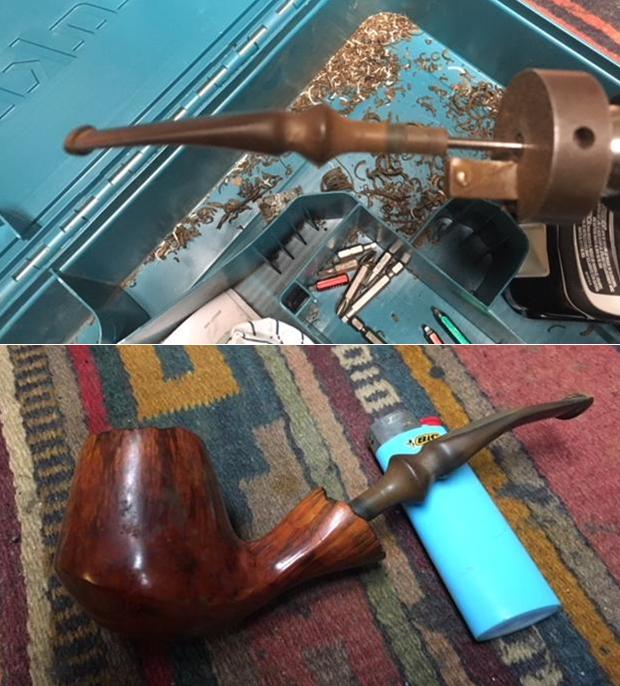
  I went through my can of stems and found one that would work well on the freehand style Zettervig bowl. I had one was from a freehand pipe. I turned the end of the tenon down with the PIMO tenon turning tool. I did not need to remove too much material from the tenon so it did not take too long. Once I had turned it I sanded it smooth with a piece of sandpaper then tried it in the pipe for the fit and the look. It looked good but needed to be bent a little to follow the low of the bowl. I heated it with a Bic lighter until the vulcanite softened then bent it slightly to match the flow of the bowl.
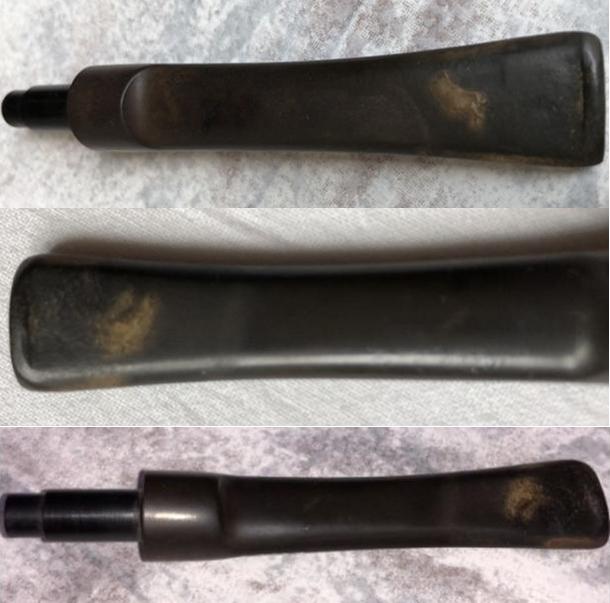
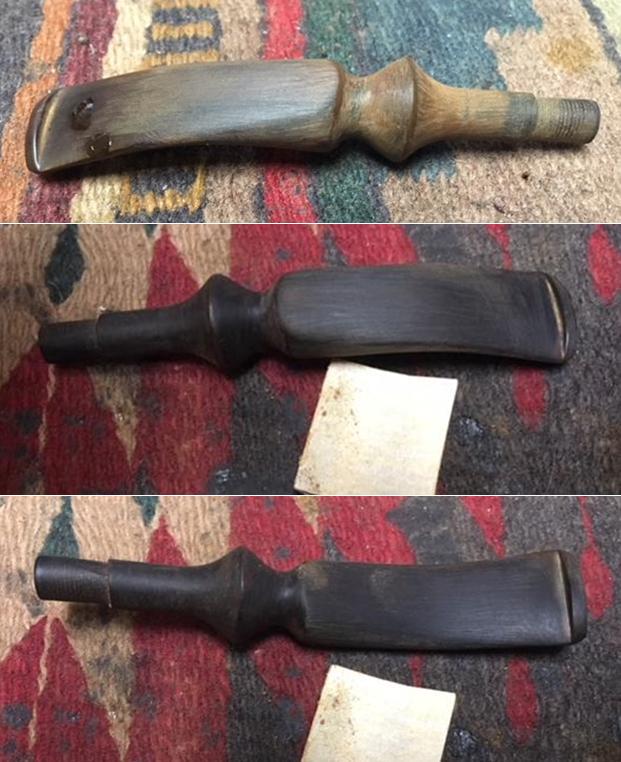
 The stem had two dents in the top surface. There was also some heavy oxidation in the vulcanite. I cleaned the areas around the button and filled in the dents with clear super glue. When the repair cured I sanded the repairs and the oxidation with 220 grit sandpaper. I folded the paper and worked in the grooves turned areas of the stem.
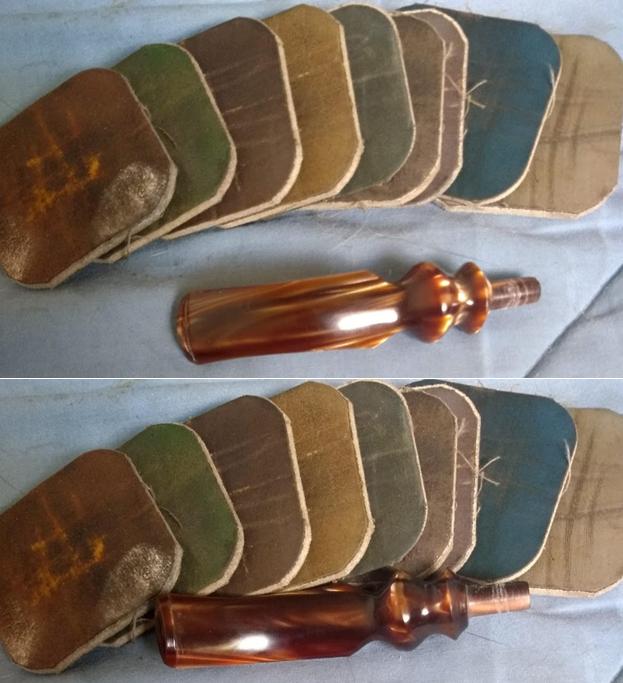
 I polished the stem with micromesh sanding pads – wet sanding with 1500-2400 grit pads and dry sanding with 3200-12000 grit pads. I wiped the stem down with Obsidian Oil between each sanding pad.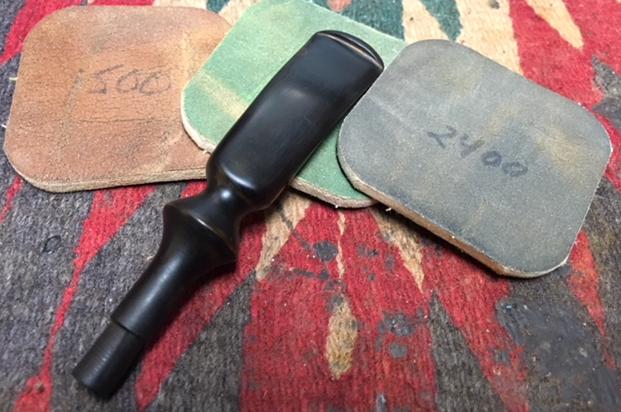
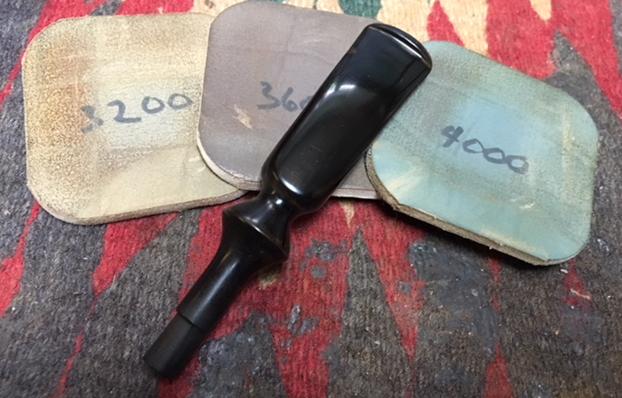
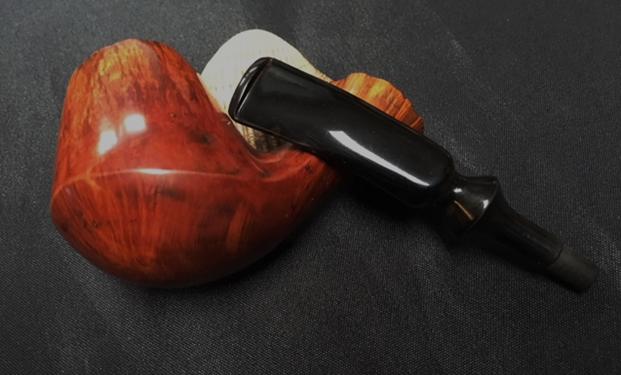
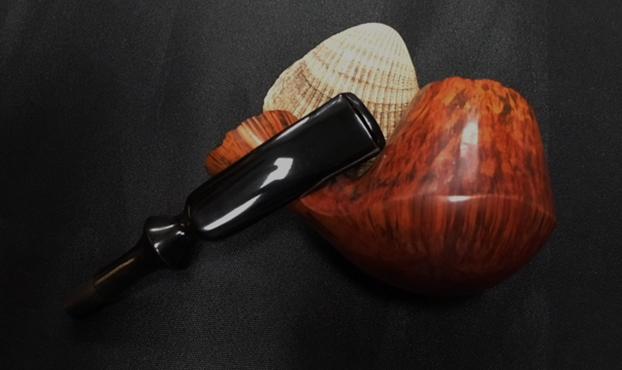
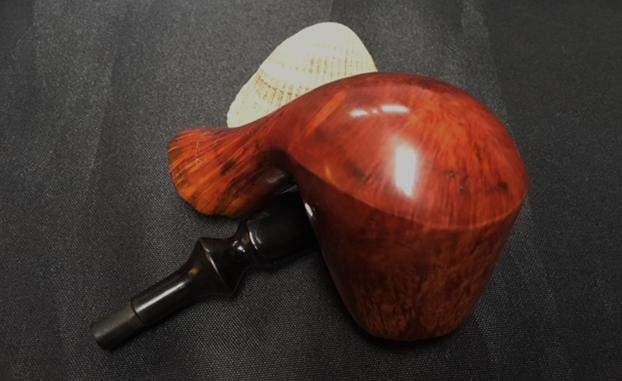
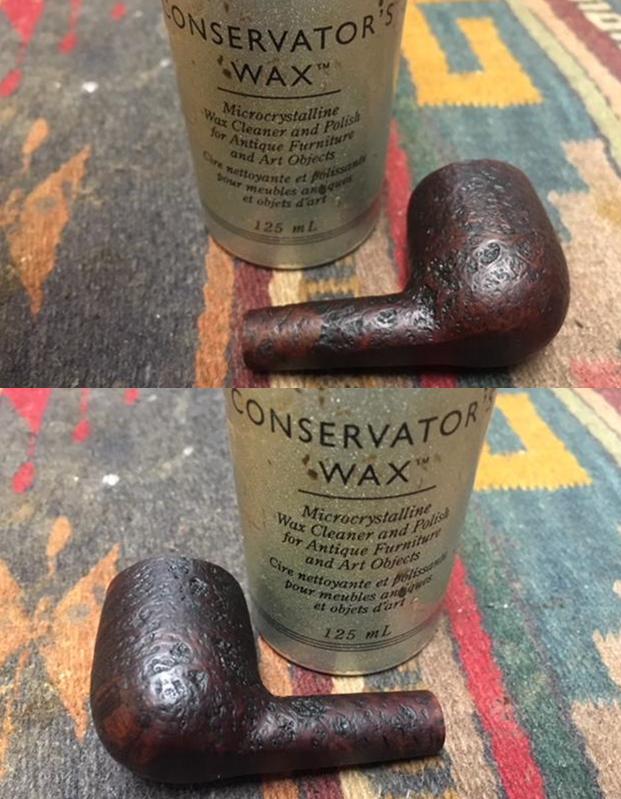
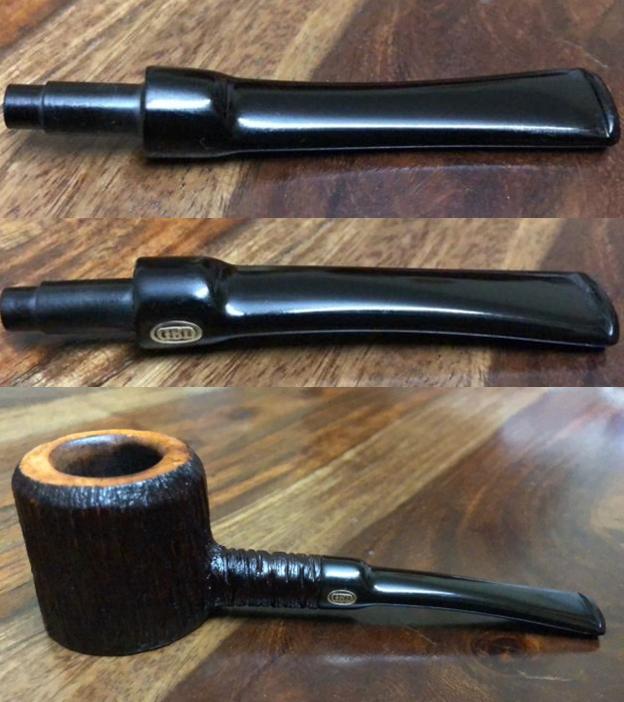
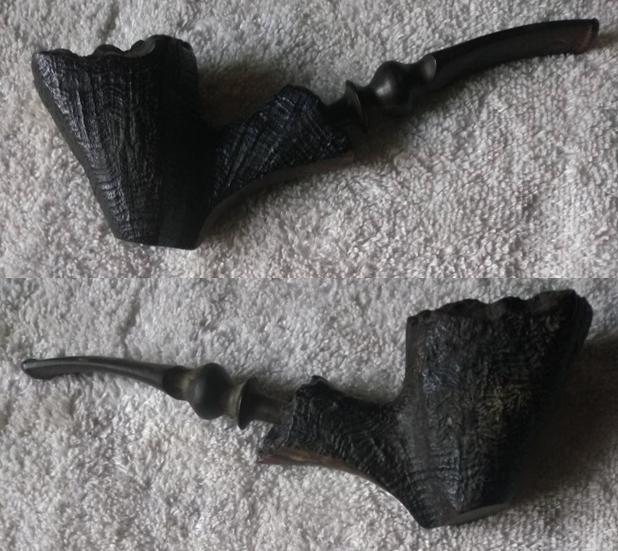
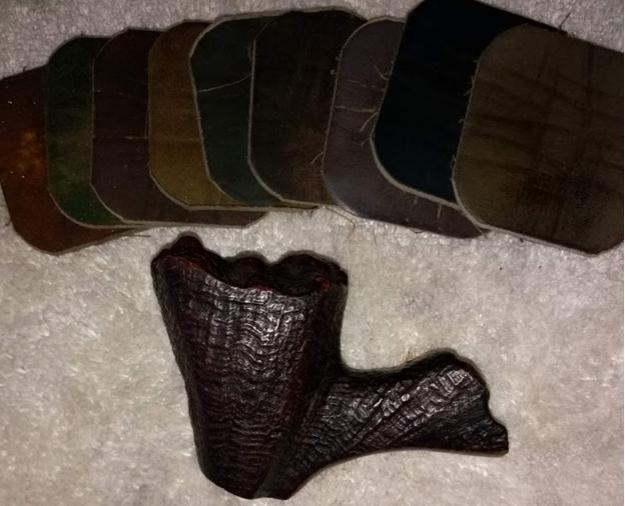
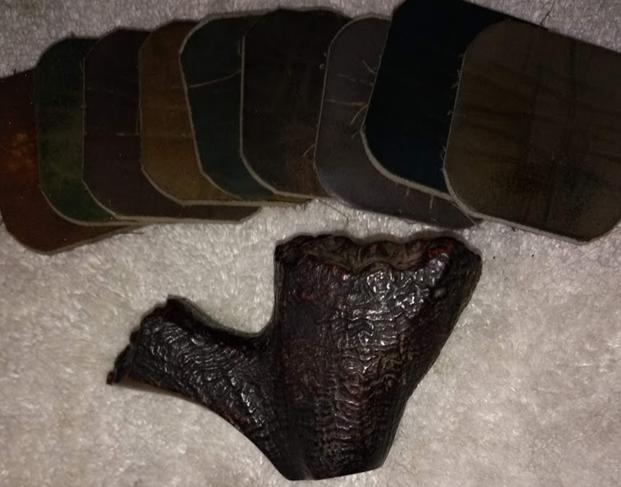
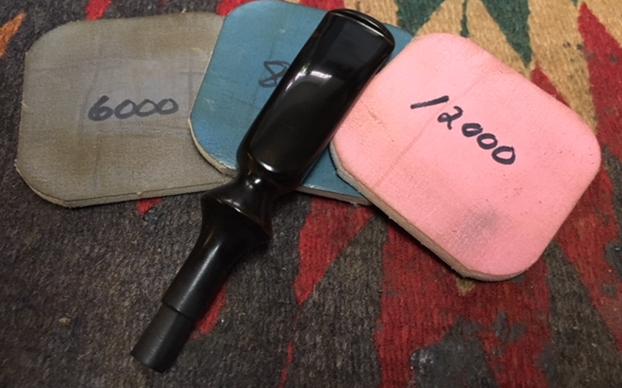 I put the stem back on the bowl and buffed the pipe with Blue Diamond polish on the buffing wheel. I lightly buffed the bowl so as not to fill in the sandblast finish. I also carefully avoided the stamping on the underside of the shank. I gave both the bowl and the stem multiple coats of carnauba wax and buffed the pipe with a clean buffing pad to raise the shine. I hand buffed it with a microfiber cloth to deepen the shine. The finished pipe is shown in the photos below. I have two more pipes to finish for him – both of them that are finds he made while pipe hunting. This is a fun bunch of pipes to work on. I look forward to moving through the rest of them. Thanks for looking.