Blog by Dal Stanton
I remember well where I came into possession of the Kaywoodie now on my worktable. My wife and I were in the US for the wedding of our youngest child, our daughter, who was married near Nashville, Tennessee. After the wedding, driving along US Interstate 24 heading back toward Atlanta, a billboard sign beckoned us like a Siren to heed the next exit – it said: “Antiques”! We exited and found Madeline’s Antiques & Uniques near Manchester, Tennessee. It was the real deal for pipe picking and picked I did!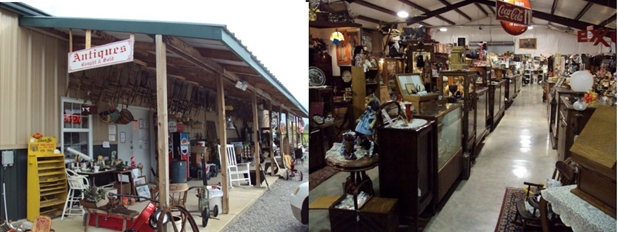 It was at Madeline’s that I found my first Dunhill in the wild (Another Wedding Trip Pick: A 1961 DUNHILL EK Shell Briar Made in England 1 4S). Along with some other very nice finds, the Kaywoodie Standard Apple also made its way to Bulgaria and was posted in my online collection called For “Pipe Dreamers” Only! where pipe men and pipe women can find a pipe and commission benefiting the Daughters of Bulgaria – women and girls who have been trafficked and sexually exploited. The Kaywoodie is standing in the rack on the right.
 The Kaywoodie got the attention of one special young lady, Grace, a budding pipe woman. One of the joys of living and serving in Bulgaria is that we encounter gifted young adults who come to serve with us for a time living and working in a culture much different from the US. Grace was one such young lady. She has been to Bulgaria twice now and on one of her deployments my wife and I were host to her as she lived with us in our flat. It was then that her aspirations as a pipe woman were born as she tried a pipe on my ‘Man Cave’ – my 10th floor balcony where smoking pipes is allowed! In the picture below Grace is on the right with a Zulu in tow along with a special Bulgarian friend, Kari, who also has her pipe that she commissioned from The Pipe Steward.
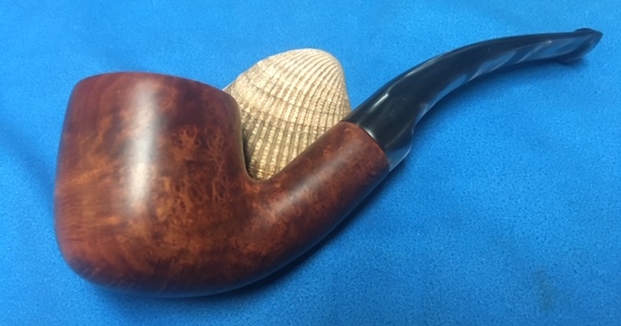
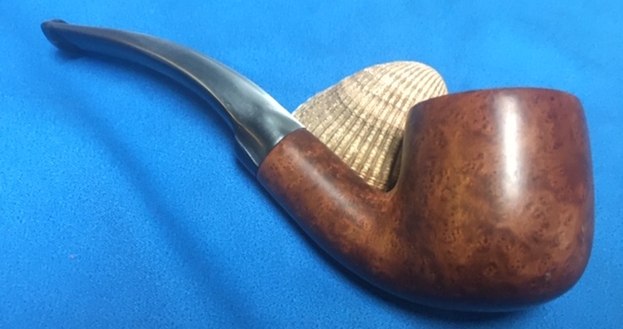
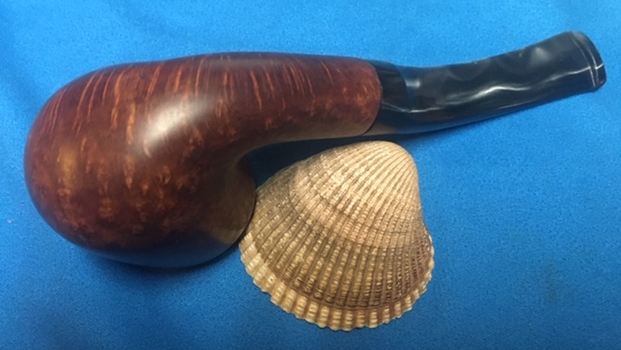
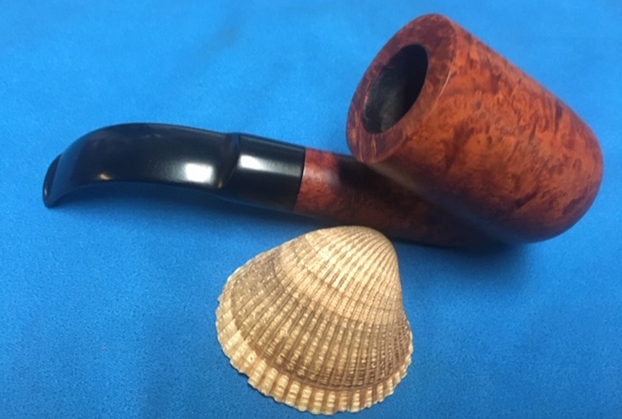
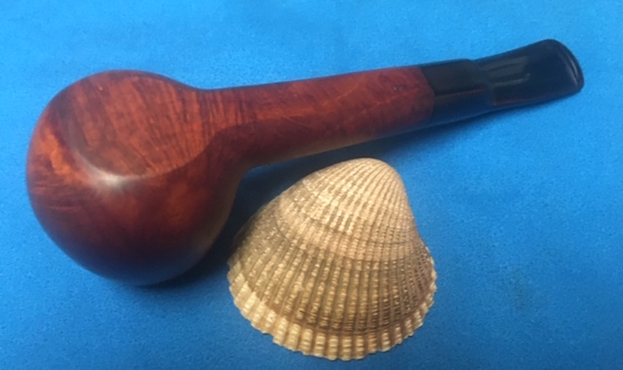
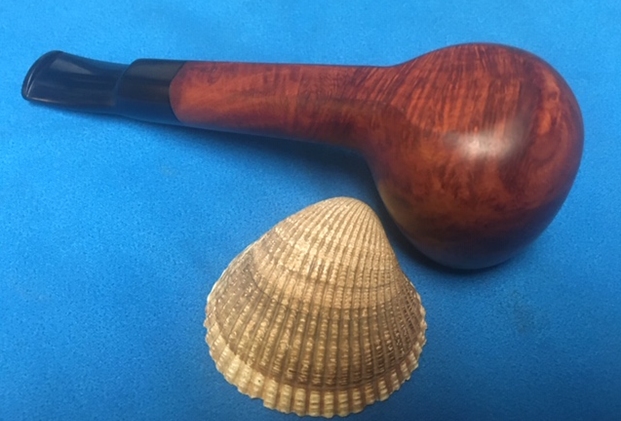
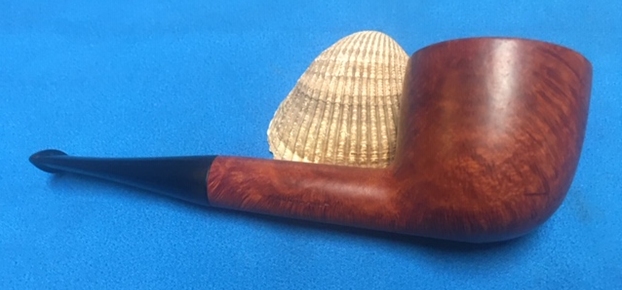
  Last time that Grace was with us, she went through the many ‘Help Me!’ baskets and found the Kaywoodie. I asked her if it was a gift for someone and she replied somewhat demurely, no, that it was for her 😊. Here are more pictures of the classic Kaywoodie Standard Apple that got Grace’s attention.
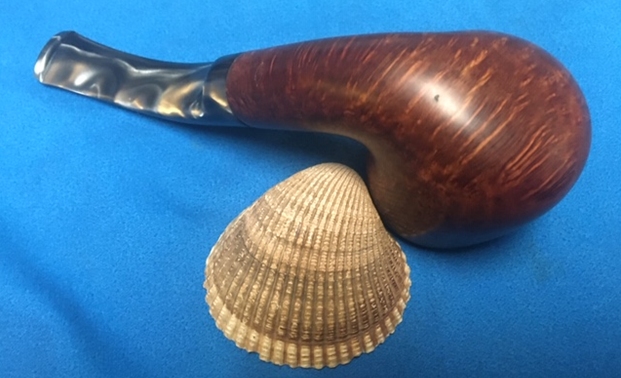
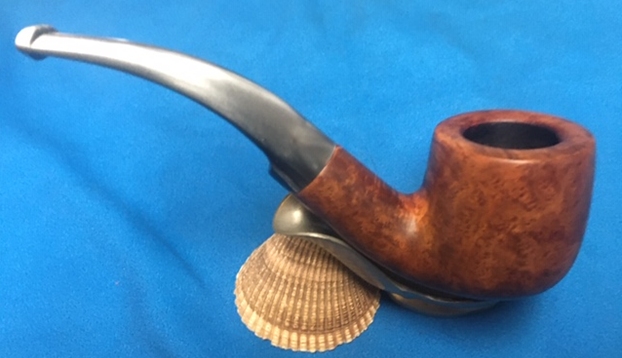
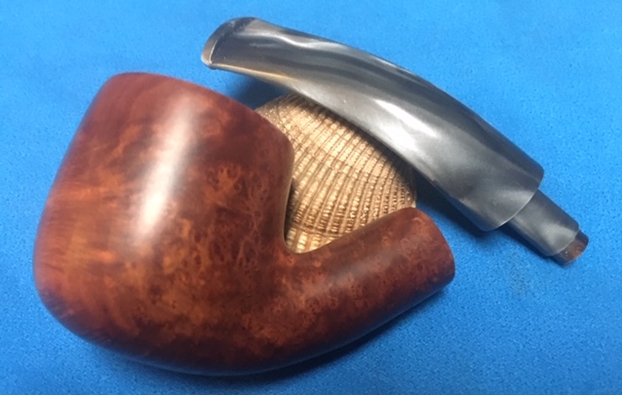
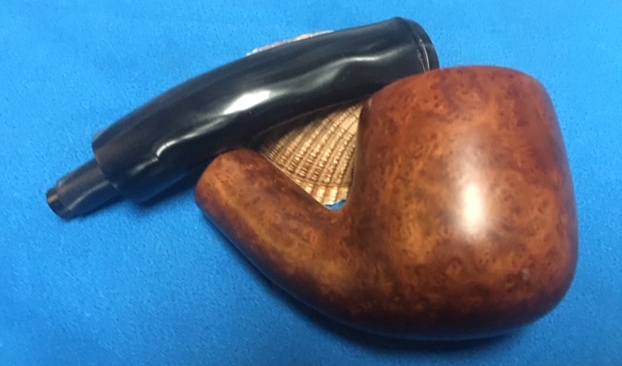
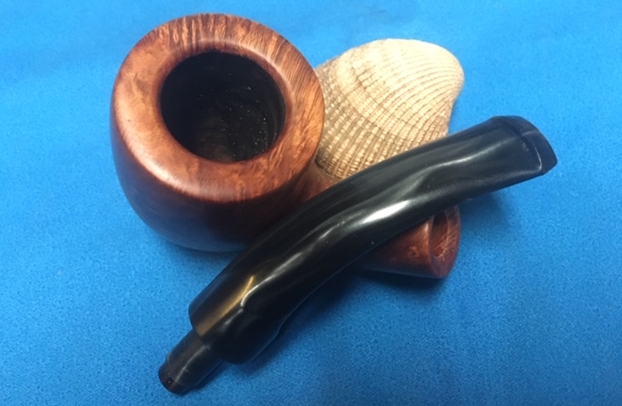
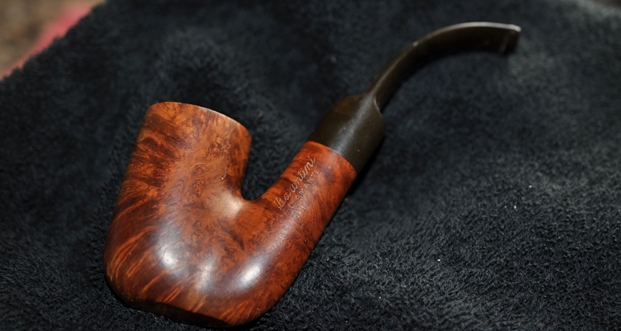
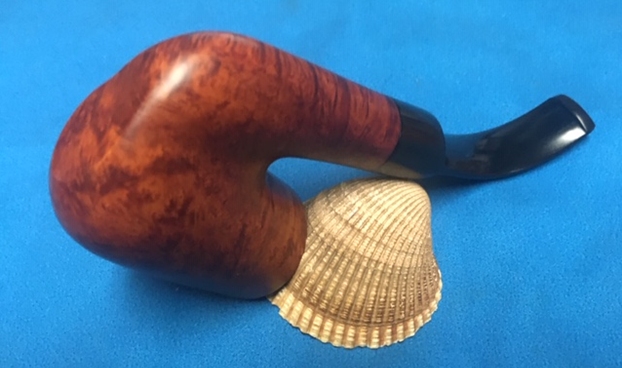
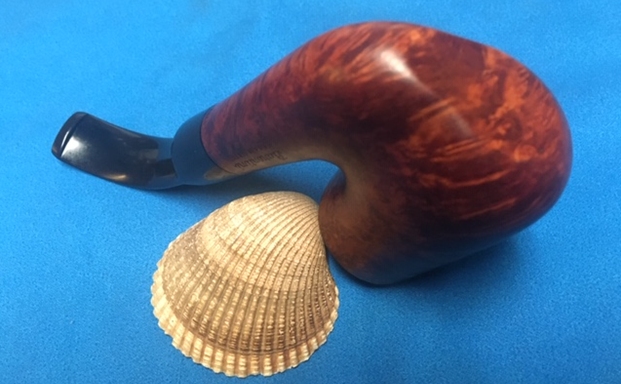
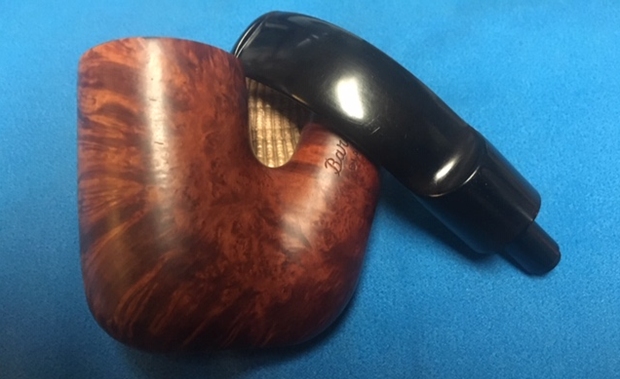
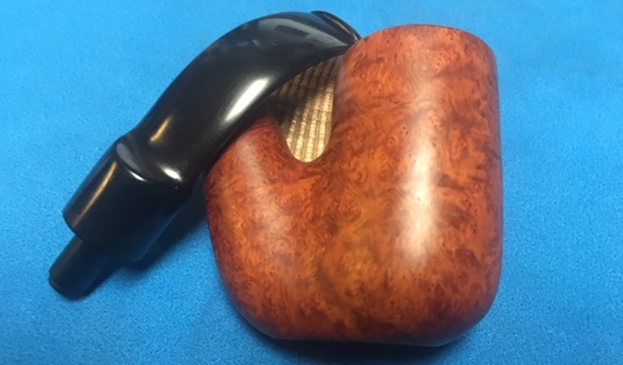
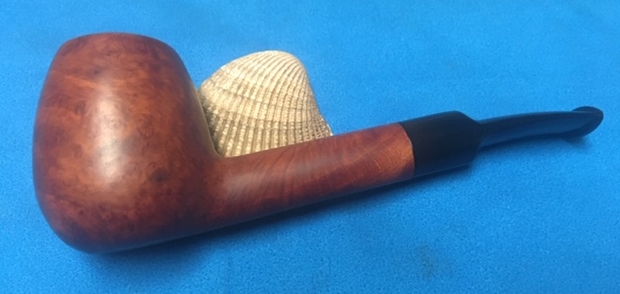
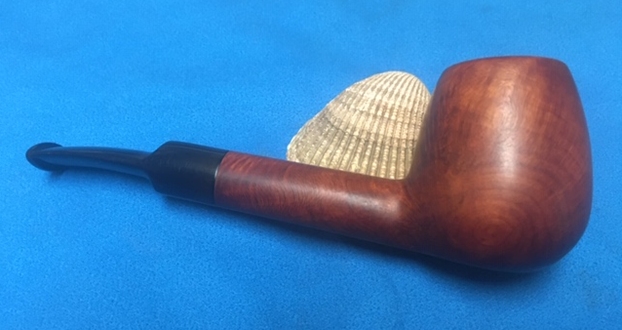
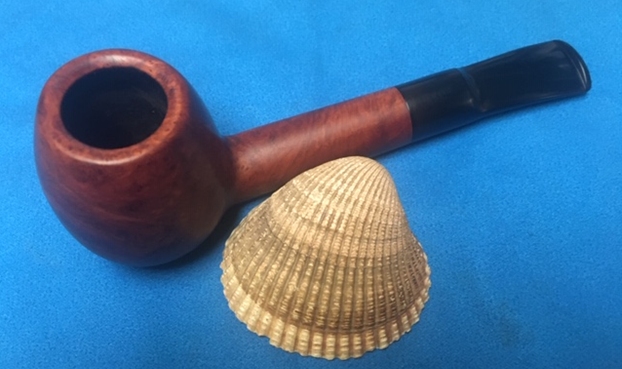
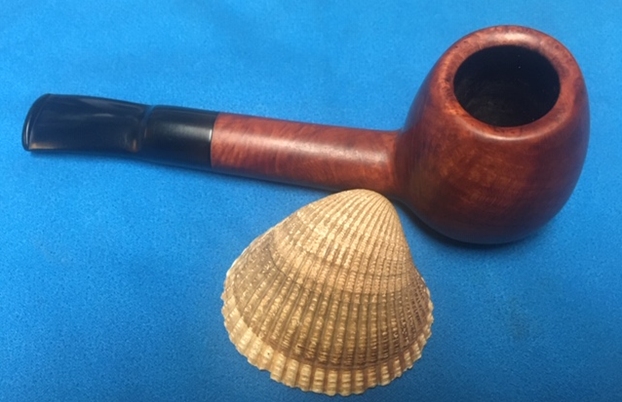
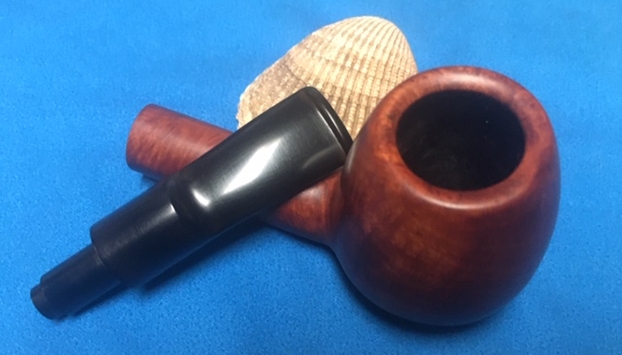
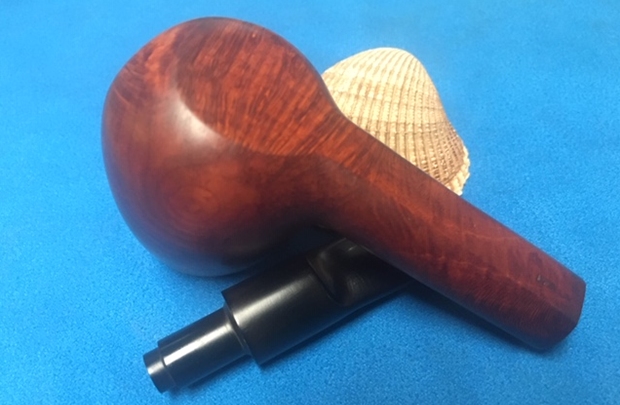
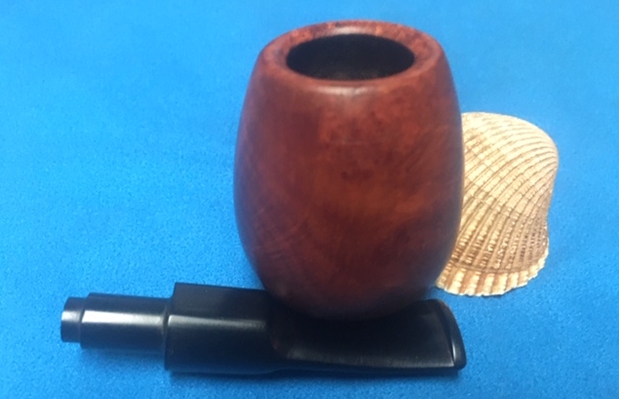
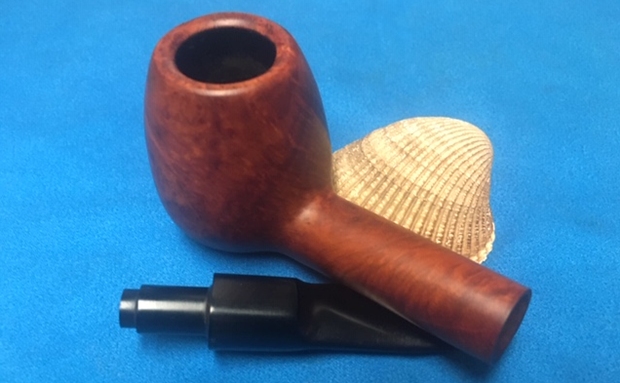
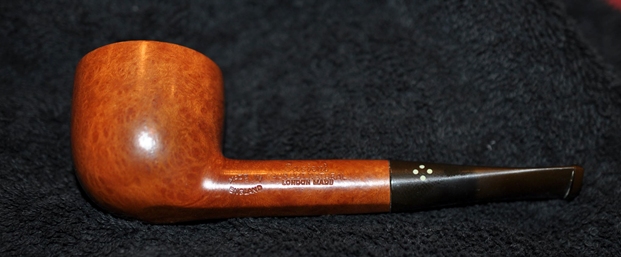
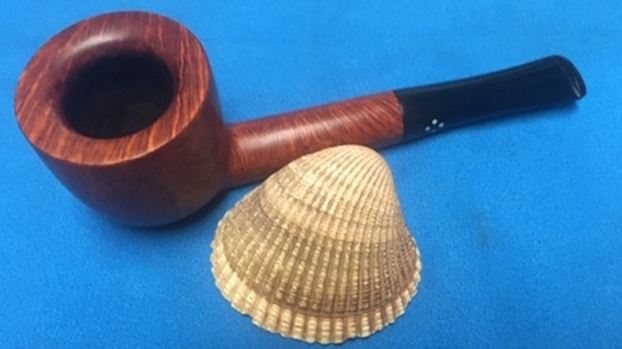
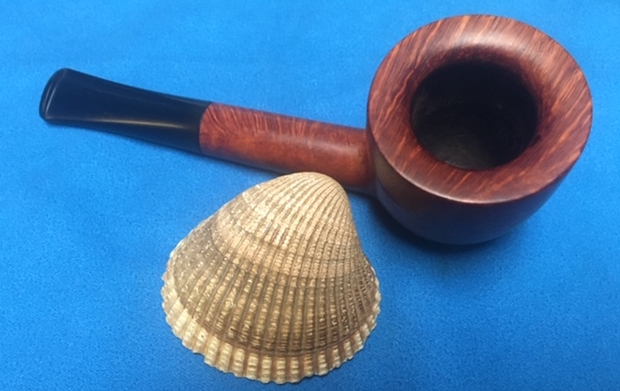
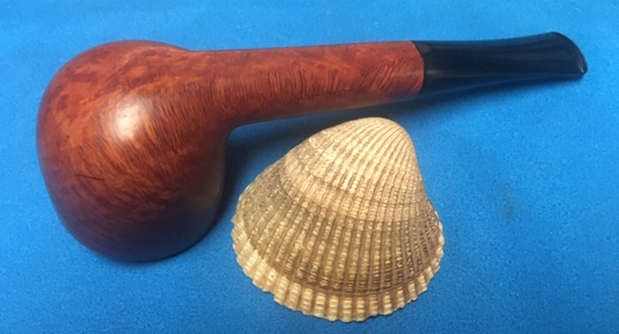
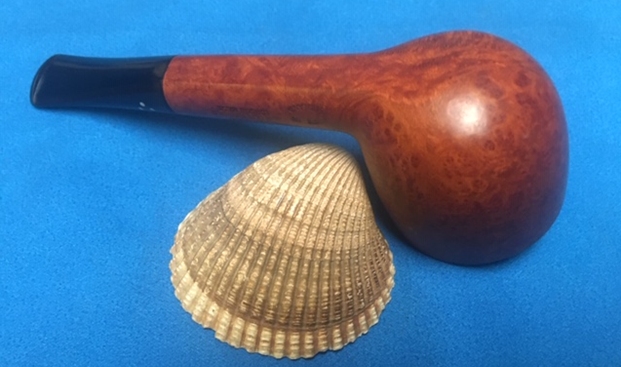
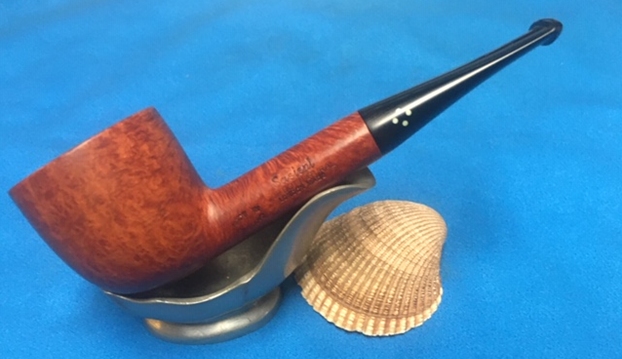
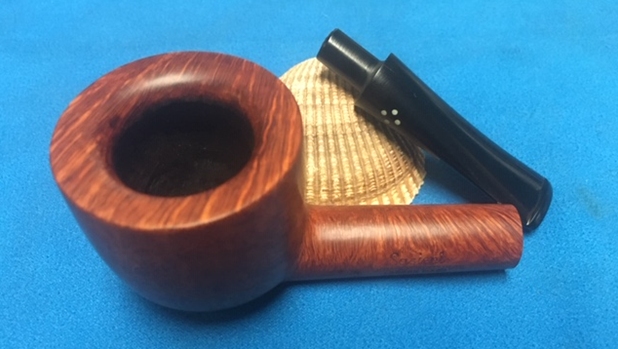
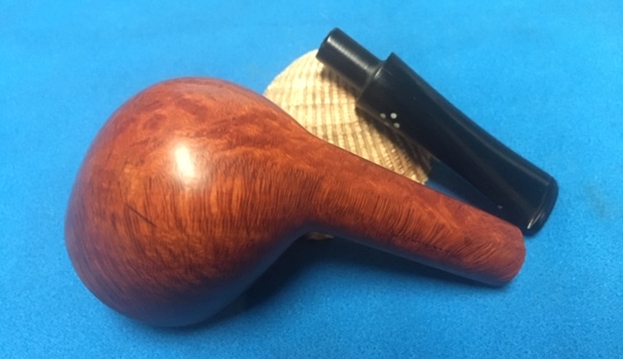
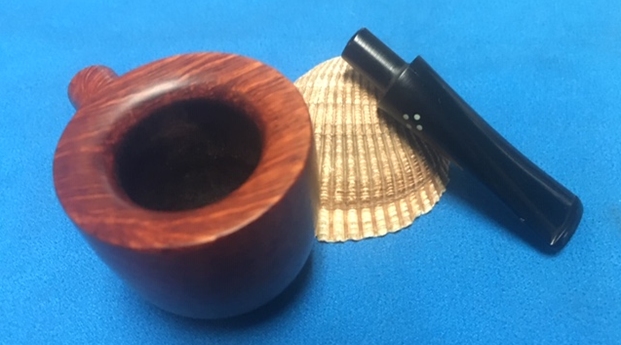
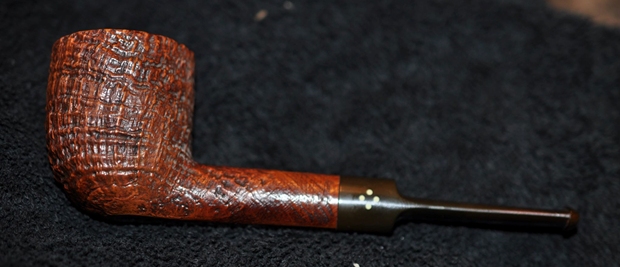
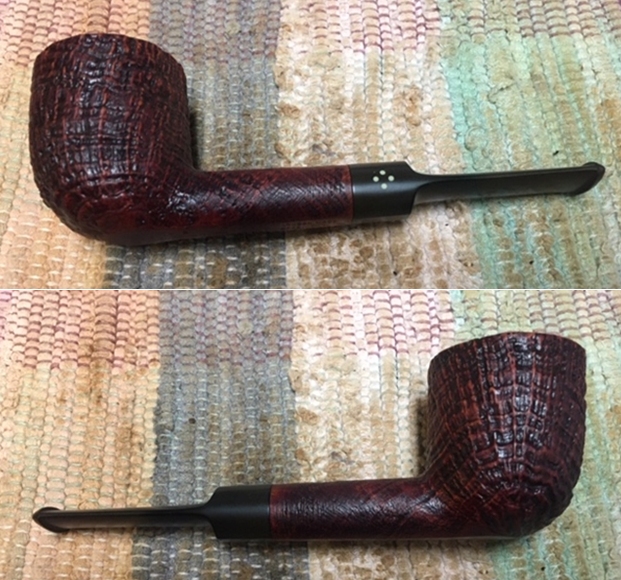
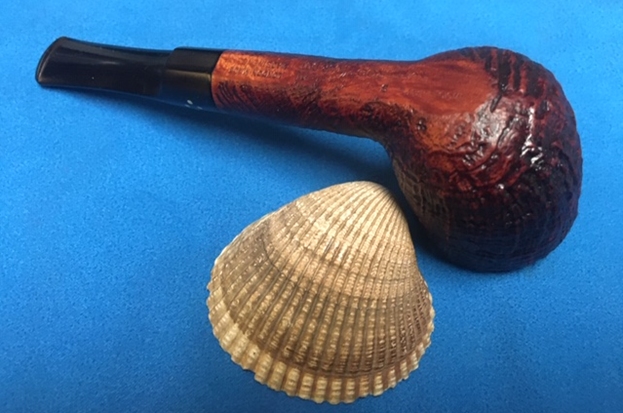
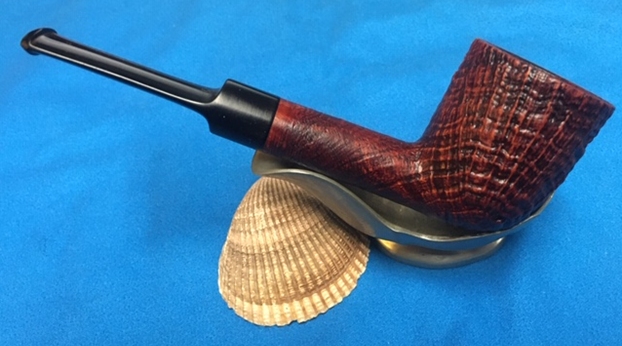
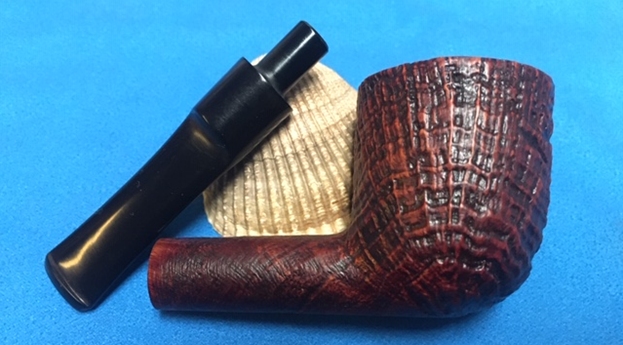
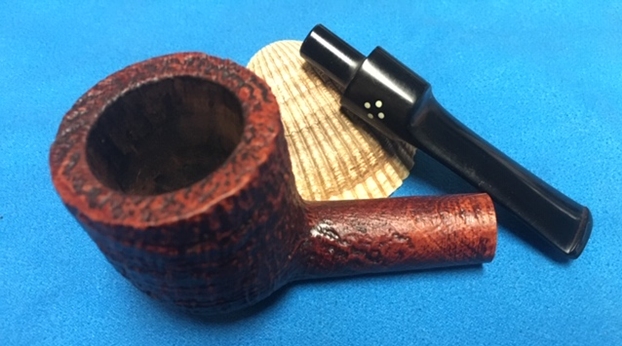
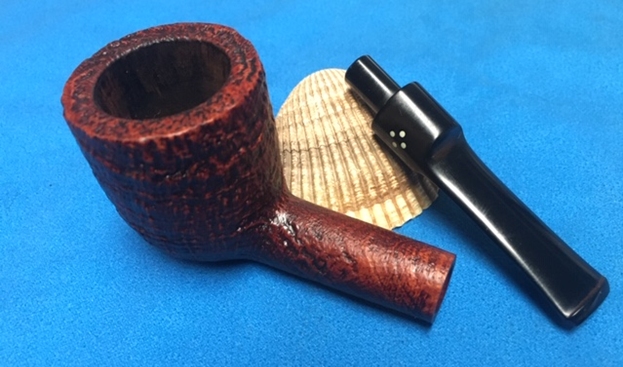
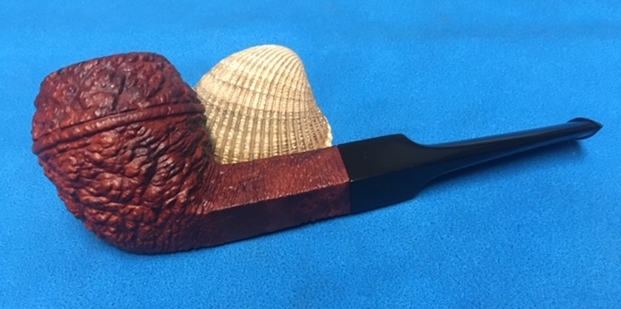
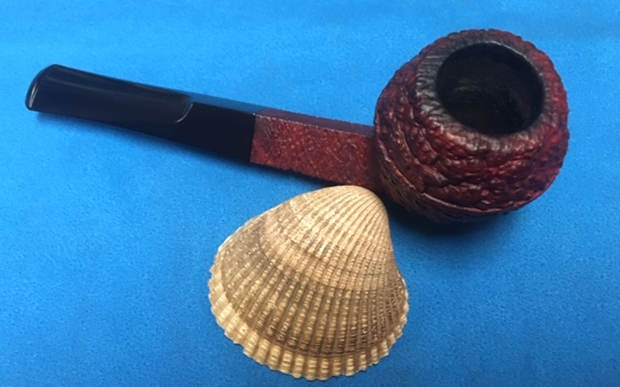
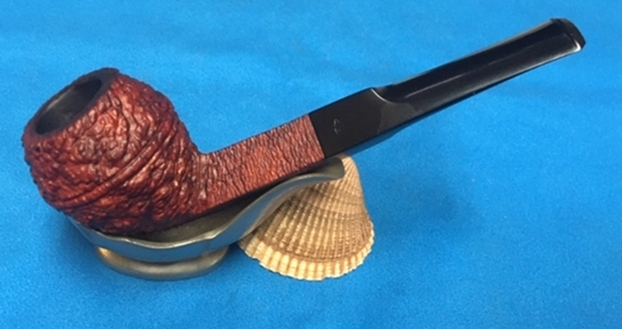
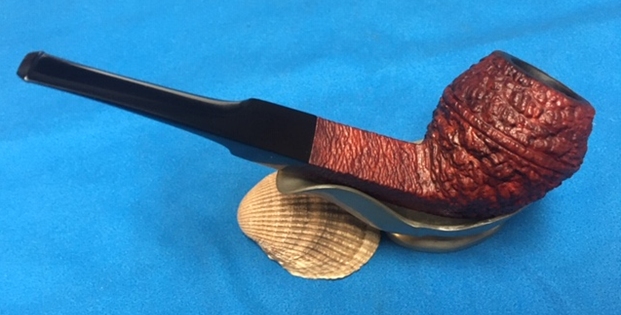
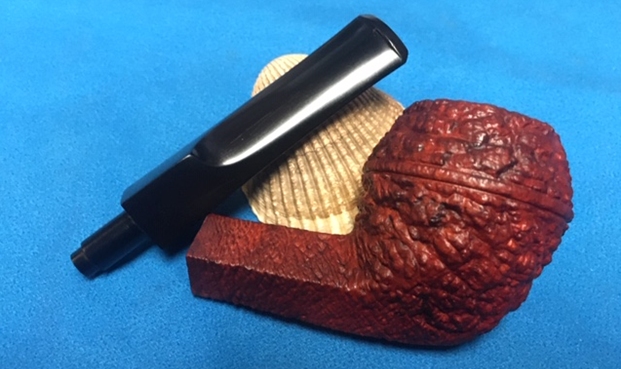
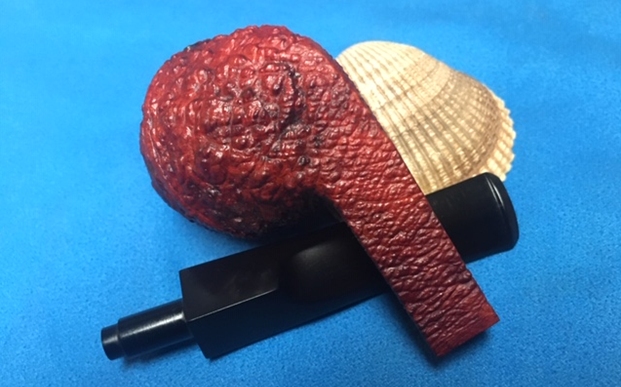
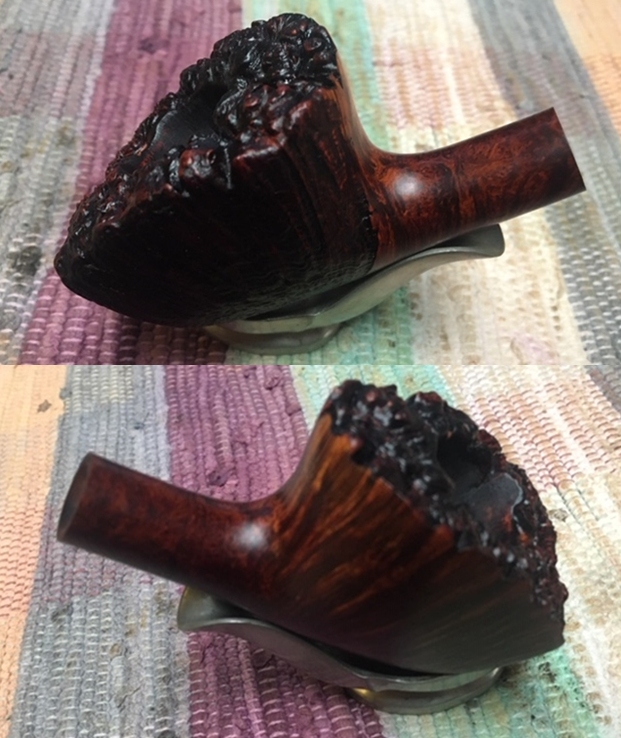
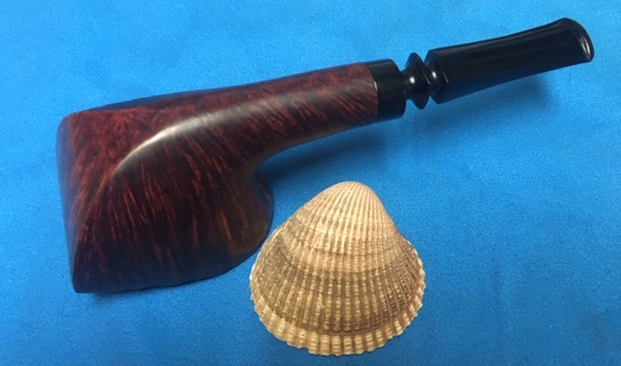
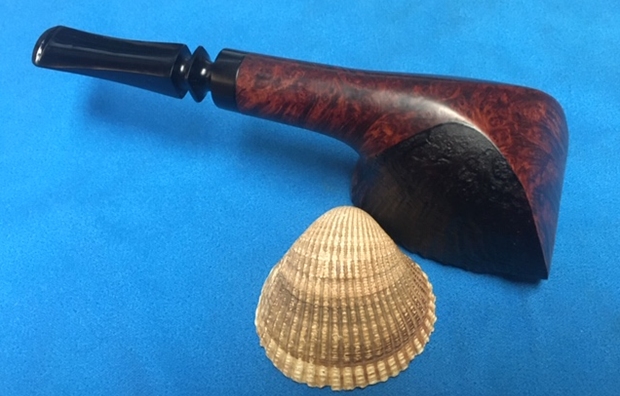
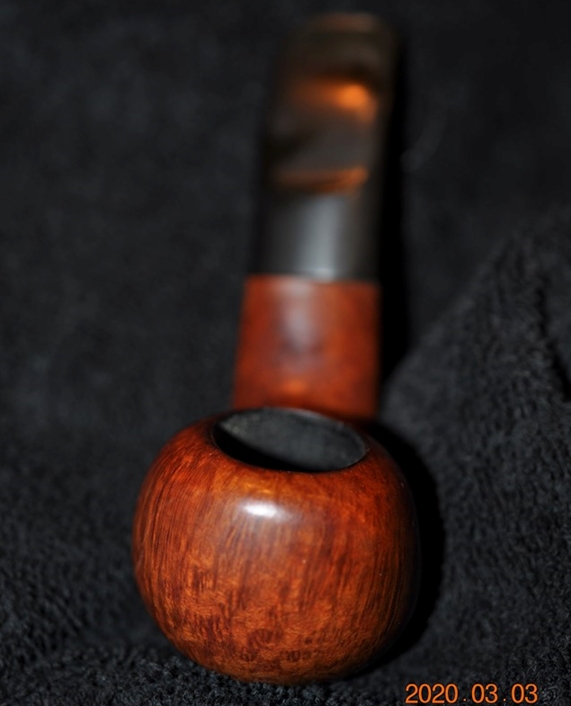
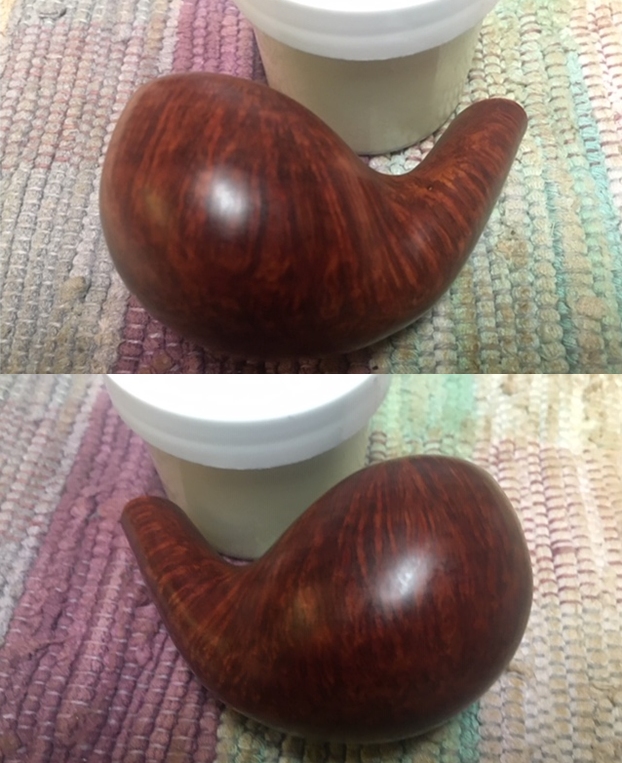
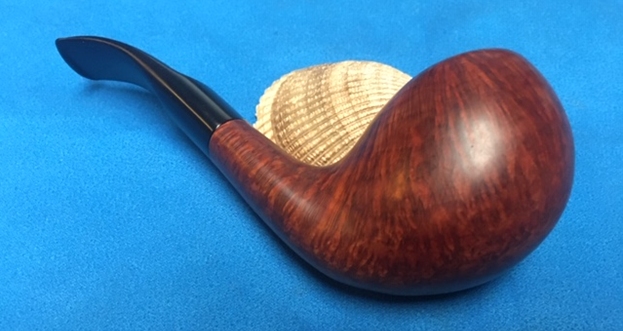
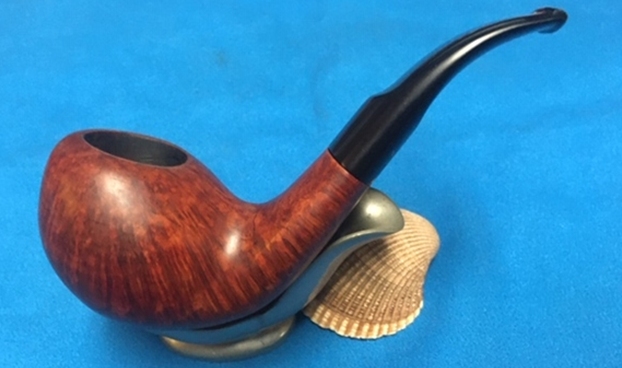
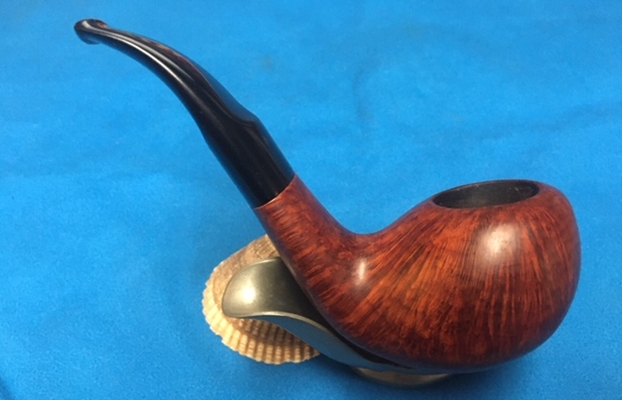
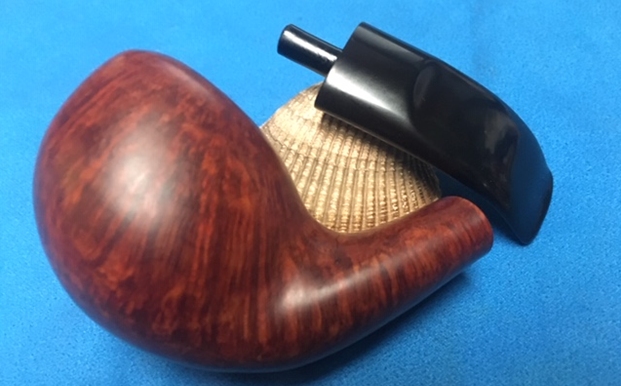
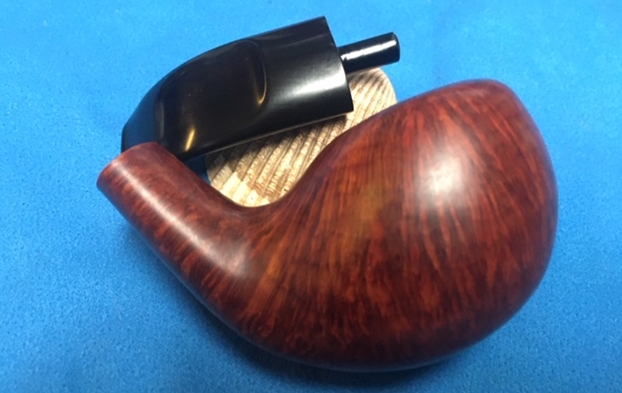
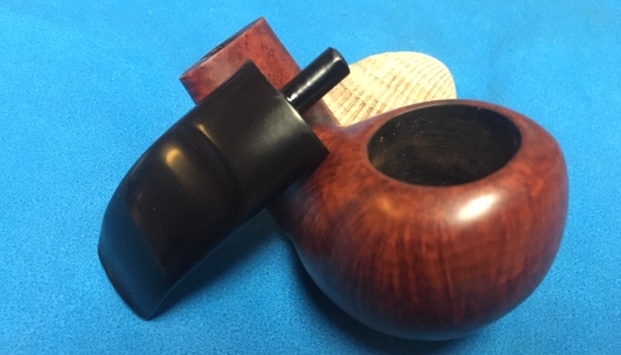
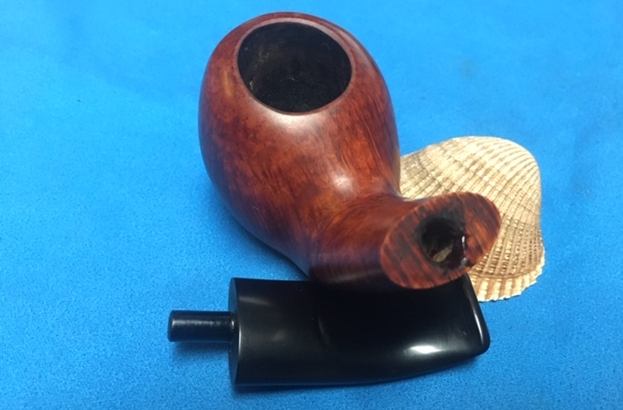
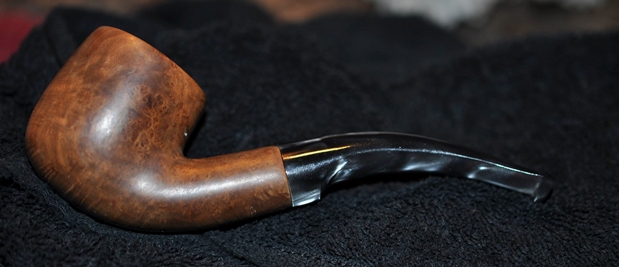
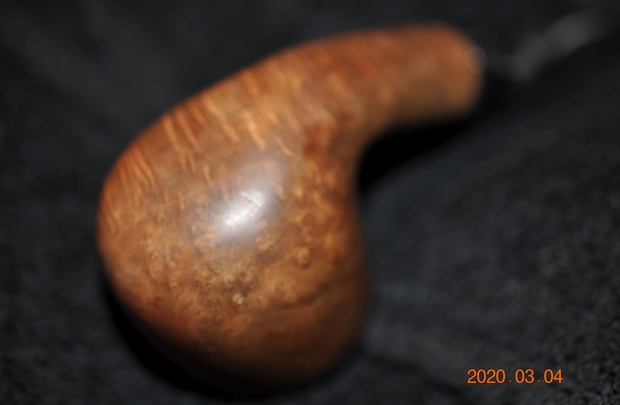

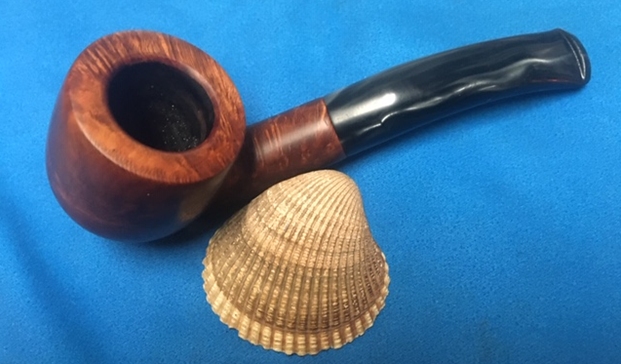
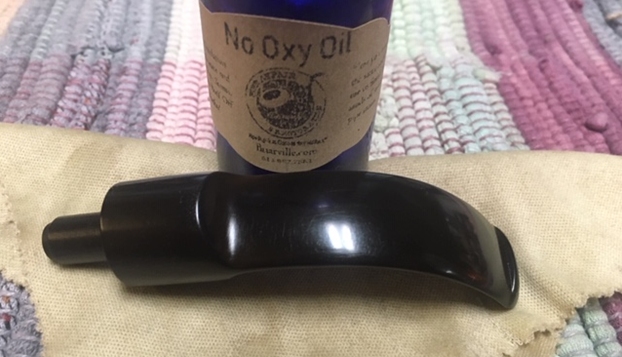
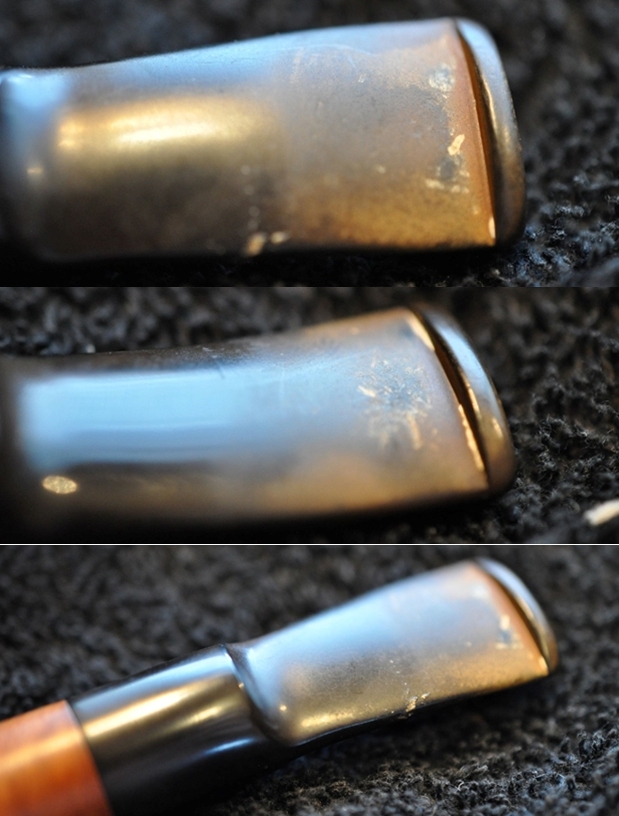
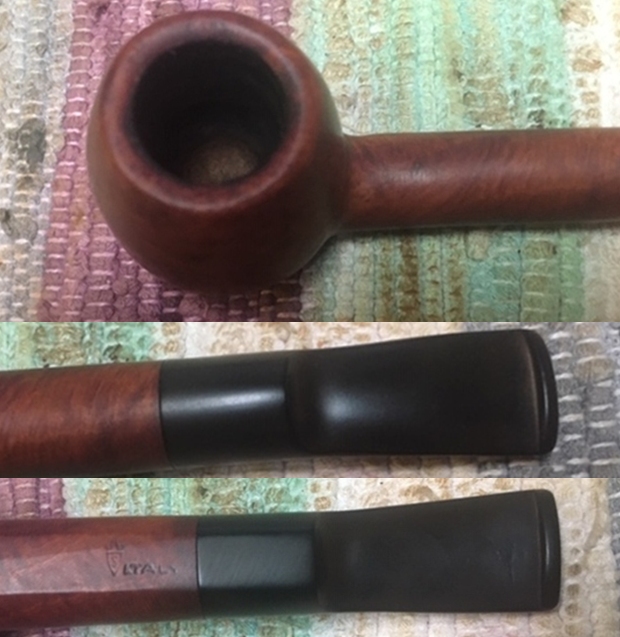
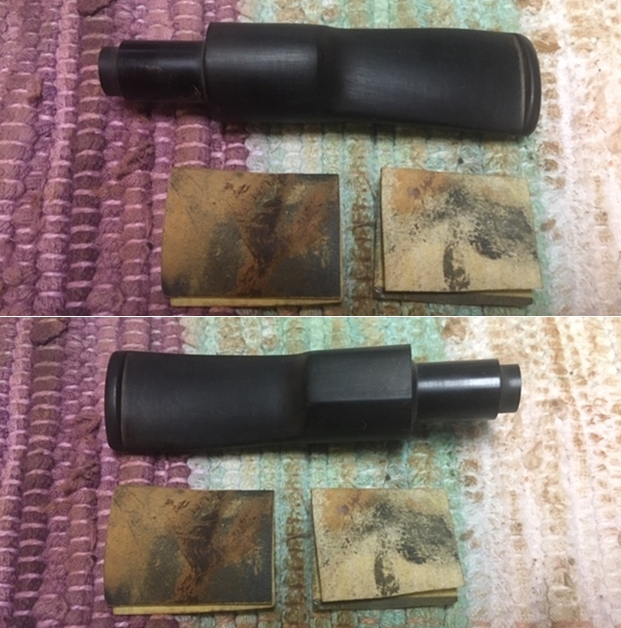
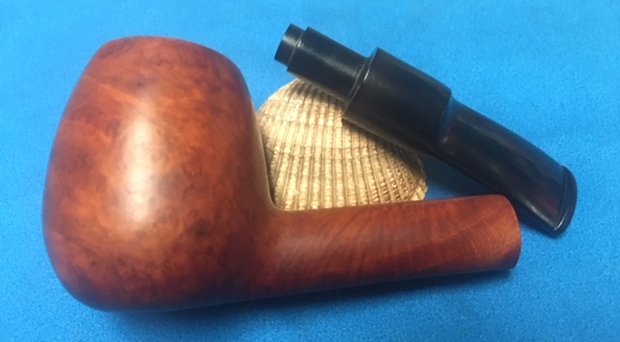
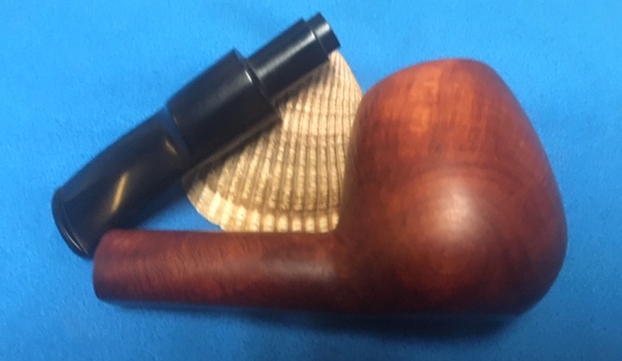
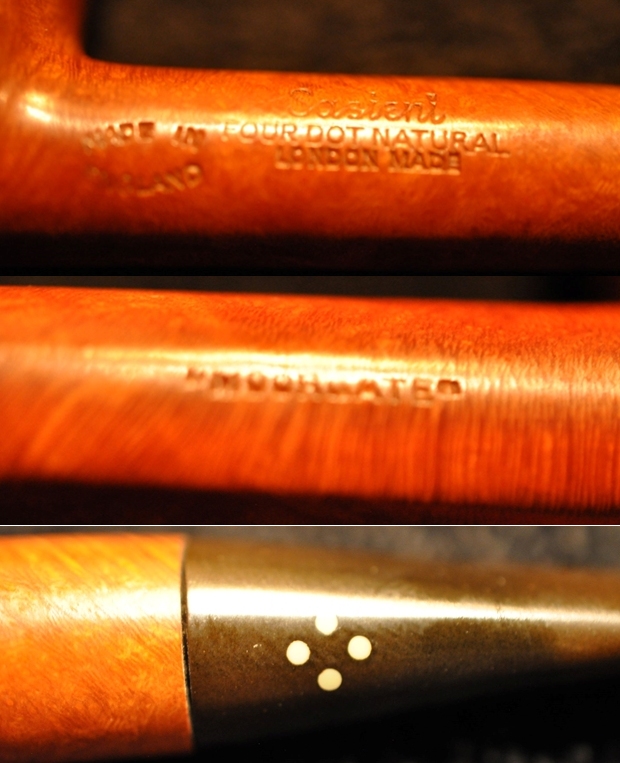
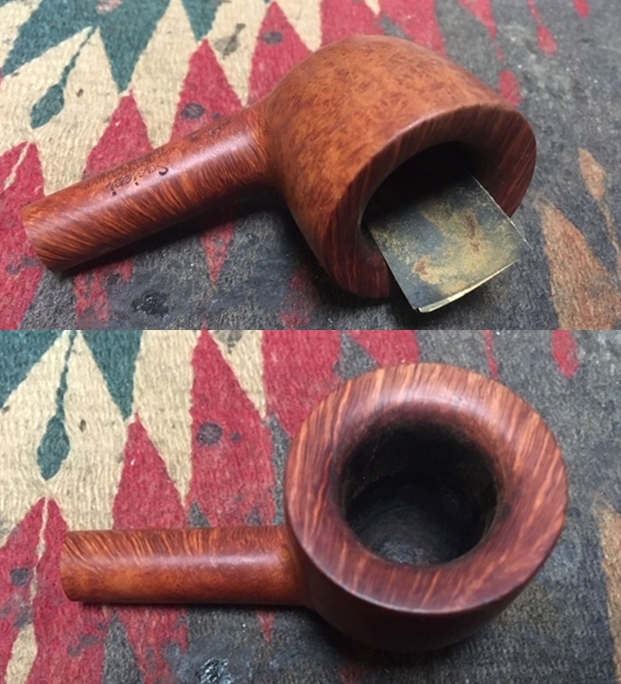
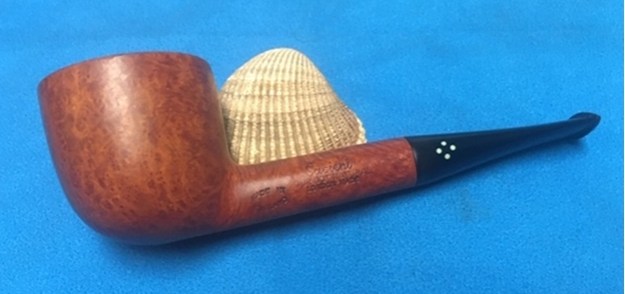
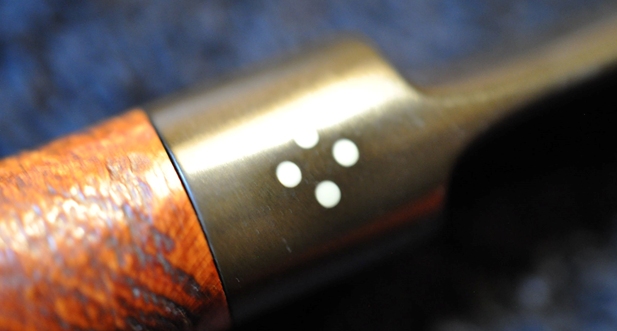
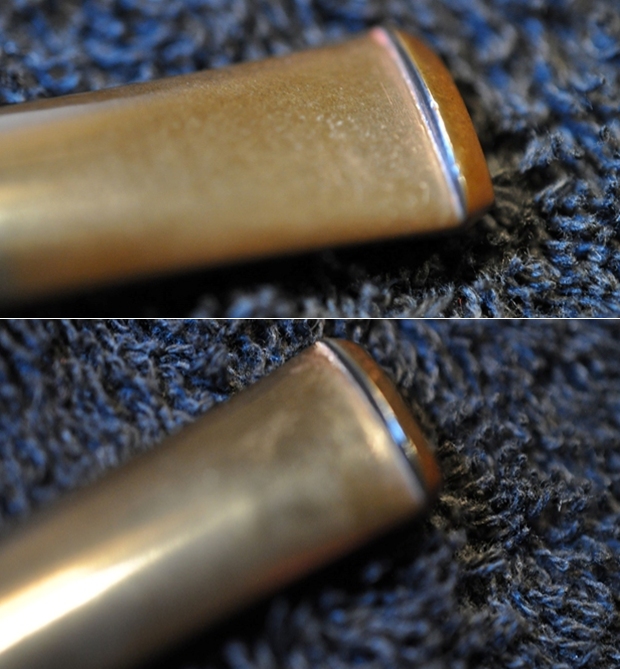
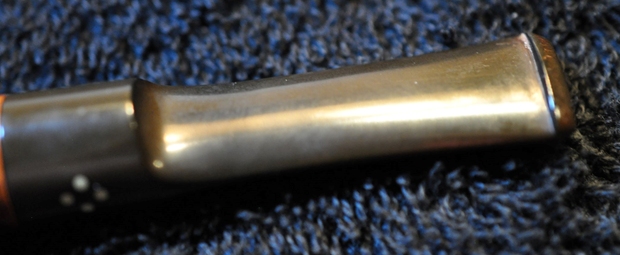
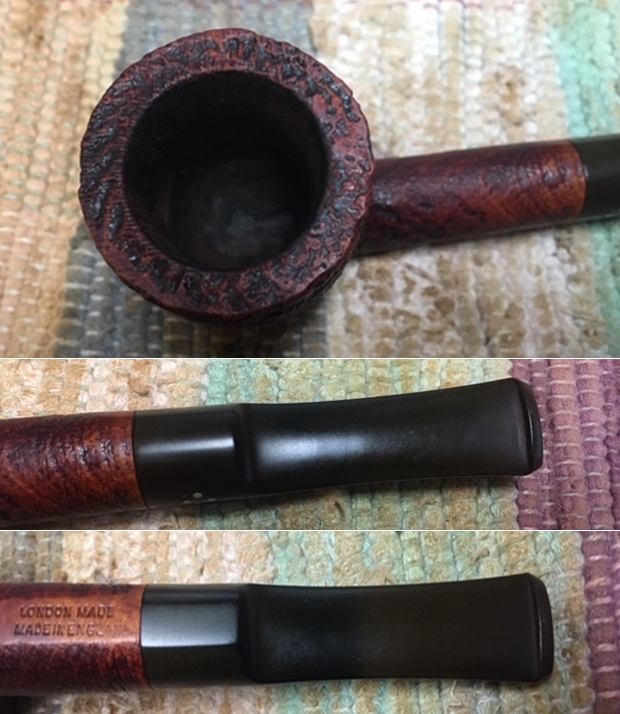
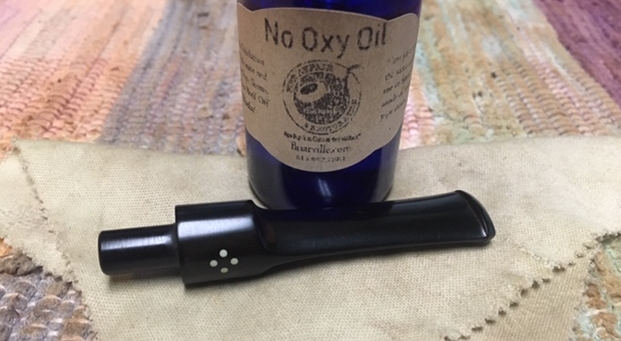
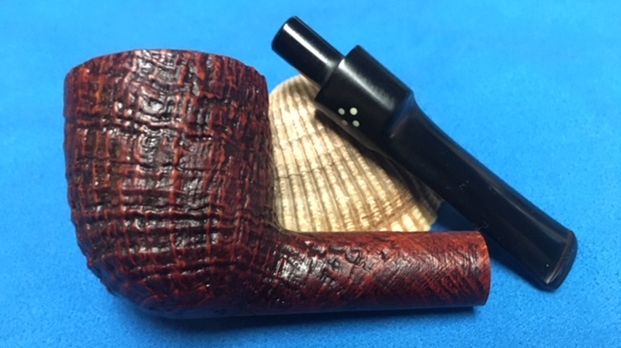
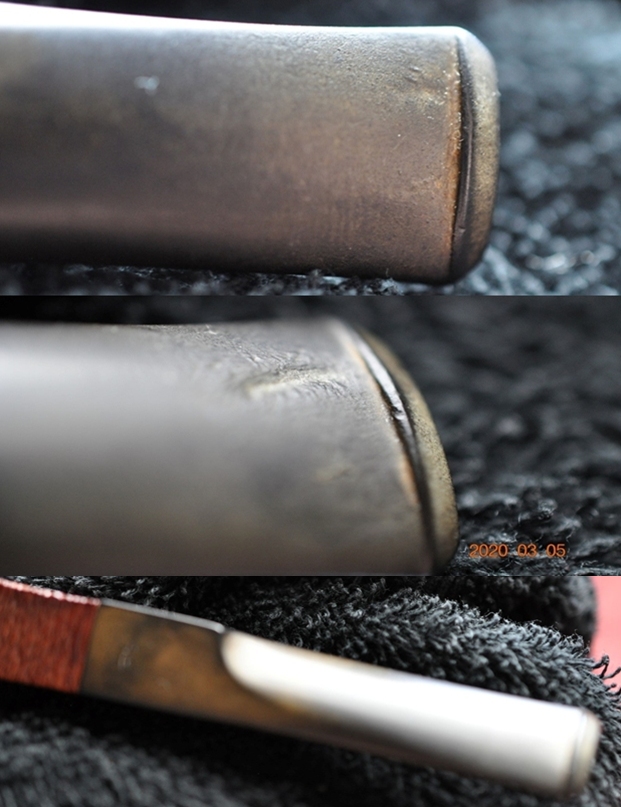
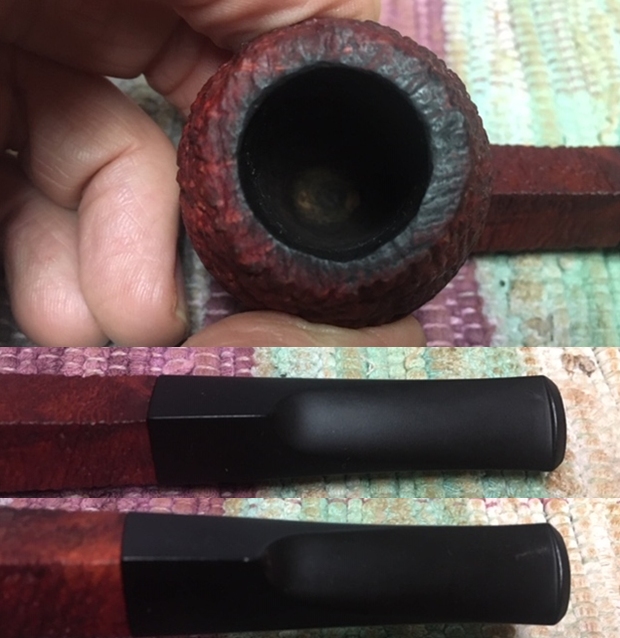
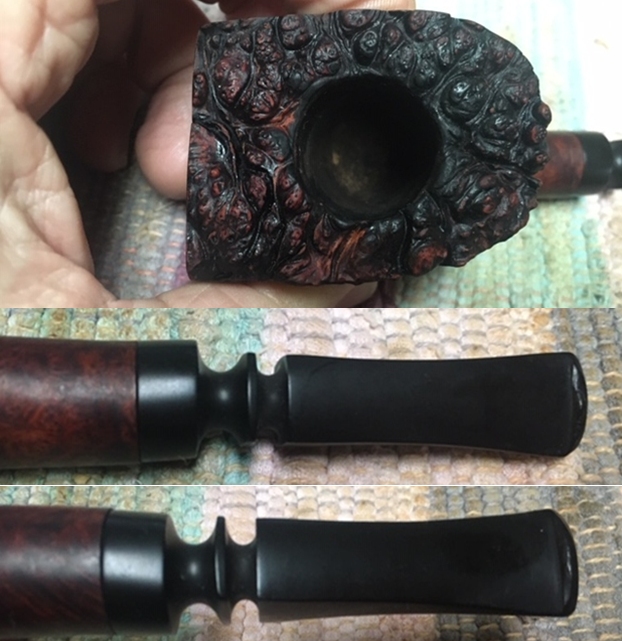
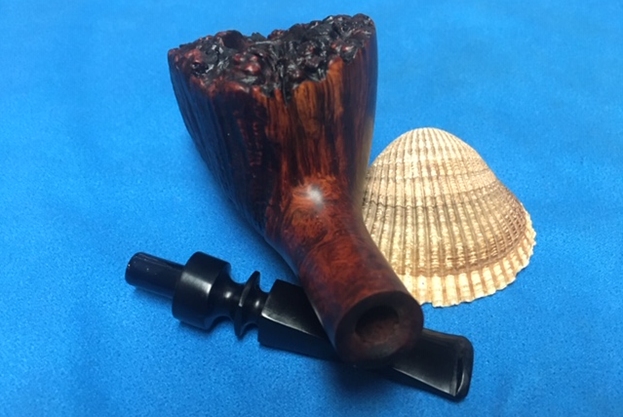
 The 3-holed stinger of this Kaywoodie Apple marks it as having a date at least from the 1960s when Kaywoodie transitioned from 4-holed to 3-holed stingers (LINK).
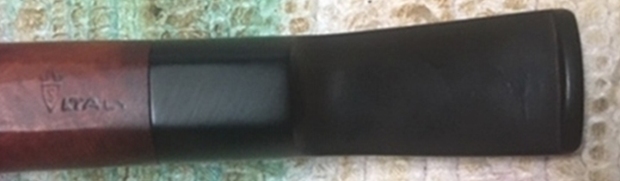
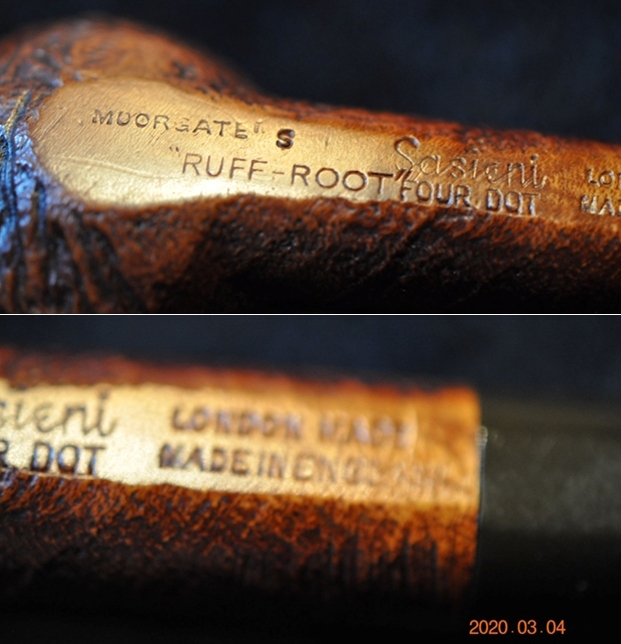
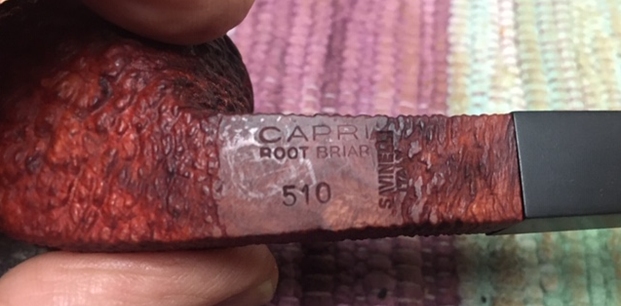
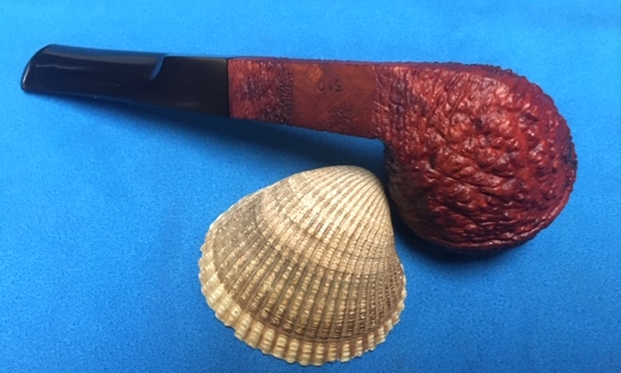
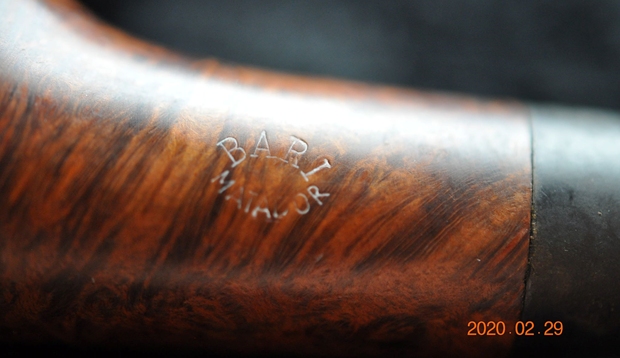
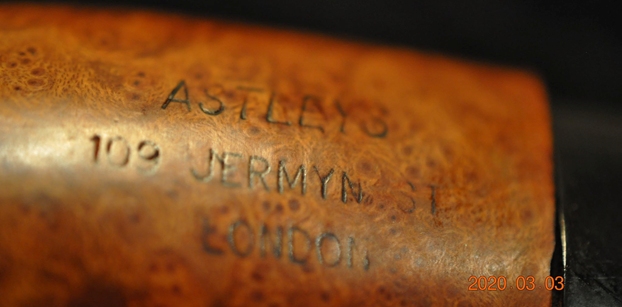
 The nomenclature on the shank is holding on as a wisp in the wind. It is so thin that only with a direct angle of reflection am I able to discern it. The stamping is KAYWOODIE [over] Standard (in fancy cursive script) [over] IMPORTED BRIAR. The stem has the older, inlaid clover.
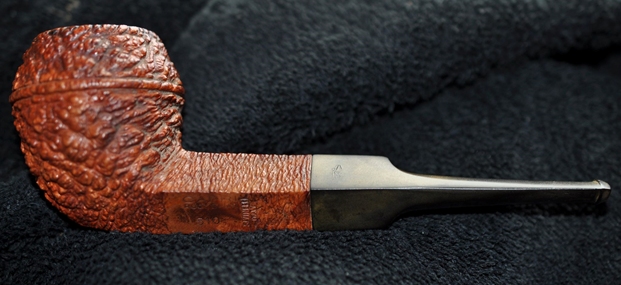
 The next picture in this set shows the Kaywoodie shape number ‘33’ on the right flank of the shank which points to the designation of a ‘Large Apple’ from the US production of Kaywoodie pipes (LINK). According to this discussion on Tapatalk.com, the 2-digit system, employed from 1927 to 1972 when the system was changed to a 3-digit system, was when pipe production (for Kaywoodie, Yello-Bole and Medico) was moved to the Medico factory in Richmond Hill Queens NY as plans for new plant were in process. The 3-digit numbers was used during this period for all Kaywoodie and Medico pipes, from 1972 to 1980. The same article indicated that the 2-digit numbers were only for Kaywoodies produced in the US – that Kaywoodie of London (Cadogan) had their own three-digit system. Putting all the information together, this Kaywoodie Apple is most likely a 1960s vintage. According to the Kaywoodie Discussion at MyFreeForum the ‘Standard’ line of Kaywoodie started in the 1950s, but with the 2 digit shape number and the 3 hole stinger, the evidence points to the 1960s dating.
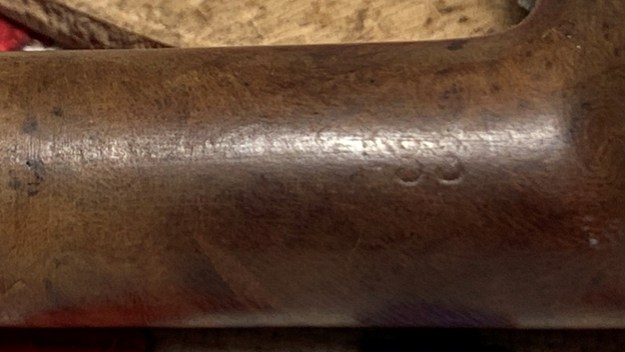 The Kaywoodie shape number 33 is pictured in this 1970s listing from the now defunk Chris’ Pipe Pages which I had saved from a previous restoration. The 33 is in the second column, third from the bottom.
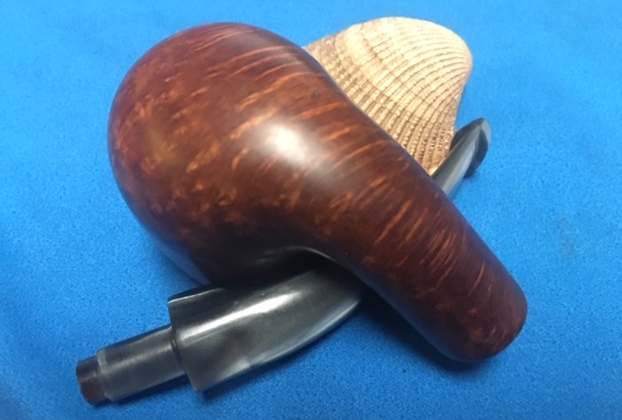
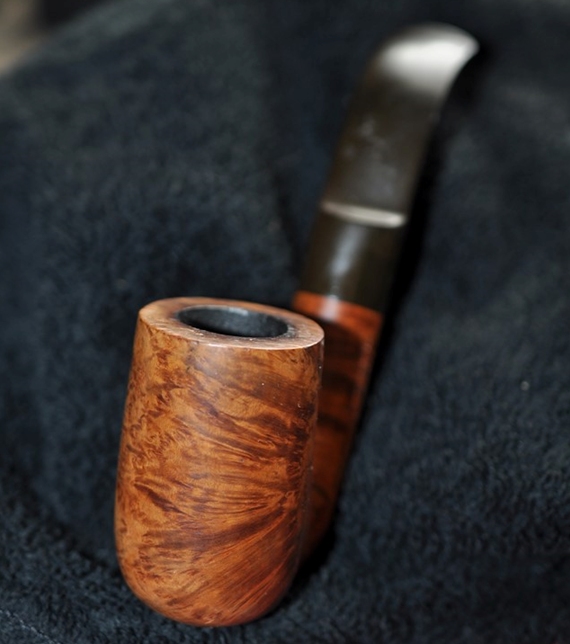
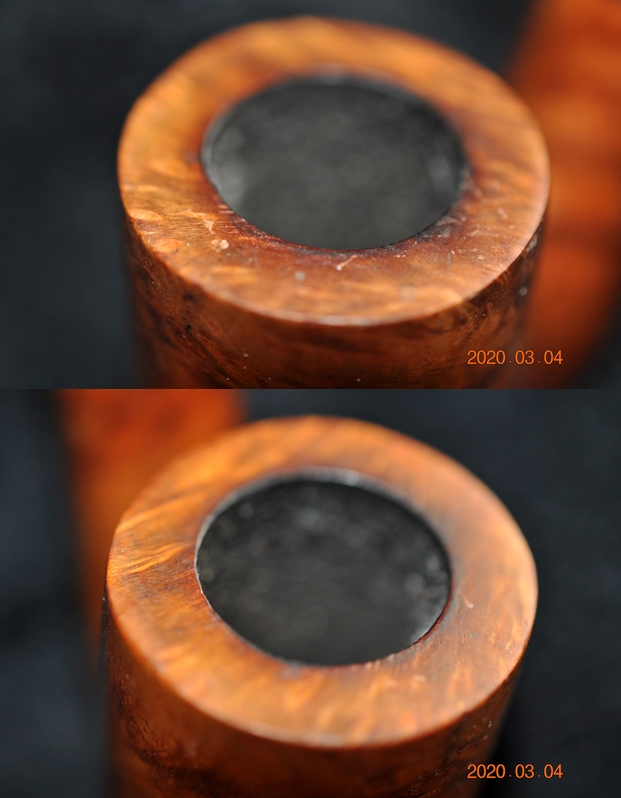
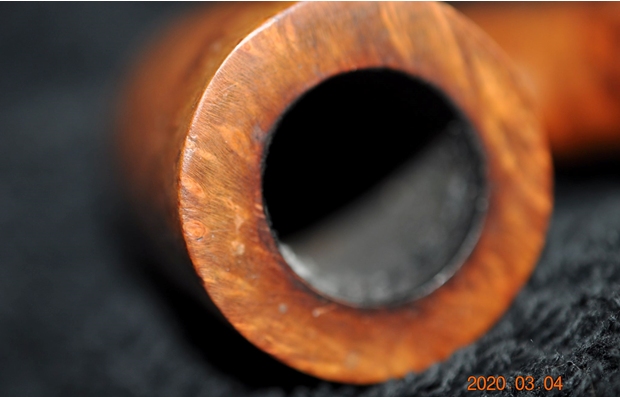
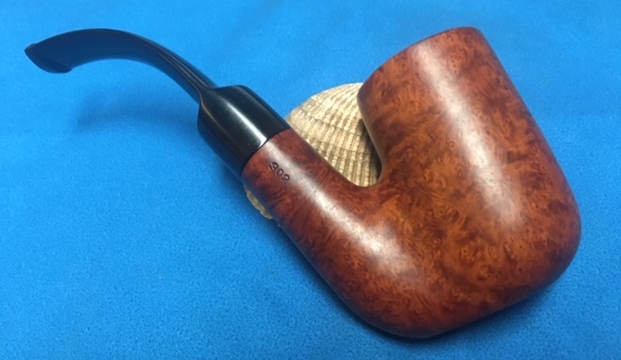
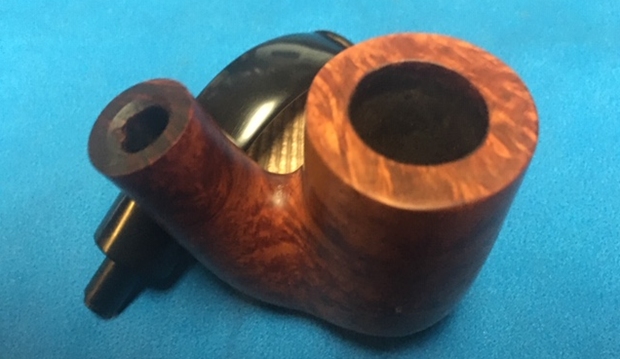
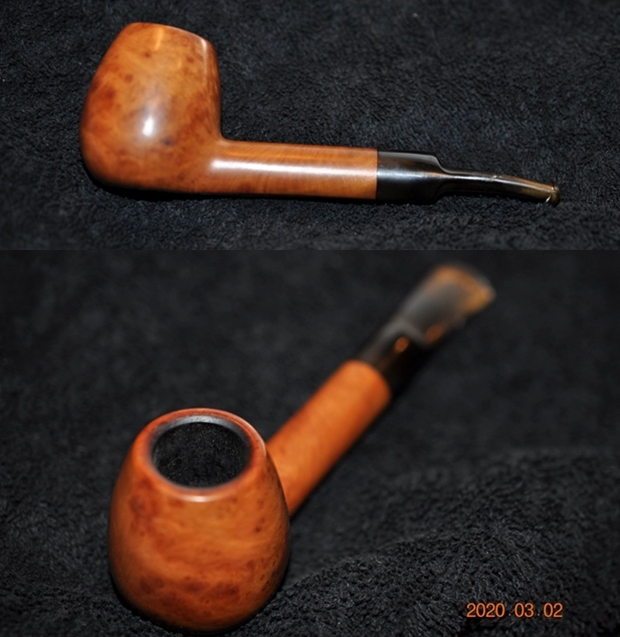
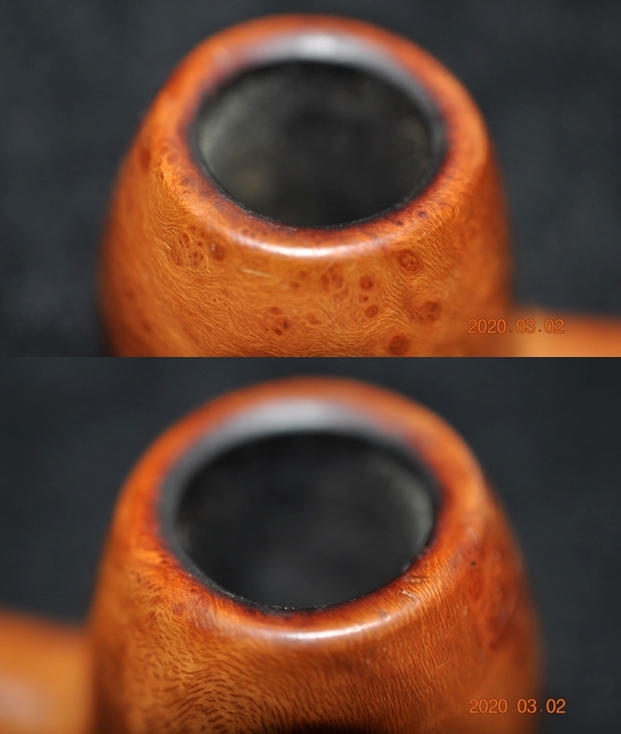
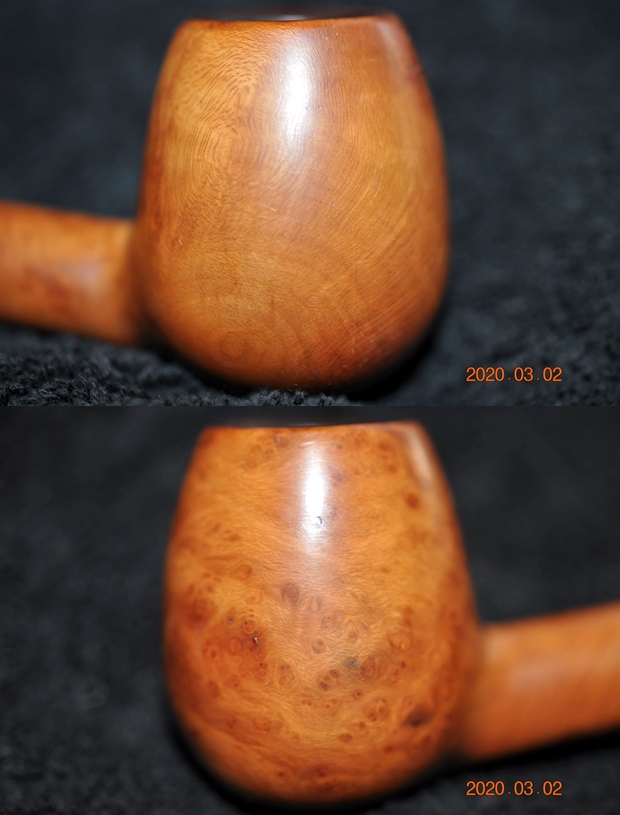
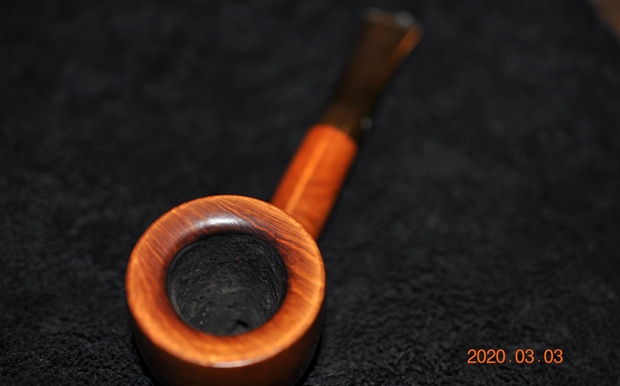
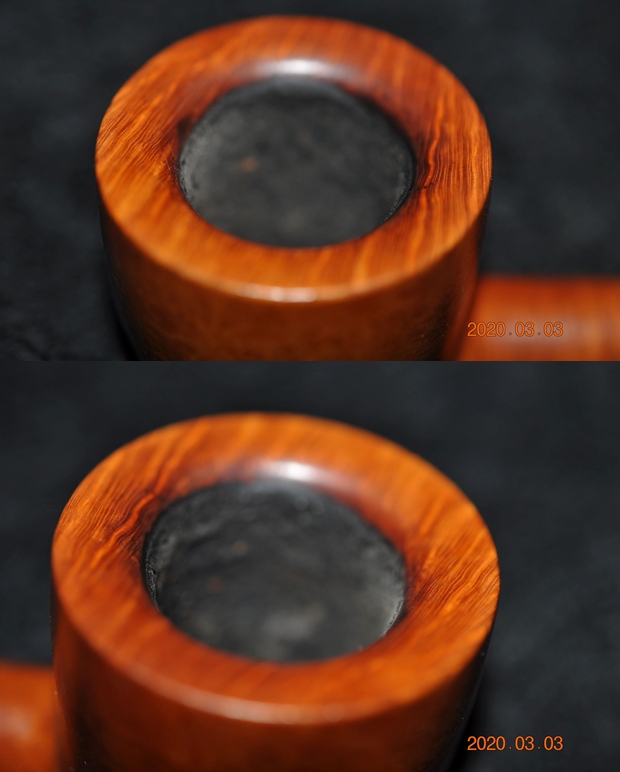
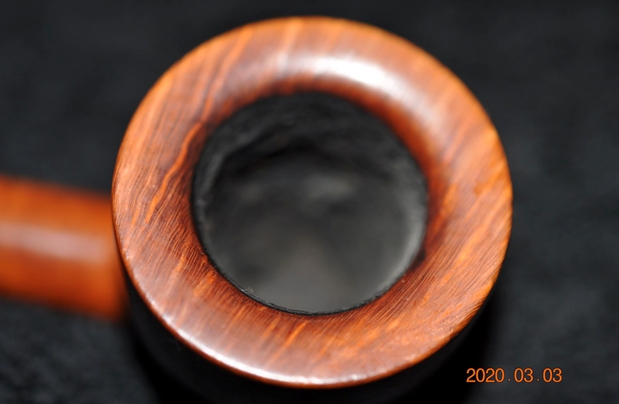
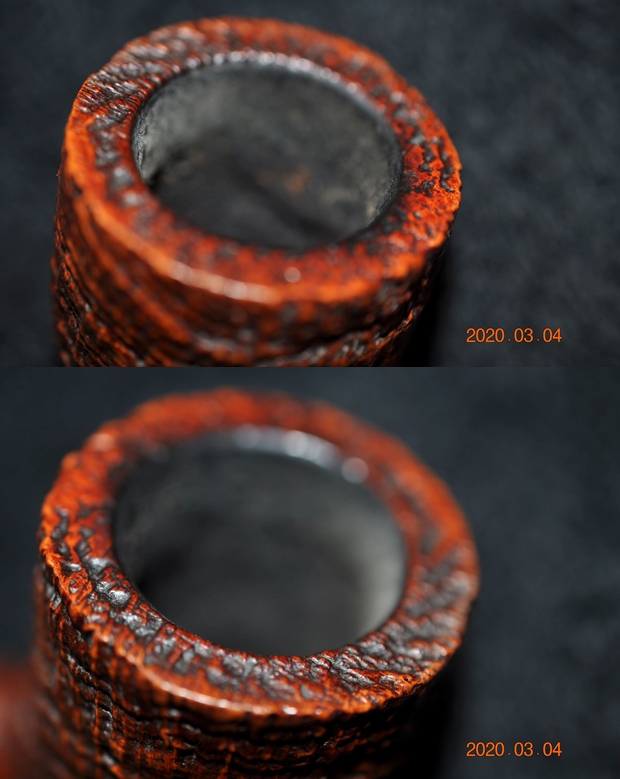
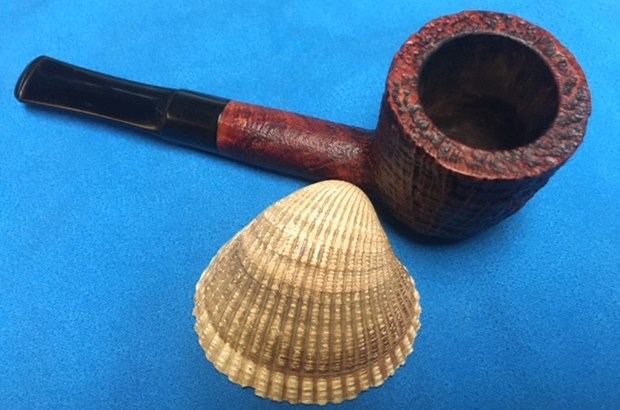
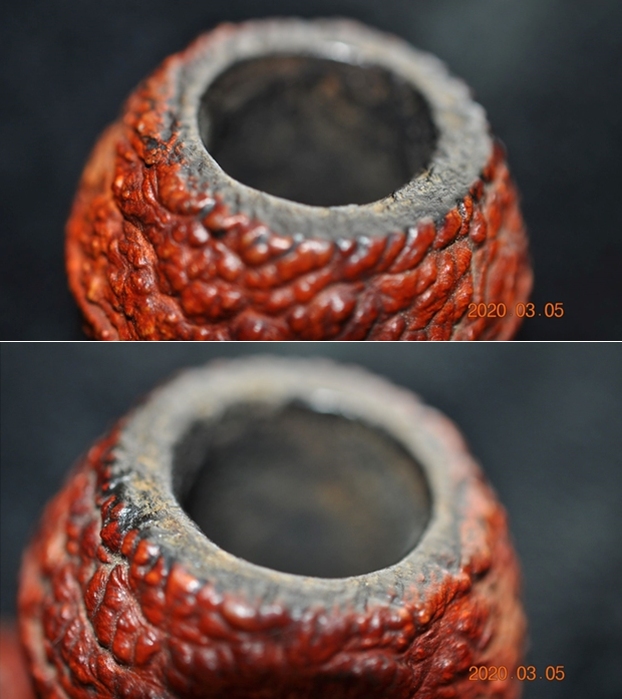
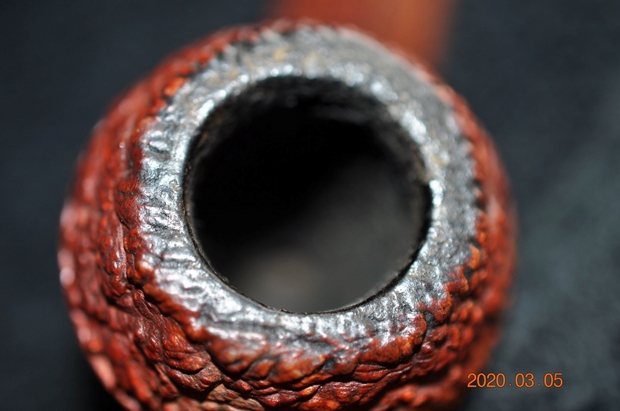
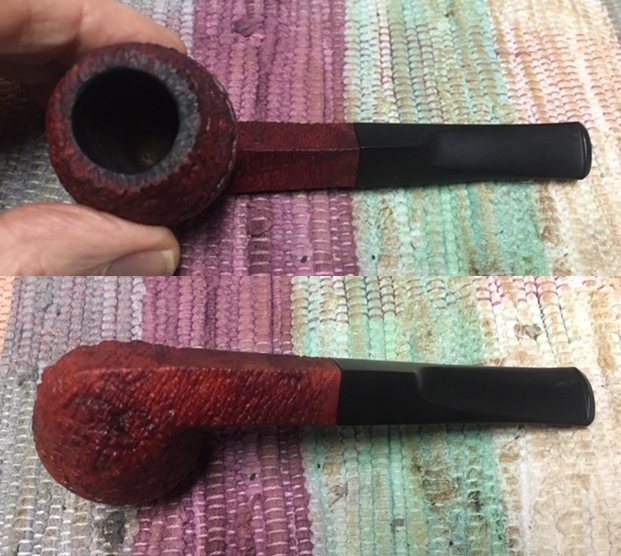
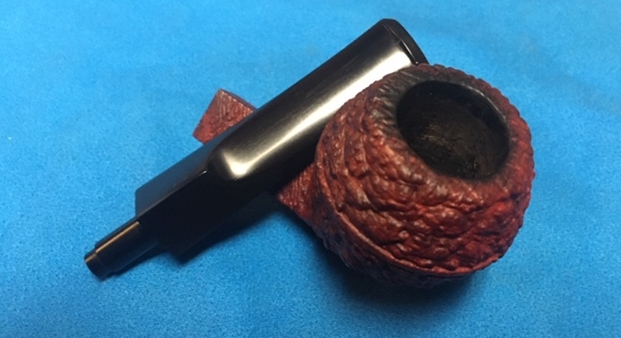
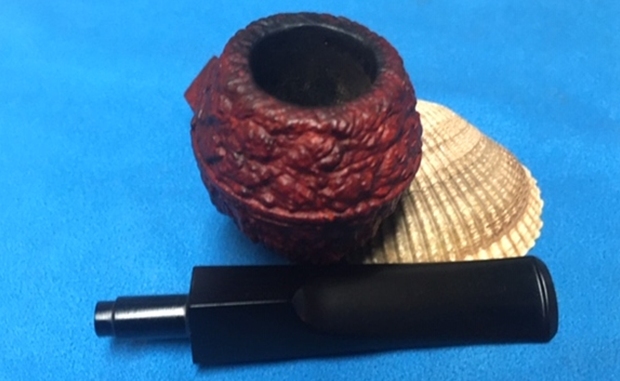
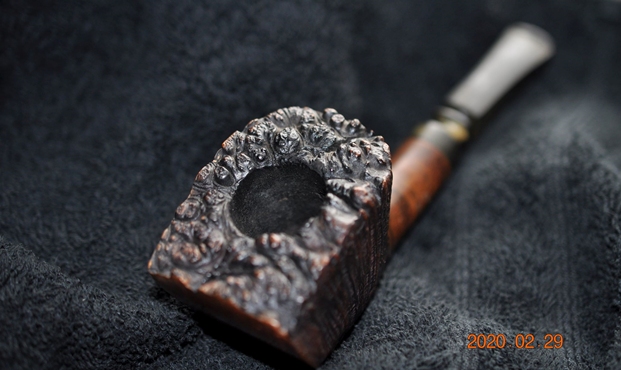
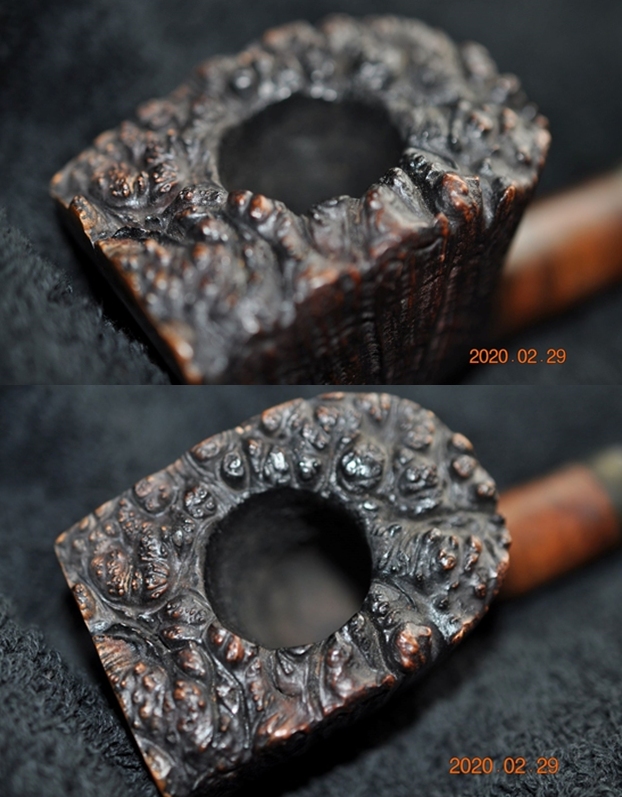
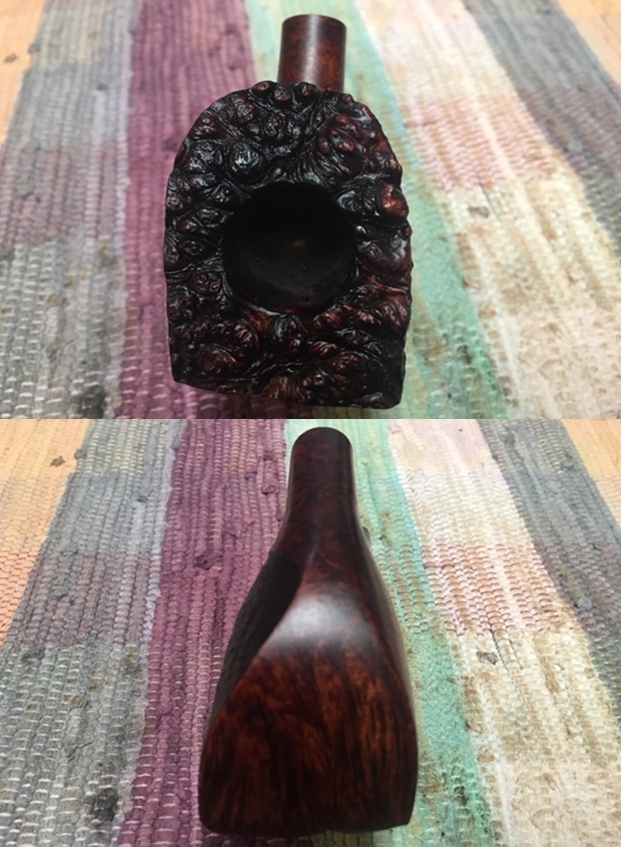
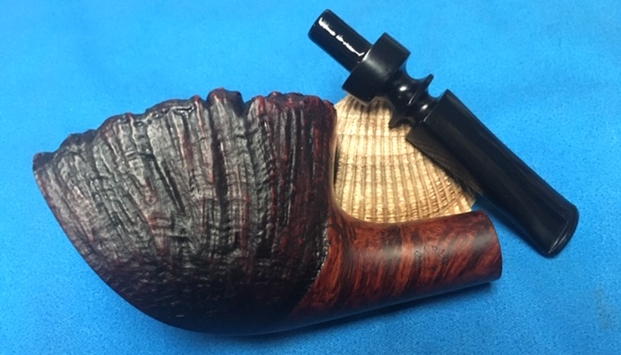
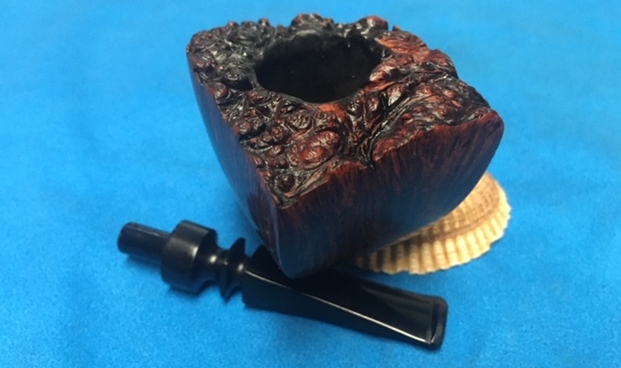
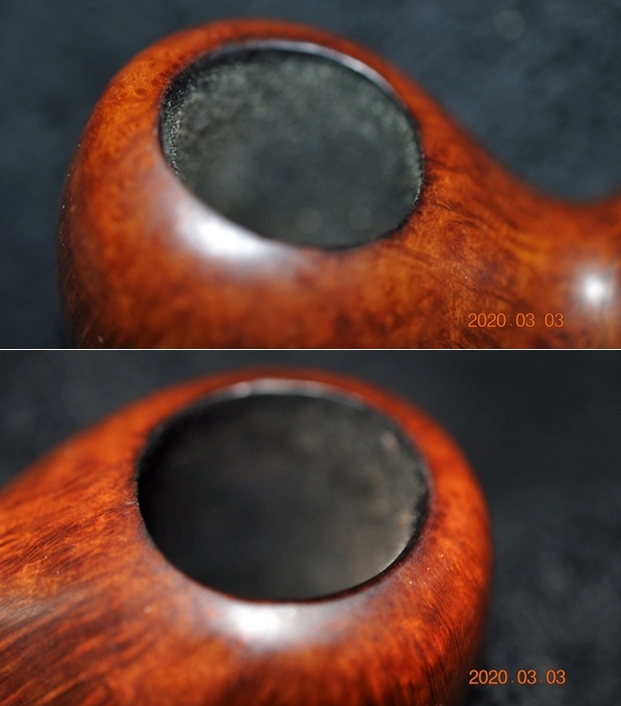
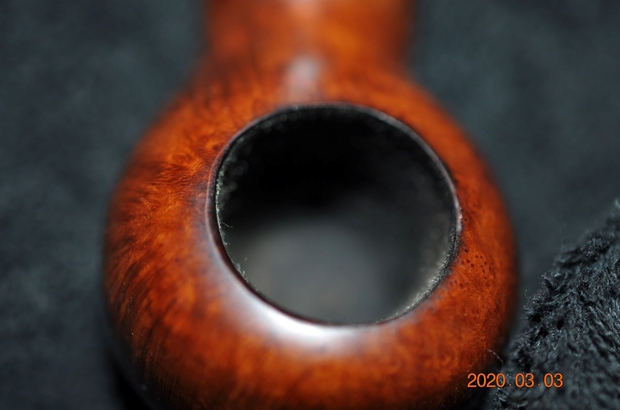
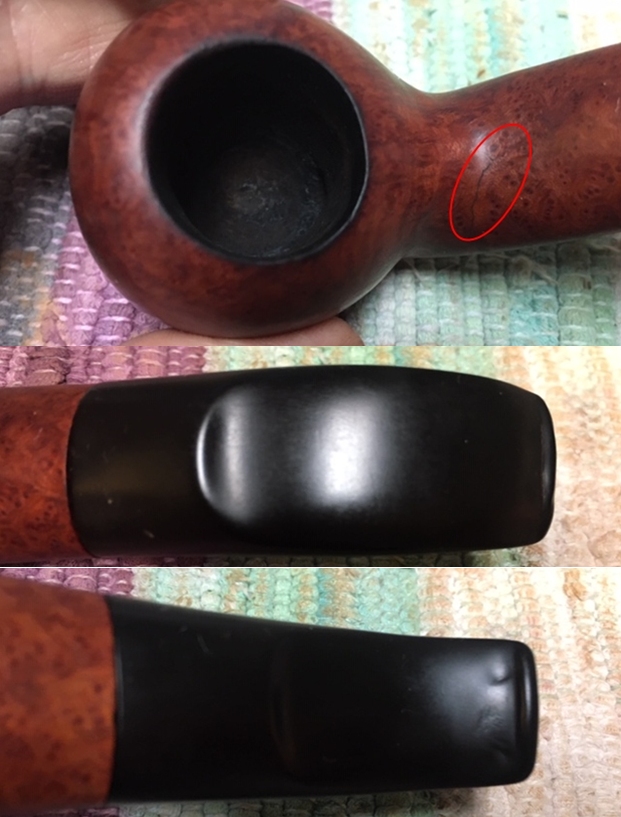
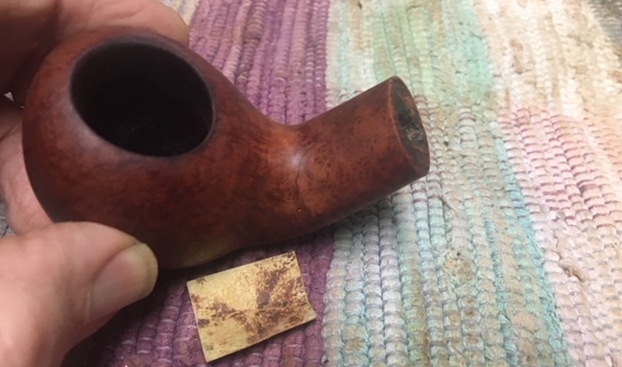
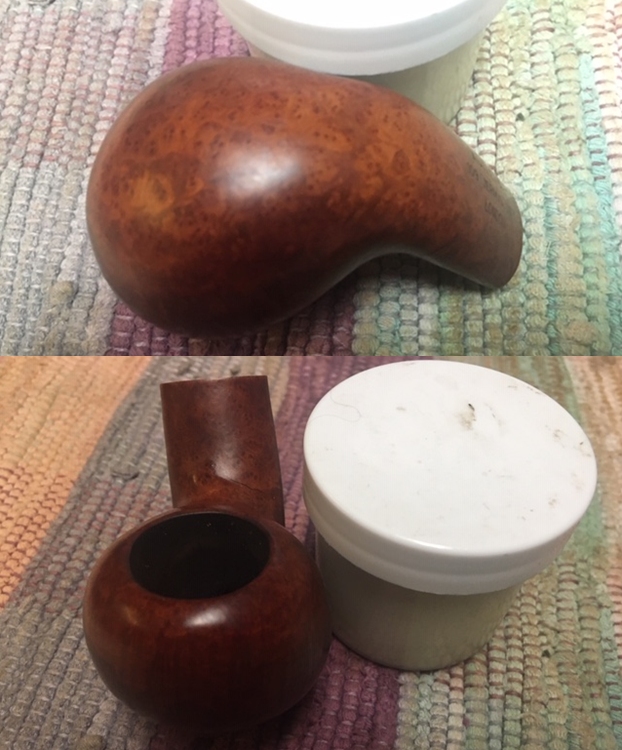
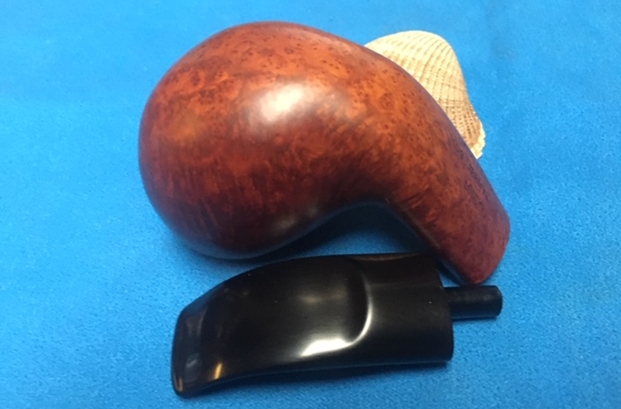
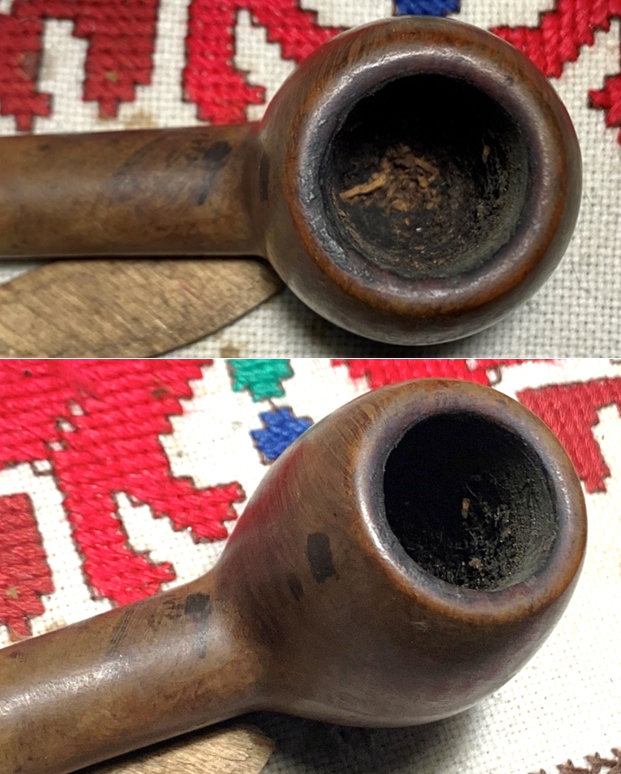
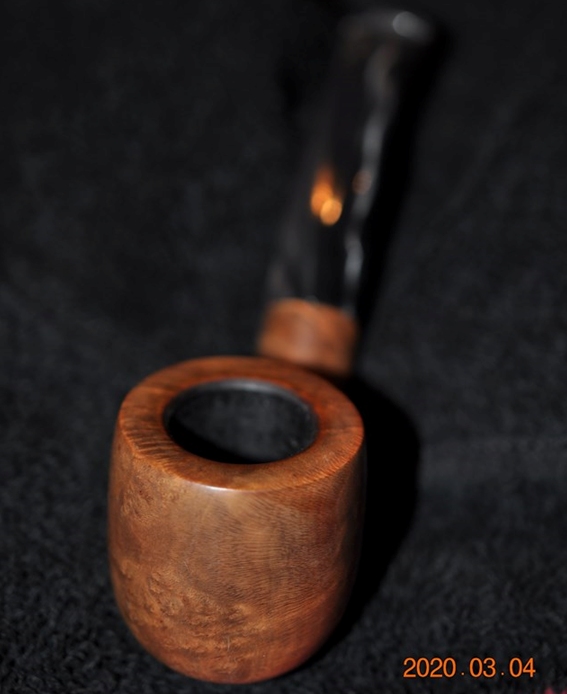
 As I look more closely at the pipe itself, the chamber is relatively clear of carbon cake and the rim has minor lava crusting on the rim.
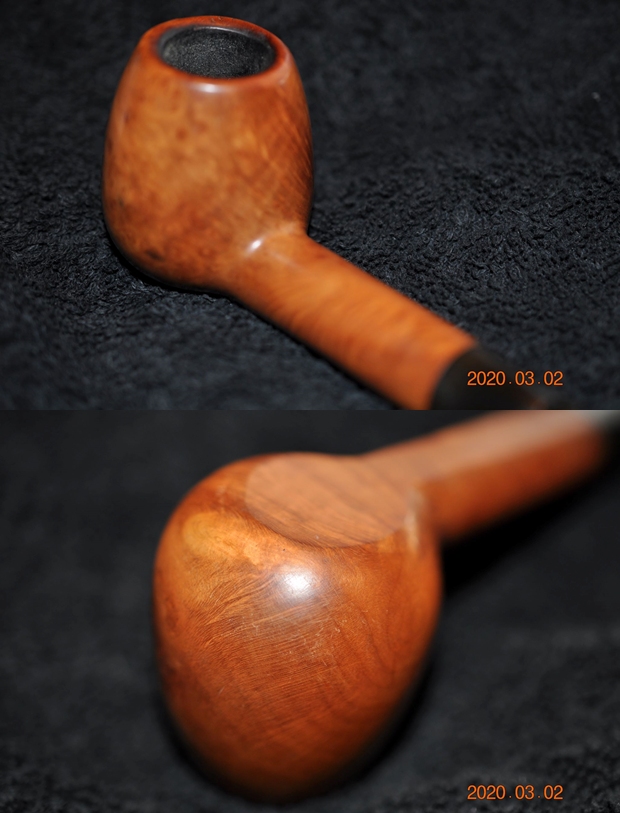
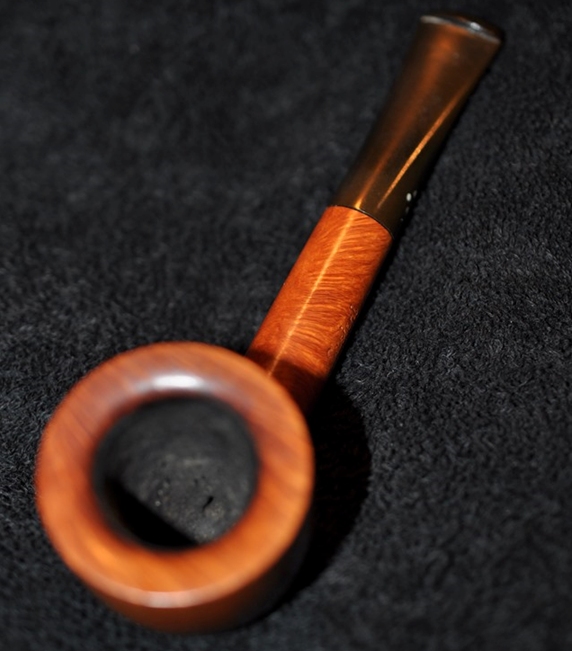
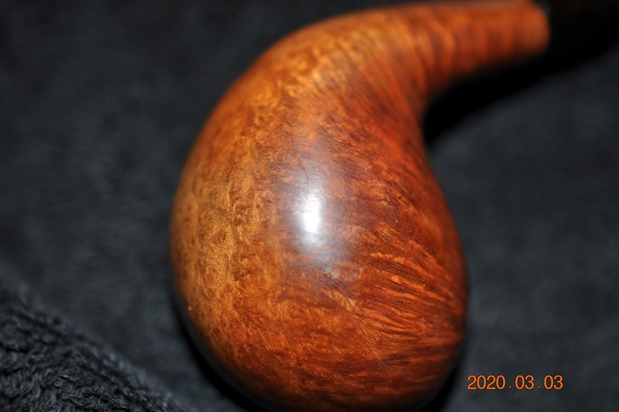
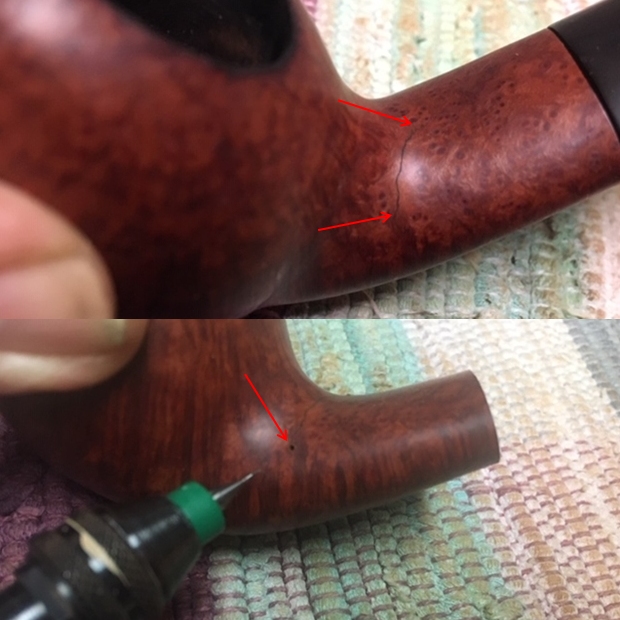
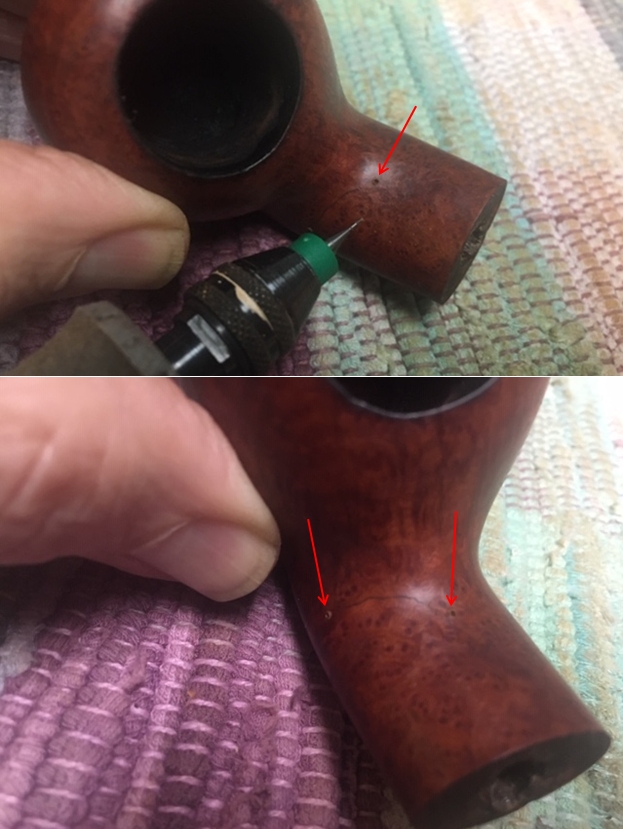
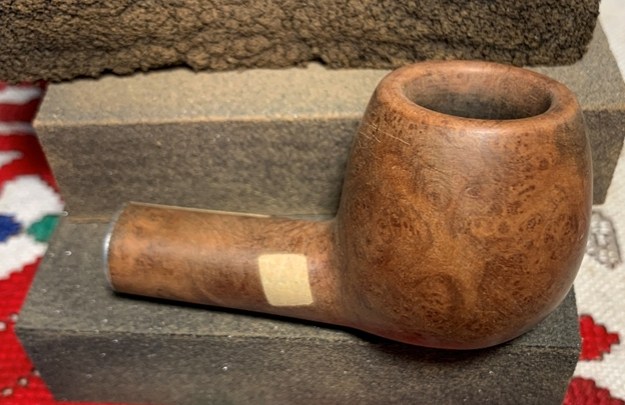
  The finish is old, faded and thin. There is grime on the stummel surface and dark spots/blots that I’m hopeful will clean. The stem has oxidation but the bit has no detectable tooth chatter.
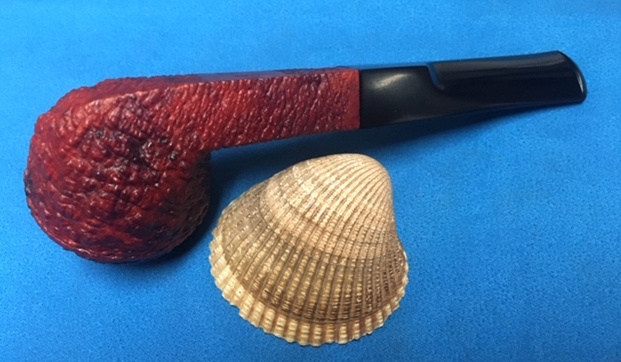
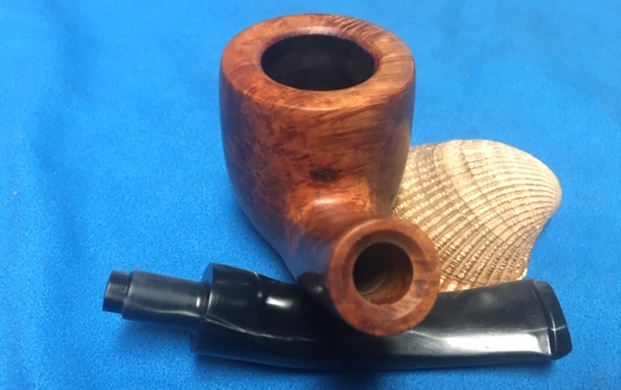
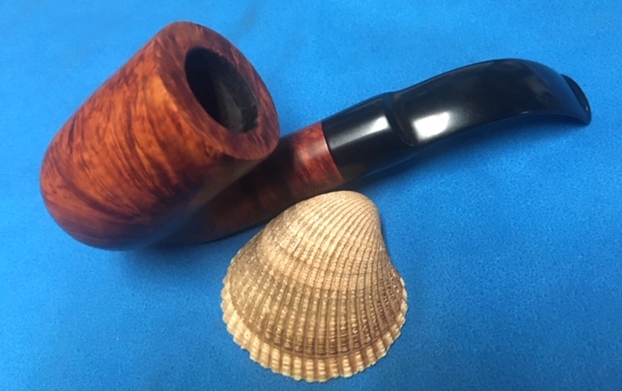
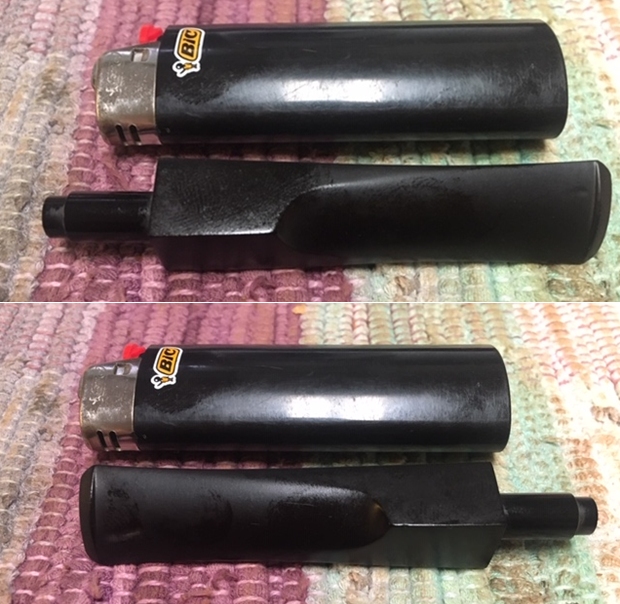
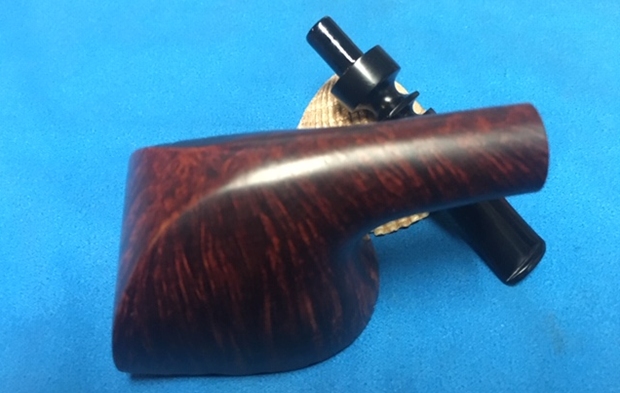
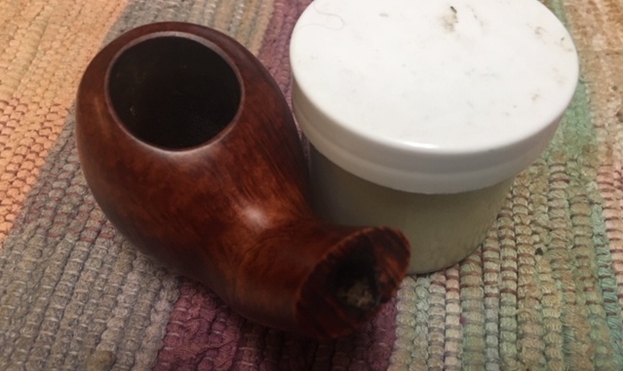
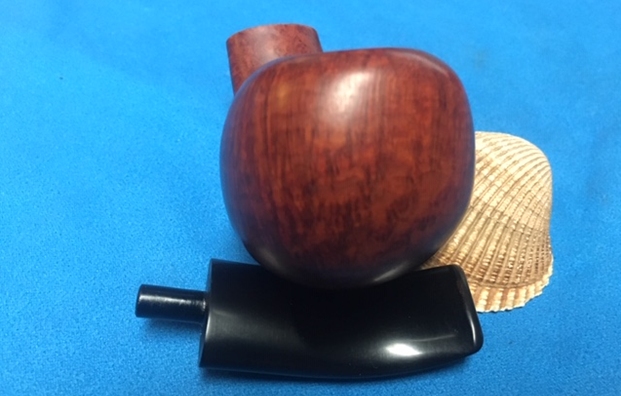
 The stem is not in alignment. It is under-clocked by a few degrees.
 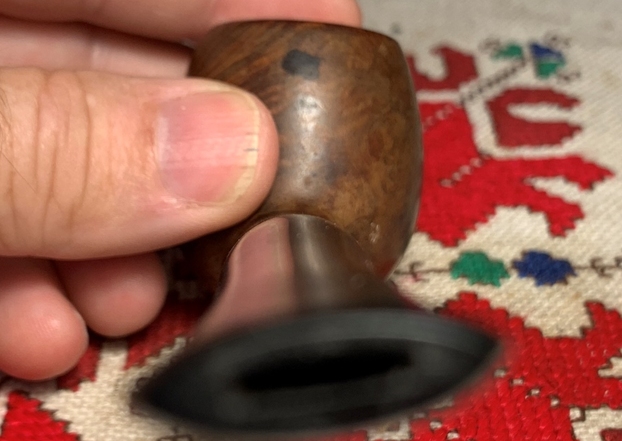 Kaywoodie is perhaps the quintessential American pipe name and I welcome restoring this Kaywoodie Standard Apple for Grace. Starting with the stem, with pipe cleaners wetted with isopropyl 95%, I clean the internal airway. I also use a shank brush to get into the smaller airway of the 3 holed stinger.
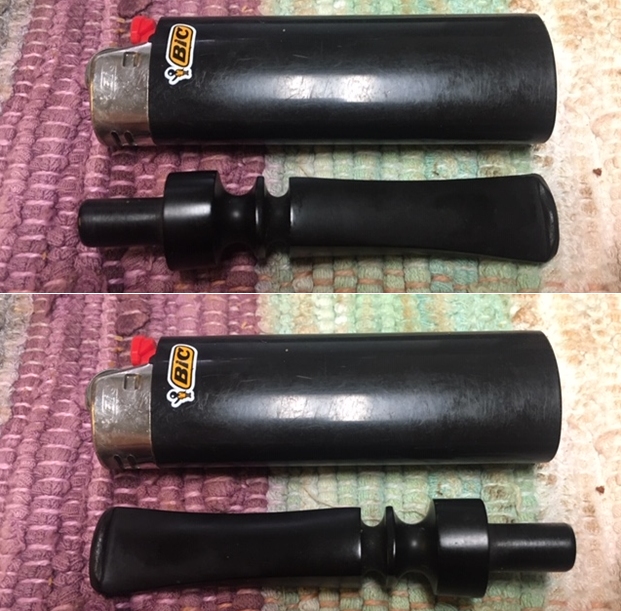
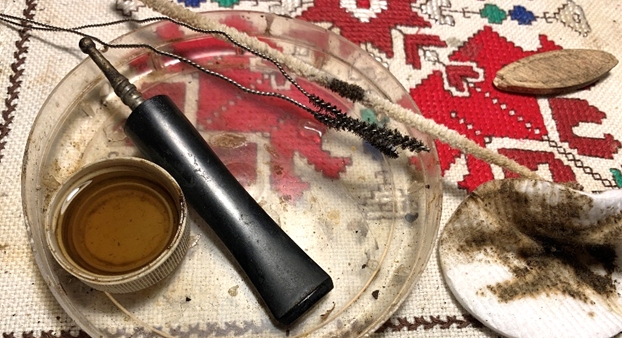 With the airway cleaned, the Kaywoodie joins other pipes’ stems in a Before & After Deoxidizer soak. The stems soak in the Deoxidizer for a few hours.
 After fishing the Kaywoodie stem out of the Deoxidizer, I squeegee the liquid with my fingers and use cotton pads wetted with alcohol to wipe off the raised oxidation. I also use pipe cleaners to clear the Deoxidizer liquid form the internal airway and stinger.
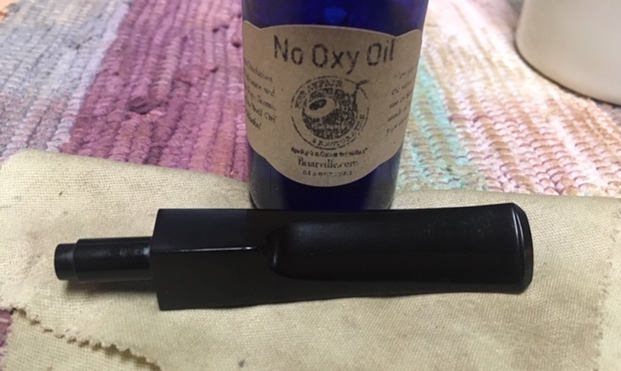
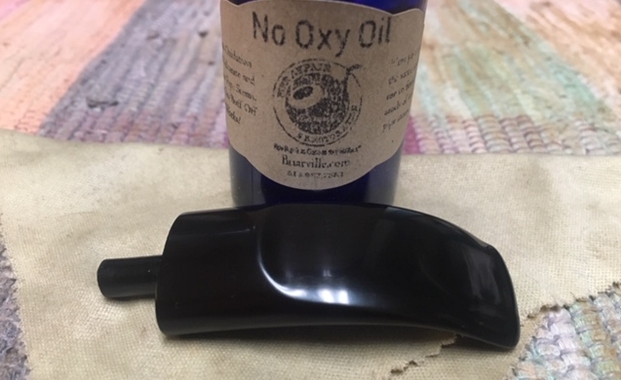
 To rejuvenate the vulcanite, paraffin oil is also applied to the stem and put aside to soak.
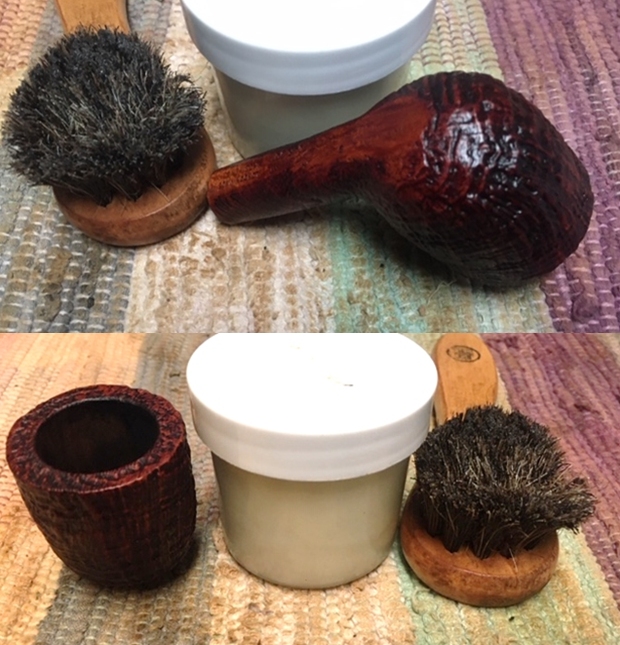
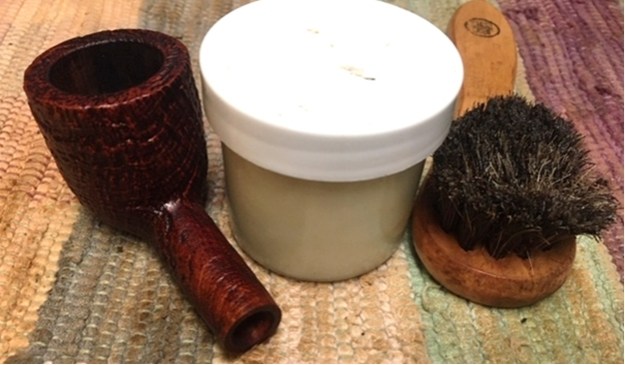
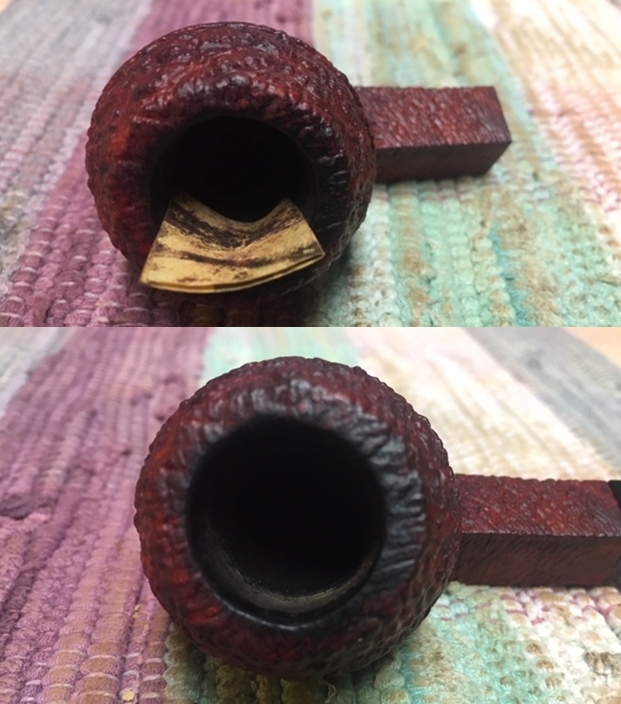
 Turning to the Kaywoodie Apple bowl, I use the Pipnet Reaming Kit to clean the light carbon cake in the chamber. I employ 2 of the 4 blade heads available in the kit, then transition to scraping the chamber wall with the Savinelli Fitsall Tool. Finally, after wrapping 240 grade paper around the Sharpie Pen, the chamber is sanded to remove the final vestiges of carbon.
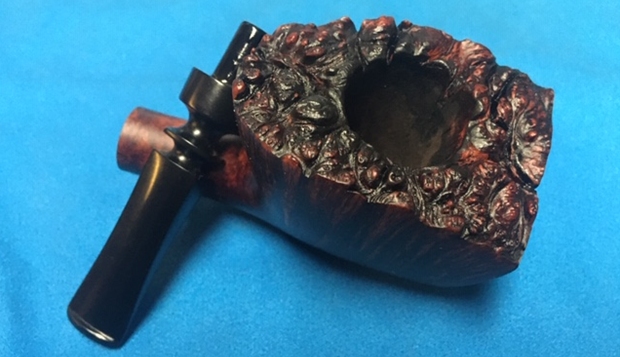
  After wiping the chamber with a cotton pad wetted with alcohol to remove the carbon dust, an inspection of the chamber reveals healthy briar with no heating issues.
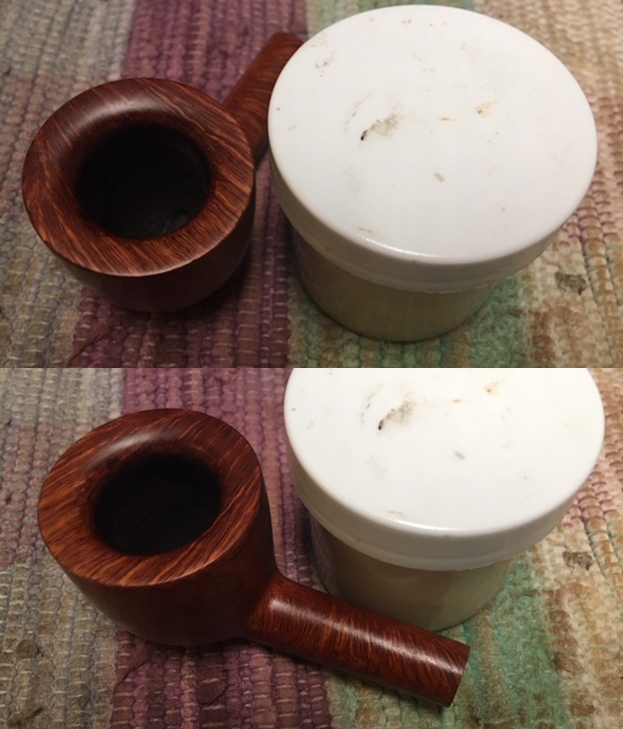
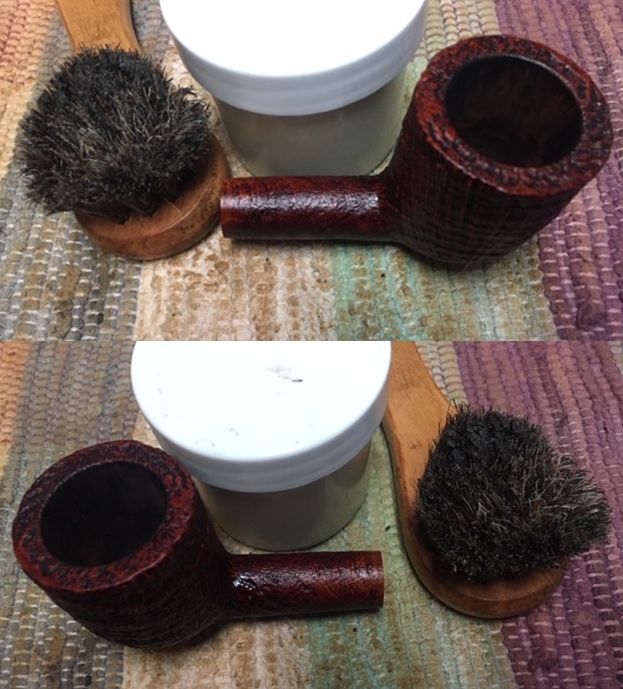
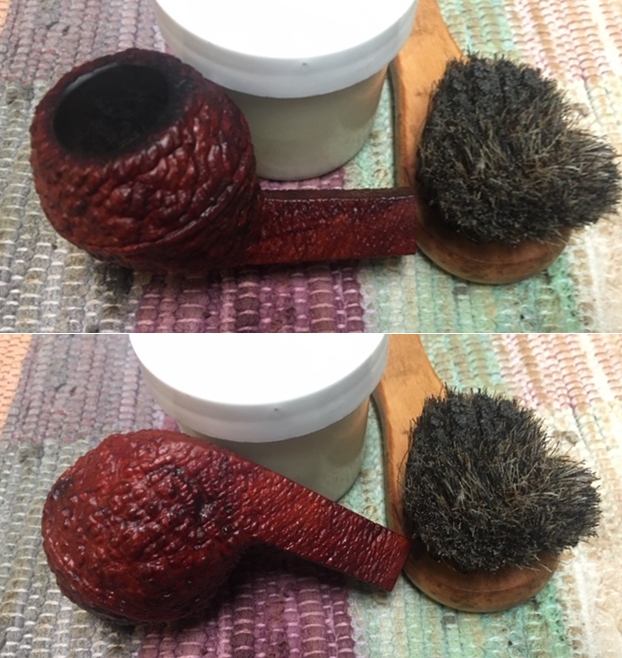
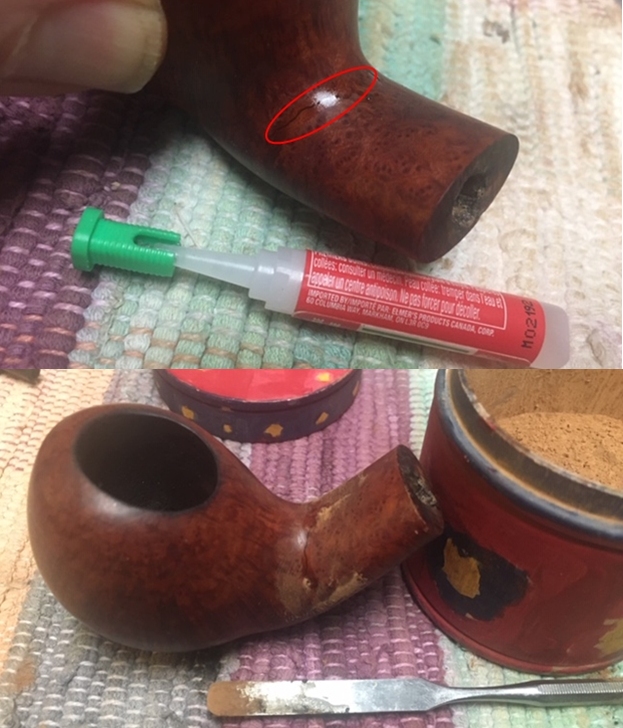
 Transitioning now to the external briar surface, undiluted Murphy’s Oil Soap is used on a cotton pad. I’m anxious to see what the cleaning does to the dark spots/blots on the surface.
  Along with the cotton pad, a brass wired brush helps on the rim as well as focusing on the dark spots. The bowl is then transferred to the kitchen sink to focus on the internals. Using a shank brush with anti-oil liquid dish soap, the internal mortise is addressed as well as using my fingernail on the dark spots. After a thorough rinsing, the bowl goes back to the worktable.
 I use 000 grade steel wool to clean the nickel shank facing as well. The spotting on the aft side of the bowl, top of the shank and shank underside are still present but perhaps lessened. They will need sanding to eradicate.
 Next, continuing with the internal cleaning, pipe cleaners and cotton buds dipped in isopropyl 95% work on the mortise. The metal threaded shank facing makes cleaning the internals a bit tricky. I reach into the mortise with a small dental spoon and excavate old oils and tars by scraping the mortise walls. This was quite a battle! At the end of the excavating and pipe cleaners and cotton buds, more of a truce was called – not a victory. I will continue the internal cleaning later with a kosher salt and alcohol soak!
 Not wanting to contribute to the further demise of the Kaywoodie nomenclature, masking tape is placed over the markings on both sides of the shank.
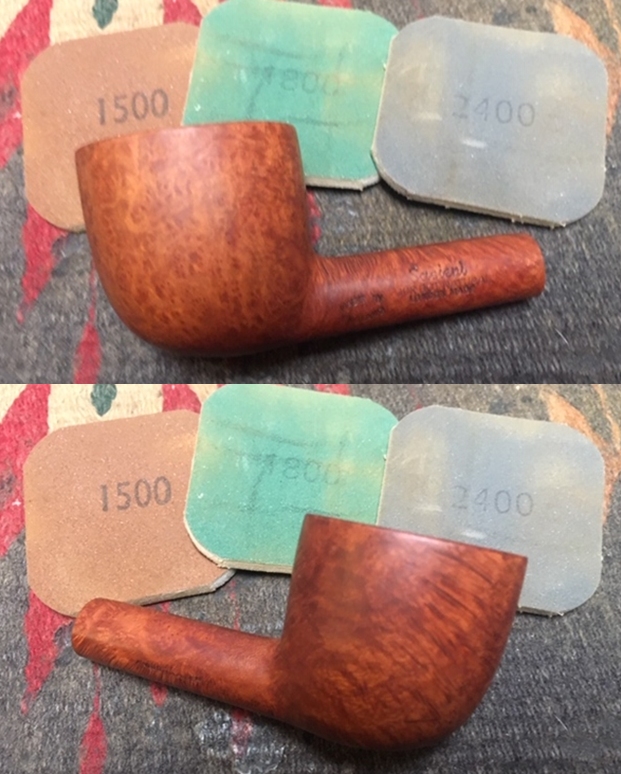
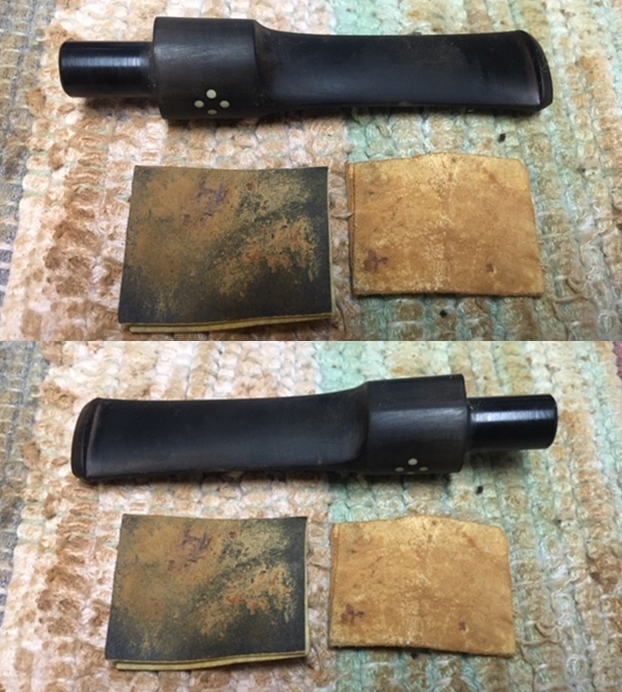
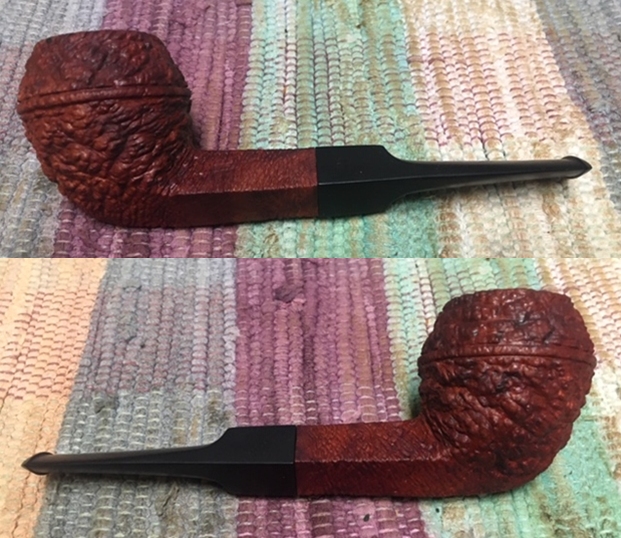
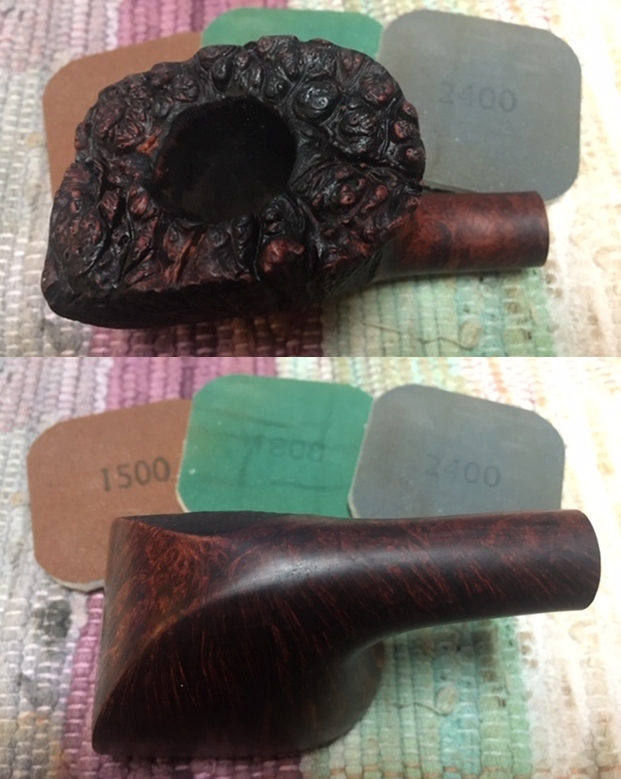
 The darkened areas on the rim and the spotting areas are addressed with a light sanding with 240 grade paper. First, before pictures and after sanding.
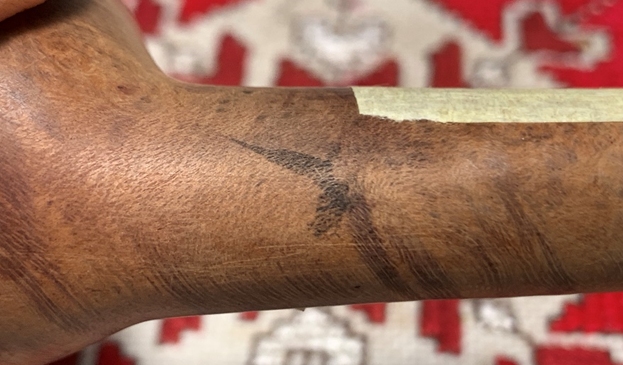 After sanding the spots are erased.
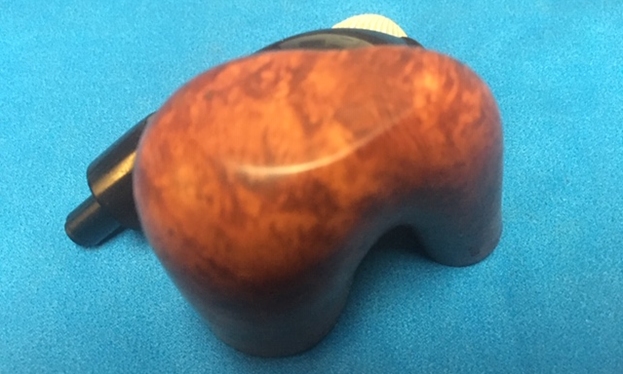
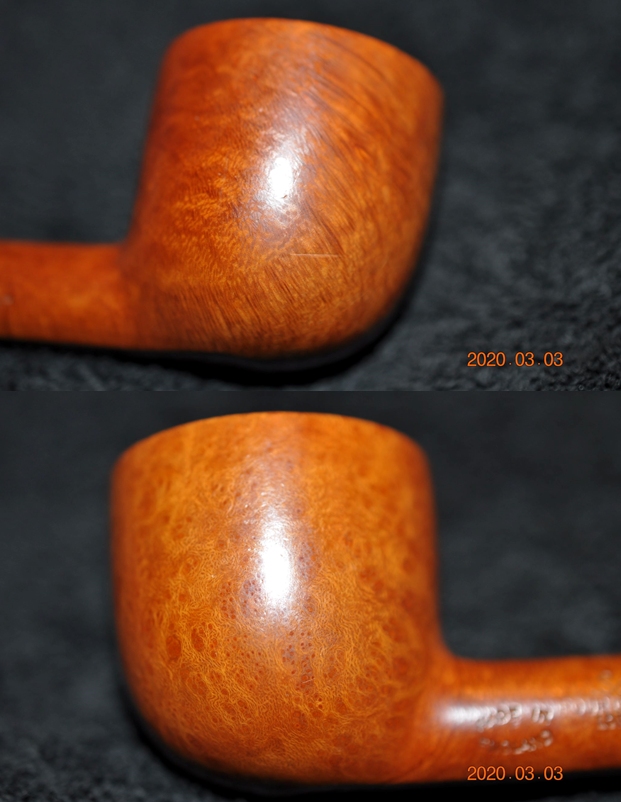
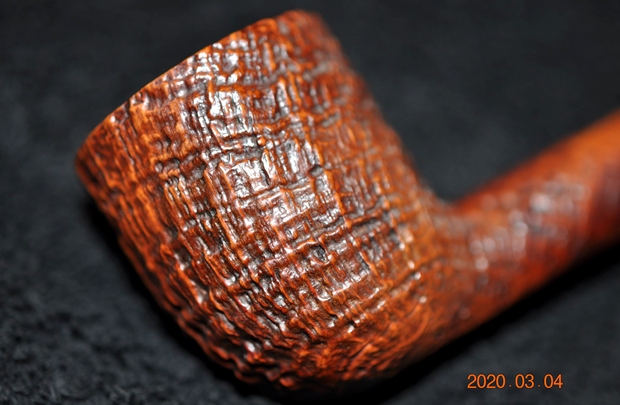
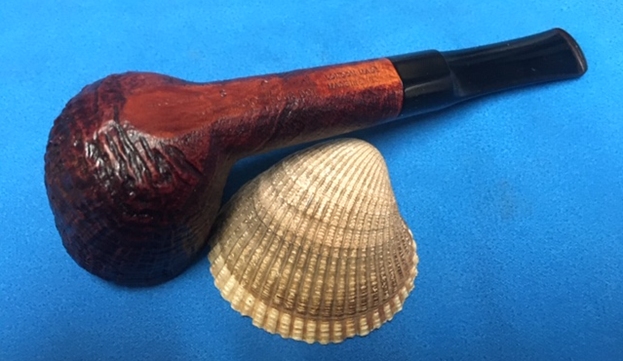
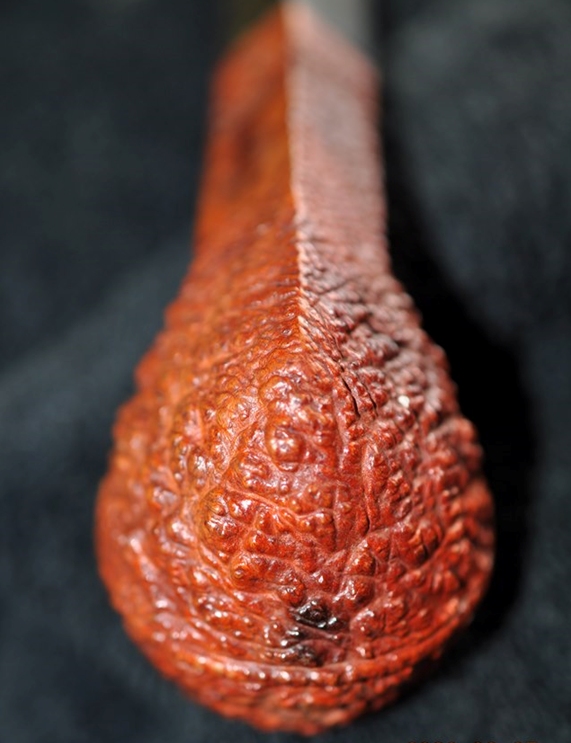
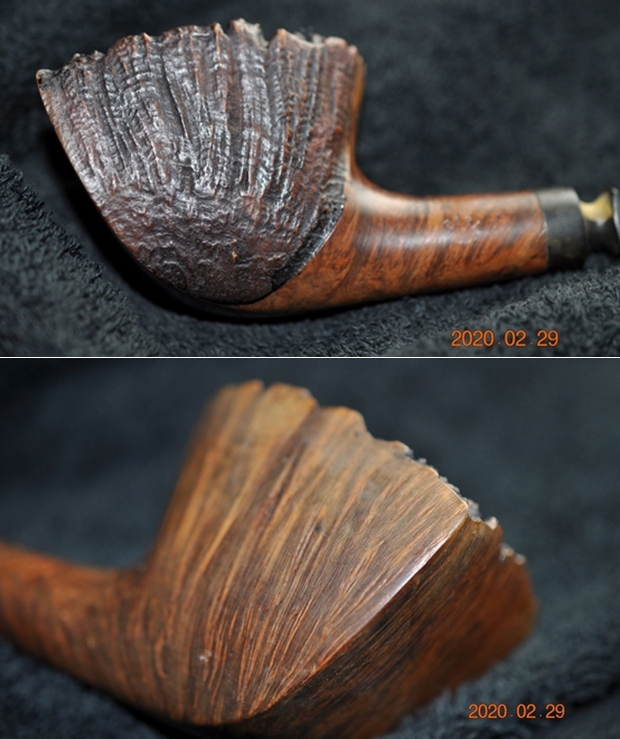
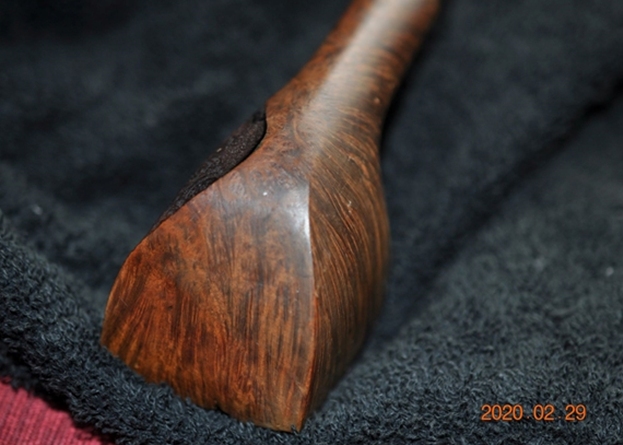
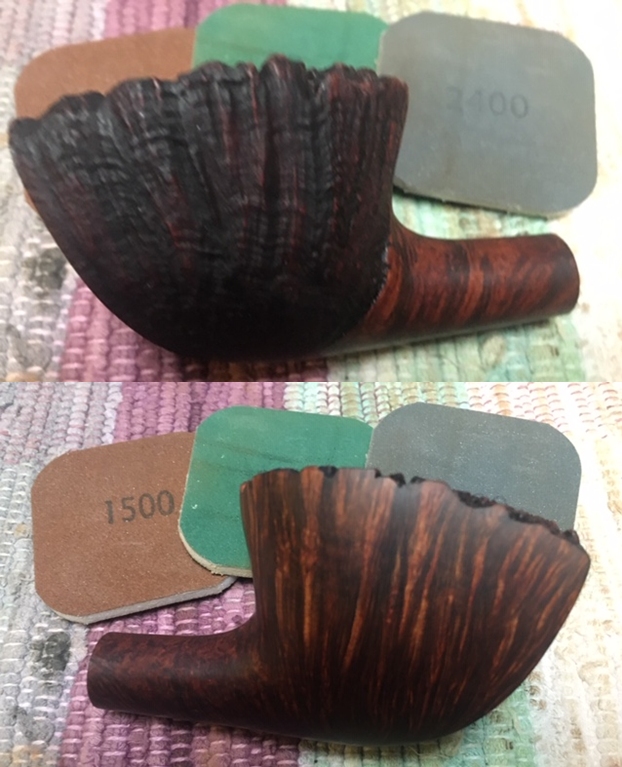
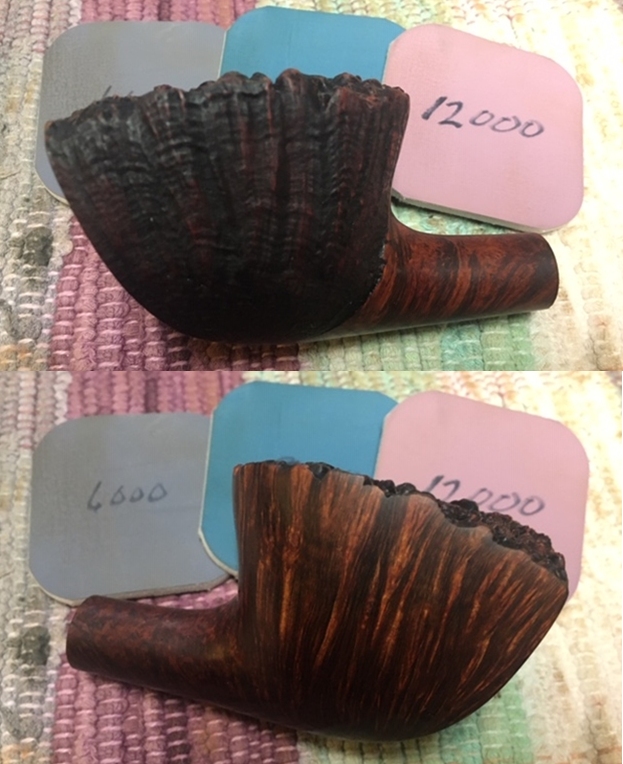
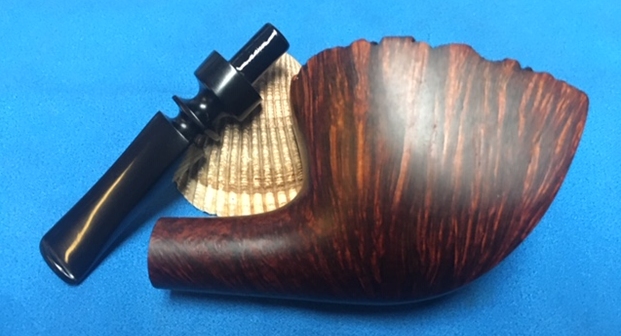
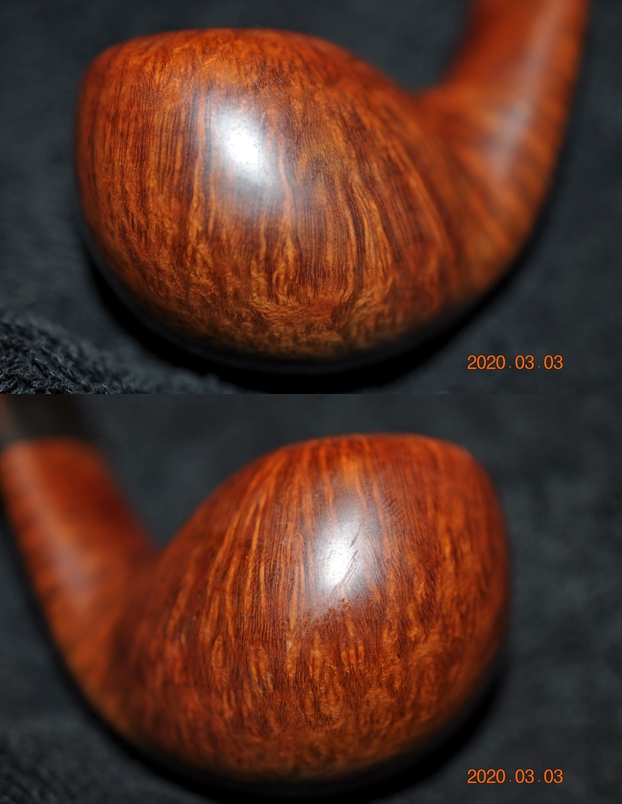
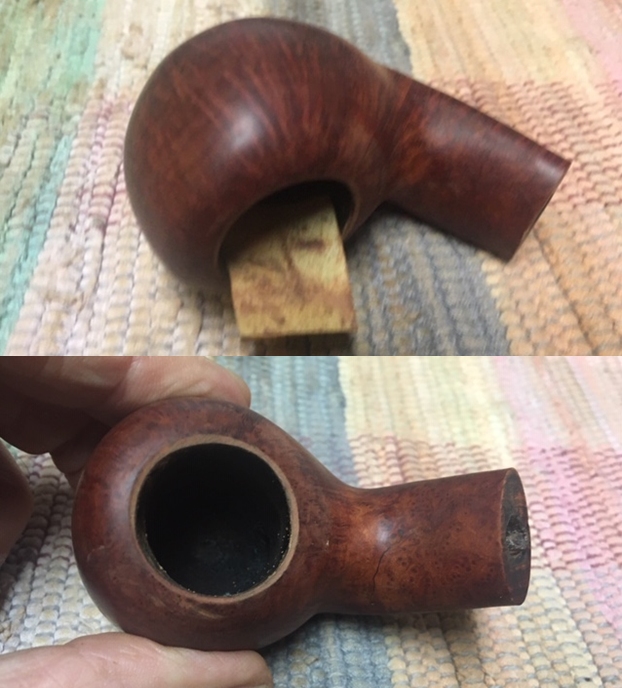
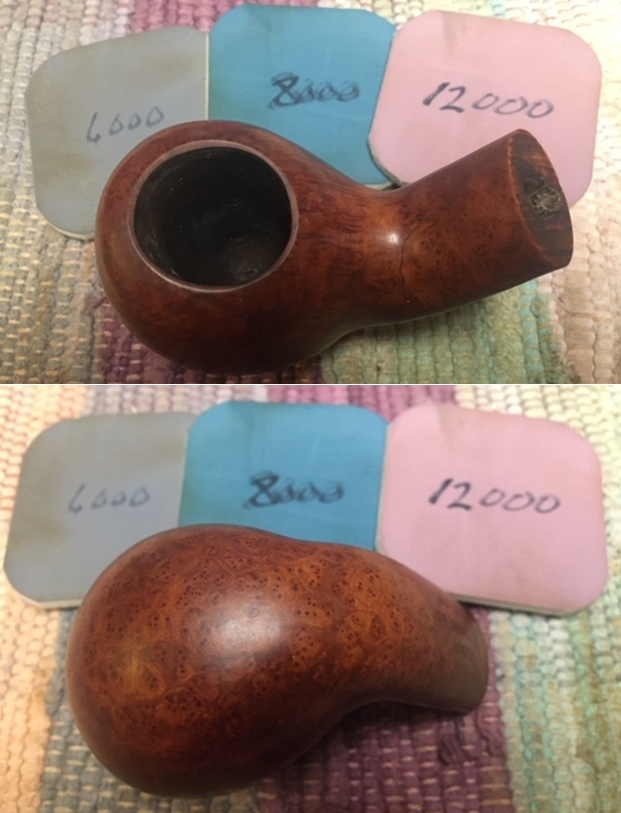
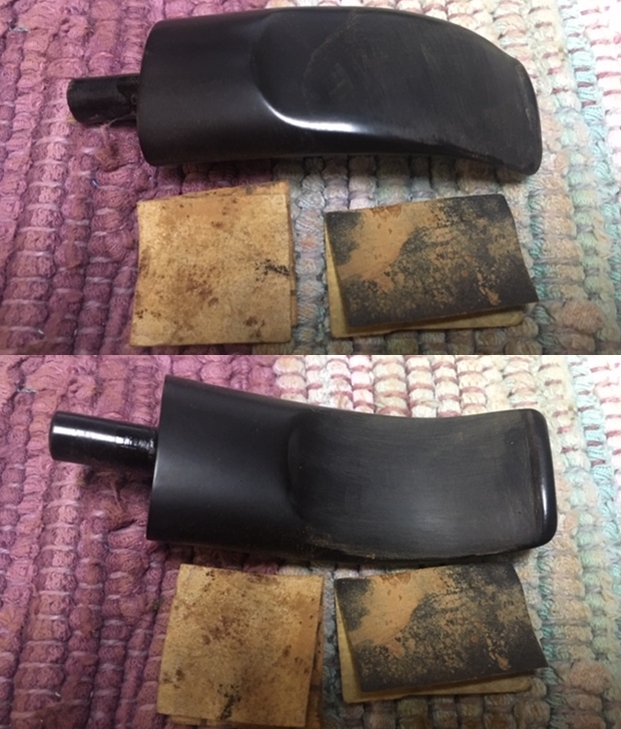
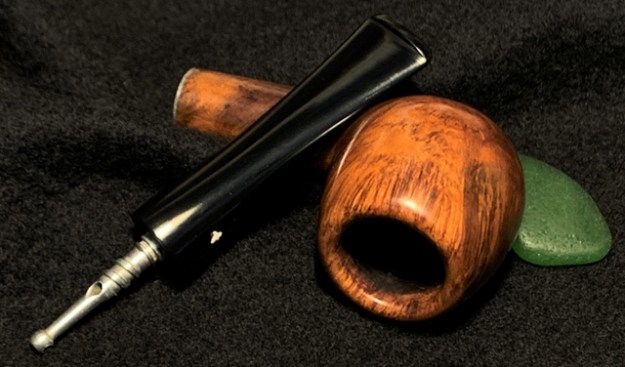
 Next, to clean the entire stummel of scratches, cuts and nicks, I utilize sanding sponges. First, a coarse sponge is used followed by medium and light grade sponges. I like the appearance of the grain on this Apple bowl. The grain is showing a lot of flow with some bird’s eye. It appears this block of briar was taken toward the edge of the bole.
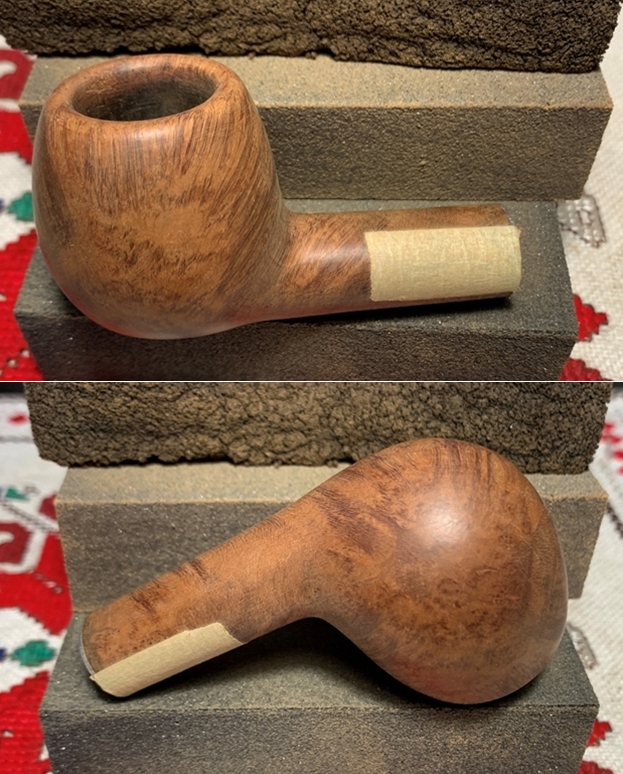
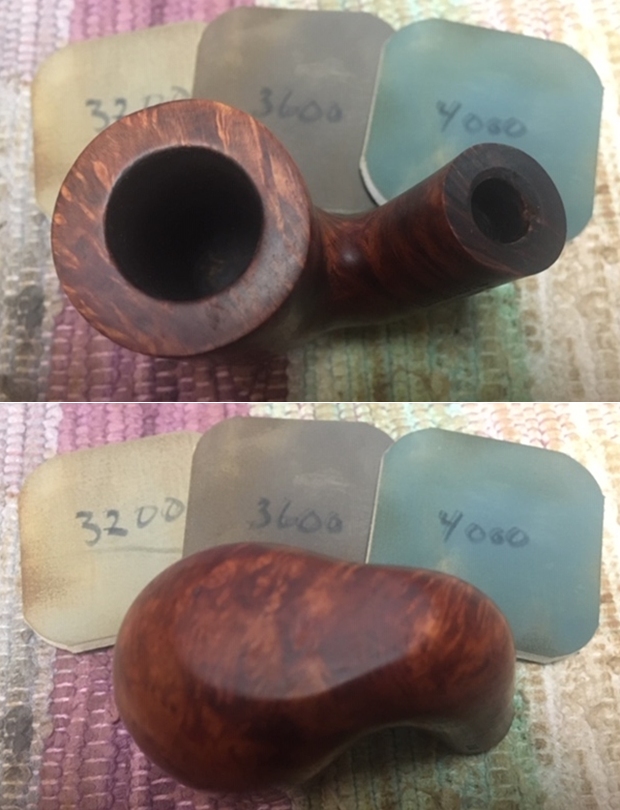
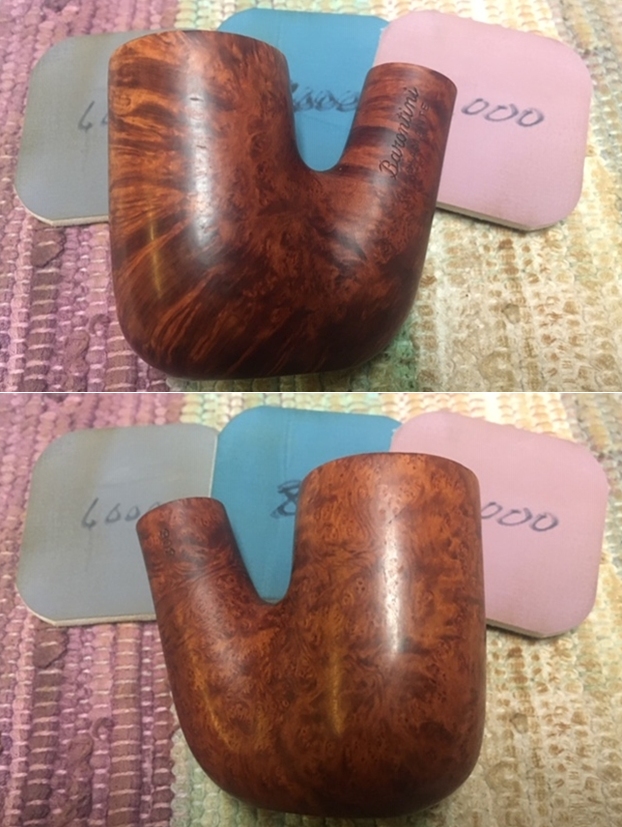
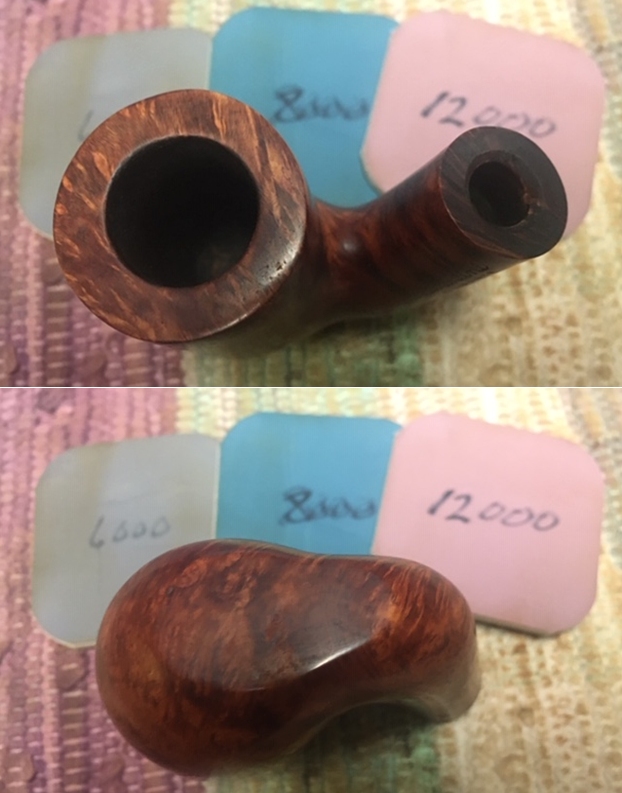
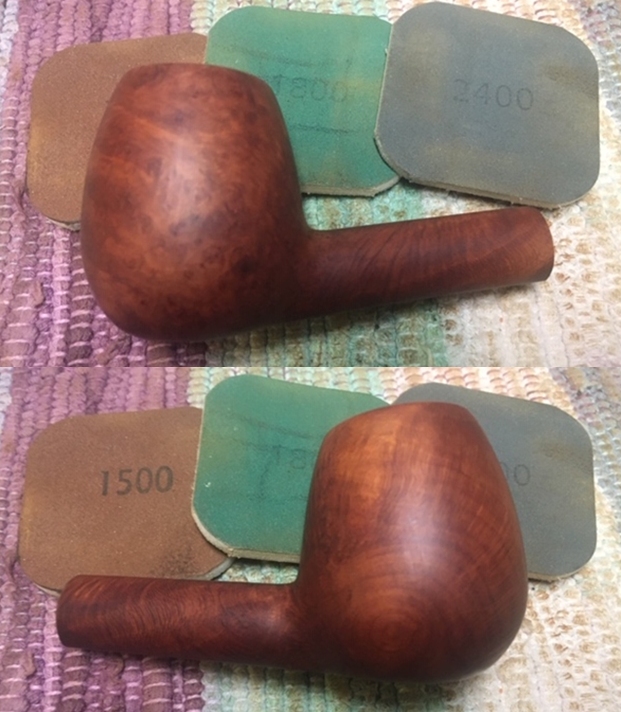
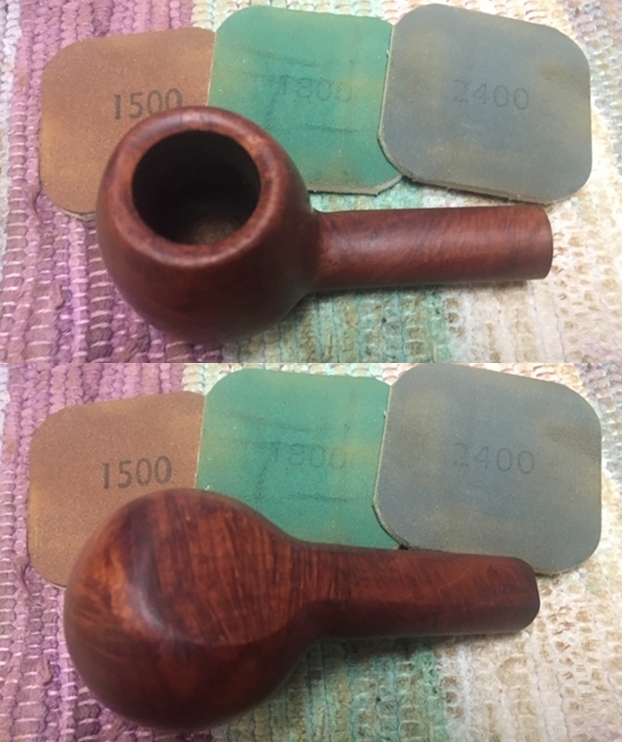
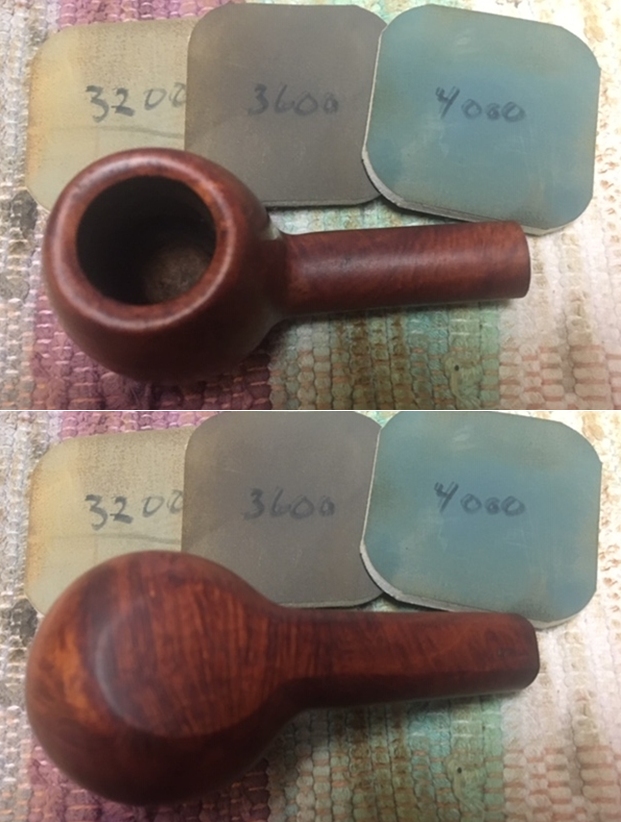
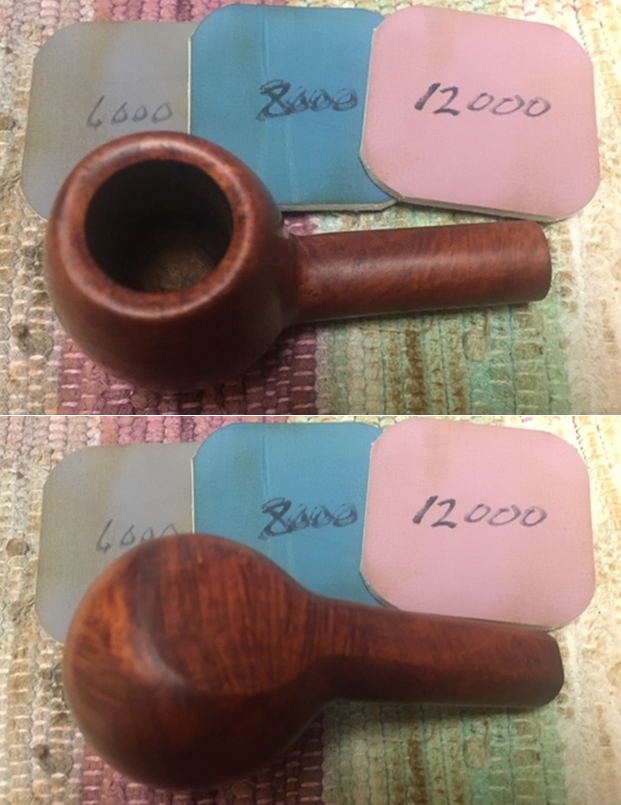
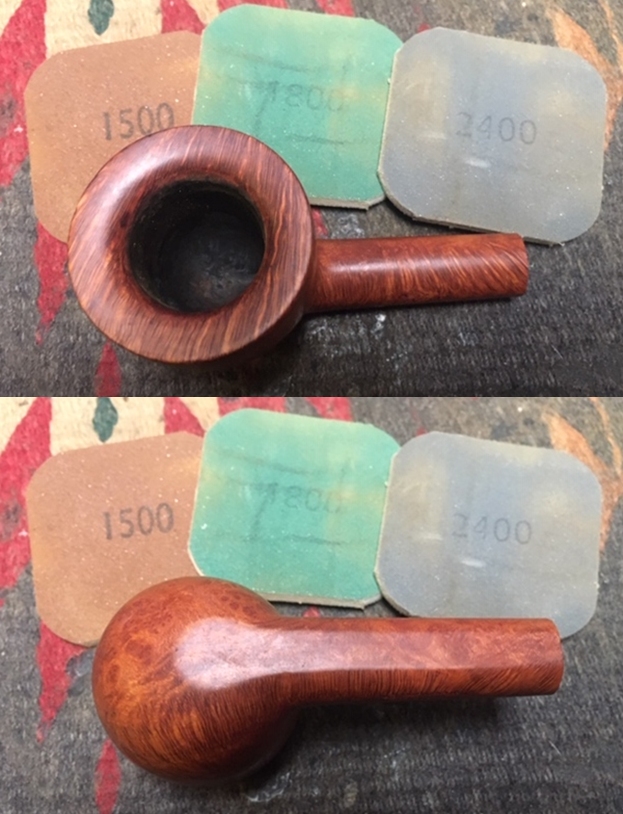
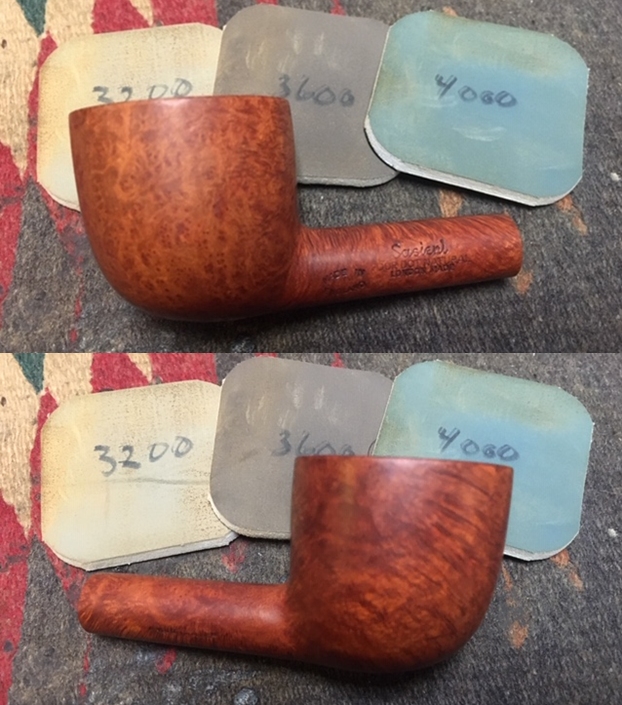
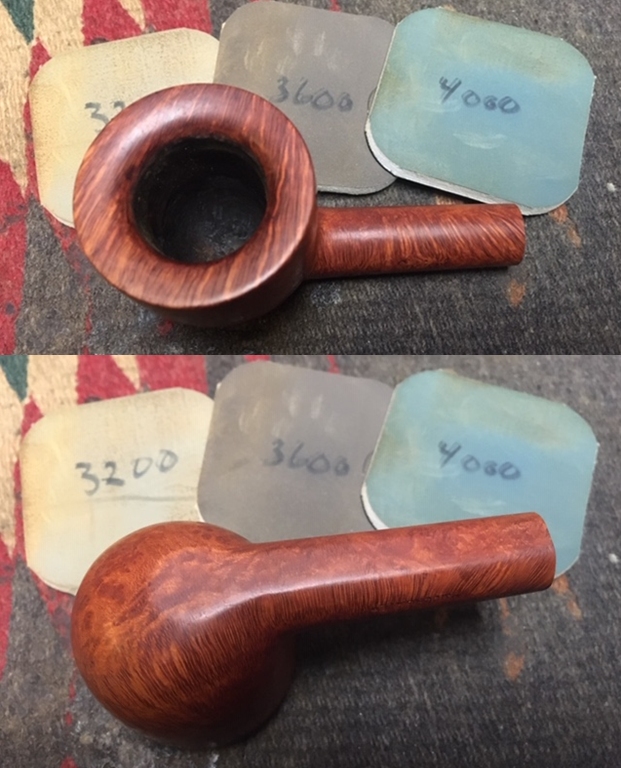
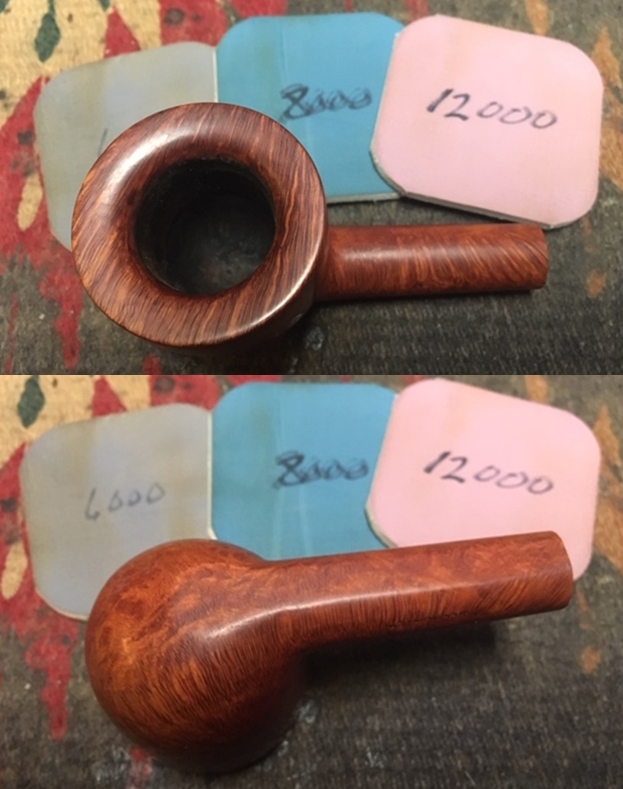
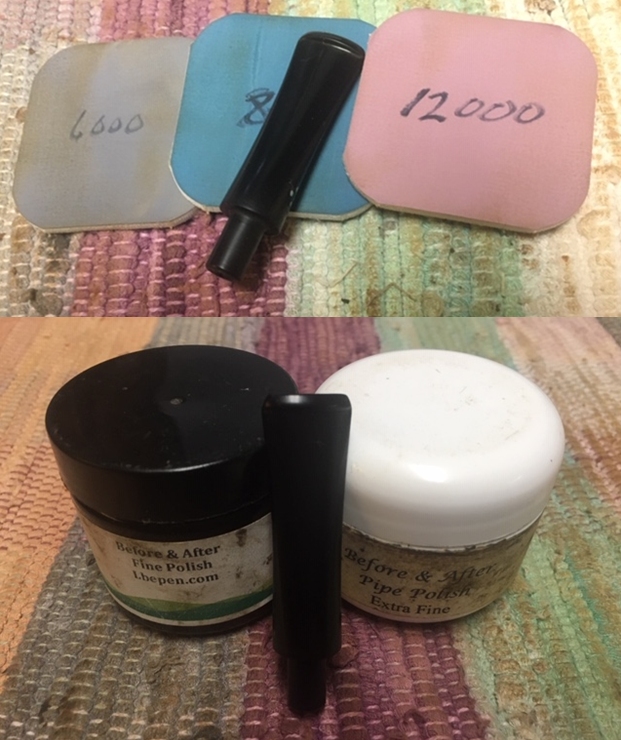
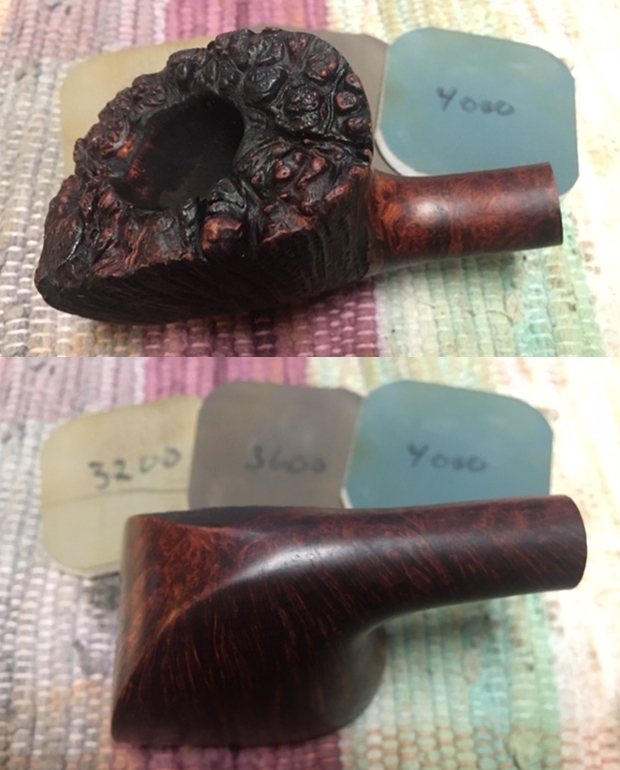
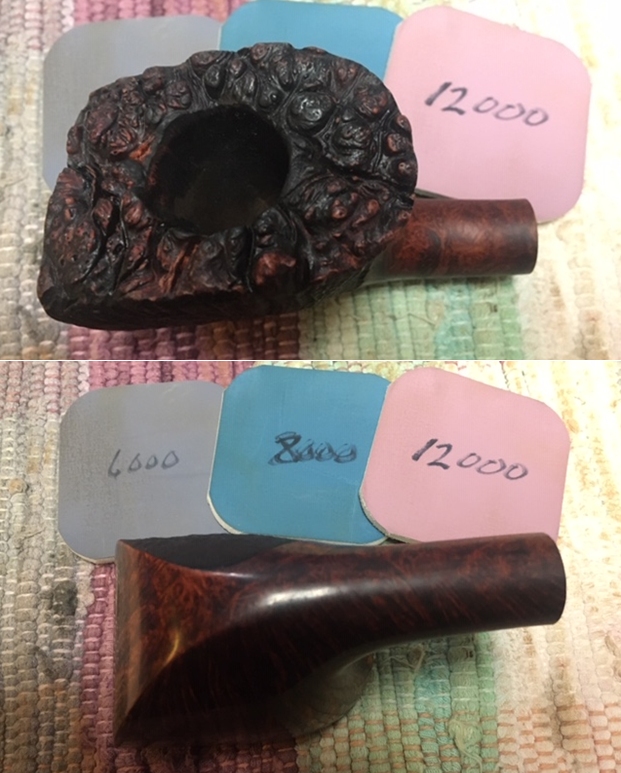
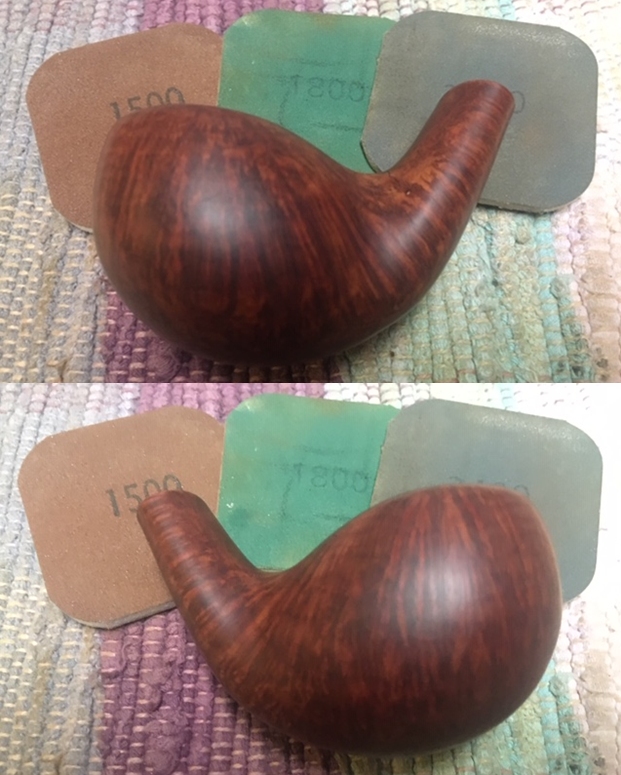
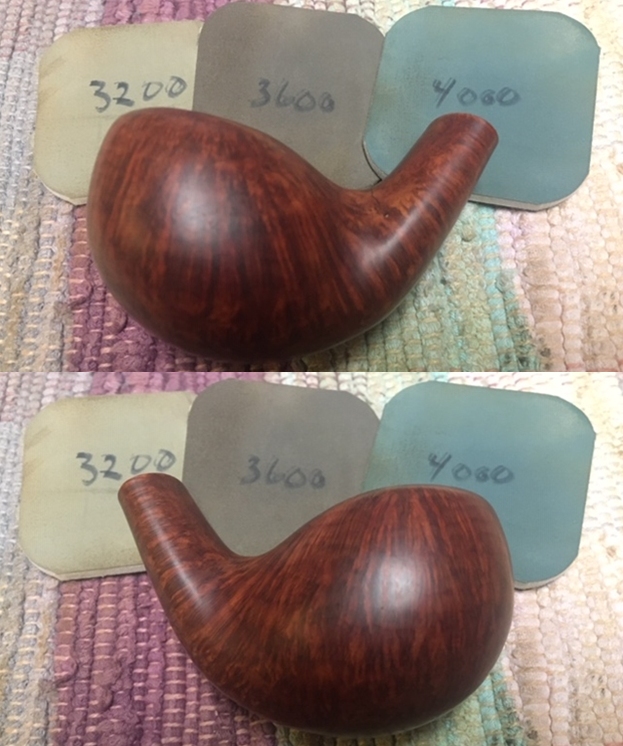
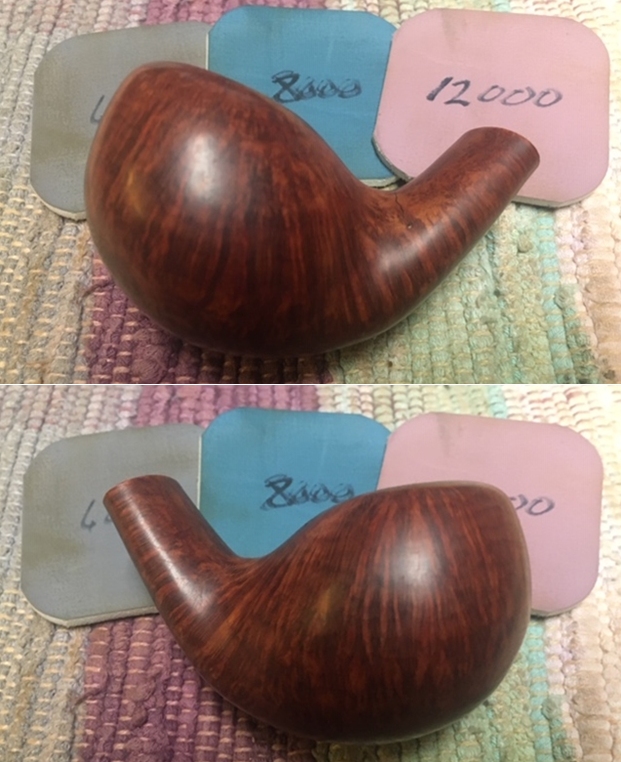
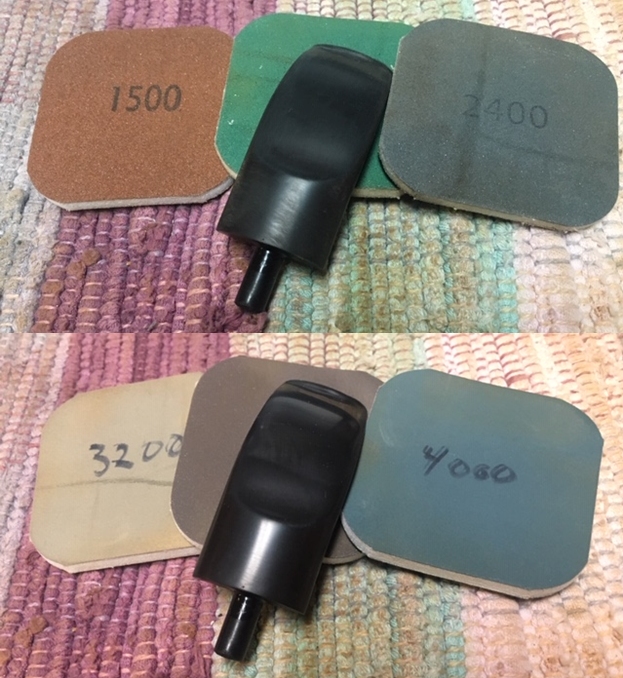
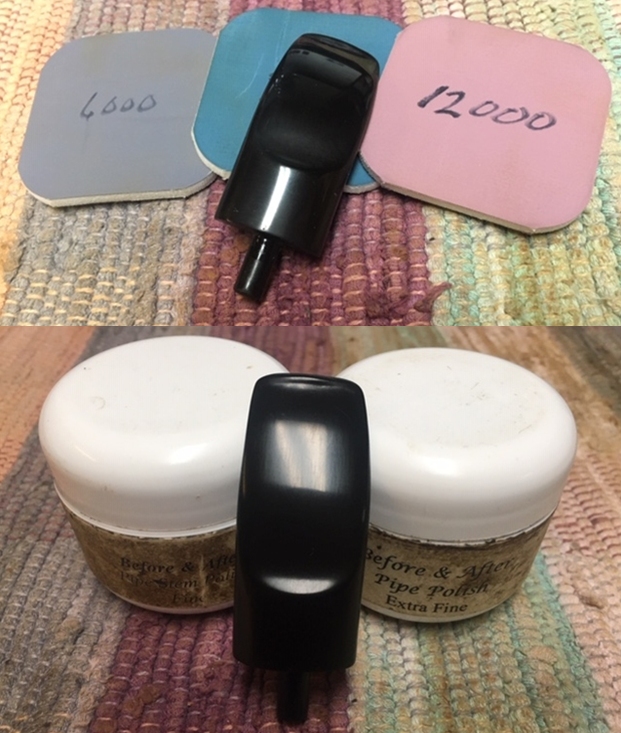
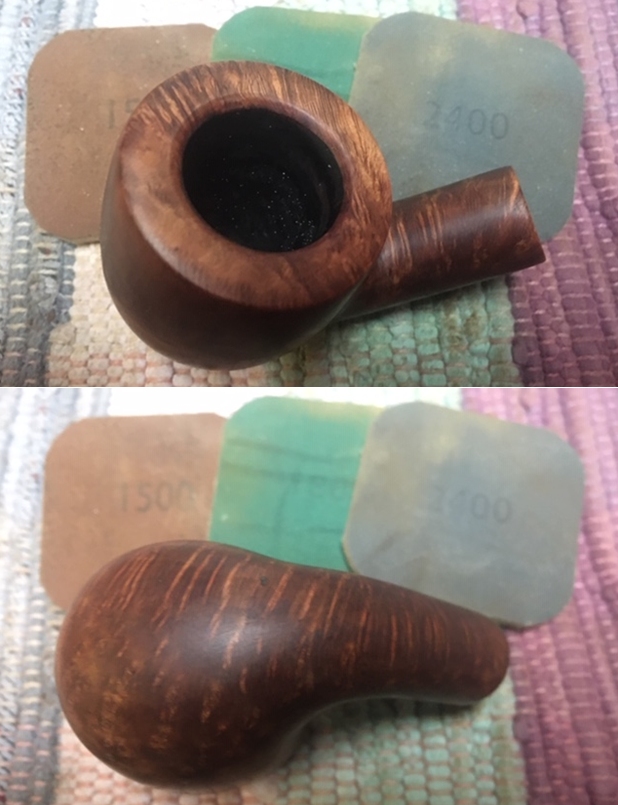
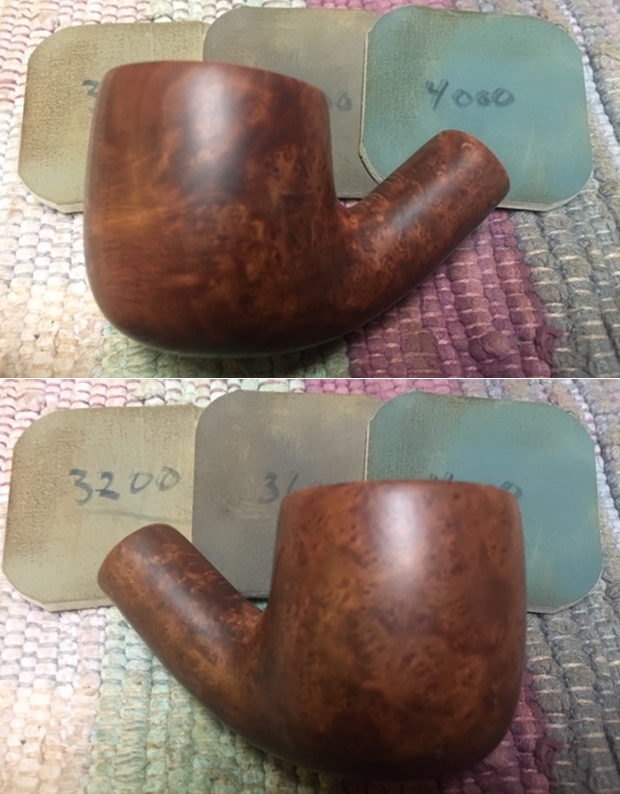
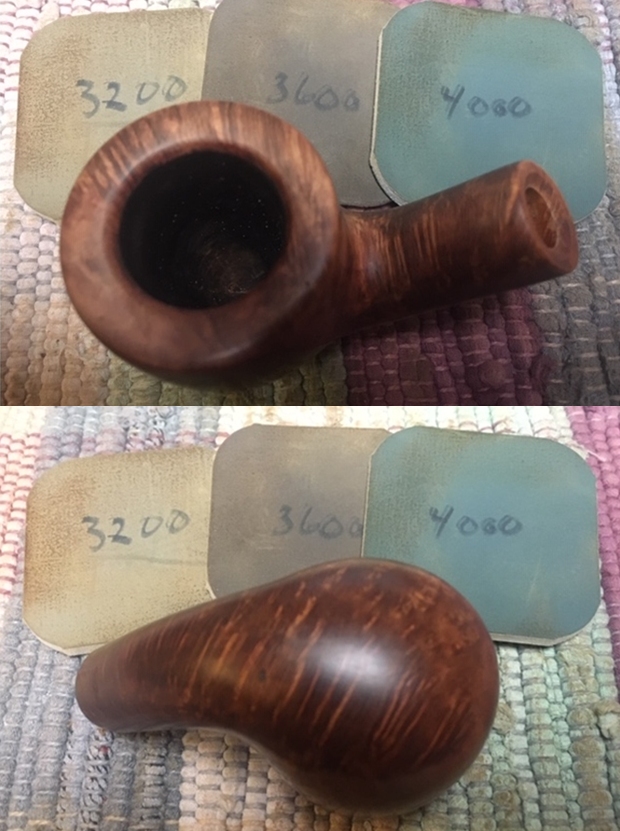
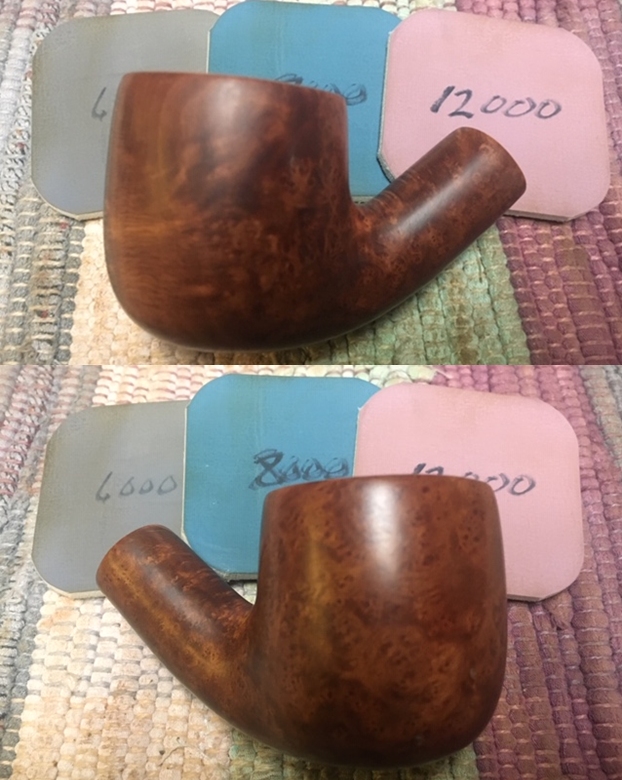
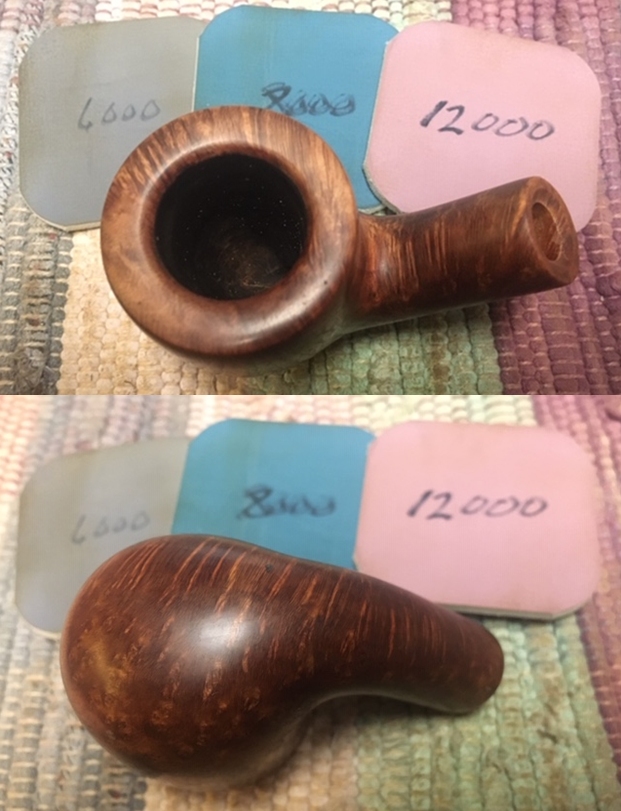
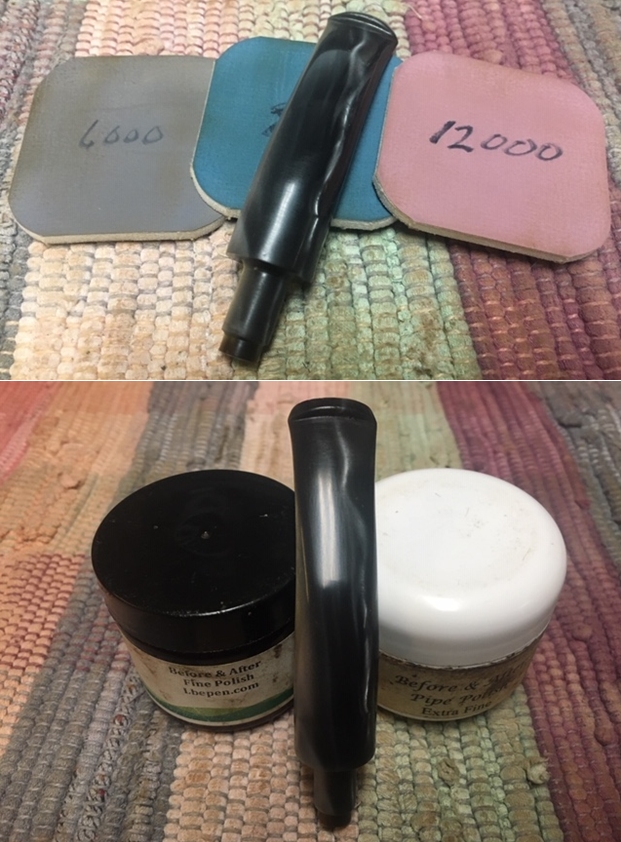
 Next, using the full regimen of micromesh pads, I wet sand with pads 1500 to 2400 and then dry sand with pads 3200 to 4000 and 6000 to 12000. I remove the masking tape in the last set of three to allow some blending without much in the way of sanding.
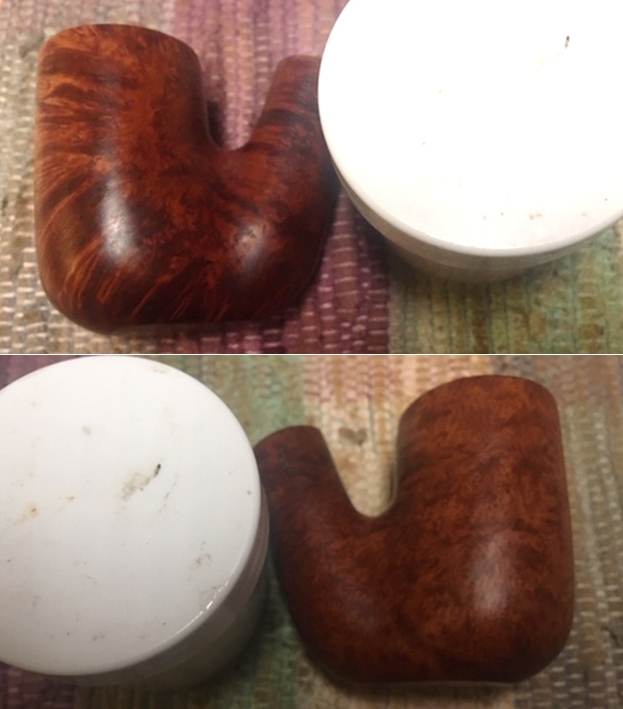
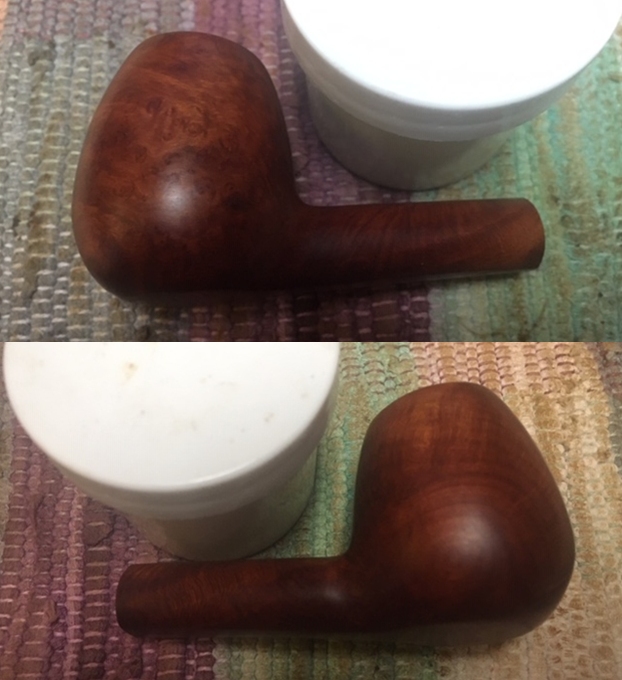
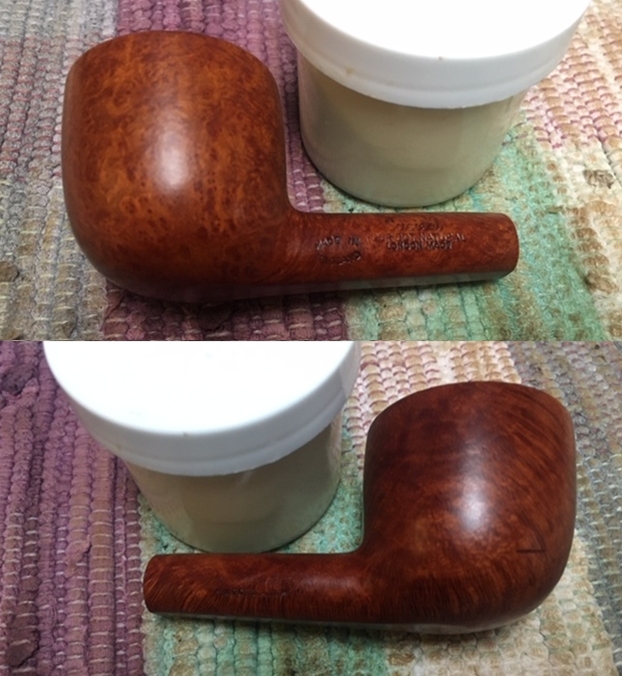
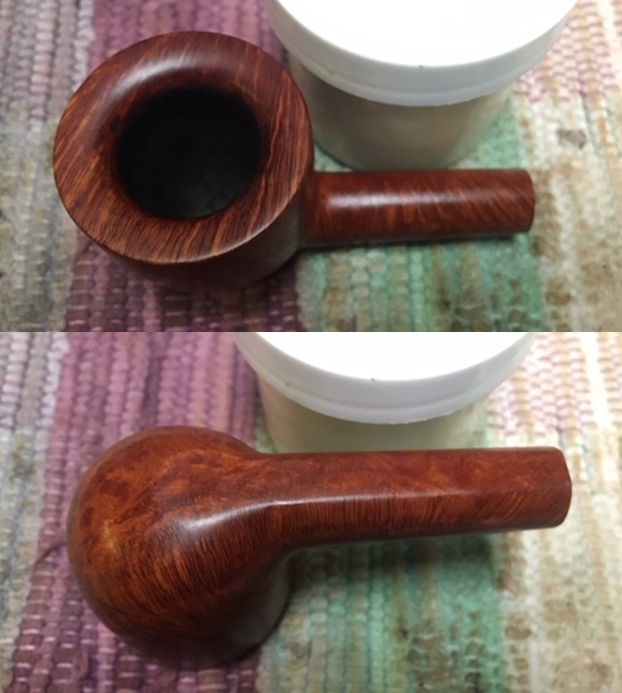
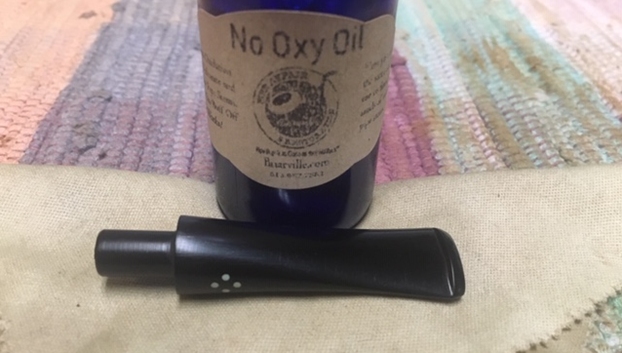
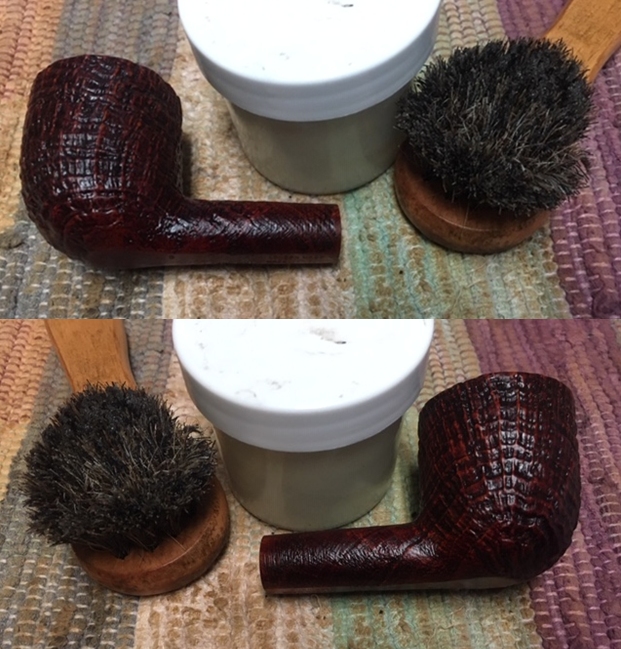
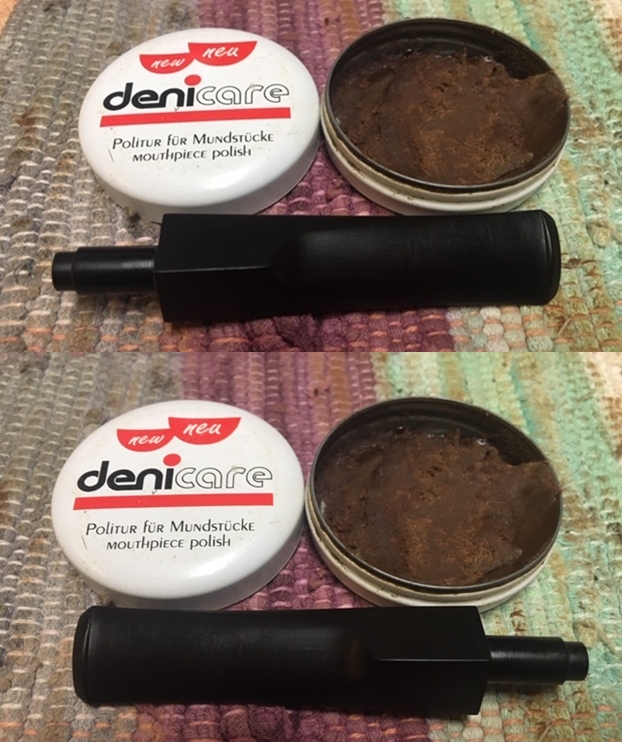
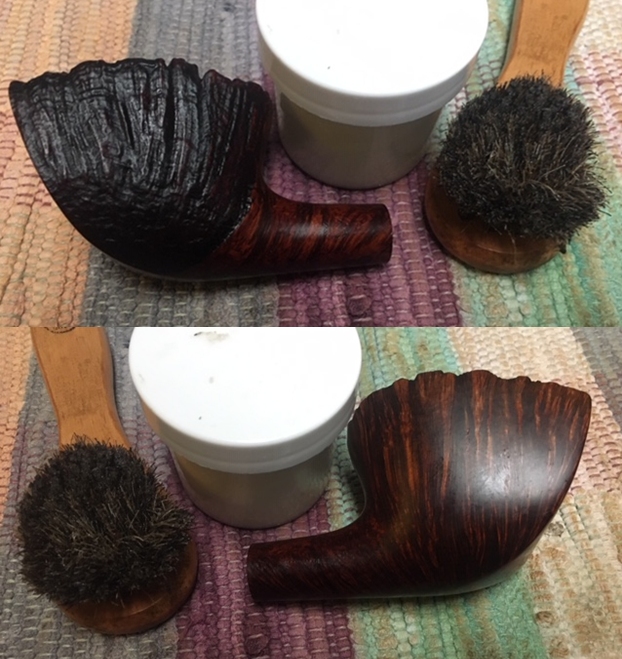
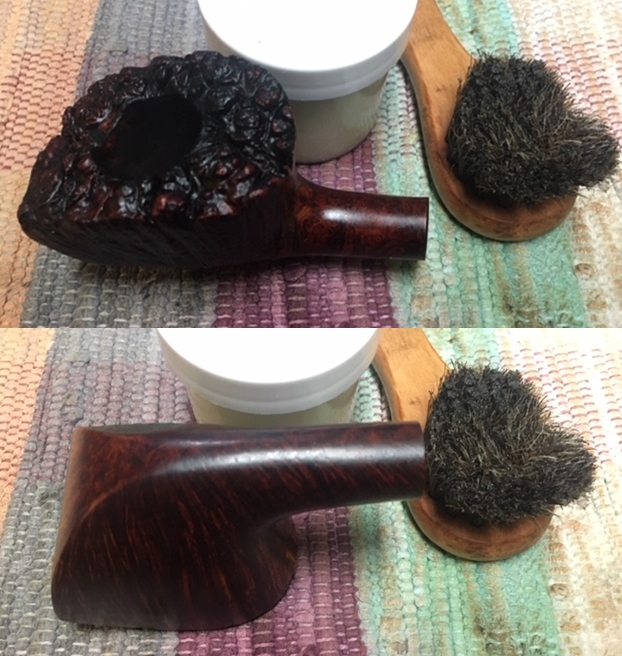
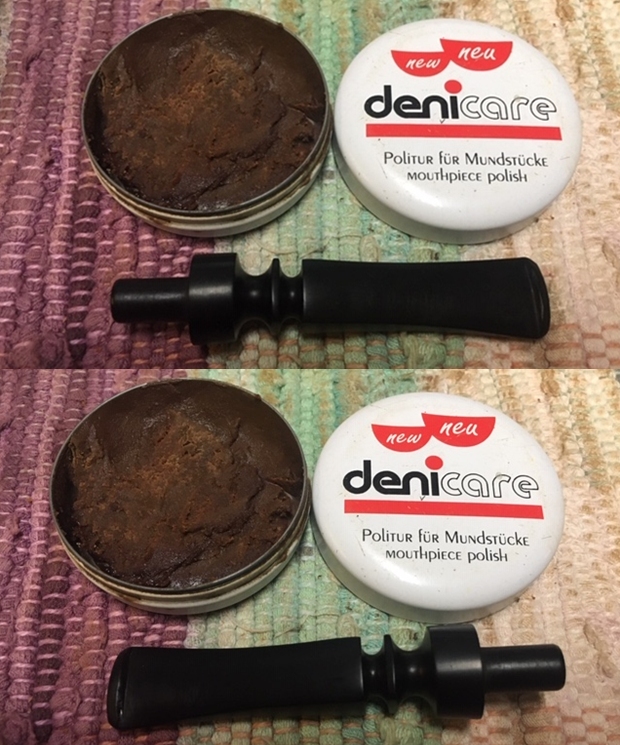
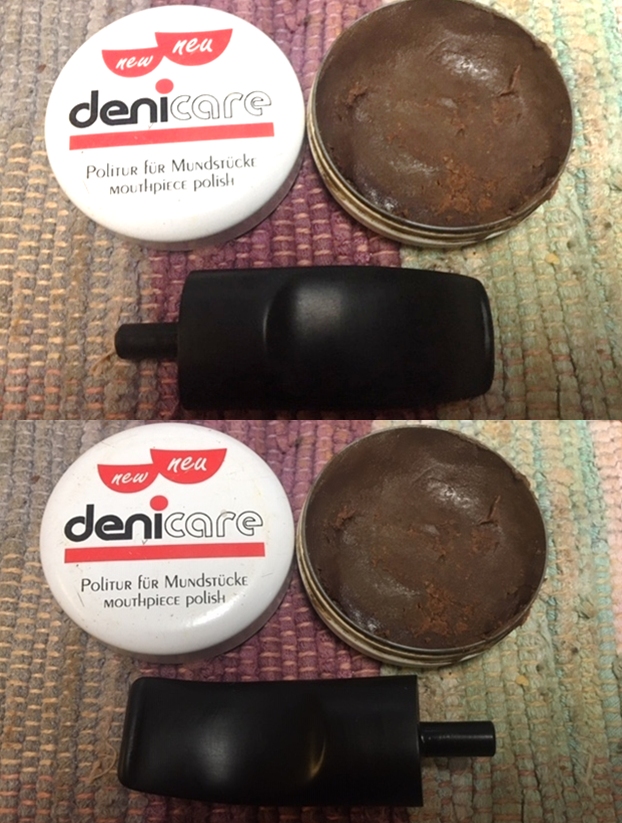
 I’m anxious to see how a treatment of Mark Hoover’s Before & After Restoration Balm works on this Kaywoodie stummel. I am especially interested in the shank areas where the masking tape covered the briar to protect the nomenclature and is a somewhat different hue. I’m hopeful that the Balm might even out the contrast in these areas. After putting some of the Balm on my fingers, I work the Balm into the briar surface. The Balm begins with a cream-like consistency but then thickens to a wax-like texture as it’s worked into the surface. After applying the Balm, I let the bowl set for several minutes for the Balm to do its thing. I then remove the excess Balm with a cloth and follow by buffing the surface with a microfiber cloth.
 The Balm does a great job, but the only way to remove the darker hue over the nomenclature is to destroy the nomenclature and this I’m unwilling to do! The nomenclature is a pipes heritage and part of its story.
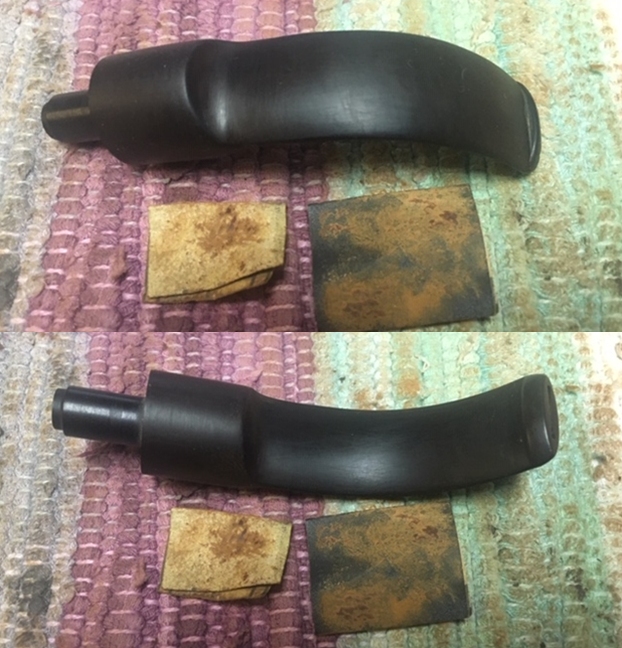
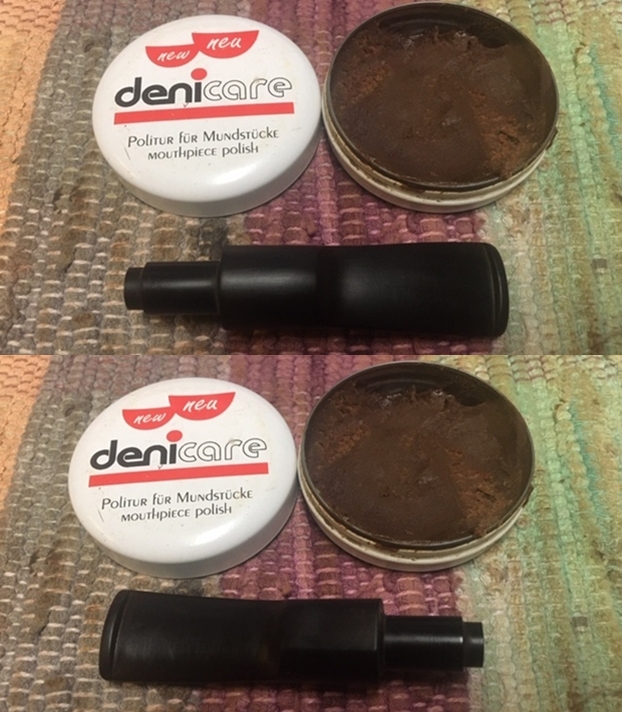
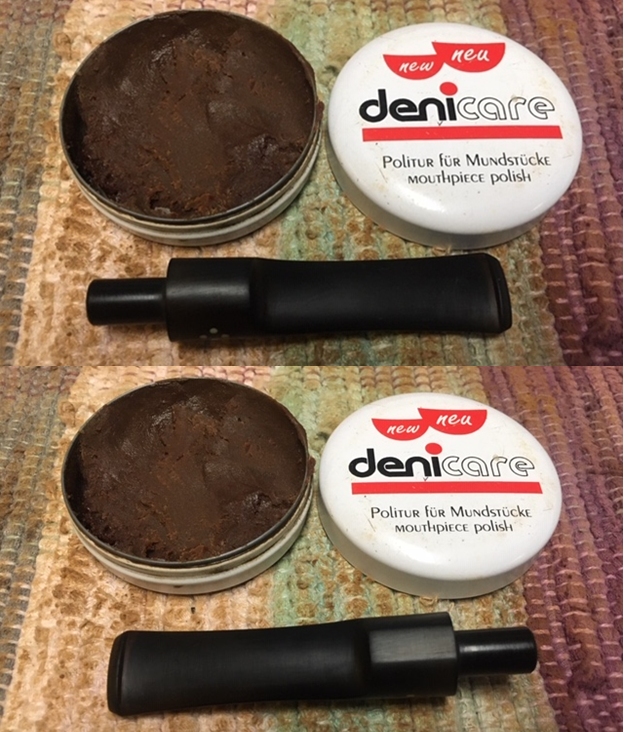
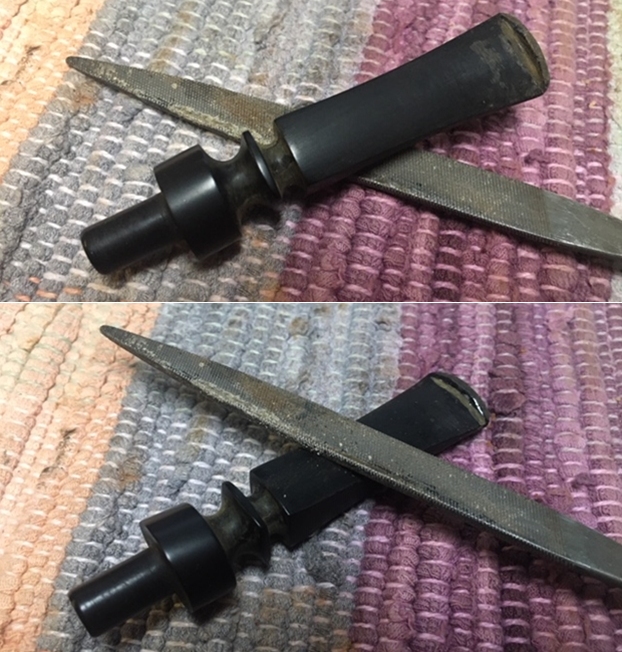
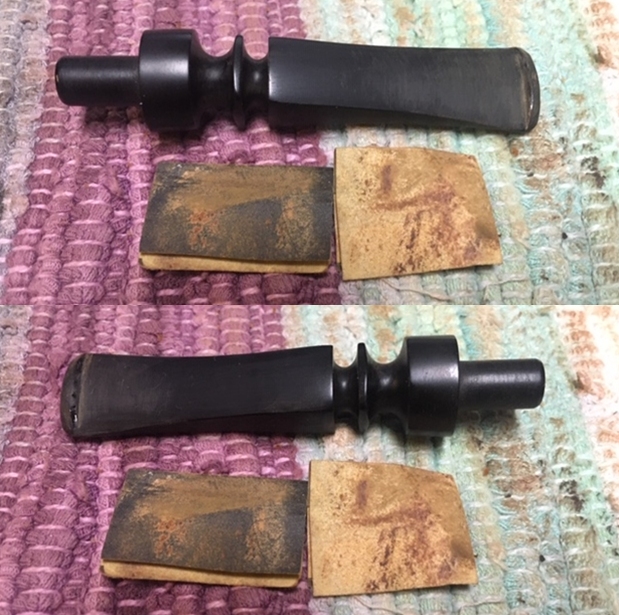
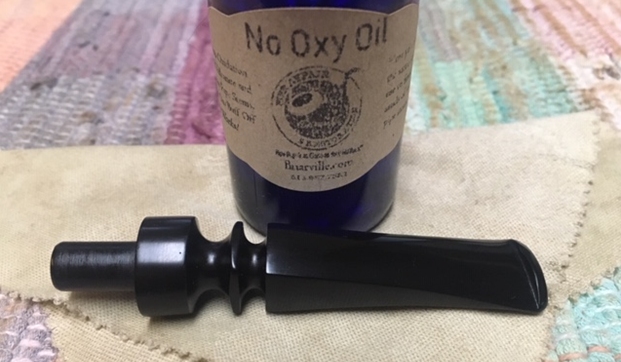
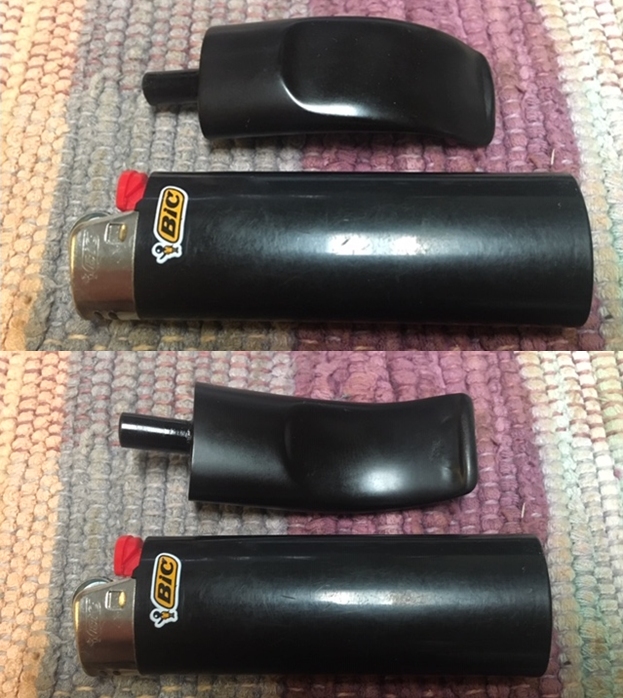
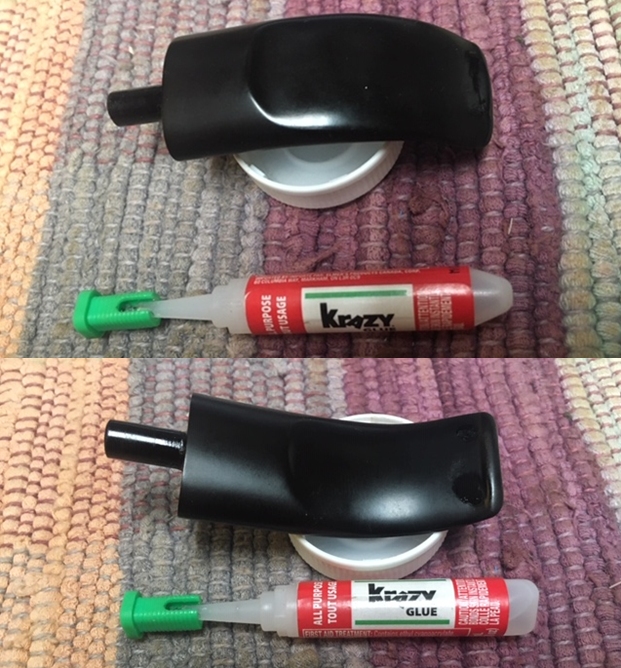
 Looking now to the stem, first the metal tenon’s 3-holes are clogged. Using a sharp dental probe, this is cleaned out.
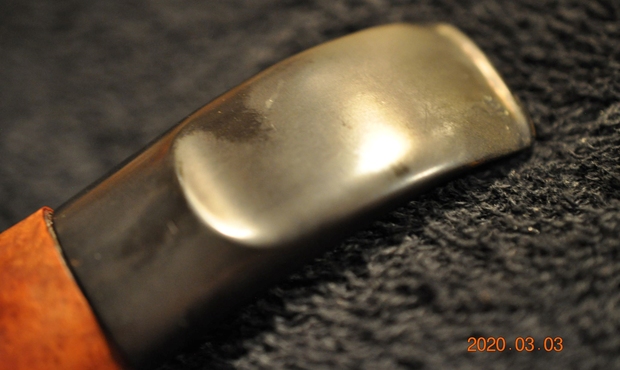
 Using 000 grade steel wool I then clean and polish what I assume is a nickel tenon/stinger.
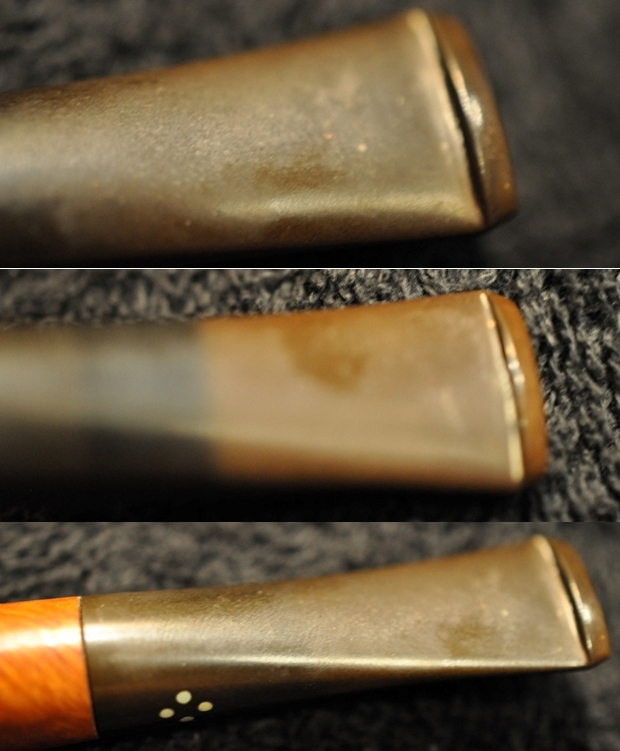
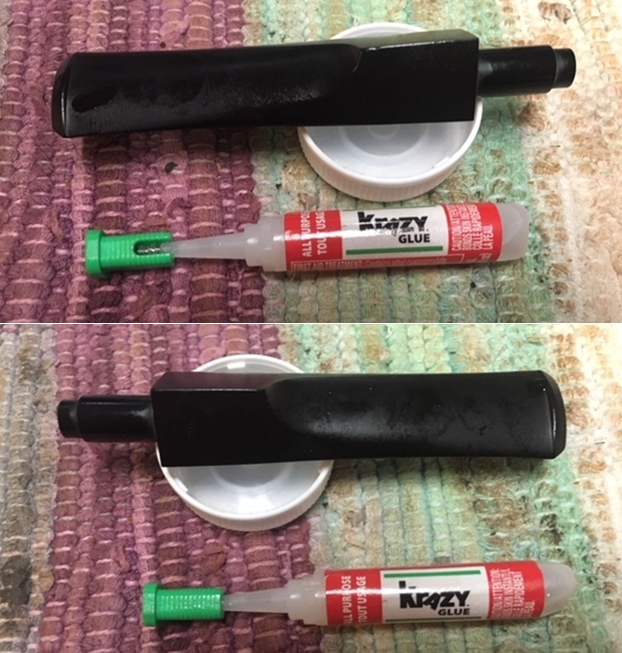
 The stem surface is in good shape. There is a small imperfection near the clover leaf.
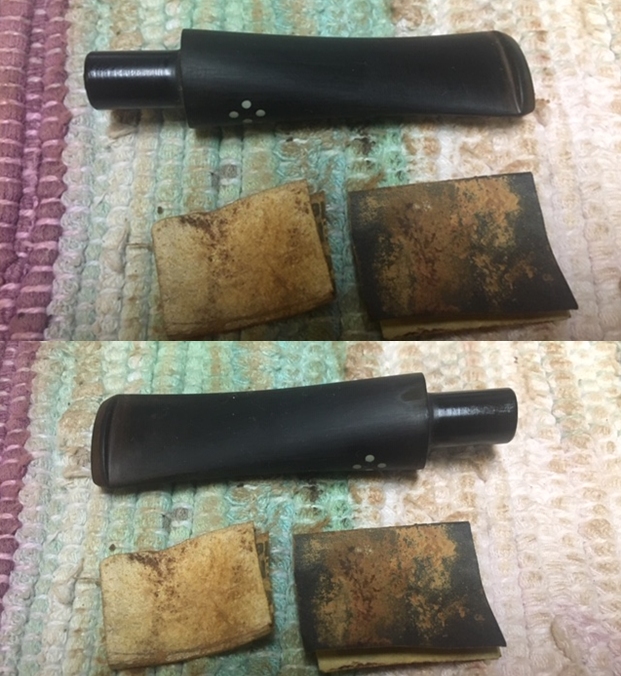
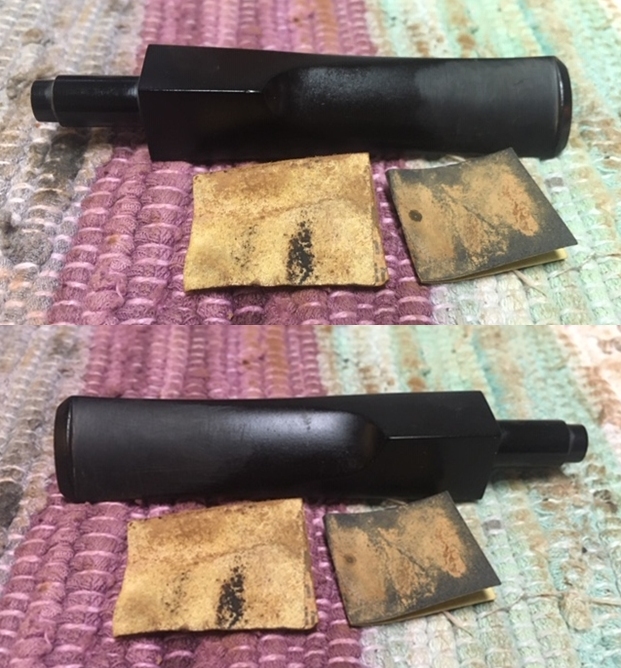
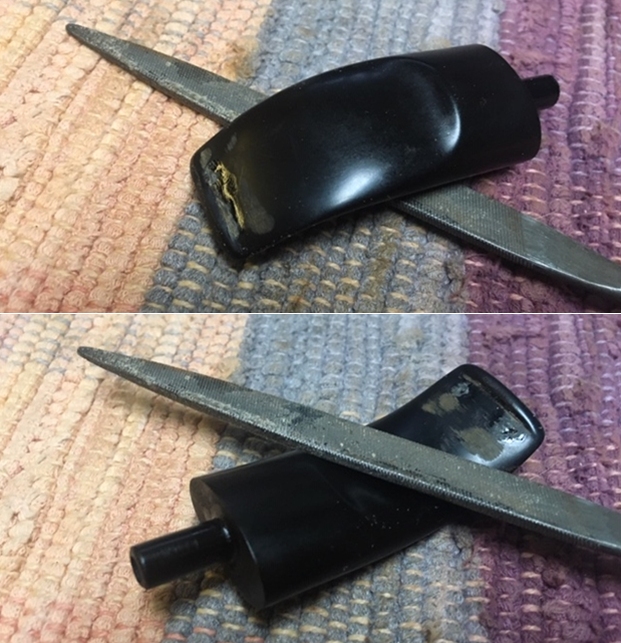
 I decide to sand the entire stem with 240 grade paper to remove the small divot but also to address potential residual oxidation.
 Following the 240 paper, wet sanding with 600 grade paper followed by applying 000 grade steel wool leaves the stem in good stead.
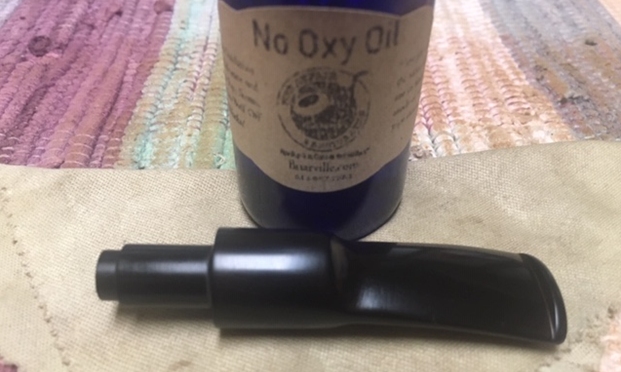
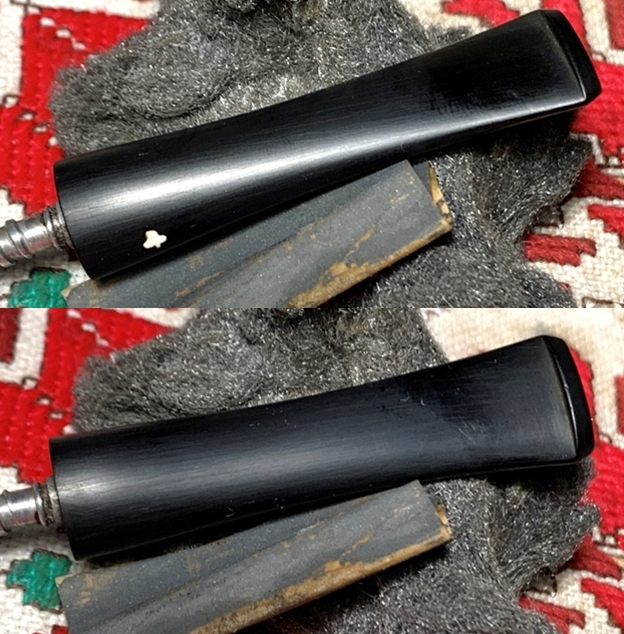 Earlier I had commented that the stem was not in alignment and that it was under-clocked. I rejoin the stem with the stummel and screw it in. It appears that the cleaning corrected the alignment. It looks good now.
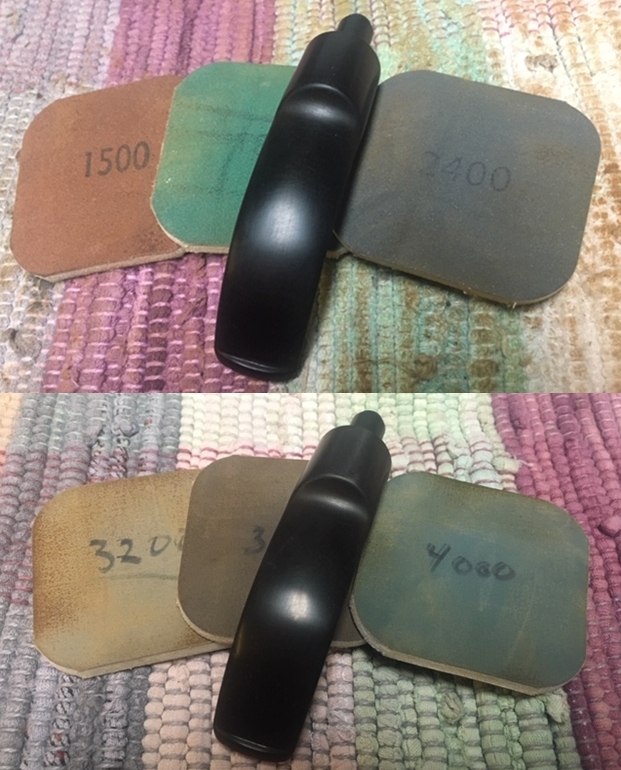
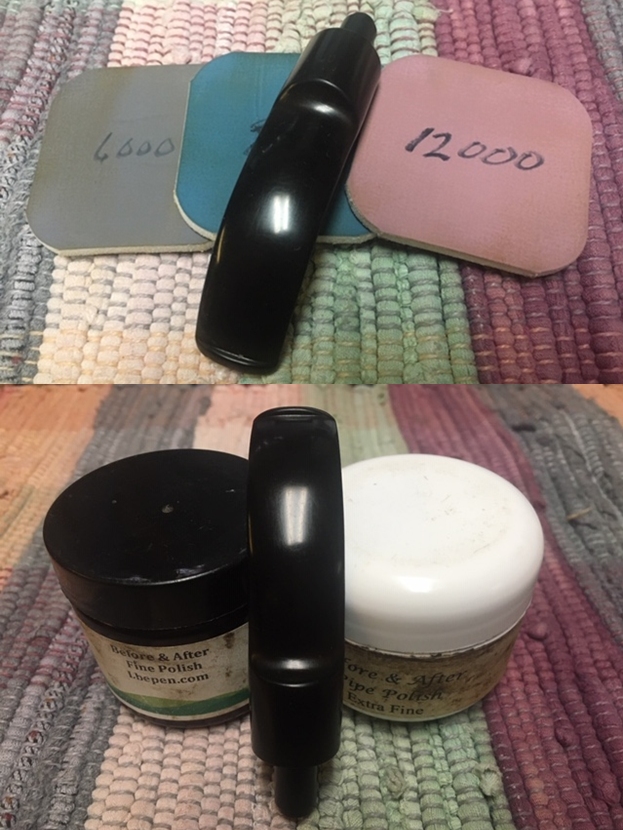
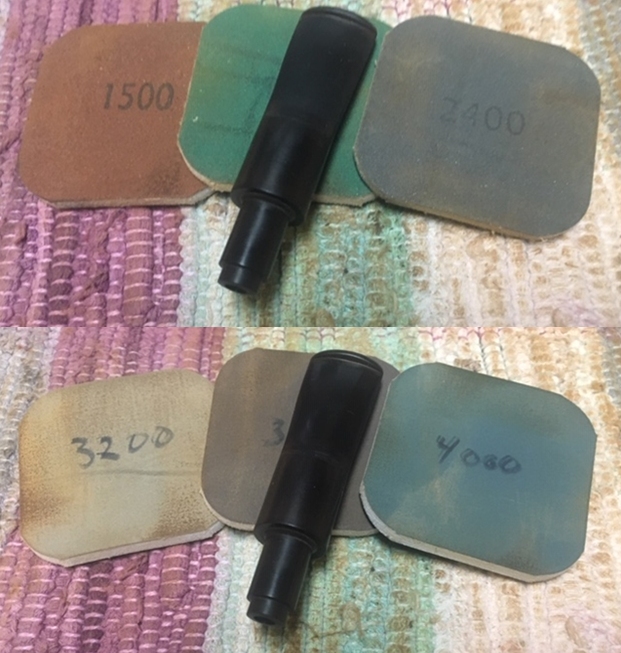
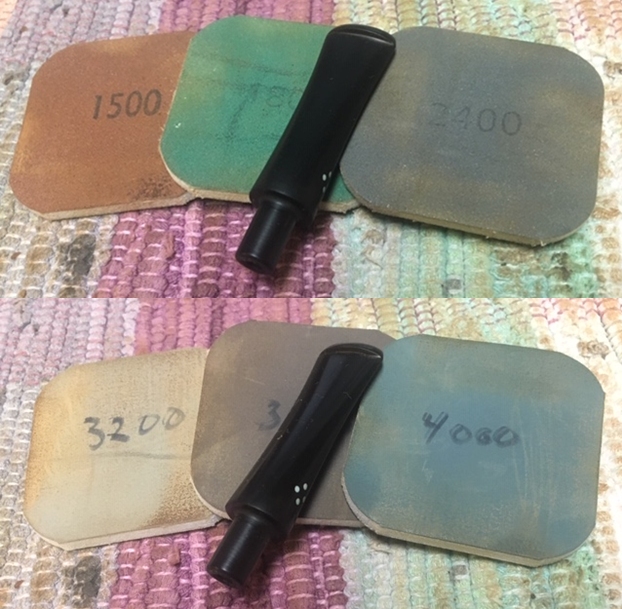
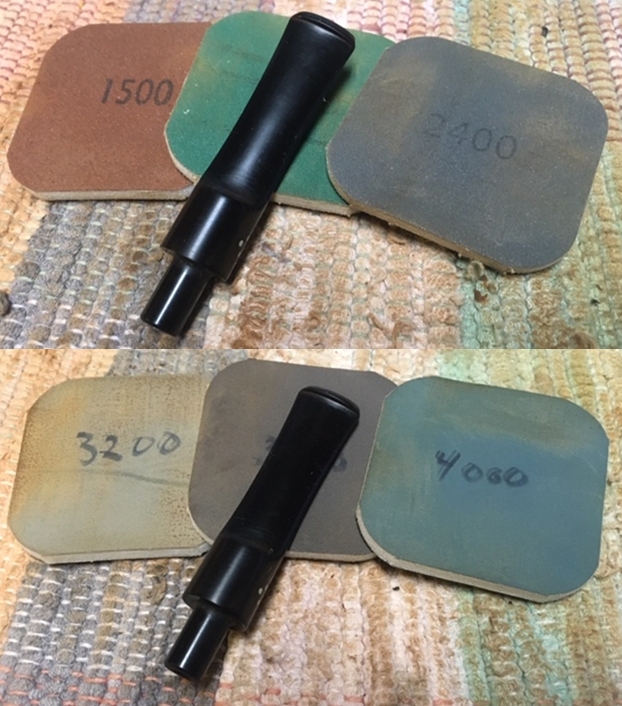
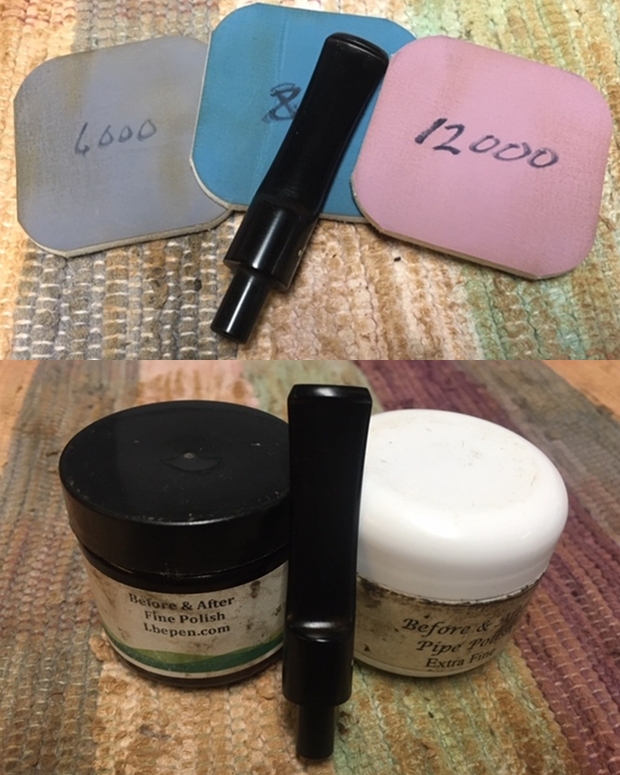
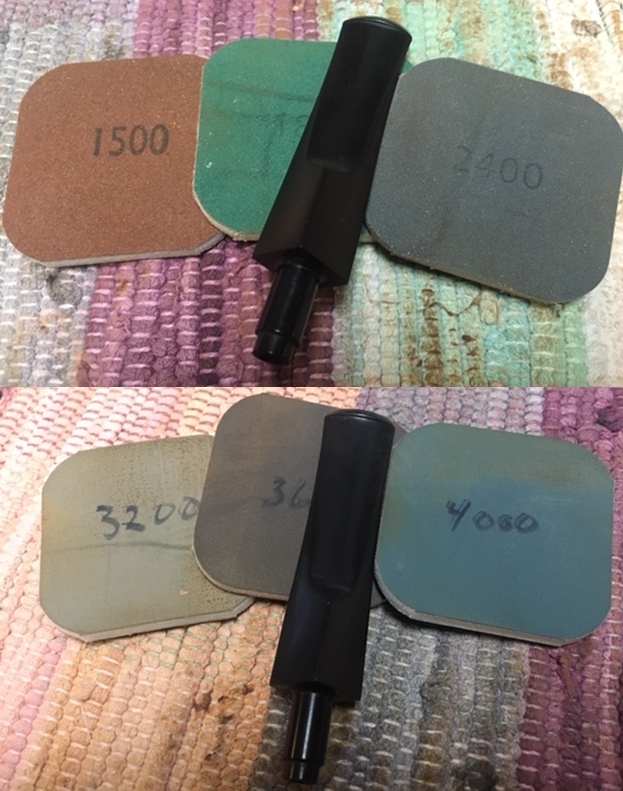
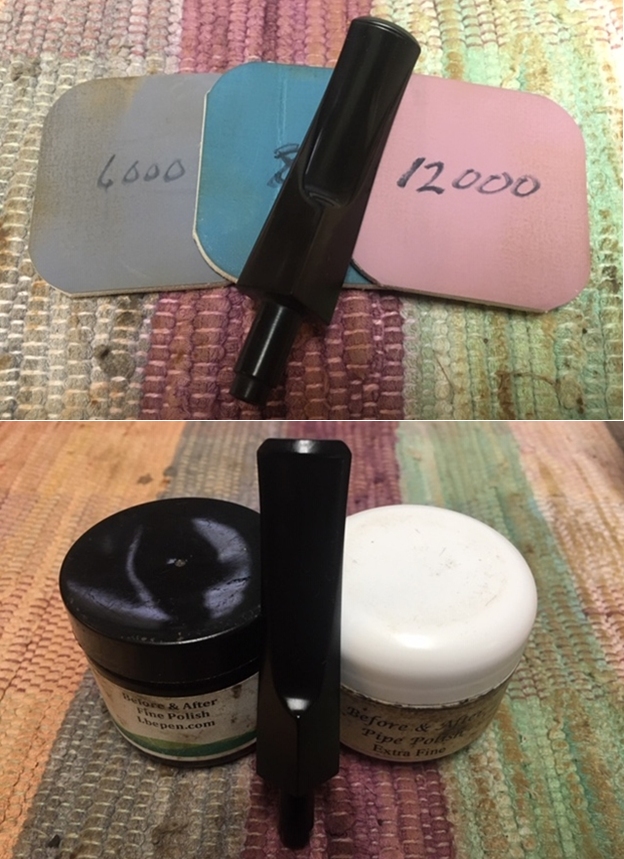
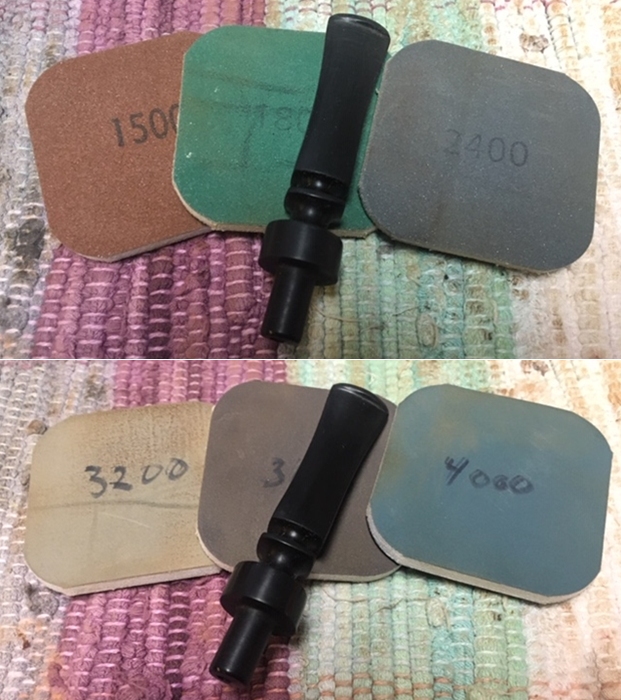
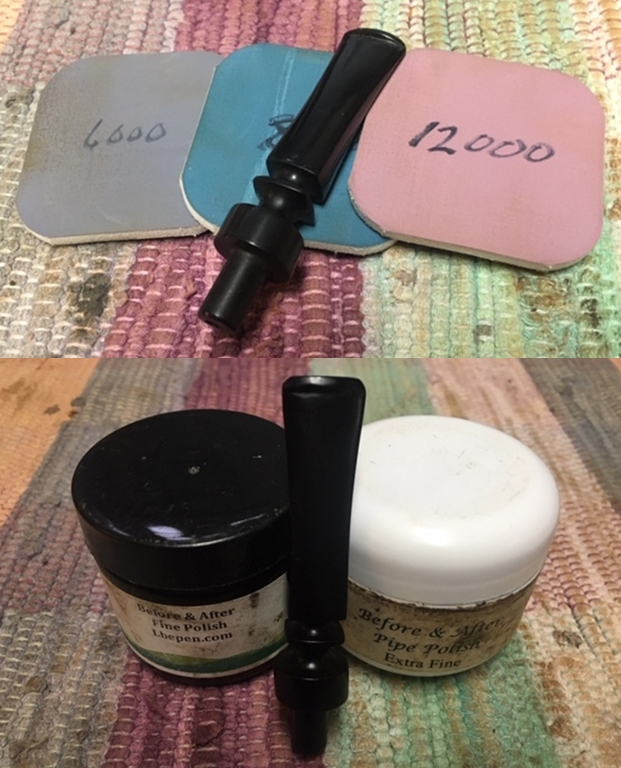
 Next, the stem receives the full regimen of 9 micromesh pads. I wet sand beginning with pads 1500 to 2400 then dry sand with pads 3200 to 4000 and 6000 to 12000. Between each set of 3 pads, Obsidian Oil is applied to rejuvenate the stem and to guard it against oxidation.
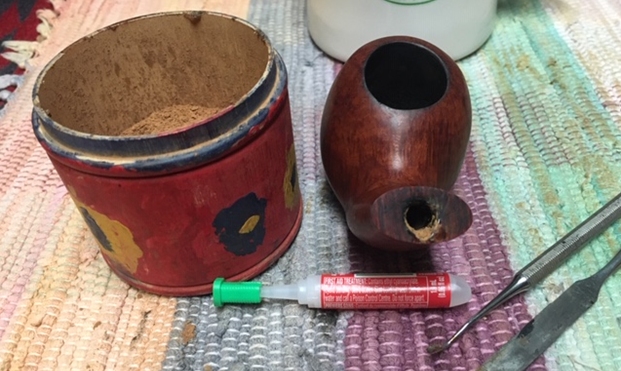
 Before applying Blue Diamond and wax, I continue the internal cleaning of the stummel using a kosher salt and alcohol soak. This refreshes the pipe for a new steward and penetrates the internal briar walls to clean further. A wick is created by pulling and twisting a cotton ball. The wick serves to draw oils and tars from the internals. Using a stiff wire, the wick is forced down the mortise as far as it will reach.
  After this, the bowl is filled with kosher salt which leaves no aftertaste. After filled, the bowl is placed in an egg carton to provide stability. Next, the bowl is filled with isopropyl 95% alcohol with a large eye dropper until it surfaces over the salt. After a few minutes, the alcohol is drawn into the salt and cotton wick. I top off the alcohol and set it aside to soak for several hours – through the night.
 The next morning, I find the salt and cotton wick unsoiled. Doubtful that this was an accurate indicator of the clean condition of the internals, I follow with additional pipe cleaners and cotton buds wetted with alcohol. My guess is that the metal fitment hindered the wick from making it to raw briar to then draw out the tars and oils.
 I was correct – many more cotton buds were necessary with additional scraping with the dental spoon to achieve satisfactory results! I move on.
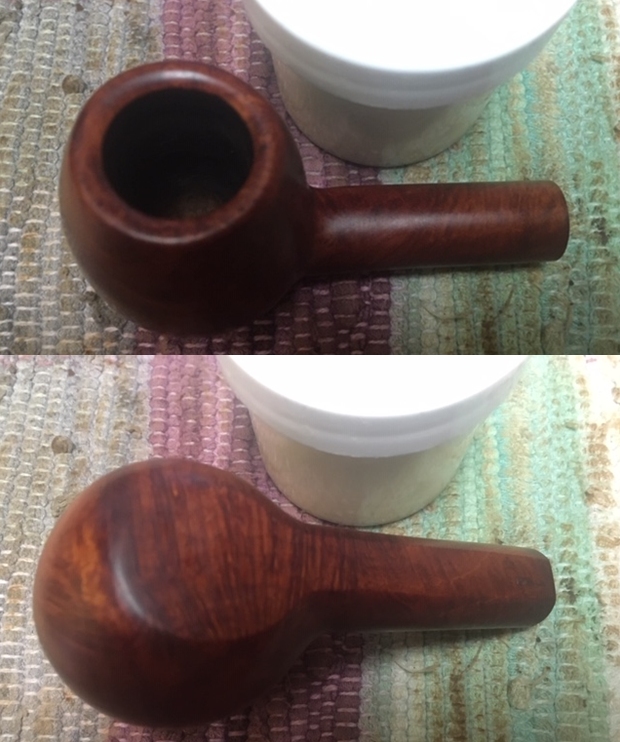
 Now on the home stretch. With the Kaywoodie stem and stummel reunited, a cotton cloth buffing wheel is mounted to the Dremel set at about 40% full power and Blue Diamond compound is applied to the entire pipe. After completing the Blue Diamond, I wipe/buff the pipe with a felt cloth to remove the carbon dust. Then, after mounting another dedicated cotton buffing wheel onto the Dremel, set at the same speed, a few coats of carnauba wax are applied to the briar surface. After completed, I give the pipe a rigorous hand buffing to raise the shine.
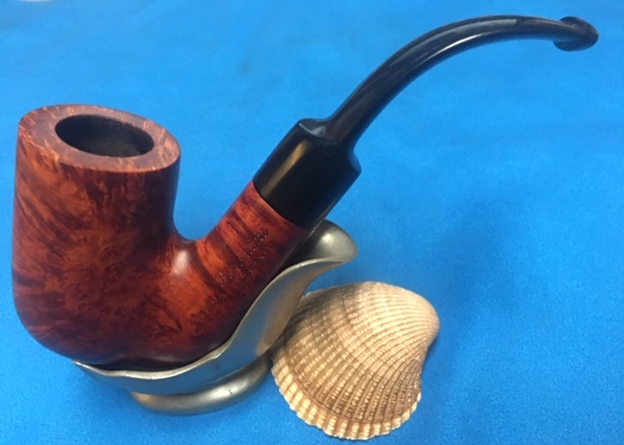
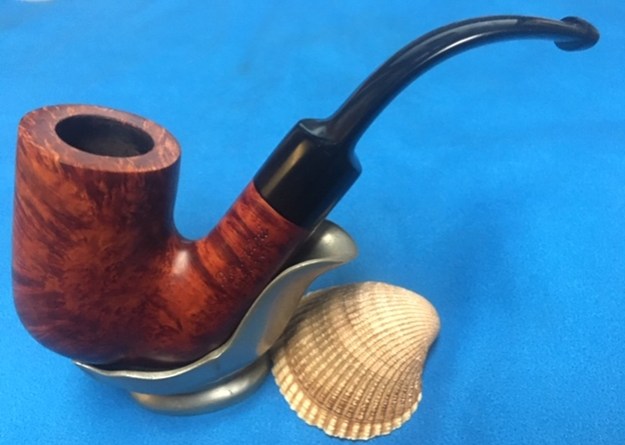
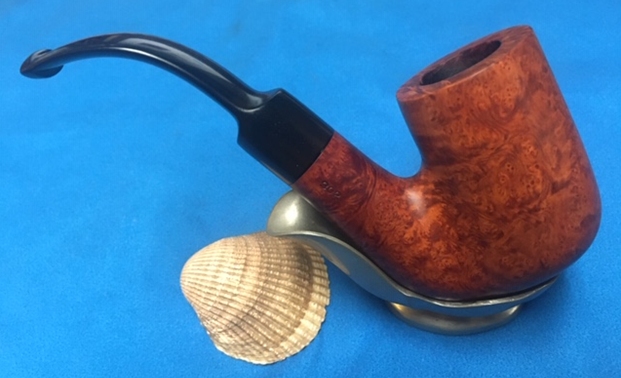
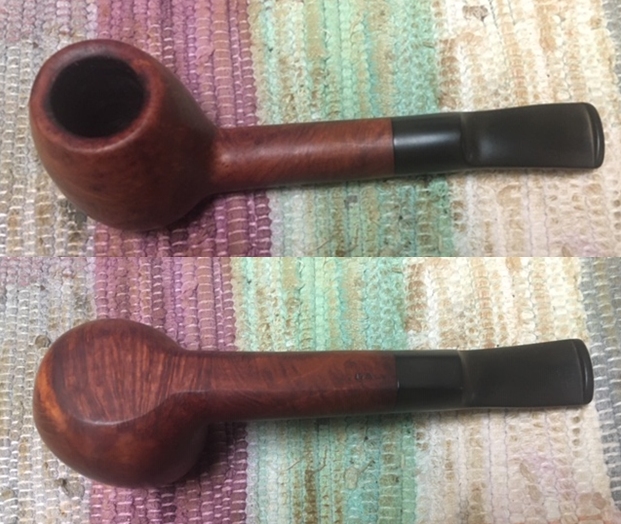
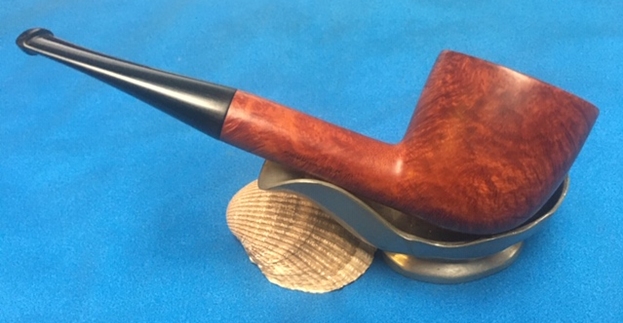
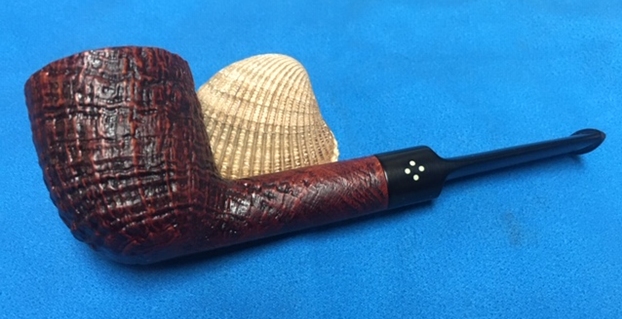
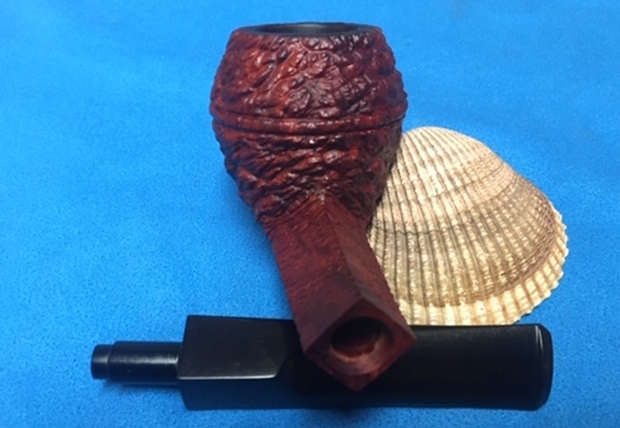
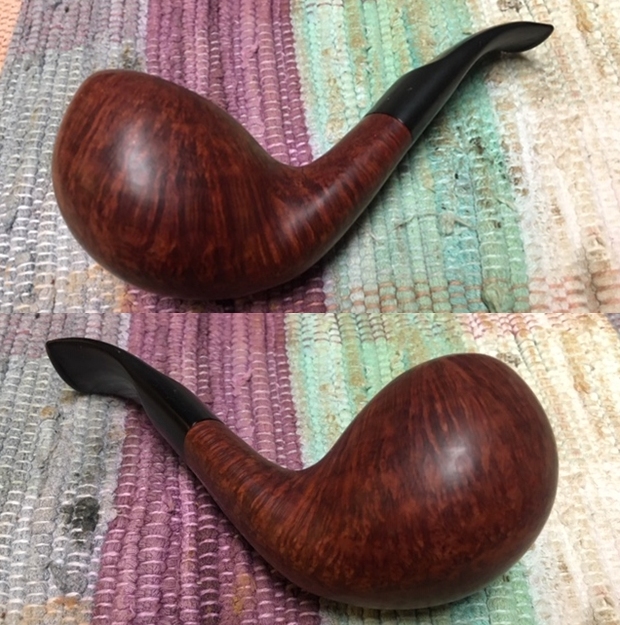
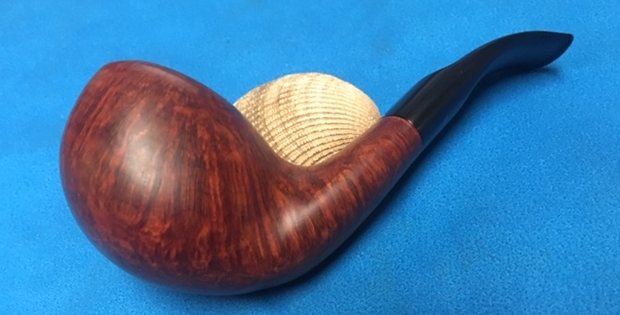
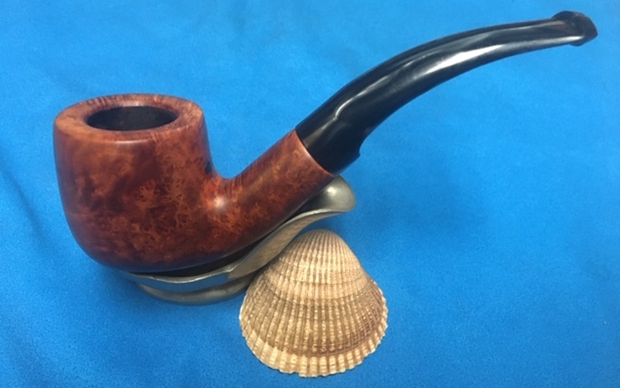
There is a large following of Kaywoodie pipes from what I’ve read and the following is increasing. I’m pleased with how this 1960s vintage Kaywoodie Standard Apple has turned out. The briar grain works well around the Apple shape. It has much movement and action. The nomenclature is still surviving, and this pipe is ready for a new steward. I’m pleased that pipe women Grace commissioned this Kaywoodie and has the first opportunity to acquire him from The Pipe Steward Store. This Kaywoodie benefits the Daughters of Bulgaria. Thanks for joining me!


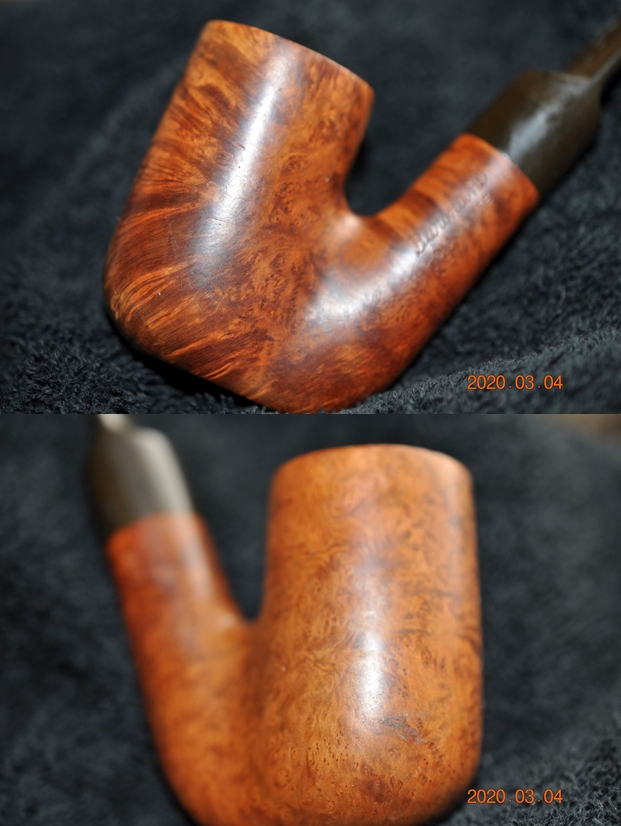
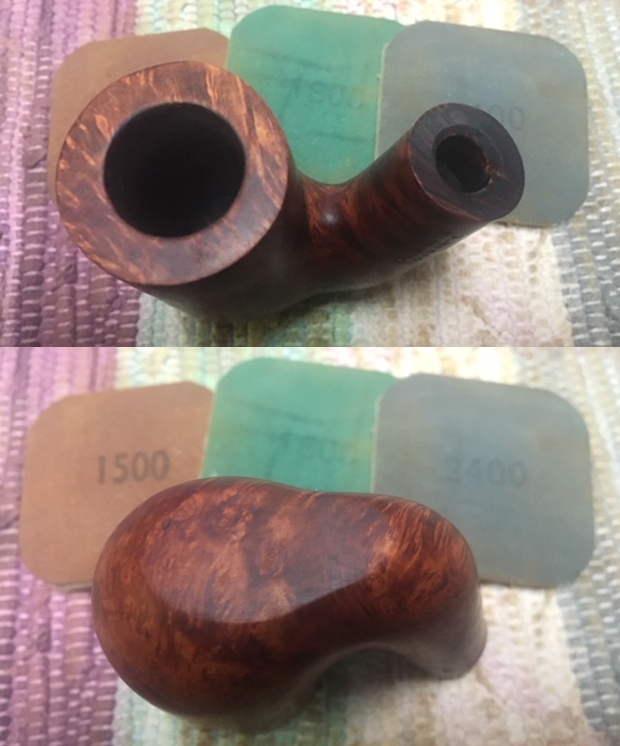
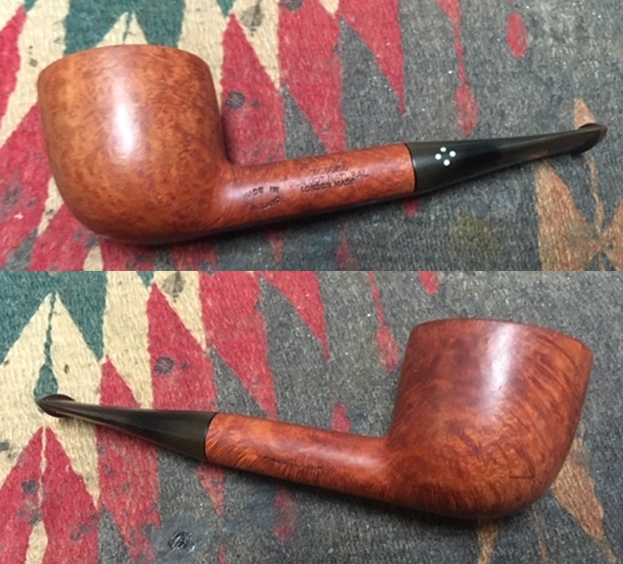
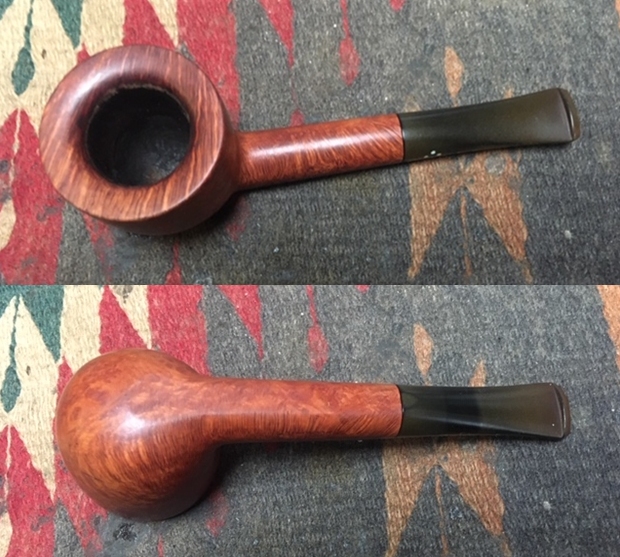
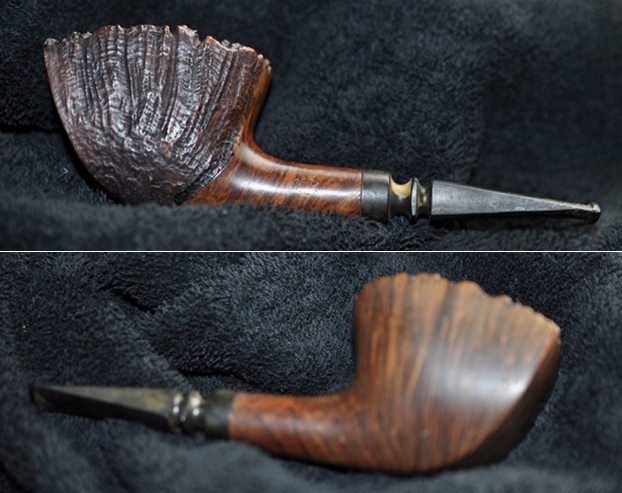
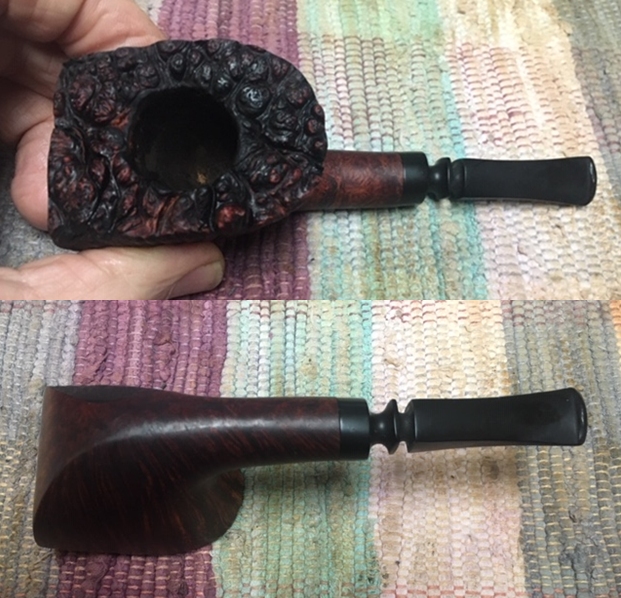
 Jeff took photos of the rim top from various angles to give a clear picture of the condition of the bowl and rim. It is dirty but there is no lava coat on the top and the rim edges look very good.
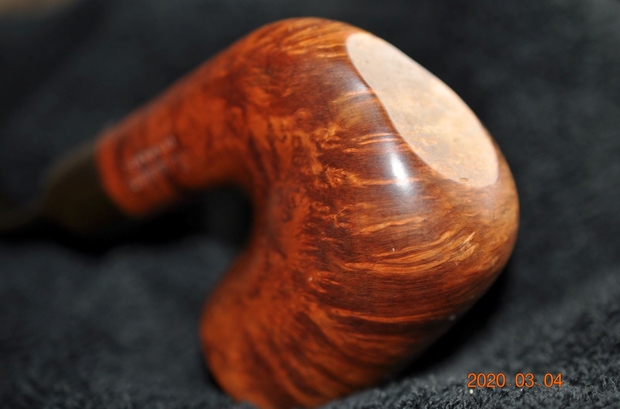
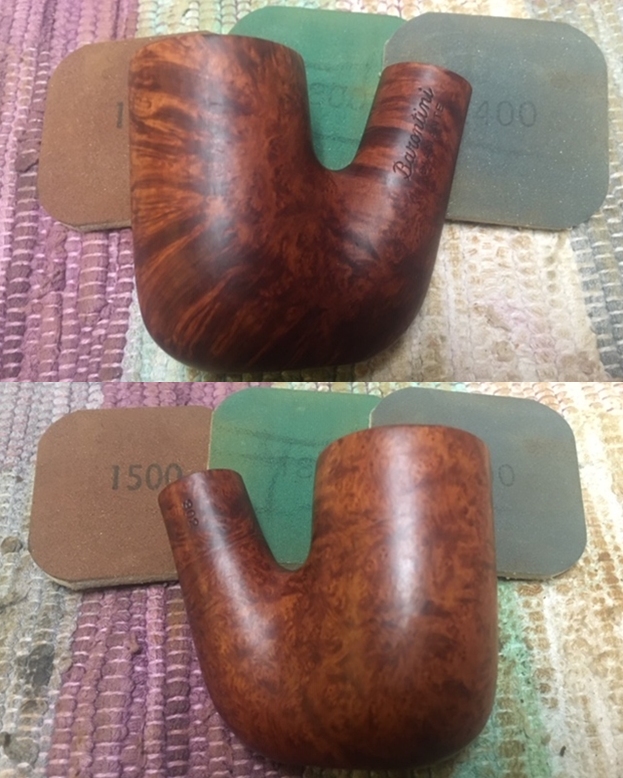
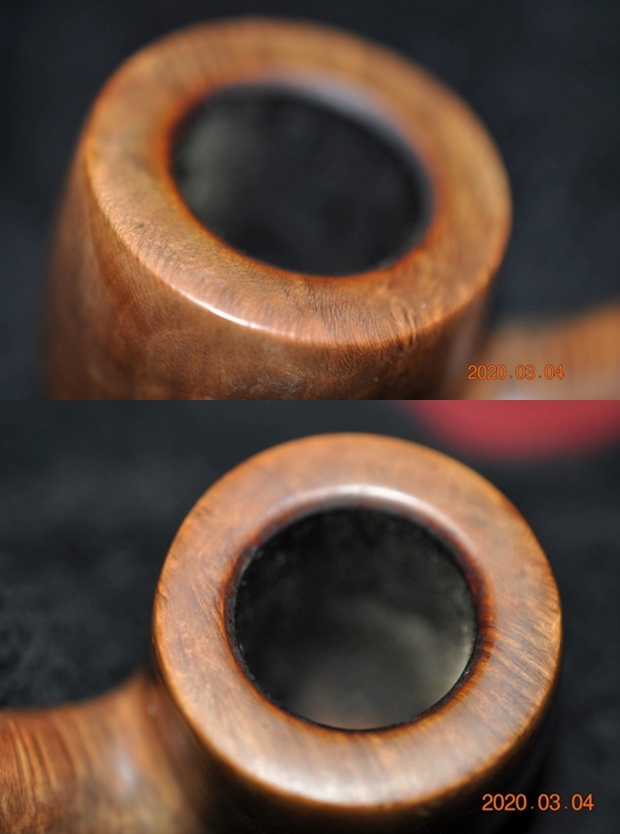 The grain around the sides and heel of the bowl is quite interesting. It is a combination of cross grain, swirled and birdseye grain. There are some small fills on the sides and back of the bowl. Most of them seem to be solid.
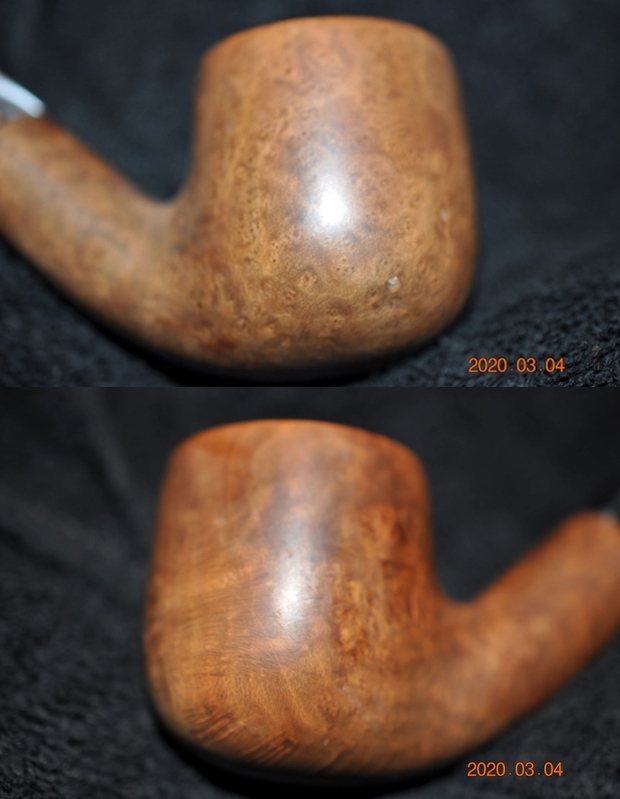
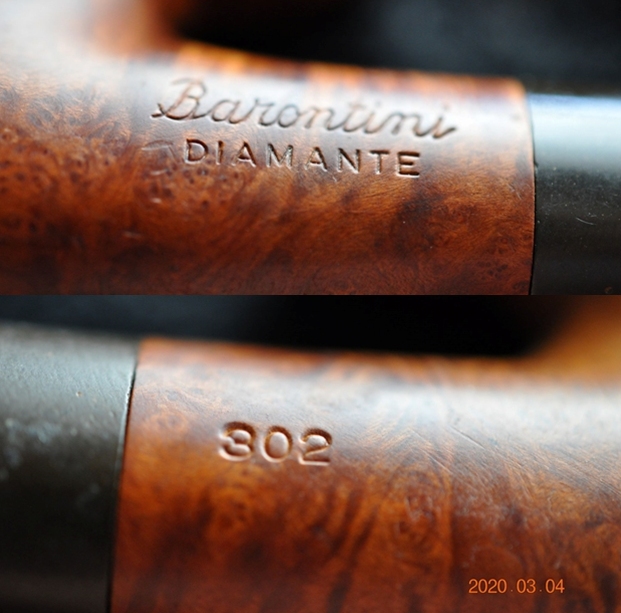
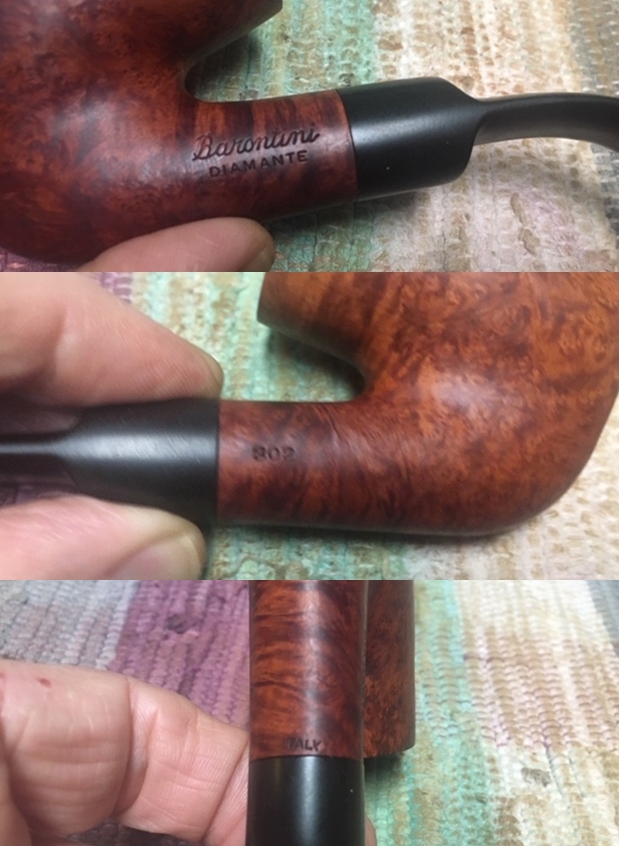
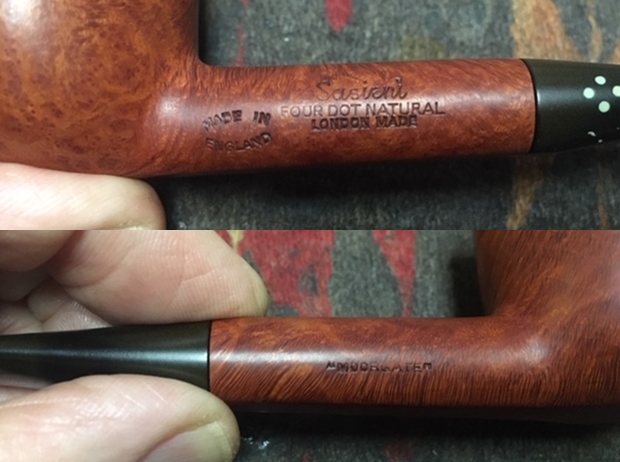
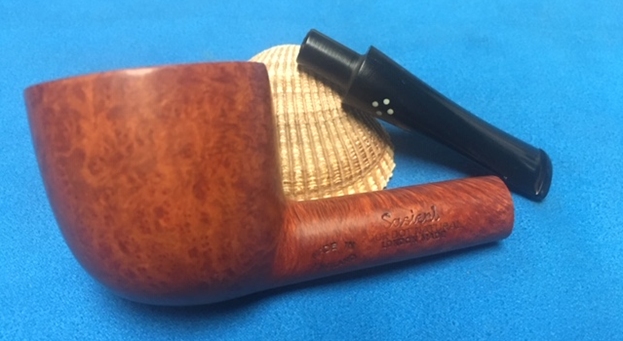
 The stamping on the shank is very readable as can be seen in the next photo.
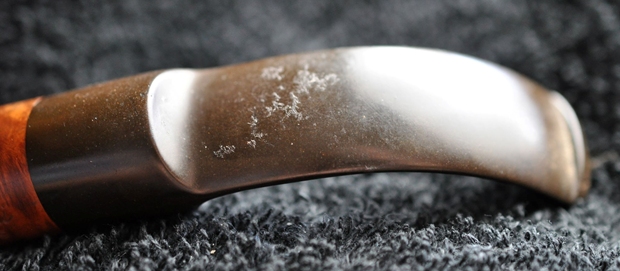
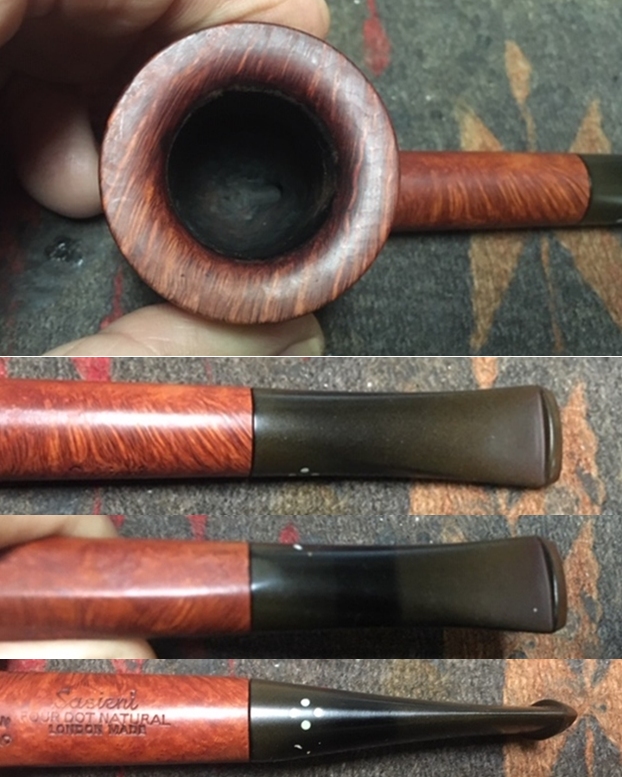
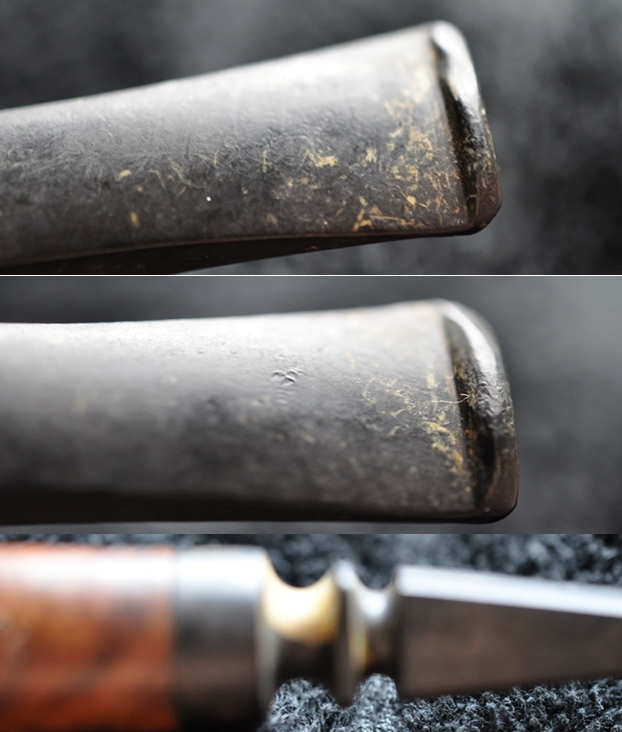
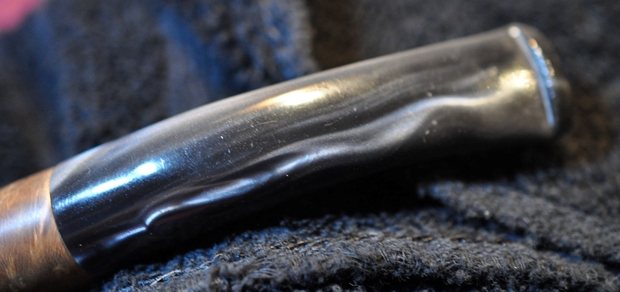
 The acrylic stem shows tooth marks and chatter on both sides near the button. There is some wear on the edge of the button as well. The stem shows a great profile.
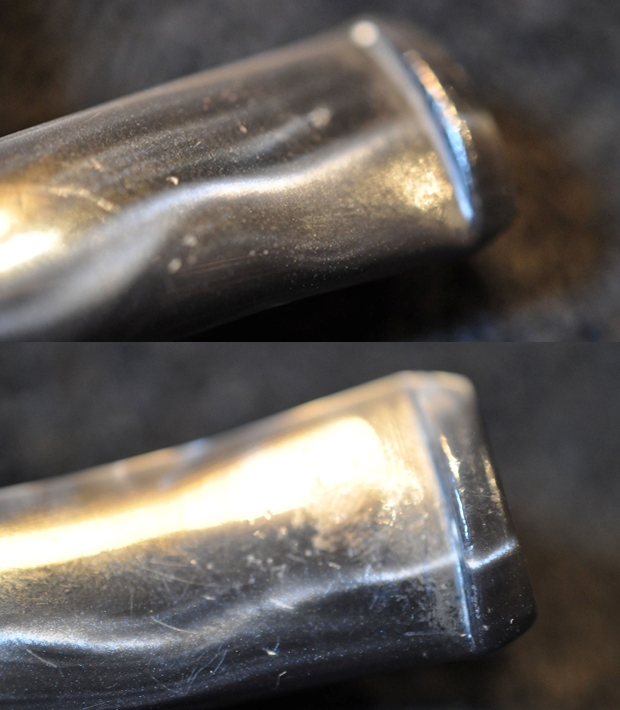
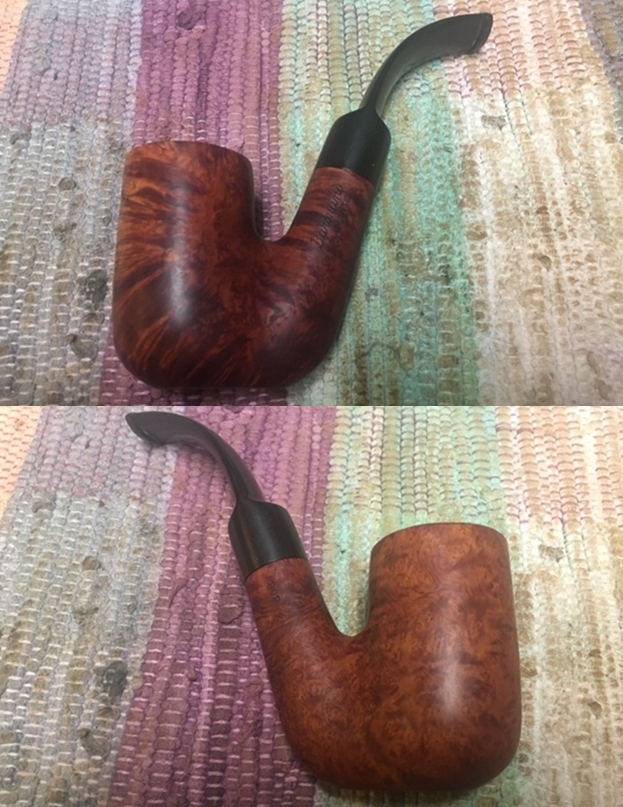
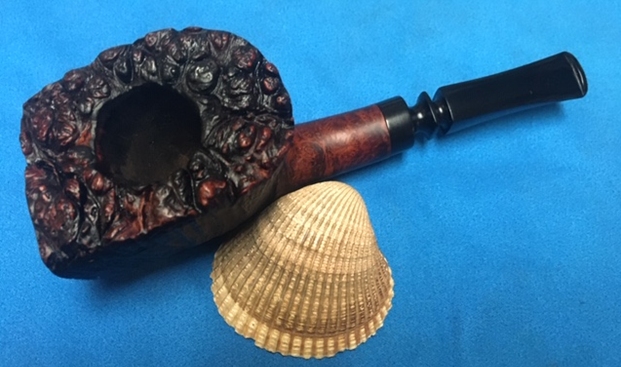
 It was time to get working on the pipe itself and see what I had to do with it. It had come back amazingly clean. Jeff had done his normal thorough clean up – reaming, scrubbing, soaking and the result was evident in the pipe when I unpacked it. I took photos of the pipe before I started my work on it.
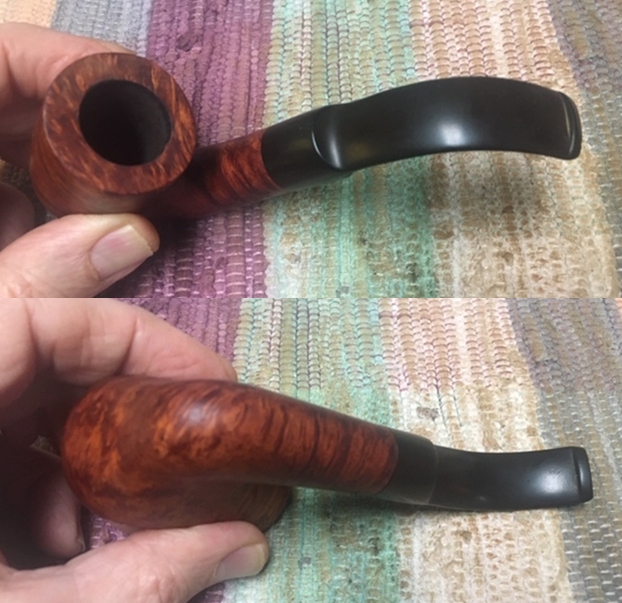
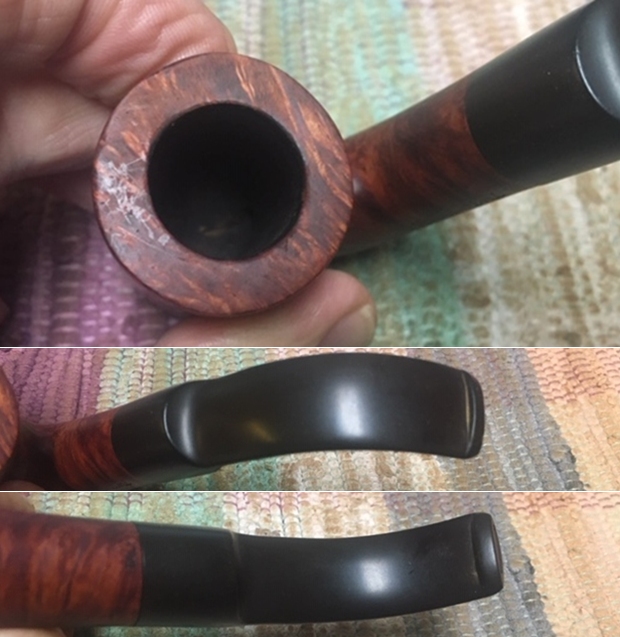
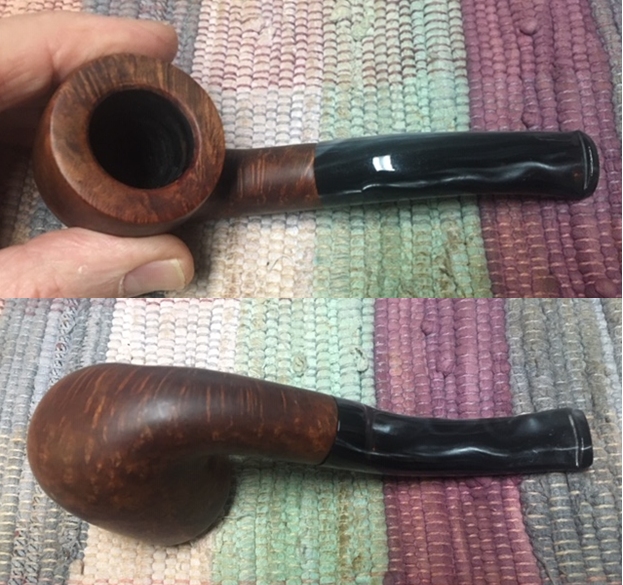 I took some photos of the rim top to show the condition of the edges and the bowl. It looked very good. The stem actually looked much better than I expected and the tooth chatter seemed to have disappeared. There were some light tooth marks just next to the button edge on both sides. I would also need to fit the stem to the shank by reduce the diameter of the stem to match the shank and adjust the fit.
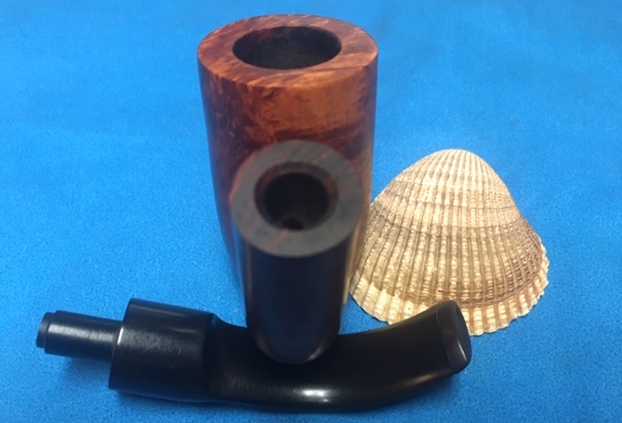
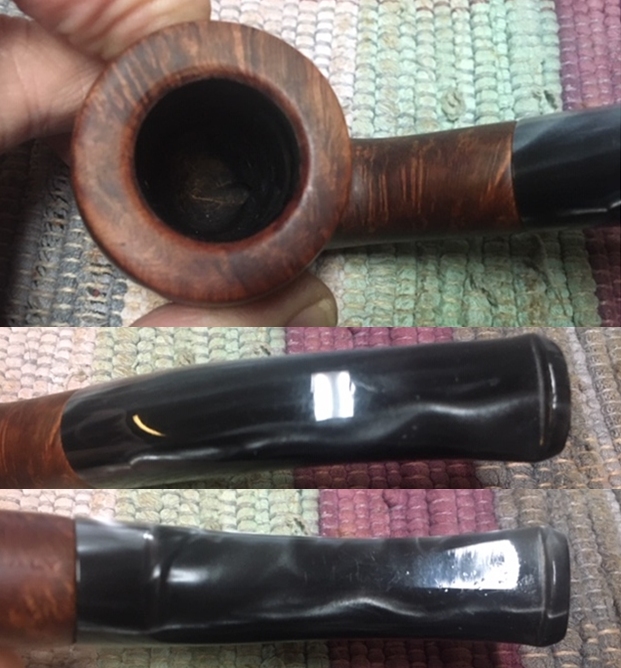 I took photos of the stem shank junction to show the difference in diameter. The stem is significantly wider than the shank. It fit tight to the shank but the rest of the fit was very poorly done.
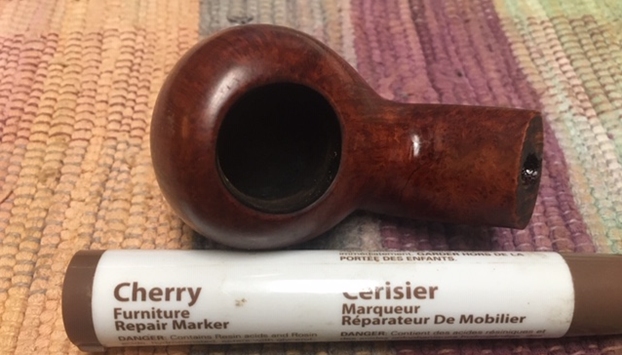
 The bowl was going to be quite easy to work on so I started with it. The fills on the right side of the bowl were sound and tight fitting. There was a damaged fill that was pitted on the back of the bowl just above the shank bowl junction. I cleaned it out with a cotton swab and alcohol and filled it in with super glue and briar dust. When the repair had cured I sanded it smooth with a folded piece of 220 grit sandpaper. Once it was smooth I stained it with an oak stain pen to blend it into the surrounding briar.
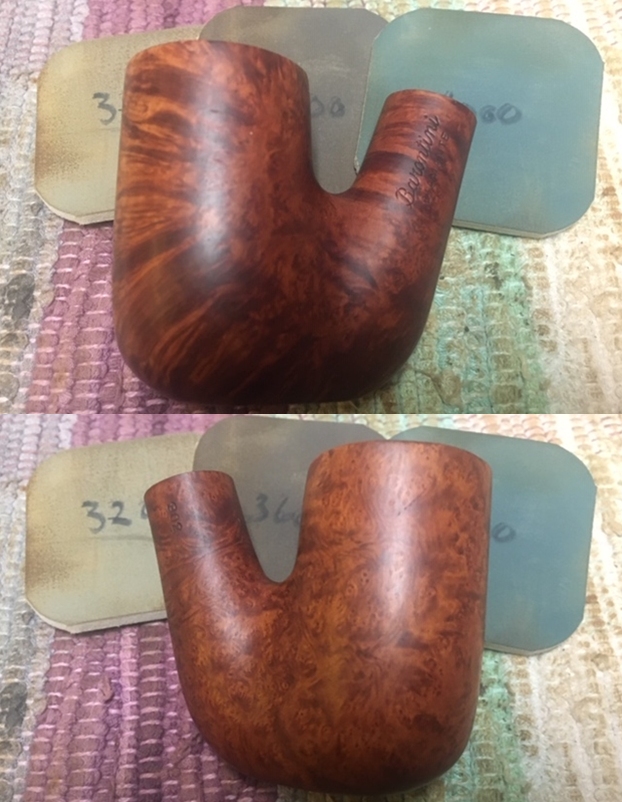
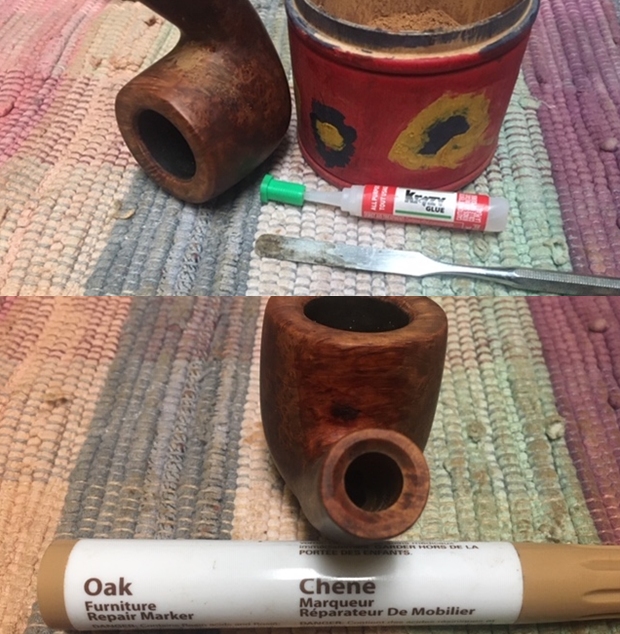 I polished the briar with micromesh sanding pads – wet sanding with 1500-12000 grit pads. I wiped the bowl down after each pad with a damp cloth to remove the dust.
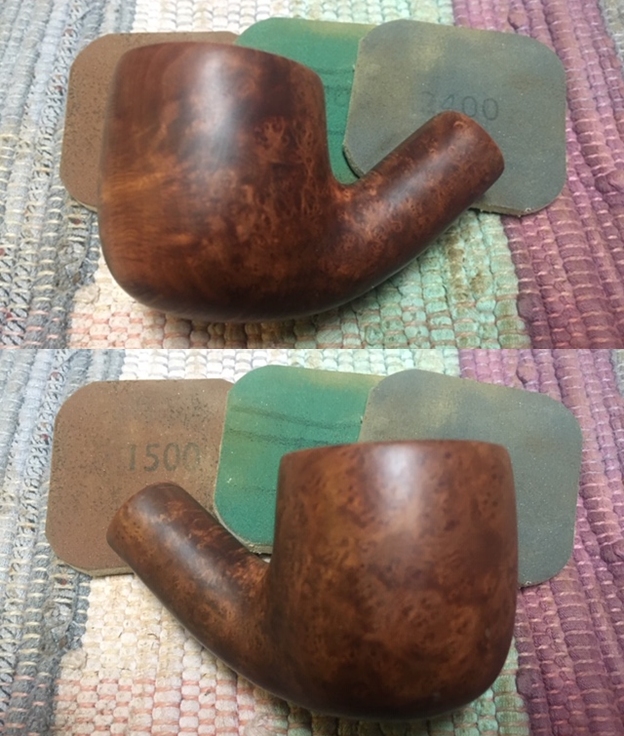
 I worked some Before & After Restoration Balm into the briar with my fingertips. I let the balm sit on the briar for 10 minutes the buffed it off with a soft cloth. The balm enlivens, enriches and protects the briar while giving it a deep glow.
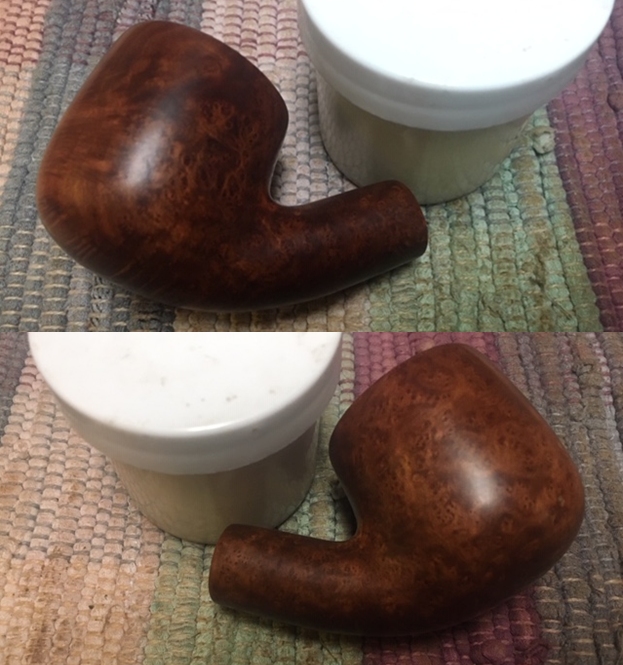

 I set the bowl aside and turned my attention to the stem. I used the Dremel and a sanding drum to take off as much of the excess diameter of the stem as possible while it was on the shank. I then removed the stem and worked on it with a rasp and file to remove the rest of the excess material.
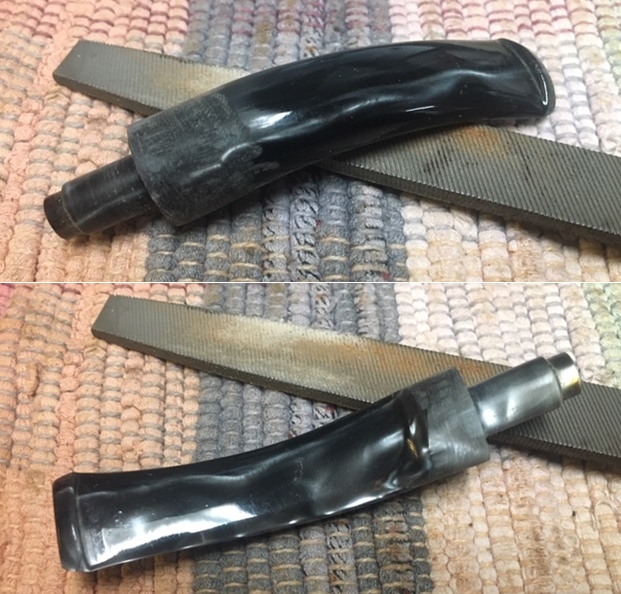 I sanded the stem with 220 grit sandpaper to remove the file marks and Dremel marks on the reduced shank. I also sanded out the tooth marks and the remaining chatter on the button end of the stem. I started the polishing with 400 grit wet dry sandpaper.
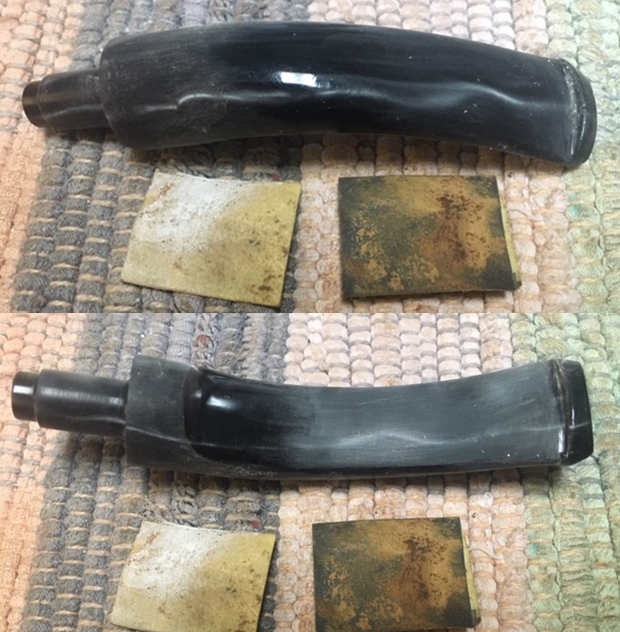 I polished the stem with micromesh sanding pads – wet sanding with 1500-12000 grit sanding pads. I wiped it down after each sanding pad with a damp cloth. I polished it with Before & After Pipe Stem Polish – both Fine and Extra Fine. I buffed the stem with a soft cloth to raise the shine.
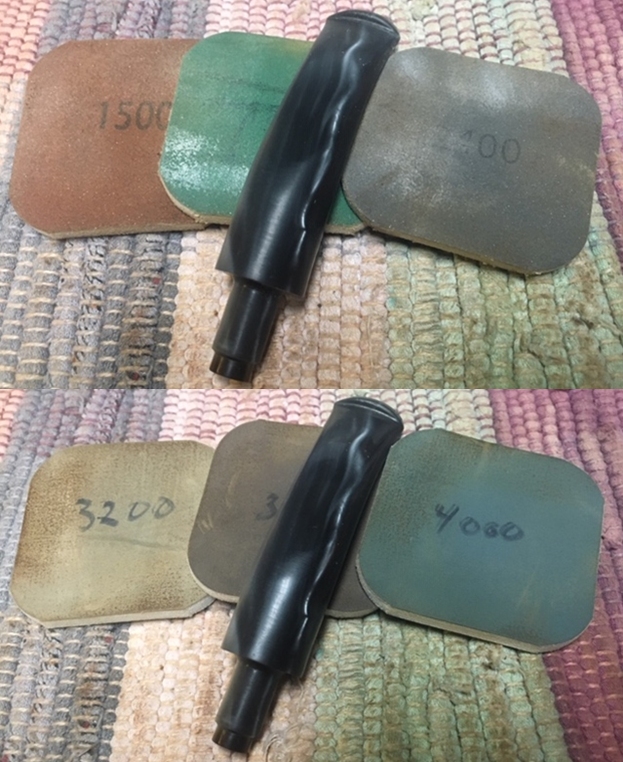
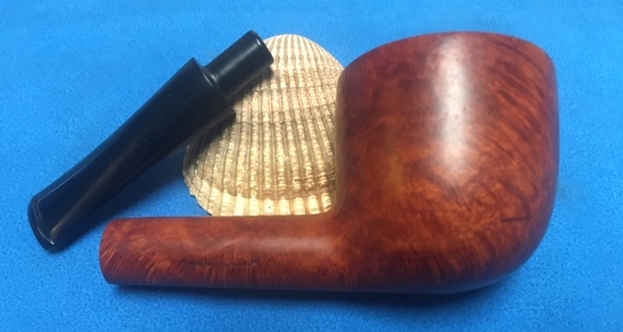
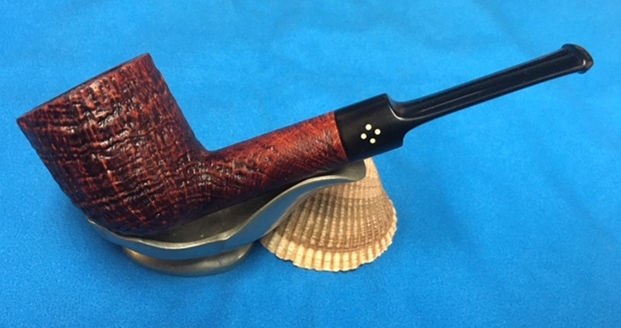
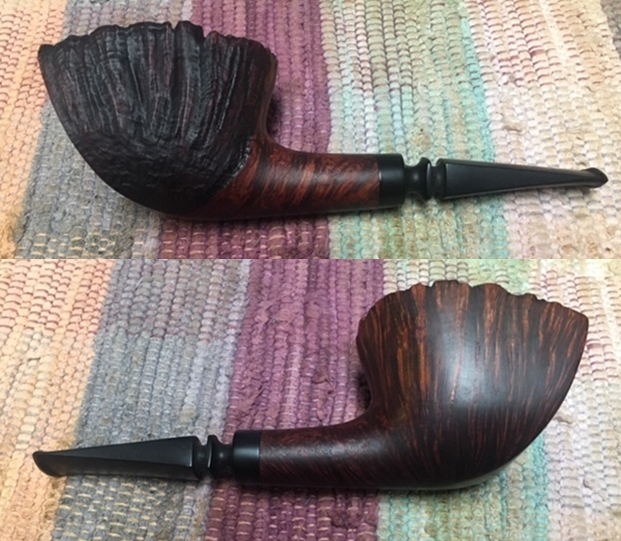
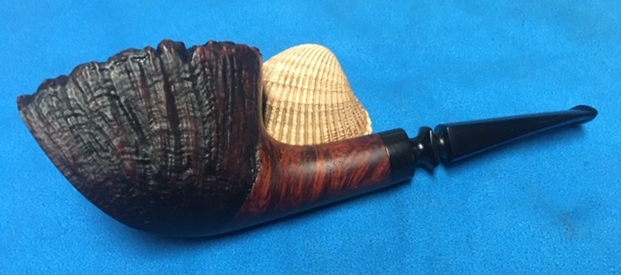
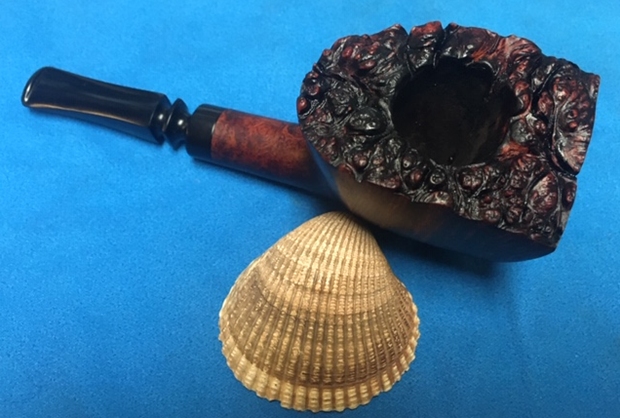
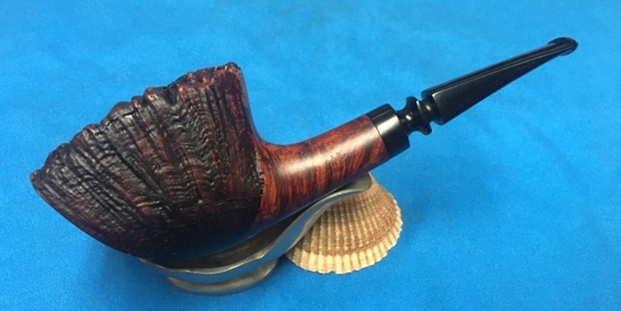
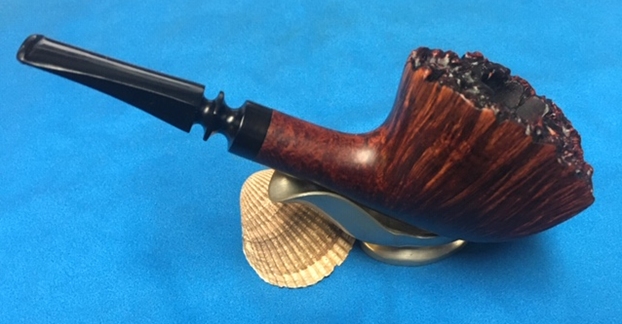
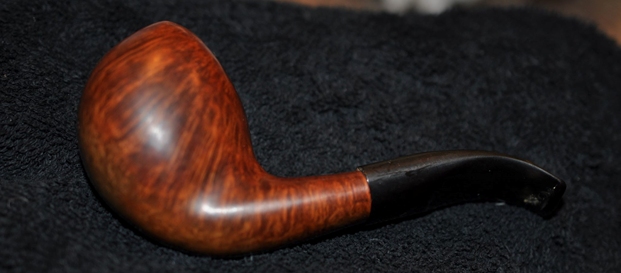
 Once again I am at my favourite part of a restoration – finishing up a pipe! This Savinelli Made Bent Pot came out really well considering the issues with the fit of the stem when I started. I put the pipe back together and buffed it with Blue Diamond polish on the buffing wheel. I polished it with multiple coats of carnauba wax on both the bowl and stem. I buffed it with a clean buffing pad and with a hand buff with a microfibre cloth. The mix of colours and the buffing made the grain really pop once it was waxed. The mixed grain is quite stunning. The variegated silver acrylic half-saddle stem stands out in great contrast to the briar. It is a nice looking pipe. Have a look at the photos below of the finished pipe. Its dimensions are Length: 6 inches, Height: 2 inches, Outside Diameter of the Bowl: 1¼ inches, Diameter of the Chamber: ¾ of an inch. The bent pot feels great in the hand. This one will be going on the rebornpipes store later today. You can add it to your collection and carry on the trust. Let me know if you are interested in adding it. Thanks for your time.