Blog by Paresh Deshpande
It’s been a while since I have worked on one of my inherited pipes as I have been busy with pipes from the estate pipe lots that have reached me from various sellers. Though these pipes had been fun to work on, I, at times, have a desire to work on inherited pipes.
The next pipe that has caught my attention is a gourd calabash and the only one to date, which was in one of the three very large boxes of pipes that I have inherited. Working on these old pipes is what I love the most because of the intrinsic connection I have with these pipes and the fact that once I pass away, these will be passed on to my kids as remembrance that their father had worked on restoring each of these vintage and priceless collection of pipes.
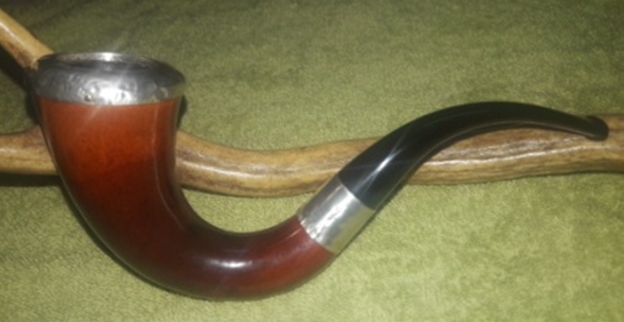
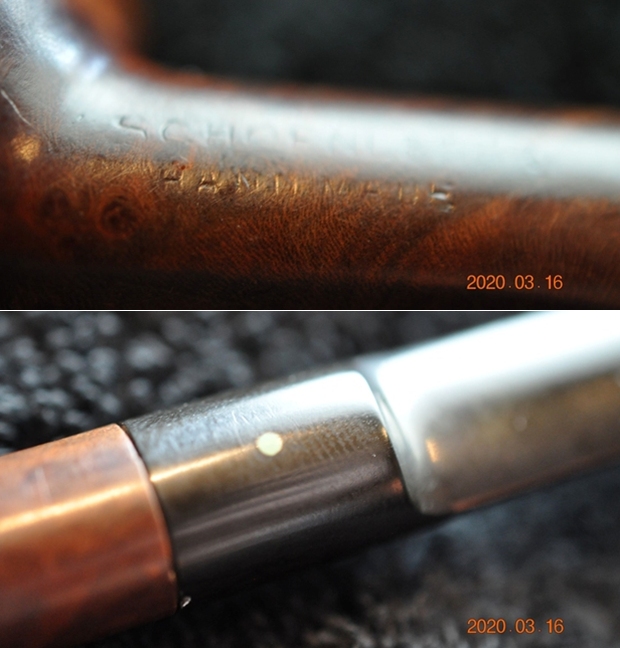
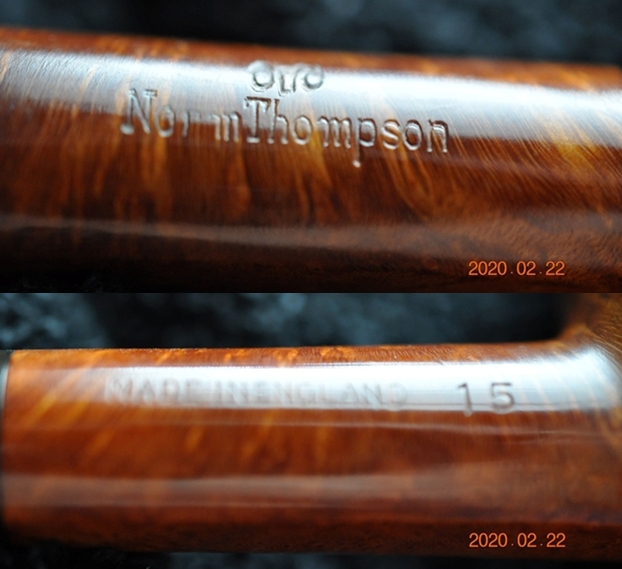
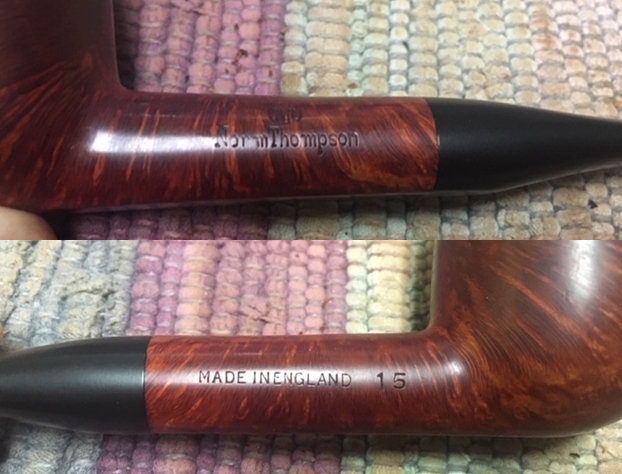
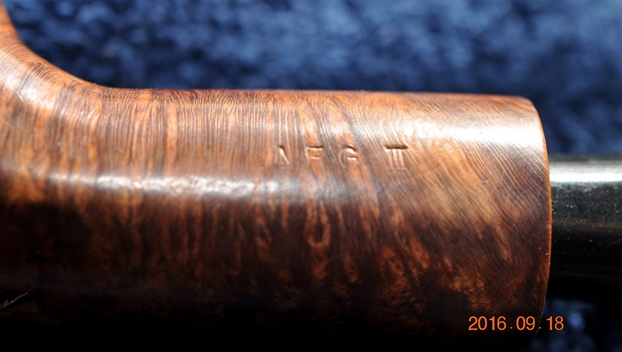
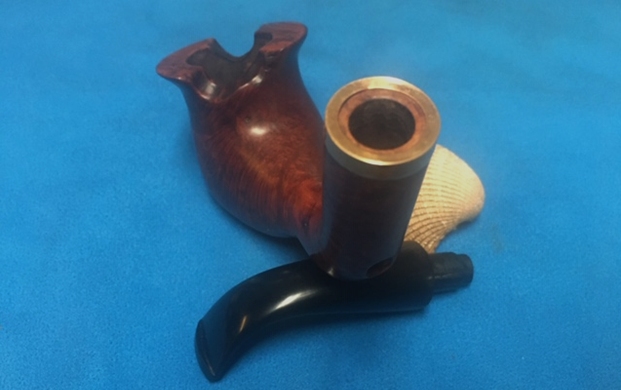
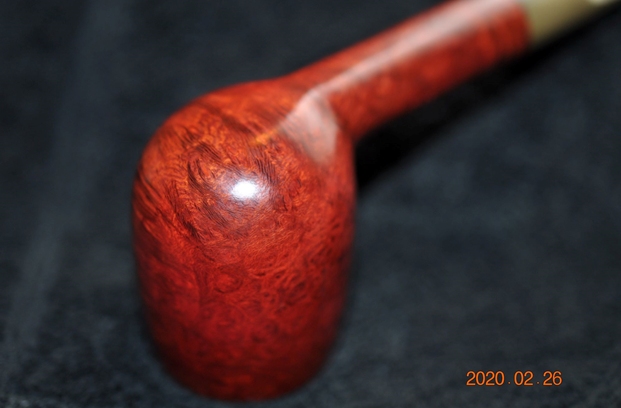
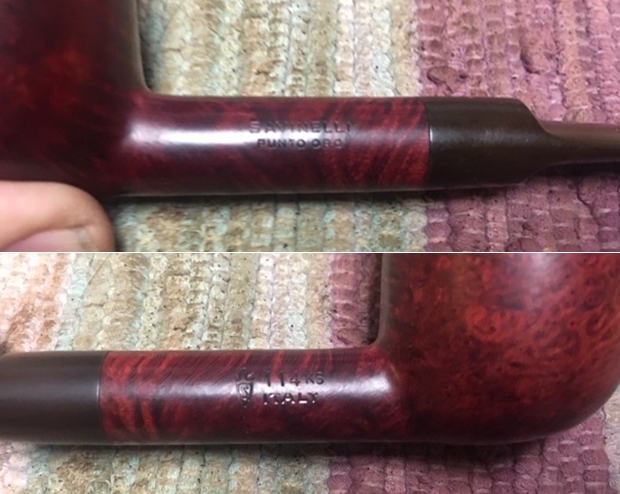
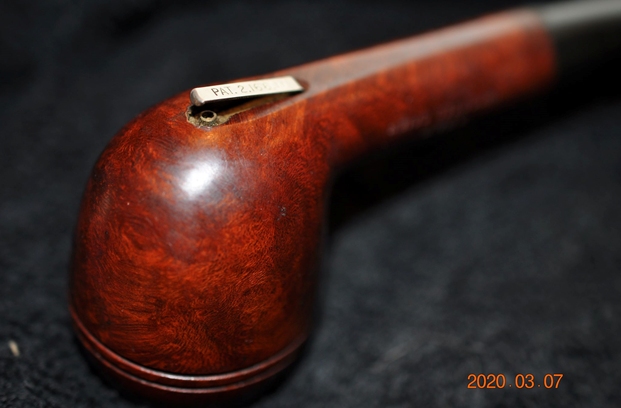
This gourd calabash is not very large in size, but big enough to have a great feel in the hand. The gourd has colored beautifully and has taken on a nice deep reddish brown color. The bowl sits flush with the gourd top and is covered in a Sterling Silver cap that is stamped as “W. H.” in a semi-circle followed by three sterling hallmarks, each in a cartouche. There is an anchor, a lion, and the lower case letter “n”. The anchor identifies the city of the manufacture of the silver to be Birmingham, England. The lion is the mark for 0.925 Sterling Silver and the letter “n” is the date stamp. A similar set of stampings are also seen on the sterling silver band at the shank end. The stampings are all crisp and prominent.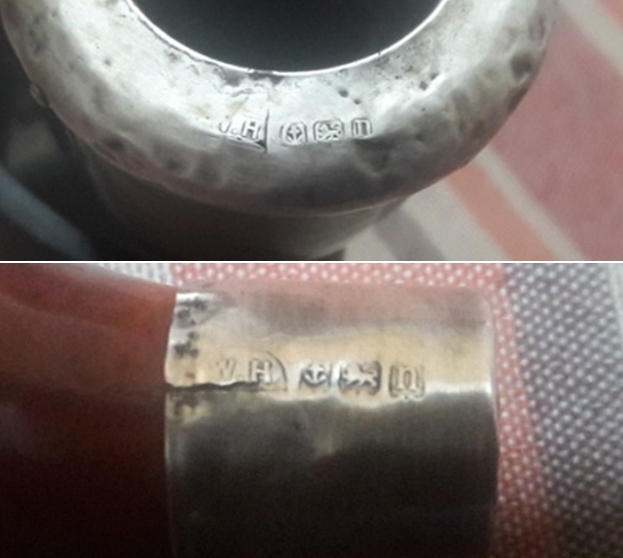 The hallmarked sterling silver band and cap helps in the dating with great accuracy and the first site that I visit is www.silvercollection.it
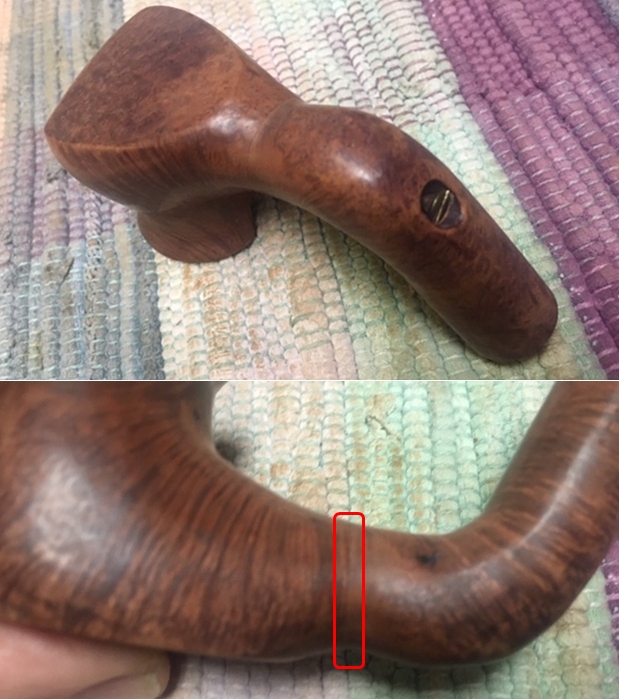
I browsed through the alphabetical listing of maker’s mark for W.H. in a semi circle and narrowed it down to William Harrison Active in London: various Harrison’s marks in Chester Assay Office were registered by Imperial Tobacco Co between 1907 and 1916. It is also known a fact that his marks are registered with the Birmingham Assay Office. Next I followed the link to the dating guide of the Birmingham Assay Office to date this pipe. I have included a hallmark chart for dating the pipe. I put a red rectangle around the letter for 1912. It is the same style of “n” and the cartouche that holds the letter stamp, matches the photo as well.
 Another source of information on William Harrison is reproduced below from the site https://www.silvermakersmarks.co.uk/Makers/Chester-WD-WH.html#WH
 Thus, from the above, the pipe that I am now dealing with is from the tobacconist/ pipe maker/ pipe mounter William Harrison and dates to 1912!! This pipe is nearly 108 years old. With the provenance of the pipe now established, I move ahead with initial inspection of this old pipe.
Initial Visual Inspection
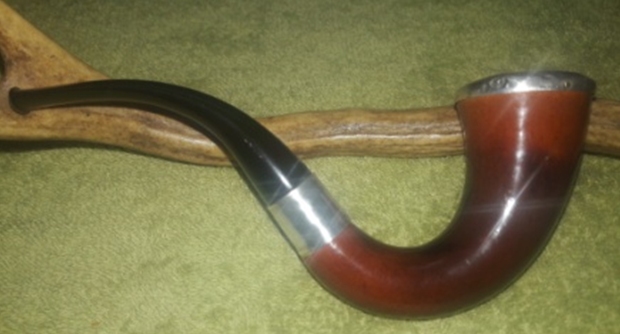
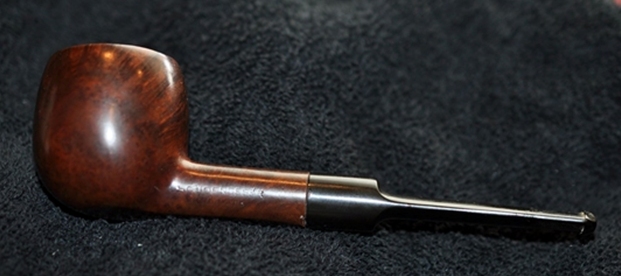
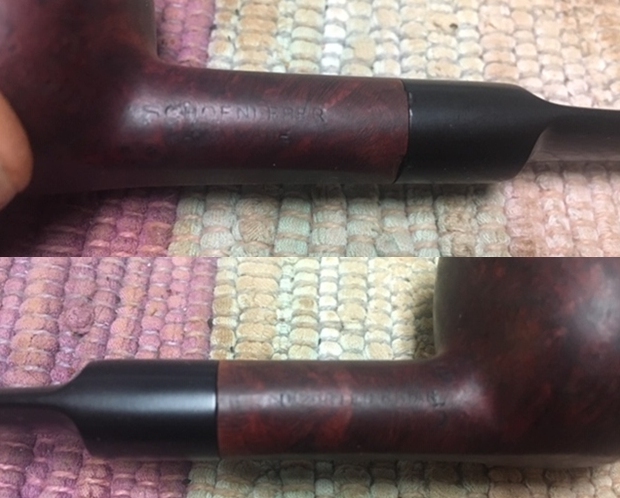
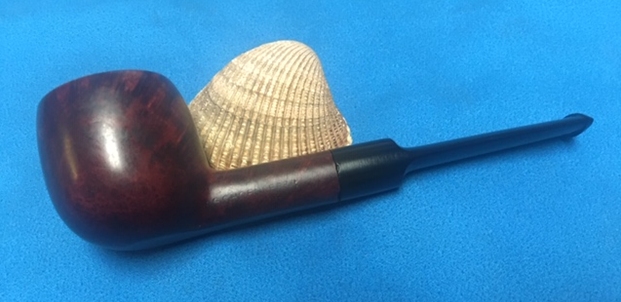
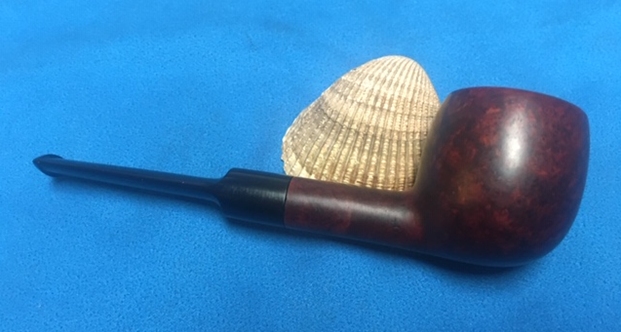
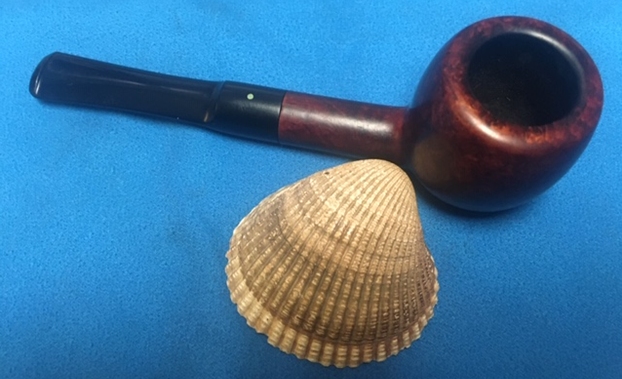
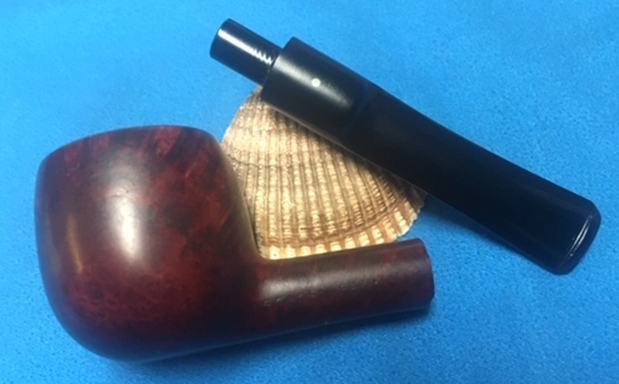
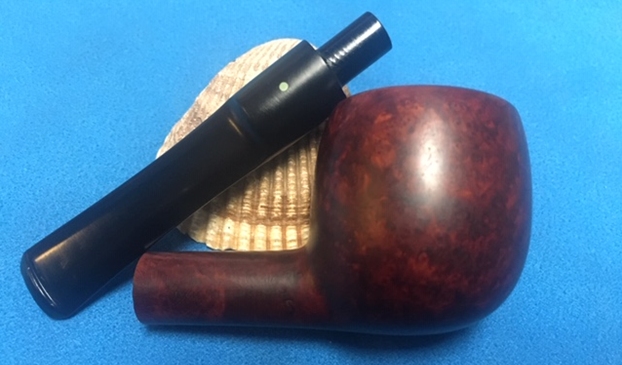
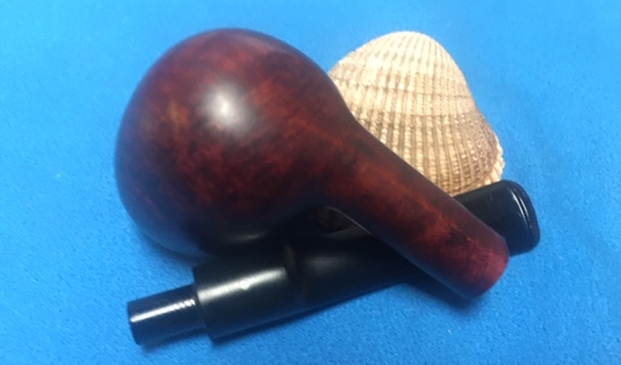
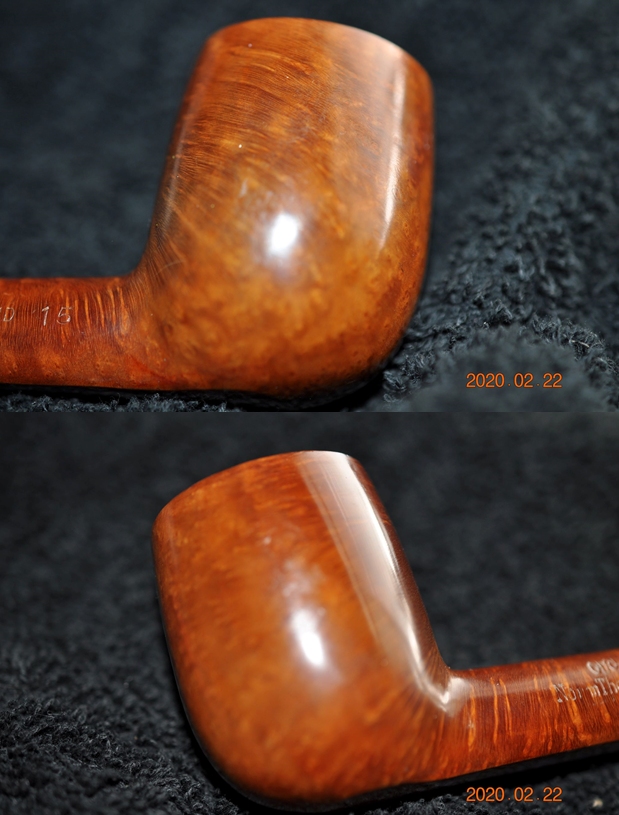
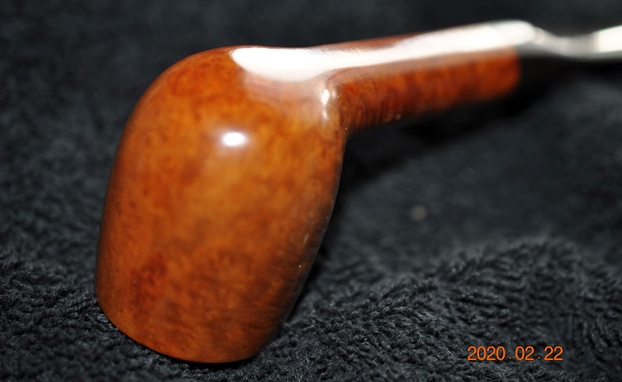
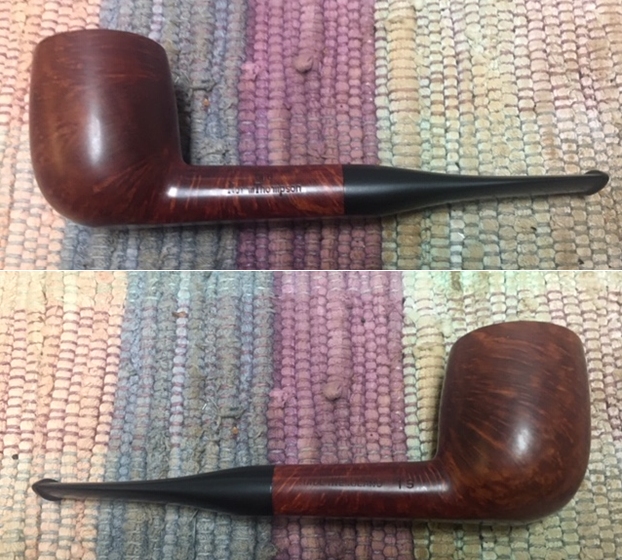
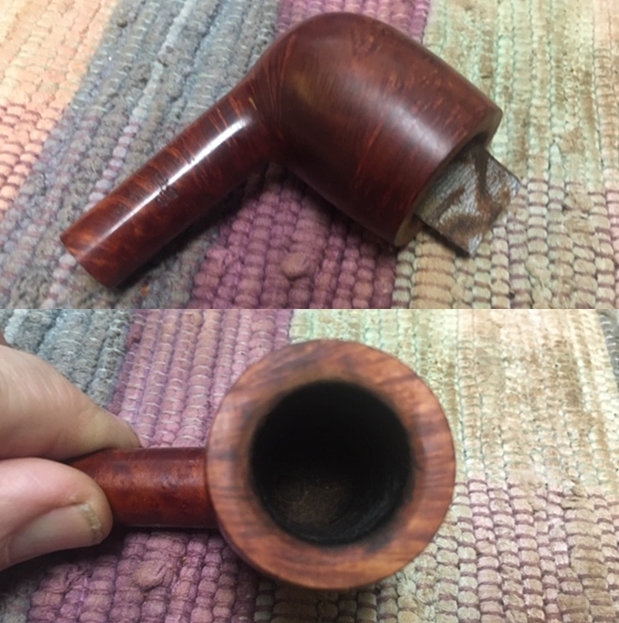
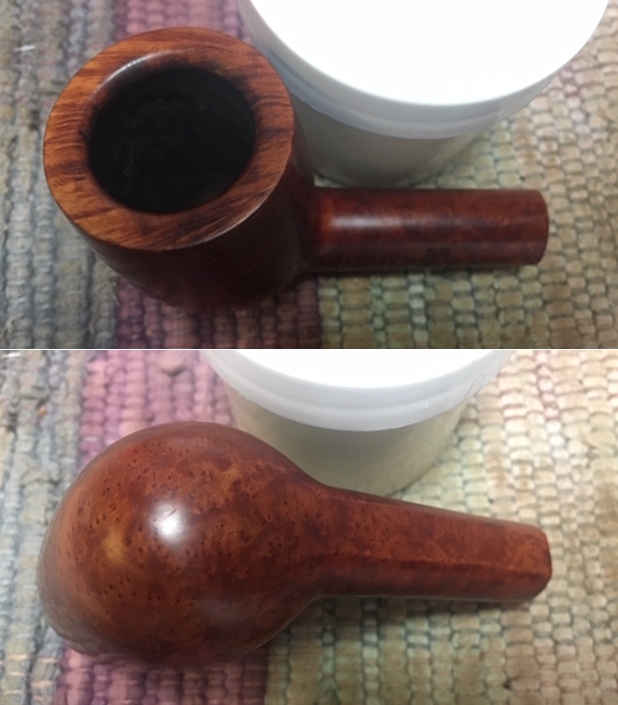
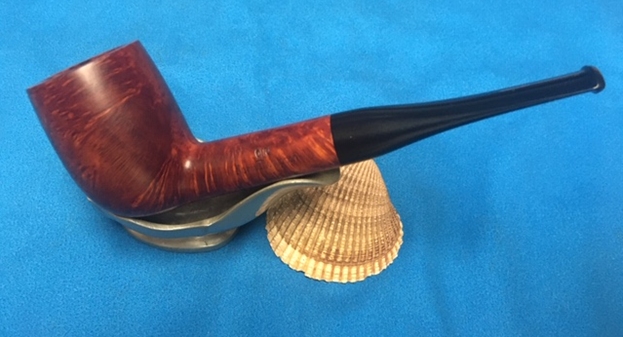
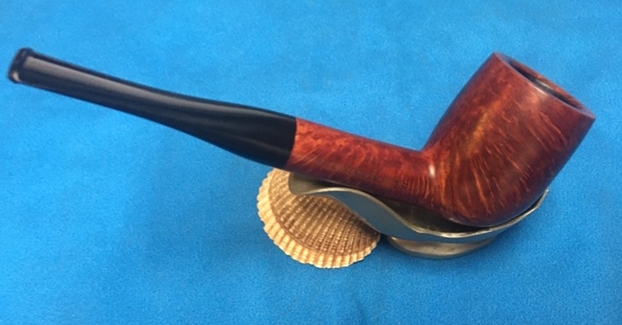
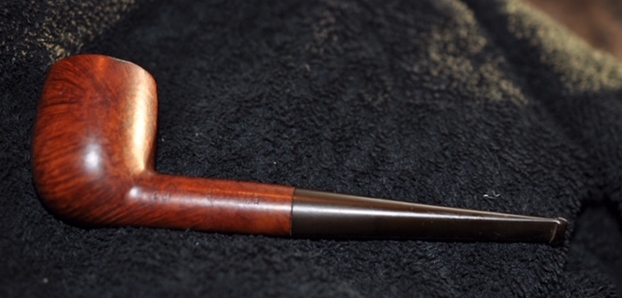
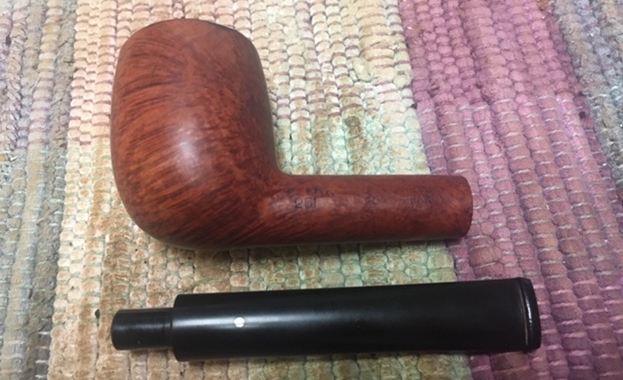
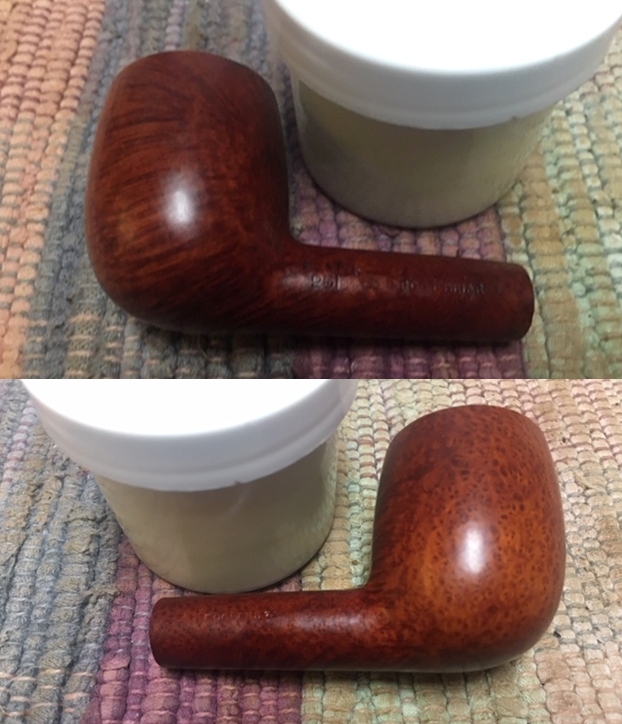
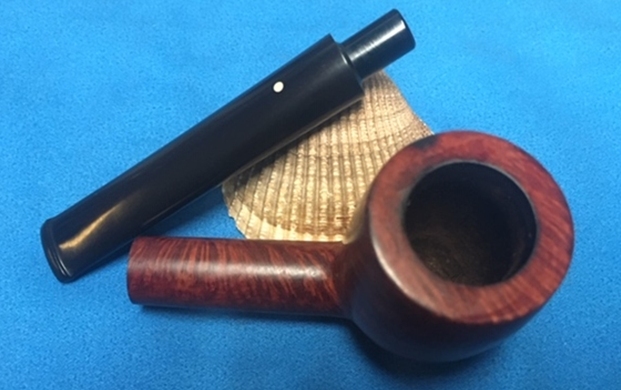
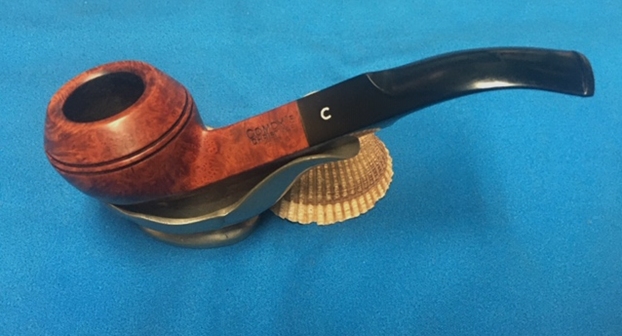
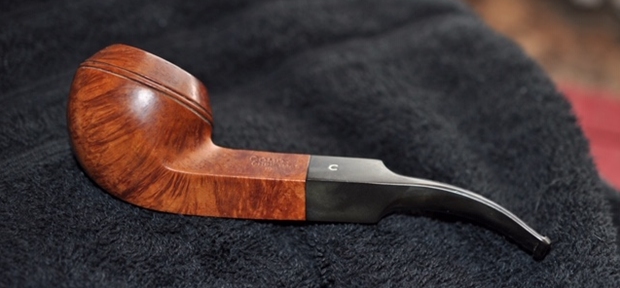
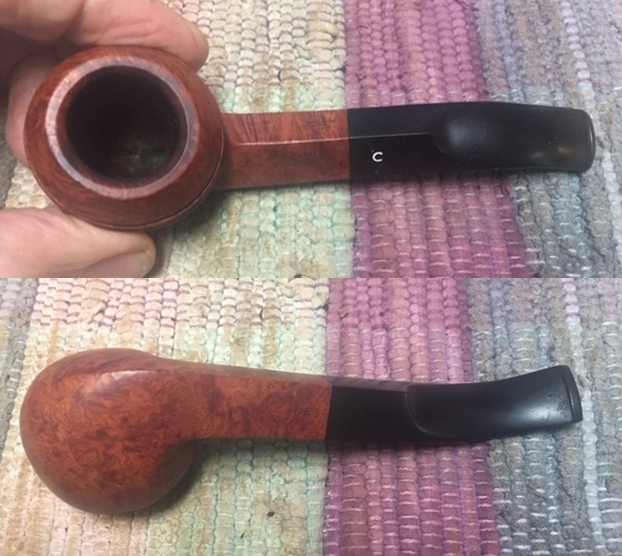
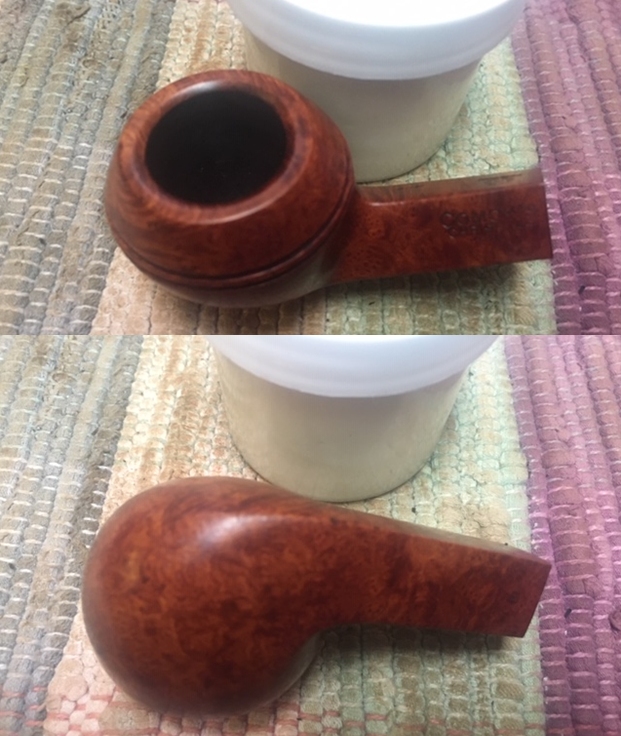
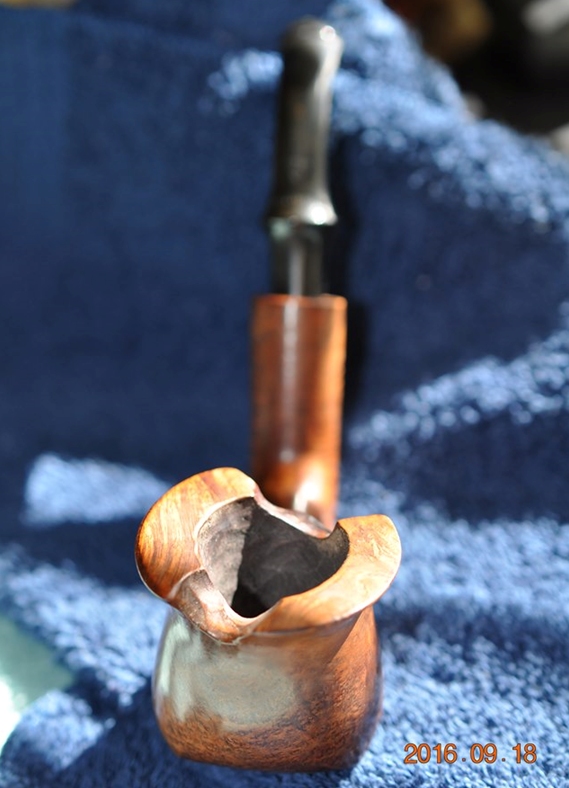
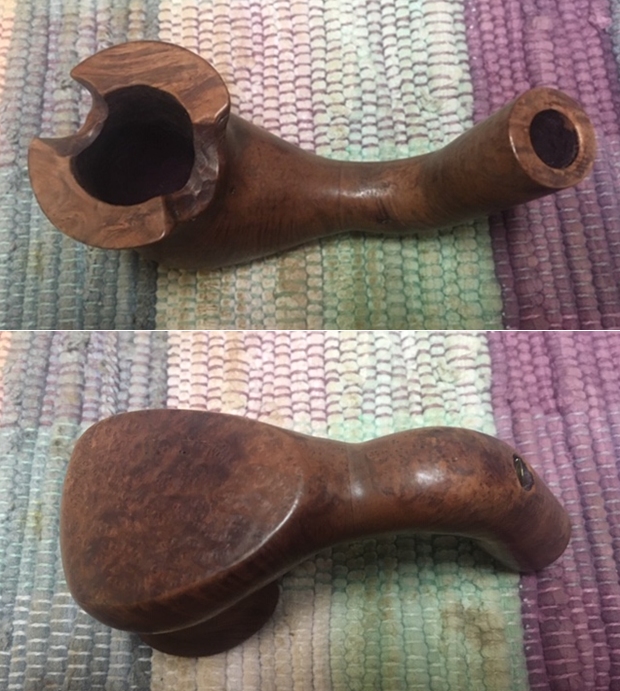
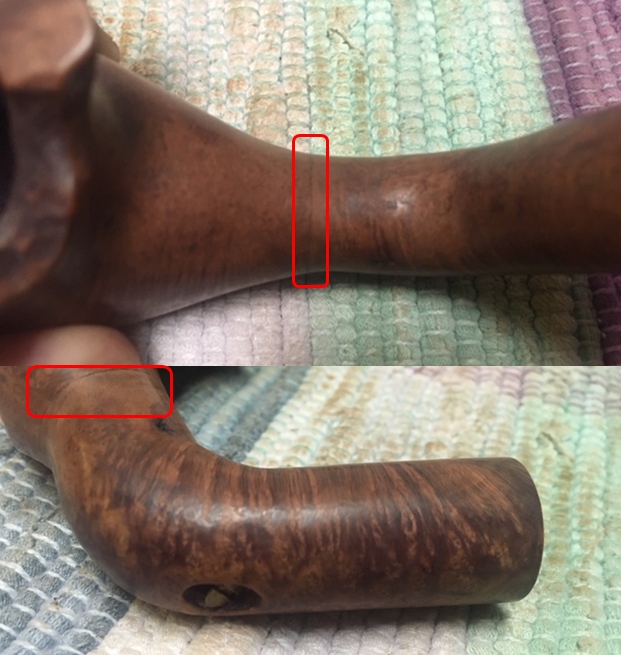
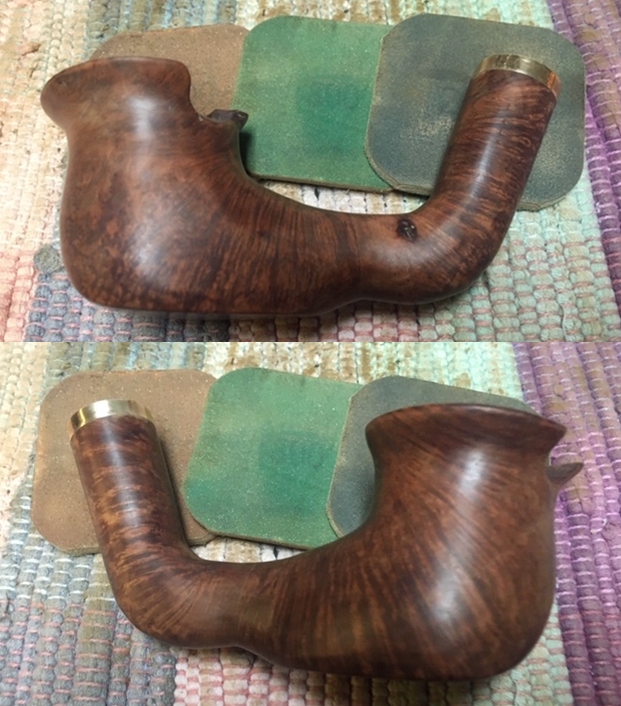
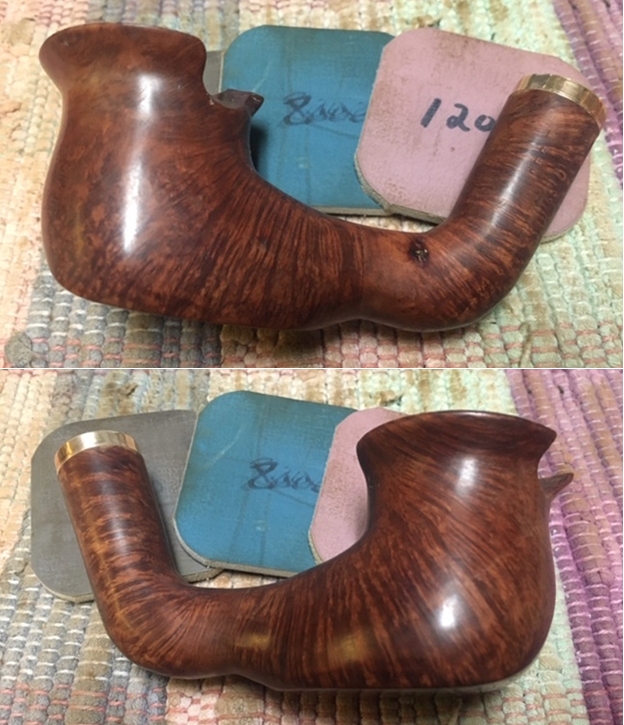
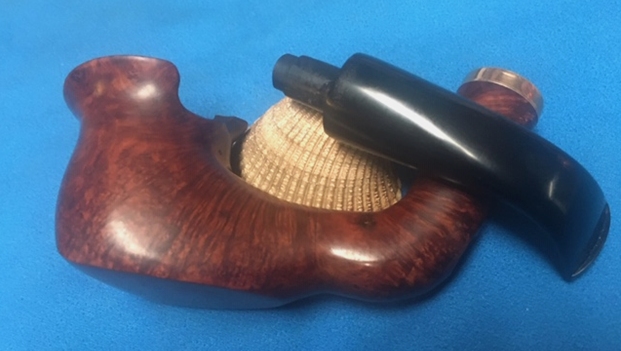
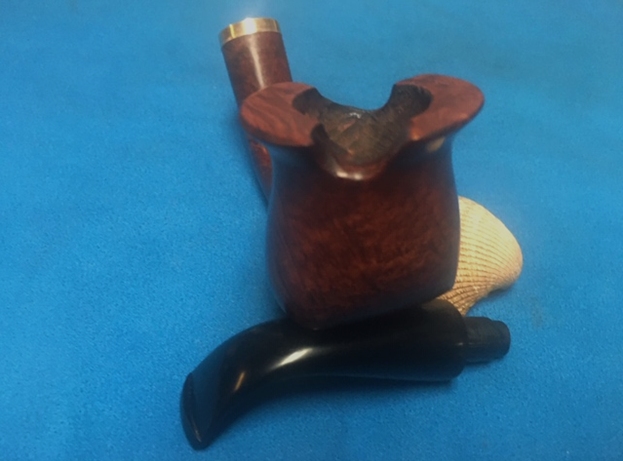
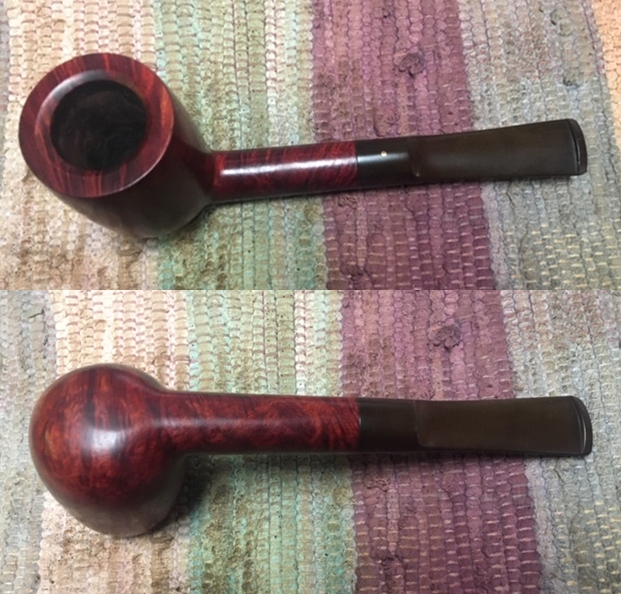
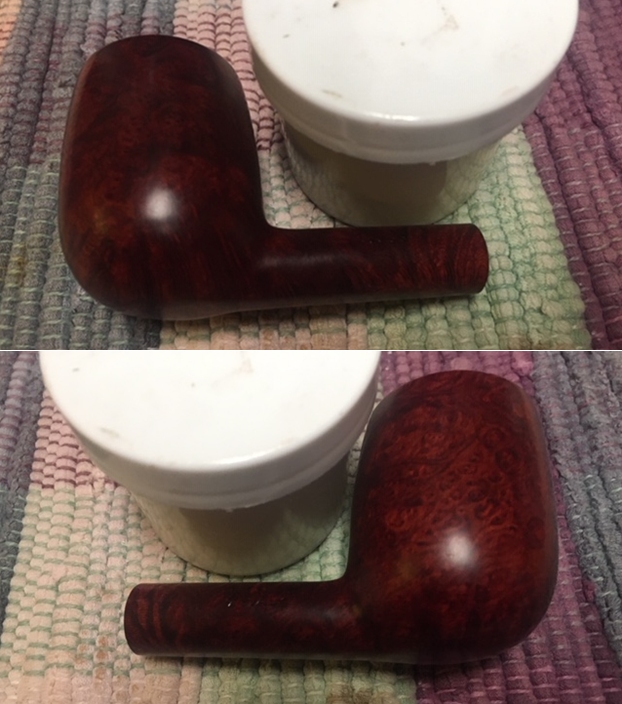
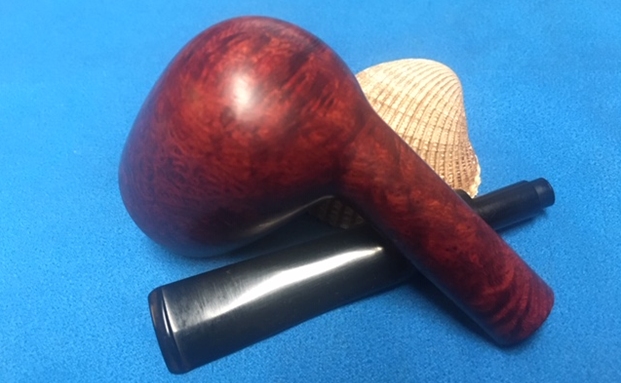
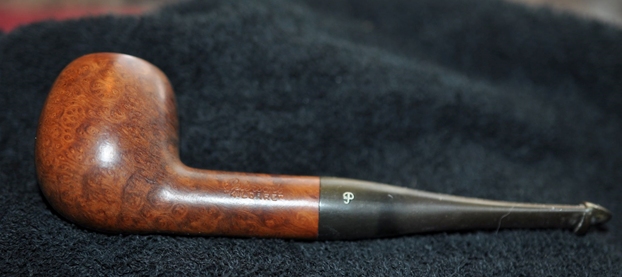
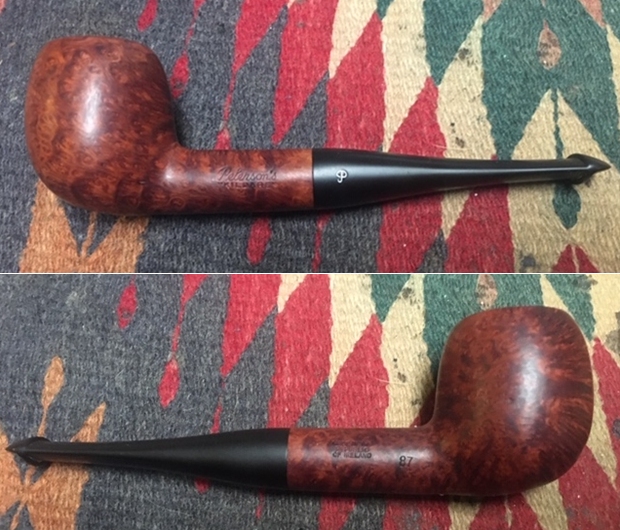
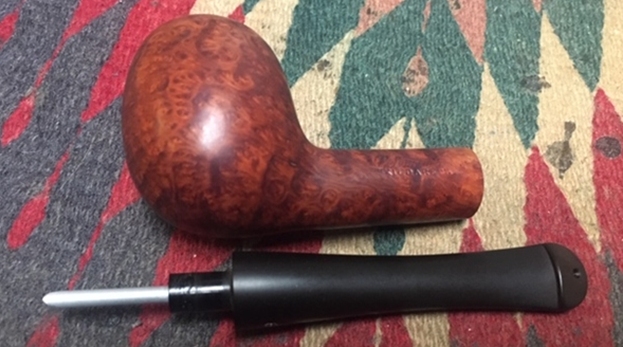
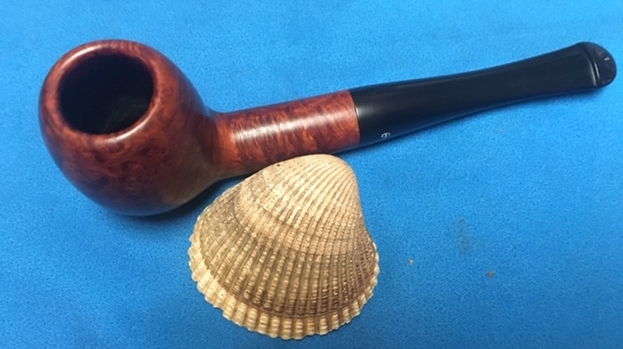
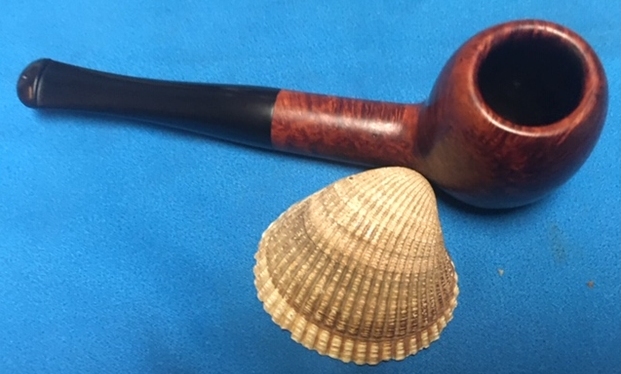
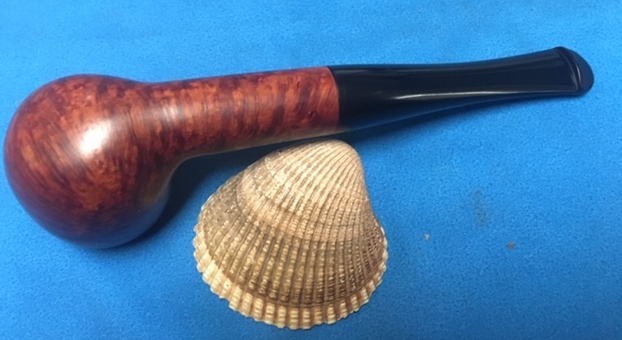
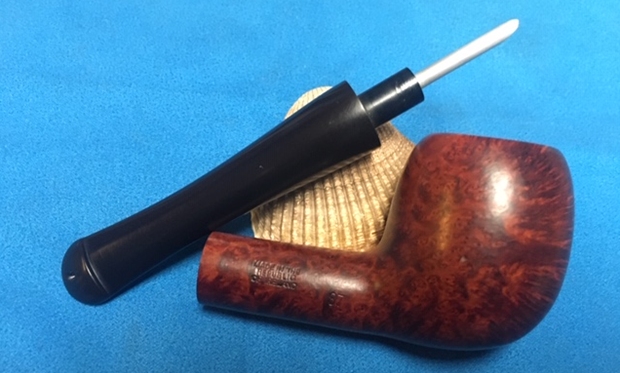
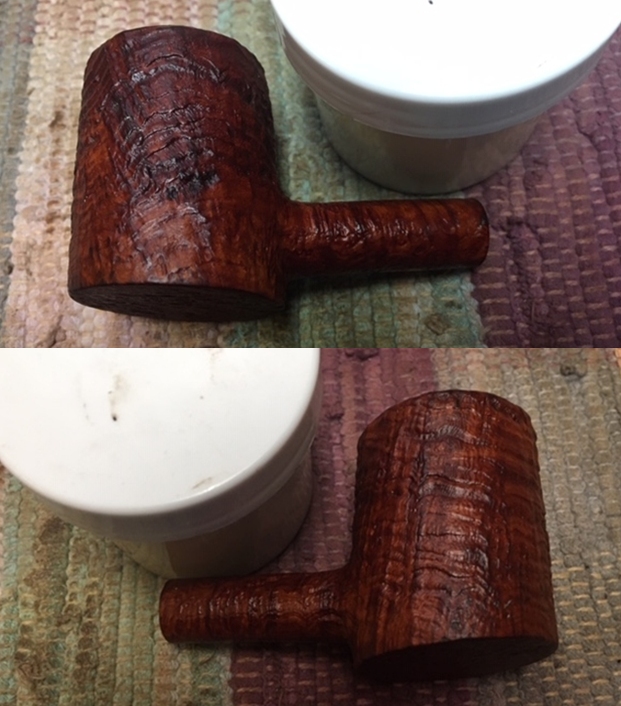
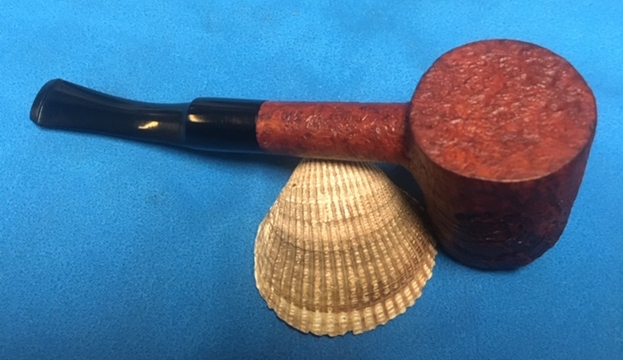
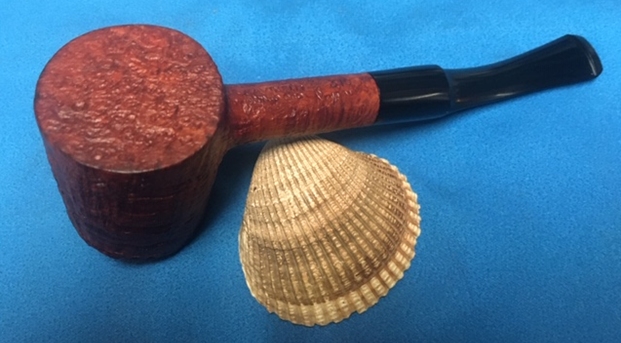
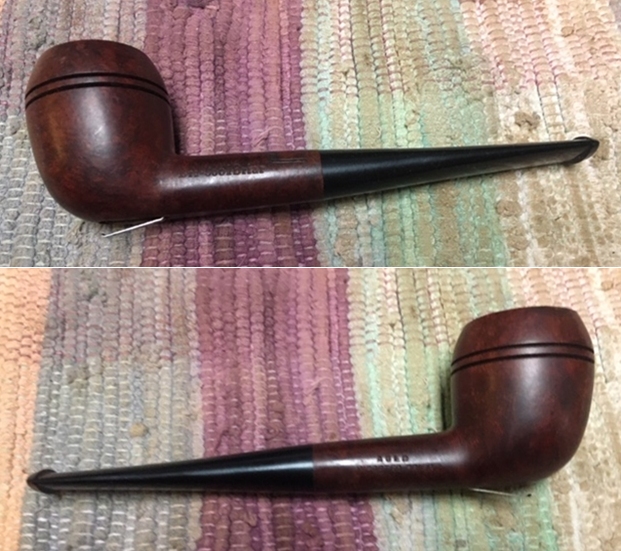
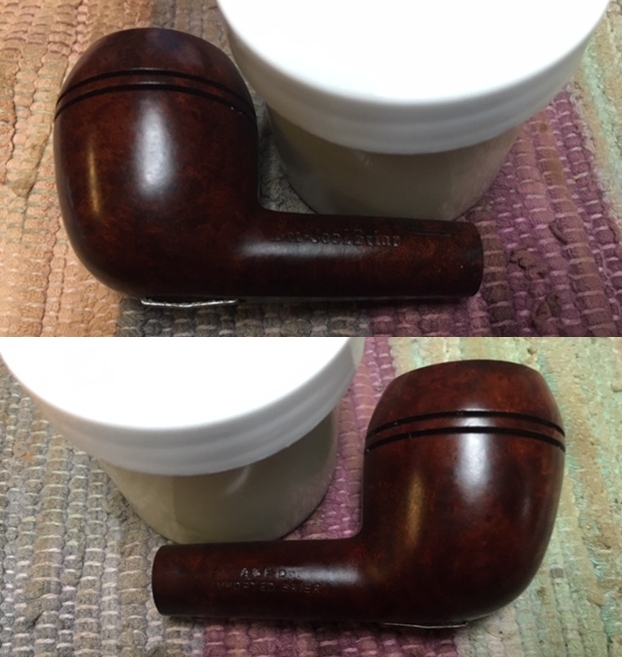
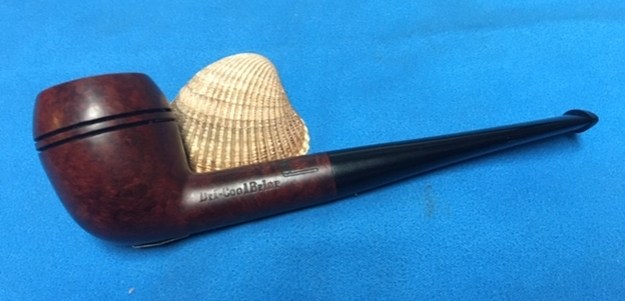
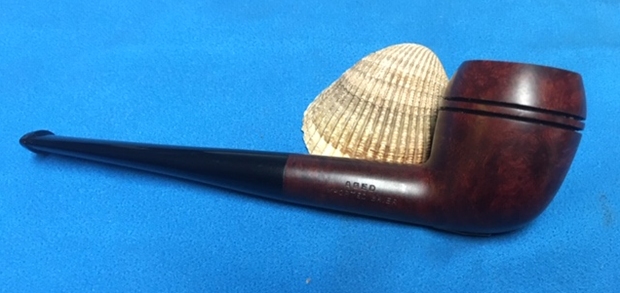
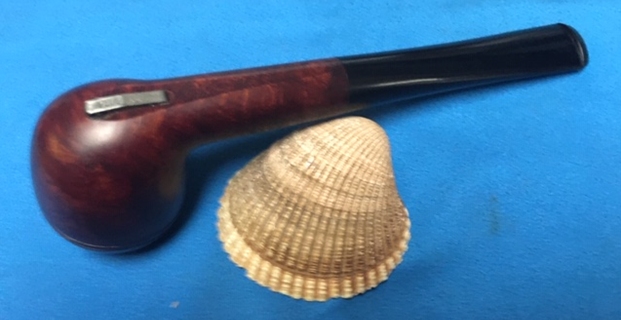
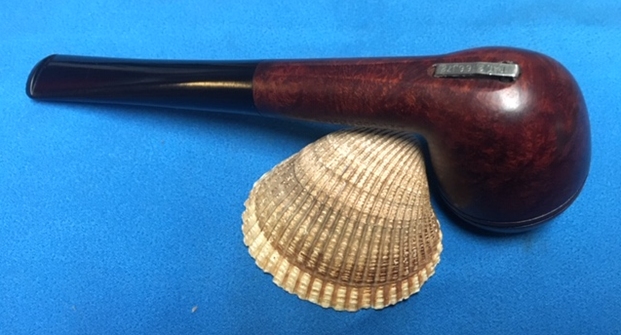
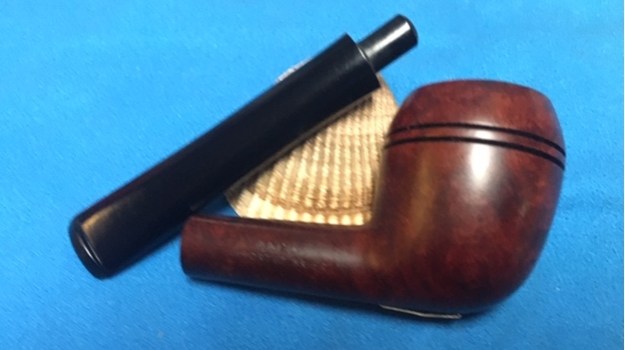
The pipe, as it sits on my work table, presents itself as a simple and straight forward refurbishing project. The gourd has developed a nice patina and taken on a deep red brown golden color. There is no damage to the gourd. This pipe should polish up nicely. The sterling silver rim cap and shank band have numerous dents and dings. A straight split to the silver shank band is seen on the right side. This split can be welded by my silversmith, but that can happen only after the lockdown and social distancing norms have relaxed somewhat. The vulcanite stem does not seat completely into the shank. This issue should be addressed once the mortise has been thoroughly cleaned. Here is how the pipe appears at this stage.
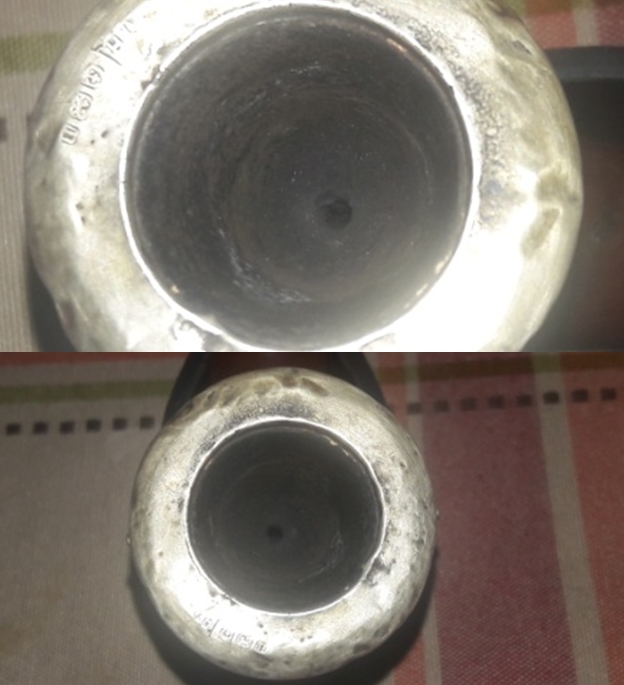
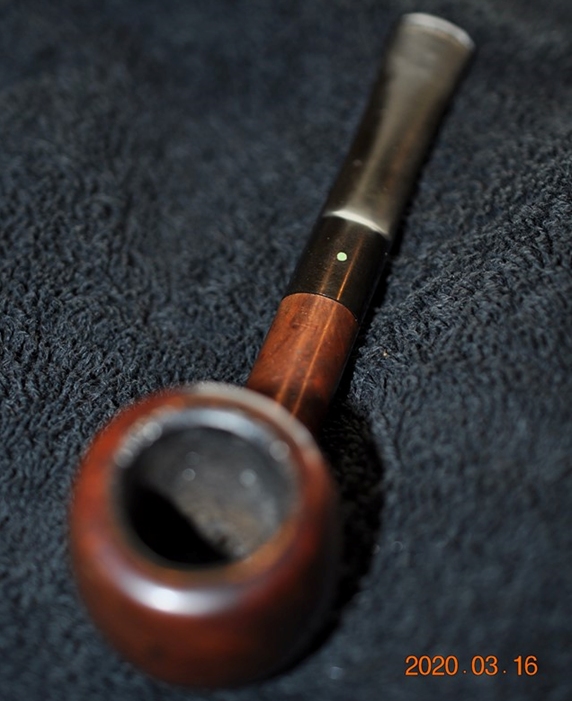
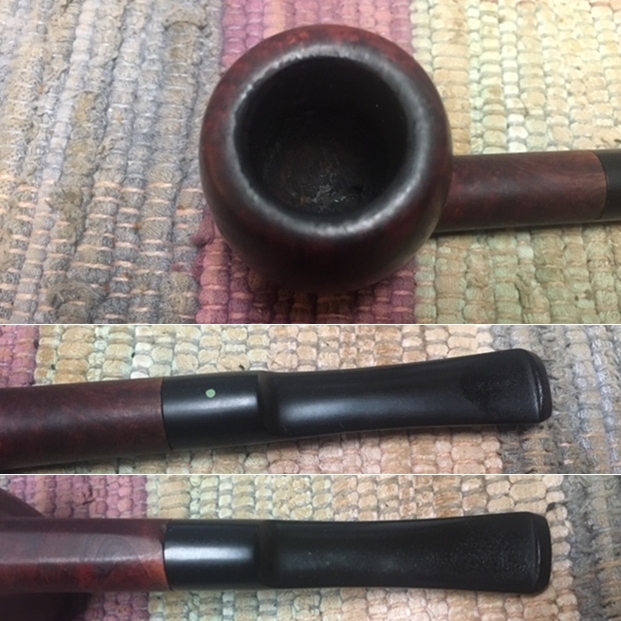
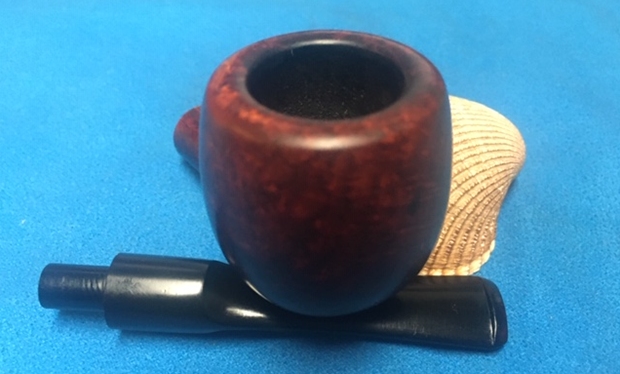
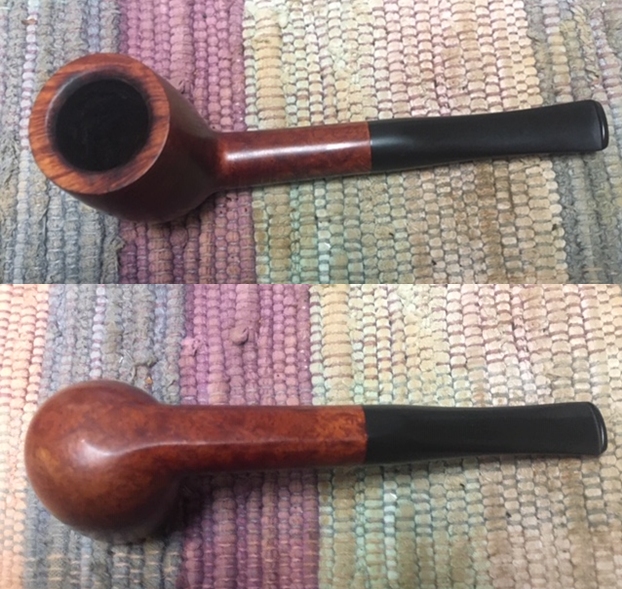
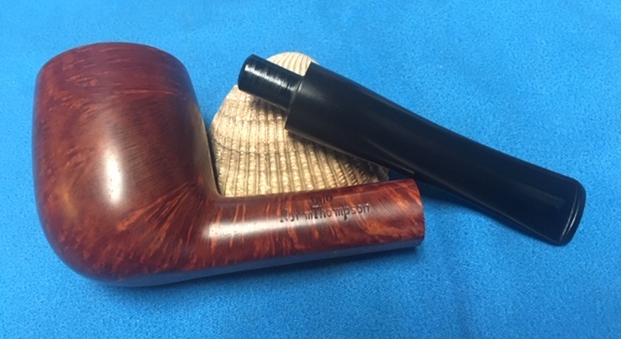
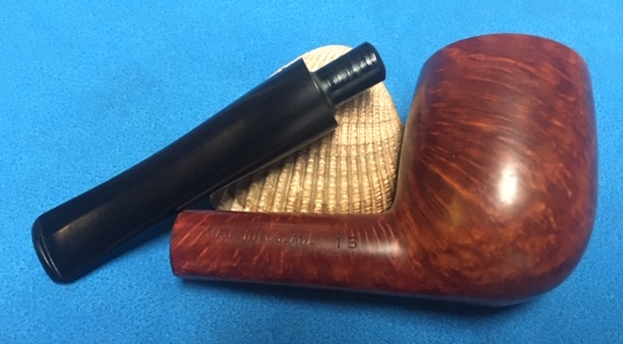
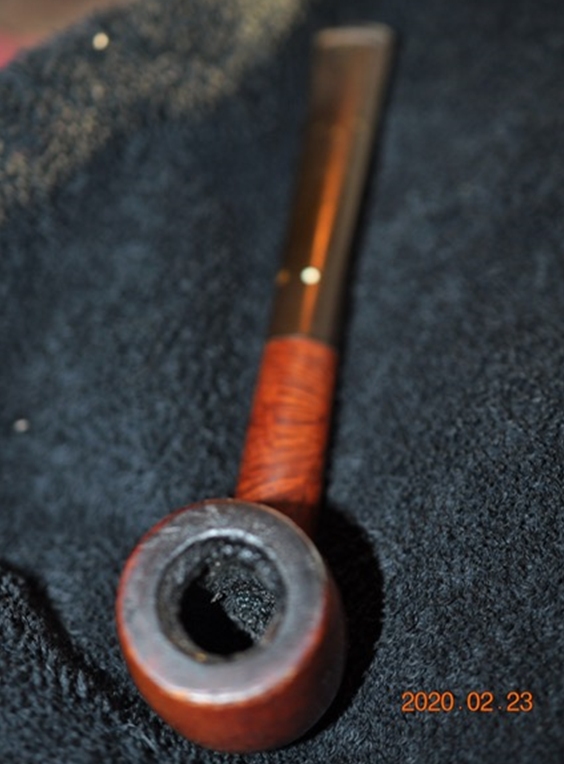
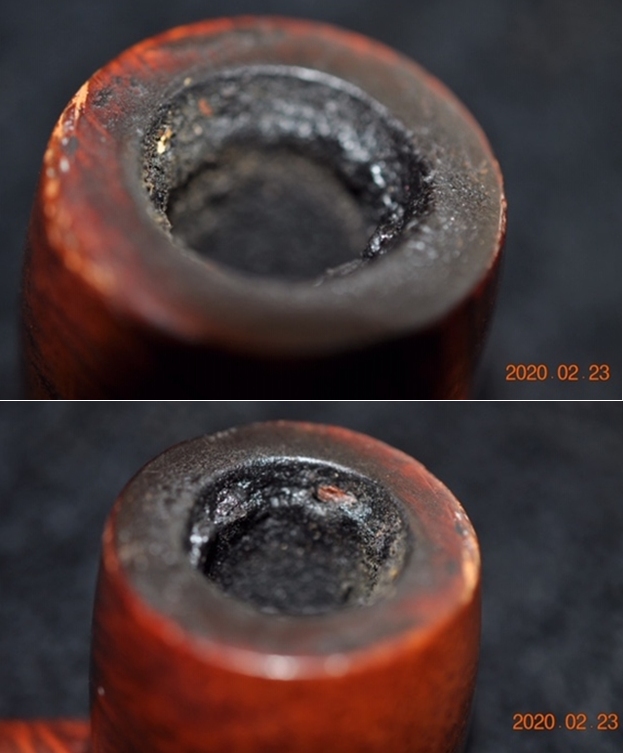
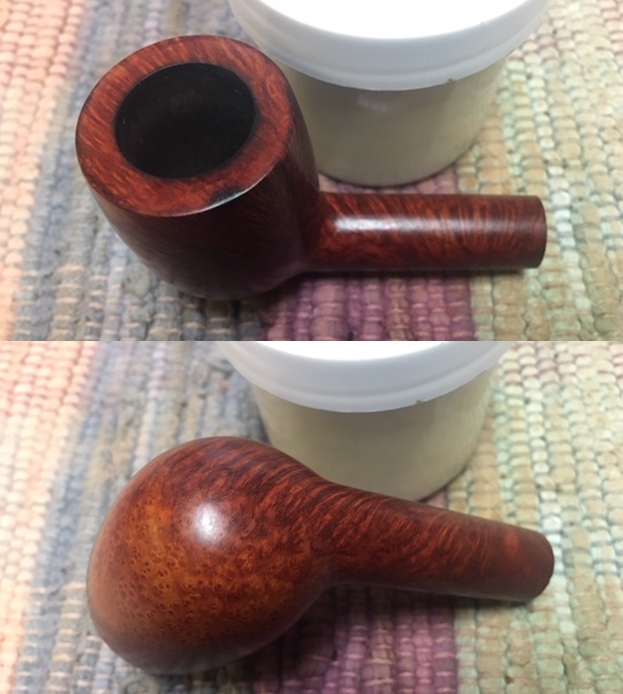
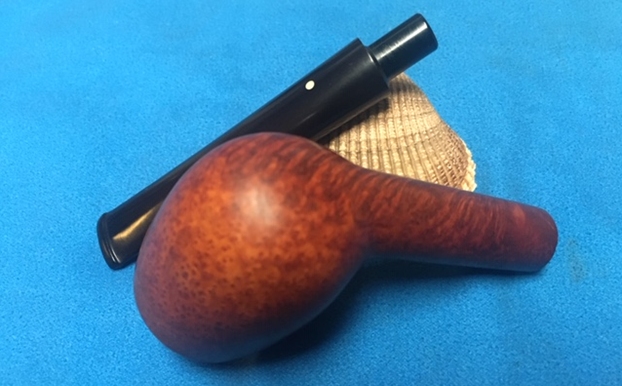
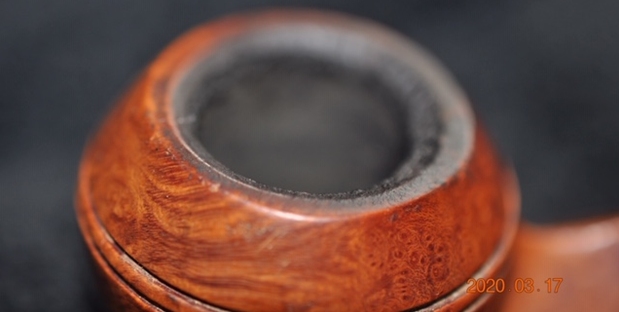
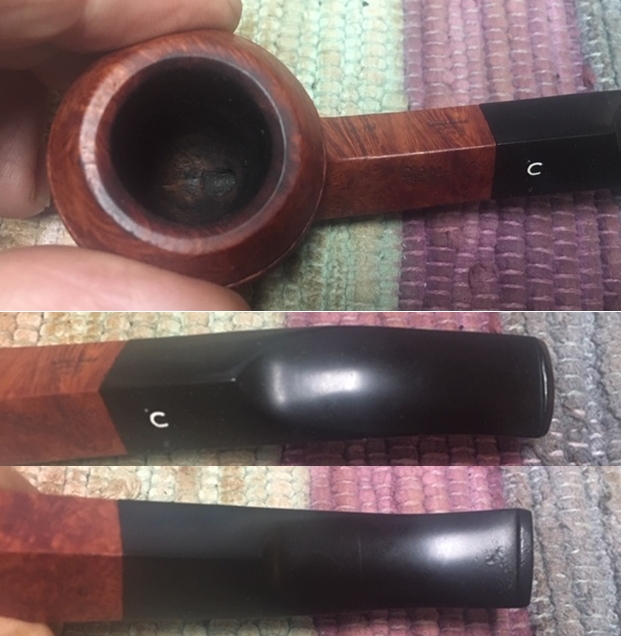
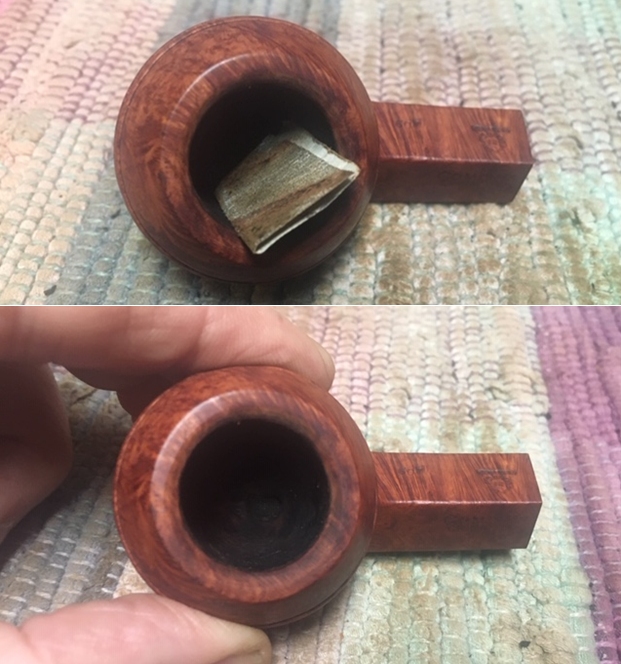
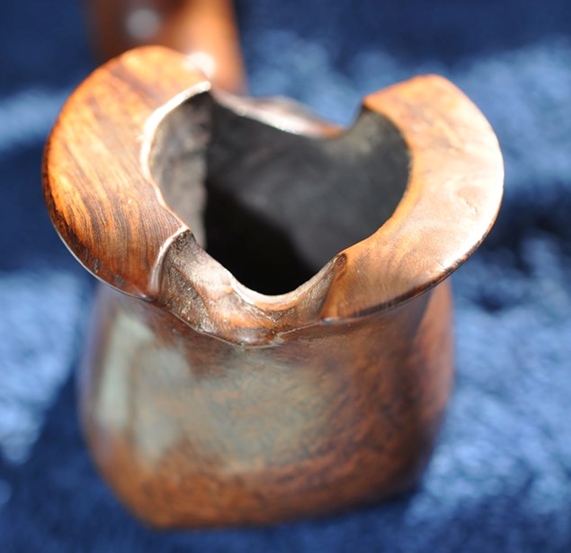
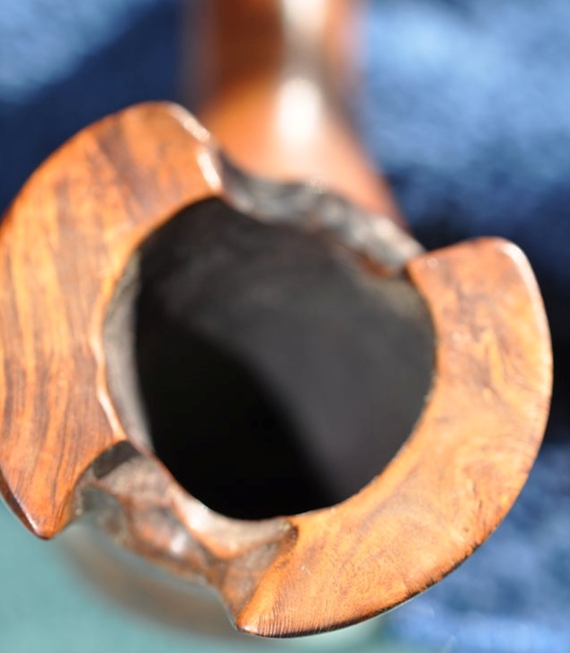
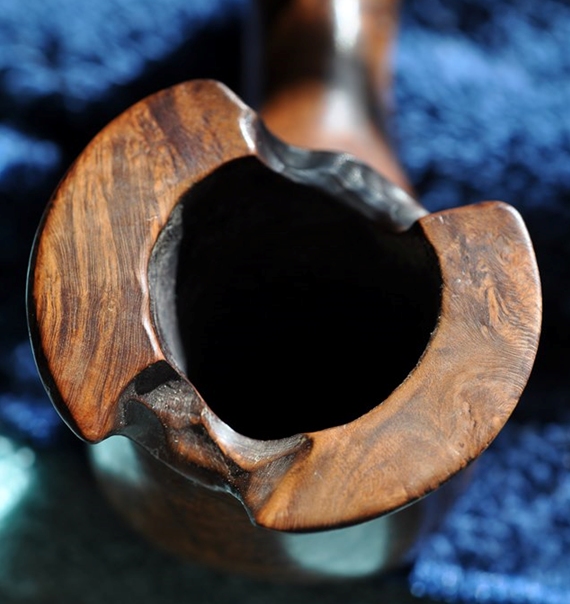
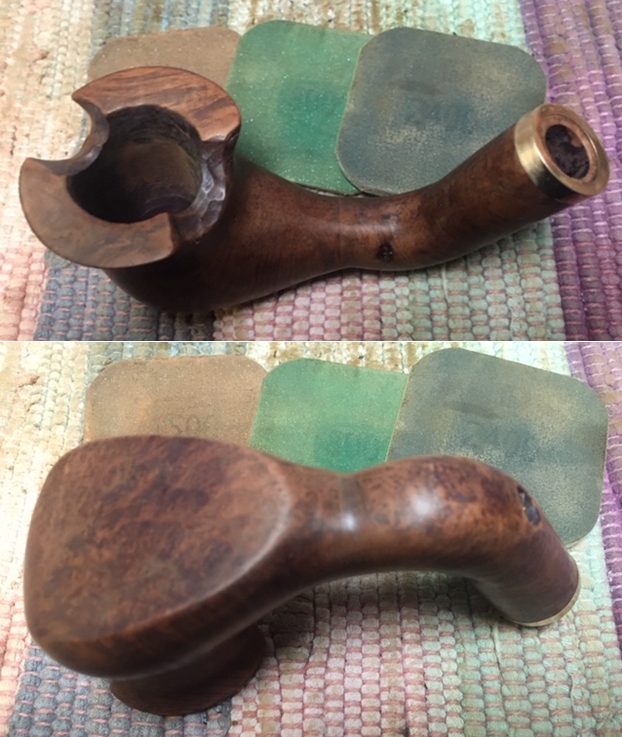
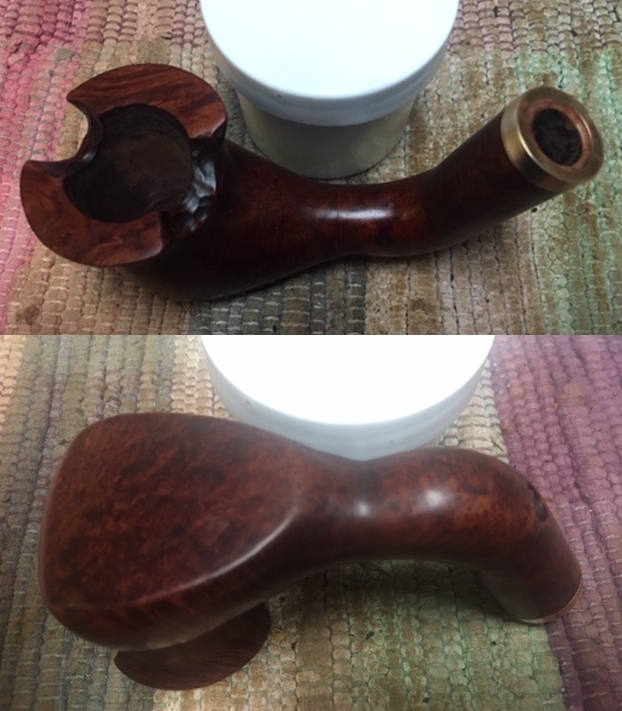
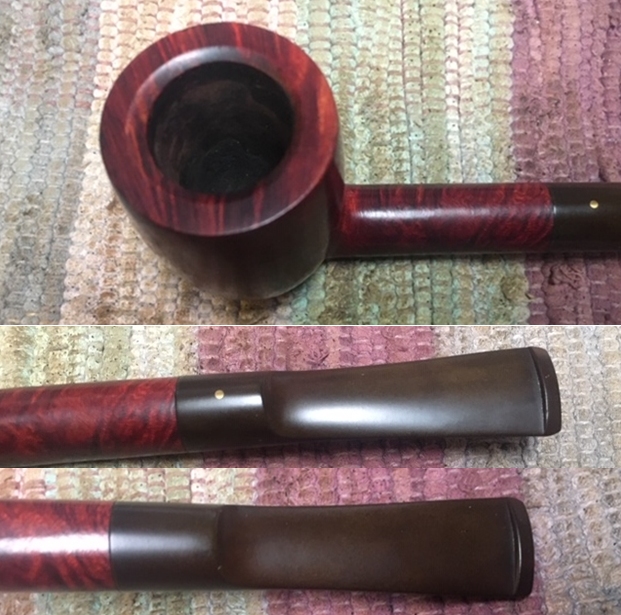
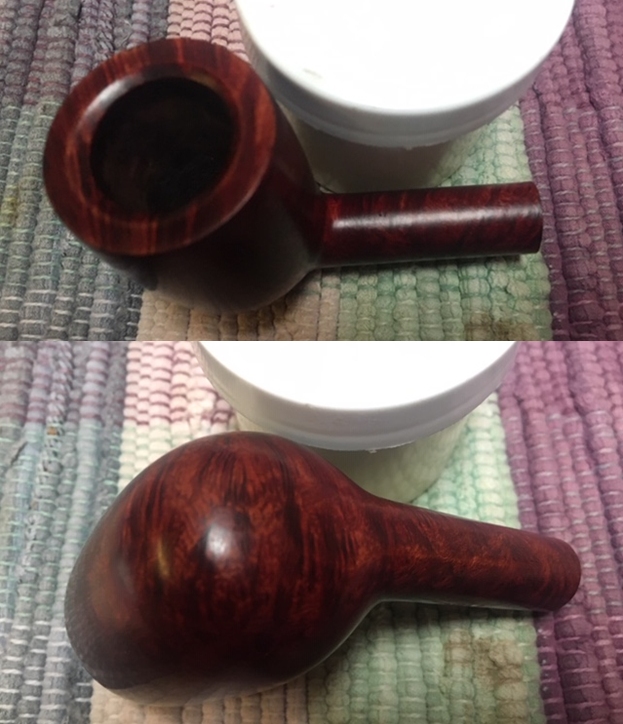
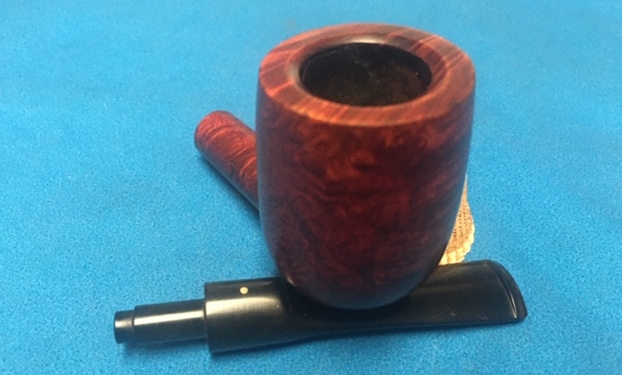
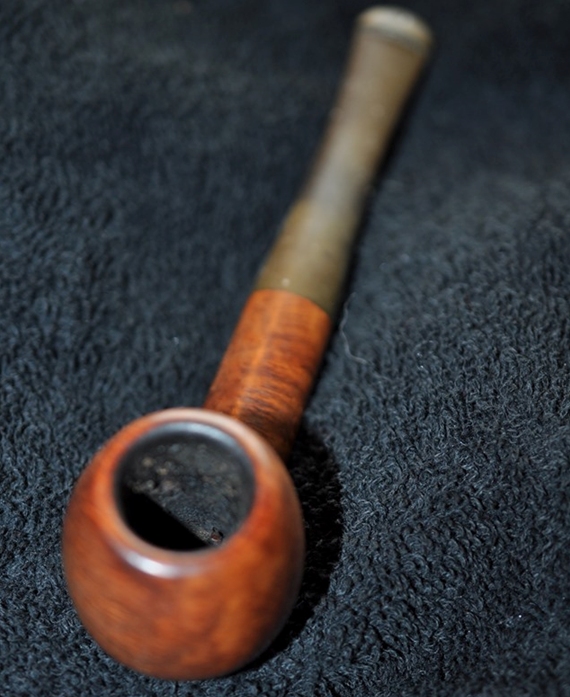
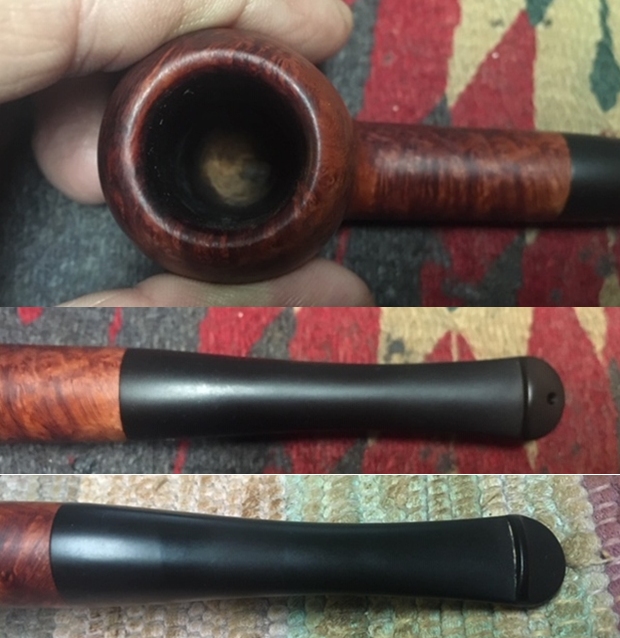
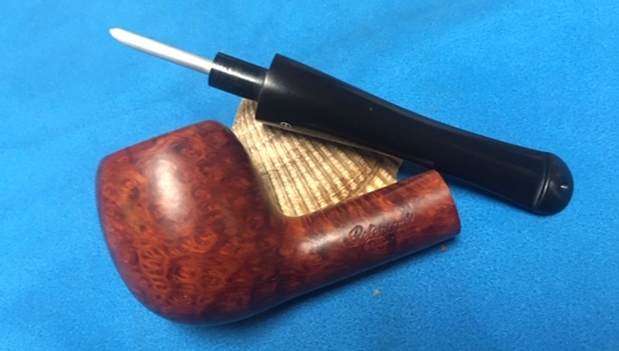
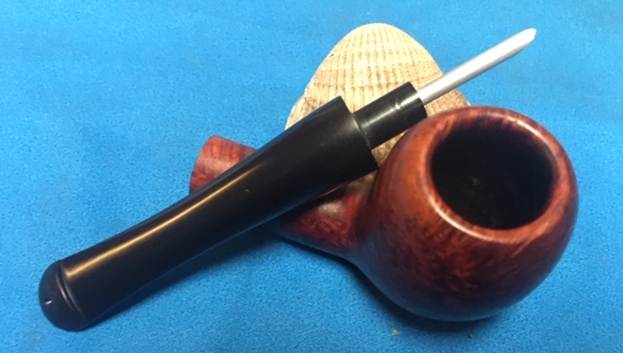
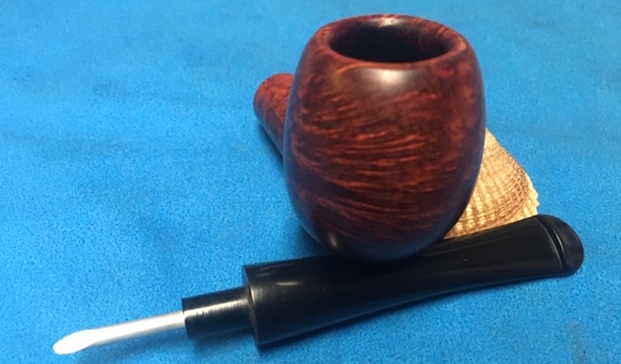
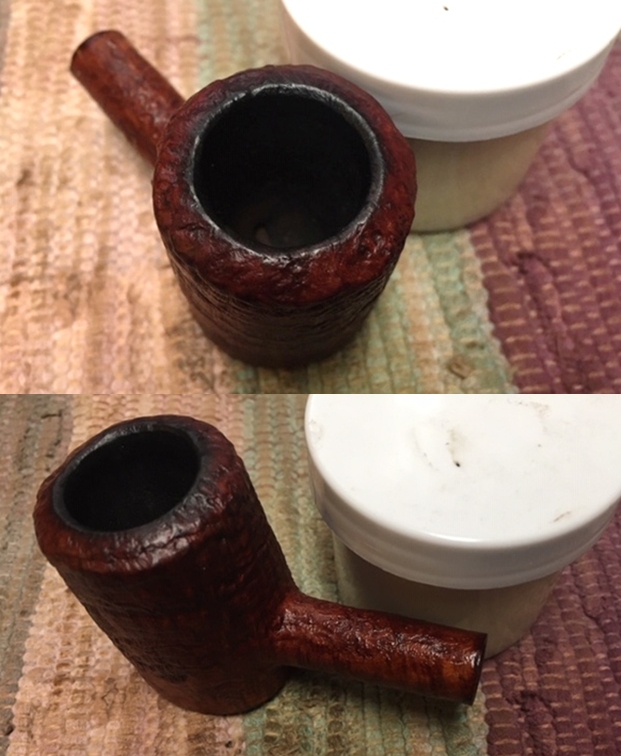
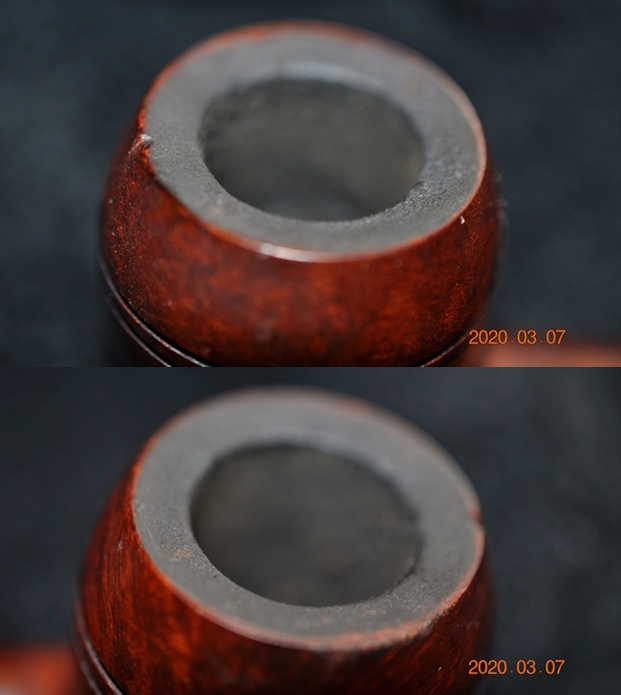
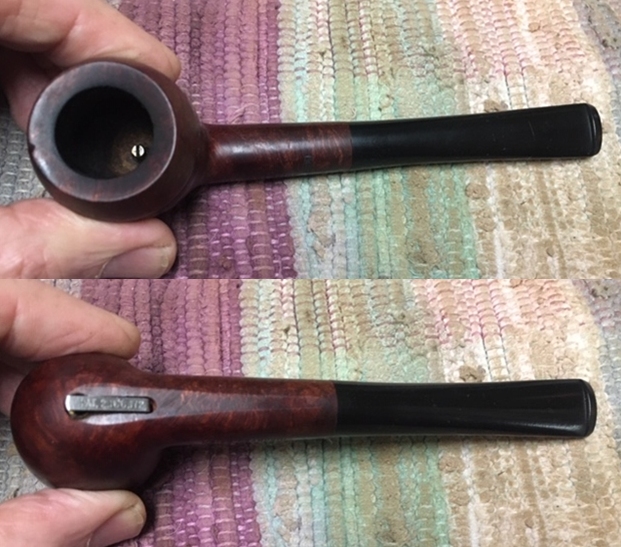
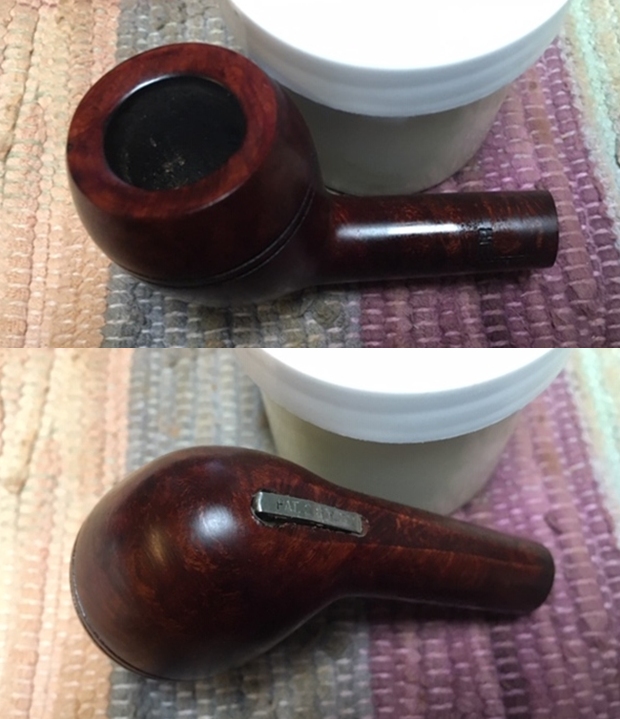
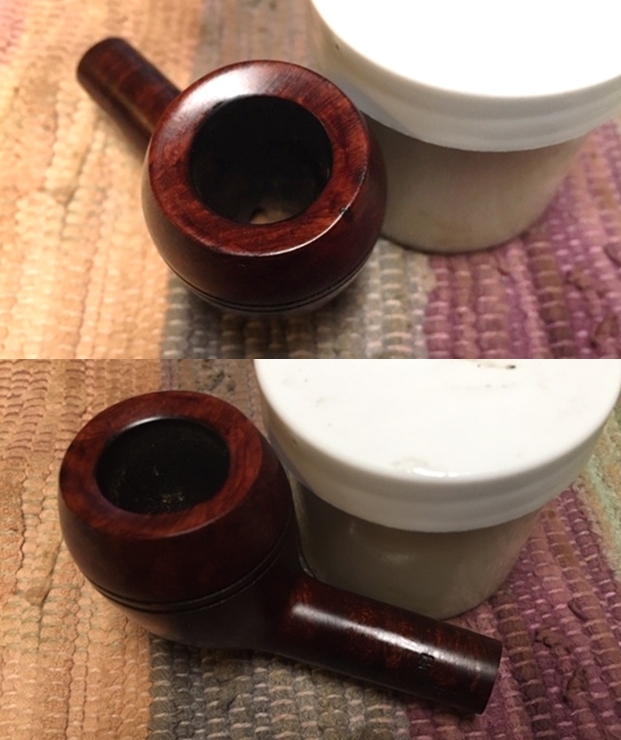
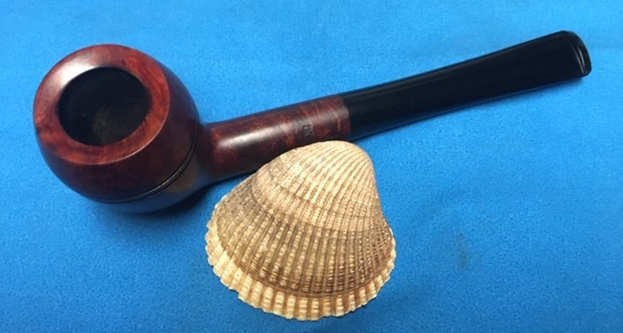
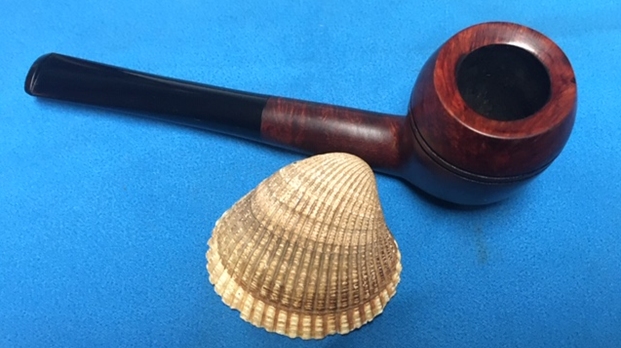
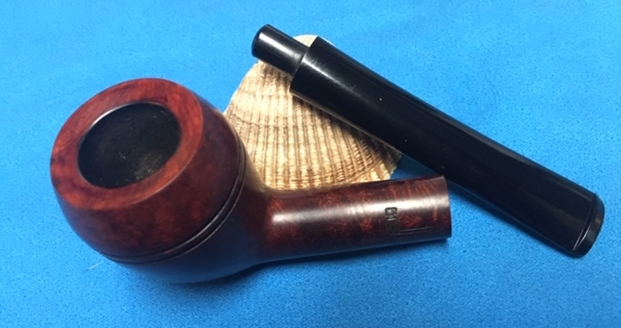
 The bowl on this calabash is flush with the gourd rim top. Native South African calabashes imported to the UK had bowl linings of gypsum pressed into the gourd. Since the rims of a gypsum bowls were somewhat inelegant, retailers fit them with sterling rim covers– a practice they continued even after they began to employ meerschaum for the bowl linings. Given the vintage of this pipe, the bowl could either be clay or gypsum or even a meerschaum. There is a decent layer of dried and crusted cake in the chamber. The draught hole is at the bottom, dead center and somewhat constricted by the cake. The bowl is held in place by a Sterling Silver rim cap that is riveted in to the gourd and unmovable without damaging the gourd. The sterling rim cap is tarnished and has numerous dents and dings and a light overflow of lava over the surface. The stampings on the rim cap are crisp and easily readable but with the beginnings of wearing off at the ends. I need to be careful with my polishing of the sterling cap.
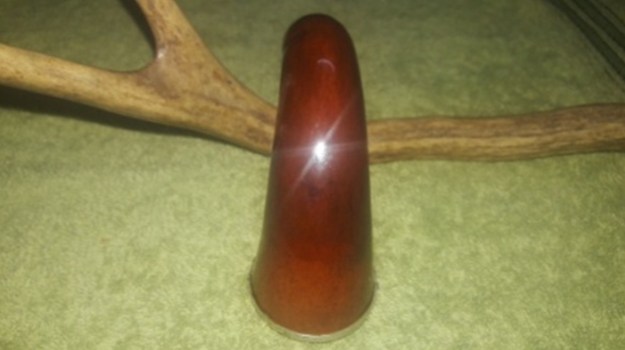
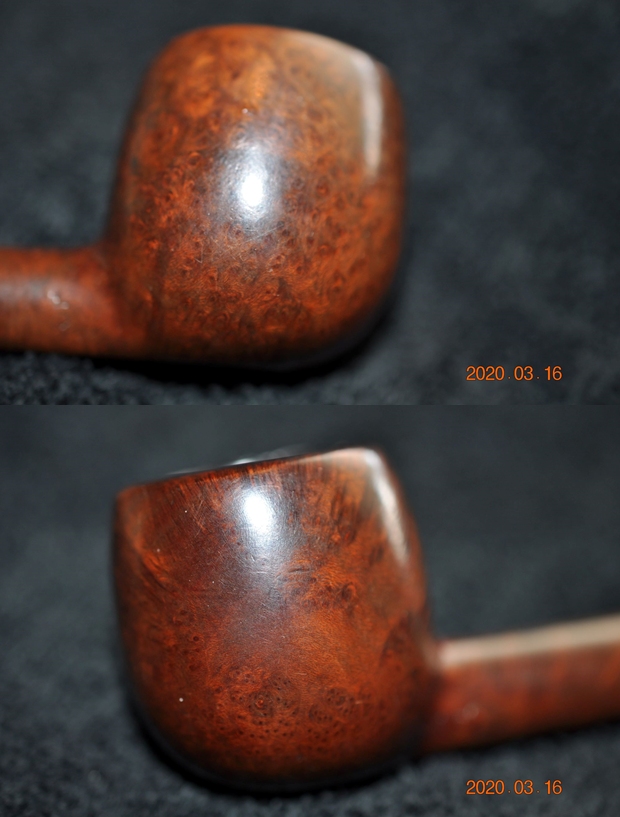
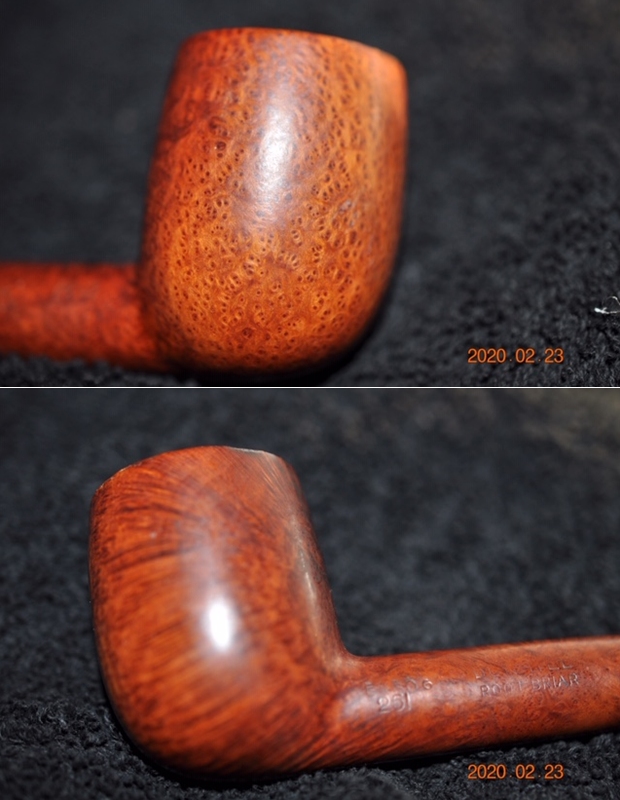
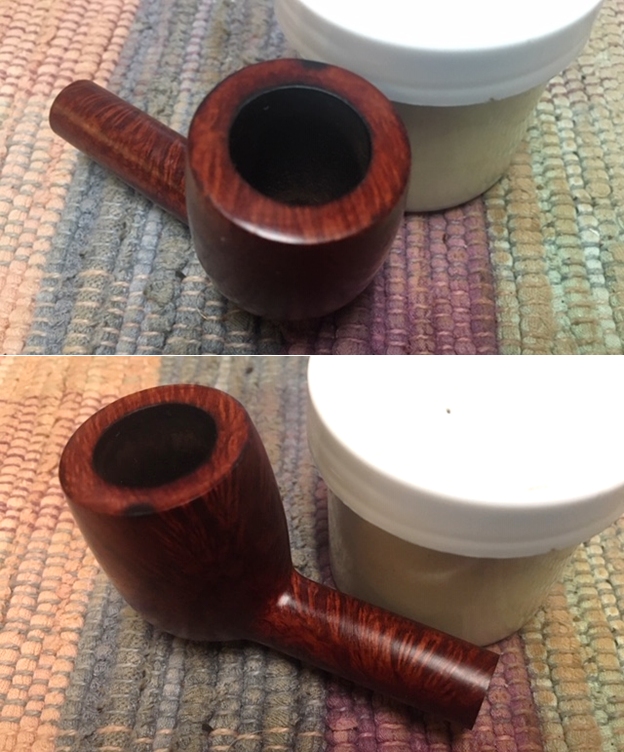
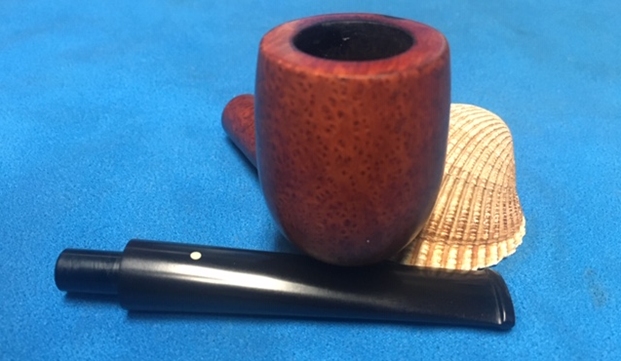
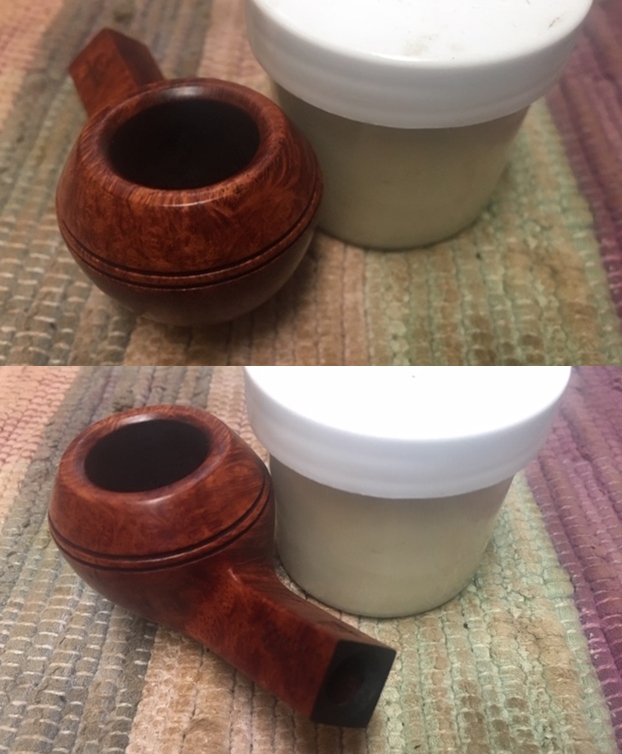
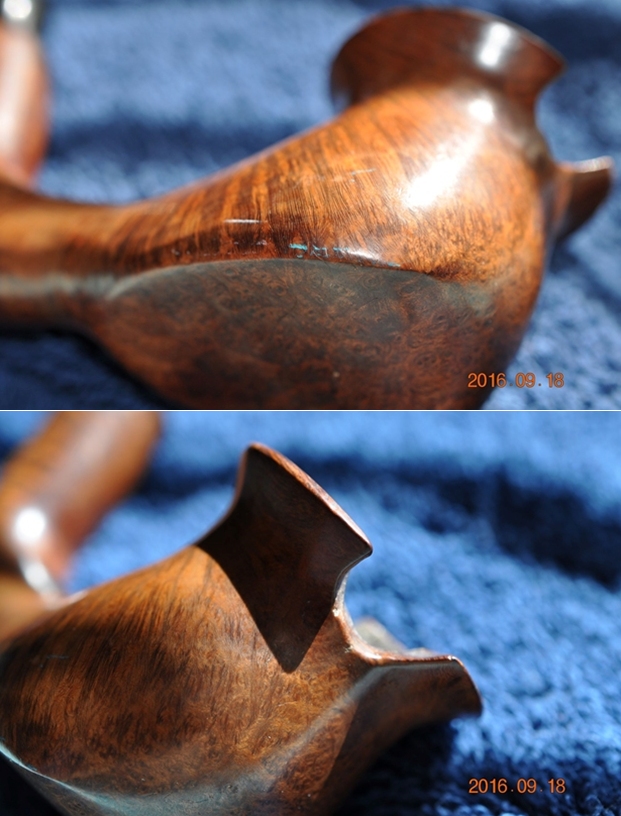
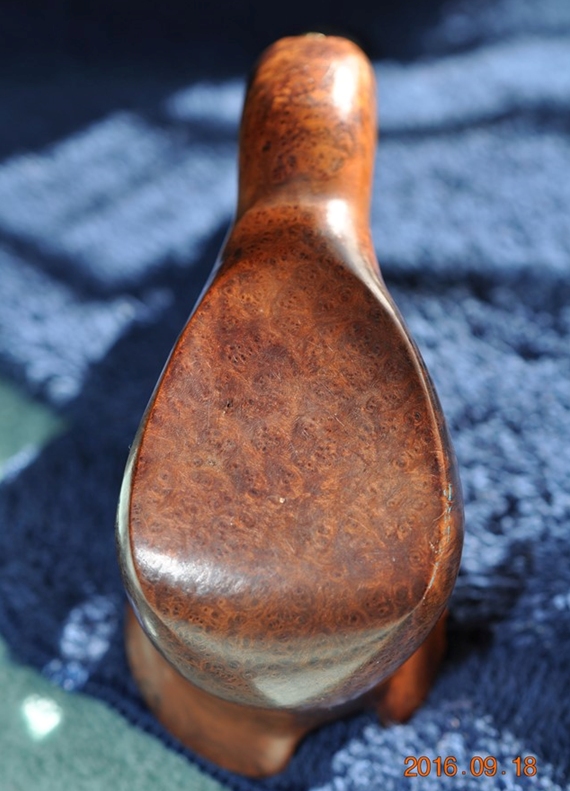
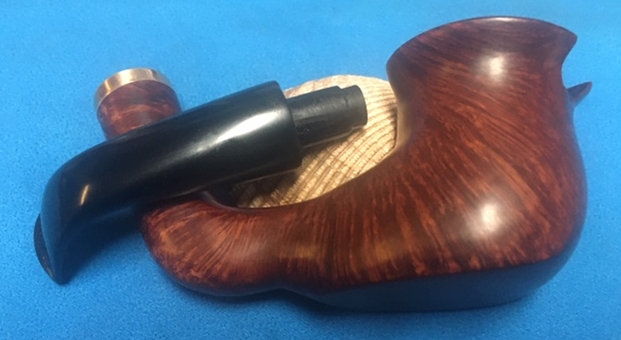
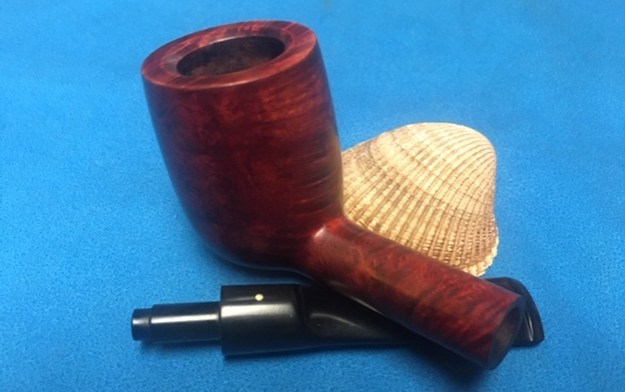
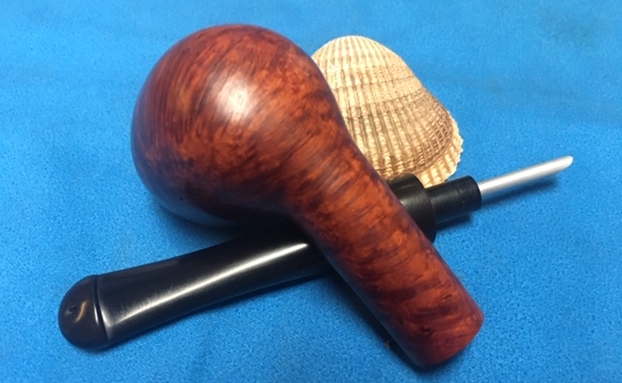
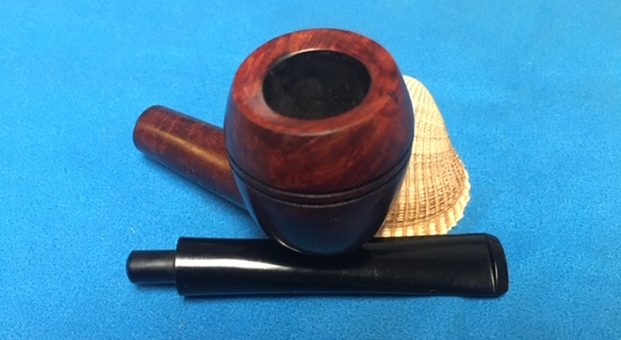
 The gourd surface has beautiful color and it will be my endeavor to preserve the patina that has developed on the surface due to smoking. The surface is covered in old oils, tars, grime and dirt from all these years. There is no damage to the gourd surface and that’s a big relief. This piece of gourd will look stunningly beautiful and rich once it has been cleaned and polished. The bowl is fixed to the gourd with sterling rim cap and is riveted in place. These rivets have a little play but still have many years of careful use ahead.
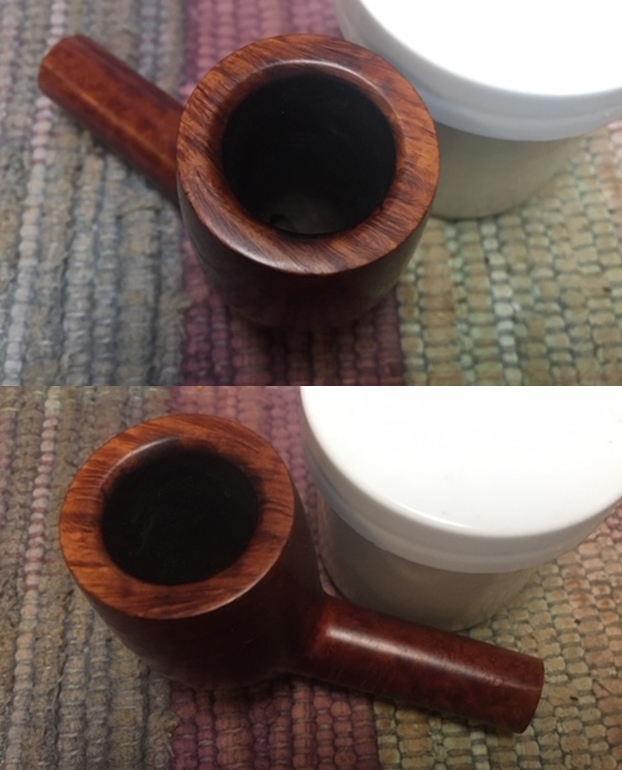
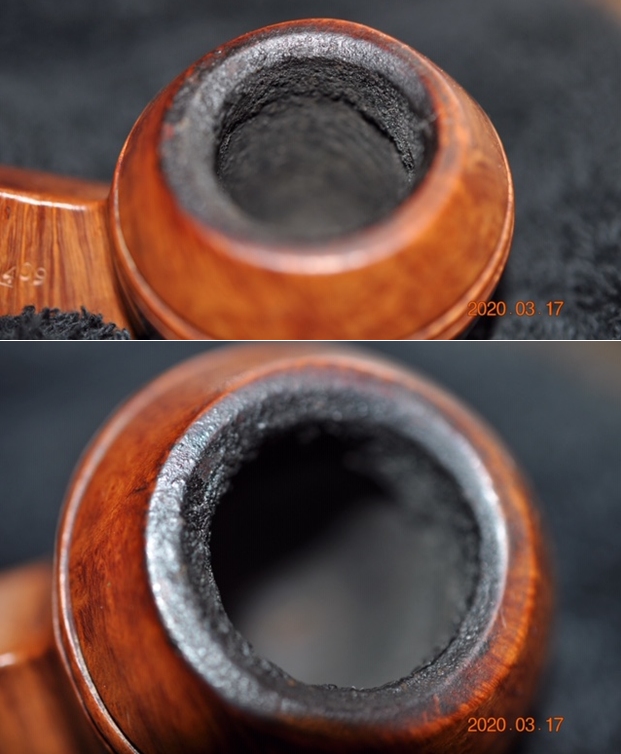
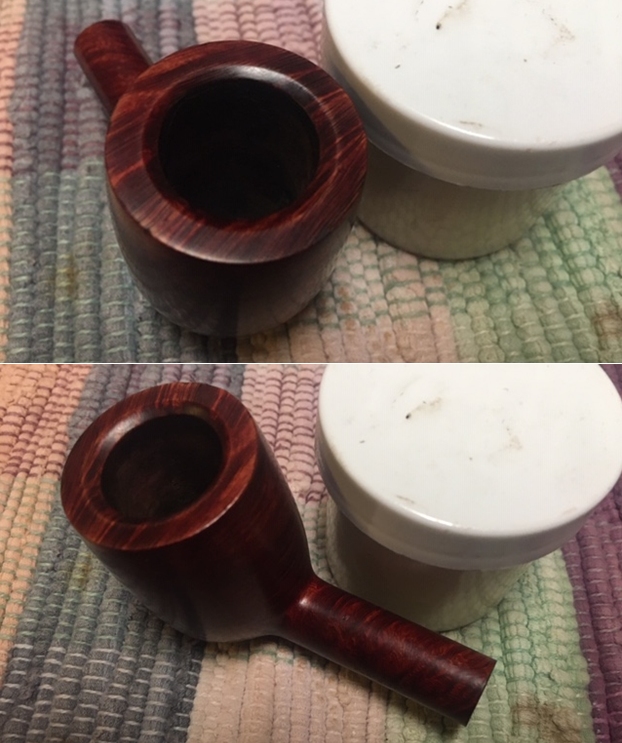
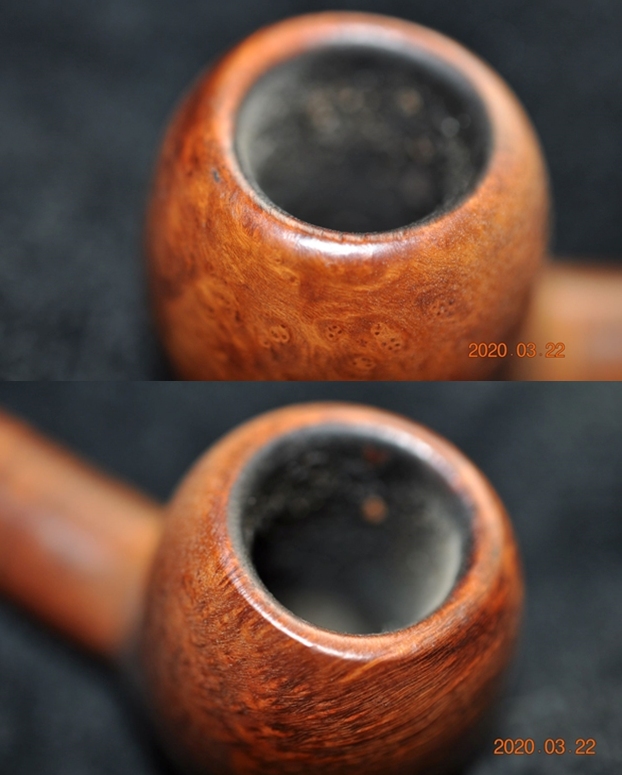
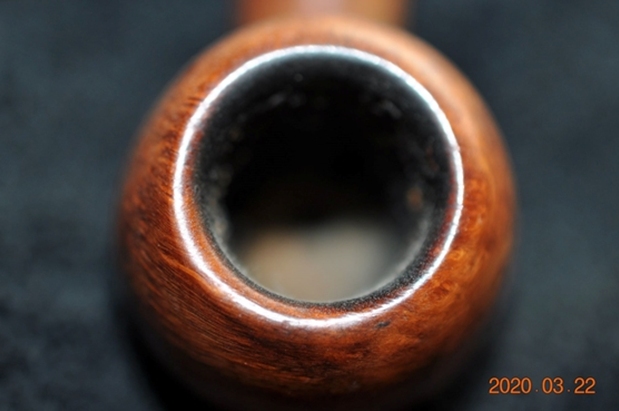
  The mortise and the gourd internals are filthy to say the least and no surprises here. Heavy accumulation of oils, tars and grime are seen within the mortise and also within the gourd. This is adversely affecting the seating of the stem in to the mortise. Cleaning the internals of a calabash is always challenging and this one more so, as the bowl is permanently fixed to the gourd.
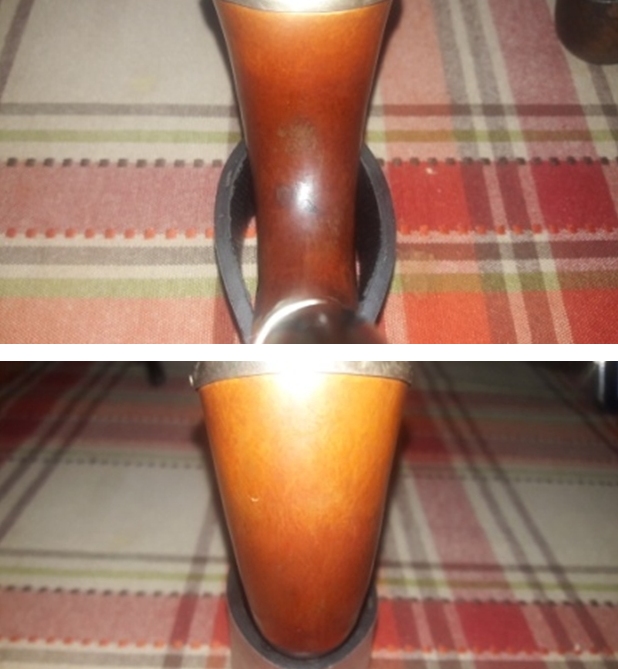
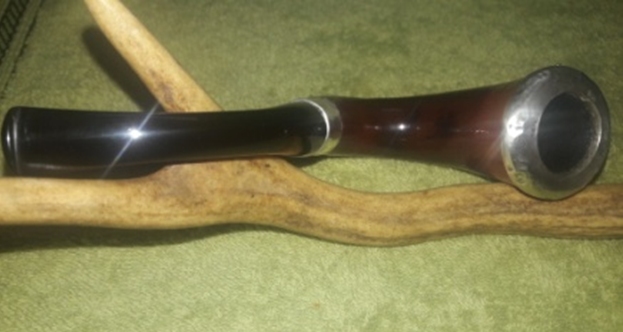
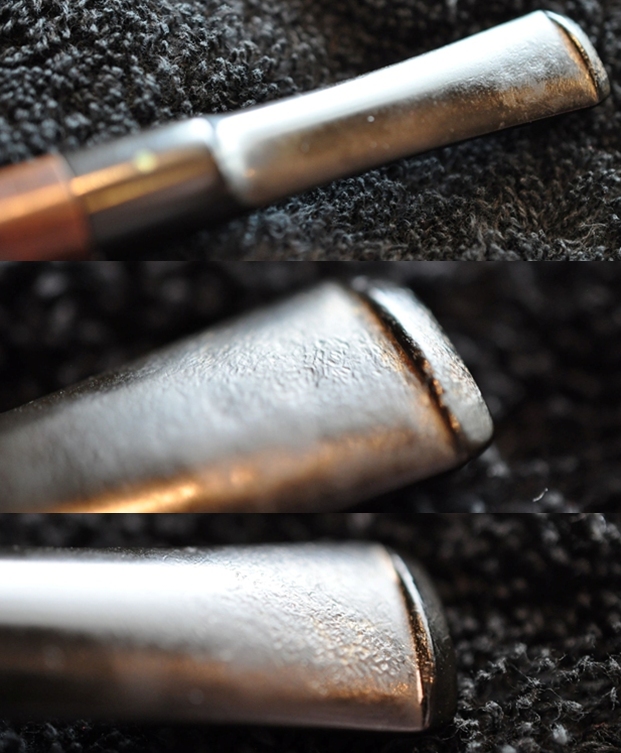
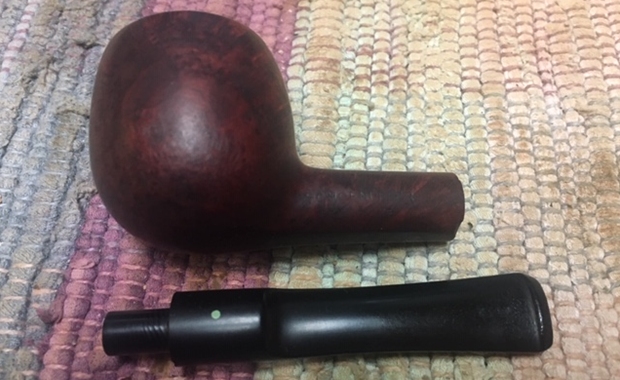
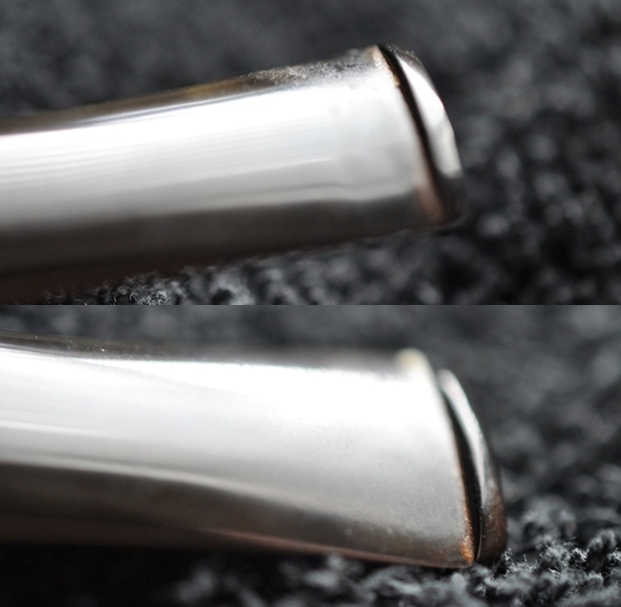
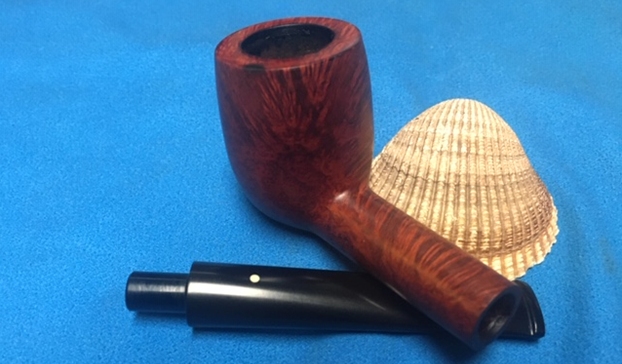
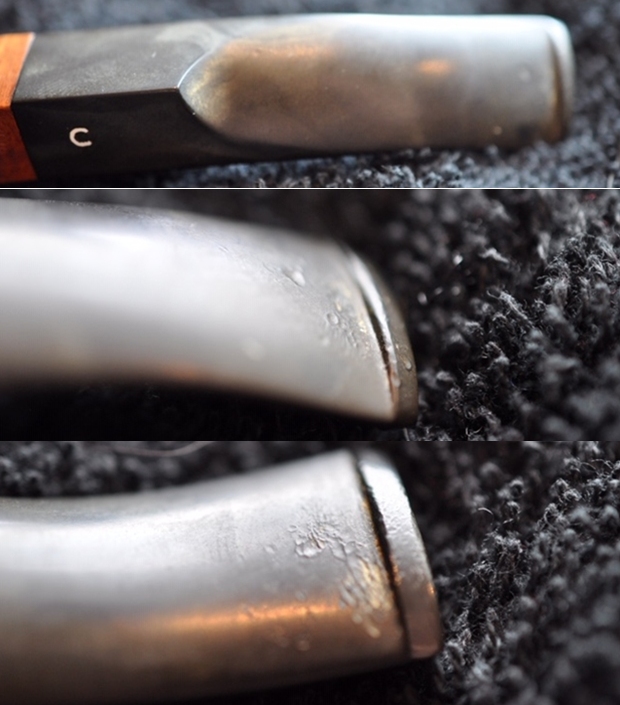
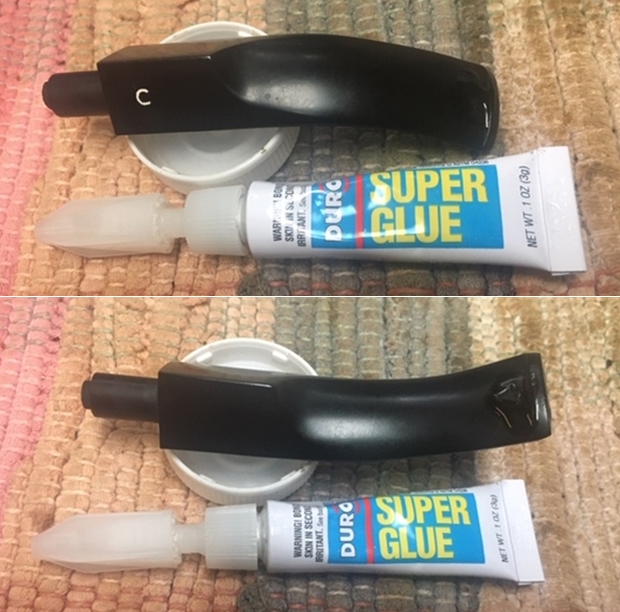
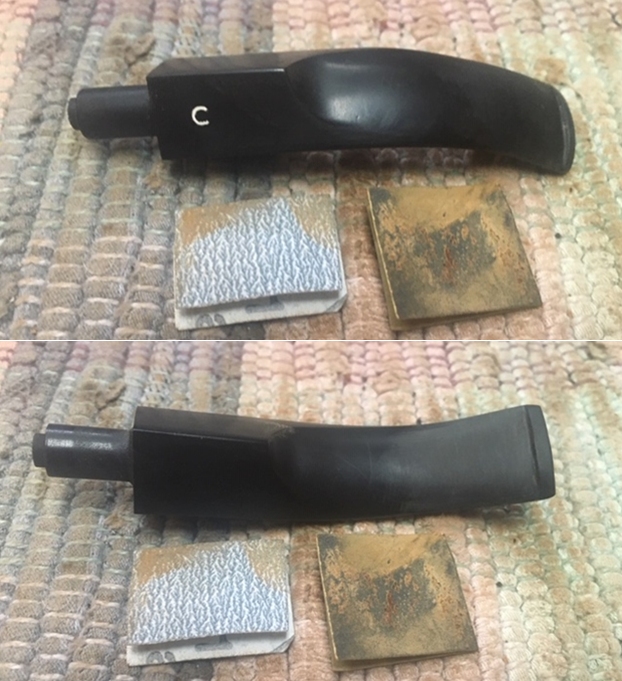
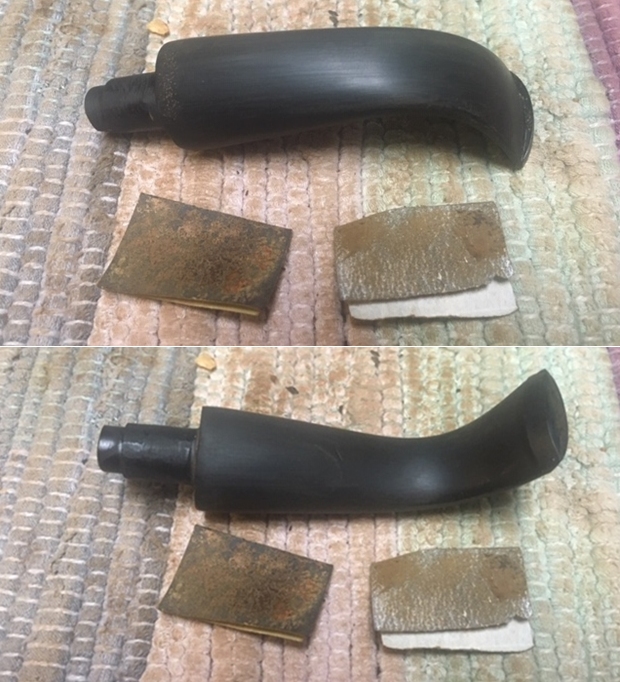
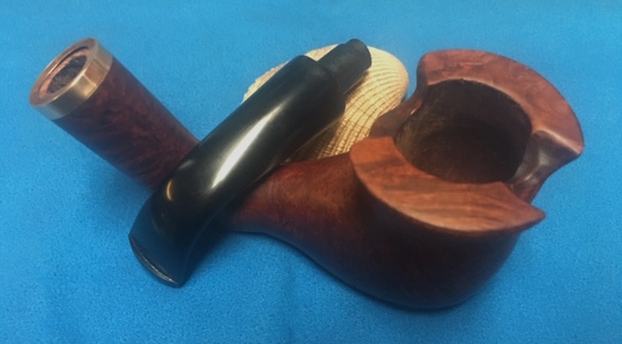
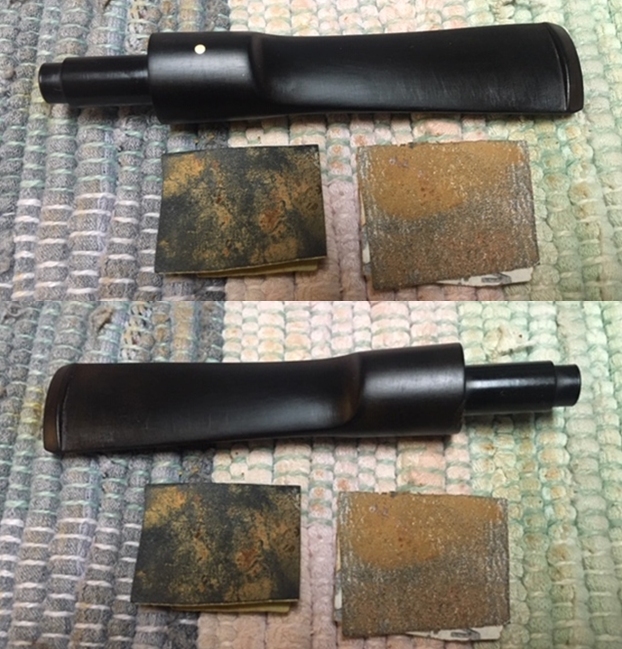
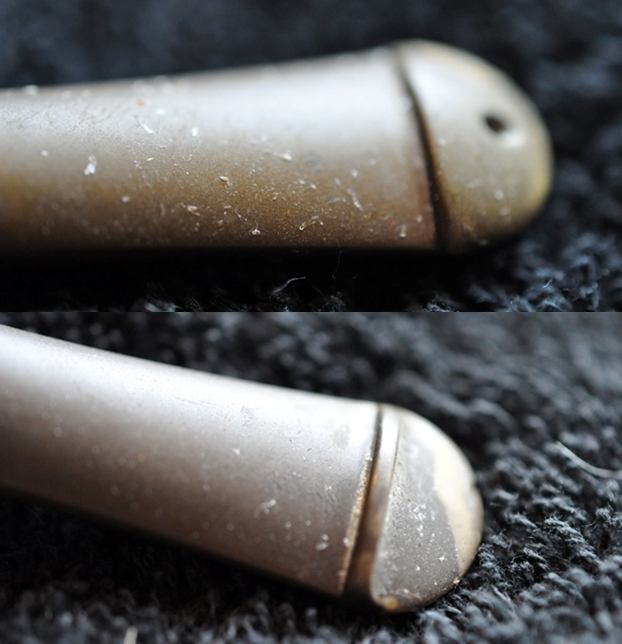
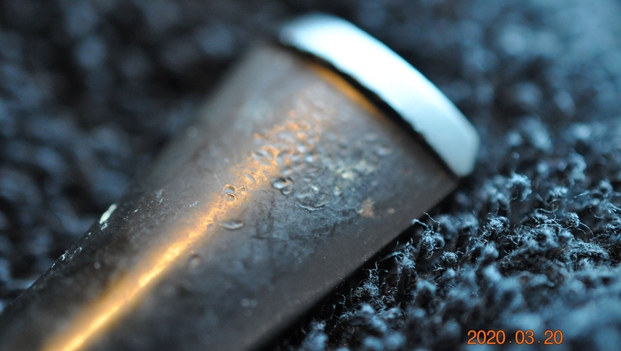
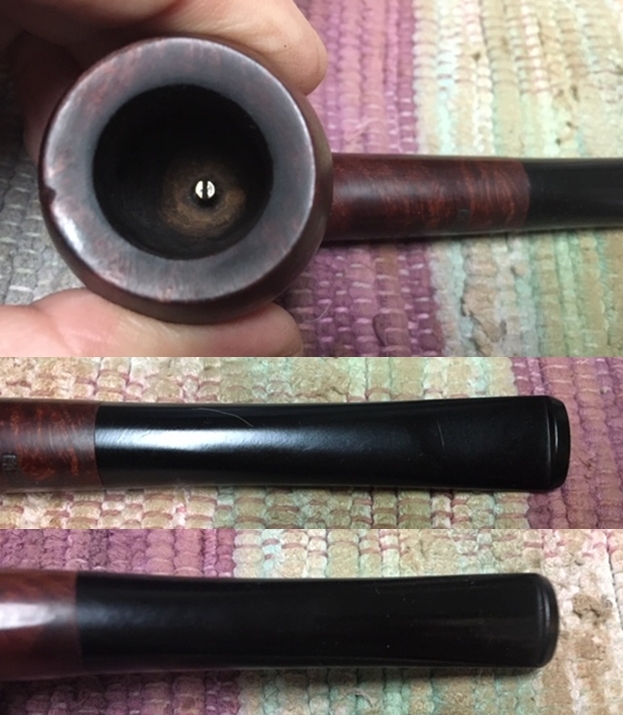
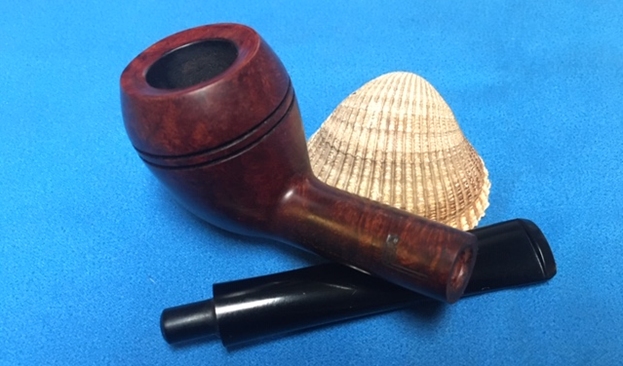
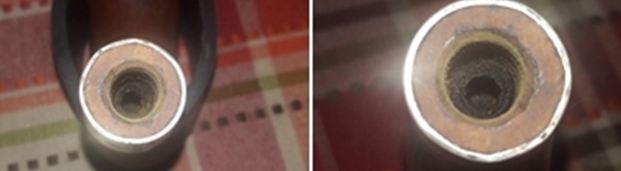 The tapered vulcanite stem is heavily oxidized. Deep tooth indentations are seen in the bite zone on either surfaces of the stem. The round orifice is correct for the vintage of this pipe and shows accumulated oils and tars. The button edges need to be sharpened. The tenon is also covered in oils, tars and grime. The air way is clogged and will need to be cleaned.
  The Process
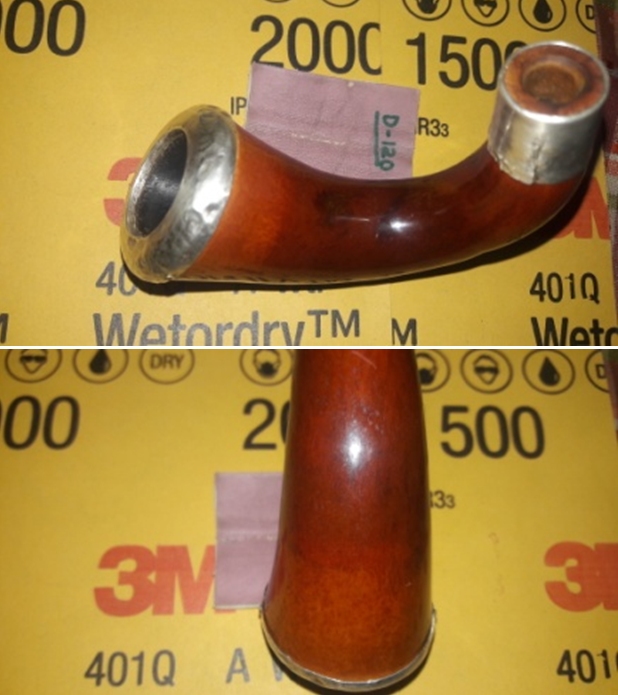
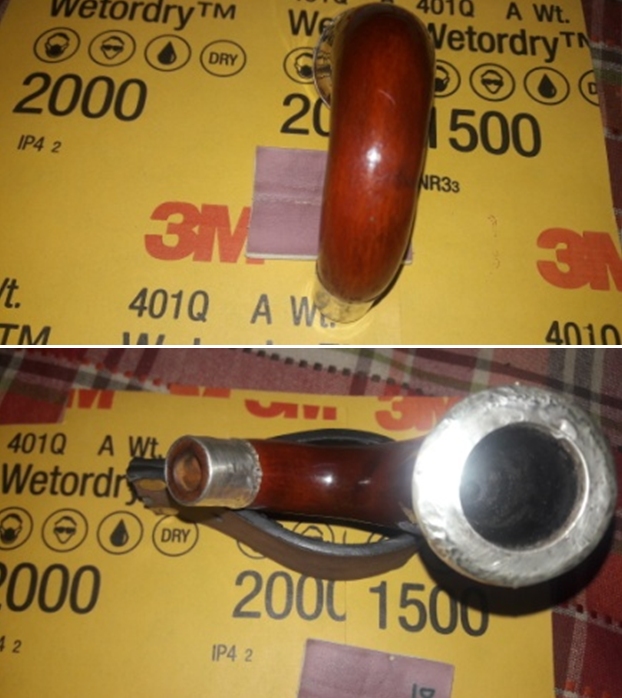
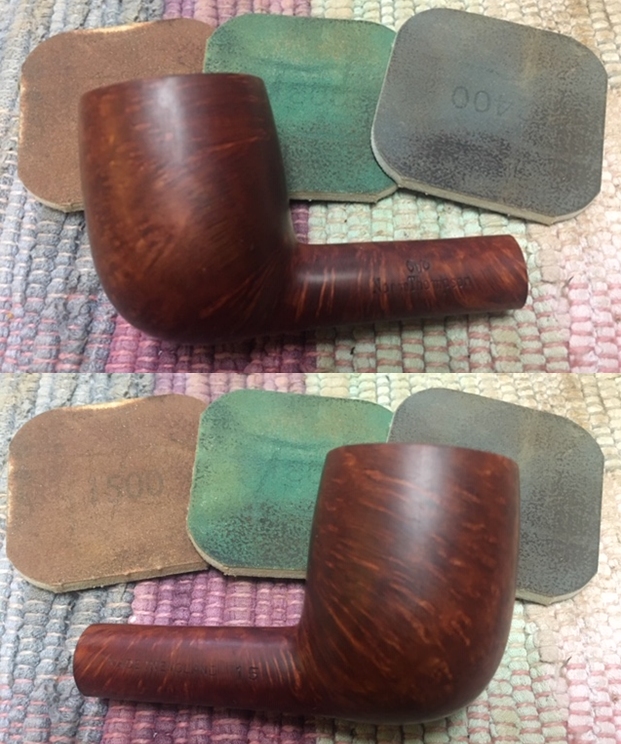
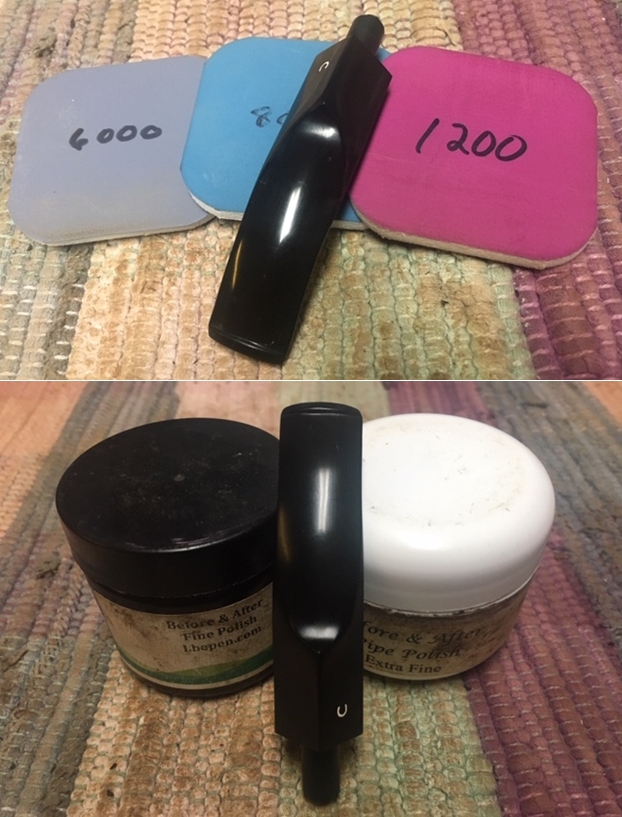
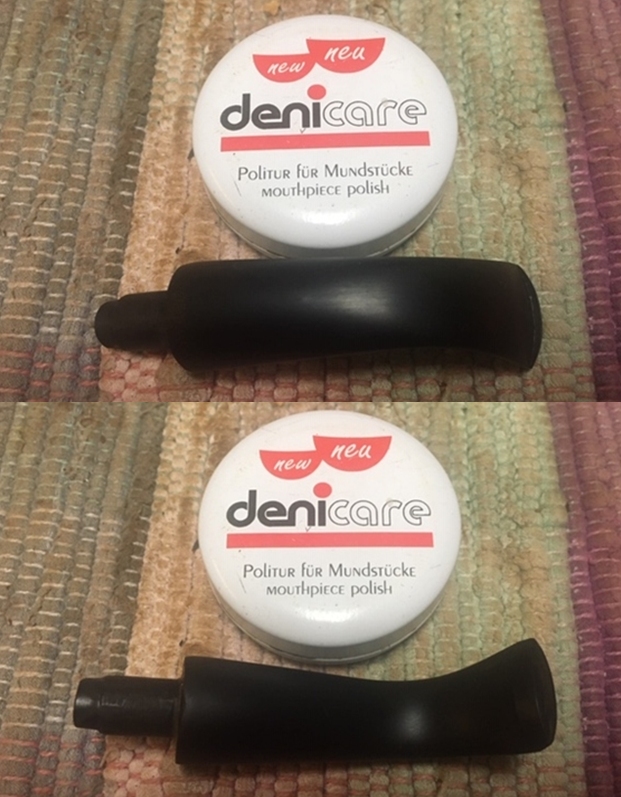
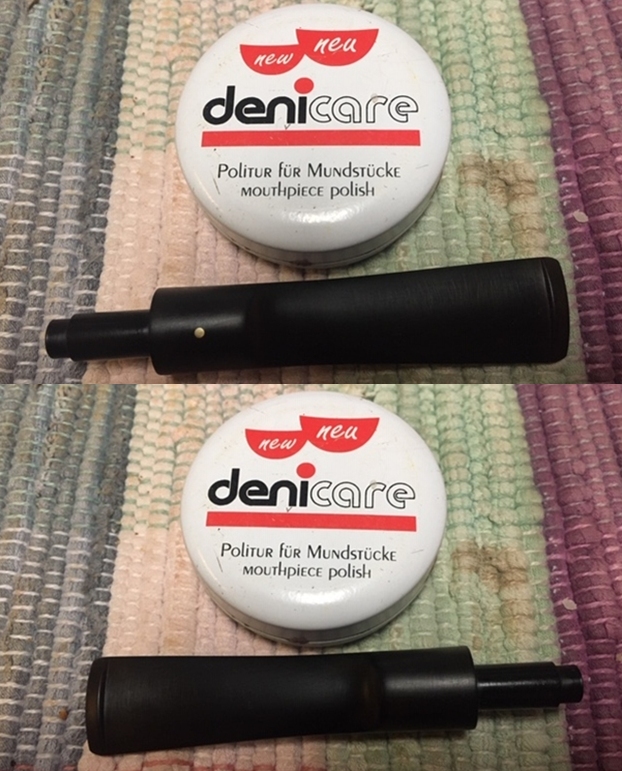
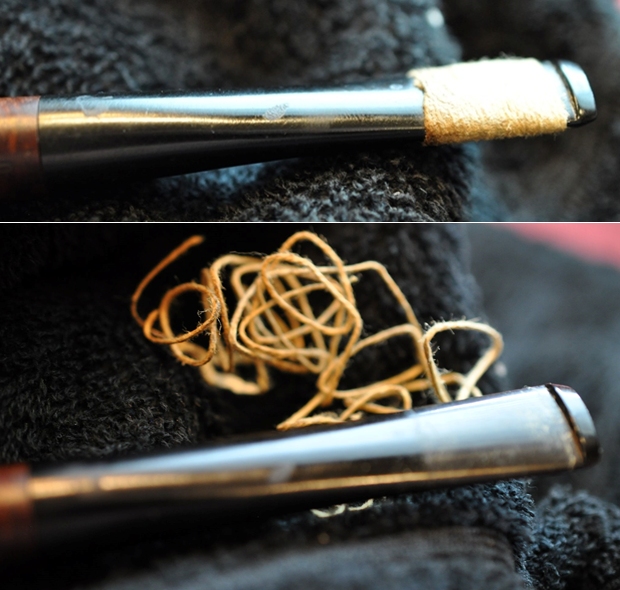
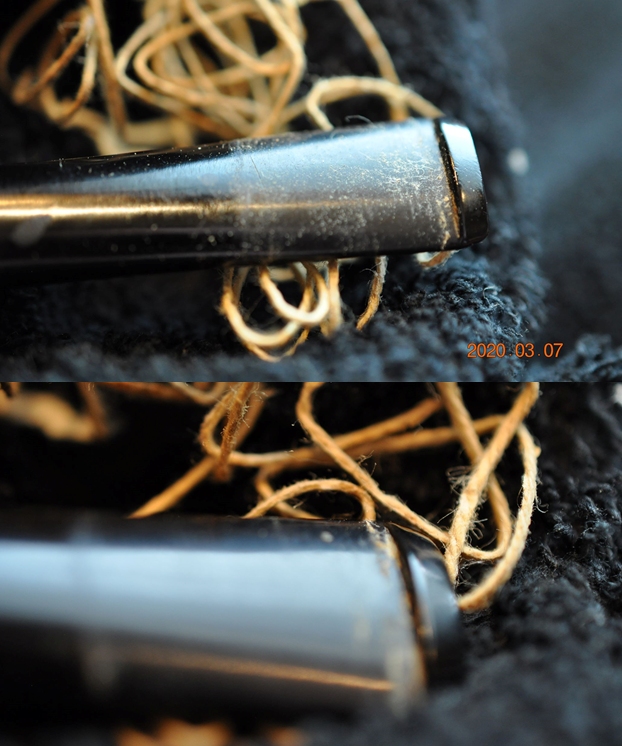
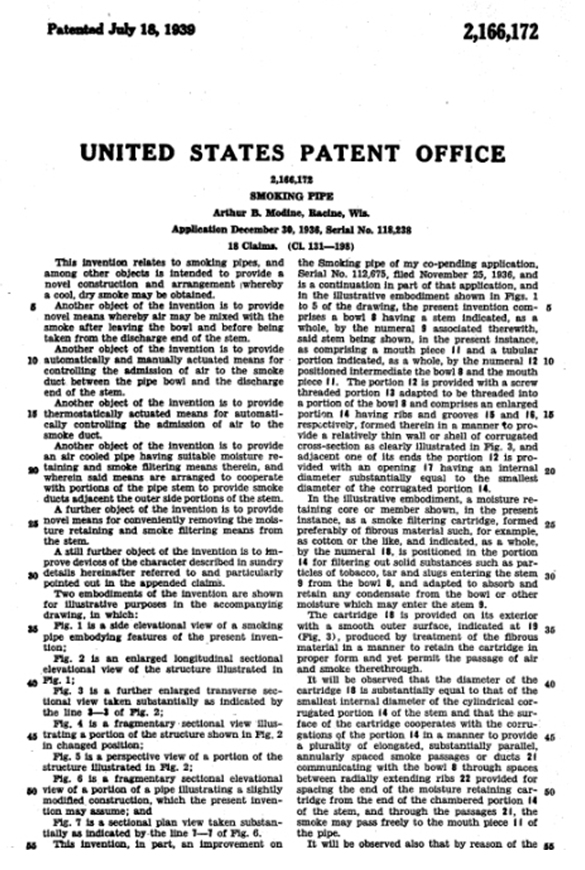
The process of refurbishing this pipe started with the cleaning of the stem. Abha, my wife, cleaned the stem air way with regular and bristled pipe cleaners dipped in 99.9% pure isopropyl alcohol. She further cleaned the stem internals with thin shank brushes and dish soap to remove the stubborn and thick gunk from within the airway. The heap of pipe cleaners and their appearance tells a sordid story. With my sharp fabricated knife, she scraped off all the dried tars and gunk from the tenon end.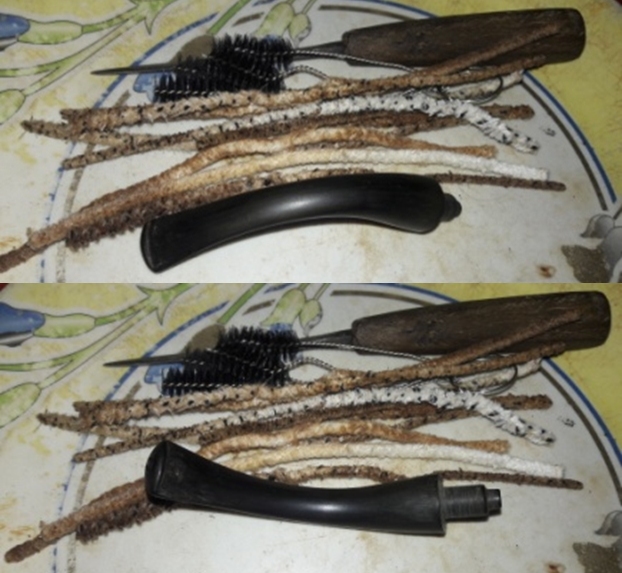 Once the stem internals had been cleaned, I gently sand the stem surface with a used piece of 220 grit sand paper and immersed it in “Before and After Deoxidizer” solution along with the stem of other pipes in line for restoration. It has been our experience that before immersing the stem in to the stem deoxidizer, light sanding of the stem with a folded piece of 220 grit sand paper loosens the oxidation a bit and helps get fantastic end results.
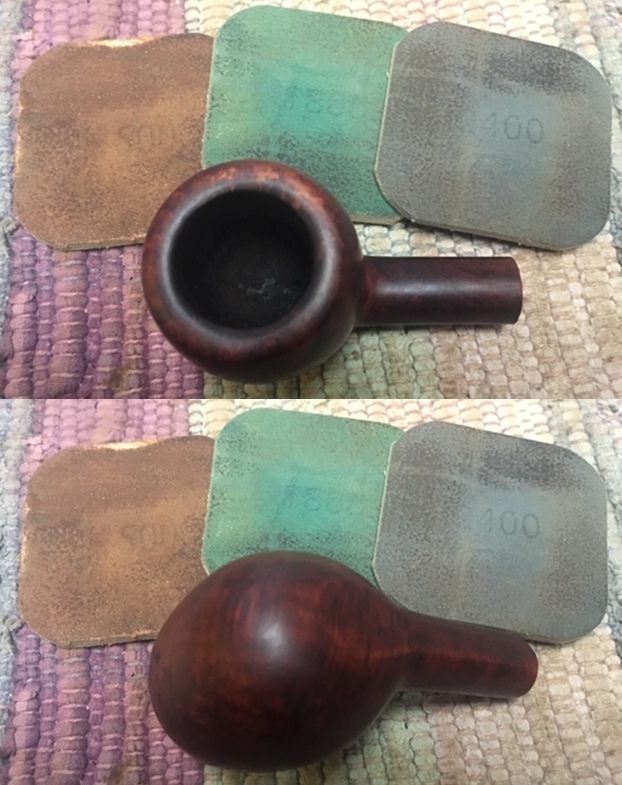
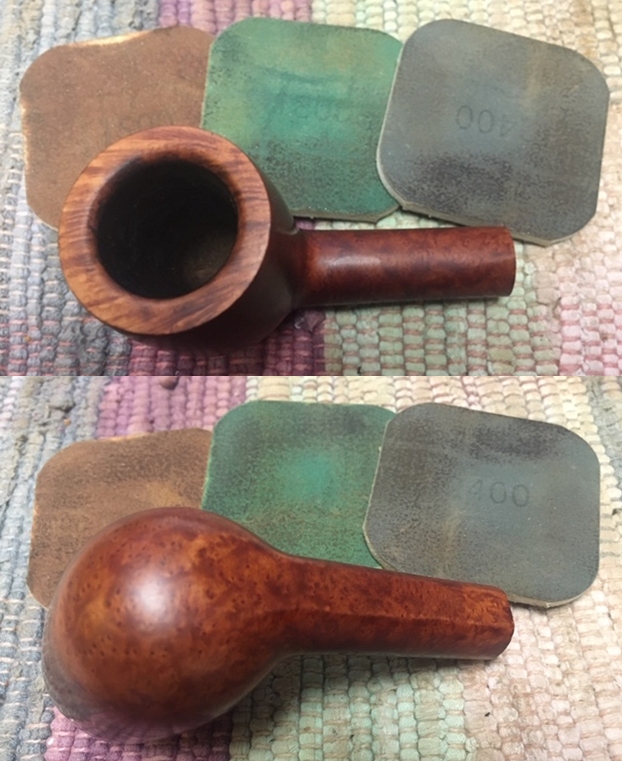
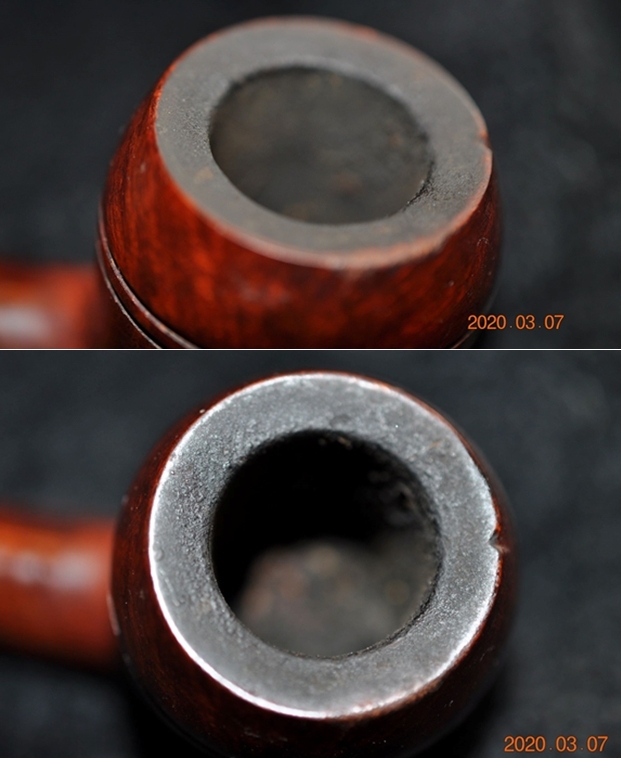
 Simultaneously while Abha was working on the stem, I reamed the bowl with my fabricated knife to clean up the chamber. I used a 220 grit sand paper, pinched between my thumb and forefinger, to sand the inner walls of the chamber of the pipe. Once I had reached the bare walls, I wiped the chamber with a cotton pad dipped in isopropyl alcohol. This removed all the residual carbon dust and also rid the chamber of all ghost smells. The walls of the chamber are nice and solid with no signs of heat fissures or cracks. I ran a couple of hard bristled pipe cleaners dipped in isopropyl alcohol through the draught hole and thoroughly cleaned it.
 The next morning, Abha removed the stems that had been soaking in the deoxidizer solution overnight. She cleaned the stem under running warm water and scrubbed the raised oxidation from the stem surface using a Scotch Brite pad. She further removed the oxidation by scrubbing the stem with 0000 grade steel wool and applied a little olive oil to rehydrate the stem.
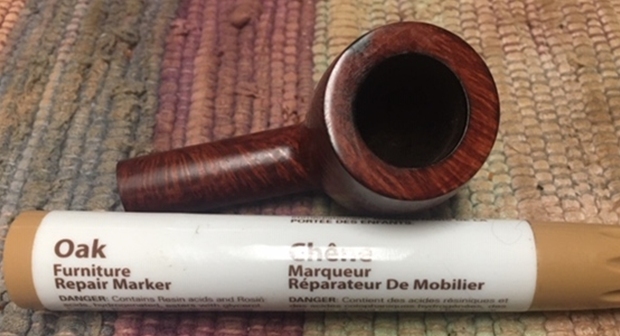
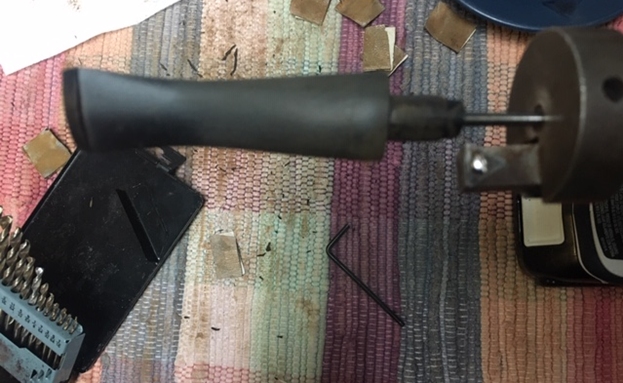
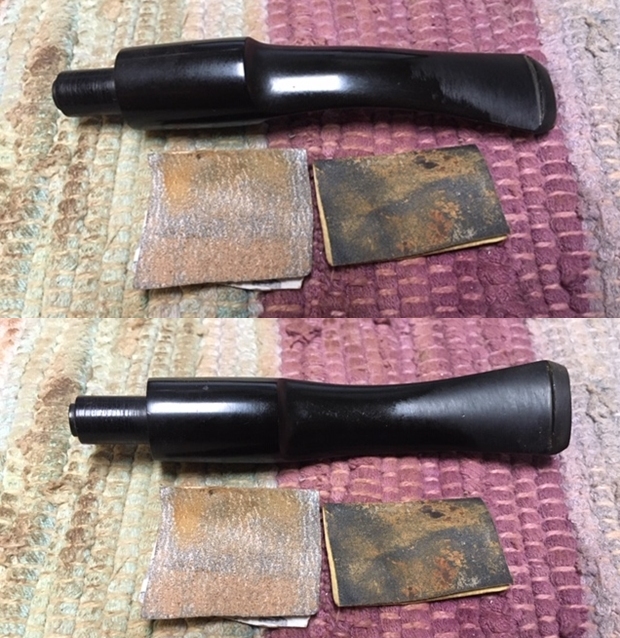
 The deep tooth indentations are now clearly visible and I decided to address these issues at this stage. Since I did not have a lighter (I generally prefer to use it for this purpose), I used a lit candle instead. The result is equally good; however, one has to be doubly careful as the heat from a candle flame is more intense as compared to a lighter. These tooth indentations were raised to the surface to some extent due to the heating; however, it would require a fill to complete the repairs.
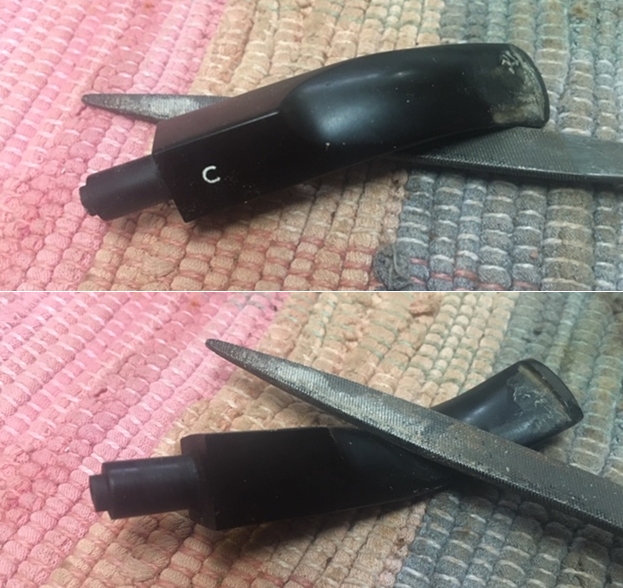
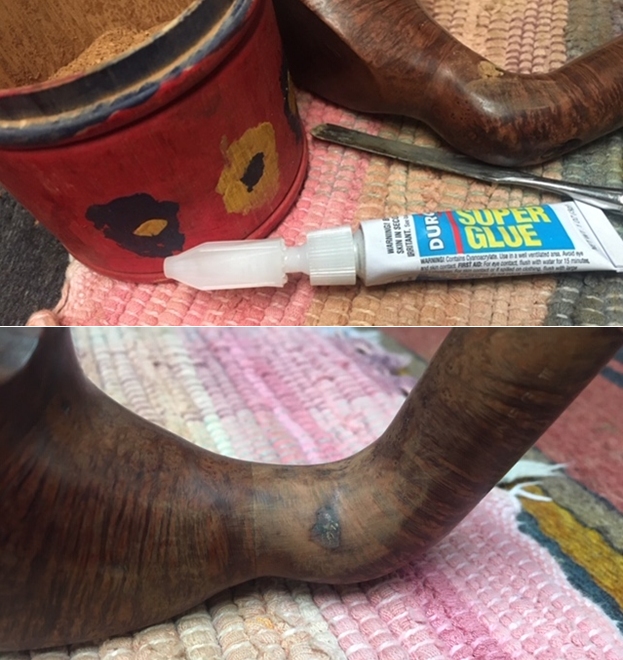
 I prepared a mix of CA superglue and activated charcoal and carefully applied it over the damaged bite zone on both surfaces and lip and set it aside for curing over night. I had applied this mix in sufficient thickness which would help during the filing and sanding to match the fills with the stem surface and shaping the button.
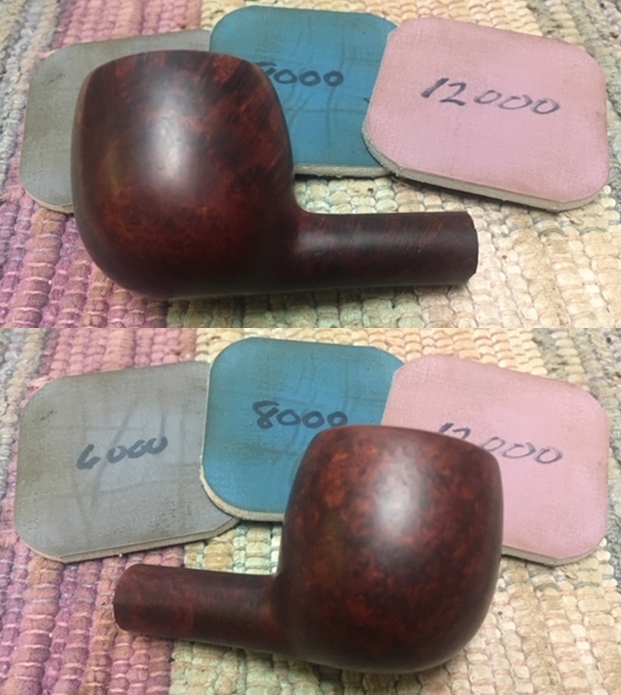
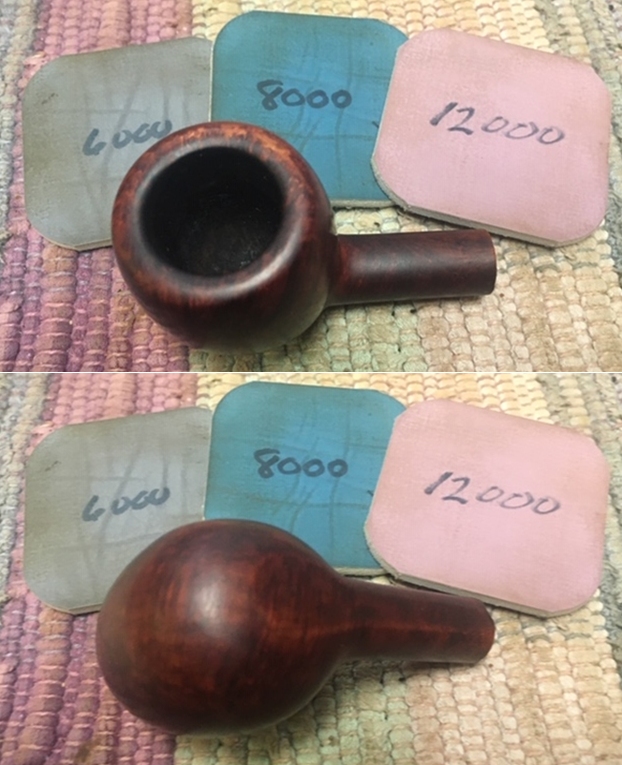
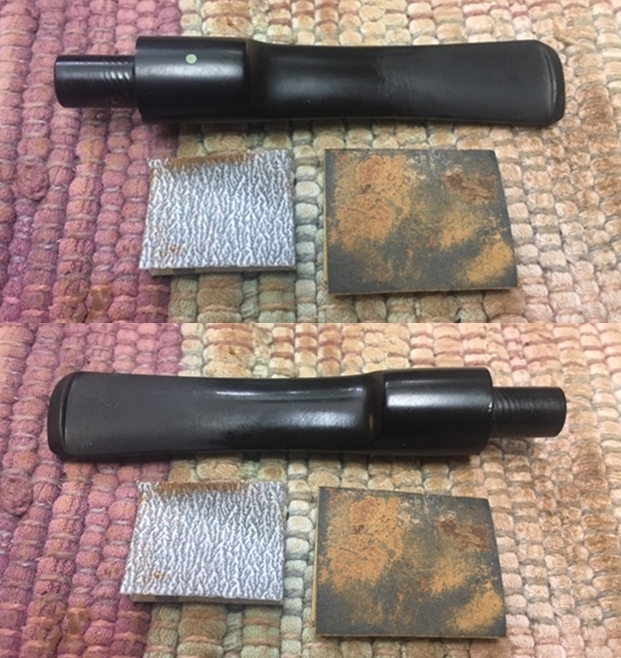
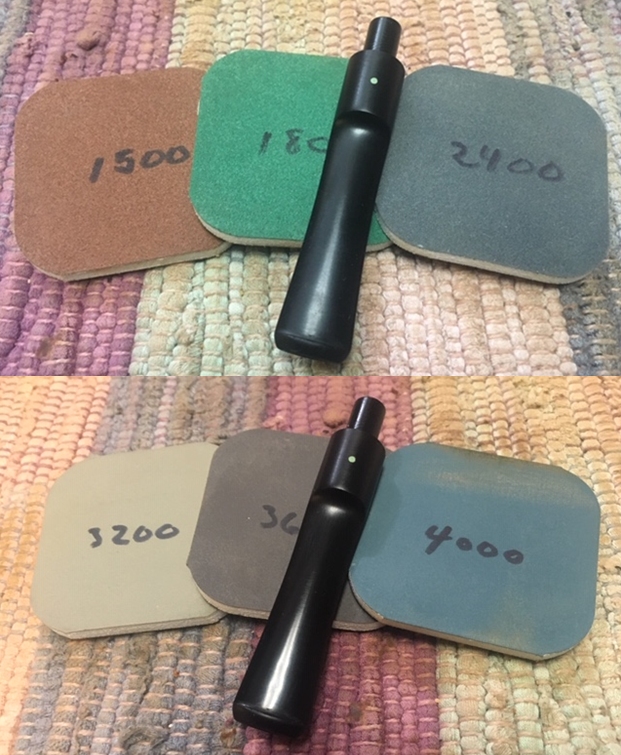
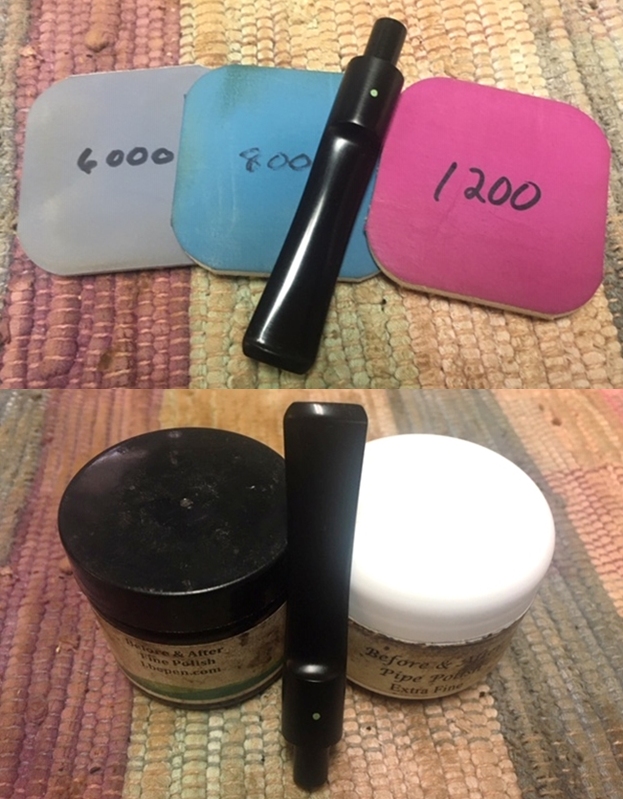
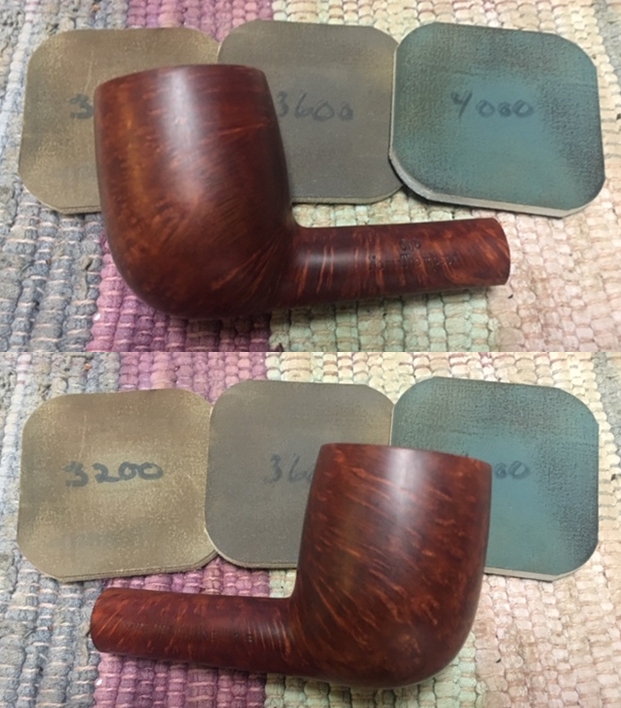
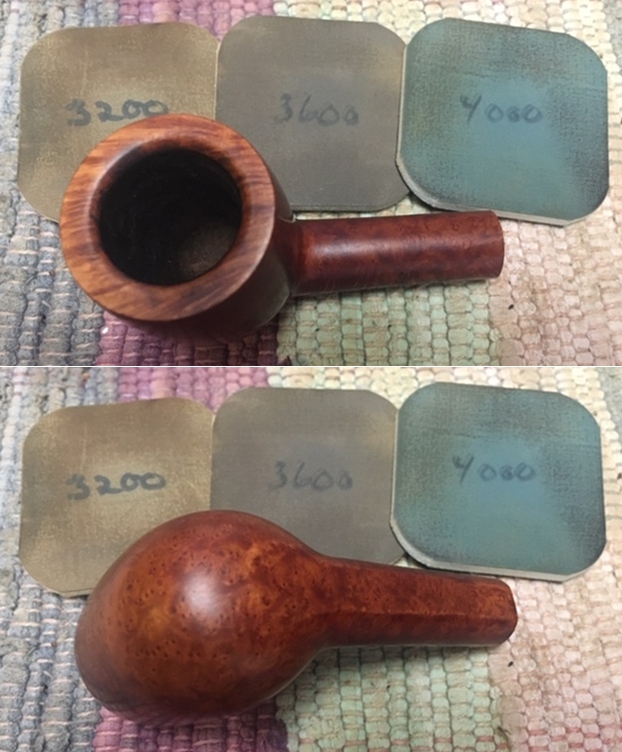
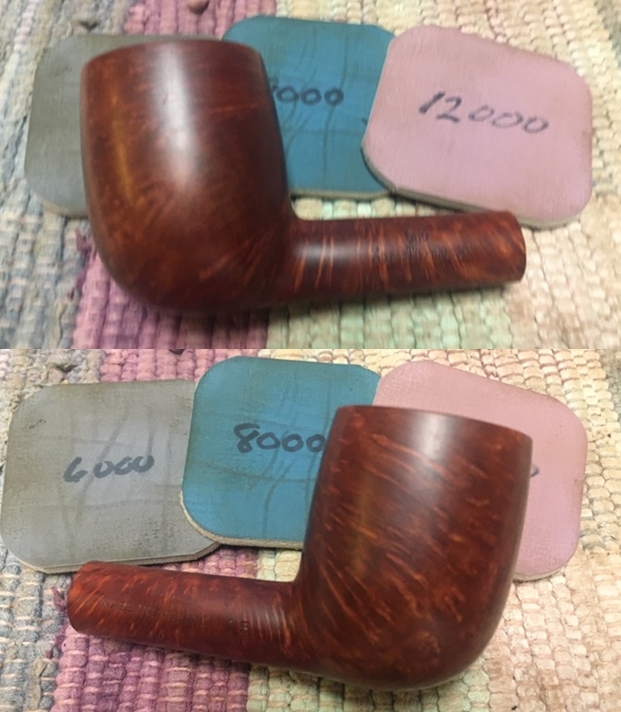
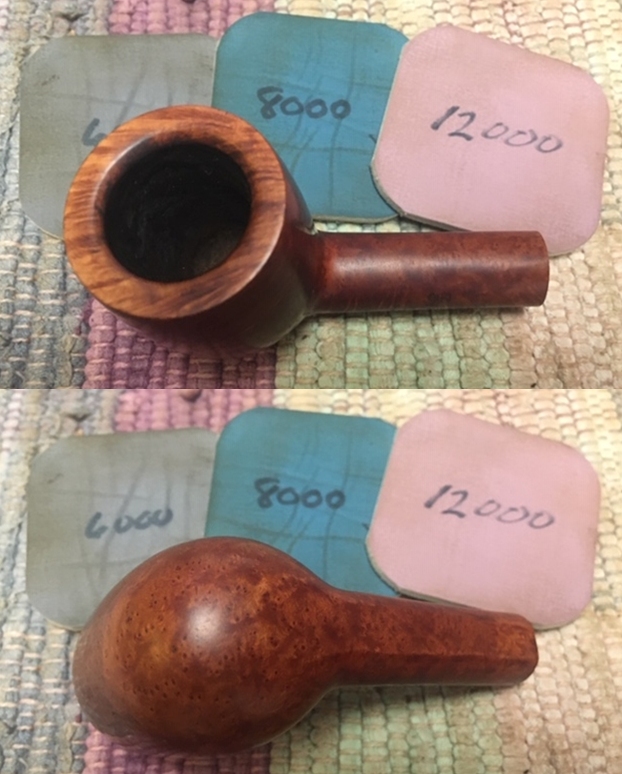
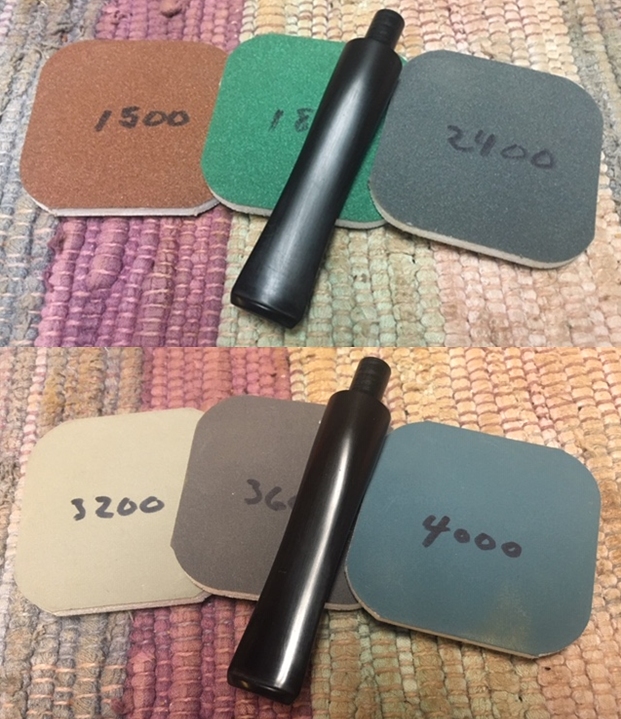
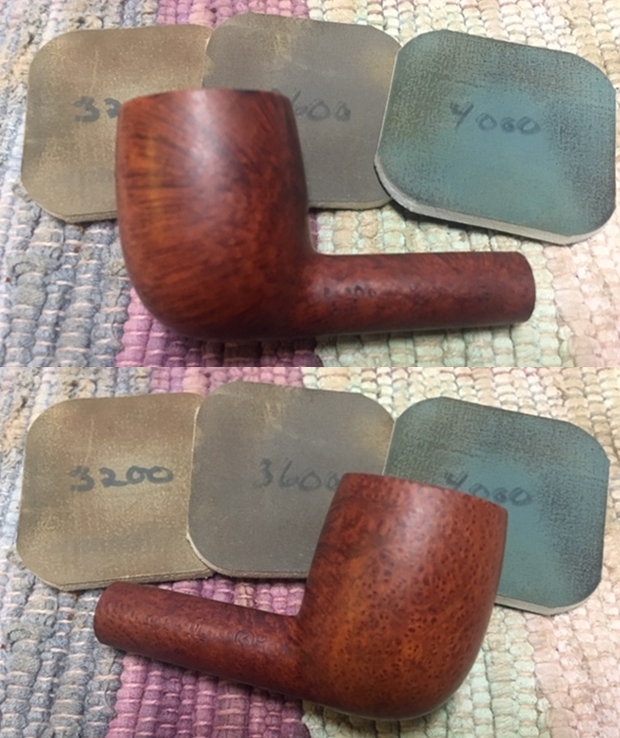
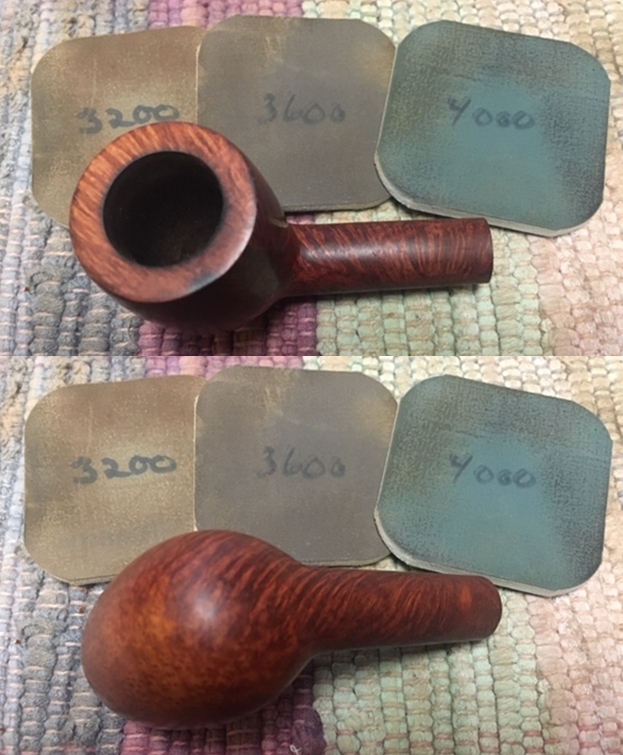
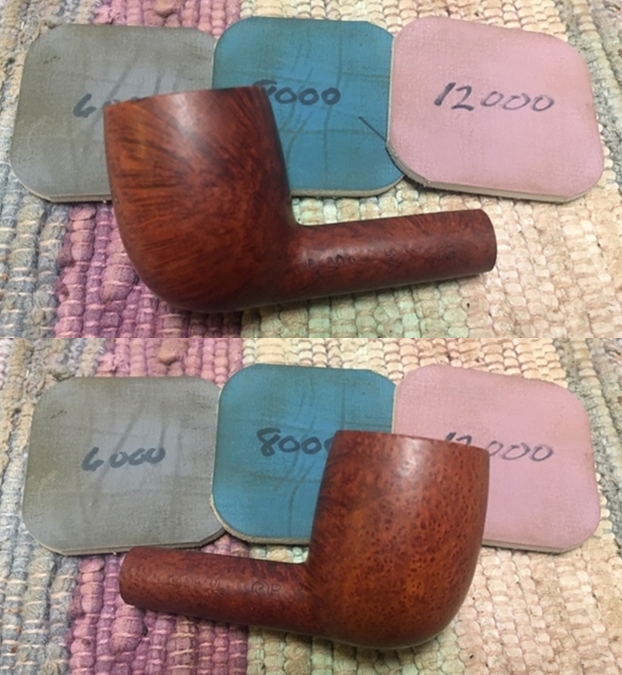
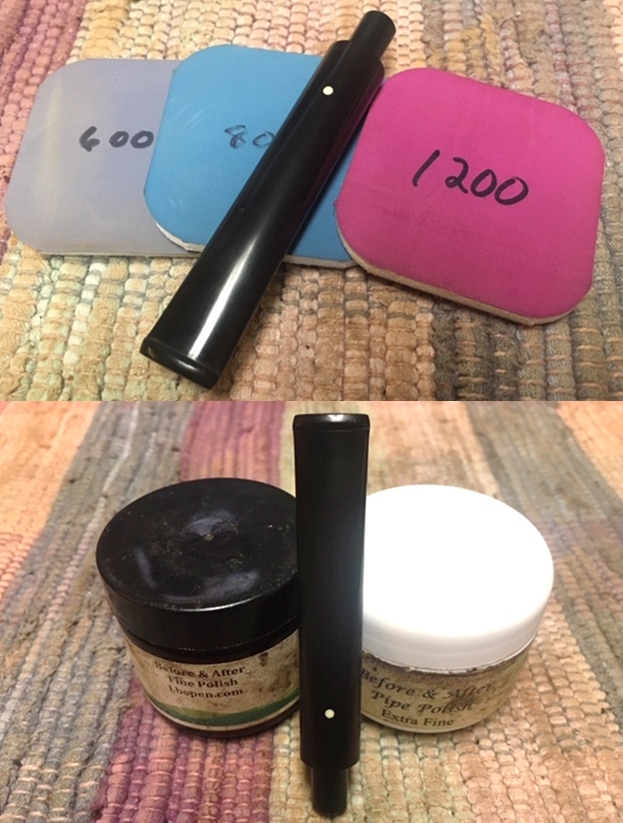
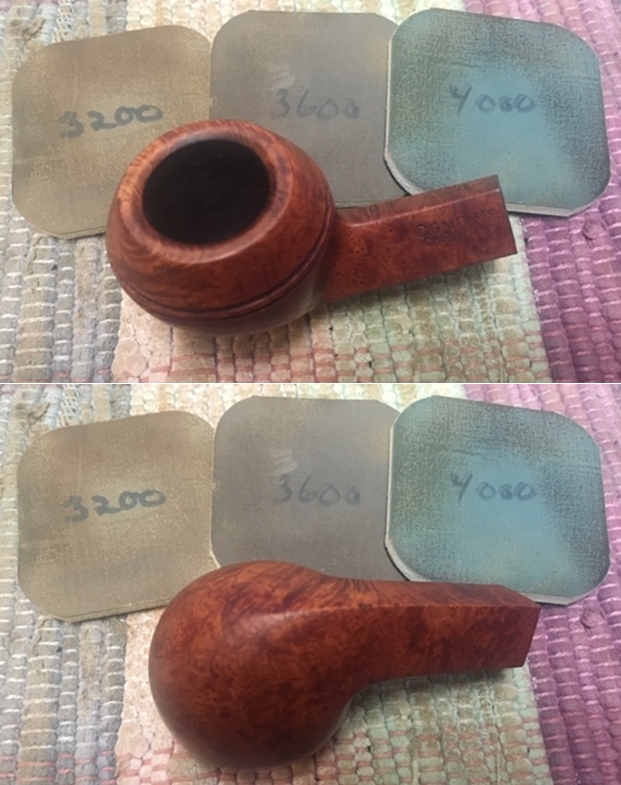
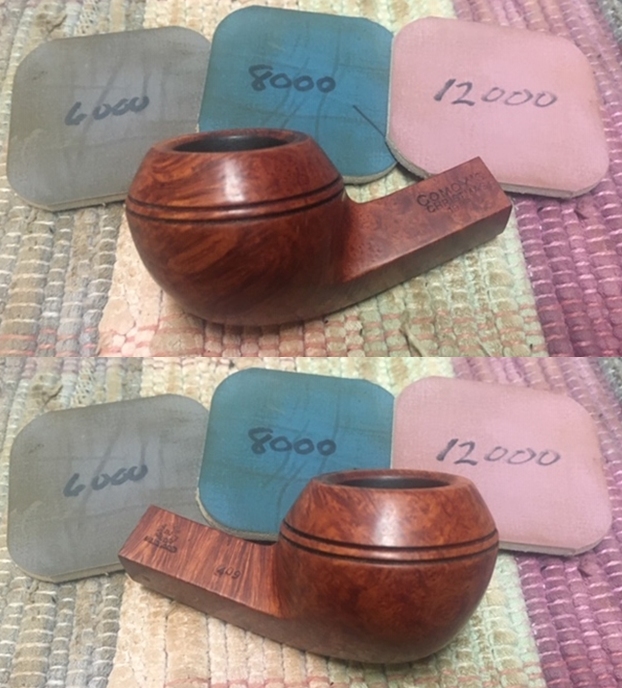
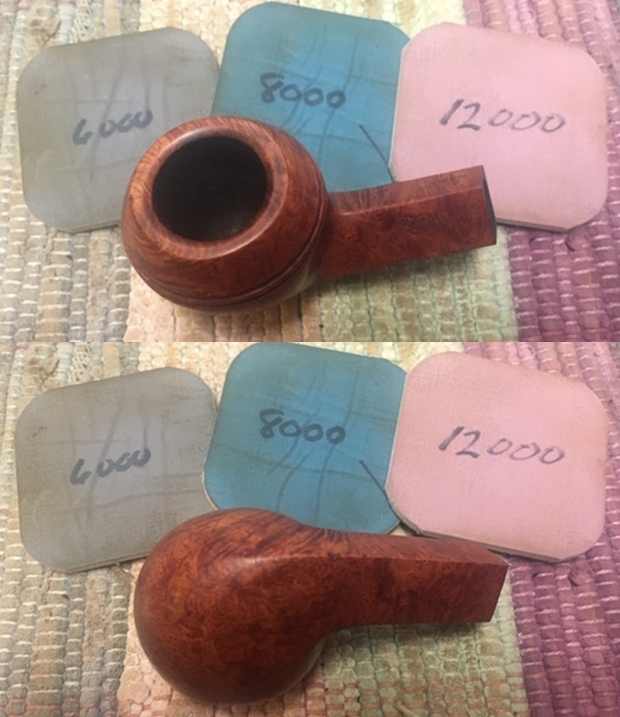
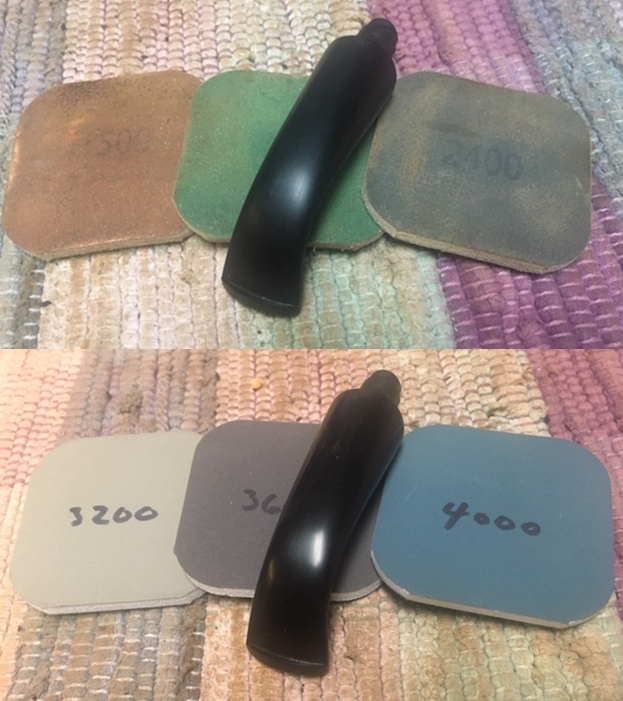
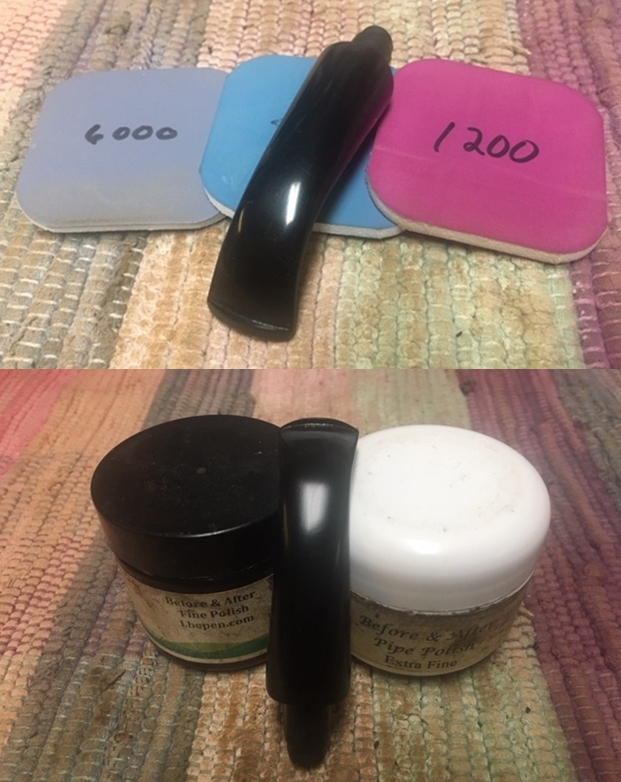
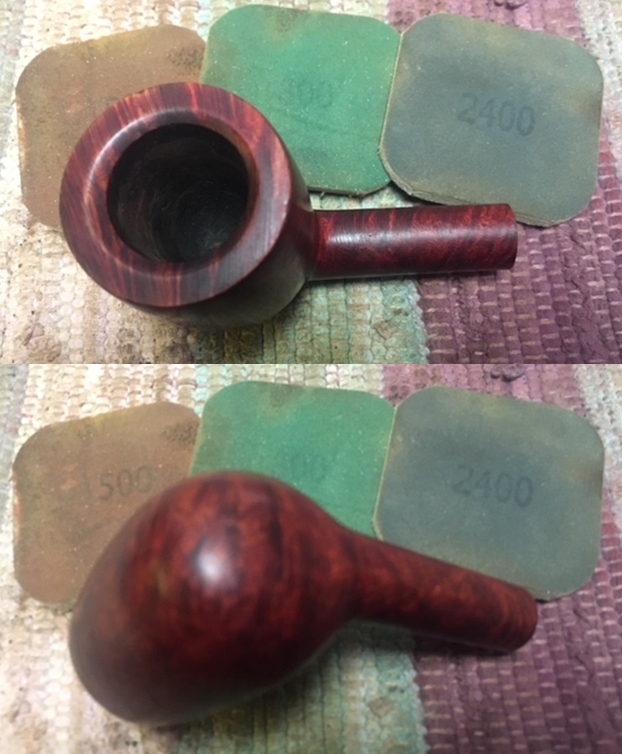
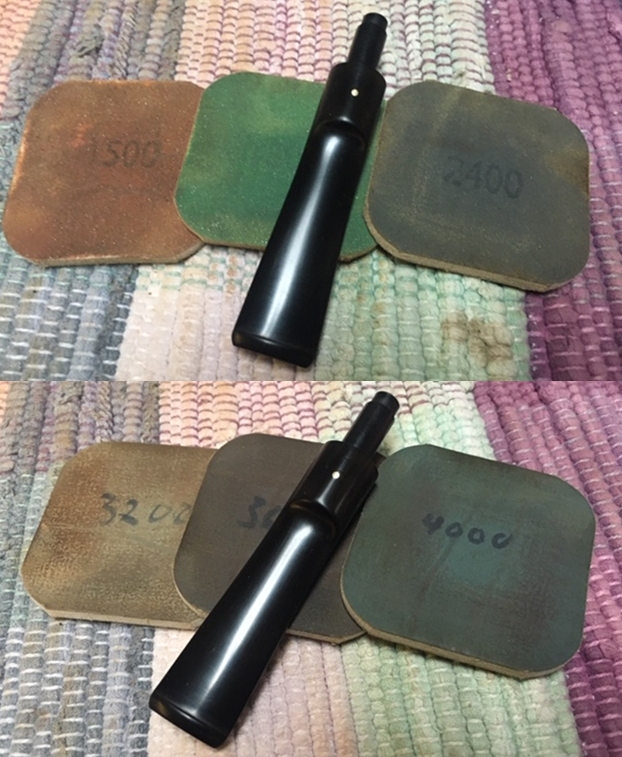
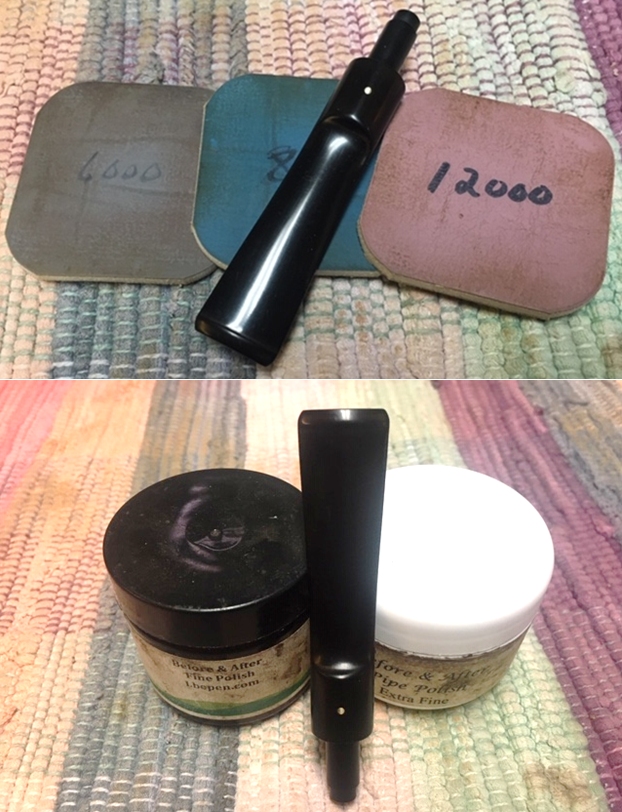
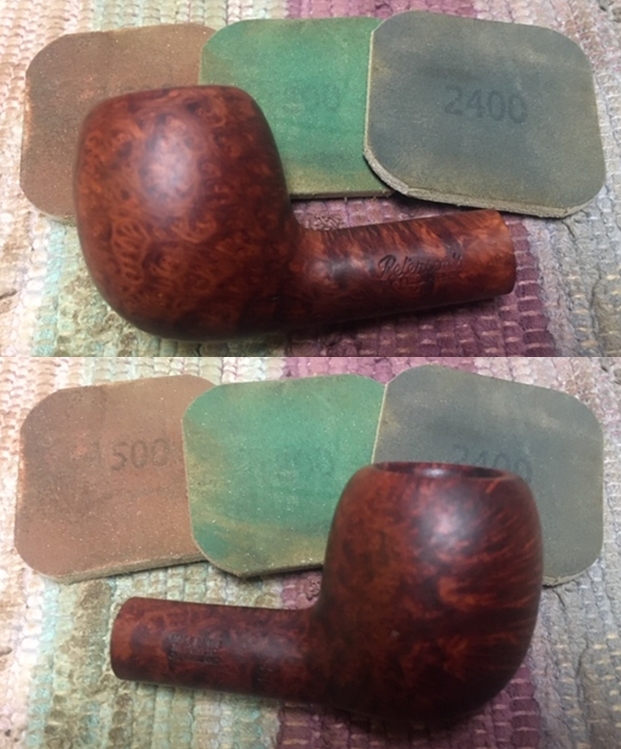
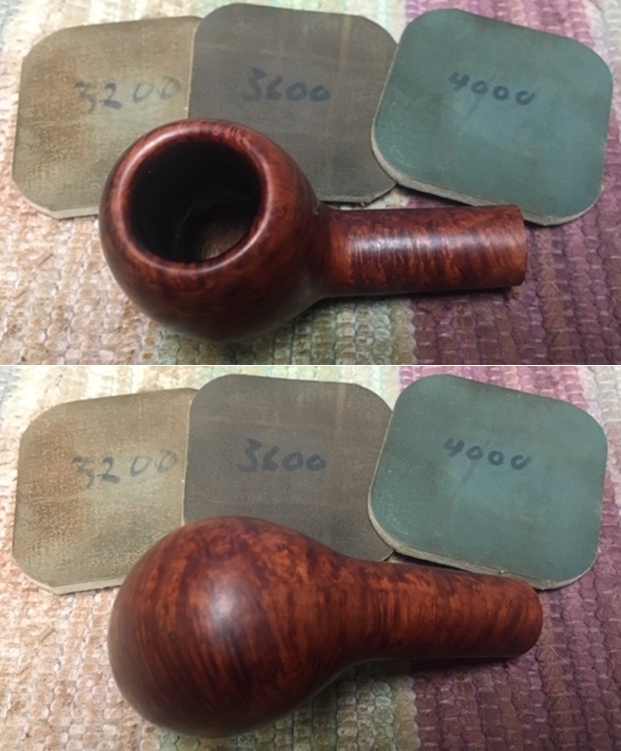
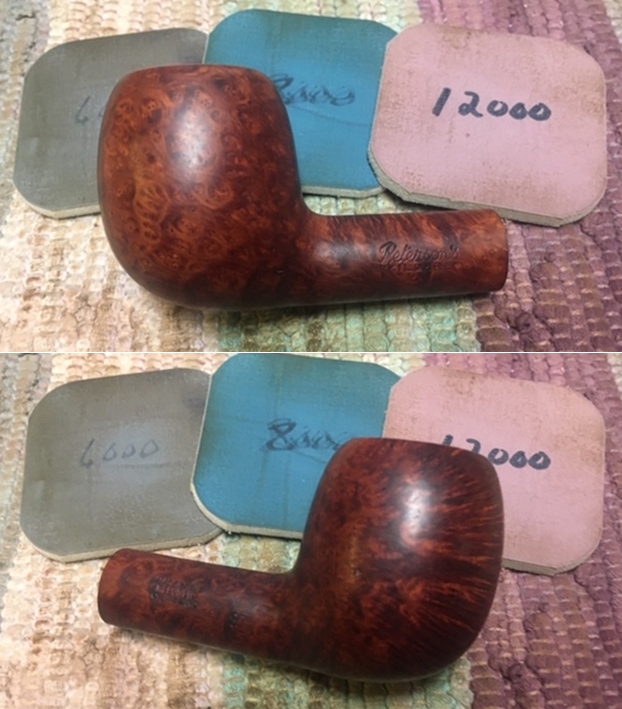
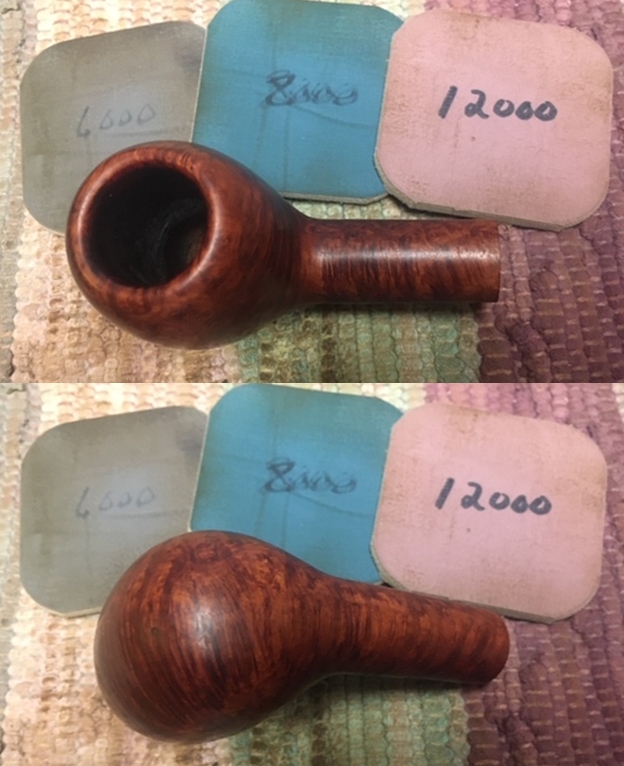
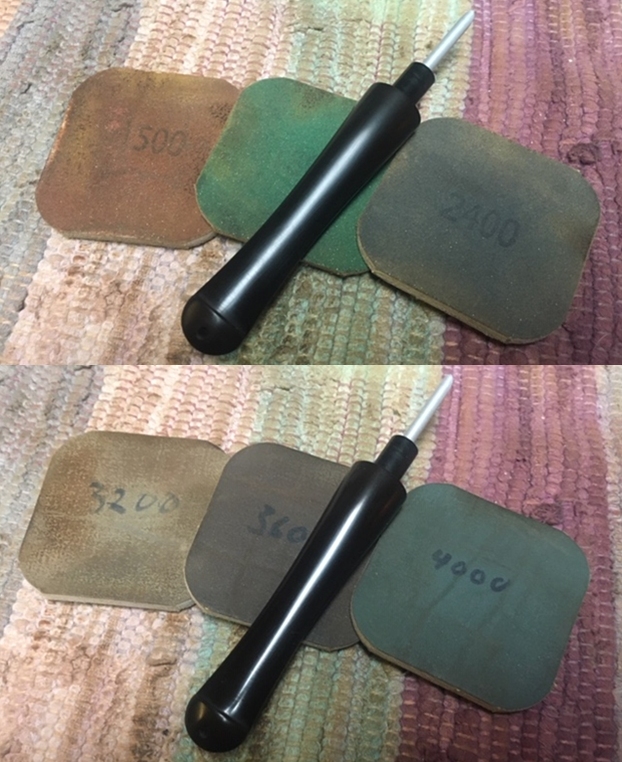
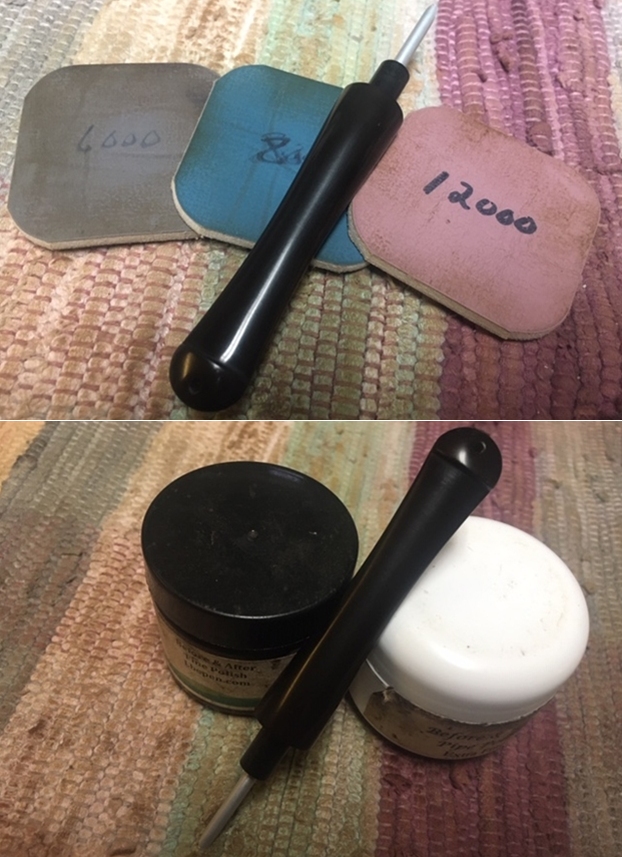
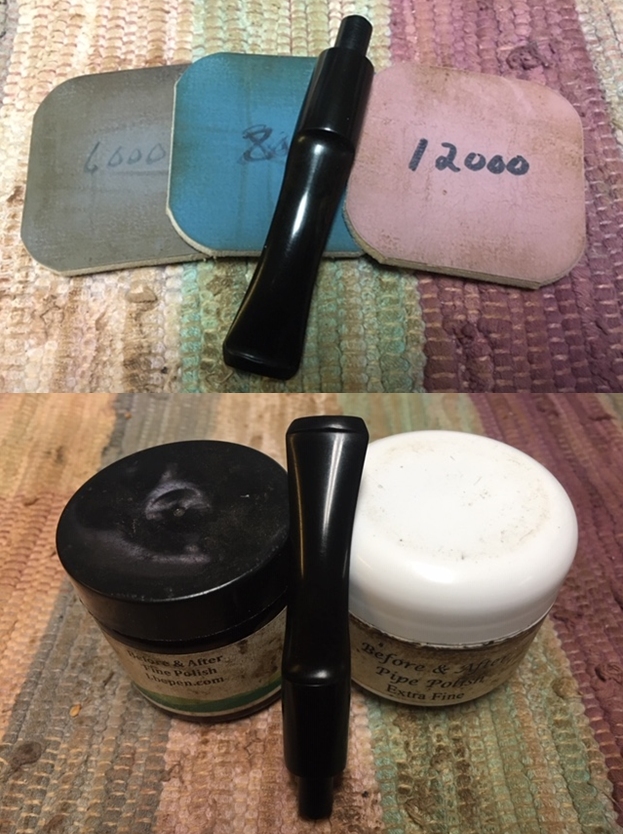
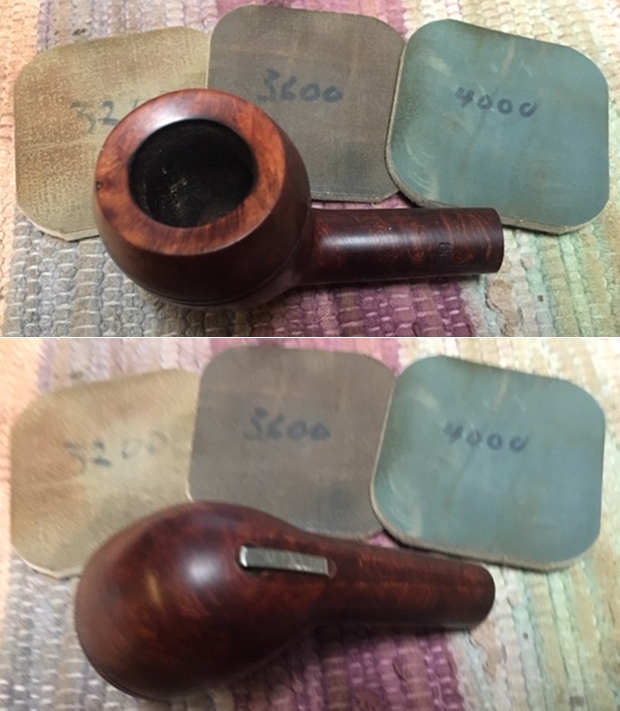
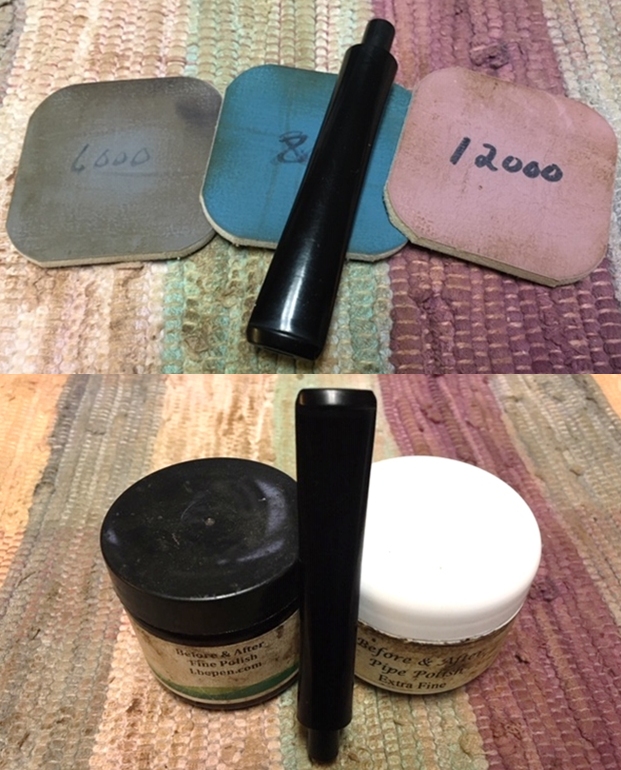
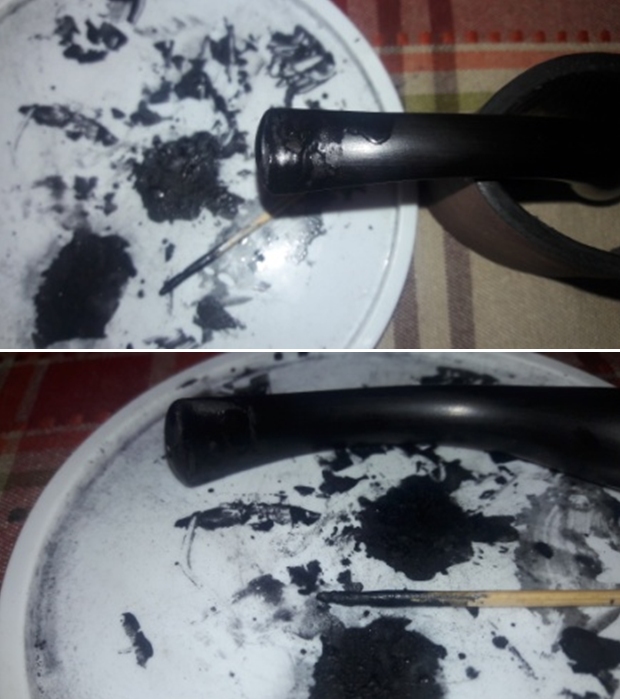 Using a flat head needle file, I reshaped the button and followed it up by sanding the stem with a folded piece of 220 grit sand papers. I followed it up by further sanding the stem with 320, 600 and 800 grit sand papers. Once I was satisfied that the fills had perfectly matched with the rest of the stem surface, using micromesh pads, I completed the polishing cycle by wet sanding the surface with 1500 and 2000 grit sand papers and further dry sanding with 3200 to 12000 grit pads. The stem looks great with the fills nicely matched with the rest of the surface. I rub a little quantity of Extra Virgin Olive oil into the stem surface.

 While I was working on the stem repairs and subsequent polishing, Abha cleaned out the mortise and gourd internals using pipe cleaners, q-tips and alcohol. She scraped out the accumulated dried oils, tars and gunk from the mortise using fabricated tool. The mortise was finally declared clean by Abha after a few hours and lots of elbow grease, the pile of pipe cleaners and the chunks of grime removed from the mortise are a standing testimony to the filth in the pipe. The pipe now smells clean and fresh.
 At this point in time, the internal cleaning of the stem, mortise and gourd is completed. The stem repairs and polishing is also completed. Next I decided to clean and polish the gourd. I cleaned the external surface of the gourd with Murphy’s Oil soap on cotton swabs. I wiped the surface with a moist cloth and set the gourd aside to dry out completely.
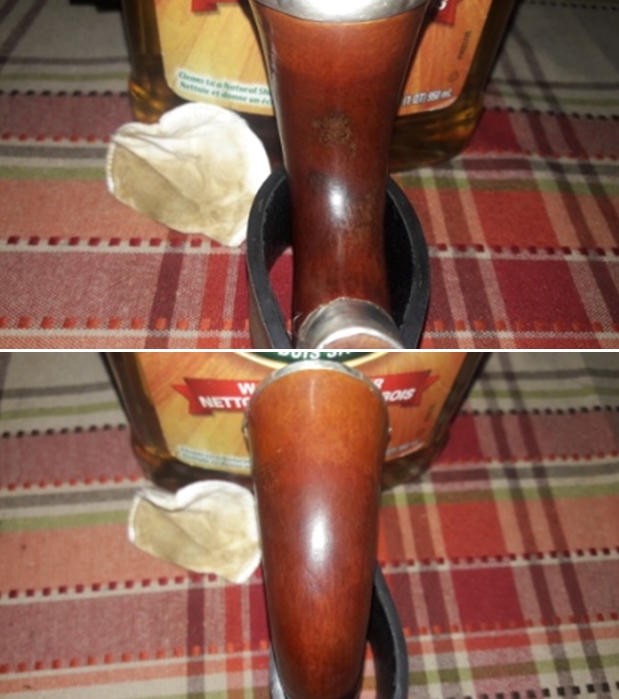
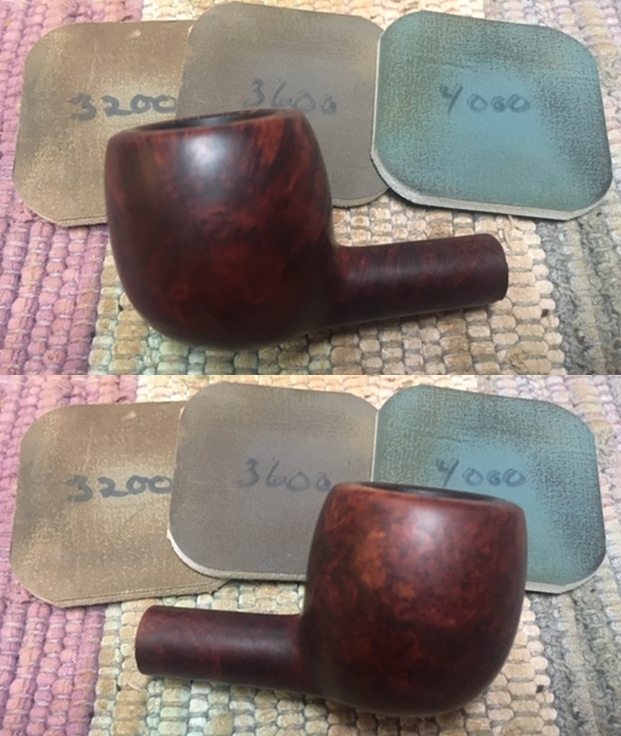
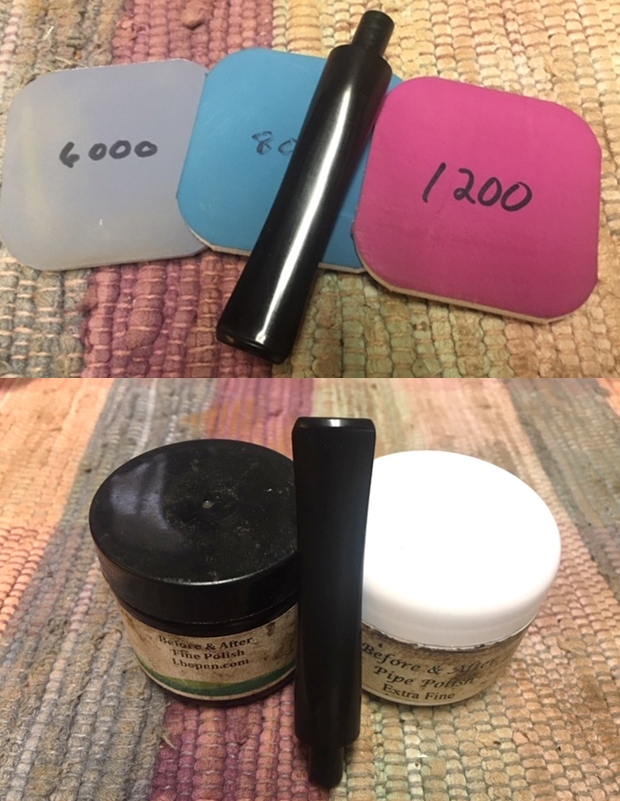
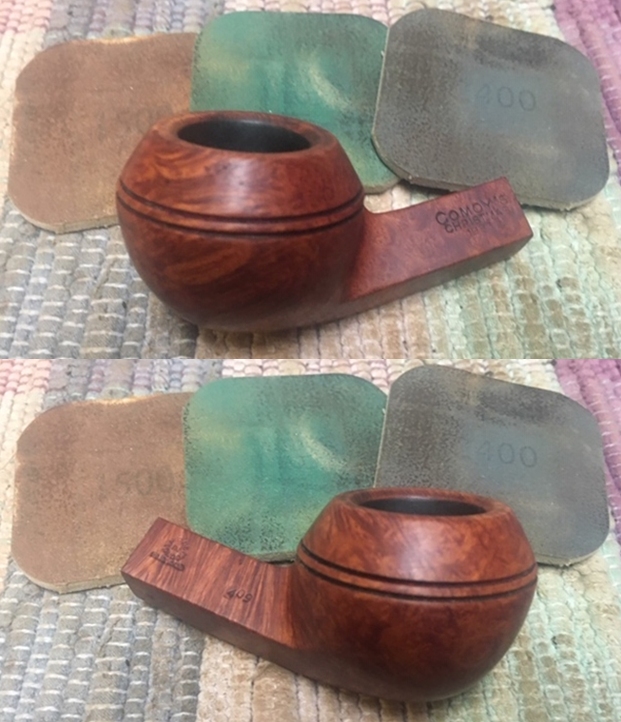
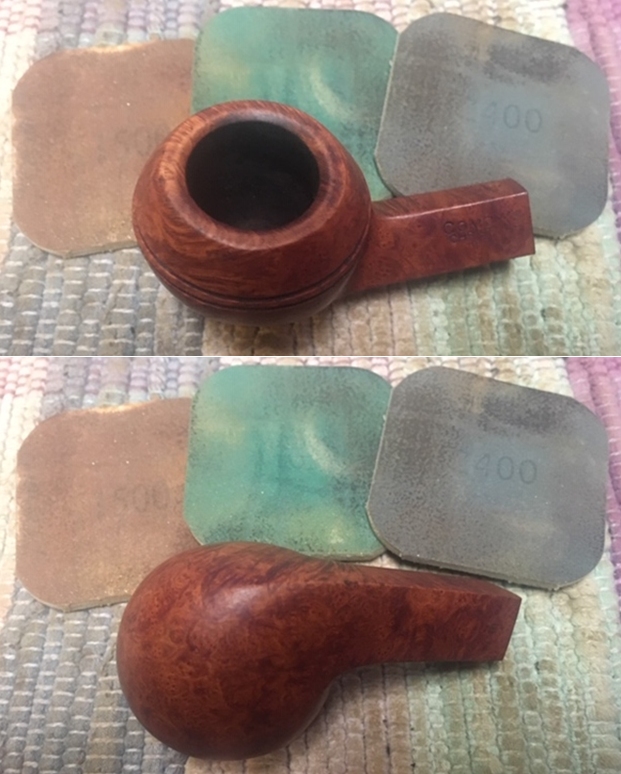
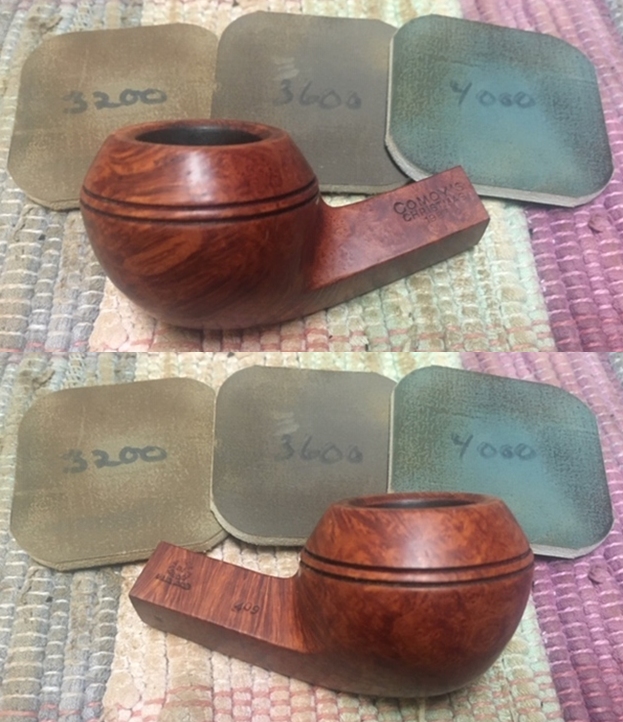
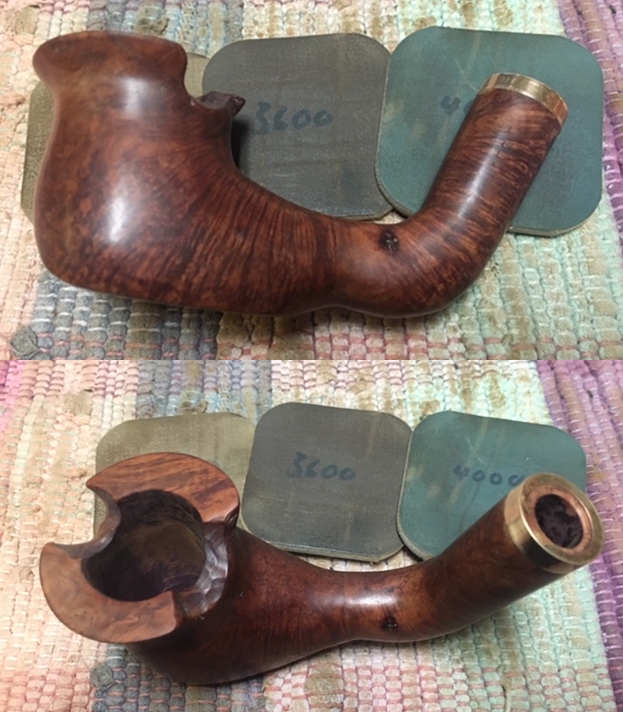
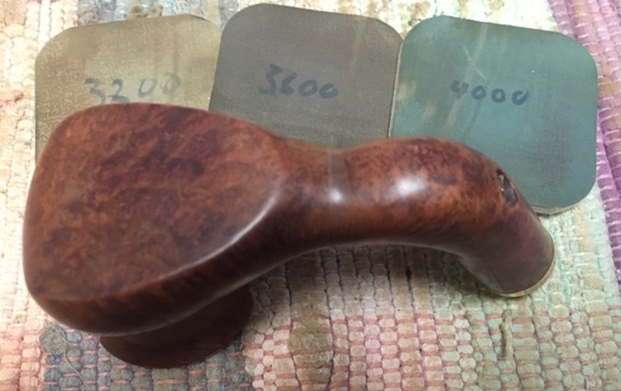
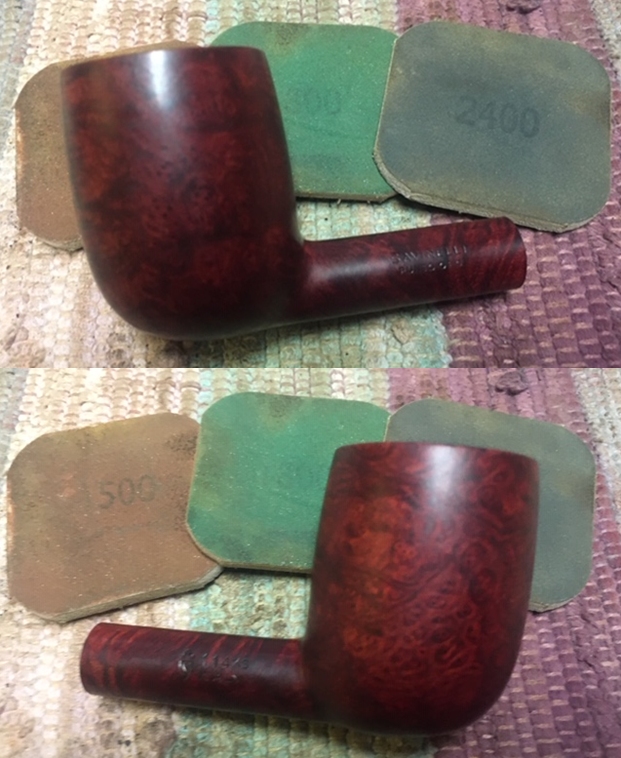
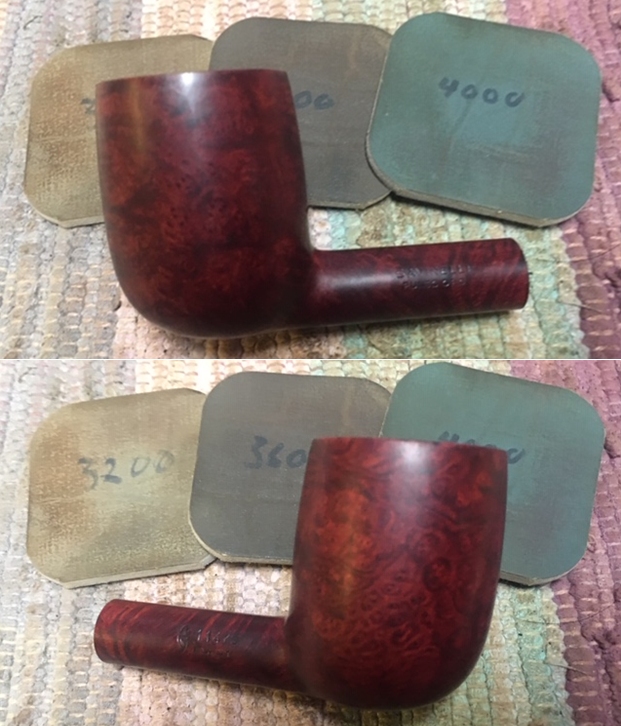
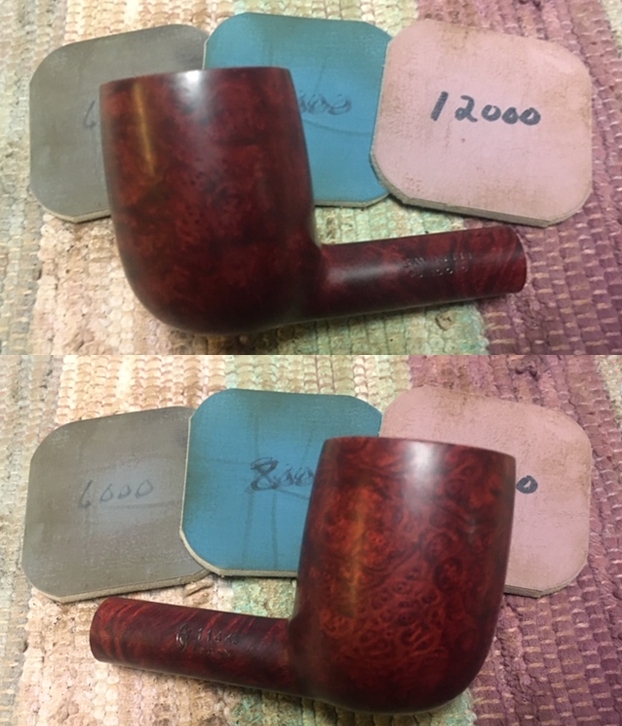
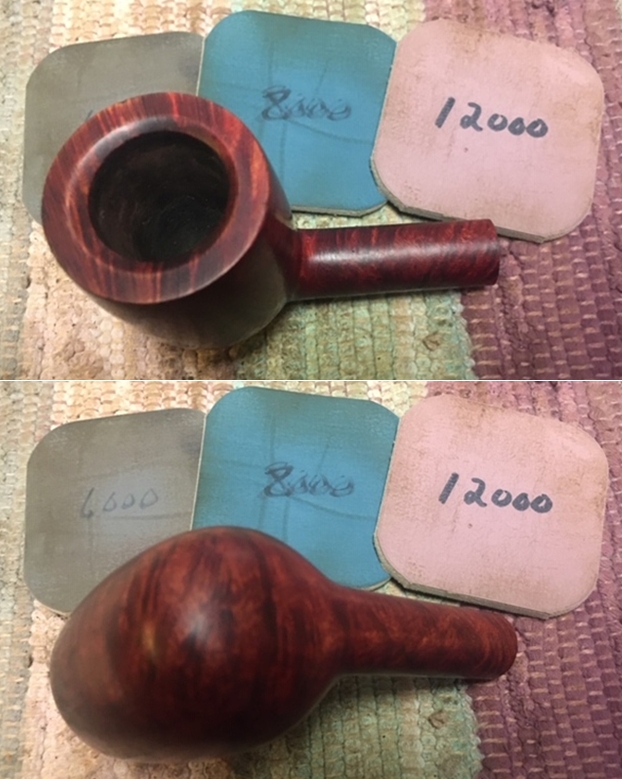
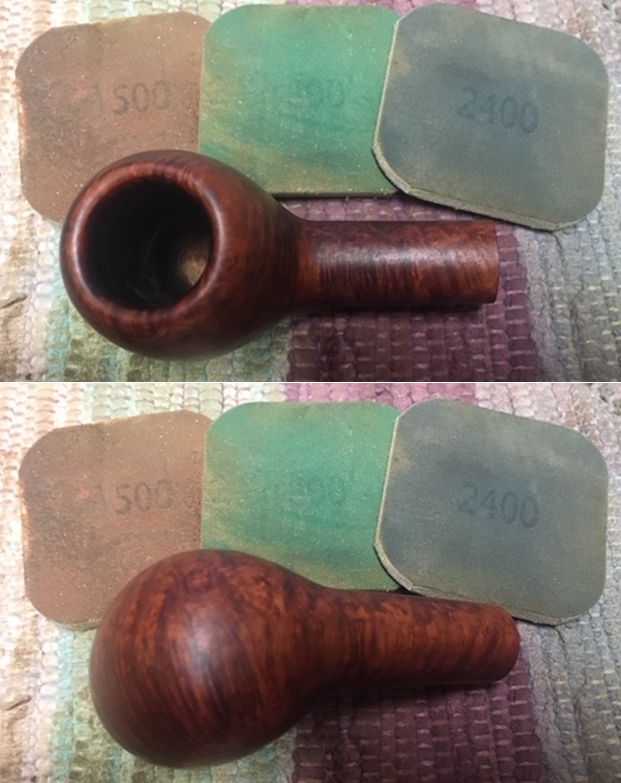
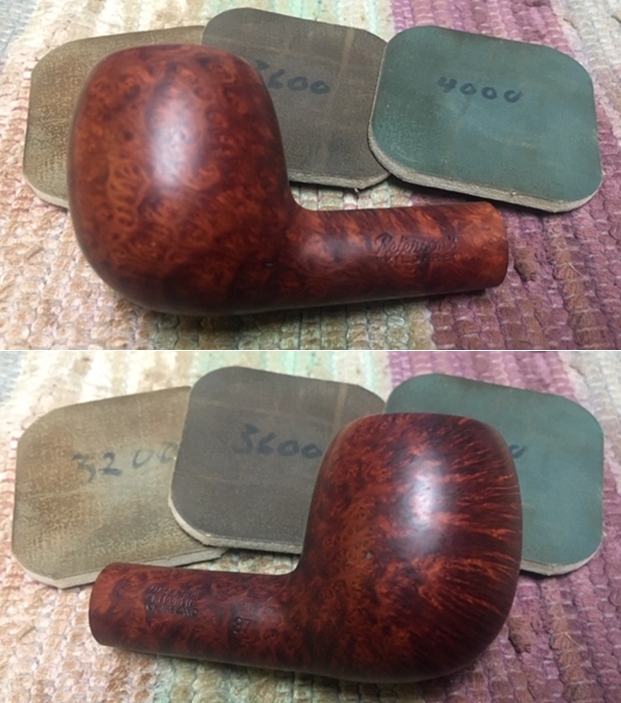
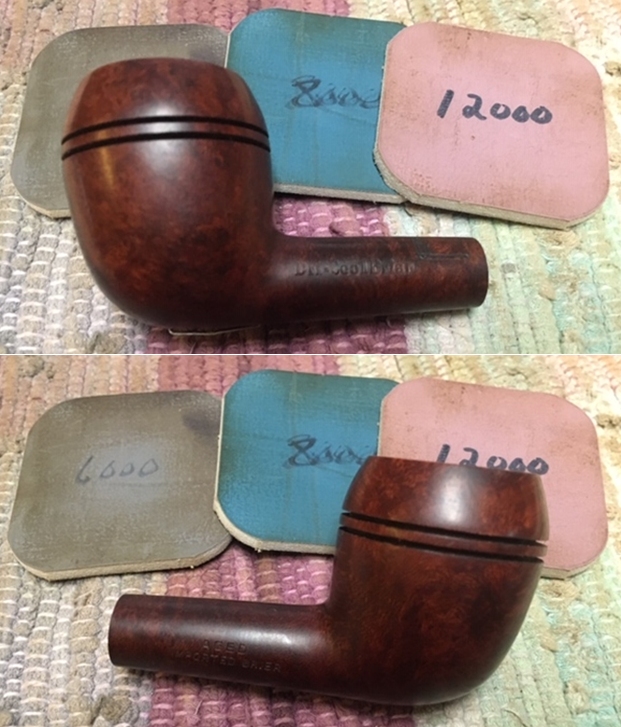
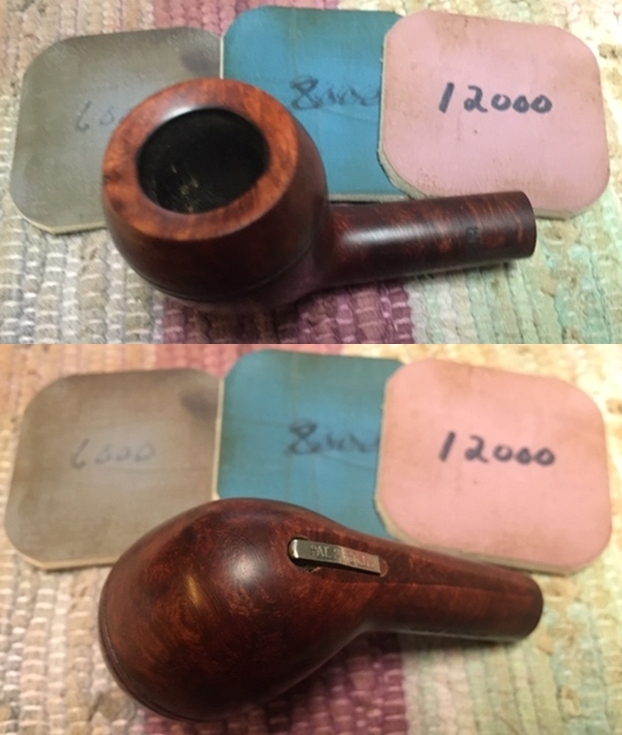
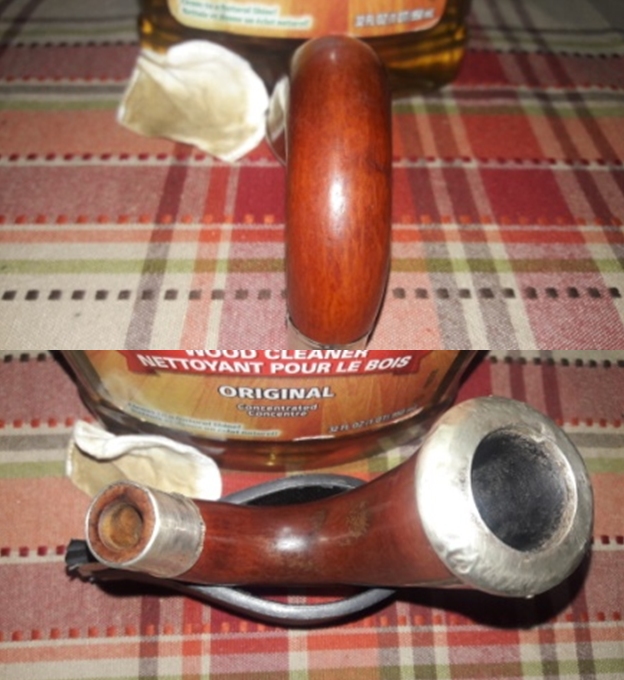 After the gourd had dried out, I polished the gourd surface with micromesh pads. There was a small twist though! The 1500 to 2400 grit micromesh pads in the set that were left behind at home (remember that my home and work place are at different corners of the country!) have completely worn down. Since most of my material and equipment that I use for pipe restoration is at my work place, I substituted the 1500 to 2400 grit pads with 1500 and 2000 grit wet or dry sand paper. I find that these work just fine. I wanted to preserve the patina and deep coloration that has developed on the gourd surface, I dry sand the stummel surface with 1500 (sand paper) to 12000 grit micromesh pads. This is starting to look really nice. With Colgate tooth powder, I cleaned the sterling silver rim cap and shank band to a nice shine and yes, I avoided rubbing the powder over the stampings and hallmarks to prevent them from wearing down.
 Next, I rub a small quantity of “Before and After Restoration Balm” in to the gourd with my finger tips and let it rest for a few minutes. The balm almost immediately works its magic and the gourd now has a nice vibrant appearance with the beautiful darkened colors on full display. I further buff it with a horse hair shoe brush.

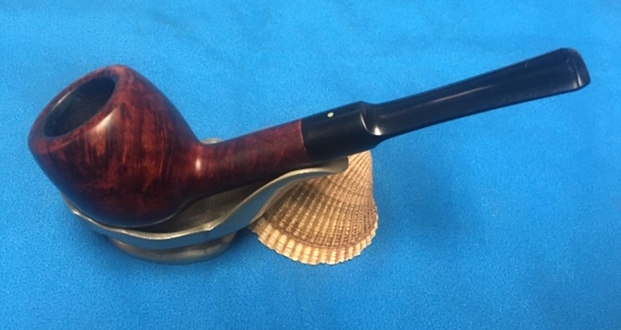
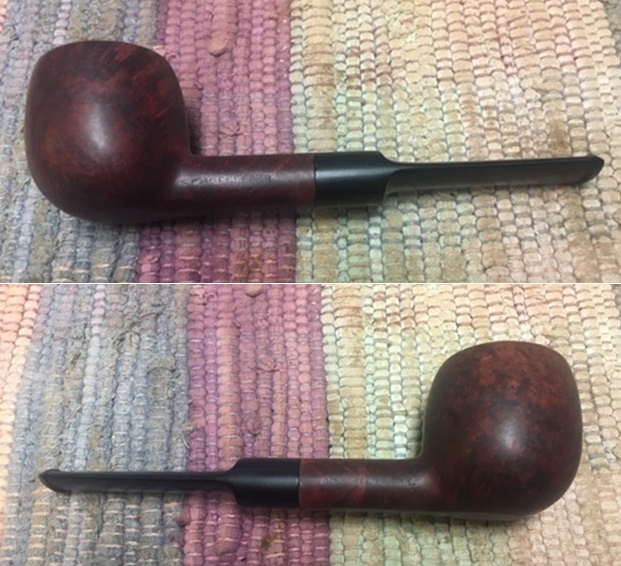
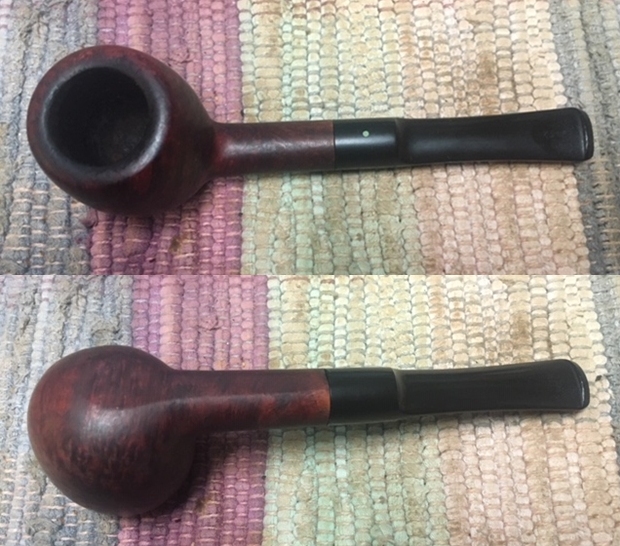
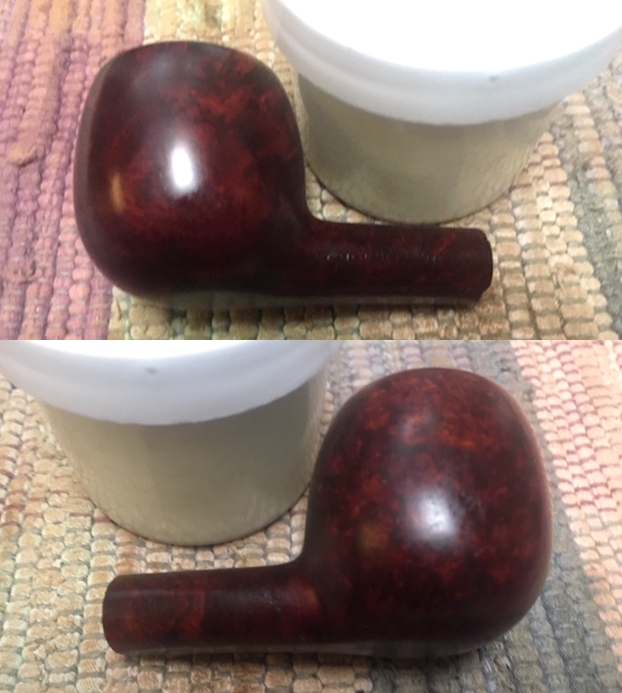
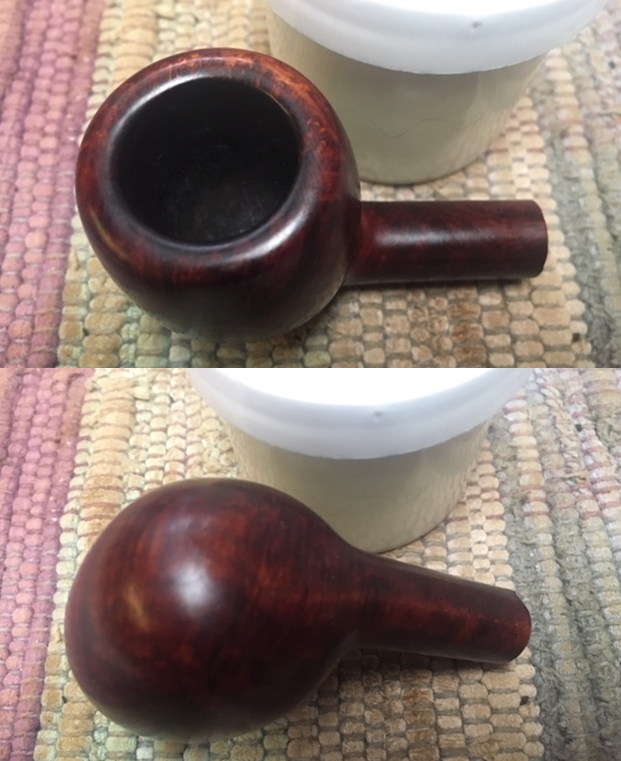
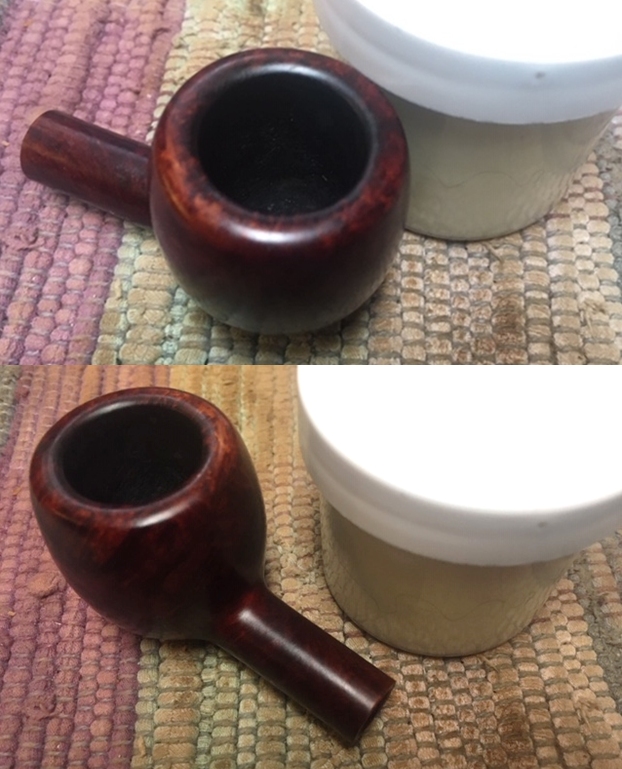
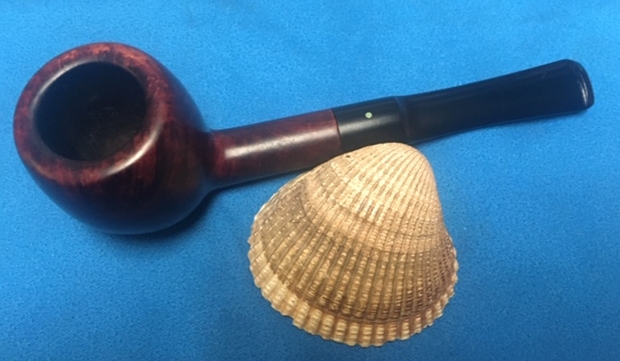
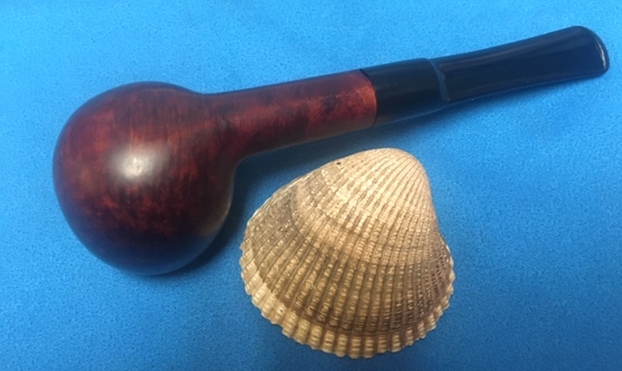
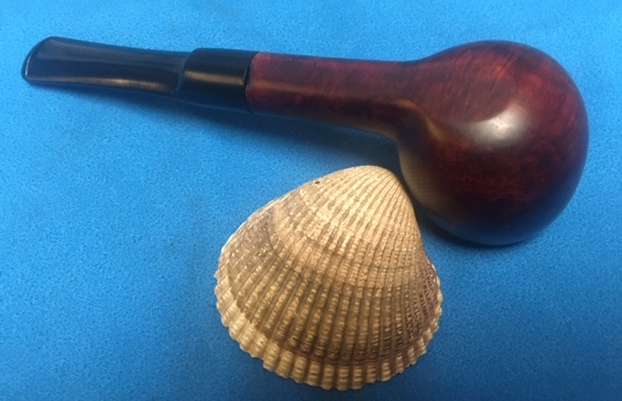
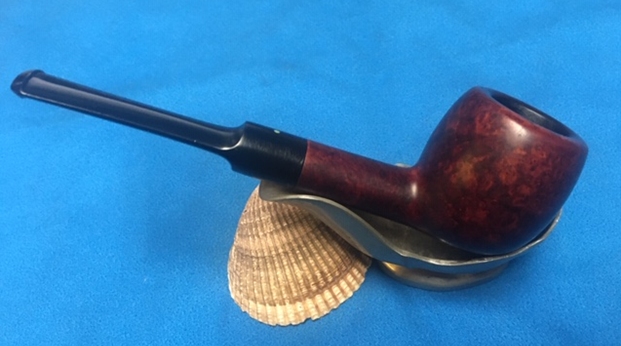
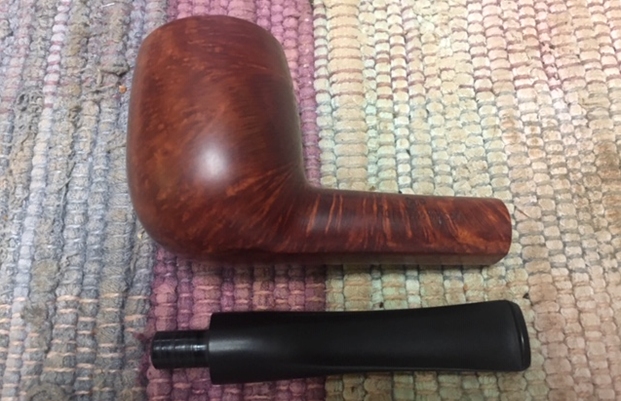
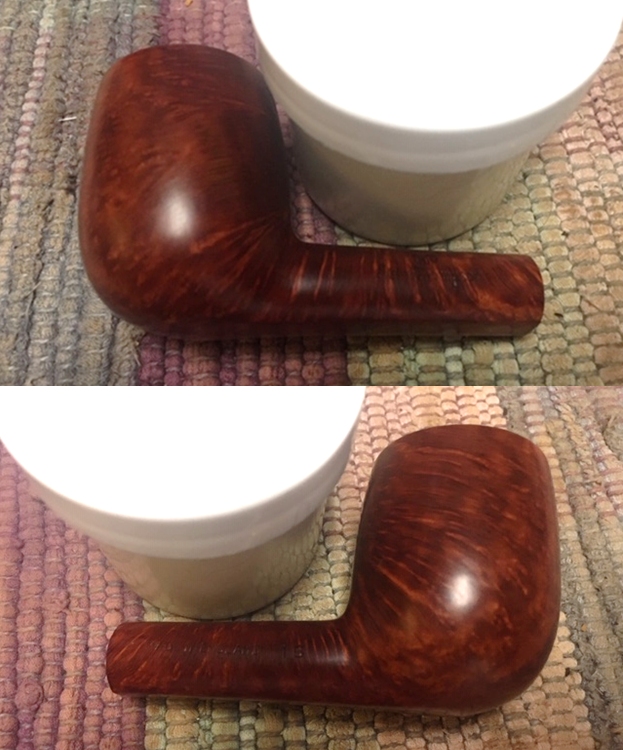
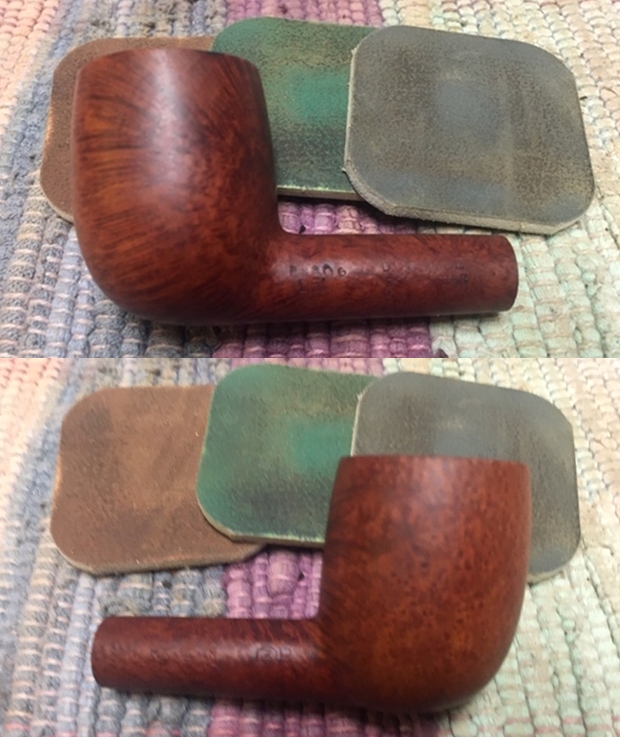
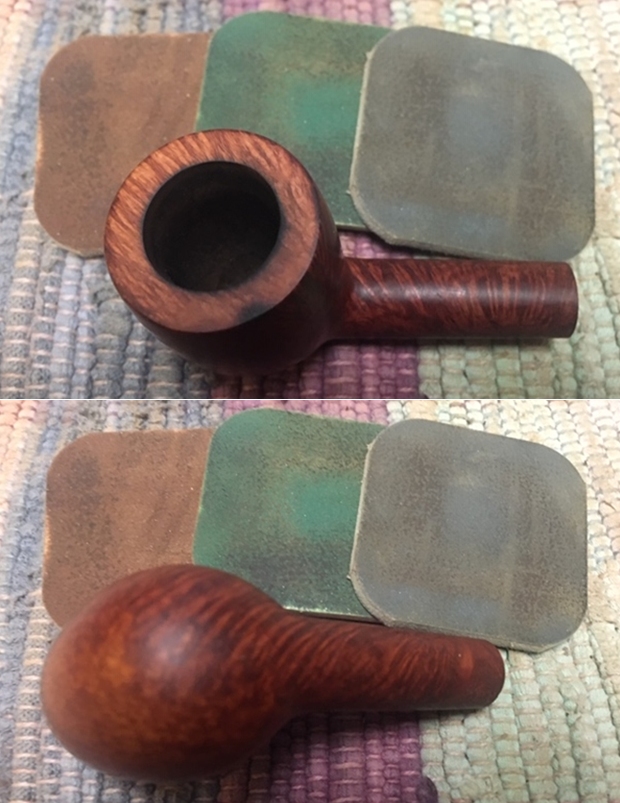
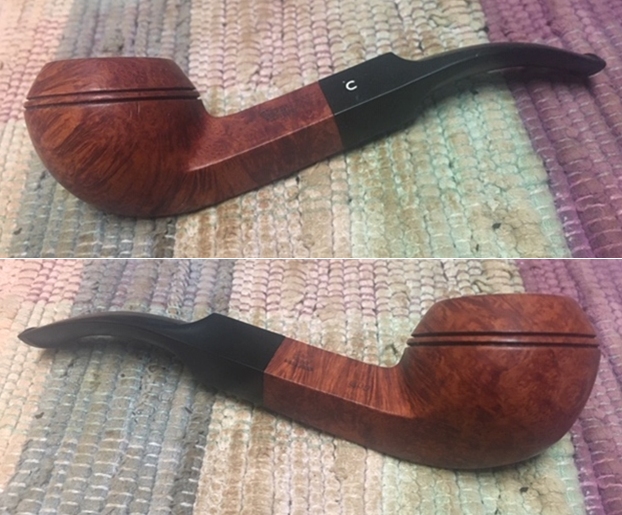
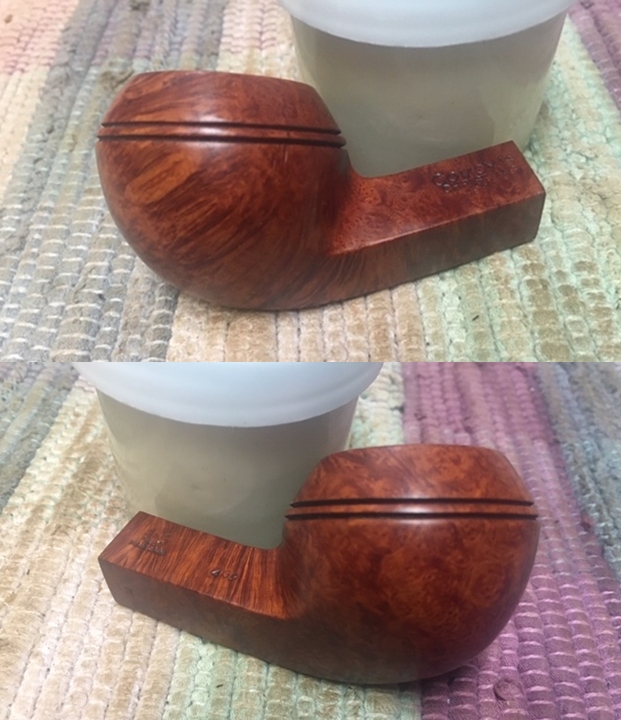
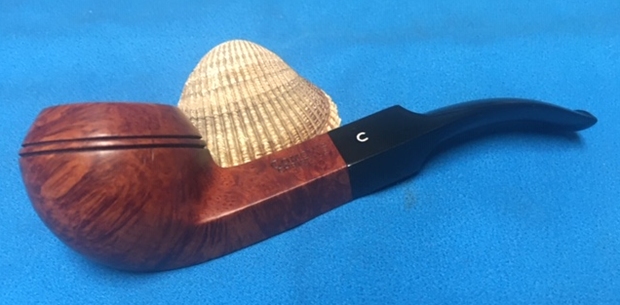
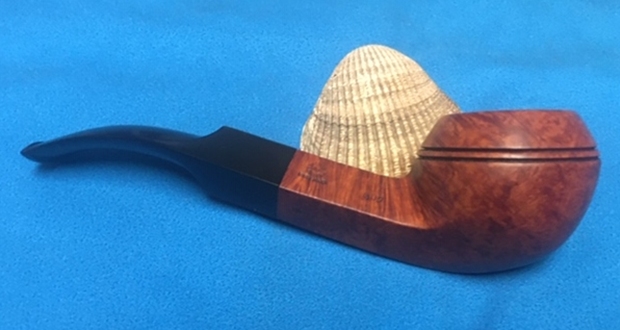
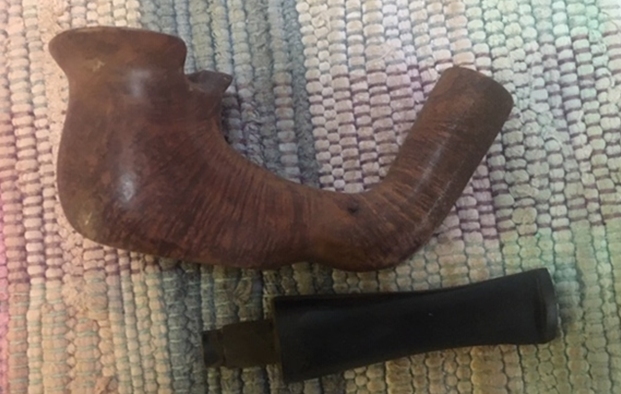
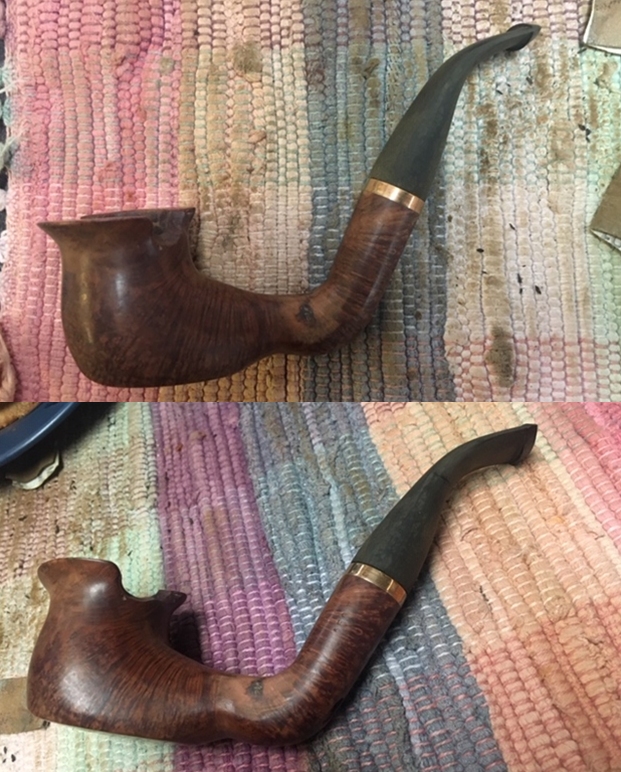
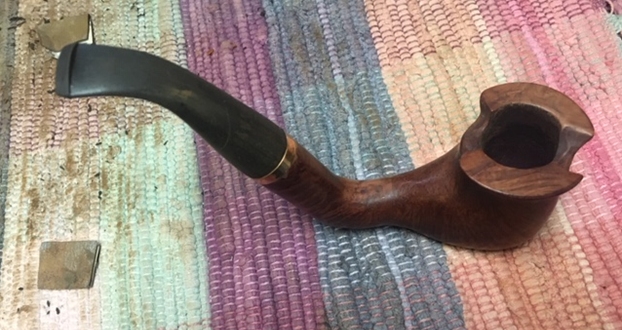
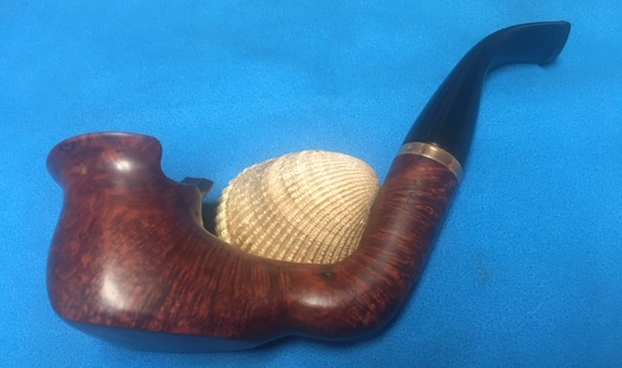
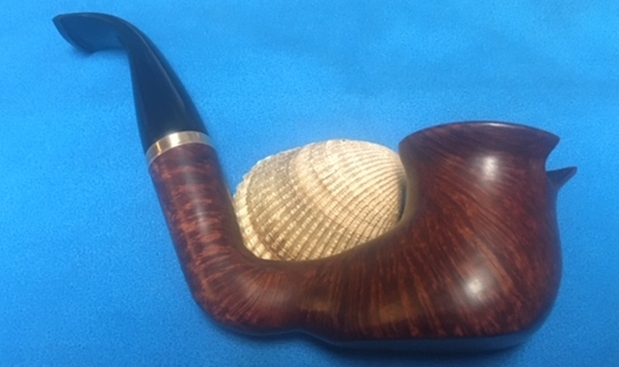
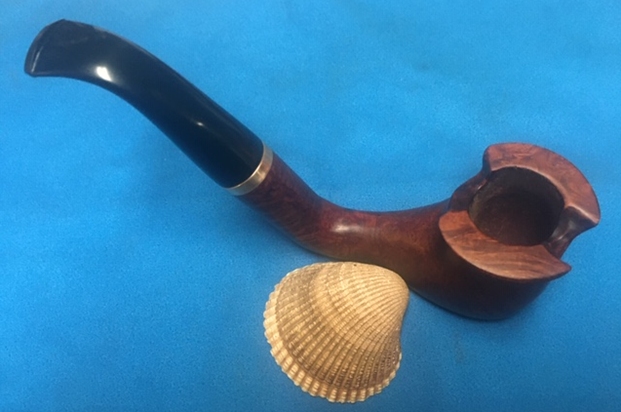
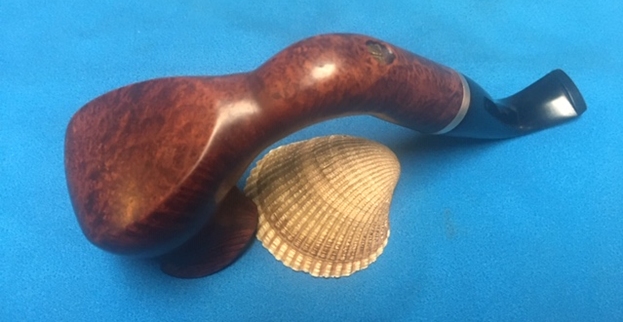
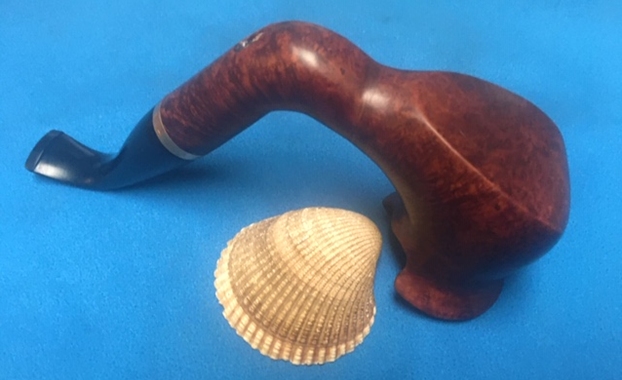
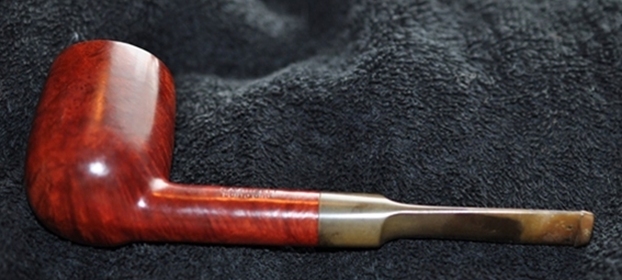
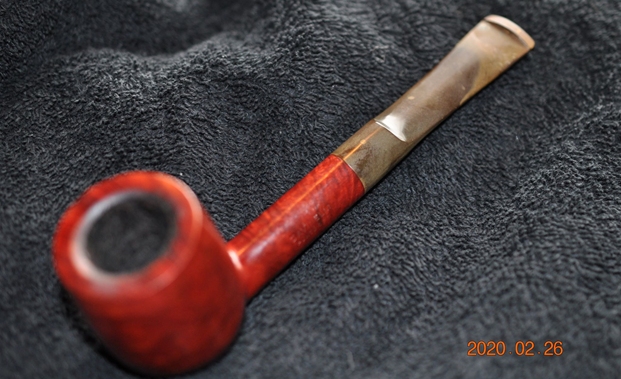
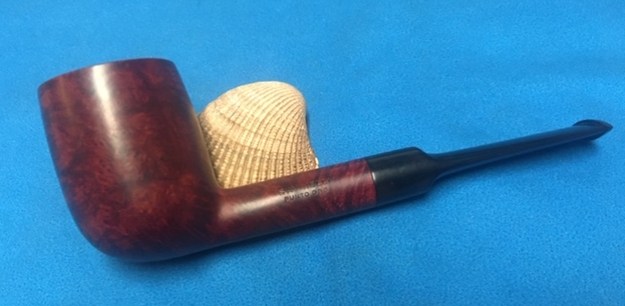
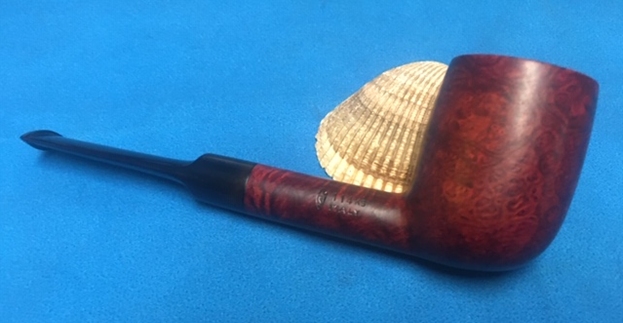
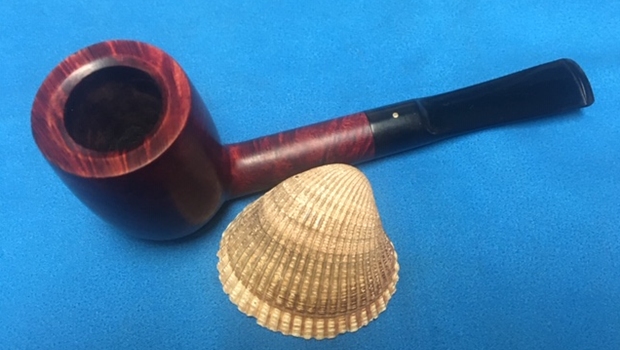
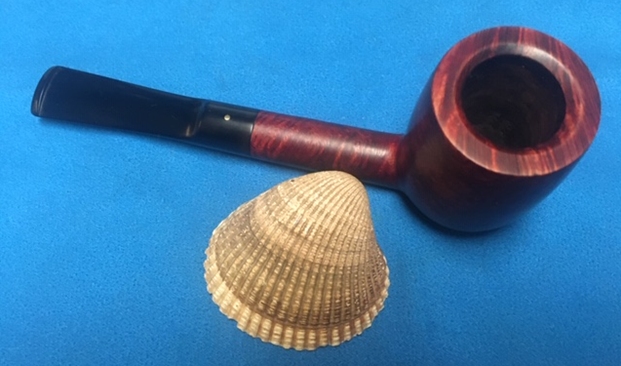
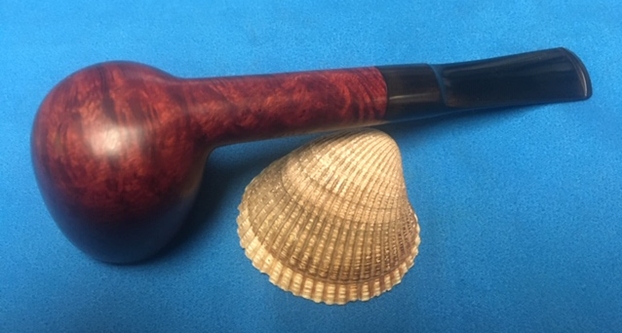
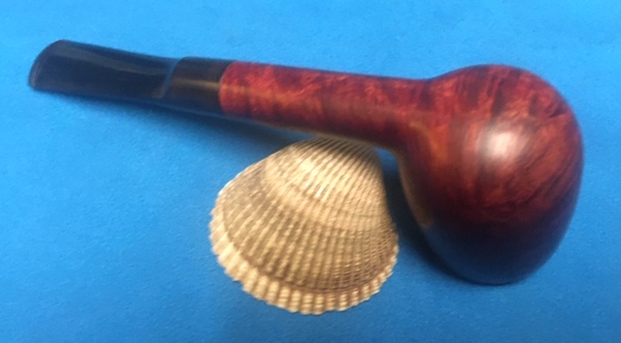
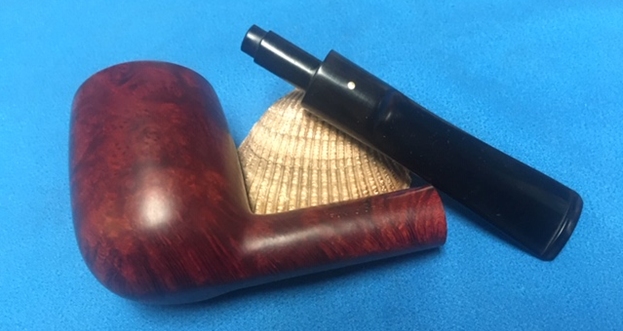
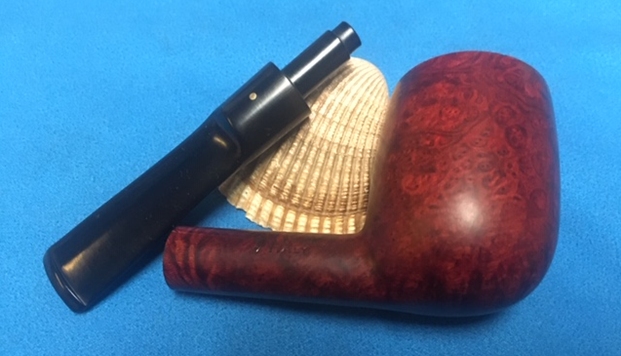
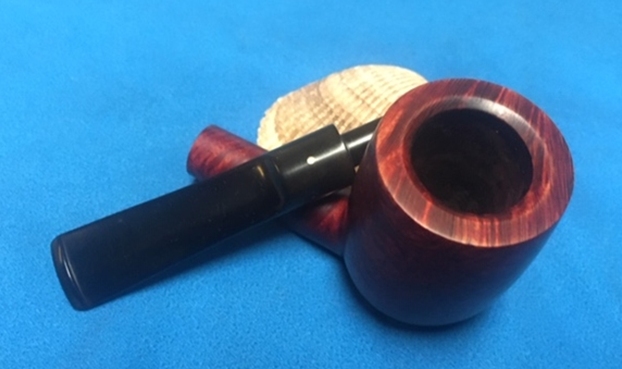
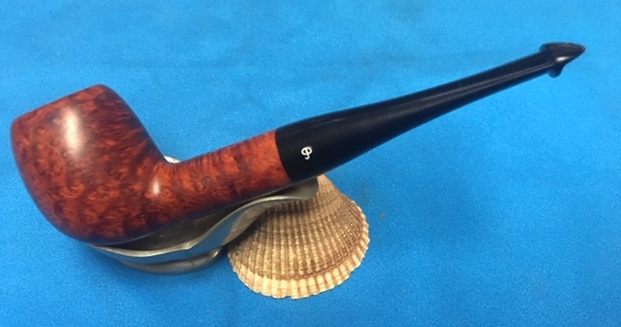
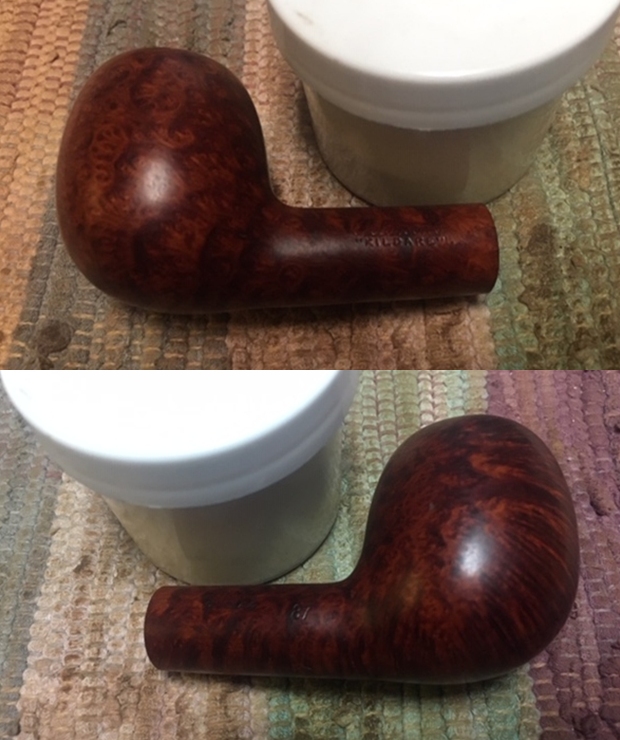
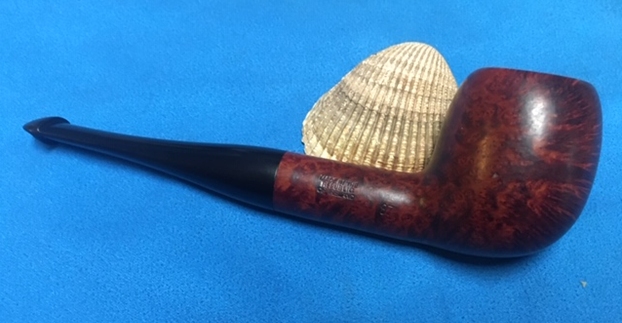
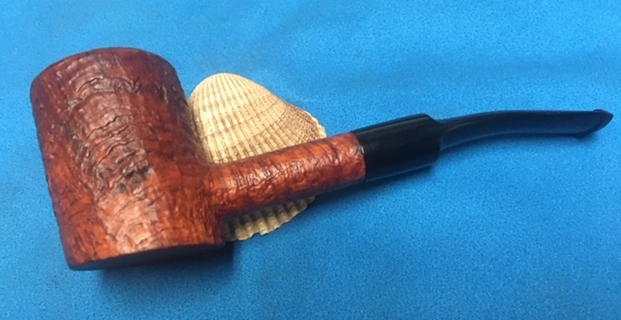
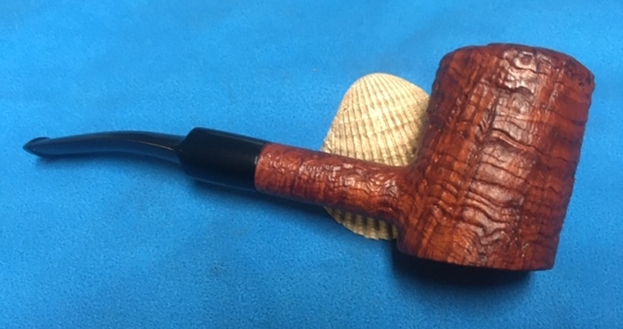
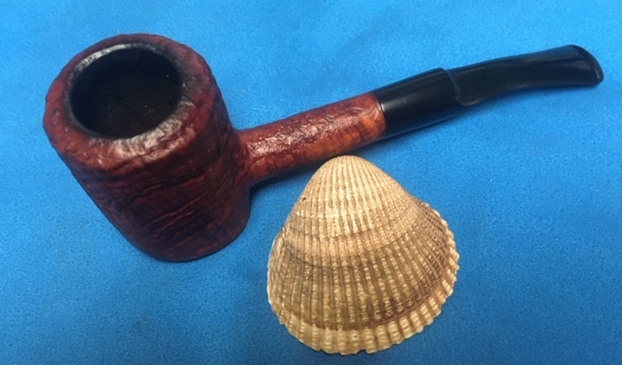
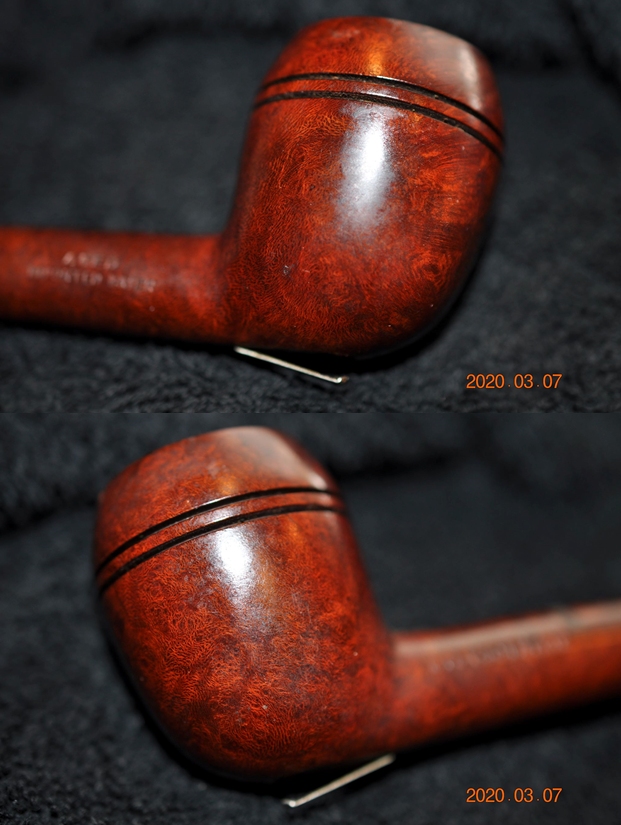
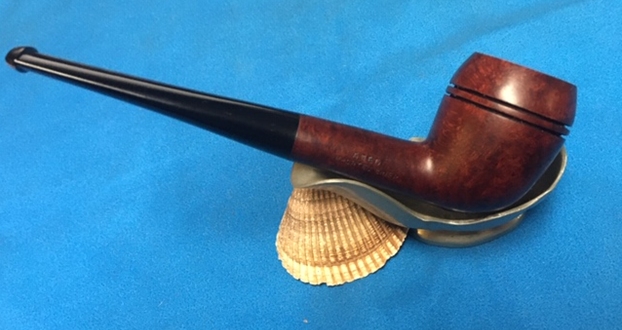
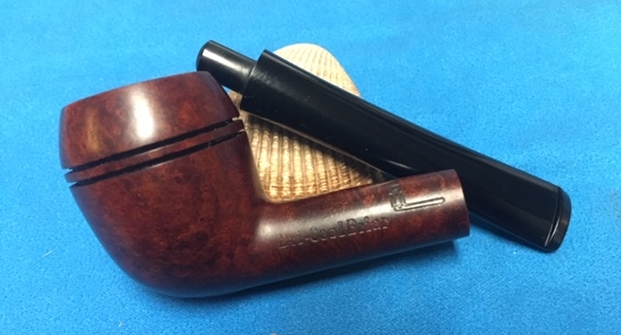
 To apply the finishing touches, I mount a cotton cloth buffing wheel on to my hand held rotary tool and apply a coat of Blue Diamond to the stummel and the stem to polish out the minor scratches. With a cotton buffing wheel that I use for carnauba wax, I apply a coat of carnauba wax and continue to work on it till the complete coat of wax had been polished out. I mount a clean cotton cloth buffing wheel and give the entire pipe a once over buff. I finish the restoration by giving the entire pipe a rigorous hand buffing using a microfiber cloth to raise the shine further. The finished pipe looks beautiful and is ready to be added to my restored pipe collection. When, or if at all I will, smoke this pipe only time will tell!! Here are the pictures of the refurbished pipe.


