Blog by Steve Laug
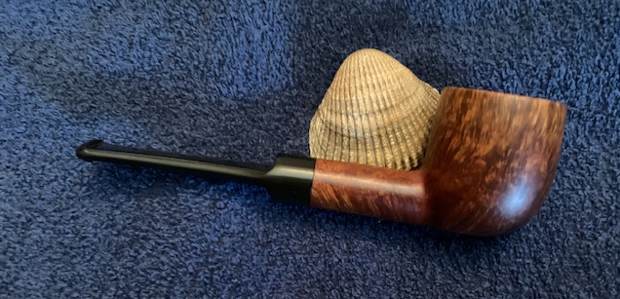
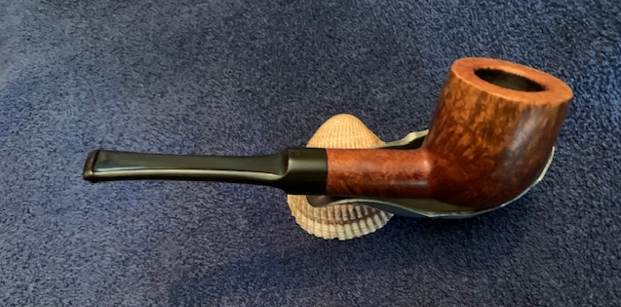
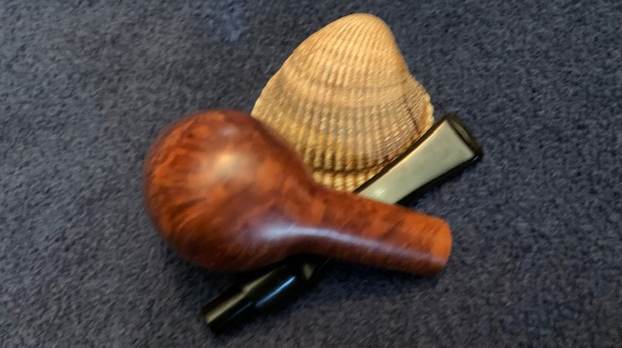
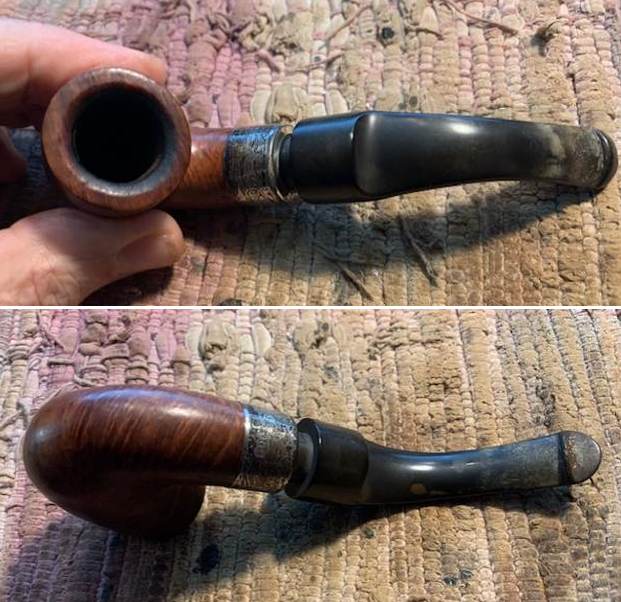
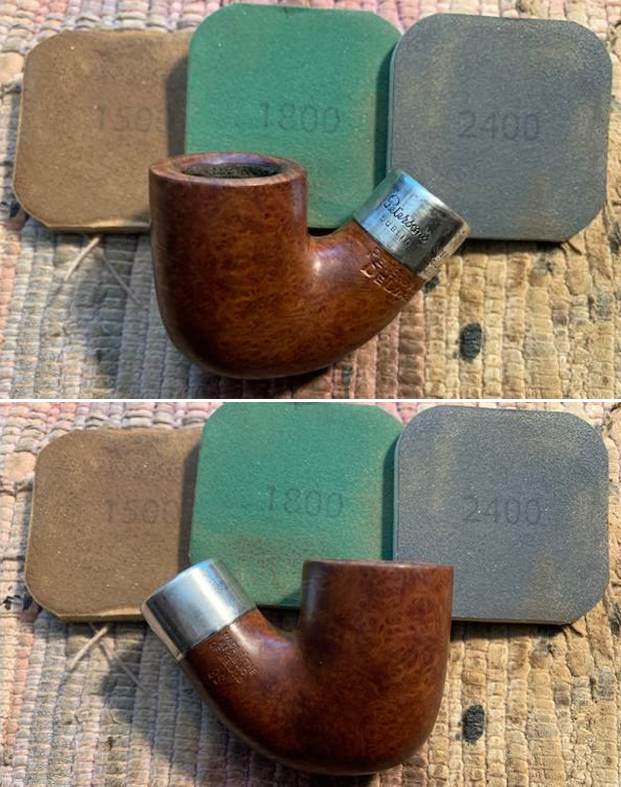
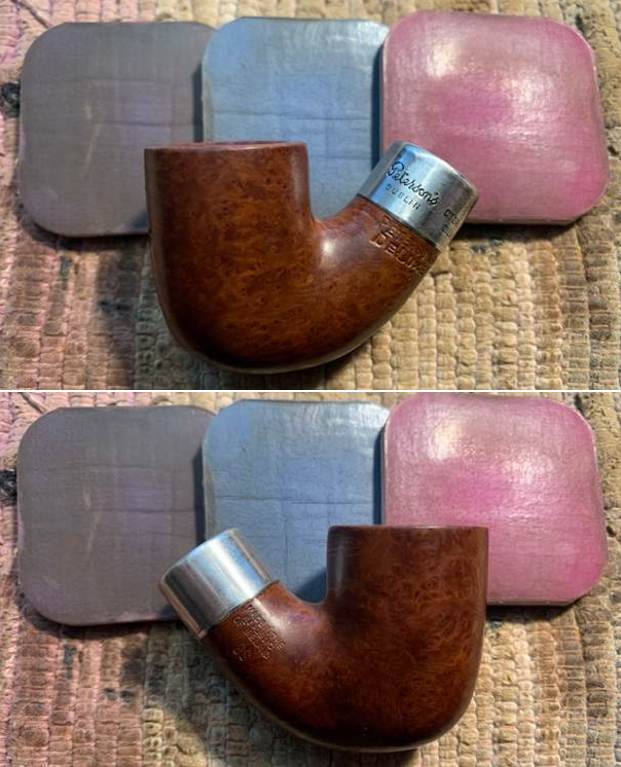
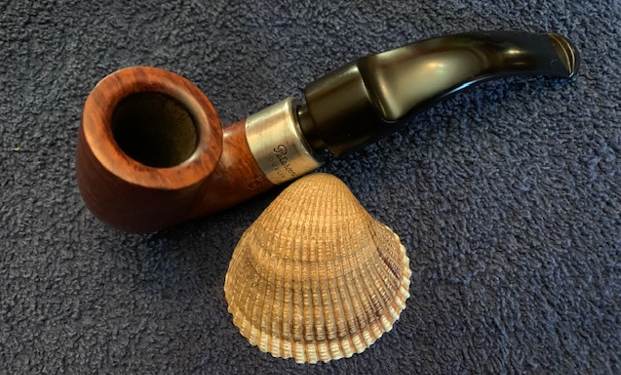
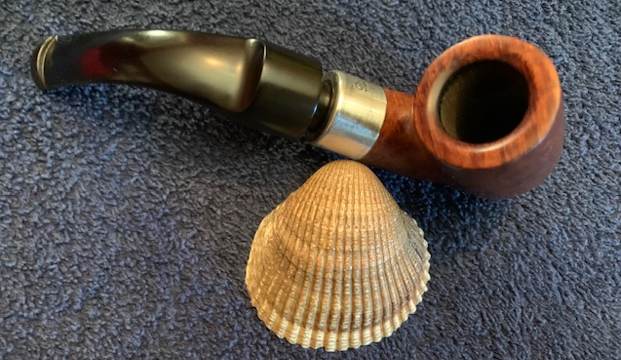
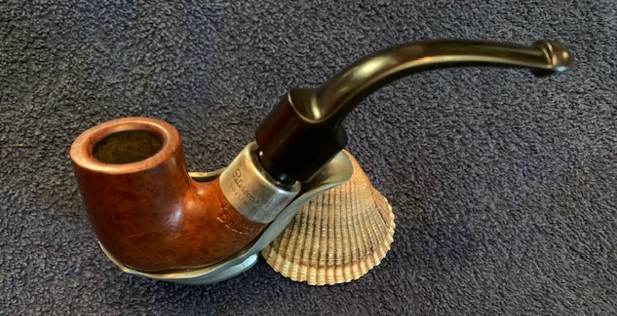
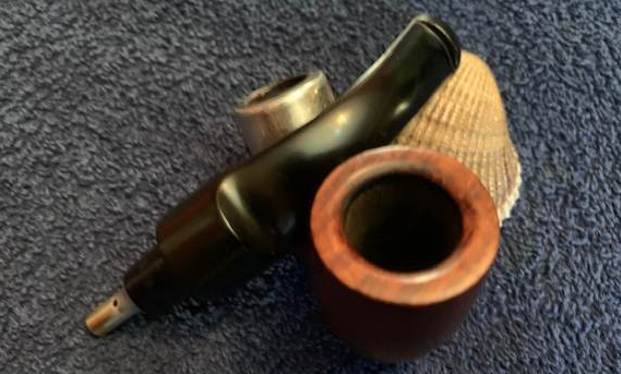
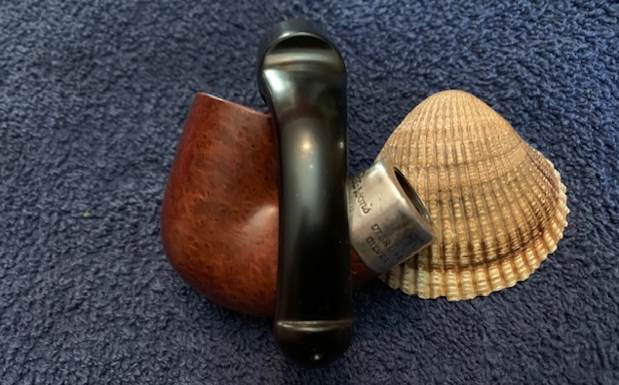
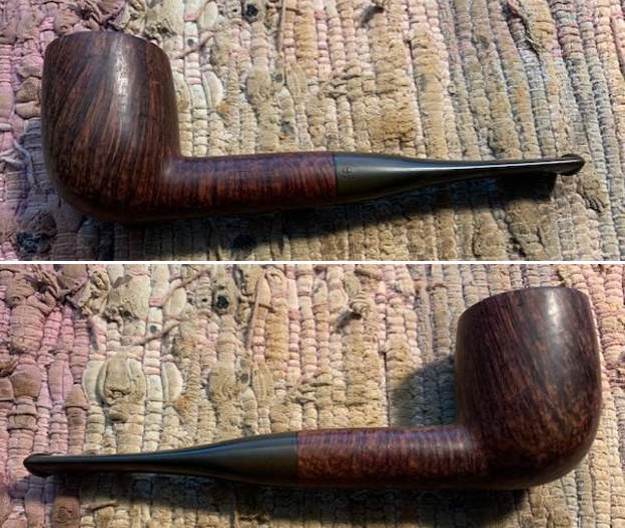
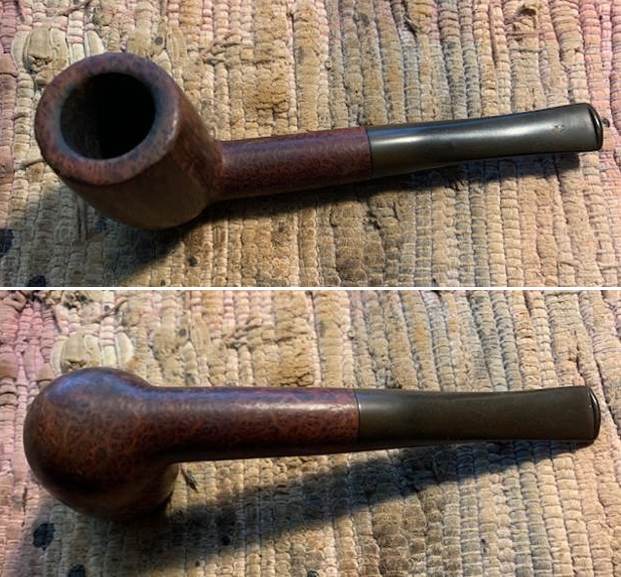
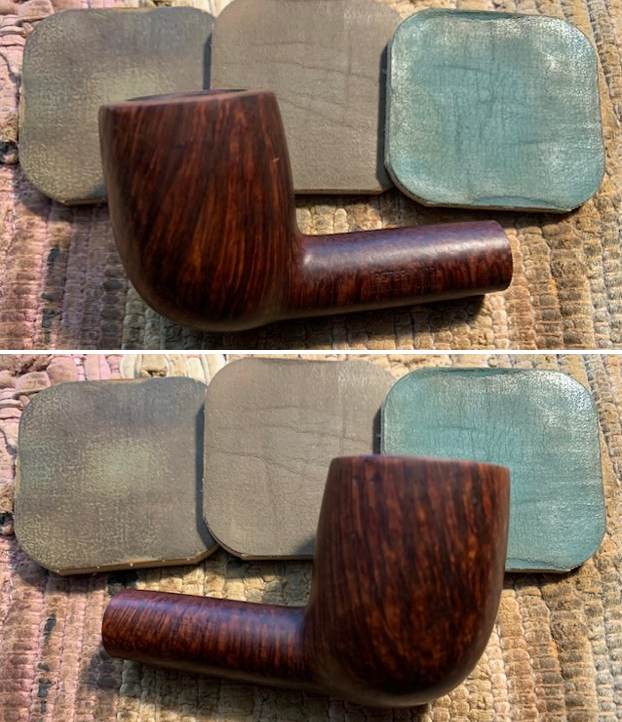
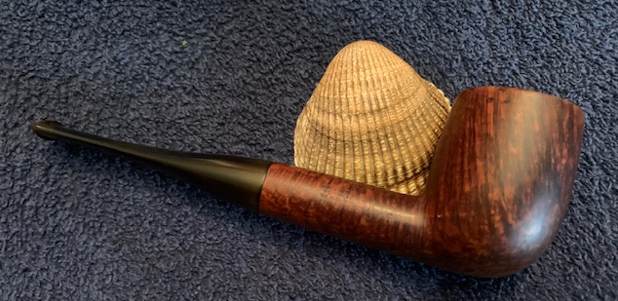
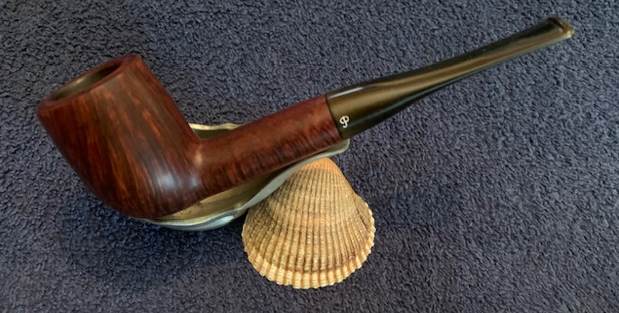
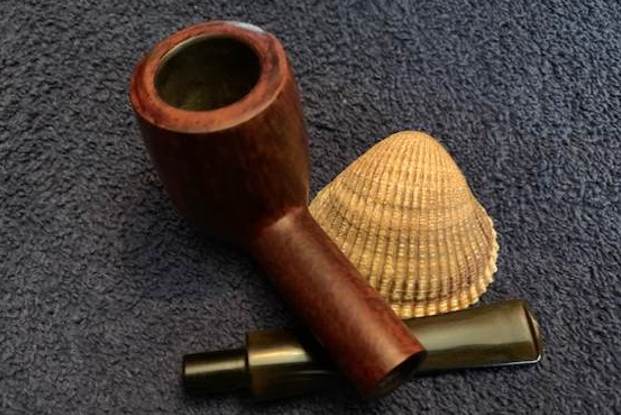
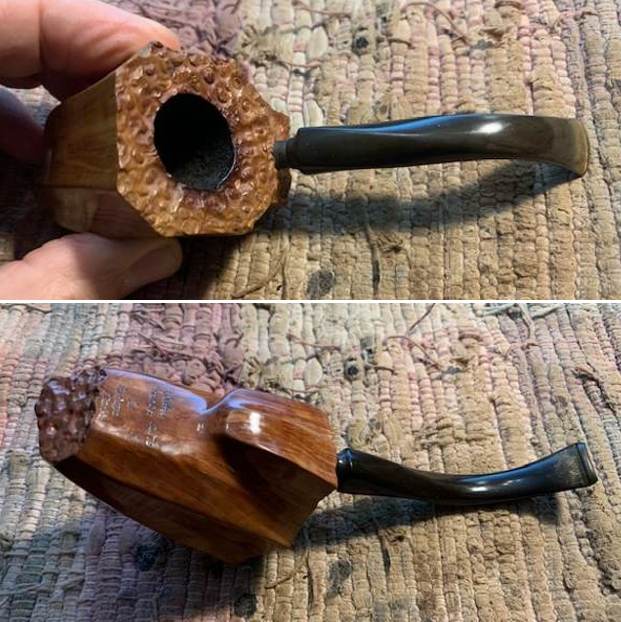
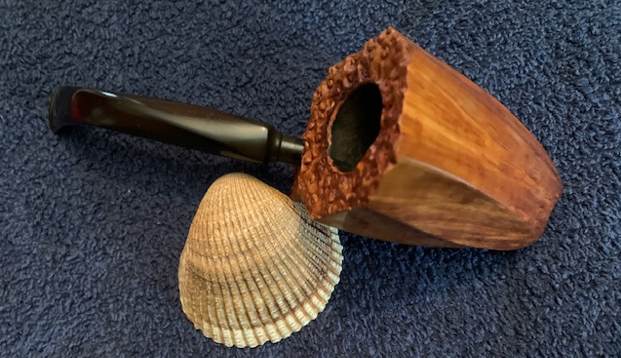
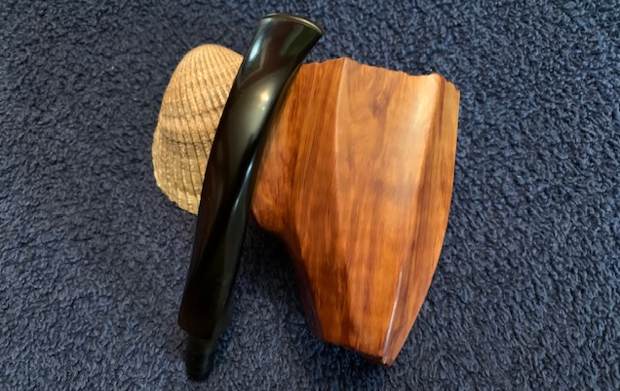
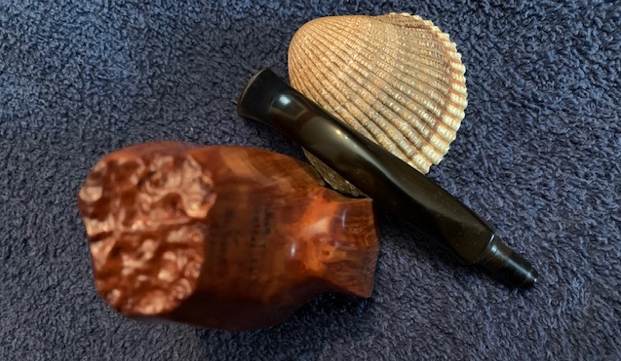
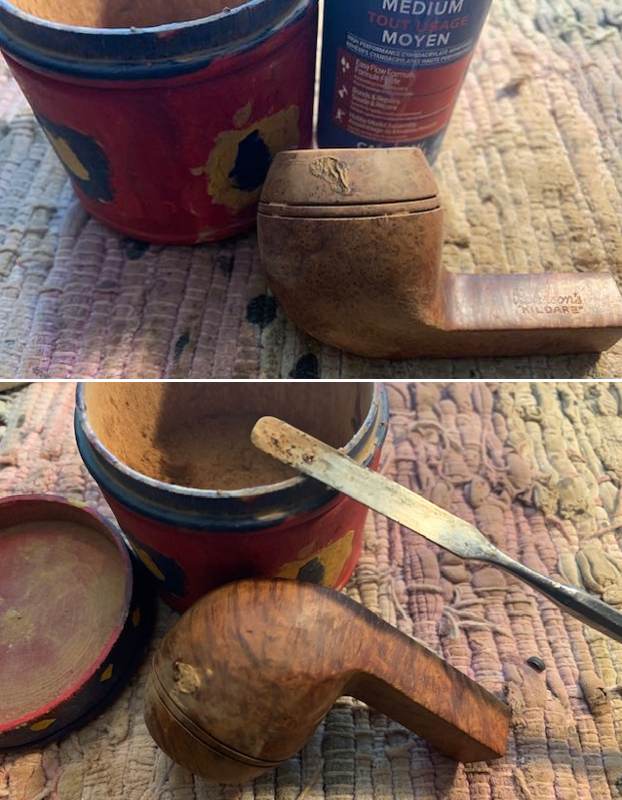
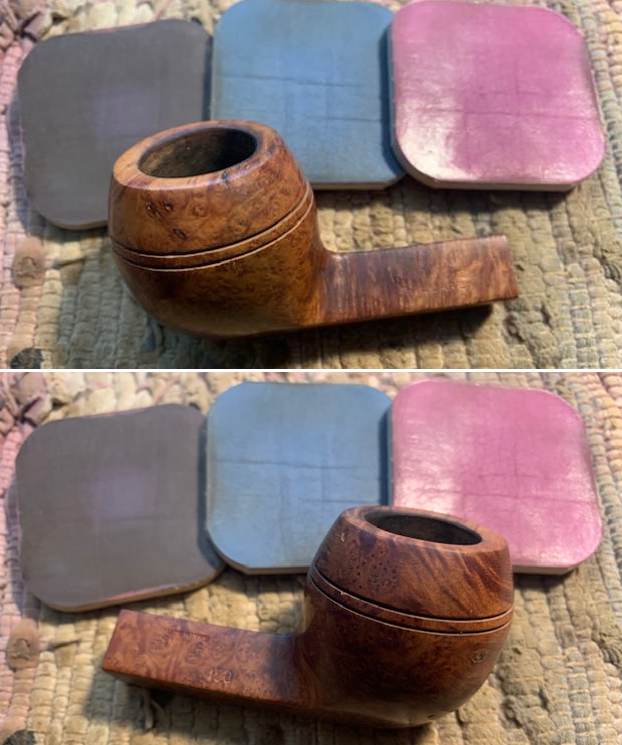
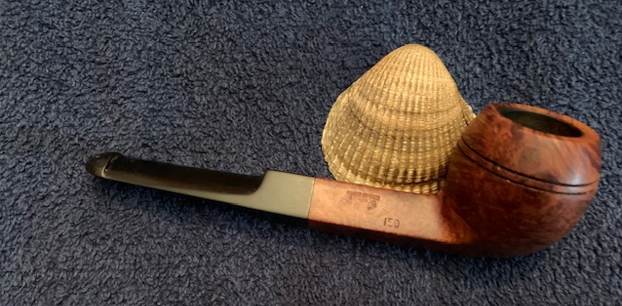
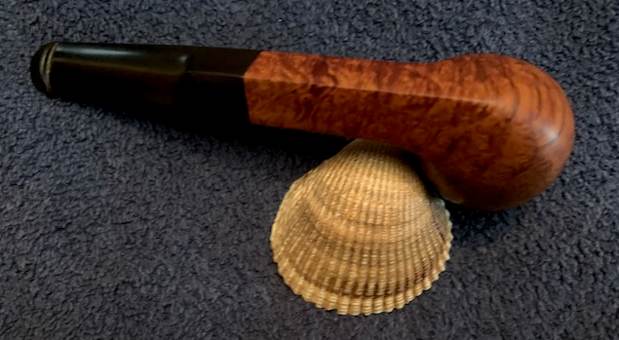
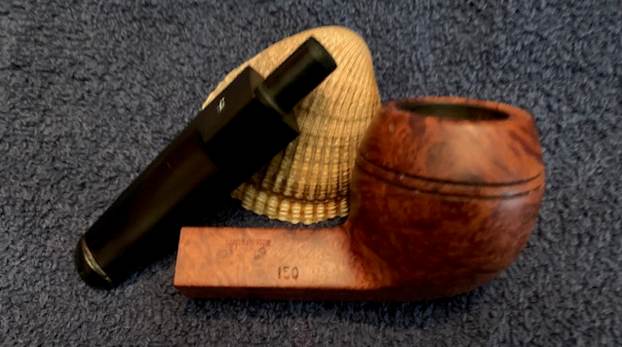
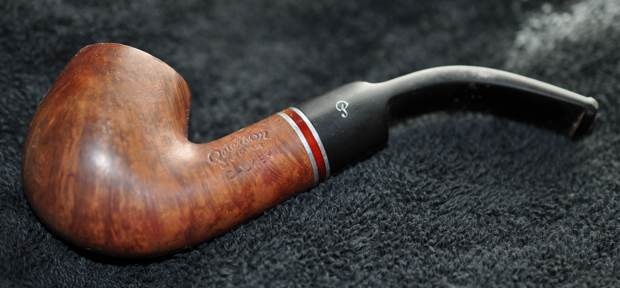
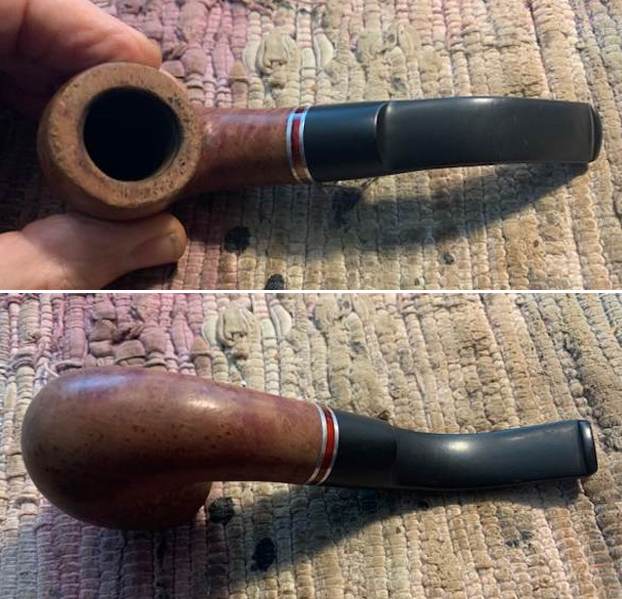
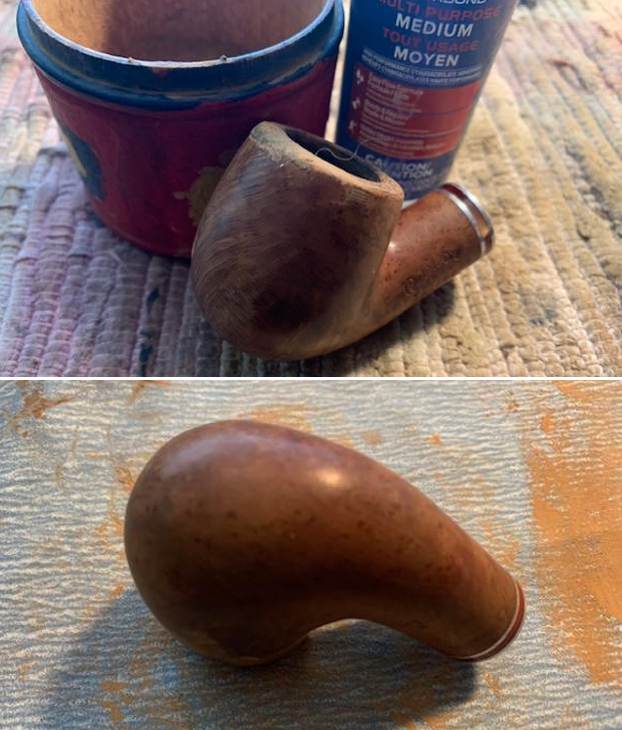
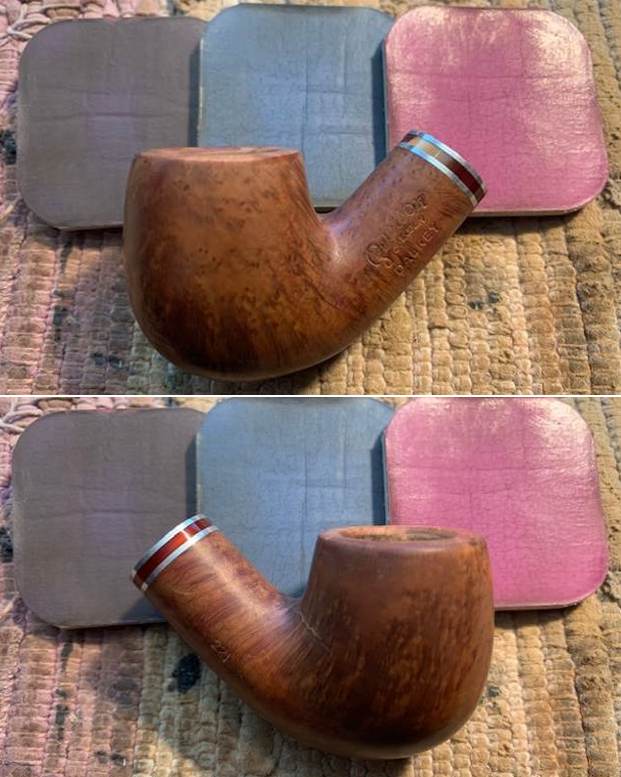
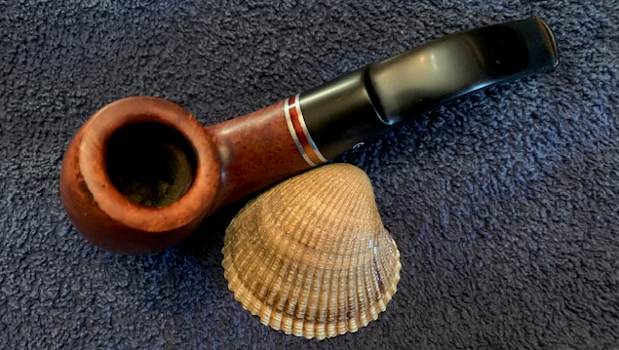
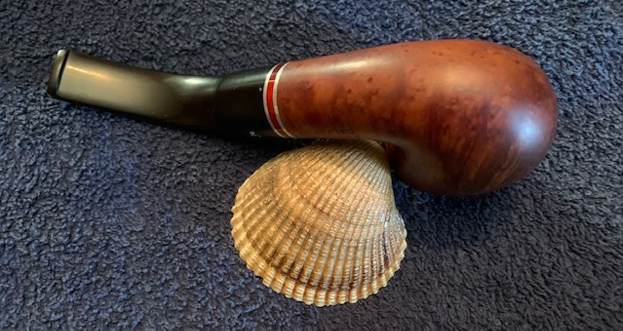
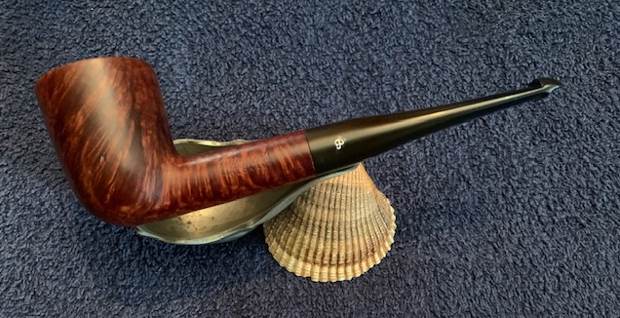
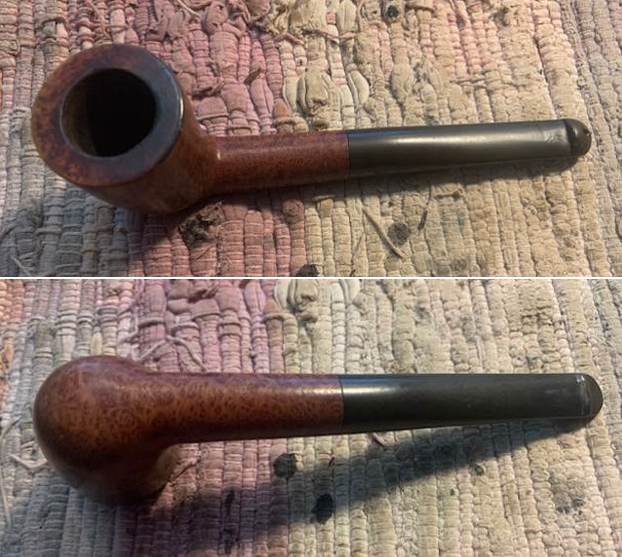
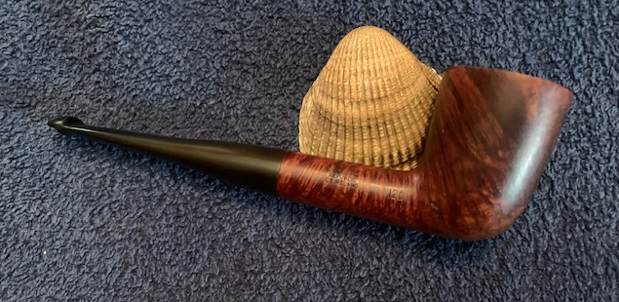
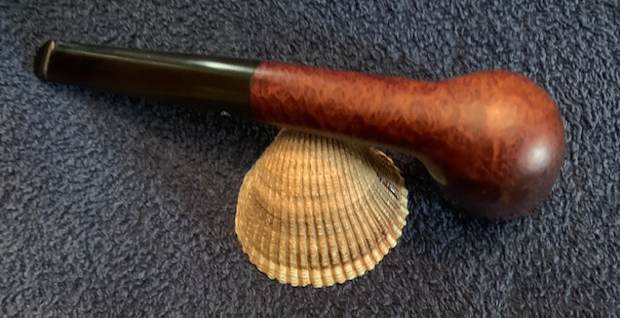
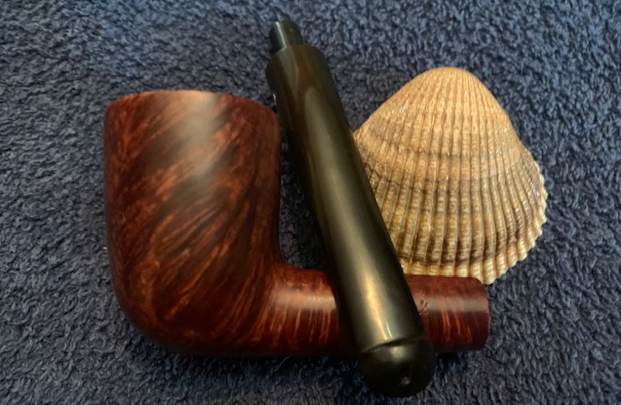
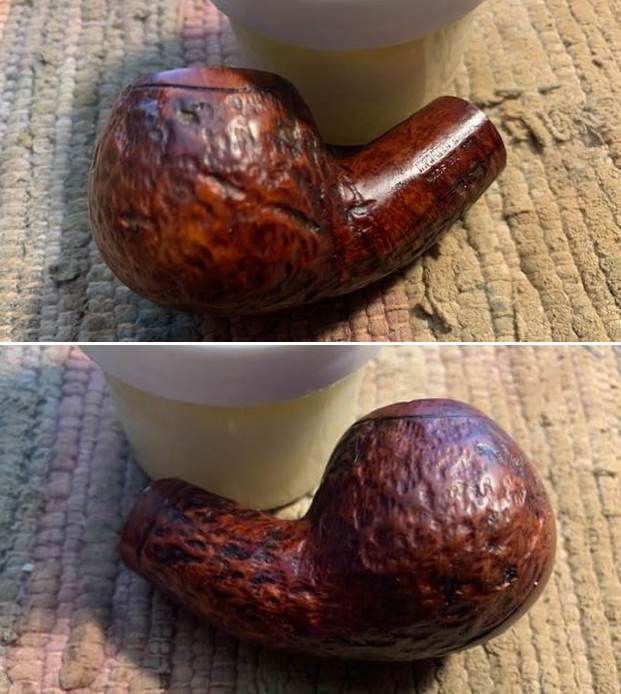
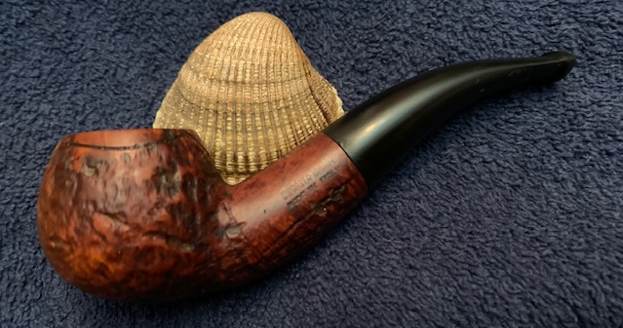
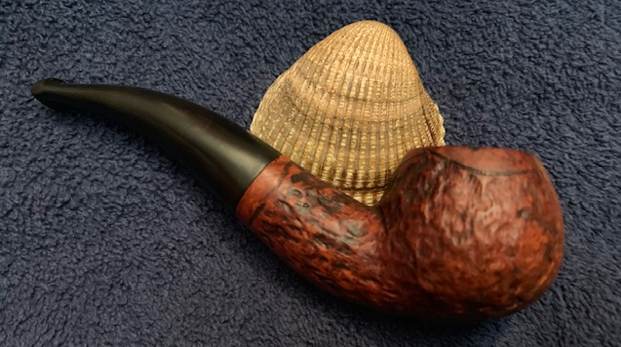
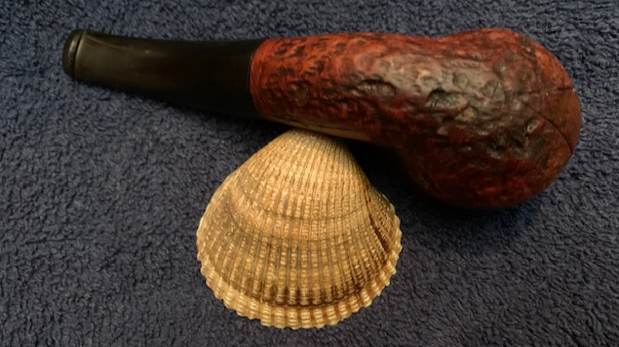
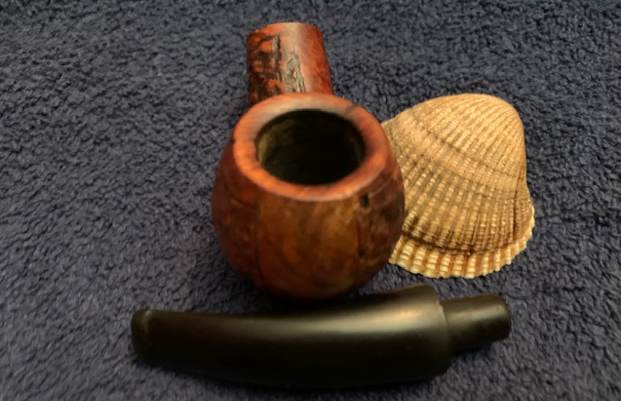
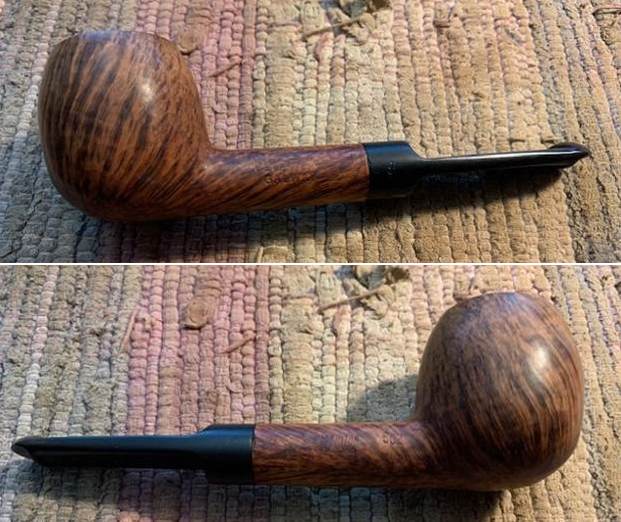
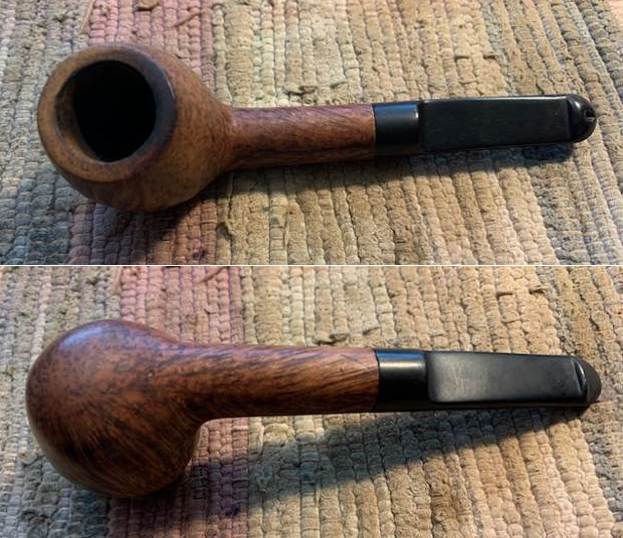
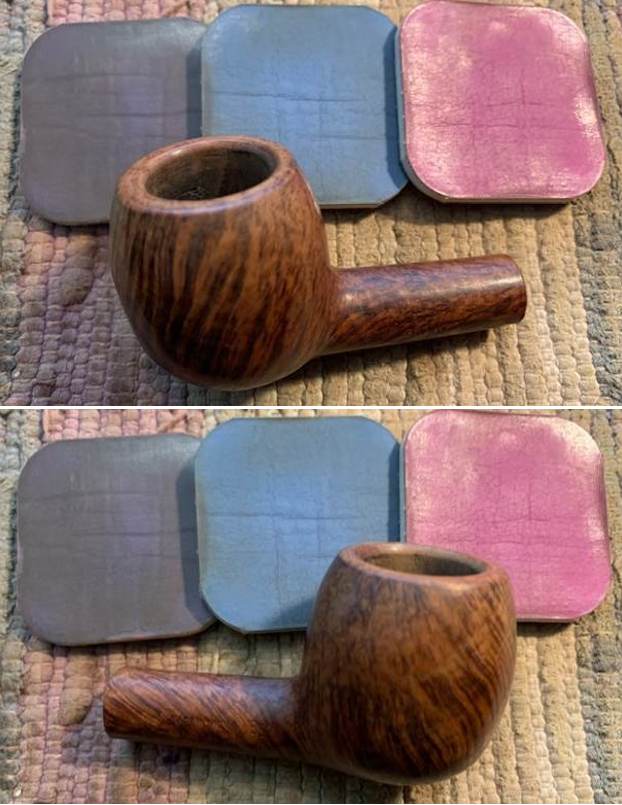
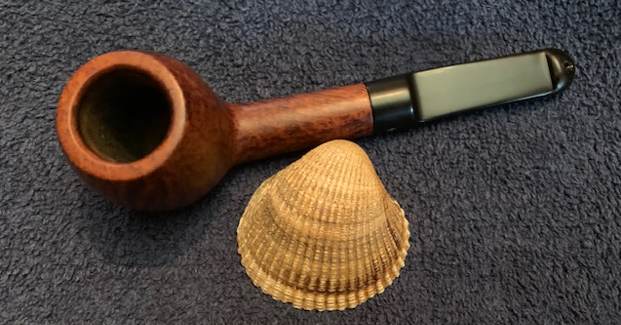
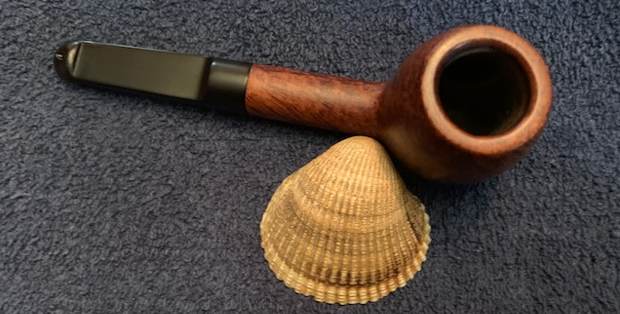
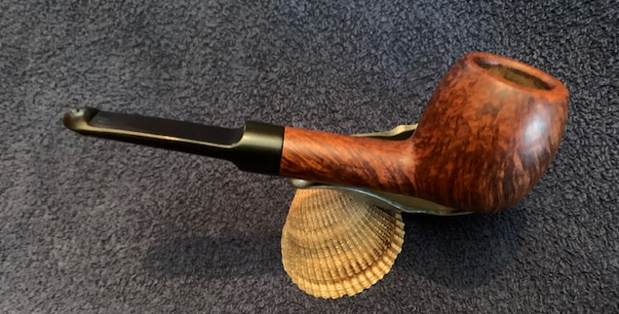
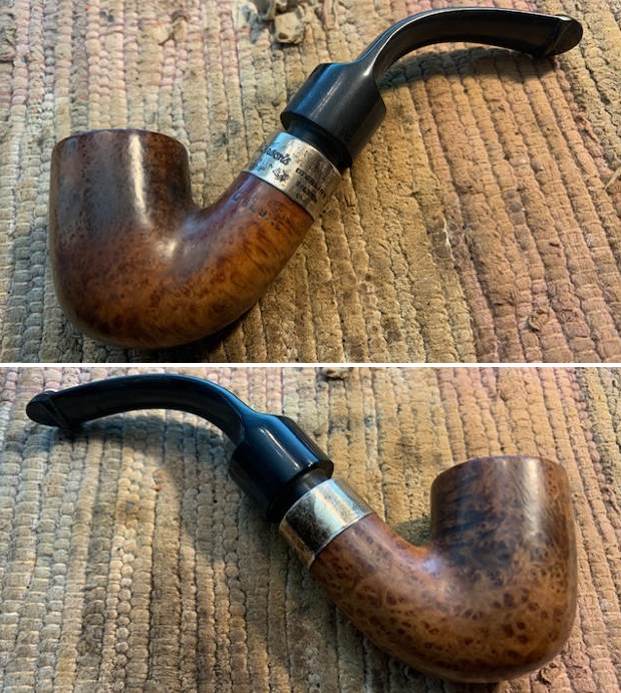
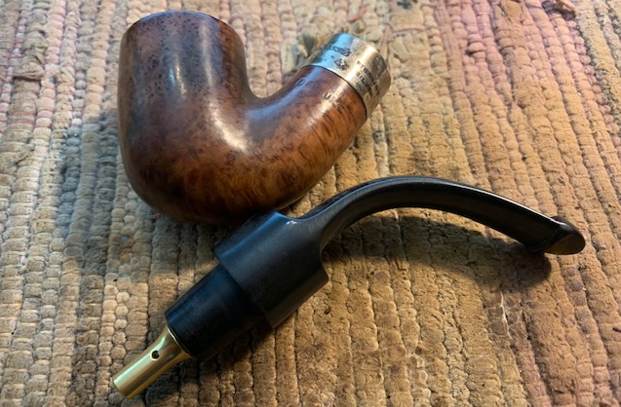
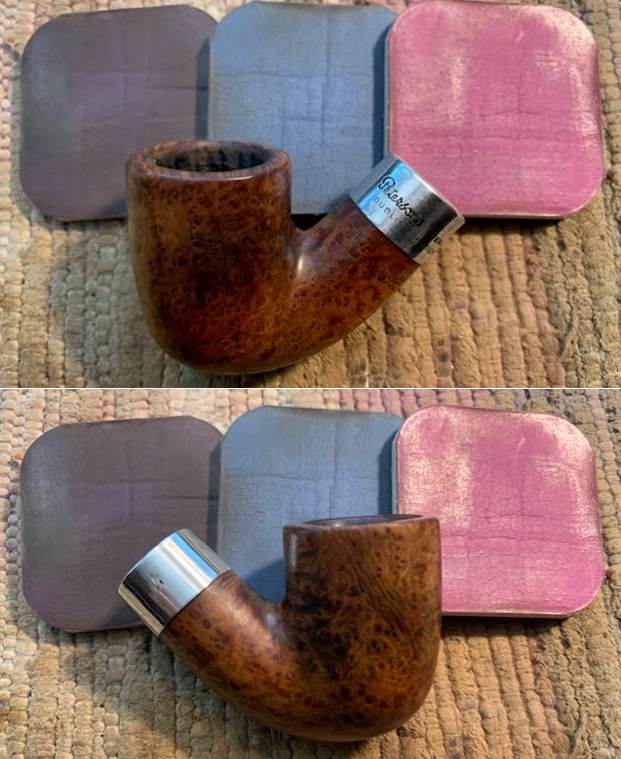
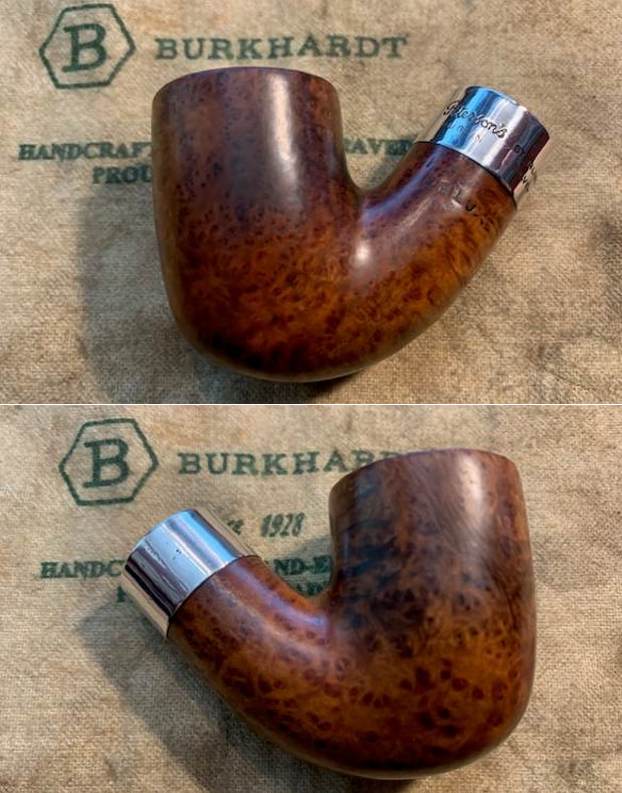
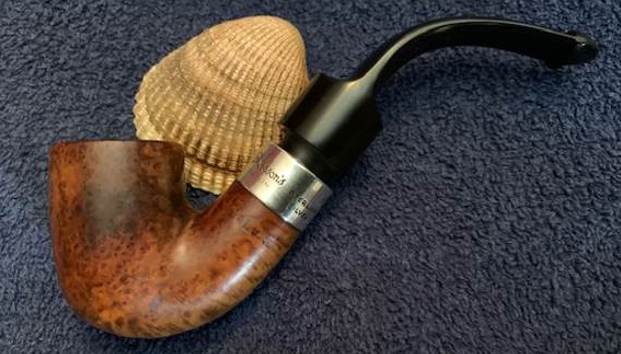
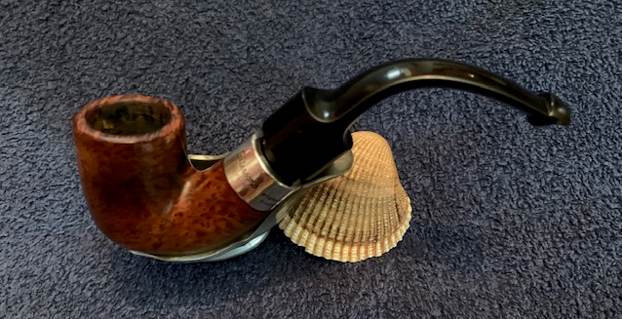
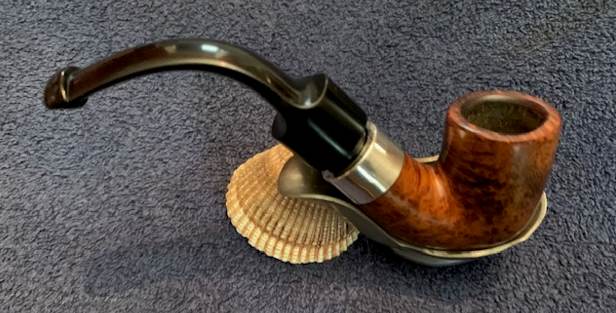
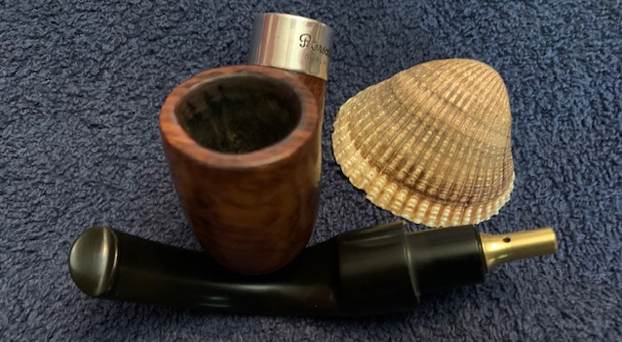
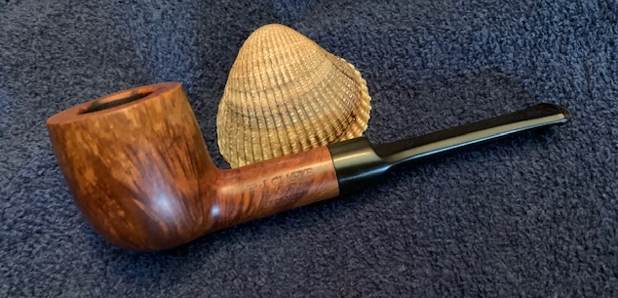
The next pipe on the work table is an interesting piece of Vancouver Pipe Smoking History. It is a shop pipe that is stamped on the left side and reads R.J. Clarke [over] Straight Grain [over] St. Claude. The underside of the stem is stamped FRANCE next to the shank/stem union. For a bit of background, R.J. Clarke’s was my go to Tobacco Shop before its Gastown location closed down. To enter the shop was like a bit of time travel. It had been a Vancouver tradition for many years. The location had been a Vancouver tradition for years. Inside it looked like I imagined shops in 1800’s England must have looked. Inside, it was dark but wasn’t intimidating, fragrant but not overpowering. The owner was friendly and informative and I made it a Saturday tradition to visit there once I moved to Vancouver. There were chairs and couches in the back of the shop to sit and sip a coffee and a pipe or cigar and solve the world’s problems with other like minded pipemen. Those memories will never leave me but the shop is long gone – closed around 2000 (give or take a year). This nicely made Pot shaped pipe has some nice mixed grain around it. There was a light cake in the bowl and some slight damage to the inner edge. The vulcanite saddle stem was lightly oxidized and had tooth marks and chatter on the top and underside ahead of the button. I took photos of the pipe before I started my clean up work on it. It is a pretty pipe with some great grain around the bowl and shank.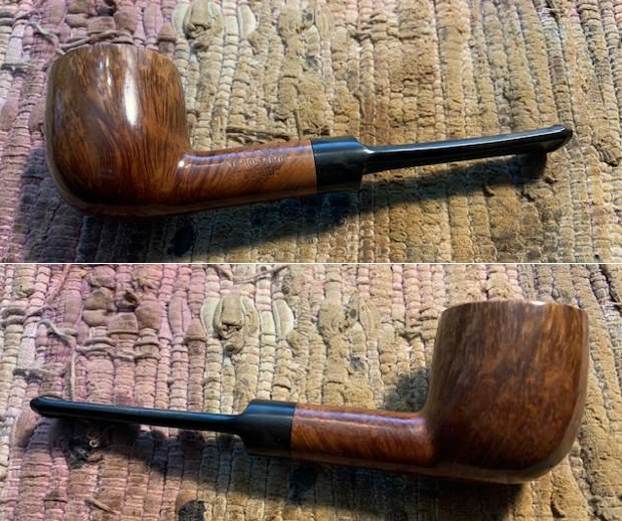
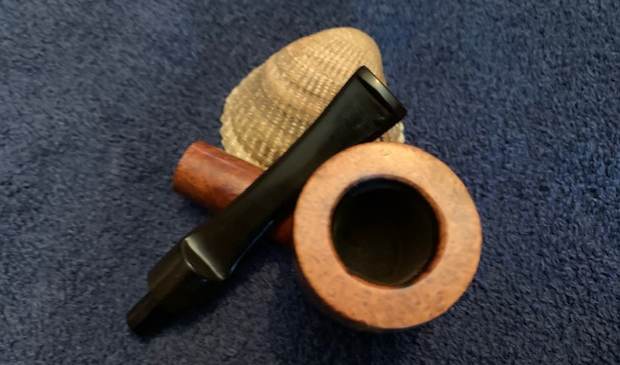
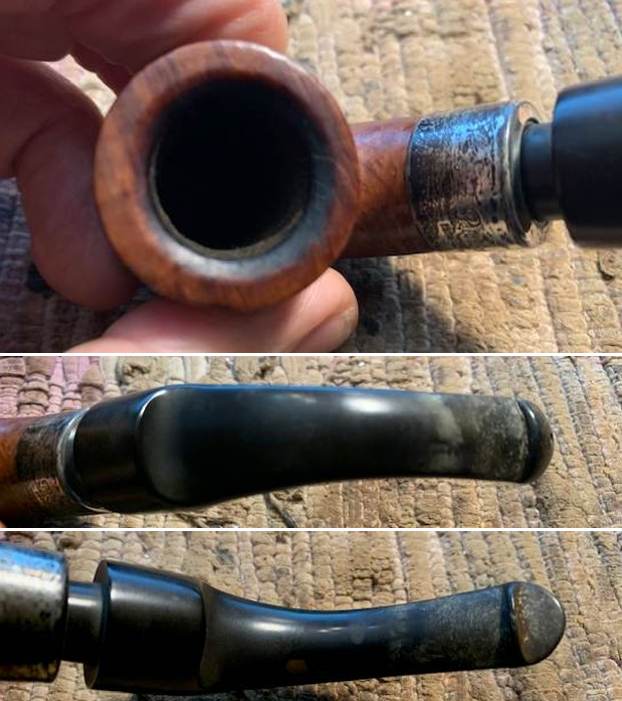
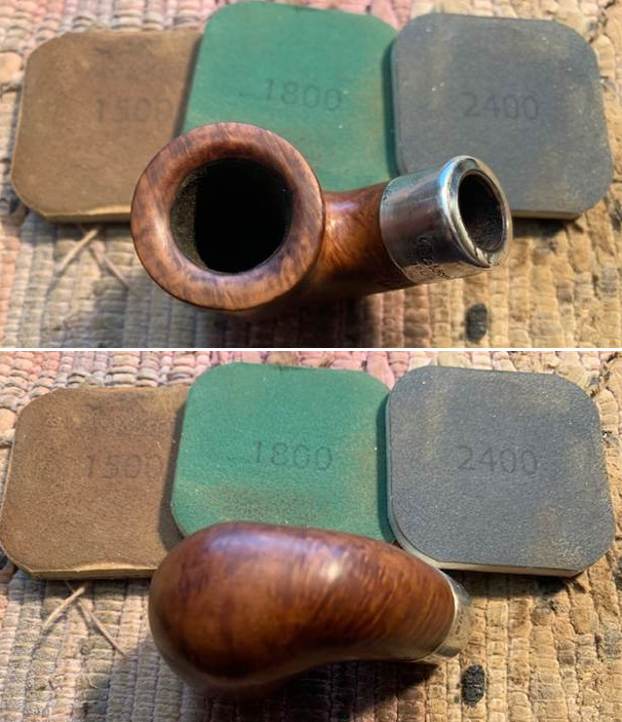
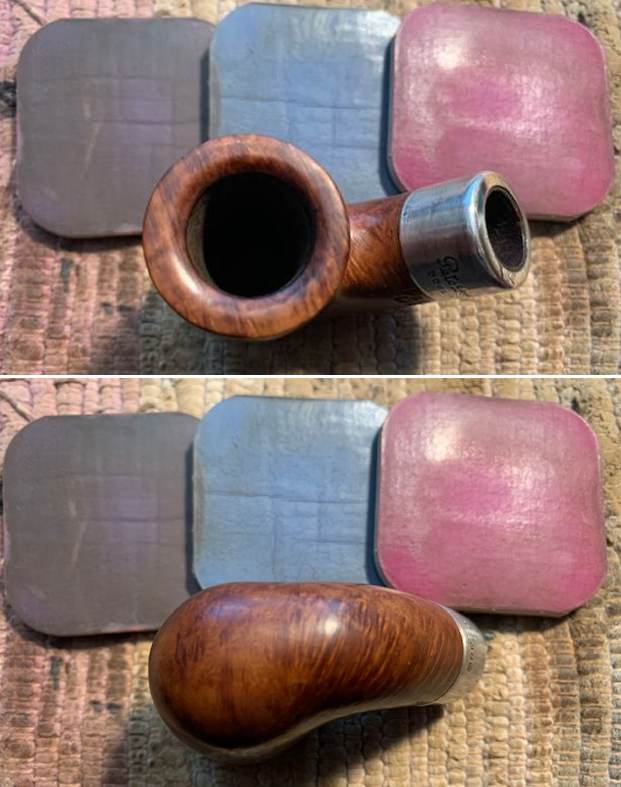
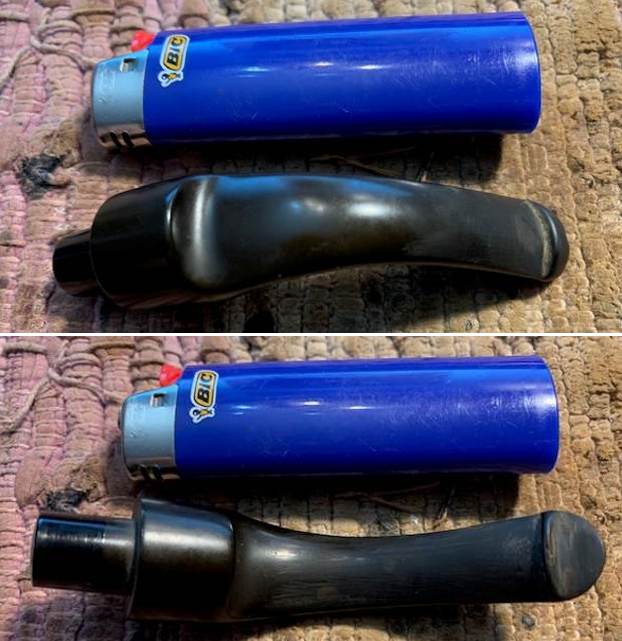
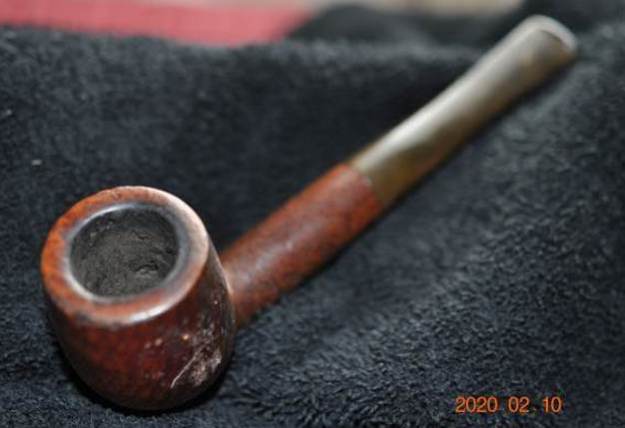
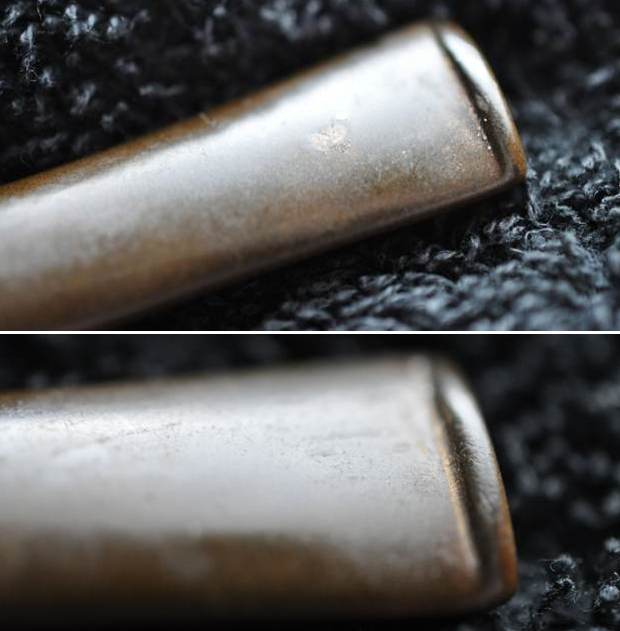
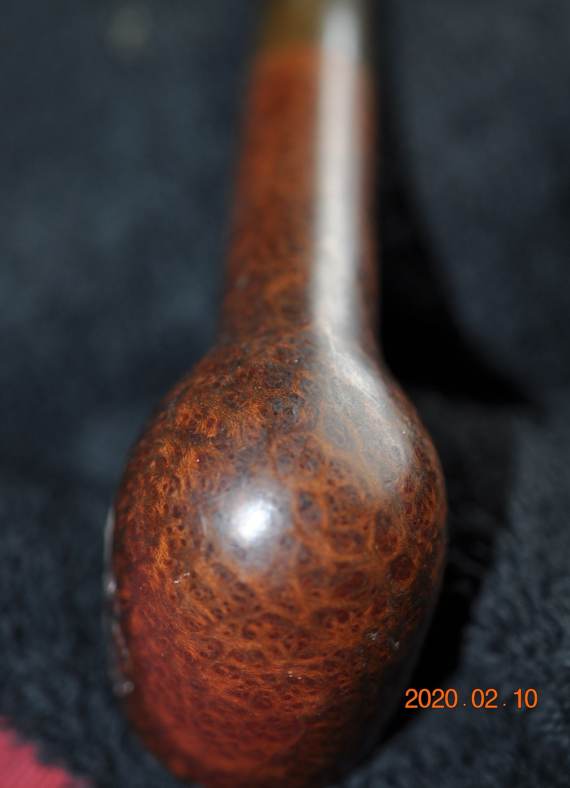
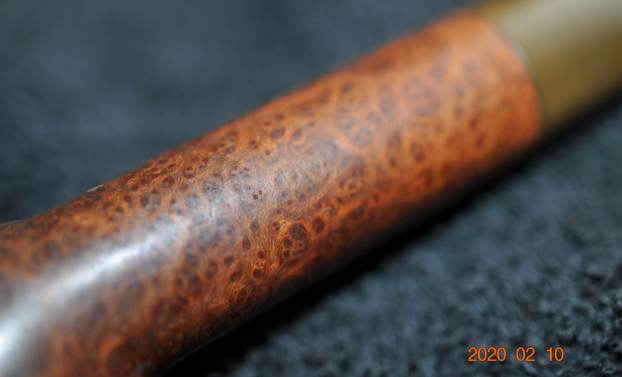
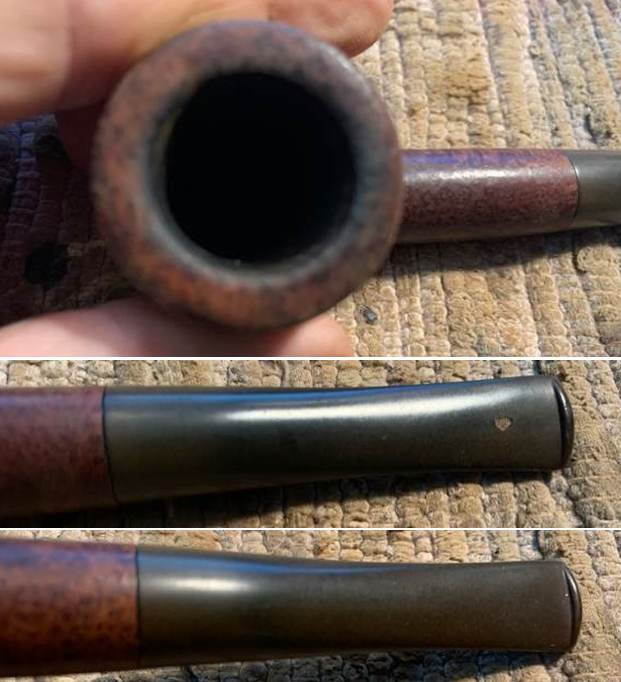
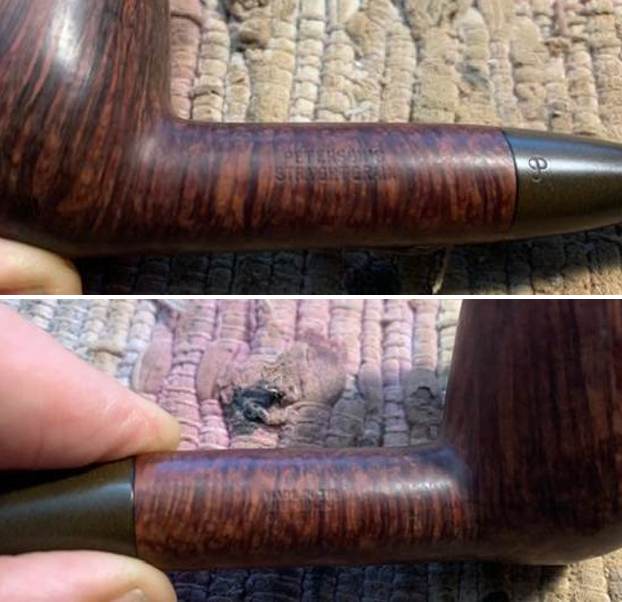
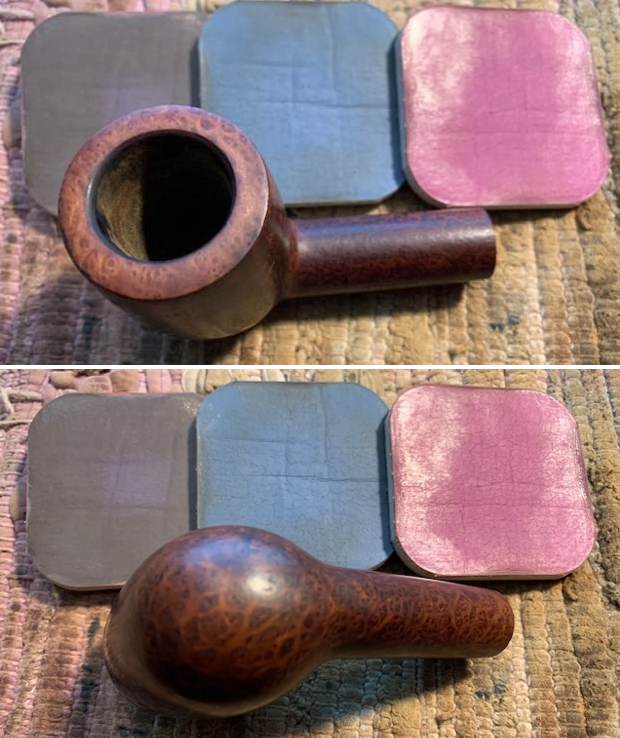
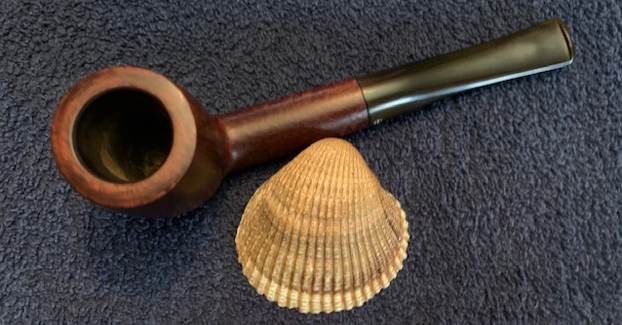
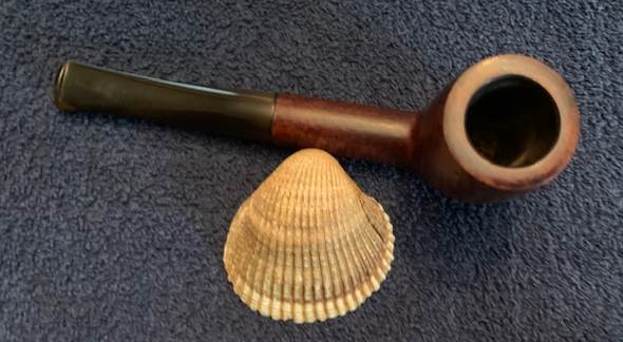
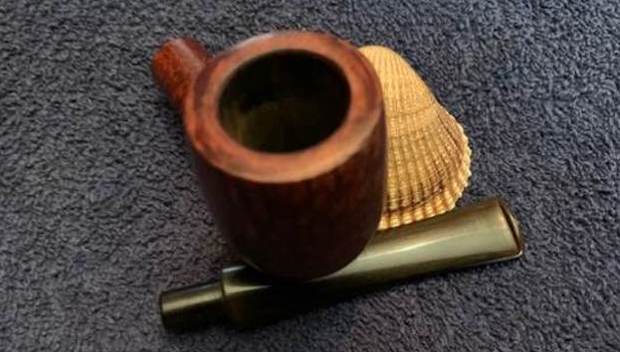
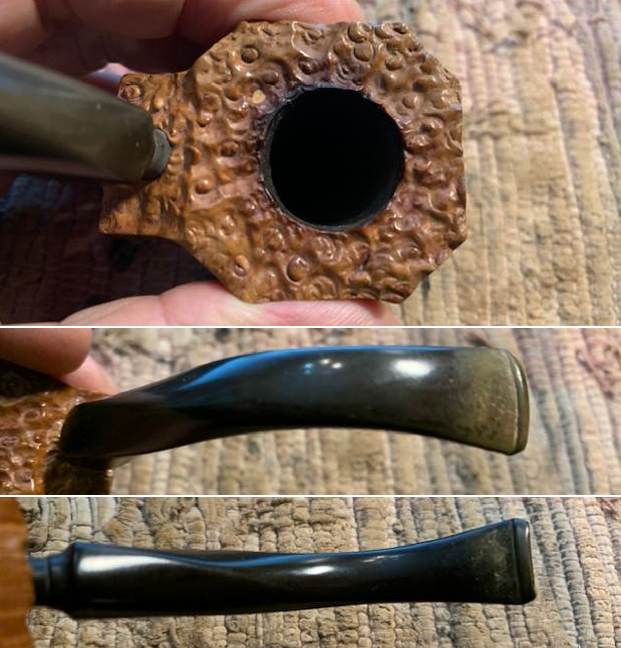
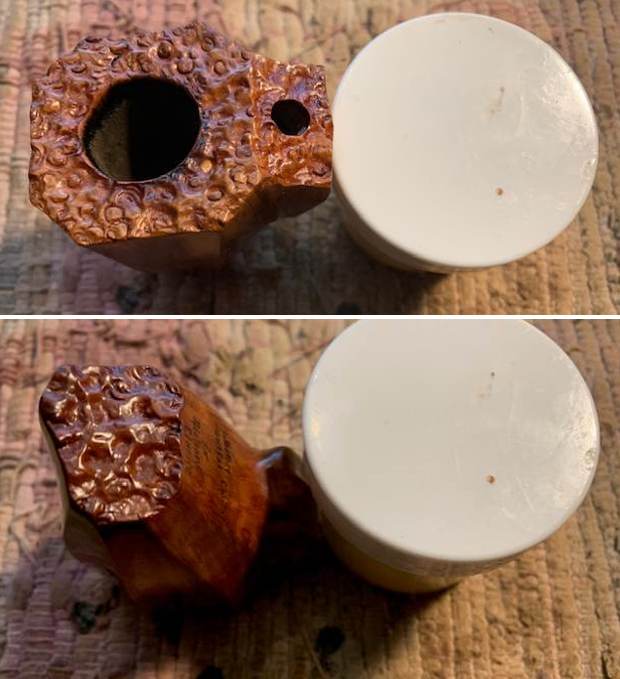
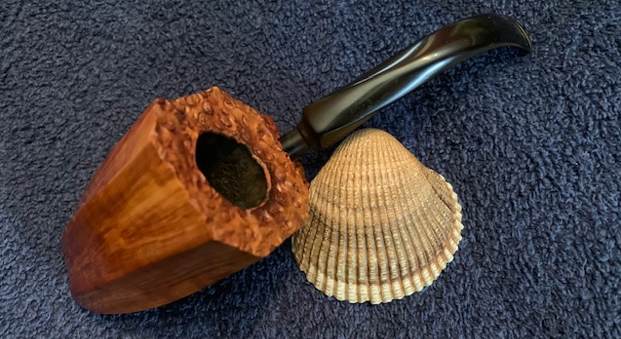
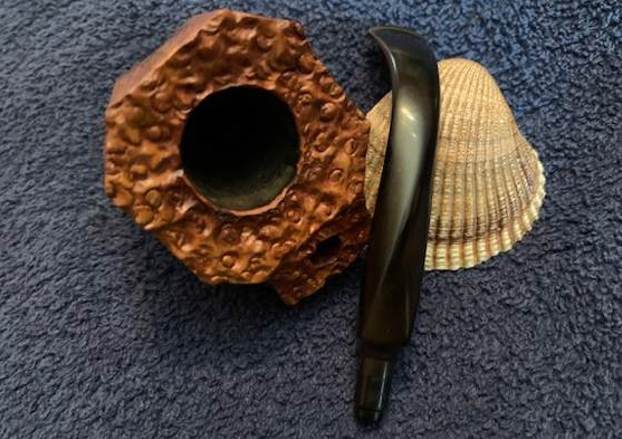
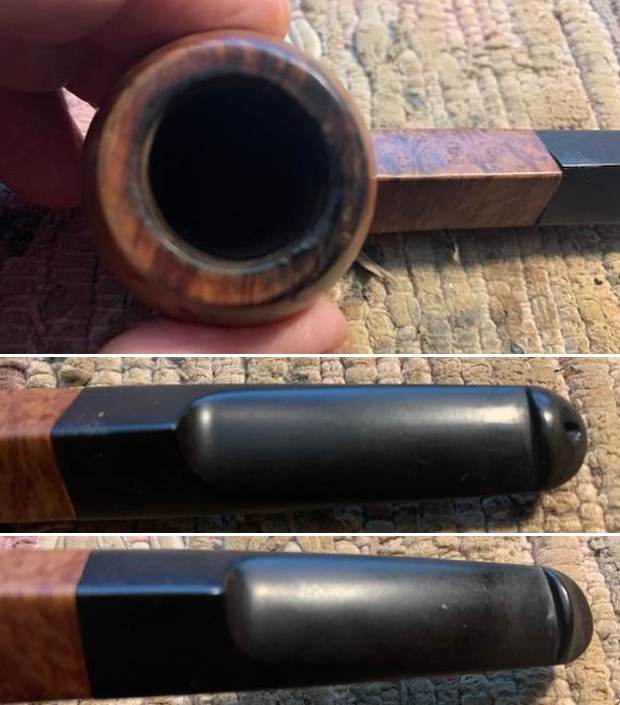
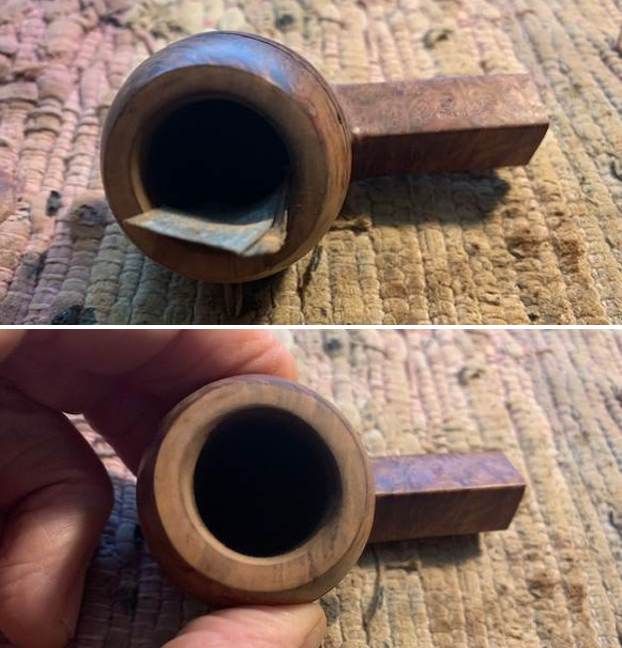
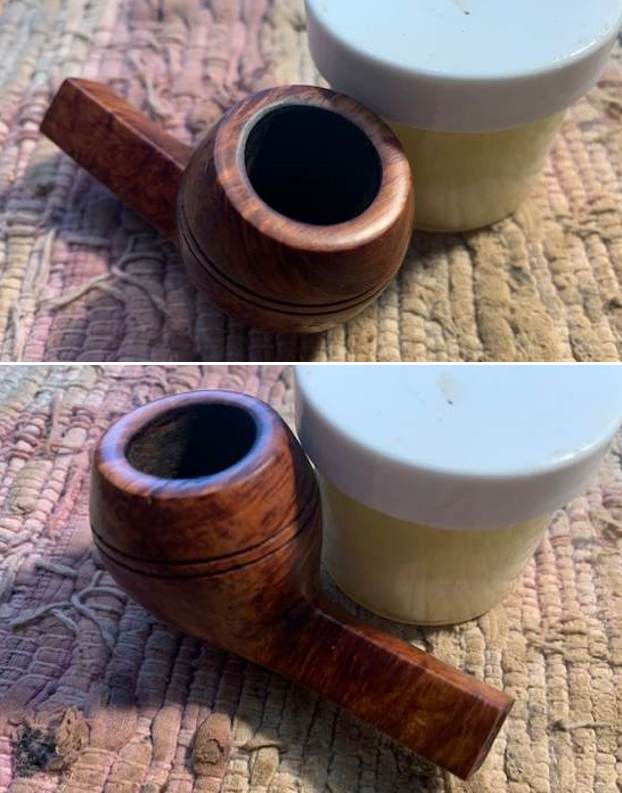
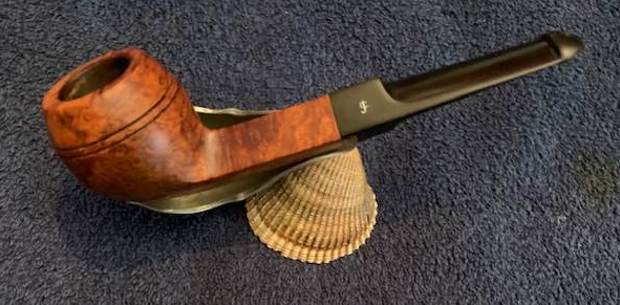
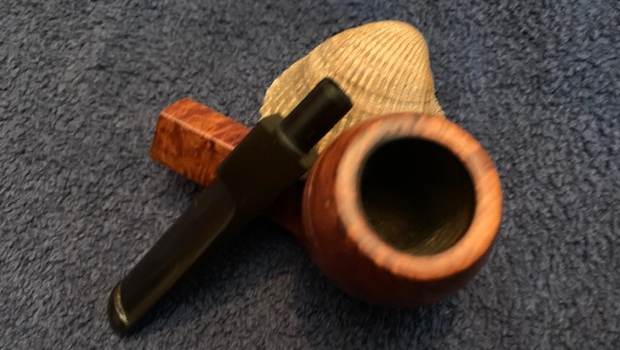
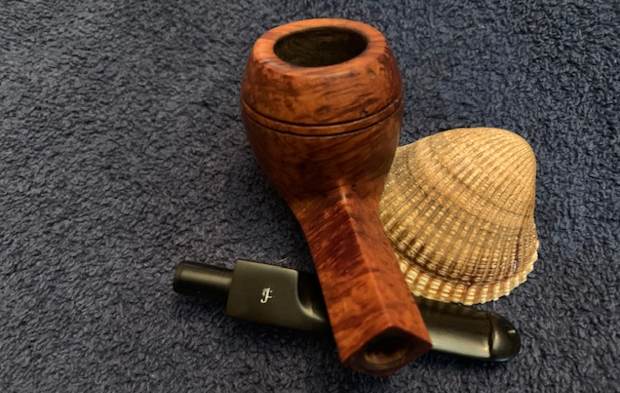
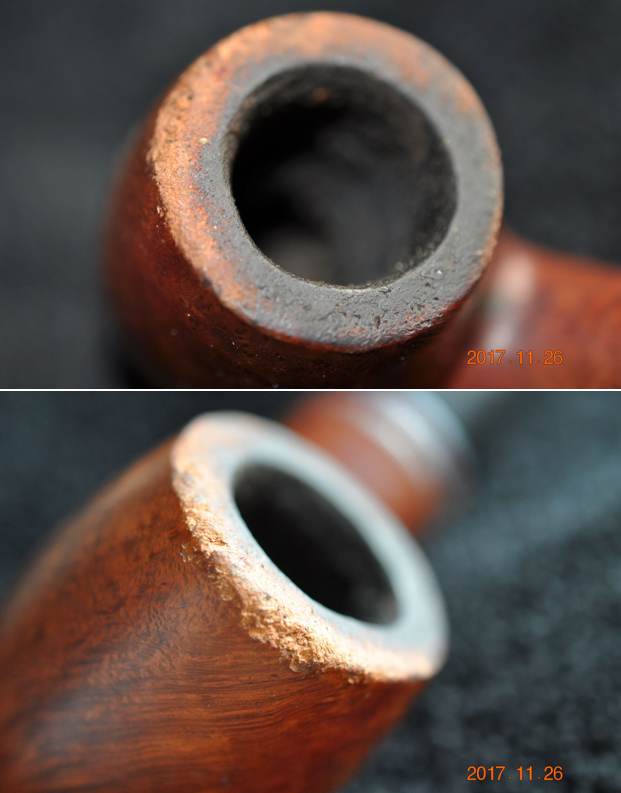
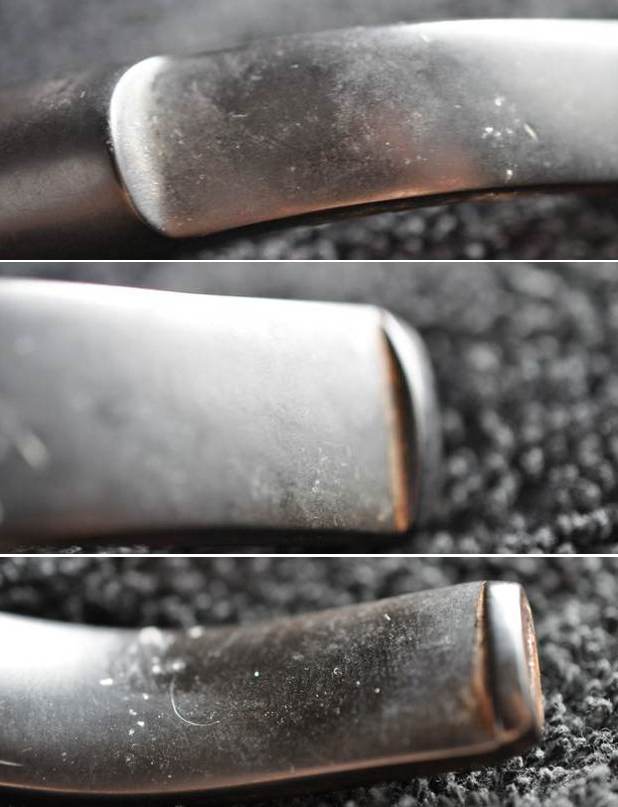
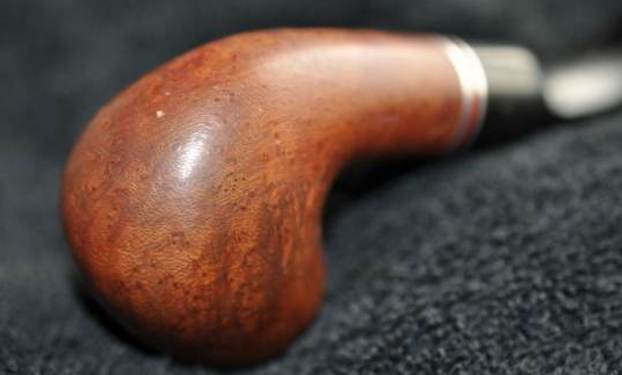
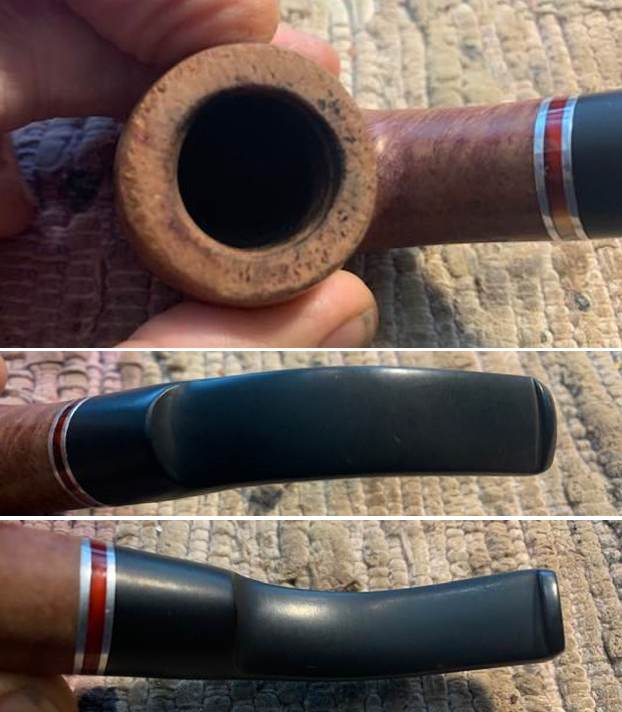
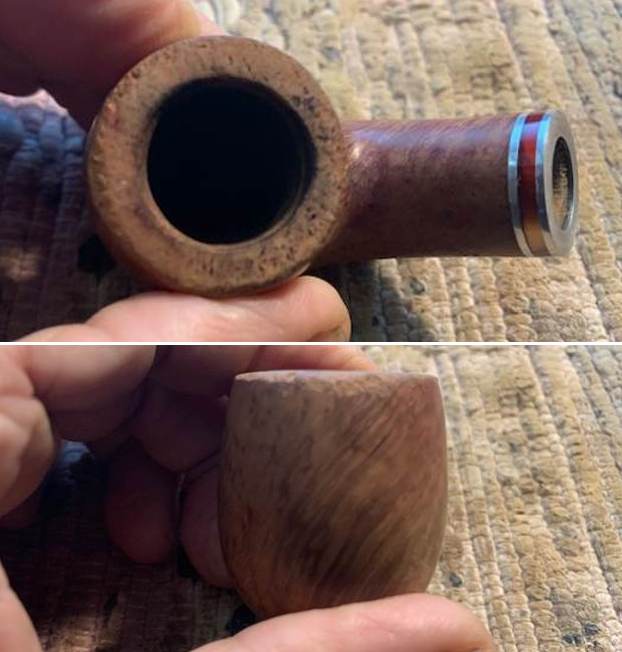
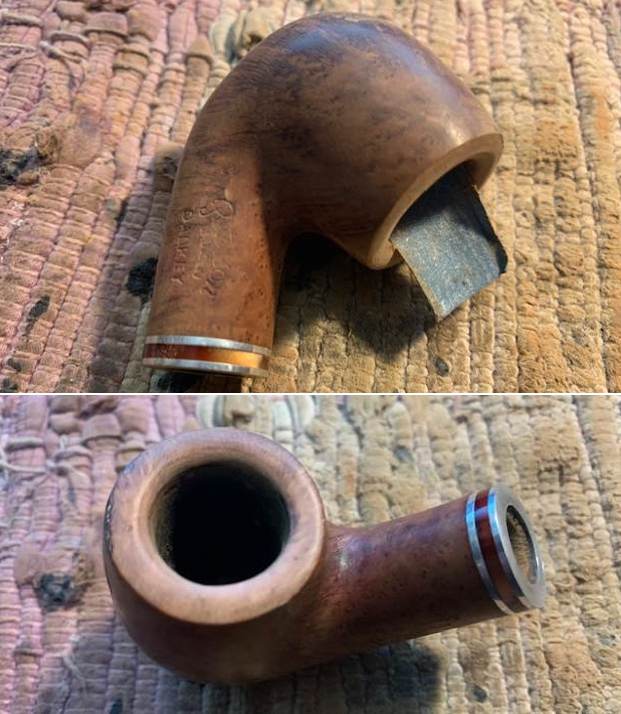
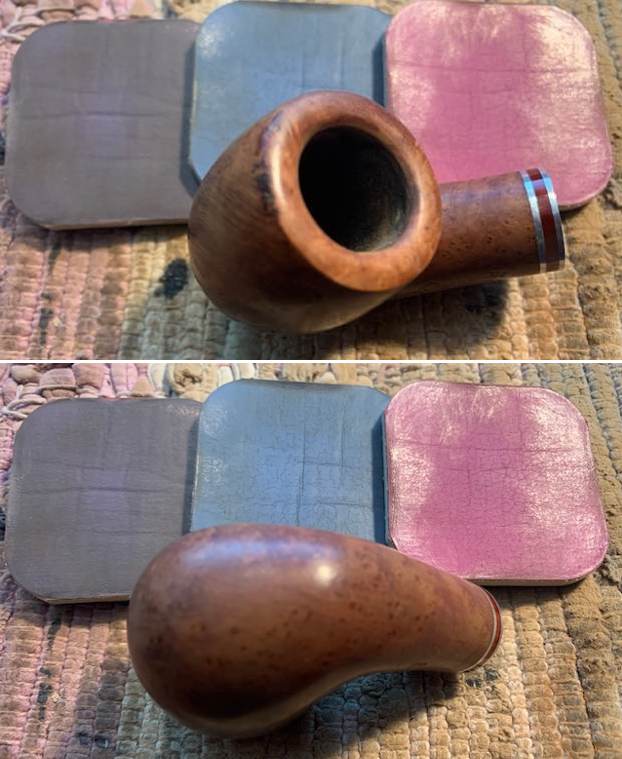
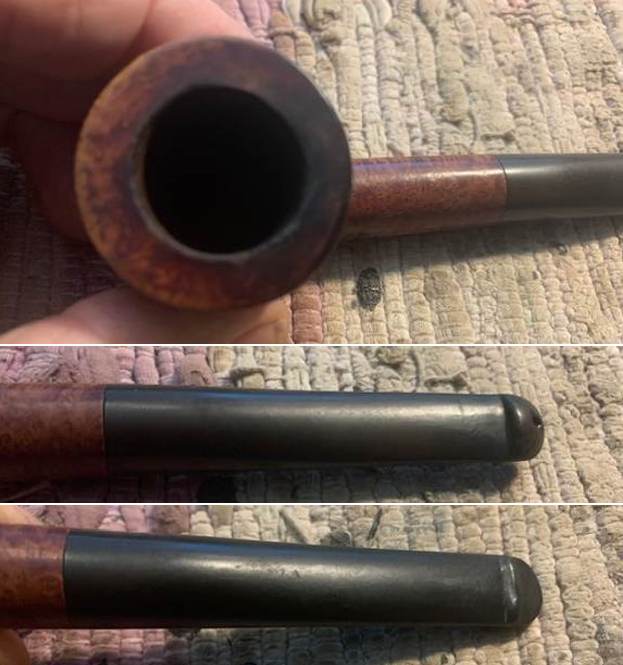
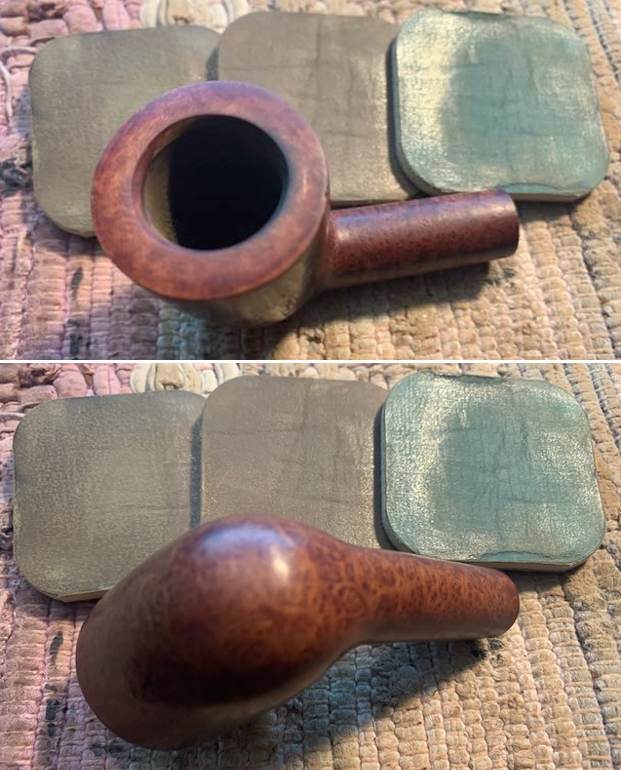
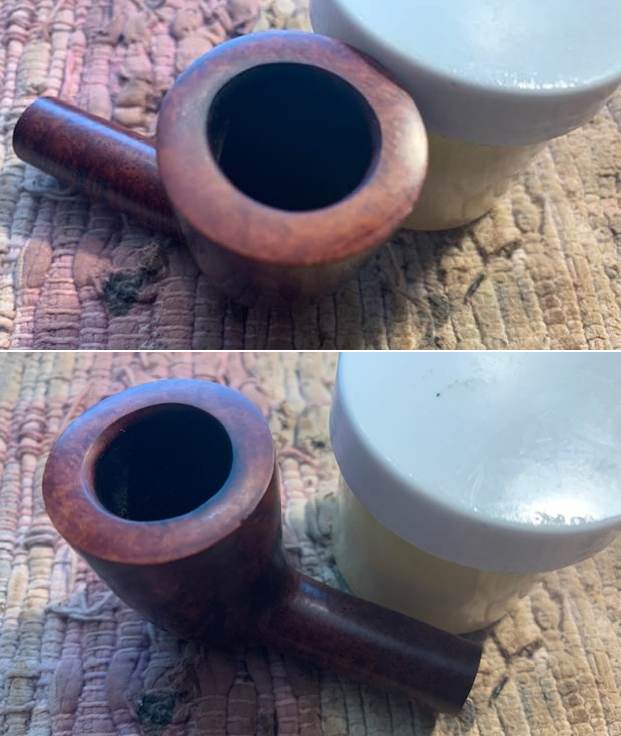
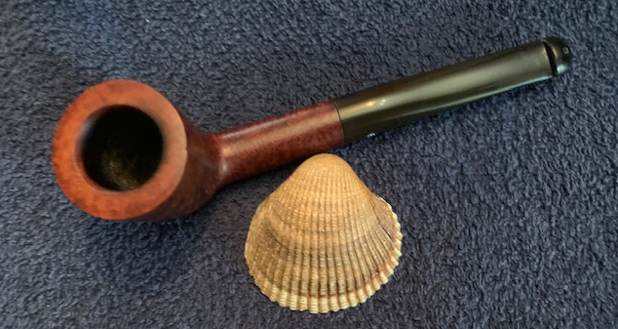
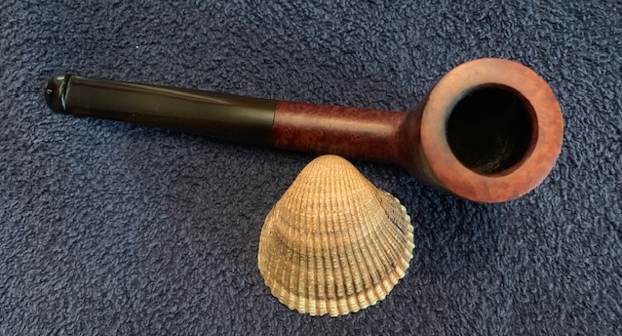
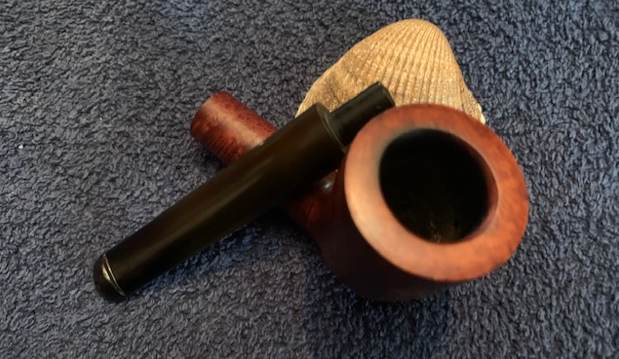
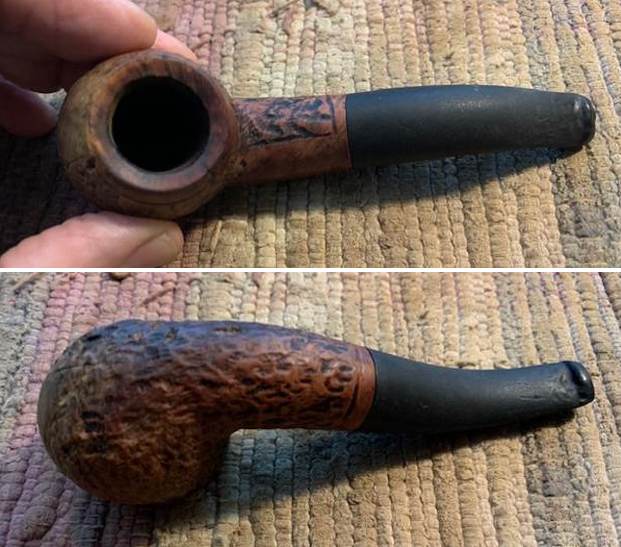
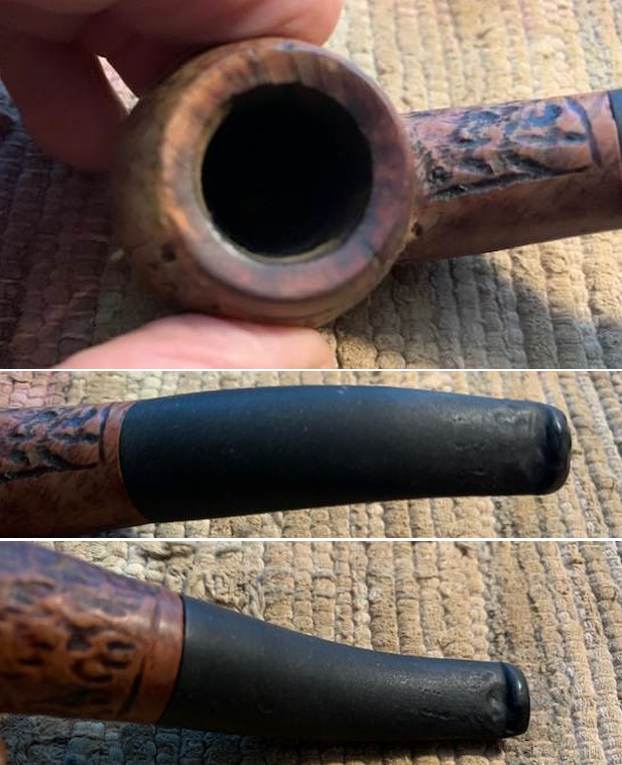
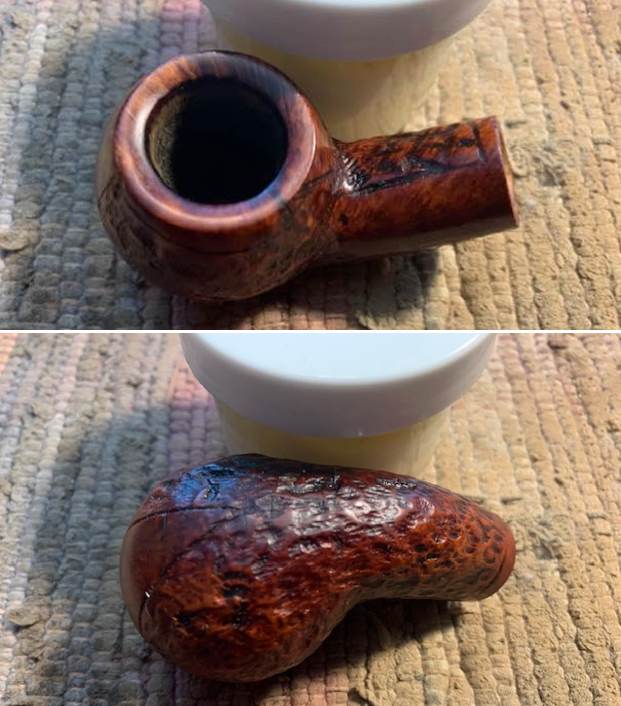
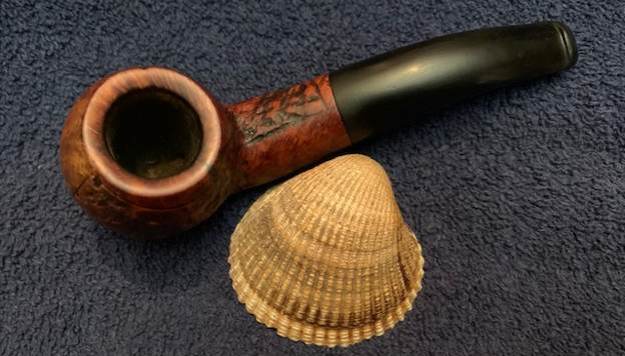
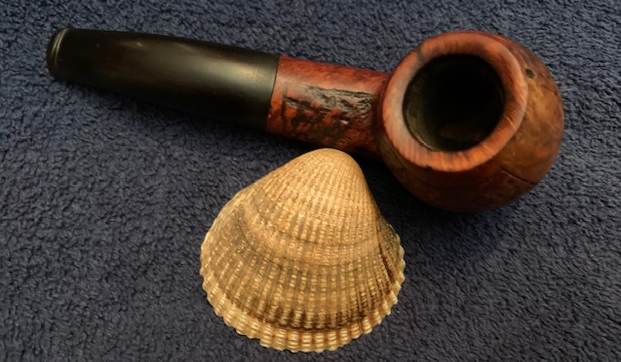
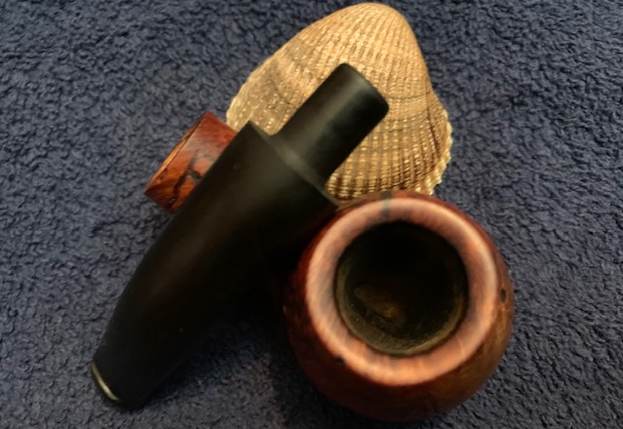
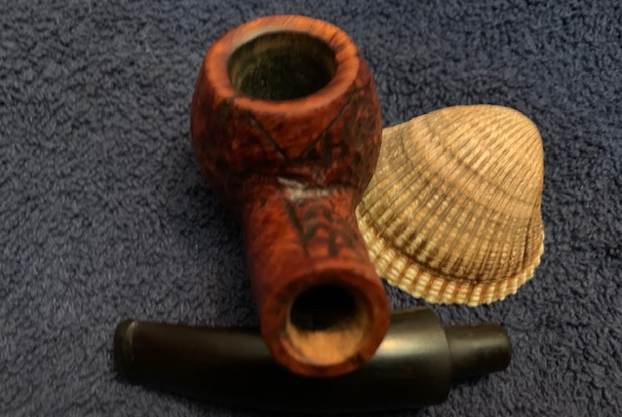
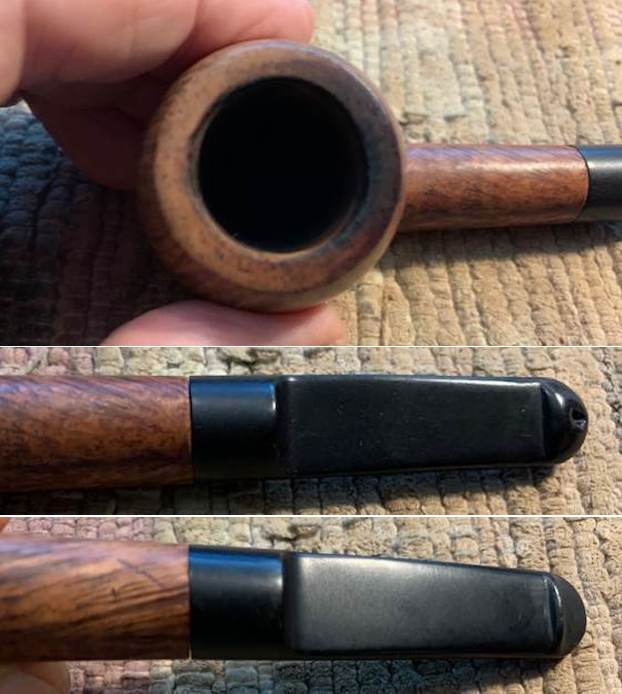
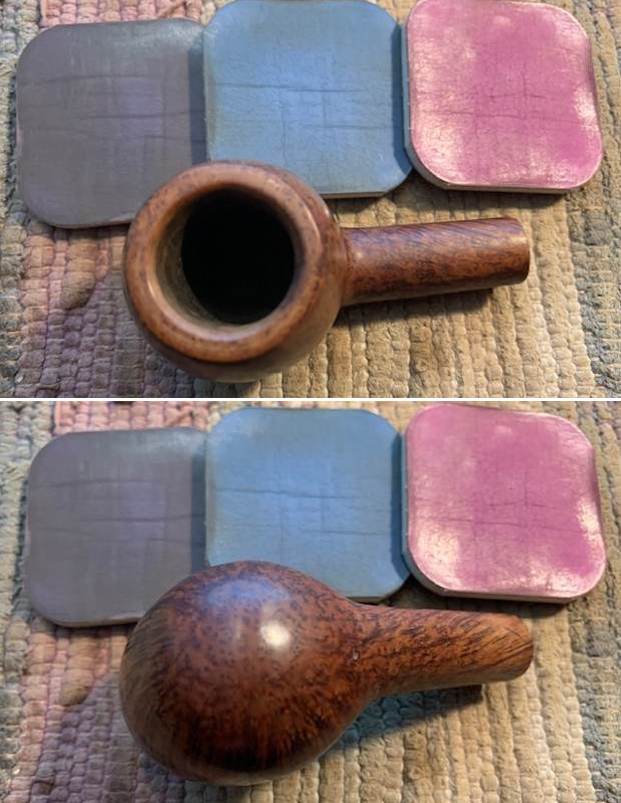
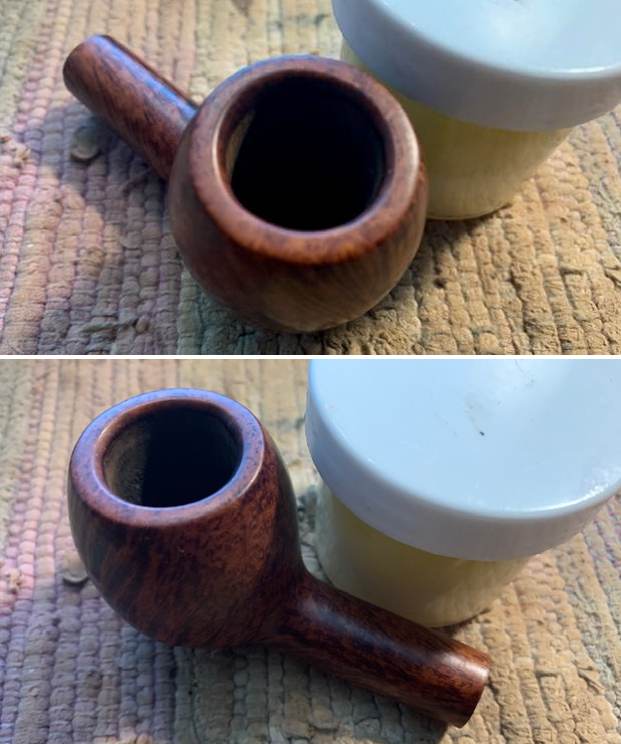
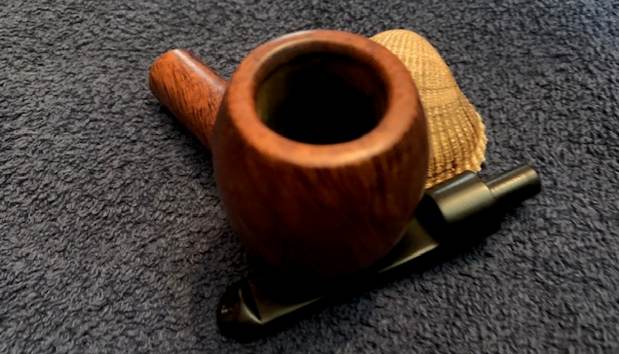
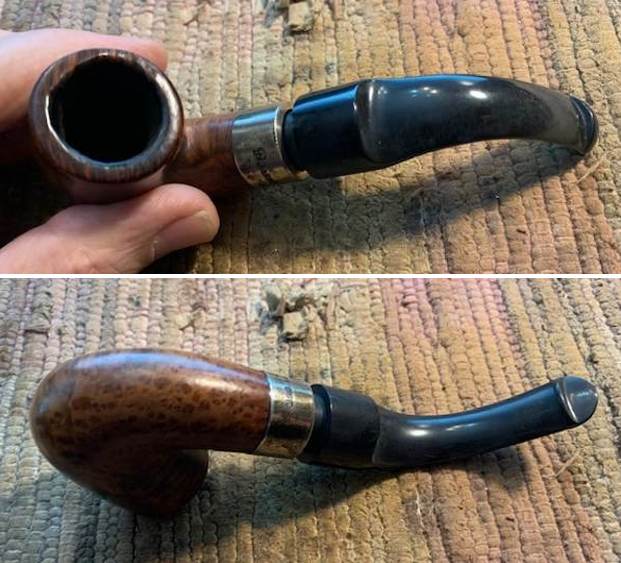
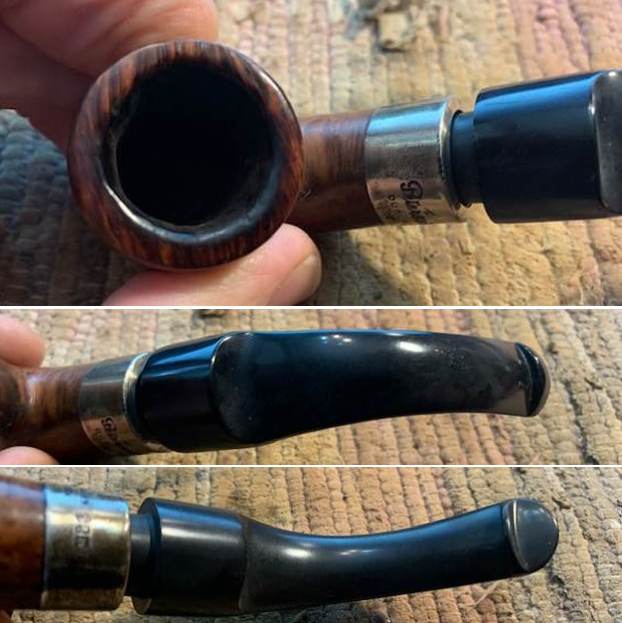
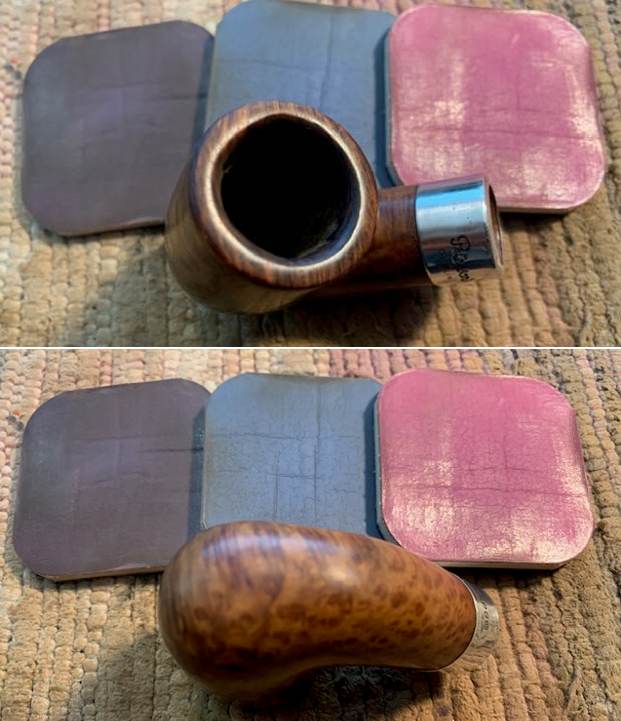
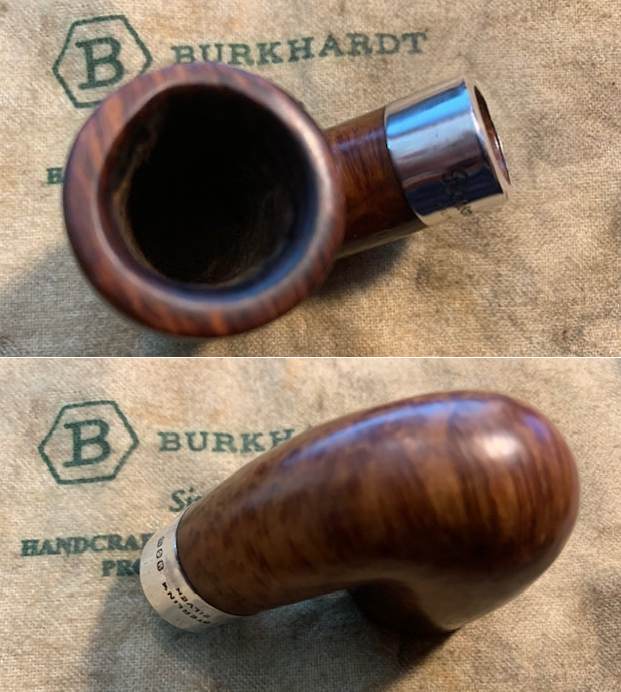
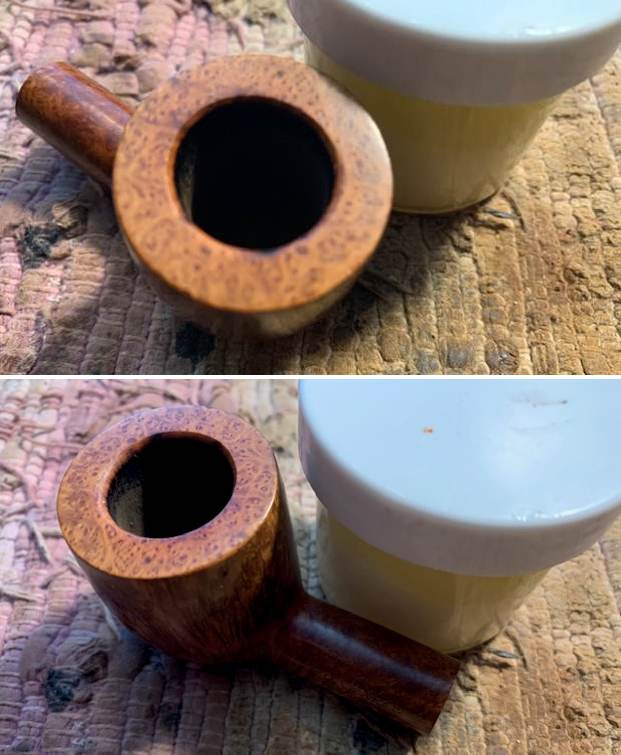
 I took photos of the rim top and edges and the stem surfaces. The rim top looked very good with some great birdseye. The inner edge had some burn damage and some darkening all the way around. There was some darker spots on the right front and the rear left edges. The stem had some oxidation and tooth marks and chatter on both sides ahead of the button.
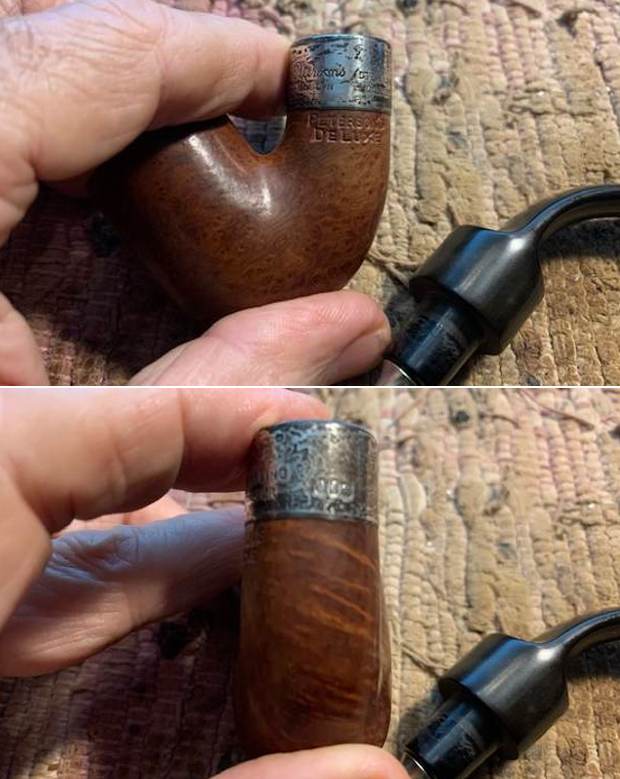
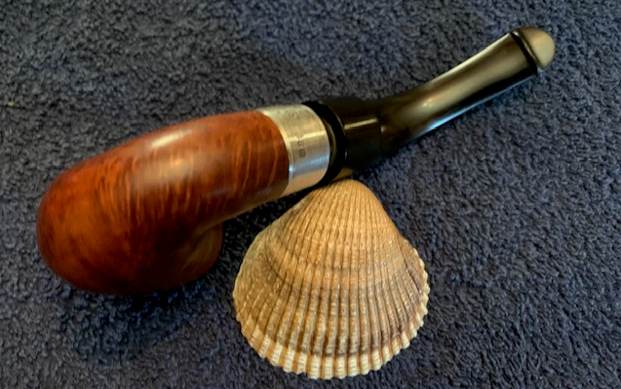
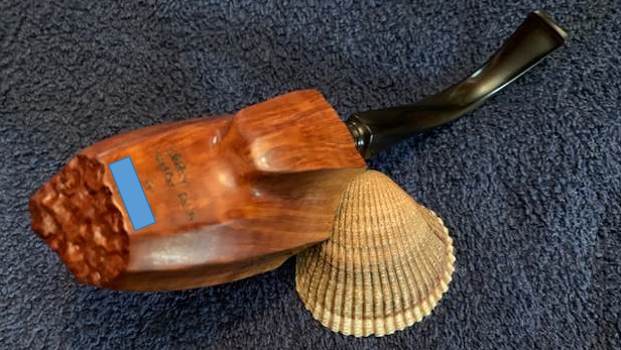
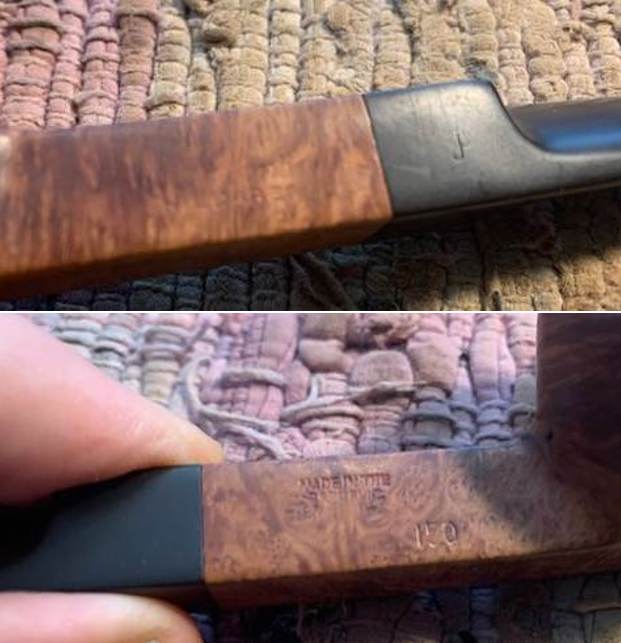
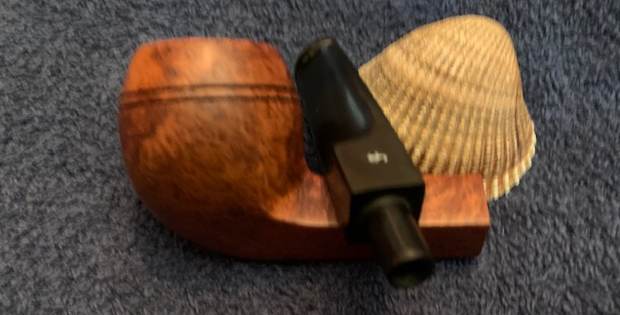
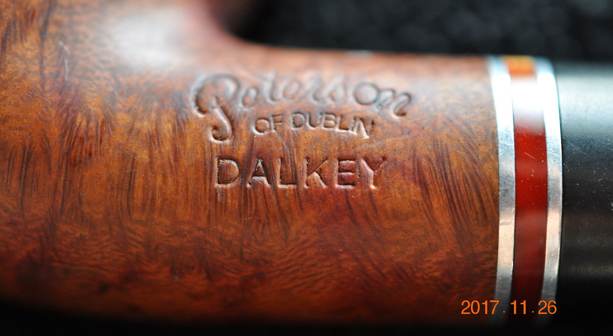
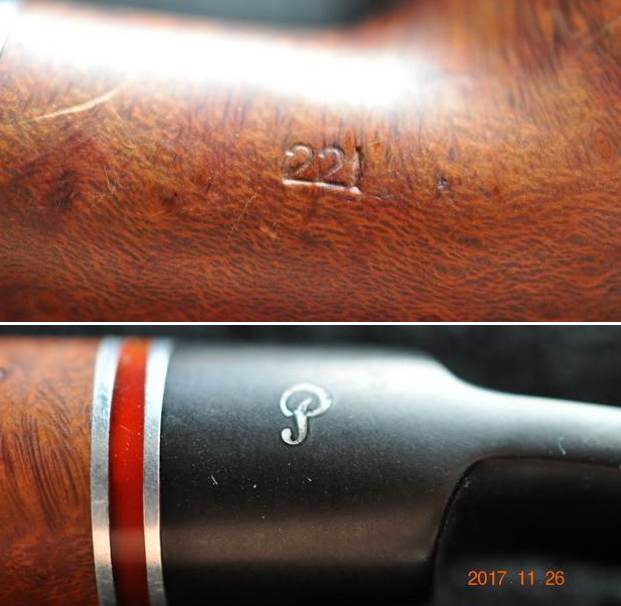
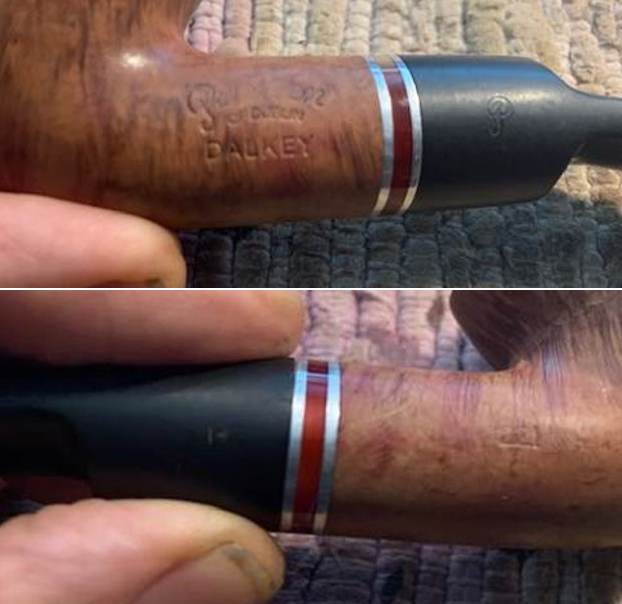
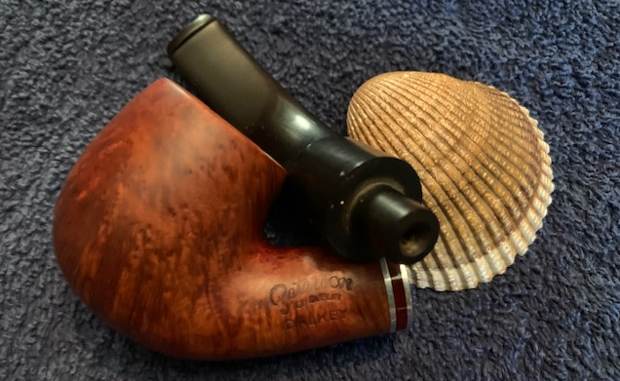
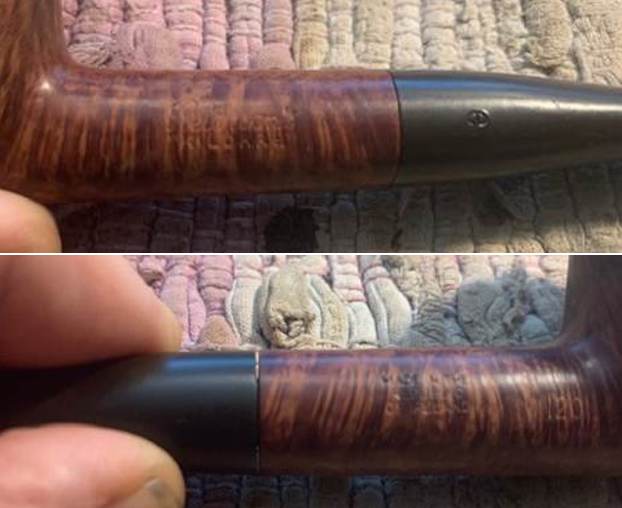
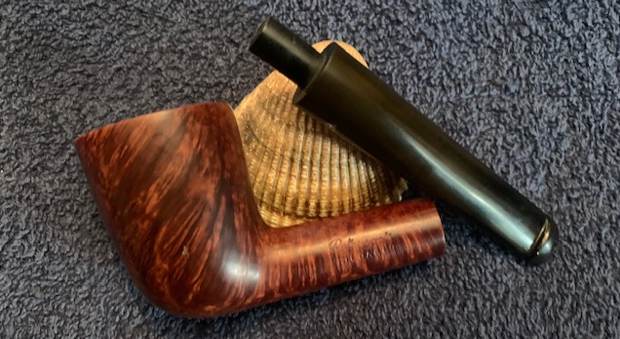
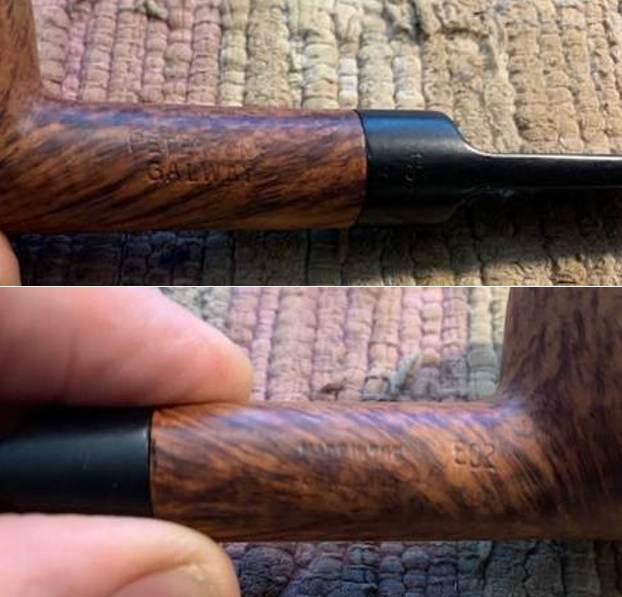
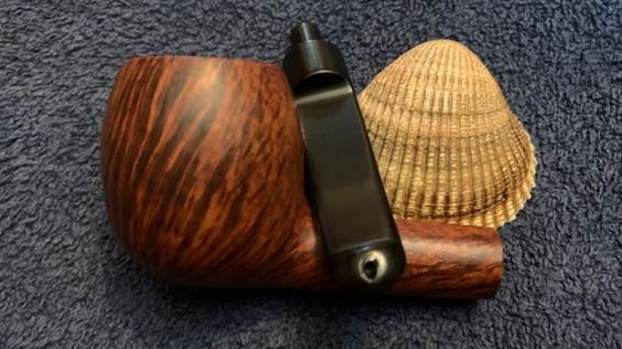
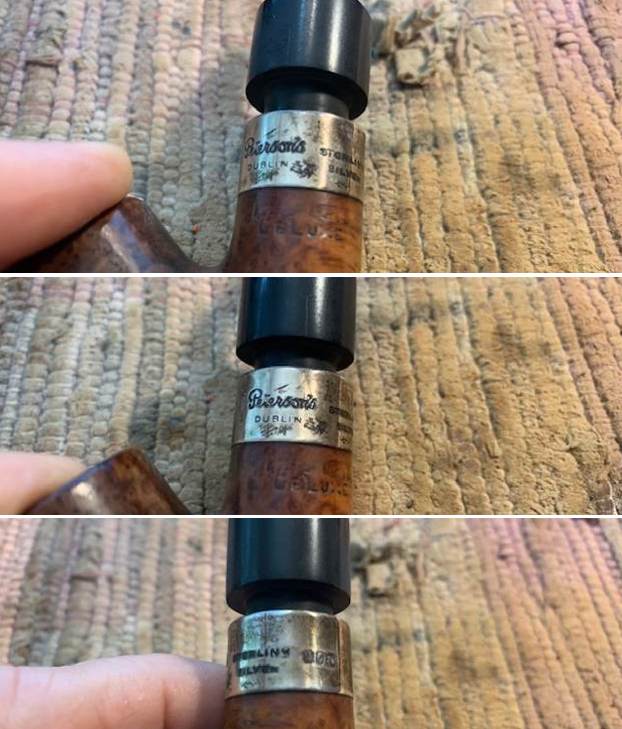
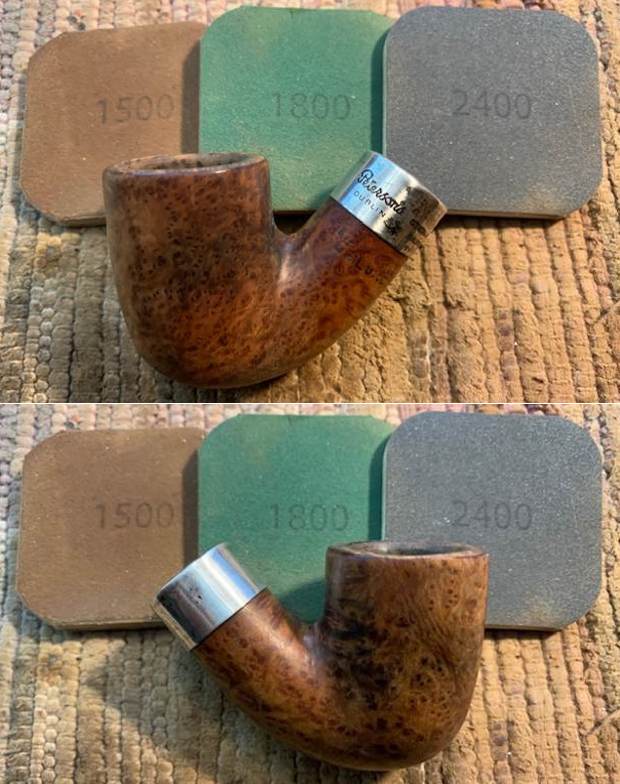
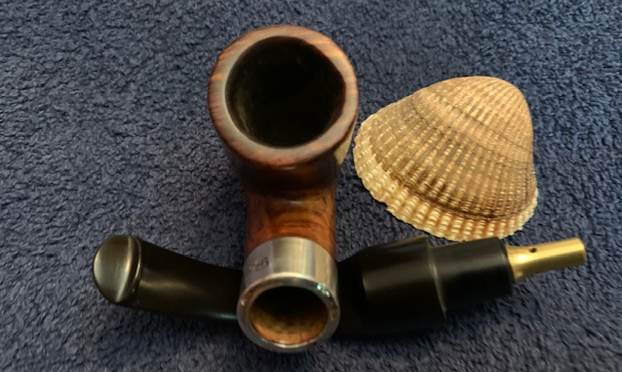
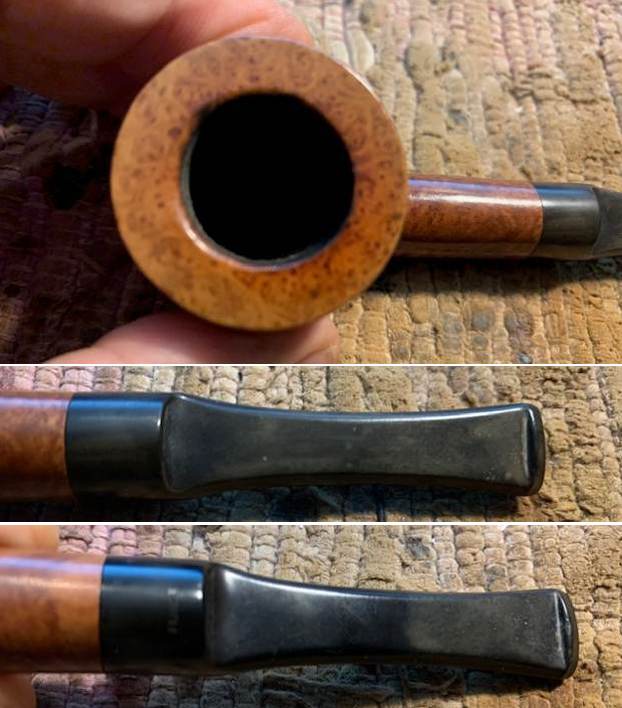 I took a photo of the stamping on the left side of the shank. It read as noted above and is very clear.
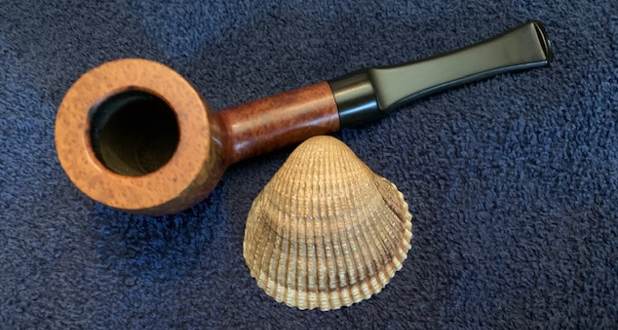
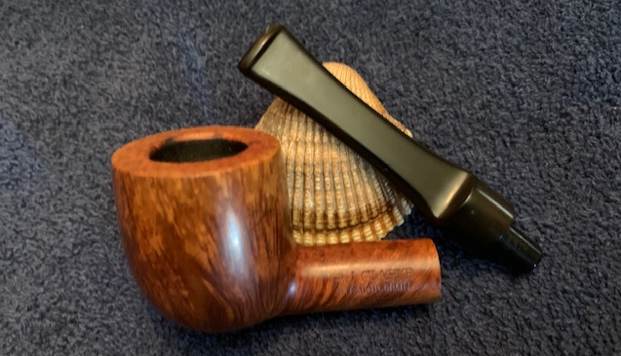
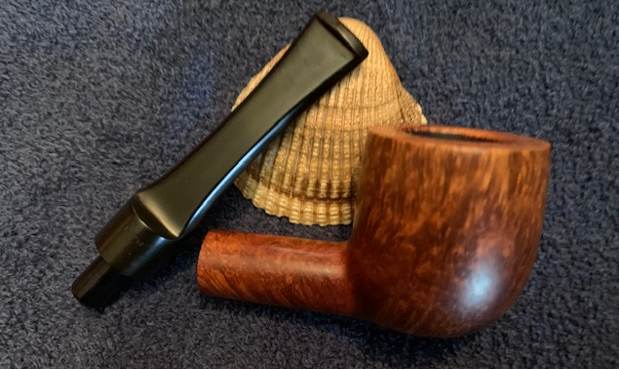
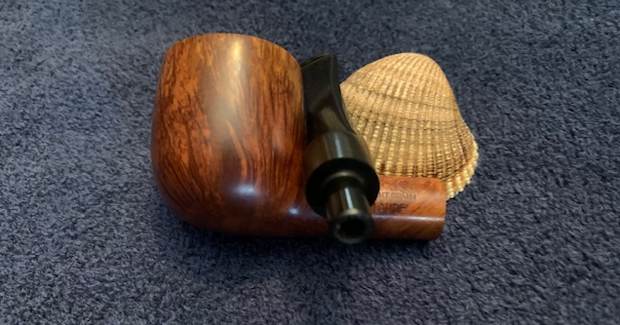
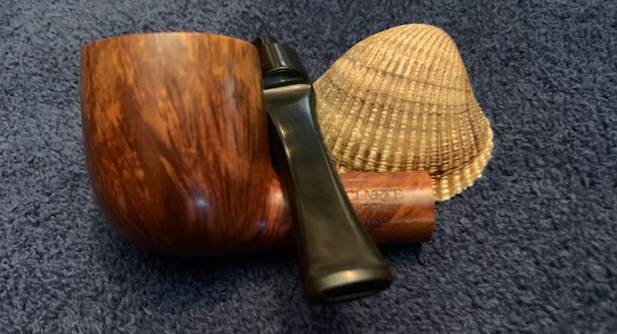
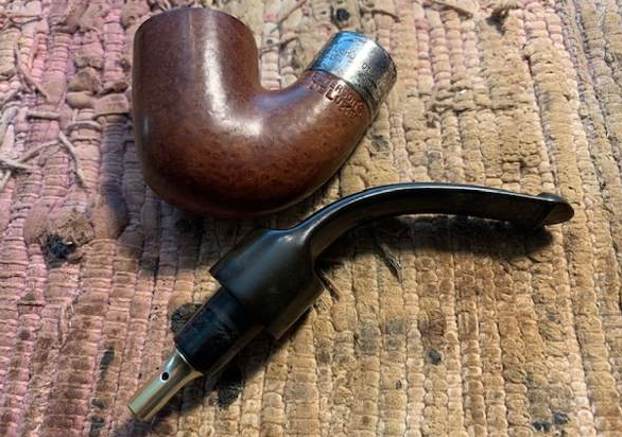
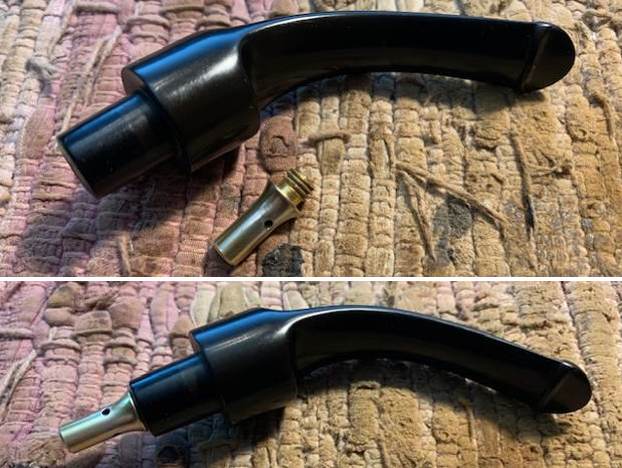
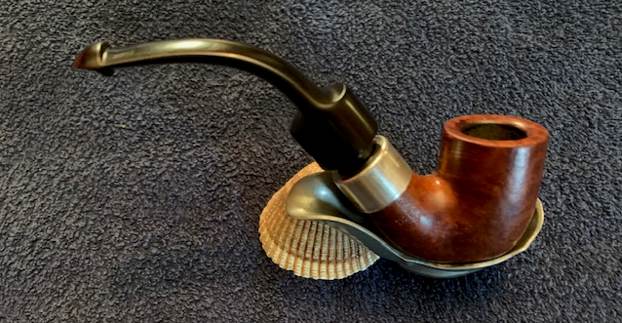
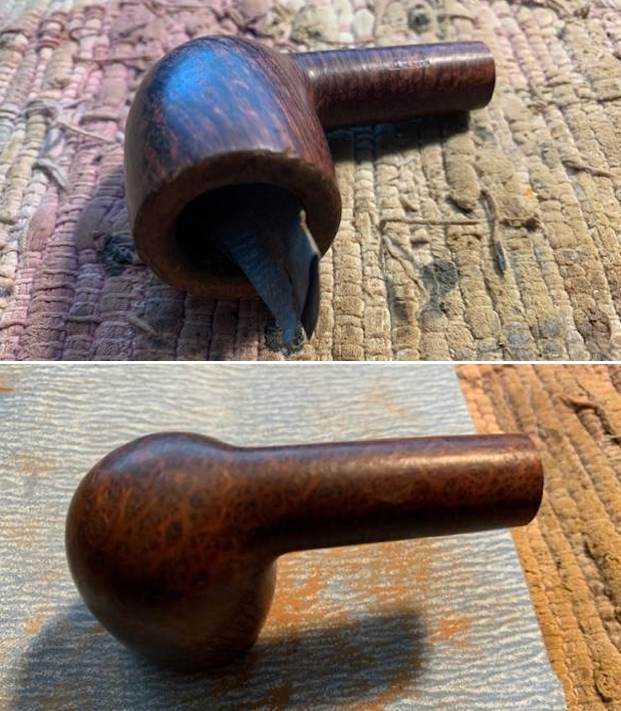
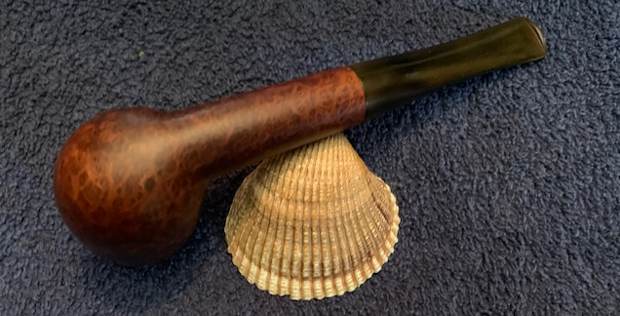
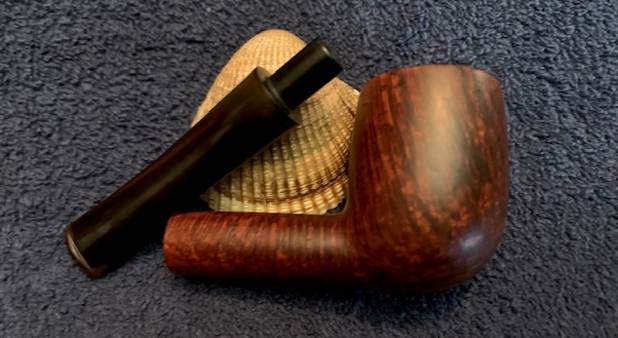
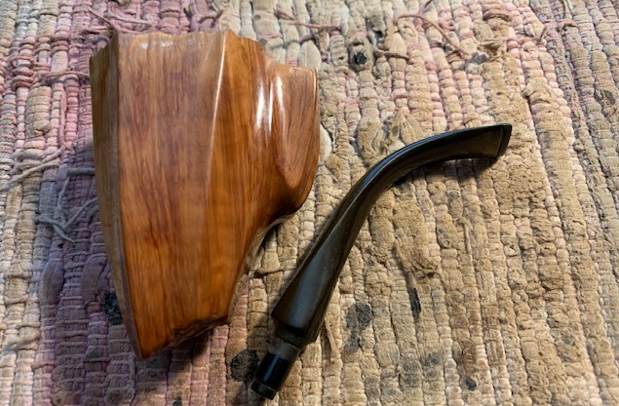
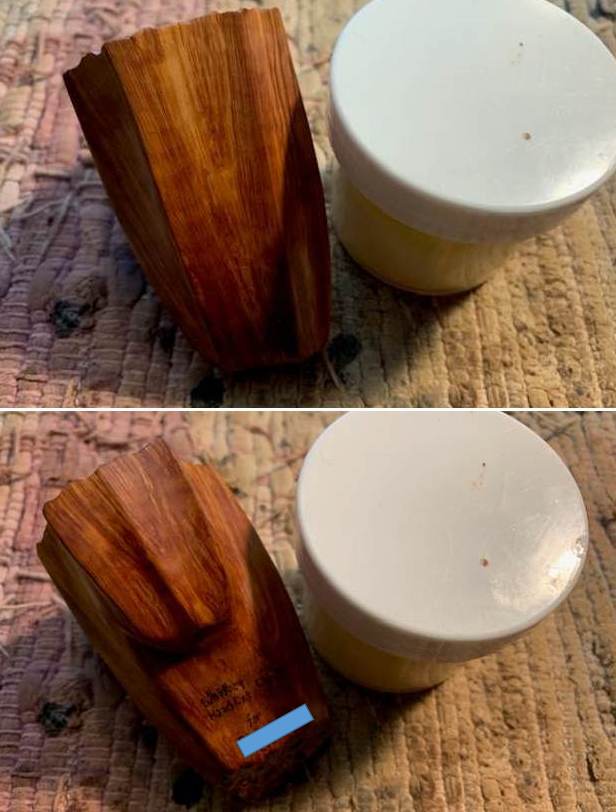
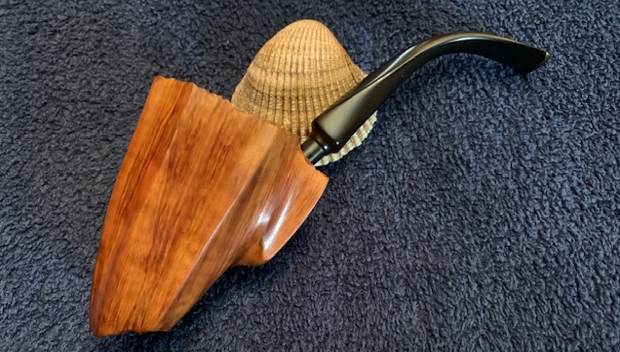
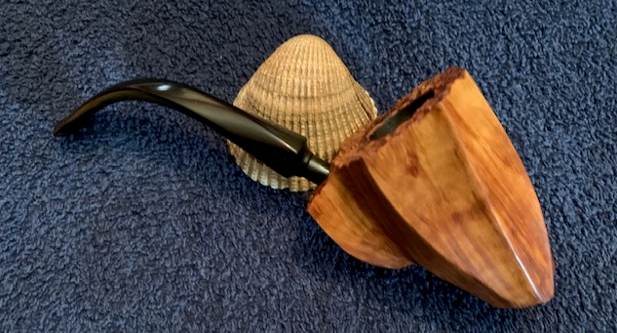
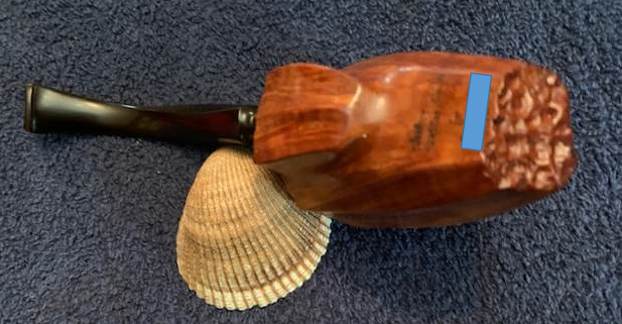
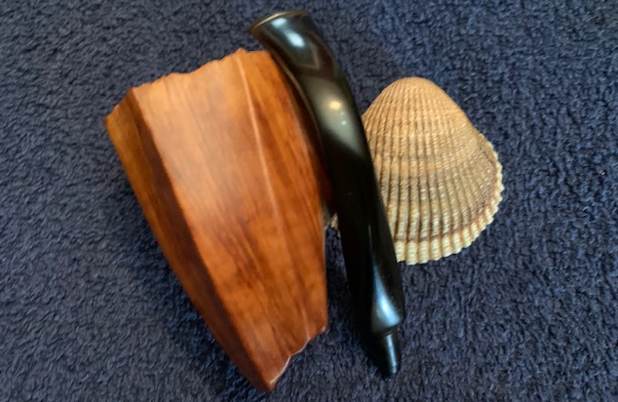
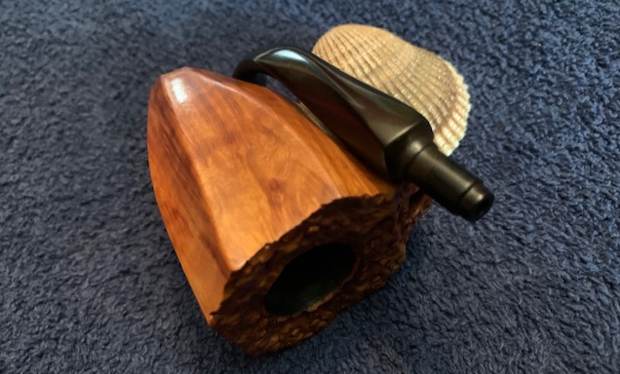
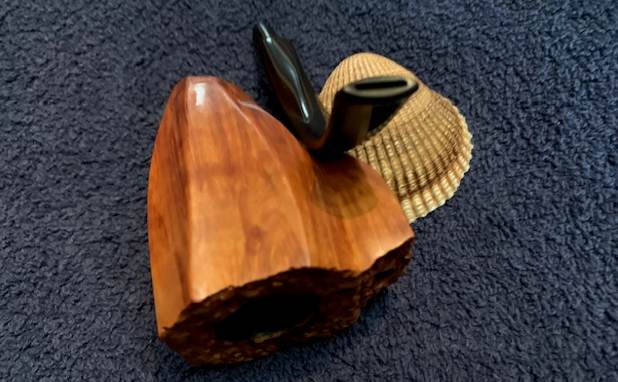
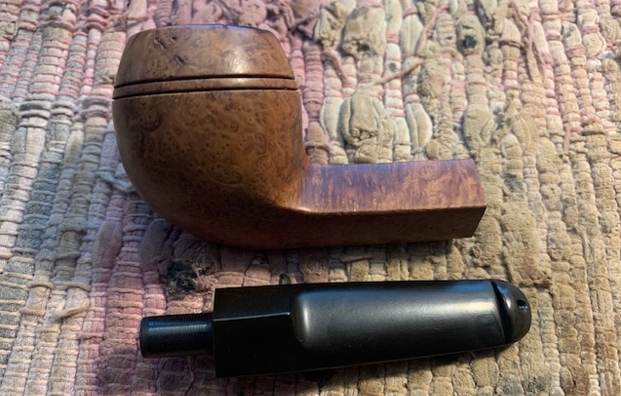
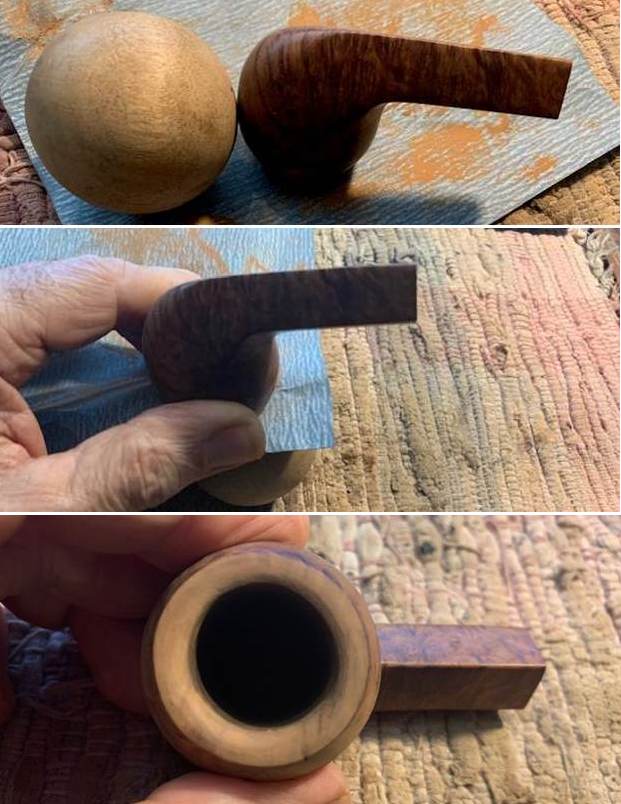
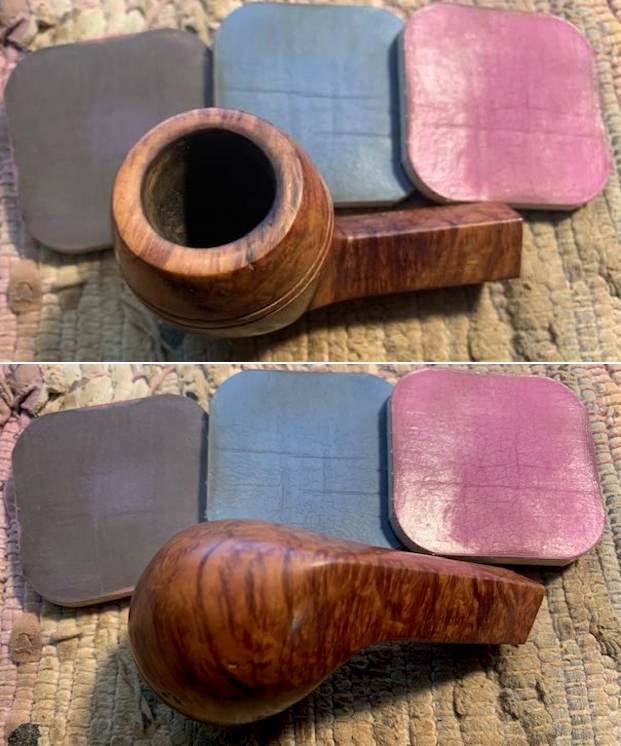
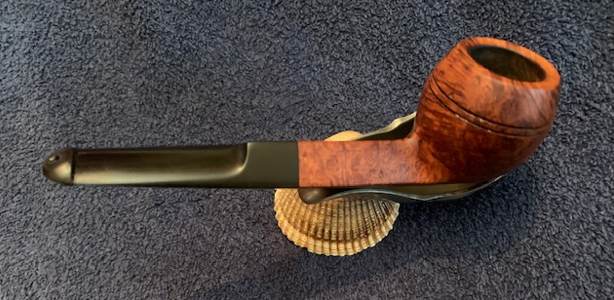
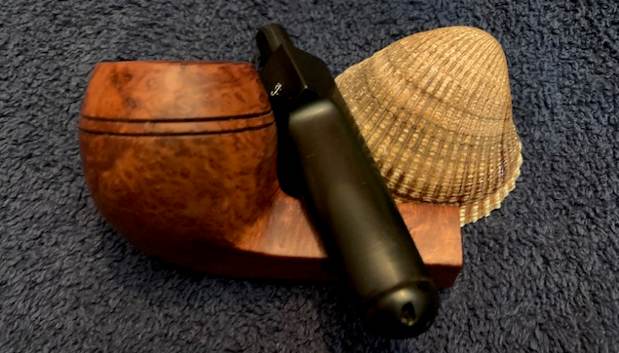
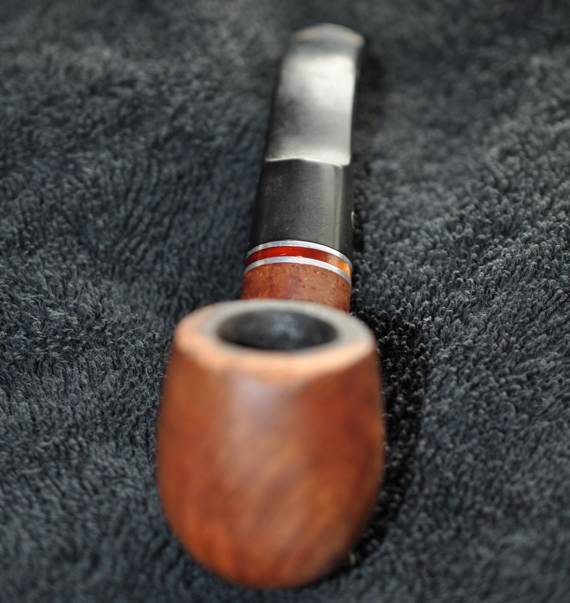
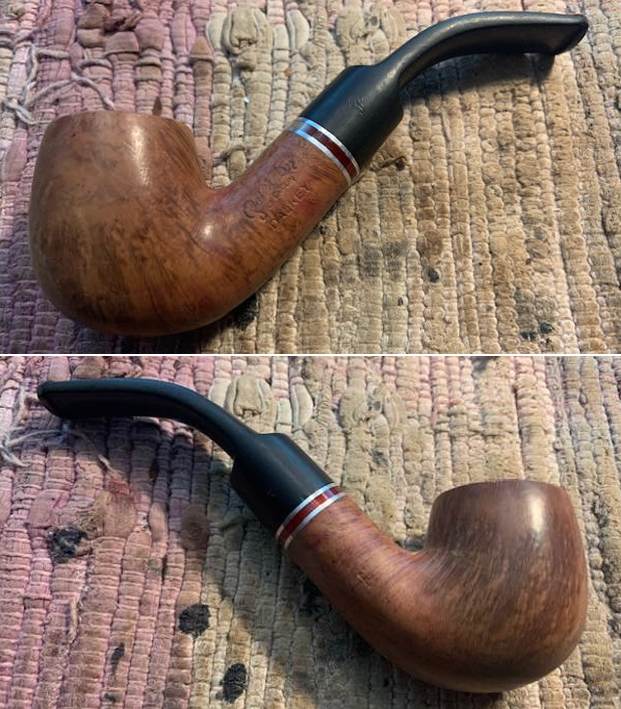
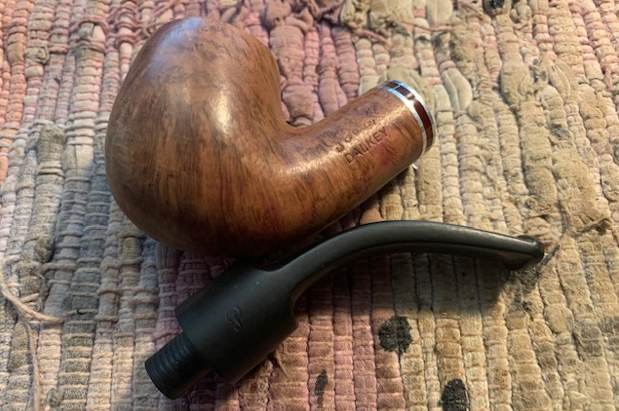
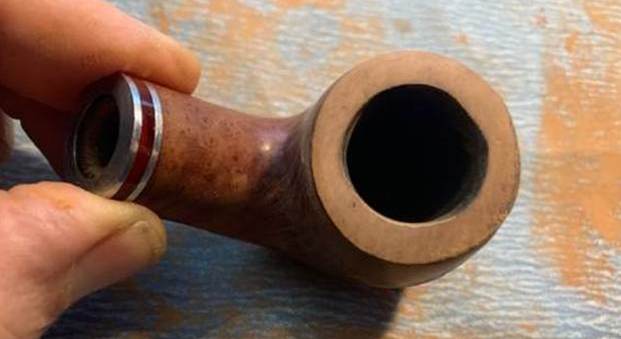
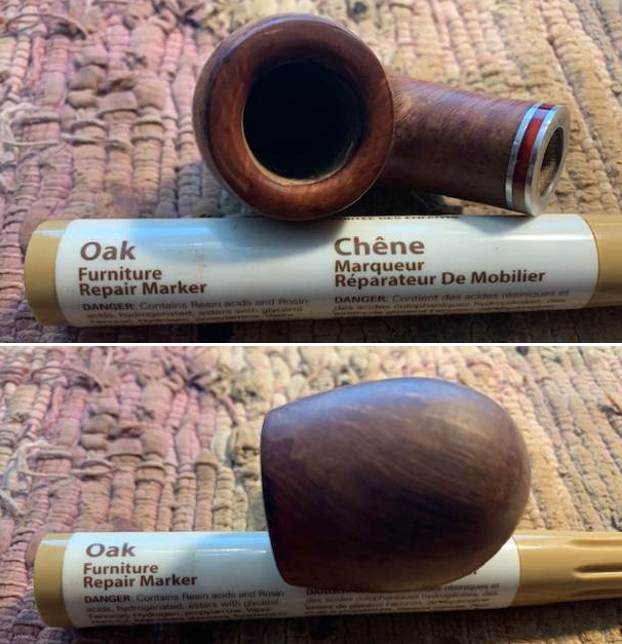
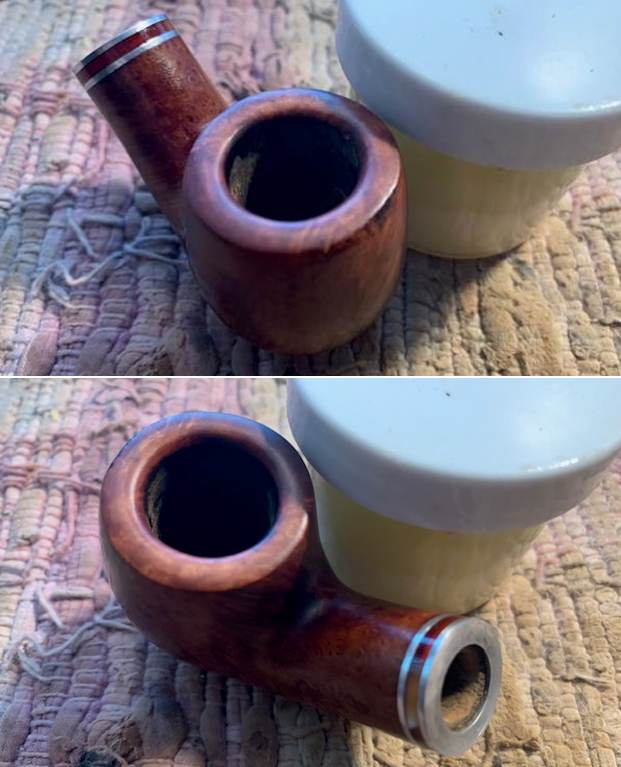
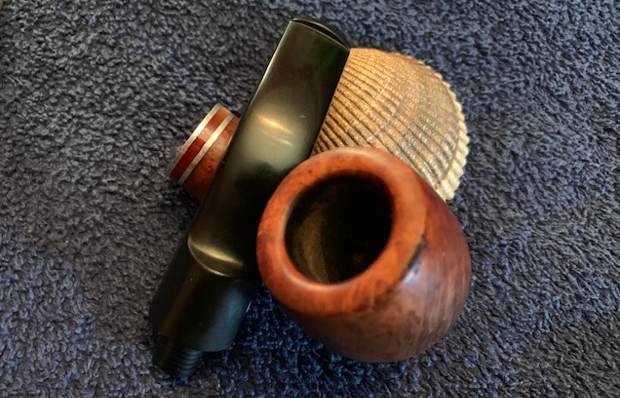
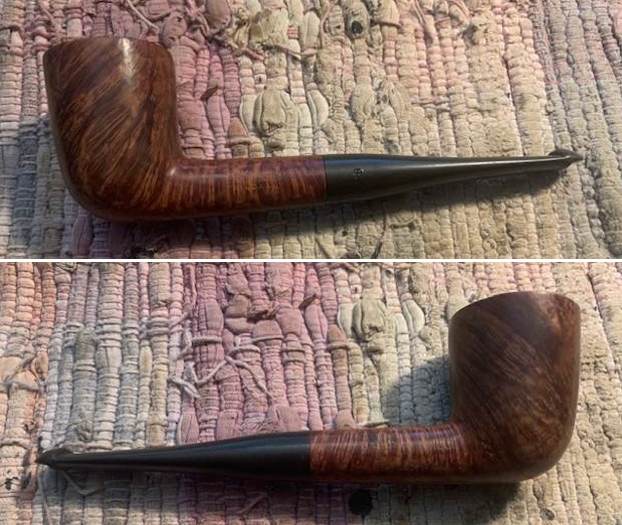
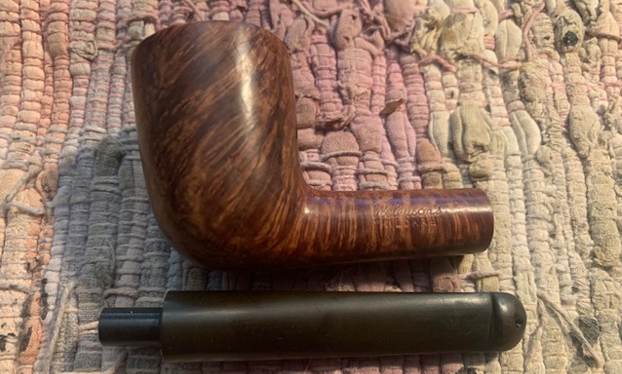
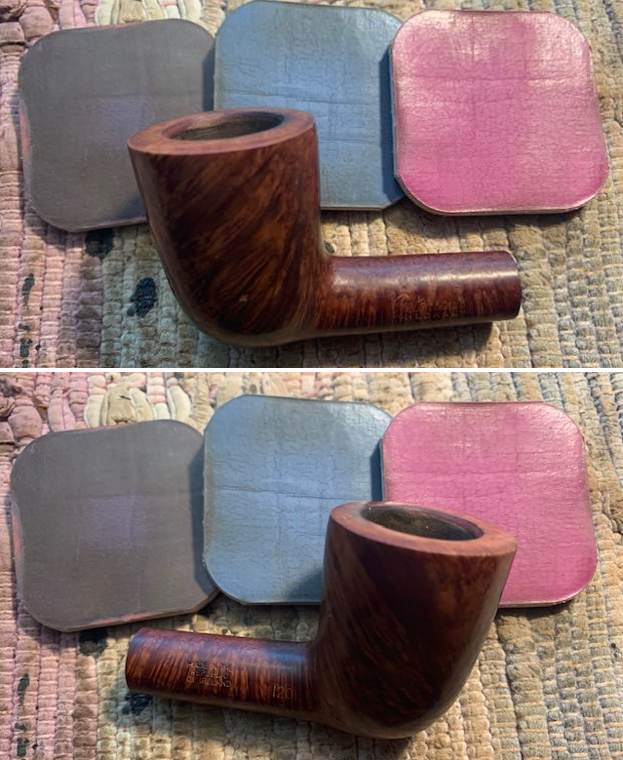
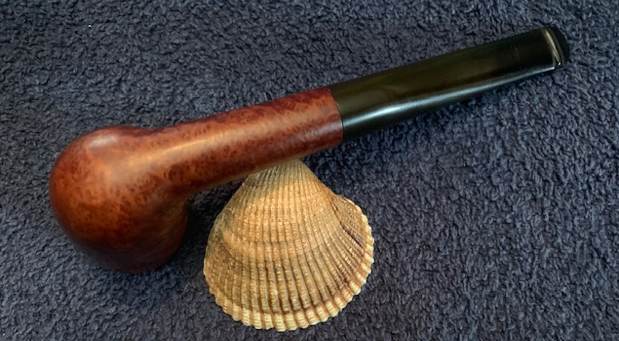
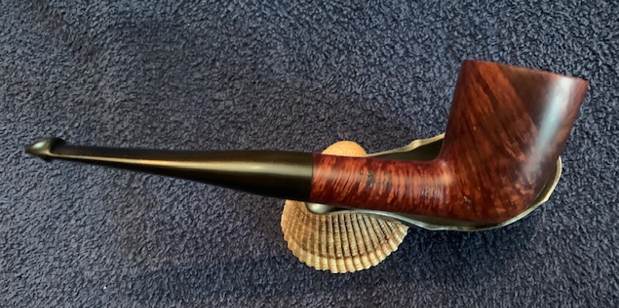
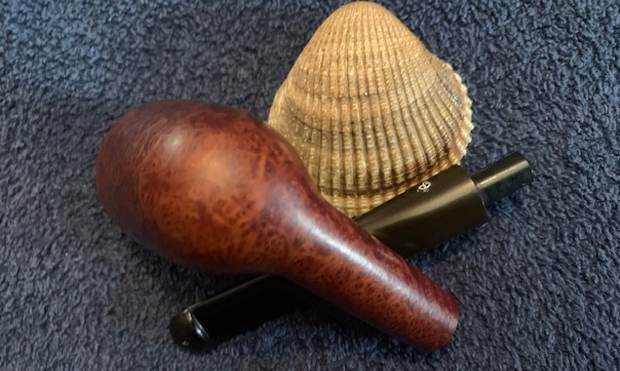
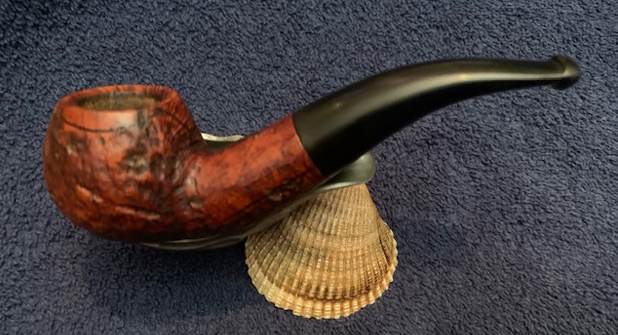
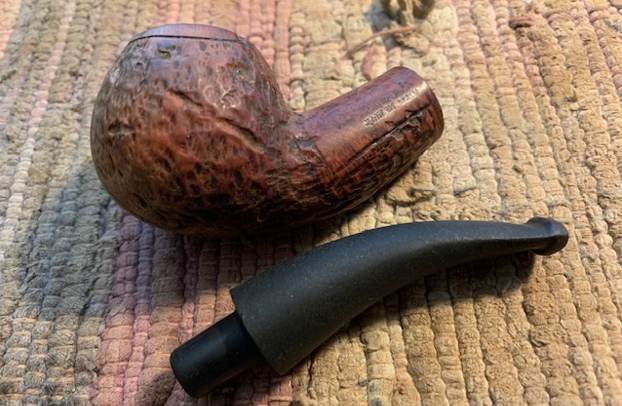
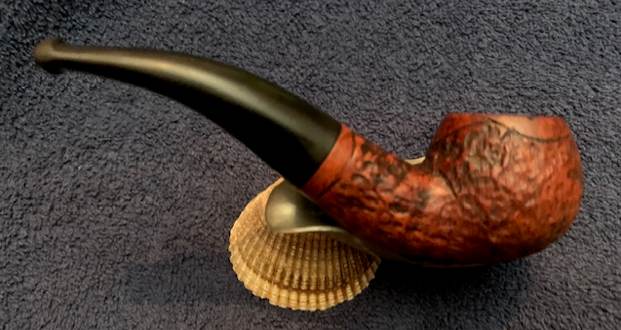
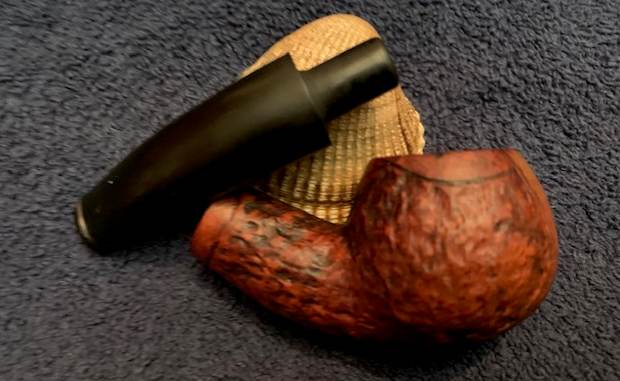
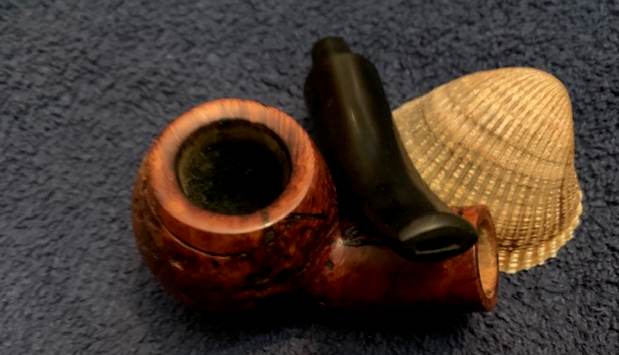
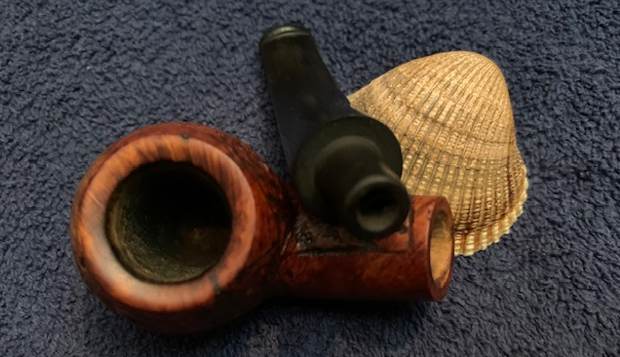
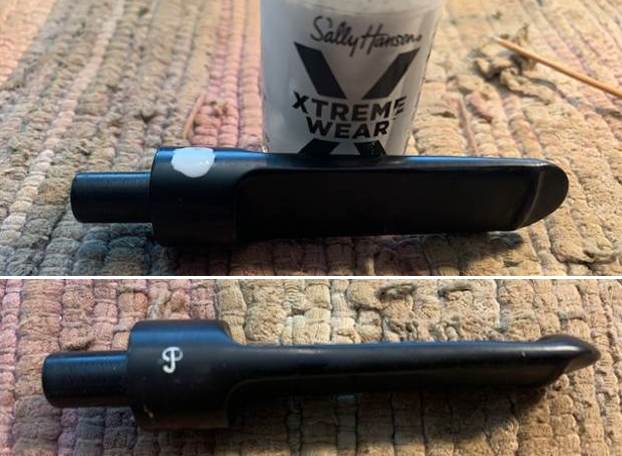
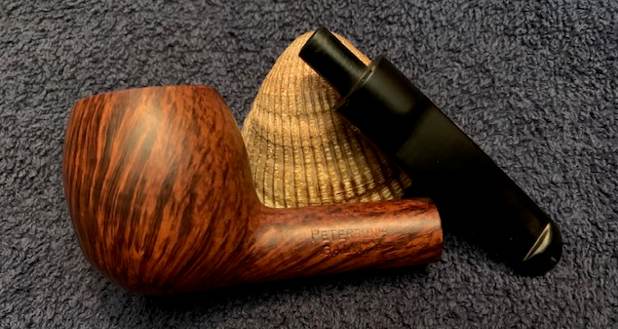
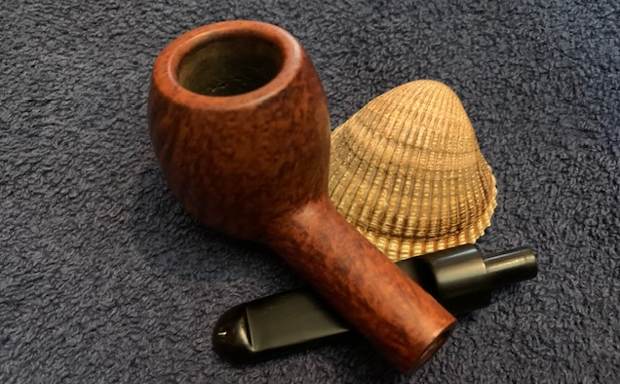
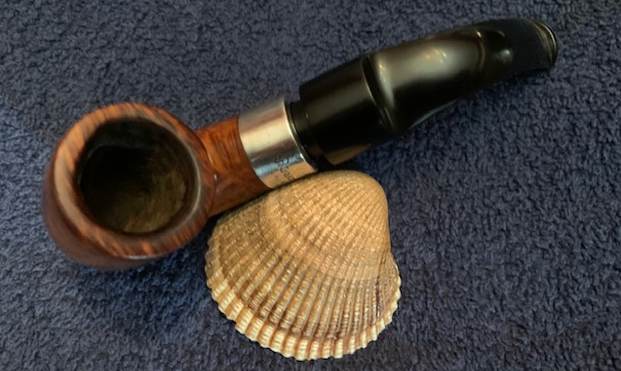
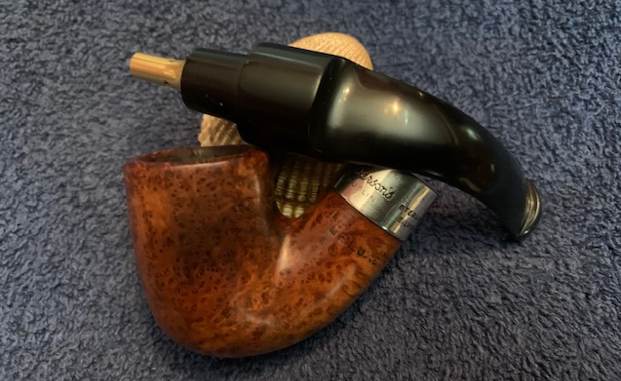
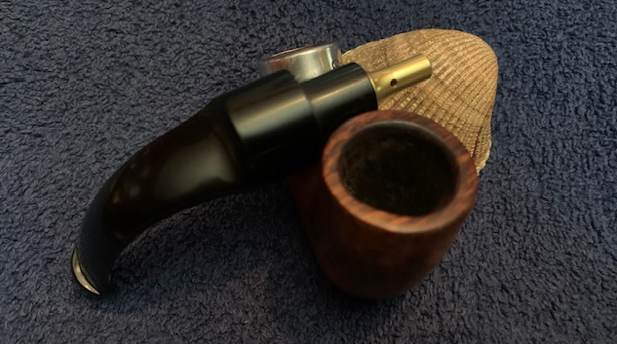
 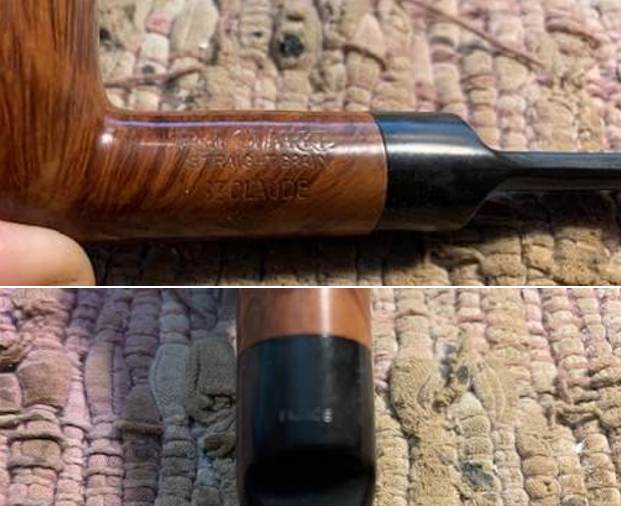 I removed the stem from the bowl and took a picture of the pipe to show the general look and proportion of the pipe. It is quite pretty in terms of grain and shape. The stem is definitely a fitted blank rather than a hand cut one.
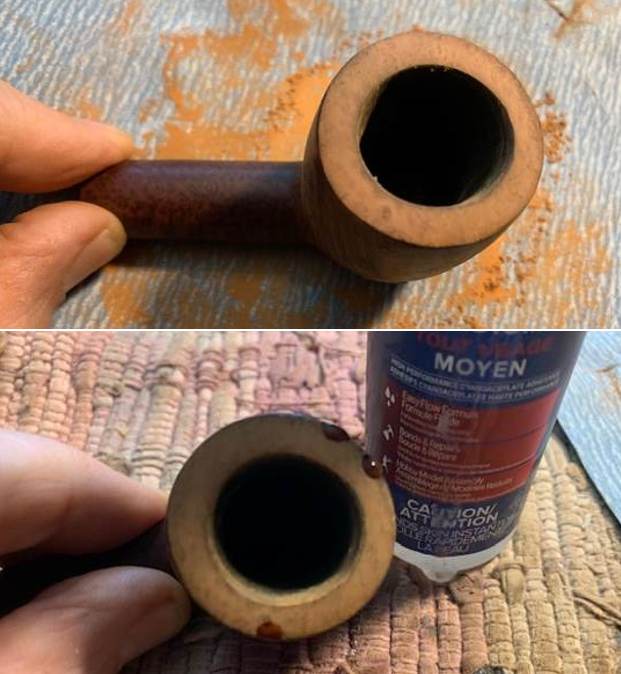
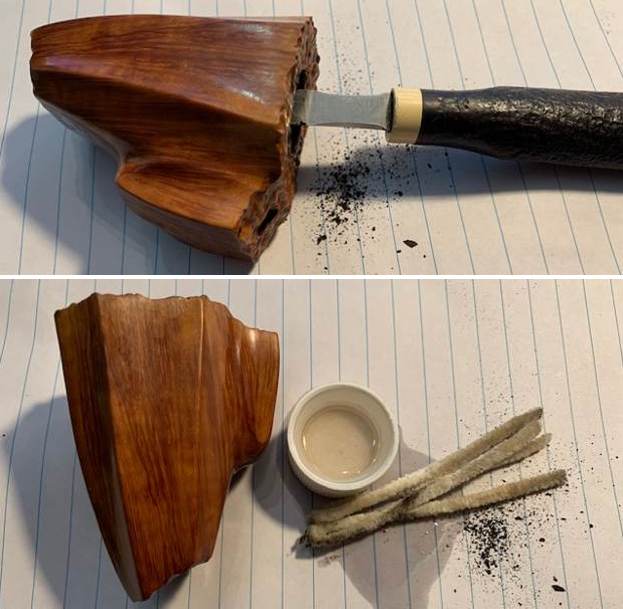
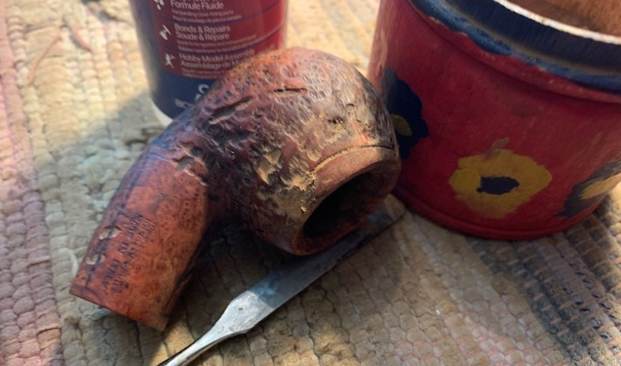
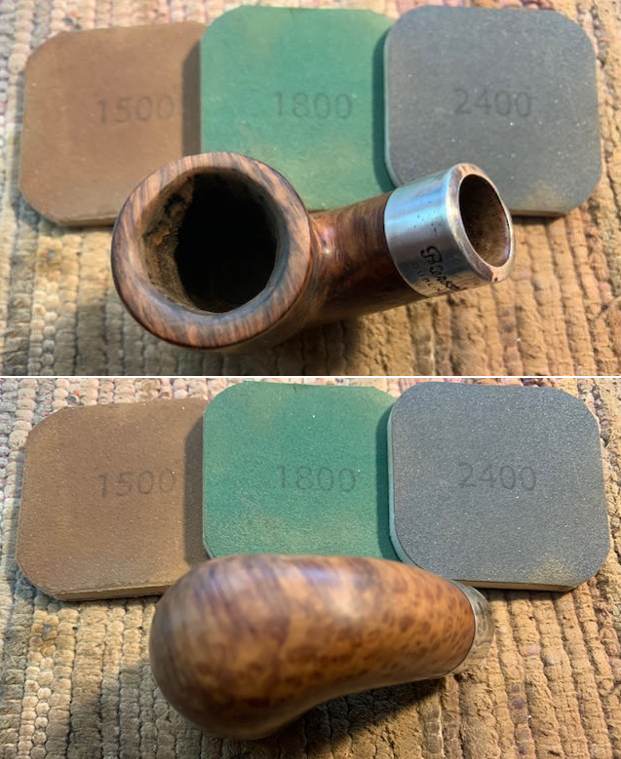
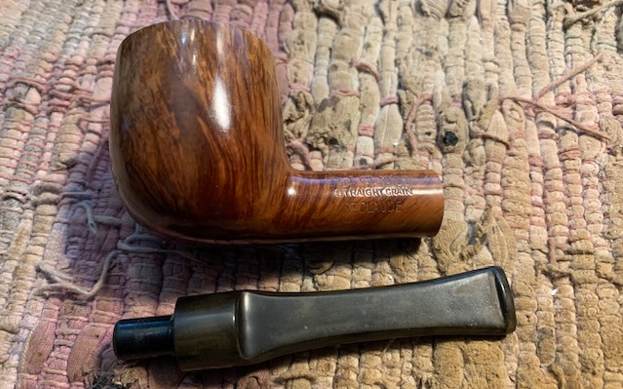 I reamed the bowl with a Savinelli Fitsall Pipe Knife to scrape out the thin cake in the bowl. There was not much there but enough that it had to go. I also sanded the bowl walls with a piece of 220 grit sandpaper wrapped around a piece of dowel. The bowl walls were smooth when I finished the work.
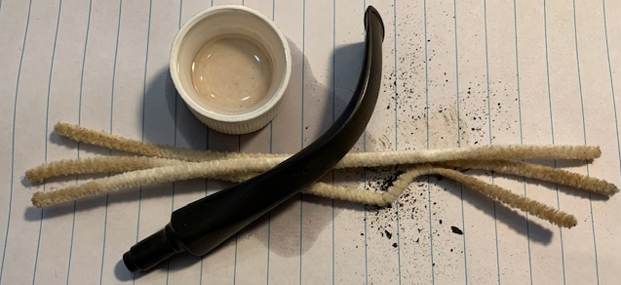
 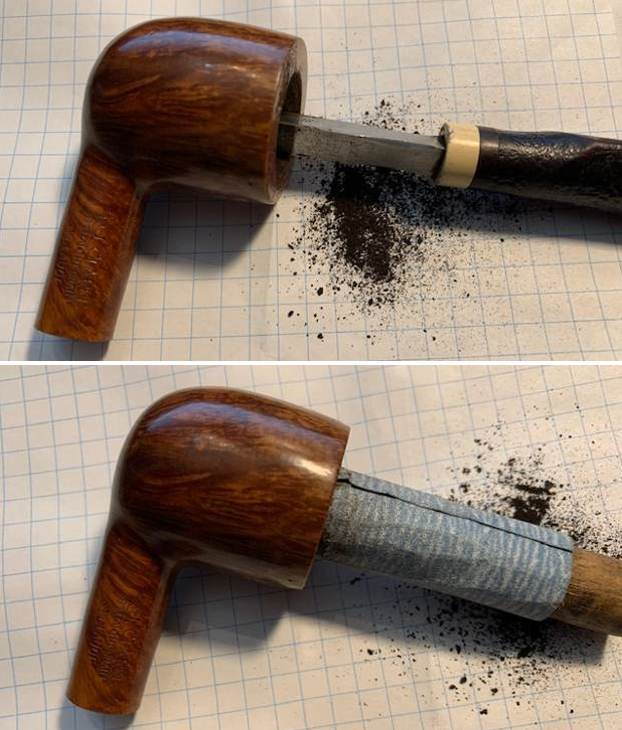 I cleaned out the shank and the airway in the mortise and stem with pipe cleaners, cotton swabs and isopropyl alcohol. It was quite a bit dirtier than I expected from just the appearance. With the cleaning the pipe smelled cleaner.
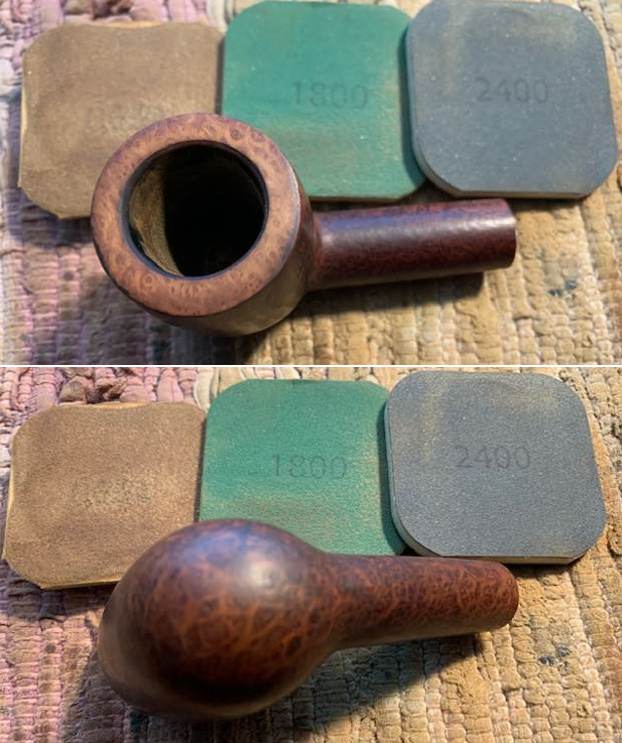
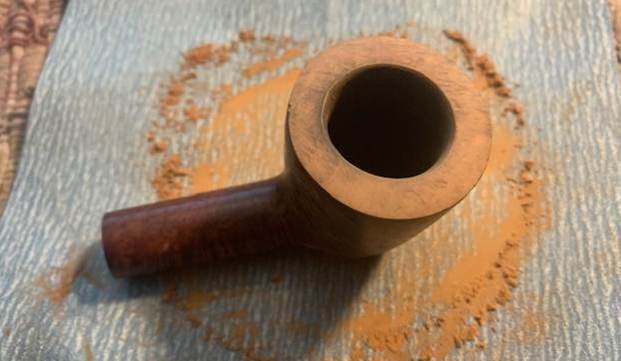
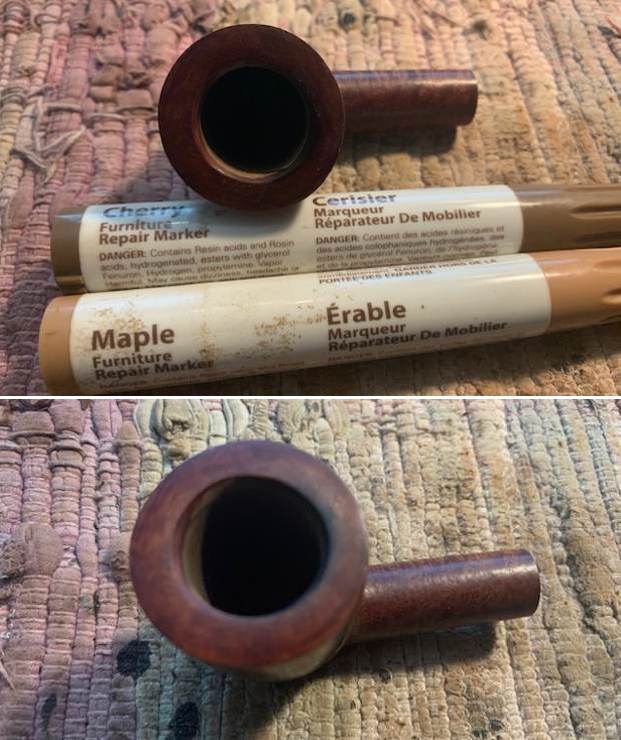
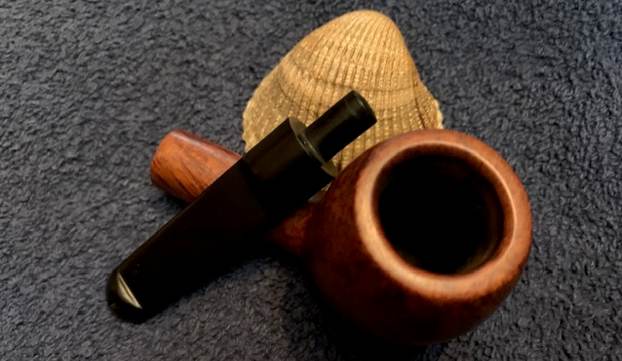
 I worked over the inner edge with a folded piece of 220 grit sandpaper to smooth out the damage and to give the edge a slight bevel to remove the burn damage.
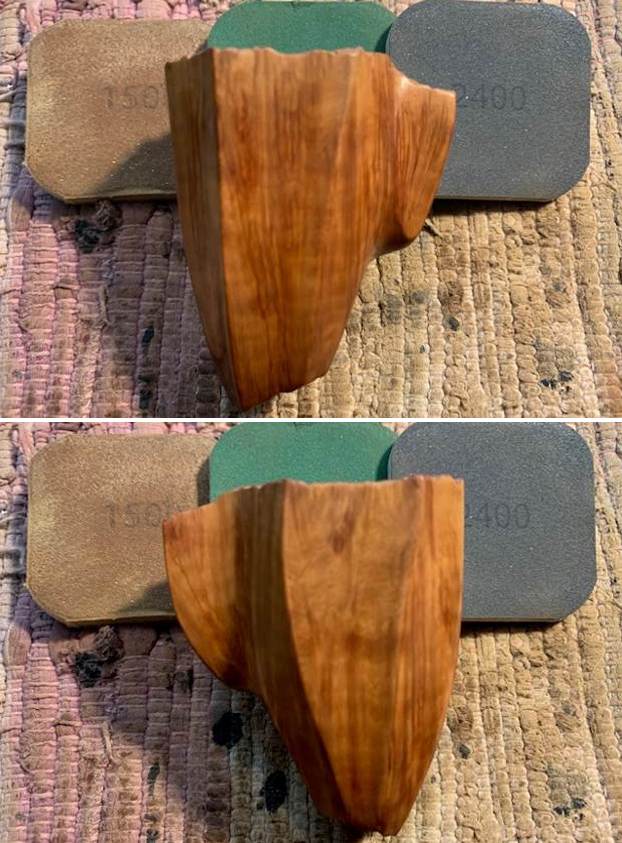
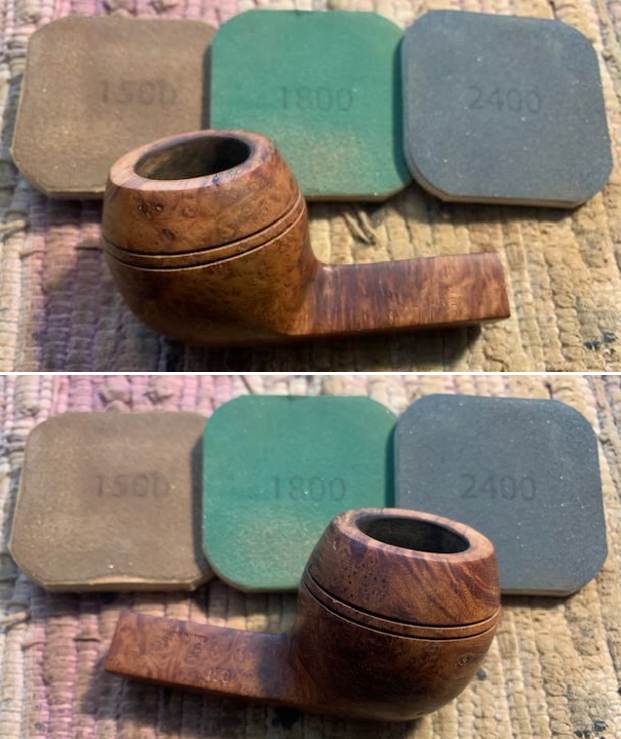
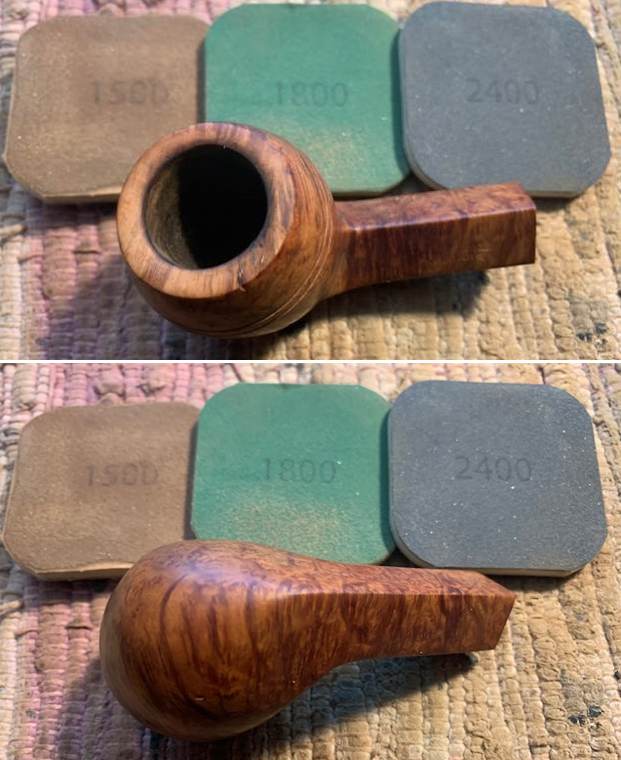
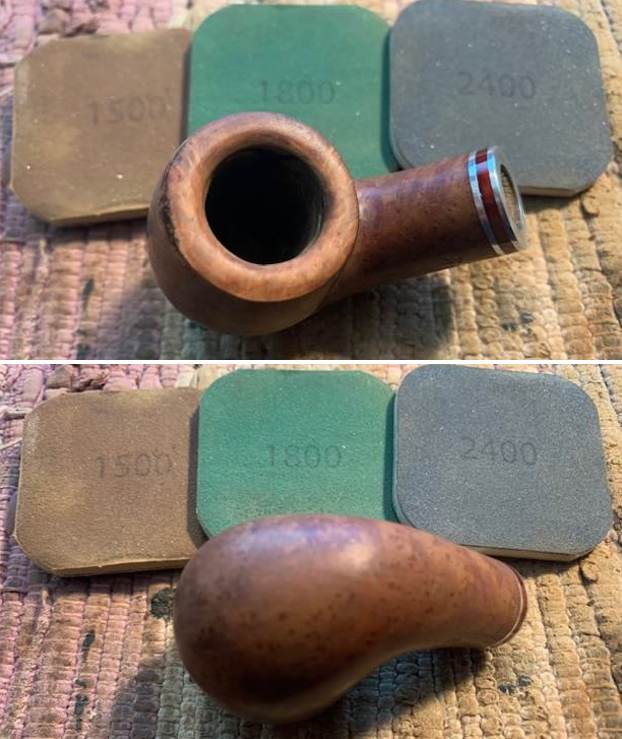
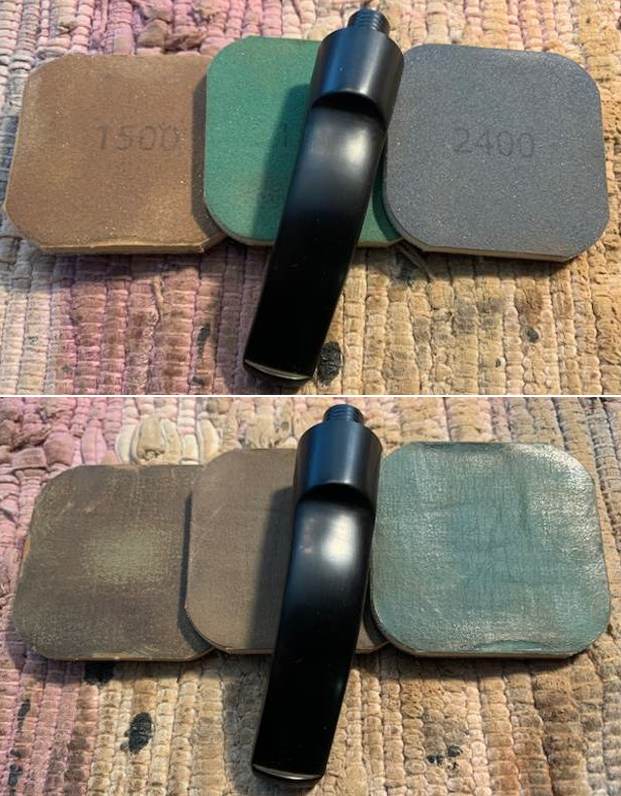
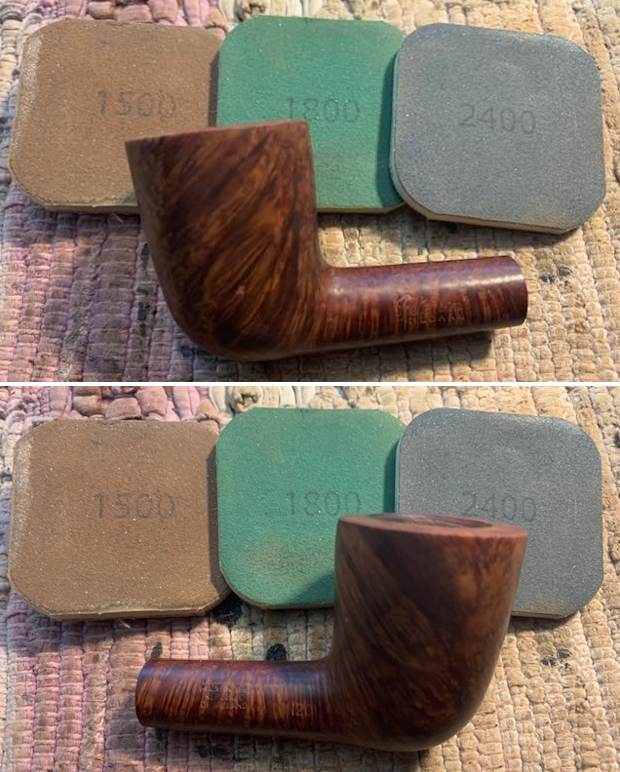
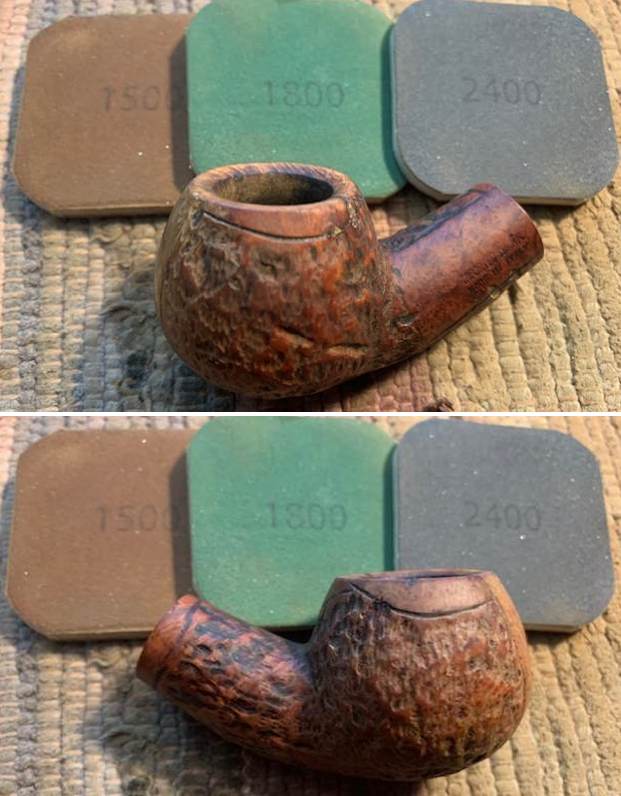
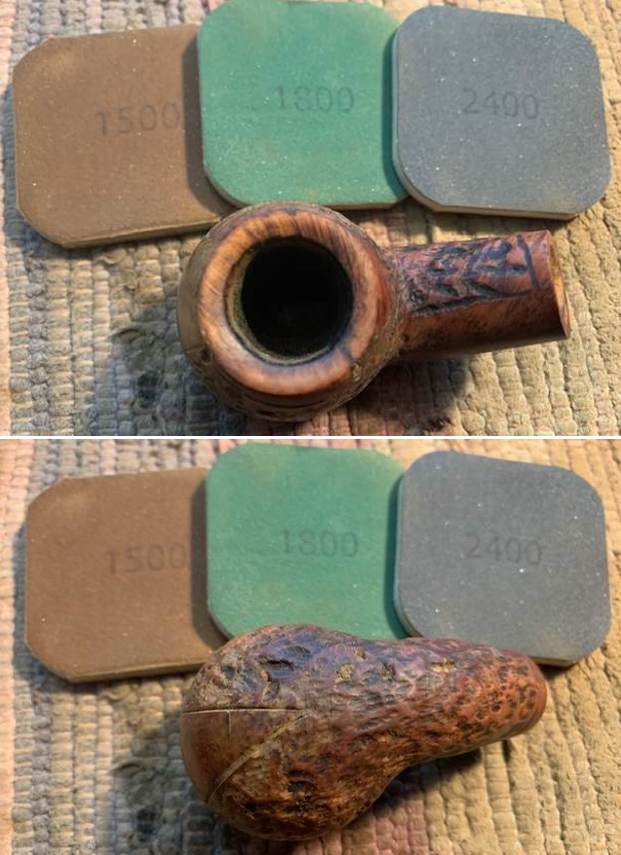
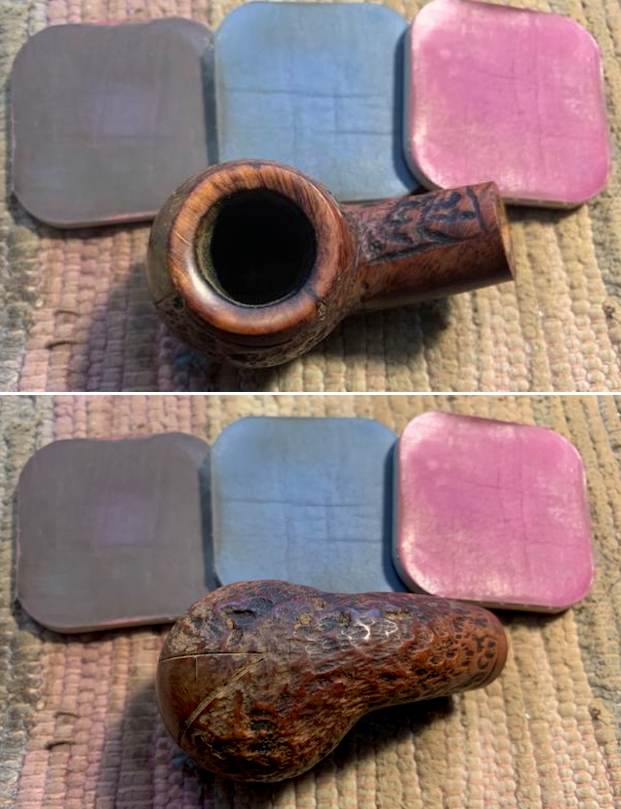
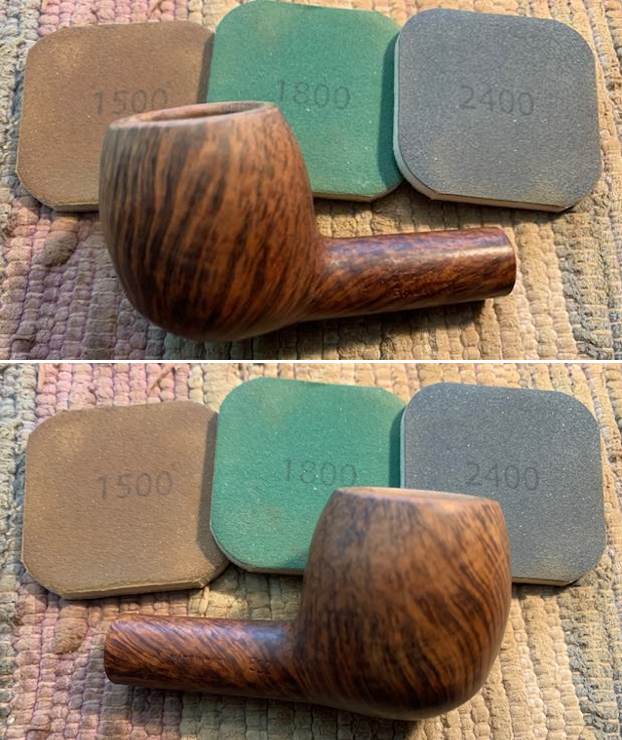
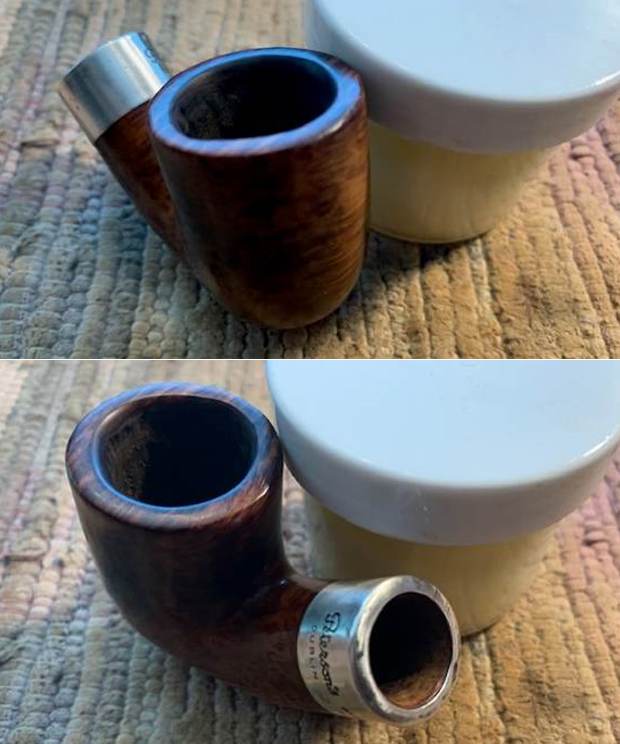
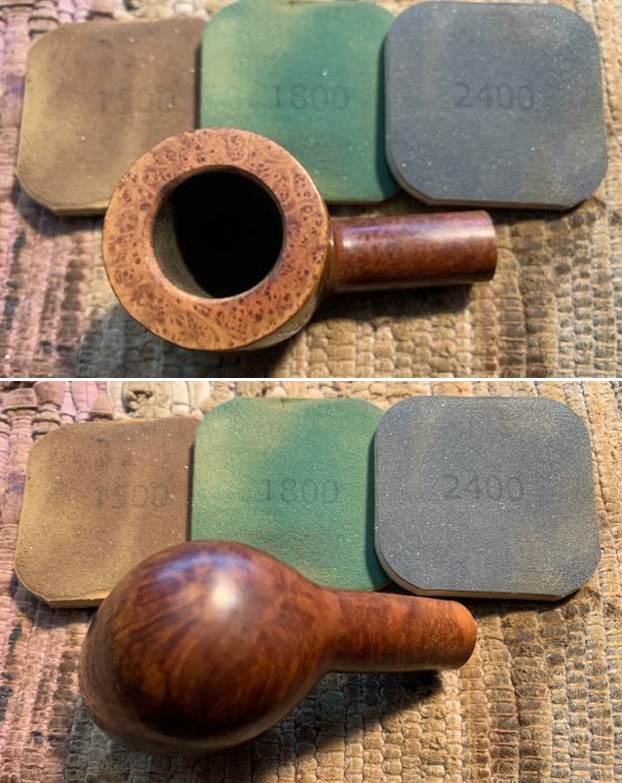
  I polished the briar with micromesh sanding pads – polishing it with 1500-12000 grit pads. By the time I was finished the briar had a great shine. The grain on the pipe is quite beautiful.
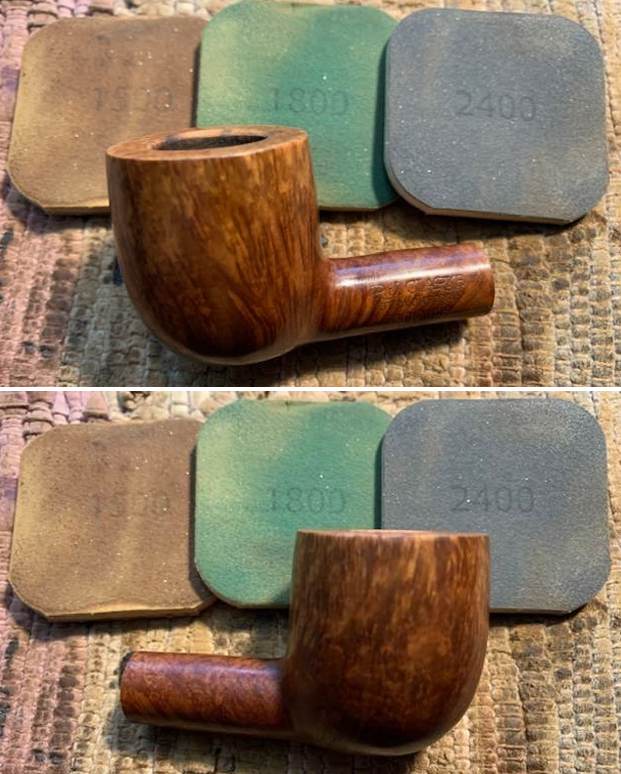
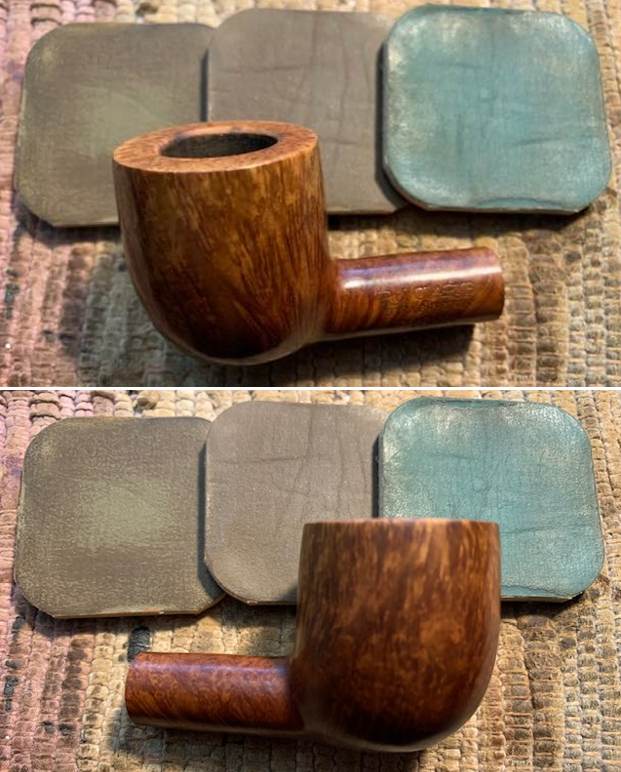

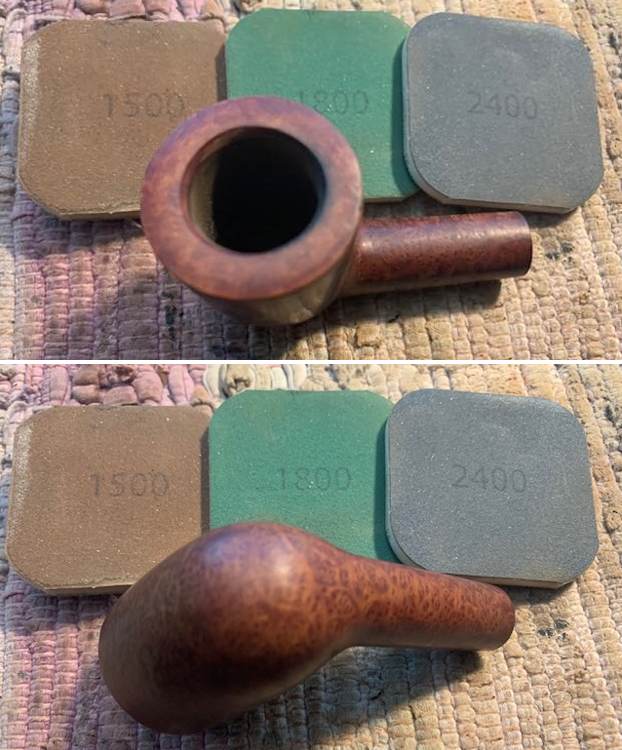
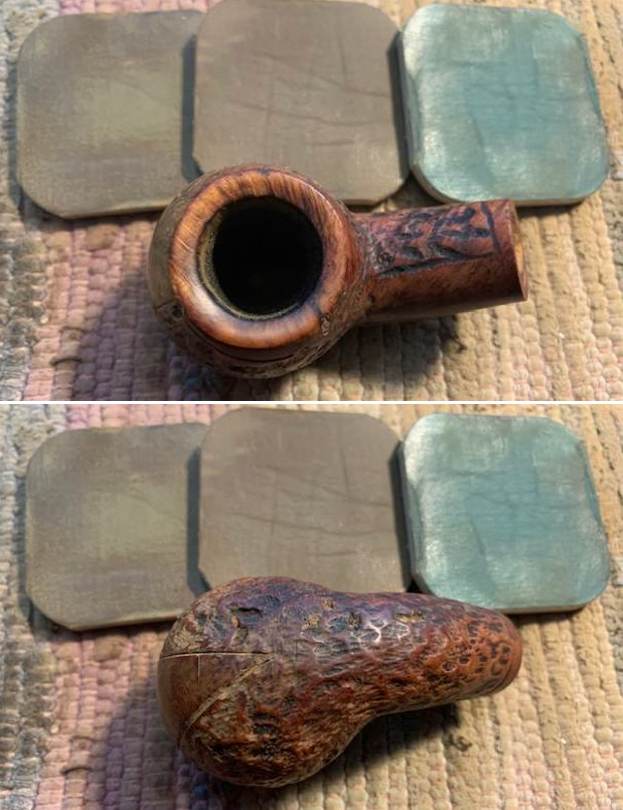
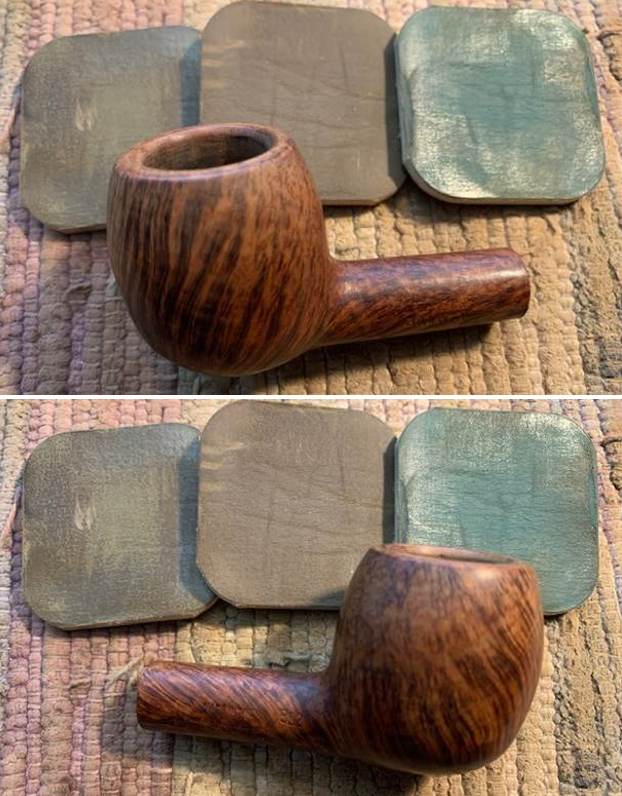
 I wiped down the surface of the briar with acetone on a cotton pad. It cut through the thick varnish coat and with it removed the grain on the briar really shone through clearly.
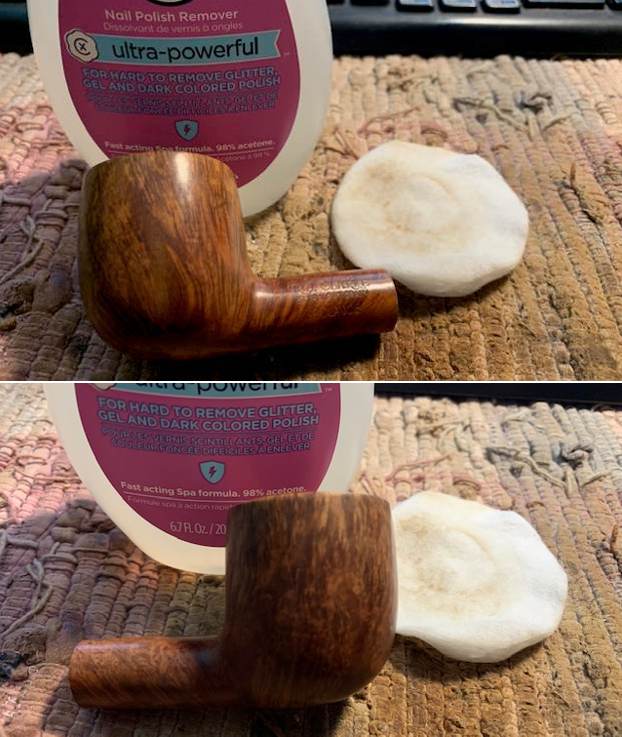
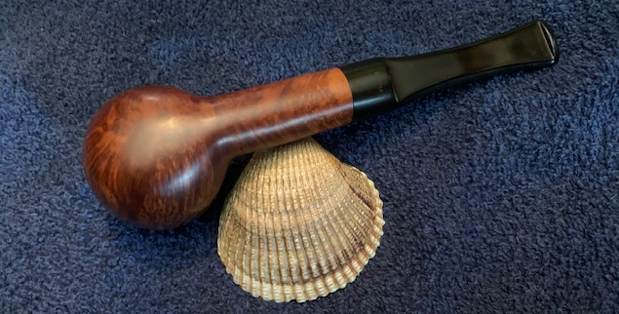
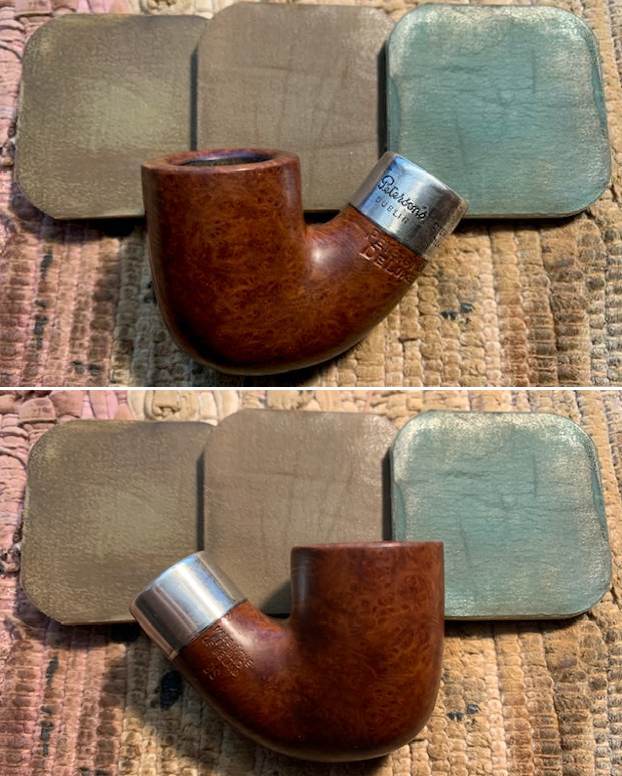
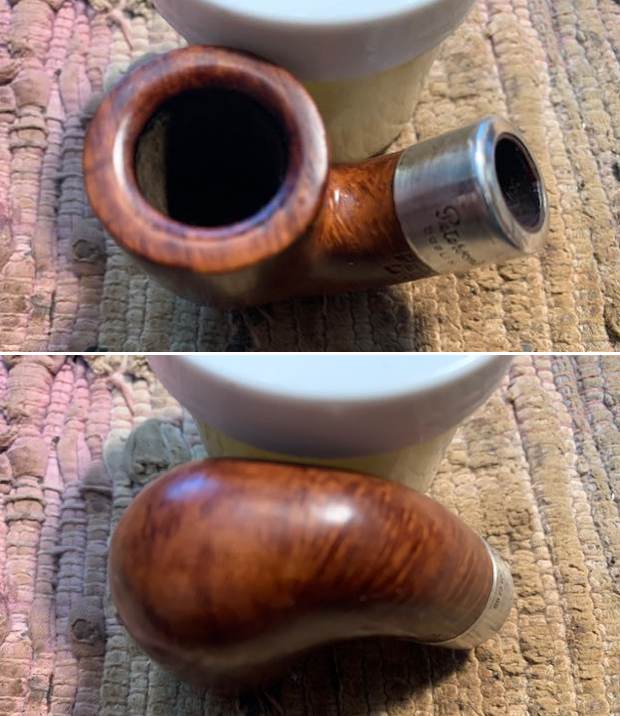
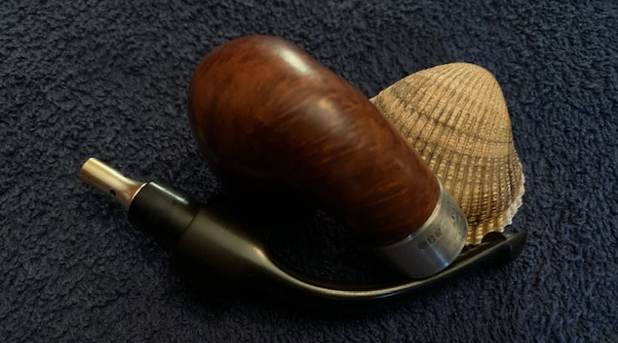
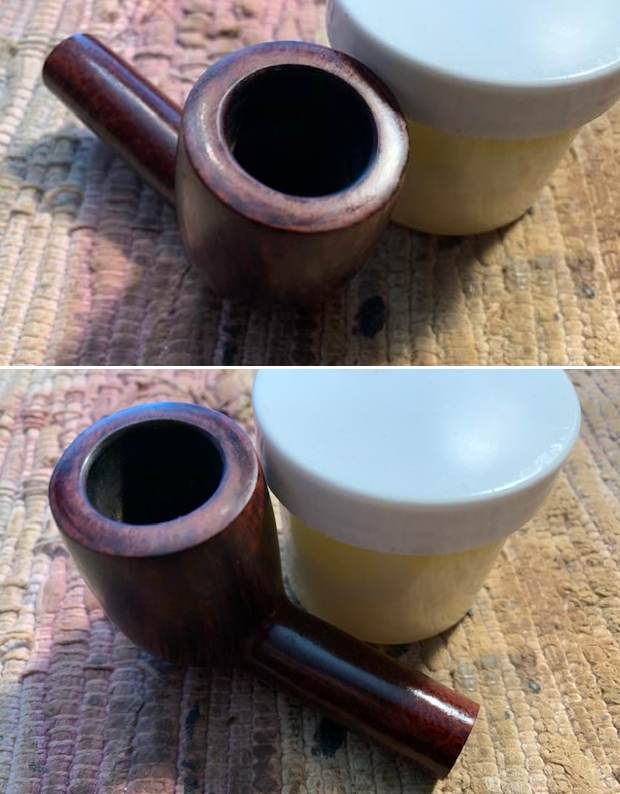
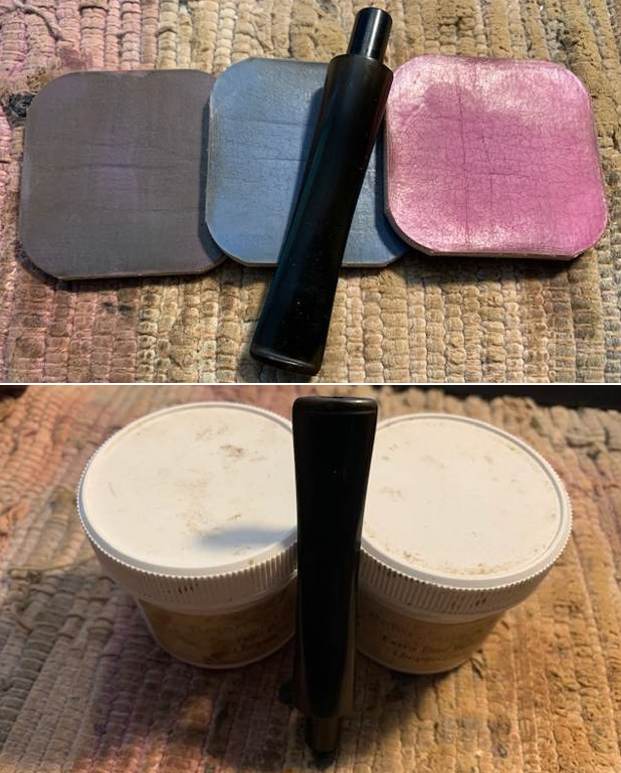
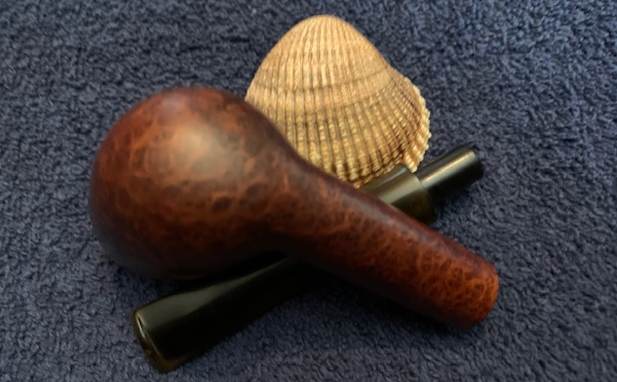
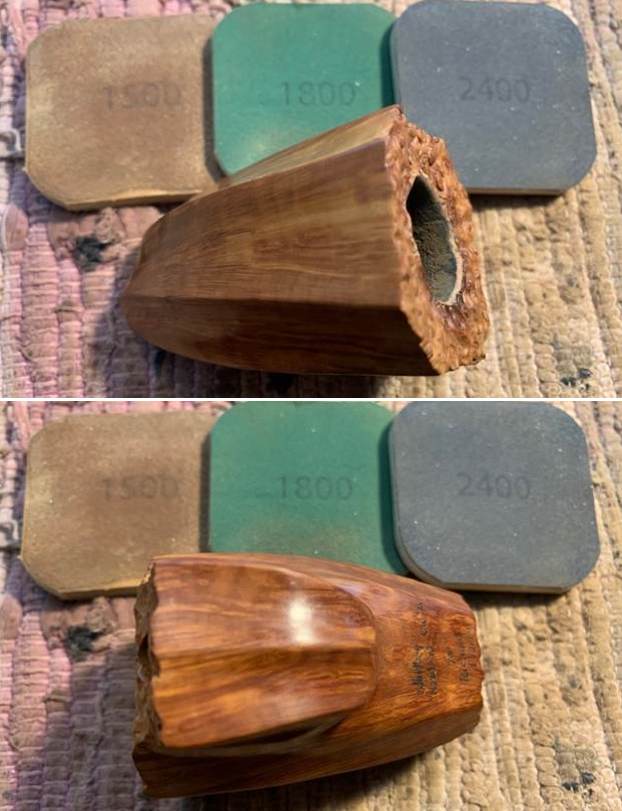
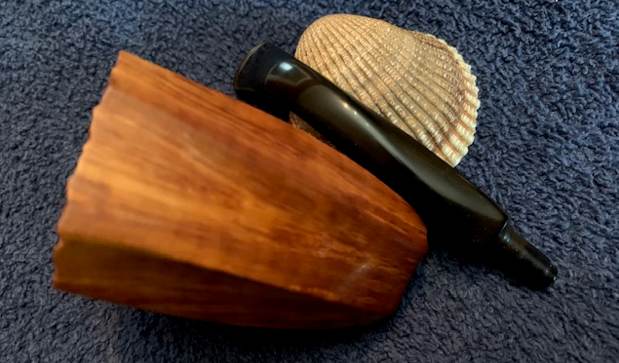
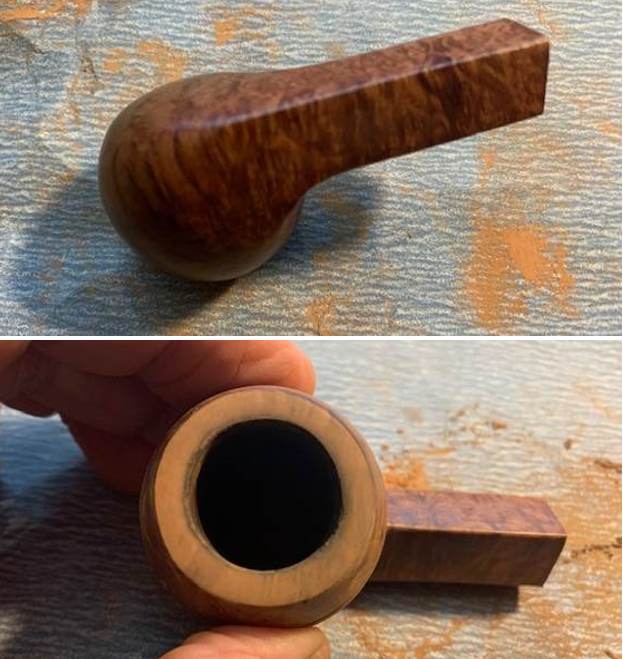
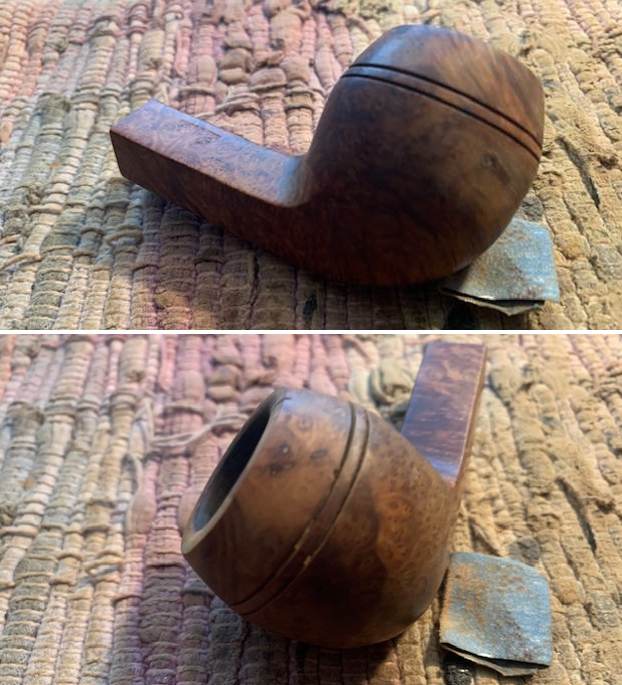
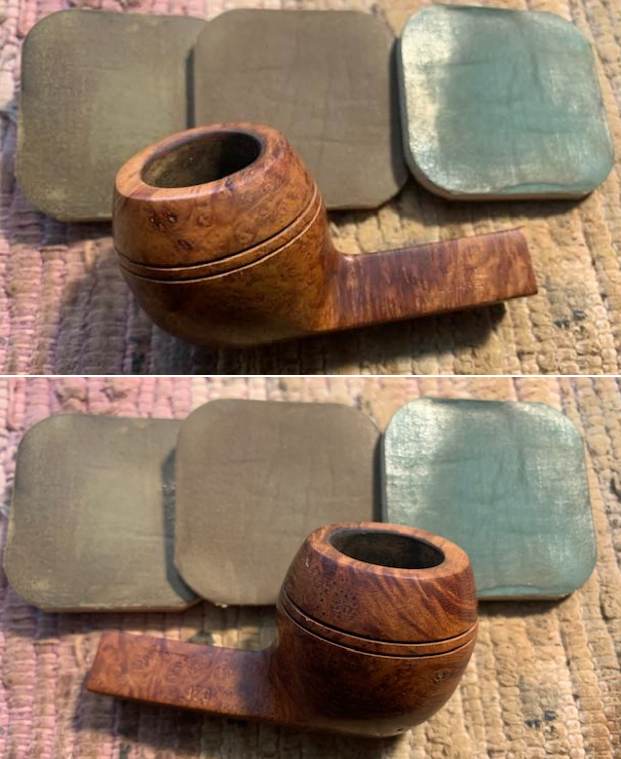
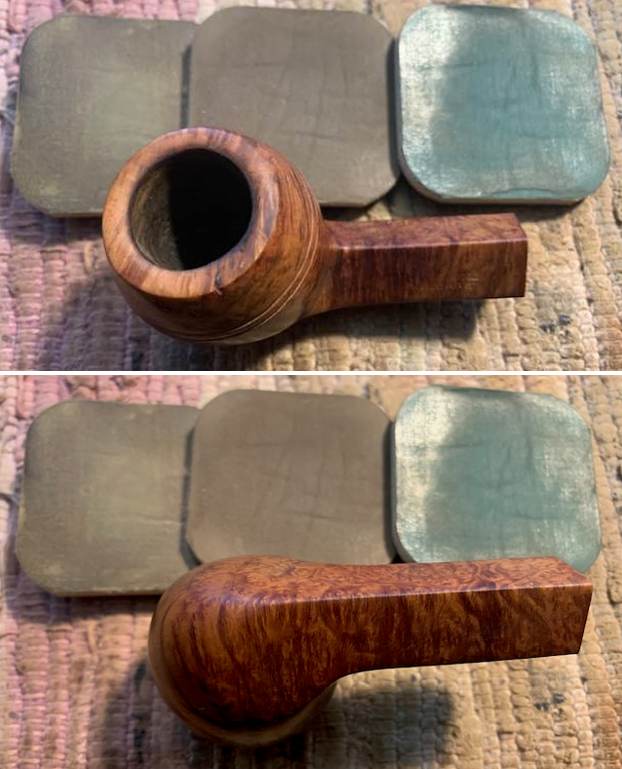
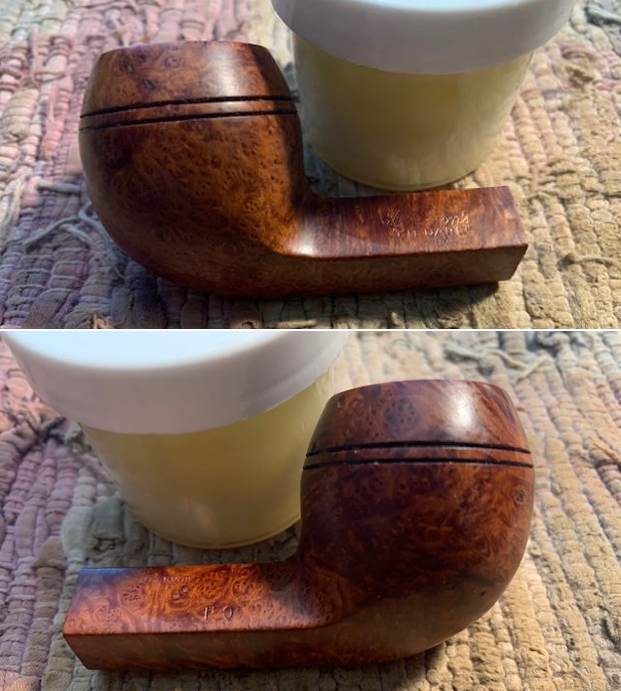
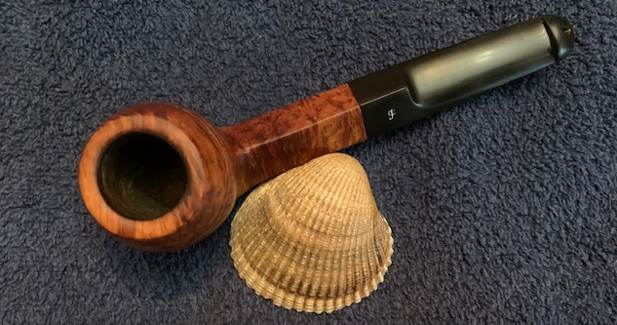
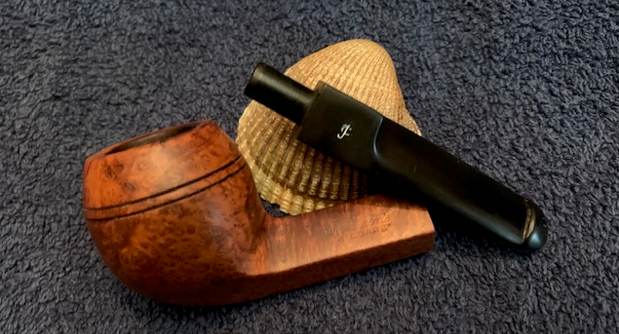
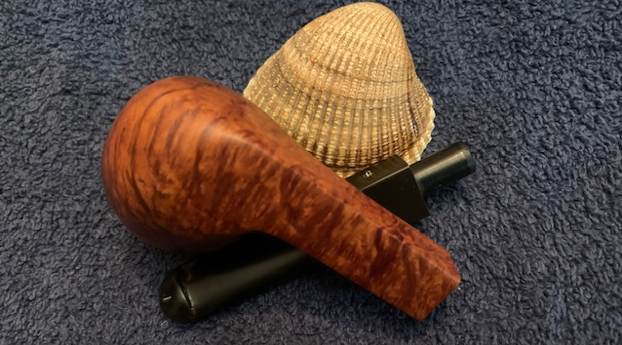
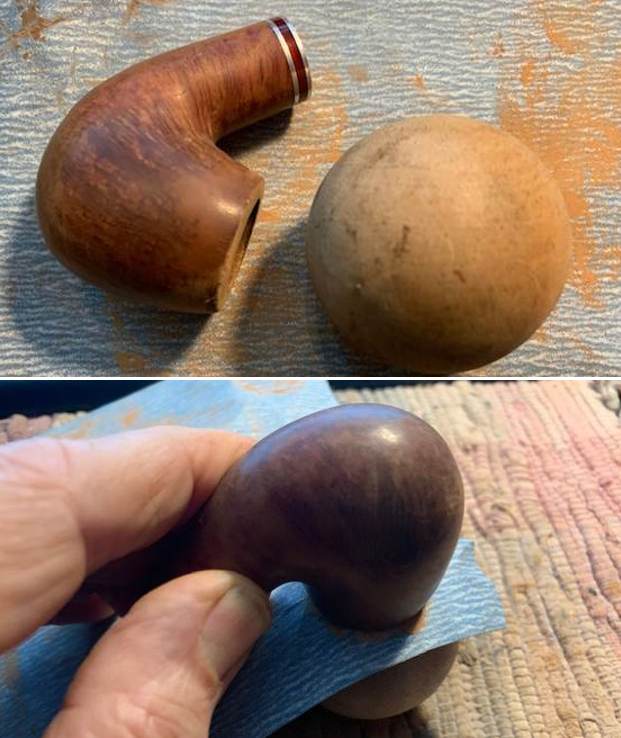
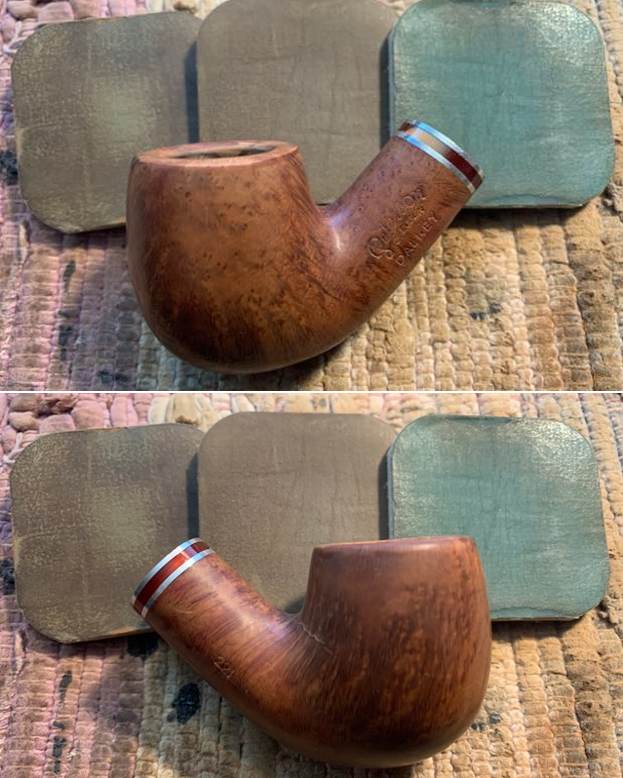
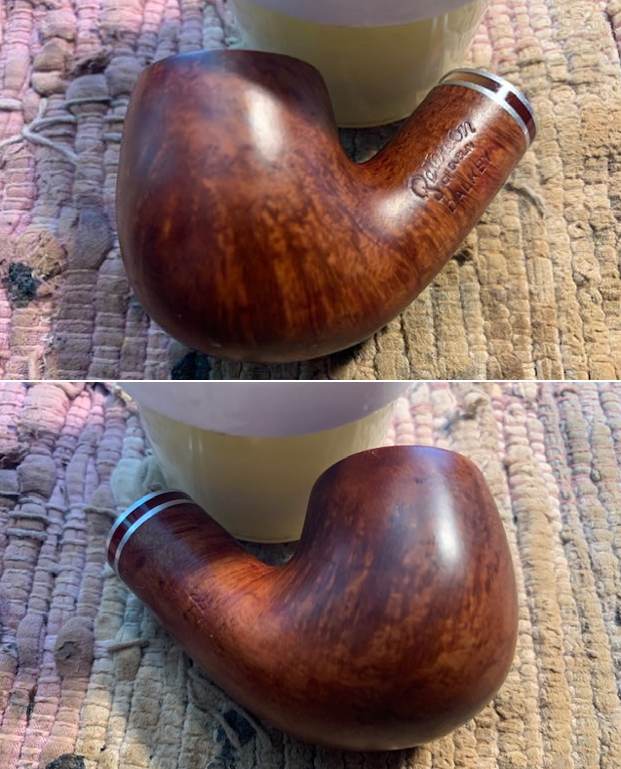
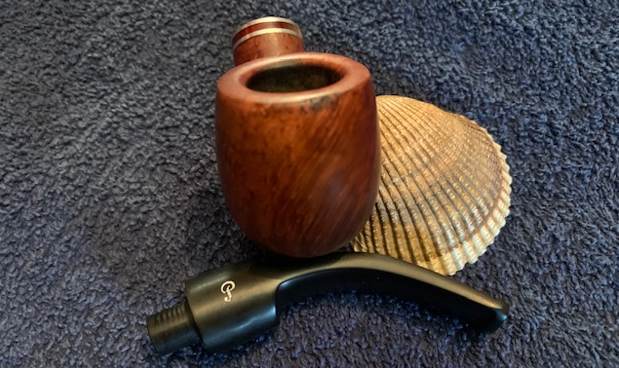
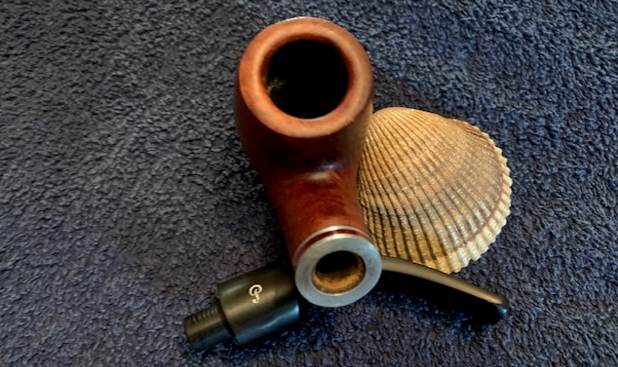
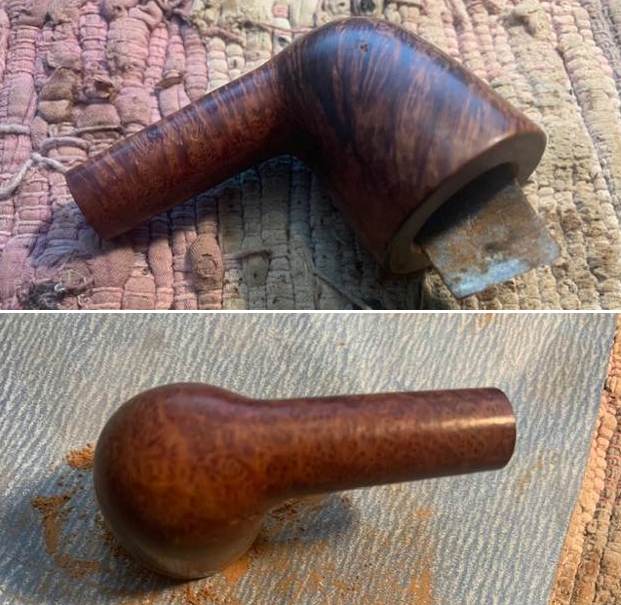
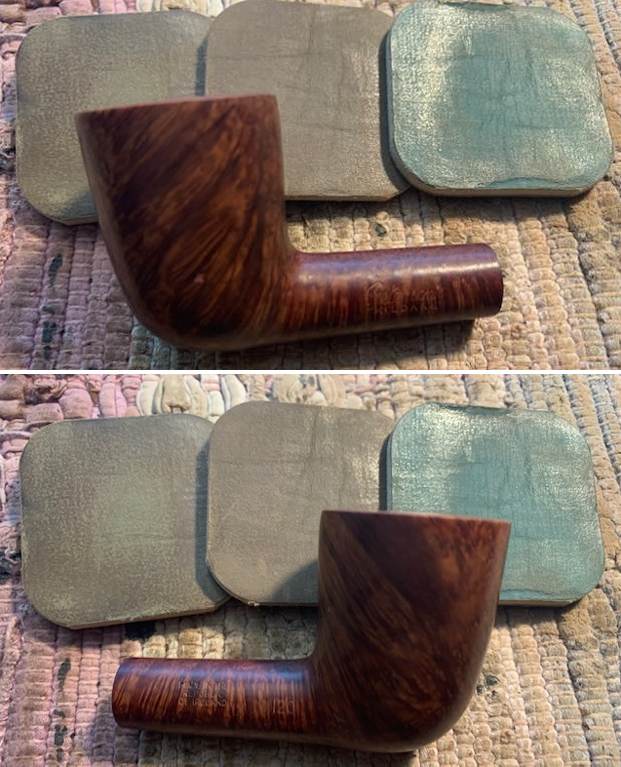
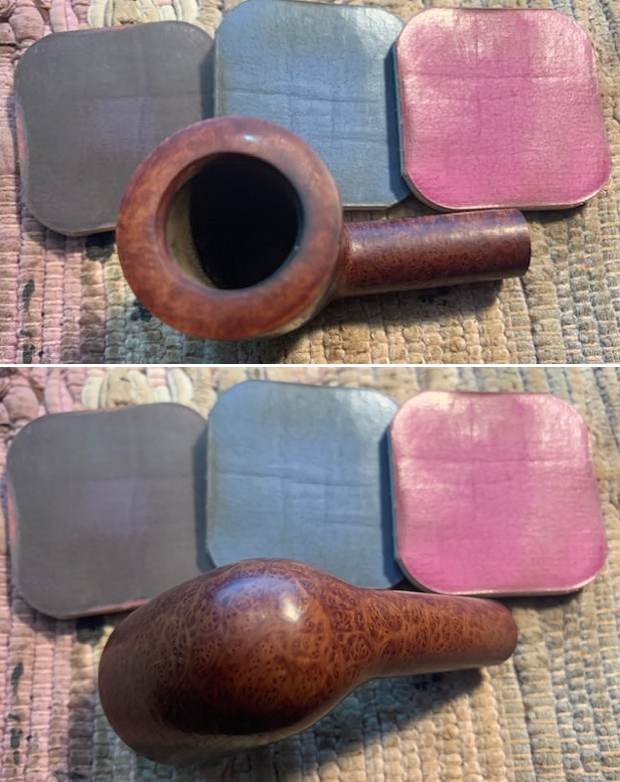
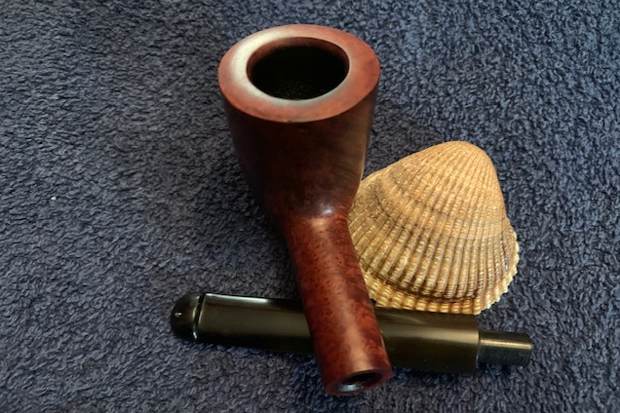
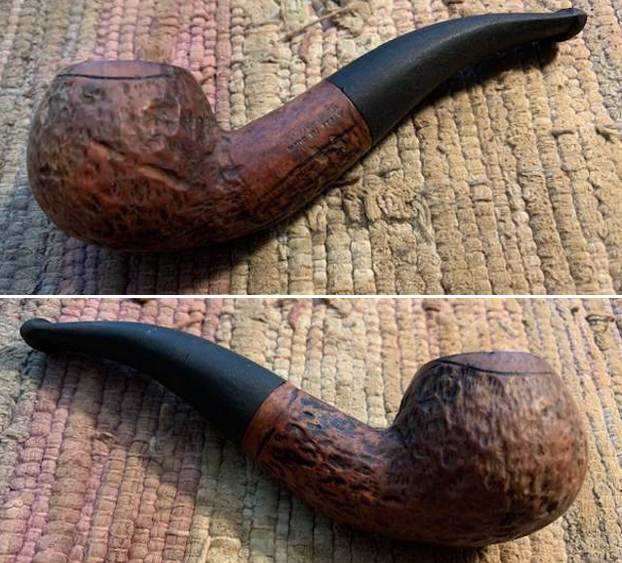
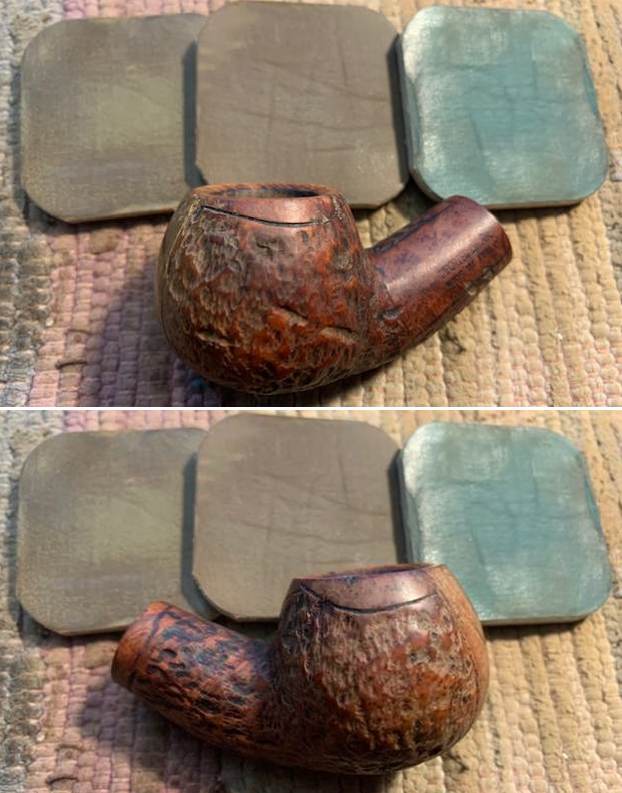
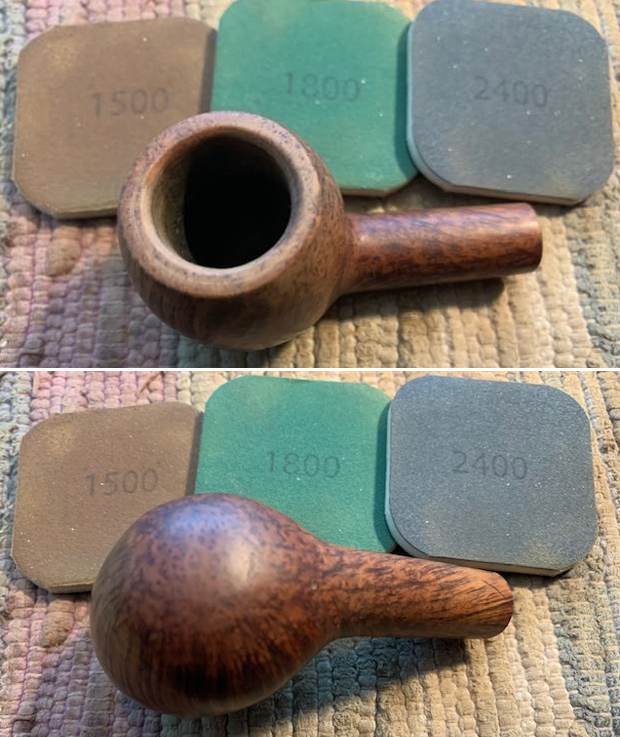
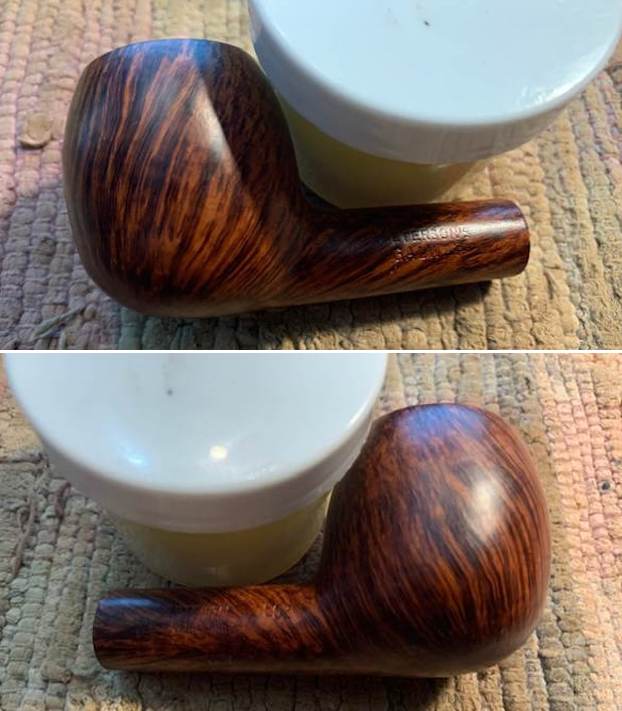
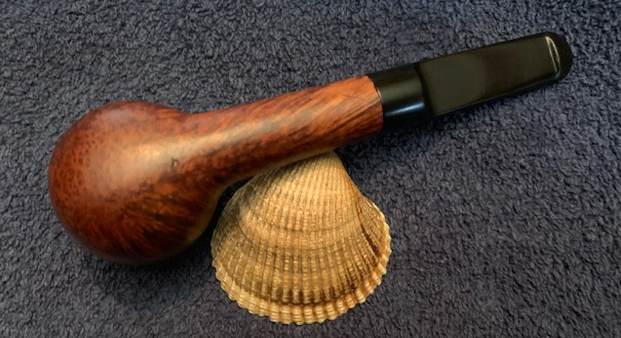
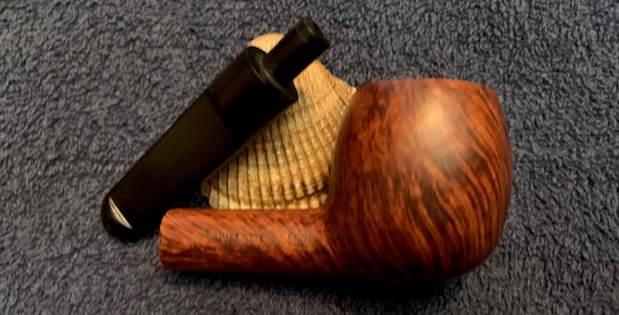
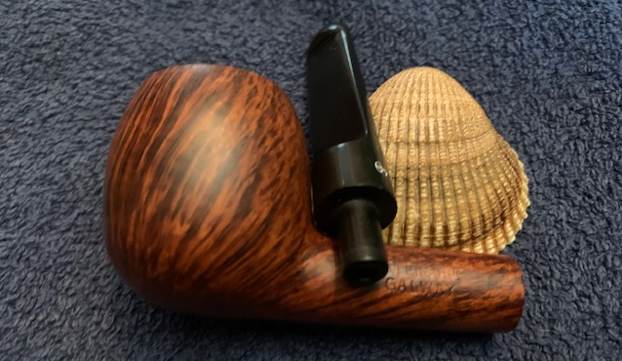
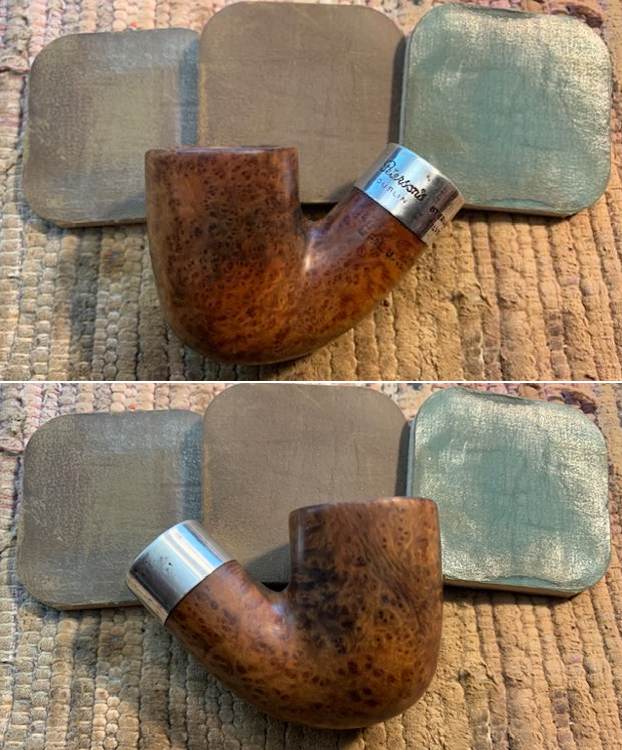
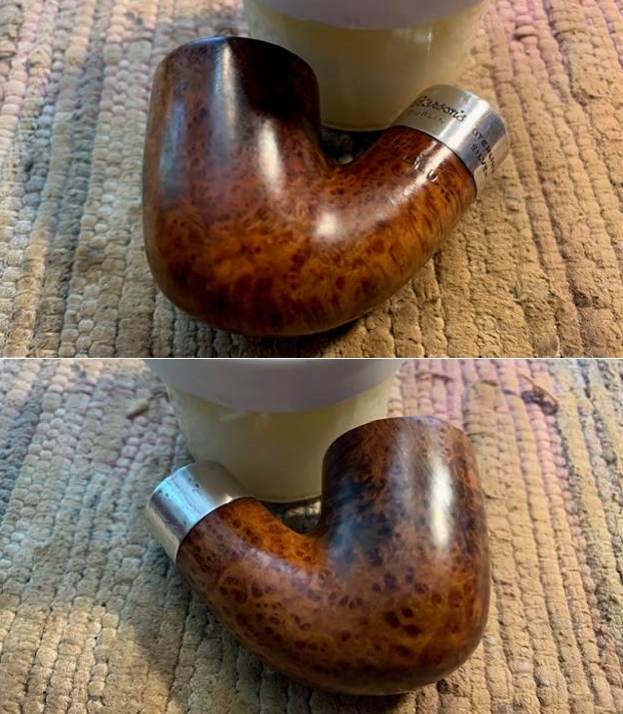
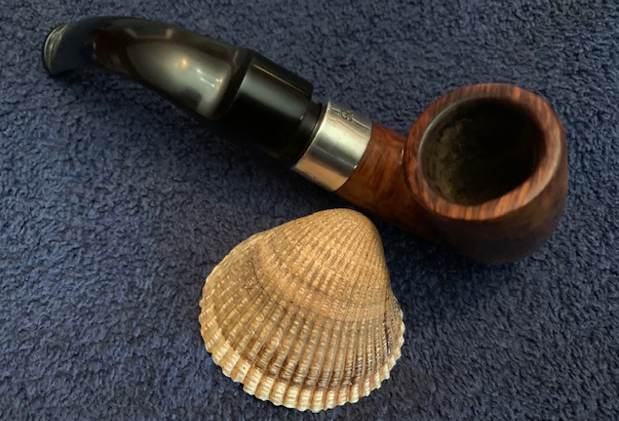
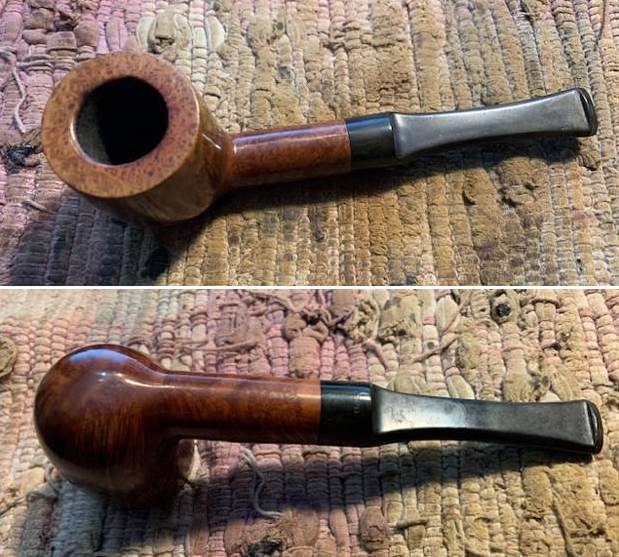
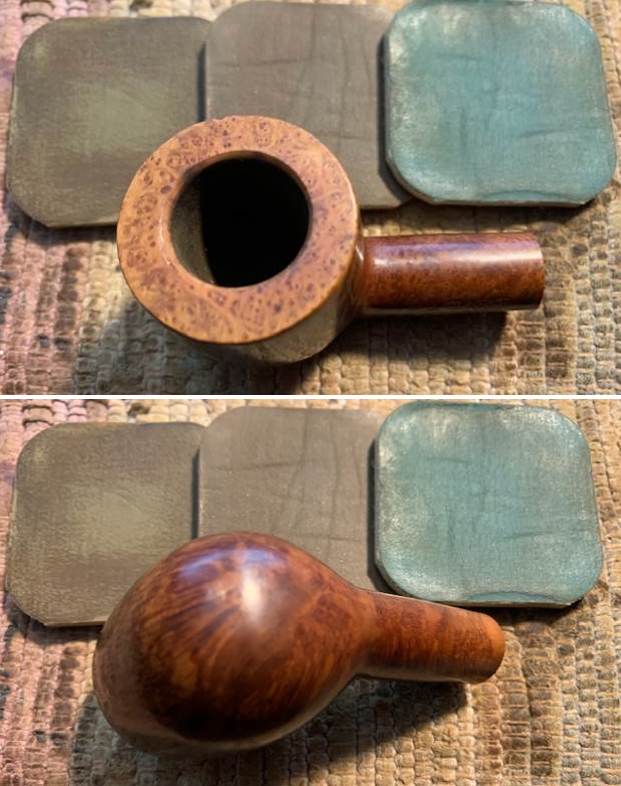
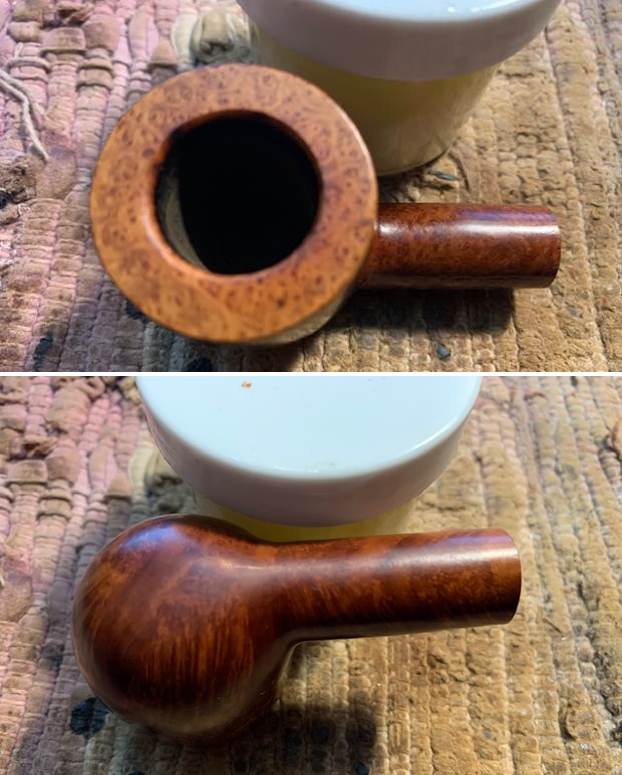
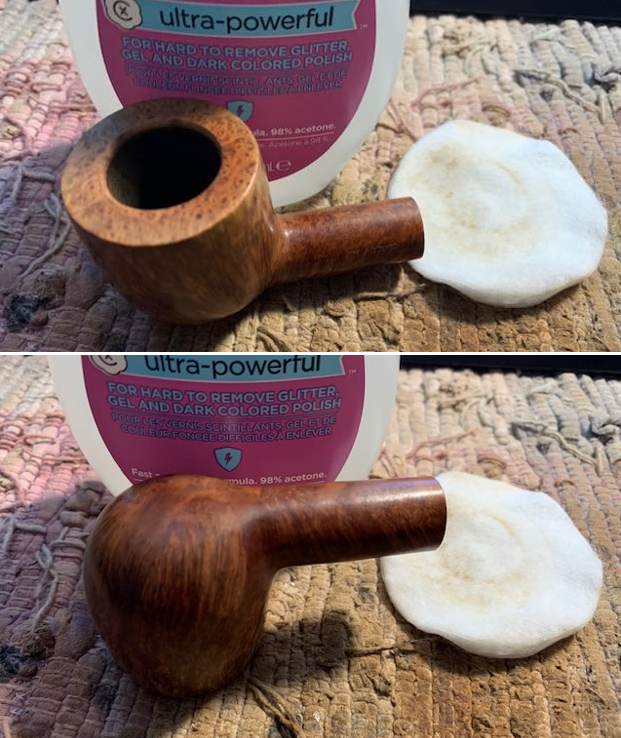 I rubbed the bowl and shank down with Before & After Restoration Balm to deep clean the finish on the bowl and shank. The product works to clean, enliven and protect the briar. I worked it into the finish with my fingers. After it sat for 15 minutes I wiped it off with a soft cloth. The briar really began to have a rich shine. I took some photos of the bowl at this point to mark the progress in the restoration. It is a beautiful bowl.
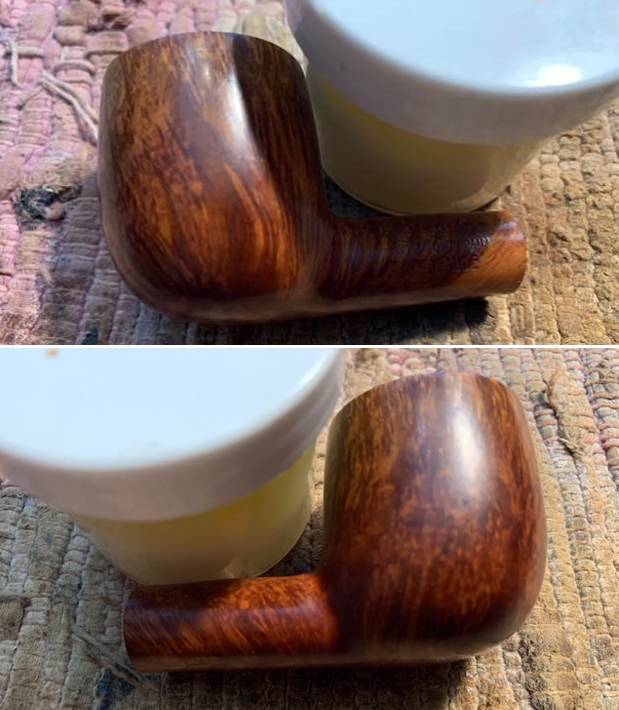
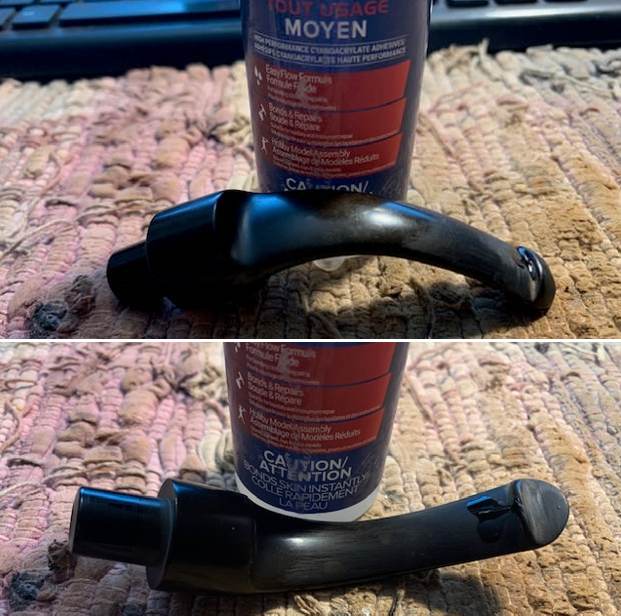
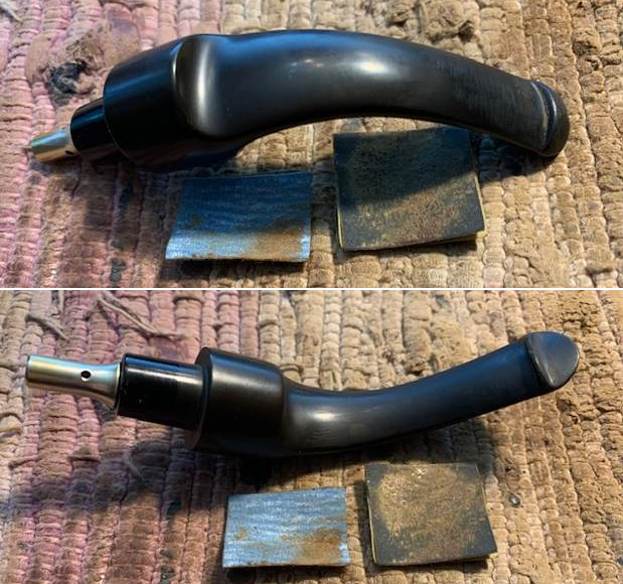
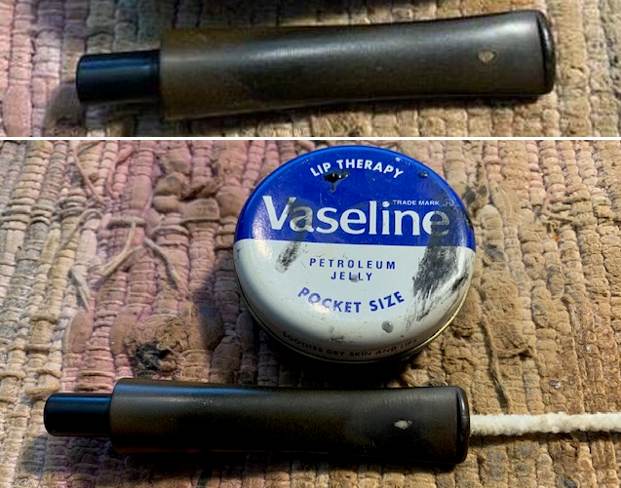
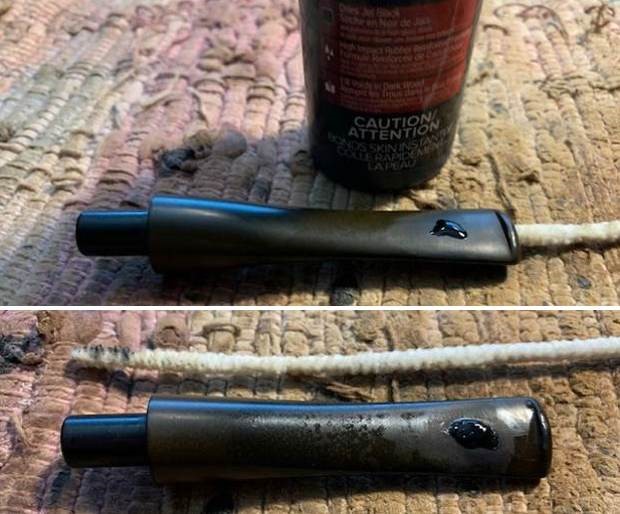
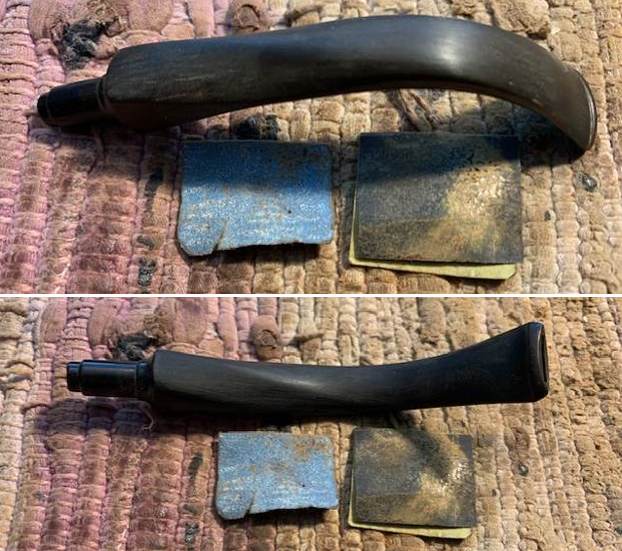
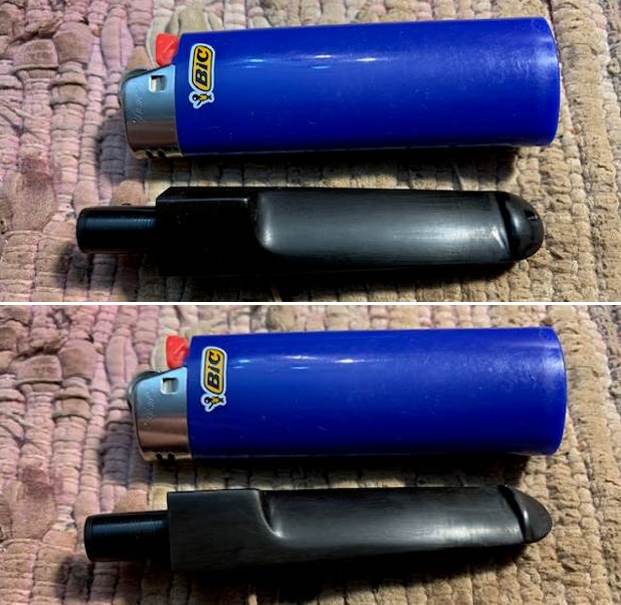
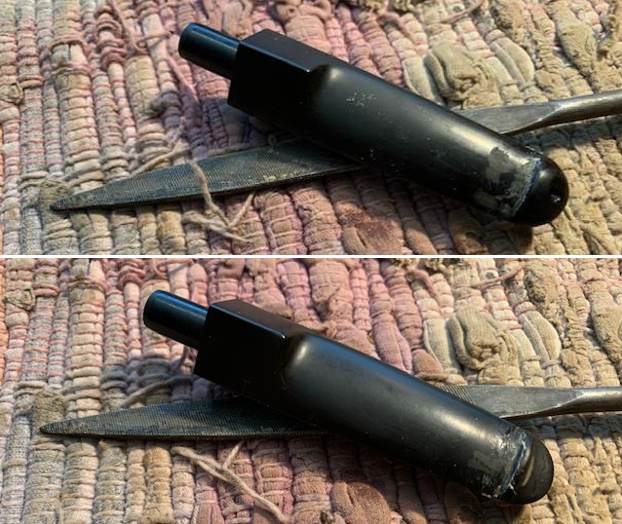
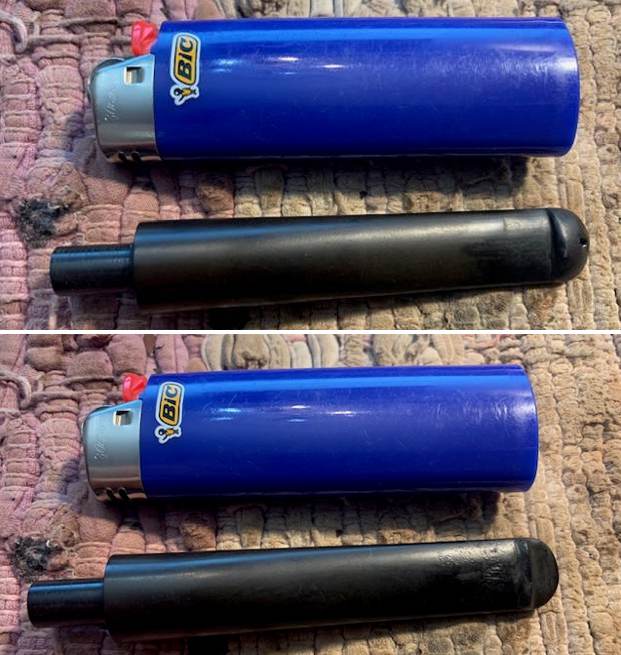
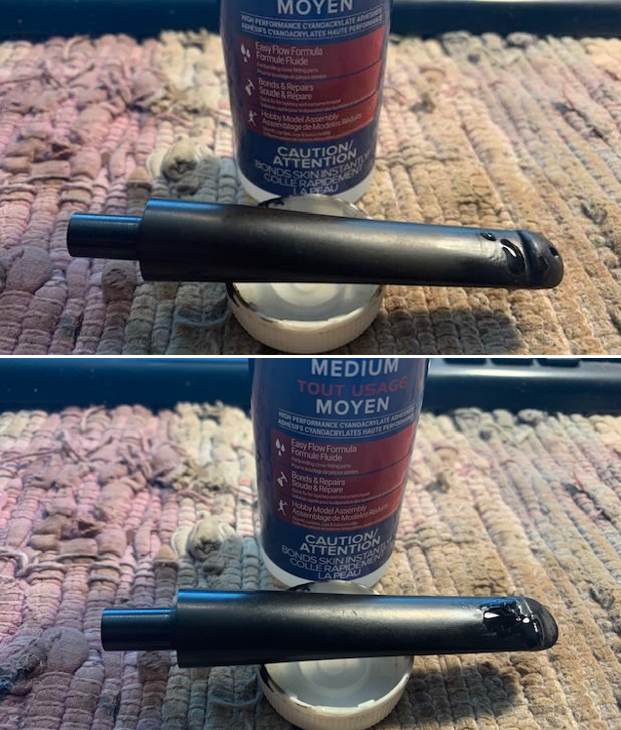
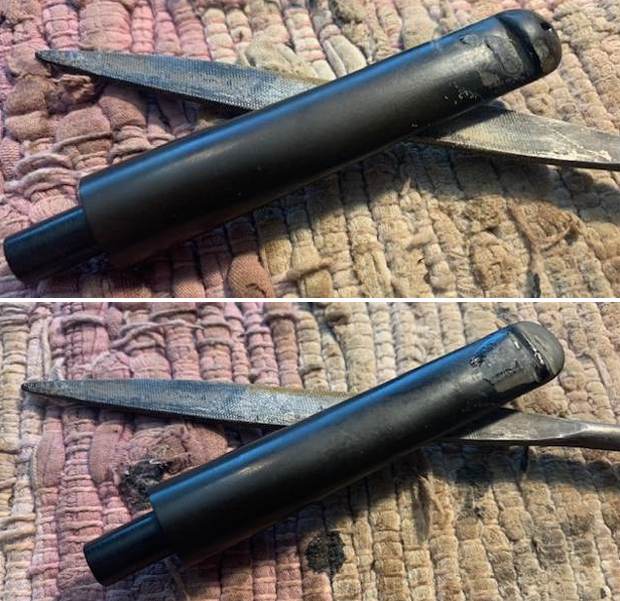
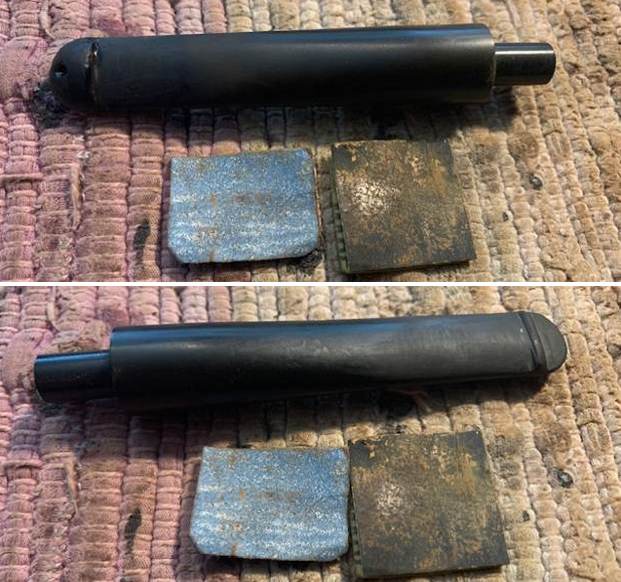
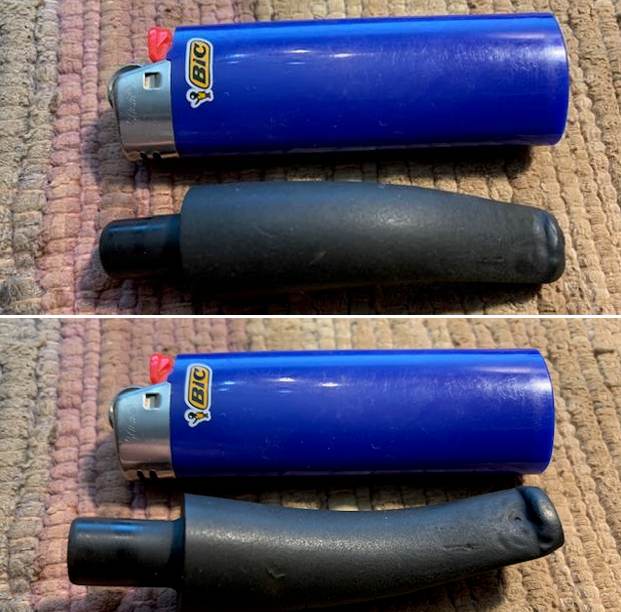
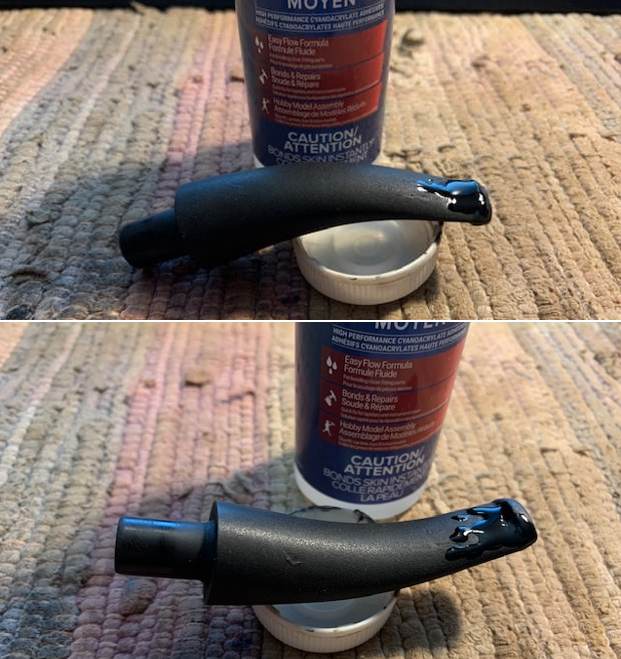
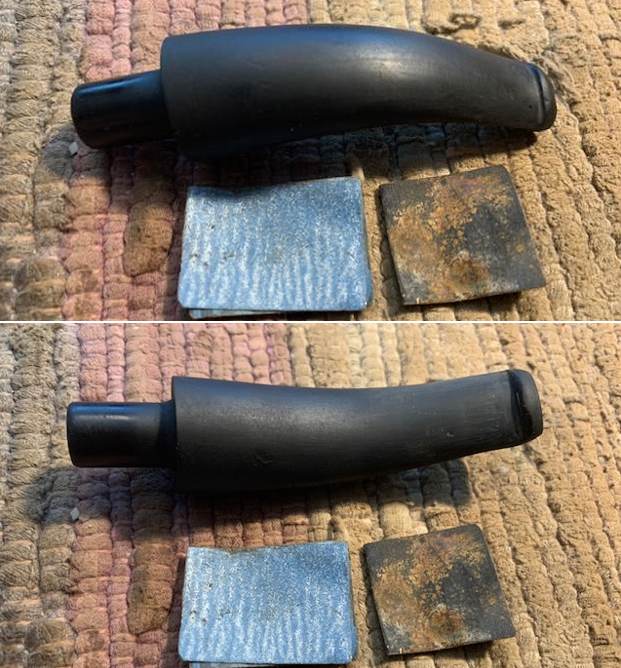
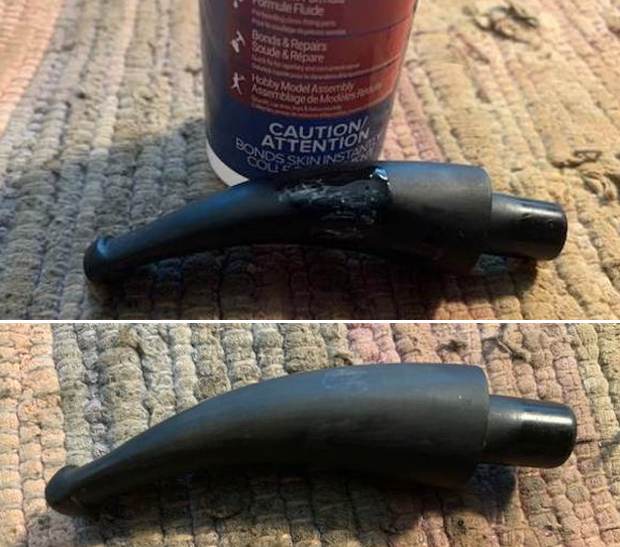
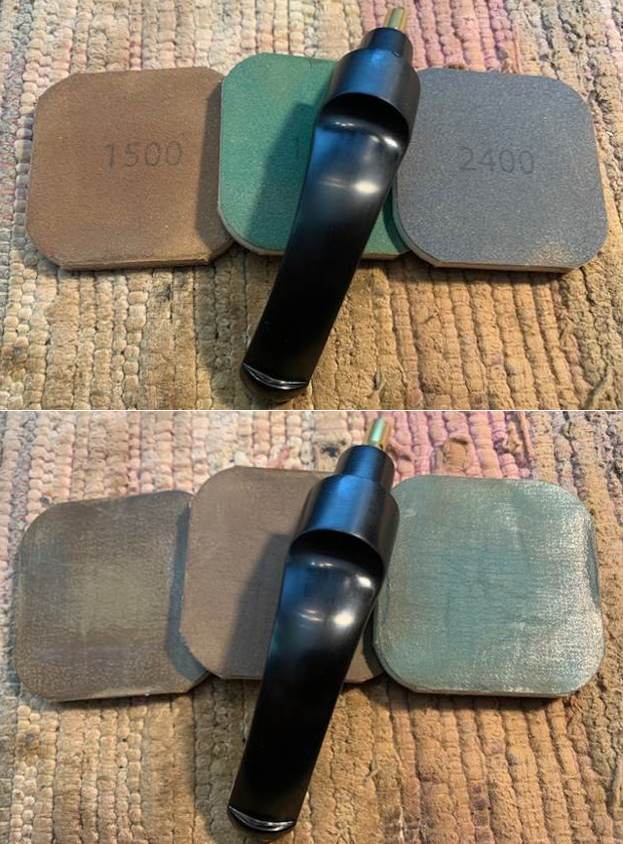
 I set the bowl aside and turned my attention to the stem. I “painted” the surface with the flame of a lighter to lift the tooth marks and chatter. It worked very well and I sanded out the remnants and oxidation on the top and underside with 220 grit sandpaper and started polishing it with 400 grit wet dry sandpaper (in my late night work on this stem I forgot to take photos of the sanded stem after the 220 and 400 grit papers).
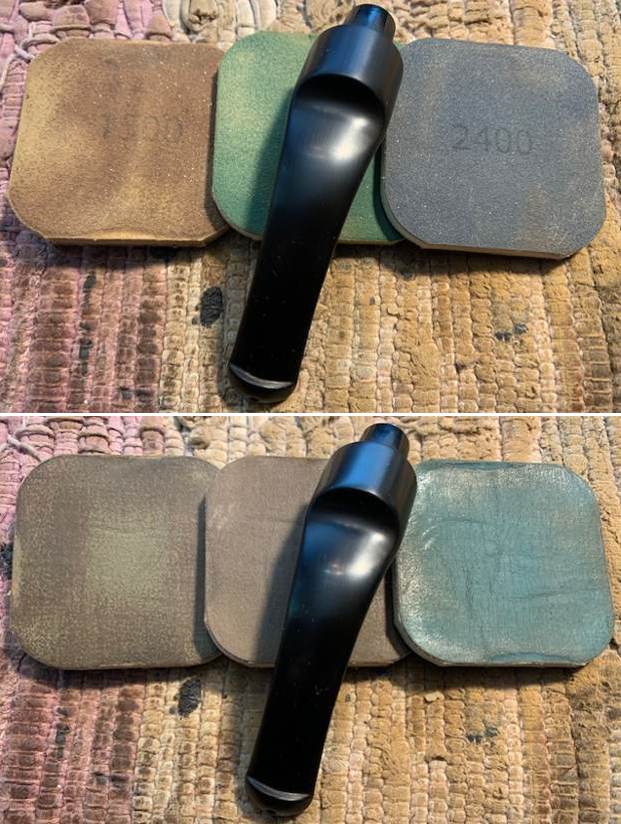
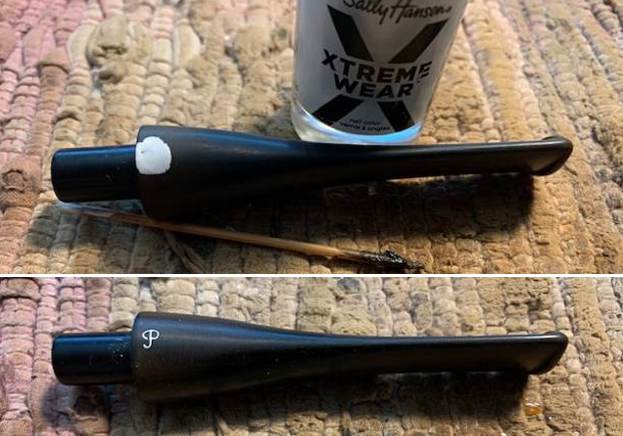
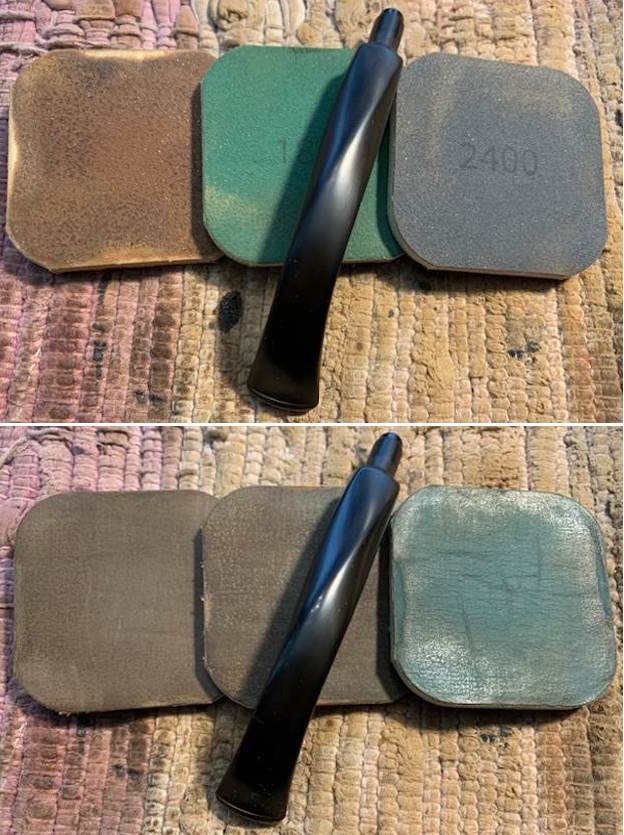
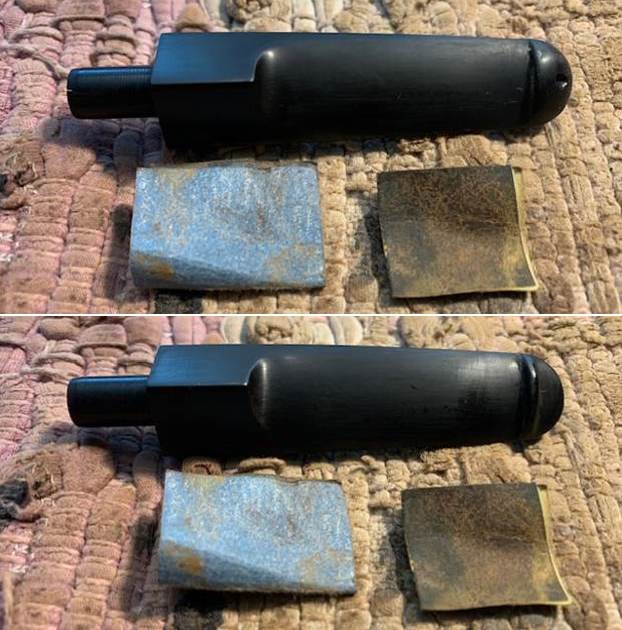
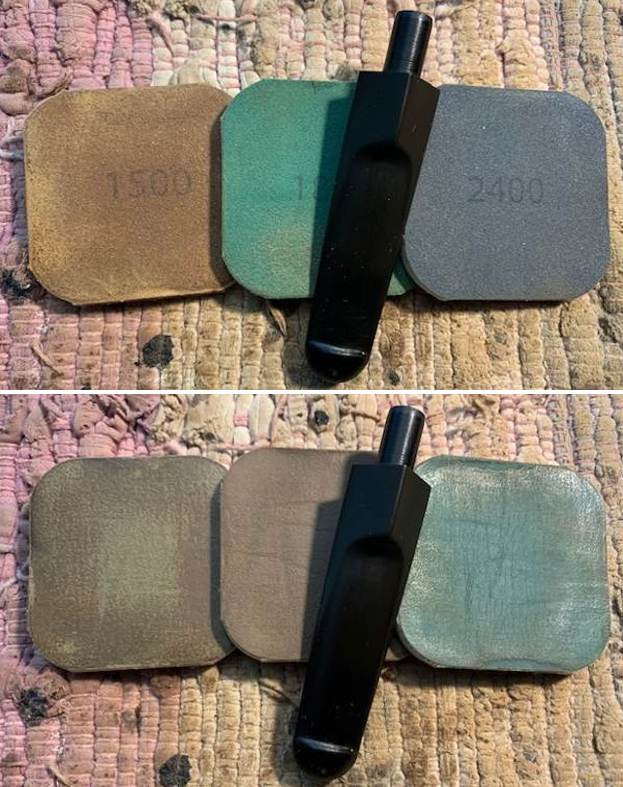
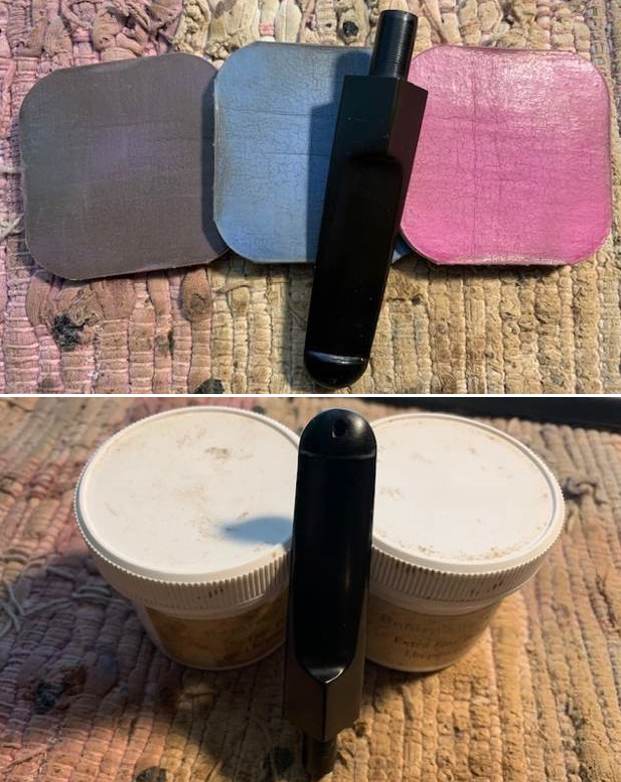
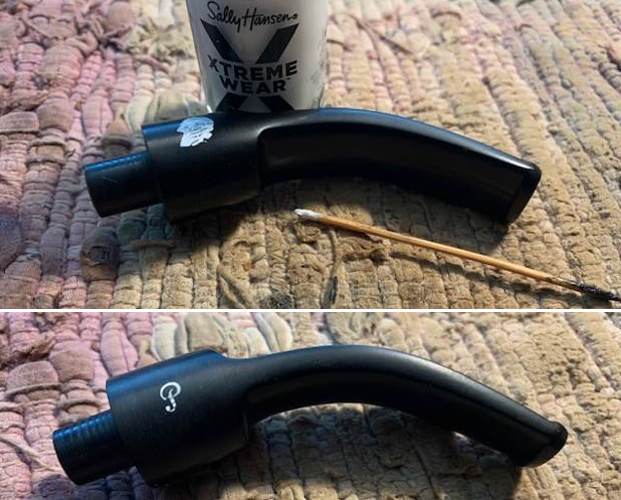
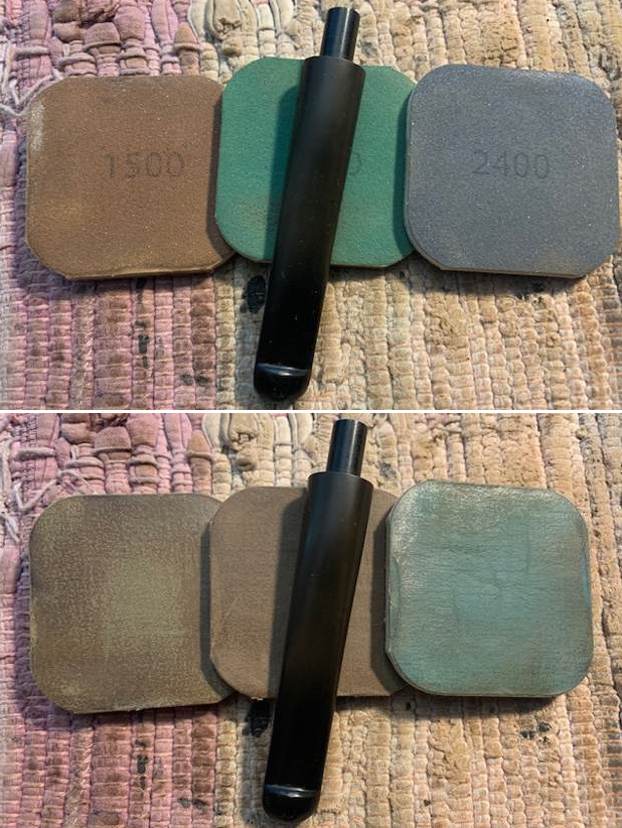
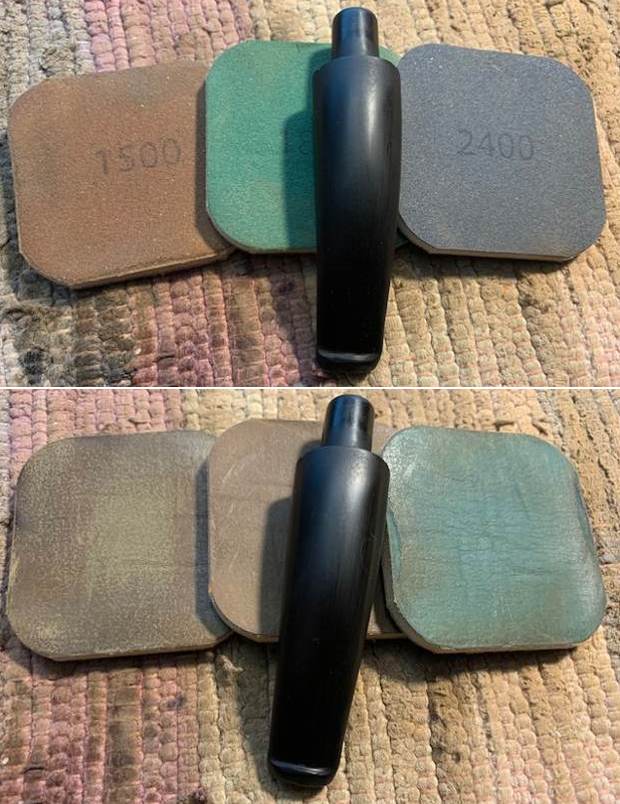
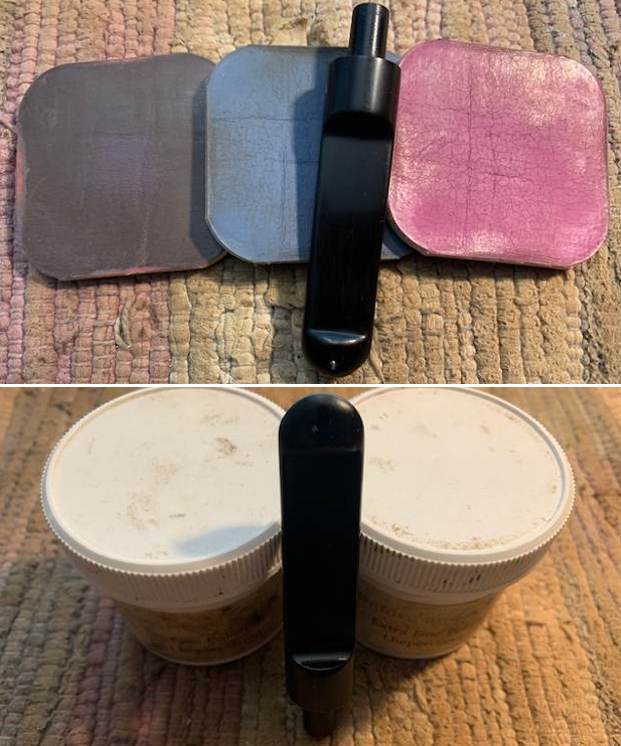
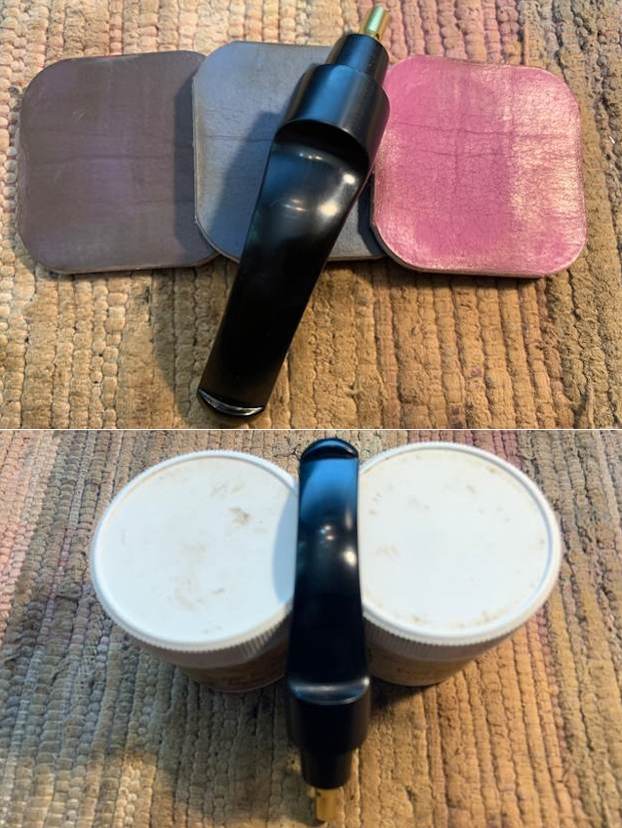
 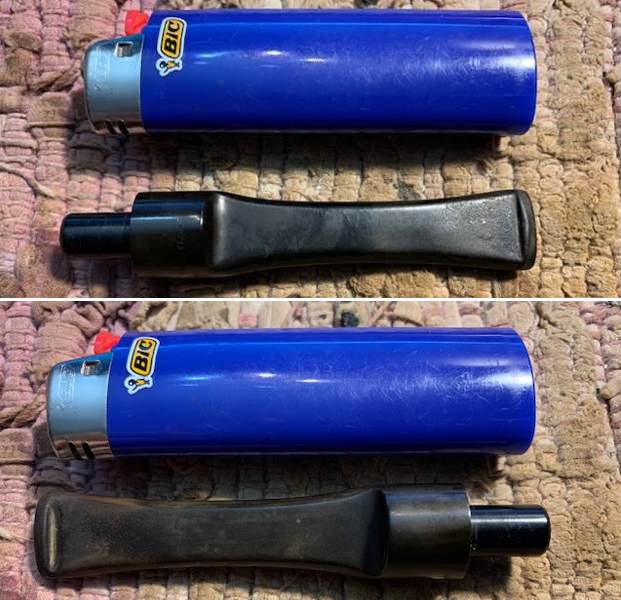 I polished the stem with micromesh sanding pads – dry sanding with 1500-12000 grit pads. I wiped the stem down after each pad with a damp cloth to remove the sanding dust. I used the Before & After Pipe Polish to remove the small minute scratches left in the vulcanite. I finished by wiping the stem down with a final coat of Obsidian Oil and set it aside to dry.
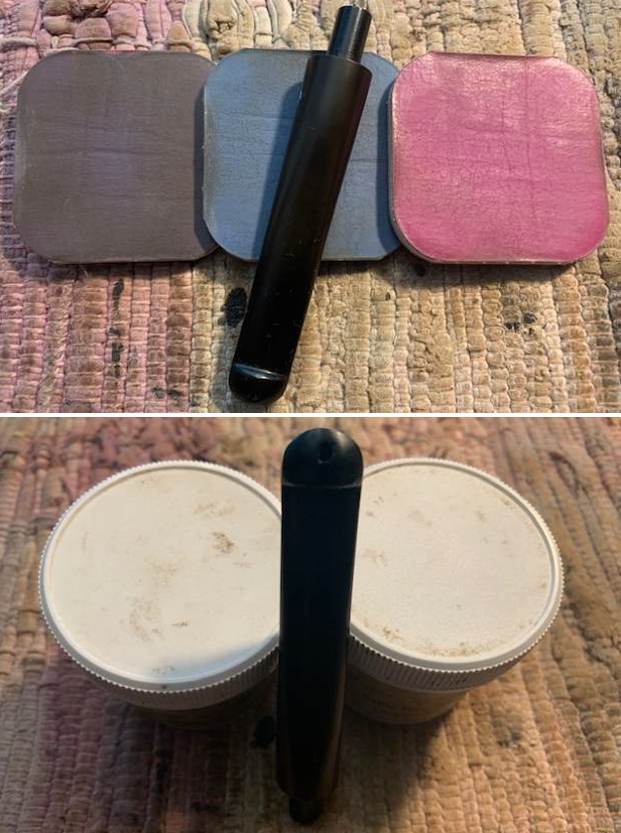
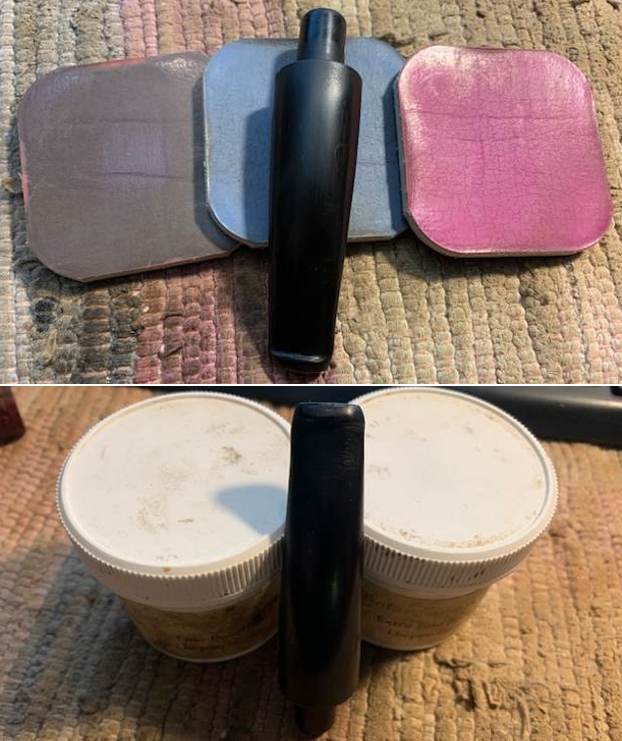
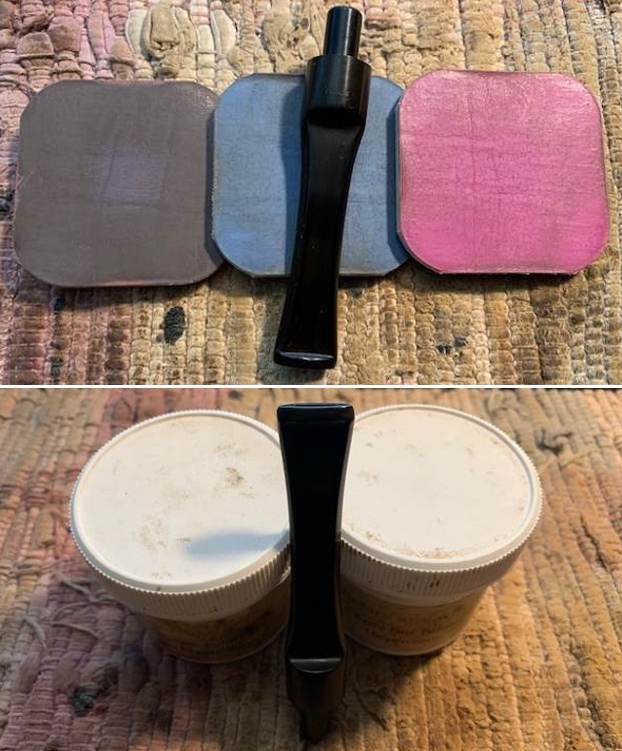
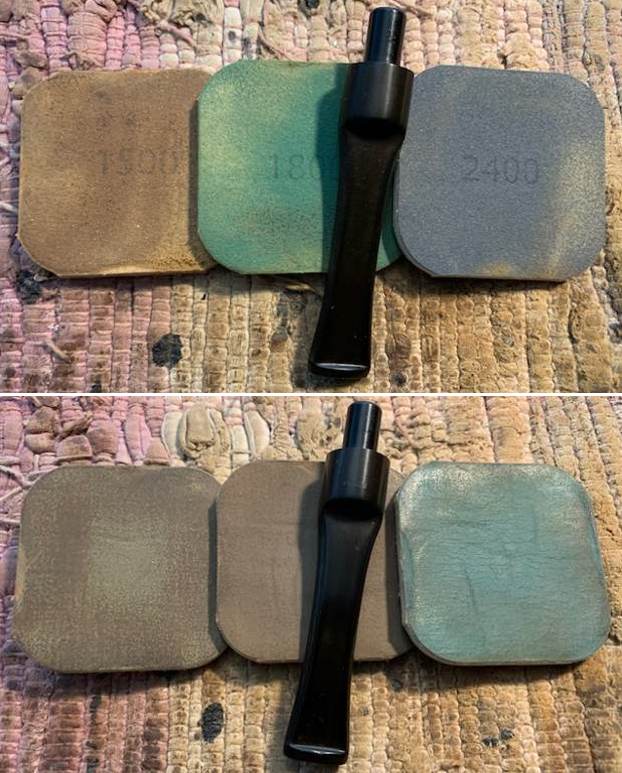
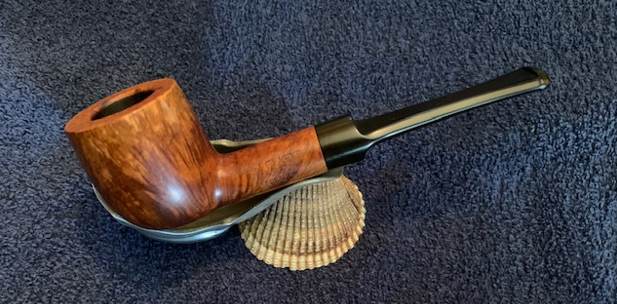
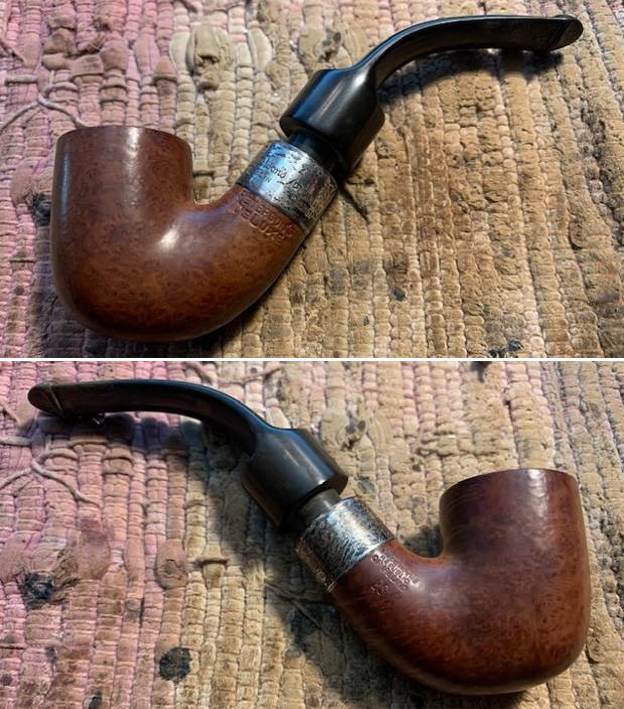
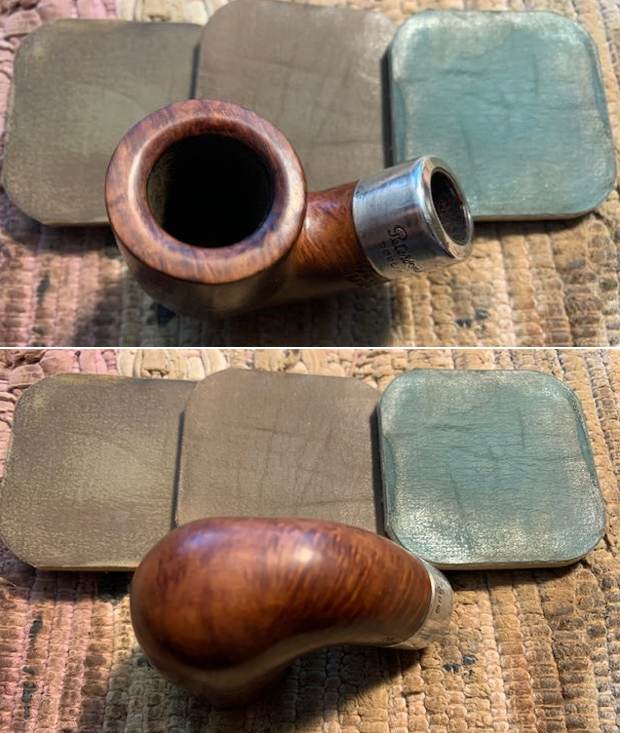
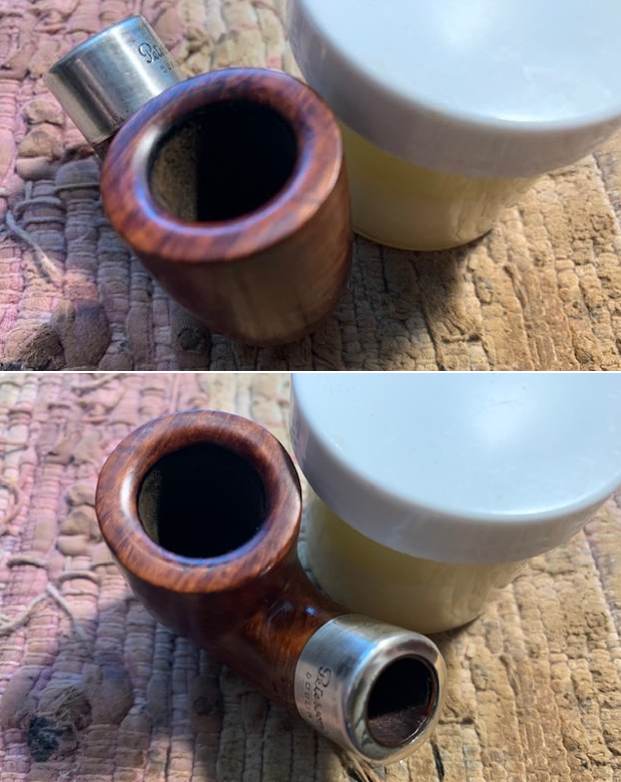
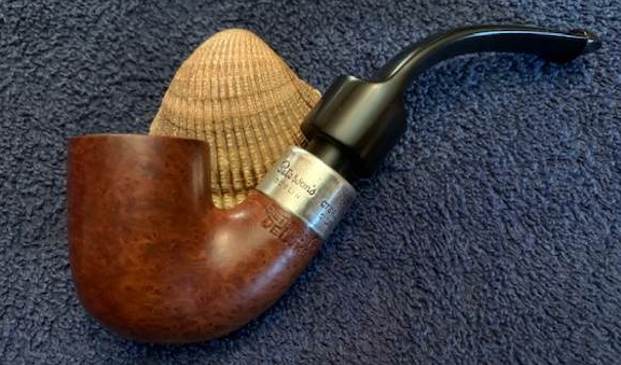
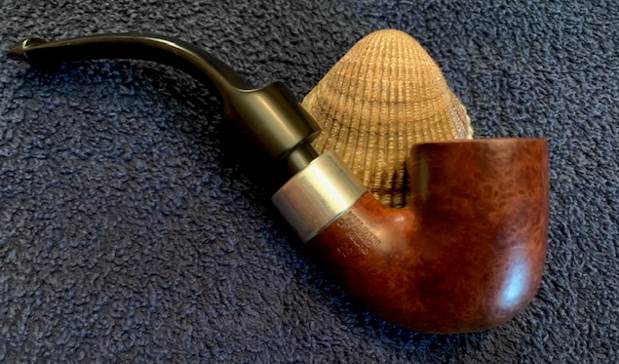
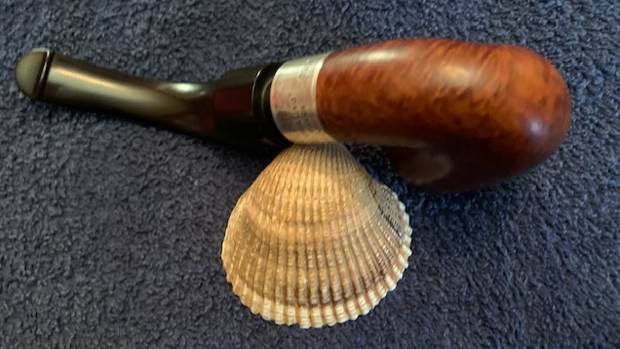
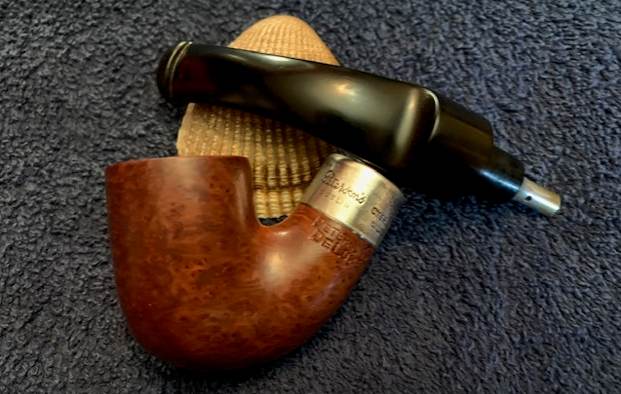
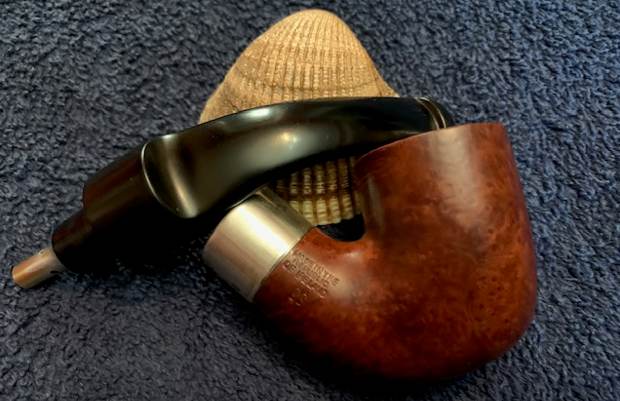
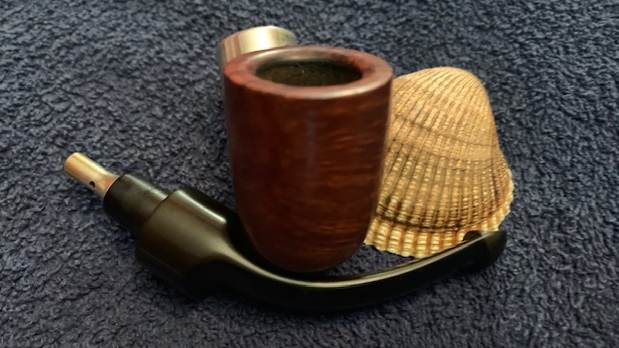
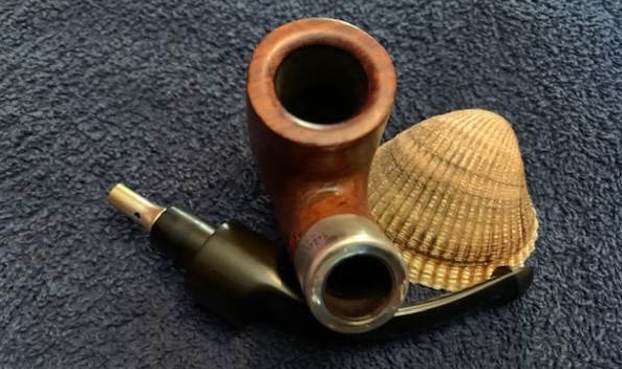
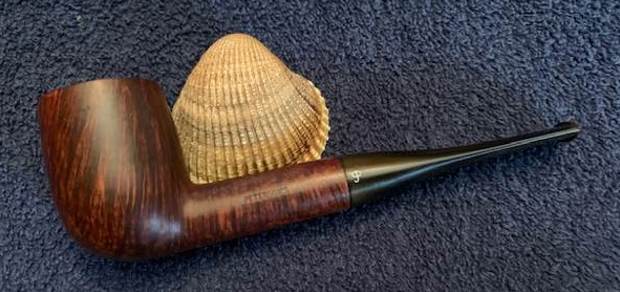
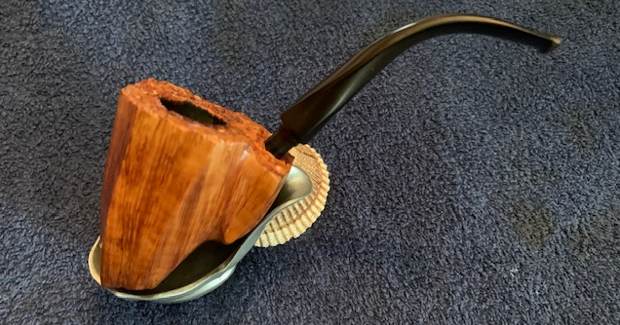
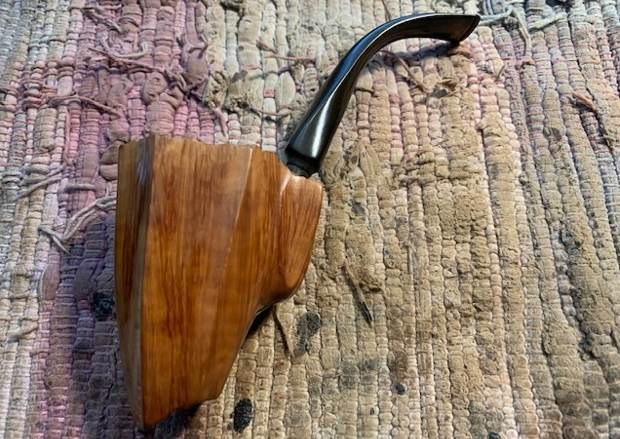
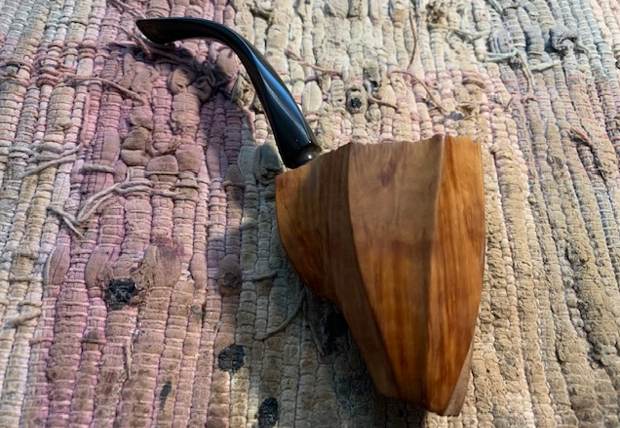
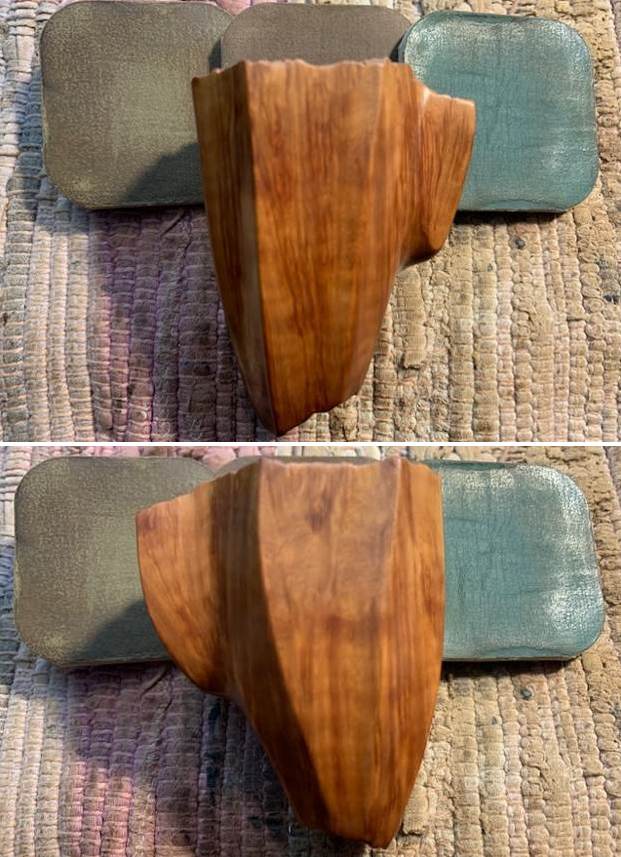
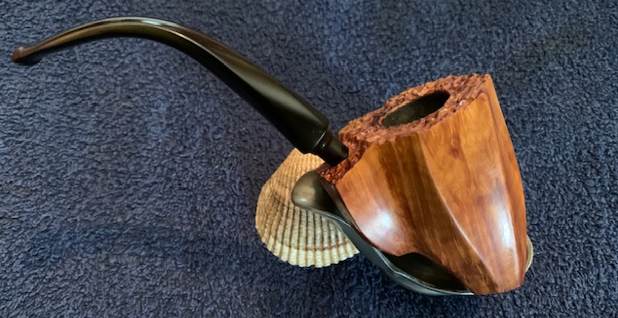
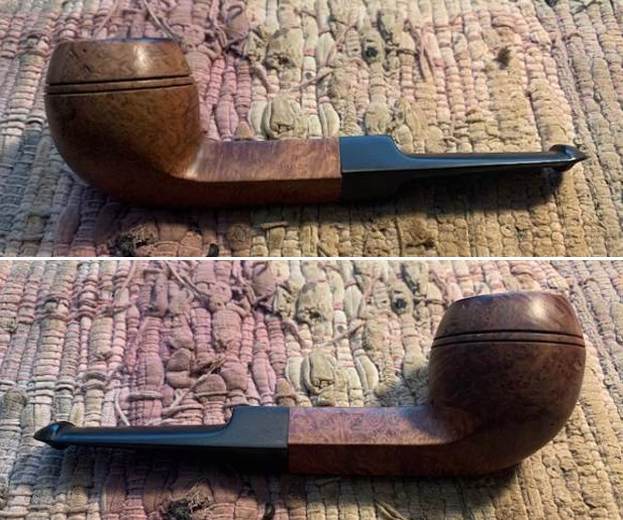
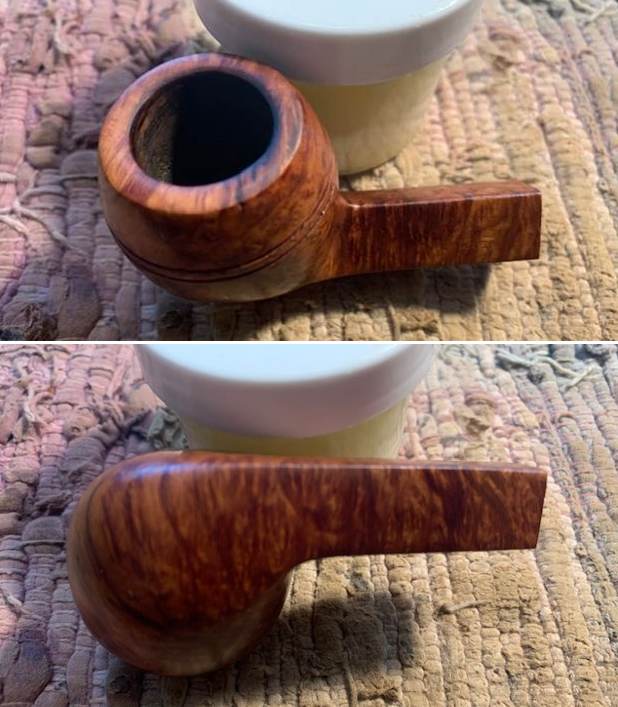
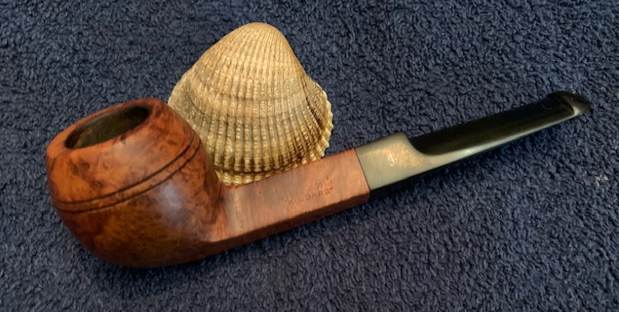
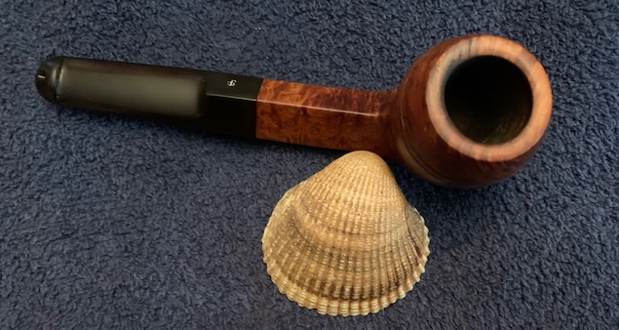
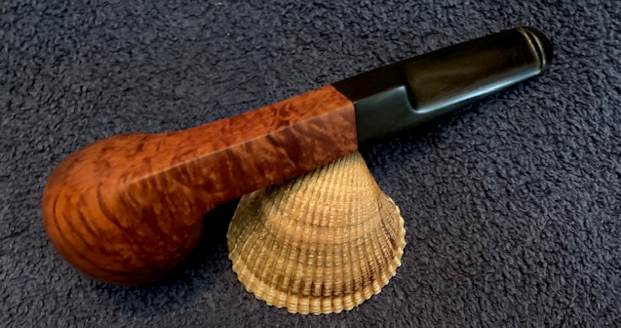
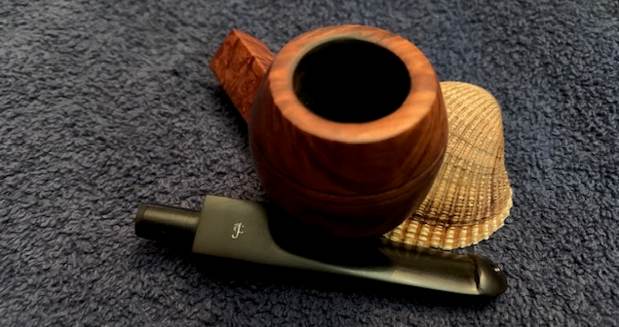
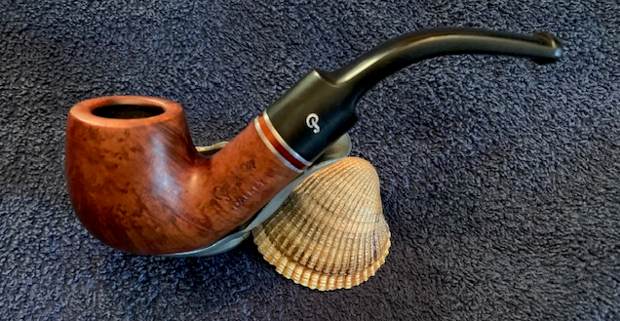
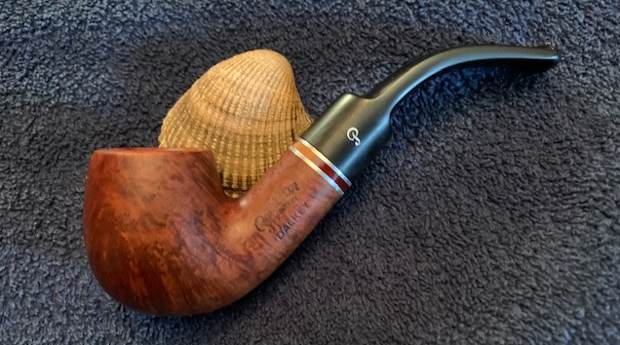
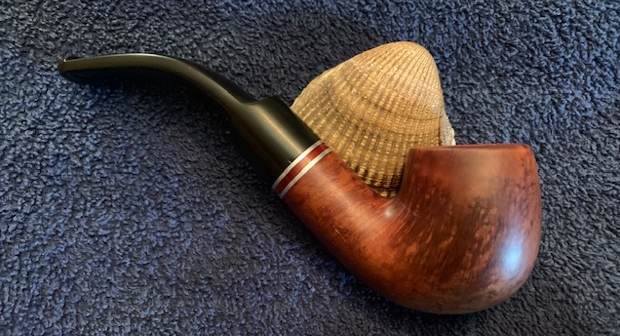
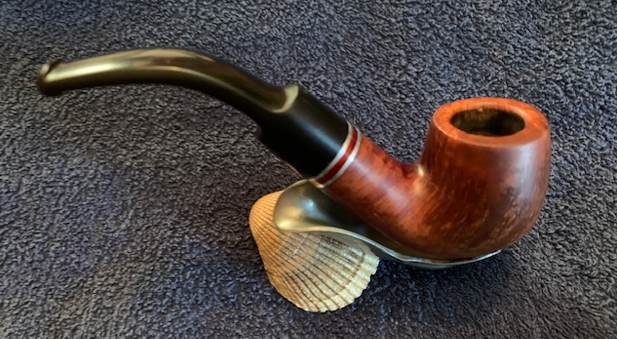
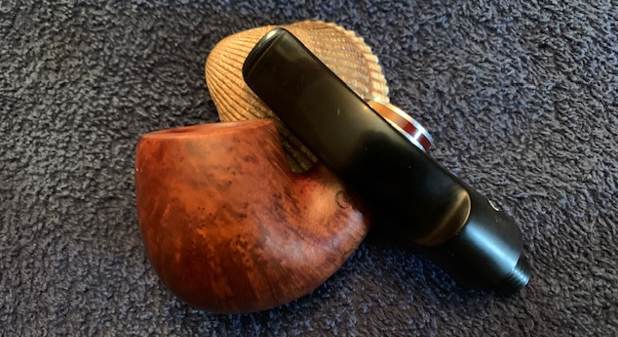
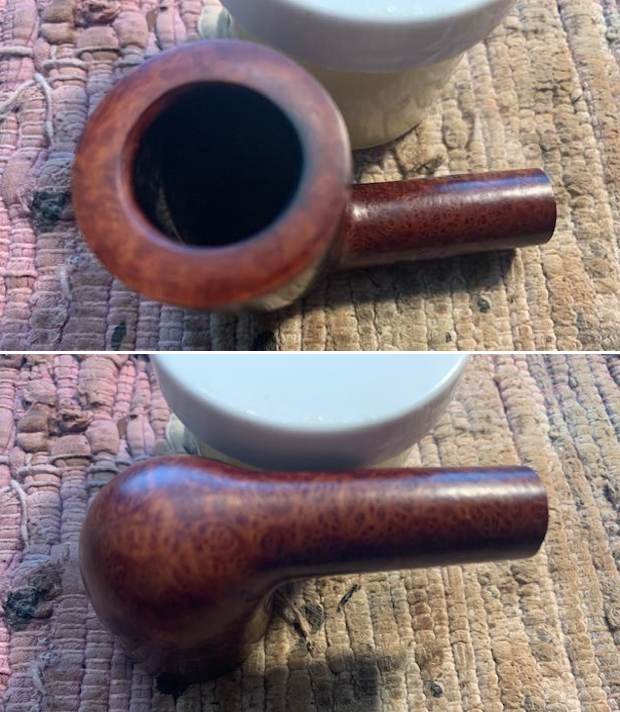
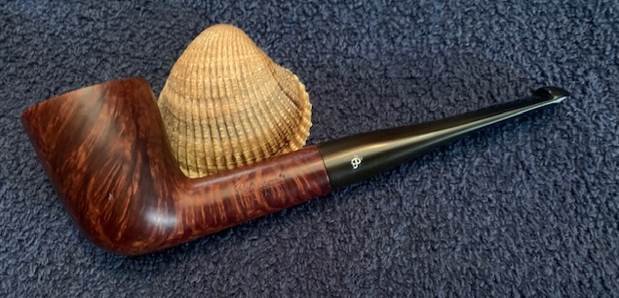
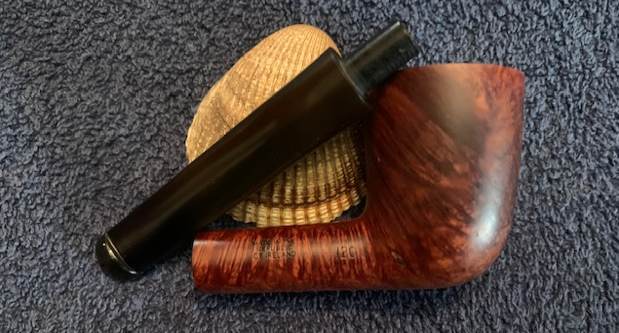
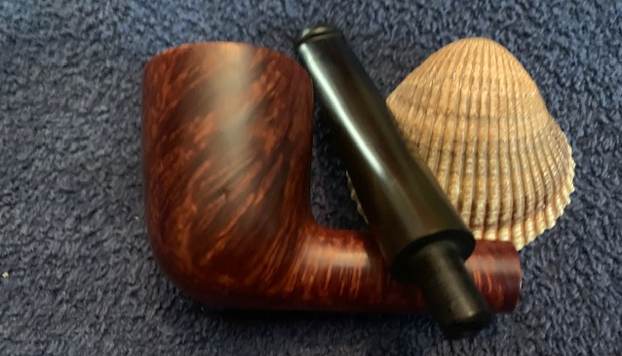
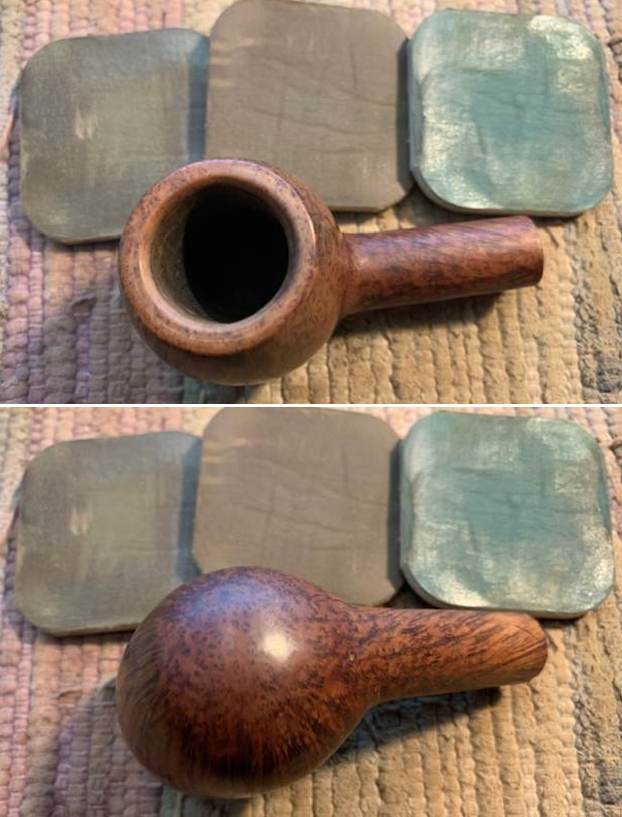
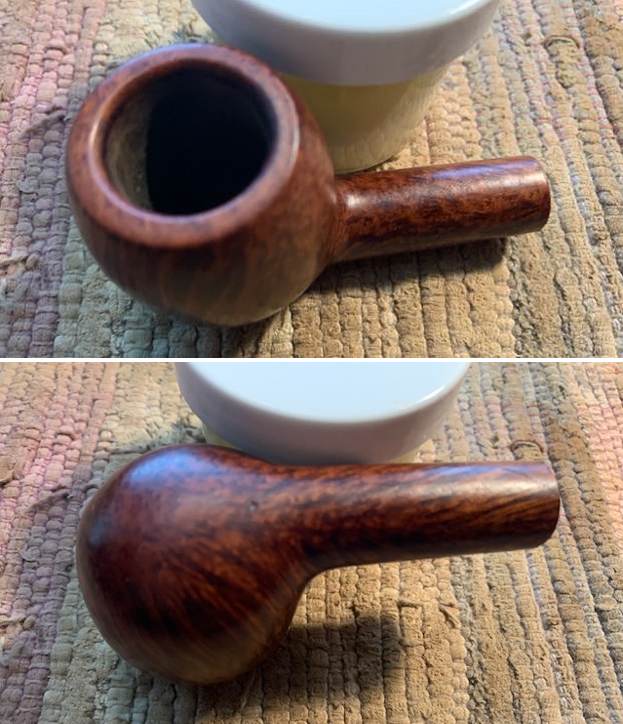
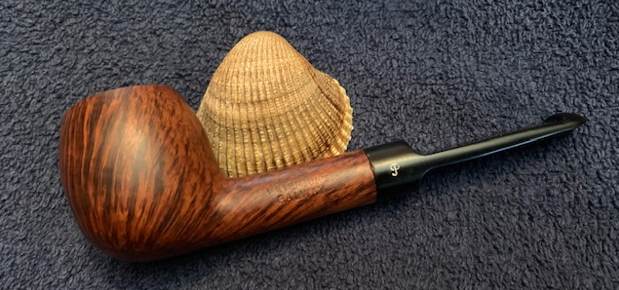
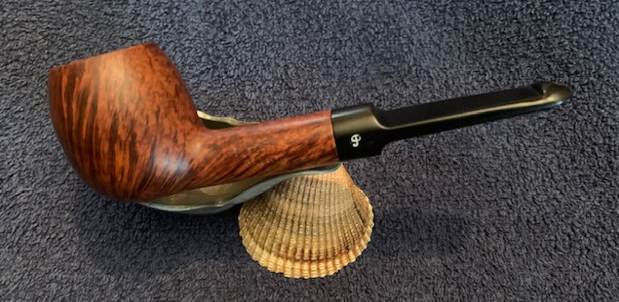
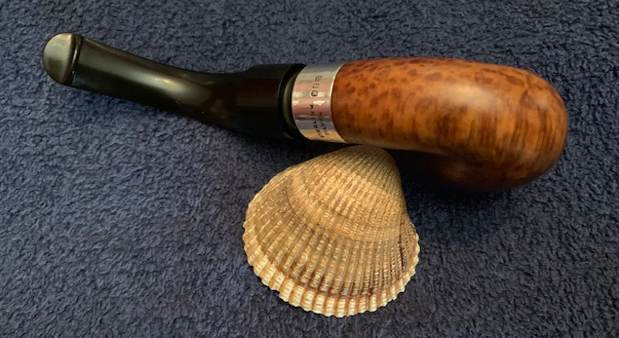
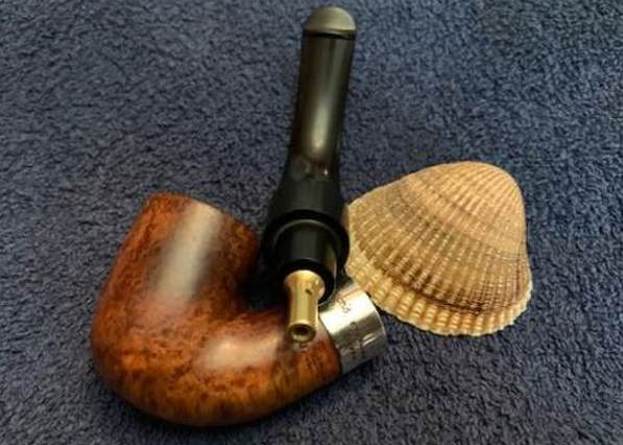
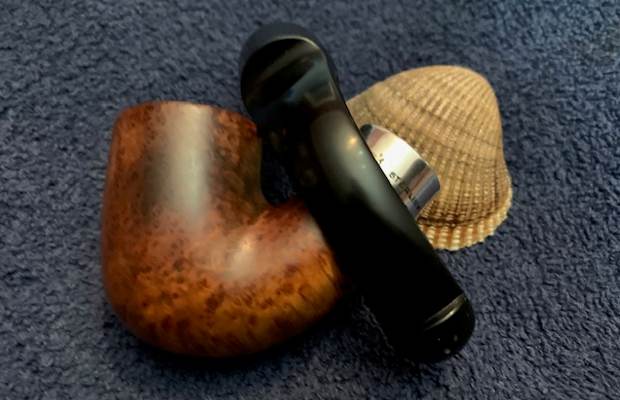
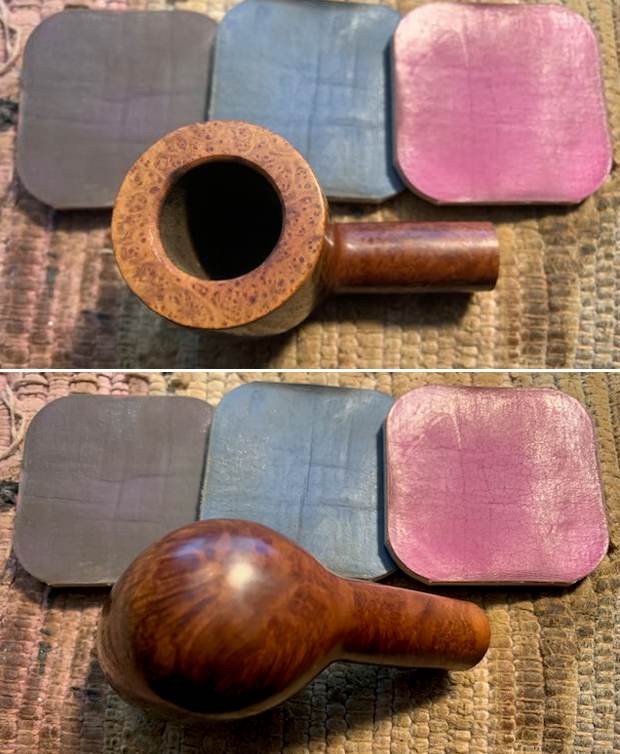
 As usual at this point in the restoration process I am excited to be on the homestretch. I look forward to the final look when it is put back together, polished and waxed. I put the bowl and stem back together. I polished the bowl and stem with Blue Diamond to polish out the scratches in the briar and the vulcanite. I gave the bowl and the stem multiple coats of carnauba wax. I buffed the pipe with a clean buffing pad to raise the shine. I hand buffed it with a microfiber cloth to deepen the shine. The pipe polished up pretty nicely. The grain really pops with the wax and polish. The shiny black vulcanite stem is a beautiful contrast to the browns of the bowl and thick shank. This French Made RJ Clarke Straight Grain St. Claude Pot was another fun pipe to work on. It is a nice piece of briar whose shape follows the flow of the briar. The pipe is comfortable pipe to hold in the hand. The finished pipe is shown in the photos below. The dimensions of the pipe are Length: 5 ½ inches, Height: 1 ¾ inches, Outside diameter of the bowl: 1 ¼ inches, Chamber diameter: ¾ of an inch. The weight of the pipe is 1.20 ounces/34 grams. I will be putting this pipe on the rebornpipes store in the Canadian Pipe Makers section. Thanks for reading this blog and my reflections on the pipe while I worked on it.