Blog by Steve Laug
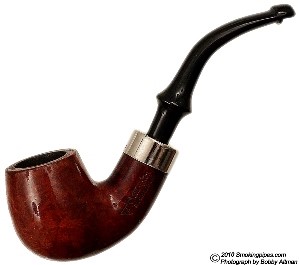
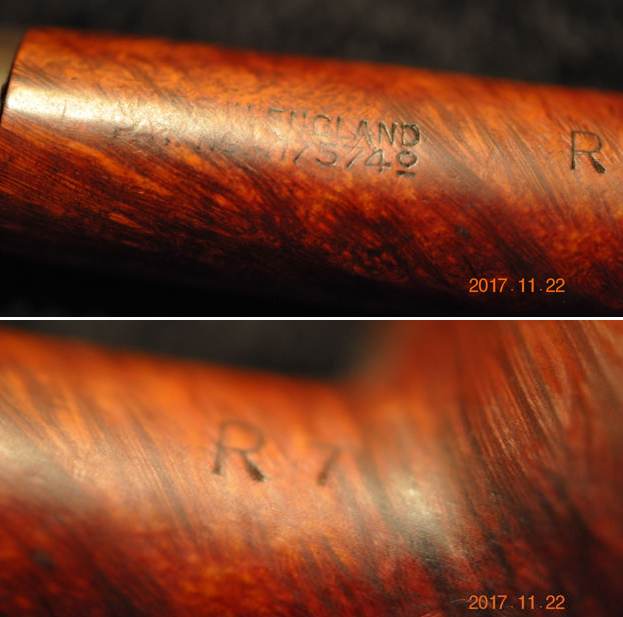
The next pipe is one that we picked up from an estate sale on 16 August, 2017 in Portland, Oregon, USA. It has some stunning grain around the bowl and shank and has the appearance of being a beautiful Bruyere or Root Briar but it is not stamped with either of those. The stamping on the left side reads HW with a square stop next to the bowl/shank junction followed by DUNHILL [over] London. On the right side it is stamped R7 next to the bowl/shank union and to the left of that it reads Made In England [over] Pat. No.417574 followed by a superscript 0 . Several things about the stamping were new to me but were also very distinctive. For instance the HW was not a shape designation that I had seen. The Patent number followed by the superscript 0 rather than that 0 by the D in England was different. Those are a few new things for me on this pipe. This was going to a fun pipe to research.
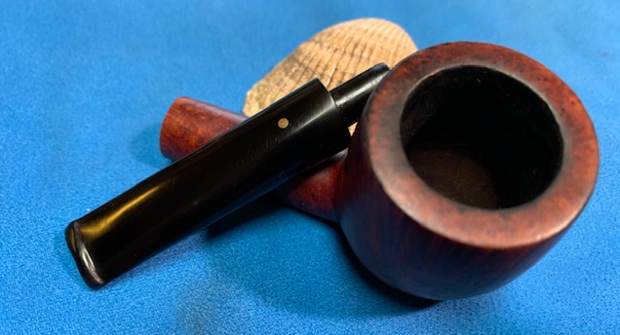
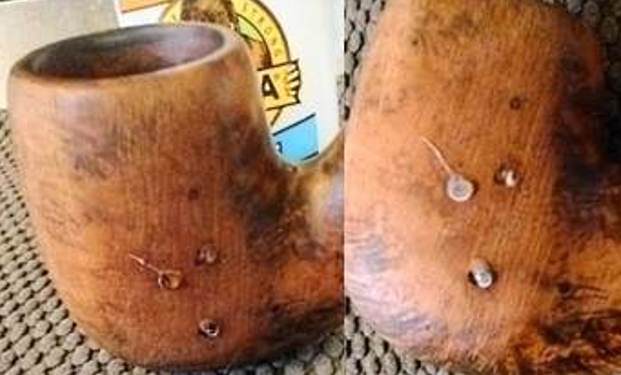
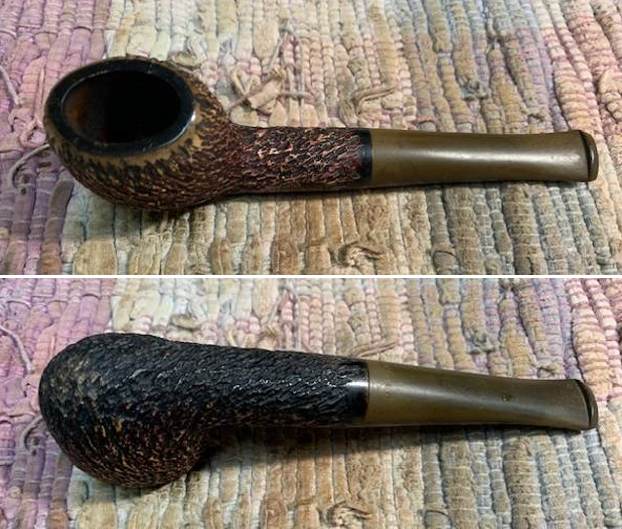
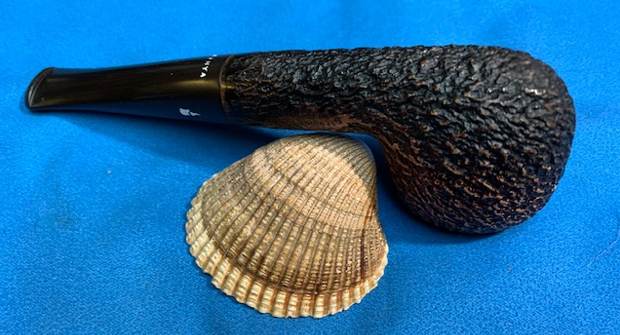
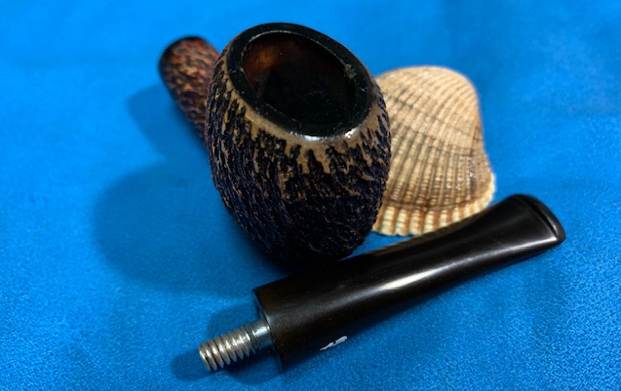
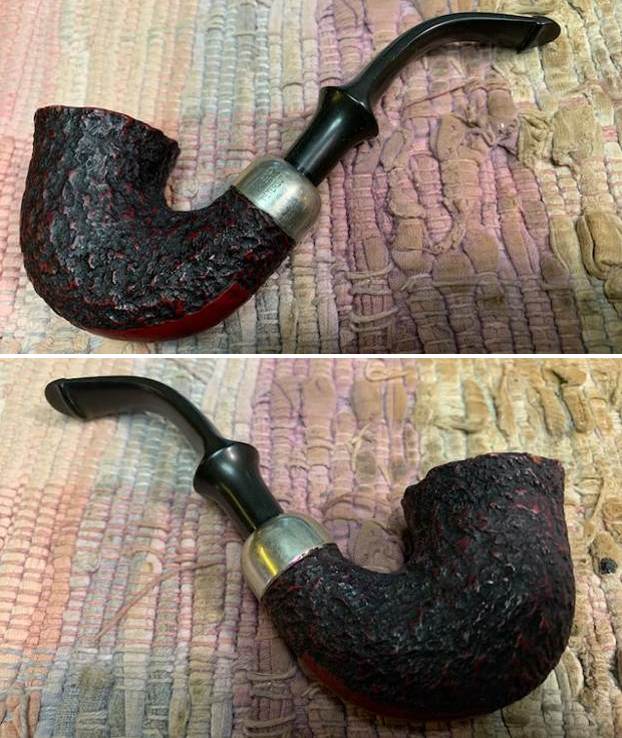
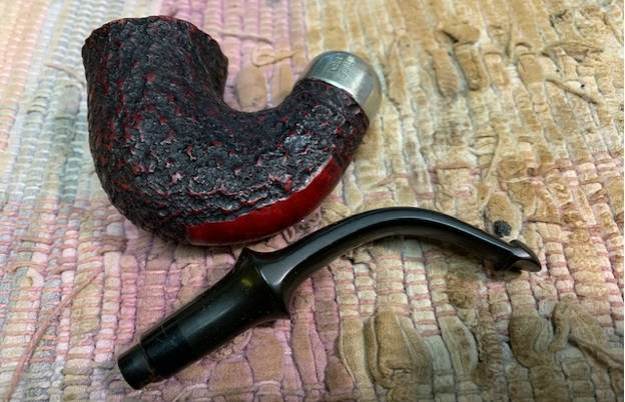
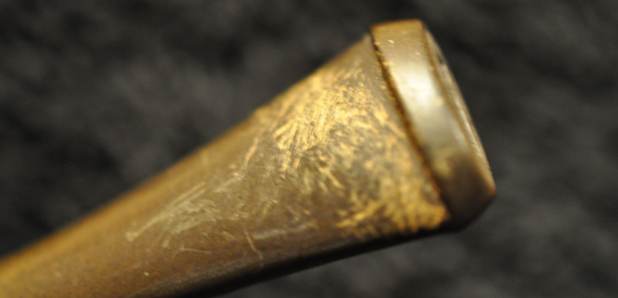
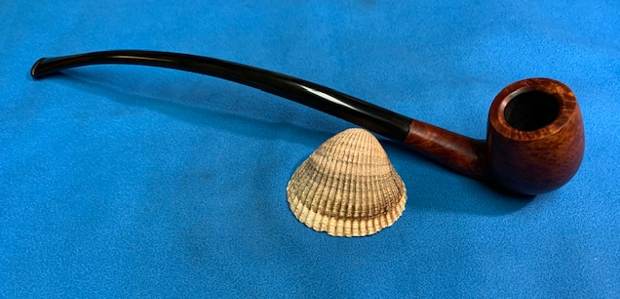
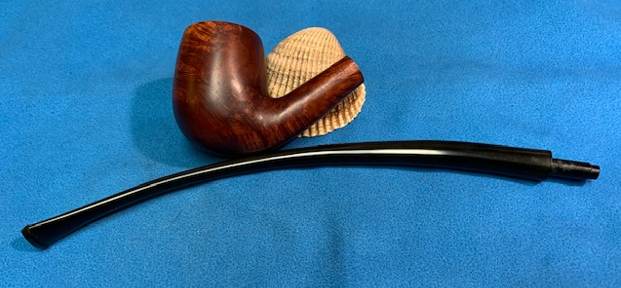
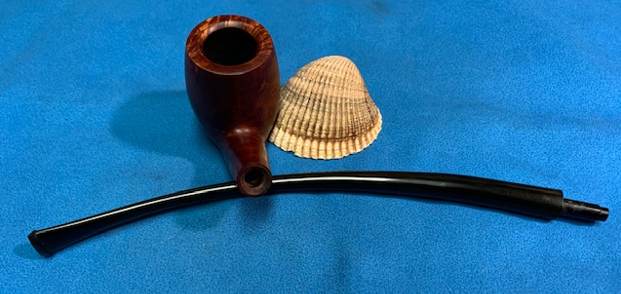
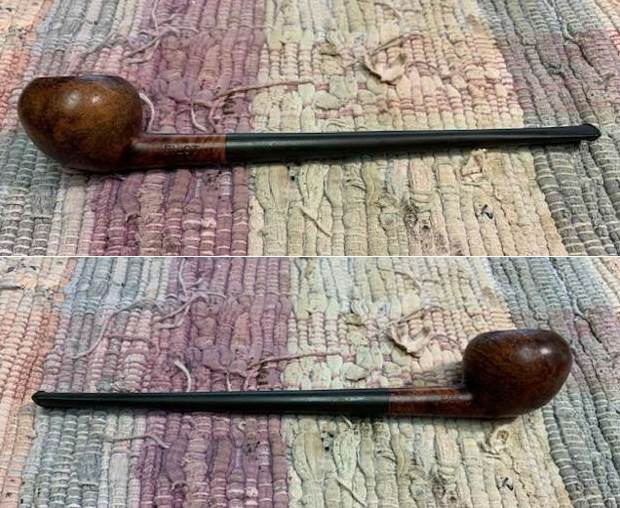
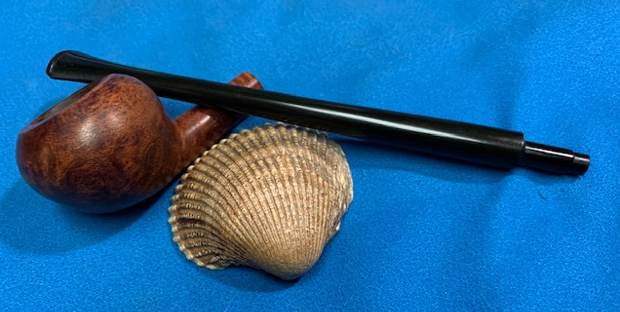
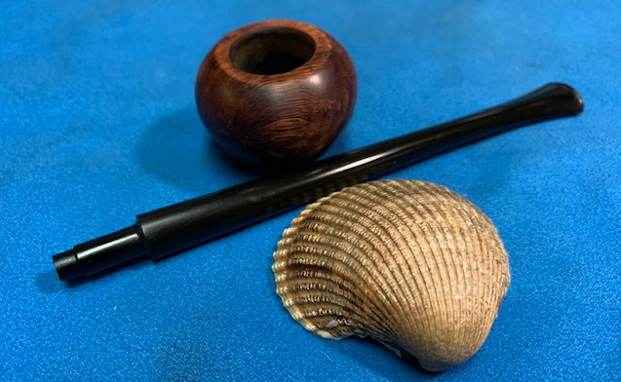
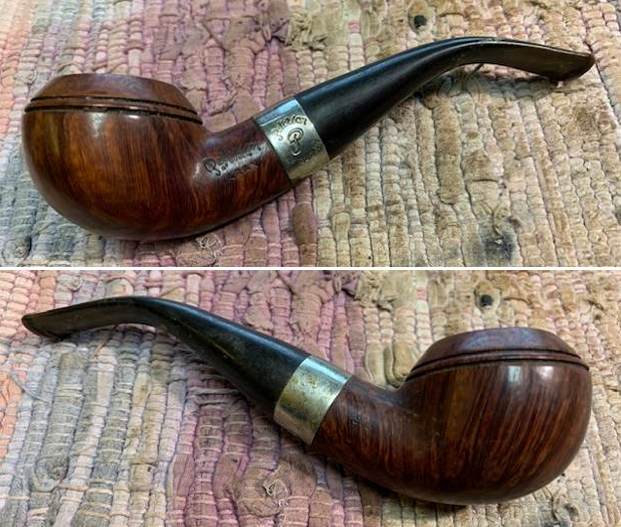
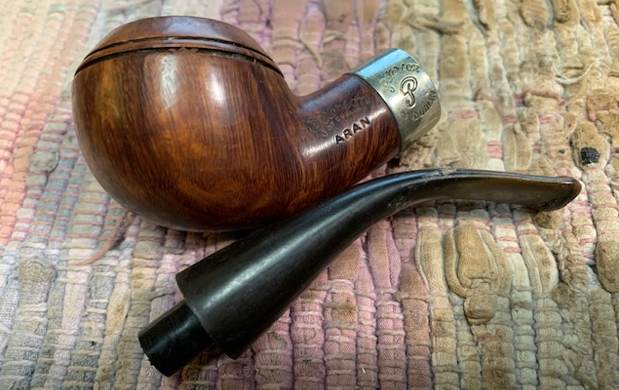
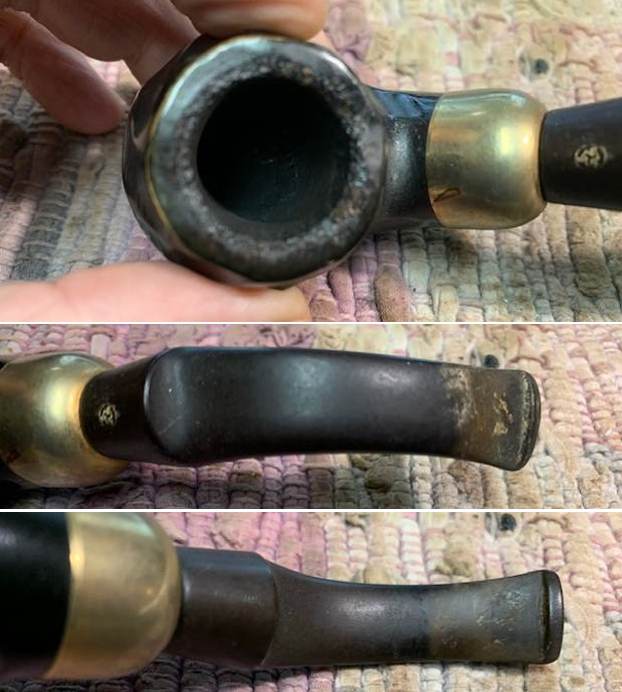
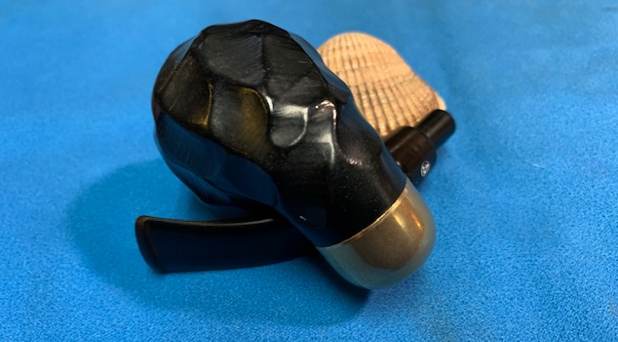
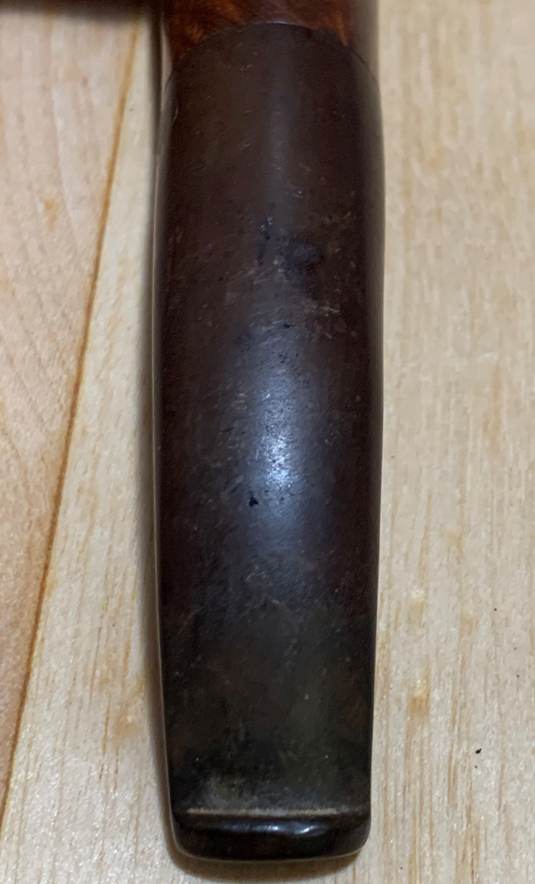
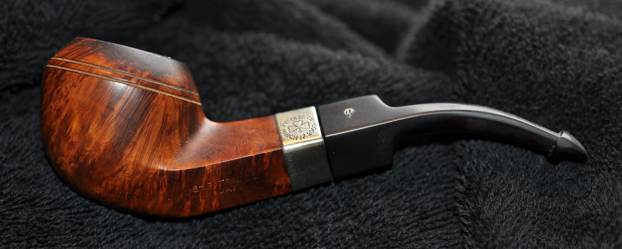
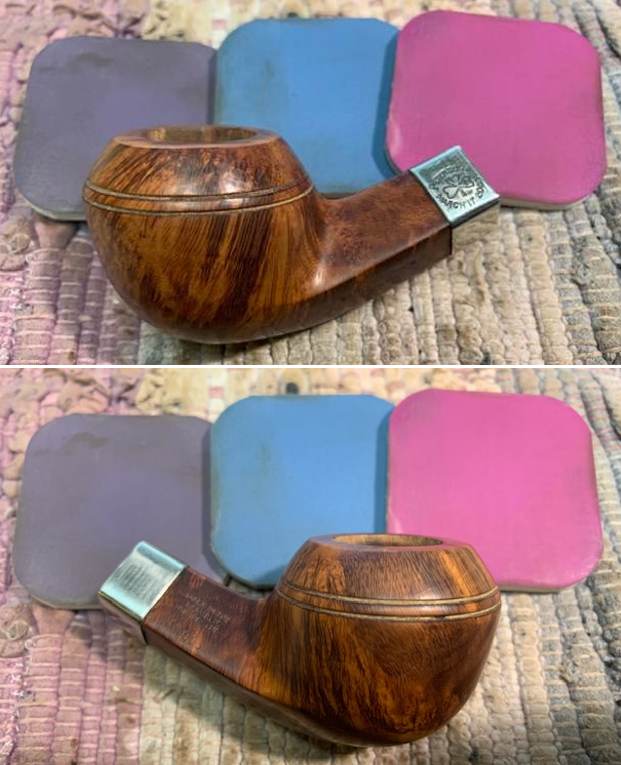
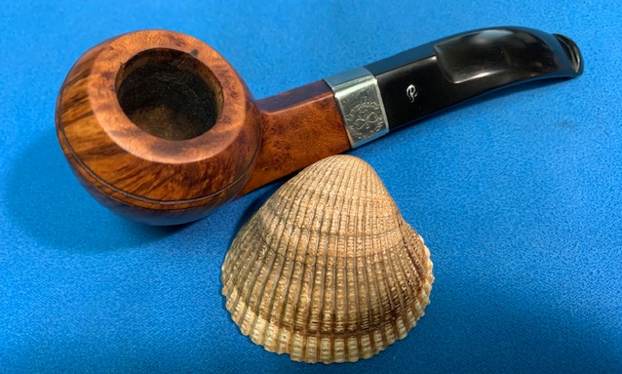
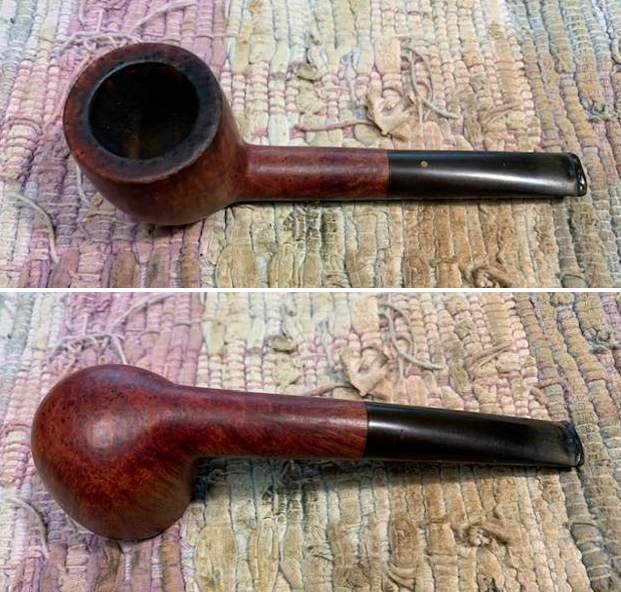
The pipe itself was quite dirty. The finish was tired with grime ground into the surface. The bowl was heavily caked with a thick overflow of lava on the rim top. While the inner edge looked good there were nicks around the outer edge of the bowl. The stem was oxidized and dirty. There were deep tooth marks against the edge of the button on both sides and there was chatter around those marks as well. The surface of the button also had tooth damage on the top side. It was a dirty, intriguing and beautiful pipe! Jeff took photos of it before he started his clean up on it.
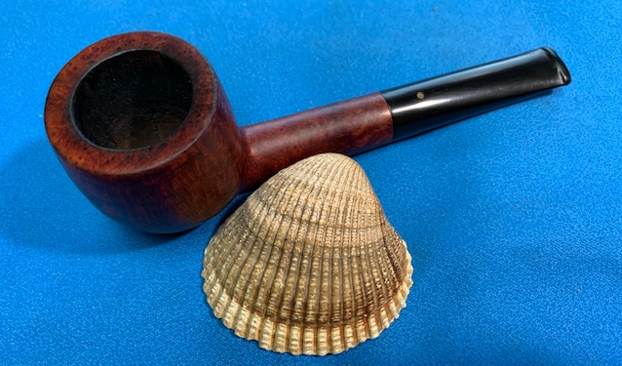
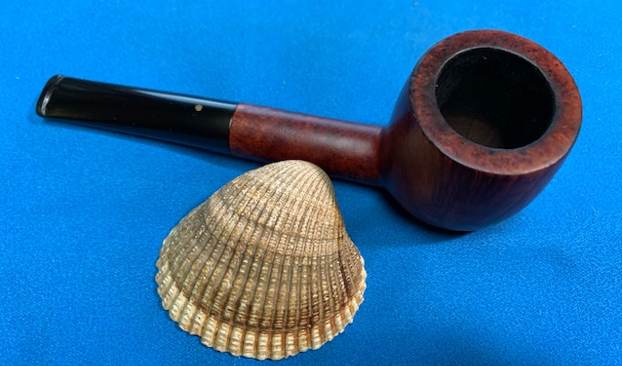
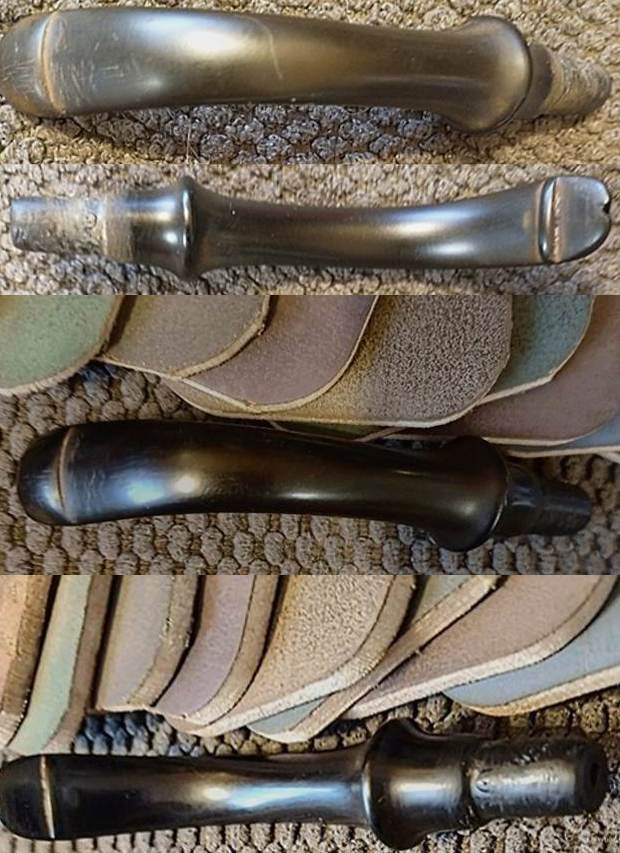
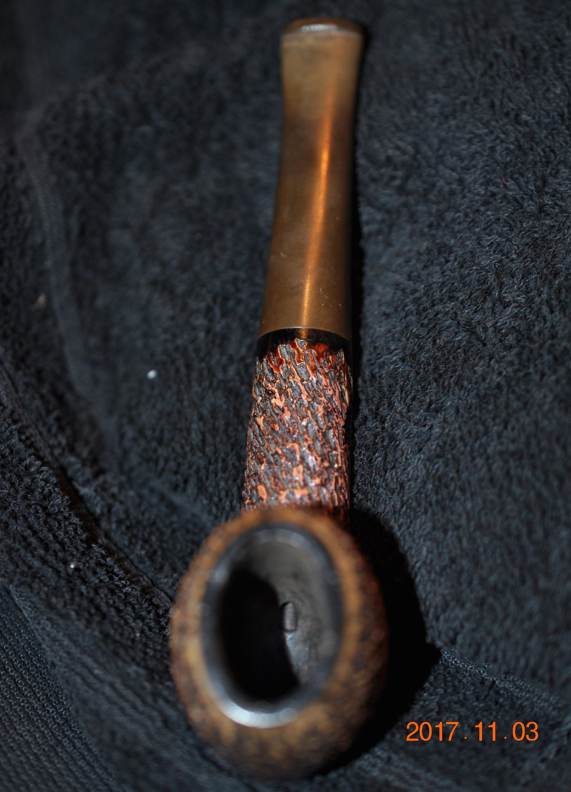
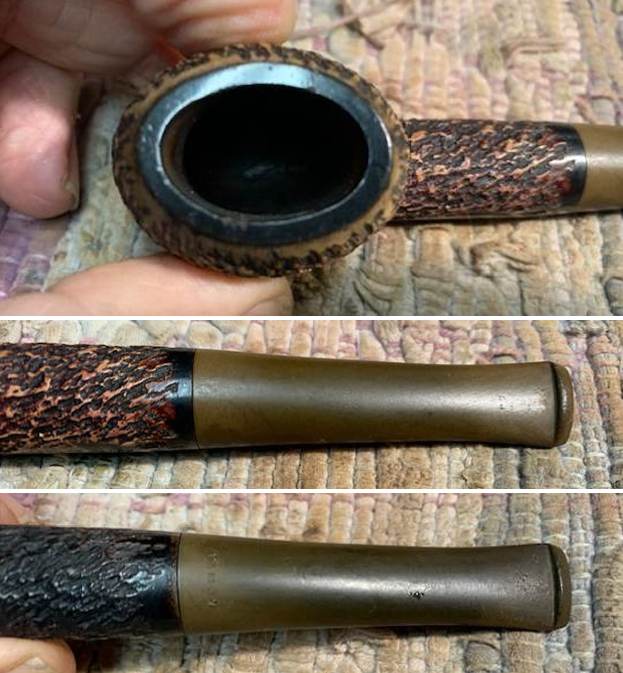
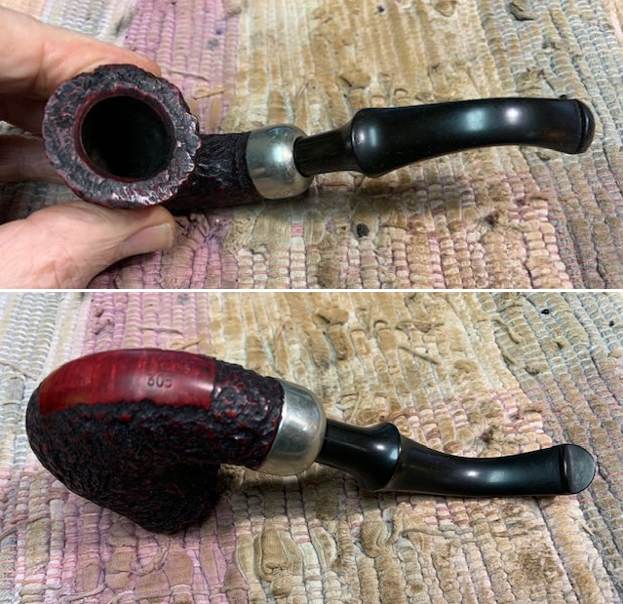
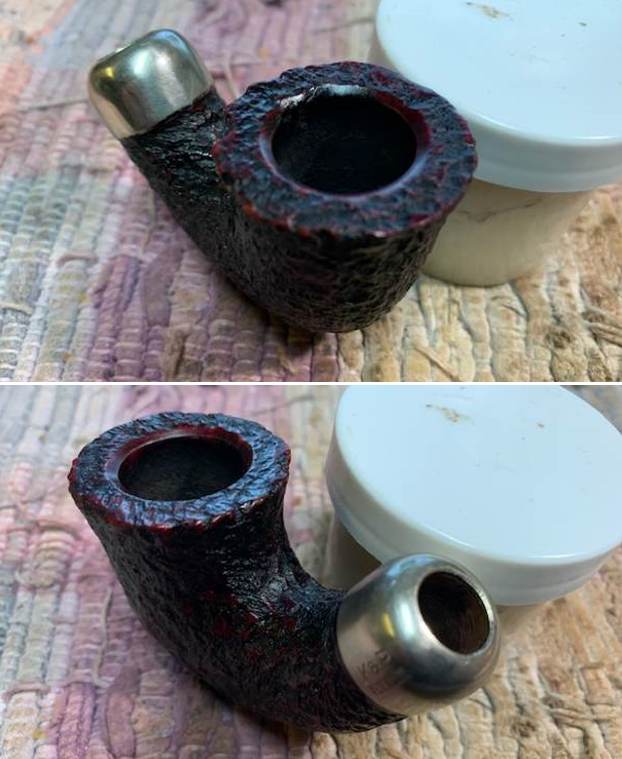
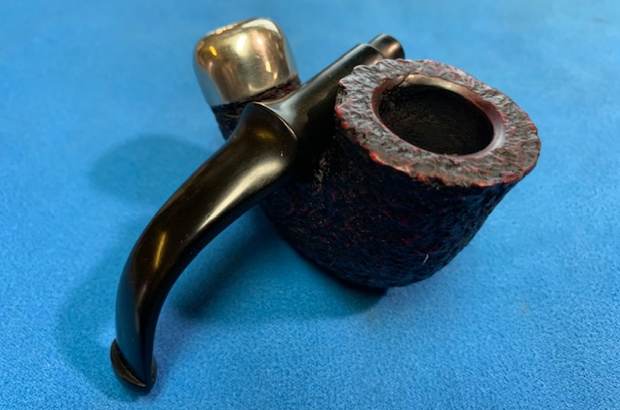
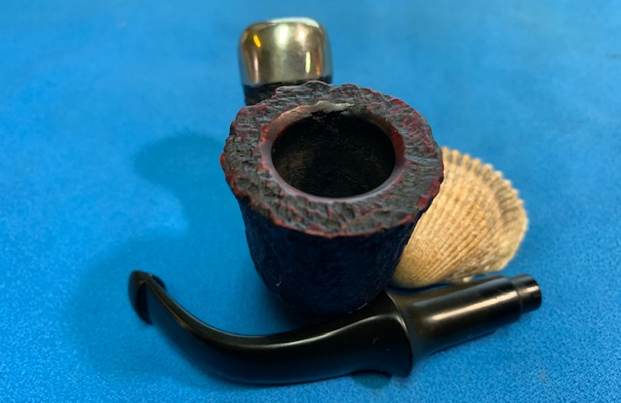
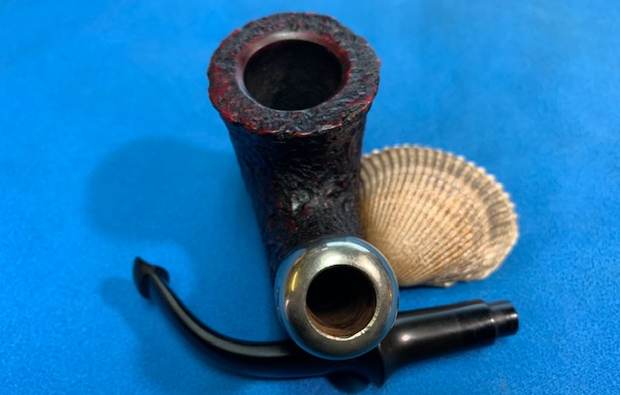
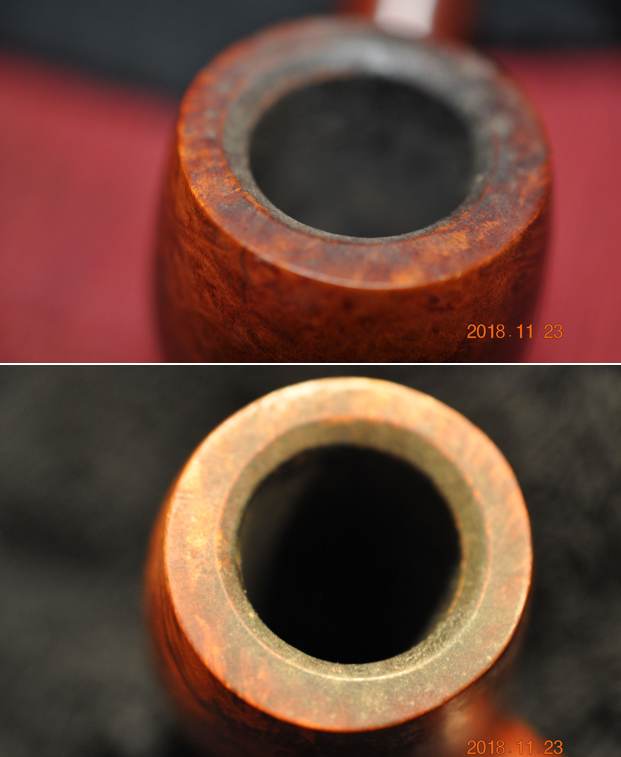
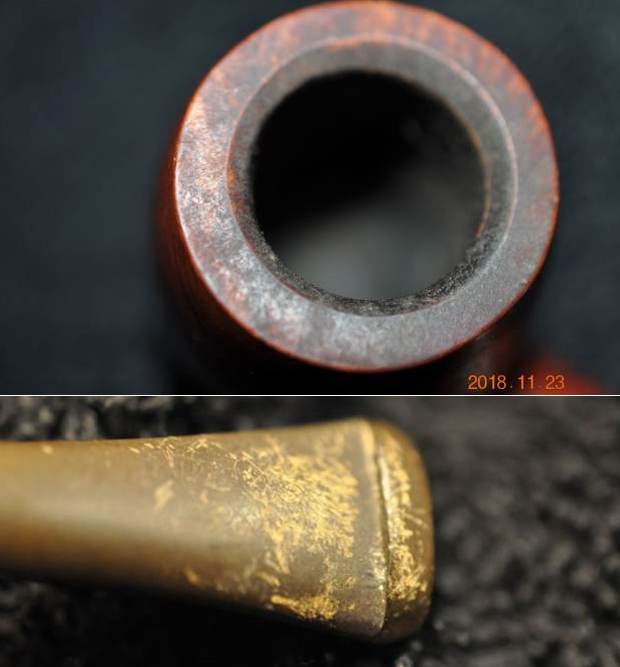
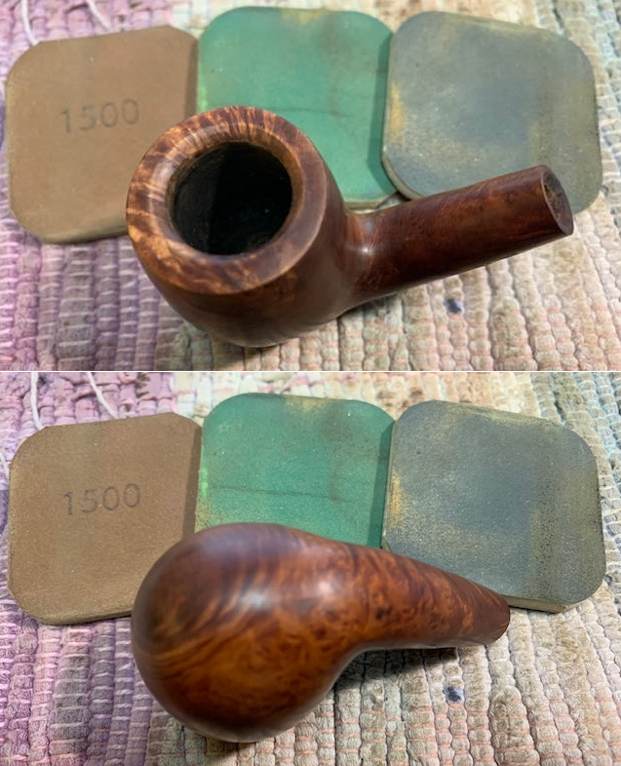
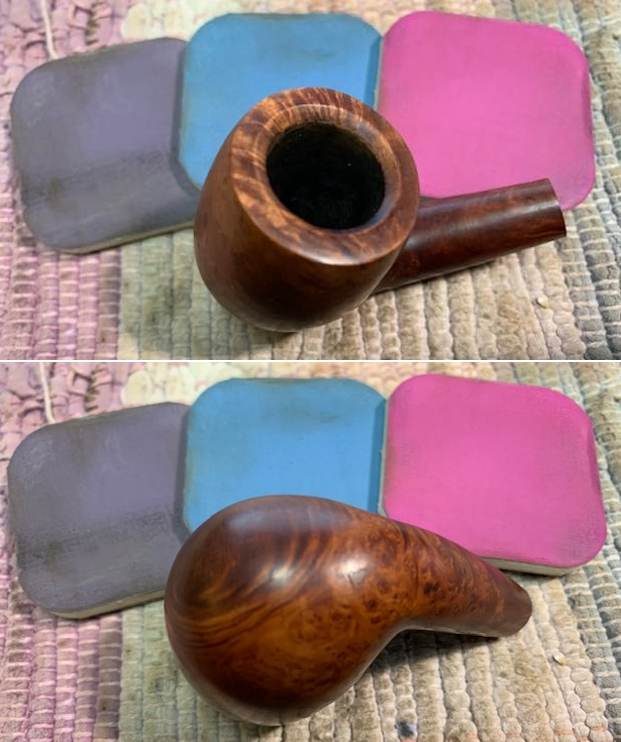
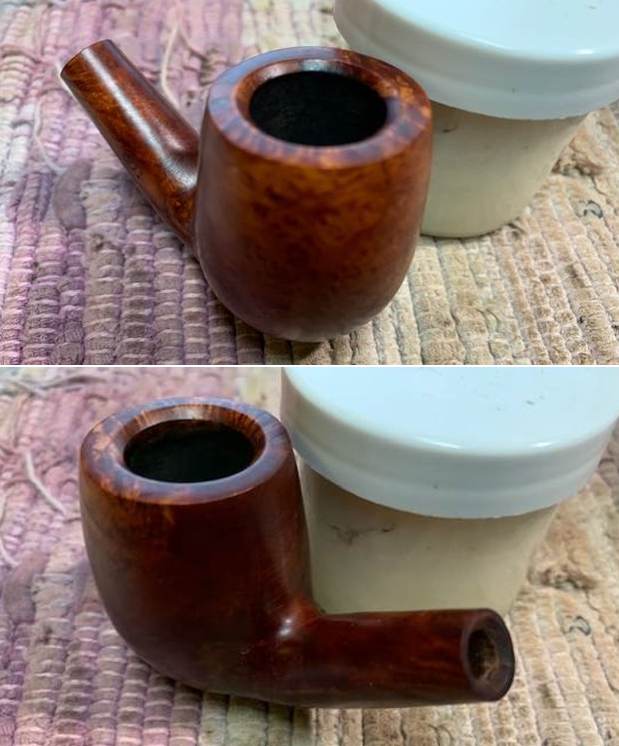
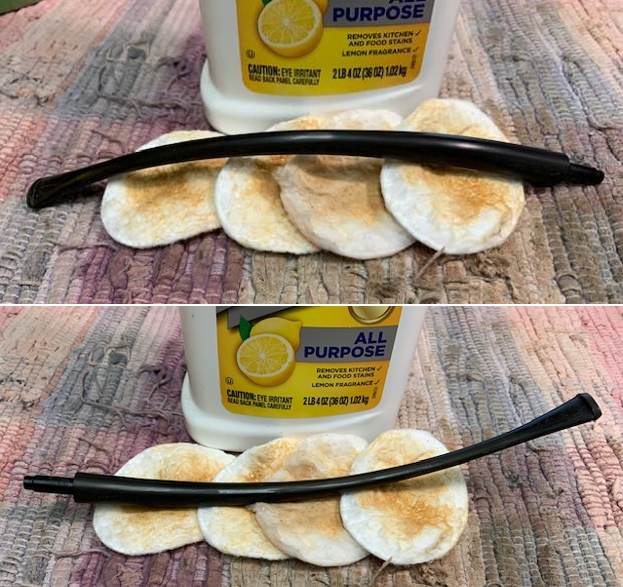
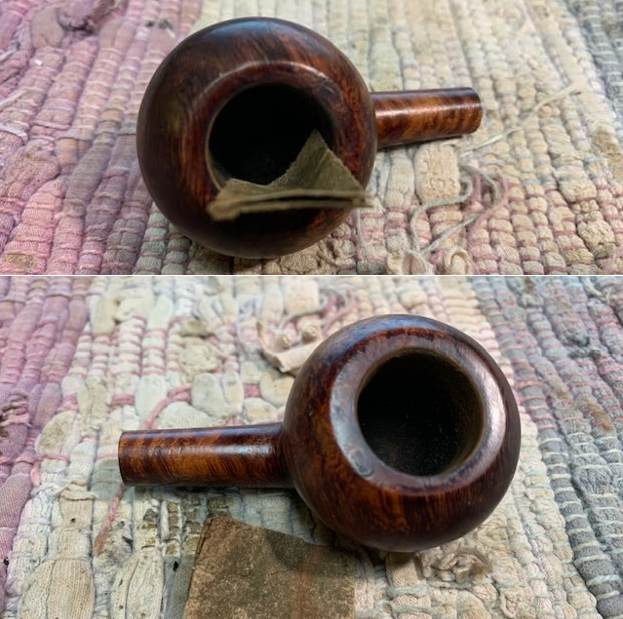
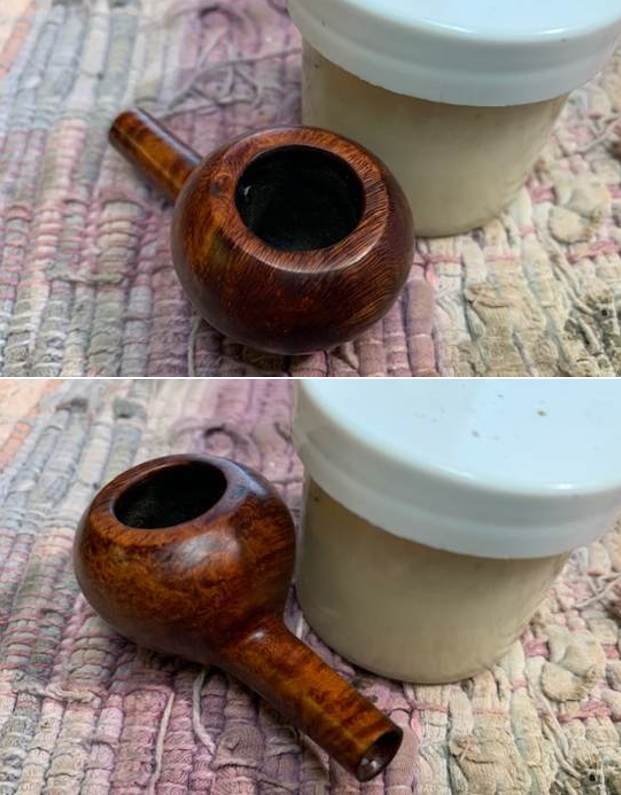
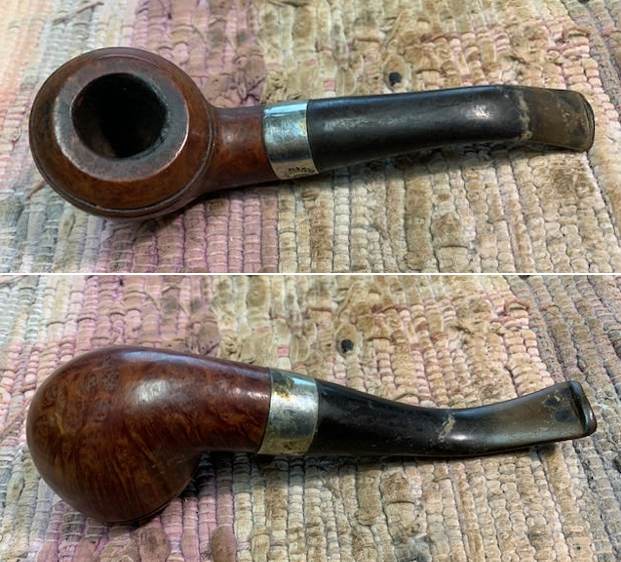
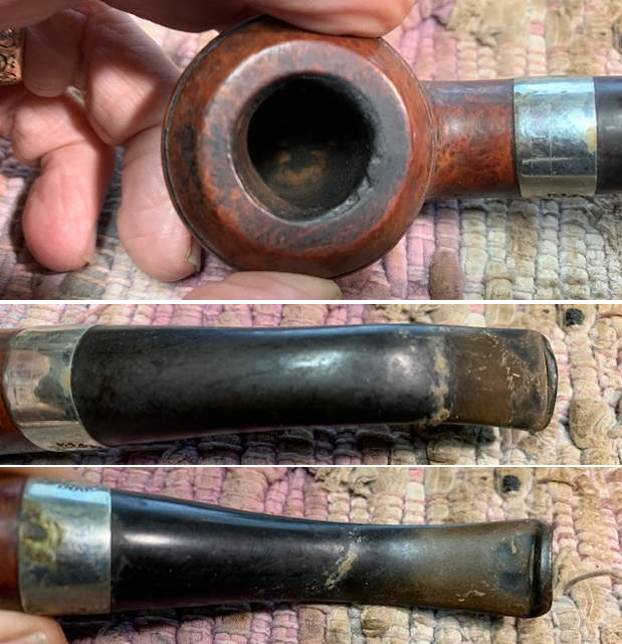
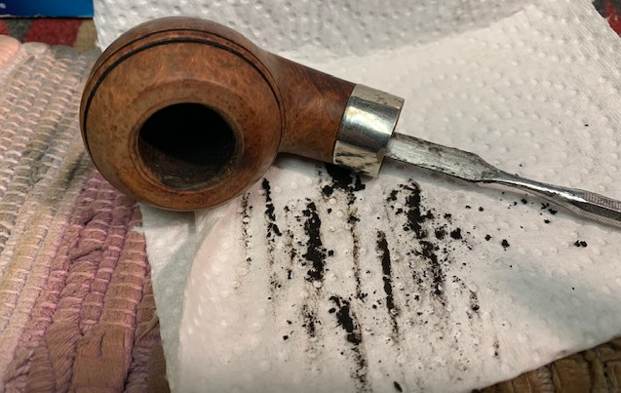
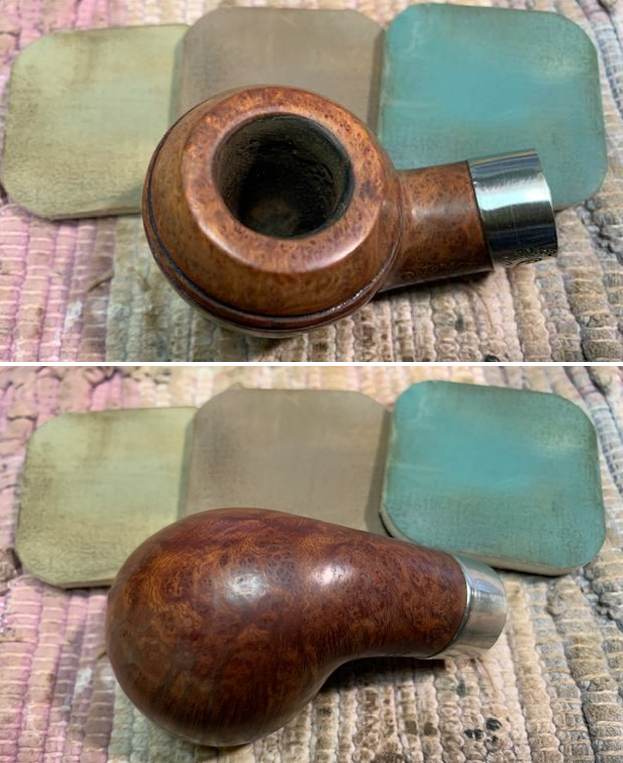
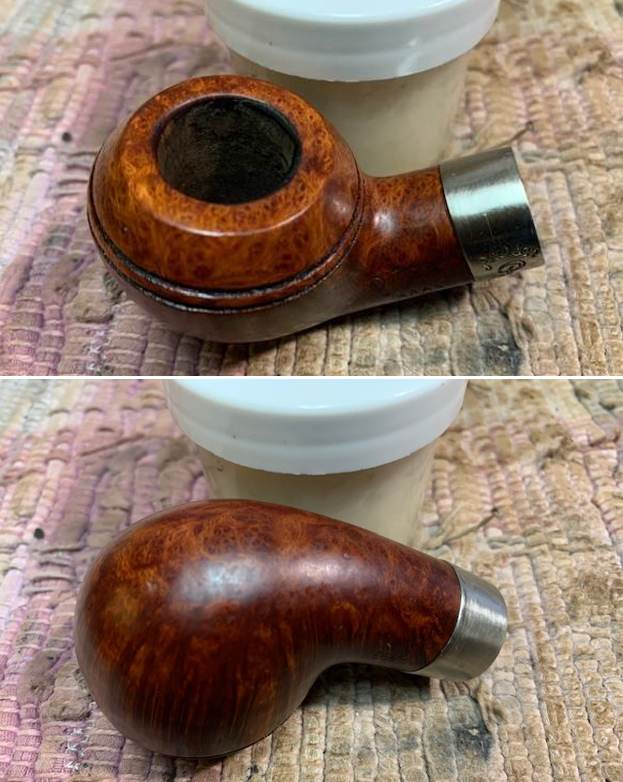
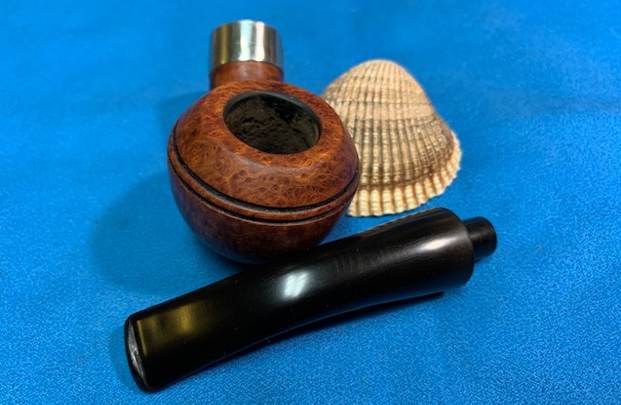
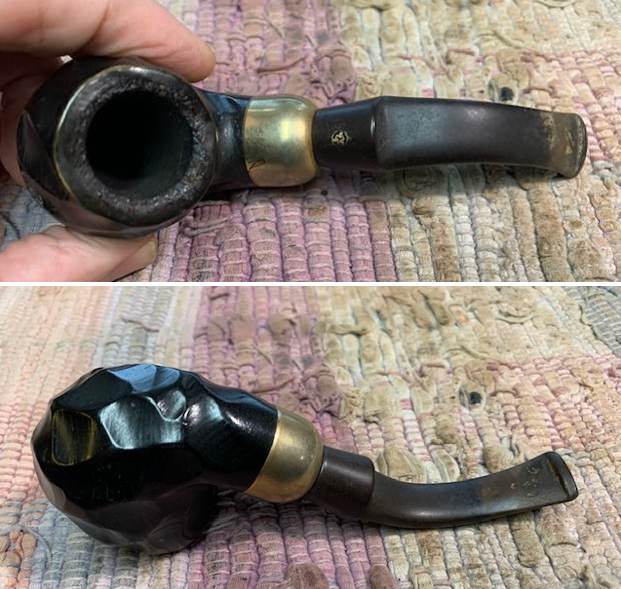
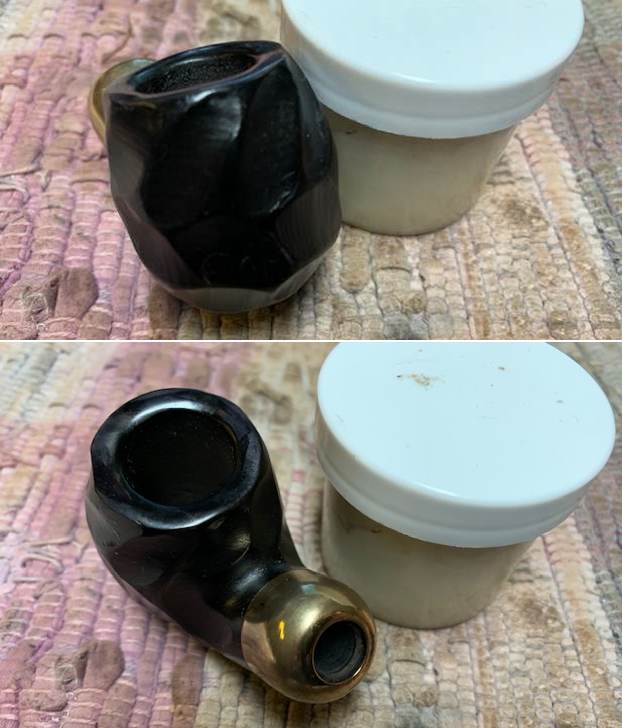
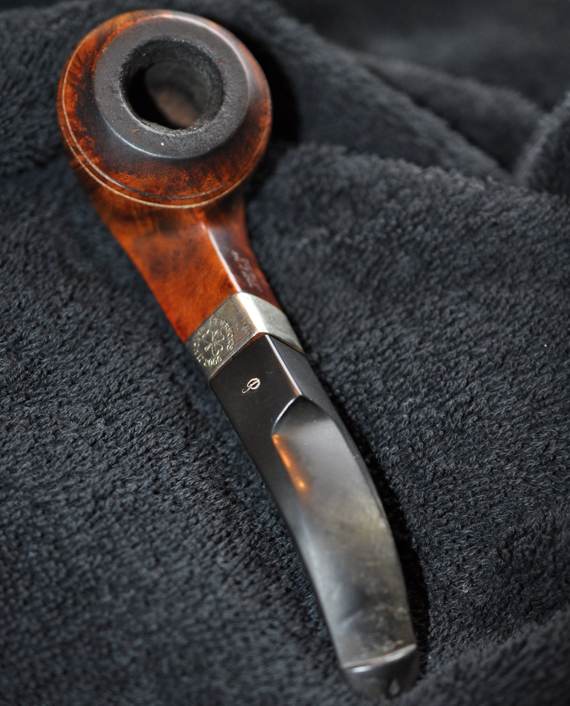
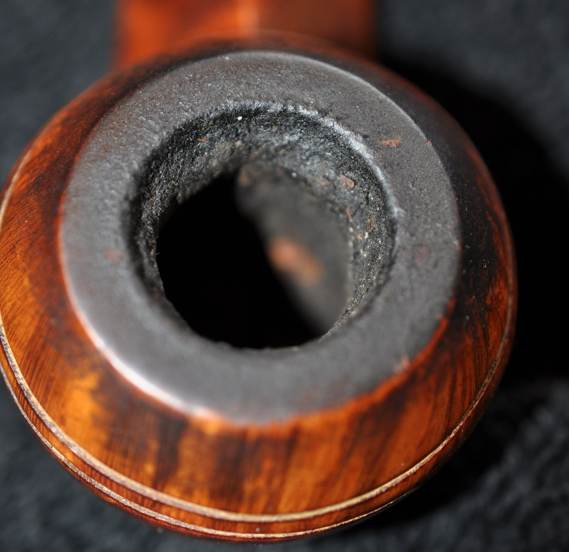
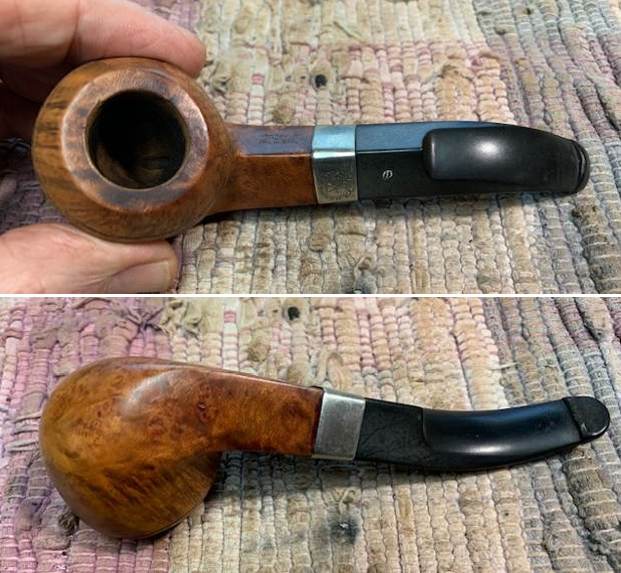
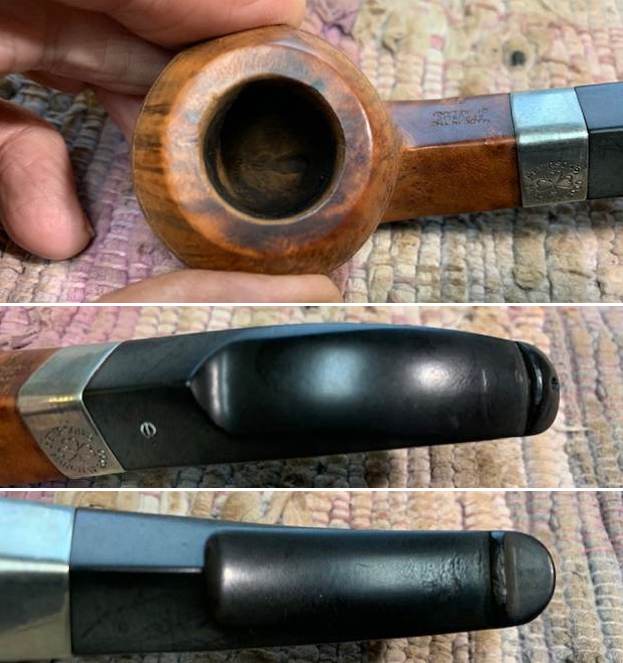
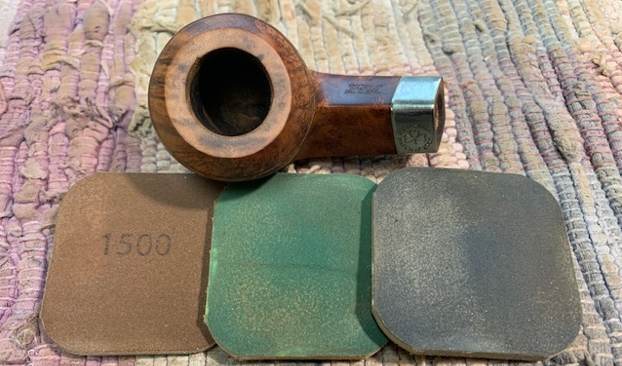
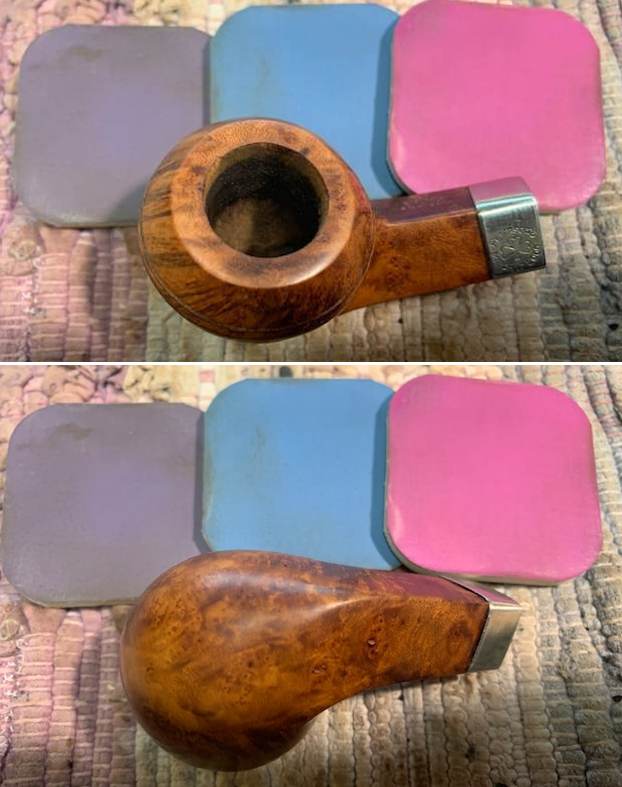
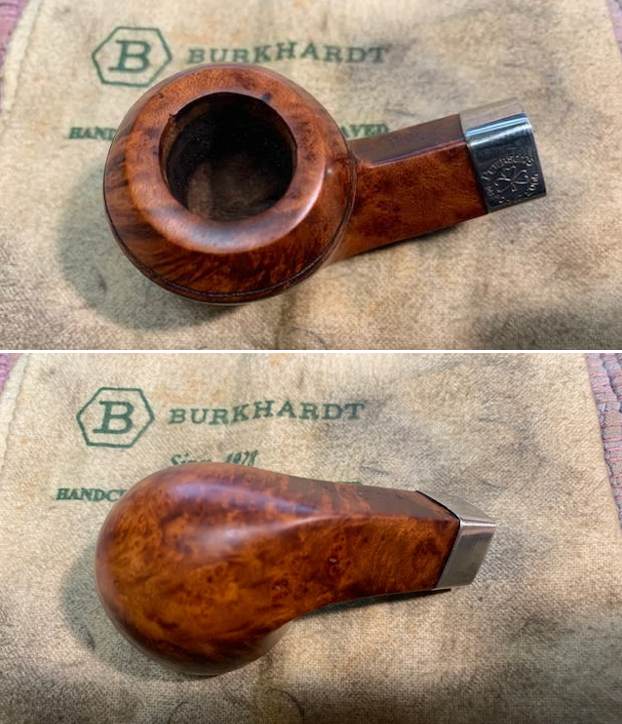
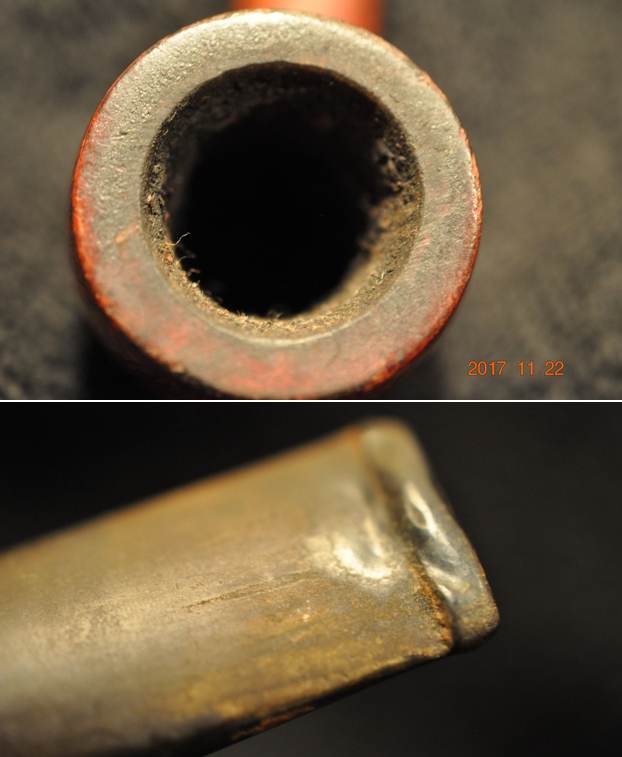
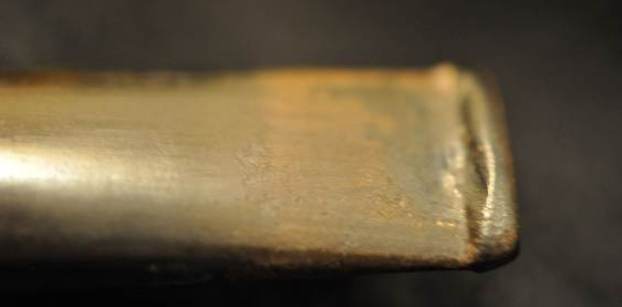
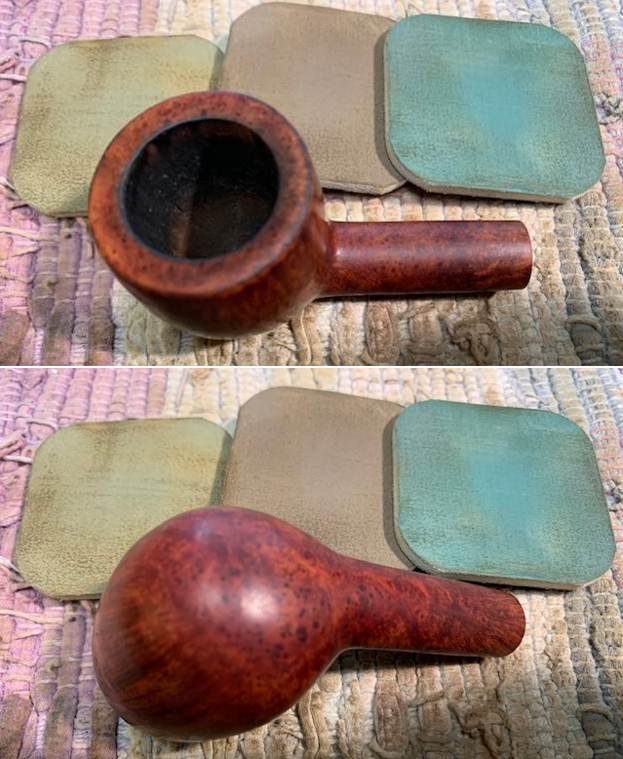
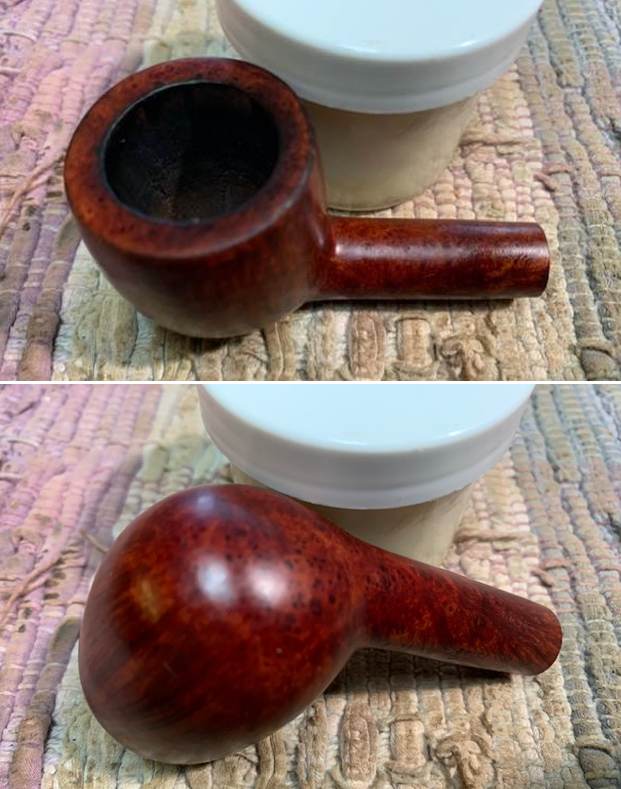
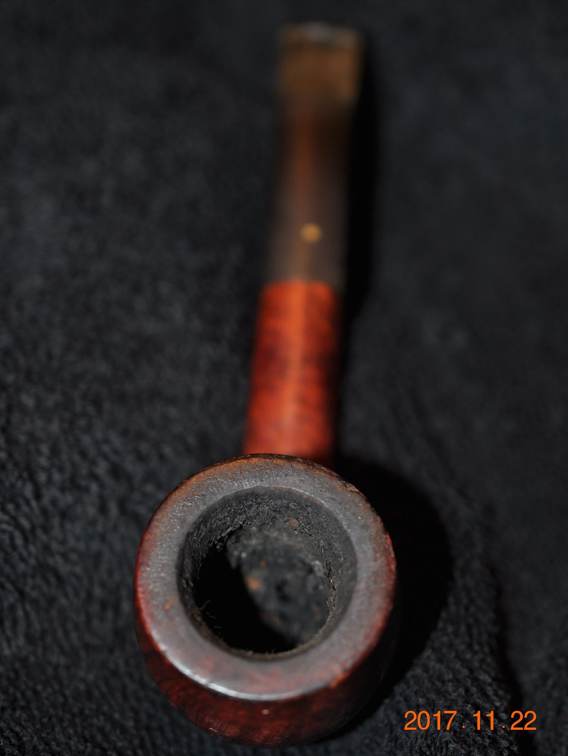 Jeff took photos of the bowl and rim top. You can see how thick the cake is in the bowl and on the top. You can also see the dust that had collected in the cake in the bowl. It was a dirty pipe. His photos of the stem also show the oxidation, calcification and tooth damage to the stem and button on both sides.
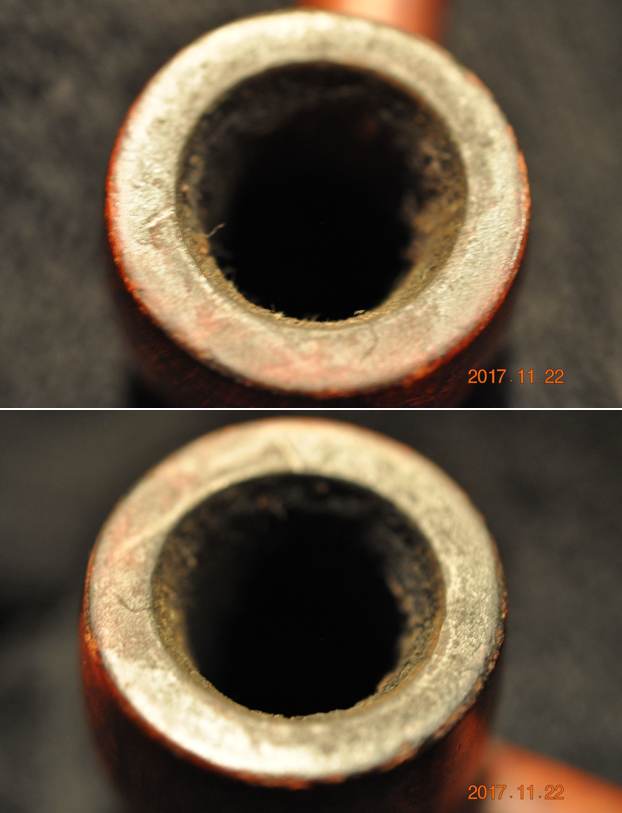
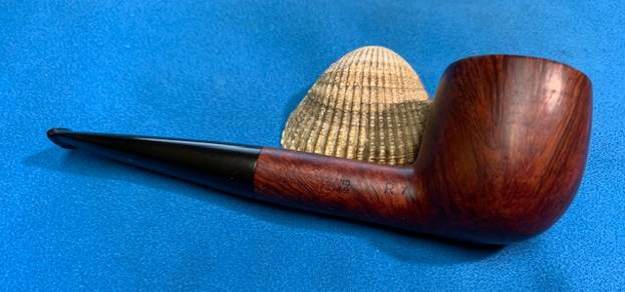
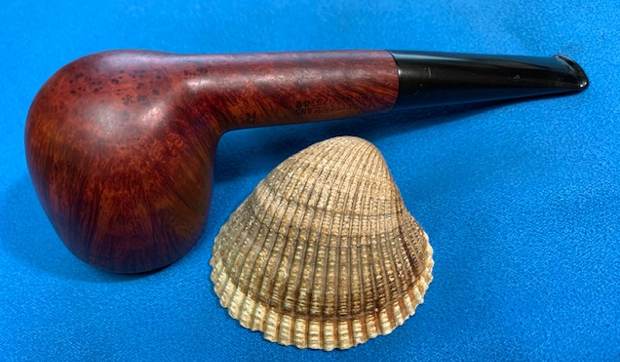
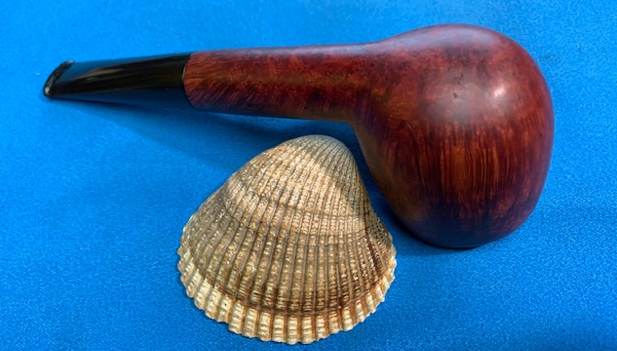
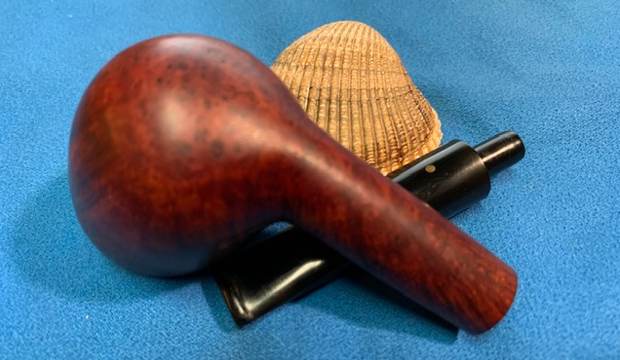
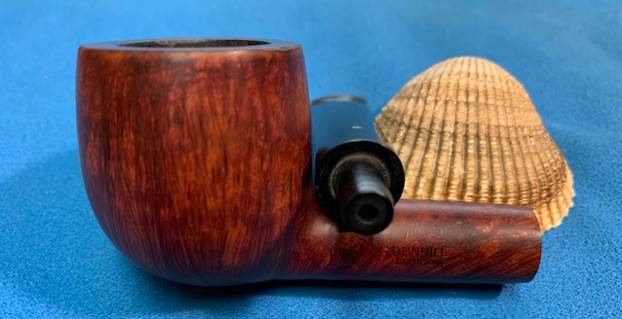
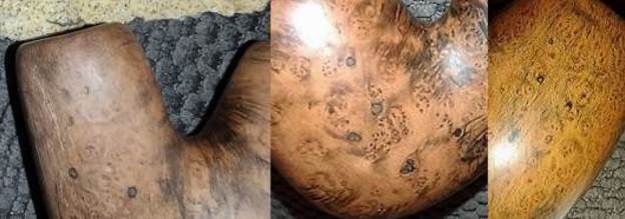
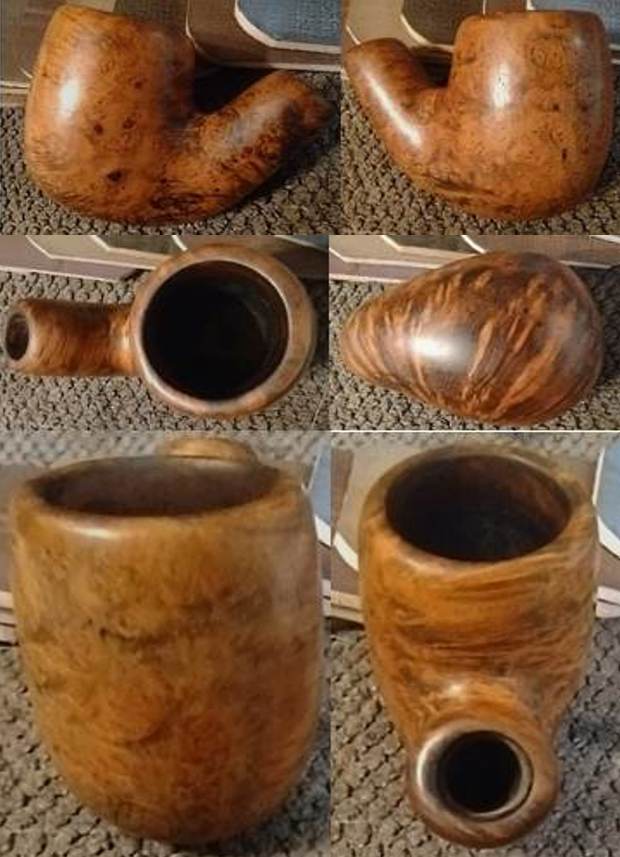
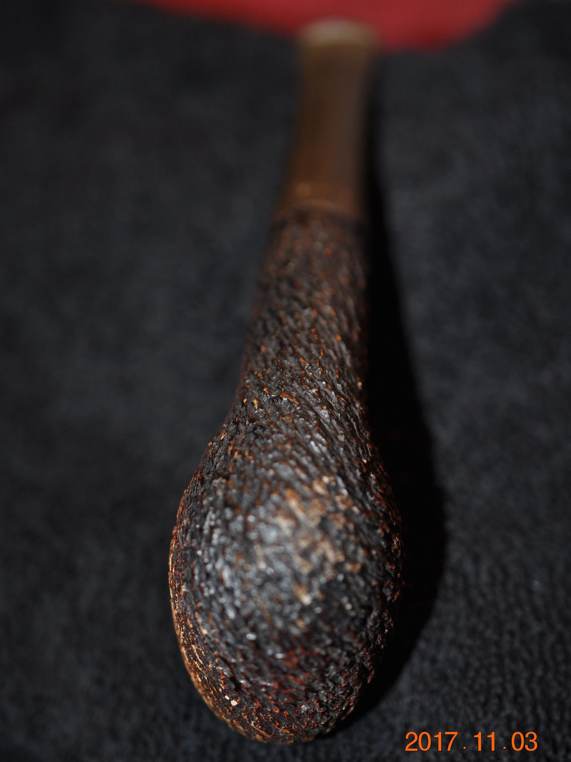
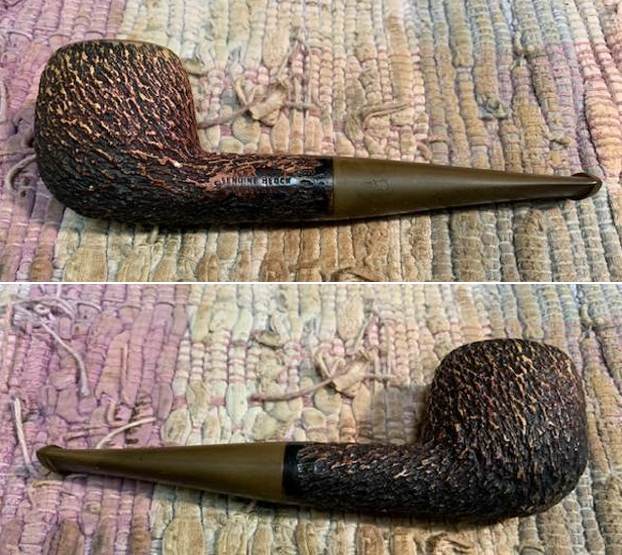
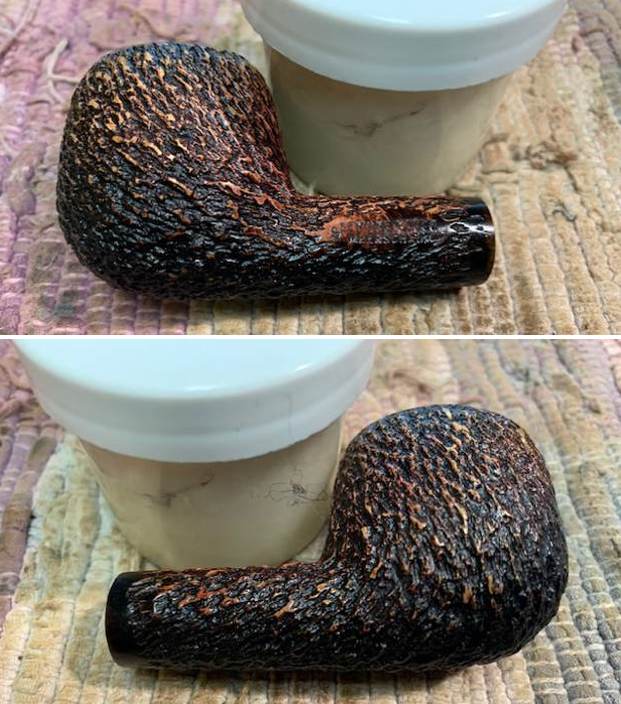
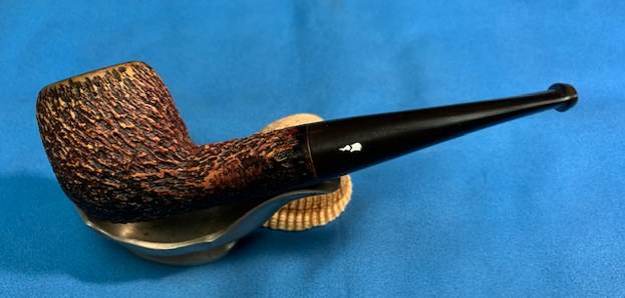
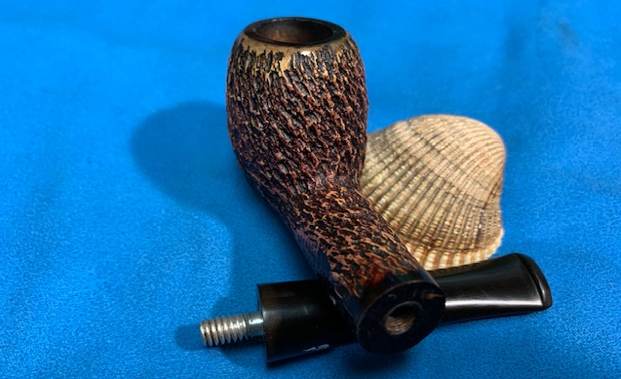
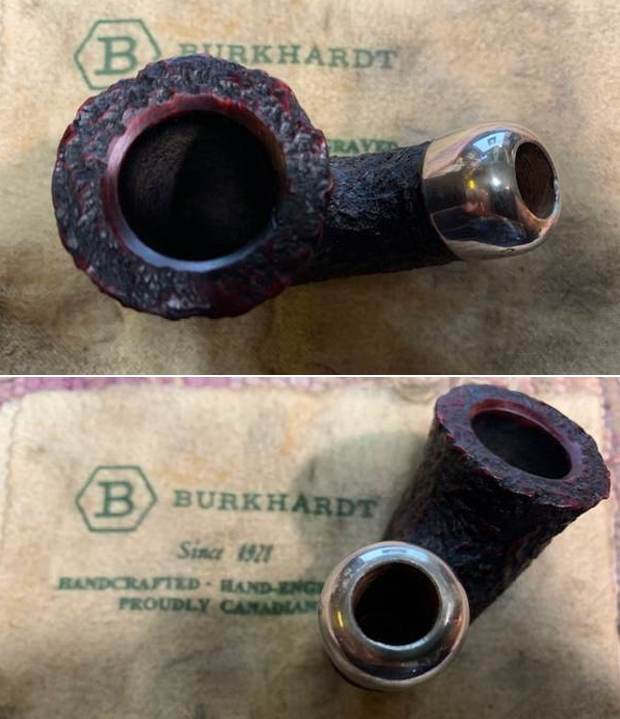
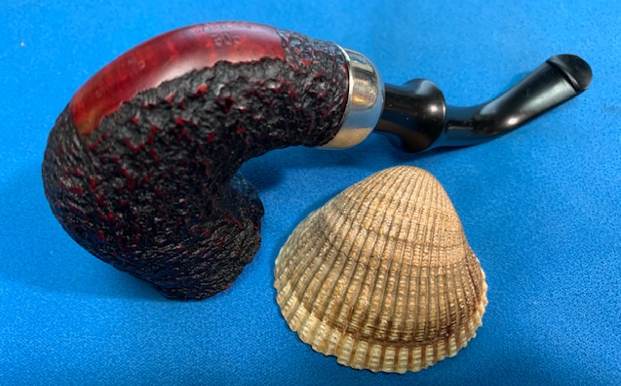
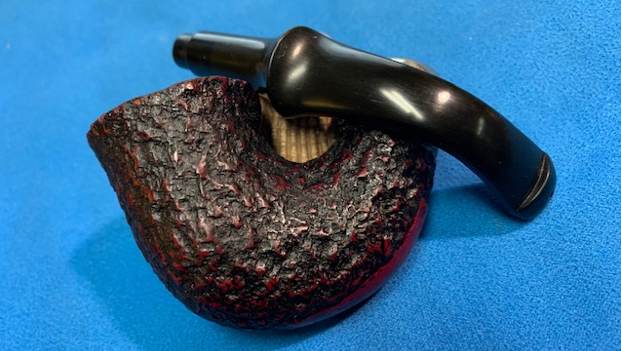
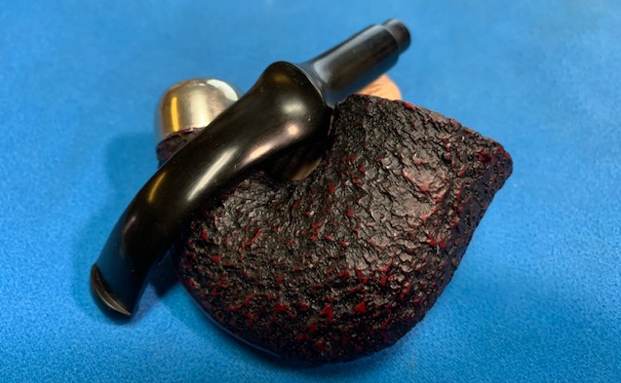
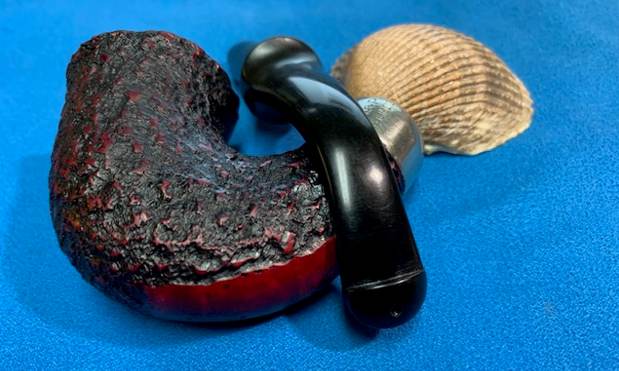
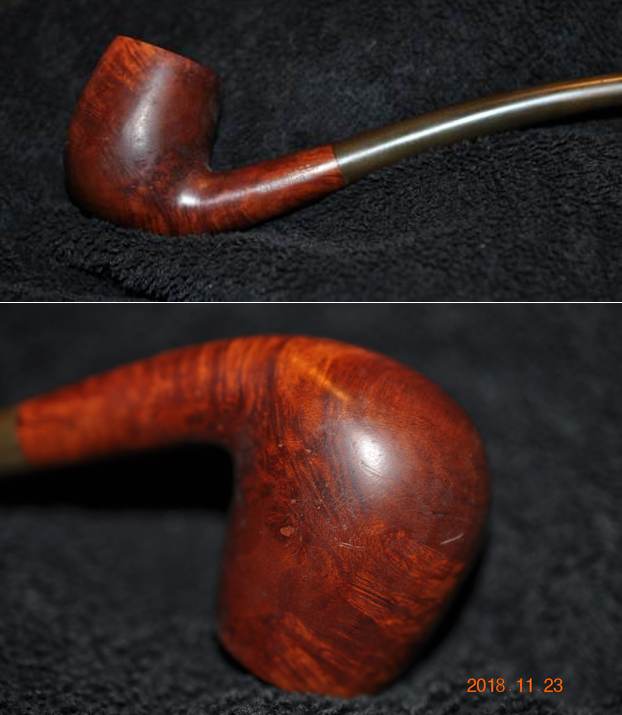
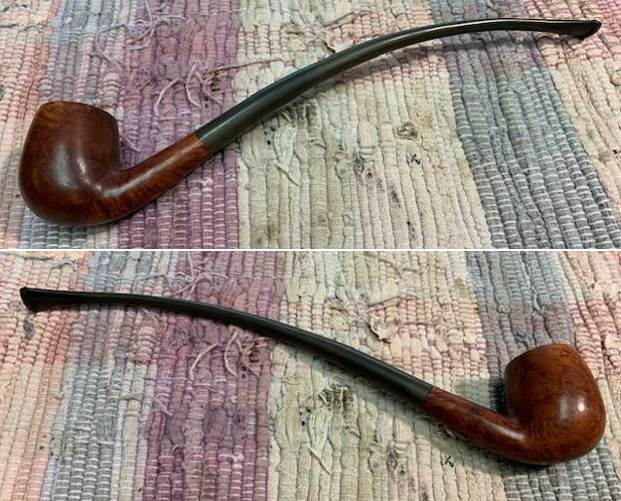
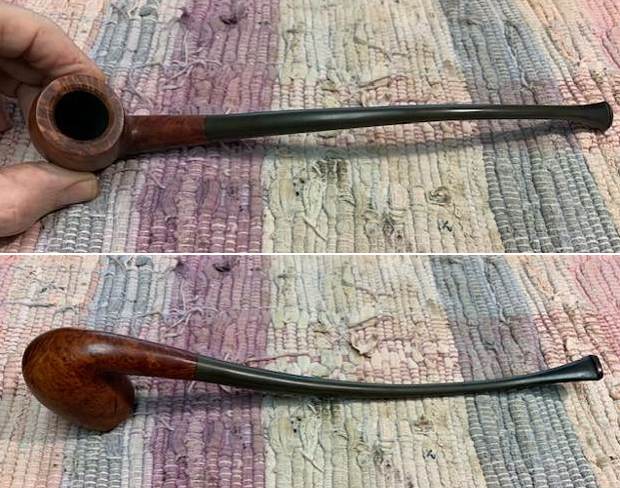
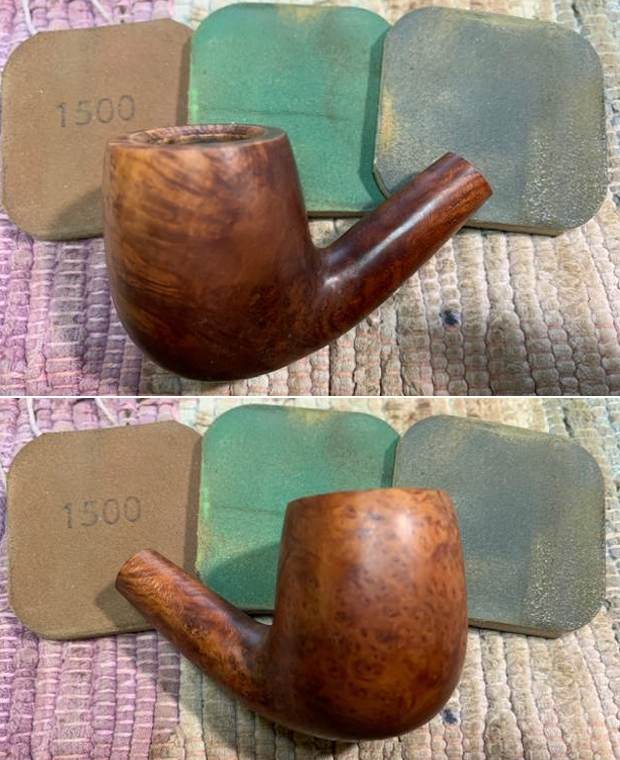
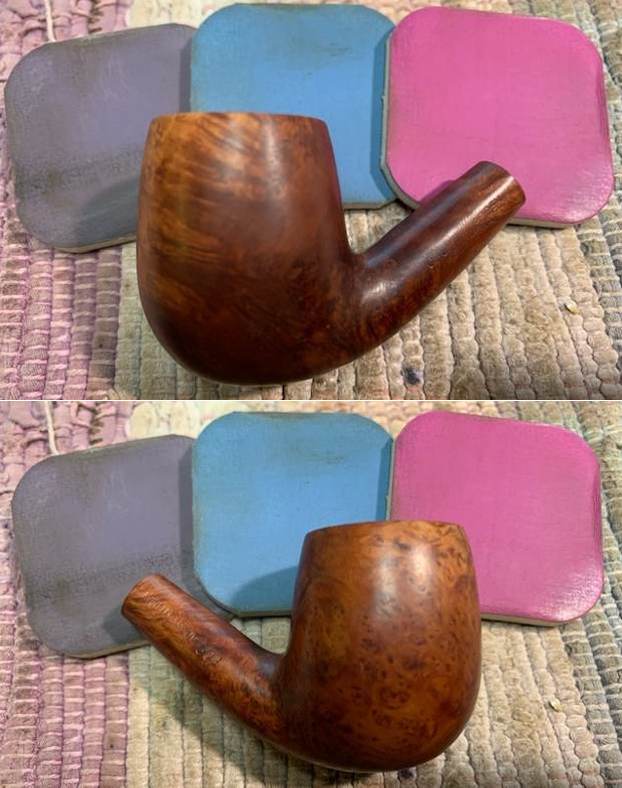
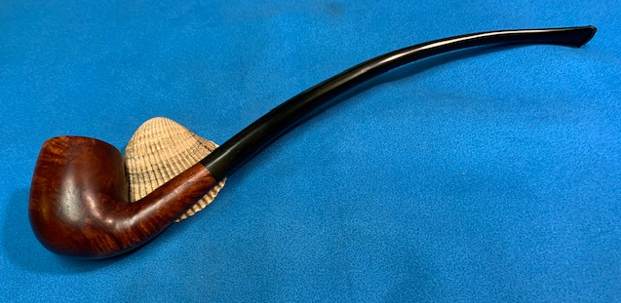
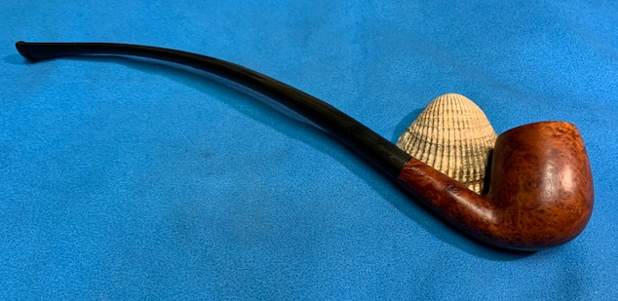
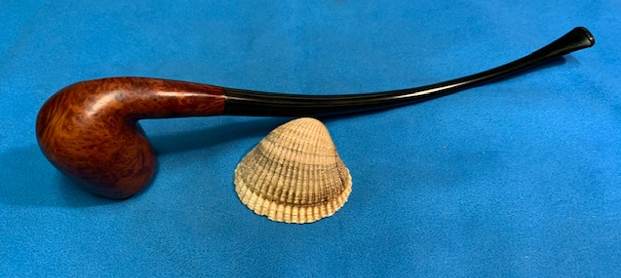
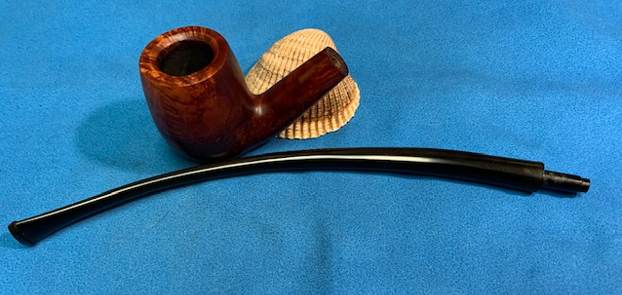
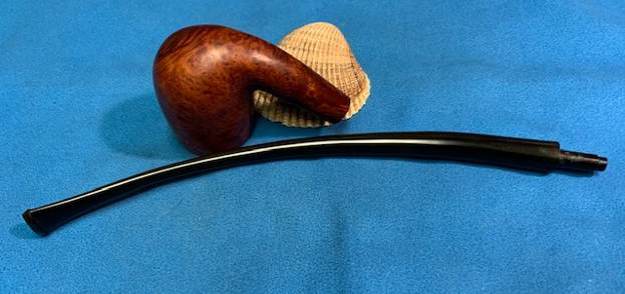
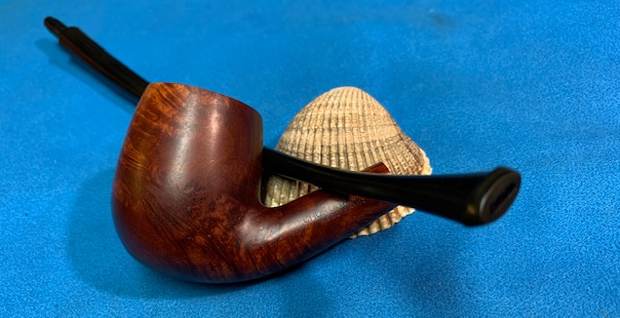
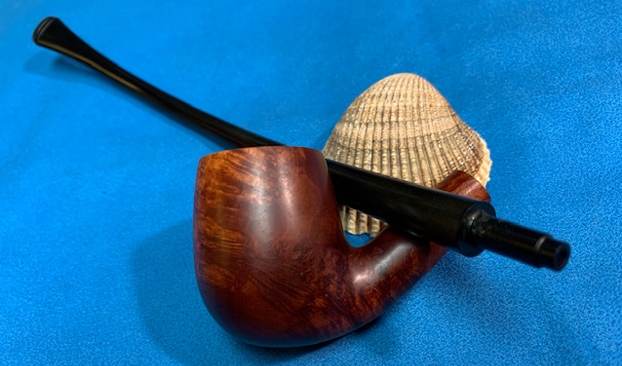
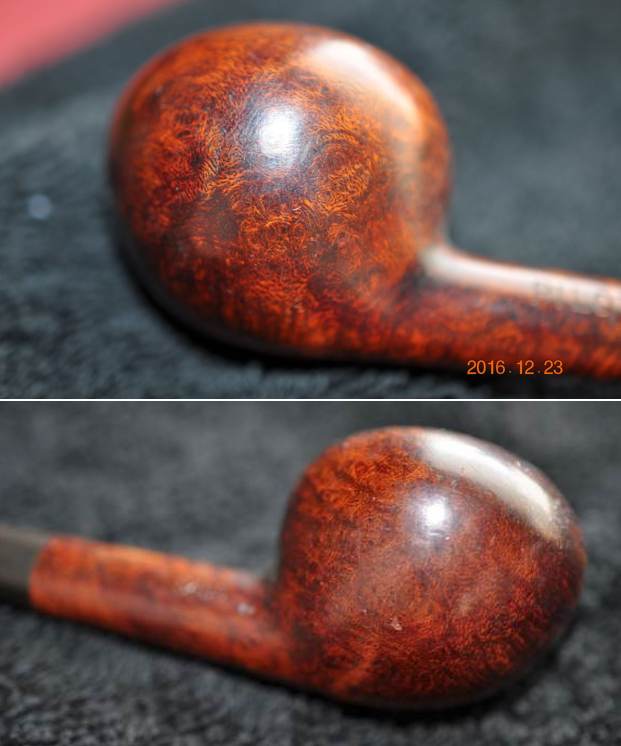
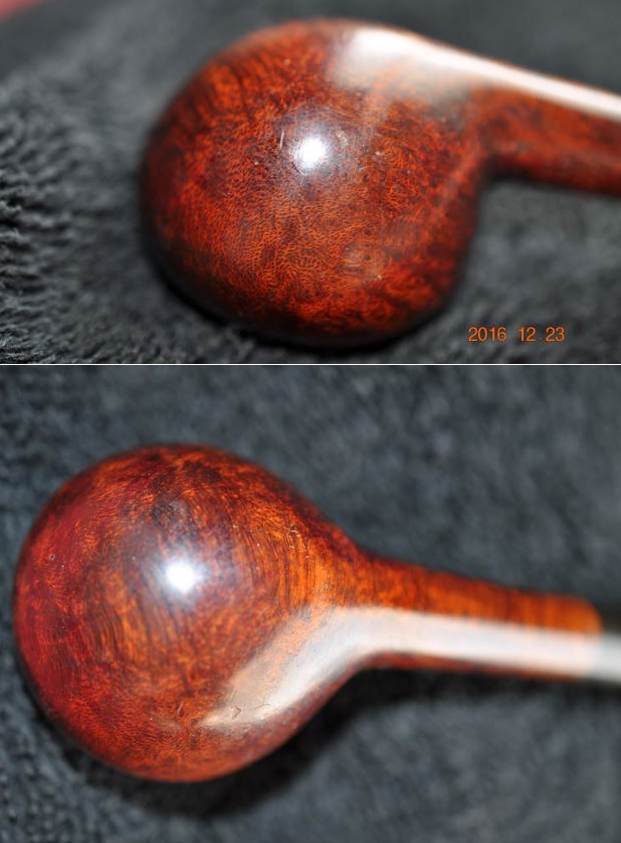
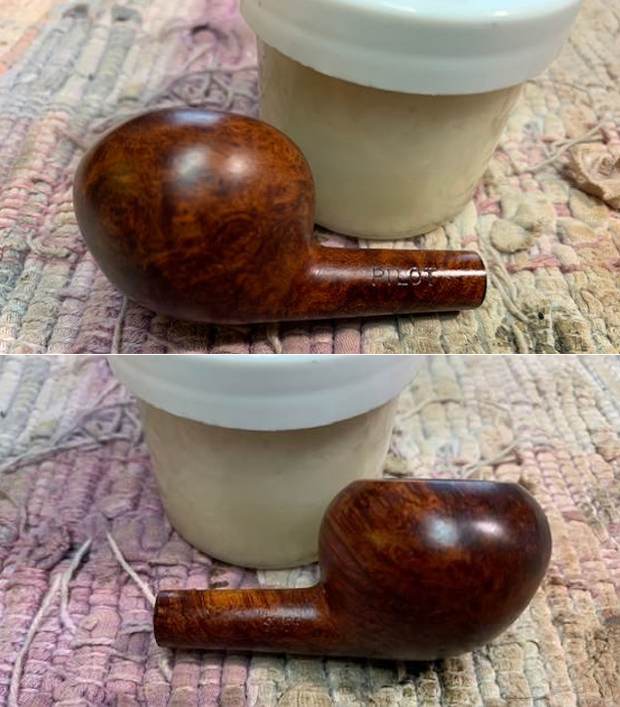
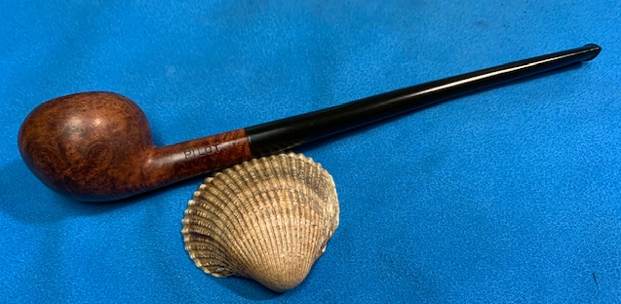
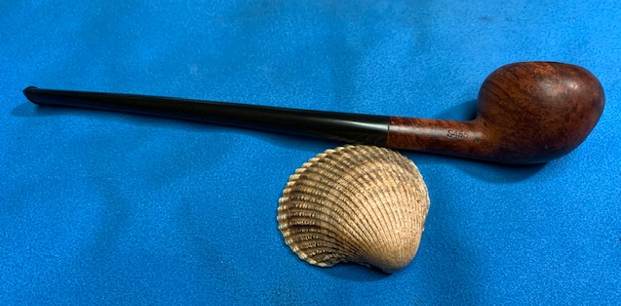
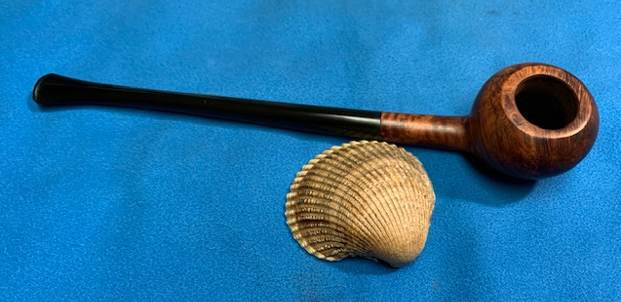
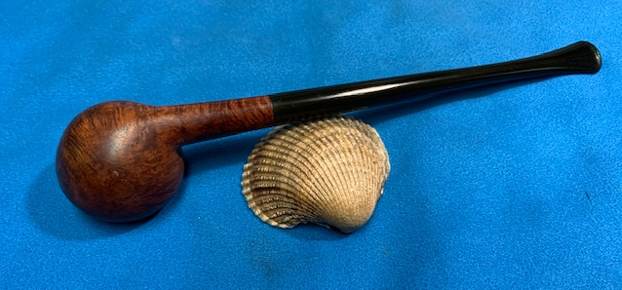
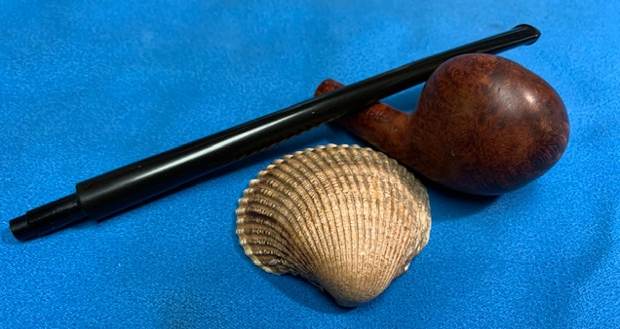
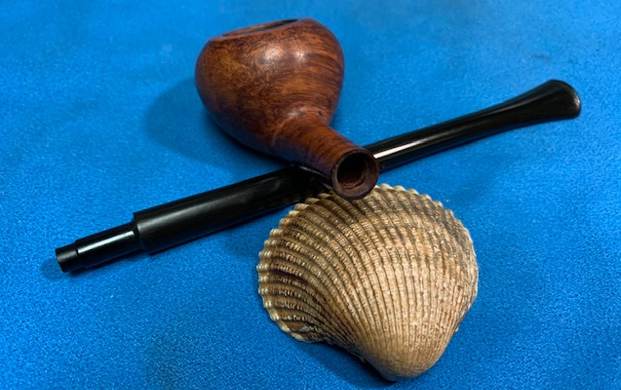
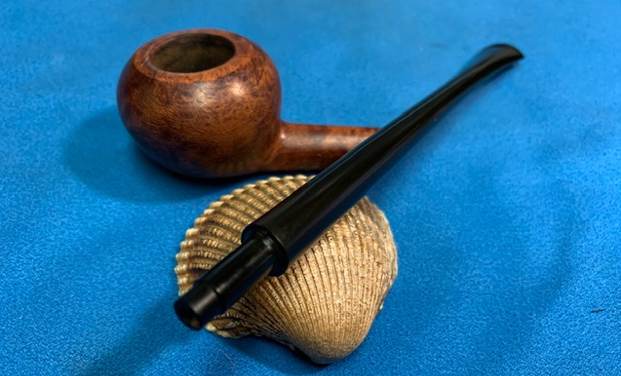
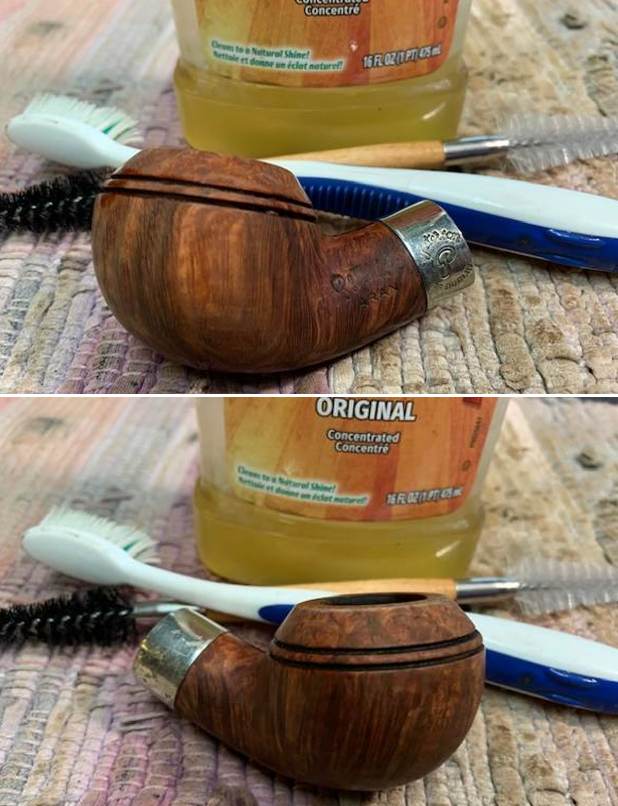
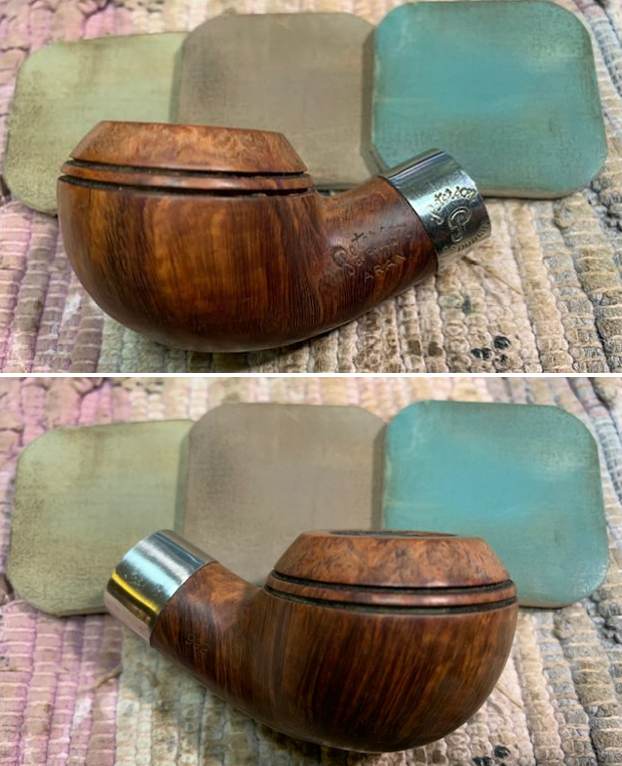
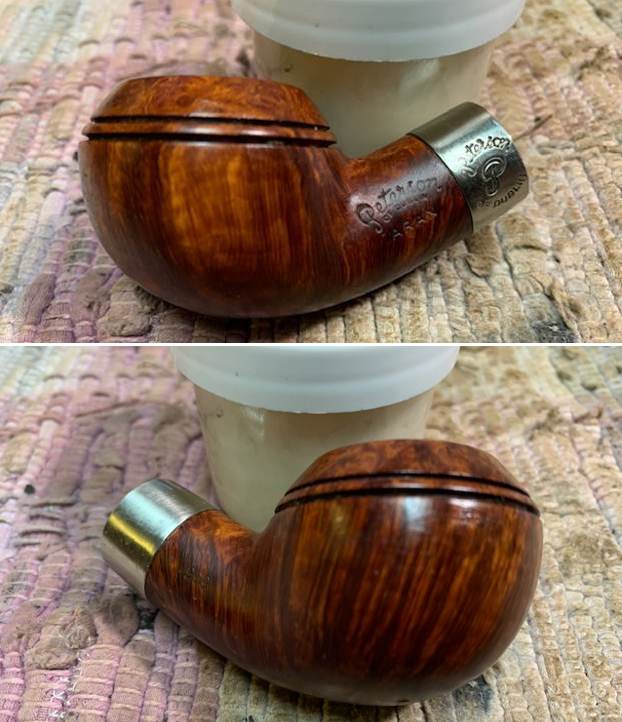
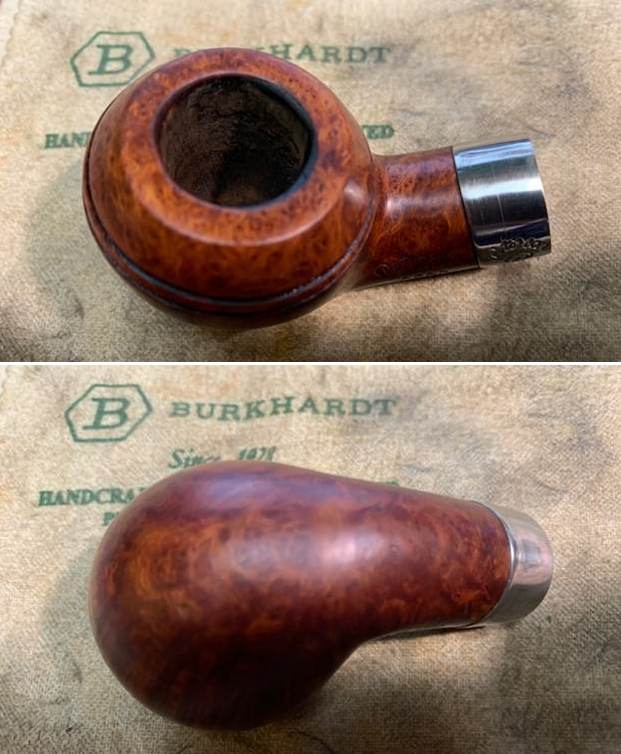
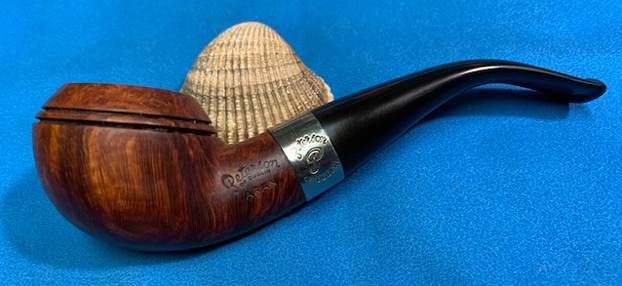
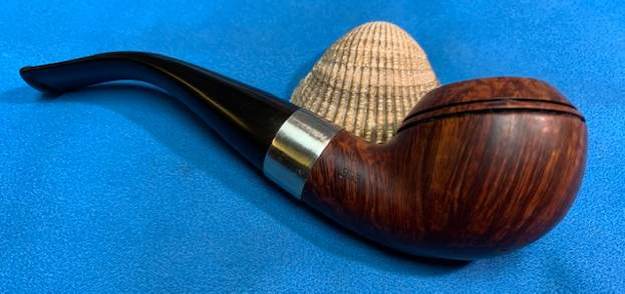
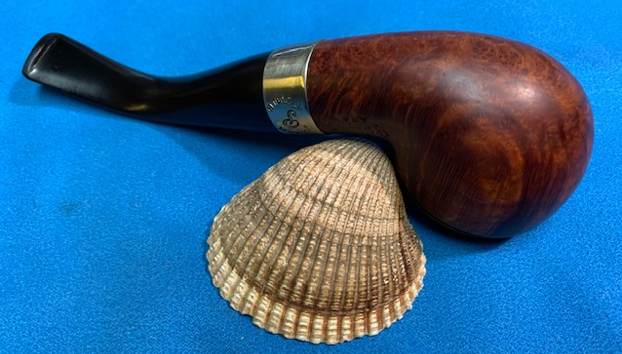
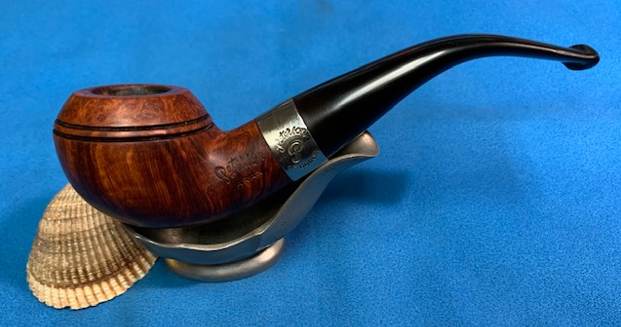
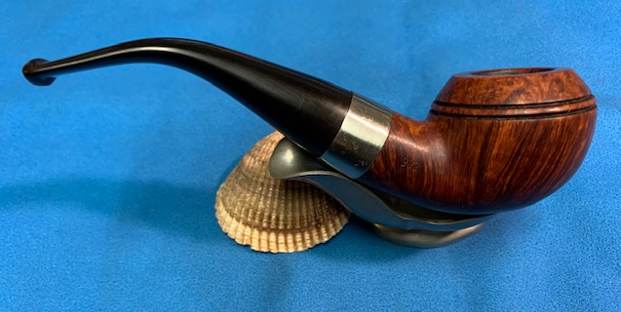
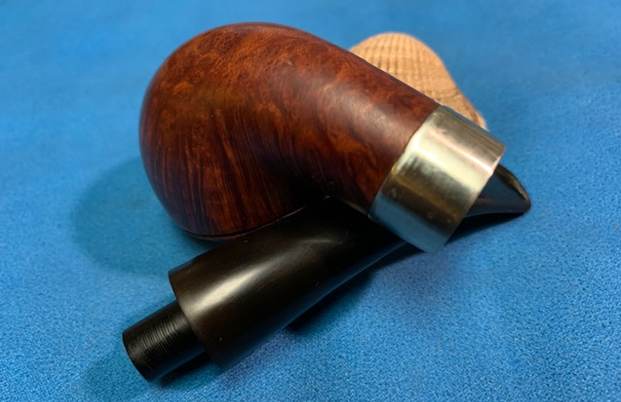
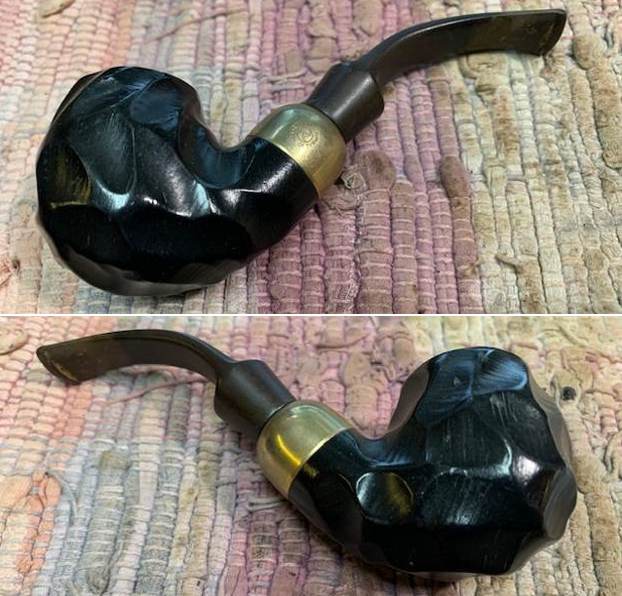
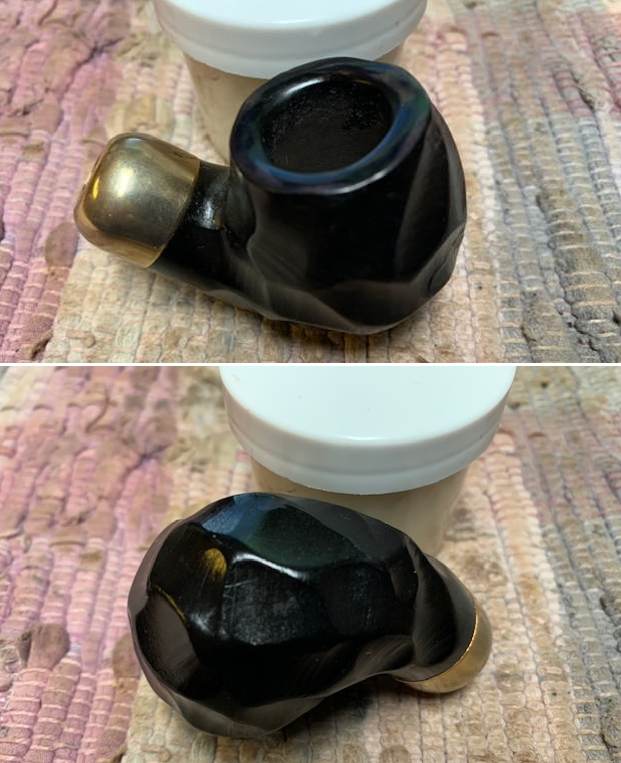
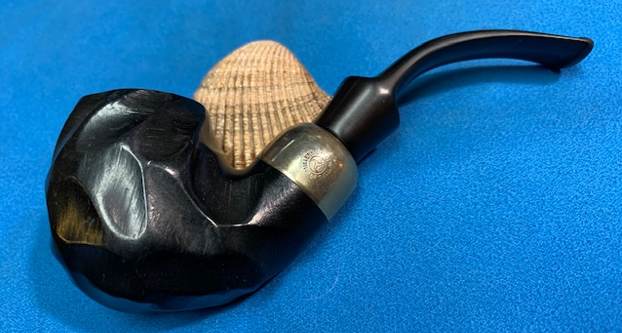
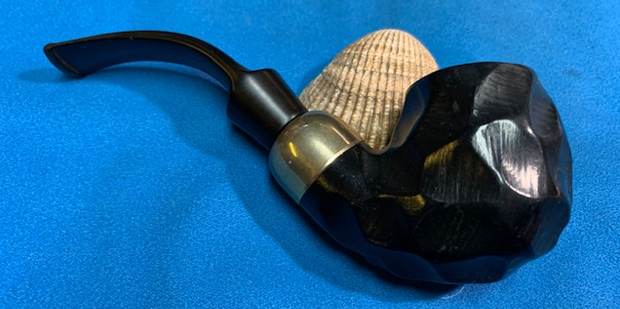
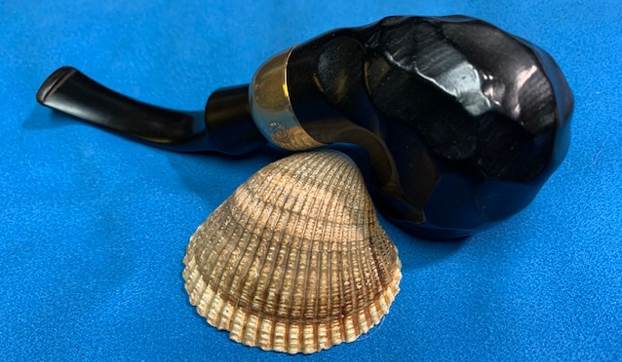
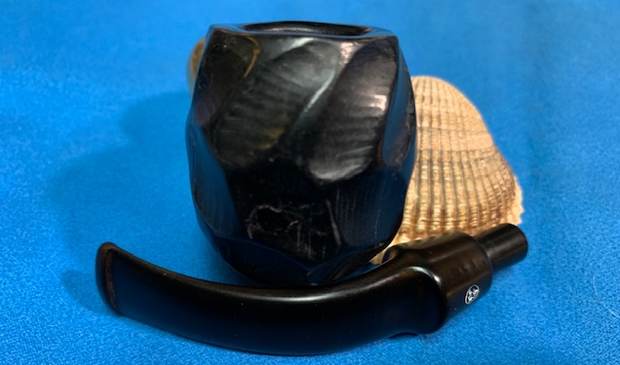
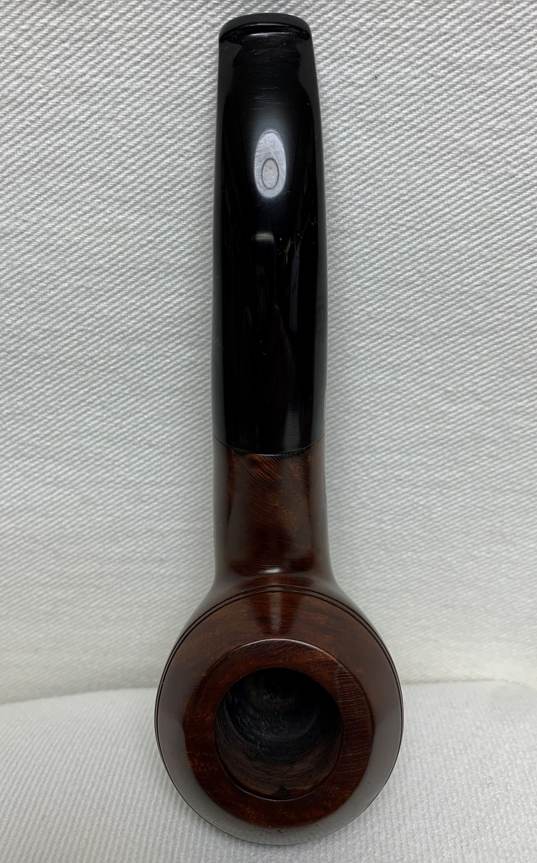
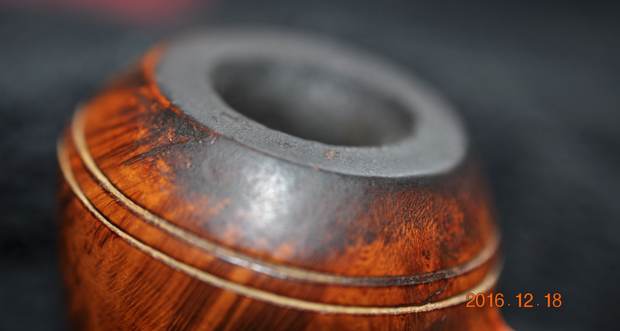
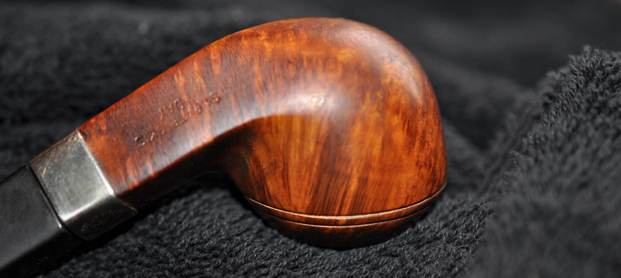
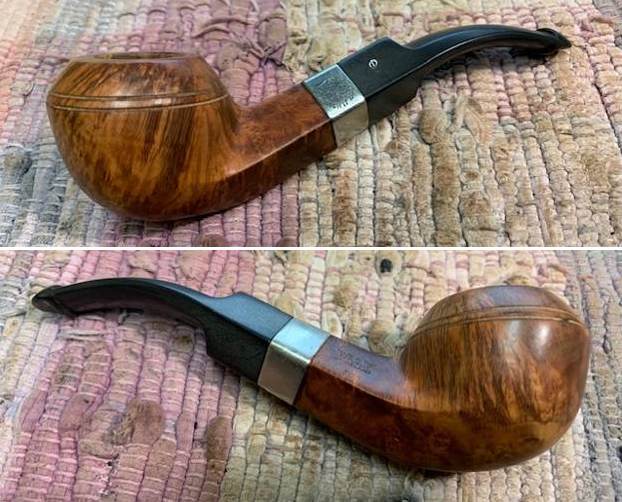
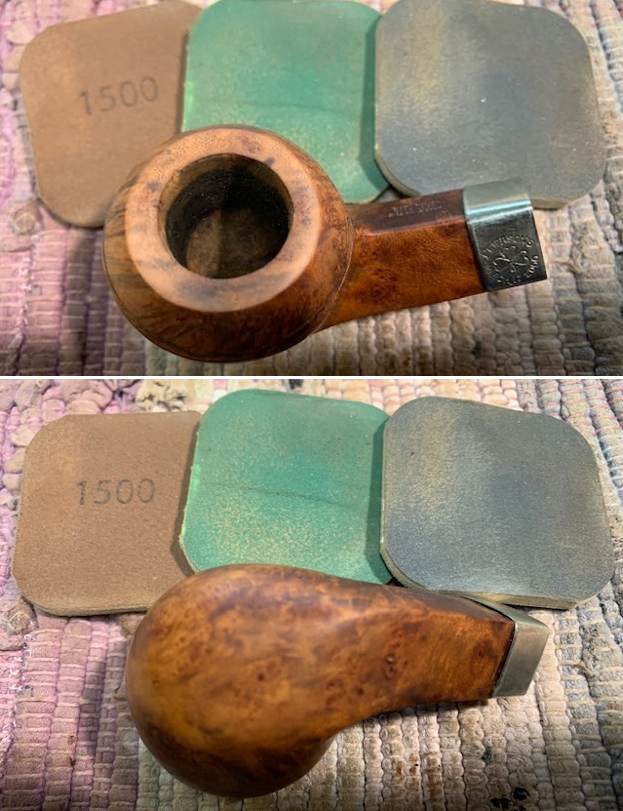
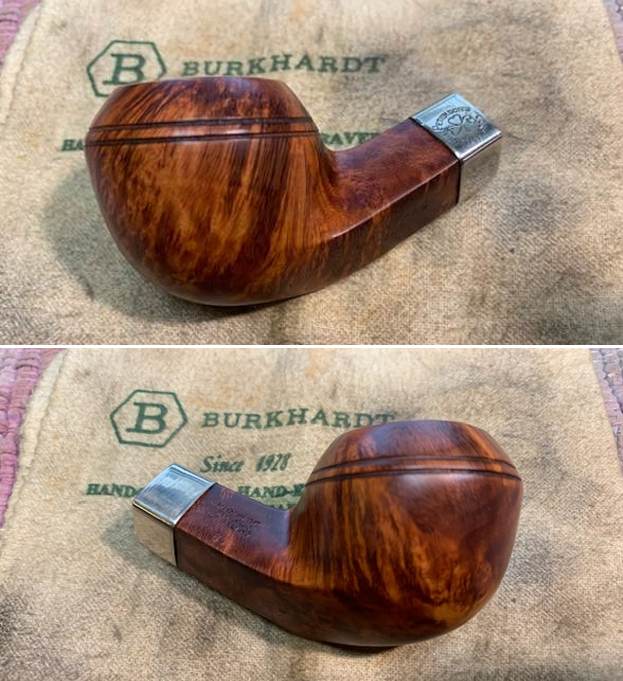
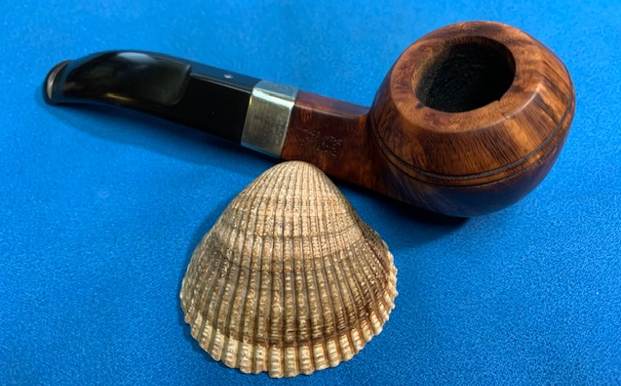
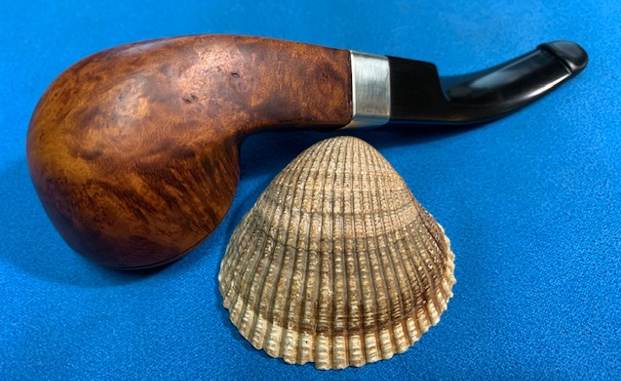
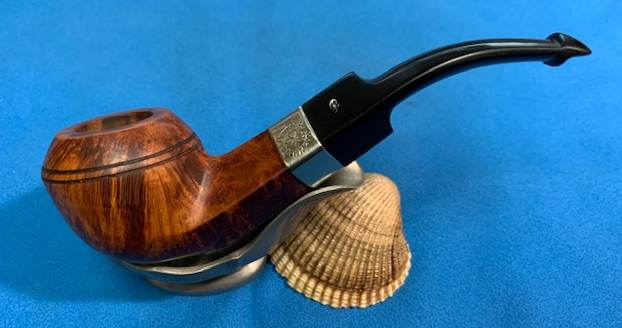
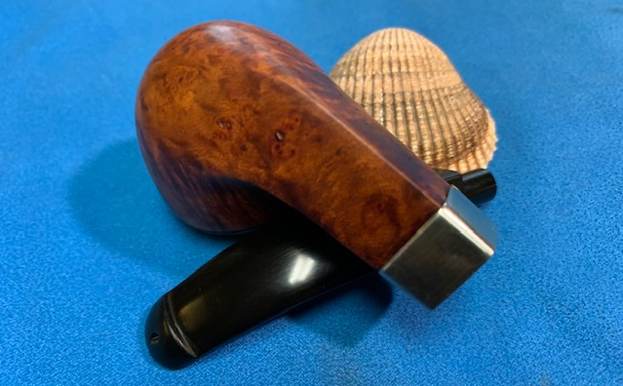
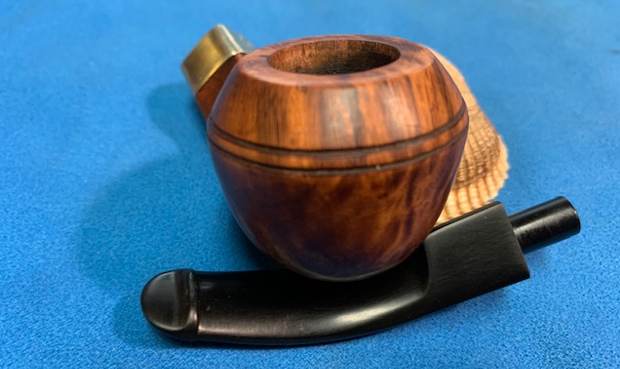
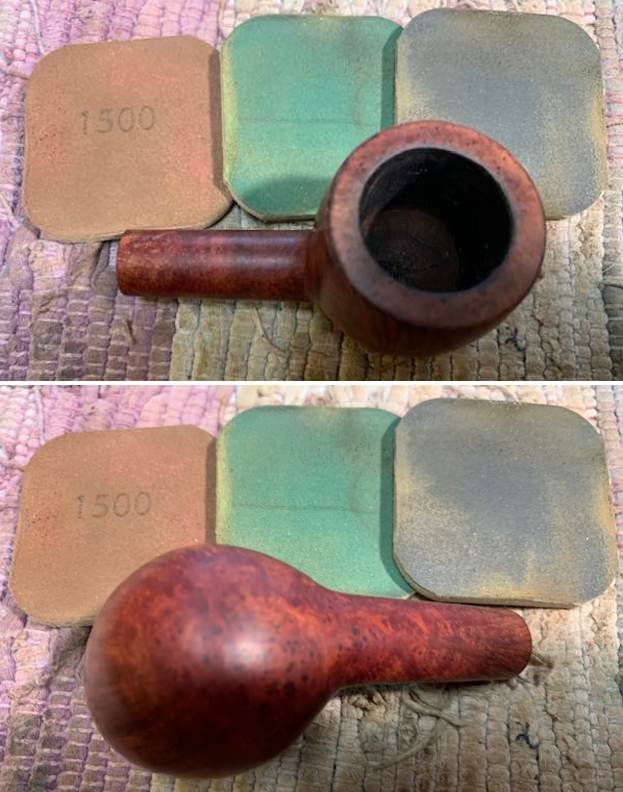
 He took some photos of the side and heel of the bowl to show the grain. It is a very nice looking piece of briar and once the grime it gone it should really look amazing.
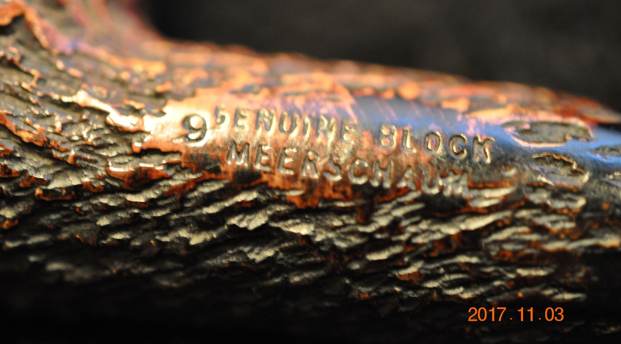
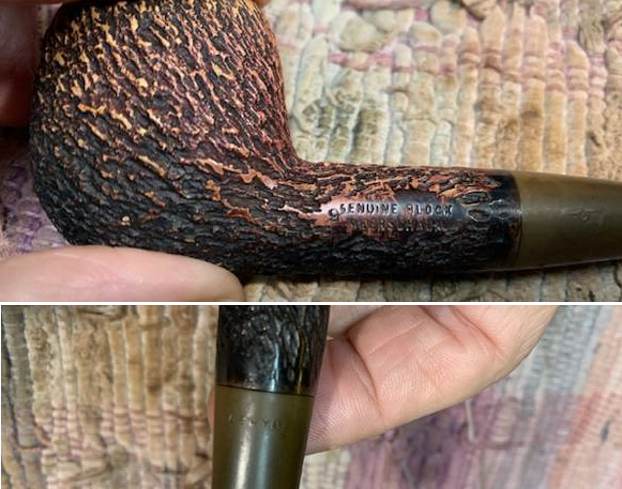
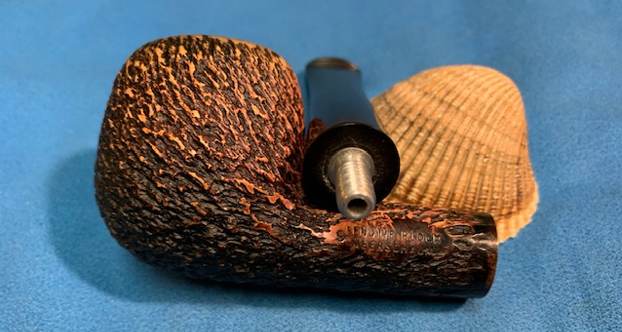
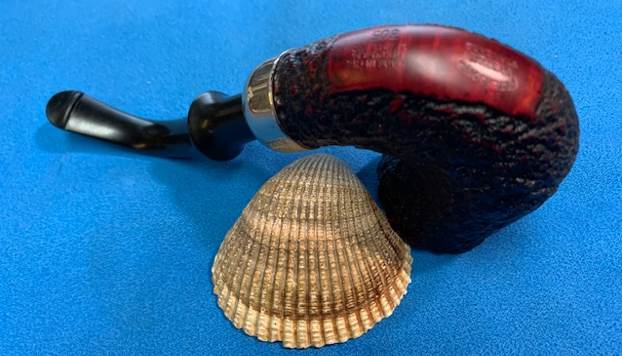
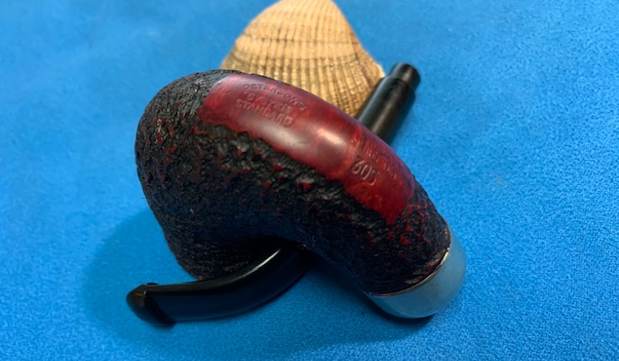
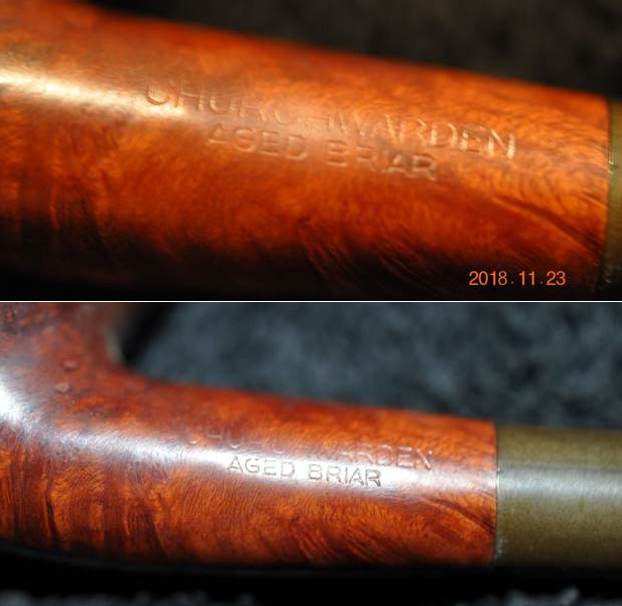
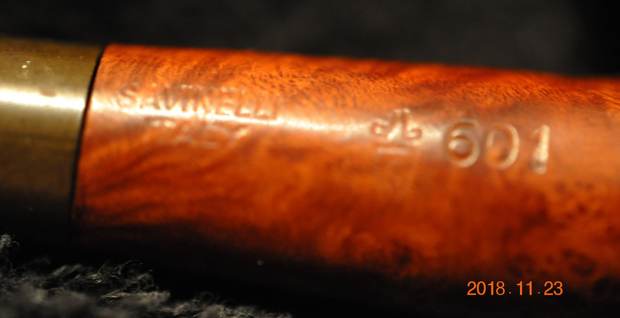
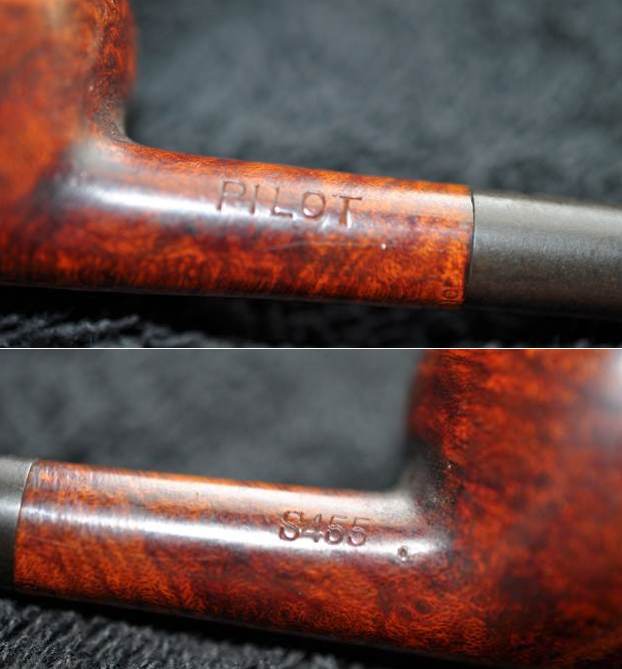
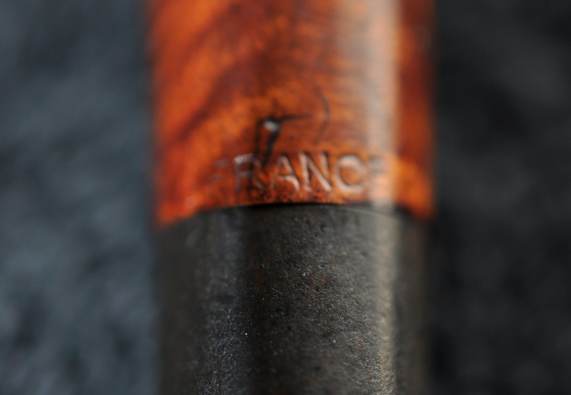
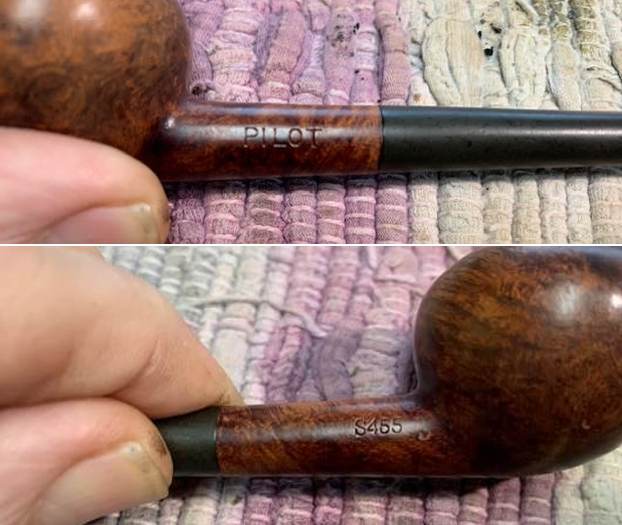
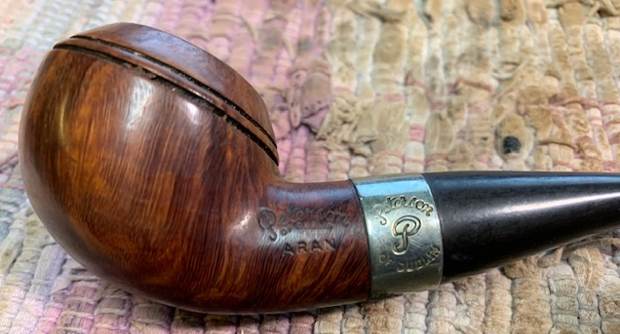
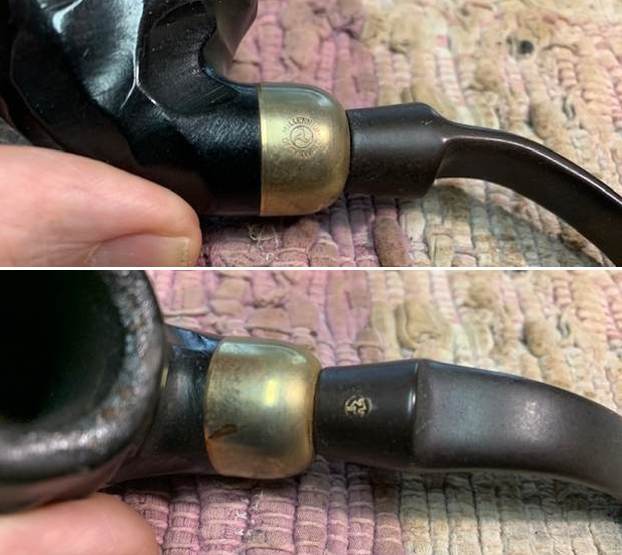
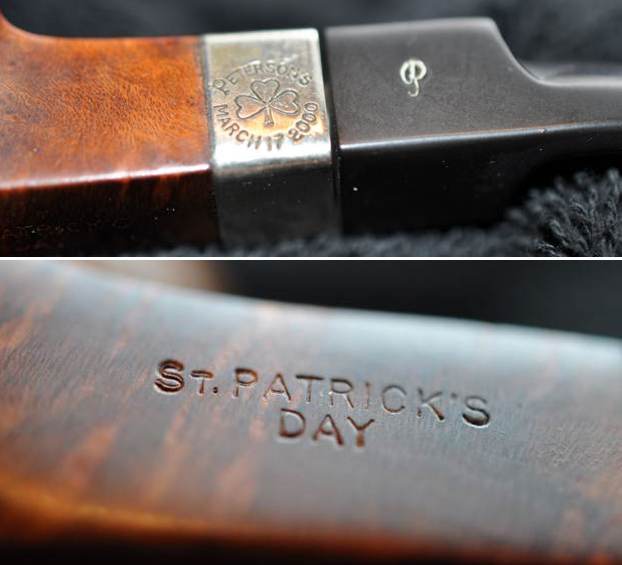
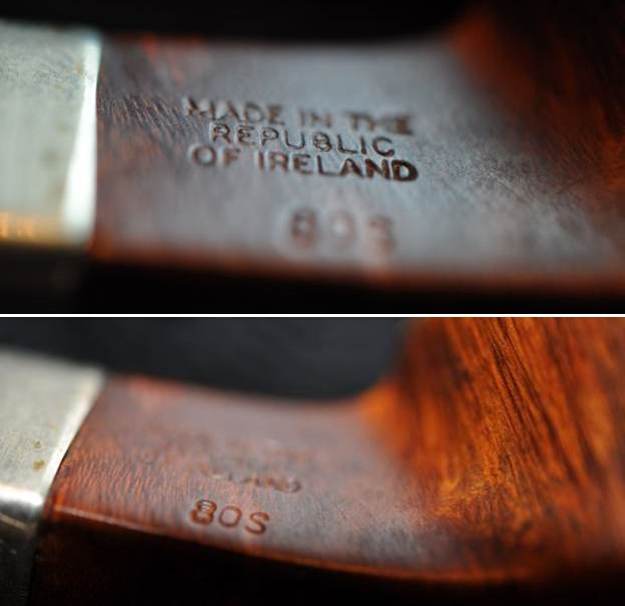
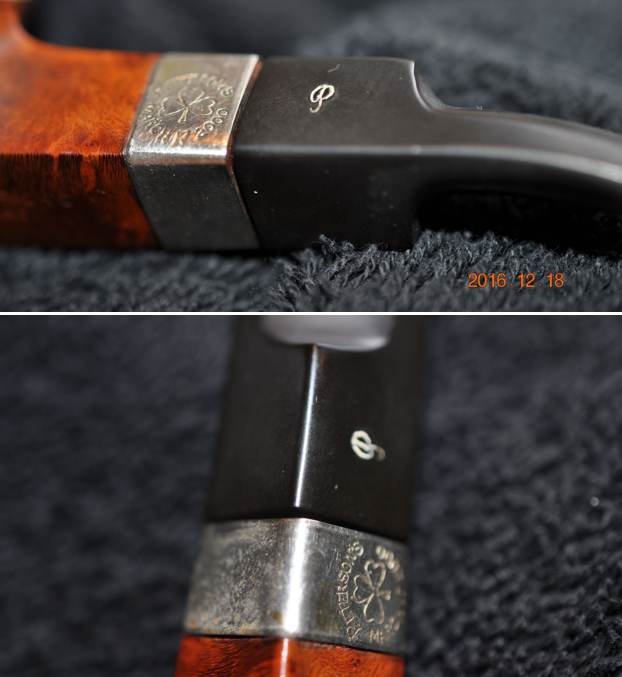
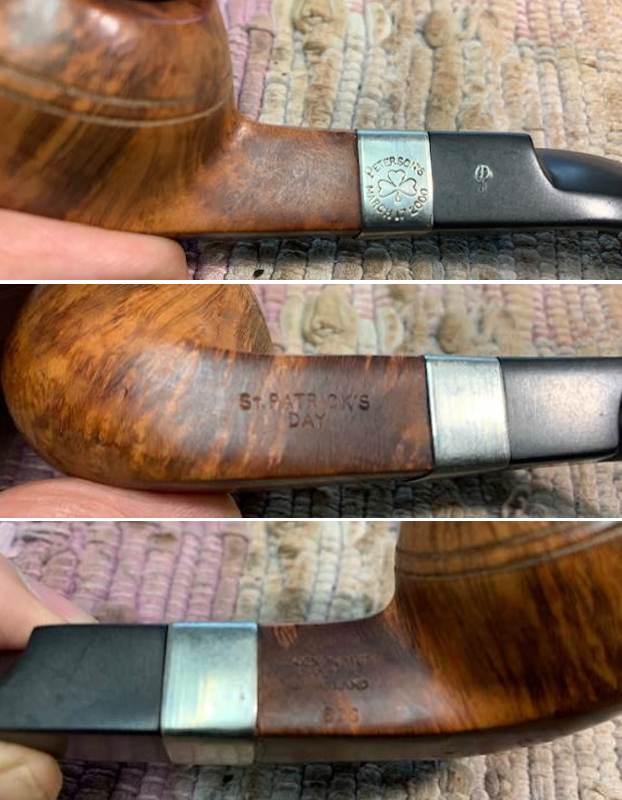
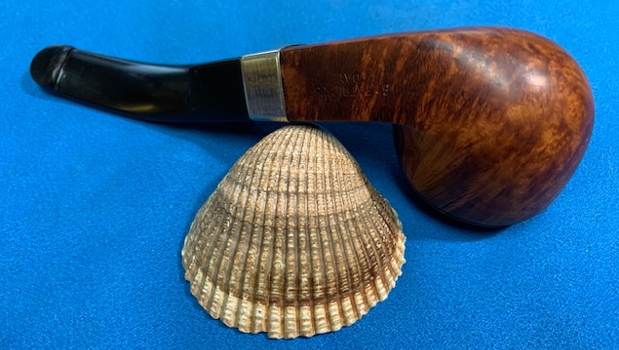
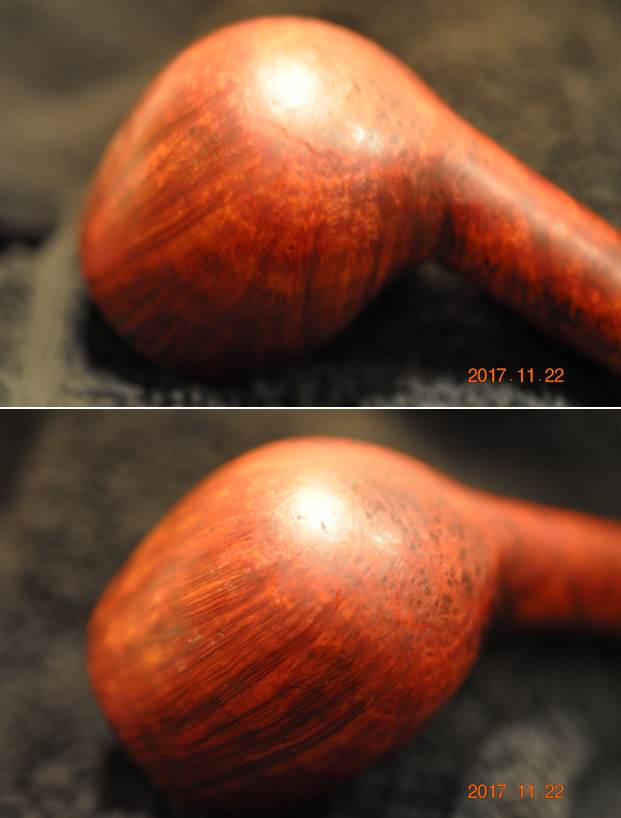 Jeff took some photos of the stamping on the shank side to capture it. Some portions of the stamp are weak and not as clear but overall it is very readable.
 Now it was time to try to unravel the stamping on the shank sides of the pipe. I was really interested to understand what the various components of the stamping meant. I turned to a book I always use with Dunhills, John C. Loring’s – The Dunhill Briar Pipe The Patent Years And After. I have found that it is really a definitive work when working dating and understanding Dunhill stamping. I will walk you through my work on the stamping in the paragraphs that follow. The conclusion is at the end!
I decided to start with the left side of the shank – HW followed by Dunhill [over] London. I quote from the above book, page 89-90.
‘OD’ ‘HW’ and ‘ODA’ stampings on the brand side of the shank next to the bowl (where an “A” or “R” would normally be found) usually indicated a special or a premium pipe…
“HW” was another pre-war stamping and meant ‘Hand Worked’. This stamp was used, sometimes in conjunction with superscript square stops, to identify hand carved versions of standard, machine carved, shapes. An “HW” stamping was not necessarily indicative of higher pricing.
Now I knew that the HW with the small square meant that the pipe was a pre-war Hand Worked pipe that was identical to a machine carved Pot. That was a start but now I wanted to understand the Dunhill [over] London stamp that followed it. I was getting excited about the age of this pipe. Again from Loring, page 13-14
From November 1918 through 1951, the brand side of the Bruyere was stamped DUNHILL over LONDON. In addition one to three letter (most generally an A but occasionally DR, OD, or HW) were stamped to the left of the primary brand stamping, near the bowl.
I have included a chart from Loring (inside the back cover). I have drawn a red box around the pertinent portion – 1932-1951 to show the stamping on both sides of the shank.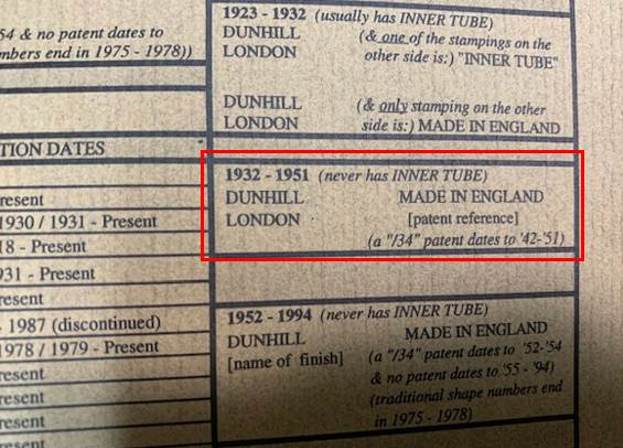 Now I knew that I was dealing with a Dunhill London pipe (possibly a Bruyere) made between 1932-1951 because of the stamping on the left side of the shank. Now it was time to turn to the stamping on the right side of the shank and unravel that. The dates were beginning to solidify and my excitement was growing.
On the right side of the shank it is stamped R7 next to the bowl/shank union and to the left of that it reads Made In England [over] Pat. No.417574 followed by a superscript 0 . I decided to tackle the R7 stamp near the bowl first to see if I could determine what it meant.
From Loring, page 61, I quote the following.
“R”. An “R” signifies the Root finish pipe. From 1931-1954 it was stamped on the brand side of the shank near where the shank meets the bowl. “R” is also the letter code for the classic Dunhill pot shape.
Page 63-64 From inception through 1975 Dunhill generally gave its pipes shape numbers of two or three digits. Beginning with 31 (shape number 1-30 were sold but not made by Dunhill from 1907-1910)… The shape numbers or letters were stamped on the reverse side of the shank near the bowl. Prior to the war special shape modifications, such as churchwarden stem or a flat shank (that would allow the pipe to be rested on a flat surface with the bowl opening facing up) were signified by preceding the shape number with a “C” or “T” respectively. In addition to the shape number, some post-war shapes were stamped with another number following a slash, e.g. ‘shape number’/1, which I speculate probably referenced the bit type…
Page 65… In the case of a letter denoted shape the slash was sometimes omitted, e.g. “R 21”
From this I knew that the R7 stamp signified a Pot shaped designation and the 7 was a reference to the style of the taper stem.
I turned to deal with the pattern number stamped on the right side of the shank – Pat. No.417574. In Loring’s book on page 58 he gives a great summary of the Smooth Finish Patent Nomenclature Usage. I have included that chart below. Once again I have drawn a red box around the portion that applies to this pipe. You will note that there are two listings with the Patent Number I have – one with the /34 and one without it. The /34 dates the pipe to 1942-1954 while the Patent Number without the slash number dates it to 1935-1941. This gives a narrowing of the date to 1935-1954. The patent also refers to an inner tube in the shank with a spring flange (Loring, Page 57). Wow, the date is getting more and more focused for me.
The only remaining piece of the mystery is the stamp 0 (0 as a superscript) which follows the patent number. I am used to finding the date stamp after the letter D in England. But this is the first that I have seen in this location. So once again Loring provided the information I needed on the back cover of his book. I quote from there:
The date code is almost always found immediately after either the “D” of MADE IN ENGLAND, the “E ”of FABRICATION ANGLAISE or the Patent Reference (Red letter and underline emphasis is mine).
That gave me the information I needed regarding the superscript/underlined 0 (0) after the Patent Number. It was definitively the date stamp. Now it was just a matter of identifying the date from that information. Once again the back cover of Loring’s book gave me the answer. I am including a photo of the chart with the area of interest blocked in red.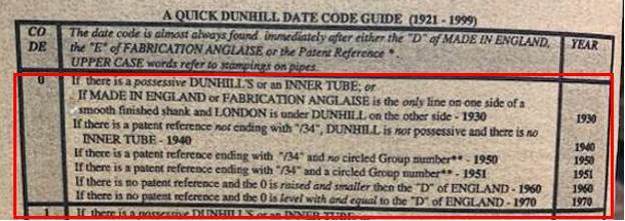 The superscript/underline 0 points to a date that is determined by the above chart in the third If statement in the red boxed photo above. It says –“If there is a patent reference not ending with “/34”, DUNHILL is not possessive and there is no inner tube – 1940”. All of the “nots” fit the pipe in hand. The mystery is solved and a date is set! It is ten years older than I first thought when I saw it.
Thus, thanks to all of John Loring’s hard work, I know that the pipe I am working on is a 1940 Dunhill Hand Worked Bruyere that is a Pot shape with a 7 style stem.
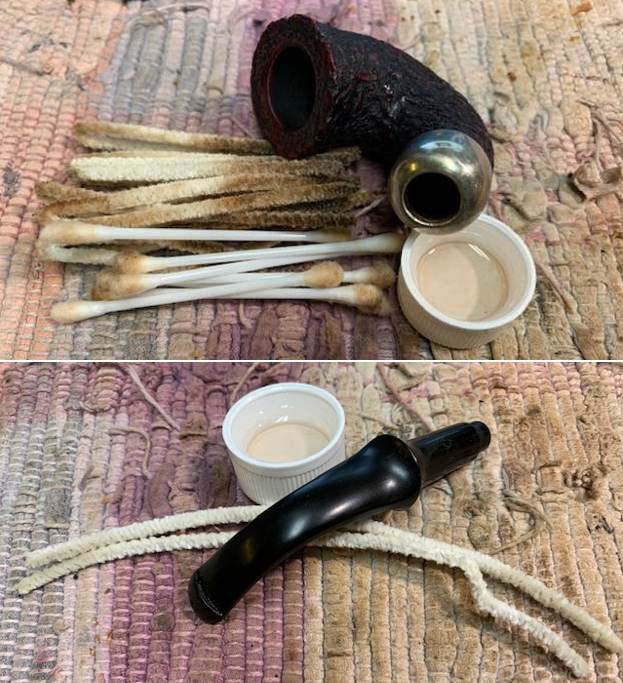
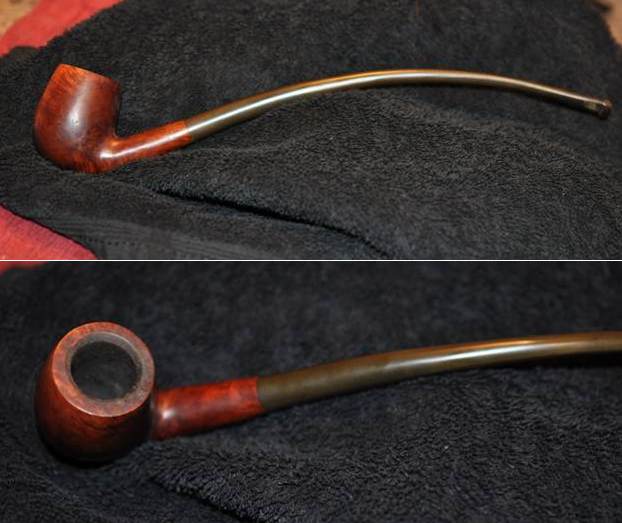
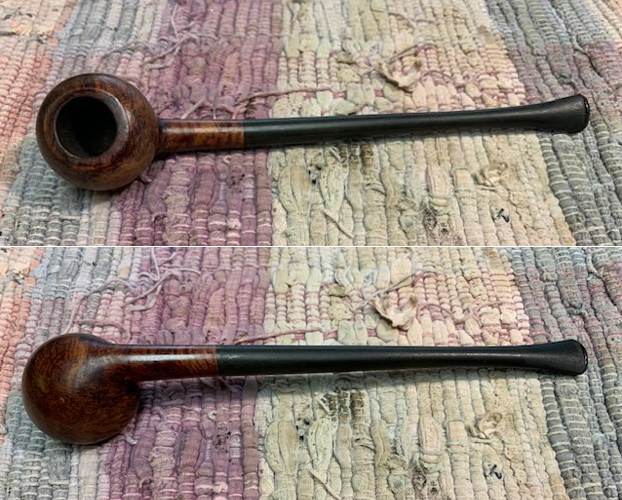
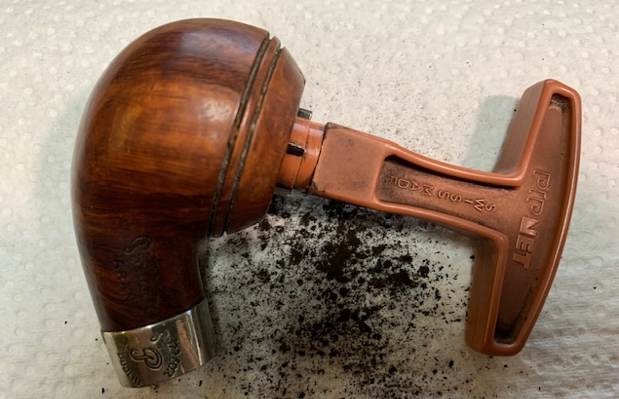
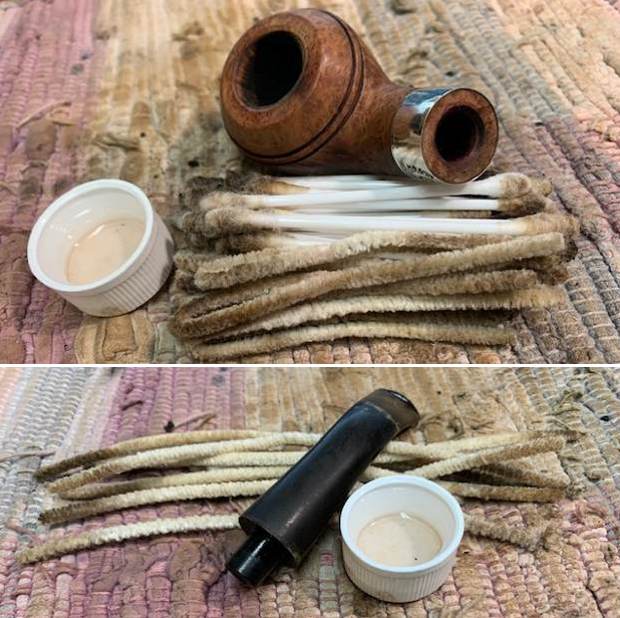
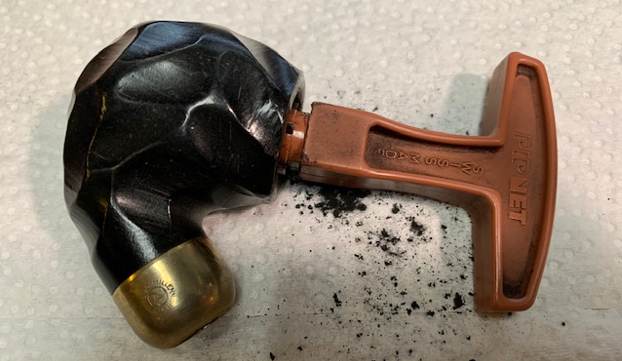
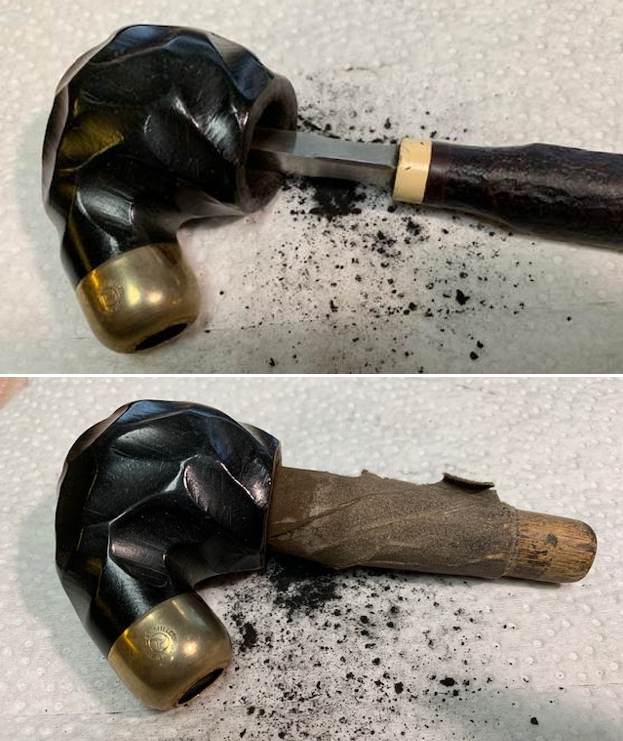
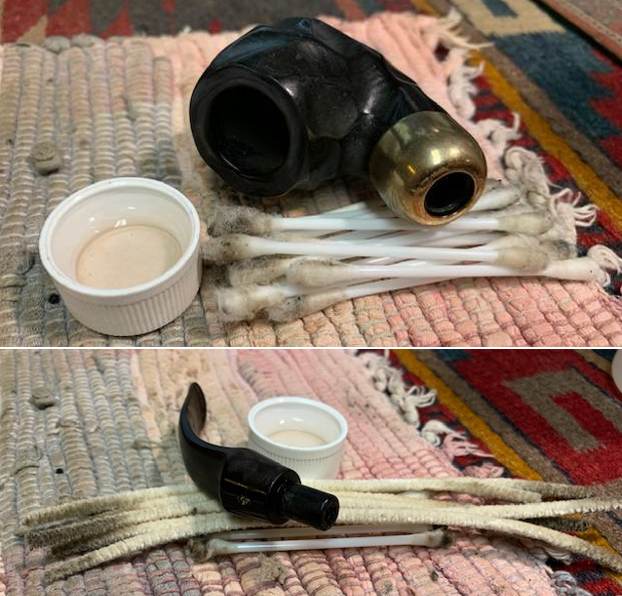
Now it was time to work on this old timer. Jeff carefully cleaned the pipe. He reamed it with a PipNet pipe reamer and then cleaned up the reaming with a Savinelli Fitsall Pipe Knife. He scrubbed out the internals of the shank and stem with alcohol, pipe cleaners and cotton swabs until the pipe was clean. He scrubbed the exterior of the bowl with Murphy’s Oil Soap and a tooth brush to remove the grime and grit on the briar and the lava on the rim top. The finish looks better and the briar has a deep richness in the colour that highlights the grain. He scrubbed the stem with Soft Scrub to remove the grime and oils and then soaked it in Before & After Stem Deoxidizer. He rinsed it with warm water and ran pipe cleaners through once more. When the pipe arrived here in Vancouver it was a great looking pipe with beautiful grain.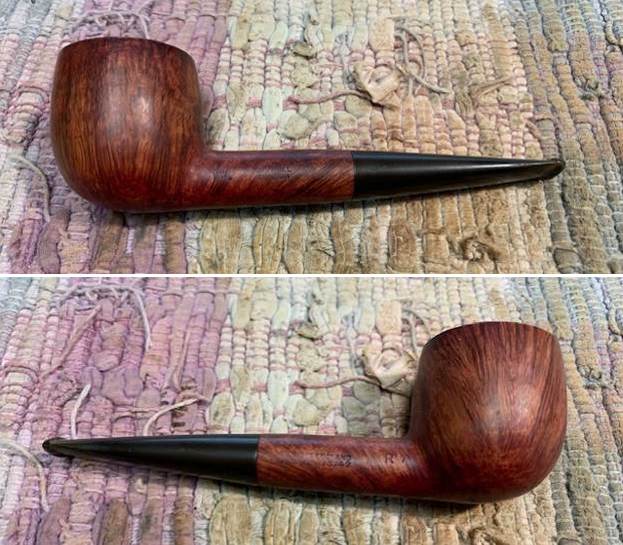
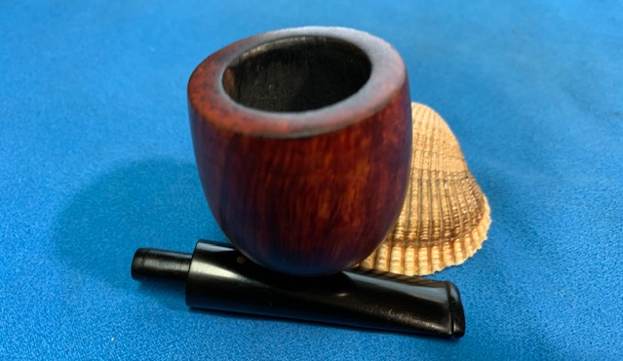
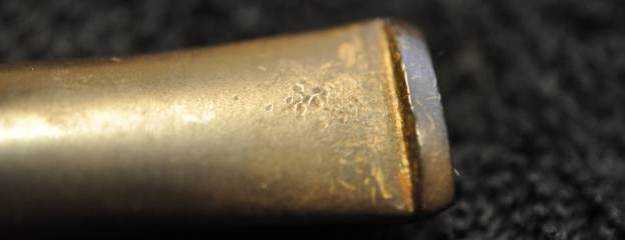
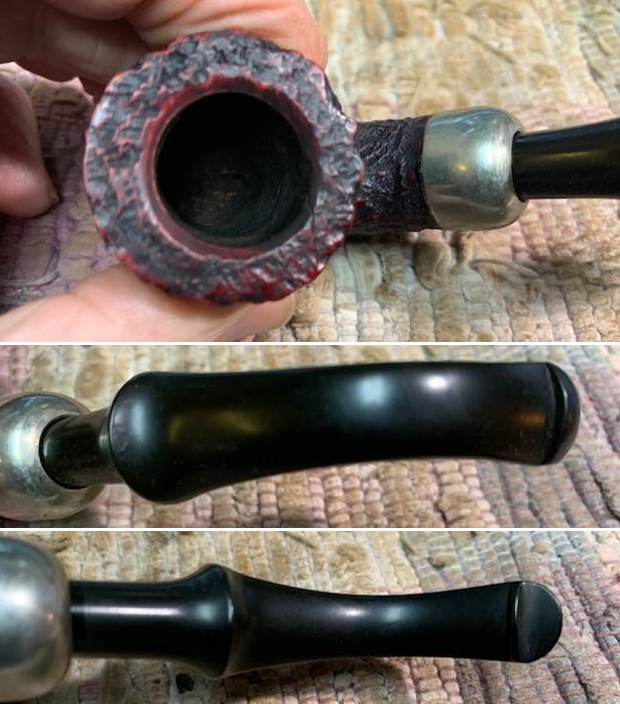
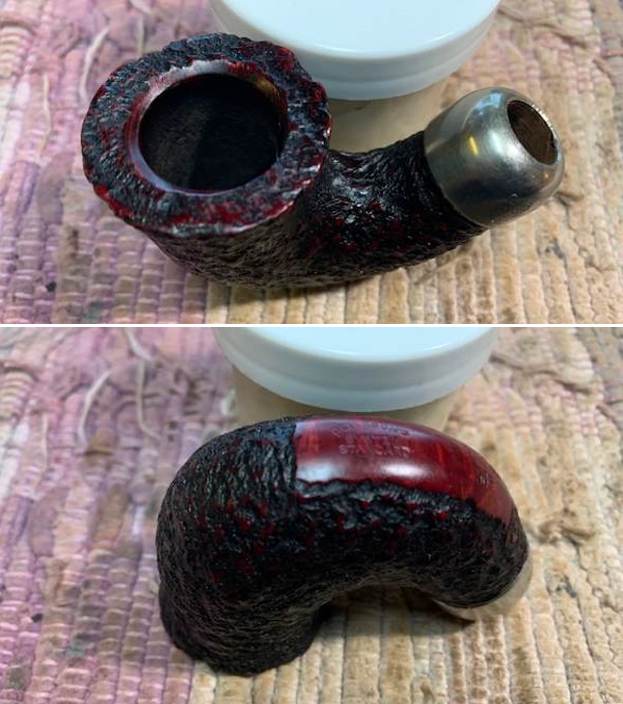
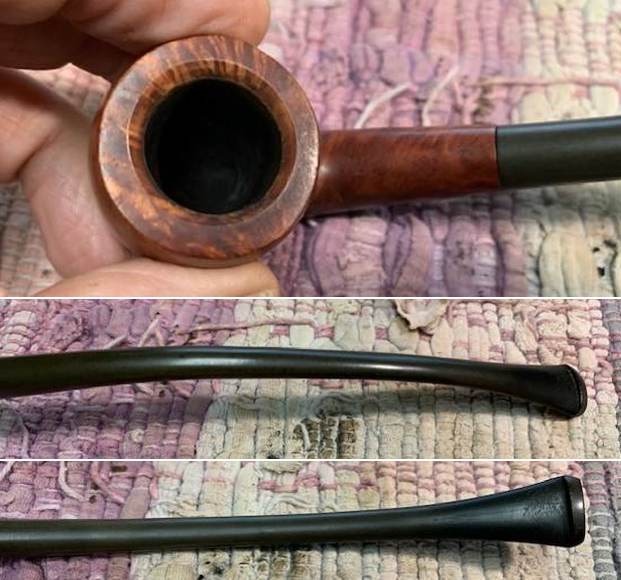
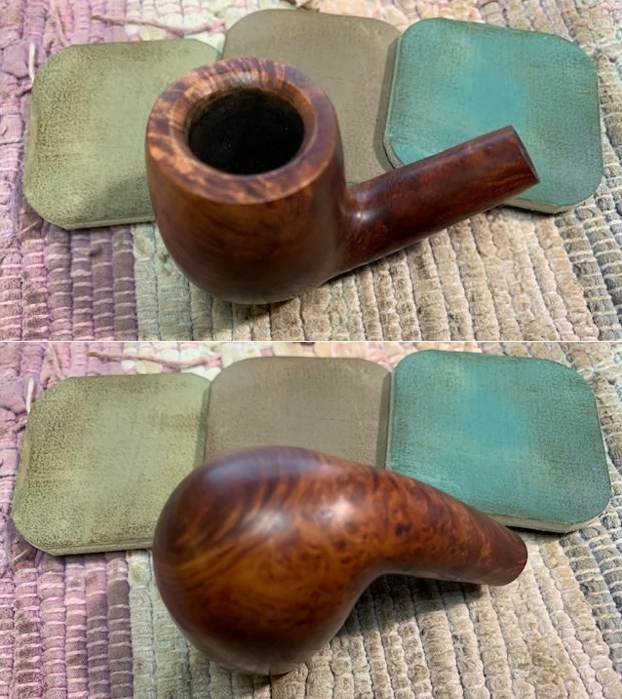
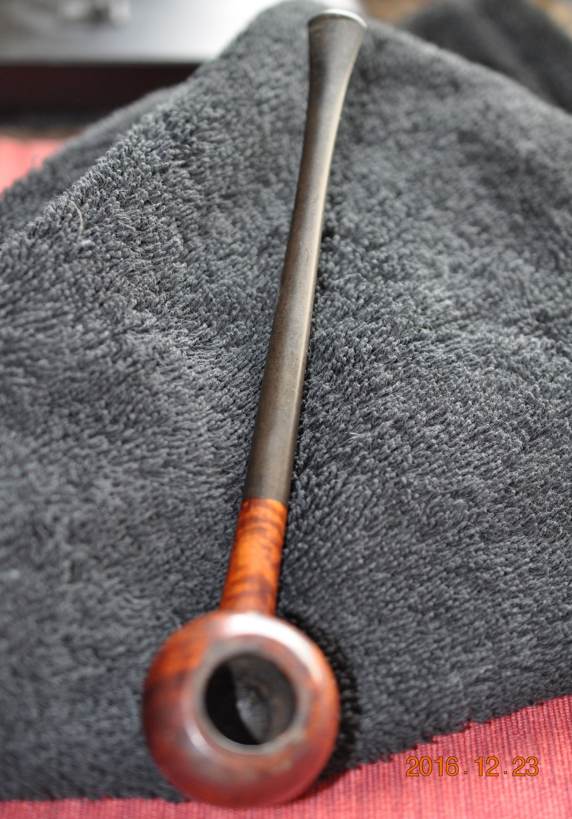
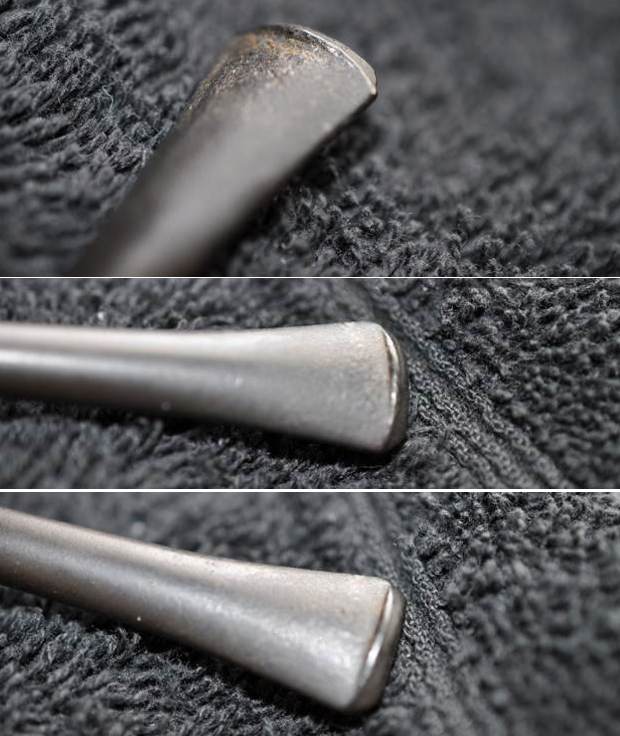
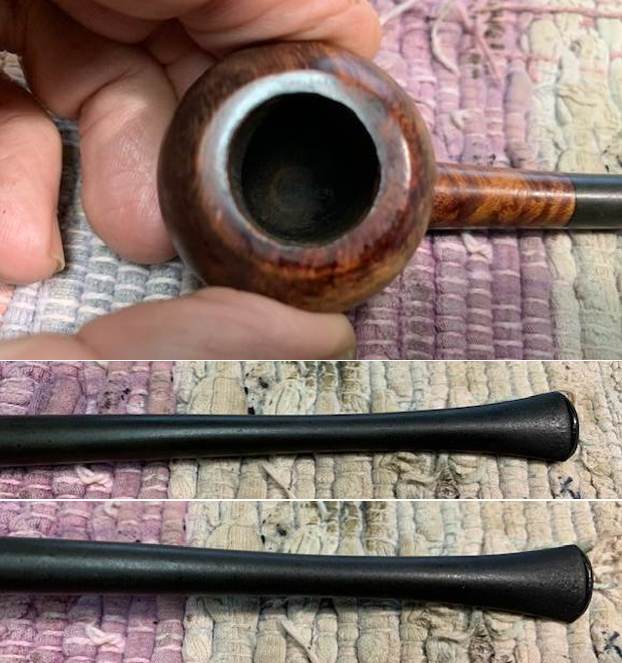
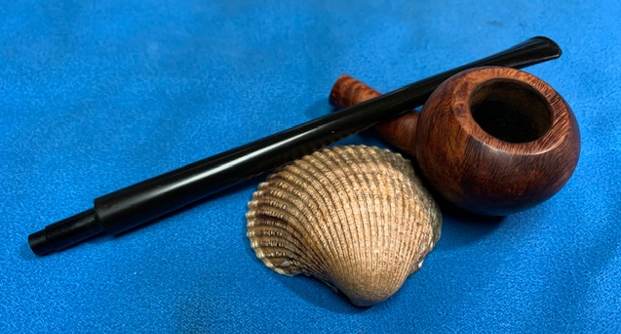
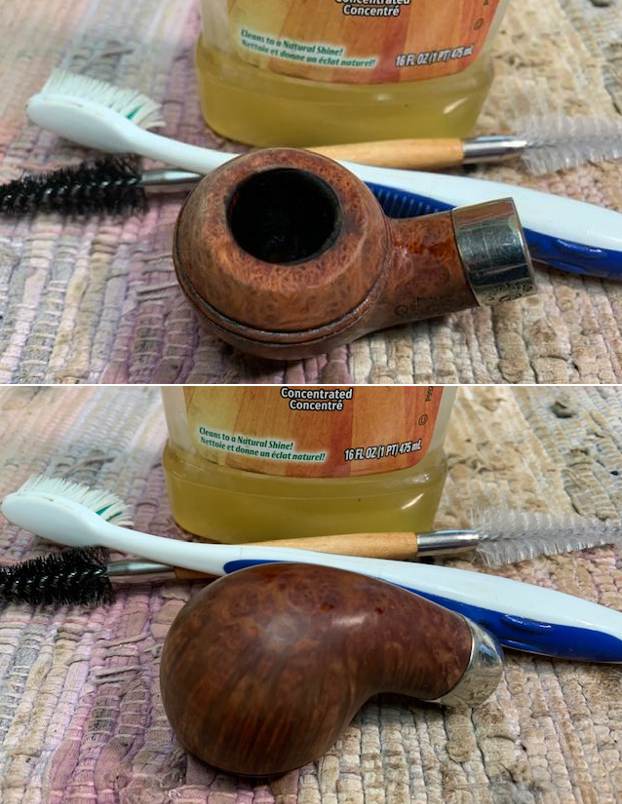
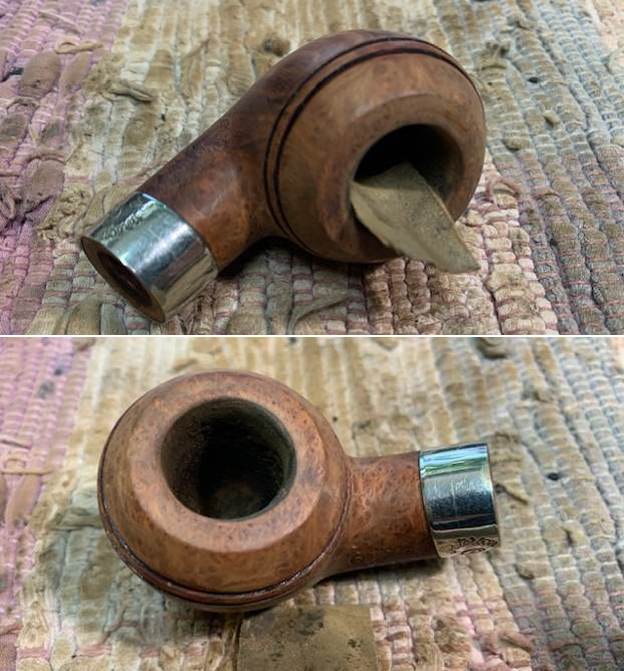
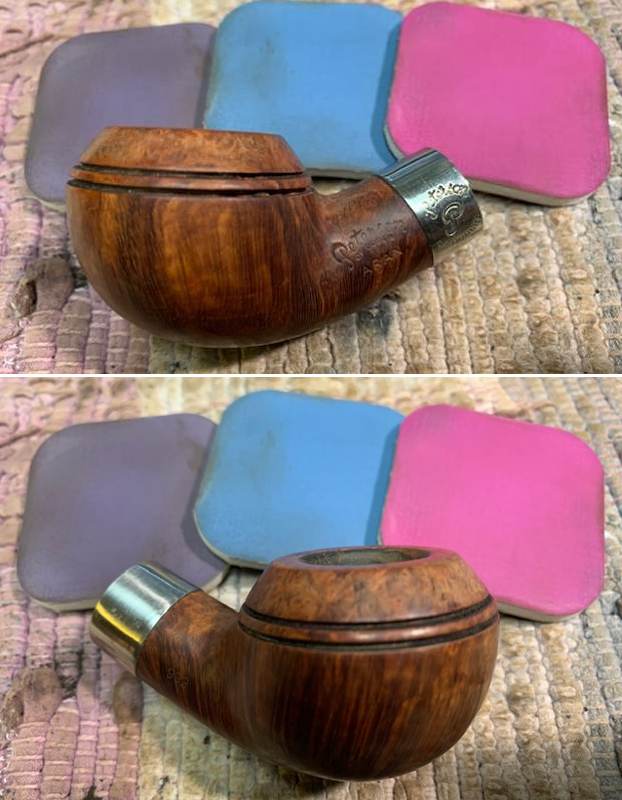
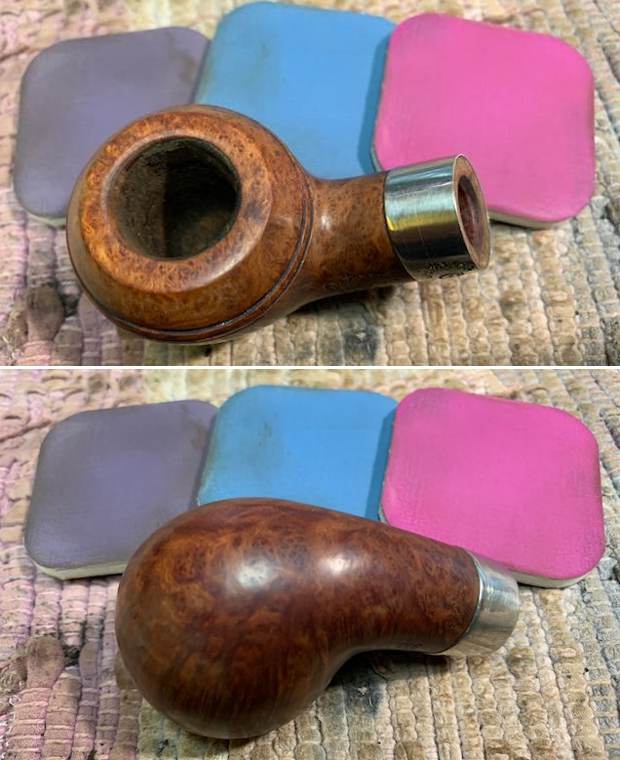
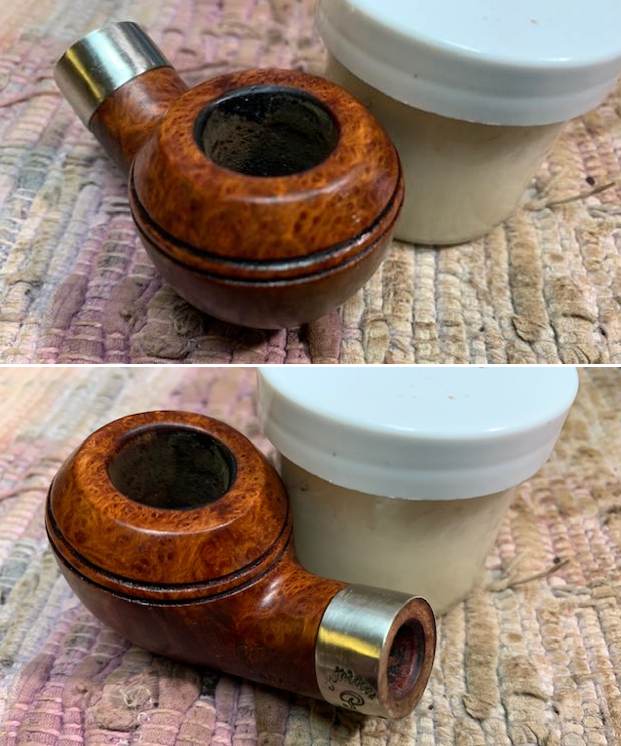
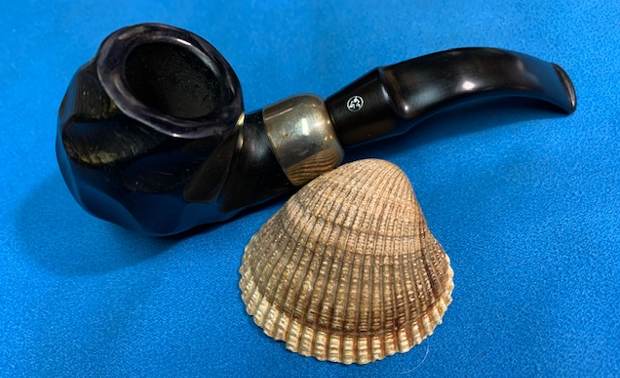
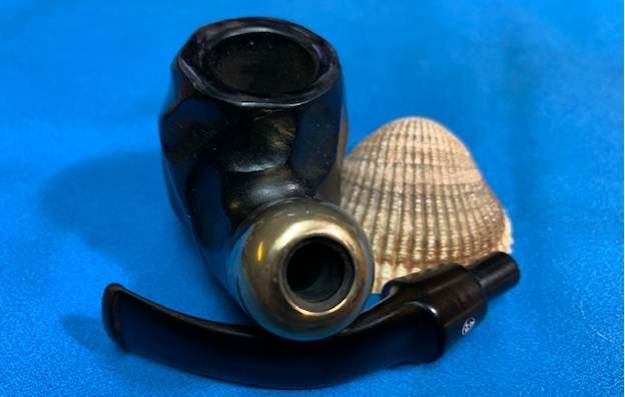
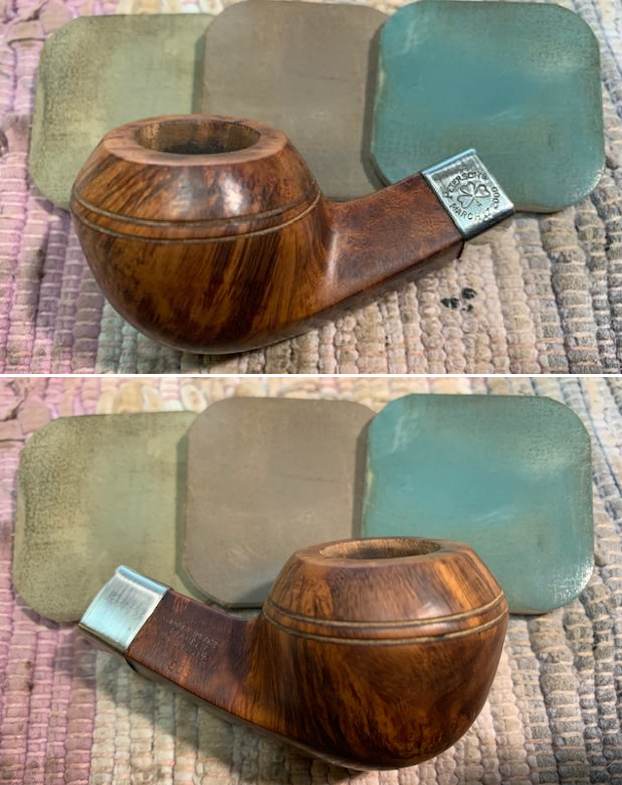
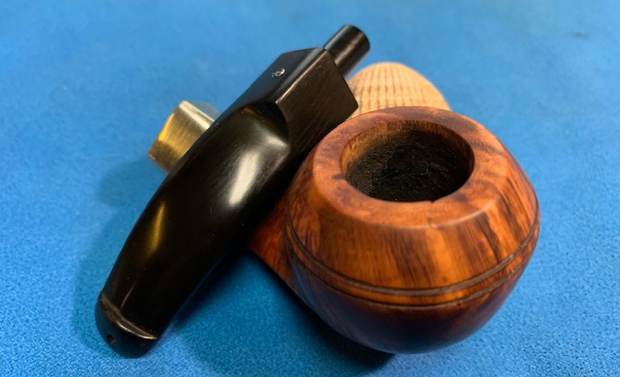
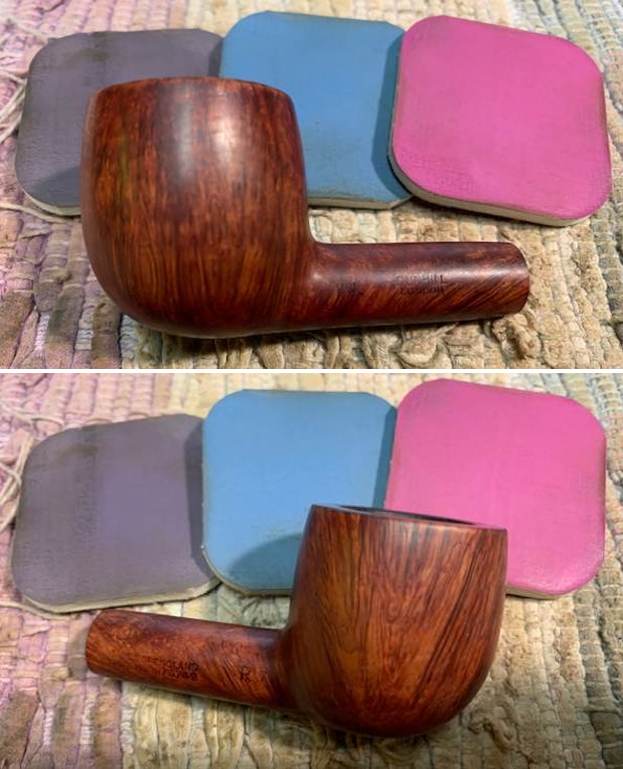
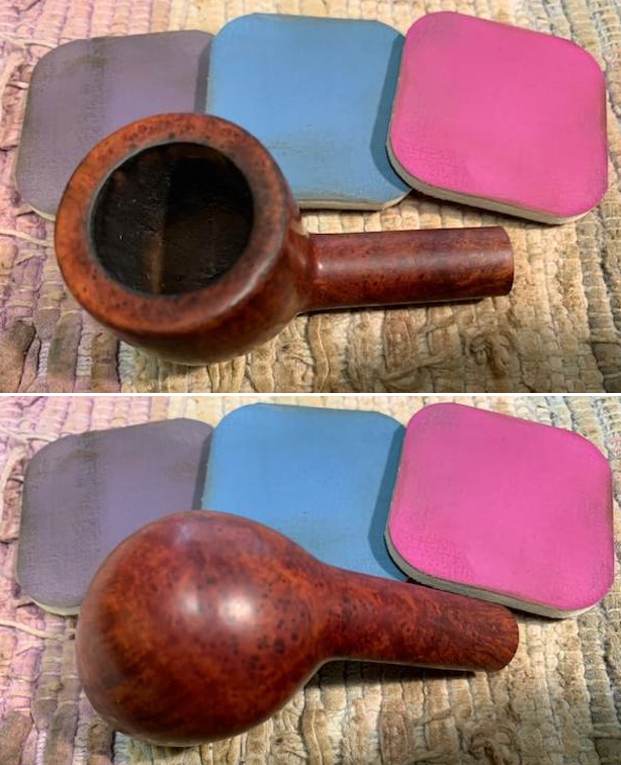
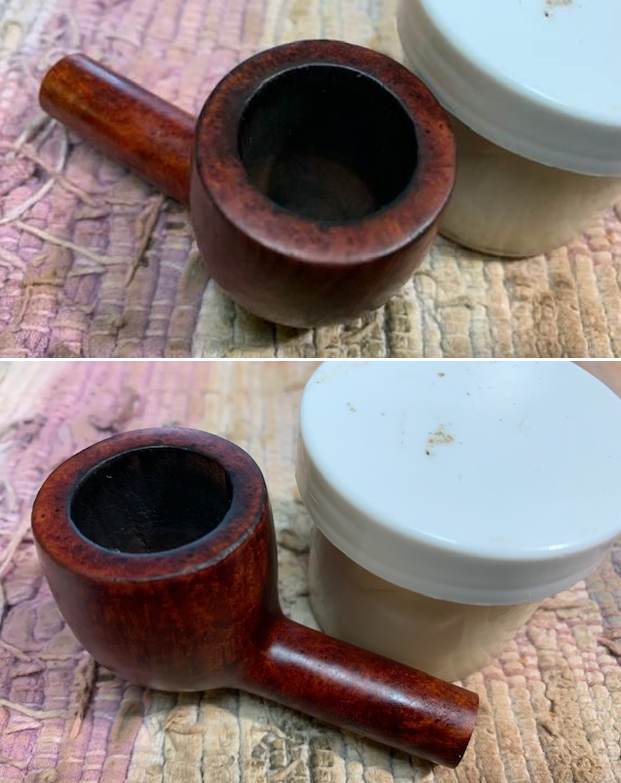
 I took close up photos of the rim top and the stem to show the condition of the pipe after Jeff’s work. The rim top looked quite good and the edges were in decent condition. There was some darkening on the top of the rim and the edges. The photos of the stem showed the tooth damage very clearly on both the stem surface and the button edges.
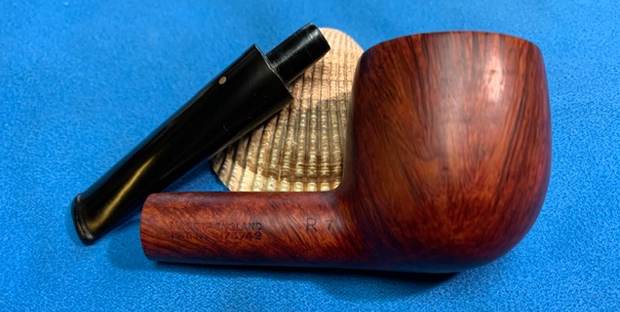
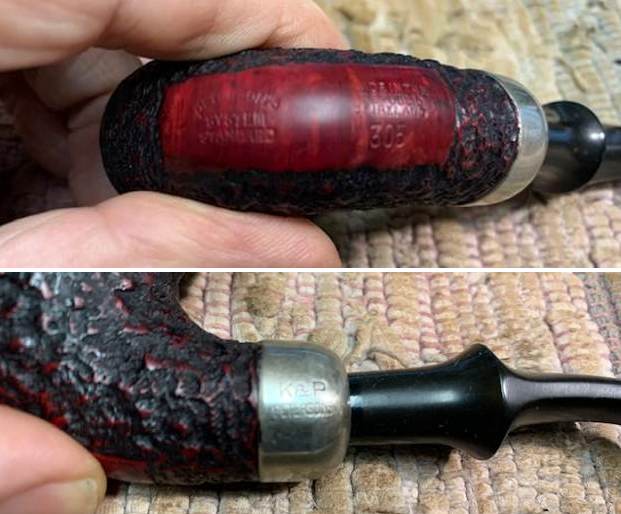
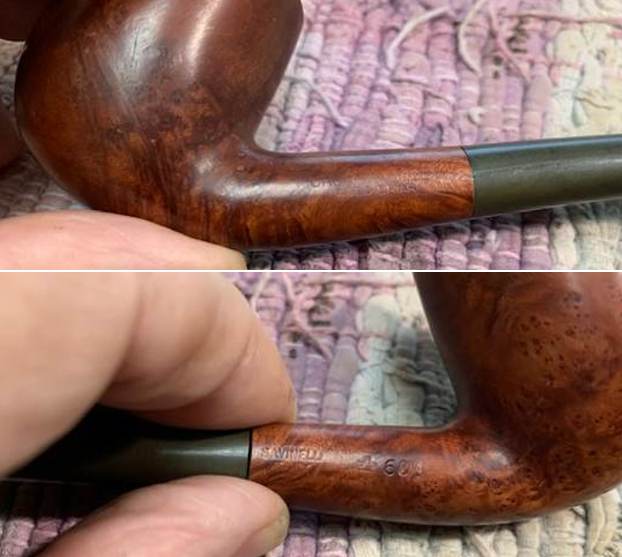
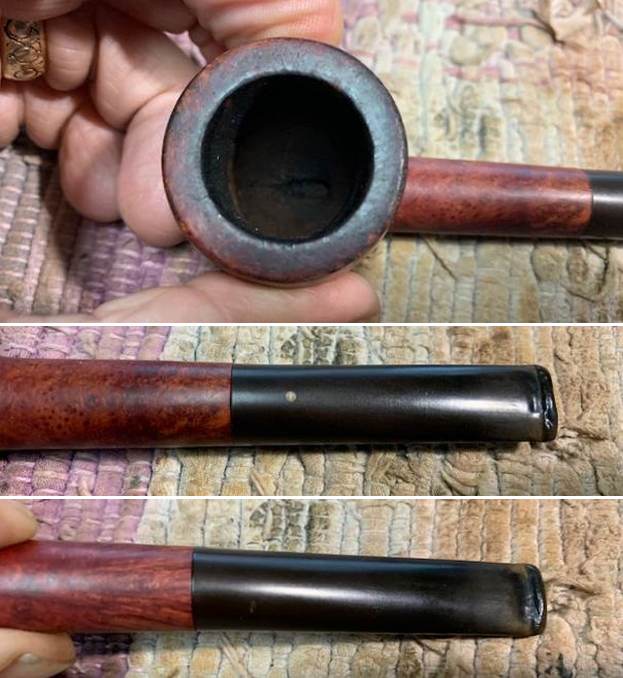 I took some photos of the stamping on the shank sides and they read as noted above. They are faint in spots but still readable.
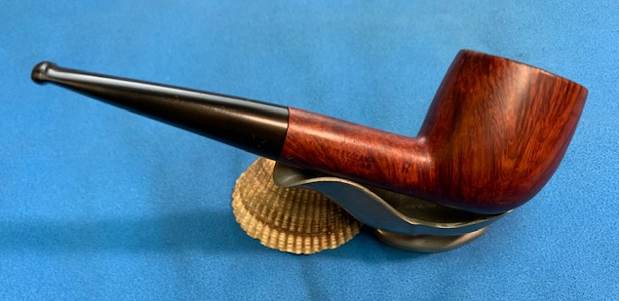
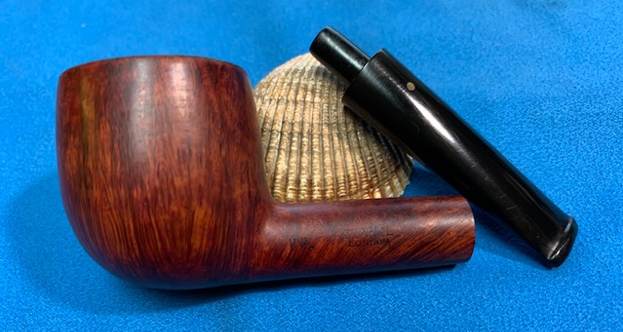
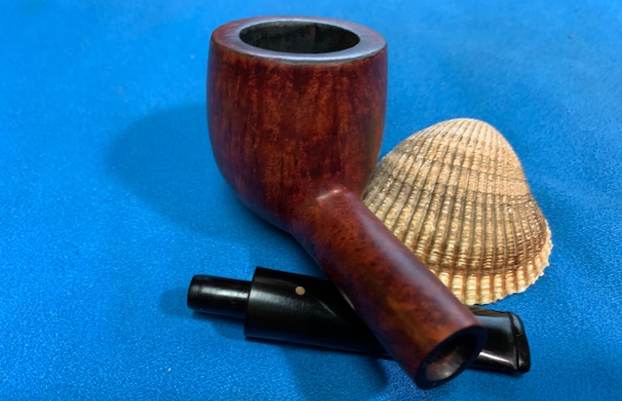
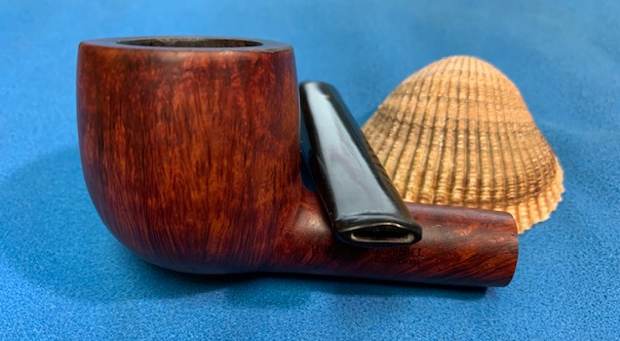
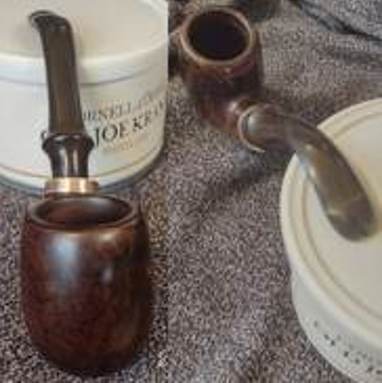
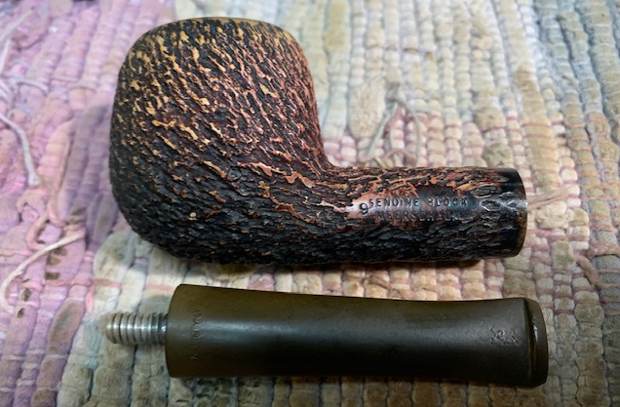
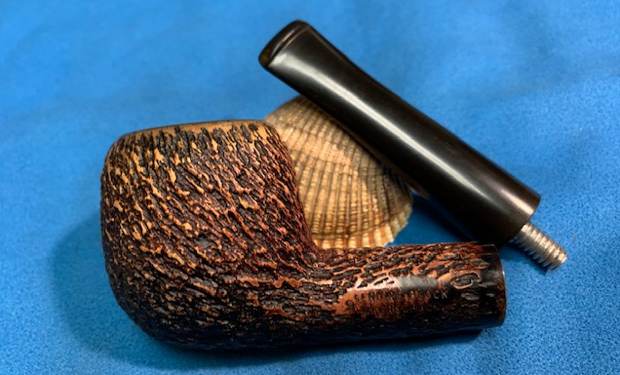
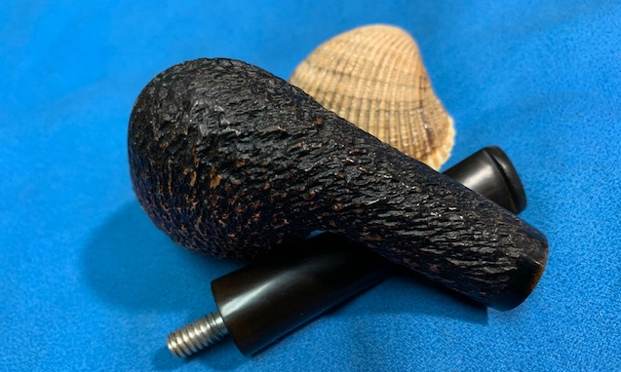
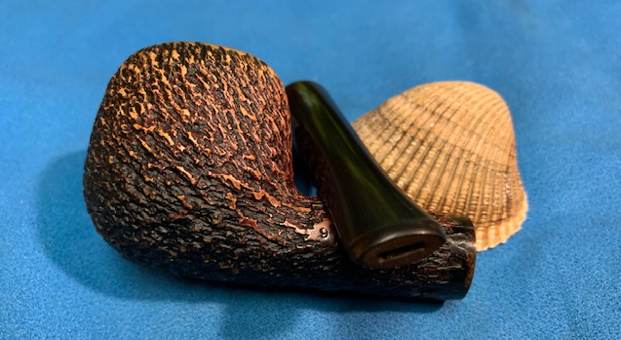
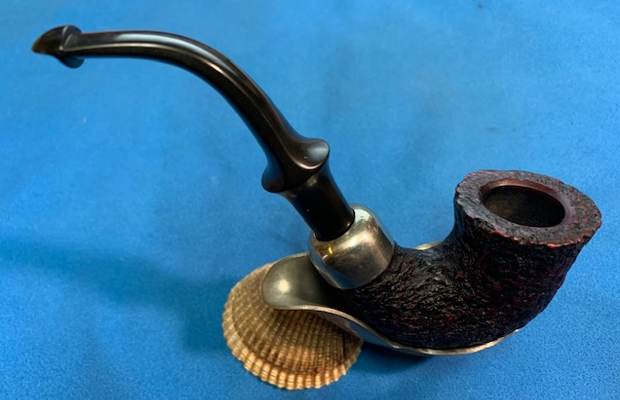
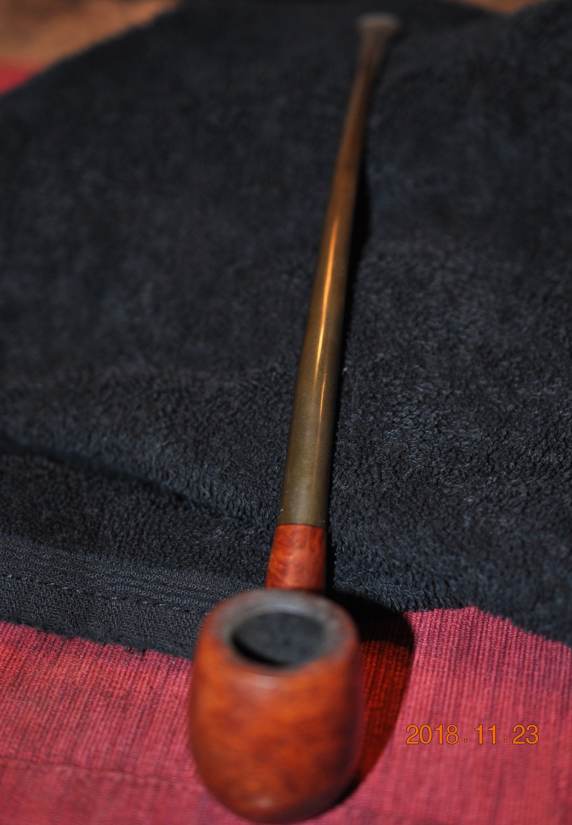
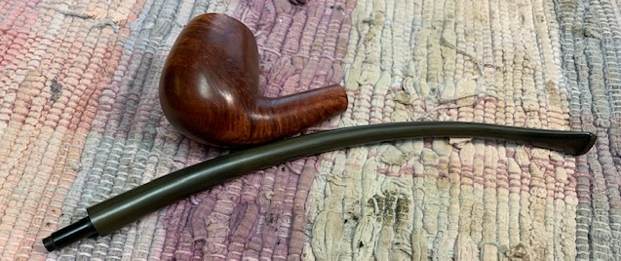
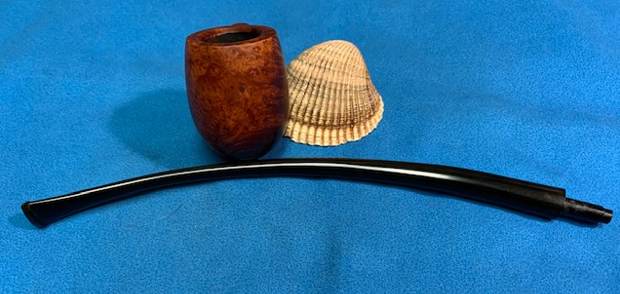
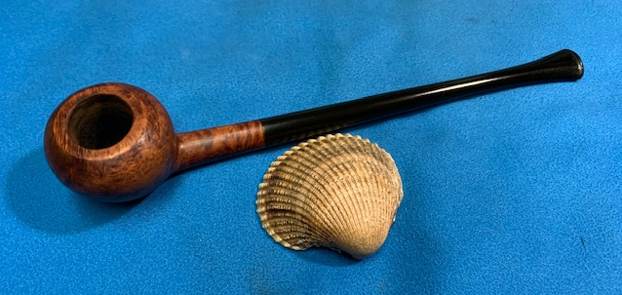
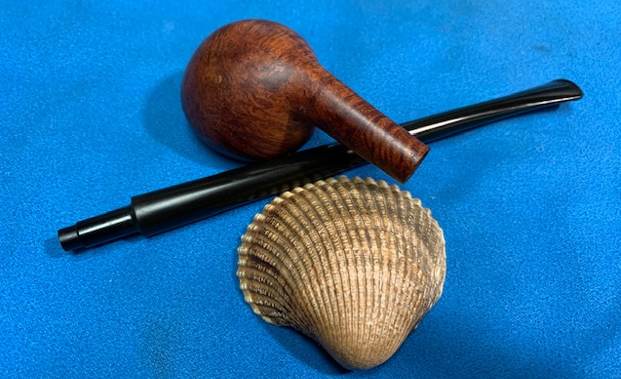
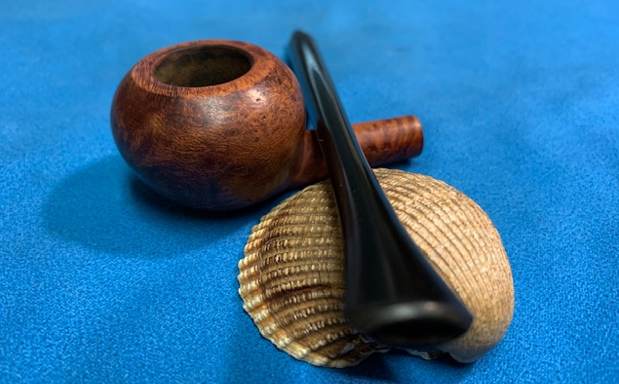
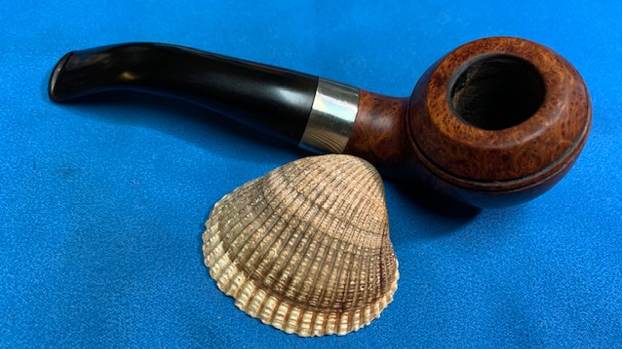
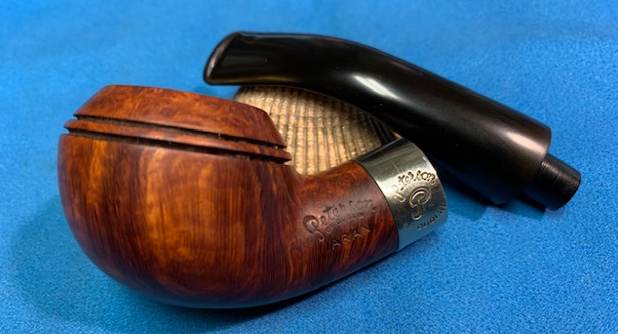
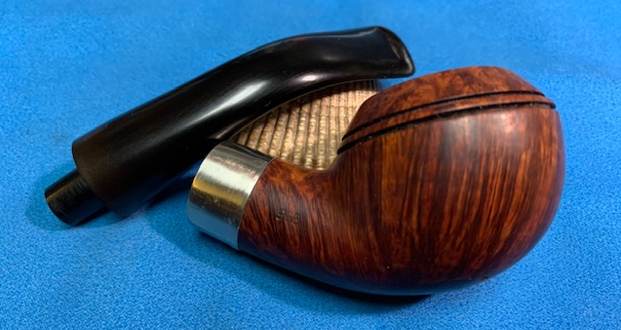
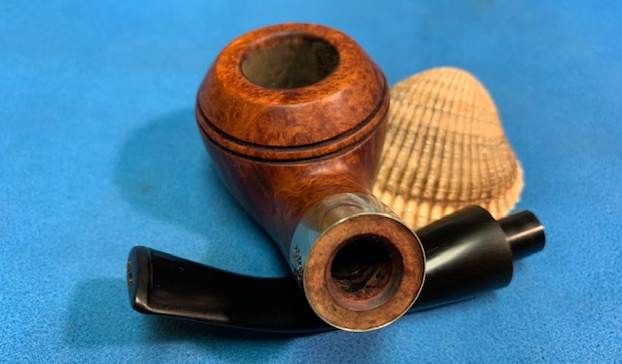
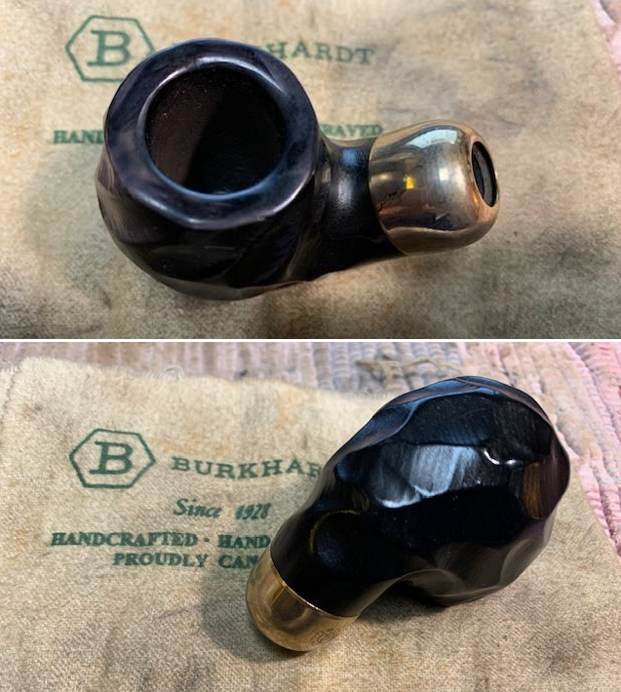
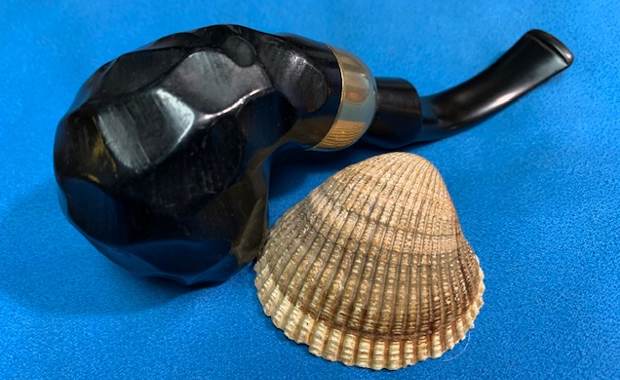
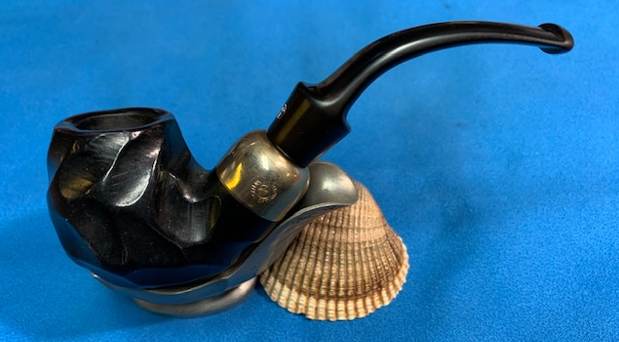
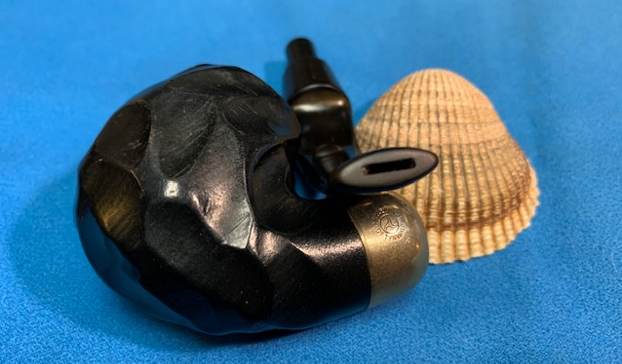
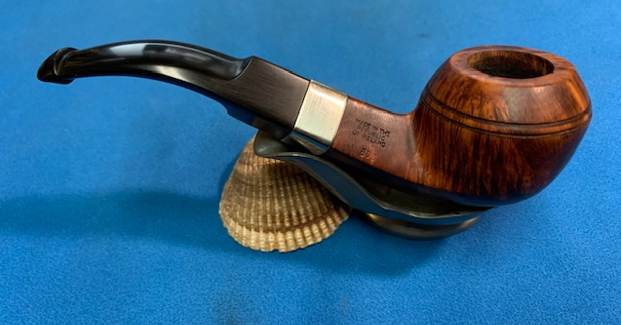
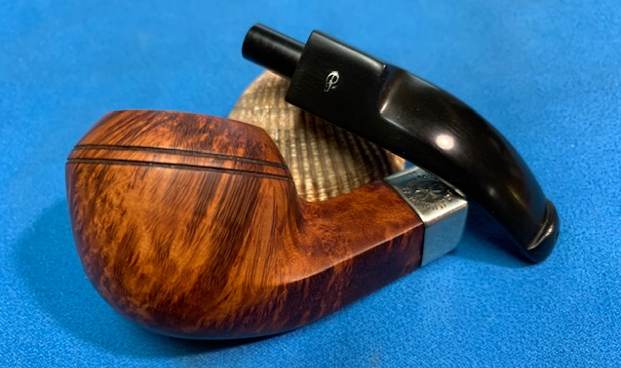
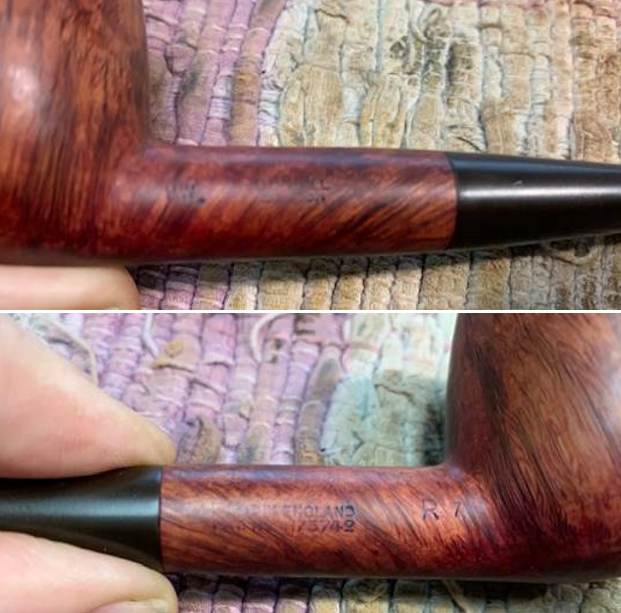 I removed the stem from the shank and took a photo of the pipe taken apart. It really is a beautiful pipe.
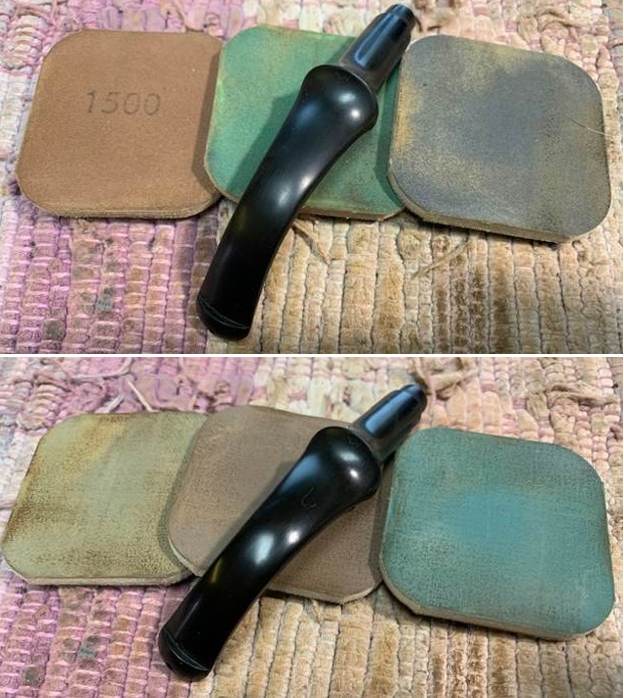
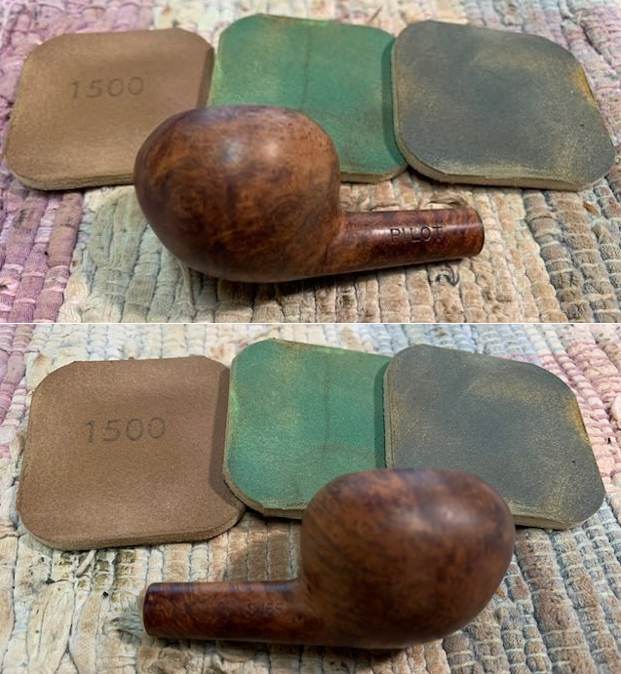
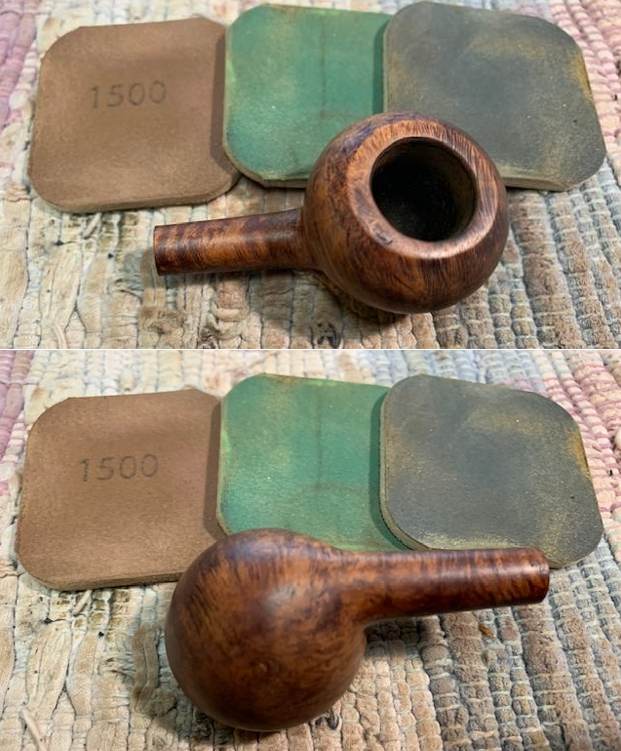
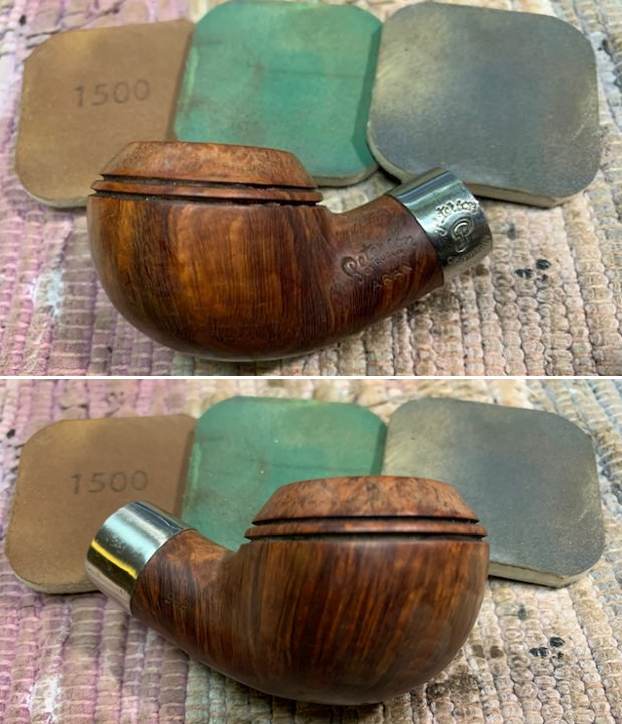
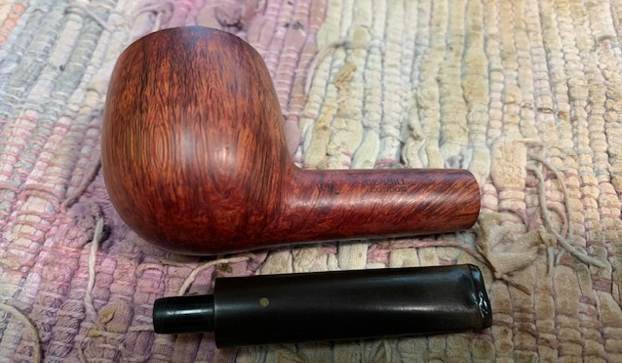 I polished the briar with micromesh sanding pads – dry sanding with 1500-12000 grit sanding pads. I wiped the briar down after each sanding pad to remove the dust. The grain really began to shine and stand out.
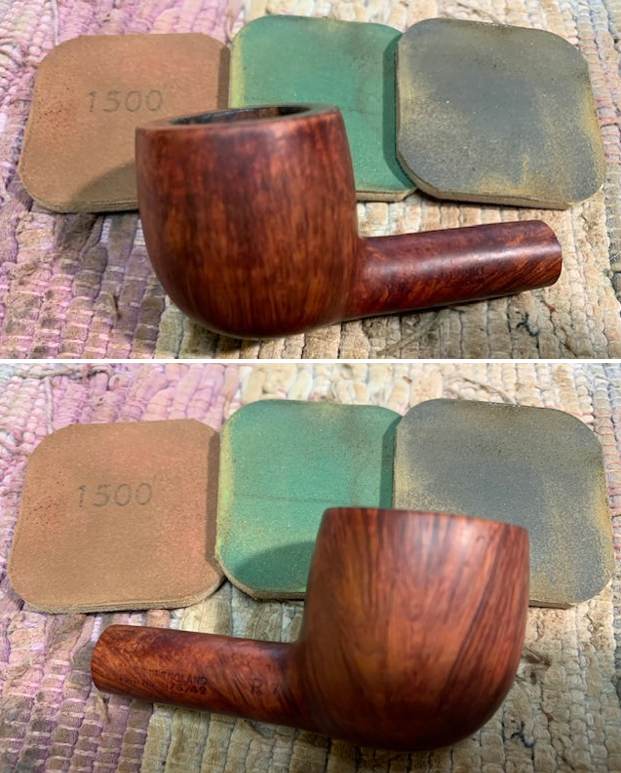
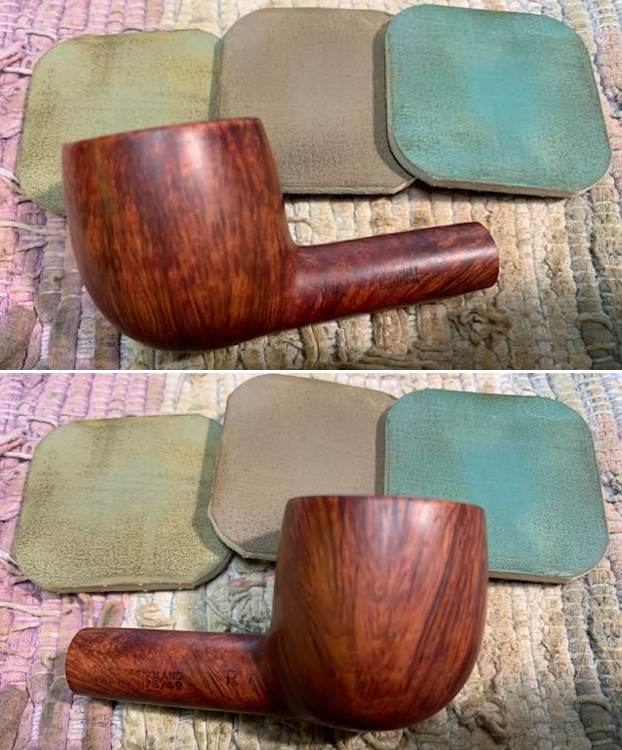
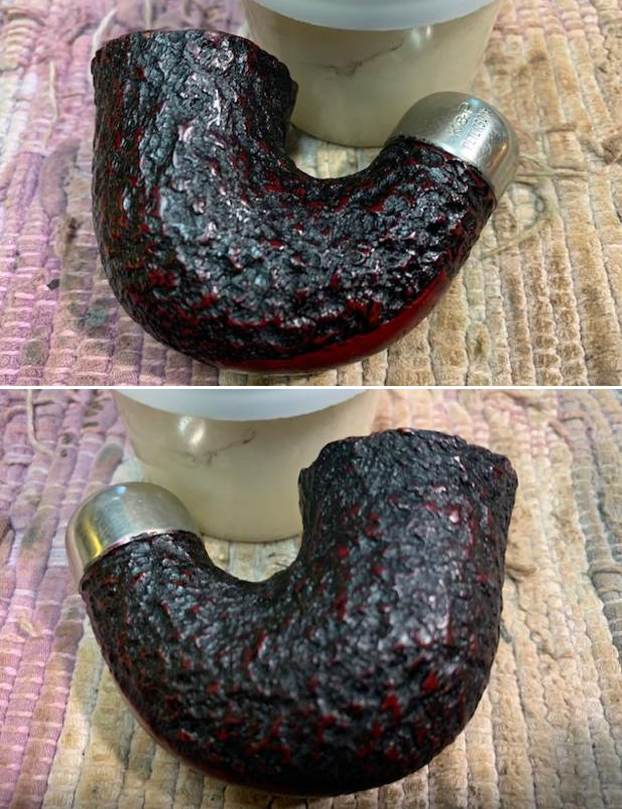
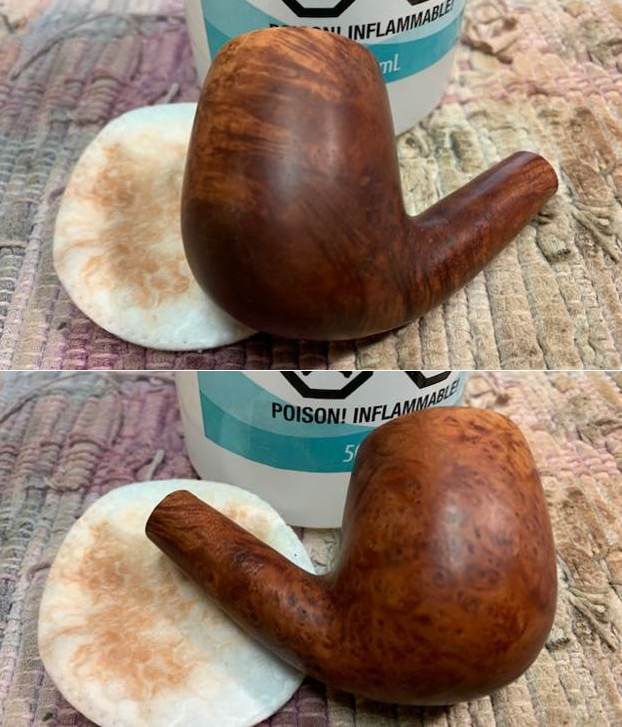
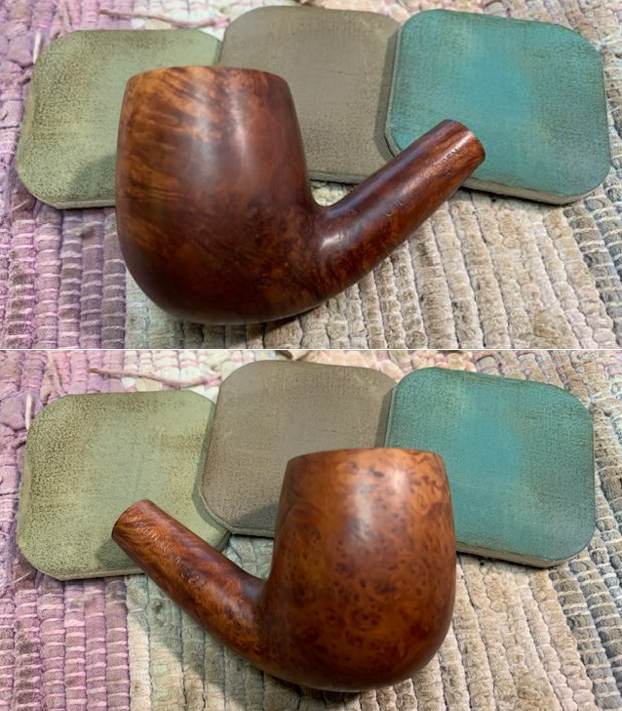
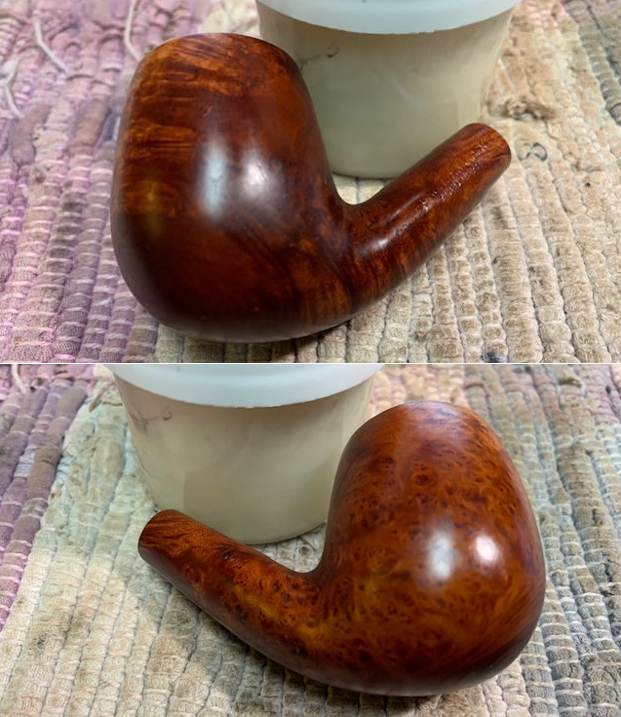
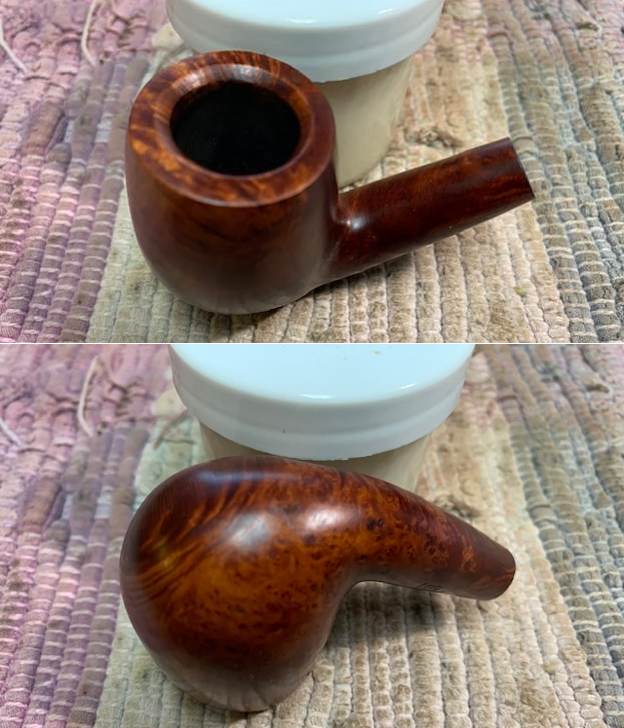
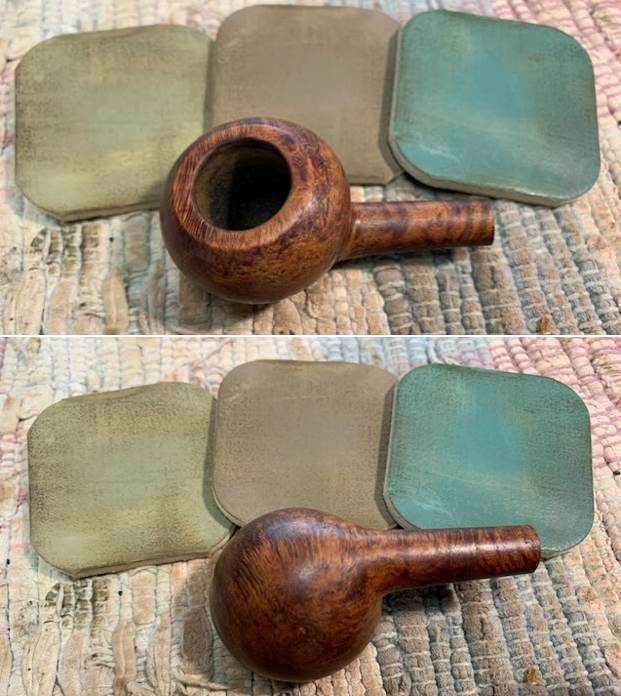
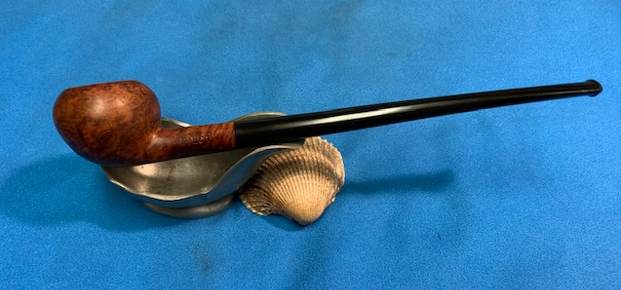
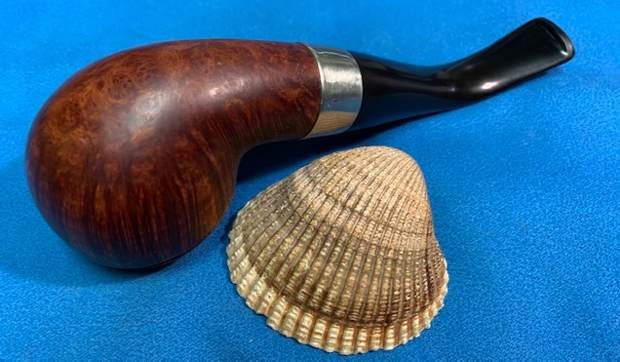
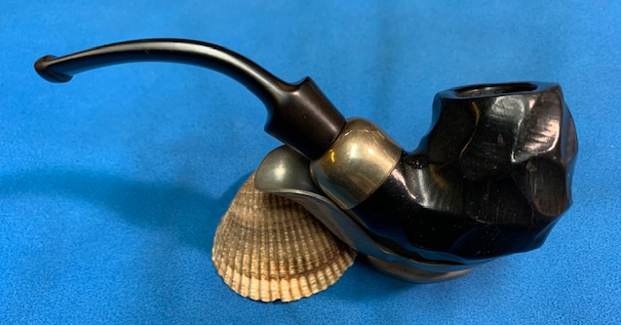
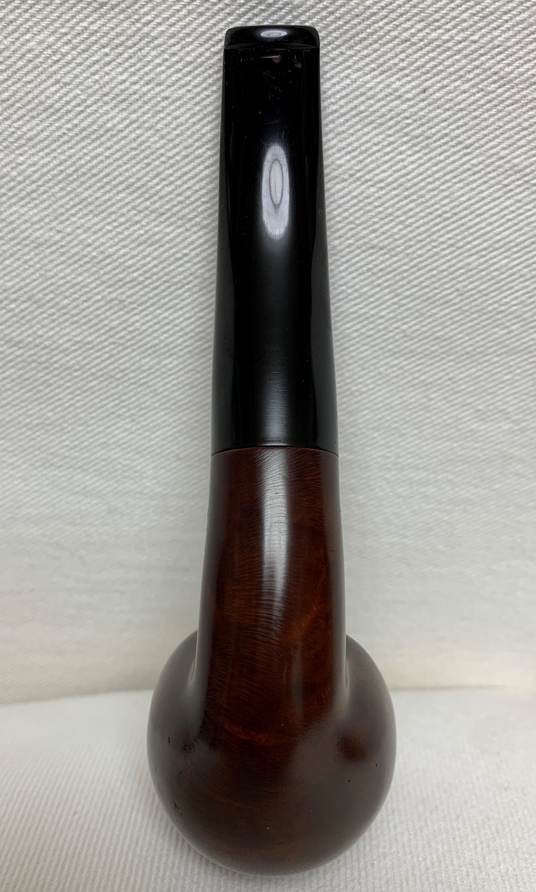
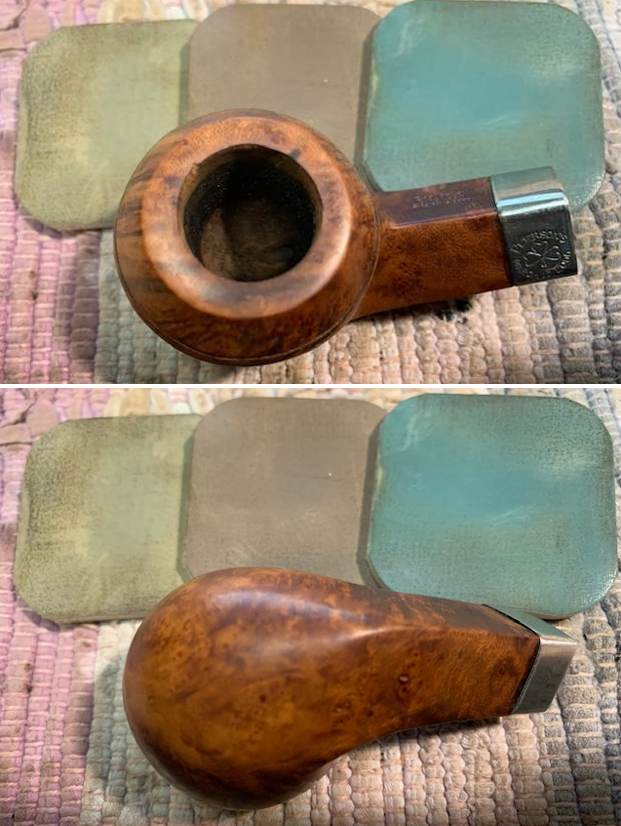
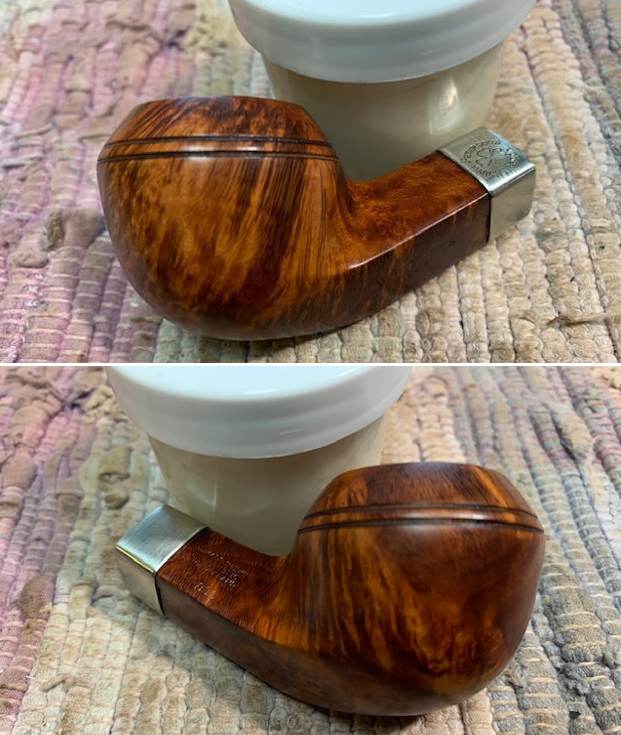
 Now it was time for Before & After Restoration Balm to work its magic on the briar. I have come to really love this product. I work it into the briar with my fingertips to clean, restore and enliven the briar. It always leaves the grain really popping on the pipe and this was no exception. I let the balm sit for 15 minutes then buffed the pipe with a soft cotton cloth. It is a stunning pipe.
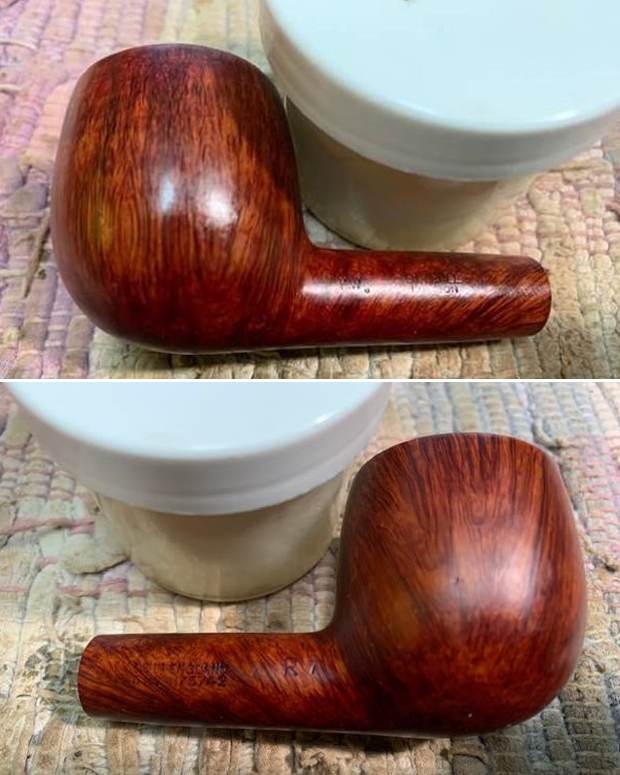
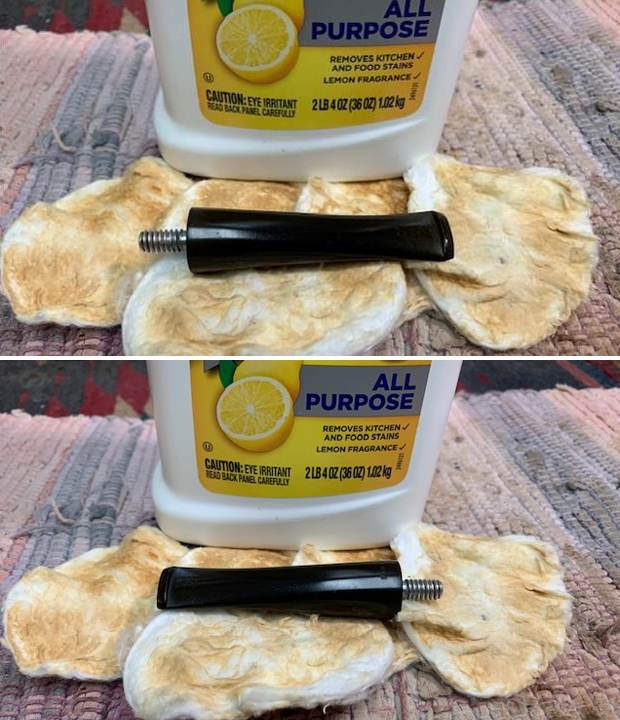
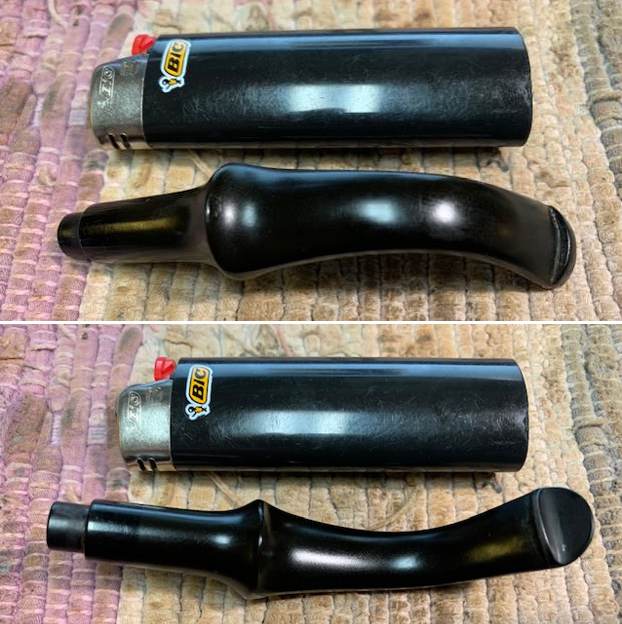
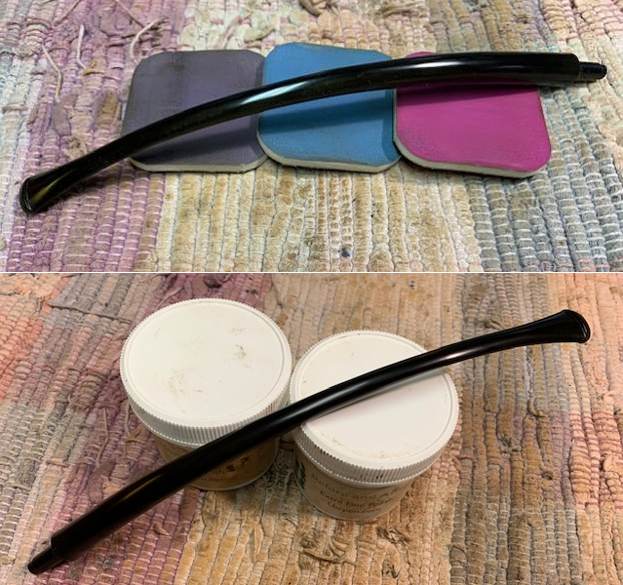
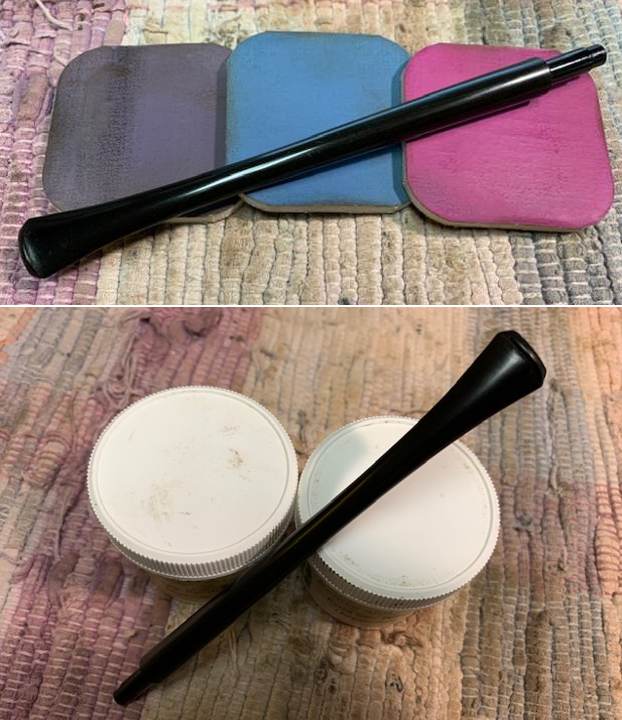
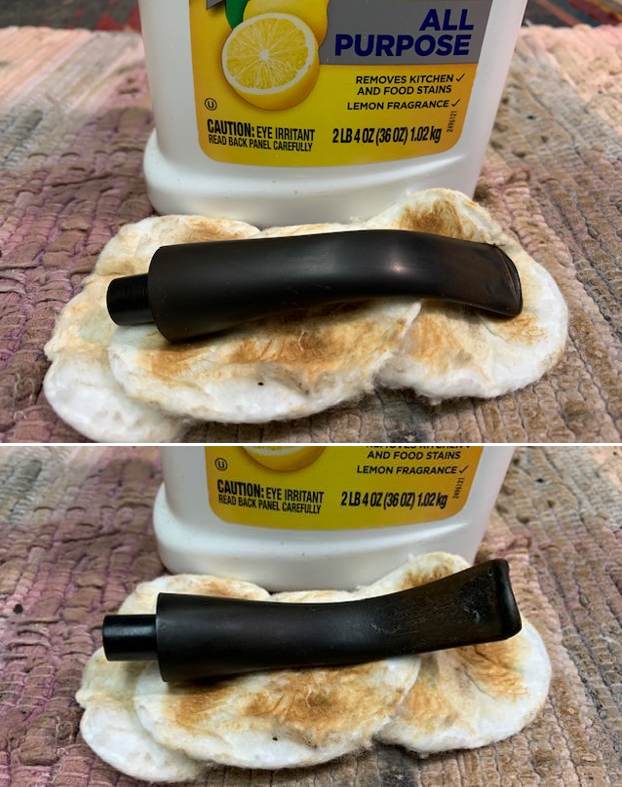
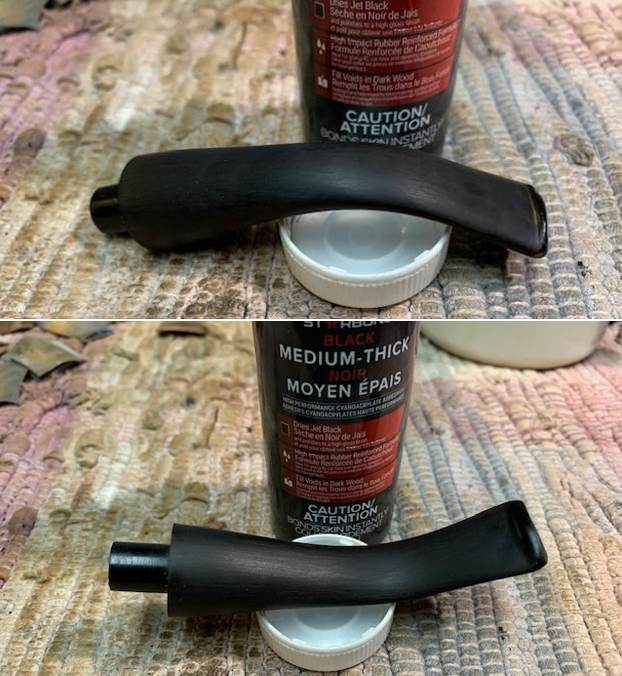
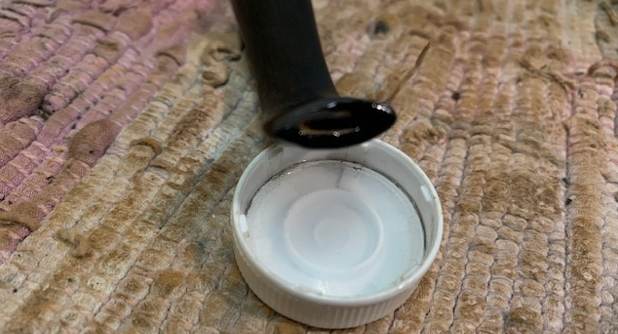
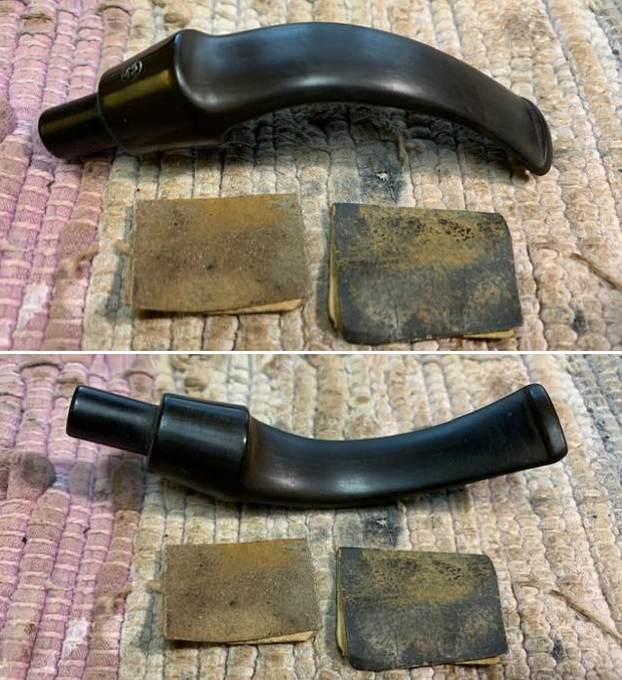
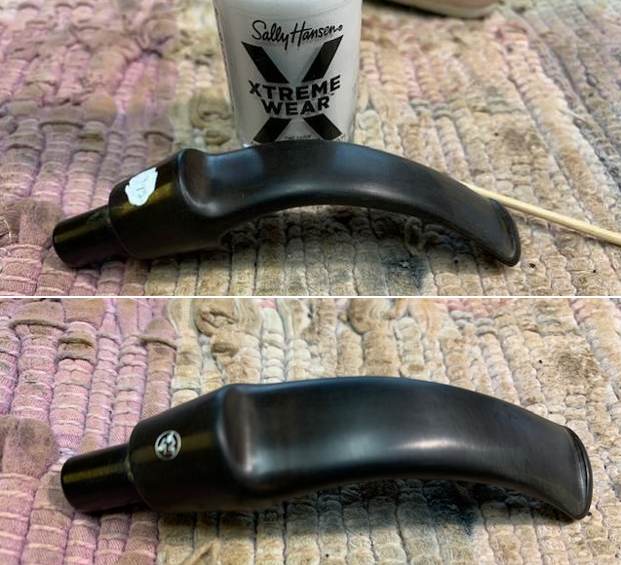
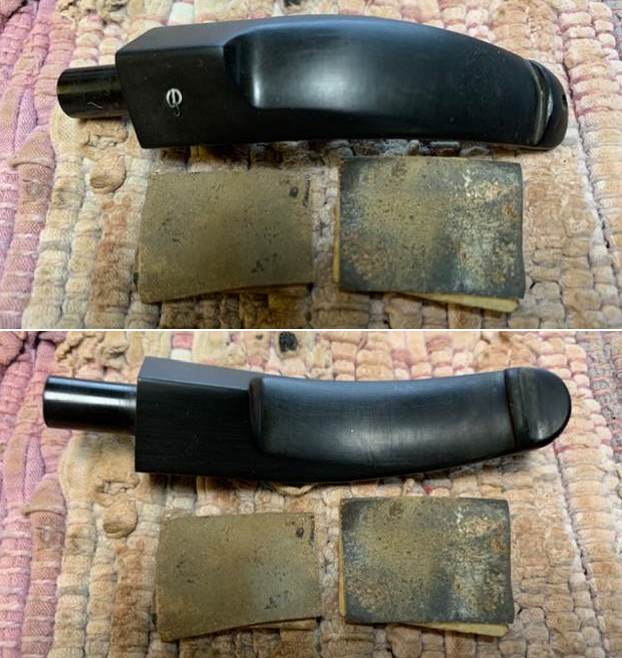
 I set the bowl aside and turned my attention to the stem (Shape 7). I “painted” the stem with the flame of a Bic lighter to try and lift the dents at and on the button a bit. It worked to some degree but there were still significant dents left. I filled in what remained and rebuilt the button edges with black Super Glue and set the stem aside as the repairs cured.
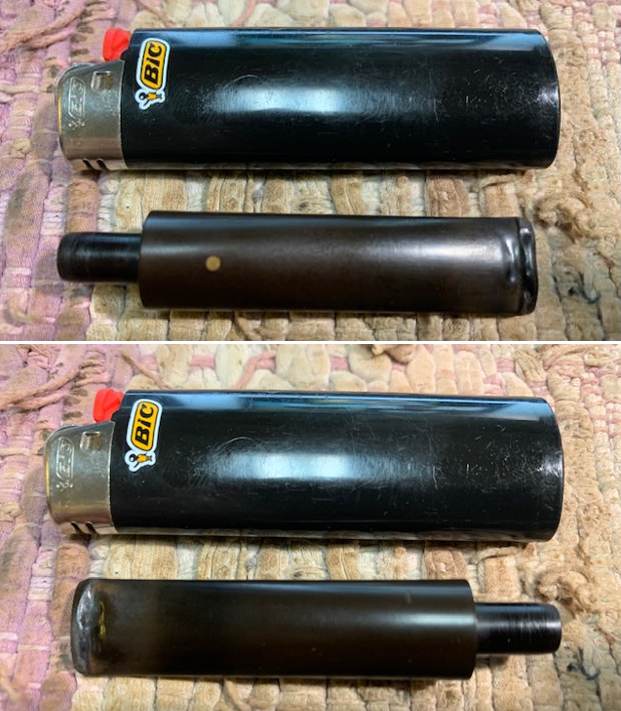
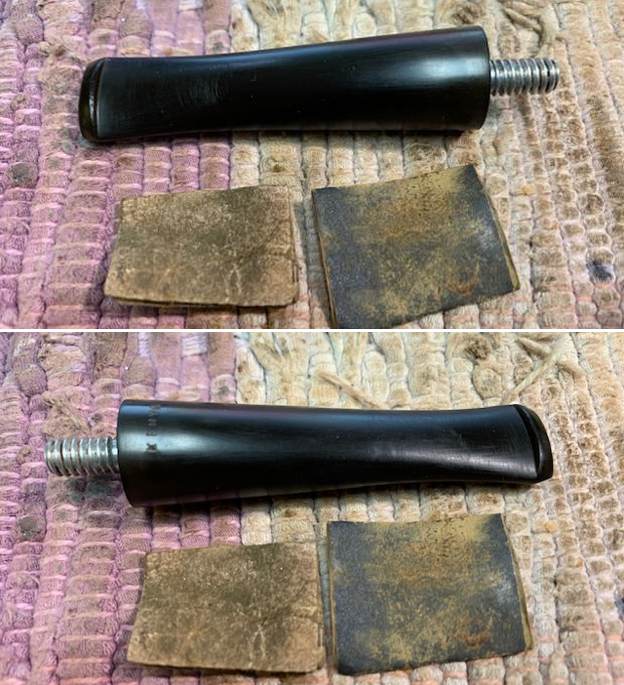
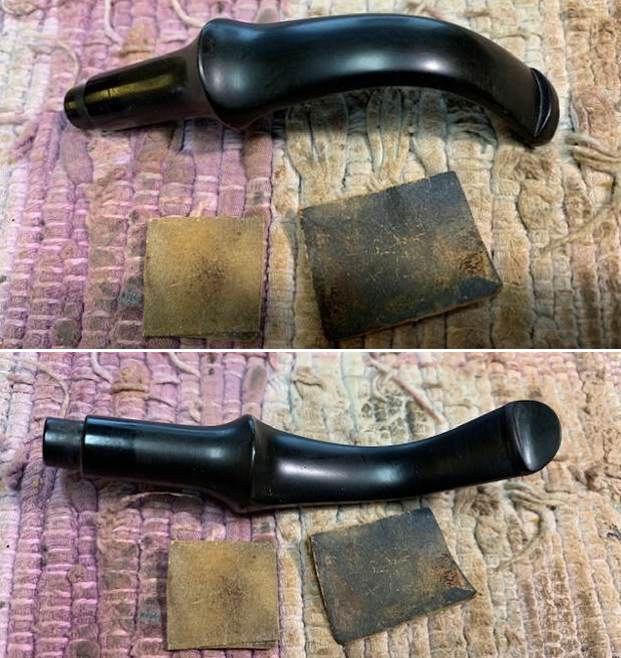
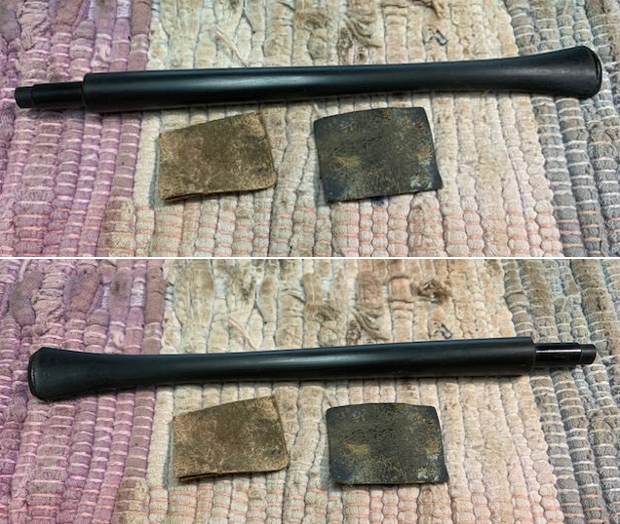
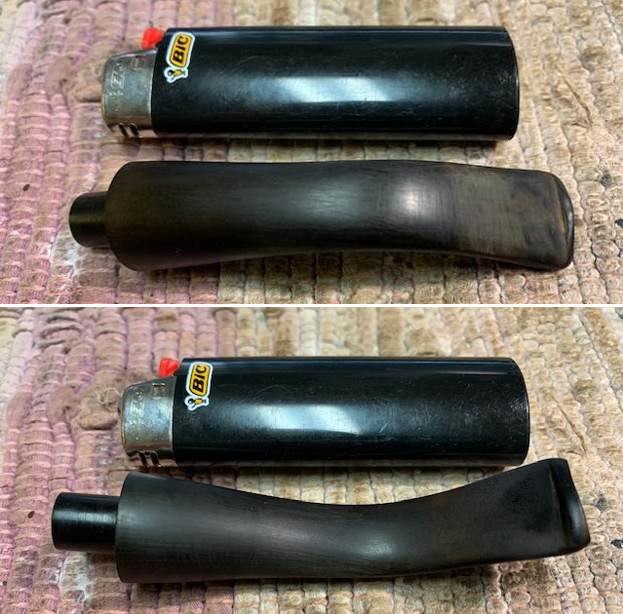
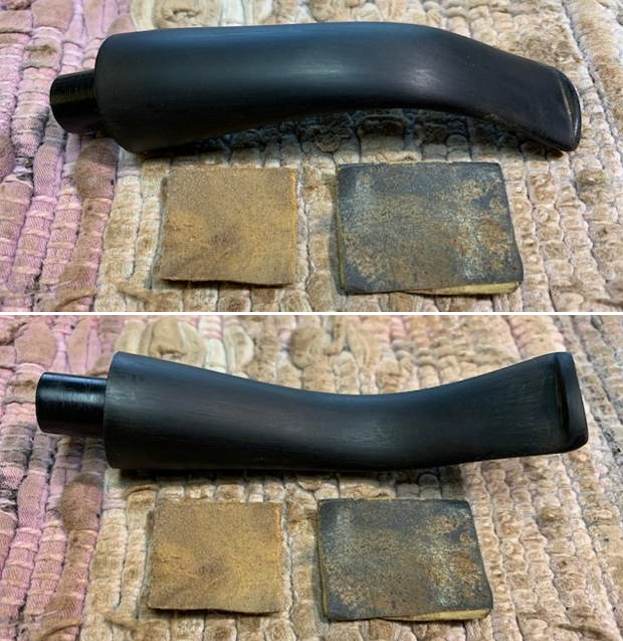
 Once the repairs cured I reshaped the button and flattened out the stem repairs with a small file. I sanded them smooth and continue to reshape the button with 220 grit sandpaper. While I was at it I also sanded the rest of the stem to remove some of the oxidation that remained. I started polishing out the scratches with 400 grit wet dry sandpaper.
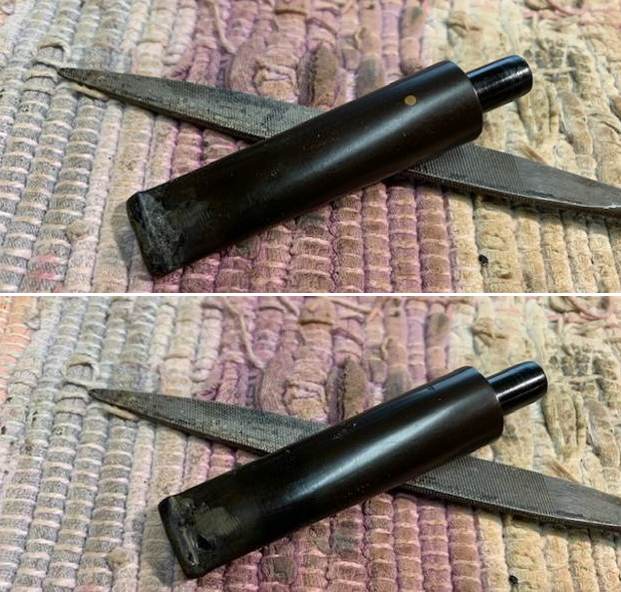
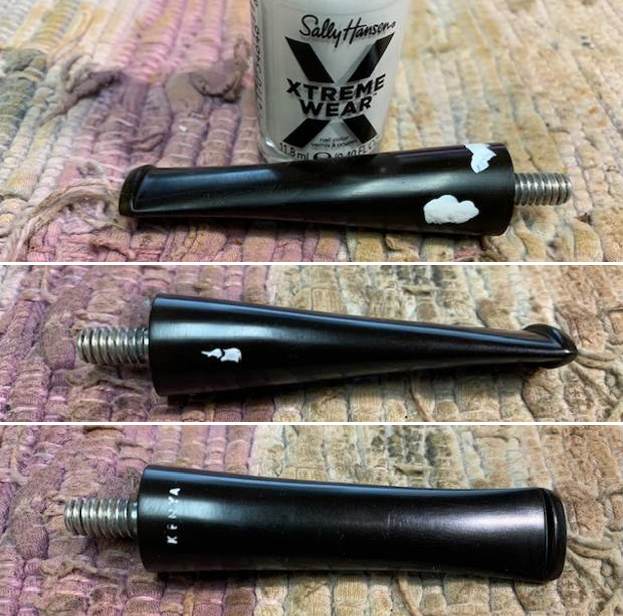
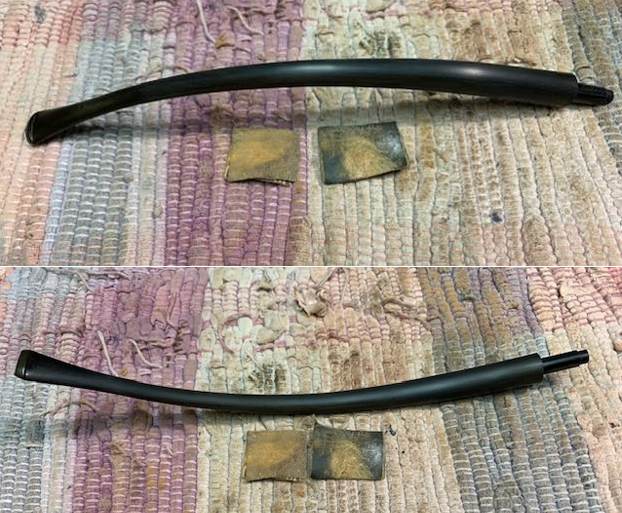
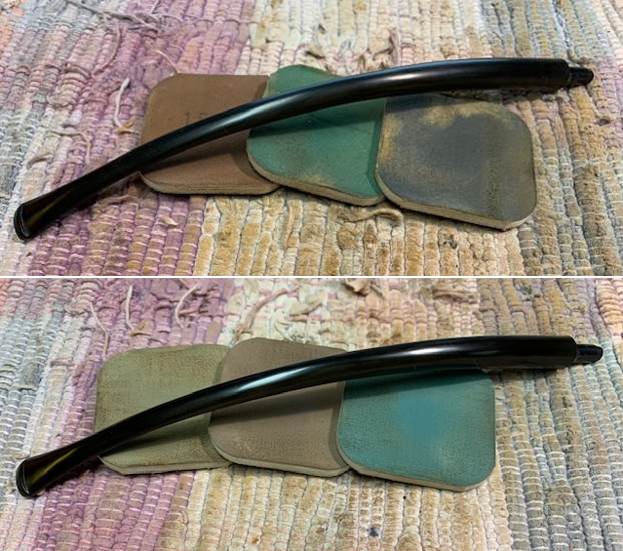
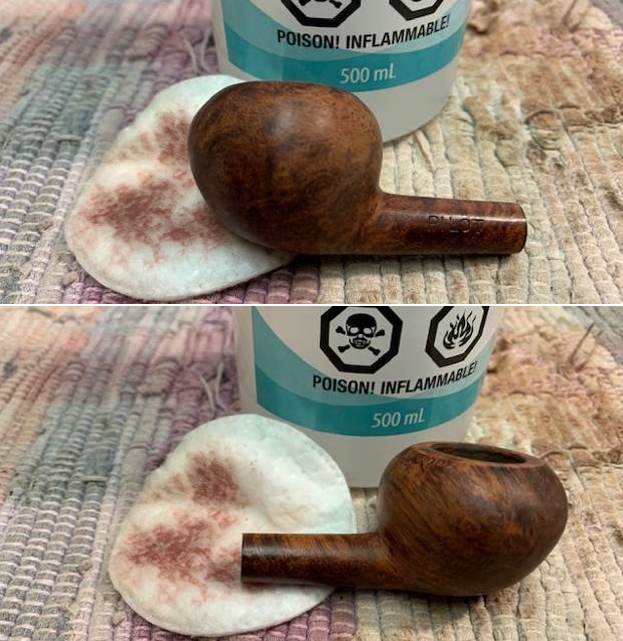
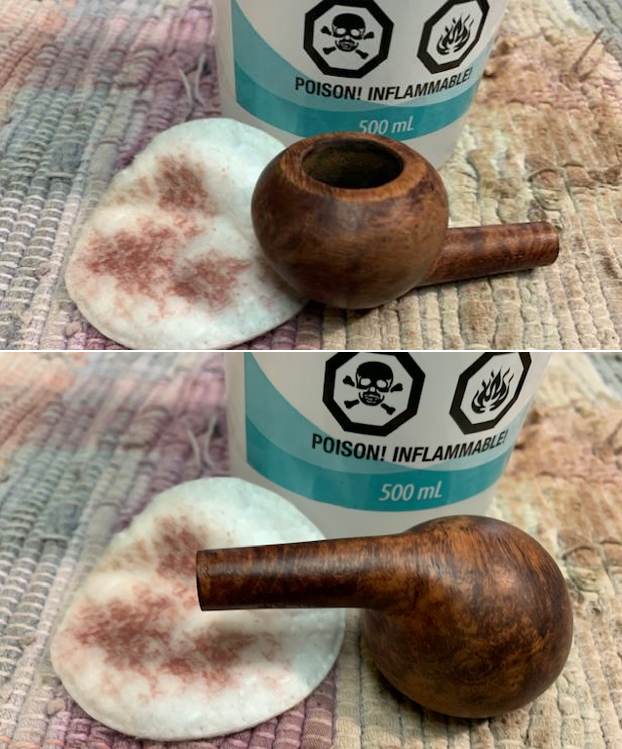
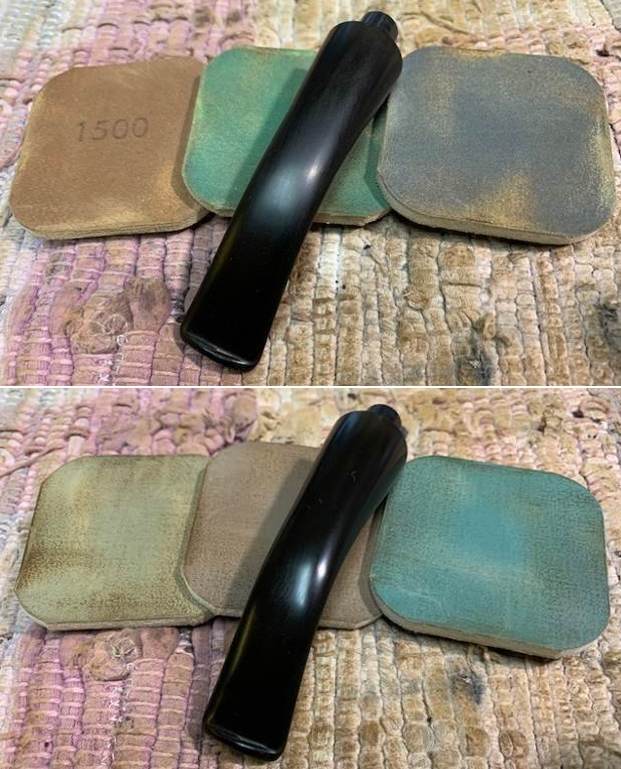
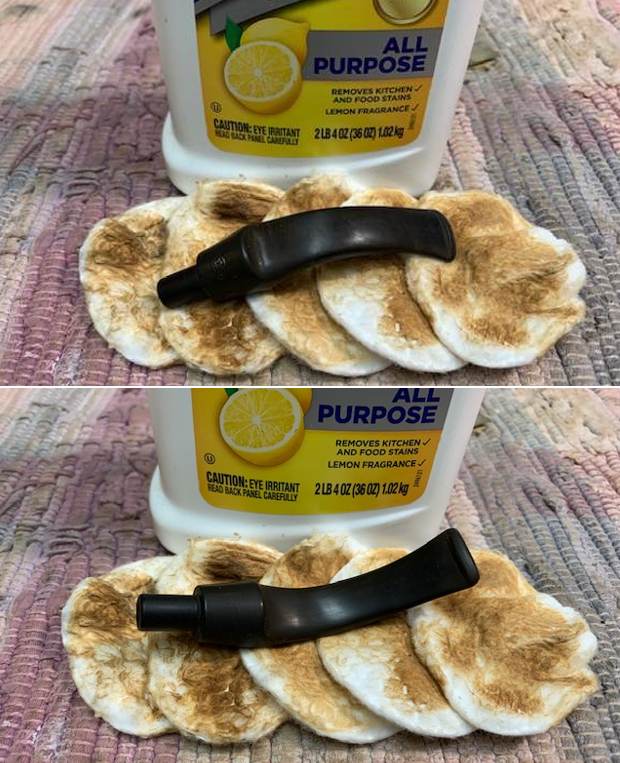
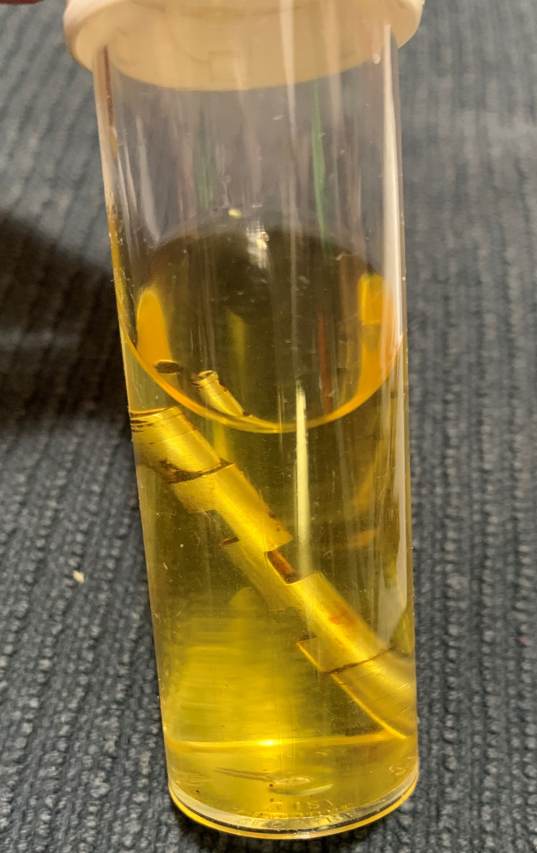
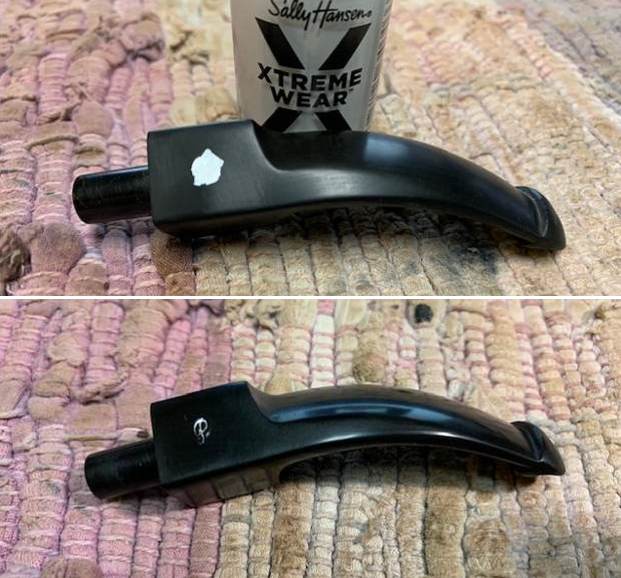
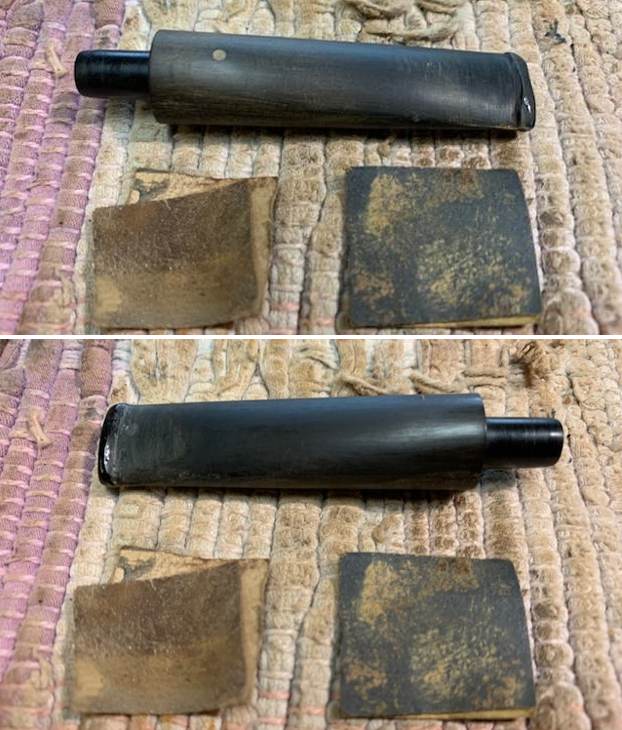 I decided to work over the oxidation a bit more with SoftScrub cleanser. I scrubbed the stem with cotton pads and was able to remove all of the oxidation. The stem really was beginning to look good at this point.
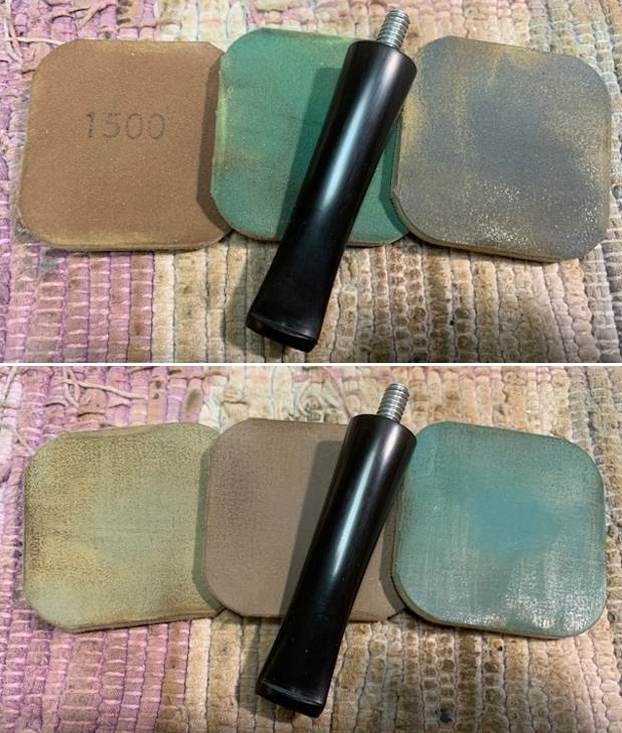
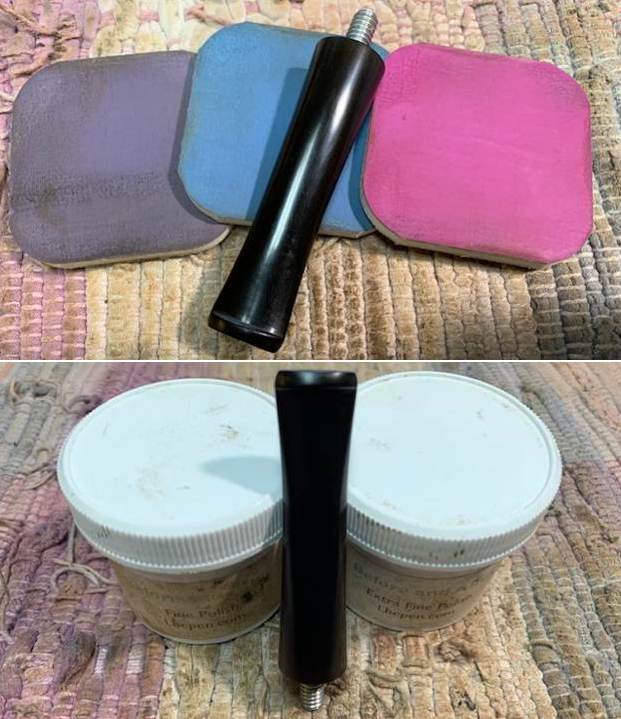
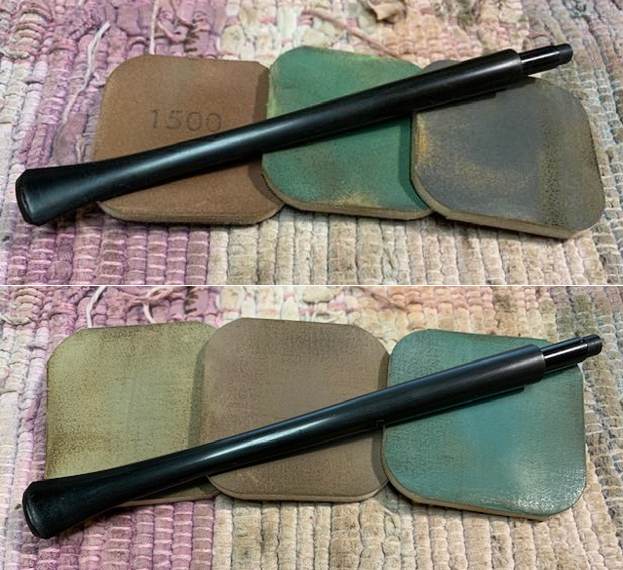
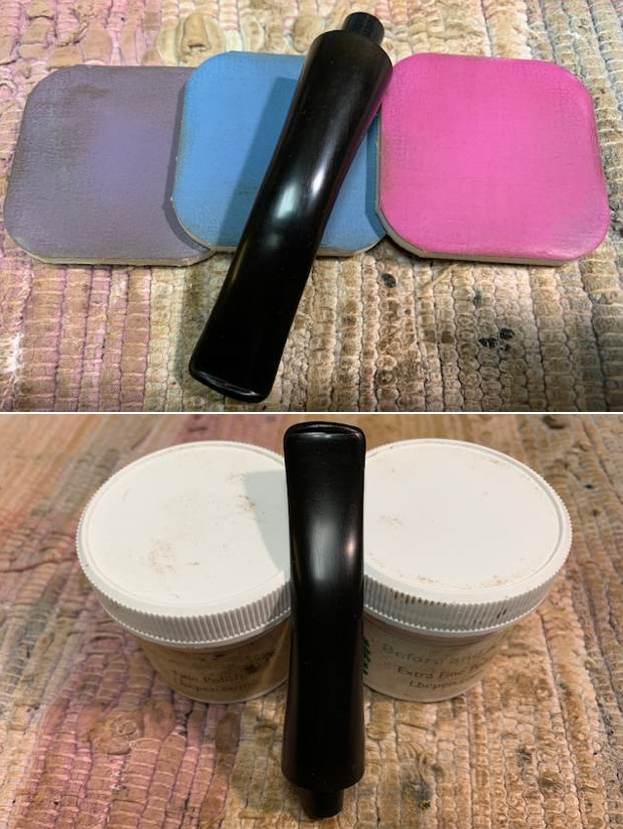
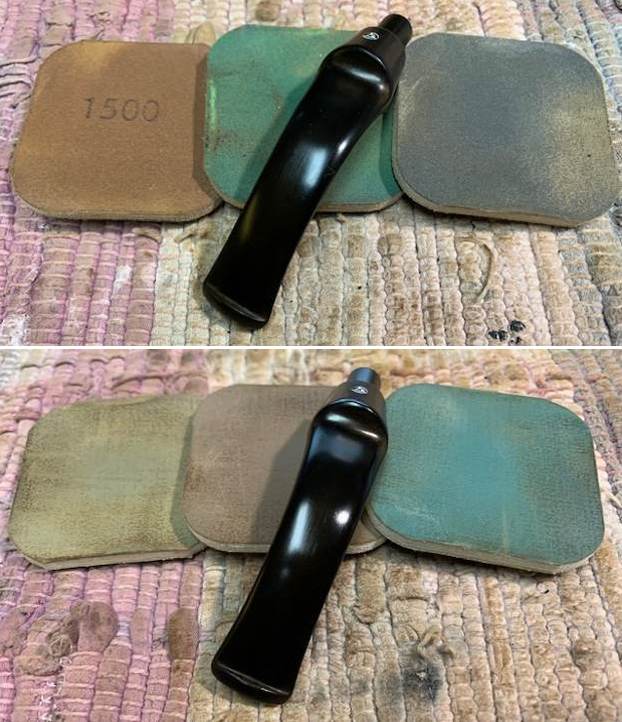
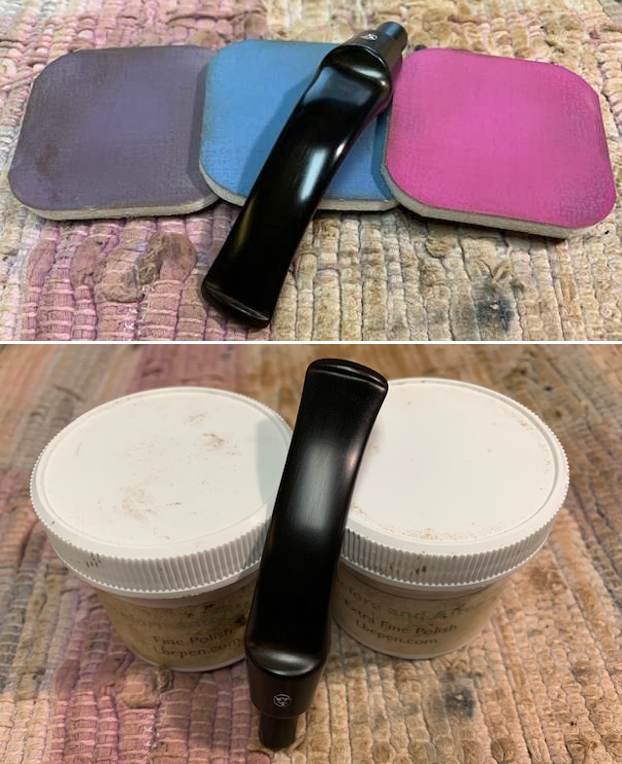
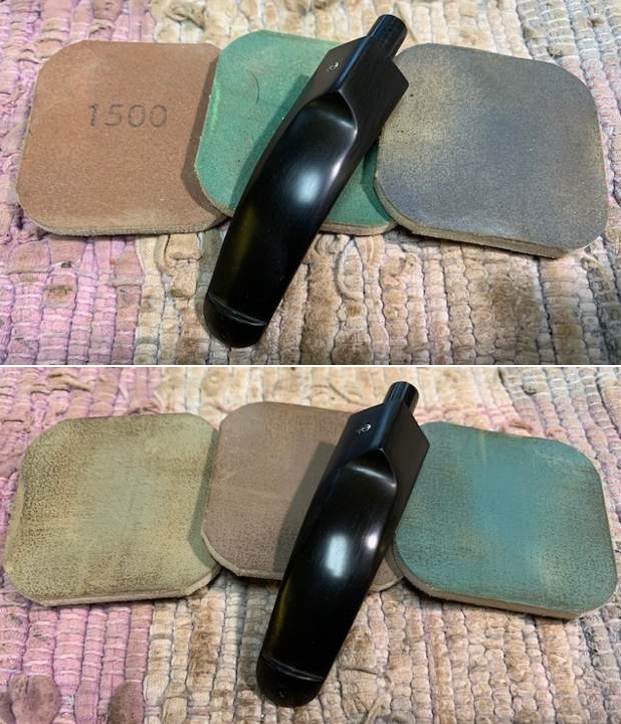
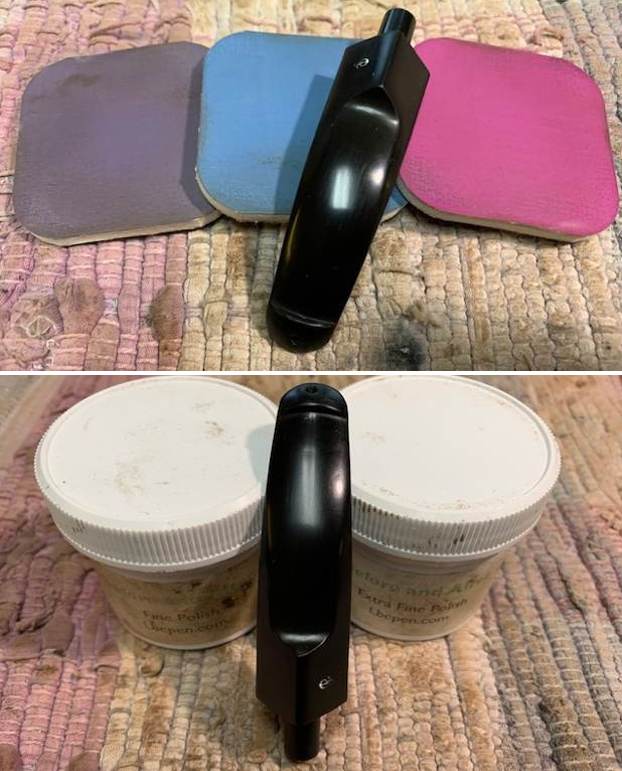
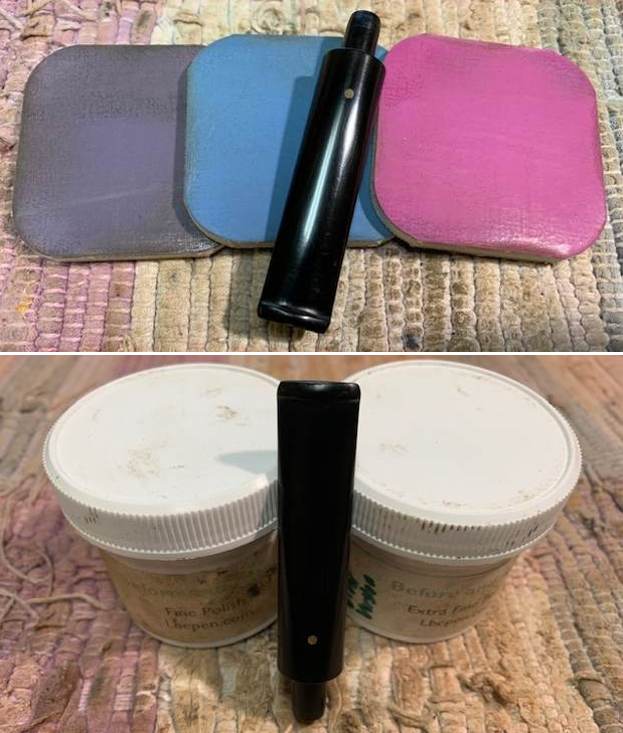
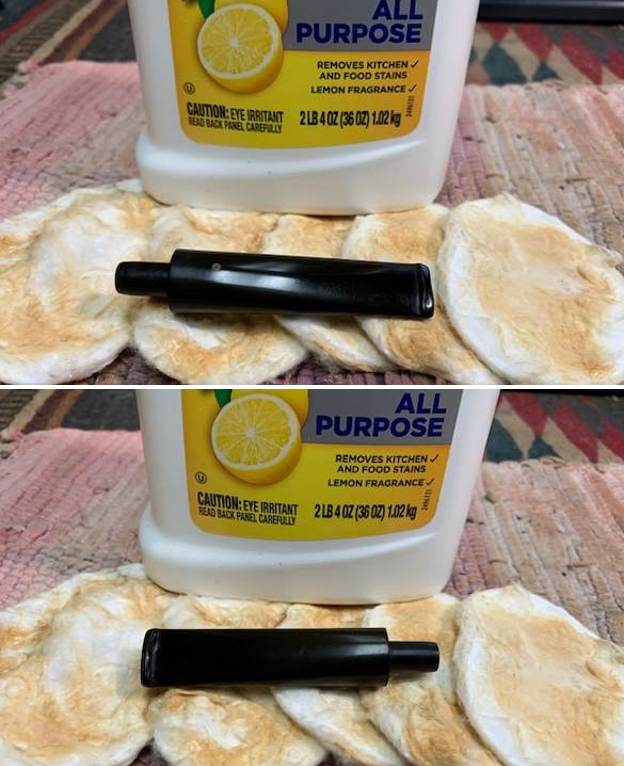 I polished the stem with micromesh sanding pads – dry sanding with 1500-12000 grit pads. I wiped the stem down after each pad with a cloth impregnated with Obsidian Oil. I polished it with Before & After Stem Polish – both Fine and Extra Fine then gave it a final coat of Obsidian Oil and set it aside to dry.
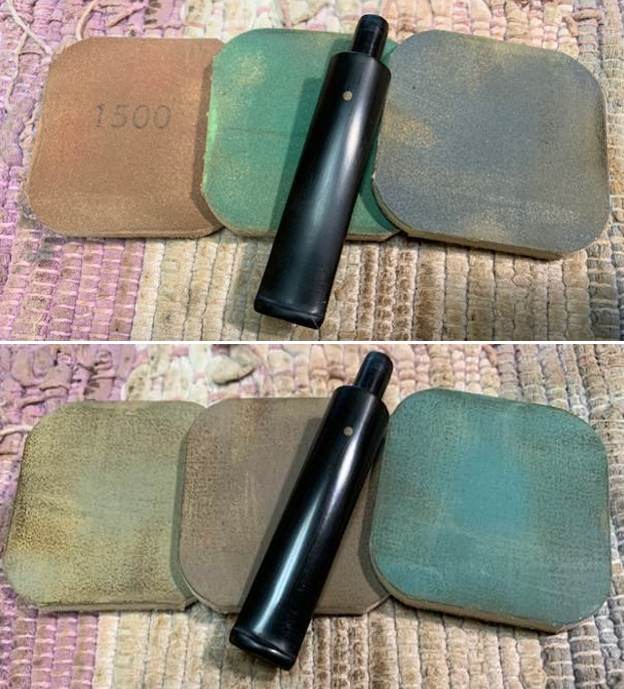
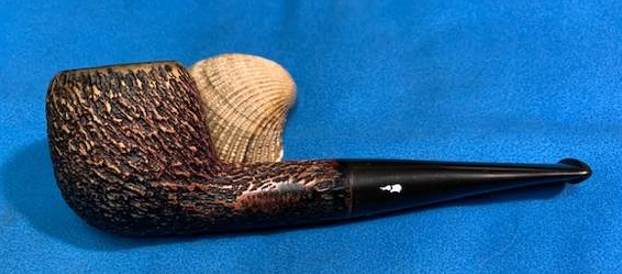
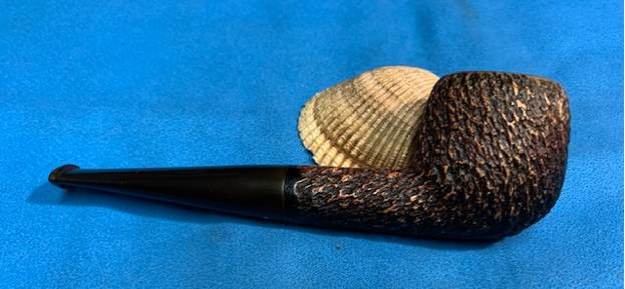
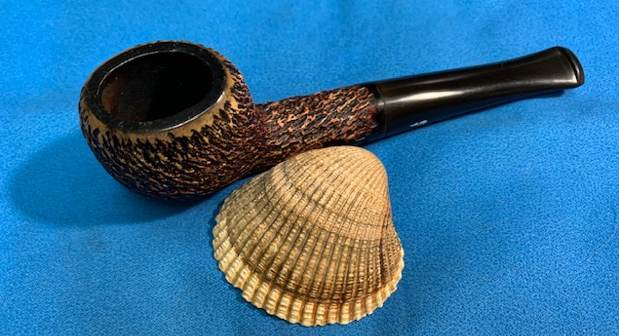
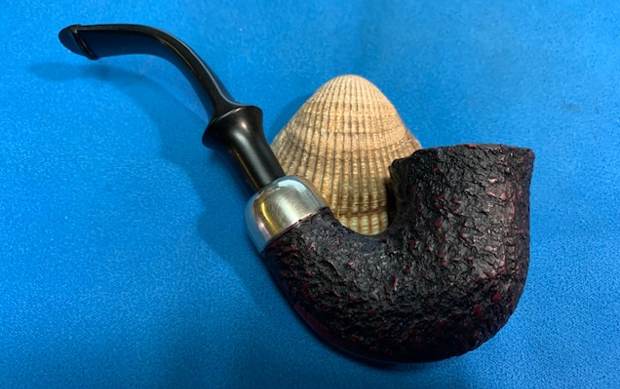
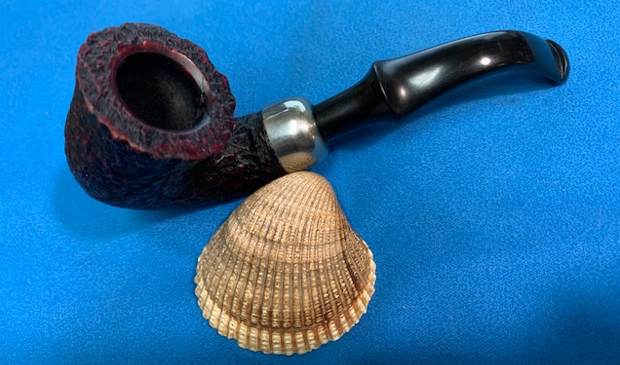
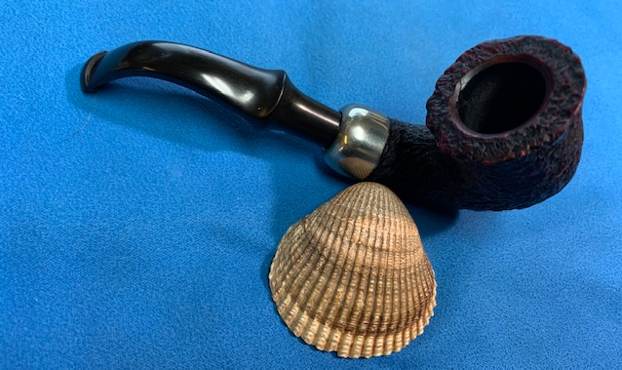
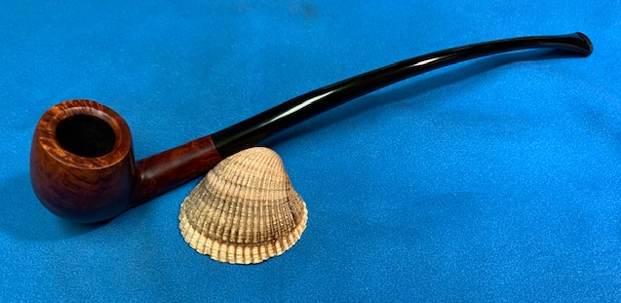
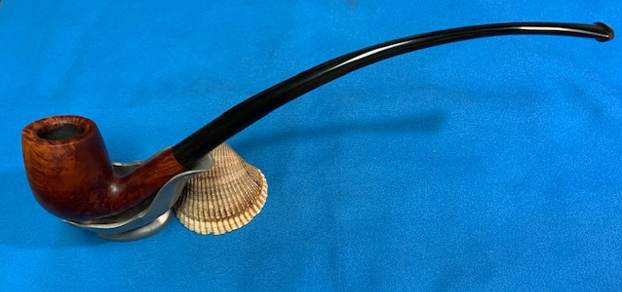
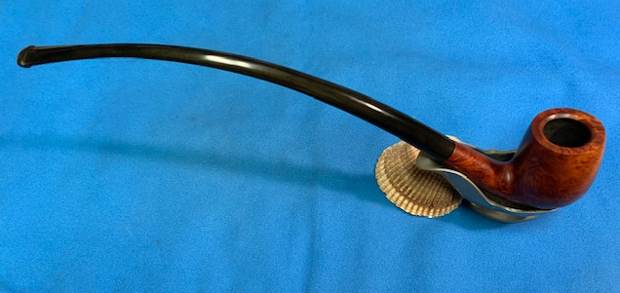
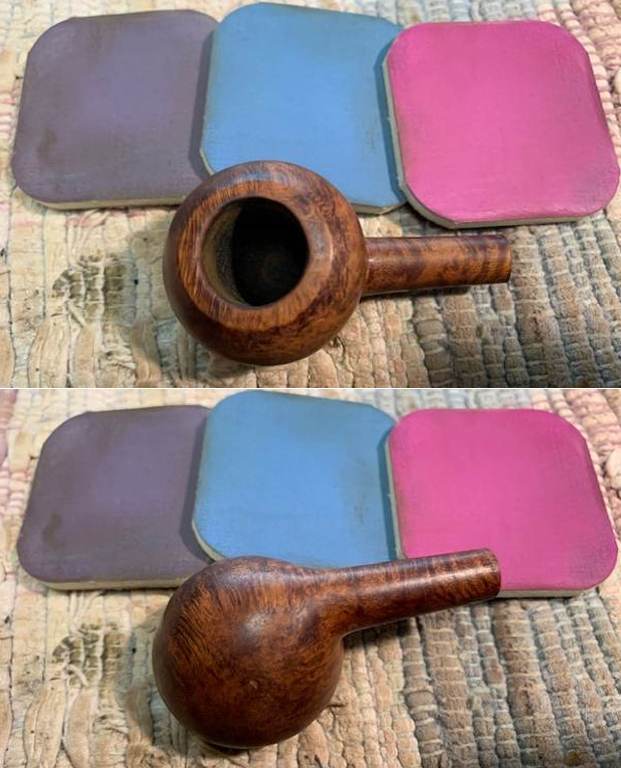
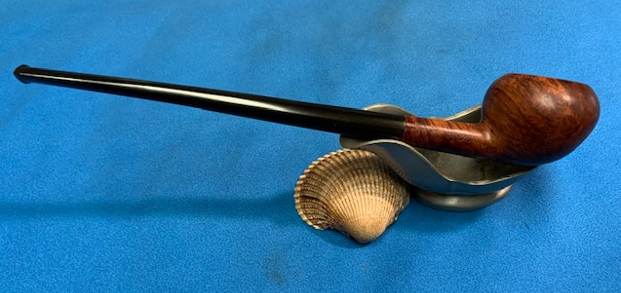
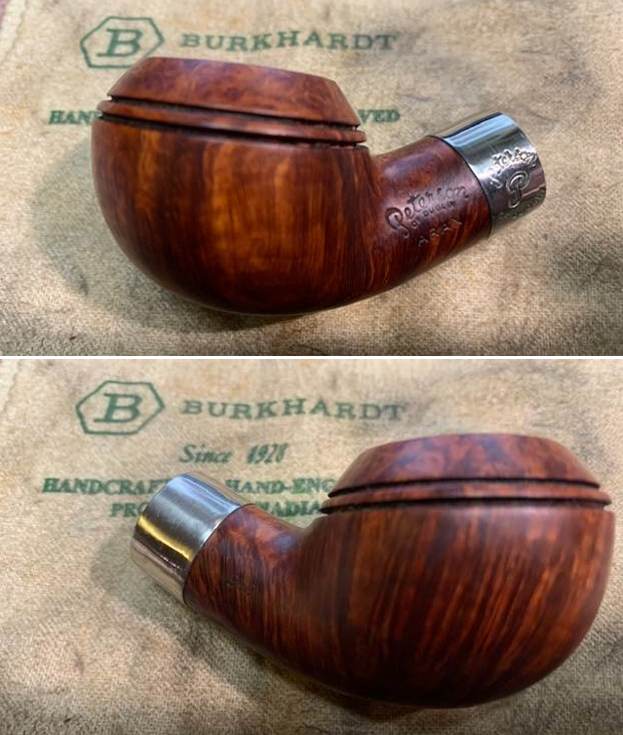
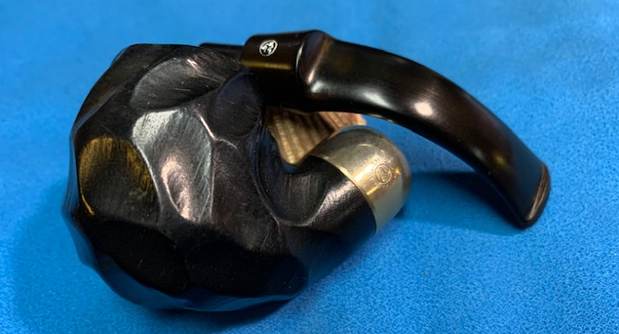
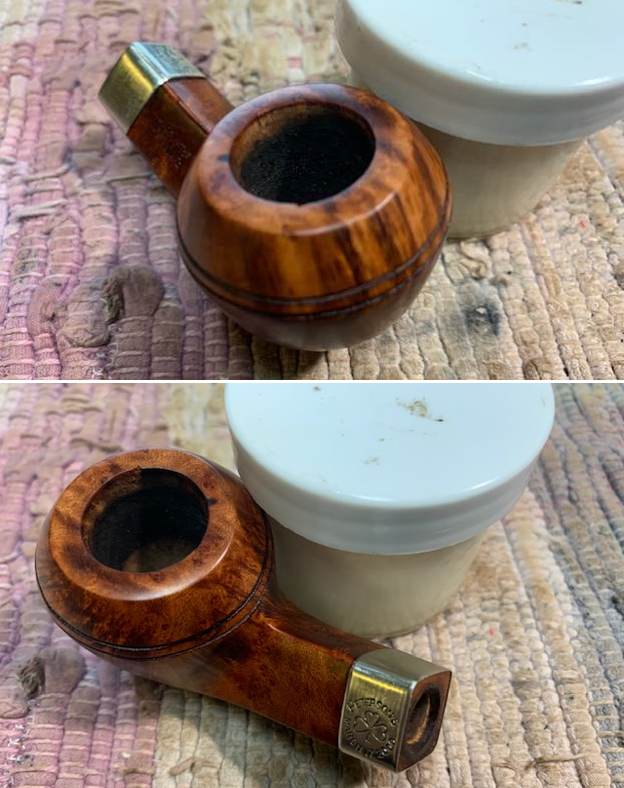
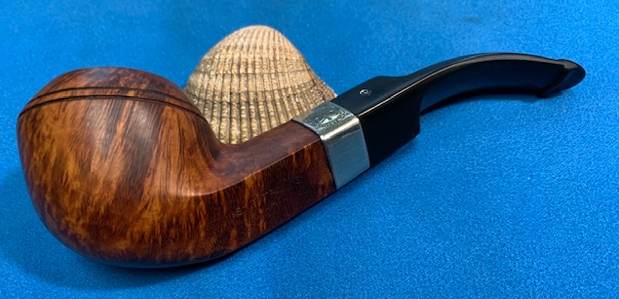
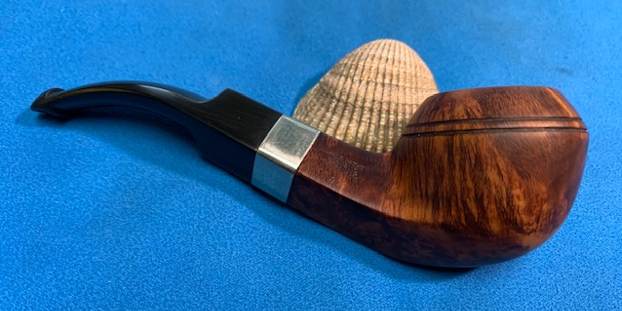
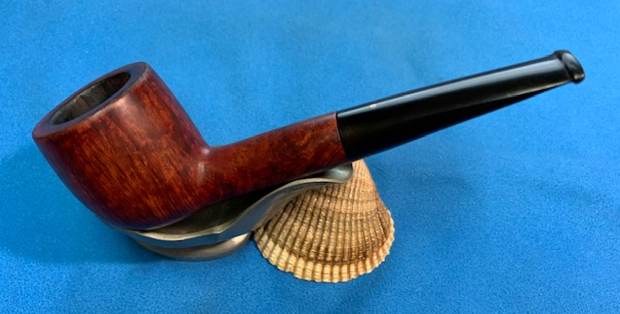
 This incredibly beautiful HW (Hand Worked) DUNHILL LONDON R7 Pot Made In England Pat. No.4175740 is a special oldtimer. The HW stamped says it was hand worked and it was made before WWII by Dunhill. The R7 is the designation for a Pot shape with a 7 shape stem. I put the stem on the shank and buffed the pipe with Blue Diamond on the wheel (being careful of the stamping so as not to damage that). I gave the bowl and stem multiple coats of carnauba wax and buffed the pipe with a clean buffing pad to raise the shine. I hand buffed it with a microfiber cloth to deepen the shine. The dimensions of this pipe are – Length: 5 ¼ inches, Height: 1 ½ inches, Outside diameter of the bowl: 1 ½ inches, Chamber diameter: 7/8 of an inch. The weight of the pipe is 1.13 ounces/33 grams. It is really a gorgeous old timer and one that will reside in my own collection of older Dunhill pipes. I look forward to enjoying it soon.