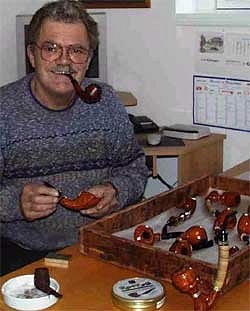
Blog by Steve Laug
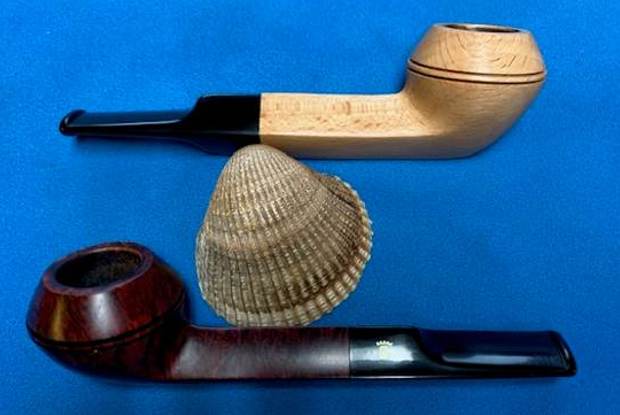
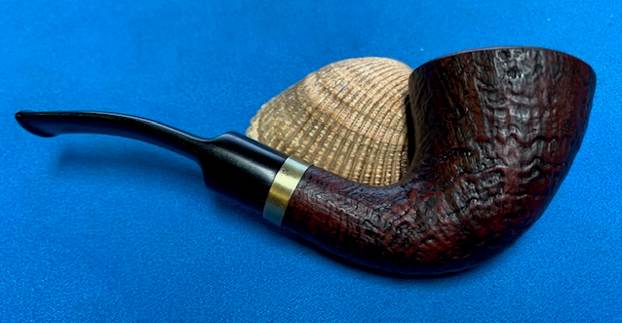
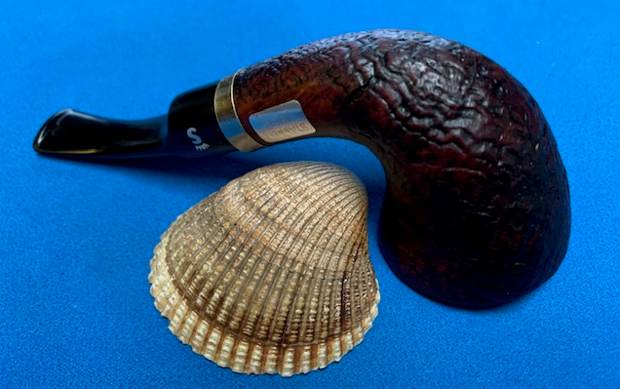
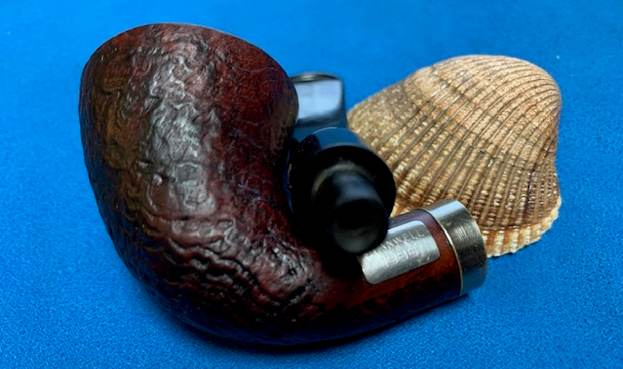
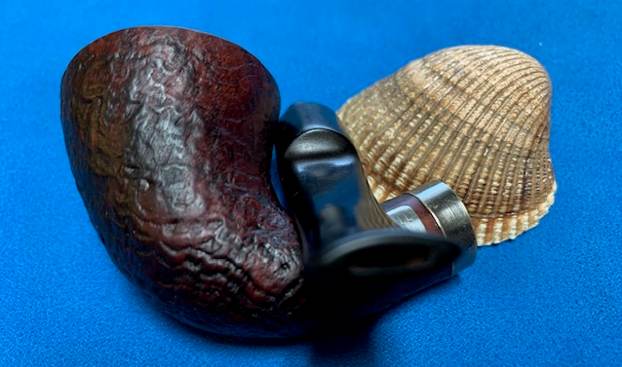
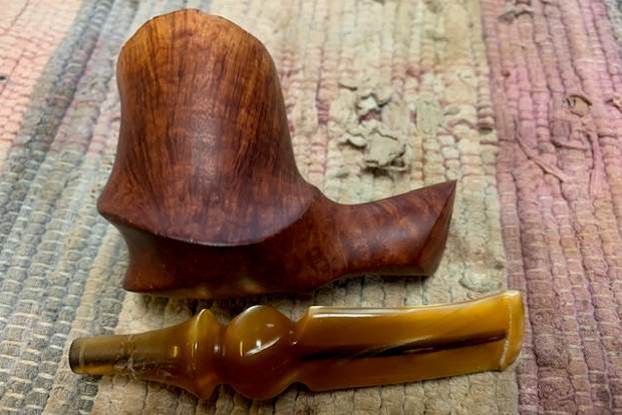
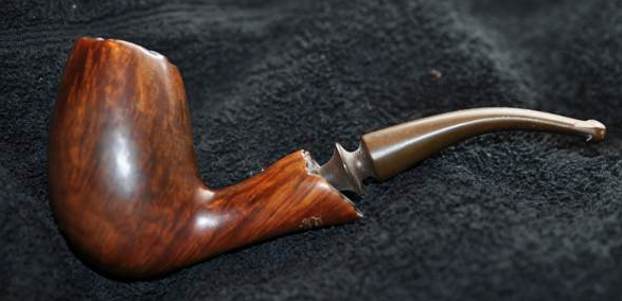
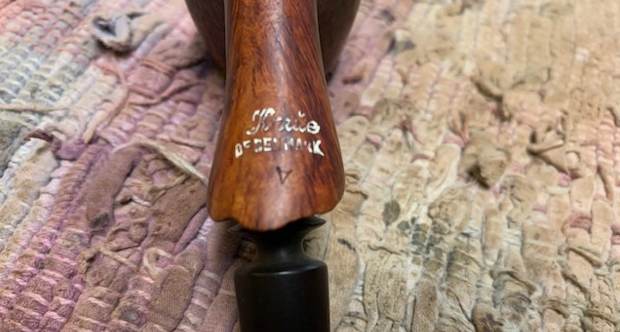
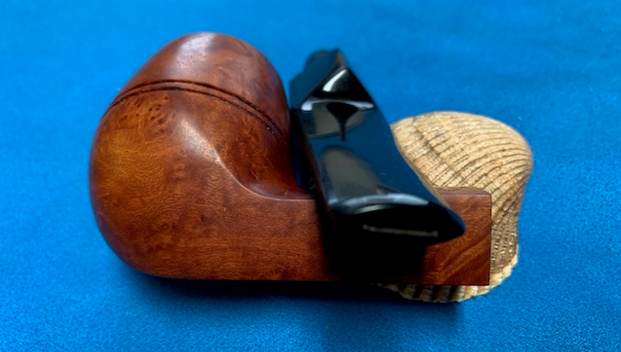
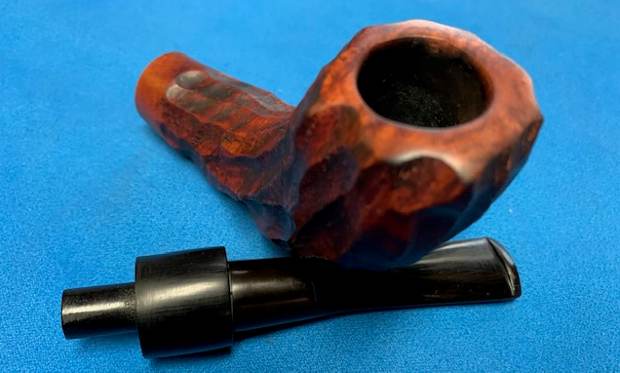
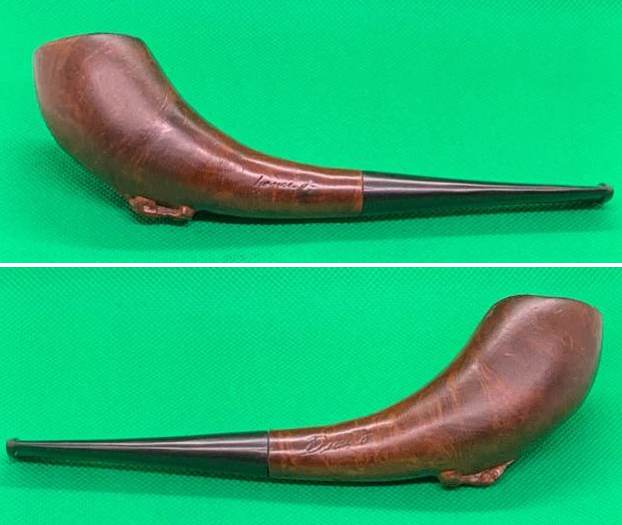
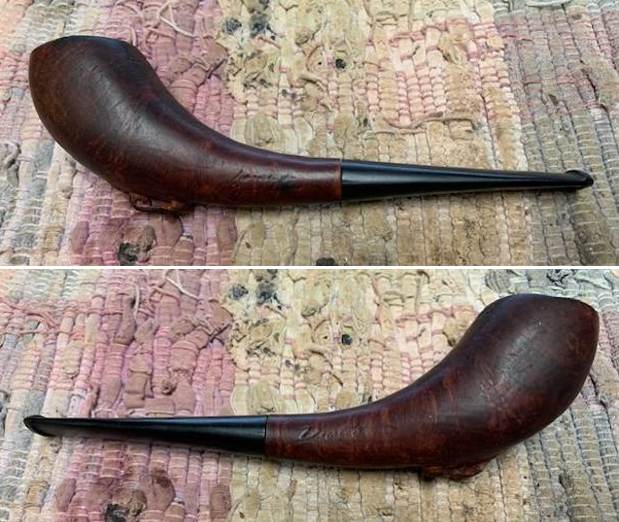
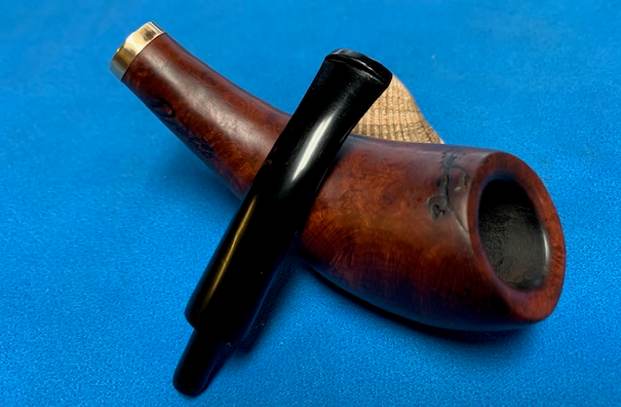
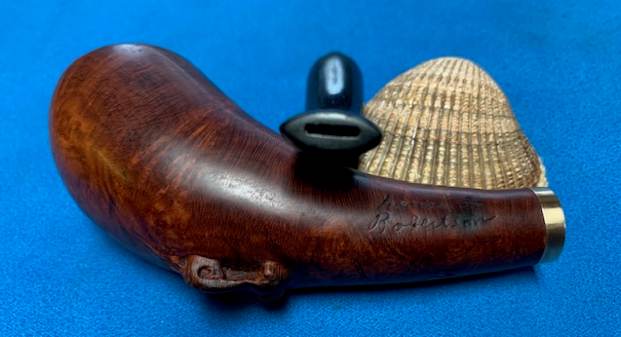
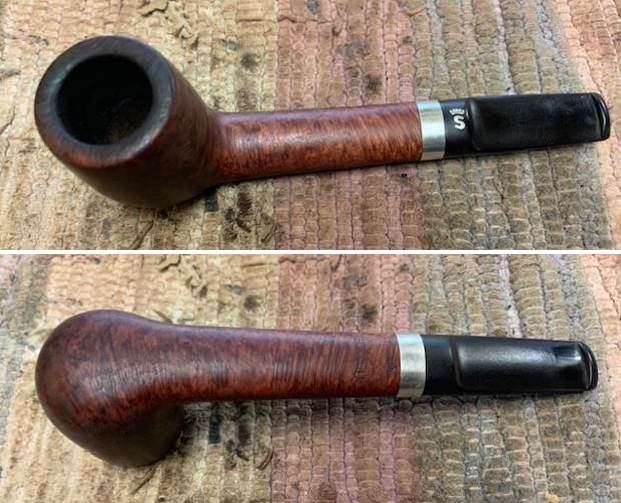
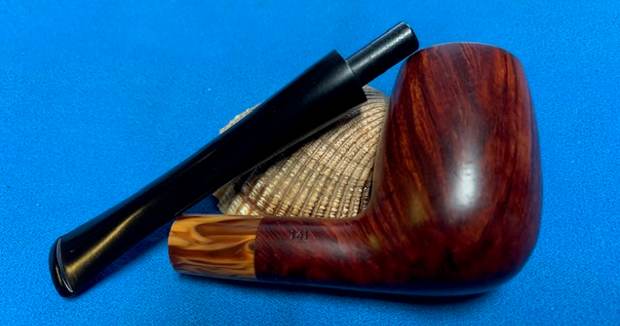
The next pair of pipes were purchased on 11/10/22 as part of a group of pipes from a fellow in Copenhagen, Denmark. They were both smoked, though the briar one was more heavily used. The lighter Beechwood pipe had been smoked and had a light cake and some darkening around the inner edge of the rim top. The Beechwood pipe is stamped on the left underside of the shank and reads Kyrringe [over] Made in Denmark [over] No. 1. The darker briar pipe had a thick cake and a lava overflow on the rim top. It was stamped on the left underside of the shank and read Stanwell [over] Made in Denmark [over] No. 1. The finish on the Beechwood one showed some nice grain around the bowl and shank and though it was a little dirty it was a nice looking pipe. The Briar one had some rich grain around the bowl and shank and was dirty. Both stems were black acrylic saddle stems. Both have light tooth marks and chatter on both sides of the stem ahead of the button. The Briar one had the Stanwell Crown S on the left side of the saddle stem while the Beechwood had nothing on the stem side. Jeff took photos of the pipes before he started his clean up work. 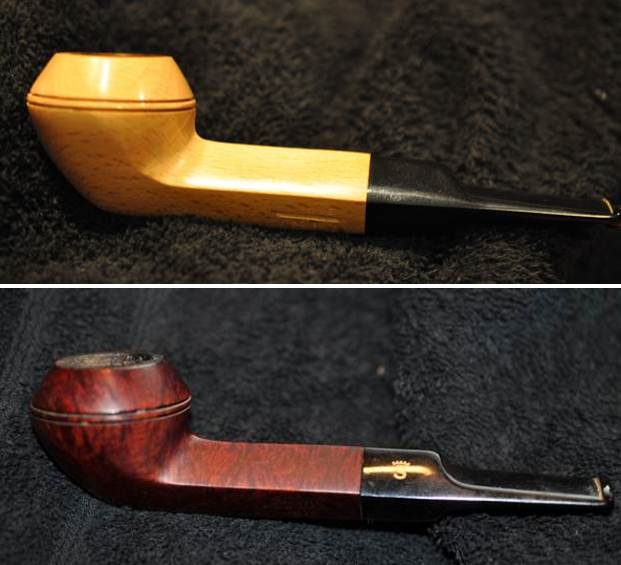
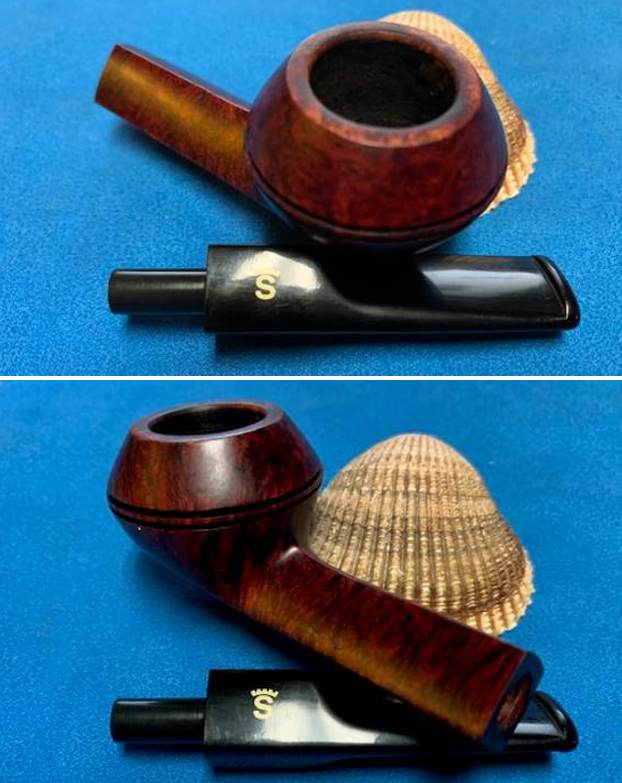
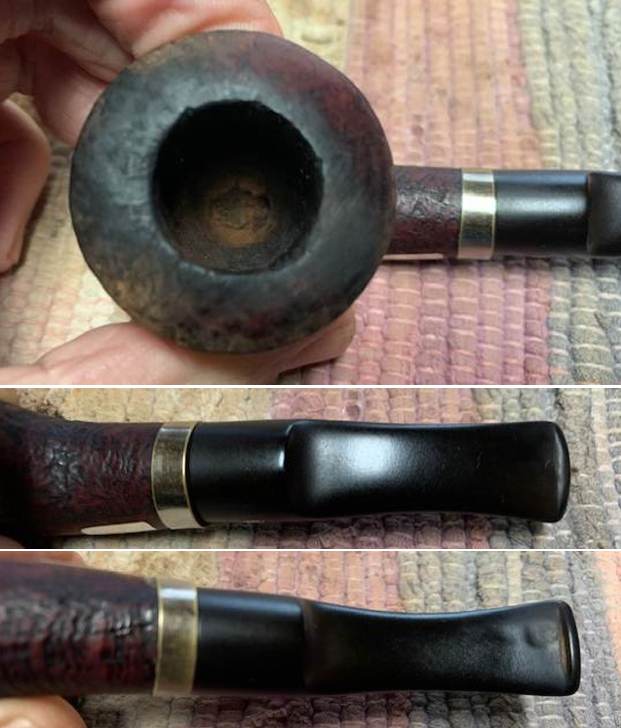
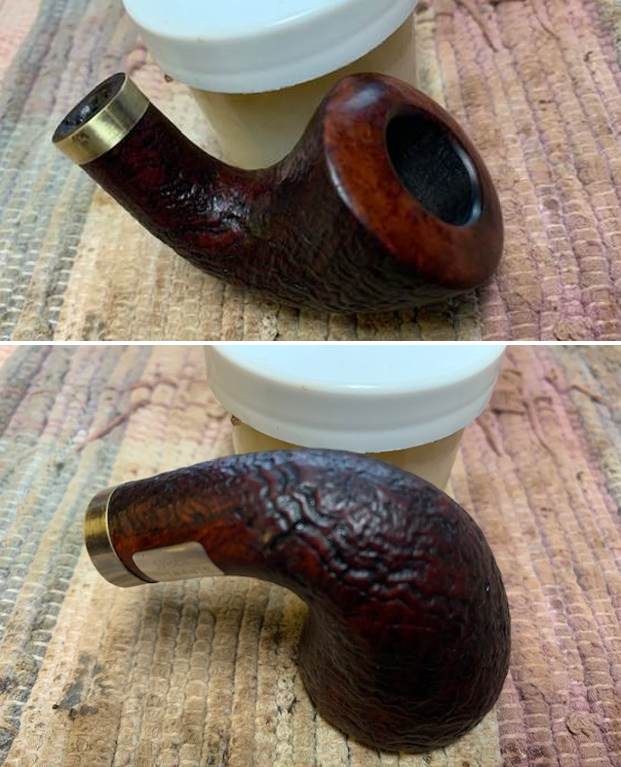
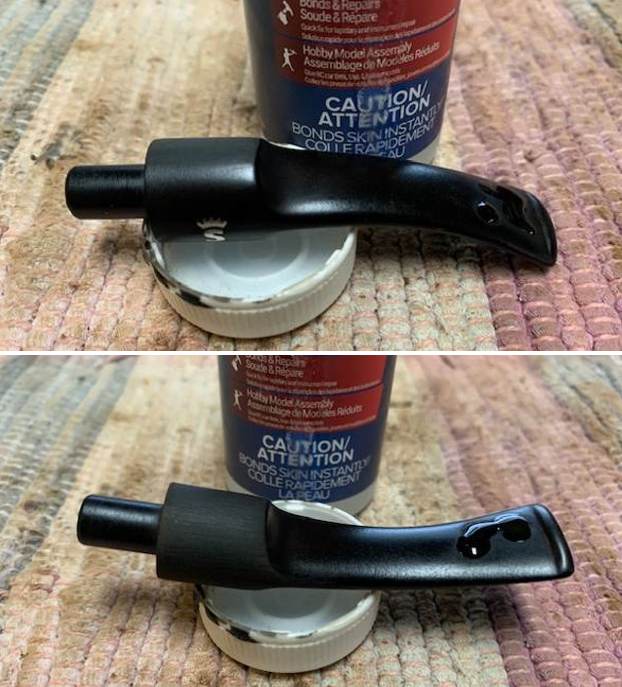
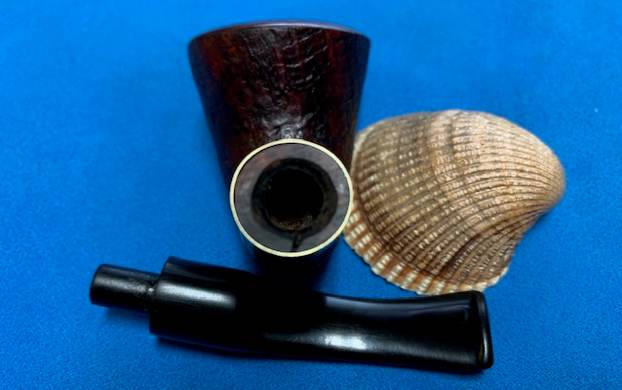
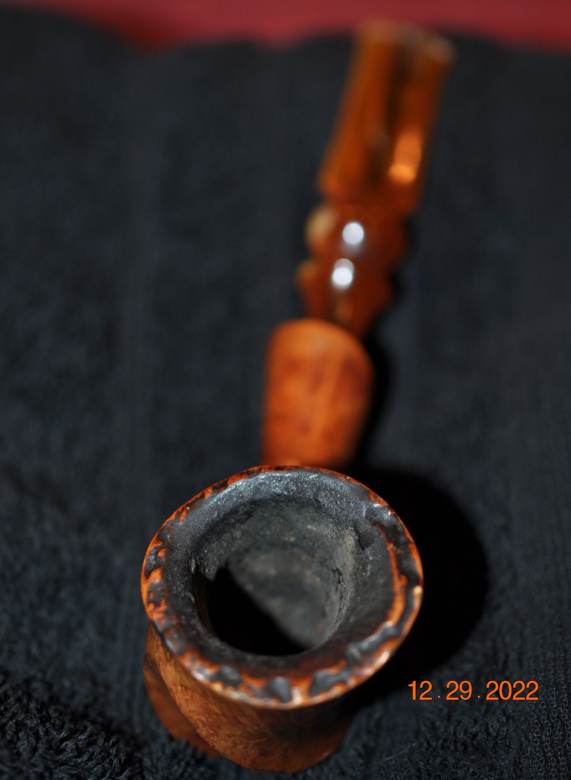
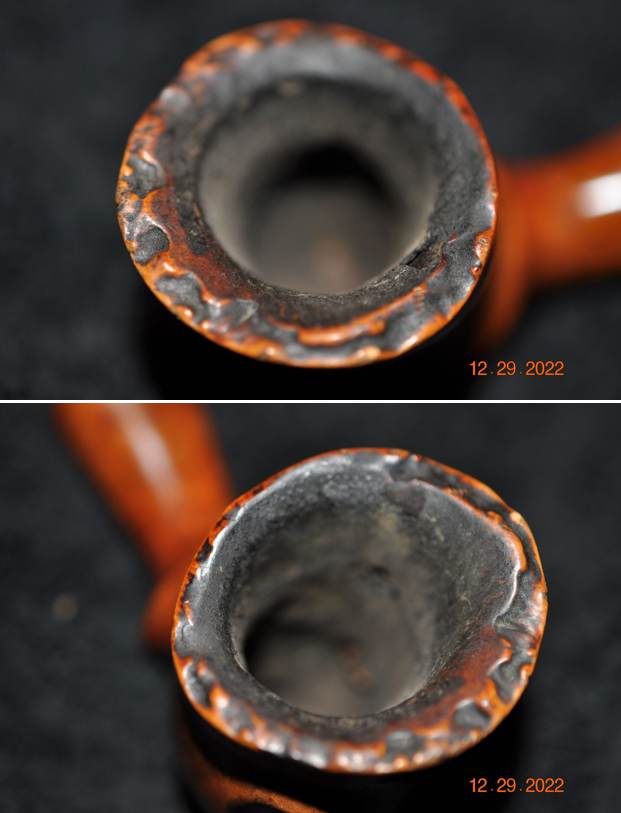
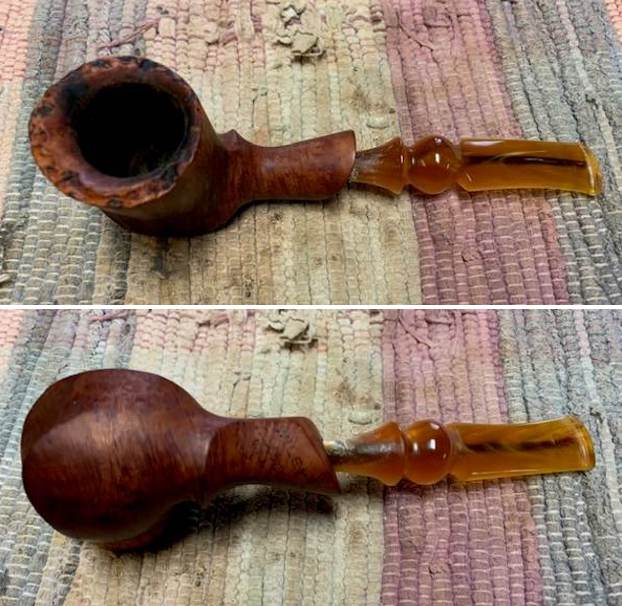
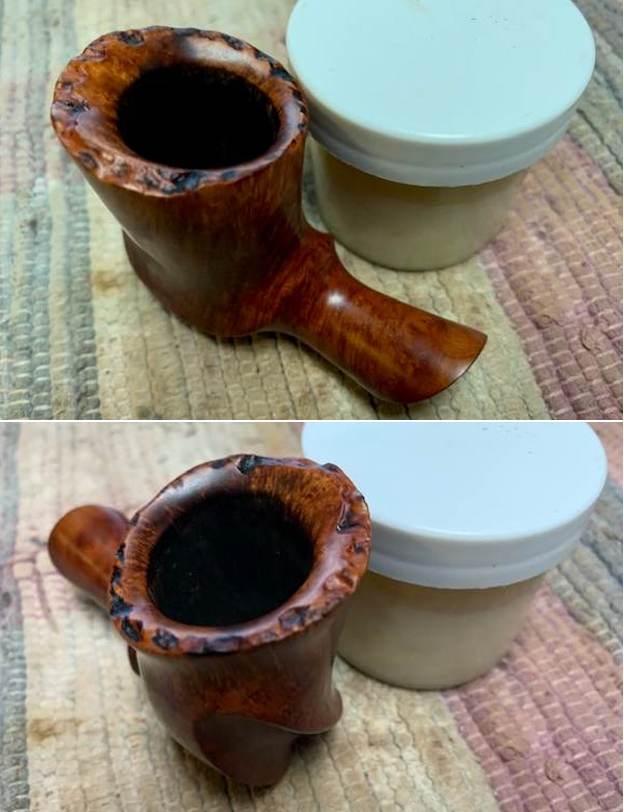
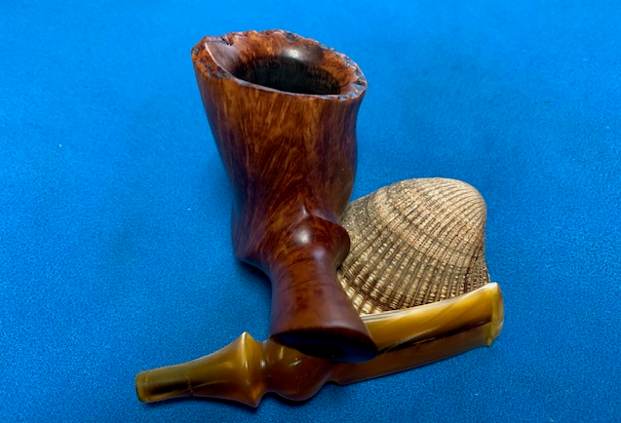
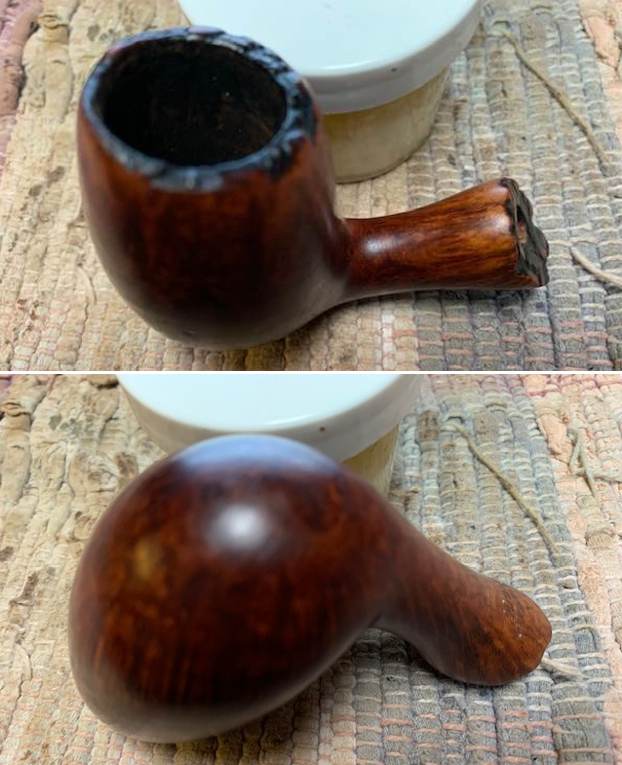
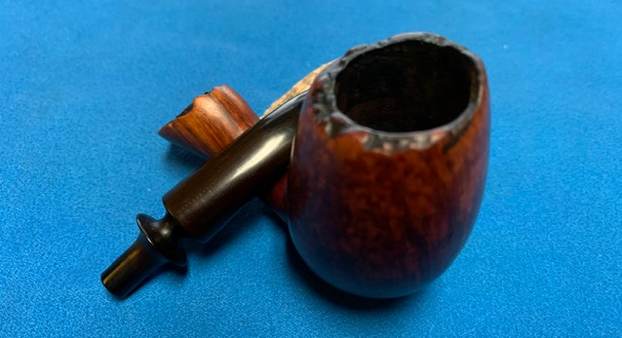
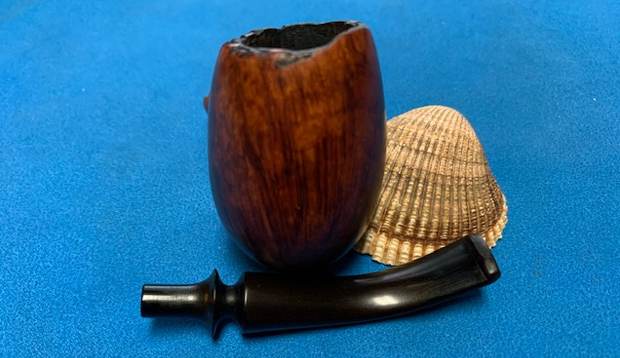
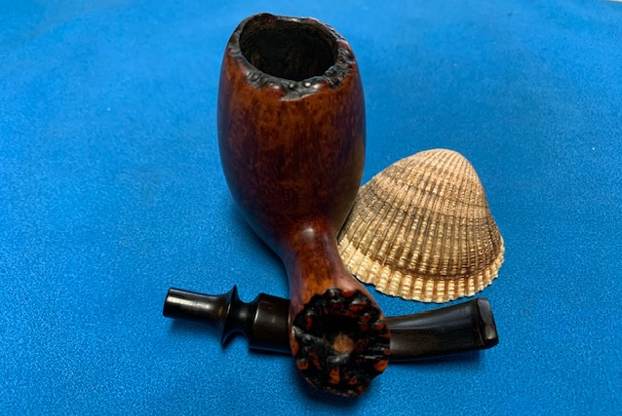
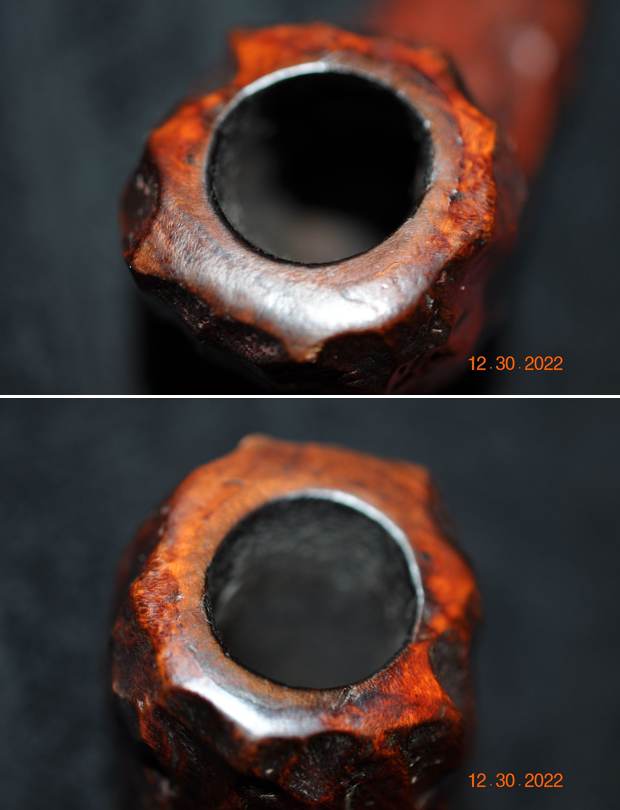
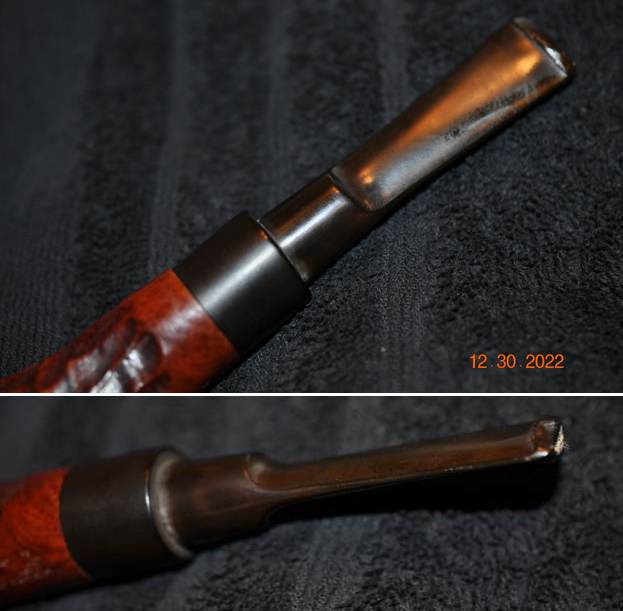
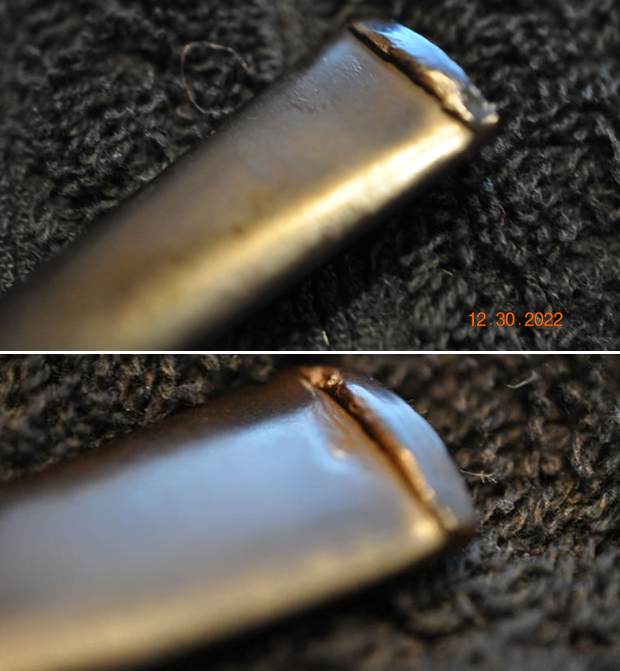
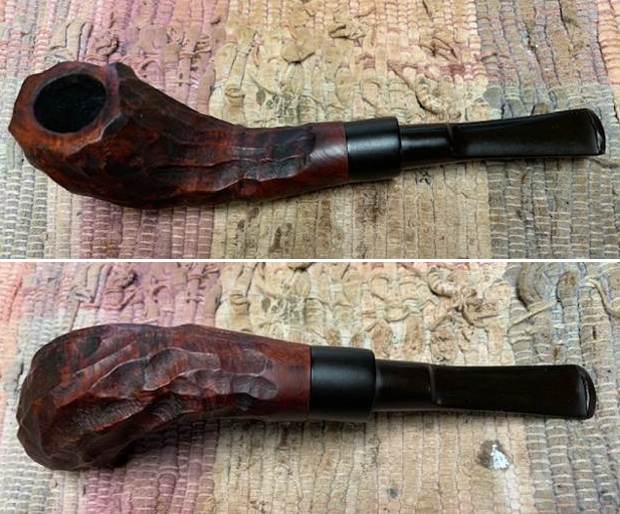
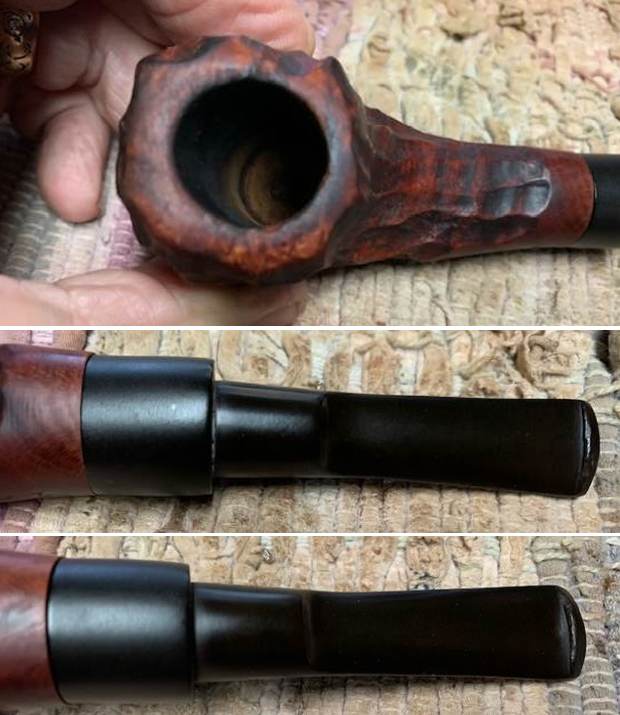
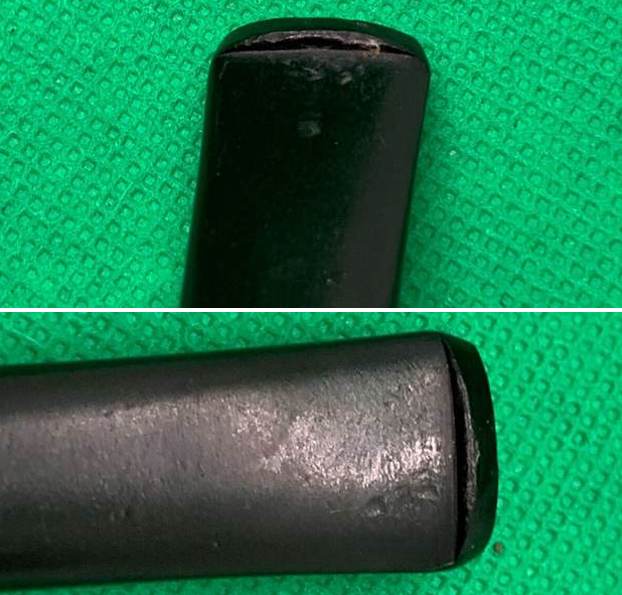
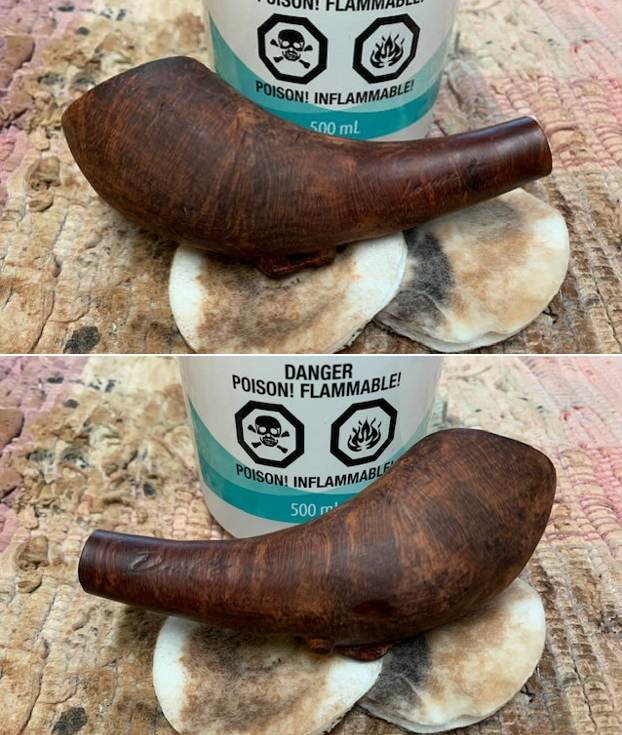
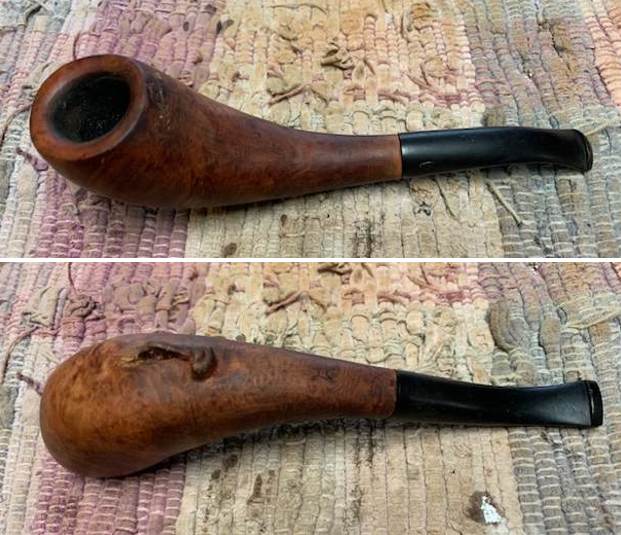
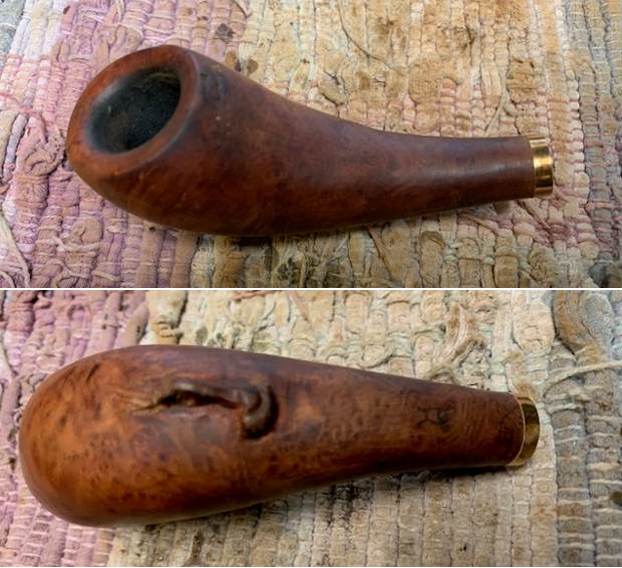
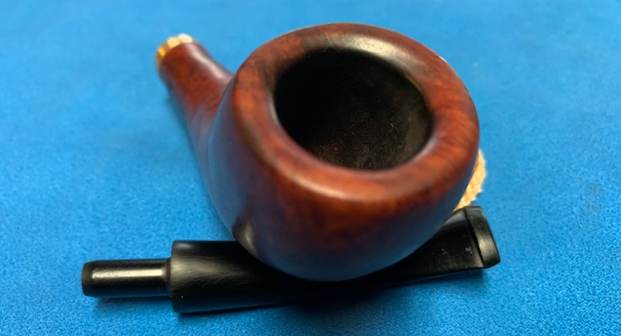
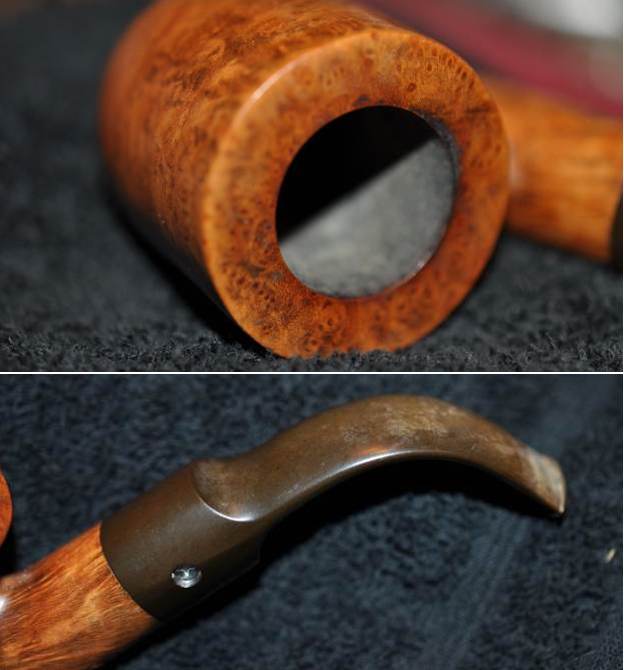
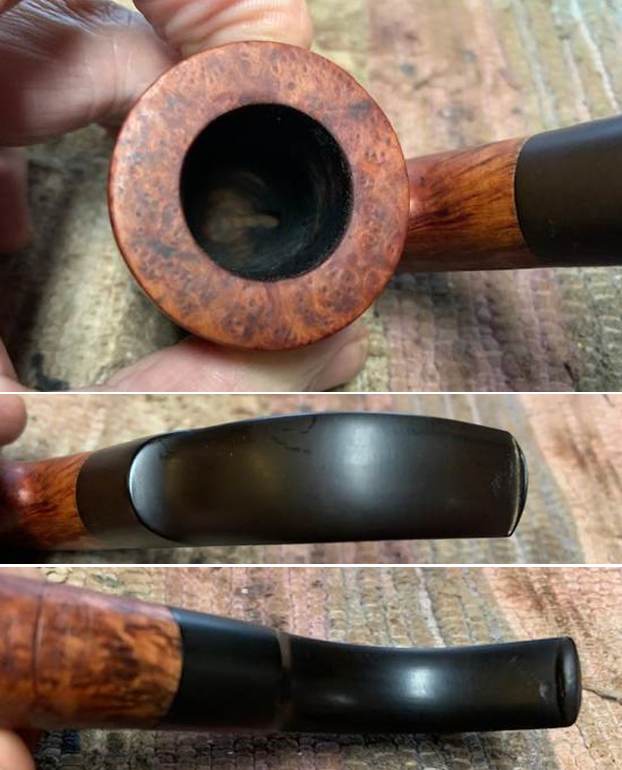
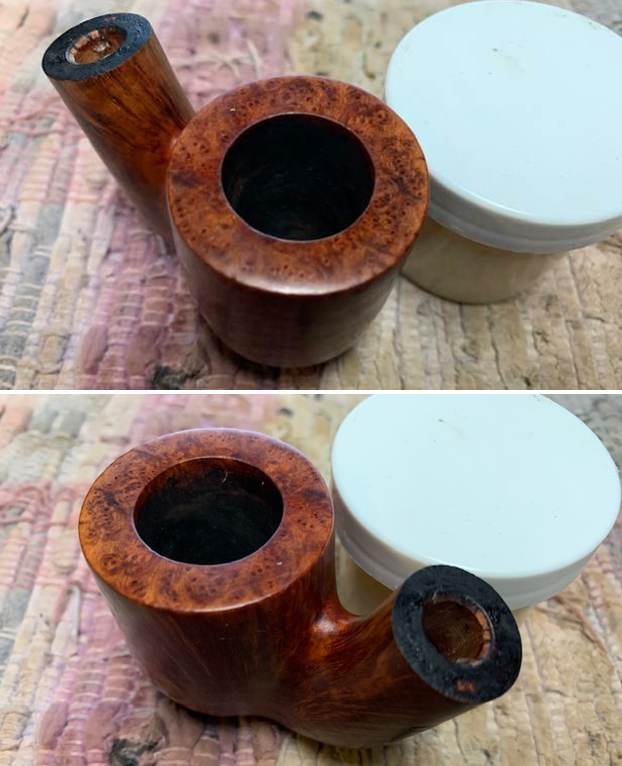
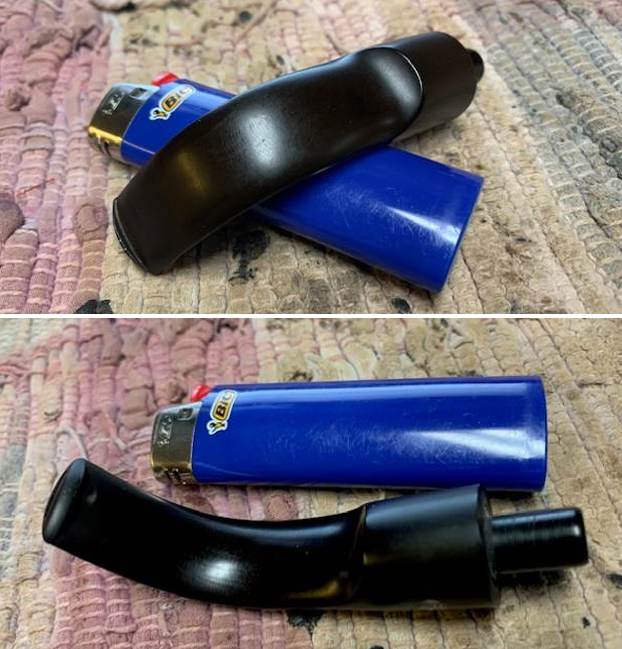
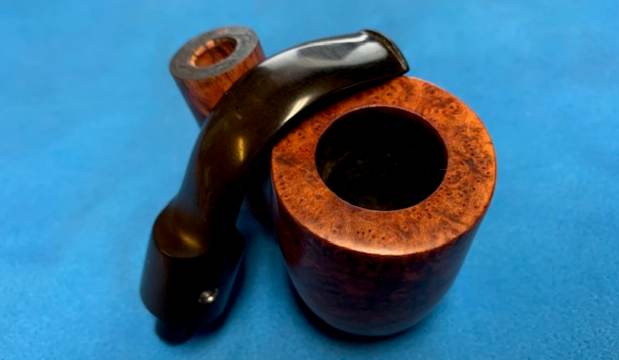
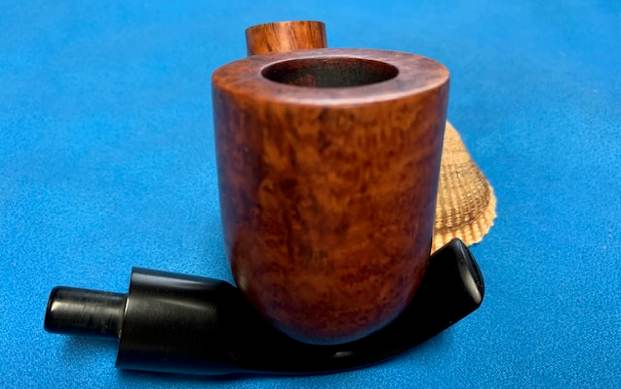
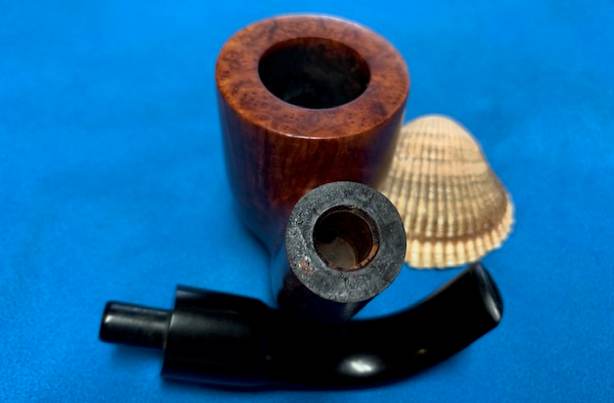
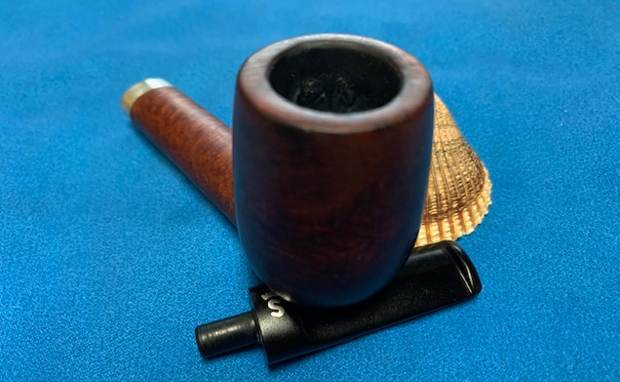
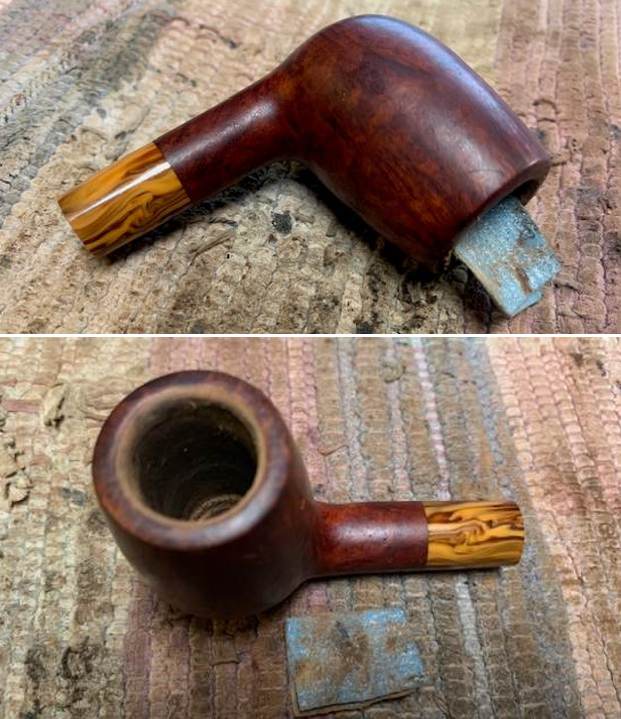
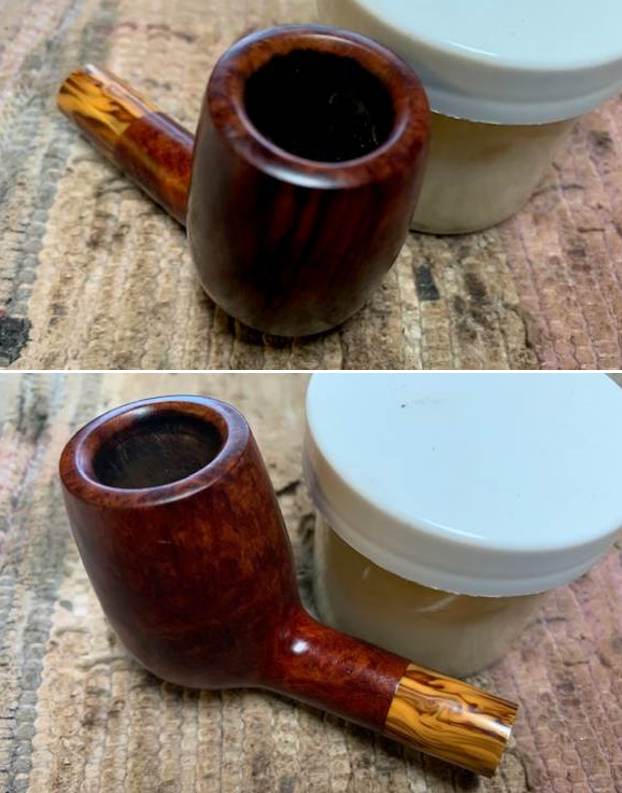
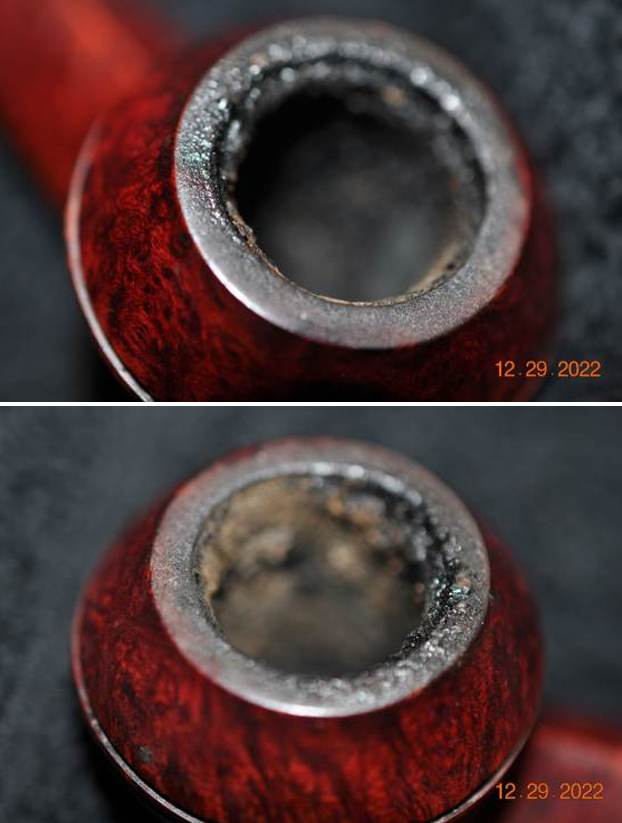
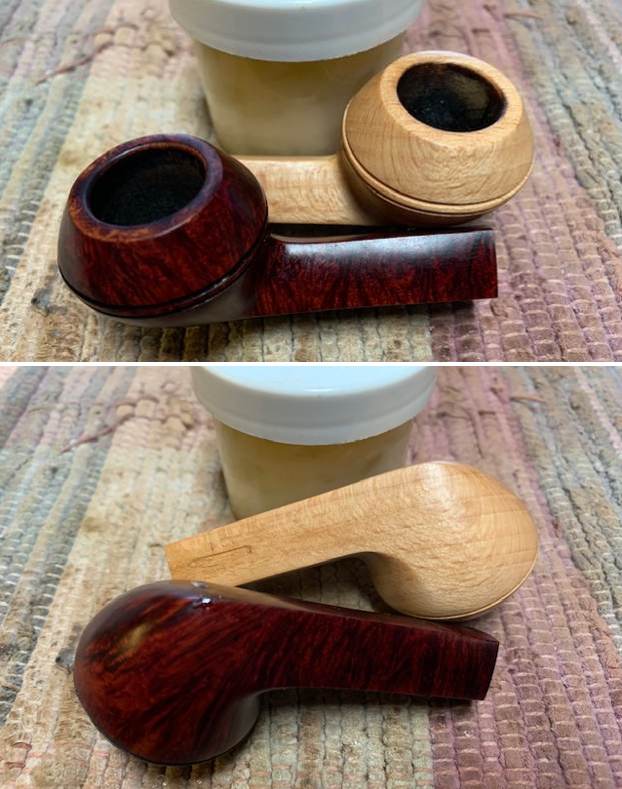
 He took photos of the rim and bowl of both pipes to give a sense of what he was dealing with. He also took photos of the stem surfaces on both to show the condition of the stem when it arrived.
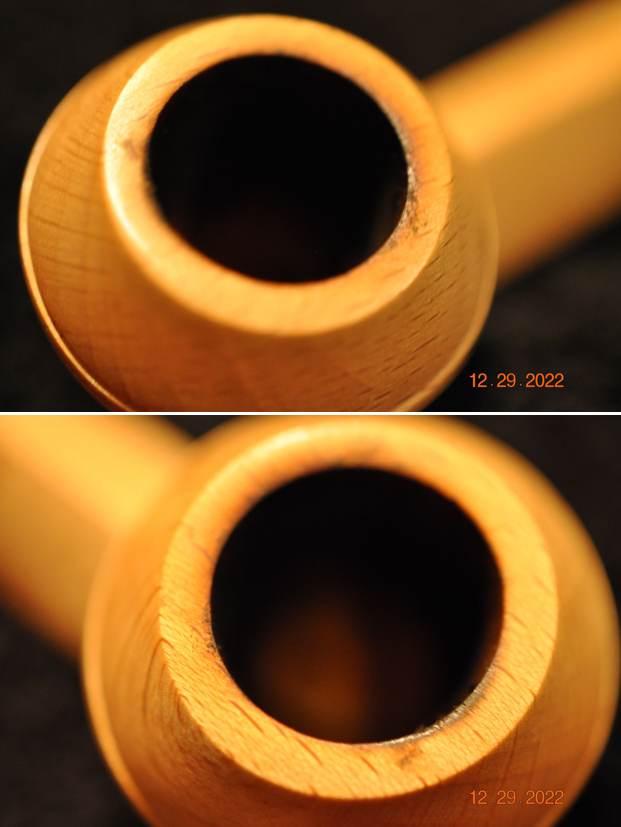
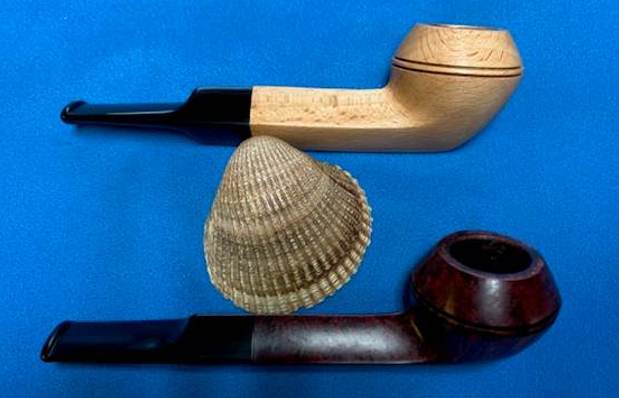
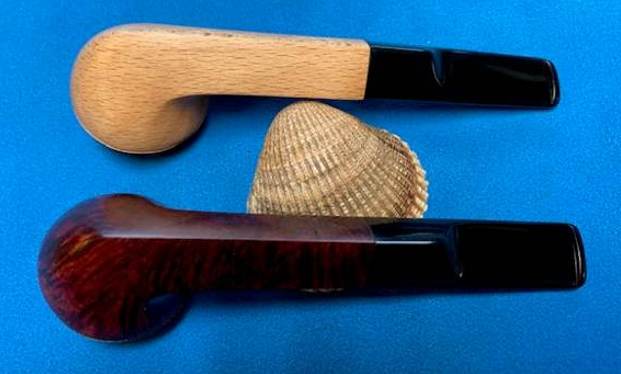
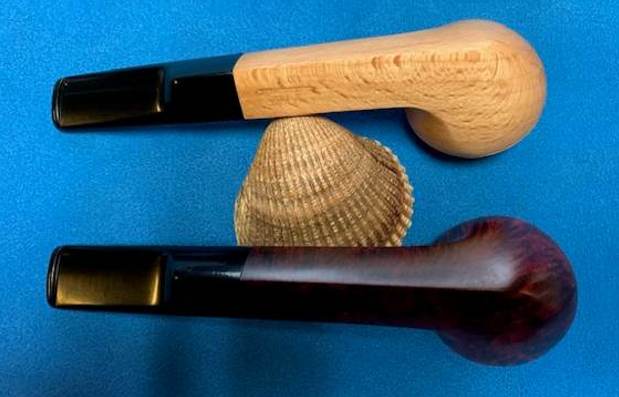
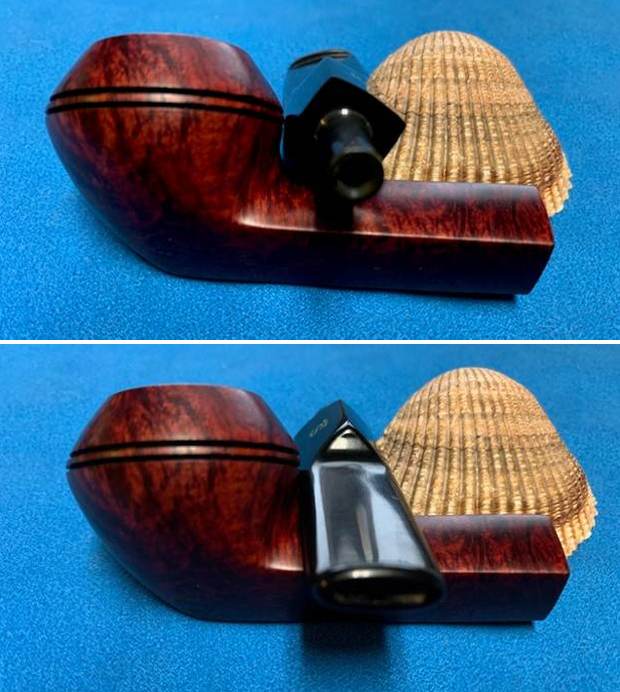
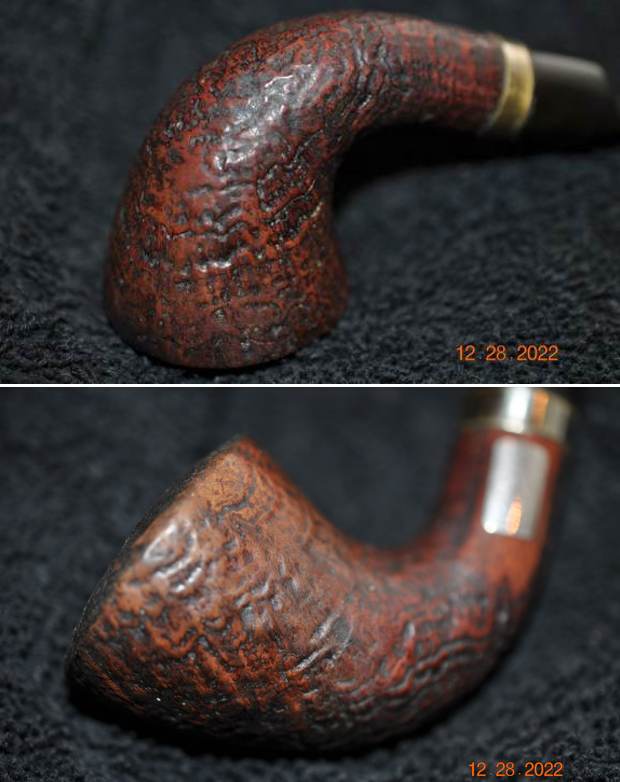
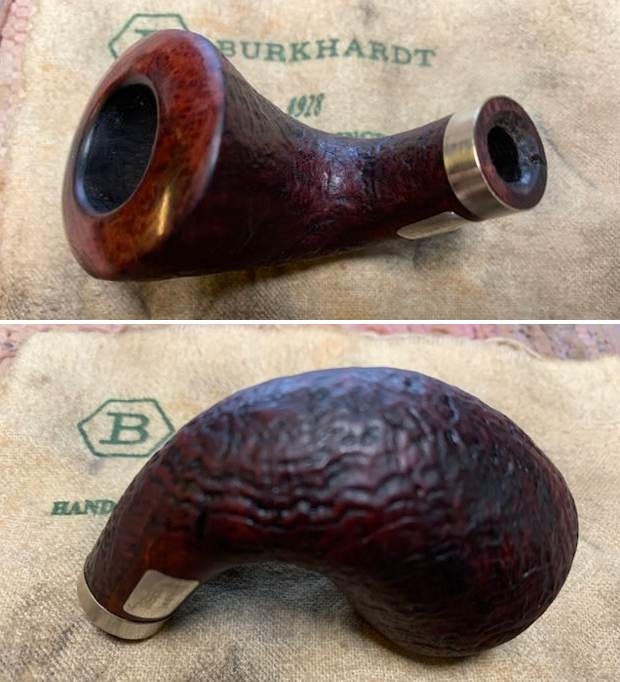
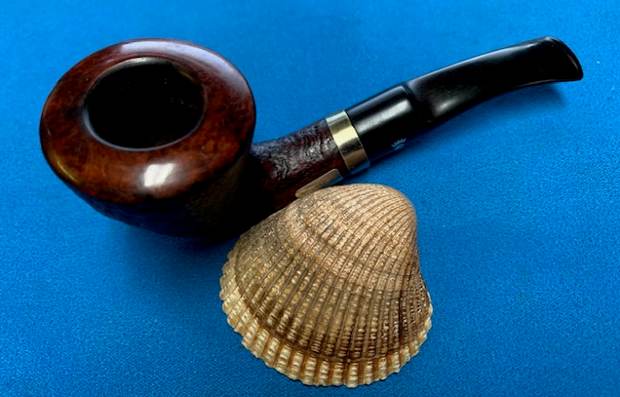
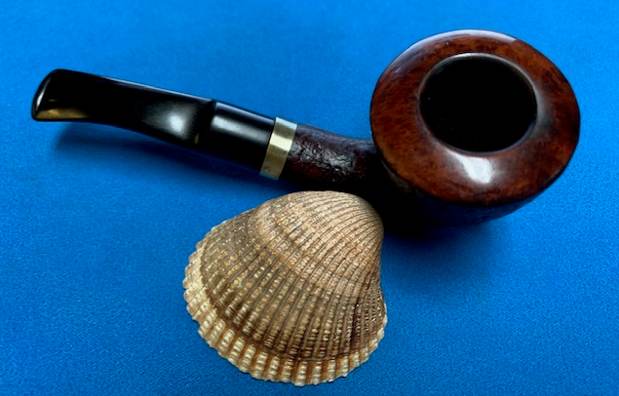
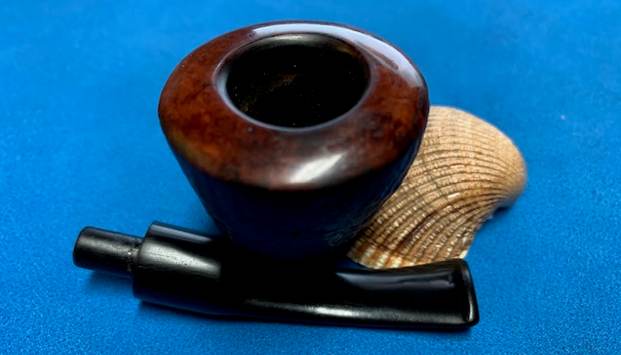
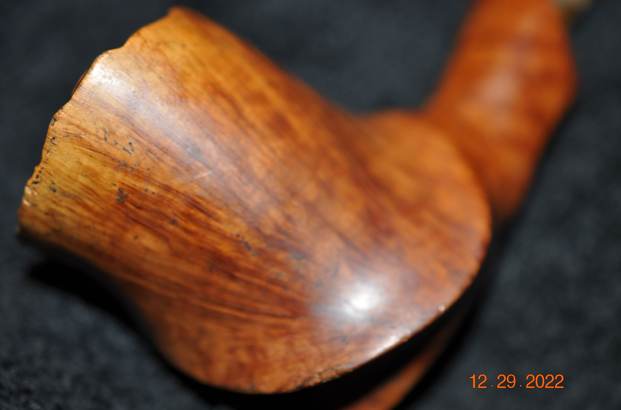
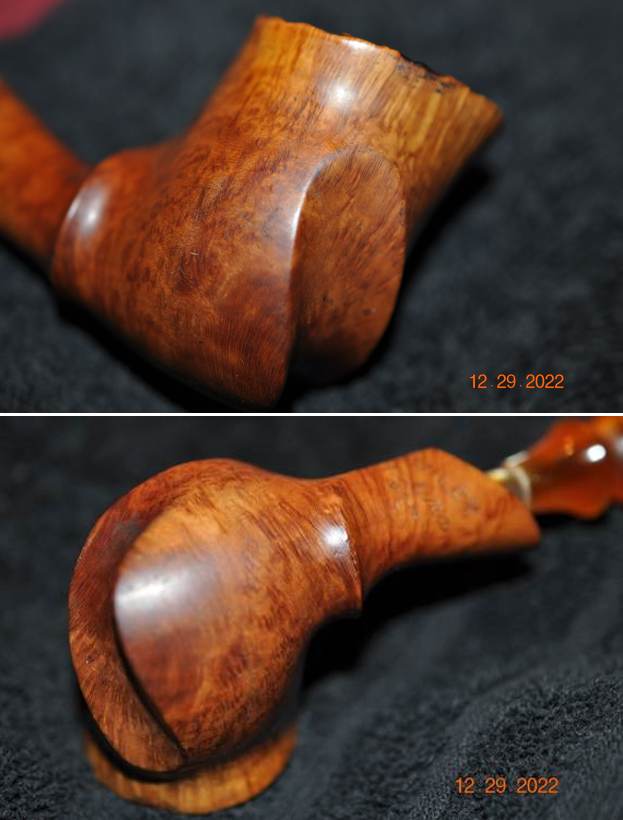
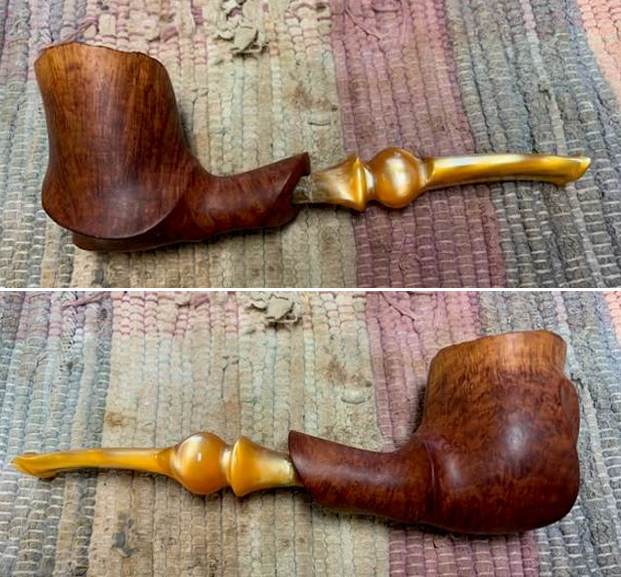
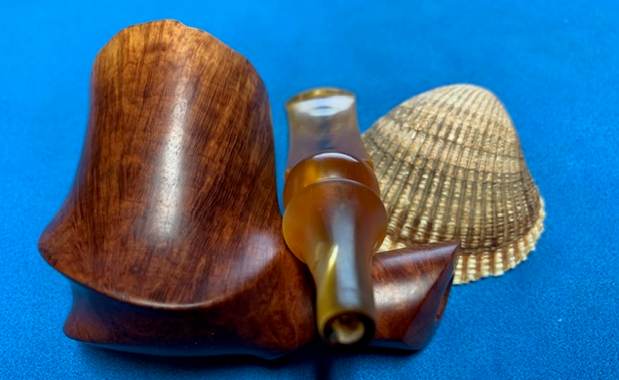
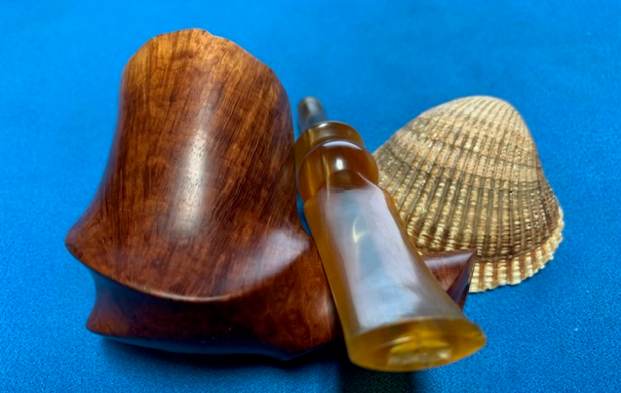
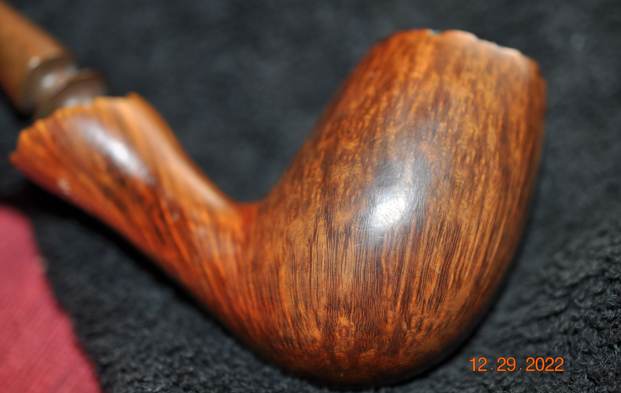
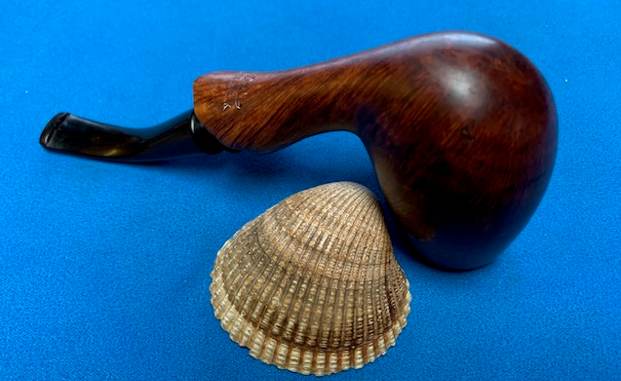
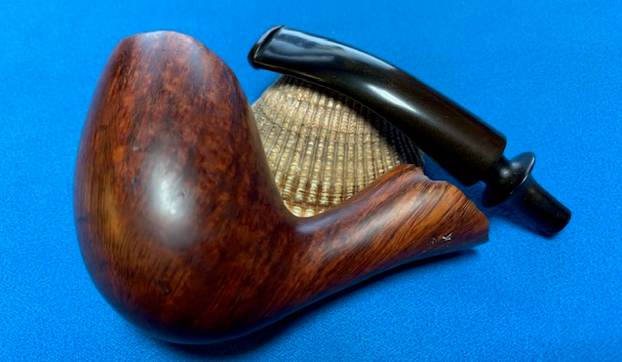
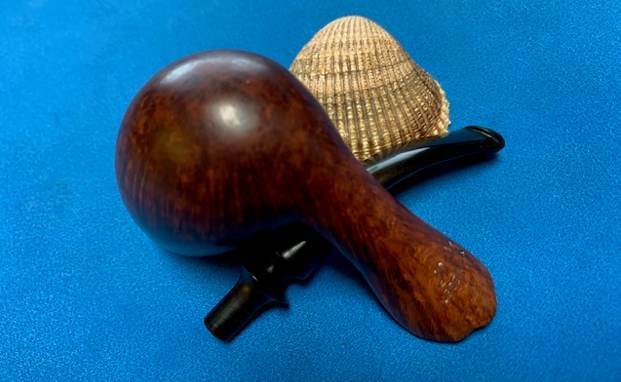
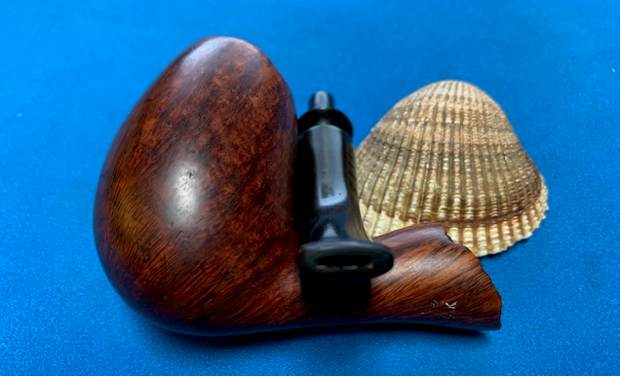
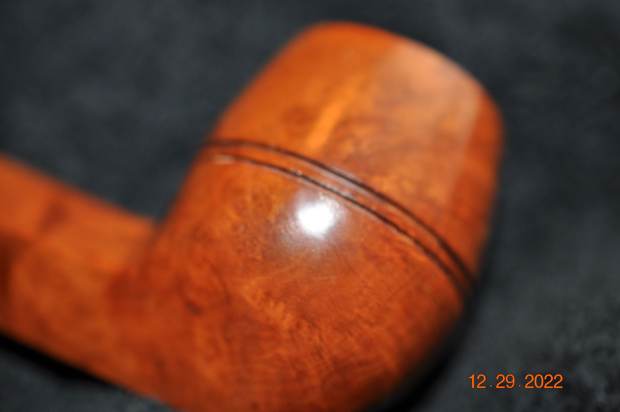
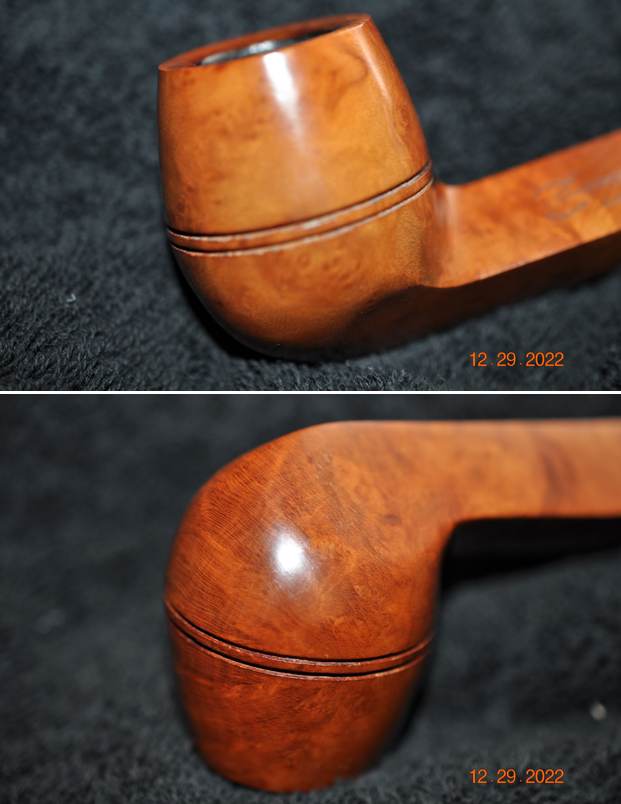
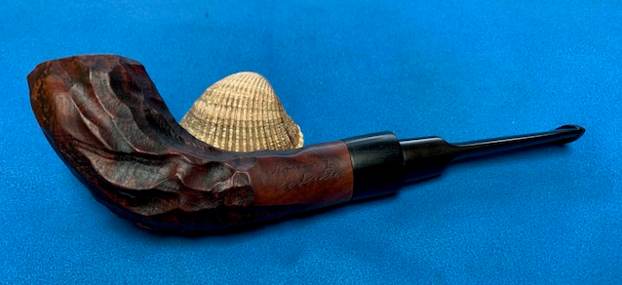
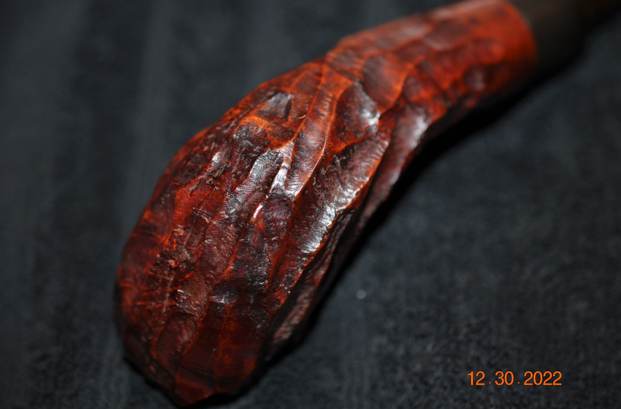
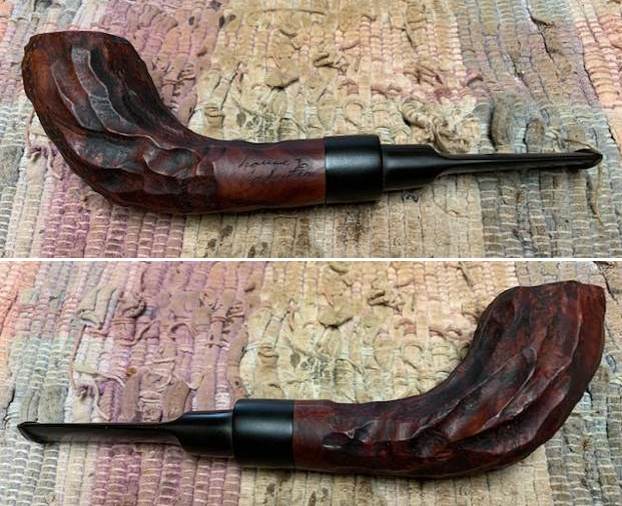
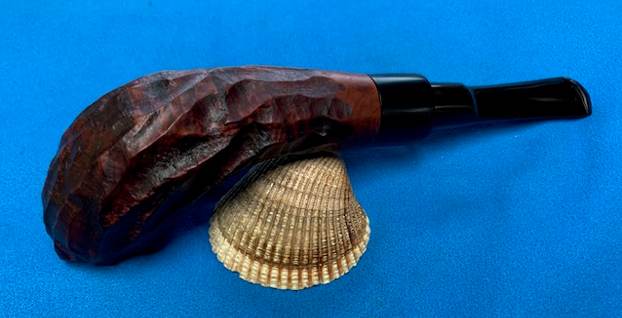
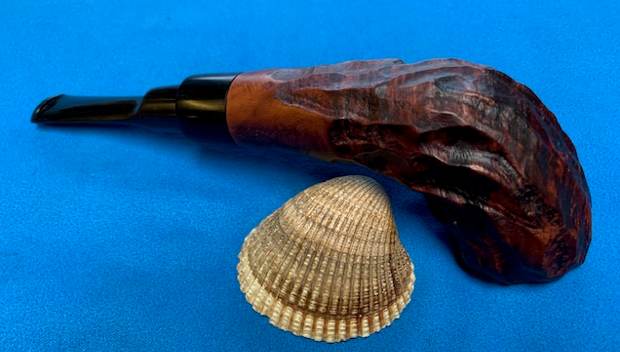
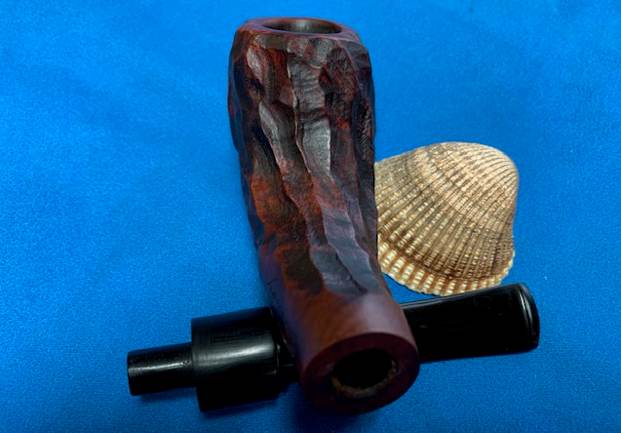
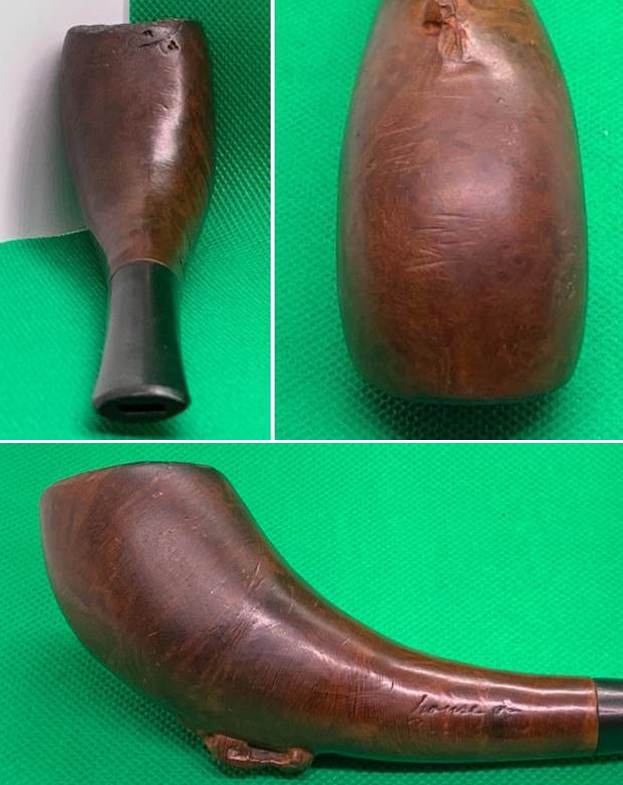
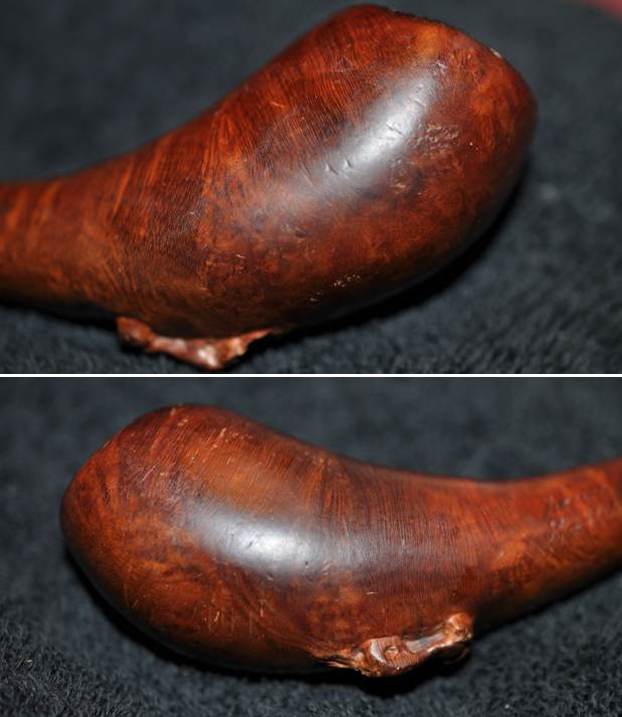
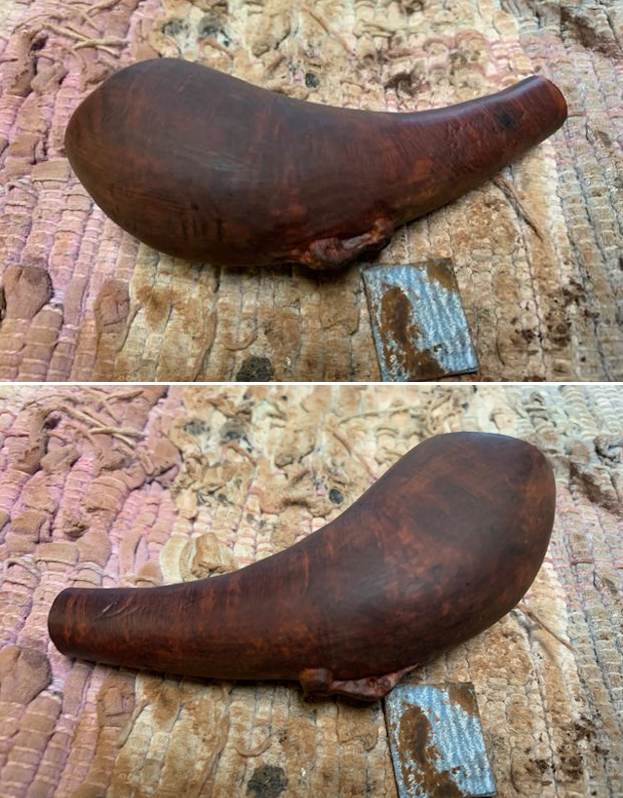
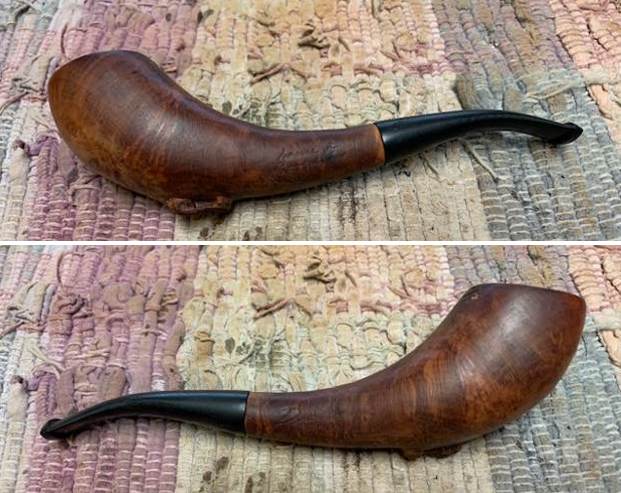
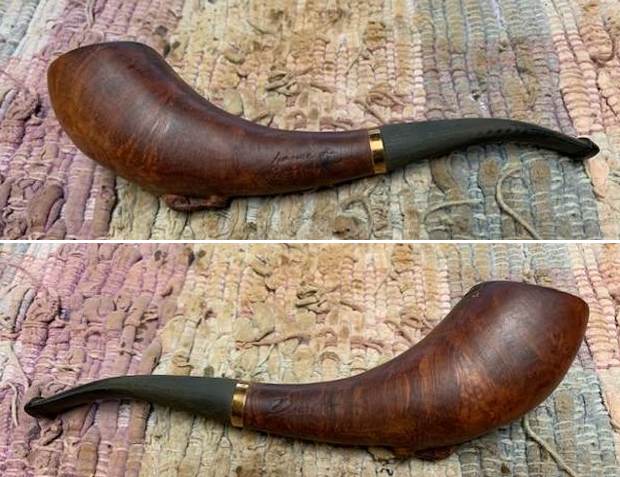
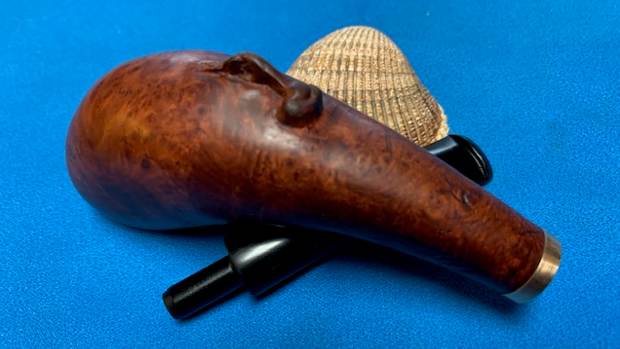
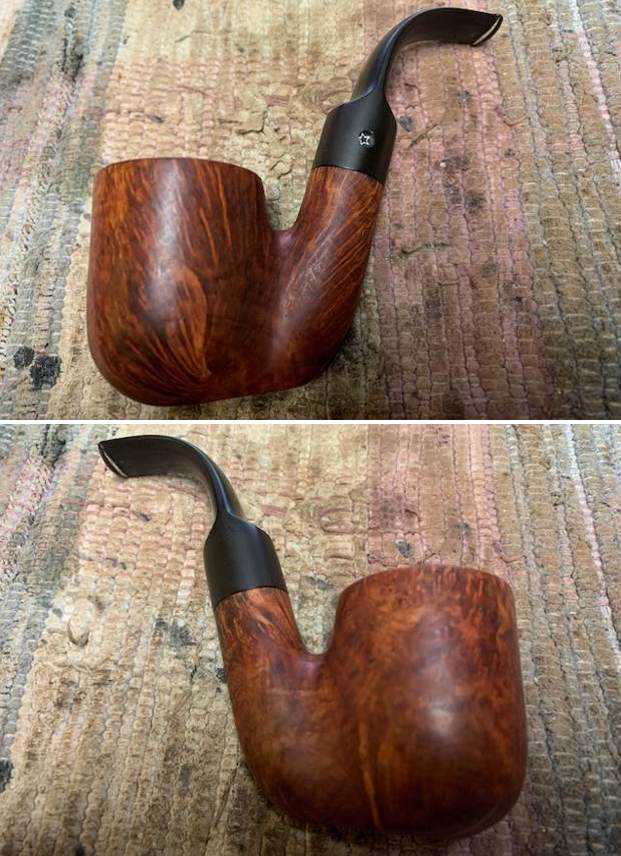
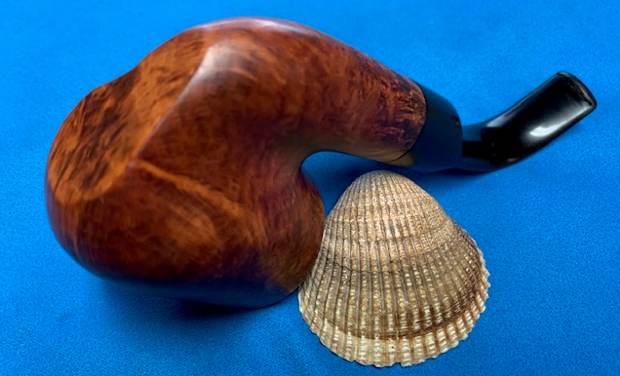
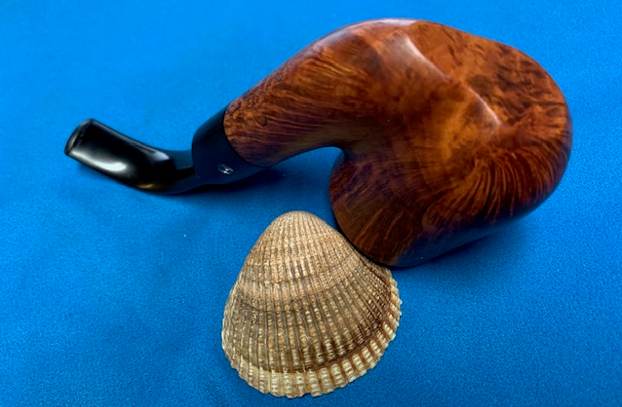
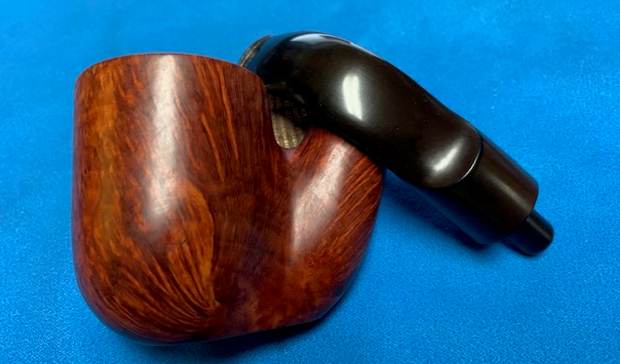
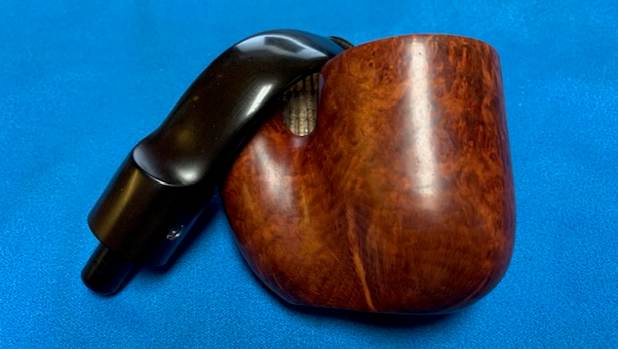
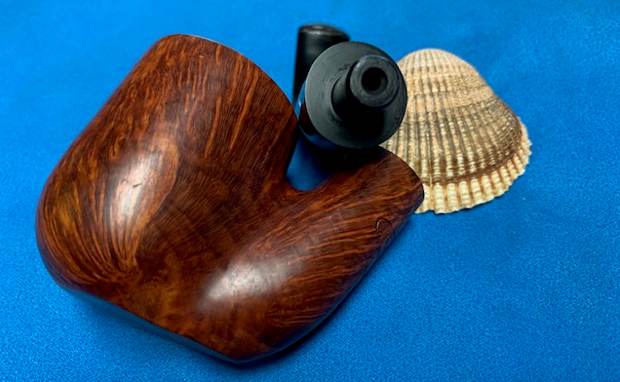
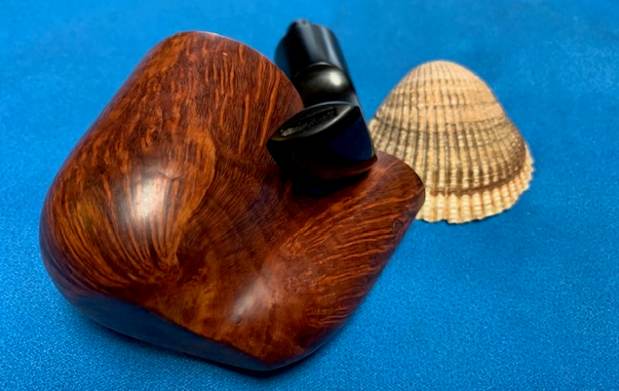
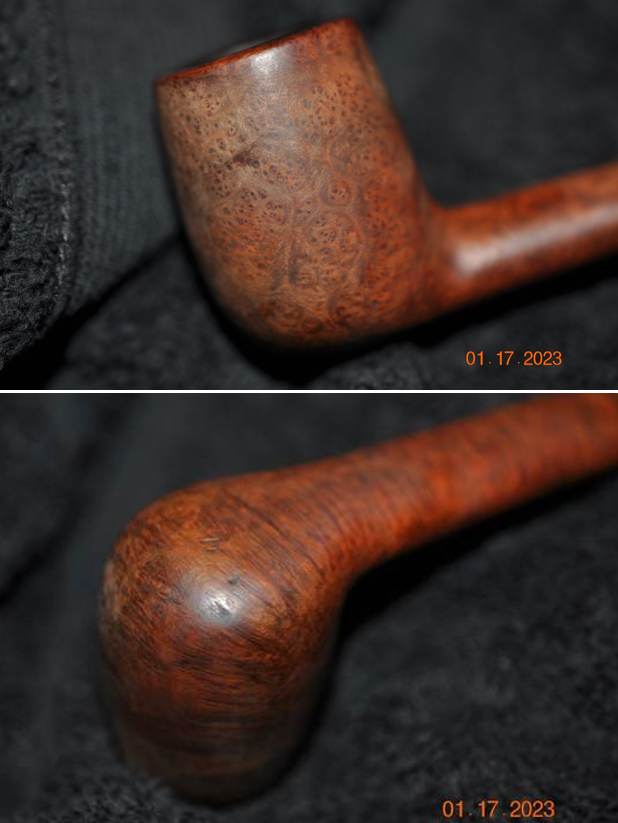
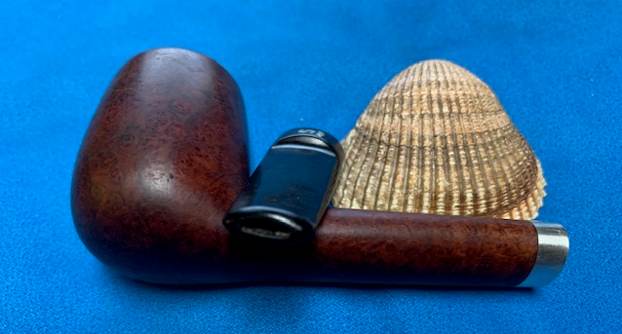
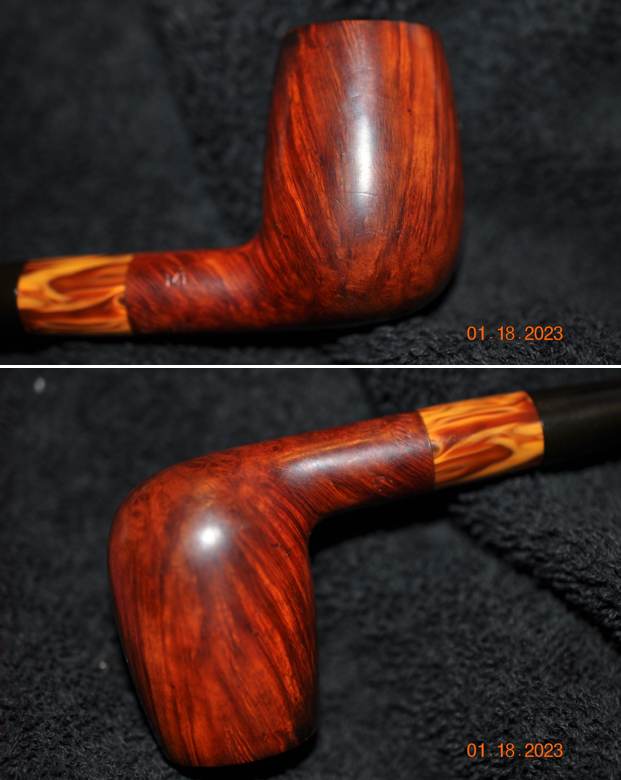
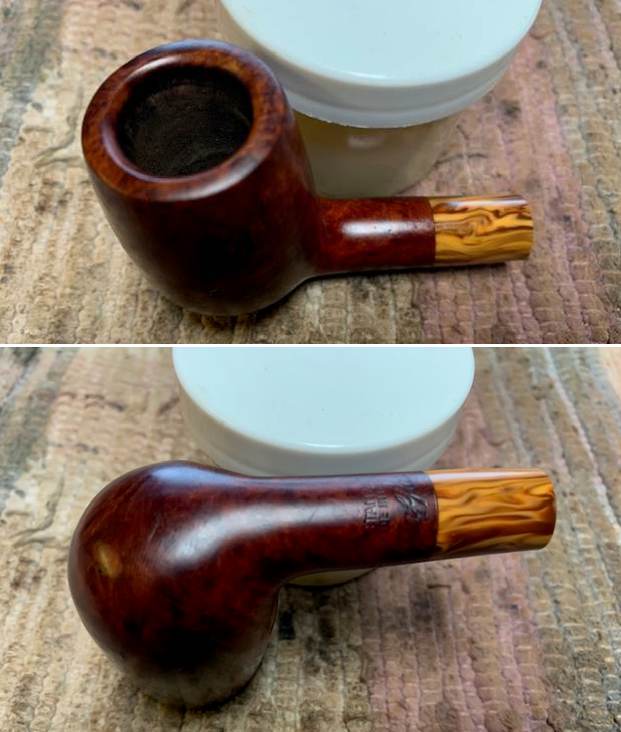
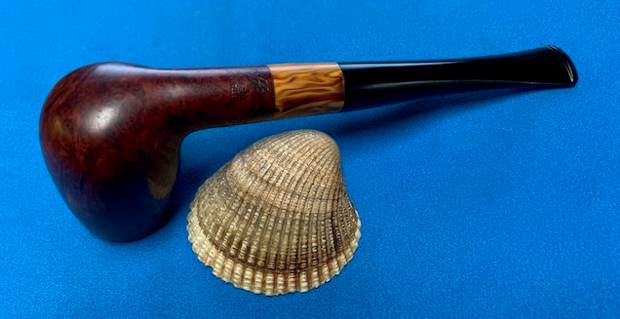
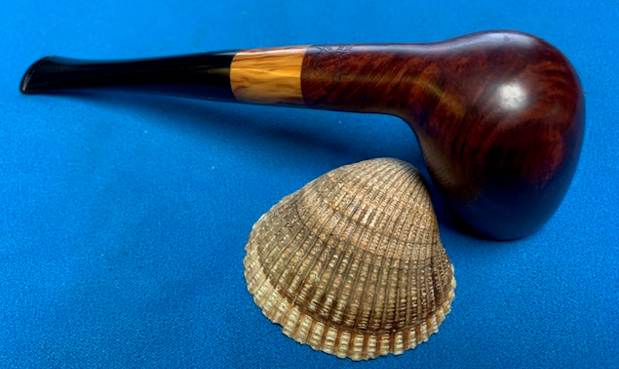
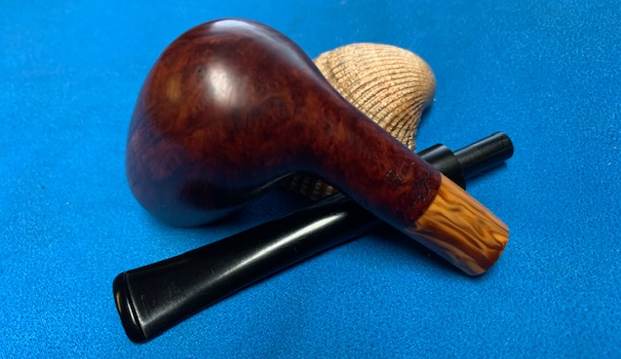
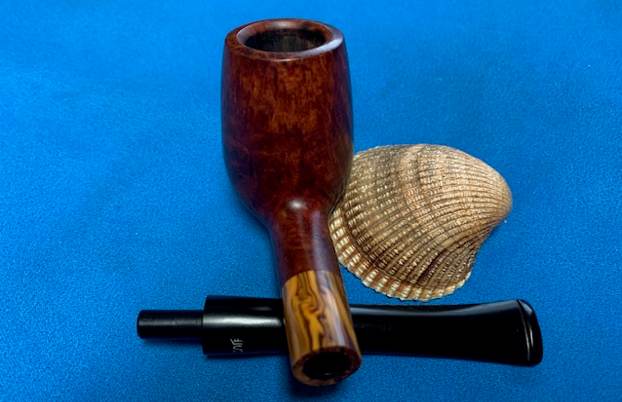
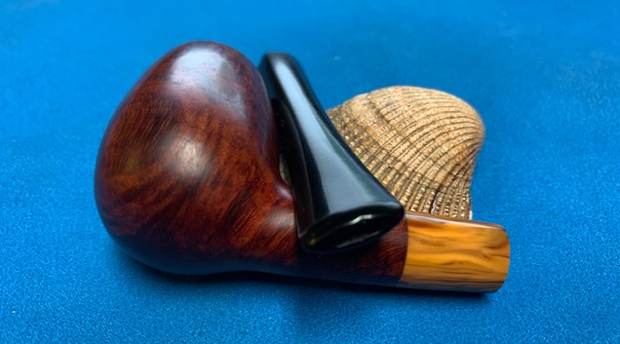
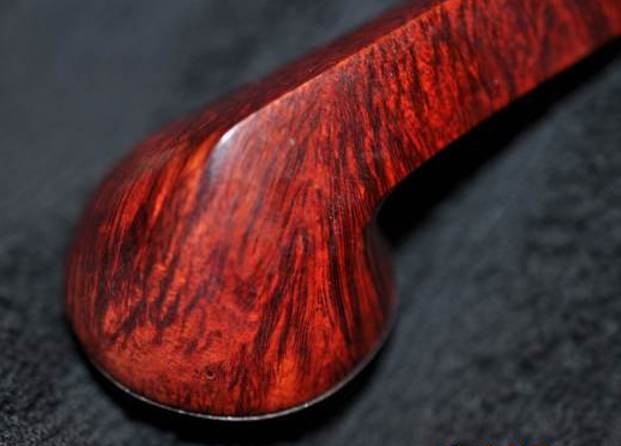
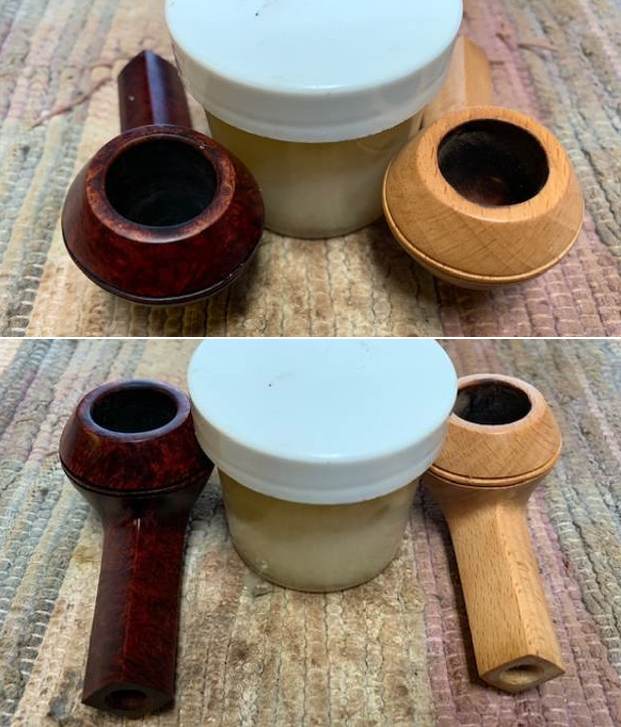
 The photos of the sides and heel of the bowls show beautiful grain around the bowl and shank sides. The twin rings on both are very nicely done and show no damage. The light natural colour of the Beechwood and the reddish stain on the briar adds depth finish on the pipes and makes the grain really stand out. They are a beautiful pair of pipes.
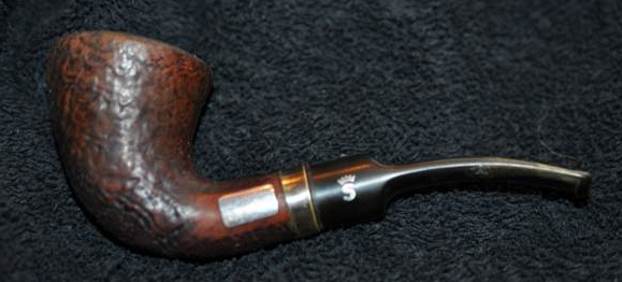
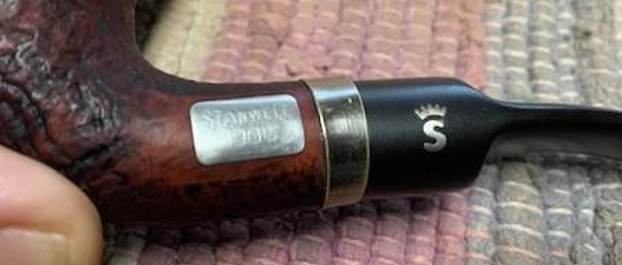
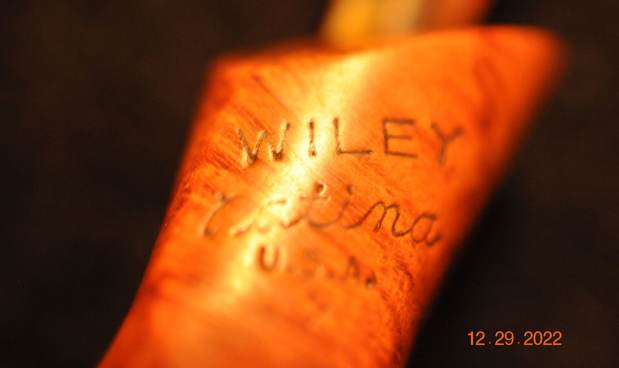
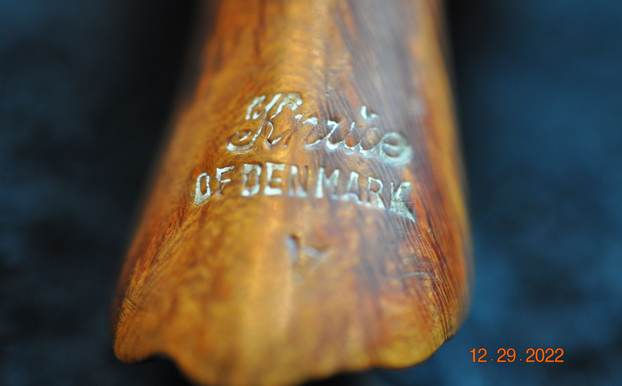
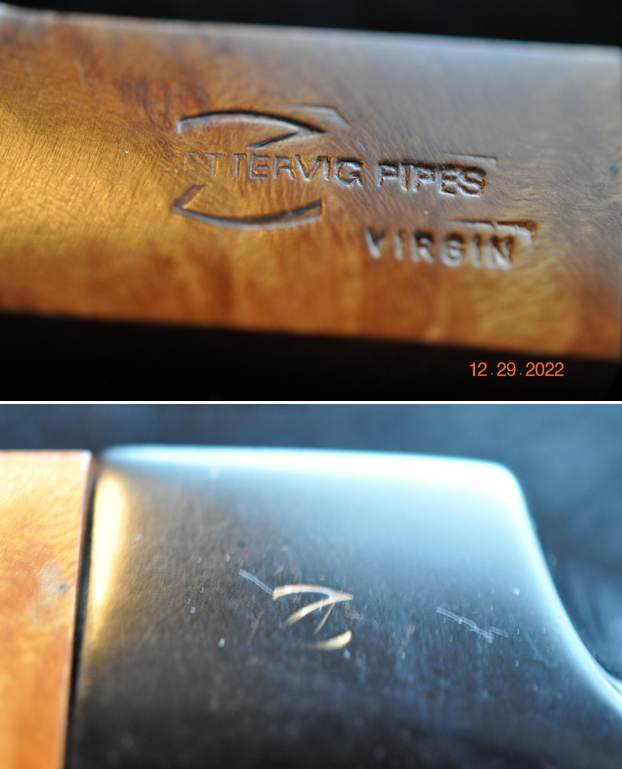
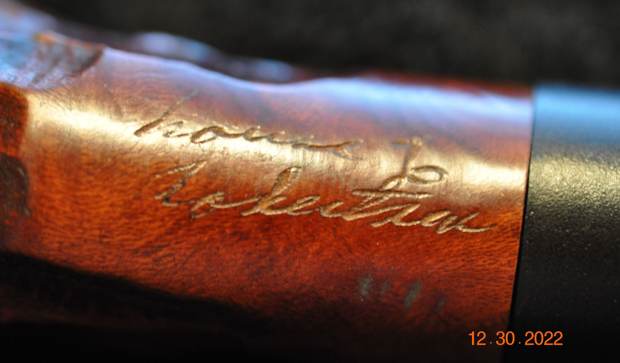
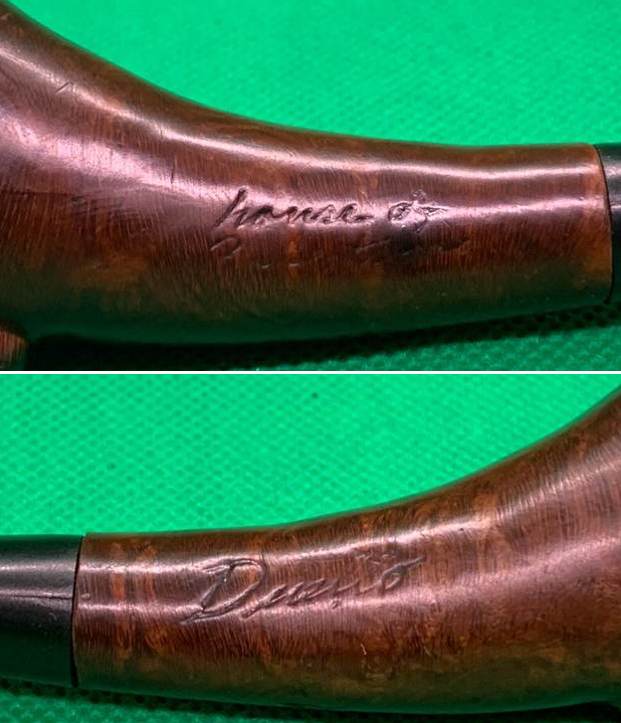
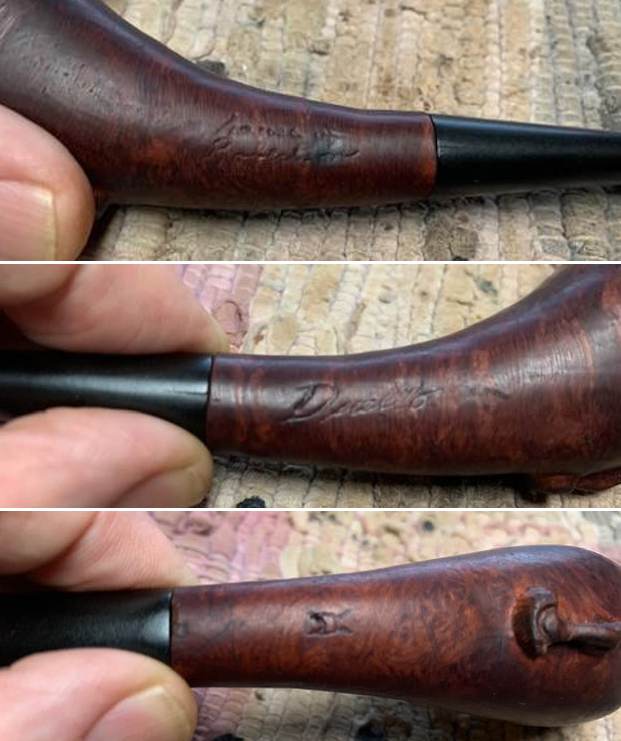
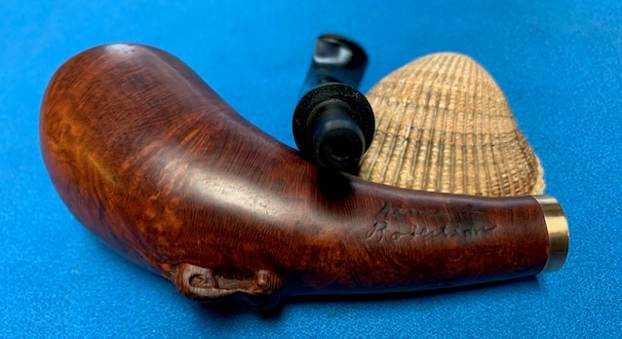
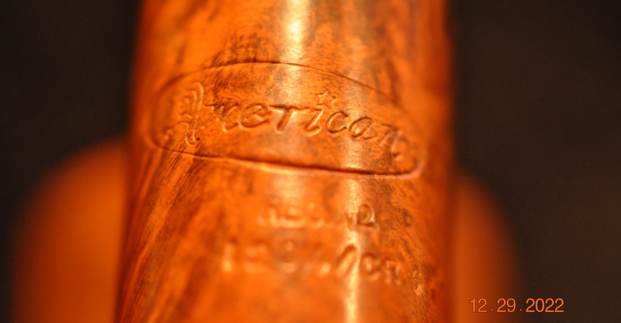
 He also took photos of the stamped name on the left underside of each of the shanks. It reads as noted above.
  Before I started my work on the pipe I turned to Pipephil to see what I could learn about the pair. I knew that Kyrringe was the name of the brand started by Poul Nielsen (later Stanwell) during WWII (http://pipephil.eu/logos/en/logo-k3.html). I did a screen capture of the information there and also included the sidebar information below that.
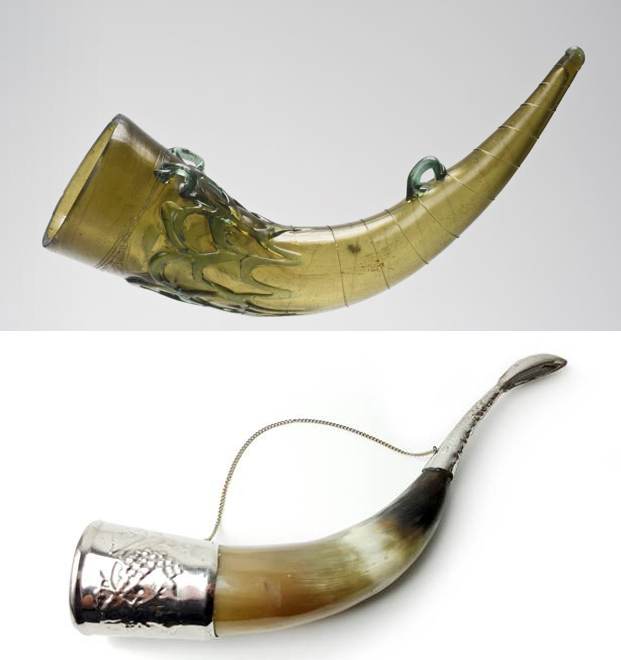
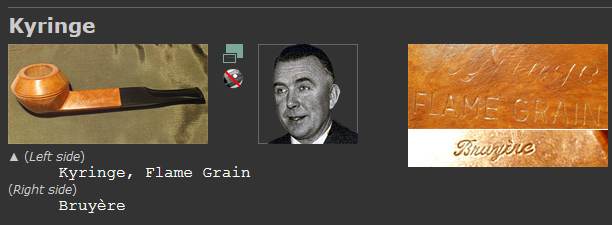 During WWII Poul Nielsen managed the Kyringe company. They made briar and beech wood pipes (see enlarged views). Some few years after the war Poul Nielsen will create the Stanwell brand.
I turned to Pipedia for some more information and was delighted to read the history of the brand that fleshed out the information I had found on Pipephil (https://pipedia.org/wiki/Stanwell). I quote a section of the article below. If you want more information the article is worth reading.
When pipe smokers talk about pipes that are consistently great smokers, exhibit the creative and beautiful designs that exemplify Danish pipemaking and offer the best value in factory produced pipes, they are talking about Stanwell. We hear time and time again, from customers and top pipe makers from around the world, that Stanwell is the best factory produced pipe in the world. Stanwell maintains the most modern pipe making facility in the world and for many years has enjoyed some unique relationships with many legendary Danish pipe makers. In fact, Stanwell occupies a pivotal place in the history of the world-wide popularity of Danish-made pipes. During WWII, Danish pipe smokers could no longer buy the English made briar pipes they preferred to smoke. In 1942, because of the unavailability of English pipes and raw briar, Poul Nielsen began making pipes from beech wood for Danish customers. At the time, Poul was managing a company called Kyringe, which made various wood products.
At the end of the war, briar became available again, so Nielsen began importing his own briar and started making briar pipes to compete with the English manufacturers. It must be remembered that in 1948, England was the single great center for pipe making. Therefore, Nielsen changed the name of his pipes to “Stanwell”, which sounded much more like a proper English name than “Nielsen”. He also created the horse drawn carriage logo for its English connotations. He later changed his own last name from Nielsen to Stanwell, a testament to his devotion to the pipes he made. Stanwell’s relationships with Danish pipe makers goes back to Sixten Ivarsson, who is considered the originator of modern Danish pipe making. Ivarsson was commissioned to design Stanwell shapes. In 1969, the factory was moved a town called Borup, just outside of Copenhagen to be closer to Ivarsson.
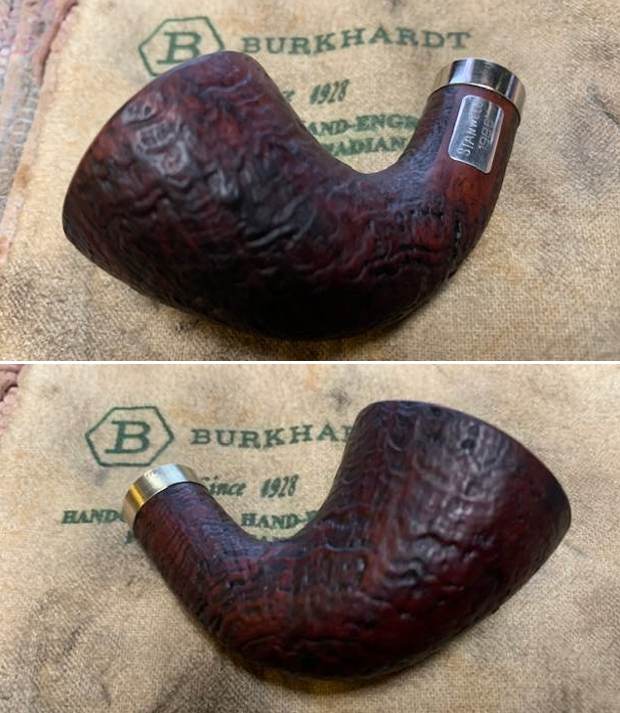
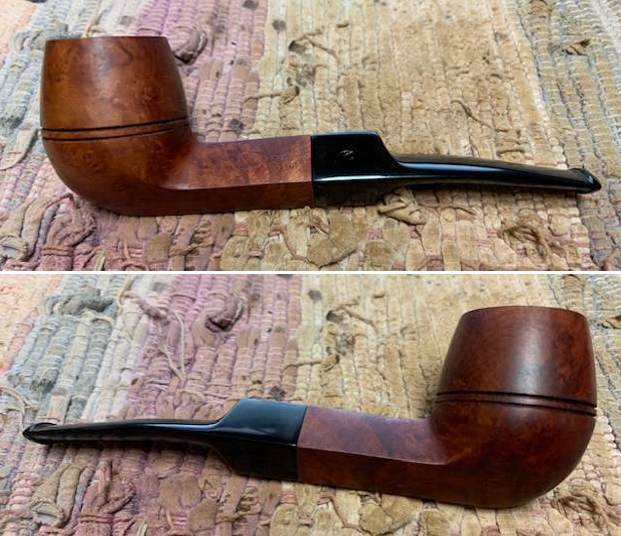
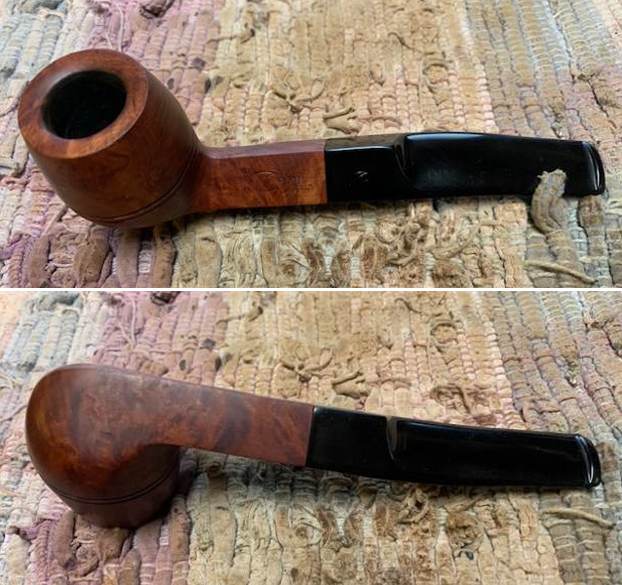
I am also including several photos of the original pair of pipes that were released under the Kyrringe name. They are very similar to the pair that I am working on which were released to honour those early days on the 65th Anniversary of Stanwell.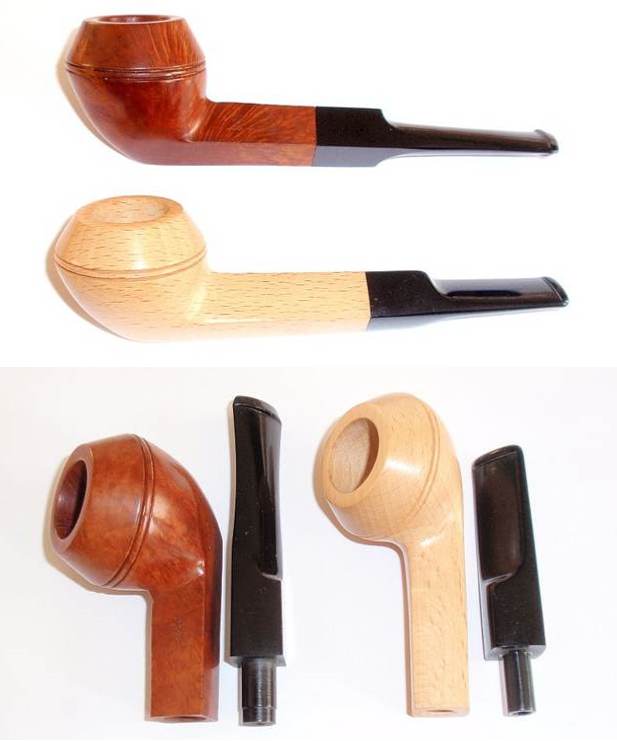 I followed the Google trail further and found a great description of the set that I had in hand on Smokingpipes.com. It described and the pipes and the foundation information on these pipes and their history in the early life of Stanwell and Poul Nielsen during WWII. Here is the link (https://www.smokingpipes.com/pipes/estate/denmark/moreinfo.cfm?product_id=255998). I quote:
These two-pipe sets were made in 2007 to celebrate the 65th anniversary of Stanwell. Stanwell began as Kyringe, a manufacturer of various goods from beech. Given the unavailability of briar during the Second World War, Poul Nielsen, founder of Stanwell, made pipes from beech wood. This, the ’01’, was the very first Stanwell (then Kyringe) shape. It was later redesigned and became the ’32’, but the original version of the shape is presented in this two pipe set, with one from briar and one from beech.
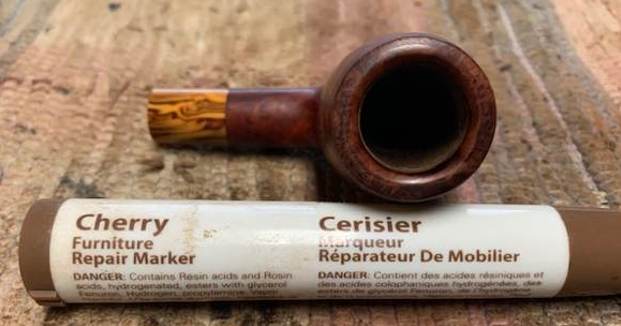
It’s nice to see one of these sets again. We had just two of them when they came out in 2007 and they left our shelves immediately; they were pretty limited as I recall. – Sykes Wilford  Jeff cleaned up the pipe for me. He reamed the bowl with a PipNet pipe reamer and cleaned it up with a Savinelli Fitsall Pipe Knife. He scrubbed the exterior with Murphy’s Oil Soap and a tooth brush to clean off the grime off the finish and the heavy overflow of lava on the rim top. The cleaning had removed some of the black stain on the rim top. He cleaned up the internals of the shank, mortise and stem with pipe cleaners, cotton swabs and alcohol to remove all of the oils and tars in the pipe. He soaked the stem in Before & After Deoxidizer and was able to remove much of the oxidation. When it arrived here in Vancouver it was a clean pipe and I knew what I had to work with. I took photos of it before I started my part of the restoration.
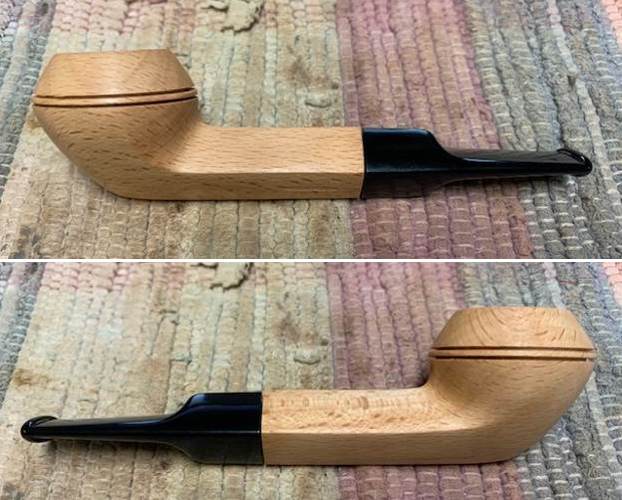
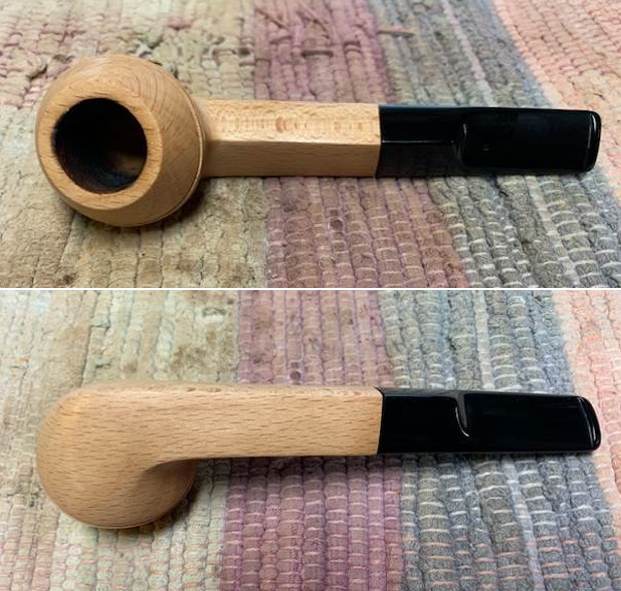
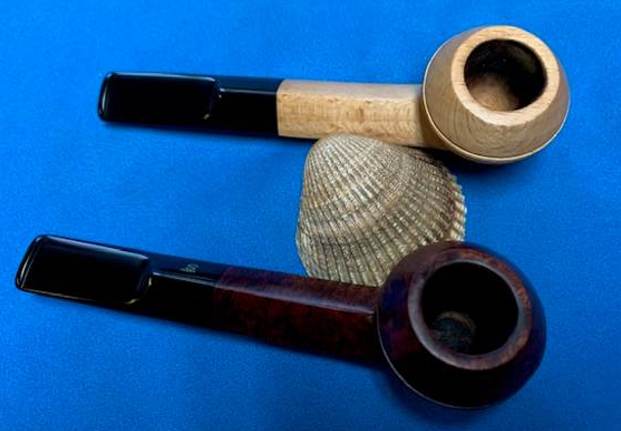
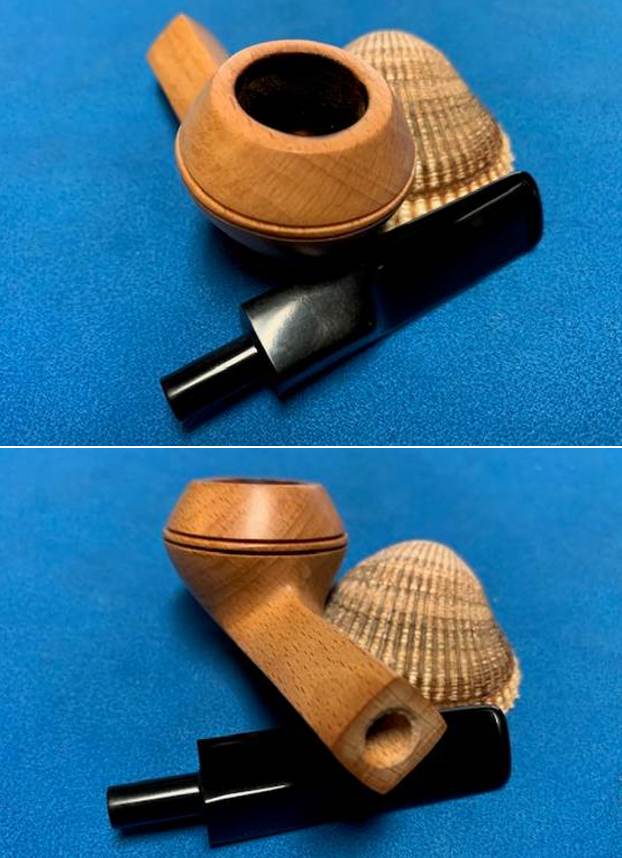
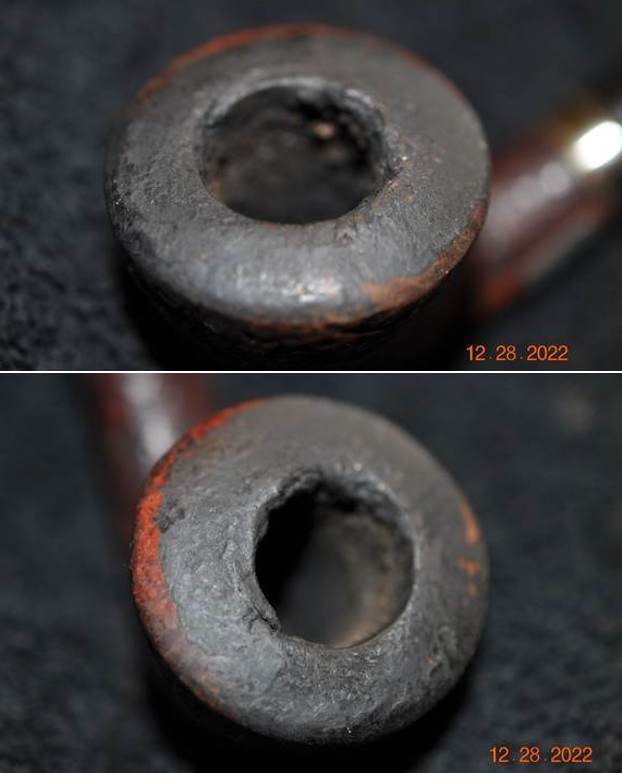
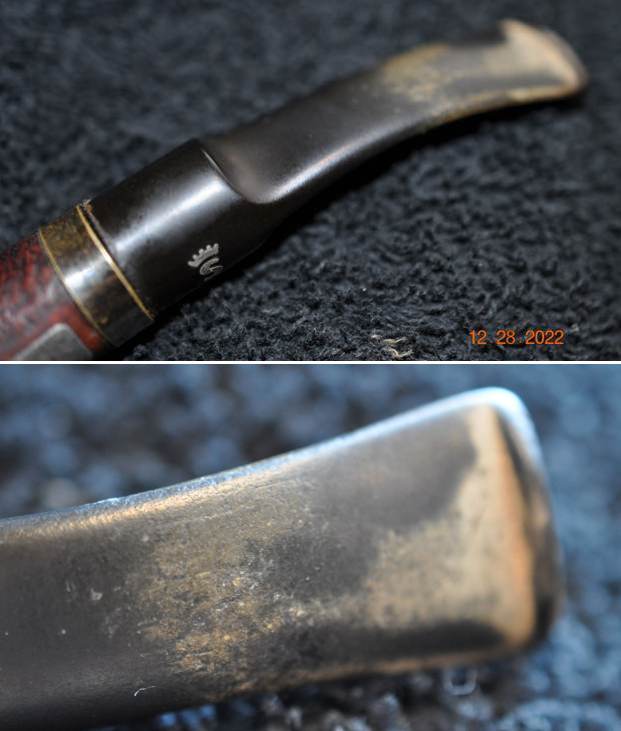
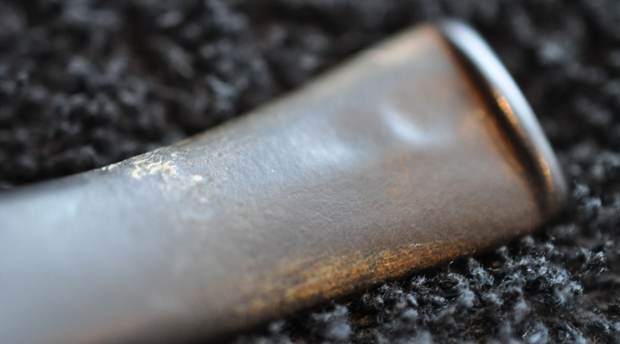
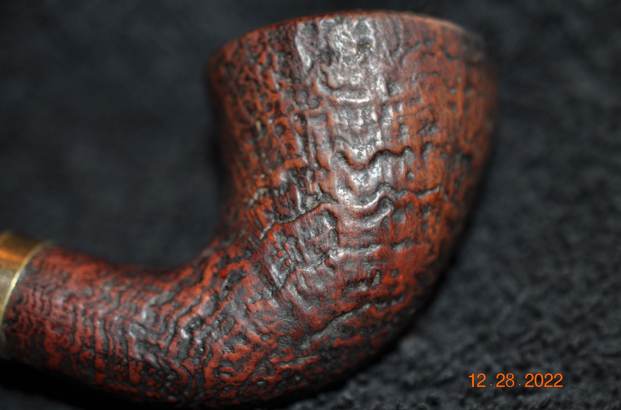
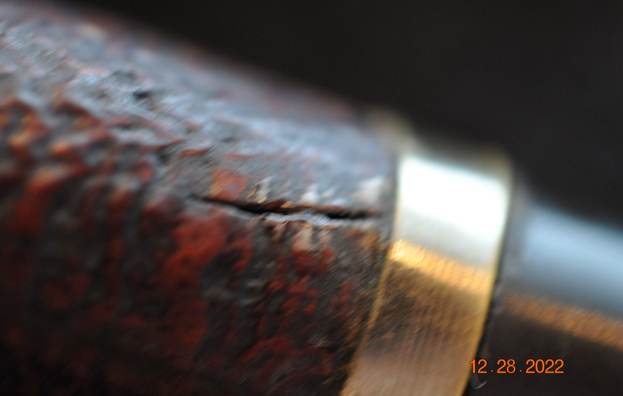
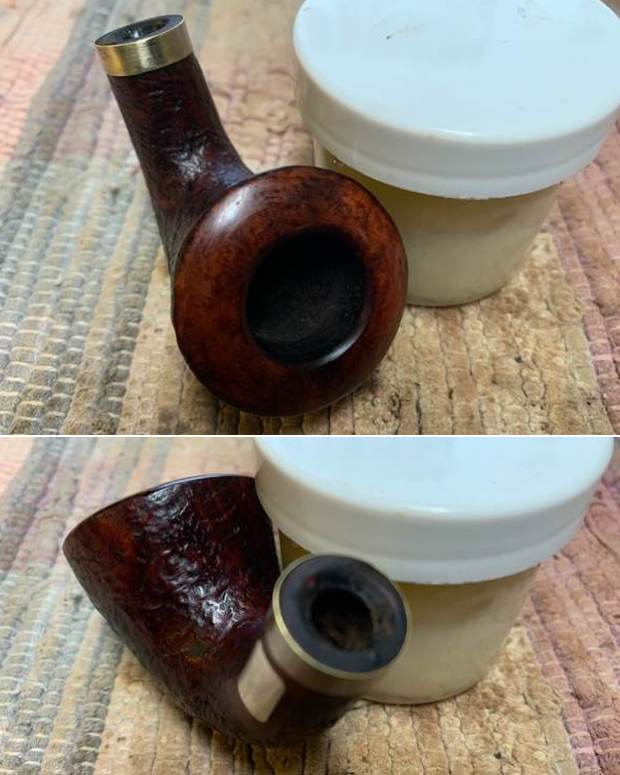
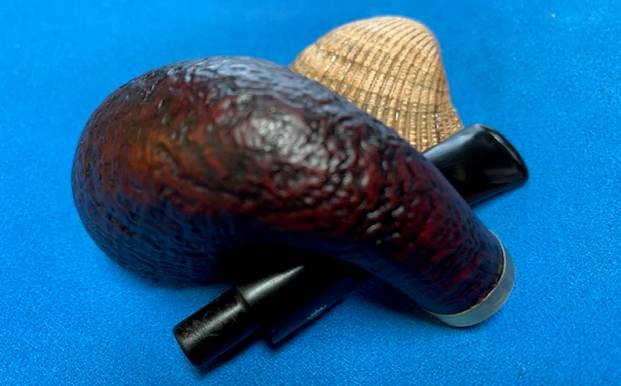
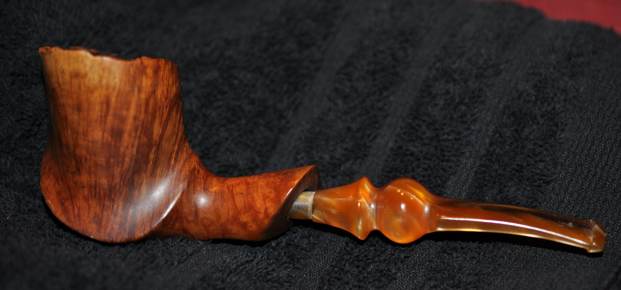
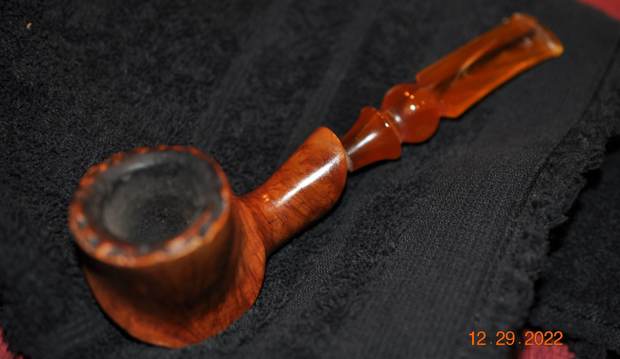
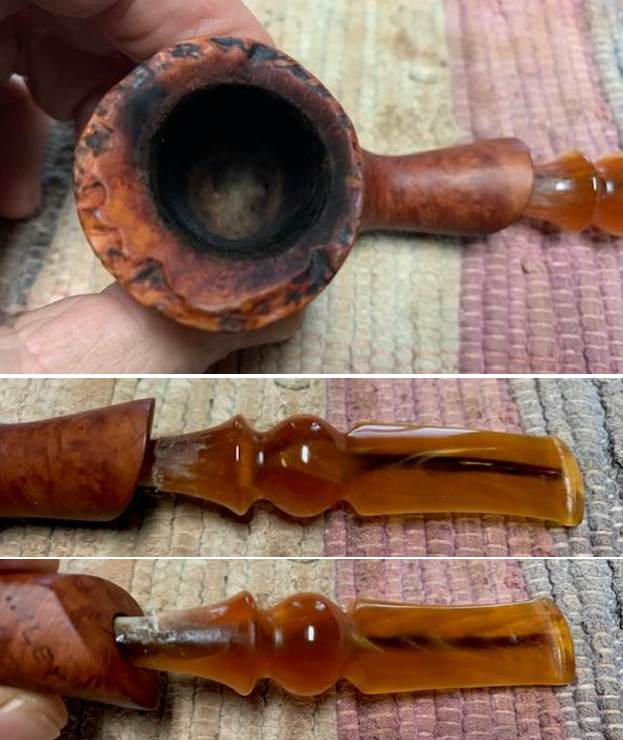
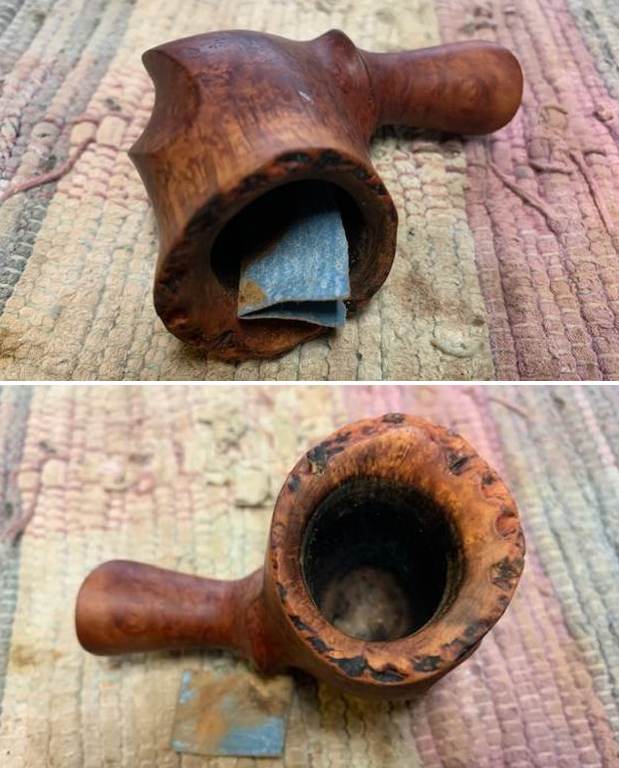
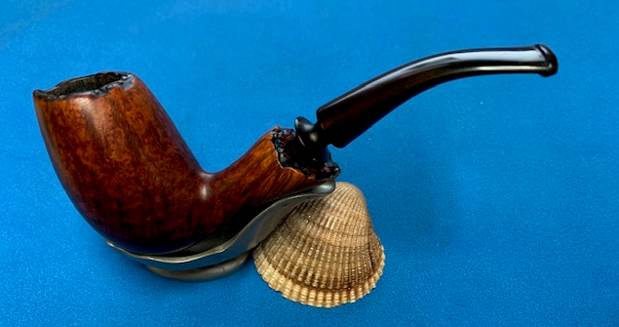
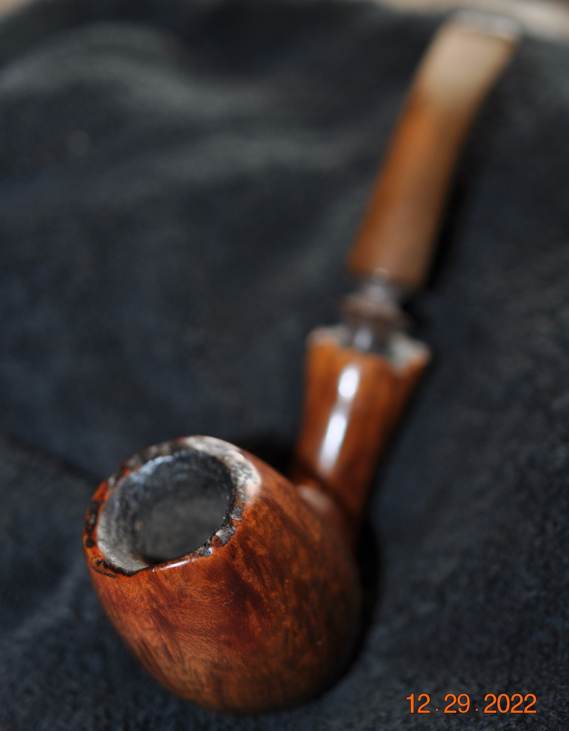
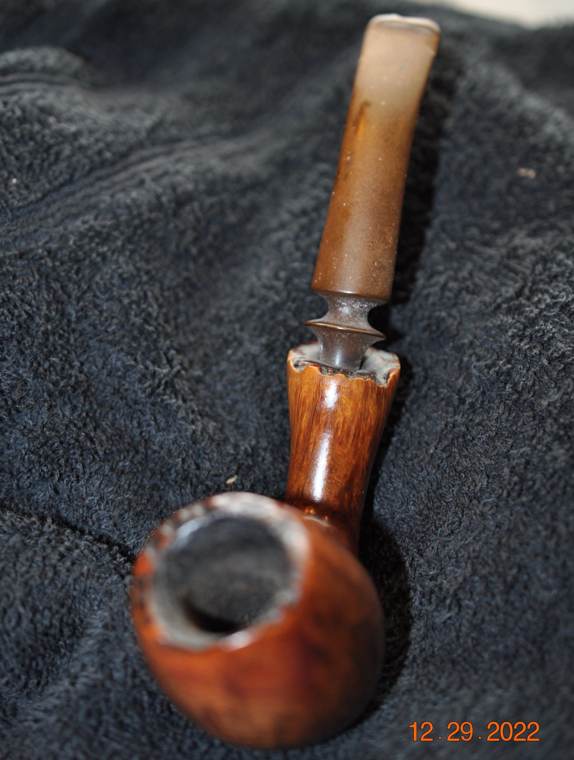
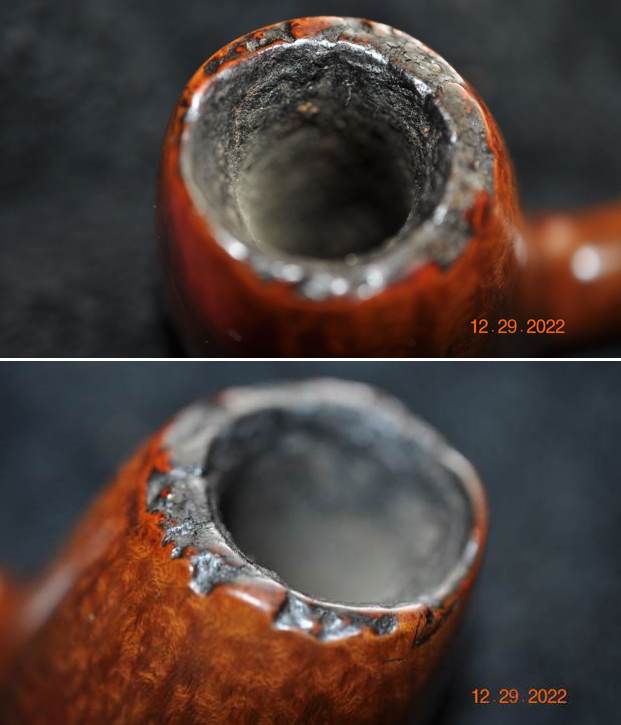
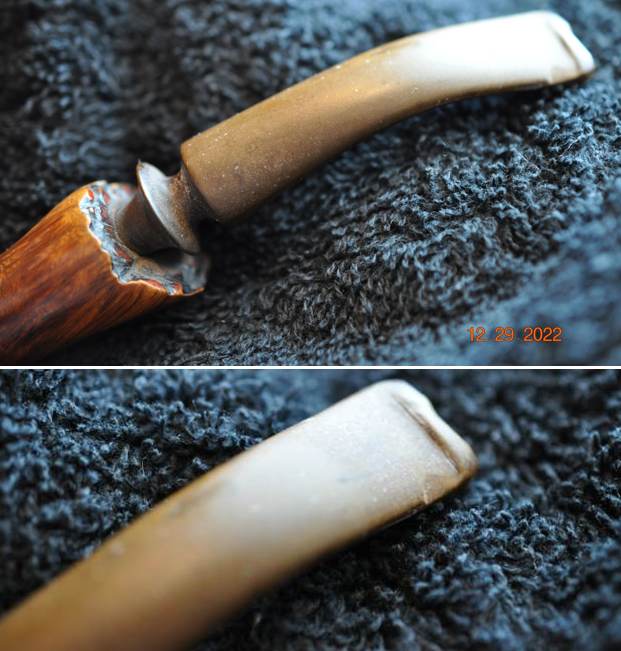
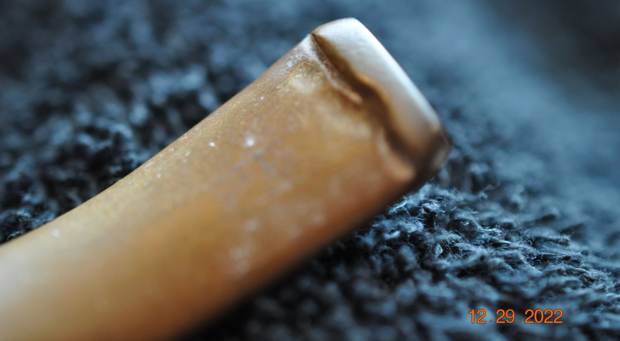
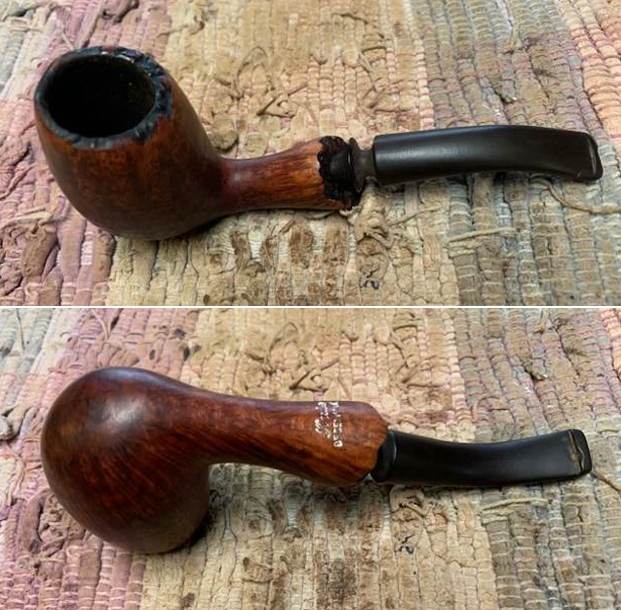
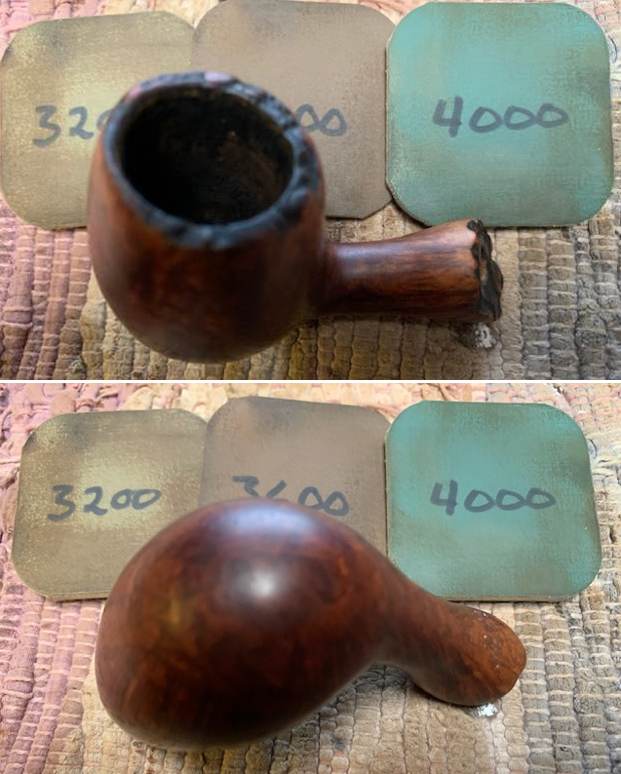
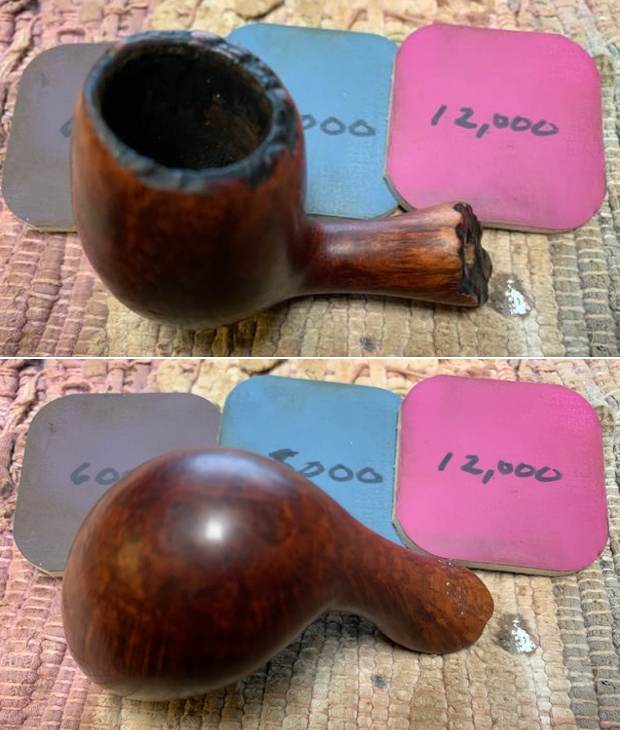
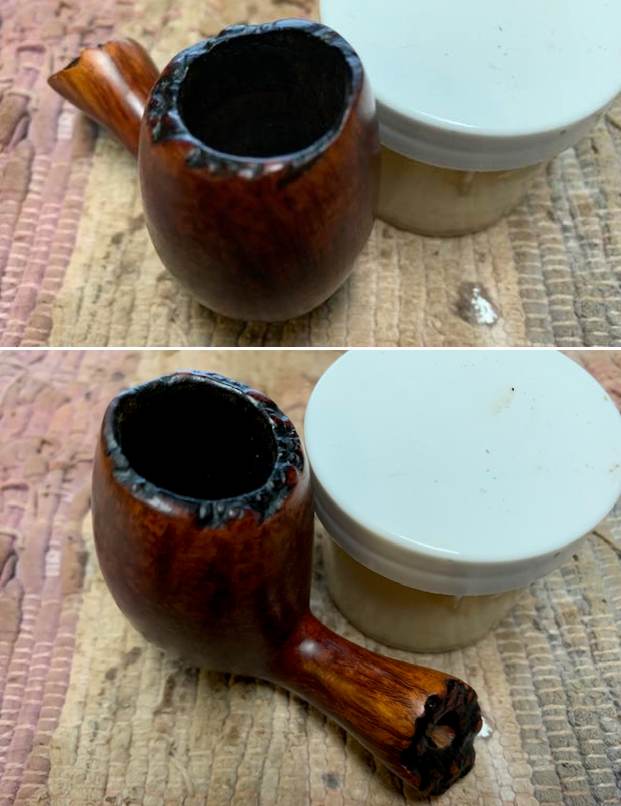
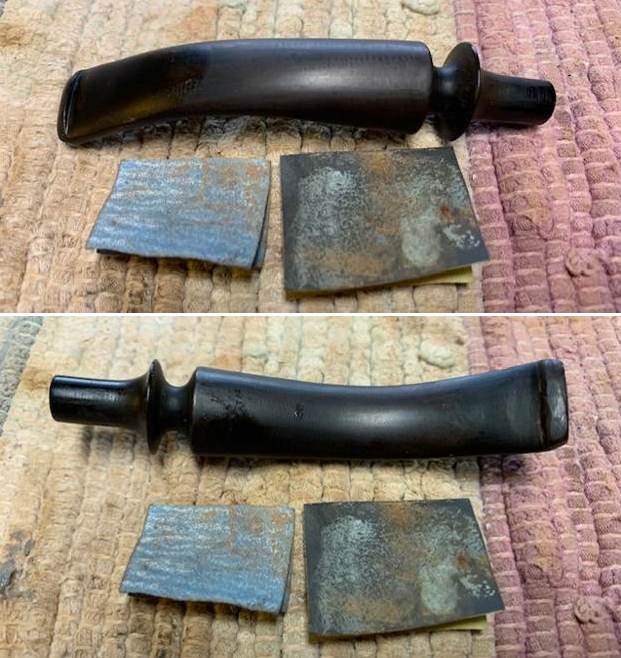
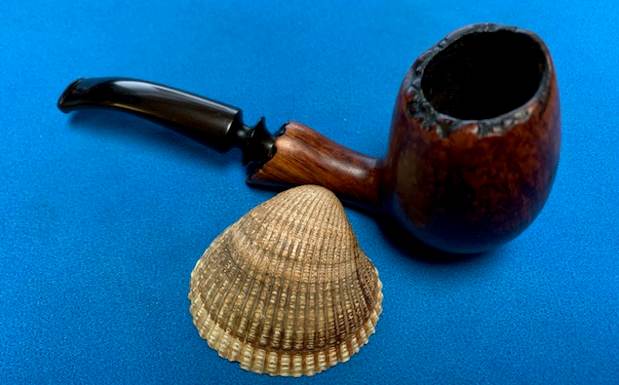
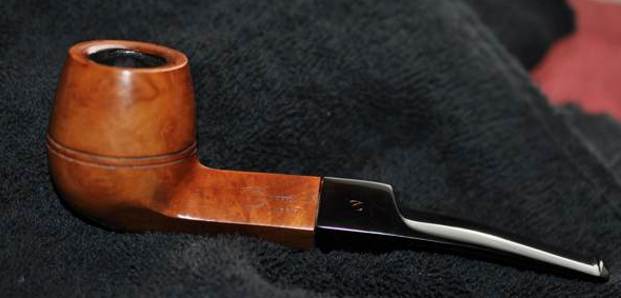
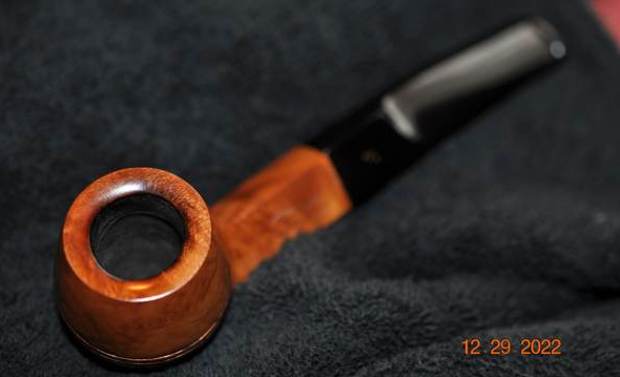
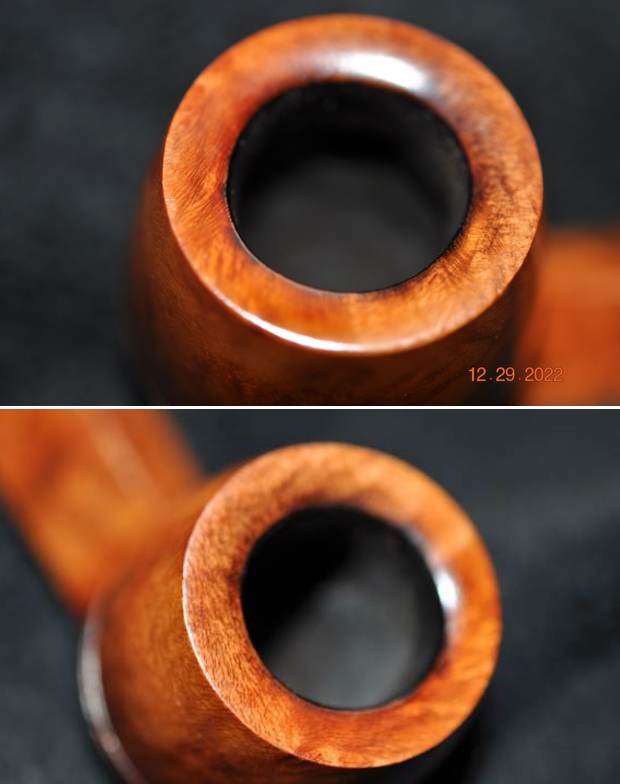
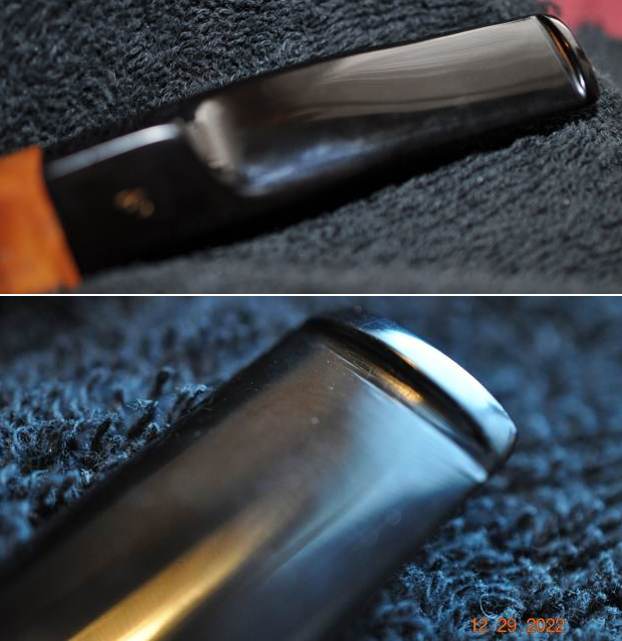
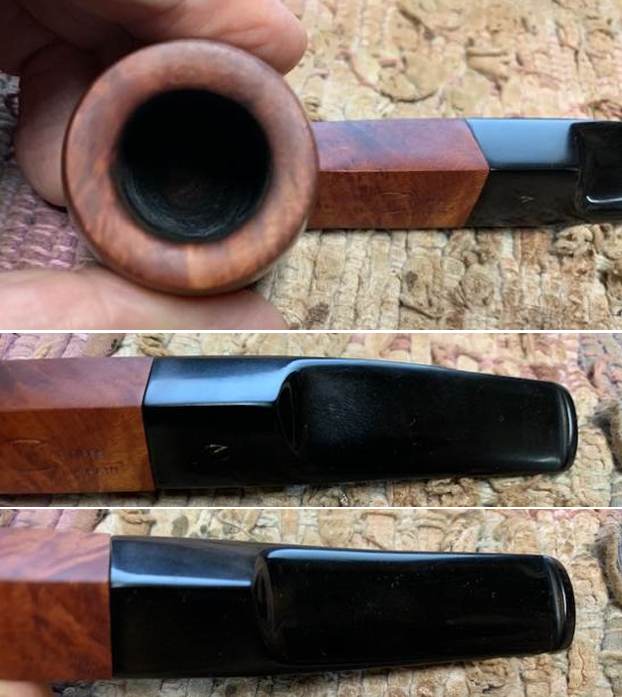
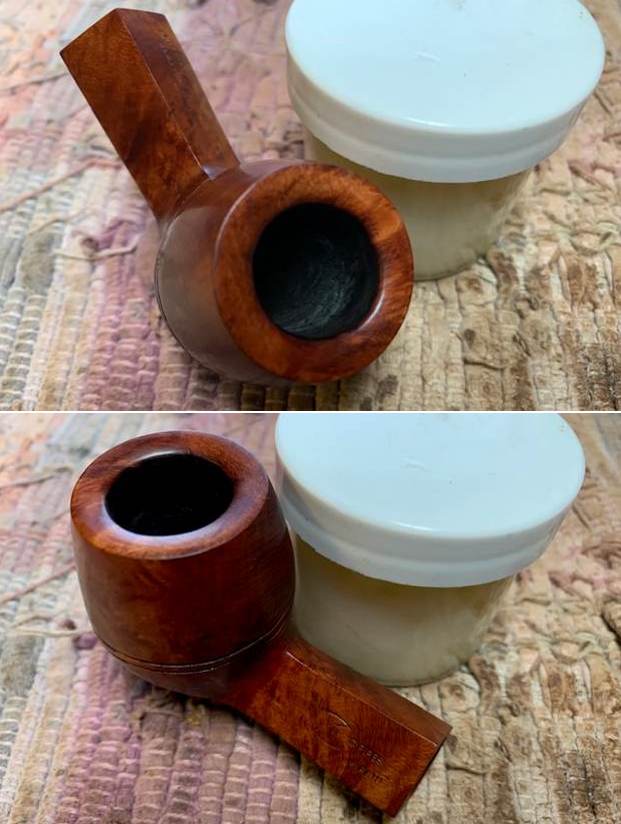
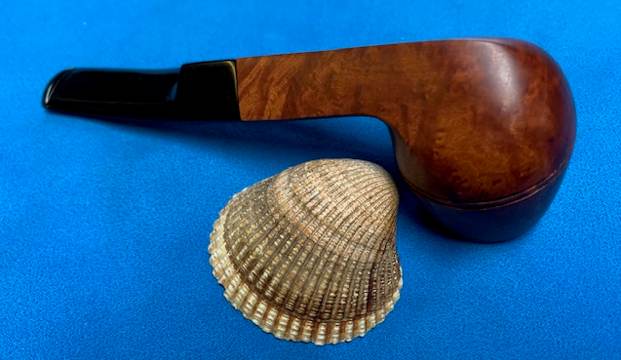
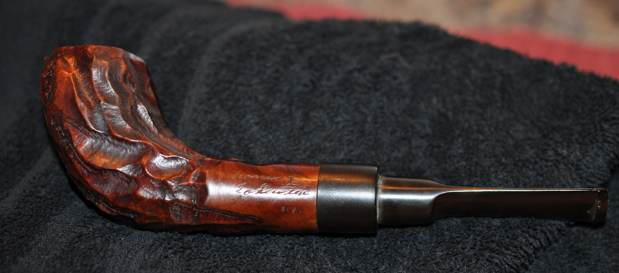
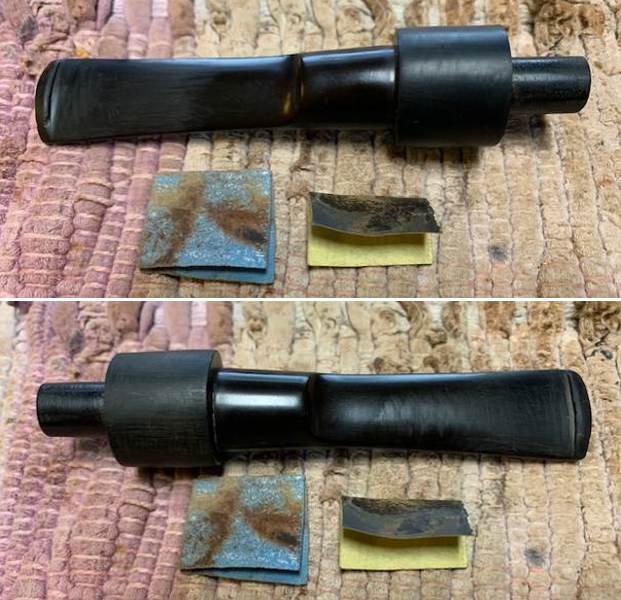
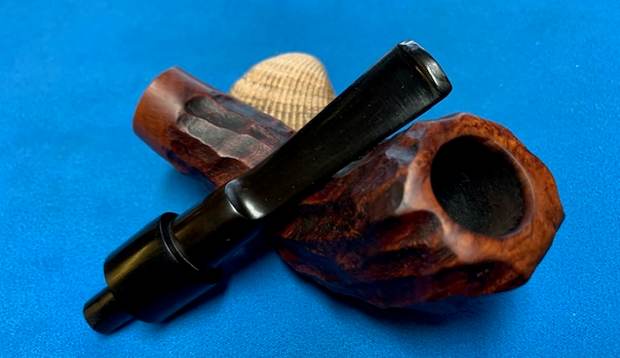
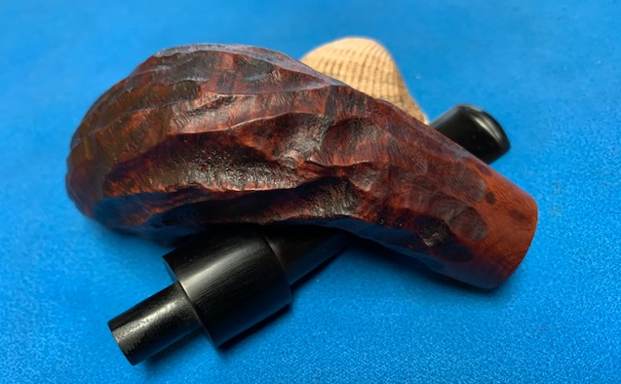
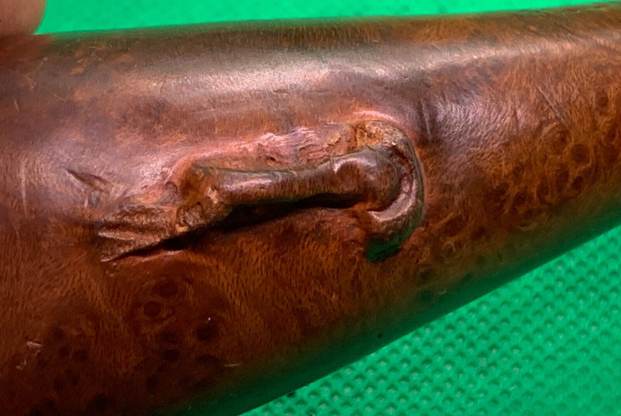
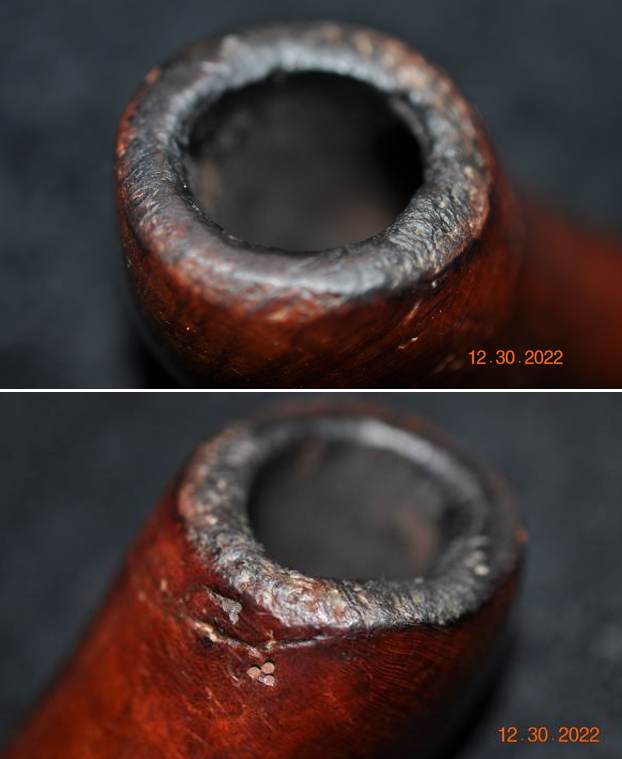
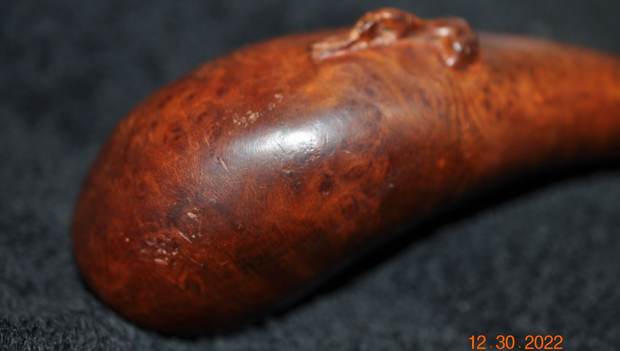
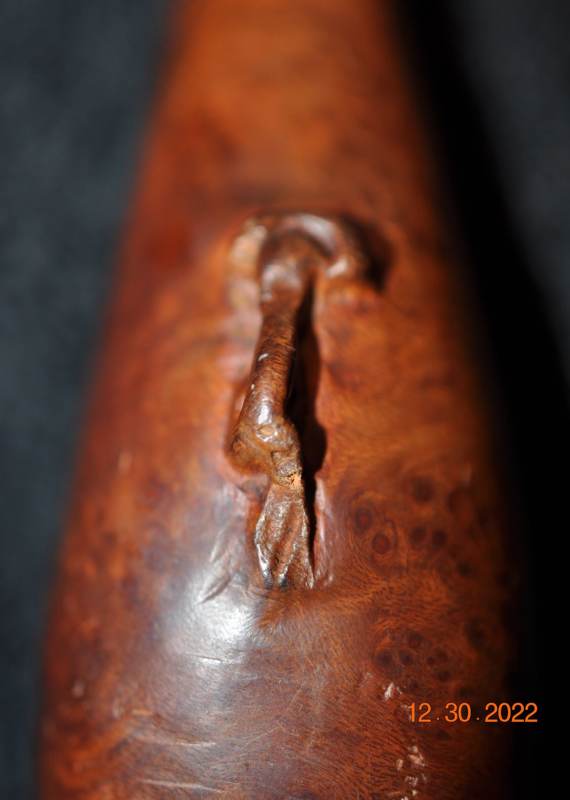
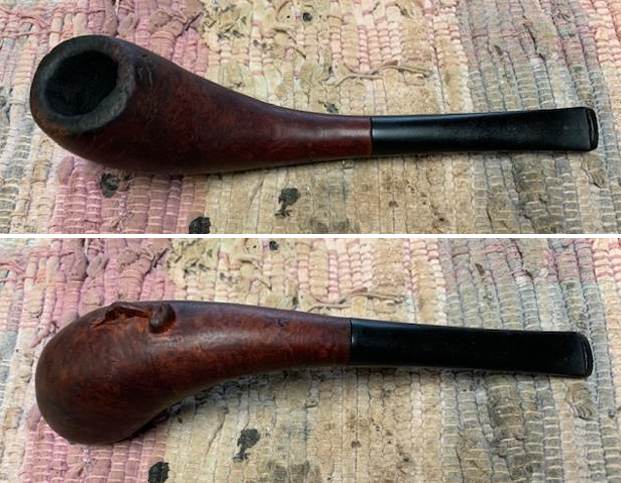
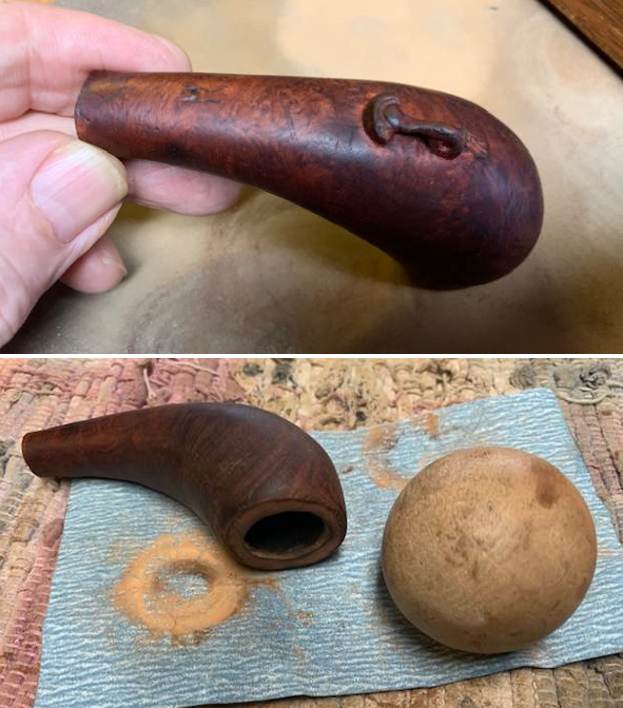
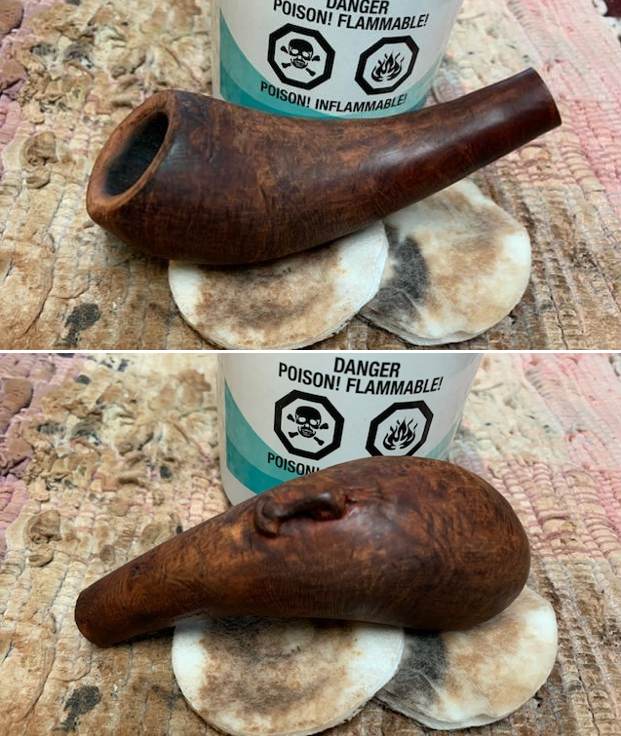
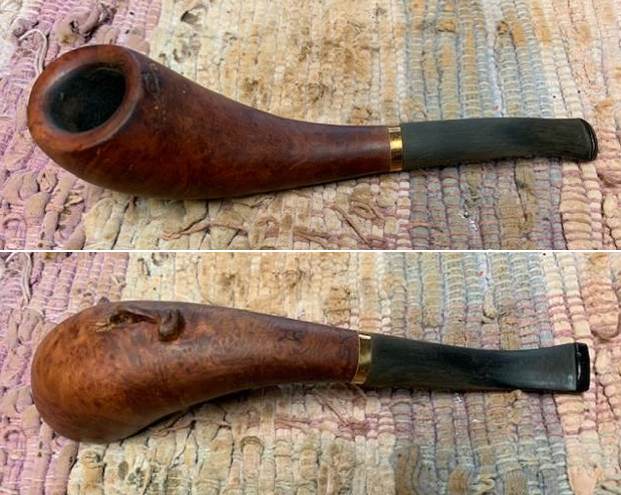
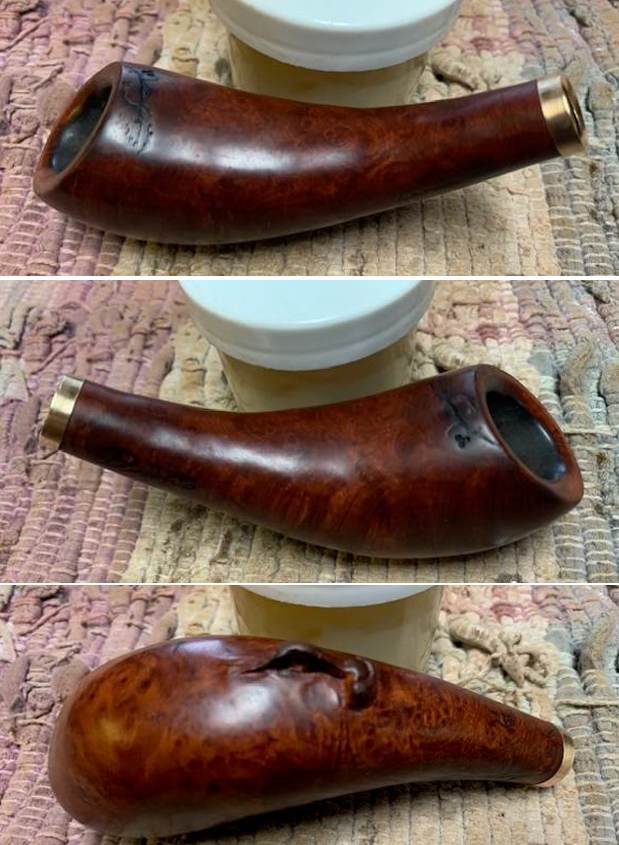
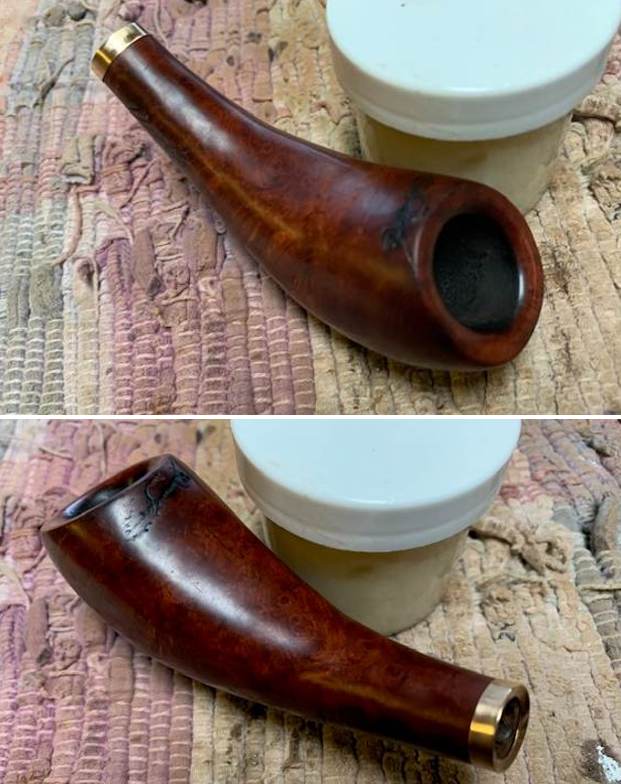
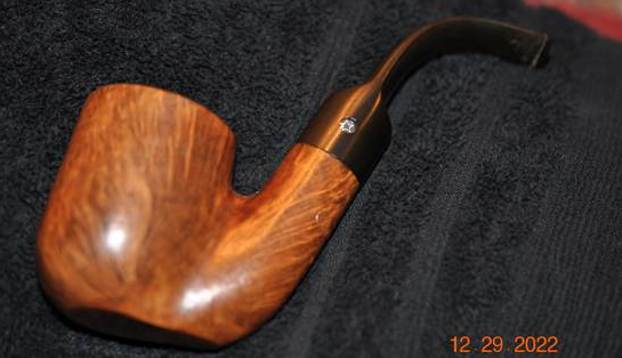
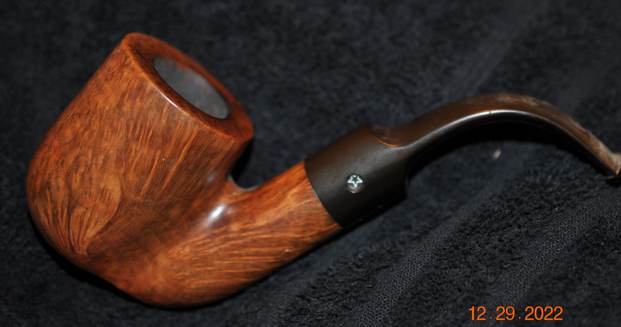
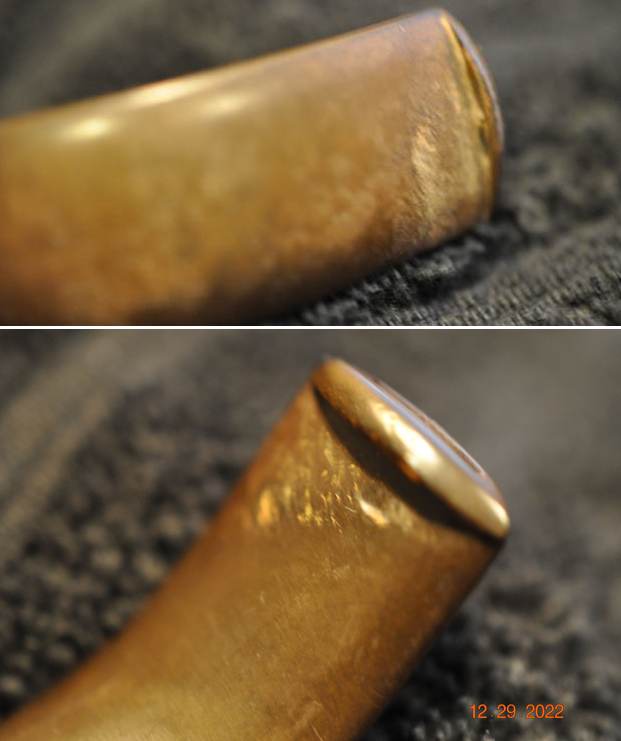
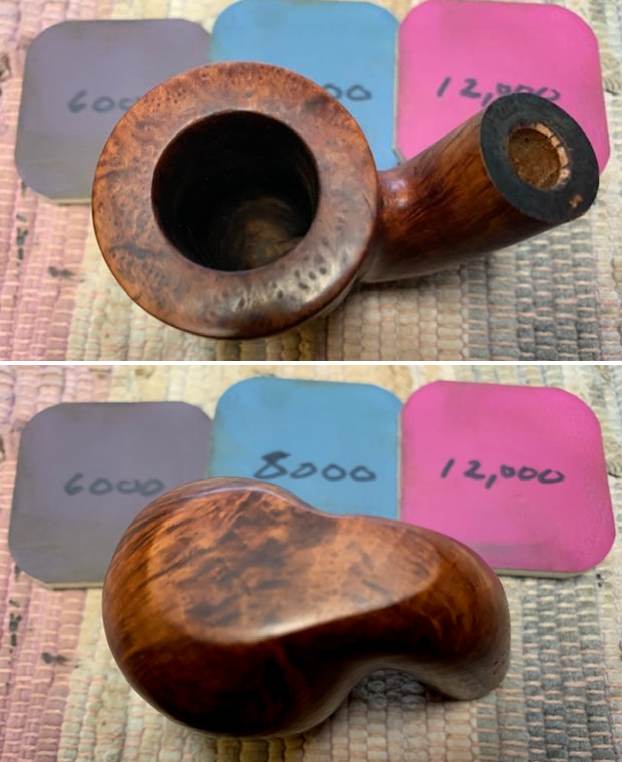
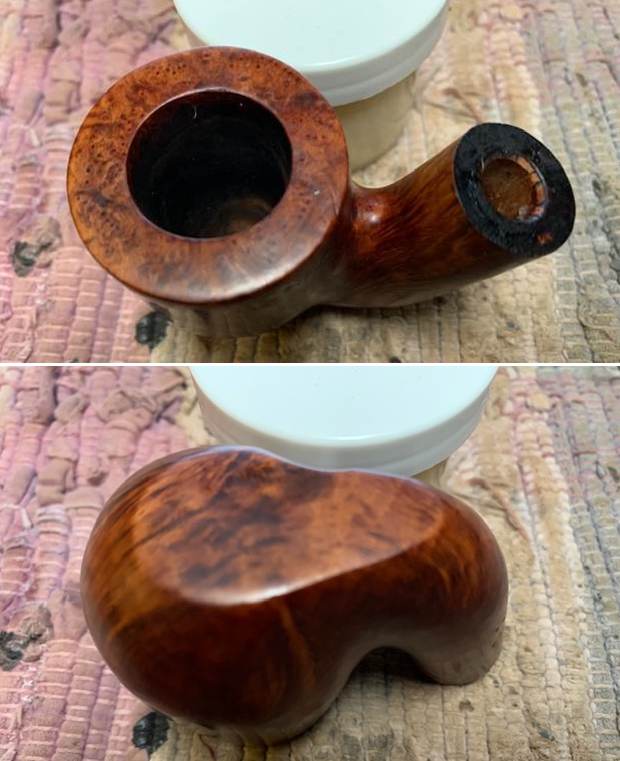
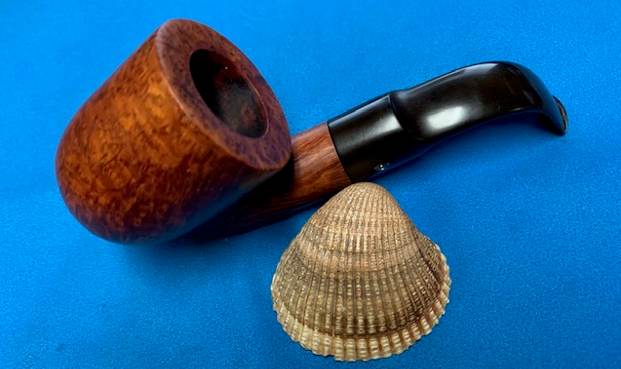
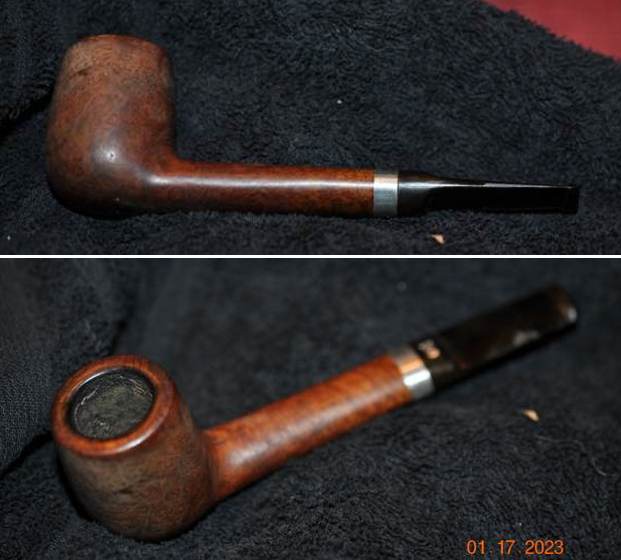
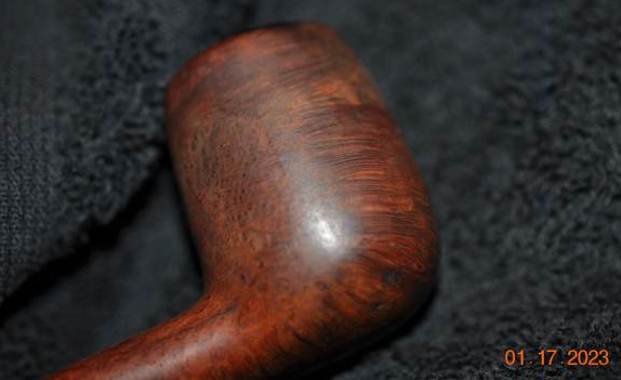
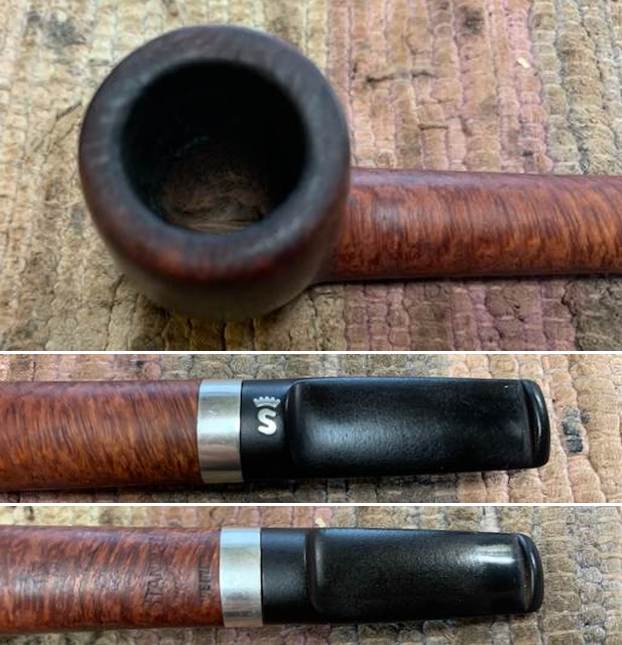
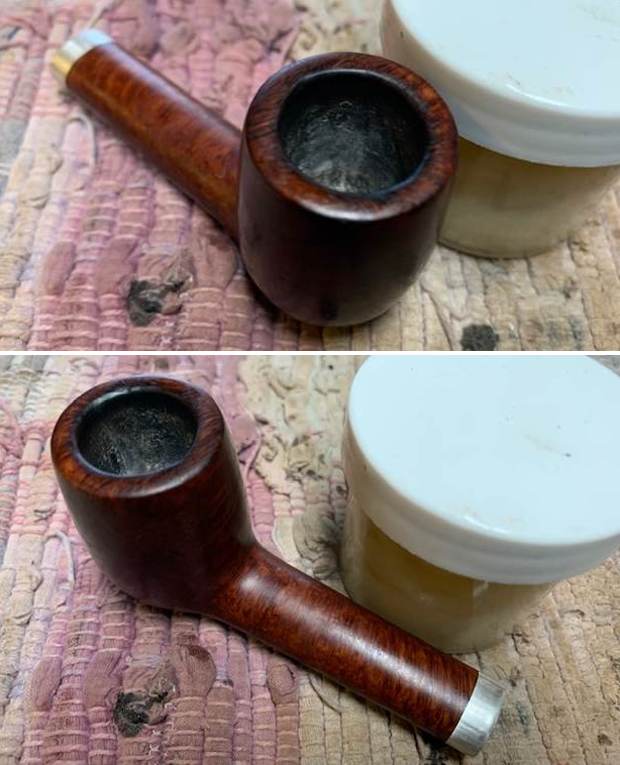
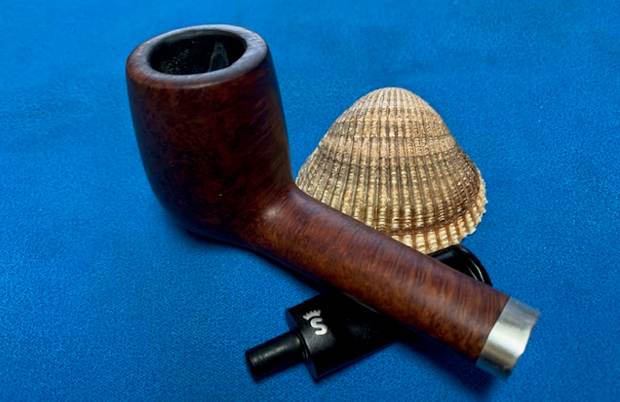
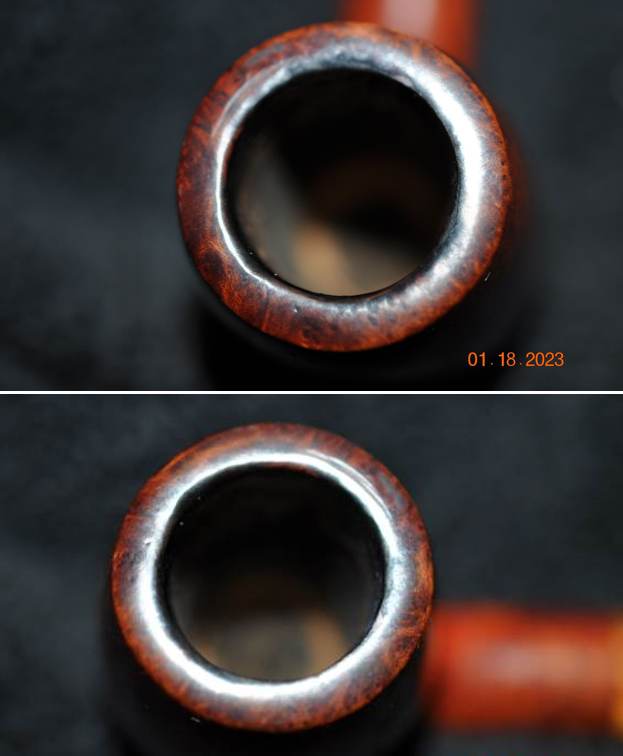
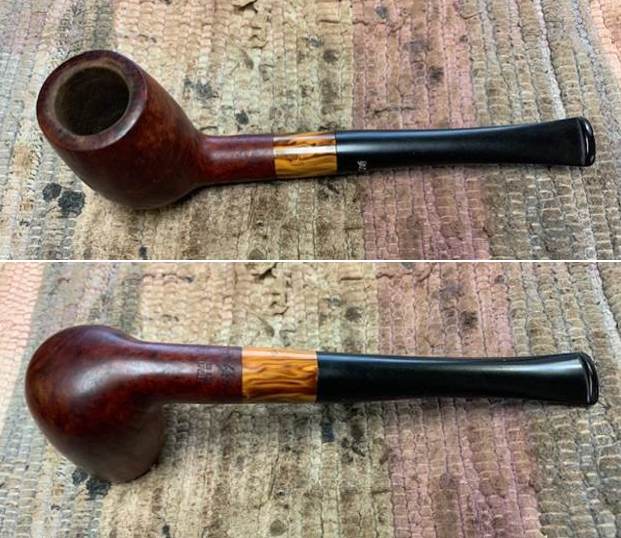
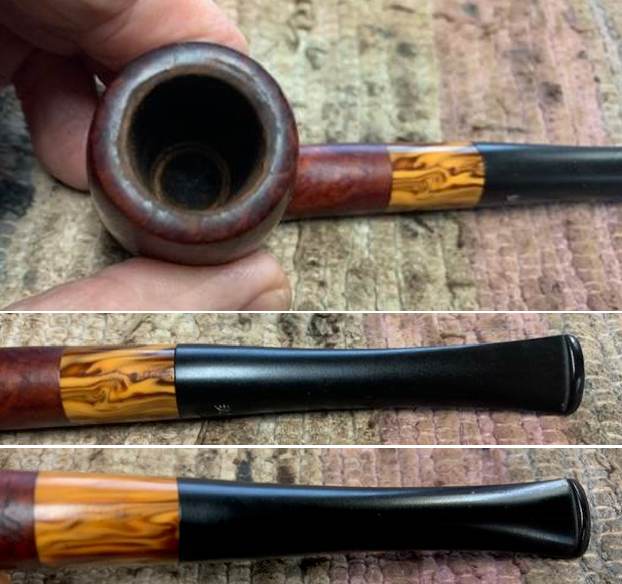
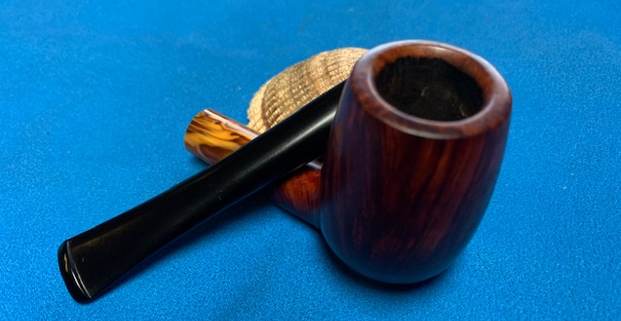
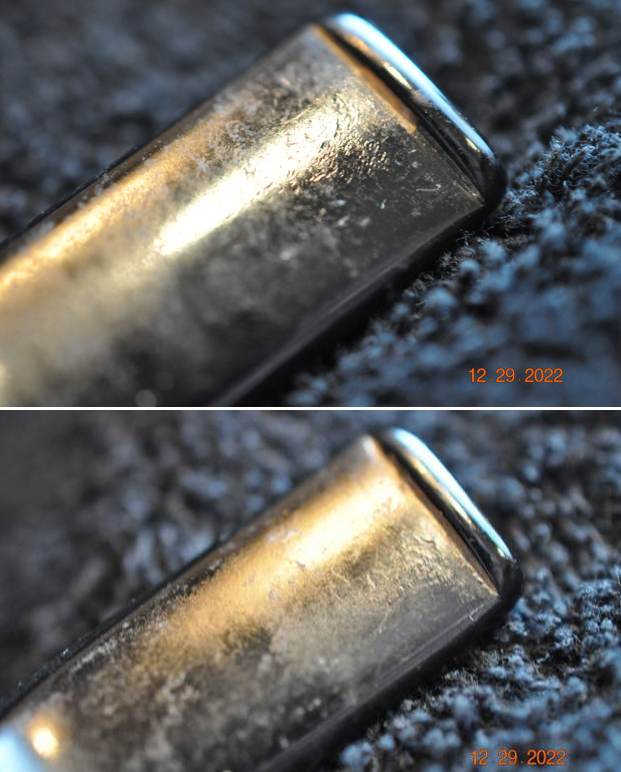
 I took photos of the rim top and the stem to show their condition once it arrived in Canada. Jeff was able to clean up the Beechwood pipe and it looked very good. He also was able to remove the thick cake and lava overflow that was shown in the rim and bowl photos of the Briar bowl above. Both pipes cleaned up very well but had some damage on the inner edge of the rim. The stem looked better on both pipes as can be seen in the photos below. There were tooth marks and chatter on both sides near the button on both pipes.
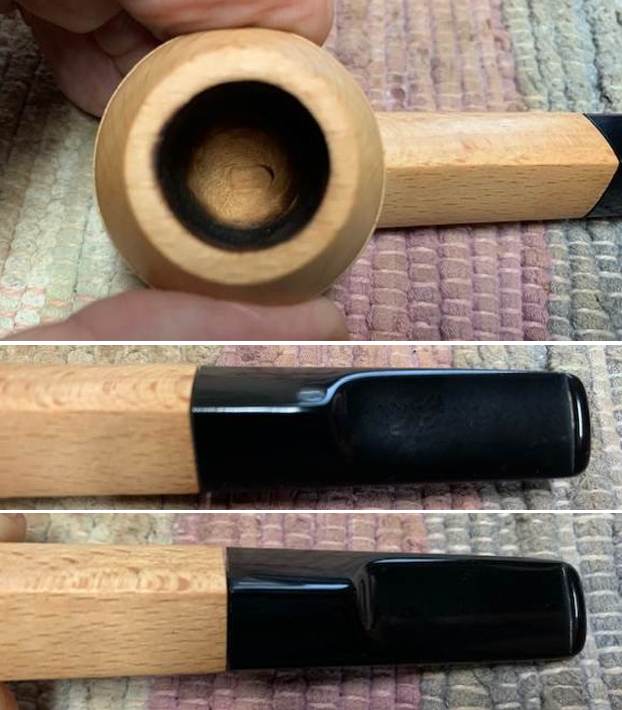
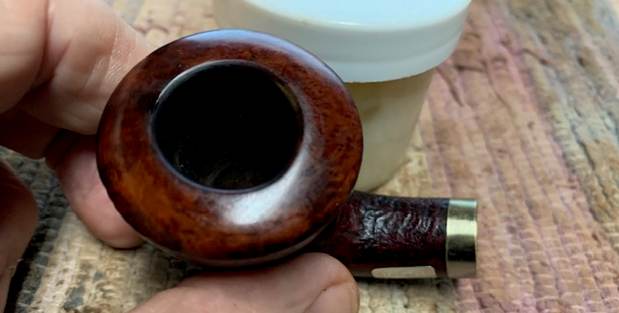
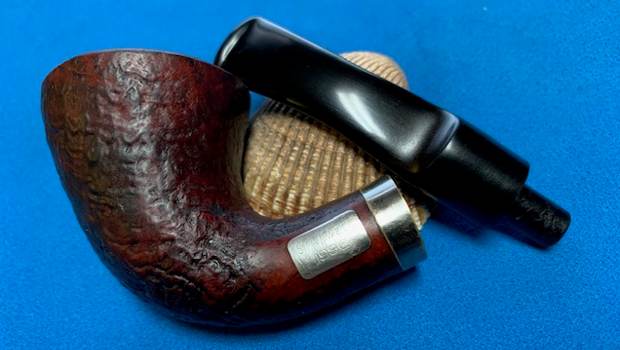
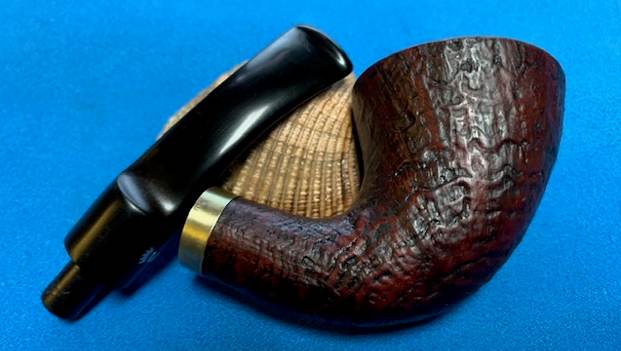
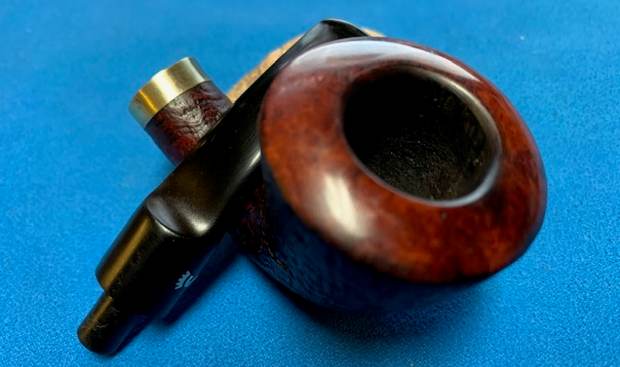
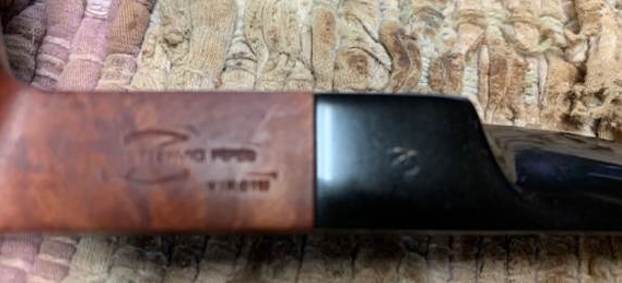
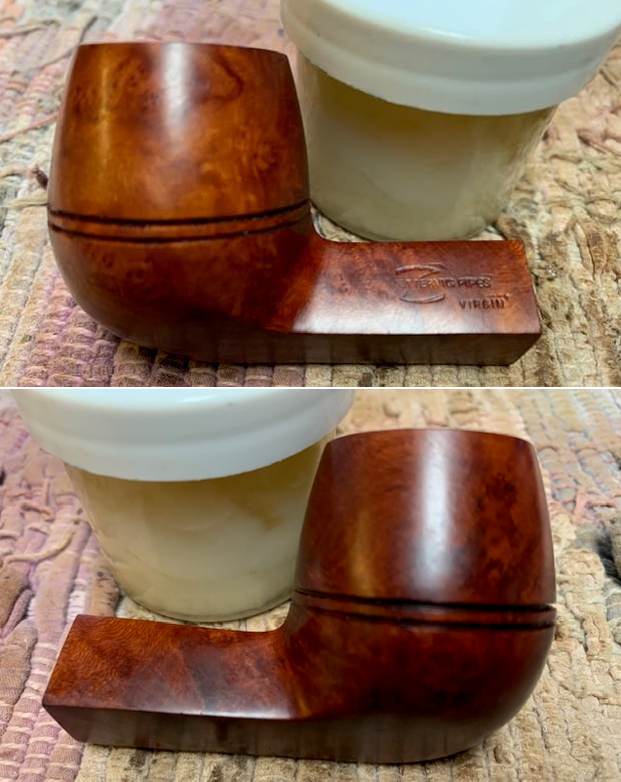
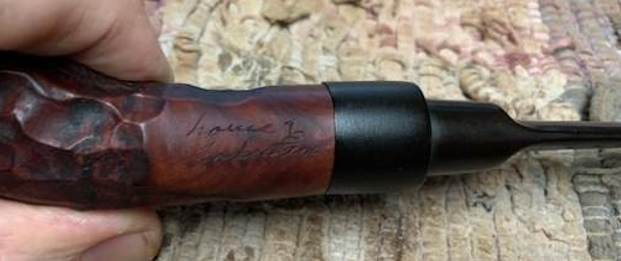
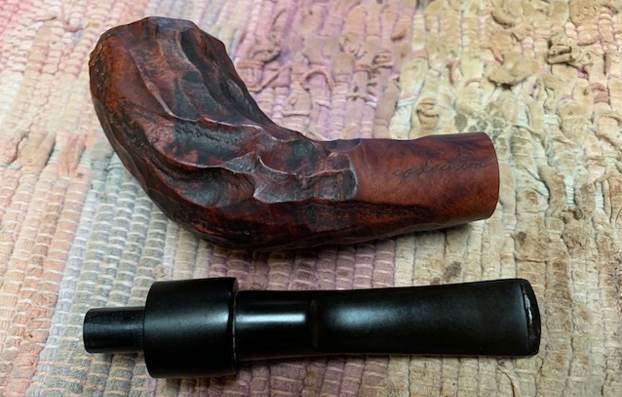
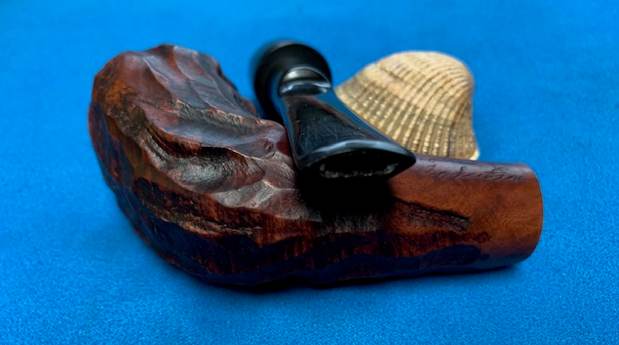
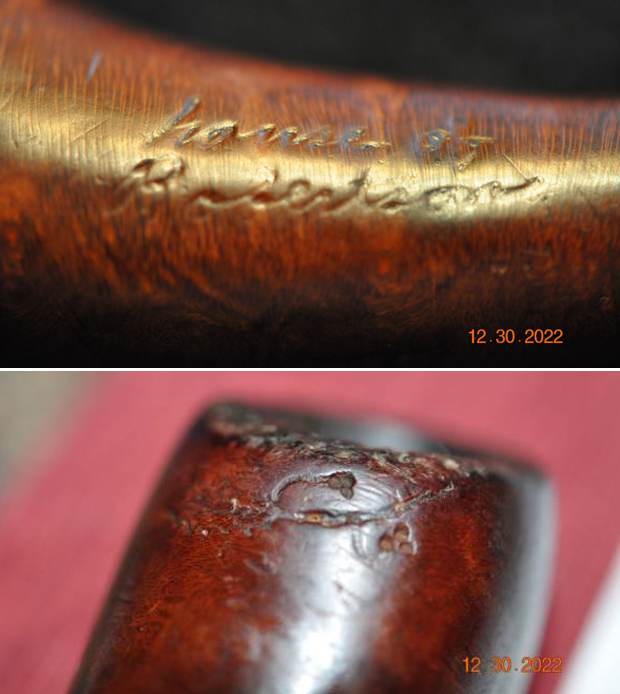
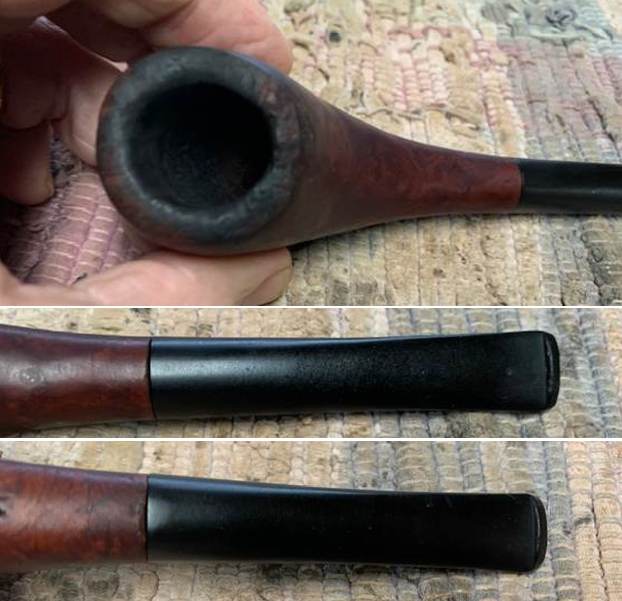
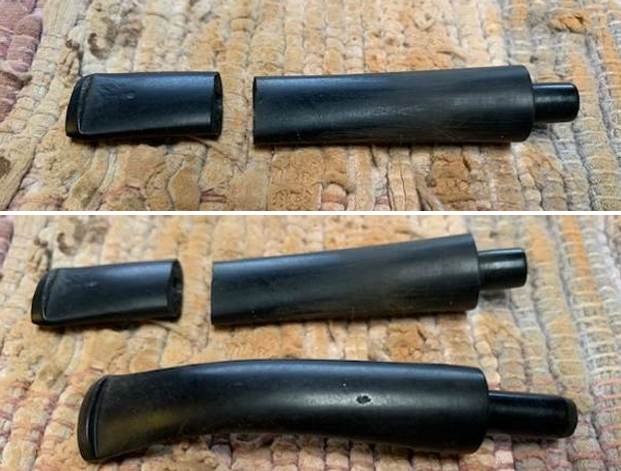
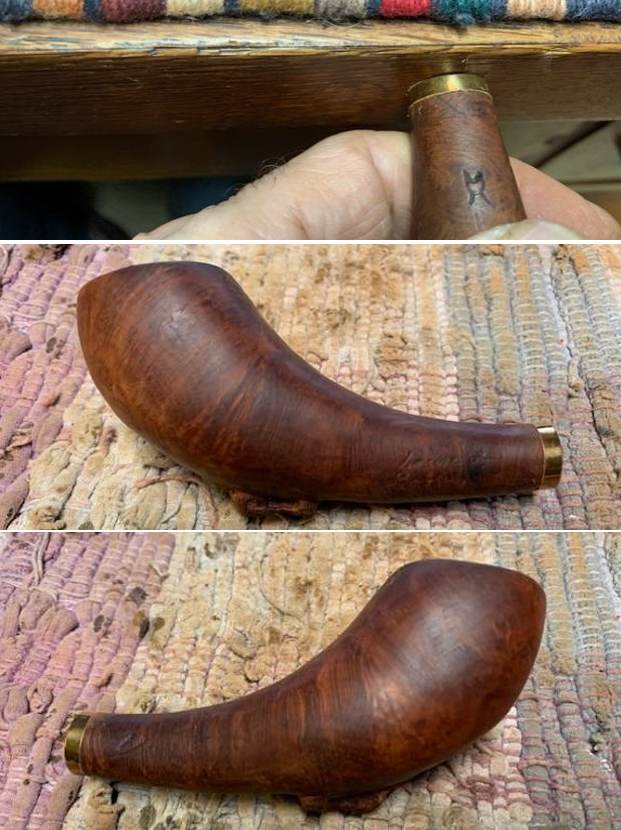
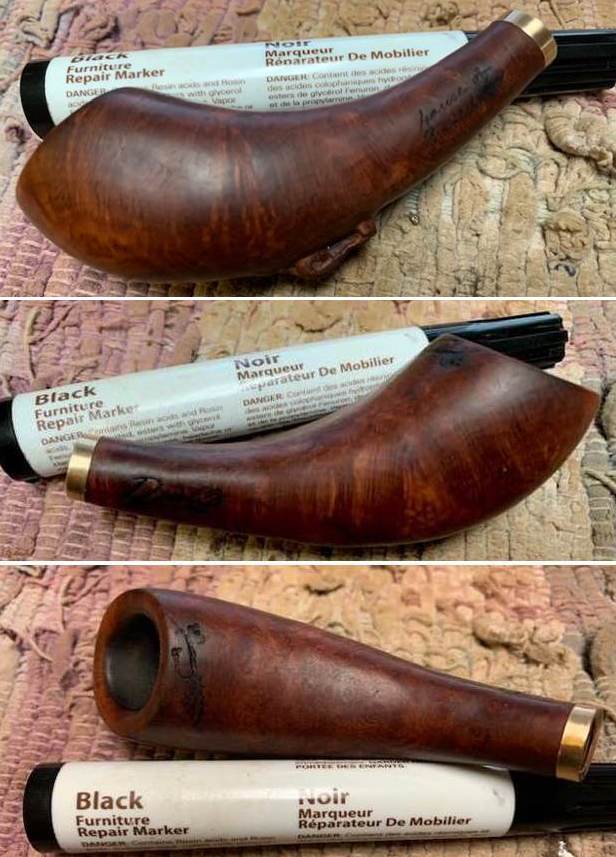
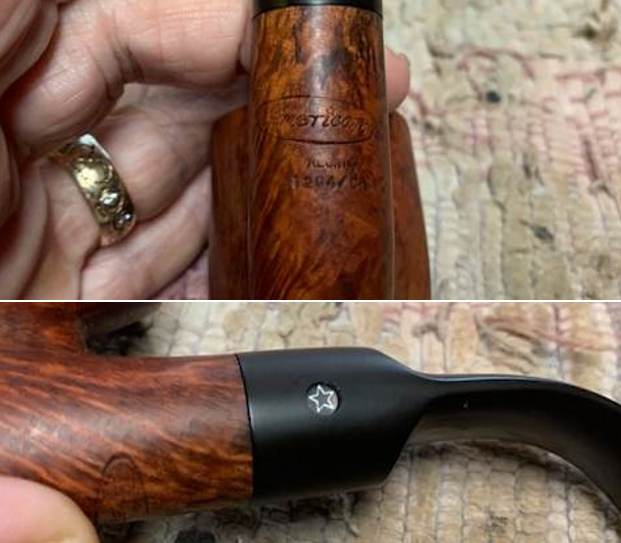
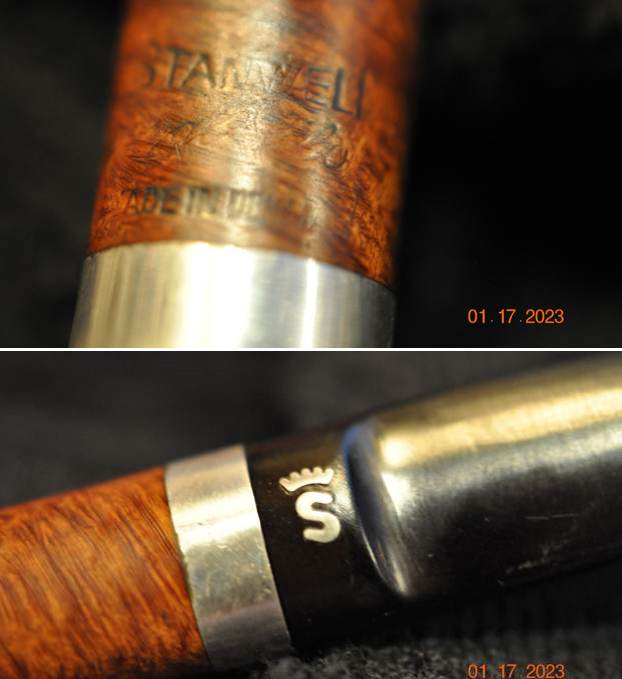
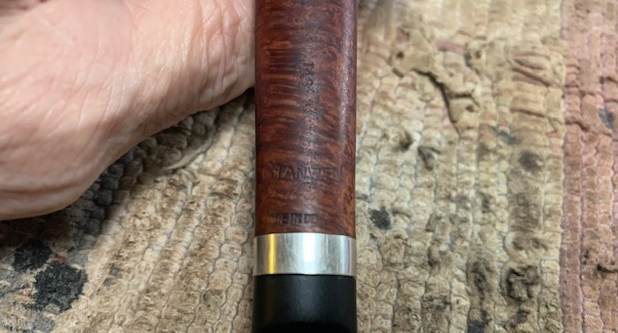
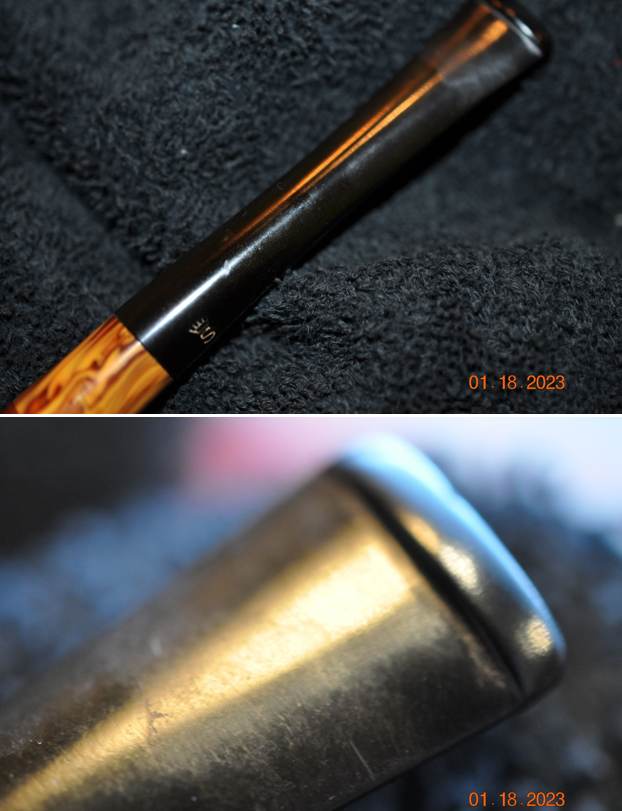
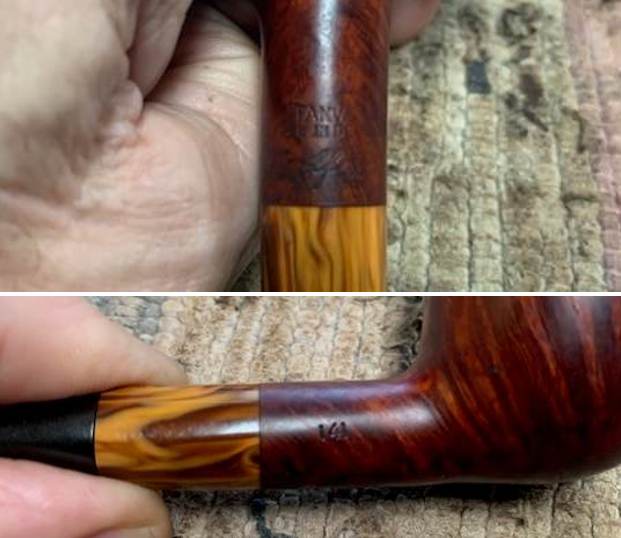
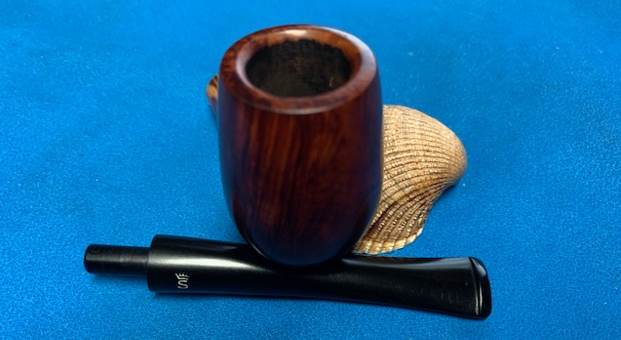
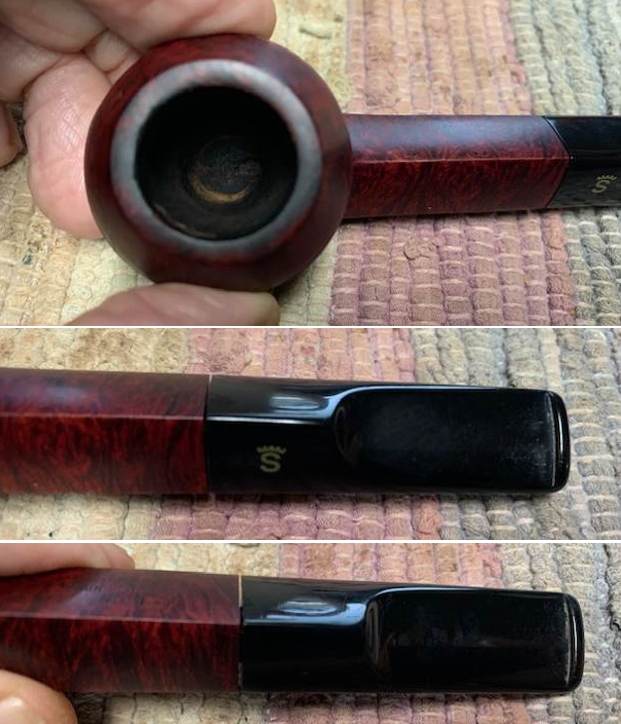 I took a photo of the stamping on the left underside of the diamond shank of both pipes to show that it was readable and undamaged by the cleanup work.
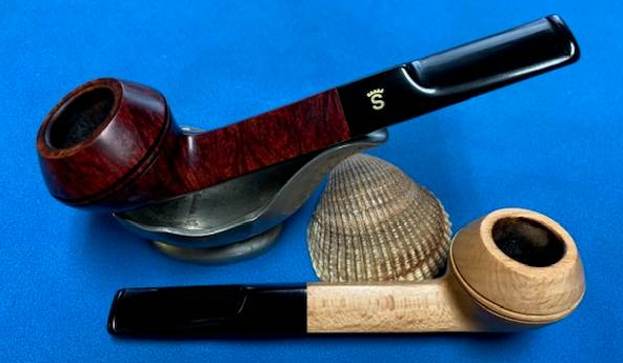
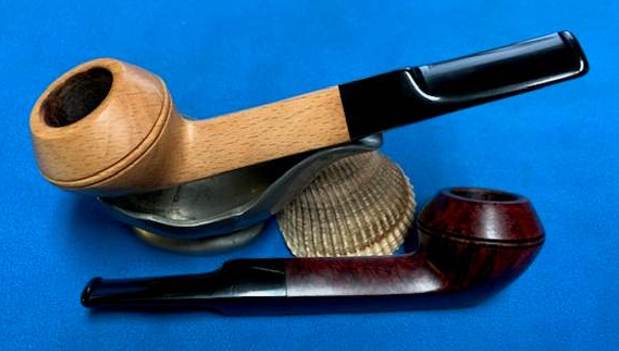
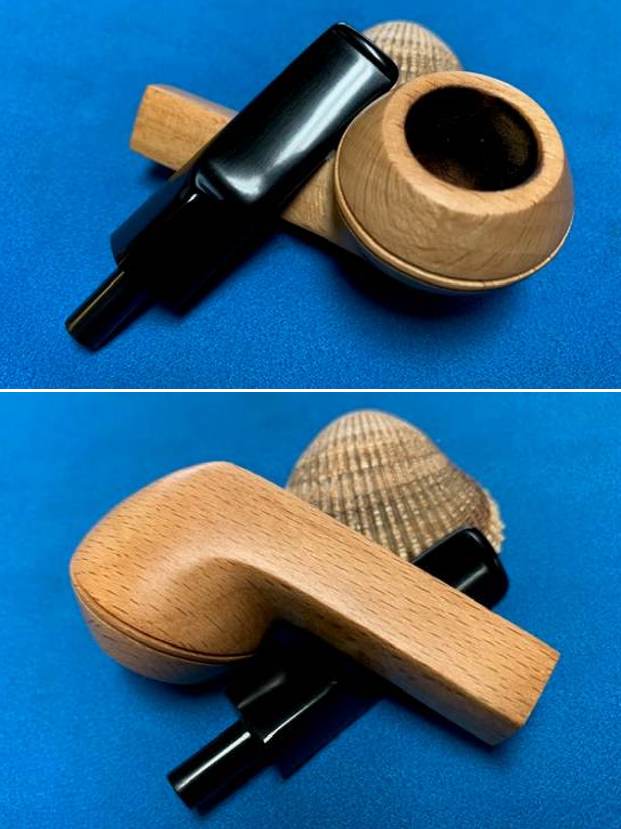
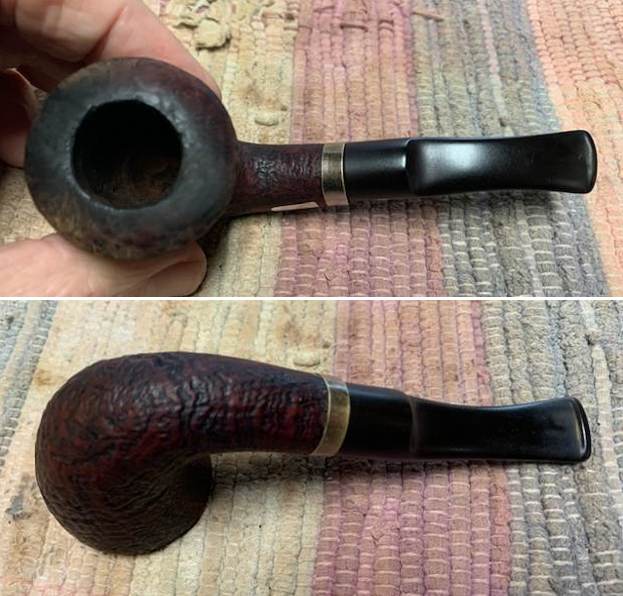
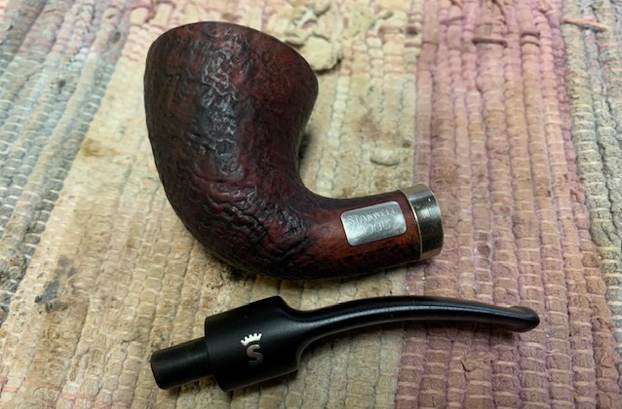
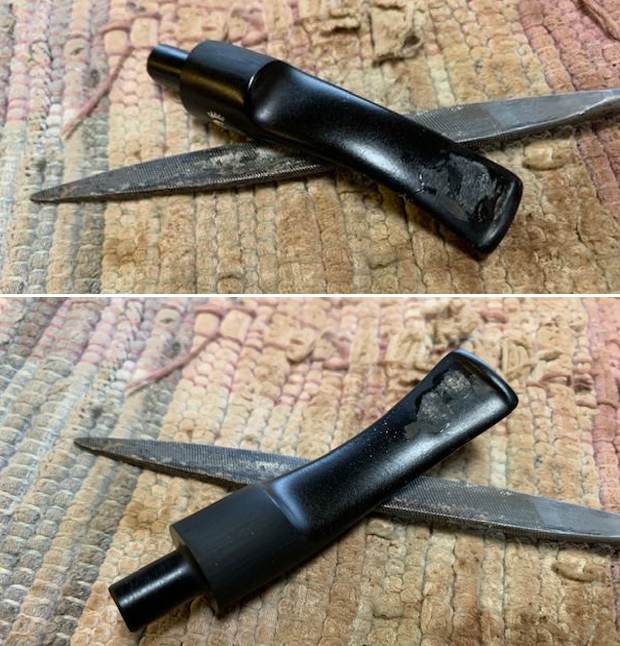
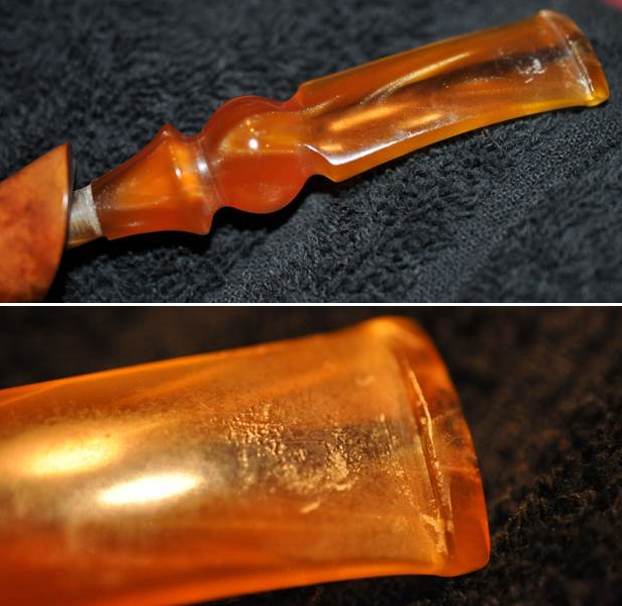
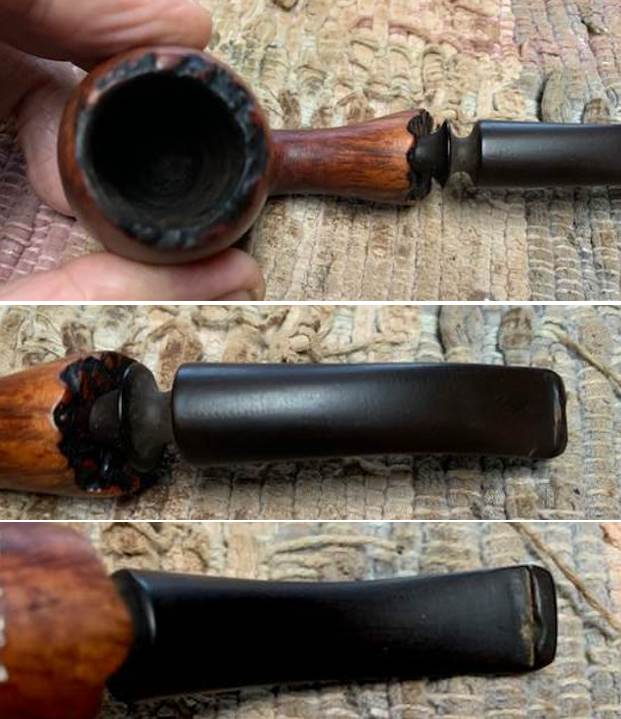
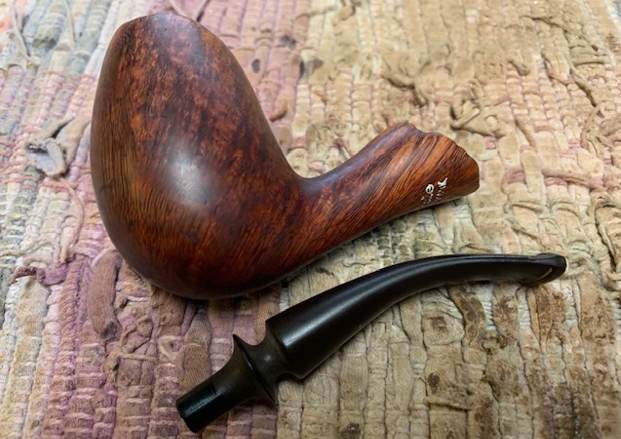
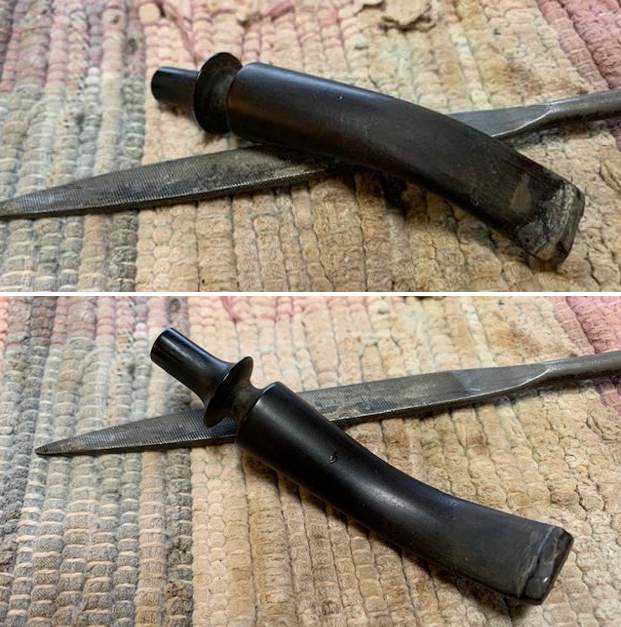
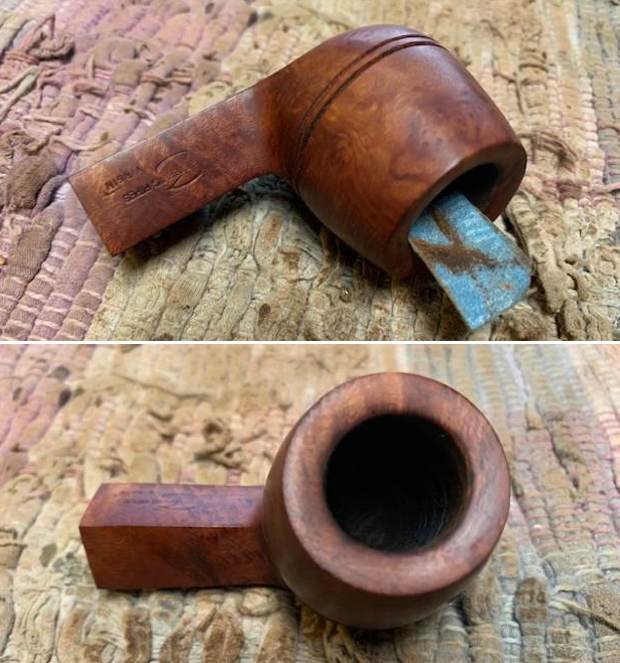
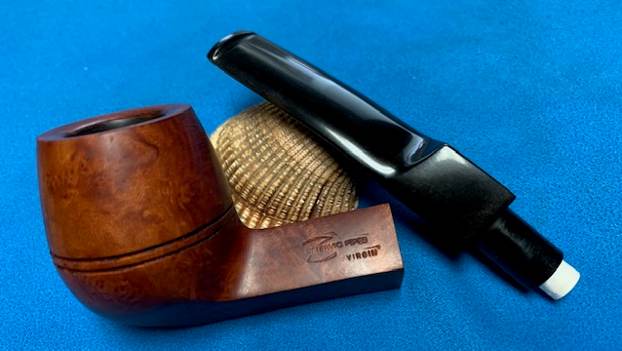
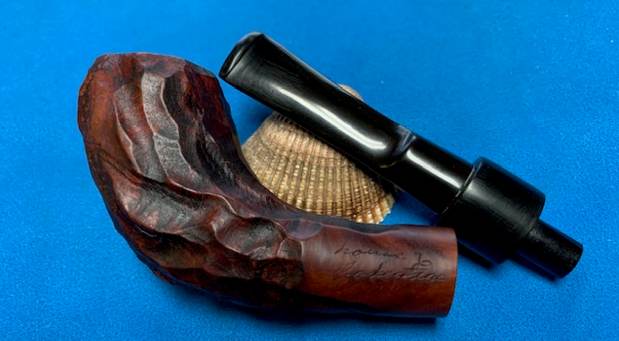
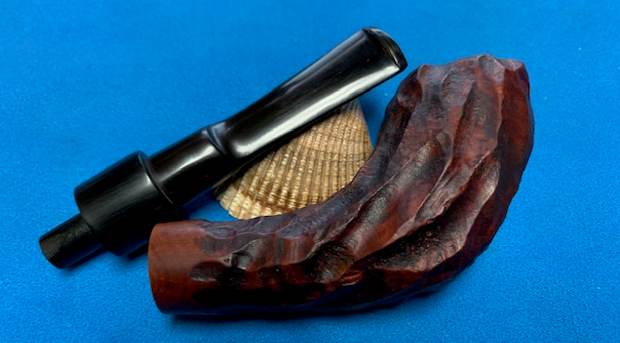
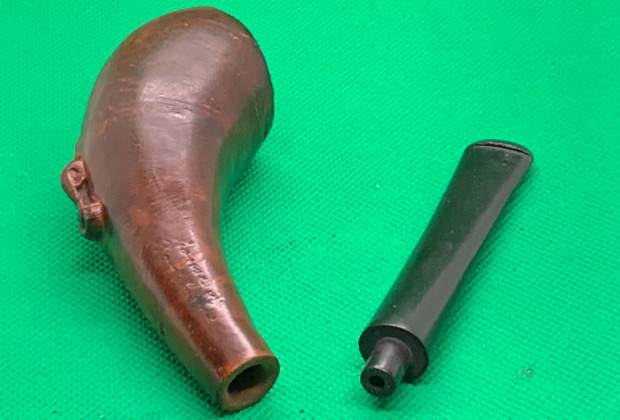
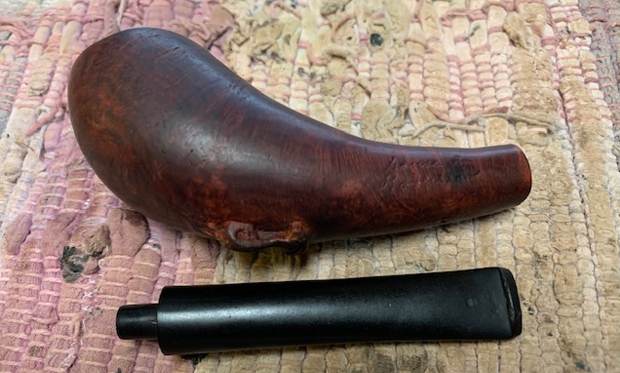
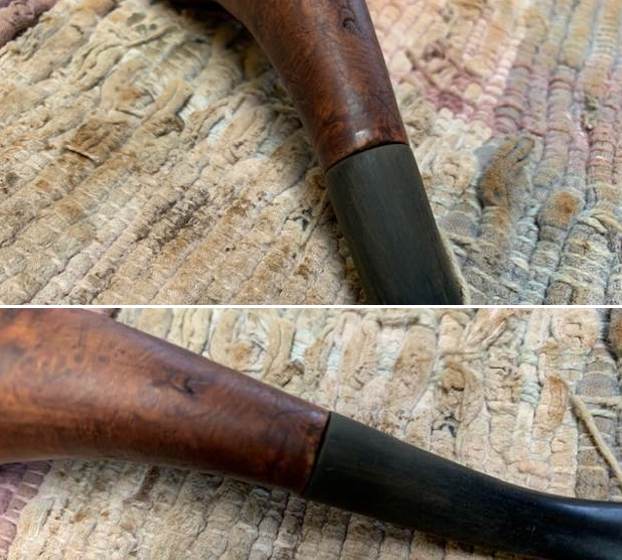
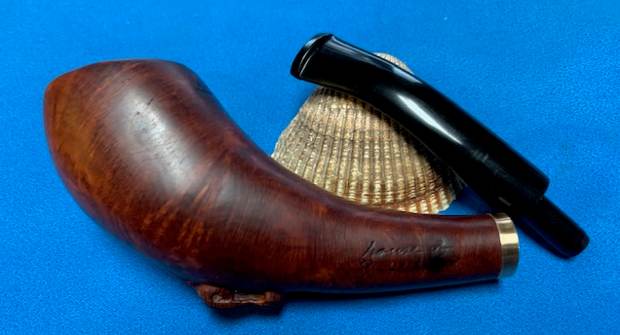
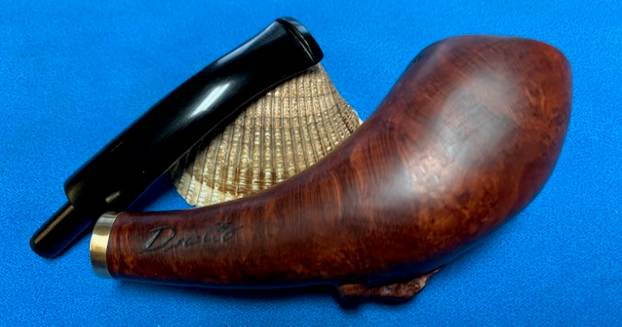
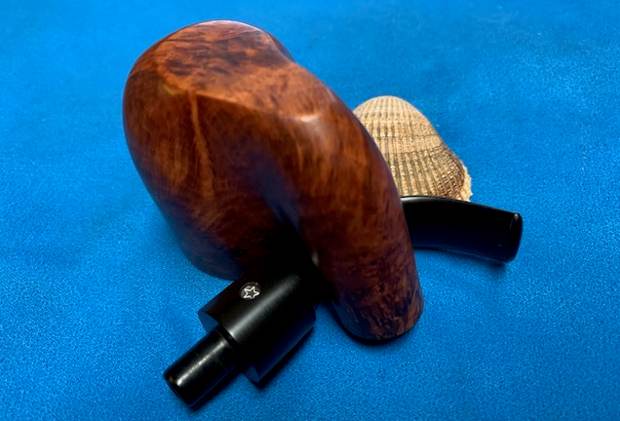
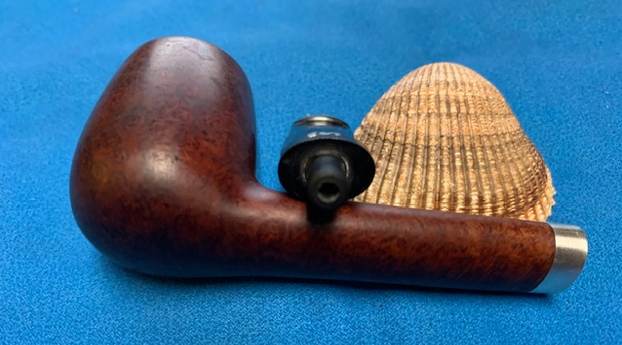
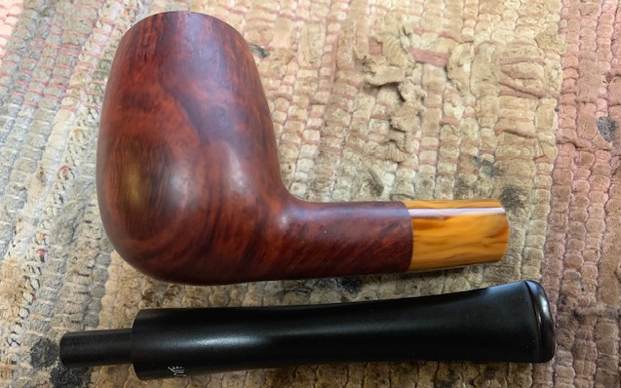
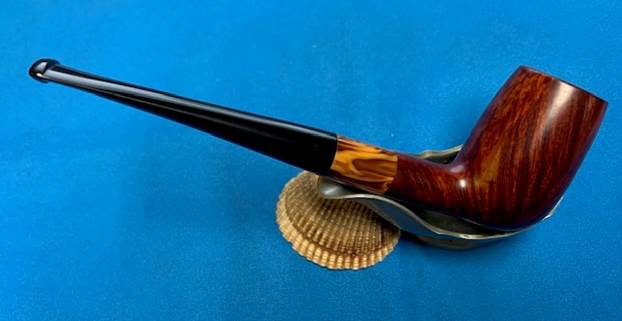
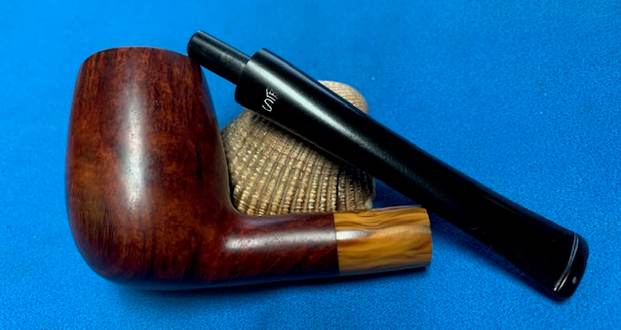
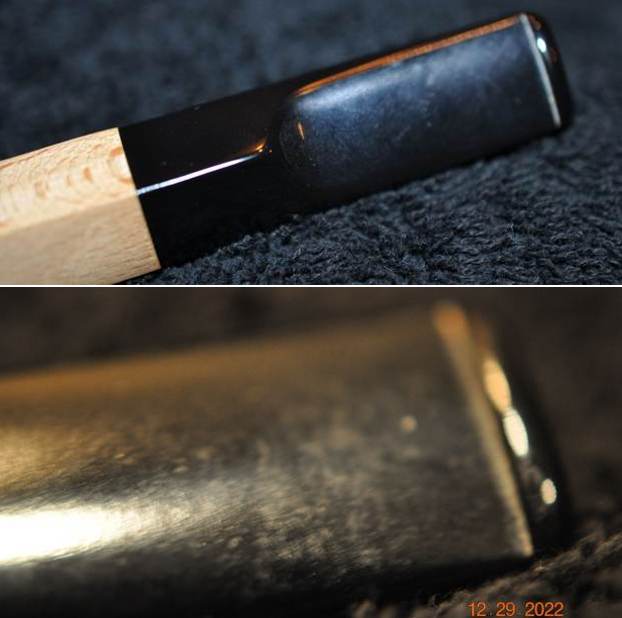
 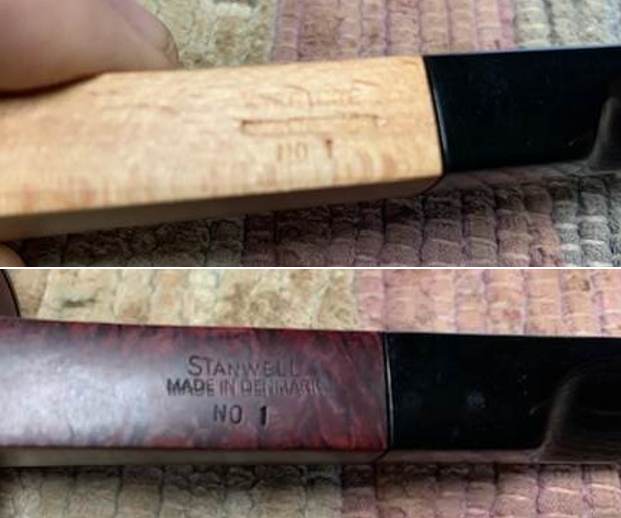 I removed the stem from the shank and took a photo of the parts of each pipe to give a sense of what they looked like.
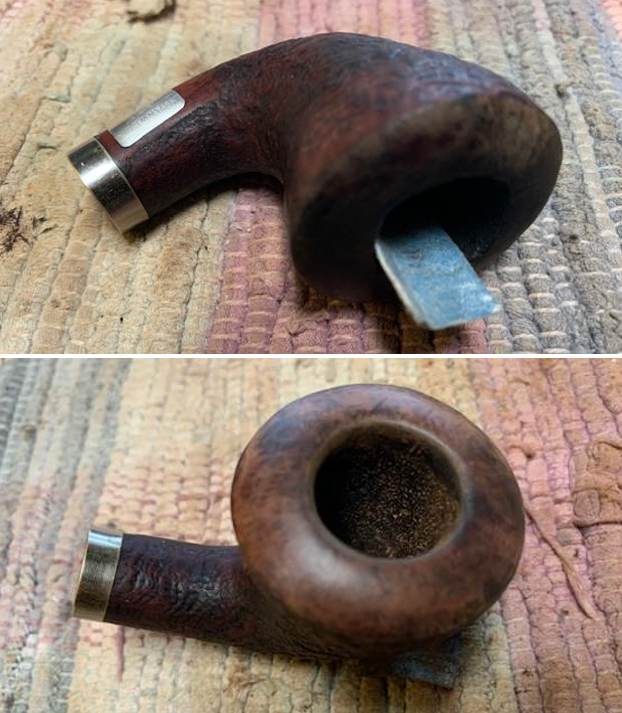
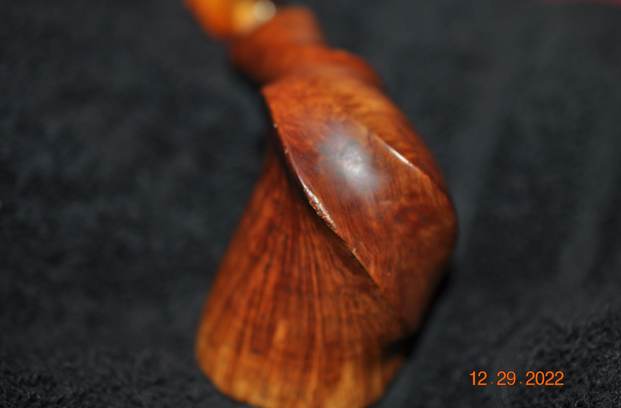
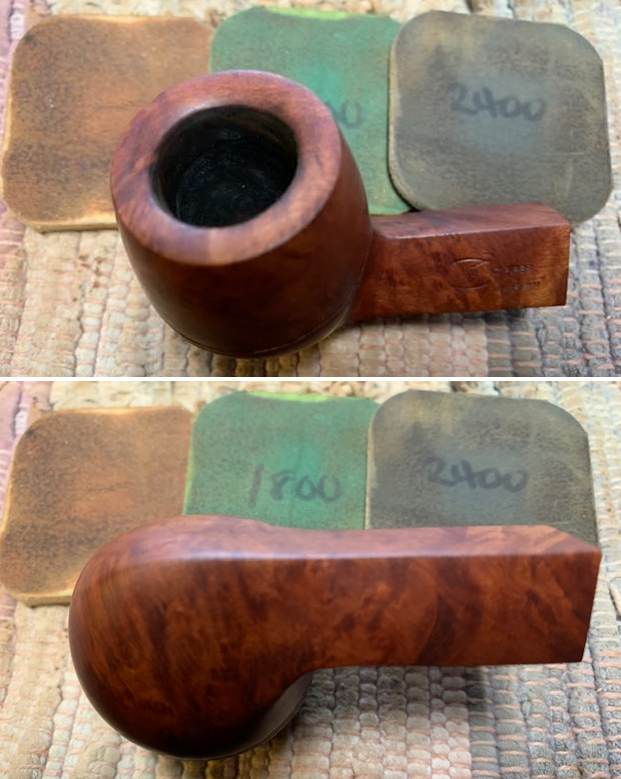
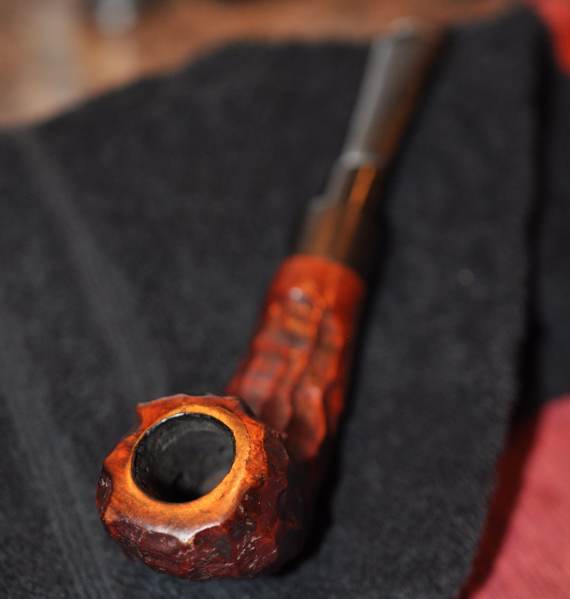
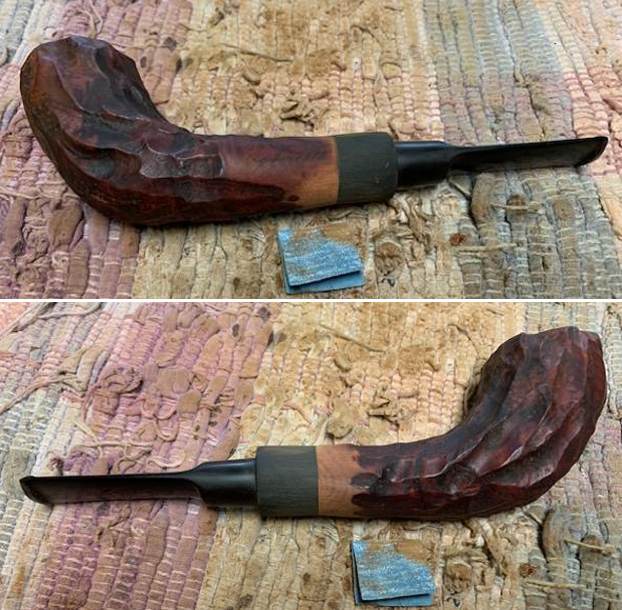
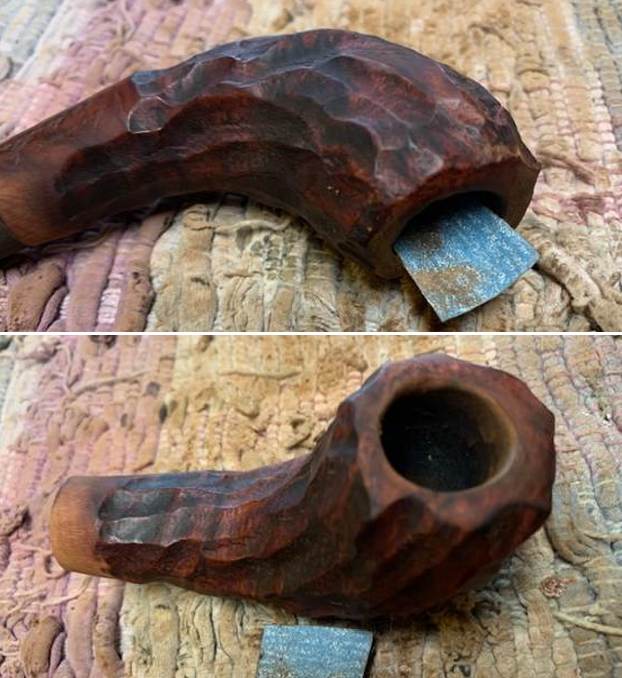
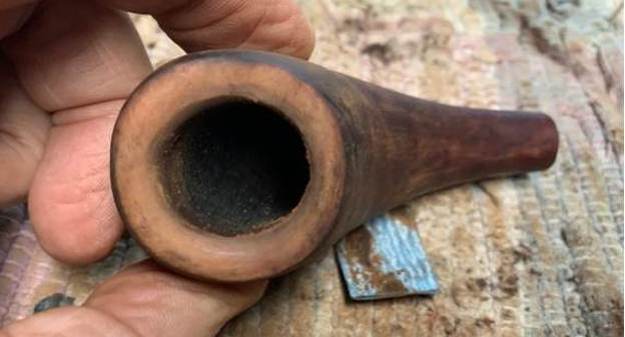
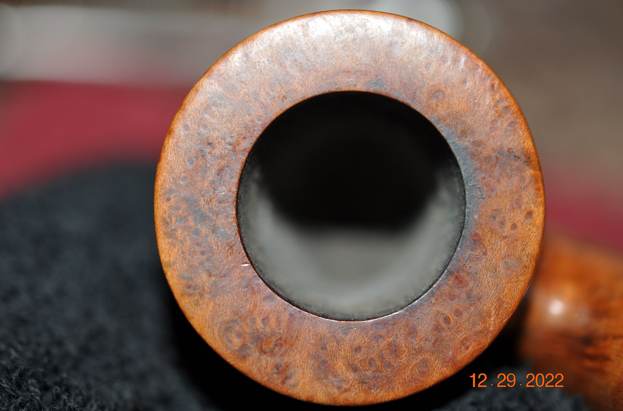
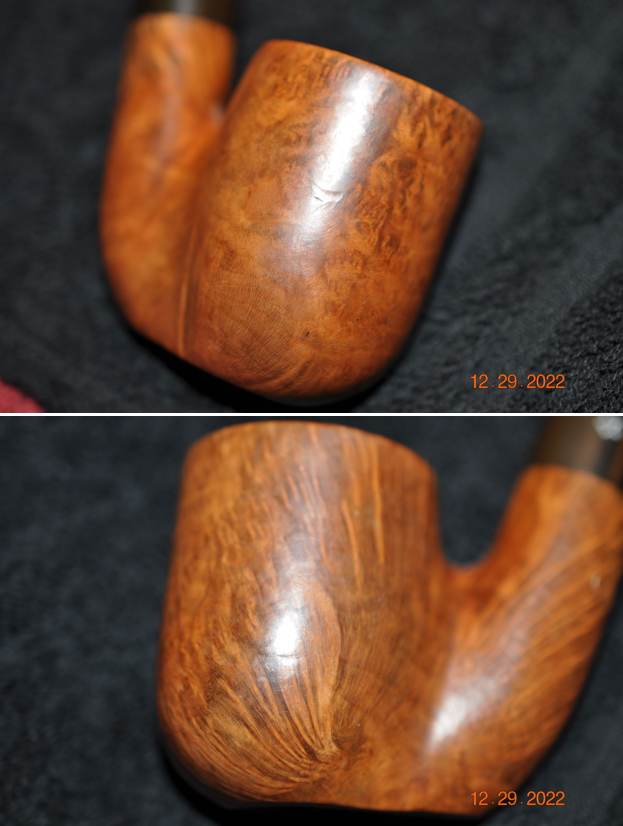
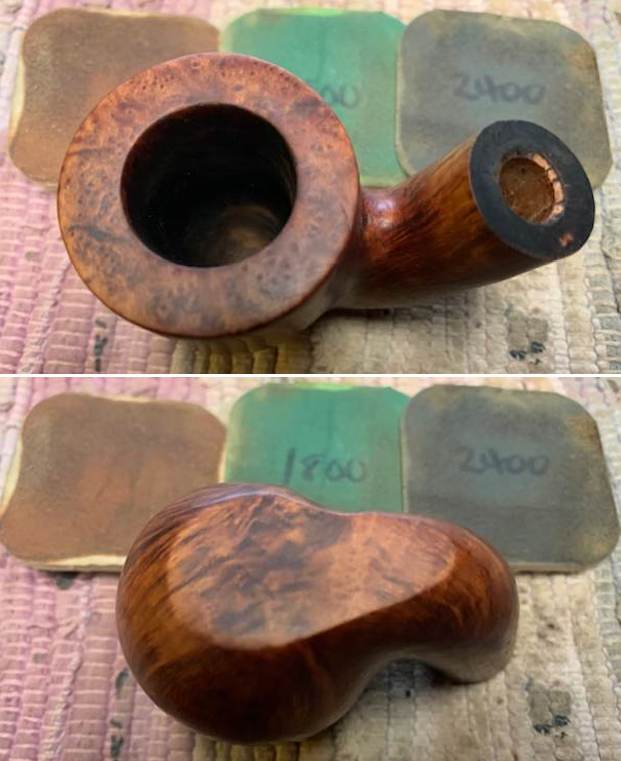
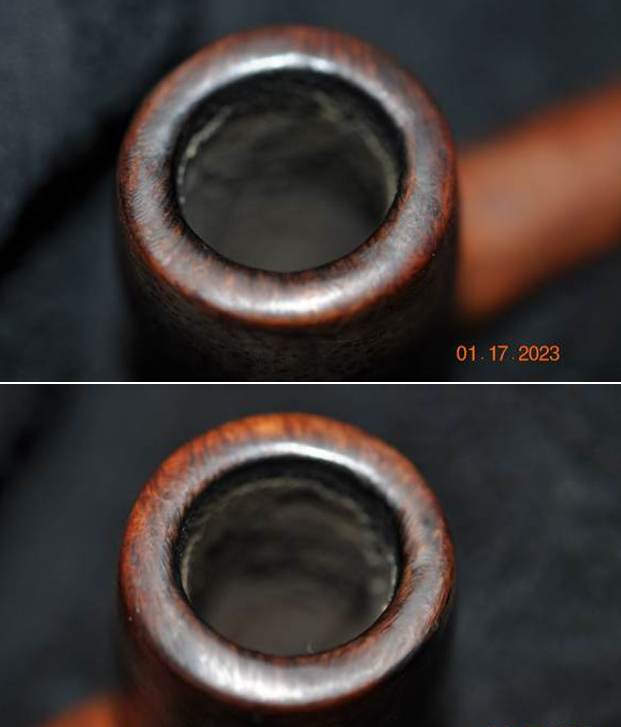
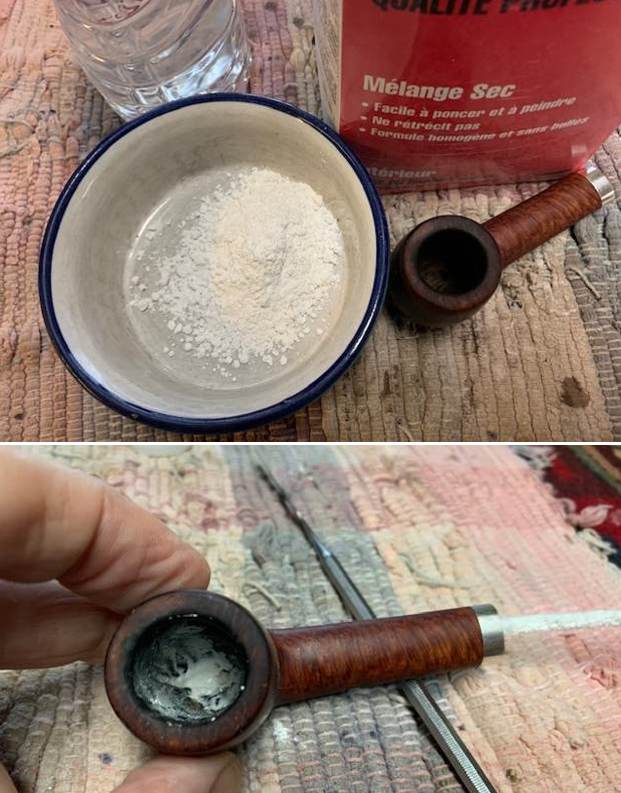
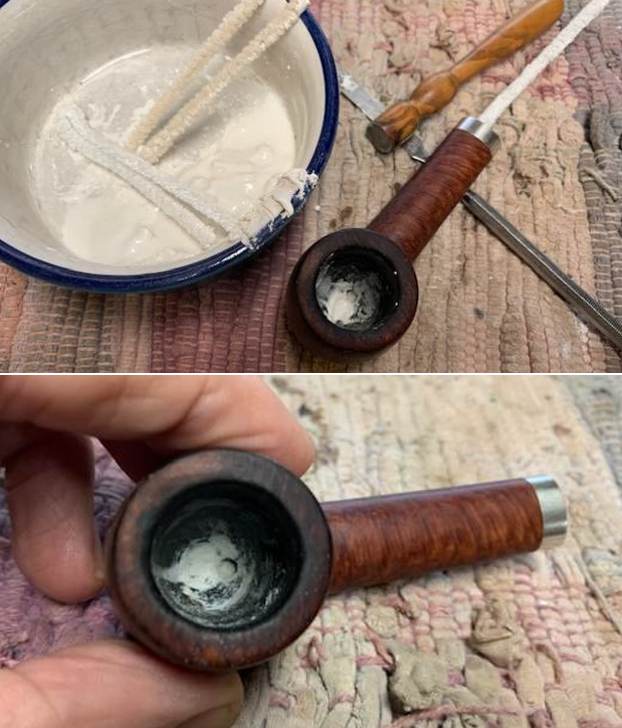
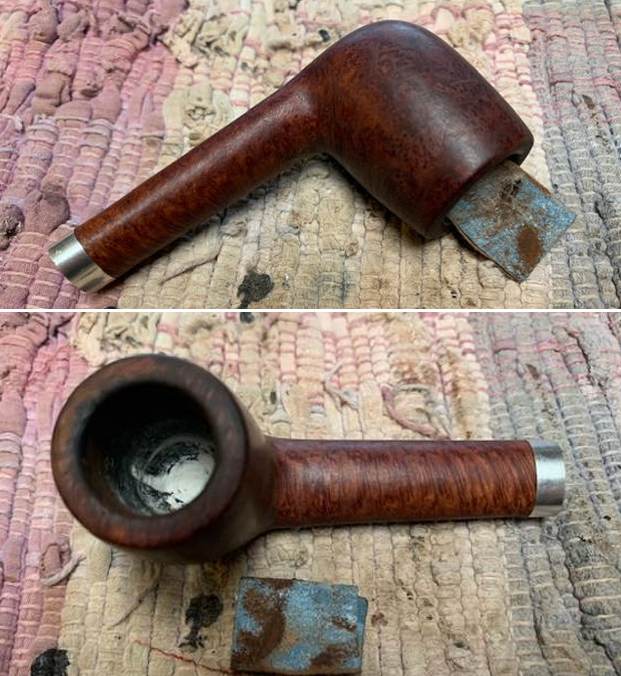
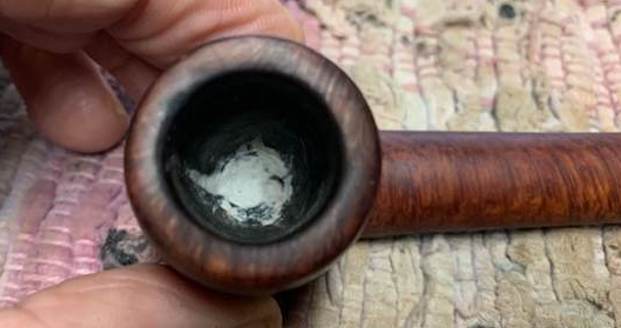
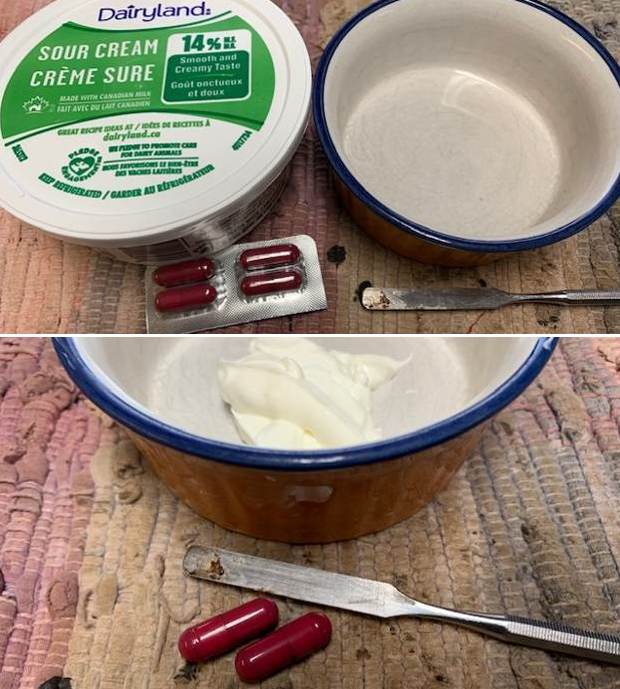
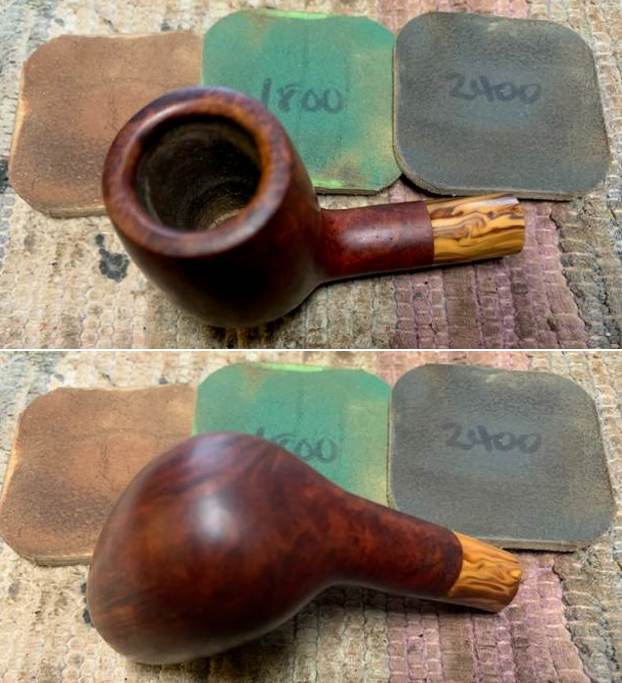
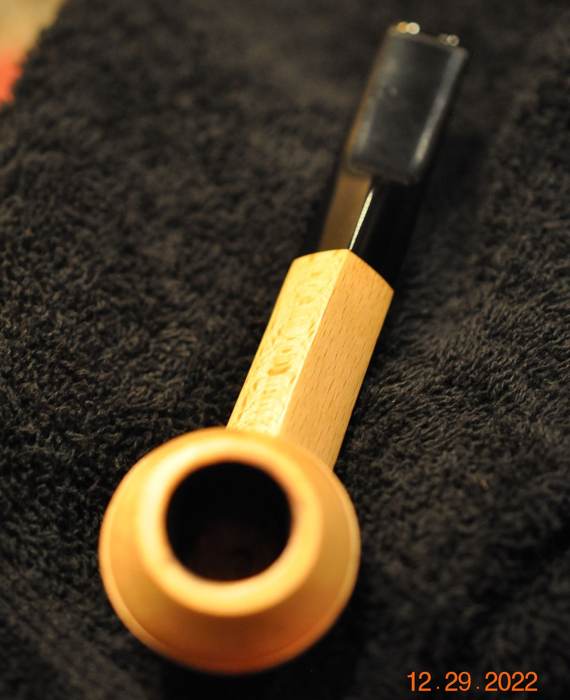
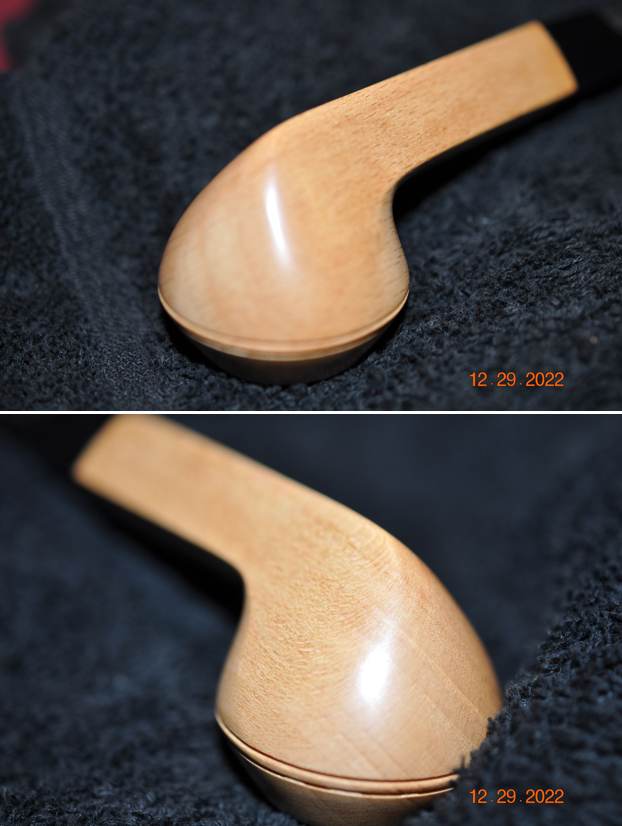
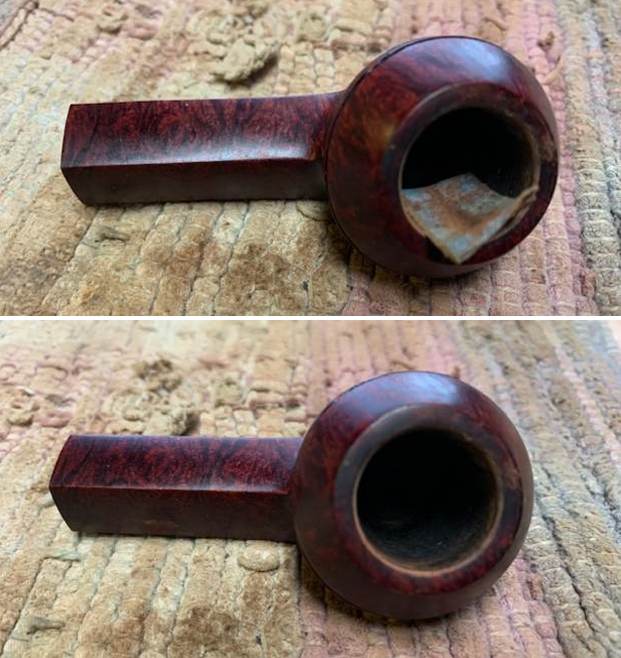
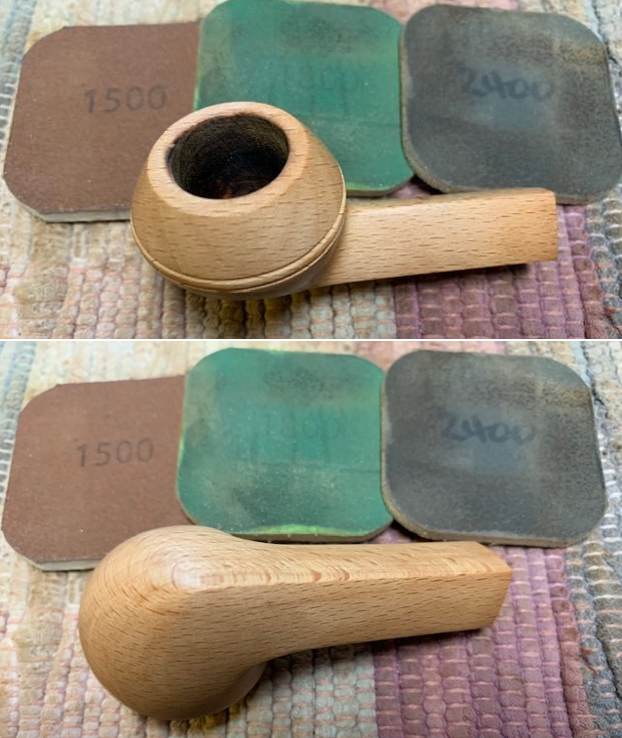
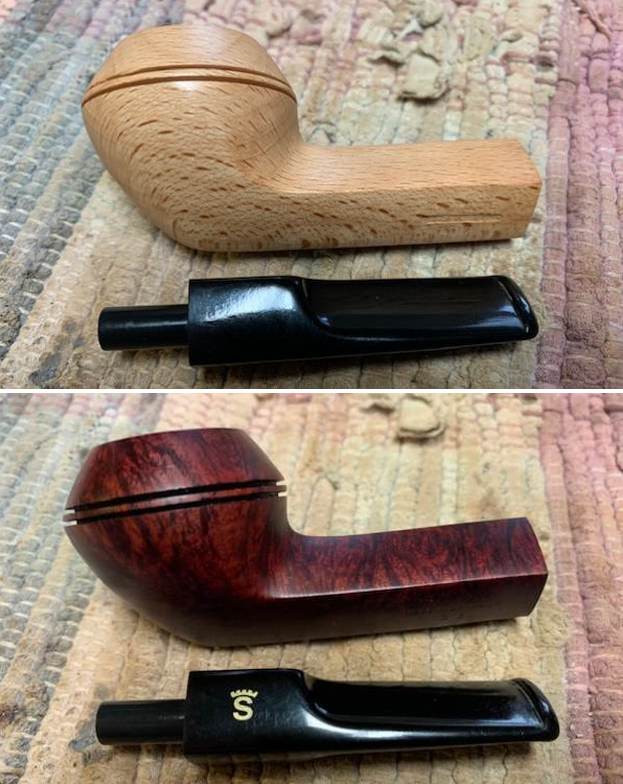 I started my work on the inside beveled edge and rim top with a folded piece of 220 grit sandpaper. I was able to remove that darkening on the right front and the back inner edge. It looked much better.
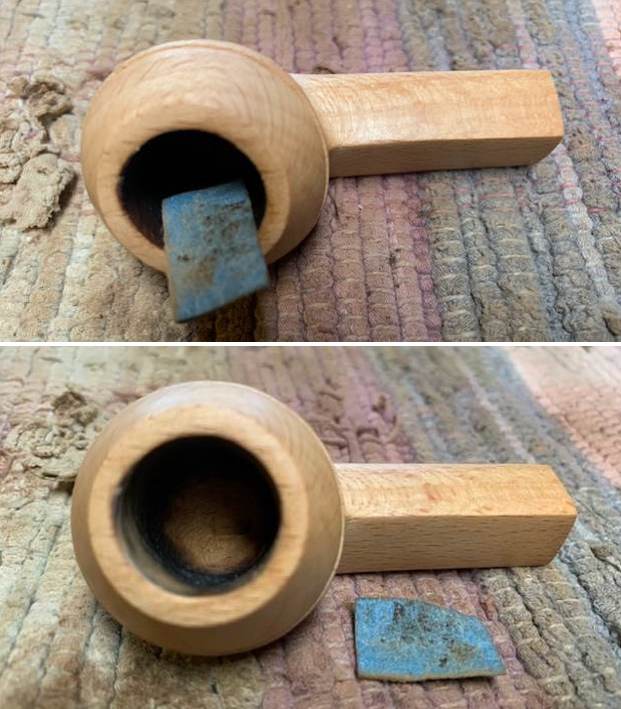
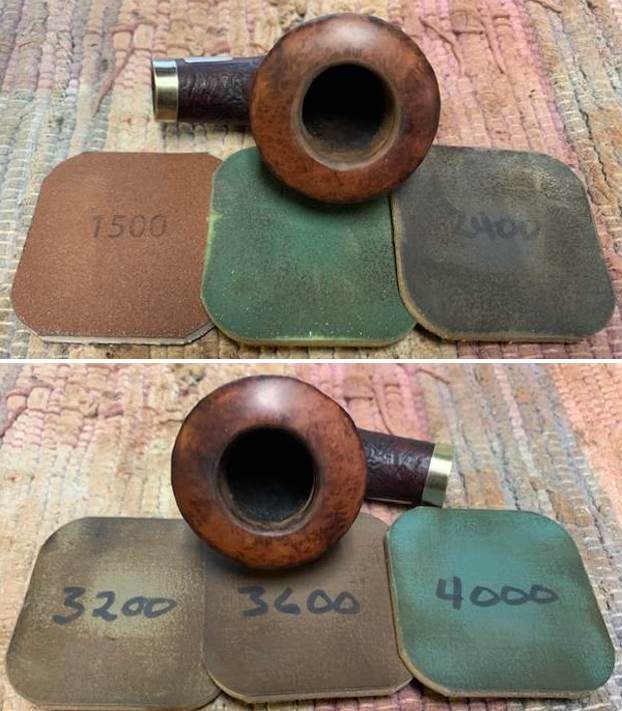
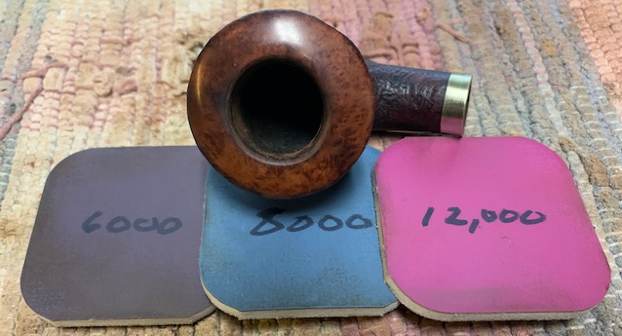
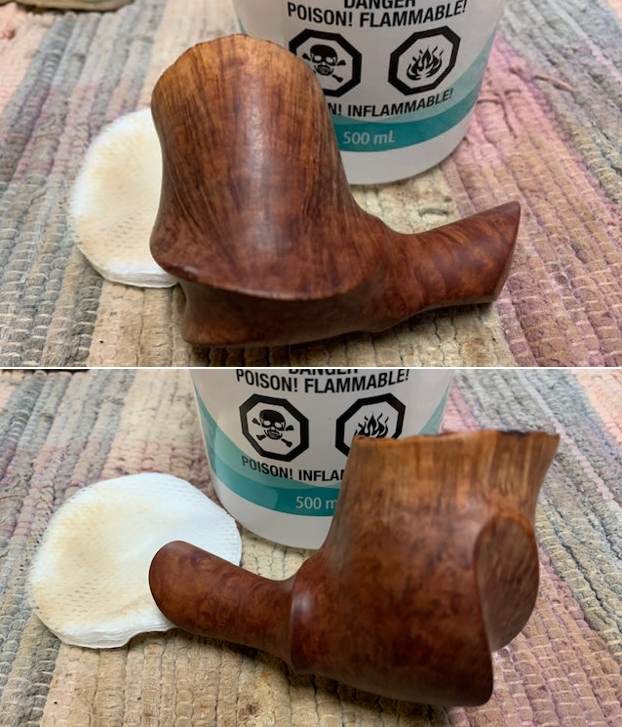
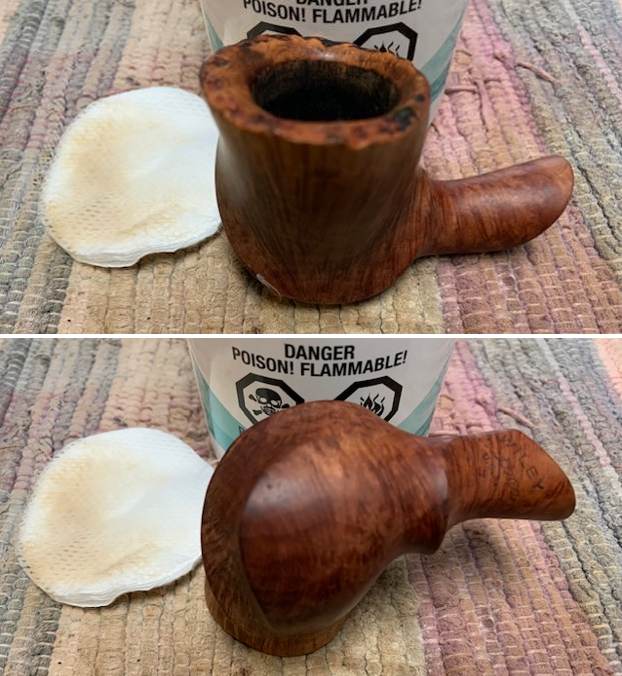
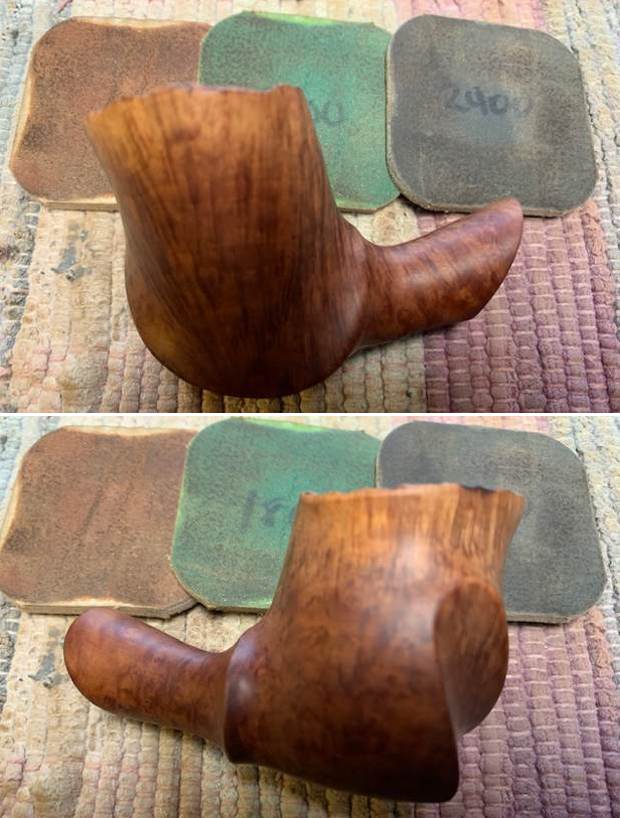
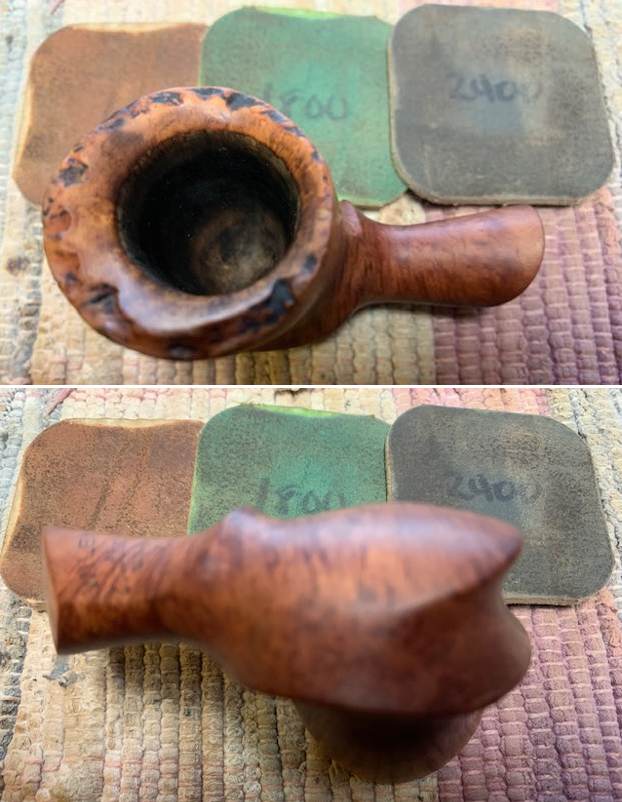
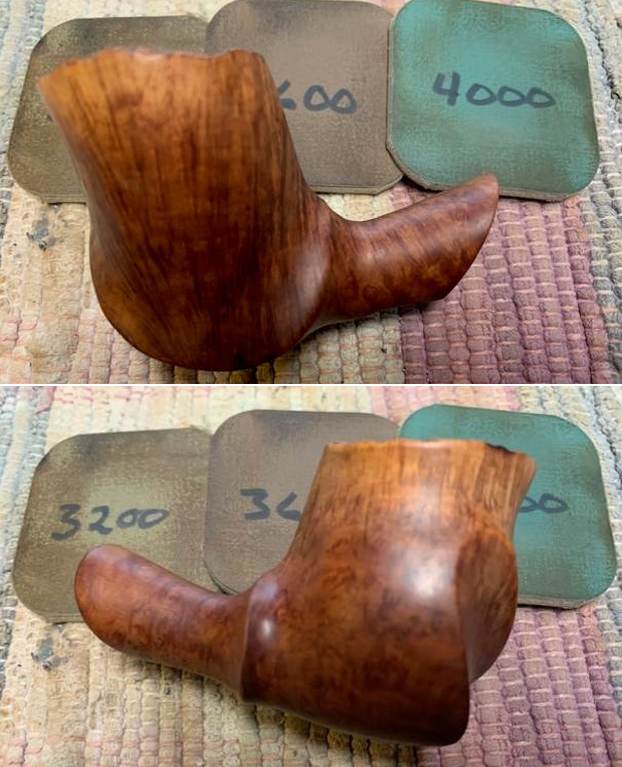
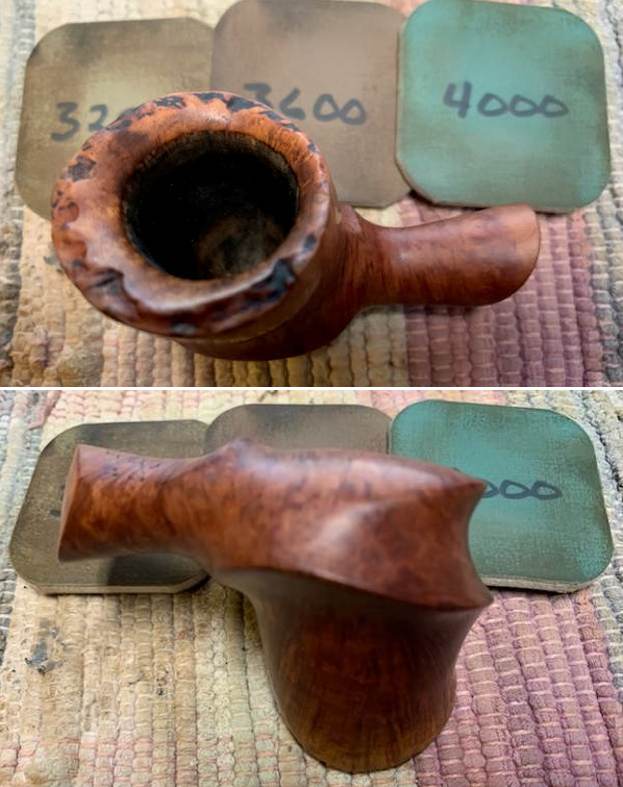
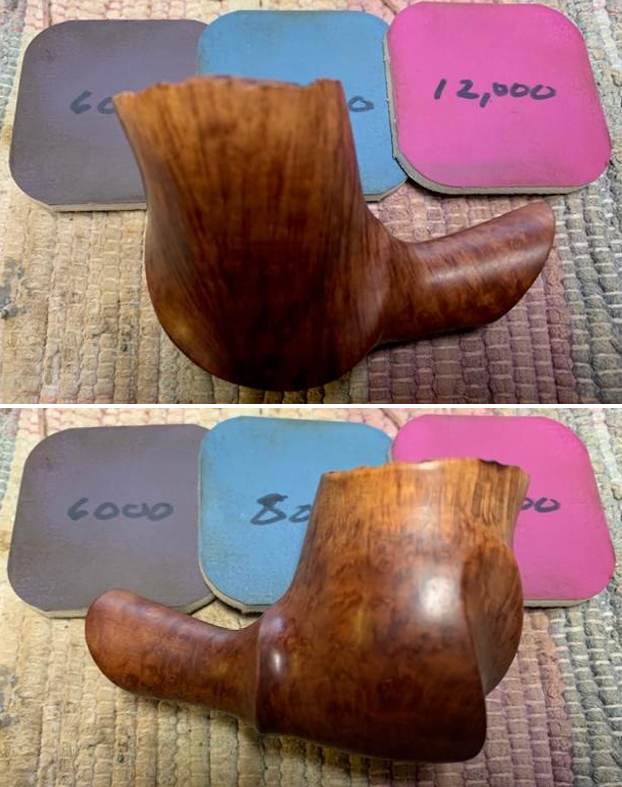
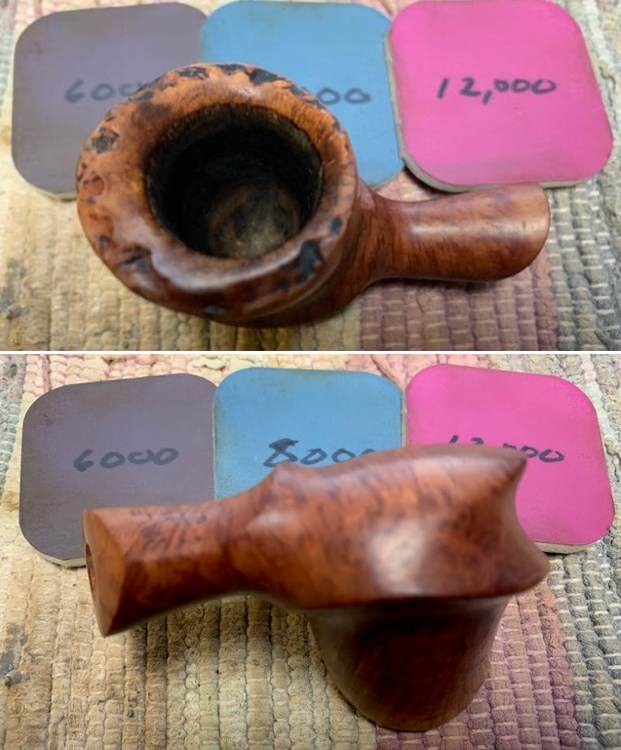
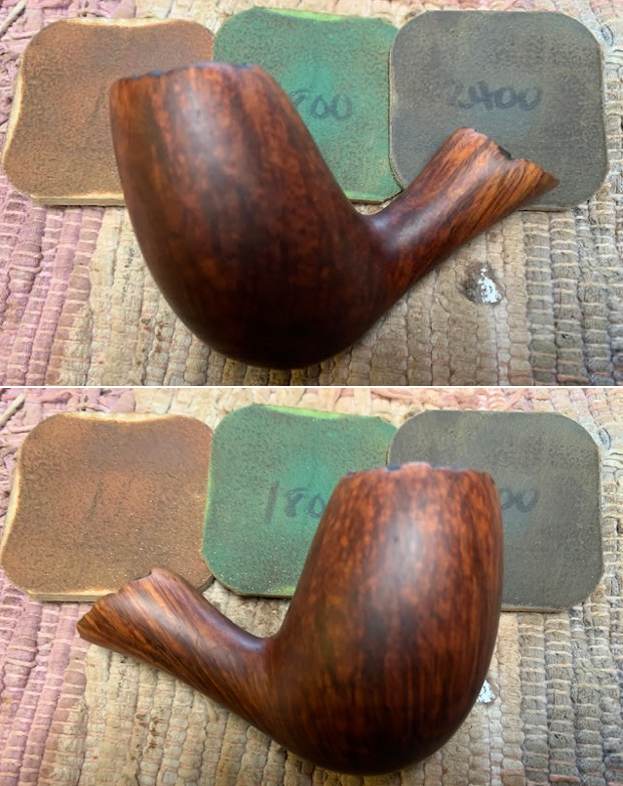
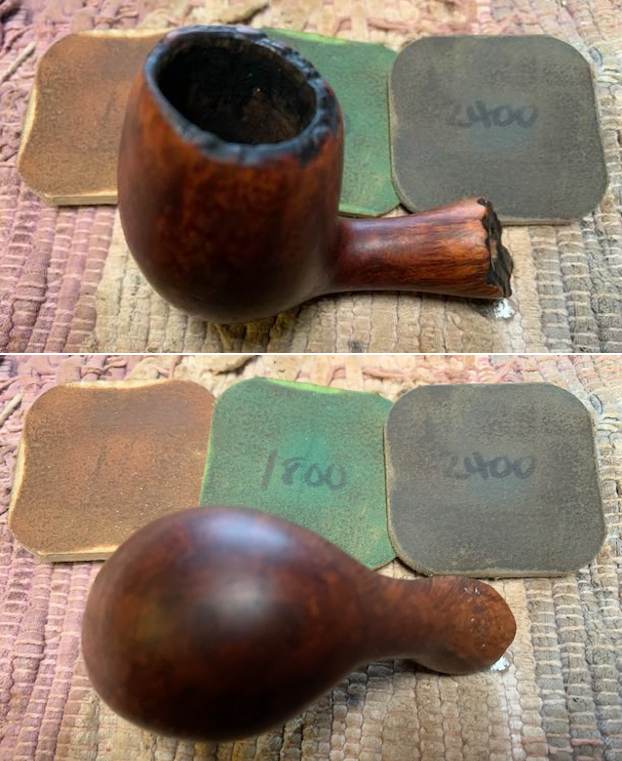
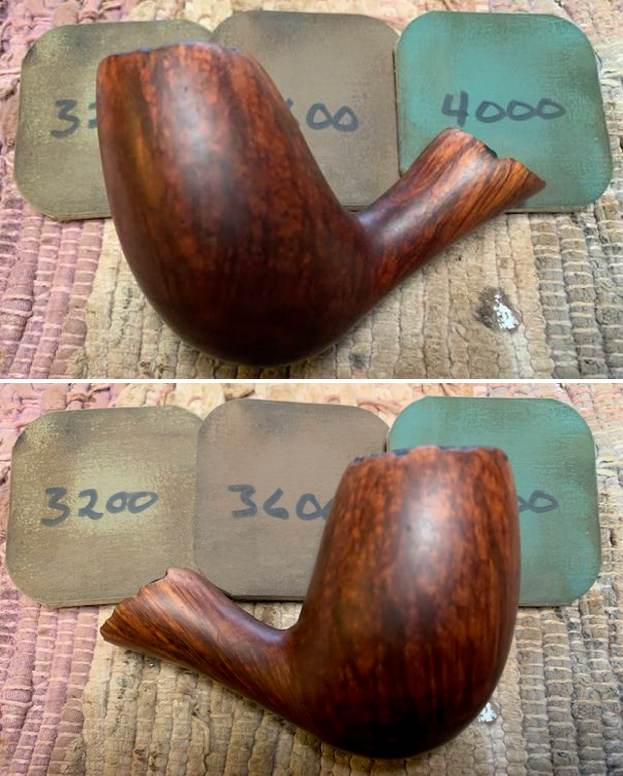
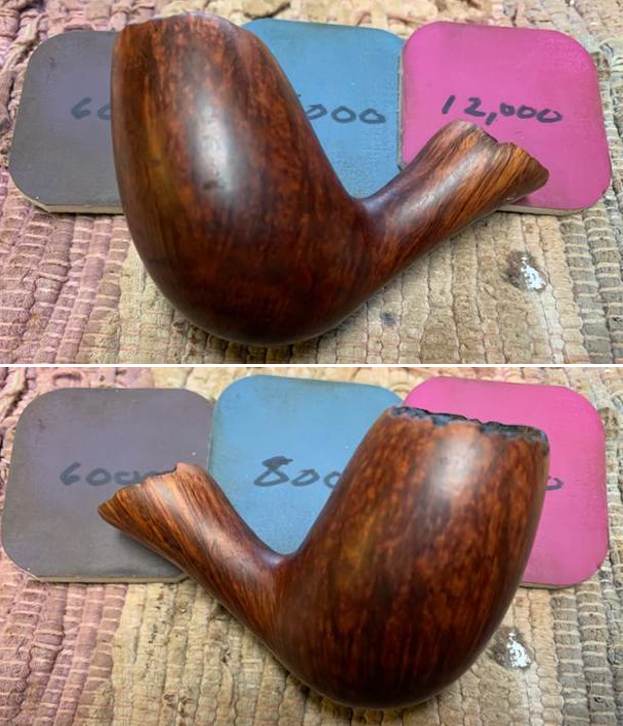
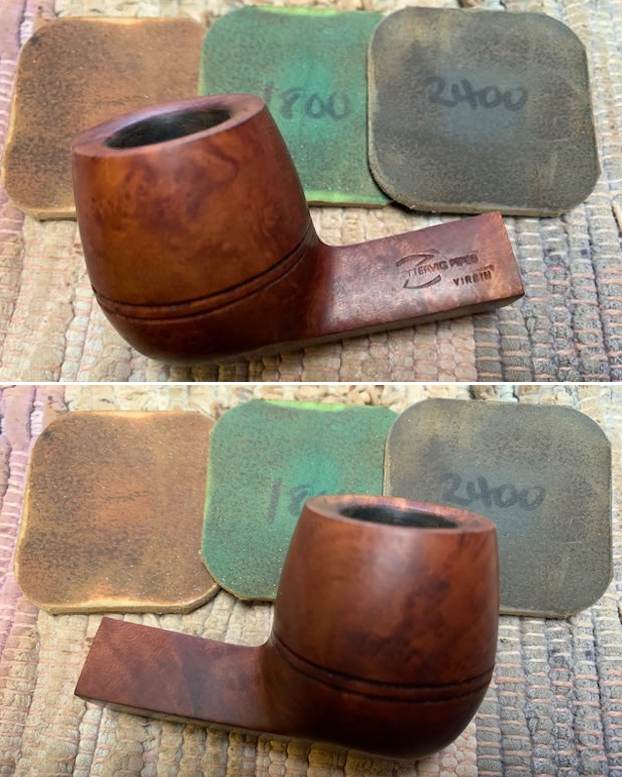
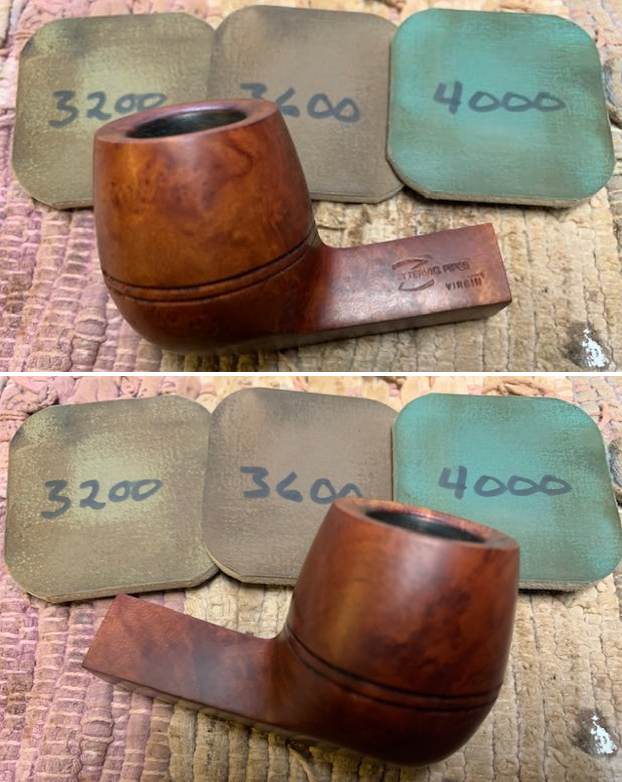
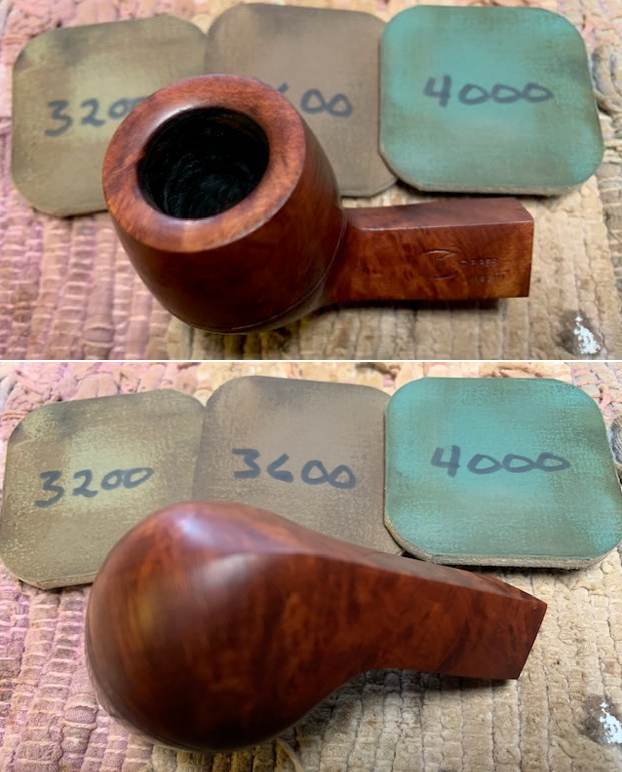
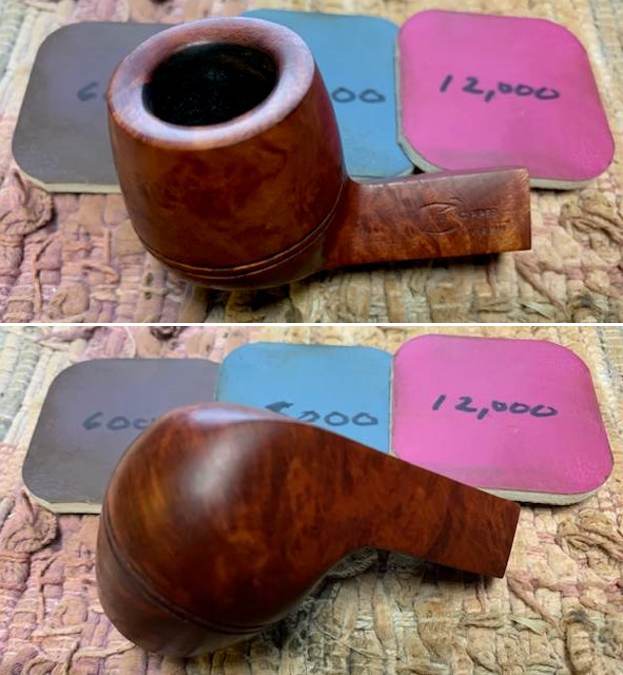
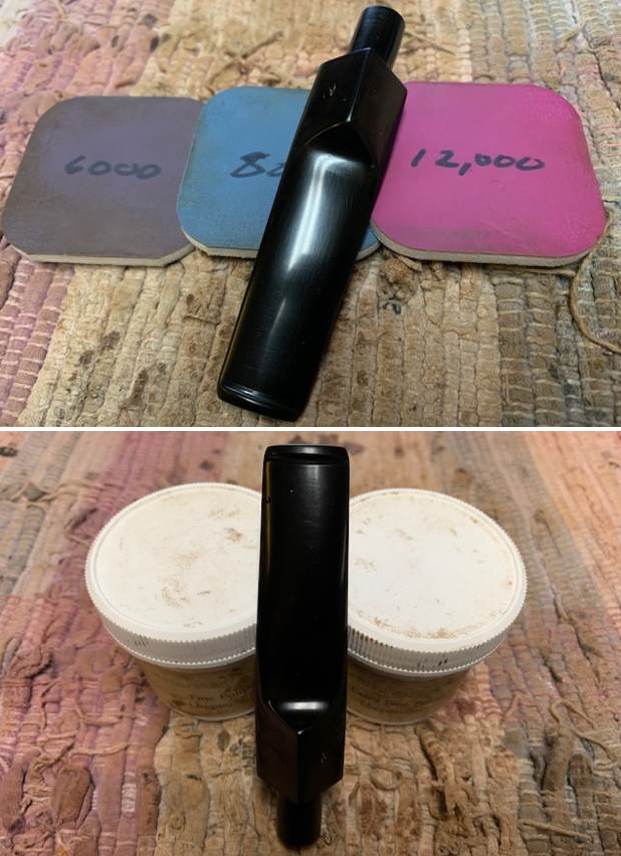
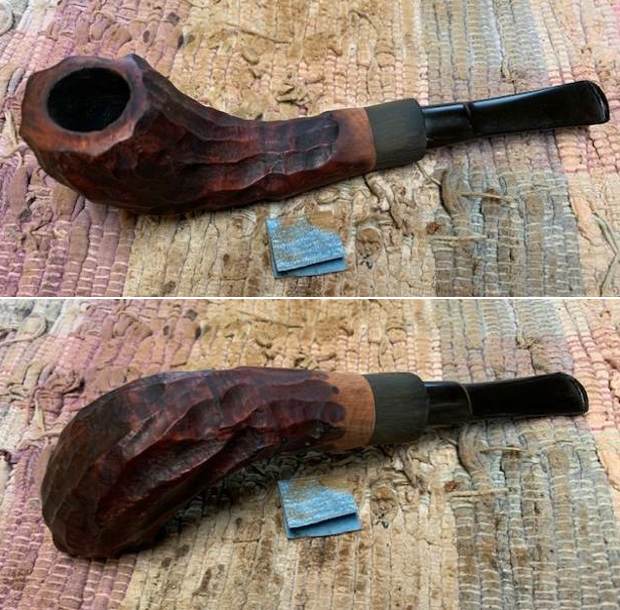
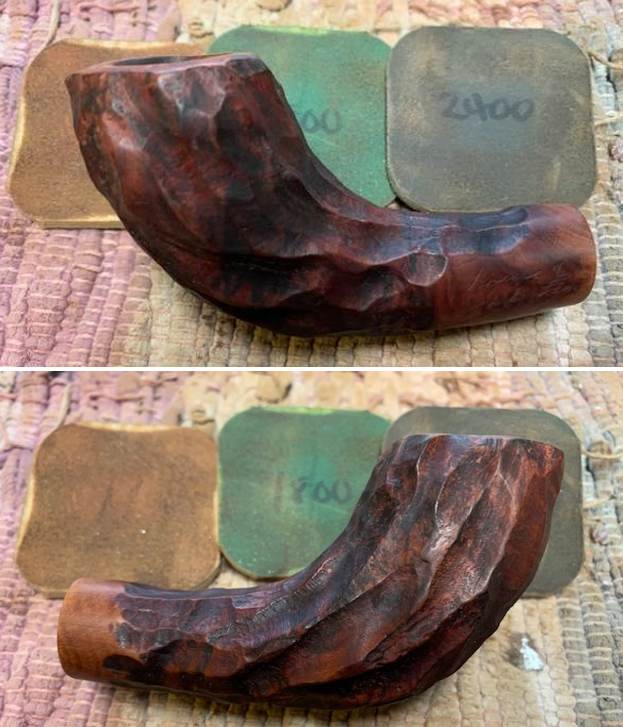
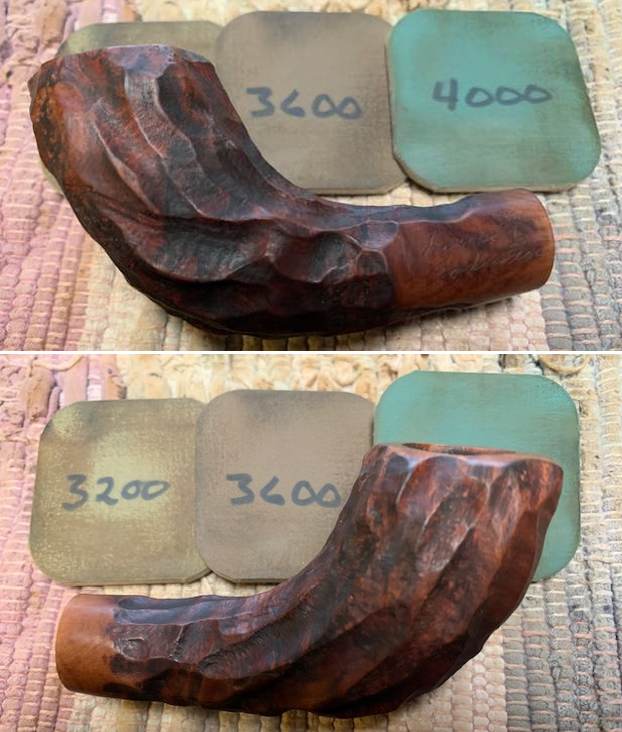
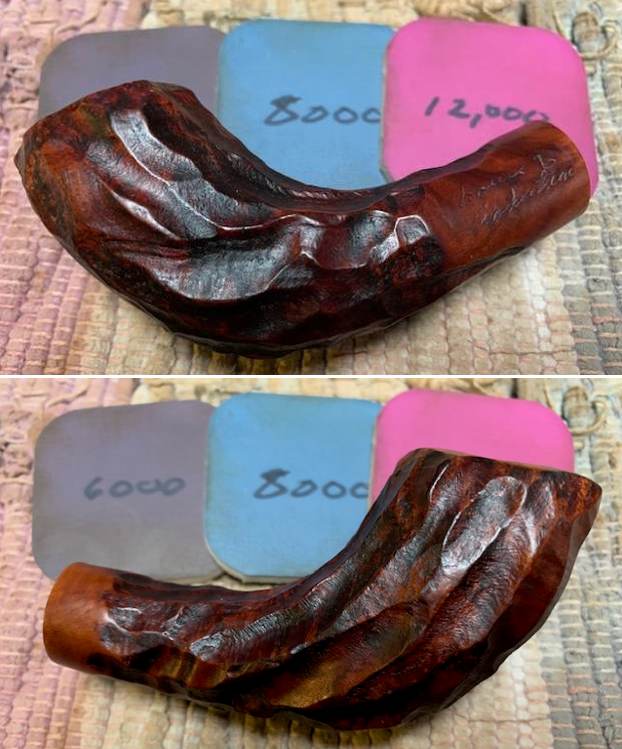
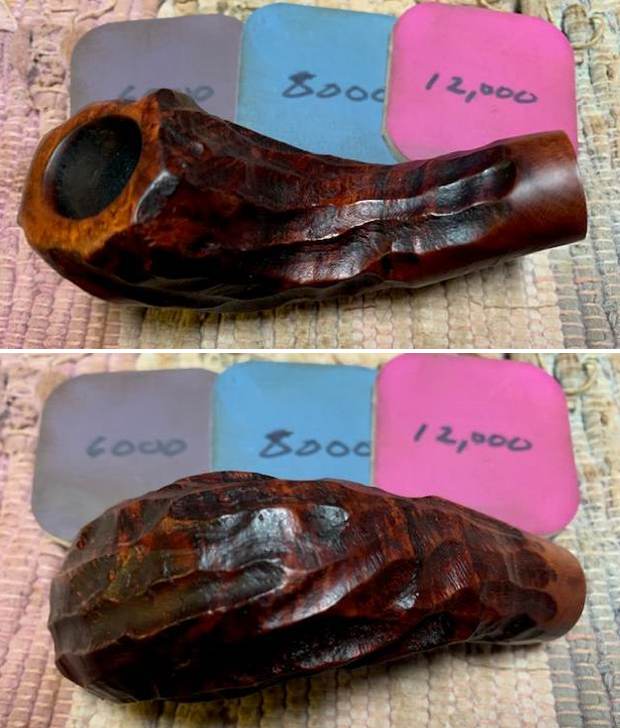
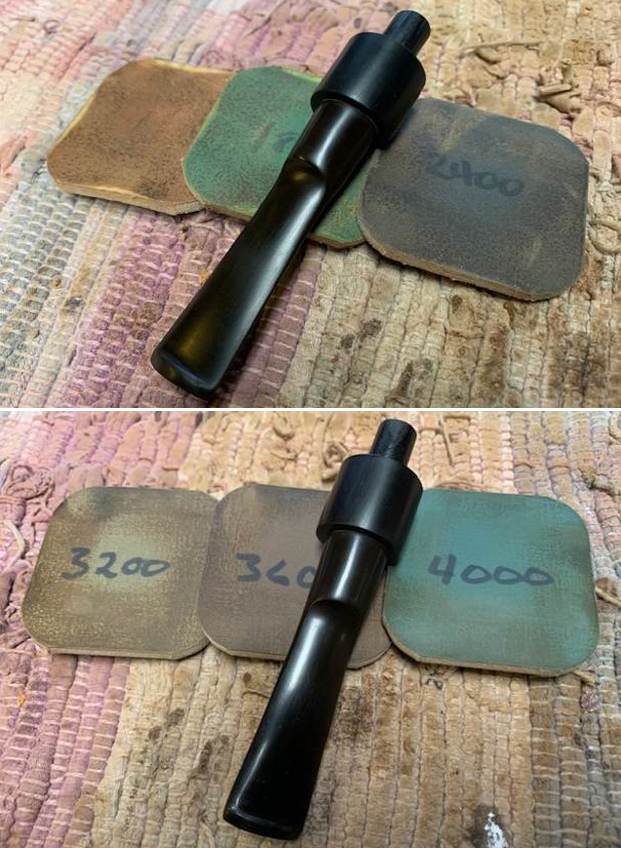
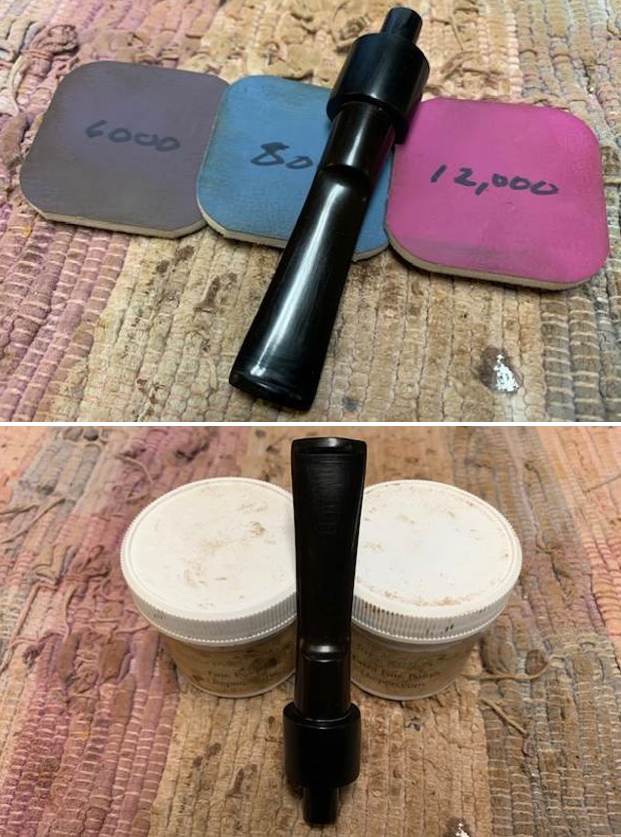
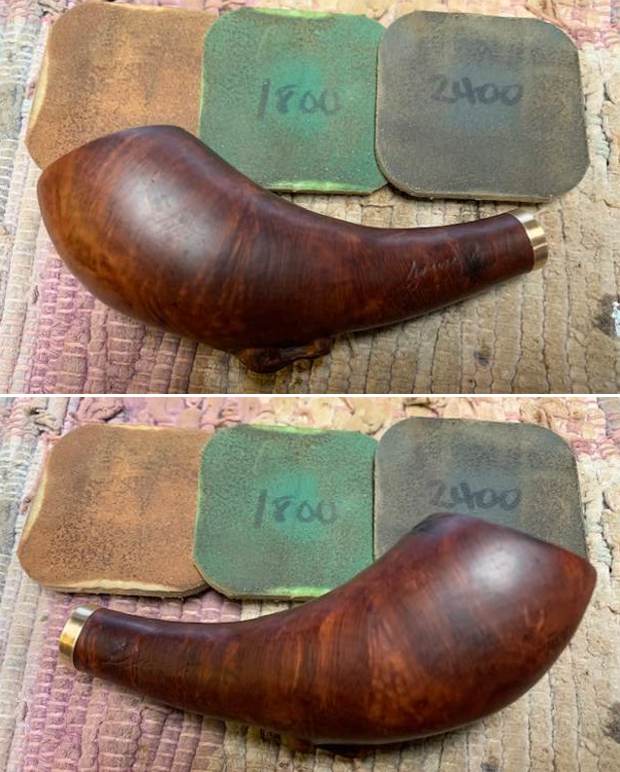
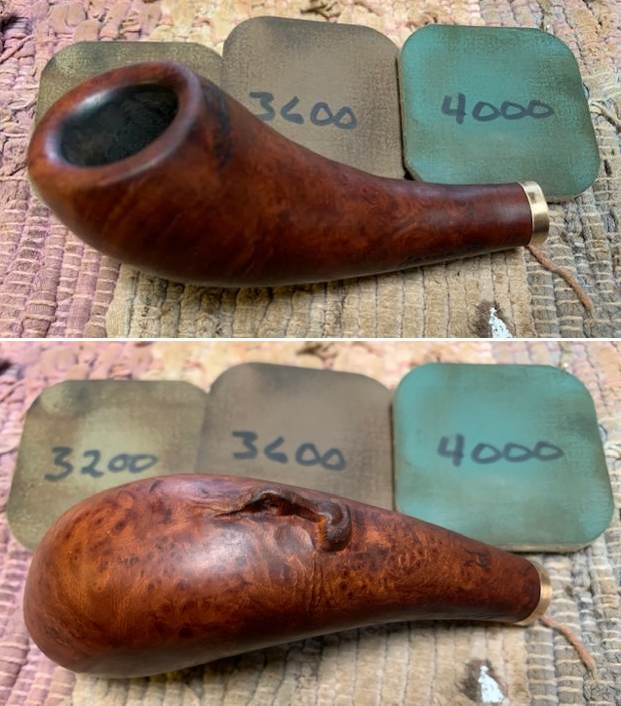
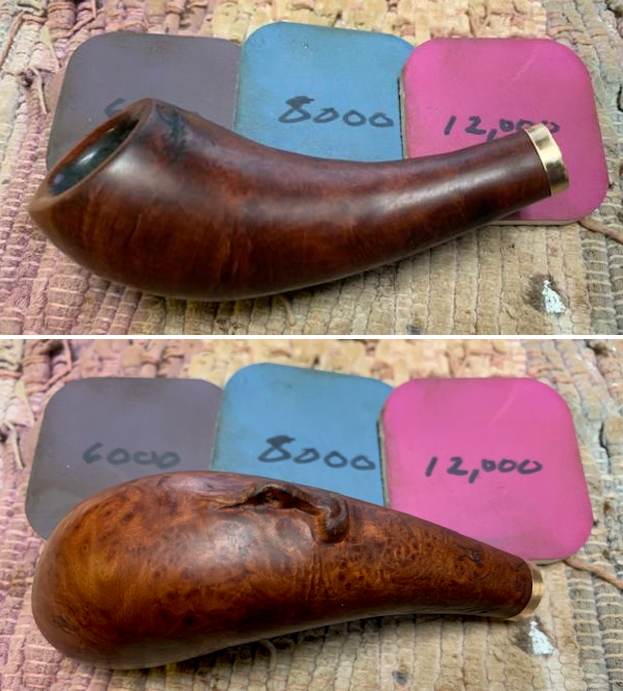
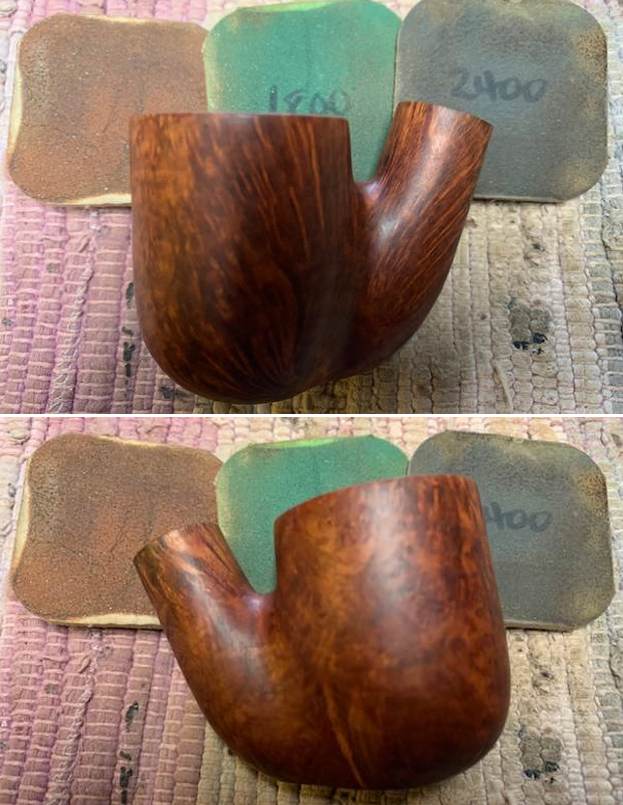
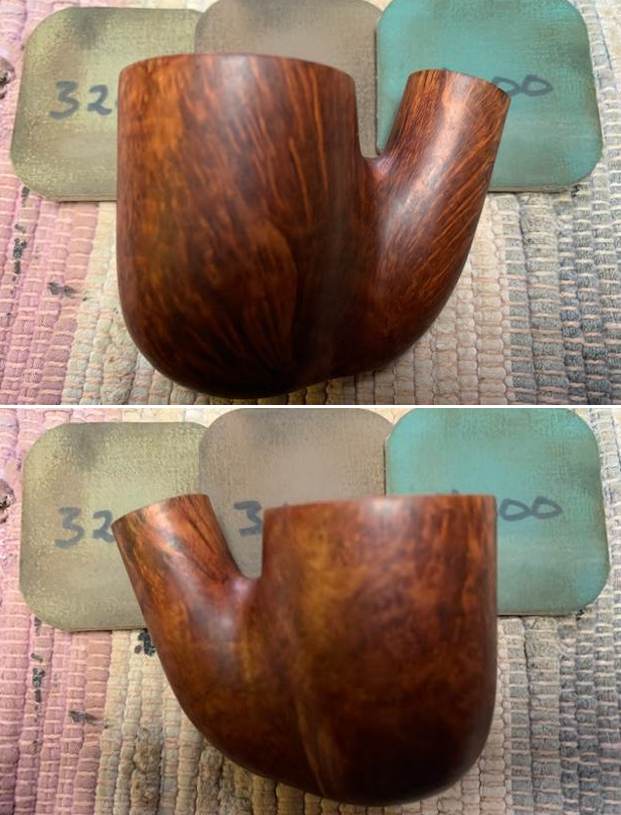
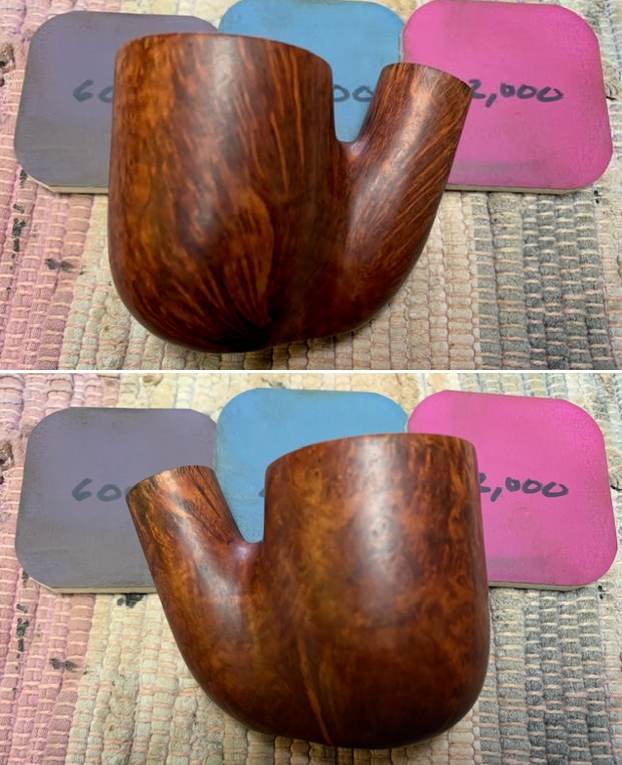
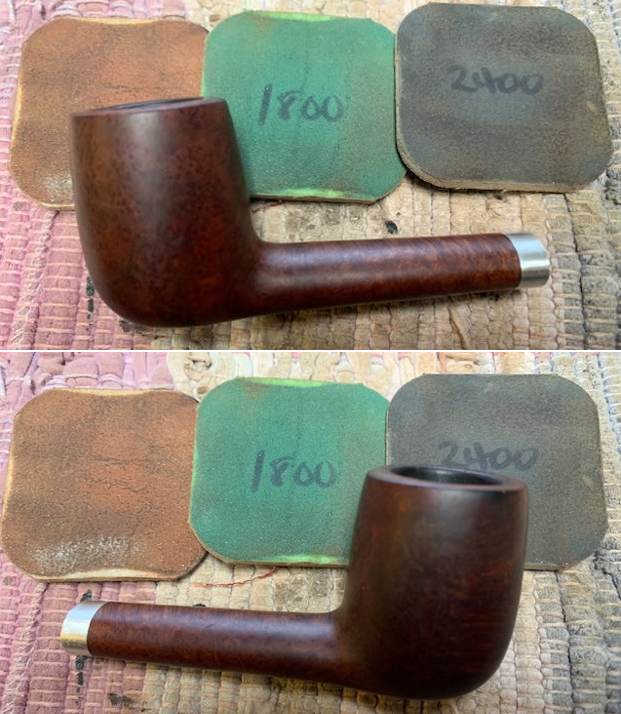
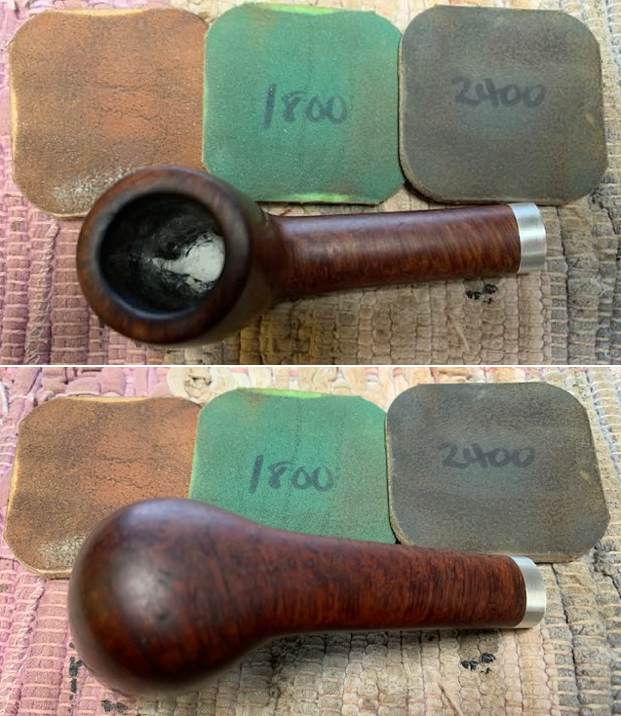
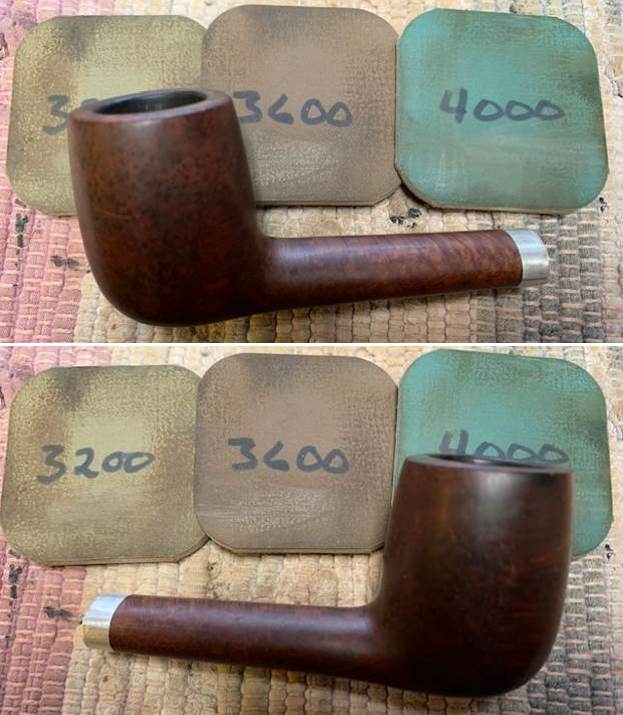
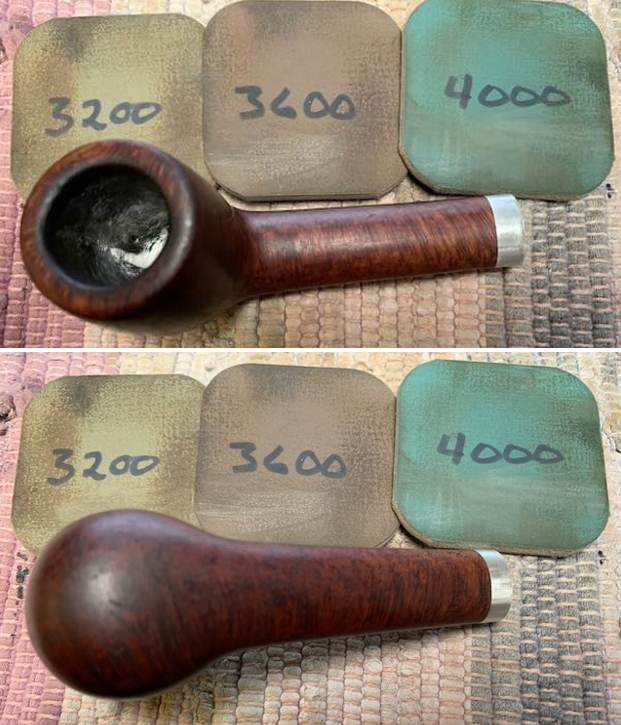
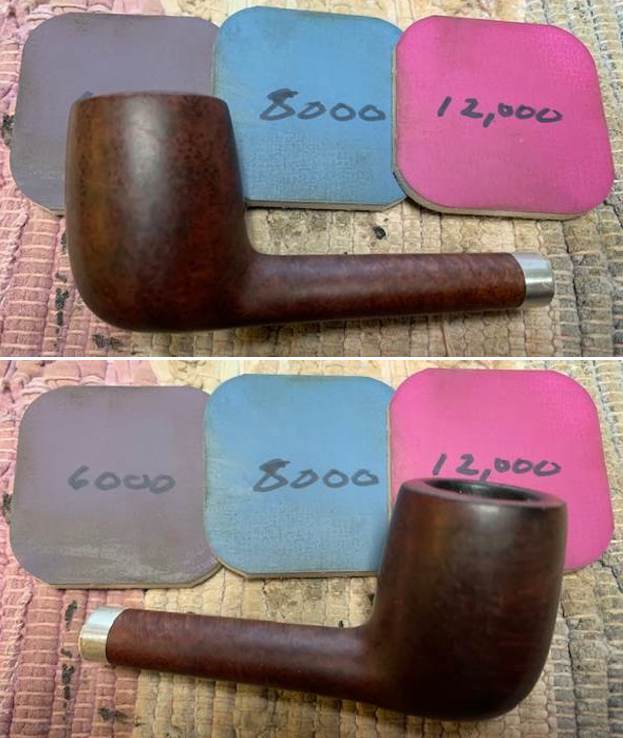
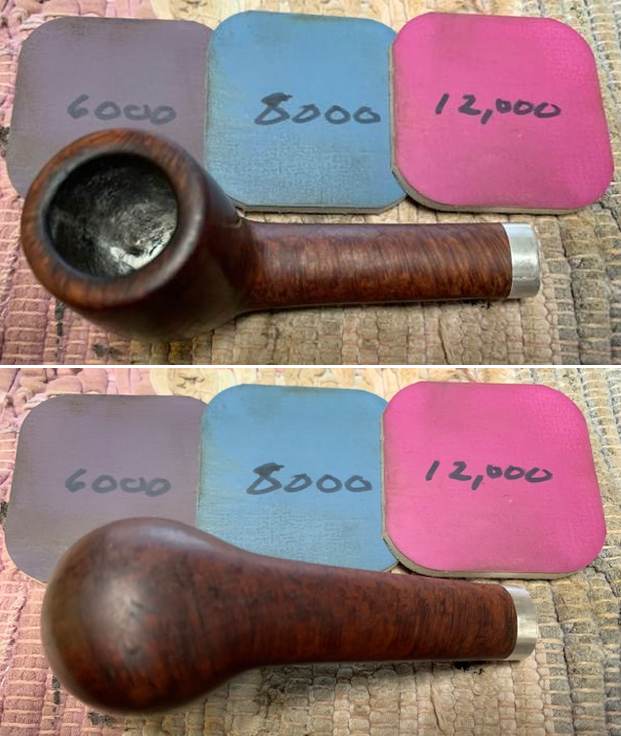
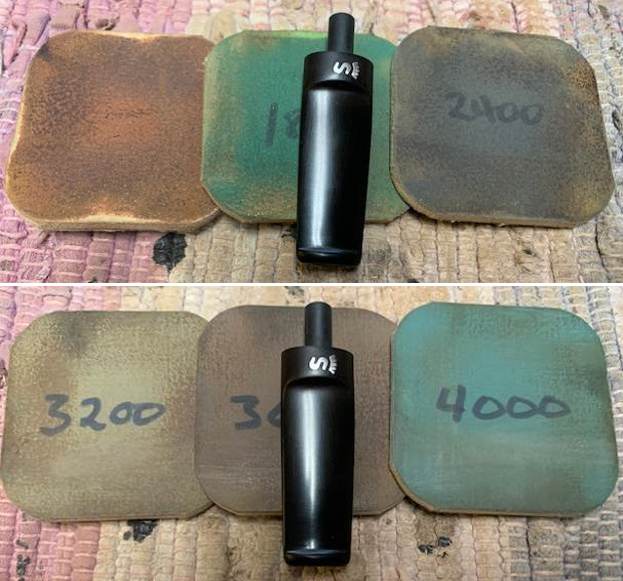
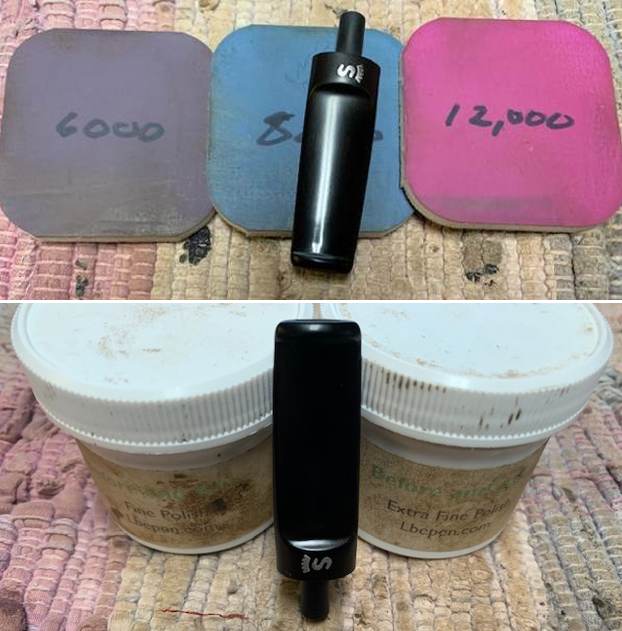
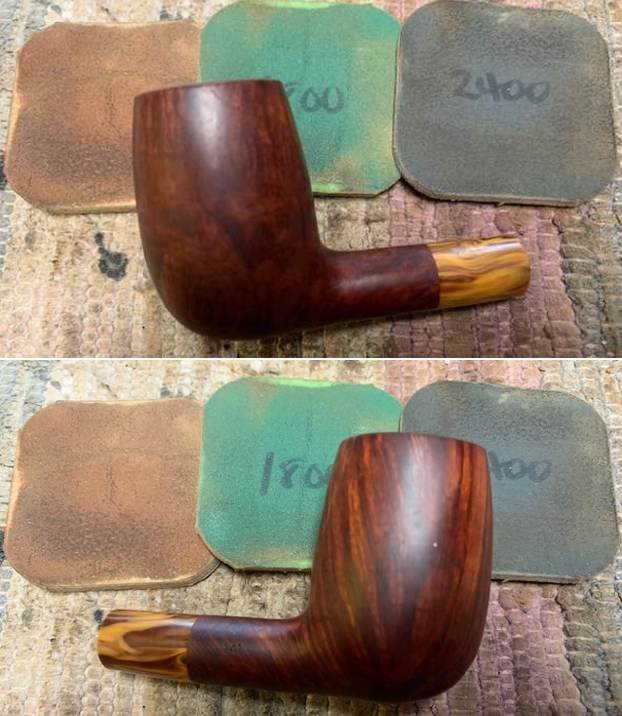
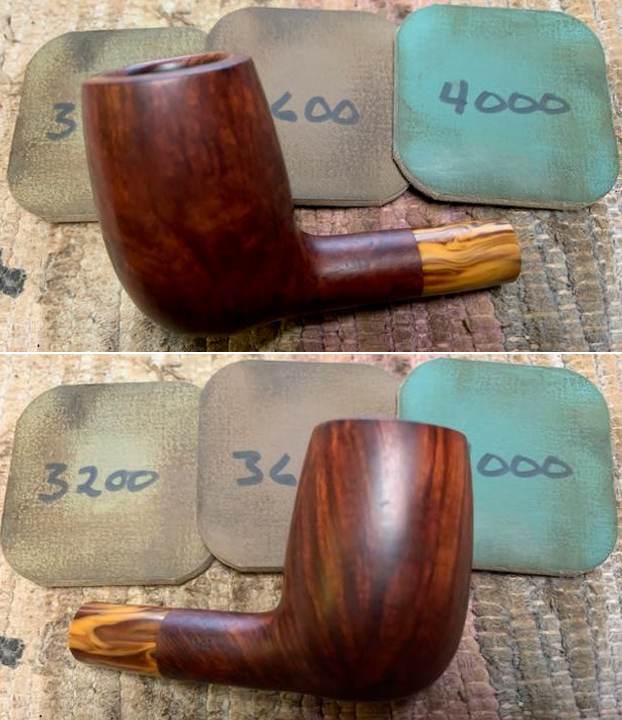
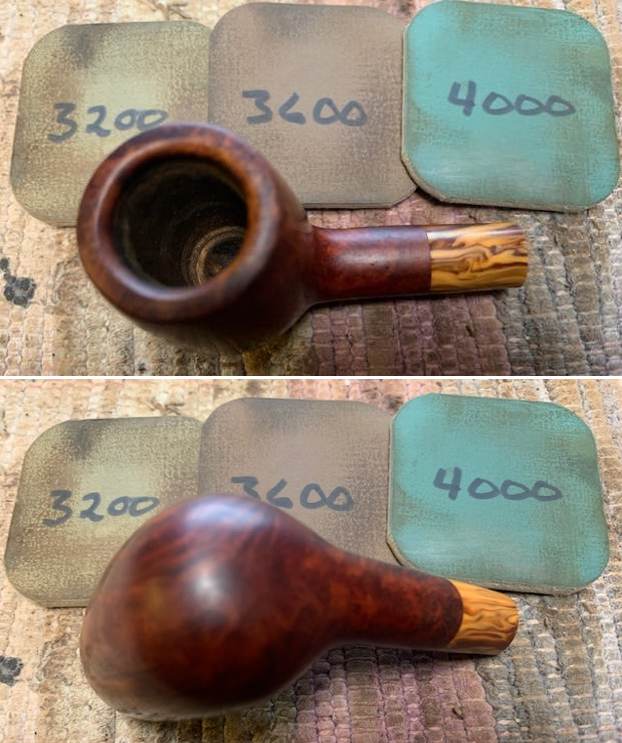
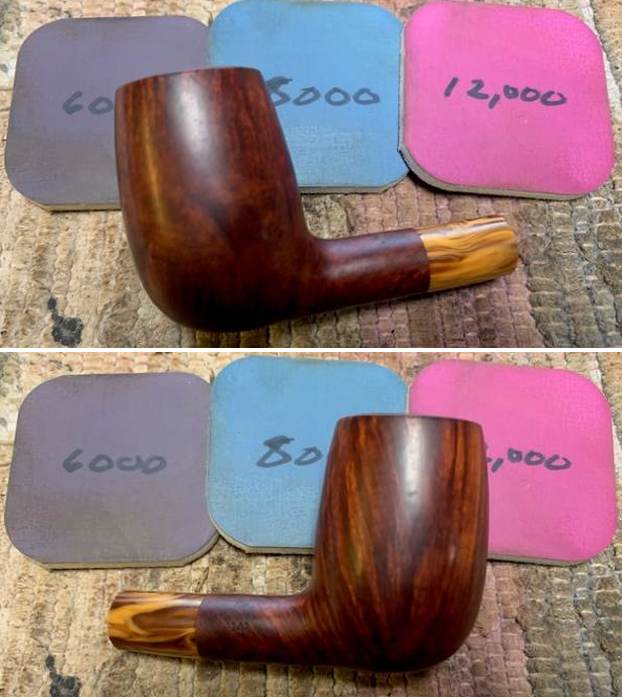
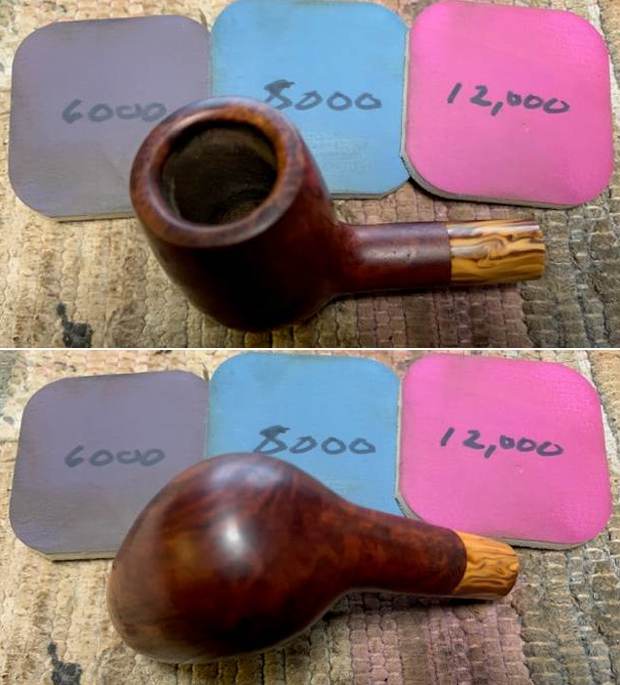
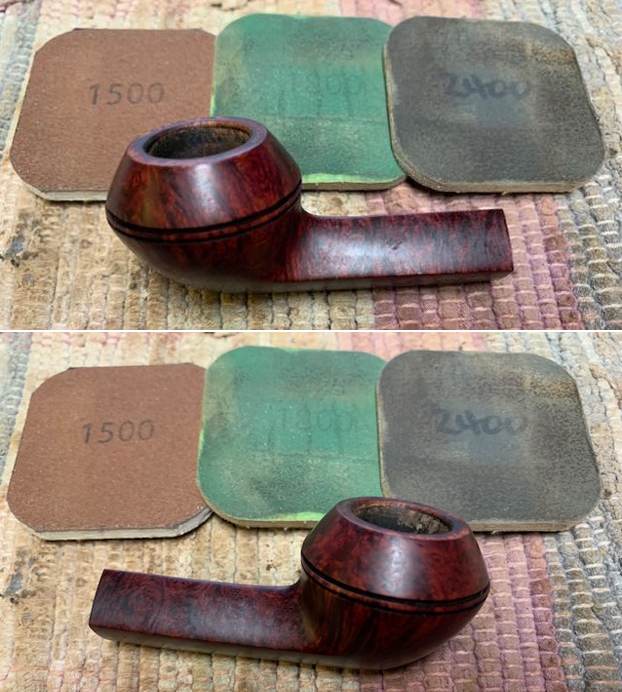
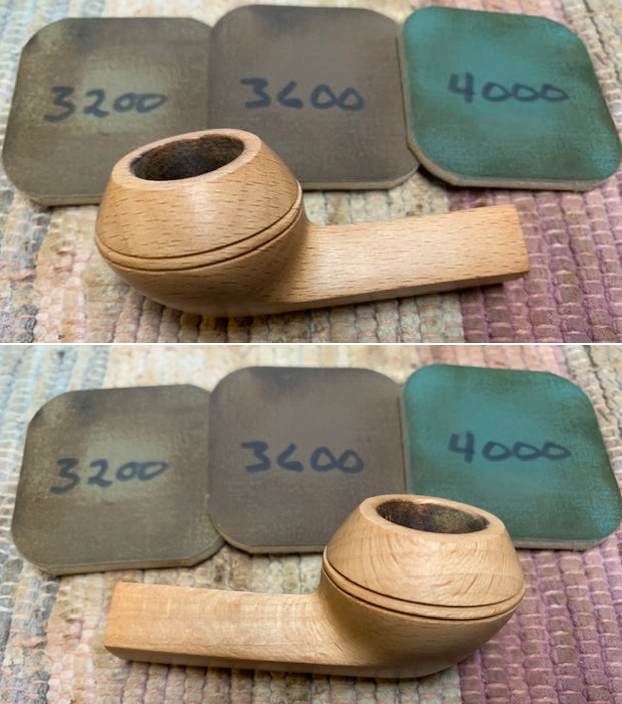
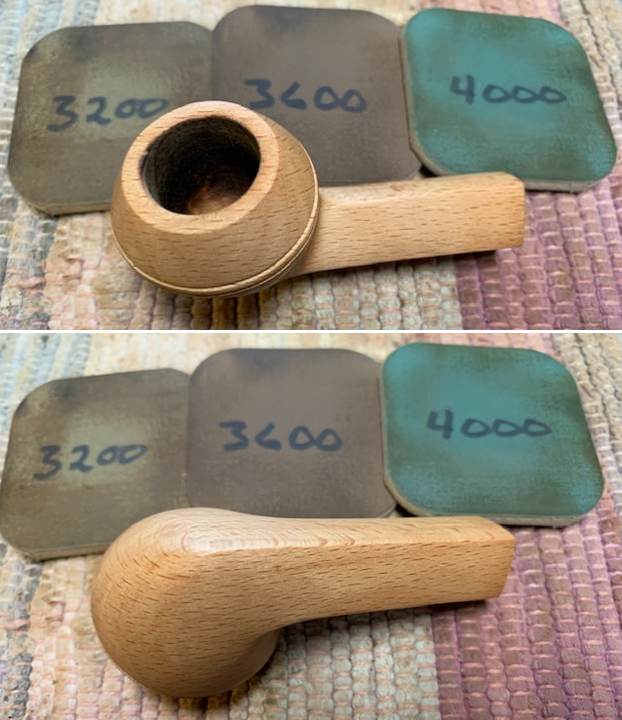
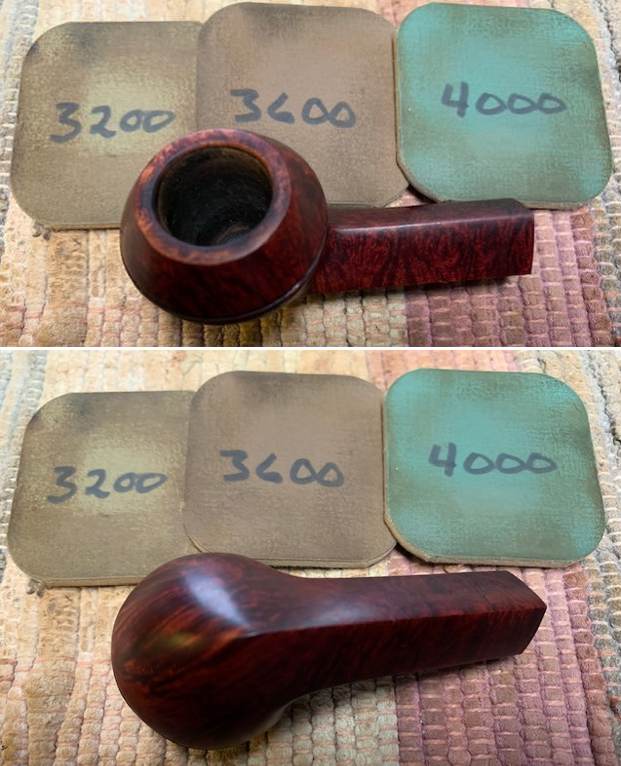
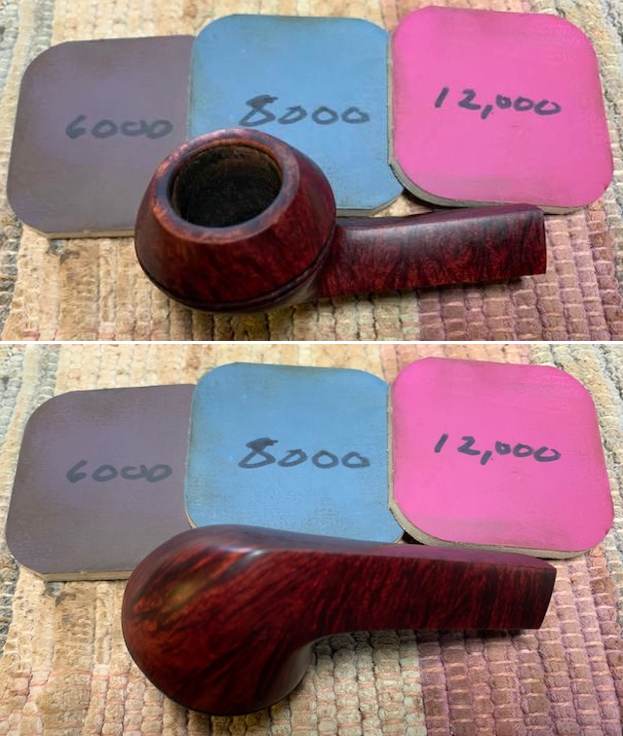
 I started polishing the bowls of both pipes with micromesh sanding pads. I wet sanded it with 1500-12000 grit pads. I wiped the bowl down after each pad with a damp cloth. The bowl began to take on a rich shine and grain was beginning to stand out. I wet sanded with all of the pads and wiped the bowl down after each pad with a soft cloth.
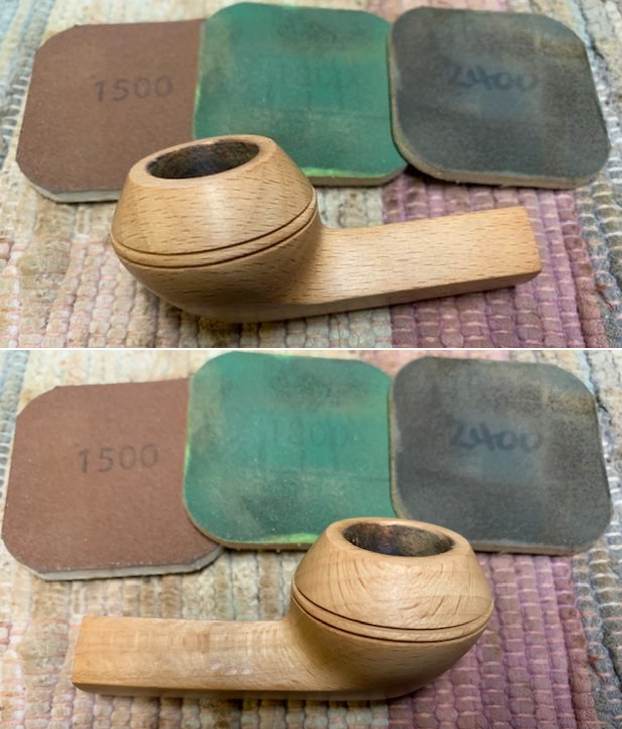
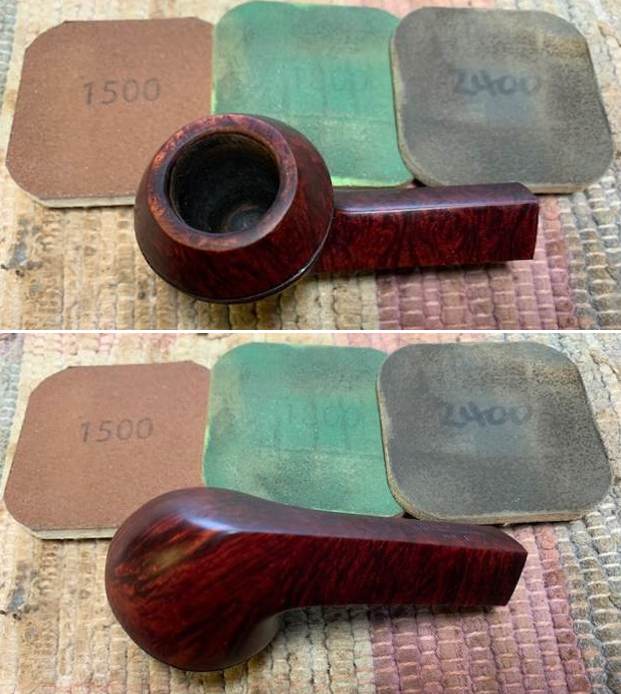


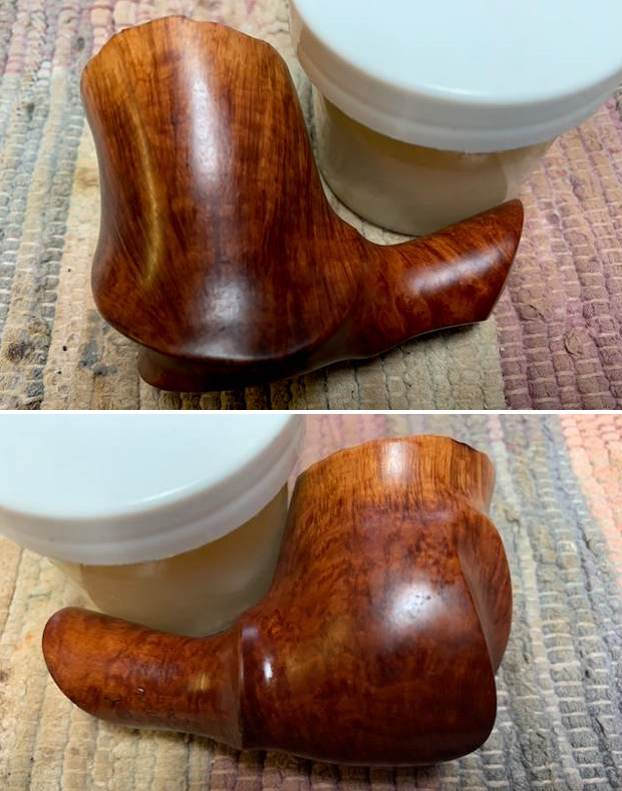
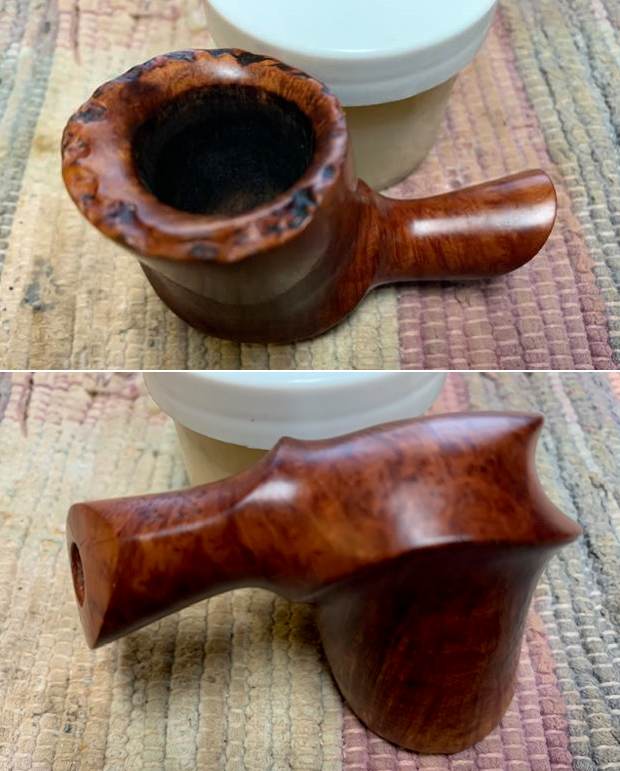
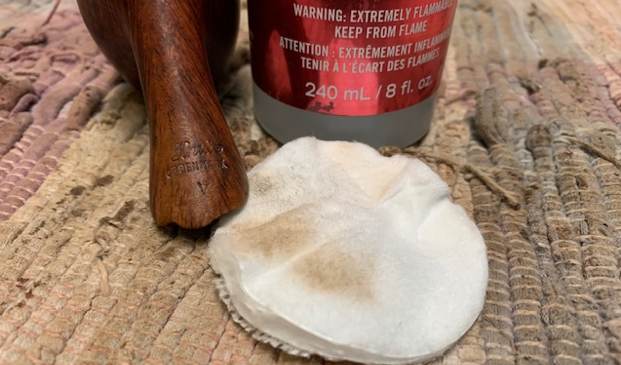
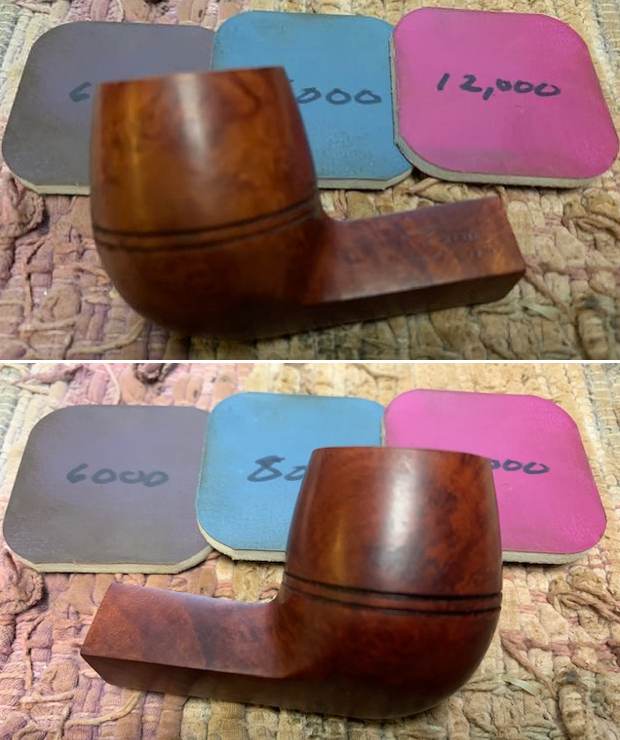
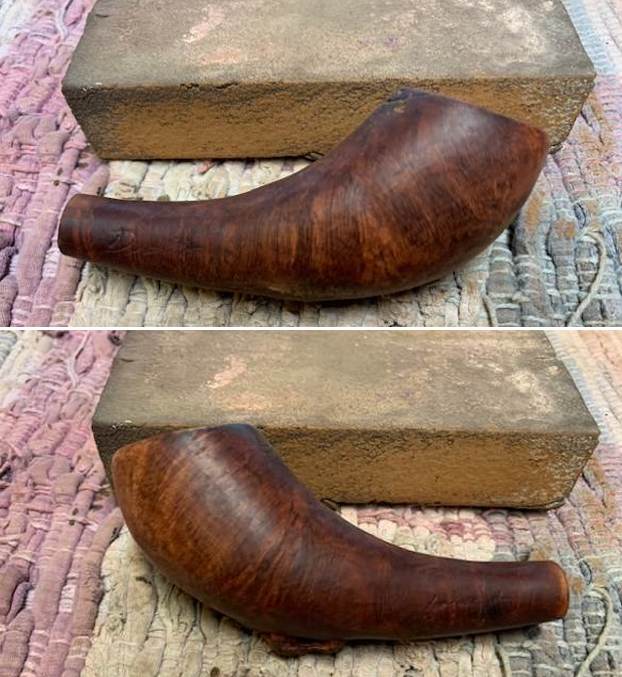
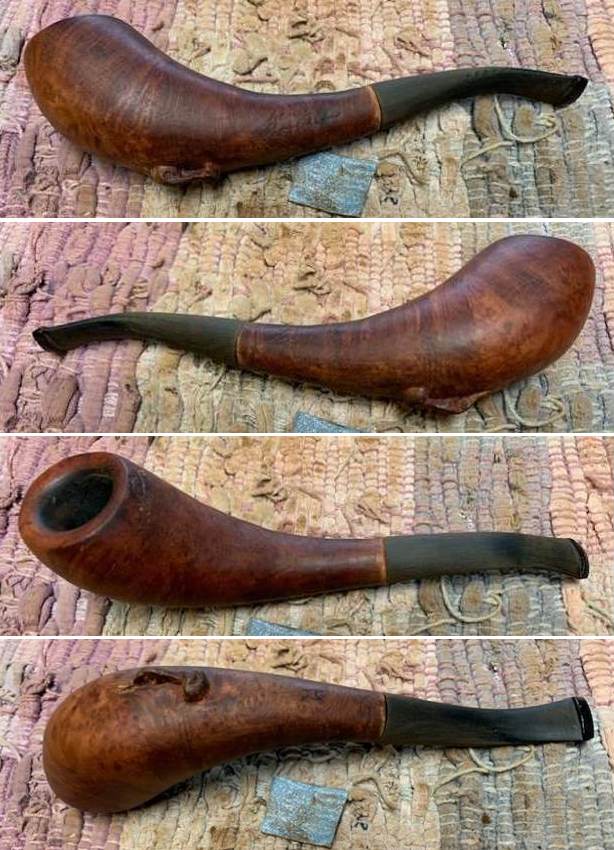
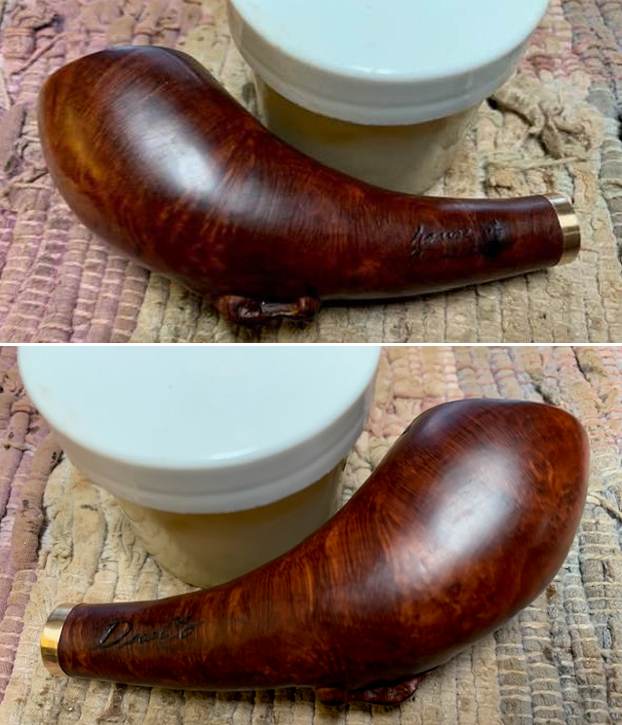
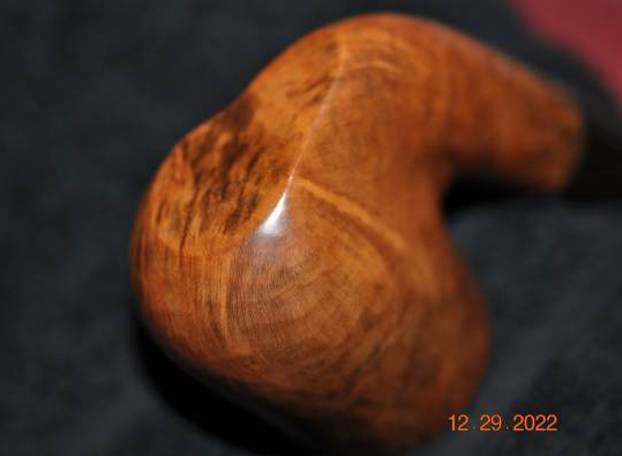
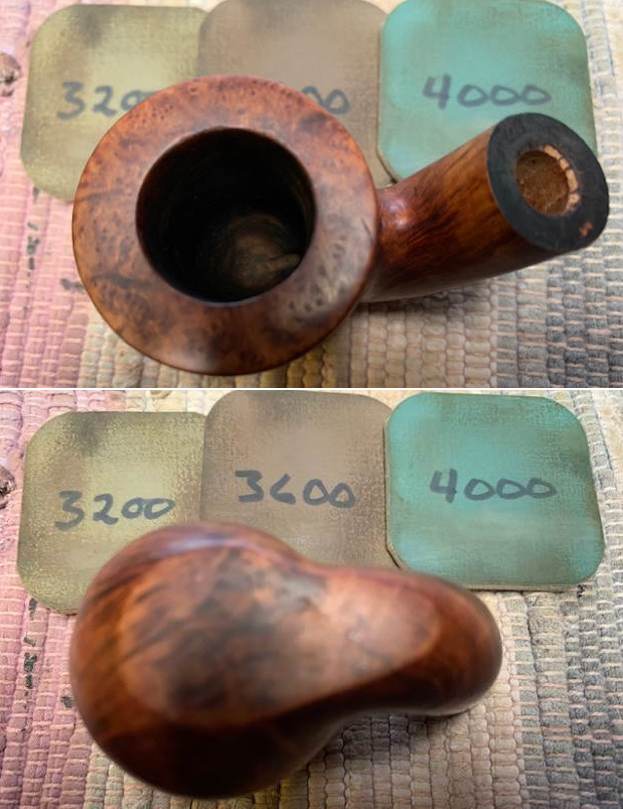
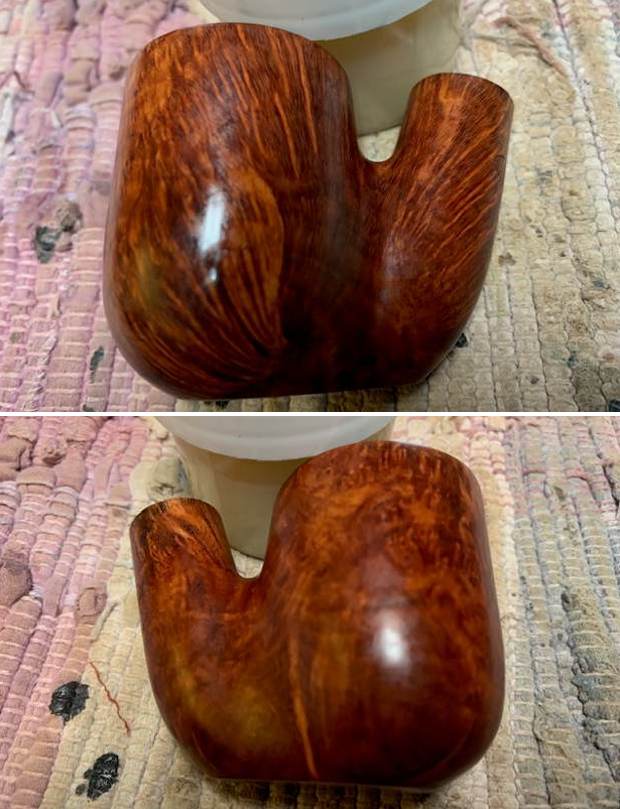
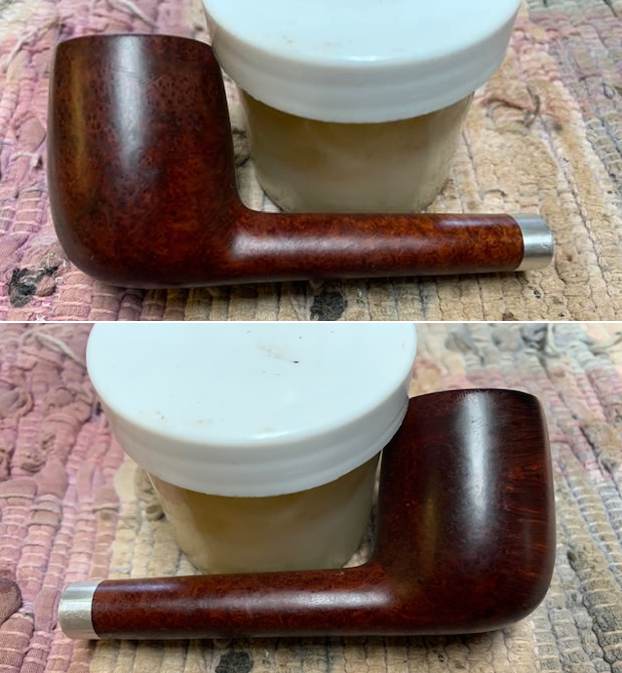
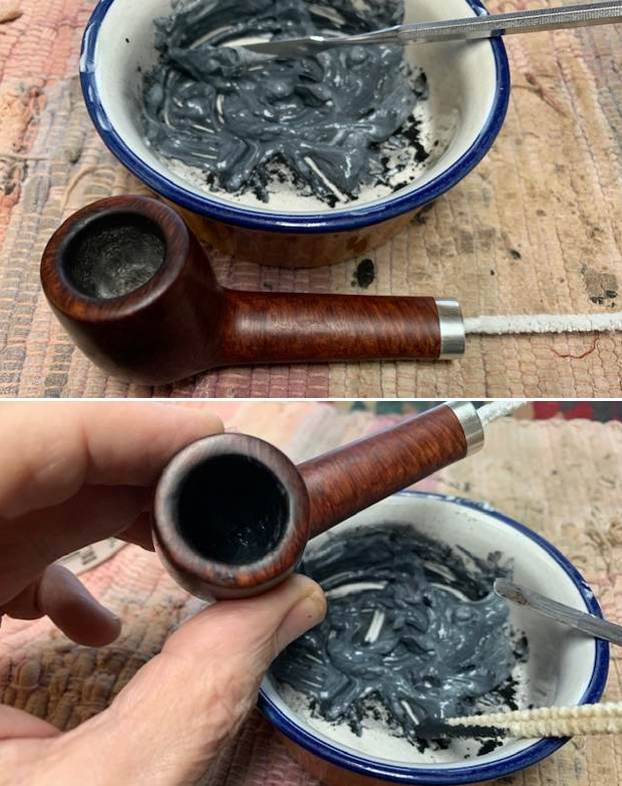
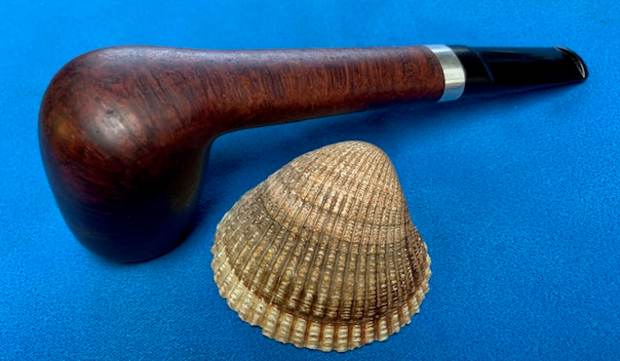
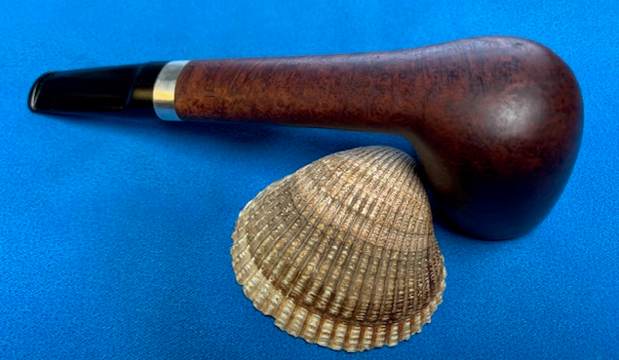
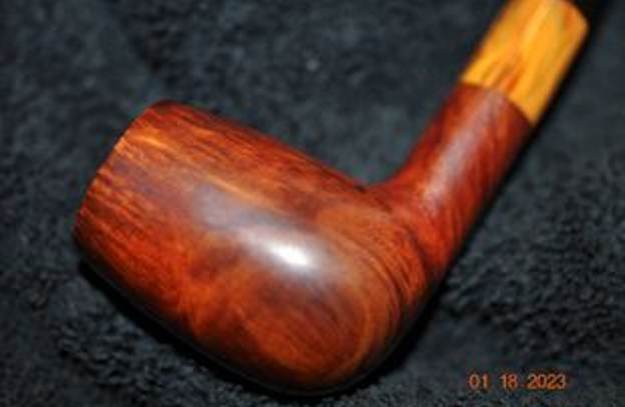
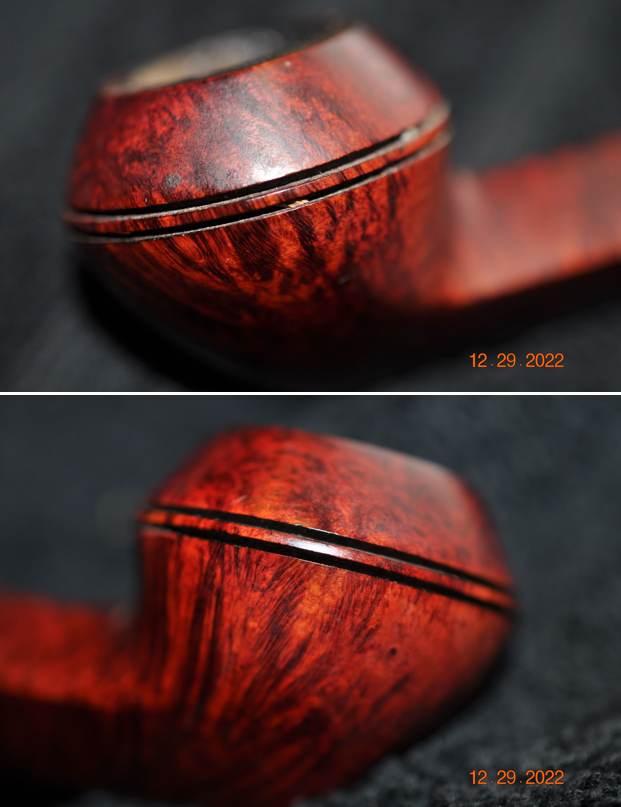
 I rubbed the bowls of both down with Before & After Restoration Balm to deep clean the finish on the bowl and shank. The product works to clean, enliven and protect the briar. I worked it in with my fingers to get it into the wood. I let it sit for 10 minutes then I wiped it off and buffed it with a soft cloth. The bowls really began to have a rich shine. I took some photos of them at this point to mark the progress in the restoration. They are beautiful bowls.
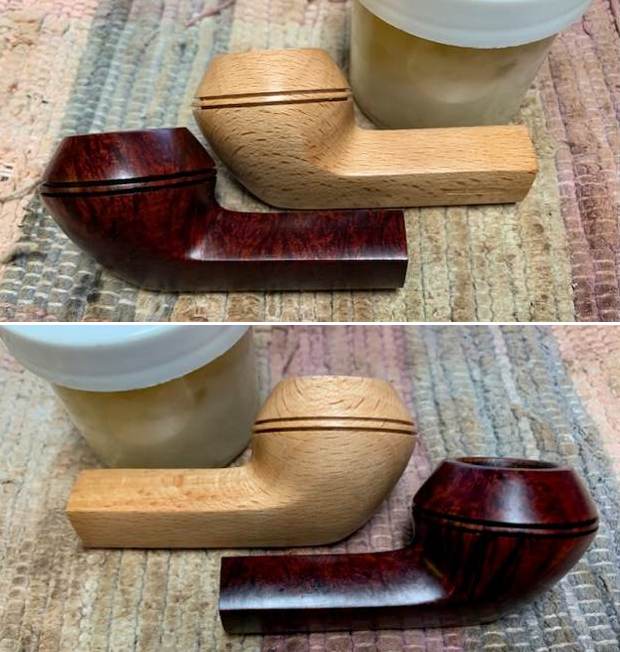
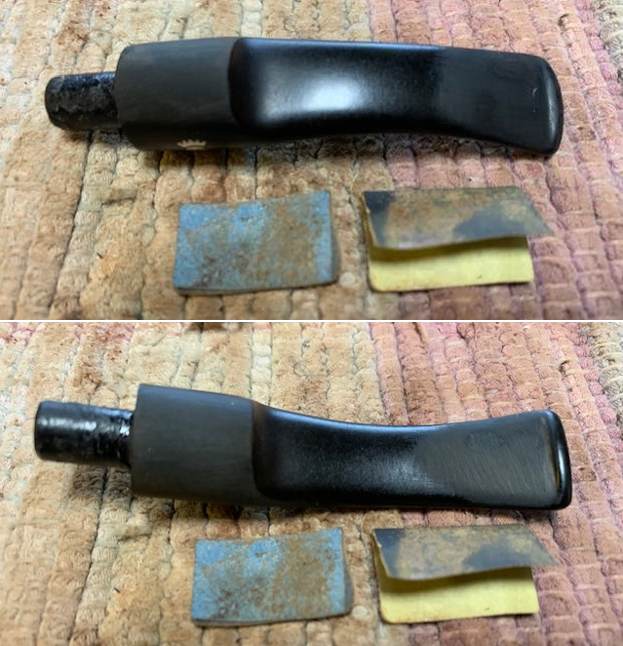
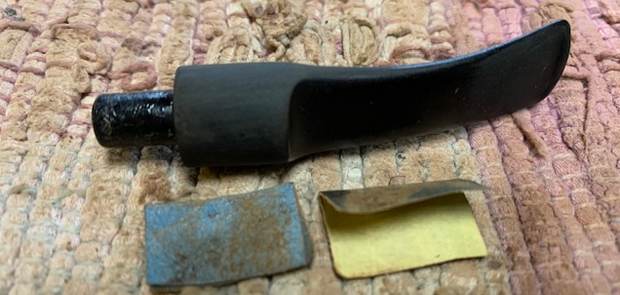
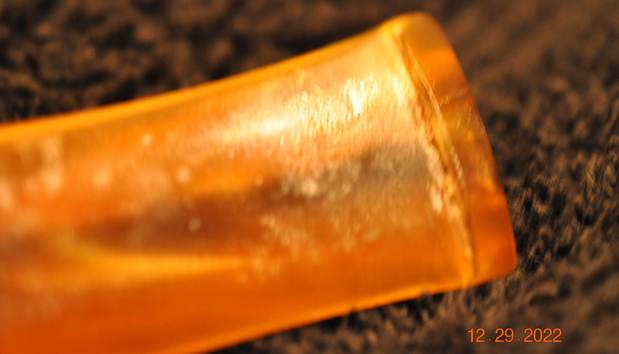
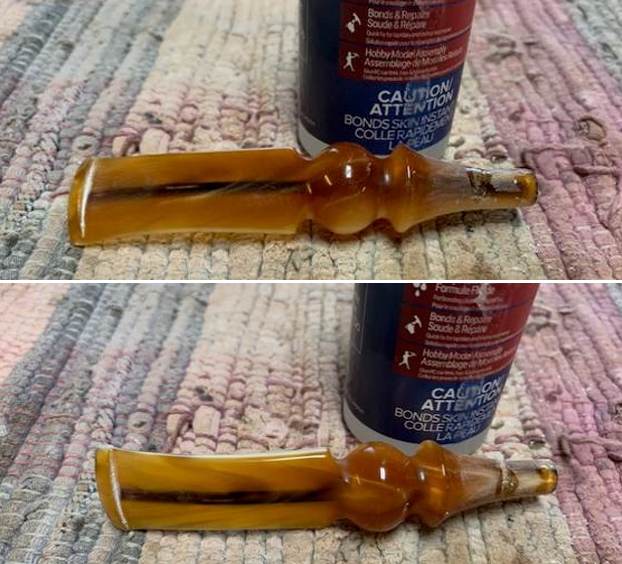
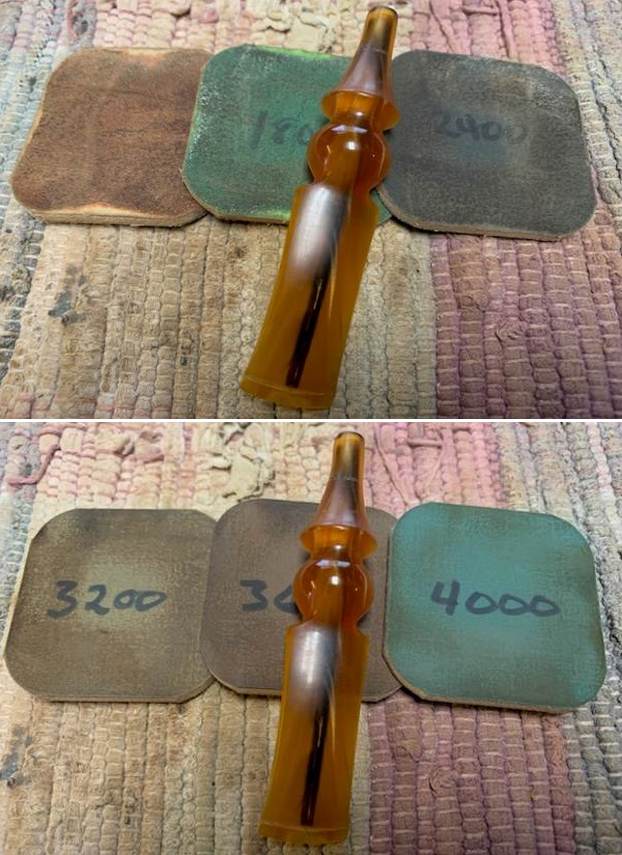
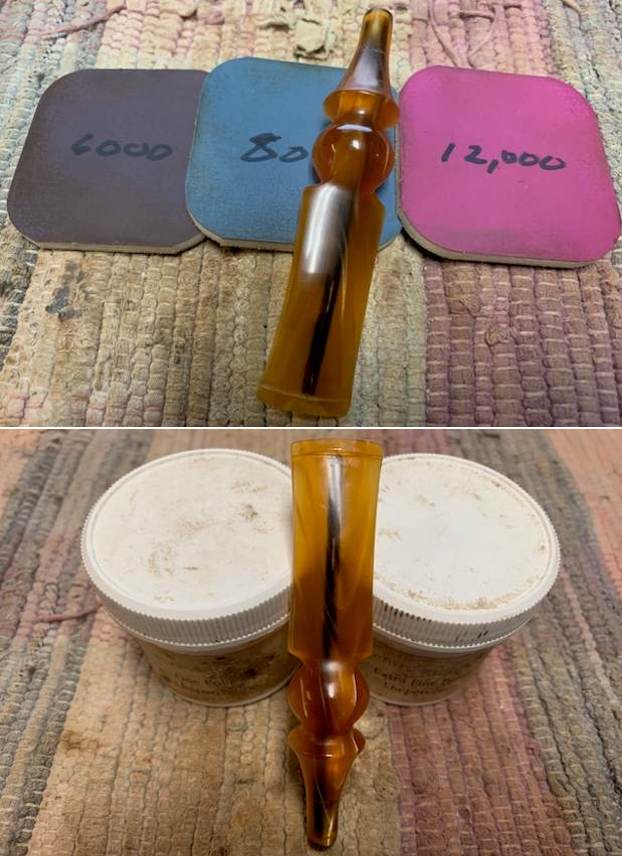
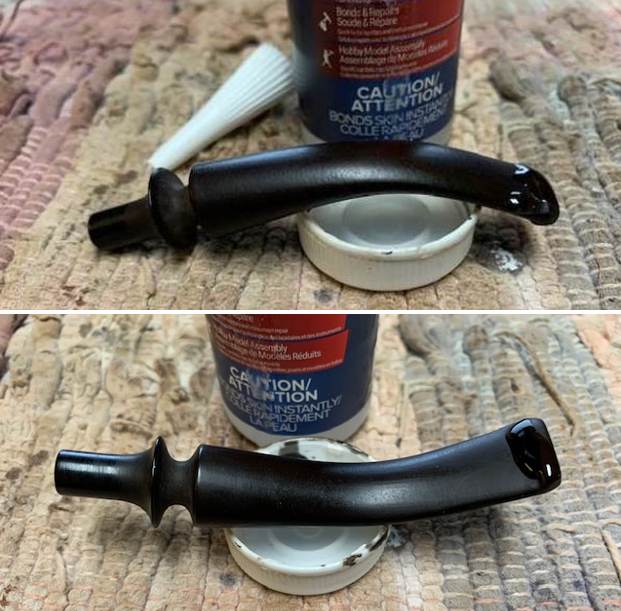
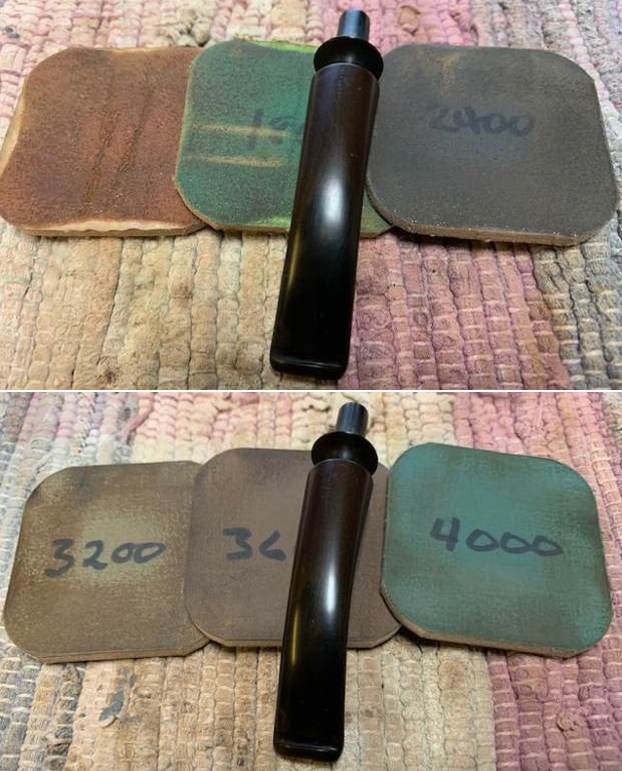
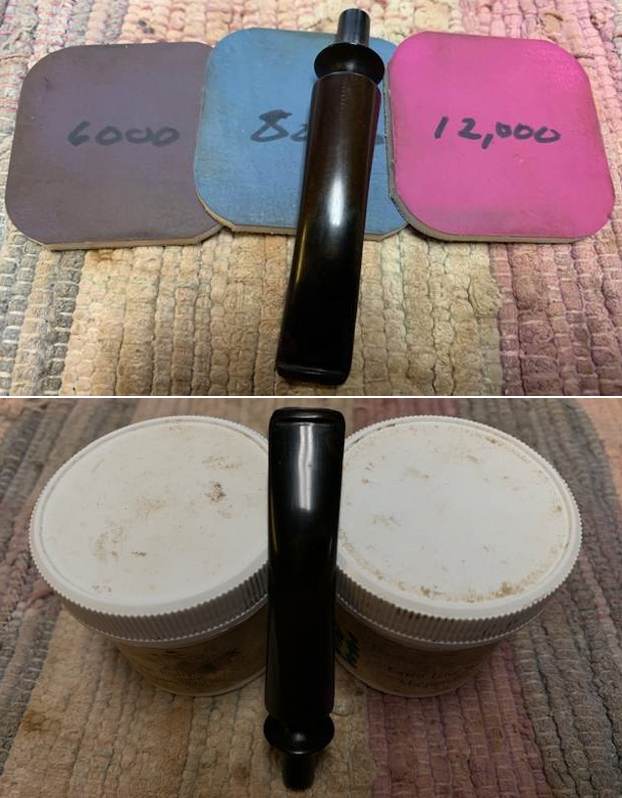
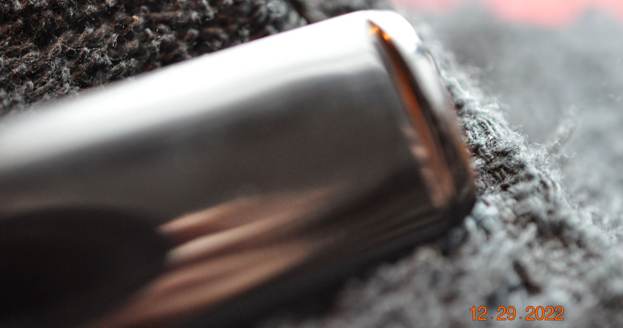
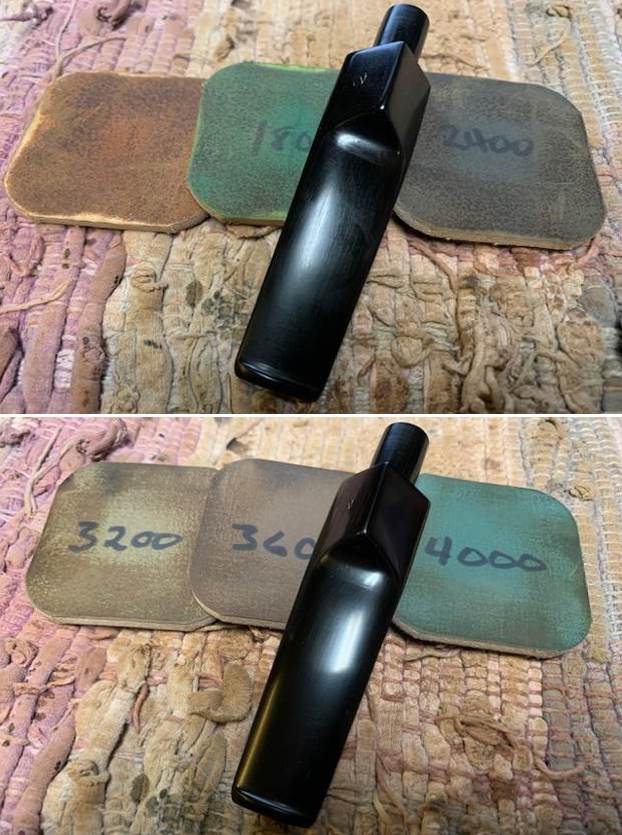
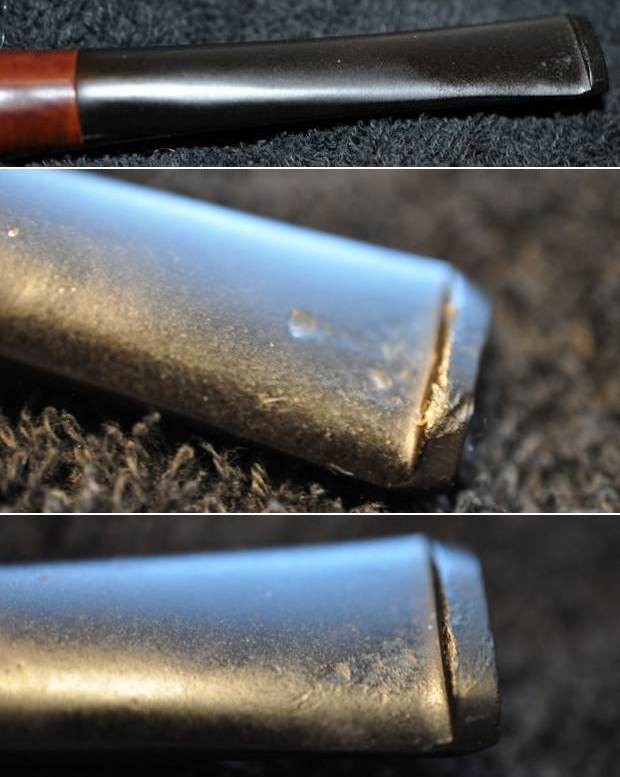
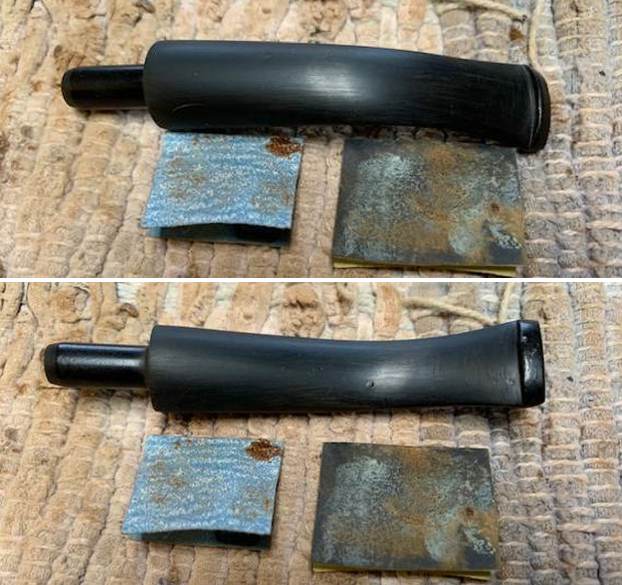
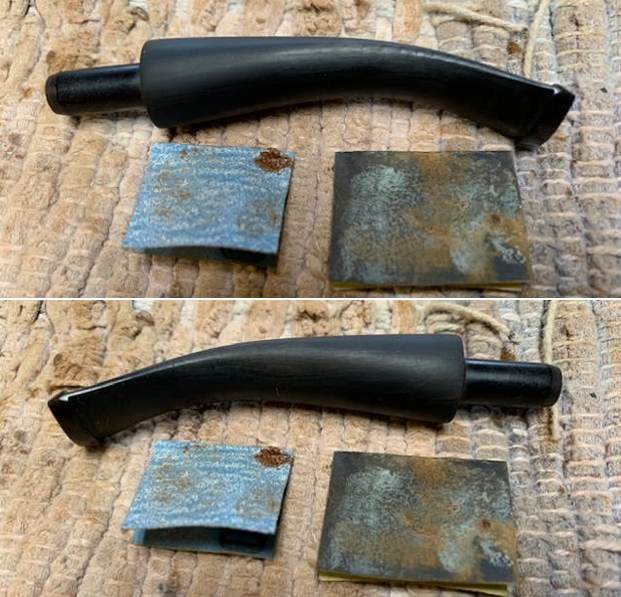
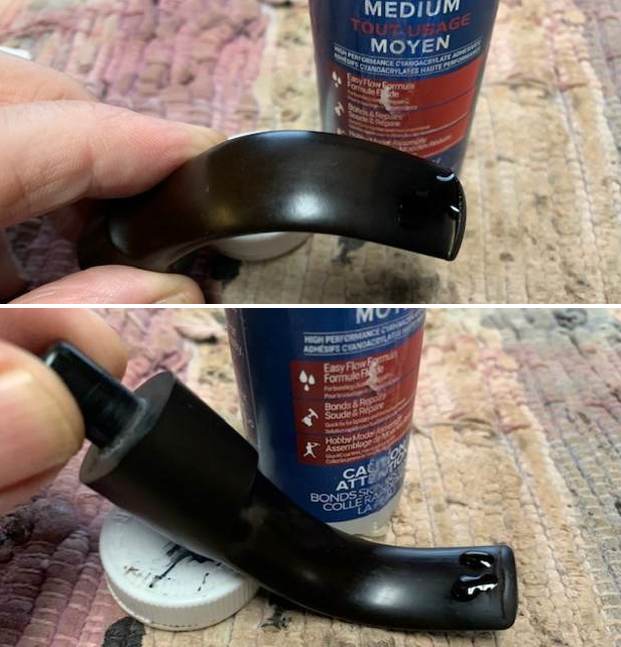
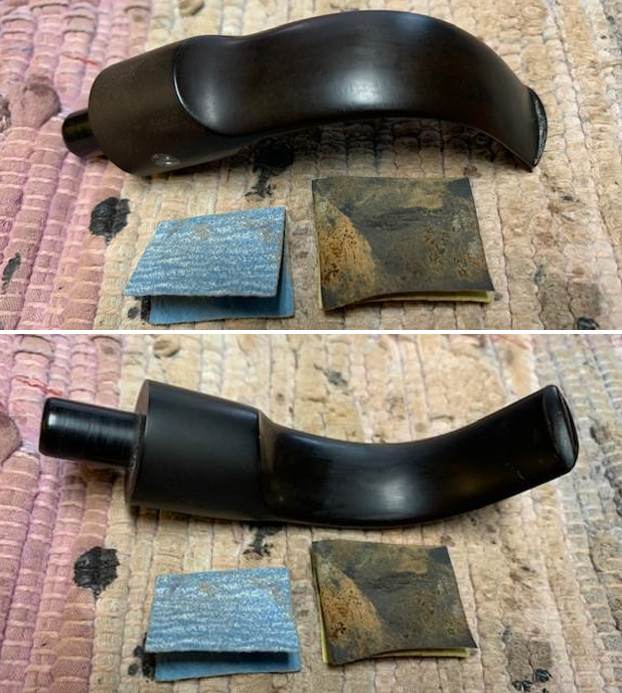
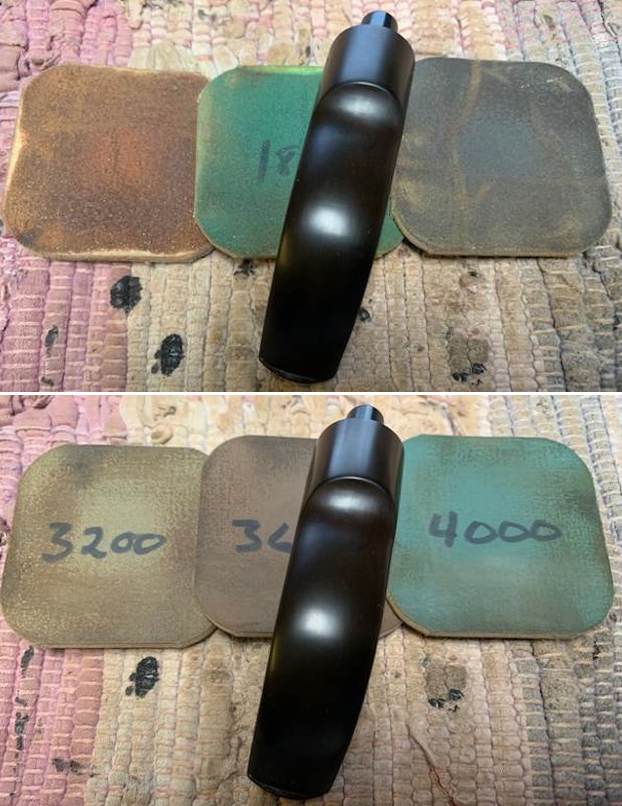
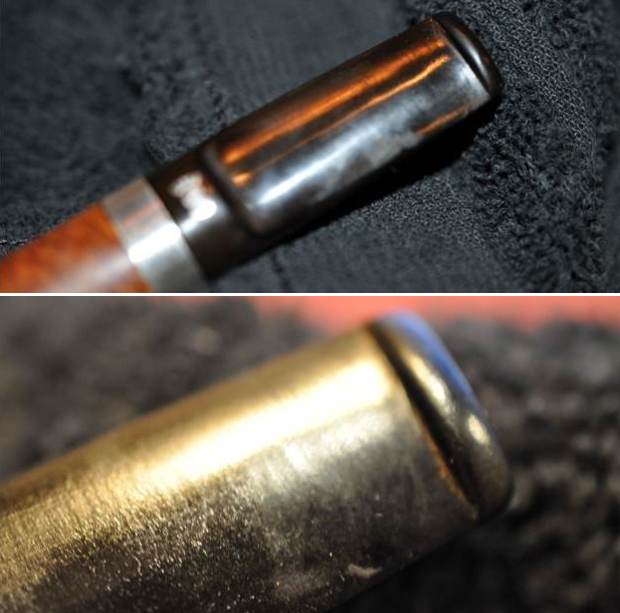
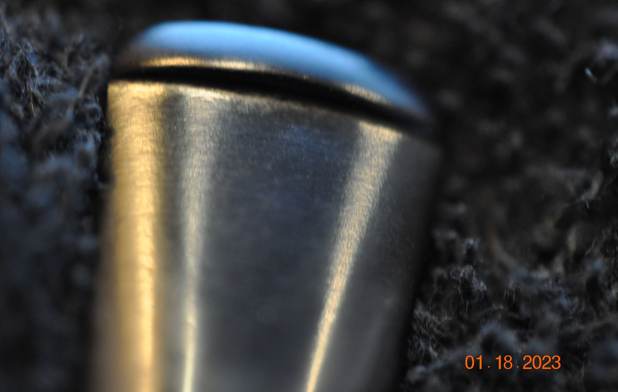
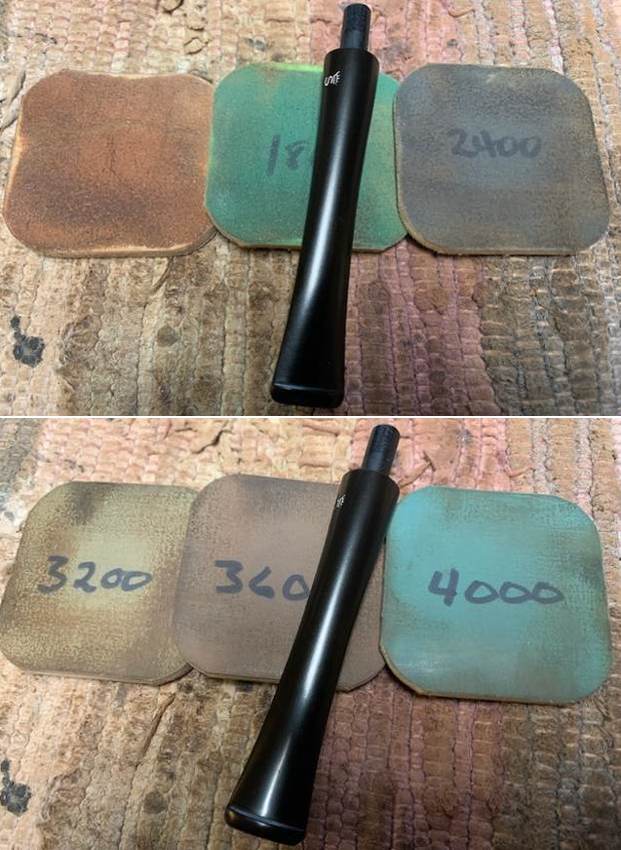
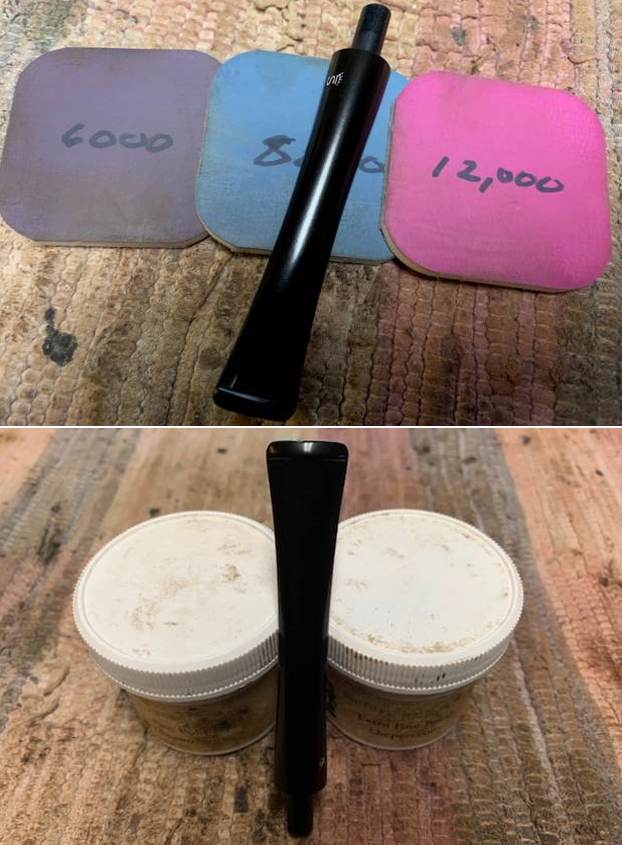
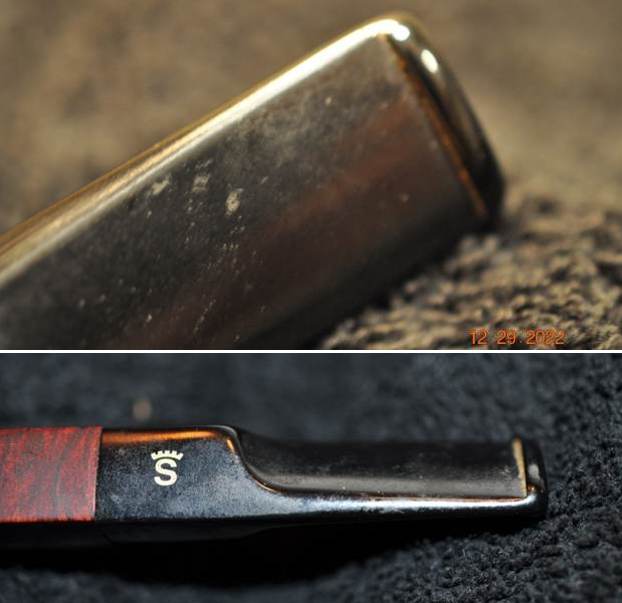
 I set the bowls aside and worked on the stems at this point in the process. I sanded the tooth marks and chatter out of the acrylic stems with a folded piece of 220 sandpaper. I sanded them with 600 grit sandpaper until the marks were gone.
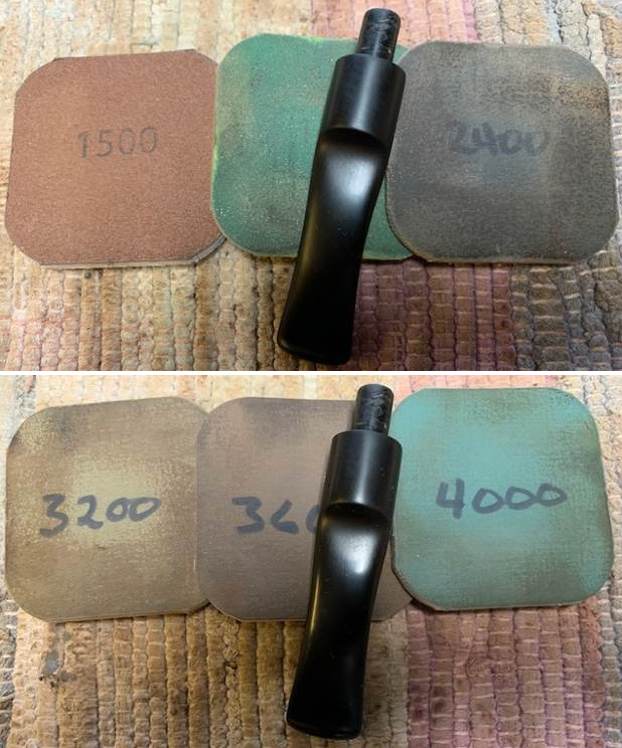
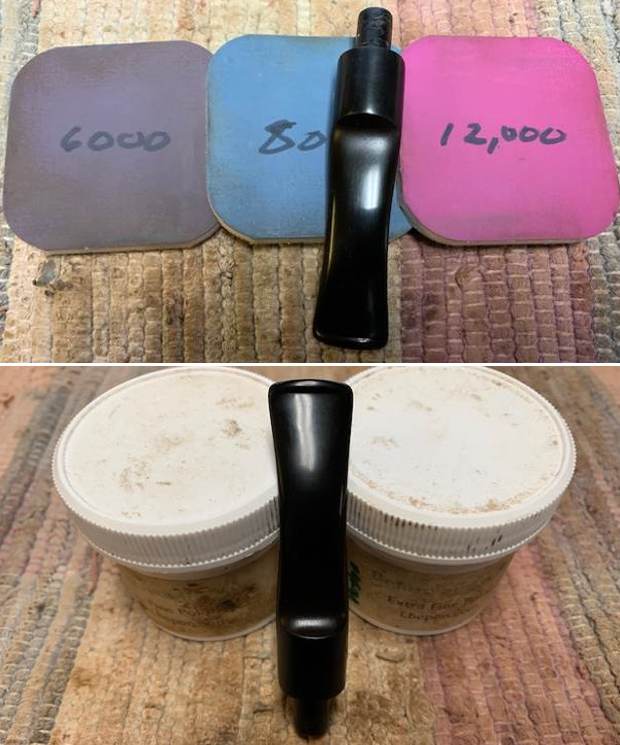
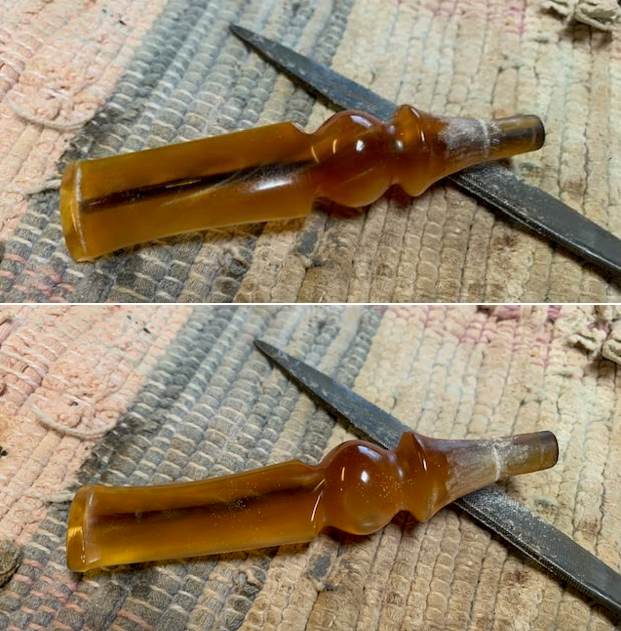
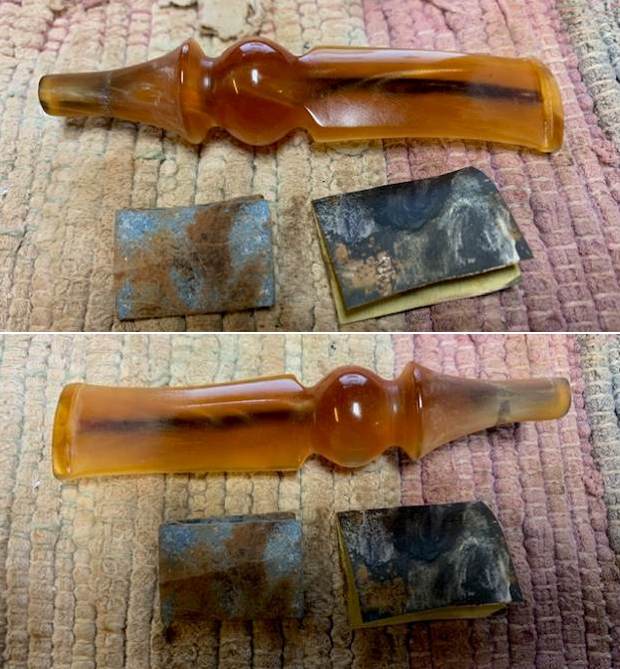
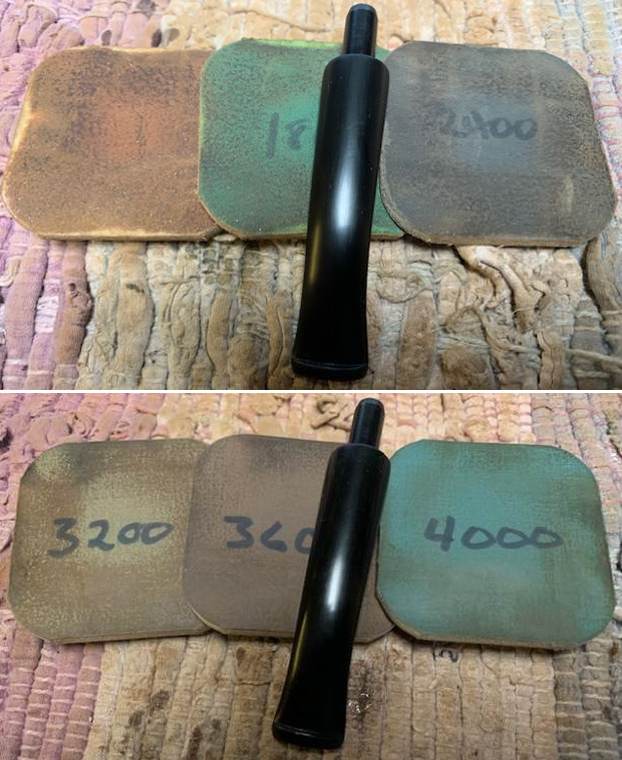
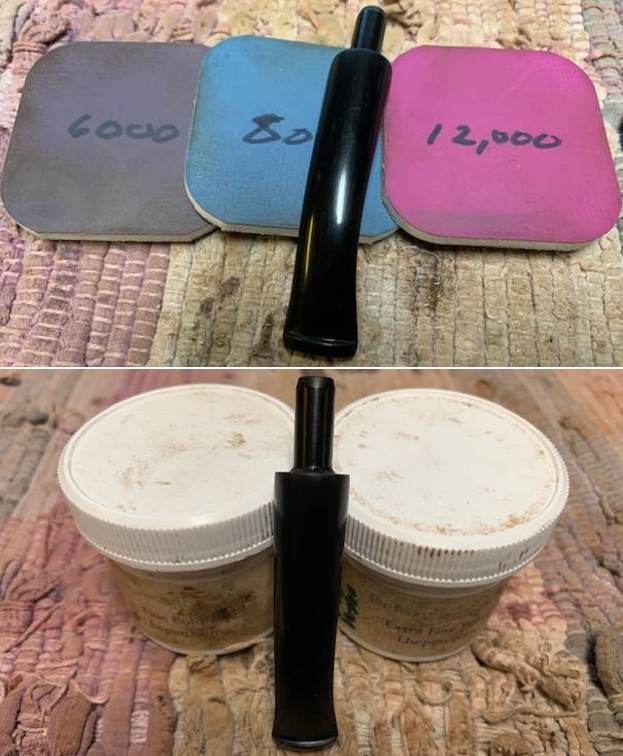
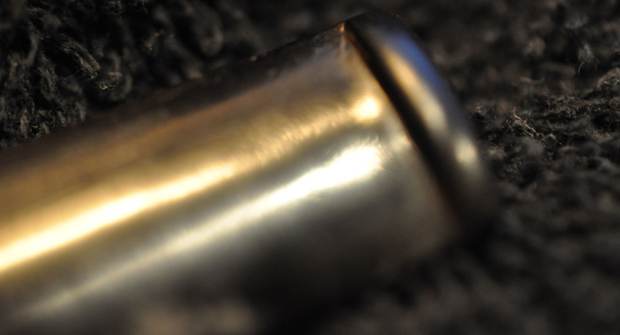
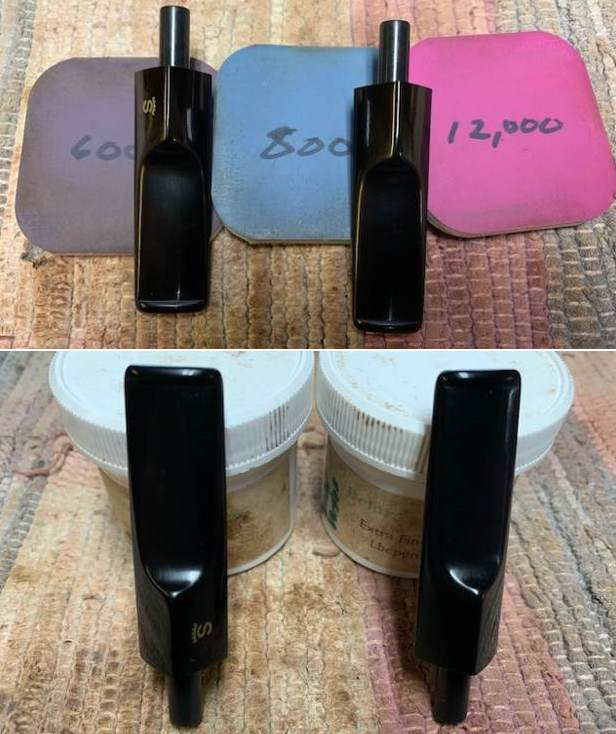
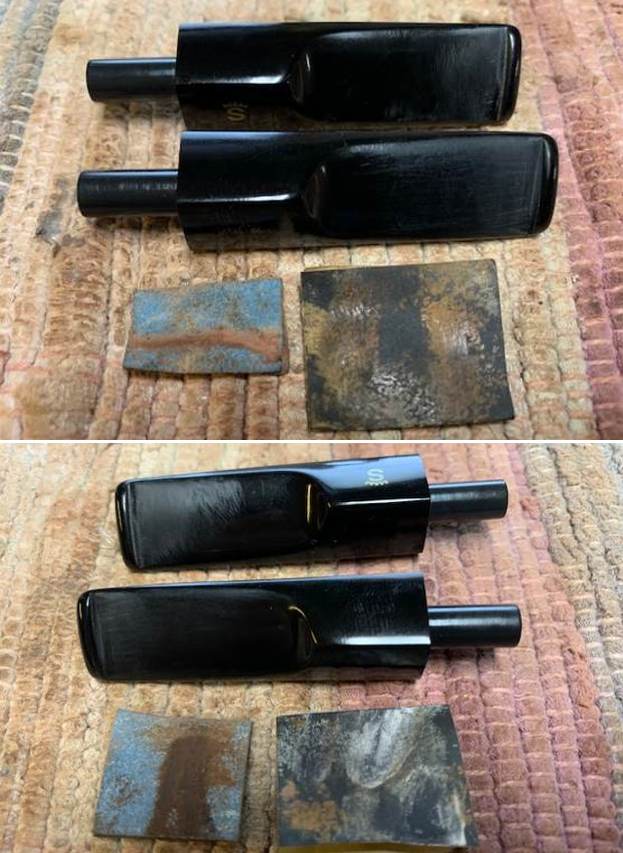 I polished the stem with micromesh sanding pads – dry sanding with 1500-12000 grit pads. I wiped the stem down after each pad with a damp cloth to remove the sanding dust. I finished by wiping the stem down with a final coat of Obsidian Oil and set it aside to dry.
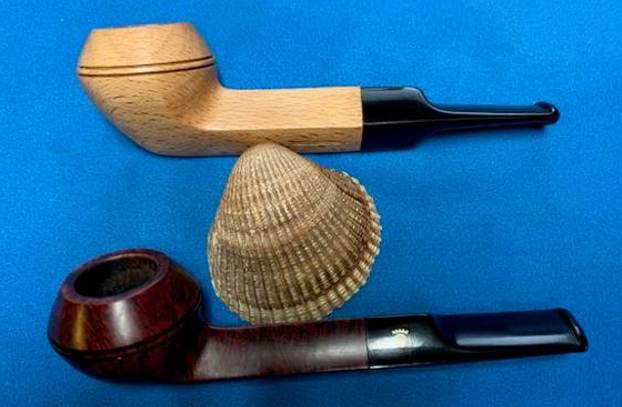
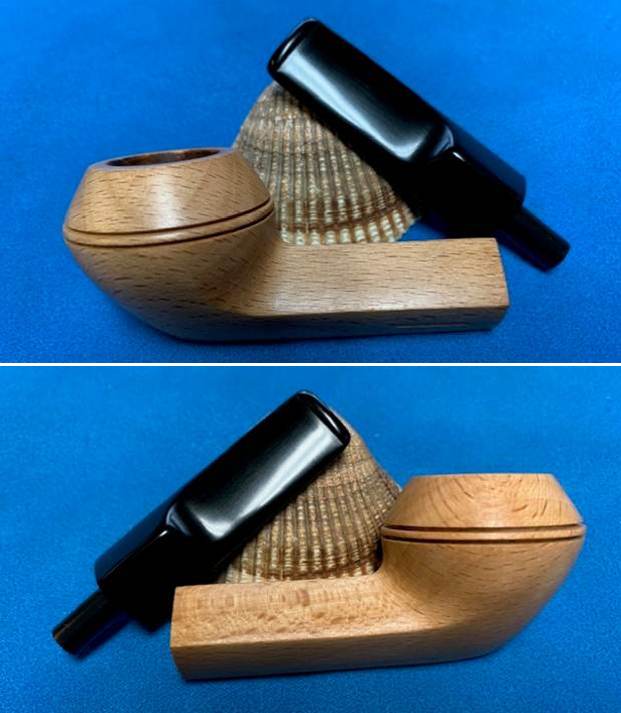
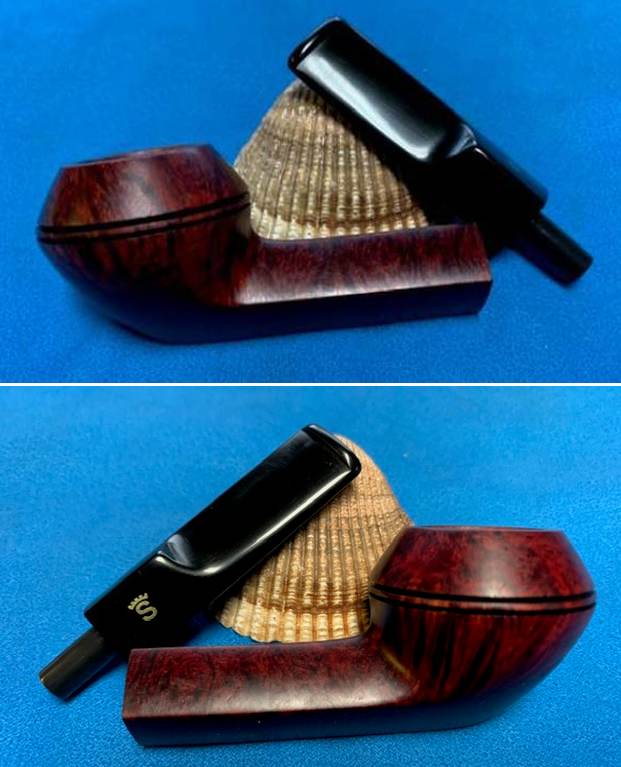
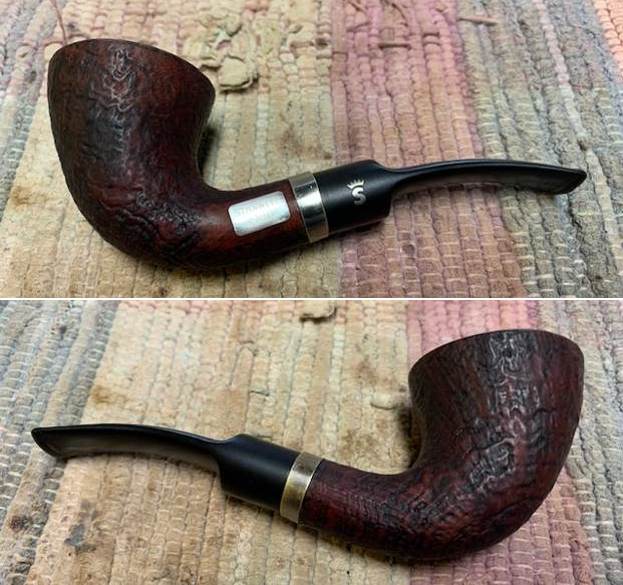
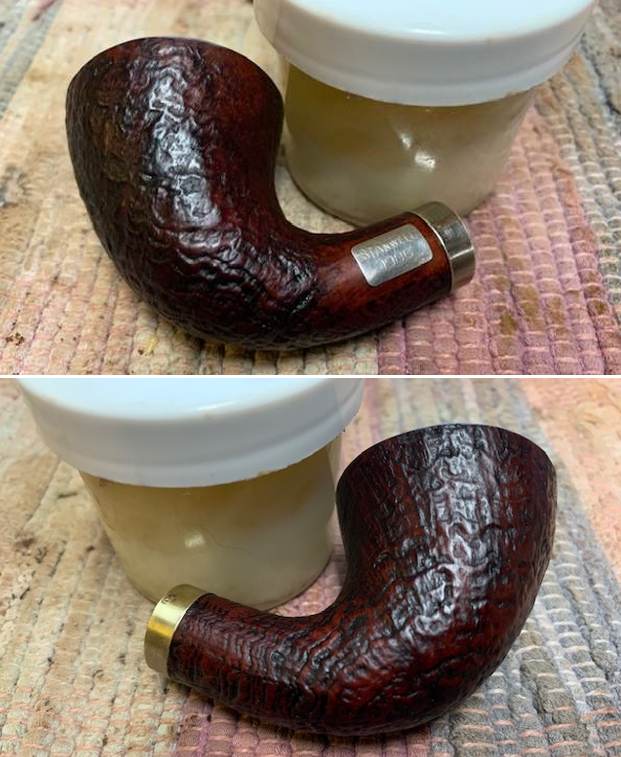
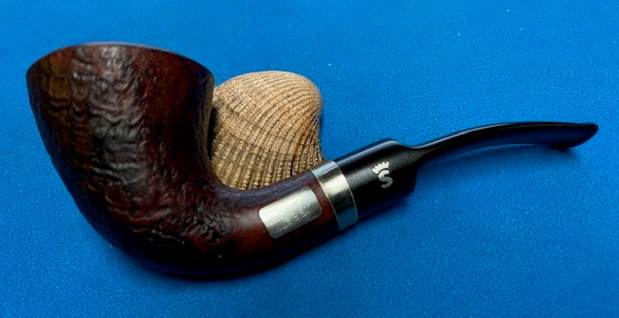
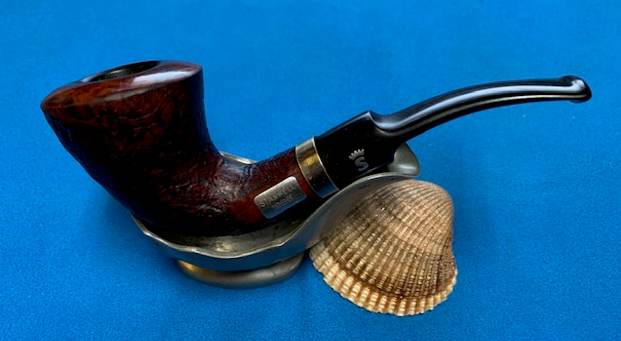
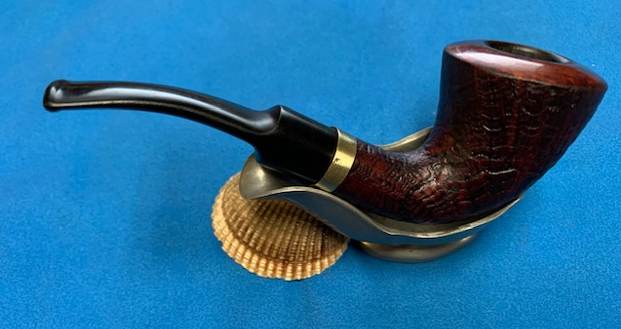
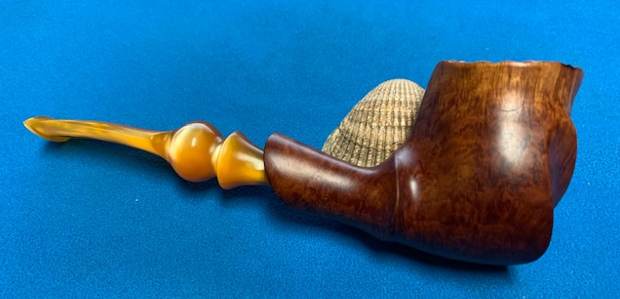
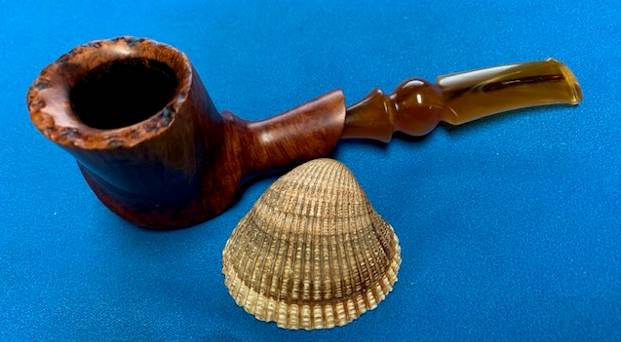
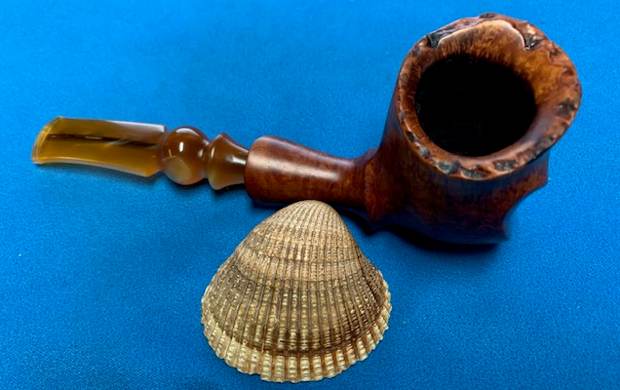
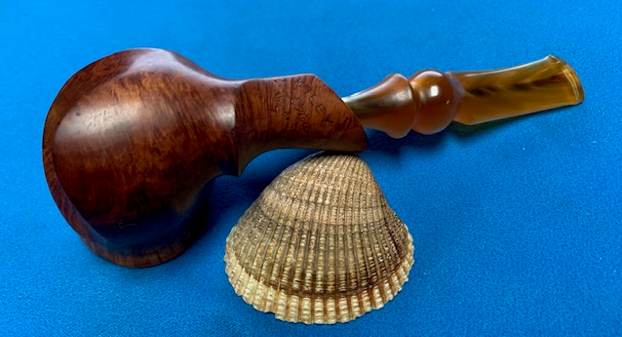
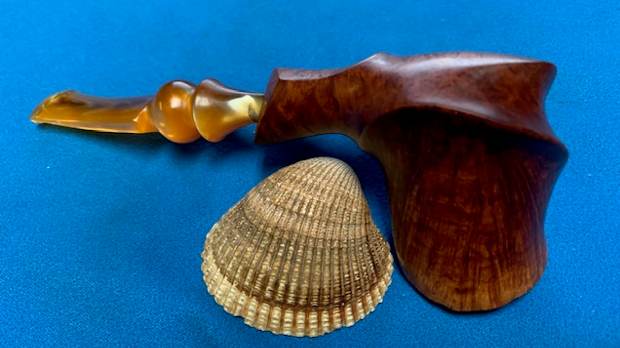
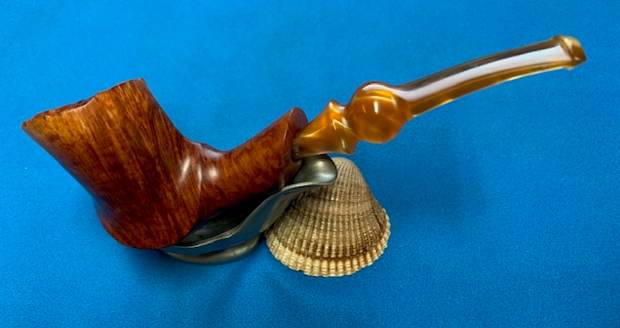
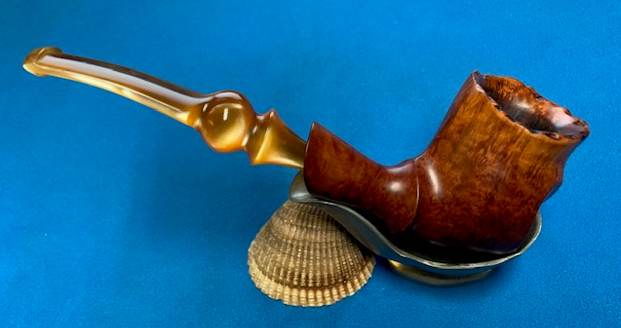
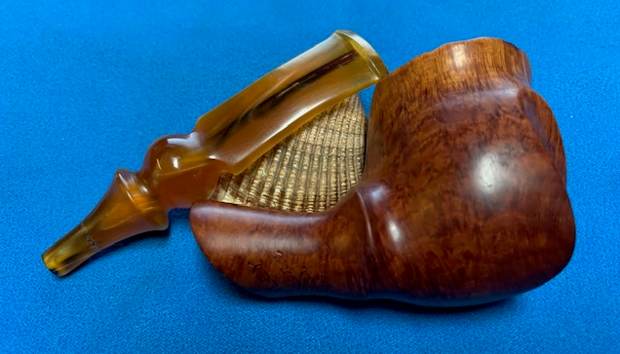
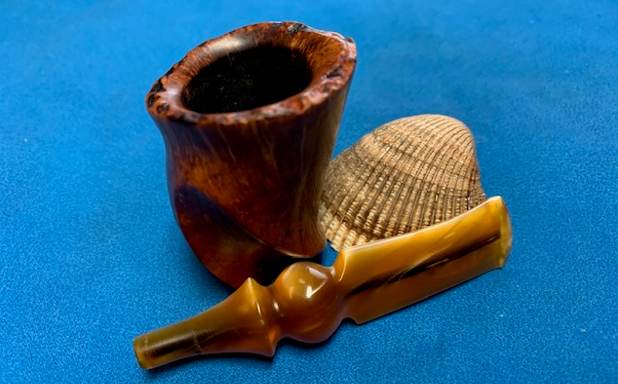
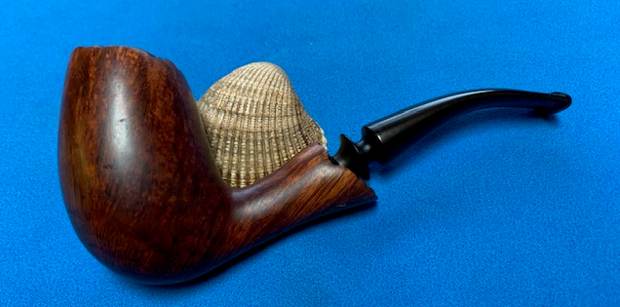
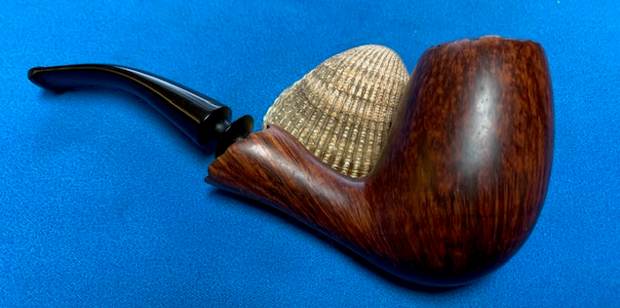
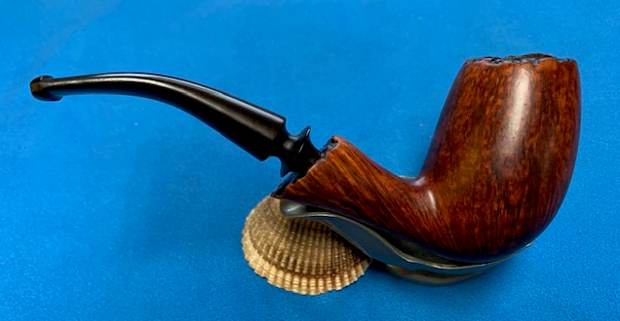
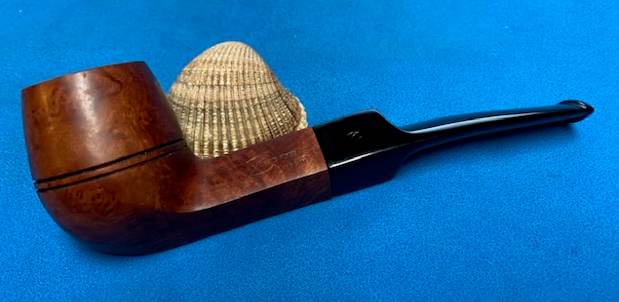
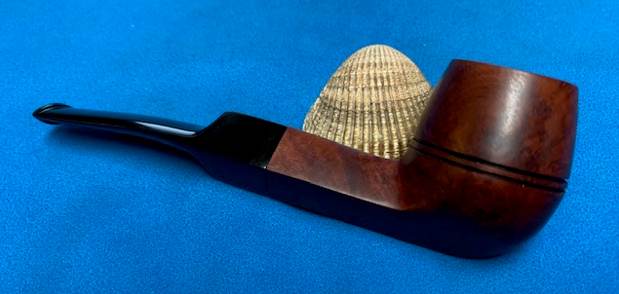
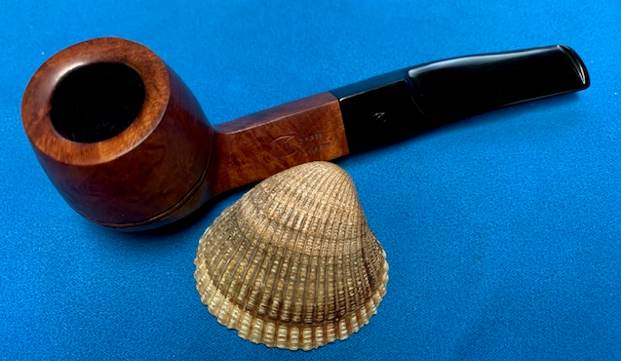
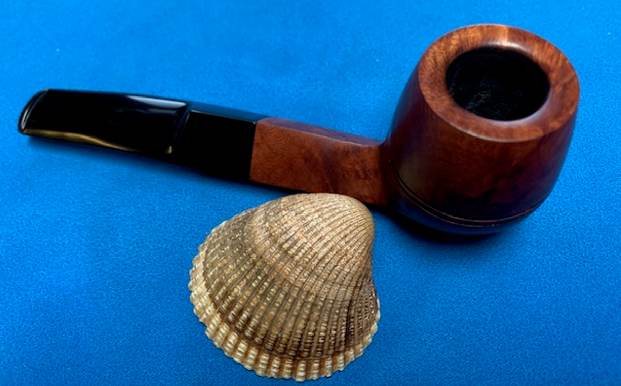
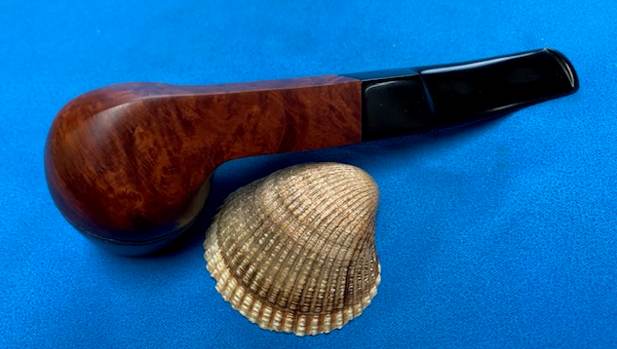
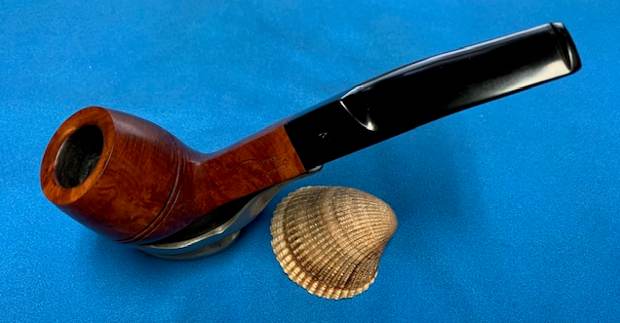
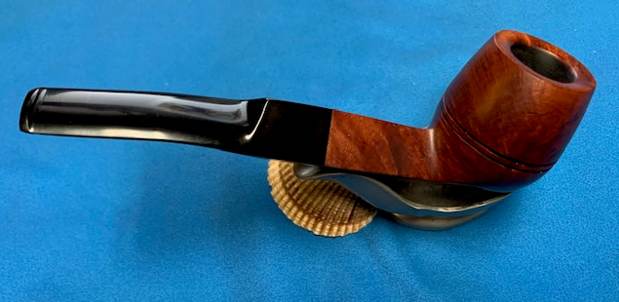
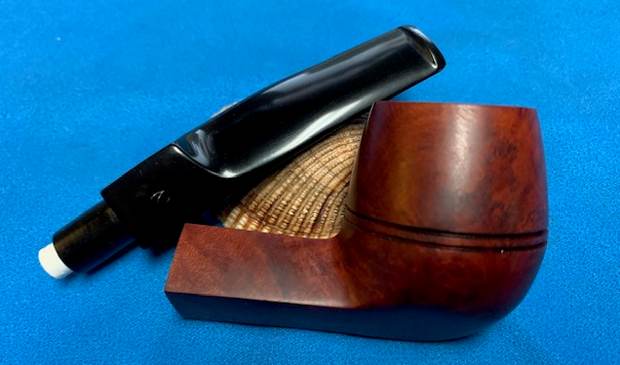
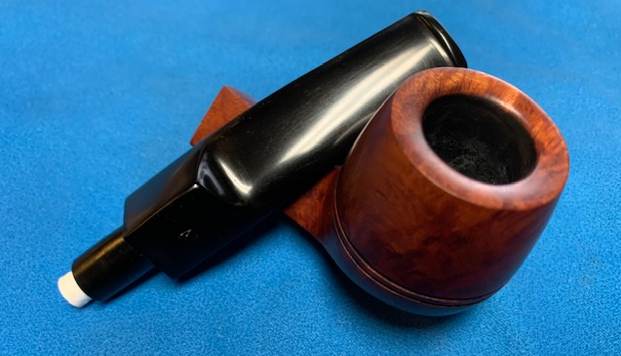
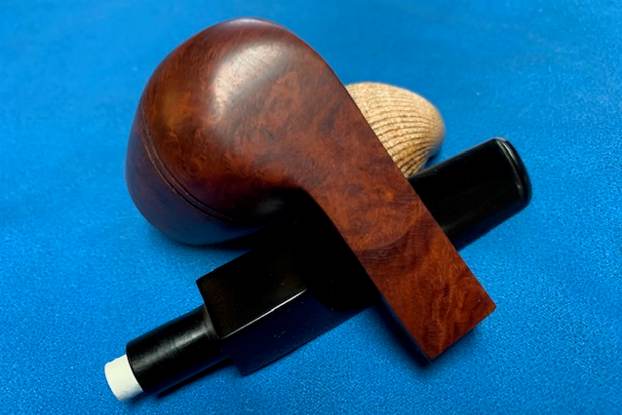
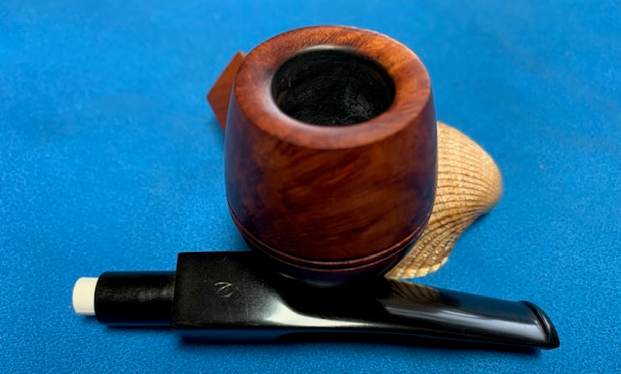
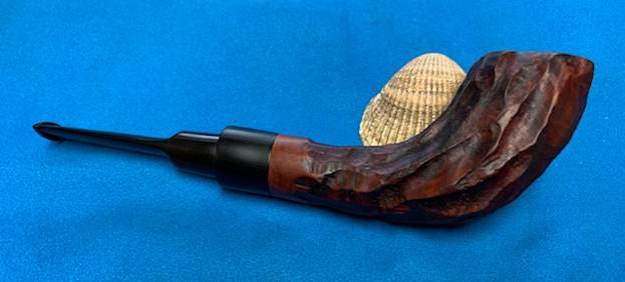
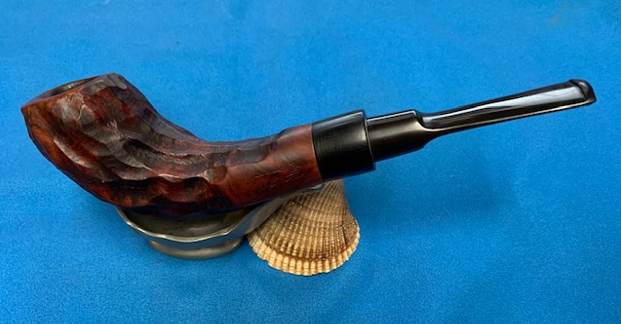
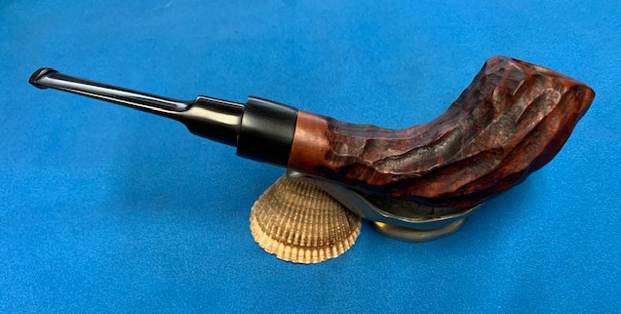
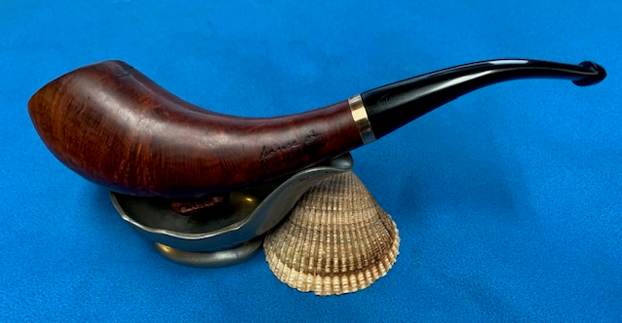
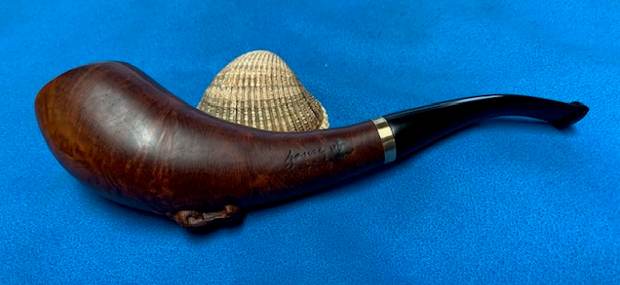
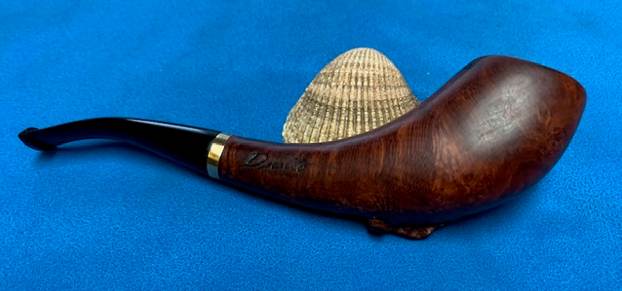
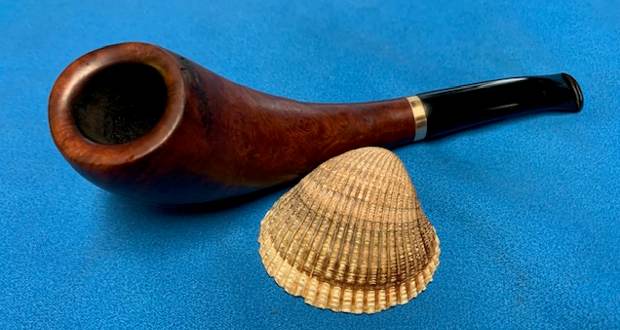
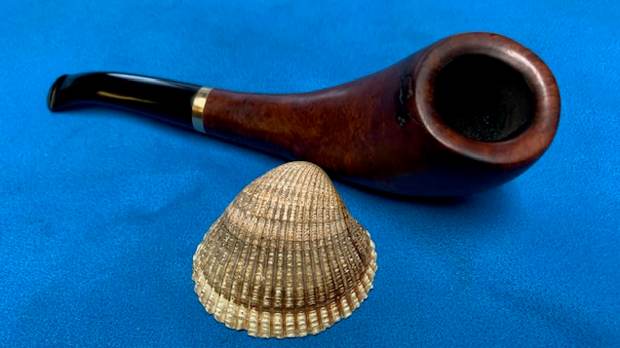
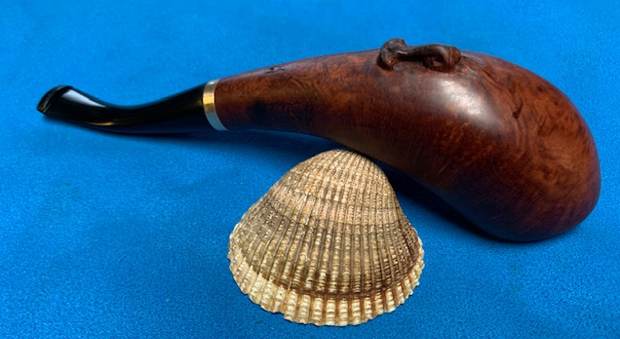
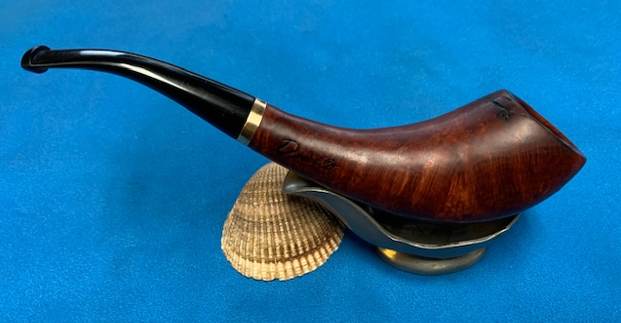
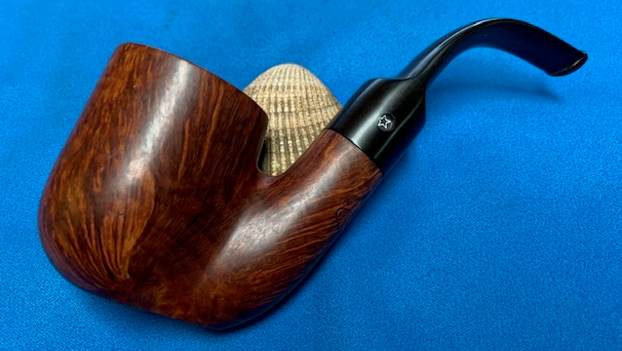
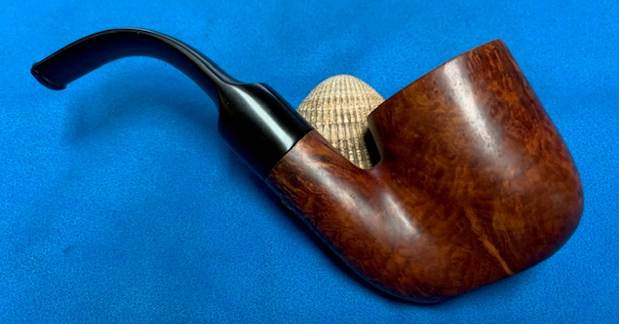
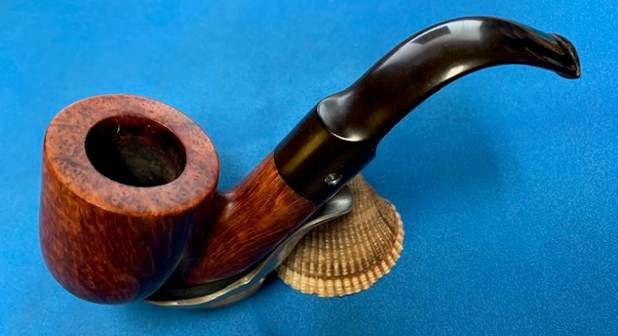
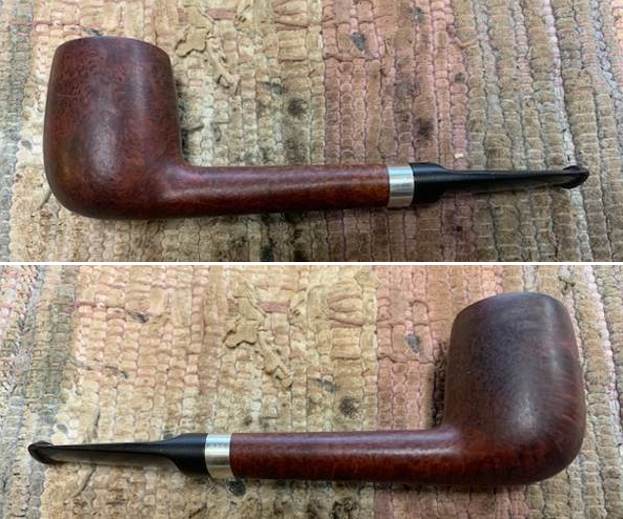
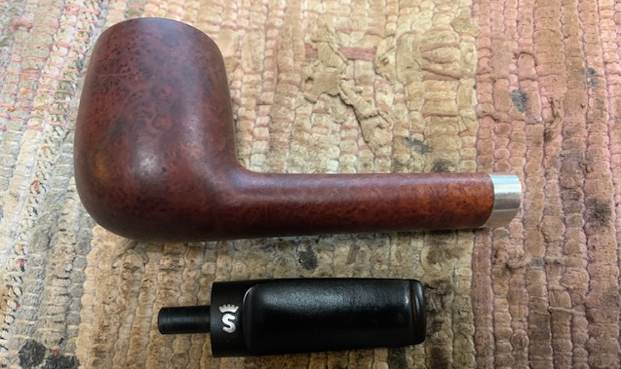
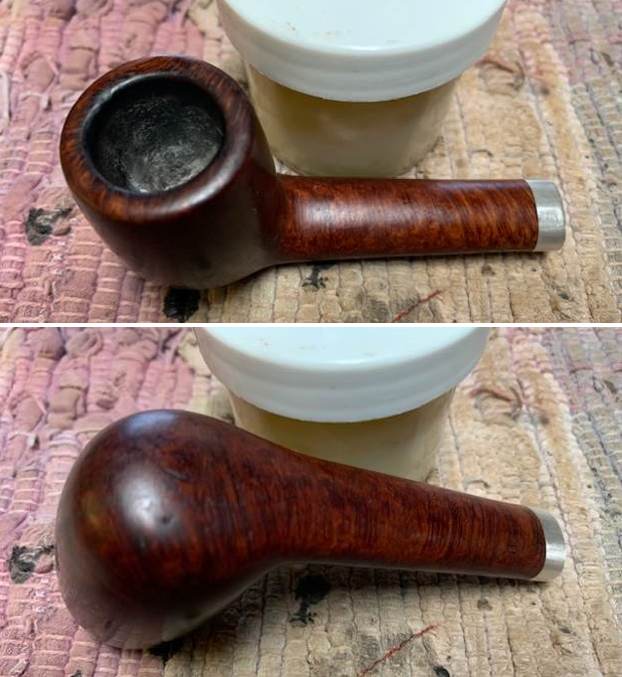
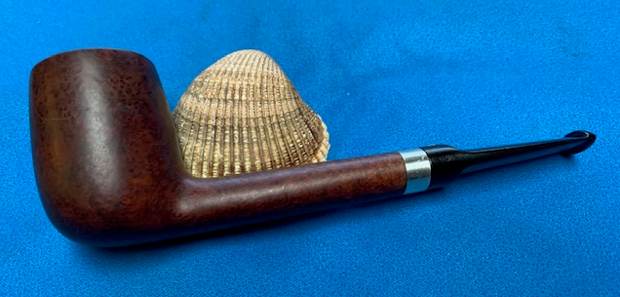
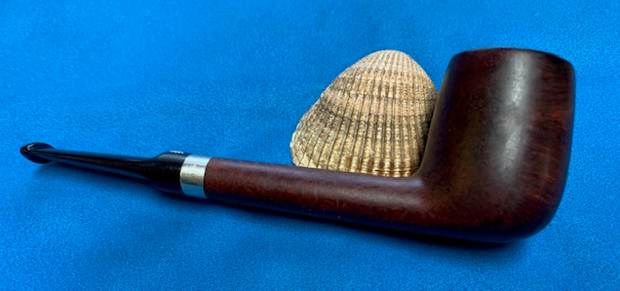
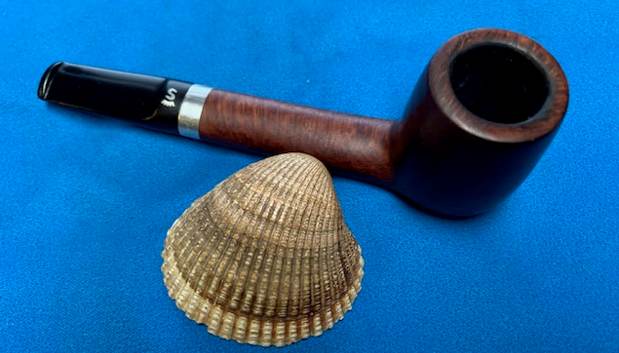
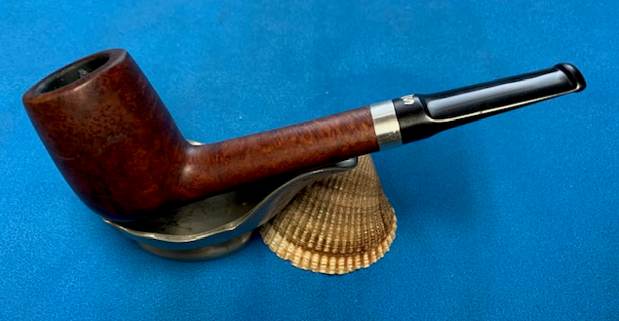
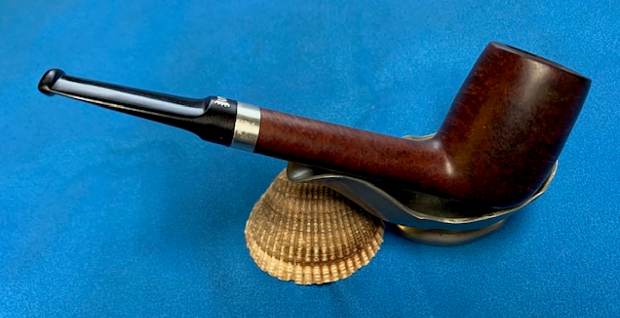
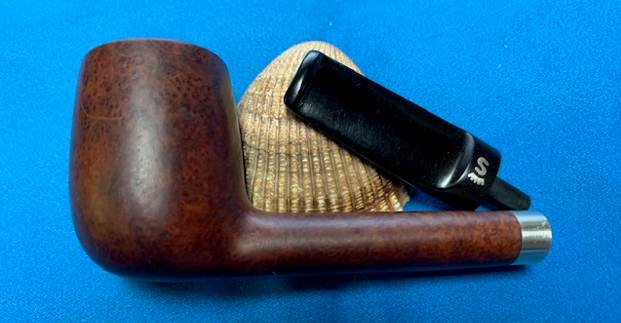
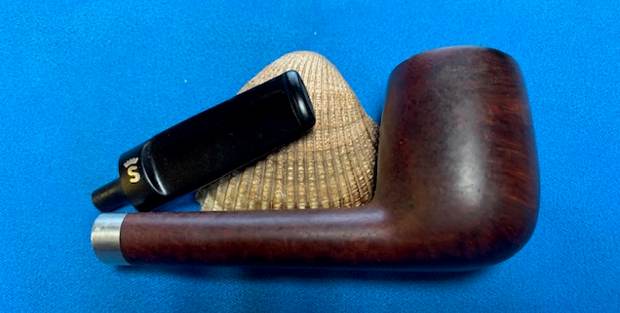
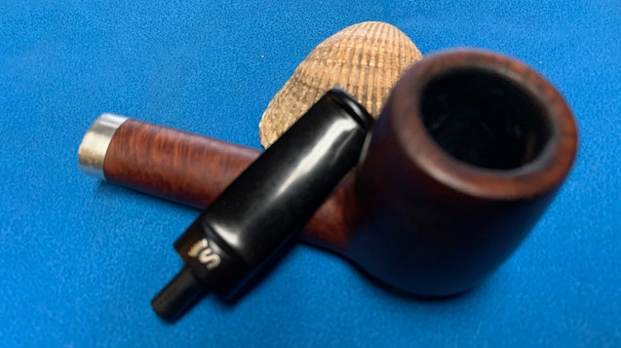
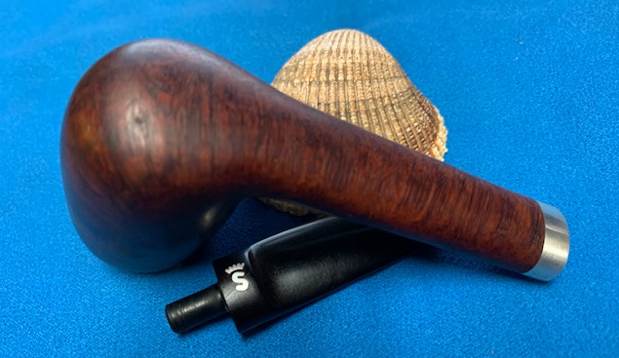
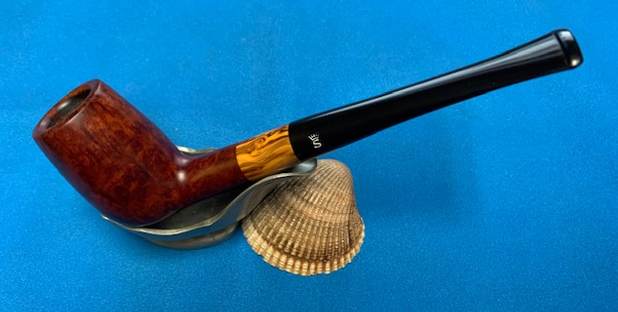
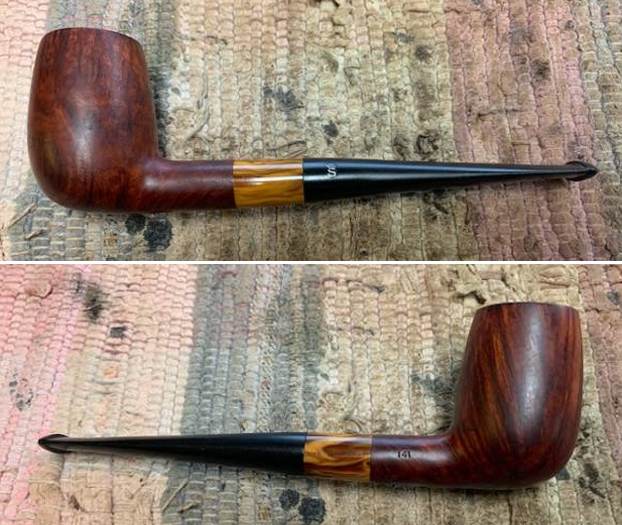
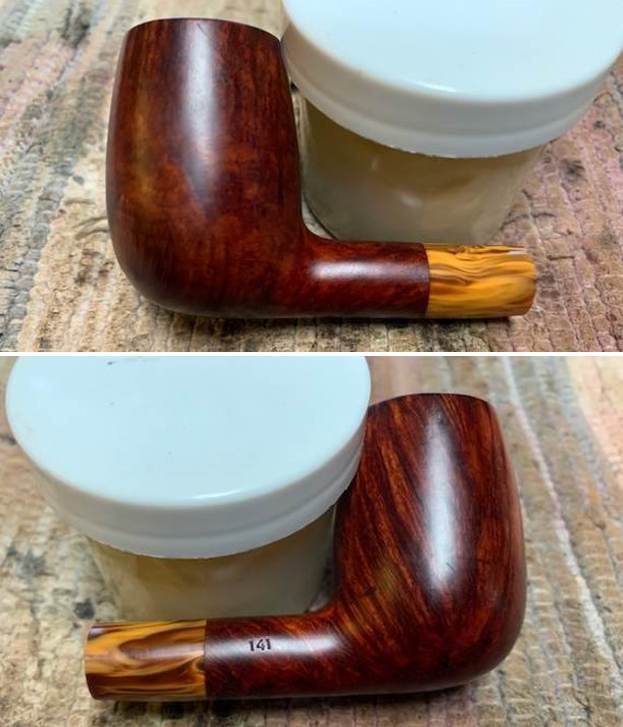
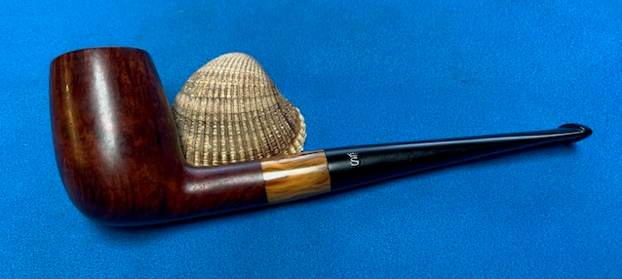
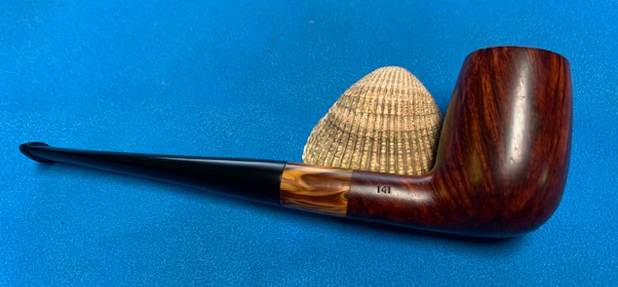
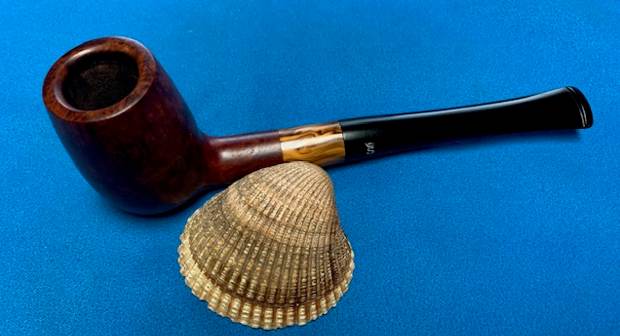
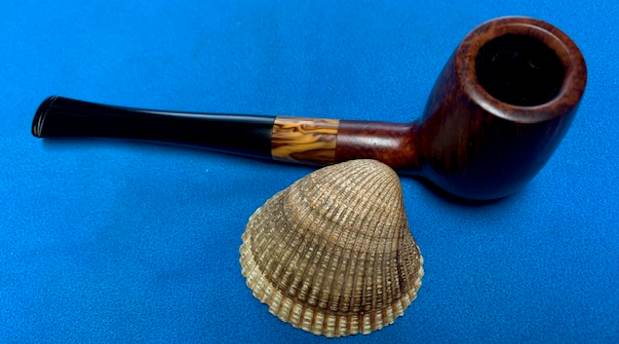
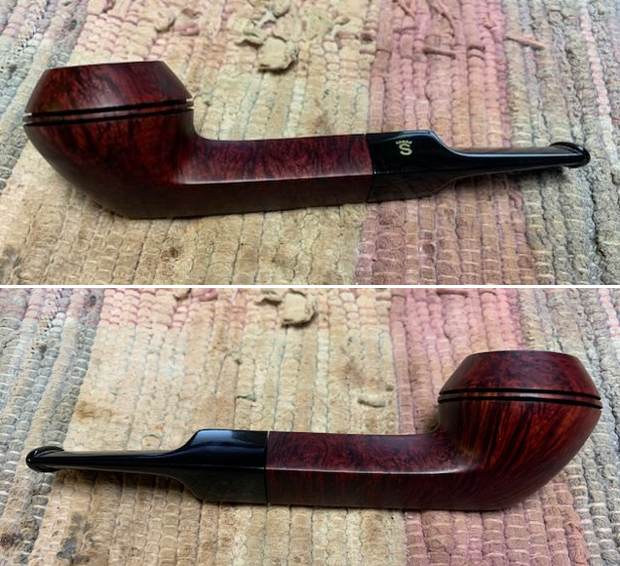
 I put the stems back on each of the Stanwell 65th Anniversary 01 Bulldogs (a Beechwood one and a Briar one and took them to the buffer. I buffed the bowls and acrylic stems with Blue Diamond to polish both. Blue Diamond does a great job on the smaller scratches that remain in both. I gave the bowls and the stems several coats of carnauba wax and buffed the pipes with a clean buffing pad to raise the shine. I hand buffed them with a microfiber cloth to deepen the shine. The pipes polished up really nicely with a great contrast between the Beechwood and the Briar. The finished pipes are shown in the photos below. These are beautiful small Stanwell Bulldogs – the Beechwood is stamped with the original Kyrringe stamp and the Briar with the Stanwell stamp. Both are stamped Made in Denmark and No. 1. Both have acrylic stems though the Stanwell one has the gold Crown S logo on the left side. The polished acrylic stems look really good with the two pipes. The dimensions of the Kyrringe Beechwood pipe are Length: 5 inches, Height: 1 ½ inches, Outside diameter of the bowl: 1 inch, Chamber diameter: ¾ of an inch. The weight of the pipe is .95 ounces/27 grams. The dimensions of the Stanwell Briar pipe are Length: 5 inches, Height: 1 ½ inches, Outside diameter of the bowl: 1 inch, Chamber diameter: ¾ of an inch. The weight of the pipe is .99 ounces/28 grams. This pair of 65th Anniversary pipes (as a pair) will be put on the rebornpipes online store in the Danish Pipemaking Companies Section shortly, if you are interested in adding them to your collection. Thanks for walking through the restoration with me on this set!