Blog by Paresh Deshpande
It’s been a long while since I have posted any write ups here and the primary reason is my laziness. I know and accept that these are very useful as references and as records of the work done till date and yet I enjoy restoring pipes more than doing the write ups.
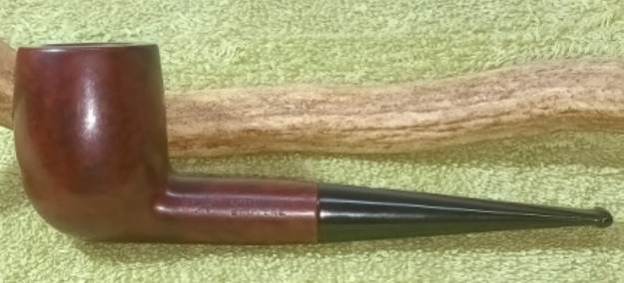
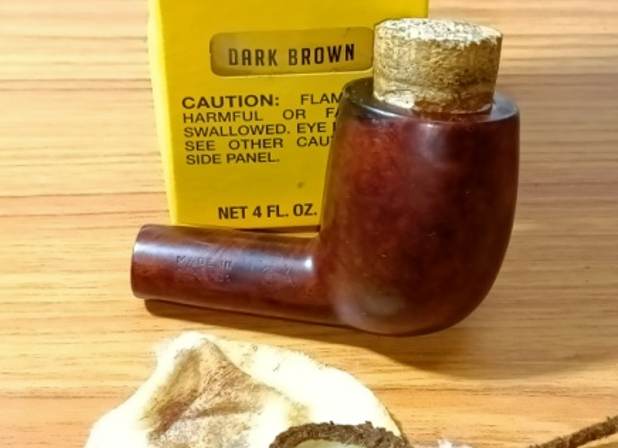
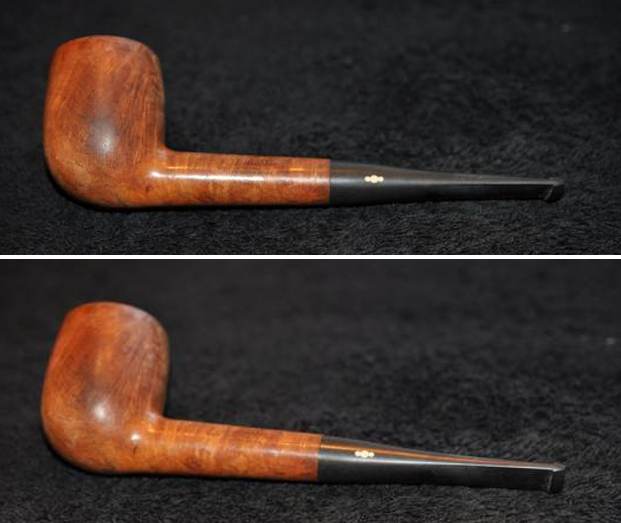
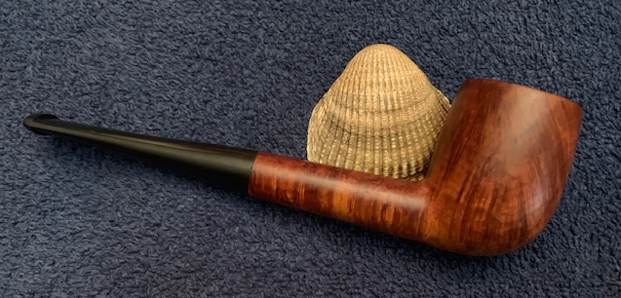
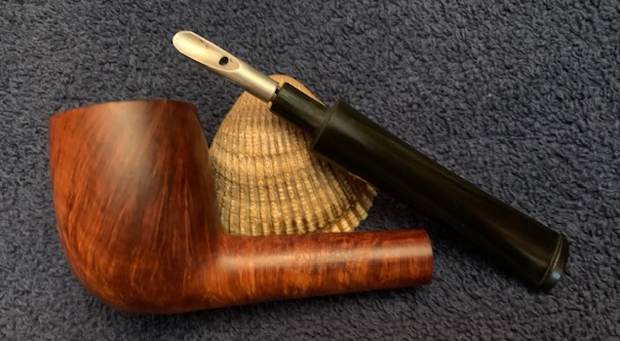
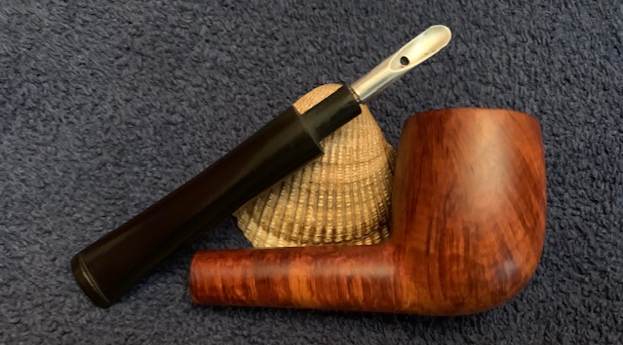
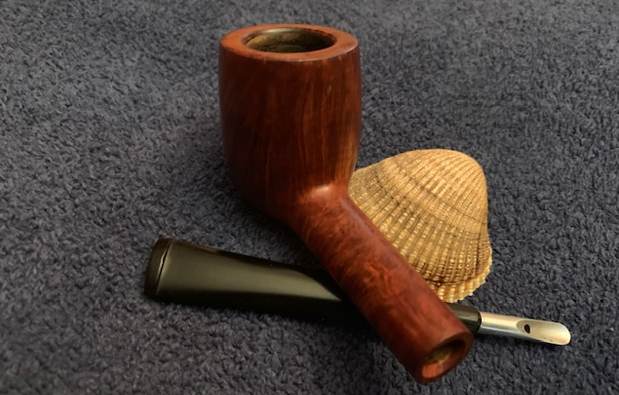
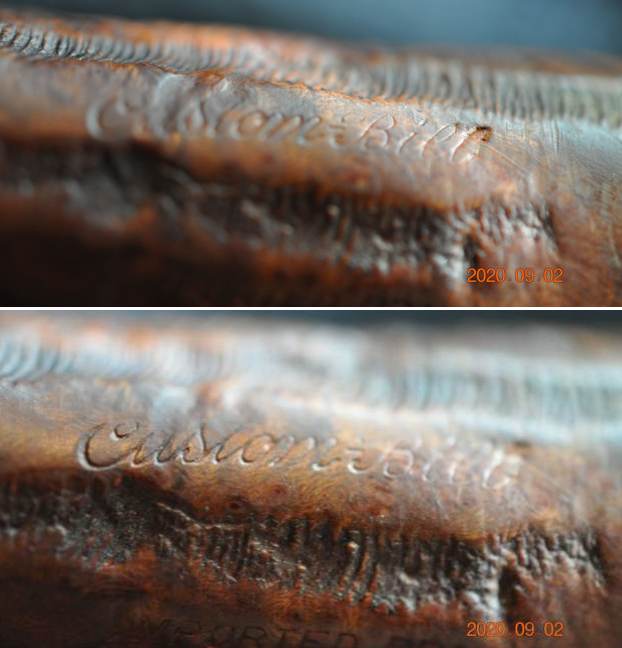
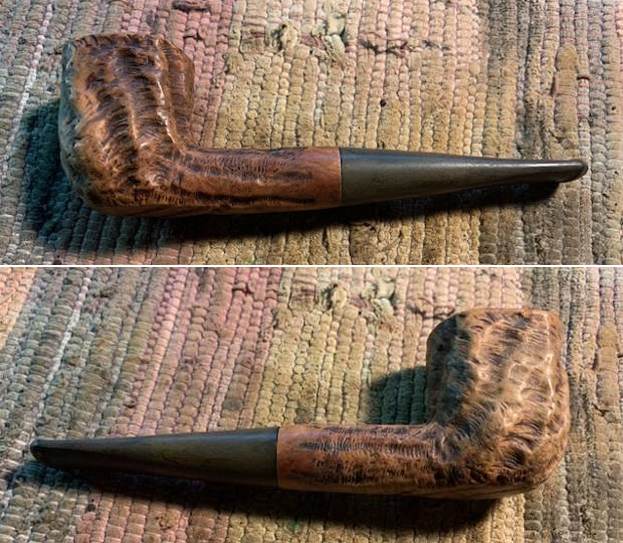
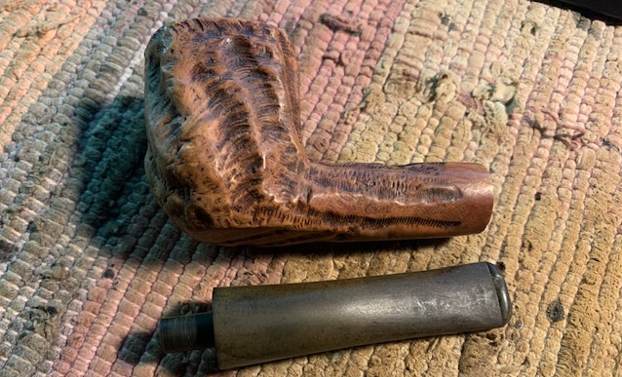
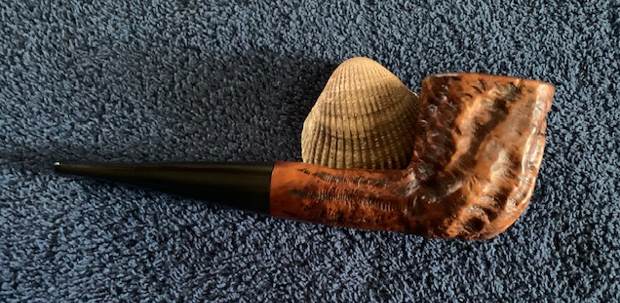
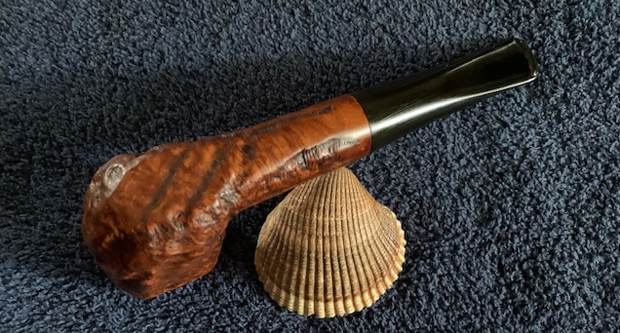
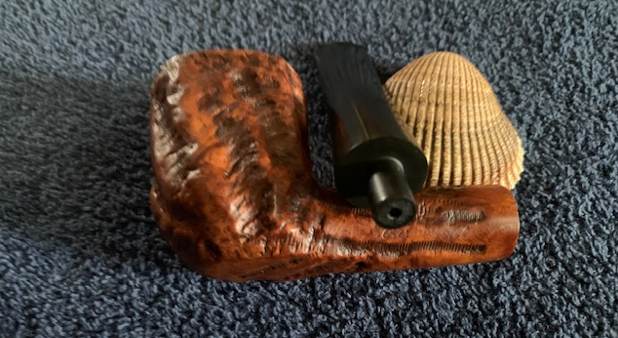
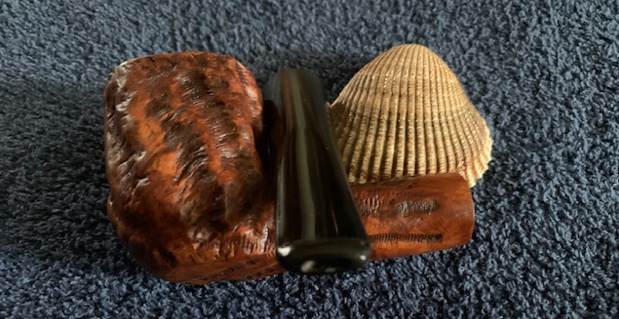
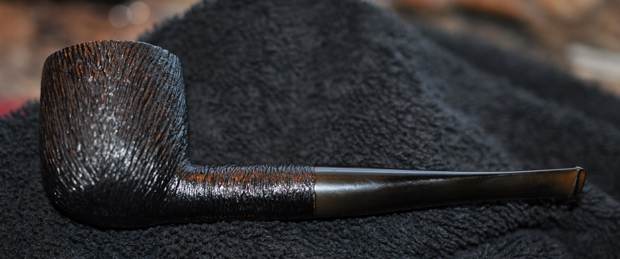
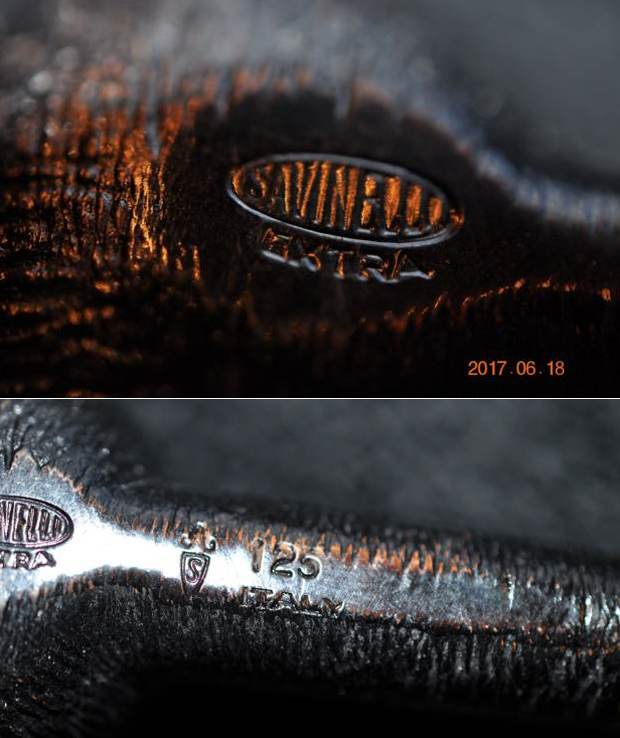
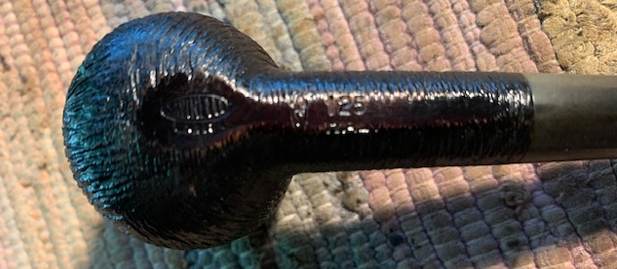
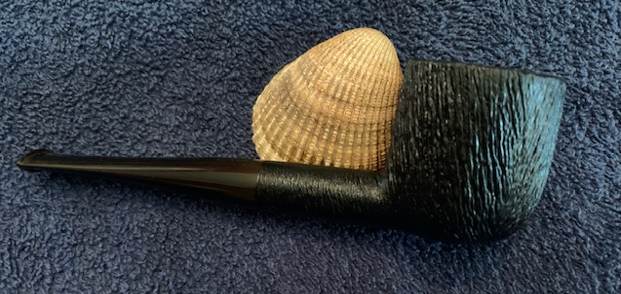
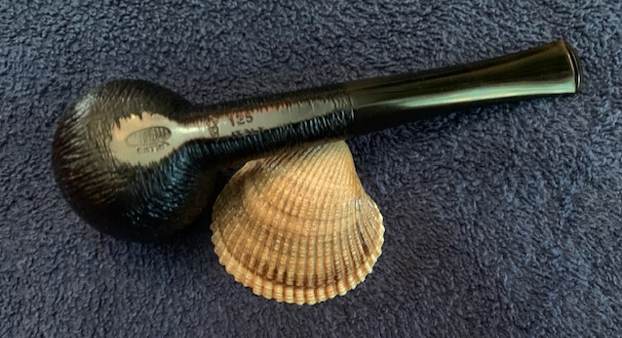
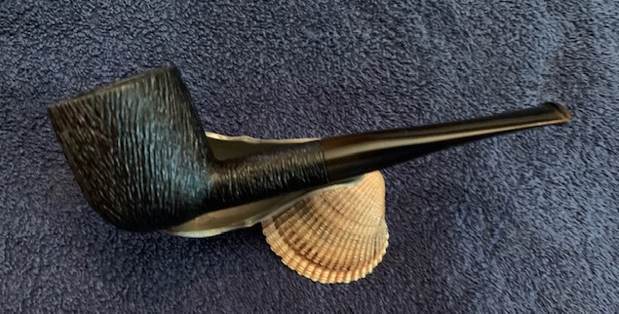
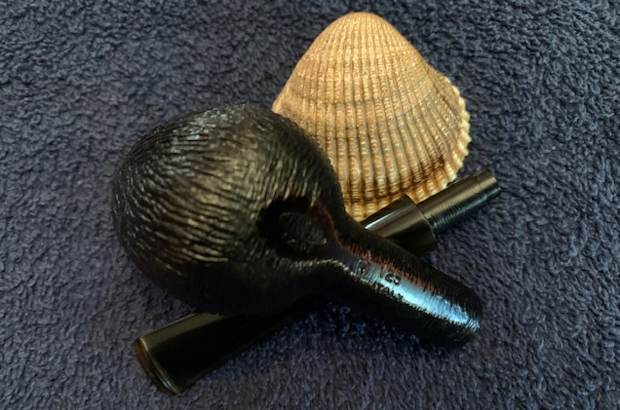
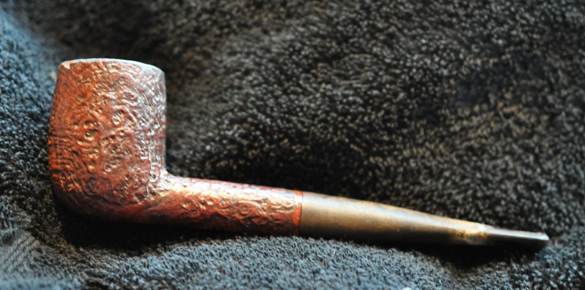
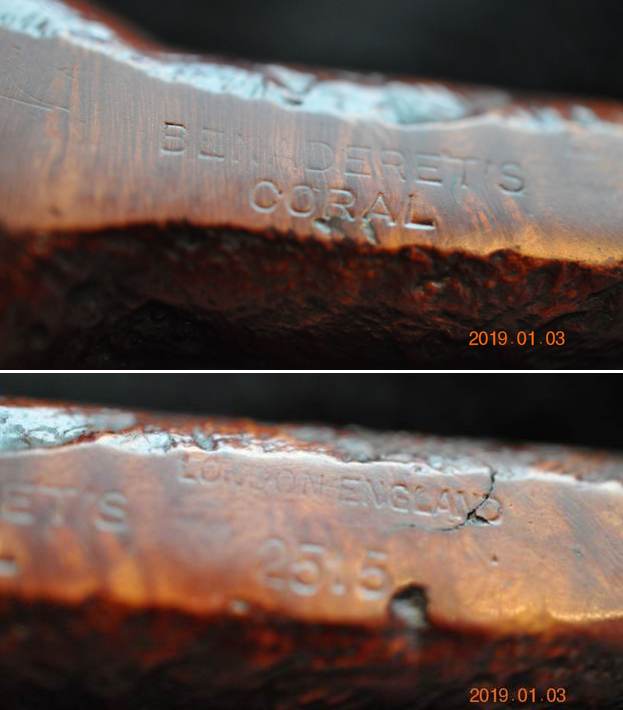
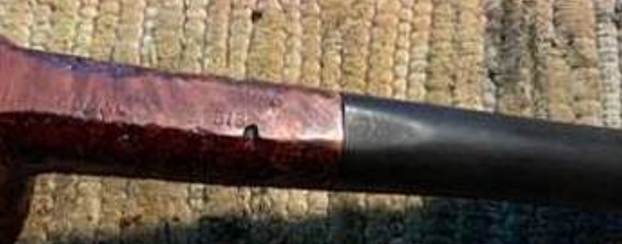
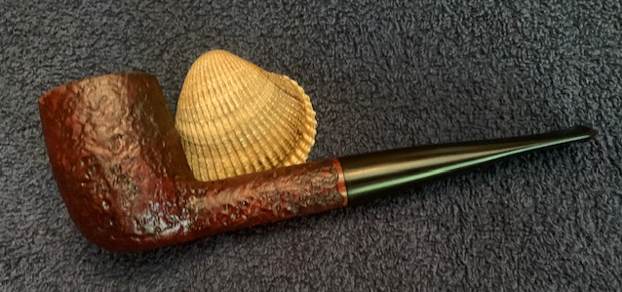
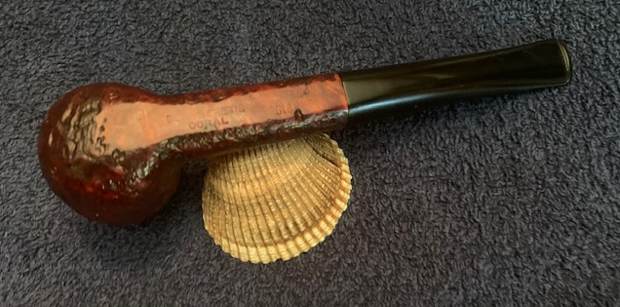
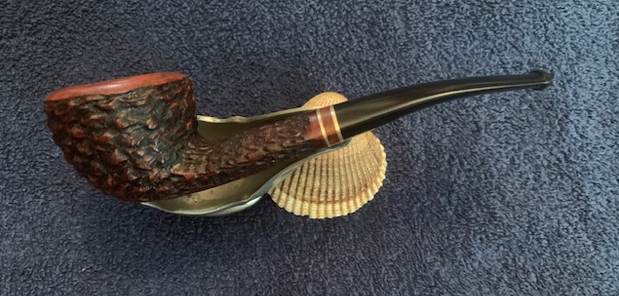
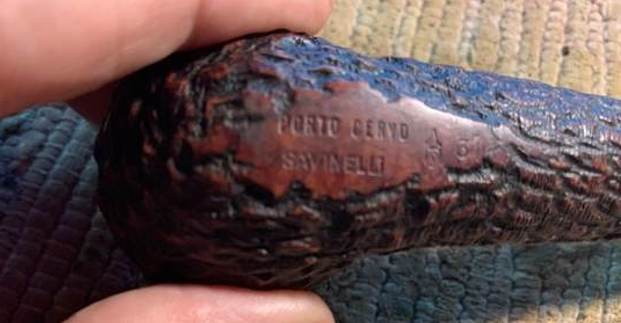
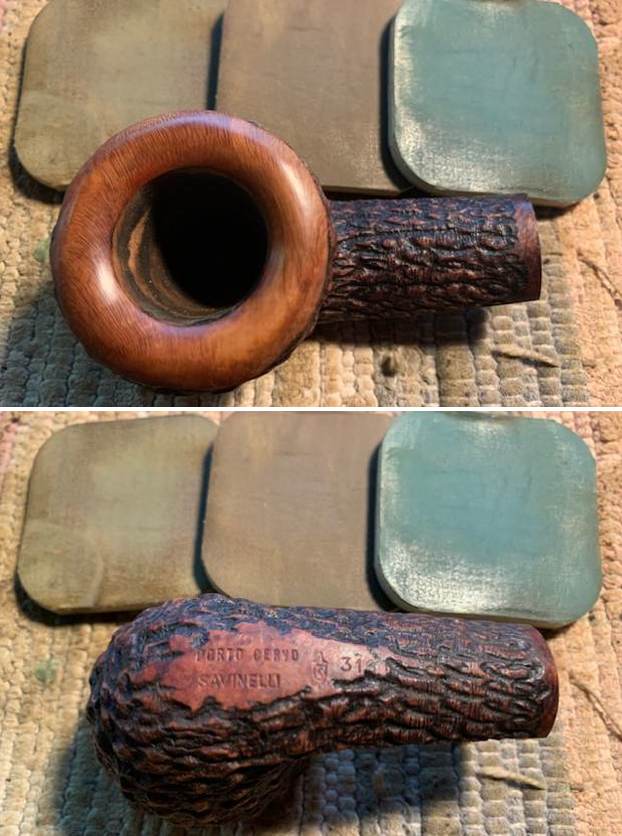
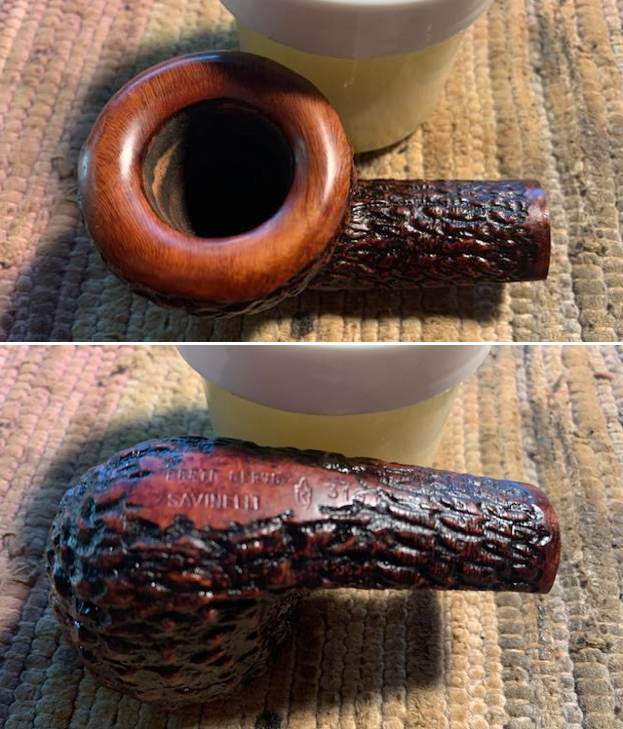
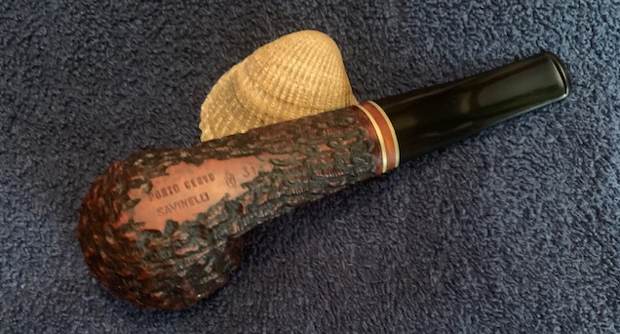
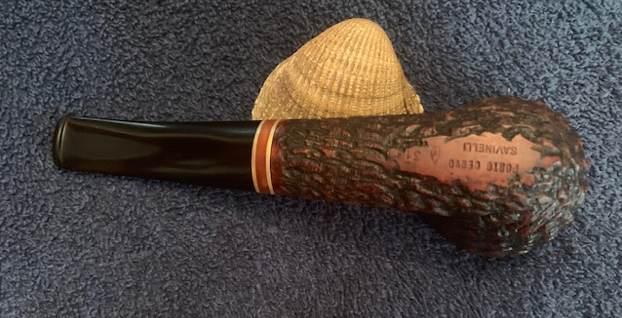
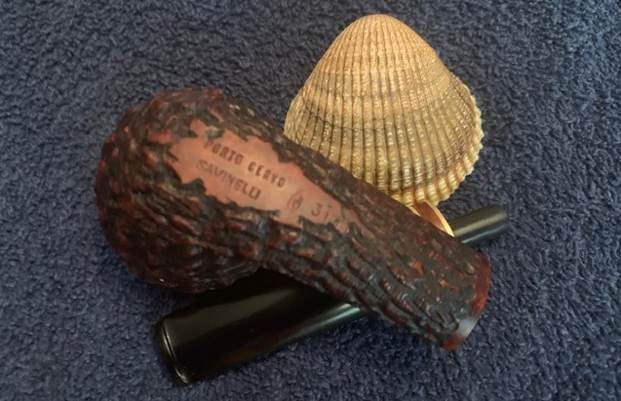
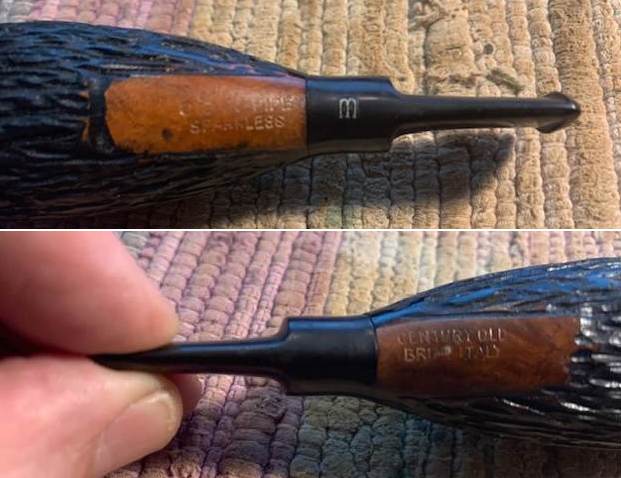
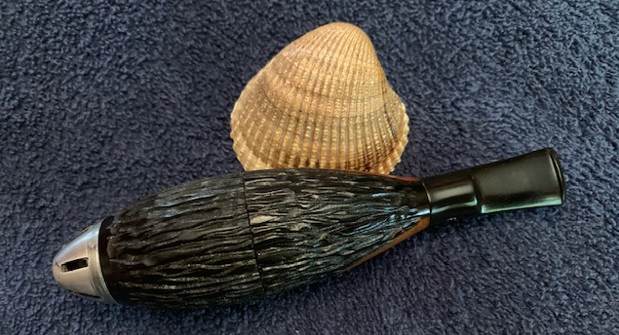
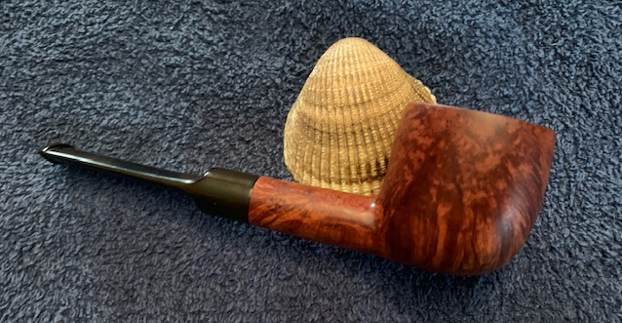
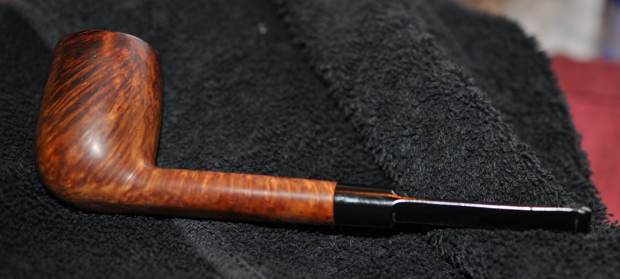
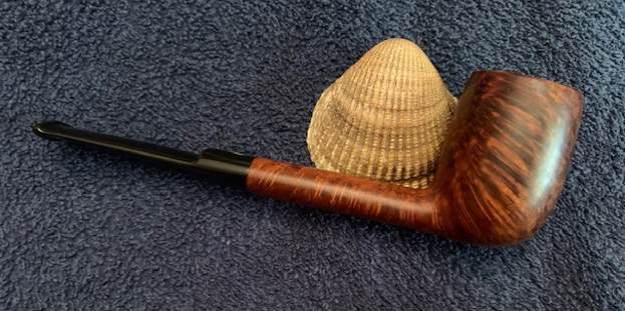
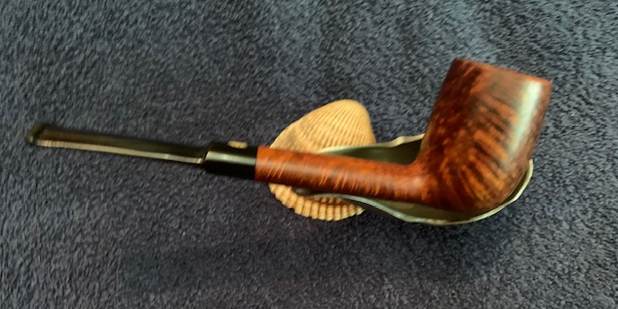
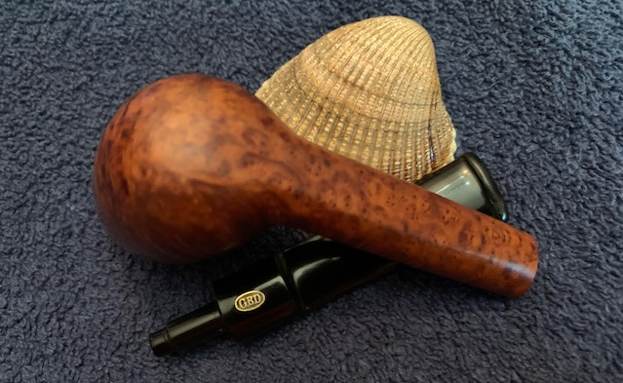
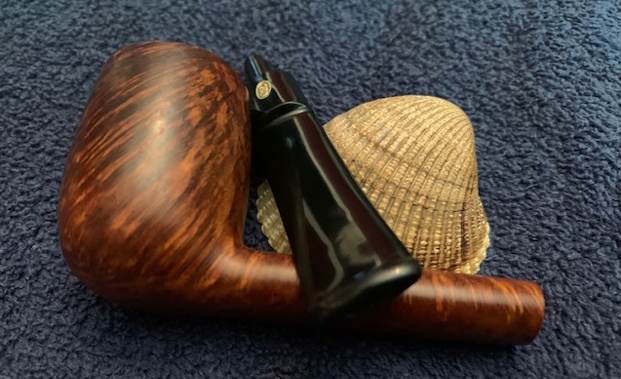
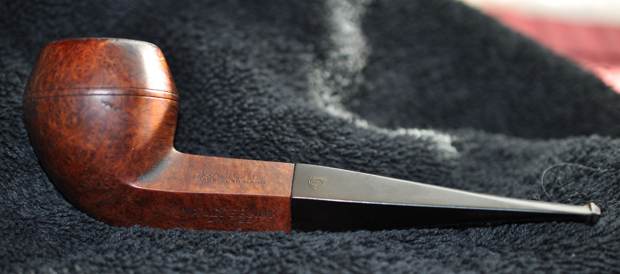
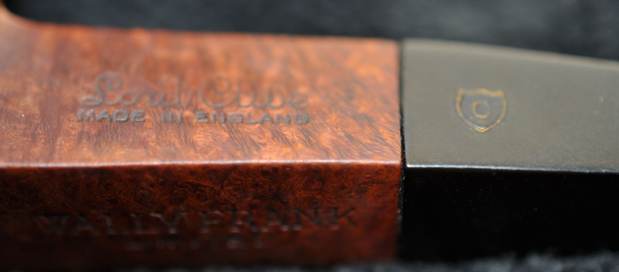
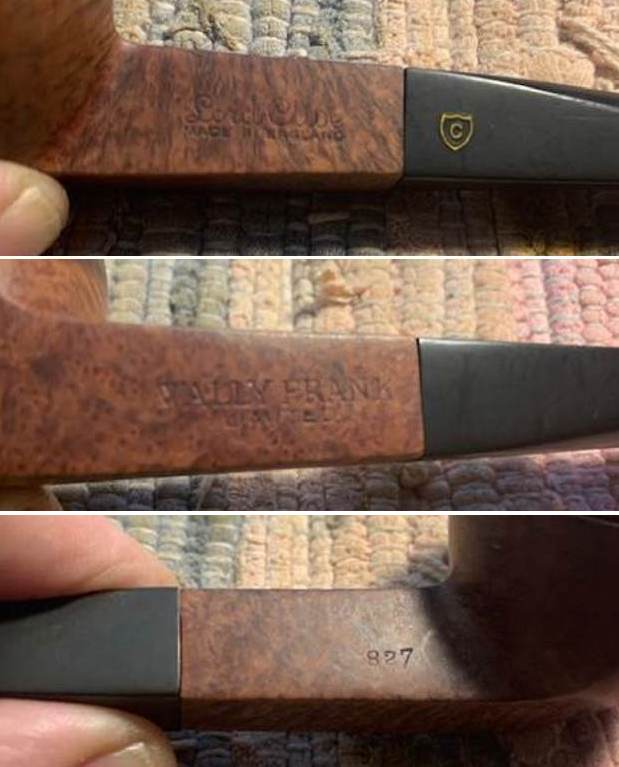
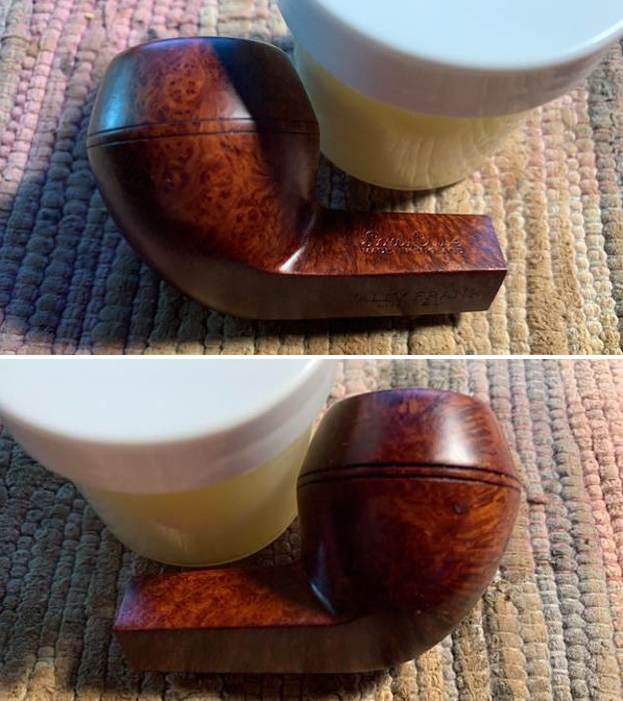
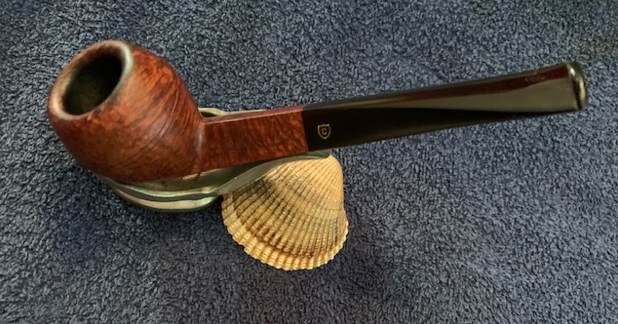
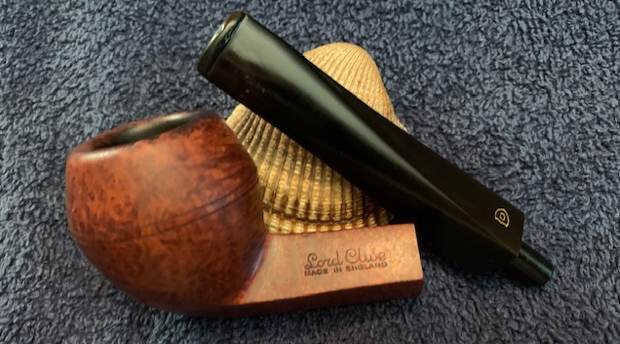
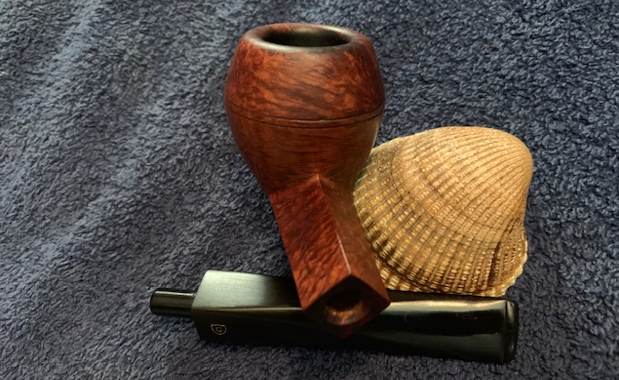
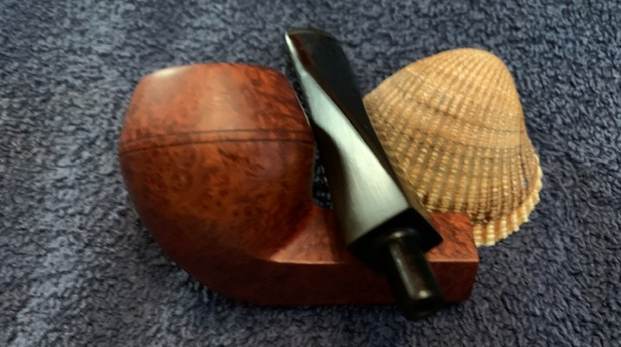
One of my friends here is an avid collector of pipes and he expressed a desire to expand his collection restricted only to English made pipes. He wanted a Dunhill with crisp stampings (that is always a challenge!) and so began my hunt for one. I found one on eBay Germany, which had a seriously damaged rim edge but otherwise in great condition for a 61 year old pipe. I discussed this piece with my friend and soon the pipe made its way to India and is now on my work table. It’s a classic Billiard with a fishtail stem and a flat bottom that makes it a sitter. The briar is flawless and without any fills or imperfections as expected from Dunhill. The pipe is stamped on the left near the bowl and shank junction as “59” followed by “F/T” followed by “DUNHILL” over “BRUYERE”, all in capital letters, towards the shank end. The right side of the shank is stamped as “MADE IN” over “ENGLAND” with suffix 1 after letter D and followed by an encircled “4” and letter “A”. The upper surface of the stem bears the trademark White Dot of the brand.  The brand Dunhill is well researched and documented and pipedia.eu has reams of information on the same. However, of interest to me here is the dating of this pipe, which is fairly straight forward. The shape code 59 denotes Dunhill’s Billiards shape with tapered stem while F/T denotes fish tail style stem. The suffix numeral 1 after letter D denotes 1961 as the make year because firstly, the numeral is not underscored; secondly, it is the same size as the preceding letter D and finally, the letter ‘A’ denoting the finish is slightly larger than the circle enclosing the group size. The encircled letter 4 denotes the group size as 4 and the letter ‘A’ points to the Bruyere finish on this pipe.
With the dating conclusively established, I moved ahead with the initial inspection of the pipe.
Initial Visual Inspection
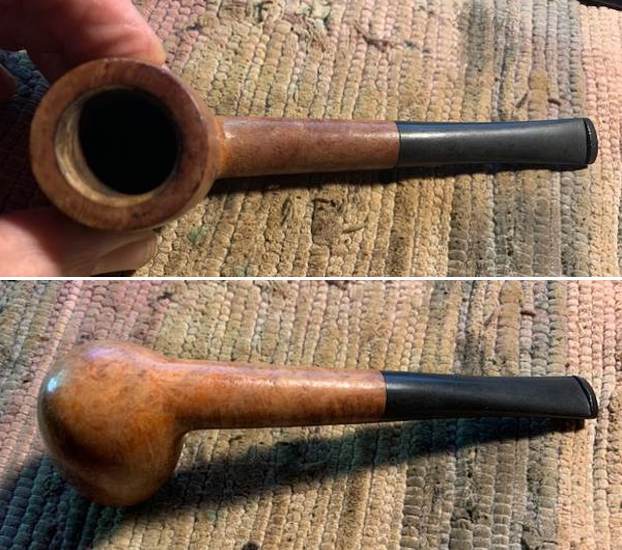
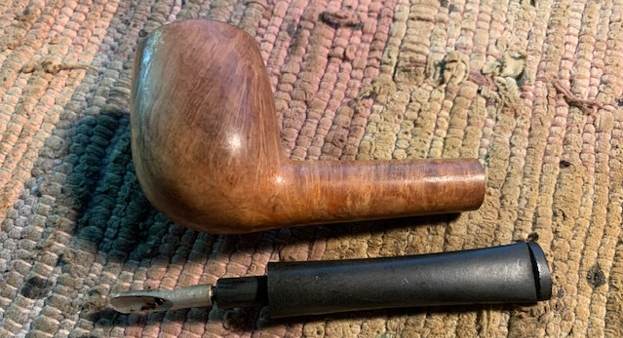
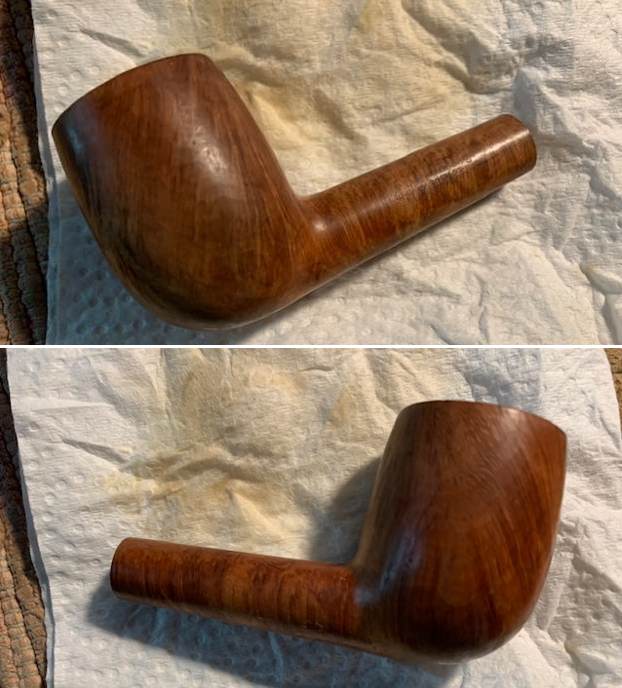
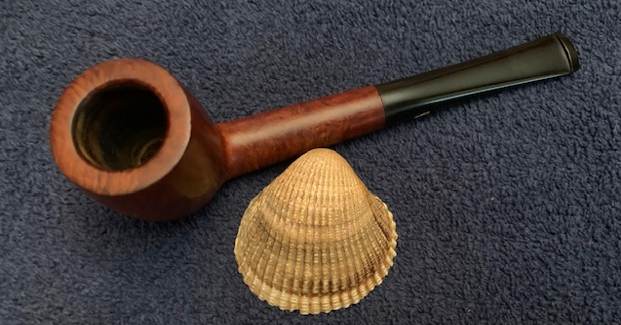
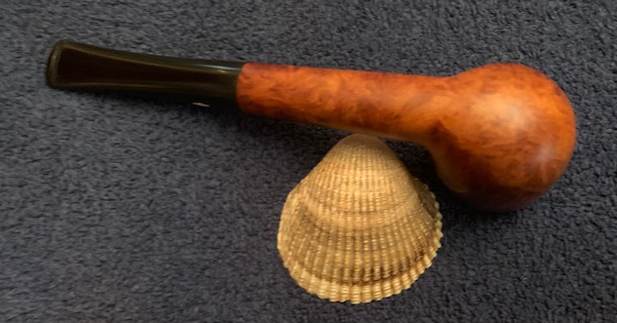
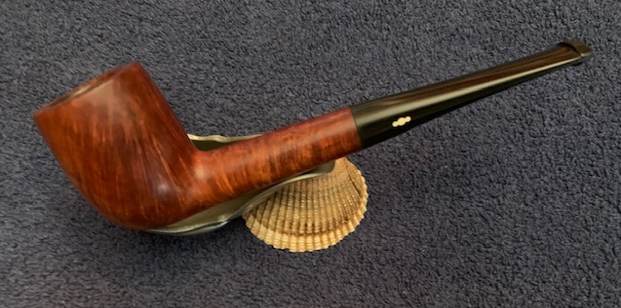
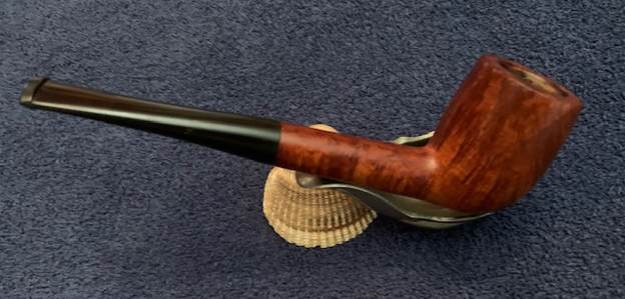
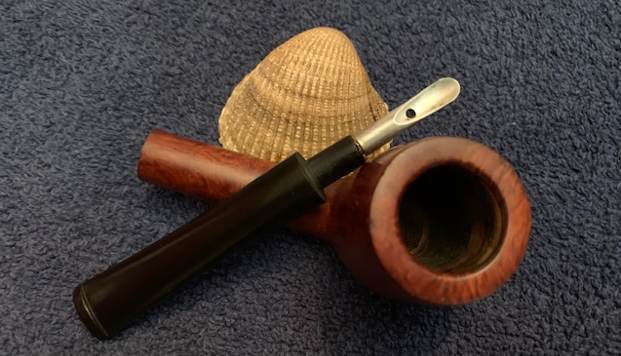
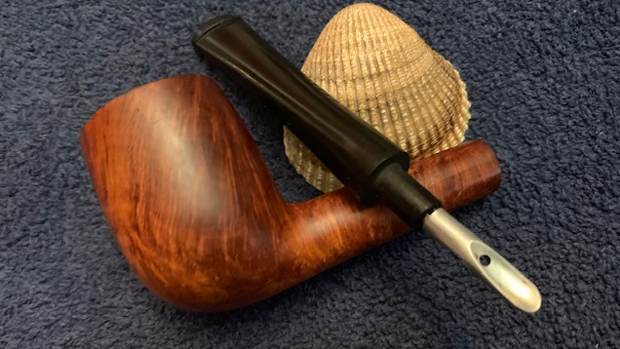
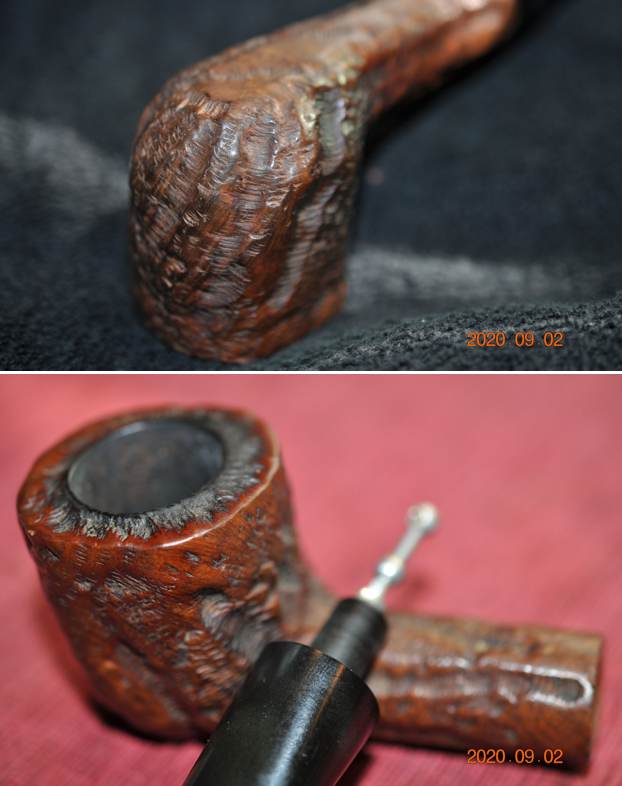
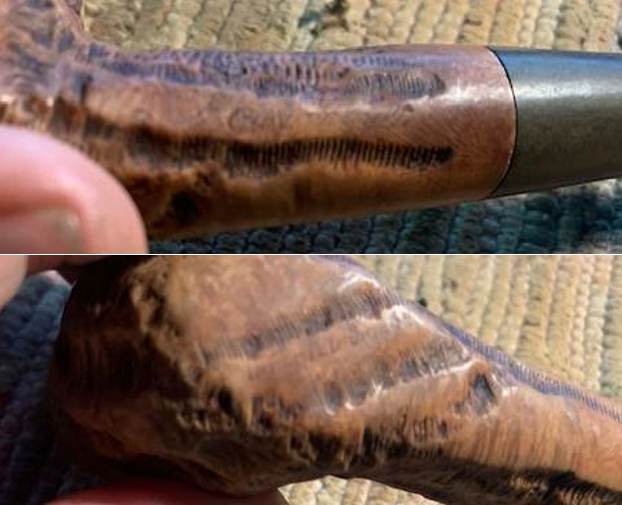
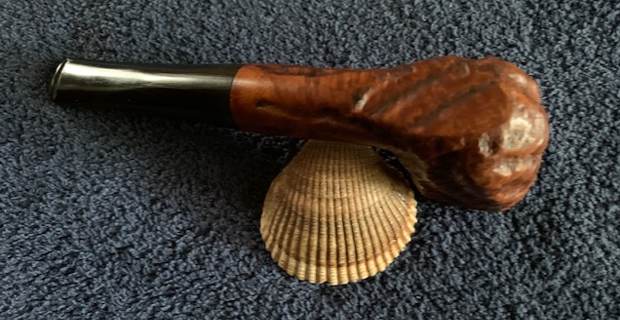
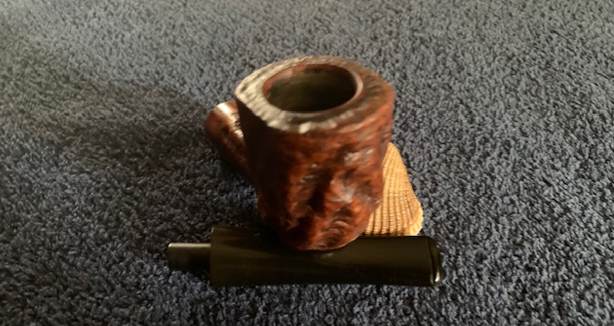
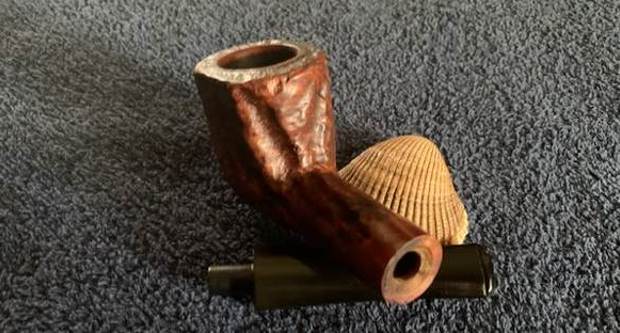
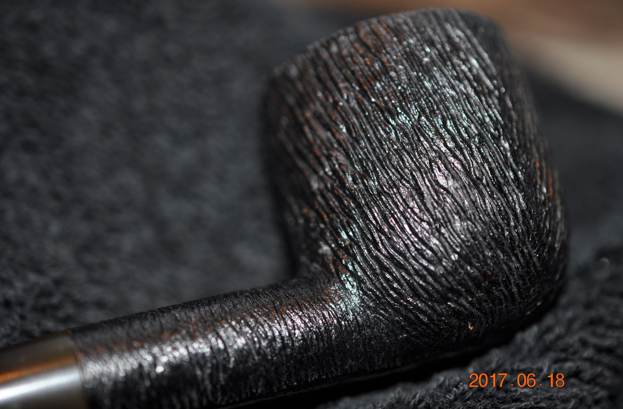
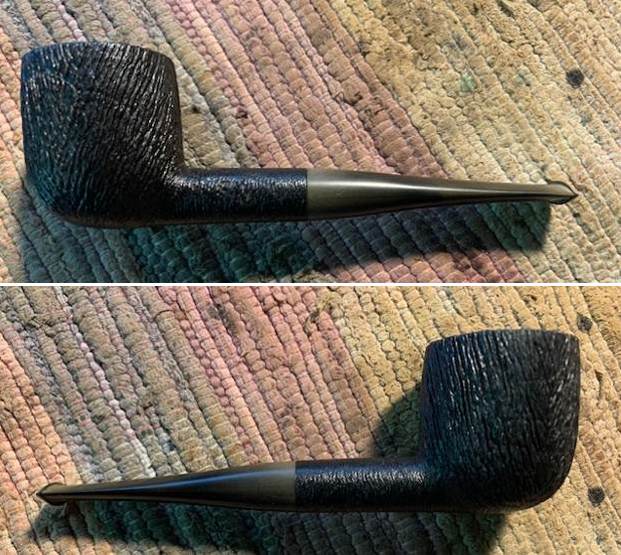
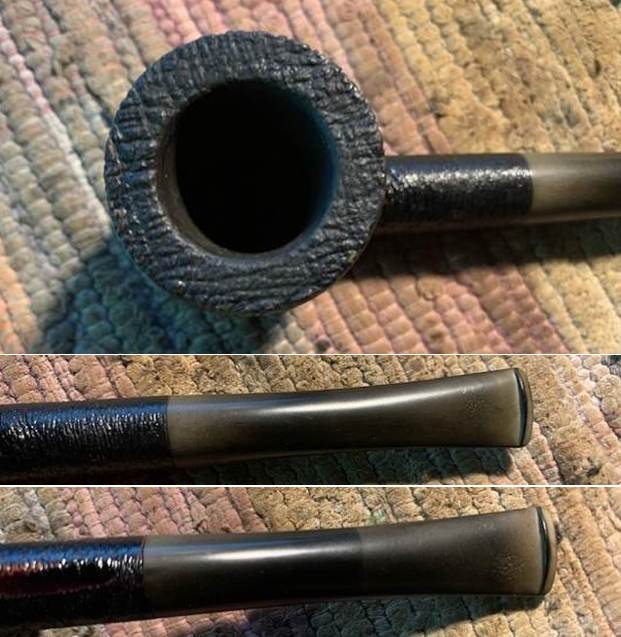
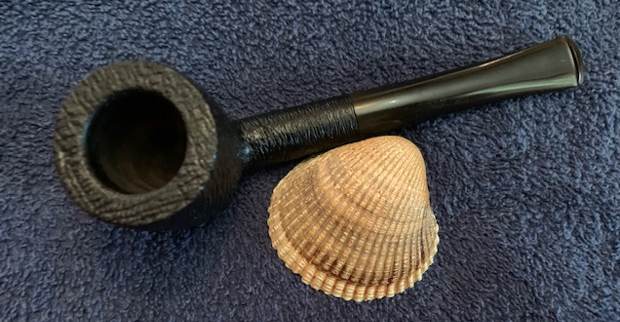
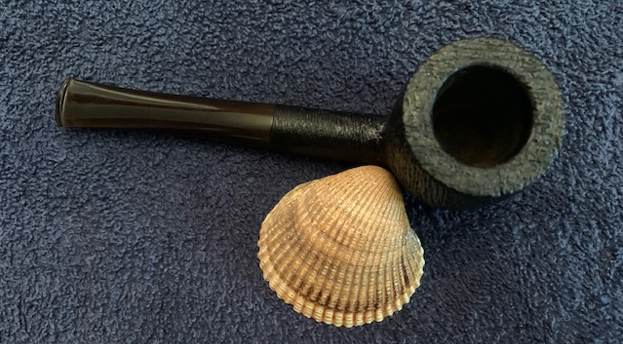
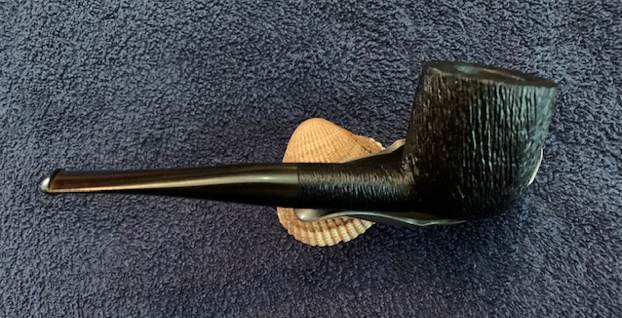
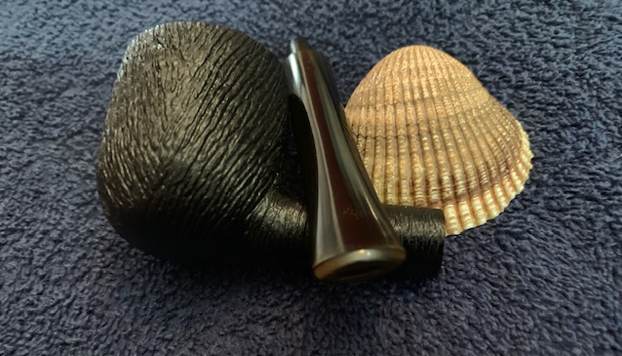
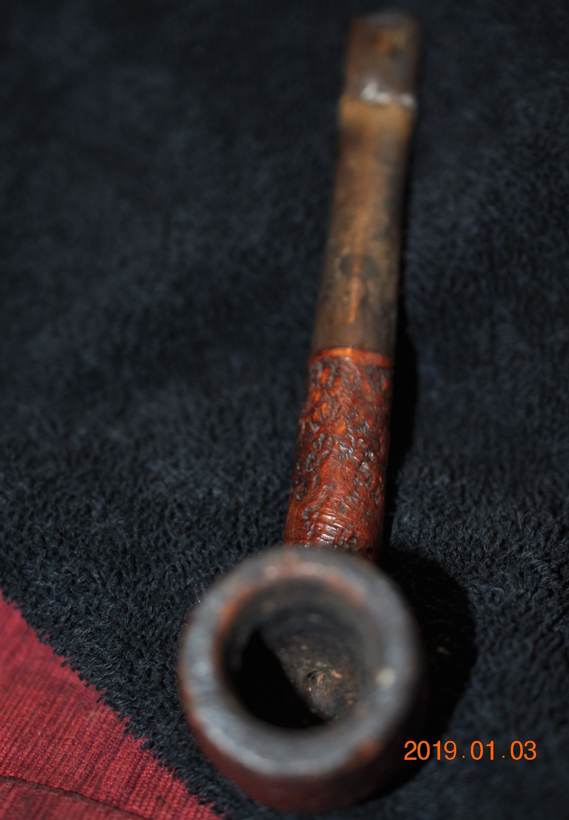
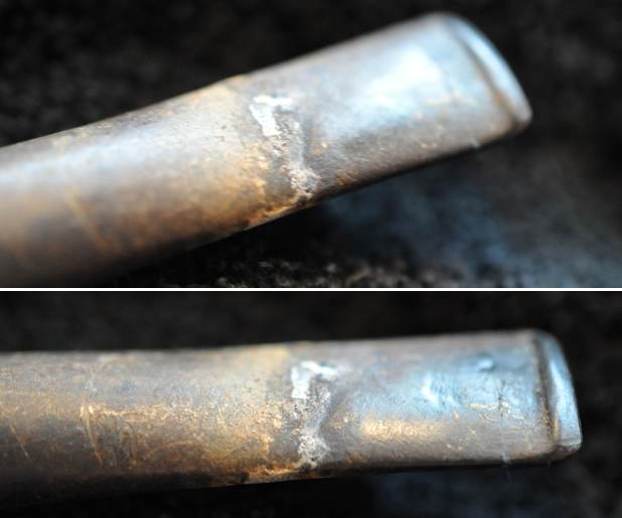
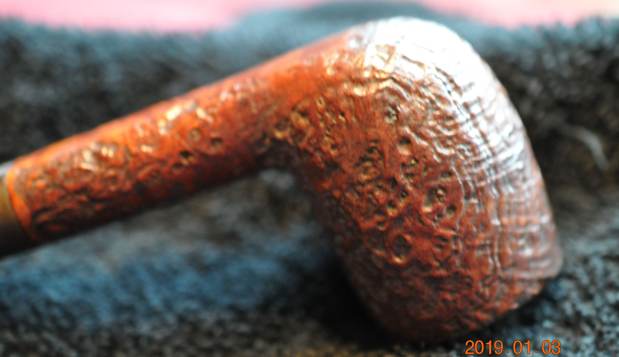
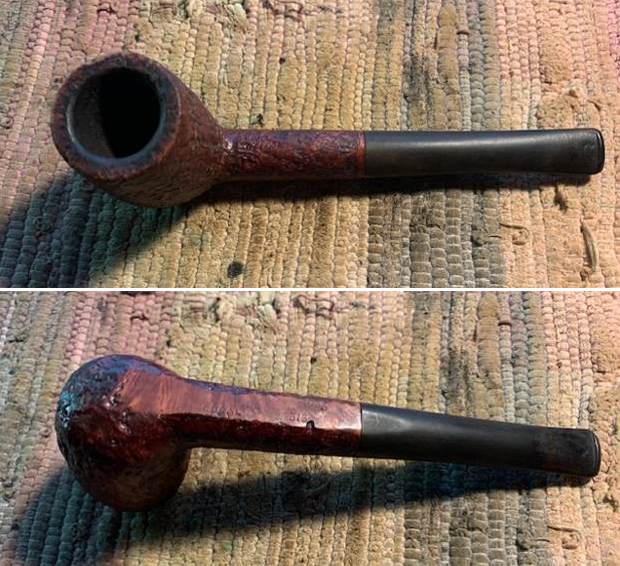
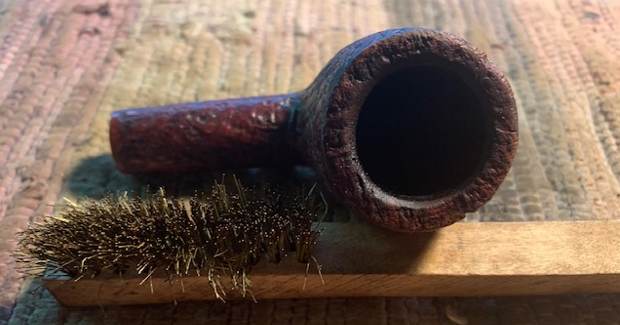
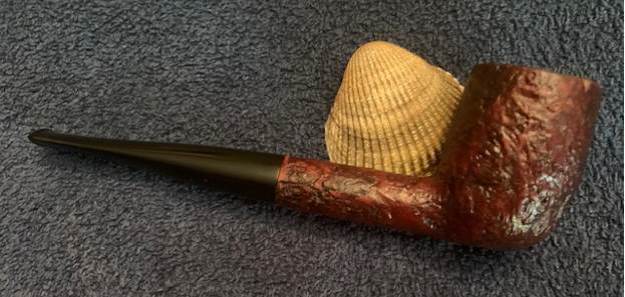
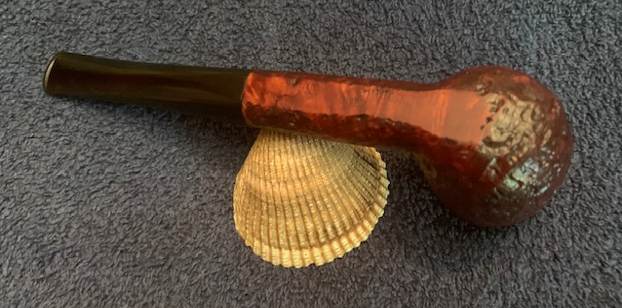
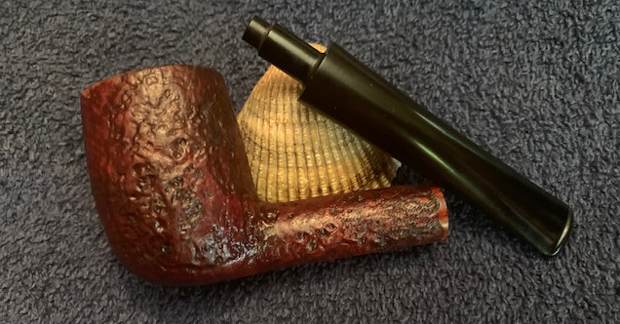
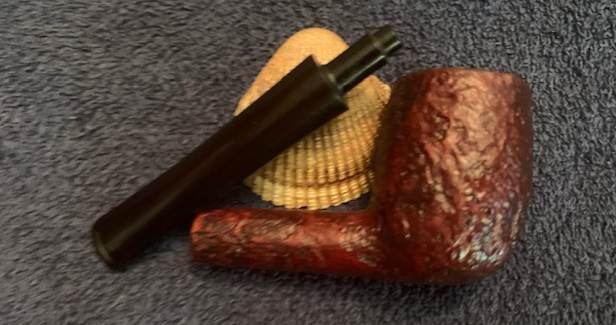
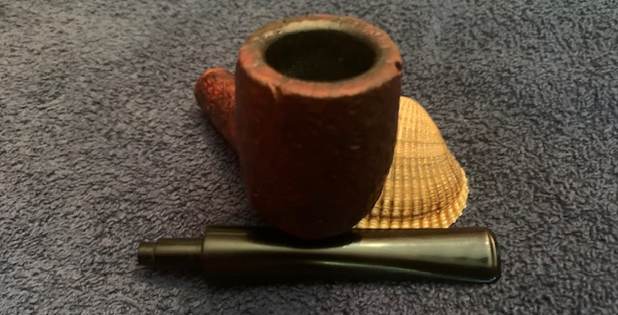
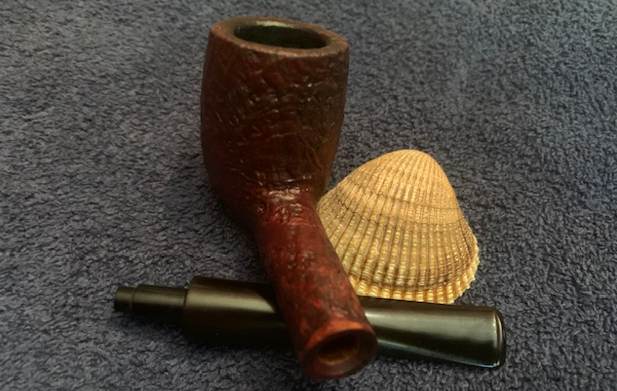
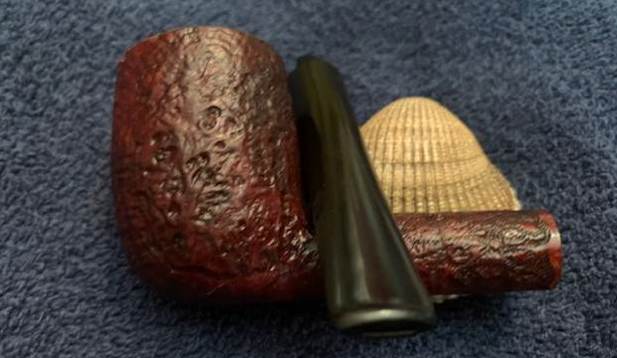
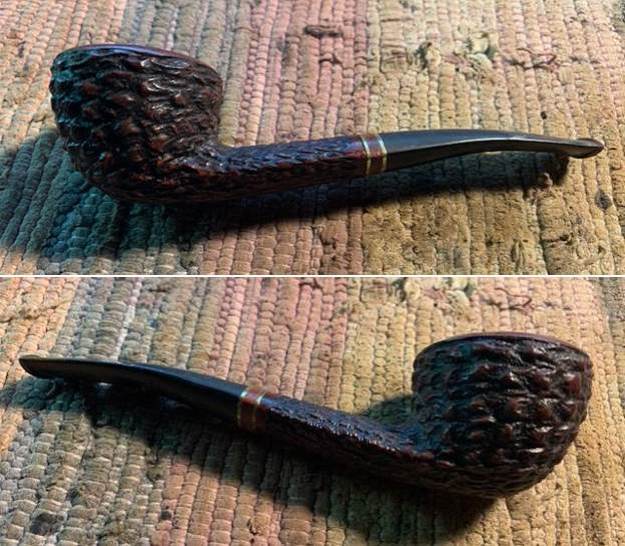
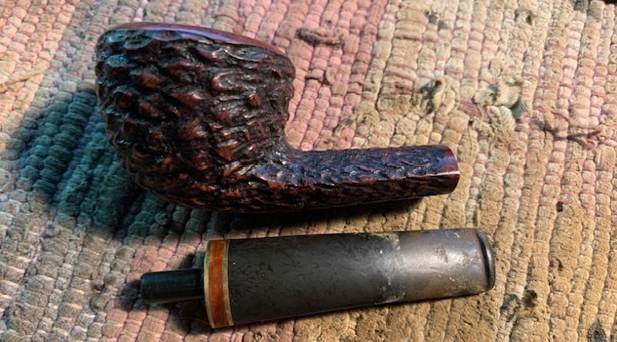
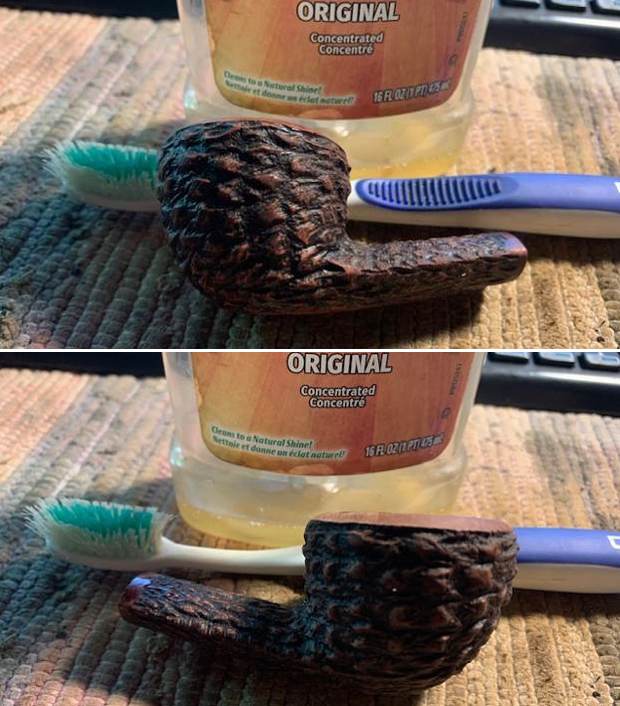
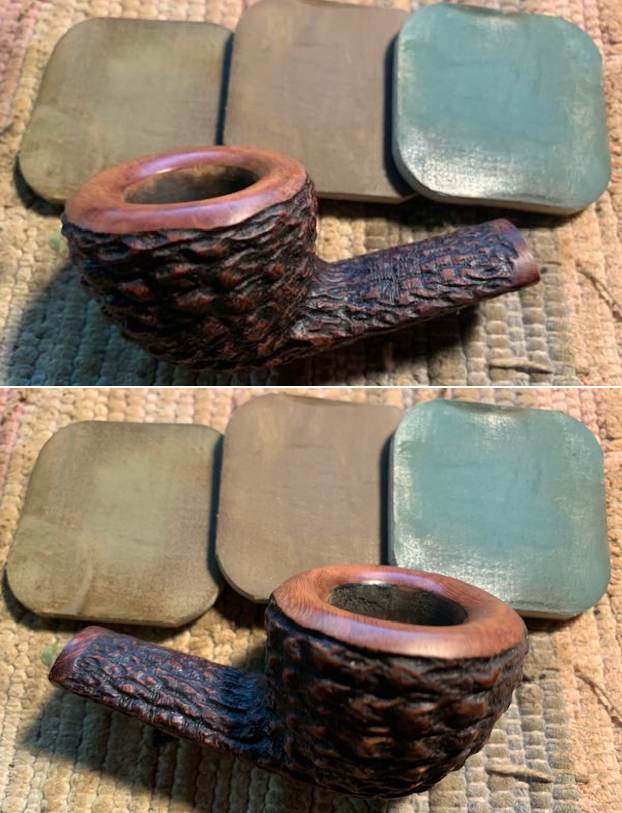
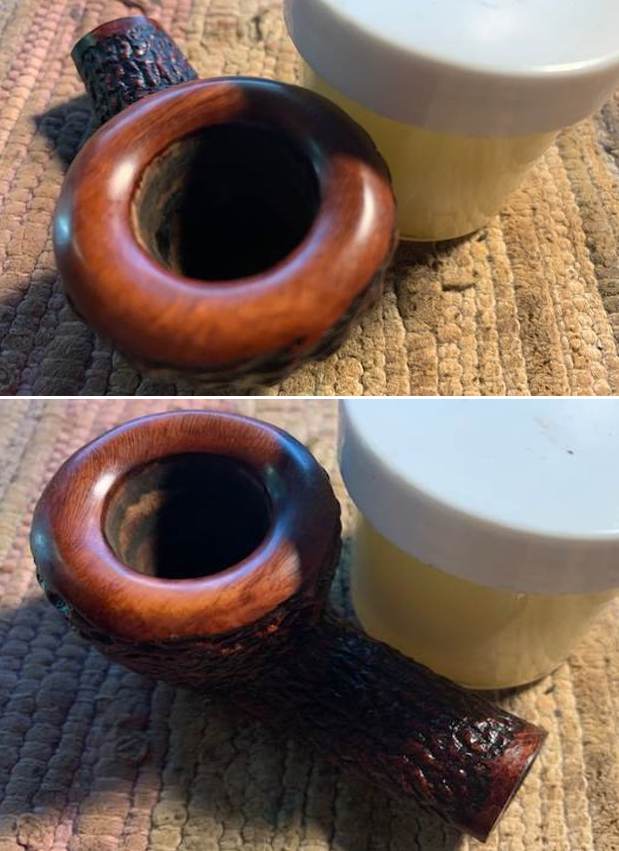
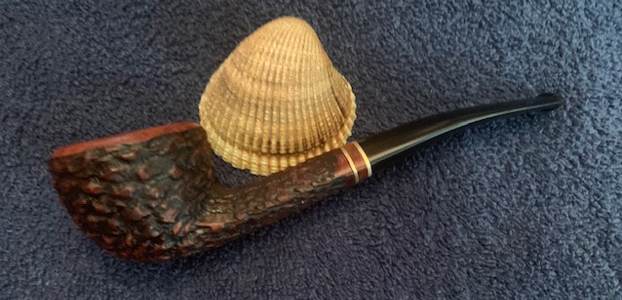
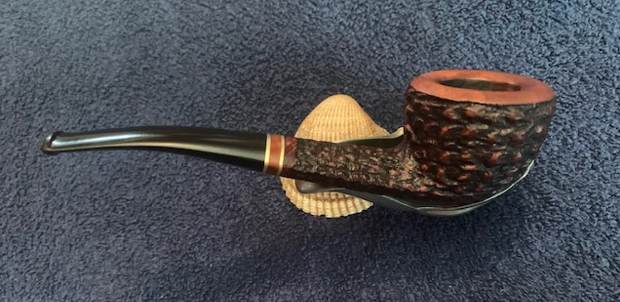
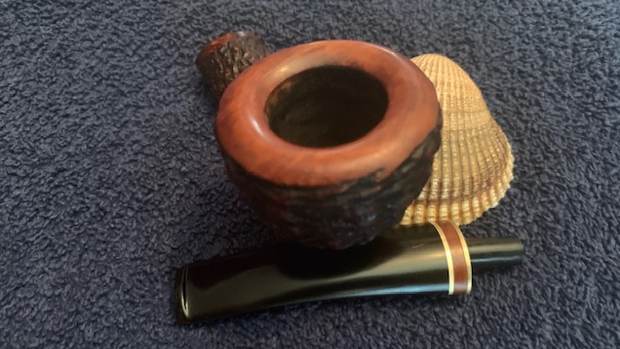
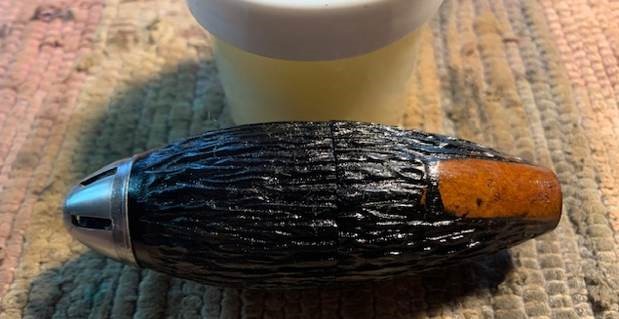
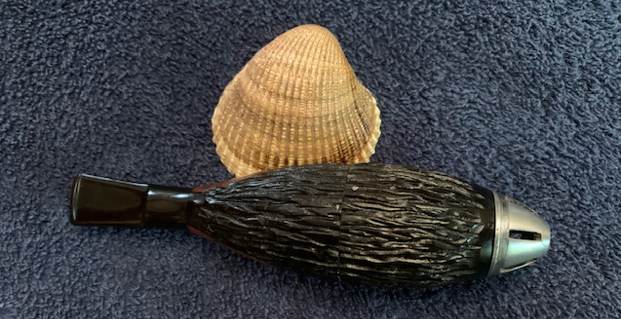
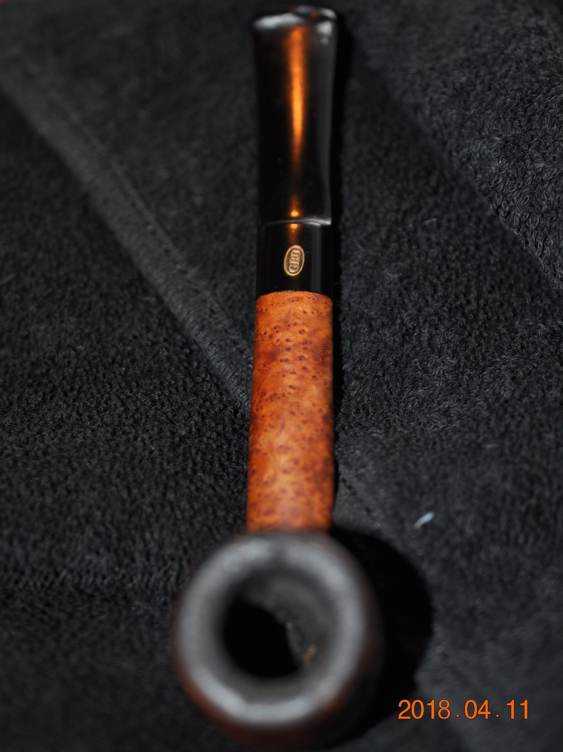
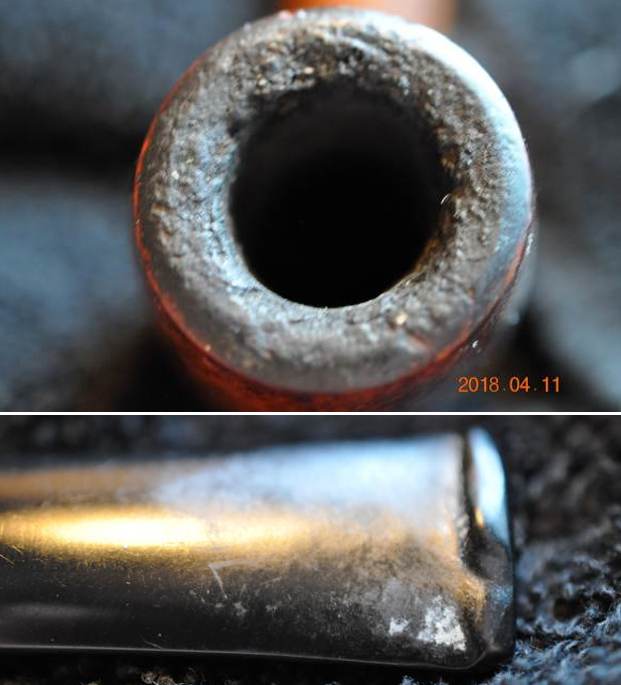
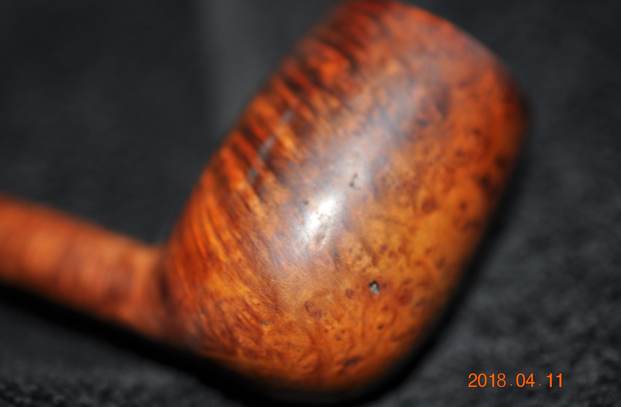
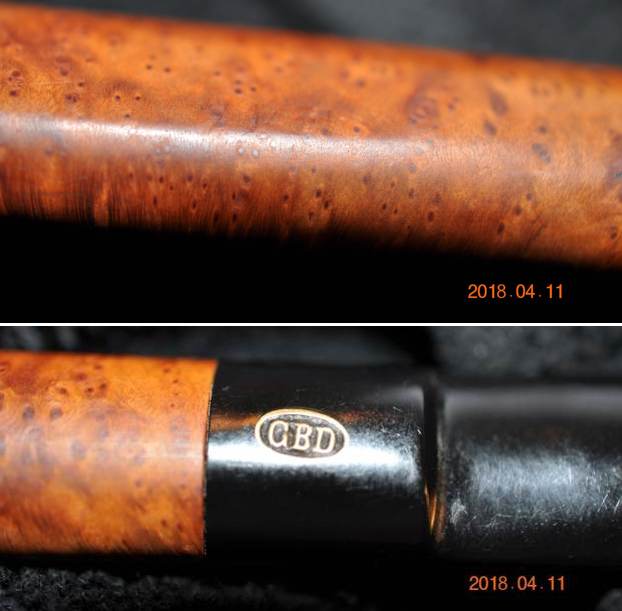
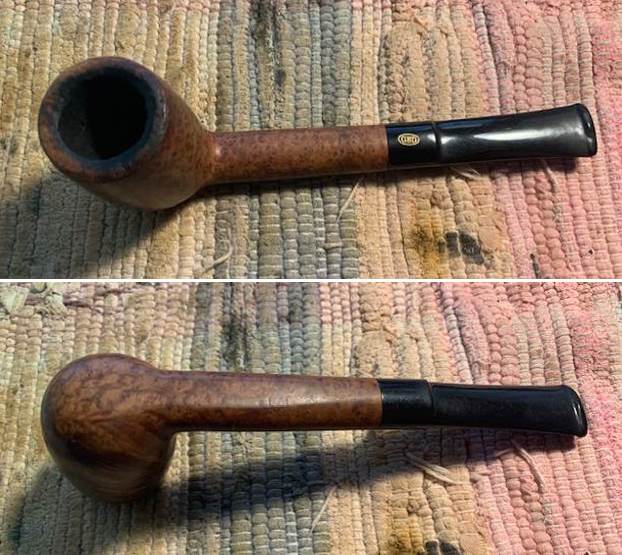
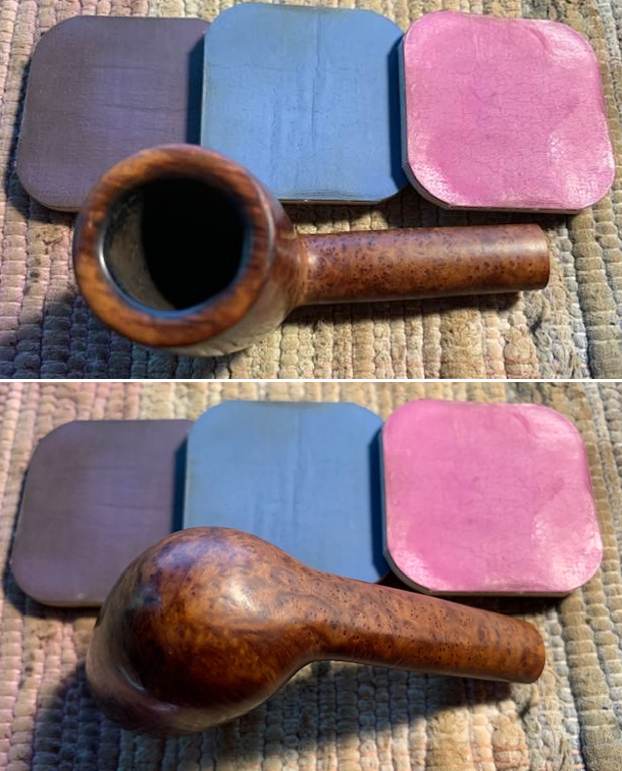
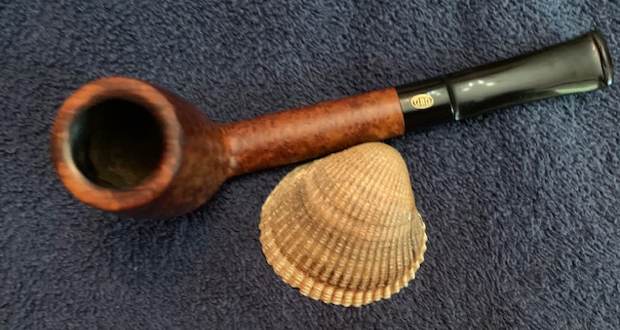
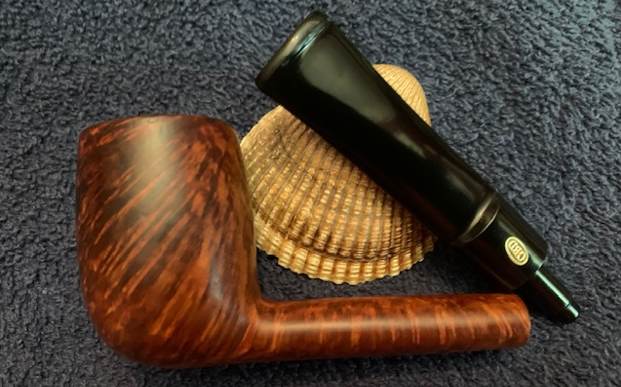
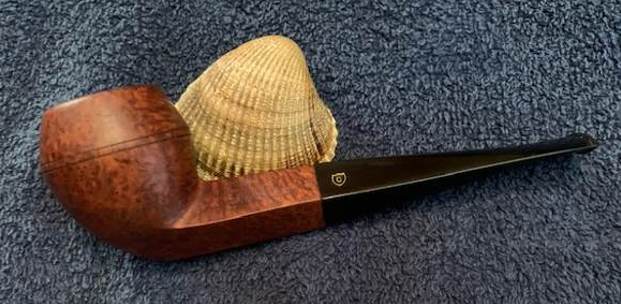
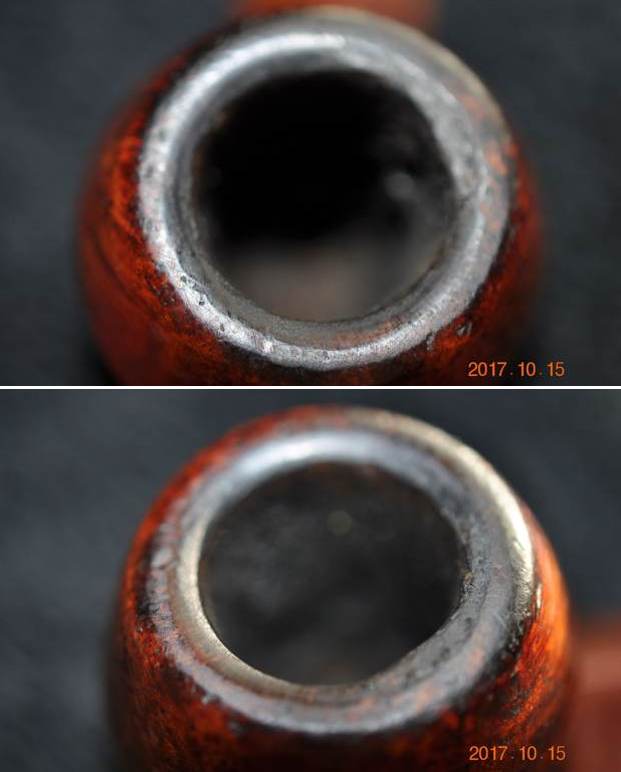
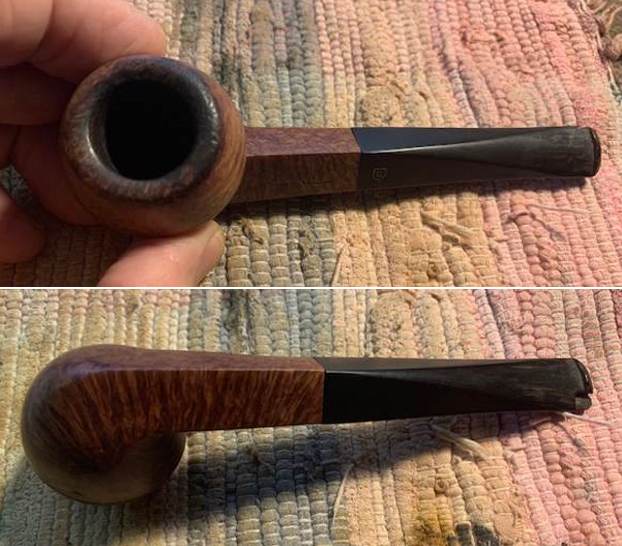
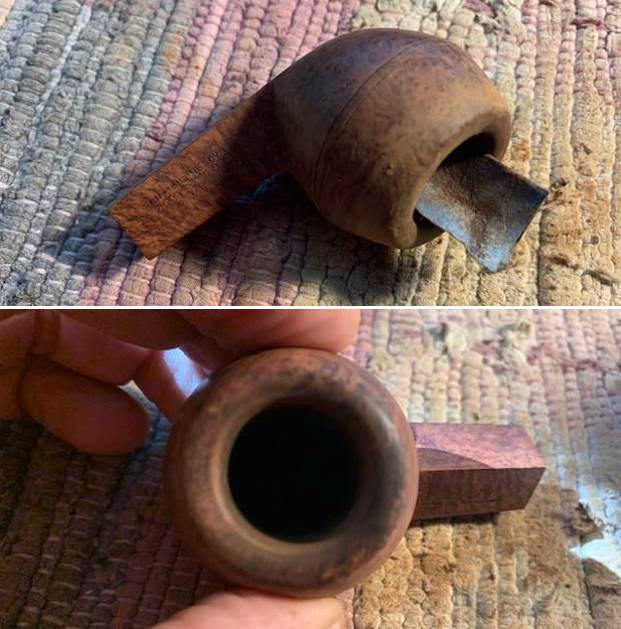
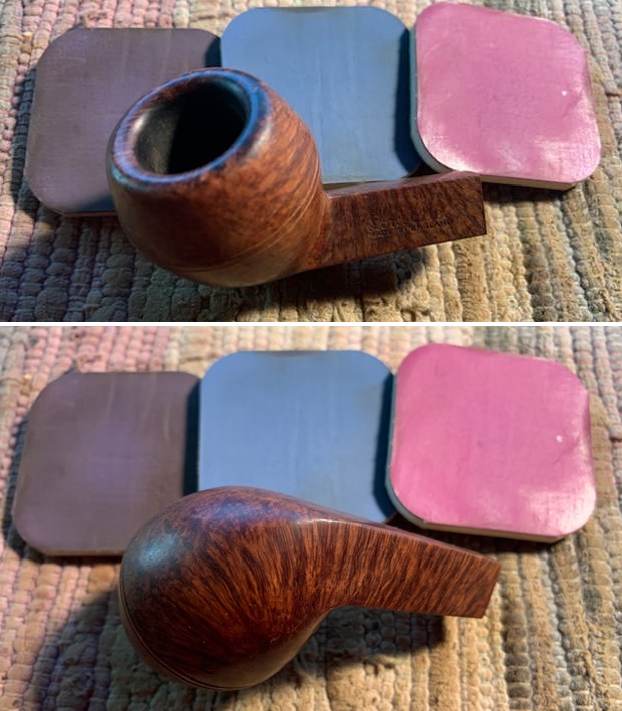
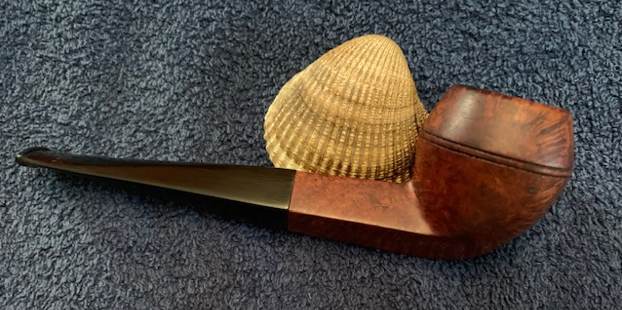
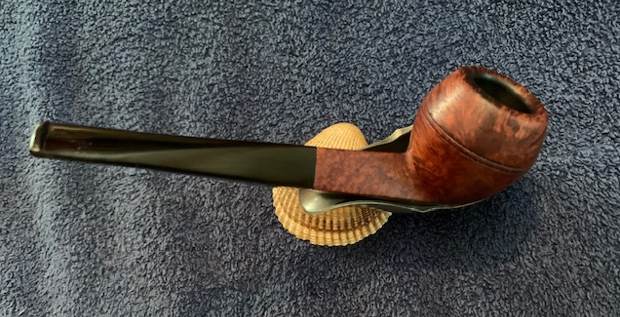
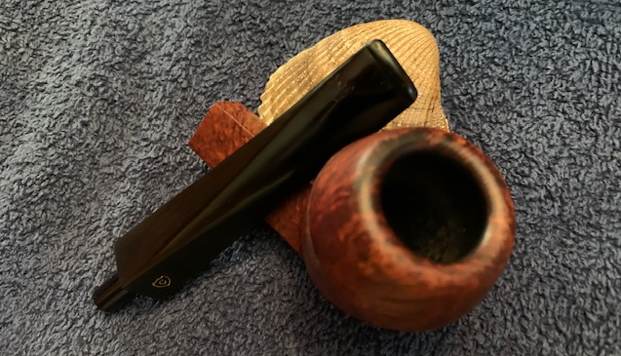
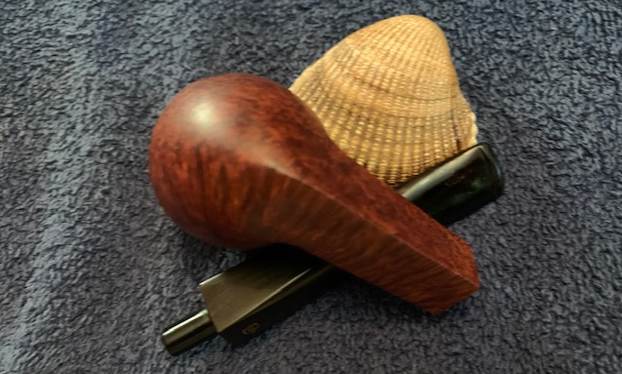
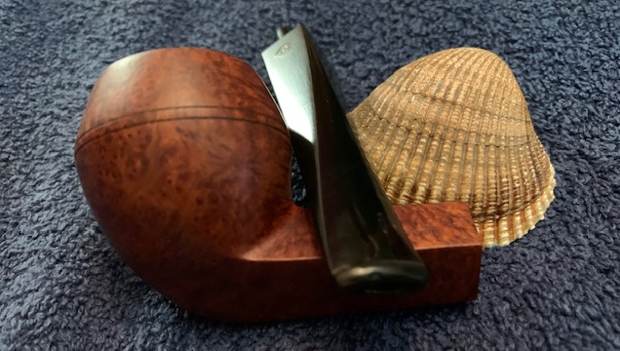
The first thing that one notices is the damaged rim edge, both aft and at the front. The chamber appears to have been reamed and is sans any cake. There is no lava overflow atop the rim surface. The stummel surface is dull, dirty and lackluster. Being a Bruyere finish, the stummel does not boast of excellent grains but it does prove its quality by being a flawless piece of briar without having a single fill or imperfection. There is a slight ghosting smell and would need to be addressed. The shank bottom is flattened making it a sitter. The stem is in fairly great condition with only a few bite marks over the button edges and some minor tooth chatter in the bite zone. Overall, it’s a very decent pipe and I hope to repair and restore this pipe to its former glory. 

 Detailed Inspection
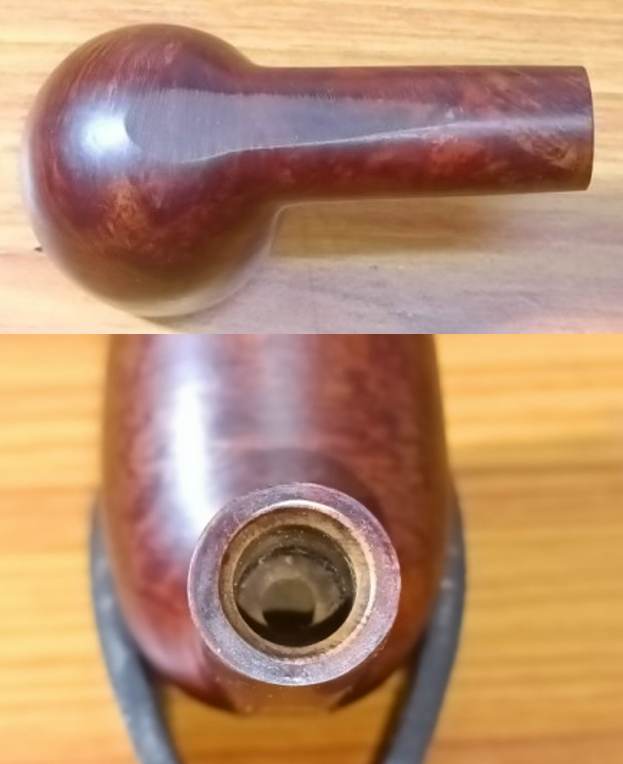
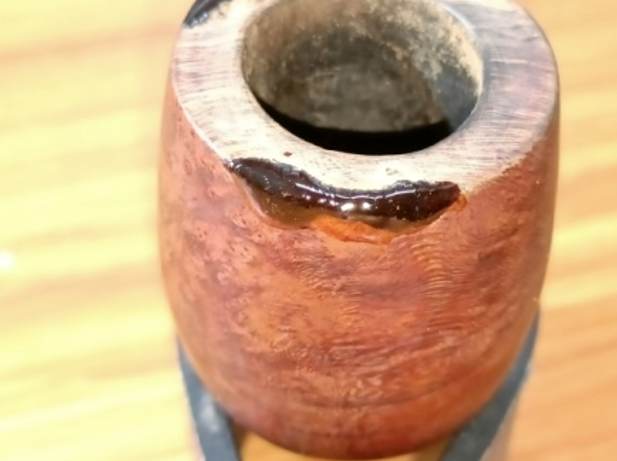
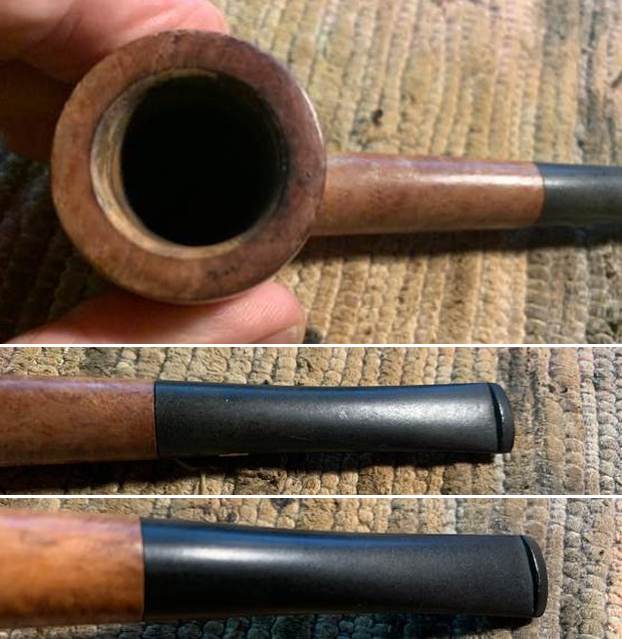
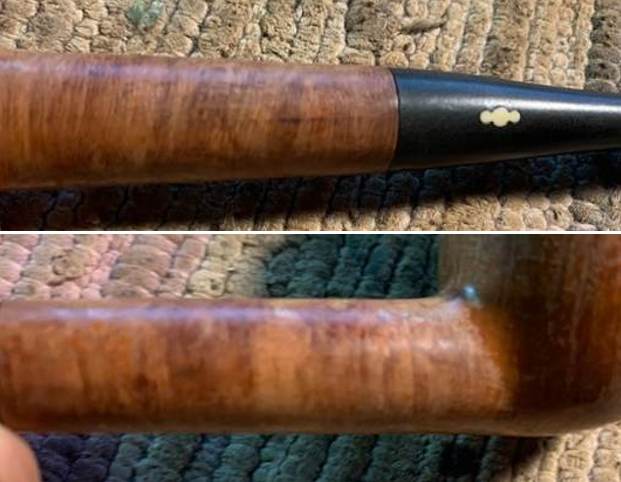
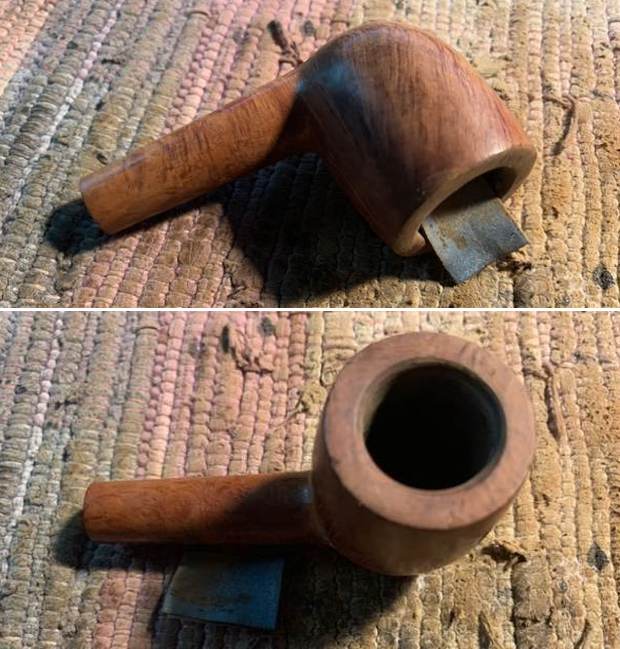
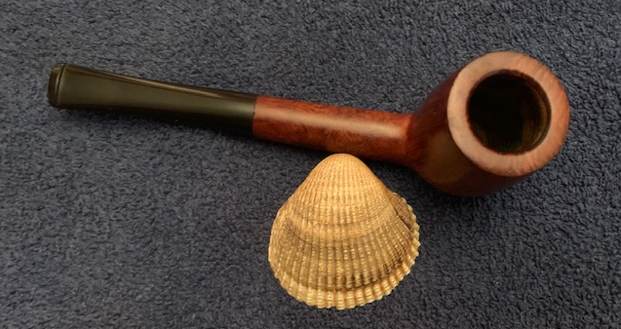
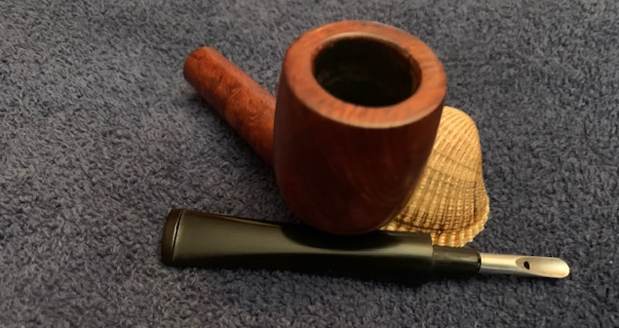
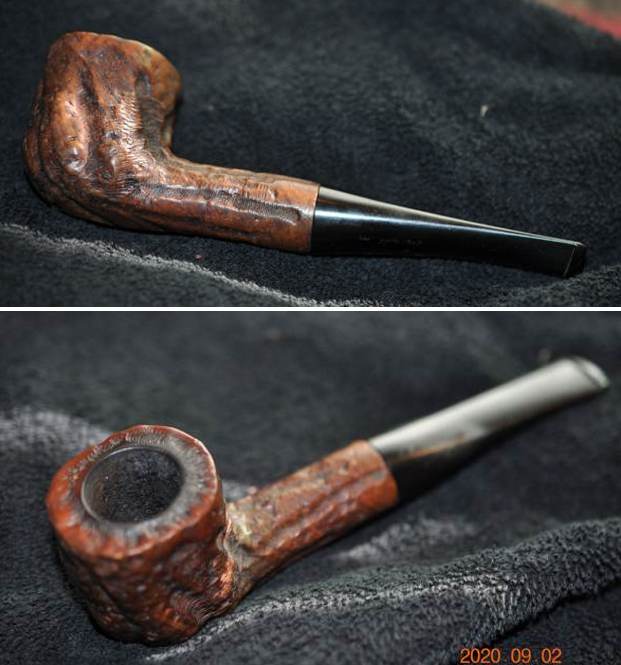
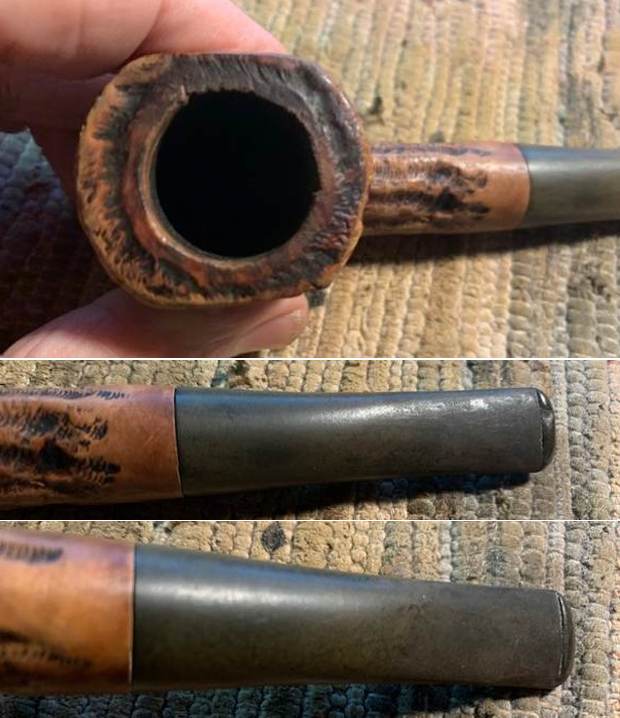
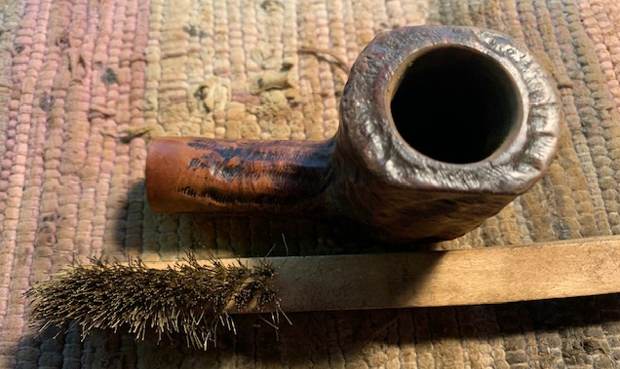
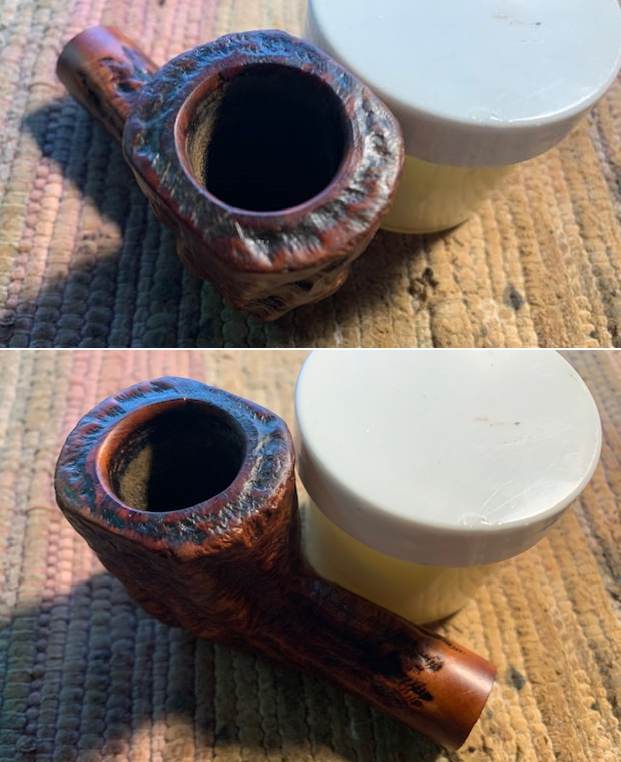
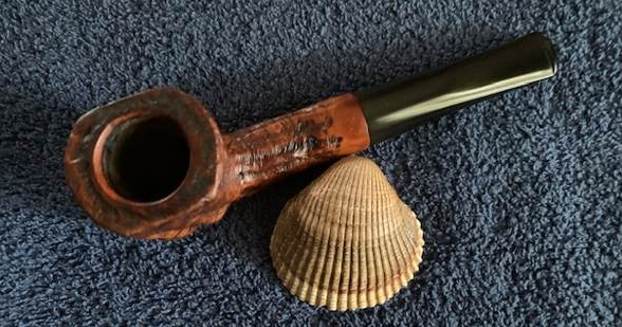
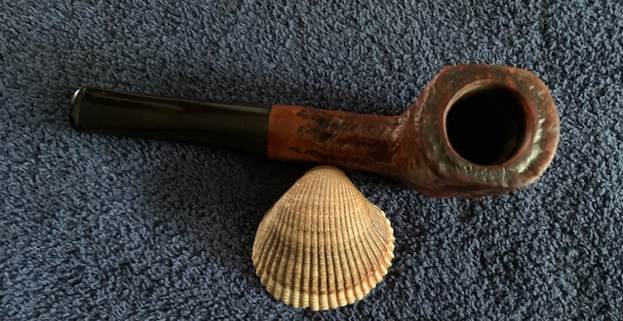
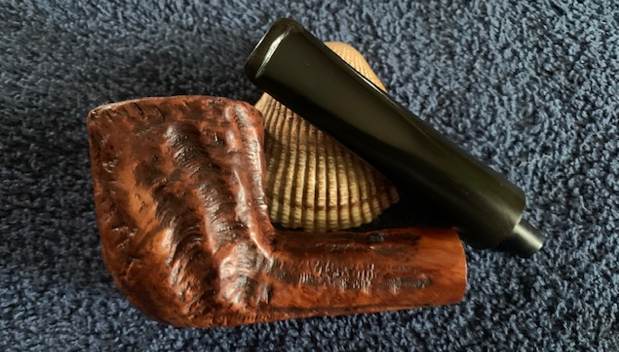
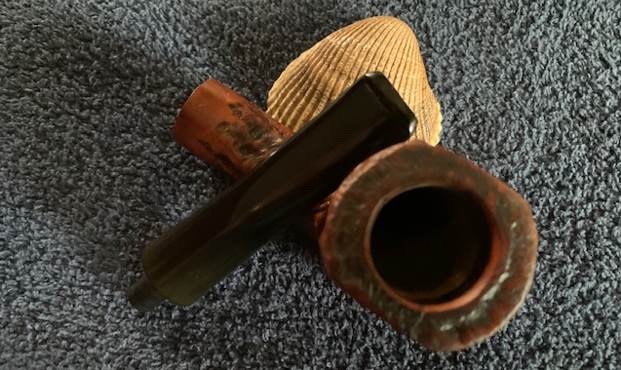
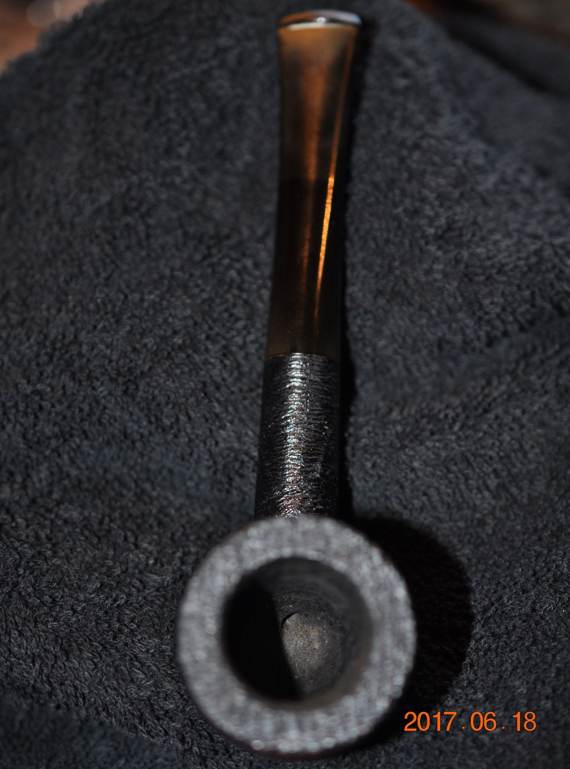
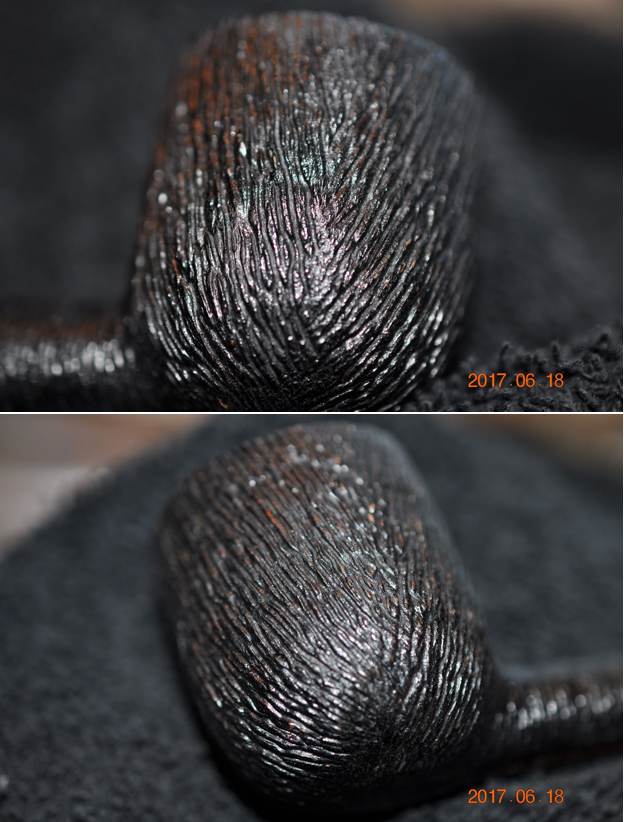
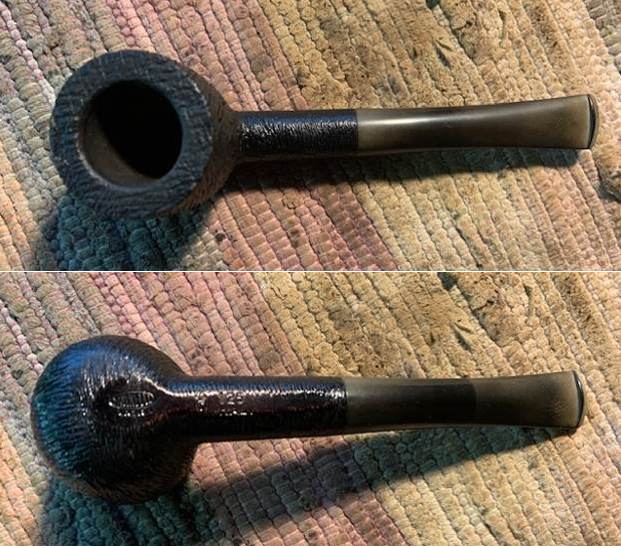
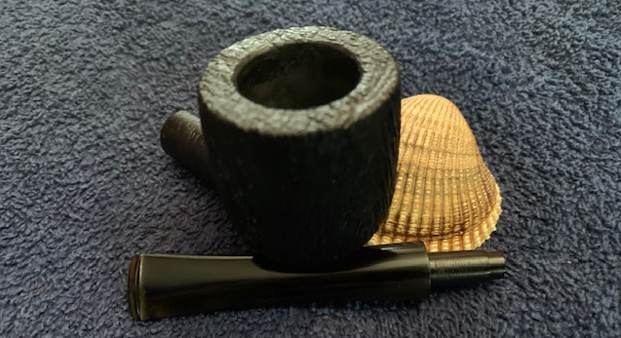
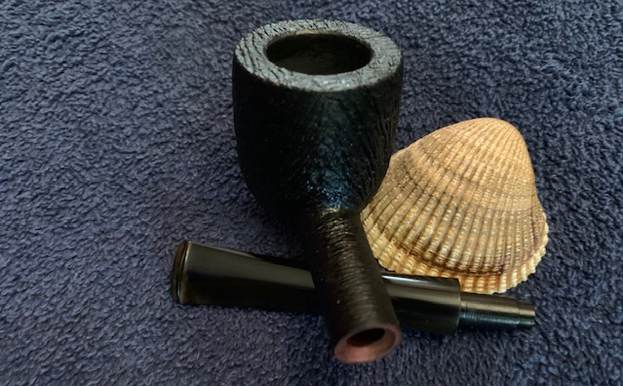
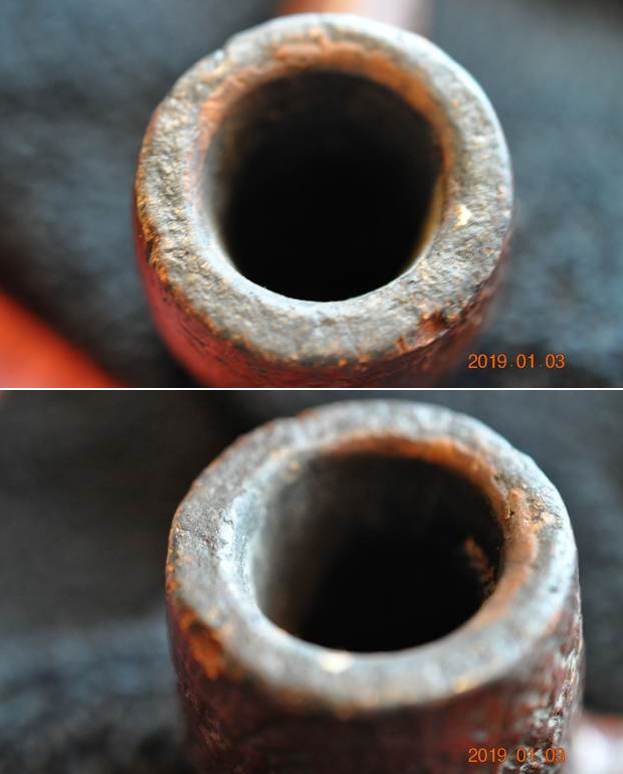
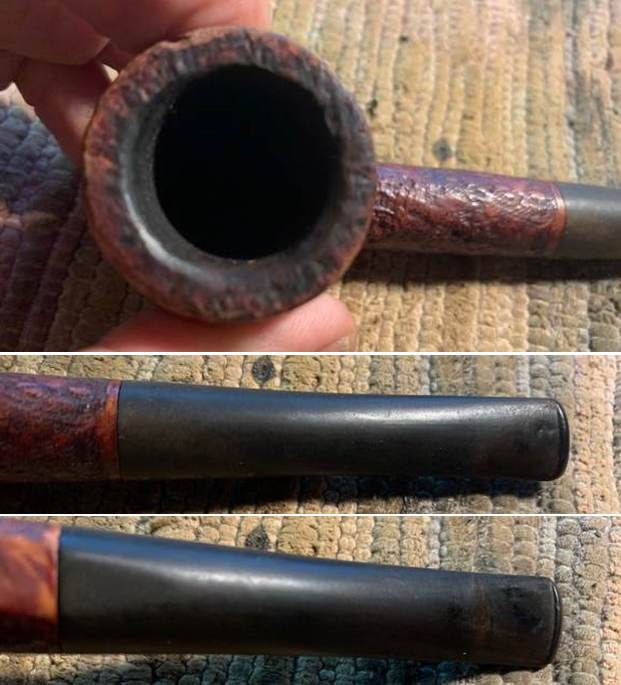
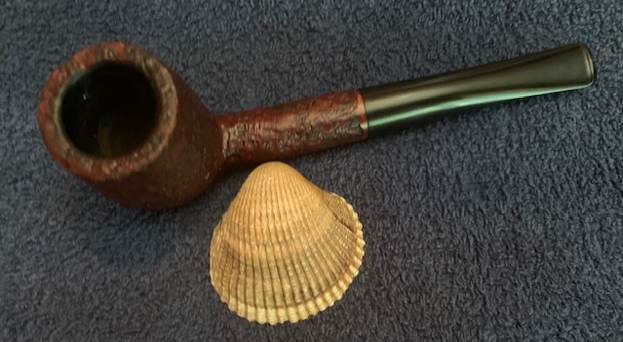
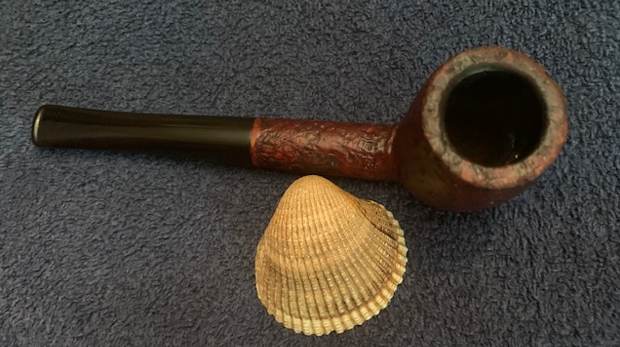
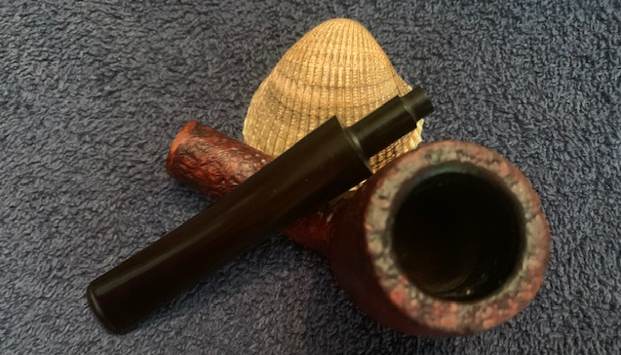
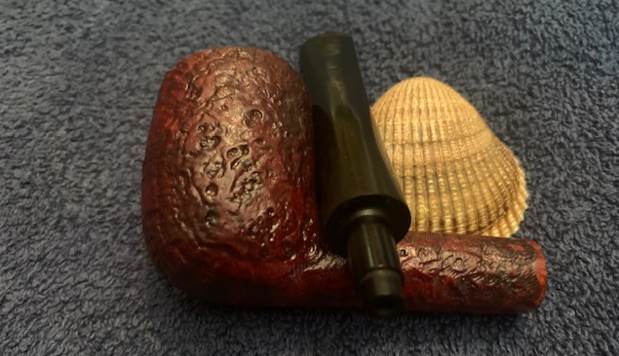
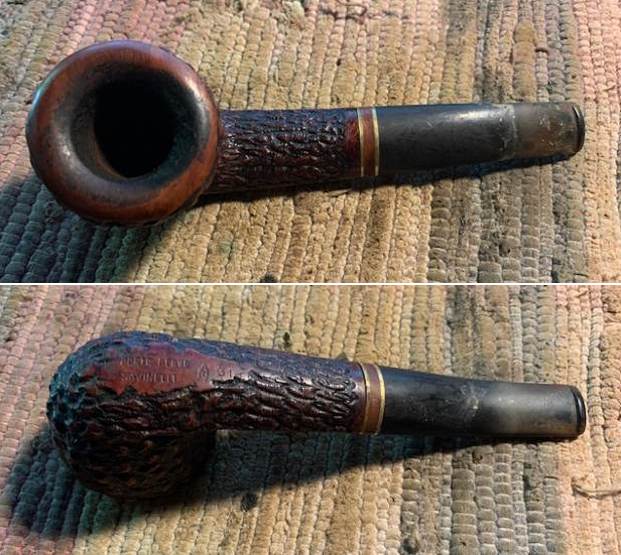
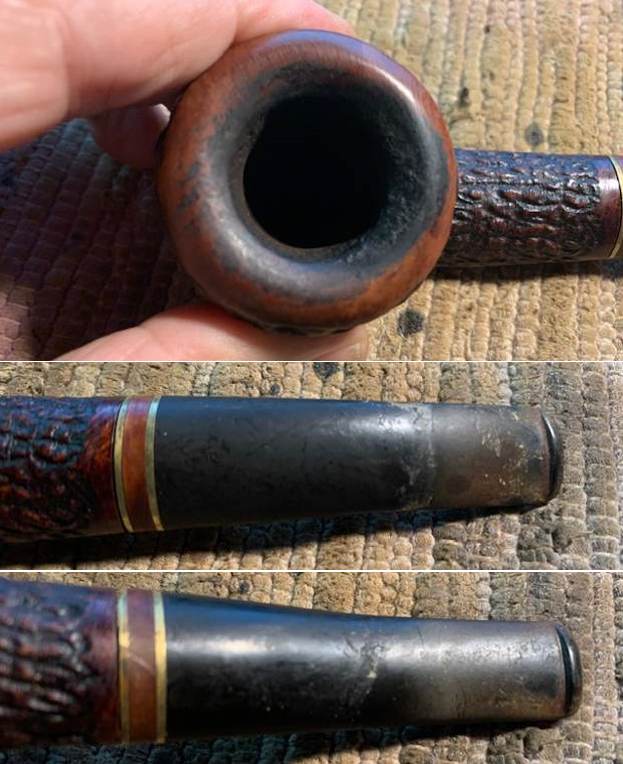
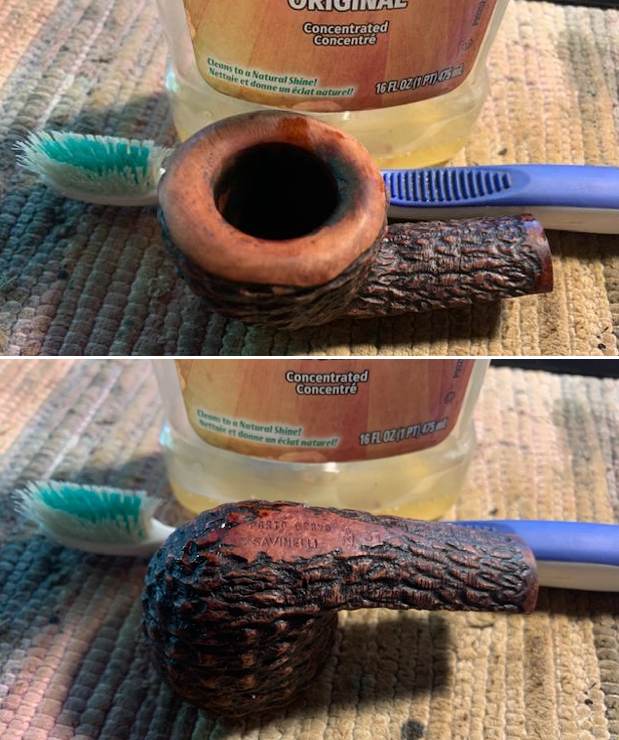
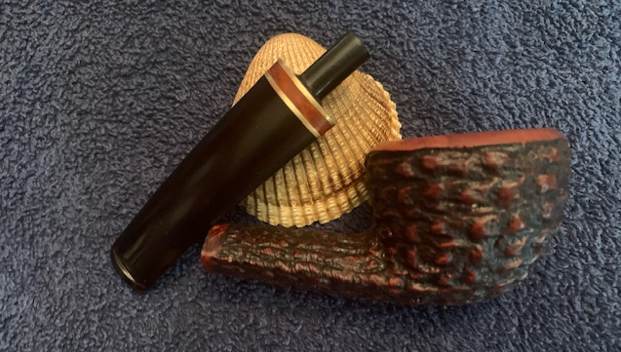
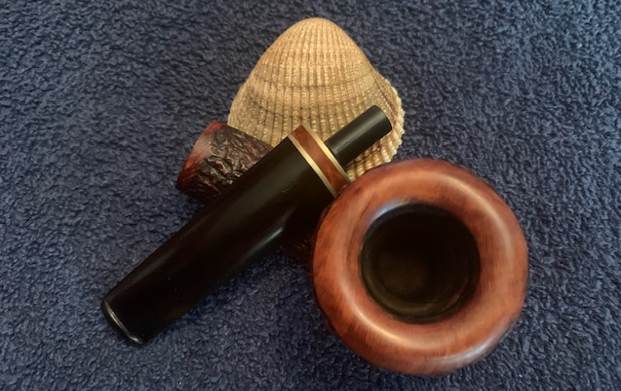
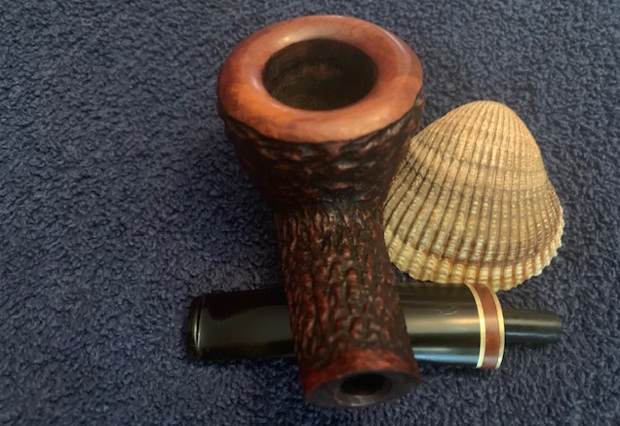
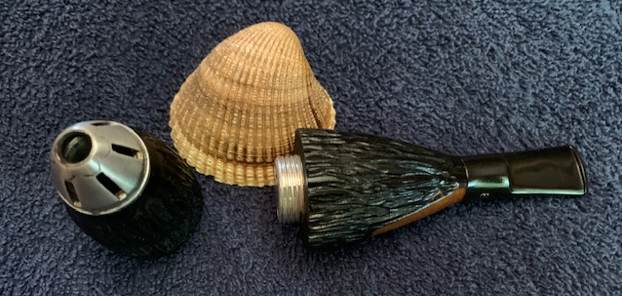
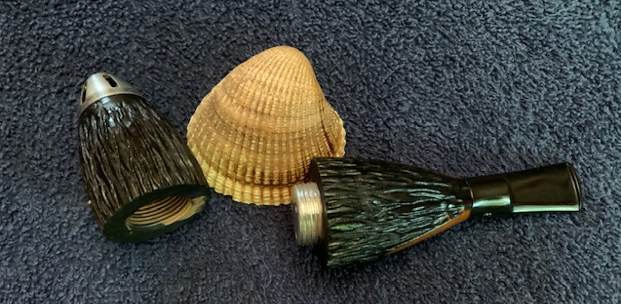
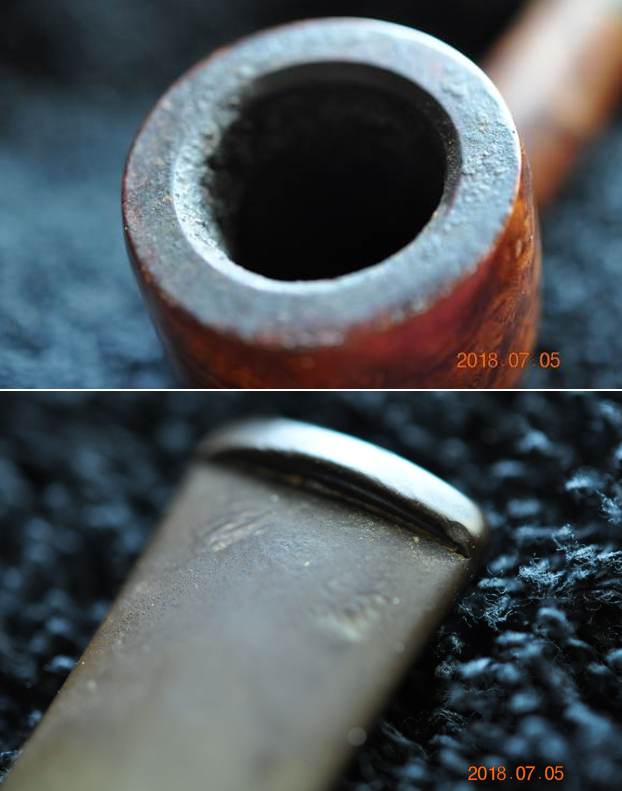
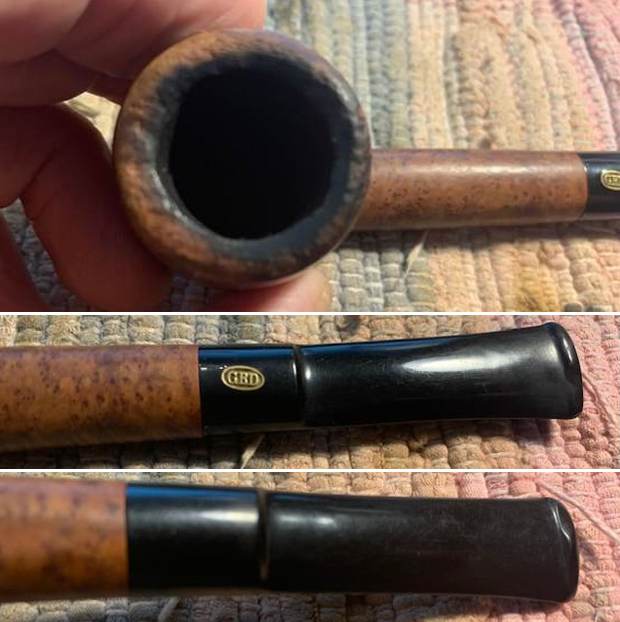
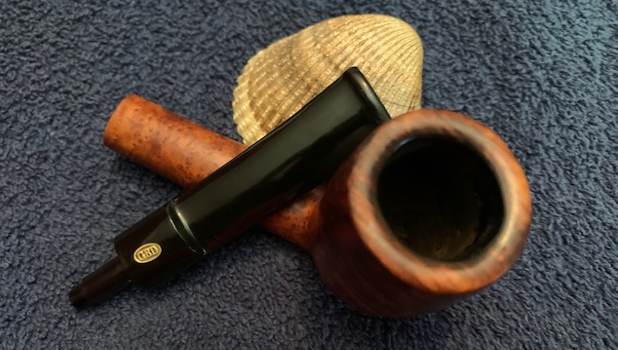
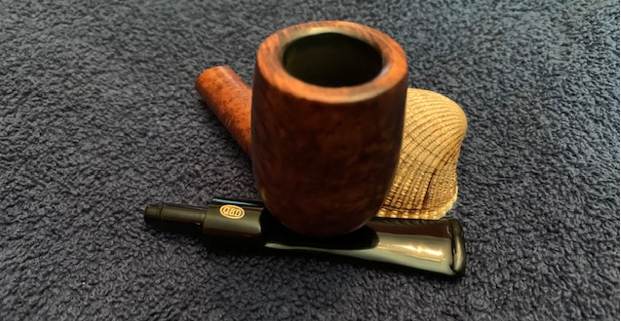
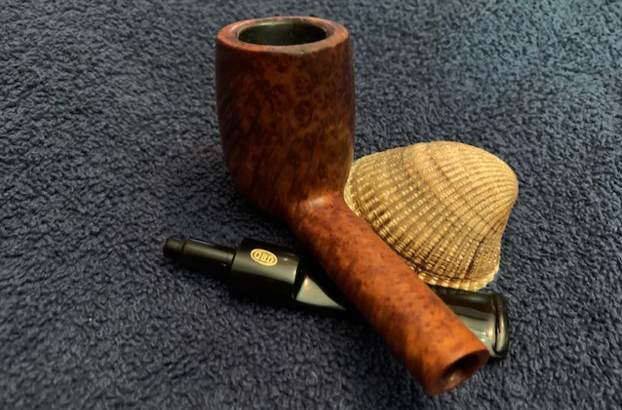
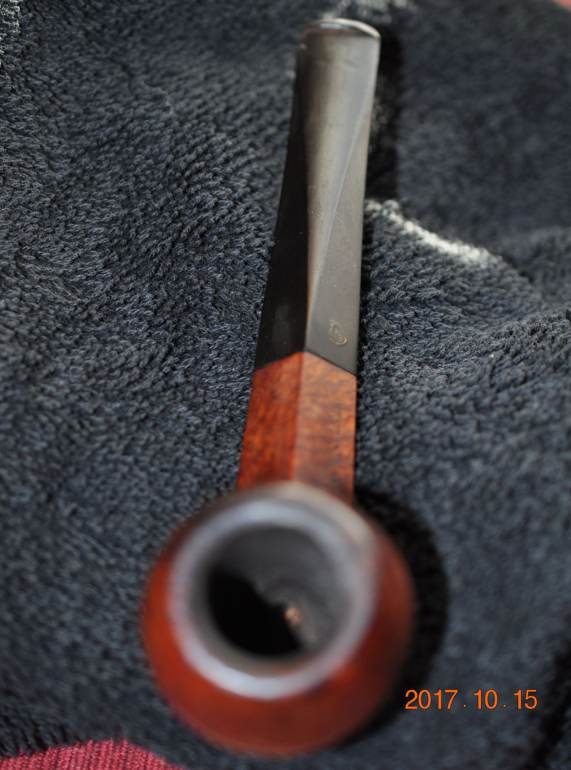
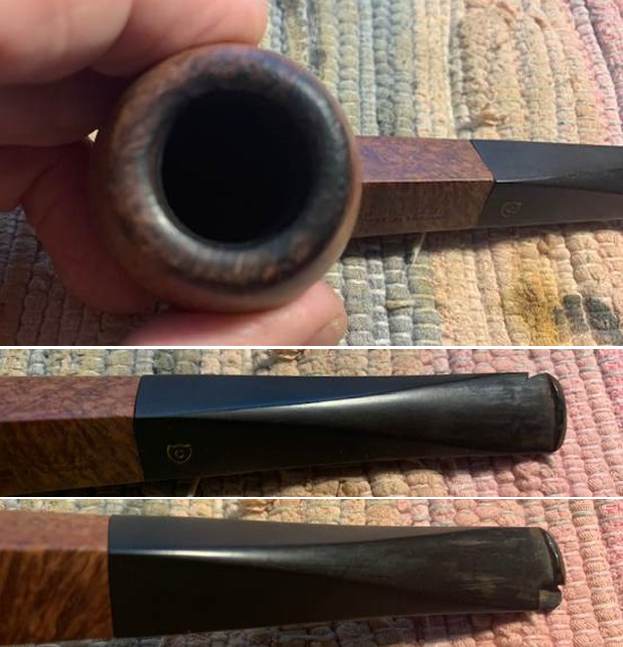
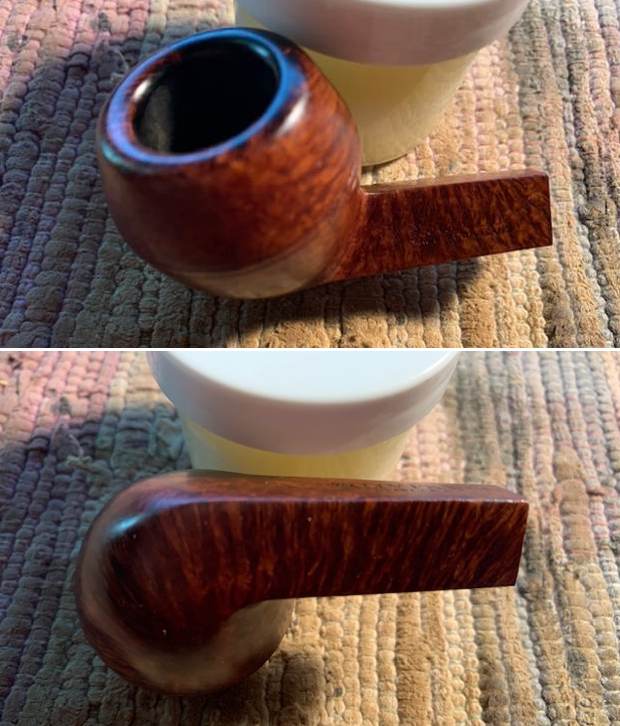
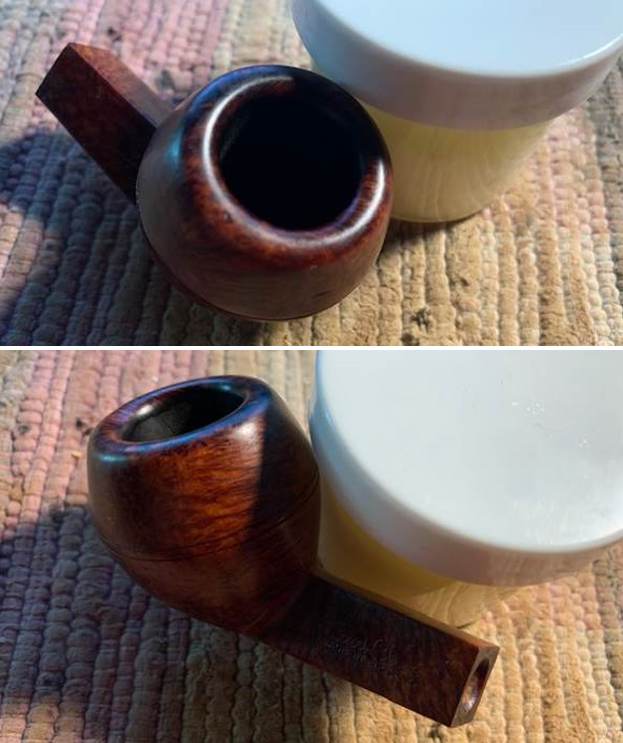
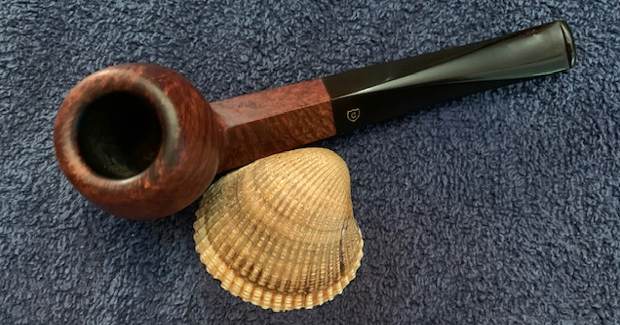
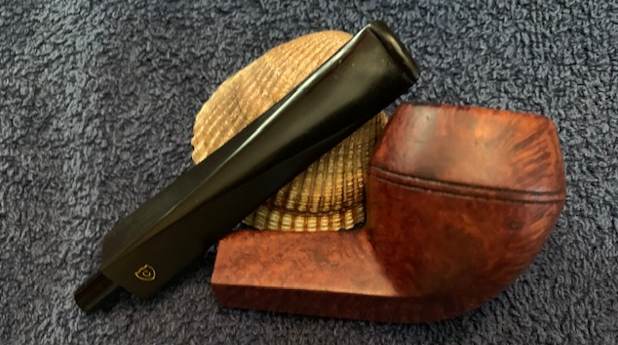
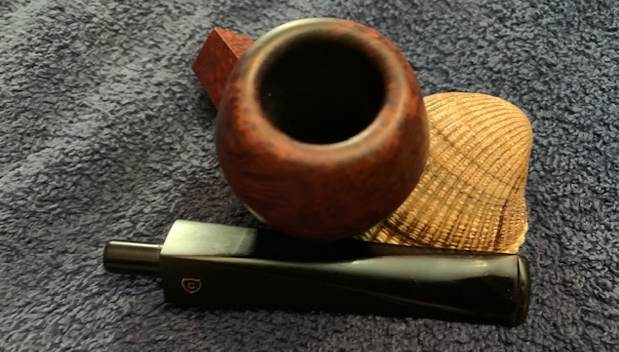
The chamber appears to have been reamed before the pipe was designated for sale by the previous owner and thus the chamber is devoid of any cake. All that remains is some dust and fine carbon particle accumulation along the walls of the chamber. The rim top is darkened but without any overflowing carbon. However, it’s all together a different ball game when it comes to the rim edges. The most significant damage is to the aft outer rim edge where a large chunk of briar has chipped away, most likely the result of a fall from some height. Similarly, the front of the rim outer edge too has a small chunk of briar missing and appears to be the result of knocking against a hard edge. Both these damages are encircled in yellow. The inner rim edge shows signs of charring in the 6 o’clock and 12 o’clock directions. These areas have been encircled in red. The chamber odor is light but present and would need to be completely eliminated.
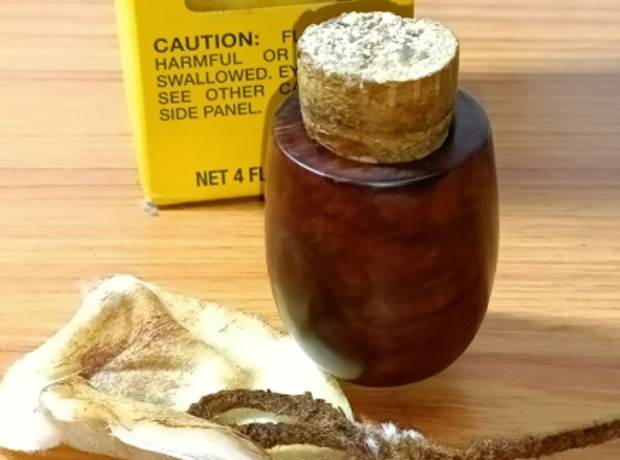
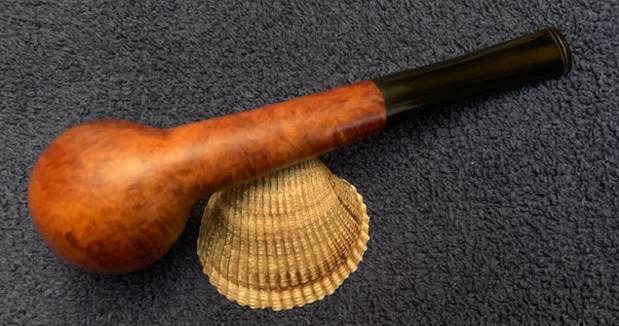
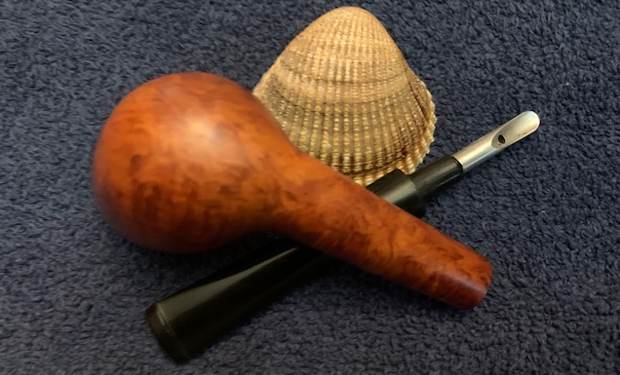
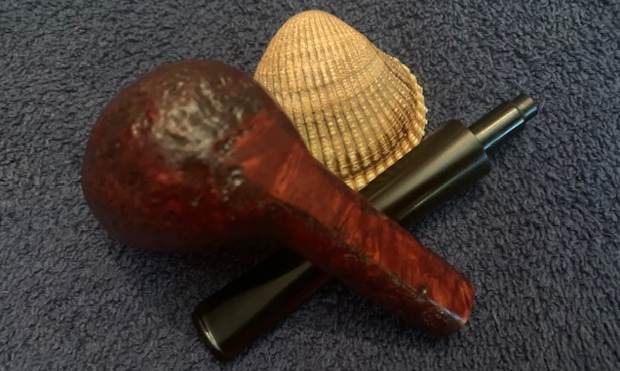
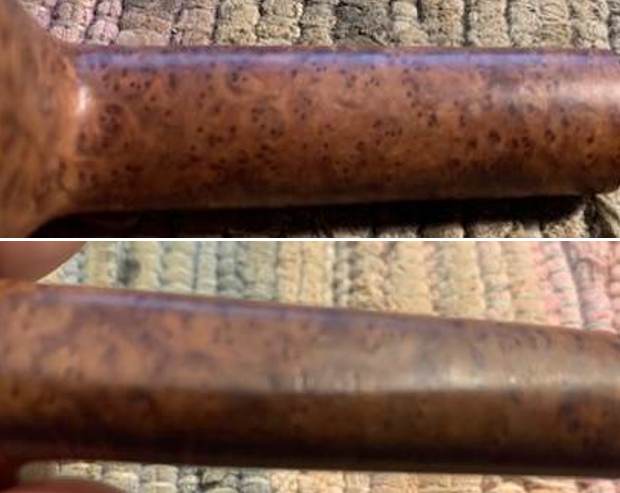
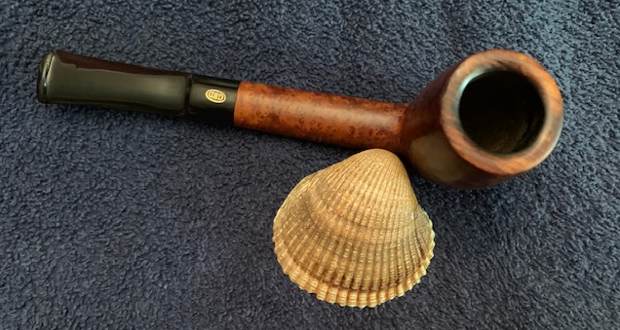
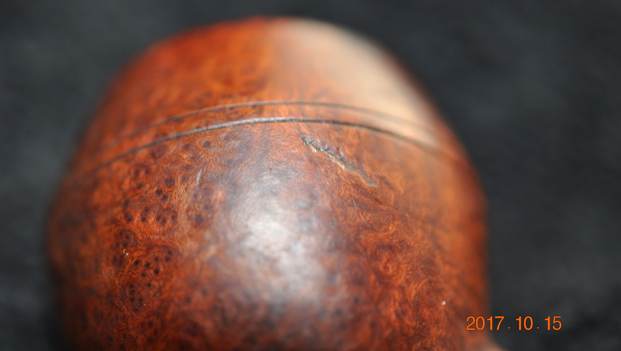
 The stummel feels solid in the hand and the surface is sans any dents and dings. However, the surface is dull and dirty with the finish fading out from over the surface. A nice cleaning and polish of the stummel should make things interesting. The mortise and shank walls are clean.

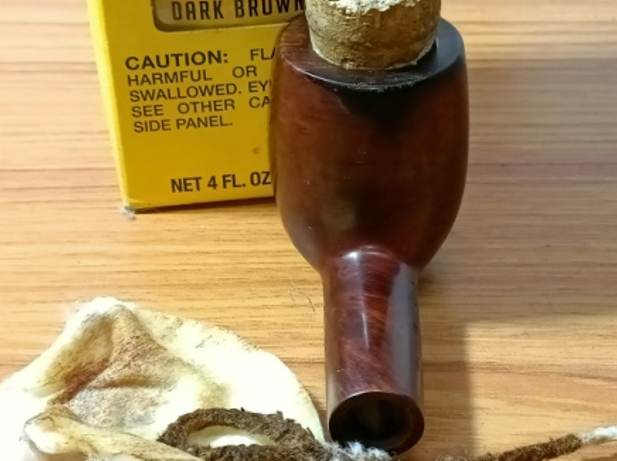
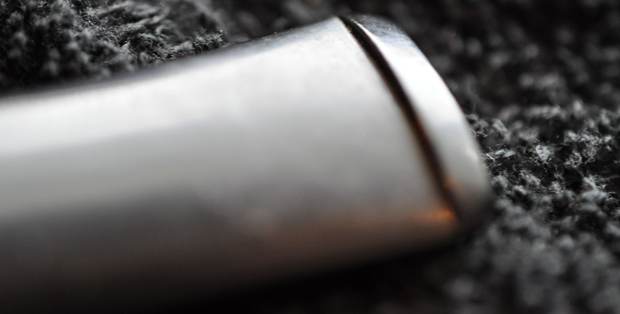
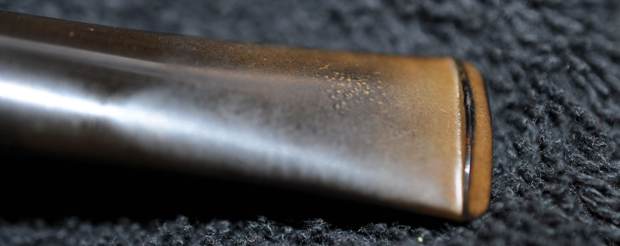
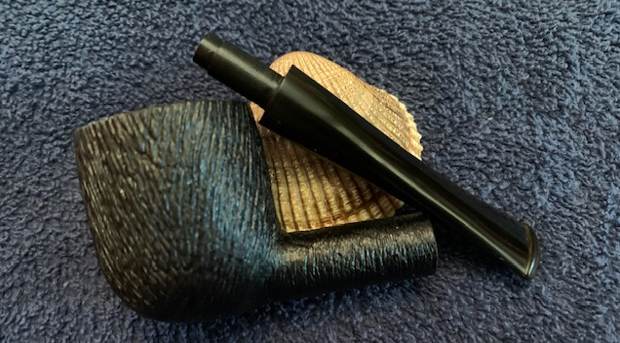
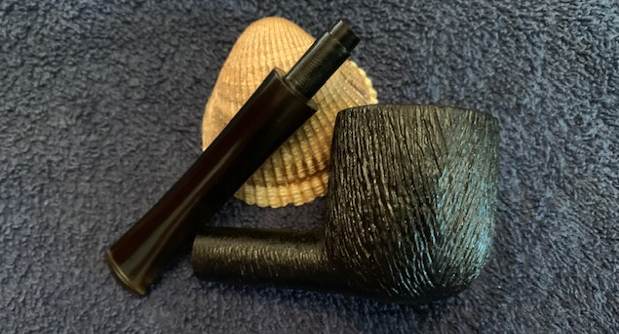
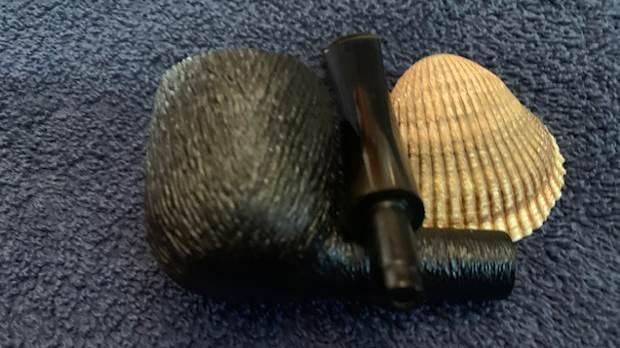
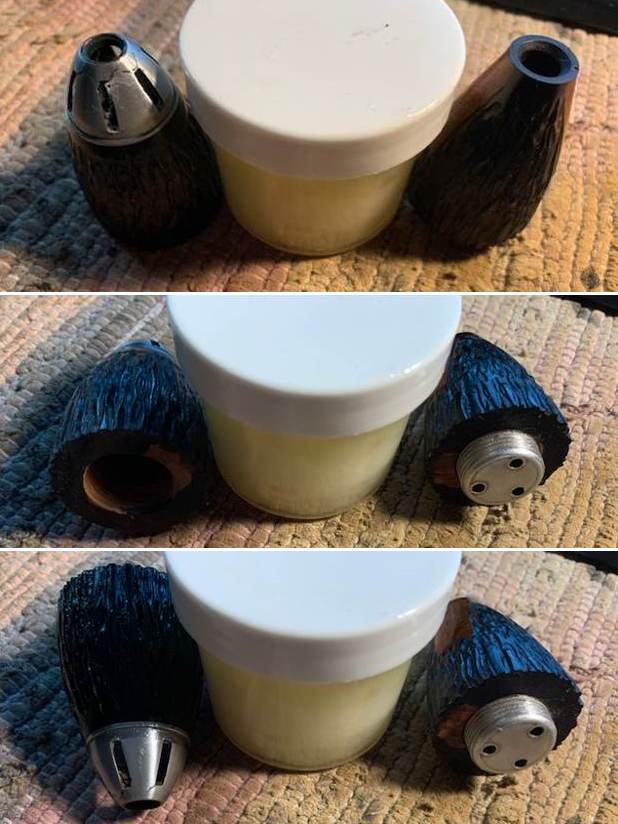
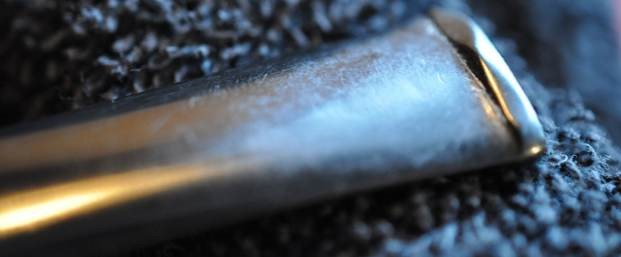
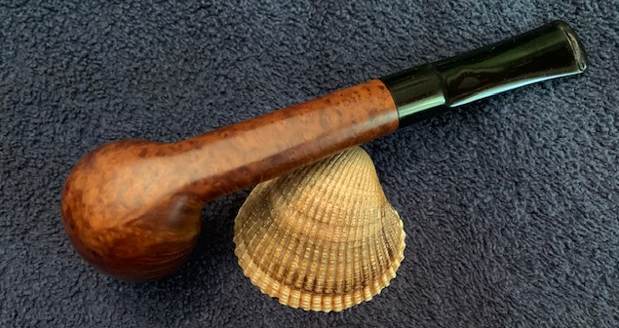
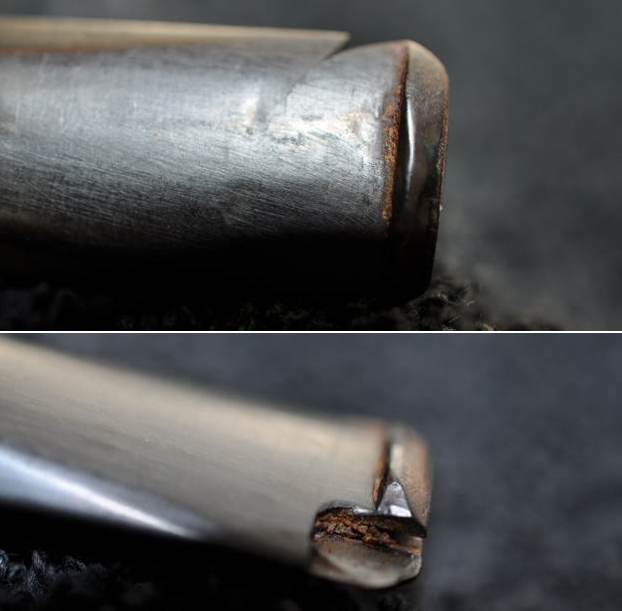
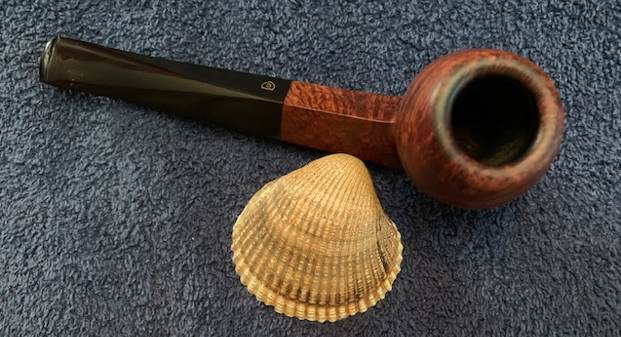
 The tapered fishtail vulcanite stem is in good condition. There are some tooth indentations on the button edge on the upper surface with tooth chatter in the bite zone on either surface. The stem surface shows some minor oxidation that would be easily addressed. The stem airway is open but would benefit from a thorough internal cleaning.
 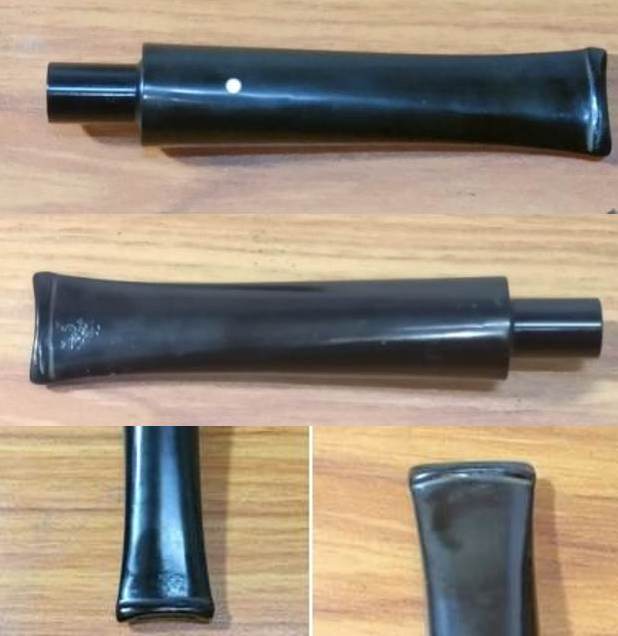 The Process
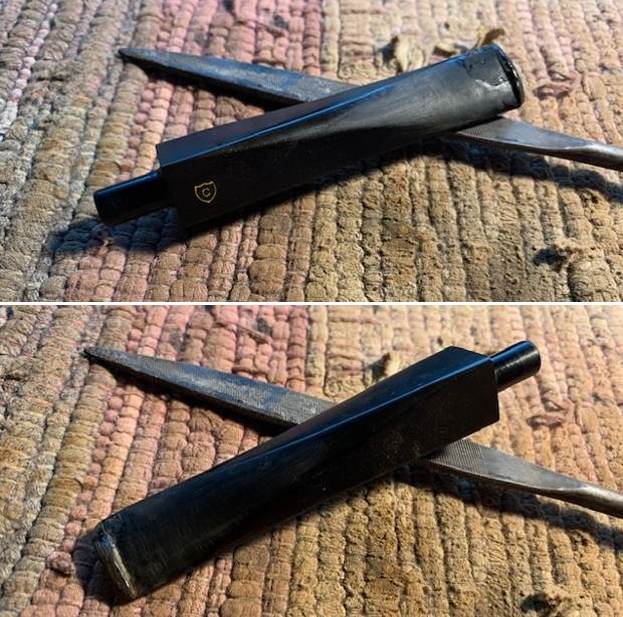
I started the process of restoration by first cleaning the stem internals with anti-oil dish cleaning soap and thin shank brushes. I scrubbed the stem surface with the soap using a ScotchBrite pad, firstly to rid the surface of old oils and gunk and secondly to remove the loose surface oxidation.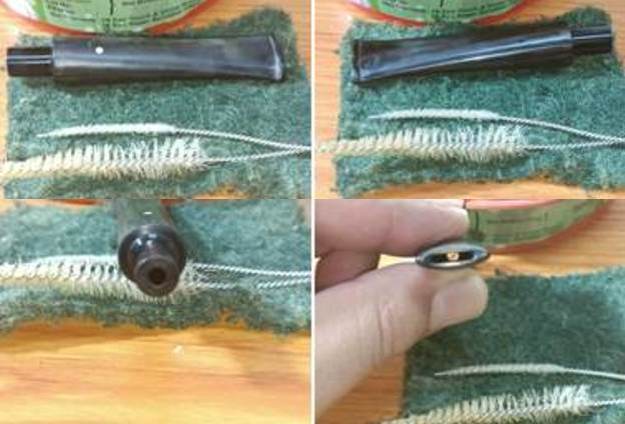 I dunked the stem into the deoxidizer solution overnight for the oxidation to be pulled out to the surface. I generally allow the stem to soak in the deoxidizer solution overnight.
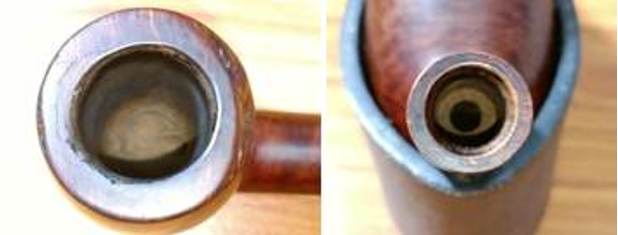
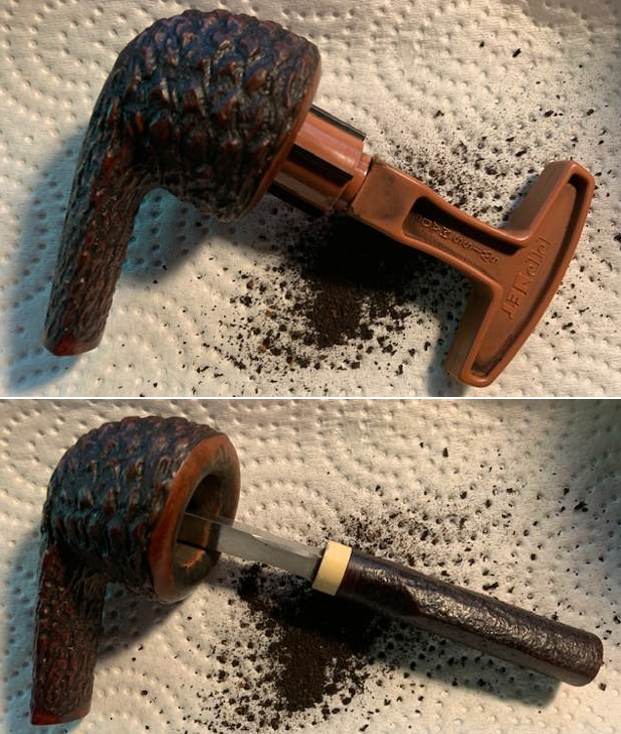
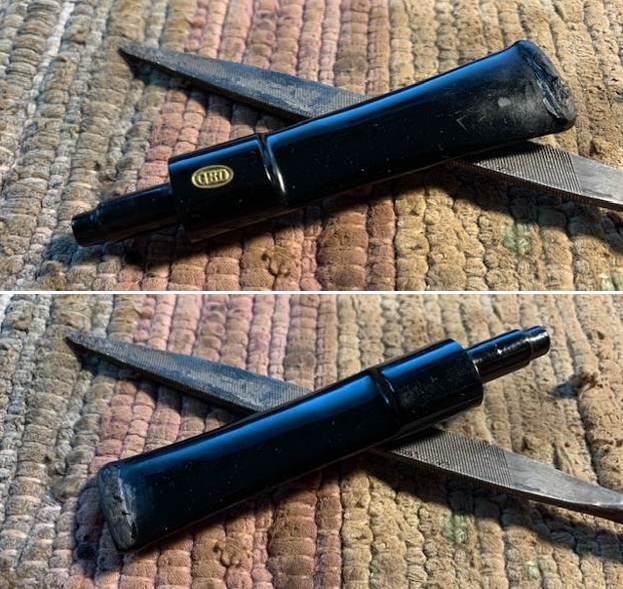
 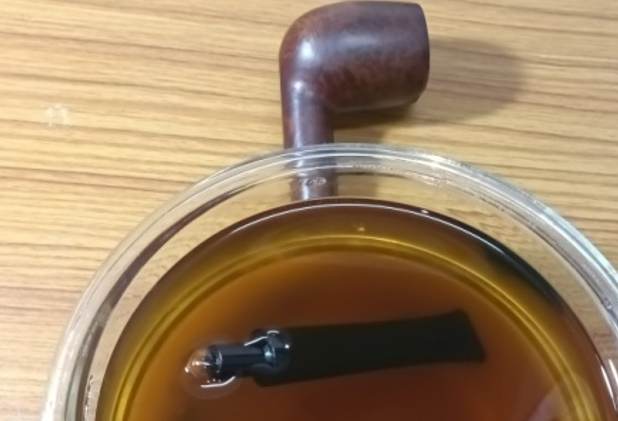 While the stem was sat aside in the deoxidizer solution, I moved ahead to deal with the stummel repairs. I started with reaming the chamber with a size 1 head of the PipNet reamer and progressed to size 2 head. Using my fabricated knife, I gently scrapped away the cake which could not be reached by the reamer head. I further cleaned the chamber with a folded piece of 180 grits sand paper to sand out the remaining traces of cake and expose the walls of the chamber to ascertain that there were no cracks/ heat fissures. I wiped the chamber with a cotton pad dipped in isopropyl alcohol to remove the carbon dust left behind by all the reaming and sanding process. This also reduced traces of old smells from previous usage. The walls of the chamber were solid with no damage.
 I cleaned the shank walls and mortise with a hard bristled pipe cleaner dipped in alcohol. I used a specifically fabricated scoop to scrape out the gunk from the shank walls and face of the mortise wall. There was not much to clean though!
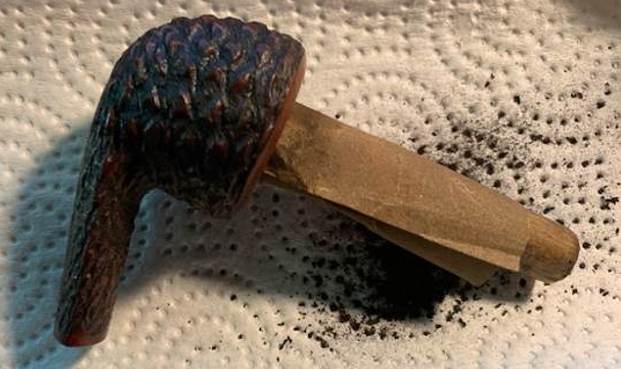
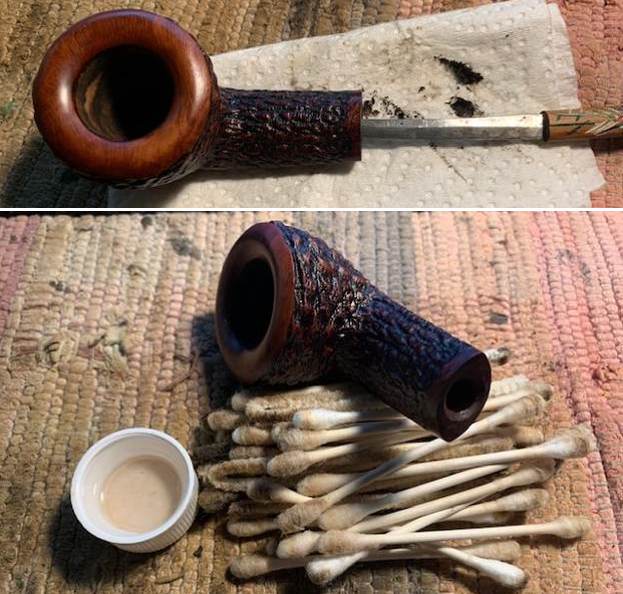
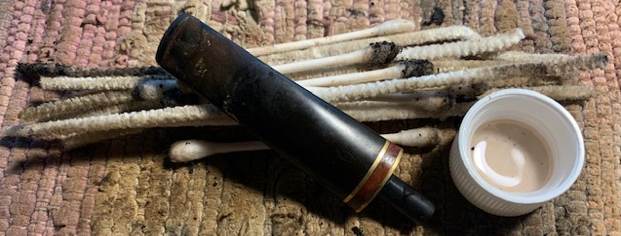
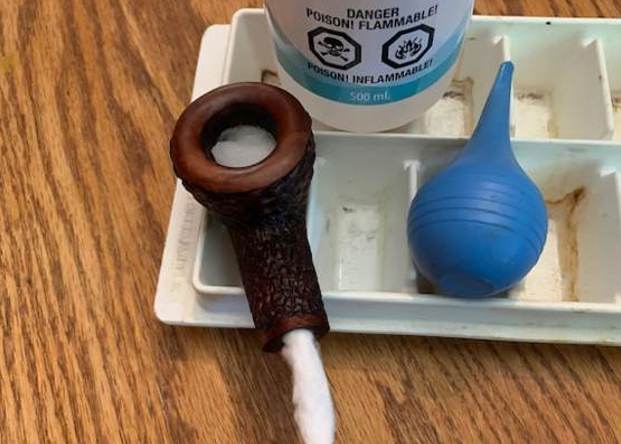
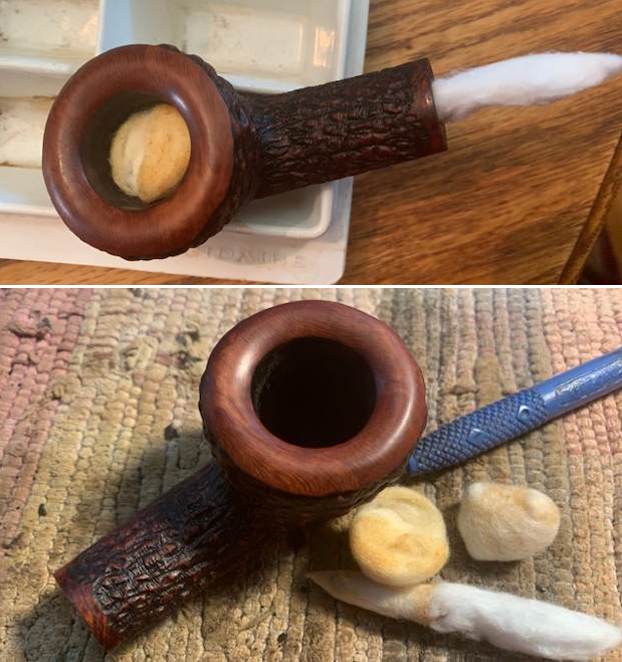
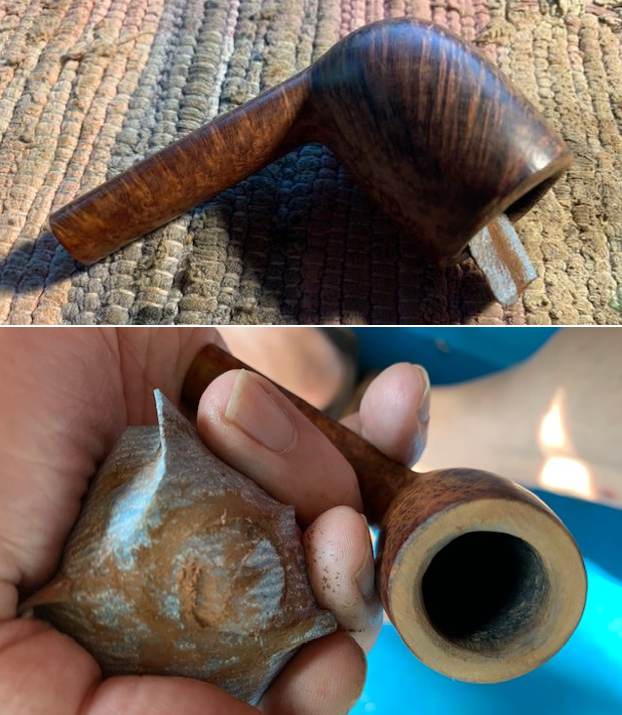
 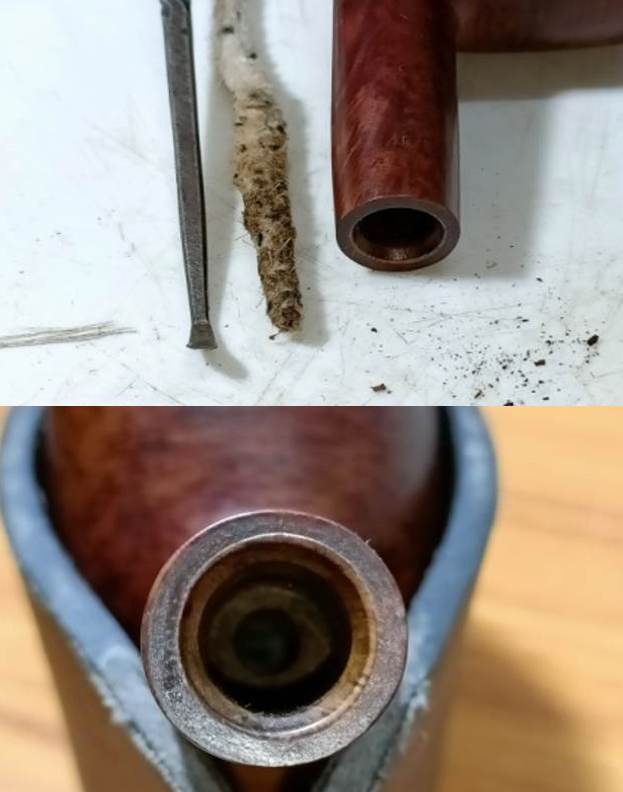 Prior to moving ahead with the rim repairs, I decided to address the strong ghost smells from the chamber. To eliminate the ghost smells from the pipe, I decided to treat it with salt and alcohol. I used cotton balls which is an at par substitute to Kosher salt as I have realized over the years. I drew out a wick from the cotton and along with a folded regular pipe cleaner; inserted it into the mortise and through the draught hole in the chamber. Thereafter, I packed the chamber with cotton balls to about quarter of an inch below the inner rim edge. I soaked the cotton balls with isopropyl alcohol up to the brim. About half an hour later, the level of alcohol had gone down, having being absorbed by the cotton. I topped it up once again and set it aside overnight. By next afternoon, the cotton and alcohol has drawn out all the remaining oils and tars from the chamber and mortise and the cotton and alcohol had fulfilled its intended task. I removed the cotton balls and ran pipe cleaners through the mortise to clean out all the loosened tars and gunk. The chamber now smelled clean and fresh. I set the stummel to dry out naturally.
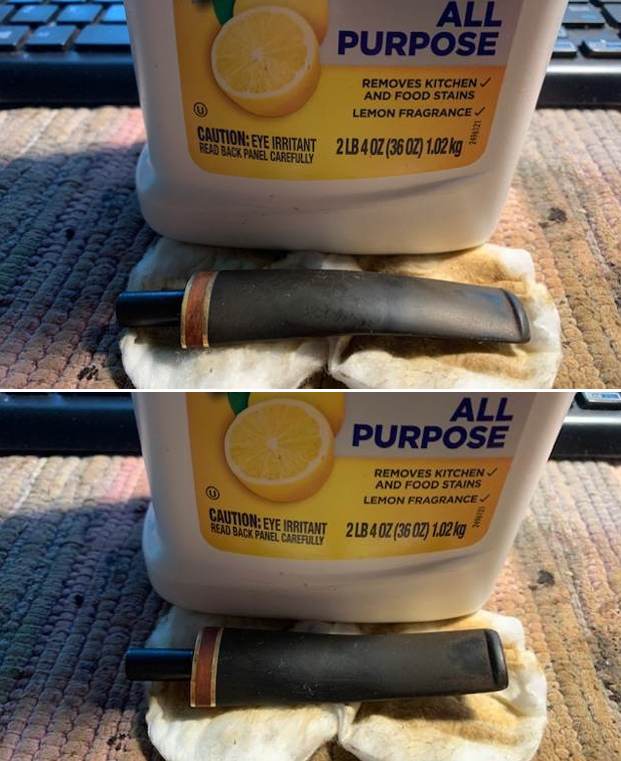
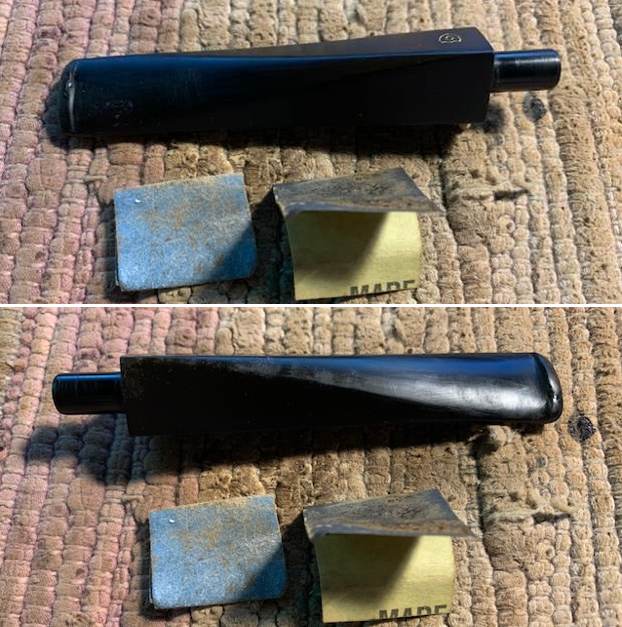
 The next day, I fished out the stem and cleaned it under running warm water and scrubbed the raised oxidation from the stem surface using ScotchBrite pad. I further removed the oxidation by scrubbing the stems with 0000 grade steel wool and applied a little olive oil to rehydrate the stems and set the stem aside for the oil to be absorbed.
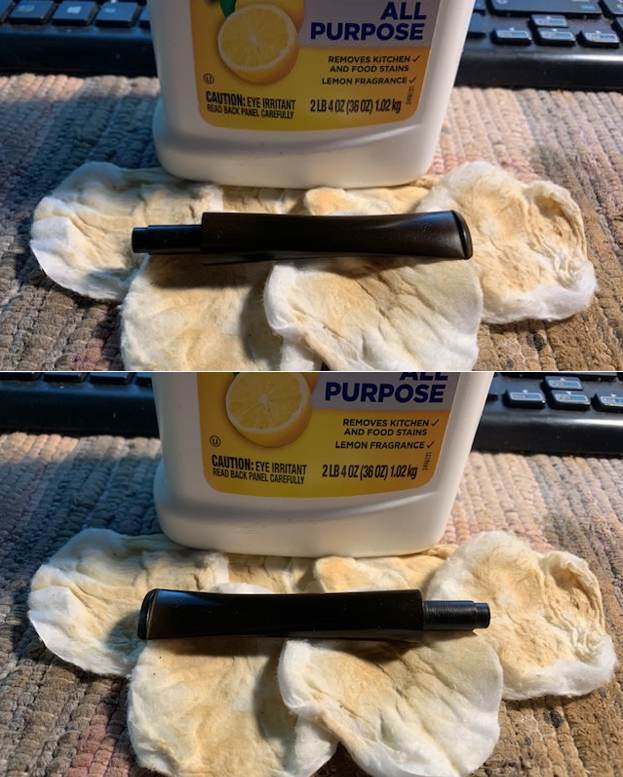
 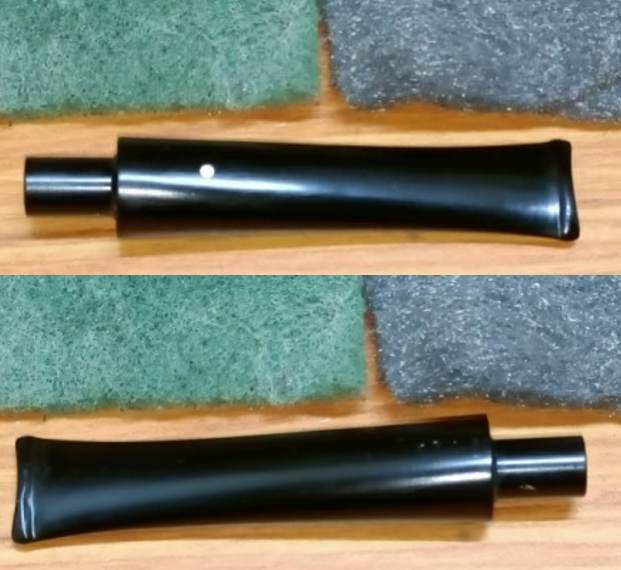 I heated the surface of the stem with the flame of a lighter to raise the tooth indentations to the surface and followed it up by sanding with a piece of folded 220 grit sand paper. This helps to even out the raised surface, address minor tooth chatter and also remove the deep seated oxidation. I wiped the stem with a cotton swab and alcohol to remove the raised oxidation and the resulting sanding dust. The tooth indentations over the button edge, though greatly reduced, were still prominent and would need to be addressed.
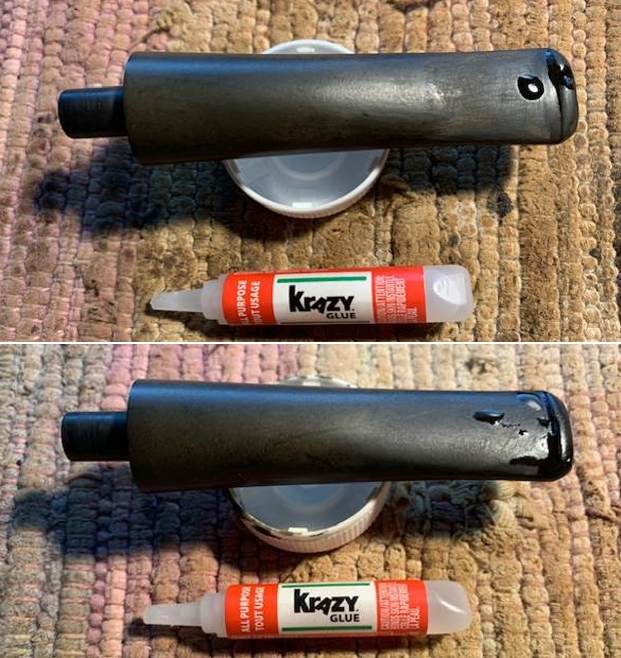
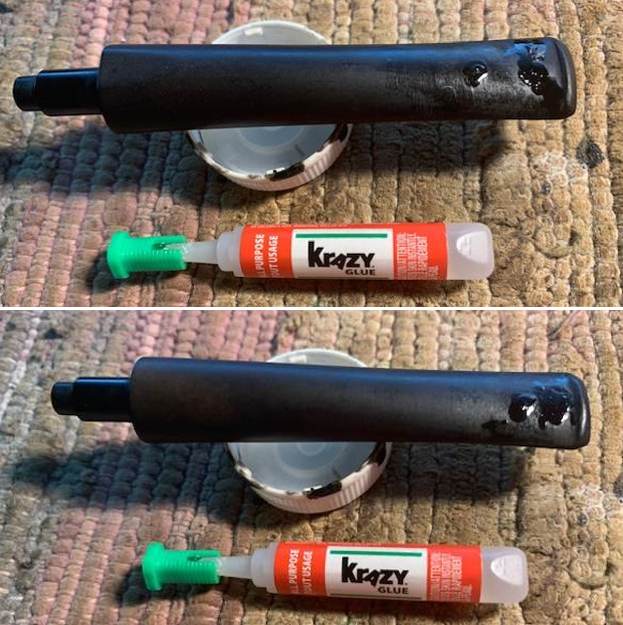
  Next I filled these tooth indentations with a mix of organic charcoal and clear superglue and set the stem aside for the fills to cure.
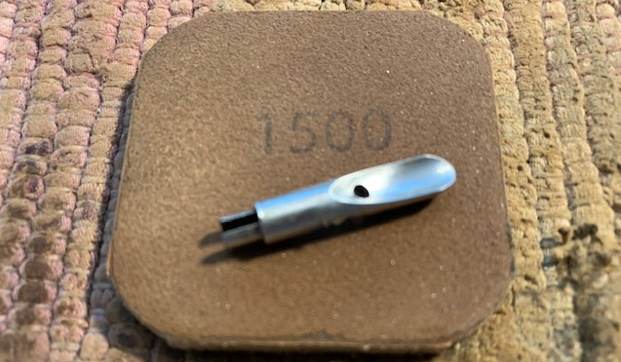
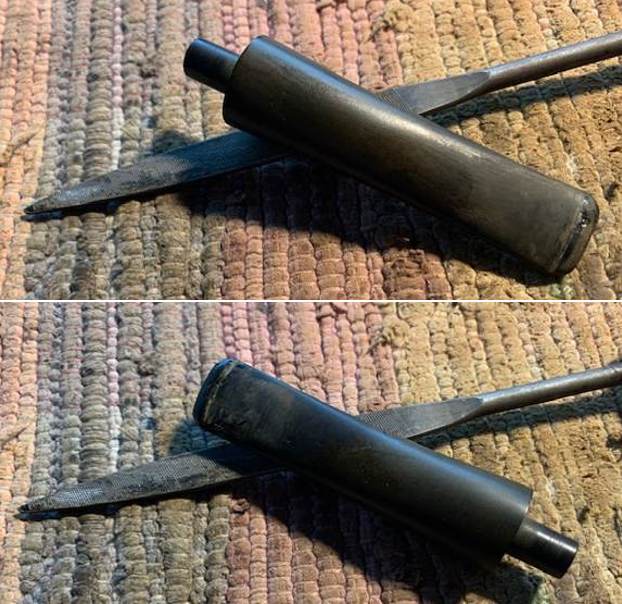
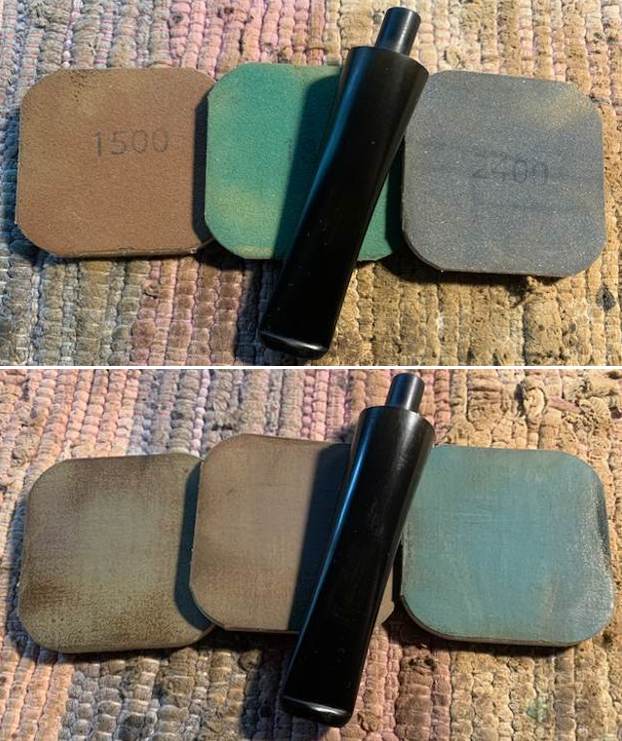
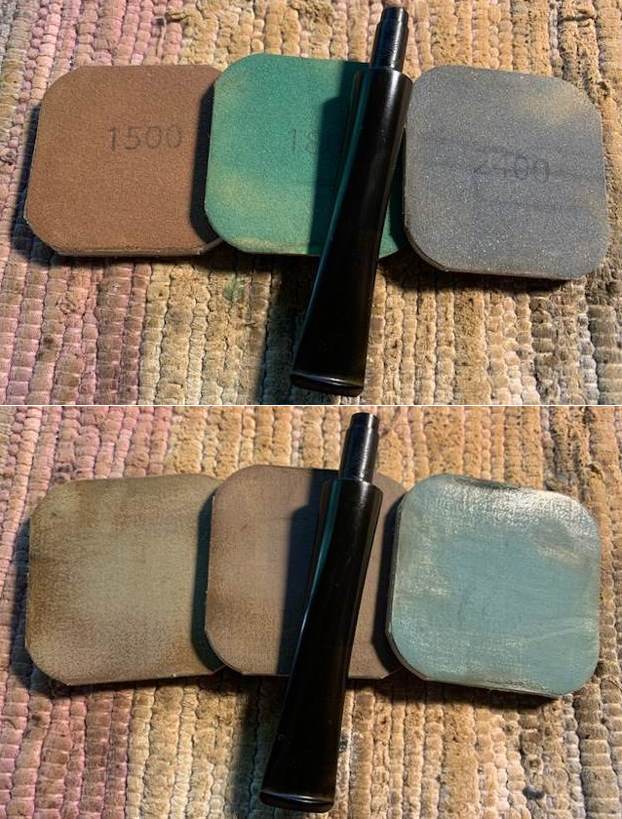
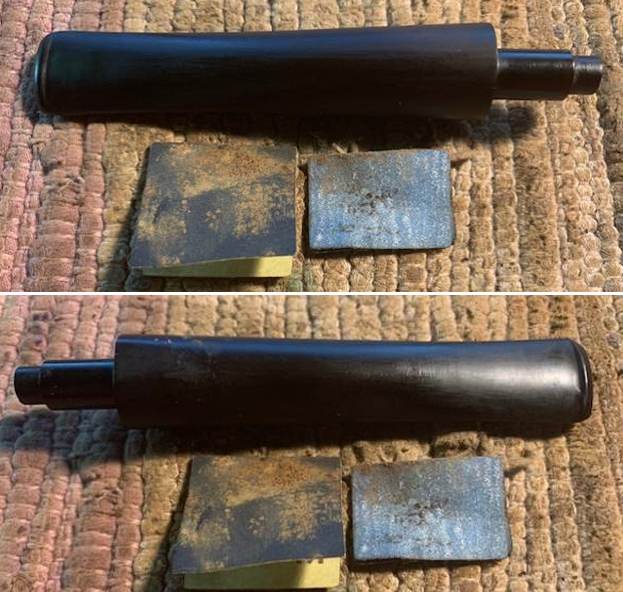
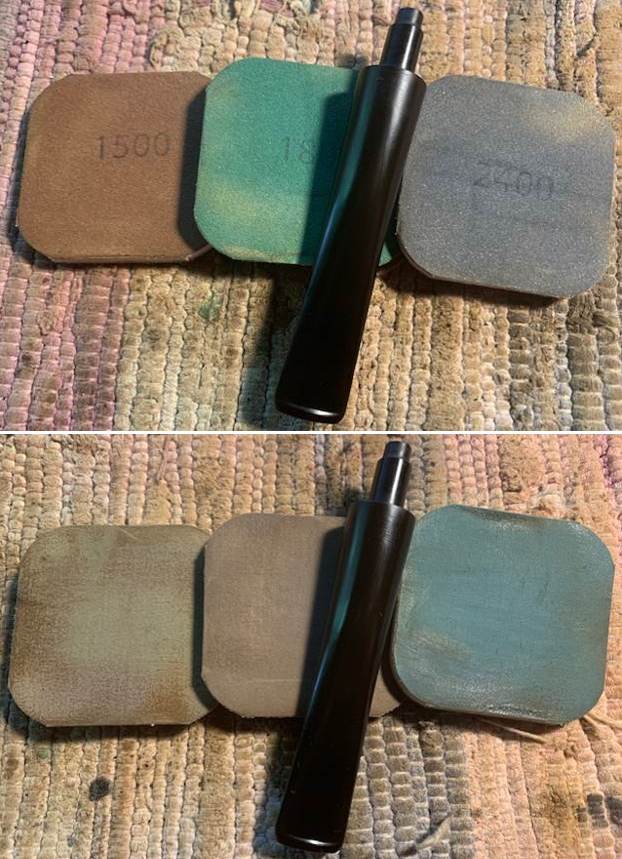
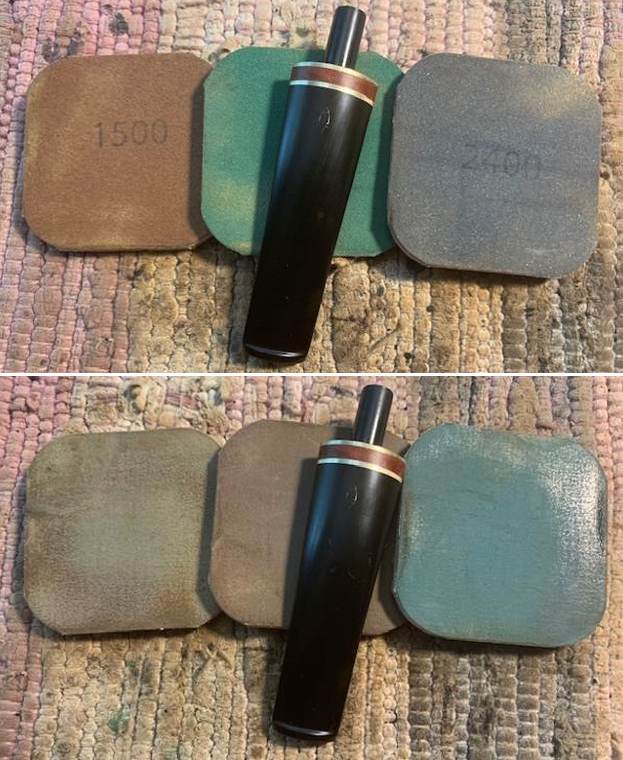
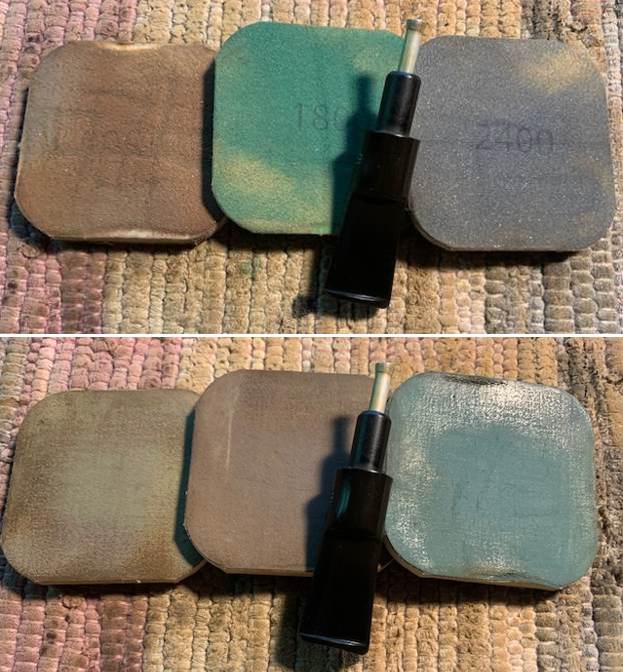
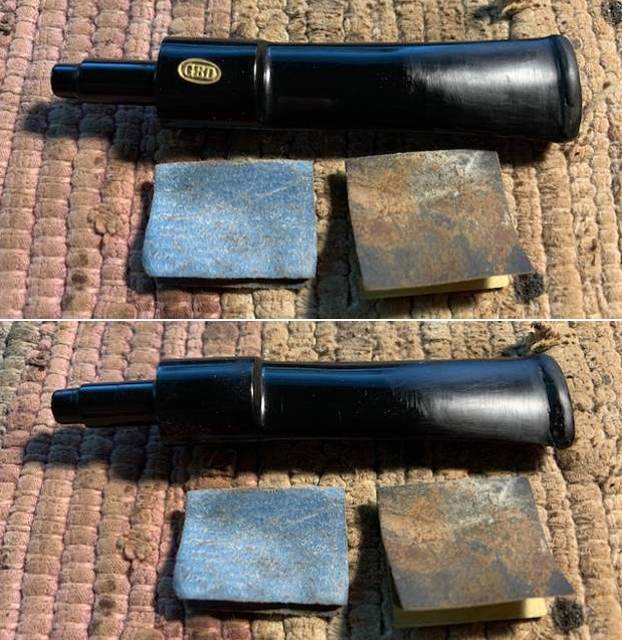
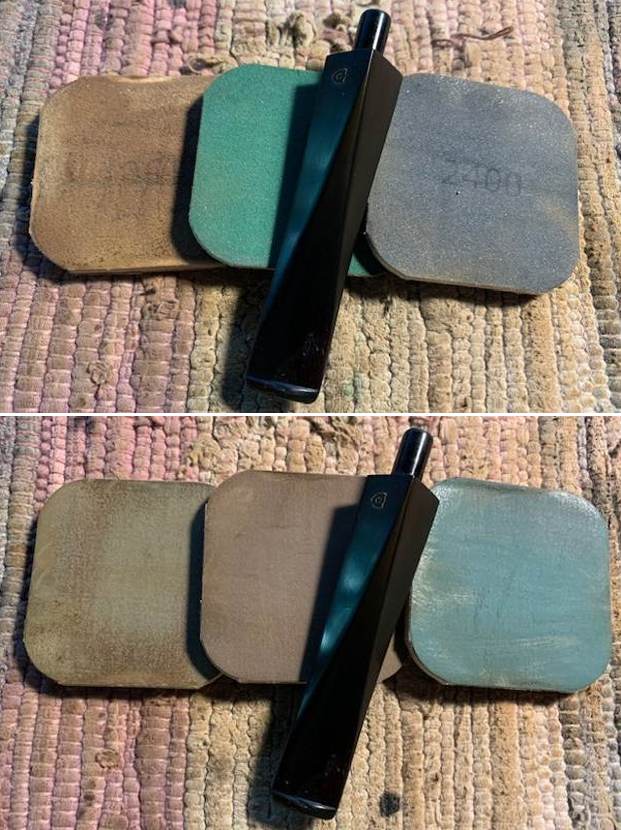
  Once the fills had cured nicely, I moved ahead and began the process of filing and shaping the button end with a flat head needle file followed by further sanding the repair with a piece of 220 grit sandpaper. To achieve a better blending of the repaired surface with rest of the stem as well as to polish the stem, I dry sanded the entire stem with 320, 600 and 800 grit sand papers followed by wet sanding using 1000, 1500 and 2000 grit sand papers. This progressive use of higher grit sandpapers helps to reduce the sanding marks left behind by the more abrasive ones while completely eliminating the oxidation and imparting a clean shine to the stem surface.
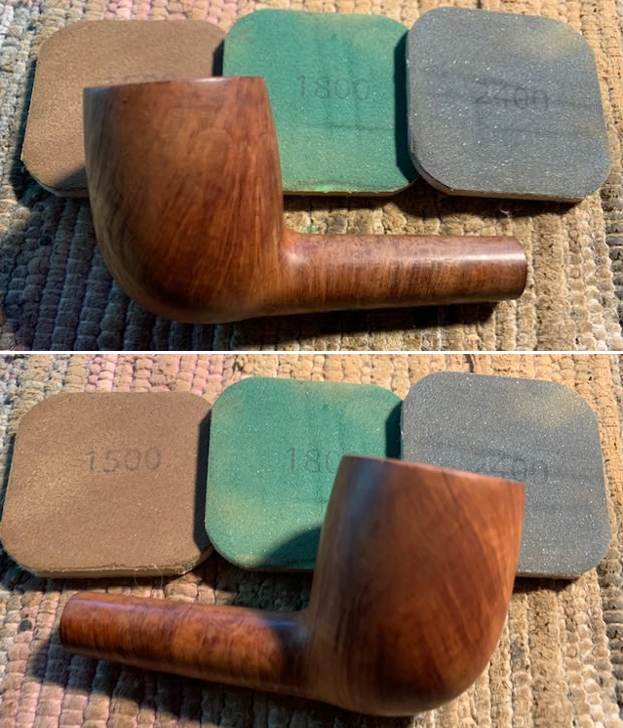
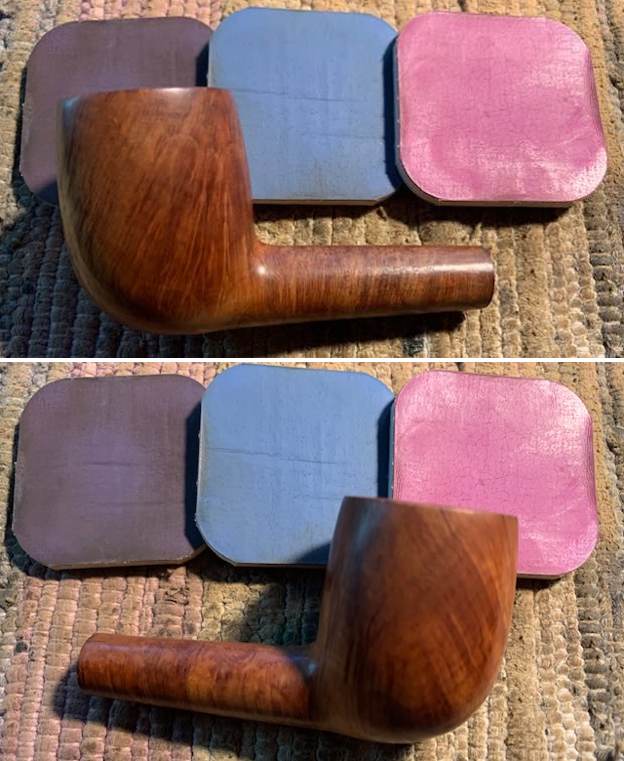
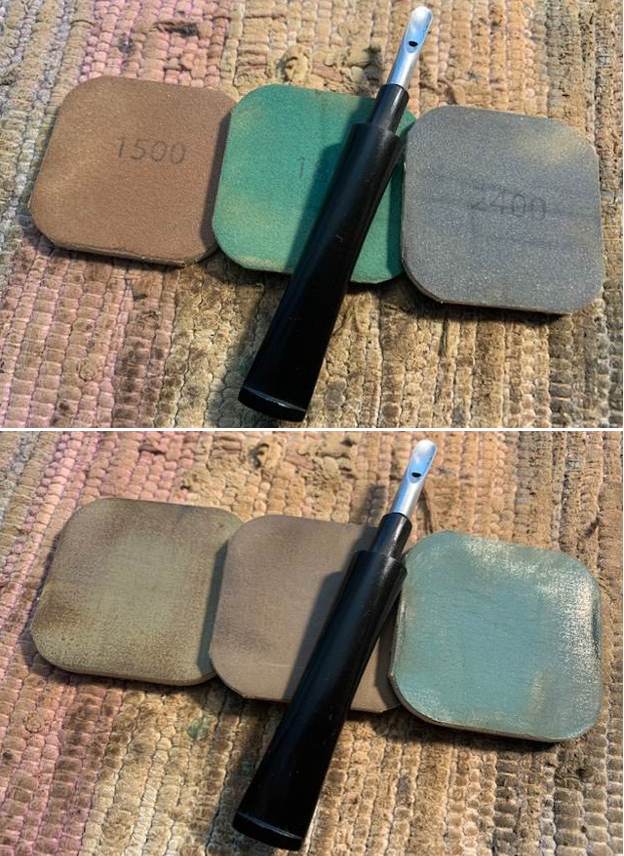
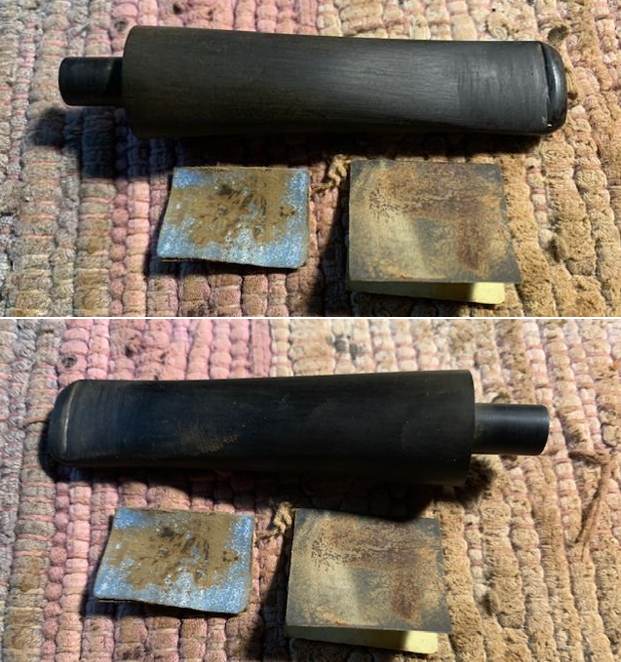
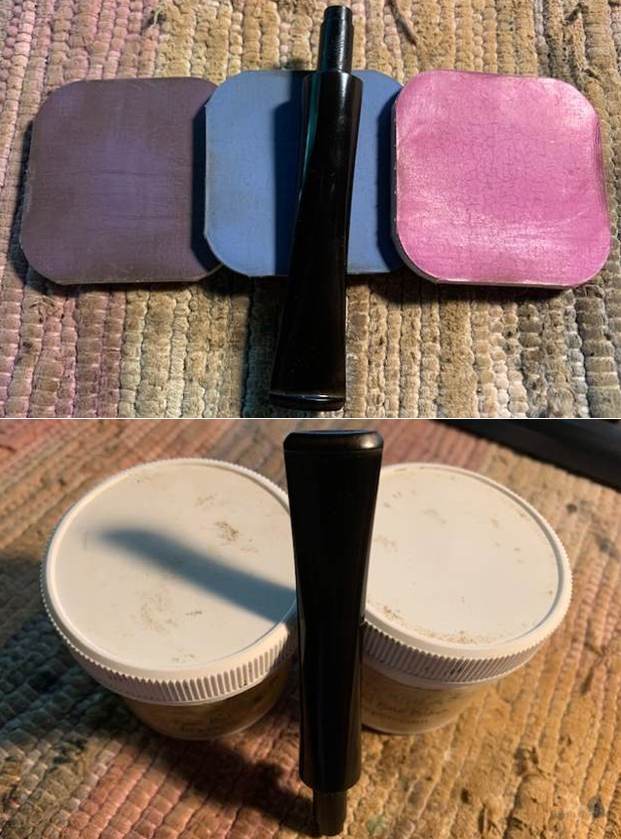
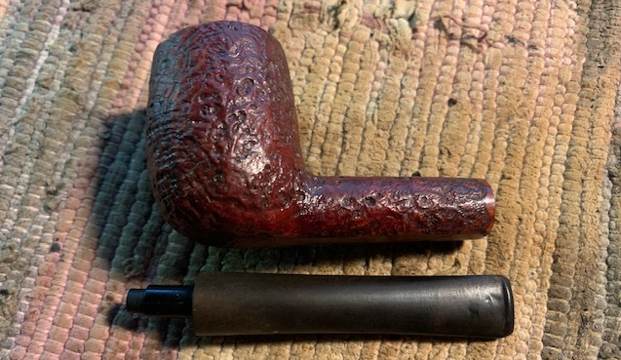
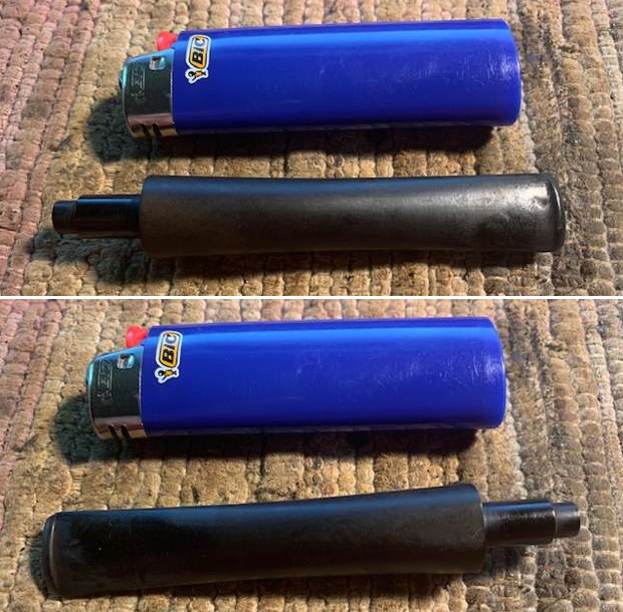
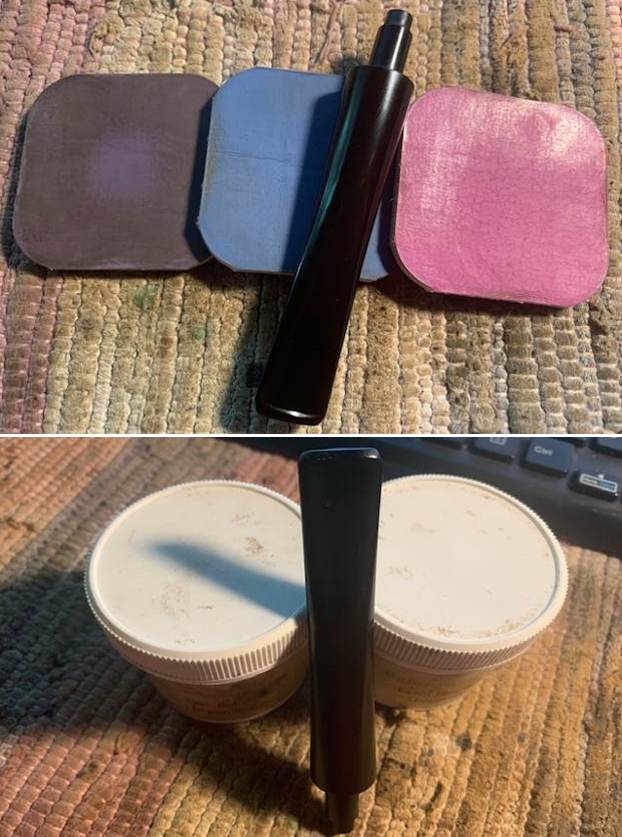
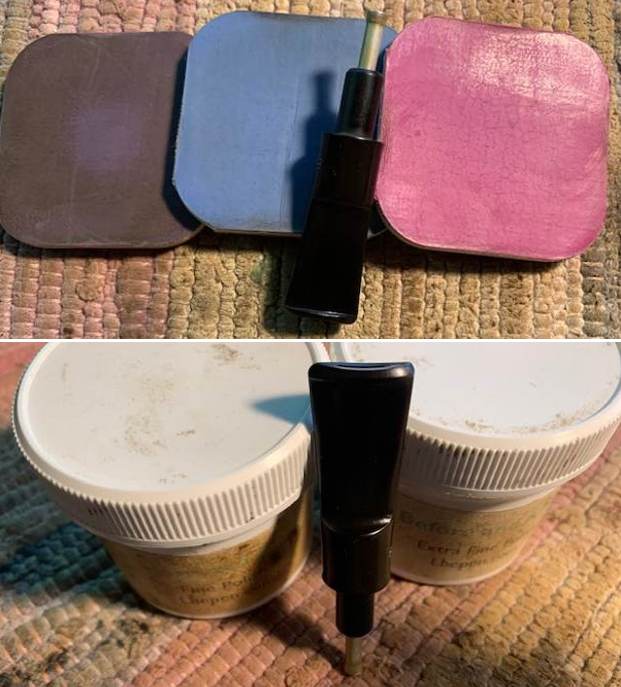
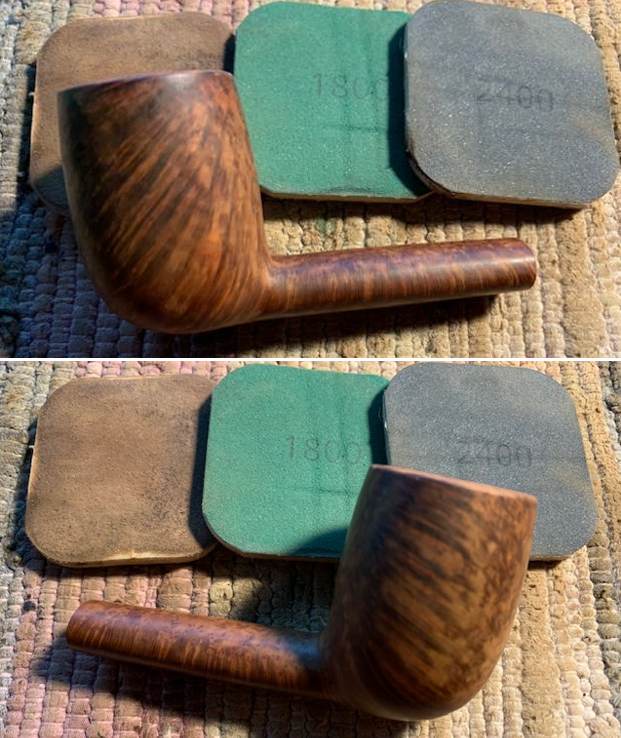
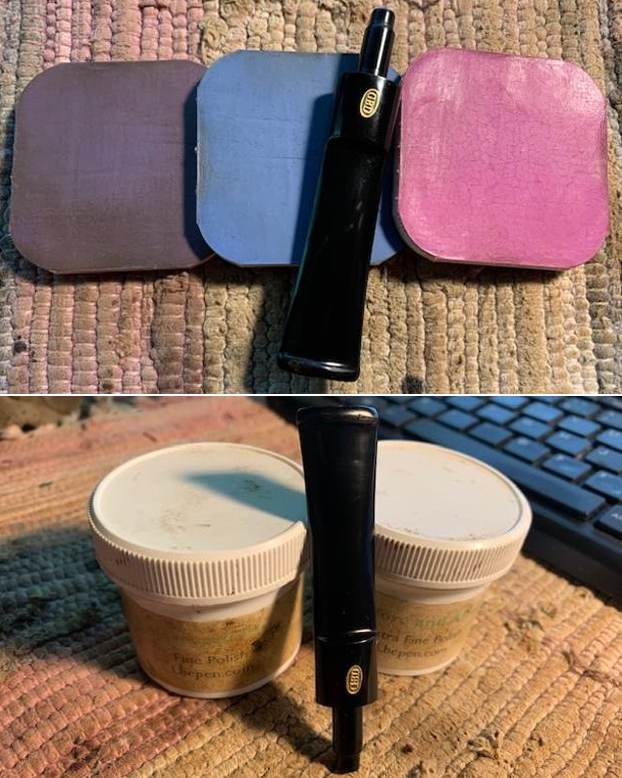
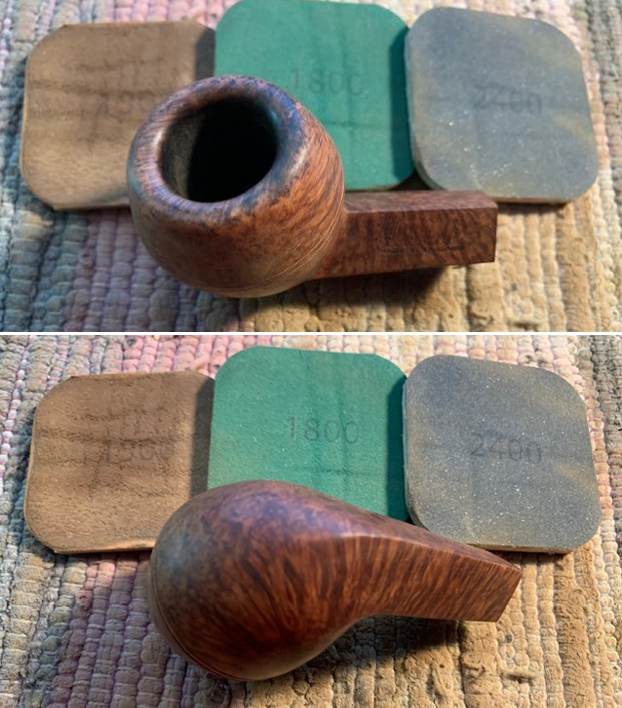
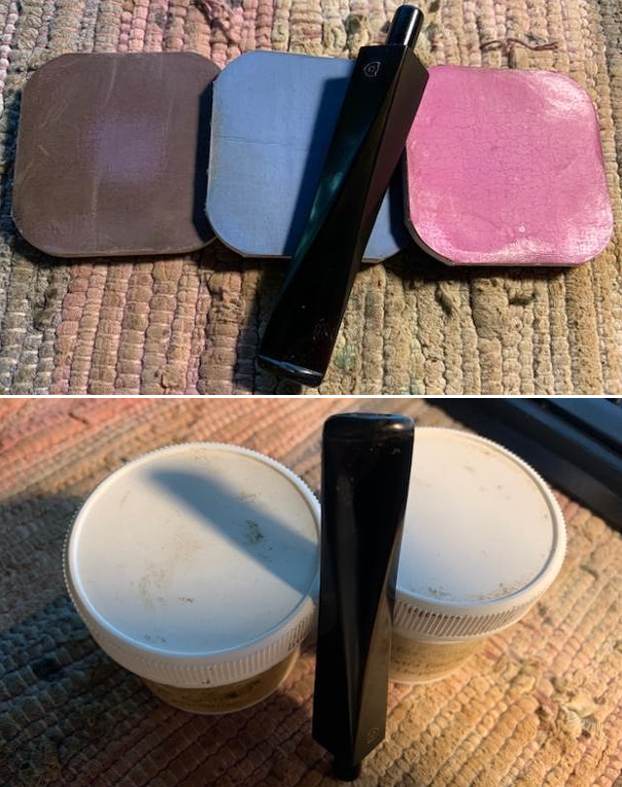
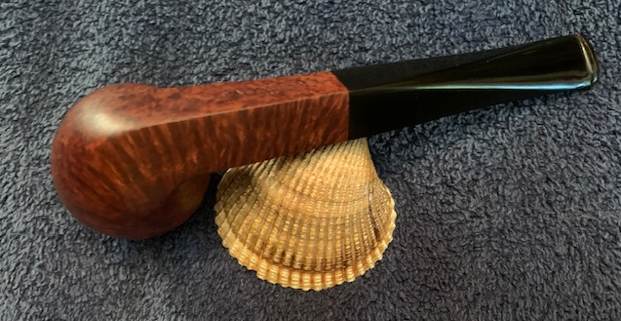
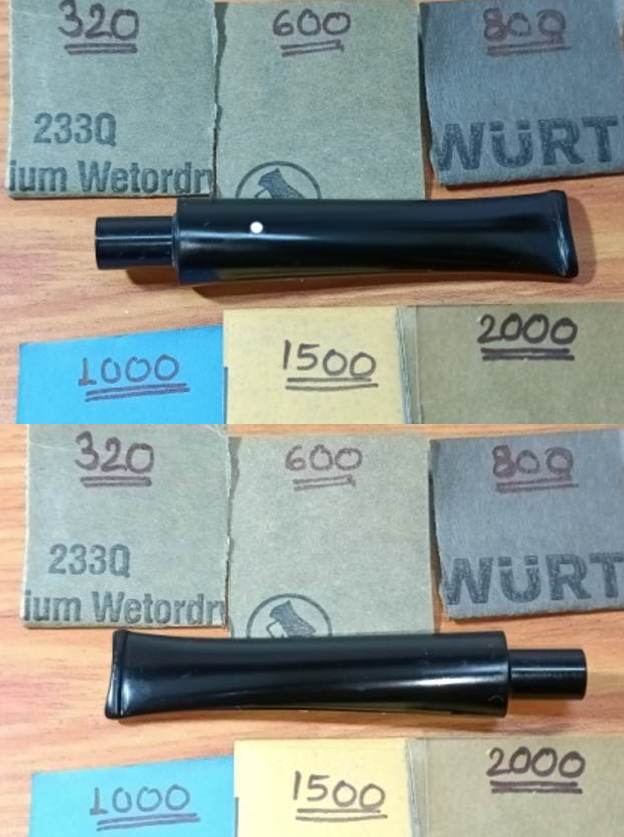 To bring a deep shine to the vulcanite stem, I went through the dry sanding with 3200 to 12000 grit micromesh pads, and wiped the stem with Extra Virgin Olive oil to rehydrate the vulcanite. The repairs have blended in very well and the stem now looks shiny black and beautiful. The finished stem is shown below.
  With the stem repairs and polishing now completed, I turned my attention to the stummel repairs and refurbishment. Using a hard bristled tooth brush dipped in undiluted Murphy’s Oil Soap; I very deliberately scrubbed the surface of the stummel and the rim top. I also cleaned the mortise and shank internals using anti-oil dish washing soap and shank brush. I rinsed the stummel under warm running water and dried it using paper napkins and soft cotton cloth. The original reddish dye was also washed away to some extent, but that was not worrisome as I would be re-staining it after repairs.
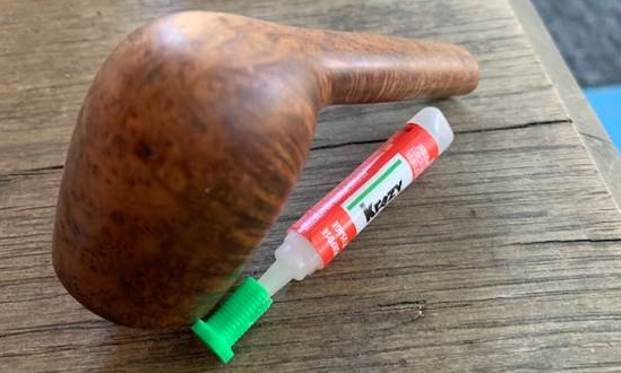
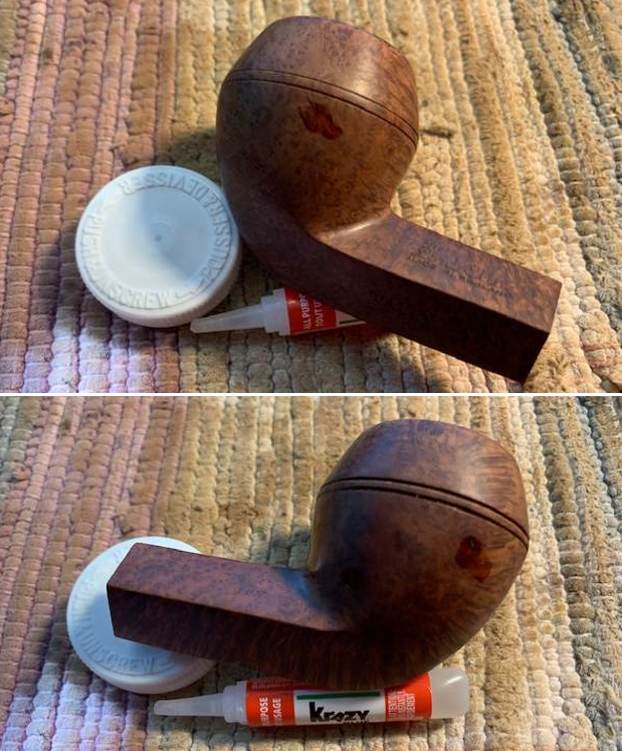
 Next, I filled up the large areas of missing briar from the front and back of the outer rim edges with CA superglue and briar dust using the layering method. The only disadvantage of this method is the presence of large number of air pockets which necessitates repeated refilling with glue and briar dust. Once I was satisfied with the repairs, I set the stummel aside for the mix to cure completely.
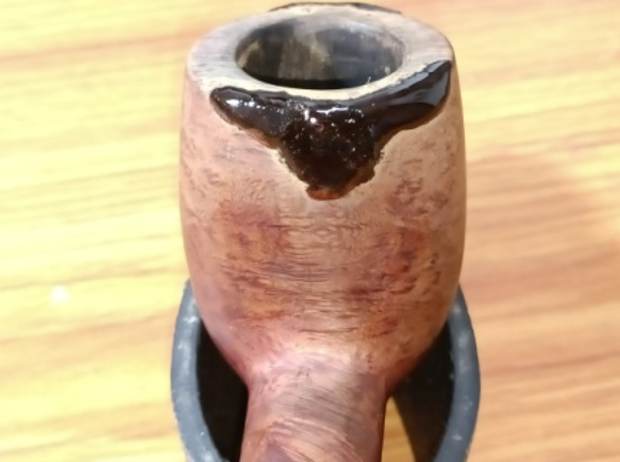
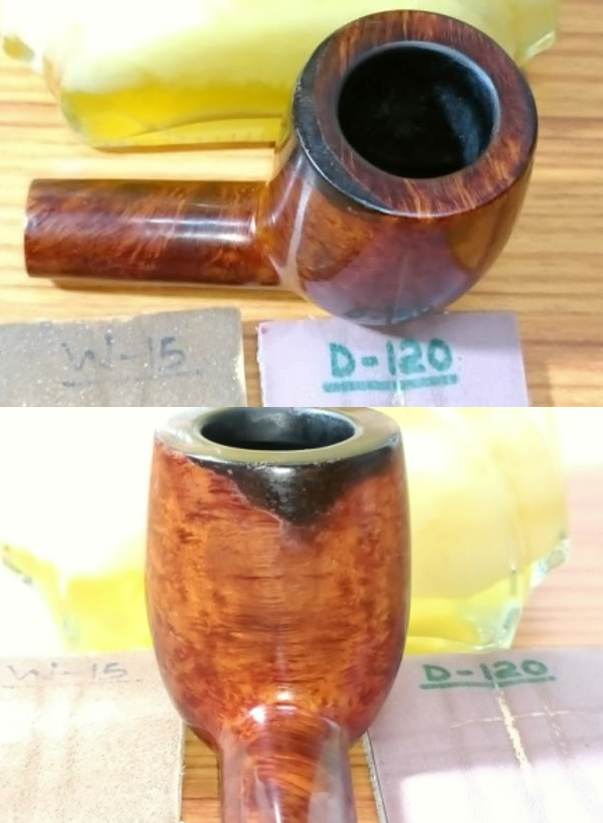
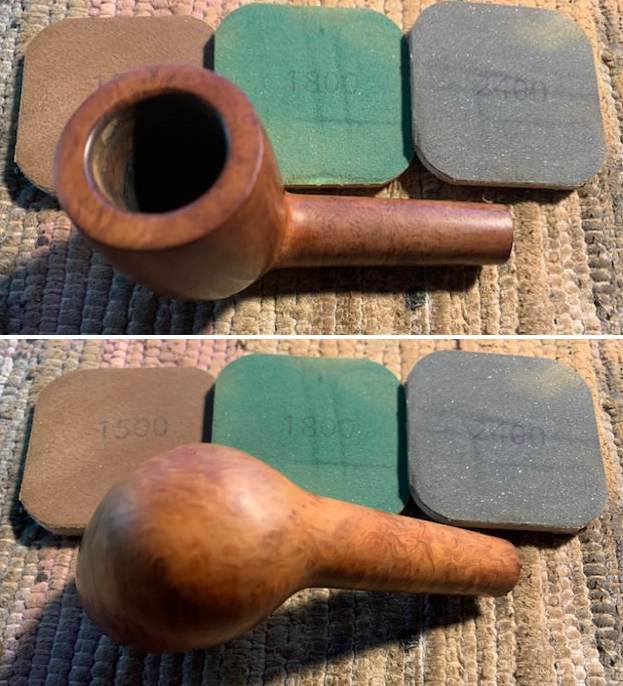
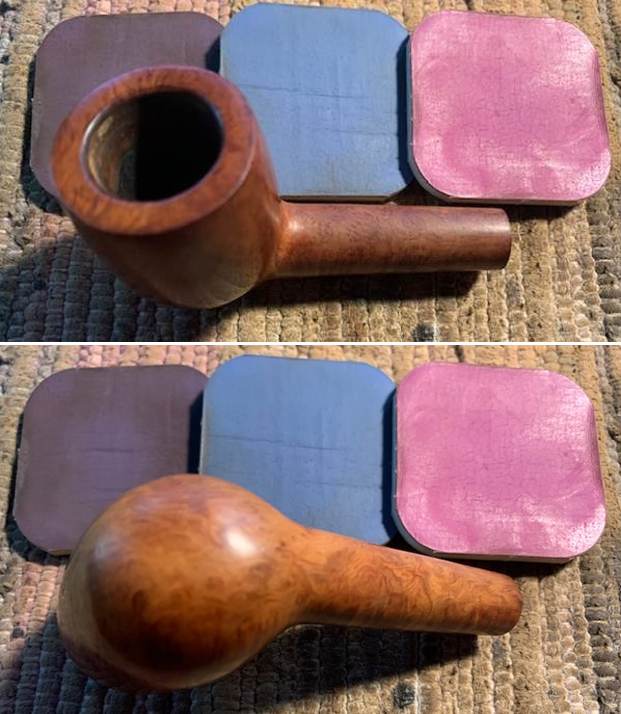
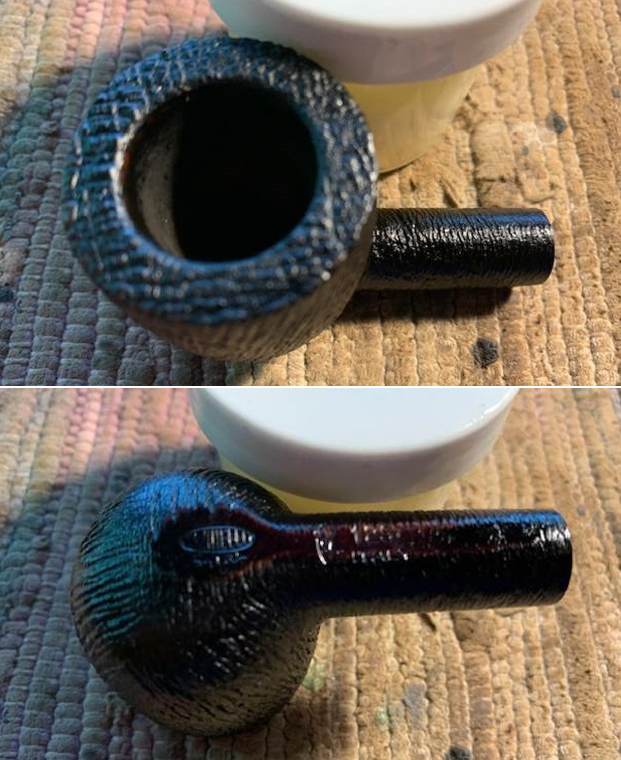
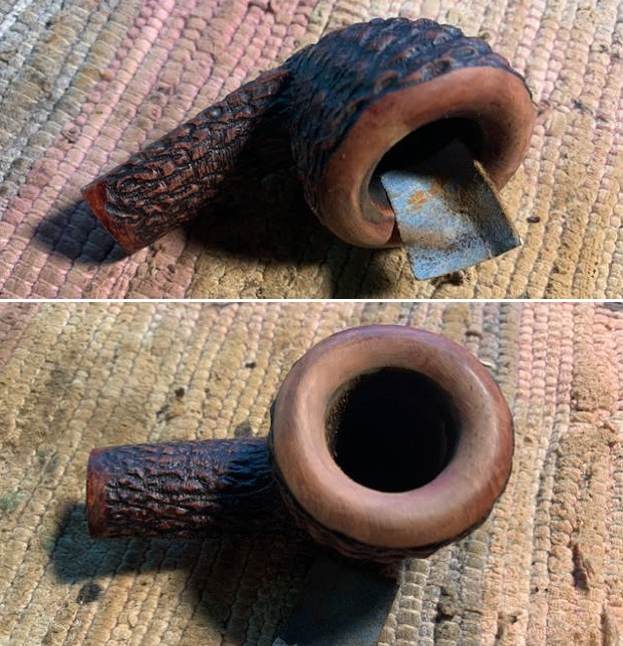
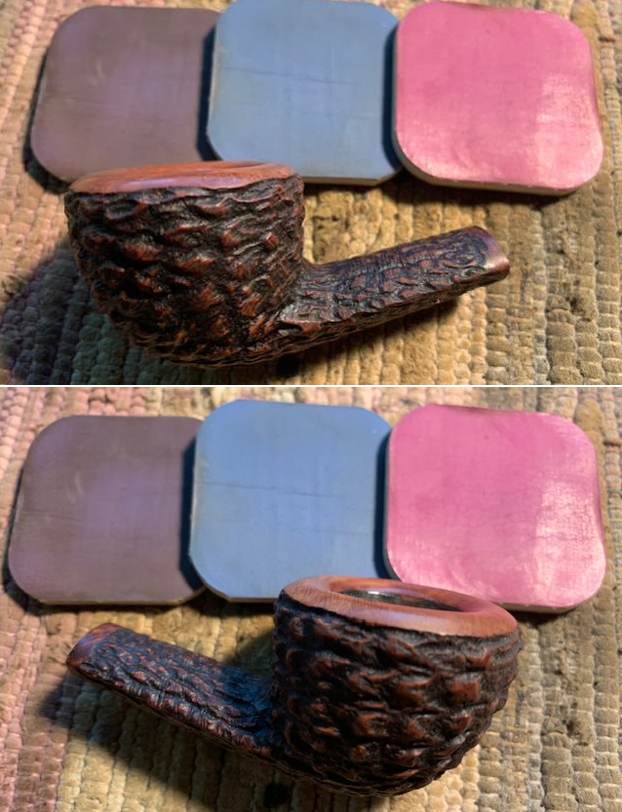
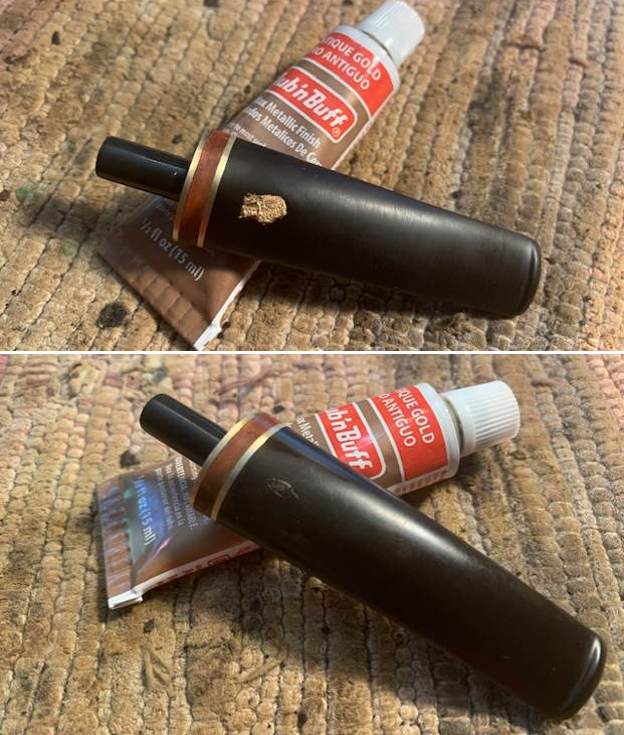
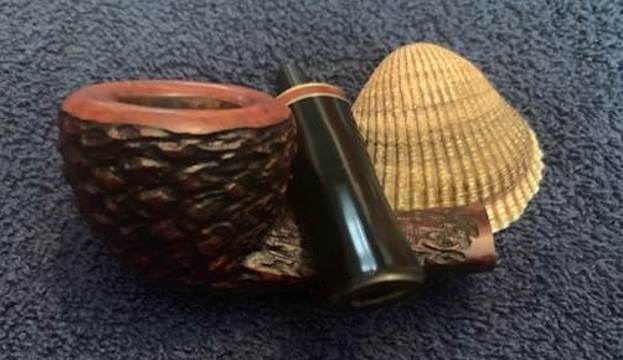
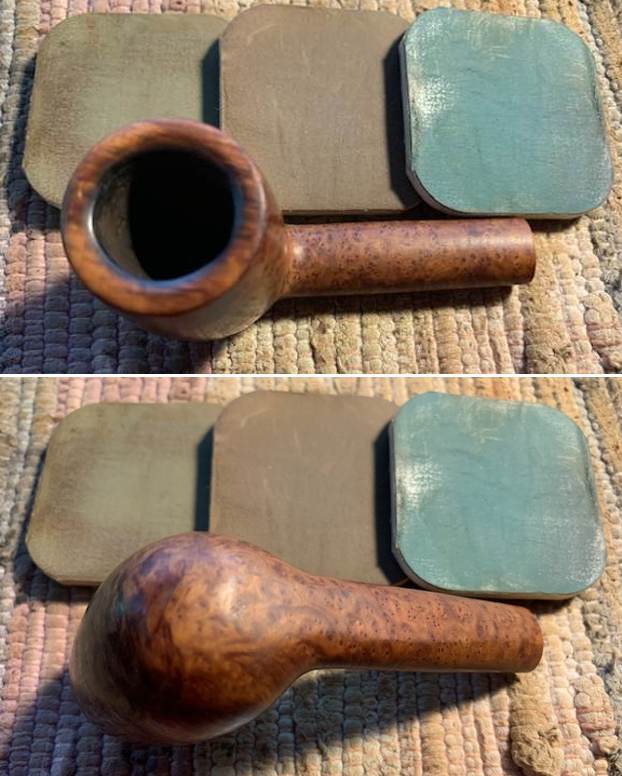
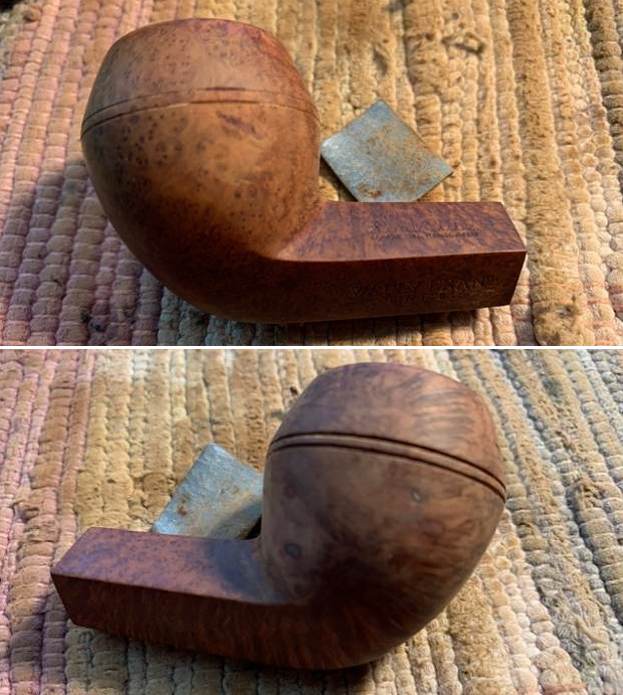
 The next evening, the repairs to the edge had completely cured and I moved ahead by filing and rough shaping with a flat head needle file. I further fine tuned the blending by sanding it down with a 150 grit sand paper. Here is how the repaired area appears at this stage. I am very pleased with the way this repair has progressed.
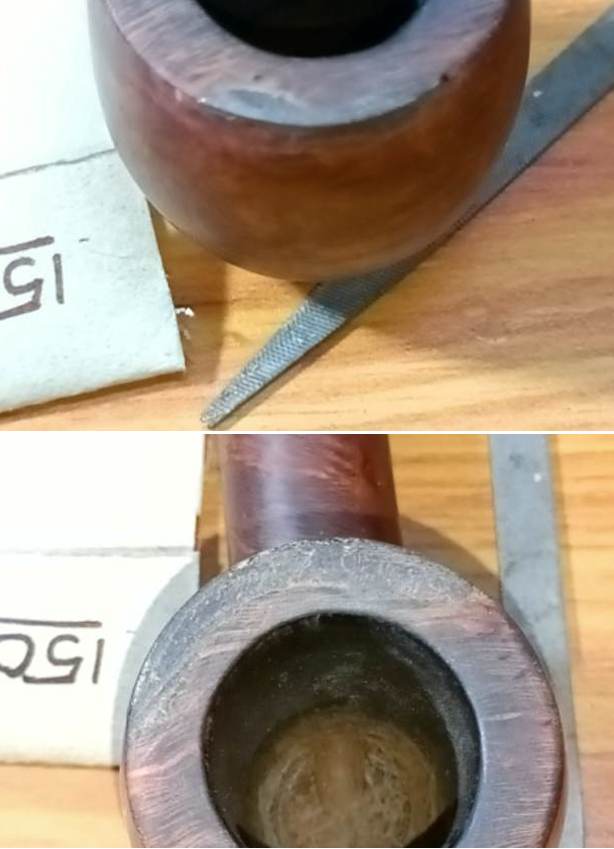 Thereafter, I took the stummel to the topping board with the aim of making the rim top surface smooth and even as the rim top was also rebuilt along with the edge. I topped the rim surface on 220 grit sandpaper with even circular rotations and frequently checked the progress being made. This step also helped to minimize the charring to the inner rim edge. I shall further mask the damage by creating a slight bevel to the inner edge. I am very pleased with the progress being made thus far.
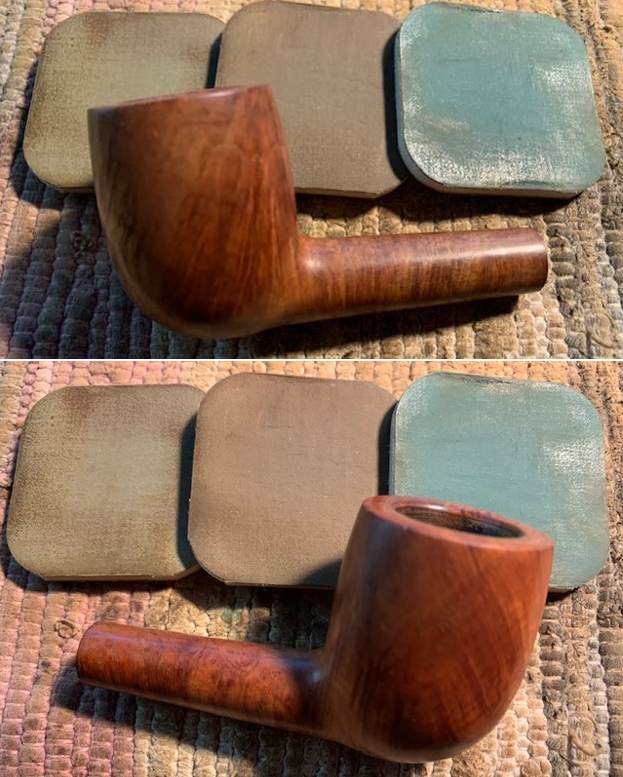
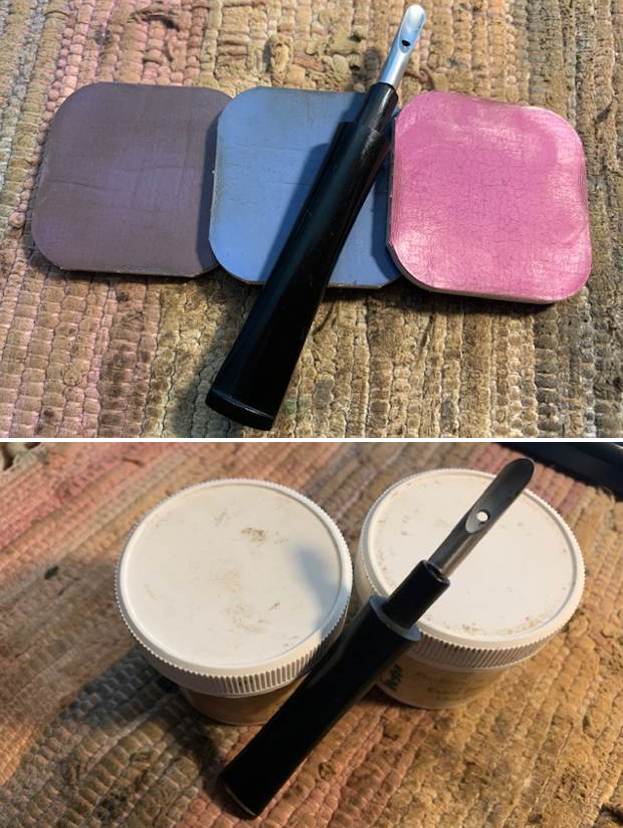
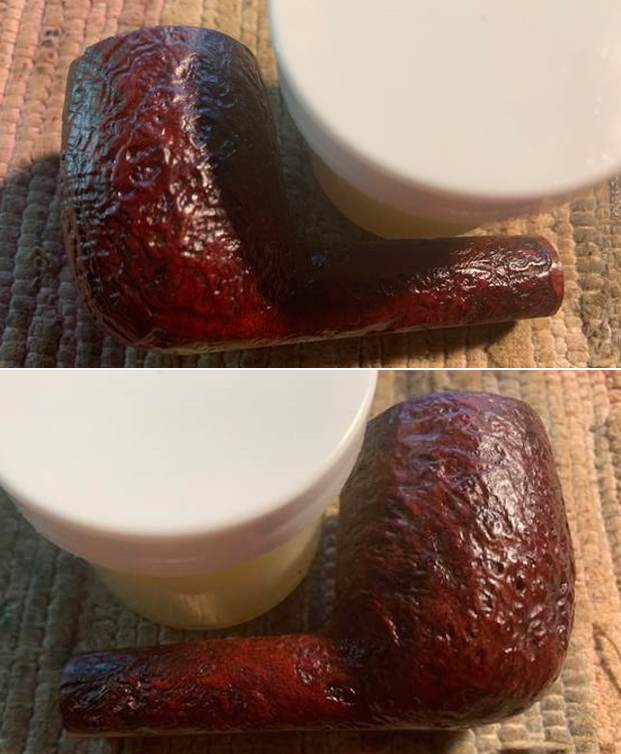
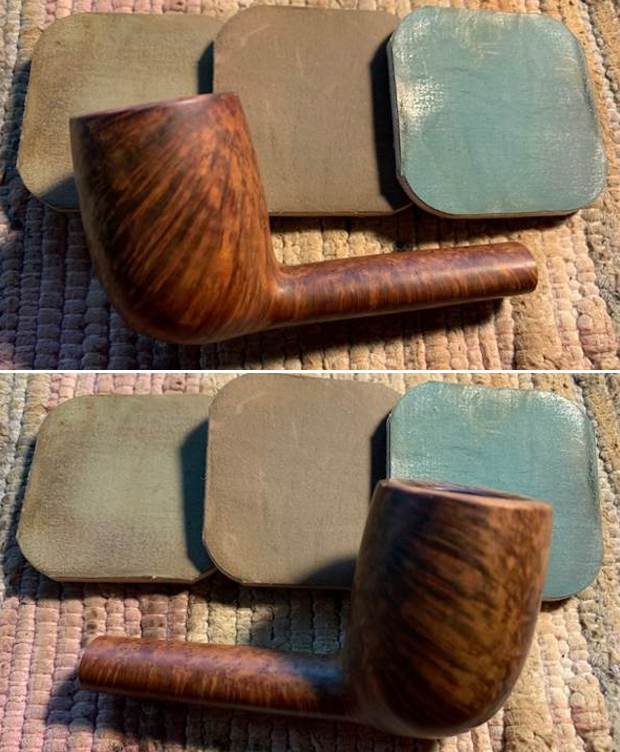
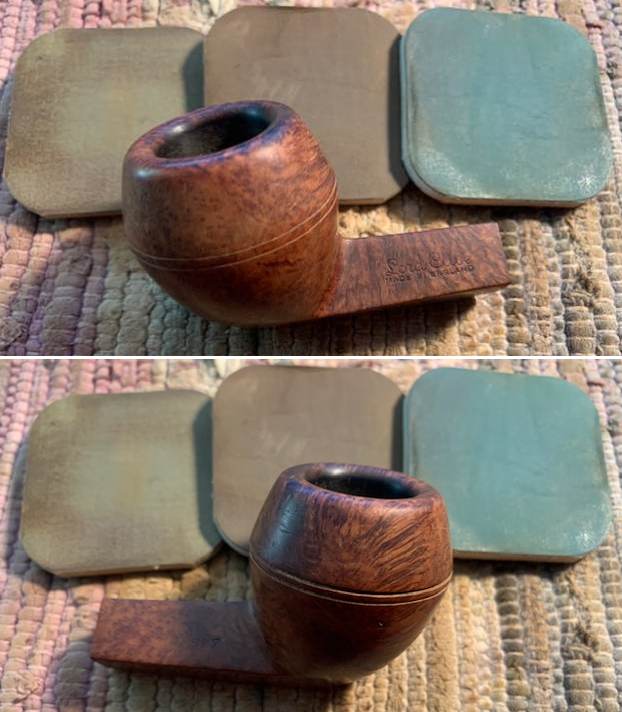
 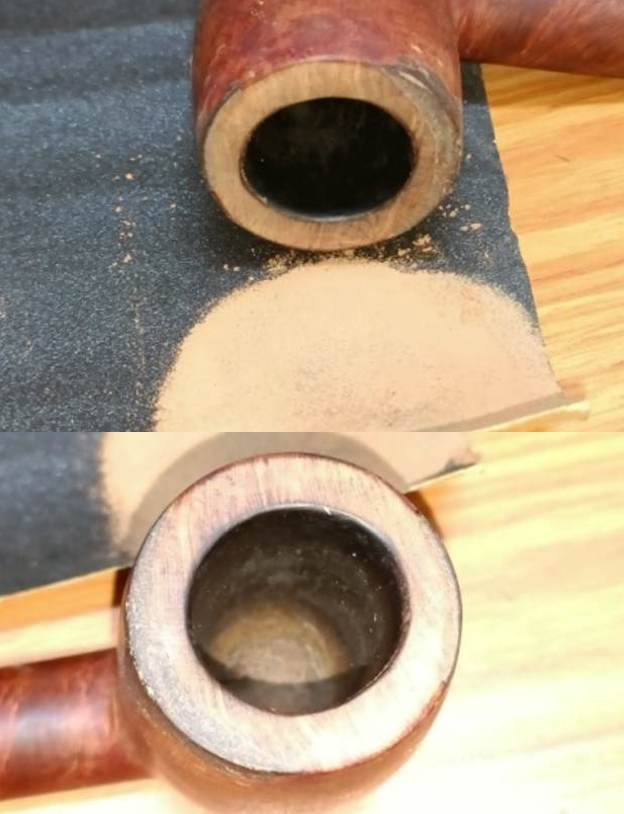 Once the repairs to the stummel were completed, it was time to polish and stain the stummel. I dry sanded the entire stummel with 1500 to 12000 grit micromesh pads, wiping the stummel with a moist cloth after every pad. I massaged a small quantity of “Before and After Restoration Balm” into the briar with my finger tips and let it rest for a few minutes. The balm almost immediately works it’s magic and the briar now has a nice vibrant appearance. I further buffed it with a microfiber cloth. I had hoped that the balm would work it’s magic on the filled area and help in blending it a bit, but unfortunately that did not happen. Well, moving on to the staining process after this step…
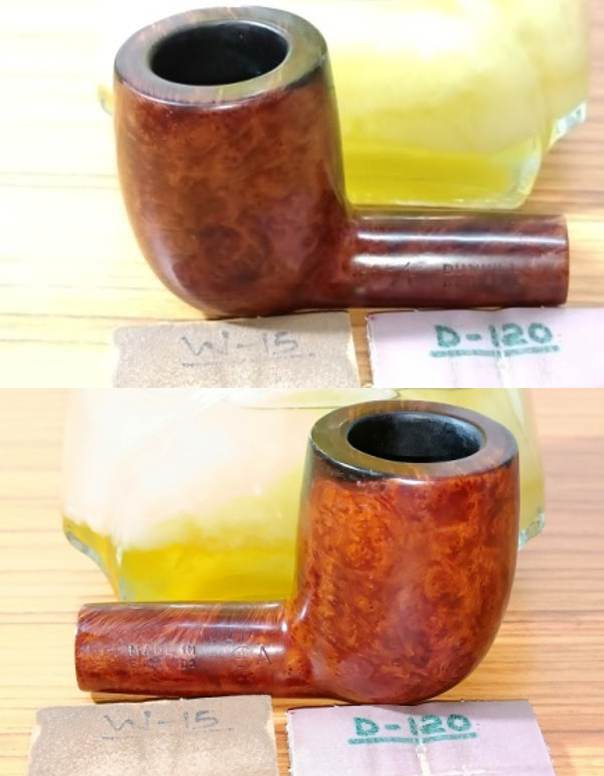
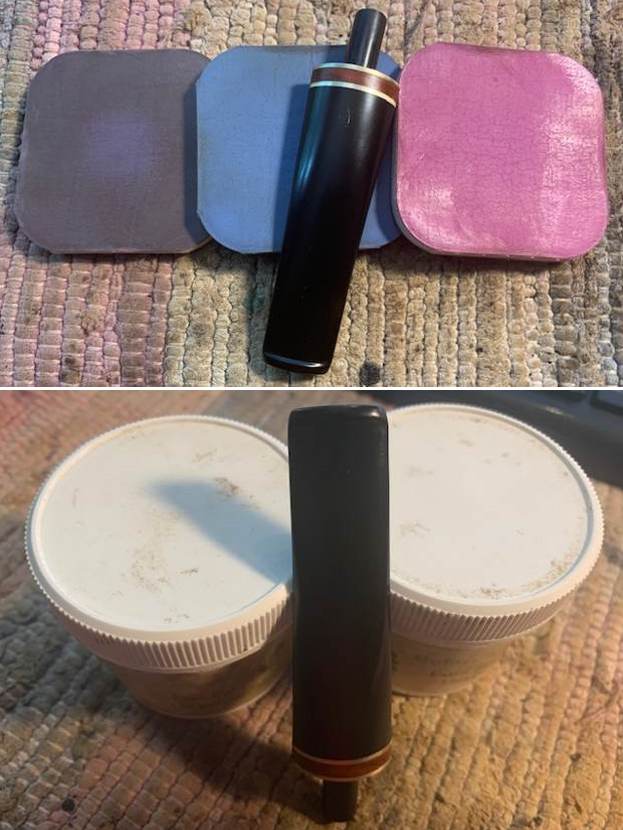
 While refreshing my readings about Dunhill lines, I remember having read that Dunhill achieved the trademark Bruyere color by having an undercoat of dark brown stain followed by deep red color stain. And that’s exactly what I decided to follow with a slight modification. I would first stain wash the stummel with DB stain and thereafter stain it deep red.
I mixed a small quantity of Fiebing’s Dark Brown Leather Dye with isopropyl alcohol to dilute it and applied it to the stummel with a folded pipe cleaner after heating the stummel with a heat gun. I let this stain wash set for a few minutes and vigorously wiped it down with a clean cotton swab. I repeated this process a couple of times till I was satisfied with coloration of the stummel.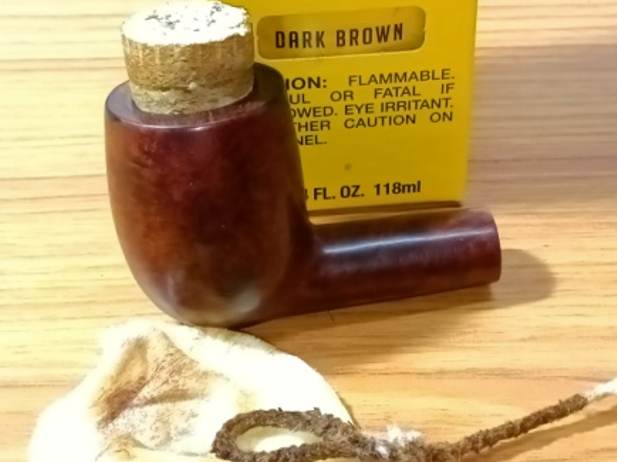
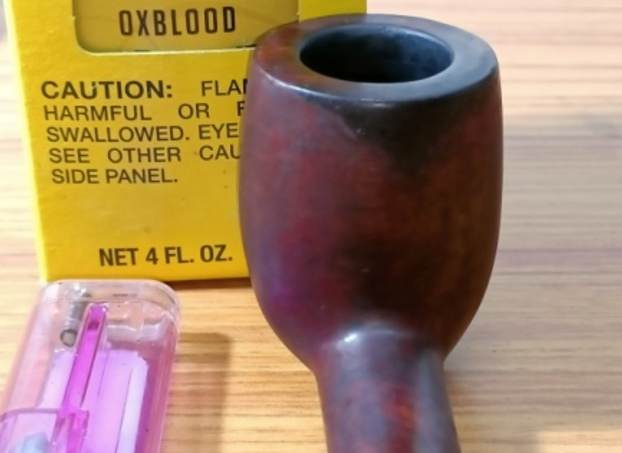
 The next afternoon, I again heated the stummel surface with a heat gun and applied Fiebing’s Oxblood stain with a folded pipe cleaner. As I painted the stummel with stain over sections at a time, I lit the dye using a lighter which burns the alcohol in the aniline dye and sets the dye pigmentation in the wood. After fully saturating the stummel and covering the whole surface, including the rim top, I set the stummel aside to rest for several hours for the stain to set.

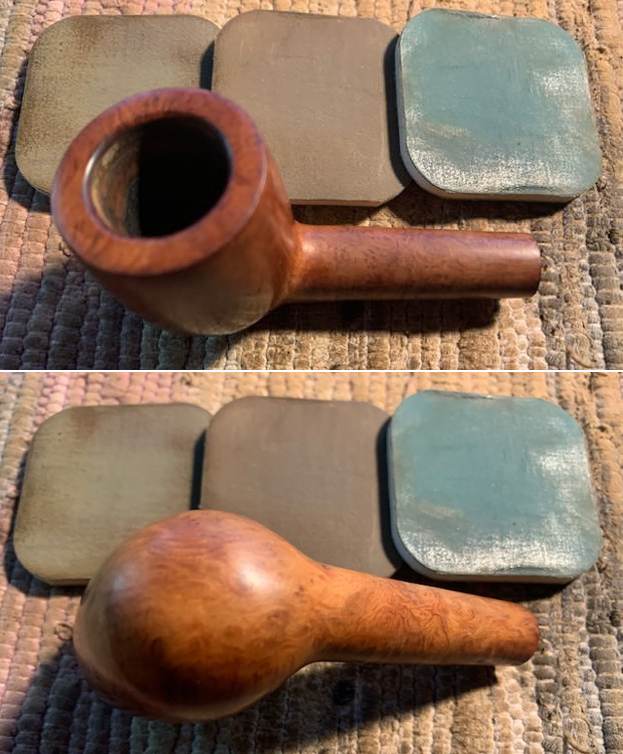
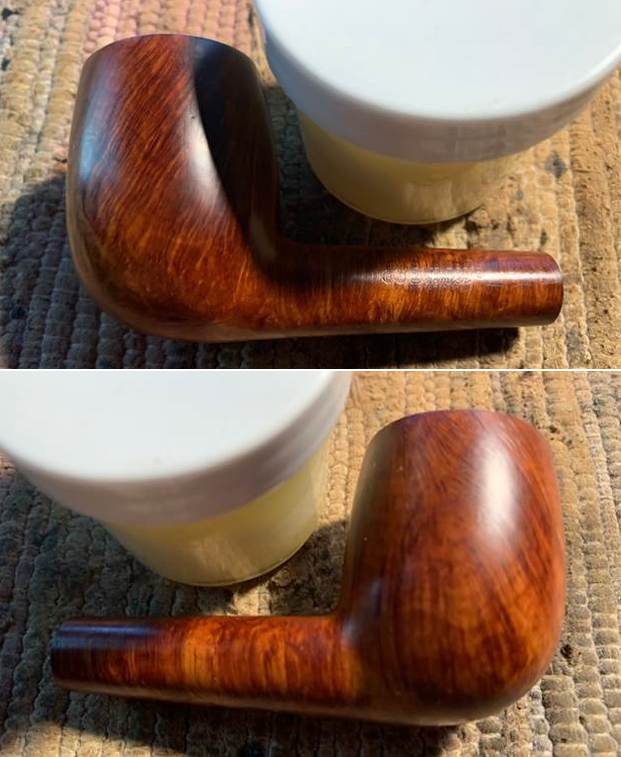
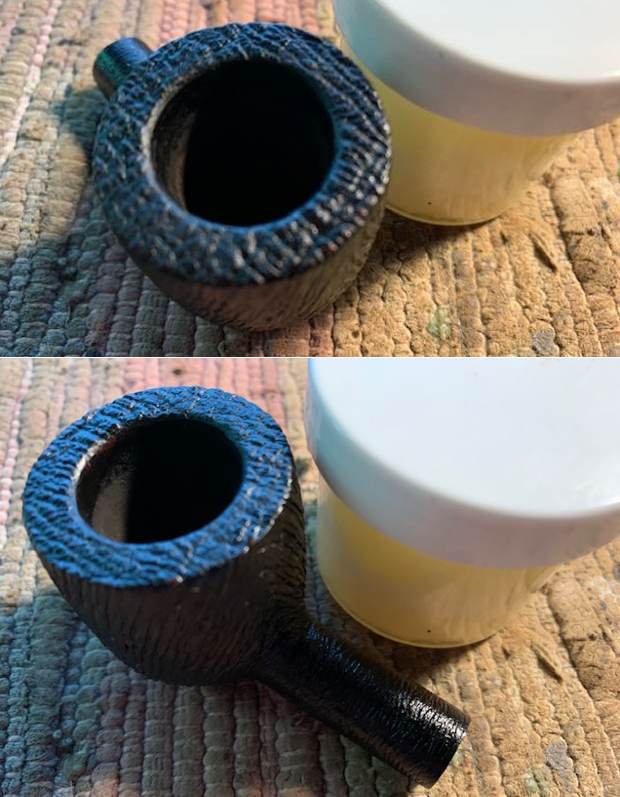
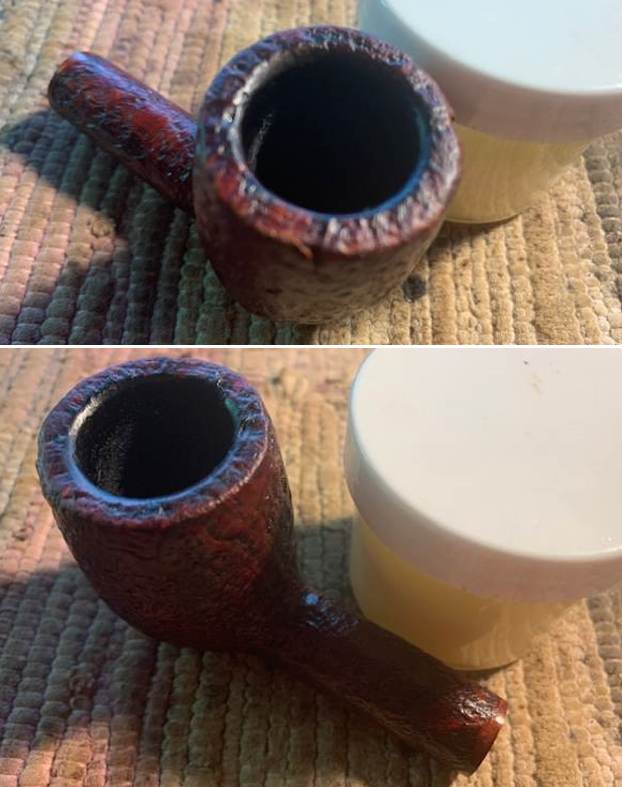
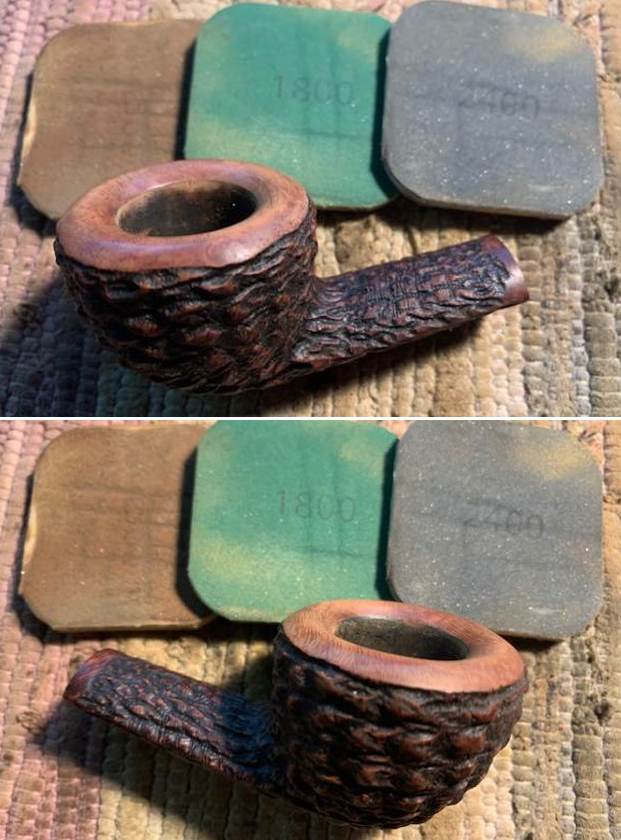
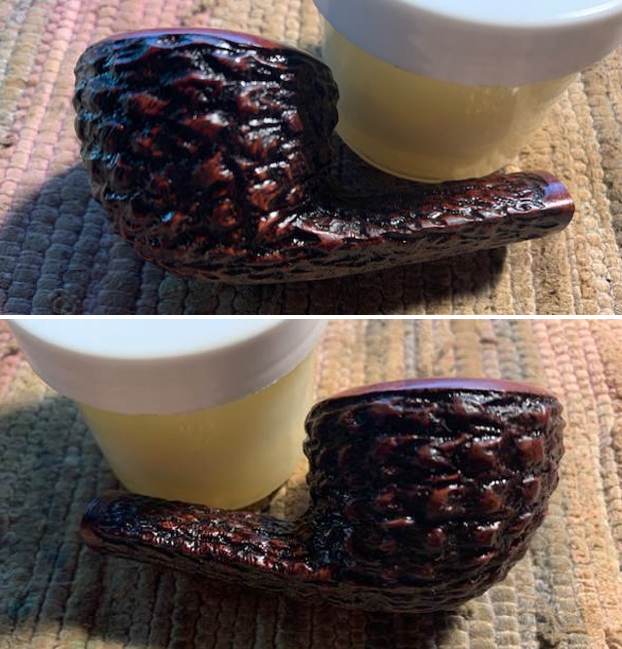
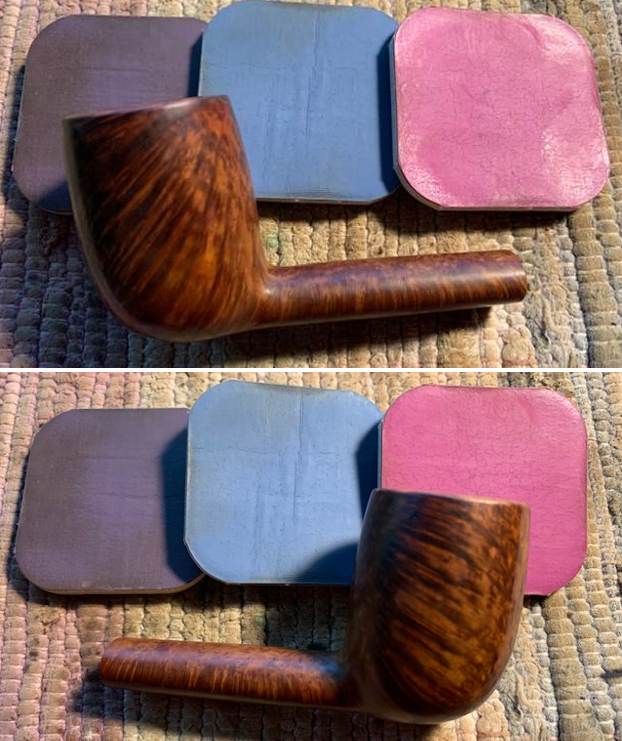
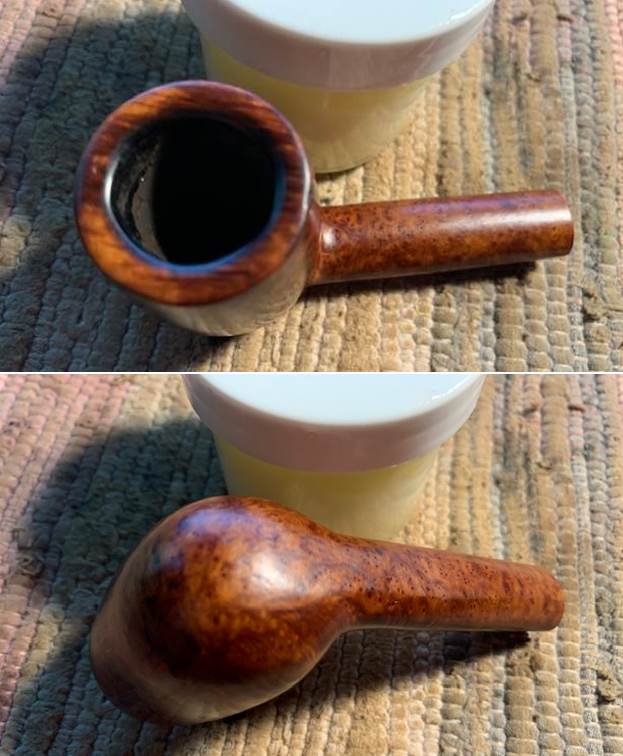
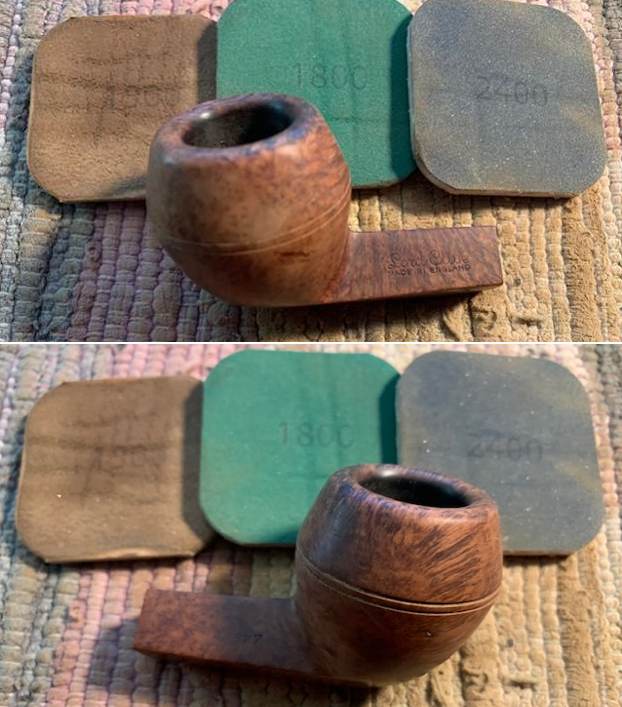
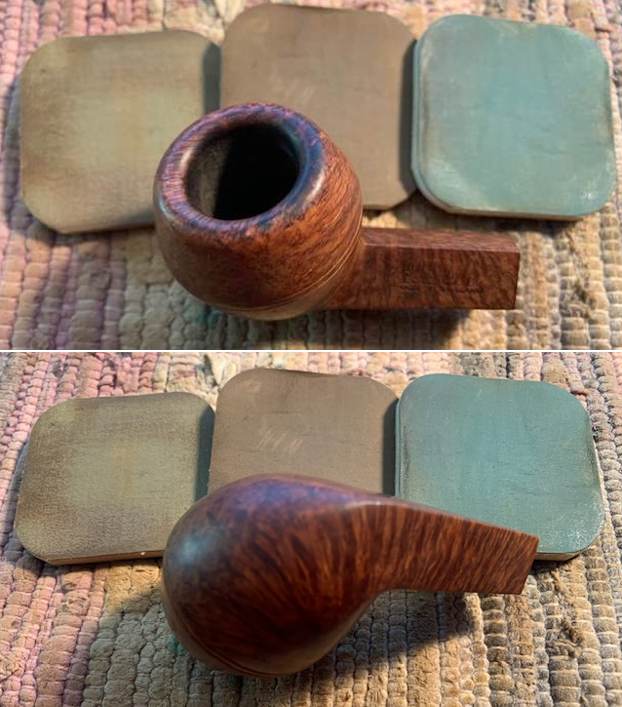
 A few hours later, I wiped the stummel with a cotton pad wetted with isopropyl alcohol to remove any excess stain from the stummel surface and dry polished the stummel with 3200 to 12000 grit micromesh pads. The repairs seem to have blended in pretty well to the naked eye, but under a camera, the repairs mark their presence. Yeah, I am pretty happy with the end result.


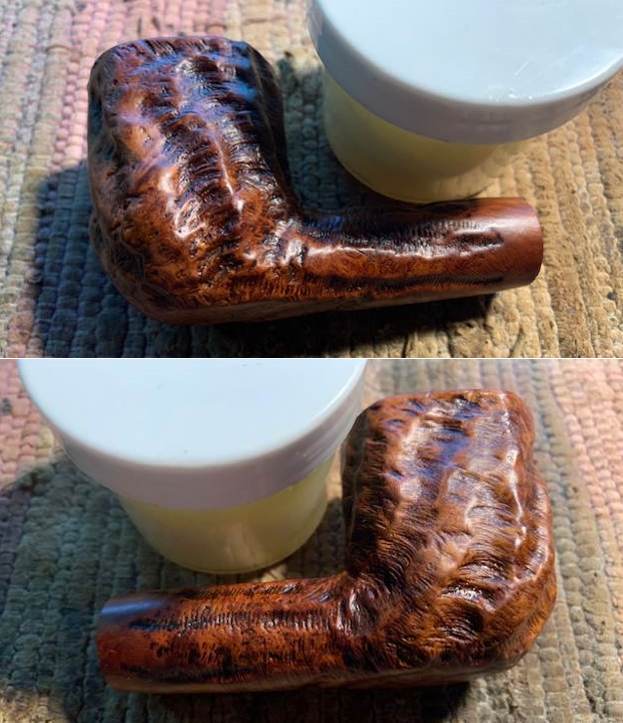
 This now gets me to that part of the process where I get to savor the fruits of my labor until this point, that being the final polishing with Blue Diamond and Carnauba wax!
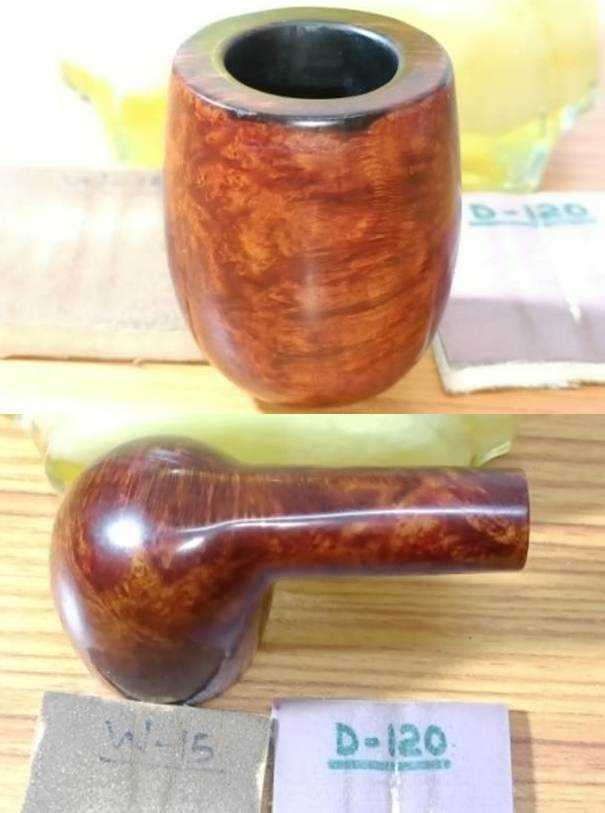
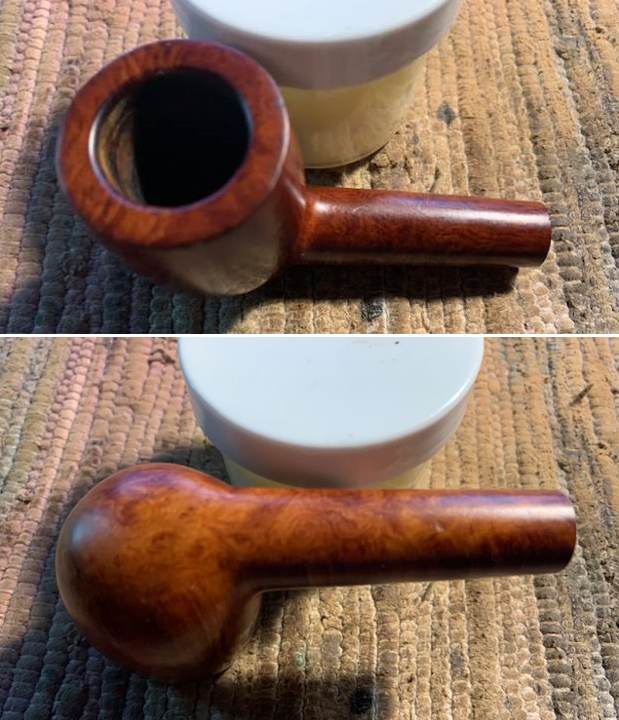
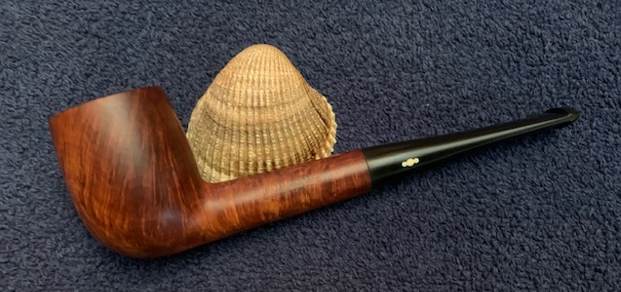
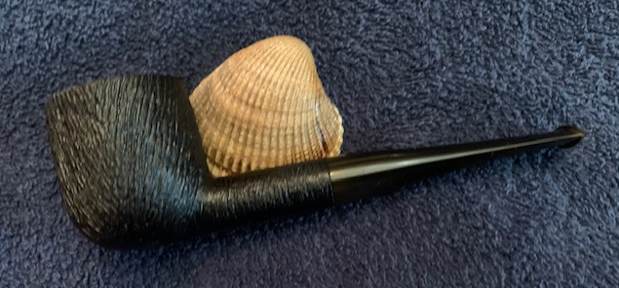
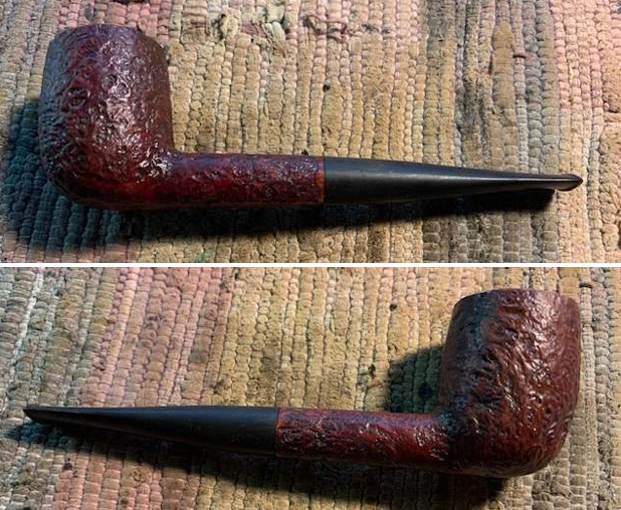
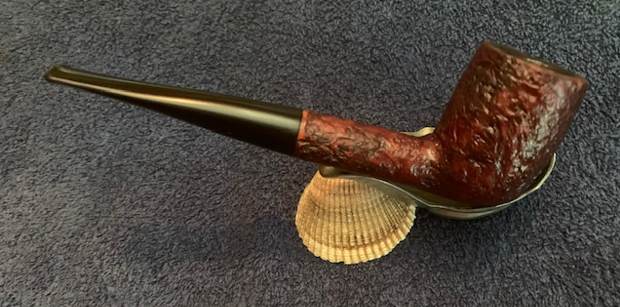
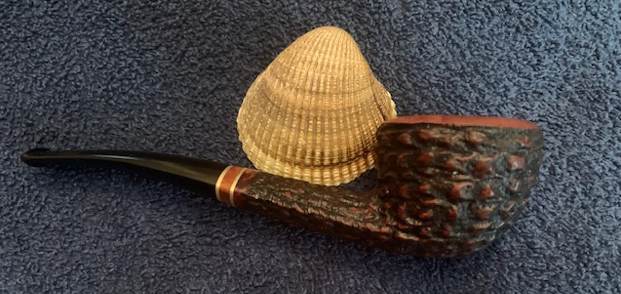
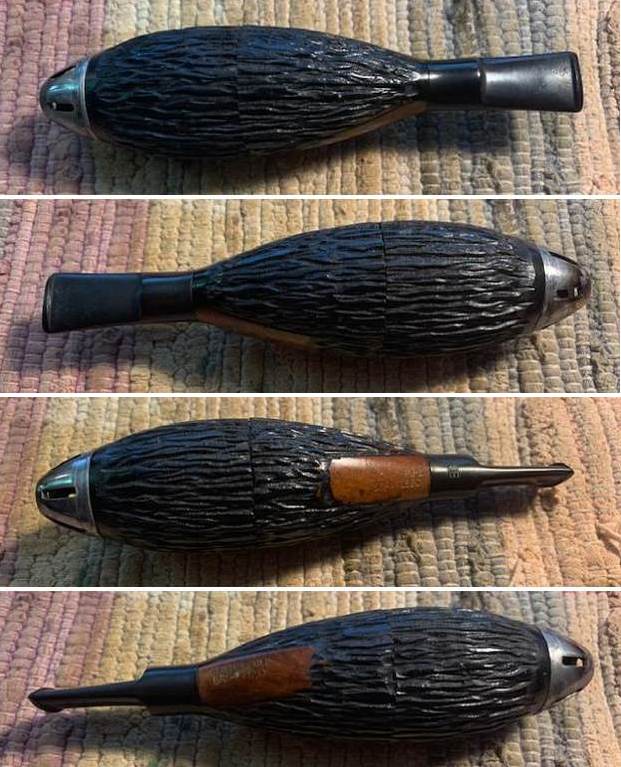
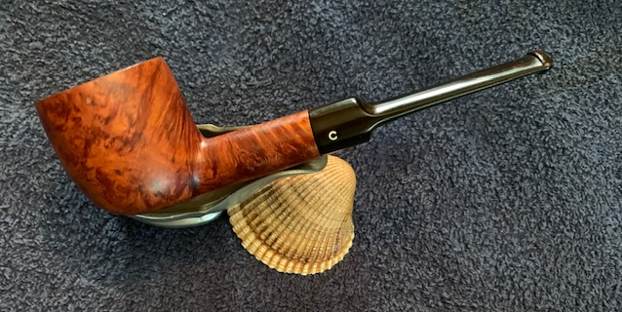
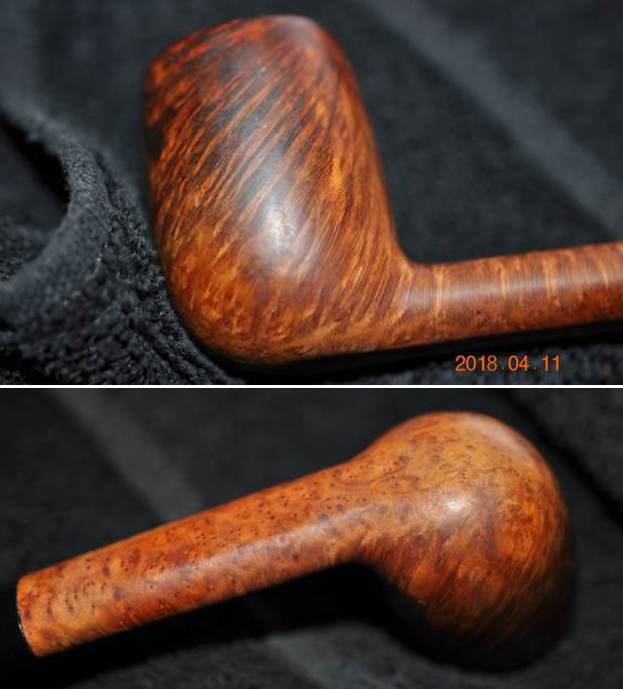
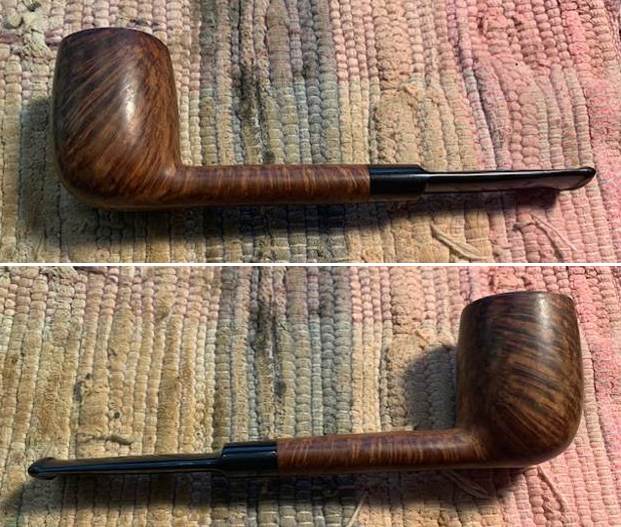
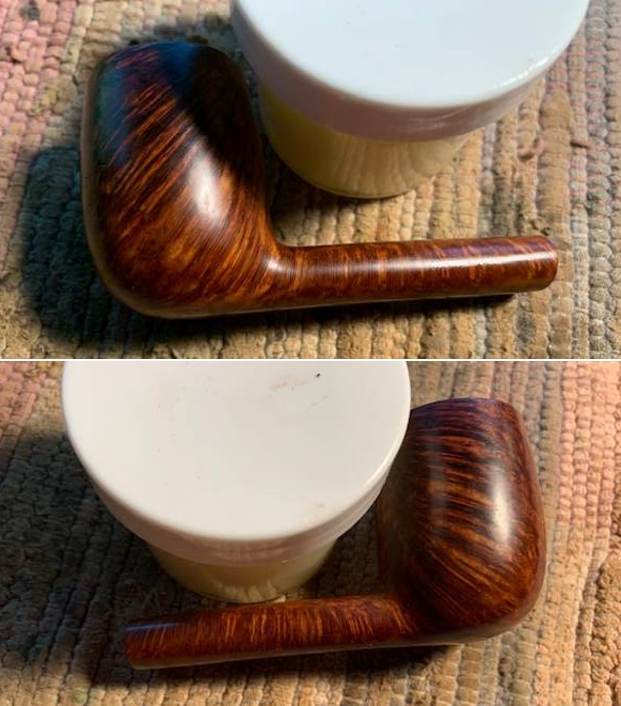
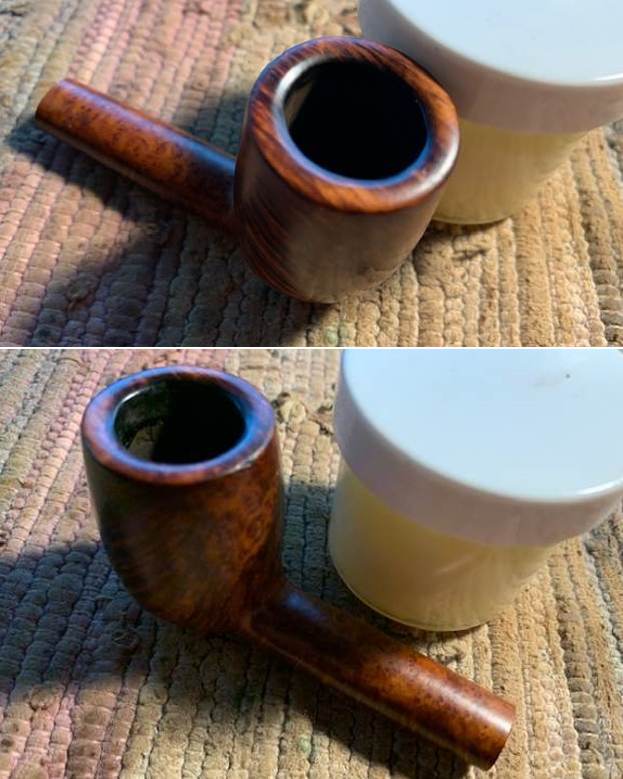
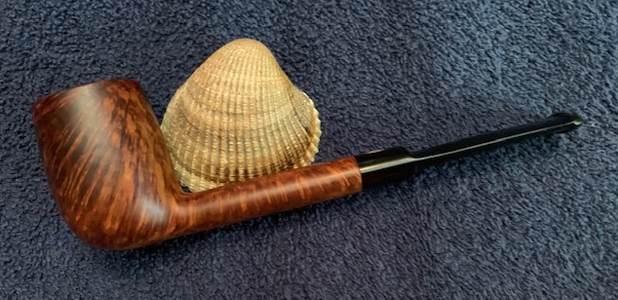
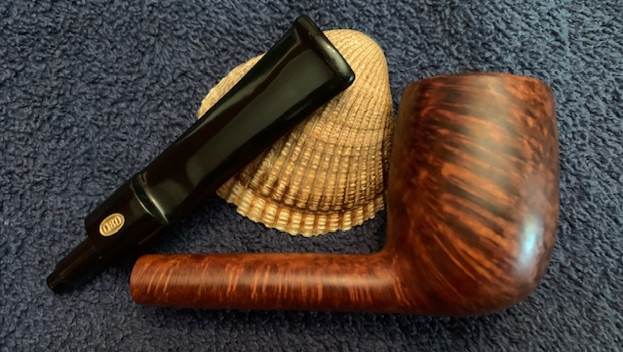
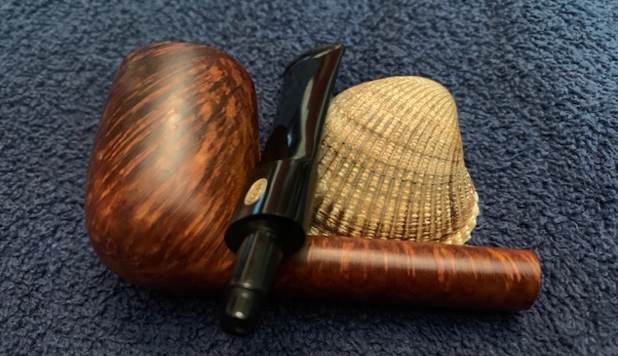
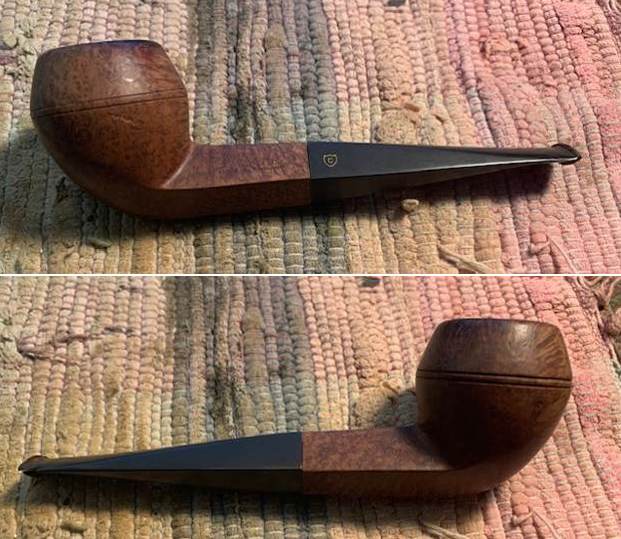
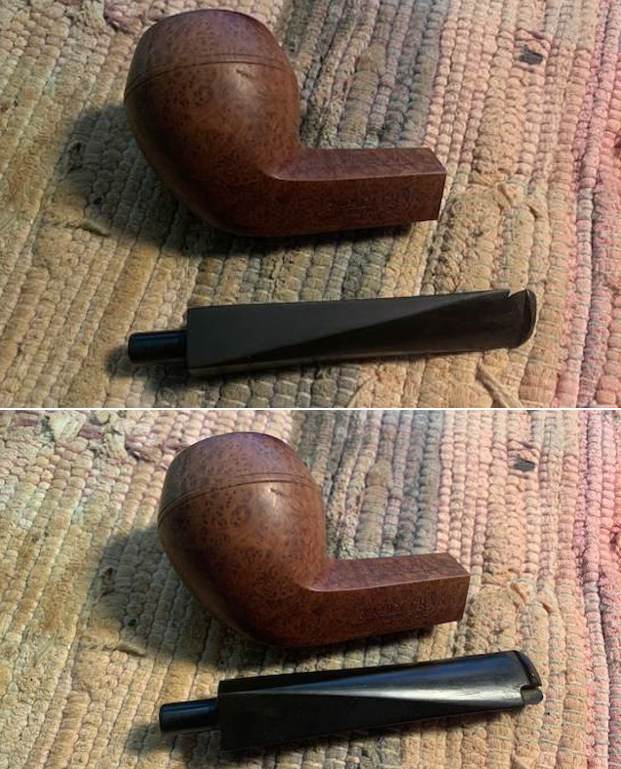
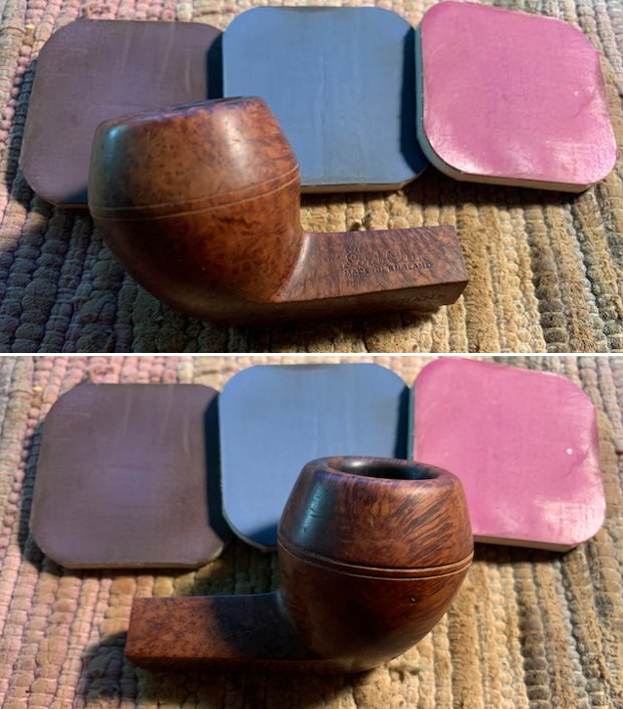
I began the final polishing cycle by mounting a cotton cloth buffing wheel onto my hand held rotary tool and applied a coat of Blue Diamond to the stummel and the stem to polish out the minor scratches. With a cotton buffing wheel that I use for carnauba wax, I applied a coat of carnauba wax and continued to work on it till the complete coat of wax had been polished out. I mounted a clean cotton cloth buffing wheel and gave the pipe a once over buff. I finished the restoration by giving the entire pipe a rigorous hand buff using a microfiber cloth to raise the shine further. The finished pipe is as shown below and will soon make it’s way to my friend here for many more years of happy smokes. Thank you for reaching thus far with the write up and really appreciate you being part of my journey in the world of pipe repairs.


