Blog by Steve Laug
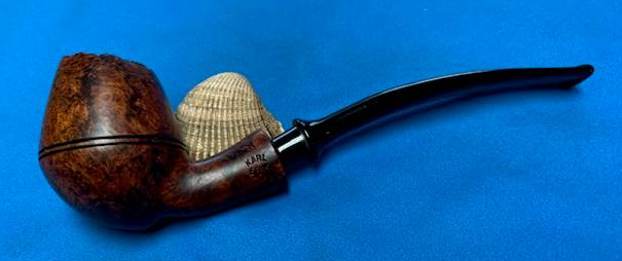
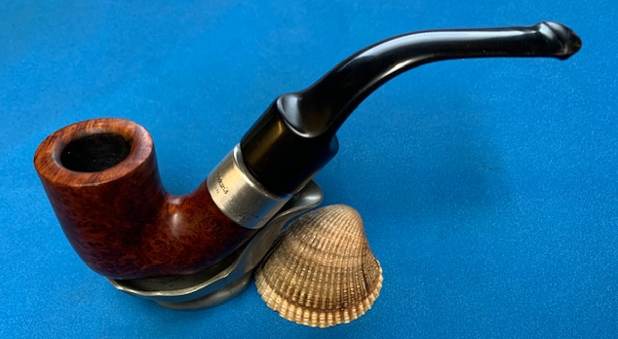
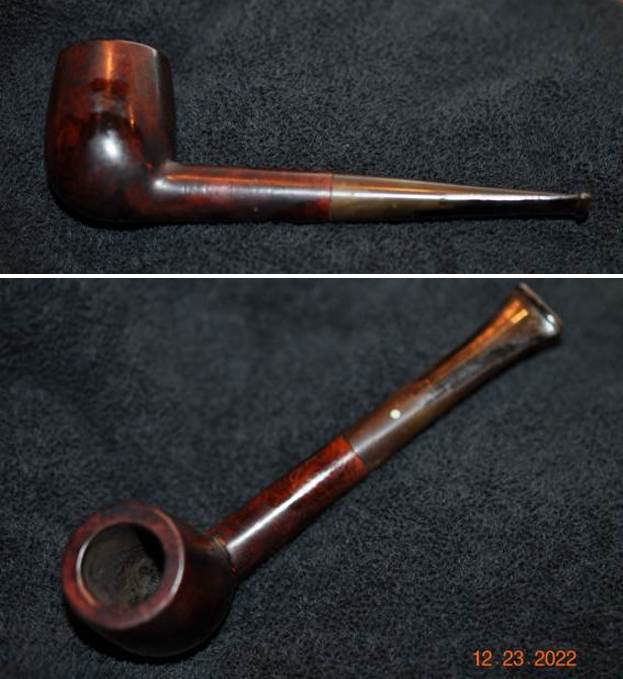
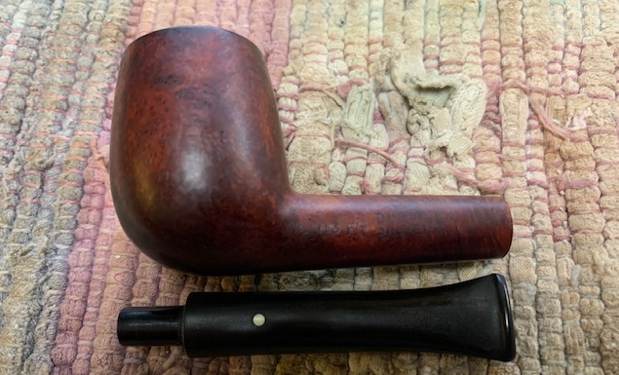
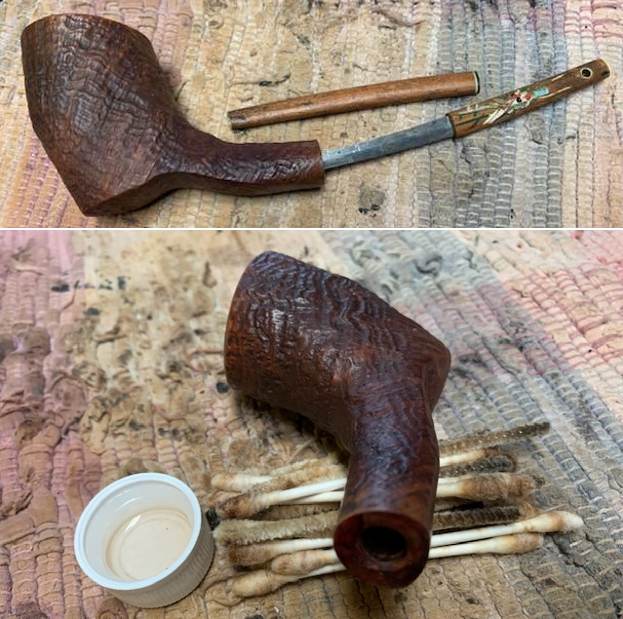
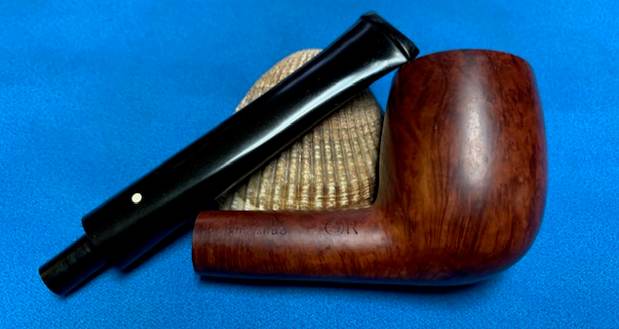
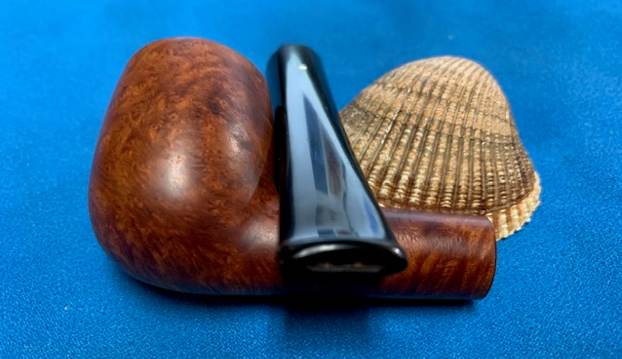
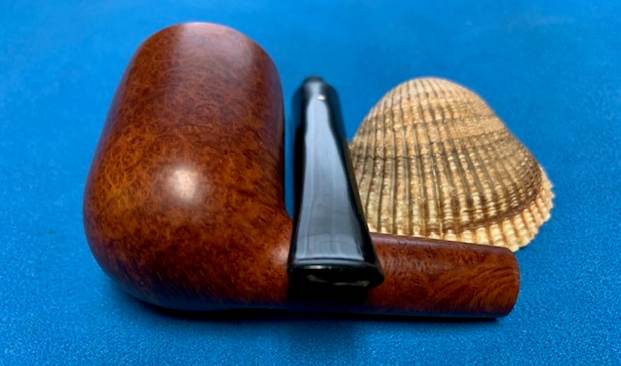
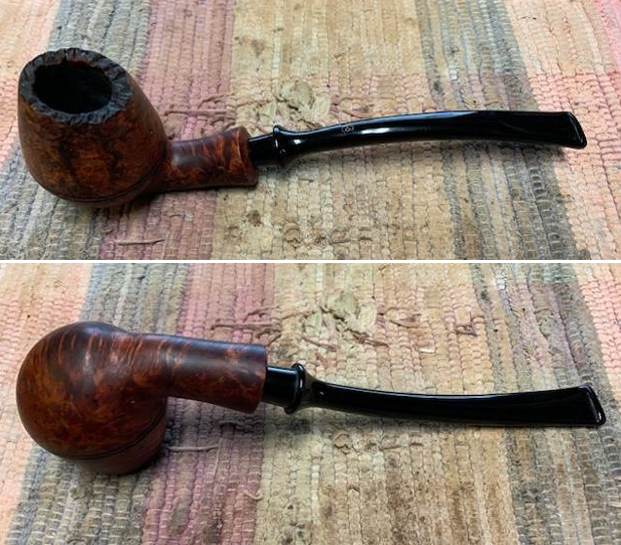
This afternoon I decided to work on a pipe from the lot that I have still to work on from a variety of places. This pipe was purchased from a friend on 06/05/21 in Brazil, Indiana, USA. It is an interesting pipe with a bowl that combines the twin rings of a Bulldog or Rhodesian with a Plateau rim top and a Freehand Flair. The pipe is stamped on the left side of the shank and reads Karl [arched over] Erik. The pipe was a well used pipe when Jeff received it. There was dust and grime ground into the finish. The mixture of brown stains highlights some beautiful grain under the dirt. The bowl was heavily caked and there was an overflow of lava on the plateau rim top. The inner edge appeared to be in good condition. The stem is acrylic and therefore was not oxidized. It was dirty with light tooth marks and chatter on both sides ahead of the button and on the button itself. There is a fancy E stamp in the top of the stem that is in good condition. Jeff took photos of the pipe before he started his clean up work on it.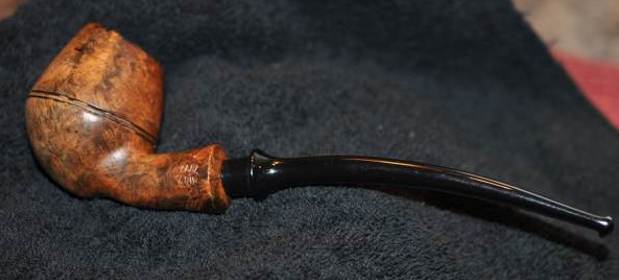
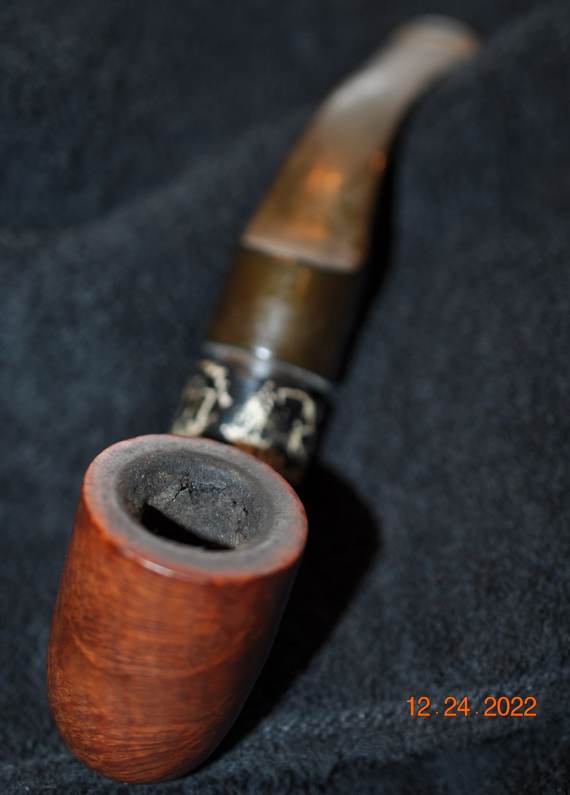
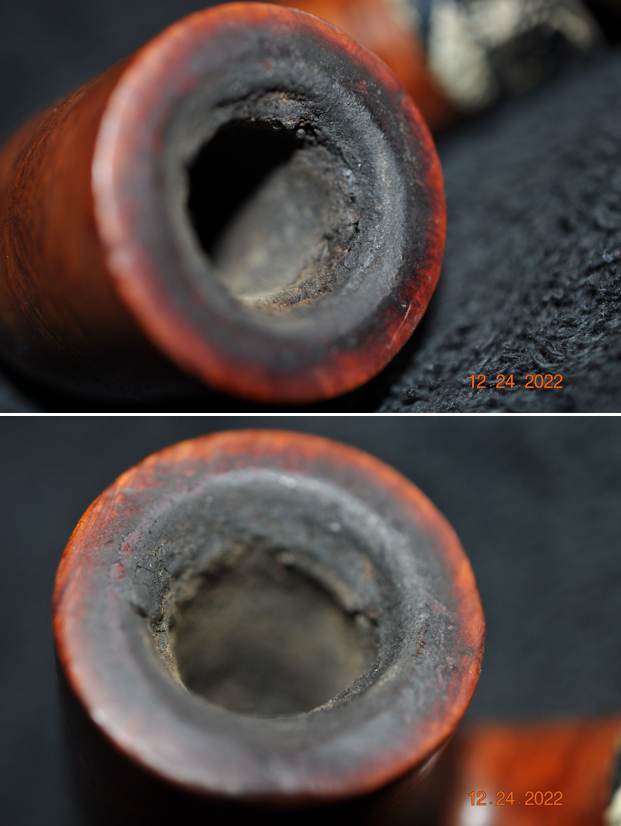
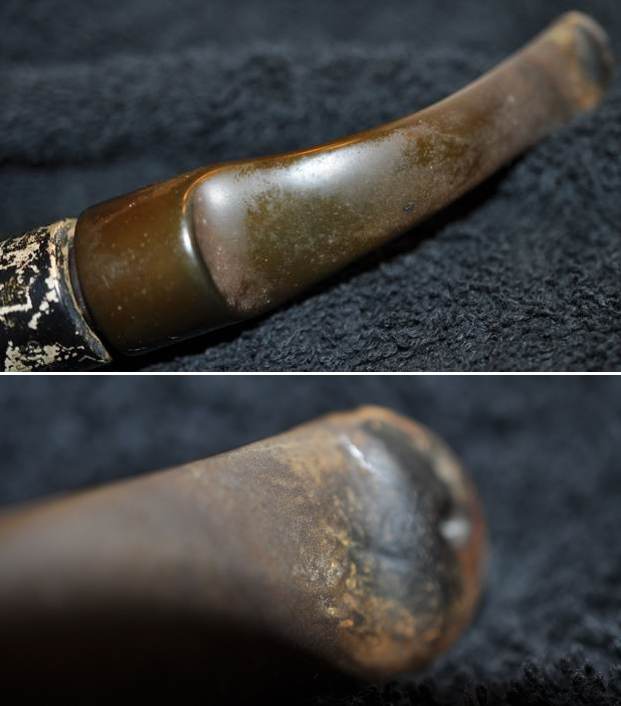
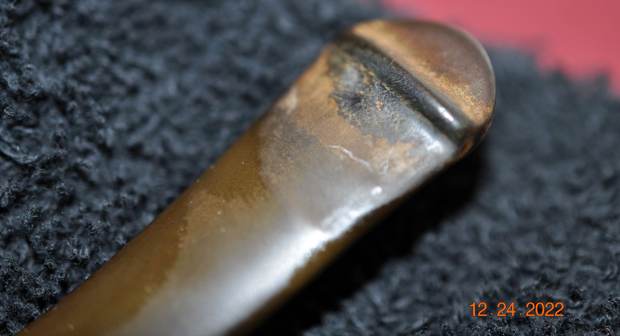
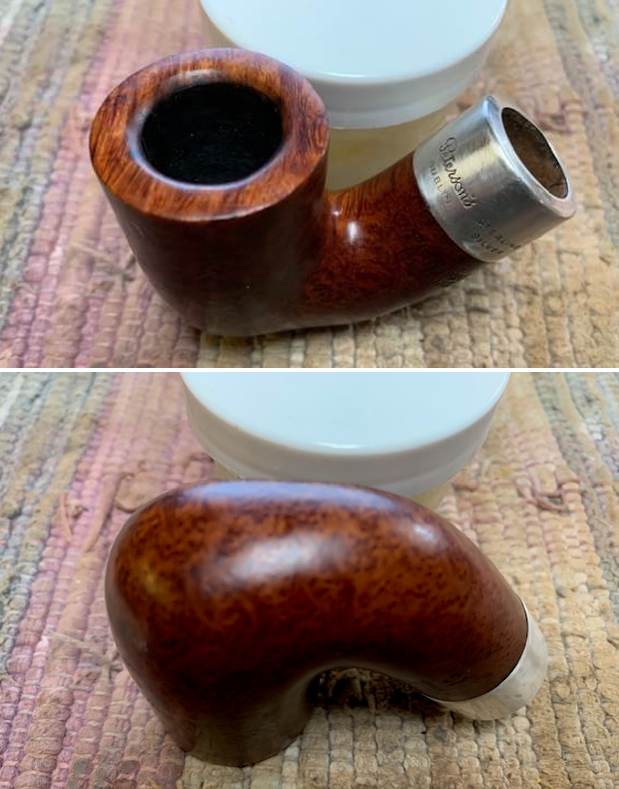
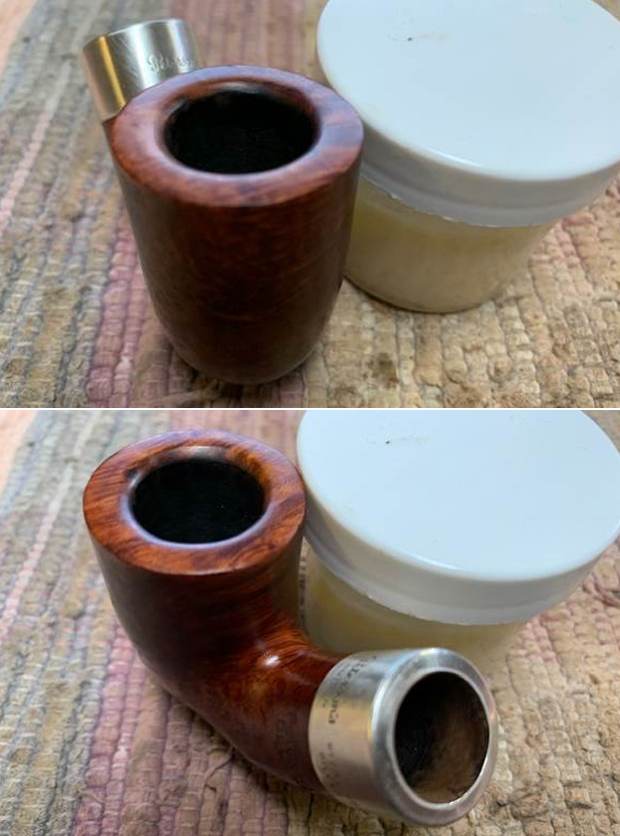
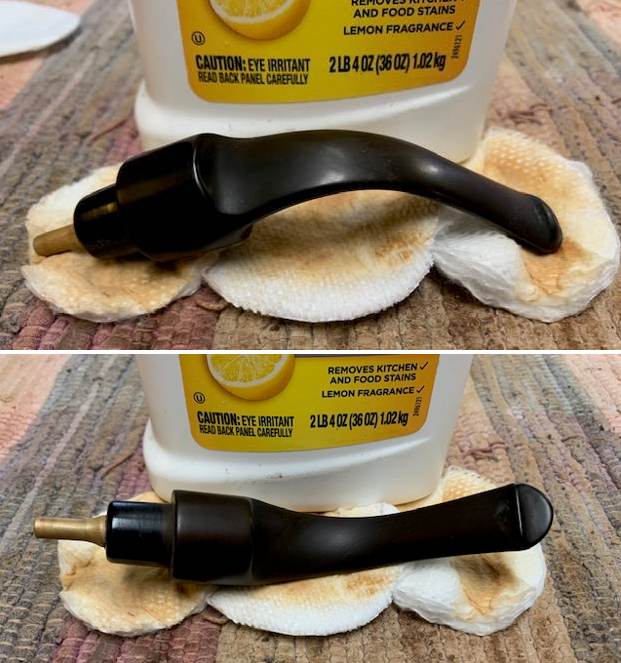
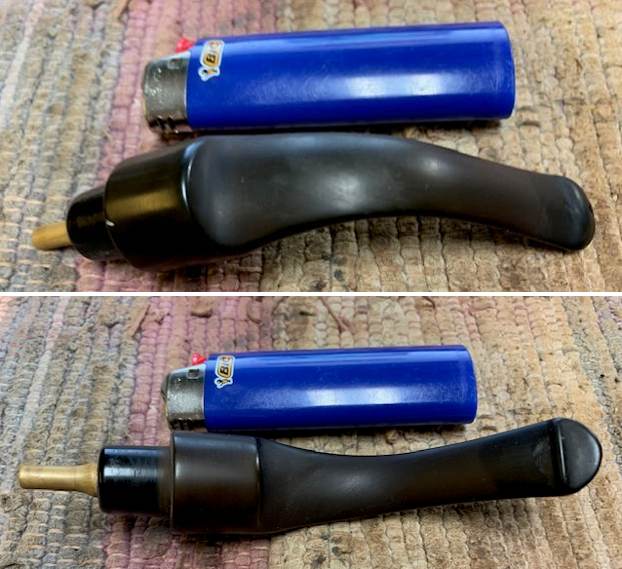
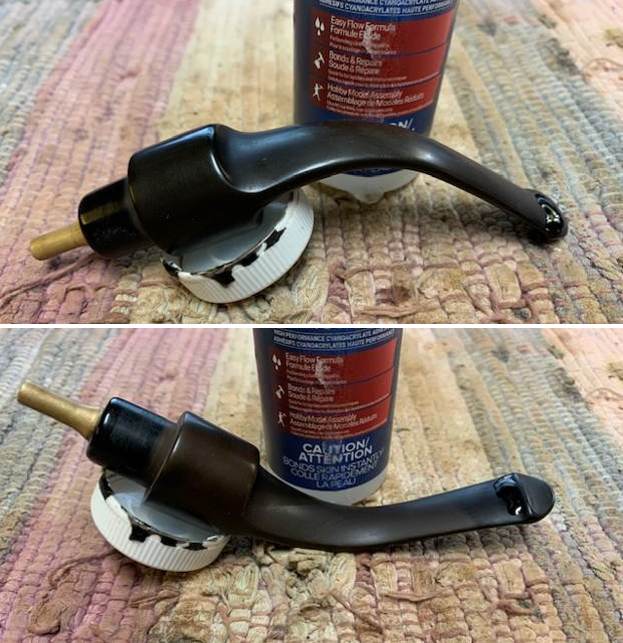
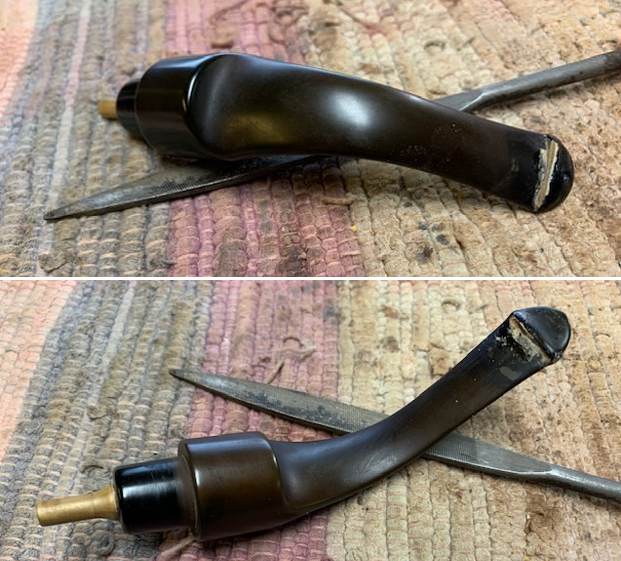
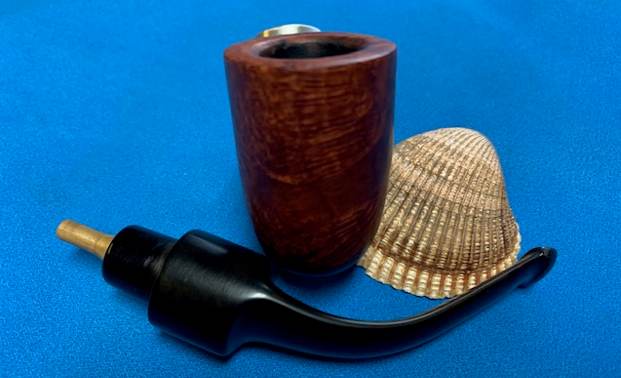
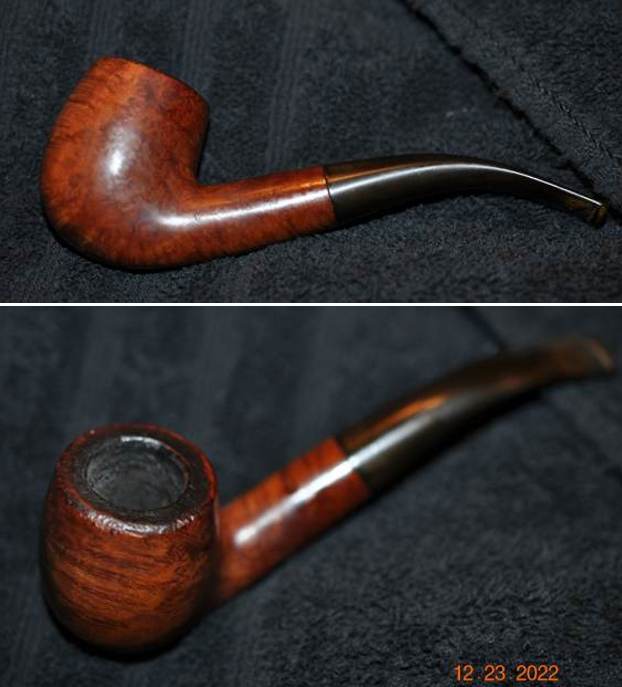
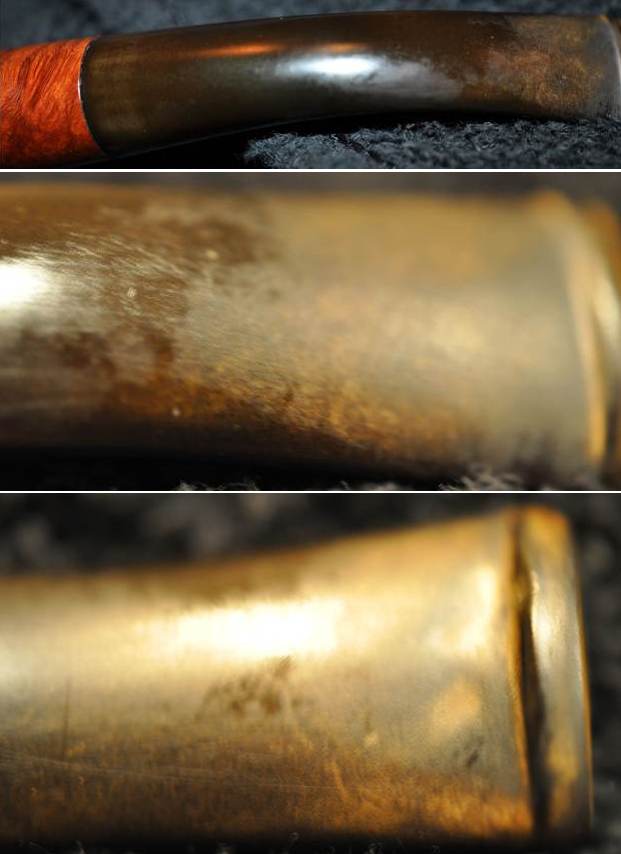
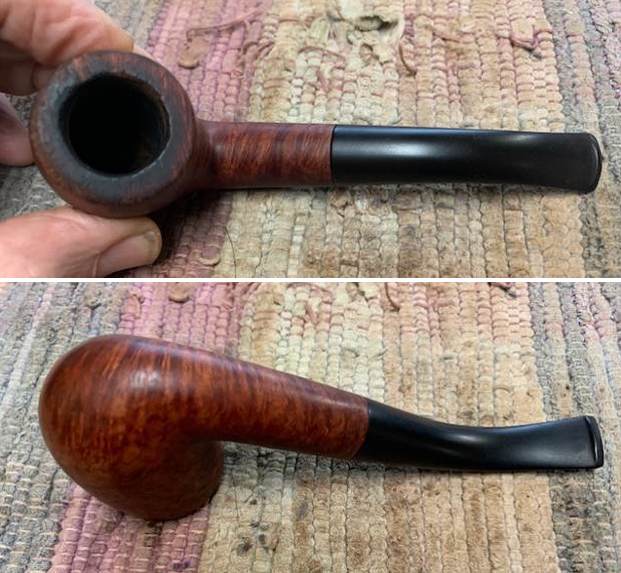
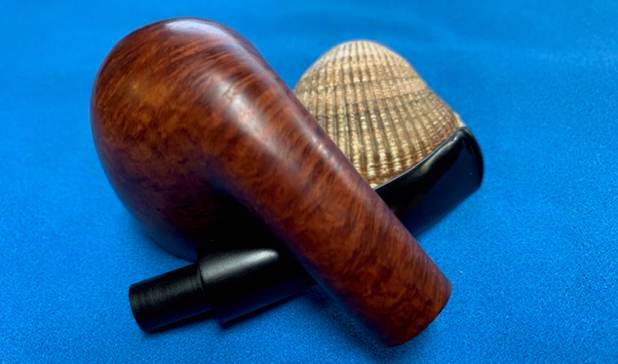
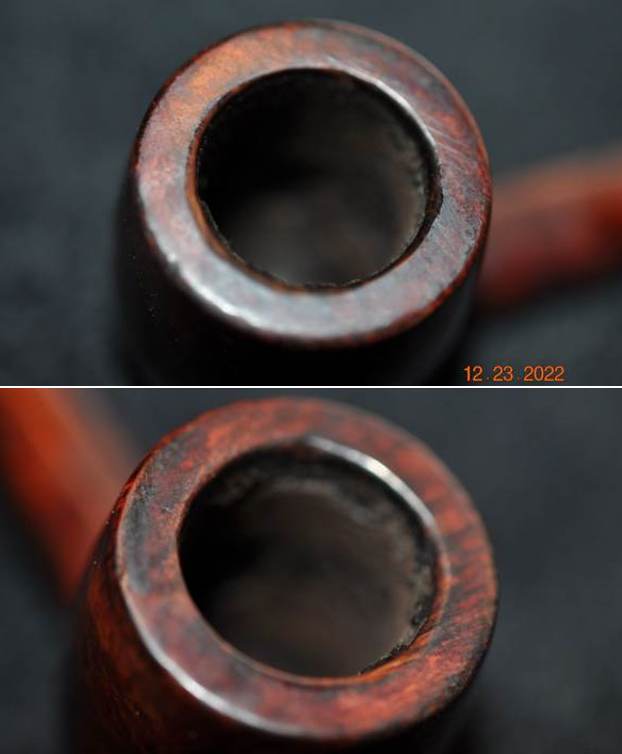
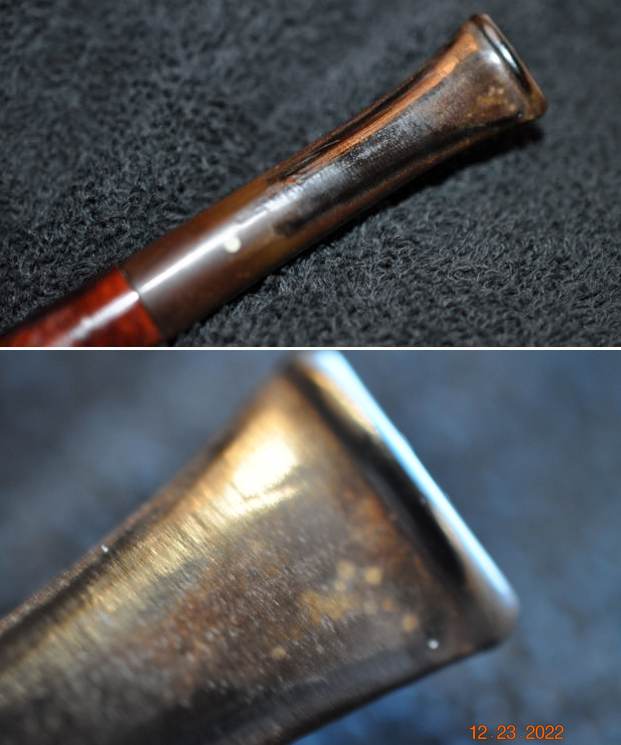
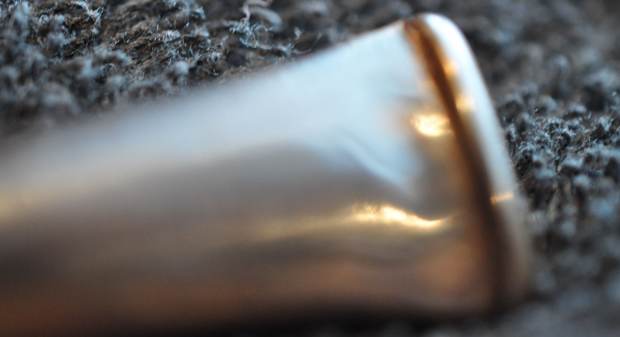
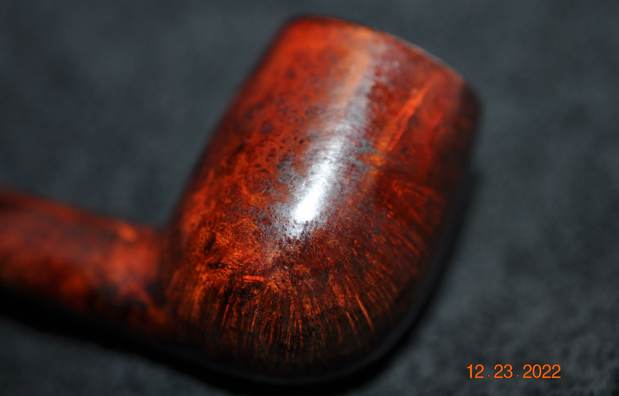
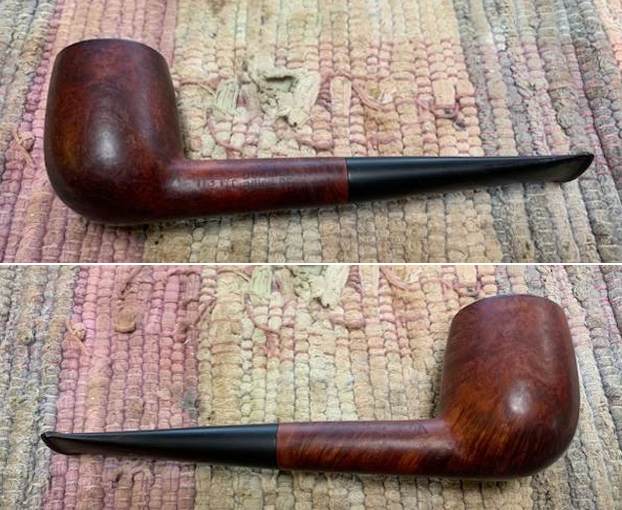
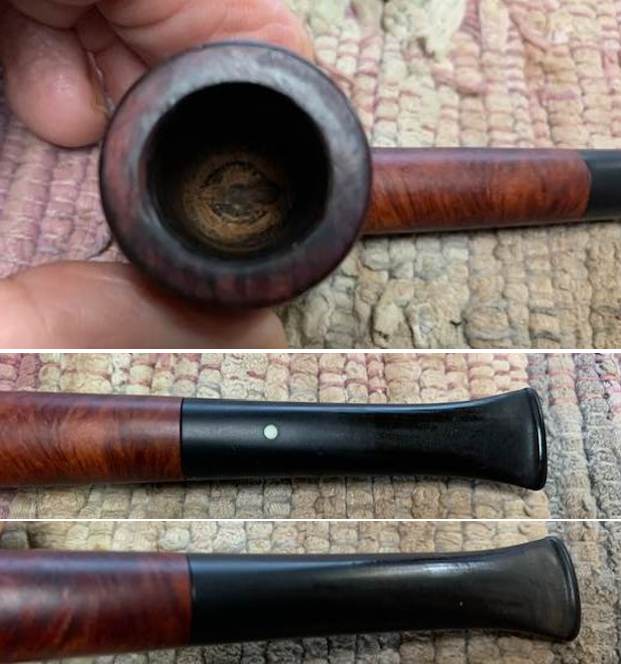
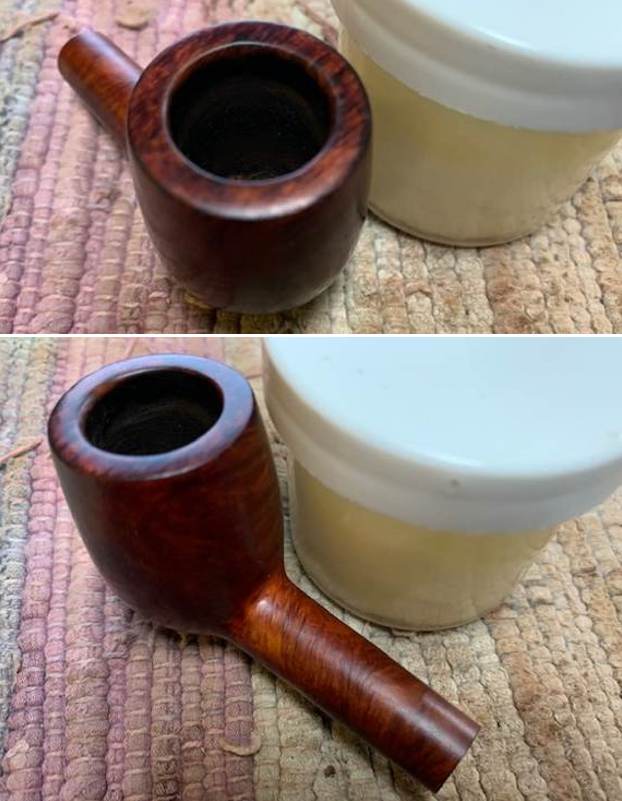
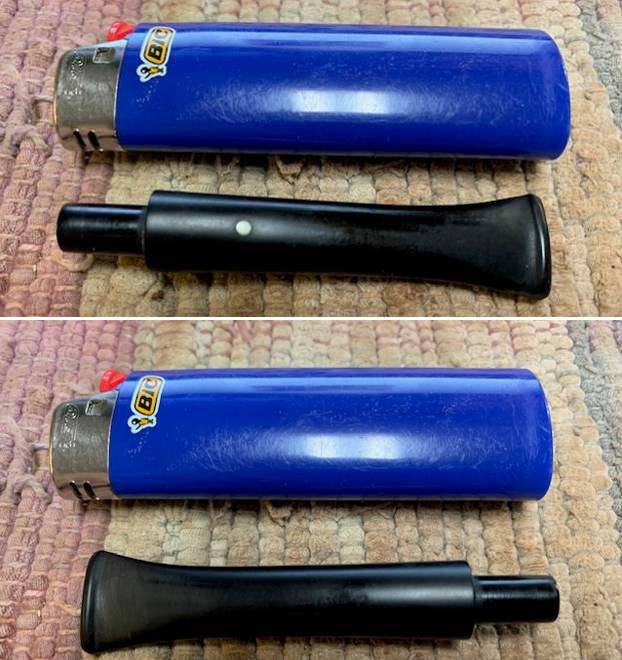
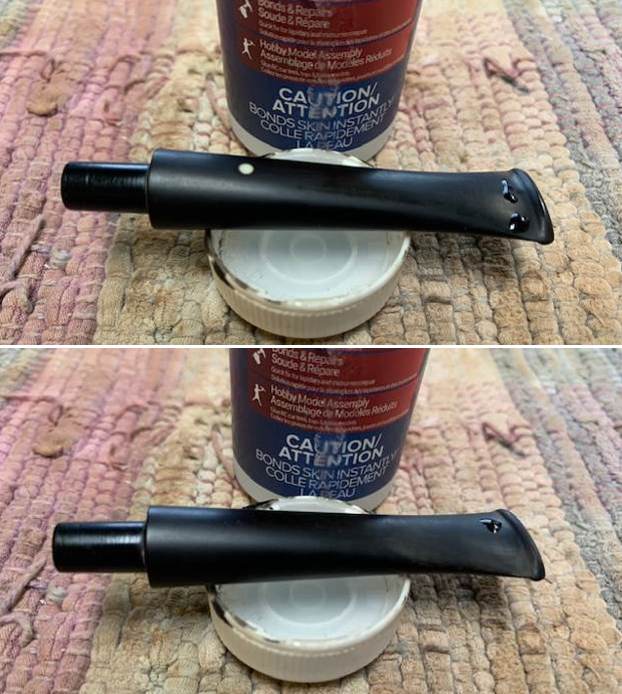
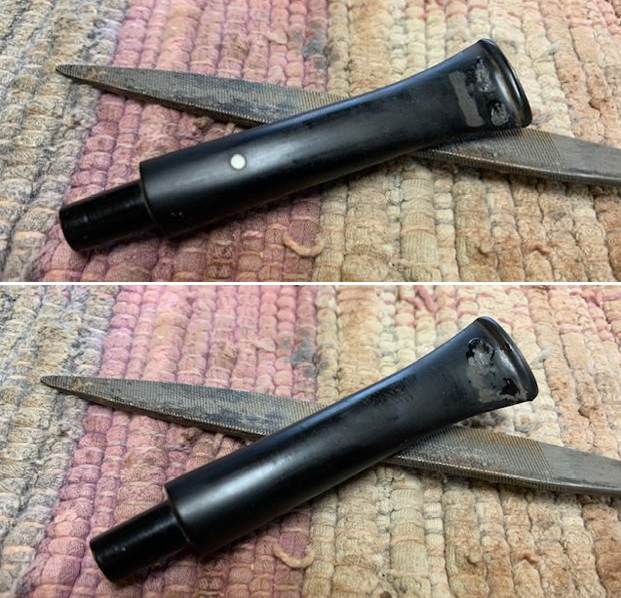
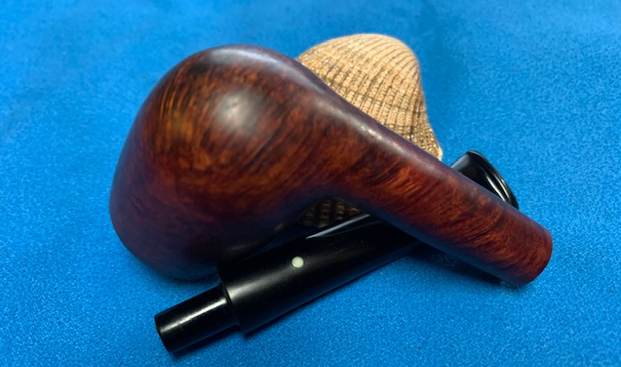
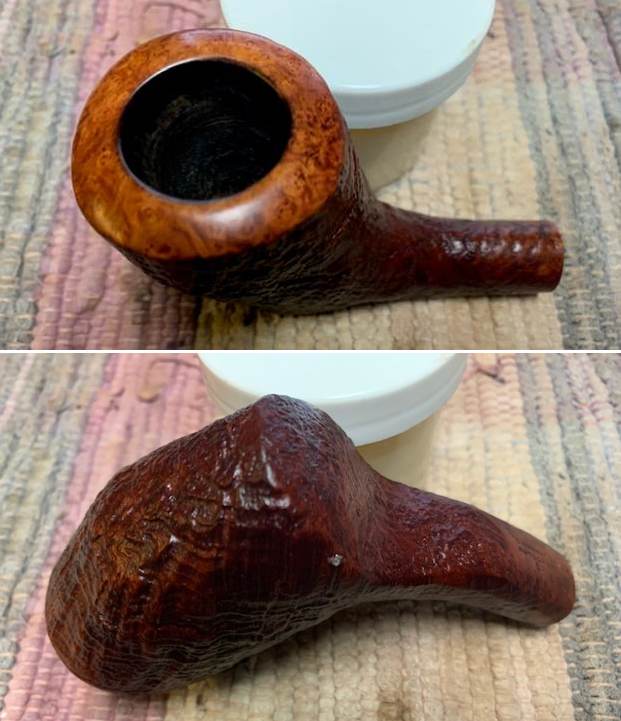
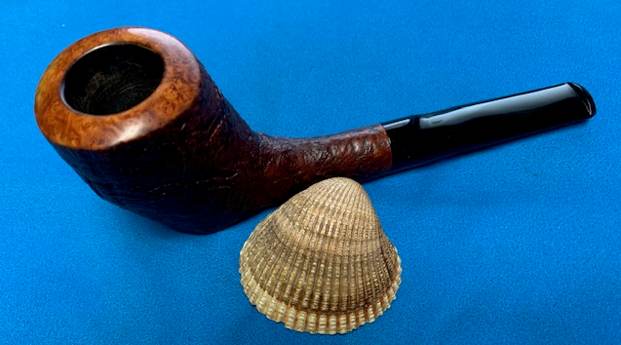
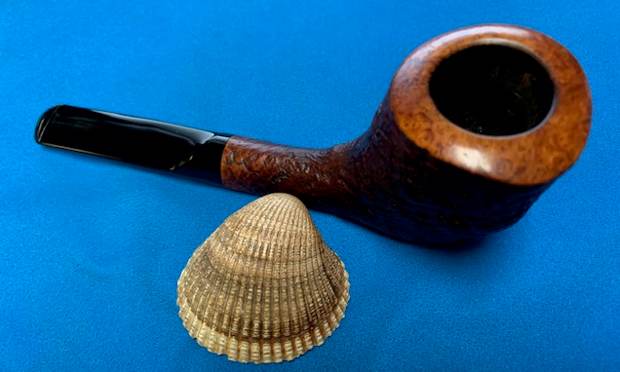
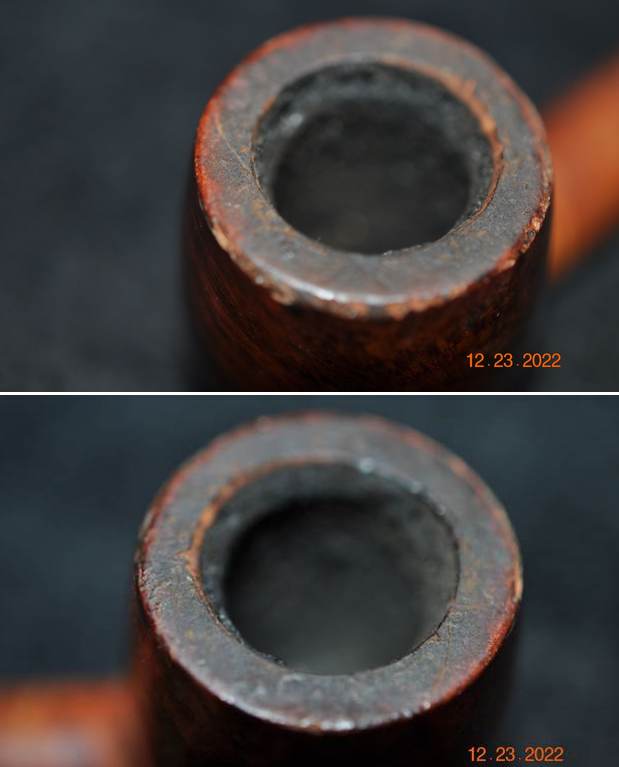
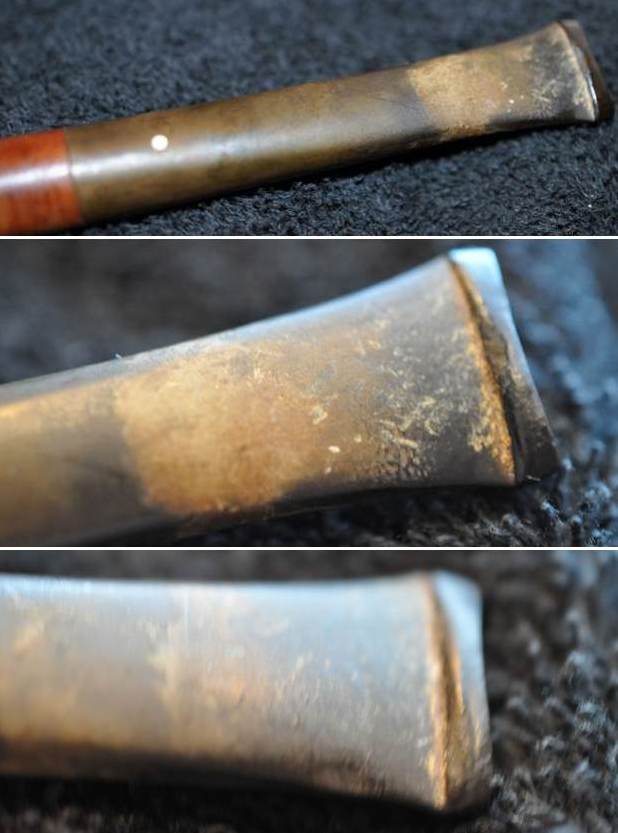
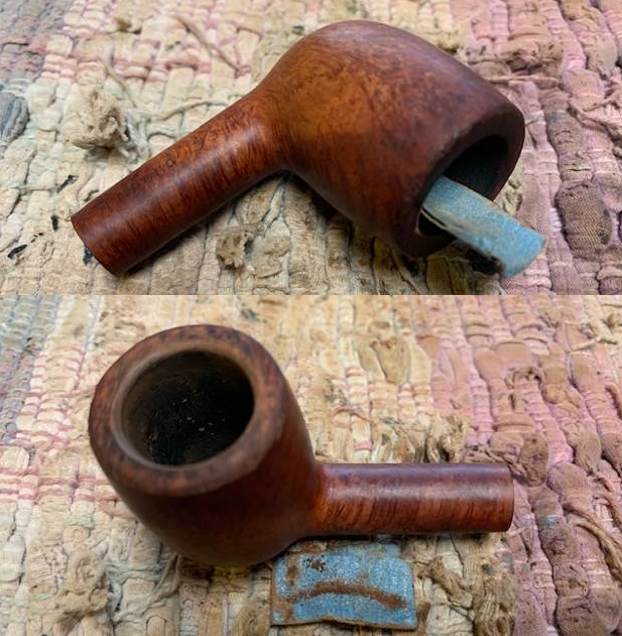
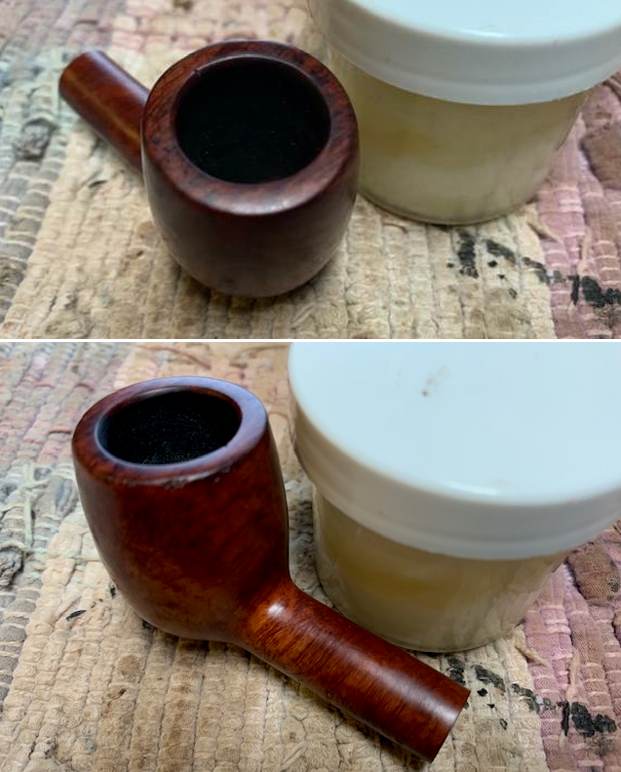
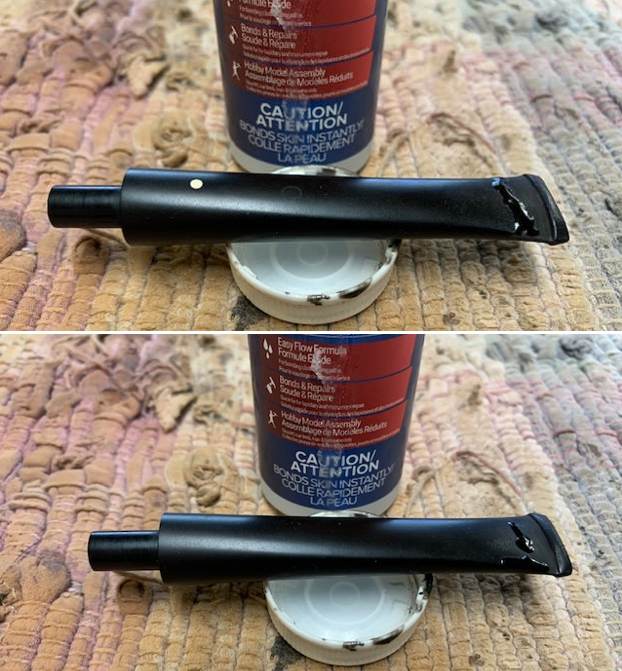
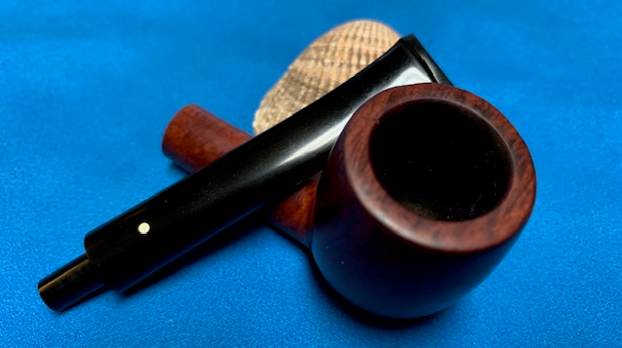
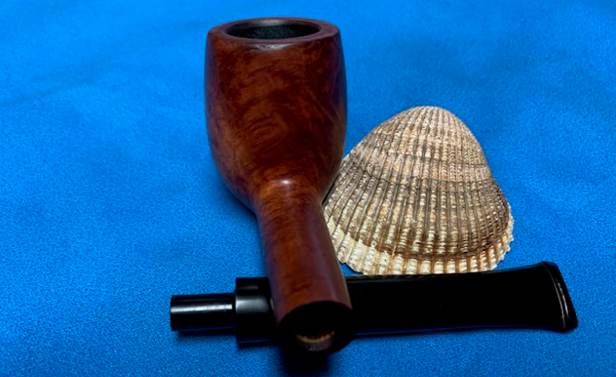
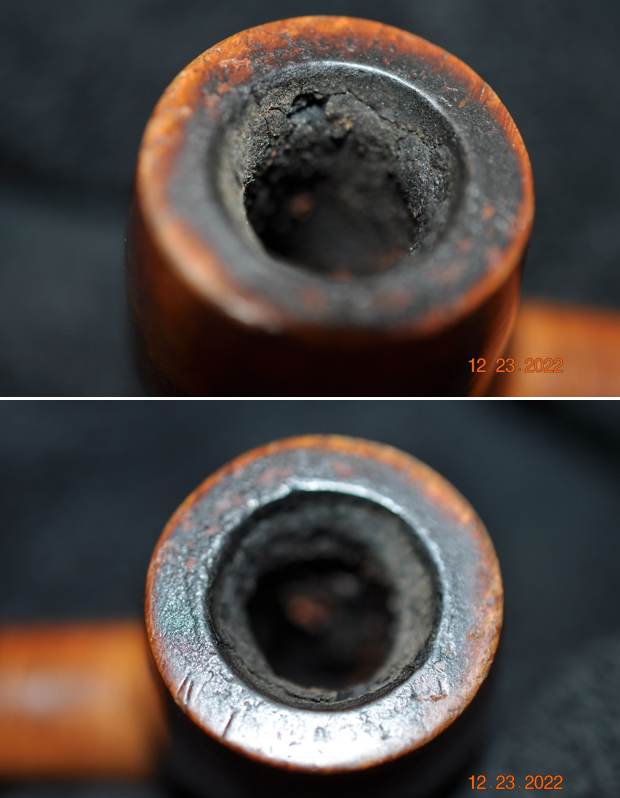
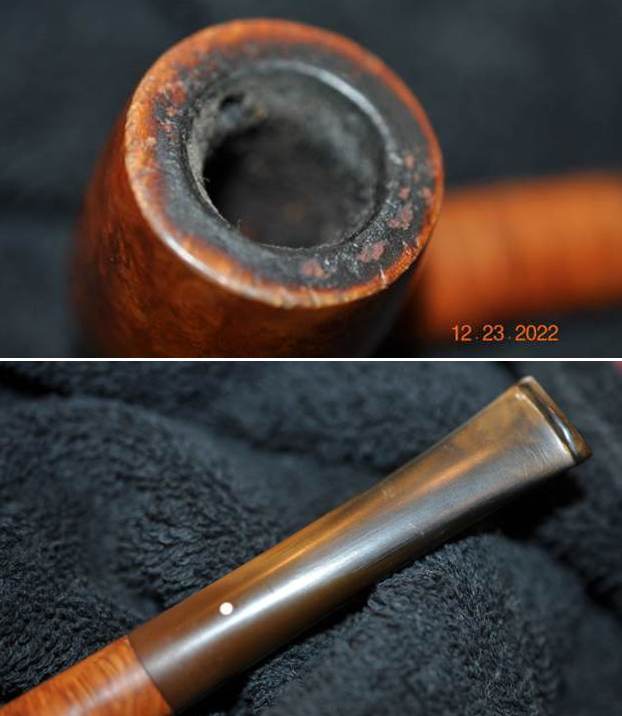
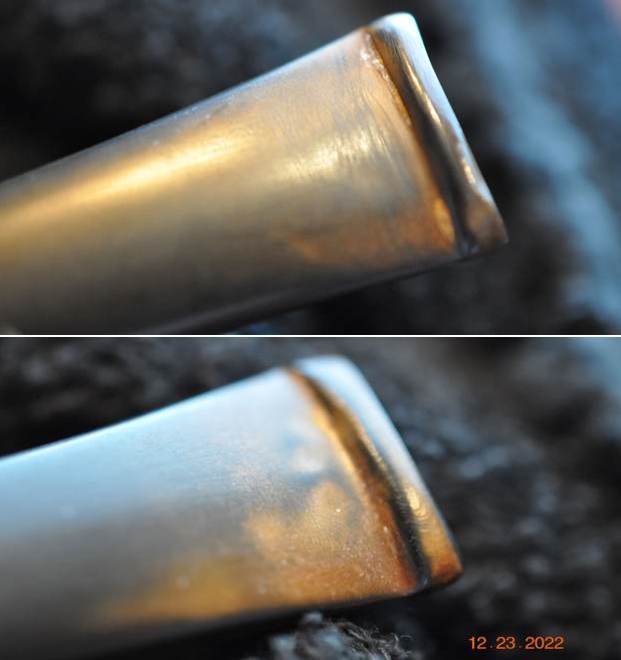
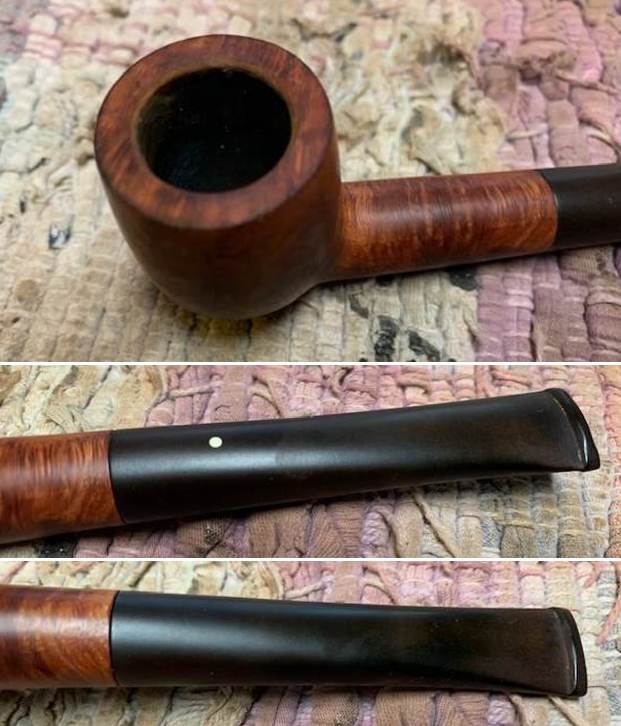
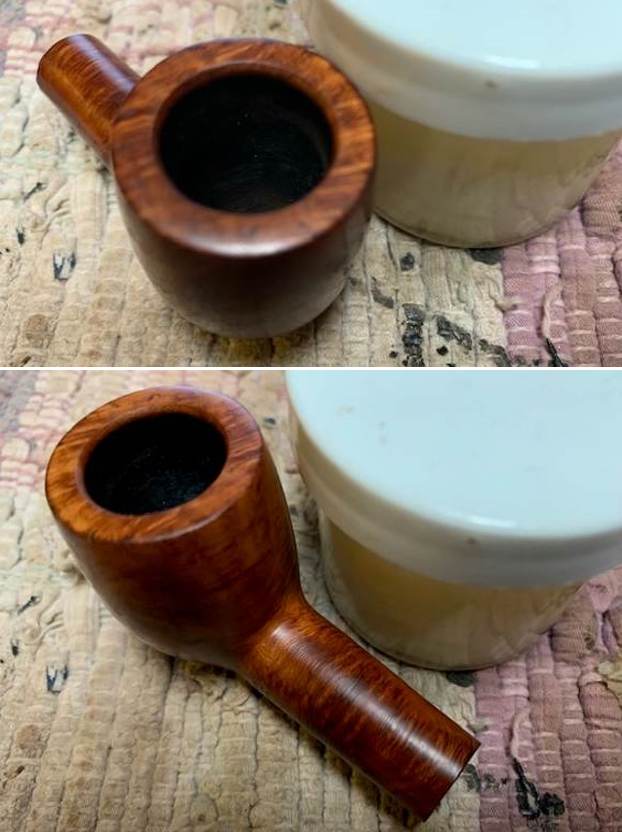
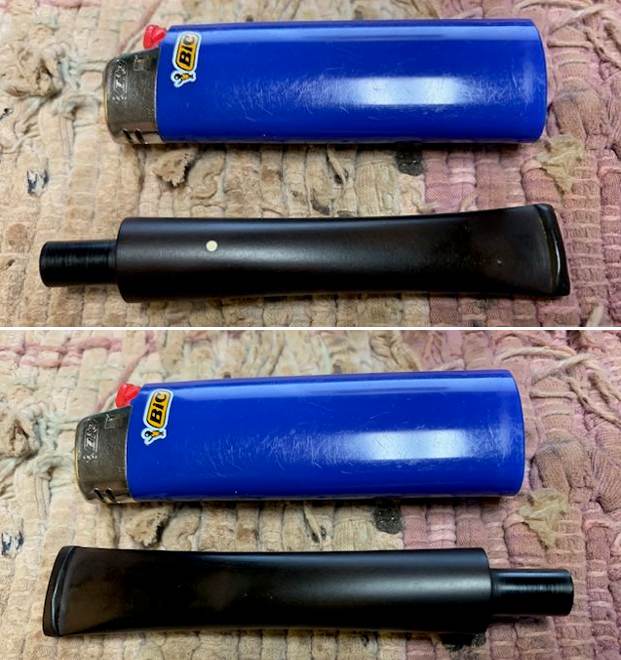
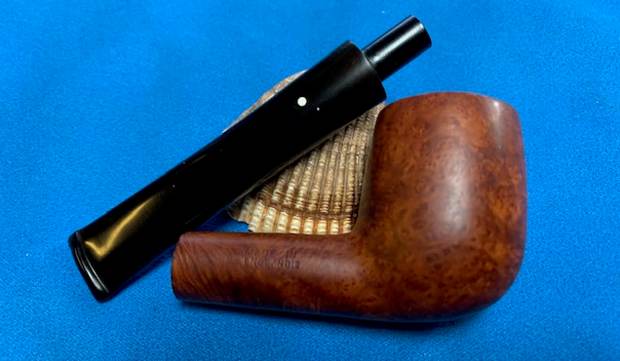
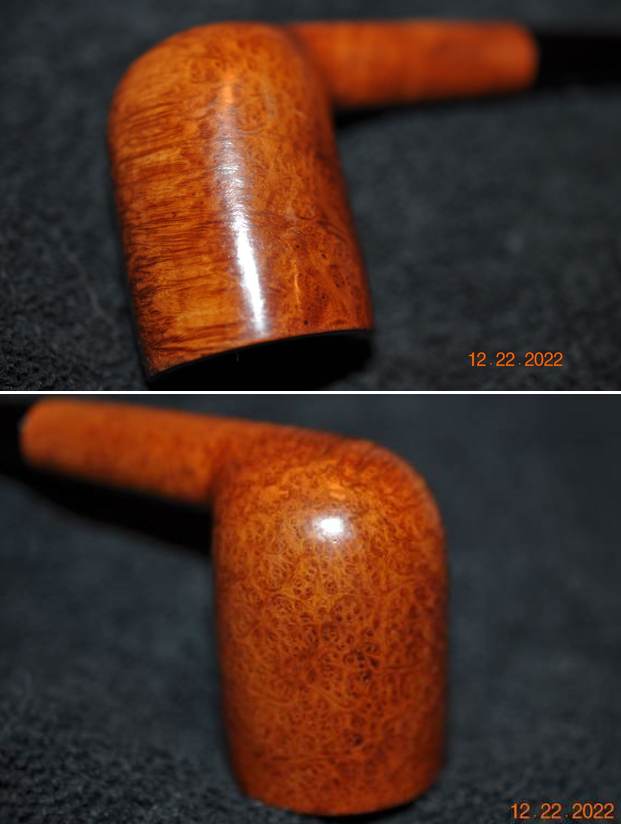
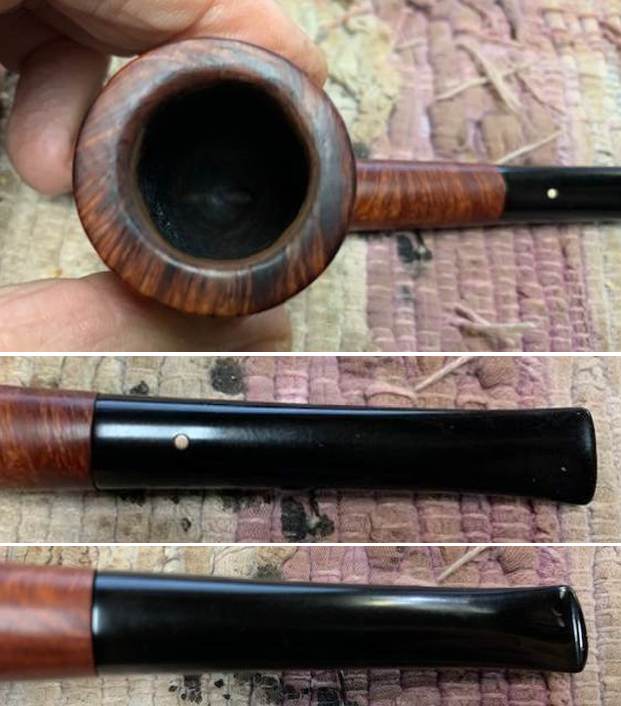
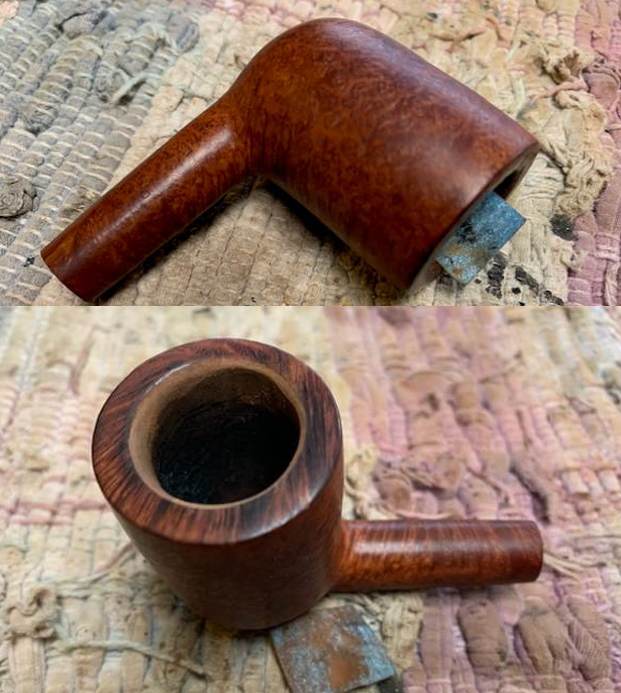
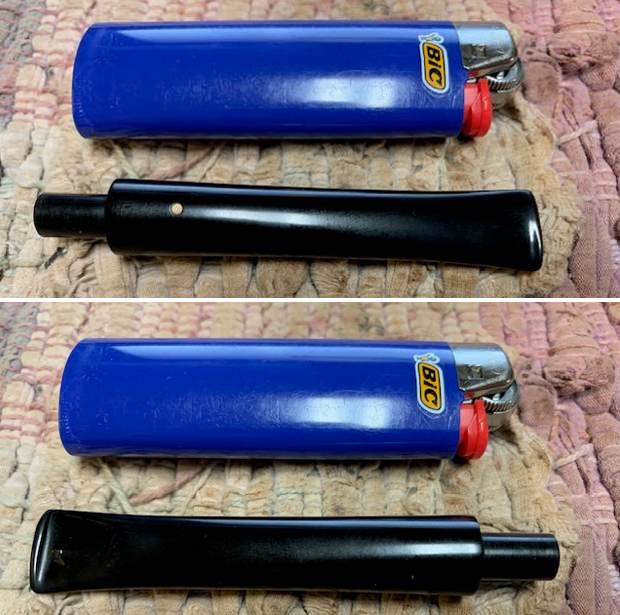
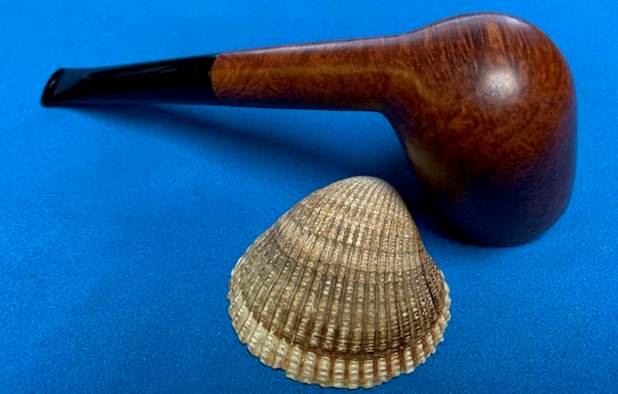
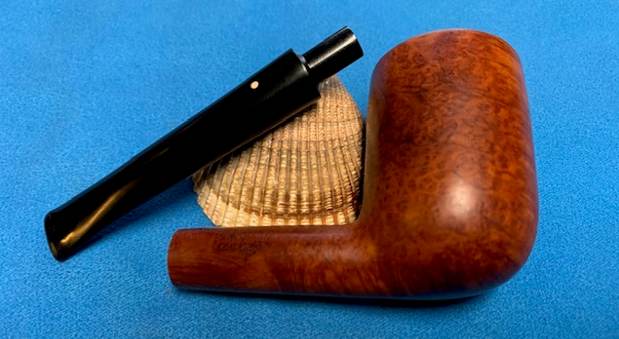
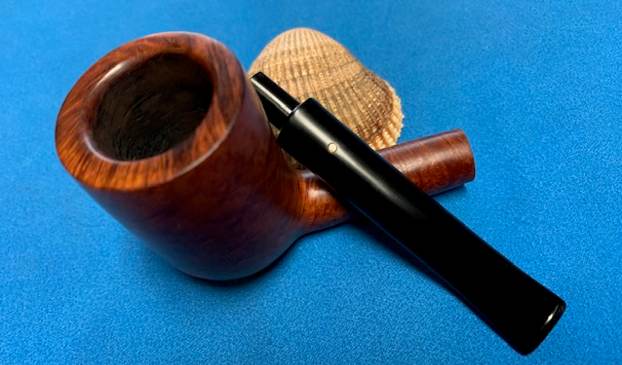
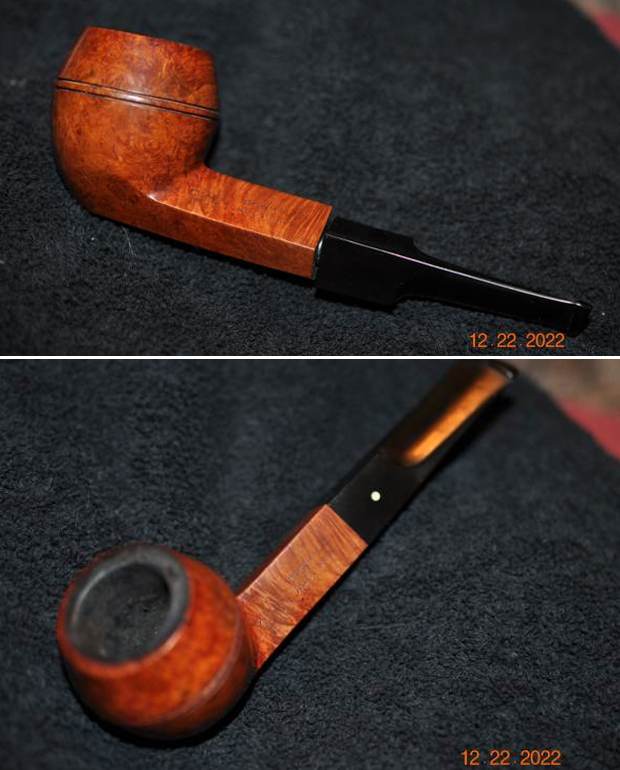
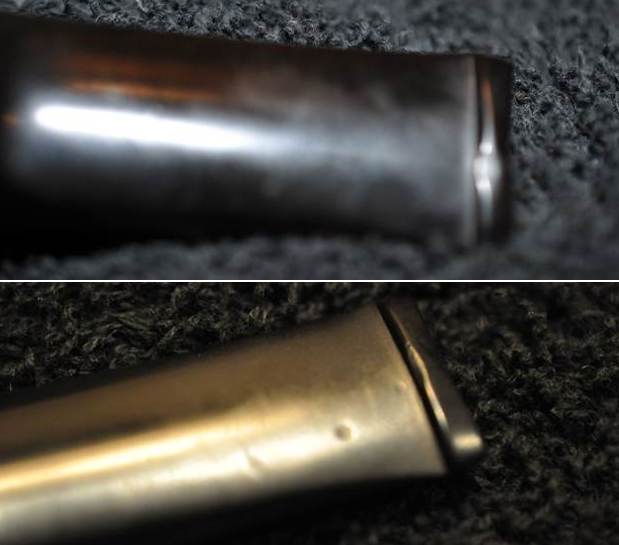
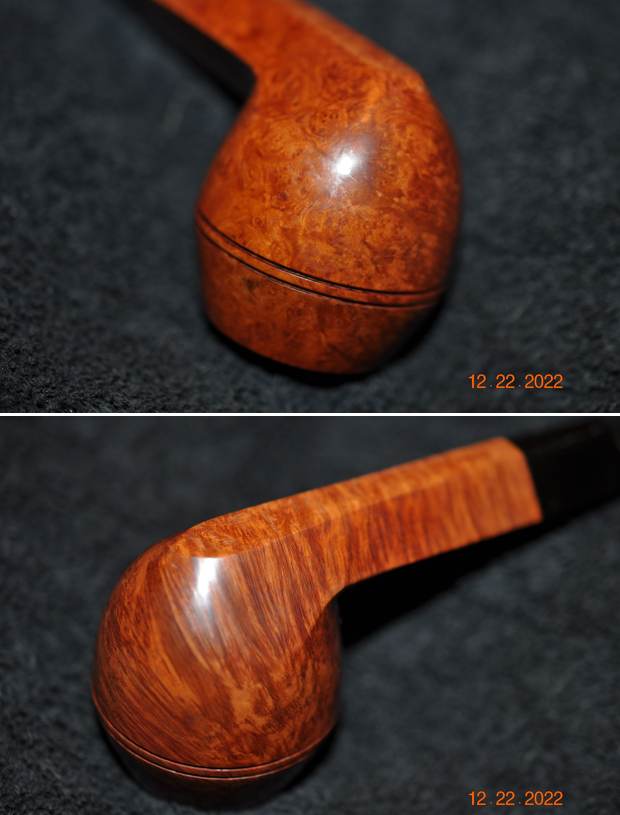
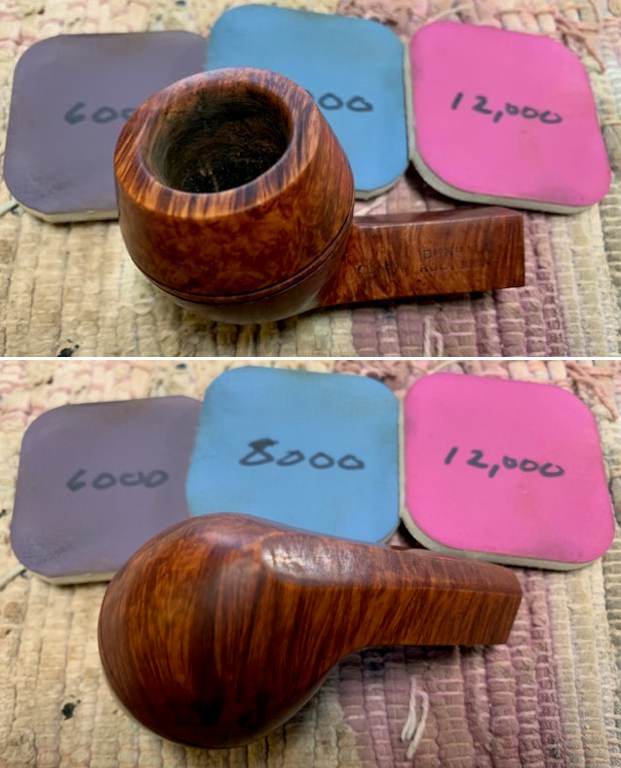
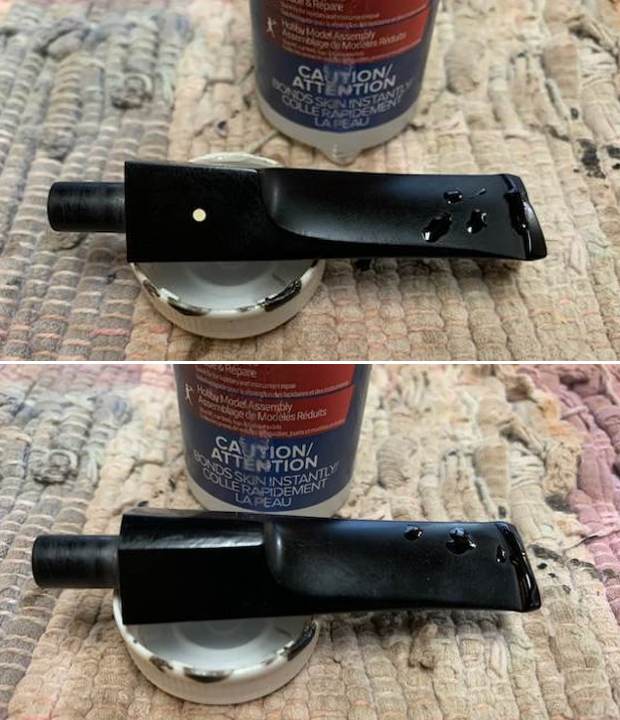
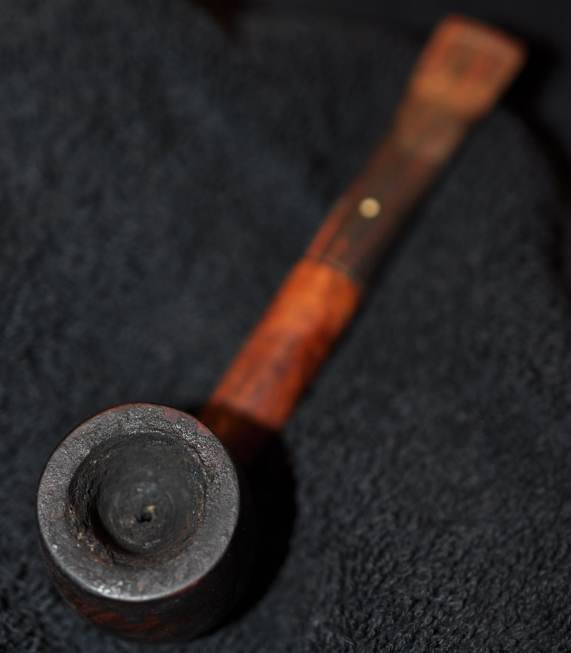
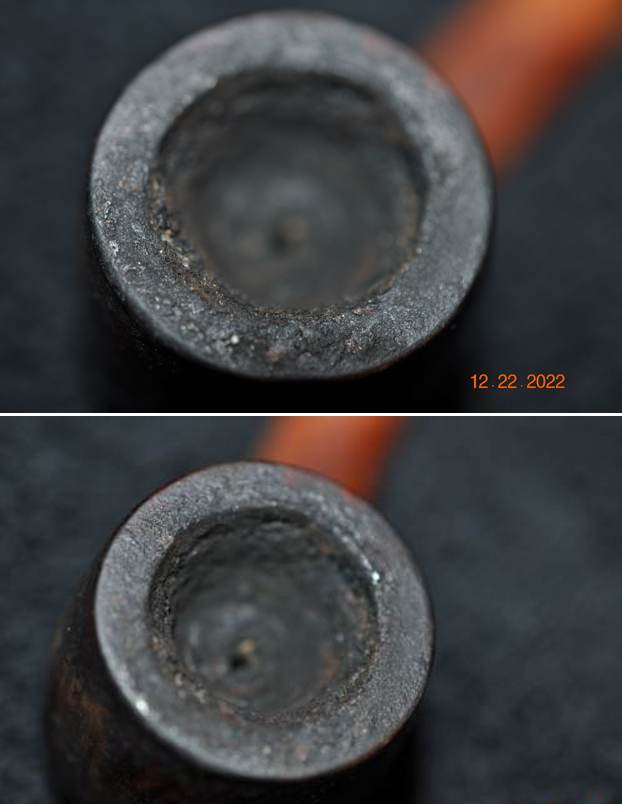
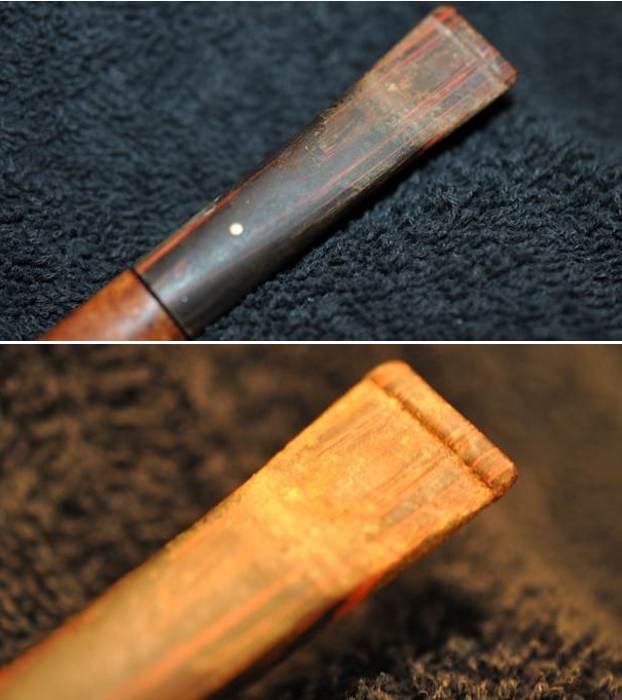
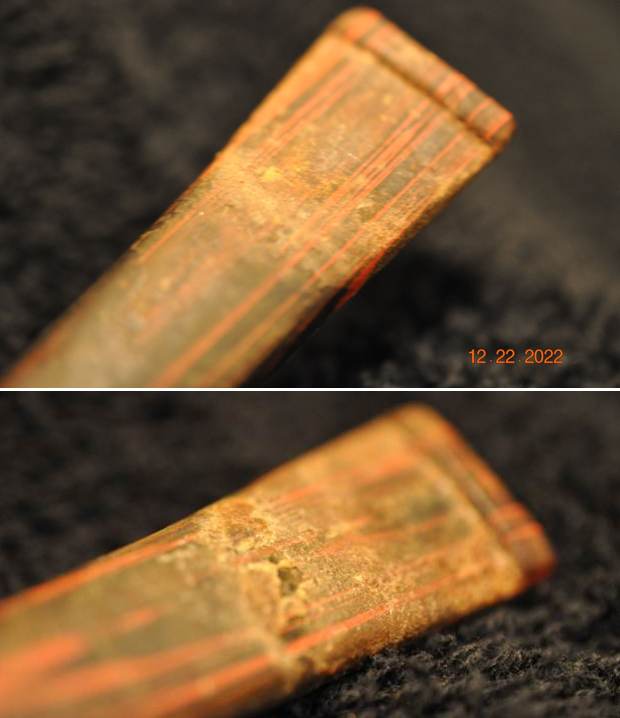
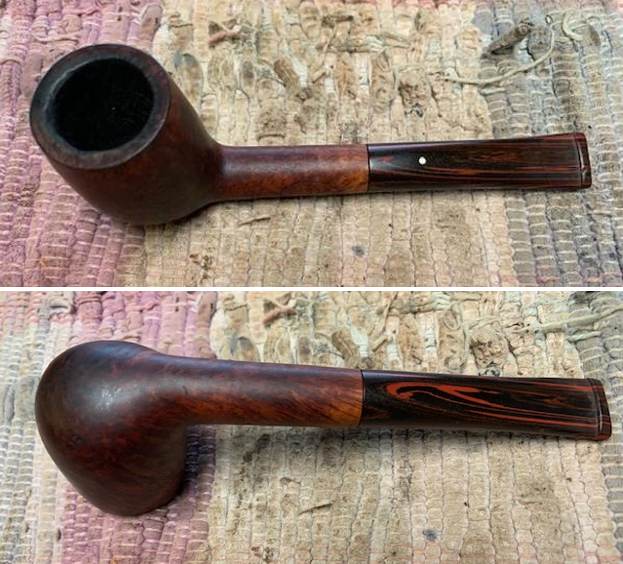
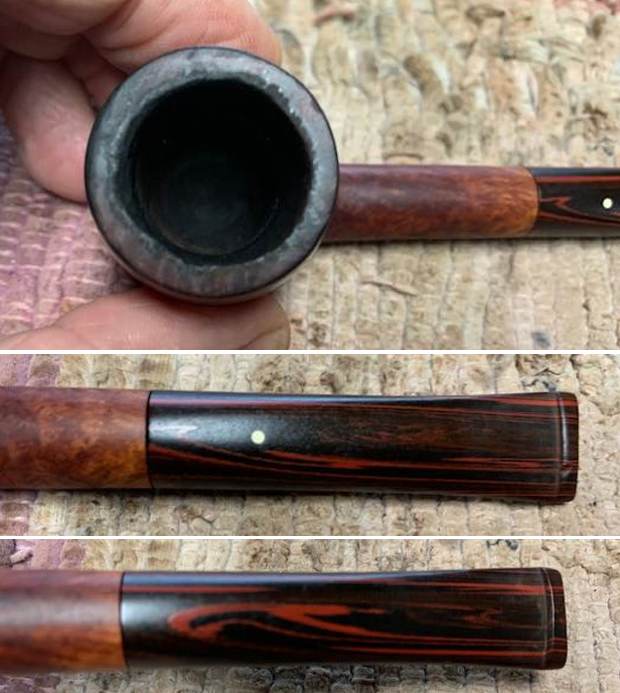
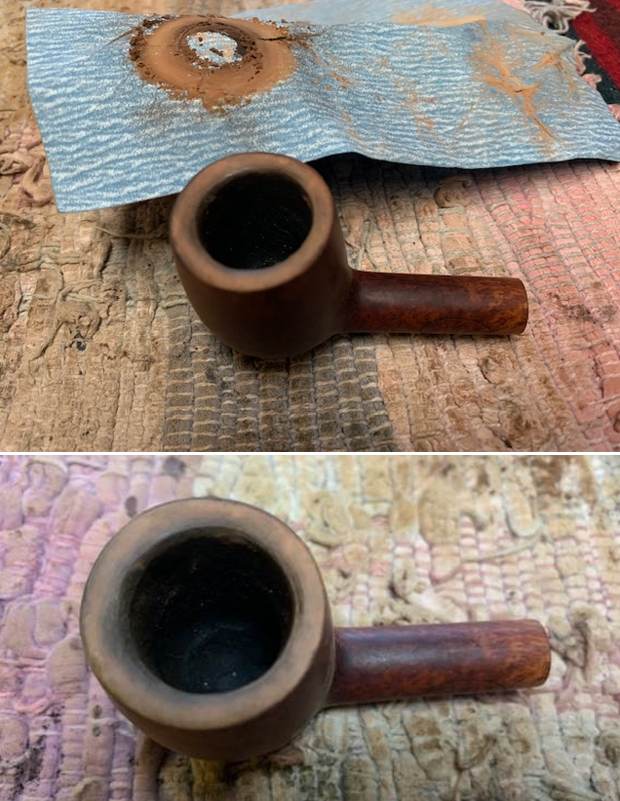
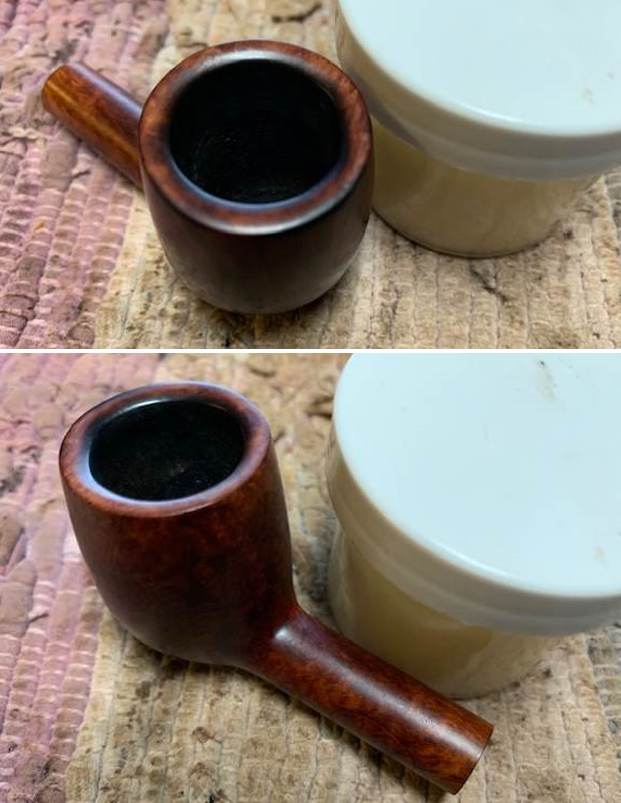
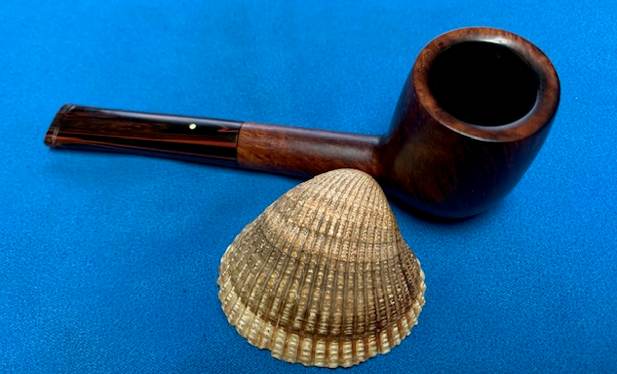
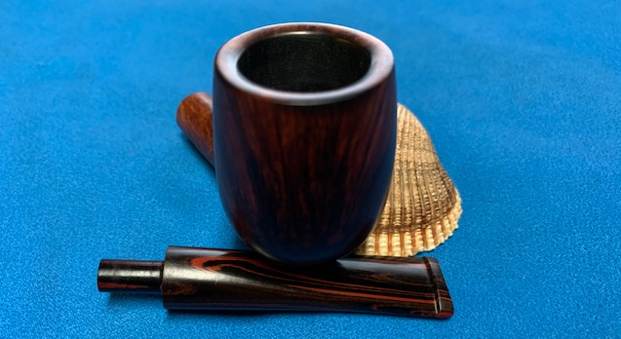
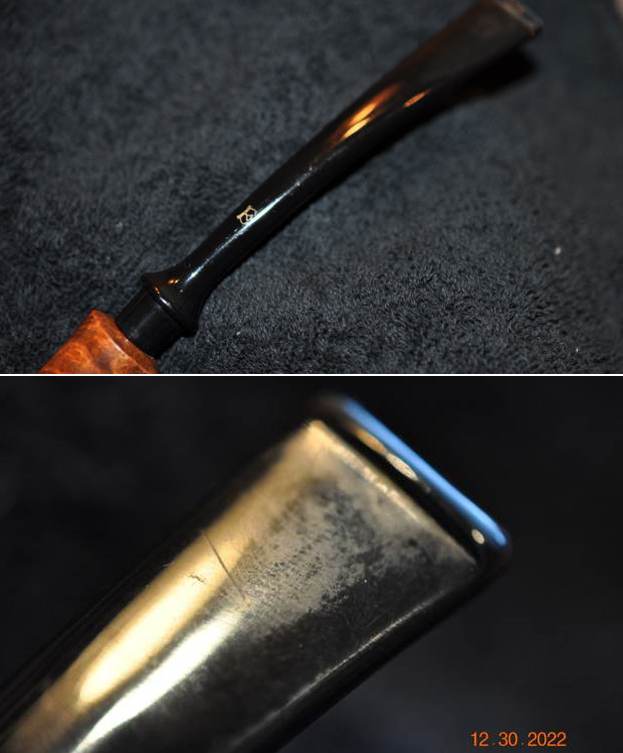
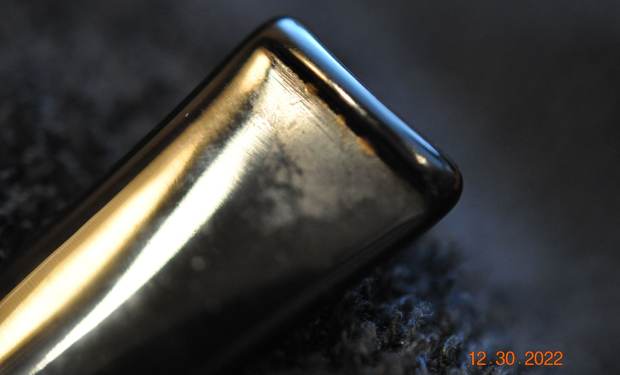
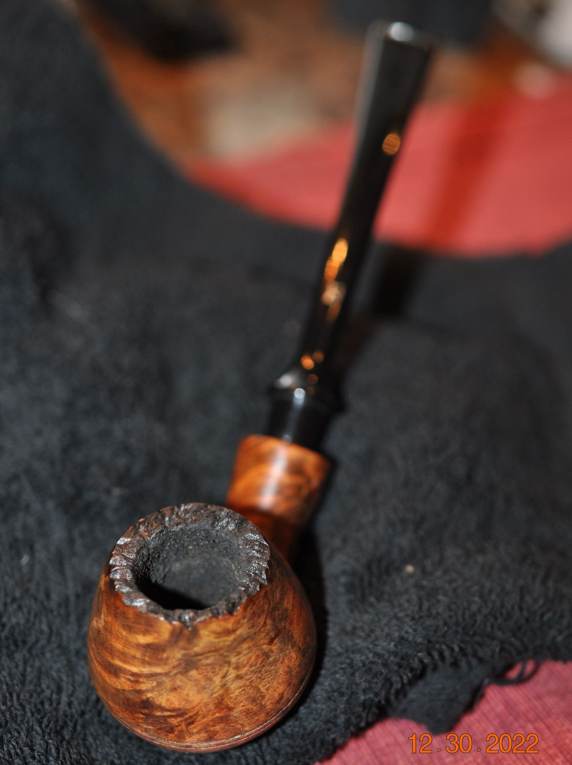 He took photos of the bowl and rim top to show what they looked like before his clean up. He also took some of the stem to show the condition of both sides.
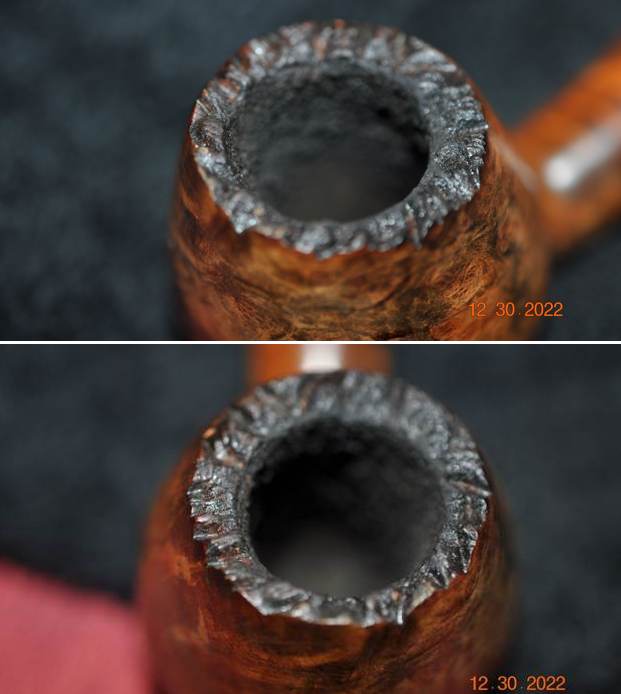
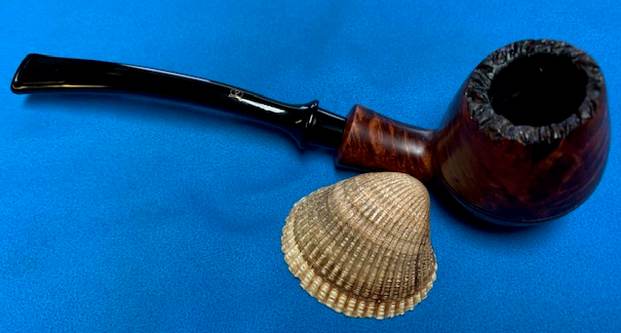
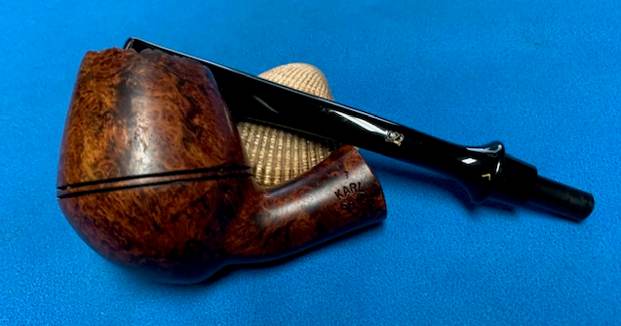
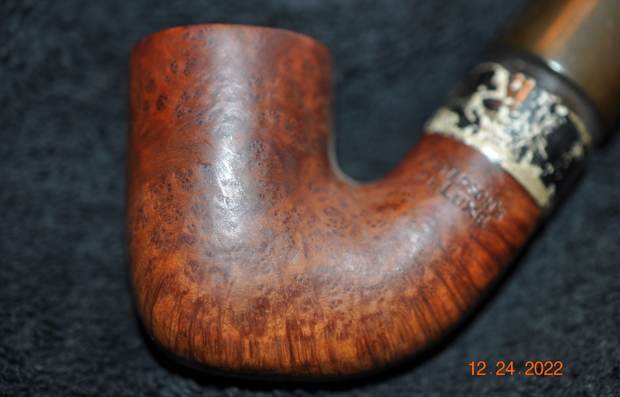
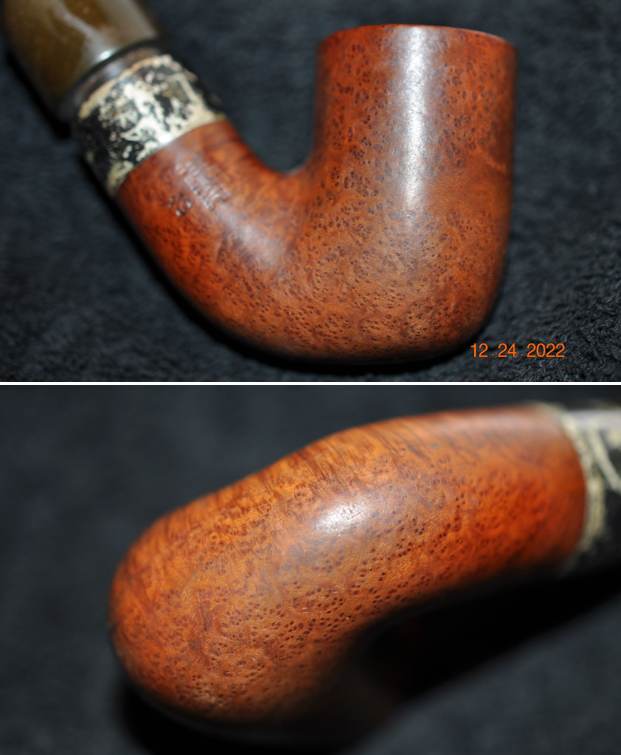
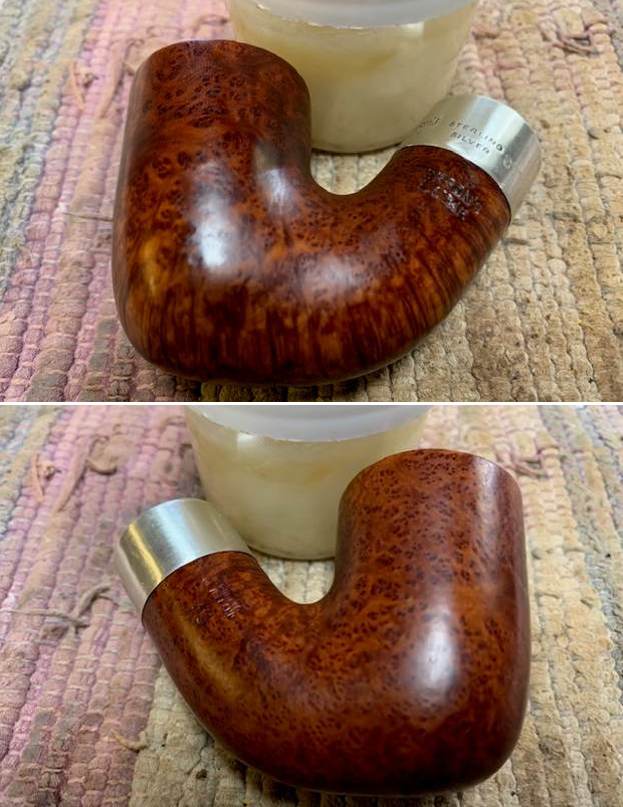
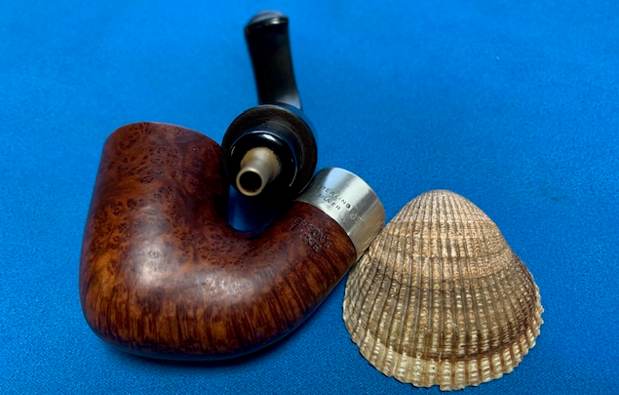
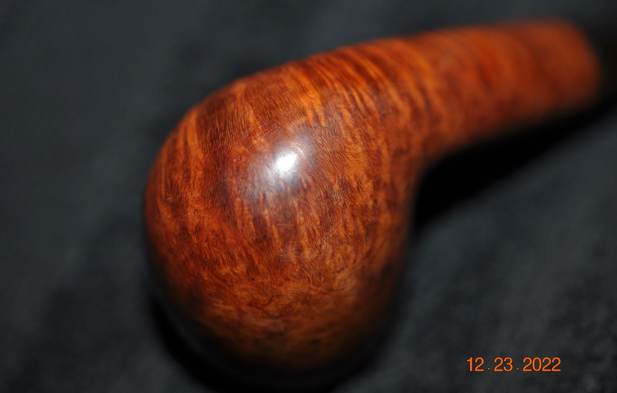
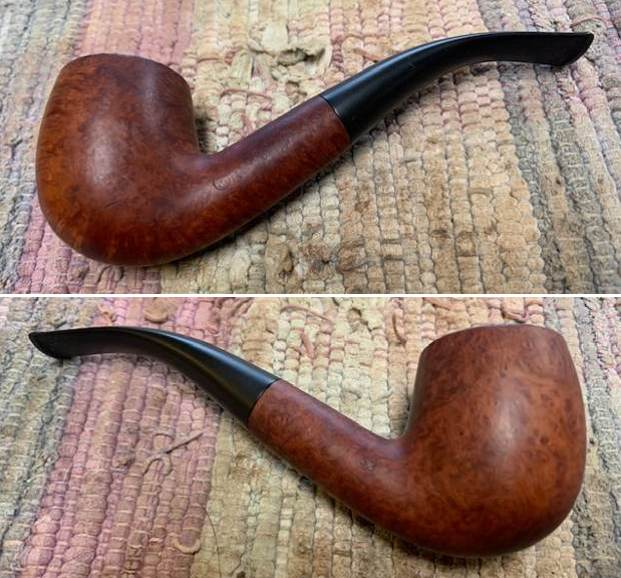
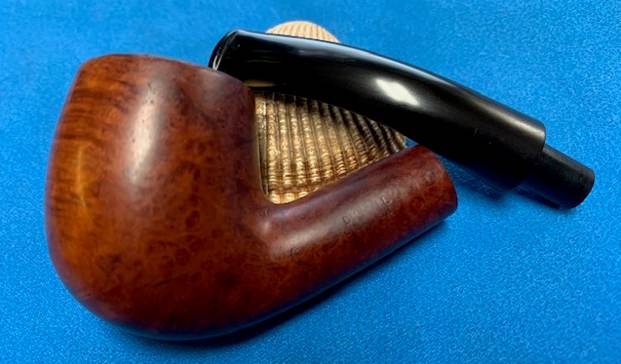
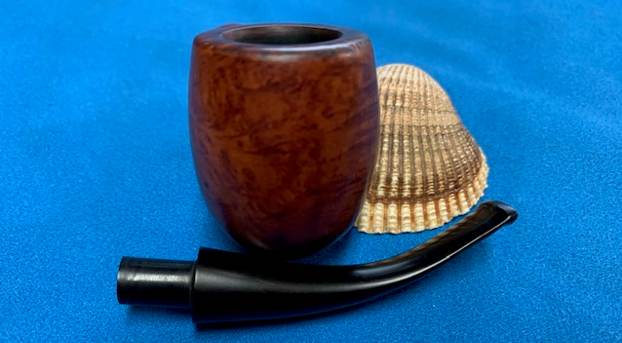
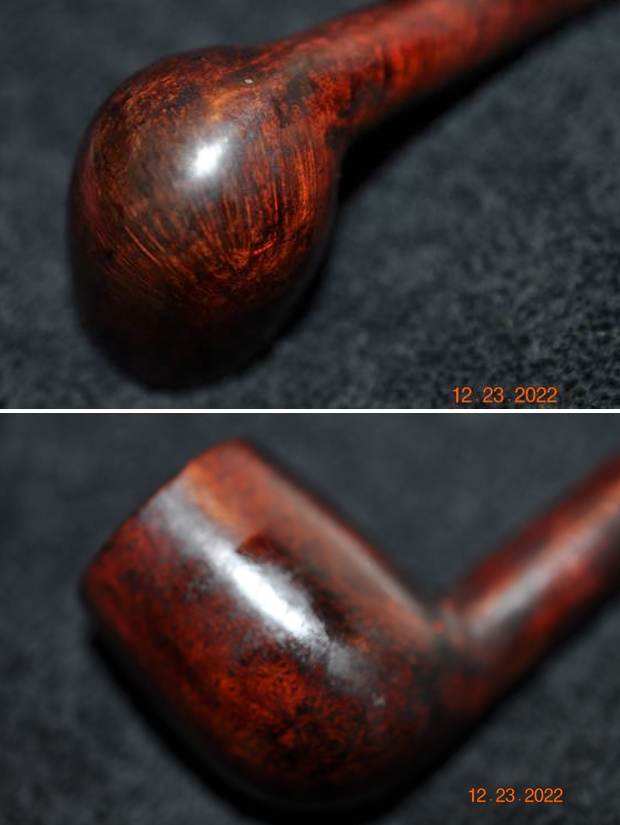
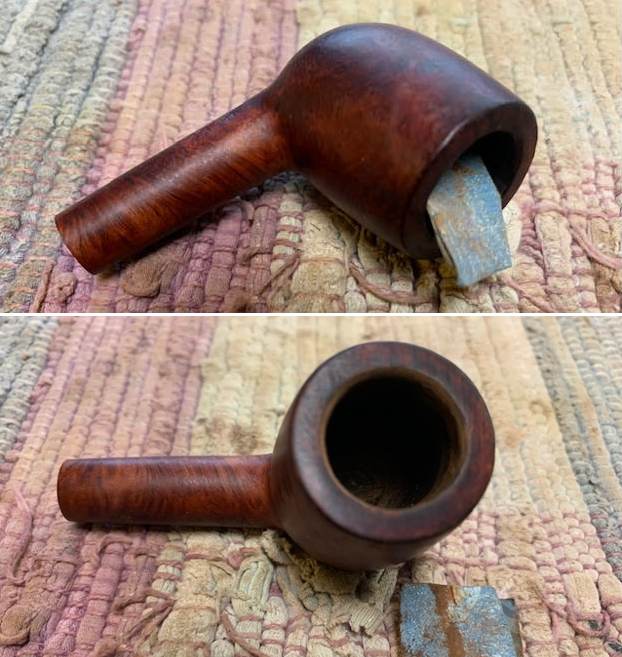
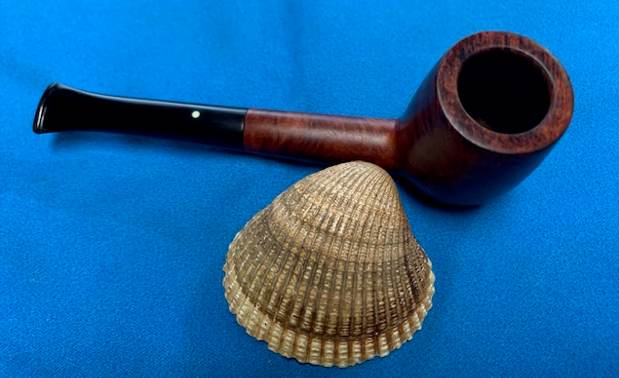
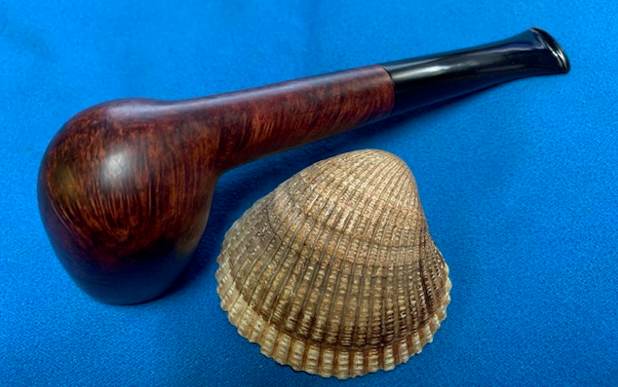
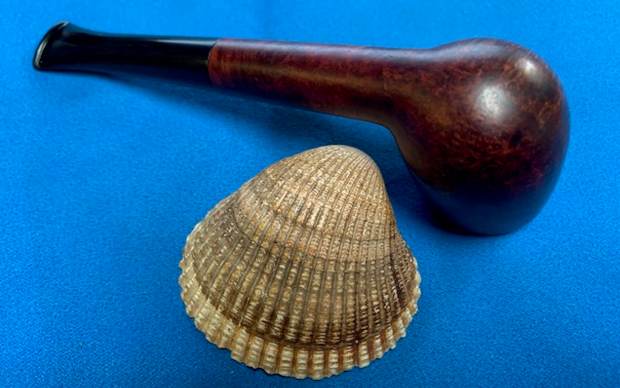
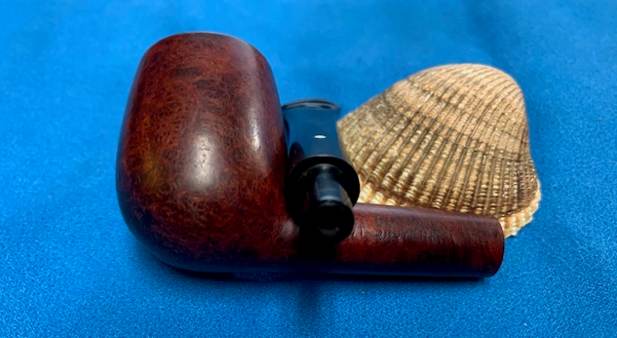
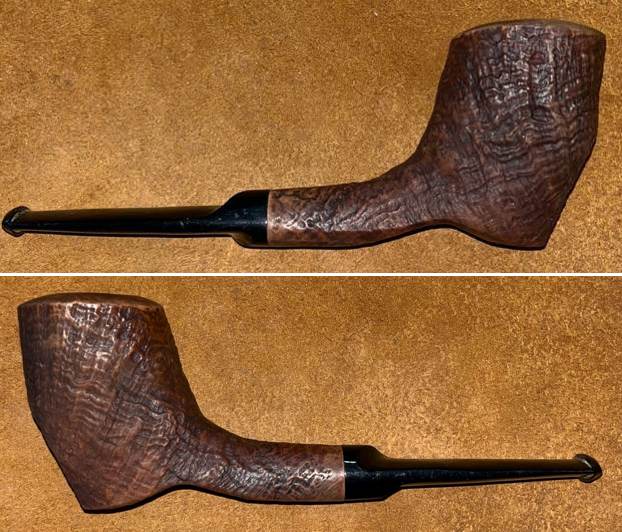
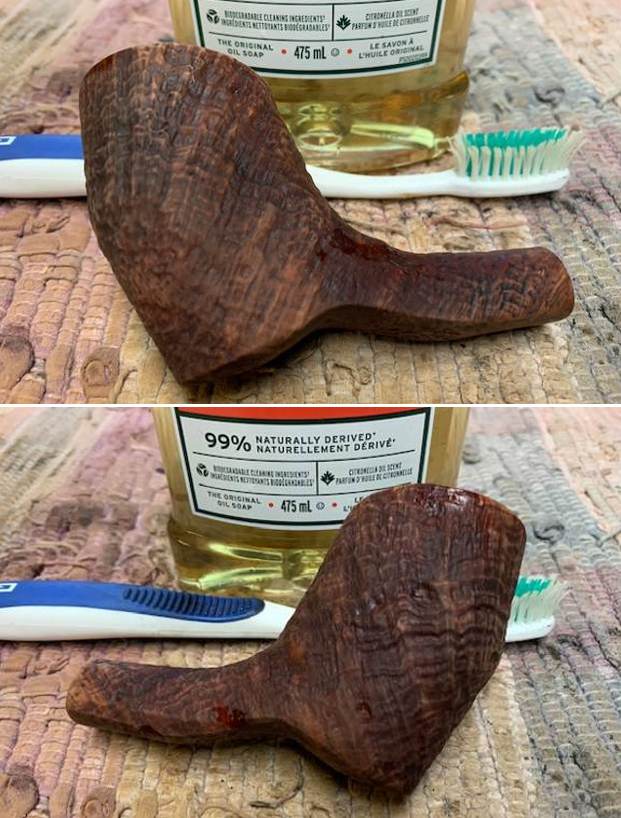
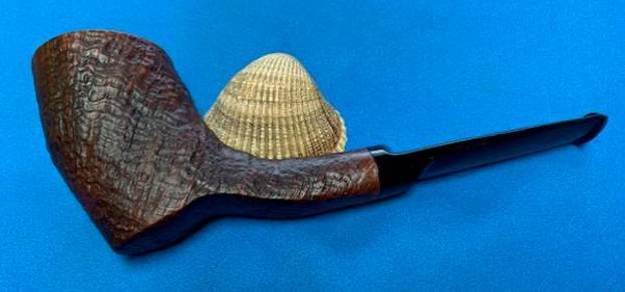
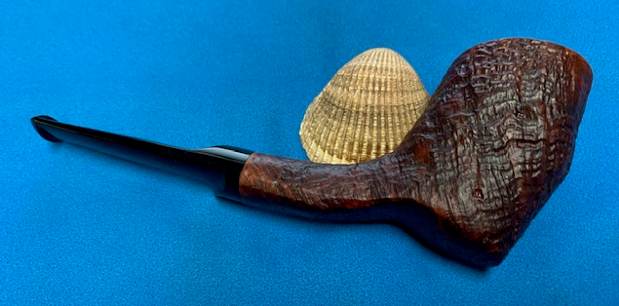
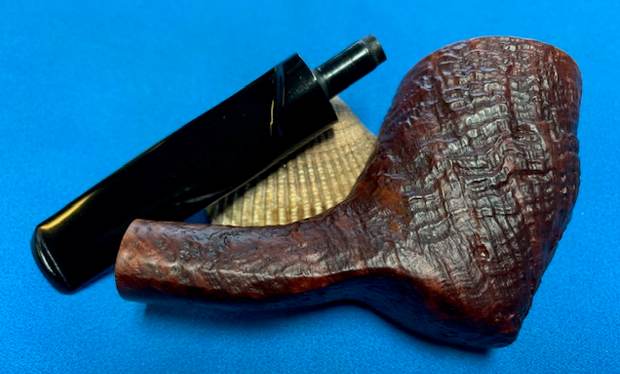
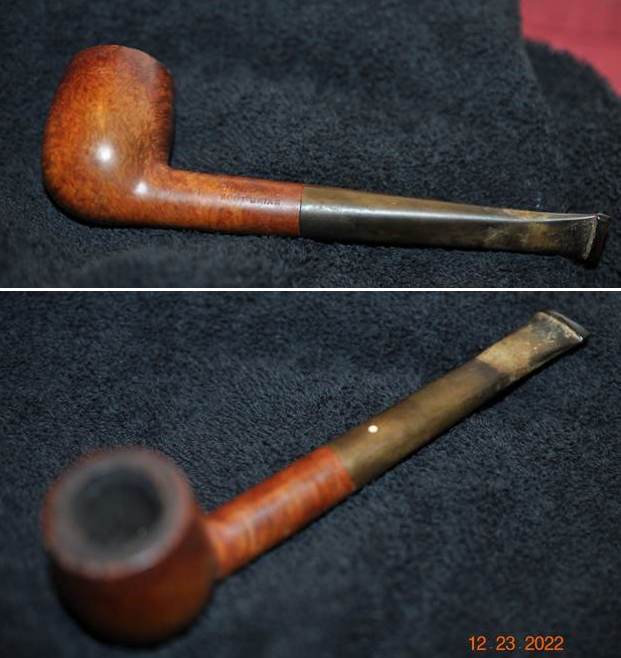
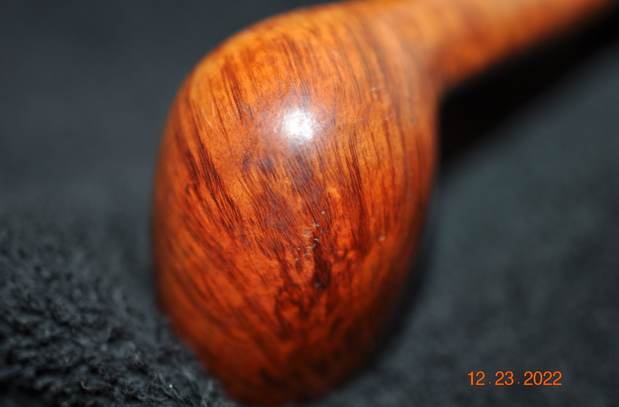
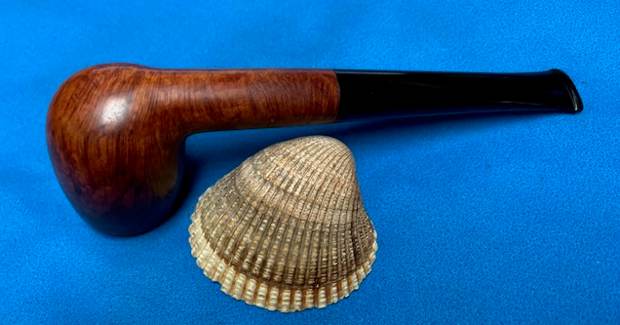
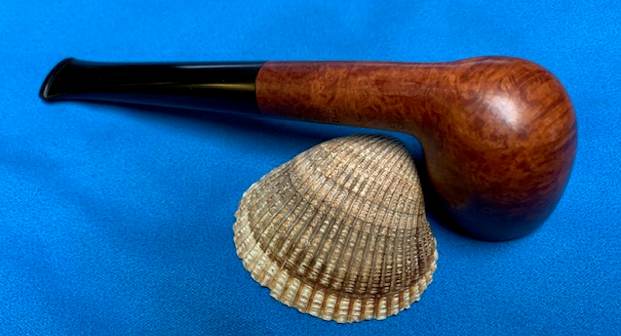
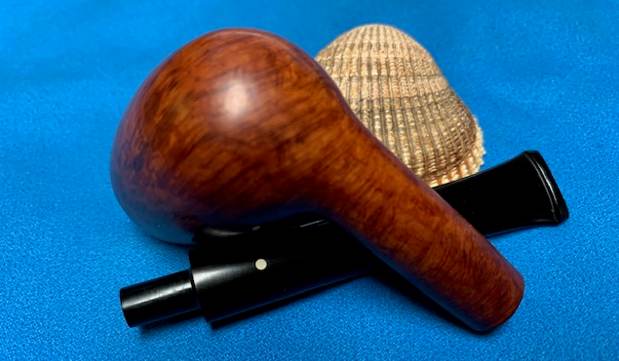
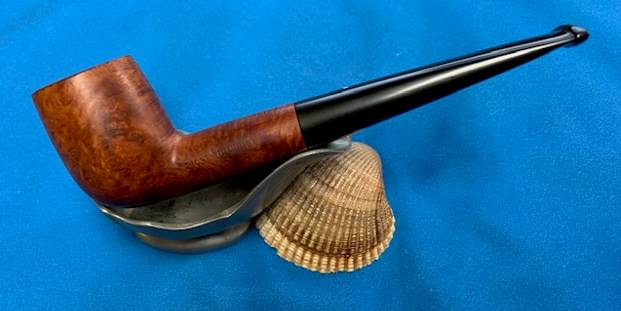
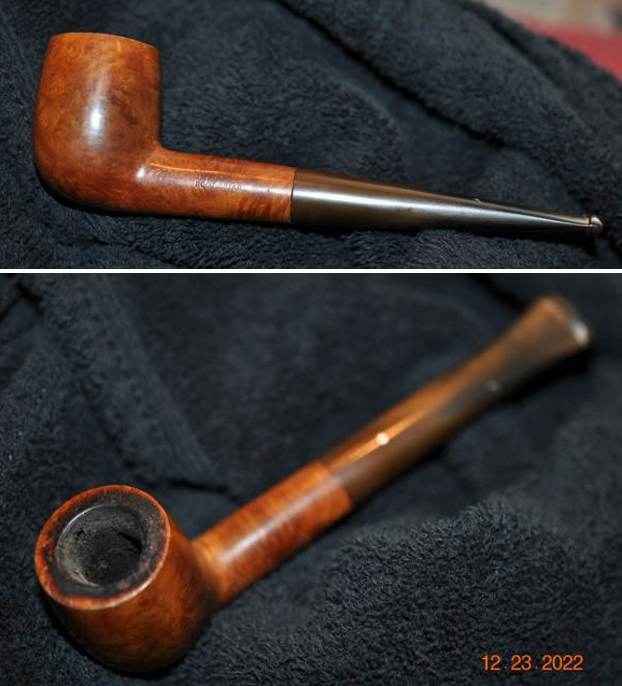
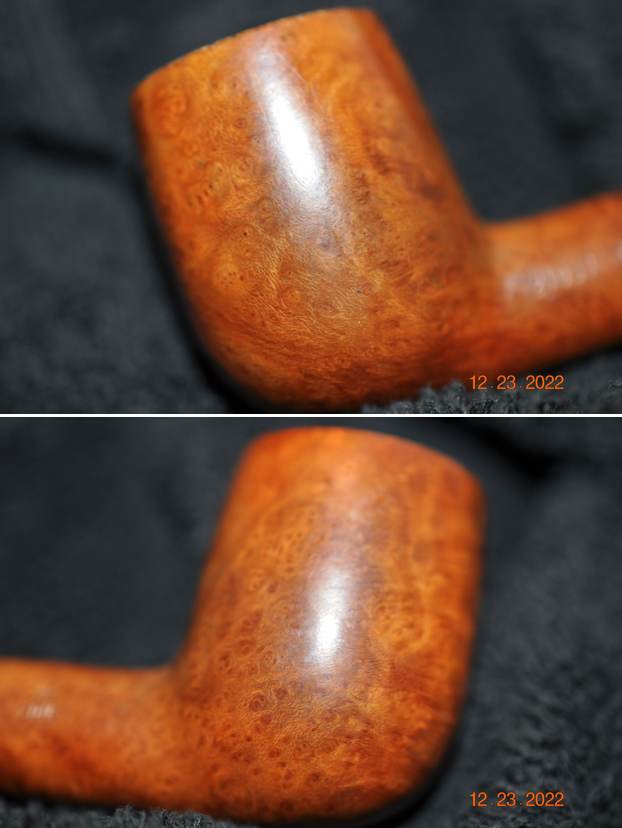
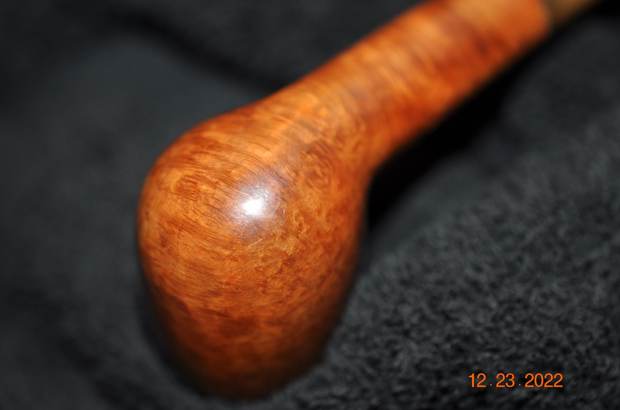
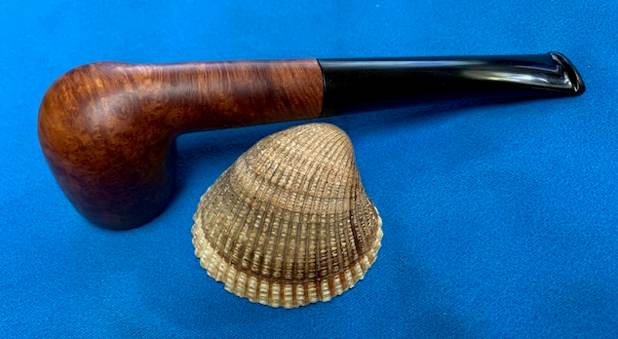
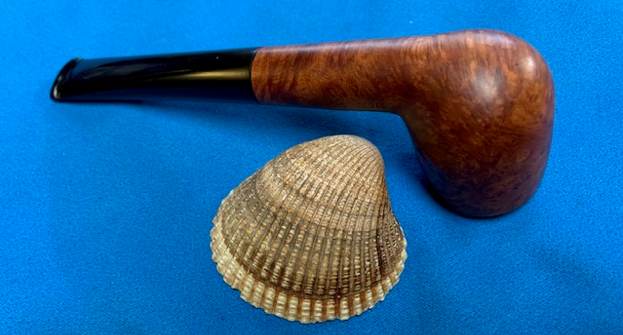
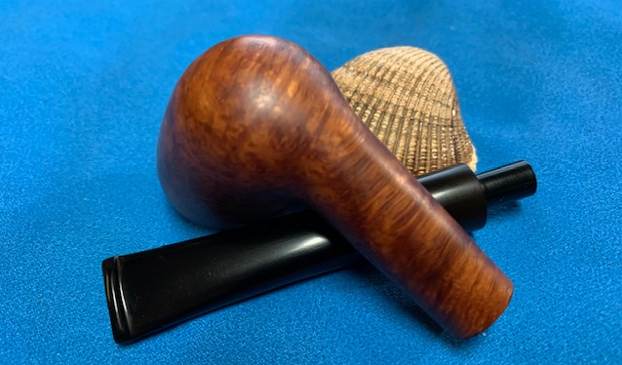
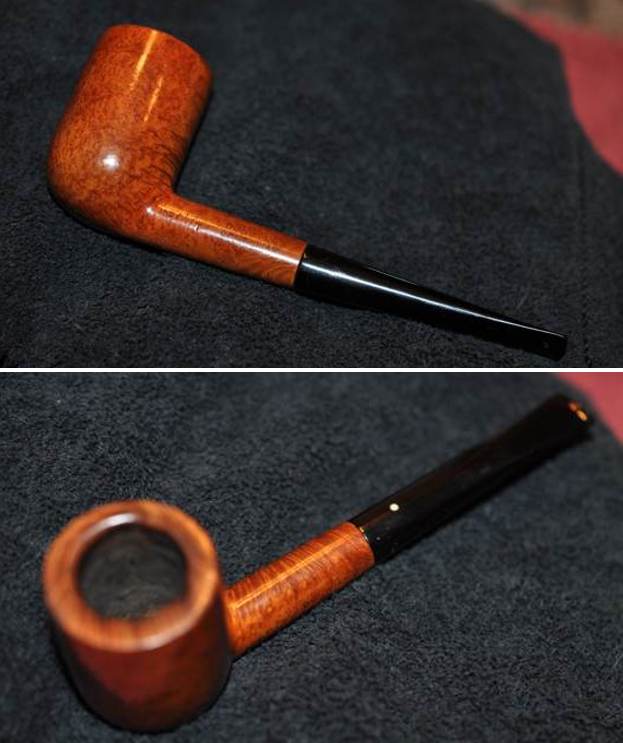
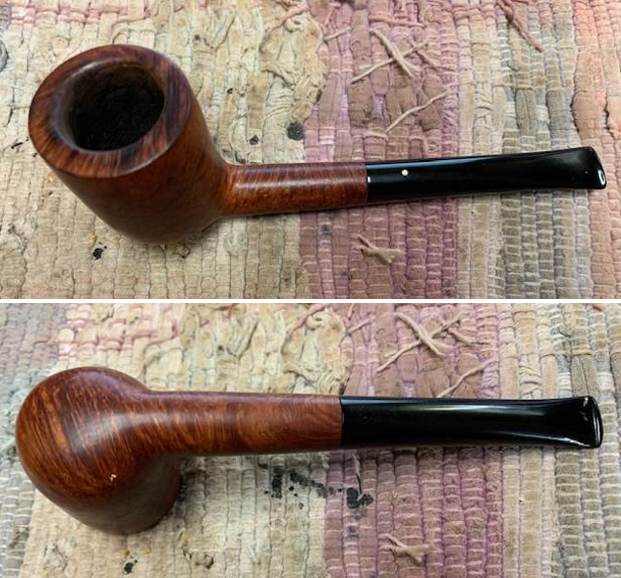
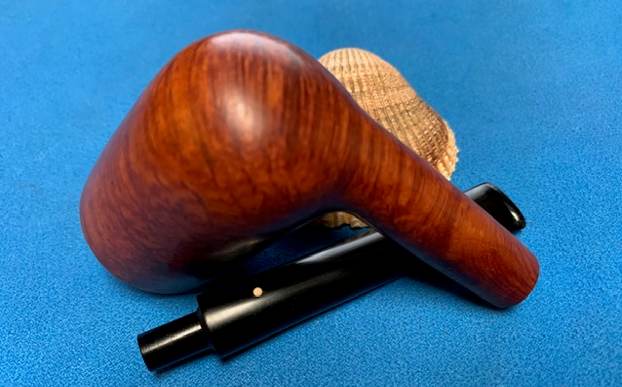
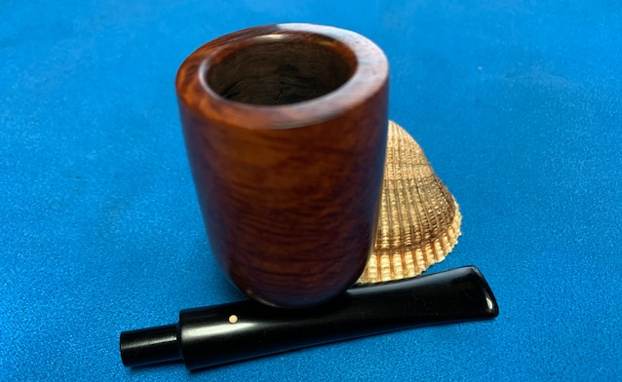
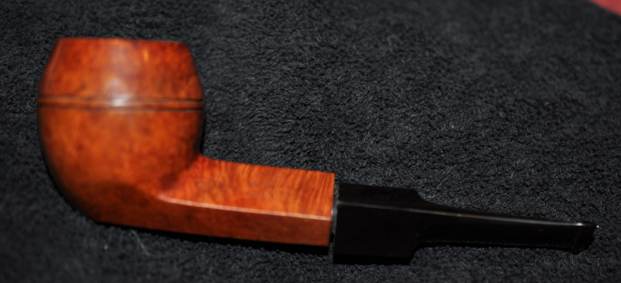
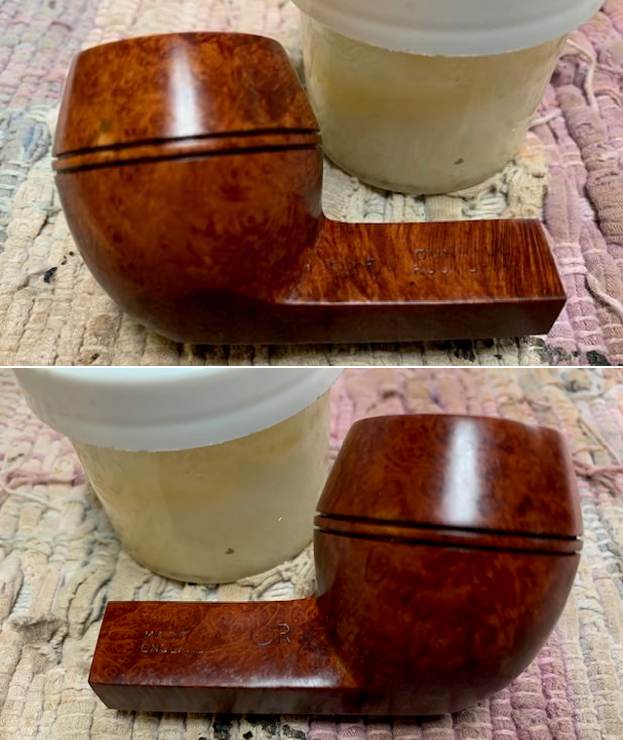
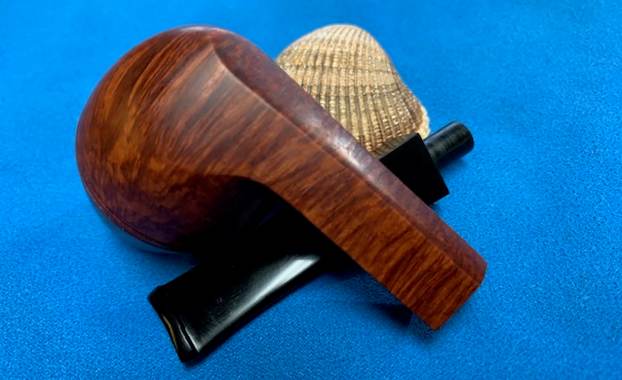
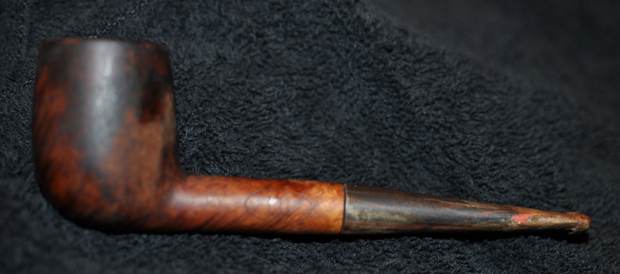
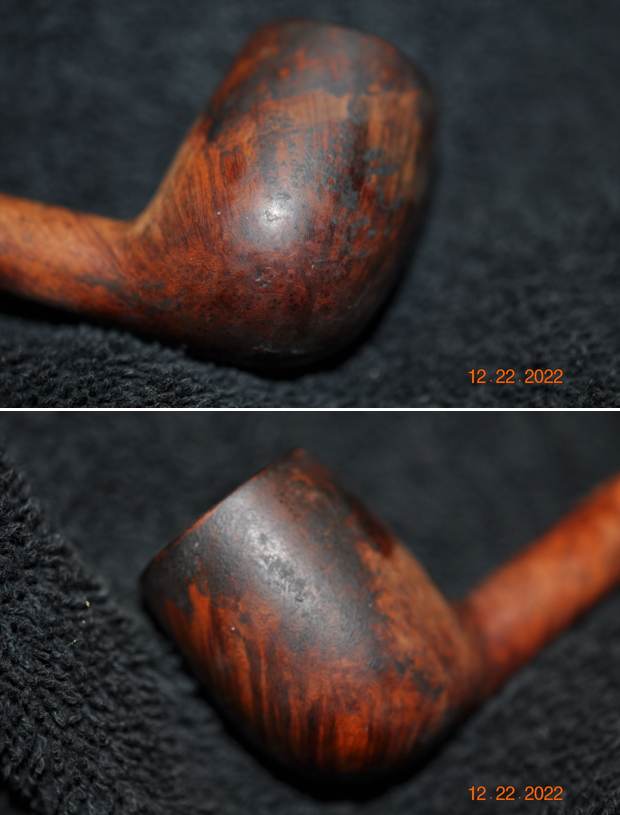
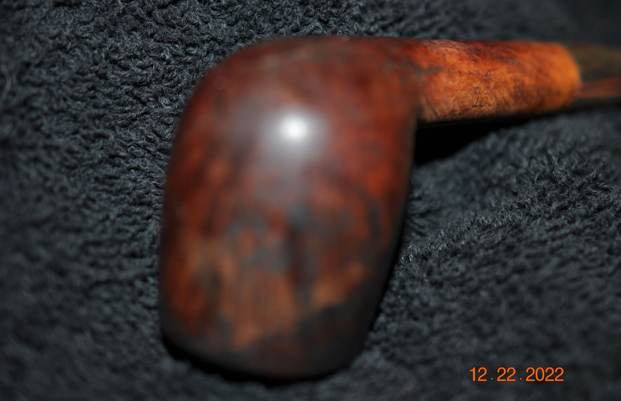
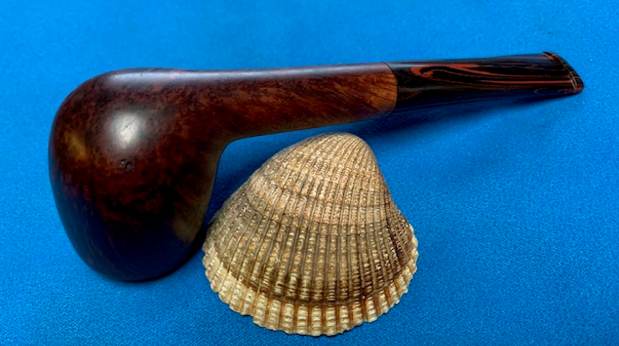
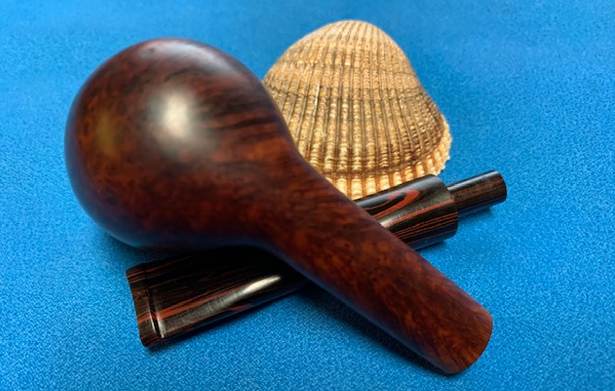
 The photos of the sides and heel of the bowl show the uniquely stained grain around the bowl and shank. The mixture of black and brown stains adds depth finish on the pipe. Even under the grime it is a real beauty.
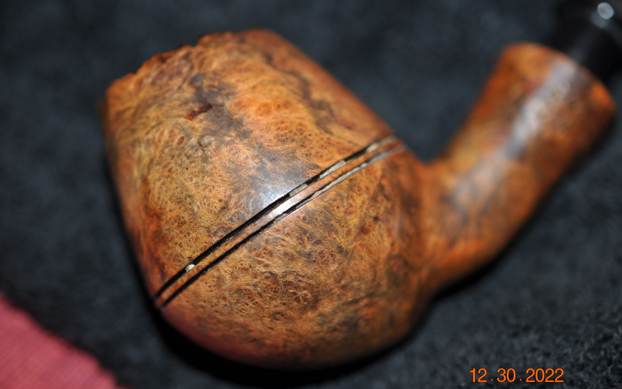
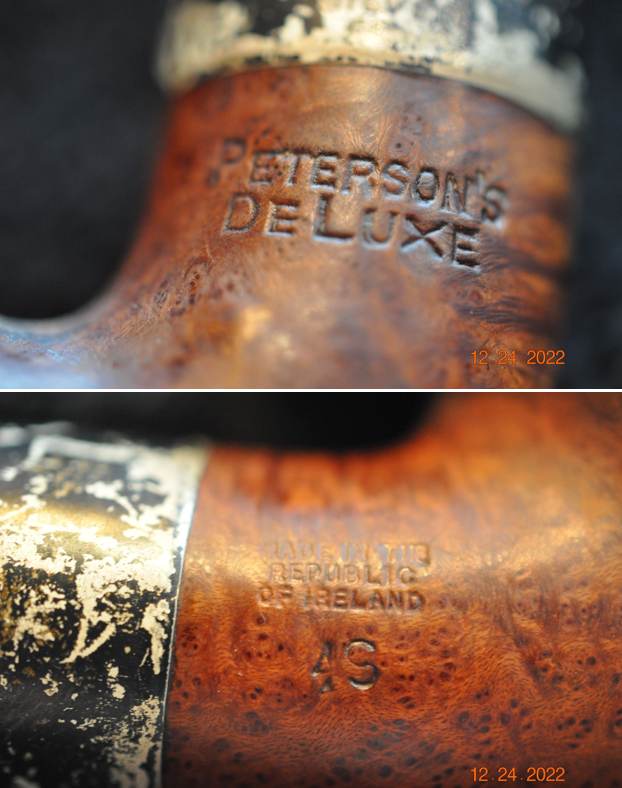
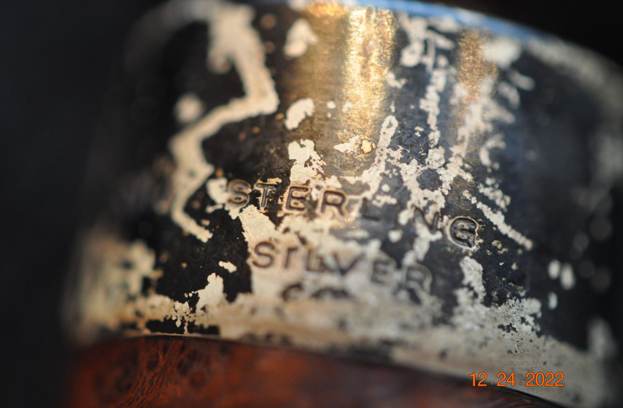
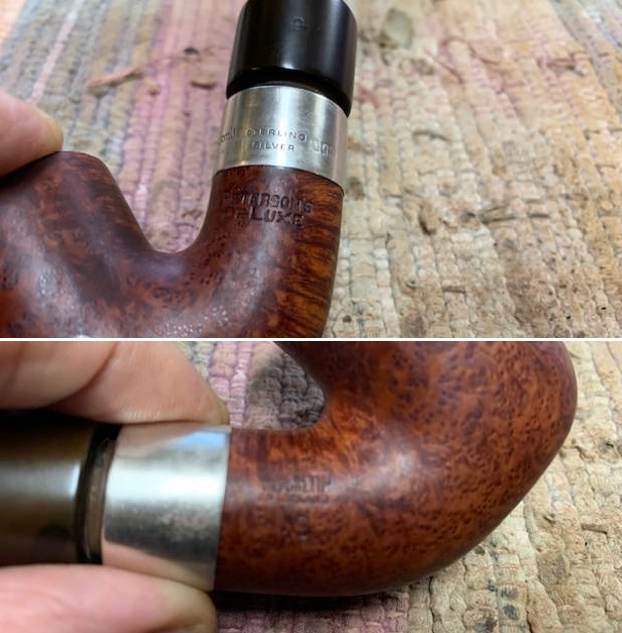
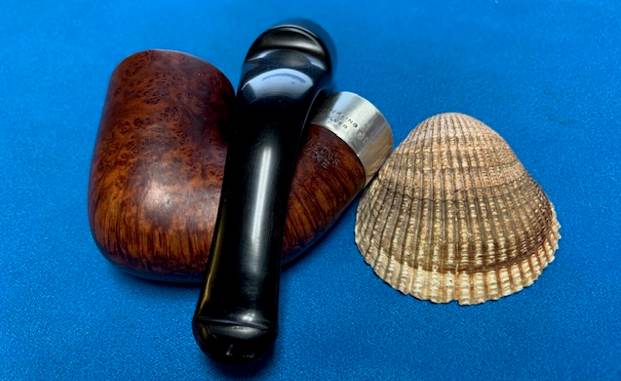
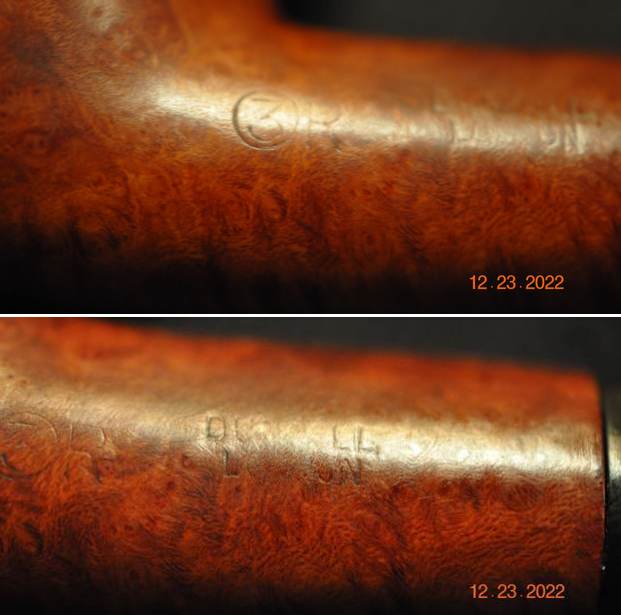
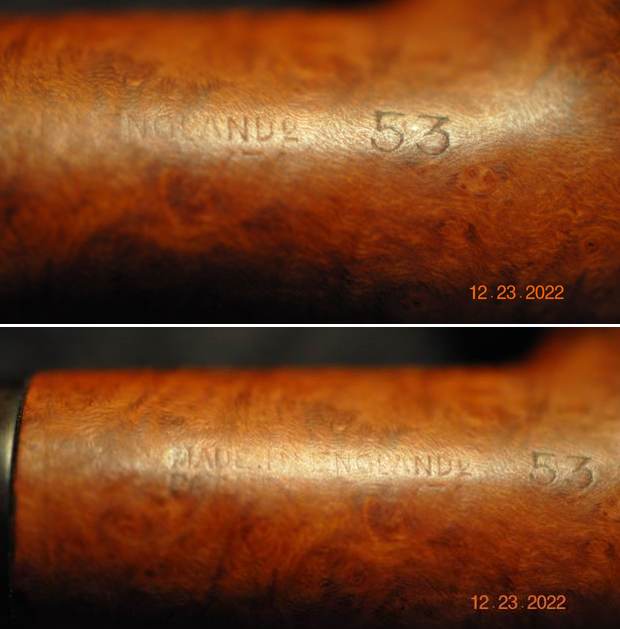
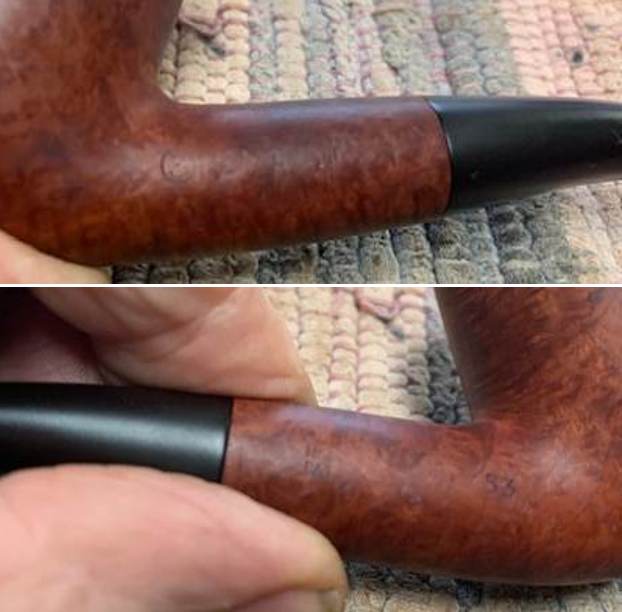
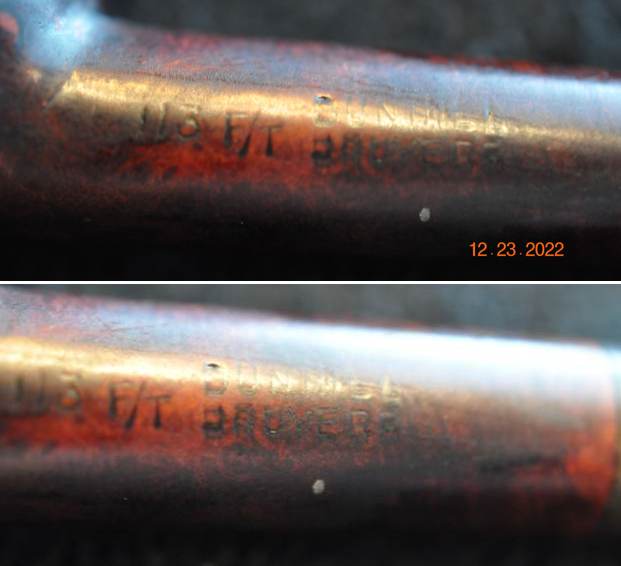
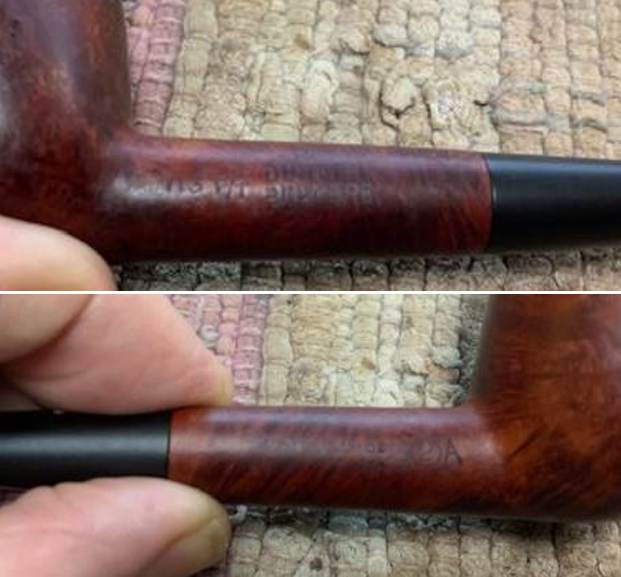
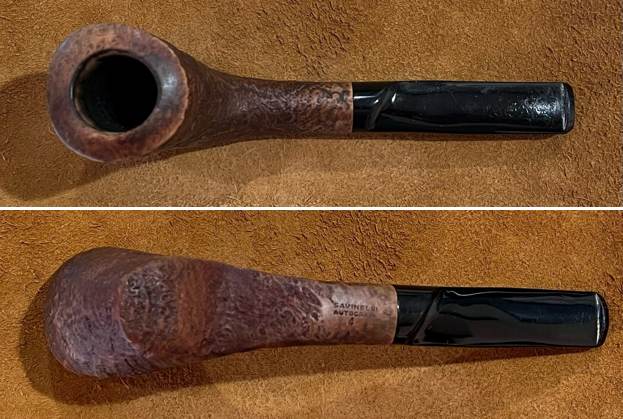
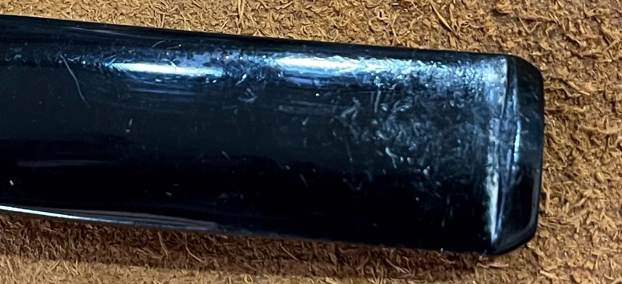
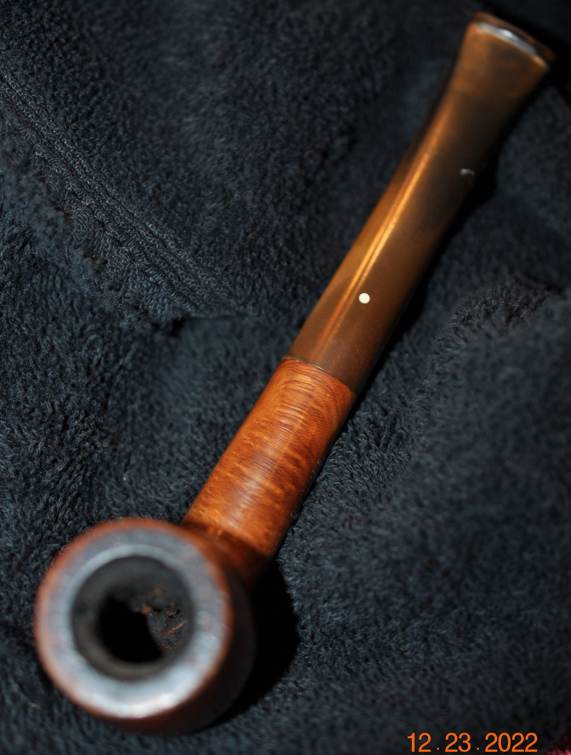
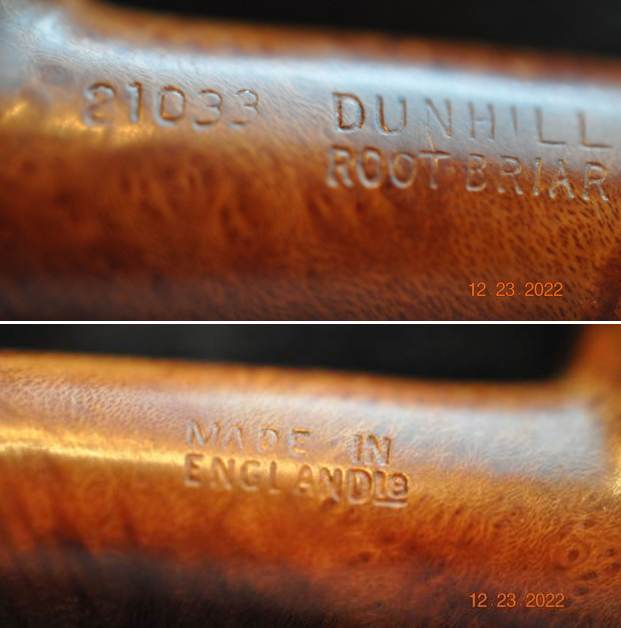
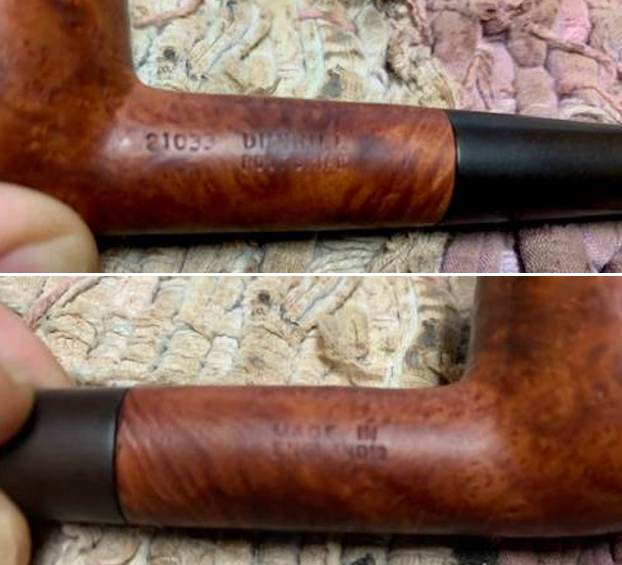
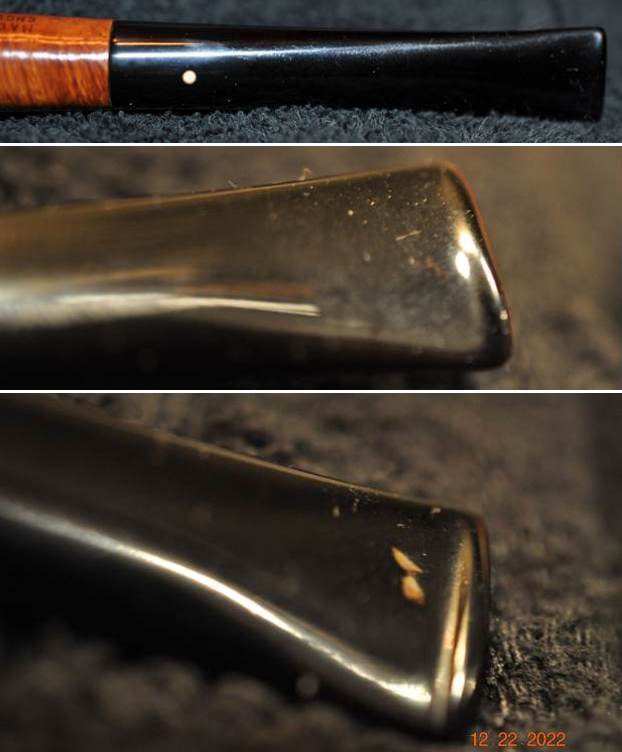
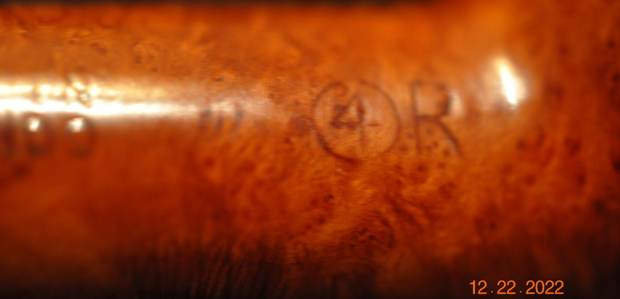
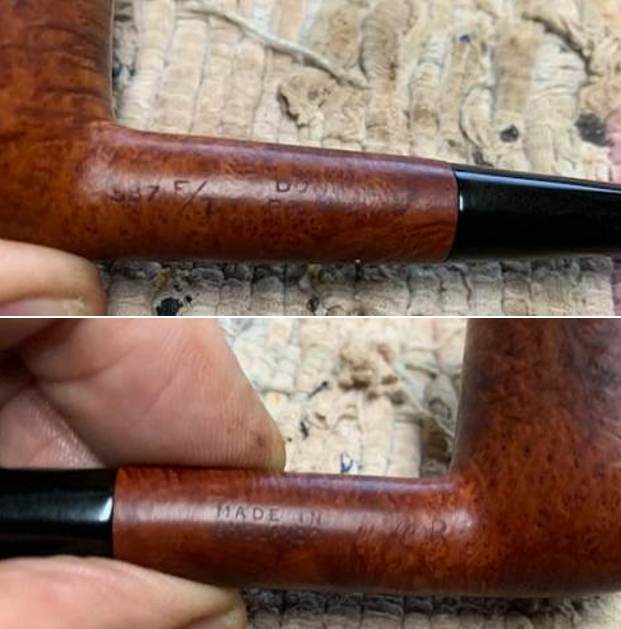
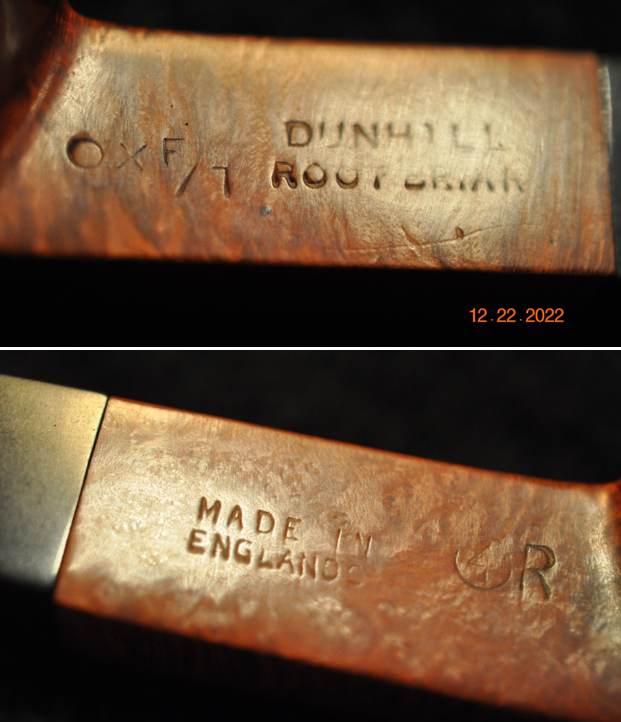
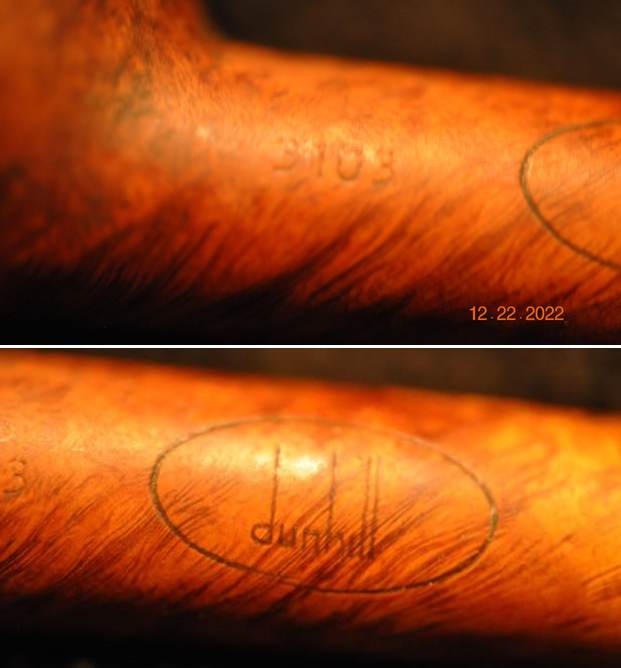
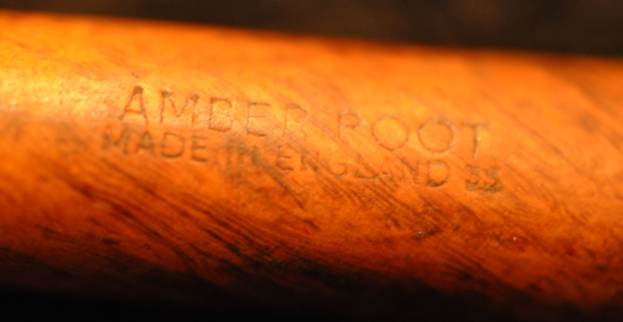
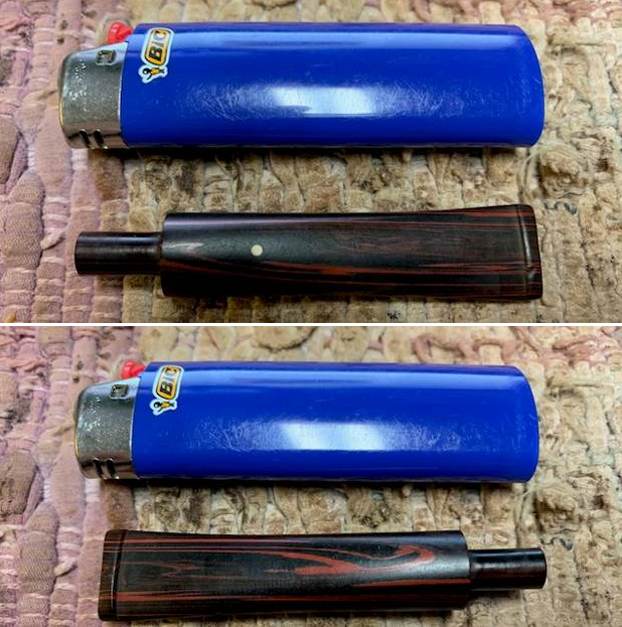
 The stamping on the left side the shank is shown in the photos below. It is clear and readable as noted above. He also took a photo of the fancy E logo on the top of the acrylic stem.
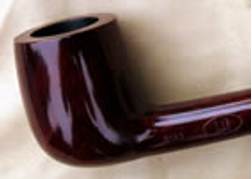
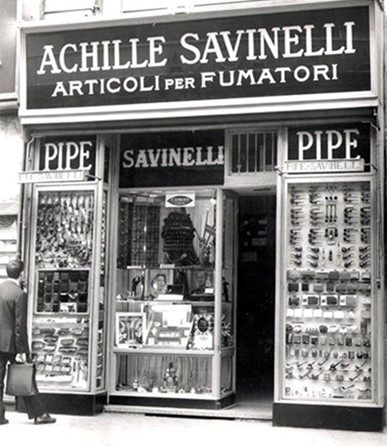
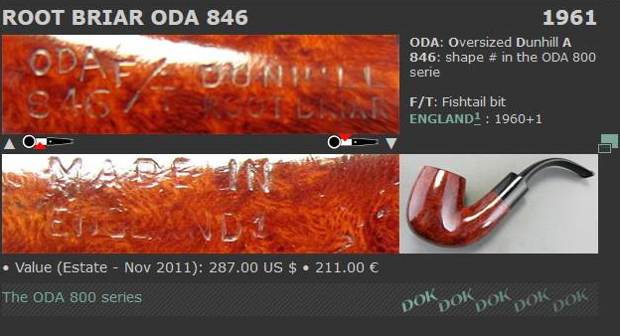
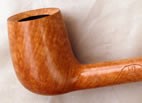
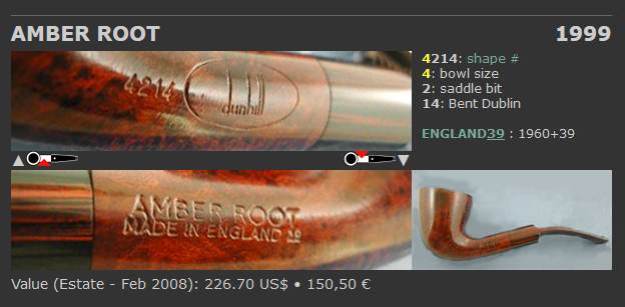
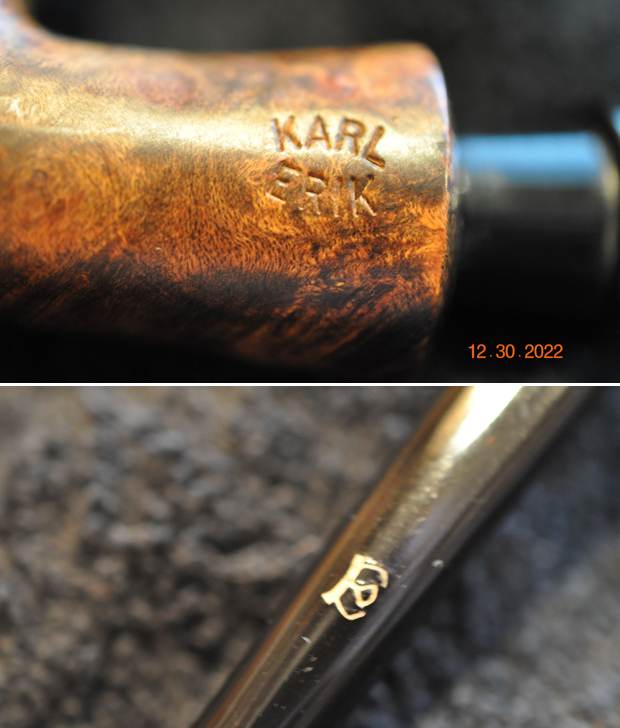 Before I started my work on the pipe I wanted to see if I could find any information that would help me date this pipe and get a sense of the line. I turned to Pipephil to get a quick review of the brand (http://pipephil.eu/logos/en/logo-k1.html). The stamp on the stem shown in the photo below is different than the one I am working on. It includeds a K and an E while this one is just an E stamp. I have included a screen capture of the brand info there as well as a note in the side bar about Karl Erik Ottendahl along with a small picture.
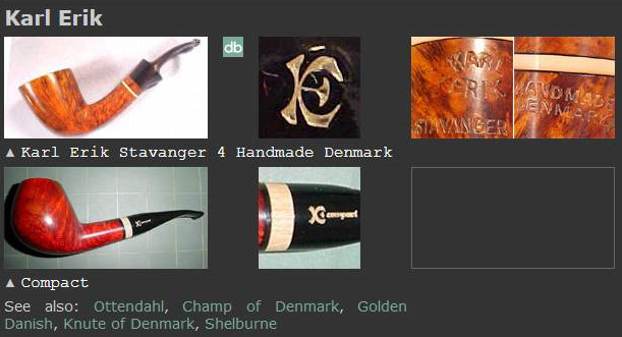
 Brand created in 1965-66 by Karl Erik Ottendahl (1942 – 2004 †). In the best years he employed up to 15 craftsmen among which Bent Nielsen (see Benner) and Peder Christian Jeppesen. Former grading (ascending): from 4 to 1, and “Ekstravagant” (entirely hand made)
I then turned to Pipedia (https://pipedia.org/wiki/Karl_Erik) for more information. I am including just the opening remarks but would encourage you to give the link a read for a very interesting history of the brand. I quote:
Karl Erik Ottendahl (1942 – 2004) was born in Aalborg (Jutland), just a few miles from the very northernmost tip of Denmark. He began smoking a pipe when he was 14 and upon leaving school he started an apprenticeship in the craft as a lithographer at the age of 16.
While working as an apprentice he began hand carving pipes as a hobby. Many were given as gifts to his more senior colleagues. Upon completion of his apprenticeship he moved to Nairobi, Kenya to work as a lithographer during the 1962 war. While in that war torn country, he was unable to procure pipes for himself. In the face of such a predicament, he chose to continue to make pipes for his own use rather than go without.
Returning to Denmark after three years he couldn’t find a well paid occupation in his job, and so he began making a few pipes on the side to boost his income choosing his prenames “Karl Erik” – logo “KE” – for his label. When he managed to find some major Copenhagen pipe stores willing to sell his pieces his reputation grew little by little and he was finally able to purchase more and better machinery and began working full time as a pipe maker.
With that information in hand I knew what I was dealing with in terms of the stamping and the age of this pipe. I knew from the information that the pipe was made sometime between 1965 and 2004. Now it was time to work on the pipe.
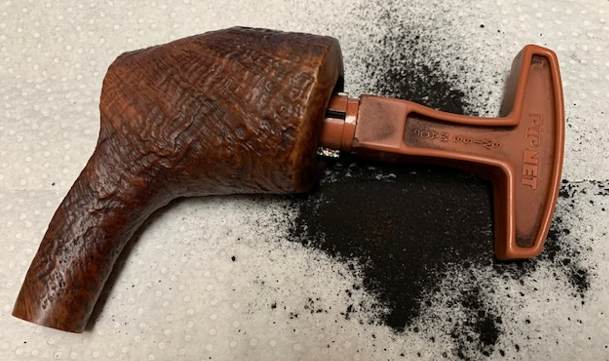
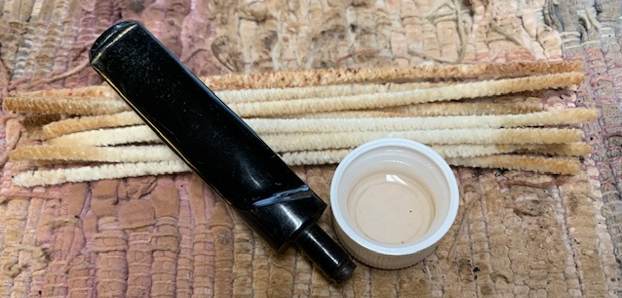
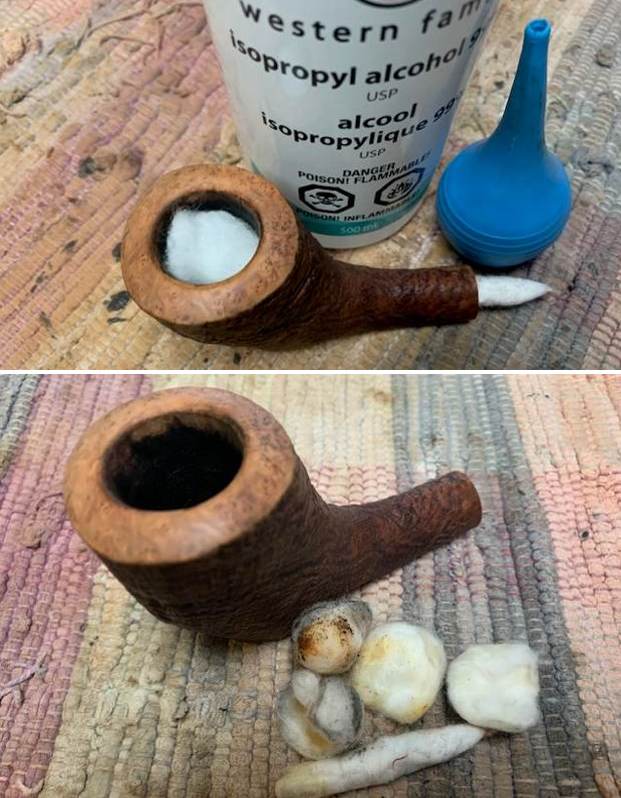
Jeff had thoroughly cleaned up the pipe. He reamed the pipe with a PipNet Pipe Reamer and cleaned up the remnants with a Savinelli Fitsall Pipe Knife. He scrubbed the bowl with undiluted Murphy’s Oil Soap with a tooth brush. He rinsed it under running warm water to remove the soap and grime. He cleaned out the inside of the sump in the shank and the airway in the stem with alcohol, cotton swabs and pipe cleaners. He scrubbed the exterior of the stem with Soft Scrub to remove as much of the oxidation and calcification as possible. He soaked the stem in Before & After Deoxidizer and rinsed it off with warm water. 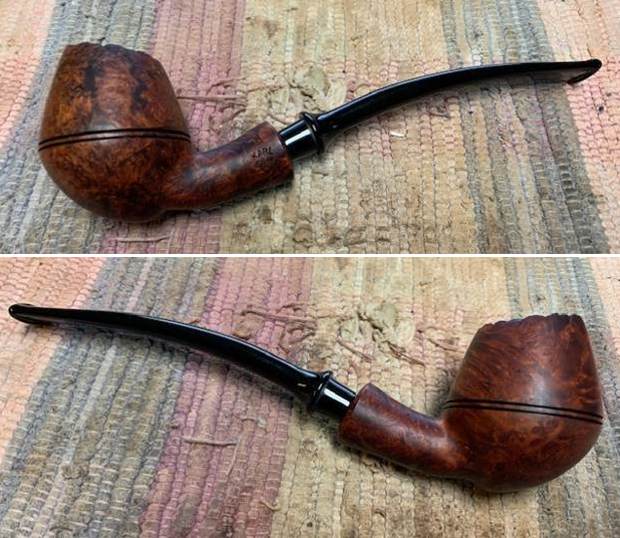
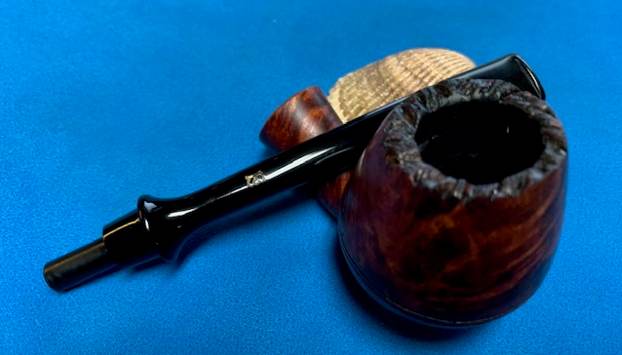
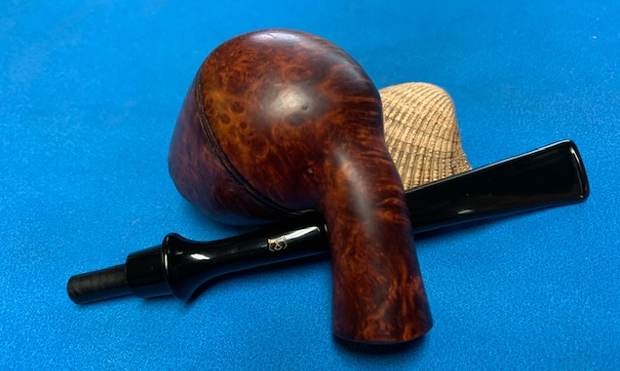
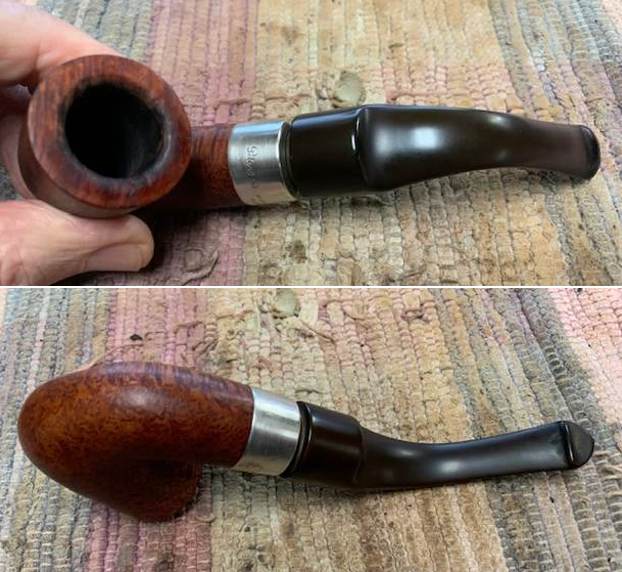
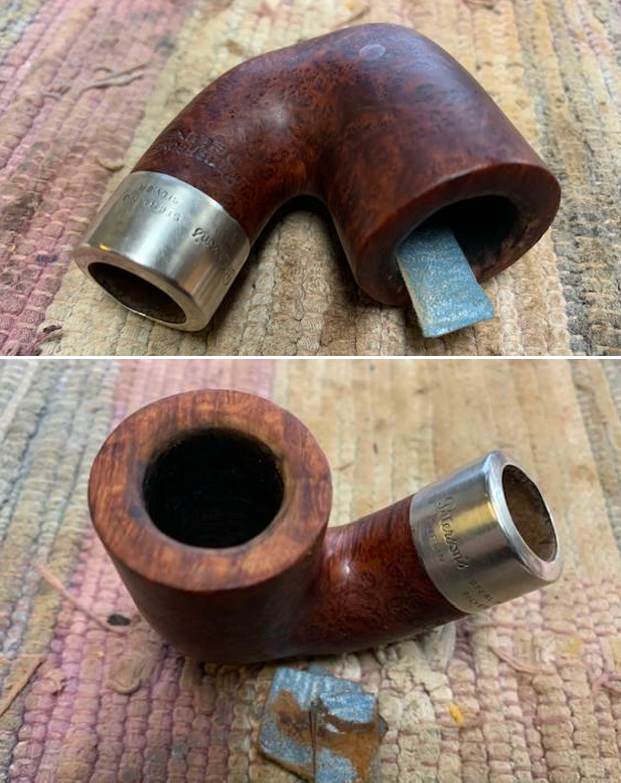
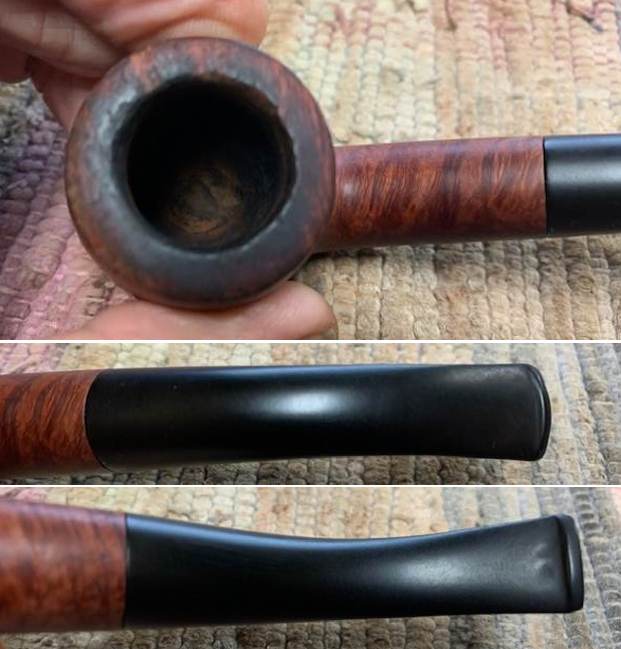
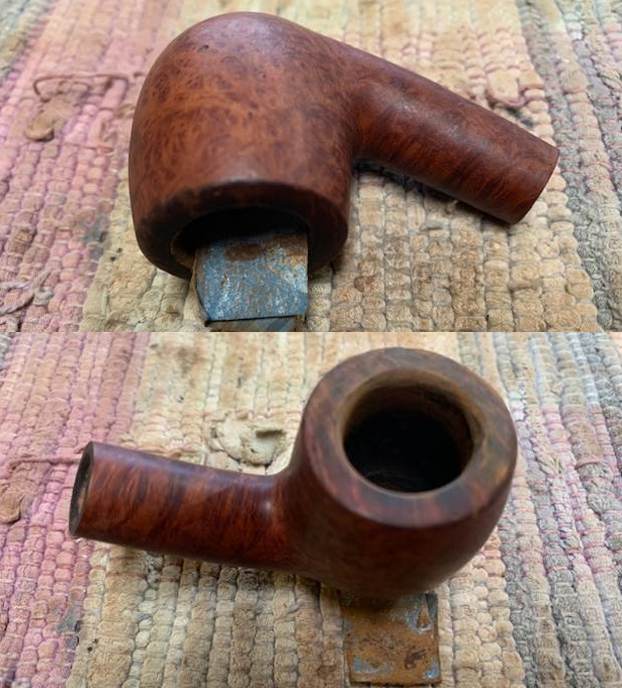
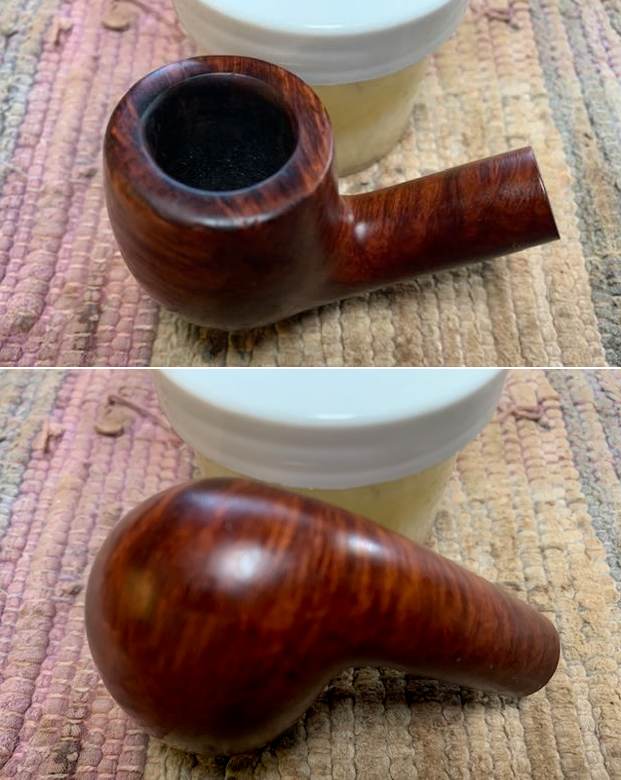
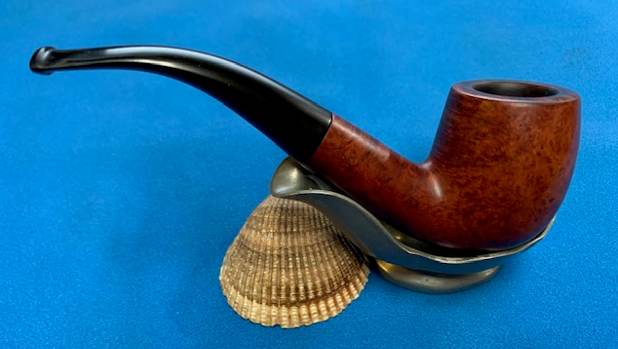
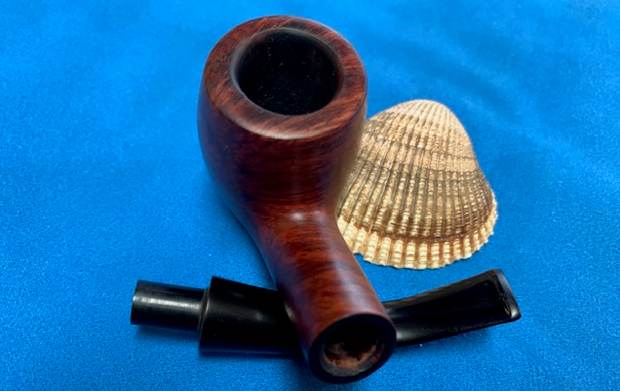
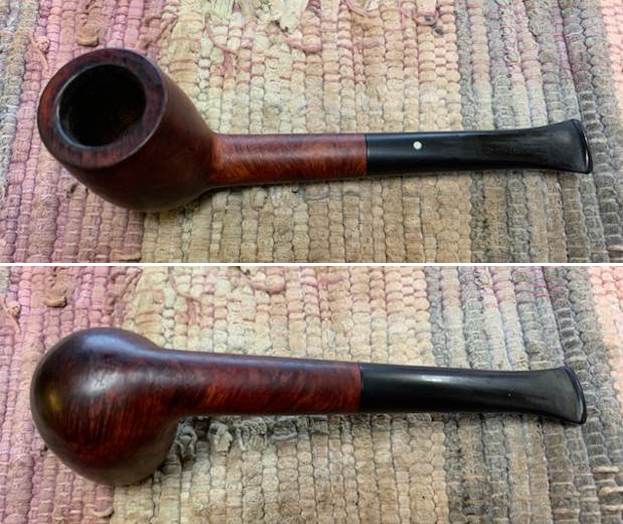
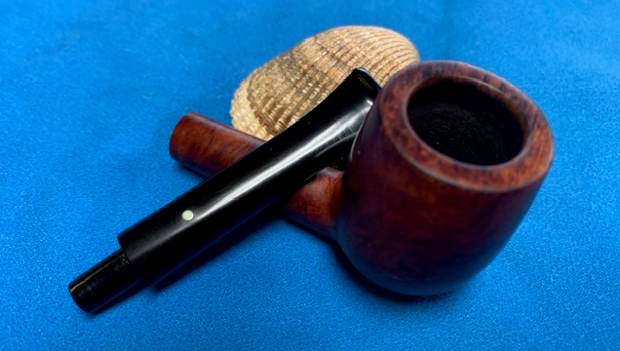
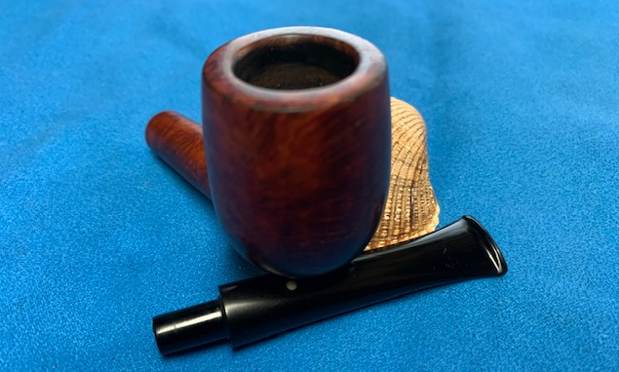
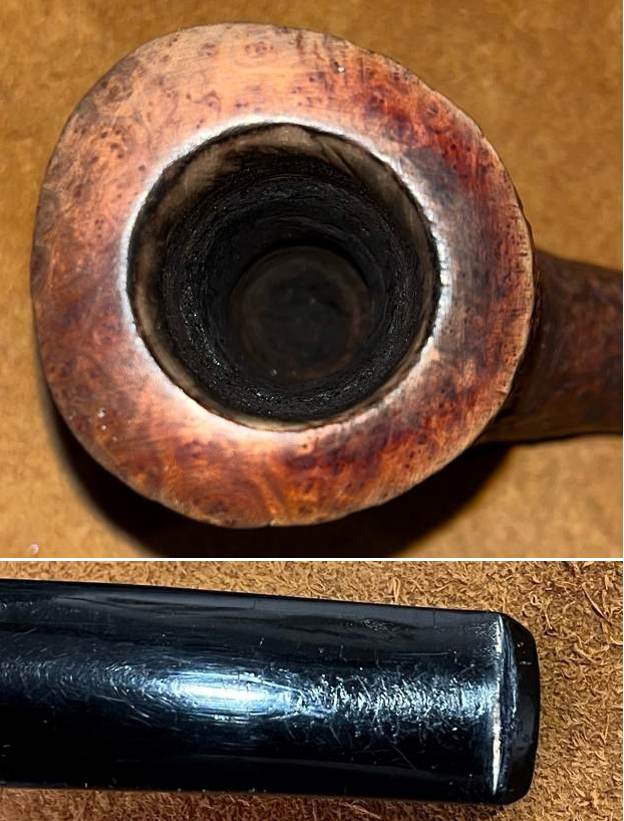
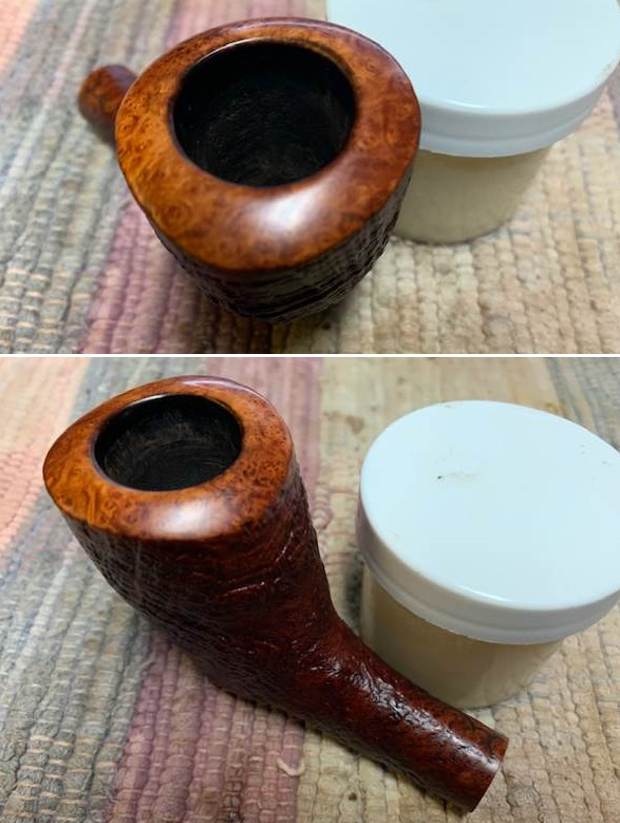
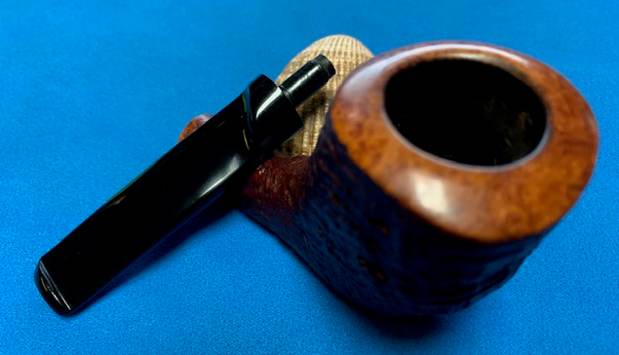
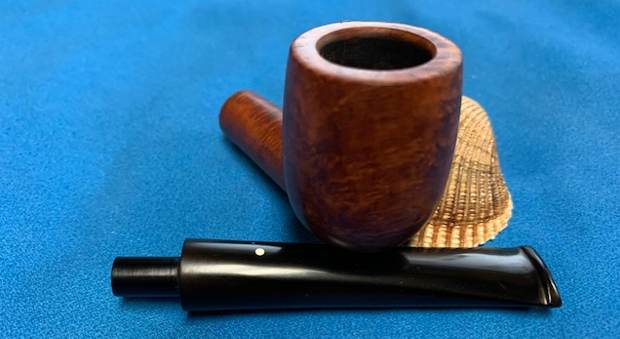
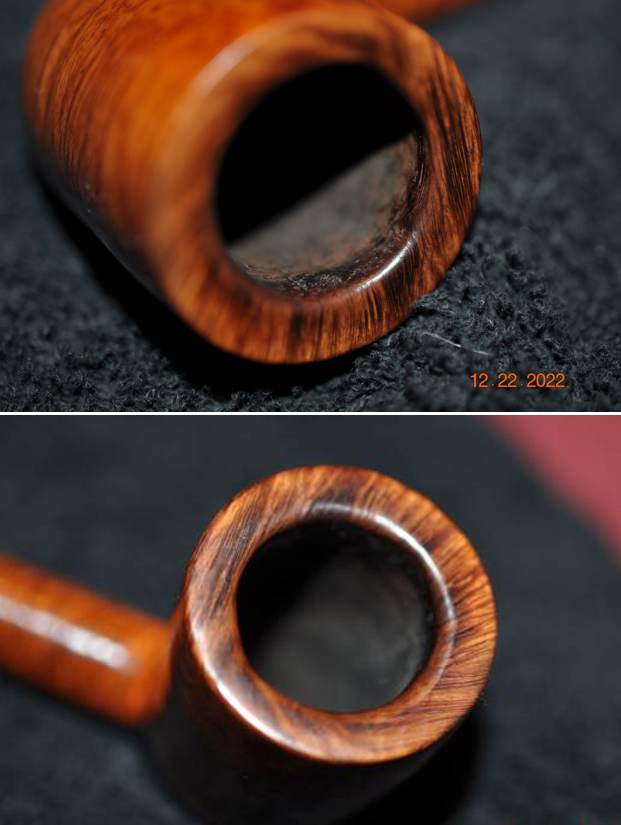
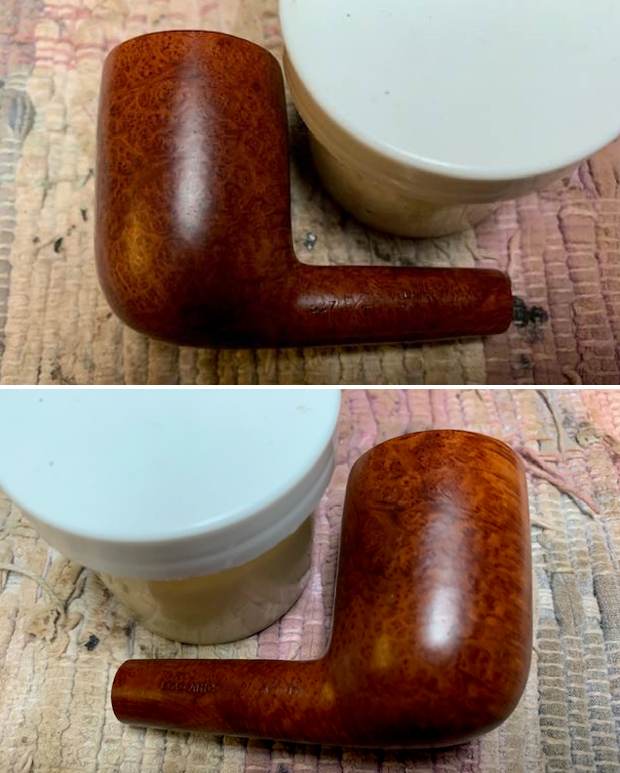
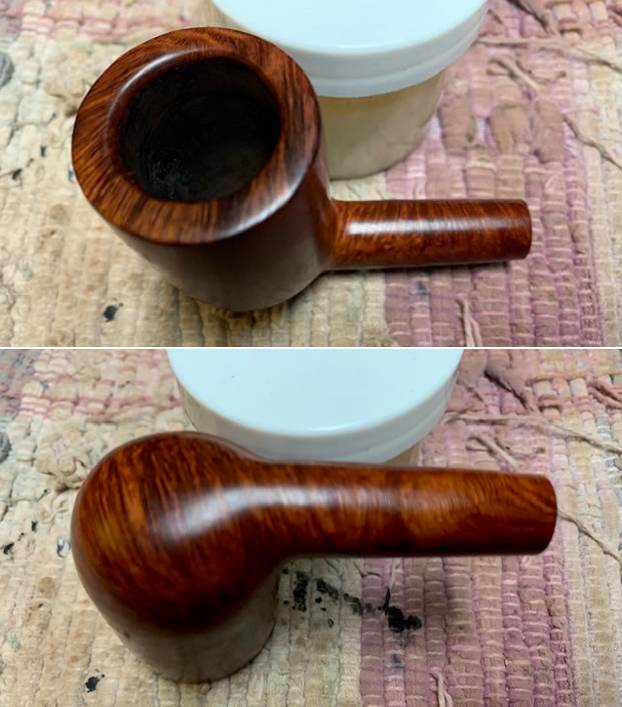
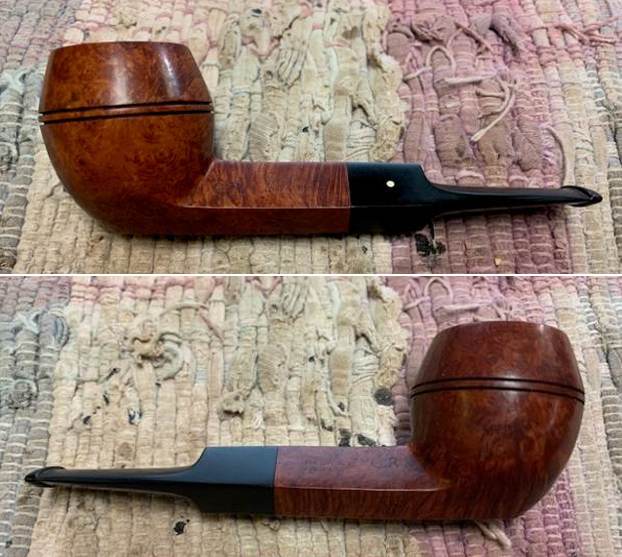
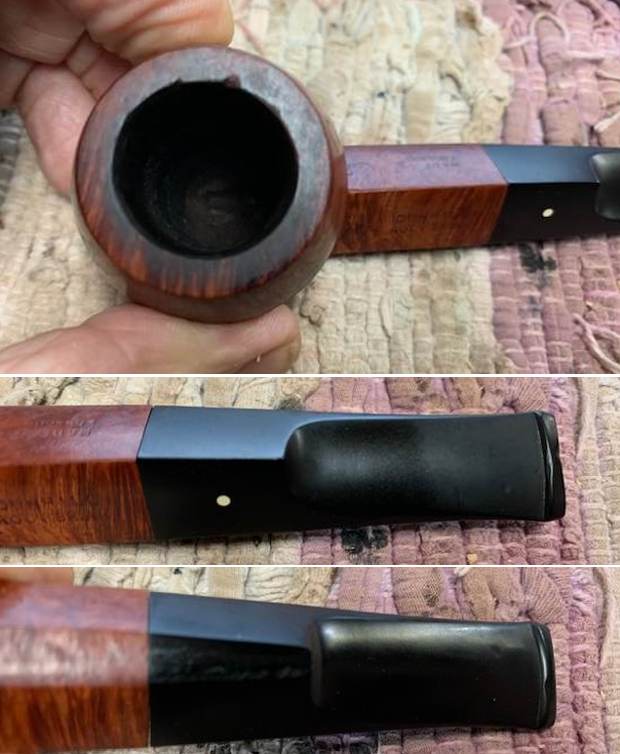
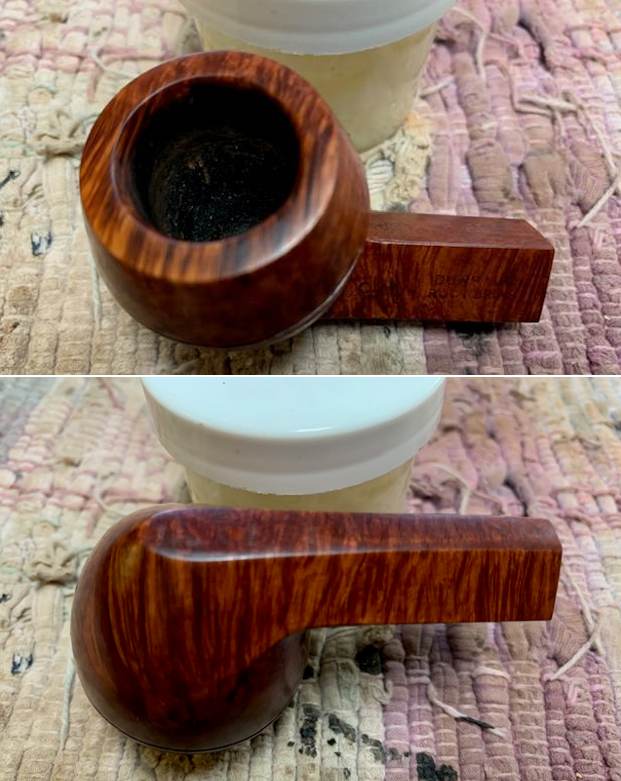
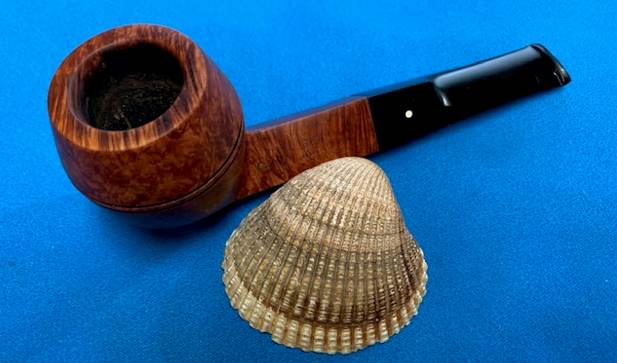
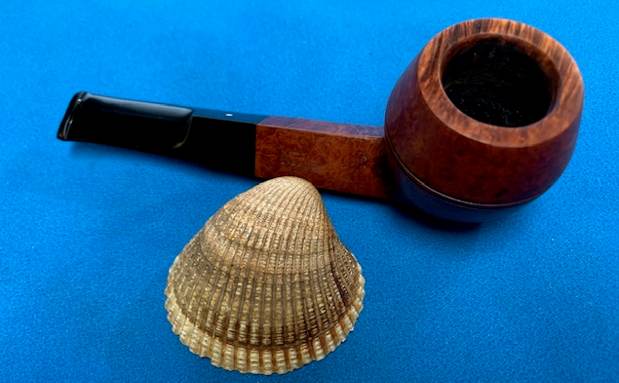
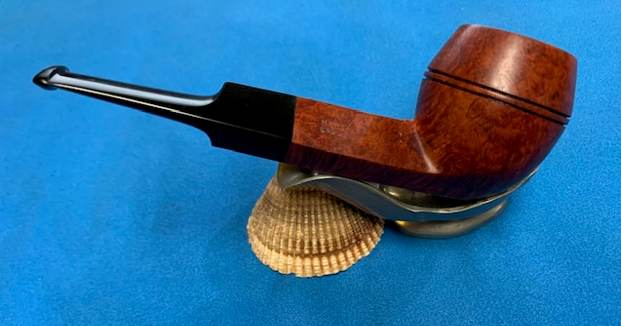
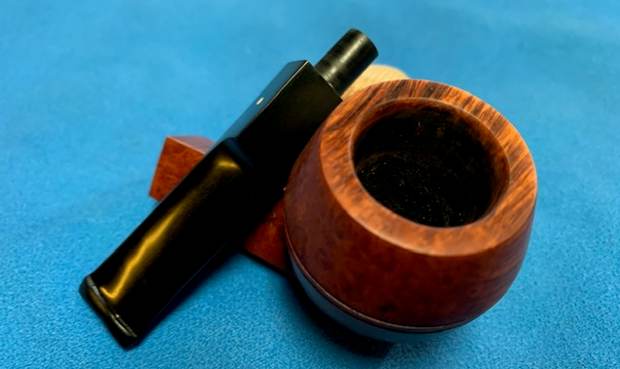
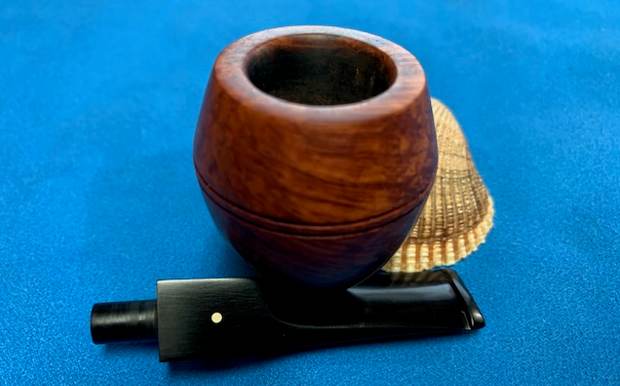
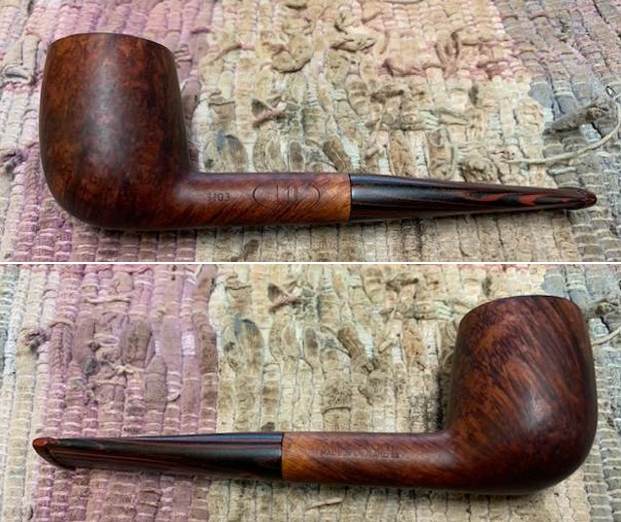
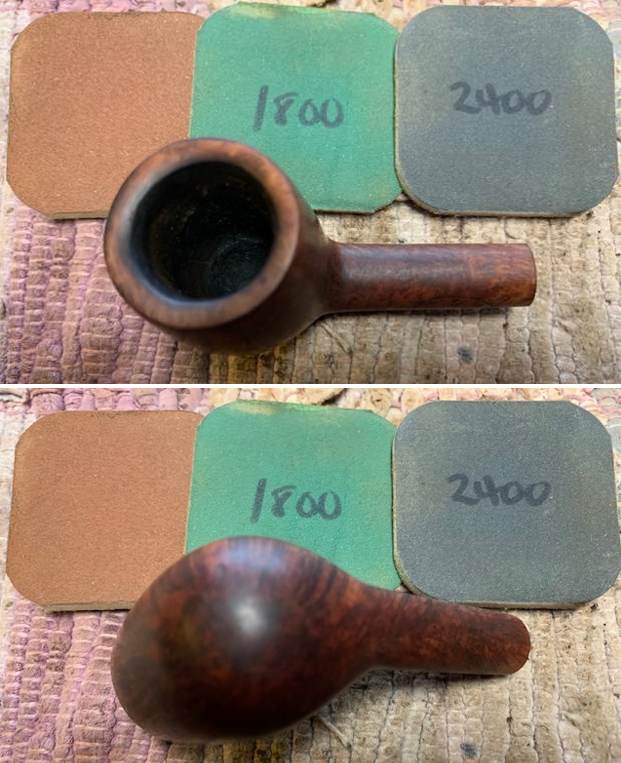
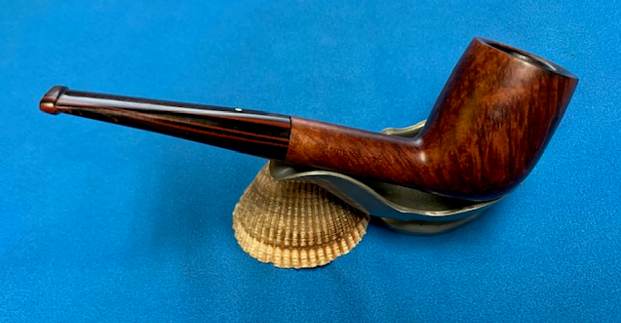
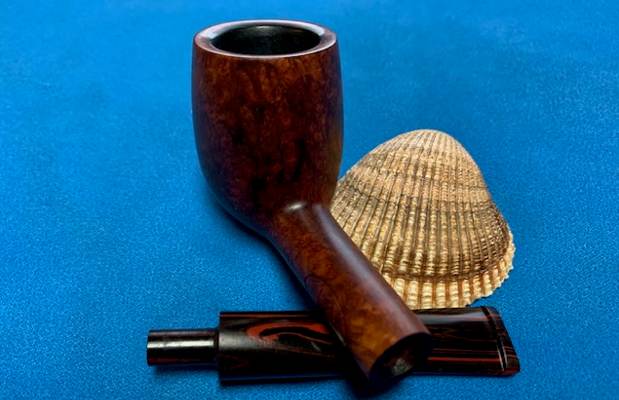
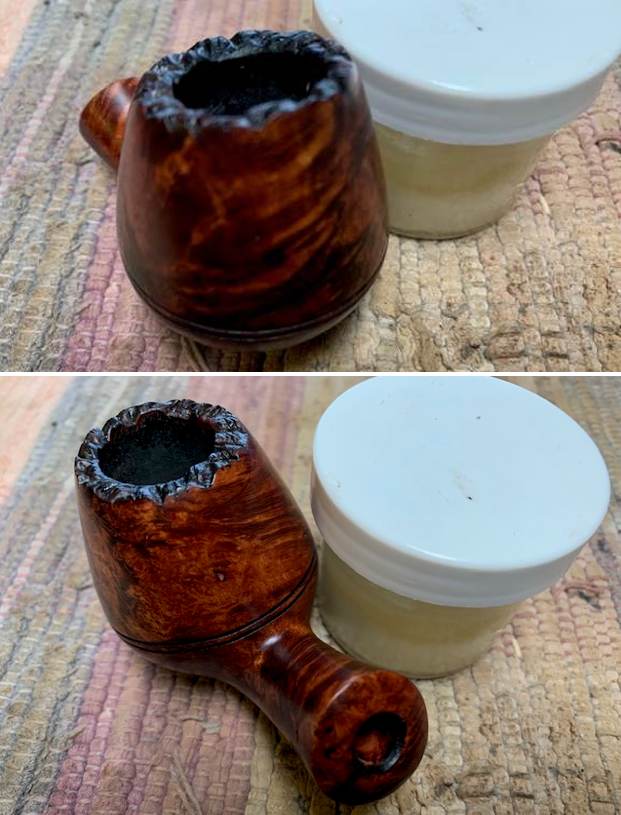
 I took close up photos of the bowl, rim and the stem. You can see how clean the bowl and rim top and edges are. The stem is in good condition with light tooth marks and some chatter as noted above.
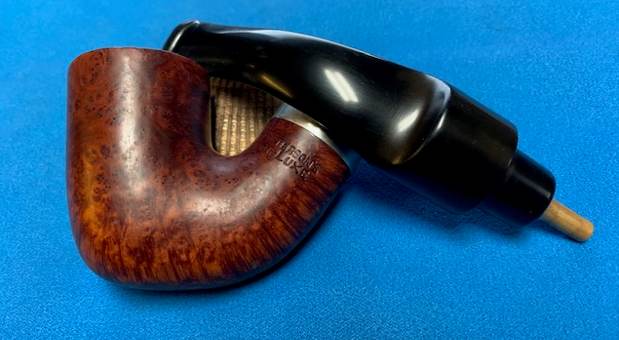
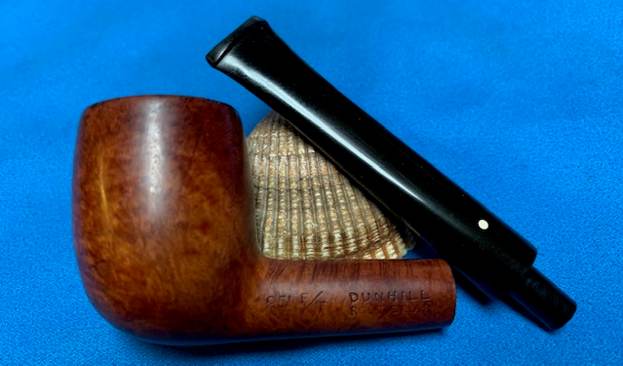
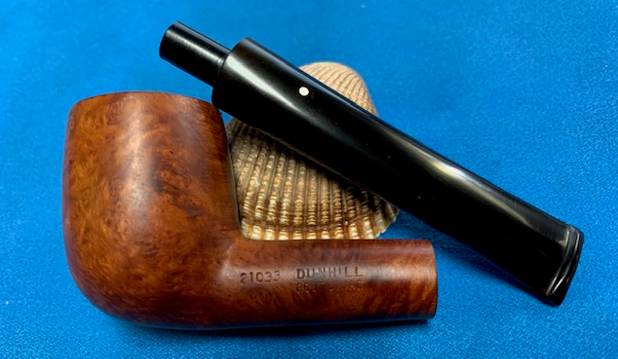
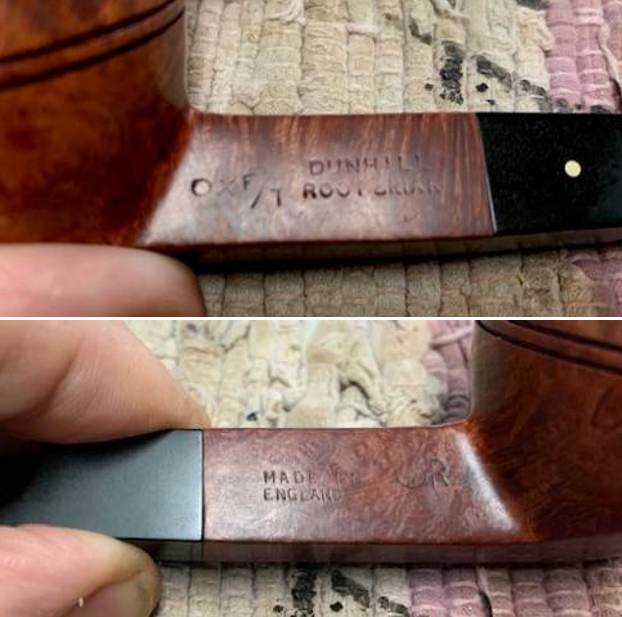
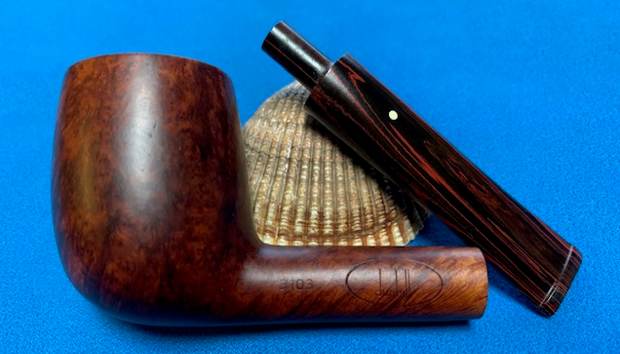
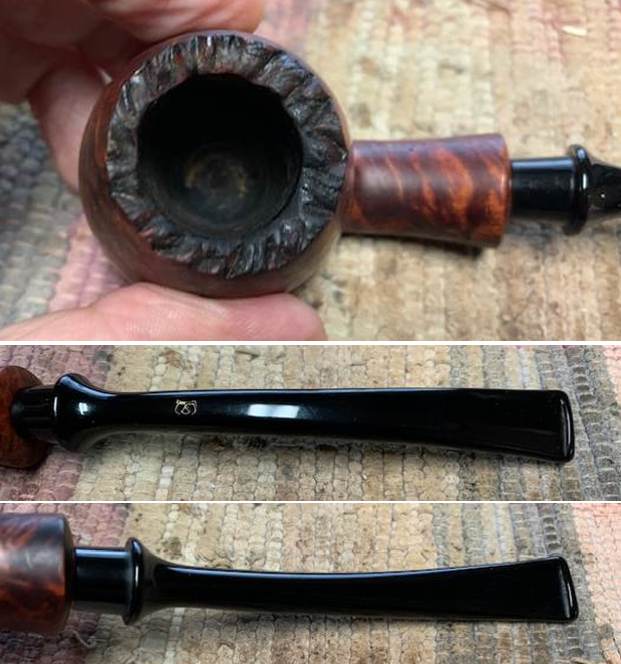 I took photos of the stamping on the sides of the shank. All are clear and readable as noted above.
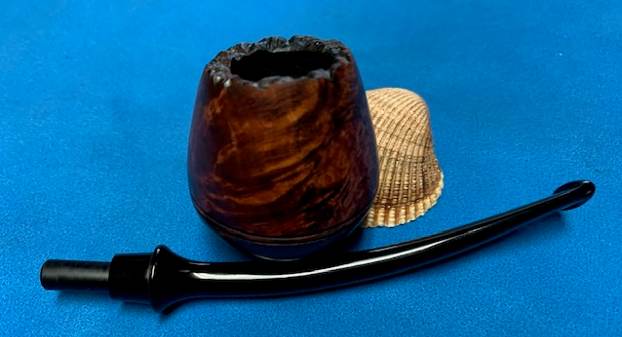
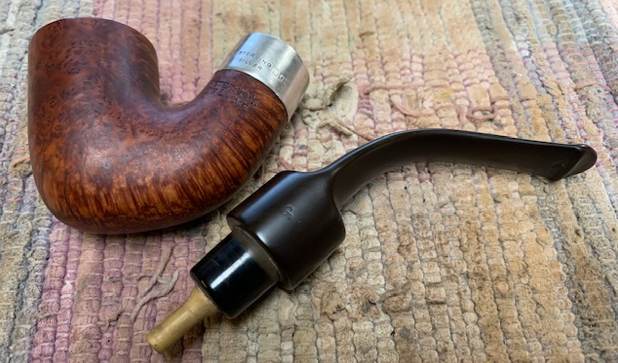
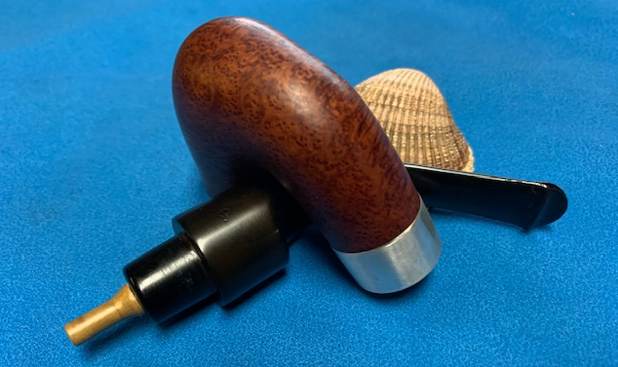
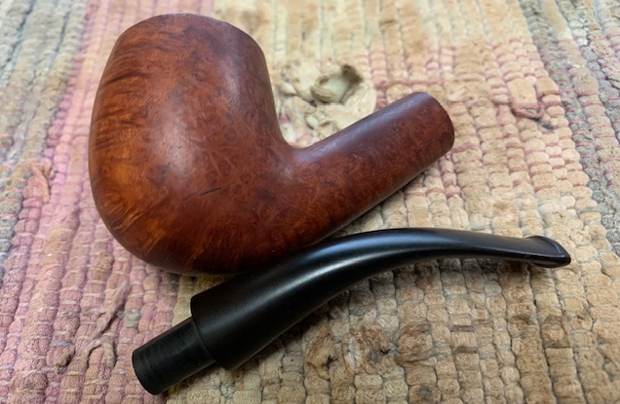
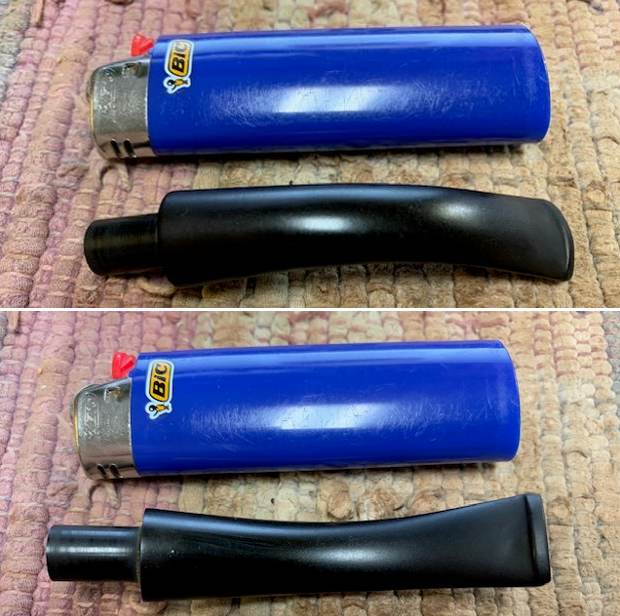
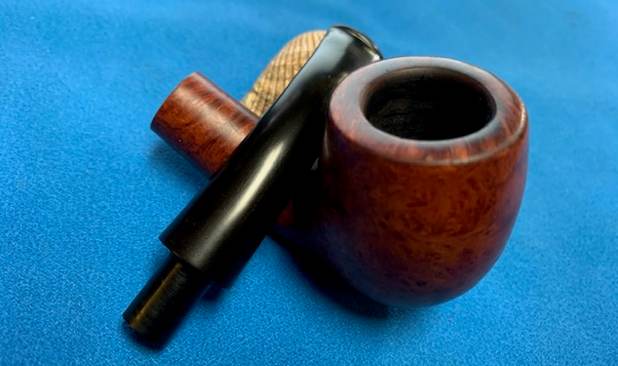
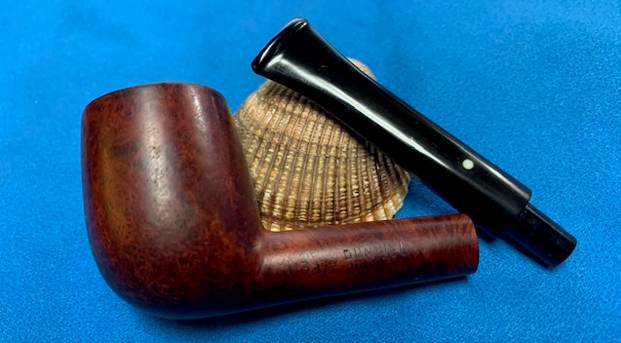
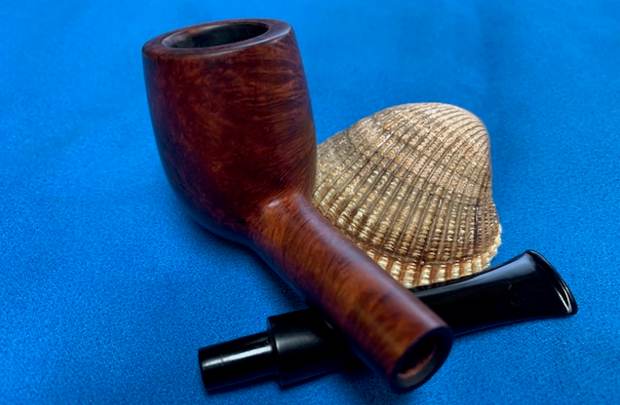
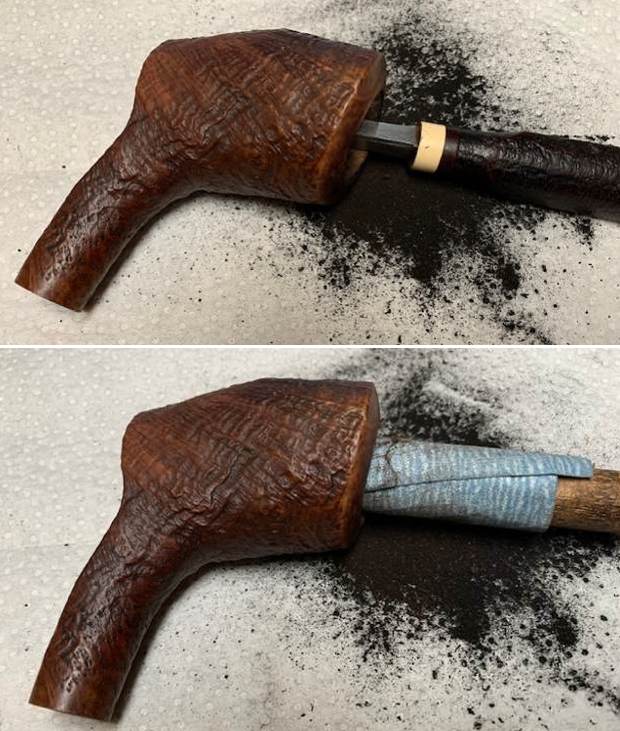
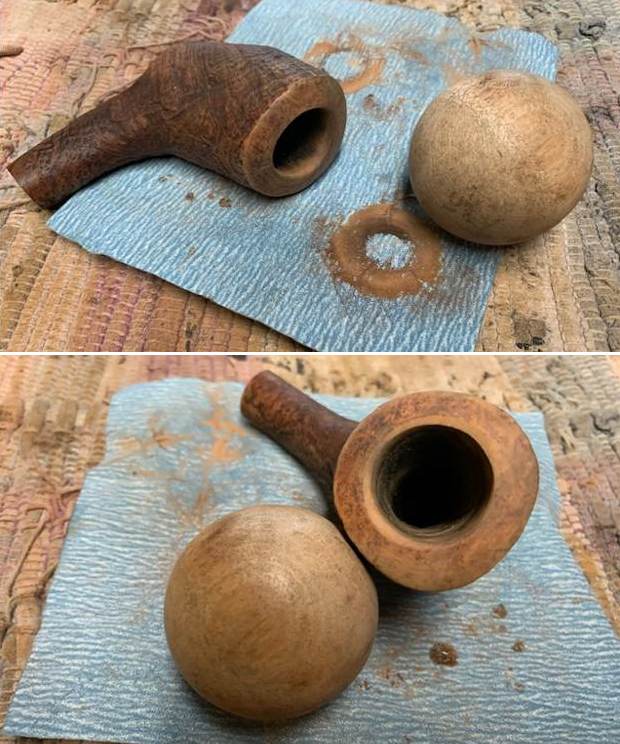
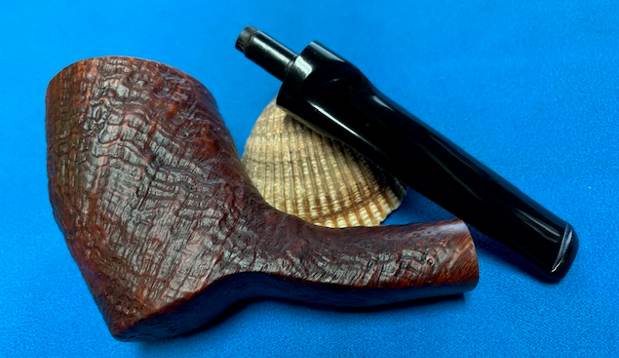
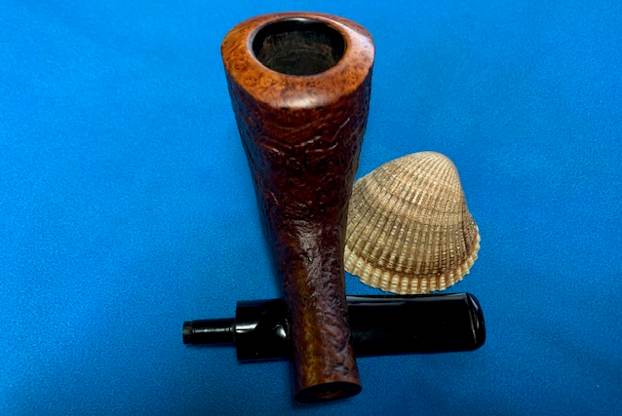
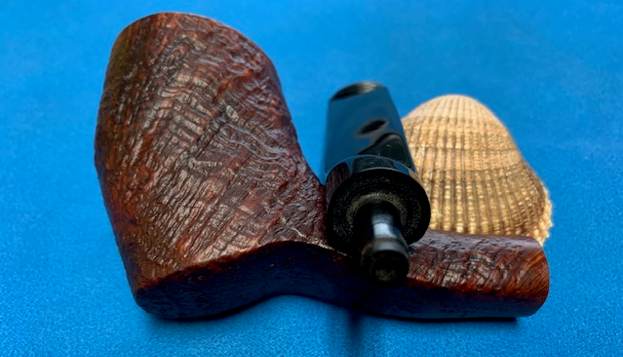
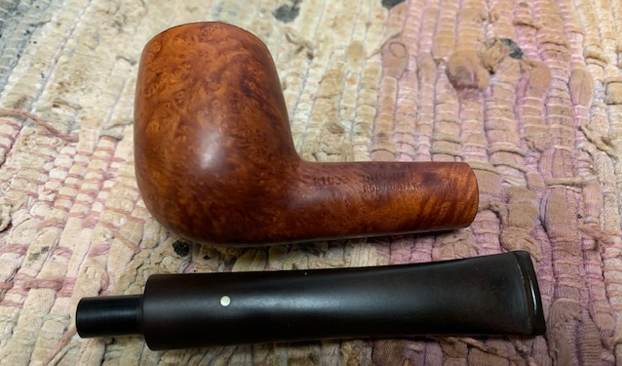
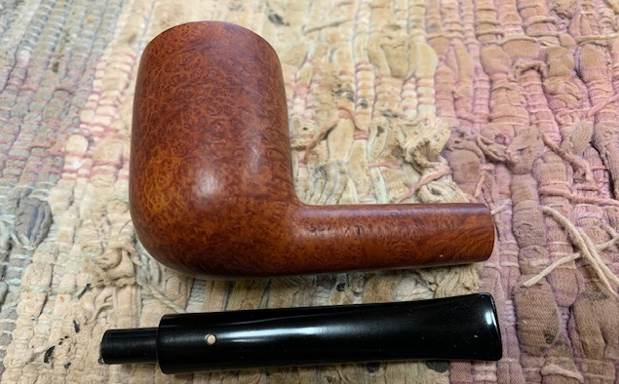
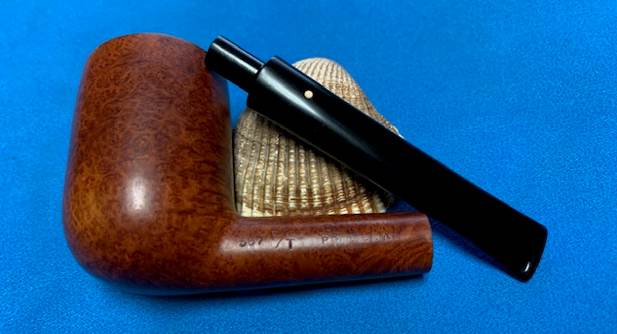
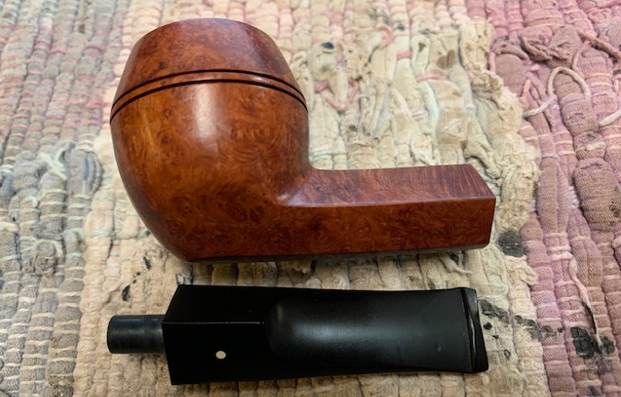
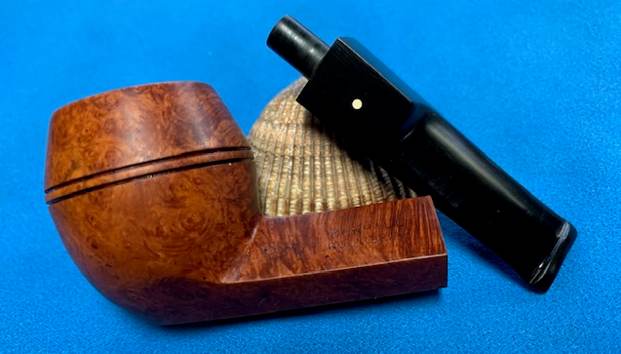
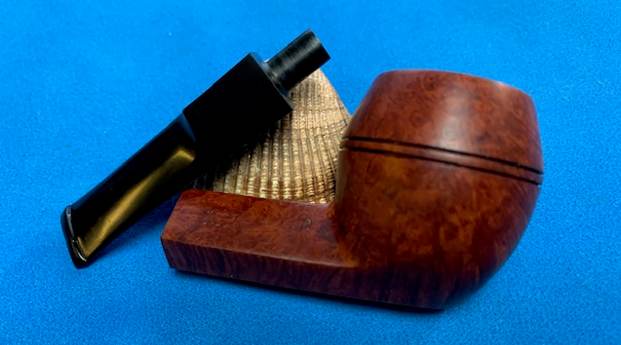
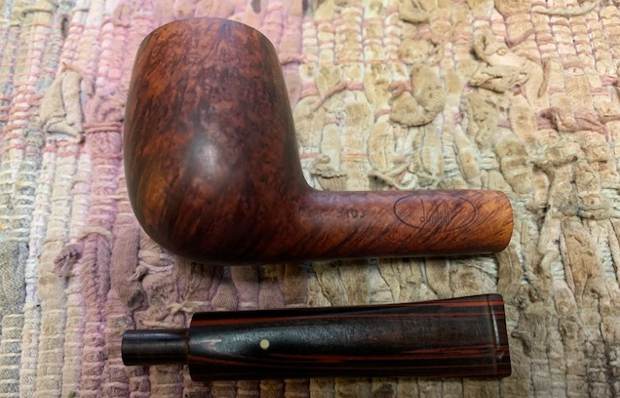
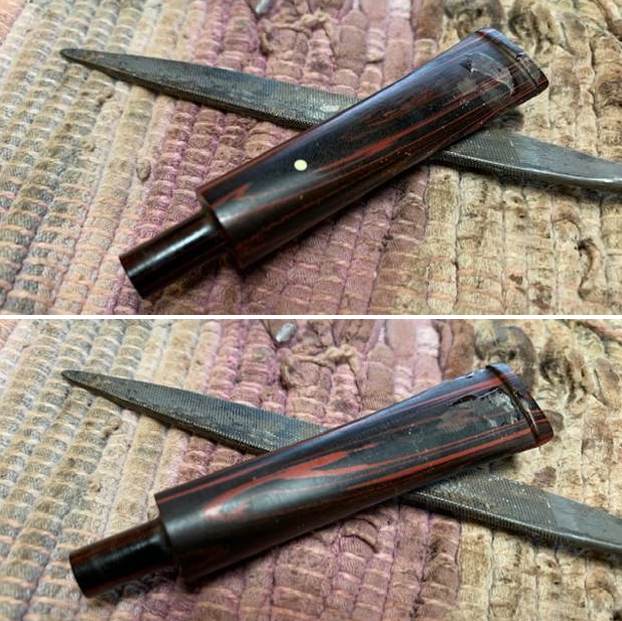
 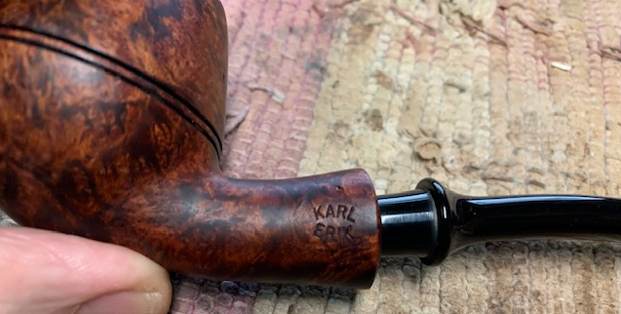 I removed the stem from the shank and took a photo to give a sense of the proportions of the pipe.
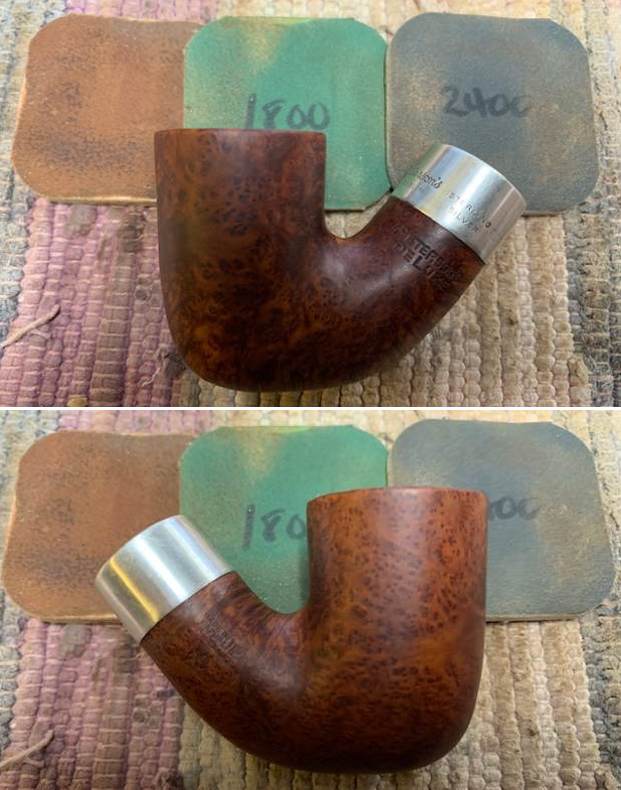
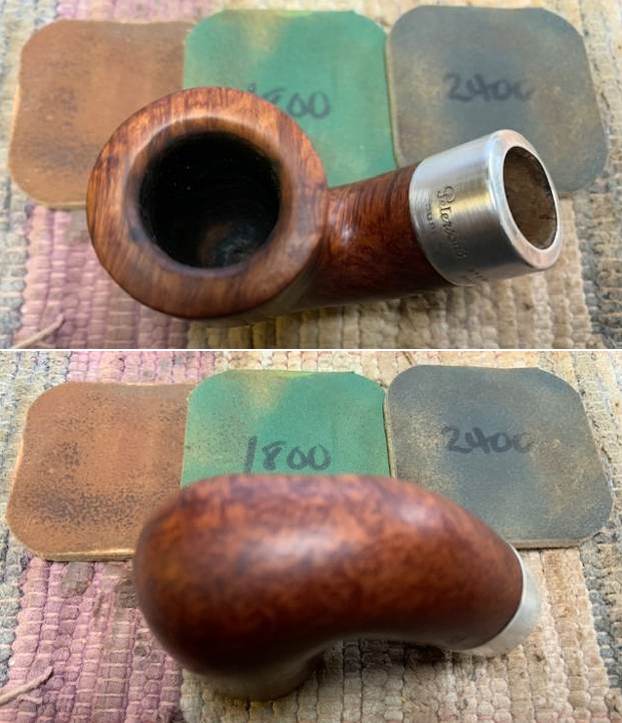
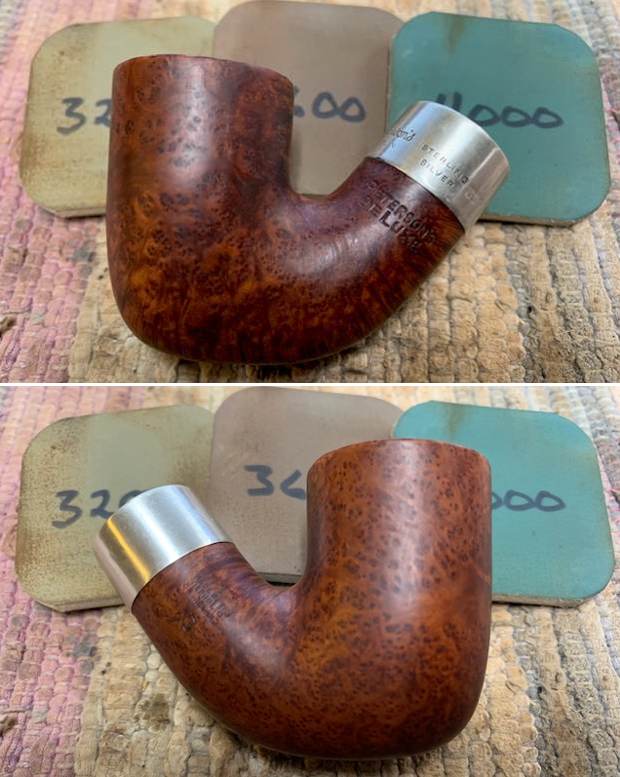
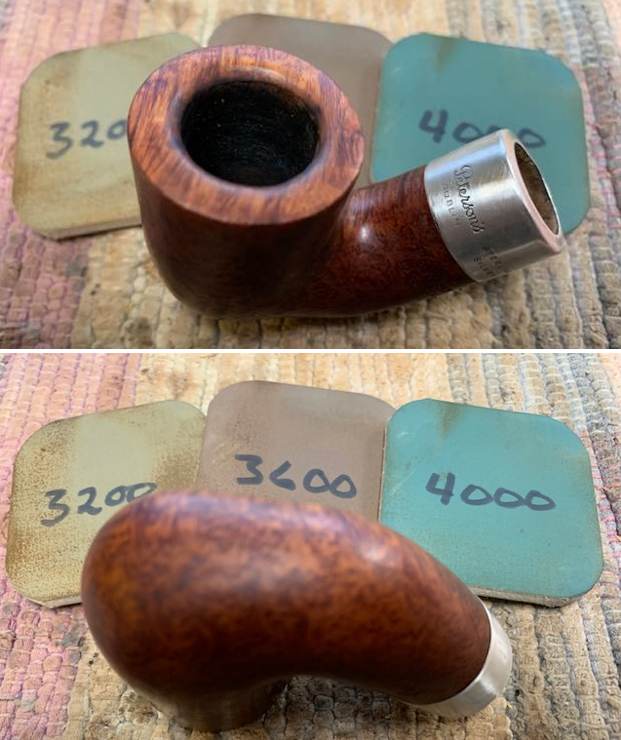
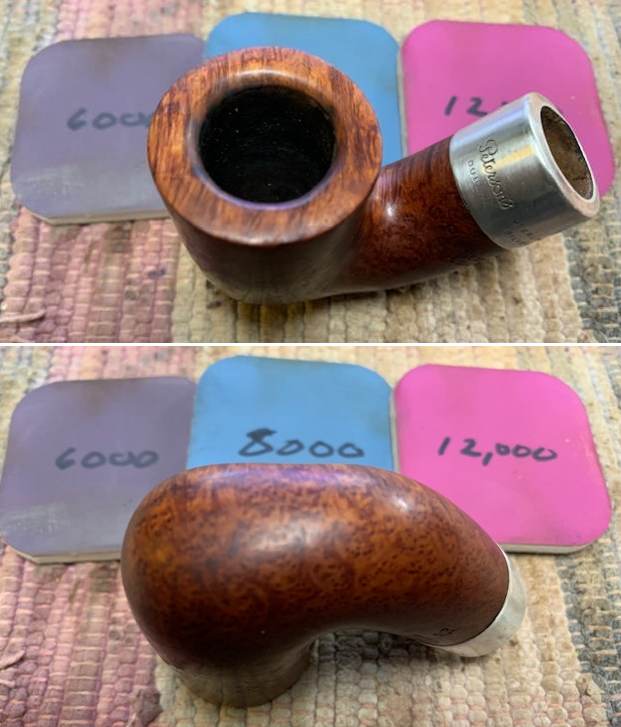
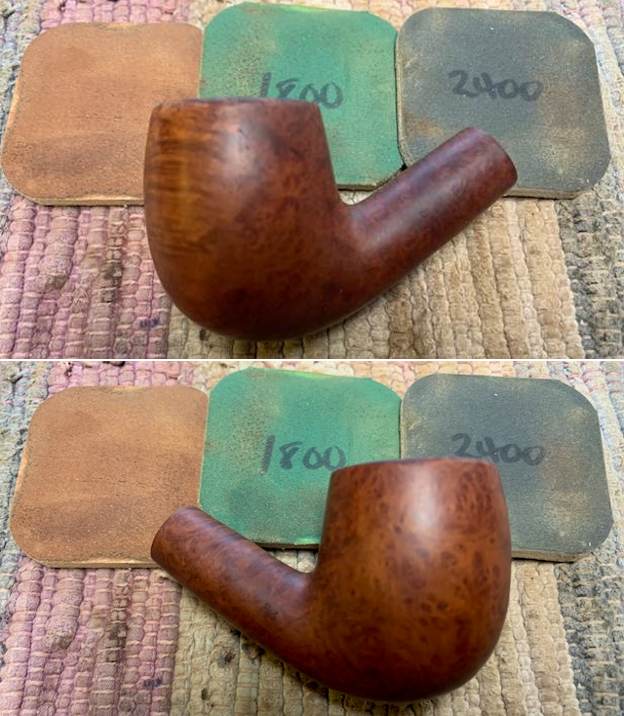
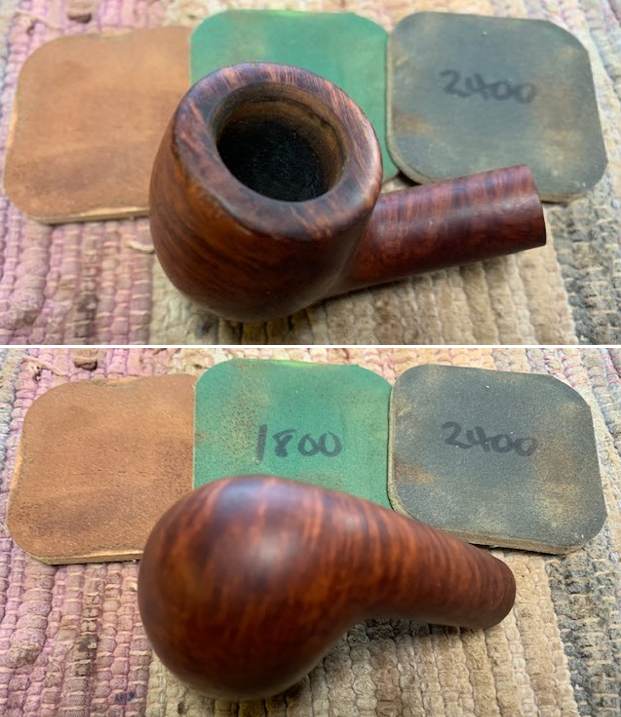
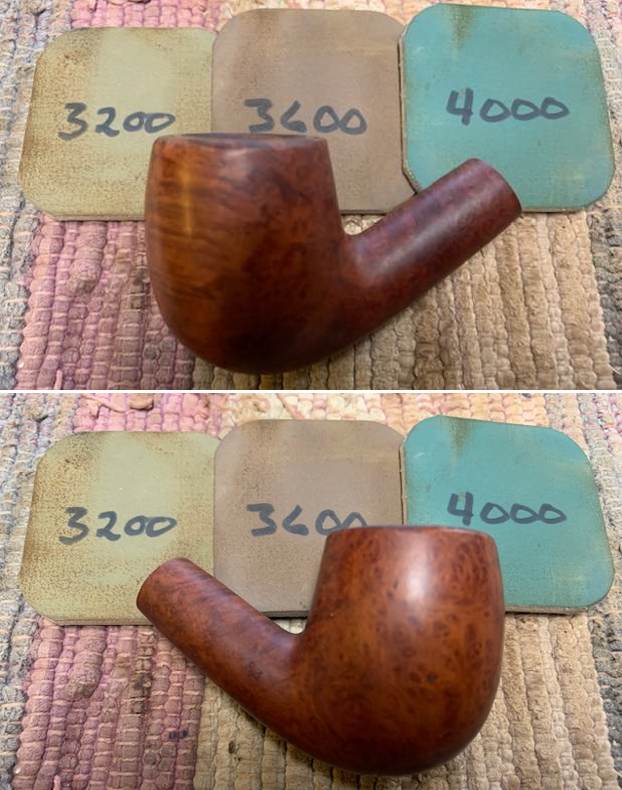
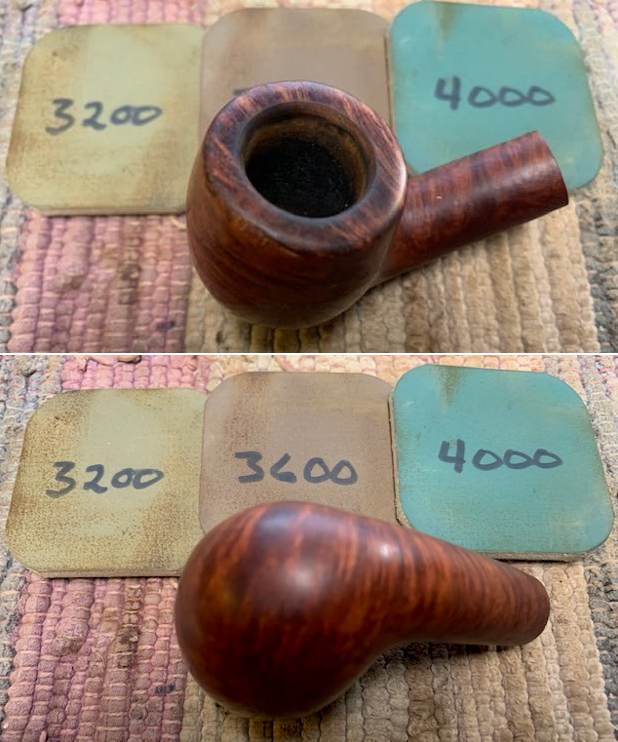
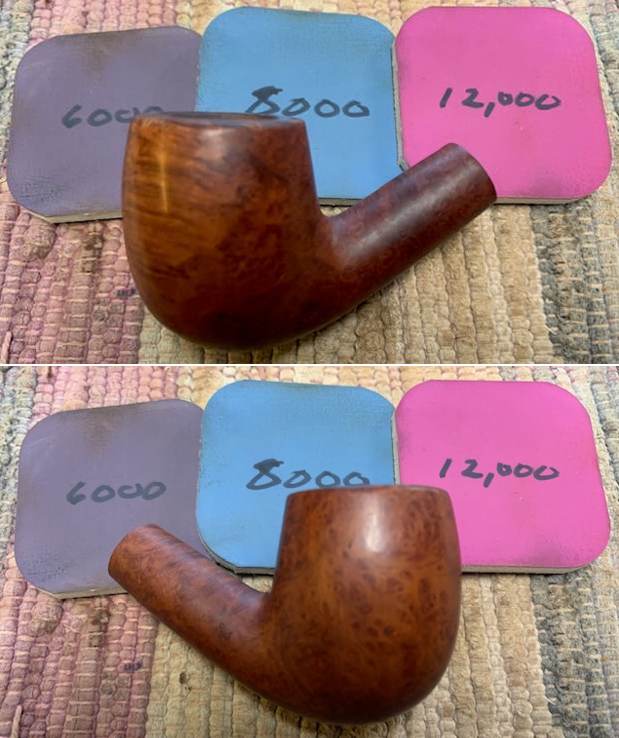
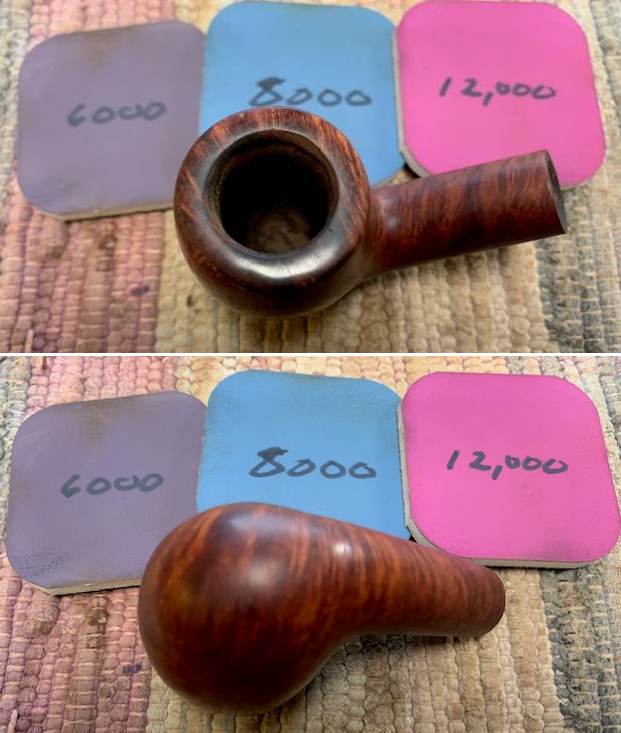
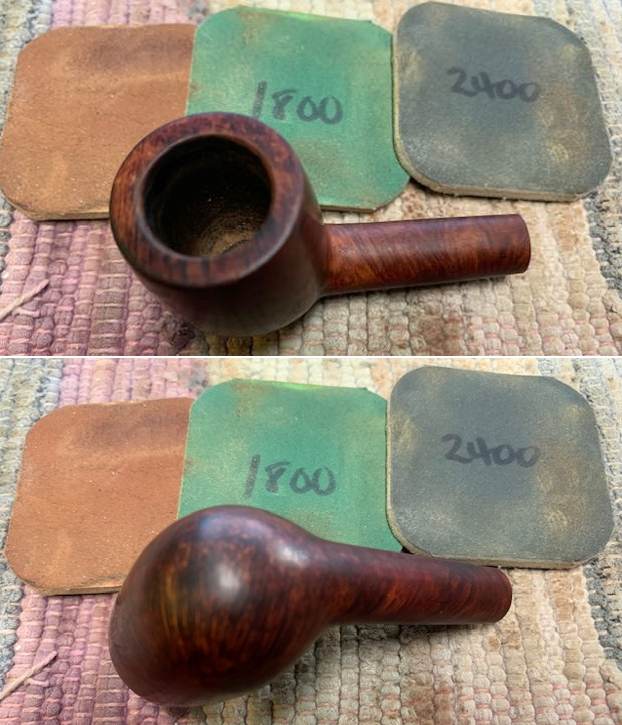
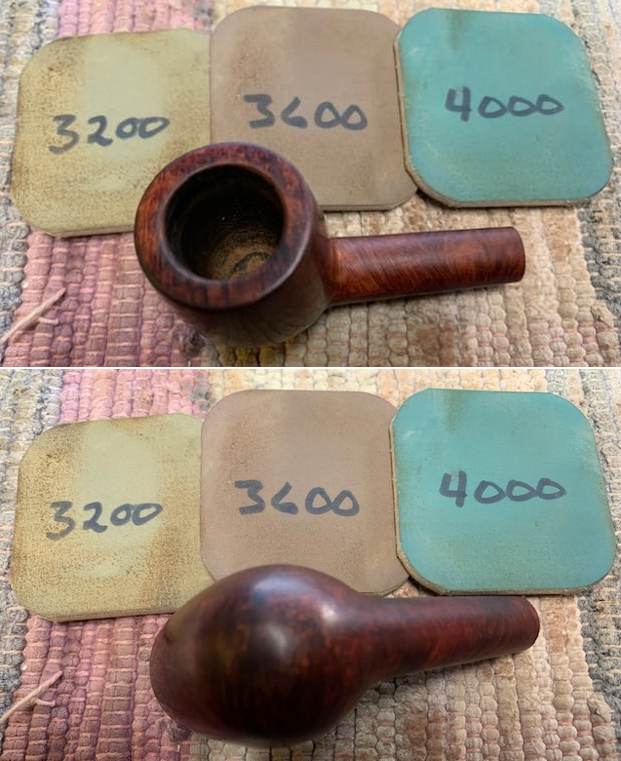
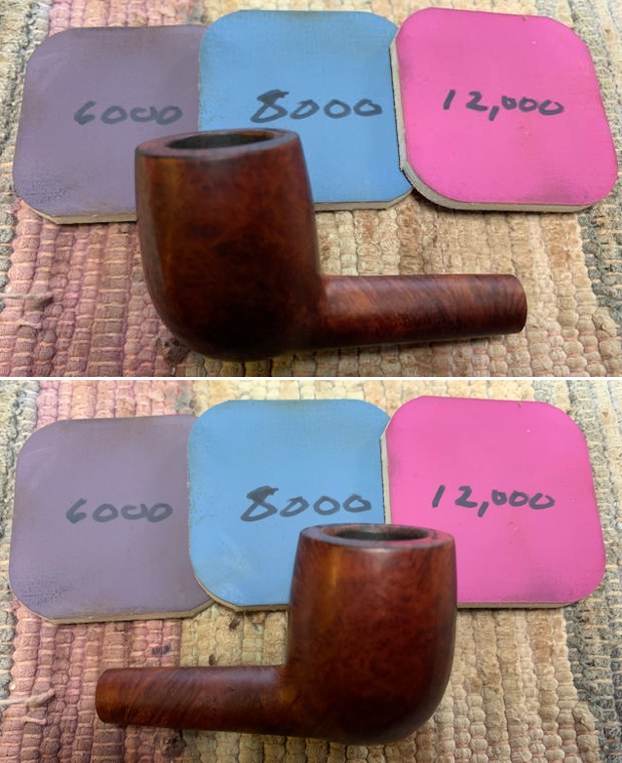
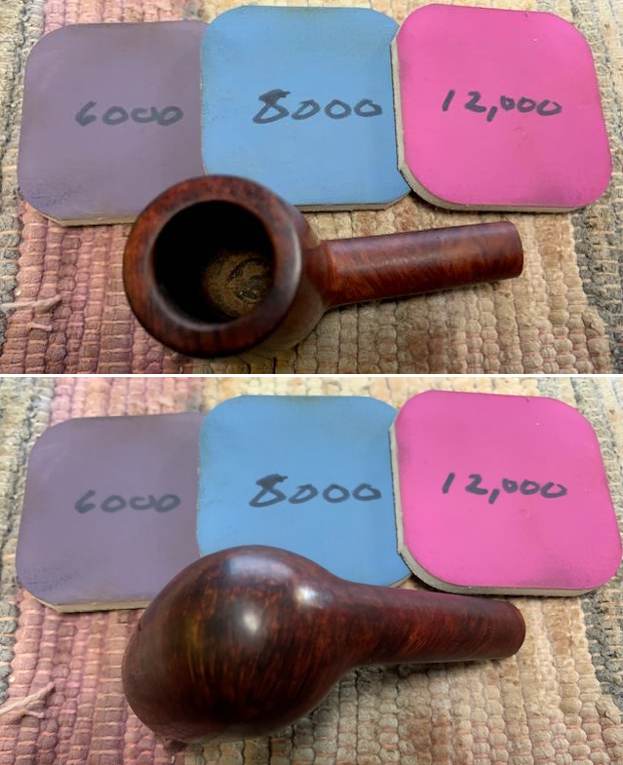
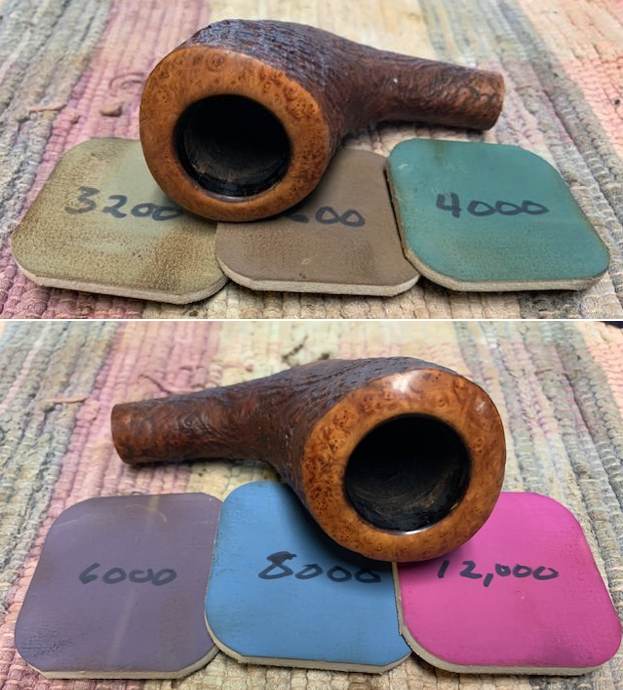
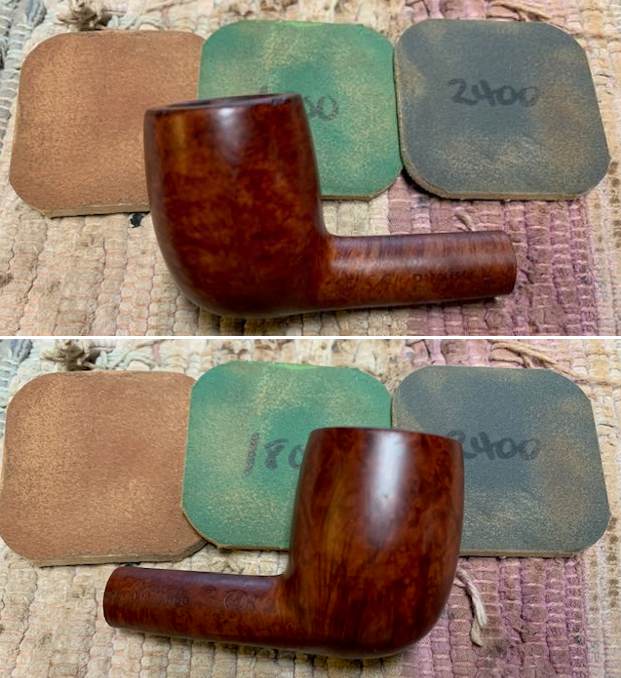
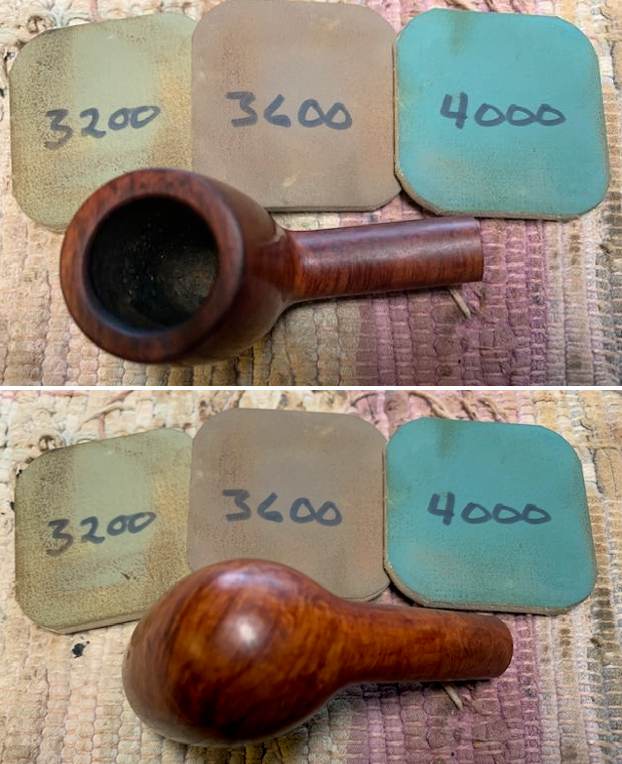
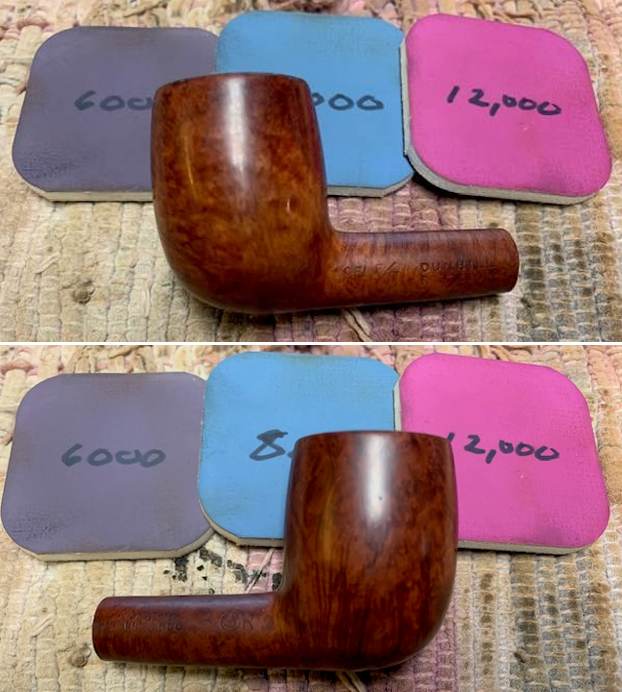
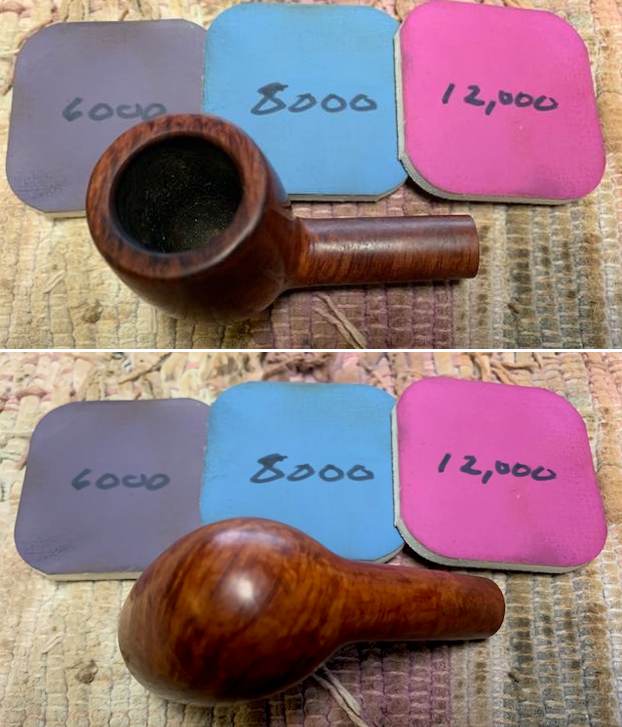
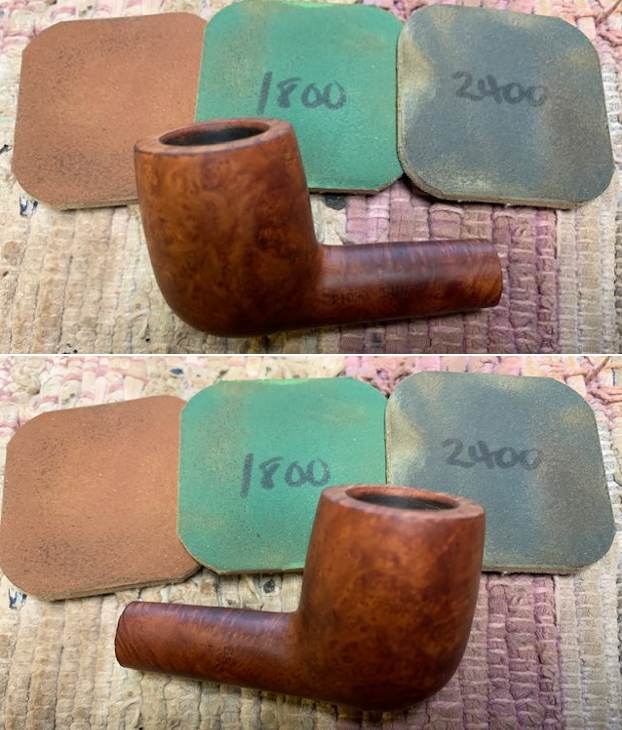
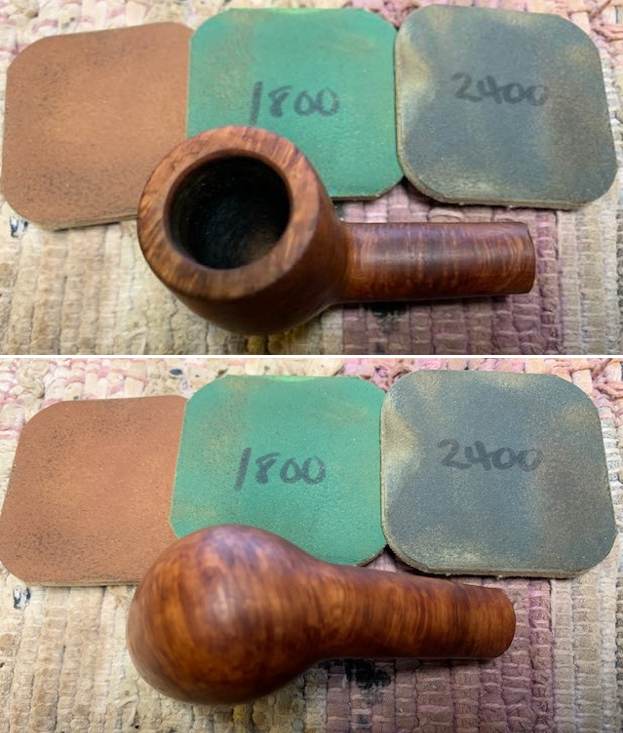
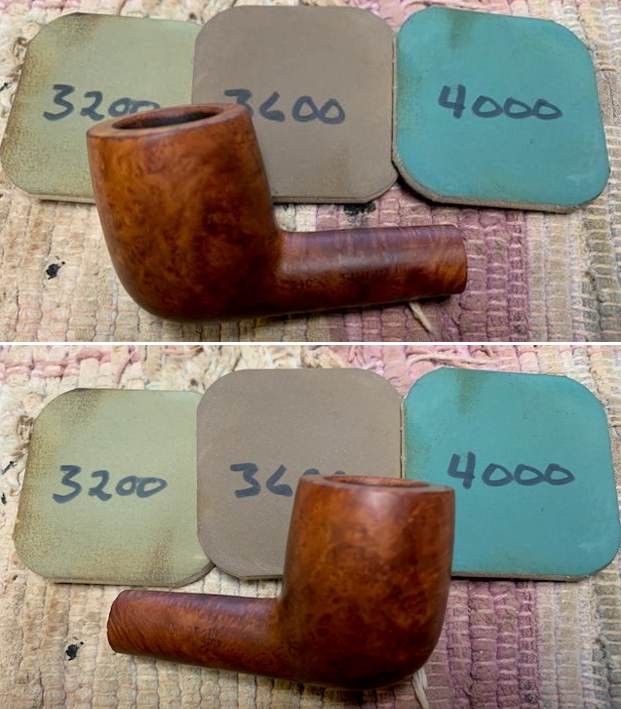
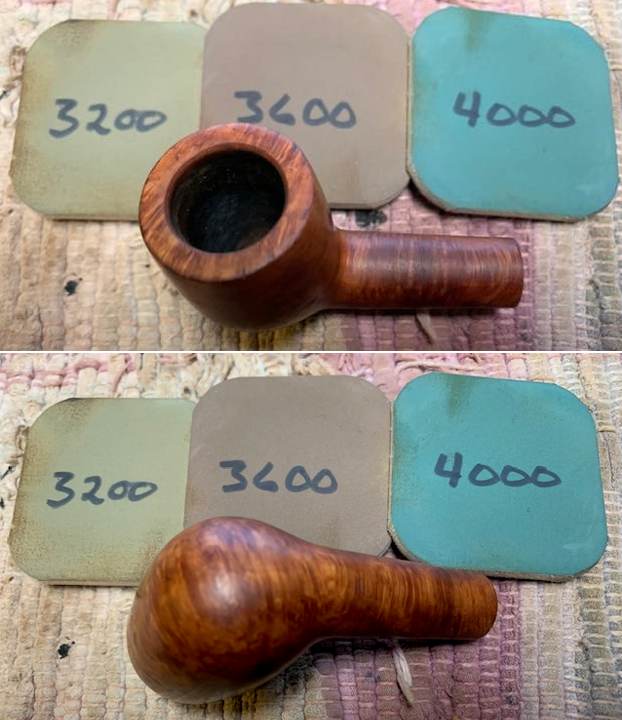
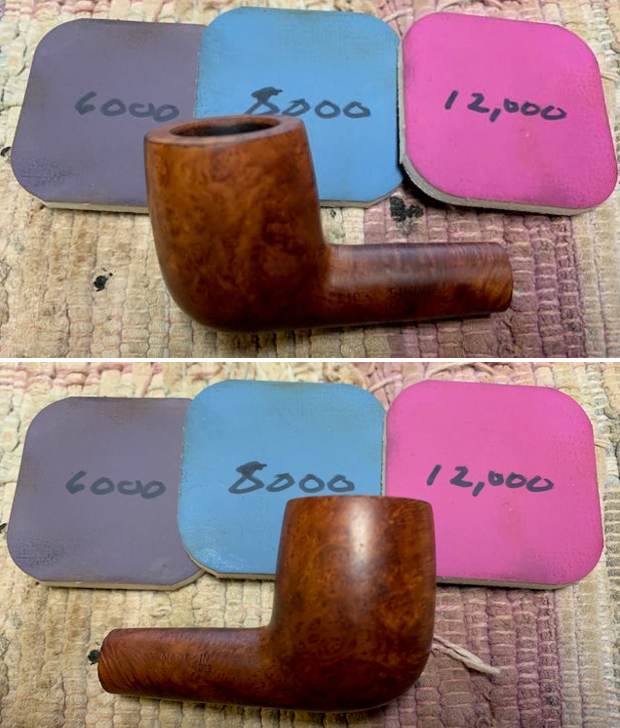
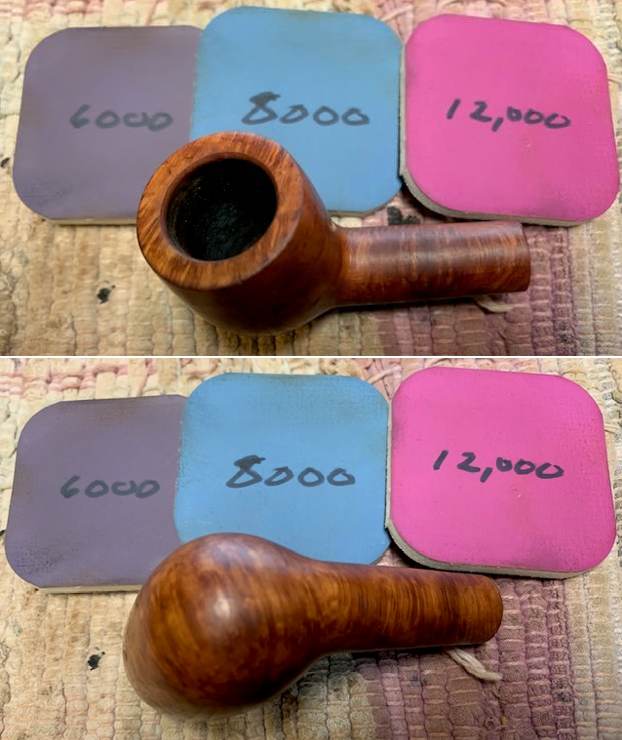
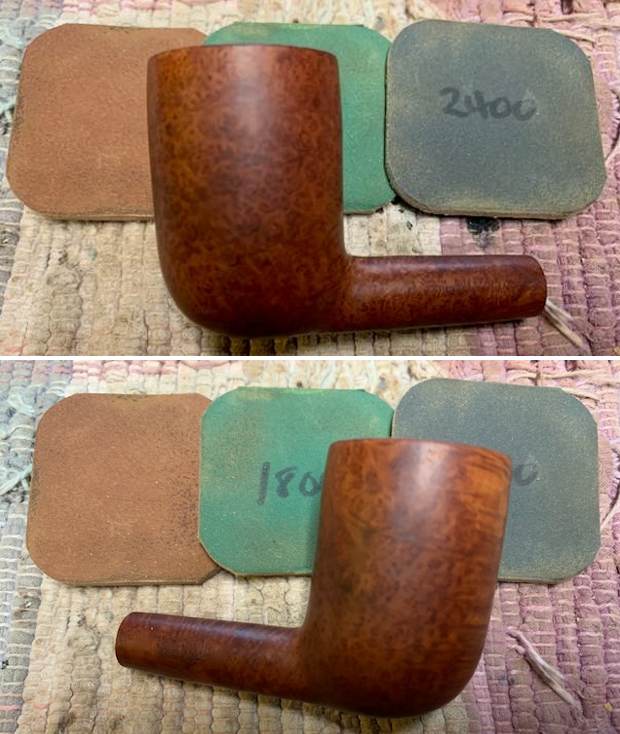
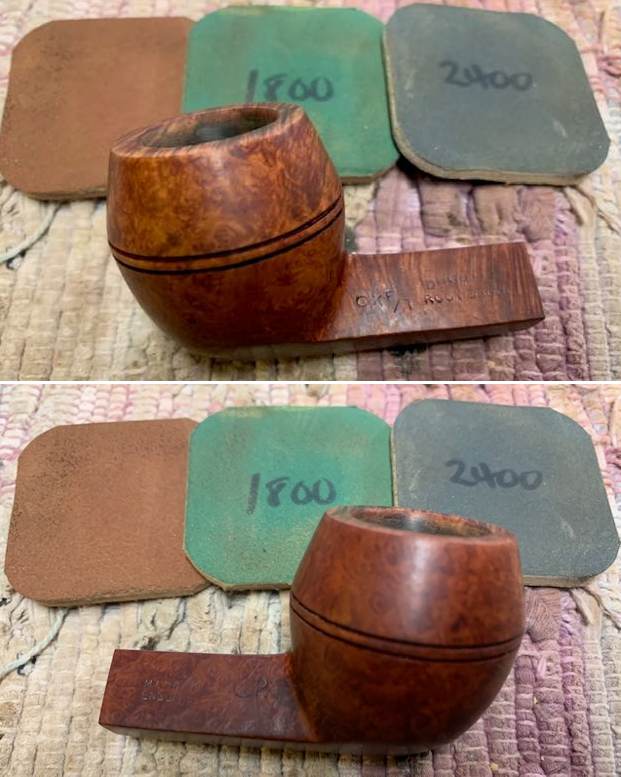
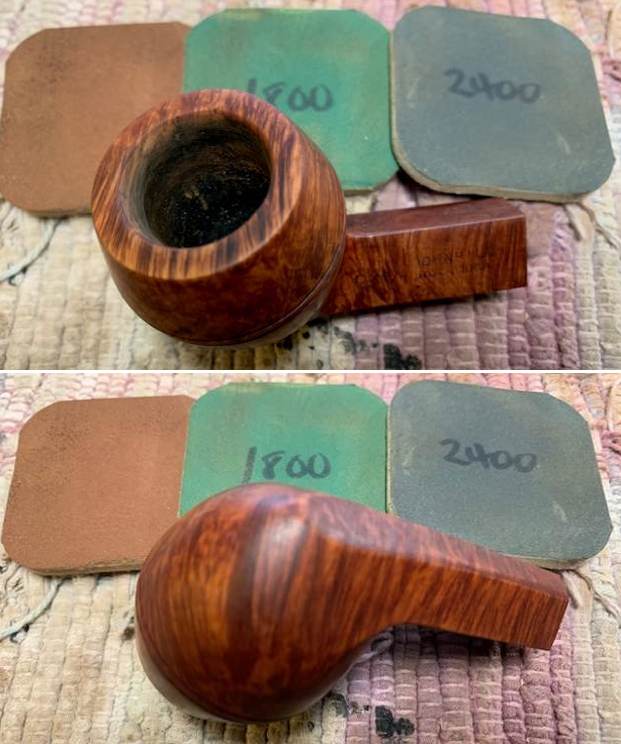
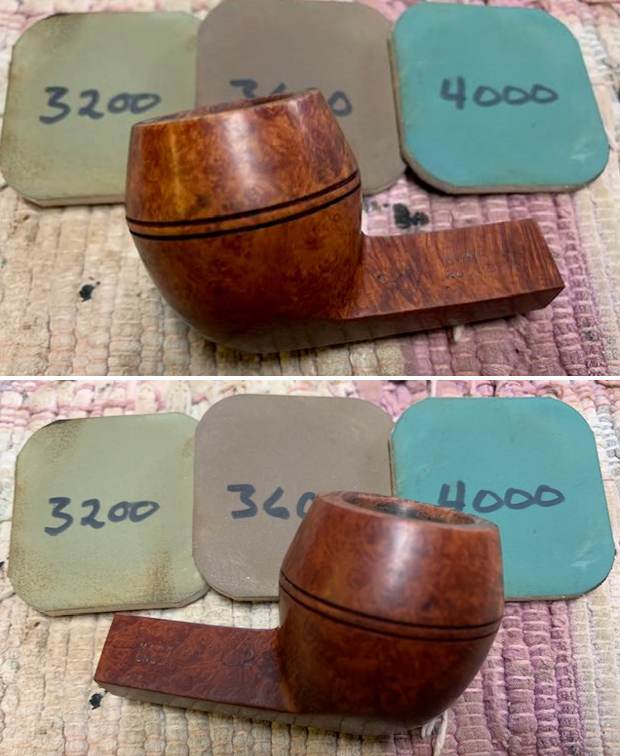
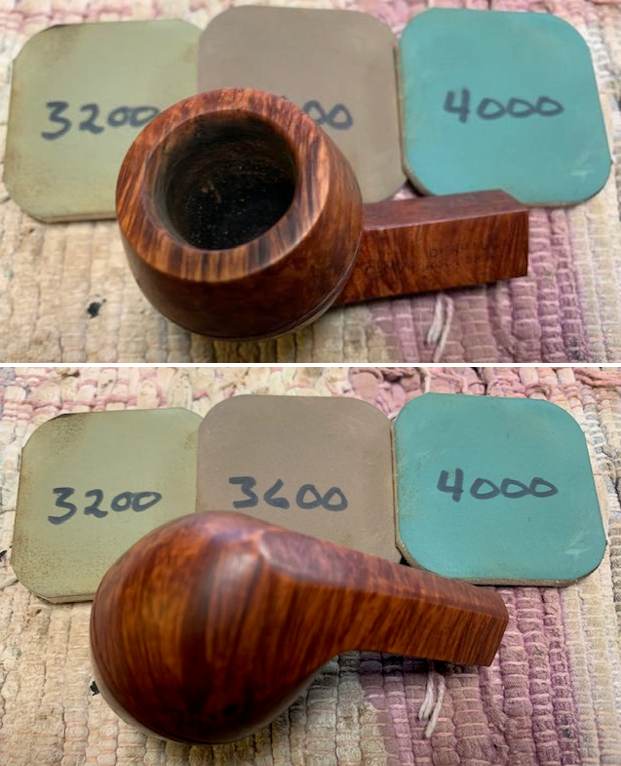
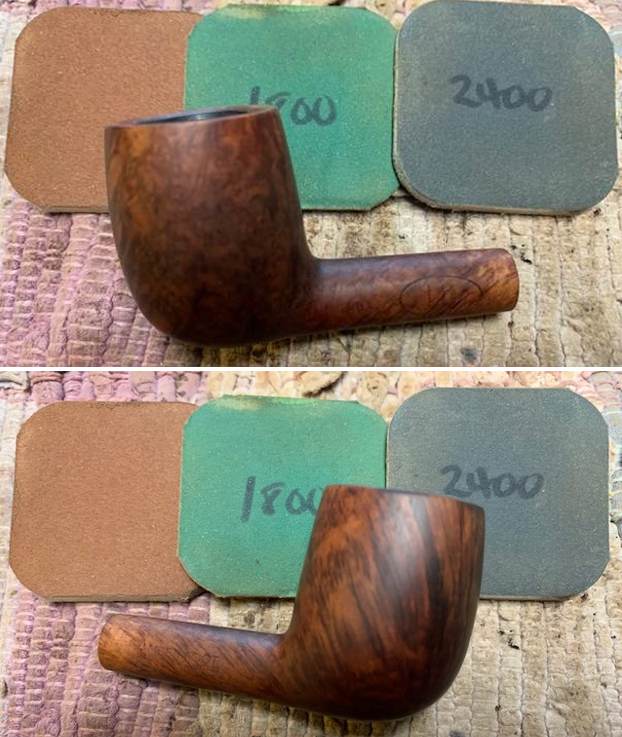
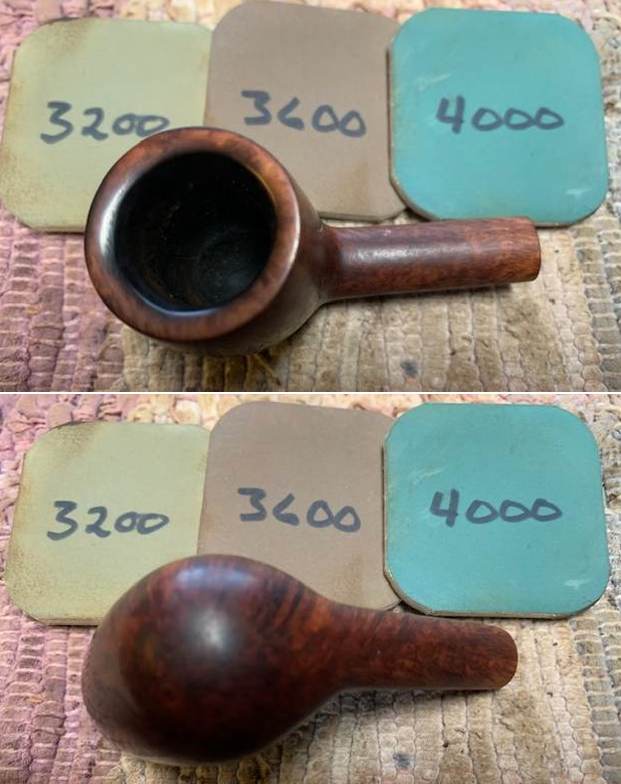
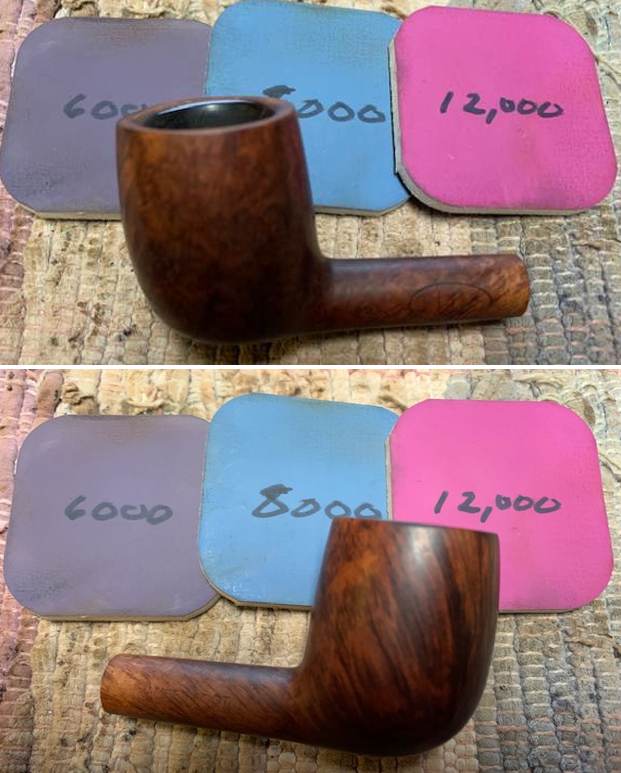
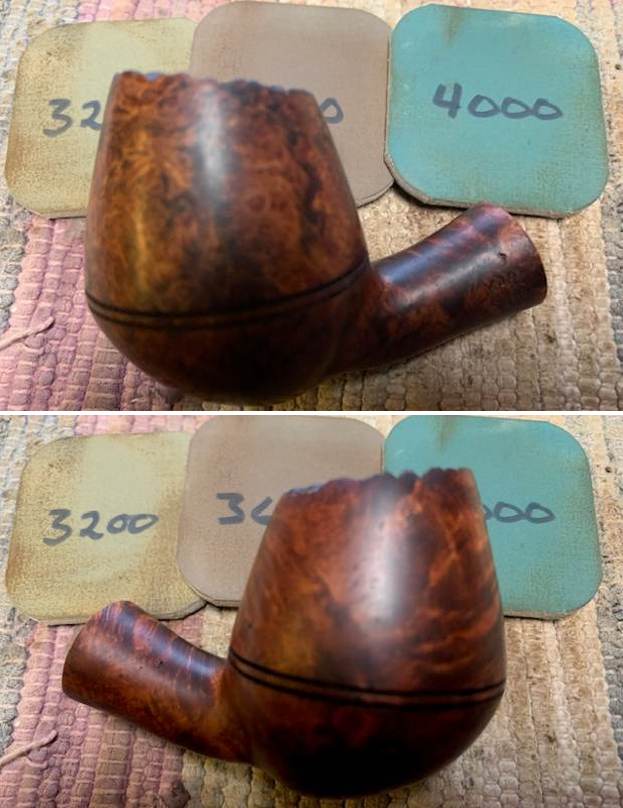
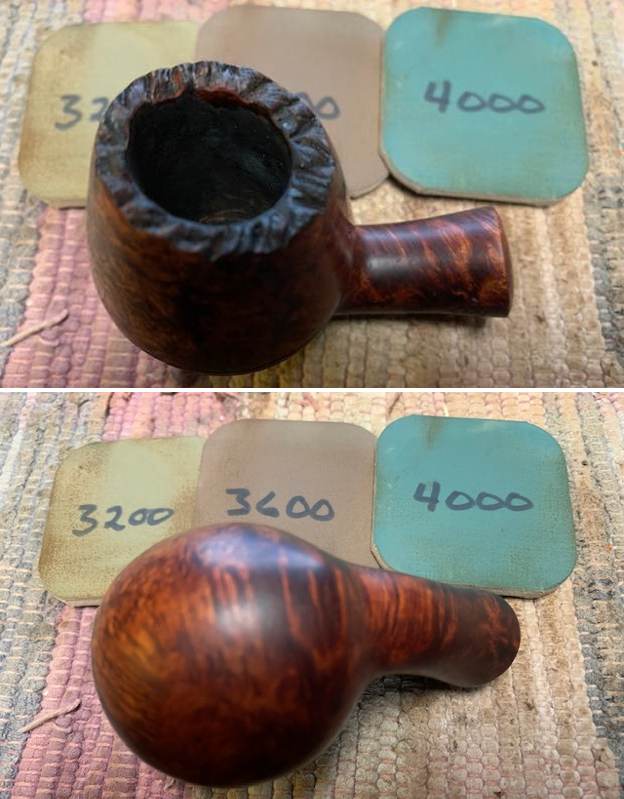
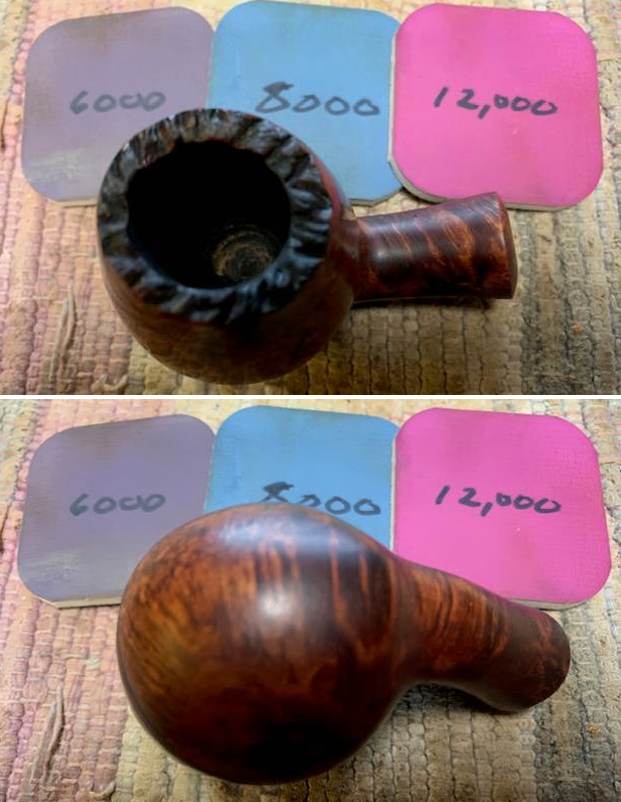
 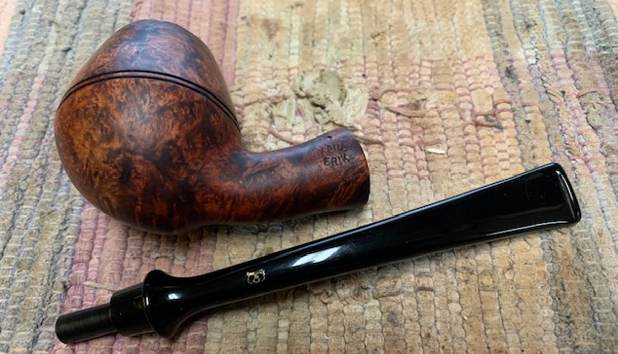 I polished the briar with micromesh sanding pads – dry sanding with 1500-12000 grit pads. I wiped the bowl down after each pad to remove the grit. The bowl began to take on a rich shine. It is a beauty.
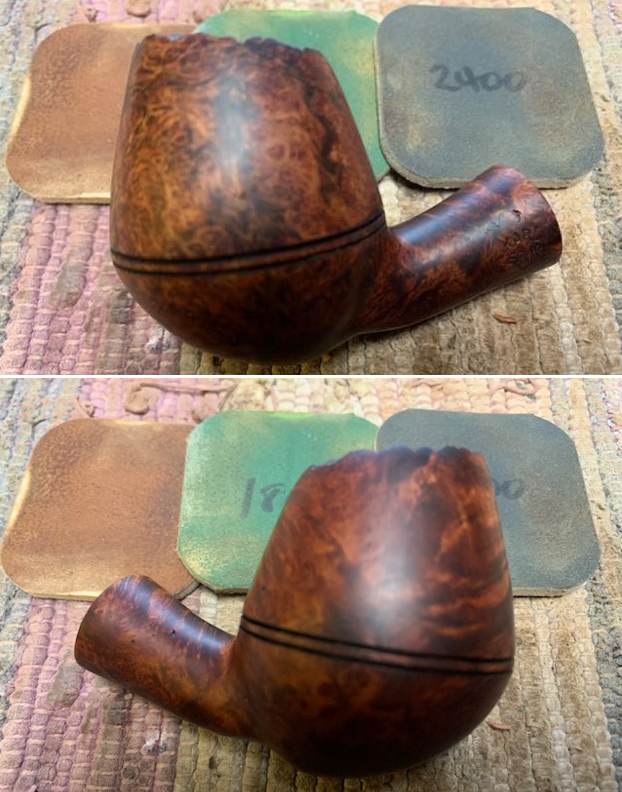
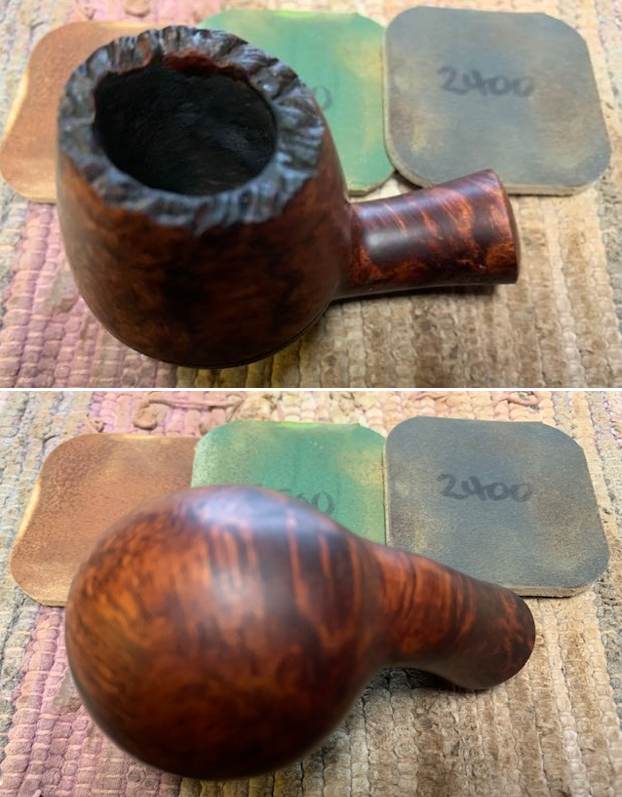

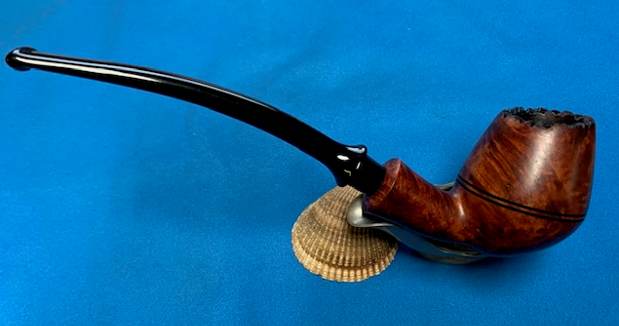
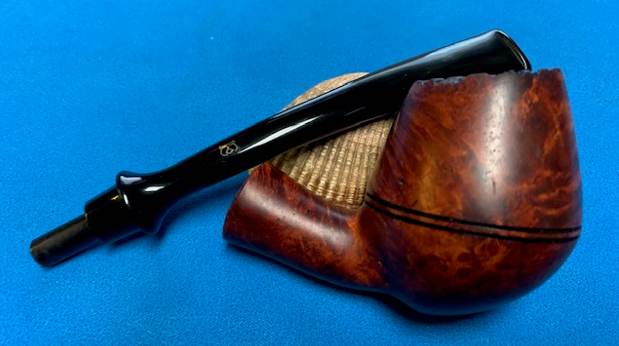
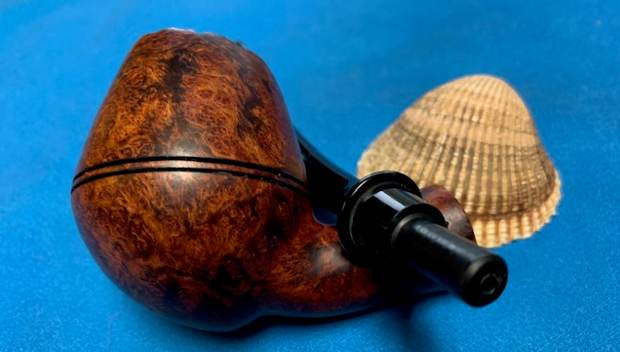
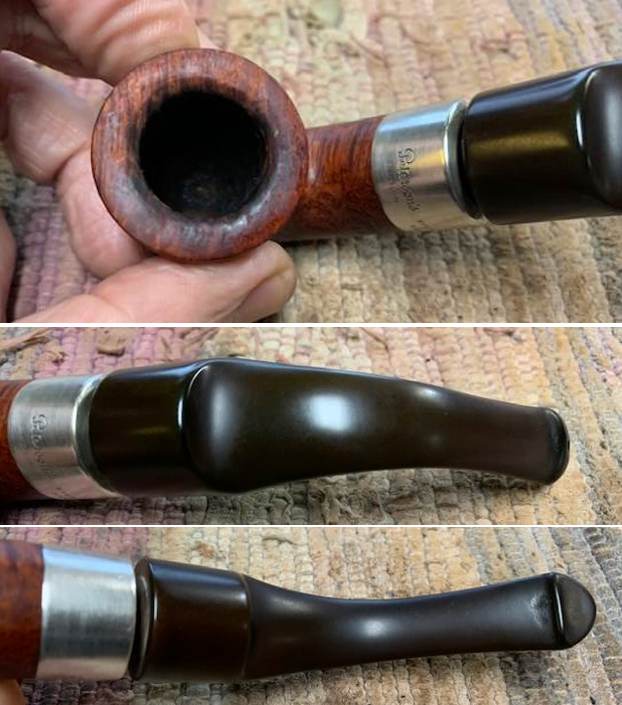
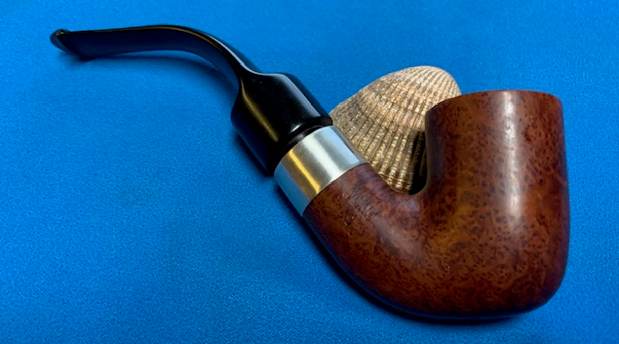
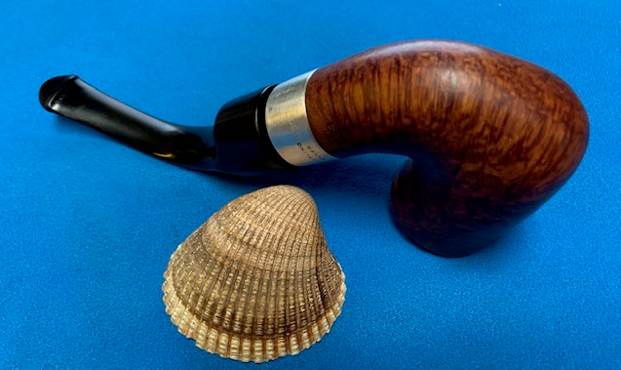
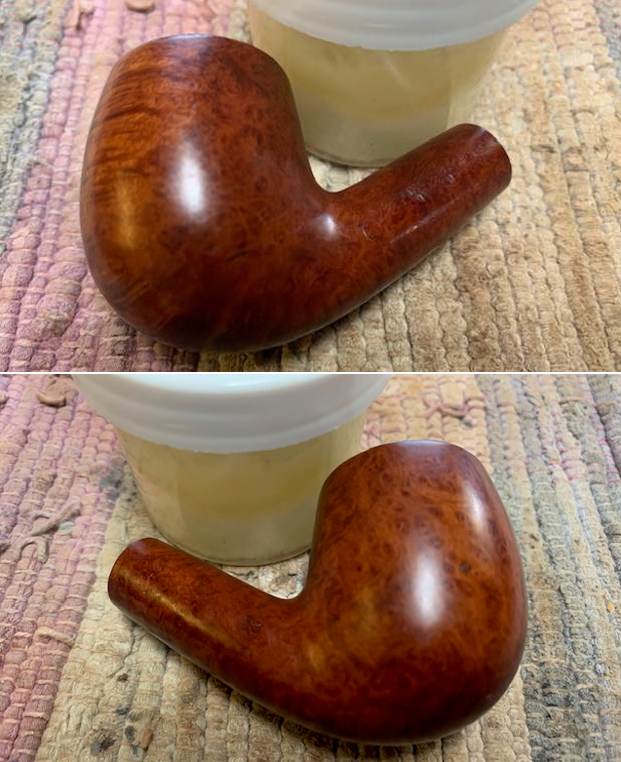
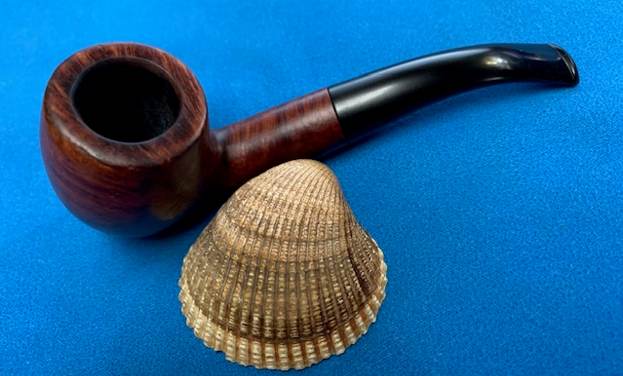
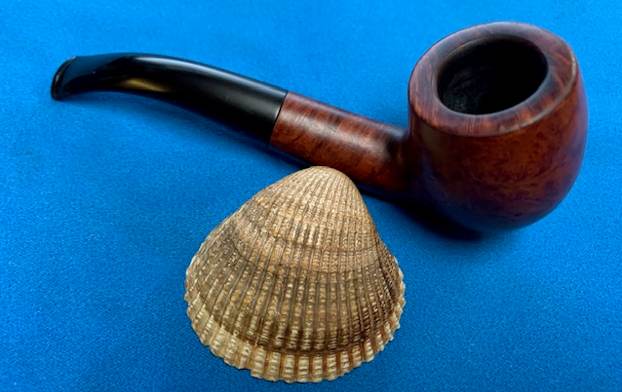
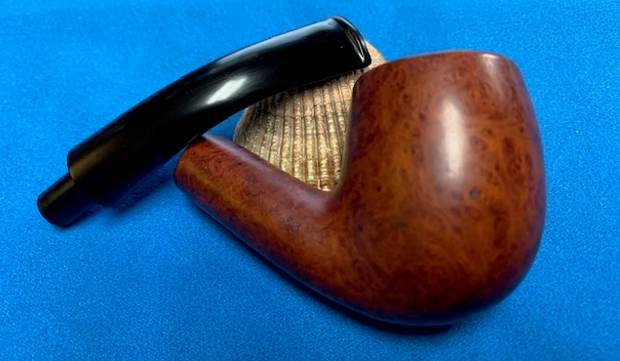
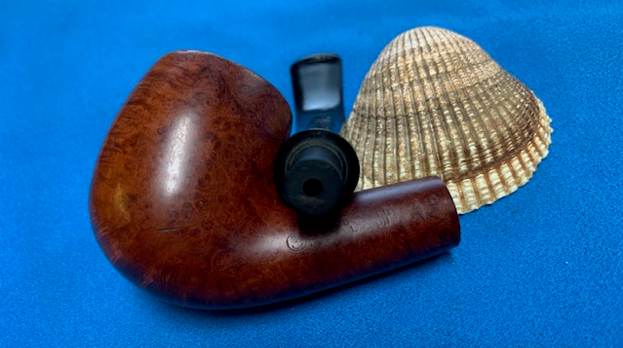
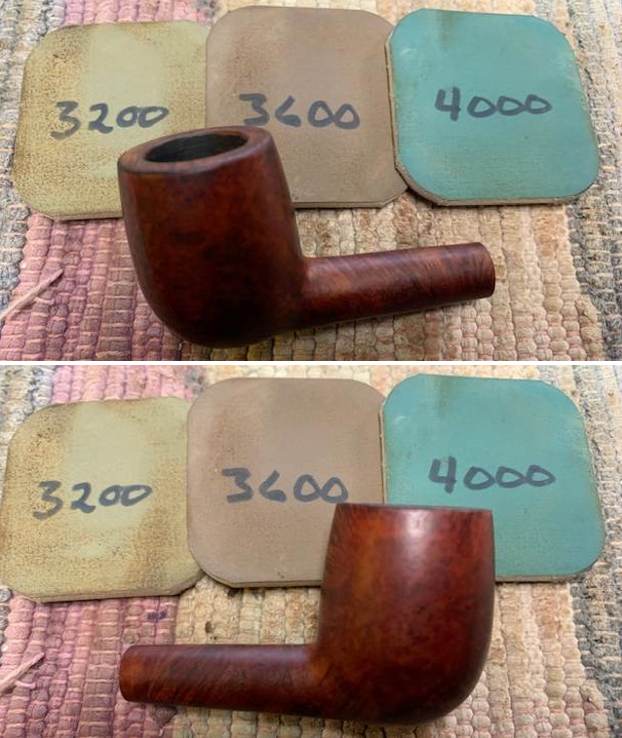
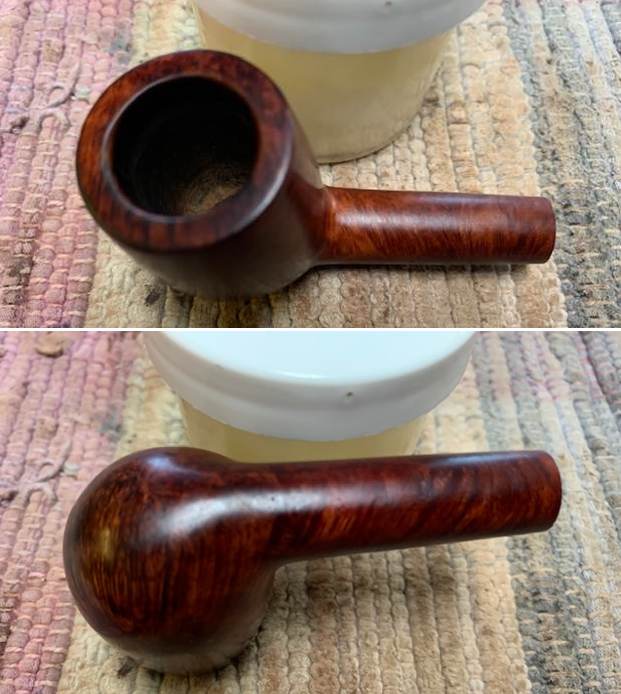
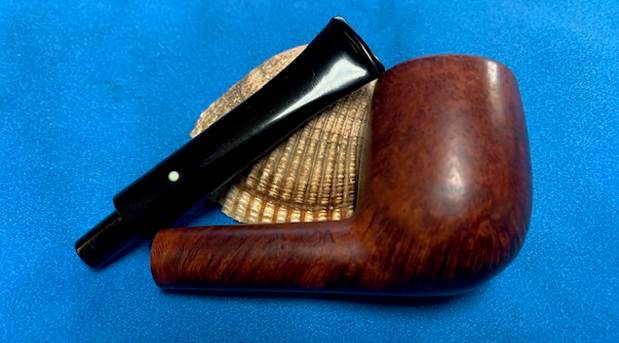
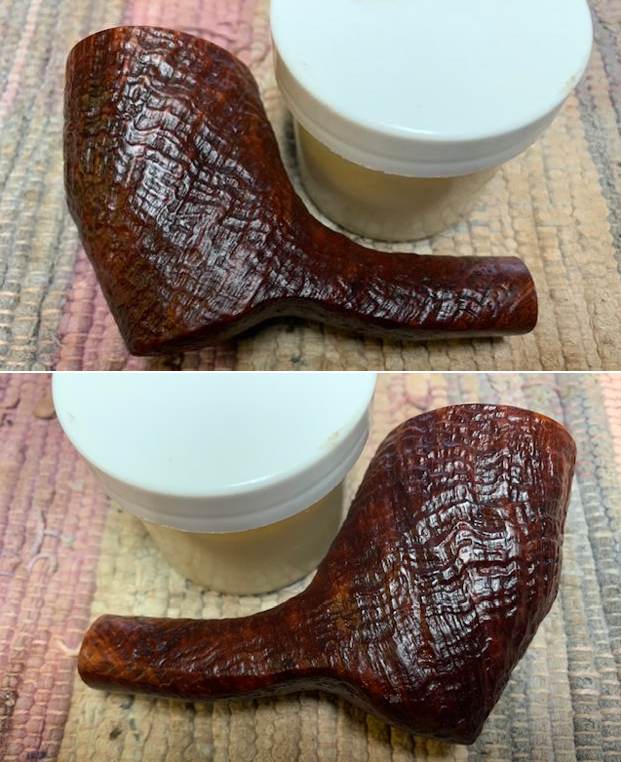
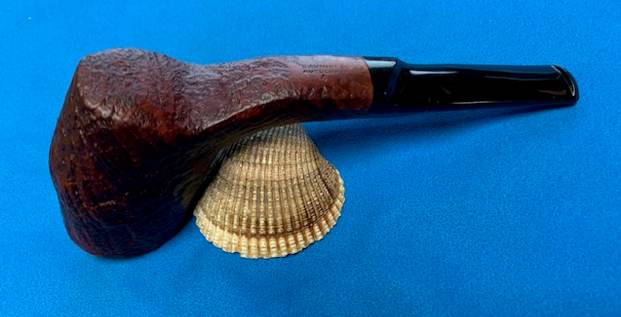
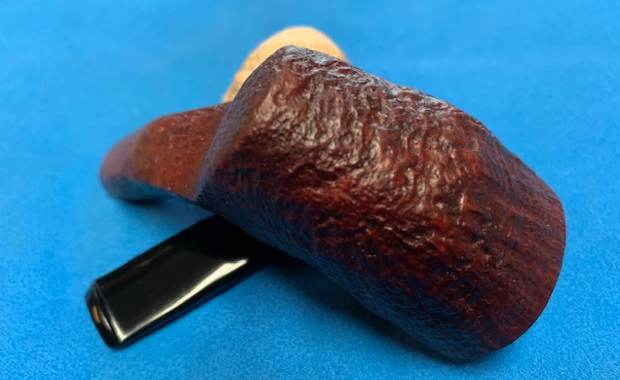
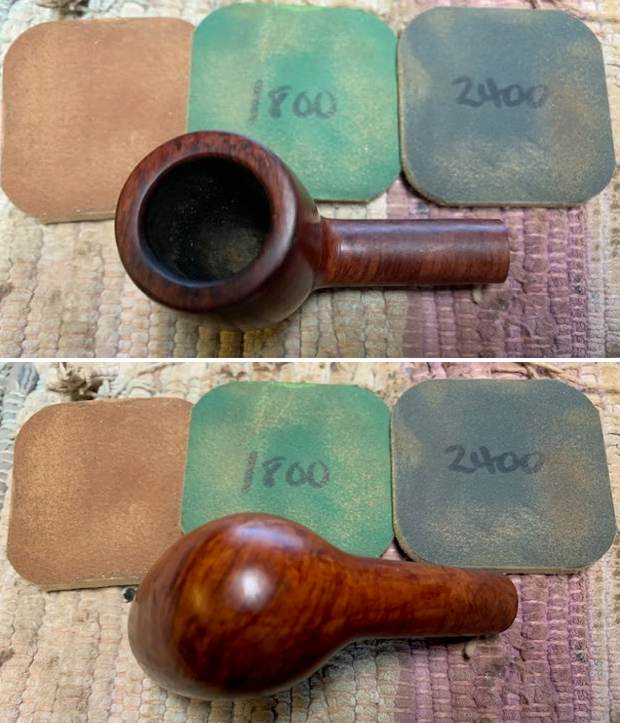
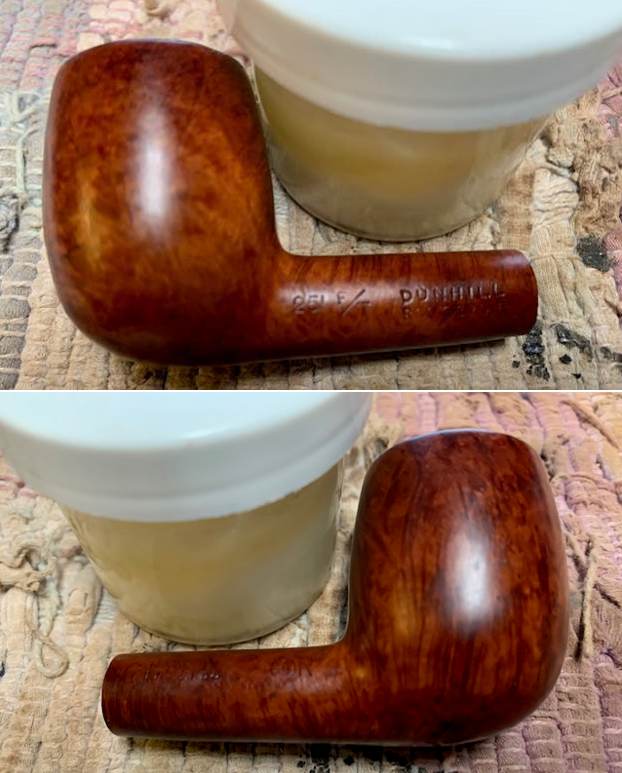
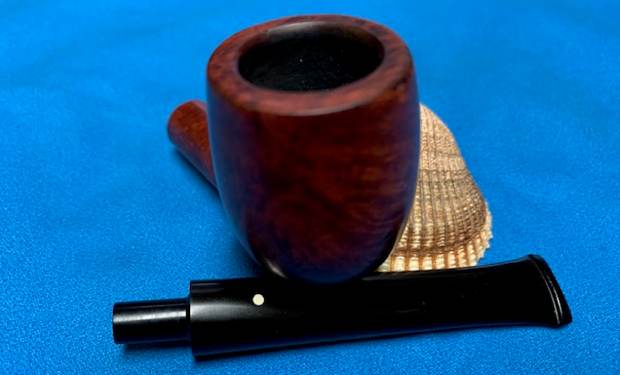
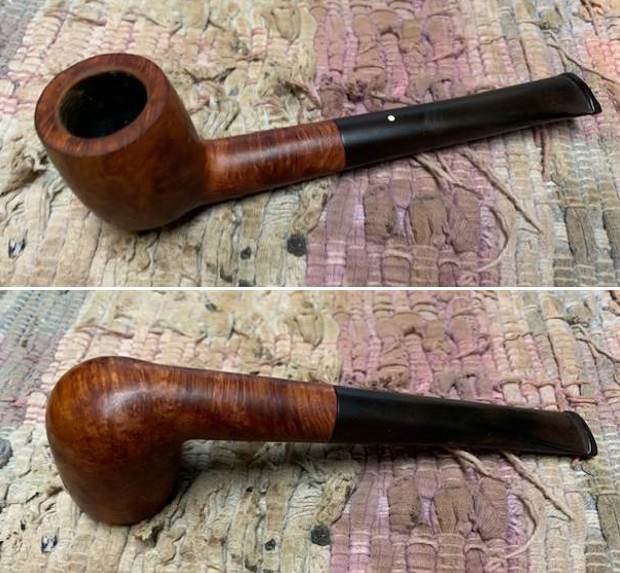
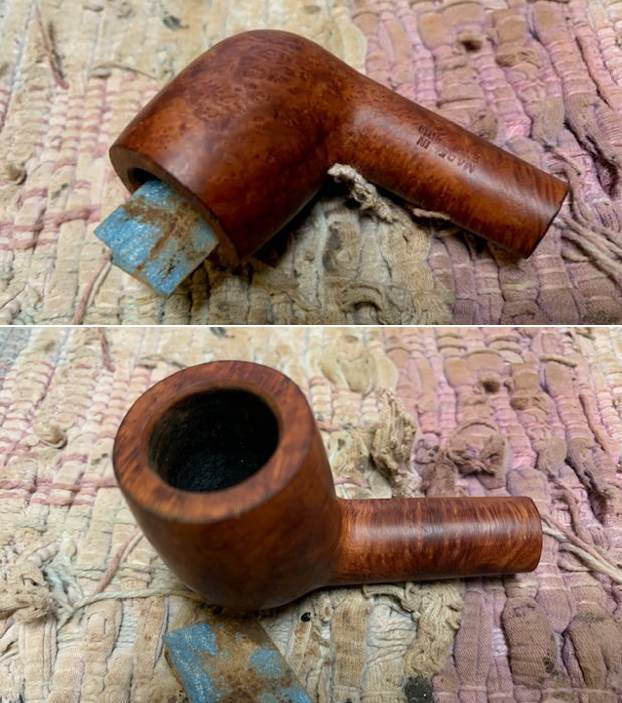
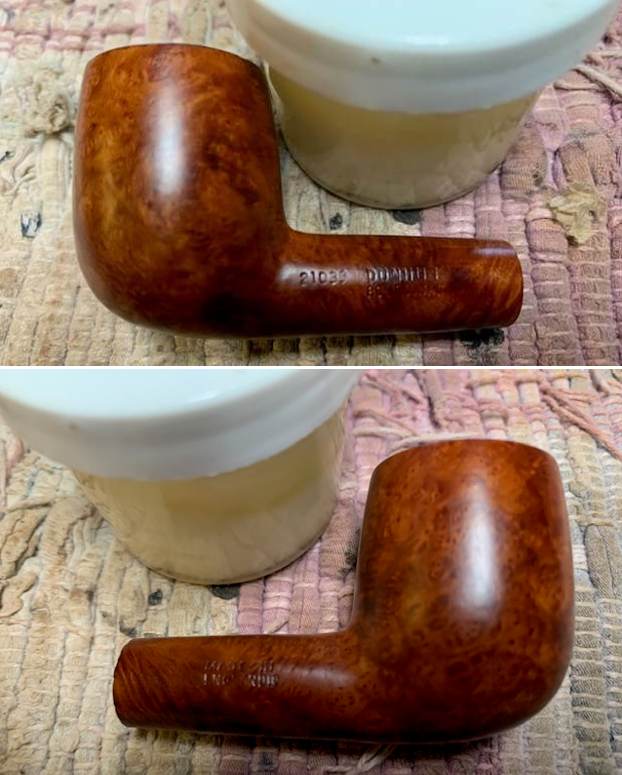
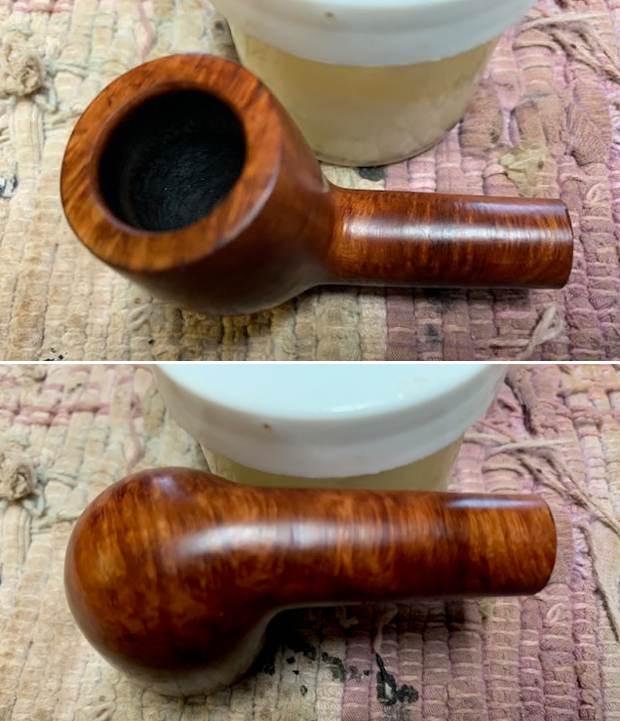
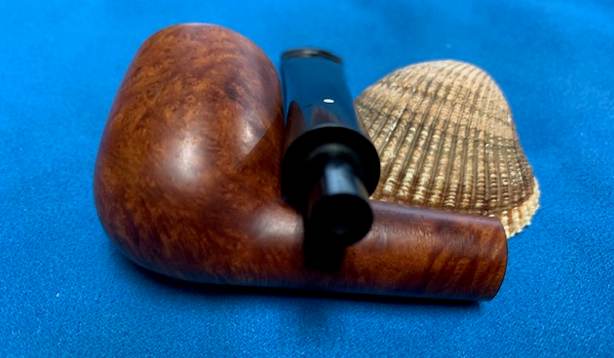
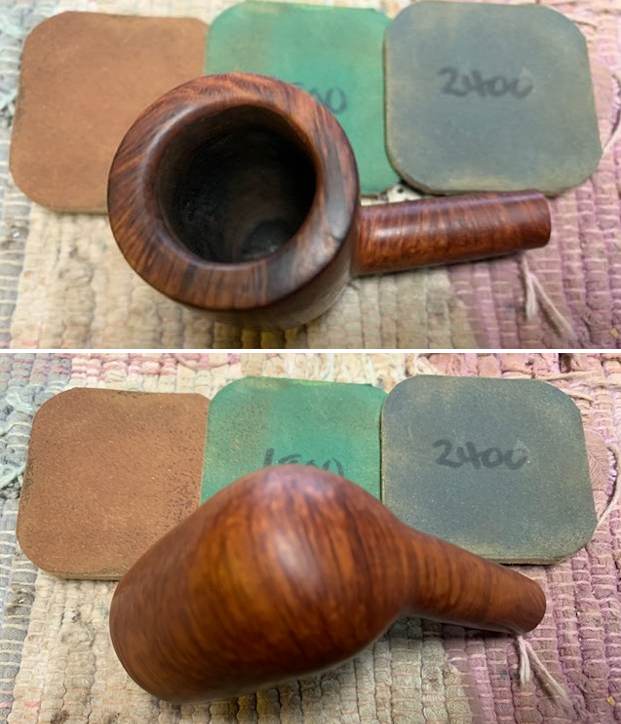
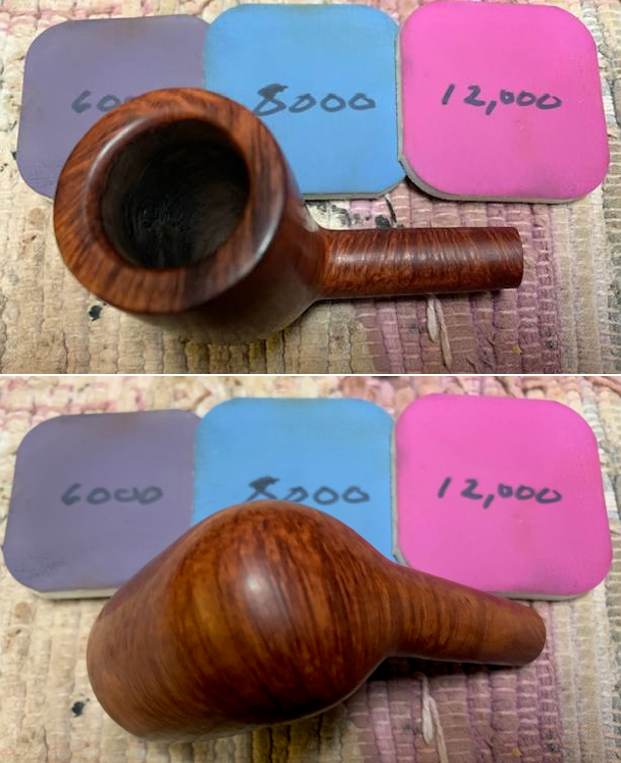
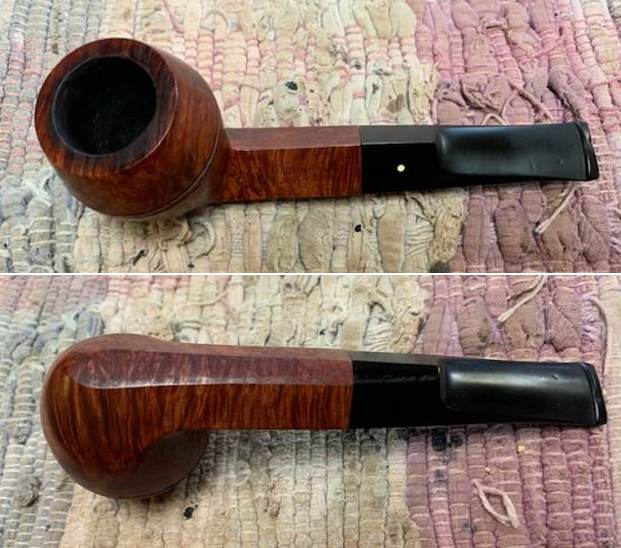
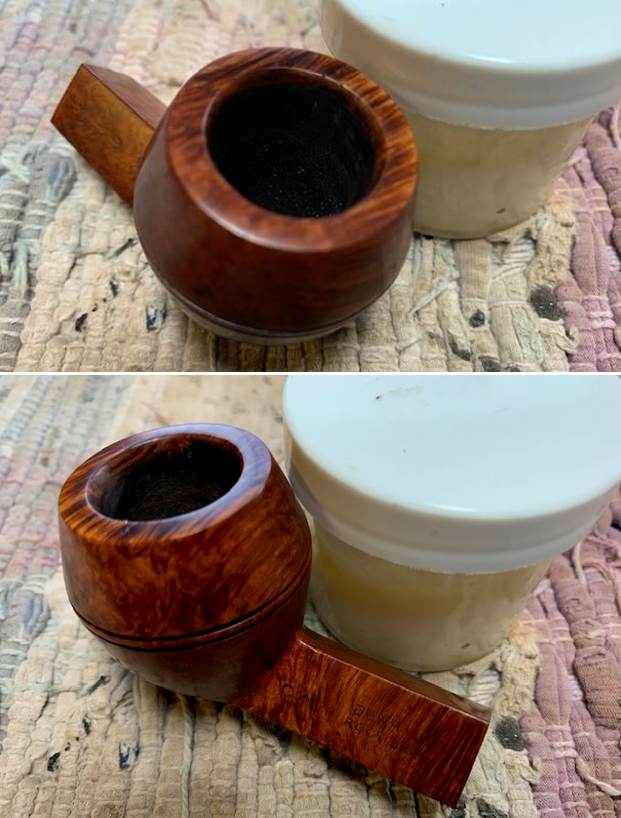
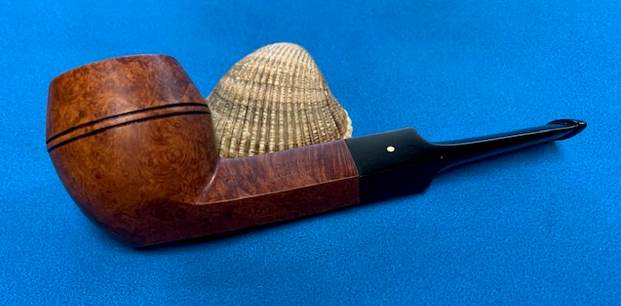
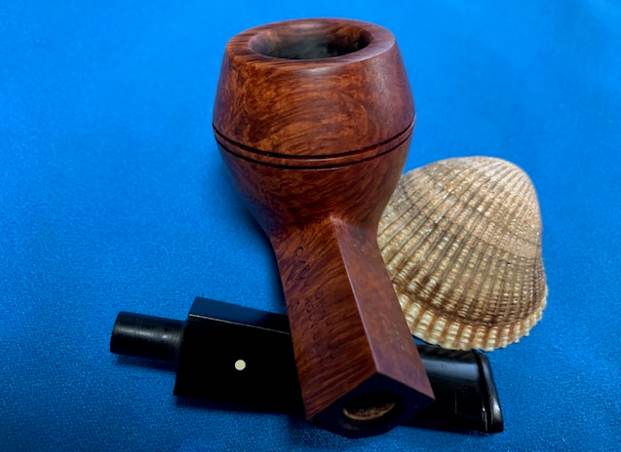
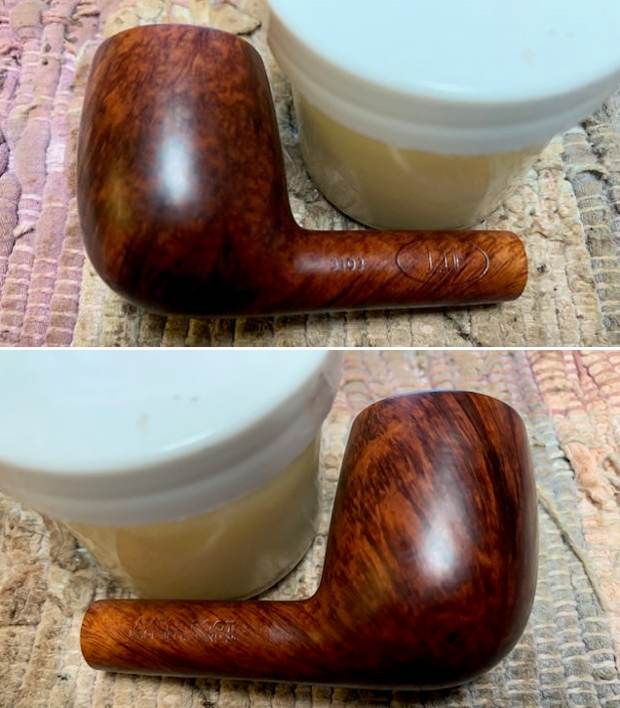
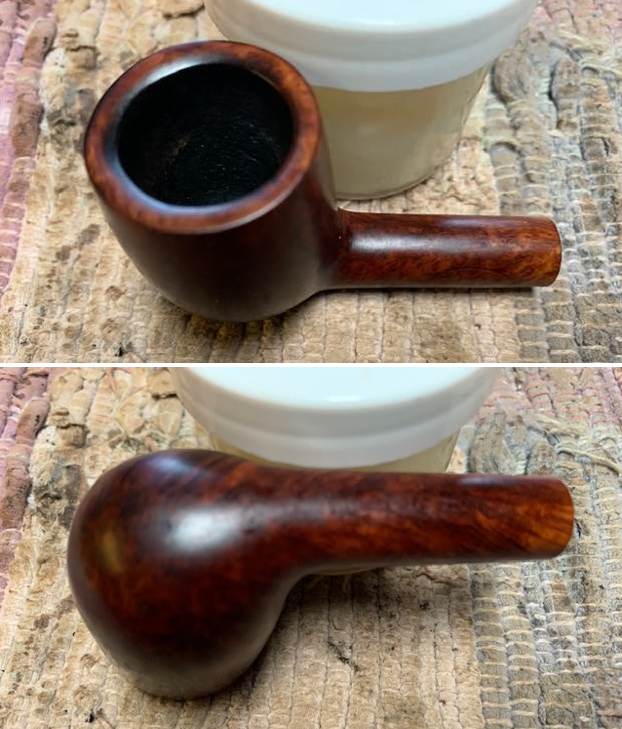
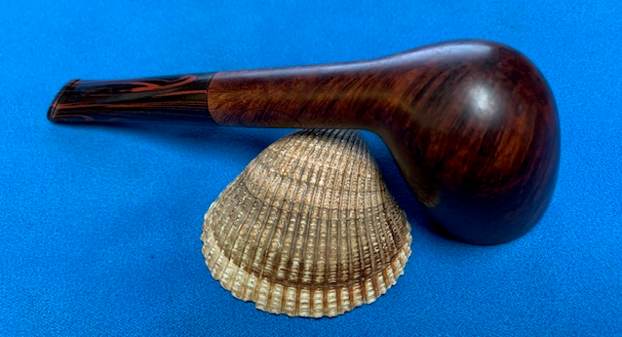
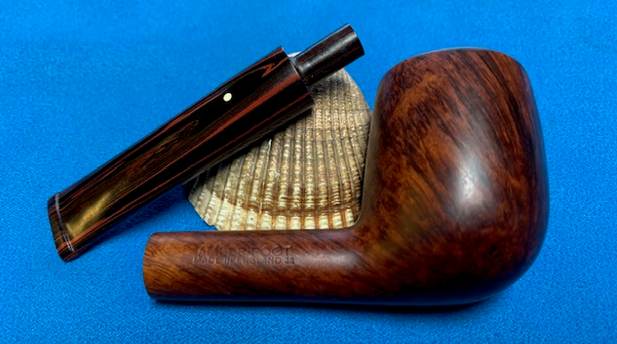
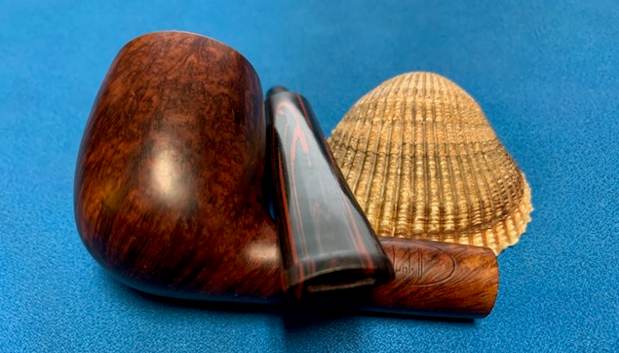
 I rubbed the bowl down with Before & After Restoration Balm. I worked it into the briar with my finger tips. I worked it into the twin rings and the plateau rim top with a shoe brush. I let it sit for 10 minutes and the Balm did its magic. It enlivens, cleans and preserves the briar. It certainly brought this bowl back to life. I buffed it off with a clean cloth and took the following photos.
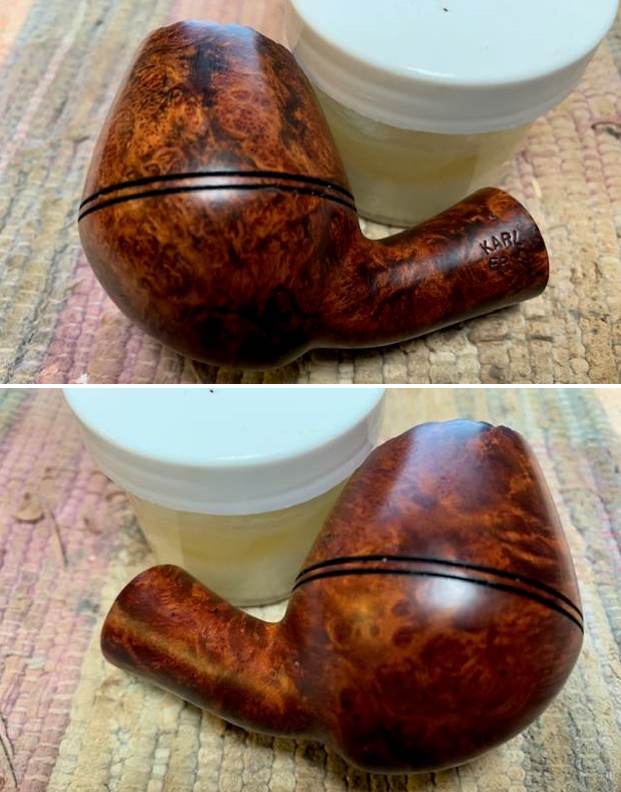
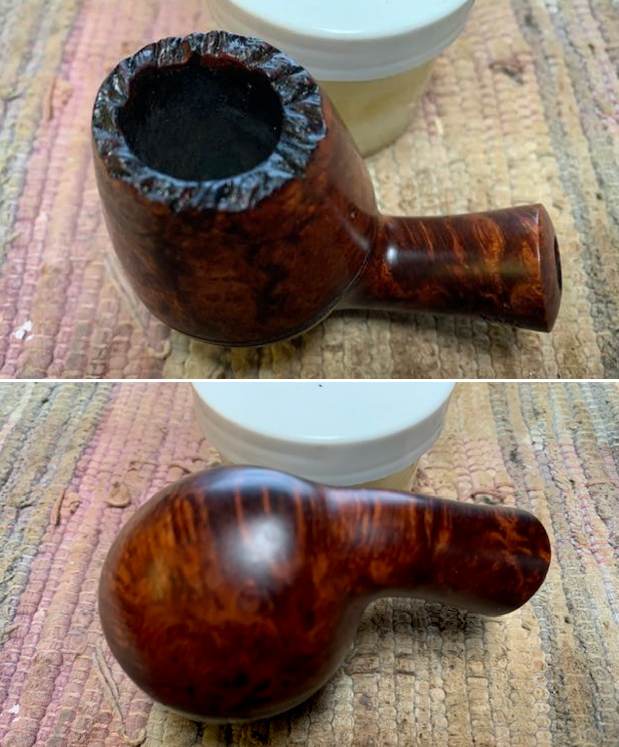
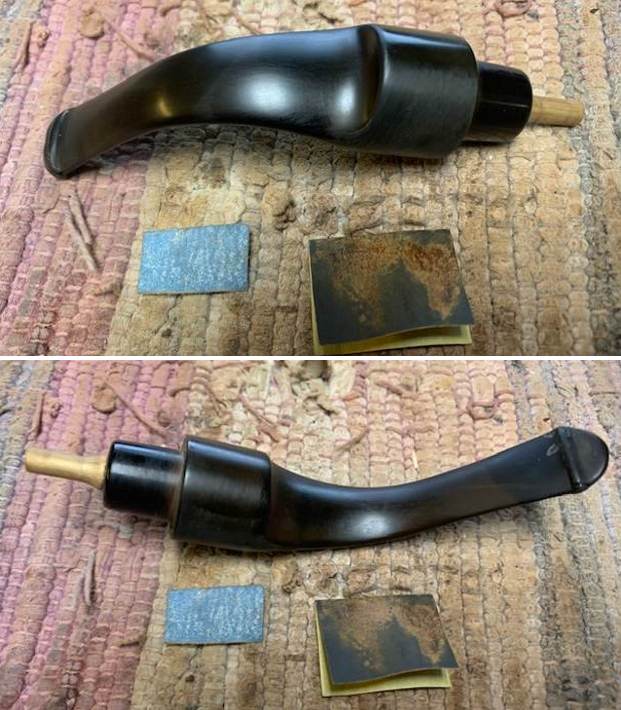
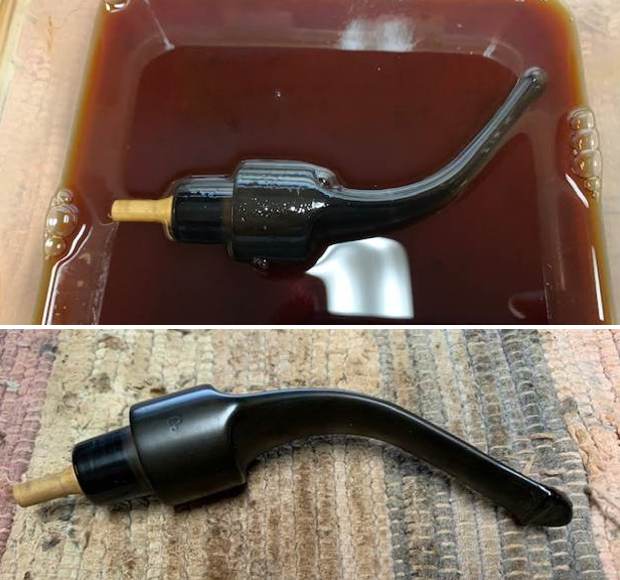
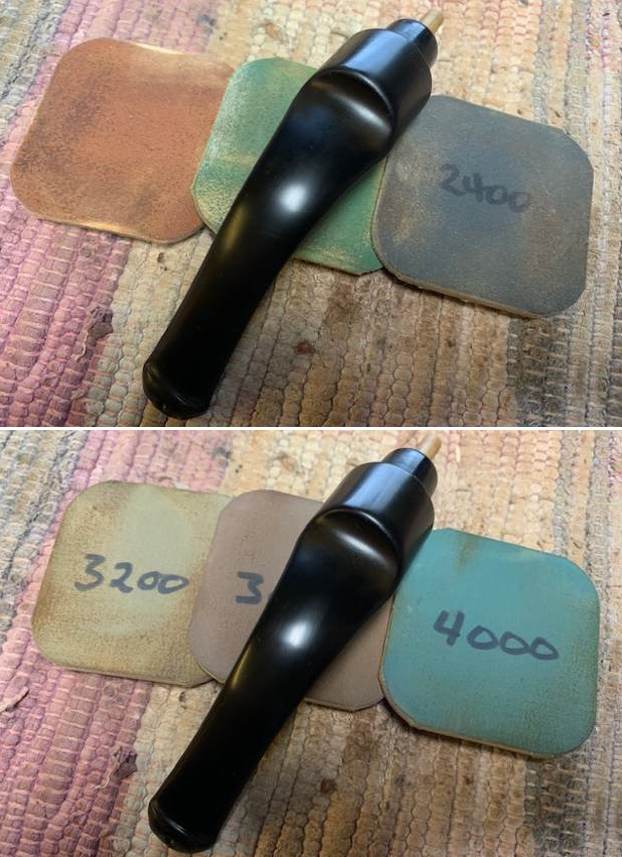
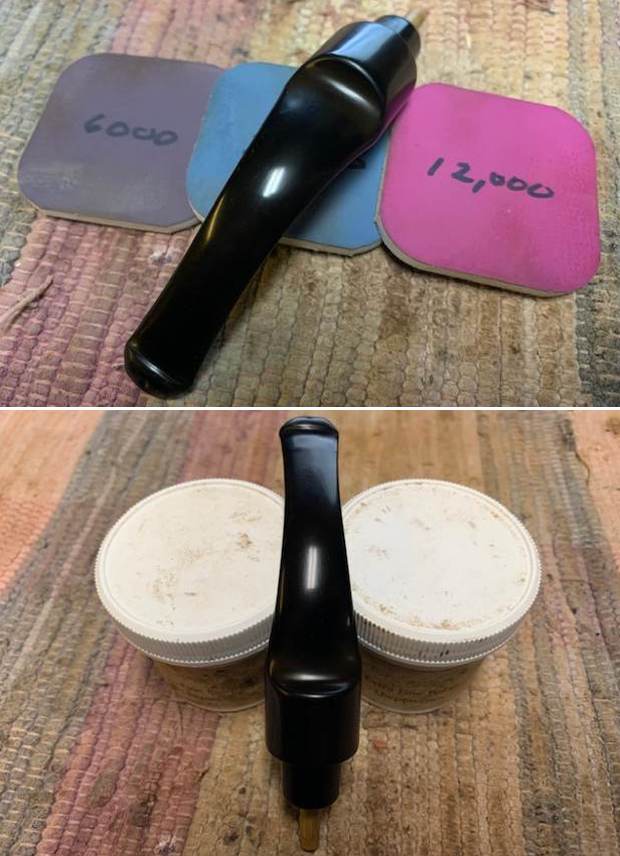
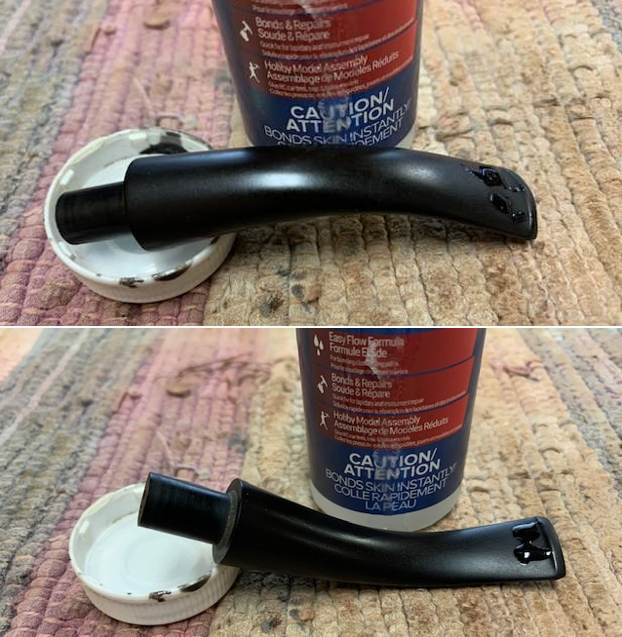
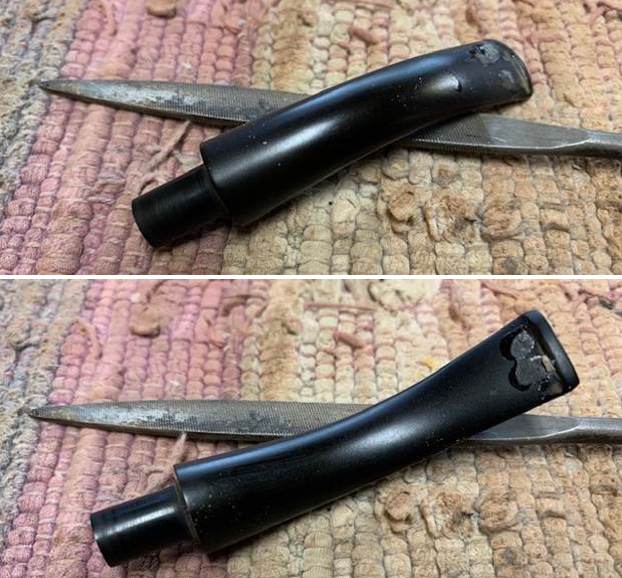
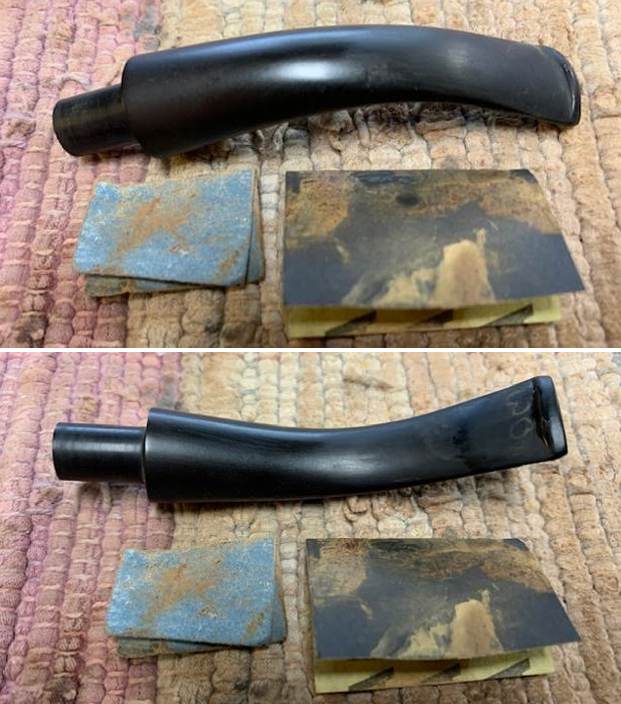
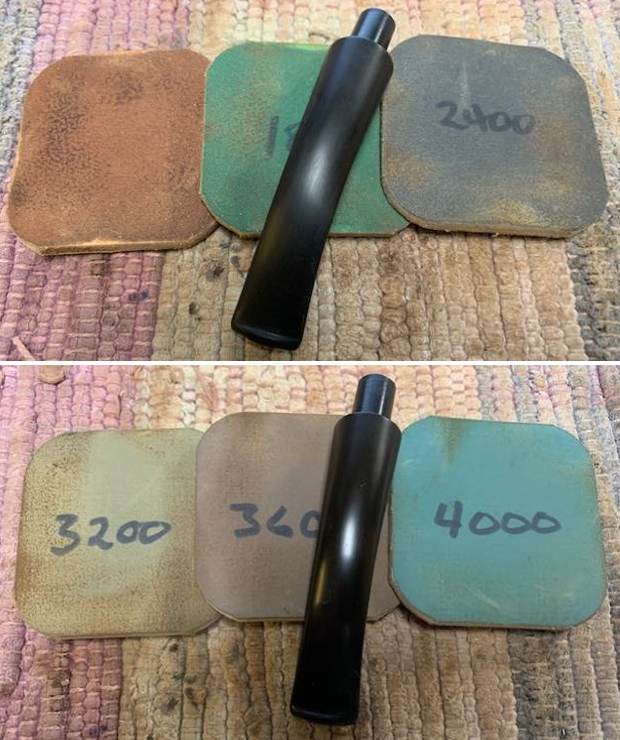
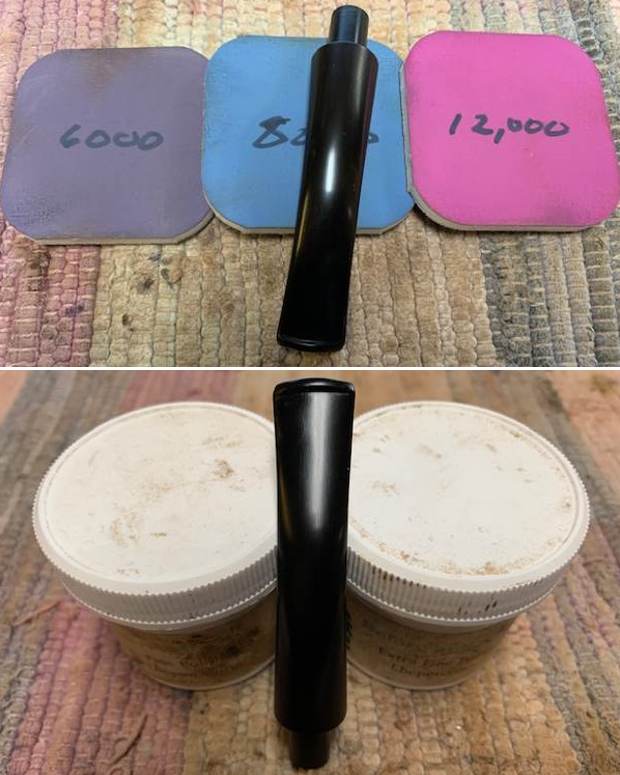
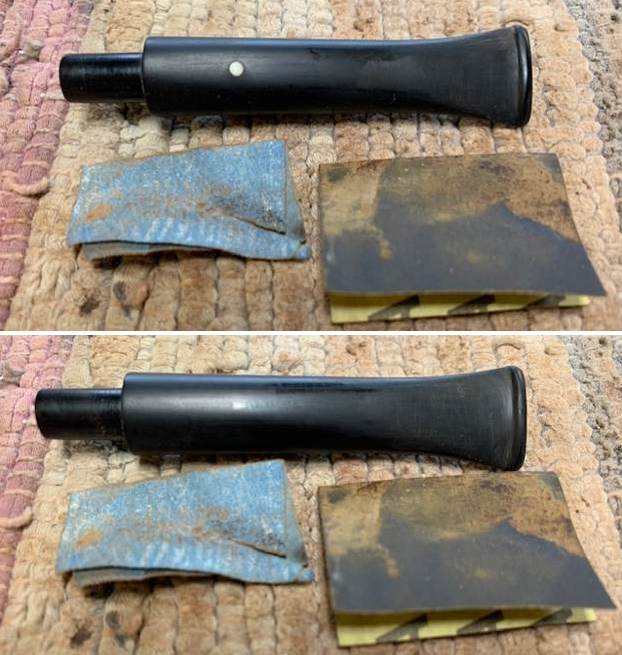
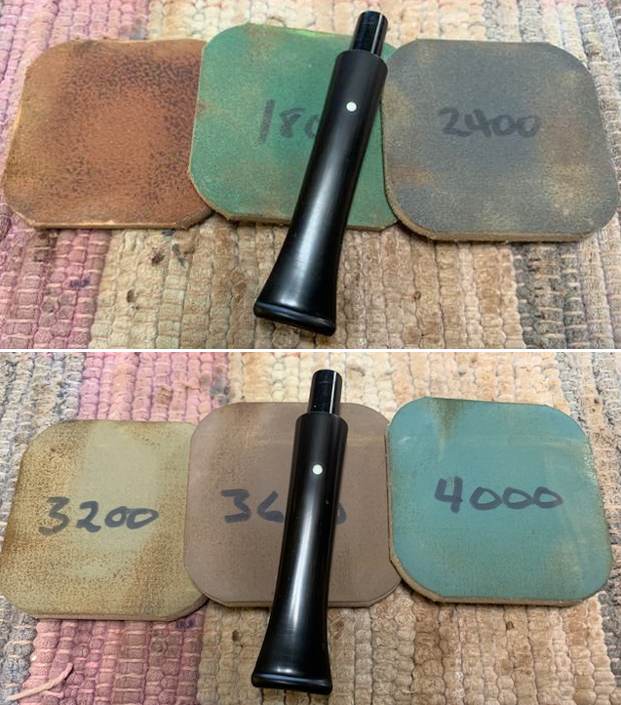
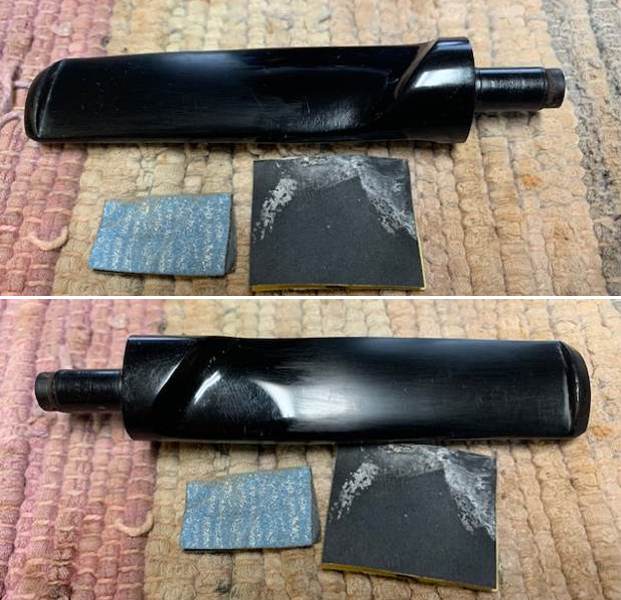
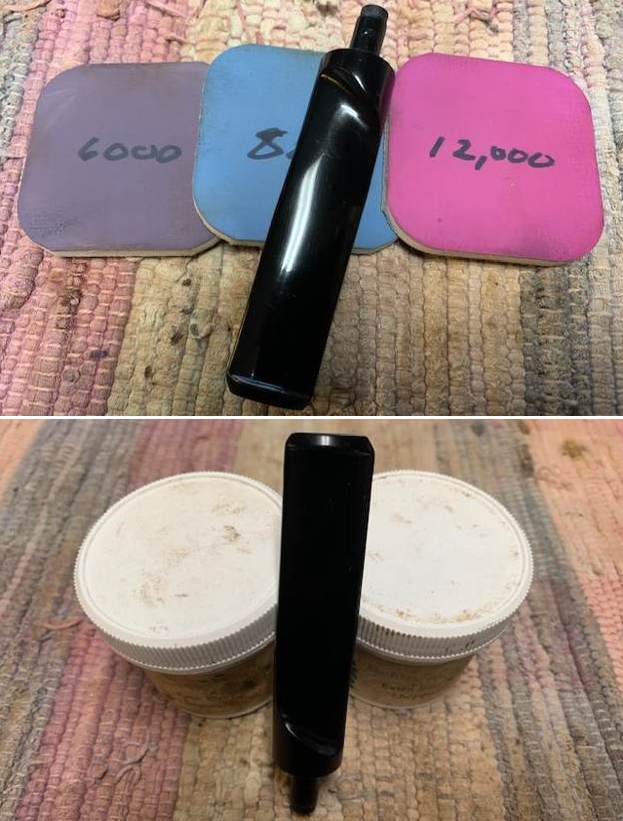
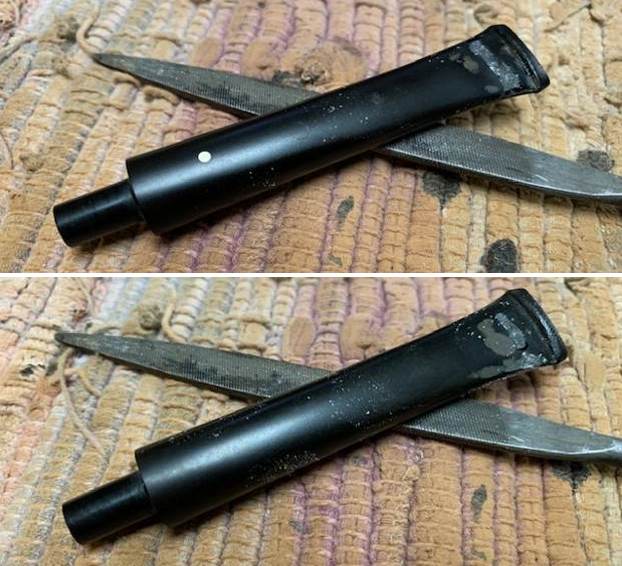
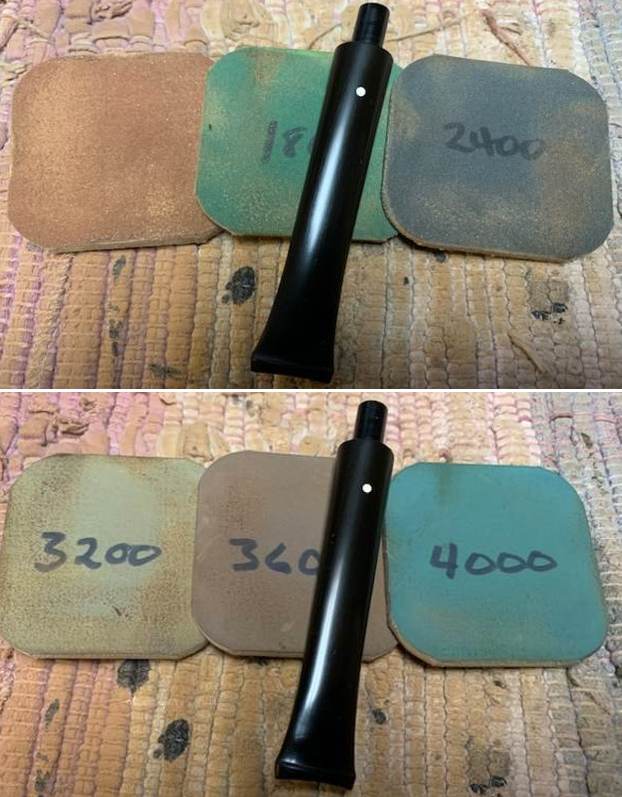
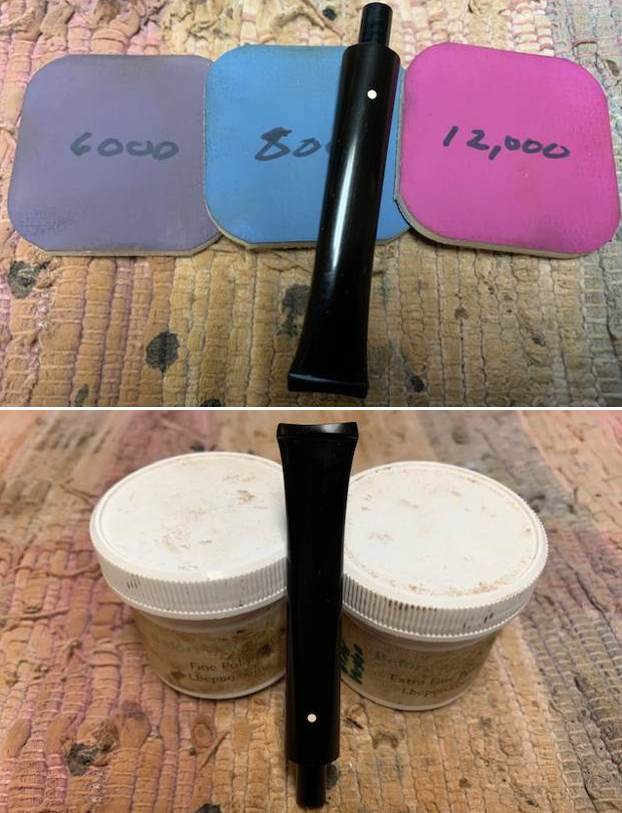
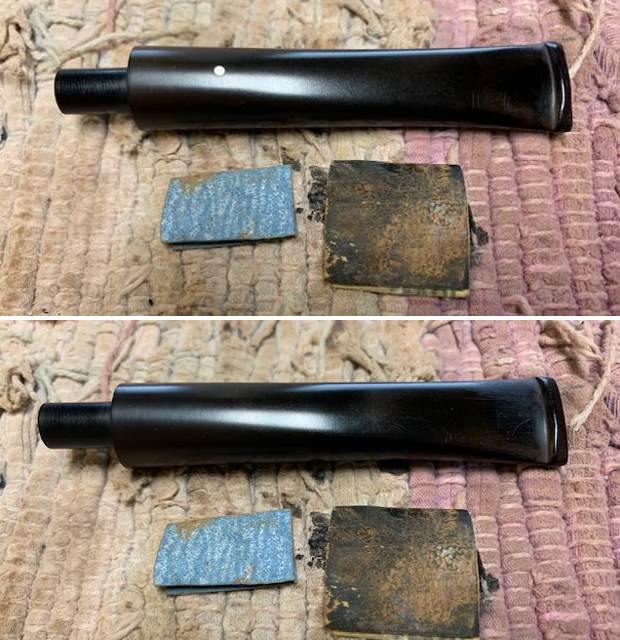
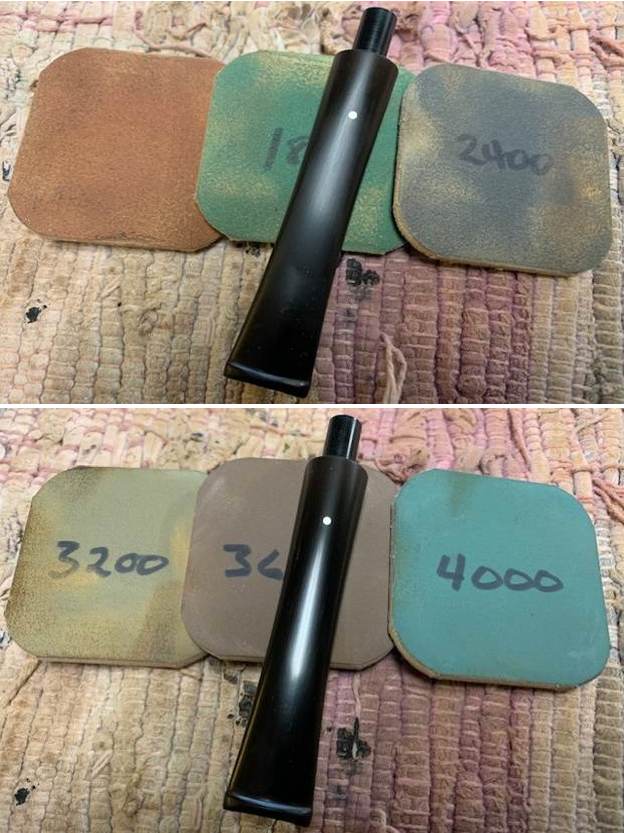
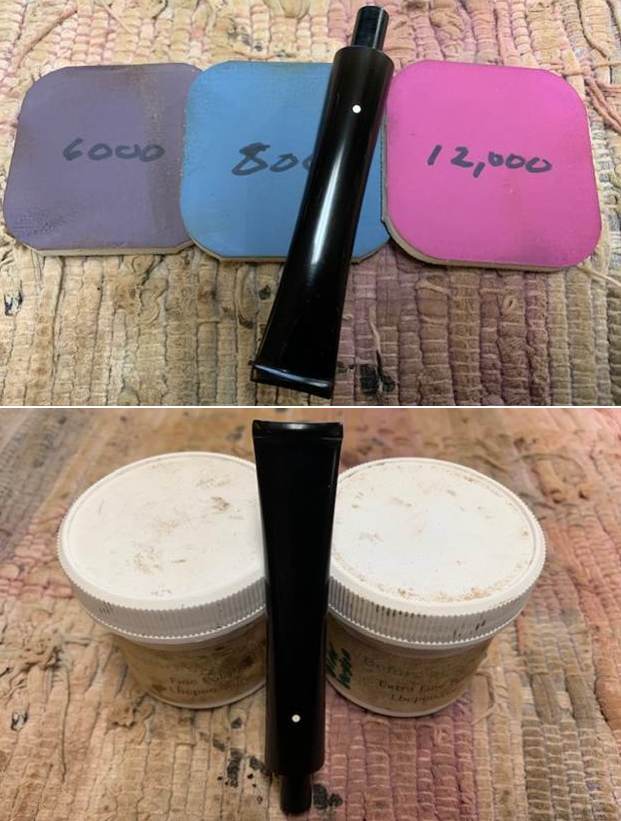
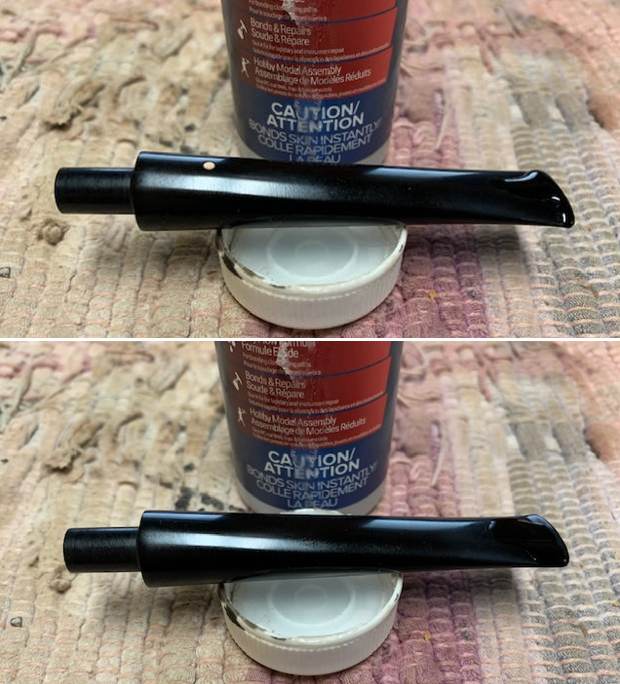
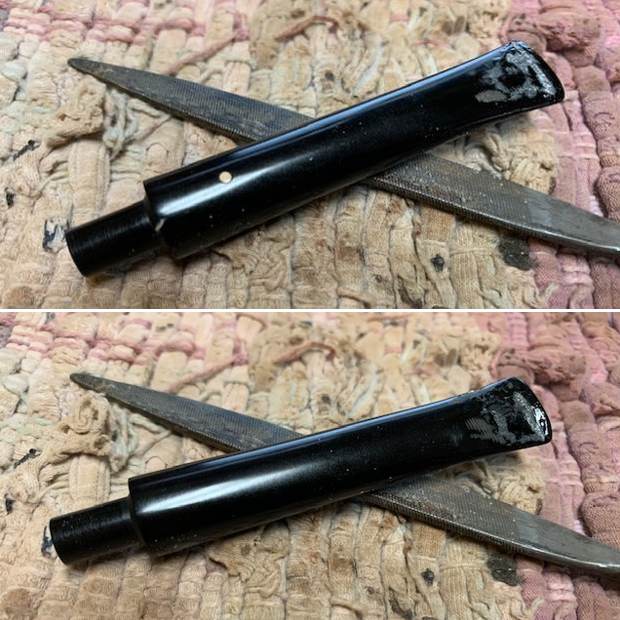
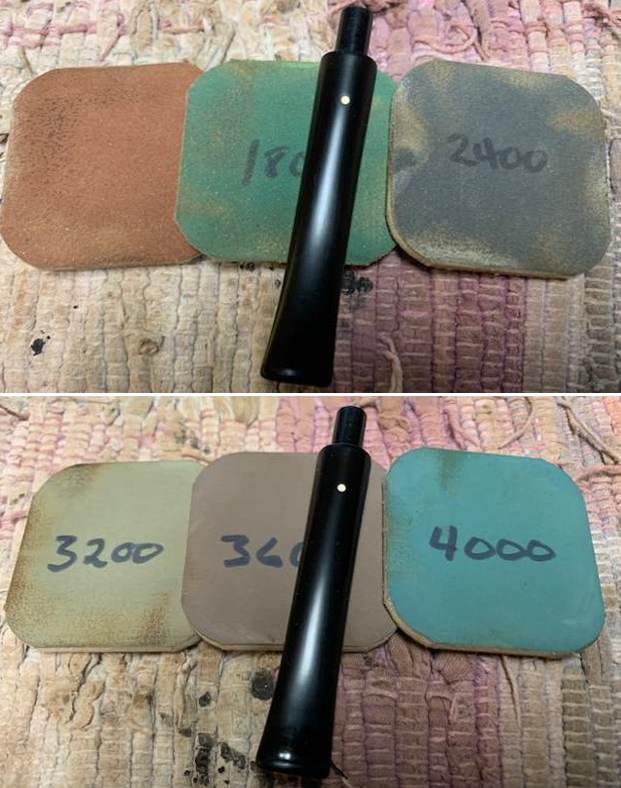
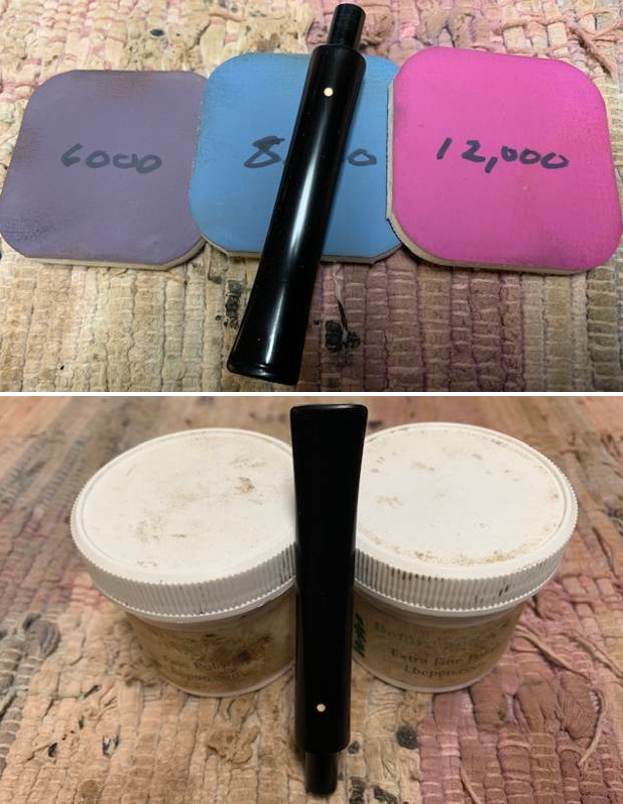
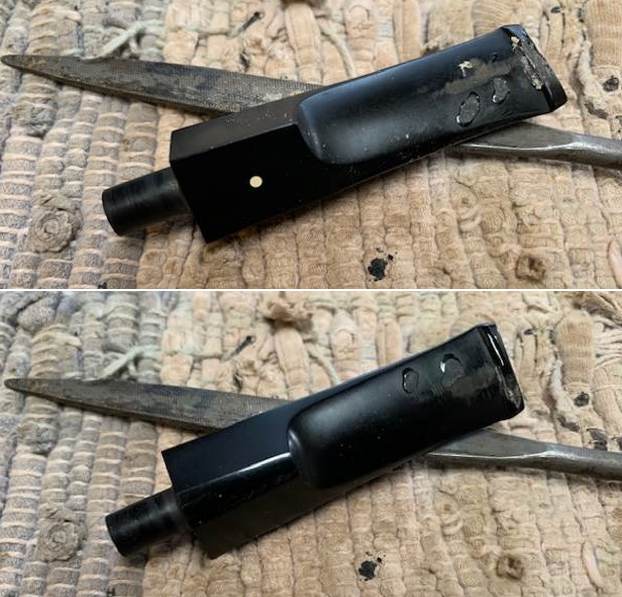
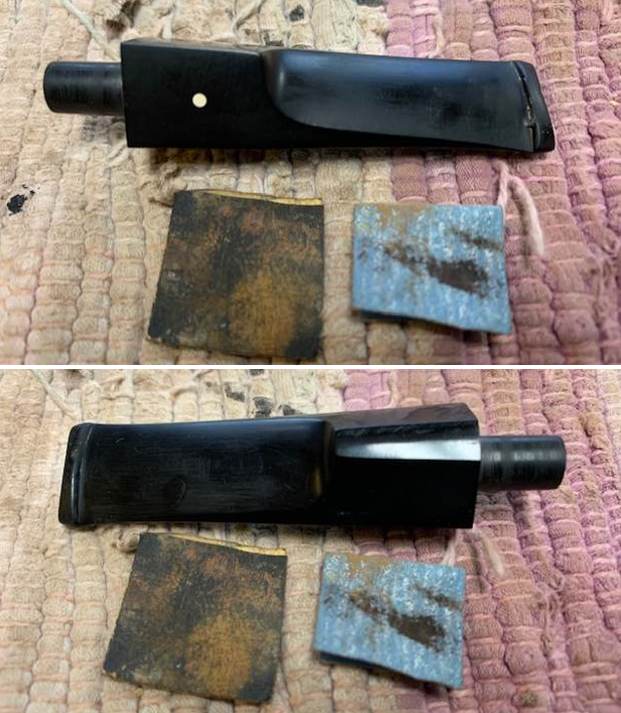
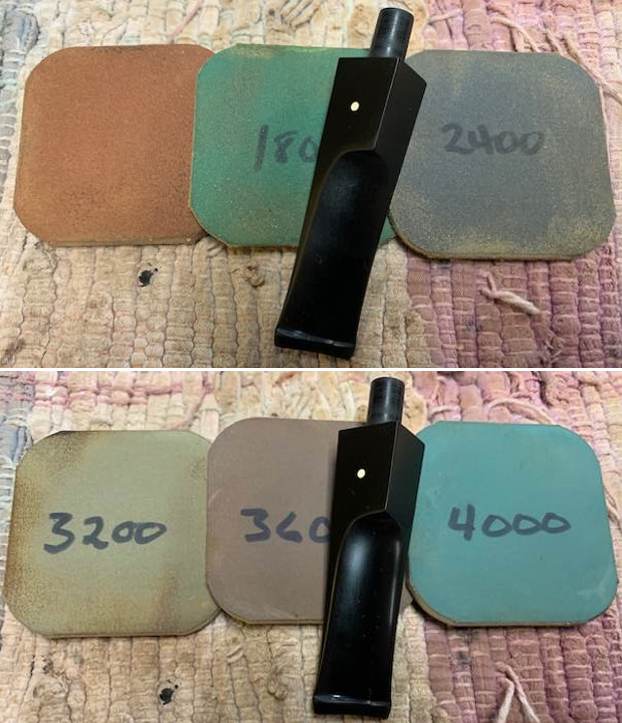
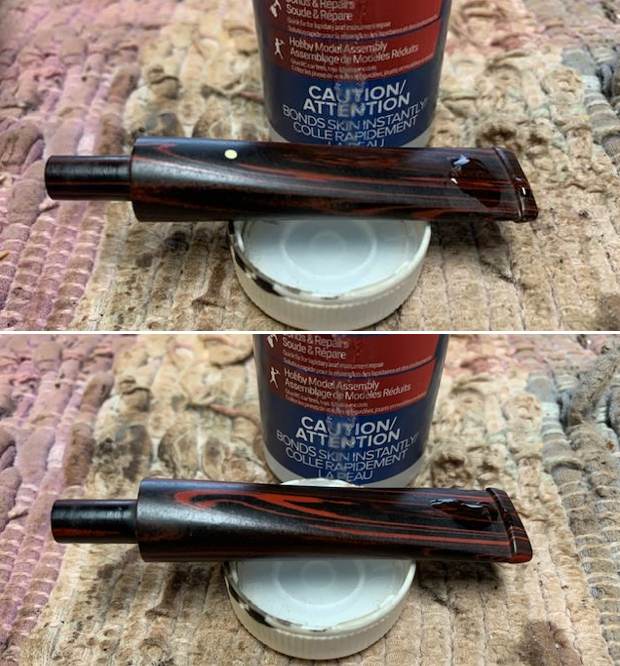
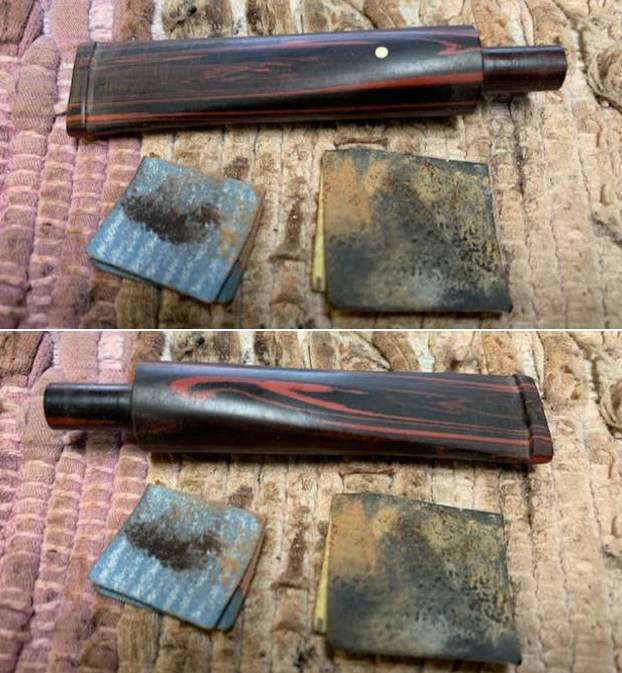
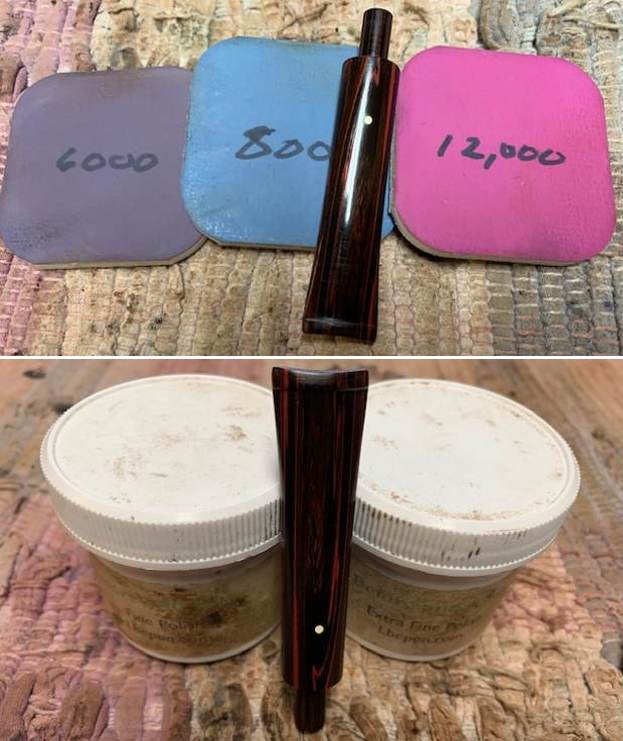
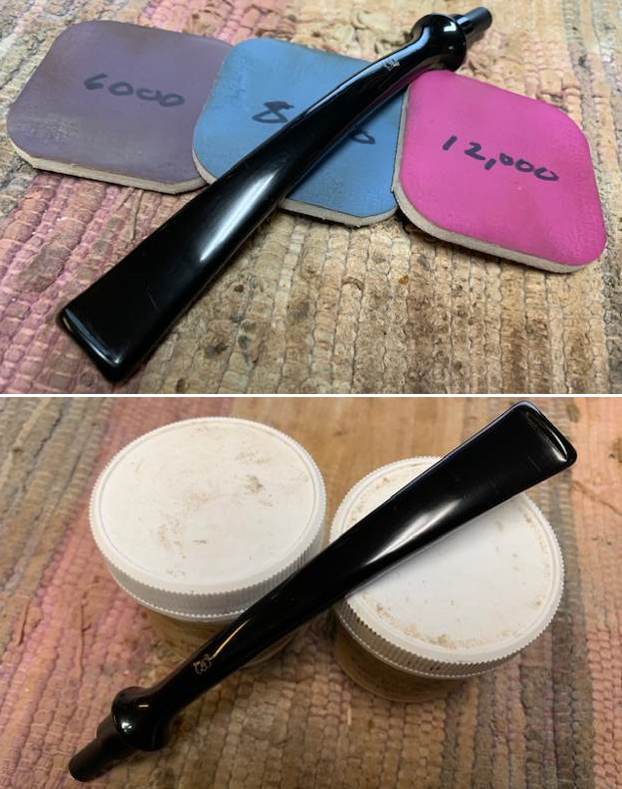
 I set the bowl aside and turned to work on the stem. I was able to polish out the tooth marks and chatter with micromesh sanding pads – 1500-12000 grit pads. I wiped it down with a damp cloth after each sanding pad. I used Before & After Pipe Polish – both Fine and Extra Fine to further polish the stem.
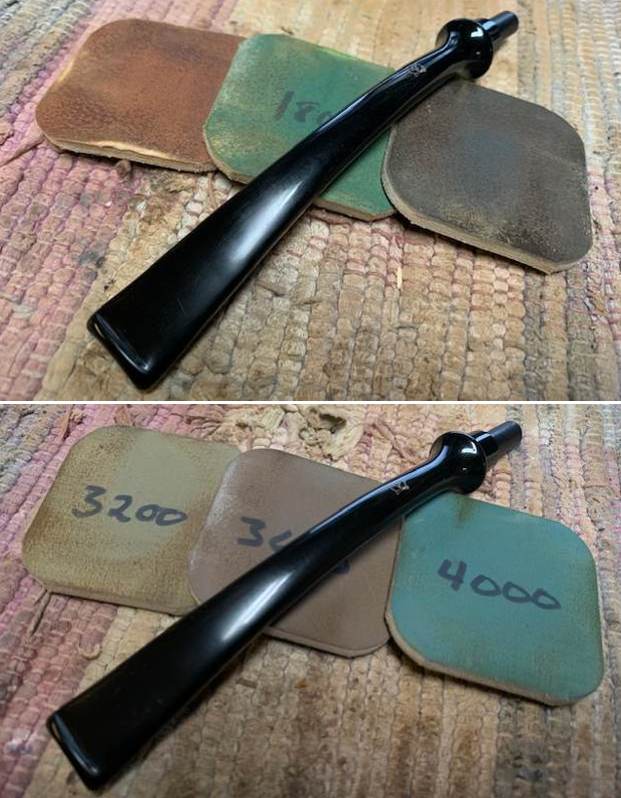
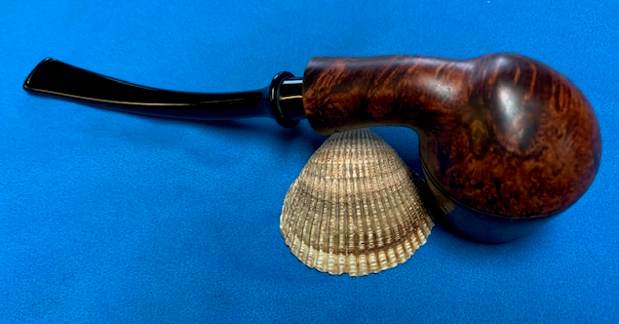
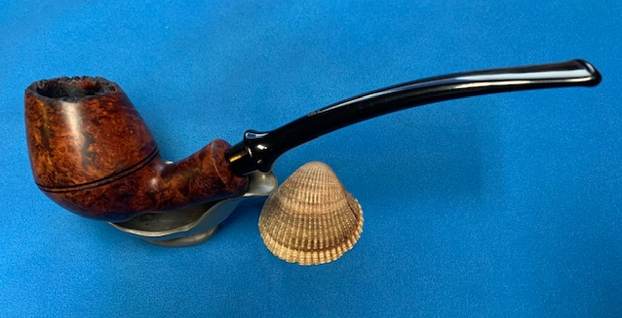
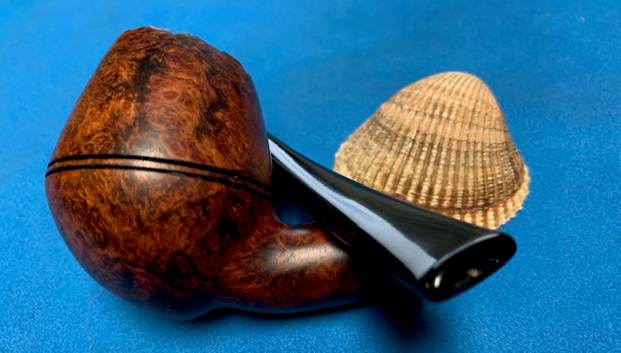
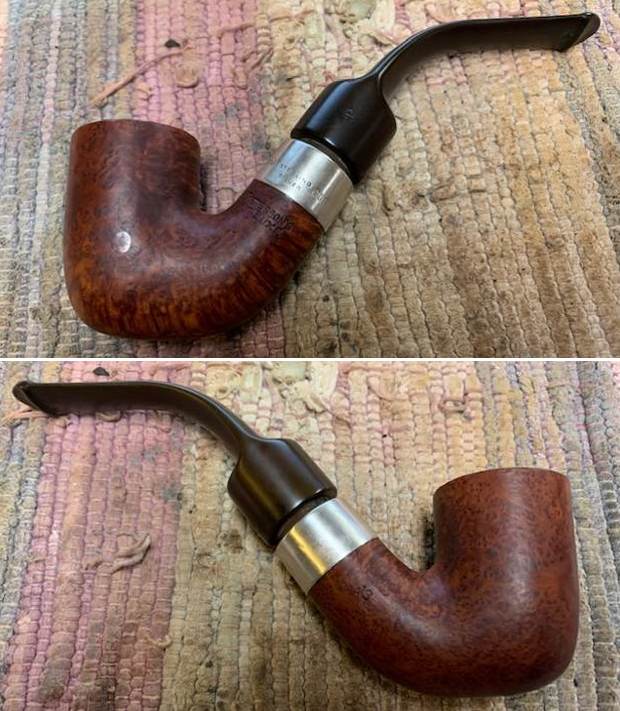
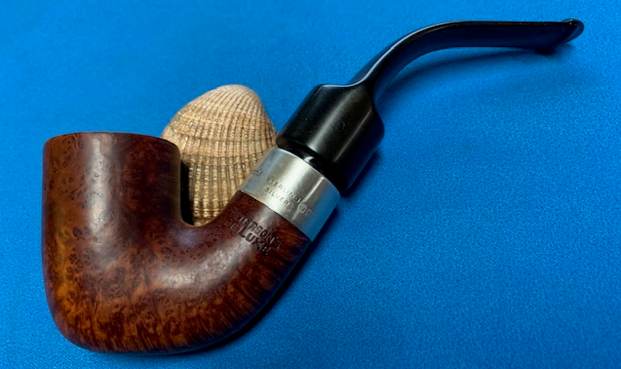
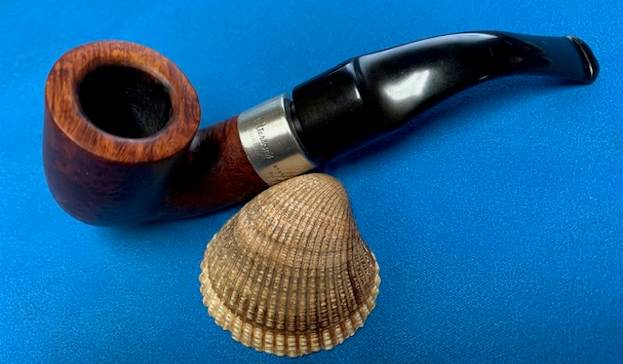
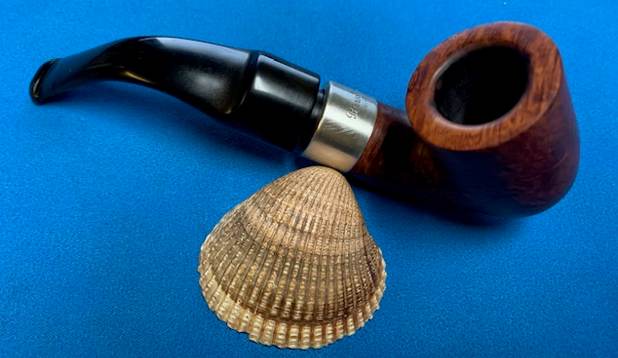
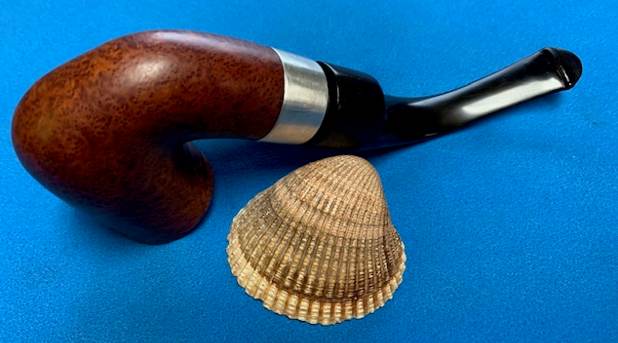
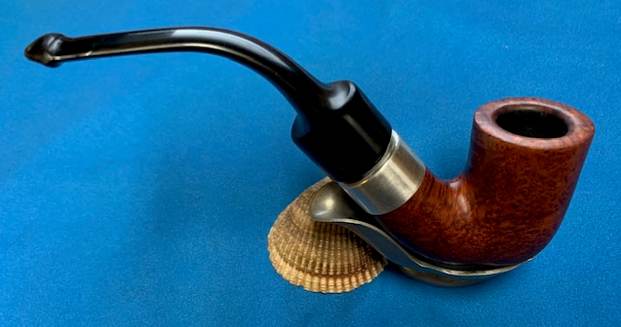
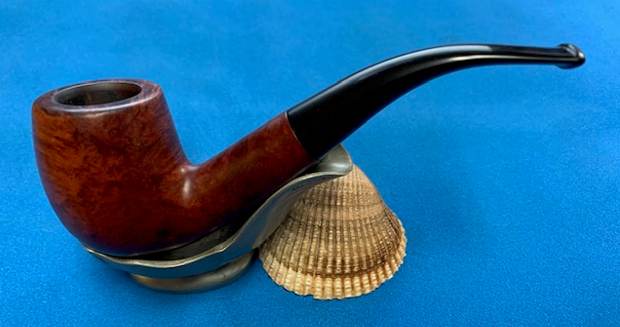
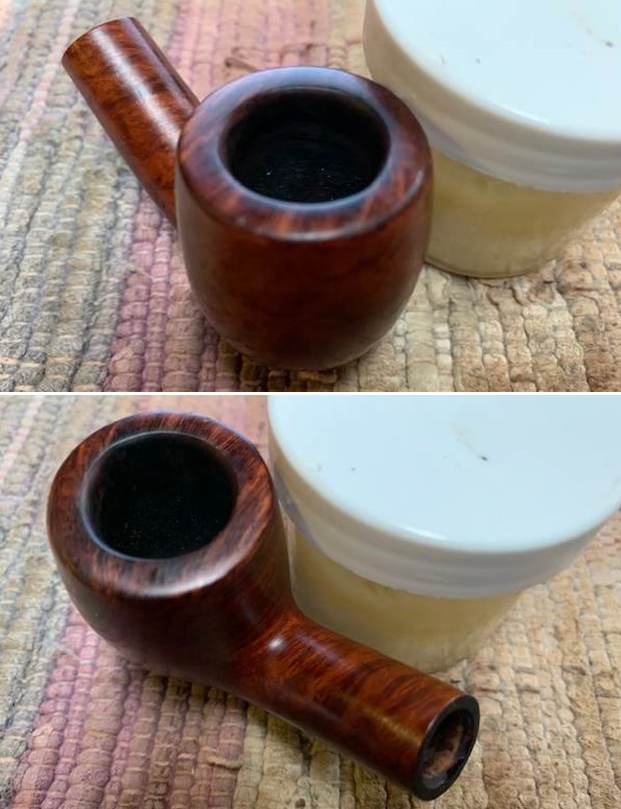
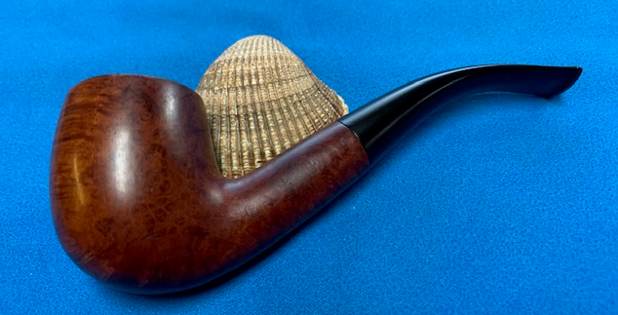
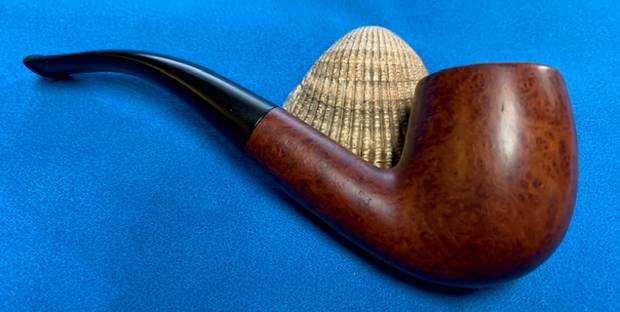
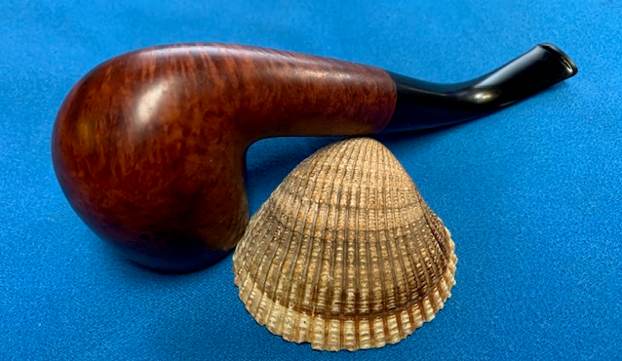
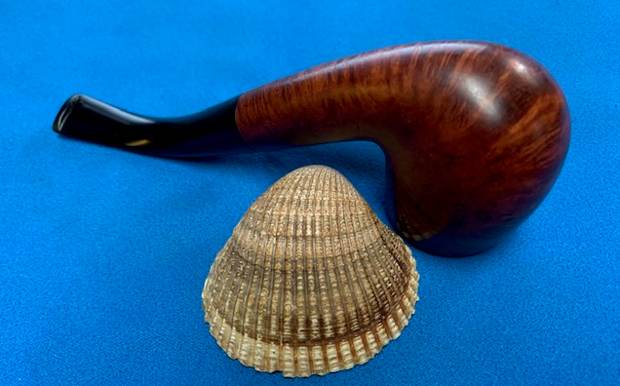
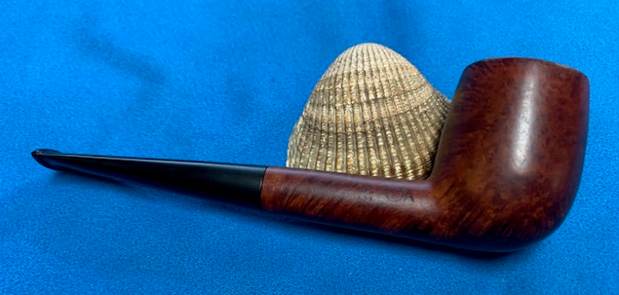
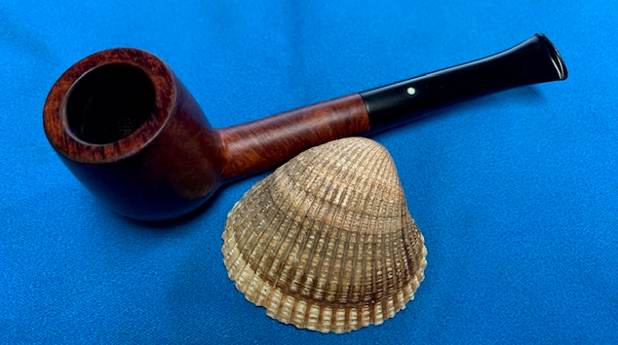
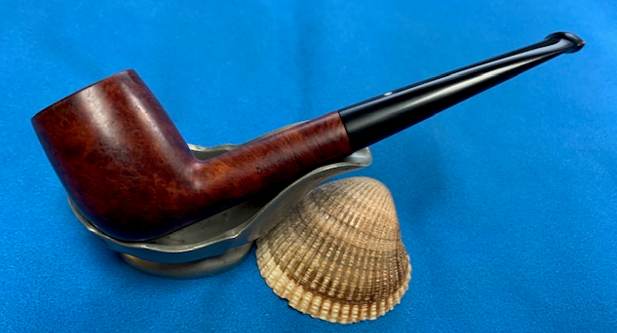
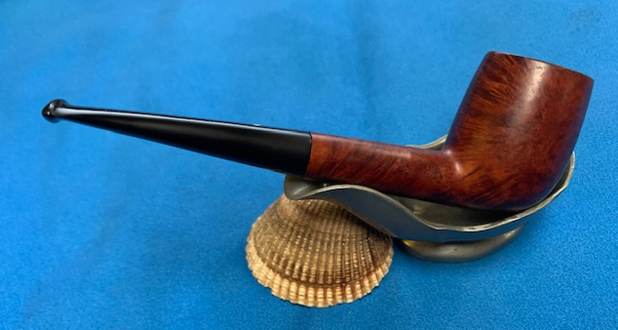
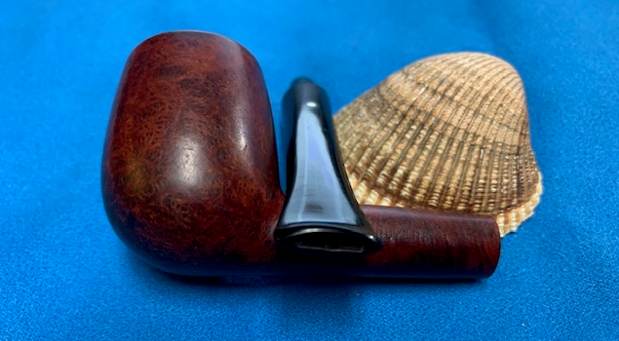
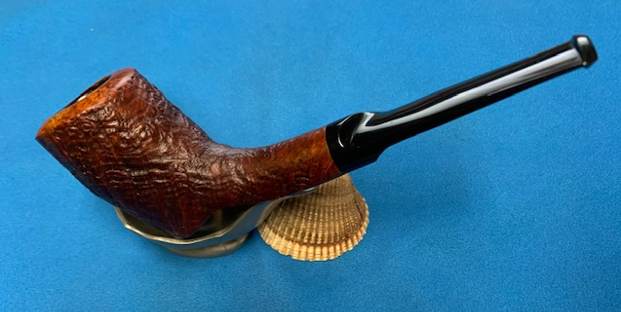
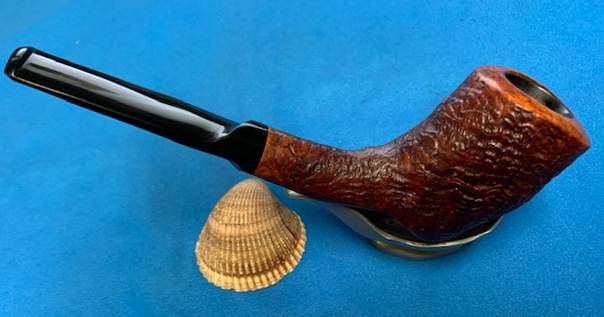
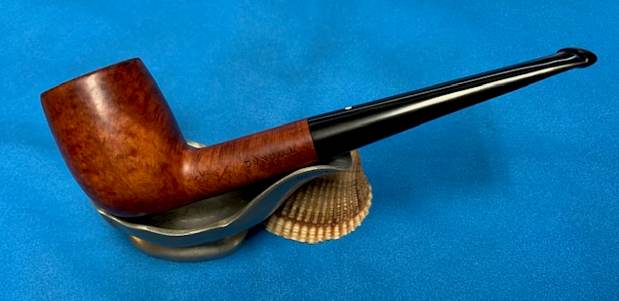
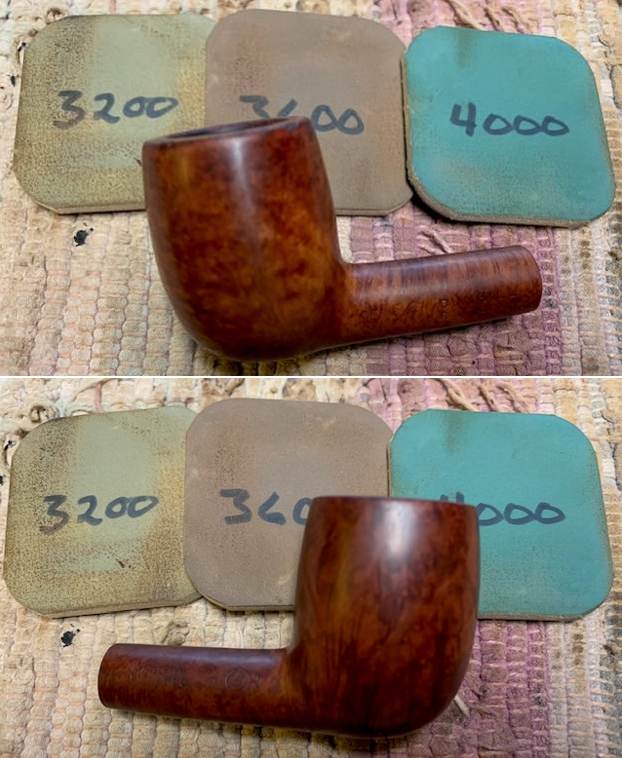
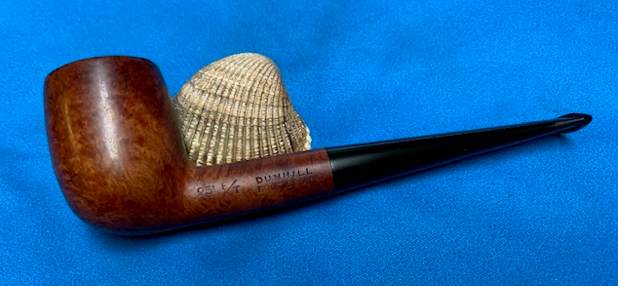
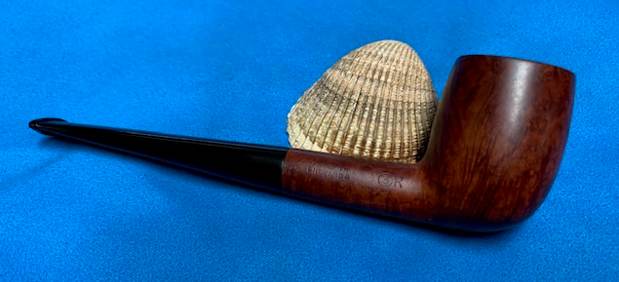
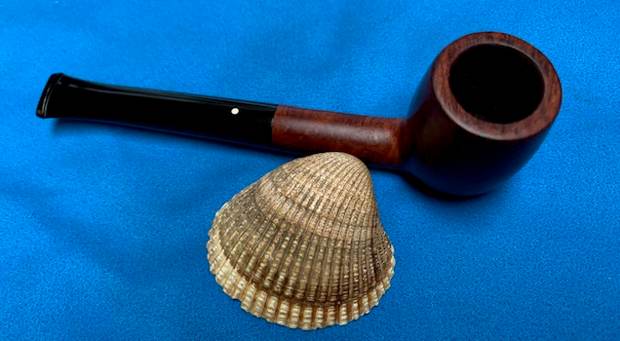
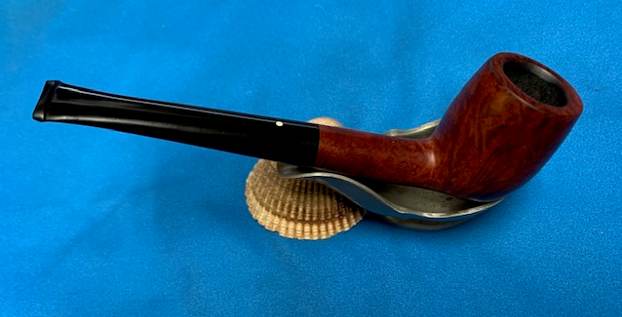
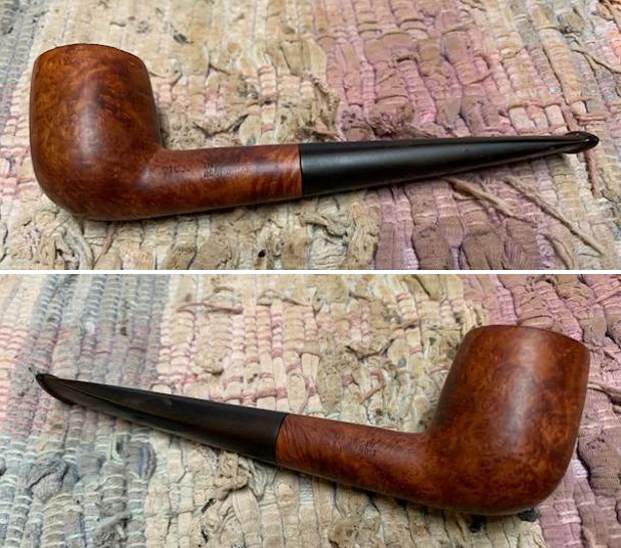
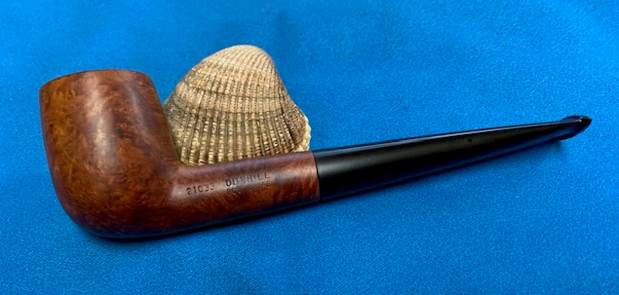
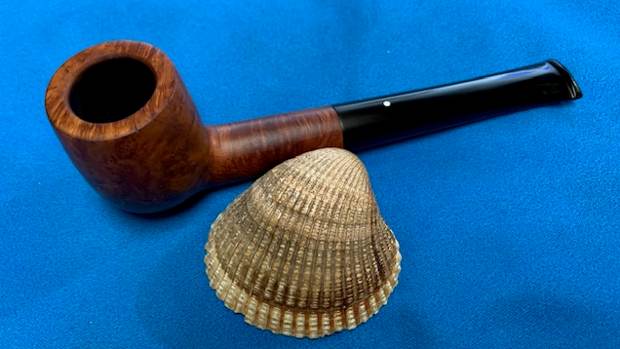
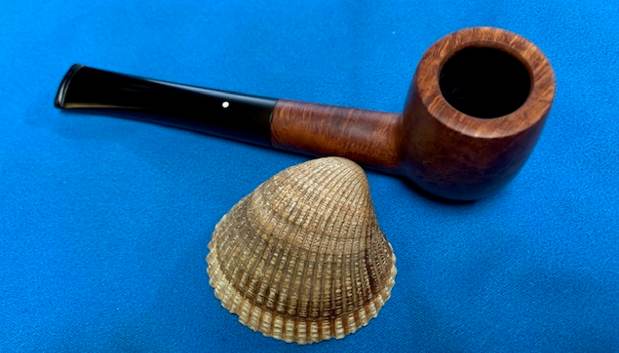
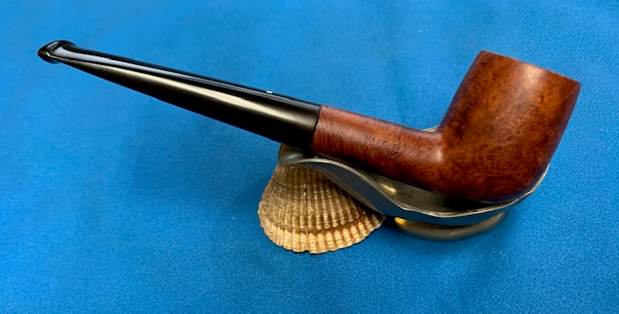
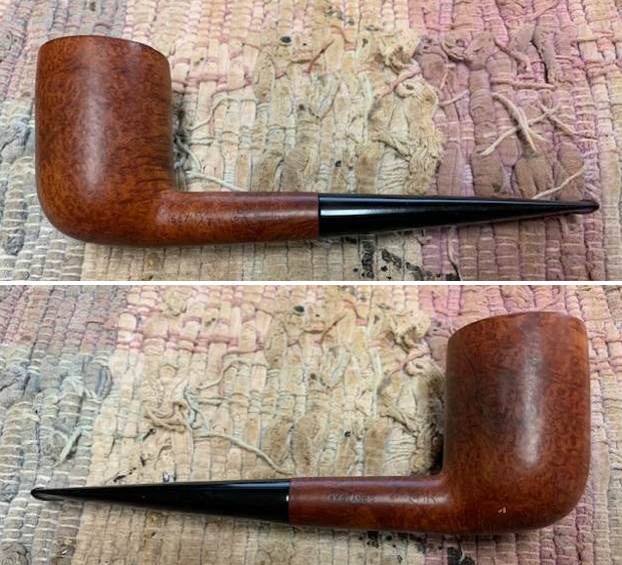
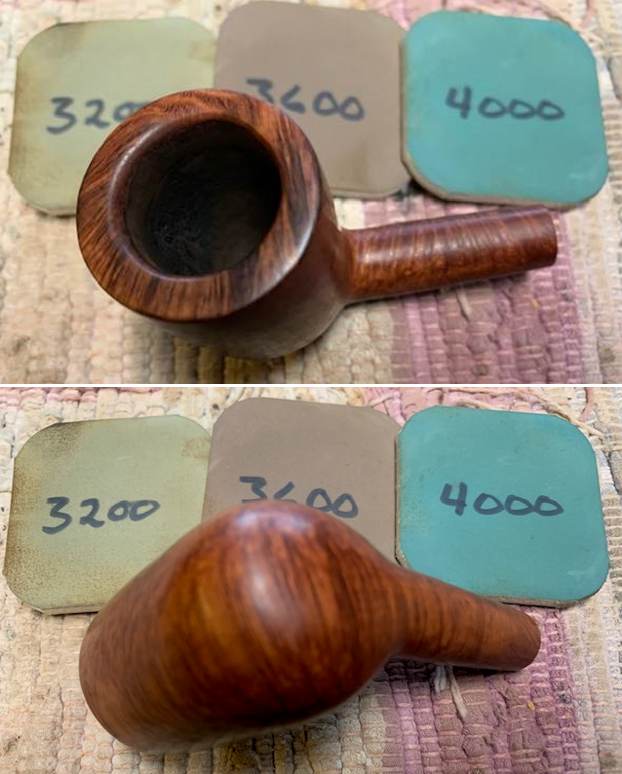
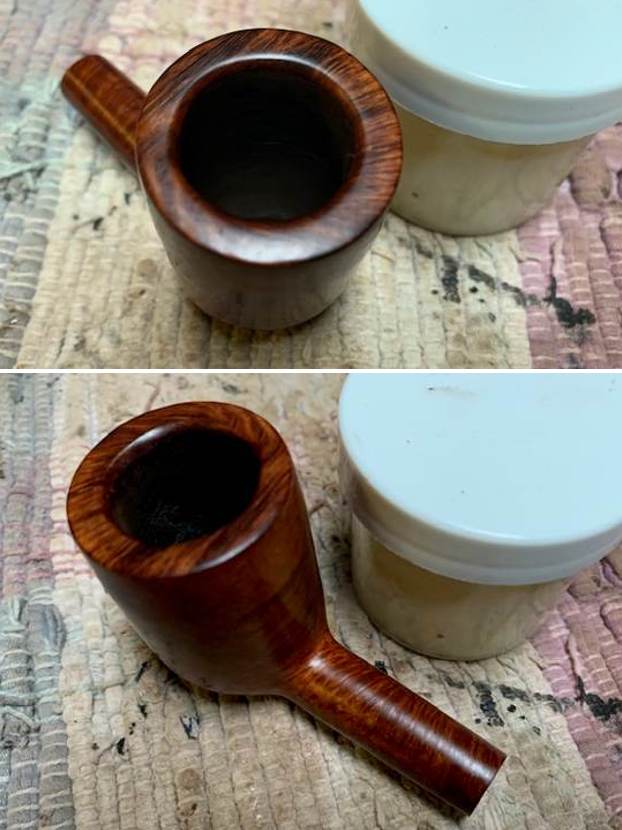
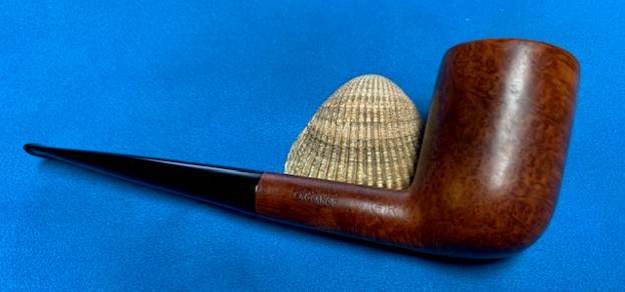
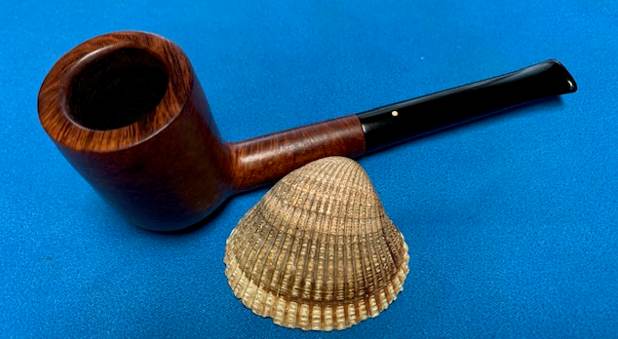
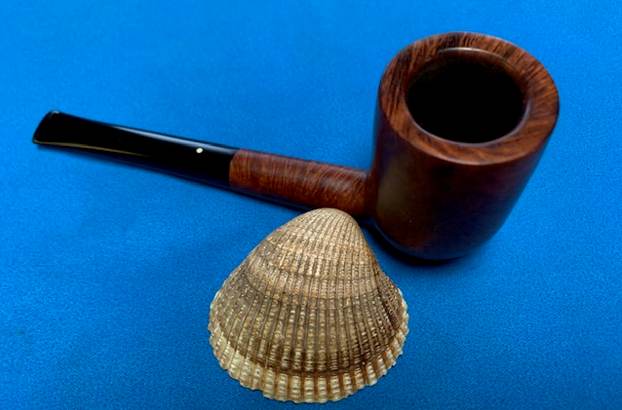
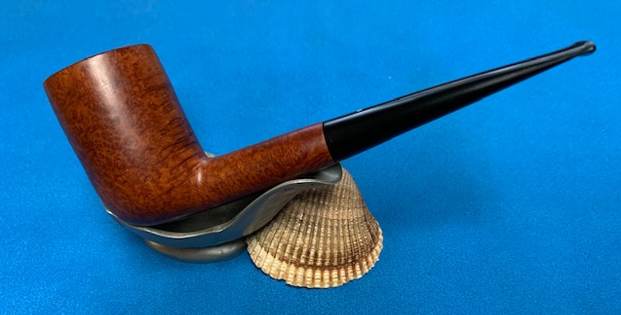
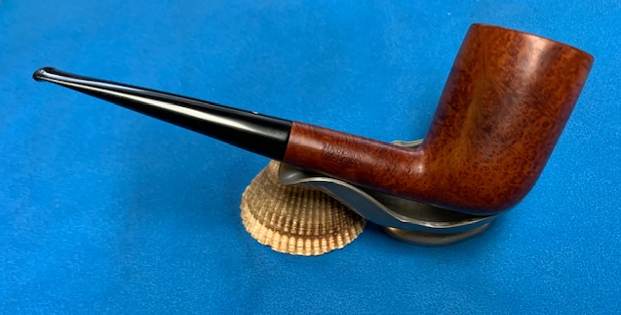
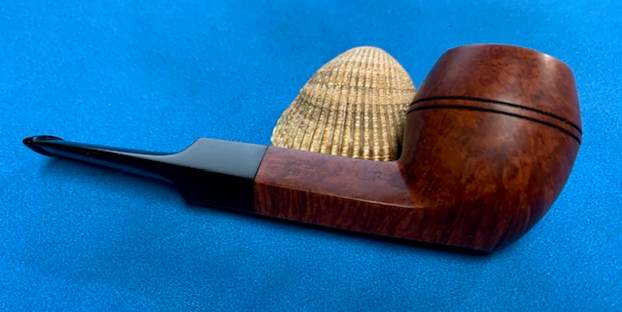
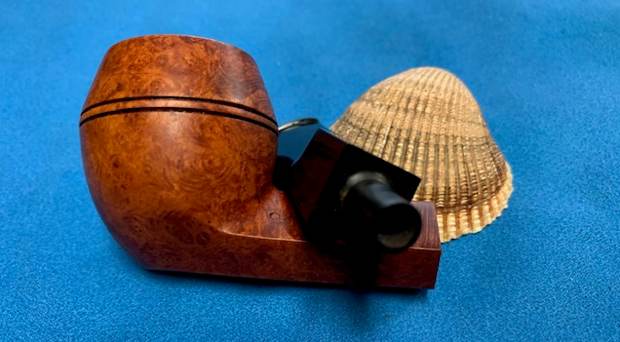
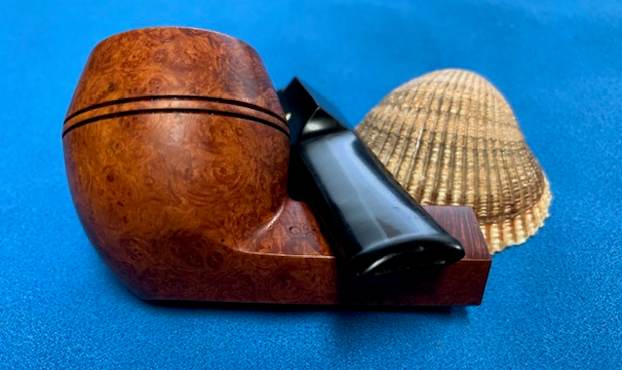
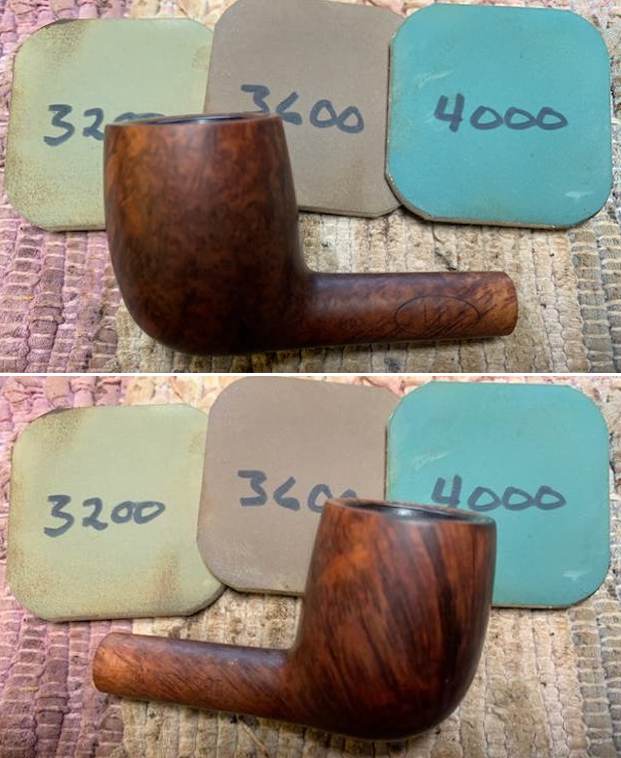
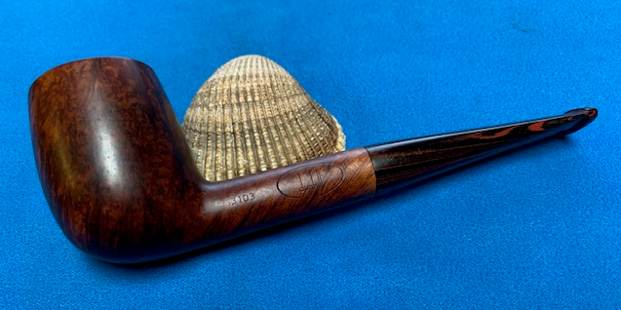
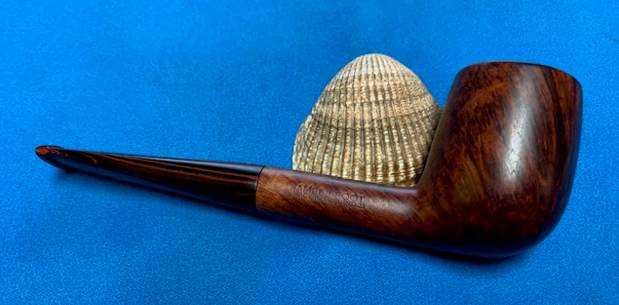
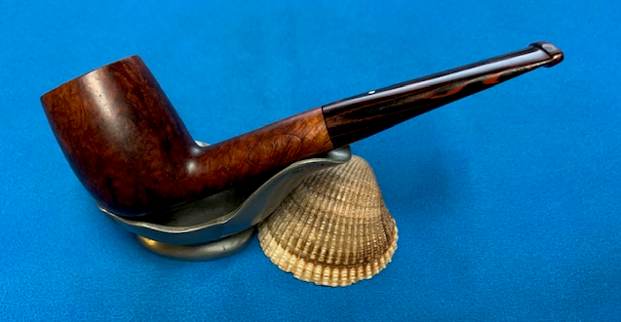
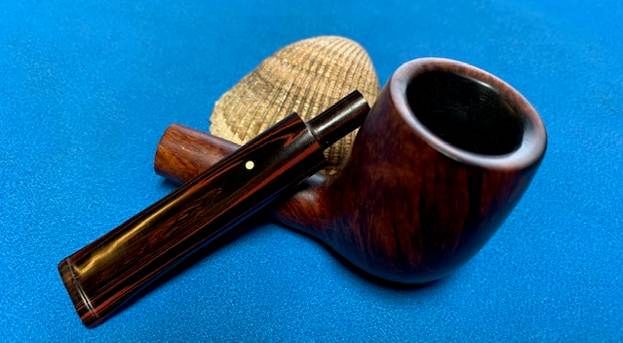
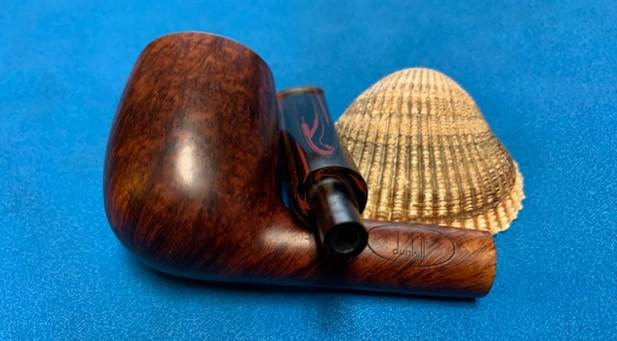
 This Karl Erik Ottendahl Rhodesian/Bulldog/Freehand with a long acrylic stem is a great looking pipe now that it has been restored. The beautiful finish really highlights the grain and the polished finish is stunning. I put the stem back on the bowl and carefully buffed the pipe with Blue Diamond on the buffing wheel. I gave the bowl and the stem multiple coats of carnauba wax on the buffing wheel and followed that by buffing the entire pipe with a clean buffing pad. I hand buffed the pipe with a microfiber cloth to deepen the shine. The finished Karl Erik Freehand fits nicely in the hand and feels great. Give the finished pipe a look in the photos below. The dimensions of the pipe are Length: 8 inches, Height: 2 inches, Outside diameter of the bowl: 1 ¼ inches, Chamber diameter: 7/8 of an inch. The weight of the pipe is 72 grams/ 2.54 ounces. I will be adding the pipe to the Danish Pipe Makers Section of the rebornpipes store. If you are interested in purchasing this pipe send me a message or an email. Thanks for reading this blog and my reflections on the pipe while I worked on it.