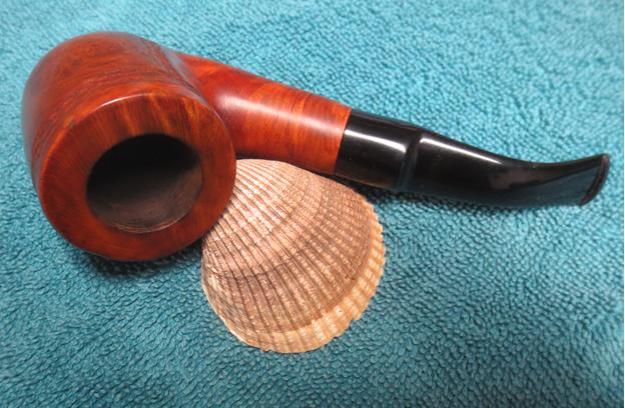
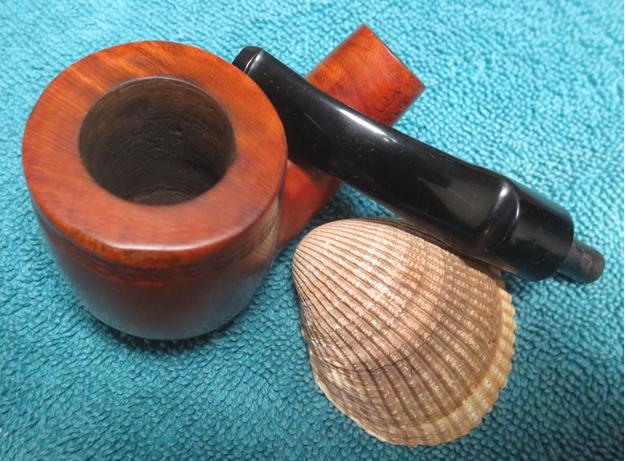
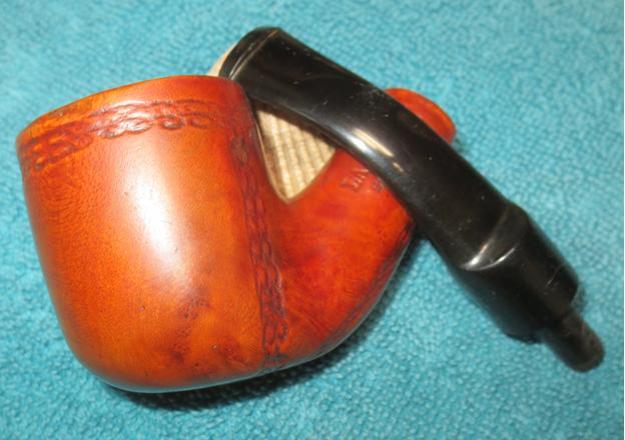
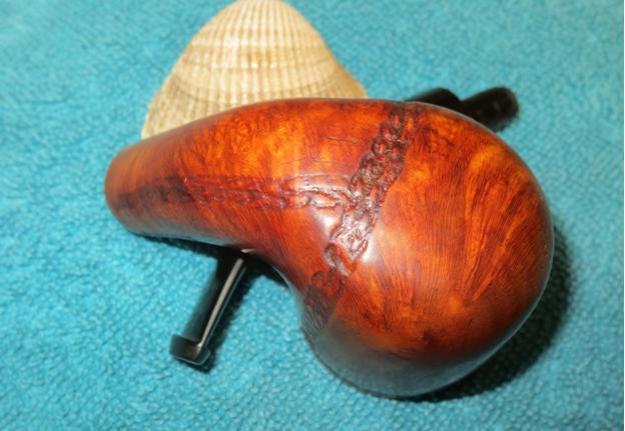
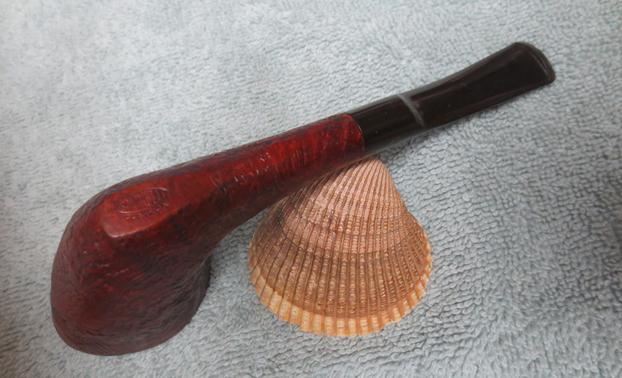
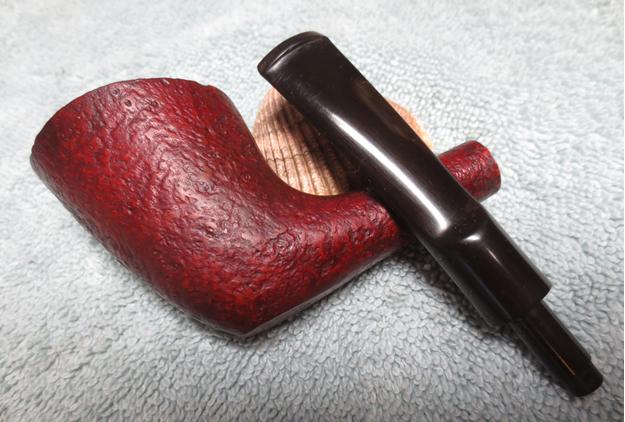
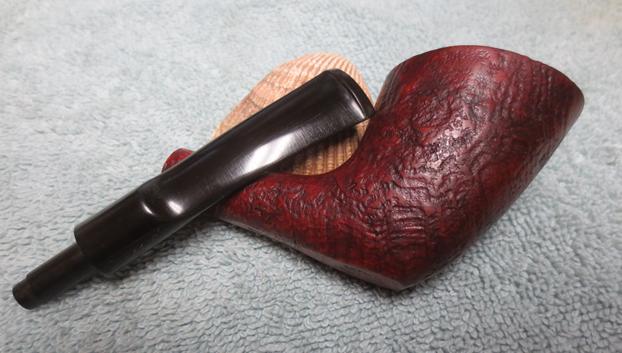
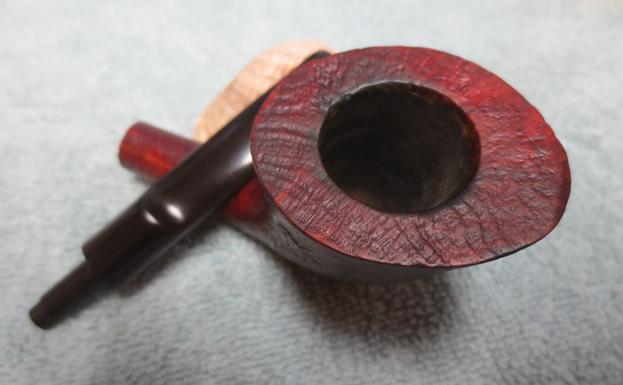
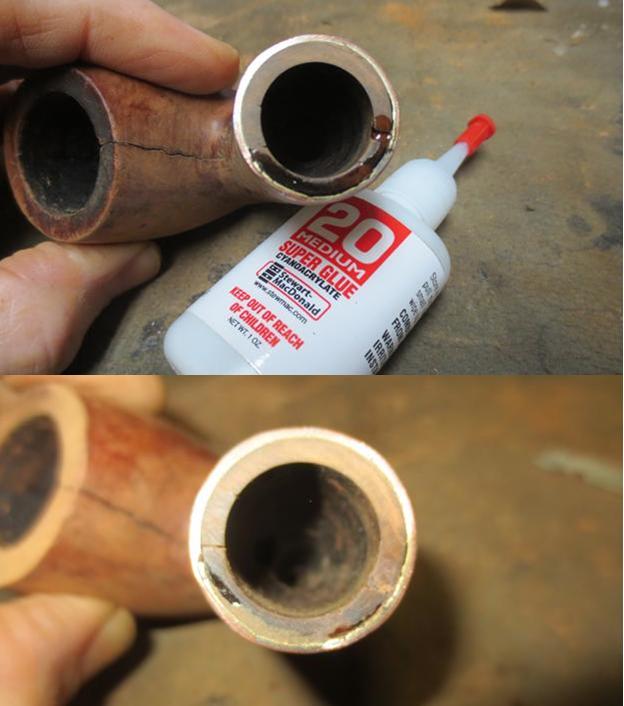
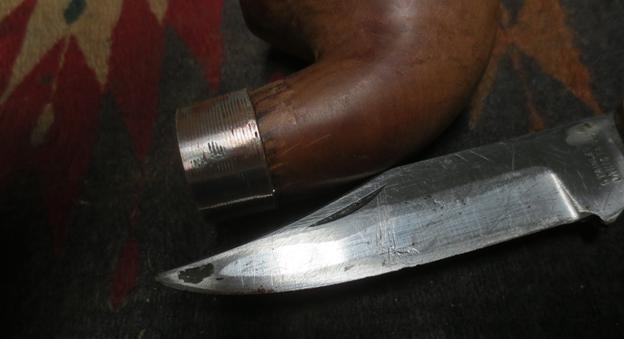
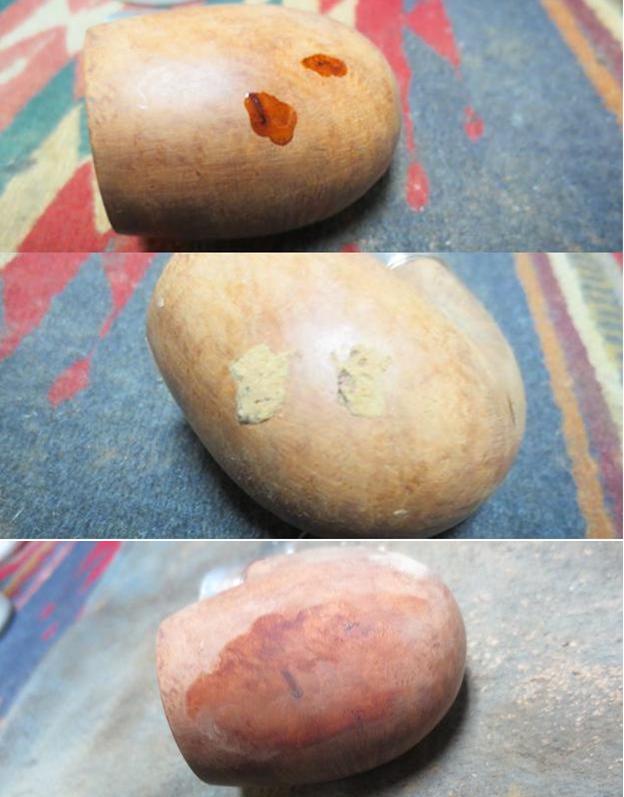
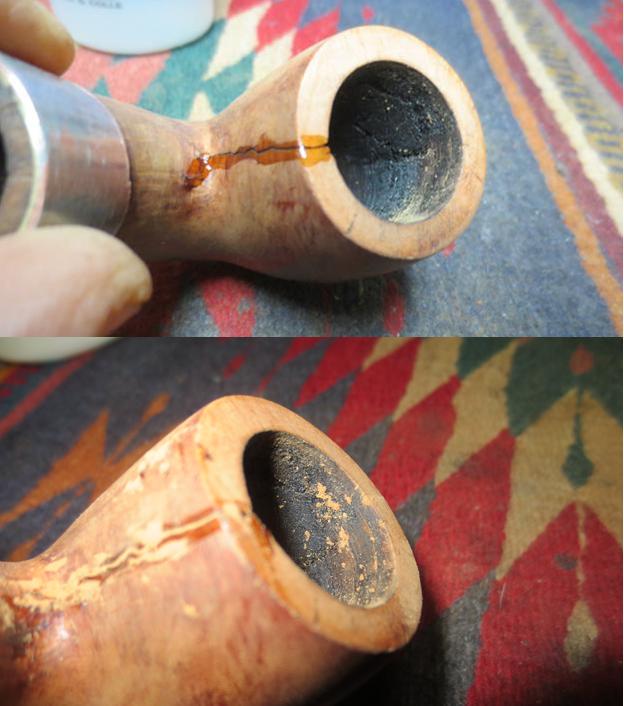
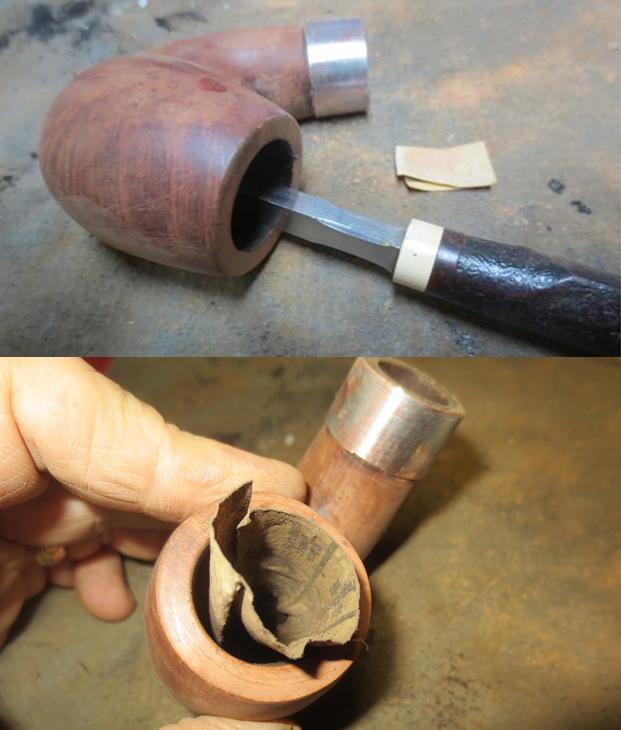
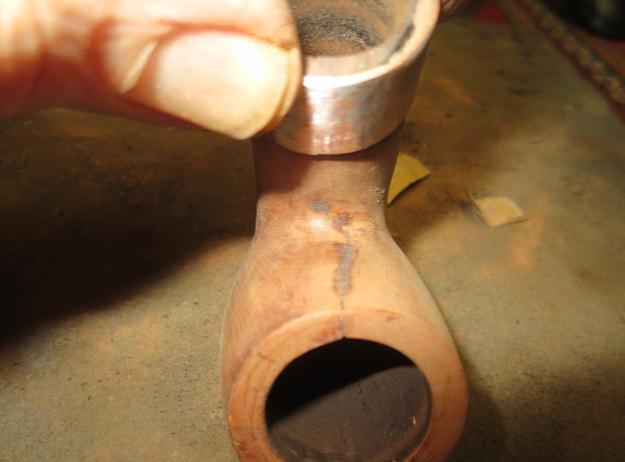
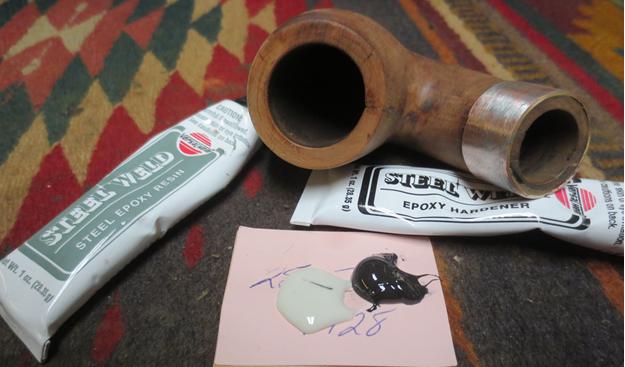
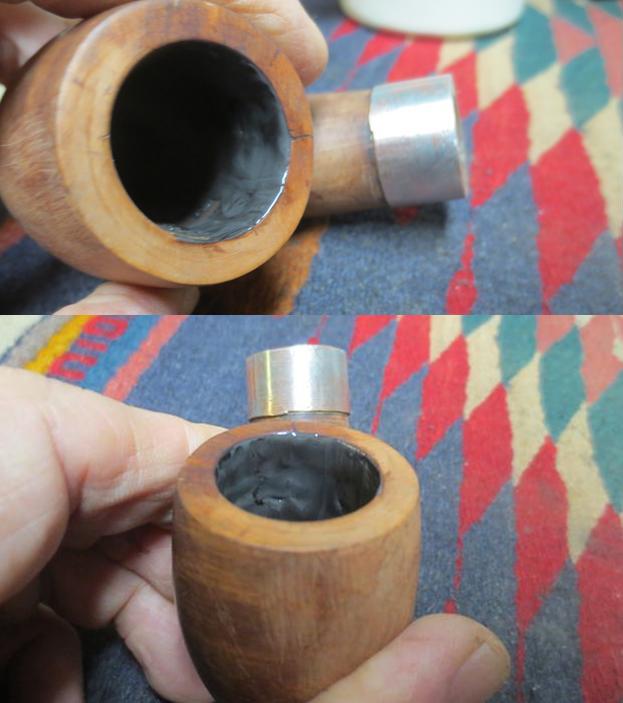
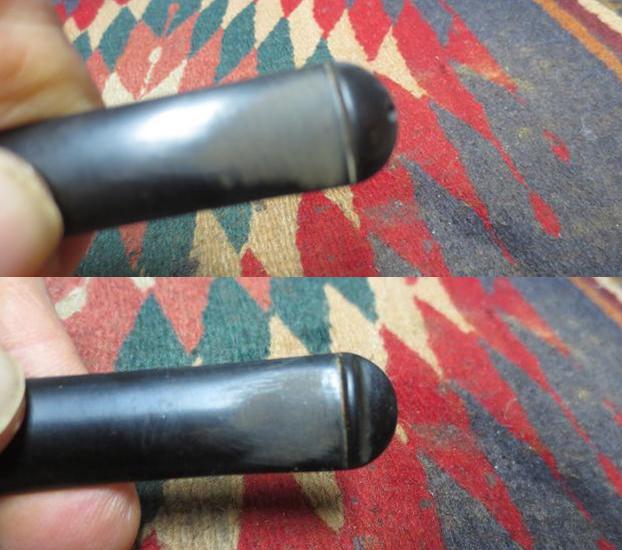
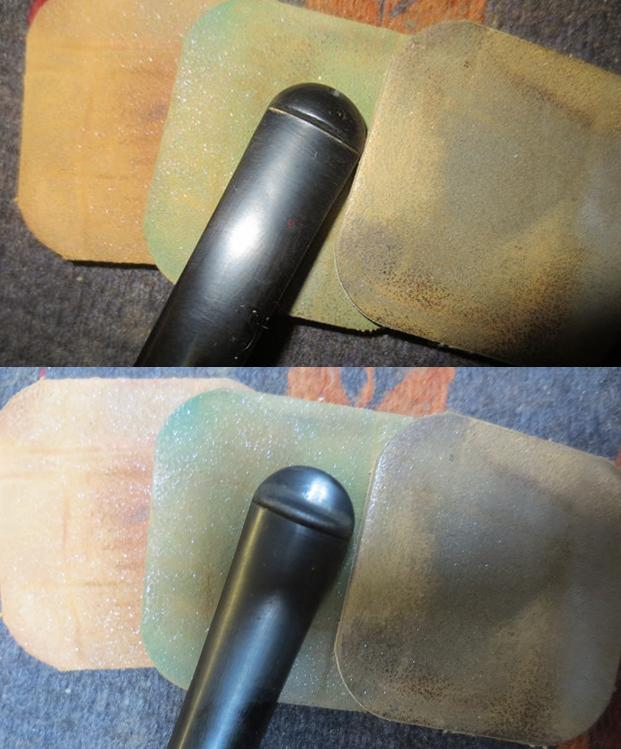
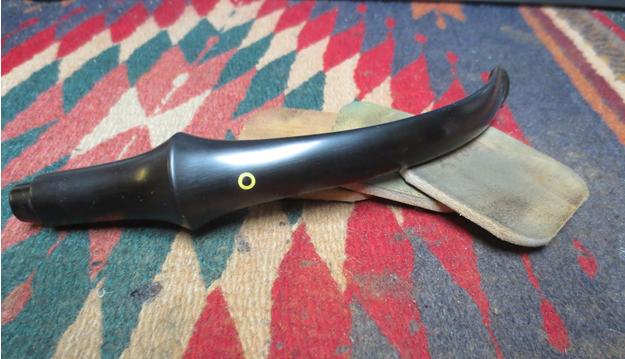
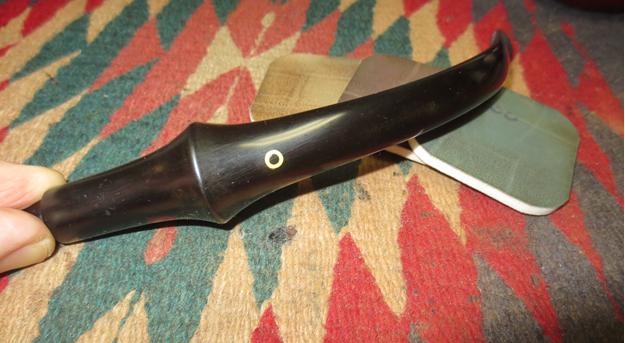
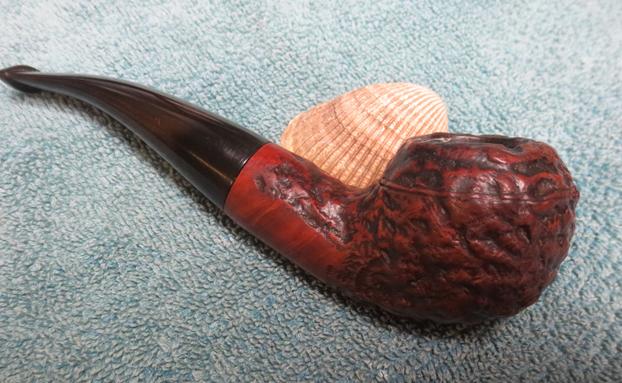
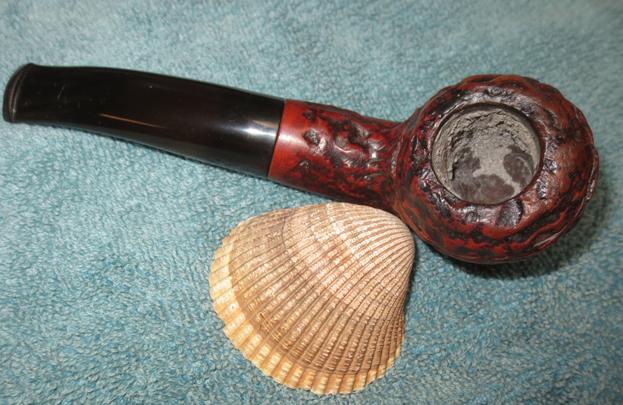
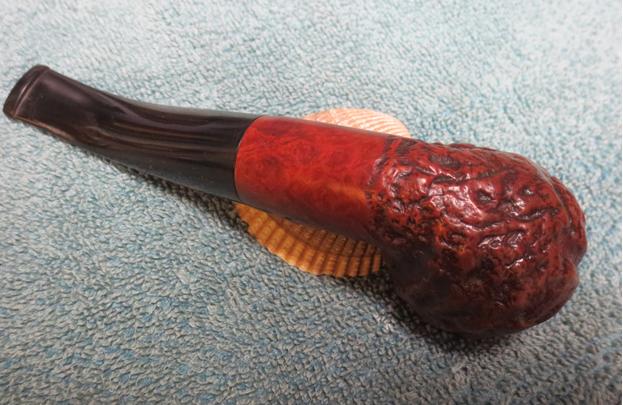
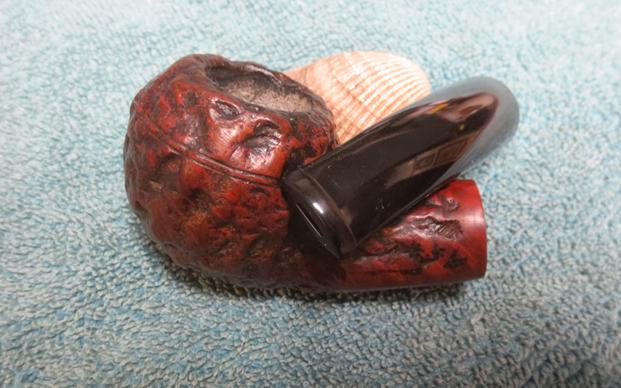
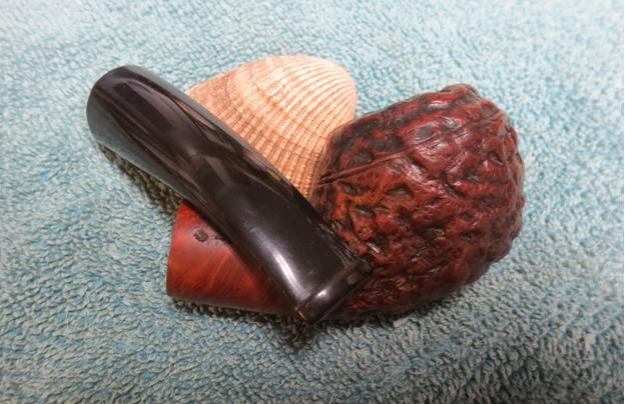
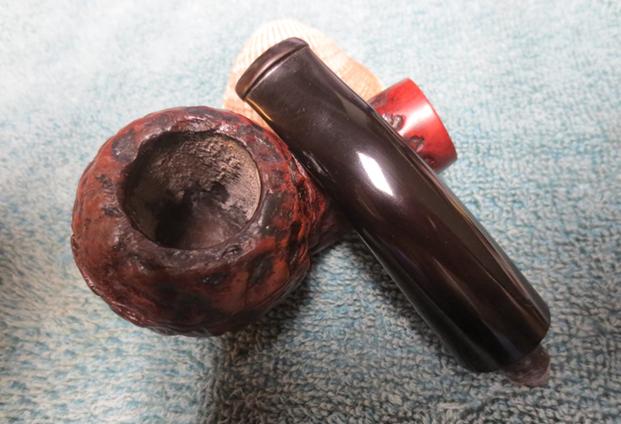
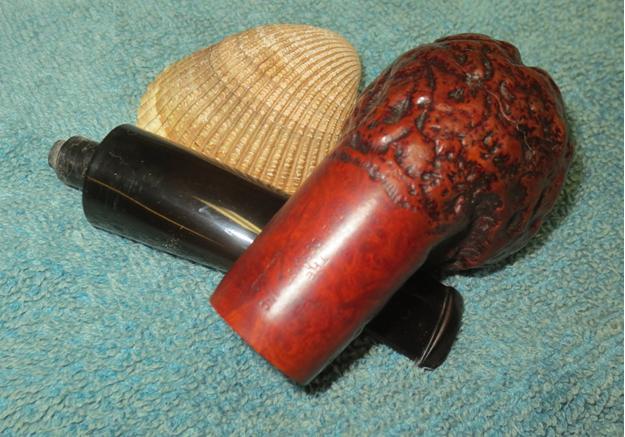
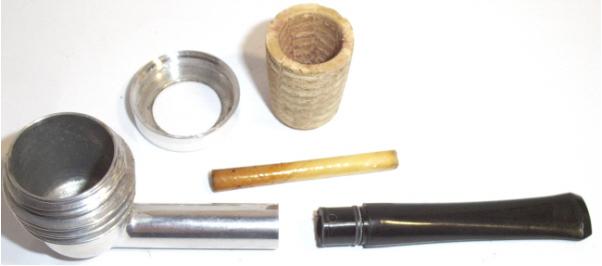
Tag Archives: bite marks

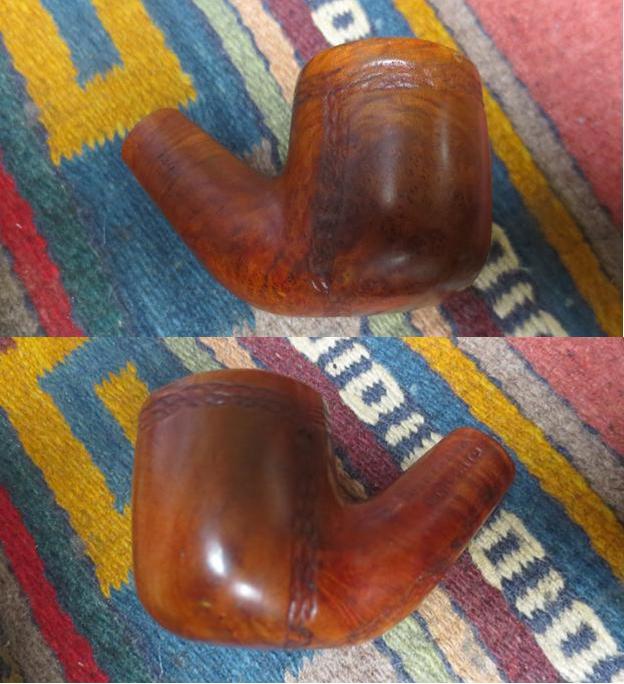
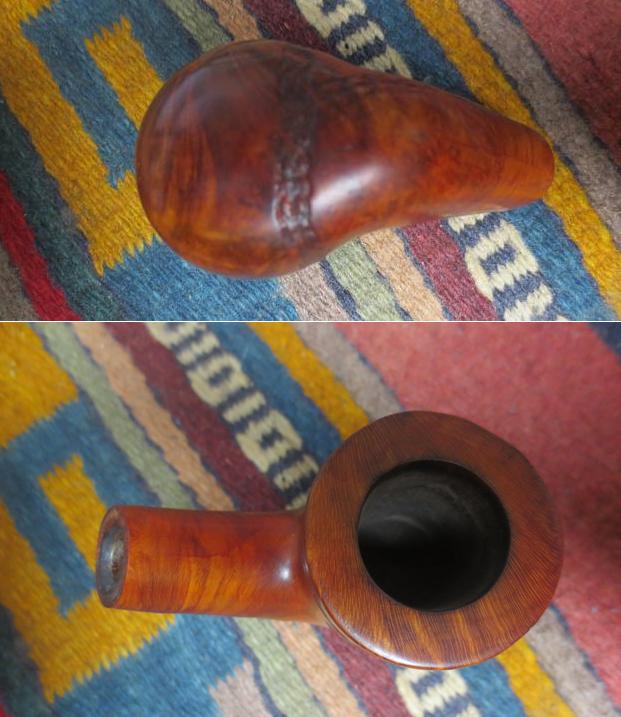
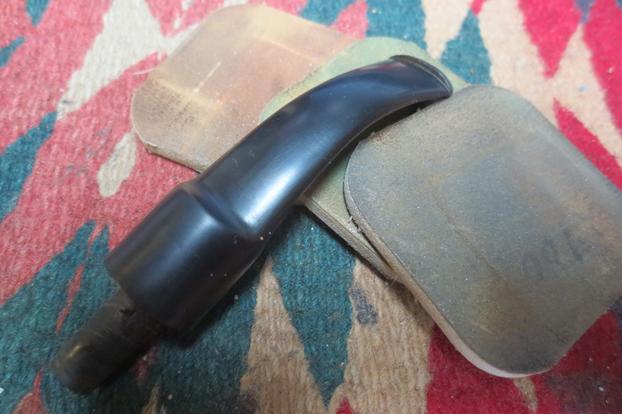
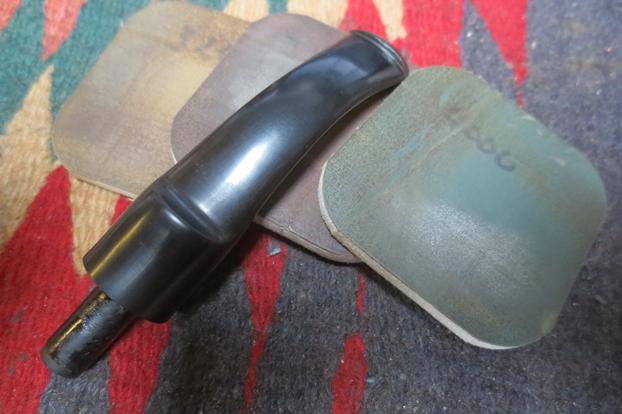
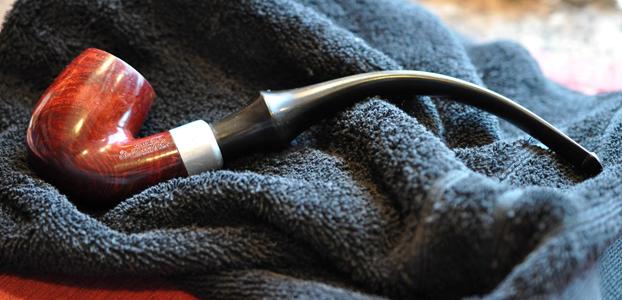
‘Gramps’ – A Redonian Deluxe London Made 26 Rescued


Blog by Dal Stanton

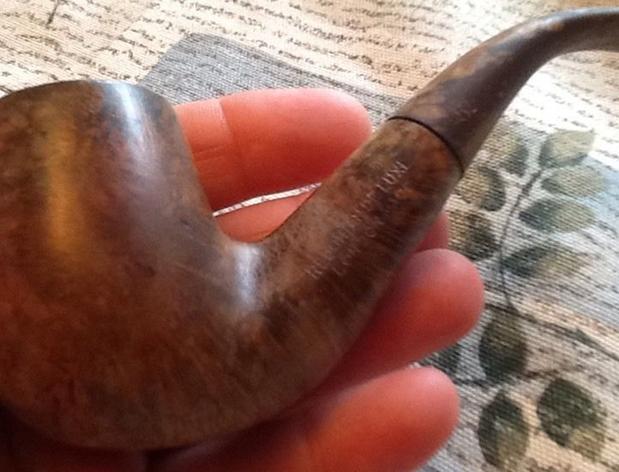
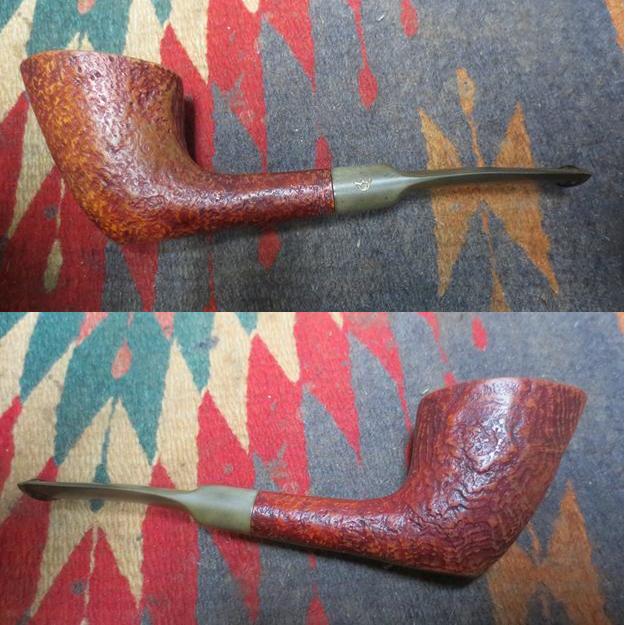
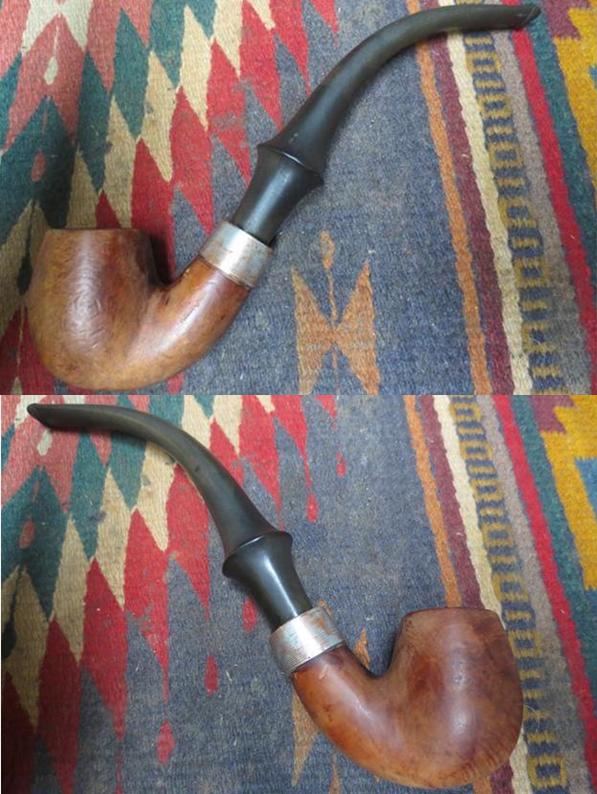
I know exactly where I was when Charles Lemon, of Dad’s Pipes, posted his blog Family Heirloom Comes in from the Cold on December 22.  I was dutifully, pushing the shopping cart at the Target in Golden, Colorado, while my wife and I were engaged in last-minute Christmas shopping.  Well, my wife was shopping and I was catching up on pipe blog reading with my iPhone 6s.  The story Charles told was of a pipe (without a stem) discovered on a stroll in a pasture, how it arrived there was a mystery, which, after some research looking at old photos, was determined to belong to a great-great uncle.  The restoration was to be a Christmas gift for the great-great nephew, the pipe finder’s step-father….  It was an excellent restoration on Charles’ part, but the story itself, the condition of the pipe, the fact that it was found after how many years – contributed to one of the core reasons I love restoring pipes.  As I read Charles’ heart-warming story, I found myself rooting for the pipe to make it and to again be restored to the lineage of the steward.  While I continued faithfully to keep pace with the shopping cart, dodging frantic shoppers and kids on too much sugar and reading Charles’s post, ‘Gramps’ came to mind.  The first time I saw the pictures of ‘Gramps’ and read the eBay seller’s comments, I determined to place my bid to rescue the old, worn out, tossed aside, pipe.  Why did I immediately name him ‘Gramps’?  Here is what the eBay seller said:

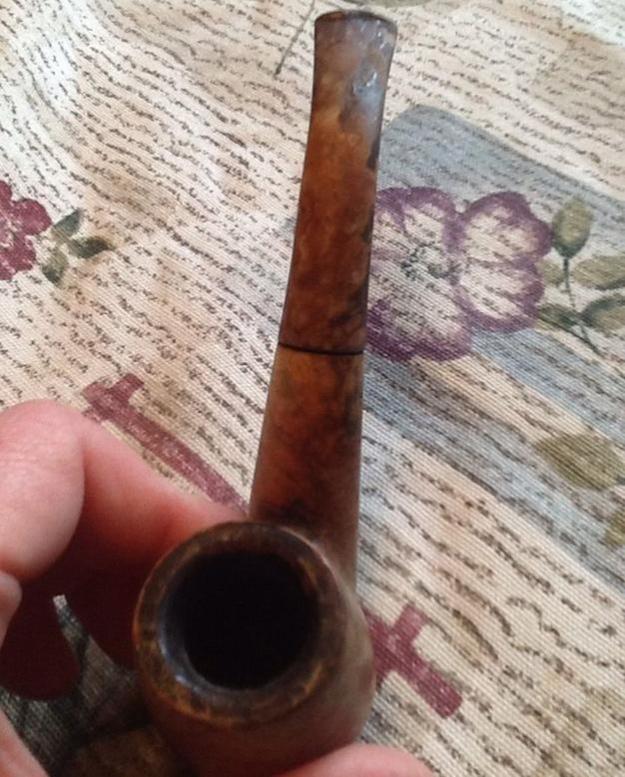
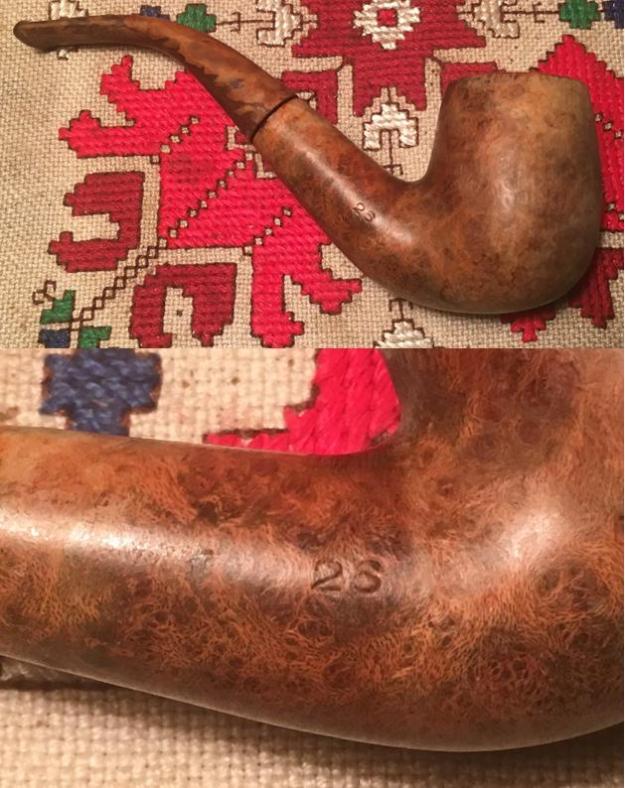
Vary rare REDONIAN Pipe.  Found at the Estate Auction of a 98-year-old man.  (Who said smoking will kill ya?…no way). So the pipe has some ware marks up by the mouth piece, see pictures.  Pipe is marked bowl piece is marked 26 on one side and SARDINIAN de Luxe Made in London on the other.  It is a used pipe.  Ready to be Enjoyed, Gifted or Resold…ENJOY!  

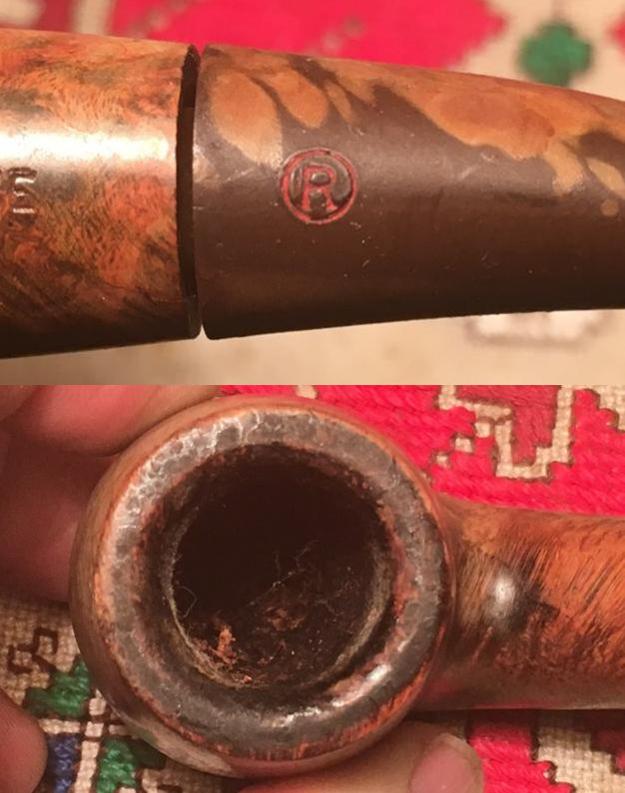
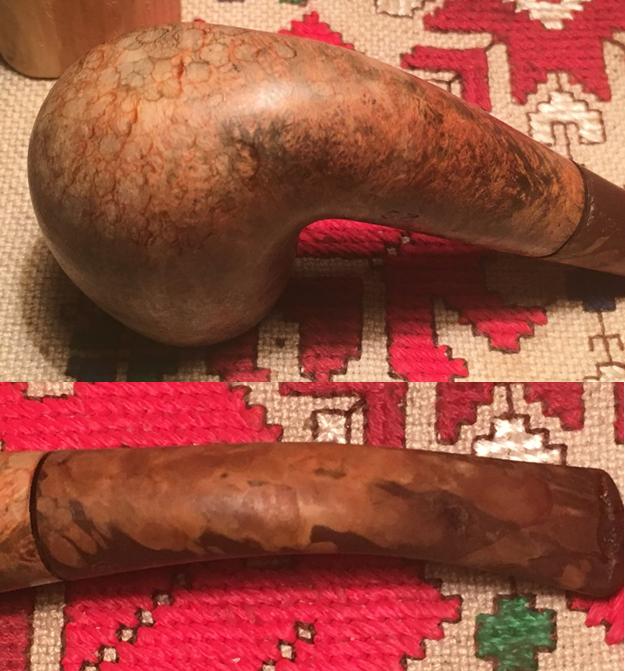
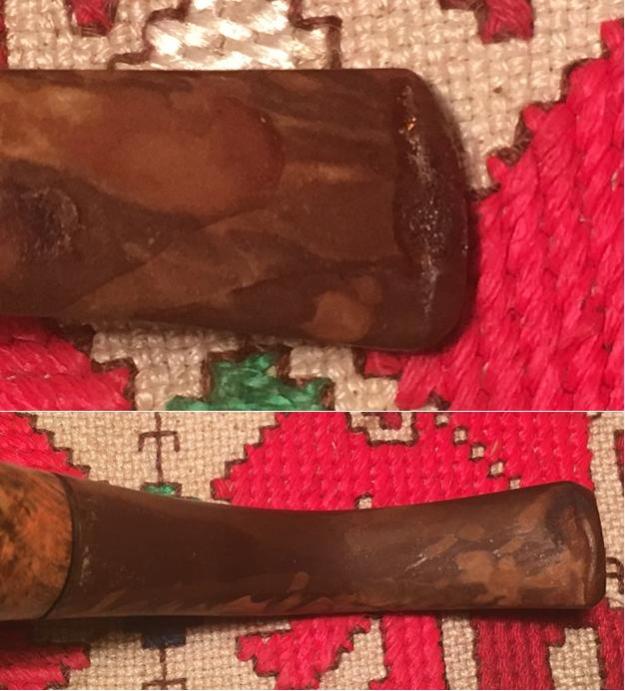
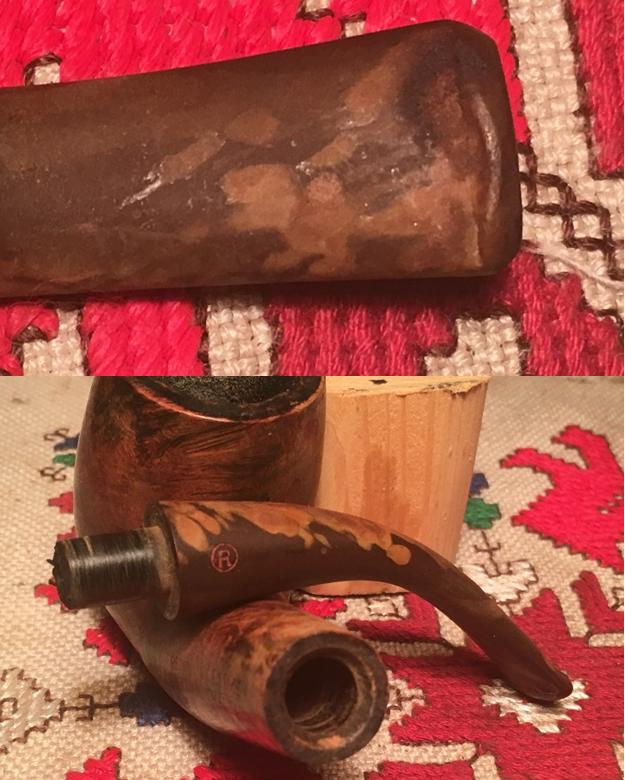
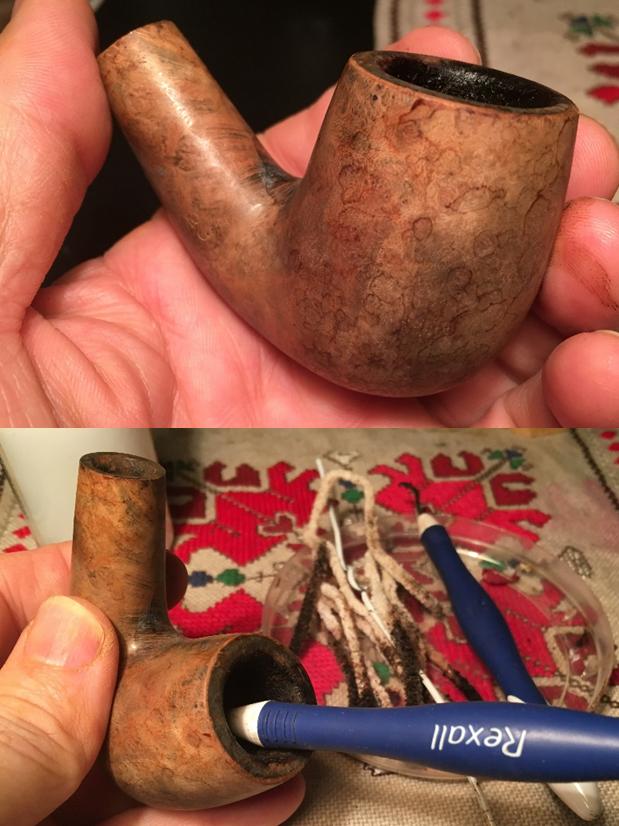
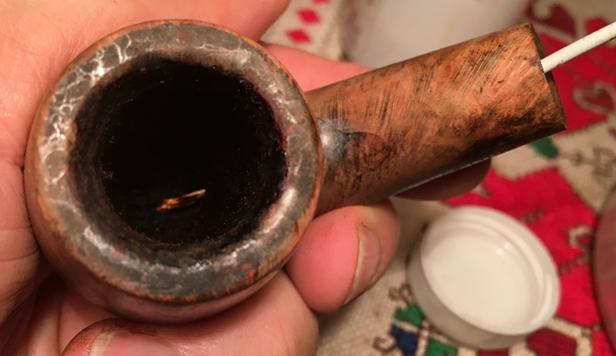
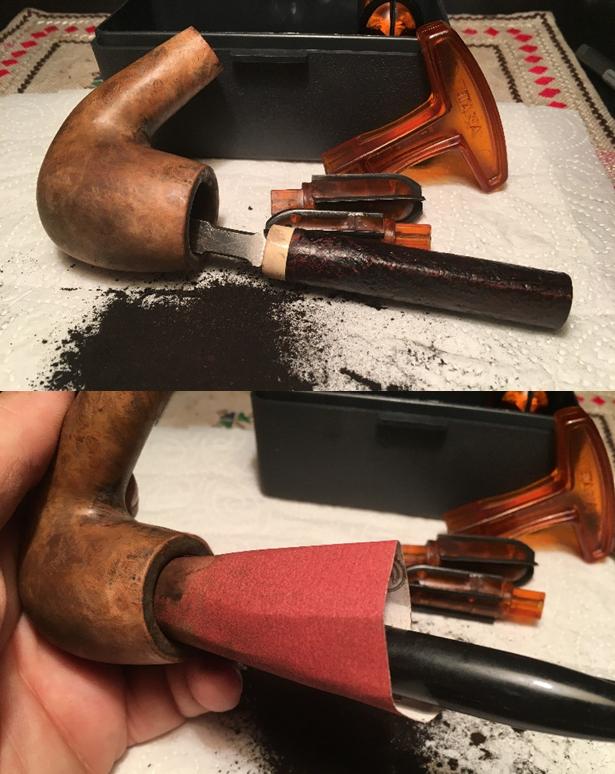
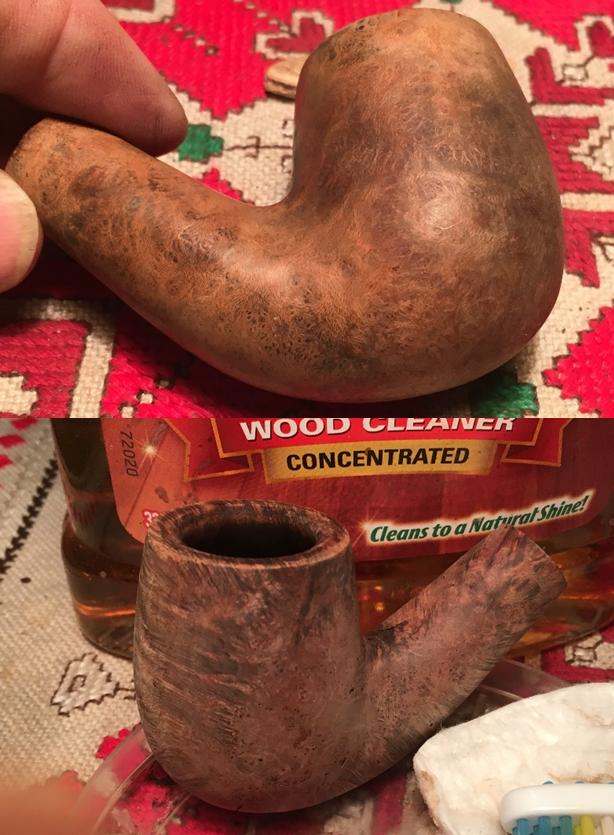
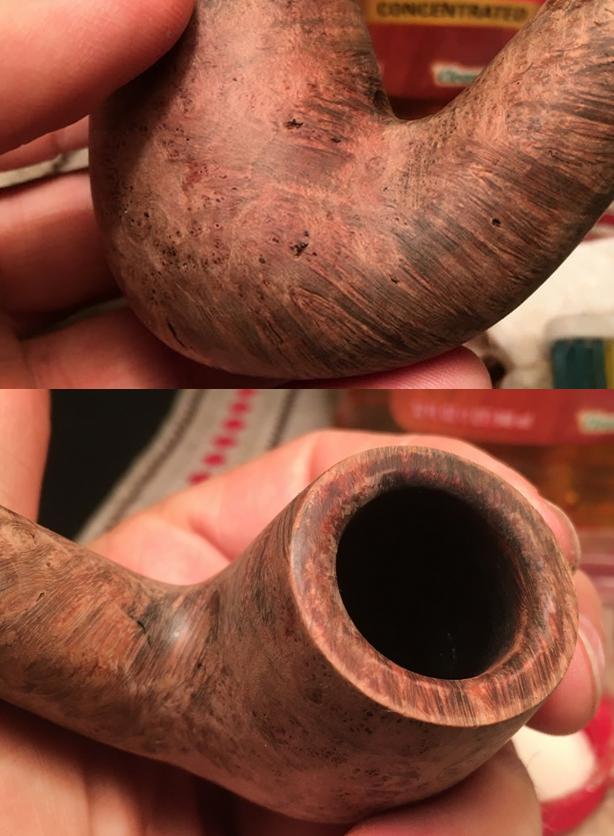
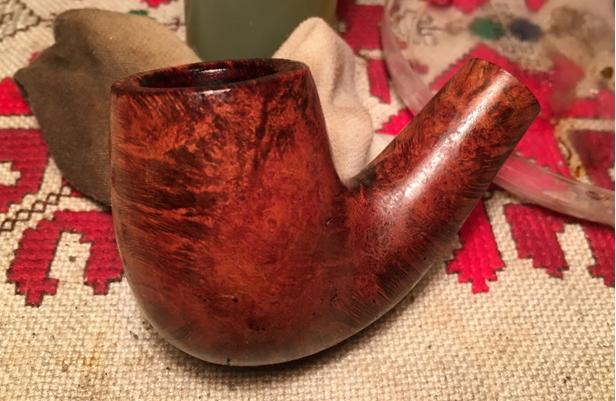
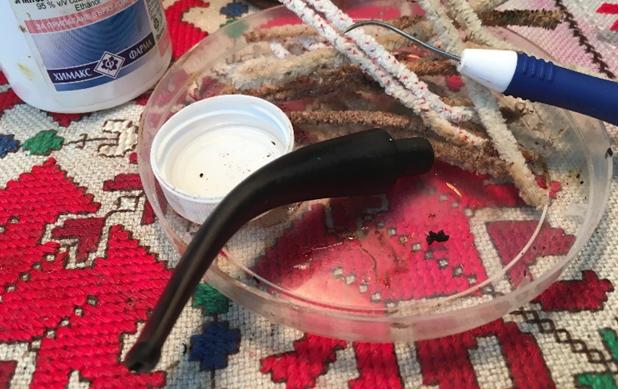
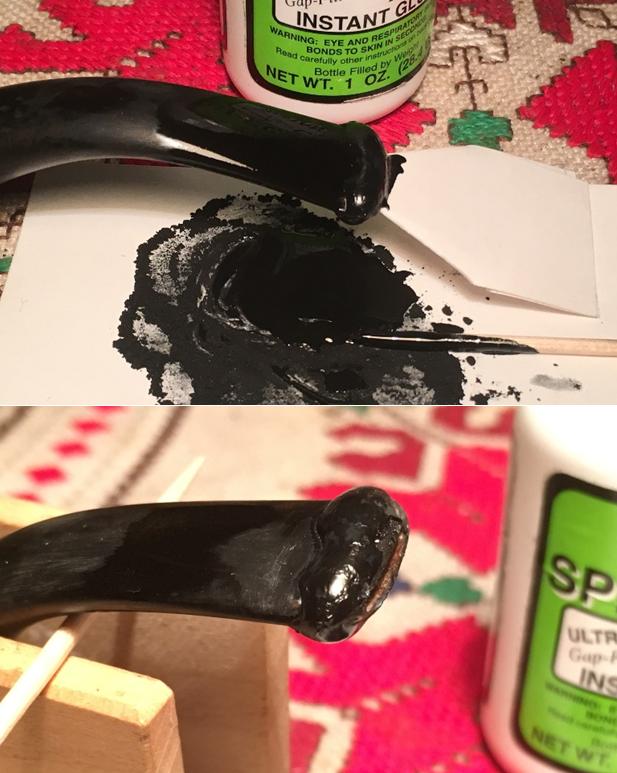
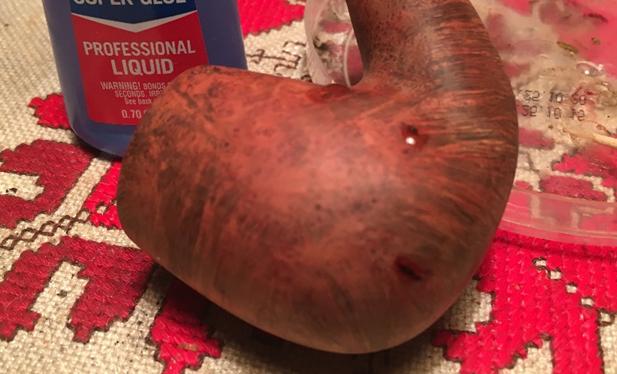
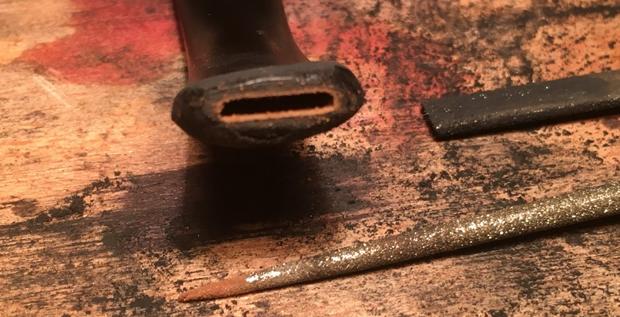
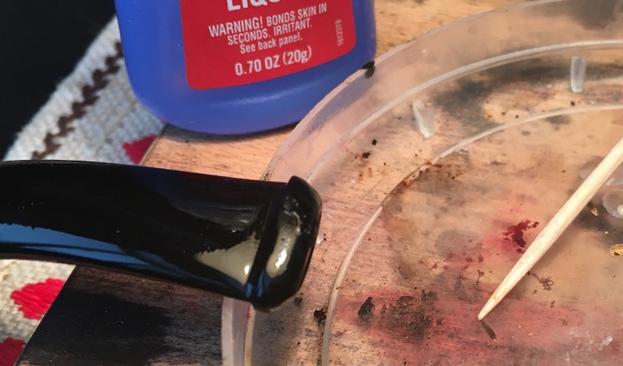
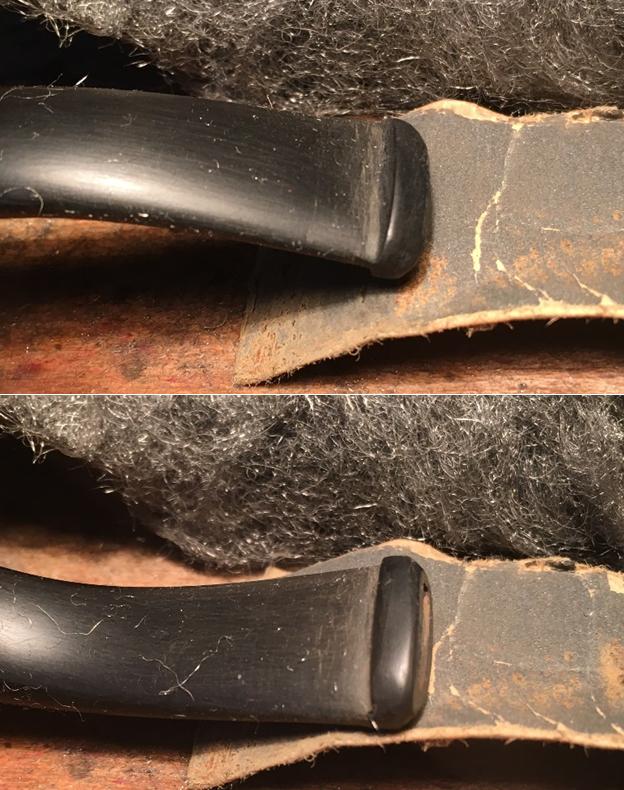
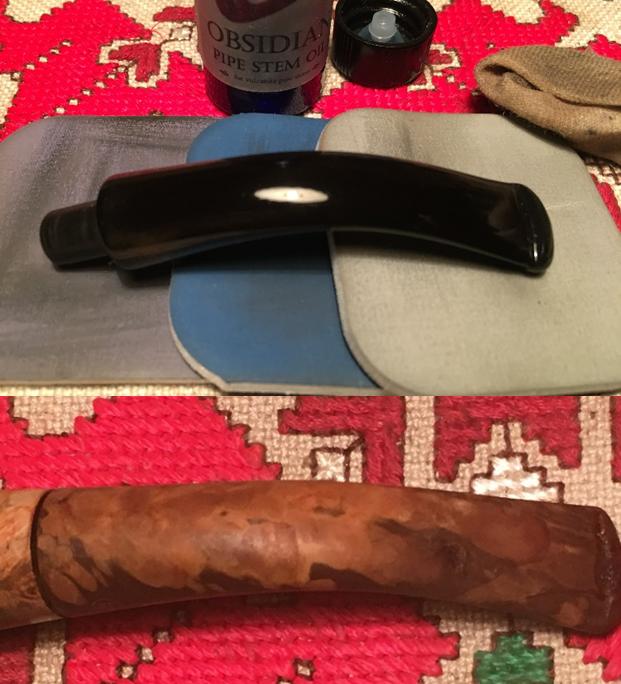
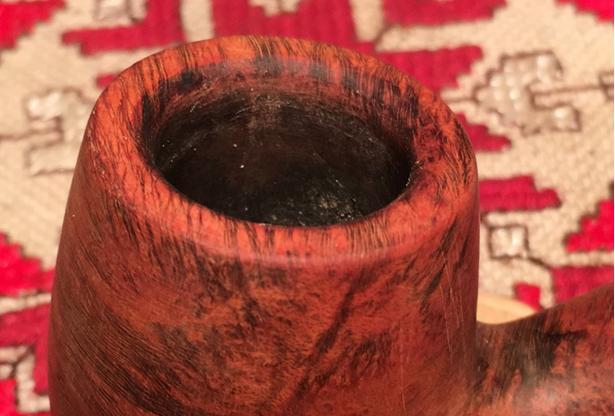
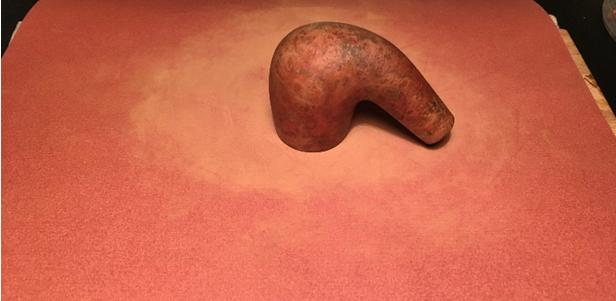
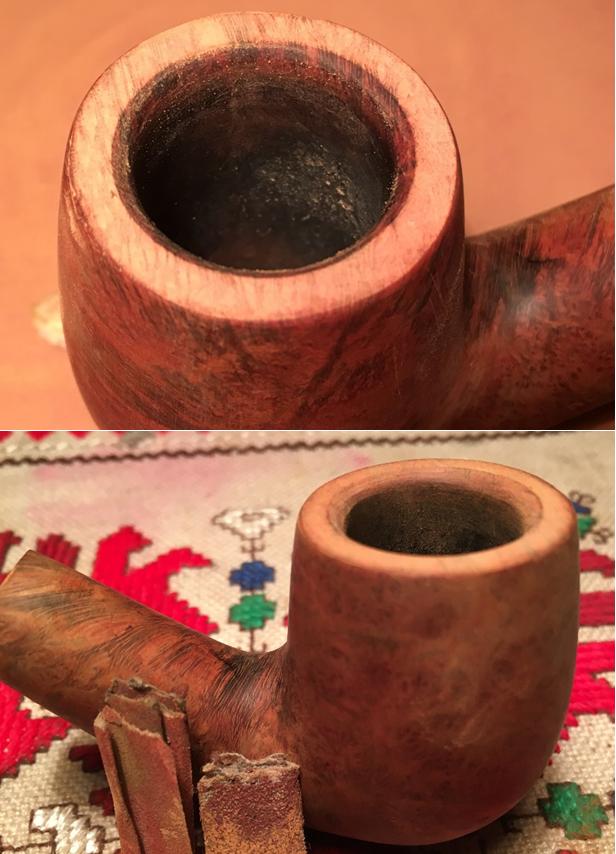
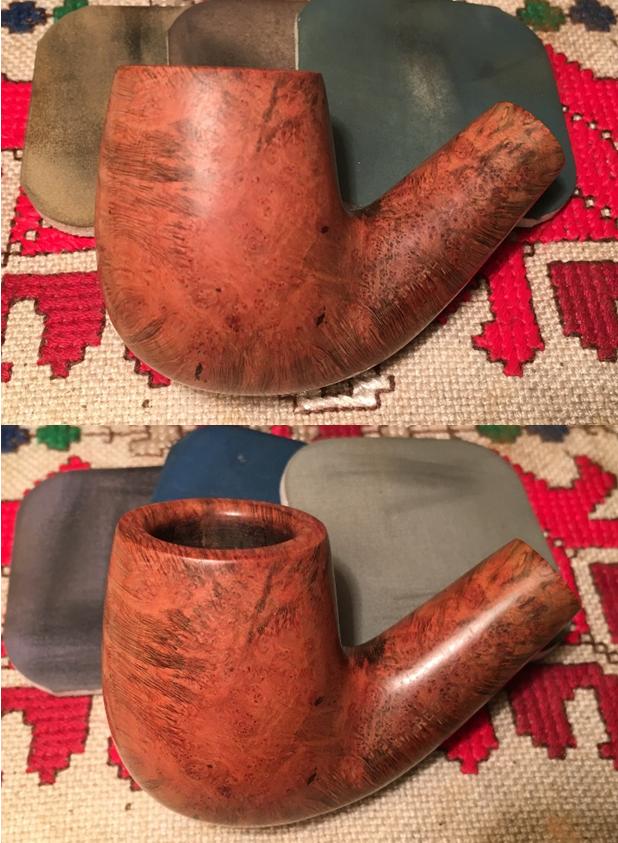
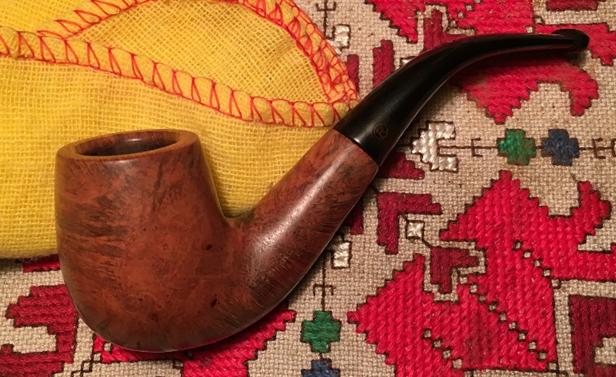
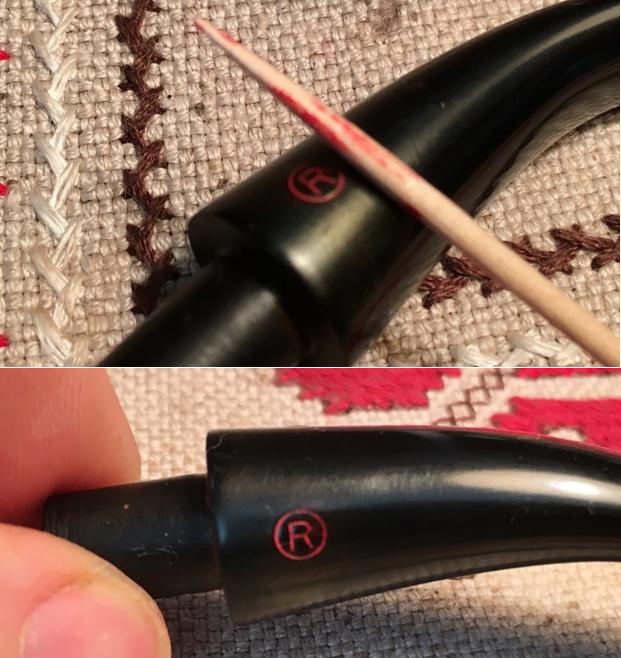
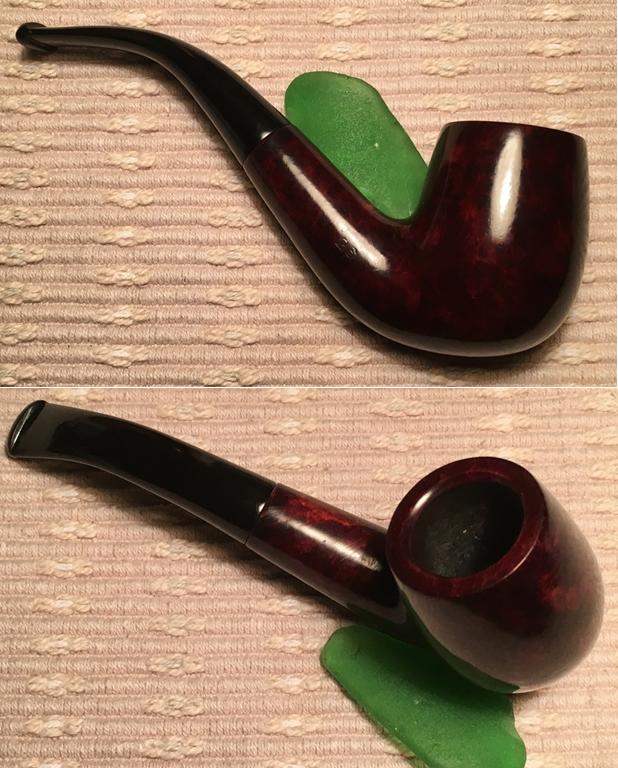
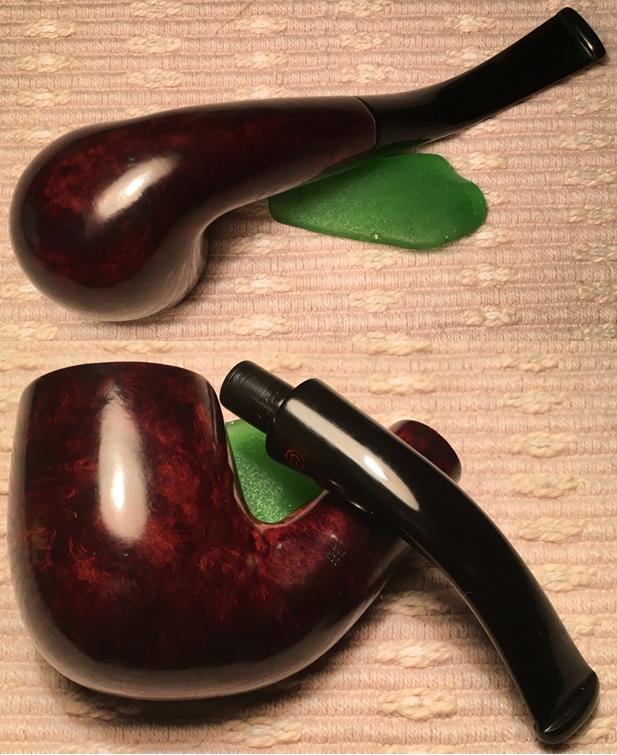
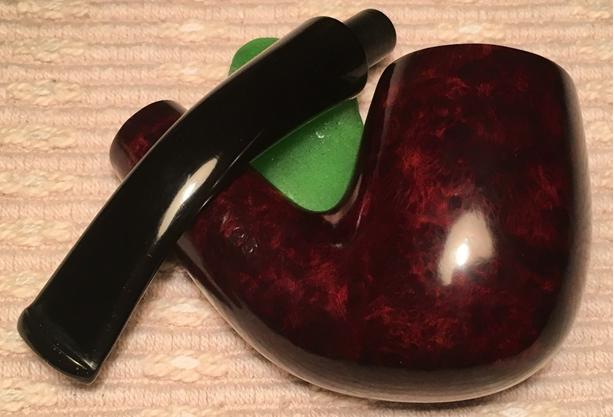
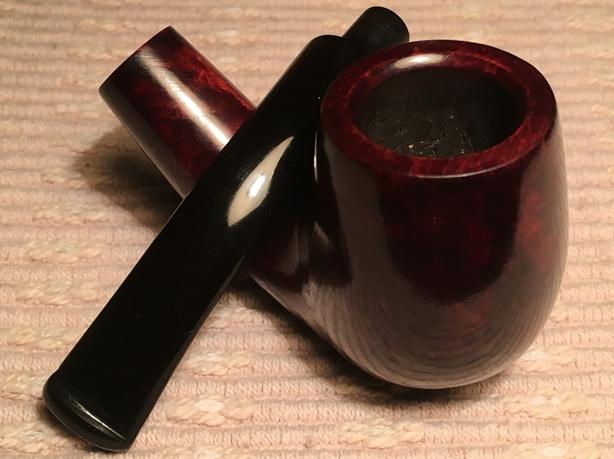
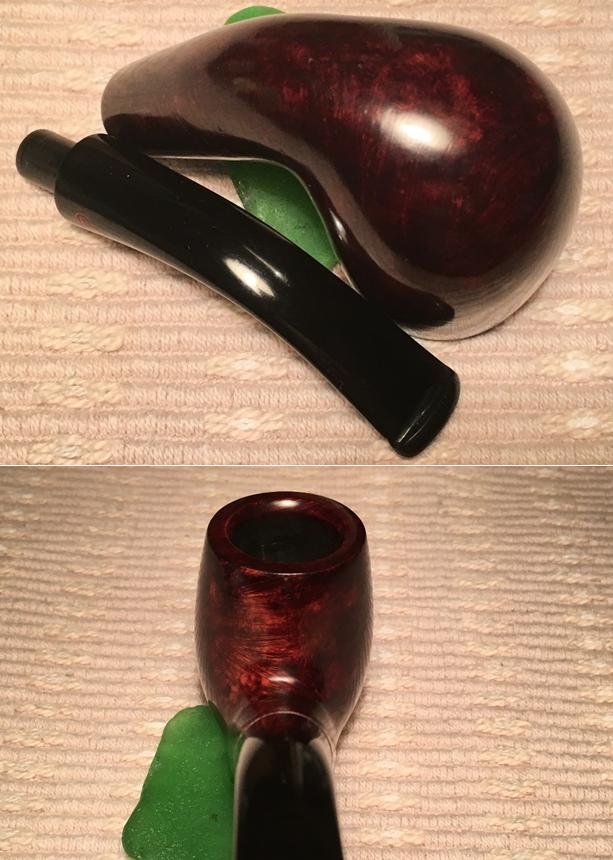
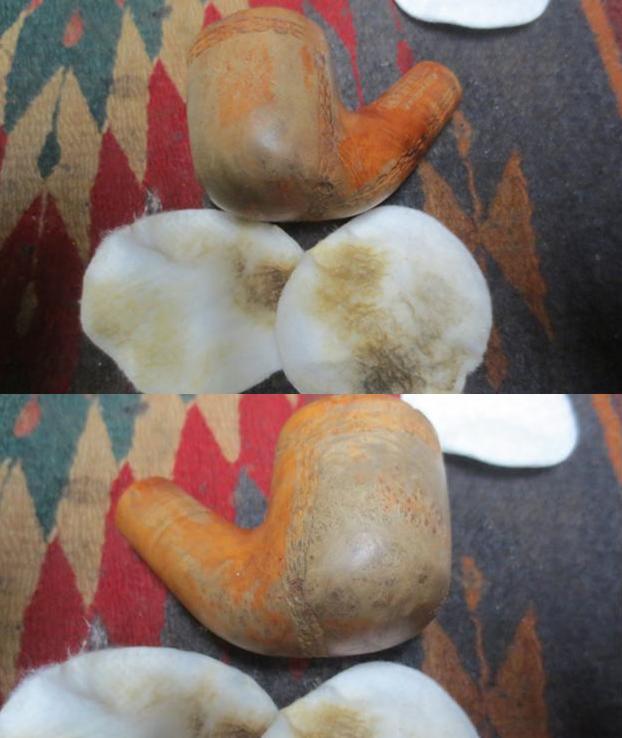
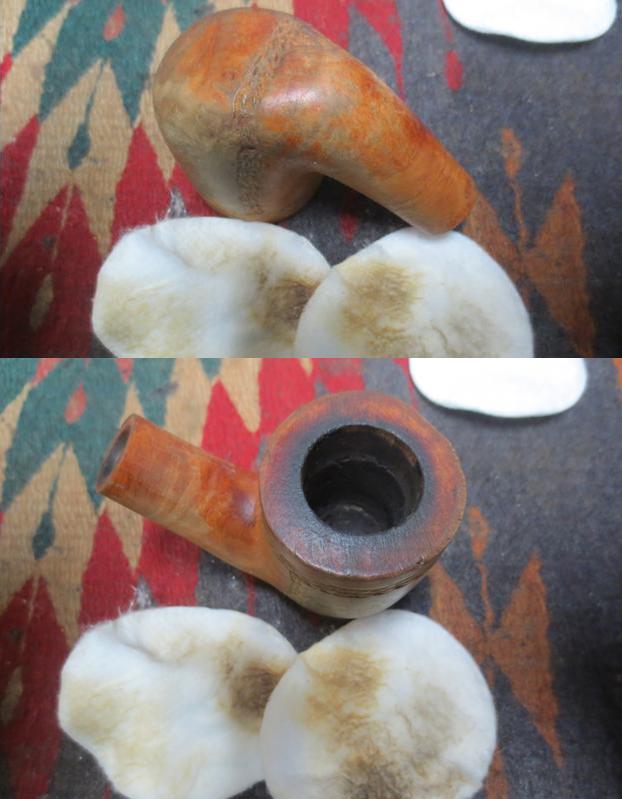
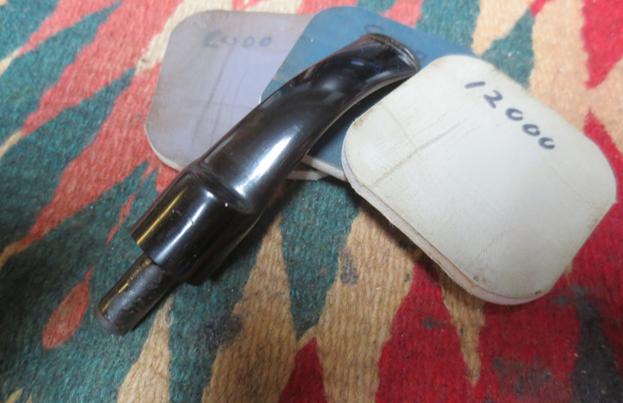
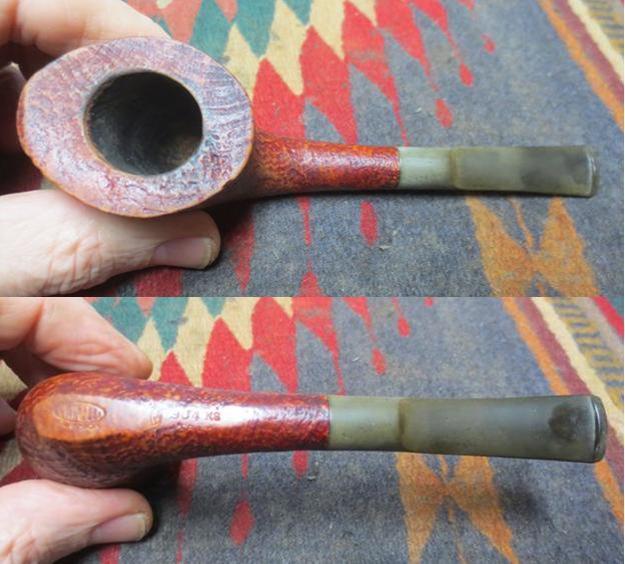
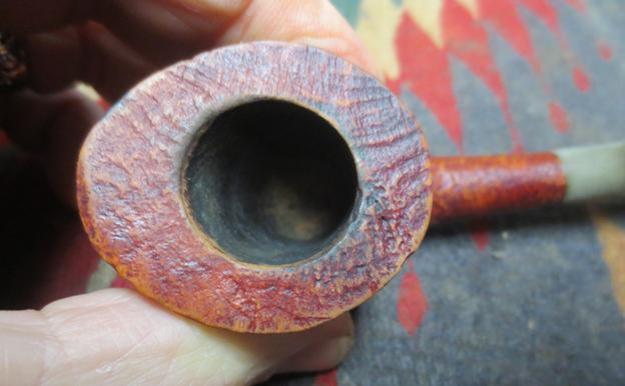
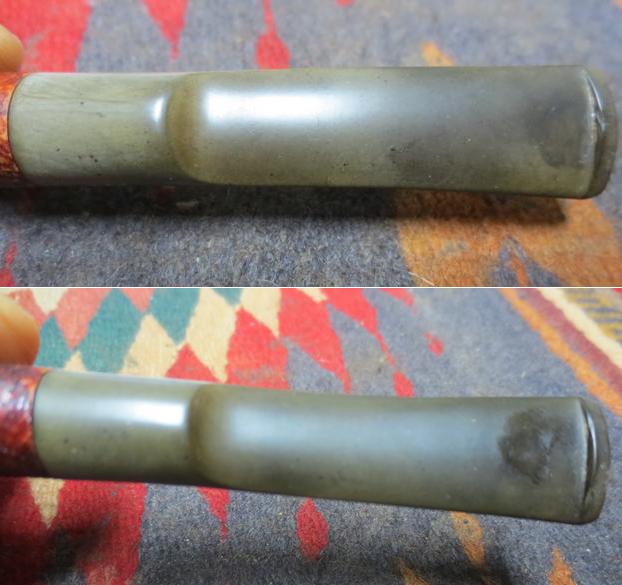
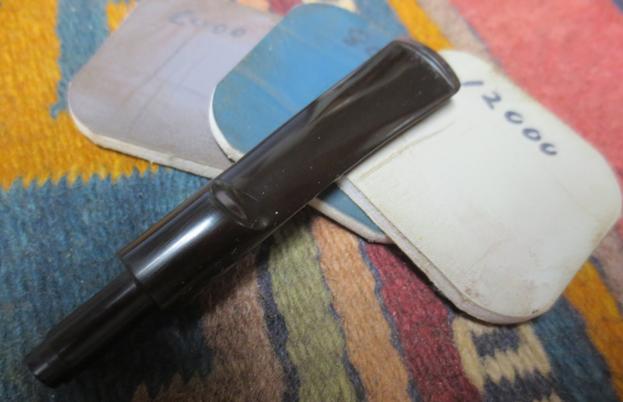
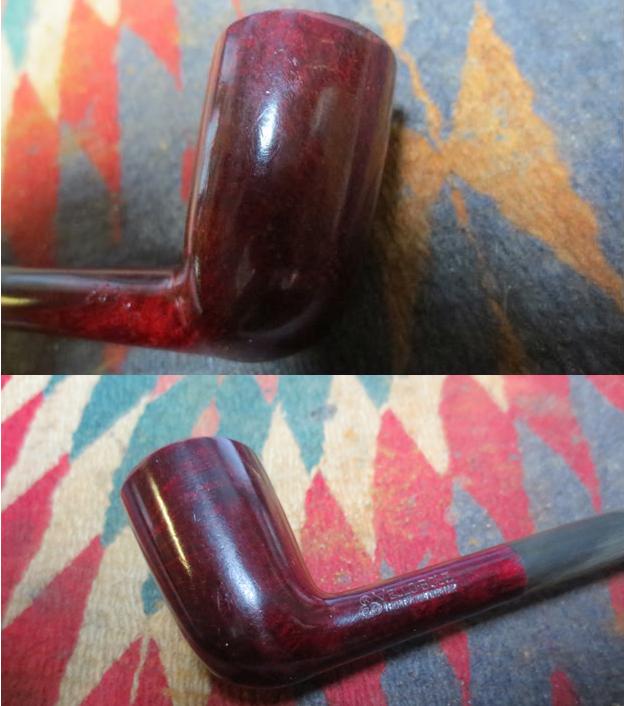
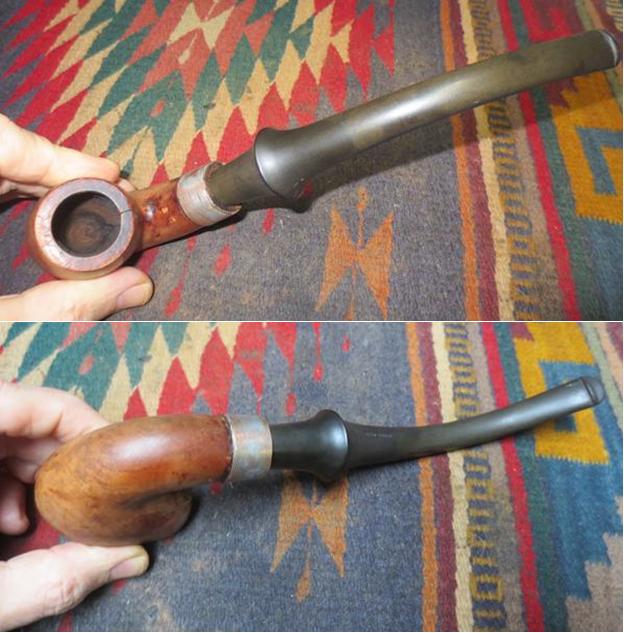
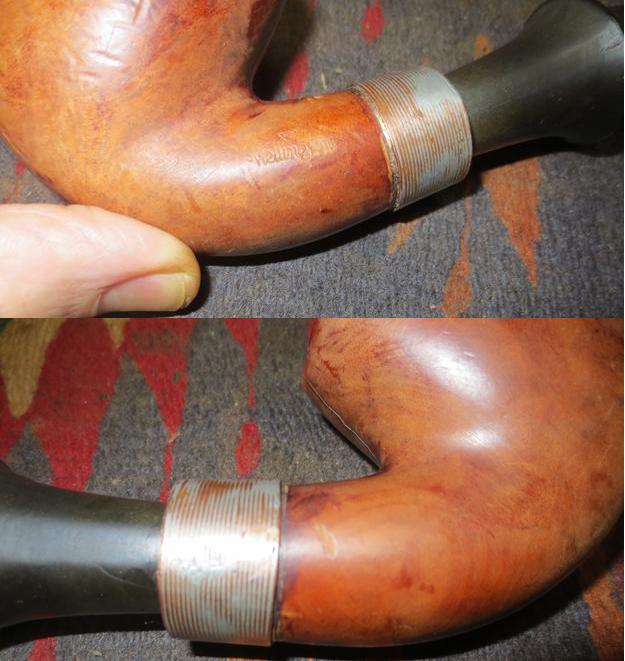
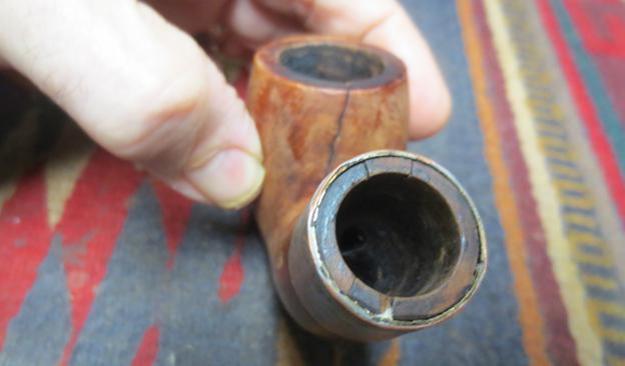
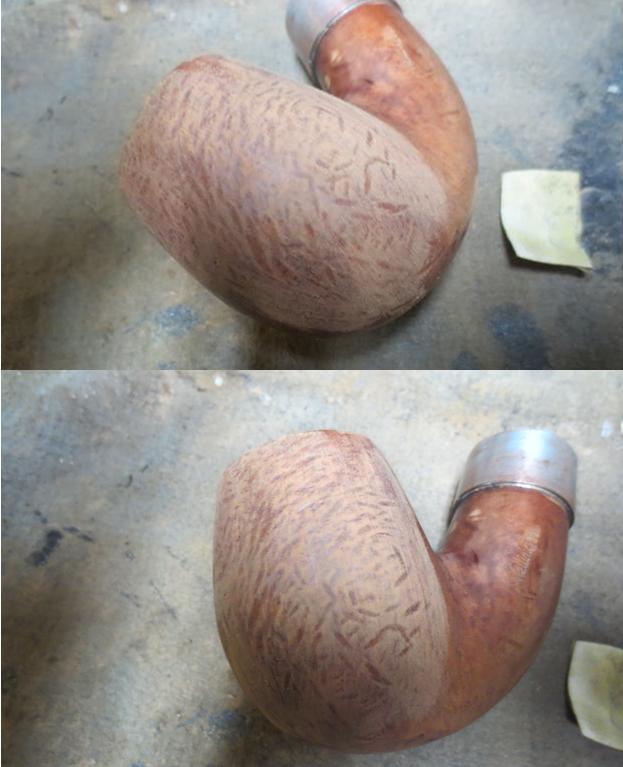
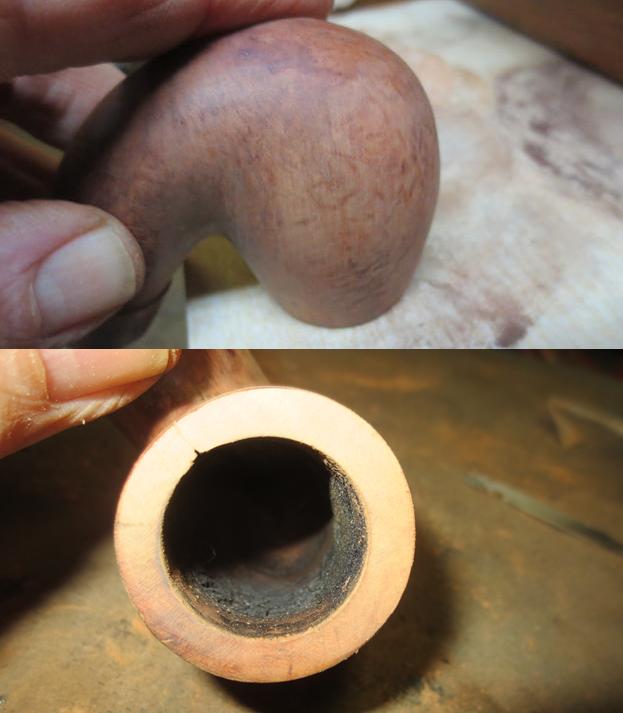
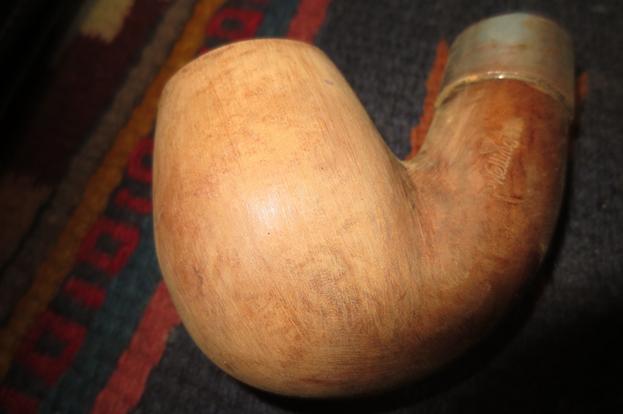
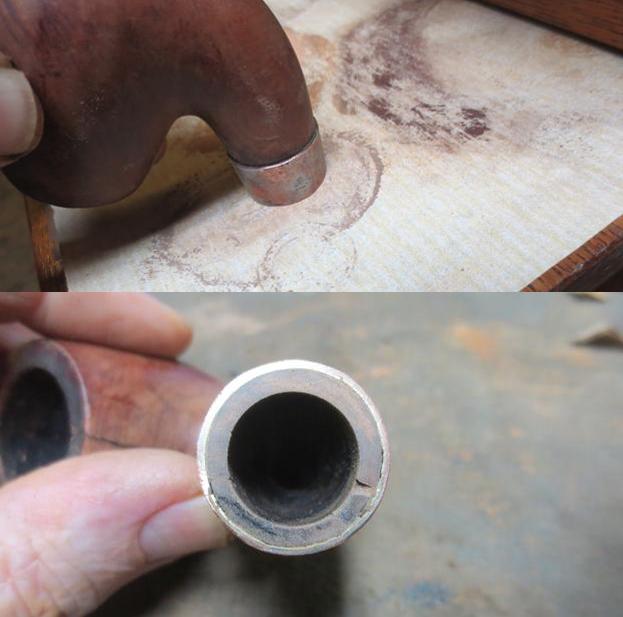
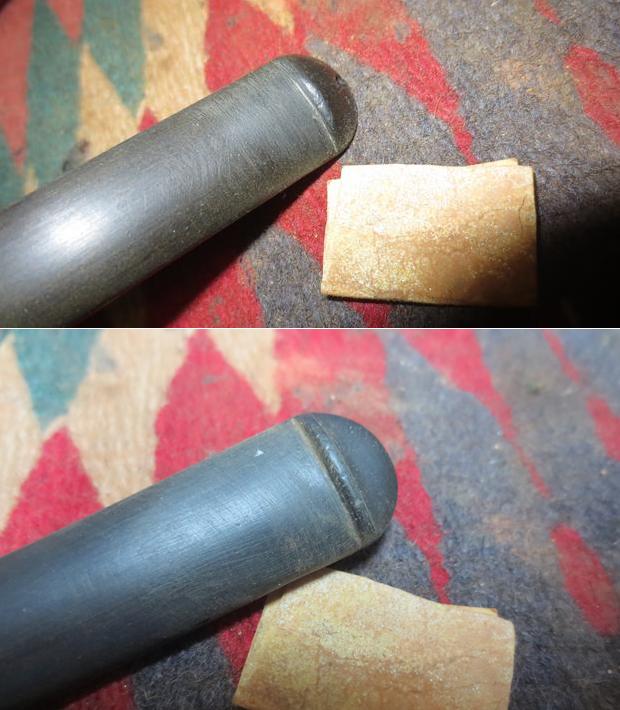
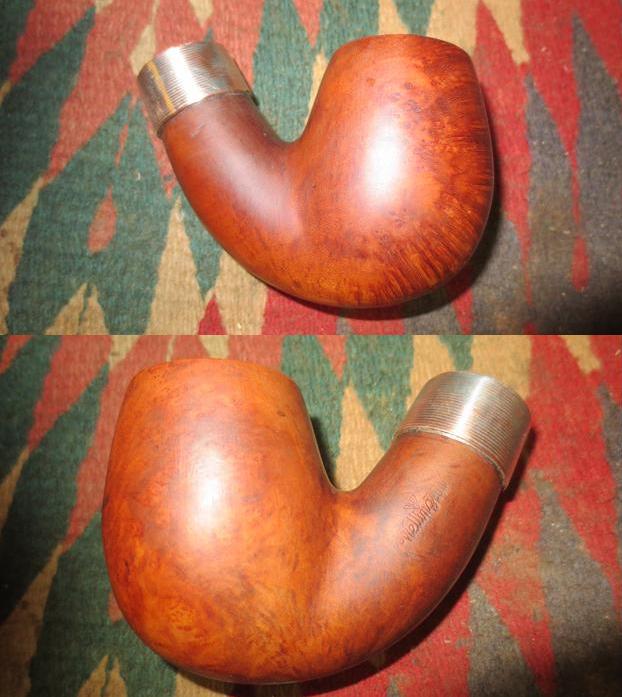
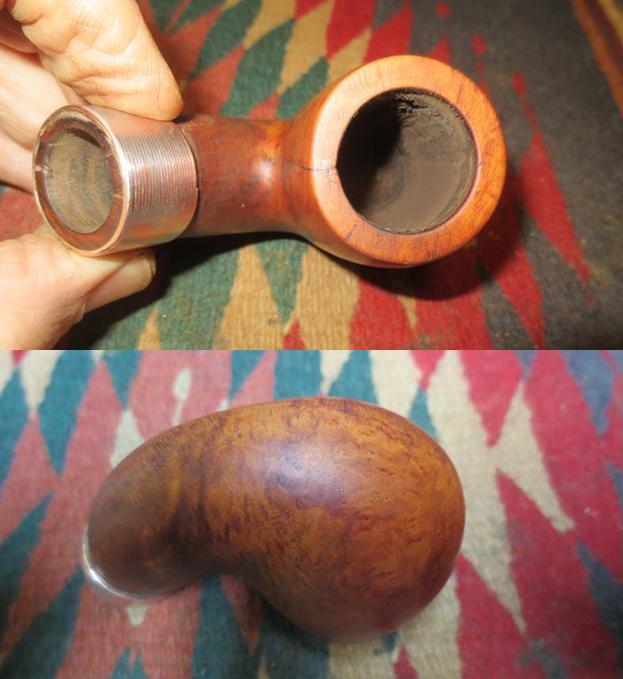
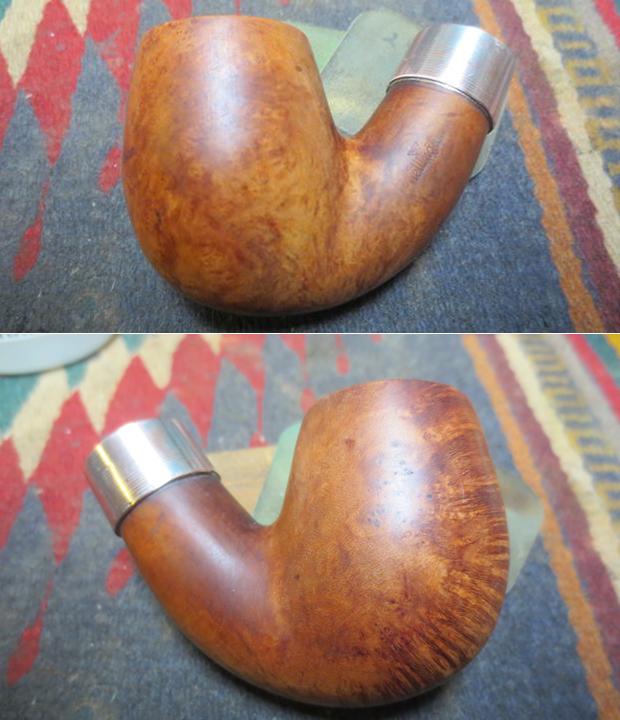
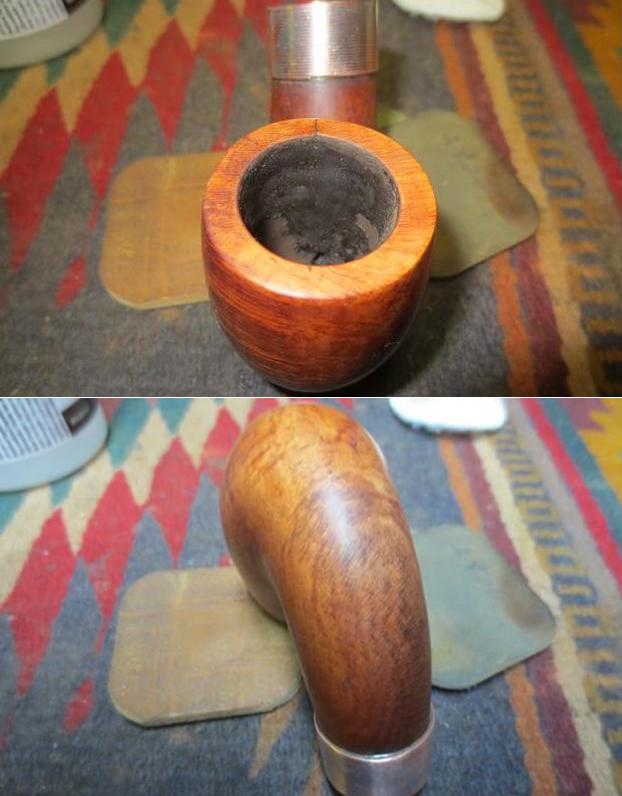
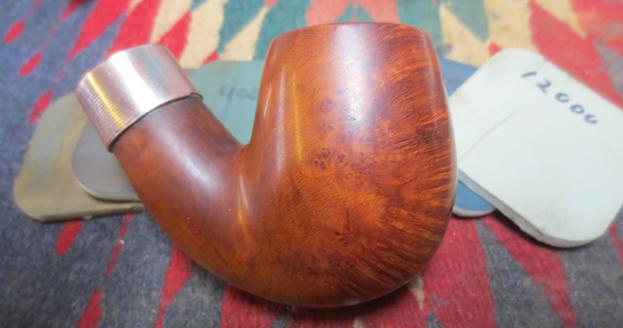
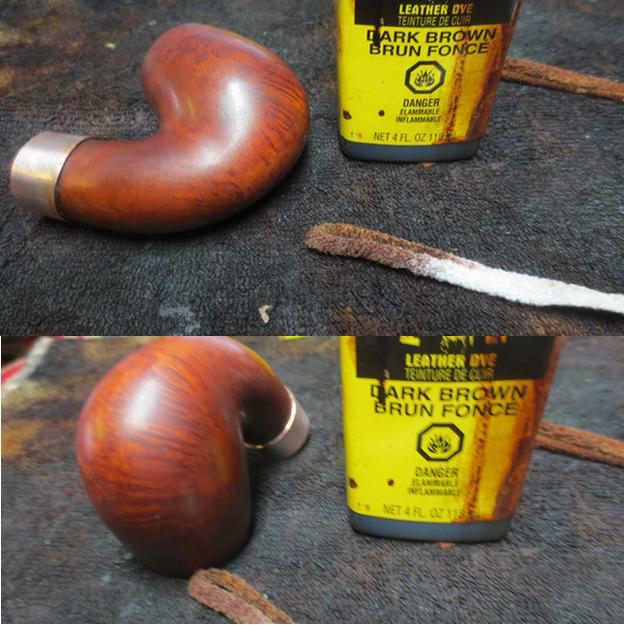
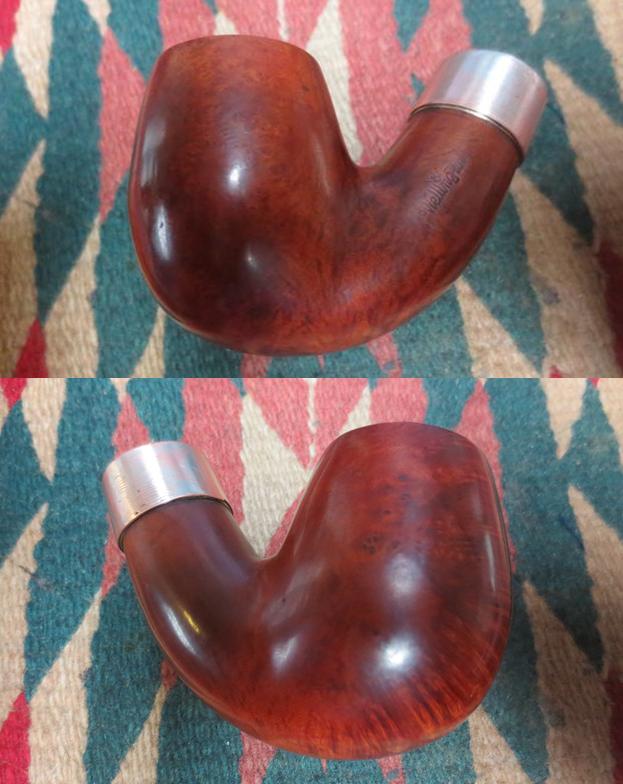
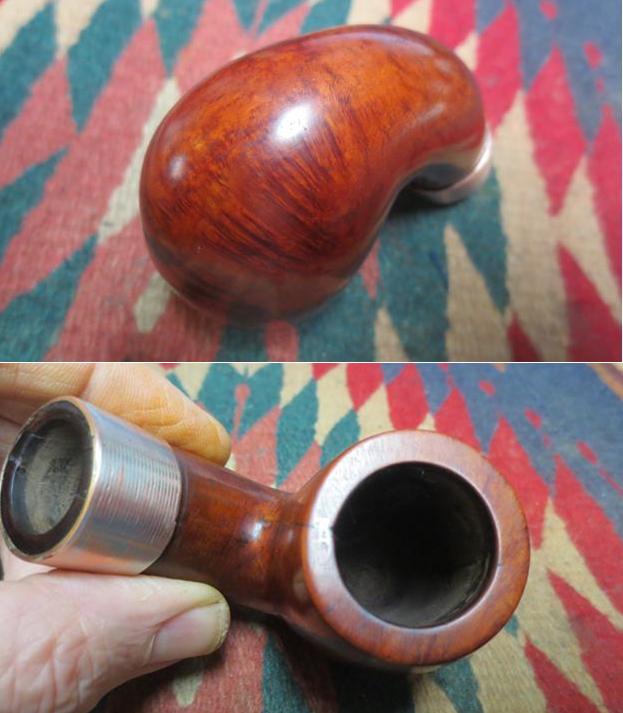
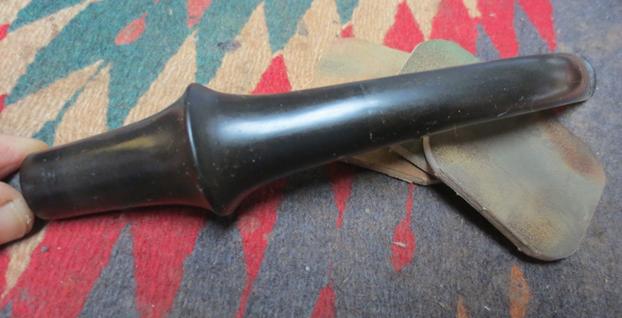
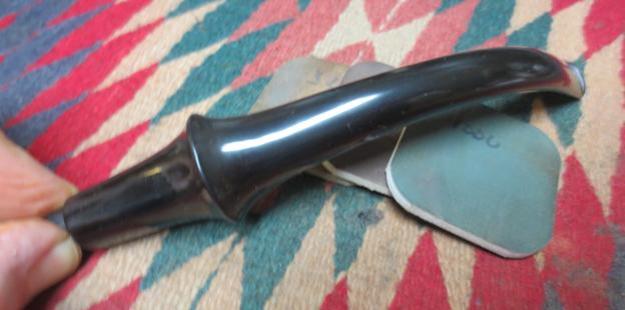
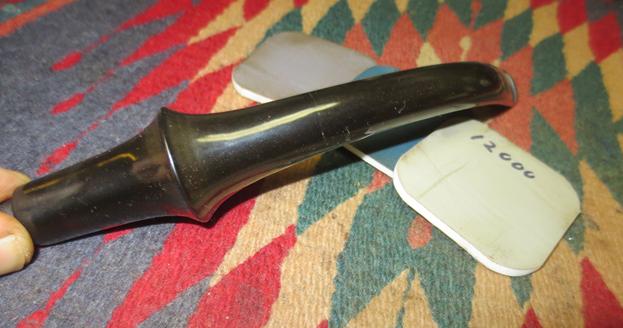
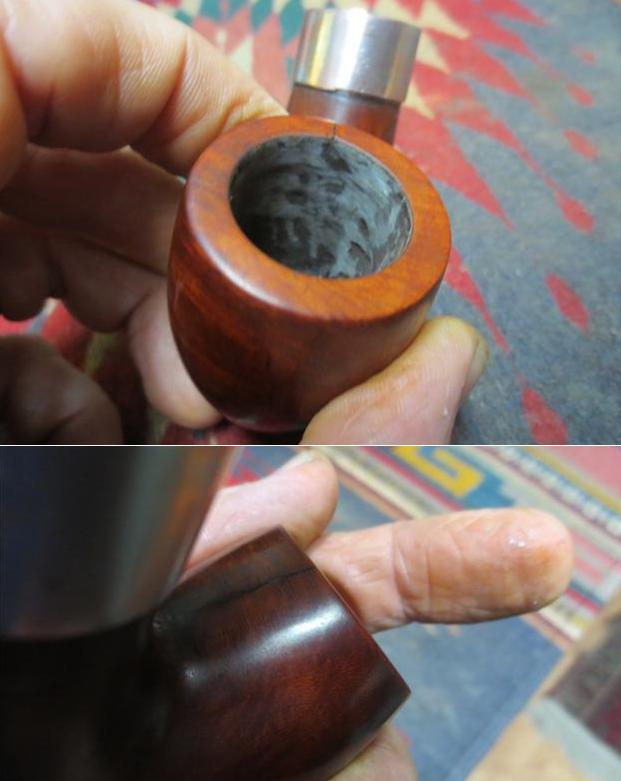
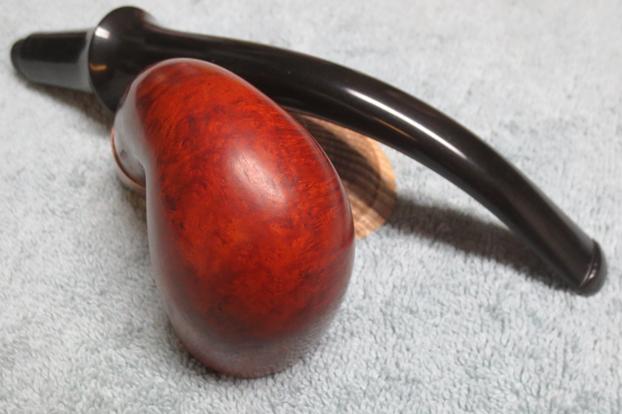
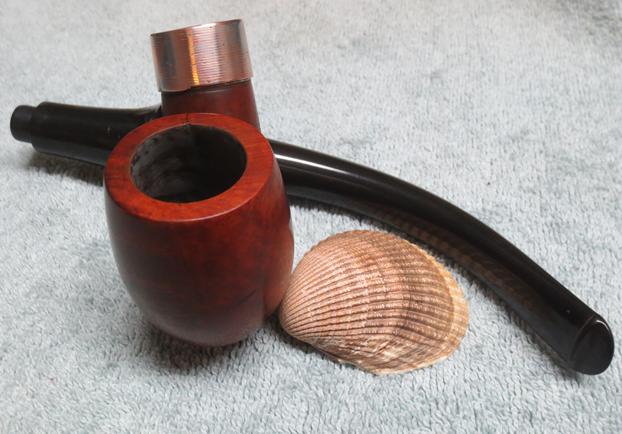
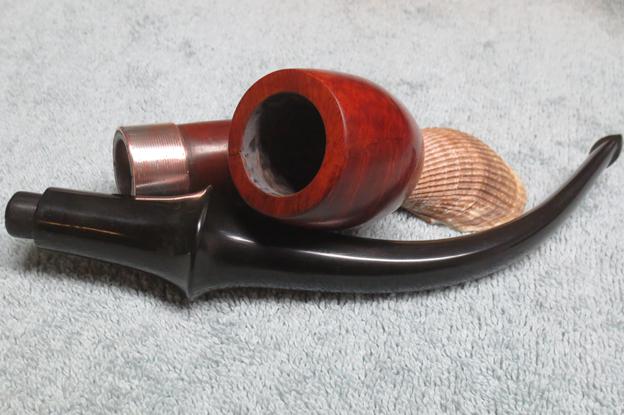
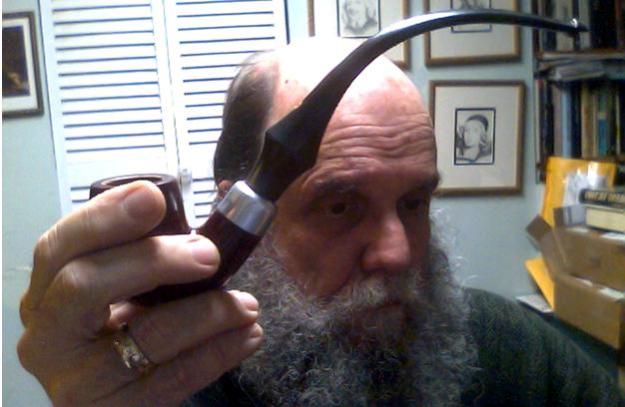
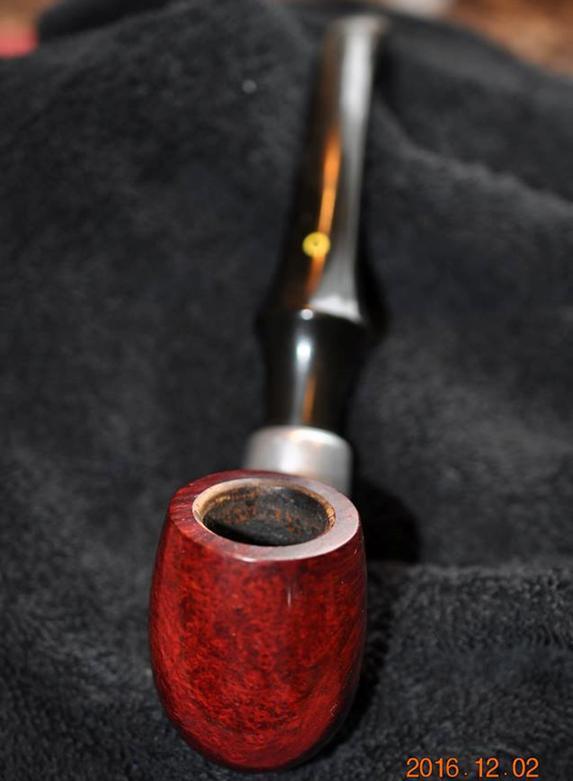
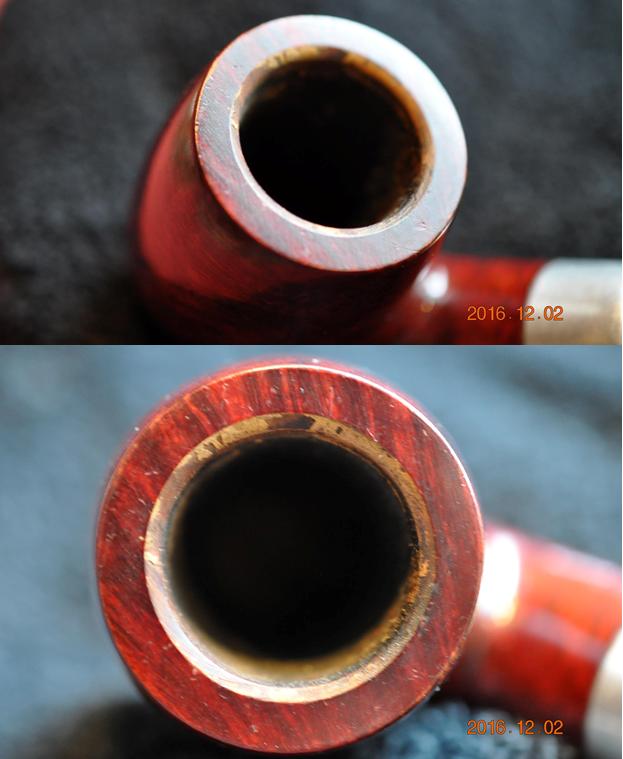
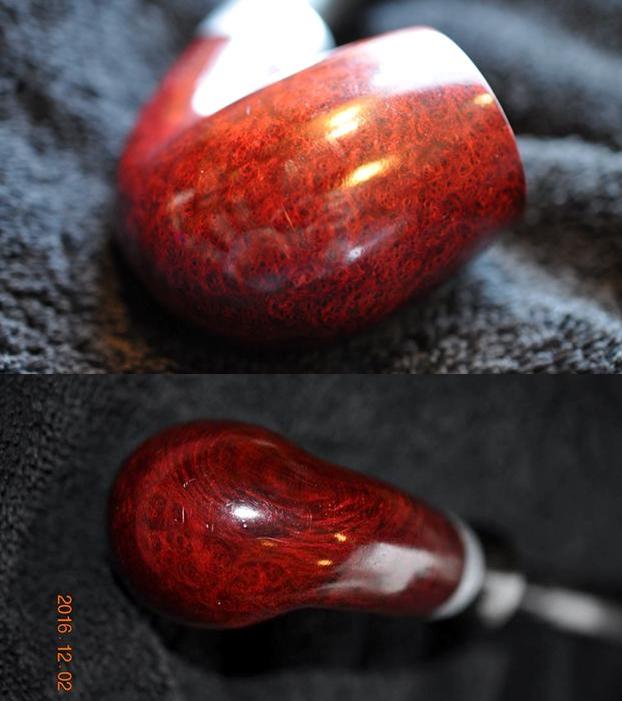
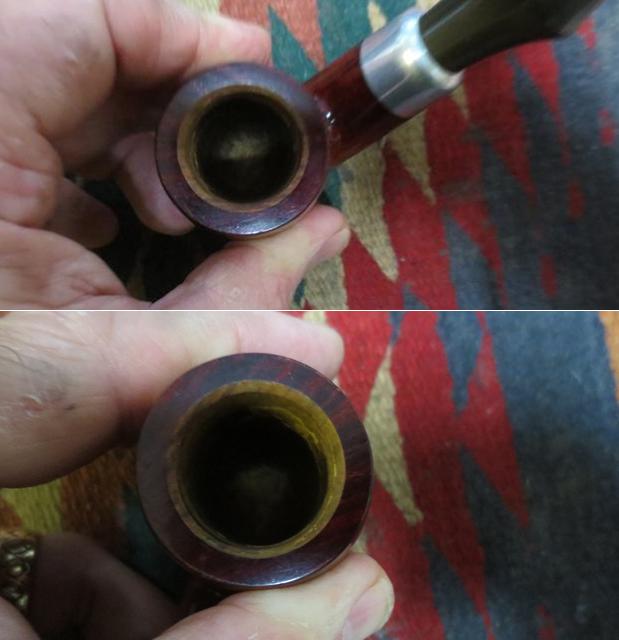
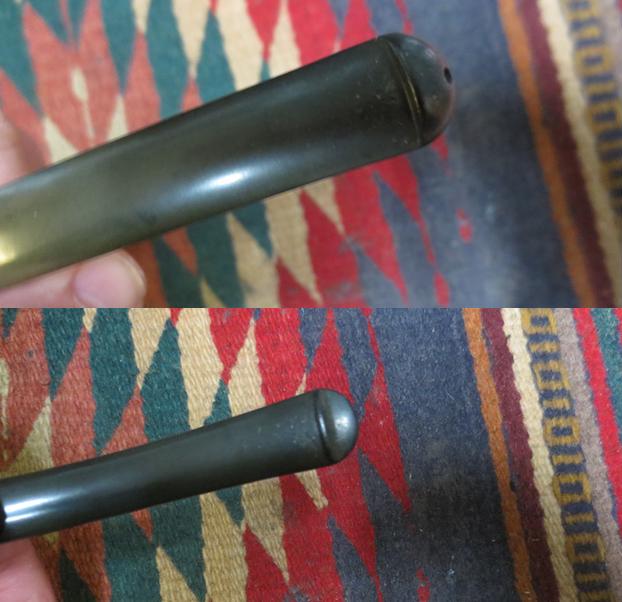
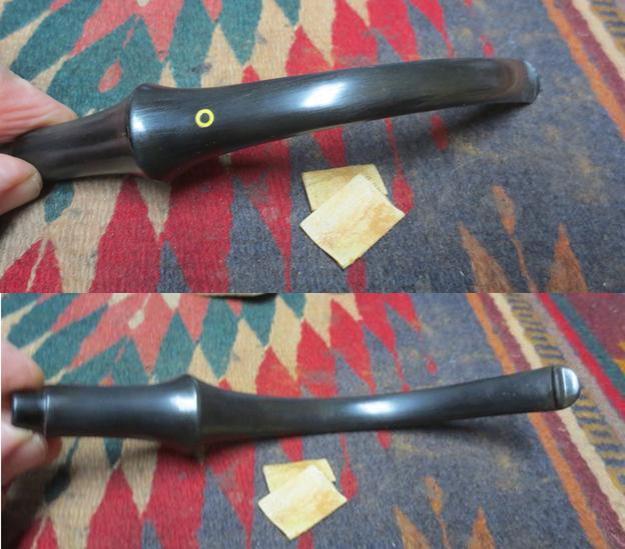
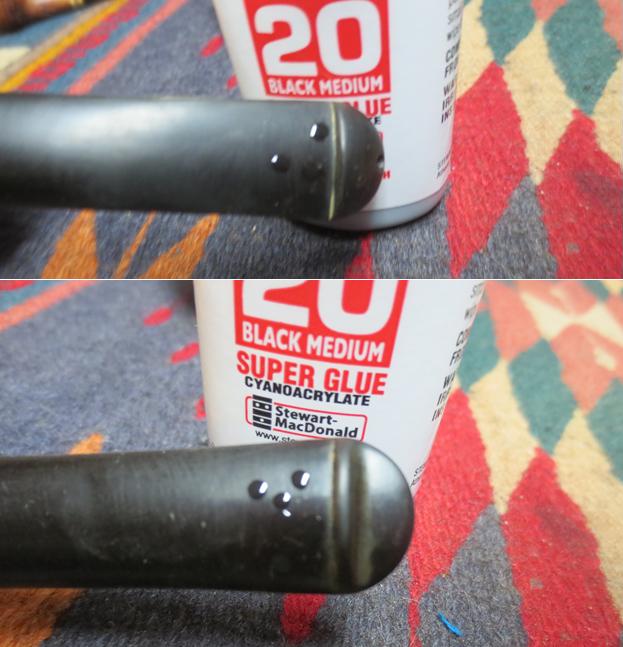
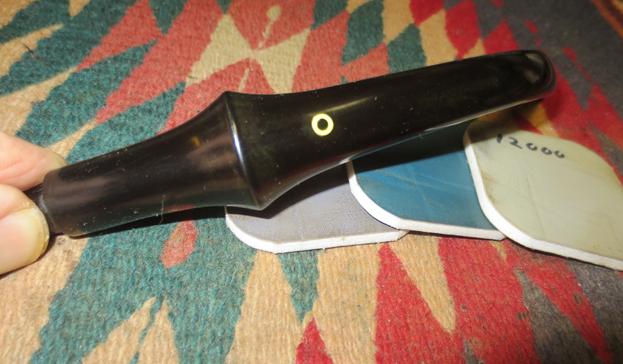
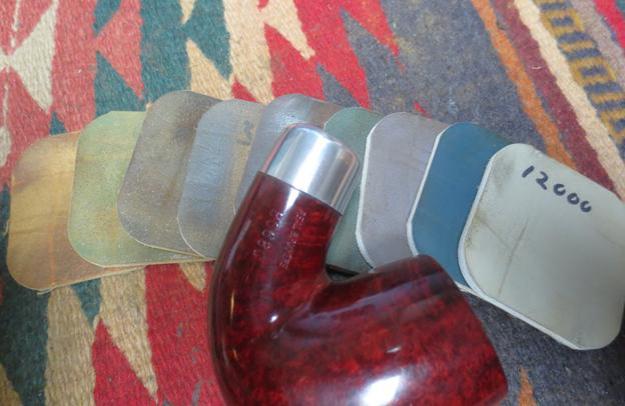
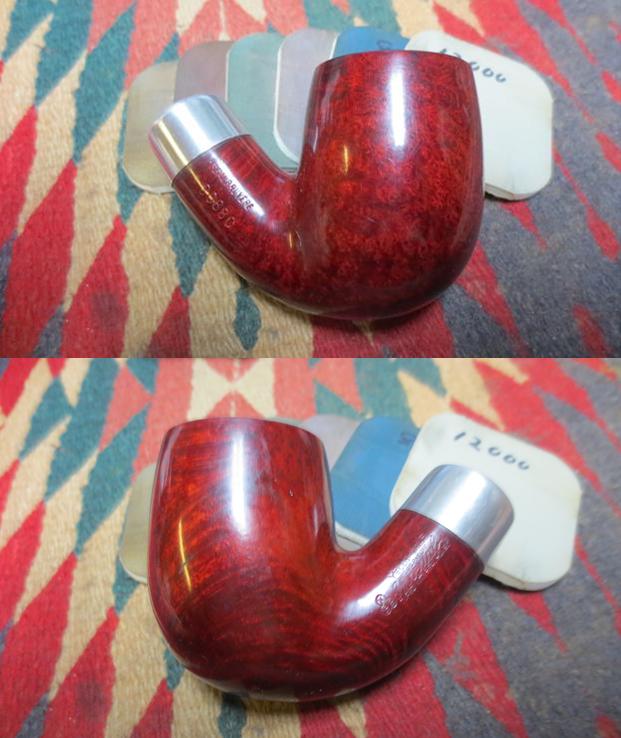
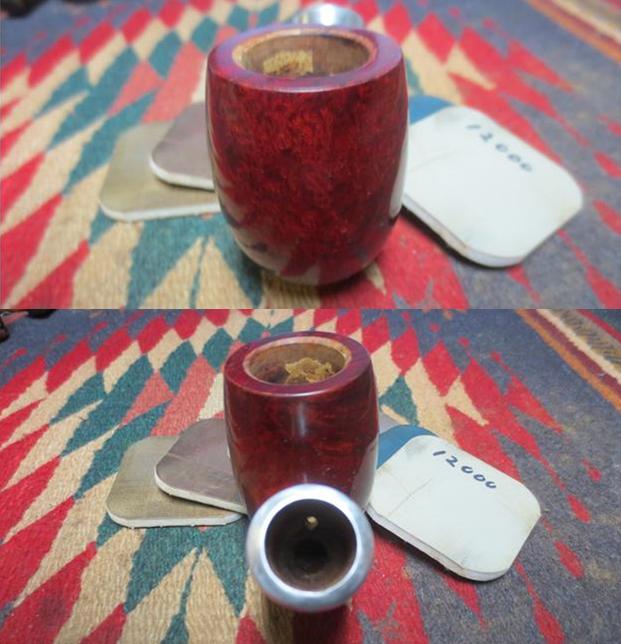
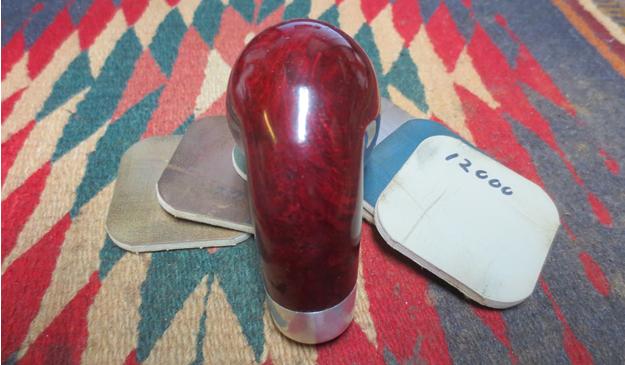
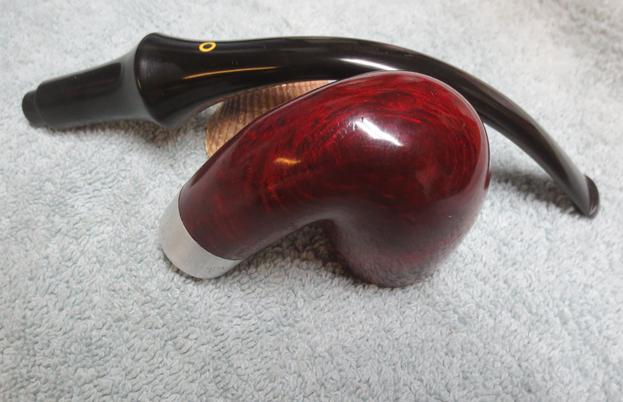
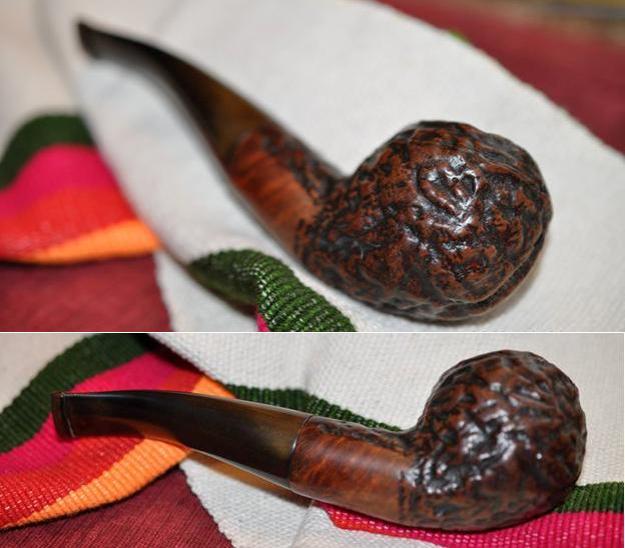
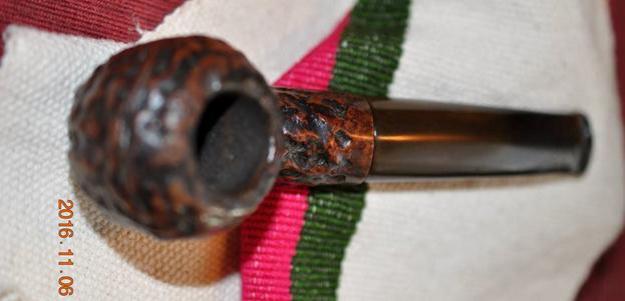
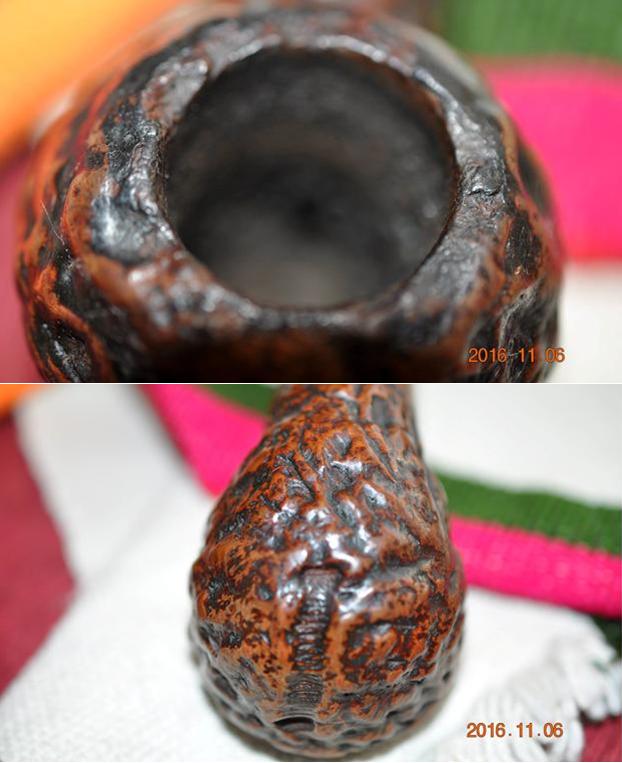
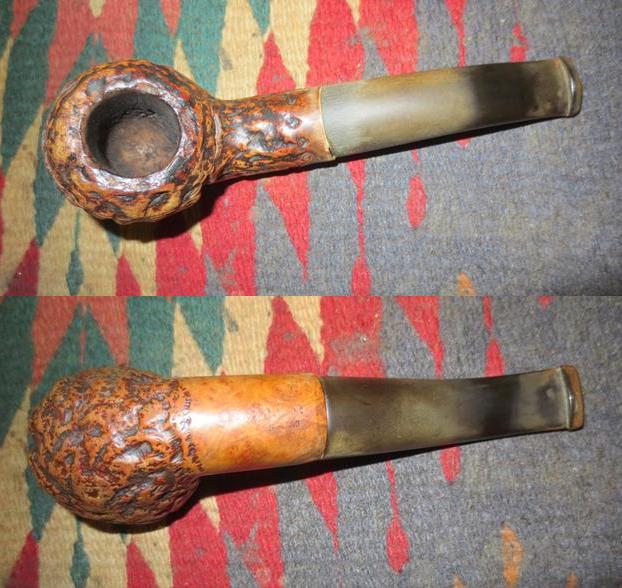
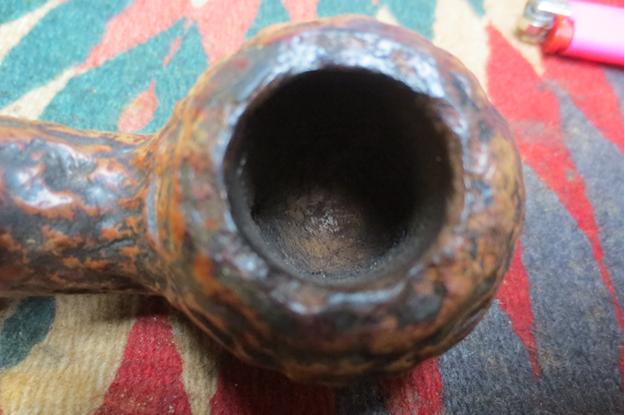
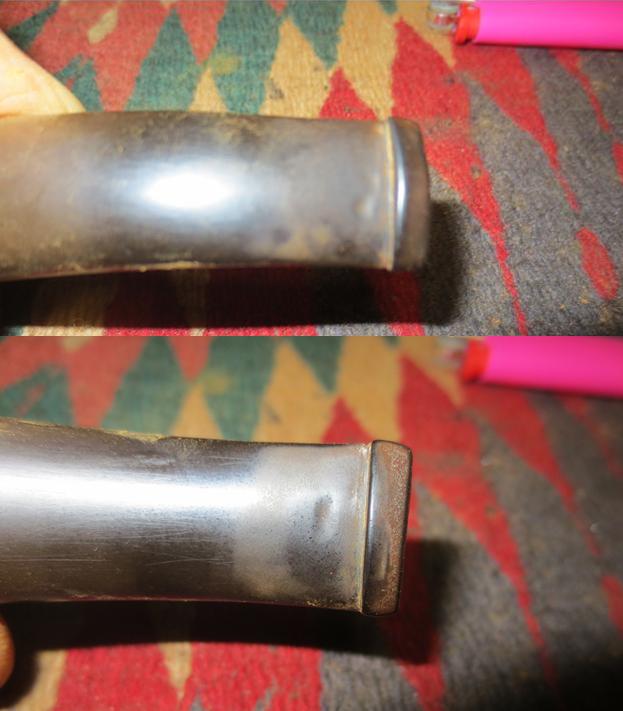
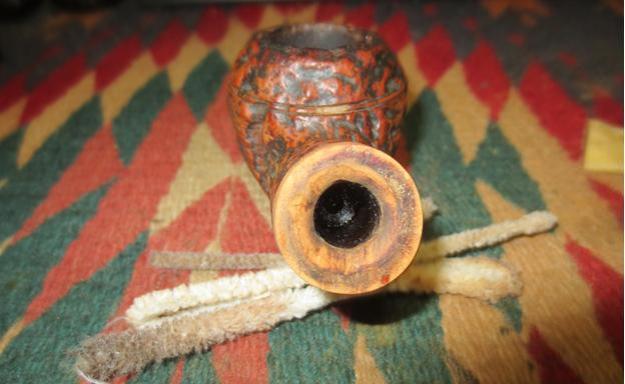
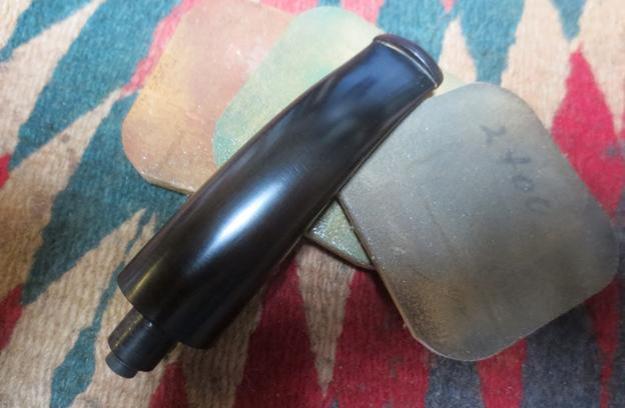
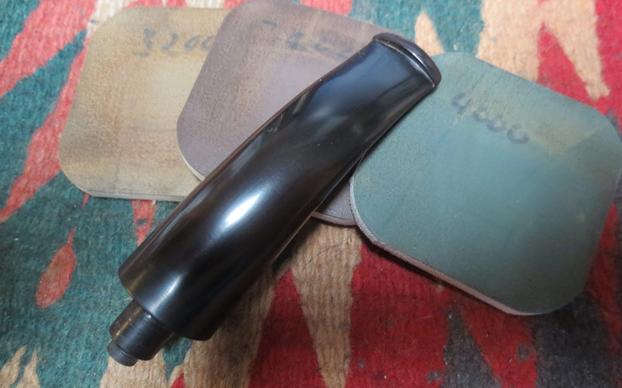
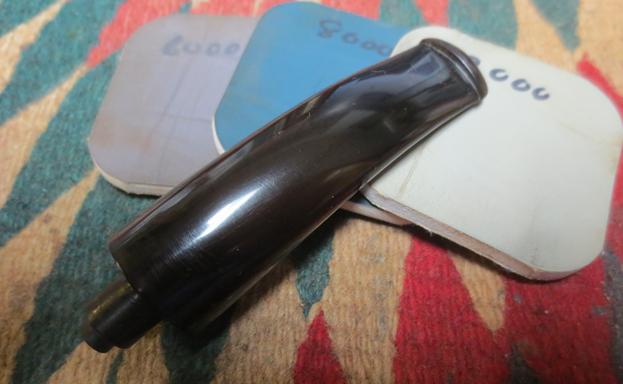
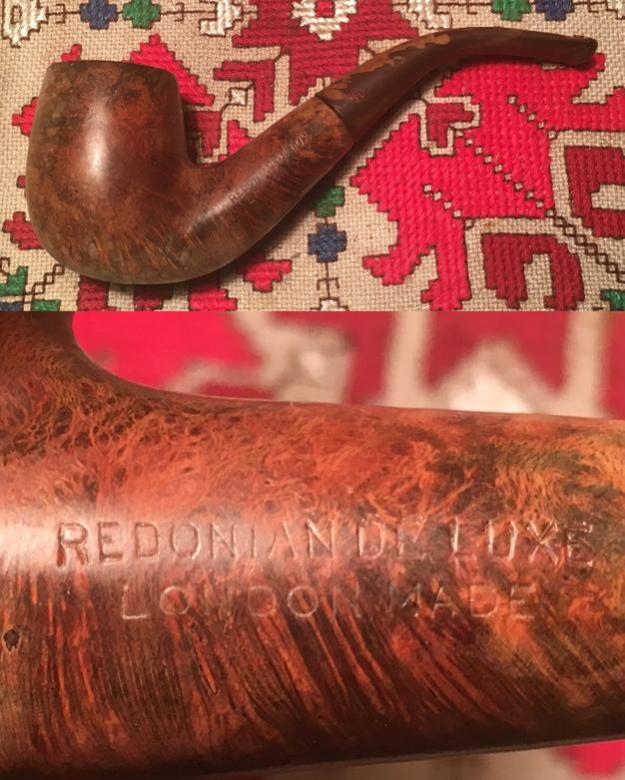
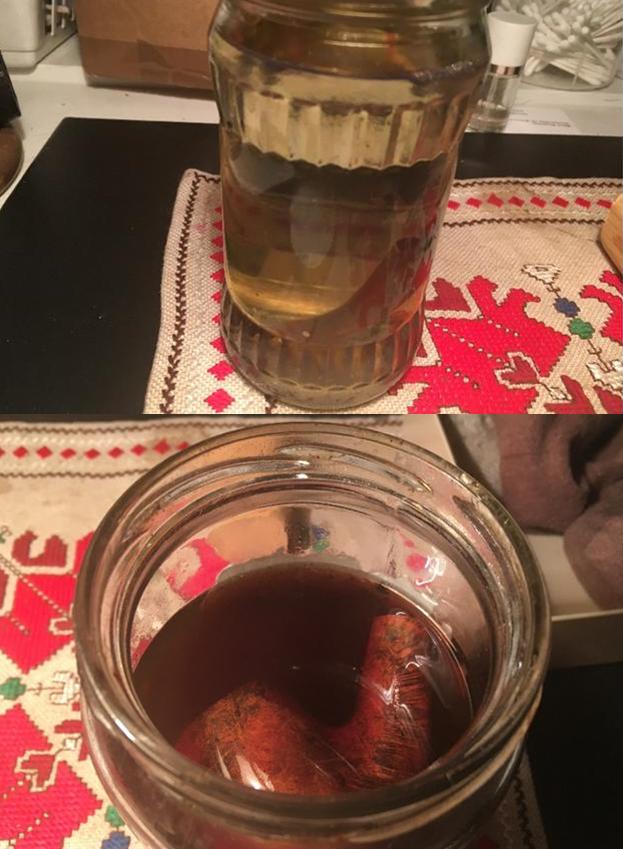
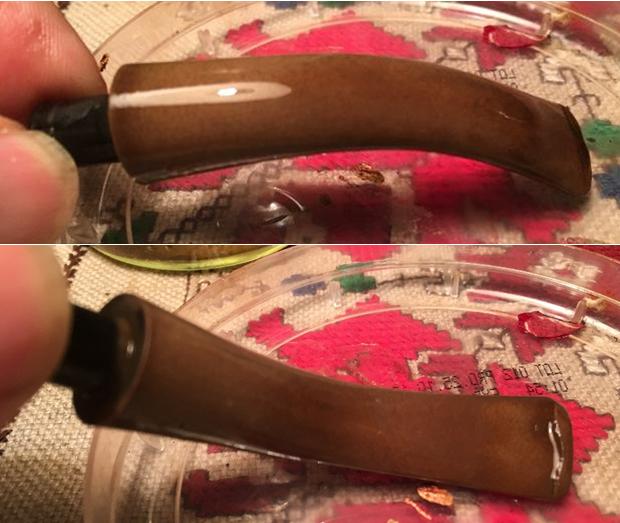
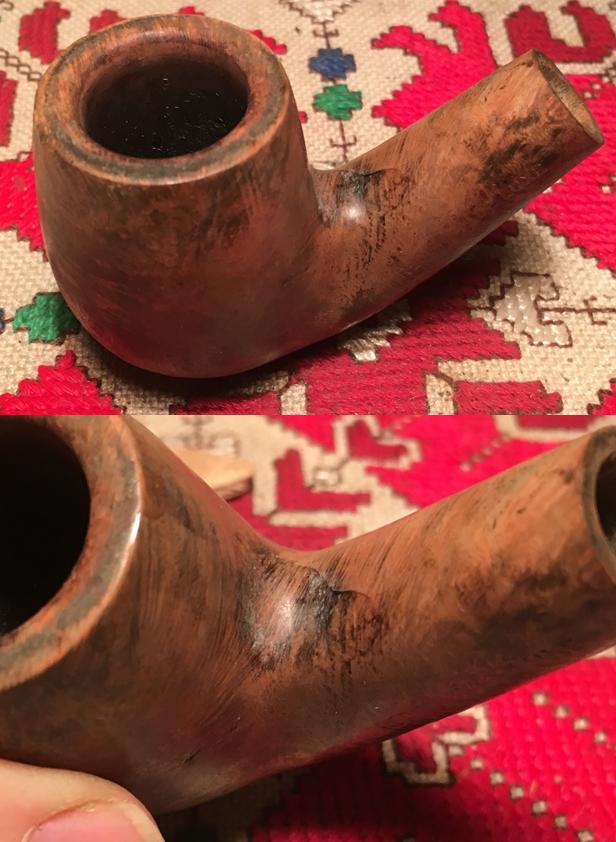
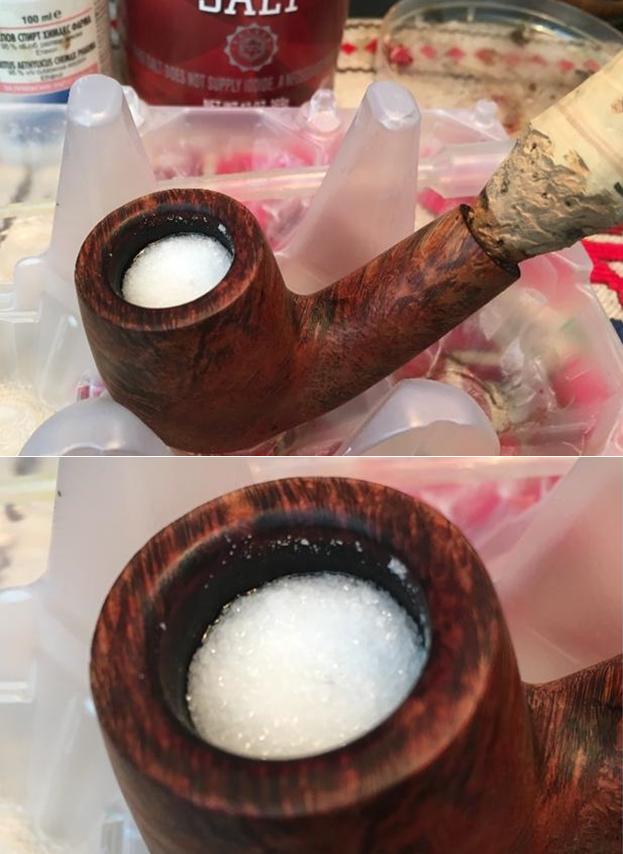
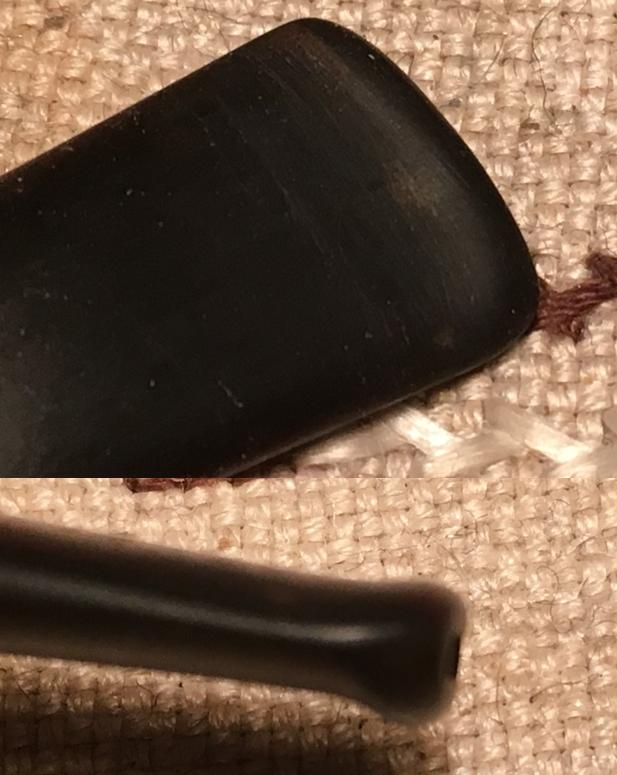
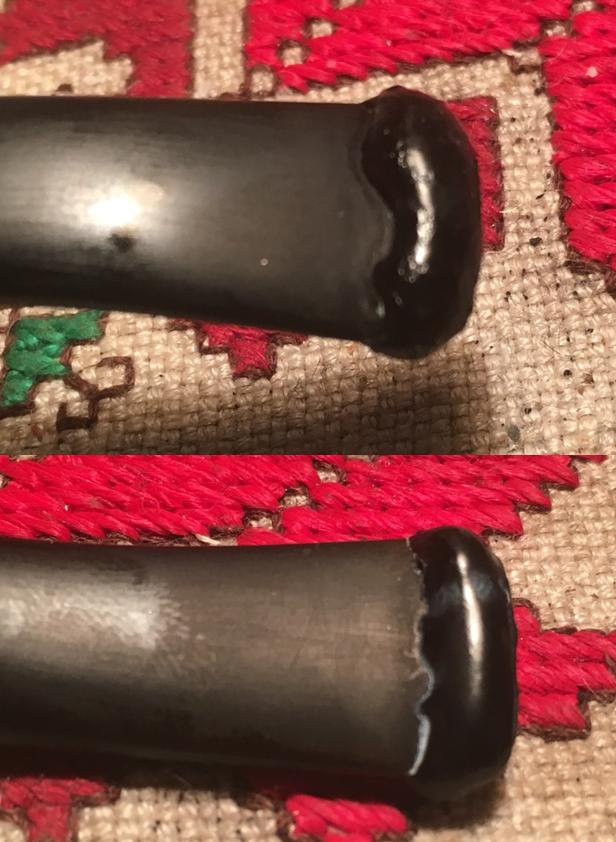
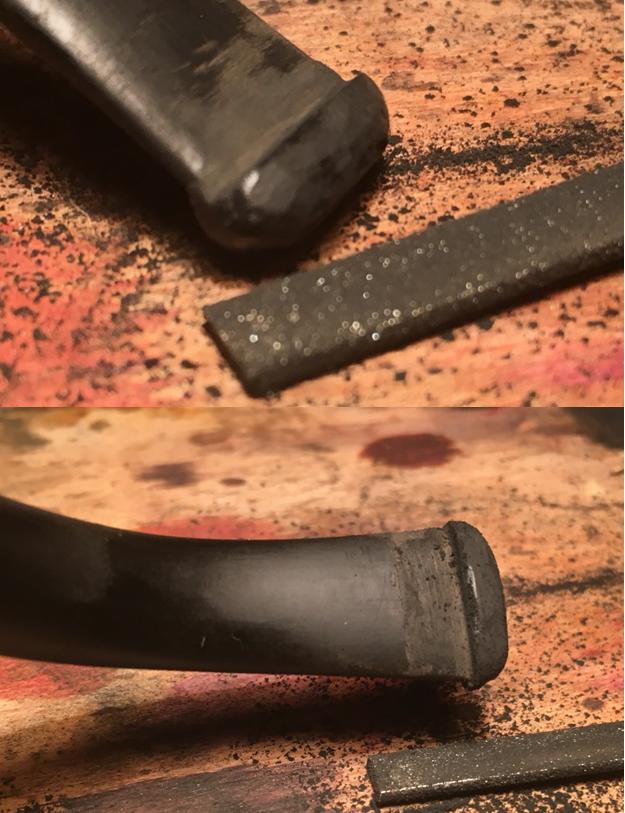
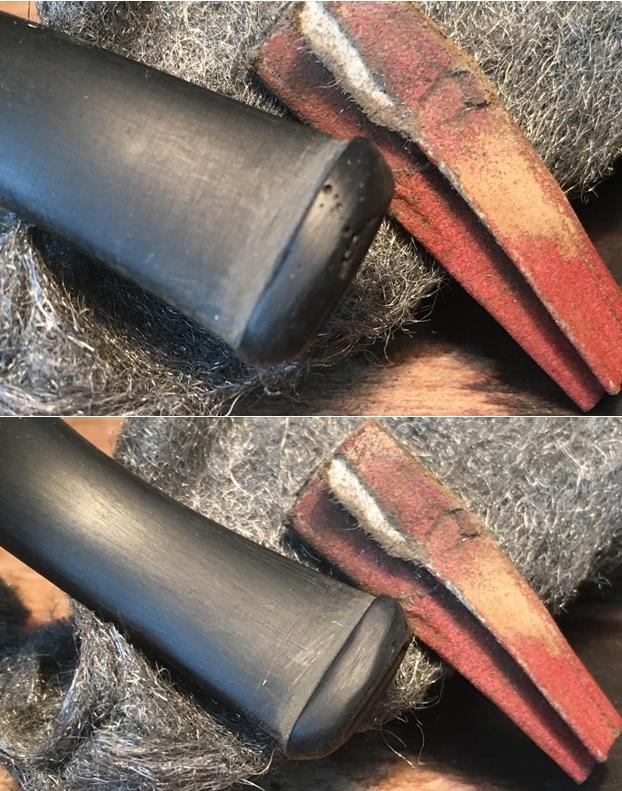
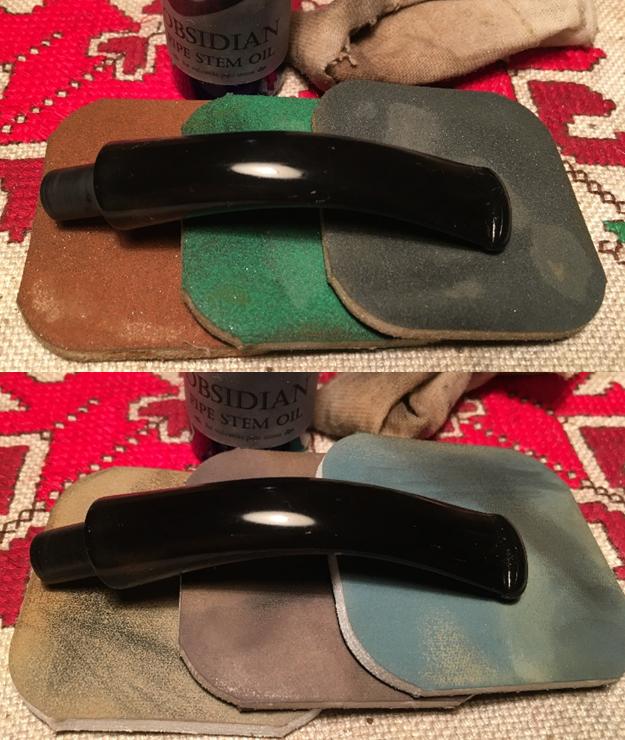
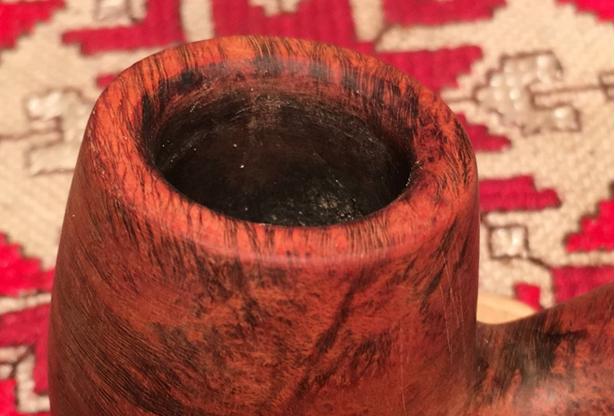
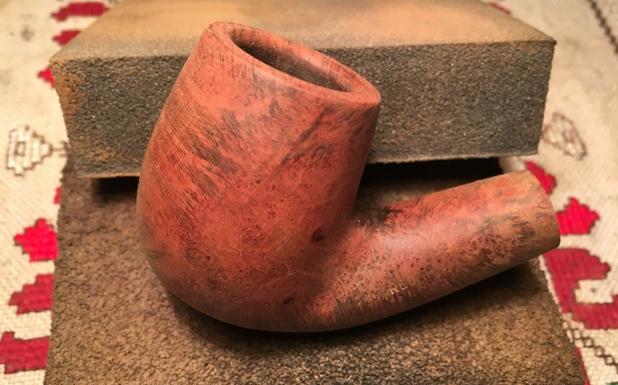
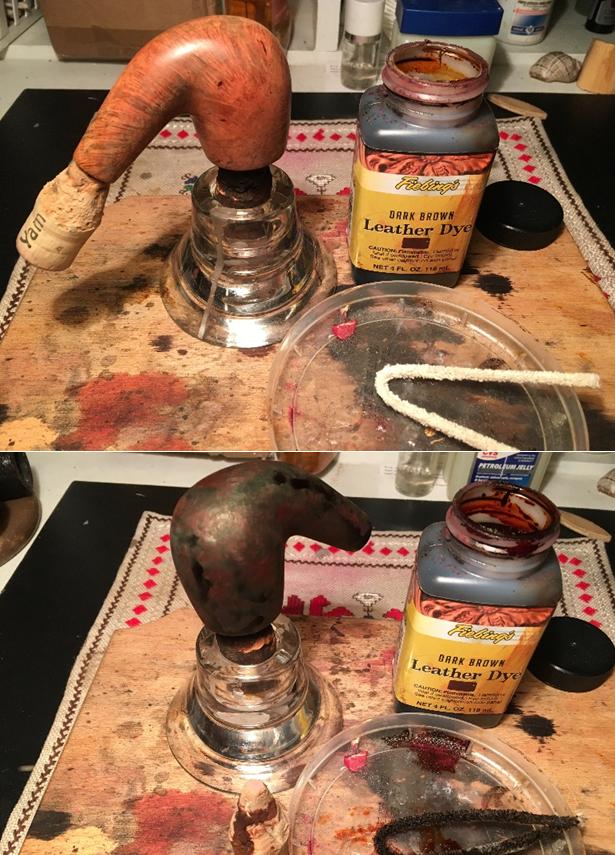
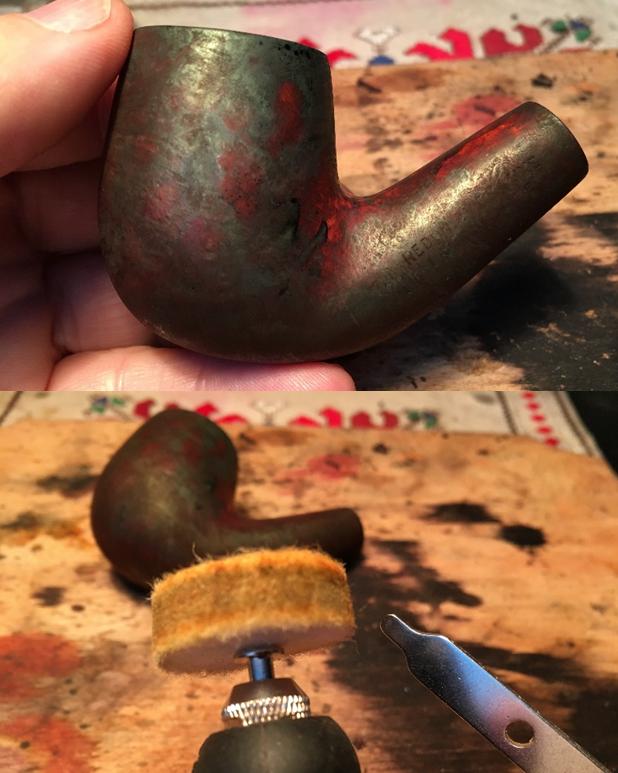
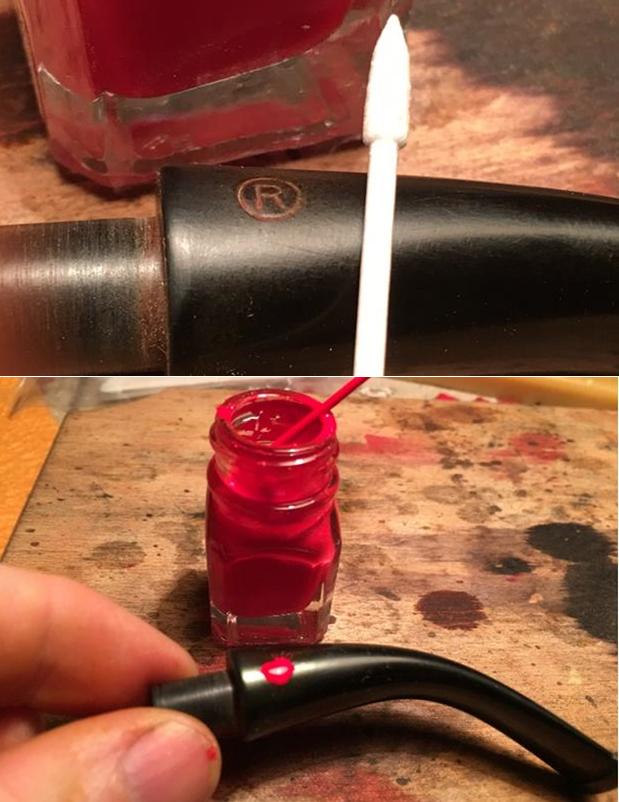
With a smile on my face while looking at Gramps’ pictures, notwithstanding the ‘mild’ exaggeration of the seller’s sales bravado, “Ready to be Enjoyed, Gifted or Resold…ENJOY!”, this is what I saw:red1 red2 red3I have no idea if I can bring Gramps to drink of the Fountain of Youth or not, but I’m now looking at him on my worktable here in Sofia, Bulgaria.  The markings on the left shank are Redonian Deluxe over London Made.  The right side of the shank bears the mark, 26, which I assume is the shape number.  Surprisingly, the stem stamping is legible – a red ‘R’ ensconced in a circle.  A look at Pipedia and I discover that the Redonian was made by the John Redman Ltd./British Empire Pipe Co. in London, the same company that was a possible manufacturer of the L. J. Perretti I restored not long ago – the Perretti Co. is based in Boston and the second oldest Tobacconist in the United States.  According to the Pipedia article, John Redman Co. pipe lines, along with Redonian, include Aristocrat, Buckingham, Buckingham Palace, Canberra, Captain Fortune, Dr John, Golden Square, Richmond (not Sasieni),  and Twin Bore.   I take some additional pictures of ‘Gramps’ for a fresh look.red4 red5 red6 red7 red8 red9Like Charles’ patient, this pipe looks to have been left outside or exposed in a barn or something, as half of it seems to be colored differently – laying on its side for some time.  The stem has the heaviest oxidation I’ve seen to date – perhaps something else is going on – it appears to be leprous!  The surface is so soiled and the cake so thick – there appears to be a spider web in the fire chamber – I really can’t determine the condition of either the stummel or stem, so after taking some pictures from my work table, I plop the stem in Oxi-Clean to start dealing with the stem leprosy and I plop the stummel along with spider web, in an alcohol bath – isopropyl 95% to soften the ages of crud clinging to the stummel – inside and out.red10About 24 hours later, I retrieve the stem from the Oxi-Clean bath and the oxidation was raised to the vulcanite surface as hoped and expected.  I first attack the oxidation by wet standing the stem with 600 grit sanding paper.  I’m very careful to stay clear of the Redonian ‘R’ stamping and work around it.  I sand for quite some time.  After making some progress, I switch to using 0000 steel wool to take off more oxidation and smooth in the process.  Again, I’m steering clear of the ‘R’ stamping.  I wish I would have taken a picture at this point.  The stem is looking much improved except for the circle ‘R’ stamping – still encased in thick oxidation.  I know that taking anything abrasive to the stamping will erode it and for me, this is anathema.  I try another tack – I think I remember reading somewhere about using Mr. Clean Magic Eraser.  I brought it to Bulgaria from the US and hadn’t used it yet.  The sponge that emerges from the box would not be abrasive – I hope.  So, I wet the sponge and start working on the area of the stamping. I start very cautiously and gingerly apply pressure with the sponge Magic Eraser.  When I discover that it is not eating away at the stamping I apply more pressure.  Before long I was working on the area aggressively.  Very gradually, and without perceptible damage to the ‘R’, the oxidation disappeared – or at least, in very large measure.  The last picture in the set below shows the magic brought by the Magic Eraser! I’m pleased with the progress cleaning up a once, leprous stem!red11 red12Satisfied with the progress on the stem, I fish the stummel out of the alcohol bath.  I use several pipe cleaners attempting to open the airway between the mortise and draft hole – unsuccessfully.  I then use about a 6-inch length of hanger wire as a probe and to ream the airway gently.  After a while, I finally push through the ancient muck and reconnect the mortise and bowl.  After this, I put the stummel back in the alcohol bath to soak further after stirring up and opening the internals.red13 red14 red15Out of the bath again, I take Q-tip cotton swabs and pipe cleaners and clean the gunk out of the mortise and draft airway while it is still loosened.  It’s cleaning up well, but I need to ream the bowl to remove the softened cake and the old residues.  I want Gramps to have a new start down to the fresh briar.  I use the Pipnet reaming kit using the two smaller blades of the four available.  The cake comes easily.  I fine tune the reaming more using the Savinelli pipe knife.  I then take 240 grit sanding paper, wrapped around a Sharpie Pen and sand the chamber walls to remove the remaining carbon.  I finish by cleaning the bowl using cotton pads wetted with isopropyl 95%.  The fire chamber looks good – no problems, no burn throughs detected visually. The pictures mark the progress.red16 red17 red18With the bowl reamed and cleaned, I now turn to the stummel externals.  I take another critical look at the stummel surface and lava flow on the rim and take a few pictures to show the condition of the briar before I use Murphy’s Oil Soap.  I want to mark the progress moving from the desperate condition in which the Redonian Deluxe started.  I use undiluted Murphy’s Soap and scrub the rim and stummel surface with cotton pads. I also use a bristled tooth brush to scrub the surface.  After cleaning, I rinse the stummel with warm tap water careful not to allow water into the stummel internals.  The rim cleans nicely and it looks good.  Looking at the briar surface, not surprising I detect several pits which need to be either sanded or filled.  What is emerging from underneath the gunk, grime and grunge is a piece of briar holding much potential to shine with the gradual appearance of some nice-looking grain.  With my work day ending, I decide to apply olive oil to the stummel to hydrate the very dry wood – letting it absorb the oil through the night. The pictures show the progress.red19 red20 red22 red23The next morning, I decide to further clean and purify the stummel using the salt/alcohol soak.  I fill the bowl with Kosher Salt and cover the opening with my palm and shake the stummel to distribute the salt.  I then place the stummel in an egg carton to give stability, and fill the stummel with isopropyl 95% until it surfaces over the salt.  I then cork the mortise and let it sit and do its thing – letting the salt absorb the crud.  I then turn to the stem.  I clean the stem internals using pipe cleaners dipped in alcohol.  Using a sharp dental probe, I dig gunk out of the slot to clean it.  It takes a while to work a pipe cleaner all the way through the stem.  Once I do accomplish this, I use a bristled pipe cleaner with alcohol to run it back and forth several times to clear and clean the airway – hopefully allowing a pipe cleaner easier passage.red24 red25After cleaning the internals of the stem, I now look at the condition of the button area.  The 98-year-old grandpa that owned the Redonian did not leave teeth marks (is that a clue to his dental condition??) but the upper and lower bits are almost flush with the stem surface. This is not good – the button edges are necessary to hang the pipe properly on the teeth so that one does not bite the stem leaving the teeth chatter and dents one must remove when restoring a pipe!  I will use charcoal/superglue putty to build up the button area.  I form a wedge made of index card and fit it into the slot of the stem to keep putty from covering the opening.  I open a capsule of activated charcoal and pour the powder on an index card.  I then put a small puddle of Hot Stuff Special ‘T’ CA glue (extra thick glue) next to the charcoal powder.  With a toothpick, I draw charcoal into the glue, mixing it as I go.  I continue to add charcoal powder until I reach a thickness like molasses.  When I reach this viscosity, I then dollop the putty around the button area – more than is needed to provide excess to sand down to the proper button proportions.  I use an accelerator to set the putty.  I then remove the wedge from the slot and put the stem aside to cure.  The pictures show the process.red26 red27 red28Several hours have passed since the stummel began its salt/alcohol soak.  The salt has darkened some, so I assume it’s done its work!  I dump the used salt from the stummel and thump it on my palm to remove lodged salt crystals.  I take a paper towel and wipe out the bowl.  Using a bristle brush, I clean the mortise to remove any salt lodged in the internals. I want to be sure all the salt is purged.  I then return to using Q-tip cotton swabs, pipe cleaners and isopropyl 95% to complete cleaning the internals.  With 2 Q-tips, the verdict is in – the Kosher Salt and alcohol soak did a great job drawing out the muck and freshening the mortise.  I complete the job by wiping the chamber with a cotton pad with isopropyl 95%.  Done.  The pictures show the result!red29With the stummel now clean, I take a close look at the stummel surface to be reminded of the question areas.  I take a few pictures to show these. The stummel is in surprisingly good condition for what it looked like when I started.  I find some pitting on the surface that I will fill with superglue.  I also detect a rim ‘skin’ on the front end of the stummel.  There are also other nicks around the rim from normal wear and tear. I start preparing the stummel surface by sanding with a medium grade sanding sponge to remove a layer off the finish – to determine where fills are needed.  After using the medium grade sanding sponge, I apply super glue to the 3 places on the stummel I detected earlier to fill the larger pits and a small crevasse and put the stummel aside for the superglue fills to cure.  The pictures show the progress.red30 red31 red32Now to return to the stem’s button rebuild.  The charcoal superglue putty has fully cured and ready for shaping.  I take pictures of the upper and lower bit to mark the progress.red33The technique I’ve developed for button shaping is to start at the end of the stem, using a flat needle file I file to establish the vertical – perpendicular slot area – that it’s flat.  This establishes a base-line for the end of the button and shaping the rest (I forgot to document this in a picture!).  I then start with the upper button area with the flat needle and begin filing from the stummel-side toward the end to establish the straight edge of the button’s ‘lip’.  I gradually file this toward the stem’s end until it appears a good depth for the upper button. I then file top of the bit’s lip to shape in further.  When I’m satisfied with the upper button shaping, I then flip the stem over doing the same with the lower button seeking to match the upper. When the basic filing is completed, I use a pointed needle file to enlarge the slot.  The pictures show the button rebuild process.red34 red35 red36To remove the roughness of the files, I then use 240 then 600 and finally 0000 steel wool to further perfect the shape and to cover the treads left by the files. Which often is the case, air pockets encased in the charcoal/superglue are exposed during the shaping and sanding process. I apply some CA glue to the button surface and paint it with a toothpick to cover the pin-sized air pocket holes and then spray an accelerator on the glue to cure it more rapidly.  After a while, I return with 240, 6000 paper and then 0000 steel wool to remove the excess CA glue on the button and complete the button rebuild.  The pictures show the completion of the button rebuild.red37 red38 red39With stem internals cleaned, and new button completed, I transition to the externals.  Using micromesh sanding pads 1500 to 2400, careful to guard the Redonian ‘R’ stamping, I wet sand the stem and follow the set by applying Obsidian Oil.  I then use micromesh pads 3200 to 4000 and after, pads 6000 to 12000 following each set with an application of Obsidian Oil.  I set Gramps aside to soak in the Obsidian Oil.   All I can do is to say, ‘Oh, my!’  Gramps is responding well to the TLC. The pictures tell the story – I can’t but help to throw in a reminder of how far we’ve come! red40 red41With a reborn stem waiting, I turn to the stummel.  The 3 pit-holes that were filled with superglue are cured.  Using 240 grit paper I sand the excess glue to the surface and blend the patches. red42 red43I take a close-up picture of the rim and inspect the rim more closely.  Along with nicks, I can see that rim lines are not sharp.  There is evidence of a bevel on the inside ring of the rim which is scorched.  I decide to mildly top the stummel and reestablish a crisp bevel. The bevel will also remove the scorching I see.  I use 240 grit paper on a chopping board and rotate the inverted stummel in an even, circular motion to remove old briar.  I stop and check things after every couple of revolutions to make sure I’m staying level.  I only take off enough to leave the former bevel more distinct.  To recut the inner bevel, I use 120 grit paper rolled very tightly to create a hard-sanding surface.  I want the bevel to be straight and uniform.  I follow the 120 using 240 grit also tightly rolled to remove the coarser lines.  The topping and bevel look good.  The bowl is in-round.red43 red44 red45After completing the rim and bevel, I take a medium grade sanding sponge and then a light grade sanding sponge and sand the stummel to blend the superglue fills – careful to work around the Redonian Deluxe London Made markings on the stummel.  Then, using micromesh pads 1500 to 2400 I wet sand the stummel, followed by dry sanding using micromesh pads 3200 to 4000 and then 6000 to 12000.  I never tire seeing the grain emerge during this process.  After I complete the micromesh cycles, I unite stummel and stem to get a look at where we are.  Gramps is looking good. The pictures show the progress – woops, I forgot to take a picture after the first micromesh cycle!red46 red47 red48I’m liking very much the progress of the Redonian Deluxe London Made – aka, Gramps.  I decide to use Fiebing’s Dark Brown Leather Dye with Gramps.  I think the rich depth of the leather dye will create the subtle expression of the straight grain hugging the bottom of the stummel as it expands into horizontal patterns and scattered bird’s eye on top.  I give the surface a quick wipe with a cotton pad to clean and remove any leftover briar dust.  I use my wife’s hair dryer to warm the stummel to expand the wood to help the grain to be more receptive to the dye.  I use a cork in the shank as a handle and I then take a folded over pipe cleaner and apply the dark brown dye over the entire surface.  After this, I fire the wet dye which immediately burns the alcohol and sets the dye in the grain.  In a few minutes, I repeat the process concluding with firing the wet dye.  I put the crusted stummel aside to rest.  I decide to do the same and call it a day.  The pictures show the progress.red49The next day, after a full day’s work, I’m anxious to look at Gramps, and with the Dremel I begin unwrapping the fired dye crust.  After mounting a dedicated felt wheel for applying Tripoli, I set the Dremel’s speed for 1, the slowest possible, and first purge the wheel with the sharp edge of the Dremel’s tightening wrench – to rid it of old compound and to soften the felt wheel.  I apply very little pressure on the briar surface, allowing the RPMs and compound to do the work for me.  To reach the inside of the bent shank elbow with the Tripoli compound, I switch to a smaller, pointed felt wheel to get in the tight angles.  With the Tripoli finished, I rejoin the stem to the stummel and I mount a Blue Diamond dedicated felt wheel and again buff stem and stummel.  When completed, I hand buff the pipe with a cotton cloth to remove the compound dust left over.  The pictures show the progress.red50 red52With the abrasive application of the compounds finished, before I apply carnauba wax to the stummel and stem, I want to dress up Gramps’ stem stamping.  The original appears to have been red so I take red acrylic paint and apply a dab over the Redonian ‘R’ and circle and let it dry thoroughly – overnight.  When dry, I gently rub/scrape off the excess with the flat side of a toothpick which protects the paint in the indentations.  After this, I rub it well with a cotton pad to clean the remainder of the excess – gently leaving a rebranded stem – very nice, a refreshed stem stamping.  The pictures show the results.red53 red54With the Redonian stem stamp completed, I reunite stem and stummel and mount the cotton cloth Dremel wheel and apply several coats of carnauba wax to the pipe. I increase the speed of the Dremel to 2.  I follow the carnauba wax with a vigorous hand-buff using a micromesh cloth to dissipate wax that was not spread evenly and to deepen the gloss of the shine.
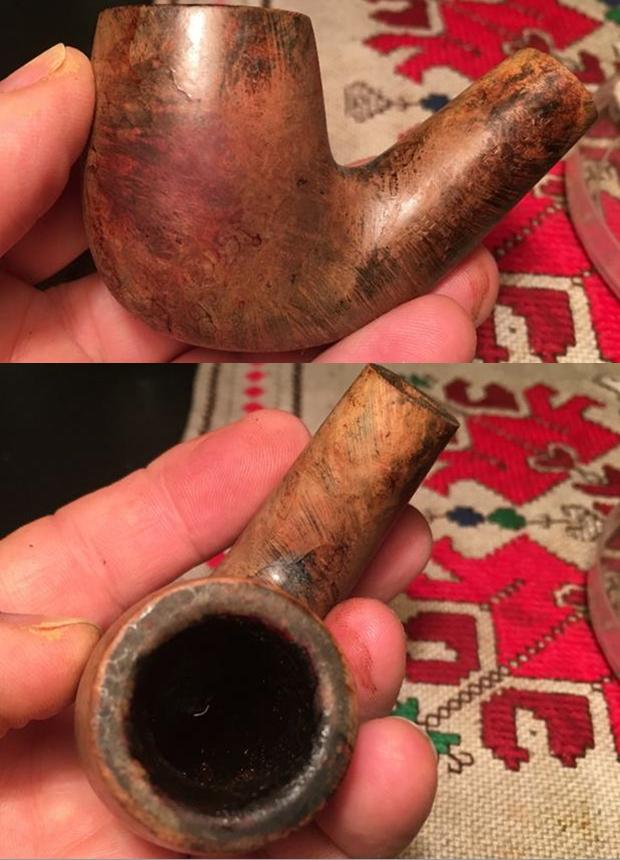
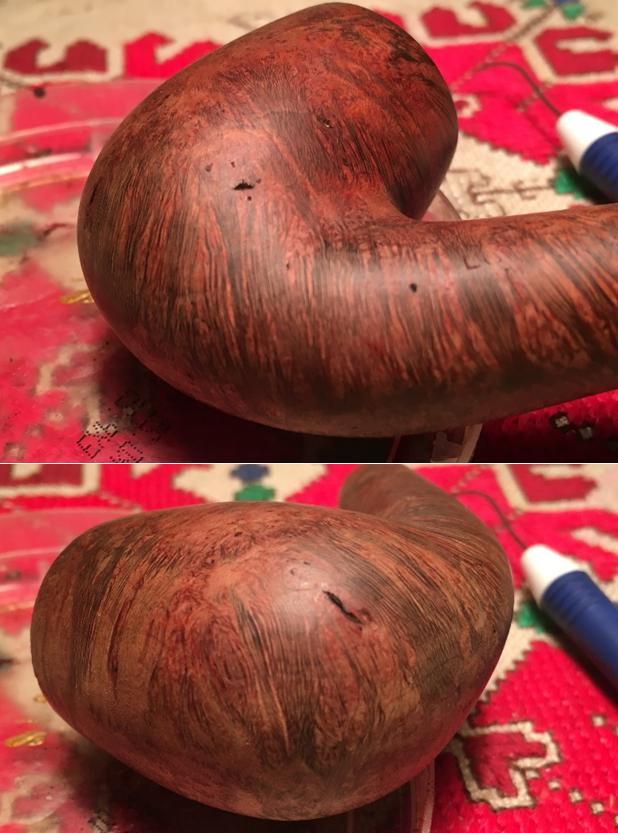
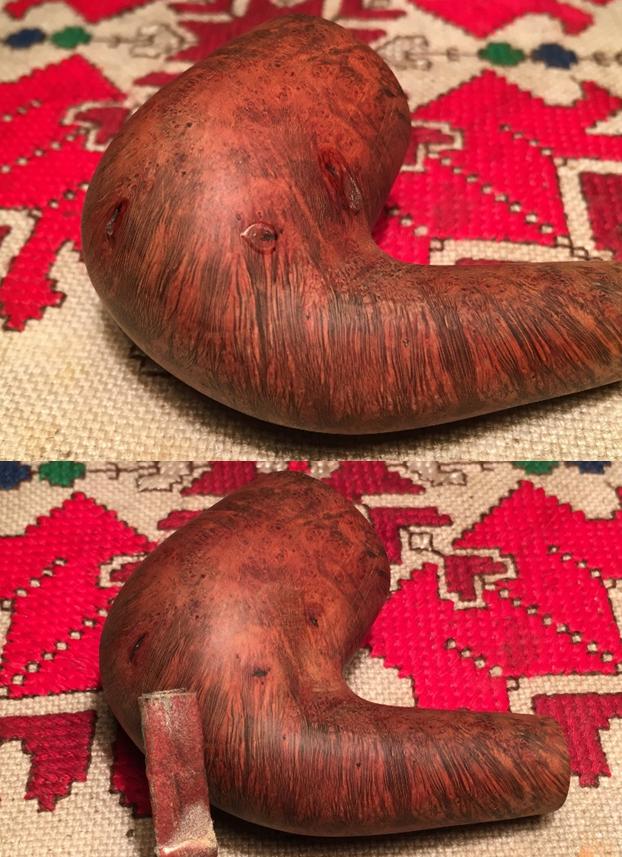
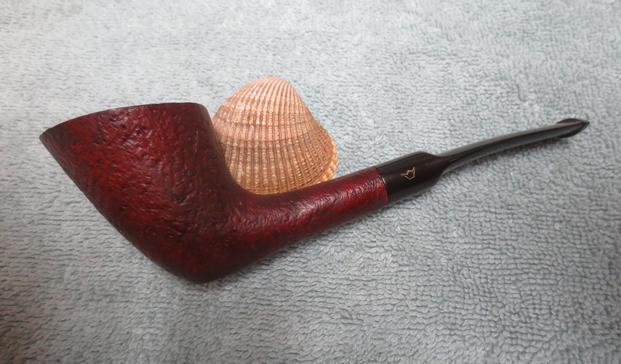
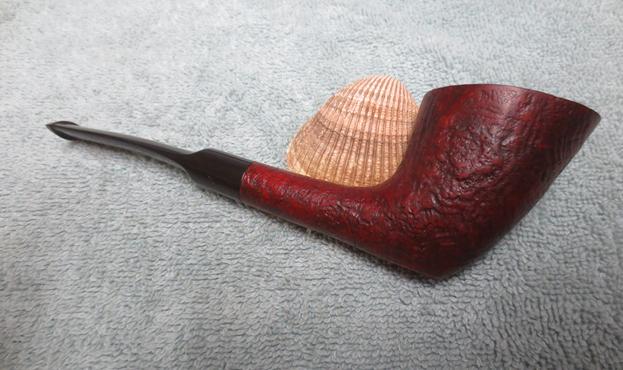
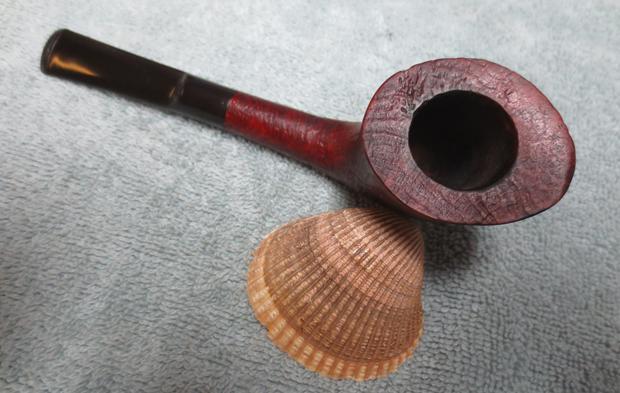
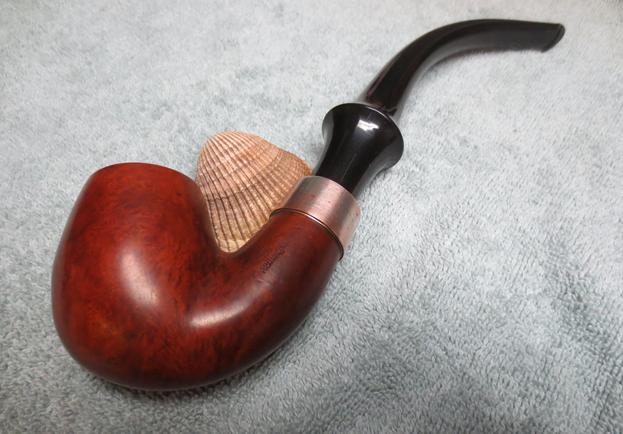
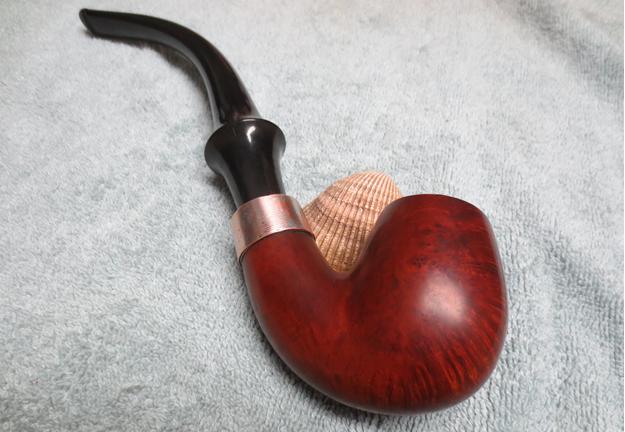
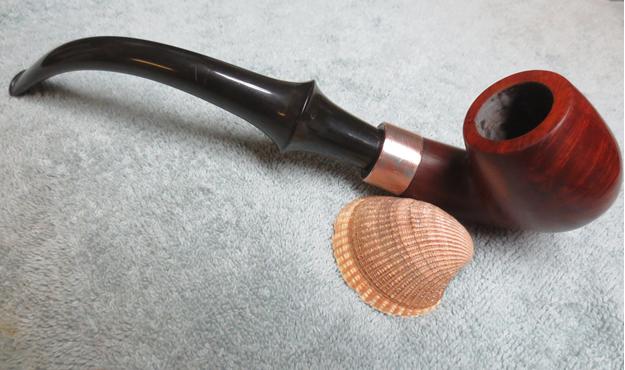
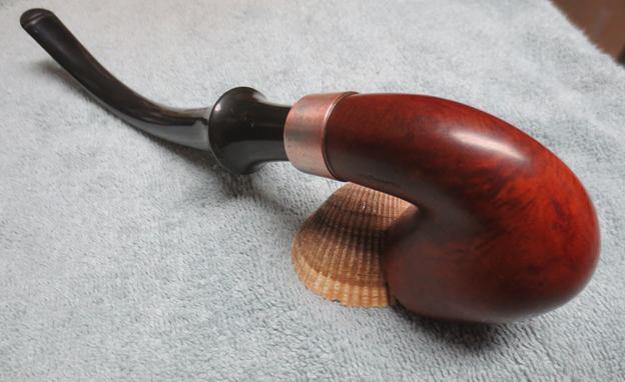
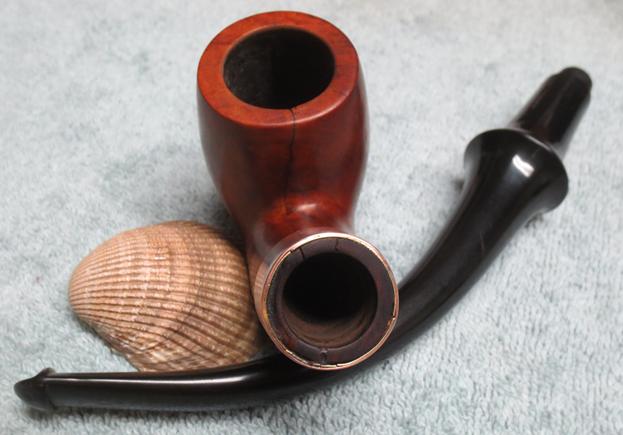
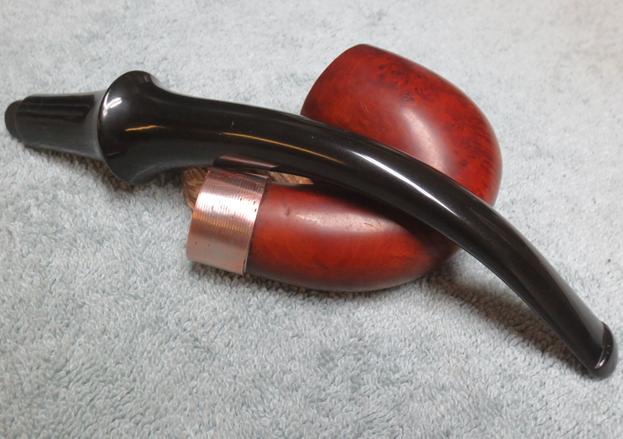
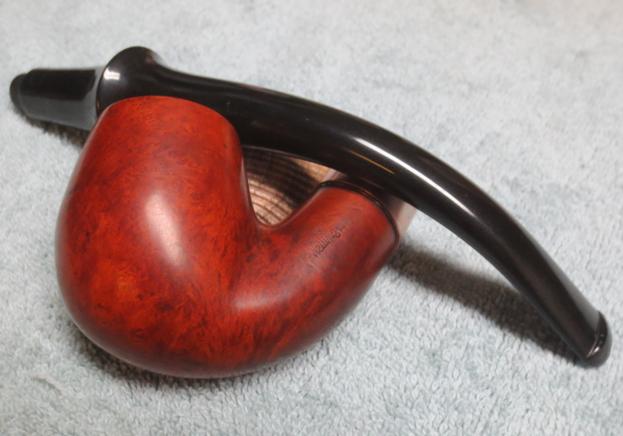
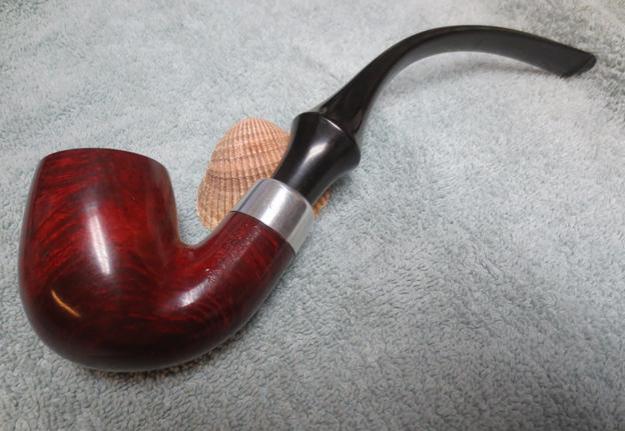
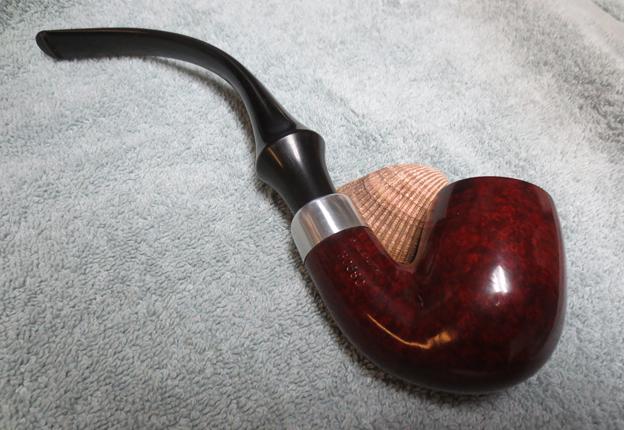
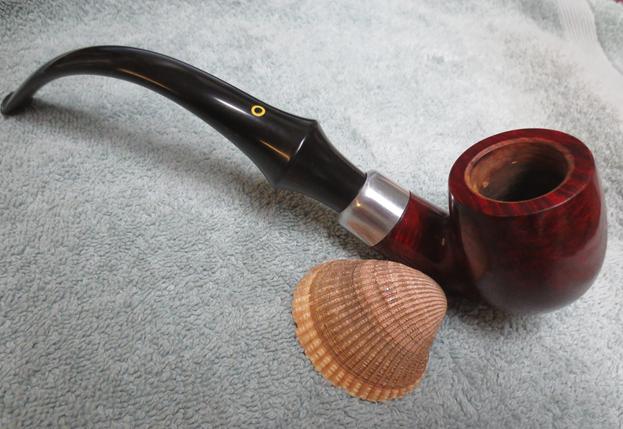
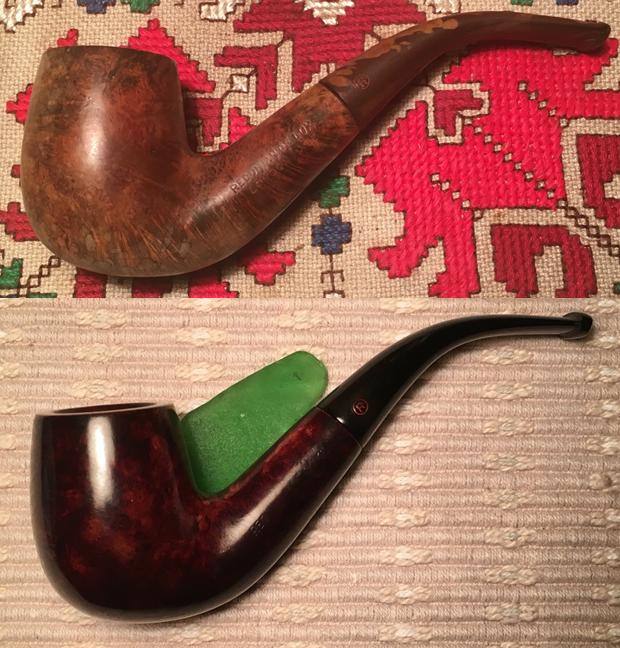
When I think about the 98-year-old steward from whose estate this Redonian Deluxe London Made came, I cannot believe he would have dreamt his pipe would one day start a new lifetime serving another steward.  I gave this old, worn pipe the nickname, ‘Gramps.’  Bear with me one more time to put a picture of ‘Gramps’ in front of the younger man he has now become.  I’m amazed at the transformation and it is why I love this hobby – the pictures speak for themselves.  I sell my restorations with the profits helping the work we do with the Daughters of Bulgaria – those sexually exploited and trafficked.  This Redonian Deluxe London Made is ready to serve a new steward.  If you’re interested in adopting him and helping the Daughters, check out ‘Gramps’ at The Pipe Steward Store.  Thanks for joining me!red55 red56 red57 red58 red59 red60
Renewing and restemming a La Strada Staccato Bent Pot


Blog by Steve Laug

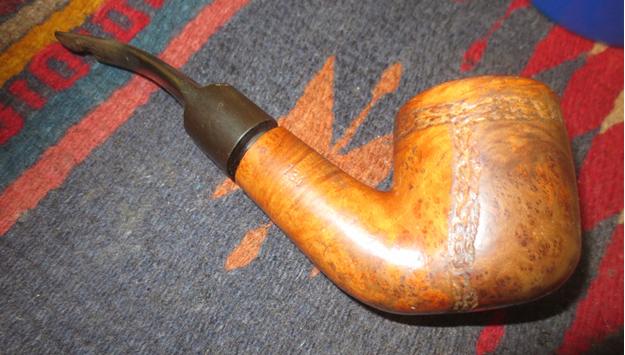
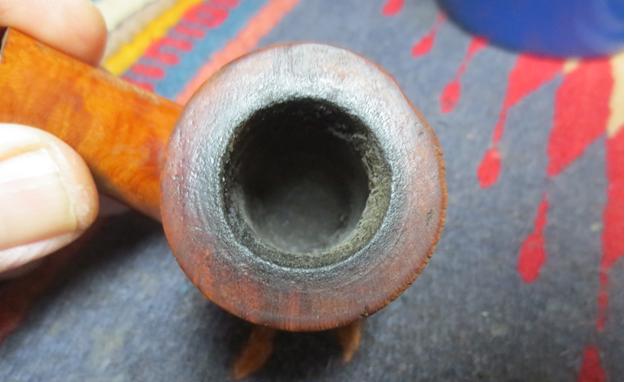
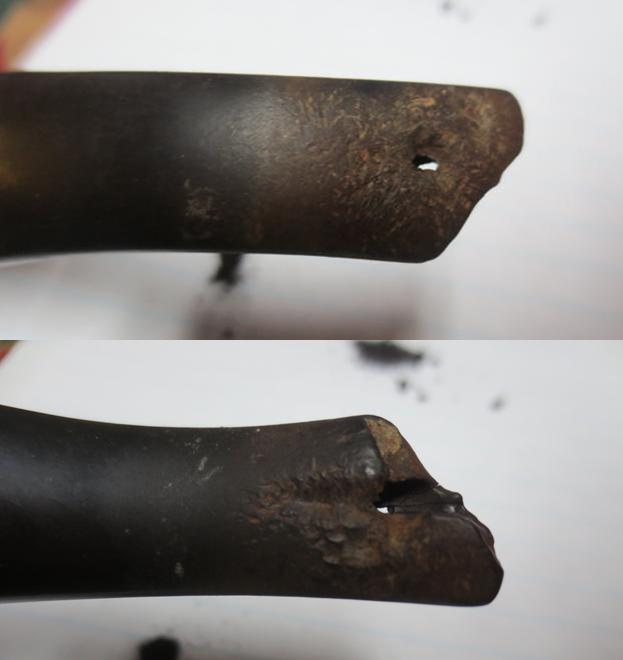
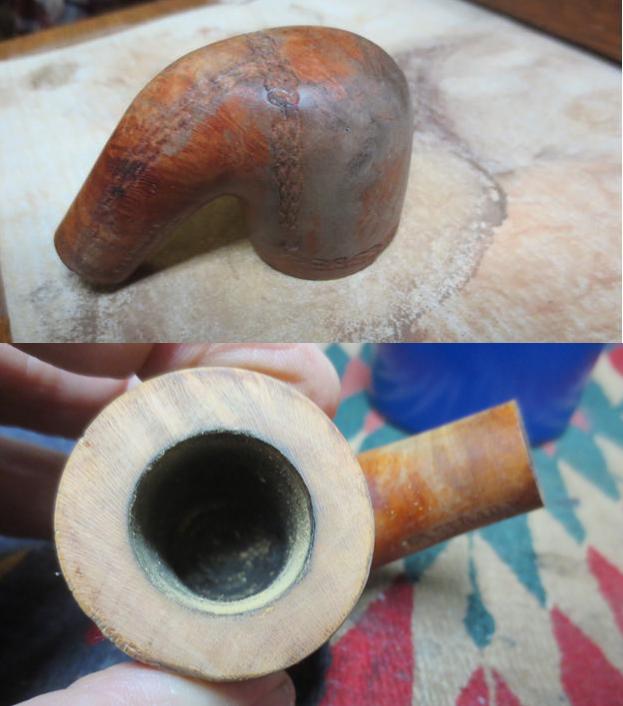
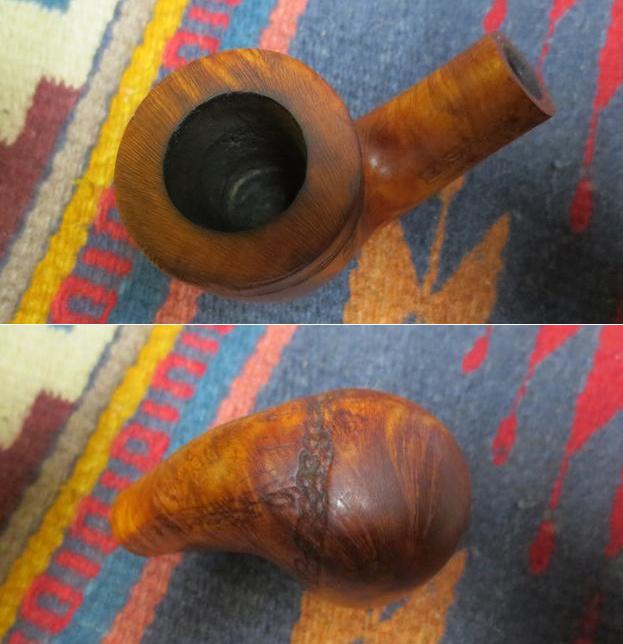
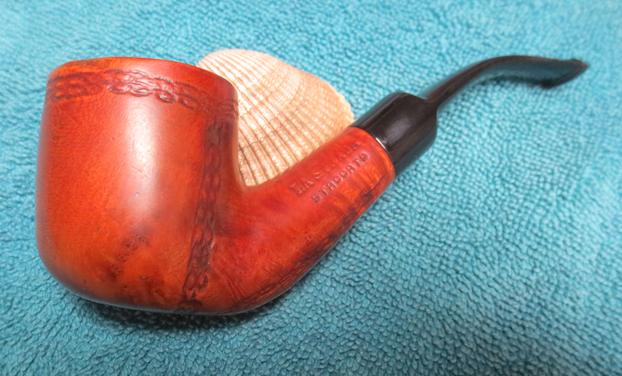
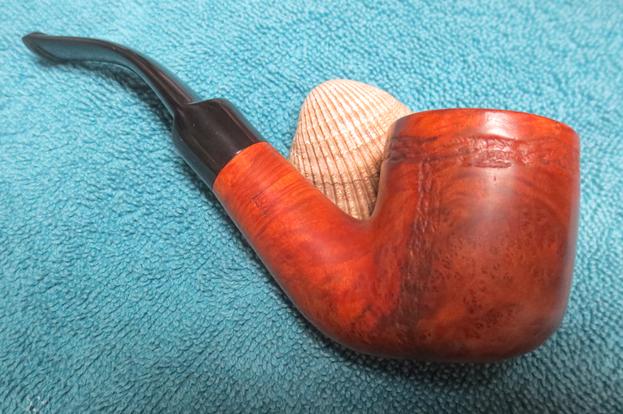
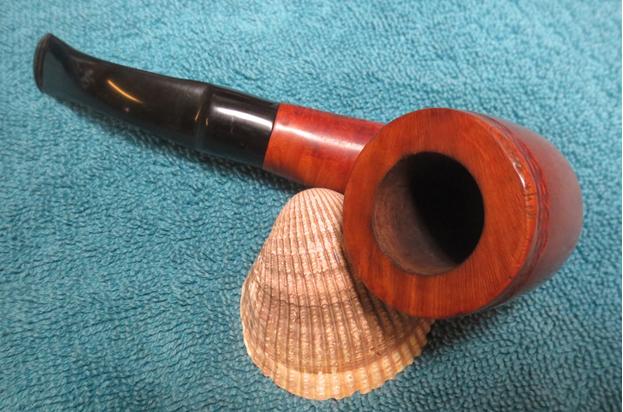
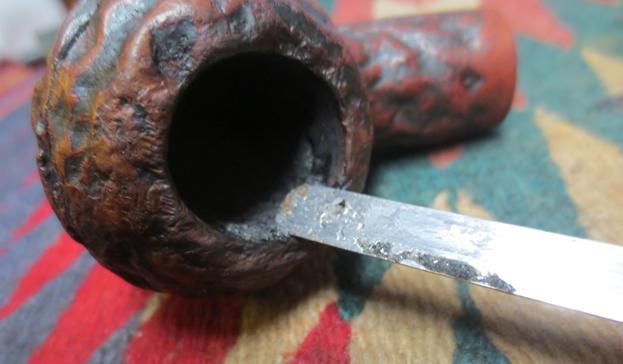
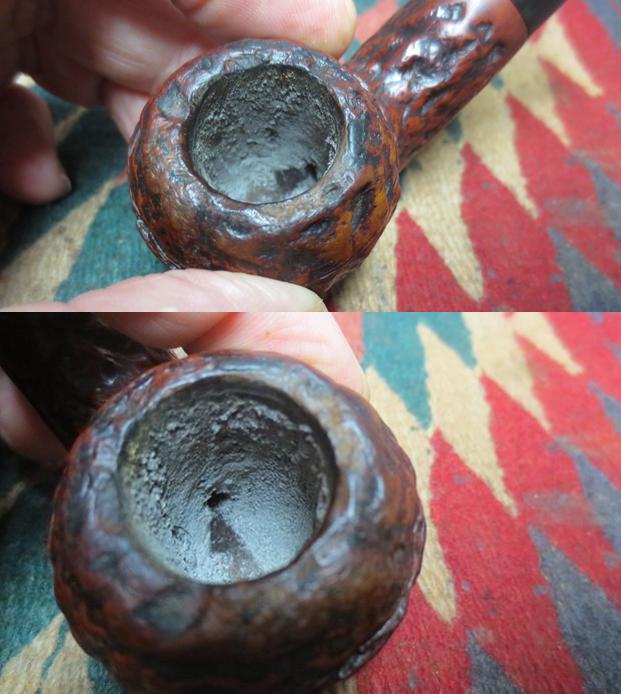
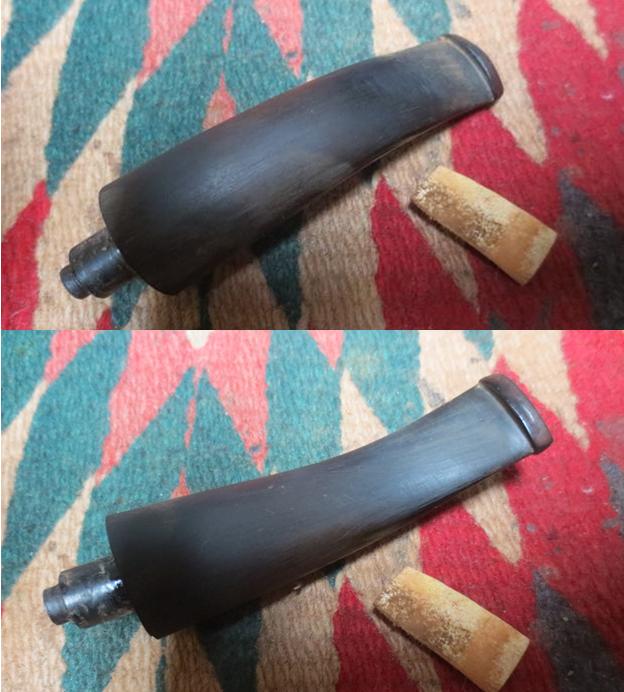
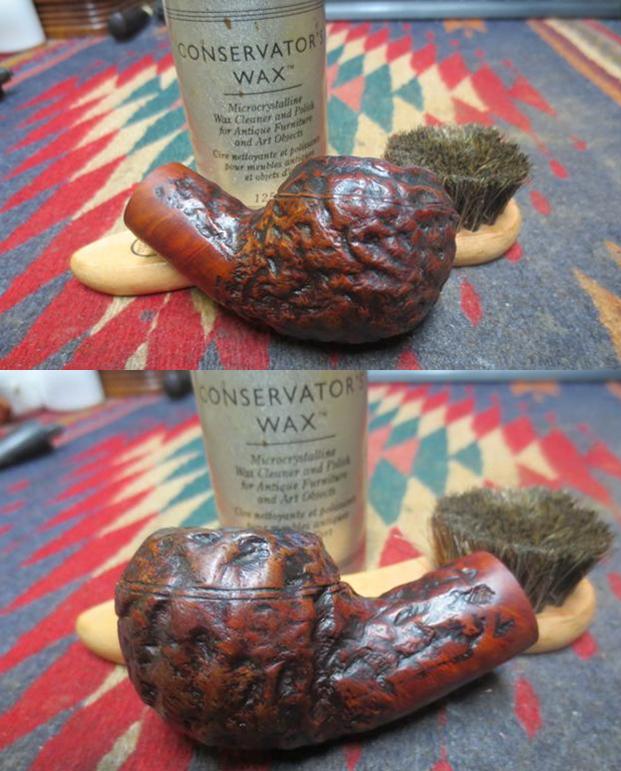
This tired old La Strada came to me for repairs. It was in rough shape. The stem had been gnawed, broken and gnawed again. The finish was shot and covered in oils and grease to the point that it was hard to see the rope rustication around the bowl. The bowl had a thick crumbling cake and smelled heavily or aromatics. The lava from the bowl had flowed over the top of the rim and darkened the finish there. The outer edge of the rim was heavily damaged on the front left side and looked as if the bowl had been dropped. There were dents on the underside of the bowl as well from a similar event. The shank was so dirty that the stem would not fit into the mortise. I was able to get it in but the fit was not tight against the shank. The shank is slightly off round so the stem was slightly different.la1 la2The next photo is out of focus but the road rash on the bowl bottom is visible.la3I took a series of close up photos of the bowl and rim and the stem to show the condition of the pipe when I started. In the first photo you can see the thick crumbly cake and the damage to the rim surface and edges. It was hard to tell if the inner edge of the bowl was damaged and only after reaming would I be able to know for certain. The stem was a write off as the damage was too extensive to repair. The fit against the shank also warranted a new stem.la4 la5I reamed the bowl with a PipNet reamer and went through the various cutting heads. I cleaned up the remaining cake in the bowl bottom with the Savinelli Pipe Knife. I took the cake completely out of the bowl and reamed it back to bare briar.la6I wiped down the surface of the bowl with acetone on cotton pads to remove the finish. It came off with a bit of scrubbing but there were places where it did not come off with the acetone. It would take some sanding to remove the totality of the finish.la7 la8The damage to the bowl top and outer edges required that I top the bowl. I gently topped it on the topping board so as not to remove too much and remove the smooth portion above the rope rustication on the top edge.la9I sanded the bowl and rim top with a medium and a fine grit sanding sponge and took the following photos.la10 la11I cleaned out the internals of the shank and the replacement stem that I fit to the shank with alcohol, pipe cleaners and cotton swabs. It took a lot of scrubbing to get the mortise and the airway clean in the shank. The stem was in decent shape so it did not take too much work on it.la12I took some photos of the pipe at this point to get a feel for the look with the new stem in place.la13 la14I wrapped some sandpaper around a dowel and sanded the walls and bottom of the bowl. There was a ring at the bowl bottom that was grooved and needed to be smoothed out. It did not take a lot of sanding before the inside walls were smooth.la15I restained the bowl with a dark brown aniline stain mixed 50/50 with isopropyl alcohol to approximate the original colour of the pipe and to highlight the grain on the pipe. I flamed the stain and repeated the process until the coverage was even around the bowl and rim.la16I buffed the bowl with White Diamond on the buffing wheel to even out the new finish and give it a bit of a shine. I took photos of the bowl at this point to give a clear picture of the new look.la17 la18Now all that remained was to finish the fit and polishing of the stem. I sanded it with 220 grit sandpaper until it fit the shank well. It took some adjusting of the diameter of the stem to match the slightly out of round shank. In the end it fit well. I polished the stem with micromesh sanding pads – wet sanding it with 1500-2400 grit pads and dry sanding with 3200-12000 grit pads to give it a deep shine.la19 la20 la21I buffed the bowl and stem with Blue Diamond on the buffing wheel to polish the minute scratches on the vulcanite and on the briar. I buffed them both until the stem and briar glowed. I gave the bowl and stem multiple coats of carnauba wax. I buffed the bowl and stem with a clean buffing pad to raise the shine. I hand buffed it with a microfibre cloth to deepen the shine. The finished pipe is shown in the photos below. It is ready to go back to the pipe man who sent it to me for restemming and refurbishing. I think he will enjoy it and it will deliver a life time of good smokes to him. la22 la23 la24 la25 la26 la27 la28 la29 la30

Pinehurst Bakelite Zeppelin


Blog by Steve Laug

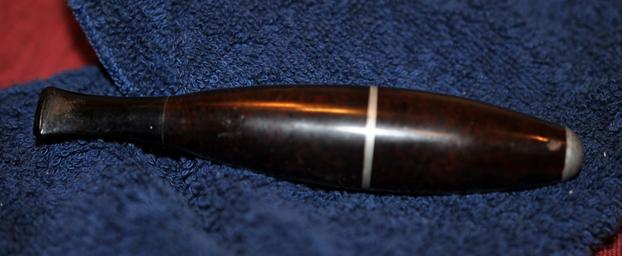
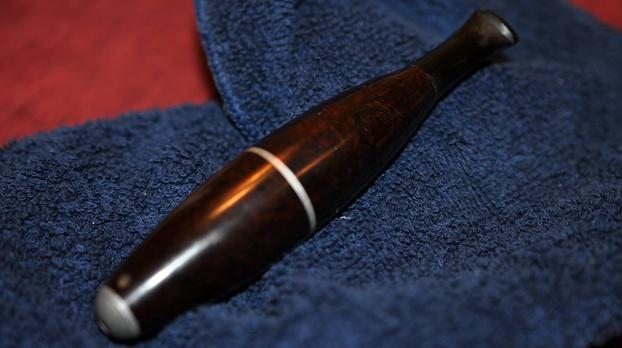
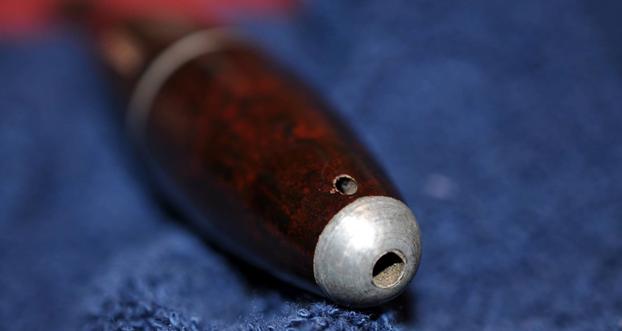
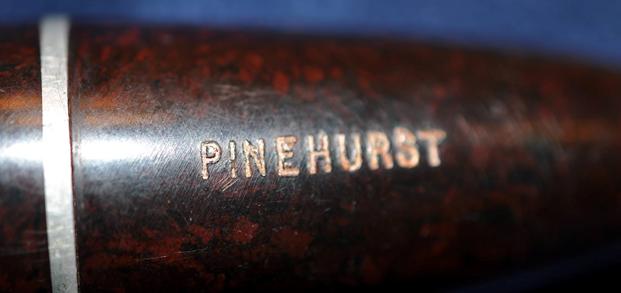
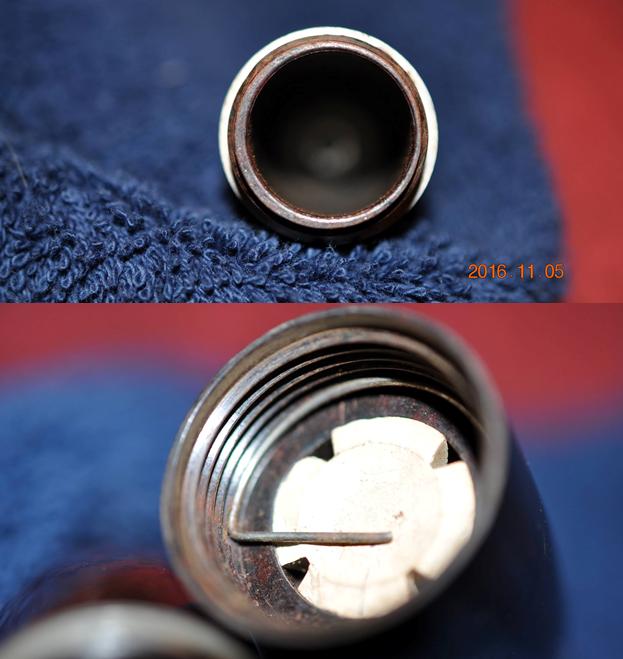
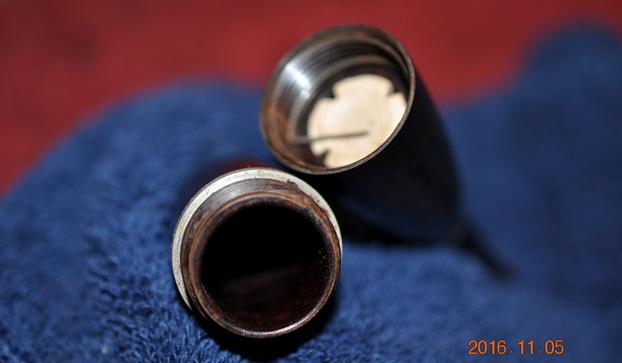
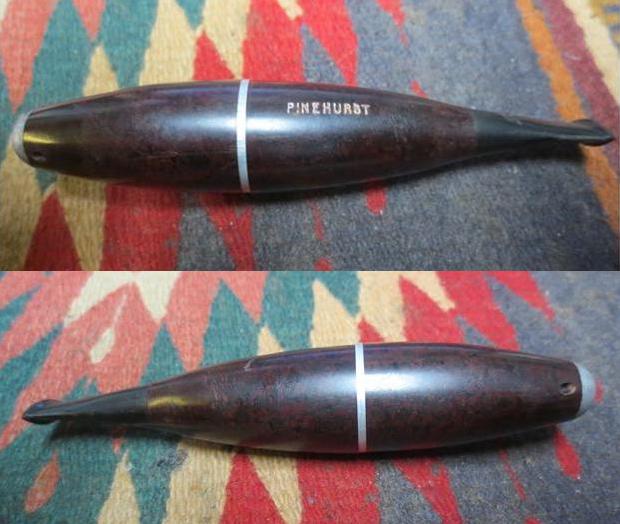
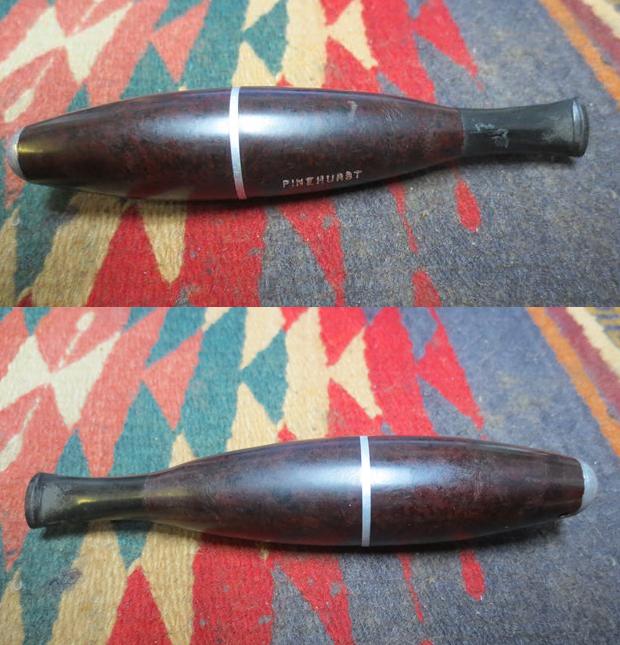
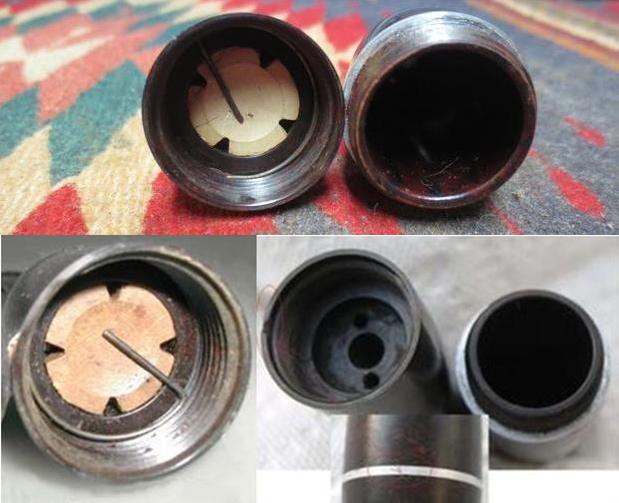
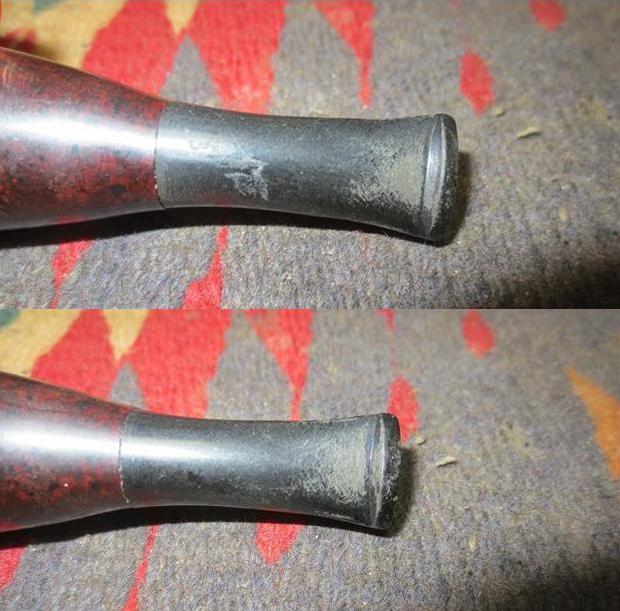
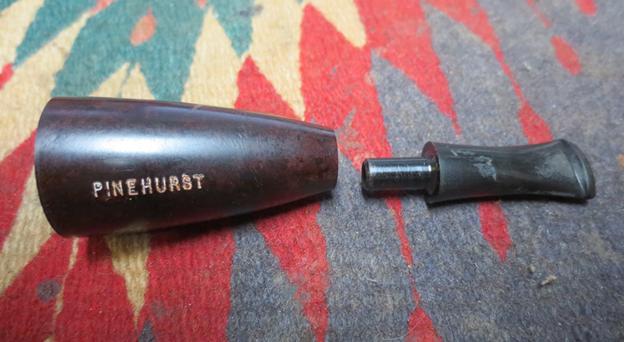
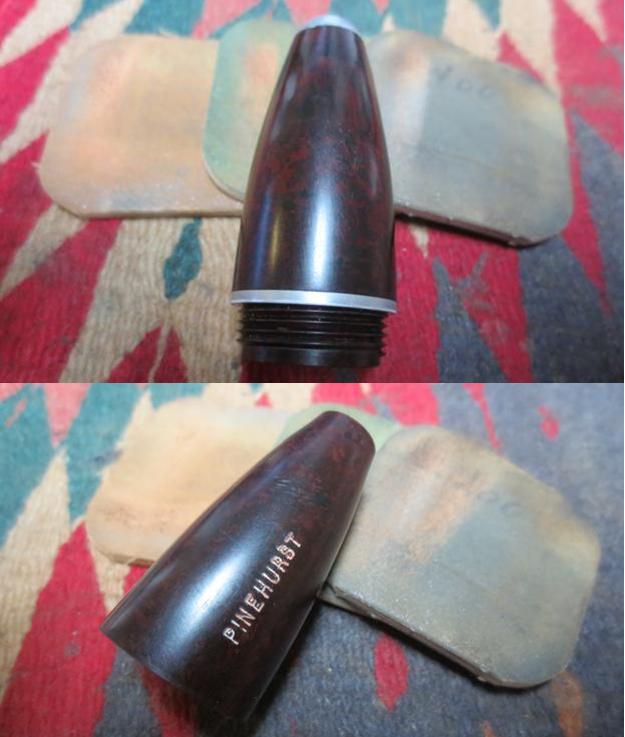
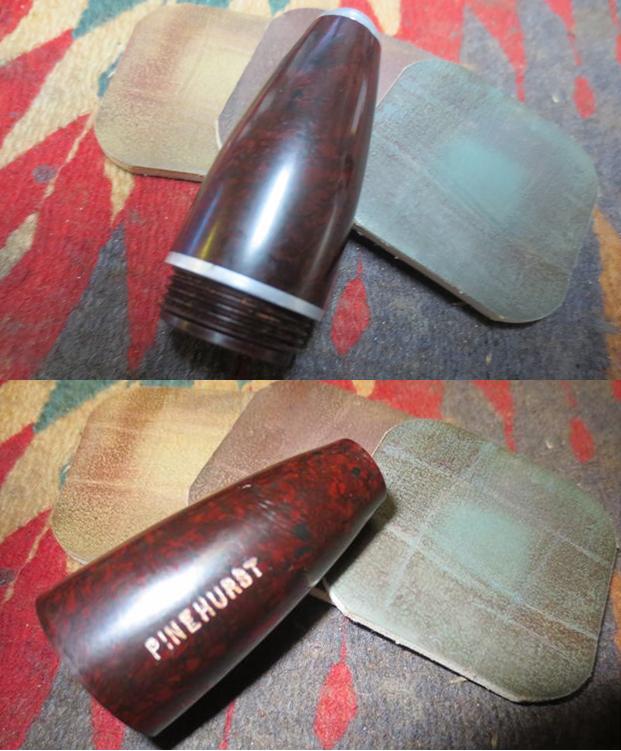
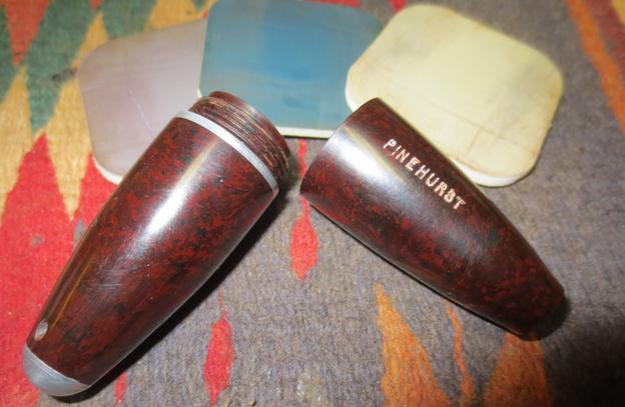
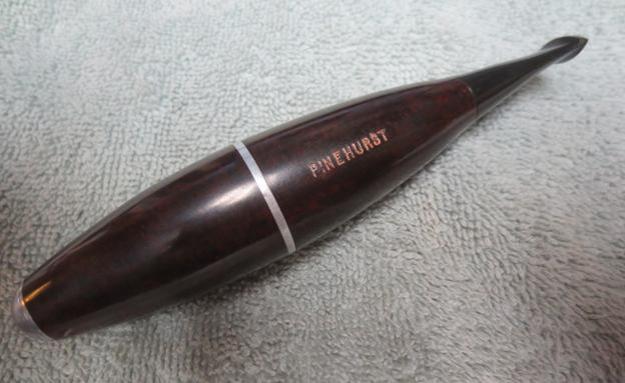
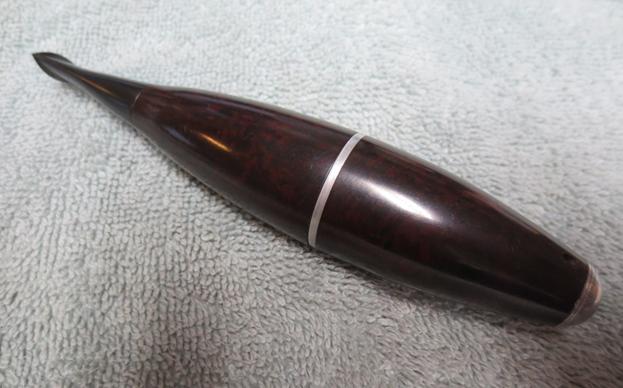
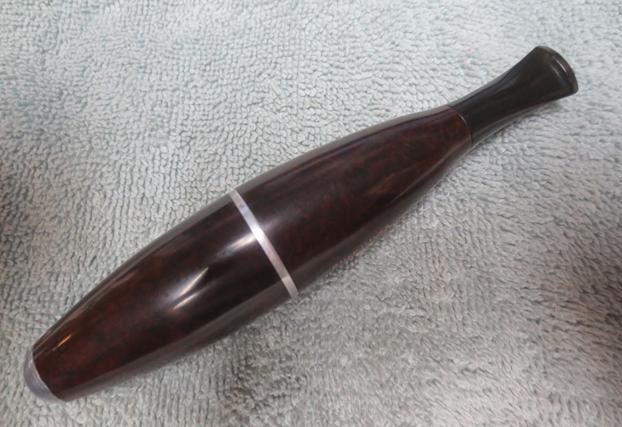
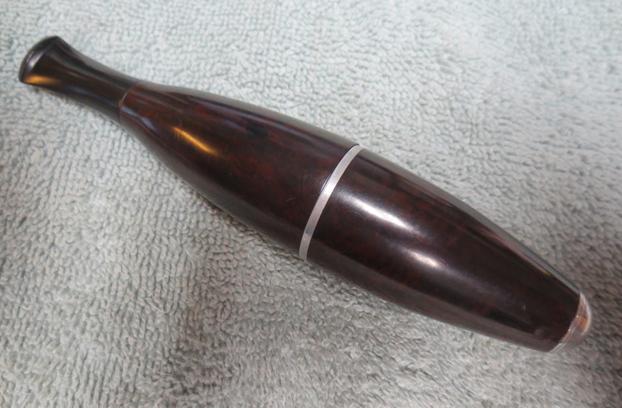
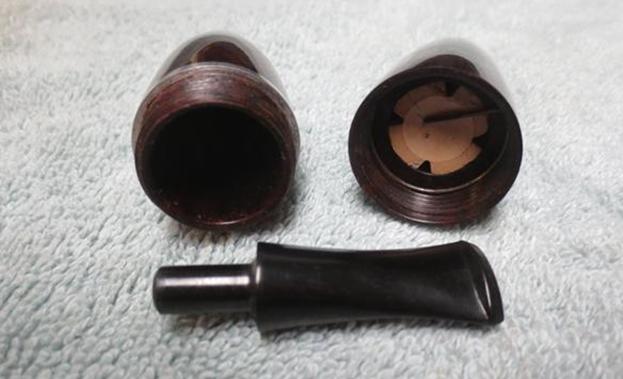
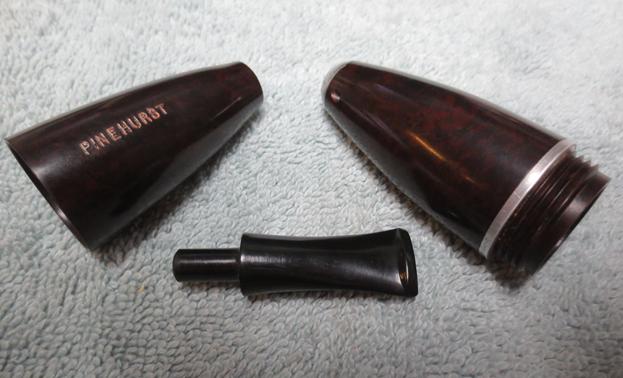
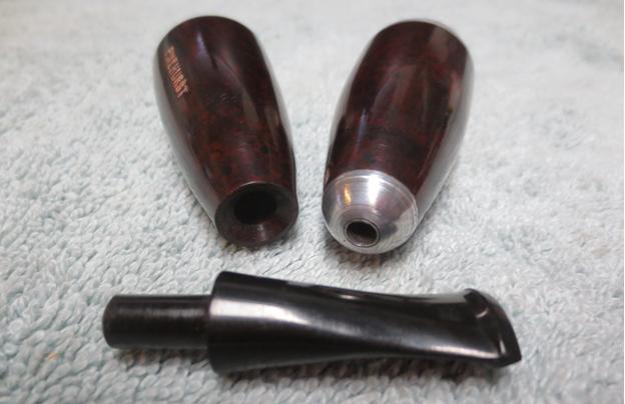
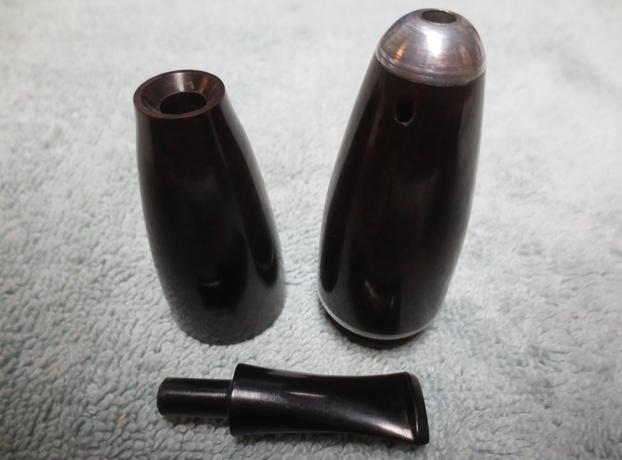
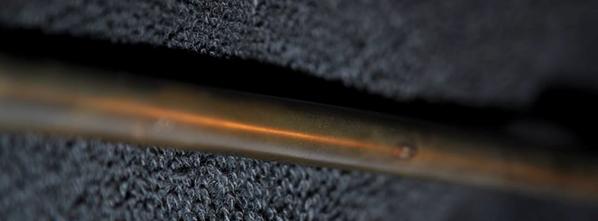
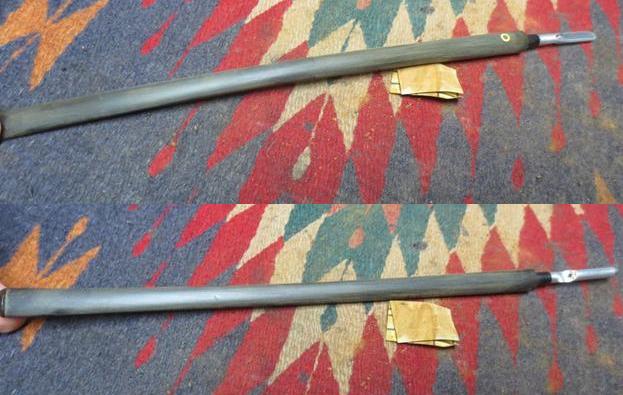
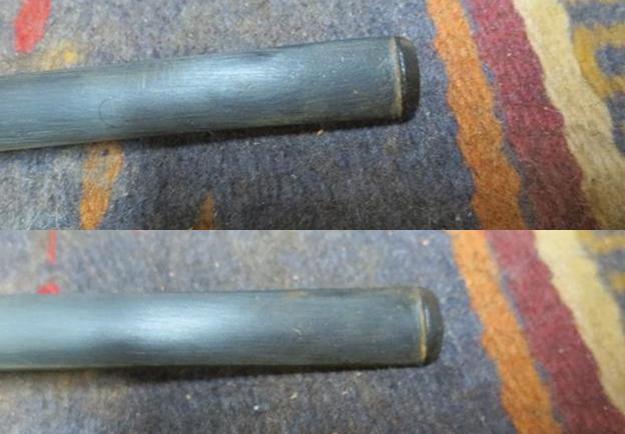
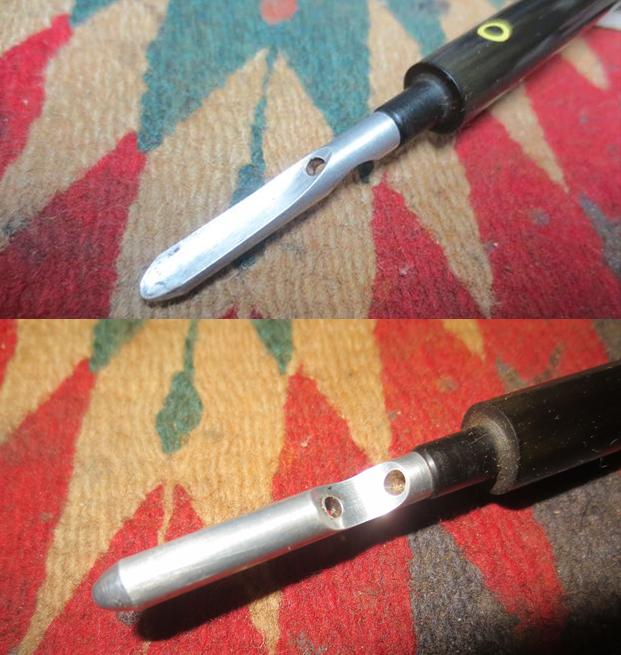
pine1aOne of the most unusual and unique pipes that my brother sent in this box of pipes was a pipe that was stamped PINEHURST in gold on the left side of the barrel. What made it unusual is not the fact that it was a Zeppelin or cigar type pipe but that it is made out of Bakelite. When I took it apart there is a diamond shape with a capital P stamped on the inside. The stem is vulcanite with a long tenon that fits into a mortise that is beveled inward. There is an aluminum nose cone with a single hole in the middle and in the Bakelite just below the cone are two parallel holes – one on each side. The Bakelite body of the pipe was scratched and the finish was dull. There were tooth marks on the top and bottom side of the stem and there some dried glue on the top of the stem near what would have been the shank. From what I can find out on the internet the pipe was made in the late 1920’s or early 1930’s. My brother took the following photos of the pipe before he cleaned it. The first two give a clear picture of the pipe as a whole.pinea1 pinebThe next two show the oxidized aluminum nosecone and the stamping on the left shank side of the pipe.pinec pinedThe next three photos show the pipe taken apart. It is dirty but not too bad for a pipe of this age.pinee pinegThe last two photos show what the stem looked like when he received it in Idaho.pinehI was unfamiliar with the Pinehurst brand so I did some research to see what I could find out. I looked first to see if there was any information on Pipephil’s website. I have included the link if you wish to read the article he has in full in his section on odd pipes. It is written in French and is worth a read. http://www.pipephil.eu/oddpipes/pipcig/pinehurst.html#markings

I am quoting a translated portion from that page pinpointing the information regarding the name: Pinehurst is the name of a city in Texas (USA). This stamping can take various forms and sometimes it is omitted. One possibility is put forward from looking at the logo that accompanies the stamp of some models. Inside the pipe there is a P in a sort of diamond shape that is characteristic of pipes made by Reiss-Prime Corp. called the “Premier”.

UPDATE: 12/26/21 I received and email from a reader name Susan Tyler about the Pinehurst brand it is definitely linked to the Reiss-Premier Corp. in West New York. She sent me some interesting articles on the make of the brand John D. Burger. She sent me the obituary for Mr. Burger that I have included below. Notice the link between Reiss Brothers Pipes of Chicago and the Premier Briar Pipe Company of West New York. Earliest mention of the Pinehurst Pipe was in 12-15-1921 in The Pinehurst Outlook (Pinehurst NC). See below…. Reiss-Premier donated the pipe to a lot of prize winners in different golf tournaments up until the early 1940’s. Thank you Susan for your help on identifying this maker.

There was not much more information on the web other than lots of discussions on the forums about the brand and almost all linked it to the previous site. However, I did find a listing on etsy for a Pinehurst pipe where the seller included some helpful information on the pipe that was being sold. Here is the link: https://www.etsy.com/ca/listing/243904288/1932-pinehurst-bakelite-zeppelin-torpedo. I quote the first two sentences of the description because the pipe in my hand perfectly matches the one that he is selling. Very RARE 1st generation 1932 Pinehurst Bakelite Zeppelin Torpedo – Estate Cigar Pipe. This…unique smoking pipe is in incredible near mint condition. Age Circa: Early 1930’s.

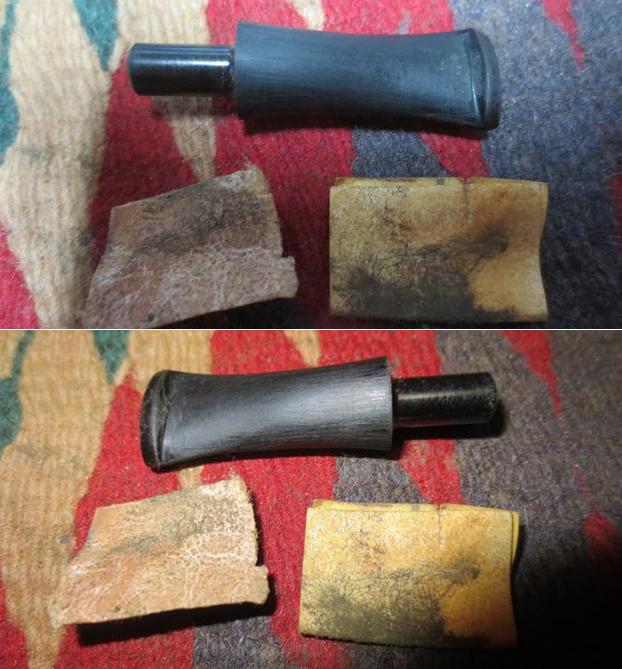
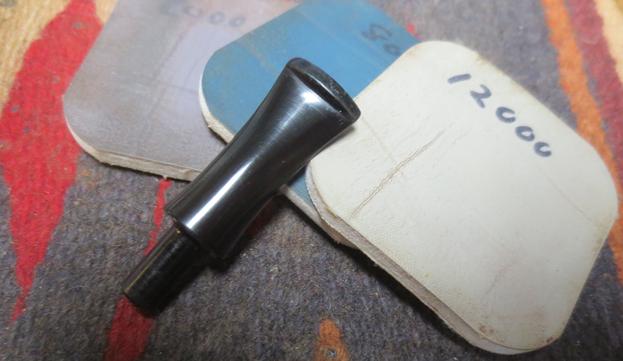
When I received the pipe from my brother he had cleaned the pipe thoroughly. He had cleaned the exterior of the pipe and the stem with Murphy’s Oil Soap and rinsed it under running water. He had cleaned out the inside so that there were no tars or oils remaining. The aluminum nose cone and centre portion of the pipe which had a male aluminum threaded tenon that screwed into the female Bakelite thread portion were lightly oxidized but not damaged. He cleaned out the airway in the stem with pipe cleaners and alcohol. The stem had tooth marks and chatter on both the top and the bottom sides near the button. There was also some dried glue on the top of the stem. When my brother sent it to me I had not bothered to look at it. I did not take the time to look at it. Today when I was talking with him he said it was not briar and that he was a little disappointed. I took the pipe out of the box and looked it over – it was made out of Bakelite. There was no need to be disappointed as it was an old timer. I took the following photos when I brought it to the work table today.pine1 pine2The inside of the two parts of the barrel were very clean. There was no debris of tars and oils inside either half. When I took it apart I found some unique features of the Pinehurst Bakelite Zeppelin. In the stem half of the barrel there was a spring wire holding a clay filter disk in the shank. When I removed the spring wire I was also able to remove the clay disk filter. Behind the clay filter there was a rim that held it above three holes at the base – one on each side of the centre larger hole. The combination of the clay filter system and the gap between the end of the airway and the filter acted as a trap to cool the smoke before it is drawn into the mouth. The smoke was drawn from the front portion of the bowl around the clay filter where the moisture that could cause bite in the smoke dissipated on the disk. From there it was drawn through the four V-shaped openings in the clay disk into small gap between disk and the three air holes in the base where it was further cooled. The twice cooled smoke was then drawn into the mouthpiece and out the slot into the mouth of the smoker. It is almost like the chamber in a reverse calabash pipe of today or the cool smoking gourd calabash of time past.pineaThe outside of the two parts were dirty but the fit was perfect – no damage at the joint and the threads fit perfectly together. The threads on the inside of the Bakelite and those on the aluminum portion were in perfect condition. Once they were cleaned they fit together without any separation.pine3 pine5I took photos of the stem to show the condition it was in once it arrived. There was tooth chatter on the top and underside that can be seen in the next two photos. There was also some wear on the top and underside of the button itself. The mark in the first photo below that looks like a scar on the topside is dried glue – it was hard on the surface and sticky underneath.pine4I twisted the stem out of the shank of the Bakelite and was pleased to see that the there was no damage to the tenon. There was an inner bevel on the end of the Bakelite portion that made the stem and shank to fit snugly together.pine6The Bakelite was in perfect condition. There were no cracks or broken spots. I polished the Bakelite and the aluminum with micromesh sanding pads. I wet sanded it with 1500-2400 grit pads and dry sanded it with 3200-12000 grit pads. I wiped it down with a wet cotton pad to remove the dust from sanding it.pine8 pine9 pine9aI sanded the tooth marks and chatter off both sides of the stem and the glue from the topside of the stem with 180 and 220 grit sandpaper. I cleaned up the top and underside of the button and the lines of the stem sides.pine10I polished the stem with micromesh sanding pads – wet sanding with 1500-2400 grit pads and dry sanding with 3200-12000 grit pads. I rubbed the stem down with Obsidian Oil after each set of three pads and after the final set gave it a last coat of oil. I set it aside to dry.pine11 pine12 pine13I buffed the Pinehurst Zeppelin with Blue Diamond on the buffing wheel to polish more of the scratches out of the Bakelite and to shine the vulcanite. I gave the entire pipe multiple coats of carnauba wax and buffed it with a clean buffing pad to give it a shine. I hand buffed it with a microfiber cloth to deepen the shine. The finished pipe is shown in the photos below. The Bakelite has a rich shine and you can see the varied colours of browns and black in the finished pipe. The aluminum shines with all scratching and oxidation removed. The stem looks new with a rich black polish to it. Overall the pipe is a beauty and from what I can find online it is a bit of a rarity. So I think my brother has no need to feel disappointed in this old timer from the 1930s as it has a rich heritage and if it could talk a long and interesting story to tell of its journeys to this point in 2017. Thanks for looking.pine14 pine15 pine16 pine17 pine18 pine19 pine20 pine21


Love the shape of this Savinelli Classica 904KS Horn


Blog by Steve Laug

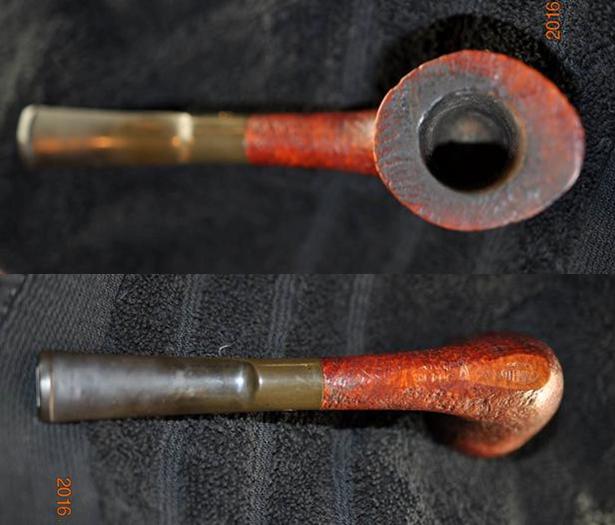
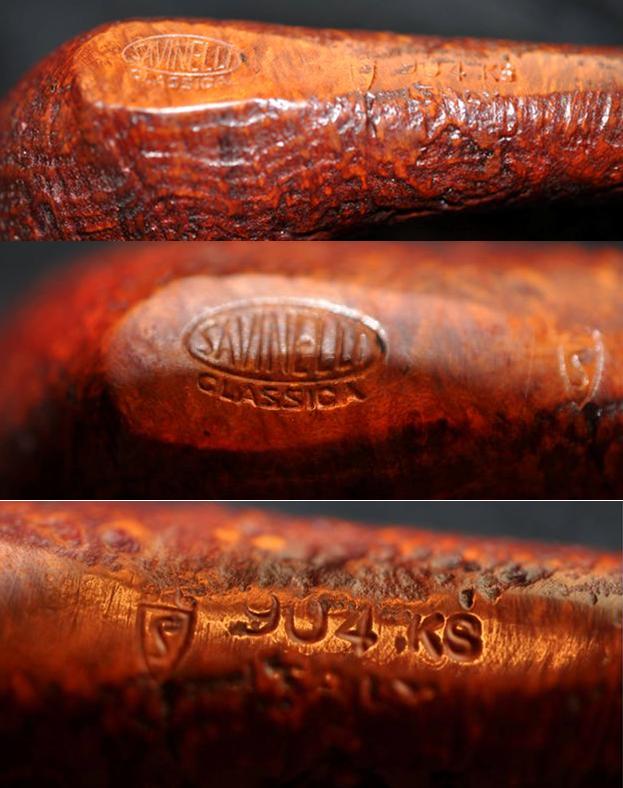
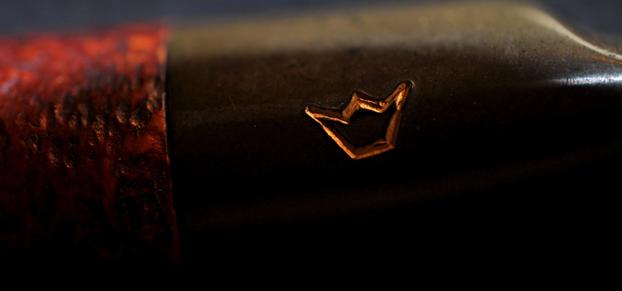
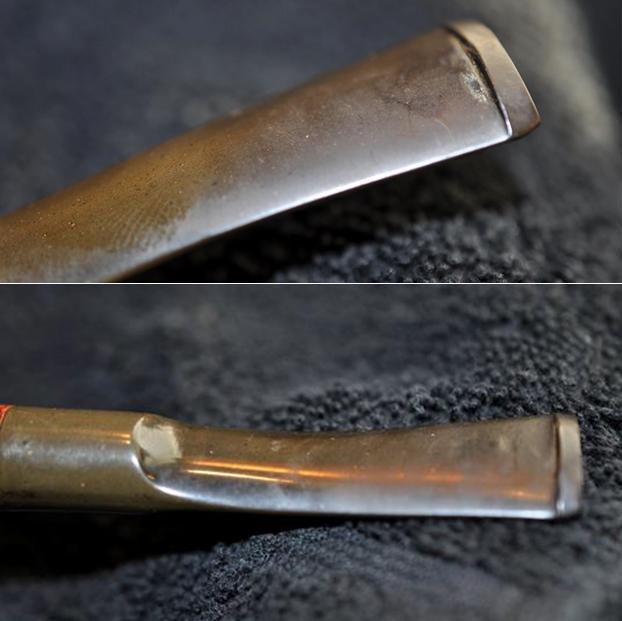
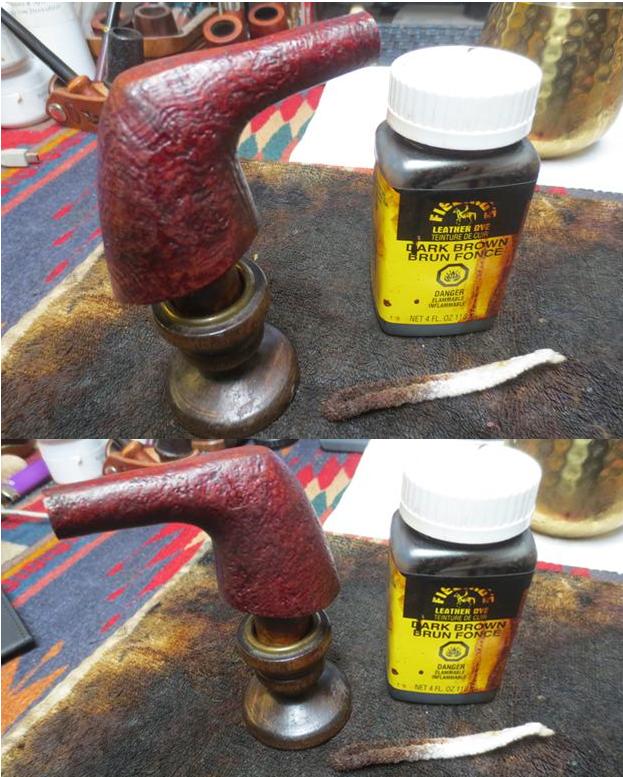
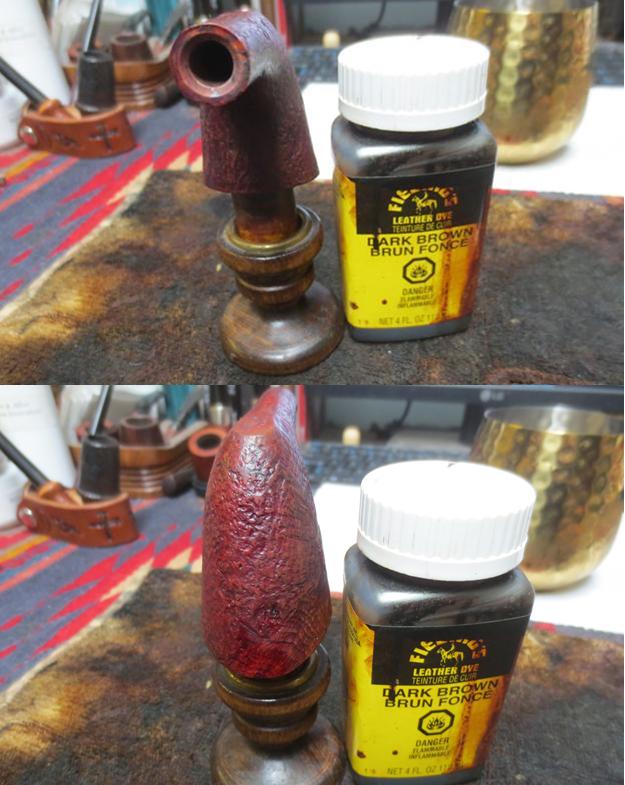
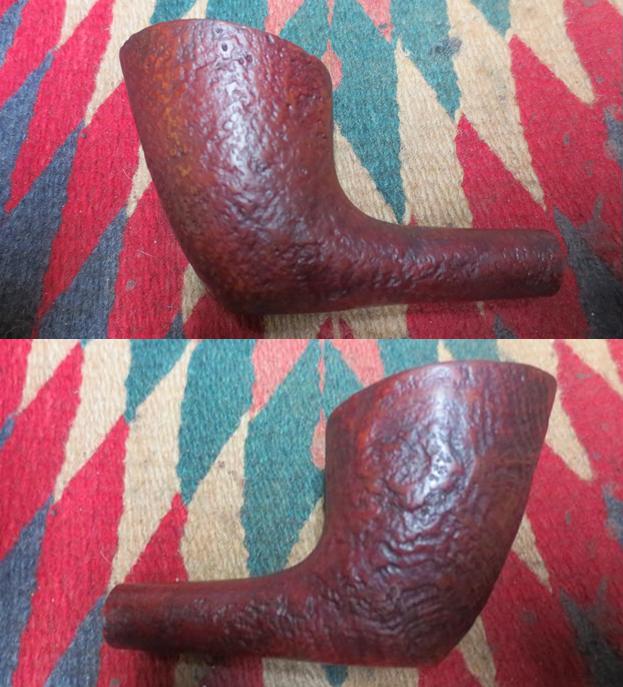
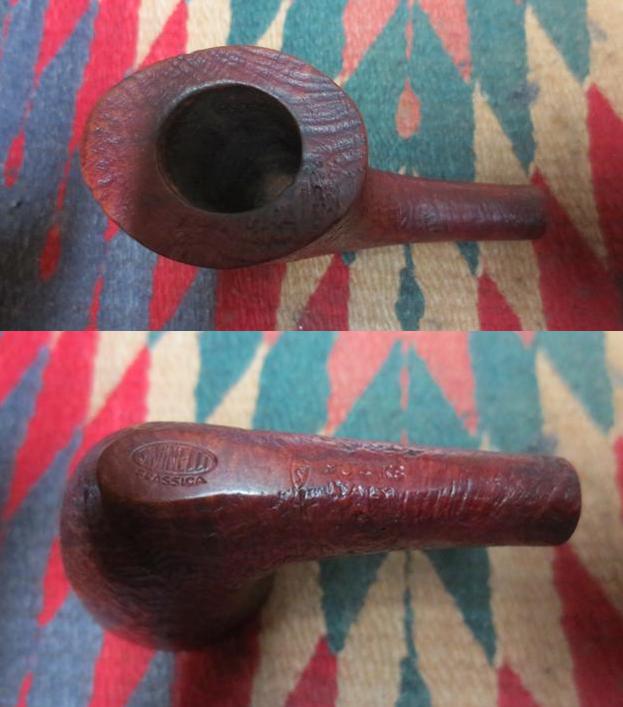
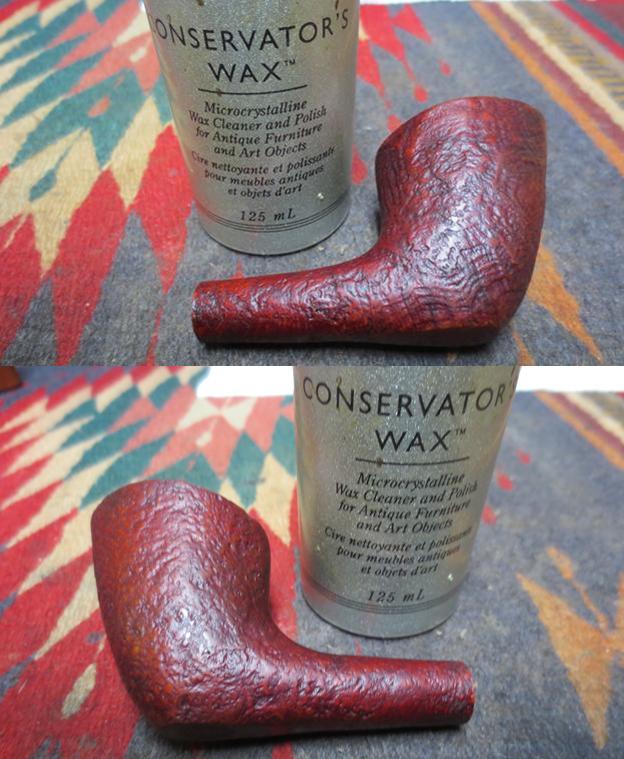
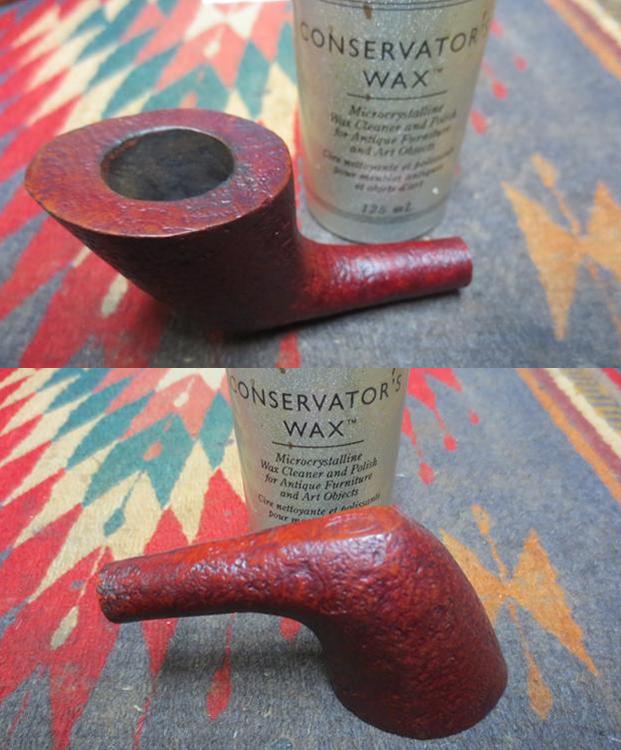
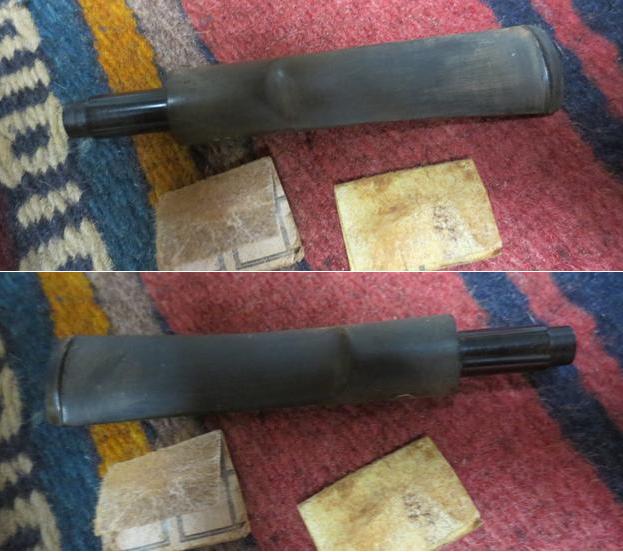
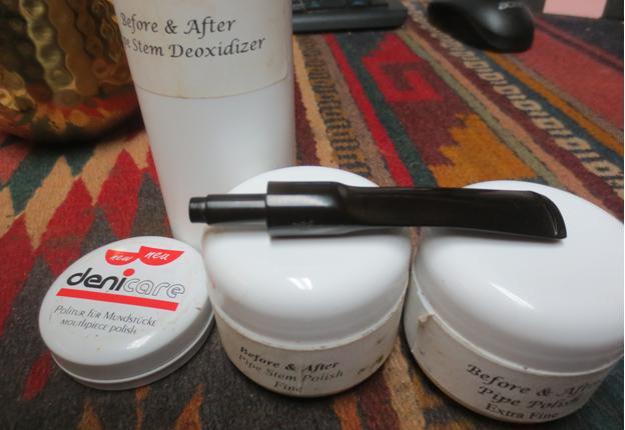
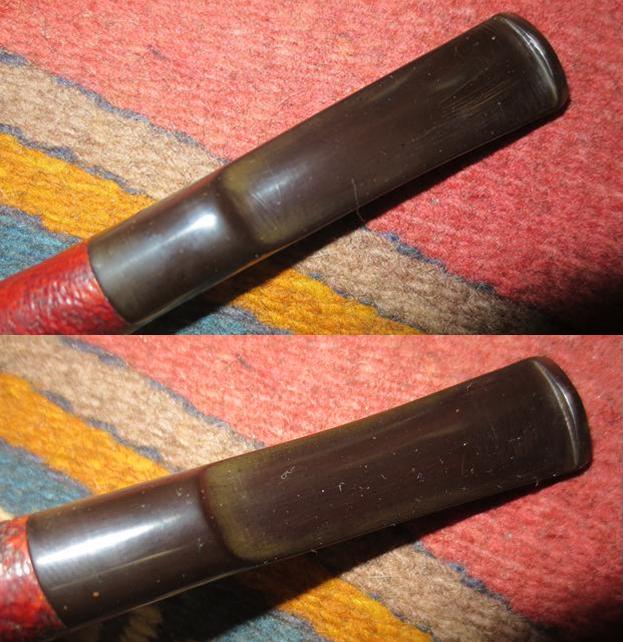
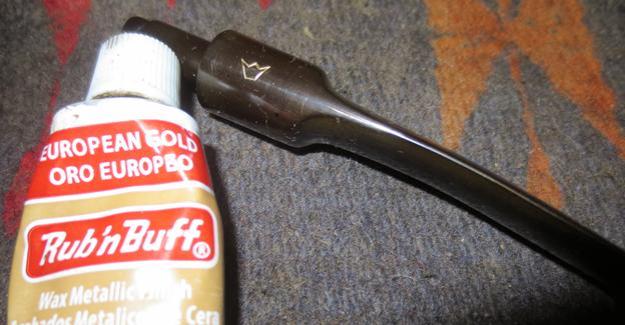
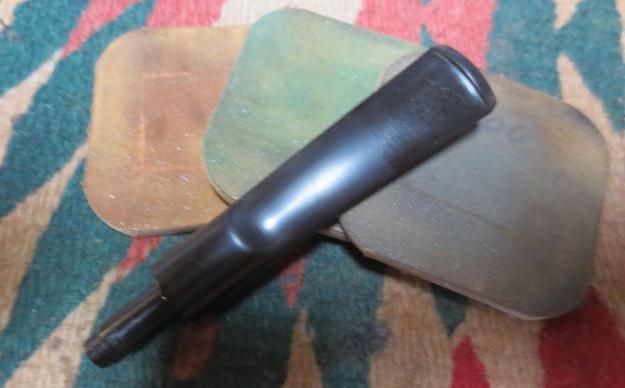
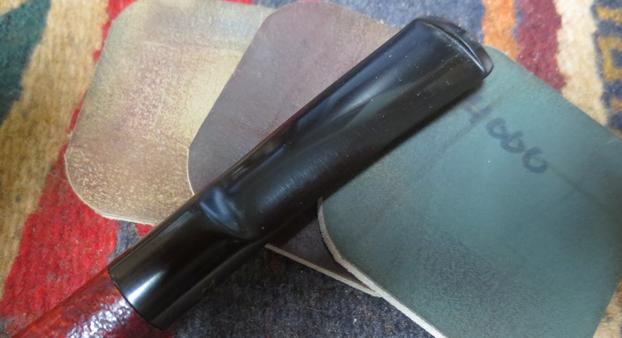
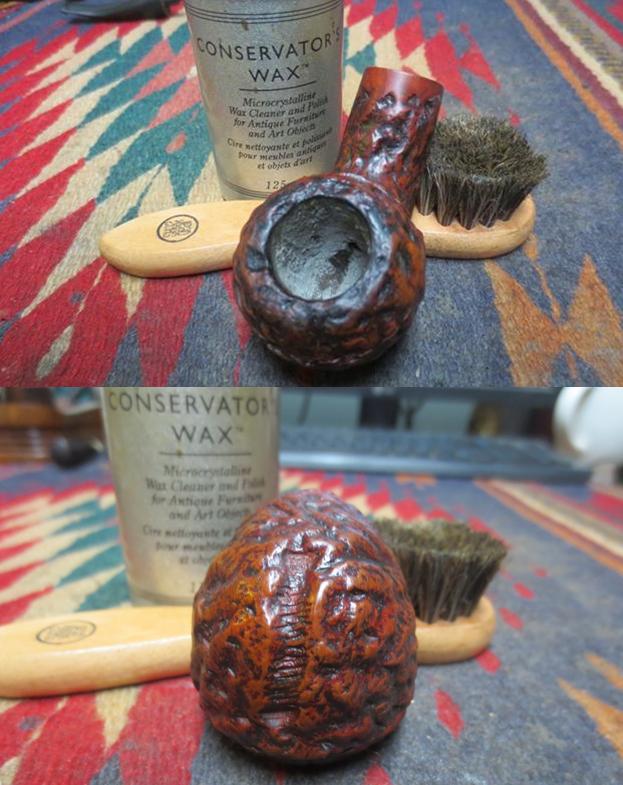
I have been cleaning up and restoring quite a few pipes over the holidays. I have had some free time and needed the space to relax and pipe refurbishing has always done that for me. Tomorrow I go back to the normal work week and then do some more traveling so my pipe work time will slow down considerably. I am hoping to finish a couple of more pipes this afternoon but we shall see. My brother picked up another interesting pipe for me to work on. The box he sent me before Christmas had a lot of unique and interesting pipes. This one is no exception to the pipes he sent me. I would call the shape of this Savinelli pipe a horn. It is a sandblast version that had a dirty finish and some overflow of cake and darkening on the rim. The pipe is stamped on a smooth part of the underside of the shank. It reads Savinelli in an oval over Classica. Next to that is the Savinelli S in a shield and next to that it is stamped 904KS over Italy. The stem is oxidized and there are tooth marks and chatter on the top and underside near the button. There is a crown logo stamped on the left side of the saddle shank. My brother took photos of the pipe when it arrived in Idaho Falls and before he cleaned it. The first four photos show the overall condition of the pipe.  class1class2He took a close up photo of the bowl and rim. Note the light cake in the bowl and the tars and oils built up on the back side of the rim top. The crevices of the sandblast are filled in but the inner and outer edge of the bowl look to be in good condition.class3The next three close up photos, show the stamping on the underside of the shank. The stamping is clear and readable. The S shield and the Italy stamp are the most hard to read but they are still readable. The fourth photo shows the gold crown on the side of the stem is also very clear.class4 class5The last two photos he sent to me show the tooth marks and chatter on the stem near the button. The oxidation is light but in the curves of the saddle they are darker.class6My brother scrubbed the exterior of the pipe and stem with Murphy’s Oil Soap and rinsed it with running water. He scrubbed the rim top to remove the oils and tars from the grooves and crevices. He reamed the bowl, cleaned out the inside of the shank, mortise and airway in the stem with alcohol, pipe cleaners and cotton swabs. When I received the pipe in Vancouver I took photos of what it looked like. The oxidation came to the surface of the stem and the finish looked washed out.class7 class8I took a close up of the rim top and the bowl. The bowl was very clean and my brother had been able to clean up the crevices in the sandblast. The stain was worn on the sides and top of the rim.class9I took close up photos of the stem. There are some dents in the top edge of the button and along the sharp edge of the button. There were tooth marks on both sides of the stem and some tooth chatter.class10I started the restoration process by working on the bowl. I wiped it down with alcohol and cotton pads to remove and dirt or grime. After it was cleaned off I restained it with brown aniline stain, flamed it and repeated the process until the coverage and colour were even and what I was looking for on this particular blast.class11 class12When the finish was dry I lightly buffed it with a shoe brush. I took photos of the bowl after the staining.class13 class14I hand waxed the bowl with Conservator’s Wax and buffed it harder with a shoe brush. I was able to raise the shine on the bowl and it was beginning to look better and better.class15 class16I sanded out the tooth marks and chatter with 220 grit sandpaper. I sanded the remainder of the stem at the same time to break up the oxidation. I was careful around the crown logo on the stem side. While the gold stamp was light the stamping itself was deep in the vulcanite and would be easy to restore once the stem was clean.class17I decided to scrub the stem with the Before & After Stem Deoxidizer and pipe stem polish starting with gritty DeniCare polish and then using Before & After’s Fine and Extra Fine Stem polish. While it cut through the oxidation on the flat and round portion of the stem it did not work as well in the curves of the saddle. I took photos of the stem after spending about an hour scrubbing the stem with the polishes. You can see the shadows of oxidation that still needed to be dealt with.class18 class19I used Rub’n Buff European Gold to rework the stamping in the crown on the side of the stem.class20I worked over the stem with micromesh sanding pads – wet sanding with 1500-2400 grit pads and dry sanding with 3200-12000 grit pads. I rubbed the stem down with Obsidian Oil after each set of three pads. After the last set of pads I gave it a final coat of oil and set it aside to dry.class21 class22 class23I buffed the stem with Blue Diamond on the buffing wheel and gave the stem several coats of carnauba wax. I gave the bowl another coat of Conservator’s Wax and buffed the bowl and stem with a clean buffing pad to raise the shine. I hand buffed it with a microfiber cloth to deepen the shine. The finished pipe is shown in the photos below. It is a great looking pipe that has a lot of life in it. It should be a good addition to someone’s rack and provide years of good smokes. Thanks for looking.class24 class25 class26 class27 class28 class29 class30 class31 class32

Great Grain – a Triangle Shank Grabow Westbrook Billiard


Blog by Steve Laug

Wikus asked me in a comment on the blog I wrote on the KBB Yello-Bole Churchwarden why I don’t give the pipe a coat of either varnish or shellac after I have refinished them. I wrote a response in which I said I don’t like that finish and want the pipe to be able to breathe. I have found that the varnished bowls get hot when smoked so that is another reason. But probably the biggest reason is that I really like a more matte finish instead of the high gloss that some like. I have to be honest – to me the matte finish that lets the grain pop and hides nothing behind the shine really is my preference. It does not mean I don’t like a shine but rather that I like the shine of a good wax and buff over the other options.

The pipe I worked on next is a prime example of what lies beneath the varnish coat. This one is a unique (at least to me as I have not seen one before) triangular shank billiard made by Dr. Grabow. It is stamped on the left side of the shank WESTBROOK over Dr. Grabow (the bottom edge of the lower stamp is faint as it is very close to the ridge on the angle of the side). It is stamped on the right side Imported Briar (faint stamp) over Adjustomatic in script. Underneath both lines it reads PAT.2461905. My brother picked this one up because the grain and shape caught his attention. He took the following photos before he cleaned it up.grab1 grab1aFrom the above photos you can get a general idea of the shape and condition of the pipe. It is sound and has no cracks or burns on the surface. The finish is pretty well shot – the varnish is crackled and checked looking on the sides of the bowl and shank. The overall look is cloudy and muddied by the varnish going. There is a pretty thick cake in the bowl and it overflows onto the rim top. The bowl however appears to still be in round both on the inner and outer edges as far as can be seen in the slightly out of focus third photo. The stem looks good at this point with light oxidation and some tooth chatter and marks on the topside near the button. The orange Grabow spade logo is in place on the left side of the stem. More will be revealed through his close up photos.

The first photo shows the rim condition up close. My initial observation about the edges need to be modified somewhat. The inner edge looks good but it will be better determined once the thick and uneven cake is removed from the bowl (good news is that this one must have been a good smoker to have developed this kind of cake). The outer edge looks good other than some slight damage to the front right side where there appears to be a chip and some wearing.grab2The next close up photos show the stamping and stem logo. I have recorded the condition and content of the stamping above. I include these for you to see the overall condition of them and the finish on the shank and stem.grab3The last photos he included show the condition of the stem. There is a visible line that covers the separates the first inch of the stem from the rest which looks to me that the stem had a Softee bit on it for most of its life. There is tooth chatter on both sides of the stem and on the top side (second photo below) there are visible tooth marks that need to be dealt with. This is why I think the bit protector came after the initial tooth marks or they would have been far worse. On the underside of the stem there is a small tooth mark that is quite deep. Both sides will need some work to smooth out the damage.grab4I did a US Patent search to see what I could find out about the patent number on the side of the shank. I was able to find out that the patent was filed on Jan. 25, 1946 but was not issues until February 15, 1949. I learned that the inventor of the Adjustomatic system for Grabow was D.P. Lavietes. I know nothing about him but I do know that Dr. Grabow used the mechanism in their pipes. With this information I know that the pipe was made after 1949 because the patent stamp says that the mechanism is patented not patent applied for. I have included the entire patent below for those who may be interested. I enjoy the descriptions, rationale and drawings that the inventor includes in these old patents. They are a pleasure for me to read through them. If you want you can skip over the next four photos and read about the pipe’s restoration.grab5 grab6 grab7 grab8My brother did his usual thorough cleaning of the pipe. He reamed the bowl and cleaned the internals of the shank, mortise and stem with alcohol, cotton swabs and pipe cleaners. He scrubbed the rim and was able to remove all of the tars and oils that had built up there. He cleaned the exterior of the bowl and stem with Murphy’s Oil Soap to remove the grime and build up in those areas. When I received the pipe in Vancouver it was clean. The only thing that he had not been able to do was remove the stinger from the threaded tenon to clean behind it. The next four photos give a clear picture of what the pipe looked like when it arrived.grab9 grab10The close up photo below shows how well the rim and bowl cleaned up. The inner rim was in pretty decent shape other than a little burn on the front edge almost in line with the chip on the outer edge.grab11The stem was in better condition than I expected as in the cleaning process a lot of the chatter seems to have been removed with the calcification.grab12I took photos of the condition of the stinger apparatus because it was looking really good. In the past when I got these they were black and looked awful. They were bad enough that if I did not like stingers before, the general grime and grit would have sealed the deal. This one however was sparkling.grab13I heated the stinger with a Bic lighter and the tars that held in the tenon released it. With the stinger removed I was able to clean out the buildup behind it in the stem. I used pipe cleaners, cotton swabs and alcohol to clean out that area of the stem. I cleaned out any remaining debris in the mortise at the same time.grab14I sanded the tooth marks and the rest of the stem to deal with the oxidation using a folded piece of 220 grit sandpaper. The tooth marks came out of the top side of the stem with no problem. There was still one small almost pin hole tooth mark on the underside that I would need to deal with and repair. I cleaned the surface of the stem with alcohol and filled in the mark with clear super glue. Once it dried I sanded it with 220 grit sandpaper to blend it in with the rest of the stem surface.grab15 grab15aI buffed the stem with Red Tripoli on the buffing wheel and brought it back to the work table to polish it with micromesh sanding pads. I wet sanded it with 1500-2400 grit pads and dry sanded it with 3200-12000 grit pads. After each set of three pads I rubbed it down with Obsidian Oil. After the last pad I gave it a final coat of oil and set it aside to dry.grab15b grab15cAfter polishing with the 1500-2400 grit pads I wiped down the tenon with an alcohol wet cotton pad to remove some of the darkening in the threads. In doing so I got some alcohol on the end of the stem and it brought out a bit more oxidation to the surface. This is one of those frustrations but also a good thing as I was able to then back track and sand the stem again with 1500-4000 grit pads and then buff it with some Blue Diamond on the wheel and I removed the rest of the oxidation. I then went back to polishing the stem with 6000-12000 grit pads to bring the shine to the surface.grab15dWith the stem polishing done I set it aside and turned to the bowl. I examined it and decided that the best way to deal with the crackling varnish coat was to remove it. My choice for removing varnish coats is to scrub the finish with acetone on a cotton pad until it is gone. The first wipes will leave the surface gummy and rough. You have to scrub the surface until it is smooth to touch. The next four photos show the bowl with the crackled finish.grab16 grab17It took four cotton pads and acetone to remove this crackled varnish finish. Underneath the cloudy varnish coat there was some really stunning grain.grab18 grab19Once the finish was gone and I had wiped the pipe with a paper towel with a little bit of olive oil I took photos of the pipe. There was some scratching in the briar that would need to be polished and there were some nicks that would need to be lifted if they did not polish out but the overall appearance of the pipe was stunning.grab20 grab21I worked on the bevel of the inner edge to smooth out and remove the damage on the front side. I used 180 grit and 220 grit sandpaper to bevel the rim a little to accommodate the edge damage. I polished the briar on the rim with 2400 grit micromesh sanding pads to remove the scratching left behind by the beveling. I polished the bowl and rim with 3200-12000 grit micromesh sanding pads to raise a shine in the briar and make the grain stand out.grab22 grab23I put the stem and bowl back together again and buffed the pipe with Blue Diamond on the wheel to further polish it. I gave the bowl and stem multiple coats of carnauba wax to protect it and buffed it with a clean buffing pad to raise the shine. I hand buffed it with a microfibre cloth to deepen the shine. The finished pipe is shown in the photos below. It has come a long way from the worn and tired pipe that came to my brother in Idaho. The depth of the shine, the look of the grain and the flow of the pipe all work together to make this a beautiful Dr. Grabow pipe. It is one of the earliest pipes of the RJ Reynolds era. It was a fun pipe to work on and the results just multiplied as each step I took in the cleaning and polishing process brought more of the beauty of this piece of briar alive. Thanks for looking.grab24 grab25 grab26 grab27 grab28 grab29 grab30 grab31

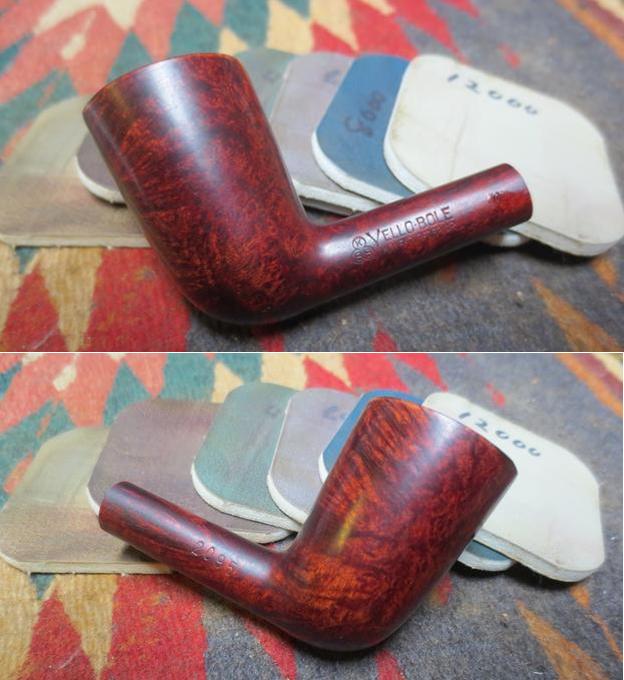
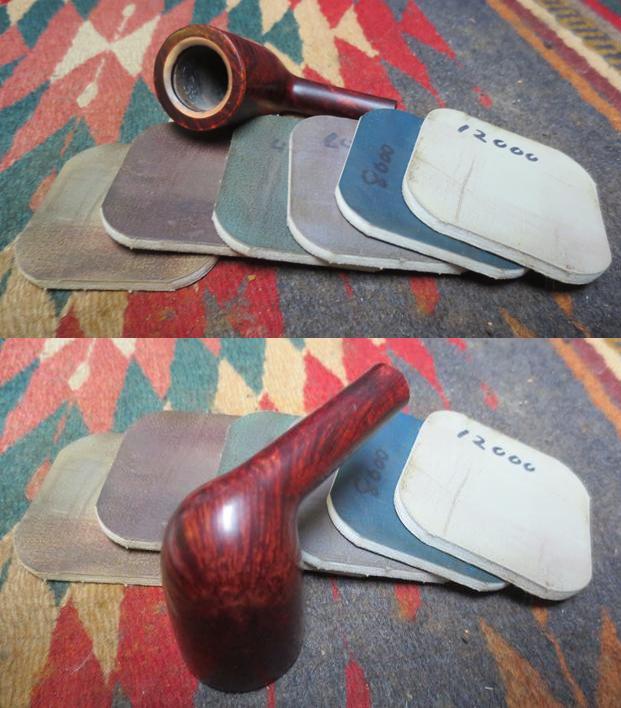
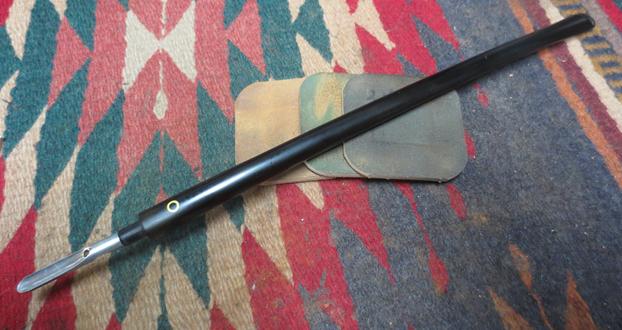
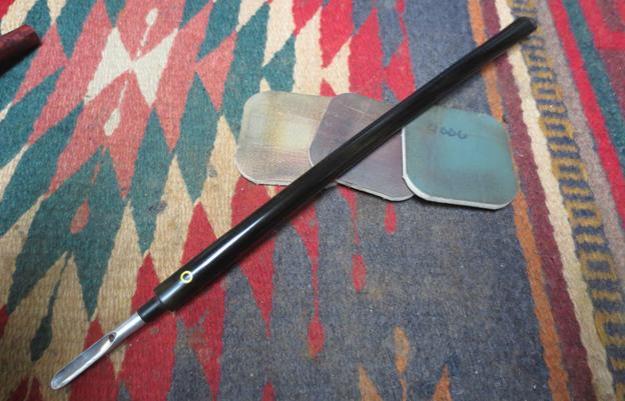
Cleaned an 80+year old KBB Yello-Bole Churchwarden 2095


Blog by Steve Laug

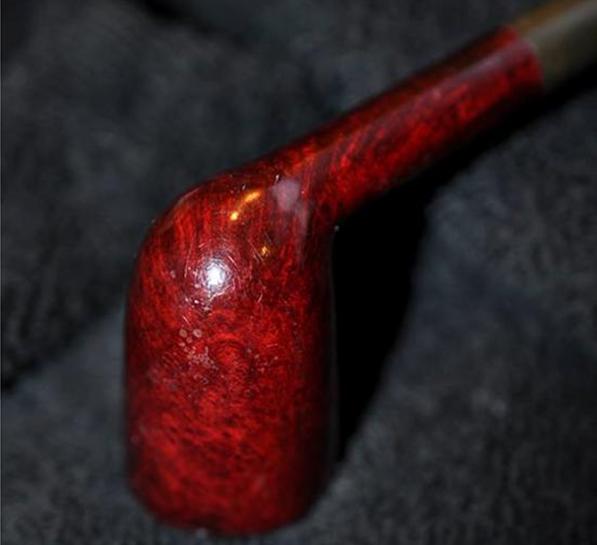
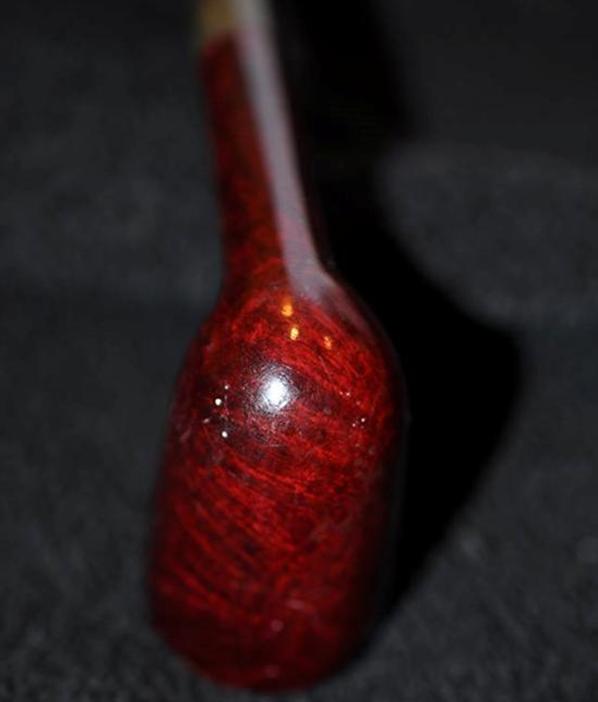
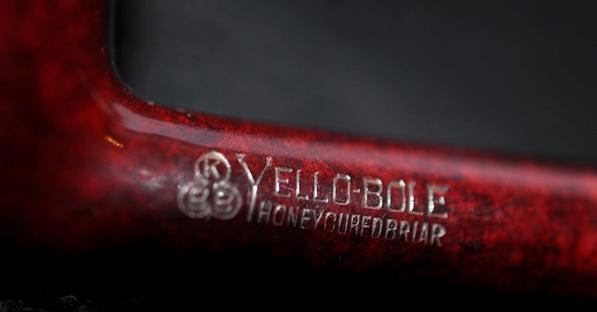
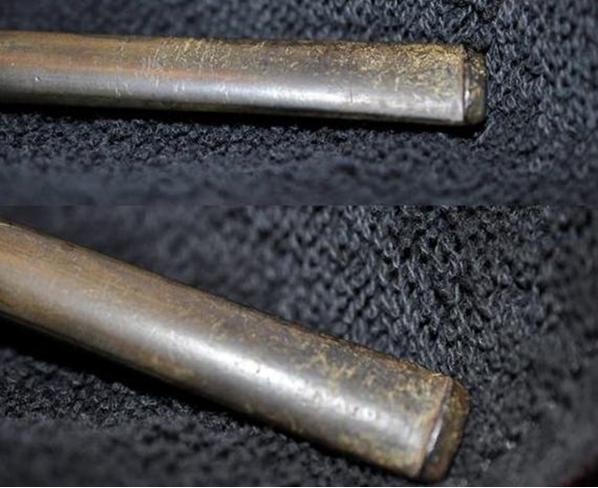
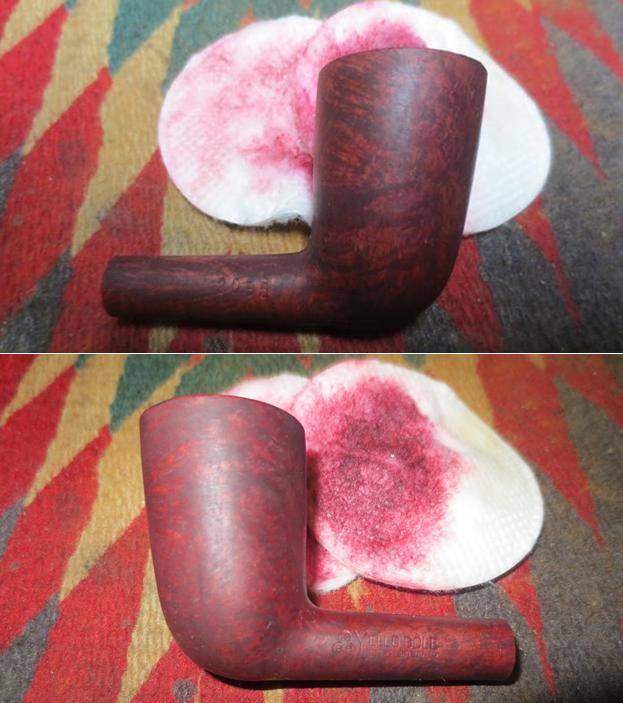
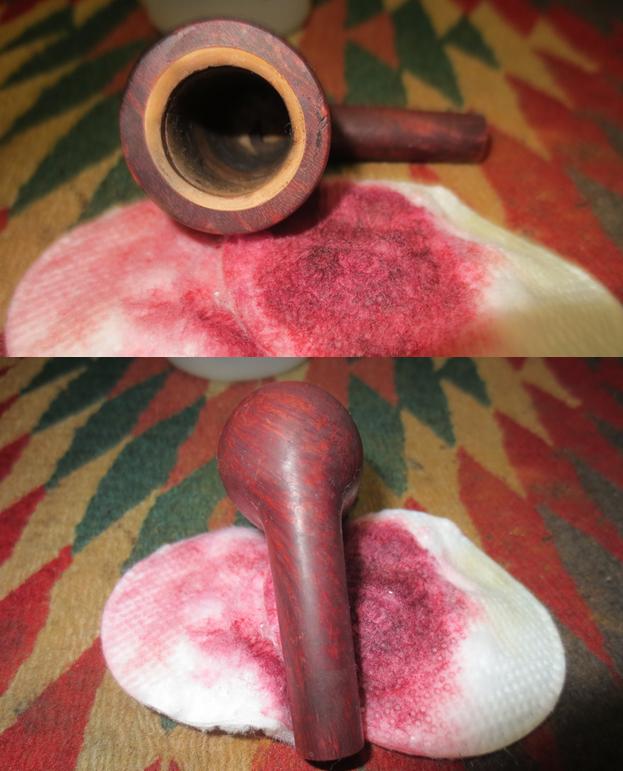
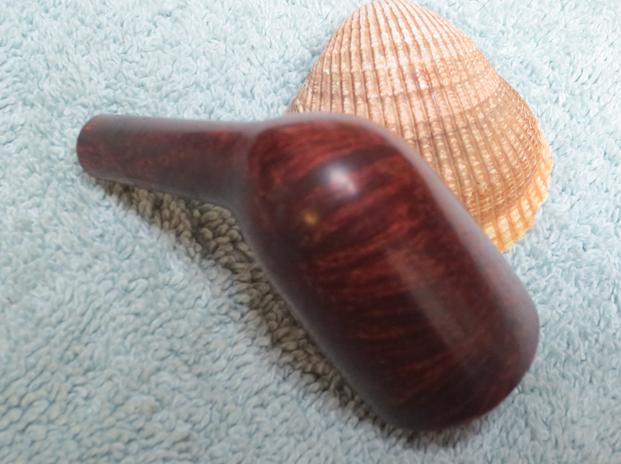
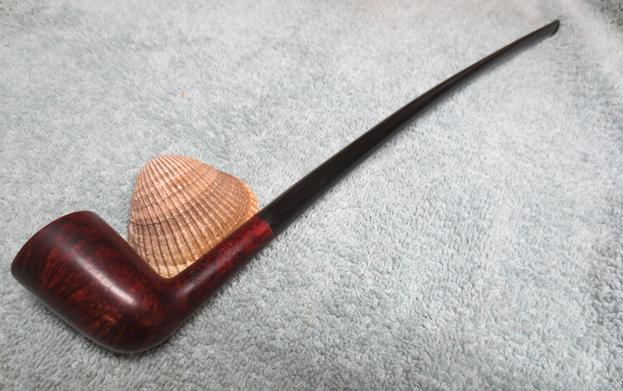
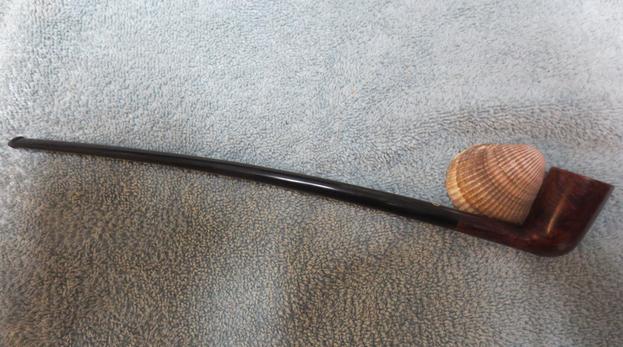
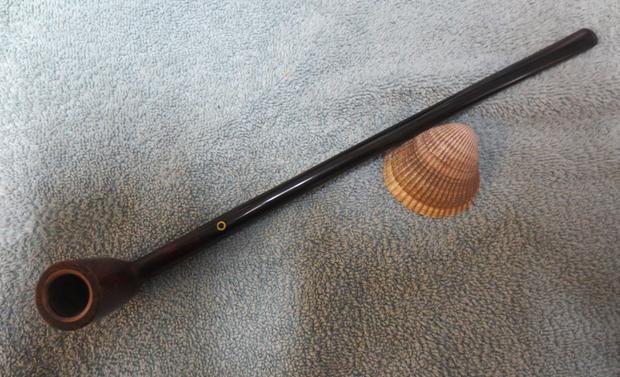
After the last challenge of the cracked bowl on the WDC Wellington House Pipe it was time to take on something that would go quickly and have some real beauty as well when finished. My brother had included just the pipe in the latest shipment that came to Vancouver from Idaho. It is a twelve inch long churchwarden. The bowl had the typical varnish coat over a oxblood stain that was peeling. There was a light cake in the bowl and the rim was dirty but the Yello-Bole Honey Cured Coating was very visible on the inner bevel of the rim top. The stamping on this one is the classic older Yello-Bole. It had the KBB cloverleaf on the left side of the shank and next to that it read YELLO-BOLE over Honey Cured Briar. ON the right side of the shank it has the shape number 2095. The stamping is in excellent shape. The stem was lightly oxidized and had the yellow circle on the top side near the shank/stem junction. There were single cut marks on both the top and underside of the stem about three inches forward from the button. There was also minimal tooth chatter and tooth marks on the stem on either side. The stem did not fit all the way into the shank when the pipe arrived in Idaho. (I have included the photos of the pipe that my brother took before he started to clean up the pipe.)cw1 cw2From a comment on a blog I wrote on the various Yello-Bole logos in my collection of these pipes I was able to narrow down a date for the pipe. Here is the link to the post and the comments on the blog: https://rebornpipes.com/2013/01/25/yello-bole-logos-from-my-collection-of-old-yello-bole-pipes/. The comment came from Troy who I consider my go to guy for Yello-Bole informantion (who has written on rebornpipes and also has a blog of his own). Troy wrote as follows on dating Yello-Bole pipes by the stamping and logos.

“I have a large KBB Yello-Bole collection, They are some of my most favorite pipes and the best smokers for the money (briar wise) you can find in my opinion. I have restored and researched them quite a bit. I have several listed on my blog that I have cleaned or restored. I own about 30-40 KBB Yello-Boles now.”

“Here is a little guide to dating KBB Yello-Boles. If it has the KBB stamped in the clover leaf it was made 1955 or earlier as they stopped the stamping after being acquired by S.M. Frank. From 1933-1936 they were stamped Honey Cured Briar. Pipes stems stamped with the propeller logo they were made in the 30s or 40s no propellers were used after the 40s. Yello-Bole also used a 4 digit code stamped on the pipe in the 30s. If the pipe had the Yello-Bole circle stamped on the shank it was made in the 30s this stopped after 1939. If the pipe was stamped BRUYERE rather than briar it was made in the 30s.”

From that information I ascertained the following. The churchwarden I had was stamped with KBB in the cloverleaf on the shank side which told me that the pipe was made before 1955. It is also stamped under the YELLO-BOLE name stamp with the words Honey Cured Briar which put its manufacture between 1933 and 1936. Further the four digit shape code 2095 also put the date in the 1930s. With all of that collected I knew the pipe was made between 1933 and 1936 which means that this old Churchwarden has seen a lot of life. I wish it could tell its story.

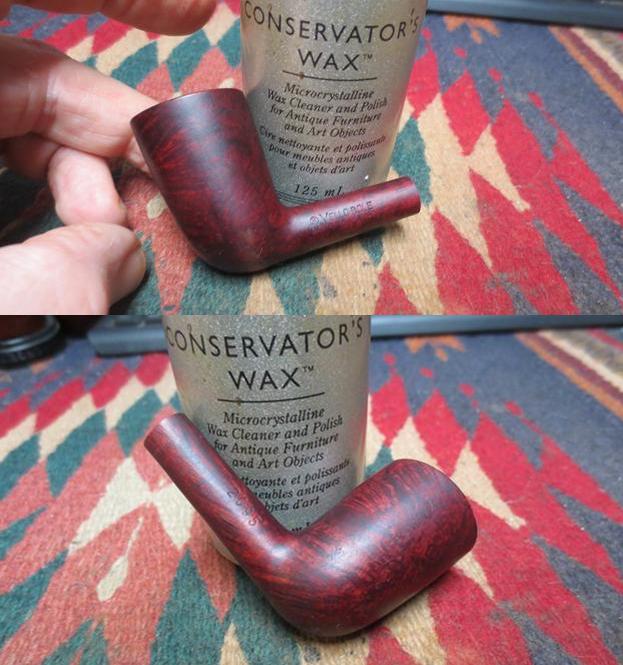
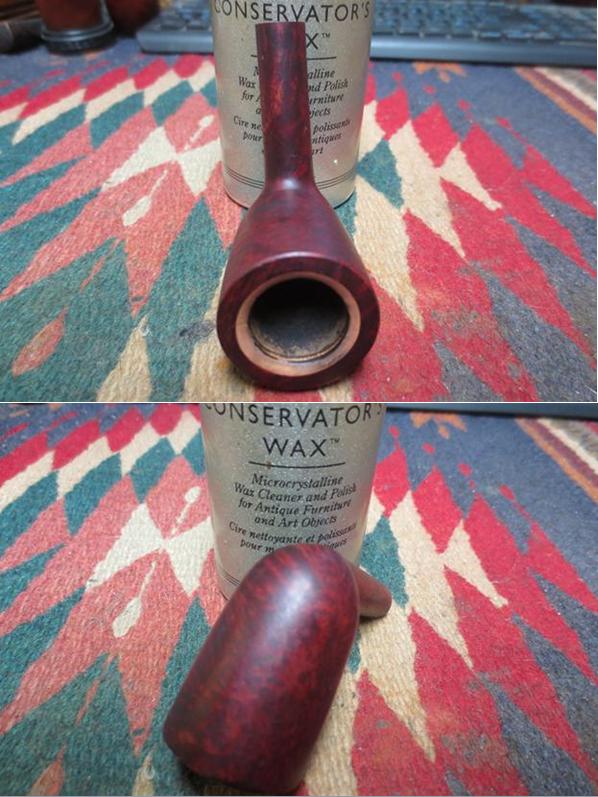
My brother included some close up photos of the rim top and the peeling varnish on the bowl sides and bottom for information. You can also see some peeling of the varnish on the rim top along with the darkening and overflow of cake.cw3 cw4 cw5The next photo shows the stamping on the left side of the shank. The stamping is clear and readable.cw6The next two photos show the condition of the stem. You can see the tooth chatter and marks on the stem surface on both sides. None of them are deep and all should be able to be polished out.cw7The next photo shows the cut mark on the top side of the stem. There is a matching mark on the underside.cw8My brother cleaned up the pipe – reaming the bowl, cleaning out the shank, airway in the shank and stem with alcohol, cotton swabs and pipe cleaners. The inside was clean. He scrubbed the briar and stem with Murphy’s Oil Soap and cleaned out the buildup on the rim and the grime on the sides of the bowl. The next four photos show what the pipe looked like when it arrived in Vancouver. It was ready to clean up and bring back to life.cw9 cw10I took a close up photo of the bowl and rim. The beveled inner edge shows the Yello-Bole coating. It is also visible on the inside of the bowl.cw11I sanded the stem with 220 grit sandpaper and worked on the tooth chatter on each end with the same sandpaper.cw12 cw13I took closeup photos of the Yello-Bole stinger apparatus. The first shows the topside of the stinger and the second the underside.cw14I took closeup photos of the existing finish on the bowl to show the peeling varnish and the speckled finish.cw15I wiped down the bowl with acetone on a cotton pad to remove the varnish coat and I was surprised by the grain that came through once the varnish was gone.cw16 cw17I waxed the bowl with Conservator’s Wax so that I could see the scratching and spots that needed more attention on the briar. A bit of a shine makes issues in the briar stand out.cw18 cw19I polished the briar with micromesh sanding pads – dry sanding it with 3200-12000 grit pads. I wiped the bowl down with a damp cotton pad to remove any polishing dust left behind.cw20 cw21I polished the stem with micromesh sanding pads – wet sanding it with 1500-2400 grit pads and dry sanding with 3200-12000 grit pads. I rubbed it down with Obsidian Oil after each set of three pads. After the last set of pads I rubbed it down with a final coat of oil and set the stem aside to dry.cw22 cw23 cw24I buffed the bowl with Blue Diamond on the buffing wheel to polish out the last of the scratches in the briar. I gave the bowl multiple coats of carnauba wax and buffed the bowl with a clean buffing pad. The next photos show the finished bowl.cw25 cw26 cw27 cw28I put the stem on the bowl and buffed the entirety again with Blue Diamond and gave the stem multiple coats of carnauba wax. I buffed it with a clean buffing pad and hand buffed the pipe with a microfibre cloth to deepen the polish. The finished pipe is shown in the photos below. It is cleaned, all varnish has been removed from the bowl and shank and it has been waxed and buffed. The finished pipe has a rich shine and all of the grain is visible through the finish. Thanks for walking through the restoration with me.cw29 cw30 cw31 cw32 cw33 cw34 cw35 cw36

Sprucing up a Home Doctored WDC Wellington House Pipe


Blog by Steve Laug

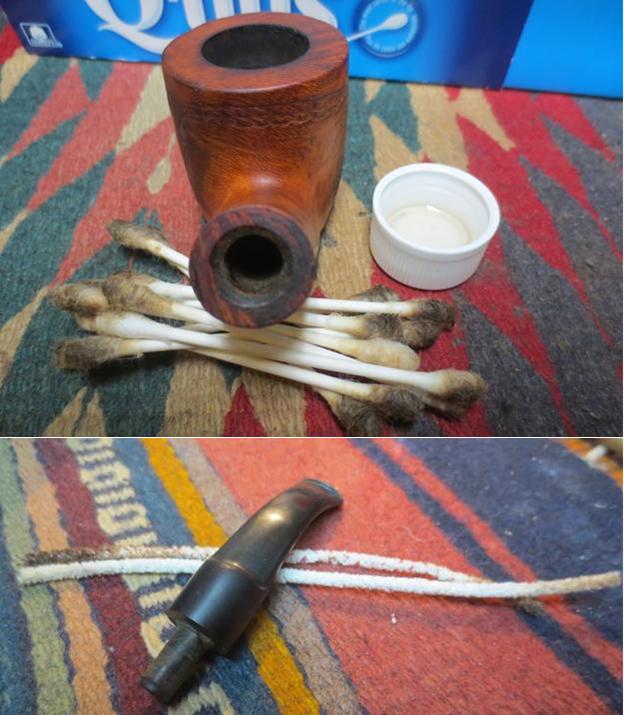
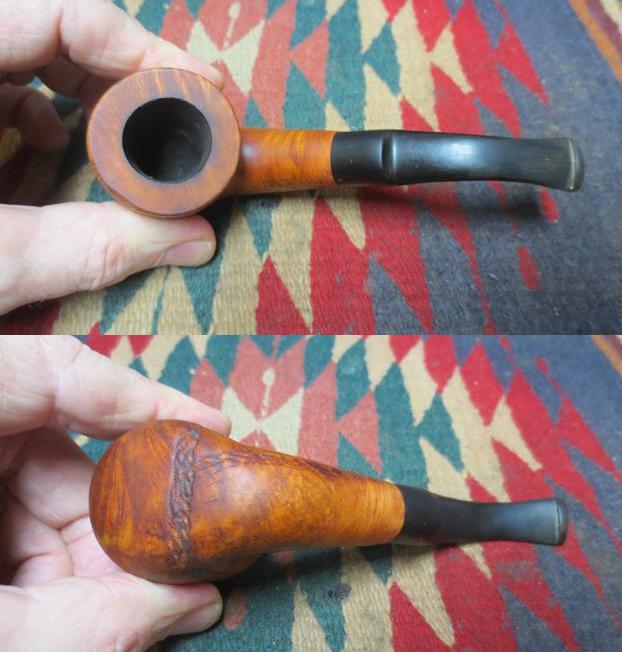
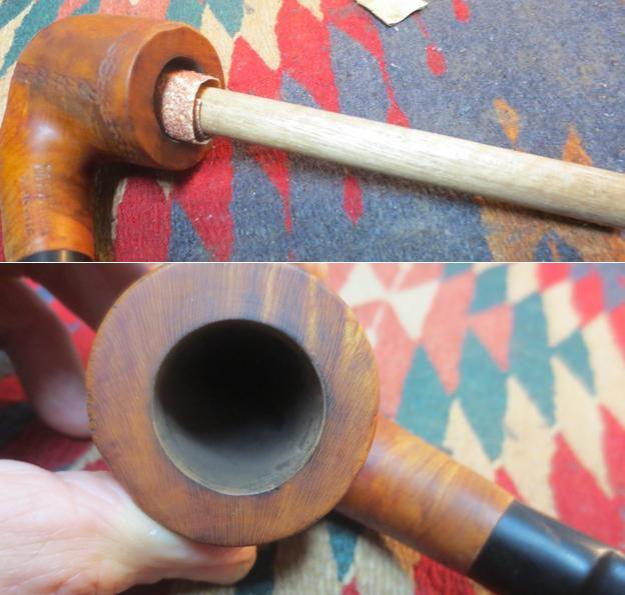
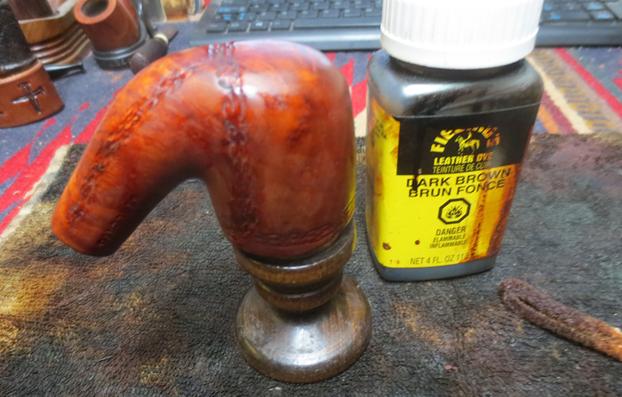
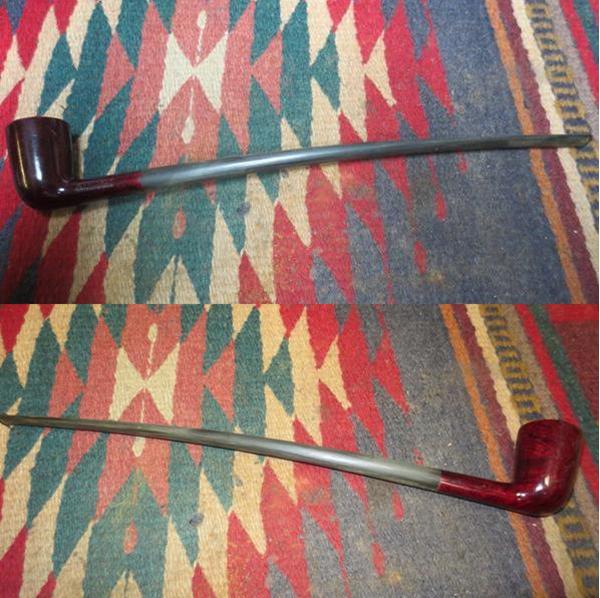
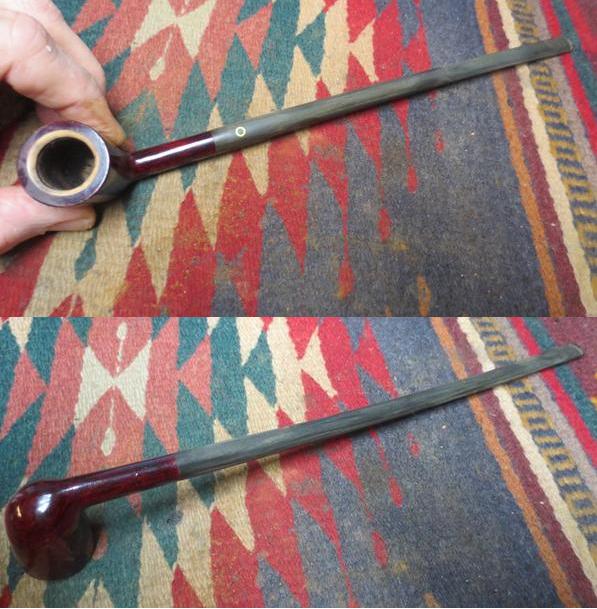
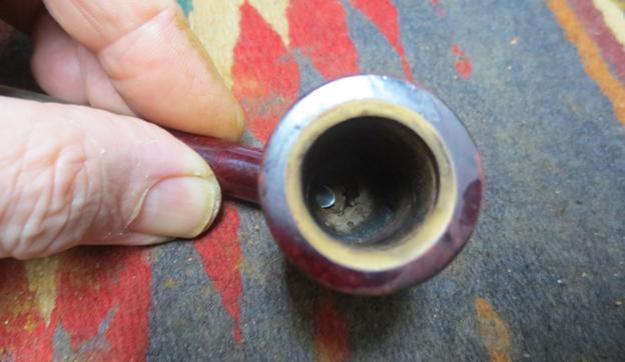
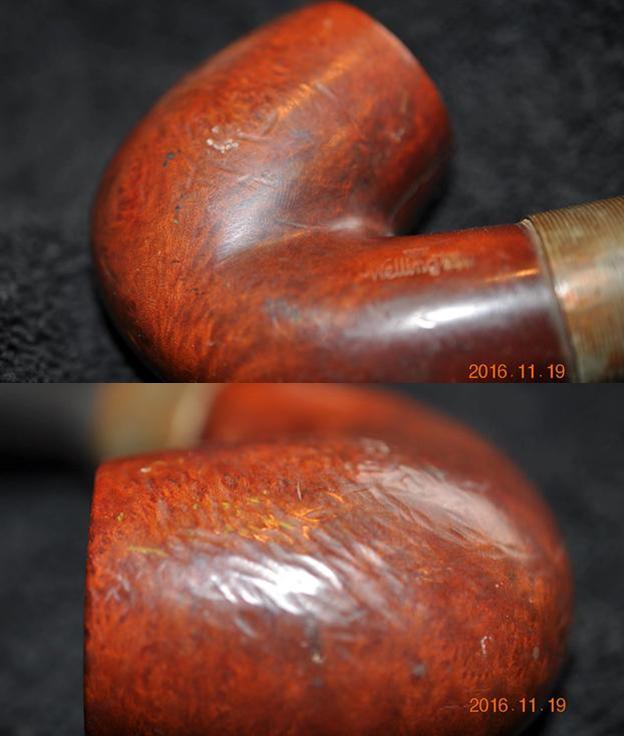
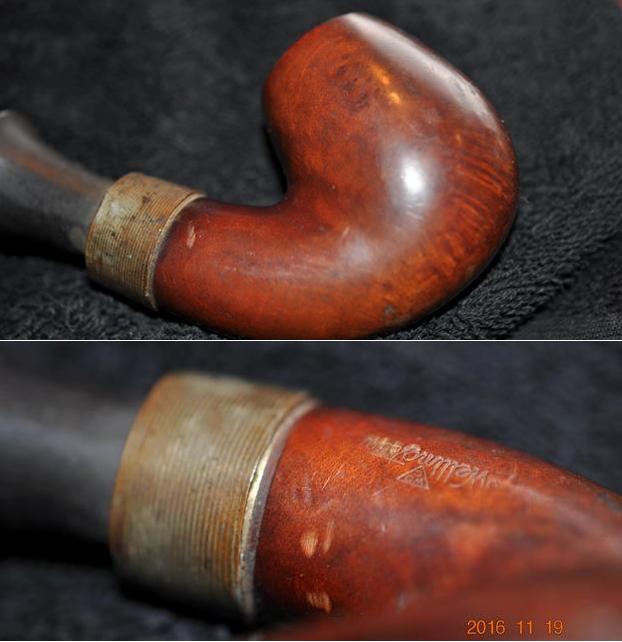
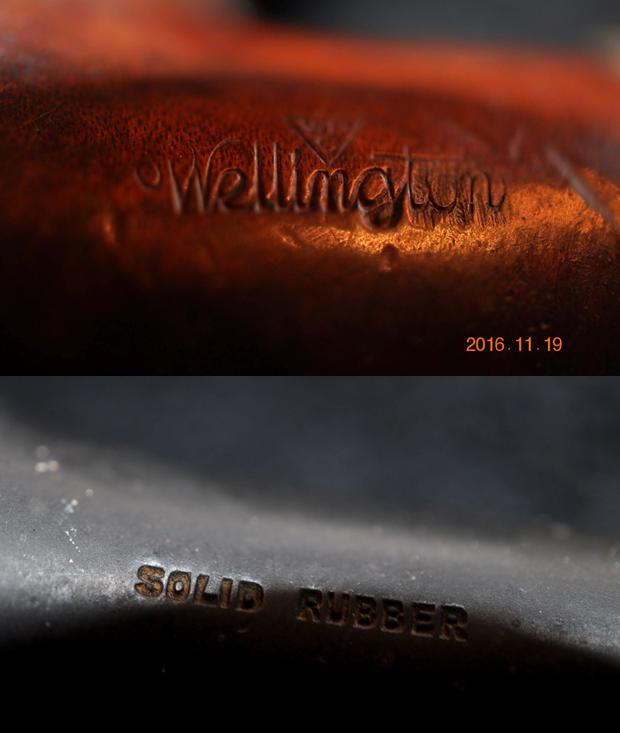
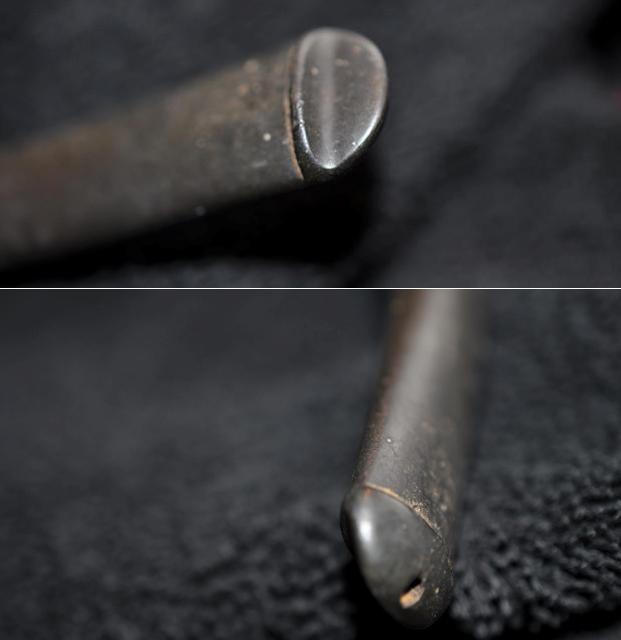
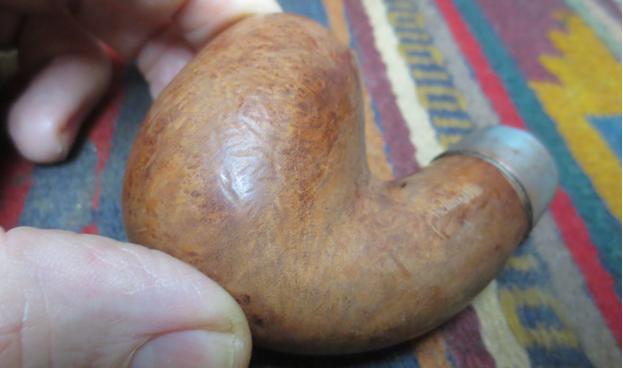
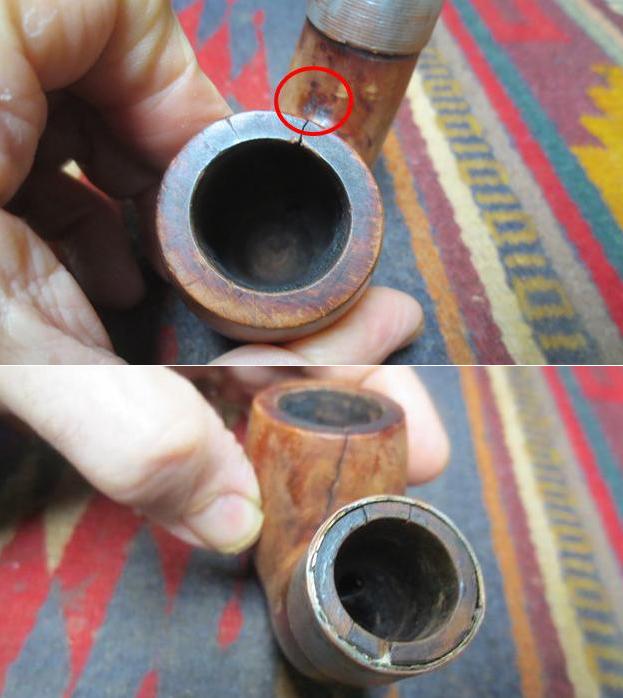
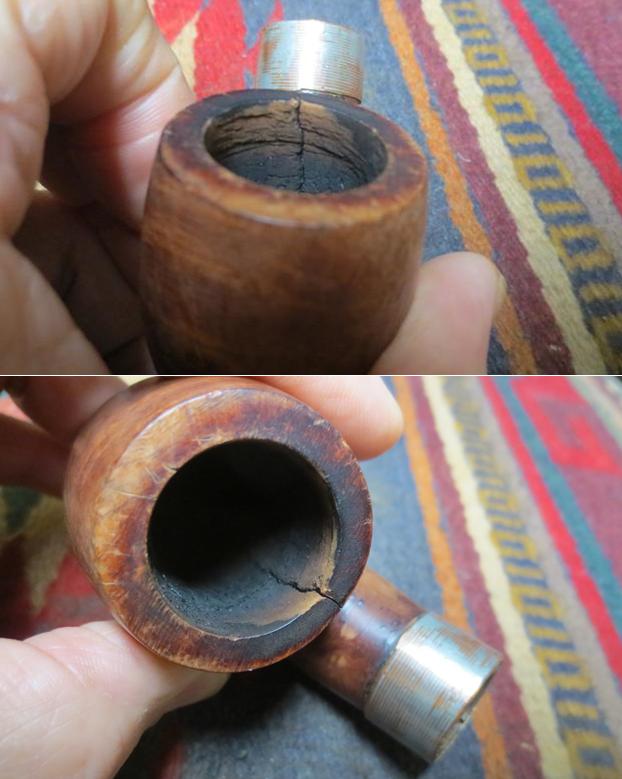
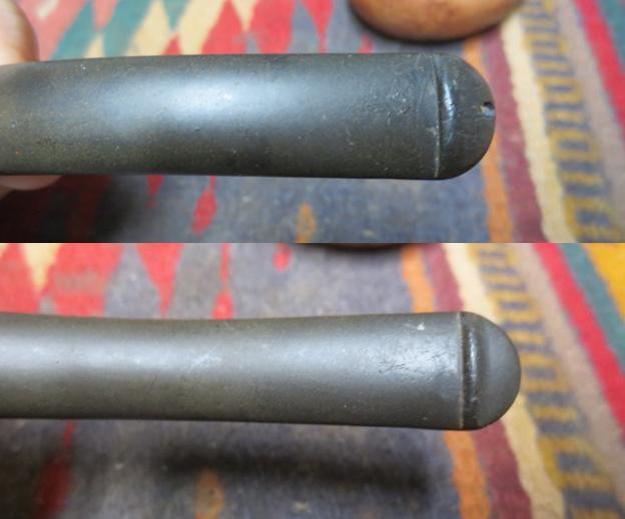
Have you ever been pipe hunting in an antique shop and in your conversation with the clerk at the checkout have them tell you that they have a pipe at home that they would love to have you see? If not I assure you that you will. It seems to happen to me and certainly to my brother. Sometimes going back to see the pipe is a good thing and sometimes it is not worth the trip. My brother recently went through this very thing in a shop on the Oregon Coast. The clerk said that he had an old pipe – thought it was a churchwarden – at home and he would love to see it go to someone who would restore it. He said it was interesting but it was in rough shape. He told my brother that he would bring it to the shop the next day. He lived a fair ways away from the shop so he could not go and get it at the moment. My brother left the shop knowing that he would need to go back and have a look at the pipe. Two days later he made the drive back to the shop. The seller had left it behind the counter for him. The person at the counter took the pipe out and handed it to him. The clerk had been right – it was in rough shape but it was not a churchwarden but old WDC Wellington House Pipe. (I have included the photos that my brother took of the pipe before he cleaned it and sent it to me in Vancouver.)mess1Even at first glance it was rough but he did not expect what he found as he went over it. As he turned it in his hands he saw that the bowl had a large crack on the back side of the bowl that went from the rim to the shank bowl junction. It went all the way through and ran down the inside back of the bowl to a spot just above the airway. This was not good.mess2The bowl was caked and dirty and the cake had flowed over the top of the rim leaving a hard rough surface. Even through the grit he could see that there were a lot of nicks, scratches and dents in the rim top. On top of that the left side of the bowl was rough and seemed like it had road rash. It appeared that someone had tried to smooth it over but it was till rough to touch.mess3 mess4The Wellington ferrule was gone and had been replaced with a piece of what appeared to be a cut off piece of pipe glued and pressed onto the shank end. Looking at the pipe from the shank end you could see why the band had been as a lot of small cracks could be seen that extended down into the mortise. The cut off piece of pipe literally bound the shank together tightly with no give. The stem was the only part of the pipe that was in excellent condition. It bore the Solid Rubber stamp on the underside but the topside was missing the WDC Wellington stamp. It was obvious to me that someone had loved this old pipe and that they had done whatever was necessary to keep it functioning. The repair work was solid but it really was a mess. After the fellow had gone to the effort to bring the pipe to the shop my brother felt obligated to buy it. The deal was struck and the pipe came home with him.mess5The next two photos show the stamping on the shank. It reads Wellington under the WDC triangle on the left side of the shank. There are a lot of nicks and scratches around the shank that look like damage done when the band was glued in place. The Solid Rubber stamping on the can be seen in the second photo below.mess6The stem was actually in the best condition of the entire pipe. There was very little tooth chatter and marks near the button. There were some marks on the ridge on the underside and there was a spot of metal shining through the rubber there as well. The entire stem was lightly oxidized and pitted.mess7My brother did his usual thorough clean before sending it to Vancouver. He reamed the bowl and removed the cake that was built up on the walls and had overflowed onto the rim of the bowl. He cleaned out the mortise, the airway in the shank and the stem with alcohol, pipe cleaners and cotton swabs. He scrubbed the exterior of the bowl with Murphy’s Oil Soap and was able to remove the grime and dirt and the chipped and damaged finish. The next four photos show what the pipe looked like when it arrived.mess8 mess9I took some close up photos of the shank band. It is obvious to me that the repair on the shank was home done and involved cutting a piece of pipe and gluing and pressing it onto the shank. The third photo shows the shank end and there are at least 4-6 cracks showing that previous owner had glued and repaired with the cut off piece of pipe as a band. The band repair had been finished off with a bevel of glue banked against the band and shank. The piece of pipe that functioned as the band was striated and copper colour peeked out from under the surface oxidation. The crack on the back of the bowl is visible in the second photo below.mess10 mess11I took a close up photo of the left side of the bowl to show the rash on the side of the bowl. It was very rough and scored. It would need to be sanded smooth to repair the amount of damage.mess12I took photos of the crack in the bowl. It is on the back side as noted above. It extends down the back of the bowl to the shank/bowl junction (photo 2). What was interesting to me was that there were two small holes drilled at the twin ends of the crack in the bend of the junction. They had been filled in with glue and sanded smooth. I have circled them in red in the photo below (photo 1). I don’t why the previous repair had not continued with filling in the crack on at least the outside of the bowl but it did not. Possibly it was because the crack went through the bowl and extended down to a spot just above the entrance of the airway in the bowl (photos 3-4). There appeared to be burn damage on the back wall of the bowl on both sides of the crack. The rest of the interior walls of the pipe were solid with no damage.mess13 mess14As I mentioned before the best part of this pipe was the stem. In fact at one point I considered throwing the bowl away and saving the stem for a future repair.mess16With so much work to do on the bowl it was hard to decide where to begin. I turned it over in my hands for a few moments and decided to start by sanding out the rough side of the bowl. I would try to remove all of the damage that had been done in that area. The next two photos show the damaged area after the first sanding with 180 grit sandpaper. You can see how extensive this rash was on the bowl side.mess17I decided to top the bowl to deal with the damaged portion of the rim. I used the topping board and 220 grit sandpaper to remove the damaged rim surface and clean it in preparation for the crack repair. You can see that I needed to do some more reaming in the bowl to clean it up.mess18With the rim finished I went back to sanding the bowl side with 220 grit sandpaper. I worked to remove the damage on the side and worked over the curve of the bowl shank junction. When I finished with the 220 grit sandpaper the bowl side was smooth. The roughness and damage had been removed. The briar needed to be sanded with higher grit sandpapers and sanding sponges to remove the scratches.mess19I topped the shank end with 220 grit sandpaper on the topping board to smooth out the sharp edge of the metal band and prepare the shank end for some repairs.mess20I filled in the chipped areas on the shank end with briar dust and super glue. When the glue dried I topped it further and added a little glue on the long chipped area on the left of the second photo below.mess21I scraped away the excess glue along the edge of the band on the shank with a sharp knife. Once I finished the transition was smoother. I would sand the area along the band to clean up the scratches but the thick glue was removed.mess22There were some deep nicks on the lower front side of the bowl that needed to be filled. I filled them with super glue and briar dust and sanded them smooth to match the surface of the surrounding briar. I sanded around the shank band at the same time to smooth out the scratches and nicks.mess23I moved to the back of the bowl and filled in the exterior part of the crack with super glue and briar dust. The twin drilling at the bottom of the crack by the previous owner had done a good job stopping the crack from going further so I did not need to deal with that issue. There was no movement in the crack when I squeezed it together. It was stable so I moved on to do the surface repair. I put super glue in the crack and then pressed briar dust into the glue to seal the surface of the crack. mess24It was time to address the internal crack at this point. I needed to join the two sides of the crack together inside and also address the burned areas around both sides of the crack. I scraped out the inside of the bowl with a Savinelli Fitsall Pipe Knife to remove the remaining excess cake. I made sure to remove all of the cake. I worked on the area around the crack to remove all of the carbon and picked the area with a dental pick to see how badly the area was burned. I sanded the inside of the bowl with a rolled piece of 220 grit sandpaper to smooth out the walls.mess25I sanded the repair on the exterior of the bowl with 220 grit sandpaper to remove the excess patch material on the exterior of the crack. I smoothed it out to match the surrounding briar. The repair is looking really good on the exterior and the sanded interior of the bowl (also visible in the photo) was in better shape than I expected.mess26I wiped down the inside of the bowl with damp cotton swabs to remove the dust and debris from the bowl sides. With all of the preparations finished the inside crack was ready for repair using JB Weld. I have used it before following the directions from Charles Lemon on Dadspipes blog and had good results. I mixed the two parts of the “goop” together and applied the mixture to the inside of the bowl with a dental spatula. I pressed the mix into the crack and then spread it over the surface of the back wall on both sides of the crack. Once I had good coverage on the wall and in the crack I set the bowl aside to let the glue set.mess27 mess28While the repair in the bowl interior cured I turned to deal with the minimal damage to the stem. I sanded the light tooth chatter and small bite marks on the top and underside of the stem near the button using 220 grit sandpaper. I reshaped the button edge and the straight edge on the underside of the stem at the same time.mess29When the internal repair had dried to touch I could turn my attentions to the sanded exterior once again. I wiped the bowl down with a light coat of olive oil to make the scratched areas stand out and show me where I needed to do more sanding.mess30 mess31I polished the briar and the metal band with micromesh sanding pads – wet sanding it with 1500-2400 grit pads to smooth out all of the scratches and areas that showed up with the olive oil rubdown. The more I sanded it the more the grain began to stand out. There was some great birds-eye and cross grain in the briar. The third photo shows the JB Weld repair on the inside of the bowl very clearly. Once it turns black it will have cured enough to sand.mess32 mess33I continued to polish the briar and band with micromesh sanding pads – dry sanding it with 3200-12000 grit pads until the bowl shone.mess34I stained the pipe with a dark brown aniline stain thinned 50/50 with isopropyl alcohol. I applied the stain, flamed the stain to set it and repeated the process until the coverage was even around the bowl and rim.mess35I gave the bowl several coats of carnauba wax and buffed it with a clean buffing pad. I took the following photos to show what the bowl looked like now that it was stained and waxed. It is a pretty piece of briar and a far cry from the mess I started with.mess36 mess37I set the bowl aside and polished the stem. I buffed it with red Tripoli to remove as much of the light oxidation as possible. I wet sanded the stem with 1500-2400 grit micromesh sanding pads and dry sanded it with 3200-12000 grit pads. (For some reason the last photo of the stem has a yellow tint and makes it look oxidized. It actually shone at this point in the process with no oxidation left. I rubbed it down with Obsidian Oil after each set of three pads. After the final rubdown I set the stem aside to dry.mess38 mess39 mess40By this point in the process the JB Weld had hardened. It had been about 4-5 hours. It was time to smooth out the inside of the bowl and remove the excess JB Weld. I used the Dremel with a sanding drum to smooth out the back side of the bowl. You can see the spots on the bowl wall where I left the material to fill in the damaged areas on the wall. I went on to sand the interior wall with 180 and 220 grit sandpaper to further smooth out the repair and minimize the JB Weld. The repairs had stabilized the cracked bowl and it was usable once again.mess41I have one final step to take to before I can close the book on this repair. I need to mix a bowl coating to paint the inside of the bowl with. It is a mixture of sour cream and activated charcoal powder. I had to order some more as I ran out of the charcoal capsules and my local pharmacy was also out of stock. It may take a while to get some so for now the bowl is finished. Once the bowl coating is applied and has cured the pipe will be ready to smoke and carry on a long life.

At this point in the process when all is basically finished I can honestly say that I am glad I did not scrap bowl to the junk box. It has some beautiful grain and I think it looks good with the scar on the back side of the bowl where the crack used to be. The metal pipe band polished up nicely with hints of copper and silver mingled together giving it a bit of a sparkle. The finished pipe is shown in the photos below. It has been buffed with Blue Diamond a final time and given multiple coats of carnauba wax. I buffed it with a clean buffing pad and then by hand with a microfibre cloth to deepen the shine. The write up is longer and the photos are many this time around. It was a lot of work to give this old timer another chance but I think it was worth the effort. Thanks for bearing with me. mess42 mess43 mess44 mess45 mess46 mess47 mess48 mess49 mess50 mess51

Refreshing Another Giant – a KBB Yello-Bole Imperial 3068C Bent Billiard


Blog by Steve Laug

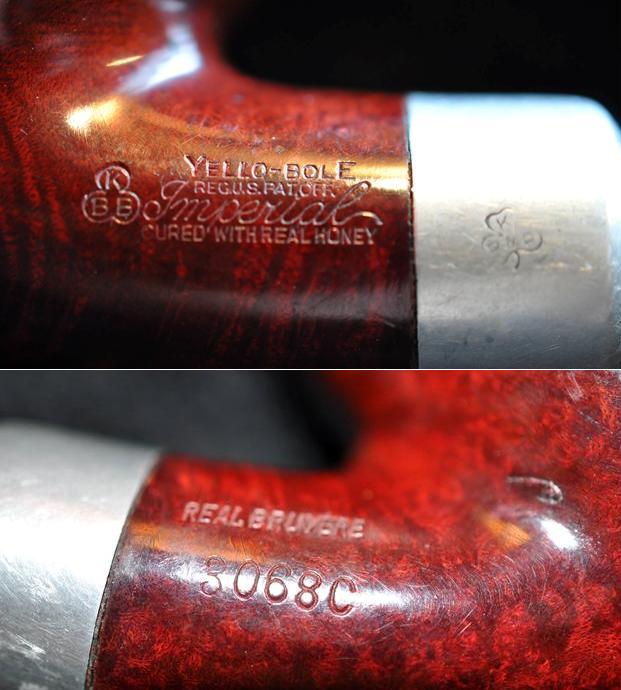
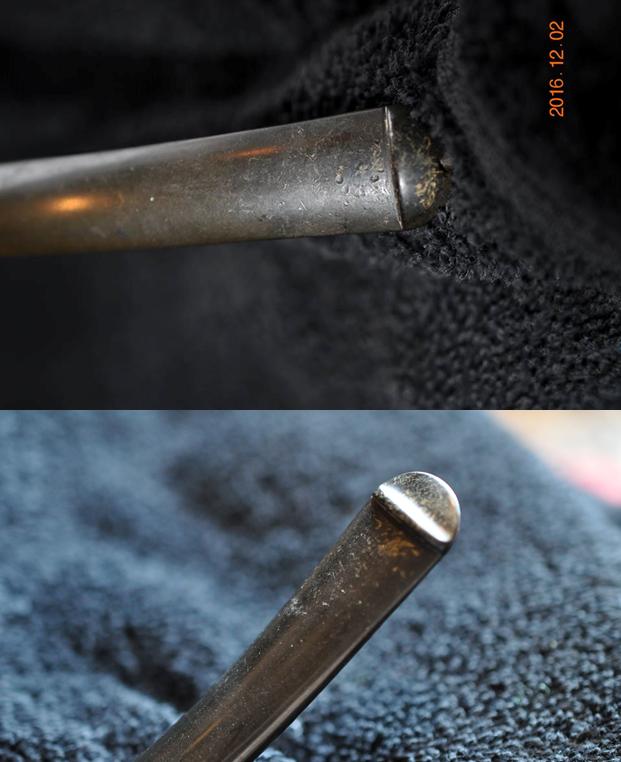
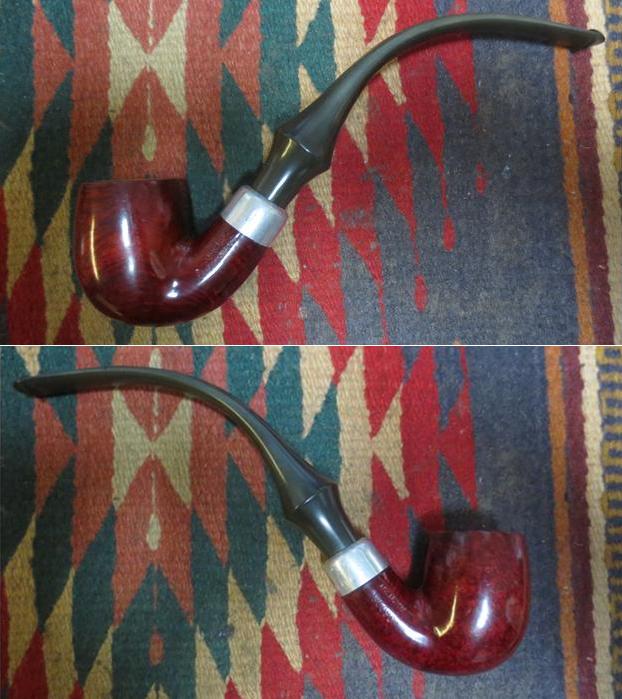
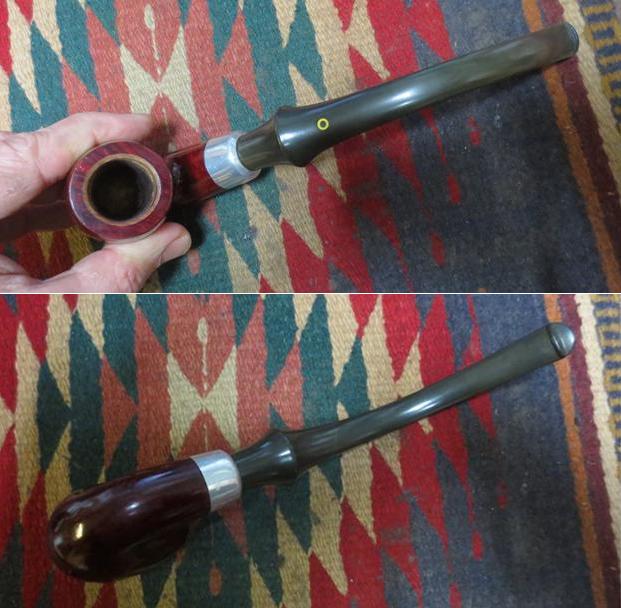
When I cleaned up a previous KBB Yello-Bole Imperial 3068C for a reader of the blog my brother immediately was struck by the beauty of the old pipe. He decided he would find one for me that matched the one I cleaned up for the reader. If you want to read about the cleanup of that one here is the link: https://rebornpipes.com/2016/11/10/breathing-life-into-a-huge-kbb-yello-bole-3068c-bent-billiard/. The 3068C is a large pipe. It is reminiscent of the WDC Wellington in many ways but to me there is a simple elegance to the lines of the 3068C that are more smooth and beautiful. This is another giant pipe. The dimensions are: length 10 inches, height 2 ¼ inches, outer diameter of the bowl 1 ½ inches, inner bowl diameter 7/8 inches. I took a photo of the pipe in hand to give an idea of the size of this old giant.imp1As opposed to the other 3068C I cleaned up this one was in remarkably good shape. The shiny varnish coat actually was perfect with no peeling or nicks in it. The grain shone through and was a great mixture of birds-eye and cross grain. The Yello-Bole Honey Cured coating still showed on the bevel of the inner rim and in parts of the bowl. The rim surface had some very small dents or scratches in it but they did not seem to break the finish on the bowl. There was a light cake in the bowl. The nickel ferrule was oxidized and lightly scratches but otherwise undamaged. The stem had the classic older Yello-Bole circle on the top of the stem just behind the saddle and was lightly oxidized with minimal tooth chatter on the top and underside of the stem at the button.imp2 imp3My brother took the above photos and the ones that follow to show the overall condition of the pipe. The next two close up photos show the rim top and inner rim bevel. The Yello-Bole Honey Cured coating can be seen on the edge of the bowl and going down into the bowl. You can also see the small dents in the rim and the light grime that had built up on the surface of the rim.imp4The next two photos give a good idea of the grain that shone through on this old pipe. The front and back of the bowl has some amazing birds-eye grain and the sides, rim and bottom show some really nice cross grain.imp5The stamping on the shank was sharp and readable. The left side bore the KBB cloverleaf logo with Yello-Bole over stamping that read Reg.U.S.Pat.Off. Beneath that was the line stamping in script Imperial. Finally underneath all of that was stamped Cured with Real Honey. On the aluminum ferrule cap there was a remnant of the KB&B cloverleaf. It is interesting to me that while all Yello-Bole pipes are stamped with KBB (minus the ampersand &) in a cloverleaf on the shank both this pipe and the previous one had the KB&B cloverleaf on the ferrule. I wonder if the company made one size fits all with the ferrules and used them on both Yello-Boles and KB&B pipes. The right side of the shank is stamped Real Bruyere over the shape number 3068C.imp6The final two photos that my brother included show the tooth marks and chatter on the top and underside of the vulcanite stem at the button. The mild oxidation is also visible in the photos.imp7My brother did the necessary cleaning on the pipe – reaming and cleaning out the mortise and the airway in the stem and shank. I cleaned off the grime on the finish and wiped down the stem. When I received the pipe it looked be in excellent condition and would not take a lot of work to refresh it. I took the next four photos to show what it looked like when it arrived in Vancouver.imp8 imp9I took some close up photos of the rim and the stem to show the condition. The rim was in excellent shape and Jeff was able to clean up the inner bevel on the rim to reveal the Yello-Bole Honey Coating. The stem photos show the oxidation and the small tooth marks and chatter on both sides of the stem near the button.imp10 imp11I sanded the oxidation on the stem with 220 grit sandpaper to remove the brown topcoat that it had and also worked over the tooth chatter and tooth marks on both sides.imp12I used drops of medium viscosity black super glue to fill in the small tooth marks on both sides of the stem. They are shown in the photos below. The small black spots are the super glue repairs to the stem surface. You will note that there were more issues on the underside of the stem than the top side.imp13Once the repairs were dry I sanded them back to the surface of the stem with 220 grit sandpaper.imp14I polished the sanded spots by wet sanding with 1500-2400 grit micromesh sanding pads.imp15I wet sanded the entire stem and continued to sand the repaired areas with 1500-2400 grit micromesh sanding pads. I rubbed the stem down with Obsidian Oil and then dry sanded it with 3200-12000 grit pads. I rubbed it down with oil after each set of three pads and after the final set I gave it a last coat of Obsidian Oil and set it aside to dry.imp16 imp17 imp18The nickel ferrule had a lot of tiny scratches in the surface of the metal. I sanded it with micromesh sanding pads to polish out the scratches and raise a shine in the nickel.imp19I polished the briar with 3200-12000 grit micromesh sanding pads to raise the shine and smooth out the small scratches on the sides and bottom of the bowl as well as the rim.imp20 imp21 imp22I buffed the bowl and stem with Blue Diamond on the buffing wheel to further polish the briar and vulcanite. I gave the stem multiple coats of carnauba wax and buffed the bowl and stem with a clean buffing pad to polish and raise the shine. I hand buffed it with a microfibre cloth to deepen the shine. The finished pipe is shown in the photos below. It turned out to be a very beautiful pipe that needed just a few touches of TLC to bring it to its fullest. It is another large pipe that would make a great reading or house pipe. It is comfortable in hand and the grain is interesting enough to give hours of observation pleasure. Thanks for looking.imp23 imp24 imp25 imp26 imp27 imp28 imp29 imp30

Reclamation Project: The Tobacconist Inc. Rhodesian


Blog by Steve Laug

In the last box of pipe that my brother sent there was a pipe that is of course one of my favourite shapes – a 9438/9242 GBD style Rhodesian though the taper stem makes me think of a 9242 shape. It is not stamped with a shape number or a make but the Made in England stamping on the underside of the shank matches that found on GBD pipes. From first glance at the pictures of the pipe that my brother sent me it looked to be in decent shape. This was to be proved wrong once my brother started to clean it and I received it in Vancouver. But from the photos the contrast finish of blacks and browns looked really good. The rustication on the bowl is a combination of worm trails and “squiggles” that is reminiscent of Custombilt pipes. From the front there is a worm trail that divides the bowl into two hemispheres like a brain (photo 5). Strange humour of the original pipe maker, I think.tob1 tob2The close up photos of the rim and bowl give a bit of a foretaste of the hidden issues in the bowl and on the rim. It is hard to see the inside of the bowl from this photo but there was a light cake in the bowl and it had run over the top edge of the bowl filling in some of the grooves and crevices in the rustication. The second photo below shows the worm trail on the front and underside of the bowl that divides the bowl into two hemispheres.tob3The stamping on the underside of the shank on a smooth portion of briar was faint but could still be read. It said The Tobacconist Inc. over Made in England.tob4The stem was lightly oxidized around the shank end and the button end, though the middle was strangely clean. There were tooth marks on the top and underside near the button. The top edge of the button on both sides had tooth marks as well.tob5I have restored a Liverpool shaped pipe with The Tobacconist Inc. stamping and written a blog on it – (https://rebornpipes.com/2016/07/16/a-liverpool-stamped-tobacconist-inc/). I remember hunting to no avail on information on the brand and finding nothing. I checked once again with my usual sources – the book Who Made that Pipe and the online sites Pipedia and Pipephil. None of the sources had any new information. For that blog, I searched for the name of the shop – The Tobacconist Inc. to see if I could find any information on it and possibly see if they had shop pipes made for them. The name Tobacconist Inc. came up shop a tobacco shop in Chicago. It is called The Tobacconist Inc. and is located at 3524 W. Irving Park Rd. Chicago, Illinois. The phone number is 773-463-8468. I have included two photos from that blog – one of the sign and the other of the shop. The sign says the shop has “Everything for the Smoker” and has been in existence since 1946. Sounds like a place I need to visit one day. Now that I have worked on a second pipe with the name stamped on it I really need to call them and see if they have any information about the pipe. tob7My brother wrote that cleaning out the inside of the pipe was a pain. It took a lot of work to get the buildup of tars and grime out of the bowl and the shank. The rim top also had some damage under the thick tars. When it arrived in Vancouver I could see that the pipe was in pretty rough shape with a poorly fitting stem. The diameter of the stem and the shank don’t match. Not sure if it was because the stem was poorly fitting to start with or if it is a replacement stem. It looks to be original so I am opting for a poor fit. I took some photos of the pipe before I started working on it (well almost – I had done a little sanding at the shank stem union before I remembered to take the photos). tob8 tob9I took a close up photo of the rim and bowl. The rim inner edge had some chips and nicks that would need to blended in to make the rim more balances looking. It is hard to see from the photos but the walls of the bowl are in damaged condition.tob10The tooth dents in the top and underside of the stem near the button were quite deep. I heated the dents with a Bic lighter to raise them as much as possible. I painted them with the flame of the lighter and when I was finished they were not as deep as before. It would not take too much now to sand them out to match the surface of the rest of the stem.tob11I cleaned out the inside of the shank with alcohol, pipe cleaners and cotton swabs to remove the last of the debris on the walls. The bevel on the edge of the mortise was rough and needed to be cleaned up and smoothed out but the wood was solid with no cracks.tob12I used a Dremel and sanding drum to remove the excess briar and vulcanite and get the shank and the bowl to match in diameter. It took some work but it certainly was a better fit once I was finished. I sanded the bevel in the shank end until it was smooth but the stem still did not fit tightly against the shank. I heated the tenon to soften the vulcanite and make it flexible. I pushed the stem carefully into the shank and held it against the shank end to align it until the tenon cooled.tob13I sanded the stem/shank union with 220 grit sandpaper to smooth it out and make the transition clean. I took the following photos to show the restoration at this point.tob14 tob15I used a brass bristle tire brush to work over the rim top. It took some work but I was able to get the grime and grit out of the grooves of the rim.tob16I scrubbed off the finish on the bowl and rim to remove the stain and the remaining varnish coat on the briar. When I finished cleaning the surface the pipe was ready for the stain coat.tob17 tob18I stained the bowl with a dark brown aniline stain and flamed it to set it in the grain. I repeated the process until the stain coverage was even across the bowl.tob19 tob20I used the Savinelli Fitsall pipe knife to scrape out the walls of the bowl. I examined the interior and saw a lot of spidering cracks on the walls of the bowl. While the briar around them was still solid and the briar was not too badly damaged. This would need to be addressed to assure that the briar would be protected until a new cake had formed.tob21I decided to mix up a batch of pipe mud with some tap water and a dental spatula. I applied the mud mixture to the inside of the bowl pressing it into the cracks in the bowl walls. I coated the inside of the bowl with the mud until there was a solid bowl coating.tob23 tob24I set the bowl aside to dry overnight. I took the following photos to show what the inside looked like after the mud had cured.tob25I sanded the stem with 220 grit sandpaper to remove the last remnants of the tooth dents and reshape the button on both sides. It also removed the surface oxidation.tob27I used a black Sharpie Pen to touch up the grooves in briar on the sides and the rim top. I gave briar a touch up coat of dark brown stain. I waxed the rusticated briar with multiple coats of Conservator’s Wax and once it had dried buffed it with a shoe brush to raise the shine.tob28 tob29I polished the stem with micromesh sanding pads – wet sanding with 1500-2400 grit pads and dry sanding with 3200-12000 grit pads. I rubbed the stem down with Obsidian Oil after each set of three pads. I gave it the final coat of oil and set it aside to dry.tob30 tob31 tob32I buffed the bowl and stem with Blue Diamond polish on the wheel. I gave the stem multiple coats of carnauba wax and put another coat of Conservator’s Wax on the briar. I buffed the bowl and stem with a clean buffing pad. I hand buffed the pipe with a microfibre cloth to deepen the shine. The fit of the stem against the shank is far better than it was when I started the cleanup. I like the way the flow is now between the stem and the shank. The finished pipe is shown in the photos below. It had a great feel in hand and I think the rustication will heat up nicely with the next first smoke. I think that the pipe mud will protect the bowl until a new cake is built. Thanks for walking through the restoration with me.tob33 tob34 tob35 tob36 tob37 tob38 tob39 tob40

I have always wanted to see one up close – an Aristocob


Blog by Steve Laug

Over the years I have spent quite a bit of quiet time scanning through the smokingmetal.co.uk website reading over all of the various metal pipes that have been made. I love reading and looking at the inventive creations made to capture that illusive grand smoke. One of the pipes that stood out to me on the site was the Aristocob metal bowl that came with two corn cobs that fit inside the bowl, held in place by the screw on metal cap. I wanted to see one of those but somehow always missed them on eBay at the last minute or at an antique shop by a matter of minutes. I included two of the photos from the website. The first one showed a plastic box with a form fitted purple velvet nest for the pipe and the pair of cob inserts that came with it. The pipe had a black nylon stem that held a Medico paper filter in place in the metal shank of the pipe. cobaThe second photo showed the pipe taken apart with a pretty good descriptive view of the metal bowl and cap, the cob insert, the filter and the stem with an O-ring on the tenon to keep it in the metal shank.cobbI remember first reading this description years ago when I looked up the pipe on the site. I was struck then as I am now that I could not have described it any better. I have included it here in full with a link for you to look it up should you desire to do so:

The ARISTOCOB is an American made system pipe with corn cob bowl inserts. Originally the AL-COB CORPORATION out of Grand Haven, Michigan, which later became ARISTOCOB INCORPORATED from Caledonia, Michigan. Later still they were bought out by Missouri Meerschaum Company

Apparently available in the first place in a plastic case containing one pipe, 2 replacement corn cob bowl inserts and instructions for use. The cob inserts were made for some time by The Missouri Meerschaum Company, manufacturer of corn cob pipes in Washington, MO. The box shown is their box. They made the inserts from the early 1970’s until 1983. They are no longer available from that source but do appear on eBay at times

The top of the vaned outer bowl unscrews to enable easy replacement of the bowl insert. An inline filter can be used in the stem. The mouthpiece has been seen in two version, with and without an ‘O’ ring. The patent was filed on 20 Dec 1966 with the US patent # 3,292,639. The inventor was Joesph W. Zarikta of Grand Haven, Michigan USA – the assignor was the Al Cobb Corp. (http://smokingmetal.co.uk/pipe.php?page=56).

I mentioned to my brother to keep an eye open for one of these never expecting him to find what he did. I have not seen a cased version of the pipe in my hunts but have only found the pipe with the inserted cob bowl if I was lucky. He happened to find a boxed set and bought it. He sent me the following photos of the pipe. The next set of photos are the ones that the seller posted on the eBay sale.cob1 cob2 cob3 cob4When the pipe arrived in Idaho my brother took some photos before he cleaned it up. I have included a few of those photos next. The pipe was quite dirty. The rim cap had a buildup of tars and oils on the top. The cob insert was dirty and crumbling on the top edge. The aluminum pipe body was oxidized and dirty as well.cob5When he took it apart, the inside of the aluminum body had also built up tars in the bottom and on the inside walls.cob6The inner edge of the insert was in rough condition. The rest of the bowl appears to be solid. The aluminum disk on the bottom of the bowl was dirty but undamaged.cob7The stem was darkened on the tenon end. The O-ring was still in good condition. The paper Medico Filter in the tenon was dirty and would need to be replaced. The top and undersides of the nylon stem had some tooth chatter on the surface near the button. The inside of the shank was dirty and there was some tarry buildup on the walls of the aluminum.cob8 cob9My brother cleaned up the cap and the interior of the aluminum bowl holder and shank. He cleaned the aluminum with Murphy’s Oil Soap inside and out. He scrubbed out the airway in the shank and stem. He cleaned up the damaged edge of the cob insert. When it arrived in Vancouver, I brought it to the work table and took some photos of the condition it was in before I started.cob10 cob11Inside the plastic box there was a pamphlet that explained the function of the pipe and all of its parts. The description of the pipe and how to use it was a marketing document that sold the pipe and all of its design as the best smoking pipe available.cob13 cob14I polished the aluminum with micromesh sanding pads. I started polishing with 1500-2400 grit pads and wiped it down with a damp cotton pad. I continued to polish it with 3200-12000 pads and the finish began to shine.cob15 cob16I sanded the stem to remove the tooth marks and chatter from the top and bottom sides of the stem. I ran a pair of bristle pipe cleaners and alcohol through the airway in the stem to remove the residue that still remained in the stem.cob17 cob18I polished the stem with micromesh sanding pads – wet sanding with 1500-2400 grit pads and dry sanding with 3200-12000 grit pads. I wiped it down with a damp cotton pad after each set of three pads.cob19 cob20 cob21Because the stem was nylon I decided not to use the buffing wheel. I gave it several coats of Conservator’s Wax and hand buffed it with a microfibre cloth. I lightly buffed the aluminum on the Blue Diamond wheel and then with a clean buffing pad to raise the shine. The finished pipe is shown in the photos below. It makes a great piece of pipe history in the ongoing search for the illusive perfect smoke. It will hold a place in my collection of tobacciana. Thanks for walking through this restoration with me.cob22 cob23 cob24 cob25 cob26 cob27 cob28 cob29