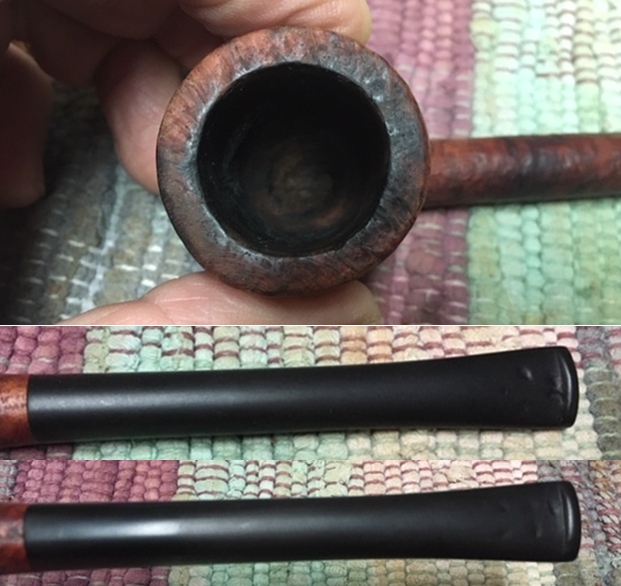
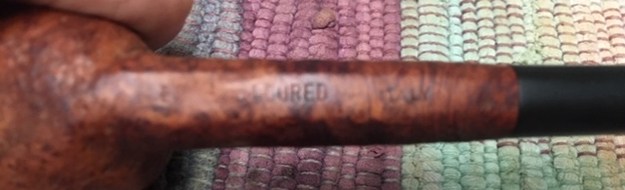
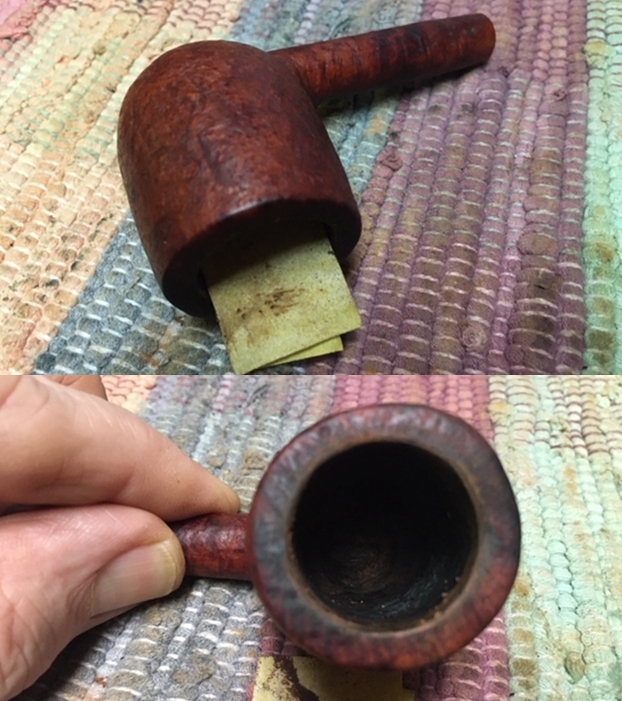
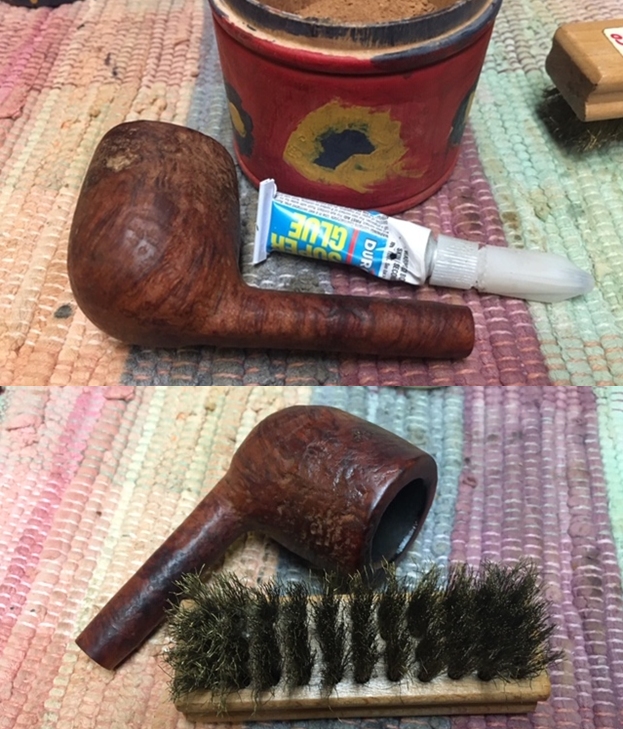
Tag Archives: bite marks

This Interesting Soren Hand Carved Freehand Turned Out to be More Work than Expected


Blog by Steve Laug

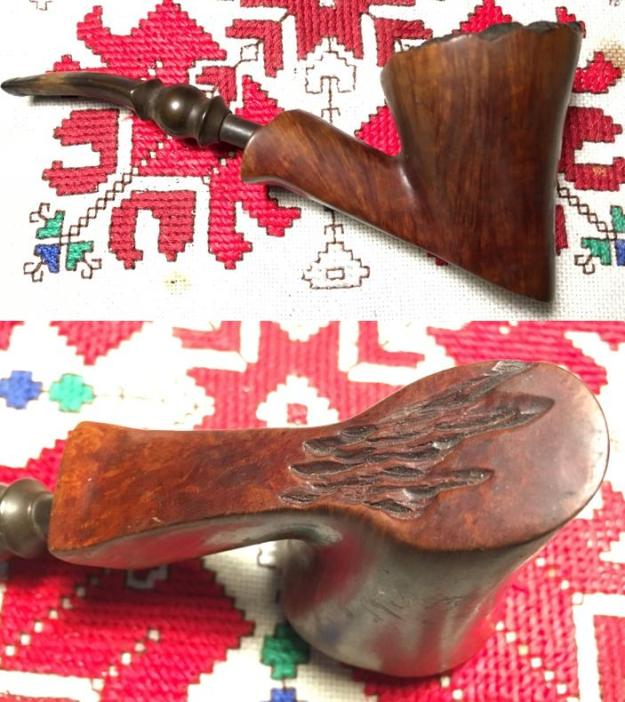
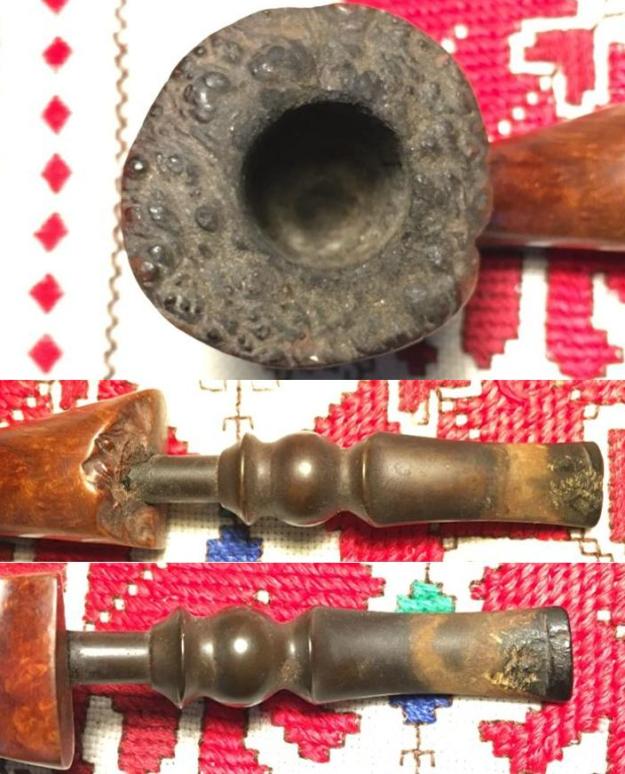
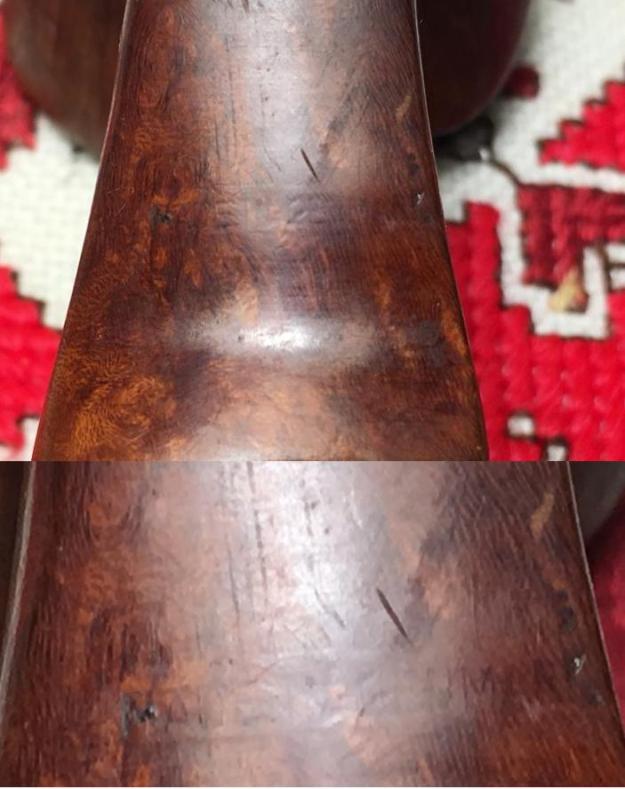
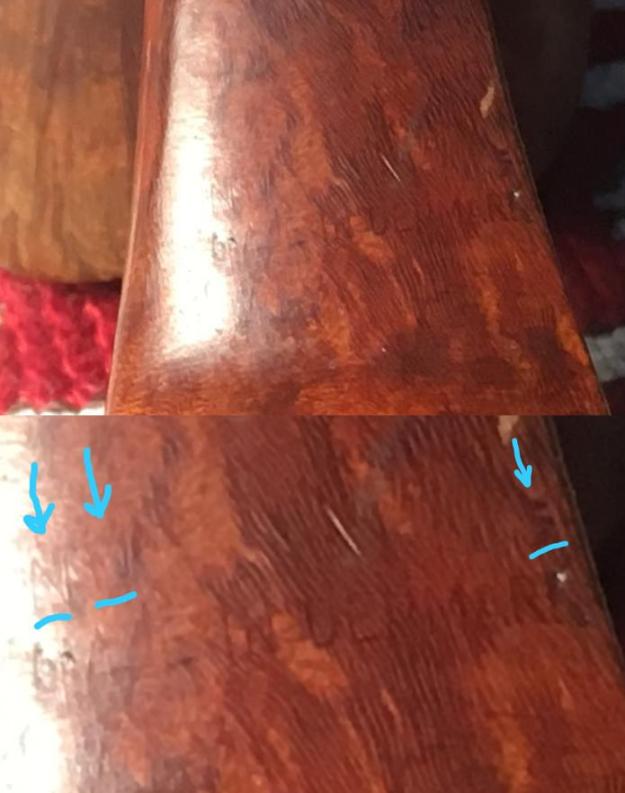
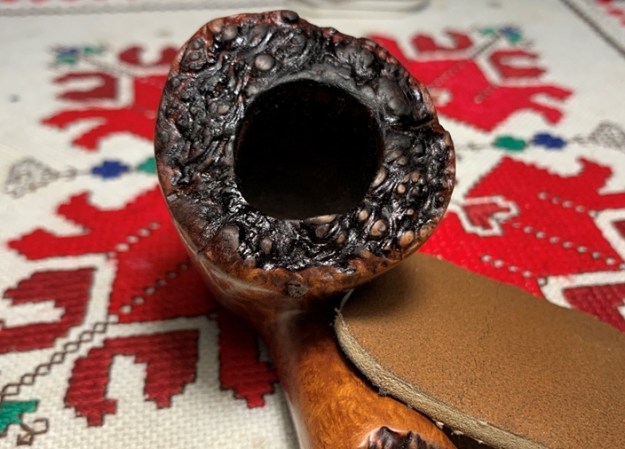
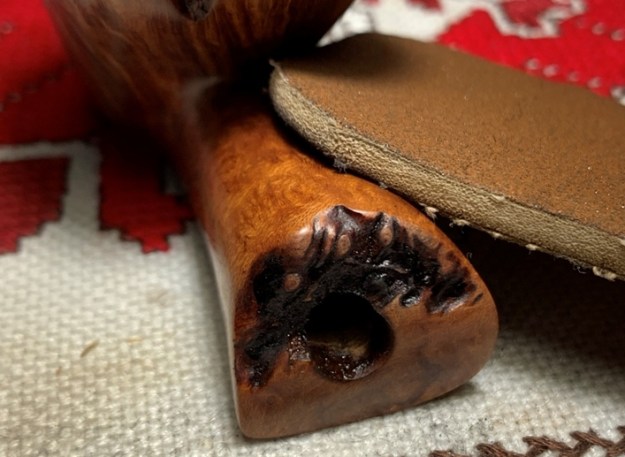
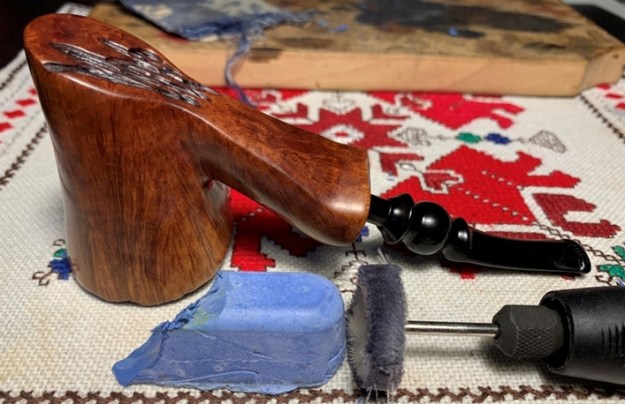
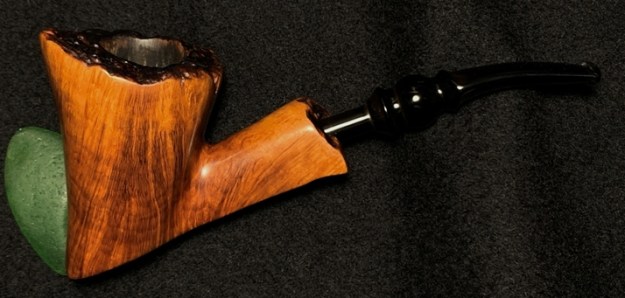
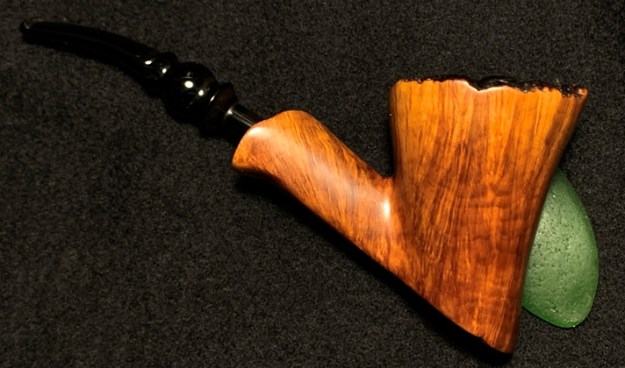
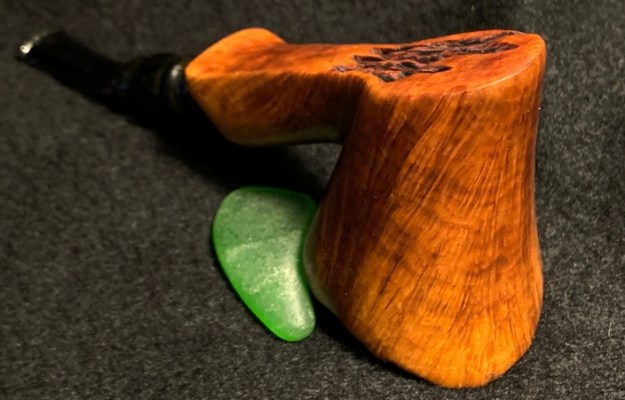
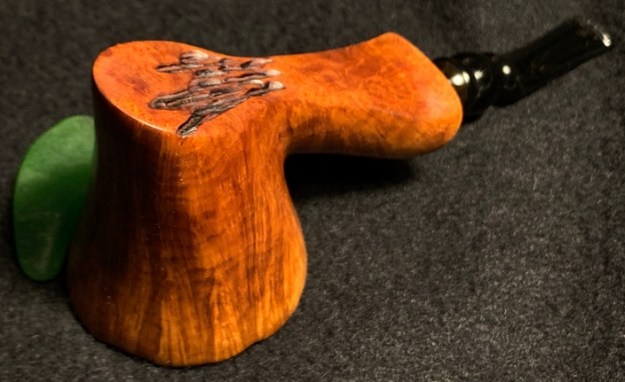
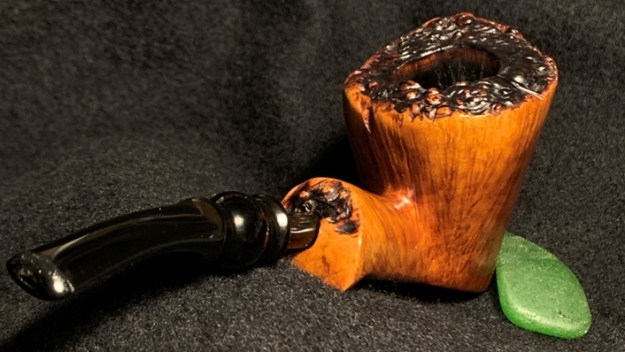
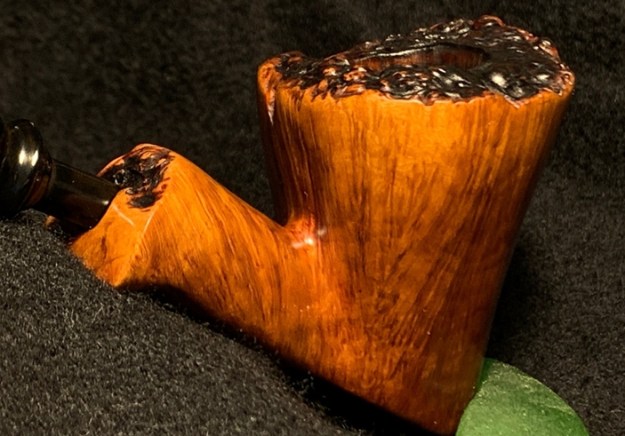
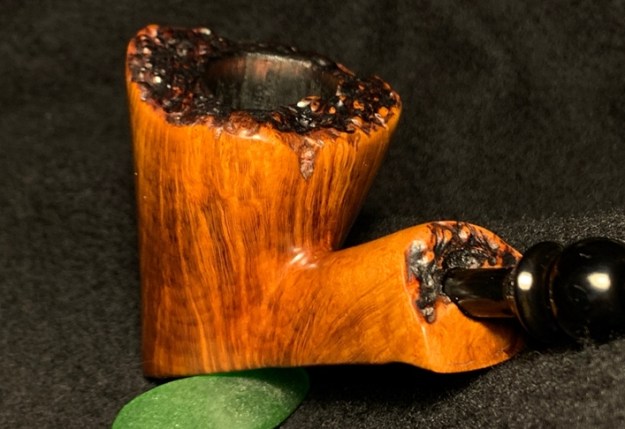
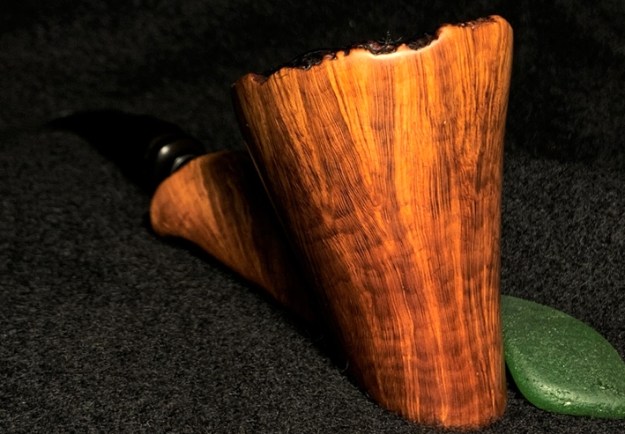
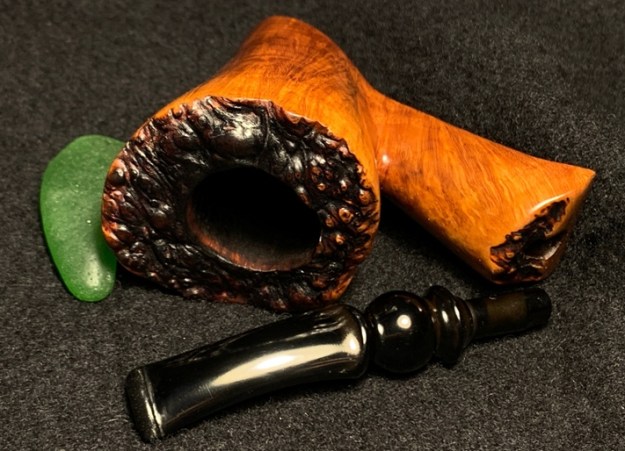
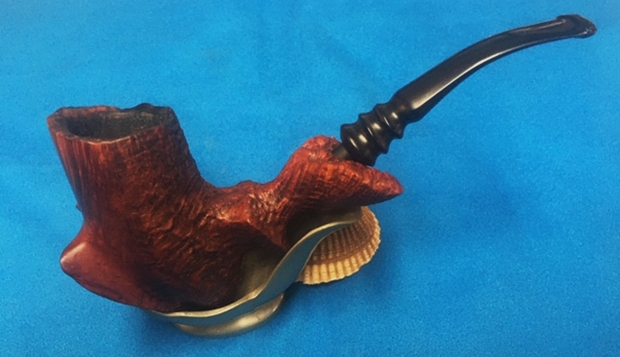
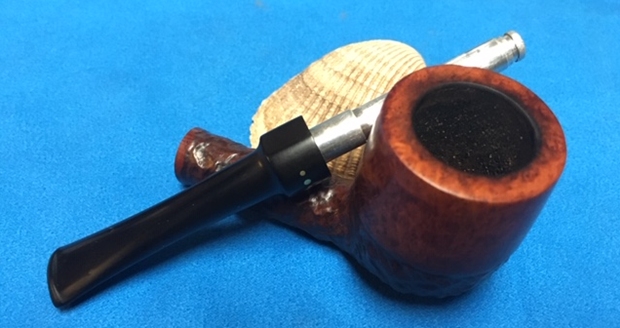
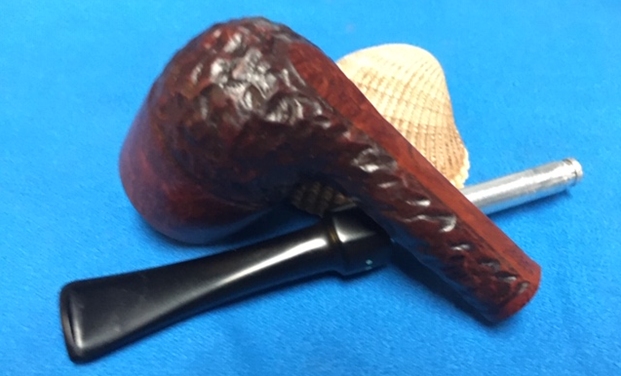
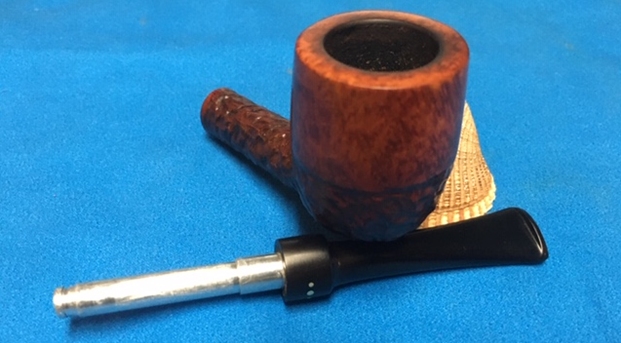
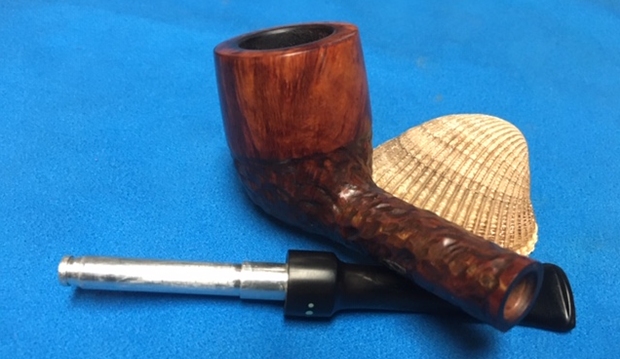
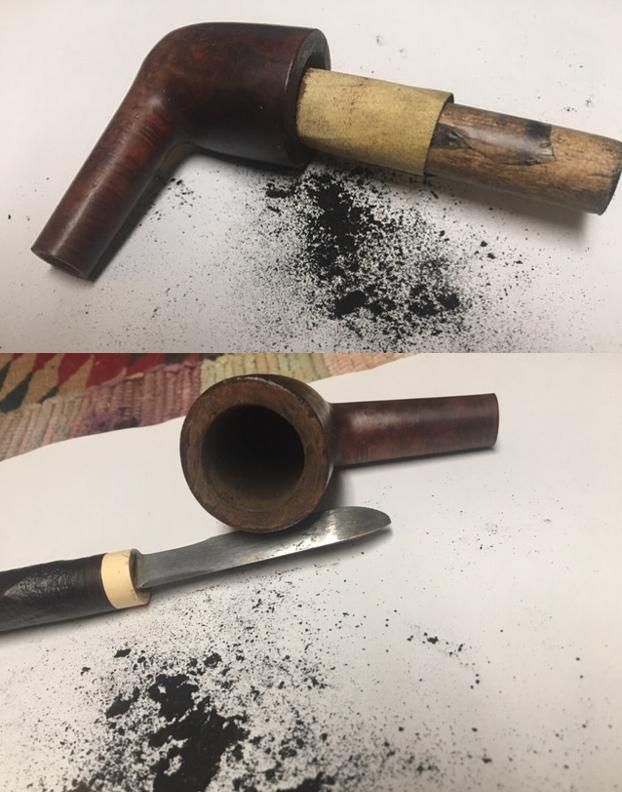
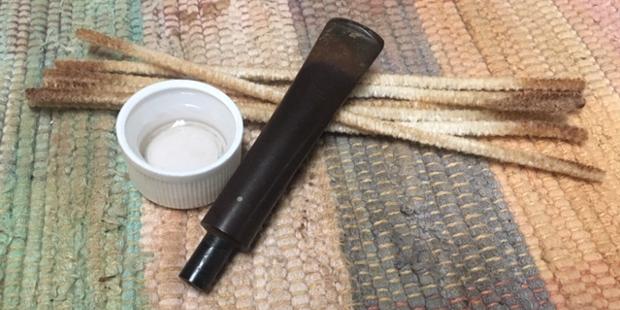
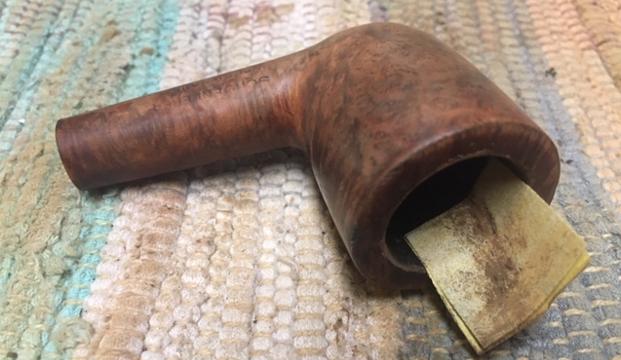
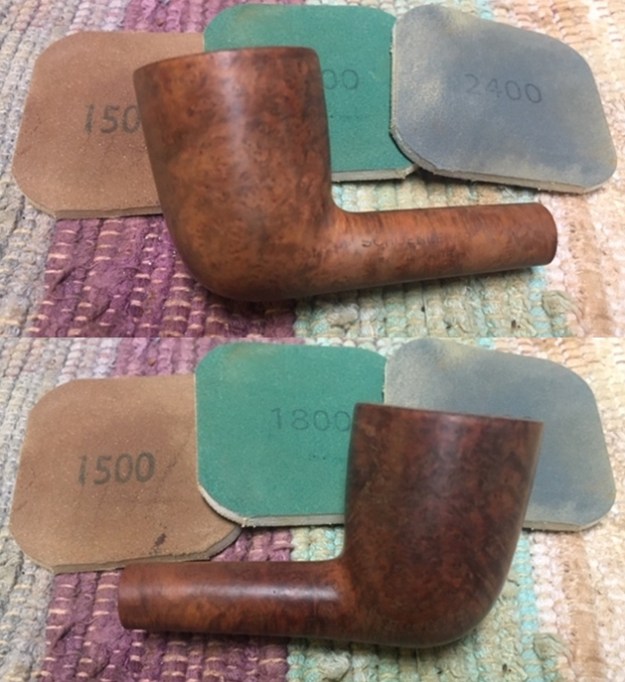
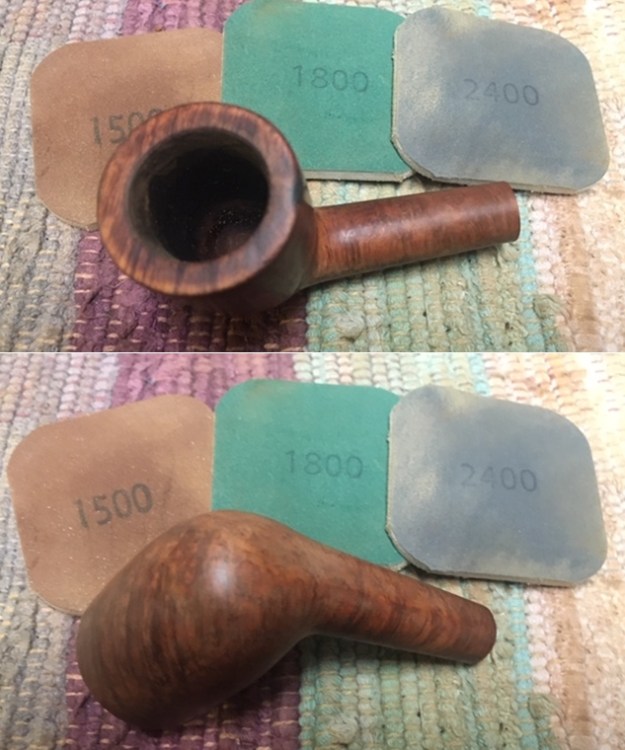
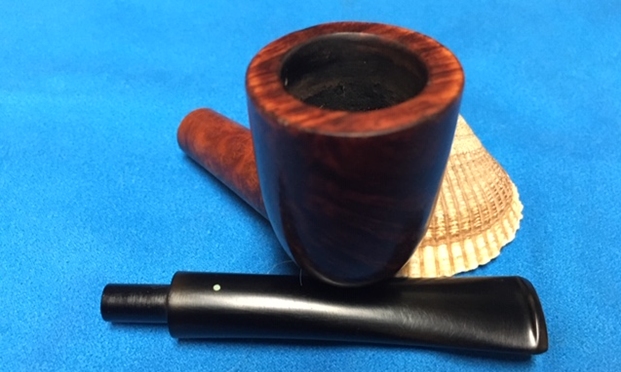
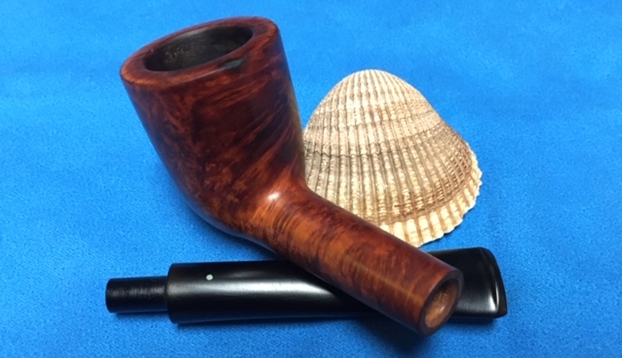
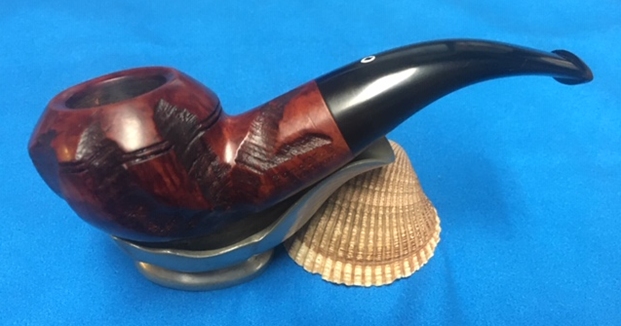
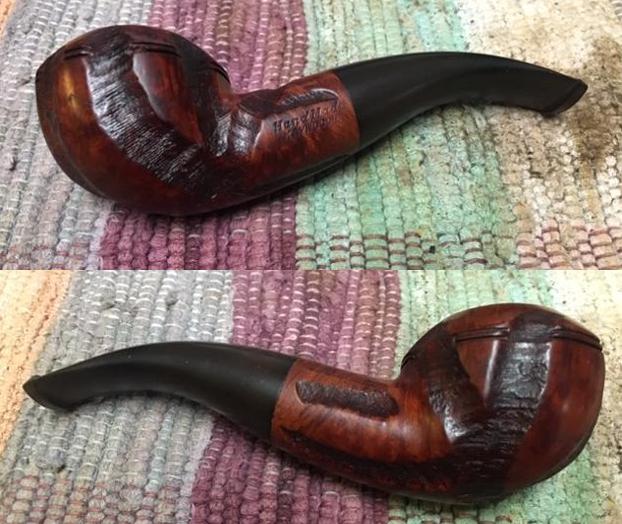
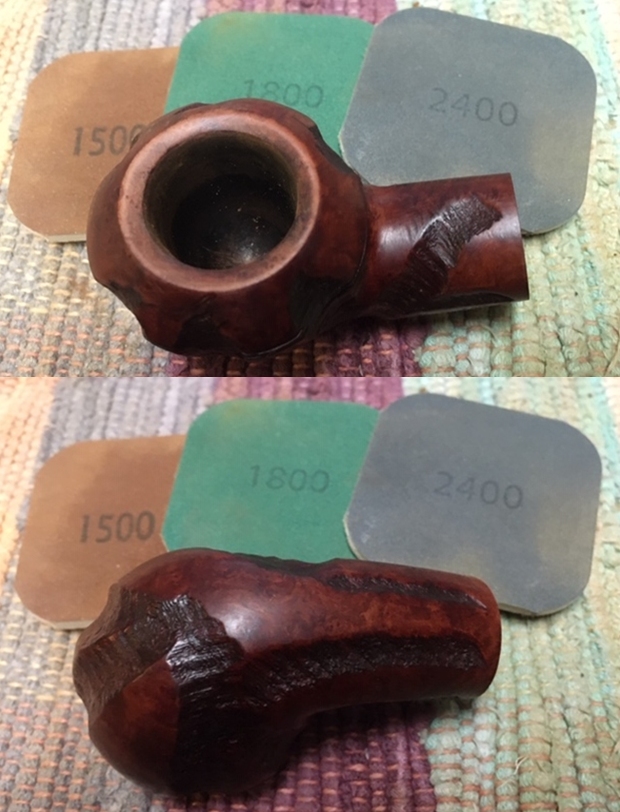
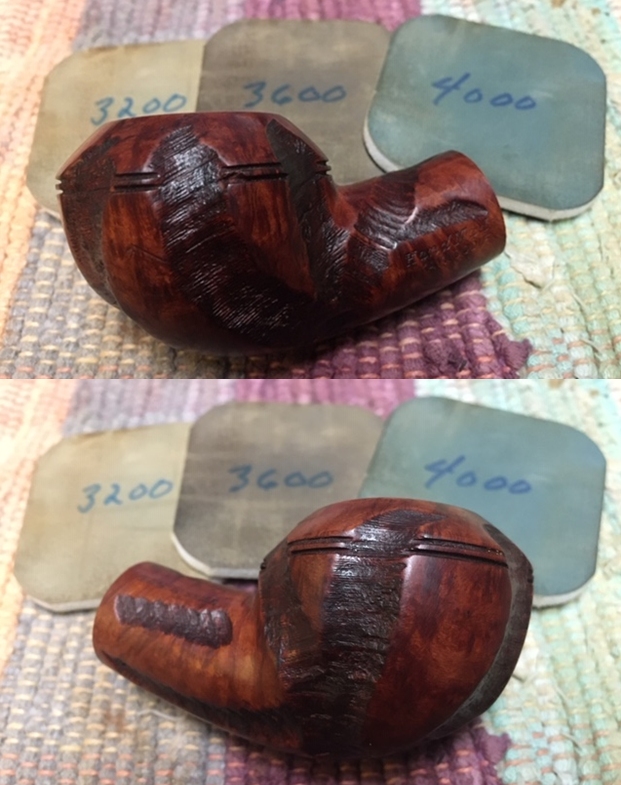
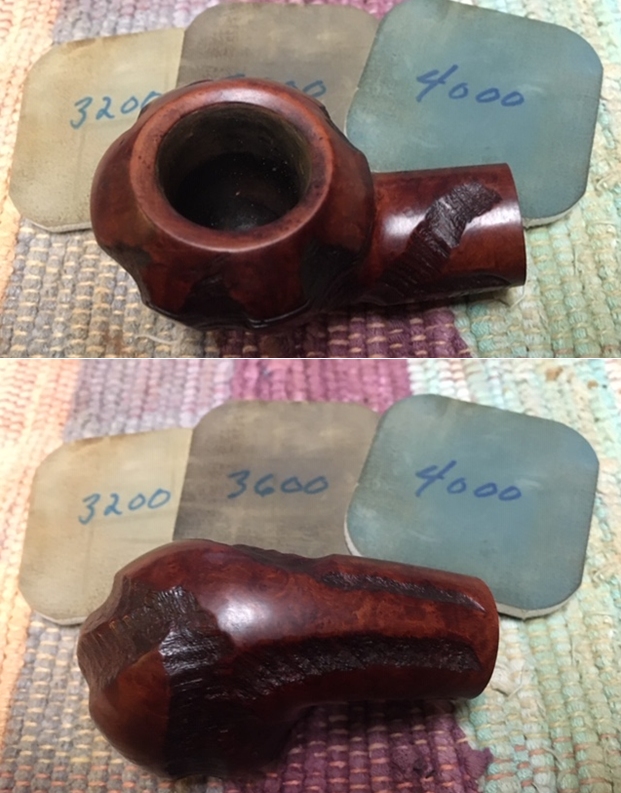
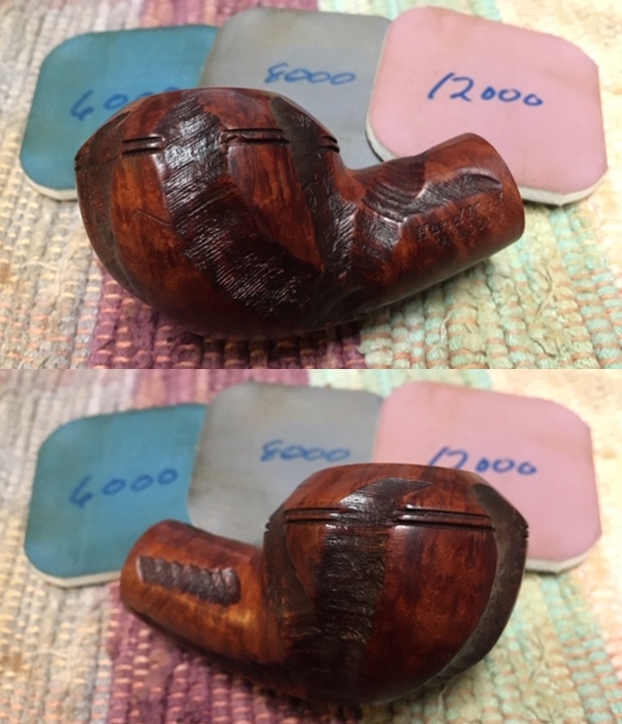
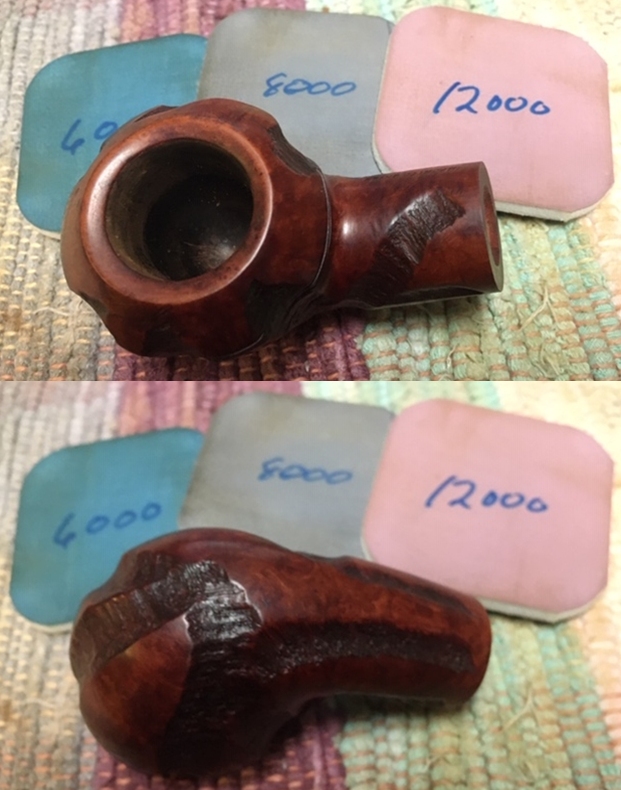
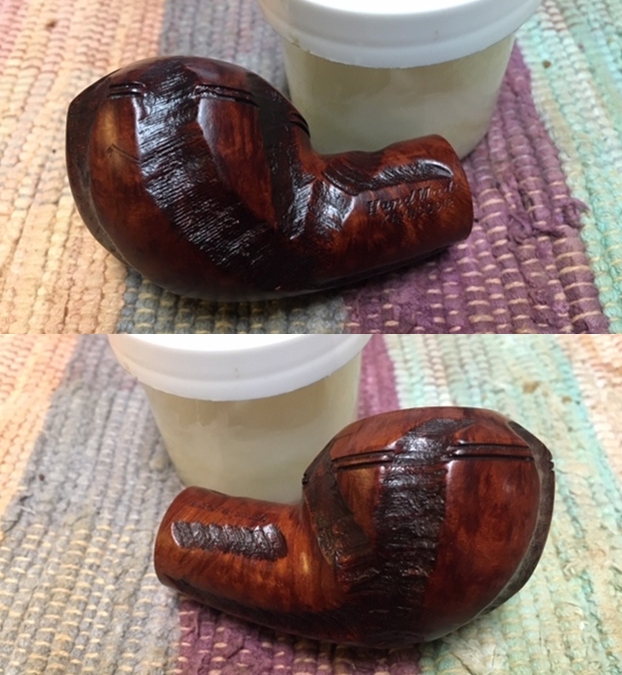
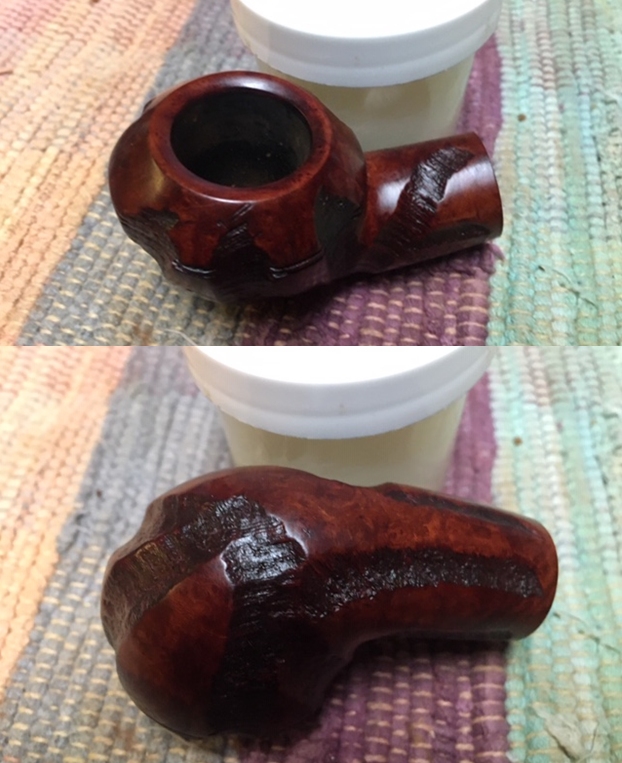
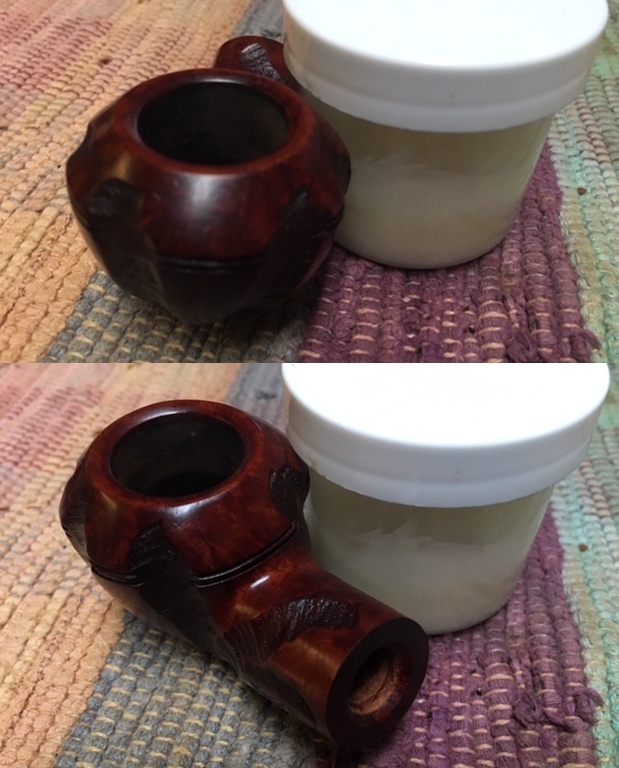
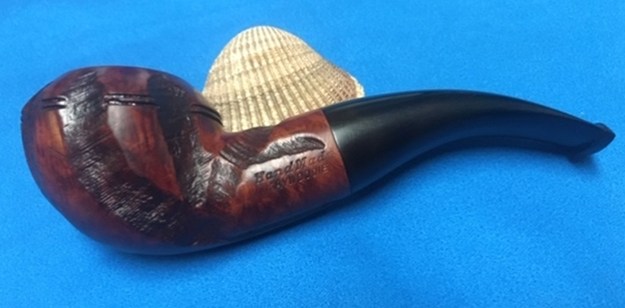
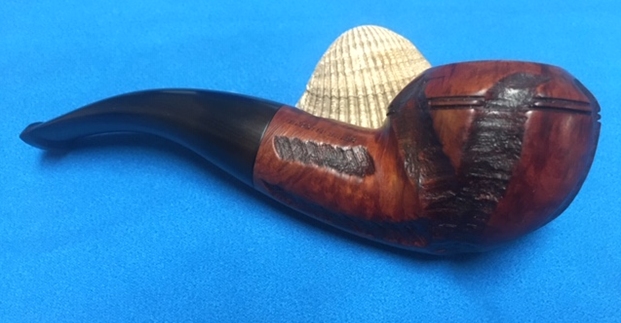
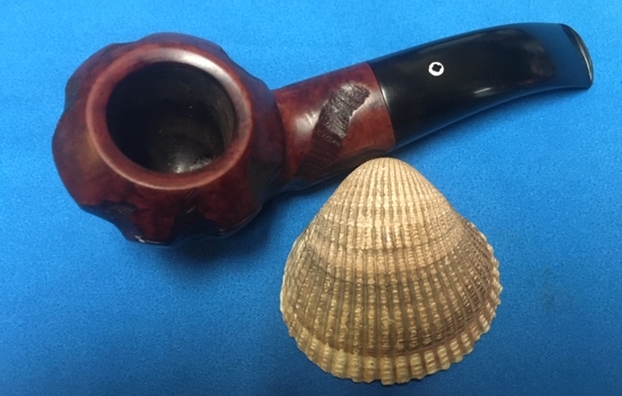
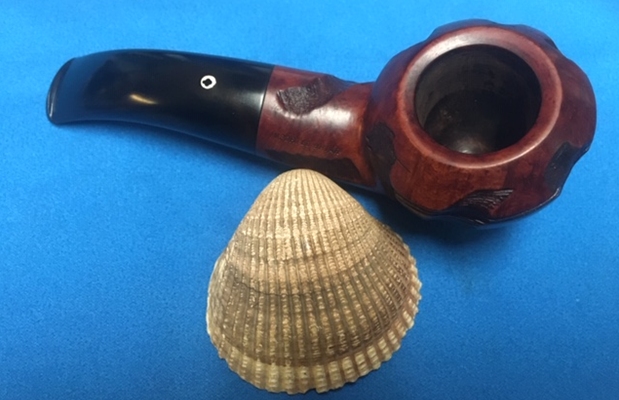
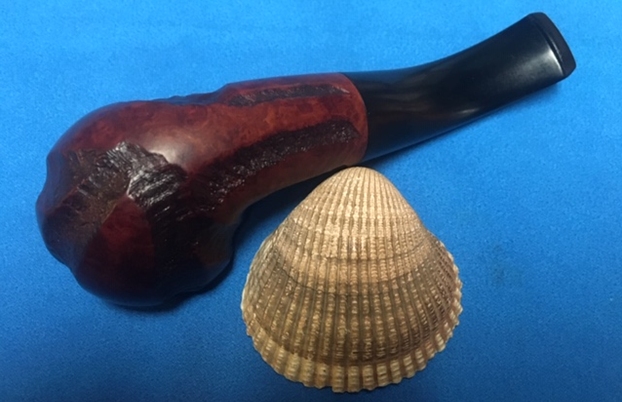
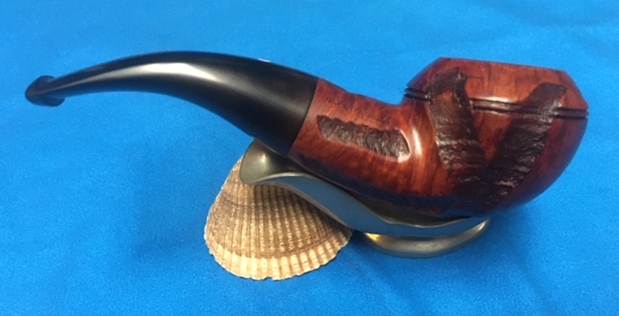
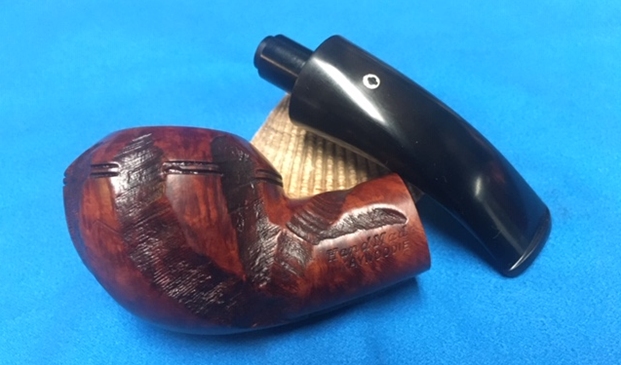
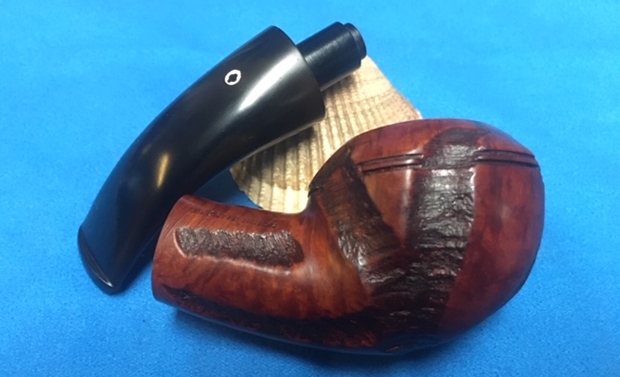
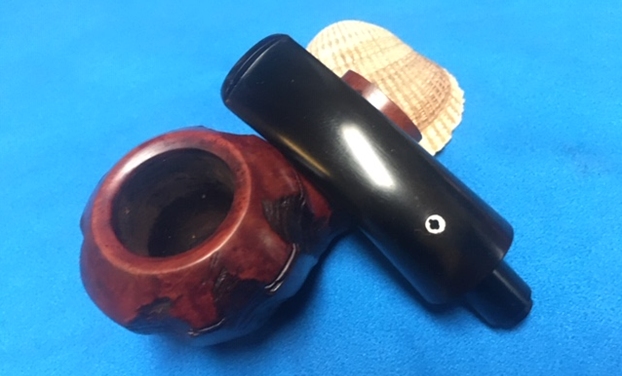
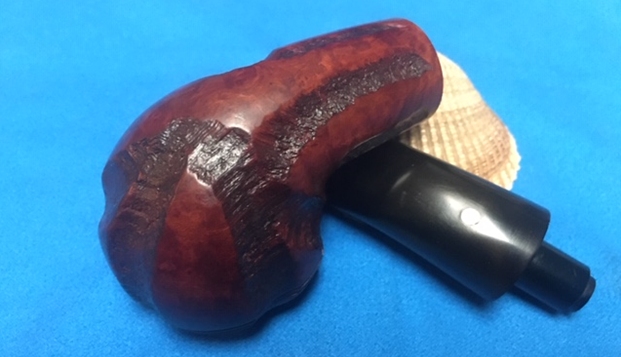
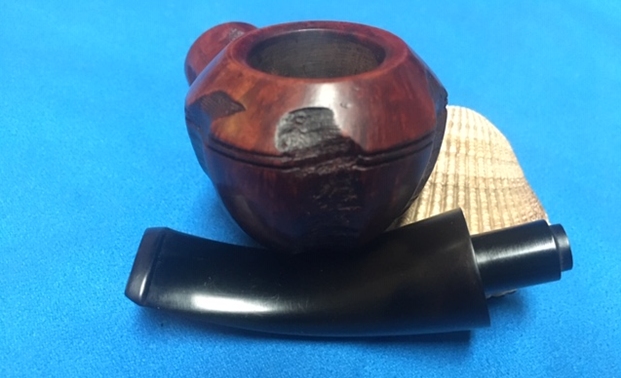
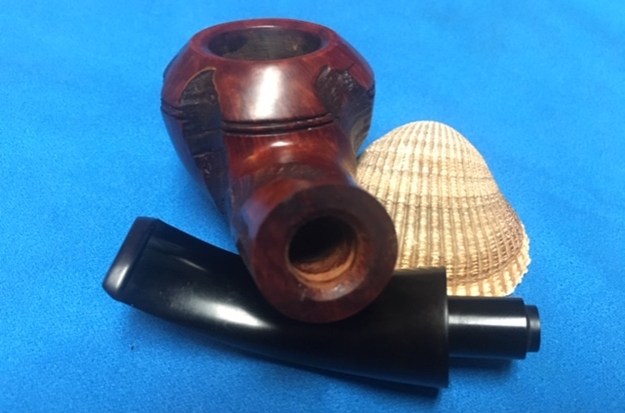
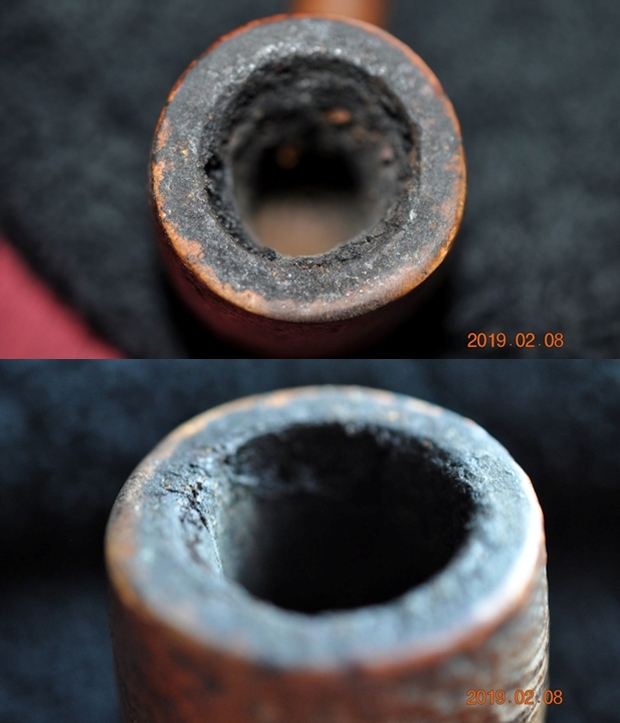
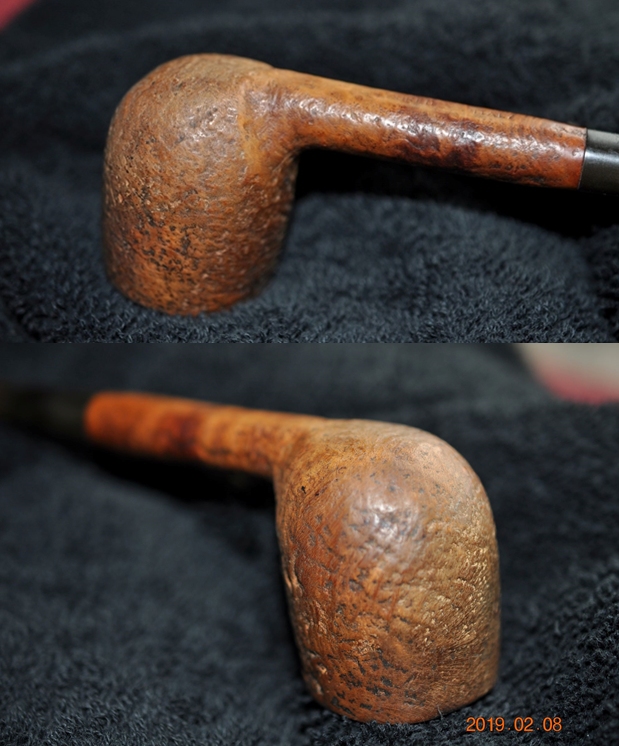
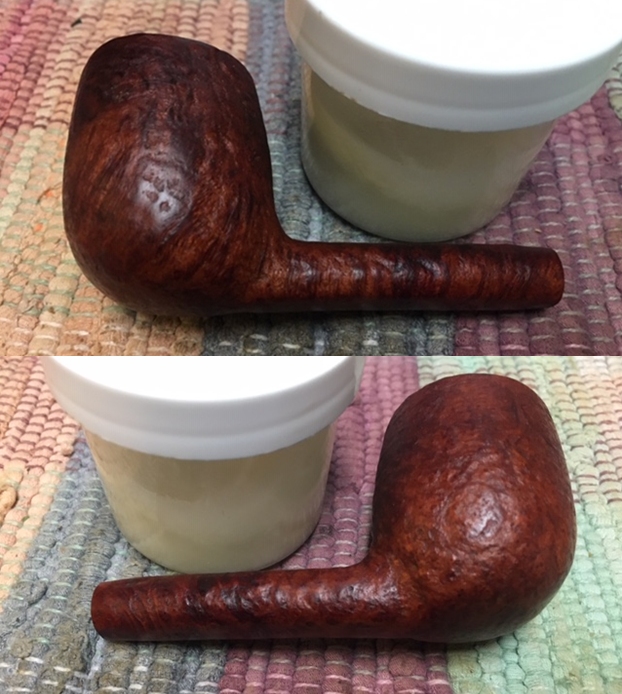
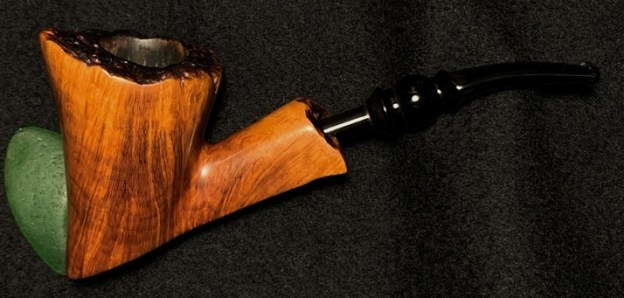
On a recent trip that Irene and I took with Jeff and his wife to the Oregon Coast we managed to do some pipe hunting. We found a few interesting pipes. I was in the mood today to work on a couple of them as a break from the restorations I am doing for others. The second of these is a pipe marked Soren over Hand Carved over Copenhagen over Denmark on the underside of the shank. It is a Freehand with a mix of sand blast and smooth finish on the bowl and shank. There is also plateau on the rim top and shank end. The pipe has a pair of fins on the underside of the bowl that allows the pipe to stand on its own. The bowl was a mess with a thick cake and tar overflow filling in the plateau rim top. There was a lot of dust and grim in the sandblast and buildup on the smooth portions. There were some chips missing on the ends of the fins but they did not detract from the unique beauty of the pipe. At first glance the stem was okay though it has some tooth marks and chatter near the button. There was some calcification and heavy oxidation in all of the turnings and smooth parts of the stem. When I removed the stem there was an issue – the tenon was ragged looking and probably half of it was missing. I took this one home as I decided I wanted to work on it. I took photos of the pipe before starting my cleanup work. I took close up photos of the rim top and bowl to show how clean it was. There is some nice cross grain on the rim top. I also took photos of the stem to show their condition. You can see the oxidation and tooth chatter on it but otherwise it is a pretty straight forward cleanup.I took a photo of the stamping on the underside of the shank. You can see it below and it read as noted above. I looked up the brand on Pipephil (http://www.pipephil.eu/logos/en/logo-s10.html) and found that the brand was carved by Søren Refbjerg Rasmussen. Pipes that he made for the European market were mostly stamped “Refbjerg” while those made for the US market were stamped “Soren”. Thus I knew that one I was working on was imported into the US market.

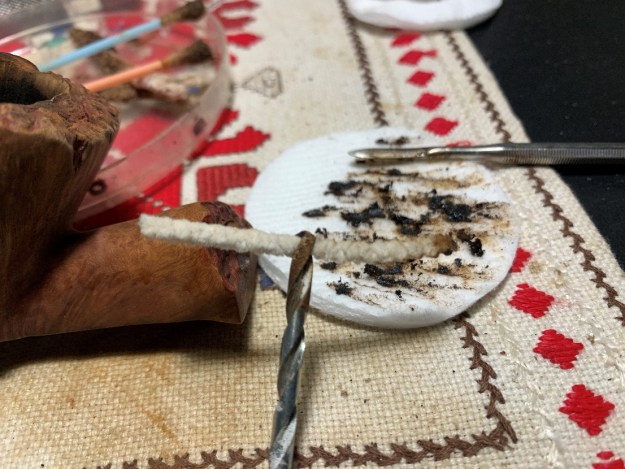
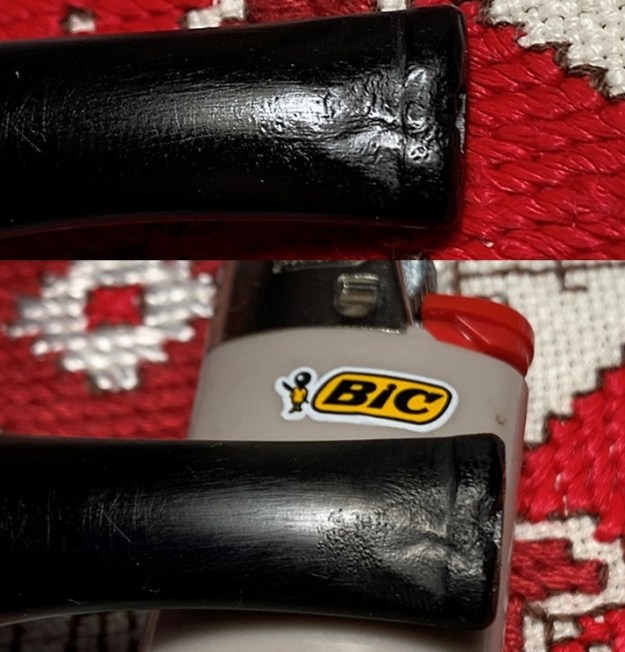
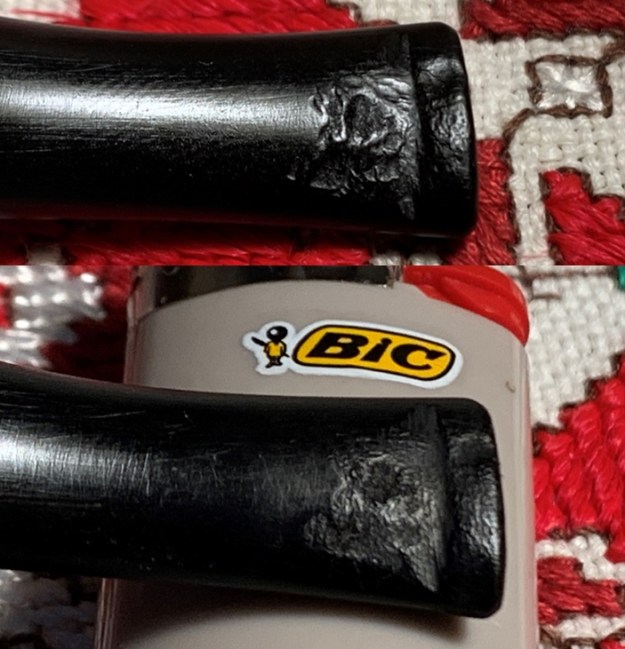
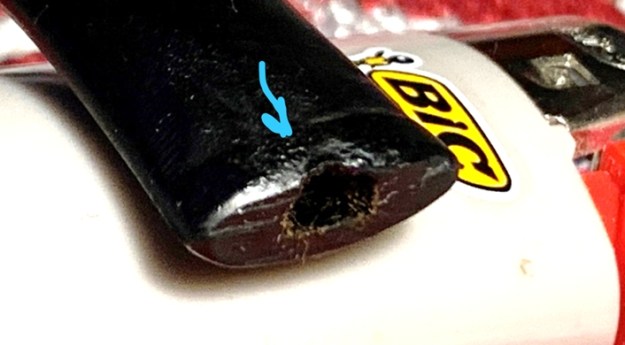
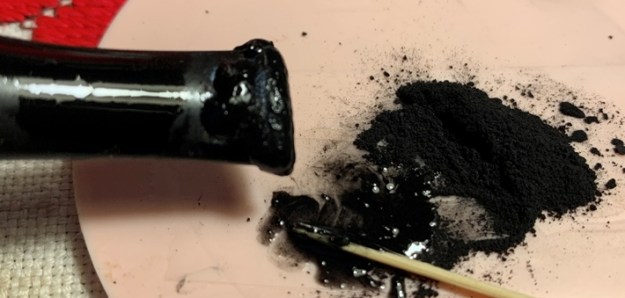
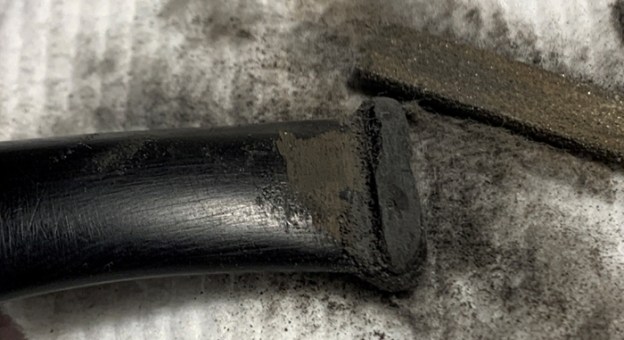
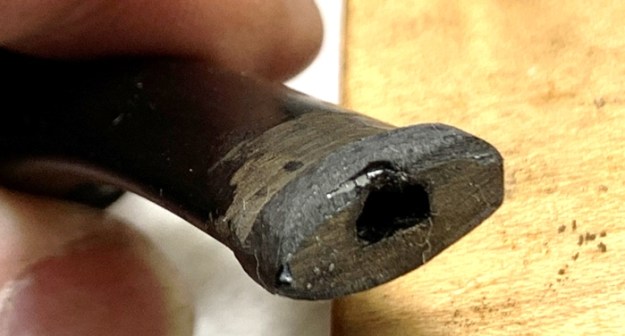
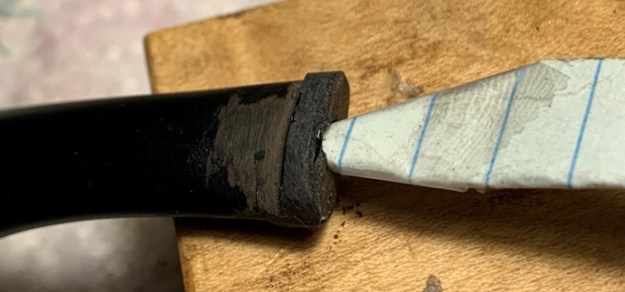
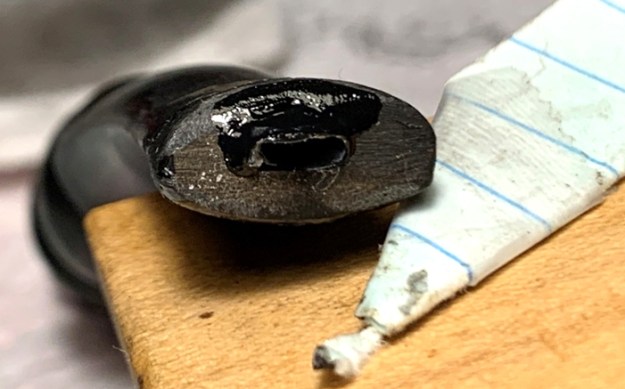
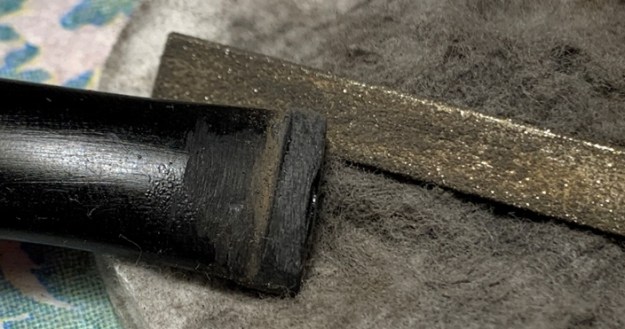
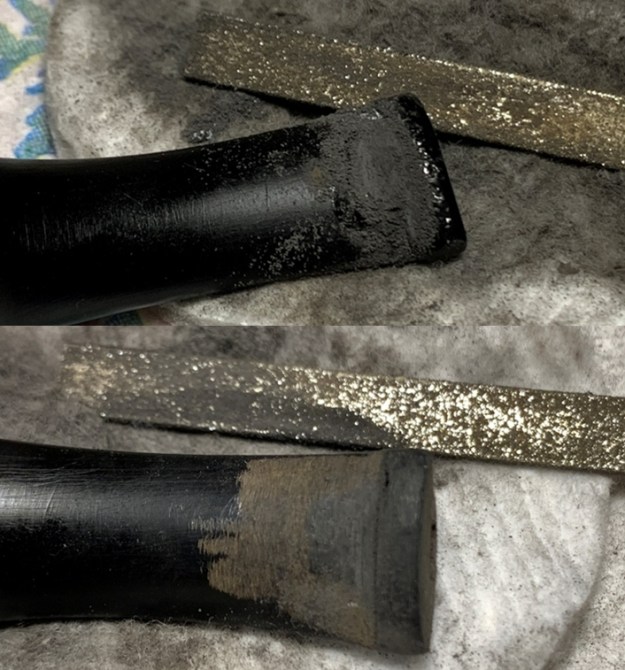
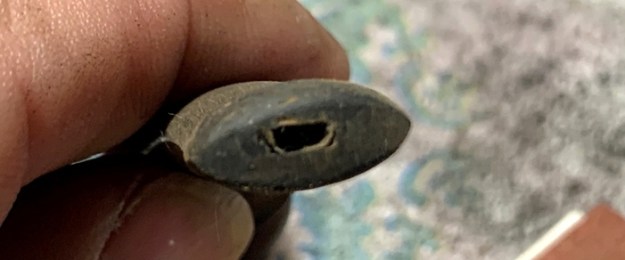
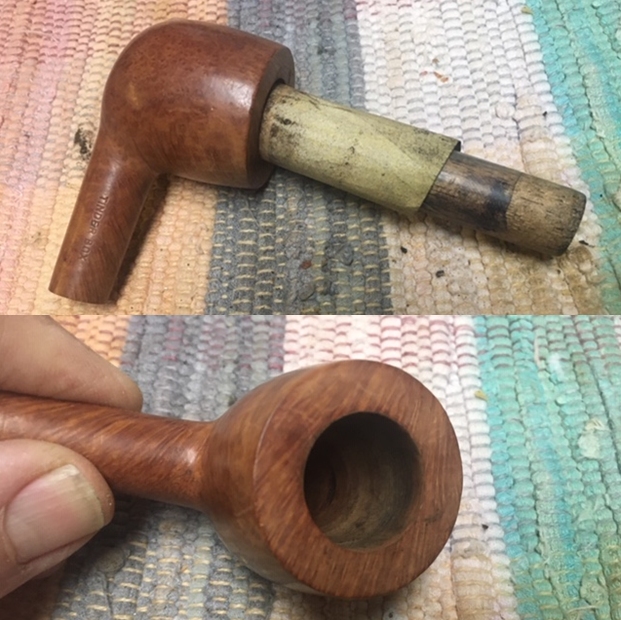
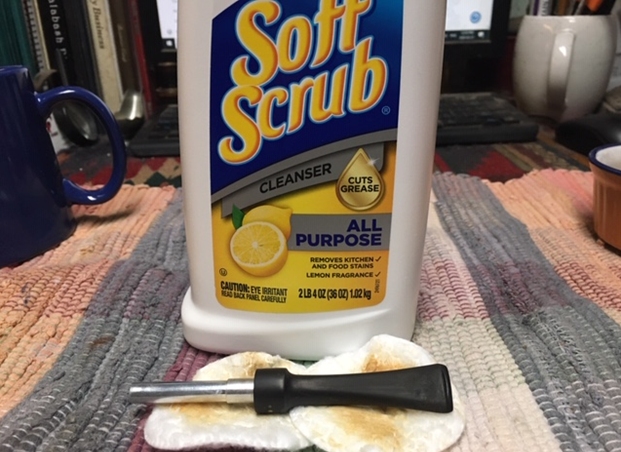
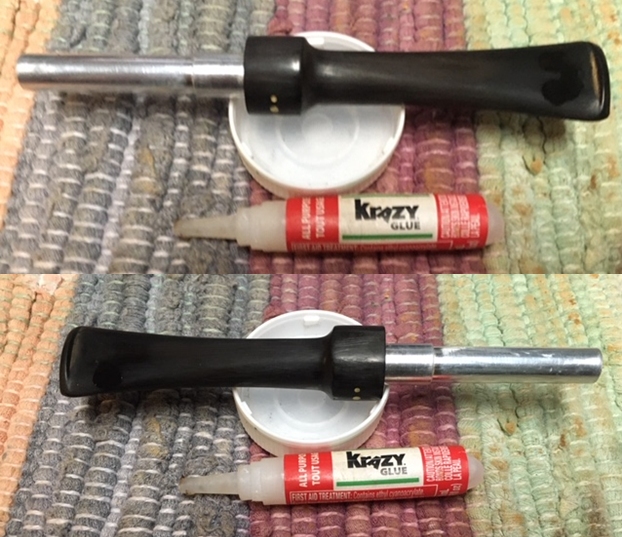
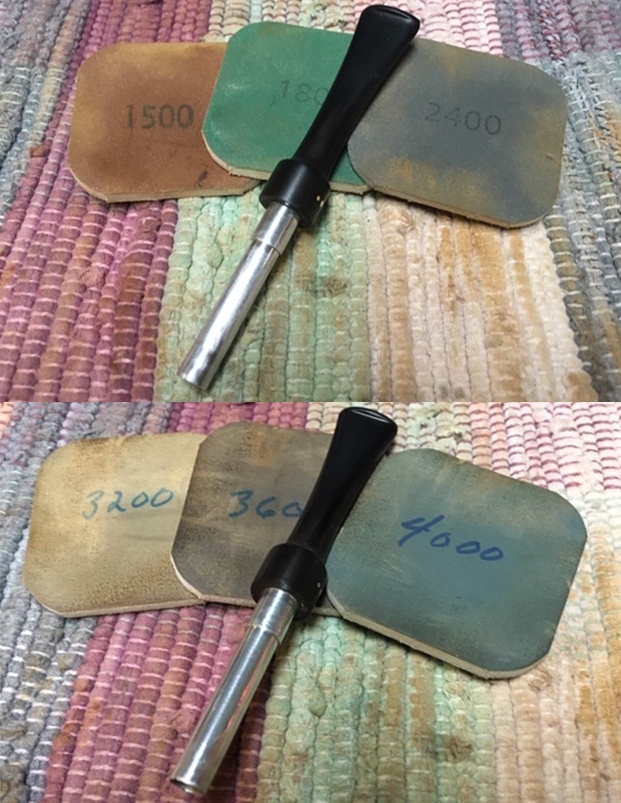
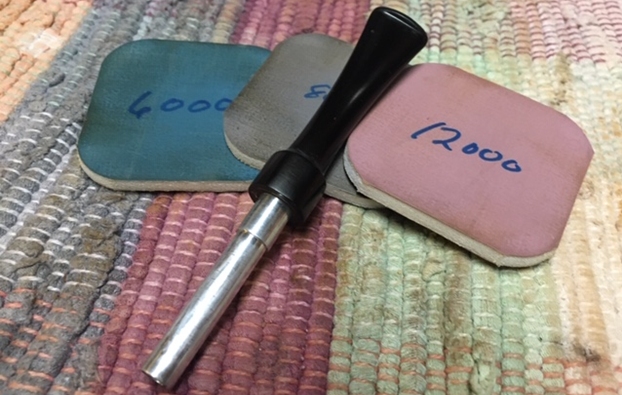
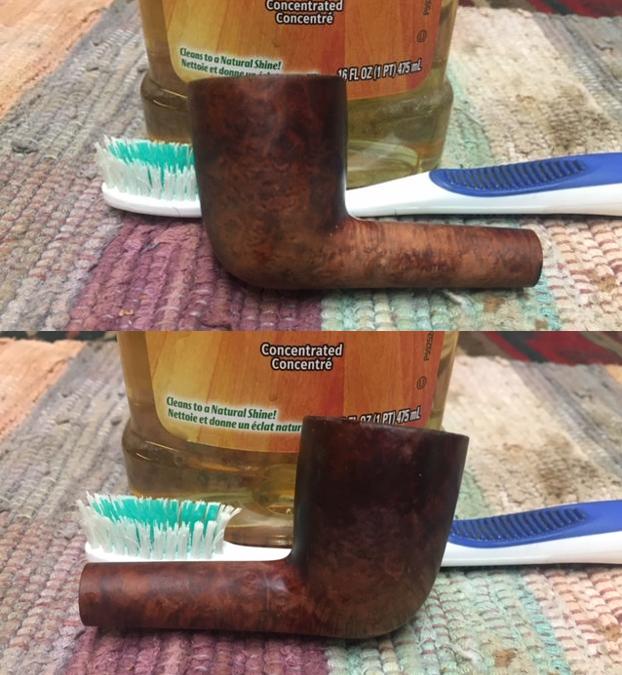
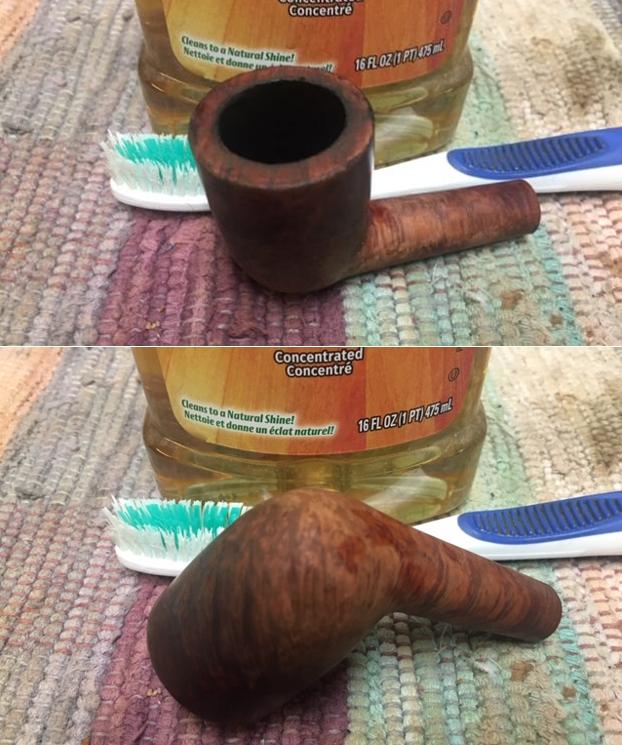
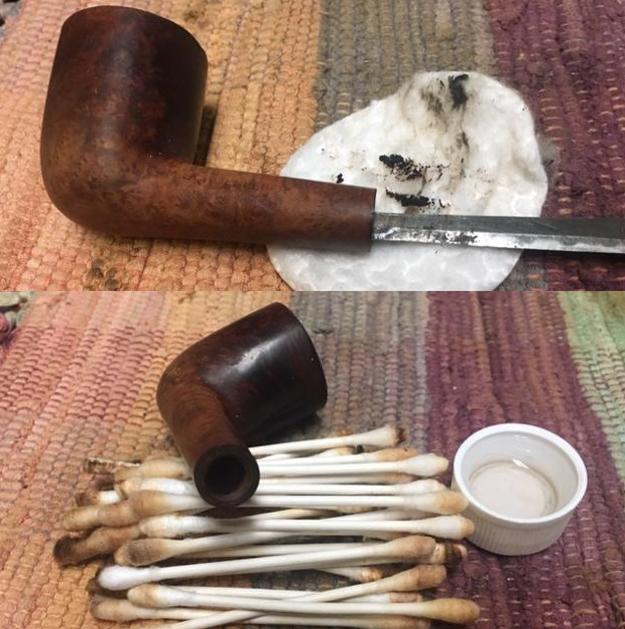
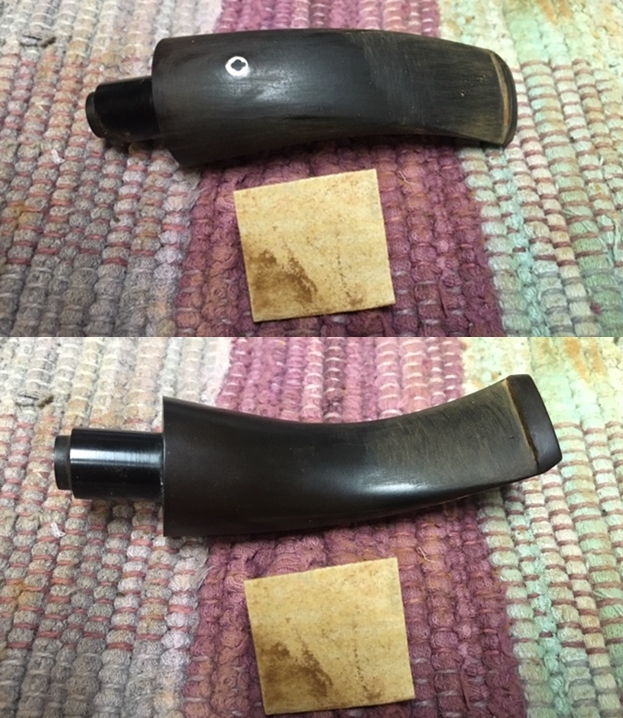
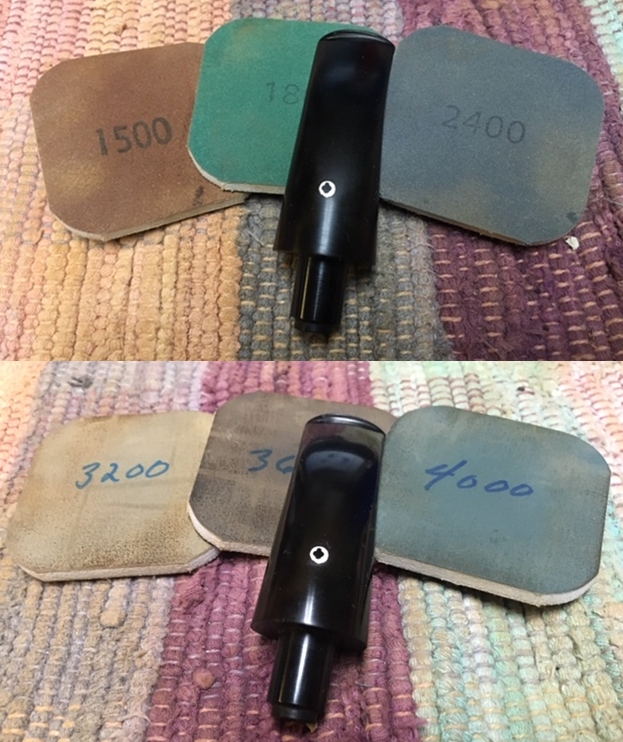
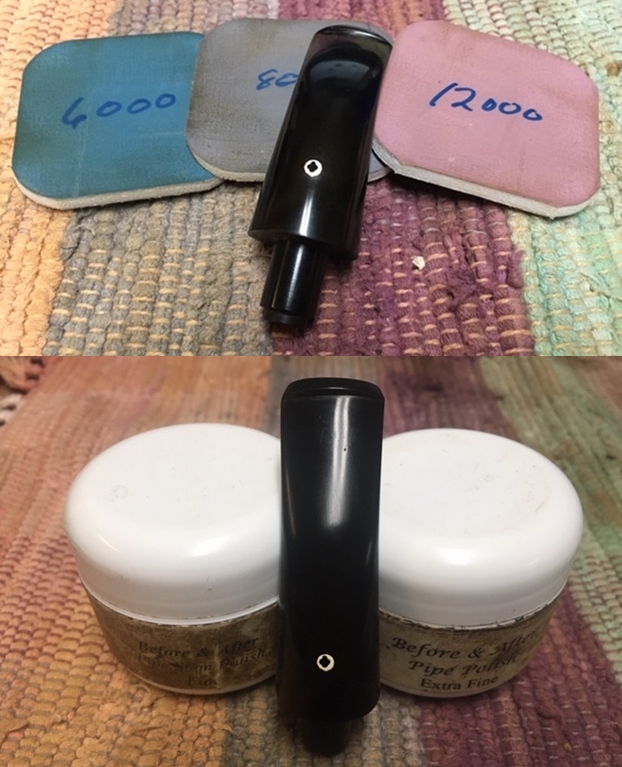
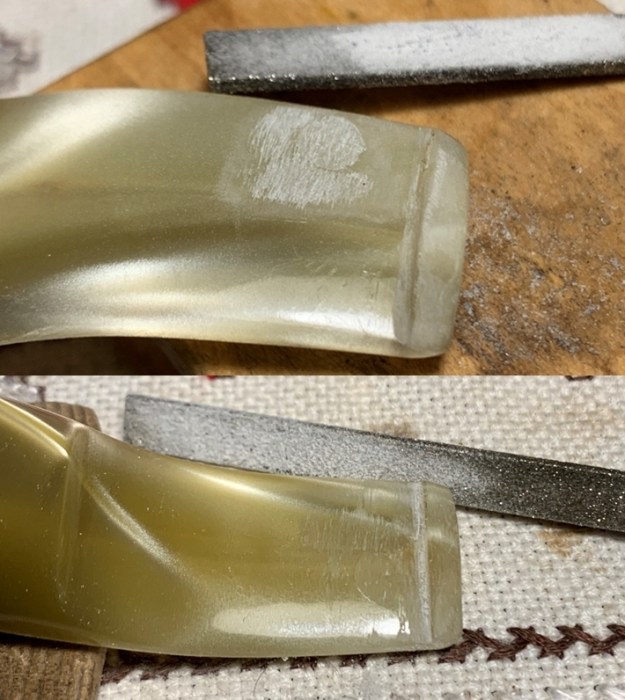
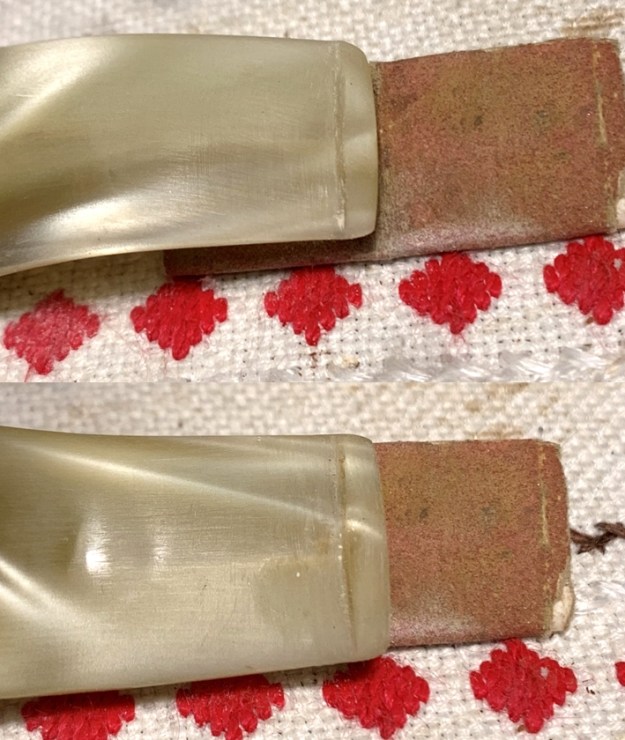
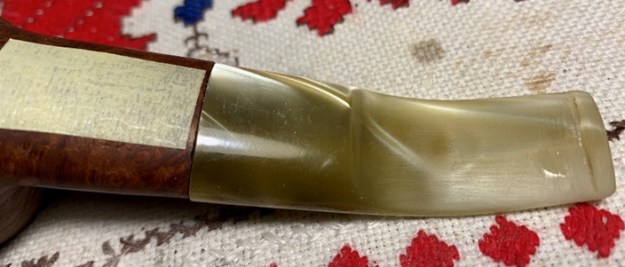
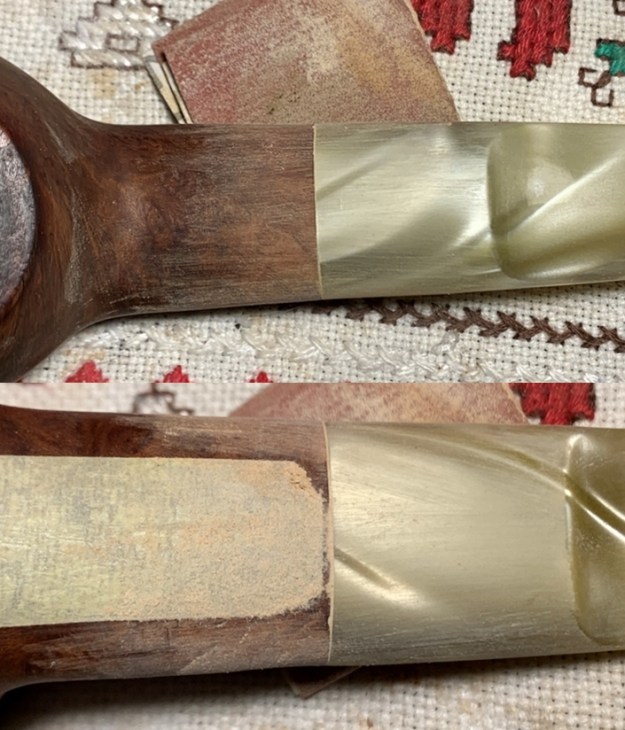
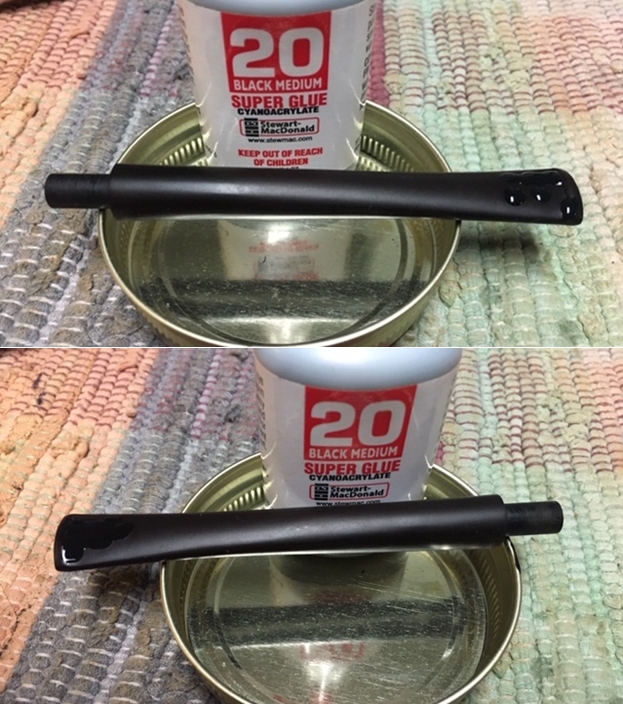
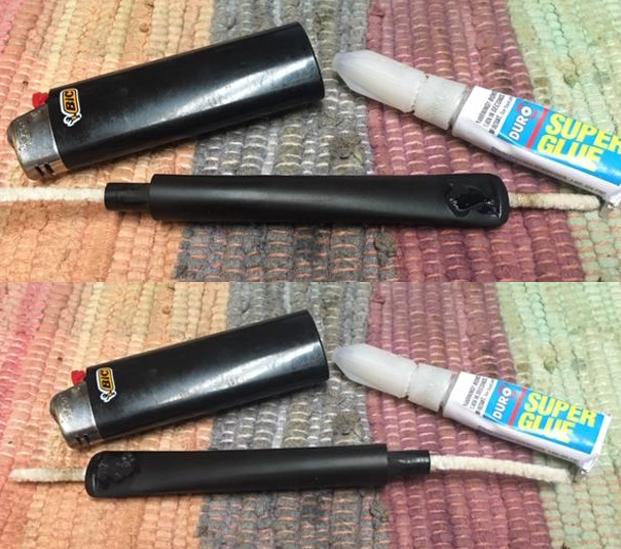
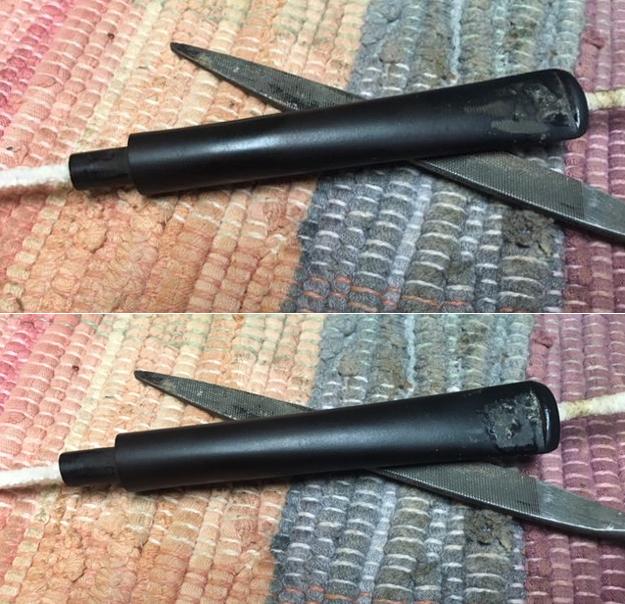
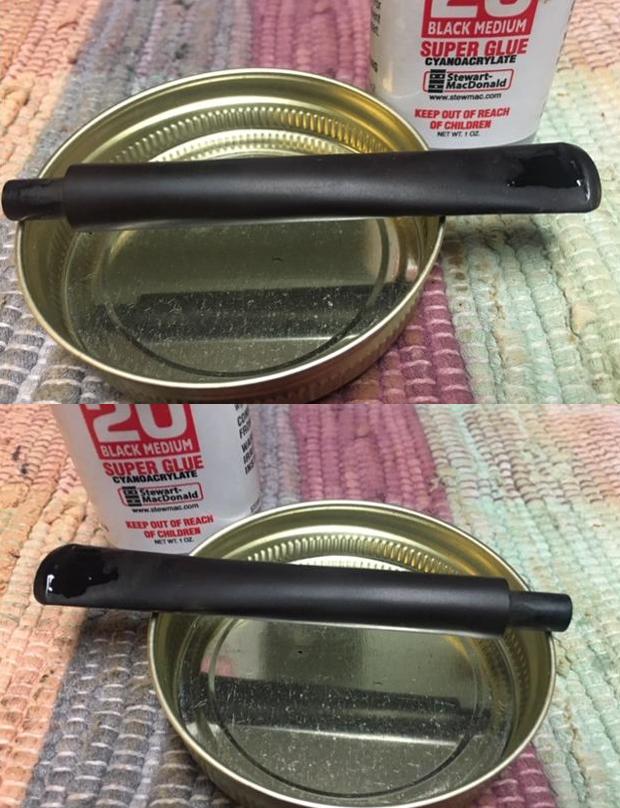
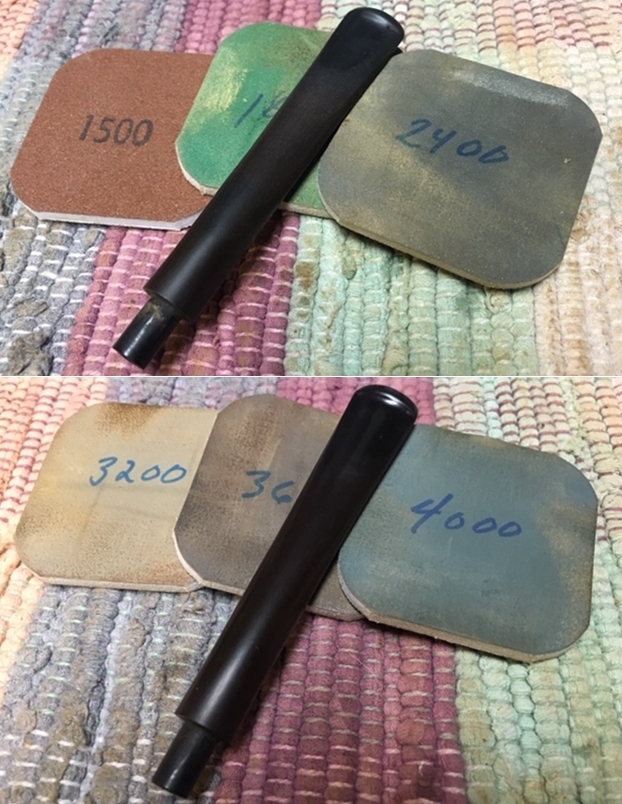
With that information I was clear on the maker of the pipe and I turned to work on the pipe itself. I reamed the bowl with a PipNet pipe reamers using the first three cutting heads to take the cake back to bare briar. I like to have a clear idea of the condition of the inside walls of the bowl before I consider a pipe finished. This one looked very good. I cleaned up the remnants of cake with a Savinelli Fitsall Pipe Knife and sanded the walls with a piece of 220 grit sandpaper wrapped around a dowel. I scrubbed the briar with undiluted Murphy’s Oil Soap, a tooth brush and a wire brush to clean out the grime and dust in the grain of the sand blast and in the plateau on the rim top and shank end. I rinsed soap off the bowl with warm running water and dried off the briar with a soft cloth. I cleaned the surface further with Mark Hoover’s Before & After Briar Cleaner – the Extra strength version. I rubbed it into the surface of the briar with a tooth brush and rinsed it off to remove the grime that it had trapped. I used a folded piece of 220 grit sandpaper to smooth out the damage on the fins. Both sides had small chips in the finish on the end of the fins.I rubbed the briar down with Before & After Restoration Balm. I worked it into the surface of the briar with my fingertips and a horsehair shoe brush. I let it sit for about 10 minutes. I buffed it off with a cotton cloth. You can see how well the product works to clean and enliven the briar and as a bonus it protects it as well. I set the bowl aside and turned my attention to the stem. While I was with Jeff in Oregon I picked up some of the Soft Scrub that he has found very useful in removing oxidation and calcification. I rubbed down the stem with it on a cotton pad. You can see the results on the pads in the photo below.I cleaned out the airway in the shank and stem and the inside of the mortise with pipe cleaners, cotton swabs and alcohol. It was a dirty pipe. The photo of the bowl came out pretty good but the stem photo is out of focus. You get the idea though on how dirty both were.I cleaned off the surface of the stem, painted it with the flame of a lighter to lift the tooth marks and filled in the remaining tooth marks with black super glue. I set the stem aside to let the repair cure overnight. While it cured I mulled over what I was going to do about the short, broken tenon on the stem. I had two options – I could cut off the remaining tenon and replace it or I could replace the stem. I like the fancy stem that was on the pipe so I was more prone to replace the tenon… I would let it sit and make a decision in the morning.When the glue cured and the repair hardened I recut the edge of the button on both sides with a needle file. I gave it more definition and flattened out the repaired areas on the top and underside. I smoothed out top and underside with 180 grit sandpaper.I smoothed out the sanding marks and worked on the oxidation with 220 grit sandpaper. I wiped the stem down afterwards with a damp cloth. Finally I feel like I am making some progress with the stem.I cleaned the stem with cotton swabs, cotton pads and Soft Scrub to remove more of the oxidation on the surface of the rubber. At this point the stem was looking pretty good.I paused at this point and thought about a third option for the tenon – not a replacement and not a new stem. There was another way that I thought might work. I used a needle file to reshape the broken tenon and take away some of the first disk of the turned stem. The photos below show the stem after I had removed some of the material and bought some more length on the tenon. I still need to smooth out the tenon and flatten the end but the fit is much better in the shank and actually looks better. I cleaned up the tenon and the fit is very good now. All that remains is to polish it.I polished the stem with micromesh sanding pads – wet sanding it with 1500-12000 grit pads. I wiped the stem down after each sanding pad with a cotton pad to remove the sanding debris.  I have to tell you I am not sorry to see this restoration come to an end. Generally it is fun to see the part all come together. This time I was glad that I could move on to work on another pipe! I had seen enough of the many issues that came with this pipe. I put the pipe back together and buffed it with Blue Diamond on the buffing wheel. I gave the bowl and the stem multiple coats of carnauba wax. I hand buffed the pipe with a clean buffing pad to raise the shine. It was good to see what the polished bowl looked like with the smooth portions, sandblast portions and the plateau on the rim top and shank end. They contrasted well the polished black vulcanite stem. This Soren Hand Carved in Denmark Freehand is nice looking and feels great in my hand. The pipe has the advantage of being a sitter as well as a Freehand. The fins on the front of the bowl act like legs that hold it upright. It is a very light weight and well balanced pipe. Have a look at it with the photos below. The dimensions are Length: 6 inches, Height: 3 inches, Outside diameter of the bowl: 1 ½ inches, Chamber diameter: 7/8 of an inch. This is a well-traveled pipe – Made in Denmark for an American Market, somehow ending up in Astoria, Oregon in the stall of a seller who bought it at an estate sale and now up to Vancouver, British Columbia in Canada. While the pipe had a lot of challenges they were fun to work on for the most part! Thanks to each of you who are reading this blog. Remember we are not pipe owners; we are pipemen and women who hold our pipes in trust until they pass on into the trust of the next pipeman or woman.

Cleaning up a Lightly Smoked Algerian Briar Tinder Box Pot shaped pipe


Blog by Steve Laug

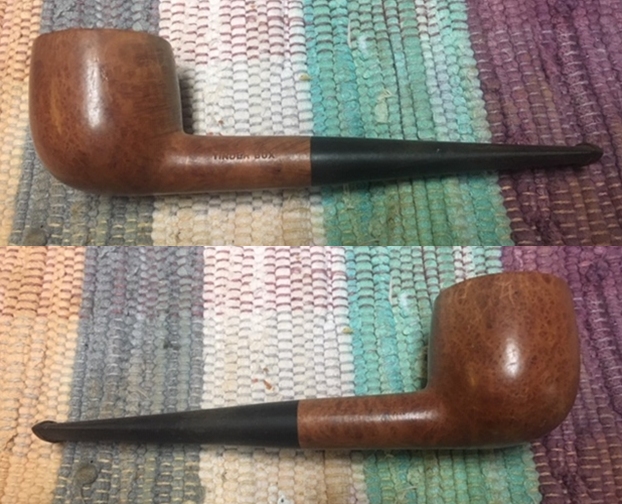
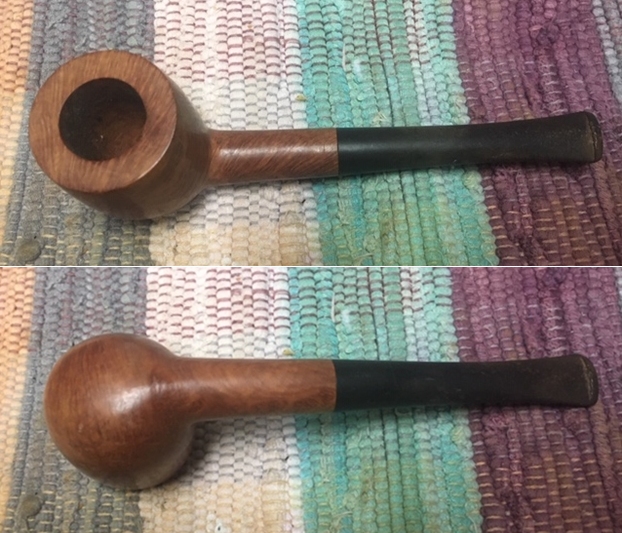
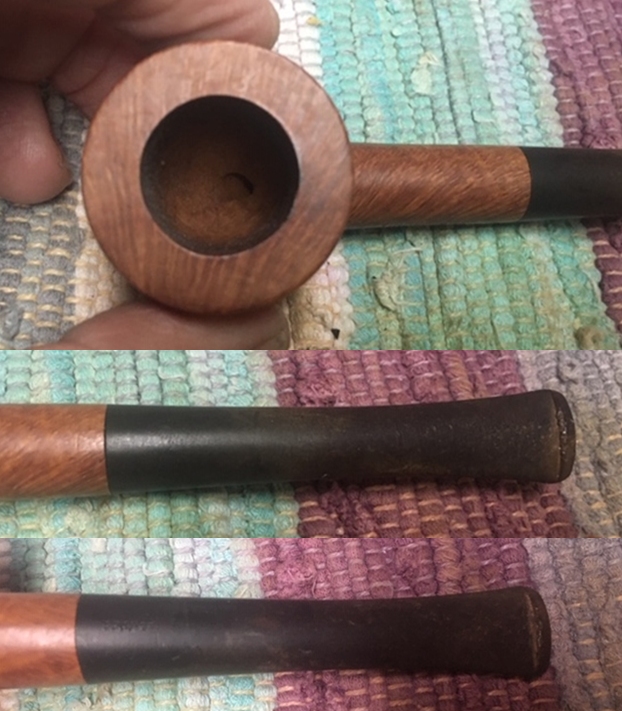
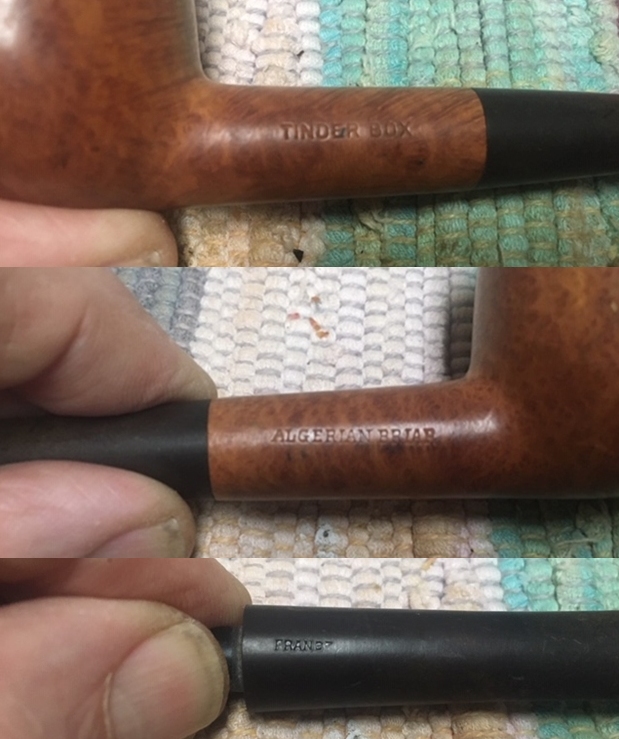
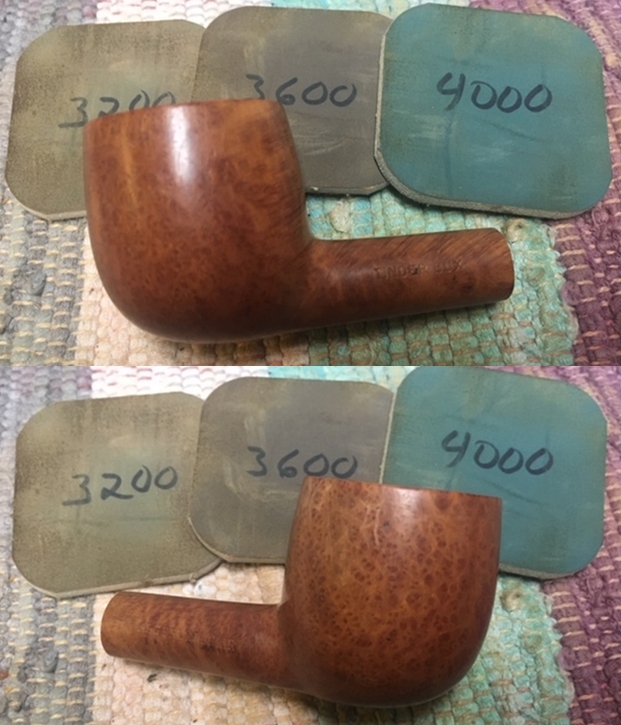
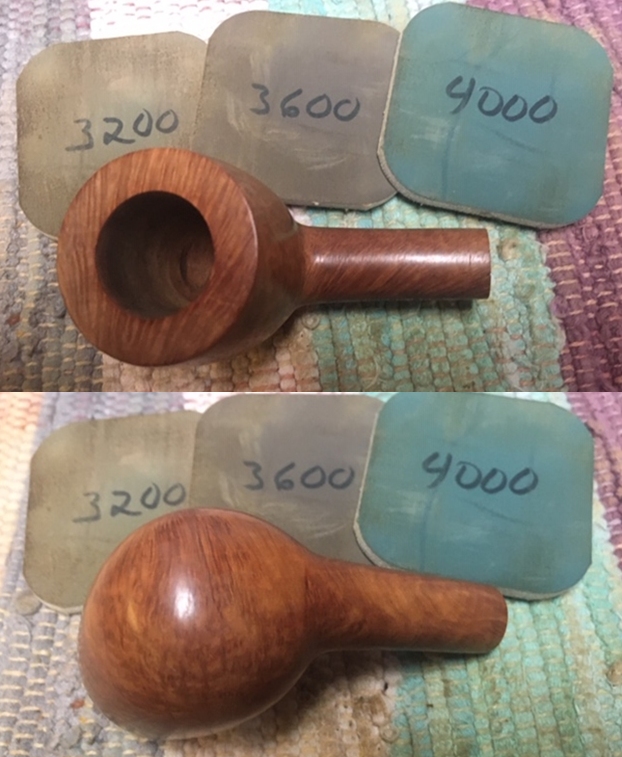
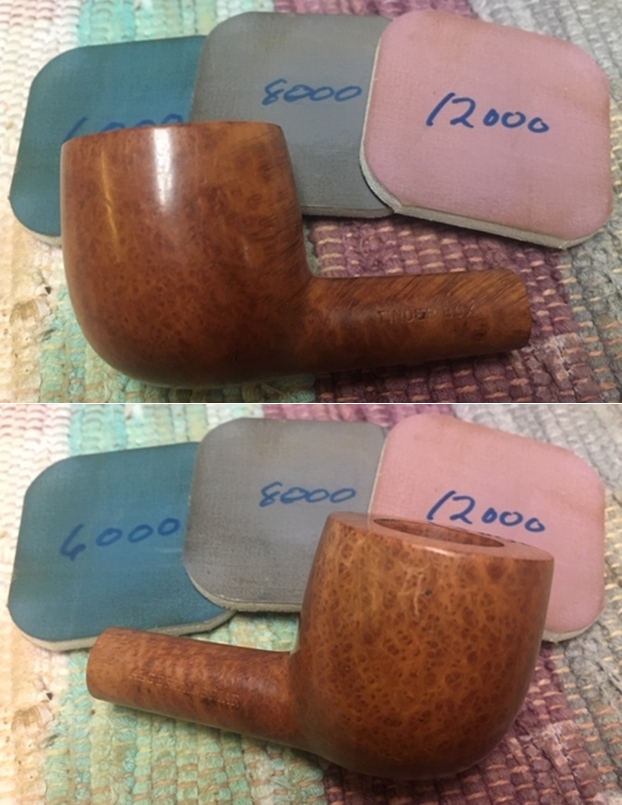
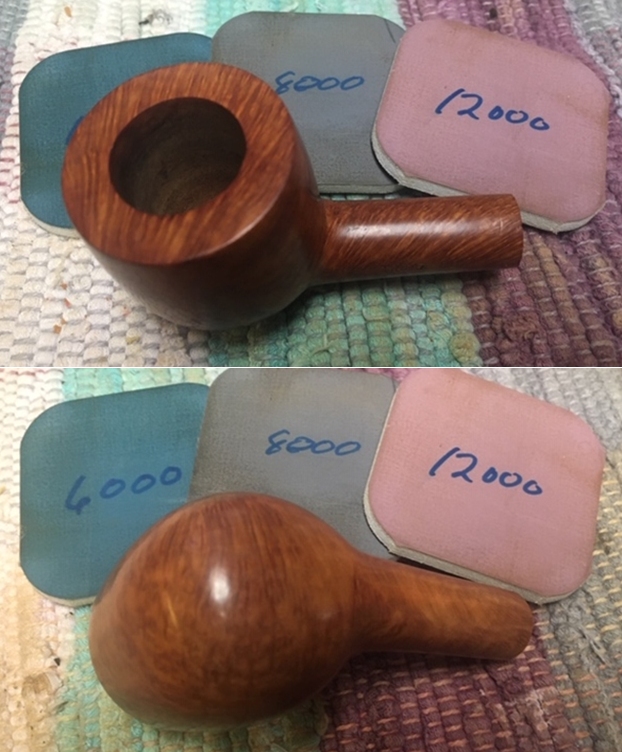
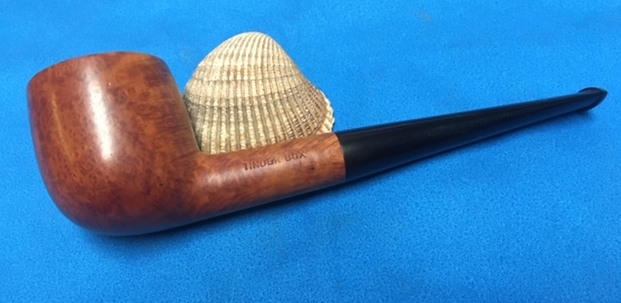
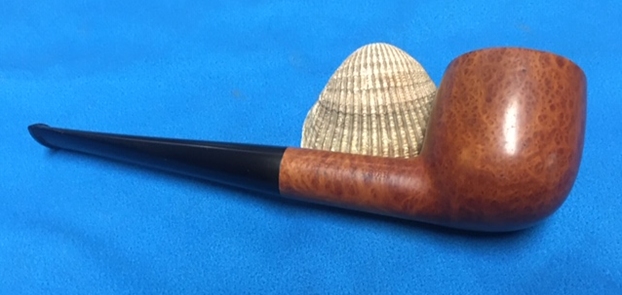
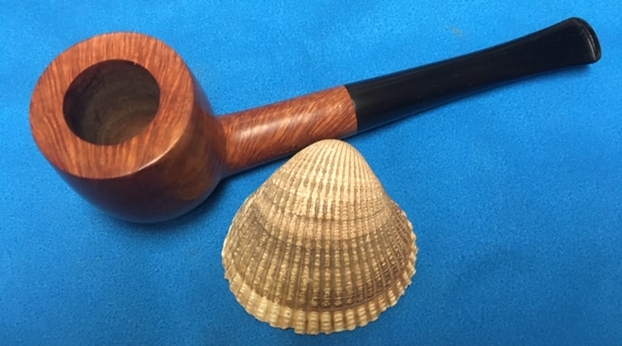
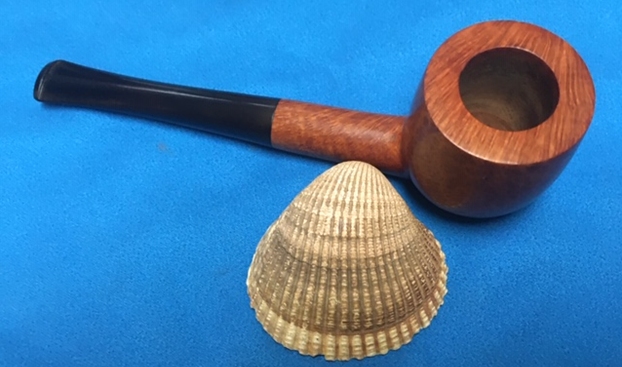
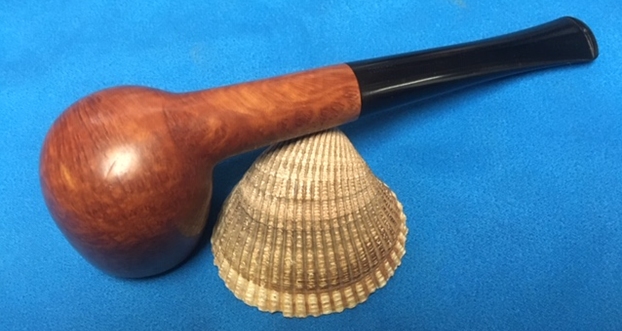
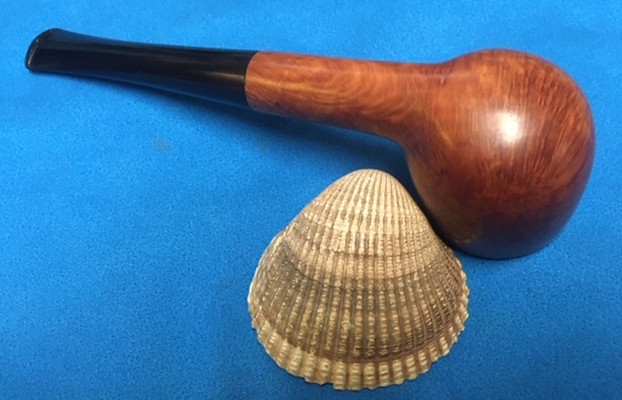
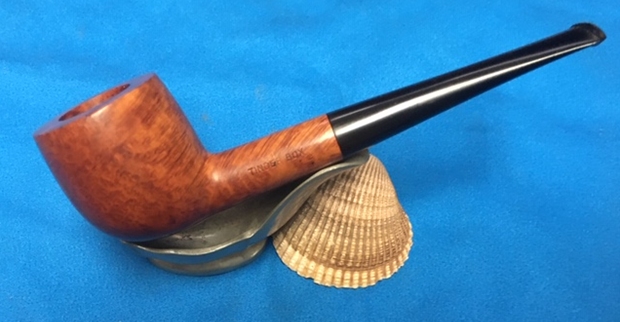
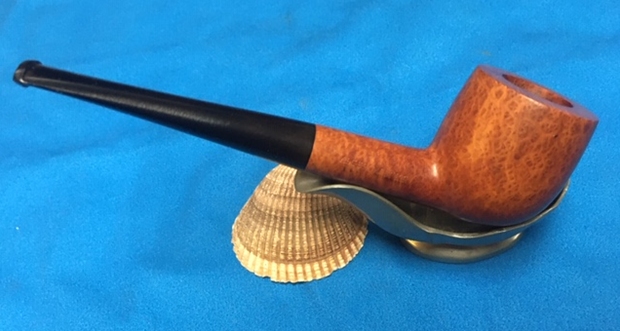
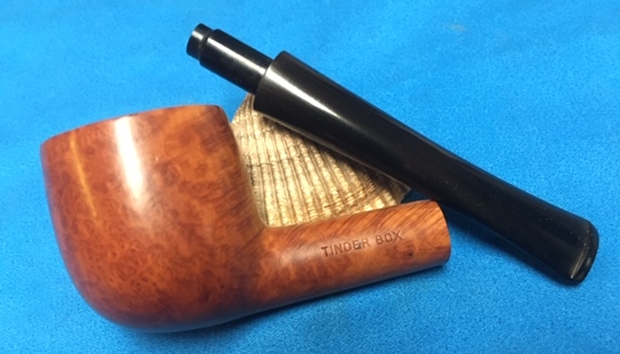
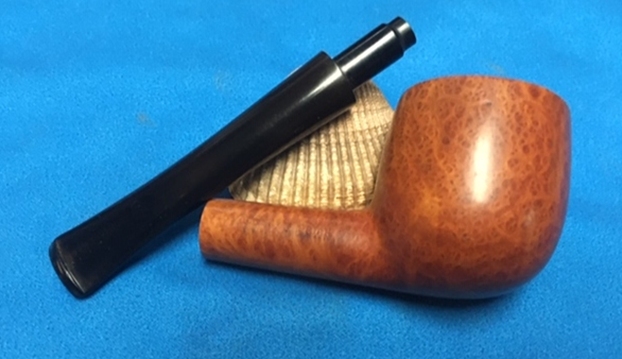
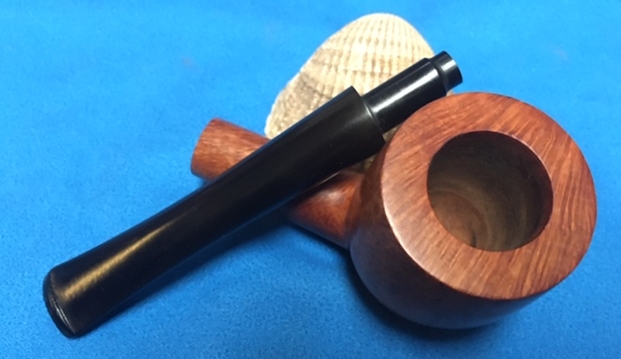
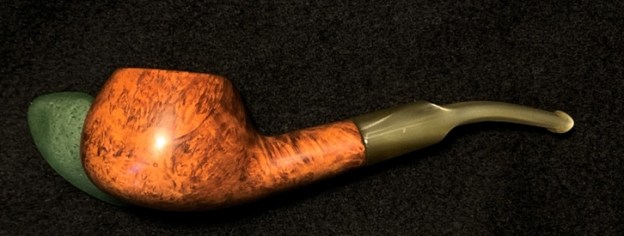
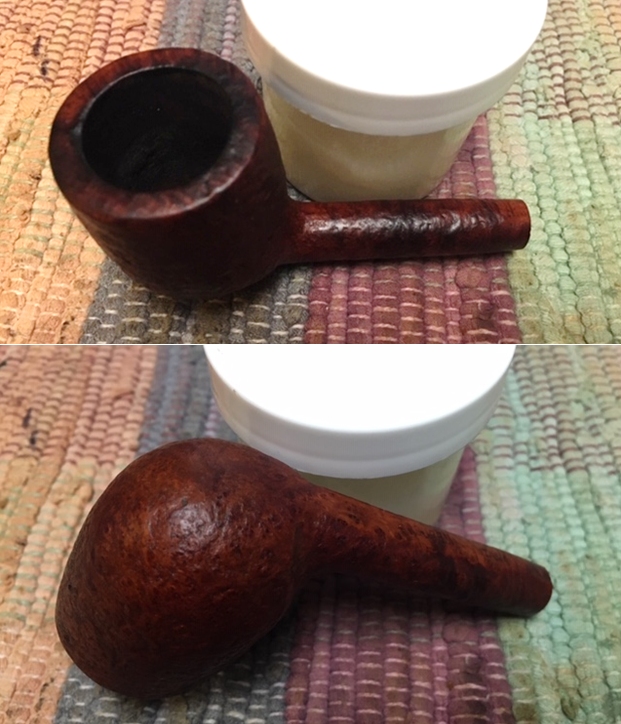
On a recent trip that Irene and I took with Jeff and his wife to the Oregon Coast we managed to do some pipe hunting. We found a few interesting pipes. I was in the mood today to work on a couple of them as a break from the restorations I am doing for others. The first of these is a pipe marked Tinderbox on the left side of the shank and Algerian Briar on the right side of the shank. It is a pot shaped piece with some great grain around the bowl – lots of birdseye. The bowl was not even broken in. At first glance we thought it was unsmoked but in looking at it at home I think it may have been smoked at least once as there is some darkening around the top 1/3 of the bowl. The rest of the bowl is pristine. The natural finish is dirty from sitting around but otherwise quite nice. The stem has some tooth chatter and oxidation but is otherwise quite clean. I took this one home as it did not need a lot of work to bring it back to life. I took photos of the pipe before starting my cleanup work. I took close up photos of the rim top and bowl to show how clean it was. There is some nice cross grain on the rim top. I also took photos of the stem to show their condition. You can see the oxidation and tooth chatter on it but otherwise it is a pretty straight forward cleanup.I took photos of the stamping on the sides of the shank. You can see them below and they read as noted above. I also noticed that the stem was stamped on the underside and read France.I have seen the France stamp on vulcanite before and I believe it is not the provenance of the pipe as a whole but of the rubber stem. In this case I am pretty sure that the pipe was made for Tinder Box by an English pipe maker as the shape matches the Pot shapes of several of the English makers. I looked up Tinder Box on Pipedia to see if I could get a lead. I have included the link to that article (https://pipedia.org/wiki/The_Tinder_Box). I quote in full:

The Tinder Box was the chain of tobacco stores started by Edward Kolpin, Sr., who carved Ed’s Hand Made pipes. The store, eventually sold to a Canadian conglomerate, eventually reached 200 retail outlets by 2007, and in the 40 years it operated on a large scale a great number of pipes were made for The Tinder Box by well respected makers. A few include the Tinder Box Unique, made by Charatan, Christmas Pipes by Ascorti, and the Tinder Box Noble and Exotica, made by Shalom Pipe Factory, Mauro Armellini did make the Verona and Napoli lines.

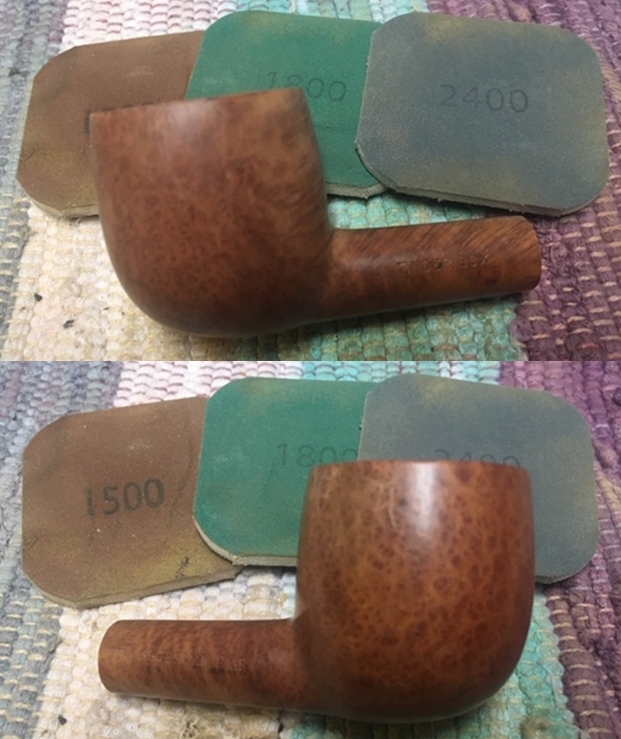
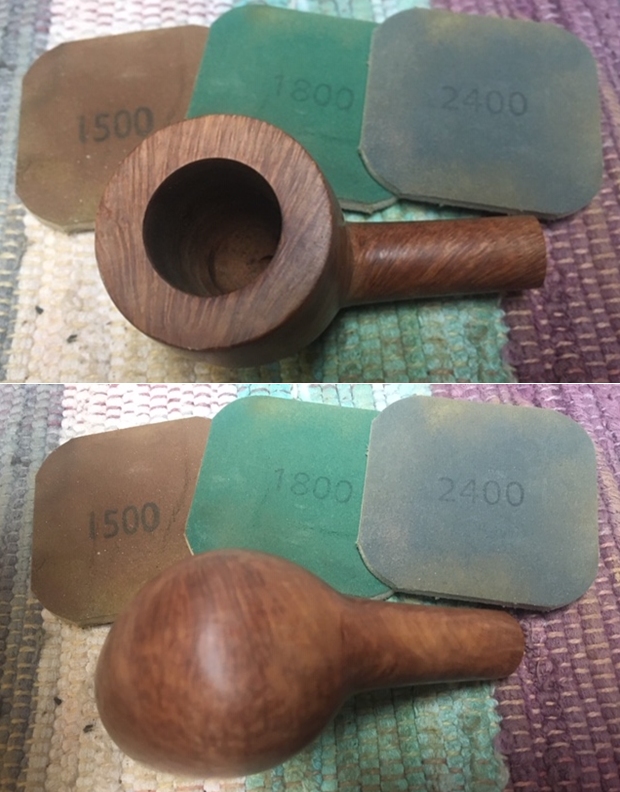
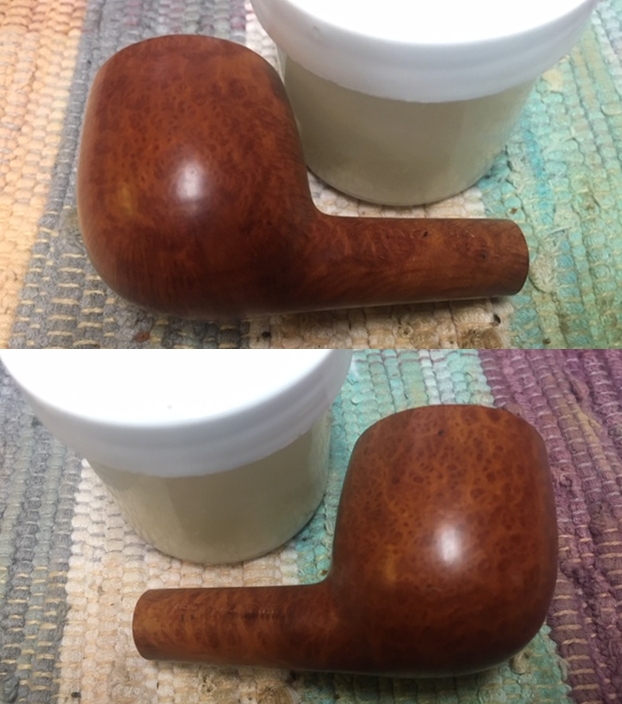
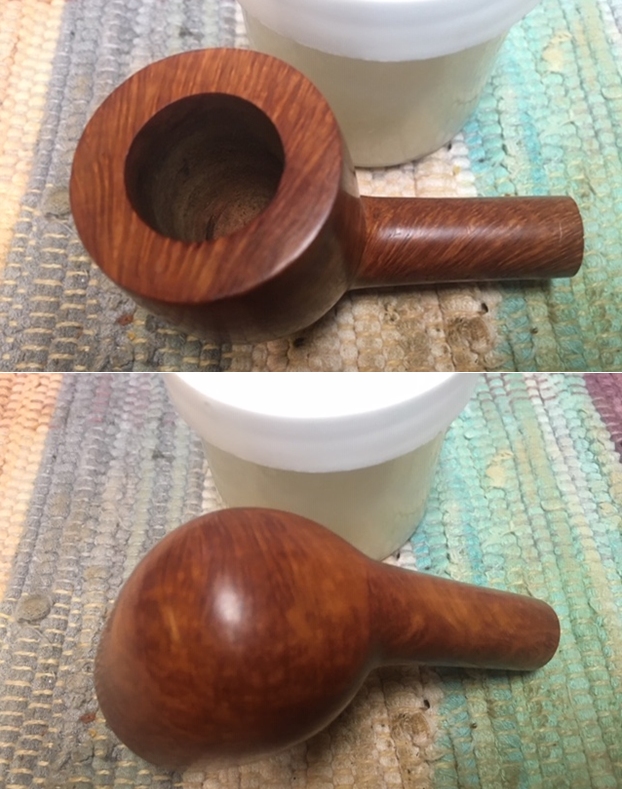
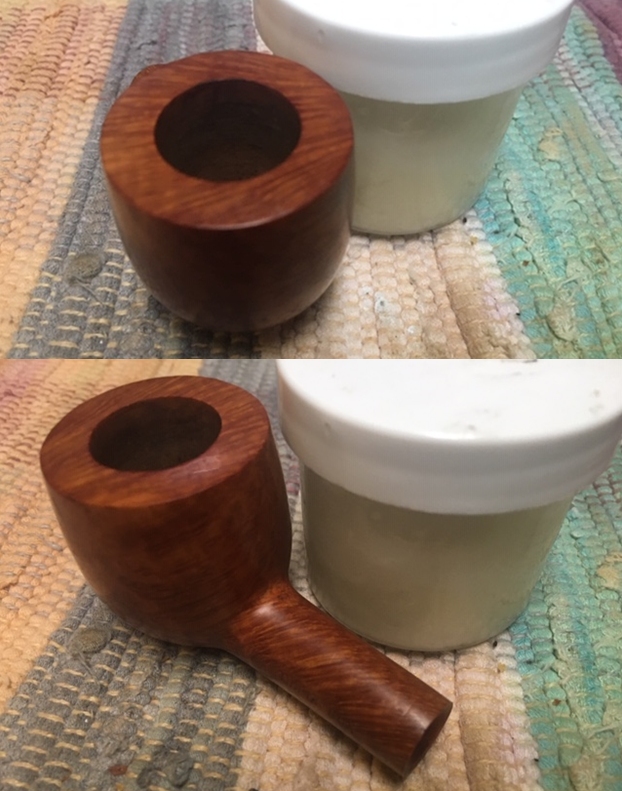
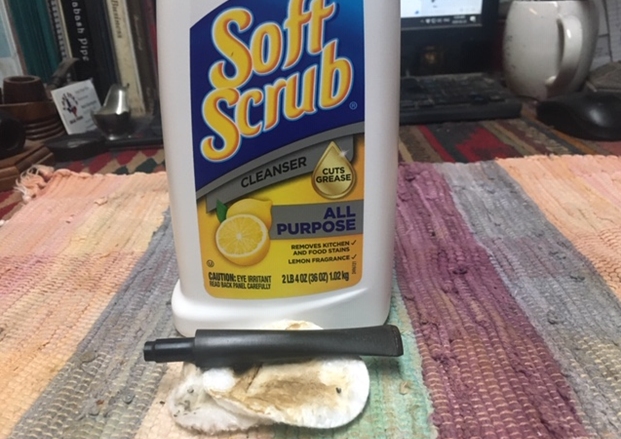
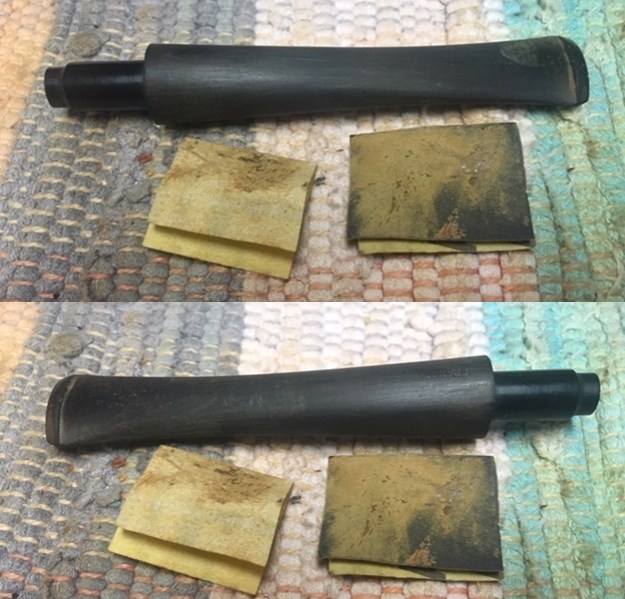
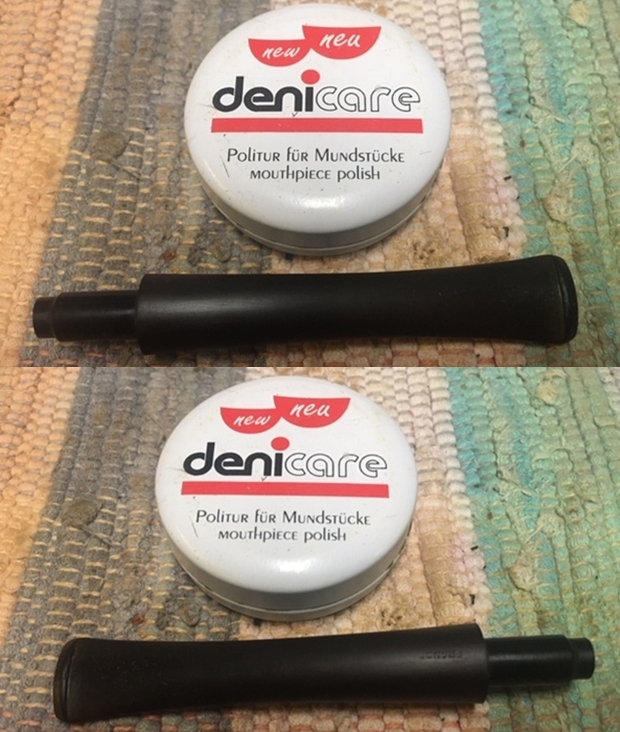
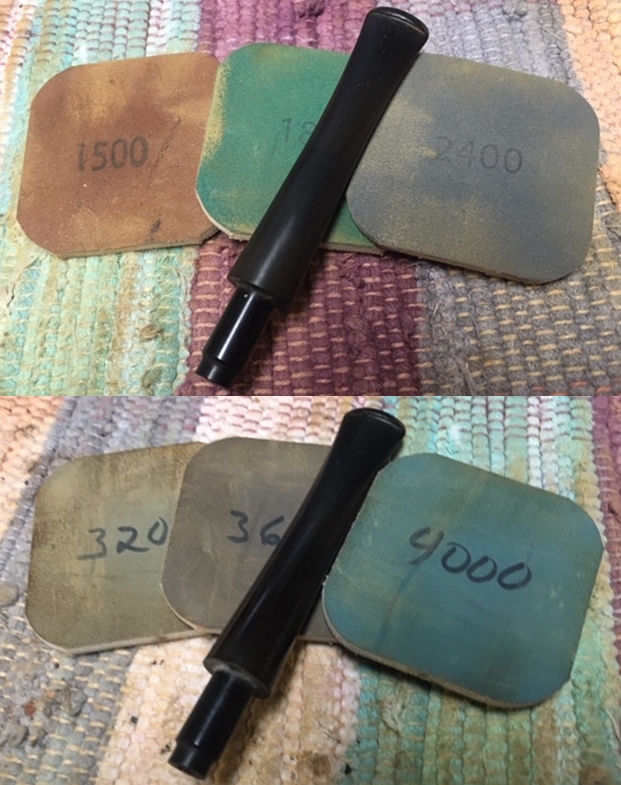
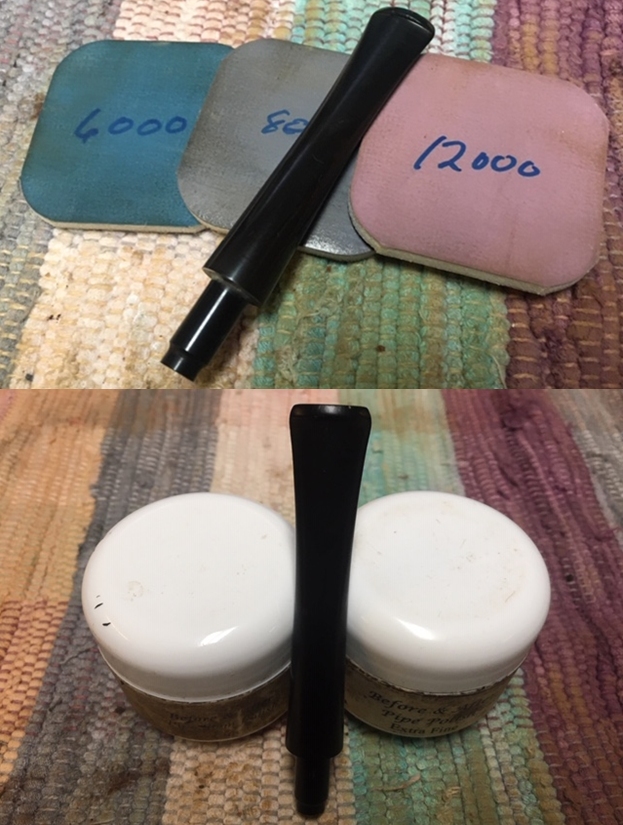
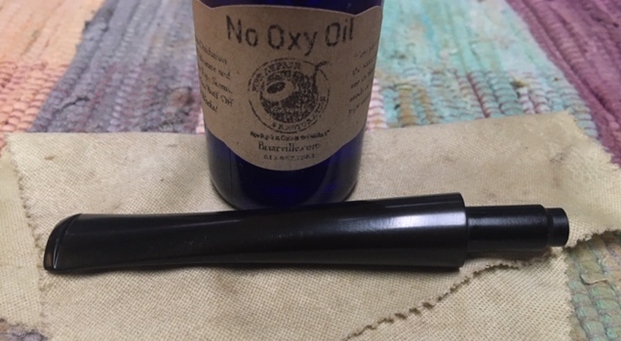
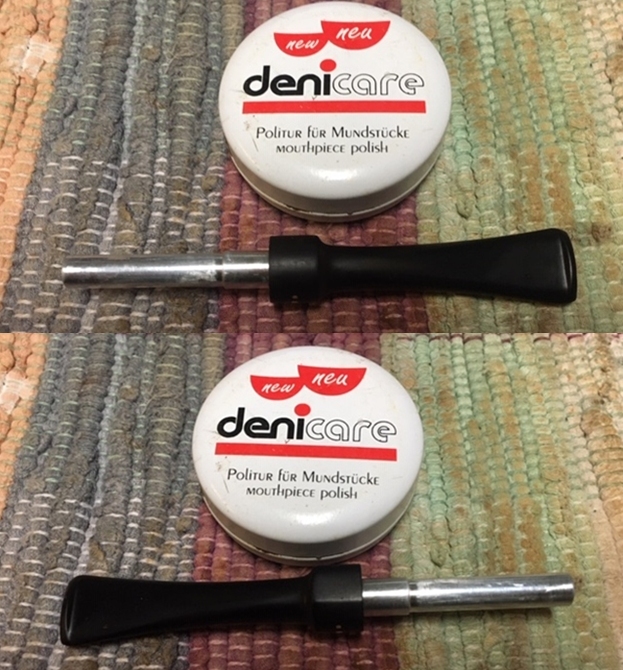
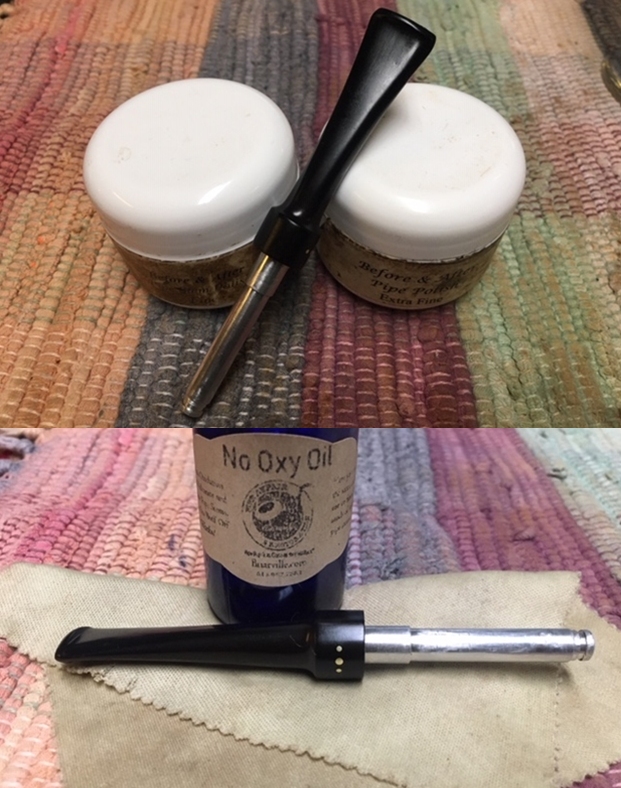
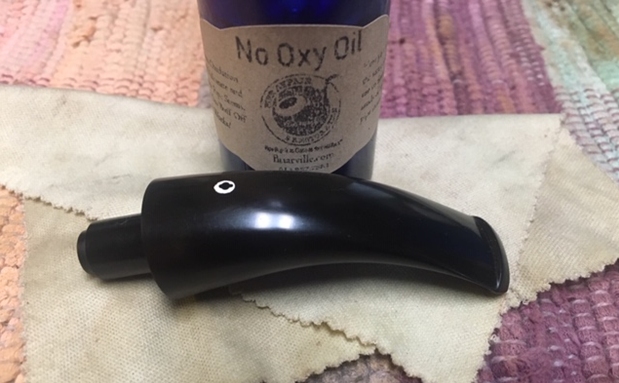
With that information and really not being much clearer on the maker of the pipe I turned to work on the pipe itself. I sanded out the darkened area of the bowl with a piece of 220 grit sandpaper wrapped around a dowel. I took off much of the darkening as it was only on the surface of the briar. I ran a pipe cleaner and a cotton swab and alcohol through the shank and it came out spotless. The pipe was very clean.I polished the bowl and rim top with micromesh sanding pads – wet sanding with 1500-12000 grit sanding pads. I wiped down the bowl after each sanding pad to remove the sanding debris. The natural finish on the bowl began to have a rich shine. I was finished polishing the bowl so it was time to rub the briar down with Before & After Restoration Balm. I worked it into the surface of the briar with my fingertips and let it sit for about 10 minutes. I buffed it off with a cotton cloth. You can see how well the product works to clean and enliven the briar and as a bonus it protects it as well. I set the bowl aside and turned my attention to the stem. While I was with Jeff in Oregon I picked up some of the Soft Scrub that he has found very useful in removing oxidation and calcification. I rubbed down the stem with it on a cotton pad. You can see the results on the pads in the photo below.I sanded out the tooth chatter and the remaining oxidation with 220 grit sandpaper and started the polishing with 400 grit wet dry sandpaper.  I rubbed down the stem with Denicare Mouthpiece Polish and a cotton pad to remove the remnants of oxidation and to blend in the sanding. The stem shows promise at this point in the process.   I polished the stem with micromesh sanding pads – wet sanding it with 1500-12000 grit pads. I wiped the stem down after each sanding pad with a cotton pad to remove the sanding debris. I finished polishing the stem with Before & After Pipe Stem Polish – both fine and extra fine. I finished by wiping it down with Briarville’s No Oxy Oil and buffing it to a shine. Once again I am my favourite part of the restoration when all the pieces are put back together. I put the pipe back together and buffed it with Blue Diamond on the buffing wheel. I gave the bowl and the stem multiple coats of carnauba wax. I hand buffed the pipe with a clean buffing pad to raise the shine. It is fun to see what the polished bowl and stem look like in comparison to what it looked like before I started. This Tinder Box Algerian Briar Pot is nice looking and feels great in my hand. The pipe is another light weight that could be clenched and smoked while doing other things as it is very well balanced. Have a look at it with the photos below. The dimensions are Length: 5 ¾ inches, Height: 1 ¾ inches, Outside diameter of the bowl: 1 ½ inches, Chamber diameter: ¾ of an inch. This is the first of the restorations of the pipes we picked up along the Oregon Coast. It will be going on the rebornpipes store shortly. If you are interested in adding this older Algerian Briar pipe to your collection let me know. Lots more to do in this lot! Thanks to each of you who are reading this blog.

Breathing Life into a Patent Era Brigham Executive 632 Billiard


Blog by Steve Laug

Not too long ago I received an email from a fellow in Kitchener, Ontario regarding some pipes he needed cleaned up. He had been referred to me by my local pipe and cigar shop. While I am not currently adding more pipes to my queue of repairs I have made a commitment to the shop to work on pipes for their customers. Generally they have one or two pipes that need a bit of work. This fellow sent me the following email:

I just came across my smoking pipes that I’ve had in storage for about 40 years. I’m wondering what you’d charge to have them refurbished. There are 17 in total (11 are Brighams and 6 are various).

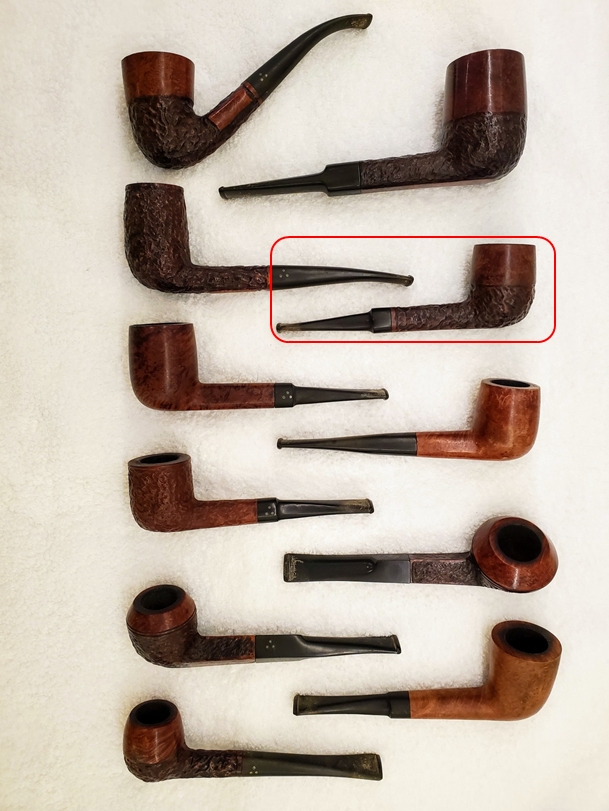
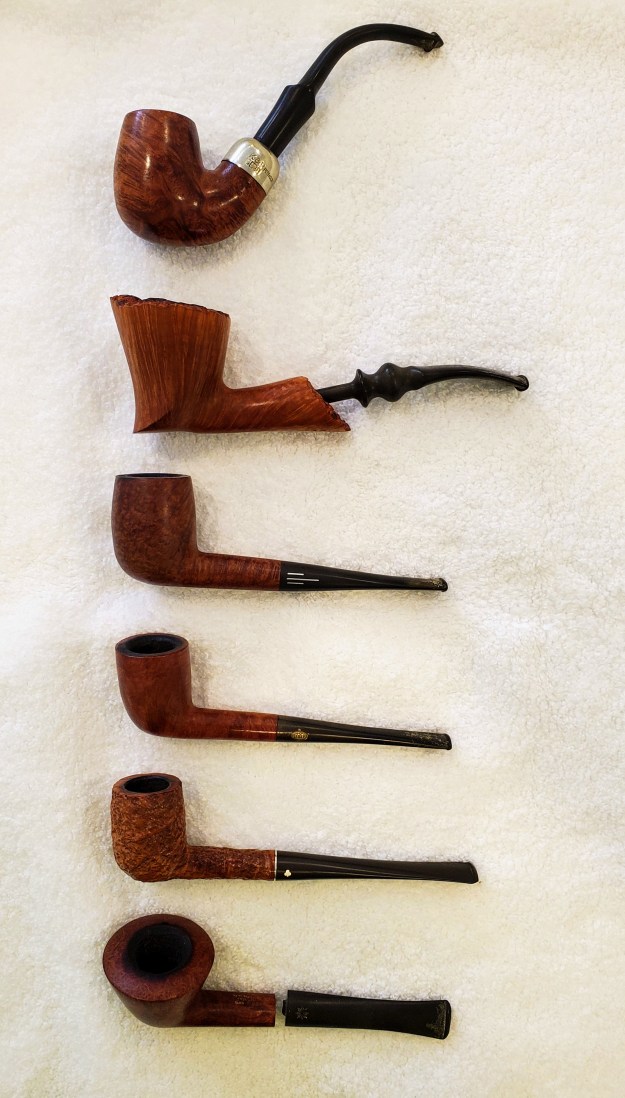
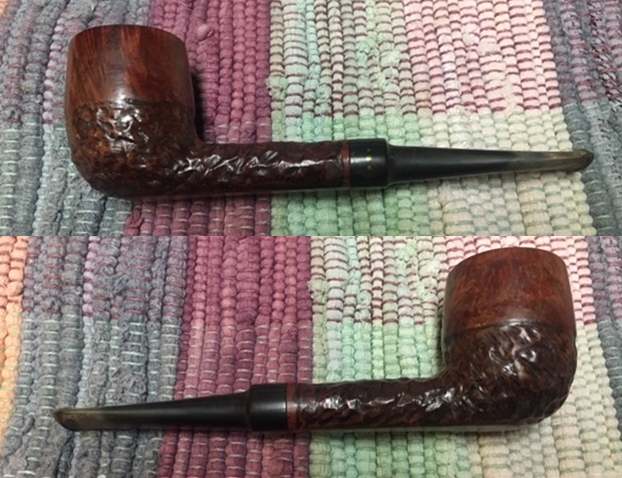
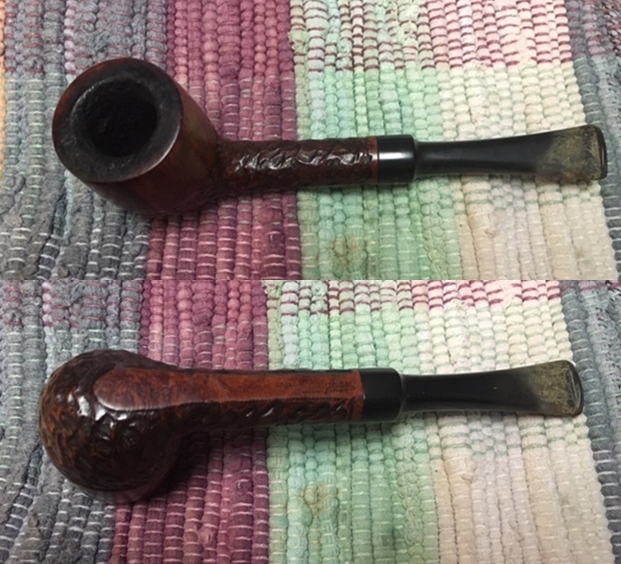
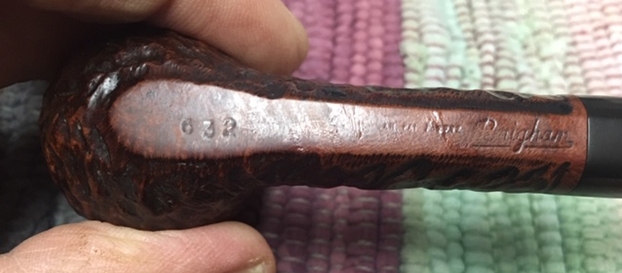
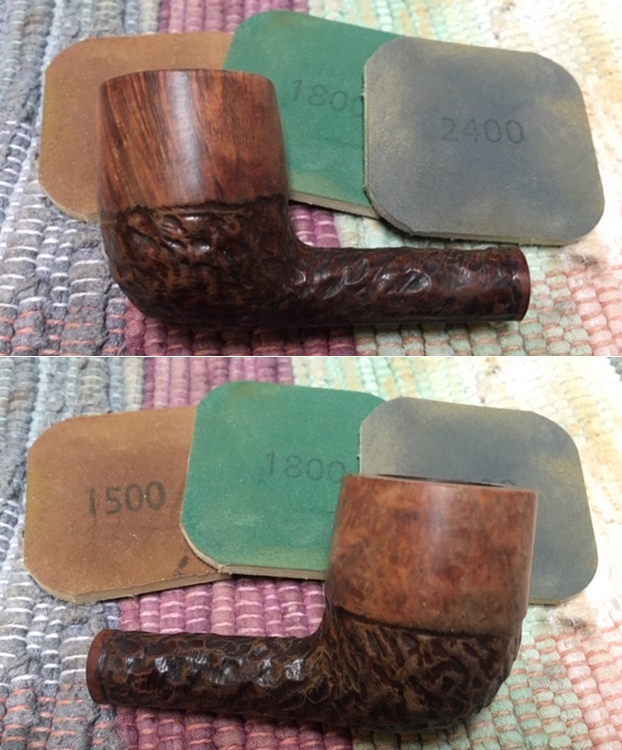
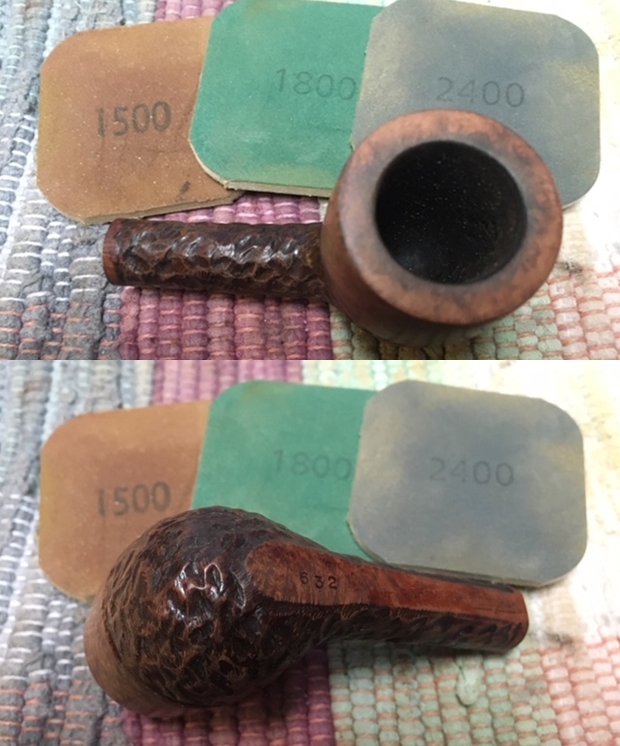
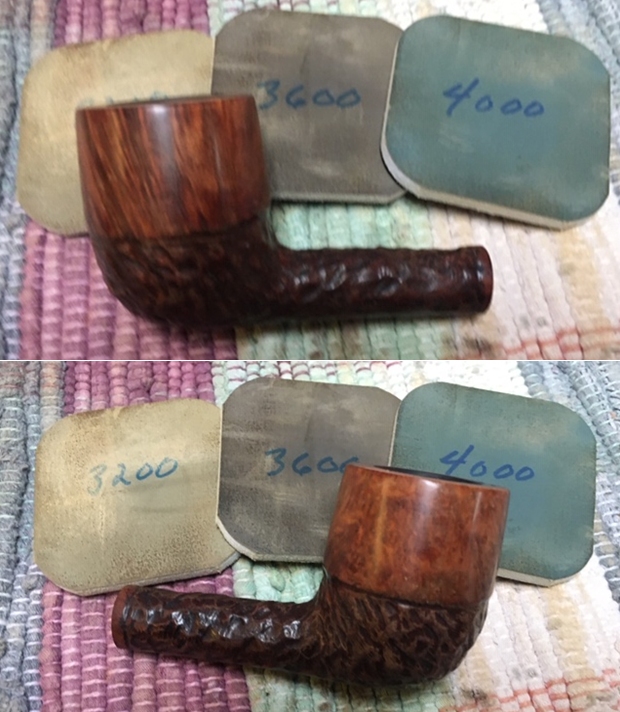
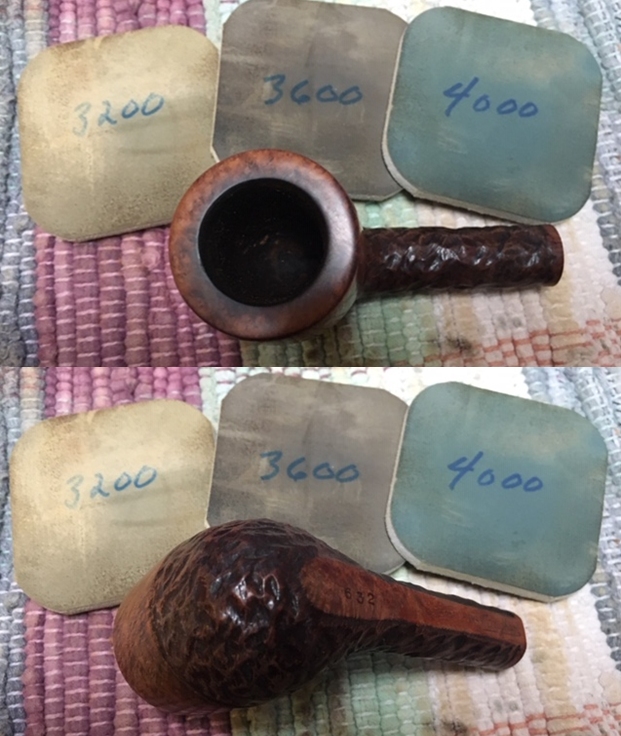
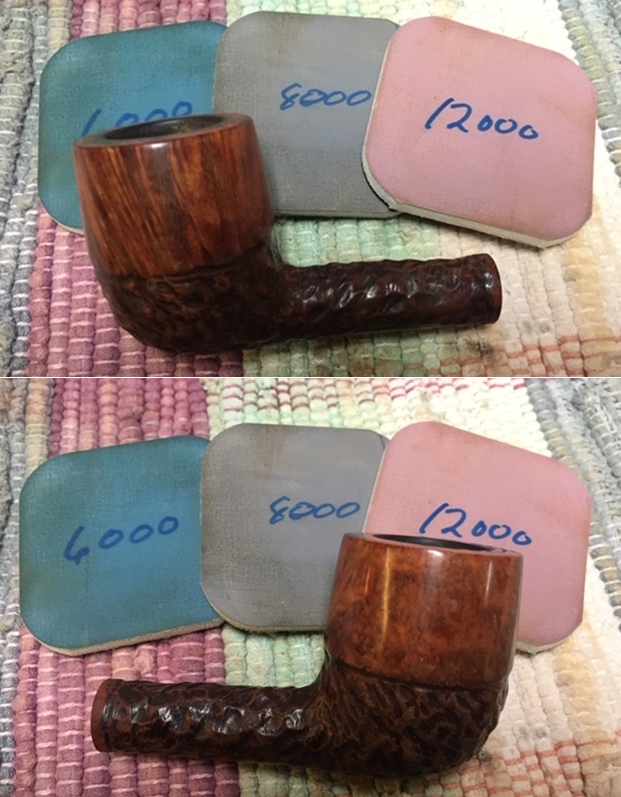
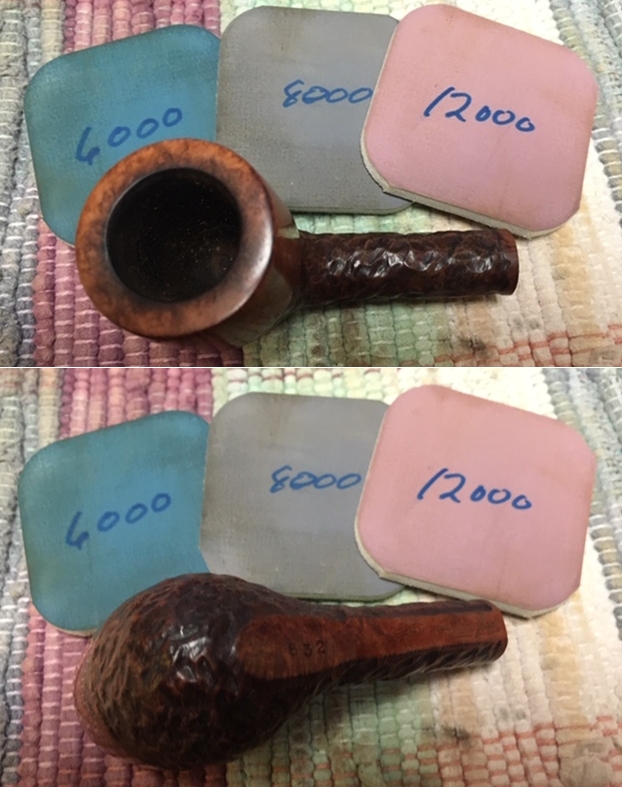
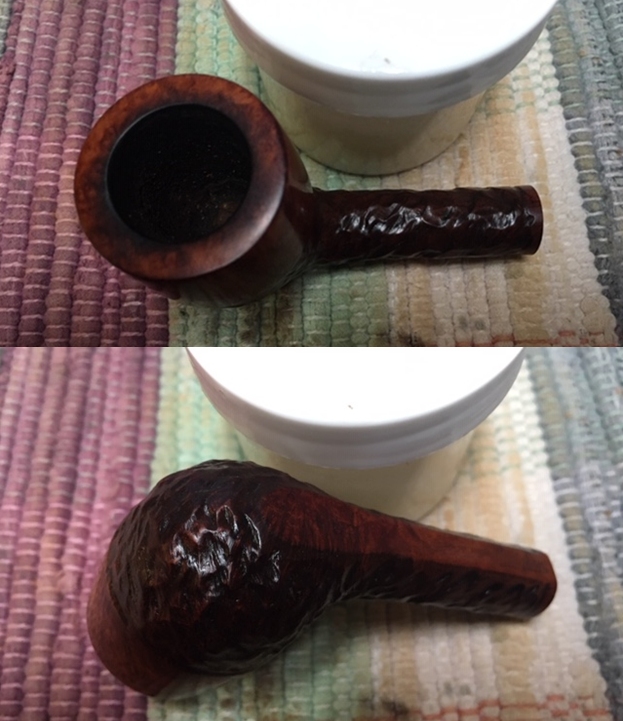
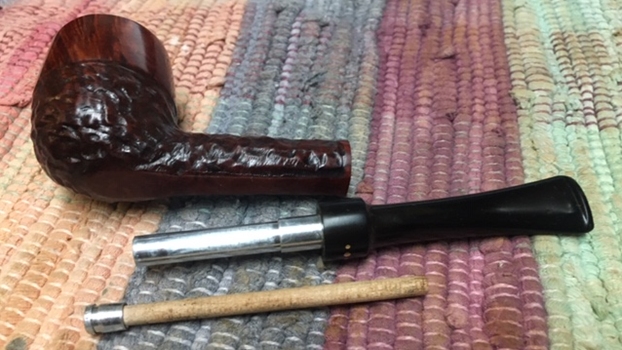
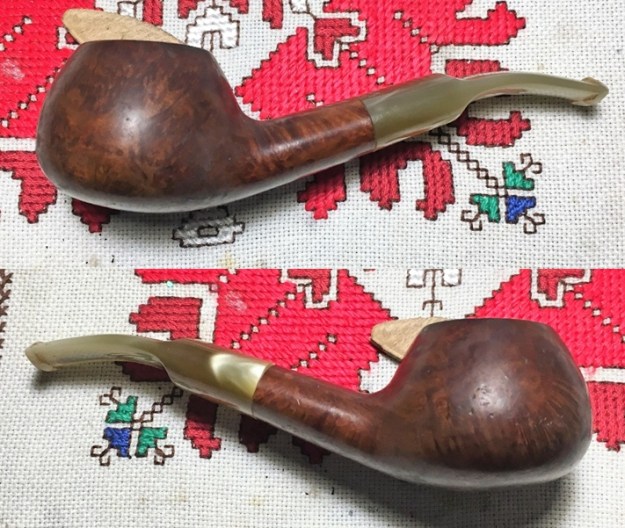
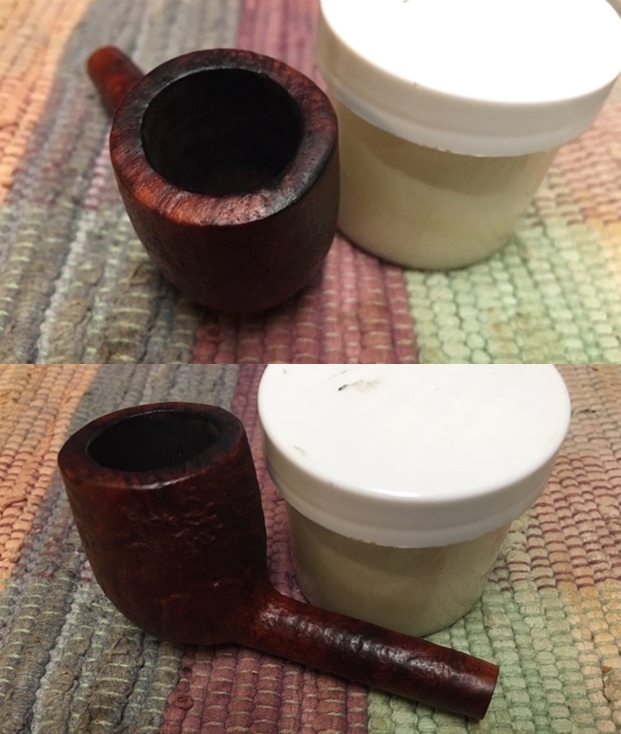
It turns out he said he had 17 pipes. That was certainly more than I expected but I communicated that there was a large queue ahead of him and I would have to fit them in as I could. He was fine with whatever time it took. He sent me the following photos of his collection that he wanted restored. The first photo shows his eleven Brigham pipes – all very interesting shapes. The second photo shows the six various pipes in the collection – A Republic Era Peterson’s System 1312 (Canadian Import), A Bjarne Hand Carved Freehand, a Comoy’s Everyman London smooth billiard, a GBD Popular Dublin 12, an English made Kaywoodie Rustica 72B, a Kriswill Bernadotte 60 with a broken tenon. When the box arrived there were two additional pipes included for a total of 19 – a Ropp 803 Deluxe Cherrywood Poker and a Comoy’s Sandblast Everyman Canadian 296. It was a lot of pipes! I have been randomly choosing the next pipe to work on and chose the Brigham that I have drawn a red box around in the first photo below. When I unwrapped it the pipe it was a Brigham Billiard. It was stamped on the heel 632 which is the shape number. That is followed by Can Pat. 372982 then Brigham in a script. It had a rusticated lower half of the bowl and shank with a smooth top half. The rim top had a lava overflow from the thick cake in the bowl and some darkening around the top and edges of the bowl. The inner edge of the bowl was out of round. It was a dirty pipe but appeared to be in okay condition under the grime. There was a shiny finish that was spotty around the smooth portions of the bowl. The 3 Vertical Dot saddle stem was oxidized and had tooth marks and chatter near the button on both sides. There was also some calcification for about an inch up the stem. I took close up photos of the bowl and rim top to show the condition of the bowl and rim as well as the thick cake and lava overflowing onto the rim top. I also took close up photos of the stem to show its condition as mentioned above.    I took a photo of the stamping on the underside of the shank to show what I was speaking about above. It is very clear and readable. It reads 632 followed by Can. Pat. stamp  372982 then Brigham in script.I removed the stem from the shank to reveal the aluminum tube/tenon that held the Rock Maple Distillator. The distillator was was missing in this pipe so I would need to replace it with a new one once I had cleaned it.

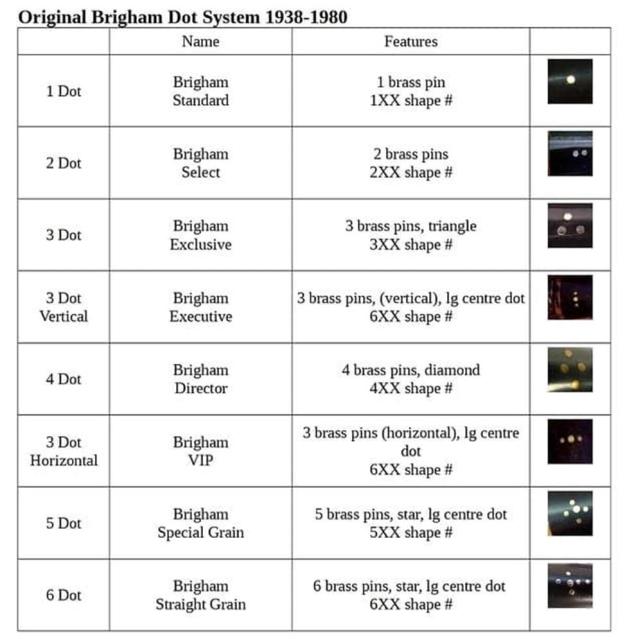
Before starting my clean up work on the pipe I turned to a chart that Charles Lemon of Dad’s Pipes sent to me on the patent era Brighams. There were made from 1938-1980. As the pipe I am working on is a Patent pipes, it’s more accurate to refer to its grade by name (the post 1980 grading scheme refers to Dots). Here is the  chart that Charles sent me. The pipe I am working on is thus a Brigham Executive with the brass pins arranged vertically. The pipe I have in hand has three brass pins with a larger center pin. It has a 6XX shape number.It is helpful having this chart and getting a quick picture of where the pipe fits in the Brigham line. Now it was time to work on the pipe.

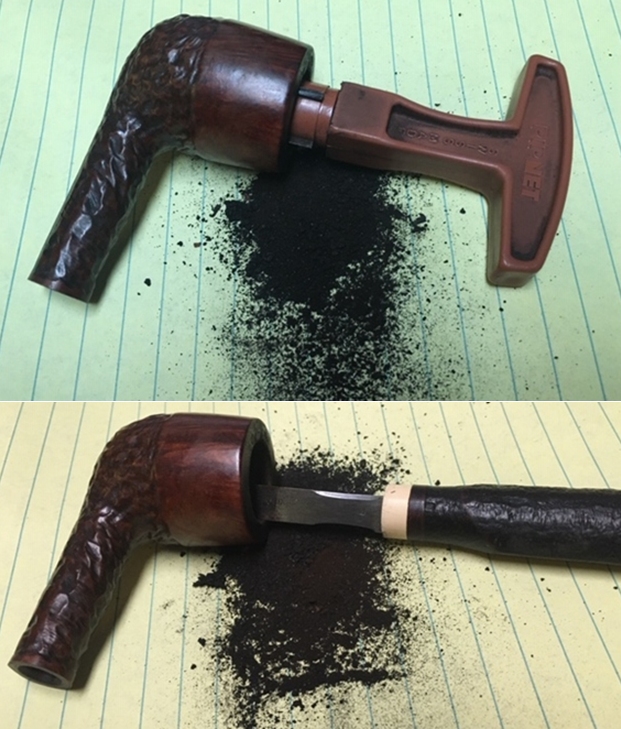
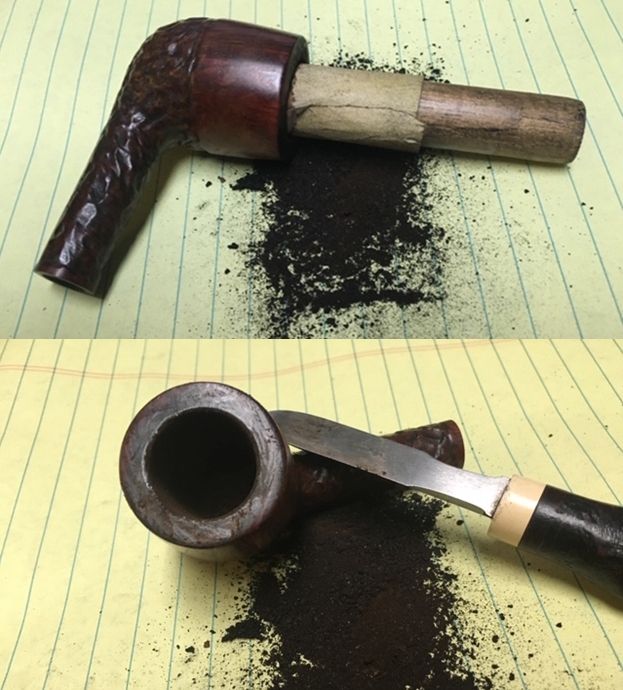
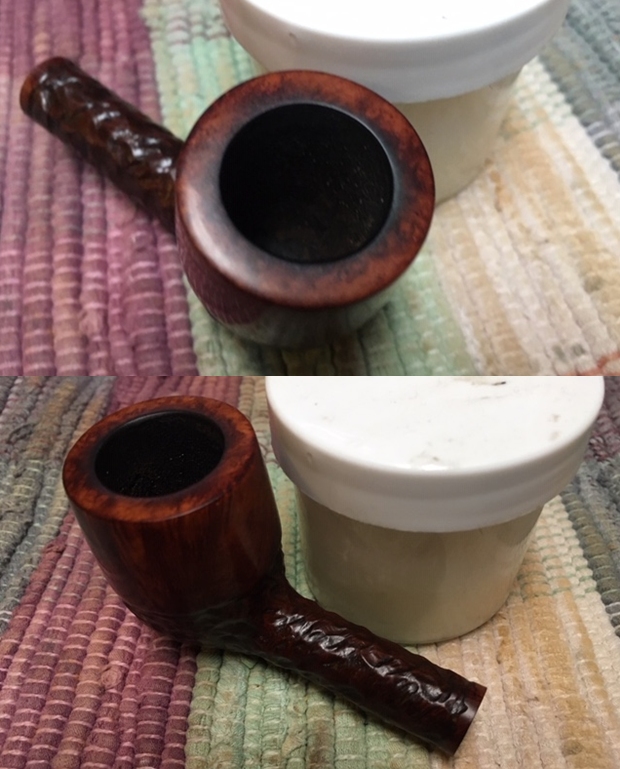
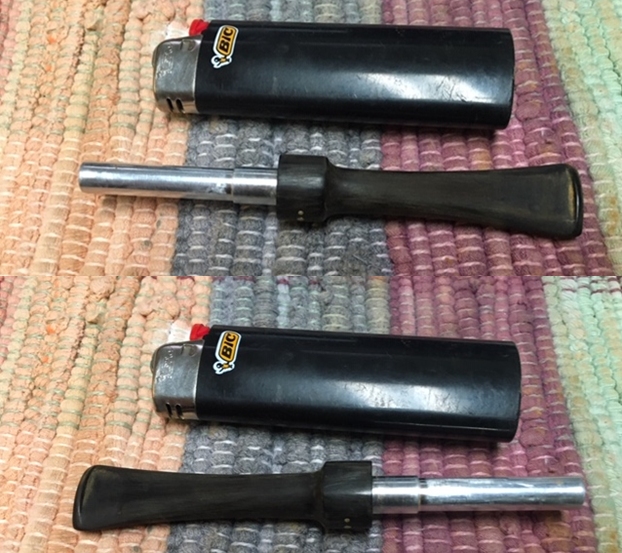
I reamed the bowl with a PipNet pipe reamer using the second and third cutting head to take the cake back to bare briar so I could inspect the walls. I cleaned up the remnants with a Savinelli Fitsall Pipe Knife. I sanded the bowl walls with 220 grit sandpaper on a piece of dowel to smooth them out and further examine them. I was happy that the walls looked very good.  I used the Savinelli Fitsall knife to scrape off the heavy lava coat on the rim top. I cleaned out the mortise area and airway to the bowl and the interior of the metal tube and airway in the stem with pipe cleaners, cotton swabs and alcohol. The aluminum tube was really dirty since it had been smoked frequently without the distillator in place. It took a lot of work to clean out all of the grit and tars. I scrubbed the surface of the bowl with undiluted Murphy’s Oil Soap and a tooth brush to remove the grime and grit as well as the remnants of the shiny finish on the smooth portions of the bowl. I worked on the darkening on the rim top and the rough inner edge of the bowl with a folded piece of 220 grit sandpaper to remove the darkening and smooth out the inner edge of the bowl.I wet sanded the rim top and the smooth portions on the bowl sides with micromesh sanding pads – 1500-12000 grit sanding pads. I wiped the bowl surface down with a damp cloth after each sanding pad to remove the sanding dust. Once I finished the bowl looked good.    I rubbed the bowl and shank down with Before & After Restoration Balm. I worked it into the surface of the briar with my fingertips and a horsehair shoe brush to clean, enliven and protect it. I let the balm sit for a little while and then buffed with a cotton cloth to raise the shine. Mark Hoover’s Balm is a product that I have come to appreciate and one I use on every pipe I have been working on. It really makes the grain stand out on this pipe. I set the bowl aside and turned my attention to the stem. When I was in the US visiting Jeff and his wife I picked up some Soft Scrub. Jeff swears by this stuff as the first tool to use to remove a lot of the oxidation on the stem. I rubbed it on with a cotton pad and sure enough it removed the oxidation and the calcification build up. It looked a lot better.I painted the tooth marks on the stem with the flame of a Bic lighter to lift them as much as possible. It removed several on each side. There were three left on the top side and one on the underside that did not lift much.  I cleaned out the marks with alcohol and a cotton swab. I filled them in with clear super glue and set the stem aside to cure.    I smoothed out the repairs and sanded out the remaining oxidation with 220 grit sandpaper and started the polishing with 400 grit wet dry sandpaper.   I rubbed down the stem with Denicare Mouthpiece Polish and a cotton pad to remove the remnants of oxidation and to blend in the sanding. The stem is starting to show promise at this point in the process.   I polished the stem with micromesh sanding pads – wet sanding it with 1500-12000 grit pads. I wiped the stem down after each sanding pad with a cotton pad to remove the sanding debris.   Before I finished the last polishing touches on the stem I decided to fit it with a new Rock Maple Distillator.  I finished polishing the stem with Before & After Pipe Stem Polish – both fine and extra fine. I finished by wiping it down with Briarville’s No Oxy Oil and buffing it to a shine.  I always look forward to this part of the restoration when all the pieces are put back together. I put the pipe back together and buffed it with Blue Diamond on the buffing wheel. I gave the bowl and the stem multiple coats of carnauba wax. I hand buffed the pipe with a clean buffing pad to raise the shine. It is fun to see what the polished bowl looks like with the smooth portion and the rusticated portion contrasting well and added to that the polished black vulcanite stem with the shining brass pins. This Brigham Executive 632 Billiard is nice looking and feels great in my hand. The pipe is one that is light enough that it could be clenched and smoked while doing other things as it is very light weight and well balanced. Have a look at it with the photos below. The dimensions are Length: 5 ¼ inches, Height: 1 ¾ inches, Outside diameter of the bowl: 1 ½ inches, Chamber diameter: ¾ of an inch. This is the fourth of the pipes sent to me from Eastern Canada for restoration. Once again I am looking forward to what the pipeman who sent it thinks of this restoration. Lots more to do in this lot! Thanks to each of you who are reading this blog. Remember we are not pipe owners; we are pipemen and women who hold our pipes in trust until they pass on into the trust of the next pipeman or woman.

Breathing Fresh Life into a French Longchamp Leather Clad Billiard


Blog by Dal Stanton

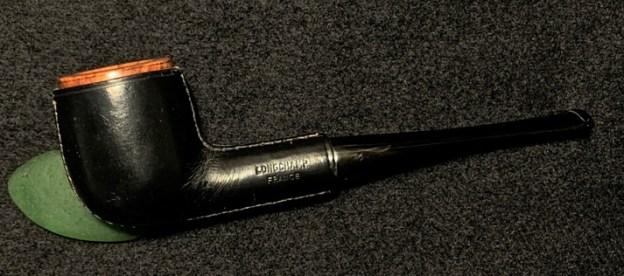
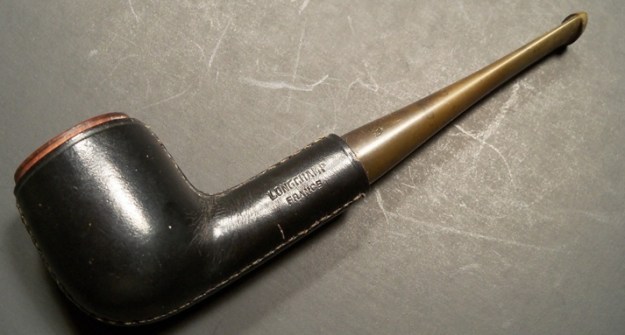
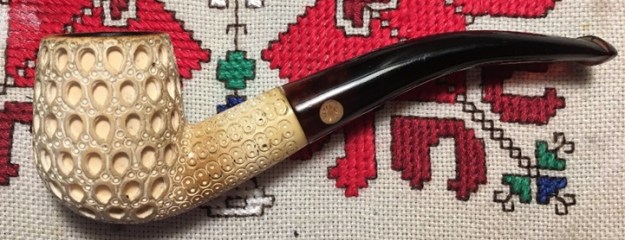
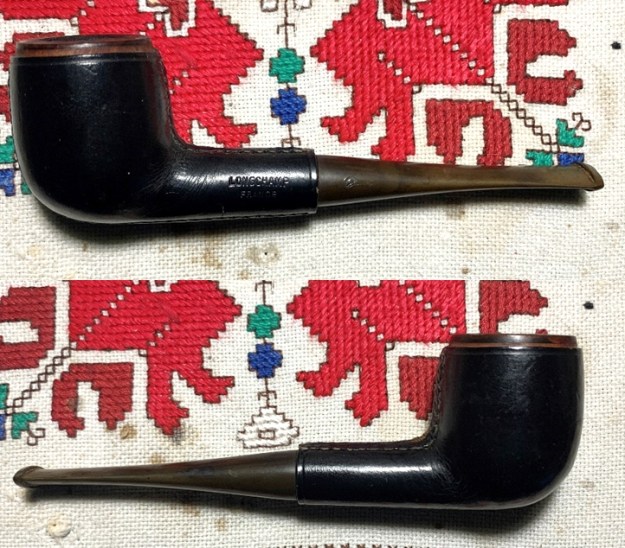
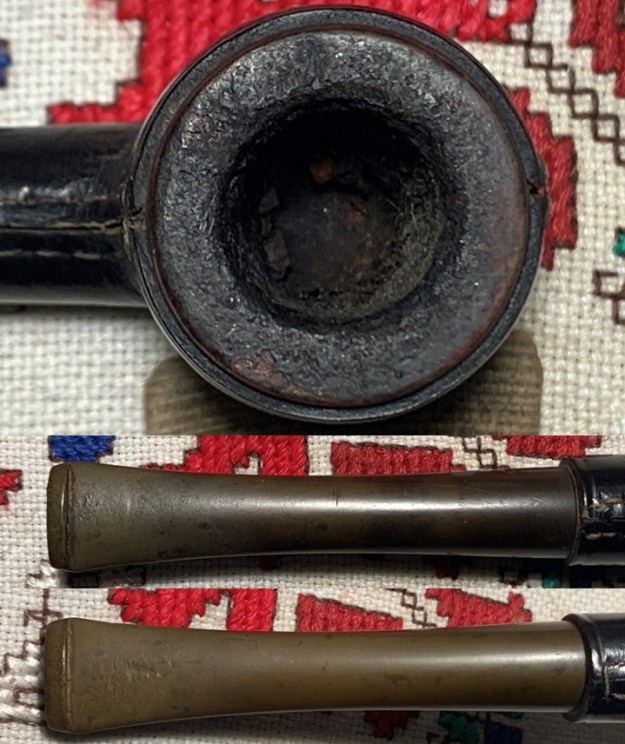
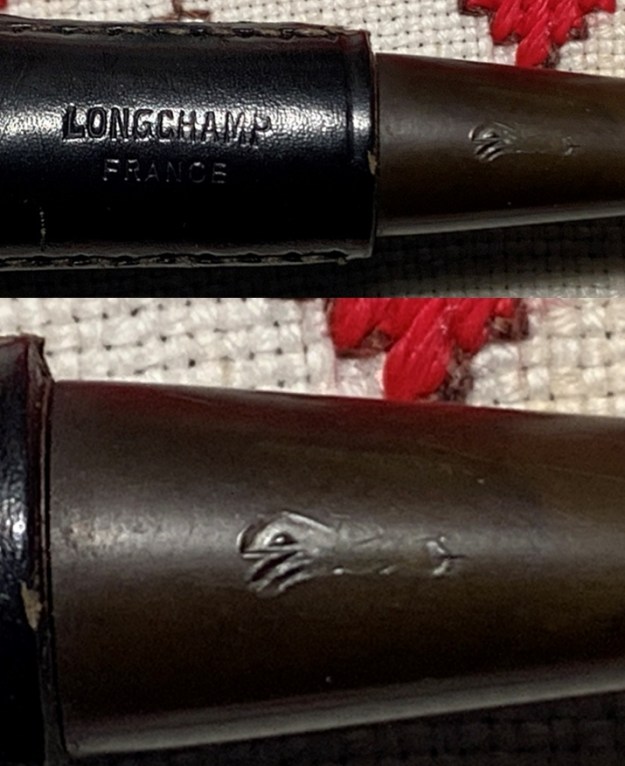
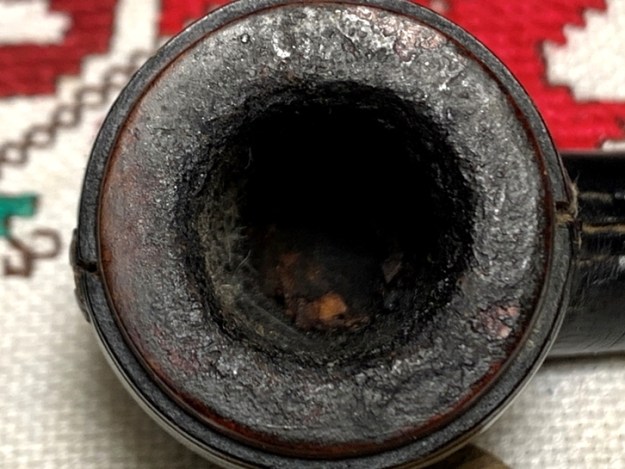
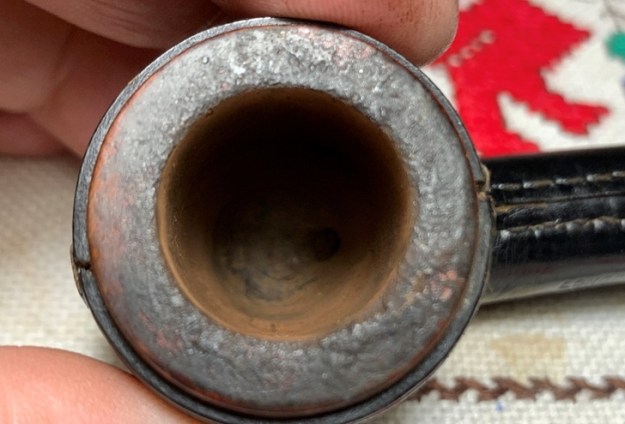
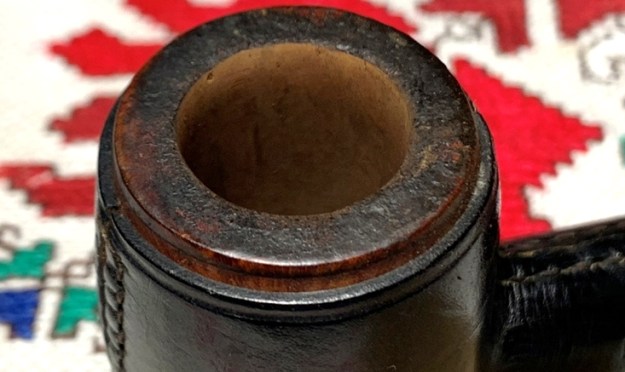
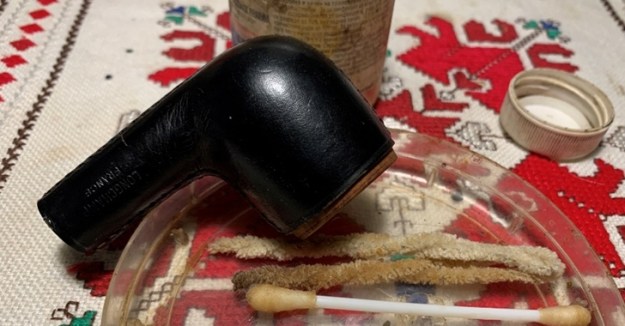
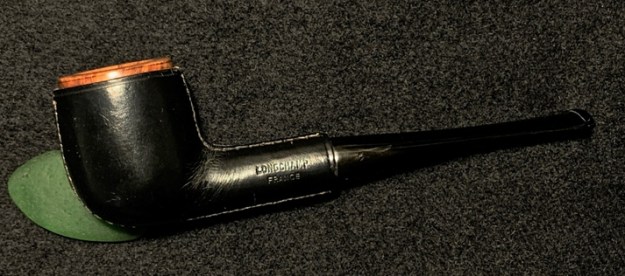
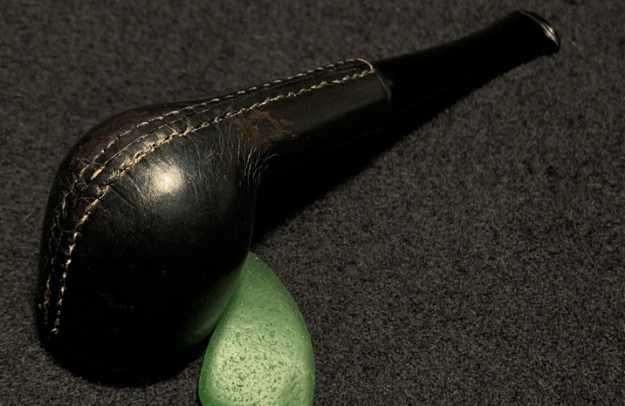
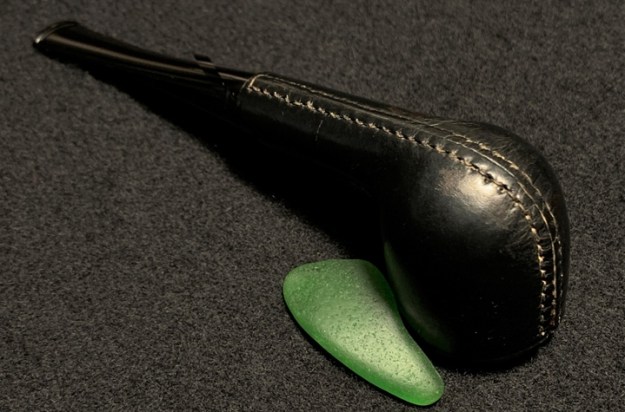
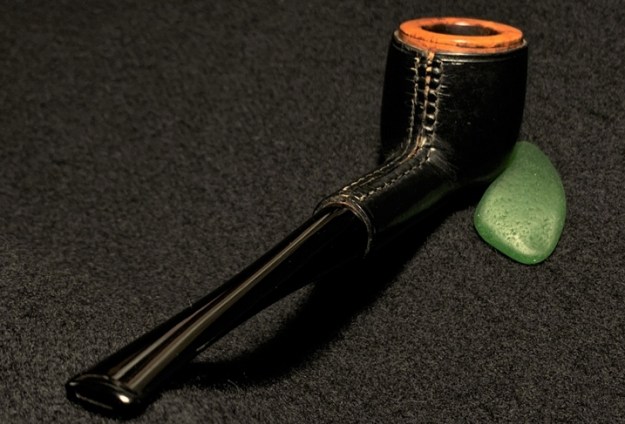
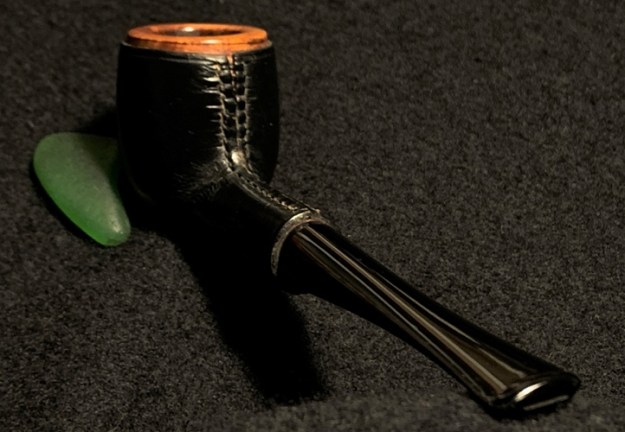
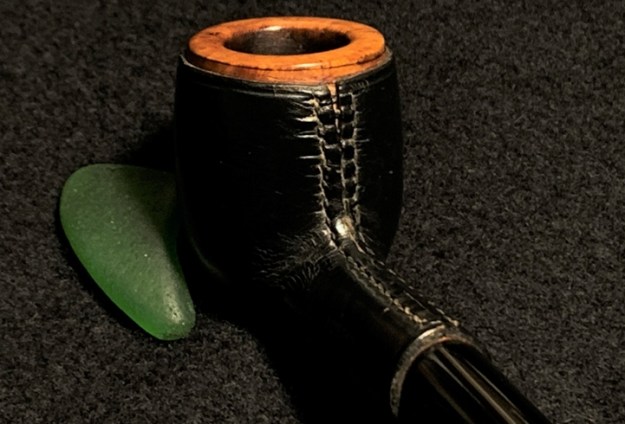
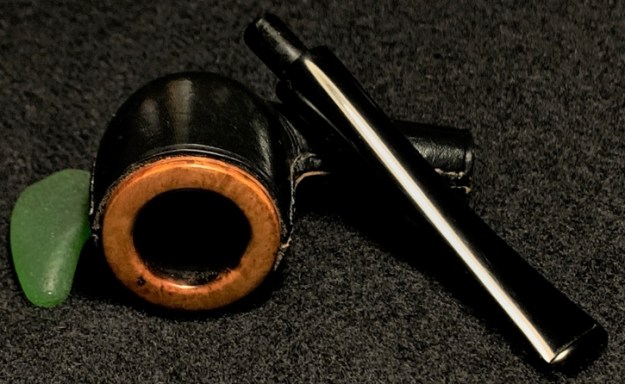
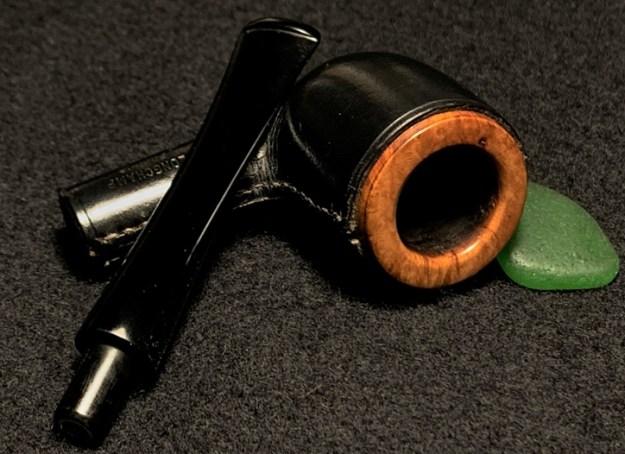
I saw this leather wrapped Longchamp on the eBay auction block from a seller in the USA state of Indiana.  Up to that point in time, a leather clad pipe was not part of my collection and the price was right when the final minutes ticked off the clock my bid weathered any challengers. The black leather drew my attention with the potential of cleaning the rim for a nice contrast with briar.  Here’s the Longchamp that got my attention. I brought the pipe back to Bulgaria and put it in the For “Pipe Dreamers” Only! online collection and this is where Jason saw the Longchamp.  Jason sent me an email and commissioned the Longchamp and expressed satisfaction in being able to help support the work we do here in Bulgaria with the Daughters of Bulgaria.  He also said that he heard about The Pipe Steward for the first time when I was interviewed by Brian Levine.  Last year, I had a great time being interviewed by Brian Levine of the Pipes Magazine Radio Show! I told the story of how I began restoring pipes as The Pipe Steward and how this intersects with the efforts here in Bulgaria working with the Daughters of Bulgaria.  Jason also commissioned a very nice Altinay Tear Drop Lattice Meerschaum which is next on the worktable.After getting the Longchamp to Bulgaria, I took more pictures to get a closer look. The nomenclature is stamped into the leather on the left flank of the shank. It reads, LONGCHAMP [over] FRANCE.  There is also a stamp of what looks like a horse in motion on the stem.The practice of wrapping briar bowls with leather started in France as a creative and economically savvy way to sell sub-par bowls that were part and parcel of France’s austerity measures during WWII.  Pipedia’s article uncovers this bit of pipe history in the article devoted to Longchamp:

In 1948 Jean Cassegrain inherited a small shop near the French Theater on the Boulevard Poissonnière in Paris, called “Au Sultan”. Articles for smokers and fountain pens were offered there. Now, the absolute bulk of the pipes Cassegrain found in the inventory was from war-time production and due to the sharp restrictions on pipe production the French government had enforced in 1940, these pipes were of very poor quality and showed large fills. Strictly speaking, they were not marketable now that the French pipe industry produced pipes of pre-war standards again. In this situation Cassegrain had the probably most enlightened moment in his life: he took some of these pipes to a leather worker who clad bowls and shanks in leather. Only the rims of the bowls and the shanks’ faces remained blank.

E voila – the pipes looked pretty good now and were eye-catching enough to become an instant success in sale. Above all among the thousands of Allied soldiers who populated Paris in those days. The thing worked well, and even unexperienced pipesters liked the covered pipes very much for they did not transmit the heat to the hand. Very soon Cassegrain had sold the old stock of pipes, and the leather-clad pipes became his only product. He began to place orders with renowned firms like Ropp or Butz-Choquin.

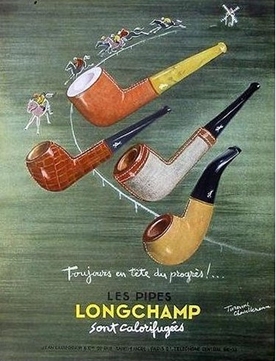
I love stories of innovation like the story of Jean Cassegrain and the creation of the Longchamp name which came from the name of a horse racing park near Paris.  Pipedia concludes the article with this comment:

After 1970 the interest in leather-clad pipes slowly diminished. The Longchamp pipes were offered for the last time in the 1978 catalog though previously placed orders were delivered until 1980.

The splendid success inspired many other renowned producers to offer their own lines Ropp, Butz-Choquin, Gubbels, GBD… Maybe Savinelli was the very last producing them for the label of the famous designer Etienne Aigner.

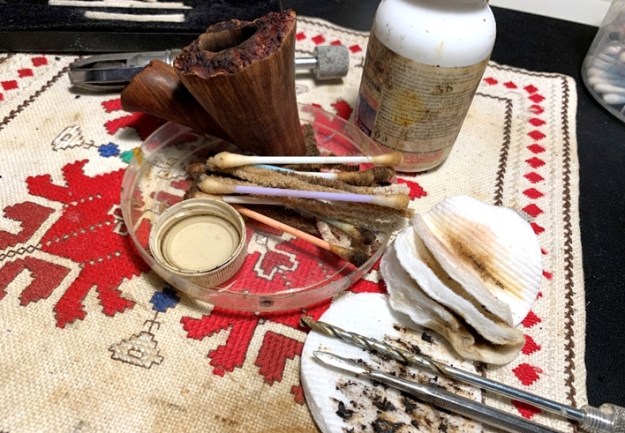
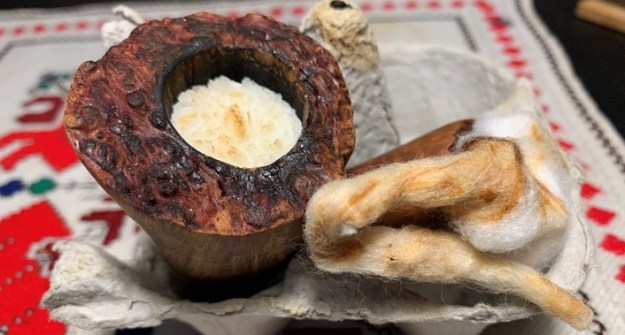
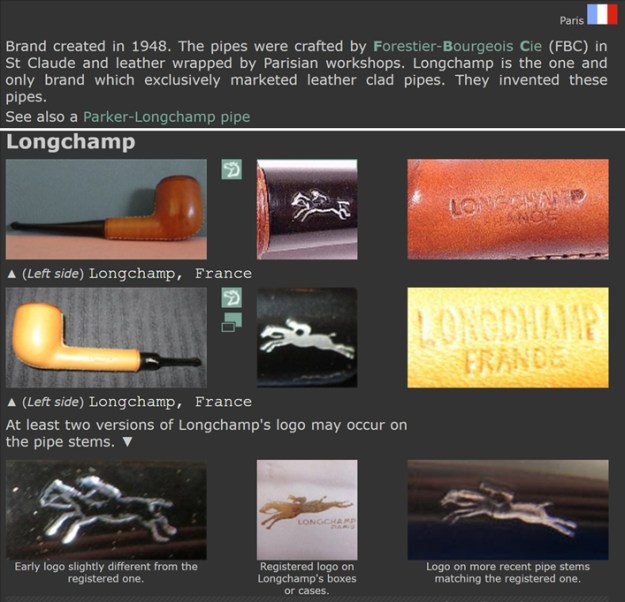
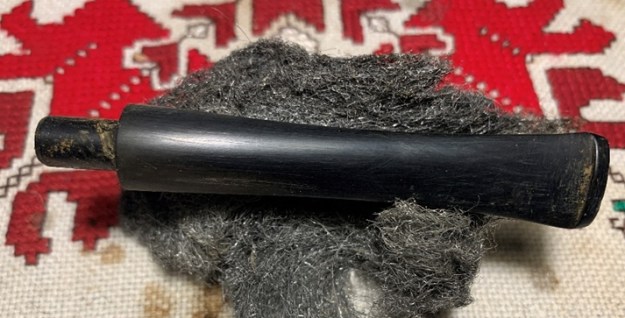
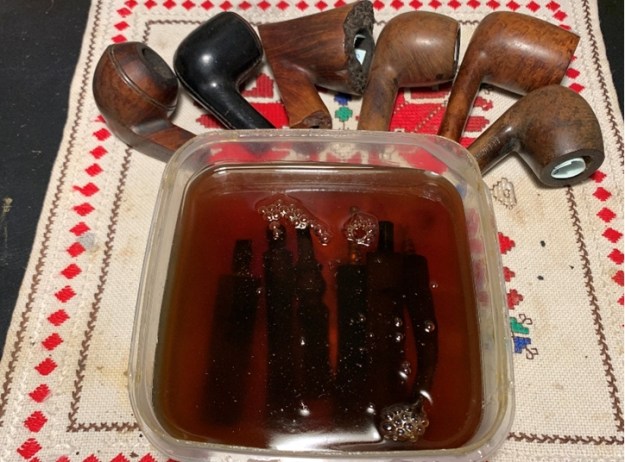
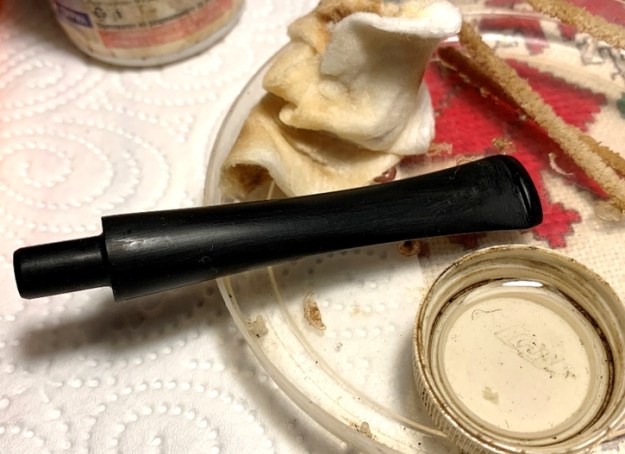
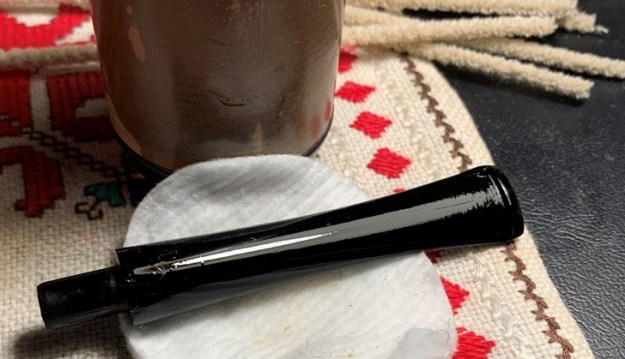
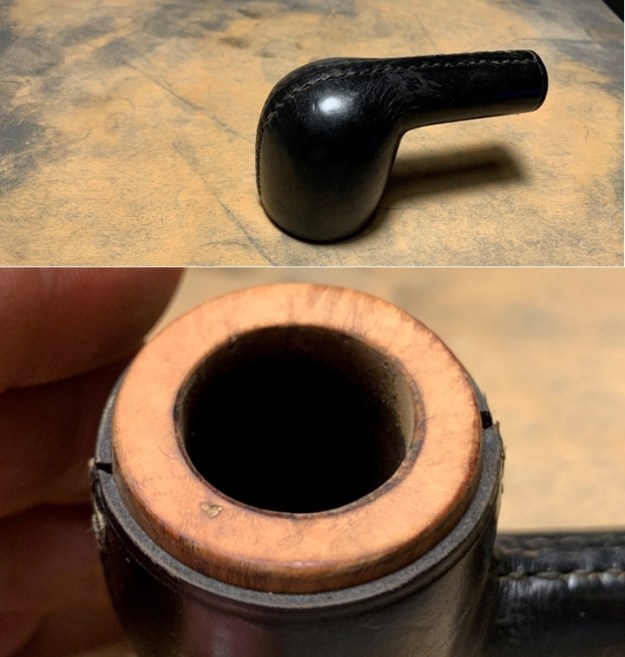
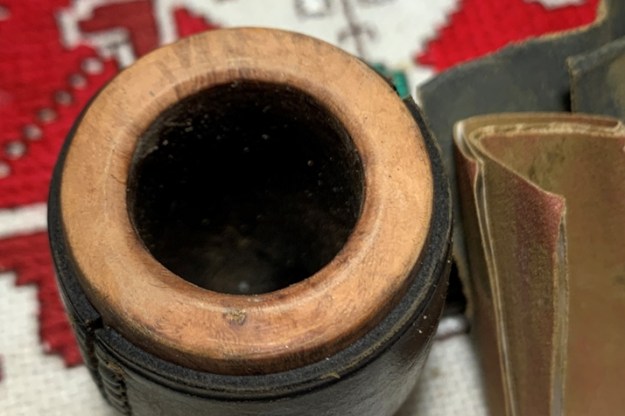
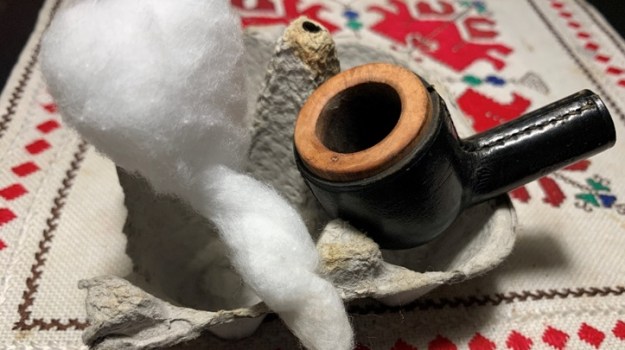
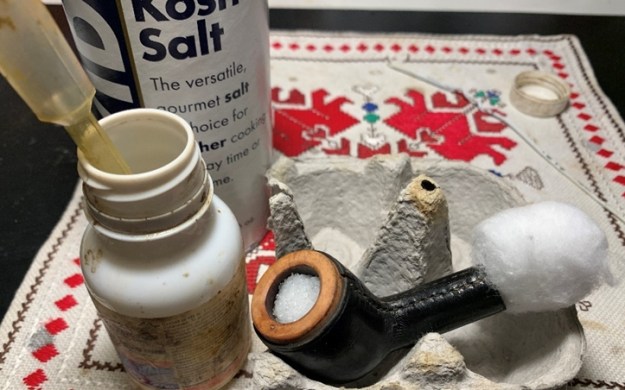
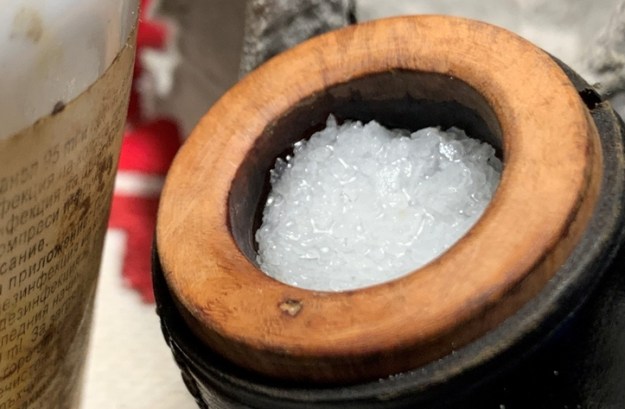
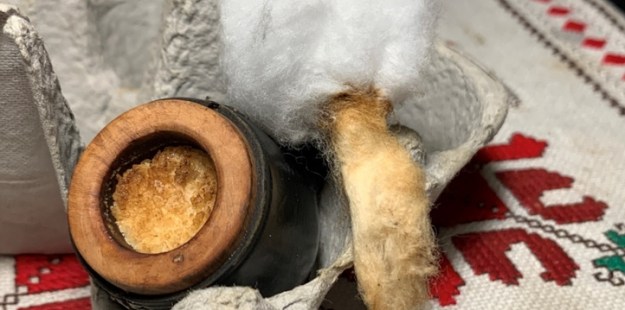
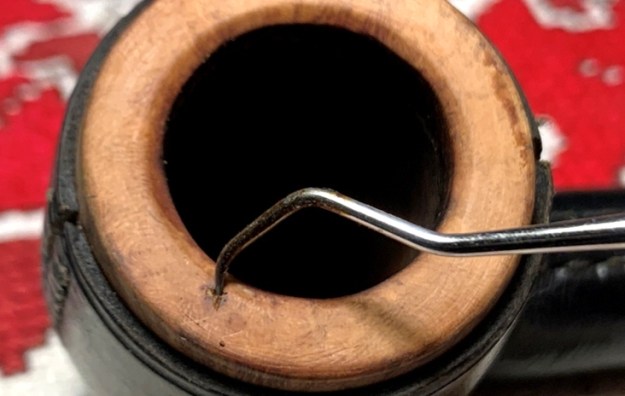
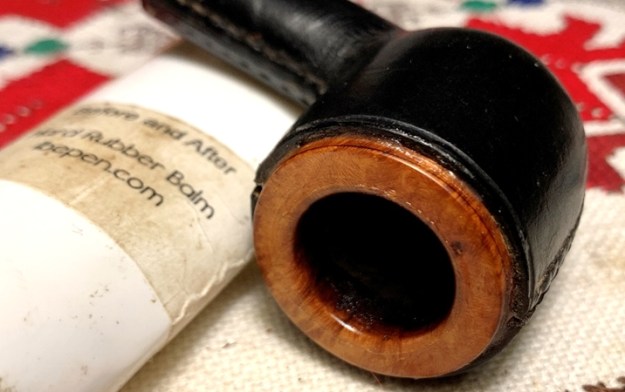
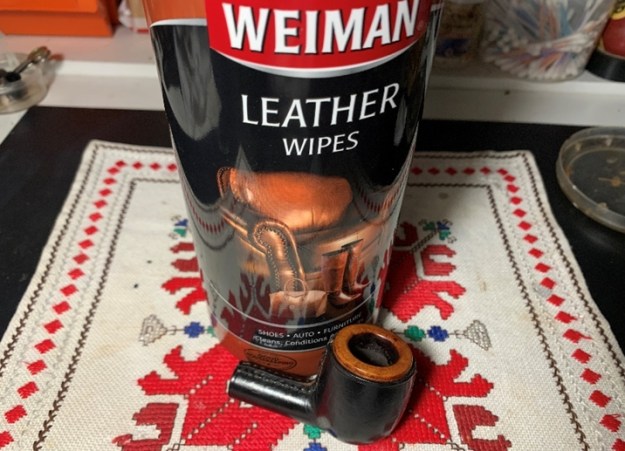
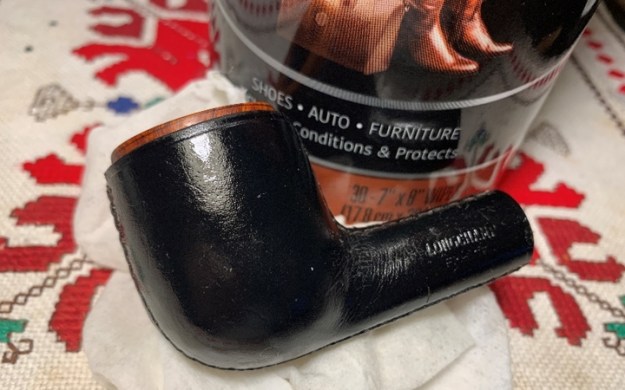
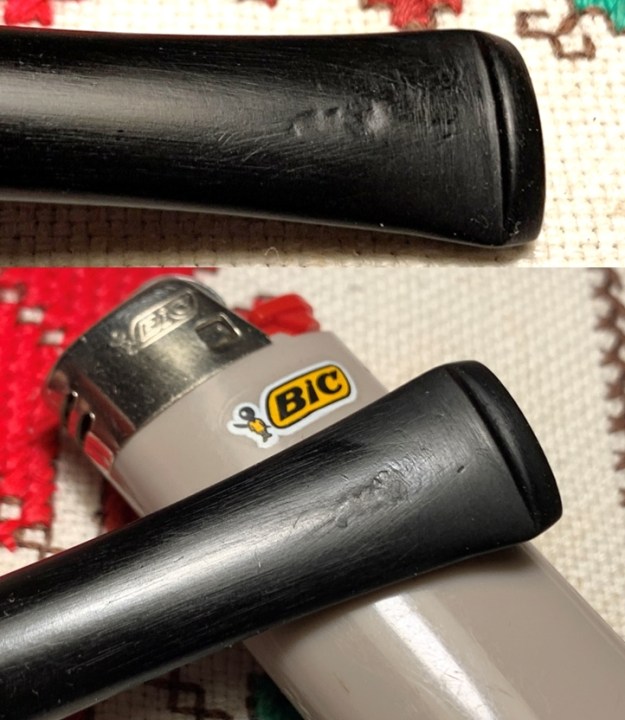
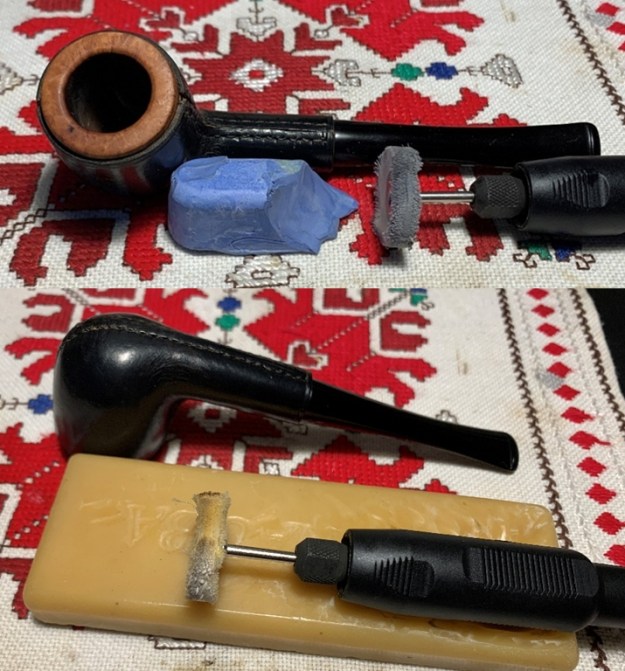
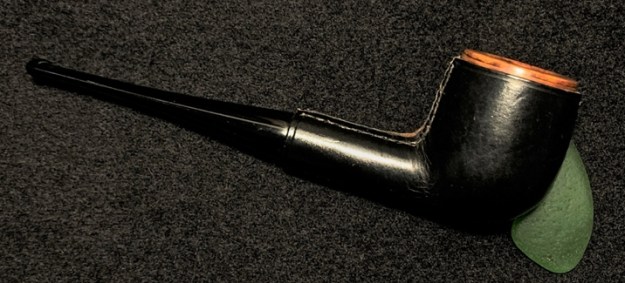
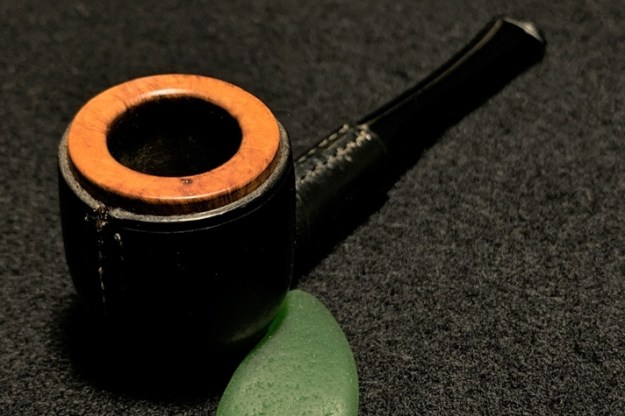
The dating of the pipe on my table would be no older than 1978.  The article also gave sense to the horse stamped on the stem.  I found more about this in the Longchamp panel provided on Pipephil.eu.  The panel shows the different versions of the very thin, ghosted horse stamping on the Longchamp matches the example on the lower right with the caption stating that this logo was on the more recent stems – so dating is for this pipe is most likely in the 70s.With this knowledge increasing my appreciation of the Longchamp story, I take a closer look at the Longchamp on my worktable.  The general condition of the leather appears to be very good.  I see no tears.  The chamber of the Billiard shape has some cake build up but not bad.  The rim is caked with lava flow, but it should clean up nicely revealing the briar beneath. The stem has oxidation and light tooth chatter, but nothing serious.  I begin the refreshing of this French Leather Clad Longchamp by addressing the oxidation in the stem.  I first clean the airway with pipe cleaners wetted with isopropyl 95%.To break up the thick oxidation, 000 steel wool is applied to the stem. I’m careful to avoid the thin Longchamp stamping.  I have found that this helps give the oxidation removal a head start before putting the stem into the soak with Before & After Deoxidizer.Next into the Before & After Deoxidizer with other stems of pipes in the queue.  I leave it in the soak for about 4 hours.When I fish the stem out of the Deoxidizer, I drain and squeegee the liquid off with my fingers.  I then put another pipe cleaner wetted with alcohol through the airway to clean it of the Deoxidizer.  Then using cotton pads wetted with alcohol, the raised oxidation is wiped off.I like to use paraffin oil to help begin the process of rejuvenating the vulcanite stem.  I wipe the oil on with a cotton pad and put the stem aside to absorb the oil.With the stem now on the sideline, I turn to the stummel to begin cleaning out the carbon cake.  After putting paper towel down for easier cleanup, I use the Pipnet Reaming Kit to do the job.  I take another picture of the chamber to mark the start and I use 2 of the 4 blade heads available.  After this, the Savinelli Fitsall tool further scrapes the chamber walls and I finish with sanding the chamber with 240 grade paper wrapped around a Sharpie Pen.  I then wipe the chamber with a cotton pad and after inspection, determine that there are no heating problems with the chamber briar. Next, cleaning the rim to remove the thick oil and tar crud that has collected will be a job.  I do not wish to immerse the leather with Murphy’s, though I don’t think it would be a problem.  So, focusing to keep the cleaning only on the rim, I use Murphy’s Oil Soap undiluted and a cotton pad to begin softening the crusted rim. Using a Winchester pocketknife to scrape the rim, I carefully remove more of the crusting.  Finally, I use a bristled brass wire brush to work on the rim and then take the stummel to the sink and rinse the soap from the rim.There’s a huge difference on the rim after the cleaning.  It appears that there originally was a bevel on the inside lip of the rim.Next, to freshen the lines of the rim and to continue to clean the dark stains off the briar, I use the topping board with 240 grade paper.  I only rotate the stummel a few times. A small pit is revealed on the front-left rim after the first round of topping.  This will need to be filled.I rotate the inverted stummel several more time after transitioning from 240 grade paper to 600.To clean the internal rim lip as well as to refresh the internal bevel, I tightly wrap a piece 240 paper and shape the bevel.  Following this, I use 600 grade to smooth out the bevel.Next, using cotton buds and pipe cleaners dipped in isopropyl 95% the internal cleaning commences.  A small dental spoon is also used to scrape the internal mortise wall removing tars and oil build up.  After the cotton buds begin to emerge lighter, I call it clean at this stage.With the hour being late, I transition to utilizing a kosher salt and alcohol soak through the night to continue the internal cleaning.  It is my usual practice to do this to refresh the pipe for the new steward.  After creating a ‘wick’ by pulling and twisting a cotton ball, the wick is inserted into the mortise using a stiff wire to help guide it down through the mortise into the airway.  The wick helps to draw out the residual tar and oil from the briar.  I then fill the bowl with kosher salt which, unlike iodized salt, leaves no aftertaste.  After placing the stummel in the egg carton for stability, using a large eye dropper, the bowl is filled with isopropyl 95% until it surfaces over the salt.  After a time, the alcohol is drawn into the pipe and after topping off the alcohol, I turn off the lights! The next morning the salt and wick are soiled the brown showing the additional cleaning this process provided.  After cleaning the stummel of the expended kosher salt using a paper towel and blowing forcefully through the mortise, I follow with a few additional pipe cleaners and cotton buds to clean the remaining remnants of tar and oils.  All is good and I move on.Next, addressing the hole on the rim, I first dig out and clean the pitted area using a sharp dental probe. After wiping the area with alcohol to assure that it is clean, I then spot-drop the hole with regular clear CA glue.After the CA glue cures, a flat needle file is used to file the patch down. Following the filing, 240 and 600 sanding papers smooth the area further.Transitioning then to applying the full regiment of micromesh pads, I wet sand with pads 1500 to 2400 and follow with dry sanding with pads 3200 to 4000 and 6000 to 12000.  The micromesh process brings out the grain nicely.  I love the briar/leather contrast created by the rim. Applying Before & After Restoration continues to bring out the more subtle hues of the rim’s briar grain.  Applying first the Balm with my fingers and working it into the briar, I then set it aside for a few minutes for the Balm to be absorbed.  After about 20 minutes I wipe off the excess Balm and buff the rim with a microfiber cloth.To treat the black leather, I use ‘Weiman Leather Wipes’ to clean and condition the leather.  This product works very well.  The leather is very attractive with a clean, healthy sheen. I put the stummel aside and transition to the stem, which is not in too bad of shape.  There are some tooth chatter and compressions on the upper bit which I first address with the heating method.  Using a Bic lighter, the bit is painted with the flame heating and expanding the vulcanite.  As the vulcanite is heated it expands to reclaim its original shaping – or closer.  The pictures show a before and after comparison.  The compressions are still visible but much reduced.I follow by sanding the upper and lower bit using 240 grade paper to erase the residual chatter and what remains of the compressions.I then take the stem to the kitchen sink and wet sand the entire stem using 600 grade paper – careful not to sand the very thin running horse stamping on the stem.  Following the 600 grade paper, 000 grade steel wool is applied to smooth further.Next, I transition directly to applying micromesh pads to the stem by wet sanding with pads 1500 to 2400 then dry sanding with pads 3200 to 4000 and 6000 to 12000.  Between each set of 3 pads, Obsidian Oil is applied to rejuvenate the vulcanite as well as helping to prevent oxidation. On the home stretch – after mounting a cotton cloth buffing wheel to the Dremel, with the speed set at about 40% full power, Blue Diamond compound, a fine abrasive, is applied to the stem and briar rim.  Following this, after another buffing wheel has been mounted at the same speed, carnauba wax is applied to the stem and briar rim.  The restoration is completed with a rigorous hand-buffing to raise the shine of both the stem and briar rim, but also the black leather wrap.This Leather Clad French Longchamp is a nice pipe.  The leather gives that comfortable laid-back feel and the contrasting briar rim and white seams of stitching provide a great aesthetic presentation.  The classic Billiard workhorse shape has a great feel and balance in the hand – ready for a new steward!  Jason has the first opportunity to claim this French Longchamp from The Pipe Steward Store benefiting the Daughters of Bulgaria – women and girls who have been trafficked and sexually exploited.  Thanks for joining me!


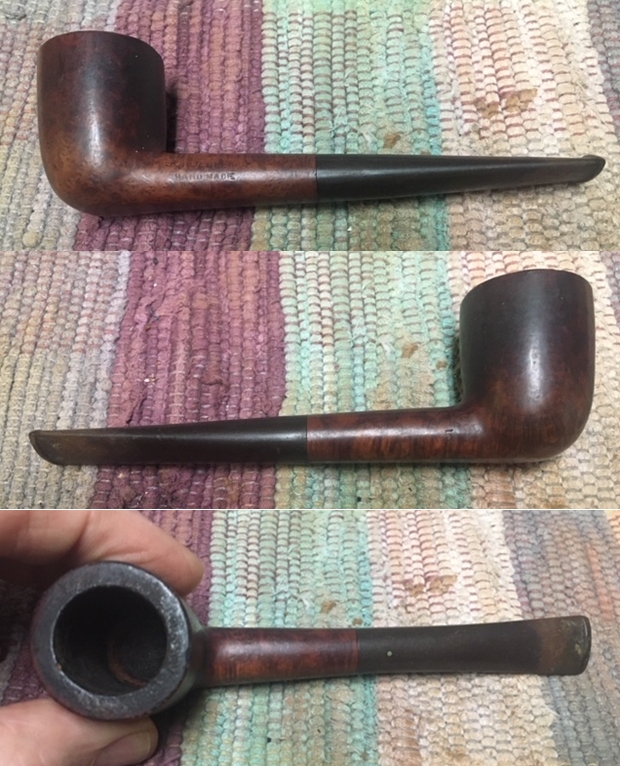
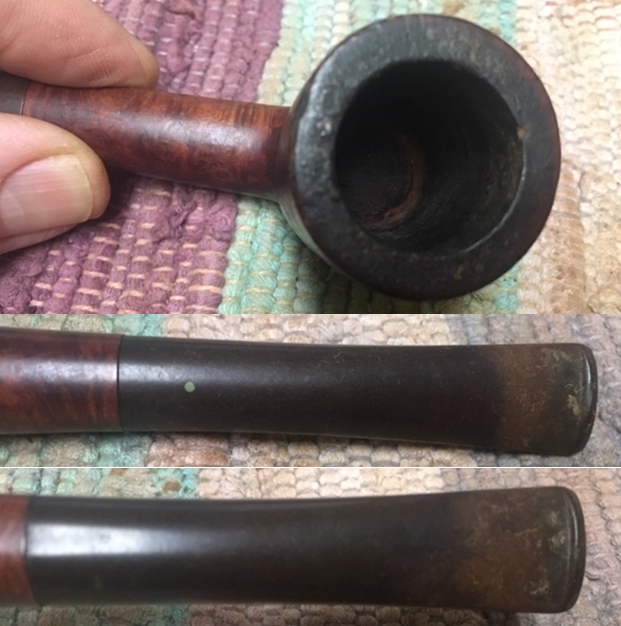
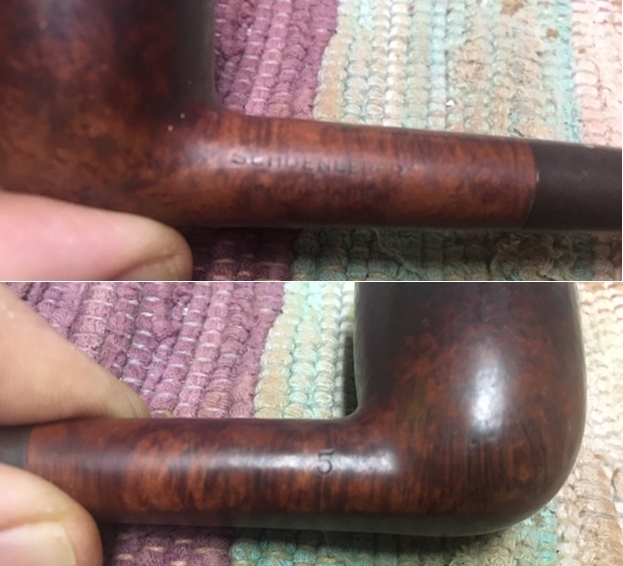
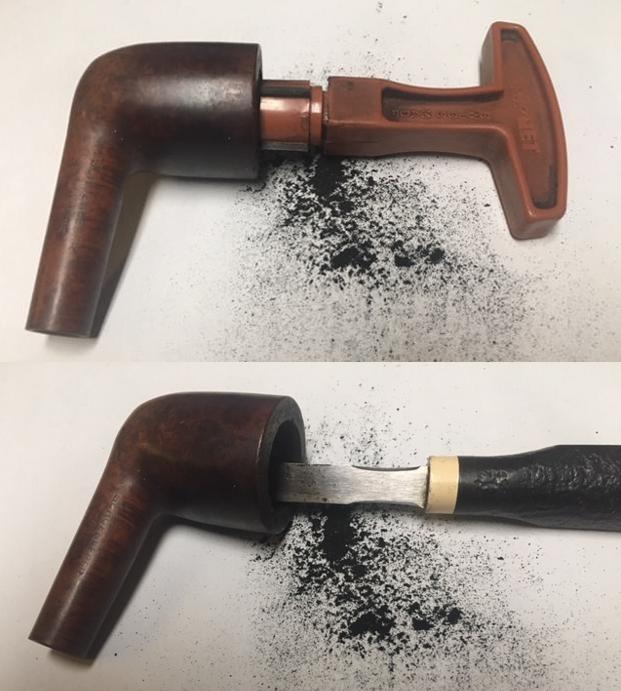
Rebirthing another Schoenleber Hand Made – A #5 Dublin


Blog by Steve Laug

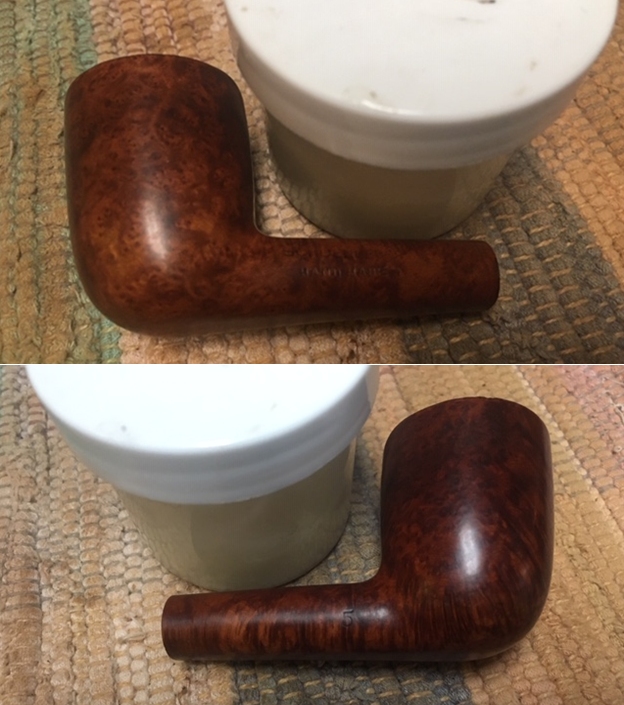
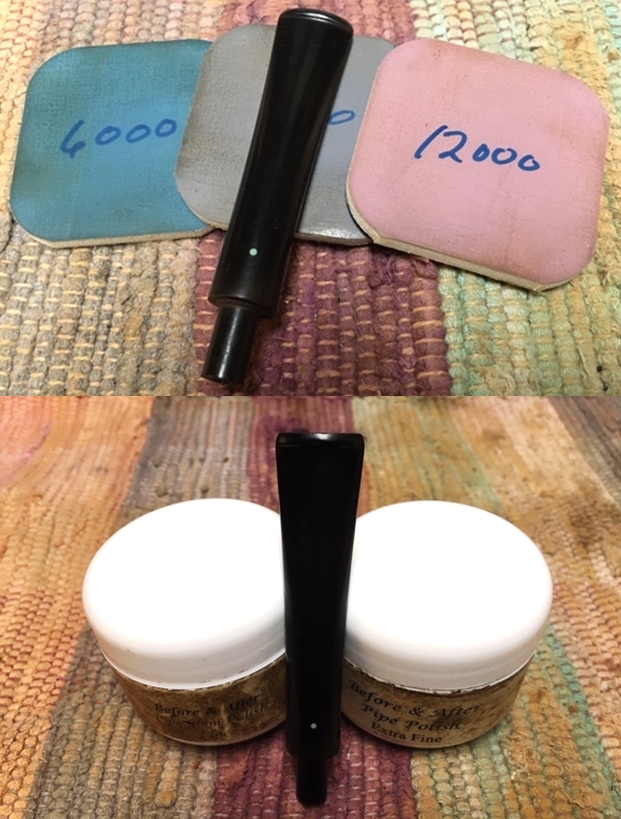
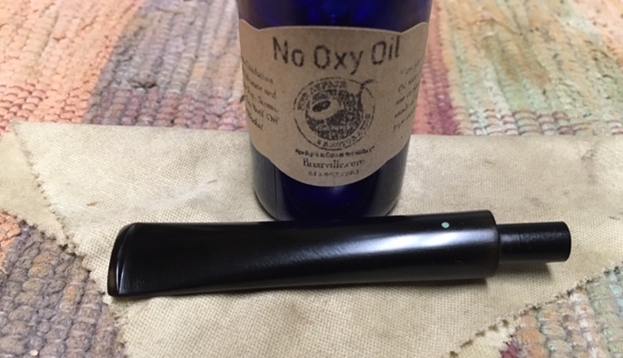
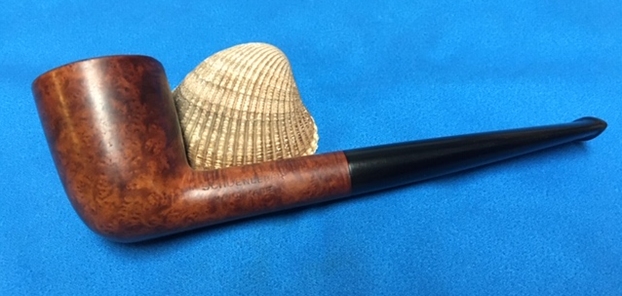
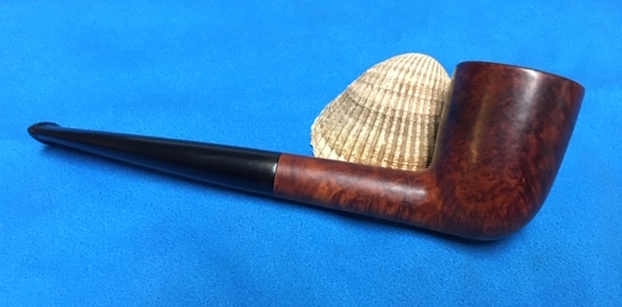
The next pipe in the queue is another pipe from the batch of pipes I am cleaning up for Alex – this one is another Schoenleber Hand Made – a straight shank Dublin with some beautiful grain around what appears to be an oil cured bowl and shank. The entire pipe has some beautiful mixed birdseye, cross and swirled grain around the bowl and shank. But it is under a thick coat of oils, grime and dirt. The carver did a great job utilizing the block of briar to maximize the grain. The pipe is stamped on the left side of the shank. It reads Schoenleber over Hand Made. On the right side of the shank it is stamped with a number 5 which is either a shape number or size designation. The tapered stem is vulcanite and has a single small blue dot on the top side. I think that this will be another nice looking piece much like many of the pipes Alex is picking up. The bowl is thickly caked with a thick overflow of lava on the rim top. There appears to be some damage on the inner edge but it is hard to know for sure. The exterior of the briar was dirty with grime and dust. The stem is actually quite free of tooth marks but there is tooth chatter on both sides. It is heavily oxidized and has some calcification. The photos below tell the story and give a glimpse of the pipe before clean up.I took a photo of the bowl and rim to capture the condition of the pipe before I started my cleanup work. There was  a thick cake in the bowl and a thick overflow of lava on the rim top. It was hard to know the condition of the edges of the bowl because of the lava though there appeared to be some damage to the inner edge.  The stem was in decent condition. There was also some tooth chatter, oxidation and calcification on the stem surfaces.I also took a photo of right side of the shank to show the stamping. The stamping is readable in the photo below and is as noted above – Schoenleber Hand Made. On the opposite side it reads 5 at the shank/bowl junction on the right side.When I worked on a Schoenleber pipe for Alex in the past I had done the research on the brand. I knew that the pipe had been made for a shop in New Jersey but went back and reread the previous blog I had written on the brand. I have included the information from Pipedia that I included before. I quote the article in full (https://pipedia.org/wiki/Schoenleber).

Louis Schoenleber lived in North Arlington N.J. and was an Austrian immigrant and skilled artisan in pipe making. His hand carved pipes were available in his shop, ‘Schoenleber’s Newark Pipe Shop’, at 26 Branford Pl., Newark NJ, thought to open in the 1920’s. Schoenleber’s carried a full line of tobaccos as well as related pipe smoking accessories. It’s thought the shop operated until the late 1960’s, and Louis Schoenleber died in 1976. It’s also fairly certain they may have sold to other brands such as Jelling, also in Newark and are very similar in design and finish.

There was also an advertising card on the site that I have included below. It speaks to my assumptions about the curing process and the finishing process on the pipe. It also connects the pipe to Schoenleber’s Newark Pipe Shop in Newark, N.J. It also has a comment on the fact that pipes were made to order.I started the restoration by working on reaming the thick cake from the bowl. I used a PipNet pipe reamer with the third cutting head to take the cake out of the bowl. It was crumbly and uneven so that was necessary. I followed up by scraping out the remaining cake with a Savinelli Fitsall Pipe Knife and finally sanded the bowl walls with 220 grit sand paper wrapped around a piece of dowel. I used the sharp edge of the Fitsall knife to scrape away the thick lava coat from the rim top. With the bowl reamed and the rim top scraped clean it was time to scrub the grime and oils off the outside of the bowl. I used undiluted Murphy’s Oil Soap and a tooth brush to scrub the briar. I rinsed off the grime that the soap removes with warm running water. I dried it off with a cotton cloth and took photos of the pipe at this point. With the externals clean it was time to clean out the internals. I scraped the inside of the mortise walls with a pen knife to remove the thick tarry buildup. I scrubbed the mortise and airway in the shank and stem with pipe cleaners, cotton swabs and alcohol until they were clean. I cleaned up the damages to the inner edge of the rim with a folded piece of 220 grit sandpaper. When I finished the rim was once again clean and round.I turned to polishing the bowl and rim with micromesh sanding pads – wet sanding with 1500-12000 grit pads. I wiped the bowl down with a damp cloth after each pad to remove the sanding debris. I worked some Before & After Restoration Balm into the surface of the briar with my fingertips to clean, enliven and protect it. I let the balm sit for a little while and then buffed with a cotton cloth to raise the shine. I set the bowl aside and turned my attention to the stem. I sanded it with 220 grit sandpaper to remove the oxidation and tooth chatter on both sides of the stem. I started the polishing of the surface with 400 grit wet dry sandpaper. I polished the stem with micromesh sanding pads – wet sanding it with 1500-12000 grit pads. I wiped the stem down with a damp cloth after each pad. I further polished it with Before & After Pipe Polish – both Fine and Extra Fine. I wiped it down with a coat of Briarville’s No Oxy Oil and set it aside to dry. With both parts of the pipe finished, I polished the bowl and the stem with Blue Diamond polish on the buffing wheel. I gave the bowl and the stem multiple coats of carnauba wax. I buffed the pipe with a clean buffing pad to raise the shine. I hand buffed it with a microfiber cloth to deepen the shine. The pipe polished up pretty nicely. The rich oil cured finish and the grain came alive with the buffing. The finish on the briar works well with the polished black vulcanite stem. The finished pipe is a well-proportioned, nicely grained Dublin. Have a look at it with the photos below. The dimensions are Length: 5 1/2 inches, Height: 1 7/8 inches, Outside diameter of the bowl: 1 1/4 inches, Chamber diameter: 3/4 of an inch. This Schoenleber Hand Made Dublin will be going back to Alex soon to join his growing collection of American made pipes. Thanks for walking through the restoration with me on another of Alex’s pipes.


A New Lease on Life for Alex’s Kaywoodie Hand Made Rhodesian


Blog by Steve Laug

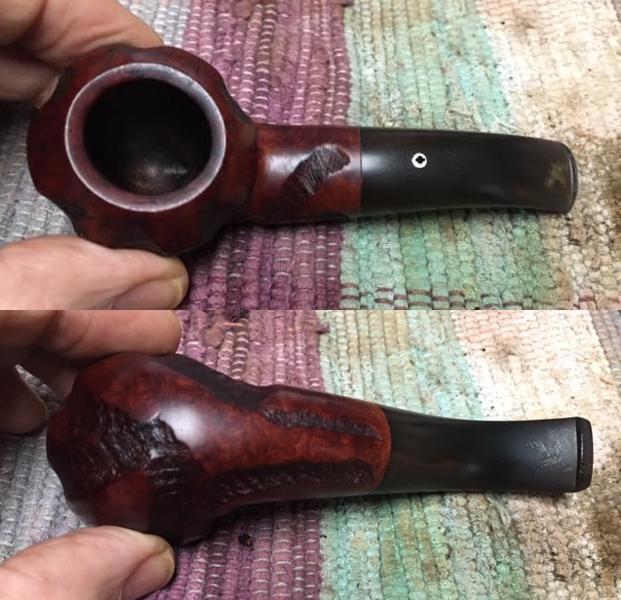
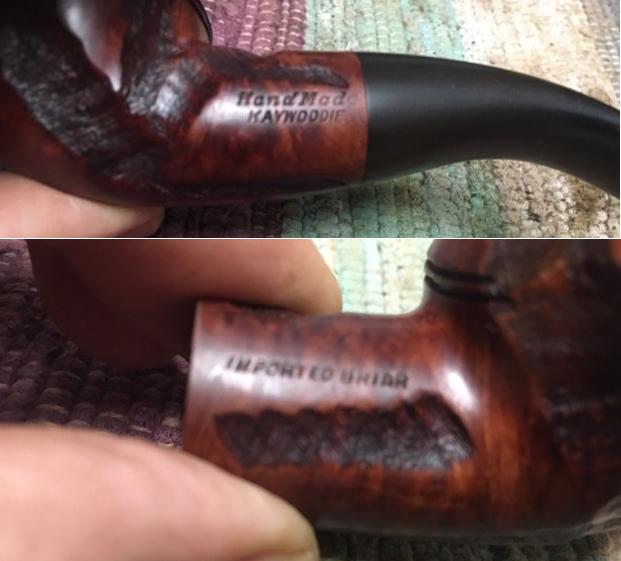
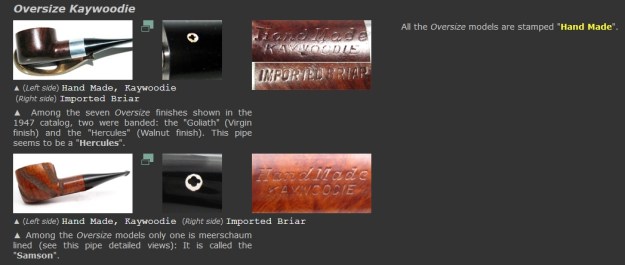
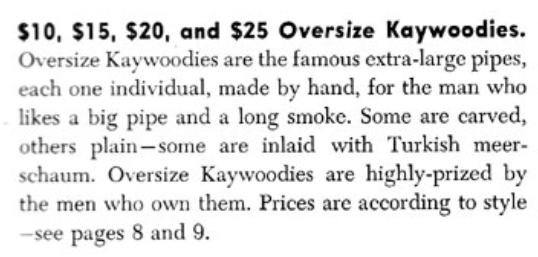
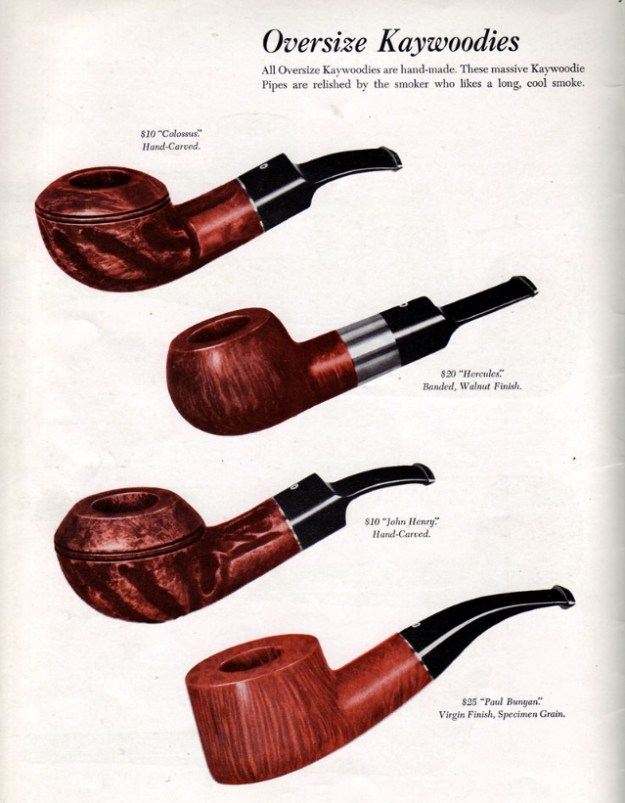
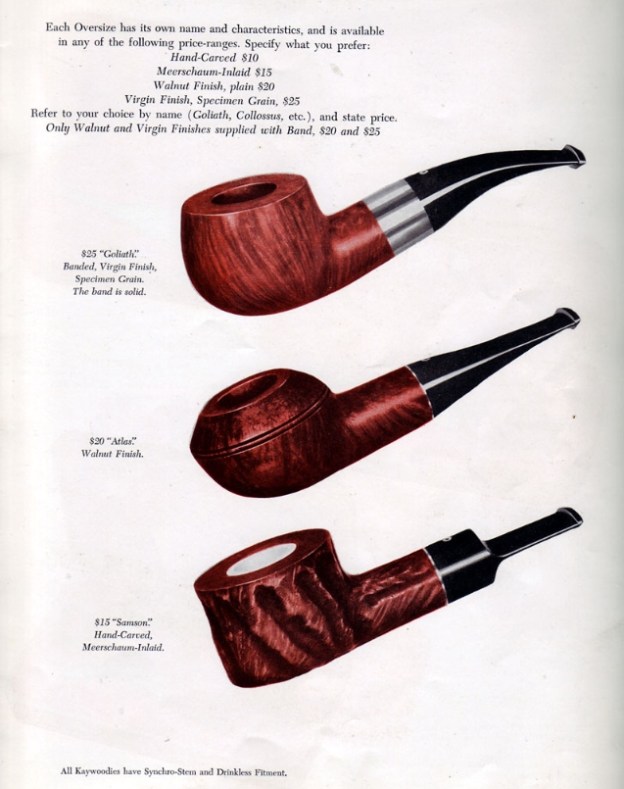
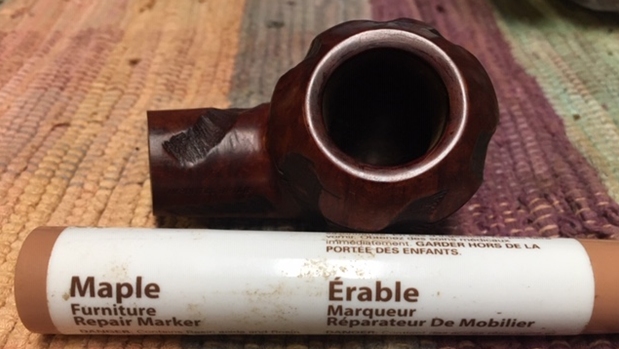
Alex has been an ongoing source of restoration projects for me for a few years now. I actually have a box of pipes that Alex drops by periodically and adds new pipes for work. It has been fun to see him pick up the restoration hobby himself lately. He leaves the harder ones to me to work on – whether harder in terms of issues or harder in terms of cleaning. I have quite a few of his to work on so I spread them among the others that I am working on. This next pipe is an interesting older Kaywoodie Hand Made Rhodesian with an almost Custom Bilt rustication pattern around the bowl. The difference to me is that this beauty has some stunning grain in the smooth portions and the rustication is less random and more methodically chosen to highlight some of the grain features. The pipe is stamped Hand Made over Kaywoodie on a smooth panel on the left side of the shank. On the right side there is a stamp that reads Imported Briar. It has been in the box for quite a while now so this afternoon I took it to the work table. The finish is a combination of reddish browns and dark brown in the rusticated portions. The contrast is quite beautiful though a little dull as it has not been used or cared for in a long time. The rim top had an inward bevel that had some darkening and burn damage to the inner edge on the front right and back of the bowl. The pipe had been reamed before Alex received it and really was quite clean. The push stem was lightly oxidized and had Kaywoodie white logo with a black cloverleaf making it an older pipe. There were hash marks and tooth marks on both sides of the stem ahead of the button. Overall the pipe was in good condition. I took some photos of the pipe as I received it. I took a close up photo of the rim top. It shows some darkening on the right side of the inward beveled top. The outer edges look good. The photos of the stem show hash marks and tooth marks on both sides ahead of the button. They are deep scratches/gouges in the vulcanite that have filled in with calcification. The stem is also quite oxidized.I took photos of the stamping on both sides of the shank. You can see that it reads as noted above.I have worked on a few of the Kaywoodie Hand Made over the years and have found in the past that they were listed as Oversize Kaywoodie pipes. I turned to Pipephil’s site to see what information I could gather there on the oversize pipes (http://www.pipephil.eu/logos/en/logo-kaywoodie-2.html#oversizekaywoodie). I have included a screen capture of the information on that site for quick reference. The basic information I gather there was that the pipe had in all probability been noted in the 1947 Kaywoodie Catalogue. It also made it clear that all the Oversize models are stamped Hand Made.I then turned to Pipedia and under the general information did not find much helpful that I did not already know. It is a great read regarding the history of the brand and its development from the older KBB and KB&B brand pipes. However it did have follow up information in the end notes on the page and that took me to a series of Catalogues (1937, 1947 and 1955). The Hand Made line shows up first in the 1947 Catalogue that was included. I read through it and that is where I found some additional information to help me in my quest. Here is a link to the 1947 Catalogue for your reading pleasure (https://pipedia.org/images/6/61/Kaywoodie_1947.pdf). I have included a screen capture of the section in the catalogue about the Oversize Kaywoodies. I have included that below. I have also included two of the Catalogue pages that show the oversize Hand Made pipes. The one I am working on while similar to the Hand Carved Colossus and the Hand Carved John Henry is significantly different. This one is carved with the patterns but has a tapered push stem rather than the typical screw mounted Kaywoodie. This is a beautifully styled and positioned Rhodesian shape has a tapered vulcanite push stem that fits proportionally well. The carved areas or “worm trails” around the bowl are separated by smooth well grained portions of briar that highlight the grain. The combination of brown stains on the finish makes it quite stunning. Now it was time to work on Alex’s pipe. I started the work by addressing the issues with the rim top first. I ran some pipe cleaners through the bowl and stem and it was spotless so I decided to deal with rim top damage. I used a folded piece of 220 grit sandpaper to clean up the beveled rim top to remove the darkening. I sanded the rim top and edges of the bowl with the sandpaper to get rid of the damage. Once I was finished the rim and edges were smooth.I polished the bowl and rim top with micromesh sanding pads – wet sanding with 1500-12000 grit pads and wiped the bowl down after each pad with a damp cloth. The polishing gave the bowl a rich shine. After polishing the rim it was slightly lighter than the other smooth portions of the bowl. I used a Maple Stain Pen to match the colour of the rest of the bowl and blend the new finished rim into the surrounding pipe.I rubbed it down with Before and After Restoration Balm. It is a product developed by Mark Hoover to clean, enliven and protect briar. I worked it into the briar with my fingertips and a horsehair shoe brush. I let it sit for about 10 minutes and buffed it off with a cotton cloth. You can see the results in the photos below. I set the bowl aside and turned to address the light tooth marks, chatter and gouges on the stem surface. I sanded both the top and underside of the stem with 220 grit sandpaper to remove the damages to the vulcanite. Fortunately they were not too deep so they came out fairly quickly. I also did a quick sanding to remove the oxidation on the stem.I polished the stem with micromesh sanding pads – wet sanding it with 1500-12000 grit pads and wiping it down after each pad with a damp cotton pad to remove the dust. I polished it with Before and After Pipe Polish – both fine and extra fine. I finished by wiping the stem down with some No Oxy Oil that  received from Briarville Pipe Repair to try out and get a sense of its value to me and others. Once I finished I put the stem back on the shank and buffed the pipe with Blue Diamond polish briar and vulcanite. I gave the stem a vigorous polish being careful around the white spot. I gave the bowl multiple coats of Conservator’s Wax and the stem several coats of carnauba. I buffed the pipe with a clean buffing pad and hand buffed it with a microfiber cloth. The finished pipe is shown in the photos below. This Kaywoodie Hand Made is a great piece of pipe history and looks better than when I began the process. The dimensions of the pipe are Length: 5 ¼ inches, Height: 1 ¾ inches, Outer Bowl Diameter: 1 ¾ inches, Chamber Diameter: ¾ of an inch. The pipe will soon be heading back to Alex so he can continue to enjoy it. I have told him that if he ever wants to part with it I get the right of first refusal. Thanks for walking with me through the restoration.

Giving New Life and Stem Alignment to a Made in London England Diplomat


Blog by Dal Stanton

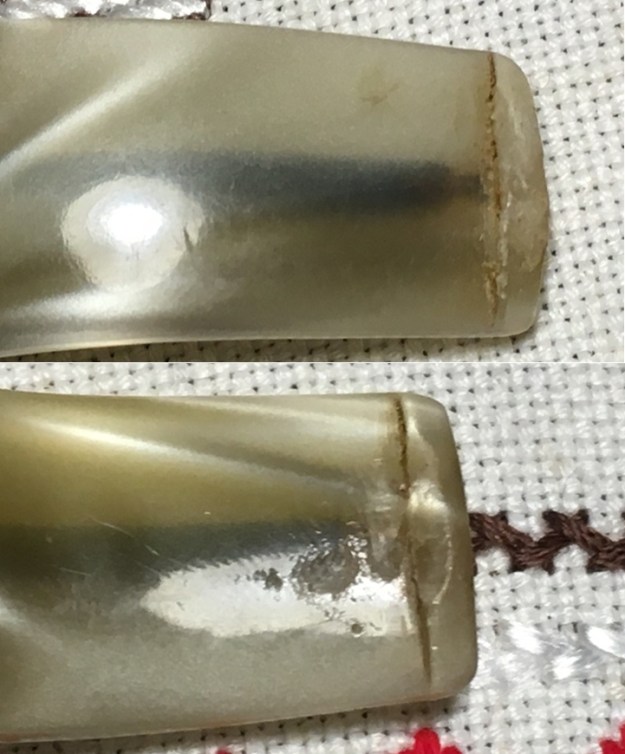
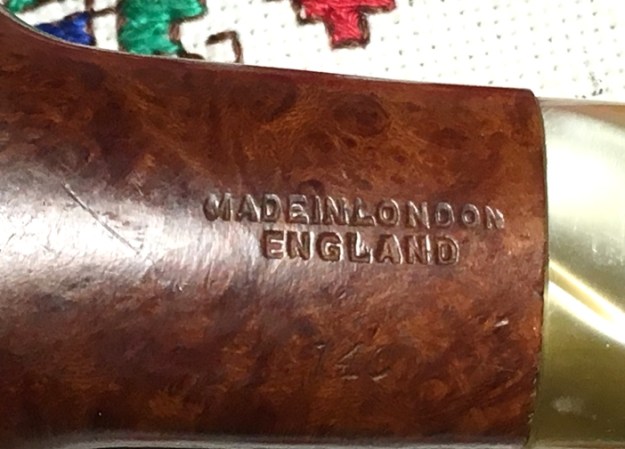
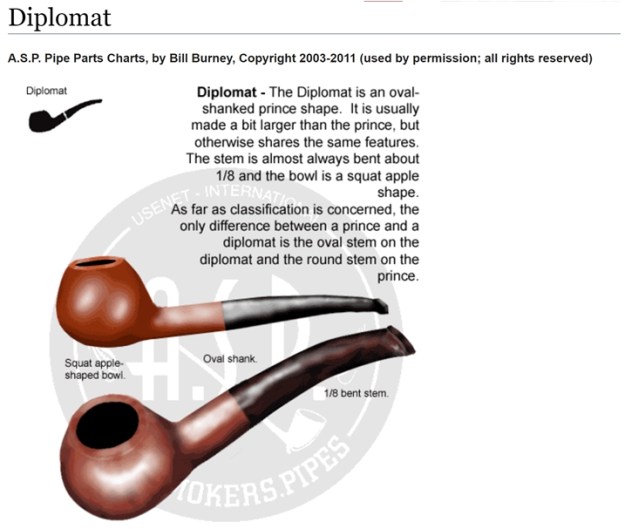
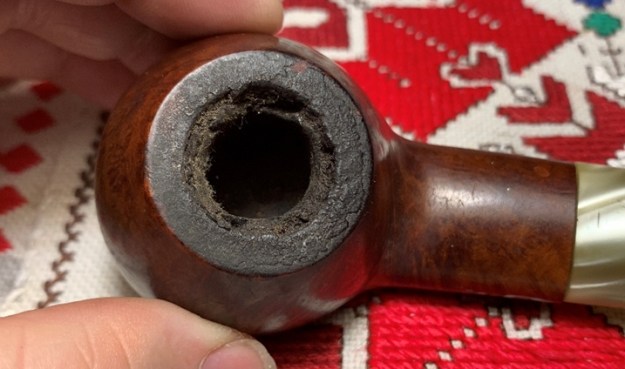
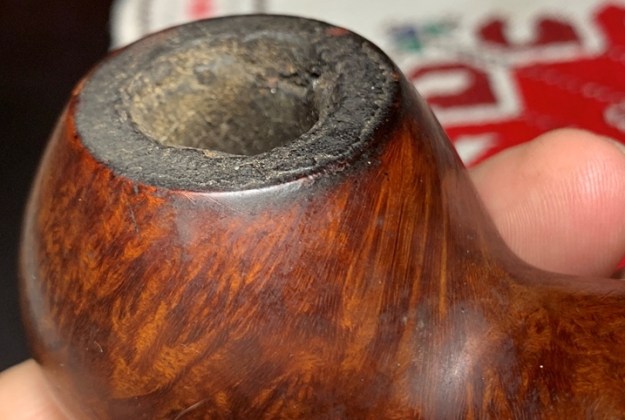
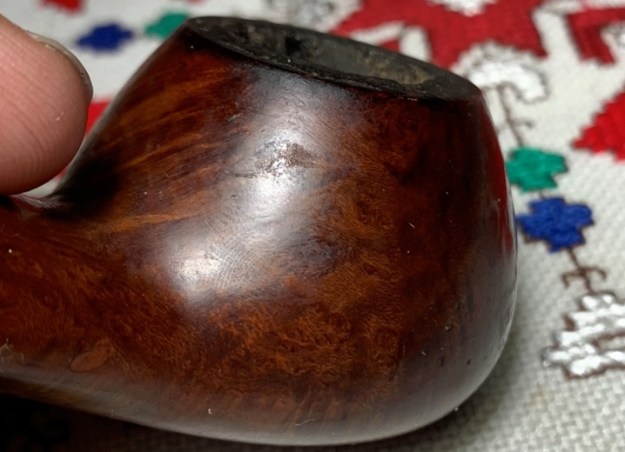
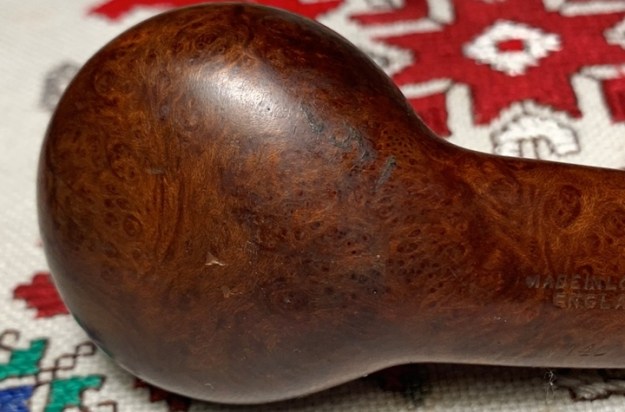
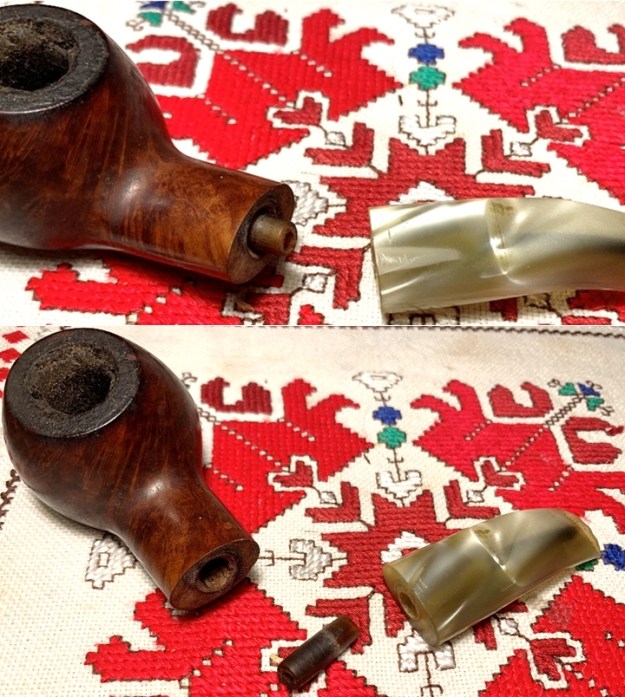
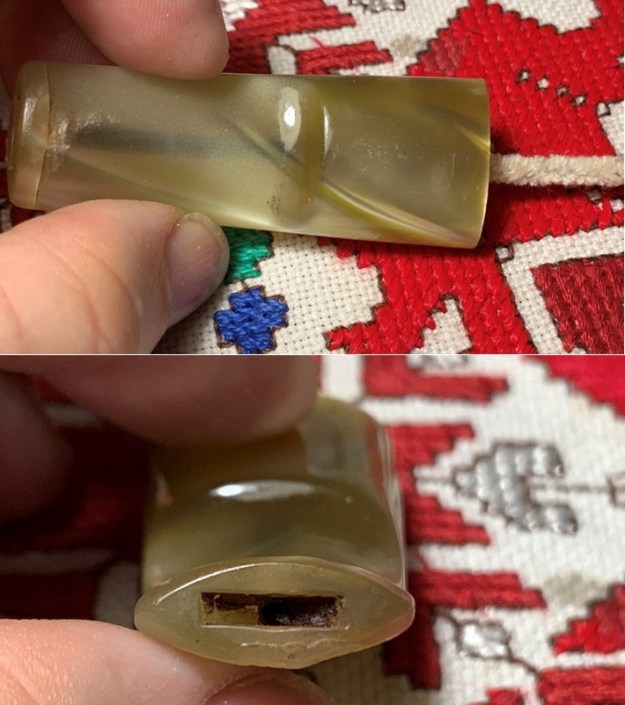
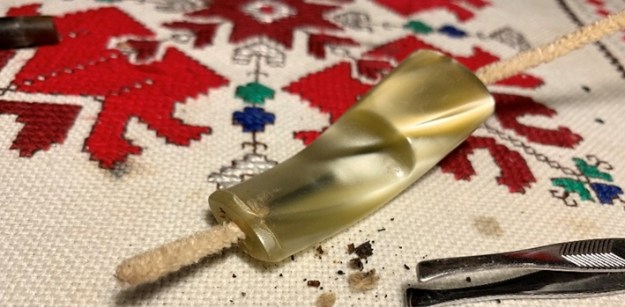
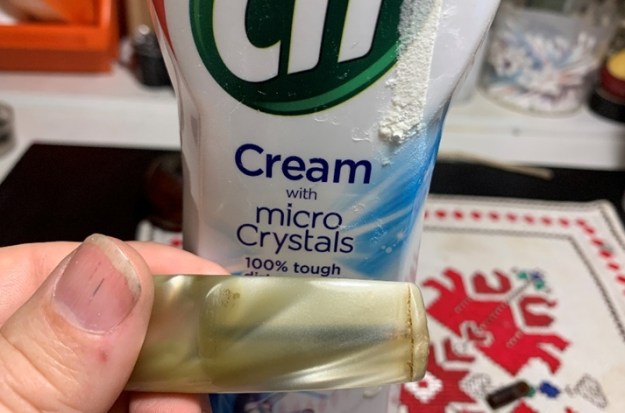
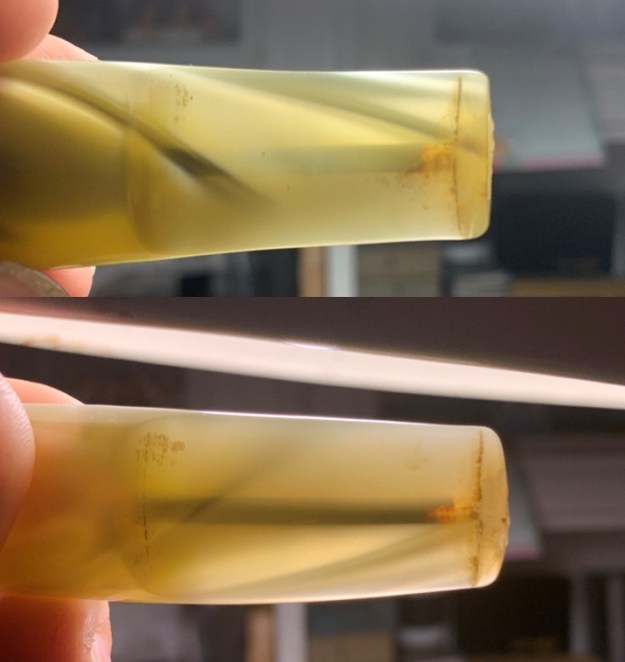
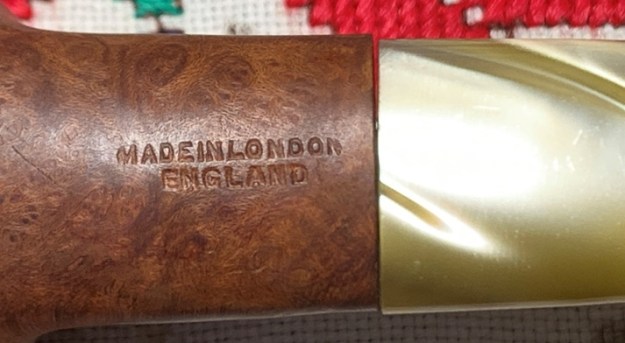
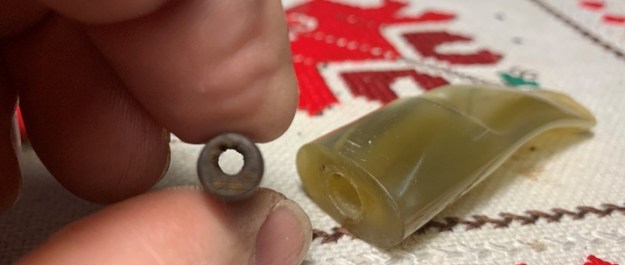
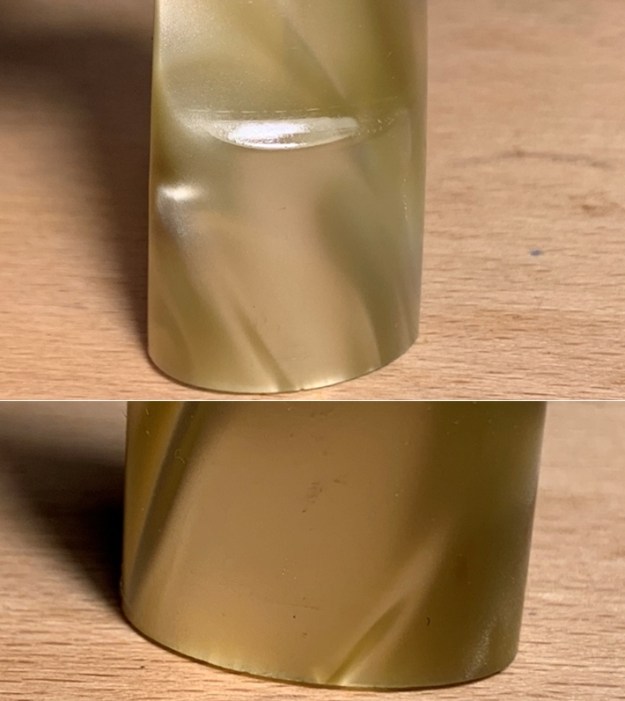
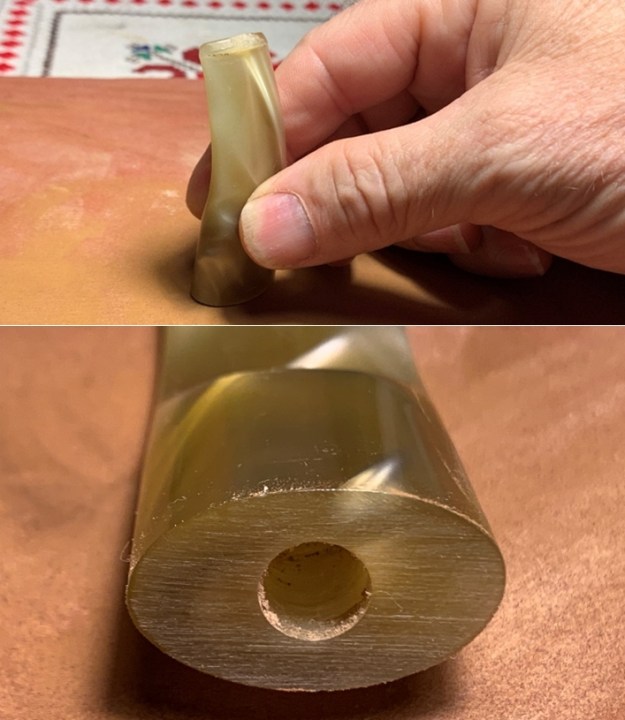
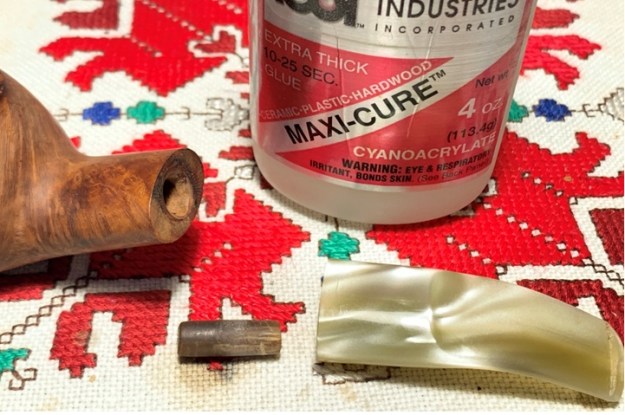
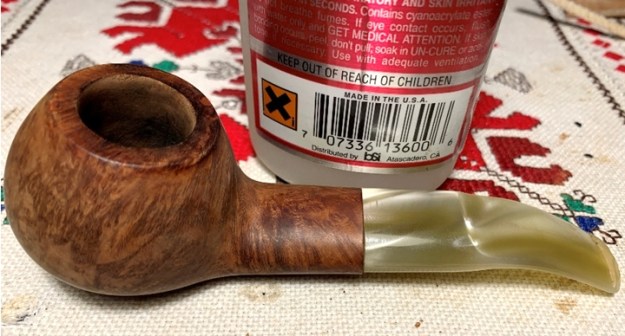
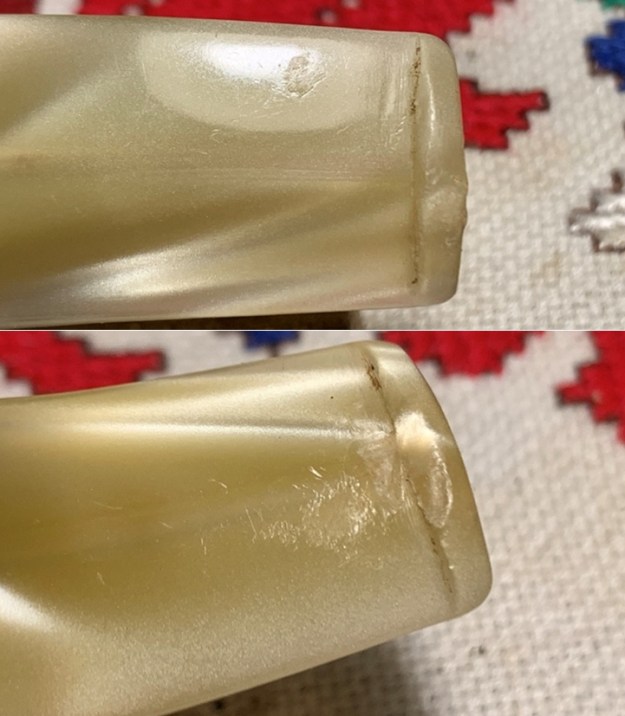
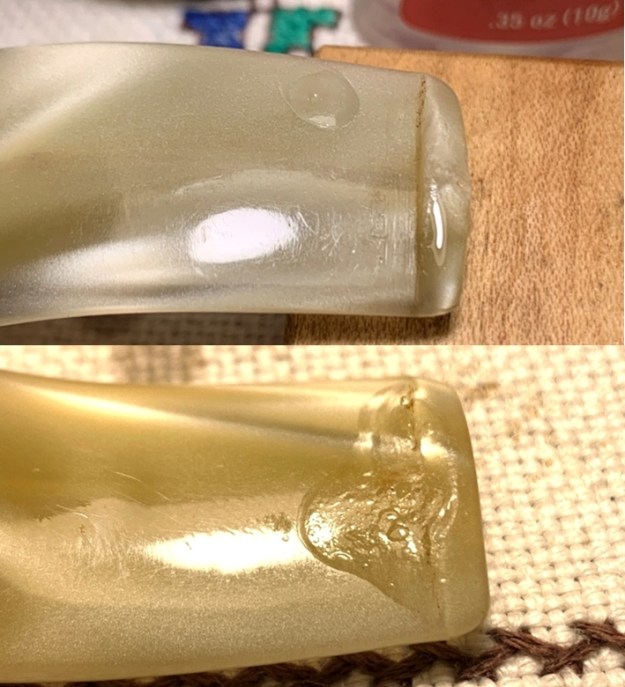
When I put this pipe in the For “Pipe Dreamers” Only! online collection, I identified it as a Squat Apple. It came to me from the lot my son helped me to procure from an antique shop in St. Louis.  When Andy chose this as his next pipe after commissioning the probable Preben Holm Danish Freehand which I just finished restoring (See: Recommissioning a Mysterious Freehand, Made in Denmark – Preben Holm?) I fished it out of the ‘Help Me!’ basket and put it on the table and the ‘Squat Apple’ sort of fit, but not quite.  Volcano?  No, too rounded.  Here are the pictures of the ‘Squat Apple’ that got Andy’s attention. The only markings are found on the lower side of the oval shank, MADE IN LONDON [over] ENGLAND.  Below the COM is what I assume is a shape number, ‘140’.   Not a lot to go on to determine origins.The ‘Squat Apple’ wasn’t sitting well with me so I looked at Bill Burney’s great Pipe Shapes Chart on Pipedia and found the shape classification that worked better – Diplomat.  Interestingly, my ‘Squat Apple’ designation was used by Bill Burney to describe the Diplomat.  I clipped the panel to show the description of the Diplomat:The English Diplomat now on my worktable is not a bad looking pipe but has a few issues.  The Diplomat’s chamber has a thick layer of cake and the lava flow on the rim is thick – it needs some cleaning as well as the stummel.The after section of the rim reveals the darkening of the briar that has been scorched through the lighting practices of the former steward.As the following three pictures show, the stummel is darkened from grime and oils on the surface.  You can see some very nice grain lurking beneath.  There are also dings and scratches on the stummel from normal wear. The acrylic stem is attractive, but I’m guessing that it’s a replacement stem.  My first observation looked like the stem simply didn’t fit with a wobble and gaps showing between the shank and stem facings.  When I removed the stem the acrylic tenon was stuck in the mortise and not attached to the tenon.  It didn’t take much to dislodge the rogue tenon but after inserting it into the tenon and trying the fit again, the wobble and looseness is evident and if I’m able to reattach the acrylic tenon and keep the stem facing flush with the shank facing before the CA glue sets, it should do well.I then noticed the darkened airway through the translucent acrylic.  As I suspected, after inserting a pipe cleaner into the airway from the shank side, I discover that there is blockage in the stem. In the picture below, I’ve placed my fingers roughly where the inserted pipe cleaner stops and the blockage begins.  This can be a pain!  The following picture with the slot view shows blockage very near to the opening.I decide to try to ‘bull’ through the blockage with a pipe cleaner and to my surprise, the pipe cleaner was able to break through and not a lot of gunk came out.  Good to go.Before moving toward re-attaching the tenon to the acrylic stem, I’ll first do the cleaning.  I’m trying a ‘Soft-Scrub-like’ product we have here in Bulgaria called Cif brand to try to clean the darkened internal airway.  The label describes micro-crystals and a bleach component as the active agents.  I’m using Jeff Laug’s recommendations from his blog (Got a filthy estate pipe that you need to clean?).Holding the translucent acrylic stem up to the light provides a good Xray of the airway and how it’s darkened.  We’ll see how much the cleaning removes the internal buildup and lightens the airway. I go to work with the Cif product and start by using bristled pipe cleaners dipped in Cif to begin breaking up the tars and oils that have crusted inside the airway. At first there was no noticeable progress except for the darker discoloration of the pipe cleaners which meant something was happening.  I add after the pipe cleaners shank brushes.  I transferred the shank brushes, Cif and stem to the kitchen sink where using hot water, I continued the cleaning with the Cif and brushes.  At this point, progress was evident.  A combination of the brushes and cleaner AND the hot water helps break down the crud.Back to the worktable, the follow-up light Xray shows the results.  Nice!  I move on.I put the stem aside and move to the stummel cleaning before I start on the repairs to the stem and tenon.  Not only do I prefer working on cleaned pipes, but often the cleaning process can change the mortise environment because we are working with wood.  Cleaning often loosens tenon fittings.  So, before moving to more permanent repairs, it’s a good principle to get the cleaning done first.  Looking again at the chamber, the cake is moving from moderate to thick cake.  Using the Pipnet Reaming Kit I start with the smallest blade head and end up using 3 of the 4 blade heads available in the Kit. The Savinelli Fitsall Tool works well to follow by doing fine-tune scraping of the chamber walls.  I complete the cleaning by wrapping 240 grade paper around a Sharpie Pen which provides the leverage as I sand the chamber to remove the final vestiges of carbon cake to expose fresher briar to have a clean start. After wiping the chamber with a cotton pad wetted with alcohol to clean the carbon dust, I take a picture as I examine the chamber walls for heating damage.  All looks great. Moving now to the external cleaning of the stummel, I employ undiluted Murphy’s Oil soap on a cotton pad to scrub the surface and rim covered by lava flow.  In the immediate picture below, the sharp-edged pocketknife is helpful to remove the caked crusting.  You can see the progress being made as the blade is carefully scraping the rim top without cutting into the wood.  After the knife edge, the brass bristled brush cleans the rim further without damaging the wood.After working on the rim and stummel surface, I take the stummel to the kitchen sink using hot water and clean the internals using shank brushes and anti-oil dish soap liquid.  After thoroughly rinsing the stummel with water, back on the worktable a picture records the present cleaning state.Again, focusing on the internals, now using cotton buds and pipe cleaners wetted with isopropyl 95%, cleaning continues.  Also employed is a dental spoon to scrape the mortise walls – which produces very little.  A shank brush wetted with isopropyl 95% is used saving on pipe cleaners.  When the pipe cleaners and buds start emerging lighter and cleaner, I call this phase completed to be continued later using a kosher salt and alcohol soak.Now looking again at the tenon repair of the acrylic stem.  The tenon that was part of the Diplomat was not attached and since it’s not, fitting it to see how it will work is not easy – it shifts and moves.  The first two pictures below show the result when I insert the tenon tightly into the stem cavity to test it out.  The first picture is from the top perspective.  Notice that the stem is offset to the right (top of the picture) so that the stem is overhanging on the top and the shank is overhanging the bottom of the picture.Now looking at the underside of the fit, the offset is augmented by the gapping that is evident.Not only do the pictures reveal the seating difficulties of the tenon, but the drilling through the tenon for the airway is not centered.  This has potential challenges on at least two fronts.  First, it potentially creates a hang-up lip as pipe cleaners are pushed through.  This is not huge as usually simply twisting the pipe cleaner in the airway solves this hindrance.  Secondly, is that if the tenon needs to be expanded, I will not use the heating method to expand it.  The reason for this is that the offset drilling has created a very thin wall of acrylic which will probably split if expansion is attempted.  The alternative will be to simply paint the exterior of the tenon with acrylic clear polish or CA glue.  This builds out the tenon circumference.As I was fiddling with the tenon trying to figure out the best approach, another issue surfaced.  On a hunch, the question came to mind, ‘Is the acrylic stem facing flat?’  I took out the chopping board that serves as a topping board and I placed the stem facing flat against it.  I discover that there is a dance in it – a microscopic rocking.  Just to be on the safe side for comparison, I also place the shank facing down on the board and find that its rock solid. You can see from the second picture the culprit looks to be around the airway – old glue protruding.  I decide to address this straight away by placing 240 grade paper on the board and ‘top’ the stem facing to flatten it – carefully!  Instead of rotating like I would if it were a stummel being topped, I drag laterally along the paper.  After a few ‘drags’ on the topping board, another test on the flat chopping board is much better.  The stem facing is now flush with no rocking.I again do a test fitting with the unglued tenon in place, reengage the stem to bring the facings flush.  To see if a pipe cleaner would snag on the tenon, I insert one through without problem.If I can glue the tenon and achieve this much, I’ll be satisfied.  Sanding can address the overhangs where the shank and stem do not line up.A lot of time has elapsed thinking and testing, now it’s time for action!  I use BSI Extra Thick Maxi-Cure CA glue.  Using a piece of 240 grade sanding paper, I sand the part of the tenon that will be inserted into the mortise.  I want it round and smooth. After cleaning the area with alcohol, I place a small amount of glue around the circumference of the tenon just above where the tenon will be inserted into the mortise.  In this way I hope to avoid glue getting into the airway on the end of the tenon. Yet, I don’t put a lot of glue on it to avoid CA glue being forced out the top onto the stem facing.  After placing the glue, I insert the glued part of the tenon partially into the stem cavity and then insert the mortise side of the tenon into the mortise and engage the parts.  In this way, while the glue is still pliable, the tenon gives way to the flush orientation of the shank and stem facings. After doing this, I leave the pipe for several minutes allowing the CA glue to cure and hopefully hold the tenon in place! I’m hopeful for a solid and snug seating. I decide to move forward with working on the acrylic stems button.  The top button lip has been compressed on the left side and the lower lip has also been chewed.  The tooth compressions on both upper and lower sides need filling. I use regular CA glue combined with an accelerator.  Starting on the topside and apply CA to the problem areas – also on the lip to build it.  I do the same for the lower bit and button lip.  With each application of CA glue, I use the accelerator to hold the patch in place and cure the glue more rapidly. I next use a flat needle file to file the CA glue patches over the tooth compressions down to the stem surface on both the upper and lower bit.  I file and shape the button repair as well.To remove the scratches left by the file, 240 grade paper is used on the bit and button but also on the whole stem.Focusing the sanding on the junction now, I sand out the edges that were hanging over the shank and stem facings.  I first cover the nomenclature with masking tape to protect it. The sanding moves around the circumference of the junction and I like the way the stem and shank now are in alignment and the union is flush.Next, I wet sand the entire stem with 600 grade sanding paper and follow with applying 000 steel wool. I’m on a roll with the stem, which I normally like to get out of the way so I can work on the stummel!  Next, I apply the full battery of 9 micromesh pads to the acrylic stem.  First, I wet sand using pads 1500 to 2400 and follow by dry sanding with pads 3200 to 4000 and 6000 to 12000.  Even though I don’t believe it makes a difference but seems to enrich the acrylic surface.  I love the pop of the stem – almost luminescent. After reuniting stem and Diplomat stummel, I get a sense of where things are.  I’m liking what I see!  While the stem was probably not the original, I like the combination and thinking now about how to finish the bowl to take advantage of the striking hues of the acrylic stem. At this point, if the micromesh process brings out the grain well and there is no nuanced lightening of the wood on the shank where the major sanding was, I’ll leave it in the natural briar state.  If there is indication that the shank sanding stands out, I’ll apply a stain.  The briar patterns are very nice – time to bring it out!Next, to freshen the rim and to remove the darkened old finish, I take the stummel to the topping board.Not much is needed – only a cosmetic topping.  With the stummel inverted on 240 grade paper, I give the stummel a few rotations to clean things up.Then switching to 600 grade paper, the stummel is rotated several more times.With the rim refreshed, sanding sponges will address the tired finish on the bowl and the normal nick and dents.  I see no major issues to address on the stummel surface – no fills.With the ‘Made in London, England’ covered by masking tape to protect it, I make sure that the sanding sponges address the shank area well.  I want to blend the lightened area that was sanded.  Using a coarse sanding sponge to do the initial heavy sanding, it removes the minor nicks and old tired finish.  After using the coarse sponge, I remove the masking tape covering the nomenclature for the application of the medium and light graded sponges.  The sponges are not rough enough to impact the nomenclature which is healthy.To fine tune further, the full set of micromesh pads are applied by first wet sanding with pads 1500 to 2400.  Following this, dry sanding with pads 3200 to 4000 and 6000 to 12000 bring out the grain which is beautiful. On a roll, and very enthused by the richness of the honey brown hue emerging and the detailed grain, I apply Mark Hoover’s product (www.ibepen.com), Before & After Restoration Balm which does a great job teasing out the deeper natural hues of the briar.  With some Balm on my fingers, I work it into the briar well and then set it aside for about 20 minutes for the Balm to be absorbed by the wood.  I then wipe off the excess with a cotton cloth dedicated to this and then buff the stummel with microfiber cloth.The day is coming to its close and I continue the internal cleaning using a kosher salt and alcohol soak.  This further cleans as well as freshens the bowl for the new steward.  I first fashion a ‘wick’ by stretching and twisting a cotton ball which is then inserted into the mortise and airway with the help of a stiff wire.  This wick helps to draw out the tars and oils from the internal chamber walls.I then fill the chamber with kosher salt which does not leave an aftertaste and place the bowl in an egg carton for stability.Using an eyedropper, isopropyl 95% fills the chamber until it surfaces over the salt.  After a few minutes the alcohol is absorbed, and the alcohol is topped off.  I let the soak work on the cleaning through the night.The next morning the salt and wick are soiled revealing the added cleaning of the chamber and mortise.  After dumping the expended salt and wiping the chamber with paper towel, I blow through the mortise to loosen and remove salt crystals remaining.To make sure all is clean, I follow with some pipe cleaners and cotton buds.  This is a good step in the cleaning process because the dirty pipe cleaners revealed that the airway was still in need of more cleaning.  After more pipe cleaners wetted with isopropyl 95%, the pipe cleaners were emerging cleaner and lighter.  I declare after a time, ‘Clean!’ and I move on.After reuniting the stem and stummel and mounting a cotton cloth buffing wheel on the Dremel, setting the speed at about 40%, the fine abrasive Blue Diamond is applied to the entire pipe.  After completing this, I use a felt cloth to buff the pipe to remove compound dust in preparation for applying the wax.Finally, after changing to another cotton cloth buffing wheel, carnauba wax is applied to the pipe and I after this, I give the pipe a hand buffing using a microfiber cloth to raise the shine.The grain on this Made in London England Diplomat is superb.  I’m extremely pleased with the repair to the acrylic stem.  It is now beautifully seated in the mortise, straight balanced and snugly secure.  The waves in the acrylic pop and the Diplomat shape, with the broad heal, makes for a very nice feel in the palm.  Andy from Maryland commissioned this English Diplomat and will have the first opportunity to acquire him in The Pipe Steward Store.  This pipe benefits the Daughters of Bulgaria.  Thanks for joining me!

A New Beginning for Jennifer’s Dad’s E—-rum Cured Italy Crosby Long Billiard


Blog by Steve Laug

I decided to change things up a bit and work on another of Jennifer’s Dad’s pipes. For the next pipe from the estate of George Rex Leghorn I have chosen another long shank/stem Billiard (Crosby style) with a sandblast finish. You may not have read about this estate before, so I will retell the story. I received an email from Jennifer who is a little older than my 64+ years about whether I would be interested in her Dad’s pipes. My brother Jeff and I have been picking up a few estates here and there, so I was interested. Here is the catch – she did not want to sell them to me but to give them to me to clean up, restore and resell. The only requirement she had was that we give a portion of the sales of the pipes to a charity serving women and children. We talked about the organization I work for that deals with trafficking and sexual exploitation of women and their children and she decided that would be a great way to carry on the charitable aspect of her Dad’s character. With some great conversation back and forth she sent the pipes to Jeff and he started the cleanup process on them. Once he had finished cleaning them all he sent them to me to do my work on them.

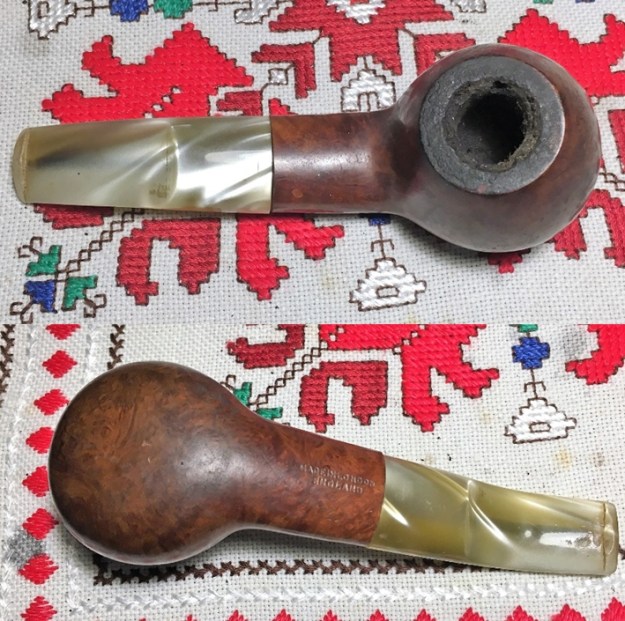
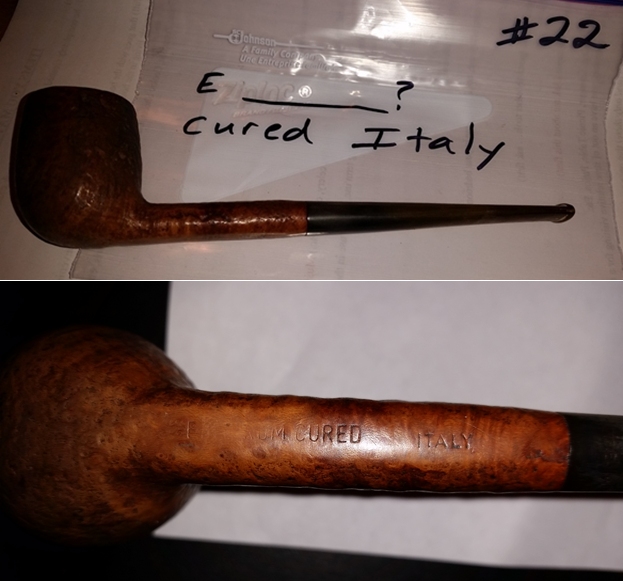
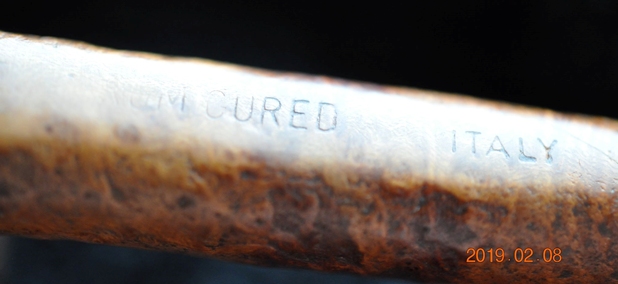
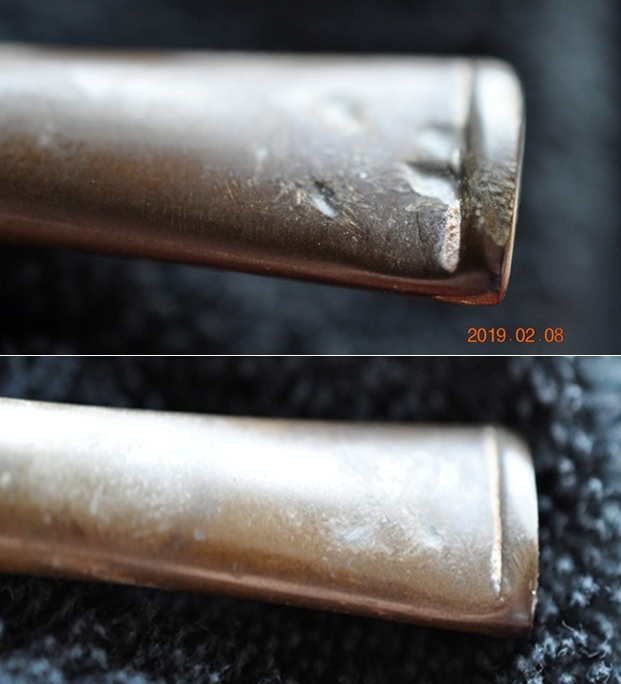
Using a lens and a bright light I could see that the mystery long shank/stem billiard is stamped on a smooth panel on underside of the shank E—–RUM CURED  ITALY. The bowl had nice grain on the sides, front, back and rim top that is visible through the sandblast finish. The finish is very dirty making it hard to see beyond that to the nice grain underneath that. There was a thick cake in the bowl and it had overflowed with lava onto the rim top. It was a dirty and tired looking old pipe. The stem was badly oxidized and there were George’s usual tooth marks and chatter on both sides just ahead of the button. The button was also damaged. It had been sitting in boxes for a lot of years and it was time to move ahead with the restoration. Jennifer took photos of the pipes she was sending. I have included the three photos of this pipe below.   When the box arrived from Jennifer, Jeff opened it and took photos of each pipe before he started his cleanup work on them. This mystery long stem/shank billiard was a nicely shaped pipe and that caught our attention. This was going to be an interesting restoration. When I work on pipes that I can find little information about the mystery adds a different element to the pleasure of working on them. The shape on the mystery pipe seems to really capture the flow of the grain on the briar. The briar appeared to be in good condition underneath the grime. The finish looked intact under the grime and oils on the bowl sides from George’s hands. The bowl had a thick cake that had hardened with time. The lava overflow on the rim top was very thick but it could very well have protected the rim from damage. We won’t know what is under it until Jeff had cleaned it off. The stem was oxidized and also had some calcification on the surface. There were deep tooth marks on both sides just ahead of the button. Jeff took photos of the pipe before he started working on it. I include those below. Jeff took photos of the bowl and rim top to show the cake in the bowl and the lava build up on the plateau rim top and dust and grime in the shank end as well. It was thick and hard but hopefully it had protected the rim and edges from damage. The lava coat looks horrible but it points to a well-used, favourite smoking pipe. George must have enjoyed this old timer a lot judging from the condition of the pipe.Jeff took photos of the sides and heel of the bowl to show the condition of the finish – the grime and grit all over the sides and bottom of the bowl. It is a dirty pipe but it has a stunning grain around the bowl sides and cross grain on the front and back. Jeff took a photo of the stamping on the underside of the shank. Half of it is blurred and worn. The readable part looks like it reads Rum Cured Italy. There is a capital E on the front of the stamp but the rest is unreadable.Jeff took photos of the top and underside of the stem showing the scratching, oxidation and tooth marks on the stem surface. The tooth marks are quite deep on both sides of the stem.I did as much digging as I could in Pipedia, Pipephil and Who Made That Pipe and came up empty handed. This one was truly a mystery. But even though I had no information I could start my restoration of this beautiful long billiard. But before I get on to restoring the pipe I thought I would once again include the tribute that Jennifer wrote to her Dad for the blog. She also sent some photos and an article that her Dad wrote for Jeff and me to be able to get a feel for him. I have included those below. Note in each of them that he is holding a pipe in his left hand. I asked her to also send me an email with a brief tribute to her Dad. Here is her tribute from an email to me.

Steve, I want to thank you again for accepting my dad’s pipes.  They were so much a part of my dad’s life that I could not simply discard them. But as his daughter, I was not about to take up smoking them either. *laughing* I think my dad would like knowing that they will bring pleasure to others.  I know that I do.

I’m not sure what to say about his pipes. I always remember Daddy smoking pipes and cigars.

First a bit about my dad. Though my father, George Rex Leghorn, was American (growing up in Alaska), he managed to join the Canadian Army at the beginning of WWII, but in doing so lost his American citizenship.  He was fortunate to meet a Canadian recruiting officer who told him the alphabet began with “A” and ended with “Zed” not “Zee”, and also told him to say that he was born in a specific town that had all its records destroyed in a fire.  When the US joined the war my dad, and thousands of other Americans who had made the same choice*(see the link below for the article), were given the opportunity to transfer to the US military, and regain their citizenship.

After WWII, my dad, earned his degree at the University of California Berkeley and became a metallurgist. There is even a bit about him on the internet.

He loved taking the family out for a drive, and he smoked his cigars on those trips. (As a child, those were troubling times for my stomach.)

I most remember my father relaxing in his favorite chair with a science fiction book in one hand and a pipe in the other… Sir Walter Raleigh being his favorite tobacco… and the pipes themselves remind me of him in that contented way.  If I interrupted his repose, he’d look up, with a smile on his face, to answer me.

It seemed he smoked his Briarwood pipes the most, though he had others.  At the time, it was only the Briarwood I knew by name because of its distinctive rough shaped bowl.  And it was the Anderson Free Hand Burl Briar, made in Israel, which I chose for his birthday one year, because I thought he might like that particular texture in his hand.

At least two of his pipes, he inherited from his son-in-law, Joe Marino, a retired medical laboratory researcher (my sister Lesley’s late husband)… the long stemmed Jarl (made in Denmark), and the large, white-bowled, Sherlock Holmes style pipe.  I believe Joe had others that went to my dad, but Lesley was only sure about those two.

The Buescher, corncob pipe my older sister Lesley bought for Daddy while on one of her travels around the States.

A note on the spelling of my sister’s name…

My dad met my mother, Regina, during WWII and they married in Omagh, Ireland.  My mother was English and in the military herself.  The English spelling of Lesley is feminine, and Leslie masculine, in the UK… just the opposite of here in the United States.  I guess my mom won out when it came to the spelling of the name…

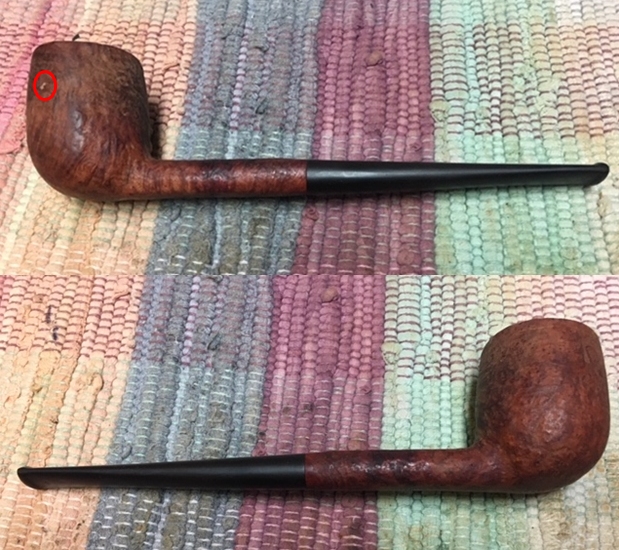
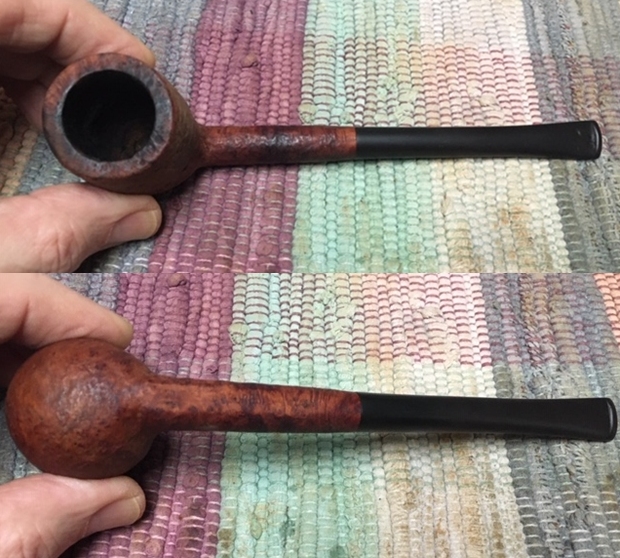
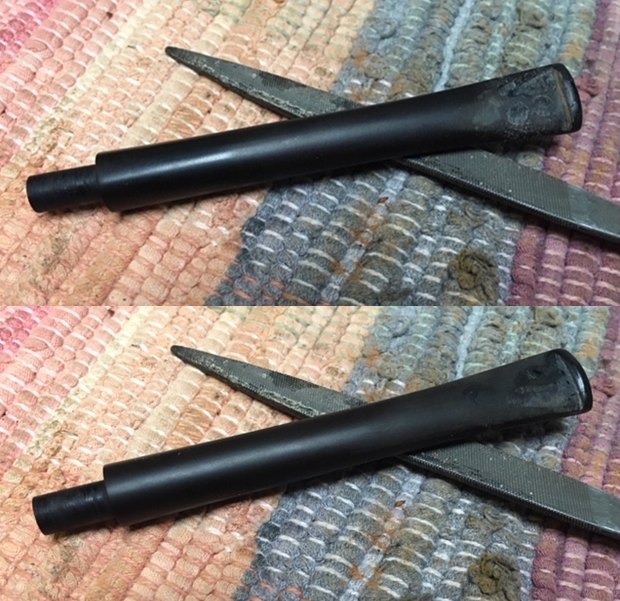
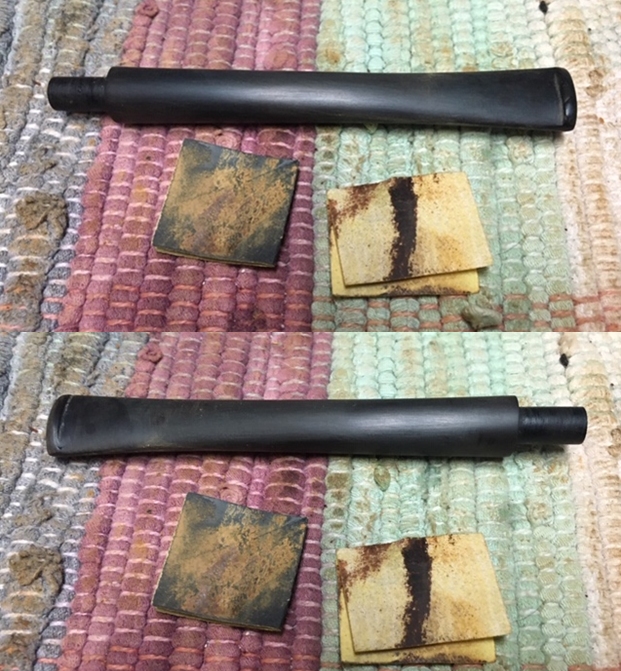
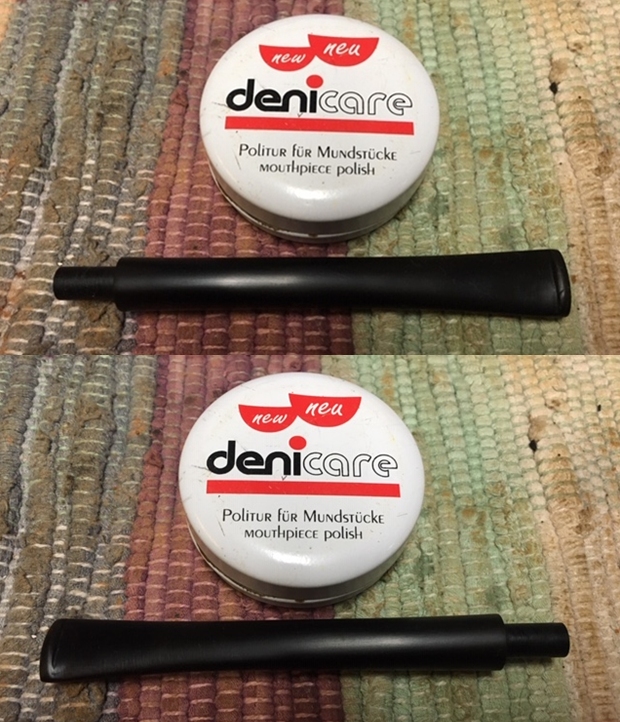
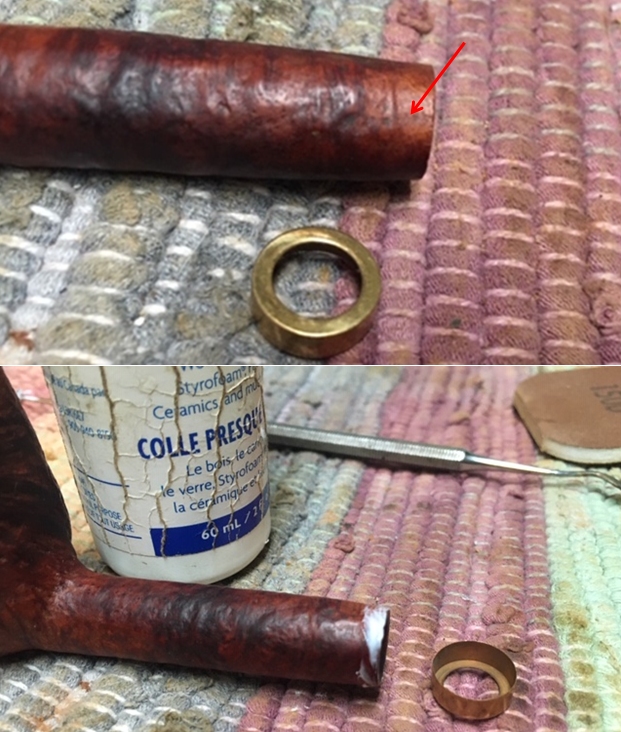
This pipe was a real mess just like the other ones in the collection. I did not know what to expect when I unwrapped it from his box. Jeff reamed it with a PipNet pipe reamer and cleaned up the reaming with a Savinelli Fitsall Pipe Knife. He scrubbed out the internals with alcohol, pipe cleaners and cotton swabs until the pipe was clean. He scrubbed the exterior of the bowl with Murphy’s Oil Soap and a tooth brush to remove the grime and grit on the briar and the lava on the rim top. The finish looked really good when I got it. The rim top looked much better but had some darkening on the inner and outer edges. There was a small fill on the left side of the bowl high and toward the front. It would need to be dealt with (I circled it in red in the photo below). He had cleaned the internals and scrubbed the exterior of the stem and soaked them in Before & After Deoxidizer bath to remove the oxidation. The stem looked very good other than the deep tooth marks in the surface. When the pipe arrived here in Vancouver for the second stop of its restoration tour it looked very good. I took photos of the pipe before I started my part of the restoration.    I took close up photos of the rim top and bowl to show the condition of the bowl and the darkening on the rim top. You can see the light damage on the front inner edge of the bowl that was covered by the thick lava coat. The stem looks much better but the tooth marks are visible in the vulcanite. The button looks very good.I took a photo of the stamping on the shanks as it looks the same even after Jeff’s cleanup work.I decided to address the damage to the top of the bowl first. I sanded the inner edge of the rim top with a folded piece of 220 grit sandpaper to give the rim a slight inward bevel. The slight bevel took care of the charring on the front inner edge and cleaned up the rest of the inner edge as well.I picked out the small fill on the bowl with a dental pick. The fill was bright white and it just stuck out too much for me. Once I had cleaned out the pit I filled it in with clear super glue and briar dust. When the fill cured I used a brass bristle wire brush to blend it into the surface of the surrounding briar. The second photo shows the area that is filled. It is virtually invisible.I worked some Before & After Restoration Balm into the finish of the bowl and the rim top and shank with my fingertips and a horsehair shoe brush to clean, enliven and protect it. I find that the balm really makes the briar come alive again. The contrasts in the layers of stain really made the grain stand out. I let the balm sit for a little while and then buffed with a cotton cloth to raise the shine. The pipe really looks good at this point. It was getting late so I set the bowl aside and turned my attention to the stem. The sharp edges of the tooth marks made it clear that heat would not lift them so I decided to repair them instead. I filled them in with black super glue and set the stem aside to dry over night. The next morning when the repair had cured, I used a needle file to redefine the sharp edge of the button and begin to flatten out the repaired areas.  I sanded the stem with 220 grit sandpaper and 400 grit wet dry sandpaper to smooth out the repair and blend it into the stem surface. I rubbed the stem down with Denicare Mouthpiece Polish and a cotton pad to remove remnants of oxidation and to further blend in the sanding. The stem was showing some promise at this point in the process. At this point in the process I wanted to see how the stem looked on the bowl. I picked up the bowl and lightly buffed it with a cloth. In doing so I noticed what looked like a hairline crack on the topside of the shank. I examined it with a lens and sure enough there was a tiny crack in the groove of a sand blast groove. It was not large and extended about 1/8 of an inch up the shank (I have inserted a red arrow to identify the crack in the shank). I went through my small brass/rose gold coloured bands thinking that if I had one it would be a perfect look on this pipe. I found the perfect band shaped to cover the shank end as well! I cleaned the shank end with a cotton pad and alcohol and put a thin coat of all-purpose glue on the shank and end. I pressed the band in place and wiped off the excess glue with a damp cloth. The photos show the process. I set the bowl aside once again to let the glue set and went back to the stem. I polished it with micromesh sanding pads – wet sanding it with 1500-12000 grit pads. I polished it further with Before & After Pipe Stem Polish – both fine and extra fine. I finished by wiping it down with Briarville’s No Oxy Oil and set it aside to dry.  I always look forward to this part of the restoration when all the pieces are put back together. I put the pipe back together and buffed the bowl and stem with Blue Diamond on the buffing wheel. I gave the bowl multiple coats of Conservator’s Wax and the stem multiple coats of carnauba wax. I buffed the pipe with a clean buffing pad to raise the shine. I hand buffed it with a microfiber cloth to deepen the shine. It is fun to see what the polished bowl looks like with the grain popping, the new band on the shank shining and the black vulcanite almost glowing. The long stemmed billiard is beautiful and feels great in my hand. It is one that could be clenched and smoked while doing other things as it is very light weight and well balanced. It must have been a fine smoking pipe judging from the condition it was when we received it from Jennifer. There should be a lot of life left in this old mystery pipe. The band adds a touch of understated elegance to the long shank and stem. Have a look at it with the photos below. The dimensions are Length: 6 ¾ inches, Height: 1 7/8 inches, Outside diameter of the bowl: 1 ¼ inches, Chamber diameter: 7/8 of an inch. This is one that will go on the rebornpipes online store shortly. If you want to carry on the pipe trust of George Rex Leghorn let me know. Thank you Jennifer for trusting us with his pipes. Thanks to each of you who are reading this blog. Remember we are not pipe owners; we are pipemen and women who hold our pipes in trust until they pass on into the trust of the next pipeman or woman.

New Life Jennifer’s Dad’s Maro Special Crosby Style Pipe


Blog by Steve Laug

I decided to change things up a bit and work on another of Jennifer’s Dad’s pipes. For the next pipe from the estate of George Rex Leghorn I have chosen a nicely shaped Maro Special long shank billiard. You may not have read about this estate before, so I will retell the story. I received an email from Jennifer who is a little older than my 64+ years about whether I would be interested in her Dad’s pipes. My brother Jeff and I have been picking up a few estates here and there, so I was interested. Here is the catch – she did not want to sell them to me but to give them to me to clean up, restore and resell. The only requirement she had was that we give a portion of the sales of the pipes to a charity serving women and children. We talked about the organization I work for that deals with trafficking and sexual exploitation of women and their children and she decided that would be a great way to carry on the charitable aspect of her Dad’s character. With some great conversation back and forth she sent the pipes to Jeff and he started the cleanup process on them. Once he had finished cleaning them all he sent them to me to do my work on them.

The Crosby style pipe with the Sterling silver band is stamped on the left side of the shank Maro Special in script. This was different than Jennifer had marked on the bag containing the pipe. There were no other markings on the briar. The silver band was stamped Sterling and had three hallmarks – an anchor, a letter “T” in a diamond shaped cartouche and a rampant lion. These will enable me to date the pipe as I restore it. The bowl had birdseye grain on the sides and cross grain on the front and back. The shank matched the grain pattern. The sterling band was oxidized and loose on the shank and had turned over. The finish is very dirty. There was a thick cake in the bowl and it had overflowed with lava onto the inward beveled rim top. It was a dirty and tired looking old pipe. The stem was badly oxidized and there were George’s usual tooth marks and chatter on both sides just ahead of the button. The button was in good shape. It had been sitting in boxes for a lot of years and it was time to move ahead with the restoration. Jennifer took photos of the pipes she was sending. I have included the three photos of this pipe below.When the box arrived from Jennifer, Jeff opened it and took photos of each pipe before he started his cleanup work on them. There were two long shank Crosby style billiards in the lot. The first was this smooth Maro and the second one a sandblast that has worn stamping. Both are the same shape and size and both have the thin pencil shank and long stem that I have come to associate with the Crosby shape. There is something about these long billiards that I like. I enjoy working on them. The shape on the Maro seems to really capture the flow of the grain on the briar. The briar appeared to be in good condition underneath the grime. The finish looked intact under the grime. The bowl had a thick cake that had hardened with time. The lava overflow on the rim top was very thick but it could very well have protected the rim from damage. We won’t know what is under it until Jeff had cleaned it off. The stem was oxidized and also had some calcification on the surface. There were tooth marks on both side just ahead of the button. Jeff took photos of the pipe before he started working on it. I include those below. Jeff took photos of the bowl and rim top to show the cake in the bowl and the lava build up on the rim top. It was thick and hard but hopefully it had protected the rim and edges from damage. The lava coat looks horrible but it points to a well-used, favourite smoking pipe. George must have enjoyed this old timer a lot and turned to this old, light weight long billiard for a cool smoke.Jeff took a photo of the side and heel of the bowl to show the condition of the finish – the grime and grit all over the sides and bottom of the bowl. It is a dirty pipe but it has a stunning birdeye grain around the bowl sides and cross grain on the front and back. Jeff took a photo of the stamping on the left side of the shank. It is very clear and readable. It reads Maro Special. There is no other stamping on the pipe. You can also see the characters on the Sterling silver band in the second photo below. Jeff took photos of the top and underside of the stem showing the scratching, oxidation and tooth marks on the stem surface. The tooth marks are quite deep on both sides of the stem.I turned to Pipedia to see what I could learn about the brand. I looked under the English pipe brands section first to see if I could find anything that would tie it to the Sterling Silver band on the shank. There were no makers from Great Britain with that name. On a hunch I checked the American maker section (https://pipedia.org/wiki/American_Pipe_Brands_%26_Makers_L_-_M) and sure enough under MARO found that the brand was made or at least attributed to the distributor Hollco International. I turned to the page on that brand to see if there was any more information (https://pipedia.org/wiki/Hollco_International). I quote in full from that site:

Hollco International of Chatsworth, California, formerly known as Hollco-Rohr, purchased the Wally Frank company in 1969 and at the same time became the US importer for Castello, Comoy, and the producer of Pioneer and other pipes. For more information see Wally Frank.

At this point the contradictions start rolling in. On Smokingpipes.com they listed the pipe as a French Made brand and showed a pipe remarkably similar to the one I am working on now. Here is the link to the pipe that they sold: (https://www.smokingpipes.com/pipes/estate/france/moreinfo.cfm?product_id=30391).

Smokingpipes.com had a second one listed under French Estates that is stamped the same as the one I am working on: Maro Special Billiard. Here is the link to the pipe and their description: (https://www.smokingpipes.com/pipes/estate/france/moreinfo.cfm?product_id=219942). I am including the photo as it was posted on the site. Quite a trim and slender take on the Billiard shape, this piece from Maro bears a striking resemblance to those long-stemmed Billiards favored by Bing Crosby. It’s finished in a warm walnut contrast stain with a bright metal band to accent.

I traced down quite a few Maro pipes online and all were attributed to France. So it appears I am dealing with one of several possibilities here. Either 1 – the pipe was made by Maro in France and sold through Hollco International or Wally Frank as the US distributor  or 2 – the pipe is legitimately a French made pipe that George Leghorn got a hold of somewhere in his journeys. Personally I am inclined to 1 – the pipe is a Hollco International import. Now I had some idea of the provenance of the pipe I could start with reasonable assurance that I was dealing with a French made briar. But before I get on to cleaning up the pipe I thought I would once again include the tribute that Jennifer wrote to her Dad for the blog. She also sent some photos and an article that her Dad wrote for Jeff and me to be able to get a feel for him. I have included those below. Note in each of them that he is holding a pipe in his left hand. I asked her to also send me an email with a brief tribute to her Dad. Here is her tribute from an email to me.

Steve, I want to thank you again for accepting my dad’s pipes.  They were so much a part of my dad’s life that I could not simply discard them. But as his daughter, I was not about to take up smoking them either. *laughing* I think my dad would like knowing that they will bring pleasure to others.  I know that I do.

I’m not sure what to say about his pipes. I always remember Daddy smoking pipes and cigars.

First a bit about my dad. Though my father, George Rex Leghorn, was American (growing up in Alaska), he managed to join the Canadian Army at the beginning of WWII, but in doing so lost his American citizenship.  He was fortunate to meet a Canadian recruiting officer who told him the alphabet began with “A” and ended with “Zed” not “Zee”, and also told him to say that he was born in a specific town that had all its records destroyed in a fire.  When the US joined the war my dad, and thousands of other Americans who had made the same choice*(see the link below for the article), were given the opportunity to transfer to the US military, and regain their citizenship.

After WWII, my dad, earned his degree at the University of California Berkeley and became a metallurgist. There is even a bit about him on the internet.

He loved taking the family out for a drive, and he smoked his cigars on those trips. (As a child, those were troubling times for my stomach.)

I most remember my father relaxing in his favorite chair with a science fiction book in one hand and a pipe in the other… Sir Walter Raleigh being his favorite tobacco… and the pipes themselves remind me of him in that contented way.  If I interrupted his repose, he’d look up, with a smile on his face, to answer me.

It seemed he smoked his Briarwood pipes the most, though he had others.  At the time, it was only the Briarwood I knew by name because of its distinctive rough shaped bowl.  And it was the Anderson Free Hand Burl Briar, made in Israel, which I chose for his birthday one year, because I thought he might like that particular texture in his hand.

At least two of his pipes, he inherited from his son-in-law, Joe Marino, a retired medical laboratory researcher (my sister Lesley’s late husband)… the long stemmed Jarl (made in Denmark), and the large, white-bowled, Sherlock Holmes style pipe.  I believe Joe had others that went to my dad, but Lesley was only sure about those two.

The Buescher, corncob pipe my older sister Lesley bought for Daddy while on one of her travels around the States.

A note on the spelling of my sister’s name…

My dad met my mother, Regina, during WWII and they married in Omagh, Ireland.  My mother was English and in the military herself.  The English spelling of Lesley is feminine, and Leslie masculine, in the UK… just the opposite of here in the United States.  I guess my mom won out when it came to the spelling of the name…

Jennifer

*https://www.thestar.com/news/world/2013/10/22/the_americans_who_died_for_canada_in_wwii.html

I am getting more and more spoiled on working on pipes that Jeff cleaned up. So much so that when I have to clean them it is a real chore! This pipe was a real mess just like the other ones in the collection. I did not know what to expect when I unwrapped it from his box. He reamed it with a PipNet pipe reamer and cleaned up the reaming with a Savinelli Fitsall Pipe Knife. He scrubbed out the internals with alcohol, pipe cleaners and cotton swabs until the pipe was clean. He scrubbed the exterior of the bowl with Murphy’s Oil Soap and a tooth brush to remove the grime and grit on the briar and the lava on the rim top. The finish looked really good when I got it. The rim top looked much better but had scratches and nicks in the surface and some darkening on the inner and outer edges. The silver band was oxidized and tarnished. Jeff had cleaned the internals and scrubbed the exterior of the stem and soaked them in Before & After Deoxidizer bath to remove the oxidation. The stem looked very good other than the deep tooth marks in the surface. When the pipe arrived here in Vancouver for the second stop of its restoration tour it looked very good. I took photos of the pipe before I started my part of the restoration. I took close up photos of the rim top and bowl to show the condition of the bowl and the damages to the rim top. You can see the nicks and scratches in the briar that were under the thick lava coat. The stem looks much better but the tooth marks are visible in the vulcanite. The button looks very good.I took a photo of the stamping on the shanks as it is very clear and readable even after Jeff’s cleanup work.I took the stem off the bowl and the Sterling Silver band slid off in my fingers. I took a photo of the pipe taken apart.I polished the silver band with Silver polish to remove the tarnish and polish out the scratches in the metal. The band definitely looks better.

The order of the hallmarks from left to right are an Anchor (identifying the city of the hallmark as Birmingham, England), T (which gives the year code) and the last one is the rampant lion (identifying the silver as Sterling). The letter T is in a diamond shaped cartouche. From what I can find it seems to fit somewhere between 1943 and 1968. None of the stamps is identical but they are close. So now I knew that the band was made in Birmingham, England between 1943 and 1968. Now the issue was clear to me – according to everything I had found the Maro Special was made in France and the band was made in England. It seems the band was added later. All of the photos I have found of the Maro Special showed the pipe with a silver band but none of them had Birmingham hallmarks so it seems that George had the original band replaced with this one. It might also explain why it had been glued on the shank upside down with the hallmarks on the bottom of the shank. There are no cracks in the shank so it is not a repair band.

Knowing that I now knew that I had a mystery in my hands and that I would likely never fully know how the band and the pipe met! Ah well such is the life of working on estate pipes. Now on to the restoration work.

Once the band was polished I put it back on the end of the shank and lined up the hallmarks with the top edge of the shank. I decided to address the damage to the top of the bowl first. I sanded the rim top with a folded piece of 220 grit sandpaper to remove the scratches and pits in the surface of the rim. I polished it further with a piece of 400 grit wet dry sandpaper. I wiped the rim down with a damp cloth and took the photo below.I polished the bowl and rim with micromesh sanding pads. I wet sanded it with 1500-12000 grit pads and wiped it down between pads with a soft cotton cloth. You can see the progress in the shine as you go through the photos. I worked some Before & After Restoration Balm into the finish of the bowl and the rim top and shank with my fingertips to clean, enliven and protect it. I find that the balm really makes the briar come alive again. The contrasts in the layers of stain really made the grain stand out. I let the balm sit for a little while and then buffed with a cotton cloth to raise the shine. The pipe really looks good at this point. I am very happy with the way the pipe is looking at this point in the process.  I set the bowl aside and turned my attention to the stem. I inserted a pipe cleaner in the stem to protect the airway from collapsing when I heated it. I painted the surface of the stem with the flame of a BIC lighter to raise the tooth marks in the surface. I was able to bring the marks up with the heat. I filled them in with super glue and set it aside to dry.Once the repair had cured I used a needle file to smooth out the surface of the stem. I could see that there were still areas that needed a bit more glue to fill them in. I used a thin coat of black super glue to fill in the remaining dents and nicks and set the stem aside overnight to cure. The surface looked much better once the repair had cured. Rather than sanding it down with 220 grit sandpaper I decided to go straight to the micromesh sanding pads. I wet sanded the stem with 1500-12000 grit pads. I polished it further with Before & After Pipe Stem Polish – both fine and extra fine. I finished by wiping it down with Briarville’s No Oxy Oil and set it aside to dry. I always look forward to this part of the restoration when all the pieces are put back together. I put the pipe back together and buffed the bowl and stem with Blue Diamond on the buffing wheel. I gave the bowl and the stem multiple coats of carnauba wax. I buffed the pipe with a clean buffing pad to raise the shine. I hand buffed it with a microfiber cloth to deepen the shine. It is fun to see what the polished bowl looks like with the grain popping, the silver shining and the black vulcanite almost glowing. The long stemmed billiard is beautiful and feels great in my hand. It is one that could be clenched and smoked while doing other things as it is very light weight and well balanced. It must have been a fine smoking pipe judging from the condition it was when we received it from Jennifer. There should be a lot of life left in this French made Maro Special. Have a look at it with the photos below. The dimensions are Length: 6 ¾ inches, Height: 2 inches, Outside diameter of the bowl: 1 ¼ inches, Chamber diameter: ¾ of an inch. This is one that will go on the rebornpipes online store shortly. If you want to carry on the pipe trust of George Rex Leghorn let me know. Thank you Jennifer for trusting us with his pipes. Thanks to each of you who are reading this blog. Remember we are not pipe owners; we are pipemen and women who hold our pipes in trust until they pass on into the trust of the next pipeman or woman.

Recommissioning a Mysterious Freehand, Made in Denmark – Preben Holm?


Blog by Dal Stanton

I came into possession of this attractive Danish Freehand when I acquired what I call the St. Louis Lot of 26 which my son, Josiah, helped me secure when he was a student in St. Louis.  He texted me from St. Louis about this box of pipes that were for sale at an antique shop he found.  Josiah wanted to split the cost of the Lot with me so that I could pick out a pipe in the Lot that would join my personal collection and would be his gift to me. The rest of the pipes would benefit the Daughters of Bulgaria – our work here in Bulgaria with women and girls who have been trafficked and sexually exploited.  It was a win/win proposition!  I chose as his gift to me the Champion Churchwarden in the center of the picture below.  The rest of the Lot of 26 went to my online collection I call For “Pipe Dreamers” Only! where pipe men and women can choose a pipe – or a pipe chooses them – to be commissioned for restoration.

Andy has commissioned pipes from The Pipe Steward before and I love it when pipe men (and women) keep coming back!  The pipe calling his name from the St. Louis Lot of 26 is the Danish Freehand marked in the picture below.As a return patron of The Pipe Steward which benefits the Daughters of Bulgaria, Andy’s contribution has been appreciated.  His first commission was a striking Monarch Bent Ball (see: Link) and then a Churchwarden I fashioned from a throw-away bowl (see: Link) which was on his list to add to his personal collection.  Andy came back again and commissioned a Trent Lev-O-Lator Half Bent Billiard (see: Link) that turned out beautifully.  His three previous restorations are pictured below. Now, the striking Danish Freehand now on the worktable. Here are pictures of the Freehand that got Andy’s attention. When I first acquired this Lot of 26 and it made its way here to Bulgaria, I was anxious to get a closer look at this Freehand.  When I first saw it in the pictures that Josiah sent, I thought that it might be a Karl Erik.  When I finally looked at the Freehand on the worktable here in Sofia, I had to work hard to find any identifying markers.  With the help of a magnifying glass and carefully angled lighting, I could only make out with certainty extremely ghosted lettering, ‘Made in Denmark’.  The next two pictures show this ghosted lettering.Yet, in the two pictures following with the light angled differently, the second picture being a blow-up of the first, I can make out just above the ‘Made’, I think I can see two letters: ‘N’ and possibly another ‘N’ or a ‘W’?  And to the far right, possibly the number ‘5’ or another letter?  Often these are phantom letters that form from the grain and our desire to see something that’s not there!  Phantom or not, there’s not a lot to go on.With this meager information I looked at Pipephil.eu where you can search by country.  I clicked on Denmark and as you might expect, several options surfaced of Danish pipe names and carvers.  With the possibility of the phantom ‘N’ being the first letter of a name, I looked at the N section to see if any of the names and pipes made by these might resemble the Danish Freehand on my worktable – reaching at straws!With no leads, I sent a note and pictures of this Freehand off to Steve with his rebornpipes.com depth of experience to draw upon again!  Perhaps there was something he would see in the pipe that would lean toward a Danish style and maker.  The next day I received Steve’s reply which was encouraging:
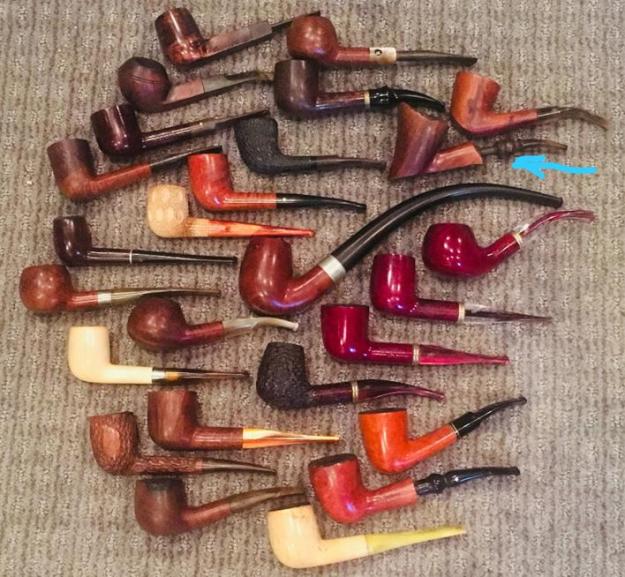
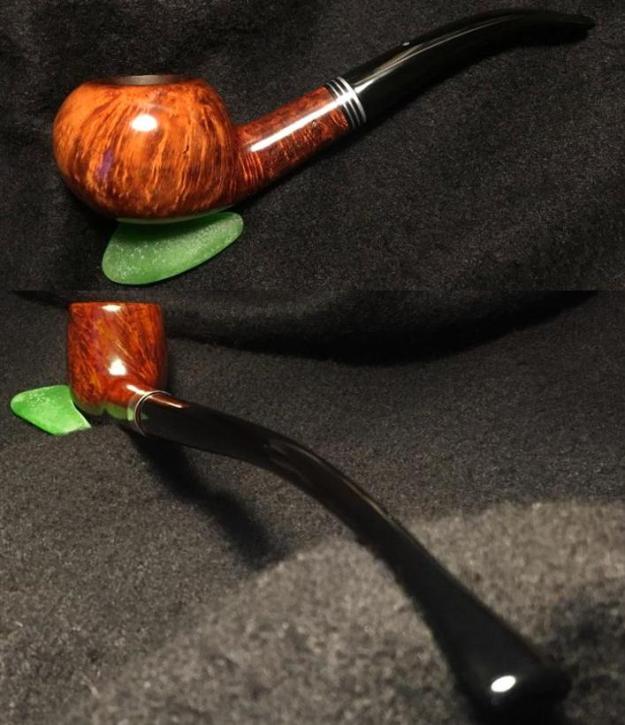
It has the look of a Preben Holm… under the pipes he made is a group of them – freehands labeled Monte Verde I wonder if that is not what is there.

Steve included the Pipephil.eu link that took me to the Monte Verde panel attributed to Preben Holm.  Wow! Again, I look at the lettering on the lower panel of the Freehand and it could be….  The ‘Made in Denmark’ looks like the same, all cap letters.  With Steve’s input the likelihood of Freehand being a Preben Holm is enhanced.Not long ago, wishing to add to my personal collection a Freehand with Preben Holm’s name on it, I landed on eBay a beautiful piece of his workmanship. This Freehand is still in need of restoration but putting it along side of the smaller Freehand on my worktable, one can easily see why Steve says that it has the ‘look of a Preben Holm’.  Looking at the curves, the angles of the cuts, even the grain pattern presentation – the resemblance is there. I’m looking forward to restoring this big boy one of these days!The Pipedia ‘Preben Holm’ article is full of information and examples of his work.  The opening paragraph is enough to capture the impact that his work has had – why, like me, adding a Preben Holm Freehand to one’s collection checks a box on most pipe men and women’s pipe bucket list:
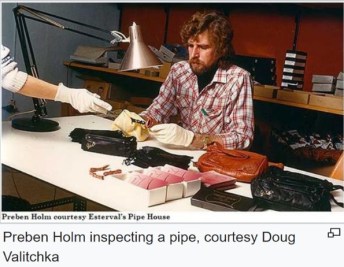
Preben Holm (1947 – 1989) has set some marks in pipe history. Just before his 16th birthday in 1963 he sold pipes to the legendary Pipe-Dan shop and at the age of only 22 he headed 45 employees. He was among the first Danish artisans who made “Danish pipe design” famous in the USA in the 1960’s. More than that he was one of the very first carvers who exceeded this moderate Danish design which based on the classical shapes. “Chaising the grain” they turned out wild and dramatic fancy pipes. Combining smooth with blasted surfaces, showing big areas of the original bark at the top of the bowl and at the end of the stem, these pipes were quite shocking to many elder and more conservative pipesmokers.

When he started to sell his pipes to Lane Ltd. under the Ben Wade label, he caused a hype fairly beyond comparison. Especially in the U.S., as most of his pipes were sold there.

Looking now more specifically at the ‘possible’, perhaps probable, Preben Holm on my worktable, the 1 5/8-inch-deep chamber has a light to moderate layer of cake and the plateau is full of grime and lava flow.I am struck by the vertical grain that the carver took advantage of as he shaped the pipe. In the Pipedia Preben Holm article quoted above, I took special note of the phrase, ‘“Chaising the grain” [sic].  Breaking out of the classic shape mold where shape dictated the pipe, in the Freehand movement Preben Holm revolutionized, ‘chasing the grain’ challenged the carver to allow the grain to shape the pipe’s presentation.  This Freehand definitely chased the grain!  The large briar landscape of the peaked stummel is dirty with thick grime as well as some minor dings and scratches from normal use. The fancy stem has deep oxidation and calcium build-up on the bit.  The bit and button have been mercilessly chewed like cud!  The former steward saved money on not purchasing bite guards but it’s obvious this pipe was loved!  To smoke the pipe hands-free would require this kind of clenching with the size of the stummel.To begin the restoration, using pipe cleaners wetted with isopropyl 95%, the fancy stem airway is cleaned.With the oxidation so thick and with calcium caked on the mouthpiece, before putting the stem into a soak of Before & After Deoxidizer, I decide to get a head start on breaking up the crud.  I use 000 grade steel wool on the stem.  I recently read Jeff Laug’s rebornpipes blog on his cleaning methods (Got a filthy estate pipe that you need to clean?) which is very helpful.  One thing he mentions about stem cleaning is to use ‘Soft Scrub’ which unfortunately I didn’t have for this stem.  I used alcohol with the steel wool, but next time I’ll try to find a comparable product to use here in Bulgaria.After attacking the oxidation and calcium build-up with the steel wool, I’m hopeful that the Before & After Soak will prove to be more productive than in the past with heavily oxidized stems.  The Danish Freehand joins other stems of pipes in the queue for a soak of several hours.After soaking for some time, I use a stiff wire to fish the fancy stem out of the Deoxidizer and allow the fluid to drain.  Notice that I have surgical gloves on – I squeegee the excess fluid off the stem with my fingers.I then wipe/scrub the surface with a cotton pads wetted with isopropyl 95% to remove the raised oxidation.  The Before & After Deoxidizer seems to have done a good job after prepping the oxidation first with the steel wool.At this point, I apply paraffin oil to the stem to begin the rejuvenation of the vulcanite.  I put the stem aside and turn to the stummel.With the stummel in hand, I take a closer look at the conical chamber and the minor/moderate carbon cake build-up.  I’m not sure how well the Pipnet Reaming Tool’s blade heads will fit this chamber, but I’ll give it a go. I use the first two smaller blade heads, but as I suspected, the chamber narrows too much for the blades to reach the floor of the chamber, so I use the blades simply to scrape the walls. It was then that I remembered a reamer that I picked up a few years ago at a flea market somewhere in Kentucky when my wife and I were in the States.  The Kleen Reem Pipe Tool has some years on it.  I remember when I found it, I thought that it might come in handy. I love old boxes and paraphernalia.  The company printed underneath the name is W. J. Young Co. Peabody.  A quick look on the internet revealed that Peabody is in the US state of Connecticut.  The reamer is in a case with several shortened pipe cleaners.  I’m not sure what the function is of the pipe cleaners. Taking a closer look at the reamer I discover the smaller knob on the end unscrews and sheathed inside I withdraw a drill bit.  As I rotate the end knob of the reamer, the three blades expand in unison as a metal cylinder pushes the blades open.  The workings are solid. With my curiosity piqued, I dig a bit more on the internet to see if I can find more information.  I find a classic owner’s leaflet (See: LINK) extolling the benefits of keeping one’s pipe clean and the benefits of the Kleen Reem Pipe Tool. Below the text, a schematic of the reamer clearly describes the critical working parts.The next page of the leaflet solved the mystery of the miniature pipe cleaners.  The picture shows a pipe cleaner hooked on the end of the shank reamer.  I look at mine and discover that its not a hook, but a small hole through the pipe cleaner is threaded.  I would imagine that it puts a lot of torque on the crud in the airway when the shank reamer is rotating. After reading the ‘Directions for Use’ below, I decide to see for myself if the claim holds true: ‘The Kleen Reem Pipe Tool fits any pipe….’ The claim held true, at least for this Danish Freehand!  The end of the reamer blades reached down to the floor of the chamber and I expanded the blades gradually as I rotated the reamer moving up the chamber.  A great debut for this vintage old boy Kleen Reem Pipe Tool!  I follow the Kleen Reem by scraping the walls further with the Savinelli Fitsall Tool and finish by sanding the chamber with 240 grade paper wrapped around a Sharpie Pen. After wiping the chamber with a cotton pad wetted with alcohol to clean the carbon dust, I inspect the chamber walls to find everything looking great.Transitioning to cleaning the external briar surface, using undiluted Murphy’s Oil Soap, I scrub the surface using a cotton pad as well as a bristled toothbrush on the plateaus – rim and shank. I then transfer the stummel to the kitchen sink where I continue the cleaning using shank brushes with anti-oil dish liquid soap (out of Jeff Laug’s Playbook!) and using warm to hottish water, I clean the mortise and airway.  I also use the brass wire brush on the rim plateau where the lava overflow is still hanging on.  After the cleaning, a few pictures show the results.  The plateau is cleaned of the caked crud and most of the dark color is gone.  The old wax build-up and finish, if there was much of a finish, seems now to be gone.  Fresh briar. Continuing the internal cleaning, pipe cleaners and cotton buds wetted with isopropyl 95% go to work on the mortise and airway. I also employ a small dental spoon to scrape the mortise walls.  When I was doing this I suddenly thought, ‘Why am I not testing out the Kleen Reem shank reamer?’  I pull it out of the Kleen Reem case again and rotate it into the airway.  The reamer grabs with traction and begins to move slowly through the airway as I rotate the reamer.  It makes it through to the draft hole and I retract it without difficulty.  It works!I decide to drink the Kool Aide and try out the miniature pipe cleaners.  I thread one through the hole on the tip of the reamer per the directions I read earlier.  I’m wondering to myself, how is all of this going to fit and move through the airway??  I decide to wet the pipe cleaner some with isopropyl 95% as I do regular pipe cleaners.  I push it into the mortise and the halves of the pipe cleaner fold back like slanted wings as I begin rotating the reamer as I did before.  As before, the reamer grabs and gains purchase while the rotation of the reamer pulls the tool into the airway.  It makes it to the draft hole and as before, before trying with the pipe cleaner, I retract it without trouble.I am amazed!  When I extract the reamer, I discover that the pipe cleaner was neatly embedded in the troughs of the reamer – sweet!  The pipe cleaner provides a slightly expanded ‘brushing’ activity while the reamer does the plowing with its blades.  The second picture below shows the pipe cleaner unwrapped a bit.  I’m impressed with the engineering of this tool. After several more cotton buds and pipe cleaners, they begin to emerge lighter and cleaner and I call it ‘cleaned’ for the moment.The hour is late and before the lights go out, I’ll continue the internal cleaning with a kosher salt and alcohol soak.  This both continues to clean the internal briar walls, but also refreshes the bowl for the new steward’s enhanced enjoyment!  I first fashion a mortise ‘wick’ by pulling and twisting a cotton ball.  The wick serves to help draw the tars and oils out of the briar. I then guide the wick down the mortise into the airway with the aid of a stiff wire.  With the wick in place, the chamber is filled with kosher salt.  Kosher salt leaves no aftertaste unlike iodized salt. With the bowl in an egg crate to keep it stable, I add isopropyl 95% to the chamber with a large eyedropper until it surfaces over the salt.  After a few minutes the alcohol is drawn into the pipe and I again add some alcohol to top it off.  I put it aside, turn out the lights and let it soak through the night! The next morning the soak has done the job.  The soiling of the wick and salt indicates the absorbing action of drawing the tars and oils out of the briar.  After tossing the expended salt in the waste, a paper towel and blowing through the airway clears the pipe of salt crystals.I put the stummel aside to address the chewed-up stem.  I take a few pictures to show the upper, lower then a lateral view of the button.  The results of the biting and clenching are not only the severe teeth damage but also that the button is so compressed, there’s essentially no lip left to hang the pipe normally.  This is not good even when you’re not a clencher.  My approach will first seek to expand and raise the tooth compressions and chatter as much as possible on the upper and lower bit.  I’ll attempt this using the heating method with a Bic lighter.  I don’t believe there’s any way to avoid having to rebuild the button to restore a proper lip to hang the Freehand.  First, using a Bic lighter, I paint the upper and lower bit with the flame.  My hope is to minimize the compressions so that sanding is all that will be necessary on the bit. I take a start picture of upper and lower, then after using the Bic lighter for comparison.
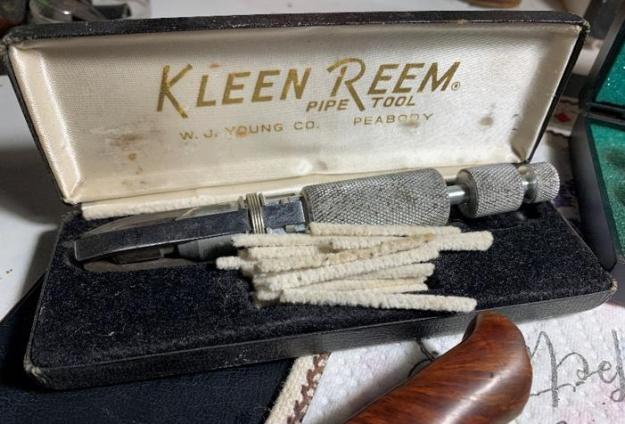
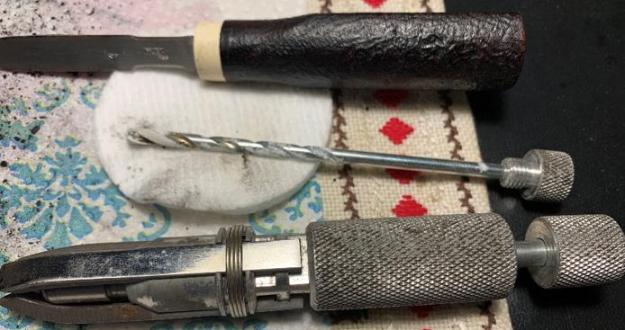
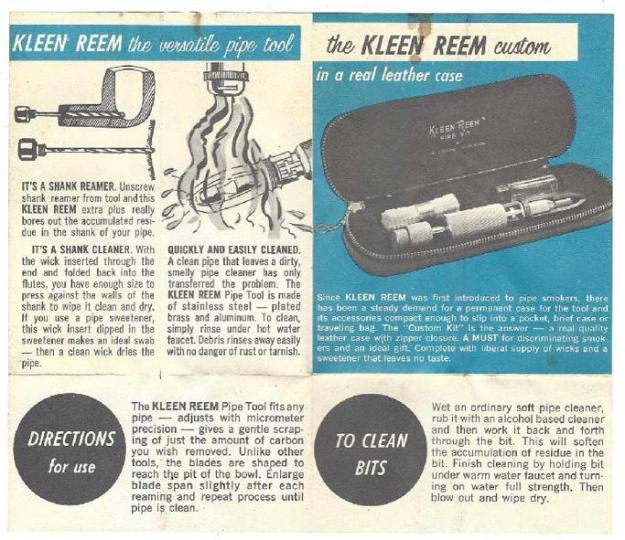
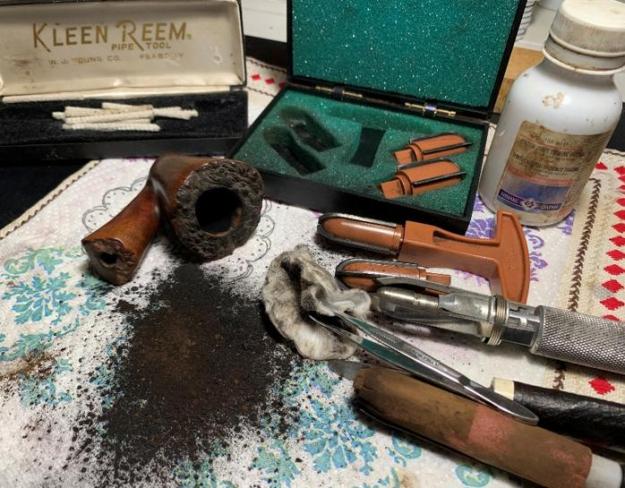
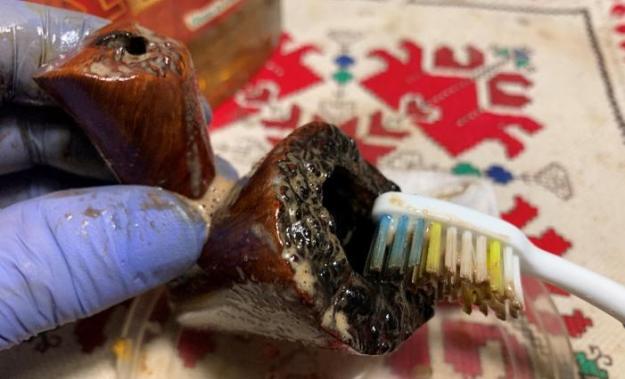
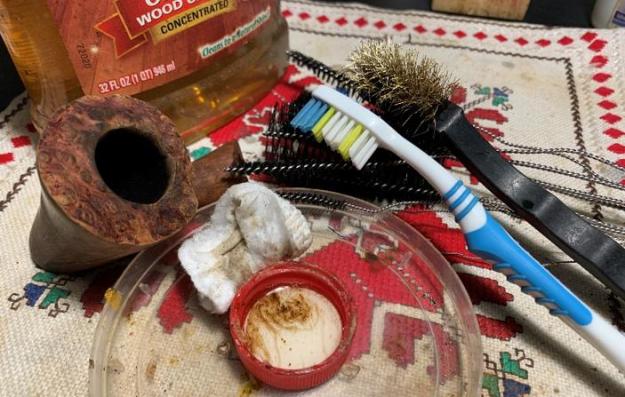
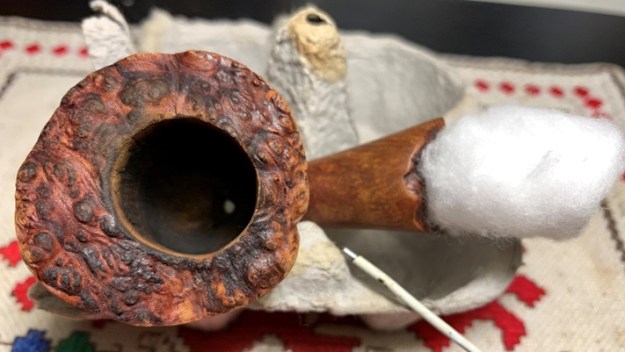
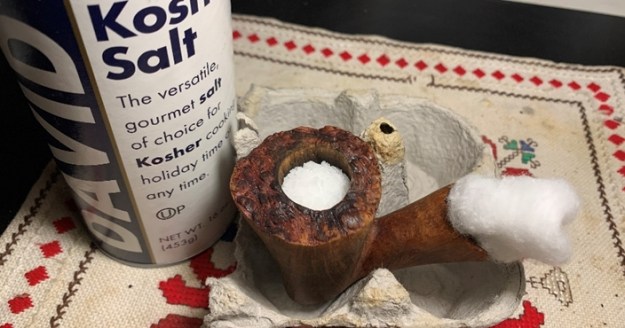
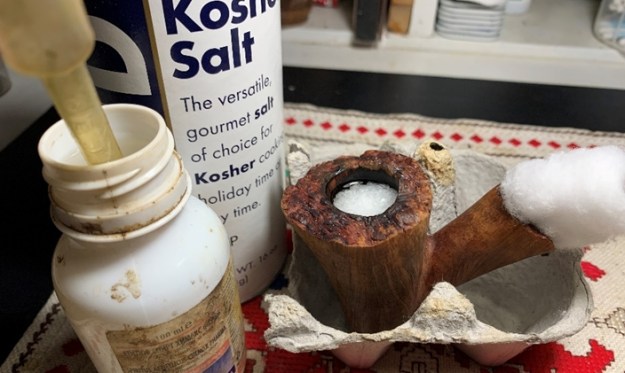
I believe the process did minimize the damage as the heated vulcanite expanded toward its pre-damage condition, but we’re a long way from where we need to be! The button was so thin on the top that the flame burned a small bit of the upper lip in the center and it broke off leaving a divot in the middle of the upper lip. To rebuild the button, I mix activated charcoal with BSI Extra Thick Maxi-Cure CA glue.  To help in cleaning, I put scotch tape down on a plastic disk that serves as my mixing pallet, and then clean the bit with a cotton pad and alcohol.  I place a small pile of charcoal on the disk and then a dollop of the glue next to it.  I gradually mix as I pull charcoal into the glue using a toothpick.As the mixture thickens, I trowel the charcoal/CA mixture onto the button to build a mound over the repair site for the button and on the bit area to fill tooth compressions remaining in the vulcanite.  An accelerator is used on each side of the bit to quicken the curing time.After cleaning up, the flat needle file is first used to begin the rough shaping of the button.Starting with the upper side, I file and gradually shape the button.After making progress on the upper bit and button, the patch just above the small air slot that was thin earlier and burned some, is not adequately filled.  With a magnifying glass I see a gap in the patch.To do a quick patch fill above the slot, I fashion a piece of index card into a sharp point that will fit into the slot to form a mold barrier.  I cover the tip of the card stock with a piece of scotch tape to keep the glue from sticking. Using a medium-thick black CA glue, I spot drop the glue in the center above the slot and spray it with accelerator.After waiting a few minutes for the black CA glue to thoroughly cure, I wiggle the card stock out of the slot with no problems of sticking.  The patch above the slot looks good and I continue filing.I finish the roughing out of the upper button with the flat needle file.I transition to filing and shaping the lower button and bit.With the lower roughing out completed, I transition to 240 grade paper and sand to smooth more and to erase the scratching left from the file. Next, using 600 grade paper, I wet sand the entire stem.  I follow this by applying 000 grade steel wool to the entire fancy stem.  It takes some time to work sand in the grooves and around the bulges of the stem.Stem work is the most time consuming and meticulous part of a pipe’s restoration, usually.  I look at the possible Preben Holm Freehand stummel waiting for attention and I would rather put the stem aside and switch to the ‘milk and honey’ part of a restoration, but I press on with the stem applying the full battery of micromesh pads starting with wet sanding with pads 1500 to 2400.  I follow this by dry sanding with pads 3200 to 4000 and 6000 to 12000.  In between each set of 3 pads, I apply Obsidian Oil which helps rejuvenate the vulcanite stem as well as helping retard the development of oxidation. After finishing the micromesh process, I note that the button rebuild patch material has air pockets showing.  This happens often with this repair. To remedy this, I use clear acrylic nail polish to paint the button with the small brush that comes with the bottle.  The acrylic fills the pockets.  After applying, I put the fancy stem aside for the acrylic polish to cure.With the stem on the side, I now take another look at the Danish Freehand stummel.  The grain is beautiful, and the surface is in very good shape but shows normal nicks and scratches from normal wear. I will use micromesh pads to refresh the briar surface but first I cover the area of the last vestiges of the nomenclature.  I do not wish to contribute to its demise.Using pads 1500 to 2400, I wet sand the surface.  Following this, using pads 3200 to 4000 and 6000 to 12000, I dry sand the large briar landscape.  It’s exhilarating to see the metamorphosis of the grain through each minute gradation of grade provided by each successive micromesh pad.  It’s as if the grain is coaxed out.  I love the grain on the Danish Freehand.  If this is indeed a work of Preben Holm, it is truly ‘chasing the grain.’ To tease out further the natural hues of the briar, Mark Hoover’s product (www.ibepen.com), Before & After Restoration Balm, does the job well. After putting some Balm on my fingers, I work it into the briar surface including the rim and shank plateaus.  I then put the stummel aside for about 20 minutes, then wipe/buff the excess using a microfiber cloth dedicated to this. I follow with another microfiber cloth to buff the surface further.Next, I use another product of Mark Hoover, Before & After Fine and Extra Fine polishes.  Not only does the polishes revitalize the vulcanite, Mark says that it also has properties that continue to fight or remove oxidation.  Starting with the Fine polish, like the Balm, after placing a small amount on my finger, I work it into the vulcanite and let it set for a few minutes.  With the polishes, I like removing the excess initially with a paper towel – it absorbs and is a bit rougher which seems to help in the polishing at this stage.  I follow the Fine with the Extra Fine polish in the same manner.  The stem looks great.Next, I address the plateaus of rusticated briar – a hallmark characteristic of many Freehand pipes.  This Freehand appears to have had a darkened plateau originally and I use a fine point black Sharpie Pen to do the highlighting and darkening. I also darken and freshen the straight highlight carvings on the heel. I focus on the inner two thirds of the rim plateau intentionally leaving some of the rustication on the outer edge natural briar – I like contrasting and texturing.  I do the same with both plateaus and the heel sculpting. In order to ‘weather’ the freshly darkened plateaus so that the black doesn’t look new, I lightly sand the plateaus with the roughest micromesh pad, 1500 grade.  What this also does is lighten the peaks of the rustication giving more depth of contrast – I like this! The home stretch – after mounting a cotton cloth to the Dremel with the speed set at about 40% full power, Blue Diamond compound is applied to stem and stummel. Following Blue Diamond, another cotton cloth buffing wheel is mounted on the Dremel, and maintaining the same speed, carnauba wax is applied to the Freehand.  After applying the wax, I use a microfiber cloth to give the pipe a rigorous hand buffing to raise the shine.If this Danish Freehand is not a Preben Holm, it’s an excellent facsimile.  The vertical grain is mesmerizing.  It reaches up the 2 1/2 inch height of the Freehand’s front bowed bowl section and culminates in the classic rusticated plateau.  The plateau measures 1 3/4 inches across surrounding a 1 3/4 inch deep chamber that will hold an ample load of tobacco.  The length from the front point to the button is 5 3/4 inches.  The button re-build came out well – I’m pleased.  Andy commissioned this Made in Denmark Freehand and will have the first opportunity to claim it in The Pipe Steward Store benefiting the Daughters of Bulgaria.  Thanks for joining me!