by Kenneth Lieblich
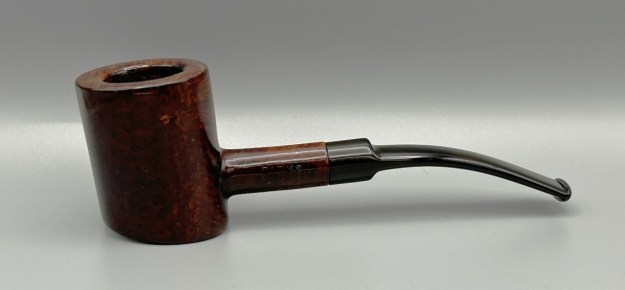
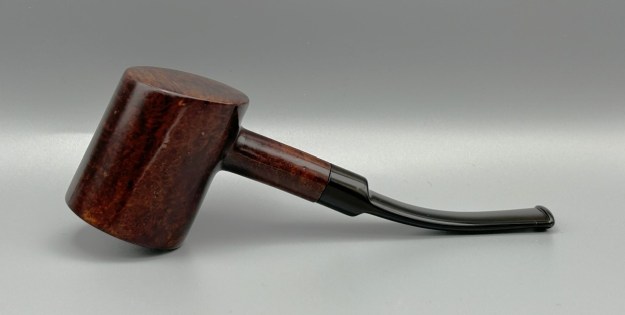
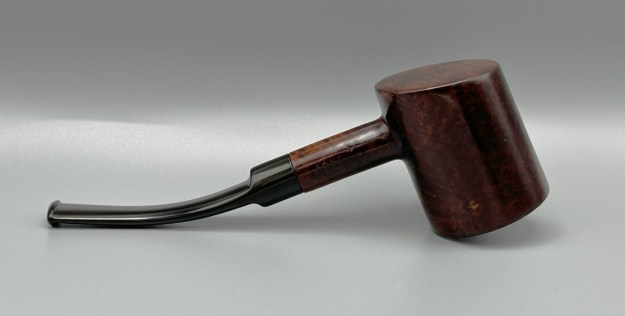
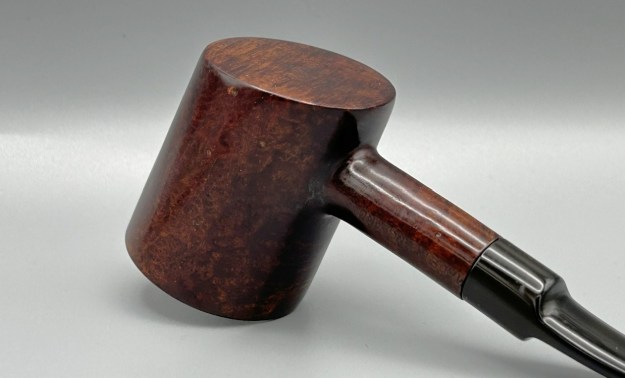
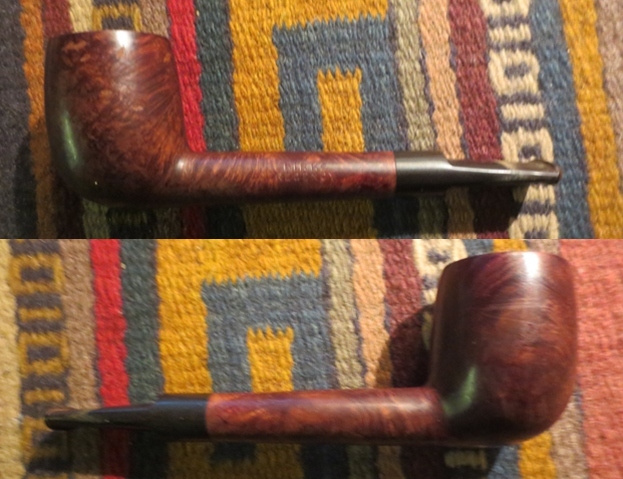
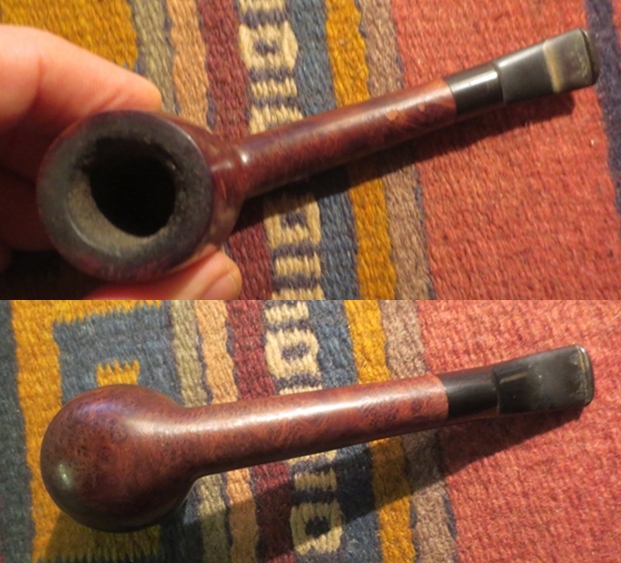
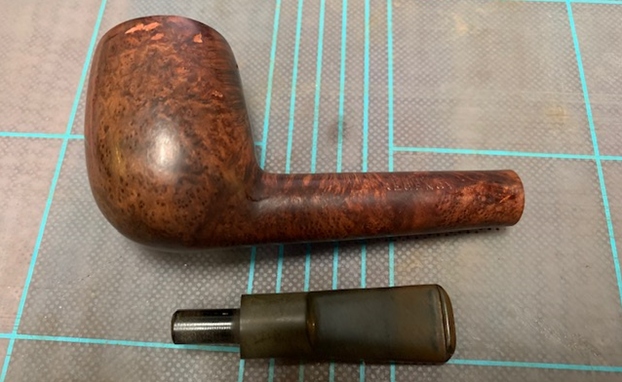
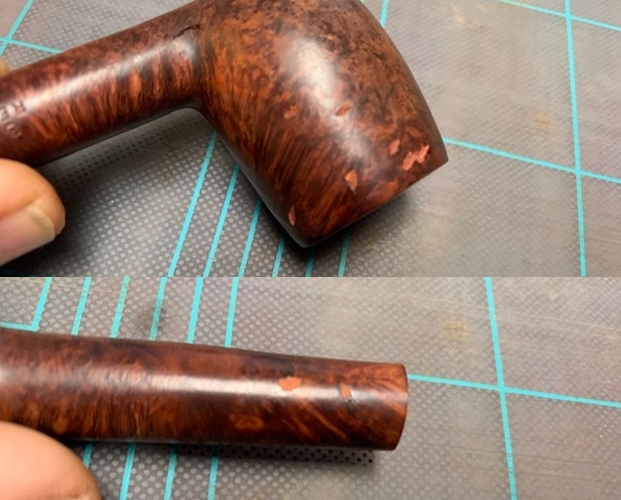
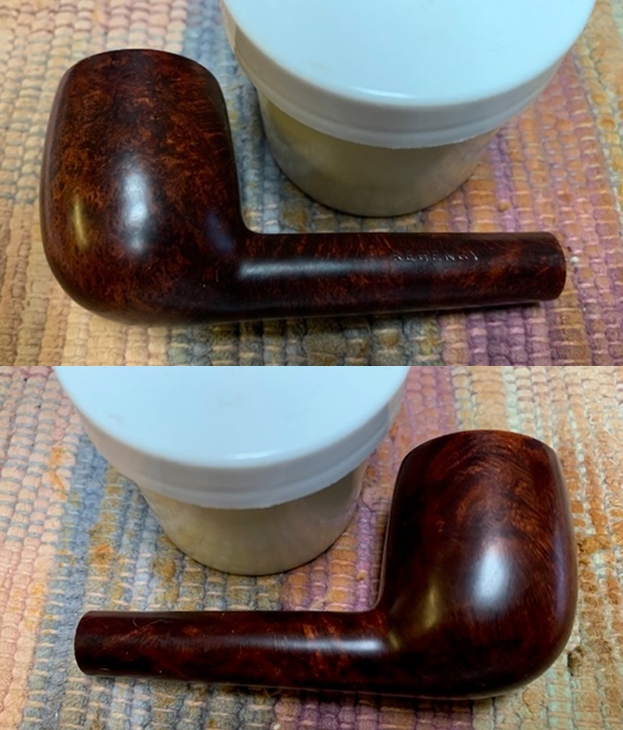
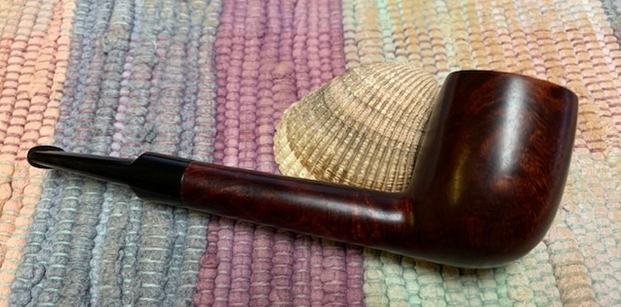
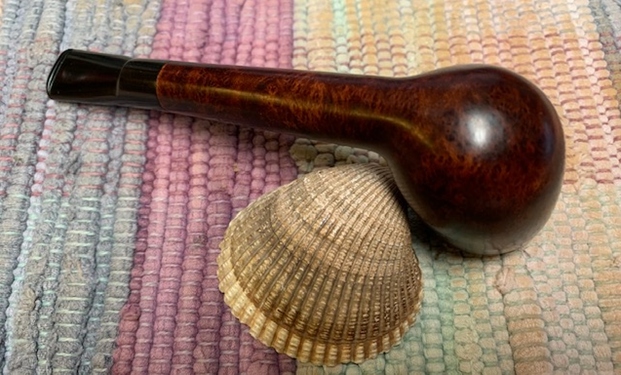
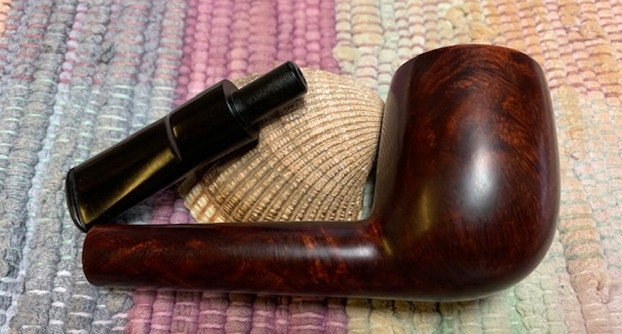
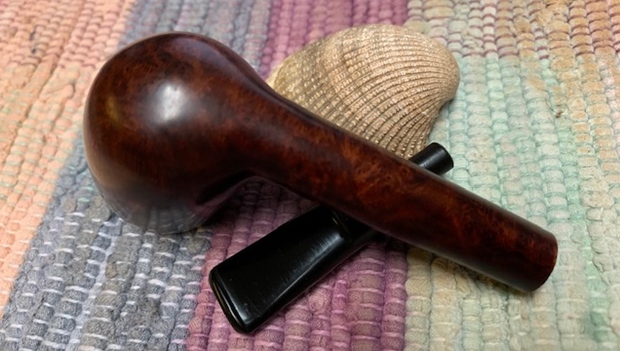
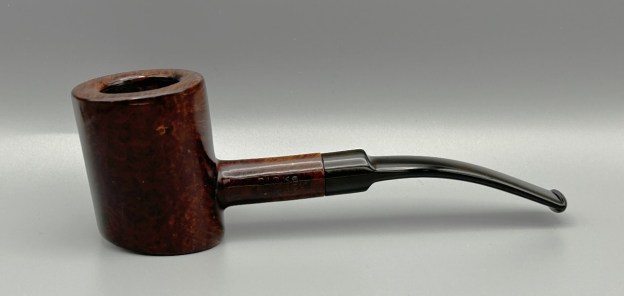
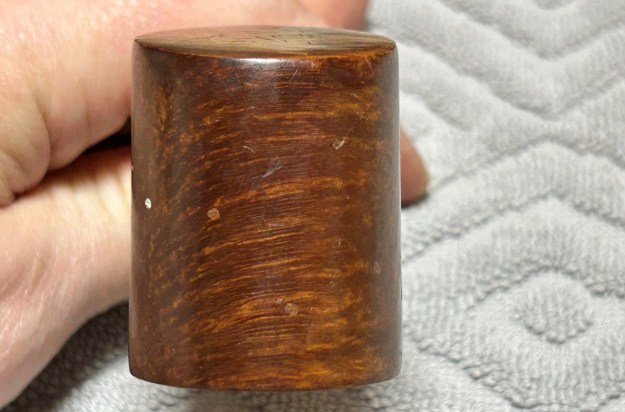
I got this pipe in a group of pipes and I liked its shape immediately. The pipe was rough, to be sure, but I think it will find a home with one of you. The pipe comes with the name of the famous Canadian jewellery house, Birks. I’m interested in this because I have several Birks pipes in my workshop and they’re all a little different. More on that in a moment. This particular pipe is a poker shape – a very handsome one at that. It has quite a few fills (leopard spots), but there is also some lovely grain. It is light and elegant.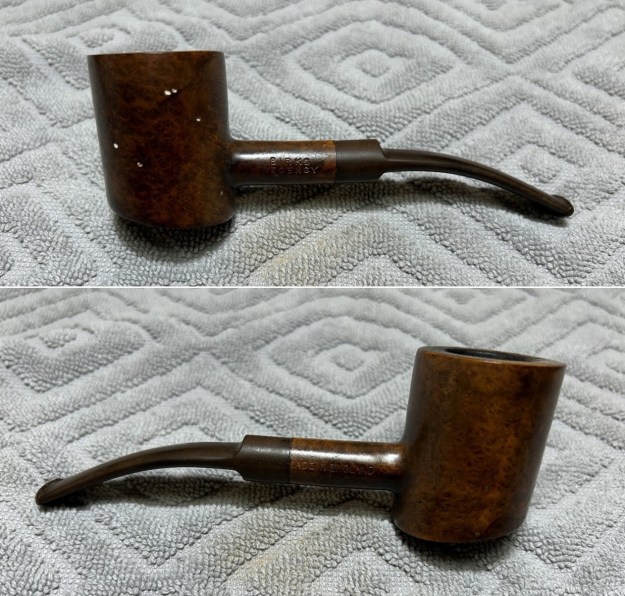
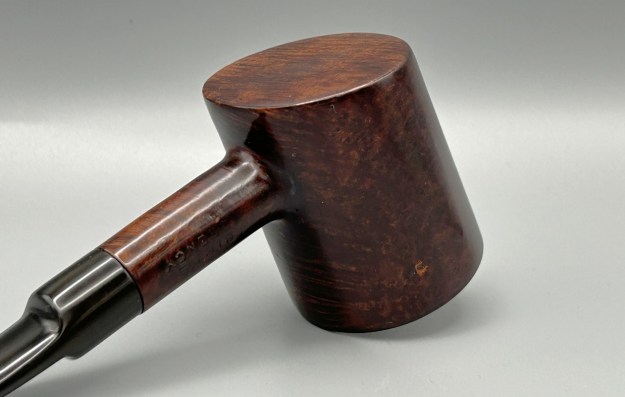
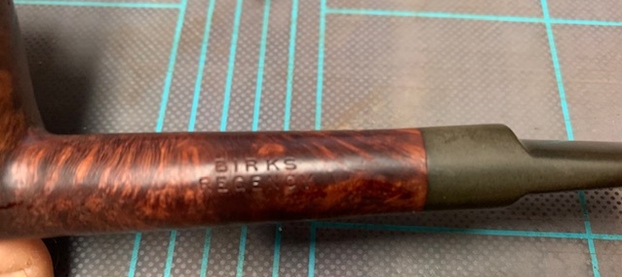
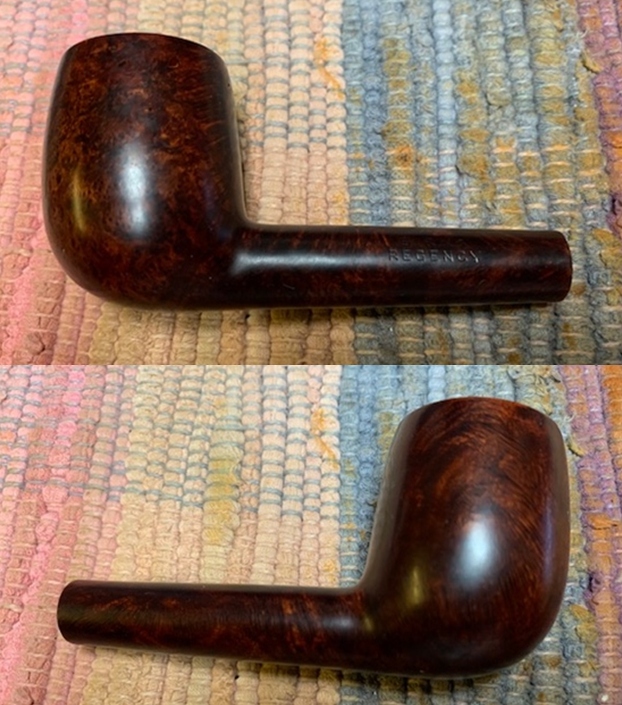
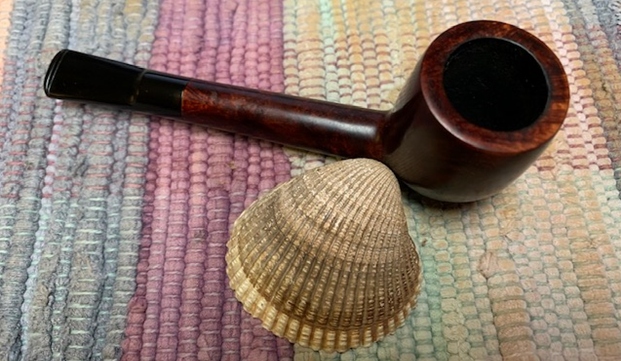
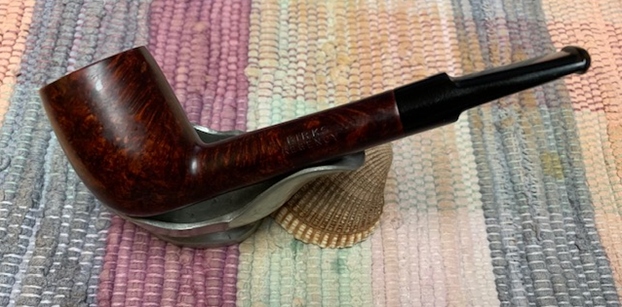
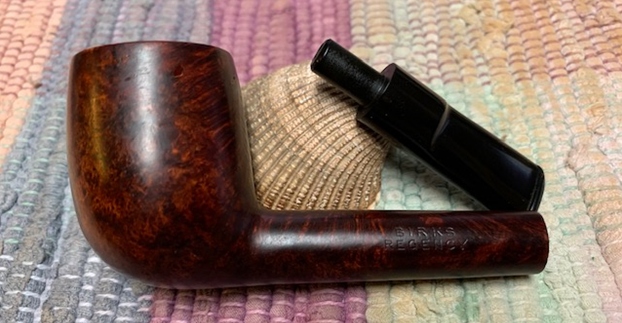
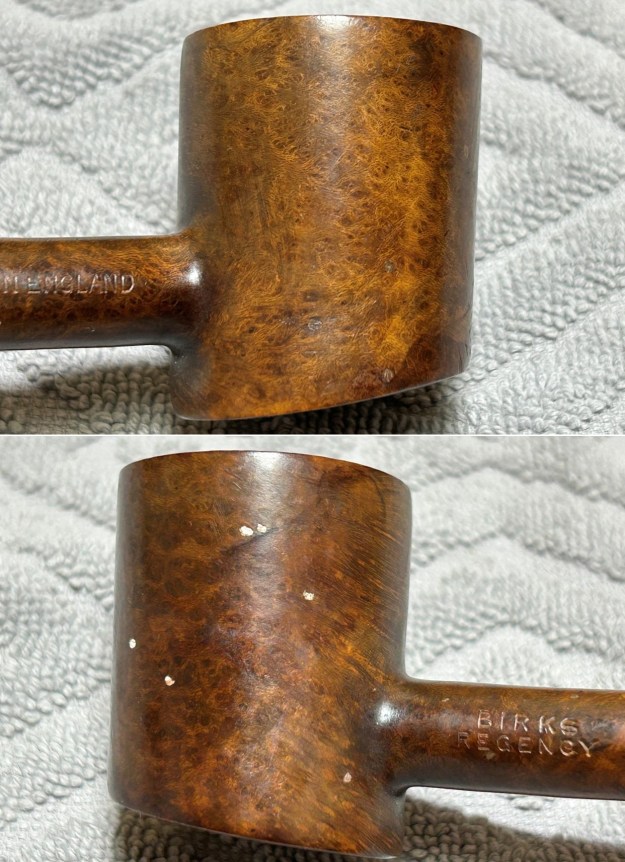
 The markings on the pipe don’t tell us much – but they tell us enough. The markings on the left side of the stummel read Birks [over] Regency. The markings on the right side of the stummel read Made in England. Allow me to explain some of this.
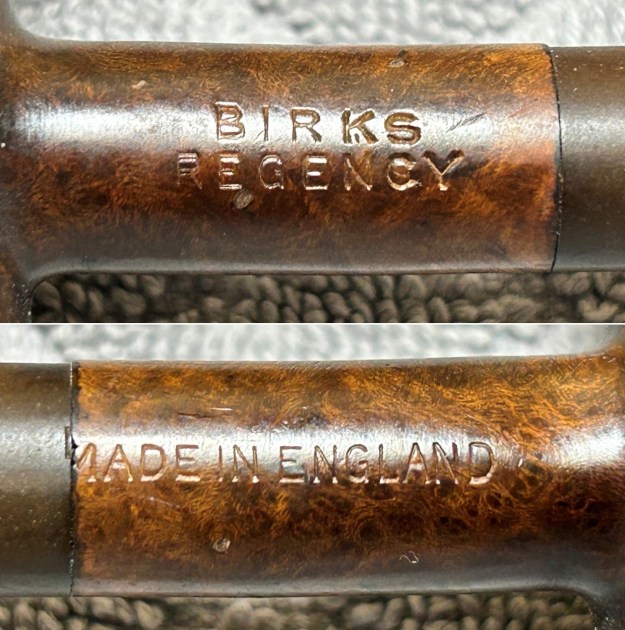 Birks refers to Henry Birks & Sons, a venerable and well-known luxury store based in Canada (now known as Maison Birks). It has focused primarily on jewellery throughout its history, but also other luxury items like watches, silverware, etc. There has been some discussion in pipe circles about whether Birks sold pipes or not – and whether Birks actually refers to an English company (as Wilczak and Colwell suggested in Who Made That Pipe?). I can say definitively that Henry Birks & Sons sold pipes. They did not manufacture their own, but had others make them for sale at Birks’ stores. Steve has already restored some Birks-branded pipes made by Savinelli. I have Birks-branded pipes made in England and in Denmark.
 Two further points about this. First, I wonder if Wilczak and Colwell were thinking of an English razor company (also called Birks) that frequently used a maker’s mark that was in the shape of a pipe (rather unhelpfully). For more on that, click here. Second (as I mentioned earlier), this particular pipe has the word Regency on it. Regency specifically refers to a Henry Birks line of silverware, china, etc. – so that makes sense.
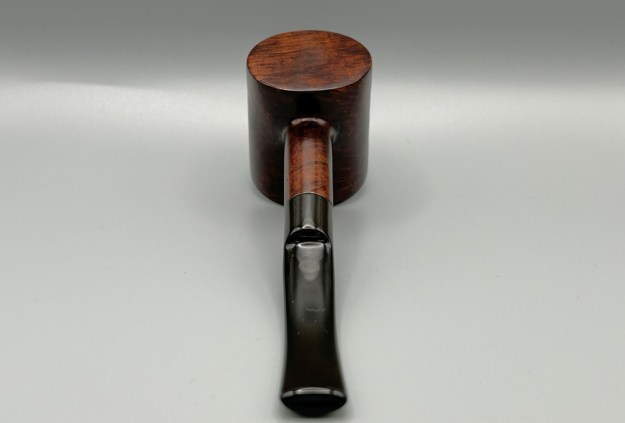
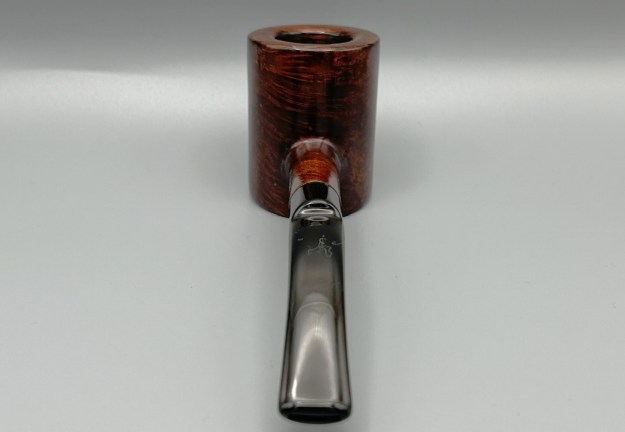
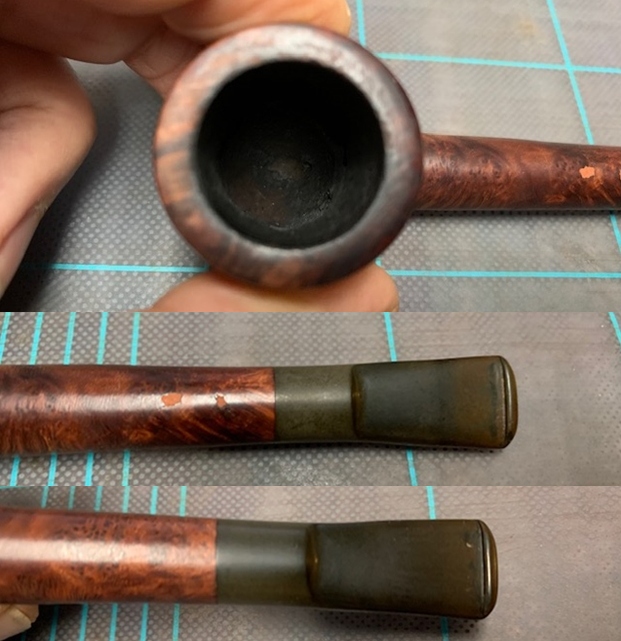
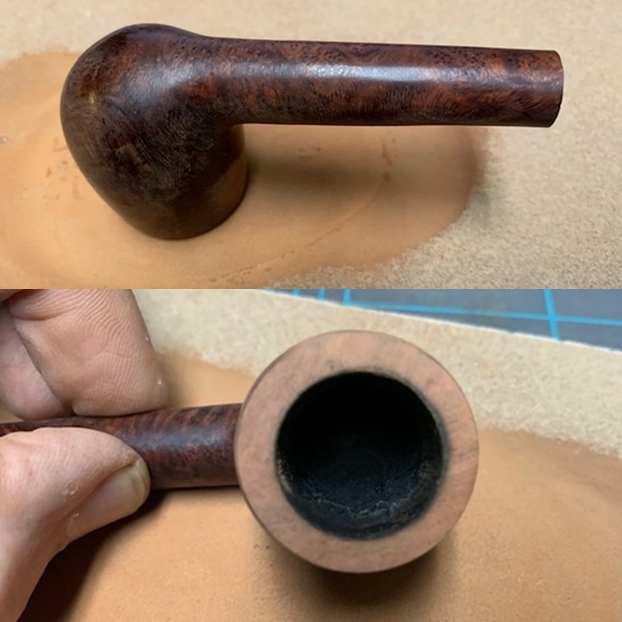
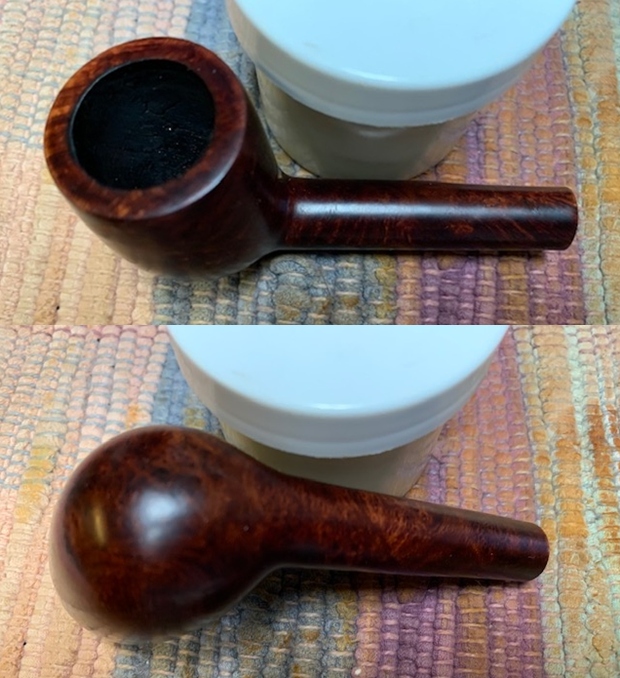
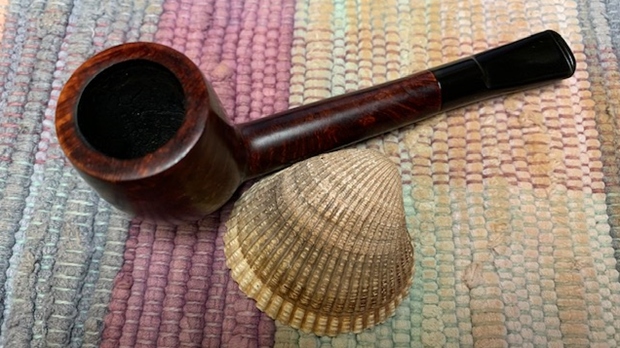
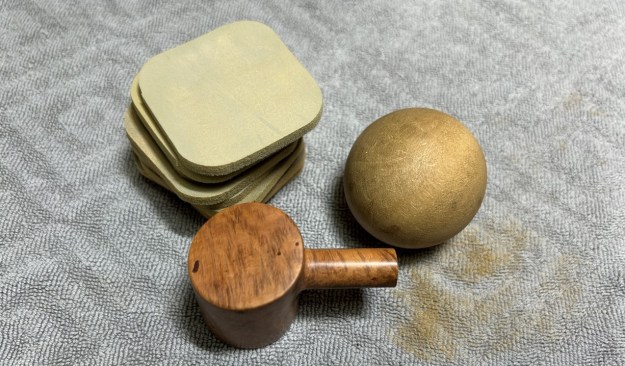
Let’s examine the pipe. The condition is a bit rough, but nothing serious. The stummel is in decent shape, despite a plethora of tiny fills. The rim has a bit of burning, but hopefully that can be resolved. The stem is quite nice. It has a few tooth marks, but nothing significant. A bit of oxidation, but we’ll clean that up.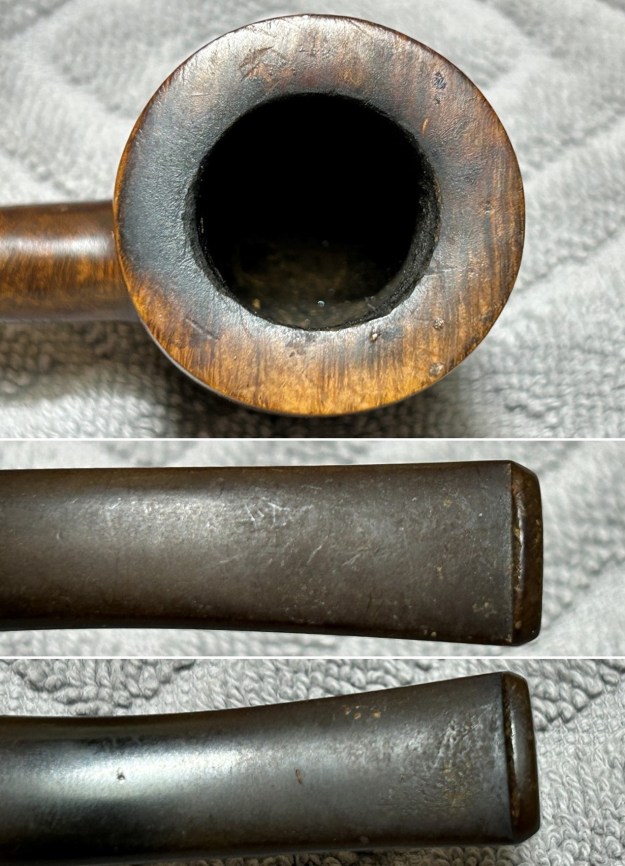
 This stem had a stinger in it – and it was being quite stubborn about coming out of the tenon! I opted to warm the stem and stinger with my heat gun and this provided just enough softening of the internal goo to allow me to extract it. It then went for a soak in some lemon-infused 99% isopropyl alcohol. I let it sit for a while and then cleaned it off and it looked much improved.
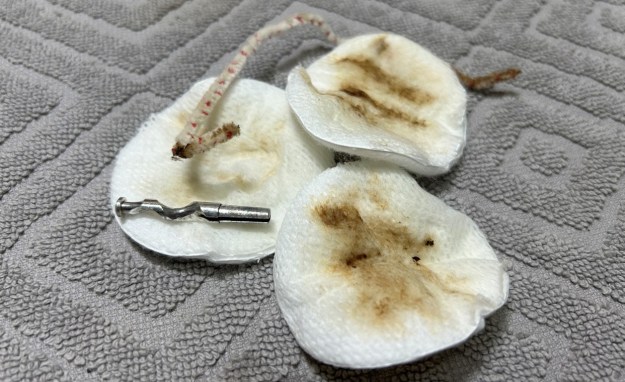 I used isopropyl alcohol on a few cotton rounds and wiped down the stem to provide an initial cleaning of filth before moving on to the next steps. The primary cleaning came next. I disinfected the inside of the stem with both pipe cleaners and cotton swabs dipped in lemon-infused 99% isopropyl alcohol. I scrubbed thoroughly to make sure the interior was very clean.
 The goal of the next step is the removal (or minimization) of oxidation. Going to my sink, I used cream cleanser, cotton rounds, and a toothbrush, and scoured the stem to remove as much surface oxidation as possible. The result was a hideous, ochre-coloured mess – but better off the stem than on it. I neglected to take a photo of this stem, but take my word for it.
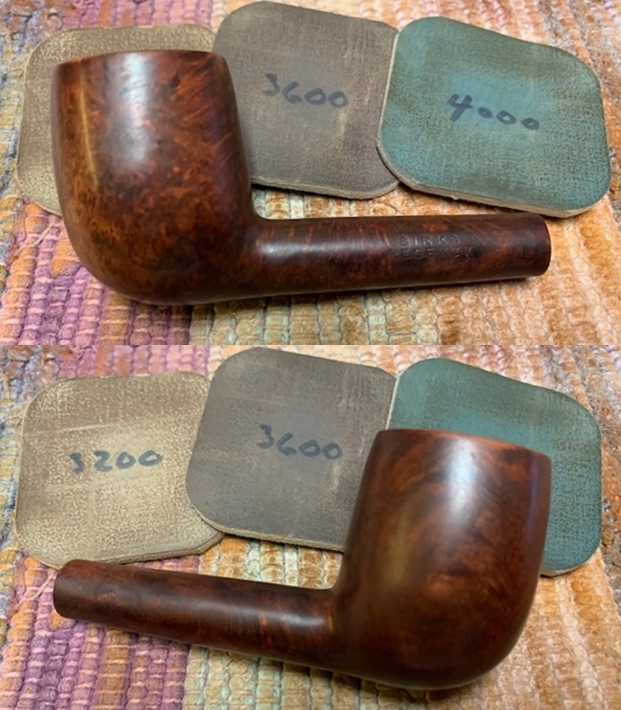
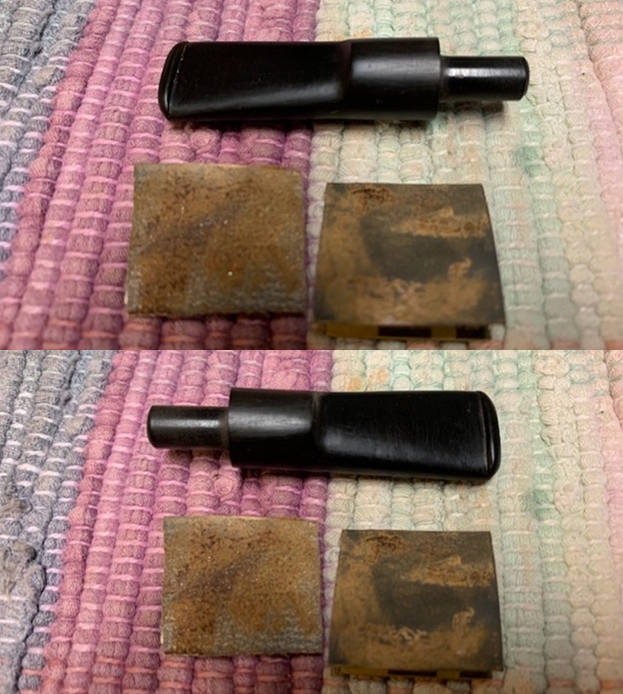
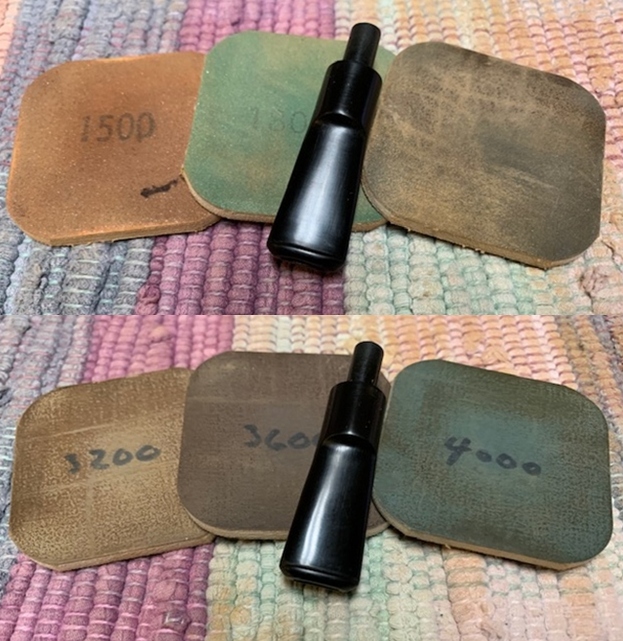
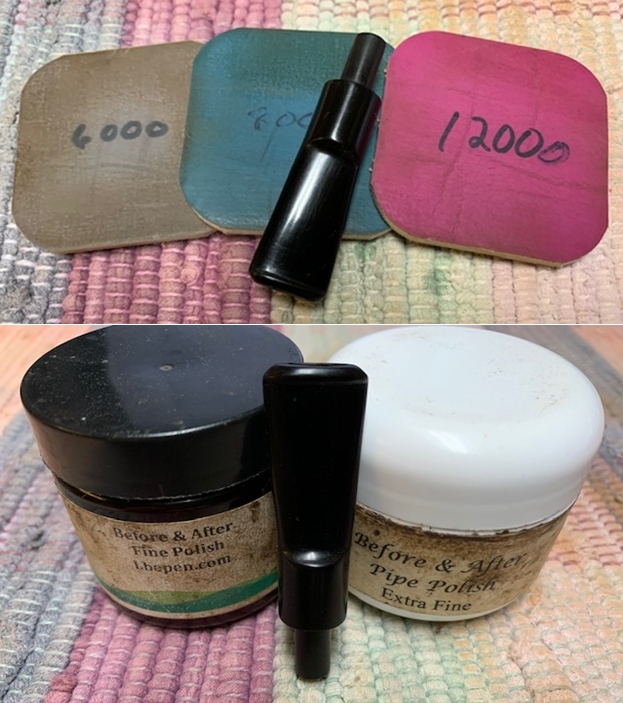
Once the stem was reasonably clean, I soaked it overnight in some Briarville Stem Oxidation Remover. This solution works to draw oxidation in the stem to the surface of the vulcanite. This is a major aid and an important step in ensuring a clean stem. The following day, I drew out the stem from its bath and scrubbed the lingering fluid with a toothbrush.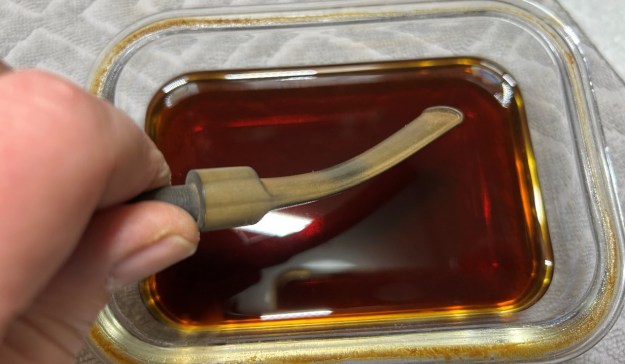 The penultimate step for the stem is sanding. I used all nine of the micromesh sanding pads (1,500 through 12,000 grit) to sand out flaws, even out the vulcanite, and provide gentle polishing of the finished surface. I also applied pipe-stem oil while using the last five micromesh pads. There was a wonderful, deep black shine to the stem when I was done.
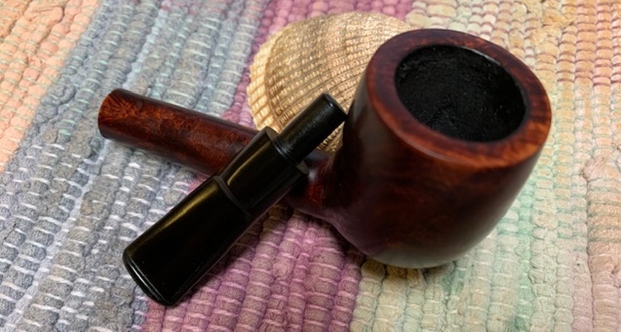
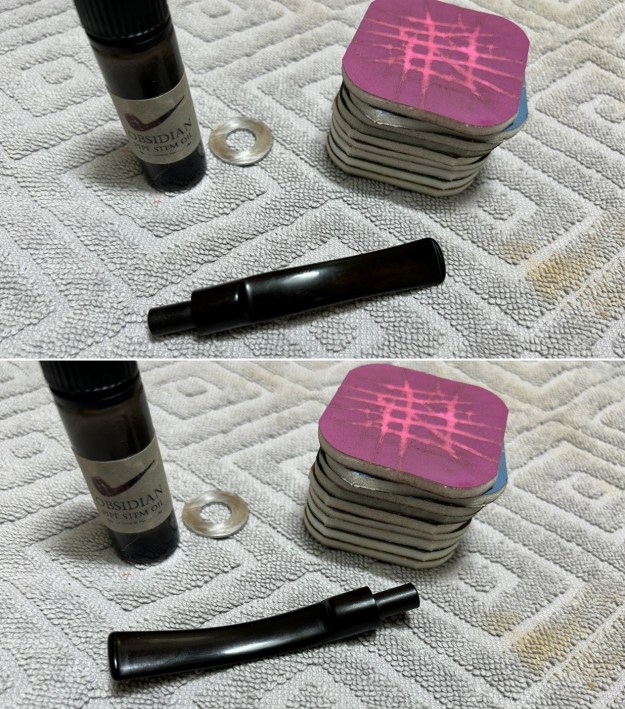 As the stem was (nearly) complete, I moved on to the stummel. The first step was to ream out the bowl – that is to say, remove all the cake inside the bowl. This accomplished a couple of things. First (and most obviously), it cleaned the bowl and provided a refurbished chamber for future smoking. Second, when the old cake was removed, I could inspect the interior walls of the bowl and determine if there was damage or not. I used a reamer and a piece of sandpaper taped to a wooden dowel. Collectively, these ensured that all the debris was removed.
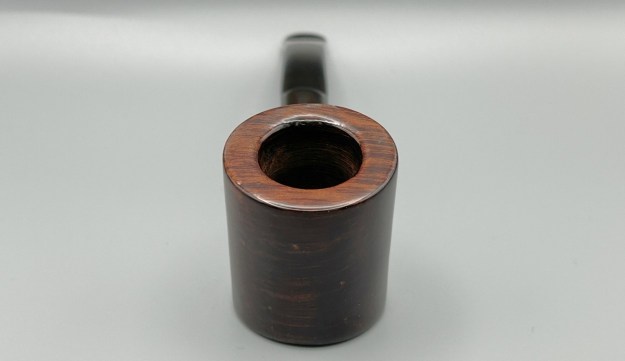
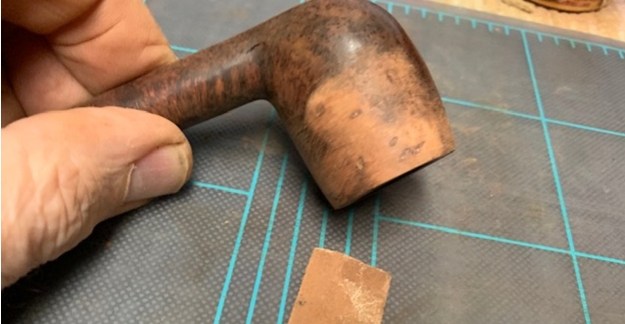
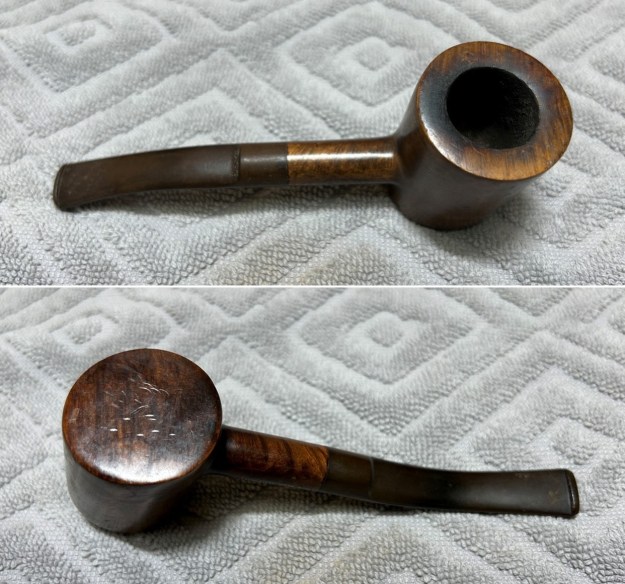
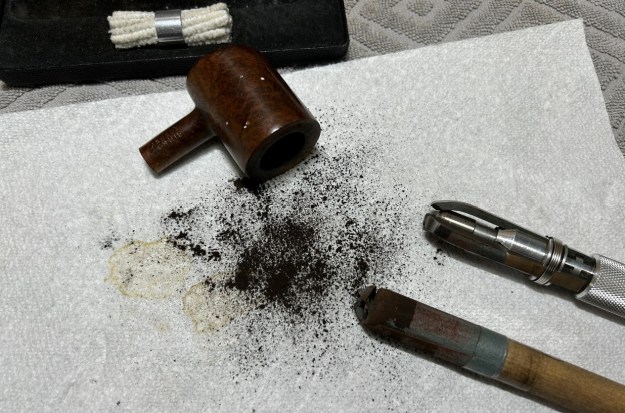 My next step was to remove the lava on the rim. For this, I took a piece of machine steel and gently scraped the lava away. The metal’s edge is sharp enough to remove what I need, but not so sharp that it damages the rim. This work revealed that there was a burn mark to the rim. It would remain, but much less noticeable.
Similar to the stem, I then cleaned the stummel with both pipe cleaners and cotton swabs dipped in lemon-infused 99% isopropyl alcohol. With a pipe this dirty, it took quite a while and much cotton to clean.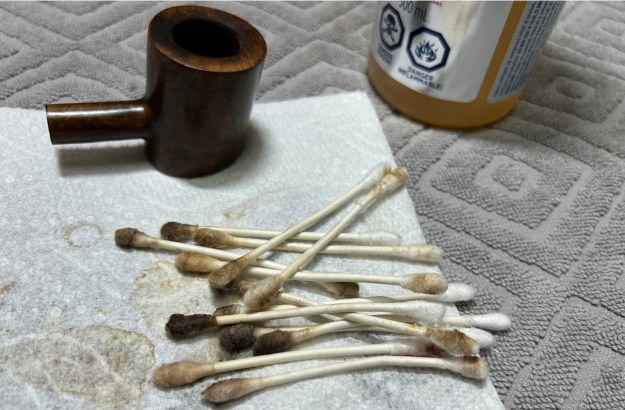 I then decided to ‘de-ghost’ the pipe – that is to say, exorcize the remaining filth from the briar. I filled the bowl and the shank with cotton balls, then saturated them with 99% isopropyl alcohol. I let the stummel sit overnight. This caused the remaining oils, tars and smells to leach out into the cotton.
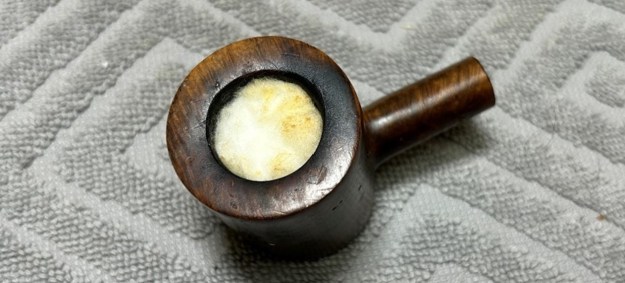 To tidy up the briar, I wiped down the outside, using a solution of a pH-neutral detergent and some distilled water, with cotton rounds. I also used a toothbrush in the crevices. This did a good job of cleaning any latent dirt on the surface of the briar. The last step of the cleaning process was to scour the inside of the stummel with the same mild detergent and tube brushes. This was the culmination of a lot of hard work in getting the pipe clean.
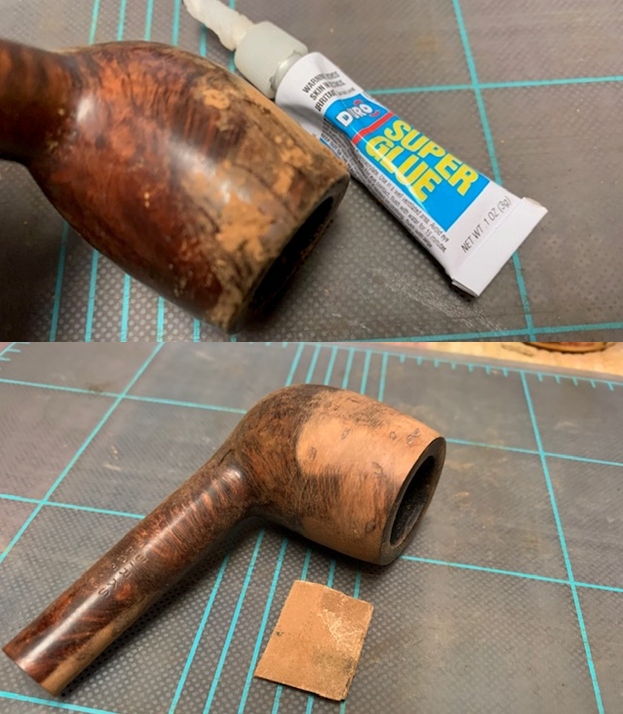
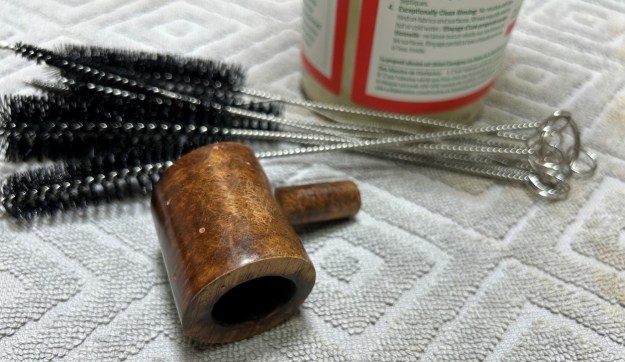 I spent some time tinting the fills with some furniture pens, then filling in all of the fills with clear cyanoacrylate adhesive. This made them smooth and hard.
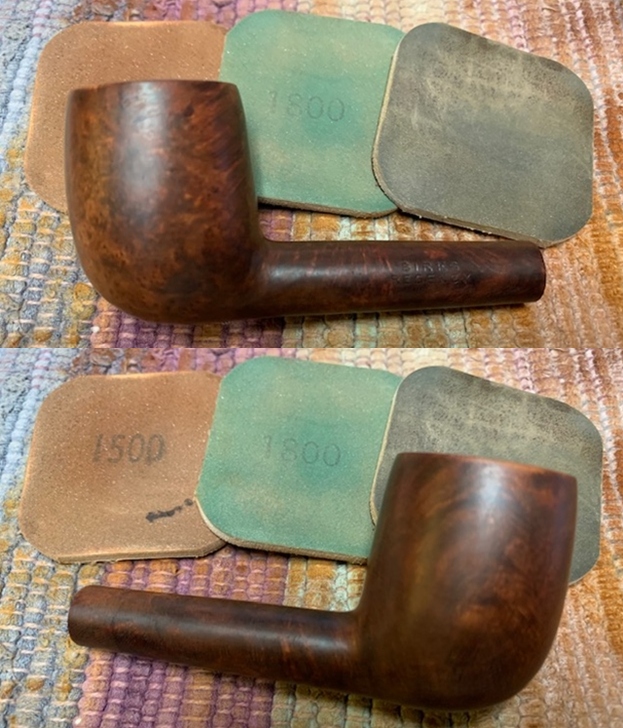
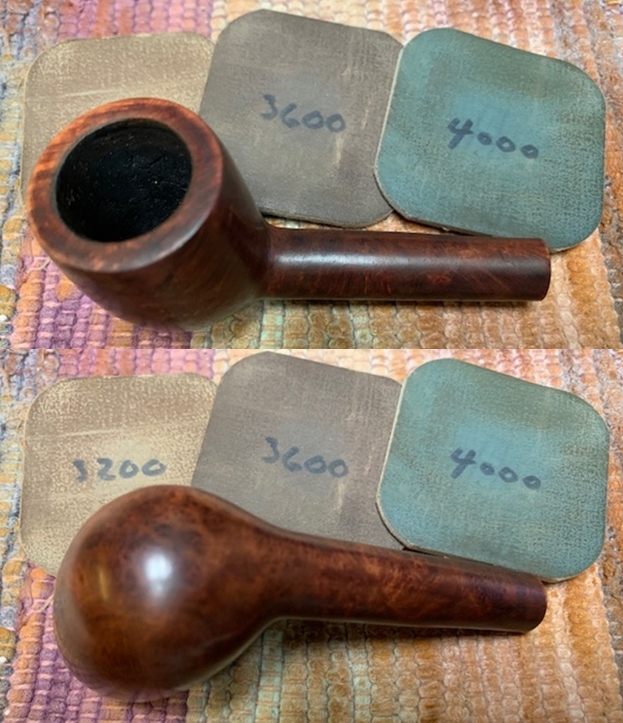
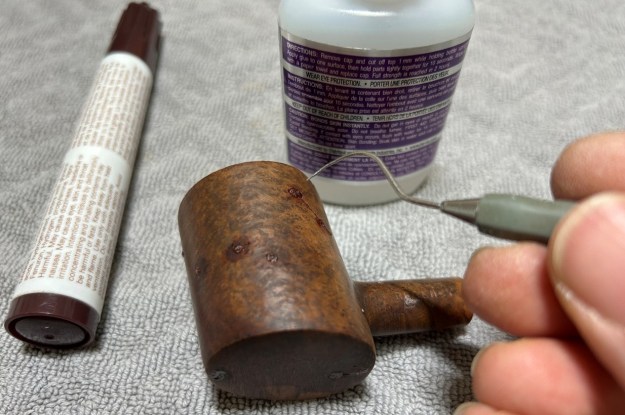 I used all nine micromesh pads (1,500 through 12,000 grit) to sand the outside of the stummel and finish it off. This sanding minimizes flaws in the briar and provides a beautiful smoothness to the wood.
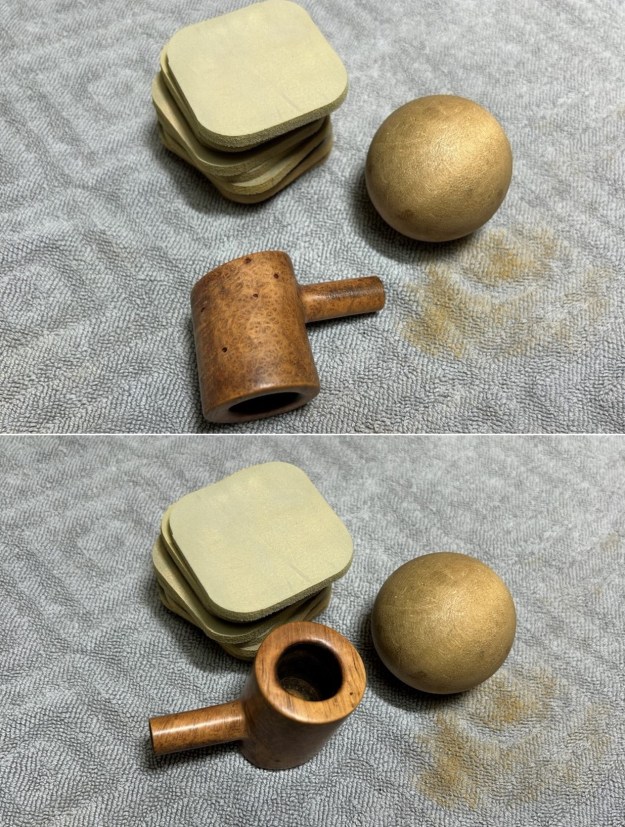
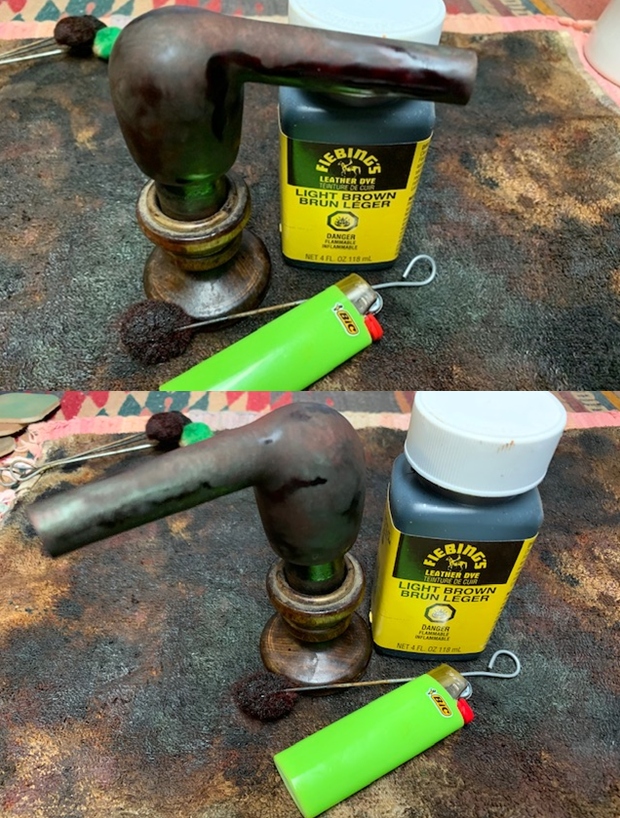
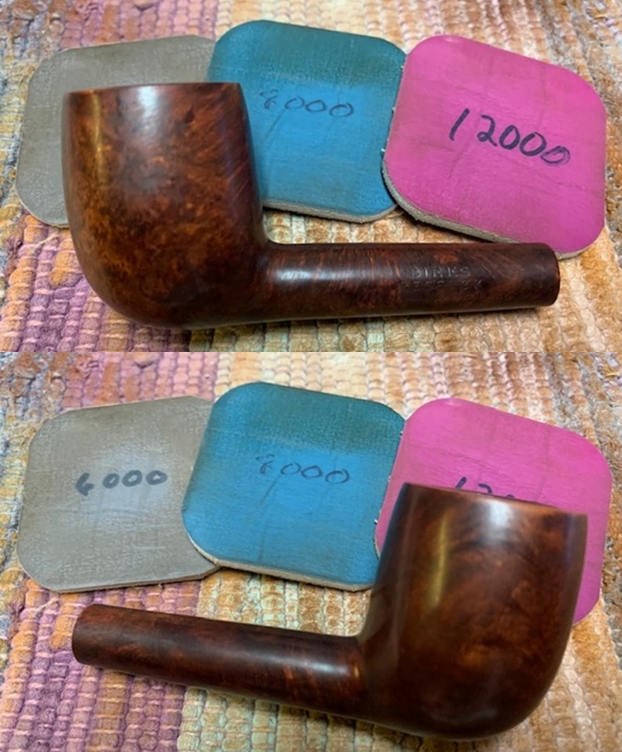
 In order to help the leopard disguise its spots, I decided to stain the wood with an alcohol-based, aniline dye. I use this type of dye because it is easy to work with, uniform in colour, quite penetrating, and is easily thinned with isopropyl alcohol. For this pipe, I chose a mahogany colour. I spread the dye all over the outside of the stummel with a small dauber and then applied a gentle flame to it. This flame assists in setting the stain by quickly evaporating the isopropyl alcohol. If necessary, the stain can be lightened by wiping the briar with pure alcohol – and, in this case, that is precisely what I did.
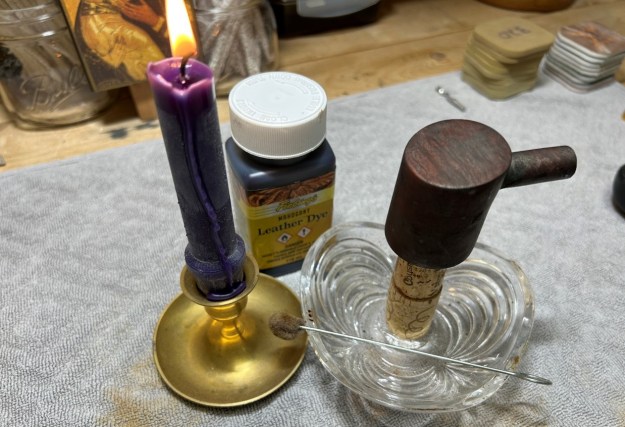 I rubbed some LBE Before & After Restoration Balm into the briar and let it sit for 30 minutes or so. The balm moisturizes the wood and gives a beautiful depth to the briar. I then buffed the stummel with a microfibre cloth.
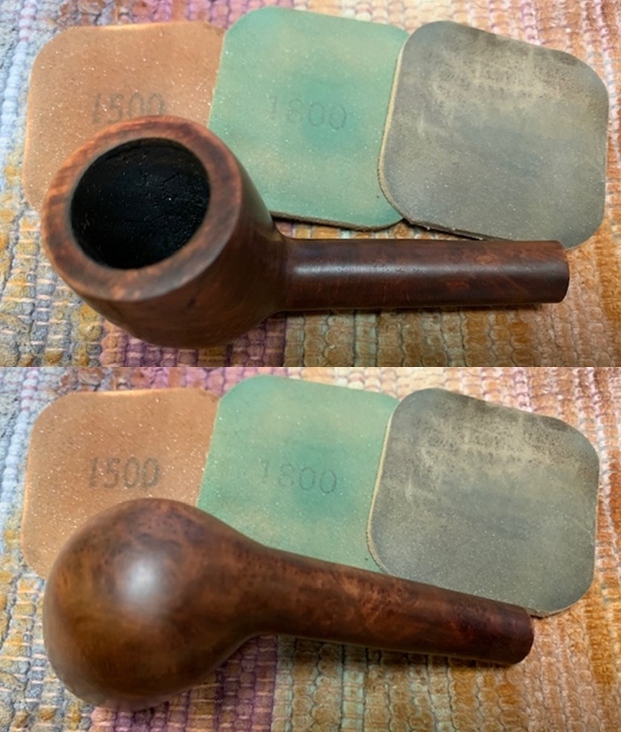
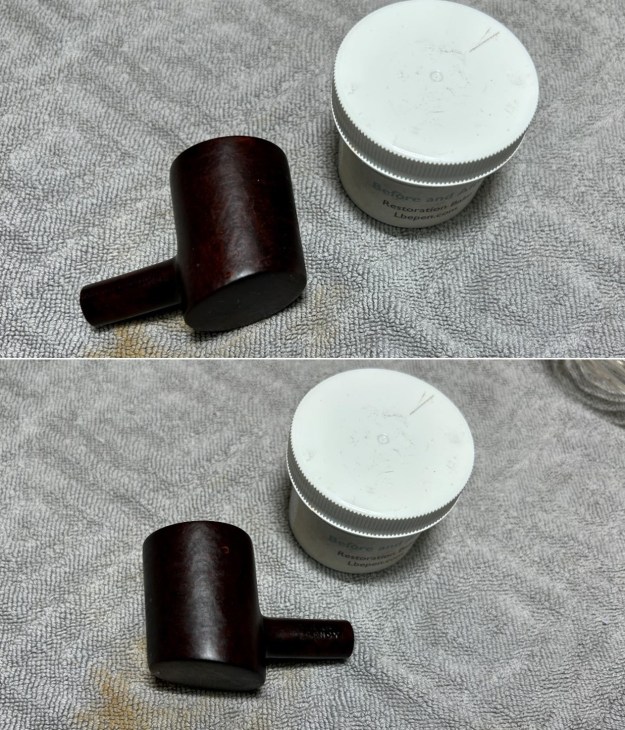
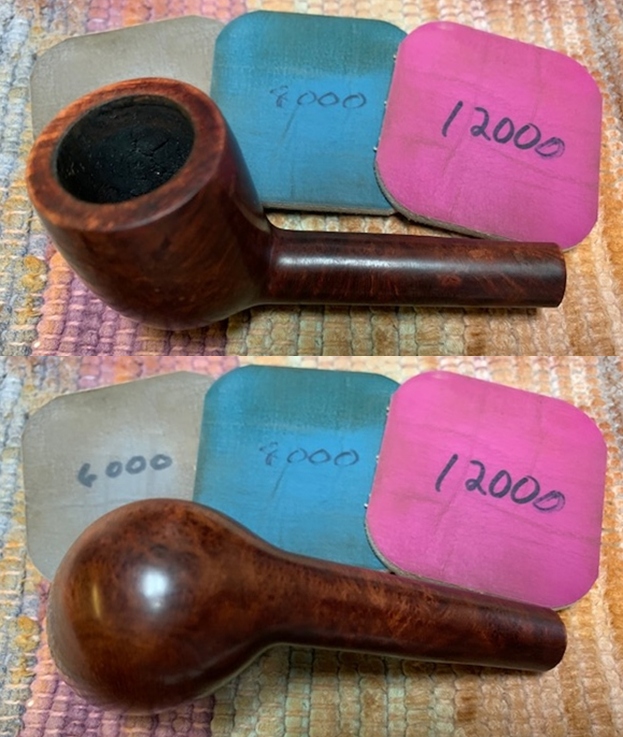
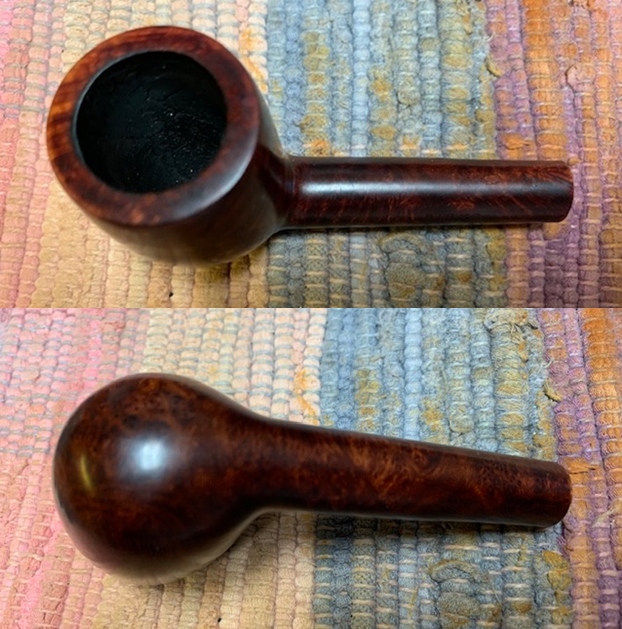
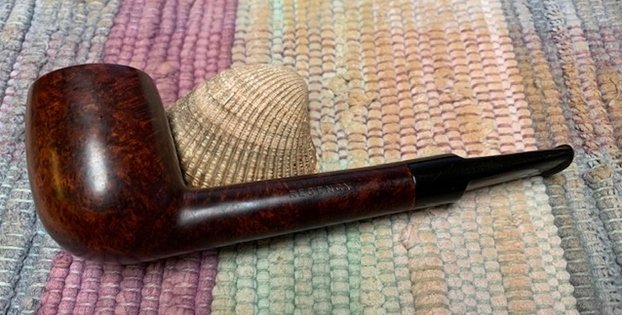
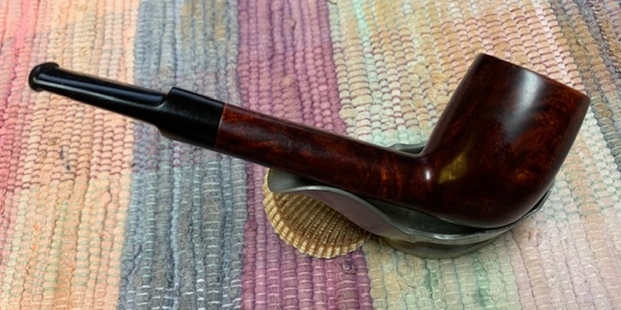
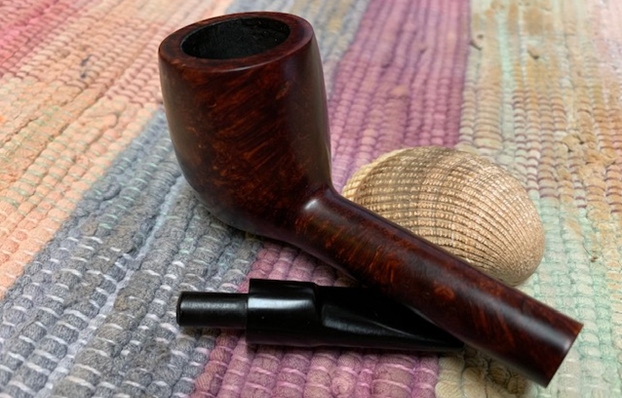
 For the final step, I took the pipe to my bench polisher and carefully buffed it – first with a blue diamond compound, then with three coats of carnauba wax. This procedure makes the pipe look its best – the stummel sings and the stem glows.
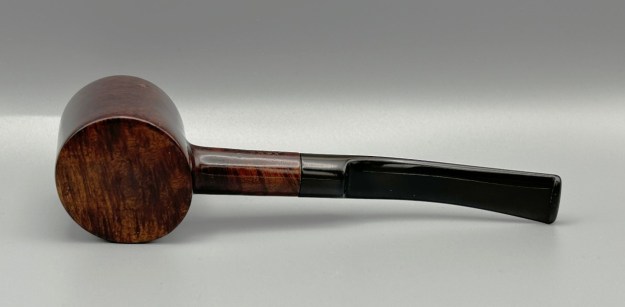
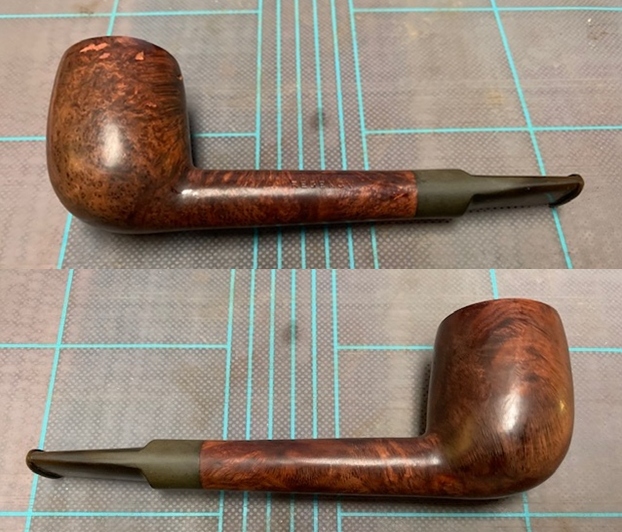
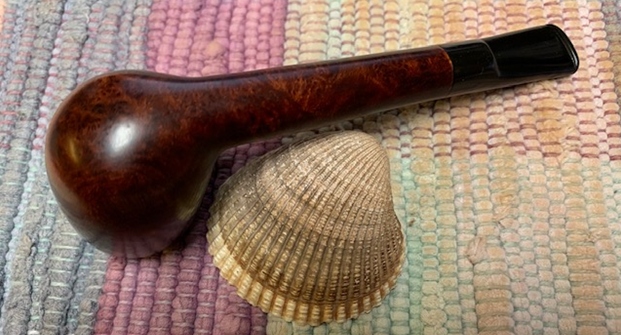
All done! This Birks Regency Poker looks fantastic again and is ready to be enjoyed by its next owner. I am pleased to announce that this pipe is for sale! If you are interested in acquiring it for your collection, please have a look in the ‘English’ section of the store here on Steve’s website. You can also email me directly at kenneth@knightsofthepipe.com. The approximate dimensions of the pipe are as follows: length 5⅜ in. (137 mm); height 1⅞ in. (47 mm); bowl diameter 1⅜ in. (36 mm); chamber diameter ⅞ in. (20 mm). The weight of the pipe is 1 oz. (32 g). I hope you enjoyed reading the story of this pipe’s restoration as much as I enjoyed restoring it. If you are interested in more of my work, please follow me here on Steve’s website or send me an email. Thank you very much for reading and, as always, I welcome and encourage your comments.