Blog by Kenenth Lieblich
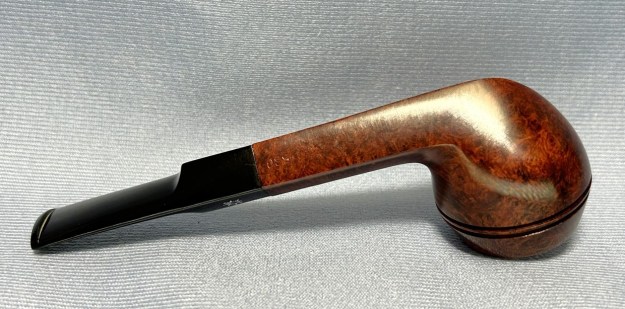
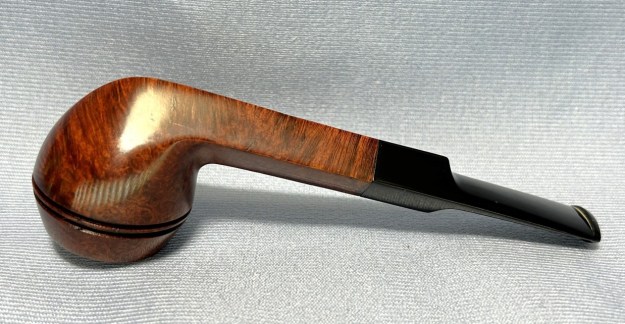
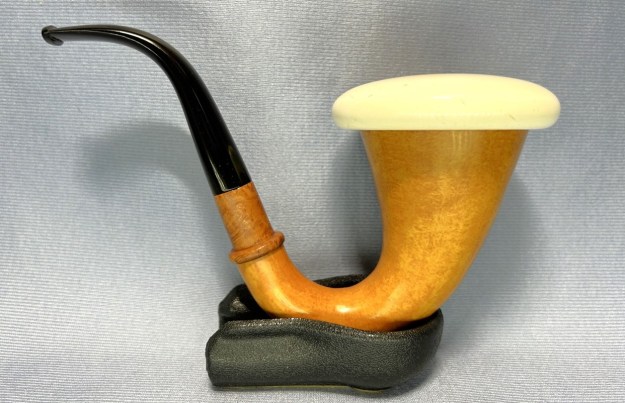
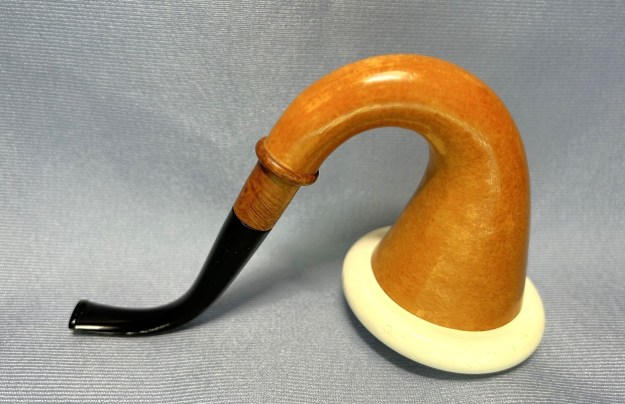
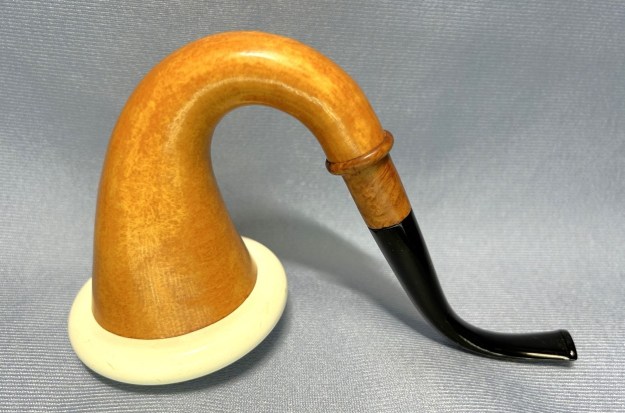
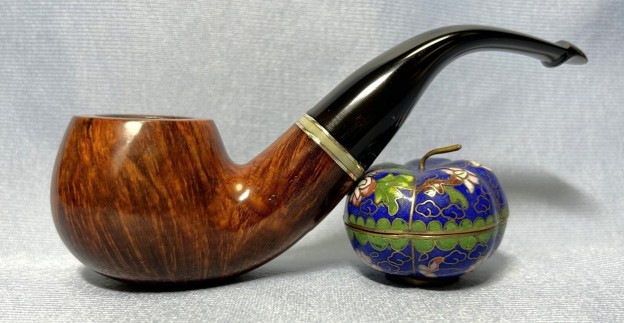
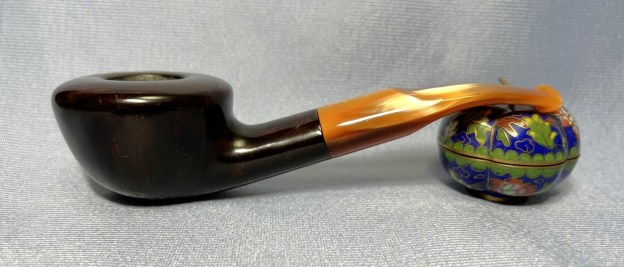
This beauty is a Peterson Flame Grain B10 calabash pipe with a P-lip stem. It is the second pipe of four that I’m restoring for a customer in Washington. It’s an awfully handsome pipe, but has some serious issues to be addressed. Let’s see what we can do to revivify this great pipe. I’m looking forward to the challenge. One note: I unfortunately lost several photos that I took of this pipe, so the photographic evidence won’t be as thorough as usual.

 The Peterson website says that this pipe shape “combines elements of traditional bent Dublin, Calabash, and Rhodesian archetypes”. I can see what they mean, but I’m calling it a calabash – so there! The markings are quite interesting. On the left side of the shank, it reads Peterson [over] of Dublin [over] Flame Grain. On the right side of the shank, it reads B10. There is also a sterling silver band which provides some additional marks: Peterson and a word which I assume to be Sterling (but it is somewhat obliterated). There are also some hallmarks: Hibernia – a woman seated, her arm on a harp, representing Ireland. Then .925 in an oval, confirming that this is 92.5% silver. The third mark, I believe, is supposed to be a letter indicating the year of manufacture. However, the third mark here didn’t look like a letter to me. Steve thought it could be the letter Y (indicating 2009), but suggested I ask Peterson expert, Mark Irwin, about it. He confirmed that it is, indeed, a Y.
 I know something about Peterson pipes, but wanted to know more about the Flame Grain line, so I went over to Pipedia to have a look. Obviously, there is a long and very good article about Peterson – here is the link. No significant mention was made of the Flame Grain line there, but Mark Irwin and Gary Malmberg’s book, The Peterson Pipe: The Story of Kapp & Peterson, did make mention of it:
Flame Grain (1997-) Smooth flame-grained with brass band 1997-c.2000, sterling silver thereafter. Stamped arched Peterson over arched OF DUBLIN over FLAME GRAIN. Black vulcanite mouthpiece, also amber coloured (2010-), P-Lip mouthpiece, hot foil stamped P. Meanwhile, Mark Irwin’s website, Peterson Pipe Notes, has an article about the B shapes. You can read the whole thing here. He includes this point:
The B10 and B11 seem to have been released at the same time, and both have found a home in the Classic Range in almost every line Peterson issues. Sykes Wilford describes the B10 as a “Calabash variation,” featuring “the softly convex rim, blending elements of the bent Dublin, bent Bulldog along with the Calabash shape.” I have both pipes in the Rosslare Royal Irish line (with the faux spigot), hallmarked “S” for 2003, although it may have been issued before that date. All of this information seems to confirm that this pipe is among the first iterations of the B10 with the amber-coloured stem, starting in 2010.
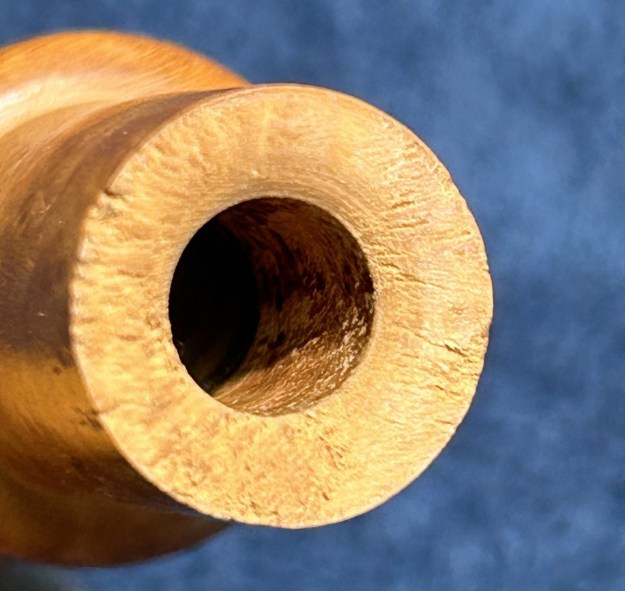
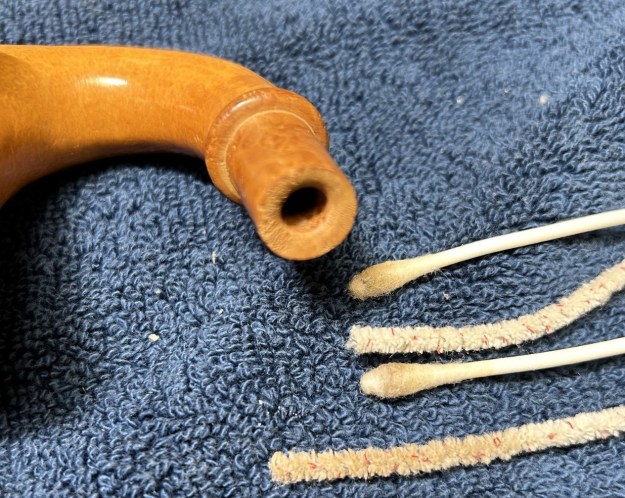
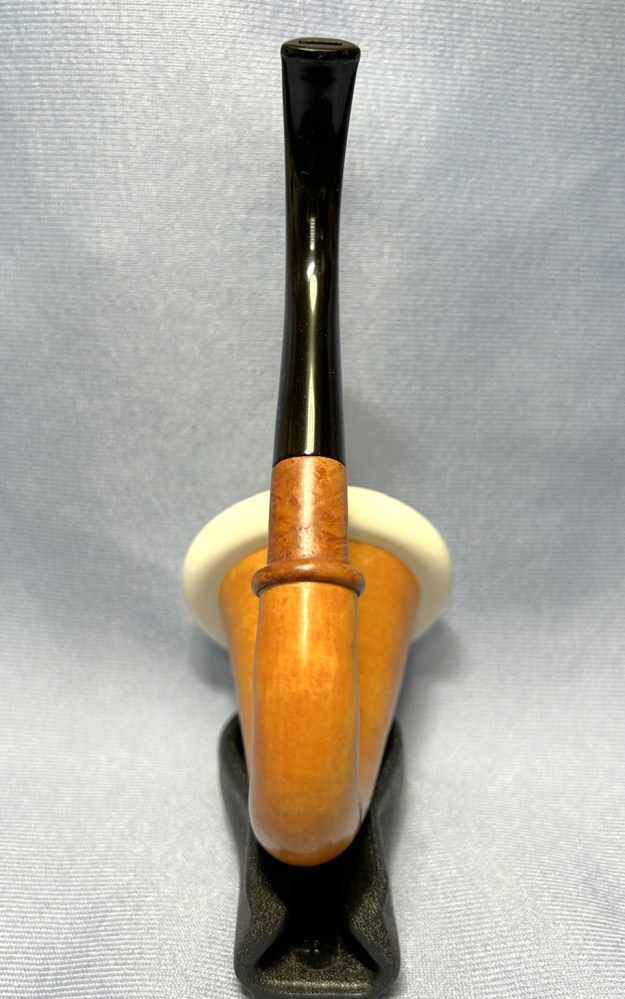
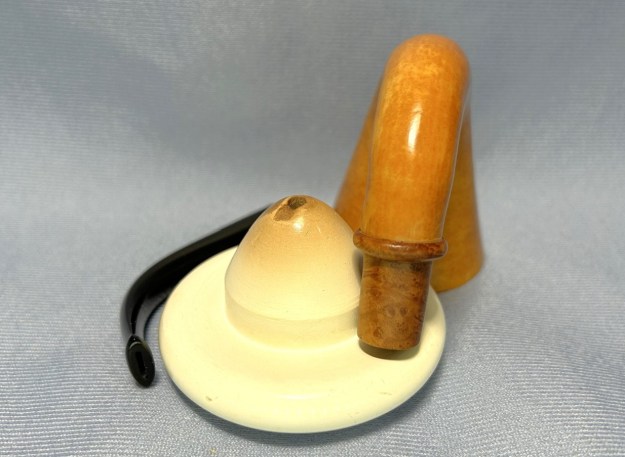
The pipe’s got a handsome, golden acrylic stem, presumably made to look like amber. One of the things that drives me nuts about acrylic stems is how difficult they are to clean inside. I can certainly disinfect and scrub them without any problem, but the stains of the tobacco are awfully stubborn and almost never go away completely. I began by using a dental tool to clean out the filth in the bore. There was quite a bit of debris there.

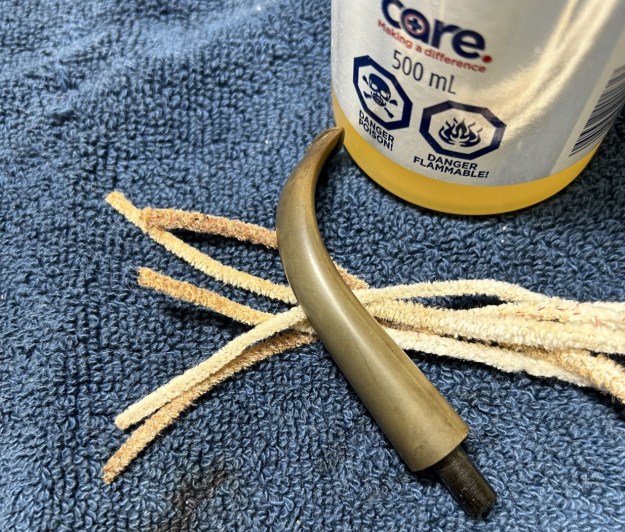
 Moving on, I set about doing the best I could on this one – using pipe, cleaners, and alcohol as usual. In fact, upon finishing that, I also used some SoftScrub on some pipe cleaners to see if I can get some further benefit to the cleaning. It did help, and I was pleased with that, but it would never be like new.
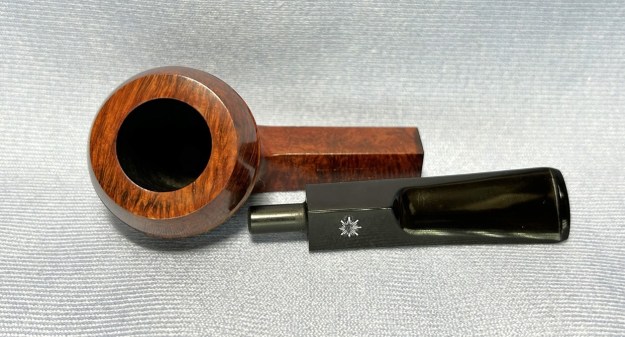
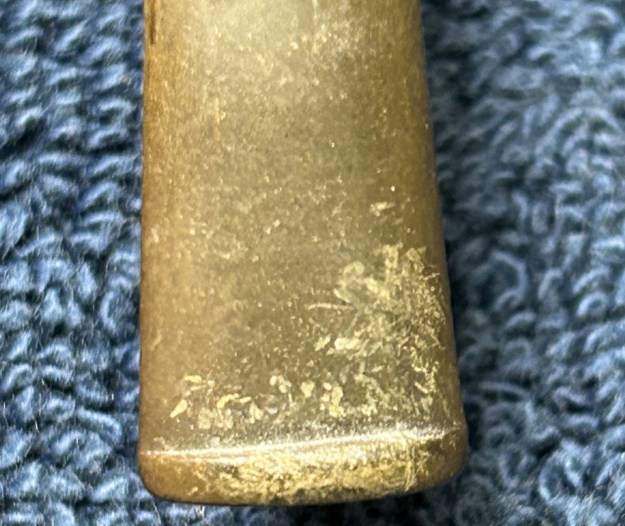
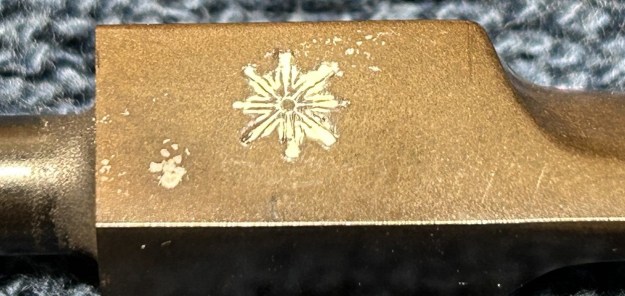
 The stylized P of Peterson was engraved on the left side of the stem, and I used some silver Rub’n’Buff to restore that back to its original state.
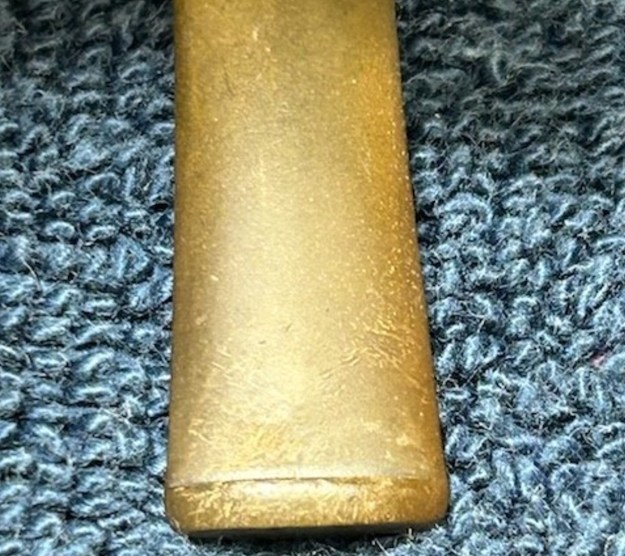
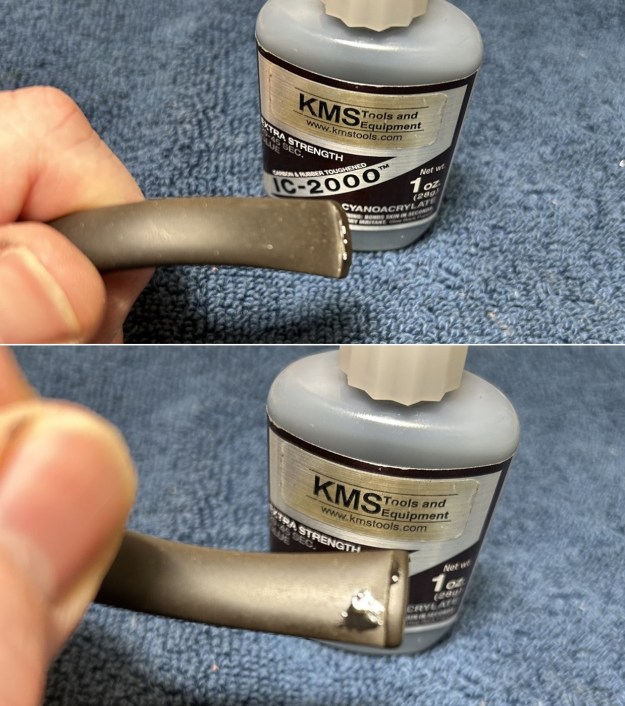
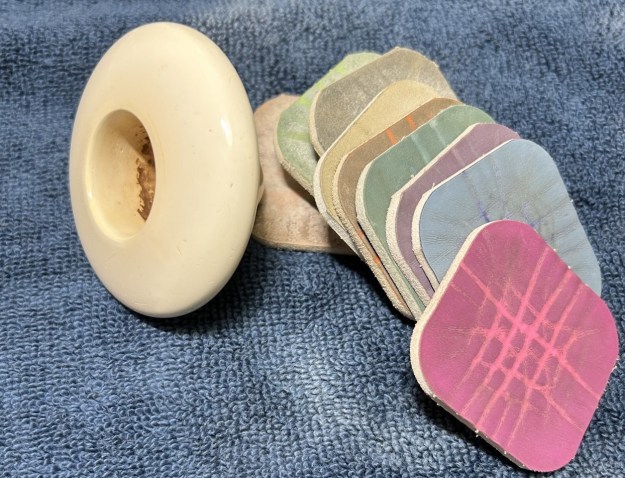
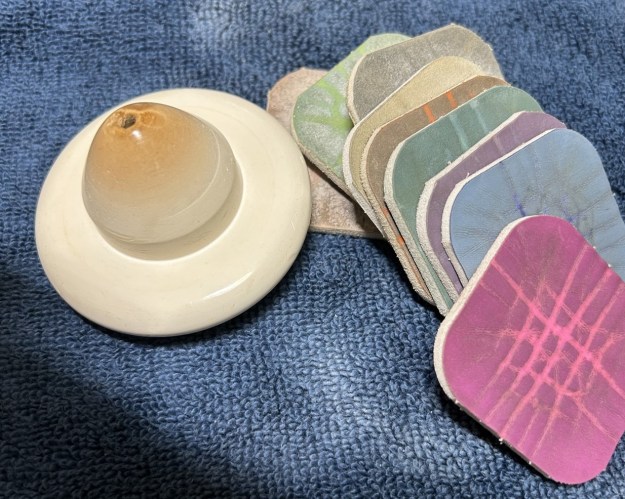
 There were a few tooth marks, etc. on the bit of the stem, and I addressed those by filling them with some superglue. Once that had cured, I sanded the stem down – first with some sandpaper, then with my micromesh pads and pipe stem oil. I was really pleased with the way it came out in the end.

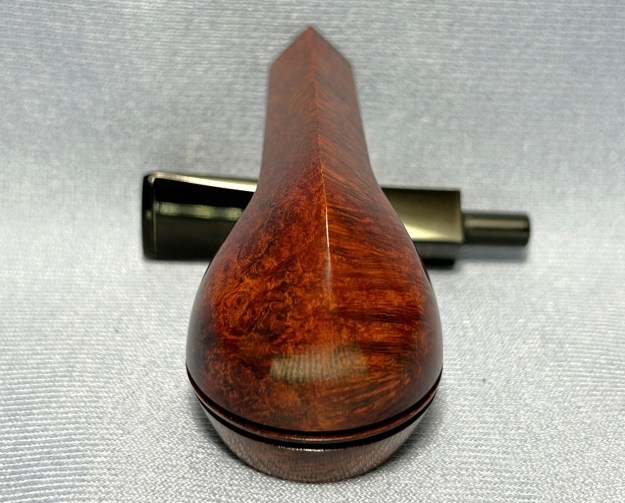
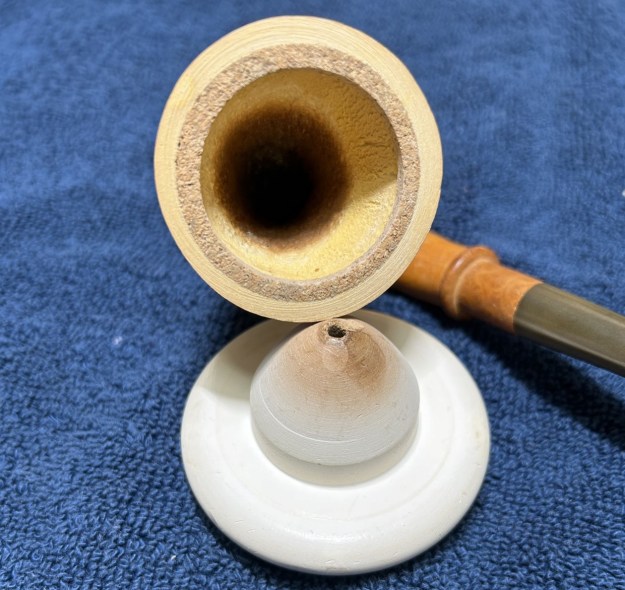
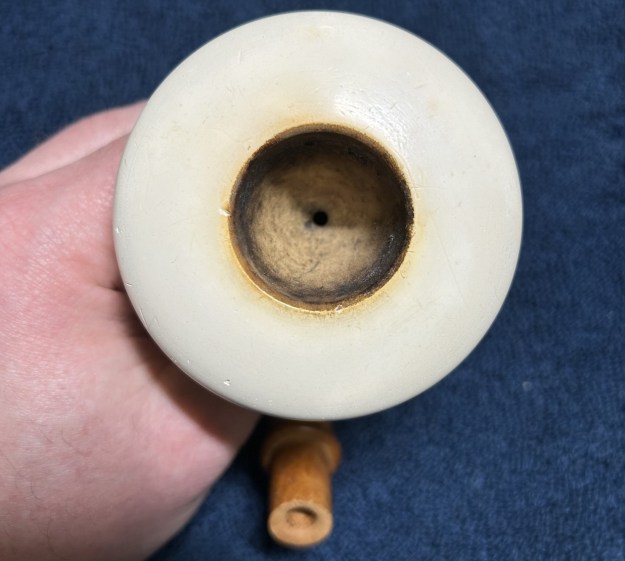
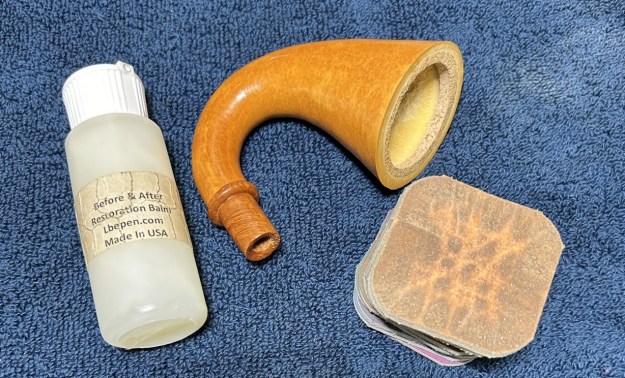
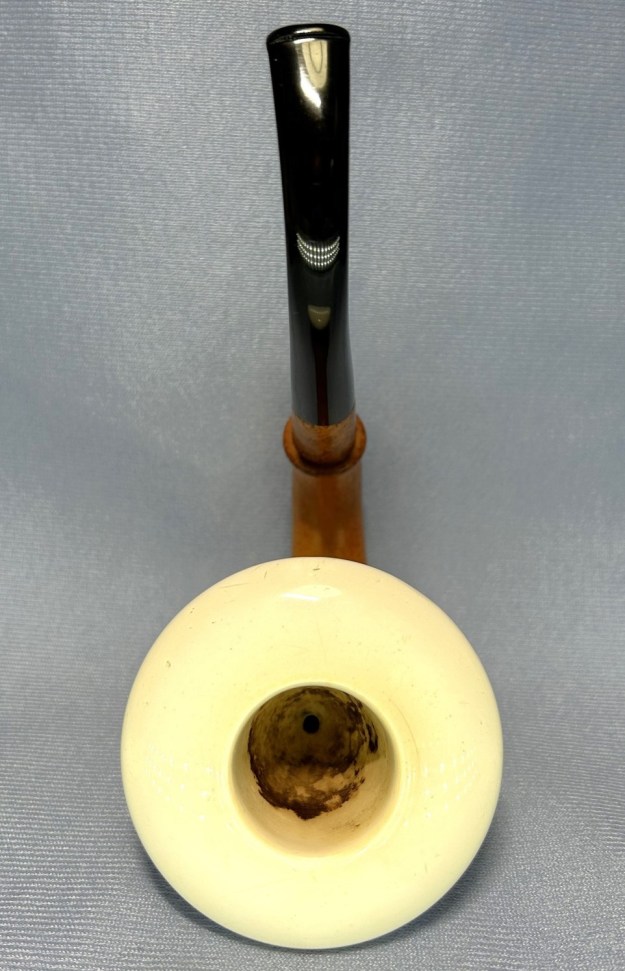
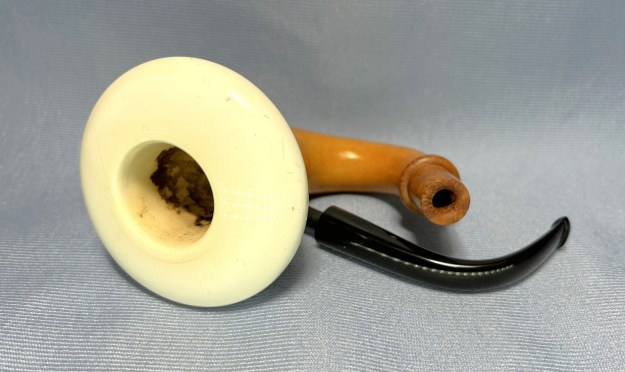
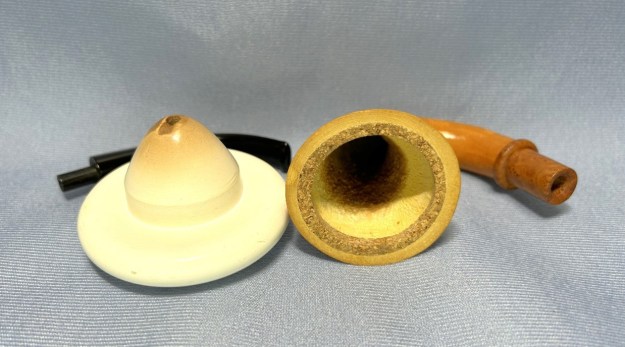
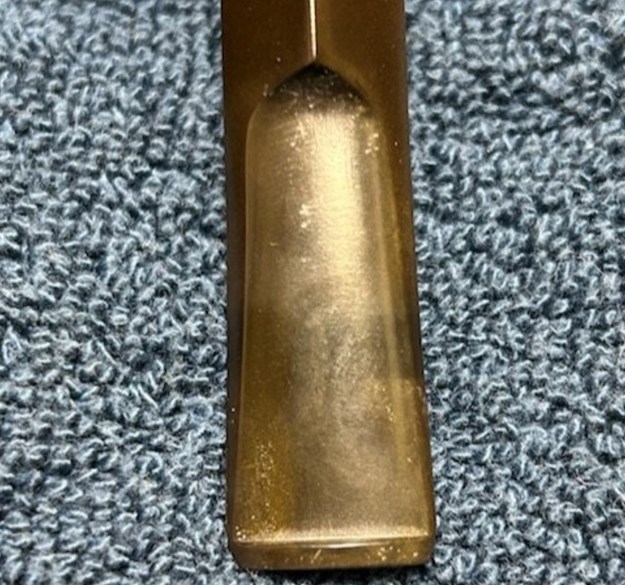
 On to the stummel, and this is where the major issues lie. First and foremost, the rim, as the photos show, was in very bad shape. It had quite a bit of burning on it, and had been reamed so aggressively that the opening was badly out of round. The damage was significant enough that I knew I would not be able to make it invisible, but I also knew that I could improve it substantially.
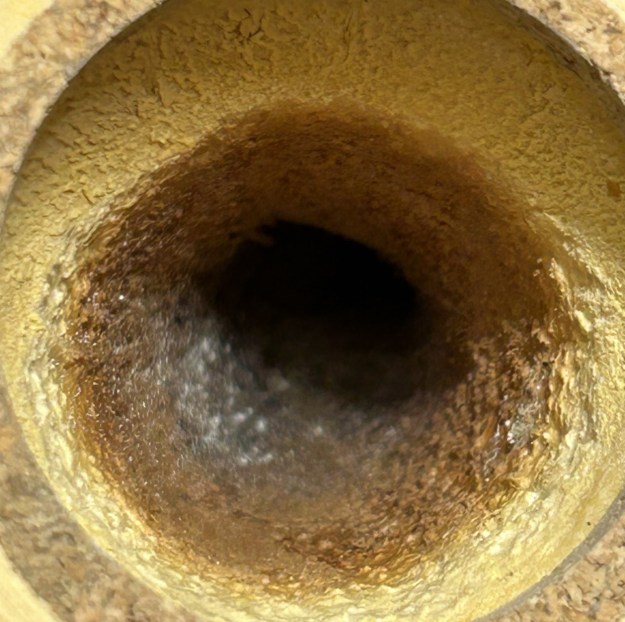
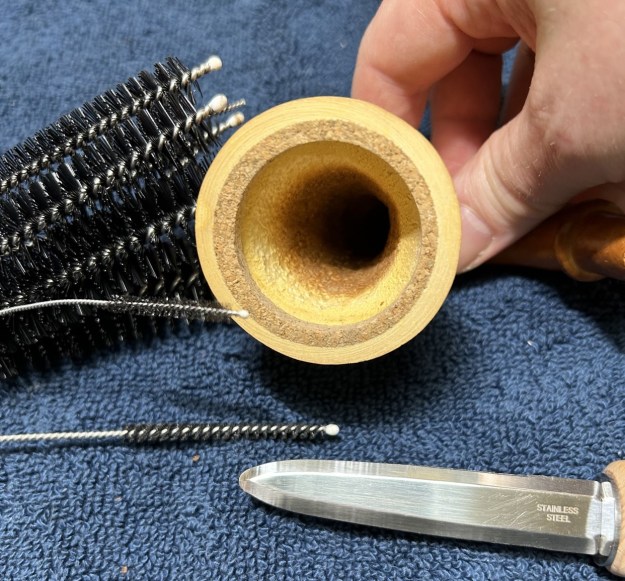
 Before that, however, I reamed the pipe to remove the considerable cake in the bowl. It was very nasty. The inside of the bowl was in rough shape – there were many heat fissures. Whoever previously owned this pipe must have smoked the dickens out of it. Furthermore, I needed to use a drill bit in the shank to loosen up some of the hardened debris. That worked quite well at assisting me. I then cleaned out the insides with cotton swabs, pipe, cleaners, and alcohol. It was pretty dirty inside, so considerable work was needed.


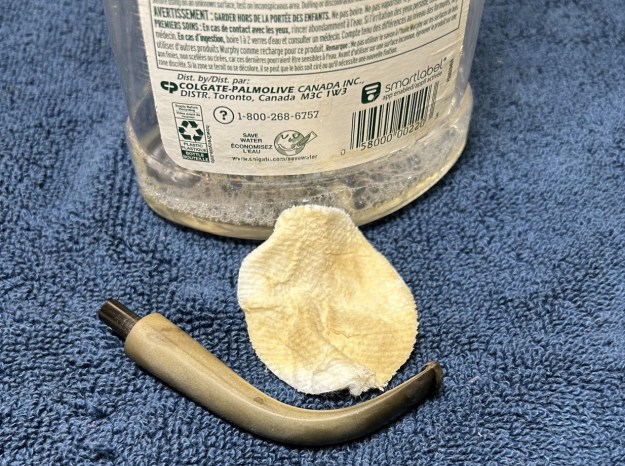
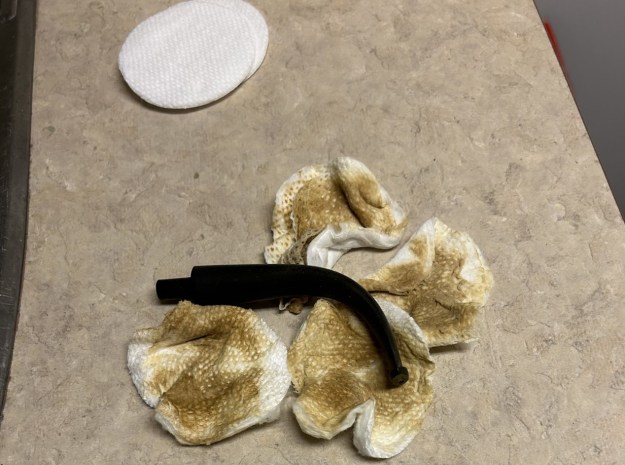
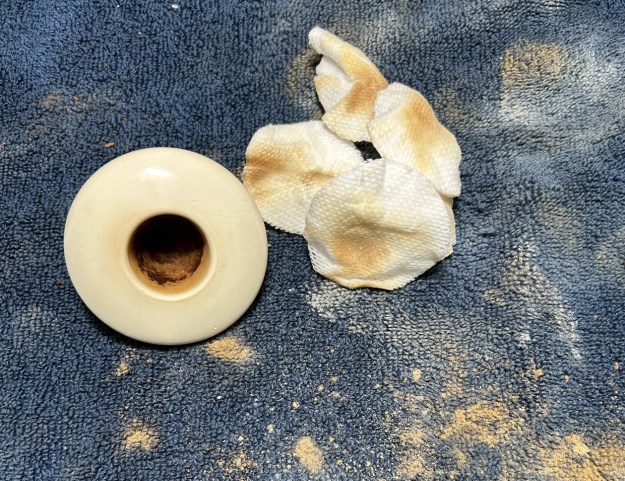
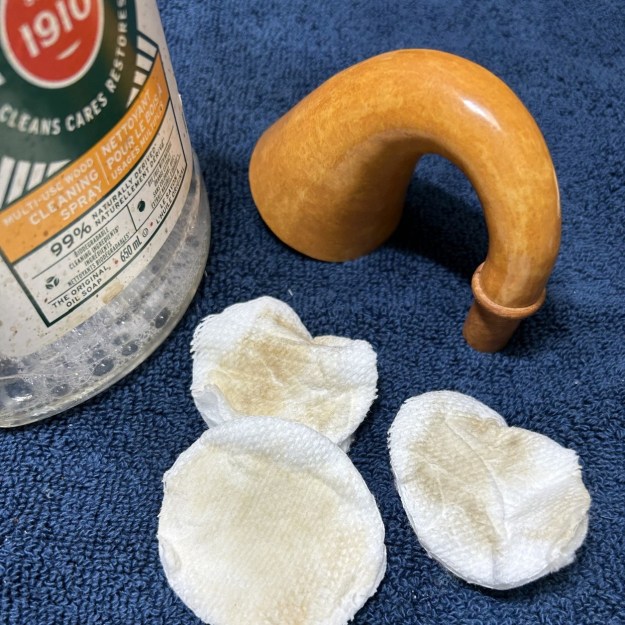
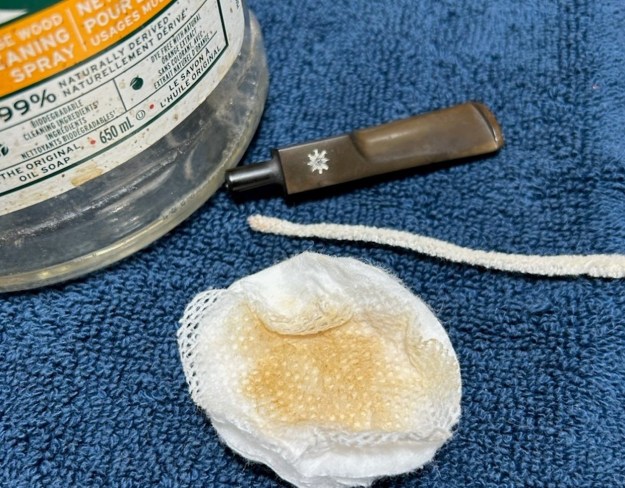
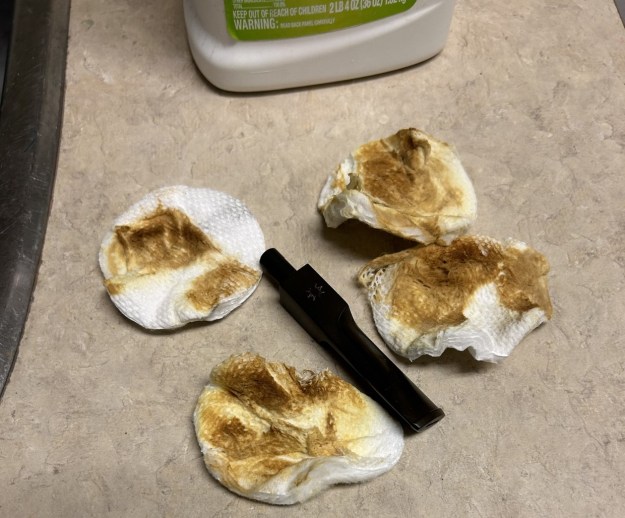
 Following that, I de-ghosted the pipe with cotton balls and some alcohol. I let that sit overnight to remove even more filth and stench from the old pipe. After that, I cleaned the insides with soap and tube brushes. Then I cleaned the outside with Murphy’s and some cotton rounds and a toothbrush.
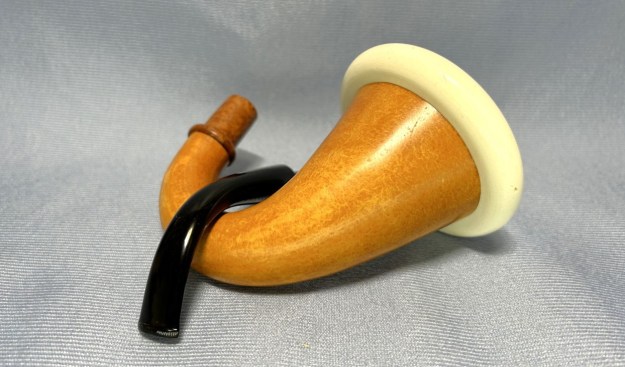
 Once thoroughly clean, the extent of the damage to the stummel was apparent. Even though this is a young pipe, it’s had a hard life. It’s my job to extend its life expectancy!
 First things first: there was a notable fill on the side of the bowl. I opted to fill it with CA glue and briar dust.
 Naturally, the rim was the major issue. Since the top edge was quite uneven and beat up, I began by “topping” the pipe – that is to say, I gently and evenly sanded down the rim on a piece of 220-grit sandpaper. This effectively evened the top edge (and removed a bit of damage), without altering the look of the pipe.
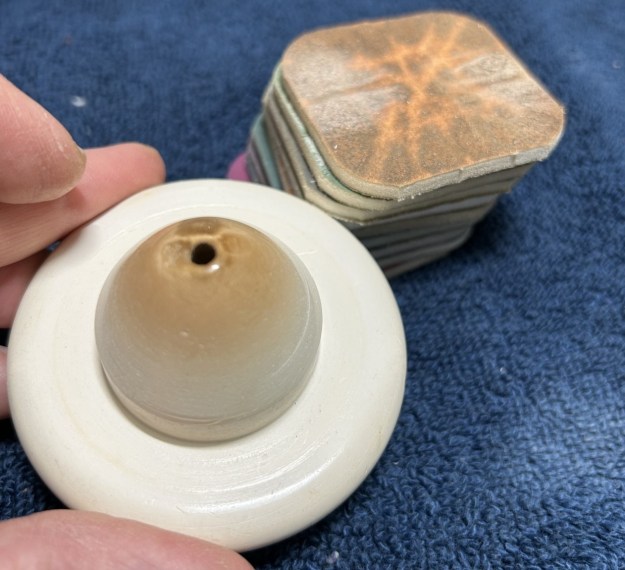
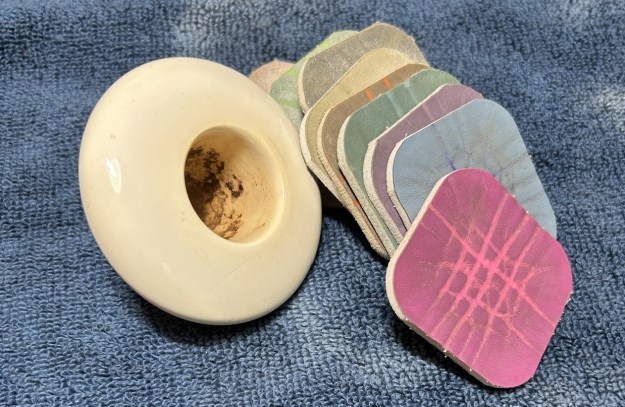
 This is the point where I’m missing some photos. After topping, I wanted to address the serious burns. It was bad – really bad – and it would be a challenge to make the pipe look normal. At the same time, it was necessary to address the bowl being so badly out of round. I used a solid wooden sphere (wrapped with sandpaper) on the inner edge of the rim in order to repair some of this. In addition, I also sanded down the outside of the bowl, near the rim, so as to minimize the visual effect of the roughened edge. I sanded all the way around to ensure that the pipe retains its look. Next, I used all nine Micromesh pads (1,500 through 12,000 grit) all over the stummel to make it lovely and smooth. It was a laborious process to sort out these issues, but I was reasonably pleased in the end.
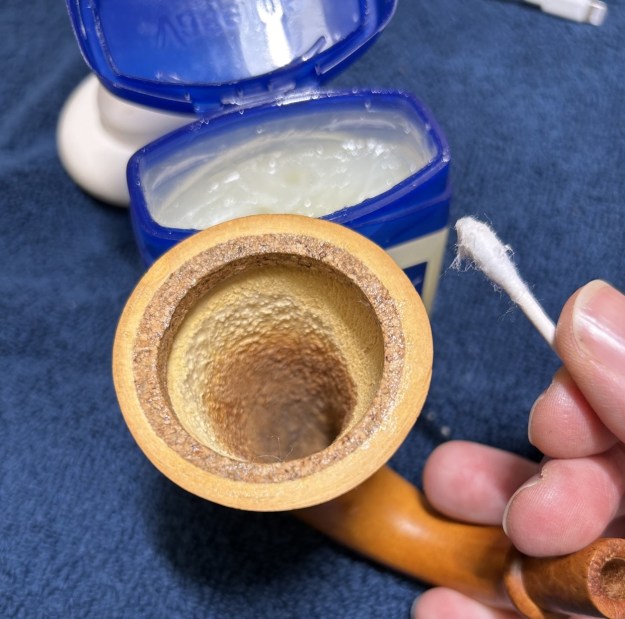
 In order to fill in the heat fissures and prevent any further internal damage, I mixed up some of my pipe mortar and lined the briar walls with it. This will definitely extend the life of this terrific pipe.
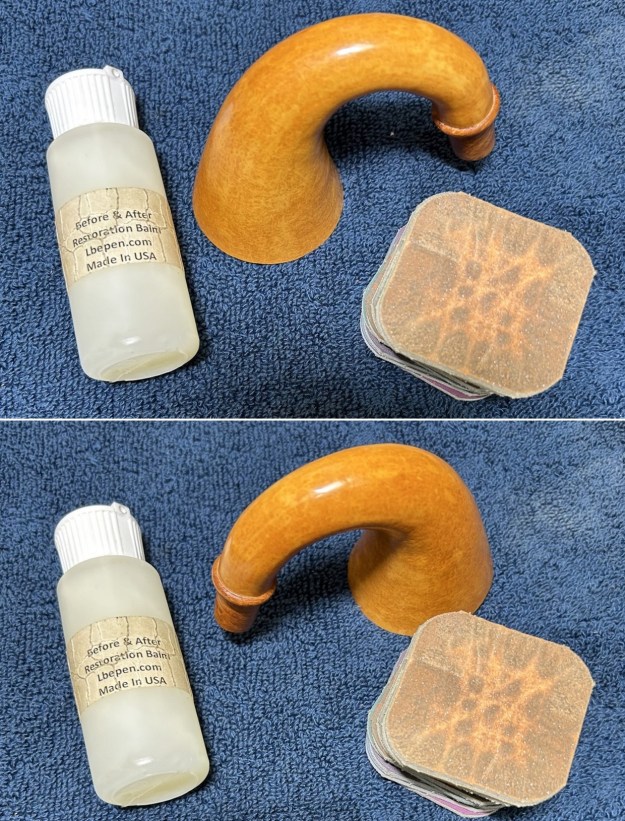
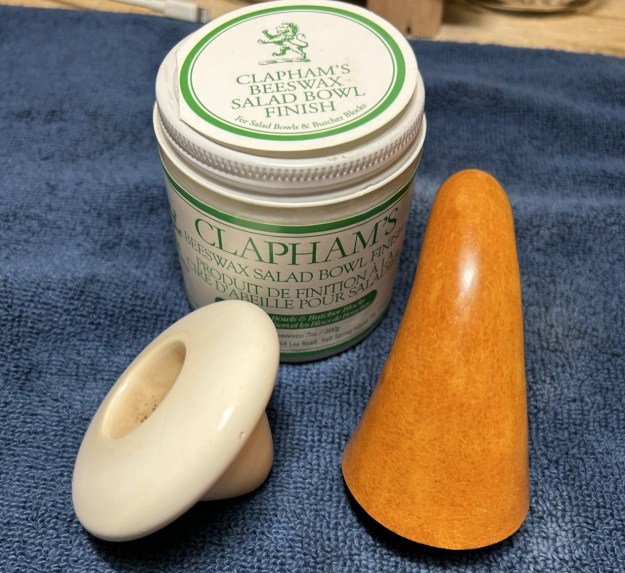
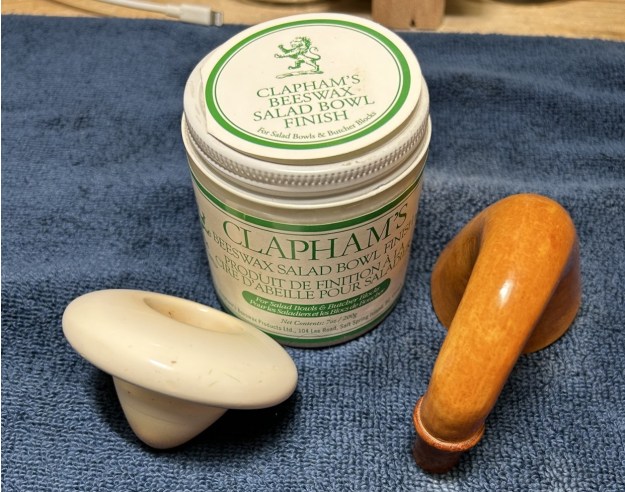
 Then, applying some Before & After Restoration Balm added that certain something which brings out the wood’s beauty. I also took out my jewellery cloth and buffed up the lovely sterling silver band.
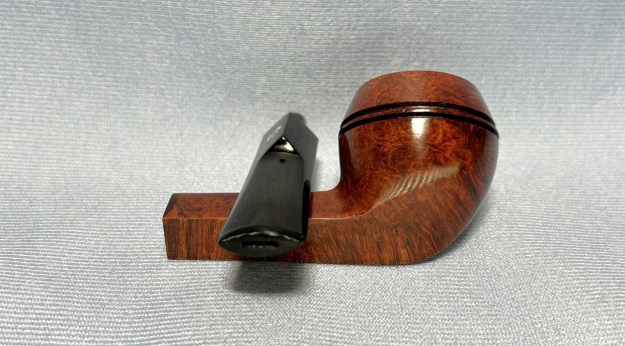
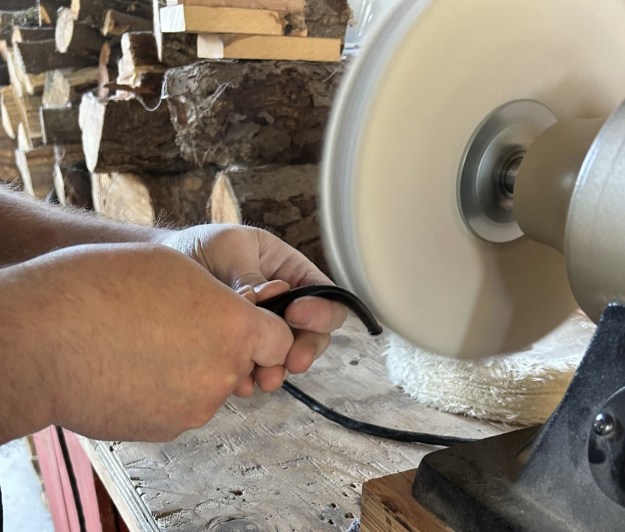
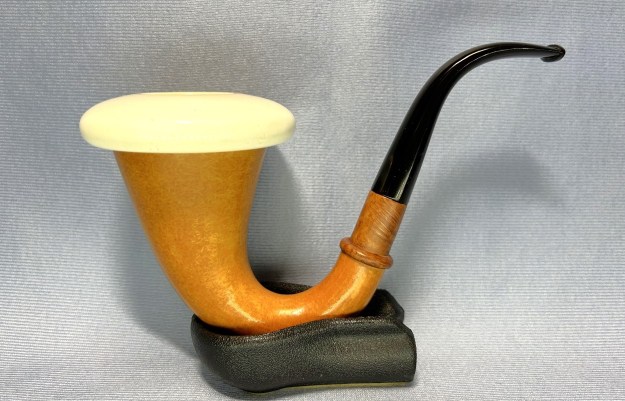
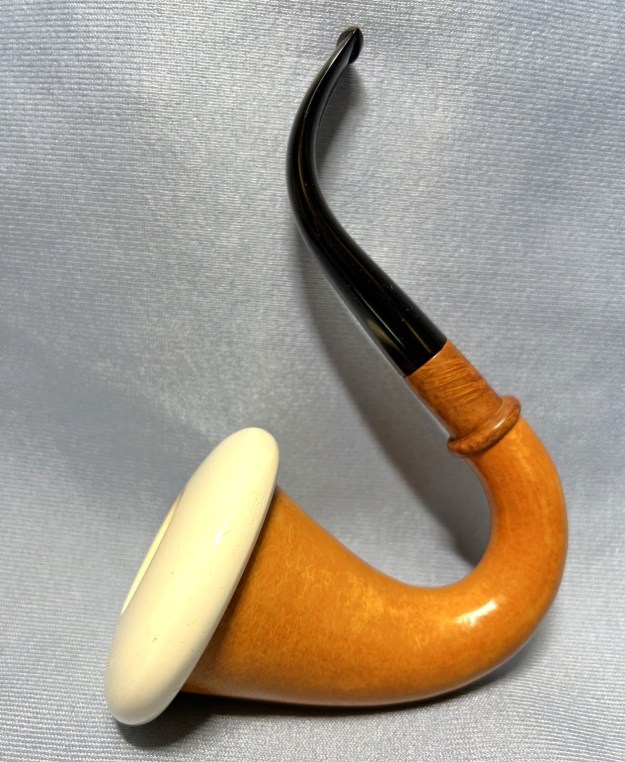
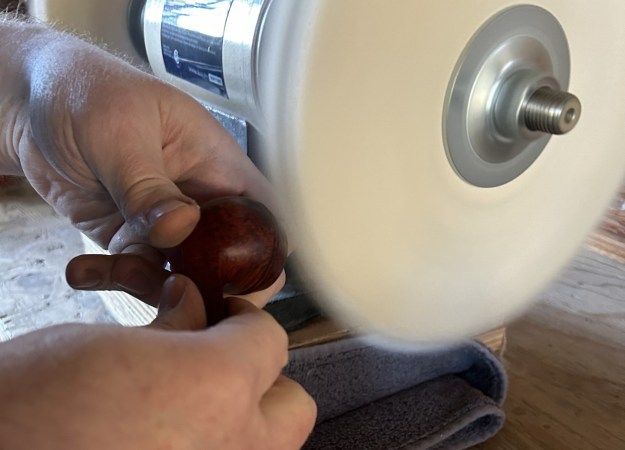
 Then it was off for a trip to the buffer. A dose of White Diamond and a few coats of carnauba wax were just what this pipe needed. The lovely shine made the wood very attractive. Despite its flaws, this is a very handsome pipe and will provide many years of smoking pleasure.
 This Peterson Flame Grain B10 calabash is back from the brink and I hope my friend in Washington will enjoy taking it on as his own. I hope you enjoyed reading the story of this pipe as much I as I did in restoring it. If you are interested in more of my work, please follow me here on Steve’s website or email me directly at kenneth@knightsofthepipe.com. Thank you very much for reading and, as always, I welcome and encourage your comments.


 The only work of note that I did on this pipe was to the stem. It was kind of dingy from sitting around for ages and had acquired some oxidation. I wiped the outside down with Murphy’s Oil Soap on some cotton pads.
 After that, I wiped down the stem with SoftScrub cleaner to remove surface oxidation. Once this process was done, the stem went for an overnight soak in the Pipe Stem Oxidation Remover. This allows me to clean the oxidation off in a couple of ways: by applying a mild cleaner to the surface and sanding the stem. The next day, I used SoftScrub again with some cotton rounds and more oxidation came off.
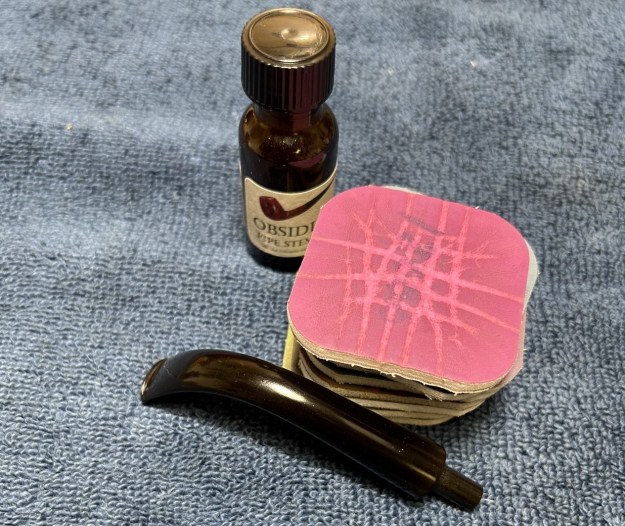
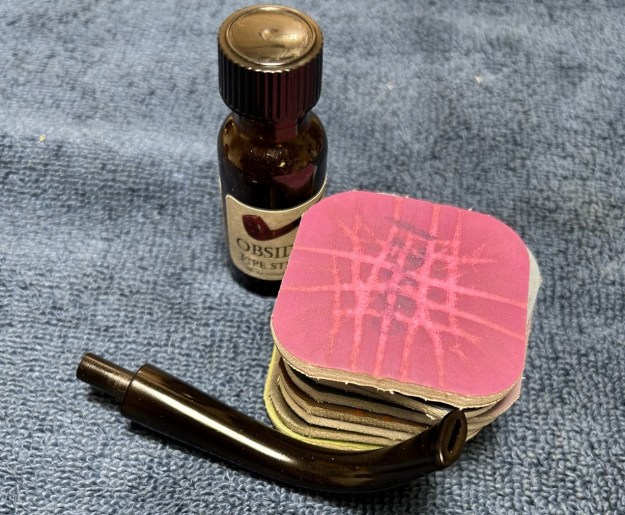
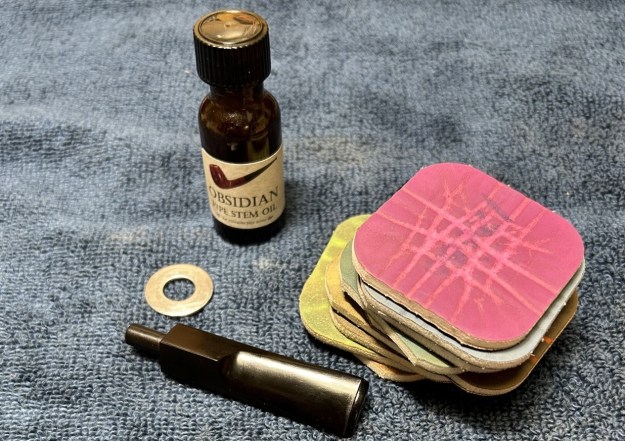
 I used some nail polish to restore the logo on the stem. I painted the area carefully and let it set before proceeding. I then used my Micromesh pads, but, since the stem was new, I only used the last five to bring out the lovely black lustre on the stem. I also used Obsidian Pipe Stem Oil in between each pad scrubbing.
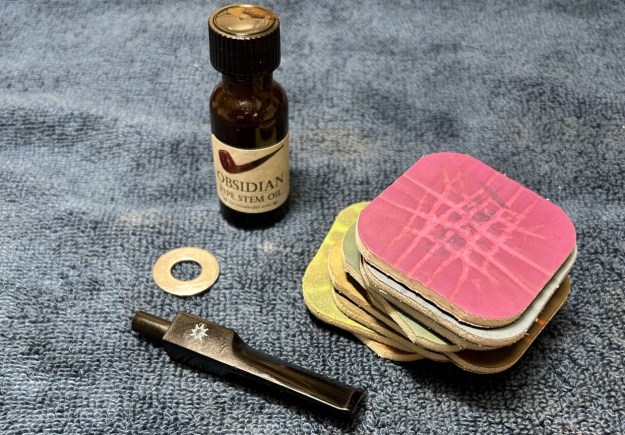
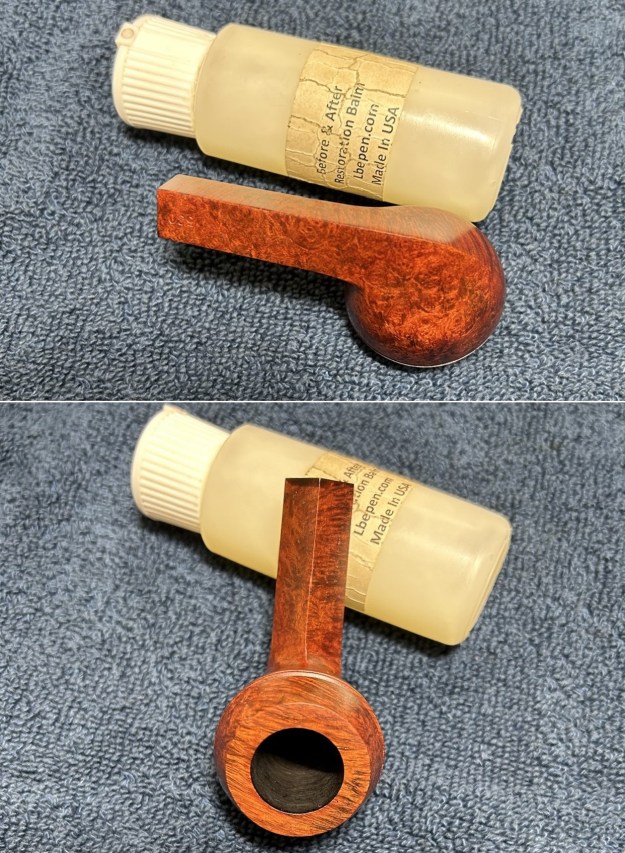
 After that, a light application of Before & After Restoration Balm brought out the best in the stummel’s grain. This is a very nice pipe. A dose of White Diamond and a few coats of carnauba wax were applied with my bench polisher and – wow – we have a real looker!
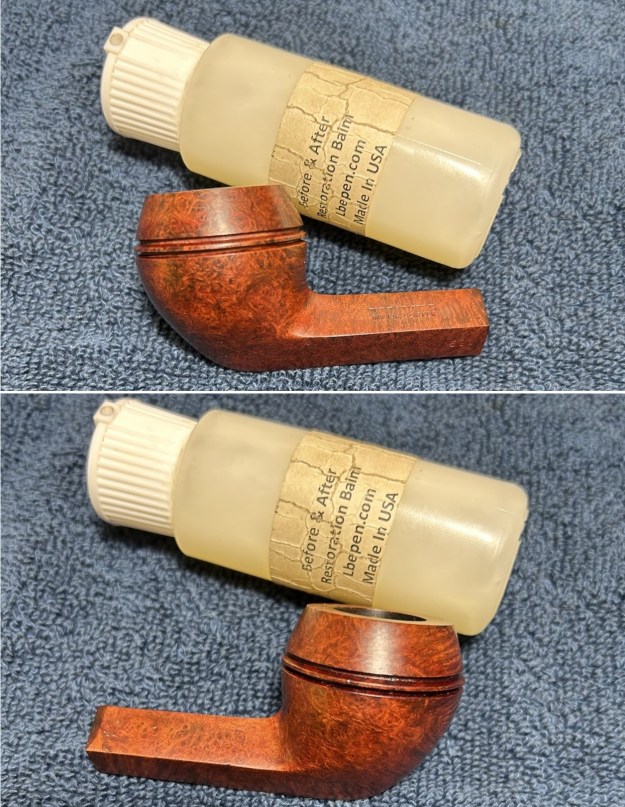
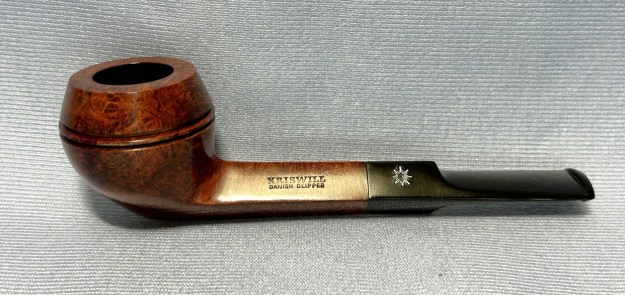
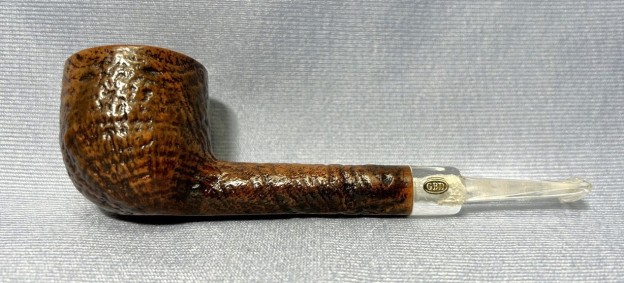
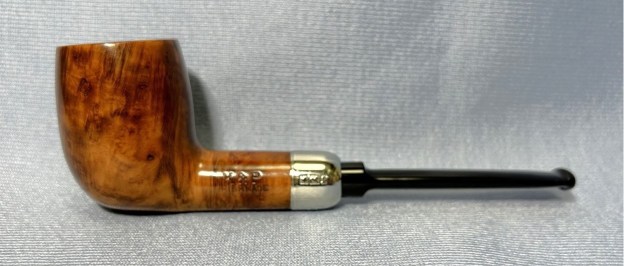
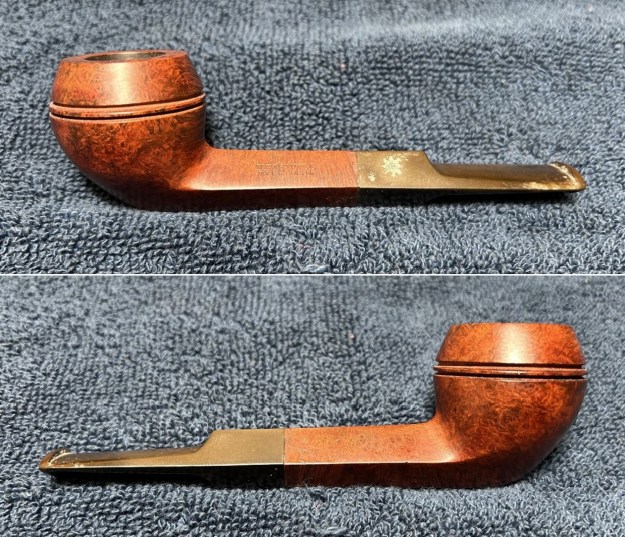
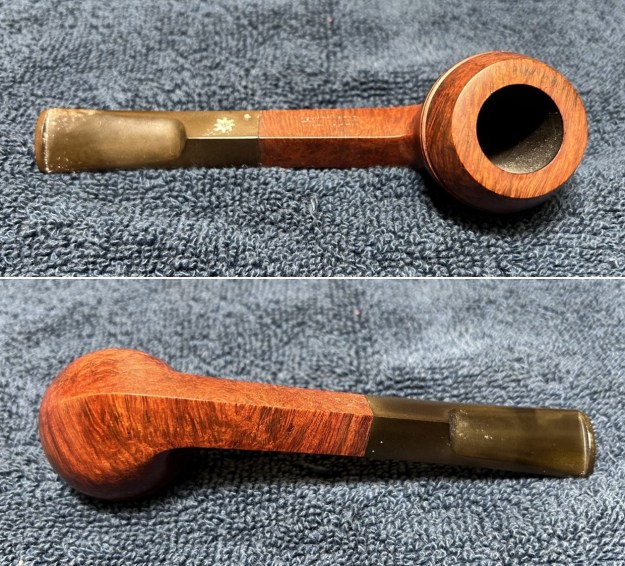
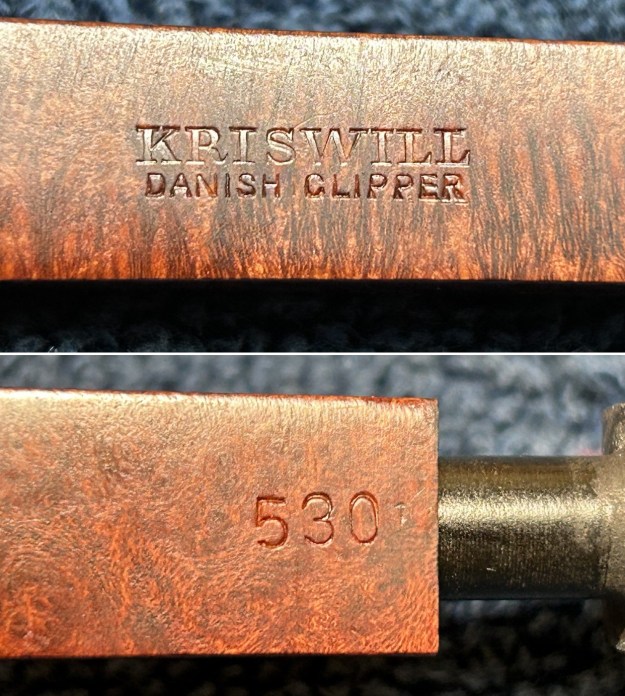
 This Kriswill Danish Clipper 530 Bulldog is a really handsome pipe. If you are interested in acquiring it for your collection, please have a look in the “Danish” pipe section of the store here on Steve’s website. You can also email me directly at kenneth@knightsofthepipe.com. The approximate dimensions of the pipe are as follows: length 5½ in. (141 mm); height 1⅝ in. (43 mm); bowl diameter 1⅛ in. (39 mm); chamber diameter ¾ in. (19 mm). The weight of the pipe is 1¼ oz. (35 g). If you are interested in more of my work, please follow me here on Steve’s website or send me an email. Thank you very much for reading and, as always, I welcome and encourage your comments.