Yello Bole Logos From My Collection of Old Yello Bole Pipes


Over the past ten years or so now I have been picking up older Yello Bole pipes. I find that the briar is not bad – some say they are Kaywoodie’s lower line and I suppose that is probably true. The thing that attracts me to them is the stain and stem combinations, the logo inserts in both the stems and shanks. The five photos below show the variety of logos in my pipes. I have several that have what is known as the propeller inset – the first two photos show that inset. I have only seen the propeller inset in the stems and not in the briar itself. The next three photos show the circle inset. The first is a yellow coloured Bakelite or acrylic that is inset in the shank itself next to the KBB cloverleaf stamping. The last two photos show the inset brass rings that are placed in the stem material.

ImageImage

Image

ImageImage

The next two photos show two of my pipes with the logos visible – the first is a nice little Yello Bole apple with a yellow stem and the propeller stem logo. The stamping on this one says that it is a patent pipe and has the KBB in the cloverleaf stamped on the shank. I really like the colour combination of the stain on the briar and the yellow stem. The second pipe is another Yello Bole apple with the brass O insert on the stem. The combination of colours is once again a winner for me. This one is also stamped with the KBB in the cloverleaf.

ImageImage

The final photo in the lot shows my collection of Yello Bole pipes all together. I have two of the propeller logos on the stem, two of the brass O on the stem and one with the yellow O in the shank. The last two on the right are my Yello Bole Bamboo shank pipes. They are a great looking lot of American pipe history.Image Does anybody have any idea as to the dates the various logos and stamping were used on Yello Bole Pipes? I would appreciate any information that anyone can add. Thank you.

Since posting this a few moments ago I found this web site that gives some help in dating Yello Bole Pipes http://www.otcpipes.com/ybdating.html  It looks like my pipes have some old dates. The pipes with propeller logos appear to be made in the 1930’s or 1940’s. The pipe with the yellow circle logo imprinted into the shank of the briar was made in the 1930’s. Those with the brass O seem also to have been made in the 1930’s. Looks to me that most of my Yello Boles are old timers!

A Reborn Piccadilly Bulldog


Blog by Steve Laug

This little bulldog came to me in a lot of six pipes given to me by a friend. Something about it caught my attention as it seemed to have a classic bulldog shape. It was in pretty rough shape. It is stamped Piccadilly over Italy. It had a thick coat of varnish over the whole bowl and shank. There were also paint flecks on the surface of the bowl and shank. The rim was tarred and black with minor dings in the wood on the outer edge. The rim was chamfered in toward the bowl and also showed some wear and tear. The bowl was pretty clean; as I am pretty sure it had been recently reamed. The stem was badly oxidized and when the pipe came to me the stem would not come out of the shank or even turn. There were no bite or tooth marks on the surface of the stem. The inside of the stem was also tarry and dirty. The first series of three photos shows the state of the pipe when it arrived.

ImageImageImage

I put the pipe in the freezer for several hours and then I was able to remove the stuck stem. It was incredible tight and very dirty. The tars seemed to have acted like glue holding the stem in the shank. I cleaned out the stem with pipe cleaners and a shank brush and then put it in a bowl of Oxyclean to soak overnight. I dropped the bowl in an alcohol bath overnight as well. The next series of five photos show the bowl and the stem the next morning after an all-night soak in the baths. You can see that the bowl is clean and incredibly shiny. The alcohol bath removed the paint flecks and the surface grime. The rim tars had softened and were ready to be removed. The varnish coat however was not even touched by the soak in isopropyl. The stem was much better than when it went in to the bath. The oxidation had softened and much of it was removed when I dried off the stem. What remained would take more work.

ImageImageImageImageImage

I then wiped the bowl and shank down with cotton pads soaked with acetone to try to break up the varnish finish. It took many wipes to cut through the finish and also to cut through the tars on the rim. I also sanded the rim with 320 grit sandpaper to remove the remaining tars and the slight burning around the inner edge of the rim. The next three photos show the result of the sanding on the rim and the wiping down of the bowl. The varnish was untouched – maybe softened a little but it did not give way at all to the acetone.

ImageImageImage

More drastic measures were going to be required to remove this thick varnish coat. It was almost acting like a coat of polyurethane. I would have to sand the finish off the bowl if I was going to remove it at all. This required care as I wanted to remove the finish and not change the shape of the bowl and shank. I used a medium grit emery cloth to break through the finish coat. The next series of three photos shows the pipe after the sanding with emery cloth. I also wiped it down again with acetone at this point to clean the finish and see what remained. You can see the stubborn remainders of the topcoat.

ImageImageImage

At this point I switched to a medium grit sanding sponge to remove more of the remaining finish. I removed the inserted stinger apparatus and put the stem back in place so that I would not change the angles on the shank where it met the stem when I sanded. It also allowed me to sand the stem and shank simultaneously and to keep the angles sharp and intact. The next three photos show the pipe after sanding with the sponge. I continued to sand until the shiny finish was gone. I then wiped it down with acetone on a cotton pad to clean the surface.

ImageImageImage

I sanded the bowl and shank with 320 grit sandpaper and then 400 and 600 grit wet dry sandpaper followed by micromesh pads from 1500-6000 grit before staining the bowl with a dark brown aniline stain thinned 2:1 with isopropyl alcohol. I wanted to give the pipe a stain so I could see if the many fills that were revealed could be camouflaged with the stain coat. My guess was that they would stand out and I would need to pick them out and refill them with superglue and briar dust. I stained and flamed the pipe several times. The next series of six photos shows the results after staining. I would indeed have to rework the fills – at least the large ones.

ImageImageImageImageImageImage

I used my dental pick to remove the old fill material – it seemed to be white putty that did not take the stain. The pick removed the white material easily and I wiped the bowl down with an alcohol wetted cotton pad to clean up the dust before refilling the flaw. I then took out my container of briar dust (I collect this from the bowls that I top) and used the dental pick to pack the flaw with briar dust. Once it was packed and overflowing I dribbled drops of superglue into the packed dust. It dries quickly so there is no time to work it or move it. Once I finished the first pack and drip I added more briar dust and redripped the glue. The three photos below show the new fill before I sanded it. The briar dust and glue are very hard and I always over fill the flaw and sand it back to smooth. I do not want any shrinkage in the fill so I work with the material as I spelled out above and over fill the flaw.

ImageImage

Image

Since the glue and dust fill dries very quickly, it can be immediately sanded. I used some fine grit emery cloth to smooth out the glue and followed that with some 240 and 320 grit sandpaper. The next two photos show the fill after I had sanded it smooth. The fill is now dark and hard. I have found from past experience that the dark fill is much easier to blend in with the stain than the white or pink putty fills.

ImageImage

After the sanding and preparation of the other fills that I replaced I restained the bowl with the dark brown aniline stain. I flamed it and restained it several times. The bowl is seen both wet and after the flaming in the three photos below. The fill is well blended into the dark stain.

ImageImageImage

Once the stain was dry I took the pipe to my buffer and buffed the bowl with Tripoli and White Diamond. The fills were still to visible to my liking so I used a trick I learned somewhere – I used a black permanent marker (Sharpie) and highlighted the grain on the pipe and also stroked in grain through the fills. Once it was finished I stained it one last time with the dark brown stain and then buffed it to a polish. The bowl was finished and I set it aside to work on the stem.

The stem needed quite a bit of work. I sanded it with the medium grit sanding sponge and then with 320 grit sandpaper and 400 and 600 grit wet dry sandpaper. The oxidation was still stubbornly remaining on the saddle and in the slope of the saddle to the flat bit. I used the Bic lighter and moved it over the surface of the stem to burn off the oxidation. I repeated this several times and then sanded the stem with 1500-4000 micromesh sanding pads. I also used the Maguiar’s Scratch X2.0 between grits of micromesh. I also used my Bic lighter to burn more of the oxidation between the grits. Once I was finished I polished the stem with Maguiar’s and then buffed with White Diamond to polish it. I gave it a coat of Obsidian Oil followed by multiple coats of carnauba wax to the stem and bowl. The final pictures show the pipe after this work. In the last photo the area that had the fill repaired is shown to detail how well the fill blends into the finished pipe.

ImageImageImageImageImage

Lighting A Pipe


After repairing and refinishing many old estate pipe rims that have felt the burn of a misplaced flame or the blast of a torch lighter I thought I would write up a short piece on lighting a pipe. From my experience it seems that most pipe smokers are creatures of habit if the rims of our pipes are any indication. The burns seen on these pipes indicate where the pipe smoker lit the pipe in the same manner with the same lighter in the same spot repeatedly until the rim was blackened and then burned. It is always quite astounding to me that individuals continue to char and burn the rim even on expensive pipes. The idea for me has always been to burn the tobacco and preserve the briar.

I consistently use the same lighting technique whether I use a Bic lighter, Zippo or a wooden match. I too am a creature of habit. My technique is not original but is something passed on to me somewhere along the way. It is, and has always been, a two part process.

The first light

After packing my pipe to my liking I char top layer of tobacco by gently moving the flame over the whole surface of the tobacco at a distance of about a half an inch or more and draw the flame into the tobacco. I avoid letting the flame touch the rim regardless of the tool I use to light my pipe. I also avoid torch lighters and cigar lighters like a plague as they seem far too hot and hard to keep the flame in the bowl. I am convinced that many of the burned rims come from torch lighters. For me this initial charring prepares the bowl for the second step in the process.

The second light

Once the top of the tobacco is charred the tobacco seems to rise a bit in the bowl. I assume that this is from the burning and the expansion of the air in the bowl. I then remove the pipe from my mouth, tamp the tobacco down quite firmly, and relight the pipe. The firmness of the tamping seems to be something that varies a bit from tobacco cut to tobacco cut. I have learned that with flake cut tobacco I tamp more lightly than with shag cut or already rubbed out tobacco. You must be careful not to over tamp the tobacco as you can shut down the draw. It is better to under tamp and redo it than to over tamp and have to unload the bowl and start over. I make sure that no loose tobacco strands are on the rim and then relight in the same manner as I did with the first light. I am experimenting a bit with tamping the edges down a bit more tightly than the middle and leaving a slight cone shape to the tobacco as this seems to keep the flame inside the bowl when lighting.

Throughout the smoke

Pipes have a habit of going out. So I don’t spend a lot of time worrying about it. It is not unusual for even experienced smokers to relight the pipe several times during the enjoyment of a pipeful. Therefore, when I find I need to relight I just use the tamper I always have near at hand, or if it is missing my index finger, and tamp the pipe firmly but carefully to not constrict the draw on the pipe. I then relight in the same manner as above. As the tobacco burns down into the bowl it becomes much easier to keep the flame in the bowl during the lighting. But make sure to continue to point the flame into the bowl and not at the edges. With repeated practice and care this becomes second nature to you.

What I use to light my pipes

I have been asked in the past what to use to light a pipe. For me I generally light my pipe with a cheap Bic lighter. I follow the methods outlined above and have not burned any rims on my pipes. I also have a few Zippos with pipe inserts that I take with me when I am on a walk outside and use them regularly. I also have a few boxes of wooden matches but as I find that most of my pipe smoking is done outdoors it is hard to keep a match lit long enough to get the tobacco burning nicely.

Image

My Pipe Cleaning Ritual


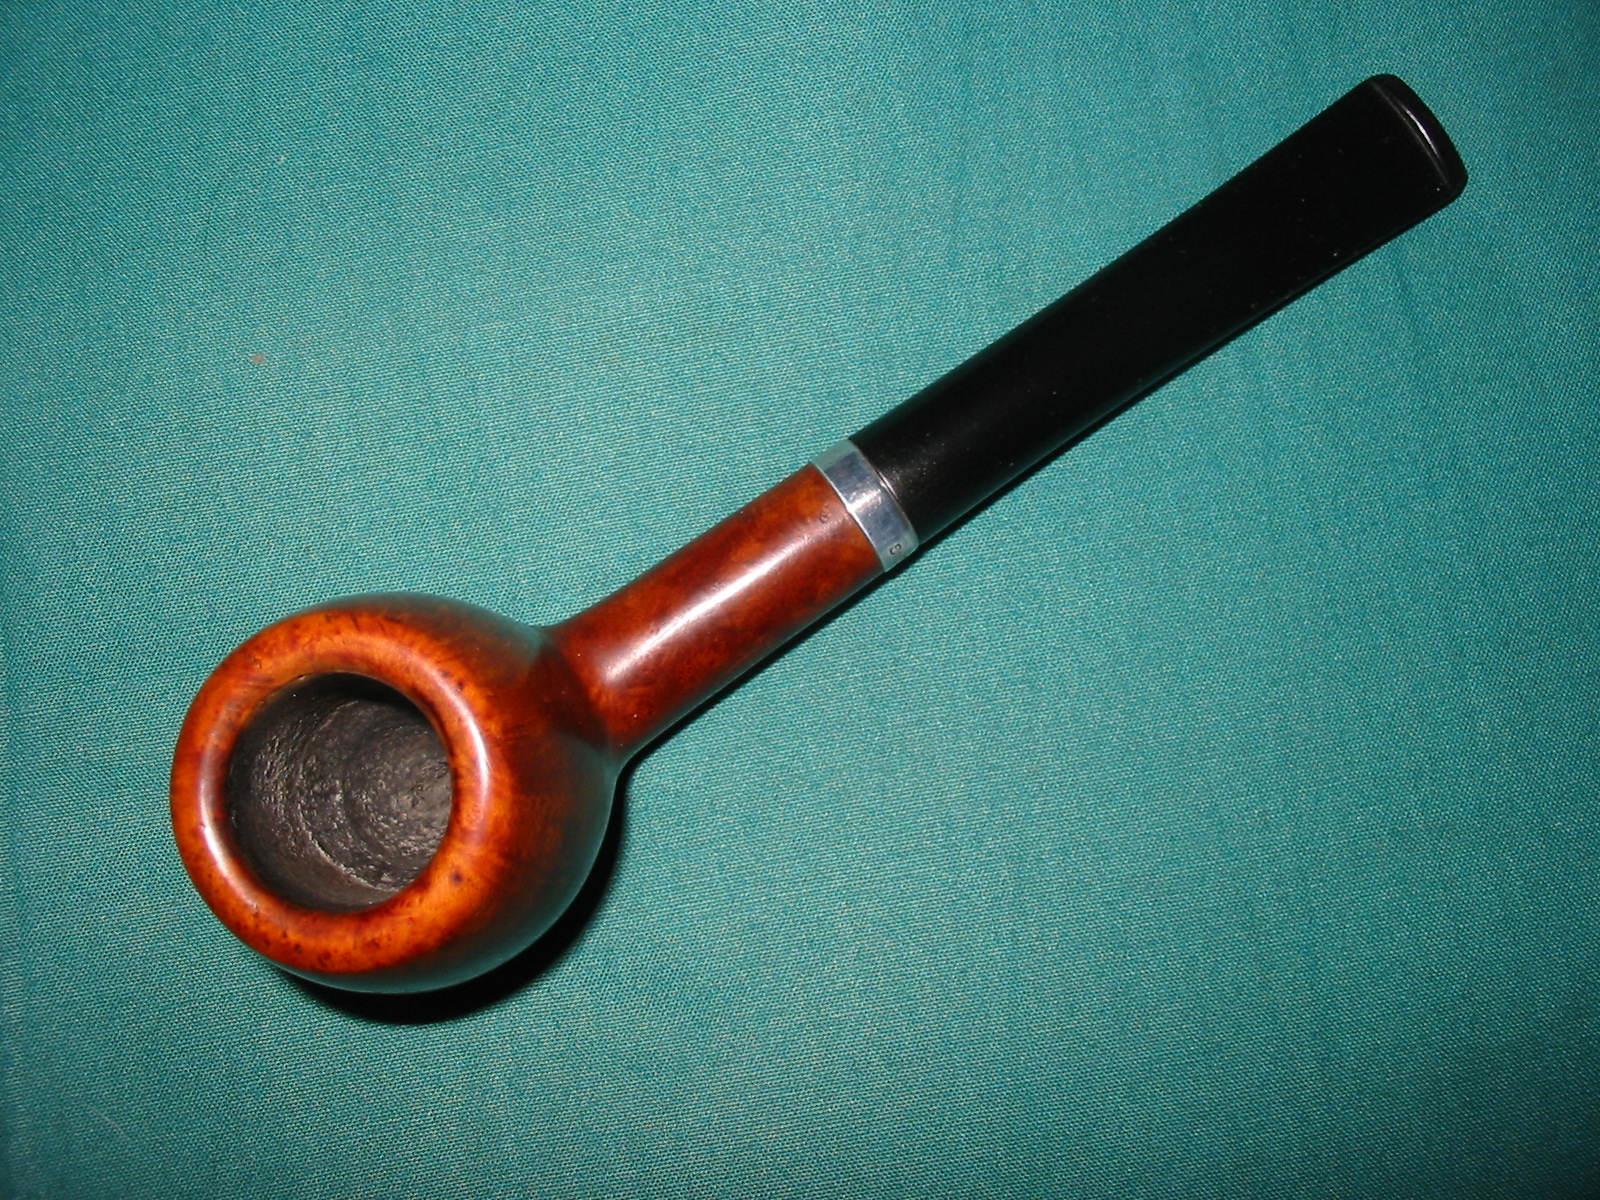
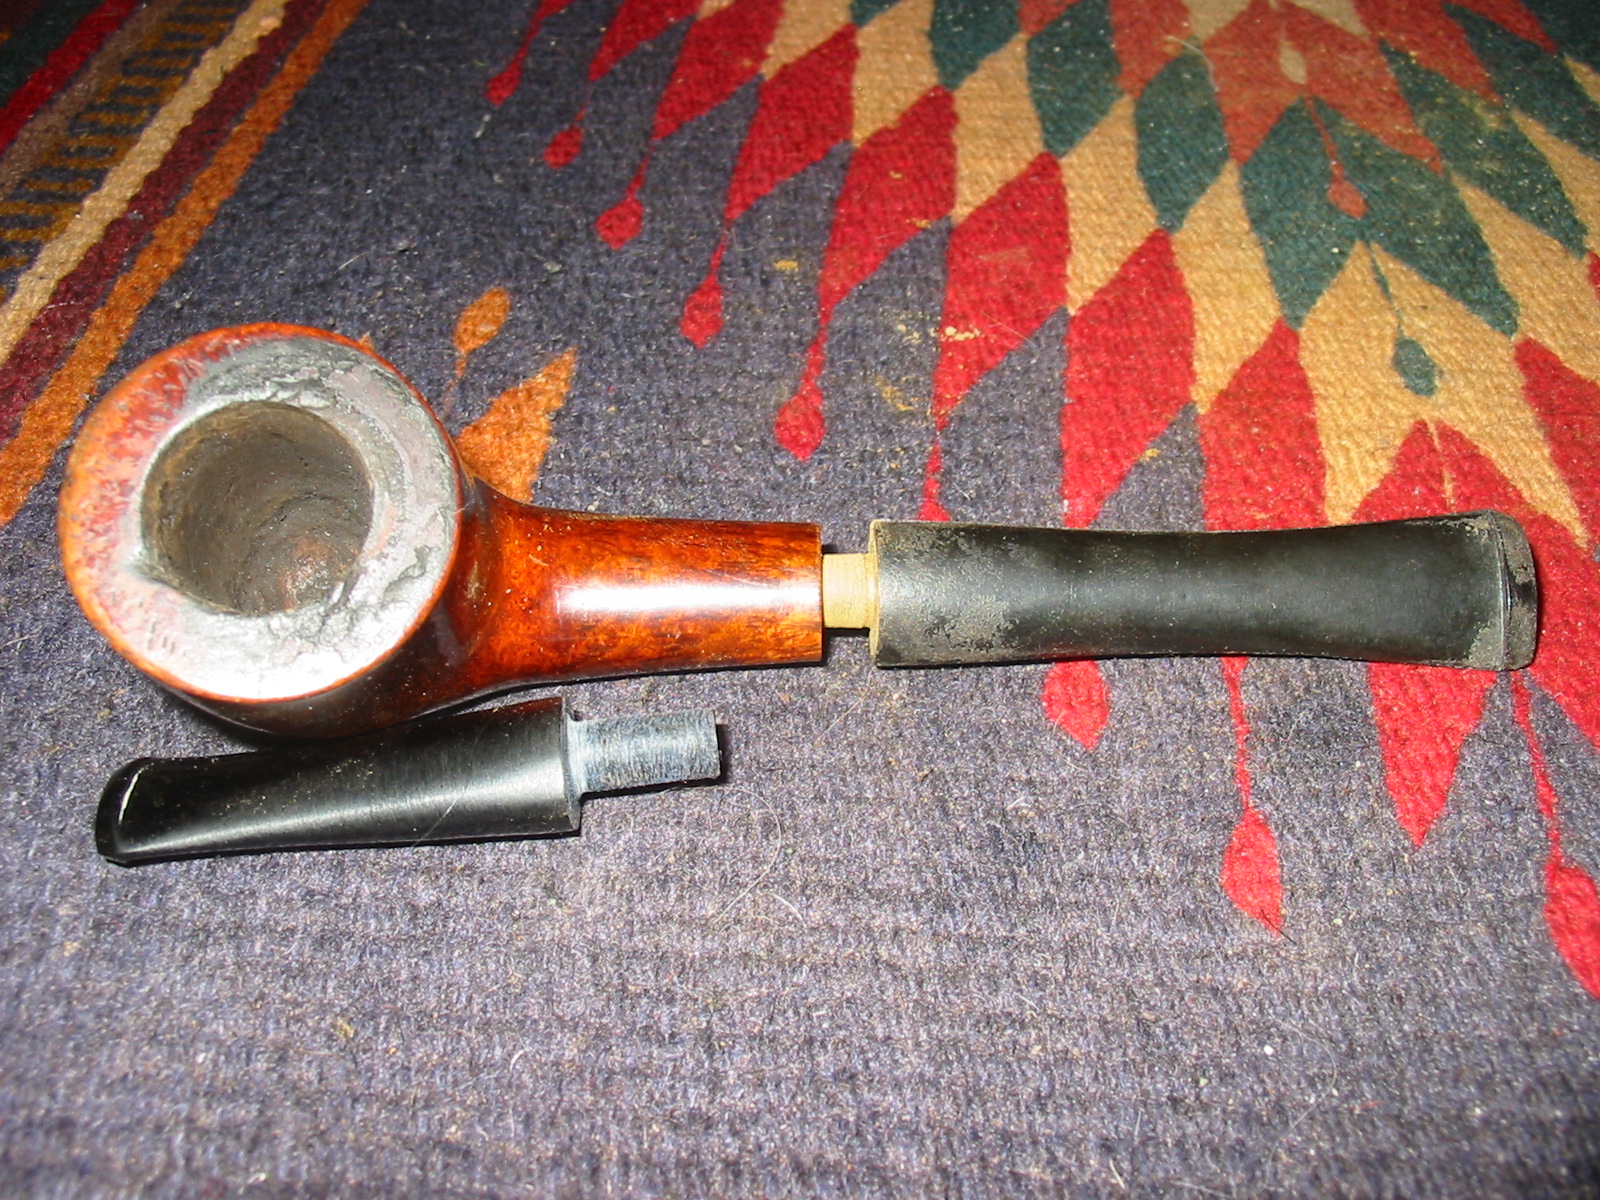
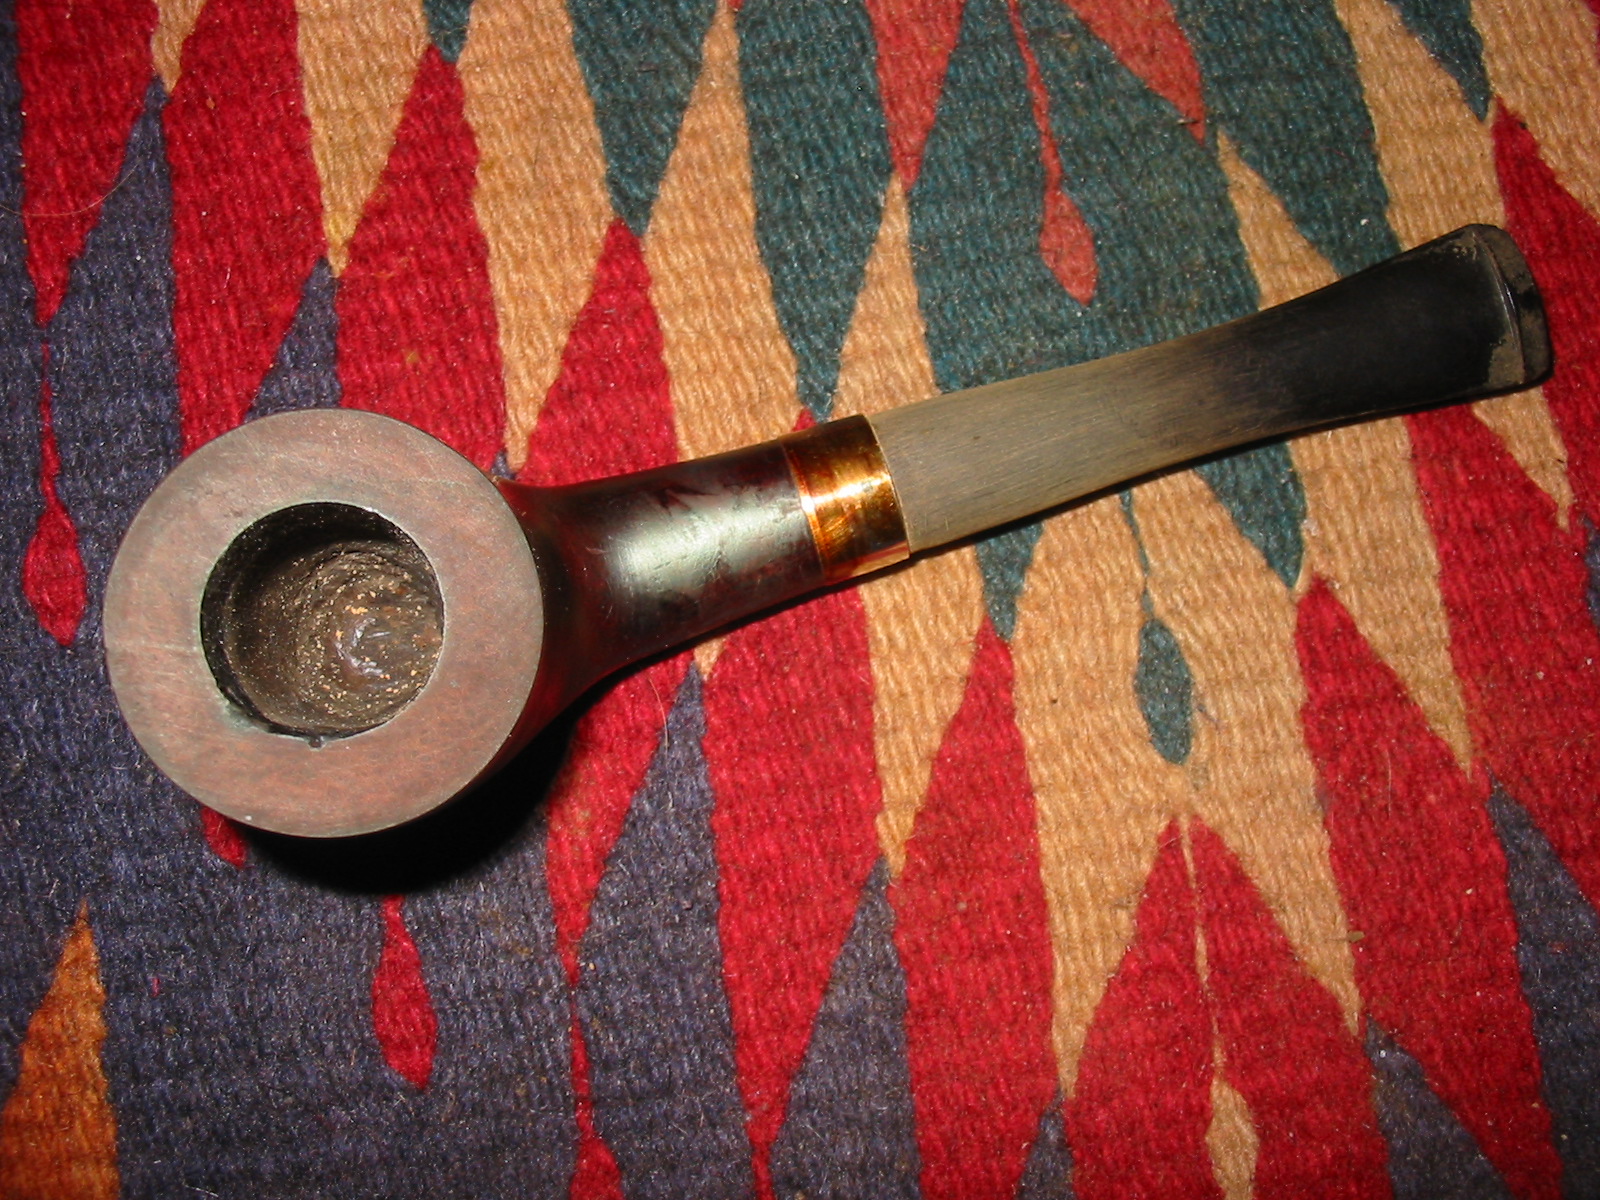
Over the years I have cleaned up a lot of badly abused estate pipes that the previous owner utterly smoked to death. I have seen bubbles in the varnish of the outer bowl coating on varnished pipes. I have seen darkening on the sides of the bowl from smoking with oily hands. I have seen rims caked with a thick coating of tar to the point of being 1/8 inch thick rolling down the sides like lava. I have seen cake so thick that I could not stand a pipe nail in the bowl. I have seen bowls that are cracked down the sides from having the cake and briar expand at different rates and the cake being so thick that there was nowhere for it to go but out. I have seen burned out bowl bottoms that followed over reaming of the pipe. I have seen airways so plugged that I could barely pass a paper clip through it. I have seen gunk so built up at the shank stem junction that it is bubbling out of the joint with thick hard grime. I have seen buttons and slots so plugged that the airway is a small hole that would make smoking the pipe like sipping through a coffee stirrer. I am sure that I could go on and on with more of those horrendous descriptions that make me shake my head in wonder at how a pipe could get that bad without the pipeman paying any attention to the degradation of the smoke. But I will not go on. Rather I want to turn my thoughts to a solution and some prevention.

I have come to the conclusion that for a pipe to get as bad as the ones that I have cleaned and restored it would not happen overnight but that it would take a gradual almost unnoticeable process to get to that point. A failure to clean the pipe after each smoke and a periodic more thorough cleaning leads to an accumulation of tars, moisture and dottle in the pipe and shank. These combine to make a slow but consistent deterioration of the pipe. I have seen a pipe at its worst and at its pristine first smoke and have developed my own cleaning ritual to keep my pipes smoking clean and dry. It is that ritual that I am writing about in this post. It is a cleaning process that occurs before, during and after each smoke and has become an almost rote pattern for me.

Tools Needed:

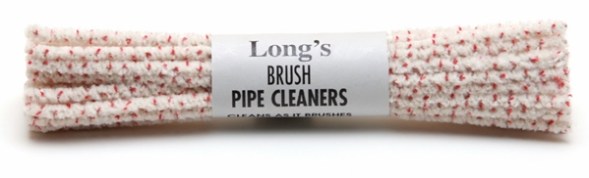
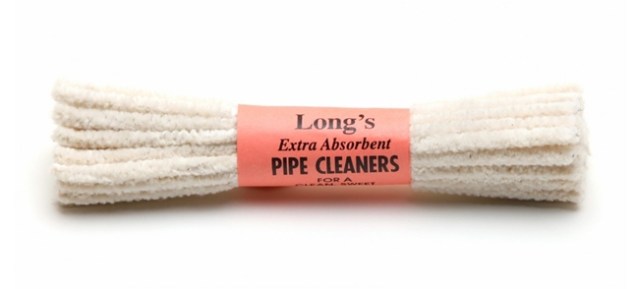
  1. Pipe Cleaners – tapered, bristle and regular or extra fluffy pipe cleanersImageImage
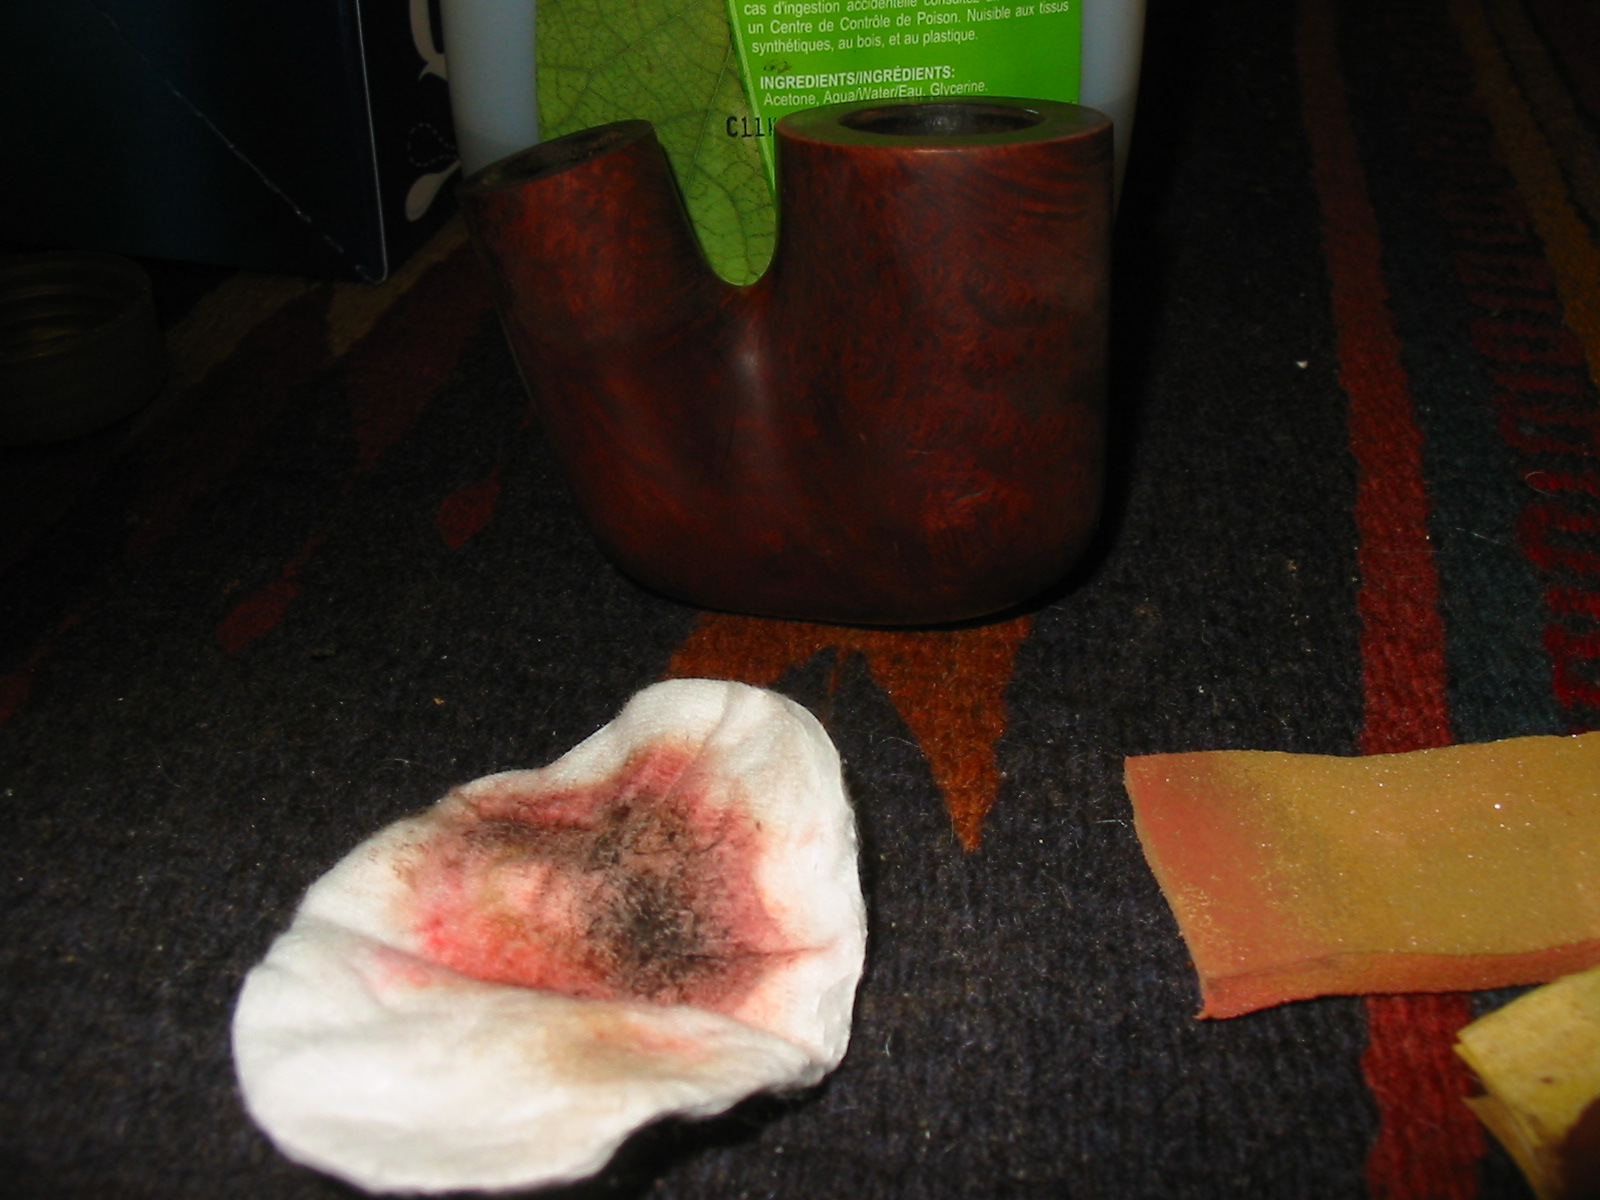
  2. Alcohol – High % Isopropyl (I use 91% and 99% when I can get it) or grain alcohol
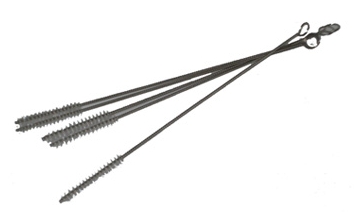
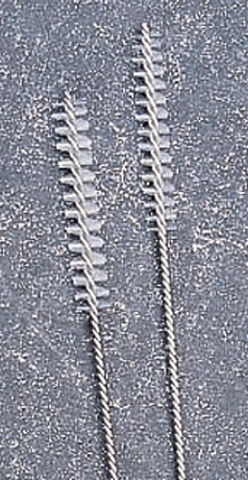
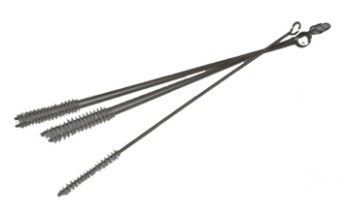
  3. Shank brushes
    ImageImage
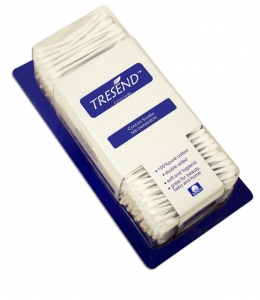
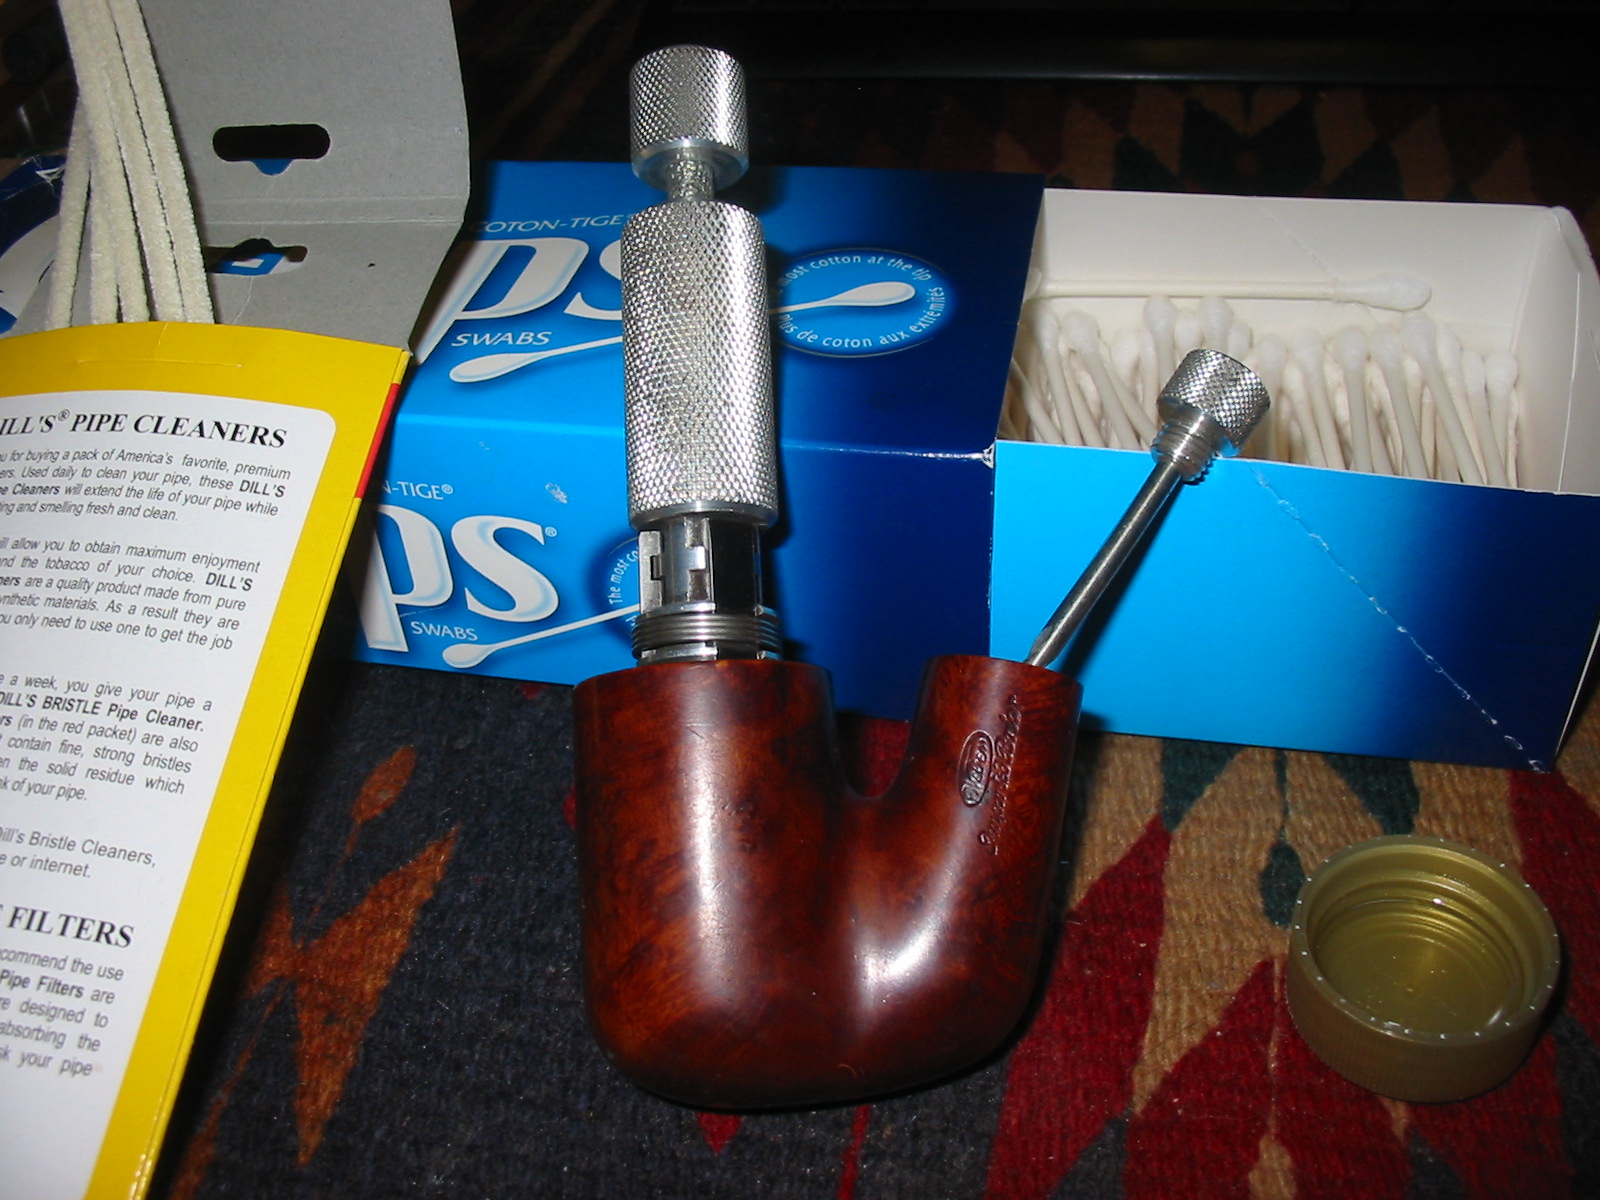
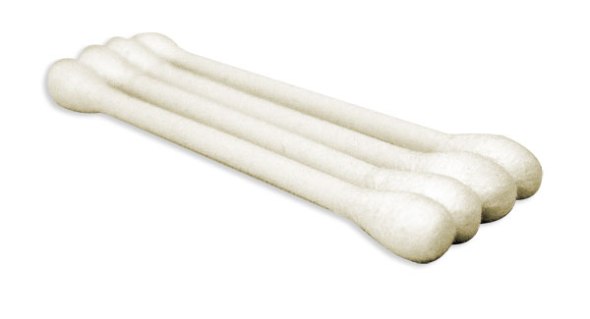
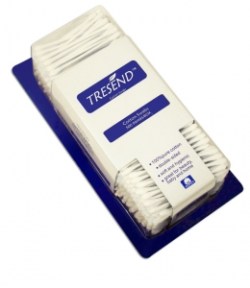
  4. Cotton swab – either generic or q-tips – these are soft cotton bolls attached to a length of cardboard or wooden stick.
    ImageImage
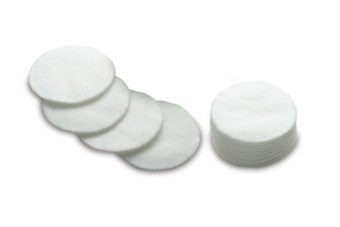
  5. Cotton pads (I use women’s makeup removal pads that are found in most drug and dollar stores. These are multipurpose and work well on rims, stems etc.) Image
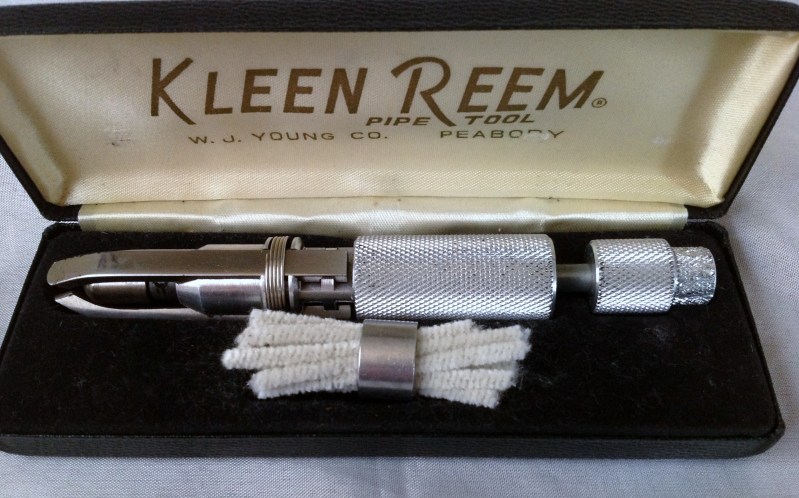
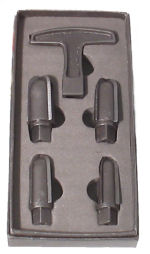
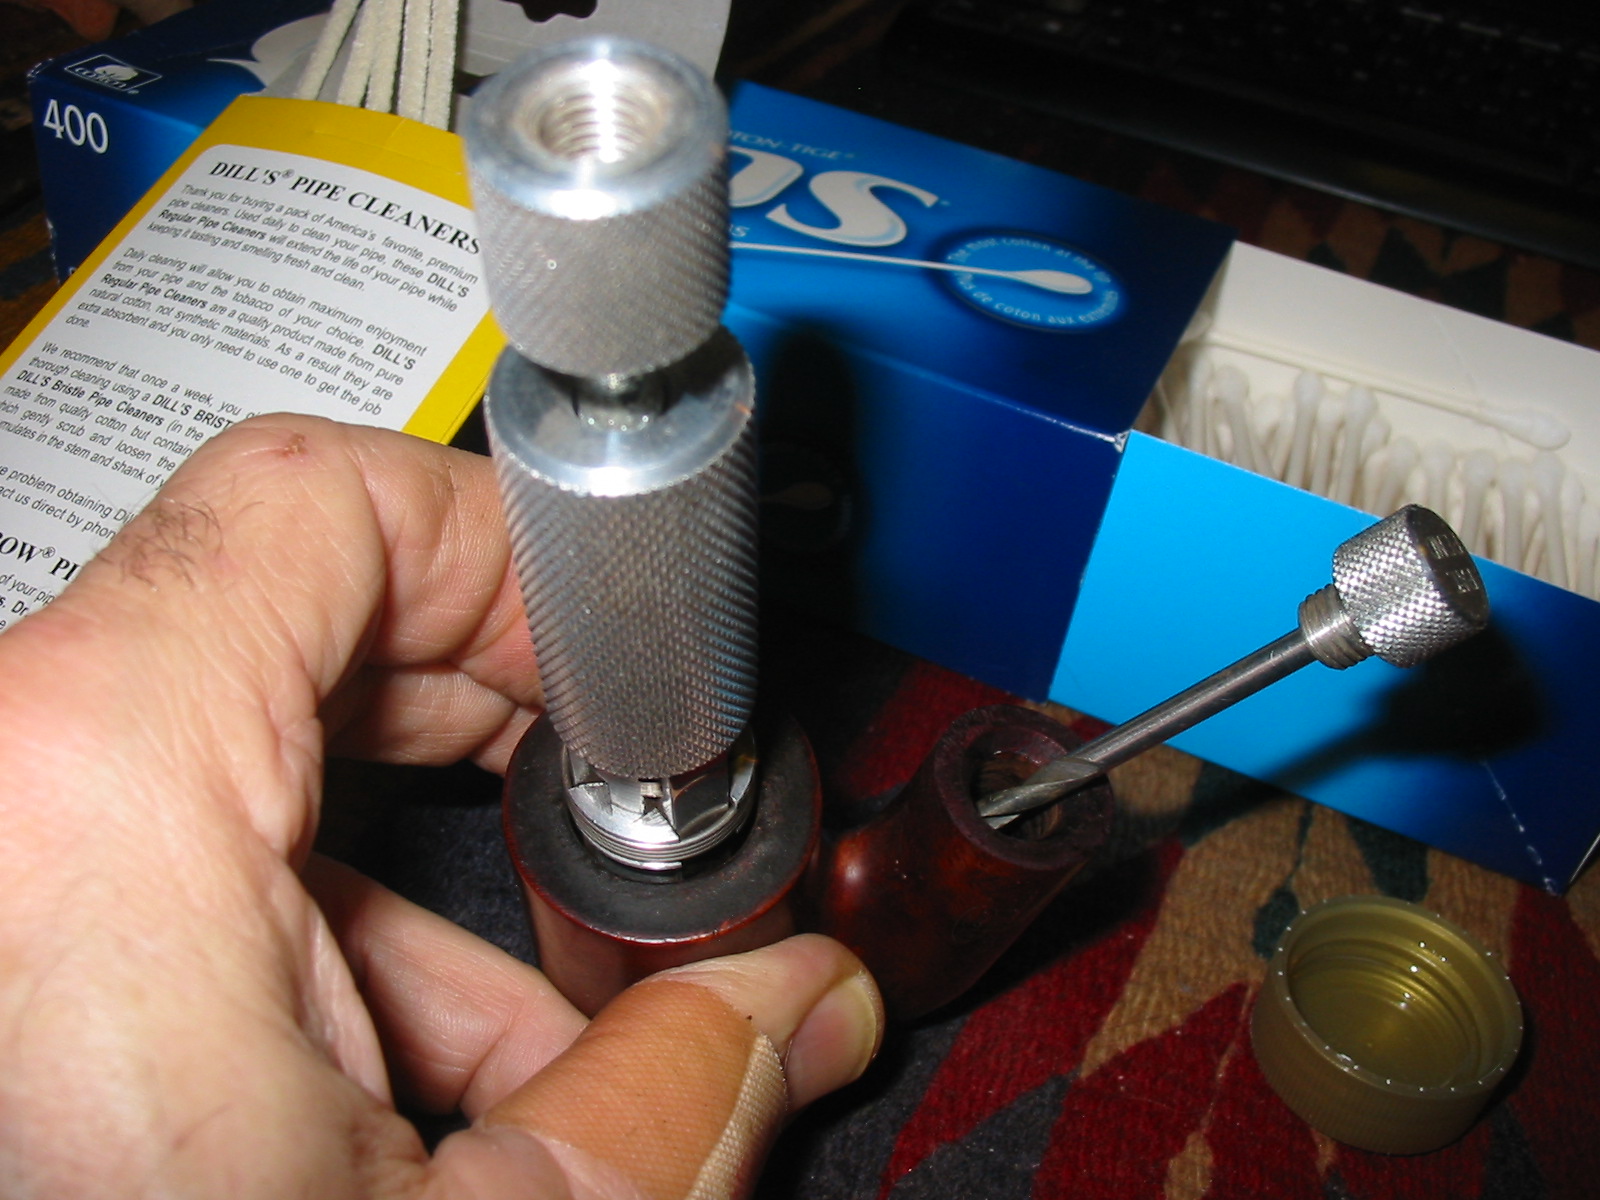
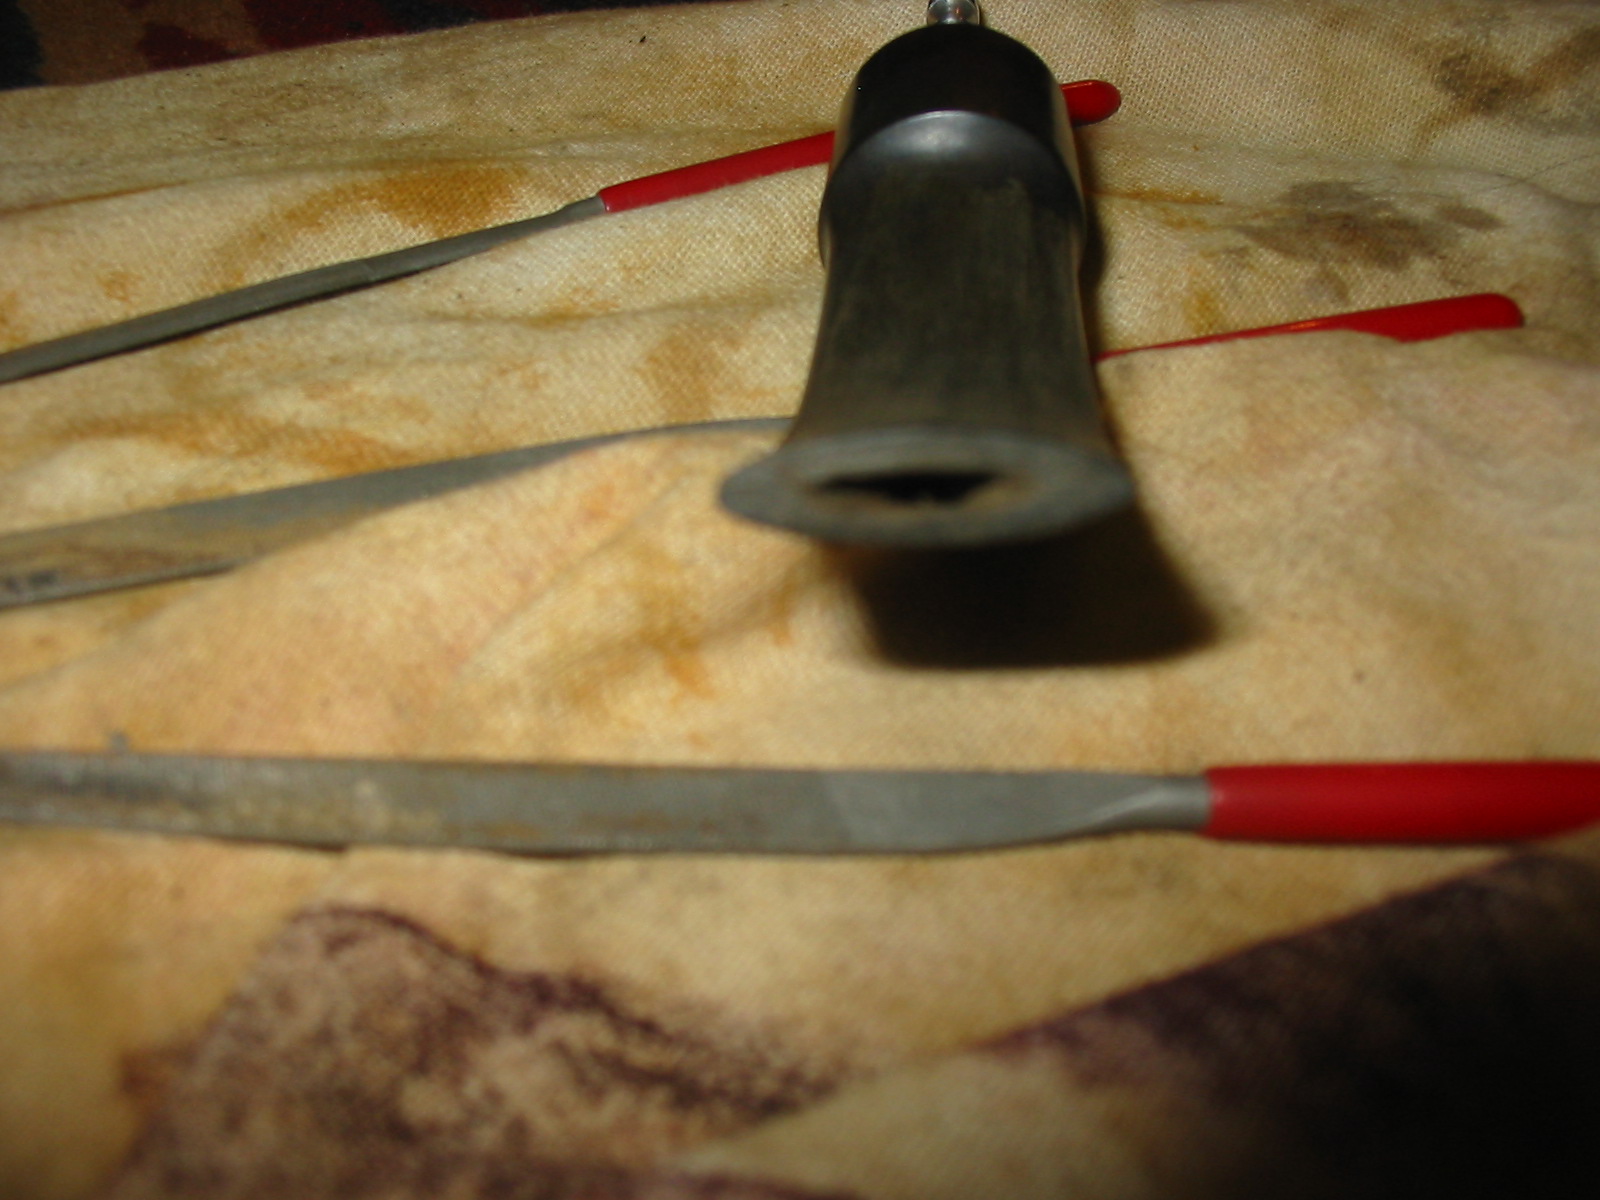
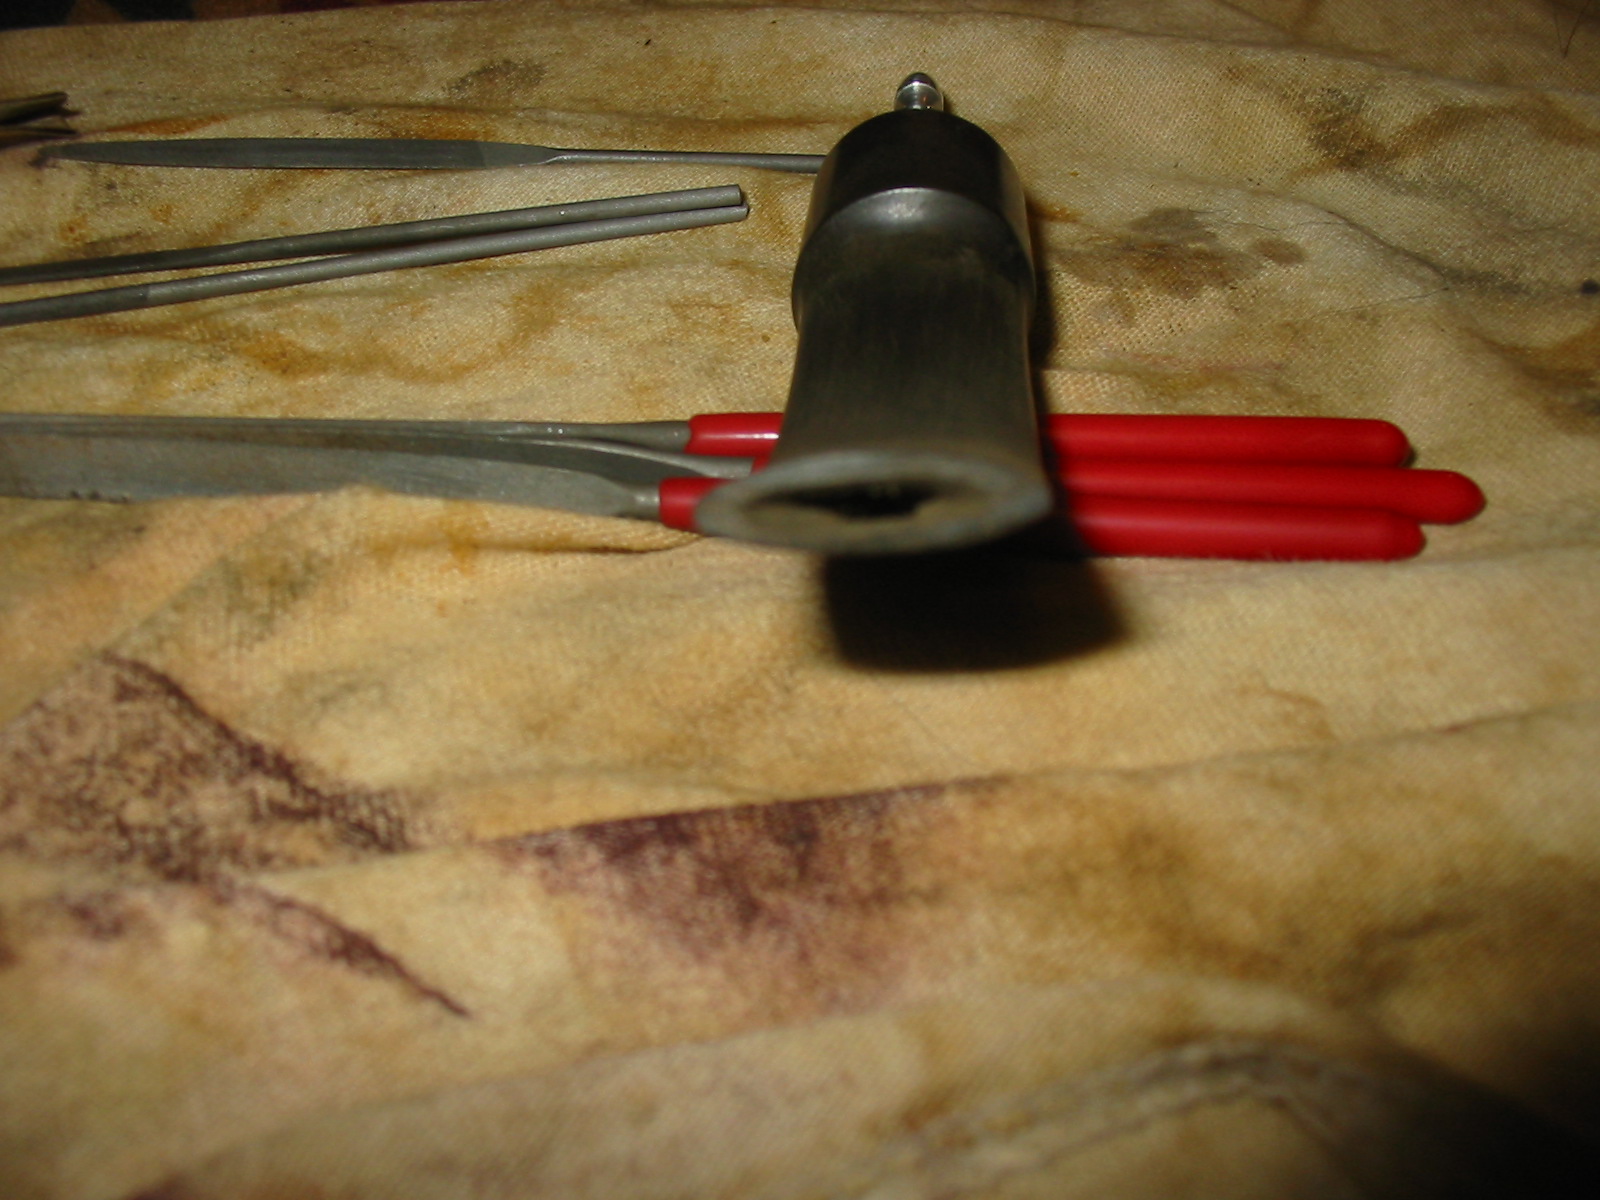
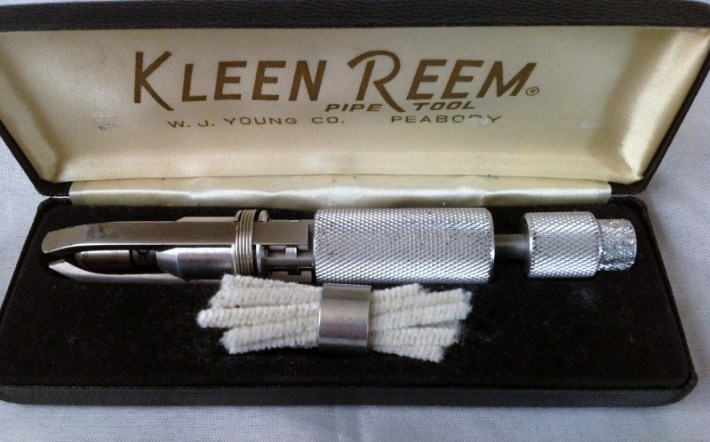
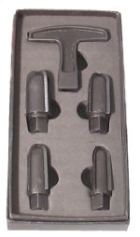
  6. Pipe reamer – I have written elsewhere on this blog about the two reamers I use the most, the Senior/Kleen Reem Pipe Tool and the PipNet T handle and interchangeable blade heads. I also have a large assortment of other reamers that I have collected over the years.ImageImage
  7. Battery Terminal Brush – I find that this brush is soft brass bristle and is ¾ inch in diameter and works well to give a quick swipe of the bowl. Image
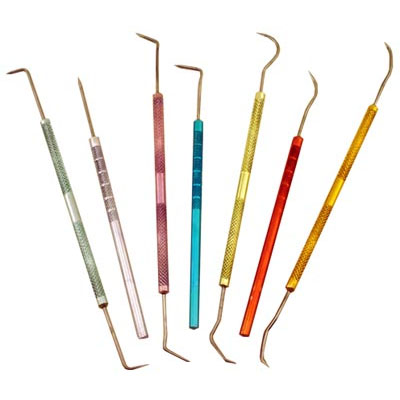
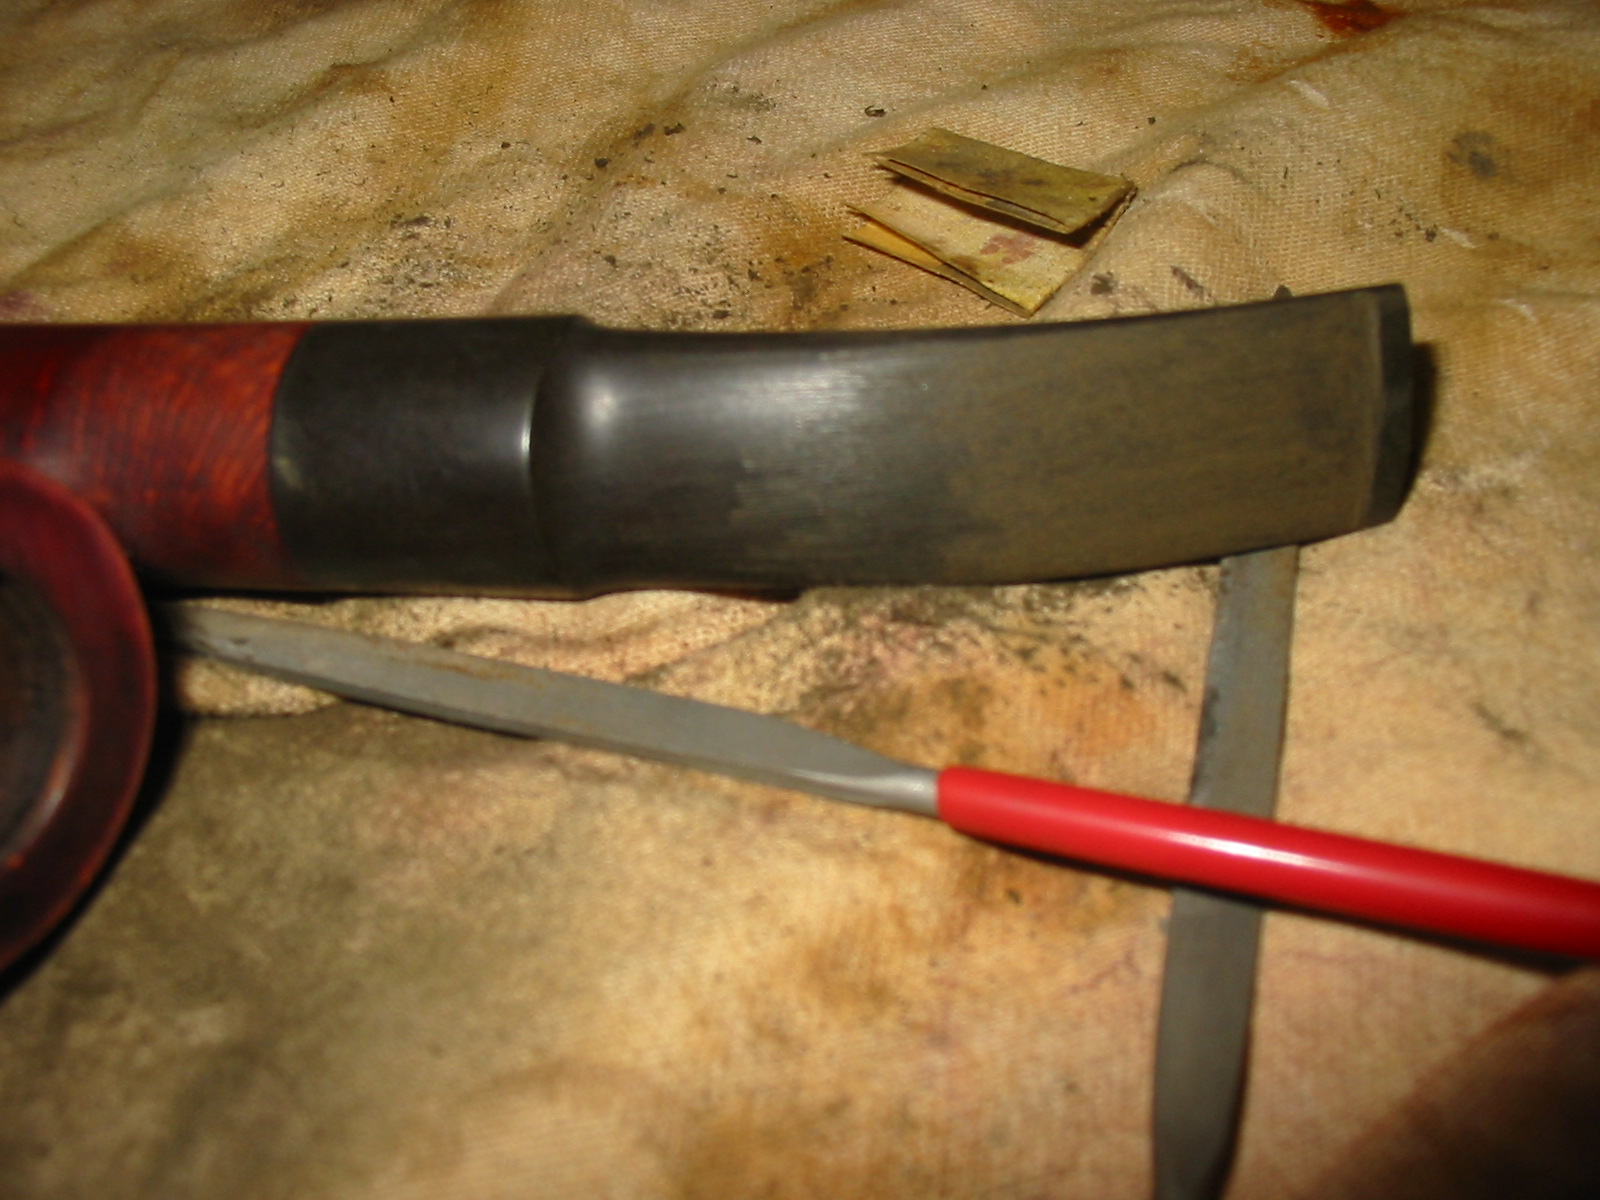
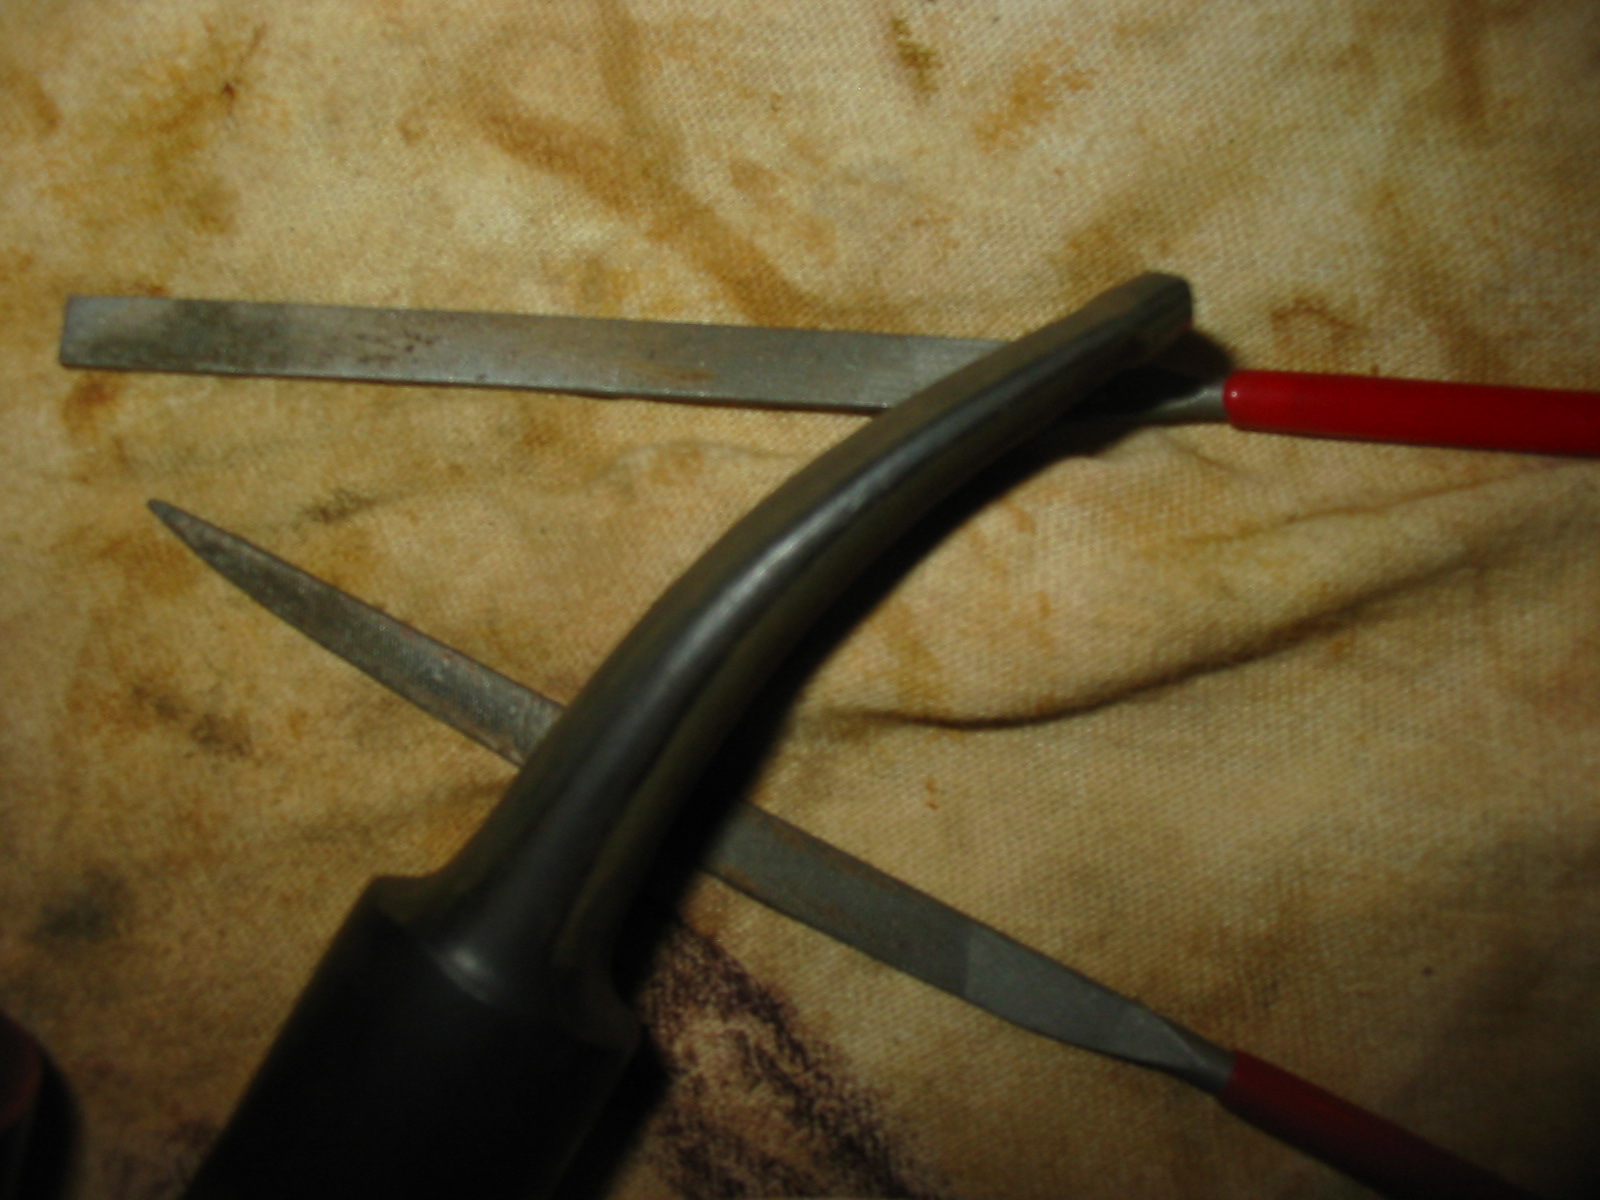
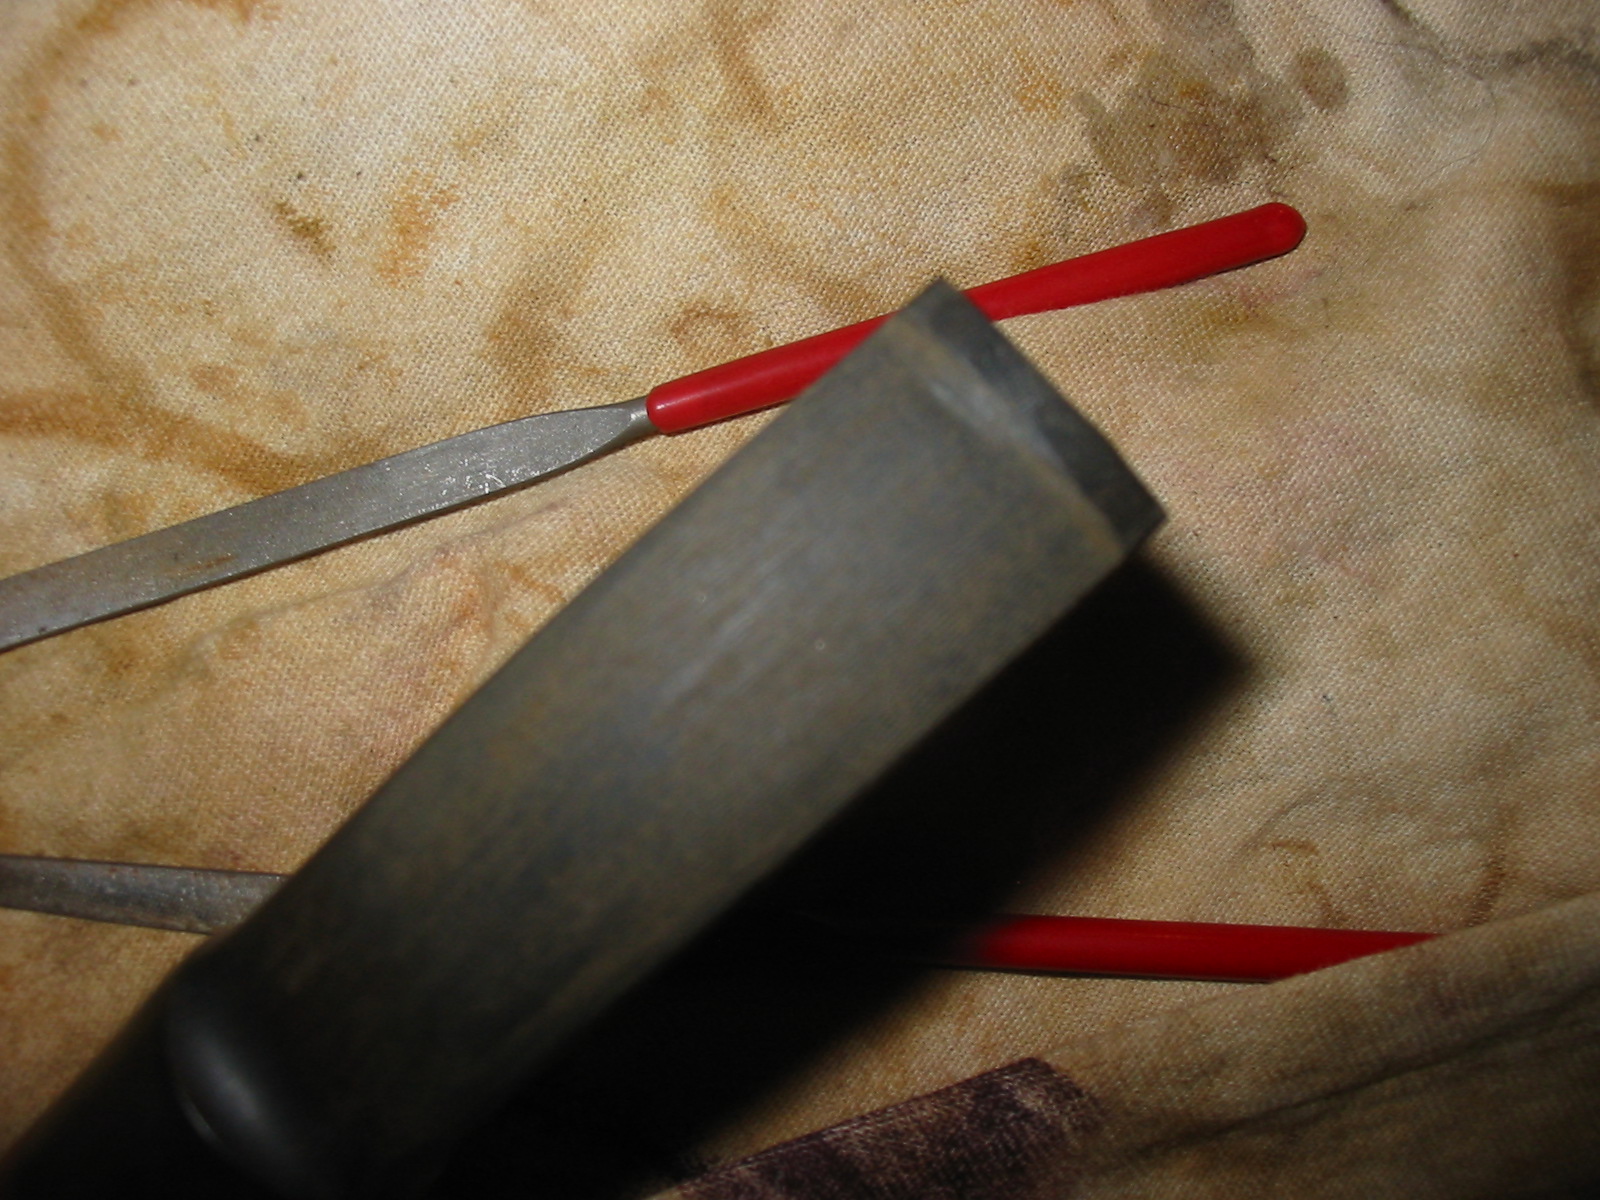
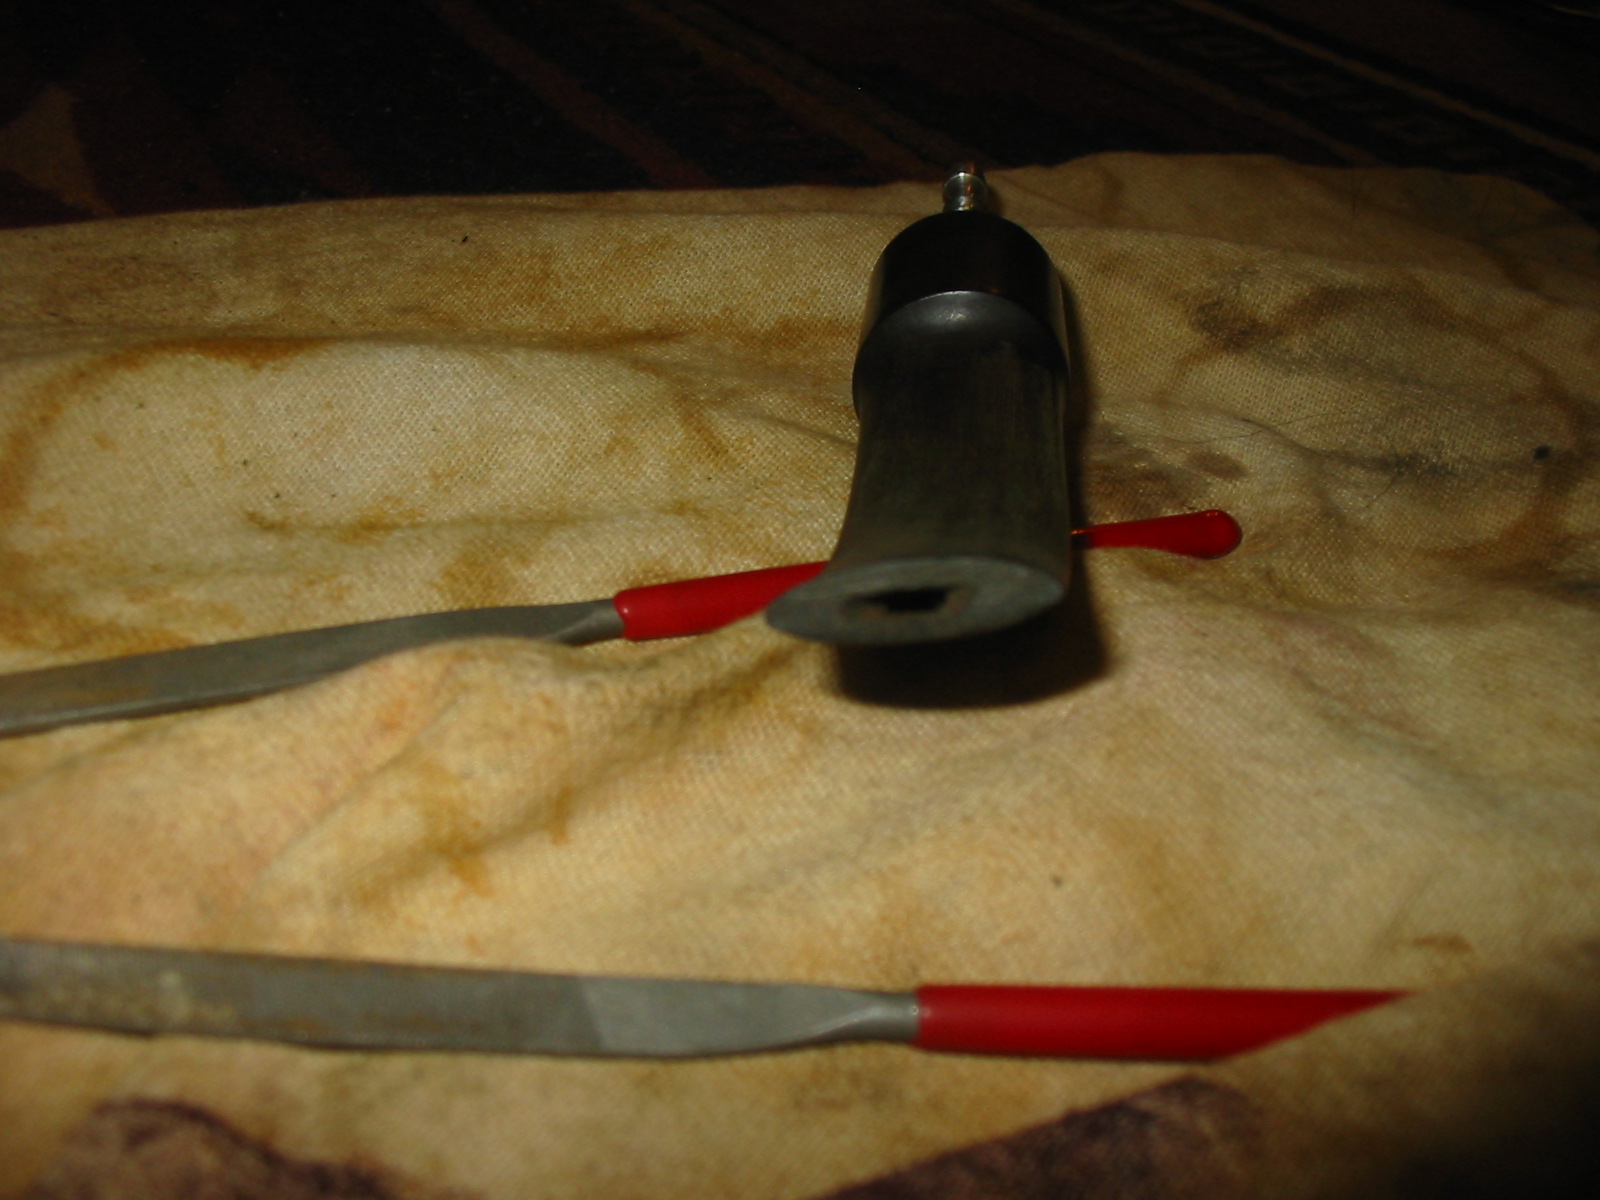
  1. Pipe tool or pick – I personally use a dental pick that I picked up at a tool shop and it is a versatile tool for cleaning shanks and bowls. O-Ring picks can also work well. ImageImage

Before going into the process of cleaning my pipes and the methods I use I thought it would be a good idea to speak about resting your pipes. I have learned over the years to smoke a pipe throughout the day and then set it aside to rest. I have quite a few pipes so this is easily done. I move through about seven pipes a week and set them aside to dry out and air. I set them in a rack or upright on my desk bowl down so that the moisture in the stem drops to the bowl and air dries before I smoke it another day. I have a seven slot rack that holds the pipes for the week and after smoking I clean and return them to the rack. This is often called a smoking rotation. When I first bought a pipe I smoked it until it tasted awful and then set it aside and bought a new one. I have since learned that if I want to optimize the smoking characteristics of any of my pipes I rest them between smokes. Some folks carry this even farther than I do and smoke a pipe once, set it aside and pick up another. I do not do that and have chosen to smoke the same pipe throughout a given day before setting it aside to rest. It has worked well for me.

I have broken down my cleaning ritual into four distinct parts: before a smoke, during a smoke, after a smoke and then the periodic cleaning I do weekly or monthly. I will describe the each part of my ritual.

Before A Smoke

Every time I pick up a pipe to smoke there is a routine that has become part of the process for me. I blow through it make sure the airway is open and the run a pipe cleaner, either bristle or regular, through the stem to dislodge any leftover ash and pieces of unburned tobacco. I will the fold the pipe cleaner into a U shape and run it around the inside of the bow to remove any loose pieces of tobacco or pipe cleaner fuzz from the bowl. Once I have done that I gently tap my pipe on the palm of my hand and then proceed to pack a bowl as usual. This has become second nature to me whenever I pick up a pipe. It is so much a part of my ritual that when I am looking for estates in antique malls and flea markets that my wife reminds me not to put it in my mouth to blow through it until I have cleaned it! This process has kept me from loading and lighting a bowl with detritus in the airway.

During a Smoke

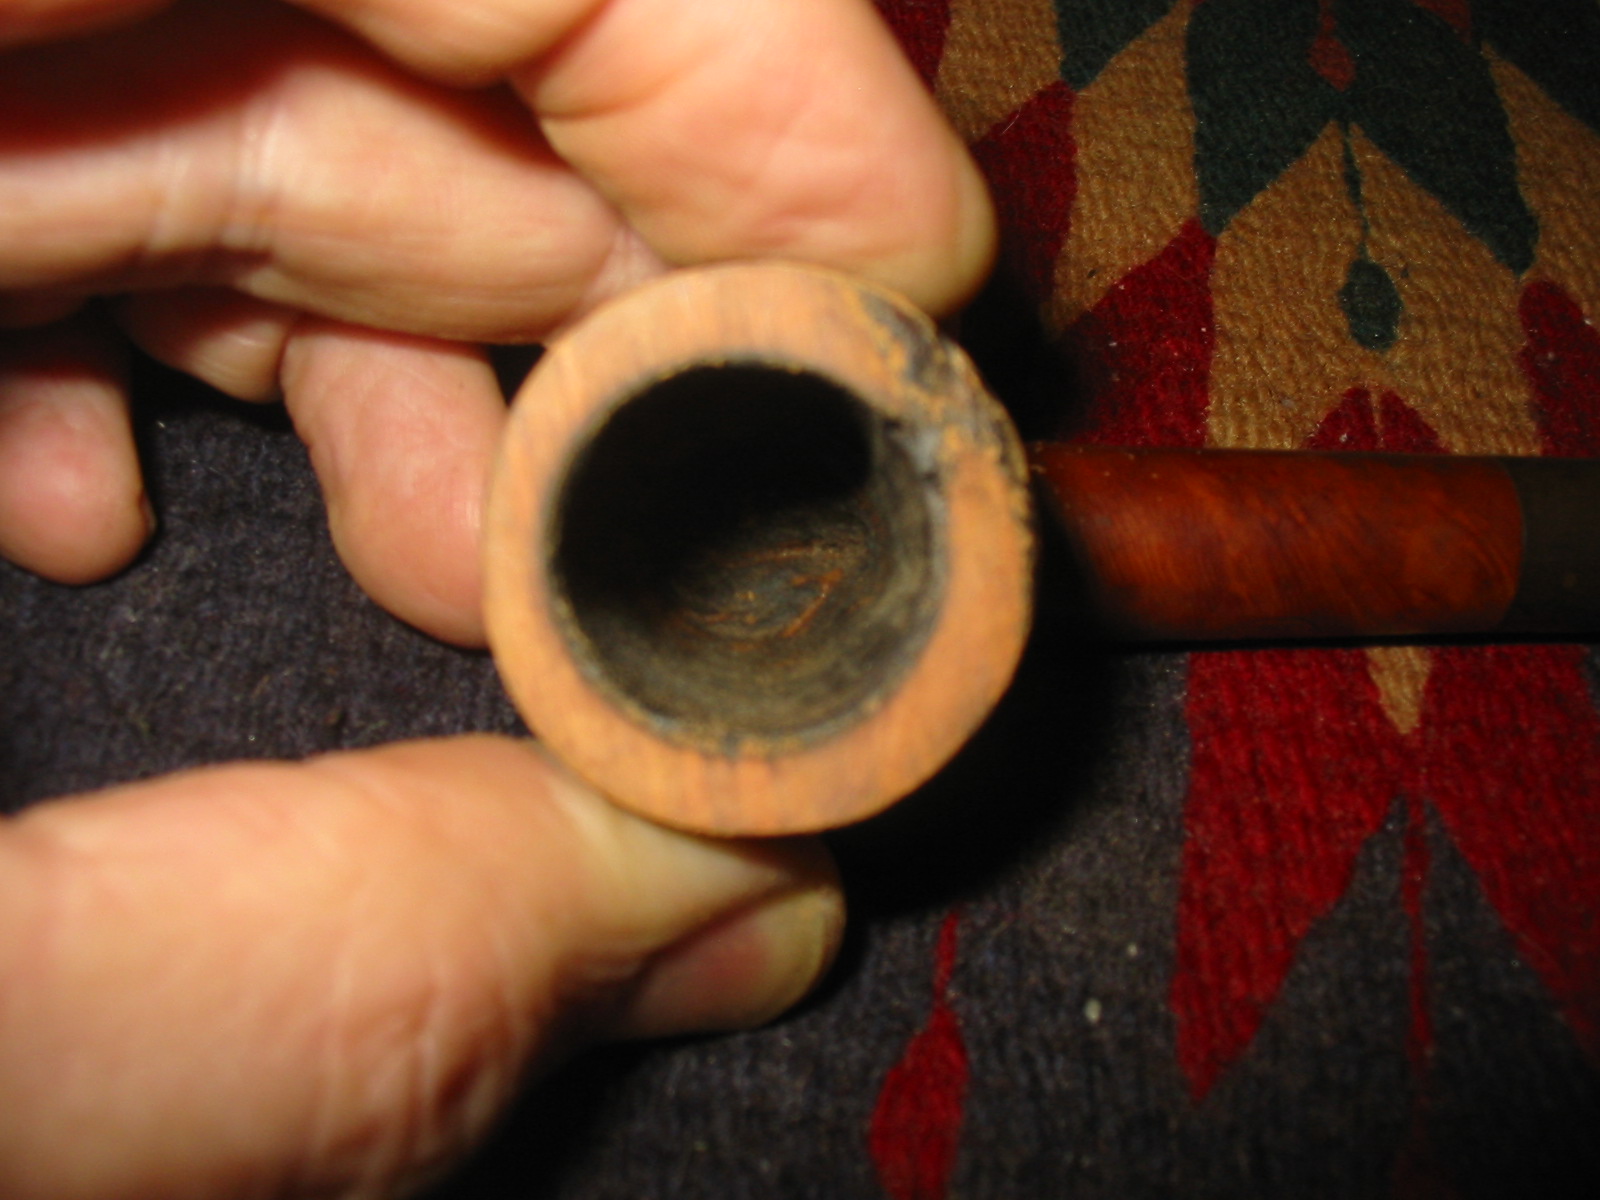
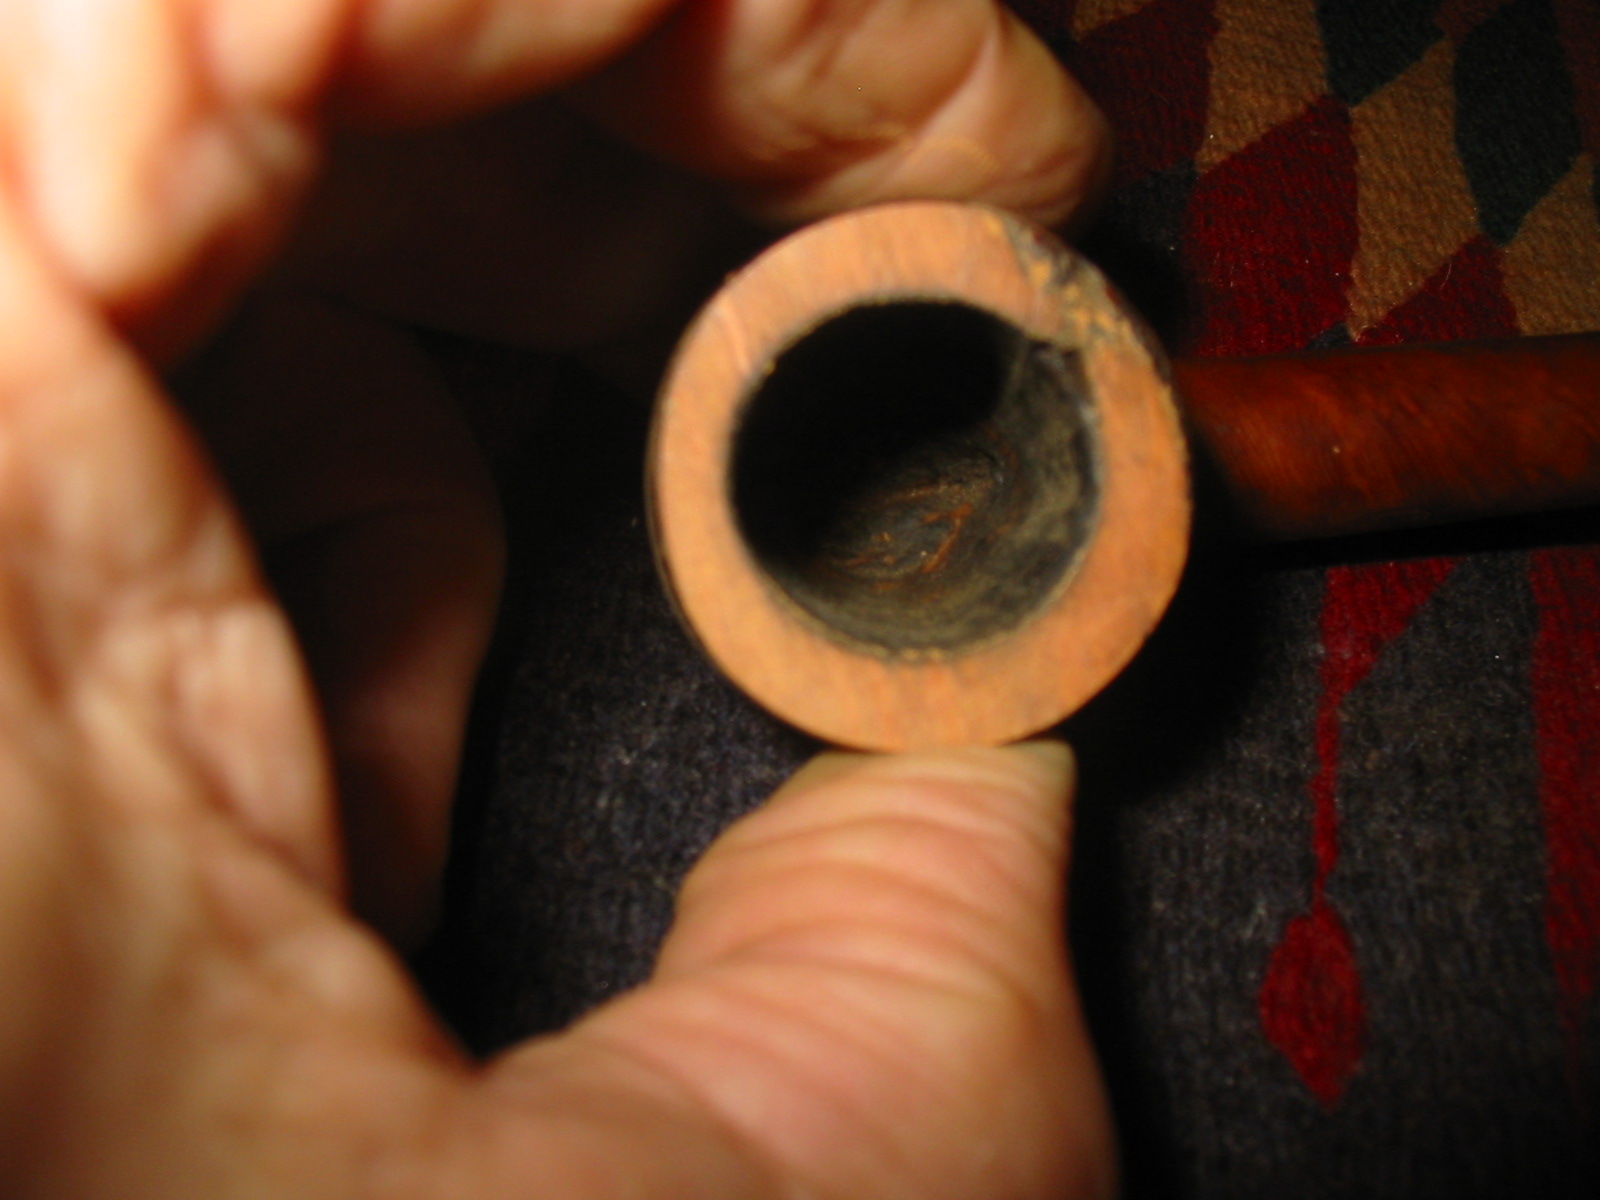
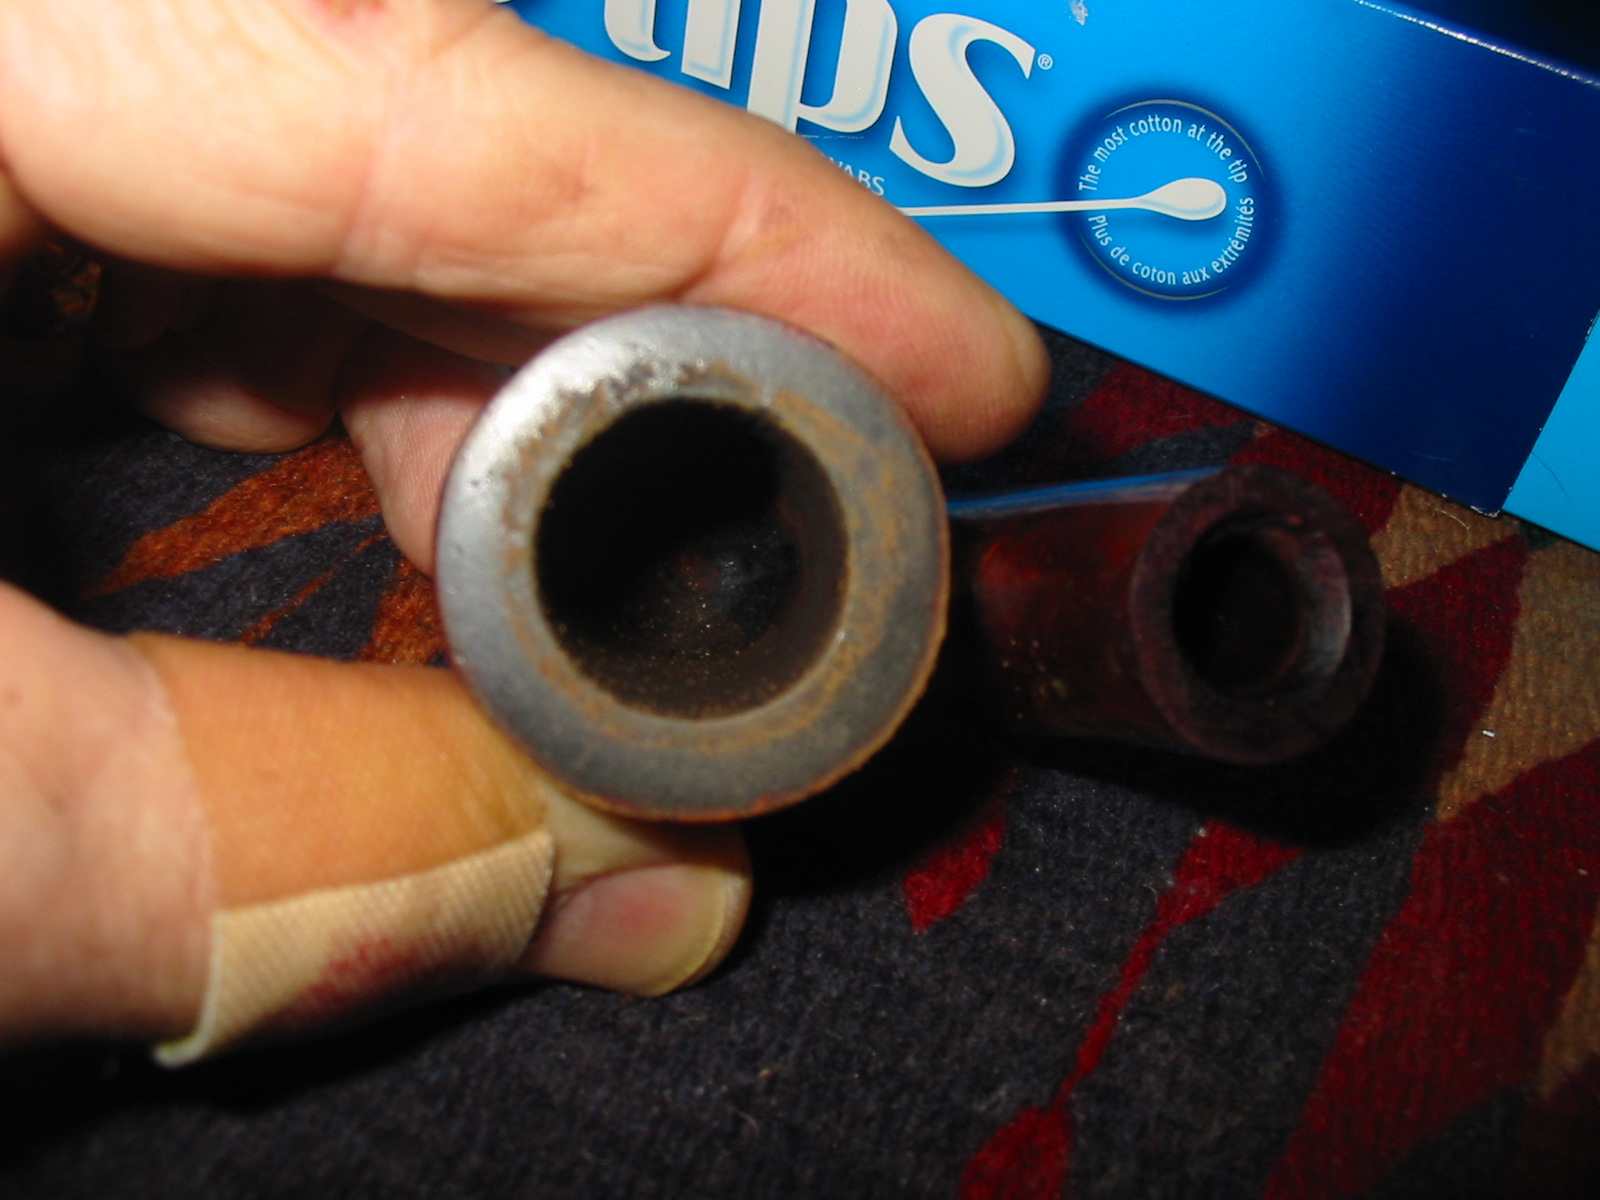
After cleaning and repairing many blackened and charred rims I am almost anal about how I light my pipes. When I use a match I hold it about a ½ inch or more above the bowl and draw the flame into the tobacco. I am careful to not let the match sit against the rim lest it burn it. When I use a lighter I do the same and keep the flame over the tobacco. If the rim begins to darken or get a bit of buildup you can usually remove it by moistening a cotton pad or swab with saliva and gently rubbing the rim of the pipe with it. I have found that doing this while the pipe is still warm facilitates the removal of the grime. As it heats it softens. If you pay attention and keep the rim clean and are careful when you light your pipe you will eliminate the cause of the charred, blackened rims so common estate pipe finds.

When I am smoking I am also paying attention to the taste of the pipe. If it gets to the point that the smoke is sour, bitter or off from what you normally experience with the pipe and tobacco you will want to do a more thorough cleaning. However, I find that this is quite rare when I keep the interior of the bowl and stem clean after each smoke.

After  a Smoke

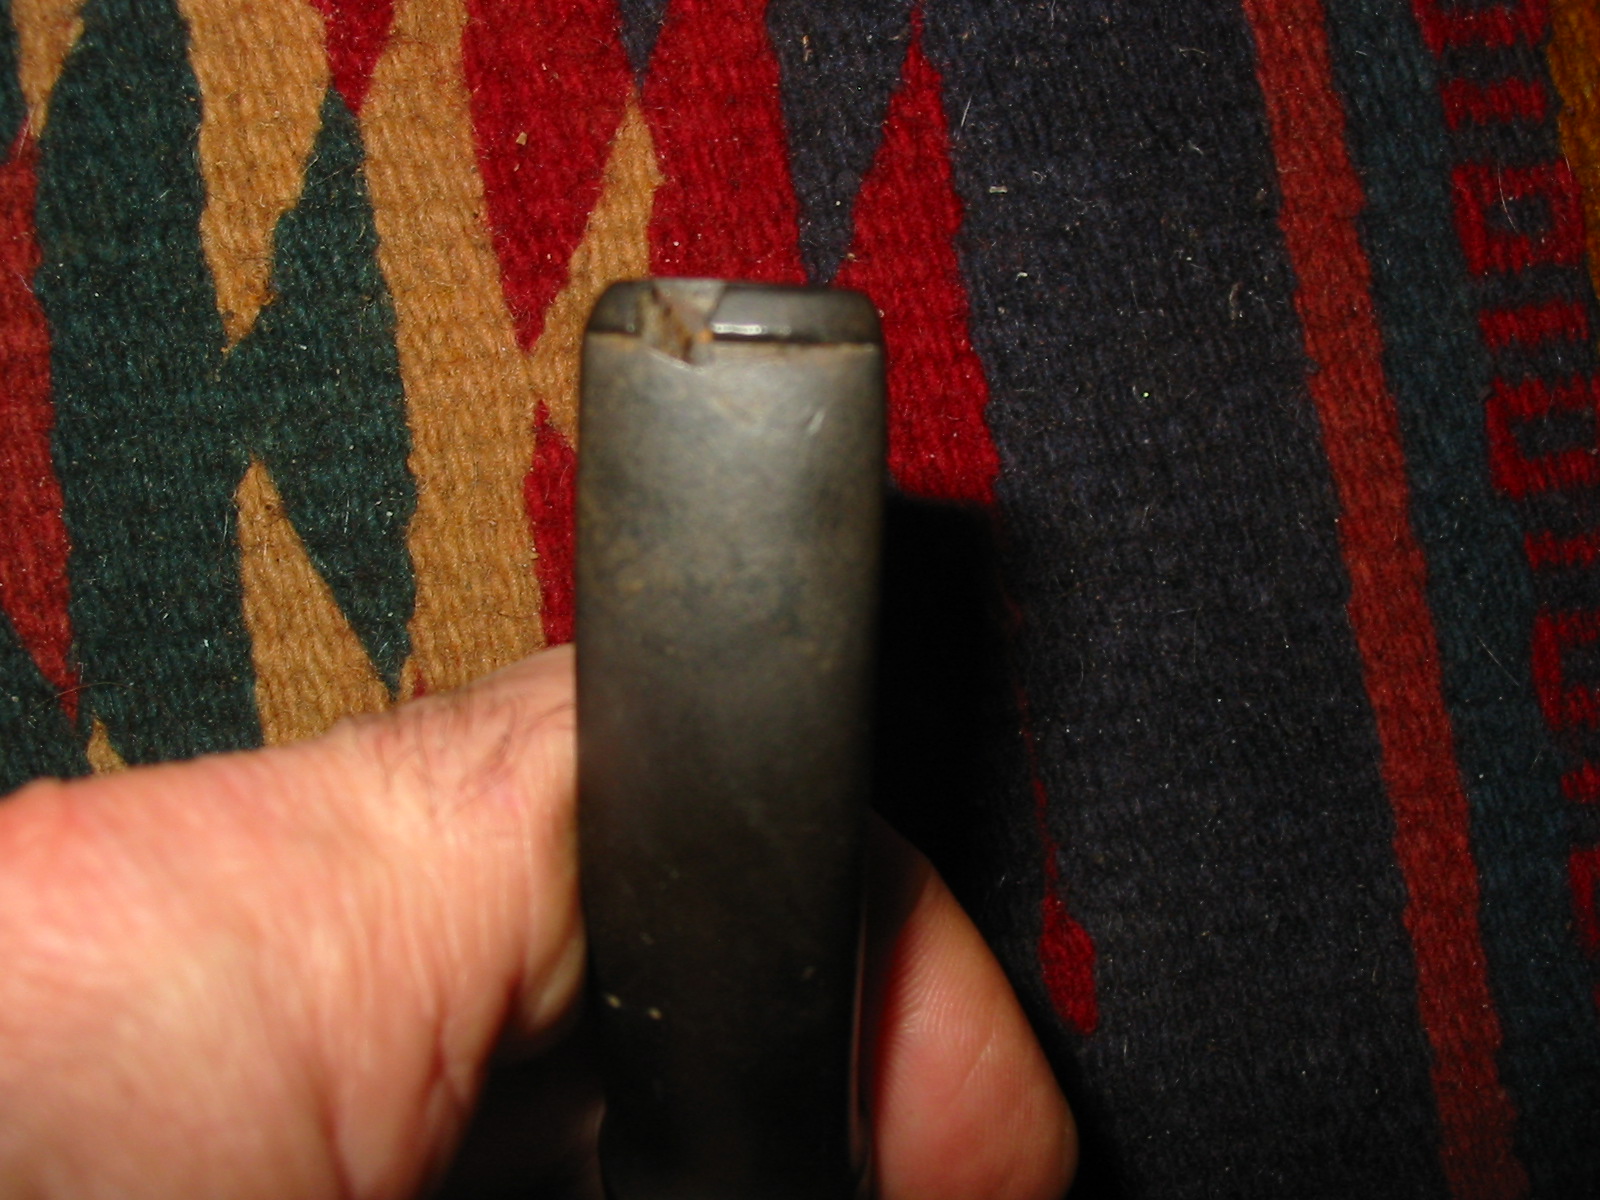
Once I have finished a bowl of tobacco I empty out the remaining ash. I also insert a pipe cleaner and clean out the shank and stem. I will often dampen the end of the cleaner in my mouth before inserting it in the button. I extend it into the bowl just a short distance as I do not want to wear a slot in the bottom of the bowl. I am primarily concerned with cleaning the airway at this point. I also work it from side to side in the slot and pay special attention to getting the edges of the slot clean in the button. This is something I also picked up from my refurbishing. I find that the slot will often fill along the edges and gradually close off so I work the pipe cleaner from side to side to keep the button and slot clean. I remove the cleaner and fold it in a U and swab out the inside of the bowl to remove ash and loose pieces of tobacco that did not burn. I tap it lightly against my hand and then use a second cleaner to remove any leftover moisture from the inside of the pipe and stem.

I don’t take apart the pipe while it is warm as I have heard often enough that to do so will loosen the fit and can cause a cracked shank. I have not experienced that first hand but don’t really want to go through that so I let it cool before taking it apart. It is my habit to take the pipe apart when I do the periodic/monthly cleaning. When I have cleaned the pipe I blow through it to make sure it is good and clean and then use the second pipe cleaner for a final time. I wipe down the outside of the bowl with a cloth that I have impregnated with Briar Wipe or a use a microfibre cloth. I wipe off the bowl and rim as well as the stem and give a soft buff with the cloth before I set the pipe back in the rack or on my desk with the stem up. I generally allow my pipes to rest for 4-5 days before smoking them again.

Monthly or Periodic Cleaning

I find that once a month or every six weeks I break down the pipes I have smoked during that time period and give them a more thorough cleaning than what I do immediately after smoking them. Some folks do this weekly but I have found that the monthly cleaning works best for my schedule and style of smoking. My process is spelled out as follows:

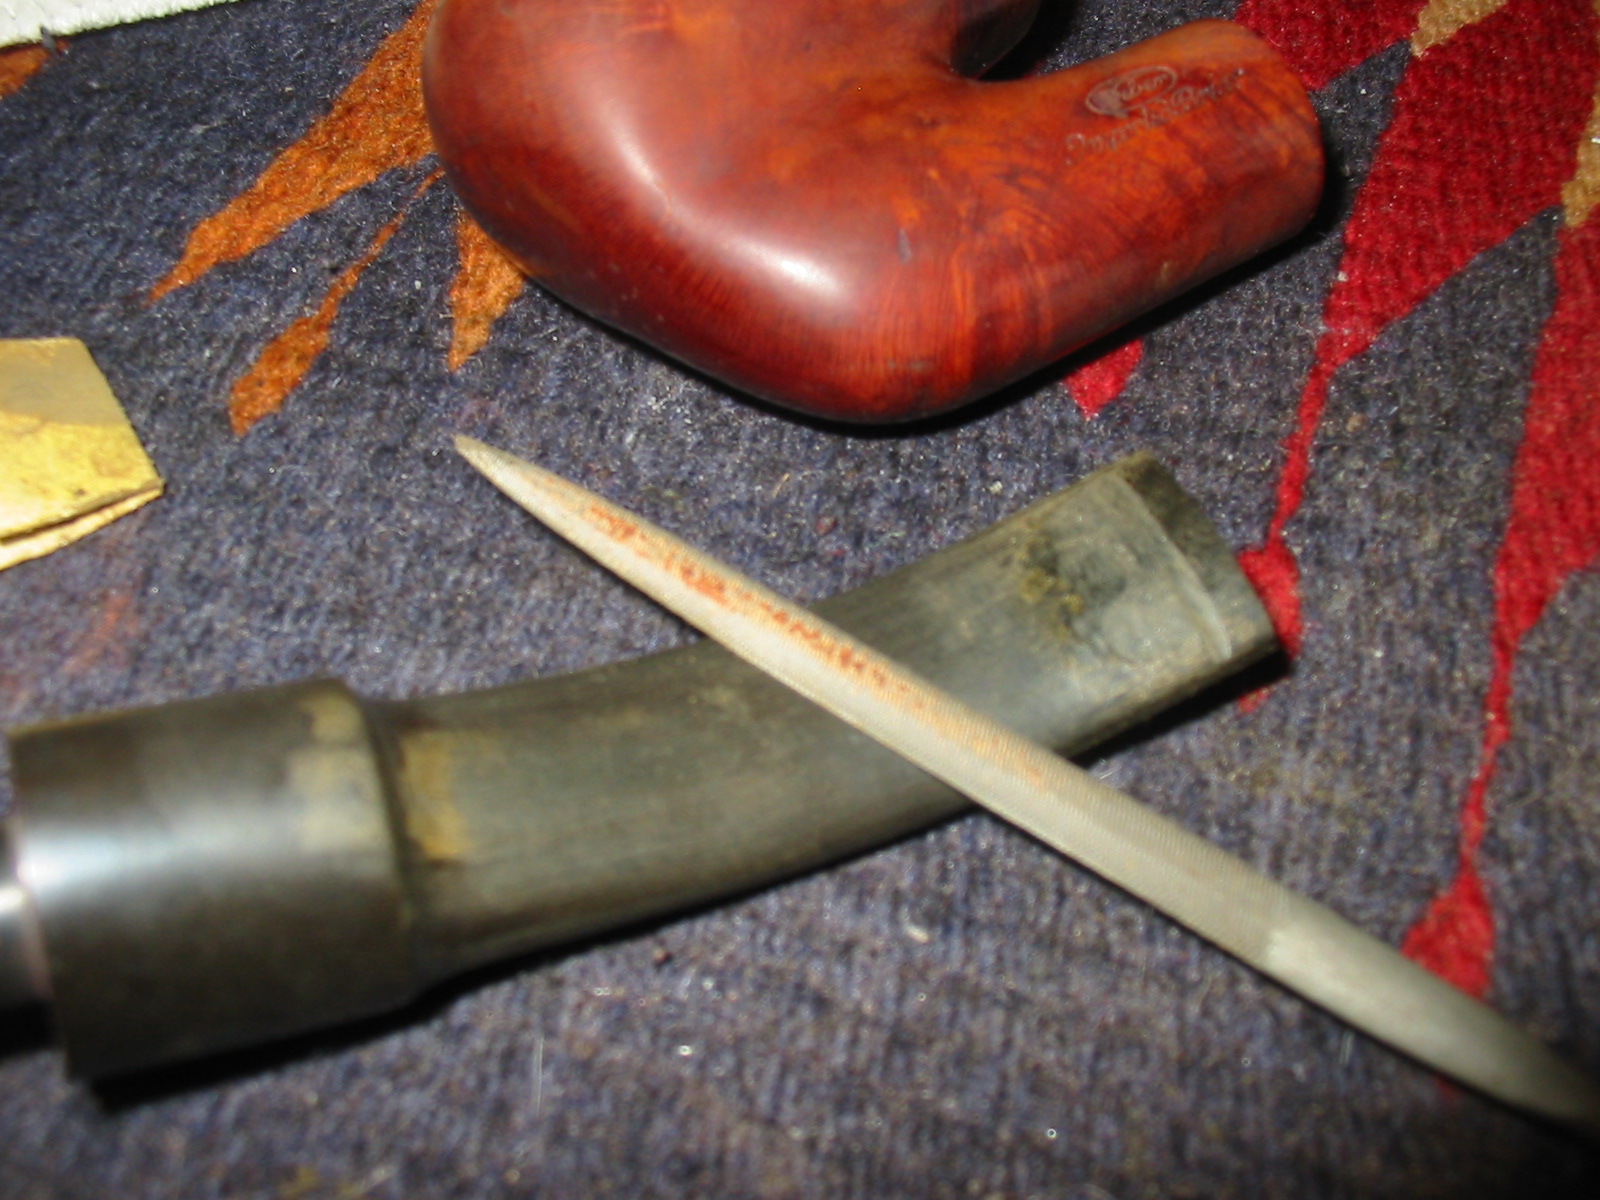
I spread out a clean cotton towel on my desk or work table and carefully remove the stem from each of the pipes I am cleaning. I lay them on the towel next to each other and work my way through the lot doing the same procedure to each one. I dip a regular pipe cleaner in alcohol and run it through the stem, from the tenon to the mouthpiece, pulling it through. If I have cleaned my pipes well after each smoke then it is likely that they will come out pretty clean. There always is a bit of oils and tars on the pipe cleaner that the alcohol draws out better than the saliva I use after the smoke. I repeat this process with a dry pipe cleaner, and then use an alcohol dipped one until the pipe cleaner comes out clean. When it is clean I use one final dry pipe cleaner to remove any moisture then I set the stem aside. I have found that if I continue the same process with several pipe stems before moving on to the bowls I can move the cleaning along more smoothly. Maybe it is part of my “system guy” thing but I find the completion of one part of the task refreshing before moving to the next part of my ritual.

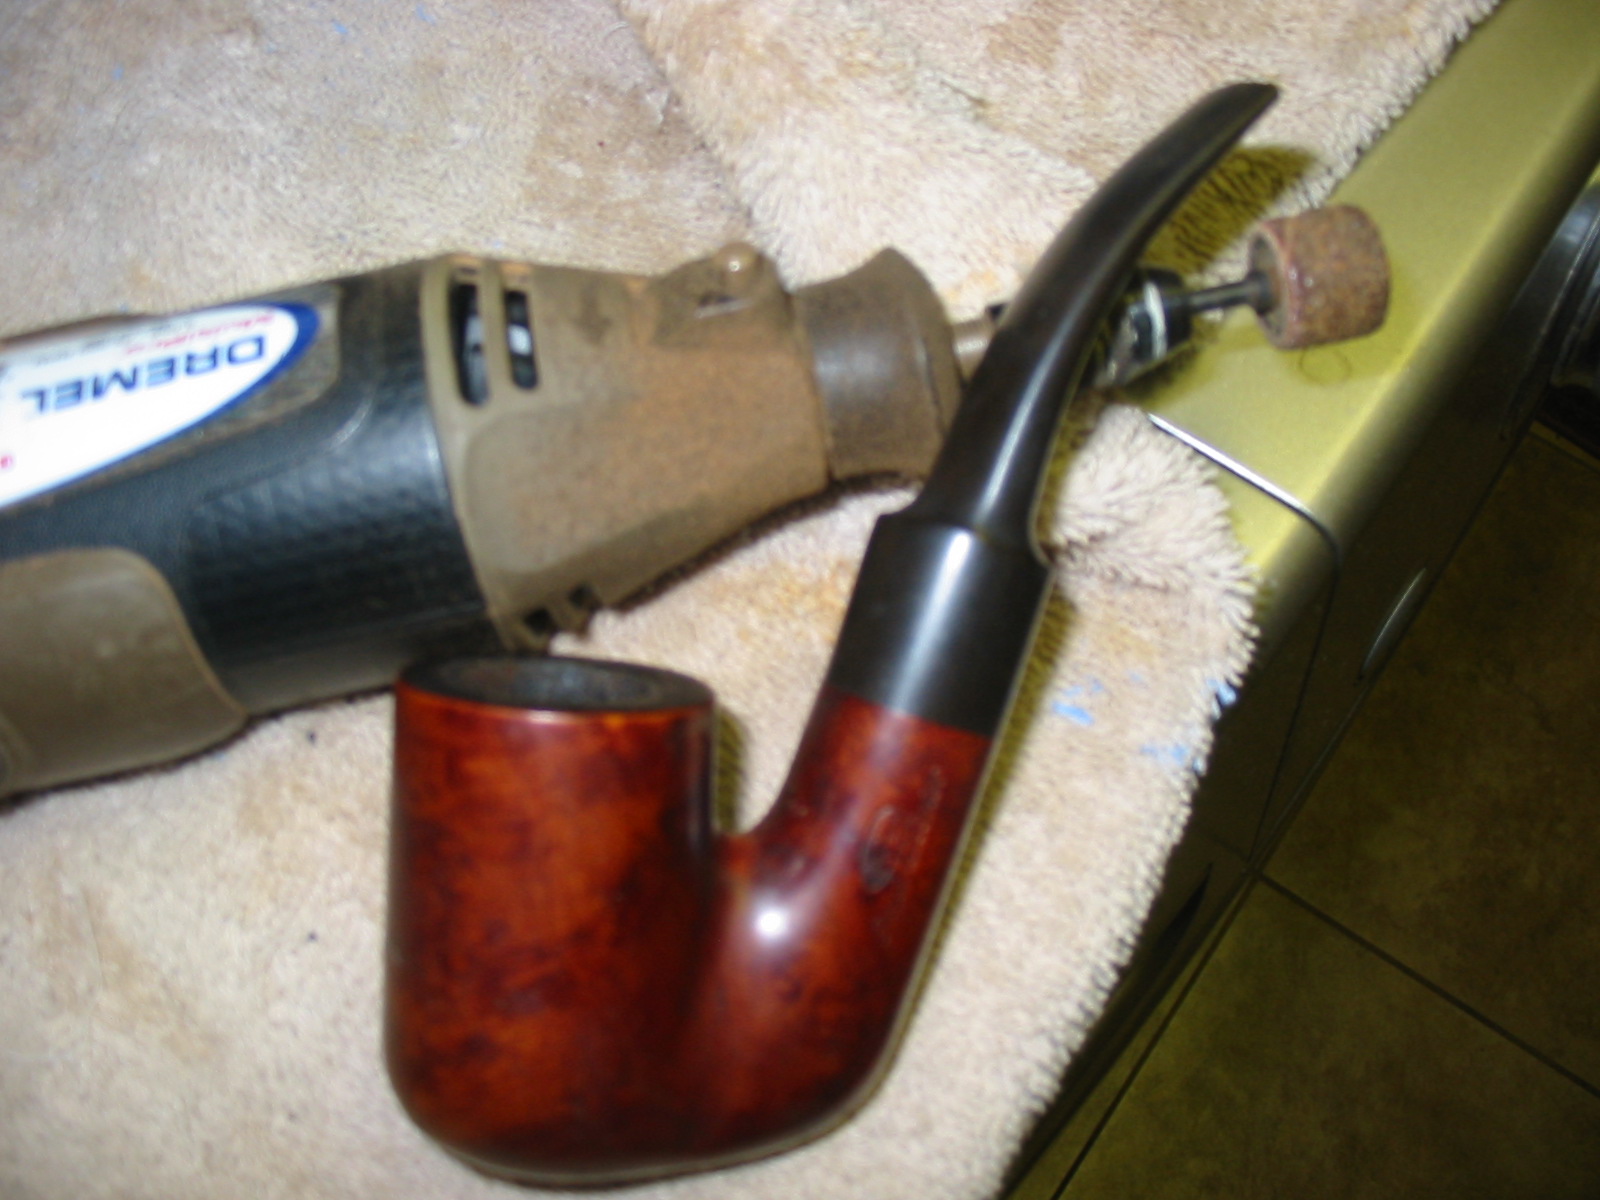
I then move on to the bowl and shanks. I use bristle pipe cleaners and pipe shank brushes that have been moistened with alcohol to scrub the inside of the mortise and the airway into the bowl. I am careful not to push the pipe cleaner too far into the bowl as I have seen in my refurbishing pipes that had this done and the bottom of the bowl was grooved and the wall of the bowl dented by repeated over extending of the pipe cleaner (they are wire in the center and they do make an impact over time). I alternate the cleaning with dry, regular pipe cleaners. I will often use a lot of pipe cleaners to get the shank airway clean. I also use a cotton swab dampened with alcohol to clean out the mortise area and the flat area at the bottom of the mortise where the tenon sits. I have found that the cotton swabs allow you to thoroughly clean the mortise well. I alternate between alcohol dampened swabs and dry ones until they come out clean. I use a cotton pad to wipe off any remaining build up on the rim then reinsert the stem in the bowl before I give the pipe a coat of carnauba wax (if you do not have a buffer you can use Paragon Wax for smooth bowls and Halcyon II for rusticated and sandblasted bowls). I polish the wax either by hand or with a soft buff with a flannel pad. If the stem or bowl has a band I polish it with a jeweler’s cloth or a good silver or metal polish. When the pipe is cleaned and shined I put it back in the rack and let it sit for a day or so to thoroughly dry out before smoking it.
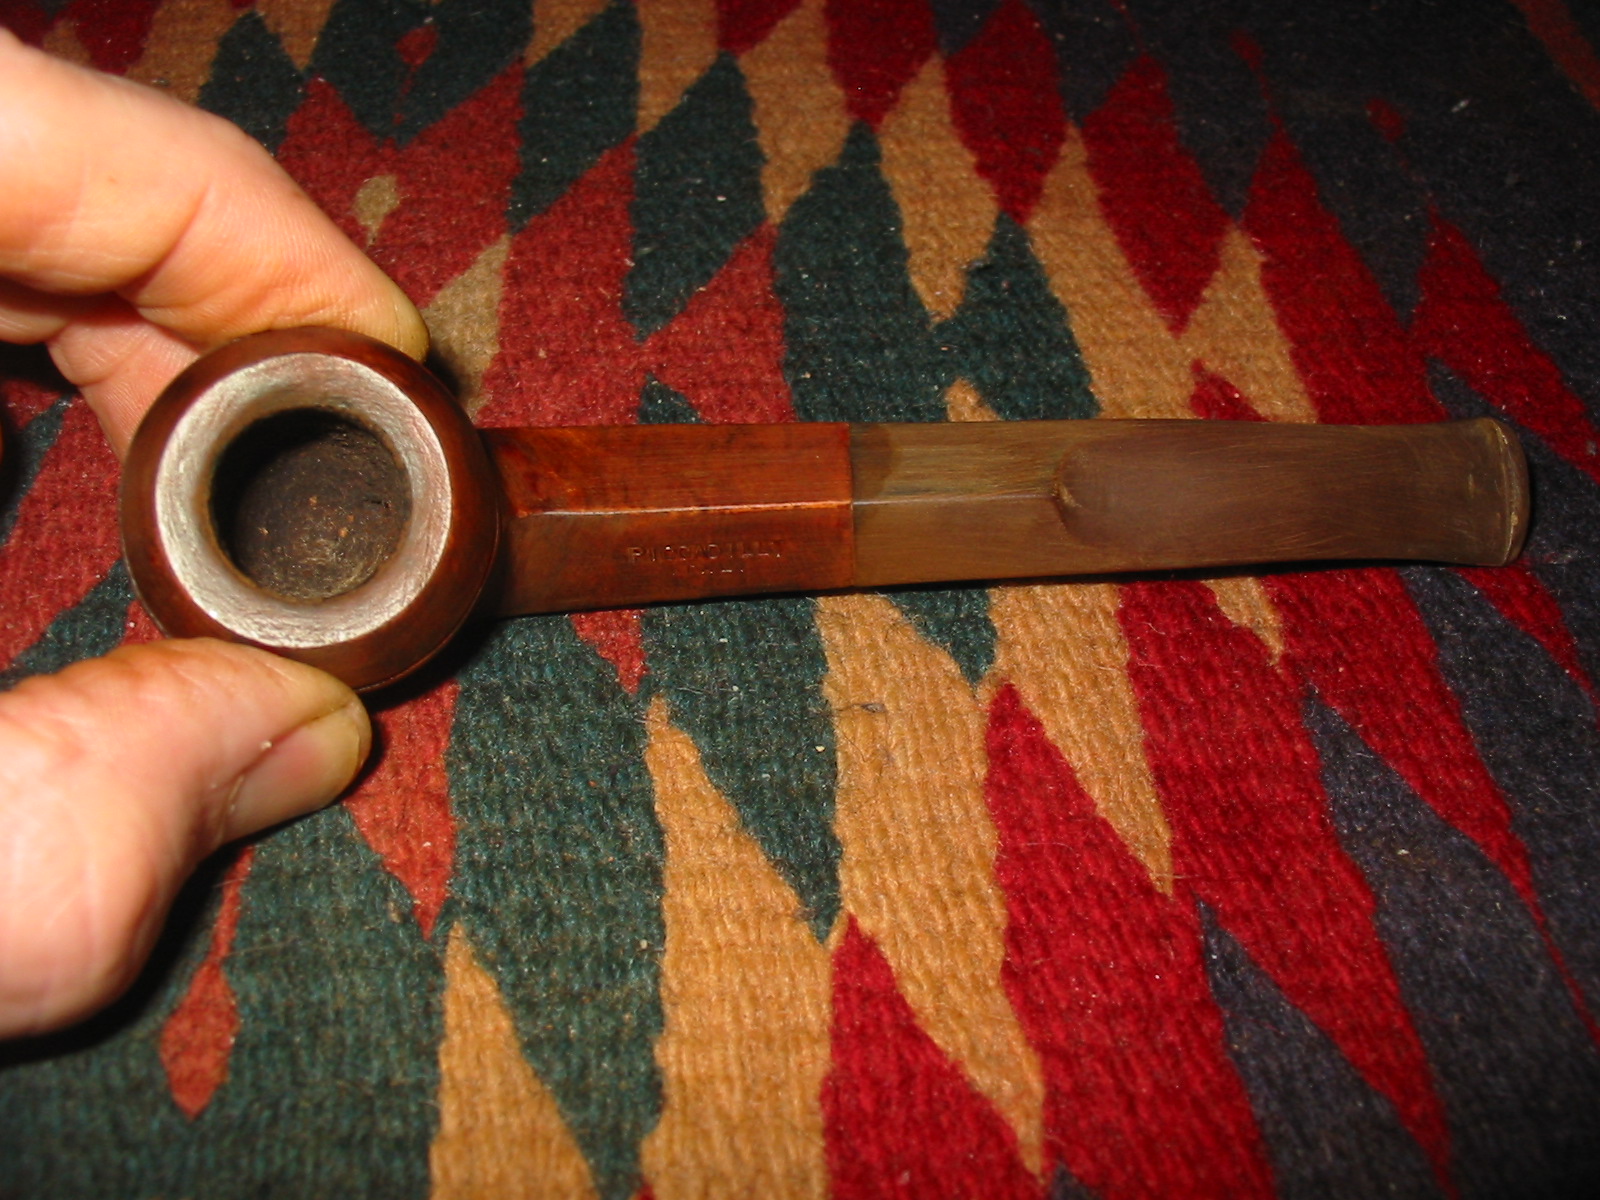
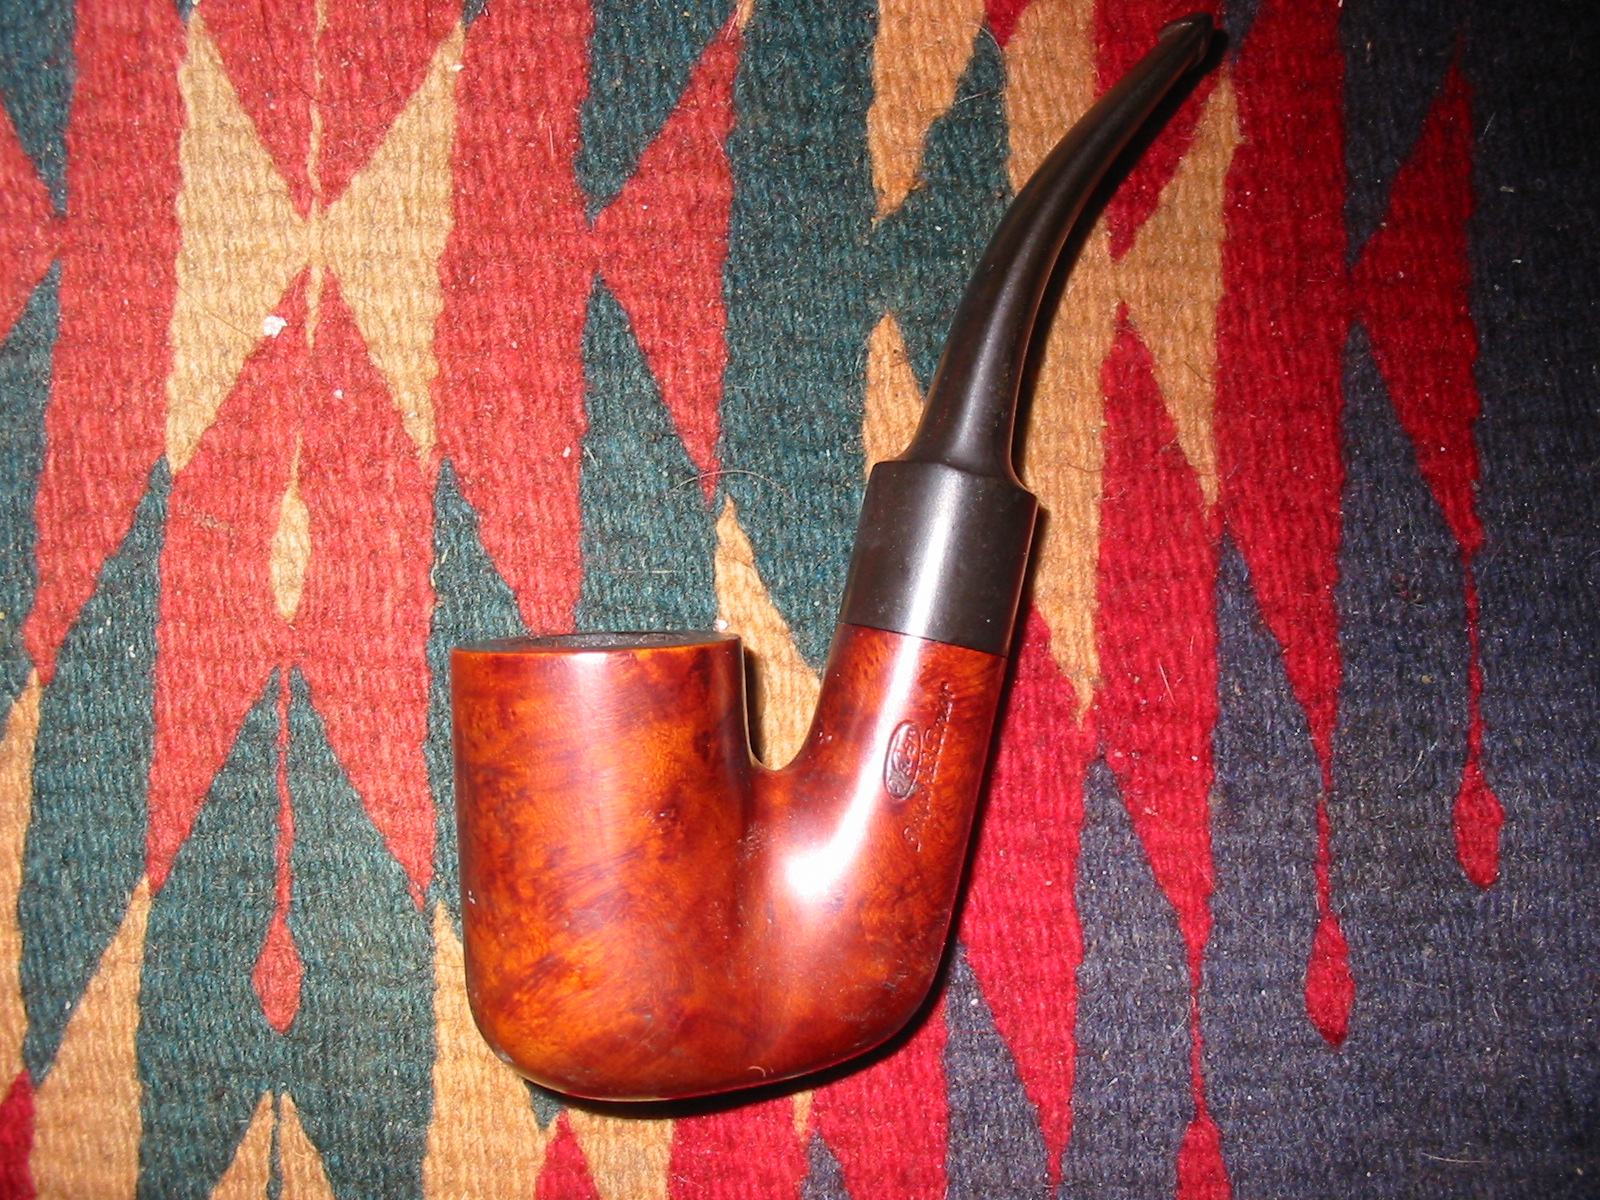
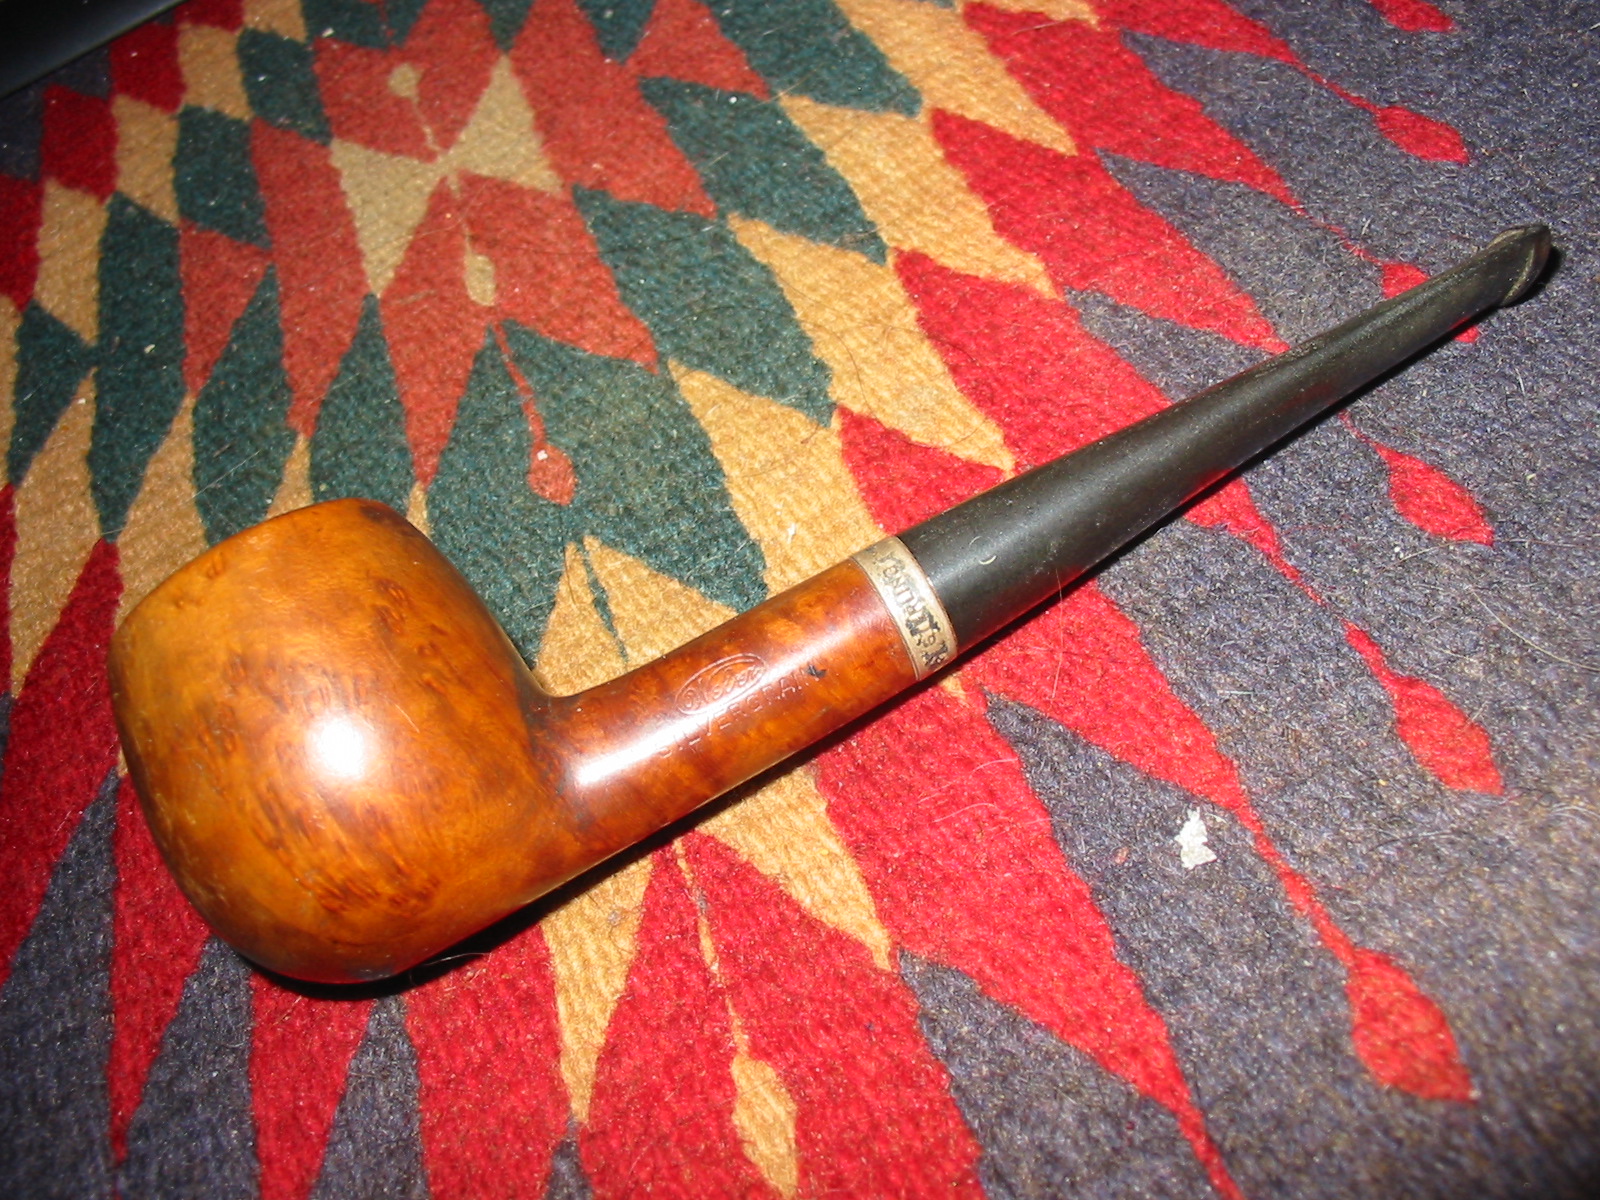
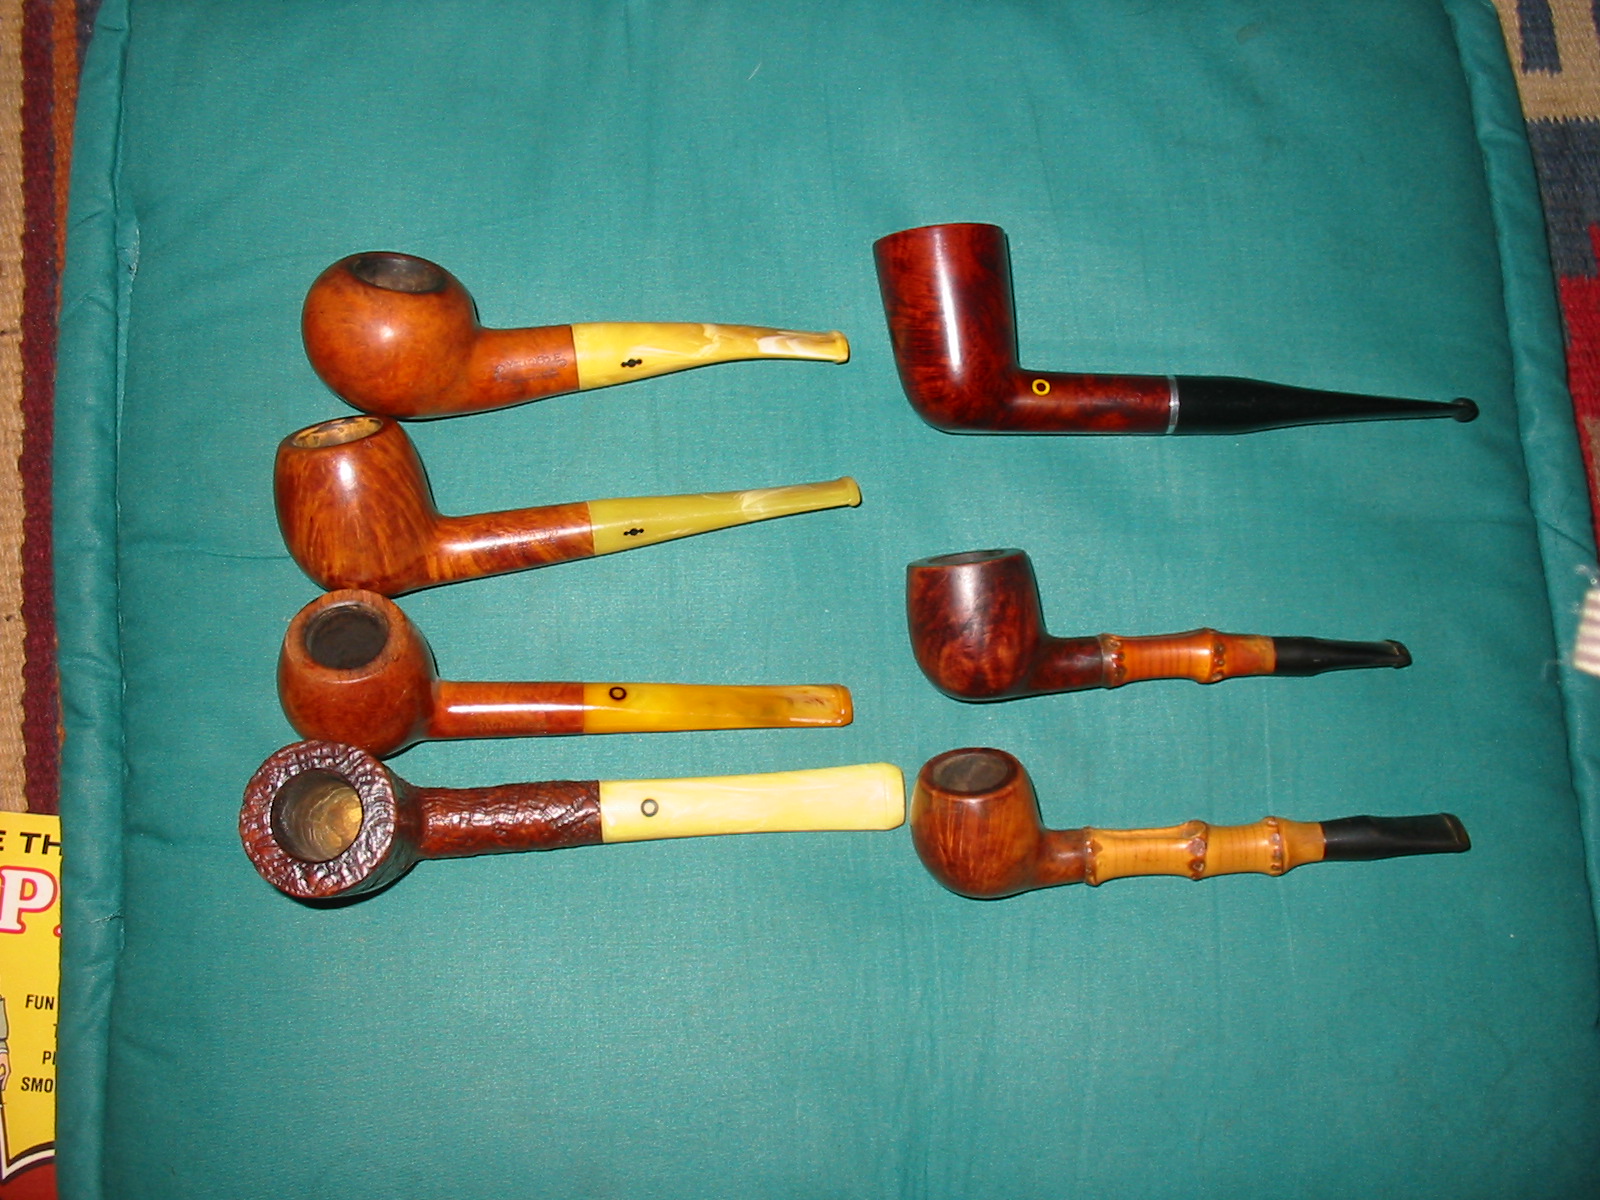
New Life for a Big Ben Select Bent Billiard


Blog by Steve Laug

I was gifted six pipes that were in need for refurbishment be a friend on Smokers Forums. The first one that caught my fancy was this nice sandblasted Big Ben Bent Billiard. It had a silver band and a nice looking blast. The finish was rough but shape is classic. The bowl was dirty and the shank and stem were filled with tars and grime. The bowl is stamped on the underside of the shank – Big Ben Select under a B in a circle. The outside of the stem was oxidized but the B logo was still deeply stamped. There was also a slight tooth mark on the underside of the stem near the button. The button was very tight and small – so much so that a thin pipe cleaner was work to get through the slot. The rim edges were worn and rough but as it was a blast this would not be a problem to clean up. Over the stain coat was also a shiny varnish or lacquer coat that I always find to be a pain to remove and deal with in a pipe that is worn like this one. It was just the challenge I wanted to have a go at this weekend. The next series of three photos show the pipe as it appeared when I opened the box and took it out for the first time.

ImageImageImage

I decided to begin by reaming the bowl so I removed the stem so that I could hold the bowl solidly and used my T handle Pipnet reamer. The next series of three photos show the reamer and the pipe bowl as I worked on it. Once I was finished I dropped it my alcohol bath to soak. The fourth photo below shows the bath after I had dropped the pipe bowl in the soak. The alcohol appears dirty but it is darkened from earlier stains that I have removed. I have filtered the alcohol several times over the past months to remove sediment and particulates that were in the mix. The alcohol works exceptionally well and I have found that the darkened stain in it adds a nice aged patina to the briar. The fifth photo shows the stem ready to go into the OxyClean bath. I dropped it in the bath and it immediately darkened the wash. I took it out and took a photo to show the before soaking look of the stem.

ImageImageImageImageImage

I left the bowl in the alcohol bath overnight and then this morning took it out and scrubbed it with a soft bristle tooth brush. I also picked out the paint that seemed to be in the grooves of the blast with my dental pick. I decided to also scrub the bowl with a brass bristle tire brush to get the paint flecks out of the briar. The next series of twelve photos shows the process I have described above. The first three photos show the bowl wet from the bath and the tooth brush off to the side that I use to scrub the sandblast. I rinsed the bowl off with alcohol from the bath and then dried it with a cotton cloth. The next two photos show the bowl with the brass tire brush. Once the surface had dried I scrubbed with the tire brush to remove the grime from the grooves in the briar. The final seven photos show the bowl as I wiped it down with acetone on a cotton pad to remove the remaining finish and top coat of varnish or lacquer. I wanted the briar very clean before I restained it.

ImageImageImageImageImageImageImageImageImageImageImageImage

After getting the outside of the bowl cleaned and ready to stain I worked on the inside of the bowl and the shank. The shank was interesting in that it had two stepped down portions. First there was the mortise area where the tenon rested. This was followed by an area that further stepped down to receive the inner tube style stinger in the end of the tenon. Finally there was the area of the airway into the bowl bottom. The step down drilling of the shank made this an interesting airway to clean out. I used isopropyl alcohol and some Everclear to scrub out each step down successively. I began with the mortise area that held the tenon. To clean this I used qtips or cotton swabs dipped in alcohol. I scrubbed that area until the swabs came out clean. I then proceeded to clean the next stepped down area where the inner tube sat. I used cotton swabs on this as well and pressed them against the opening and twisted them into that part of the airway. Again I used the alcohol and kept working on it until the swabs were clean. The final part of the airway I used a shank brush and alcohol followed by fluffy pipe cleaners until that area was also clean. The next series of three photos show the process and the dirty cotton swabs at the top of the photos.

ImageImage

After cleaning out the shank and wiping down the inside of the bowl I cleaned the stem. This was more of a pain than normal due to the constriction of the button and slot. A thin pipe cleaner would not fit into the stem from the button end. So I had to slowly move it into the stem from the inner tube end. I also was able to flatten the pipe clean and work it into the stem. It got most of the gunk out of the stem. The next two photos show the pipe after this cleaning. The stem button would need to be opened in order to give it a more thorough cleaning.

ImageImage

The next series of nine photos show the restaining of the pipe. I used a dark brown aniline stain that I have thinned down 2:1 with isopropyl alcohol. It does a good job of coverage on the briar but also allows some depth the staining. I like the look and effect of it on sandblasted briar. I applied the stain with a dauber and then flamed it with a lit match. I reapplied and reflamed the pipe several times to get a good solid coverage of stain.

ImageImageImageImageImageImageImageImageImage

Once the stain was flamed and dry I took it to my buffer and buffed it with Tripoli and White Diamond to remove some of the high spots and give it a shine. The first three photos below show the polished and buffed pipe. It was still a bit dark to my liking so I took it back to my work table and wiped it down with some isopropyl alcohol on a cotton pad to remove some of the top stain and give me a bit brighter and lighter finish. The next three photos show the bowl after it had been wiped down with the alcohol. It was exactly the colour I was aiming for so I set it aside to work on the stem.

ImageImageImageImageImageImage

I decided to open up the slot in the button to make it easier to clean the stem. The first photo below shows the slot before I started working on it. It was very tight and hard to get a pipe cleaner down the stem. I used several different needle files to open the slot. I took material off the top and bottom of the slot with the needle files and also cut the slot into more of a Y shape as I worked on it. The next four photos show the progress of the opening of the slot with the files. The final photo of the four shows the set of files that I use for the work. I took the photo with the stem on top of the package to give a bit of an idea of the size of the files. I finished the slot with a folded piece of sandpaper and worked it until it was smooth. I then recleaned the stem with pipe cleaners and alcohol until they came out clean.

ImageImageImageImageImage

After reworking the slot in the button I worked on removing the oxidation from the stem. I sanded the stem with 320 grit sandpaper to remove the tooth marks from the underside of the stem and also remove the softened oxidation. I also used a fine grit sanding sponge to remove scratches and marks to the stem. The two photos below show the stem after I had wet sanded the stem with 1500 and 1800 grit micromesh pads. I then used some Maguiar’s Scratch X2.0 polish and scrubbed the stem with a cotton pad. In the photos below the pad is in the lower part of the photos. I progressively sanded the stem with the remaining grits of micromesh – 2400-12,000 grit. I dry sanded with these until the stem shone. I wiped it down with Obsidian Oil and rubbed it in and then reworked the logo on the stem. I used some liquid paper in a correcting pen. I applied it heavily to the stamped area and then rubbed it off and sanded it with 4000 grit micromesh sanding pads to remove the excess. I repeated the process until I had good coverage on the stamping. The third and fourth pictures below show the refinished stamping on the stem. I finished working on the stem by giving it another coat of Obsidian Oil followed by multiple coats of carnauba wax.

ImageImageImageImage

I used a jeweler’s cloth to polish the silver band and then took the pipe to my buffer and gave the bowl a buff with White Diamond. I took it back to the work table and gave it a coat of Halcyon II wax and hand buffed it with a shoe brush. The final series of four photos show the finished pipe.

ImageImageImageImage


1918 J.K.L.K.Dublin Restemmed and Brought Back to Life


I saw this old stummel on EBay and was interested in giving it a refurbishment. It did not have a stem and when it arrived it was in worse shape than the seller had led me to believe. The bowl was filled with a hardened burned tobacco and also a half a bowl under that of unburned dried and hardened tobacco. The rim was very badly damaged and the cake was very thick. It was thicker about half way down the bowl and funneled down to the bottom of the bowl making the bowl appear to be conical. I knew from examining it that it was not a conical bowl so the cake would have to go. The silver band was twisted over to the right and was upside down. The stamping on the bowl was non-existent but the band was stamped J.K.L.K. and next to it were the hallmarks – a lion (signifying that the band was sterling silver), an anchor (signifying that it was made in Birmingham, England) and in the center of the threesome was the letter “t” in a boxlike shield with the corners trimmed (signifying the date of the pipe as 1918). I use a website that gives the information on hallmarks http://www.silvercollection.it/englishsilverhallmarks.html . The finish on the bowl was shot with darkening spots and worn spots. The grain underneath actually appeared to be quite nice. It looked like it would clean up very well to me. The first three pictures below show the state of the bowl when it arrived in the mail.

ImageImageImage

I took my dental pick and cleaned out the hardened tobacco, both burned and unburned. I collected it on a piece of paper to show the amount of material left in the bowl. It is always interesting to me to think about what had happened in the life of the original smoker to make him pause mid-bowl and stop smoking, set aside his pipe and not come back to it. I also wondered what happened to the stem on this pipe as it seemed that somehow it had been separated from the bowl and was nowhere to be found. I reamed the pipe with my PipNet reamer and dumped the carbon material on the paper as well. The next two pictures show the cleaning of the bowl and removal of the dottle and the cake.

ImageImage

I then set up my heat gun to heat and loosen the band in order to turn it to the correct position on the shank. I heated it using the lowest setting on the gun. I used a cotton cloth to try to turn the band several times before the heat loosened the glue and allowed me to turn it. Once it was loose I removed the band and cleaned off the old glue and the surface of the shank with an alcohol damp cloth. Once it was clean and dry I used some wood glue and spread it over the surface and then pressure fit the band in place and wiped off the excess glue. I used turned the band so that the letters and hallmarks were right side up and straight on the right side of the shank. The next three pictures show the heating and setting of the band as well as the finished set of the band.

ImageImageImage

I then looked through my can of used stems that I have scavenged and purchased until I found one that had the same diameter as the shank and band. I knew that I would have to work on the diameter of the tenon to make it fit the shank. I sanded the tenon until it fit well in the shank. I also needed to use a drill bit to smooth out the interior of the shank. I hand turned a drill bit into the shank until it was the same depth as the tenon and was smooth on the inside. I then used a slightly larger drill bit to set the countersink on the shank so that the stem would fit tightly against the shank. The next four photos show the process of fitting the stem to the shank.

ImageImageImageImage

At this point I topped the bowl rim to smooth out the surface and remove the chewed up surface and the dents and roughness. I used my board and a piece of emery cloth first. I turned the bowl top in a counter clockwise direction with the rim flat against the board and paper. I turned it on the emery cloth and repeatedly checked to see if I removed the damaged surface. I have found that regular checking keeps me from going too far with the topping process. The next four photos show the topping process. As I topped the bowl and cleaned the surface of the bowl exterior, a fairly large crack appeared in the side of the bowl and also on the top of the rim. It is visible in several of the photos at the 7 o’clock position on the bowl surface. It would need some work to repair it and a decision had to be made whether to do so.

ImageImageImageImage

Once it was sanded I wiped the bowl down with some more acetone on a cotton pad to remove the dust from the sanding. I decided to take the time to work on the crack and see if I could repair it with briar dust and superglue. I began by wiping down the bowl with a cotton pad and some acetone. Once the surface was clean I used my dental pick to clean out the crack. It did not seem to go all the way through to the inside of the bowl and as I cleaned it the depth of the crack became very evident. The first three photos below show the surface cleaned and ready to repair. The next two photos show the repairs that have been made with the briar dust and the superglue. I tapped briar dust into the crack first with my dental pick and then dripped the super glue on the rim and the bowl side. The glue on the rim ran and made a large spot of glue that would need to be sanded to clean up the spillage.

ImageImageImageImageImage

I sanded the rim by once again placing a piece of sandpaper on my flat board and sanded the bowl top like I did when I topped it. I used 320 grit sandpaper for the topping cleanup and also used the same grit sandpaper to sand the outside of the bowl. I sanded it again with 400 and 600 grit wet dry sandpaper and water to finish removing the excess glue and preparing the surface for a restaining. The next series of six photos show the repair after it has been sanded and wiped clean. The crack on the side of the bowl has all but disappeared with the briar dust/superglue repair. The one on the top of the rim also was smooth and once it was stained would also be virtually invisible.

ImageImageImageImageImageImage

I sanded the bowl with micromesh pads 1500-4000 grits and then wiped the bowl down a final time with some acetone on a soft cotton pad to prepare it for staining. I decided to use some dark brown aniline stain that I had thinned down 2:1 with isopropyl alcohol. I applied the stain with a wool dauber that came with the stain and then flamed it to set the stain. I reapplied the stain, flamed it a second time and then reapplied the stain a third time with several applications to the rim of the bowl. Each time I flamed it and set it. Once finished I took it to the buffer and buffed the bowl with red Tripoli and then White Diamond to polish it and see the finished look of the pipe to this point. The next three photos show the progress of the staining from first application to the resulting look after buffing with the White Diamond. After buffing the bowl I took it back to the work table and wiped the bowl down with some isopropyl alcohol on a cotton pad to lighten the stain some more as I wanted to make the grain more visible. I rebuffed the pipe with White Diamond and the last three photos below show the pipe after the final buffing.

ImageImageImageImageImage

Image

At that point in the process I went to work on the stem. I sanded the stem with medium grit foam back sanding pad to remove the oxidation. I used a Bic lighter and ran it over the surface of the stem to remove the oxidation on the surface. Once that was finished I sanded the stem with 320 grit sandpaper to remove the scratches and the marks in the stem. I also worked on the taper as there were some tooth dents in the surface of the stem that had changed the flow of the taper in front of the button. Once I had removed the scratches with the sandpaper I then used the micromesh sanding pads. I wet sanded with 1500, 1800 and 2400 grit micromesh and then scrubbed the surface with the Maguiar’s Scratch X2.0. I wiped it off with a cotton pad and then dry sanded the stem with 3200, 3600 and 4000 grit micromesh pads. I then scrubbed it a second time with the Maguiar’s and then gave the stem a coat of Obsidian Oil. Once it was dry I sanded it with 6000, 8000 and 12,000 grit micromesh pads.  I then coated the stem with another coat of Obsidian Oil and then several coats of carnauba wax.

ImageImageImage

I then took the pipe to the buffer and buffed it with White Diamond before coating the entire pipe with carnauba wax. I gave it multiple coats of wax and then buffed it with a clean soft flannel buffing pad. I also polished the silver band with a jeweler’s cloth to remove any remaining tarnish and polish the silver. The four photos below show the finished pipe. It is ready to smoke and enjoy in all of its renewed life.

ImageImageImageImage


A Transformation from a GBD Billiard to a GBD Lovat


Blog by Steve Laug

I picked up this little GBD New Era Billiard while traveling awhile back. It had a cracked and broken stem. The GBD roundel was still intact and in good shape. The bowl was a mess in that the rim was hammered. The top of the rim was chipped and rough. It was also out of round from over reaming. Since I had found it I had been looking for a new stem for a replacement. I had searched EBay and some of my other usual spots to see if I could pick up a GBD stem or even broken pipe that would work for me. This evening I gave up on the hunt and decided to see what I could do with the existing stem. I set out to transform the pipe from a billiard to a lovat by shortening the stem.

ImageImageImageImage

The first step in that process was the shortening of the stem – the removal of the damaged portion of the stem would have to go. I used my Dremel with the sanding drum to remove the broken part of the stem and cut a straight line across it. The next three photos show the stem before the cutting and after. The fourth photo in the series shows the airway in the stem. There was plenty of vulcanite for me to cut a new button on the stem and to open a slot in the button.

ImageImageImageImage

The next series of six photos show the process and results of topping the bowl. I used emery cloth on a solid board to sand away the damage to the rim. I chose the emery cloth because the damage was quite deep and extensive and I wanted to be able to remove the rough briar before sanding the rim with higher grit sandpaper. I hold the pipe with the rim flat against the sandpaper and work the pipe over the surface of the sandpaper in a clockwise motion. I find that this works better than using a horizontal or vertical motion and minimizes the scratches on the surface of the briar. I sanded the top until all of the damage was removed on the rim. There was one spot at about 5 o’clock on the rim where there was a large chunk taken out of the briar. I minimized that as best as I could but could not remove it all without damaging the profile of the pipe.

ImageImageImageImageImageImage

Once the rim was finished I decided to clean the pipe inside and out. I used Everclear and pipe cleaners and cotton swabs to clean out the interior of the pipe and stem and then some acetone on a cotton pad to wipe down the bowl surface. I also sanded the rim with 320 grit sandpaper and went on to use 400 and 600 grit wet dry sandpaper to wet sand the rim. In the four photos below you can see the little lovat being born.

ImageImageImageImage

Once the pipe was clean I decided to work on the slot in the end of the stem before cutting the button. There is no logical order to what I worked on next; it was more a matter of whatever I wanted to look at first. I opened the slot with needle files and started to shape the slot into the oval opening I was aiming for. Once it was roughed in I cut the button on the surface of the stem with needle files. The first two photos show the slot taking shape. The next seven photos show the progress of the button and the adjustments to the slope of the stem. I carved the stem with my files removing vulcanite on the top to flatten the profile of the rounded stem. It took quite a bit of sanding to the top and bottom of the stem to achieve the right angles. I also used folded emery cloth to smooth out the flow and remove the file marks from the surface of the stem. By the seventh photo you can see the progress of the button and the slope quite clearly.

ImageImageImageImageImageImageImageImageImage

The next series of six photos show my next steps in shaping the stem. I put it back on the pipe and continued to work on the slope of the stem surface and the definition of the button. By the sixth photo the stem is virtually done in terms of shaping. I finished cutting the slot and smoothing it out by a folded piece of sandpaper. I also sanded the remaining parts of the stem on the saddle to remove the oxidation that was prevalent on that stem as a whole.

ImageImageImageImageImageImage

Once the shaping was finished and the rough sanding done to the surface of the stem I progressed through 320 grit sandpaper and 400 and 600 wet dry sandpaper used wet to remove the scratches left behind by the emery paper. It took quite a bit of fine sanding to work around the roundel and not damage the stamping of the brass. When I finished with the sandpapers I worked with micromesh sanding pads. I used the first three grits – 1500, 1800 and 2400 and wet sanded the stem. I find that the rounded corners of the sanding pads allow me to work closely around the roundel and clean up the oxidation and scratches.

ImageImage

I then polished the stem with Maguiar’s Scratch X 2.0 to remove the surface scratches and to see what remained to work on in terms scratches and marks. I rub the polishing compound on with my finger and work it over the surface of the stem and into the angles of the button. Once it is applied that way I scrub it with a cotton pad to polish and remove the compound. I then sanded it with the next three grits of micromesh – 3200, 3600 and 4000. I dry sanded with these grits and began to see a deep shine emerging. Once finished with the 4000 grit I rubbed the stem down with Obsidian Oil and set it aside. I then stained the pipe with medium brown aniline stain that I thinned down 2:1 with isopropyl. I flamed the stain to set it and then reapplied the stain, flamed it again and then reapplied it to the rim a third time and flamed it. I took it to the buffer and used Tripoli and White Diamond to buff it. I wiped the bowl down with isopropyl on a soft cotton pad to lighten the stain and make the grain variations more visible. I put the stem back on the pipe and finished sanding it with the final three grits of micromesh – 6000, 8000, 12,000. After dry sanding with these pads I took the pipe to the buffer and buffed it with White Diamond. I finished by giving pipe and stem several coatings of carnauba wax and buffing with a soft flannel buff. The new little lovat is pictured in the four photos below.

ImageImageImageImage

Reworking the Stem on a Weber Oom Paul


I decided to save the final pipe of the six I picked up in the states a few weekends ago for last. I knew it would take a bit more work to redo and wanted to take time focusing on it at the end of the cleanup work on the six. It was a Weber Imported Briar smooth finish in an Oom Paul shape. It is stamped on the left side of the shank with Weber in the oval and underneath it in script is stamped Imported Briar. The briar on this was in fairly decent shape and the stem was good other than a chunk that had been bitten or broken out of the button on the top edge. It was solid and the oxidation was actually quite light. The shape of the stem and the thickness of the vulcanite material left me lots of room to work with in reshaping the button. The next series of photos show the pipe as it was when I picked it up.

ImageImageImage

The bowl needed to be reamed and the rim needed to be cleaned of the tars and build up. The finish was a dirty but looked like it would clean up easily. The stem was oxidized a slight bit and the bend in the stem had straightened and would need to be rebent after the new button was cut. The shank had a sump like the Peterson system pipes that was full of tars and grime. That would need to be cleaned out. The stinger apparatus that was a working part of the Weber pipes was tarred and black.

The next series of photos show the pipe after I wiped it down with some acetone to clean the finish and worked on the tars on the rim of the bowl. I also sanded the rim with some 320 grit sandpaper to remove the tars and smooth out the rim.

ImageImageImageImage

I decided to tackle the stem first and rework the button. The first photo below shows the chunk that is missing from the stem. It was quite deep and was not repairable with my usual fixes. So in order to use the same stem I would need to cut back the stem to remove the break and then to reshape the button and the slot. The Weber slot is quite open and oval shaped so I would need to reshape the opening in the slot once I had reshaped the button. I used my Dremel with a sanding drum to cut away the broken part of the stem and to even it out until I had some good thickness in the stem material above and below the airway to work with in cutting the new button. The second, third and fourth photos show the stem after I removed the broken part with the Dremel. You can also see the work that would have to be done in reshaping the button and opening up the new slot.

ImageImageImageImage

After I cut the stem I set it aside and reamed the bowl to remove the cake and even up the walls of the bowl. The existing cake was heavy in the top of the bowl and light in the lower portion. I wanted to ream it back to bare wood so I could build up a new even hard cake. I used a KleenReem pipe reamer at first to ream the bowl back (photos 1 and 2 below). The problem is that the KleenReem does not clean out the bottom of the bowl very well so I finished reaming it with my PipNet reamer and the T handle (photo 3 below). I also used the drill bit that comes with the KleenReem to clear out the airway to the bowl. It was pretty gummed up so that cleared out the airway. I also cleaned out the shank and mortise with cotton swabs and pipe cleaners and Everclear. Once the pipe cleaners and cotton swabs came out clean I was ready to work on the outside of the bowl. I have included a fourth photo in the series to show you the bowl after reaming.

ImageImageImageImage

I wiped the bowl down with acetone again to remove the lasts of the grime and the buildup on the rim of the bowl. Once that was done I set it aside and began to work on the stem. The wiped down bowl is visible in the photo below.

Image

The next series of twelve photos shows the cutting of the new button on the stem. I used three different needle files to cut the button into the existing stem. You can trace the progress of the new button by the series of photos. I begin by cutting a straight line across the top of the stem and the bottom of the stem. I work to make both sides of the stem match one another so that the edge of the button is consistent on the top and the bottom. I do this initial cut with a flat rectangular blade needle file. I hold it firmly on the work table with one hand and work the file into the surface of the stem. Once I have the line defined on top and bottom I work the file like a carving knife against the new edge. I repeat the cut on the edge several times as the stem begins to taper into the button. I work the flat rectangular file first and then move through different flat edged files that have slightly different tooth patterns to keep carving away the vulcanite. By the last few photos you can see the shape of the button and the taper that works down the stem toward the new button.

ImageImageImageImageImageImageImageImageImageImageImageImage

Once the button is at the place pictured above I move to work on the slot in the button. I wanted to open up the airway to match the other Weber stems that I have in my collection. If you can picture an American football, that is about the normal shape of the Weber slot. The next series of four photos shows the progress of the slot. I used a variety of smaller needle files – round, oval, flat and rectangular – to open the airway. Once I had it opened and shaped I used a folded piece of sandpaper (320 grit) to sand the opening and smooth it out. The last two photos show the shape of the slot when I had finished this part of the process.

ImageImageImageImage

Once the slot was cut I needed to sand the stem to remove all the cut marks from the files and smooth out the surface and flow of the stem. The next four photos show the work with sandpapers and emery cloth. I began with folded medium grit emery cloth and worked through the medium grit sanding sponge and then 220 and 240 grit sandpaper. When I finished sanding with these sandpapers the oxidation was gone and the file marks were removed. The new button is very visible and the edge is well defined. It feels great in the mouth and catches nicely behind the teeth. The slot is smooth and the draw is open.

ImageImageImageImage

In the last two photos above you can see that the stem needs to be bent to make it look right and hang correctly in the mouth. I set up my heat gun on the table and inserted a pipe cleaner in the stem. When I am bending a stem I do not want to put a kink in the airway or somehow collapse the airway in the process. Once I have this ready I turn the heat gun on the lowest setting and hold the stem about 2-3 inches above the tip of the gun. If you hold it to close the stem bubbles and the vulcanite can burn. I heat it until it straightens further and that gives me a good sign that the stem is pliable enough to bend. I either use a piece of dowel or some other round tool handle that has the proper bend that I am going for with the stem. I lay the heated stem over the handle or dowel and press the stem downward to comply with the bend. Once I have it where I want it I let it sit for a few moments and then submerge the end of the stem under cool water. The first two photos below show the process of heating the stem and bending it over the tool handle. I repeated this bending process several times to get the bend that I wanted in the stem. The third photo shows the stem after it has been cooled off. This was the angle that I wanted on the stem. All that remained was to do some more sanding to the surface to smooth it out.

ImageImageImage

The next series of four photos show the pipe after the sanding has been finished. I wet sanded the stem with 400 and 600 grit wet dry sandpaper to further remove the scratches left by the previous sandpapers. I then used micromesh sanding pads 1500, 1800 and 2400 grit with water and wet sanded the stem further. I sanded the stem on the pipe be careful around the shank. I removed it from the shank to really smooth out the scratches around the saddle area of the stem. I sanded the button and the slot edges with the same grit micromesh until they were smooth and matte finished. I then polished the stem with Maguiar’s Scratch X2.0 rubbed on by hand and then scrubbed with a cotton pad. I sanded further with micromesh sanding pads 3200, 3600 and 4000 grit this time using water on the first two grits and then finishing that trio up by dry sanding with the 4000 grit pad. I coated the stem with Obsidian Oil and let it soak in before taking it to the buffer and buffing with White Diamond both the pipe and the stem. I took it back to the table and finished dry sanding with 6000, 8000, 12,000 grit micromesh sanding pads. I buffed the stem and pipe with several coats of carnauba wax to bring it to a shine.

ImageImageImageImage

One of the perks of working on this pipe was that I did not need to restain it or remove the finish on the bowl and start over. The finish was salvageable and the darkening on the rim is smooth but in hand it is much lighter than it appears in the photo above.


Resurrecting an Old Weber Silver Grain Apple


Blog by Steve Laug

The fifth pipe of the six that I picked up in the antique malls in Washington State is a Weber Silver Grain Apple. It was probably the cleanest of the six in terms of work that would need to be done to bring it back to life and usefulness. The stem was oxidized and very pitted. The vulcanite was actually rough to touch. It was not the typical roughness I have come to expect in old vulcanite stems but more pitted with visible pits and ridges. There were two tooth marks – one on the top and one on the bottom of the stem about ½ inch above the edge of the button. The button itself was still very clean and the slot was the typical wide open oval that I have found on most of the older Weber pipes I have worked on. It was stamped Weber over SILVERGRAIN on the left side of the shank and IMPORTED BRIAR on the right side of the shank. On the underside of the shank there were some fairly deep gouges to the briar. The finish was not too bad just very dirty. The rim and inside lip of the bowl were very caked with tars and buildup and the bowl was caked with a light build up that was uneven around the sides of the bowl. There were also dings in the sides of the bowl that would need work. The W in a circle stamping on the stem was basically gone other than a small bottom edge of the circle. The silver band was dirty.

ImageImageImageImage

I decided to start work on this refurb by reaming the bowl and cleaning the bowl and shank. I used cotton swabs on the shank as it is a wide open drill from mortise to bowl. I believe this is because of the stinger apparatus that the Weber pipes used. It creates a chamber where the smoke swirls around the stinger and cools as it is then drawn to the stem and the mouth of the smoker. Once the bowl and shank were clean I worked on the outside of the bowl. I first lightly sanded the tars and buildup on the rim and the inner edge of the bowl to remove them. I used 320 grit sandpaper and lightly worked the area over to remove the buildup and to work on the inner edge. Once the rim was free of the tars and buildup I wiped the bowl and rim down with acetone on a cotton pad. The first wipe of that can be seen in the dark stains on the cotton pad in the pictures below. I also sanded the deep marks on the bottom of the shank. I steamed them a little to raise them and then sanded them to be as smooth as possible. I could not remove them entirely as the wood fibres were broken and would not rise totally. Sanding it to make it smooth would change the profile of the bottom of the shank so I brought is as far up as I could and smoothed out the roughness with the 320 grit sandpaper. I also cleaned the silver band with some tarnish remover and a jewelers polishing cloth. The band is stamped STERLING and came back to a clean shine.

ImageImageImageImage

Once I had removed the grime and tars from the bowl and shank I took it to the buffer and buffed the pipe with Tripoli and White Diamond. The resultant shine and colour was excellent so I decided not to restain the pipe at all but to leave it natural and give it some wax. The next series of photos show the bowl and shank when I had finished the buffing. The stamping is still crisp and sharp as I lightly buffed over those areas. I also buffed the stem to remove some of the roughness of the vulcanite and prepare it for sanding. I did a bit of sanding around the tooth marks and chatter in front of the button before buffing.

ImageImageImageImage

The stem was in need of quite a bit of work. I buffed it to begin with using Red Tripoli and then took it back to the work table to sand it with a medium grit sandpaper on a foam back to allow me to really work with the angles of the stem and button. I sanded with that sandpaper until the surface began to get smooth and I could feel the smoothness. I then progressed to the 320 grit sandpaper and worked on it longer. It took quite a bit of sanding to remove the ridges and pits. Once I had it to that point I decided to use the Maguiar’s Scratch X 2.0 and rubbed it on by hand and scrubbed the stem with a soft cotton pad to clean off the polish and the oxidation. I then worked with my micromesh sanding pads and wet sanded with the 1500-3200 grit pads. I then used another wipe down with Maguiar’s and then used the 3600-6000 grit pads on it. The next series of photos show the stem after all of the work described above and you can still see the roughness of the finish and the pitted oxidized state of the stem.ImageImageImage

At this point in the process I started over with my sanding of the stem. I again used the medium grit foam back sanding sponge and broke up the finish. I wanted to smooth out the pits in the vulcanite. I sanded and buffed with red Tripoli and then sanded it once again with the foam back sanding sponge. I wiped it down with a damp cloth and could see that I was finally gaining some ground on the roughness of the stem. I then sanded it with some 320 grit sandpaper and dampened the stem before sanding. I sanded it until the stem was smooth to my touch. I again wiped it down with a cotton pad and was ready to move on to the 400 and 600 grit wet dry sandpaper. I sanded the entire stem with these two grits and then buffed it with White Diamond and was pleased to see that I had the oxidation beat and the pitting was minimized. I then wet sanded with 1500, 1800 and 2400 grit micromesh sanding pads, polished the stem with Maguiar’s Scratch X2.0 and then moved on to 3200-4000 grit micromesh pads. I dry sanded with these pads and then took the stem and pipe to the buffer again and buffed it with White Diamond. I brought it back to the work table and wiped it down with some Obsidian Oil and let it dry while I did a few other things. Once it was dry I finished sanding with 6000, 8000 and 12,000 grit micromesh pads. I used these dry and once I was finished I gave the bowl another coating of wax and the stem a coating of Obsidian Oil and then several coats of carnauba wax. The finished pipe is pictured in the next series of photos.ImageImageImageImage

The bowl is only finished with multiple coats of carnauba wax and buffed and polished. I did not use any stain on the bowl. In the final photo above you can see the dent in the bottom of the shank that remains but the roughness of the edges has been minimized. The silver band was also coated with several coats of wax to slow down the tarnishing. I lightly buffed the whole pipe on my buffer with a soft flannel buffing pad.

Restemming and Refurbishing an Italian No Name Dublin


This is the fourth pipe of the six I picked up recently on a visit to some antique malls in the US. The stamping was not present on the top or bottom of the shank. The bowl had an interesting shape to me when I saw it on the shelf of pipes in the shop. It did not have a stem. The grain on it was very nice looking. The stain was spotty and the finish damaged – it had a coat of varnish or something over the finish that was broken and spotty. Where the varnish remained the colour was rich and where the varnish was gone the finish was lighter and soiled. The rim had been damaged on the outer edge of the bowl to the point that it was round on the front. There was a lighter burn on the inside edge of the bowl toward the front of the bowl. Once I got it home and cleaned it up a bit I found that the shank had a long ½ inch crack that followed the grain on the bottom of the shank. The first two photos below show the bowl before I worked on it. I used my PIMO tenon turner to fit a stem to the pipe before I did any work on the bowl. The new stem is visible in the first two pictures as well. The stem needed to be worked on for a good fit but I did not want to push it into the mortise as I had to deal with the crack before working on the tenon for a snug fit.

ImageImage

The next photo shows the crack in the shank. I used a dental pick to open it up so that I could drip super glue into the crack. I dripped the glue in and then clamped it until it was set and dry. There was some minimal excess of the glue that I removed by sanding the shank with 320 grit sandpaper to remove the drops. Once that was done I fit the stem to the shank by hand sanding the tenon until it was a snug fit. I knew from previous experience that once I banded the shank I would need to remove a bit more material from the tenon in order to make it fit snugly. The second photo below shows the fit of the stem. I used my Dremel with a sanding drum to remove the excess vulcanite from the stem so that the flow would be smooth between the shank and the stem. I also sanded the seams on the stem and the button and faced the surface of the button to remove the excess vulcanite.

ImageImage

I heated a nickel band with my heat gun and then pressure fitted it on the shank at this point. I wanted the fit to be tight and to draw in the crack further. Once the pipe was banded I needed to remove more vulcanite from the stem to make it fit against the band. The photos below show the band after it has been pressure fitted and the stem after I used the Dremel to remove more of the excess vulcanite to make it fit. The main feature of the photos though is the process I used in topping the bowl. The first photo shows the bowl with the rim flat against some 220 grit sandpaper on a flat board that I use as a sanding surface for topping bowls. The second photo shows the bowl after I have been topping it in a circular motion on the sandpaper for quite a while. You can clearly see the burn mark and the damage to the back and the front of the bowl. The third photo shows the bowl when I am finished topping it. I finished the sanding with a fine grit sanding block (the yellow sanding sponge in the final photo). The damage to the back and front edges of the rim is gone. The burn has been minimized and the briar under the darkened spot is solid and smooth. The staining will minimize the damage even more once it is done.

ImageImageImage

The next two photos show the bowl after I wiped it down with acetone to break up the remaining varnish on the outside of the bowl. It took quite a bit of scrubbing with acetone on cotton pads to remove the remnants of that coating. I also sanded the bowl with 340 grit sandpaper to further remove the coating and wiped it down a final time with acetone. I also sanded the stem with medium grit Emery paper to remove the deep scratches from the sanding drum and followed that up with 240 and 320 grit sandpaper. The fit of the stem can be seen in the two photos as well.

ImageImage

At this point in the process I stained the bowl with a dark brown aniline stain that I had diluted with isopropyl alcohol in a 3:1 ratio. I wanted the stain to be slightly opaque to hide the remaining darkening of the burn but I still wanted to highlight the grain in the briar. The four photos below show the stain after it has been applied, flamed, reapplied and stained a second time. I applied it with the dauber that comes with the stains and as soon as the bowl was covered I lit it on fire to set the stain and burn off the alcohol.

ImageImageImageImage

The next three photos, though out of focus, give an idea of what the pipe looked like after I buffed it with Tripoli and White Diamond. The colour is strong throughout, the rim has an opacity that is what I was aiming for and the bowl still shows the grain patterns very clearly. I am pleased with the overall look of the pipe at this point. I also buffed the stem with Tripoli and White Diamond as well as I wanted to get a clear idea of the status of the scratching. After buffing the stem I set up my heat gun and heated the stem in order to give it a quarter bend. Once it was heated I used a round dowel to bend it evenly and then held it in place until it was cool. I ran cool water over the stem to set the bend and then took it back to my desk work on it further.

ImageImageImage

I took the pipe back to the work table and worked on the stem. I used micromesh sanding disks and wet sanded the stem with 1500, 1800 and 2400 grits. When that was finished I polished the stem with Maguiar’s Scratch X 2.0 rubbed on by hand and polished off with a cotton pad.  I then dry sanded with micromesh sanding pads using 3200, 3600, 4000 grit. I gave the stem a coat of Obsidian Oil and rubbed it into the stem. Once dry I finished sanding with 6000, 8000 and 12,000 grit micromesh pads. I took the pipe to the buffer for a final buff with White Diamond and then gave the entirety several coats of carnauba wax and buffed it with a soft, clean flannel buffing pad. The next series of photos show the finished pipe.

ImageImageImageImage