Over the years I have cleaned up a lot of badly abused estate pipes that the previous owner utterly smoked to death. I have seen bubbles in the varnish of the outer bowl coating on varnished pipes. I have seen darkening on the sides of the bowl from smoking with oily hands. I have seen rims caked with a thick coating of tar to the point of being 1/8 inch thick rolling down the sides like lava. I have seen cake so thick that I could not stand a pipe nail in the bowl. I have seen bowls that are cracked down the sides from having the cake and briar expand at different rates and the cake being so thick that there was nowhere for it to go but out. I have seen burned out bowl bottoms that followed over reaming of the pipe. I have seen airways so plugged that I could barely pass a paper clip through it. I have seen gunk so built up at the shank stem junction that it is bubbling out of the joint with thick hard grime. I have seen buttons and slots so plugged that the airway is a small hole that would make smoking the pipe like sipping through a coffee stirrer. I am sure that I could go on and on with more of those horrendous descriptions that make me shake my head in wonder at how a pipe could get that bad without the pipeman paying any attention to the degradation of the smoke. But I will not go on. Rather I want to turn my thoughts to a solution and some prevention.
I have come to the conclusion that for a pipe to get as bad as the ones that I have cleaned and restored it would not happen overnight but that it would take a gradual almost unnoticeable process to get to that point. A failure to clean the pipe after each smoke and a periodic more thorough cleaning leads to an accumulation of tars, moisture and dottle in the pipe and shank. These combine to make a slow but consistent deterioration of the pipe. I have seen a pipe at its worst and at its pristine first smoke and have developed my own cleaning ritual to keep my pipes smoking clean and dry. It is that ritual that I am writing about in this post. It is a cleaning process that occurs before, during and after each smoke and has become an almost rote pattern for me.
Tools Needed:
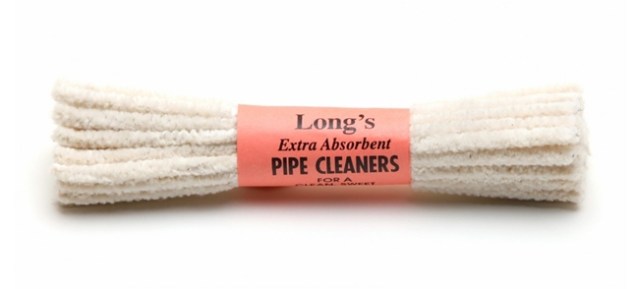
- Pipe Cleaners – tapered, bristle and regular or extra fluffy pipe cleaners

- Alcohol – High % Isopropyl (I use 91% and 99% when I can get it) or grain alcohol
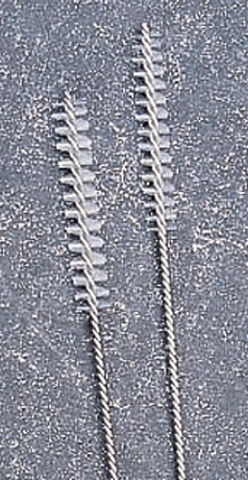
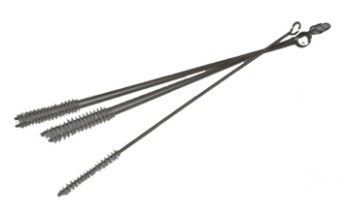
- Shank brushes
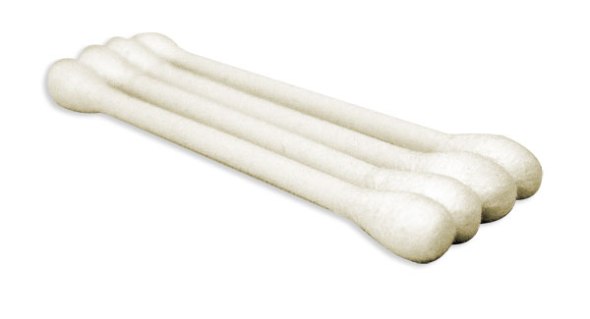
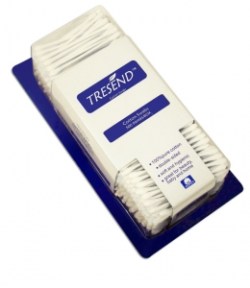
- Cotton swab – either generic or q-tips – these are soft cotton bolls attached to a length of cardboard or wooden stick.
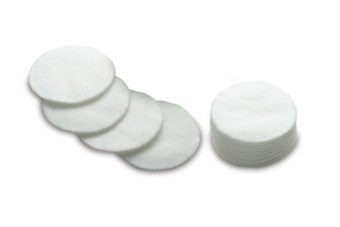
- Cotton pads (I use women’s makeup removal pads that are found in most drug and dollar stores. These are multipurpose and work well on rims, stems etc.)
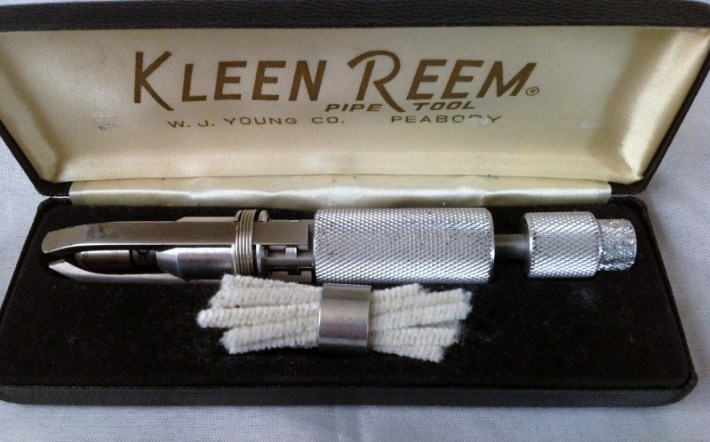
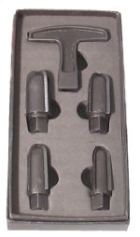
- Pipe reamer – I have written elsewhere on this blog about the two reamers I use the most, the Senior/Kleen Reem Pipe Tool and the PipNet T handle and interchangeable blade heads. I also have a large assortment of other reamers that I have collected over the years.
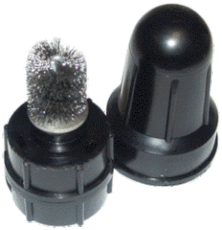
- Battery Terminal Brush – I find that this brush is soft brass bristle and is ¾ inch in diameter and works well to give a quick swipe of the bowl.
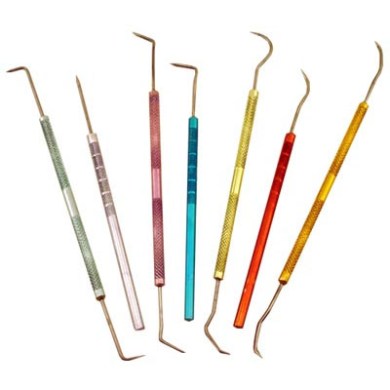
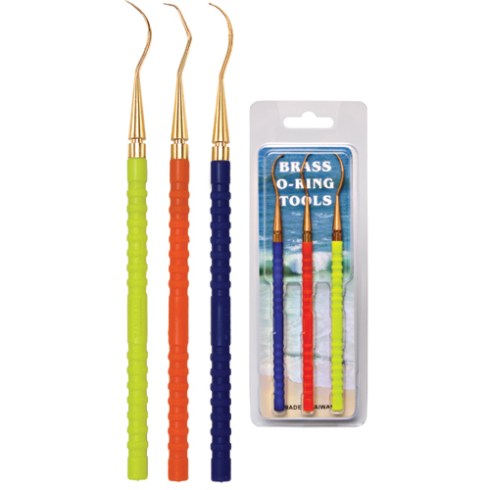
- Pipe tool or pick – I personally use a dental pick that I picked up at a tool shop and it is a versatile tool for cleaning shanks and bowls. O-Ring picks can also work well.
Before going into the process of cleaning my pipes and the methods I use I thought it would be a good idea to speak about resting your pipes. I have learned over the years to smoke a pipe throughout the day and then set it aside to rest. I have quite a few pipes so this is easily done. I move through about seven pipes a week and set them aside to dry out and air. I set them in a rack or upright on my desk bowl down so that the moisture in the stem drops to the bowl and air dries before I smoke it another day. I have a seven slot rack that holds the pipes for the week and after smoking I clean and return them to the rack. This is often called a smoking rotation. When I first bought a pipe I smoked it until it tasted awful and then set it aside and bought a new one. I have since learned that if I want to optimize the smoking characteristics of any of my pipes I rest them between smokes. Some folks carry this even farther than I do and smoke a pipe once, set it aside and pick up another. I do not do that and have chosen to smoke the same pipe throughout a given day before setting it aside to rest. It has worked well for me.
I have broken down my cleaning ritual into four distinct parts: before a smoke, during a smoke, after a smoke and then the periodic cleaning I do weekly or monthly. I will describe the each part of my ritual.
Before A Smoke
Every time I pick up a pipe to smoke there is a routine that has become part of the process for me. I blow through it make sure the airway is open and the run a pipe cleaner, either bristle or regular, through the stem to dislodge any leftover ash and pieces of unburned tobacco. I will the fold the pipe cleaner into a U shape and run it around the inside of the bow to remove any loose pieces of tobacco or pipe cleaner fuzz from the bowl. Once I have done that I gently tap my pipe on the palm of my hand and then proceed to pack a bowl as usual. This has become second nature to me whenever I pick up a pipe. It is so much a part of my ritual that when I am looking for estates in antique malls and flea markets that my wife reminds me not to put it in my mouth to blow through it until I have cleaned it! This process has kept me from loading and lighting a bowl with detritus in the airway.
During a Smoke
After cleaning and repairing many blackened and charred rims I am almost anal about how I light my pipes. When I use a match I hold it about a ½ inch or more above the bowl and draw the flame into the tobacco. I am careful to not let the match sit against the rim lest it burn it. When I use a lighter I do the same and keep the flame over the tobacco. If the rim begins to darken or get a bit of buildup you can usually remove it by moistening a cotton pad or swab with saliva and gently rubbing the rim of the pipe with it. I have found that doing this while the pipe is still warm facilitates the removal of the grime. As it heats it softens. If you pay attention and keep the rim clean and are careful when you light your pipe you will eliminate the cause of the charred, blackened rims so common estate pipe finds.
When I am smoking I am also paying attention to the taste of the pipe. If it gets to the point that the smoke is sour, bitter or off from what you normally experience with the pipe and tobacco you will want to do a more thorough cleaning. However, I find that this is quite rare when I keep the interior of the bowl and stem clean after each smoke.
After a Smoke
Once I have finished a bowl of tobacco I empty out the remaining ash. I also insert a pipe cleaner and clean out the shank and stem. I will often dampen the end of the cleaner in my mouth before inserting it in the button. I extend it into the bowl just a short distance as I do not want to wear a slot in the bottom of the bowl. I am primarily concerned with cleaning the airway at this point. I also work it from side to side in the slot and pay special attention to getting the edges of the slot clean in the button. This is something I also picked up from my refurbishing. I find that the slot will often fill along the edges and gradually close off so I work the pipe cleaner from side to side to keep the button and slot clean. I remove the cleaner and fold it in a U and swab out the inside of the bowl to remove ash and loose pieces of tobacco that did not burn. I tap it lightly against my hand and then use a second cleaner to remove any leftover moisture from the inside of the pipe and stem.
I don’t take apart the pipe while it is warm as I have heard often enough that to do so will loosen the fit and can cause a cracked shank. I have not experienced that first hand but don’t really want to go through that so I let it cool before taking it apart. It is my habit to take the pipe apart when I do the periodic/monthly cleaning. When I have cleaned the pipe I blow through it to make sure it is good and clean and then use the second pipe cleaner for a final time. I wipe down the outside of the bowl with a cloth that I have impregnated with Briar Wipe or a use a microfibre cloth. I wipe off the bowl and rim as well as the stem and give a soft buff with the cloth before I set the pipe back in the rack or on my desk with the stem up. I generally allow my pipes to rest for 4-5 days before smoking them again.
Monthly or Periodic Cleaning
I find that once a month or every six weeks I break down the pipes I have smoked during that time period and give them a more thorough cleaning than what I do immediately after smoking them. Some folks do this weekly but I have found that the monthly cleaning works best for my schedule and style of smoking. My process is spelled out as follows:
I spread out a clean cotton towel on my desk or work table and carefully remove the stem from each of the pipes I am cleaning. I lay them on the towel next to each other and work my way through the lot doing the same procedure to each one. I dip a regular pipe cleaner in alcohol and run it through the stem, from the tenon to the mouthpiece, pulling it through. If I have cleaned my pipes well after each smoke then it is likely that they will come out pretty clean. There always is a bit of oils and tars on the pipe cleaner that the alcohol draws out better than the saliva I use after the smoke. I repeat this process with a dry pipe cleaner, and then use an alcohol dipped one until the pipe cleaner comes out clean. When it is clean I use one final dry pipe cleaner to remove any moisture then I set the stem aside. I have found that if I continue the same process with several pipe stems before moving on to the bowls I can move the cleaning along more smoothly. Maybe it is part of my “system guy” thing but I find the completion of one part of the task refreshing before moving to the next part of my ritual.
I then move on to the bowl and shanks. I use bristle pipe cleaners and pipe shank brushes that have been moistened with alcohol to scrub the inside of the mortise and the airway into the bowl. I am careful not to push the pipe cleaner too far into the bowl as I have seen in my refurbishing pipes that had this done and the bottom of the bowl was grooved and the wall of the bowl dented by repeated over extending of the pipe cleaner (they are wire in the center and they do make an impact over time). I alternate the cleaning with dry, regular pipe cleaners. I will often use a lot of pipe cleaners to get the shank airway clean. I also use a cotton swab dampened with alcohol to clean out the mortise area and the flat area at the bottom of the mortise where the tenon sits. I have found that the cotton swabs allow you to thoroughly clean the mortise well. I alternate between alcohol dampened swabs and dry ones until they come out clean. I use a cotton pad to wipe off any remaining build up on the rim then reinsert the stem in the bowl before I give the pipe a coat of carnauba wax (if you do not have a buffer you can use Paragon Wax for smooth bowls and Halcyon II for rusticated and sandblasted bowls). I polish the wax either by hand or with a soft buff with a flannel pad. If the stem or bowl has a band I polish it with a jeweler’s cloth or a good silver or metal polish. When the pipe is cleaned and shined I put it back in the rack and let it sit for a day or so to thoroughly dry out before smoking it.
