Refinished Rims and Touch-Ups – Alan Chestnutt


A while ago Alan posted this on Smokers Forums and I kept a copy of it. We spoke of the process and how well it worked. Since then I have been hunting for them in my area and so far no luck. I thought I would post Alan’s piece so that you all could read it and give it a try. Let us know how it works.

When restoring pipes, I nearly always like to refinish the rim. I think a nice clean sharp rim always sets a pipe off. As well as this it is just as easy to sand and refinish a rim as to try to remove tar and staining to the old rim. One of the problems though in refinishing a rim is trying to match the stain to the rest of the bowl. I always shied away from getting leather dyes, simply because you would need to be artist to be able to correctly mix all the differing shades.

I always remember my grandfather staining shoes and the smell of the dye always lingered in my brain. In more recent times that memory was triggered when smelling a sharpie marker, so my thoughts were that it must contain a similar alcohol based dye. I used a sharpie a few years ago to restain a black sandblast bowl and it worked a treat. “If only they were available in shades of brown” I thought to myself.

So while walking through a local discount store a few months ago, I spied furniture repair markers. Exactly what I had been thinking of.

pens

They come in 5 shades of brown plus black and cost £2 (about 3 bucks). I couldn’t wait to get home and try them. They are a chisel shape marker and apply a translucent stain exactly like an alcohol dye. Perfect! With the variety of shades a match can be made 99% of the time by application of a couple of coats or moving to the next darker shade. Simply cover the rim by wiping the marker over it and a few seconds later remove the excess with a soft cloth.

pens2
A refinished Tilshead rim.

They are excellent for touch ups on other areas of the pipe and I often use them to just refinish the whole pipe to brighten up the grain. Needless to say I acquired a few more packs, but I have refinished literally hundreds of pipes and I am still on my first pack. Simple to use, no mess, a variety of shades and cheap. I class them as my best purchase ever for restoring pipes, so keep your eyes open for them. Available on eBay too, but at a premium.

They are excellent for touch ups on other areas of the pipe and I often use them to just refinish the whole pipe to brighten up the grain. Needless to say I acquired a few more packs, but I have refinished literally hundreds of pipes and I am still on my first pack. Simple to use, no mess, a variety of shades and cheap. I class them as my best purchase ever for restoring pipes, so keep your eyes open for them. Available on eBay too, but at a premium.

Mark Twain on Nicotine Nannies – The Moral Statistician


I came across this old file on my computer and thought I would pass it on to you all. I always enjoy Mark Twain and here he takes on the nannies who would tell us how to live our lives. Incredibly refreshing to read!

Originally published in Sketches, Old and New, 1893

Image
I don’t want any of your statistics; I took your whole batch and lit my pipe with it.
I hate your kind of people. You are always ciphering out how much a man’s health is injured, and how much his intellect is impaired, and how many pitiful dollars and cents he wastes in the course of ninety-two years’ indulgence in the fatal practice of smoking; and in the equally fatal practice of drinking coffee; and in playing billiards occasionally; and in taking a glass of wine at dinner, etc. etc. And you are always figuring out how many women have been burned to death because of the dangerous fashion of wearing expansive hoops, etc. etc. You never see more than one side of the question.

You are blind to the fact that most old men in America smoke and drink coffee, although, according to your theory, they ought to have died young; and that hearty old Englishmen drink wine and survive it, and portly old Dutchmen both drink and smoke freely, and yet grow older and fatter all the time. And you never try to find out how much solid comfort, relaxation, and enjoyment a man derives from smoking in the course of a lifetime (which is worth ten times the money he would save by letting it alone), nor the appalling aggregate of happiness lost in a lifetime by your kind of people from not smoking. Of course you can save money by denying yourself all those little vicious enjoyments for fifty years; but then what can you do with it? What use can you put it to? Money can’t save your infinitesimal soul. All the use that money can be put to is to purchase comfort and enjoyment in this life; therefore, as you are an enemy to comfort and enjoyment where is the use of accumulating cash?

It won’t do for you to say that you can use it to better purpose in furnishing a good table, and in charities, and in supporting tract societies, because you know yourself that you people who have no petty vices are never known to give away a cent, and that you stint yourselves so in the matter of food that you are always feeble and hungry. And you never dare to laugh in the daytime for fear some poor wretch, seeing you in a good humor, will try to borrow a dollar of you; and in church you are always down on your knees, with your ears buried in the cushion, when the contribution-box comes around; and you never give the revenue officers a full statement of your income.

Now you know all these things yourself, don’t you? Very well, then what is the use of your stringing out your miserable lives to a lean and withered old age? What is the use of your saving money that is so utterly worthless to you? In a word, why don’t you go off somewhere and die, and not be always trying to seduce people into becoming as ornery and unlovable as you are yourselves, by your villainous “moral statistics”?

Now, I don’t approve of dissipation, and I don’t indulge in it either; but I haven’t a particle of confidence in a man who has no redeeming petty vices. And so I don’t want to hear from you any more. I think you are the very same man who read me a long lecture last week about the degrading vice of smoking cigars, and then came back, in my absence, with your reprehensible fire-proof gloves on, and carried off my beautiful parlor stove.

Restoring and Reclaiming a Byford Prince


I was gifted three old pipes by a friend on Smokers Forums. The first that caught my attention was an older Byford Prince. It was pretty worn but the wood was in good shape under the wear and tear. The stem was shot. It had a split along the stop side and was missing a few pieces. When I removed it I found that it was quite brittle. Once I took the stem off I found the most interesting system inside. The shank had an aluminum attachment which held two metal tubes inside of it. On the inside of the broken stem was a third metal tube. These formed three concentric, nested circles which wicked out the moisture of the smoke while not hampering the flow of air in the pipe from bowl to button. The photo below shows magnified picture of the interior of the stem and shank.

Byford Pipes

The stem was so broken and damaged that I was not sure how the flow of the angles on the taper was supposed to look. I did not know what the button and the stem were supposed to be like. I did a search on the internet and found this photo of a Byford stem that showed the proper angles on the stem. I used the stem in the photo as a template for my replacement stem. I made one modification which I will speak about in the explanation of the restemming below.

Byford stem

The next photo shows the interior of the stem and shank – the system part of the pipe. The tube in the stem sits between the other two tubes in the shank creating three rings on the inside of the shank and stem. It looked like this stem apparatus would be a bear to clean up. I would have to used cotton swabs, folded pipe cleaners and whatever I could to get in between the layers.

Byford2

The bowl was badly caked with a broken cake. It was soft rather than hard. There was also a buildup of some blue substance on the bowl. I am not sure what it was but it smelled suspiciously like a mold. The stem as you can see in the poor quality pictures below was damaged beyond repair. The aluminum band or shank end was oxidized and rough. Underneath all of the grime it was a beautiful piece of briar. The shape is a well executed prince. The old stem seemed a bit long to my liking so the new one would be slightly shorter and accommodate the lines of the one in the photo.

IMG_1012

IMG_1013

IMG_1014

I removed the old stem and went through my box of stem and found what I was looking for. The drilling on this had to be very wide to accommodate the apparatus on the system of the Byford pictured above. This older style stem had exactly the right fit. It slipped into place and looked good. It was a bit flared on each side and on the top and bottom so that would need to be sanded back to a flush angle. In the photo below you can see the fit of the new stem before I did any shaping on it. You can also see the blue/green substance on the bowl.

IMG_1019

I used a Dremel with a sanding drum to remove the excess vulcanite and shape the stem to the proper angles. I reamed the bowl with a PipNet reamer starting with the smallest head and working up to the third head which took the cake back to bare wood. I wanted to remove the cake and whatever the buildup on the bowl and rim that was there.

IMG_1024

IMG_1025

IMG_1026

After reaming the bowl back I sanded the rim and inner edge with a fine grit sanding sponge to remove the remaining blue/green substance. I also sanded the inside of the bowl smooth to remove any thing that was buildup on the inside edges. I sanded the stem with 220 grit sandpaper to remove the scratches caused by the Dremel and sanding drum. I sanded the exterior of the bowl and the oxidized aluminum on the shank end with the fine grit sanding sponge as well. The next three photos below show the state of the bowl and stem at this point in the process.

IMG_1031

IMG_1032

IMG_1033

I wiped the bowl down with an acetone wetted cotton pad to remove the grime and the old finish. The next two photos show the bowl at this point. The cotton pad is below the bowl to show the amount of finish and grime that came off. I find that the acetone will even out the finish and clean up any remaining grime.

IMG_1034

IMG_1035

I continued to sand the stem with 220 grit sandpaper and also cleaned out the shank apparatus with Everclear and cotton swabs. That was a challenge! The grime that built up in the concentric tubes took some bends and twists of cotton swabs and pipe cleaners to remove from the shank. I also scrubbed down the interior of the bowl with Everclear on the cotton swabs and then scoured it out with 0000 steel wool. I did not want any remnants of the blue/green stuff. While the bowl was wet with the alcohol I also flamed the inside with a lighter. The alcohol burns quickly and should destroy whatever remnants of the sludge that may have been resident in the briar. I sanded the aluminum with 1500 grit micromesh sanding pads to remove the oxidation and crust that had built up at the junction of the aluminum and the briar.

IMG_1036

IMG_1037

The next two photos show the stem after the pipe and stem have been cleaned and after I had finished shaping the stem with the 220 grit and 340 grit sandpaper. The angles matched the photo above that I was trying to duplicate.

IMG_1038

IMG_1039

At this point it was time to sand with the micromesh sanding pads. The next series of five photos show the progressive shine that comes through the micromesh. I wet sanded with 1500 and 1800 grit micromesh to remove the scratches and begin to give the stem a polish. I also sanded the bowl with these two grits as well. I followed up by dry sanding with the remaining grits of micromesh from 2400-12,000. I sanded the bowl, the aluminum shank end and the stem.

IMG_1040

IMG_1041

IMG_1042

IMG_1043

IMG_1044

Upon completing the sanding and polishing with the micromesh pads I took the pipe to the buffer and buffed the stem and bowl with White Diamond on the wheel. It brought out the shine and help highlight the grain. I wiped down the stem with Obsidian Oil to protect it and then gave the entire pipe several coats of carnauba wax and buffed it to a shine. The last series of four photos show the finished pipe.

IMG_1045

IMG_1046

IMG_1047

IMG_1048

ADDENDUM 03/07/15
Just recently I discovered this interesting piece on the Byford pipes. They were originally made by Orlik. Here is a page from their catalogue.
445px-Orlik_70S07

Restemming and Reclaiming a BBB Hand Made Unsmoked Bowl


Blog by Steve Laug

This is the third unsmoked New Old Stock pipe bowl I picked up on EBay. It is stamped BBB in a diamond with Hand Made split by the Diamond on the top of the shank. The finish was very good and the bowl absolutely clean. Again it had no stem. I talked with a friend on the forums and he is sending some stems that may work. But, I decided to give it a go with fitting a stem blank while I was waiting. Sometimes the old impatience can be productive! The first series of four photos are from the EBay seller and show the condition of the bowl.

BBB1

BBB4

BBB3

BBB2

I sorted through my box of stems and chose an oval stem that looked to be the right length and close to the diameter that I needed. I used the PIMO tenon turning tool on my cordless drill to cut the tenon close to the diameter I was looking for. One issue with the turning tool is the inability to get accurate cuts so over time I have learned to take it very close and then finish the fit by hand. The first photo below shows the stem on the turning tool. Prior to putting it on the turner I had to drill out the airway to the same size as the stabilizing pin on the tool.

IMG_0958

The next photo shows the tenon after turning it on the tool. I needed to sand it by hand to get a proper fit in the mortise. I use medium grit emery paper to sand the tenon down and then 220 grit sandpaper to smooth it out.

IMG_0959

After sanding the tenon the fit is perfect. The next two photos show the stem in place. There are still casting marks on the sides of the stem and the diameter of the stem needs to be trimmed to match the diameter of the shank. I use a Dremel with a sanding drum to bring the stem diameter down close to the shank size. I am careful to not trim to close to the shank as I do not want to inadvertently scratch the shank and cause more work. I also run the Dremel the length of the stem to take down the casting marks and excess vulcanite. I use it the same way on the end of the button to remove excess and also clean up the marks from the cast.

IMG_0960

IMG_0961

After removing the excess material from the stem as close as I can to the shank using the Dremel the rest is handwork. I begin with medium grit emery paper to quickly remove more material. This is by far the most labour intensive part of the work. There is no way to rush it as it just takes patience to keep sanding until the fit is correct. I work it on the shank and off the shank. Photos one and two below show the results after the stem has been sanded with the emery paper. The diameter is getting close. Photos three, four and five below show the next progress of the shaping. For that I used 220 grit sandpaper. I cut it into squares and fold it so that I can get in close to the button and also close to the shank without scratching the shank. I also used a heat gun to bend the stem. This was done in several installments before I actually got it the way I wanted. The bend in the early photos below is a bit abrupt and too close to the button. I reheated and rebent the stem over a wooden rolling pin that I appropriated for this purpose.

IMG_1301

IMG_1302

IMG_1303

IMG_1304

IMG_1305

I continued sanding the stem to get the fit right with 340 grit sandpaper and then a fine grit sanding sponge. You can see from the photos that the shank stem junction is well fitted. There is no gap at the joint. The next two photos show the progress of the shaping after I used the sanding sponge. They also show the stem after it was rebent to the angle I wanted for this pipe.

IMG_1306

IMG_1307

Though the fit was good and the pipe looked and the stem was getting smoother, it just seemed bland to me. There was something missing to the look that would dress up this pipe and take it beyond just a well fit stem and a darkly stained bowl. I decided to shape and press on a nickel band to dress up the shank. The band was not necessary as the shank and stem union was perfect and the shank was uncracked. It was solely done for decorative purposes – to add a bit of bling to the shank of the pipe and dress it up (in my opinion!). The next three photos show the newly banded shank and the fit and look of the stem in place. The delicate bend of the stem, the flow of the bowl and the band all work together to give this pipe a touch of elegance.

IMG_1308

IMG_1309

IMG_1310

The next series of six photos show the progressive polishing of the new stem with micromesh sanding pads from 1500-12,000 grit. Each successive grit of micromesh sanding pad gives a deeper and more polished shine to the stem. It always amazes me to see the difference between the stem before the last three grits of micromesh (6000, 8000, 12000) and the previous grits.

IMG_1311

IMG_1312

IMG_1313

IMG_1314

IMG_1315

IMG_1316

Once I finished with the micromesh pads I took it to the buffer and buffed the bowl and stem with White Diamond polish on the wheel. The next two photos show the pipe after the buff. The shine is almost glass like by this point in the process. All that remains is to buff on several coats of carnauba wax and polish the metal band with metal polish.

IMG_1317

IMG_1318

The next four photos show the finished pipe. To me it has a gentle elegance to the shape and the bend. The slender stem and the bend make the pipe sit well in the mouth. The light weight makes this a likely clencher. The deep shine in the bowl and stem give it the look of a new pipe – which for all intents and purposes it is. This Hand Made BBB has come back to life to fulfill the purposes for which it was originally made.

IMG_1319

IMG_1320

IMG_1321

IMG_1322

Restemming and Reclaiming an Old, Unsmoked Rex Bulldog


This is the second of the old unsmoked pipe bowls I picked up on EBay. It is one that I can find absolutely no information on anywhere. Some have thought it was a Barclay Rex but I can find nothing that would link it to that shop in NYC. It is stamped Rex in cursive script on the right side of the shank and also stamped Rex over Sterling on the band. It has the look and feel of an older English-made pipe. But I am not sure. The seller said it was from the late 1800’s but all attempts to contact them on the source of that information have remained unanswered. So it remains a bit of a mystery to me. It is one though that I will continue to hunt down until I can come up with something. This shape is what is called in some of the older catalogues a Bulldog. I personally am not sure what to call it. It has the shape of a bulldog on the bowl and the double ring separating the bottom of the bowl from the cap. The shank however, is oval. It has a factory installed band on it that is also stamped Rex. The script on the shank is in gold leaf. The bowl is very clean. There was a small crack in the shank on the shank at about one o’clock looking toward the bowl. This may have been the reason for the band or the band may have been decorative. There was no stem with this pipe so I was not sure of the length of the stem to make for it. The drilling is very interesting. It is drilled like some of the calabash bowls or bowls that were screwed onto Bakelite shank and bases in the late 1800s. It is directly in the bottom of the bowl and seems to have a small hollow chamber under the hole. The airway meets it directly underneath. I have not seen this drilling on briar pipes of newer eras. The bowl is smooth inside and almost polished. The briar is quite nice and sports mixed grains from cross grain to birdseye to flame around the bowl. The double cut rings are clean and are not clogged with wax or dirt. There appears to be a thin coat of shellac on the outside of the bowl to give it a shine as it shines with or without the application of wax. The silver band is interestingly shaped as well. It is somewhat conical – wider toward the bowl side and narrower on the stem side. There is also a stepped down lip on both sides of the band. Where it is on the bowl is stepped down to a small ring around the shank. On the stem side it is also stepped down. This would make fitting a stem to the shank a challenge. It was not too badly oxidized so it would clean up very easily. The first series of five photos are those taken by the Ebay seller and give a good idea of the look and condition of the pipe. The one thing not clear to me was the size of the pipe. I took a chance on it as the apparent age and the assumed age stated by the seller made the likelihood of it being smaller was very high. When it arrived it was indeed quite small. The bowl and shank are roughly 3 inches long without the stem. The height of the bowl is 1 5/8 inches. The inside diameter of the bowl is ¾ inches and the outside diameter is 1 ¼ inches.

Rex1

Rex2

Rex3

Rex4

Rex5

Once I started working on it the first decision that needed to be made was on the type and length of the stem to be used. I fitted several oval stems to the bowl – a standard length billiard type stem, a thicker and a thinner oval Canadian stem and a Lovat style saddle stem. The longer stem did not work well with the longer shank on the pipe. The thicker Canadian stem also made the stem look quite chunky and large as did the saddle stem of the Lovat. The stem I settled on was the thinner Canadian oval. Even this one would require considerable thinning to make for a proper fit against the bevel of the band. The first photo below shows the two Canadian taper style oval stems. I chose the bottom stem in the photo.

IMG_0968

I used the PIMO tenon turning tool to turn the tenon so that it would fit in the shank. The next three photos show the initial fit of the stem. You will note in the photos the gap where the bevel of the band lies. I had to make a decision to either leave the gap or work on the stem size so that it fit against the bevel and thus was slightly thinner than the shank prior to the band.

IMG_0969

IMG_0970

IMG_0971

I decided to thin the stem to fit against the bevel. I used the Dremel with a sanding drum to bring it close to the finished size. I then sanded it with medium grit emery paper to smooth out the scratches and grooves from the Dremel. Once I had most of the scratches removed I sanded it with a medium grit sanding sponge to further shape the stem and remove excess material. The next series of three photos show the fit of the stem after it was sanded with the sanding sponge (pink square in the photos).

IMG_0997

IMG_0998

IMG_0999

At this point in the process I had to take it back and sand off some more material with 340 grit sandpaper. It still was too thick to fit well. I also had to finesse the fit against the band with needle files as in some places it was not quite straight. When I had it fitting well I moved on to sanding with a 1500 grit micromesh sanding pad (the next two photos). I also did a small repair on the crack in the top of the shank. I pried it open slightly and dripped some clear super glue into the crack. It did not go all the way through into the shank which was interesting. It seemed to be a surface crack. The repair worked well. I polished that portion of the shank with the 1500 grit micromesh sanding pad as well to remove the slight excess of glue left behind (third photo below).

IMG_1000

IMG_1001

IMG_1002

After the repair I continued sanding and polishing the stem with 1800-12,000 grit micromesh sanding pads. The next four photos highlight the sanding/polishing process. Notice the slight hip on the stem at the band edge. In the photos this appears to be more drastic than it is in actual life. The fit is more of a pinched look.

IMG_1003

IMG_1004

IMG_1005

IMG_1006

The final series of four photos show the finished pipe. I buffed it with White Diamond and then gave it multiple coats of carnauba wax. I really like the stem and fit against this long shanked “Bulldog” bowl. The pipe glows with an age and patina that calls out to be smoked. This is yet another who will soon fulfill the purpose for which it was made.

IMG_1297

IMG_1298

IMG_1299

IMG_1300

Restemming and Reclaiming an Older, Unsmoked GFB Briar Calabash


Blog by Steve Laug

I bought three unsmoked pipe bowls from the same seller on EBay. One of them was a GFB calabash. With the first of this brand I bought a while back I did some digging on the web and found very little information. So this time I did a bit more searching and I was able to get some information on the brand. Many of the links I found through Google took me to others who were looking for information on the brand. I came across one that gave the information that the GFB brand was an older French Trademark and that it came from Saint Claude, France. With that information I did a more focused search for GFB French Briar Pipes and came across a post that said GFB stood for Great French Briar – that seemed a little farfetched to me so I continued to look and finally came across the following advertisement from a Sears Catalogue. It shows a full page of GFB pipes and the header says GENUINE FRENCH BRIAR. That made much more sense to me and the pipes in the catalogue matched the ones that I have in my collection and the ones that I have seen. For me that gives a better picture into the meaning of the brand letters.

Genuine-French-Briar-Pipes-On-Parade

Armed with this new information I went to work on the GFB Calabash pipe bowl that I purchased. The bowl itself was in astonishingly great shape for being over 100 years old. The pipe was unsmoked – new condition. The bowl was dusty but raw briar. The shank was clean and also pristine. This was an unsmoked – new old stock pipe bowl. The silver band was very tarnished and loose. There was no stem to be found. I wrote to the seller and asked what had happened to the stems for this old timer and two others I purchased from them. I did not receive an answer. The first four photos below are the seller’s photos as the pipe appeared on EBay. The first two are out of focus but give an idea of the bowl shape. The last two give close up photos of the stamping and the clean bowl. It was pretty hard to know the size of the pipe from their information. But it looked to be of similar age as an older 1912 BBB Calabash I have so I put in a bid and won.

GFB1

GFB2

The right side of the shank is stamped America and the left side is stamped Premier. The band has three stars *** over the GFB in an oval and under that is the Sterling stamp. The stamping led me to assume incorrectly that this was an older American made pipe. I was wrong. The stamping America obviously is the name of the pipe.

GFB3

GFB4

I looked through my box of old stems to find one that would be not just a proper fit but of an age that was appropriate to this old pipe. I found one that did not have a tenon, it had either broken or fallen out somewhere along its journey. I have a bag of Delrin threaded tenons that I use regularly for replacing broken tenons. I chose the smallest one as it would fit the mortise with a little bit of work. The stem was oxidized but in good shape with no tooth marks or dents. The button was a slight slot and the stem was quite narrow at the button end. It would look perfect on the pipe once I had the tenon replaced.

IMG_0962

I drilled out the stem so that the threaded tenon would fit into it. I used a tap to thread the stem. The first photo below shows the drilled and tapped stem ready to receive the new tenon. I coated the threads with some black super glue and threaded it into the stem (second photo). The third and fourth photos below shows the tenon screwed into place. The tenon is now repaired. I needed to remove some of the Delrin to reduce the diameter of the tenon to get a good fit on the shank. I used my Pimo Tenon turner to do this. It was a little tricky in that the stem was bent but I proceeded slowly to turn it down until it was close. I finished reducing it by hand until it fit snugly in the mortise.

IMG_0964

IMG_0965

IMG_0966

IMG_0967

Once the stem fit snugly in the shank I needed to reduce the diameter of the stem in order to get a good match with the band on the shank. I sanded it with medium grit emery paper to bring it down to size. The next two photos show the stem in place. At this point the band had not been glued into place. It was still loose, so I removed the stem and used Weldbond white carpenters glue (which is non-toxic) to glue the band in place. I cleaned up the old glue lines on the shank with micromesh sanding pads.

IMG_0972

IMG_0973

The next four photos show the silver band after it had been glued in place and cleaned and polished with some Hagerty Tarnish Preventive Silver Polish. I have used this bottle for years and it works extremely well. I purchased it at a jewelry shop along with a polishing cloth that I used on the band as well. Once the band was polished the hallmarks were very visible. I have described the stamping on the band above. After shining they stood out clearly. I am not able to ascertain a date from the stamping as there are no date stamps. I also polished the bowl with a quick buff of White Diamond on the buffer and then I gave it multiple coats of carnauba wax.

IMG_0975

IMG_0976

IMG_0977

IMG_0978

With the bowl and band finished it was time to work on the stem. I sanded it with 220 and 340 grit sandpaper followed by sanding with a medium grit sanding sponge and then a fine grit sanding sponge. This series of sandpapers and sanding sponges has worked well for me in removing the scratches left by the emery paper as well as the remaining oxidation on the stem. I then sanded the stem with micromesh sanding pads from 1500-12,000 grit to bring out the sheen on the stem and polish it. Between the 4000 and the 6000 grit I polished the stem with Maguiar’s Scratch X2.0 plastic polish. I finished with the last grits of micromesh sanding pads. The next series of six photos show the progressive shine on the stem with the various grits of micromesh.

IMG_0983

IMG_0984

IMG_0985

IMG_0986

IMG_0987

IMG_0988

I buffed the stem and bowl with White Diamond and then gave the pipe several coats of carnauba wax. The finished pipe is pictured below in the last series of four photos. It is amazing that this old pipe has existed this long since it was made and has not been smoked. That will change soon!

IMG_0990

IMG_0991

IMG_0992

IMG_0993

Leonard’s Pipe Shop – Portland, Oregon.


Blog by Steve Laug

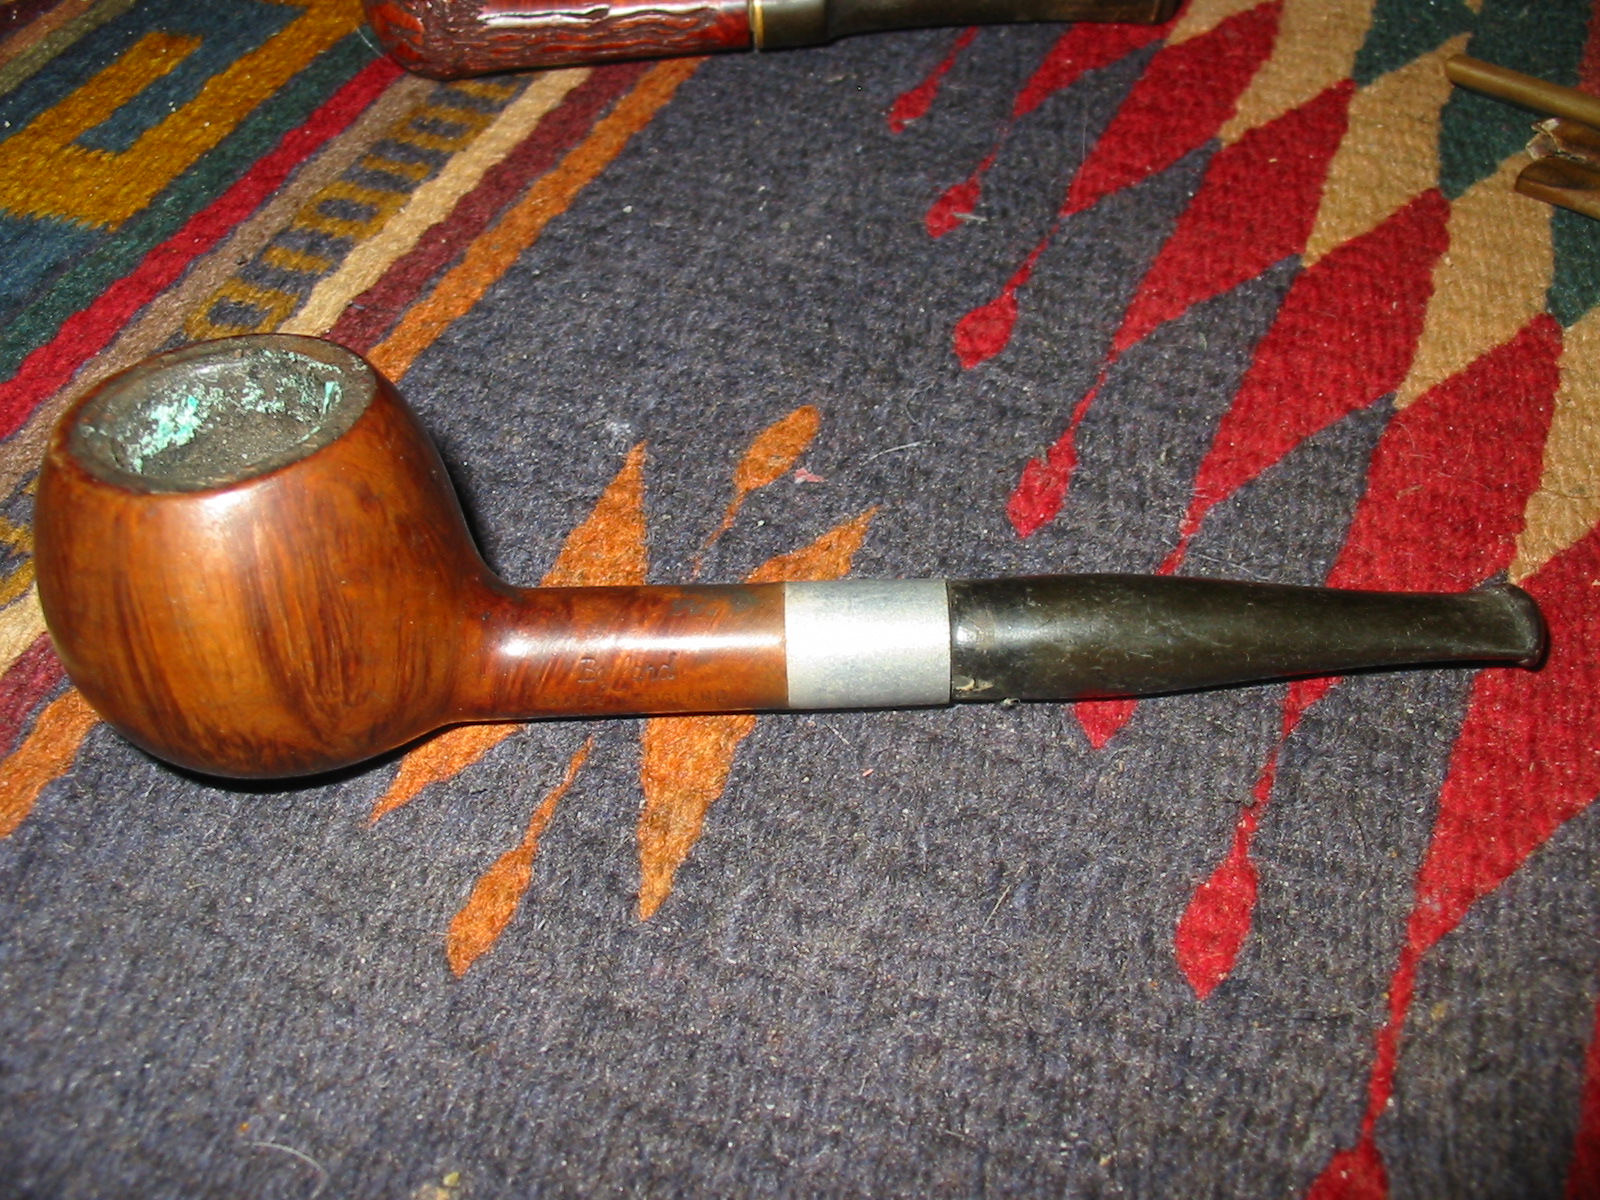
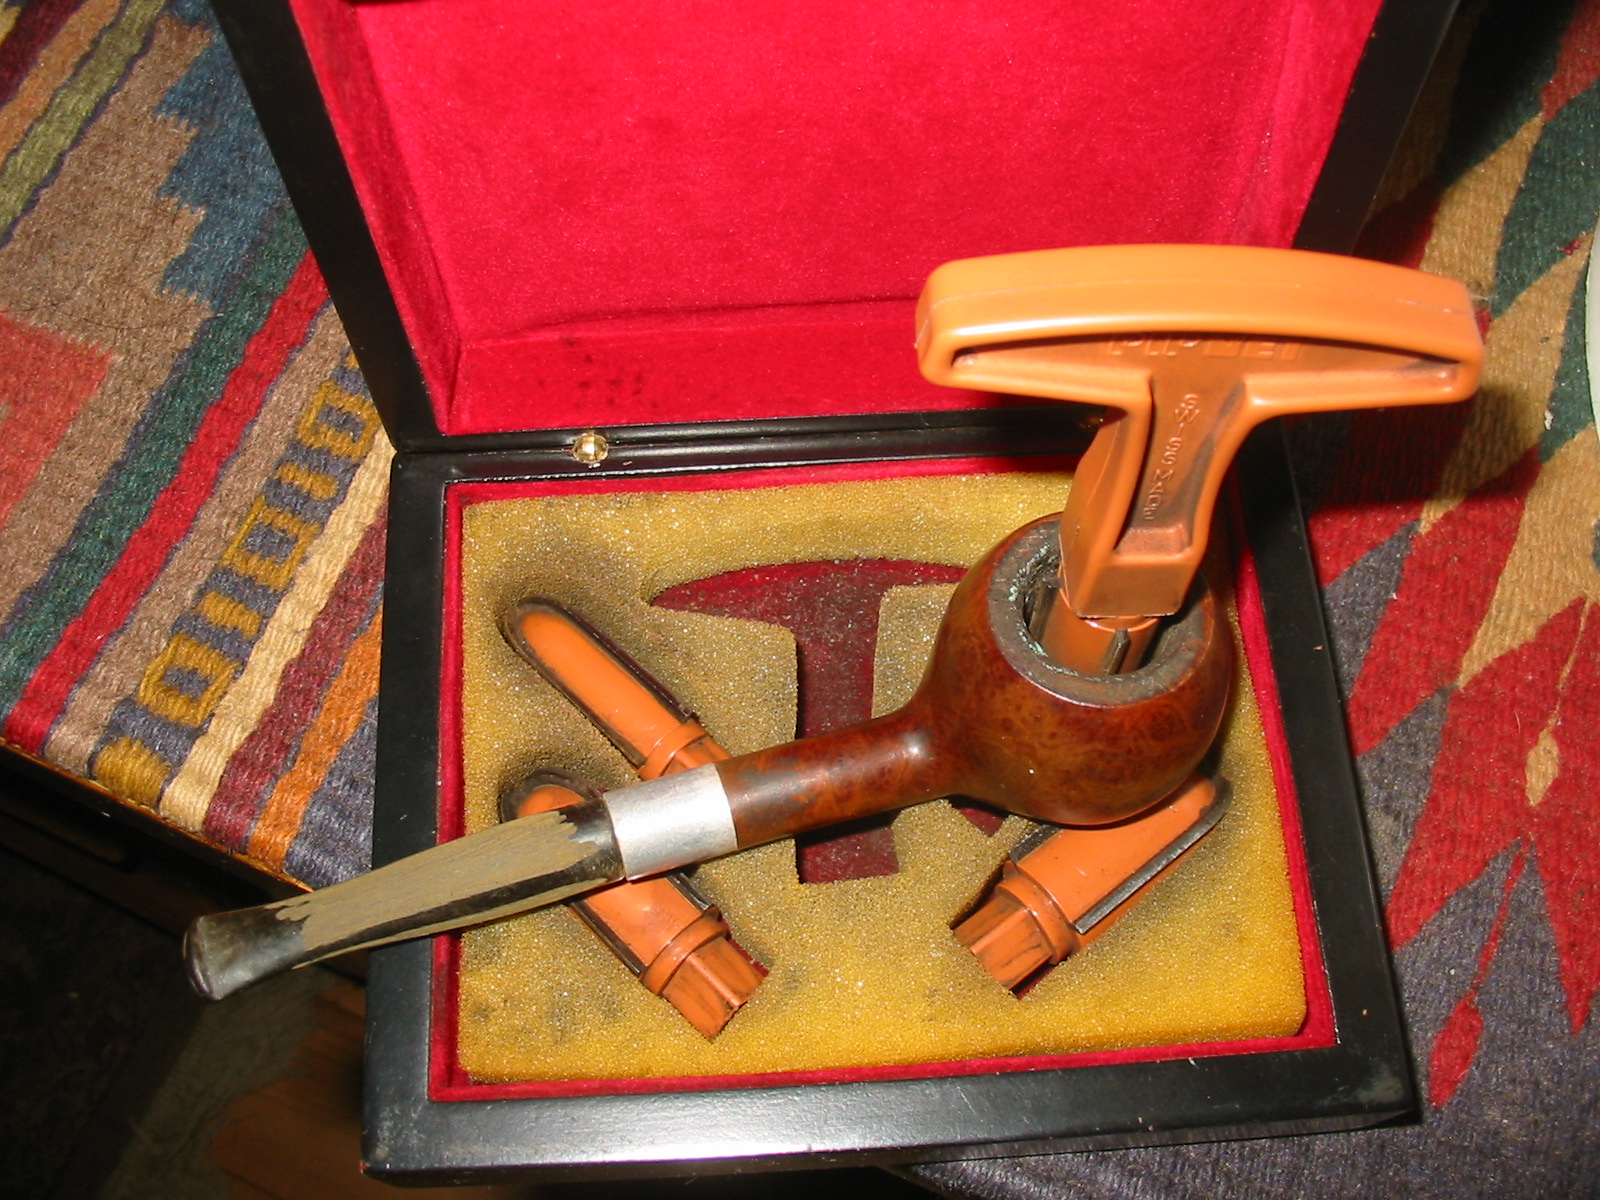
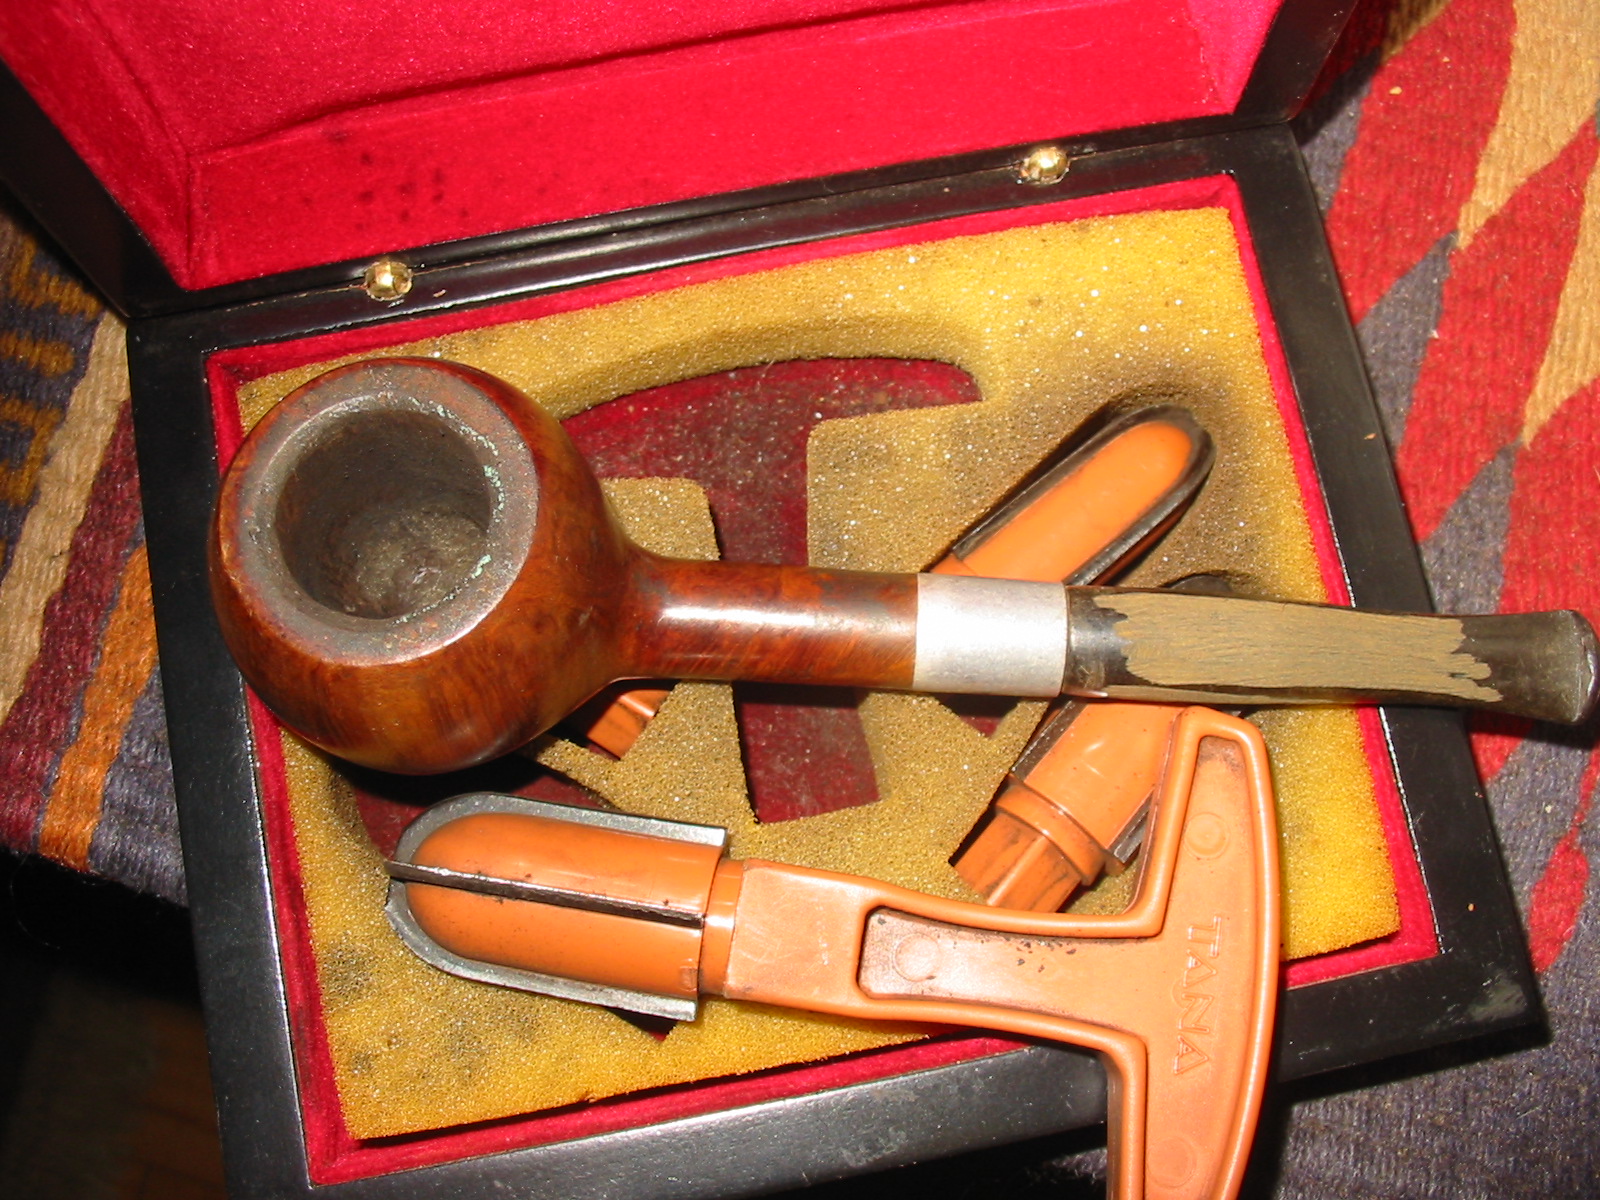
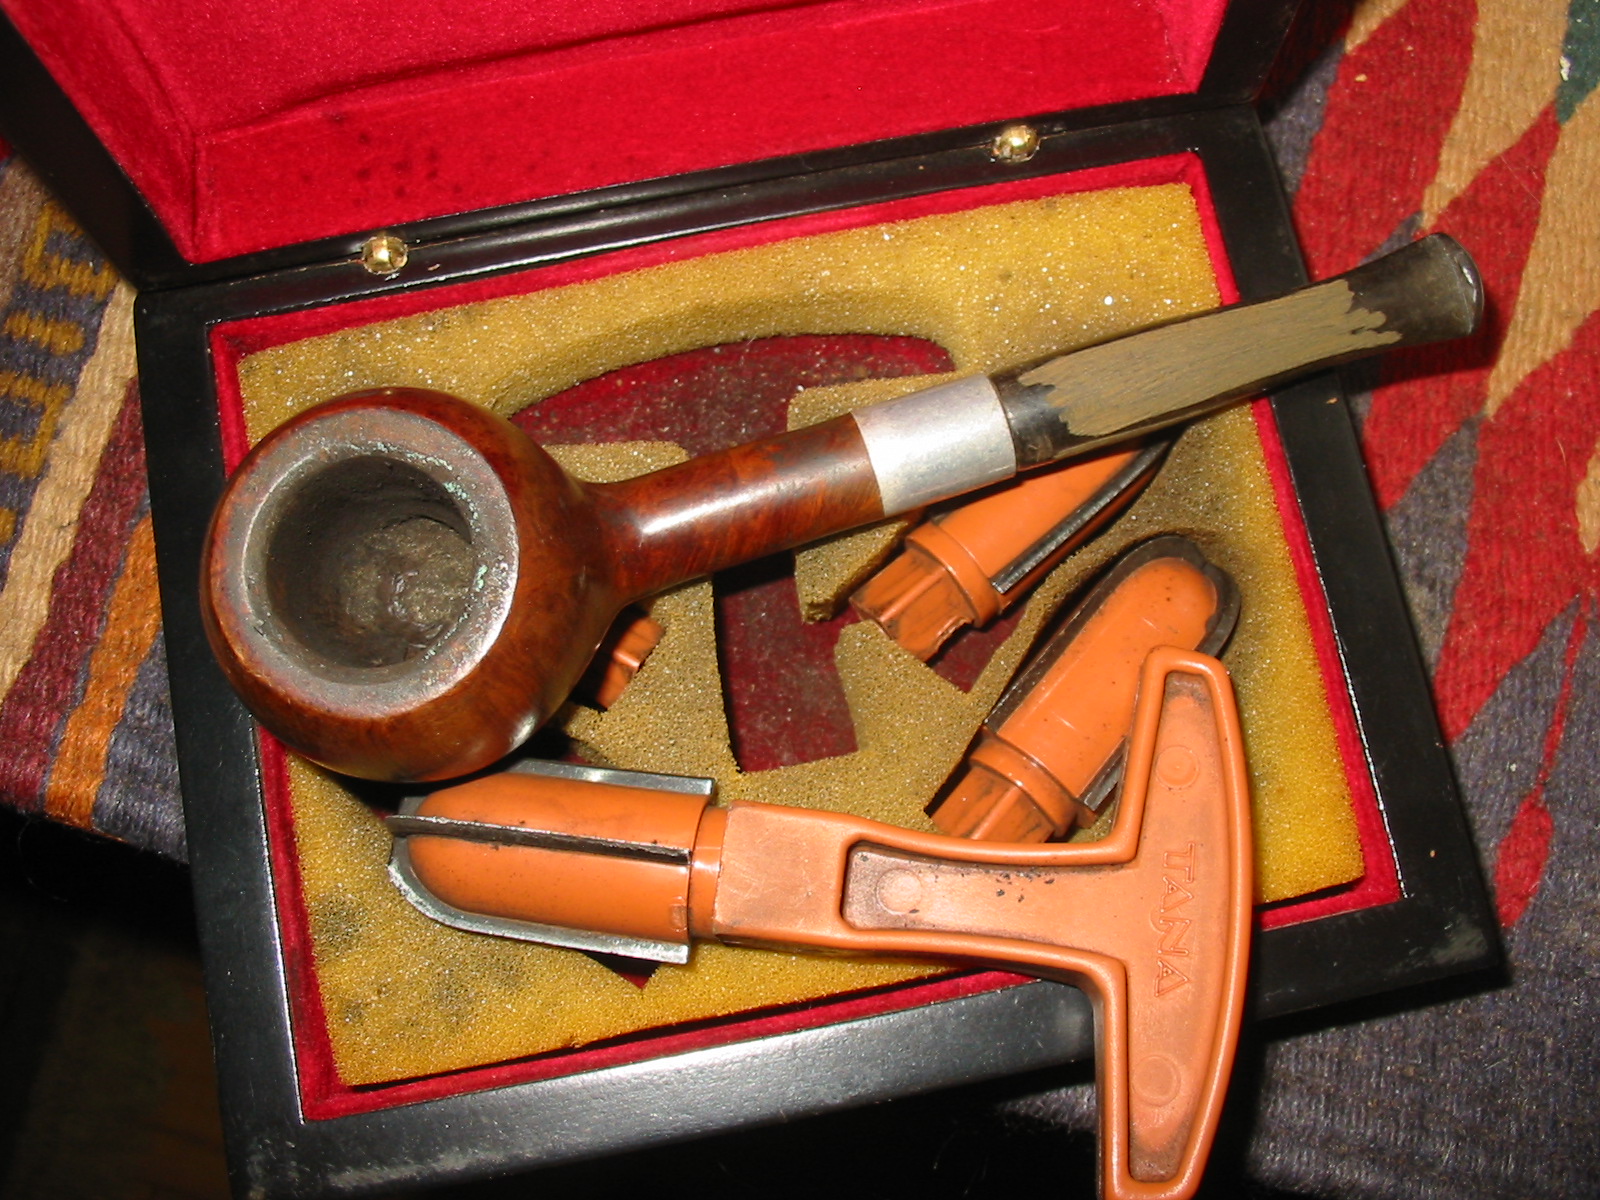
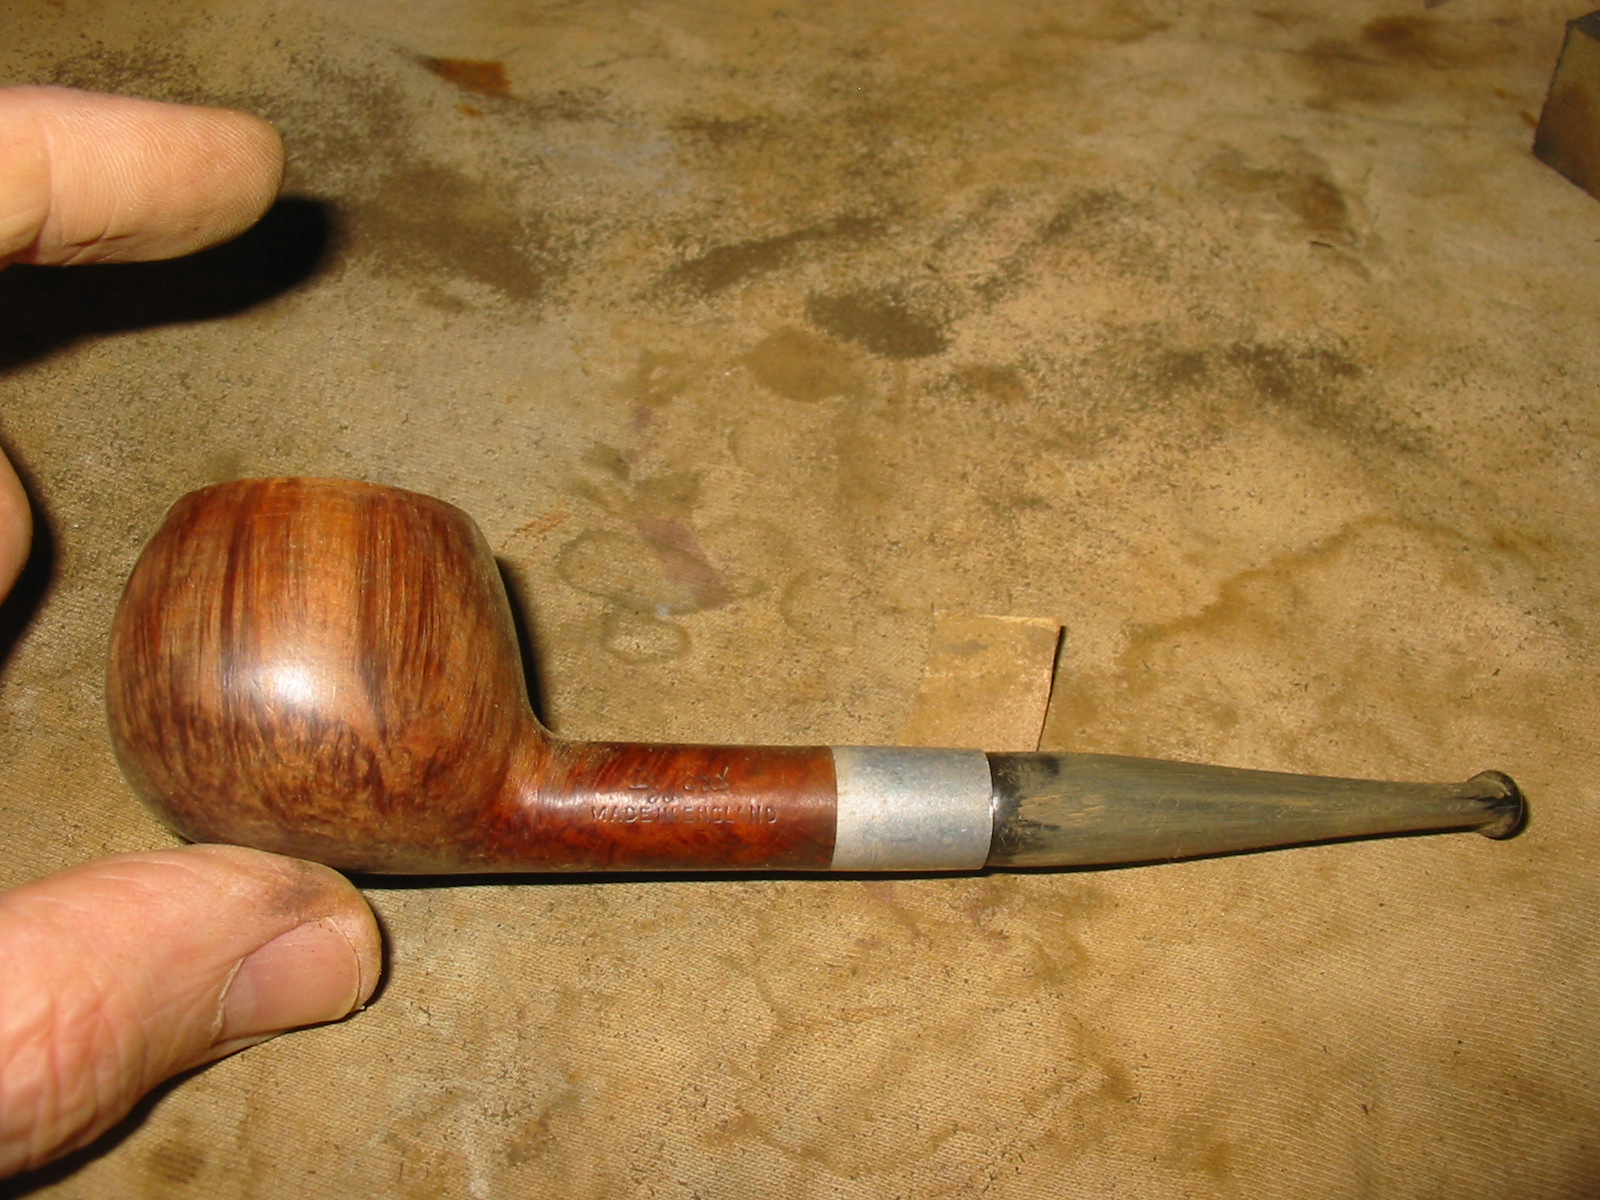
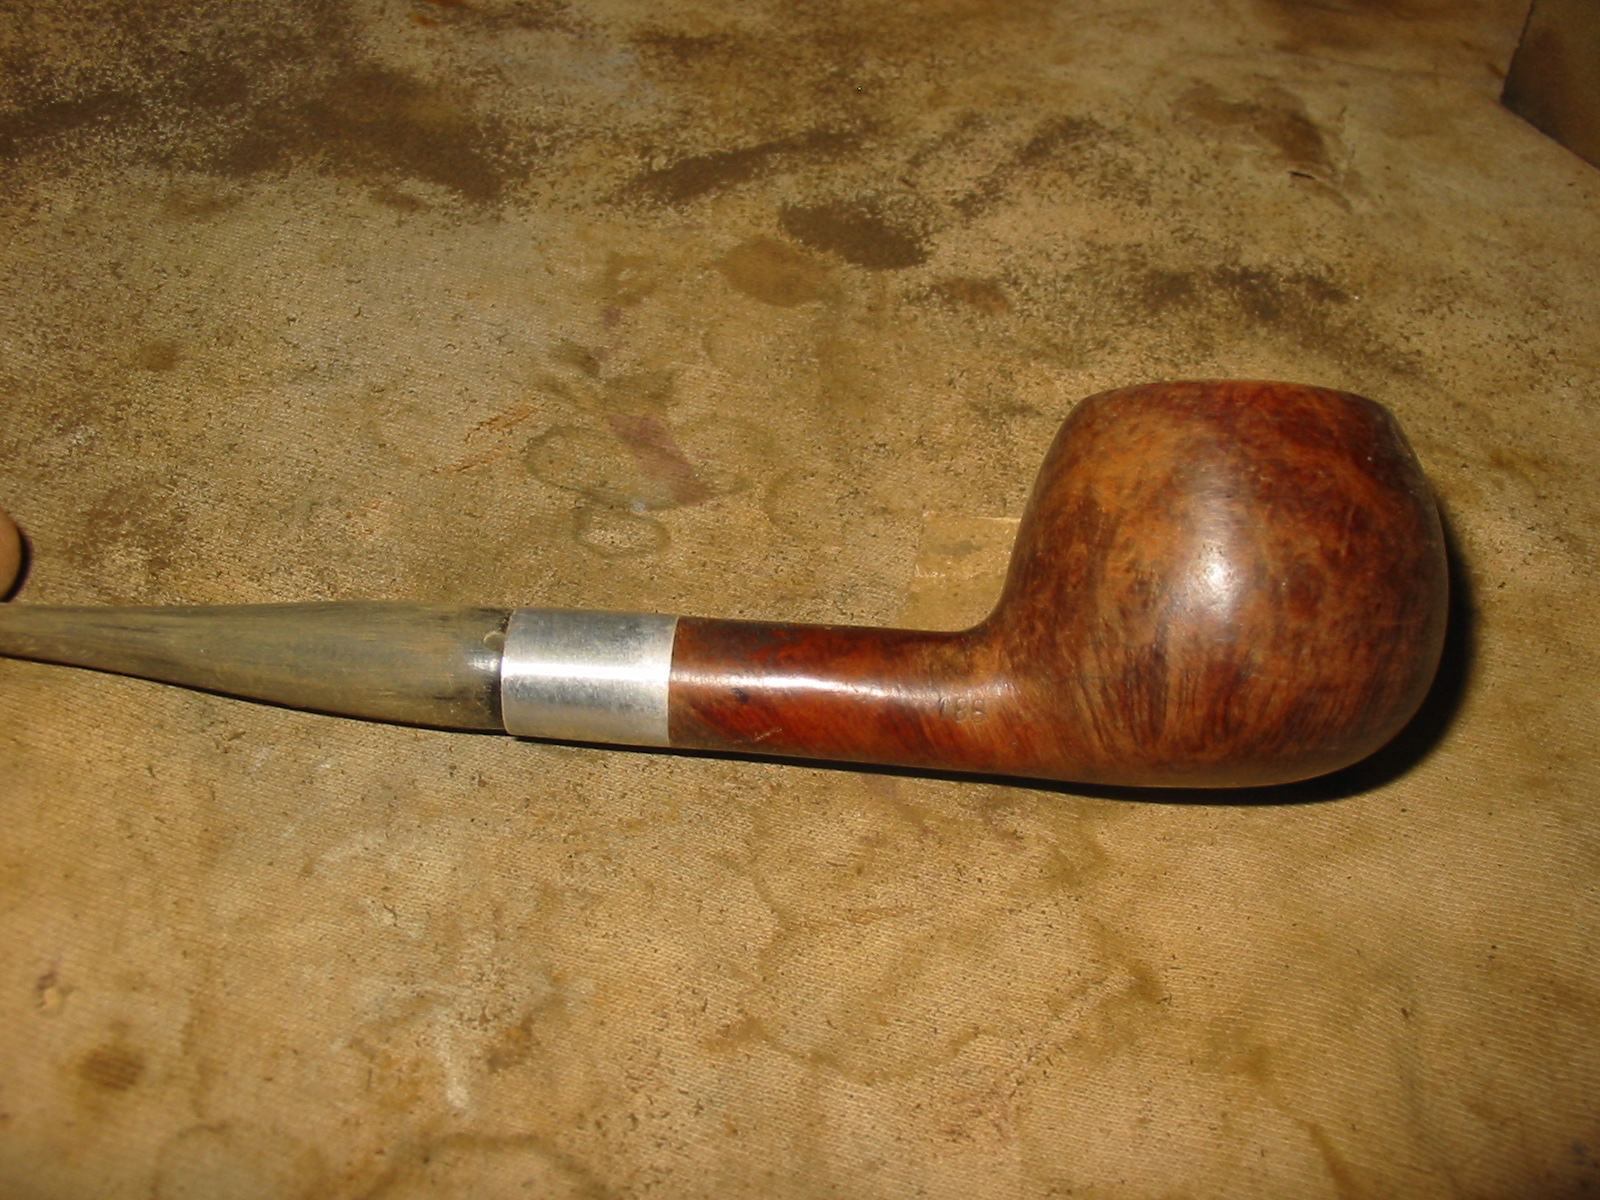
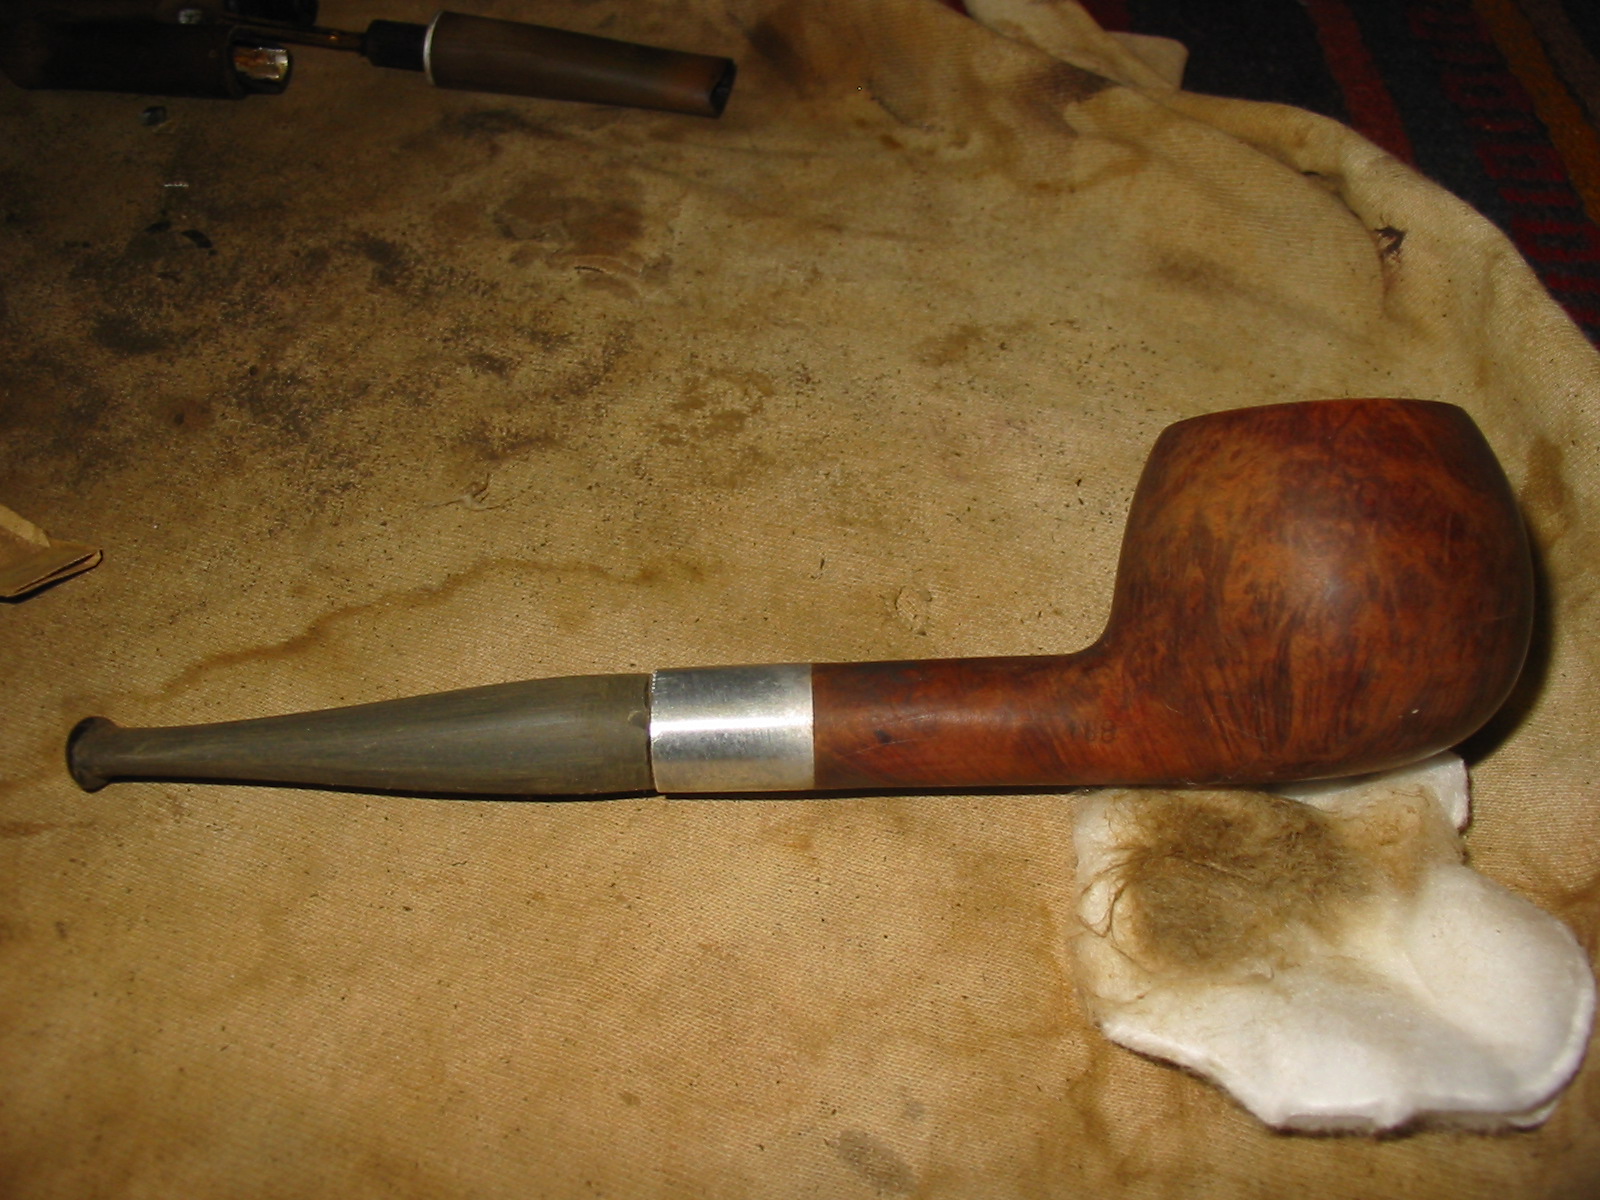
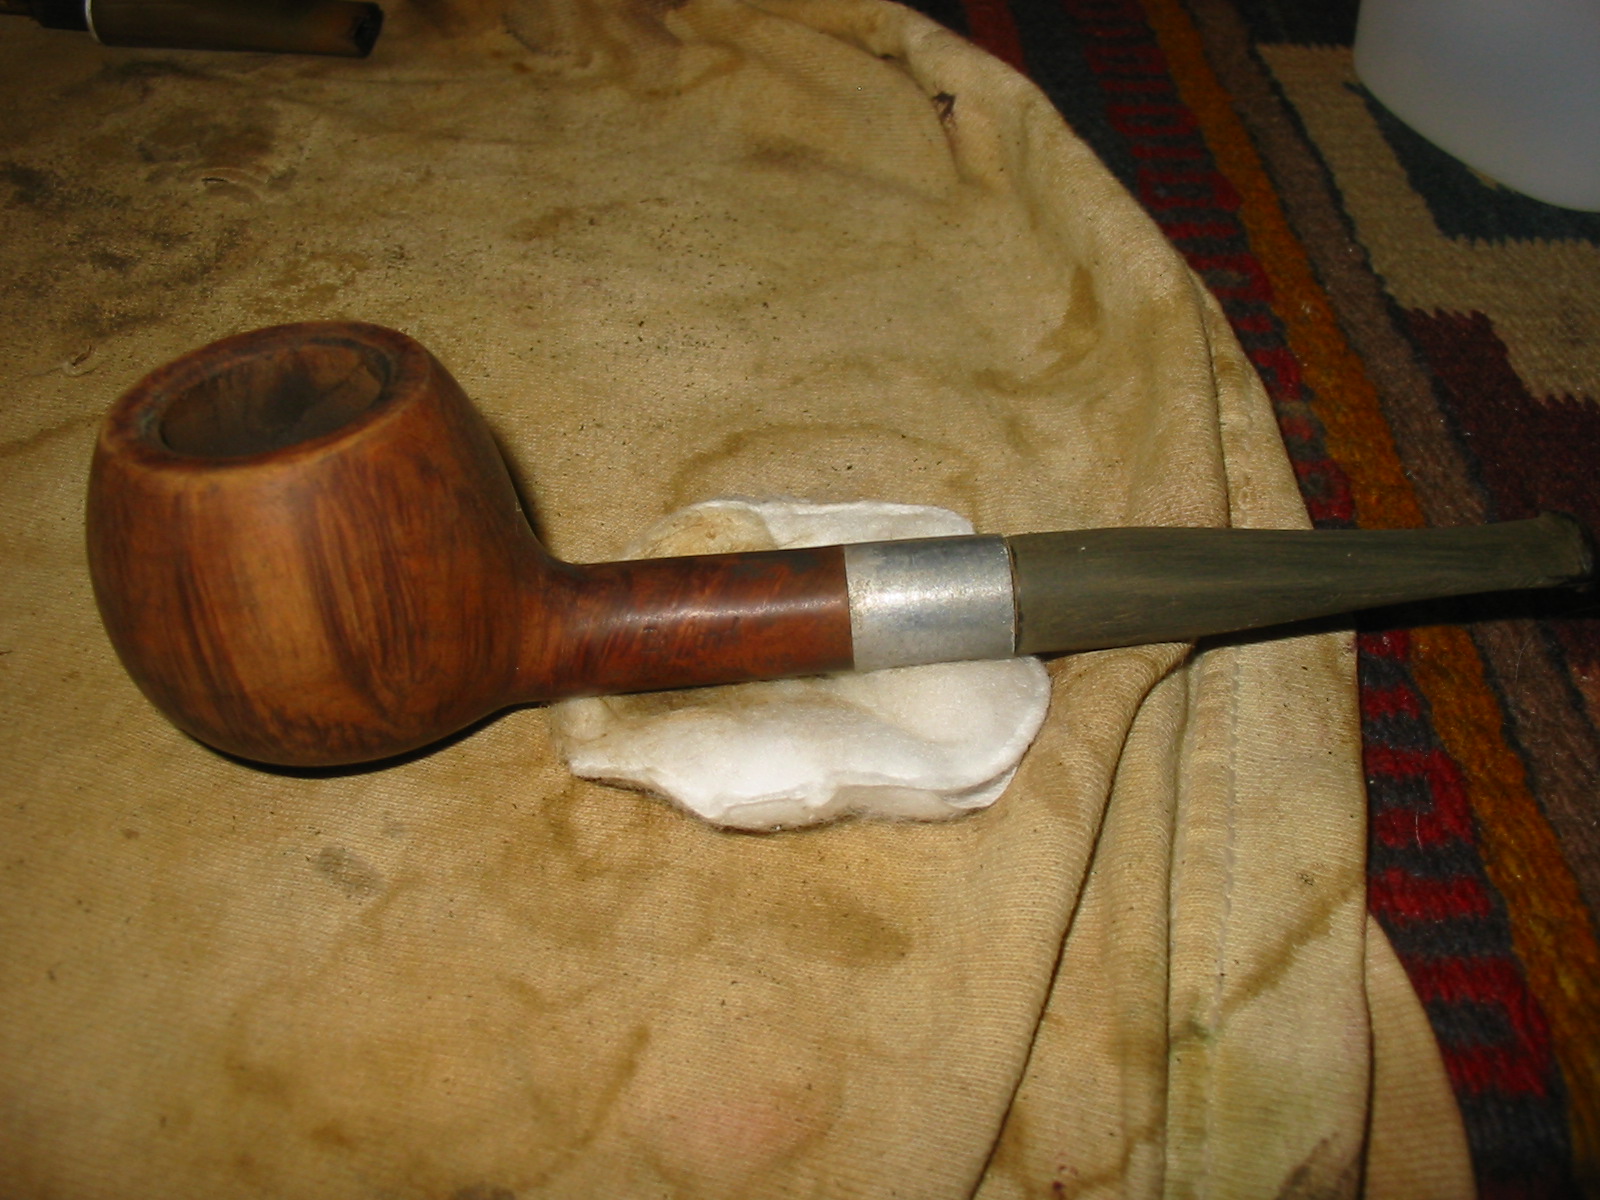
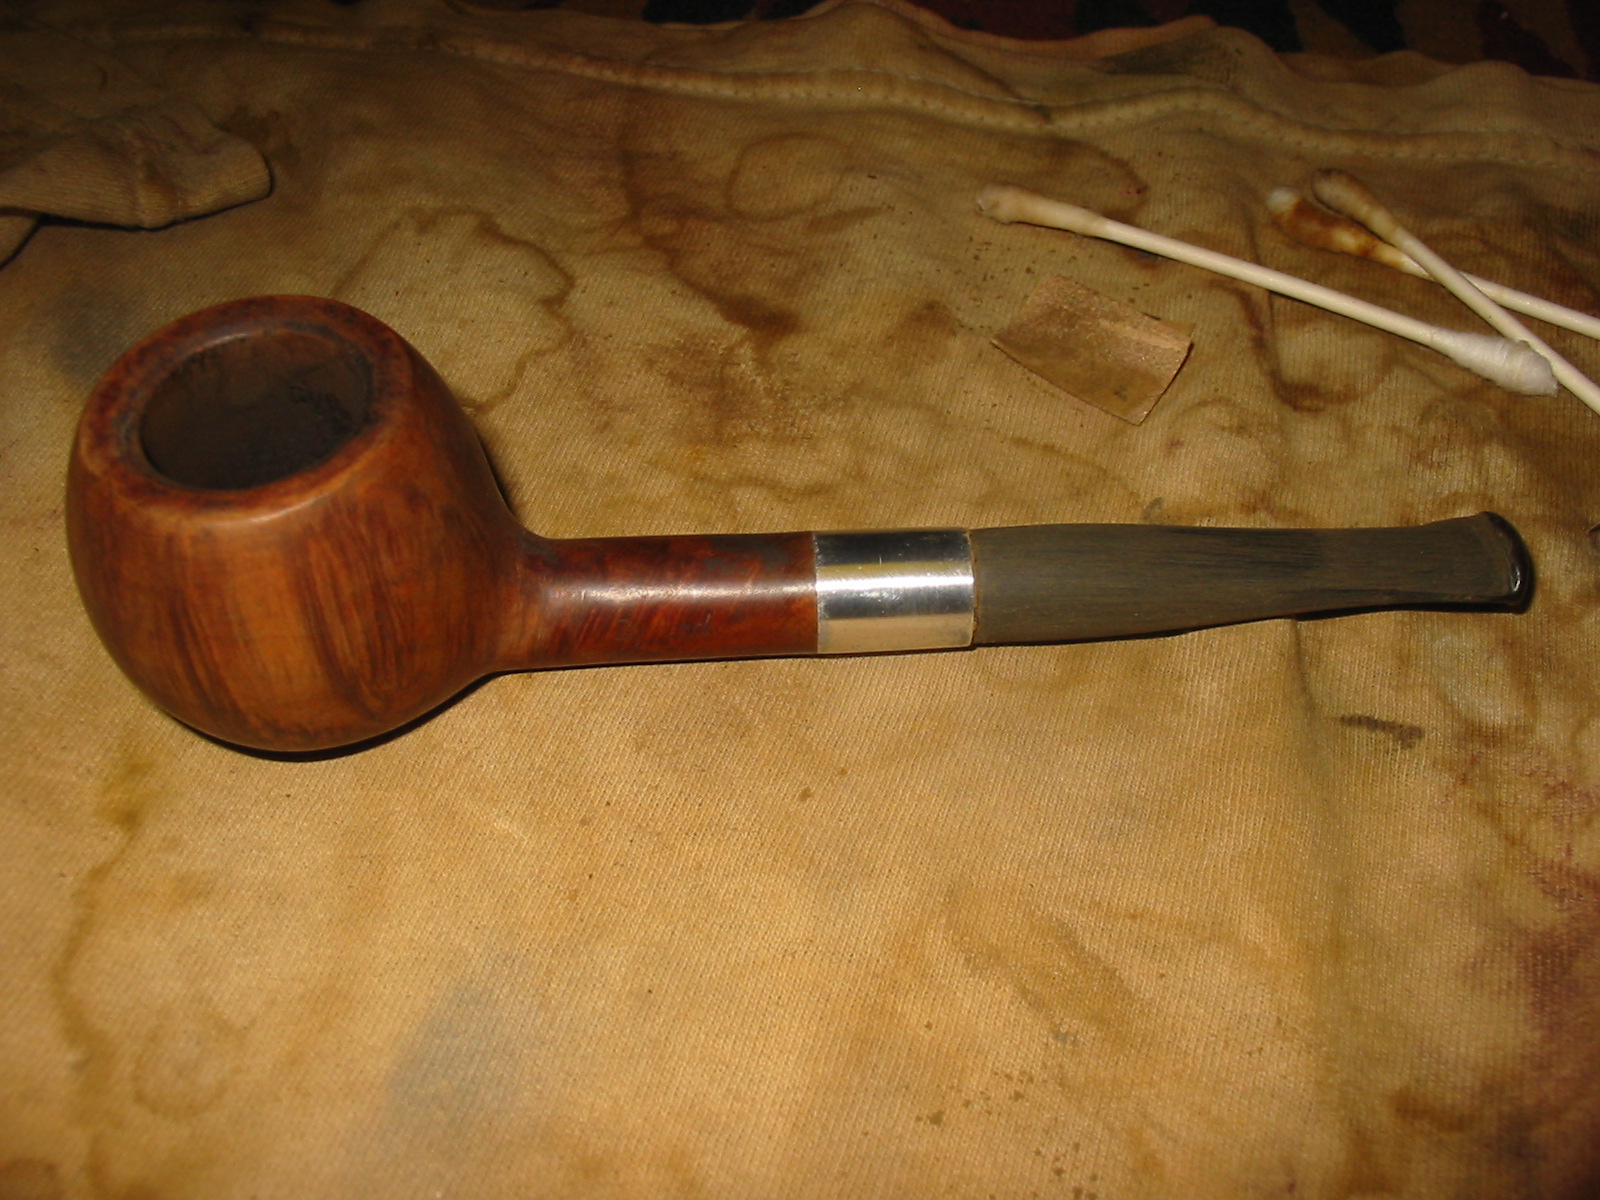
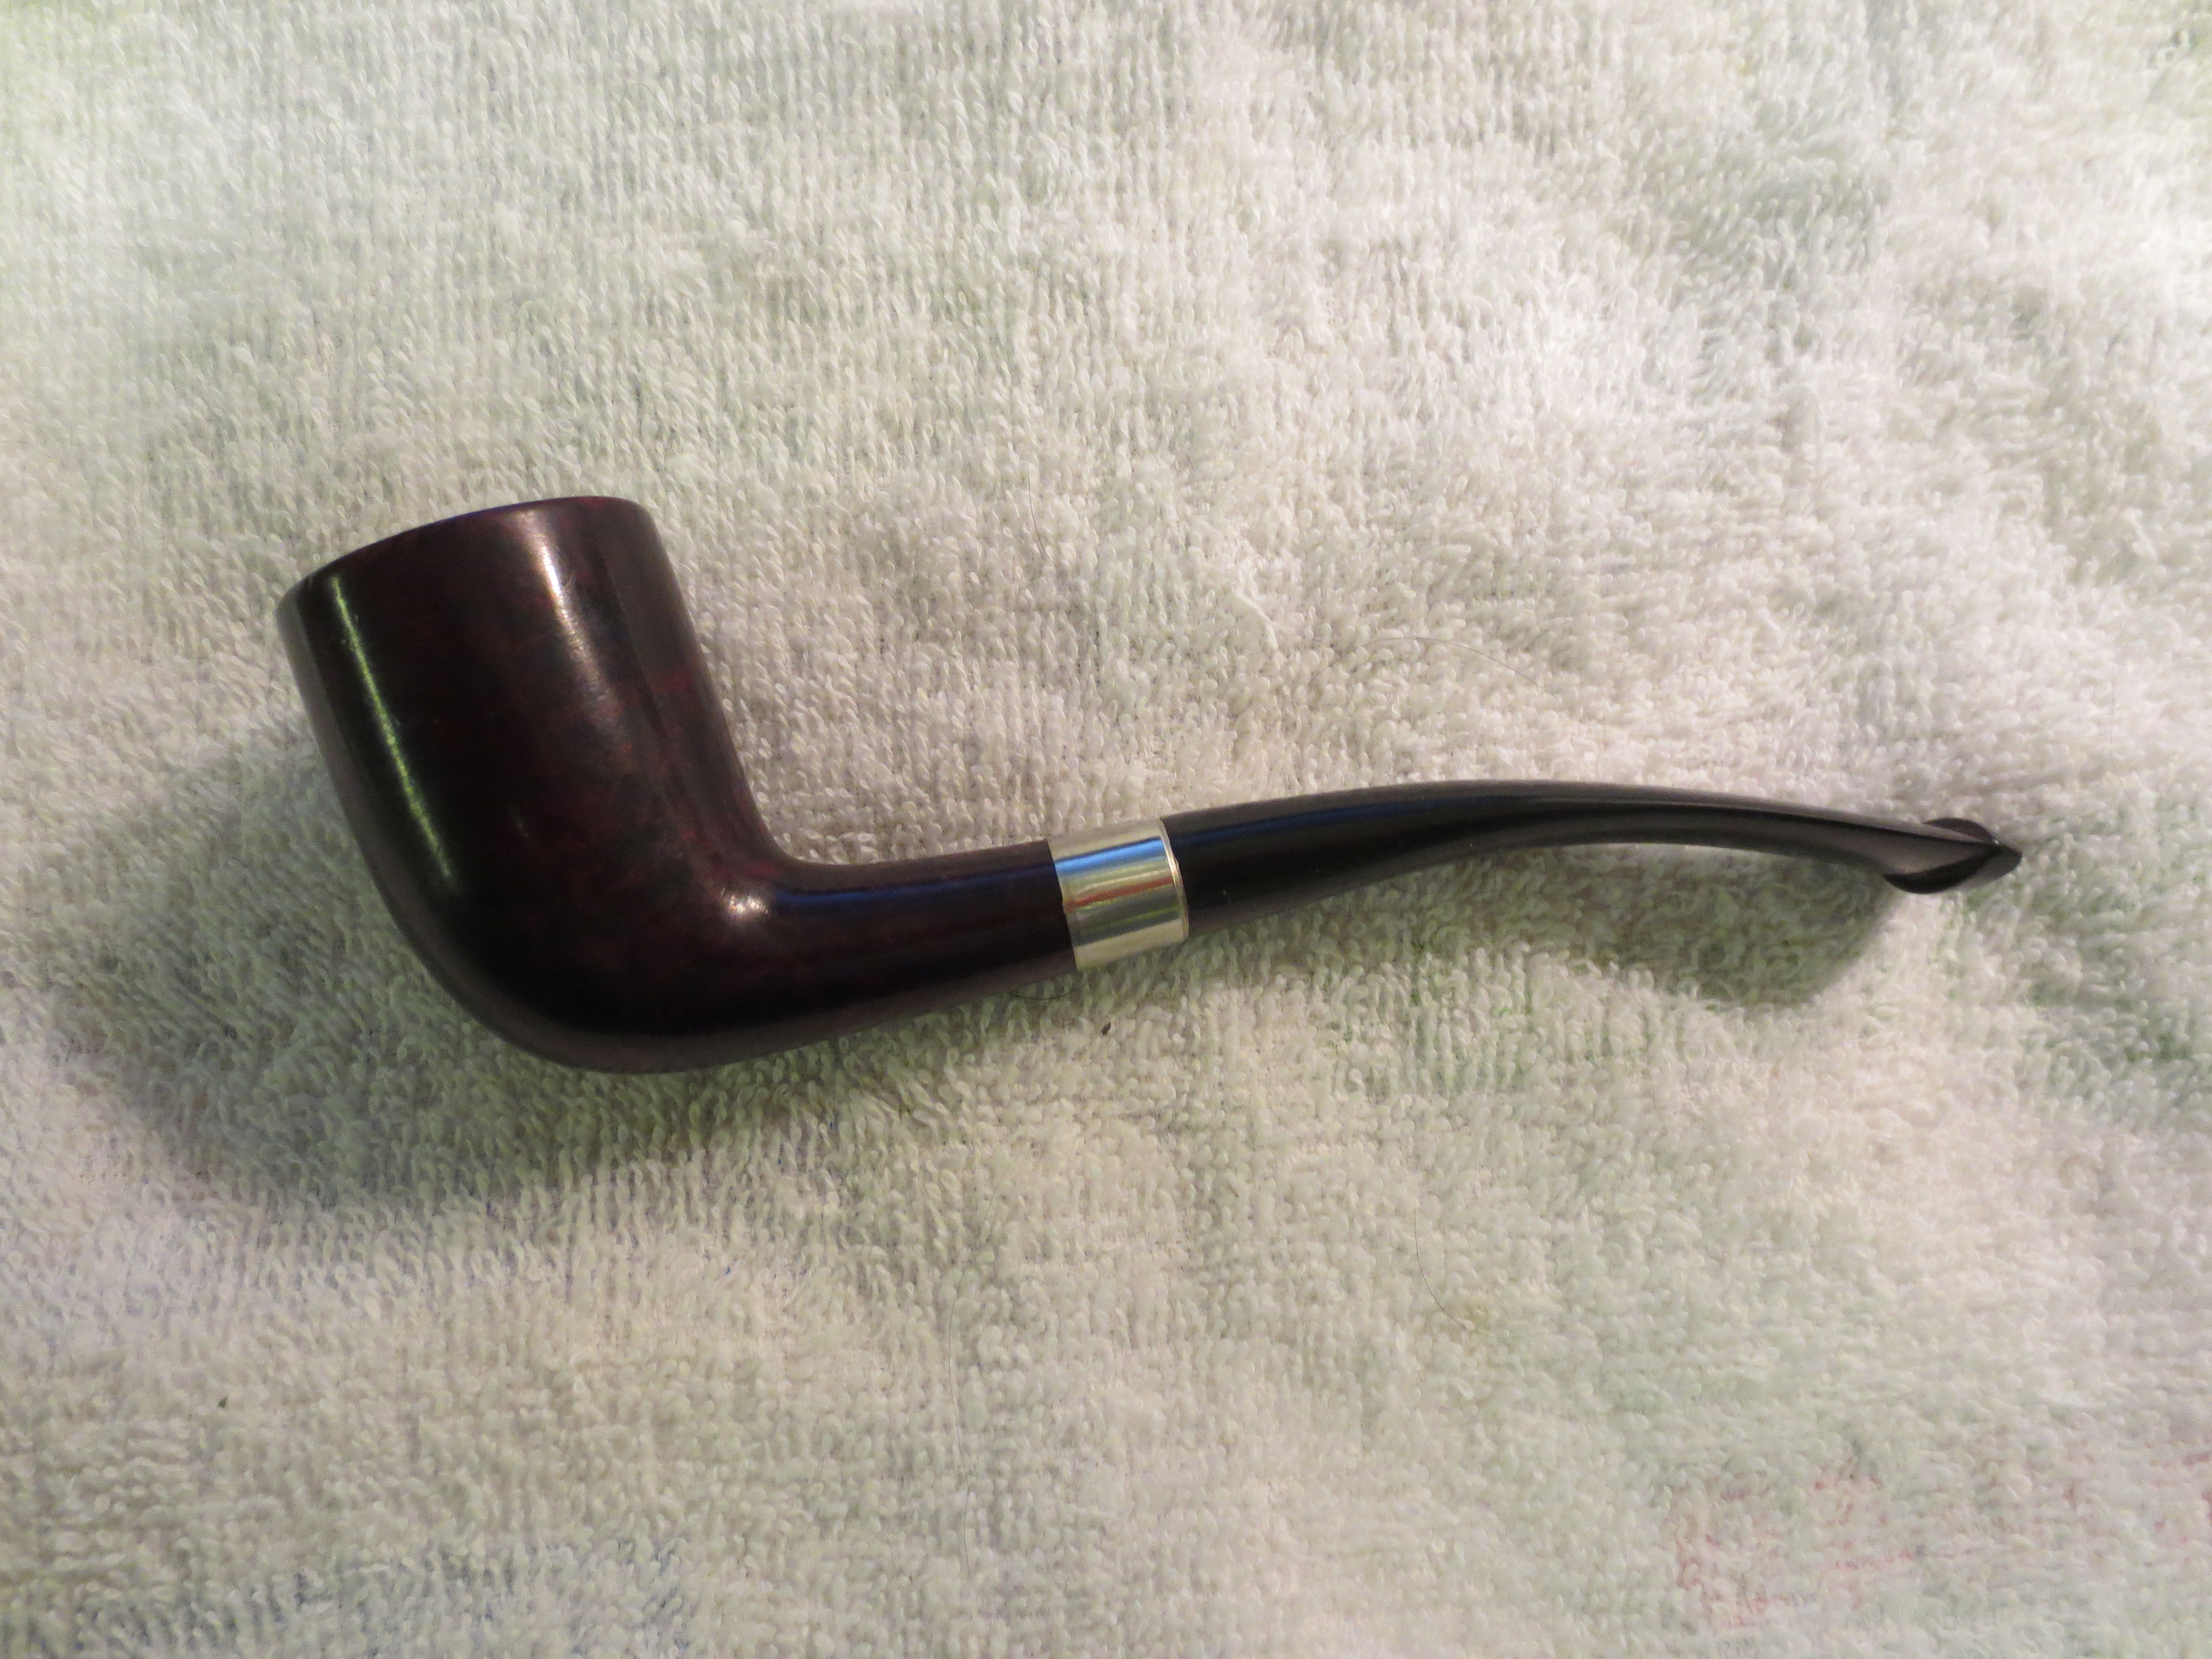
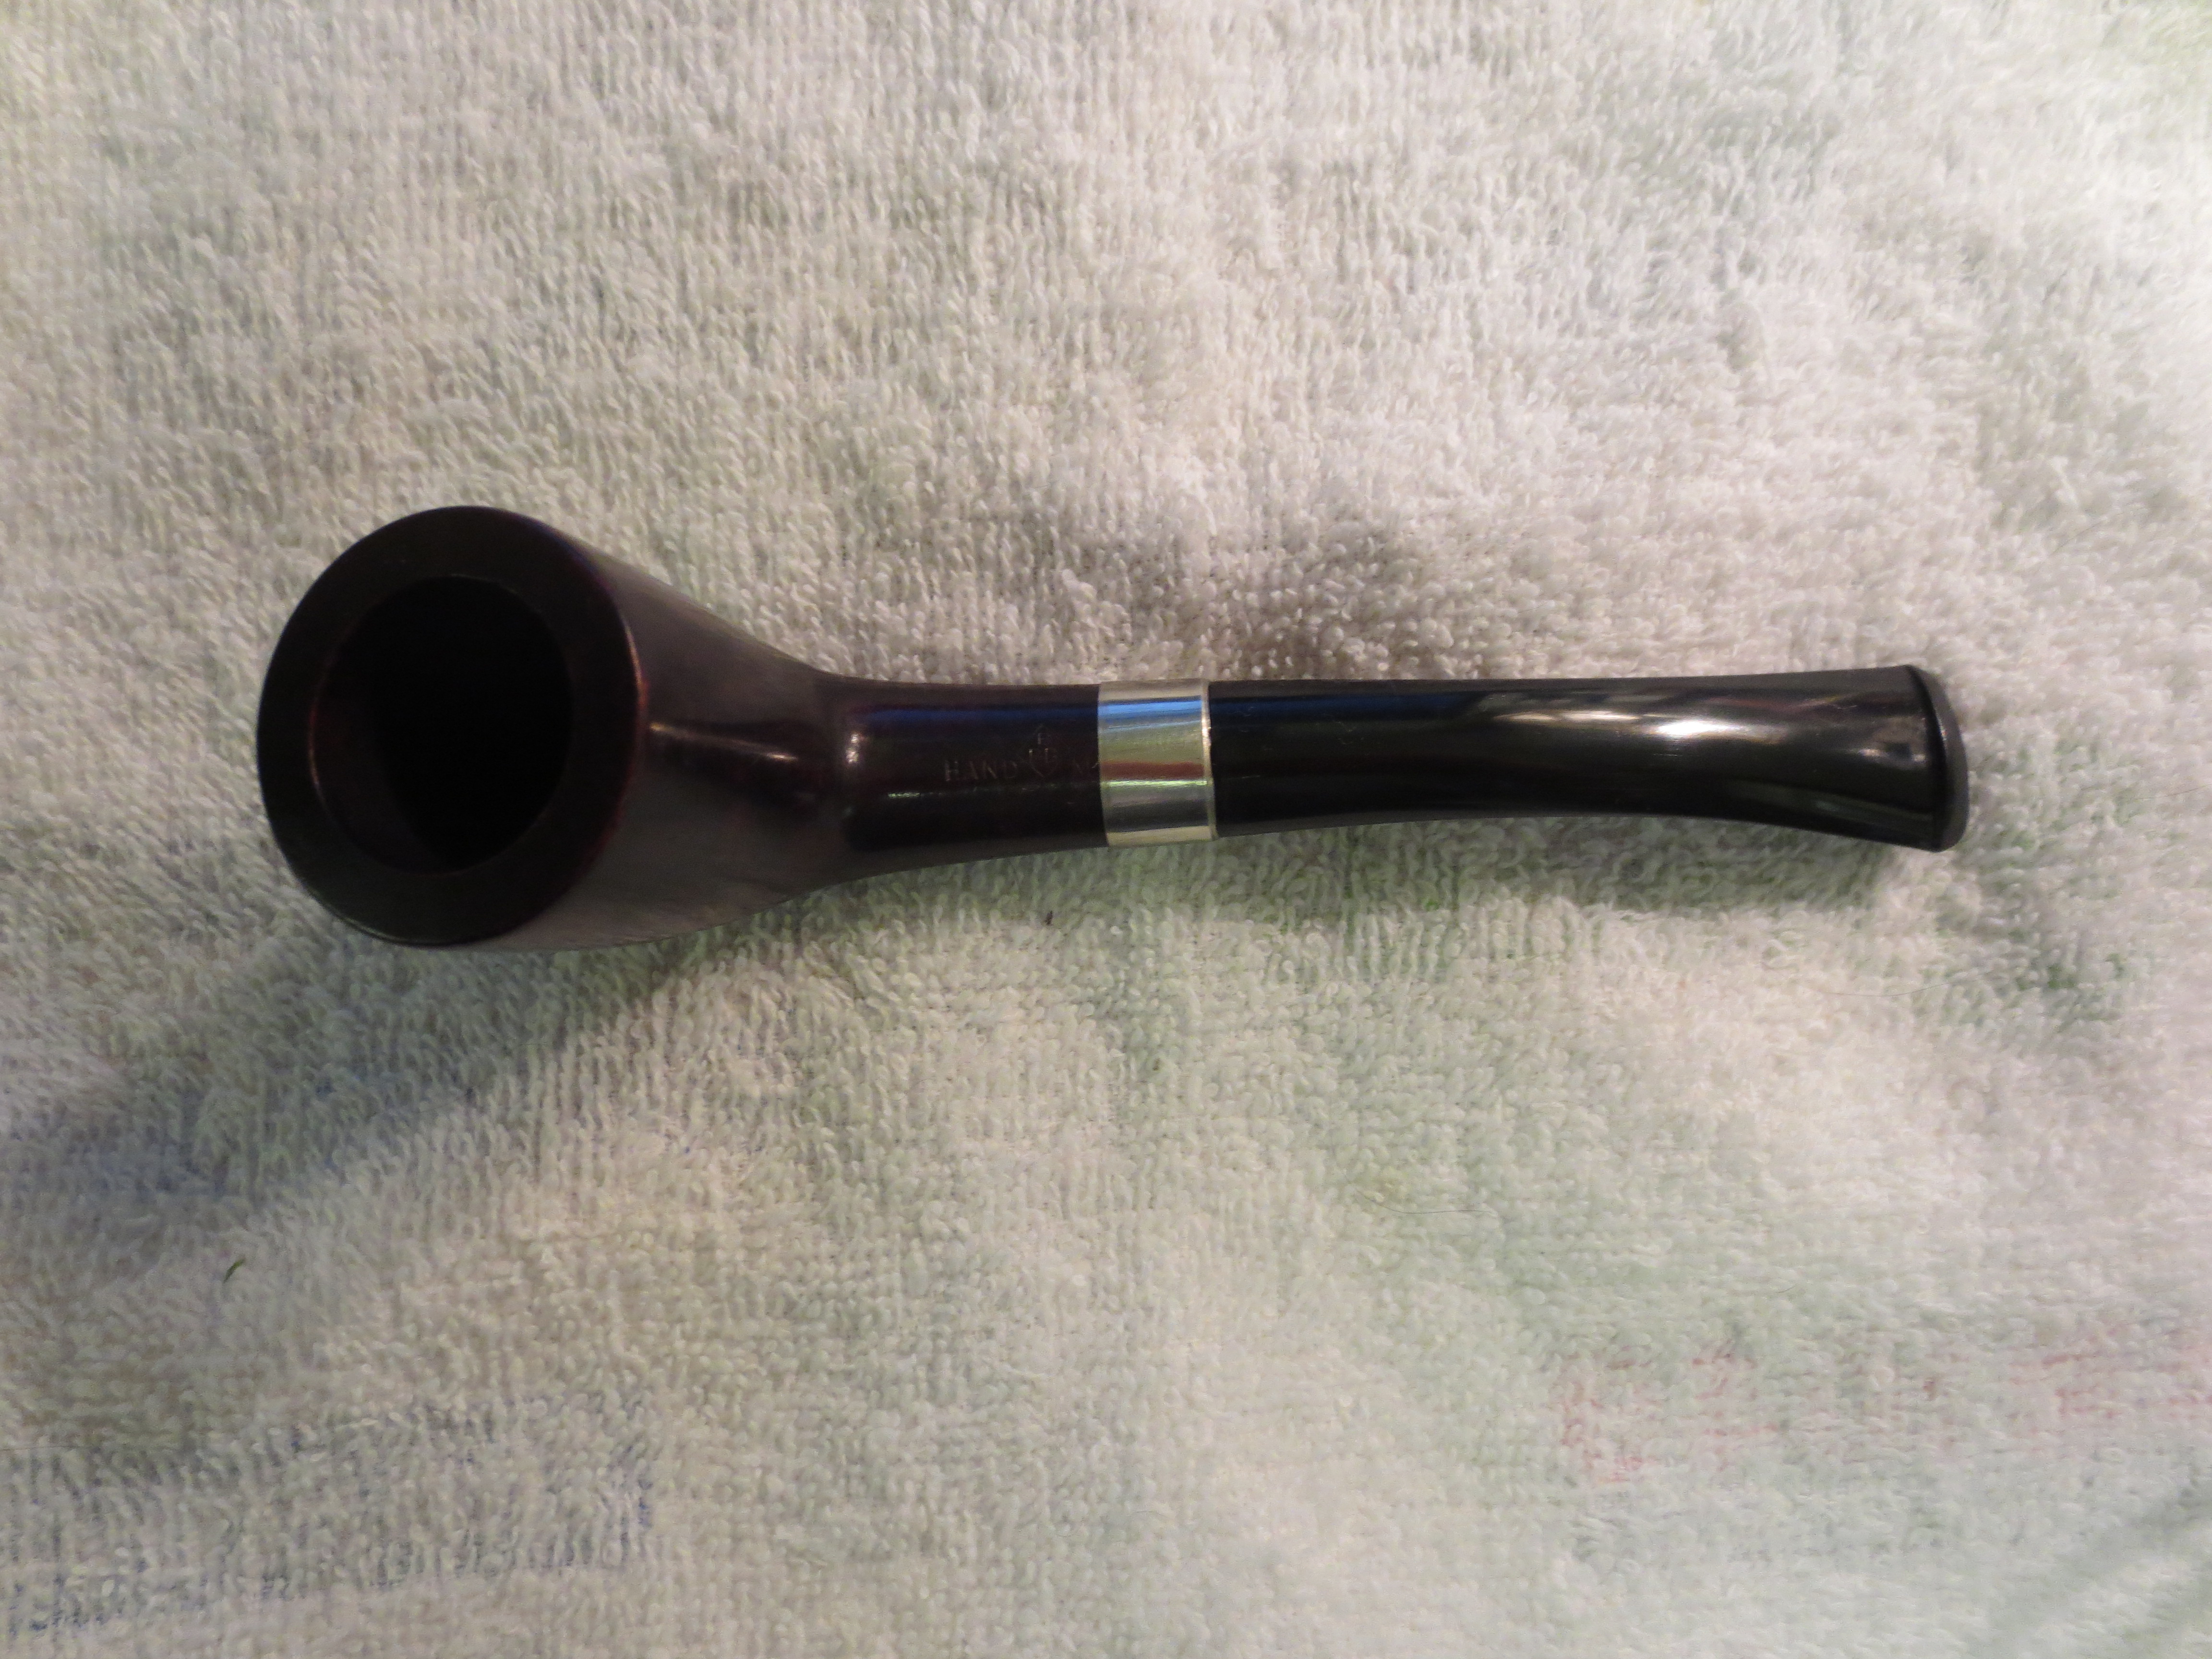
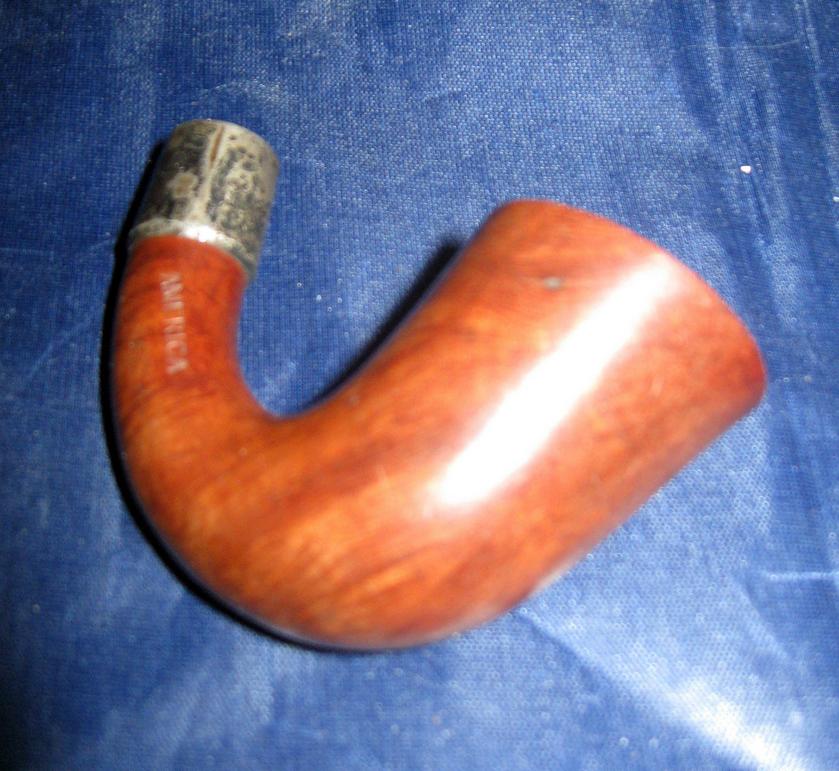
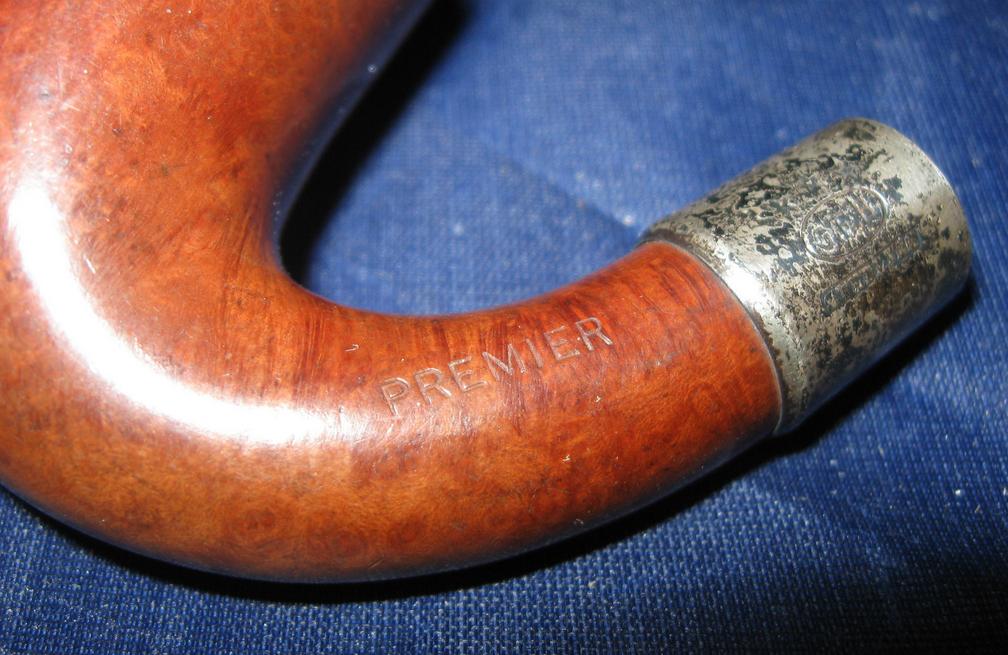
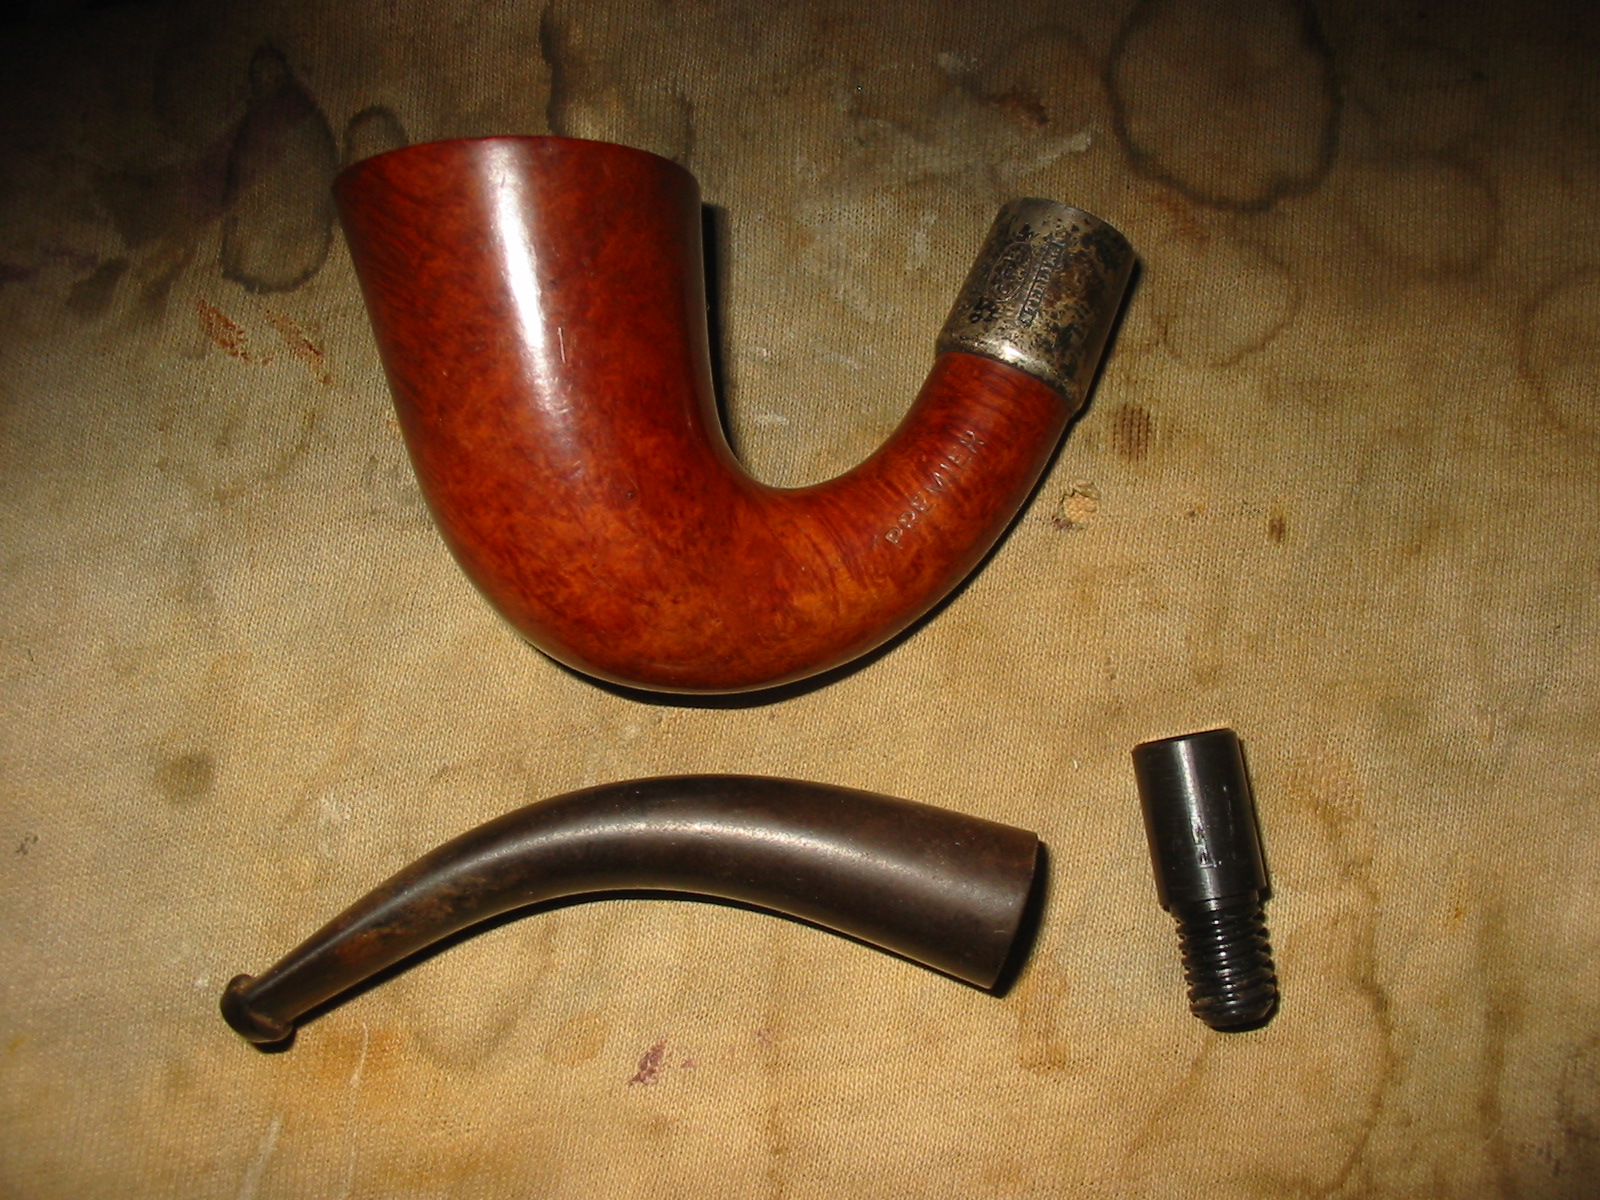
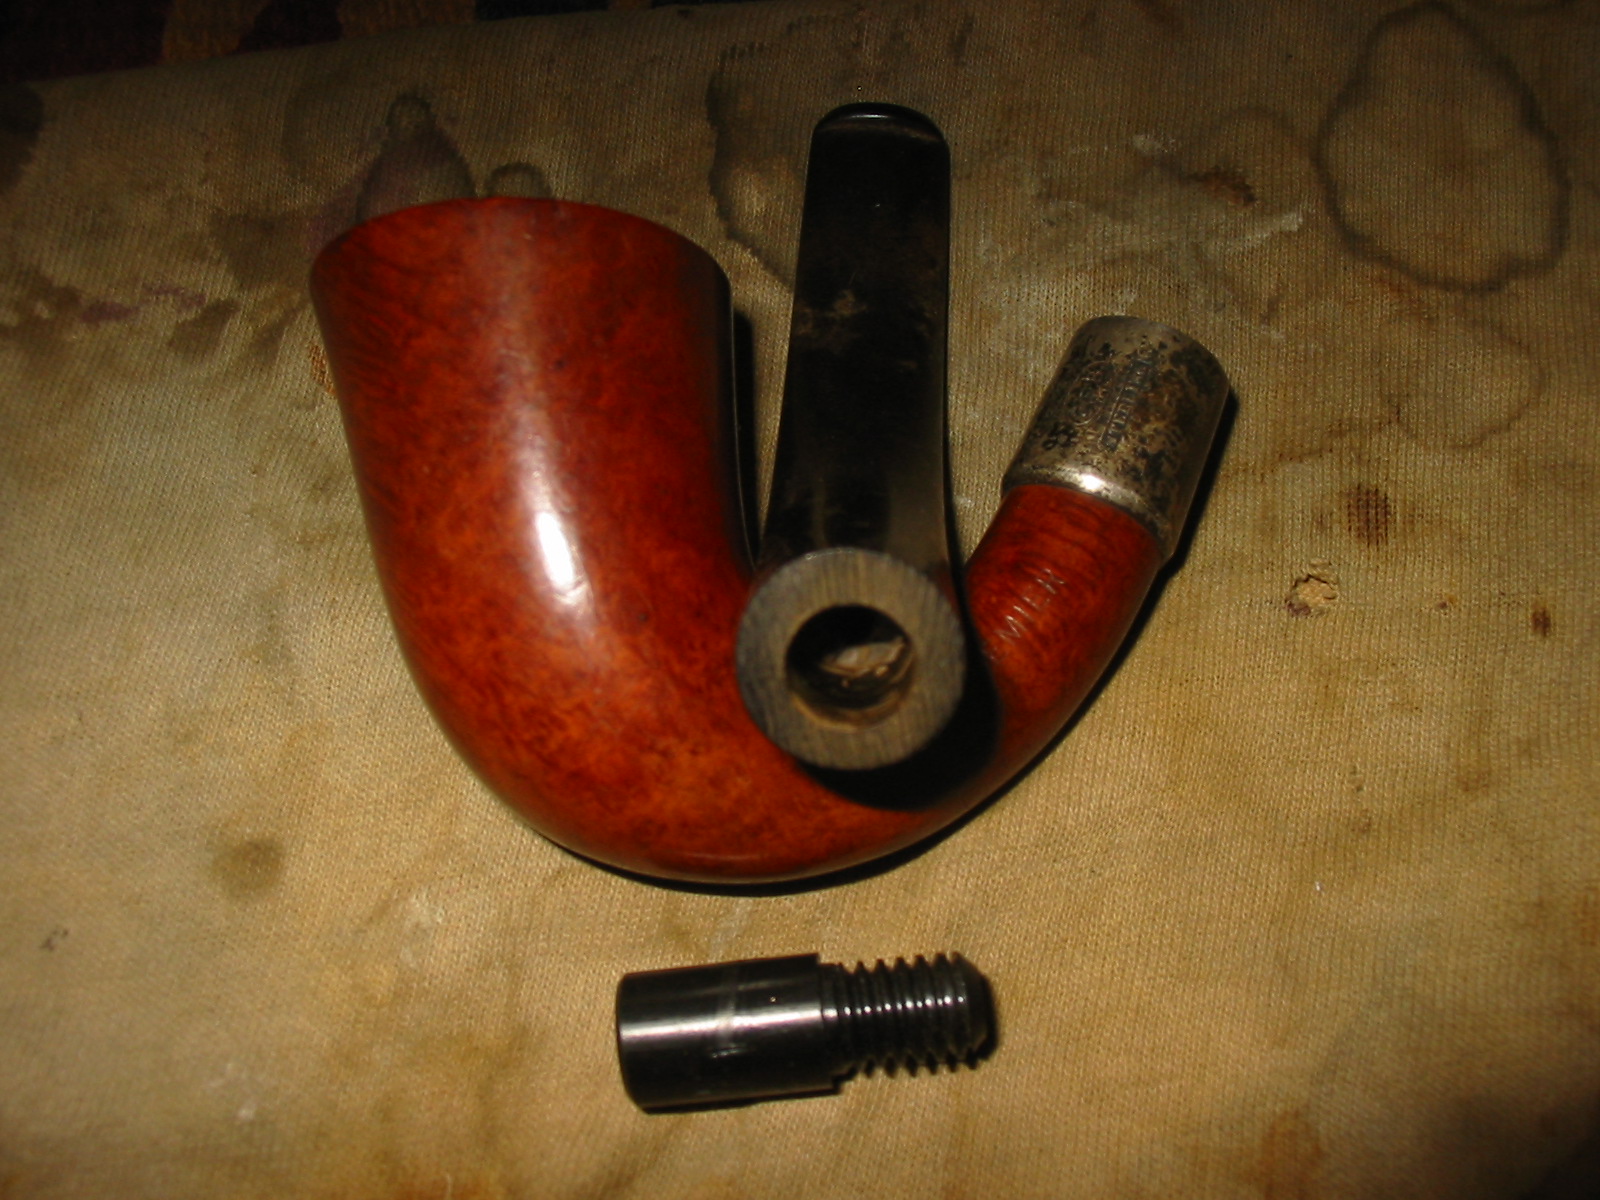
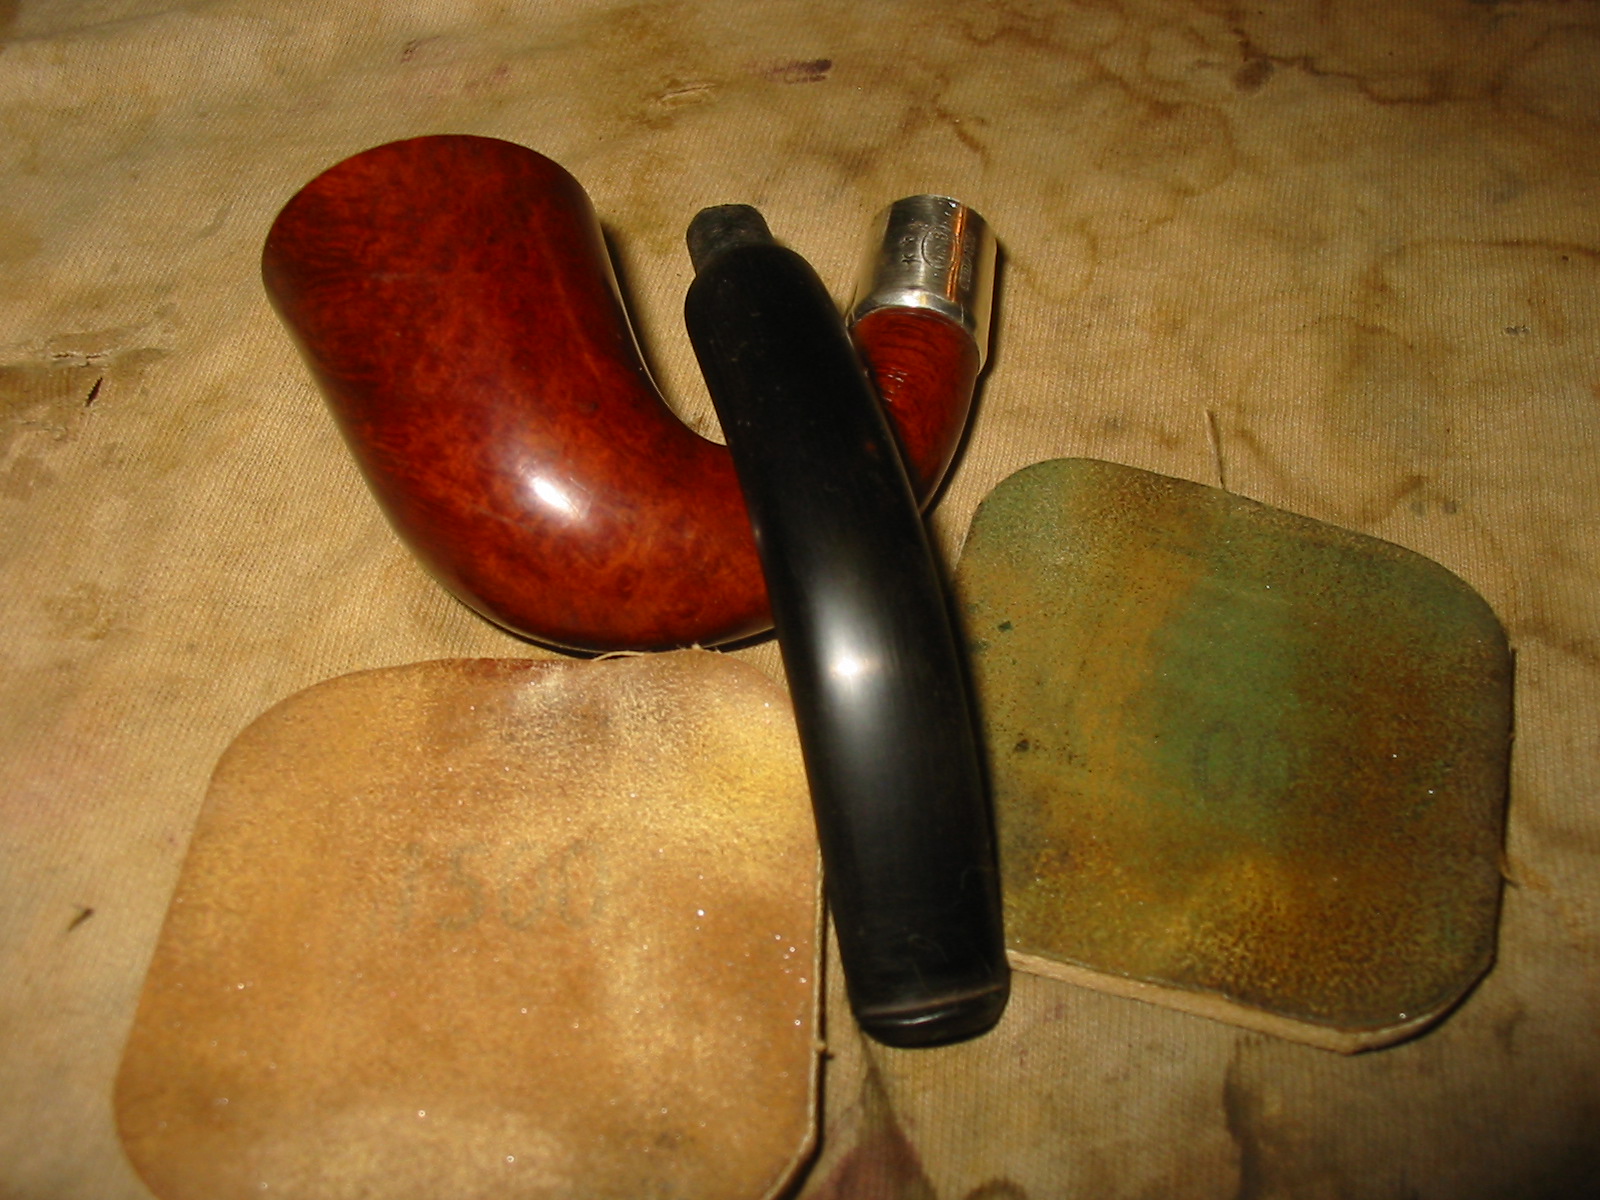
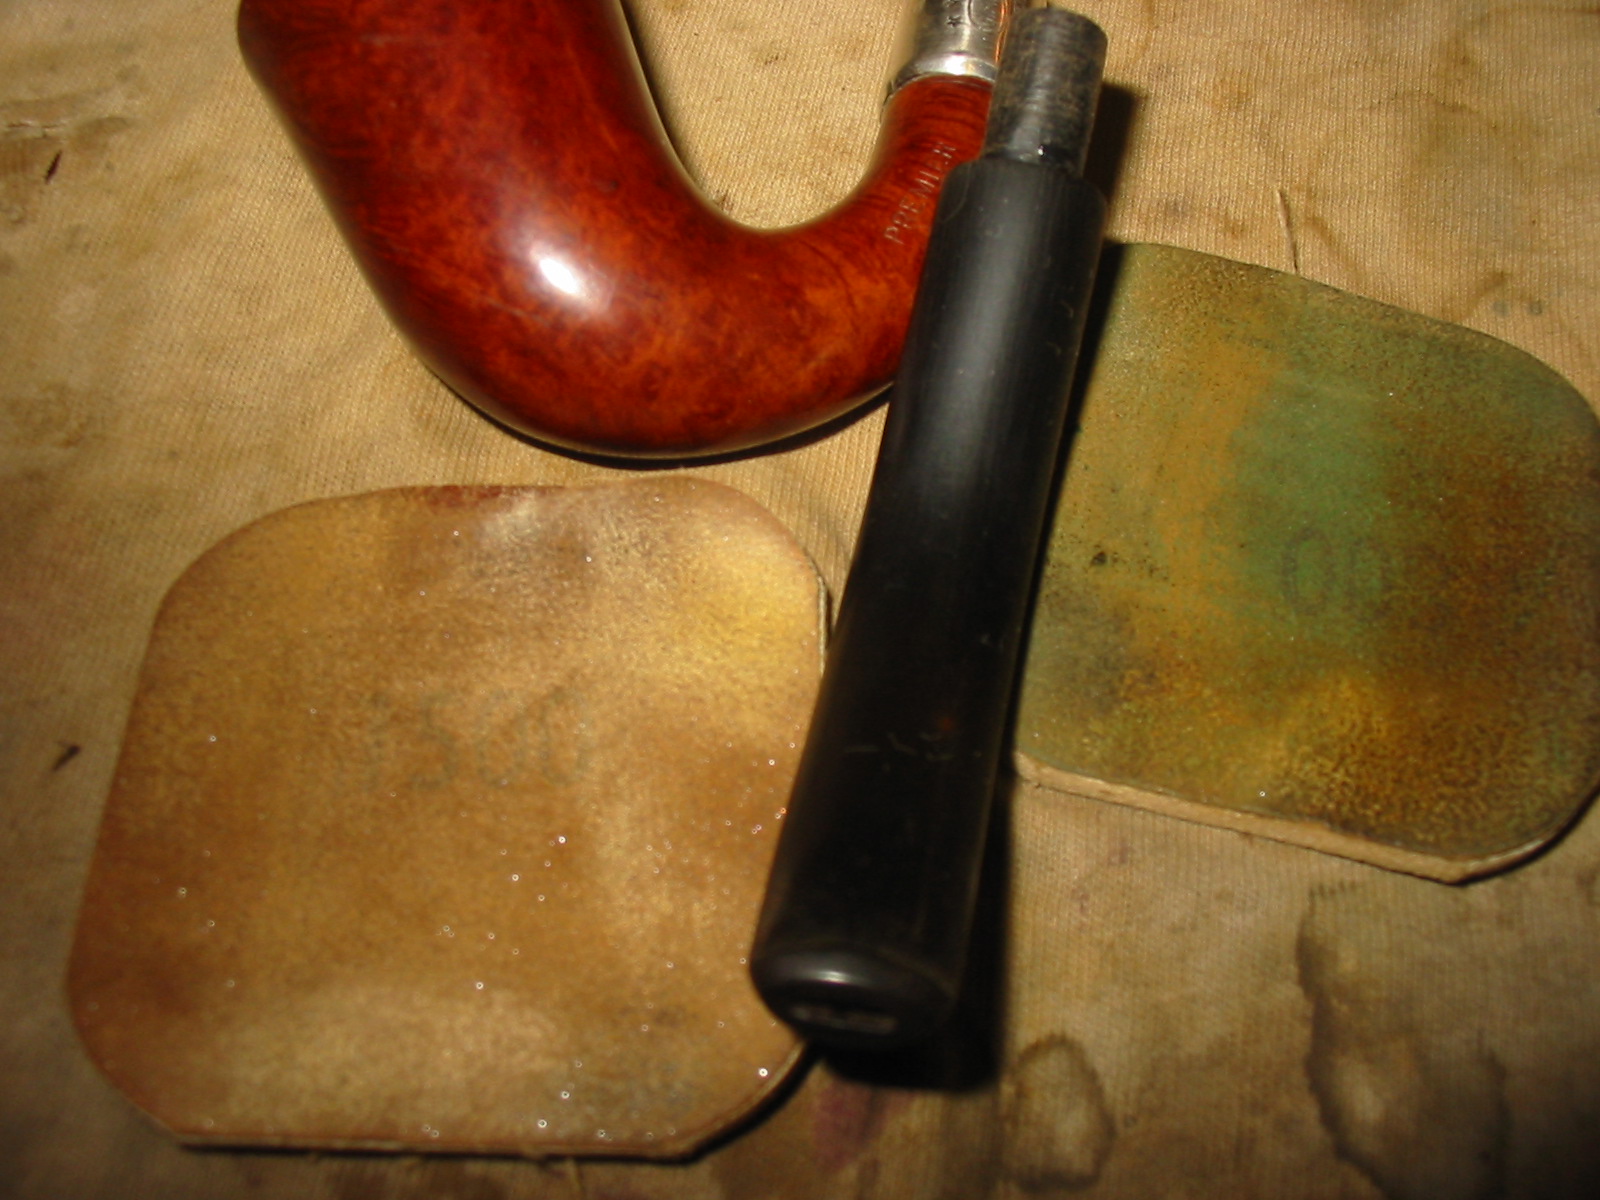
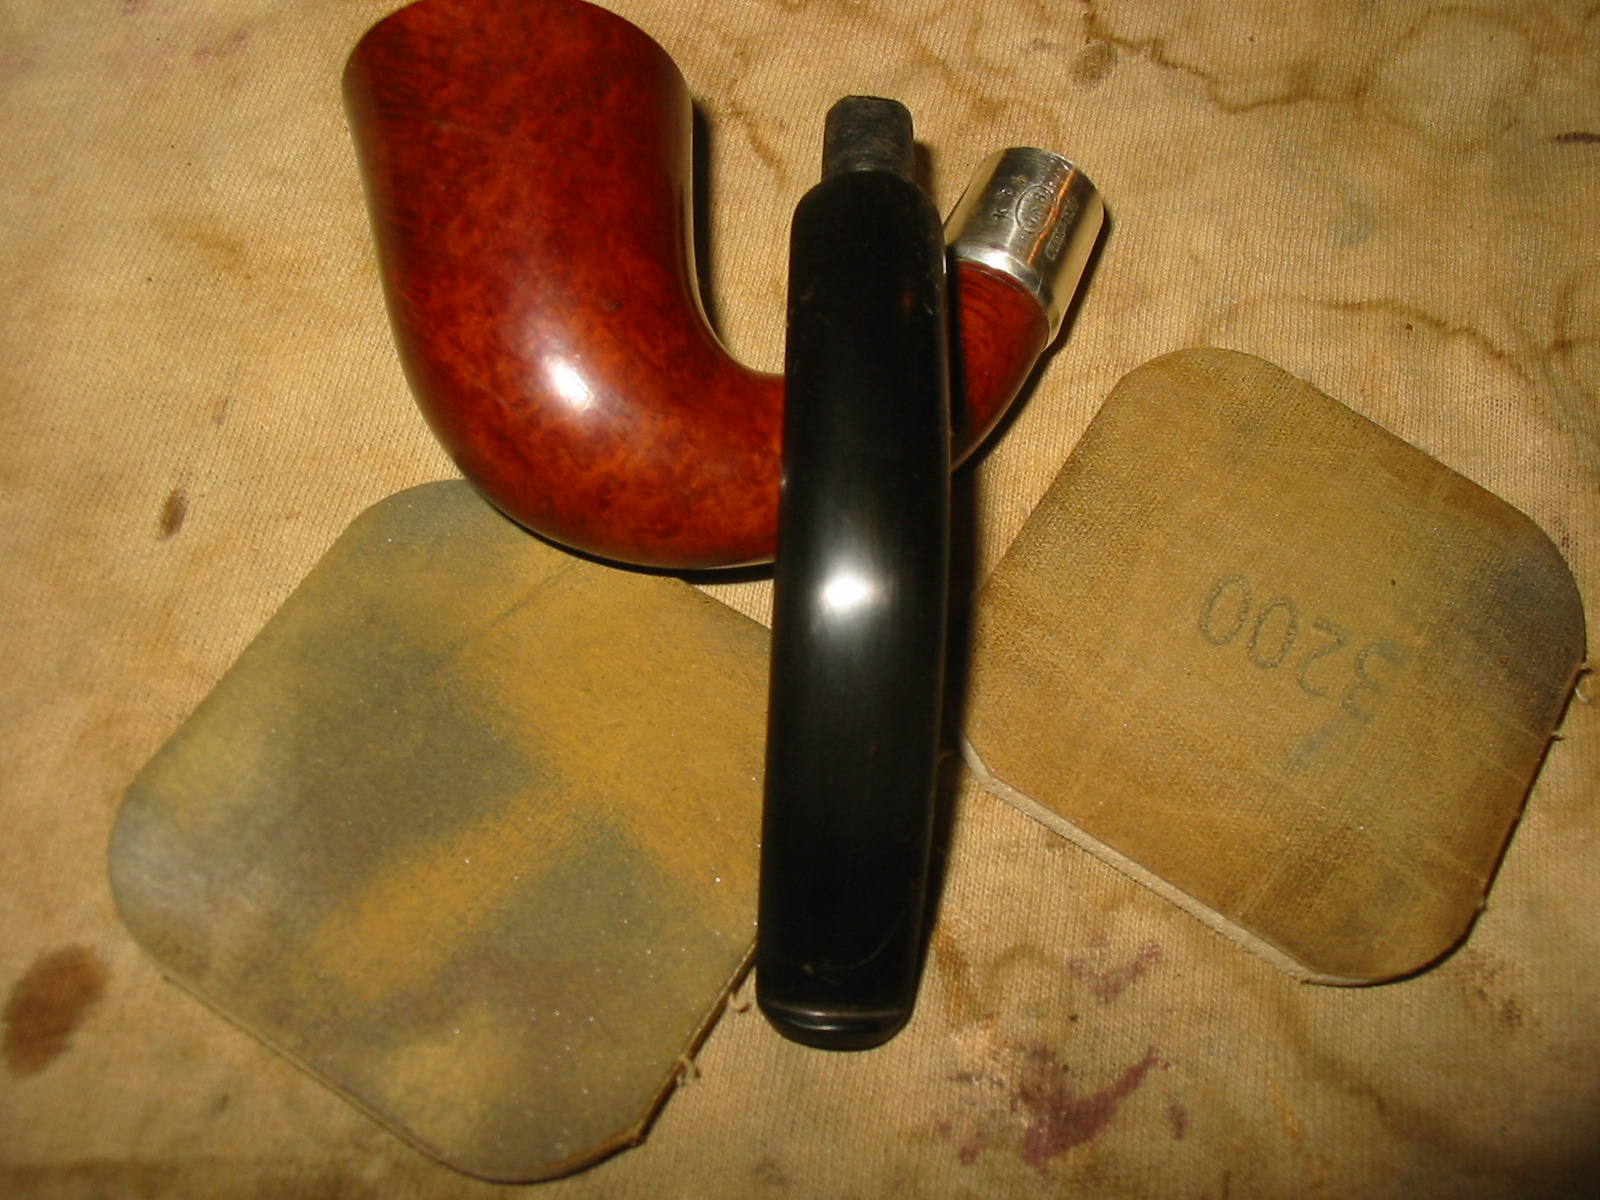
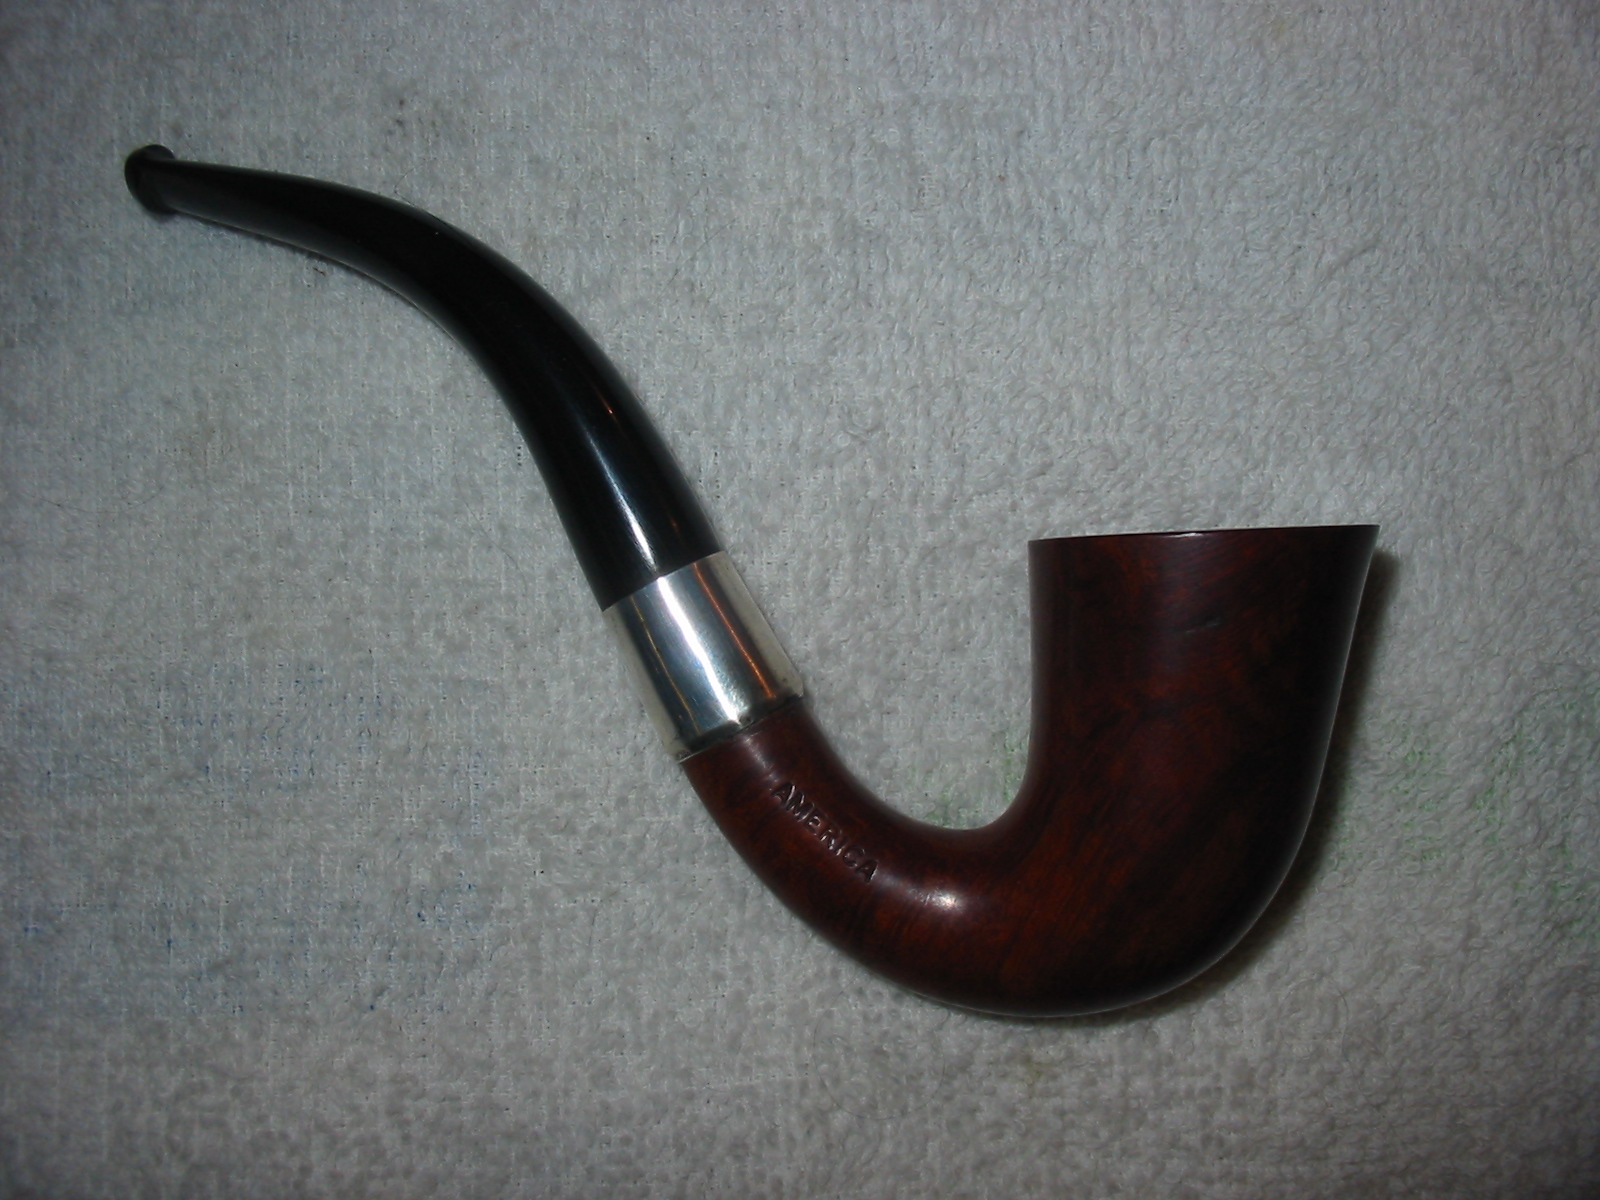
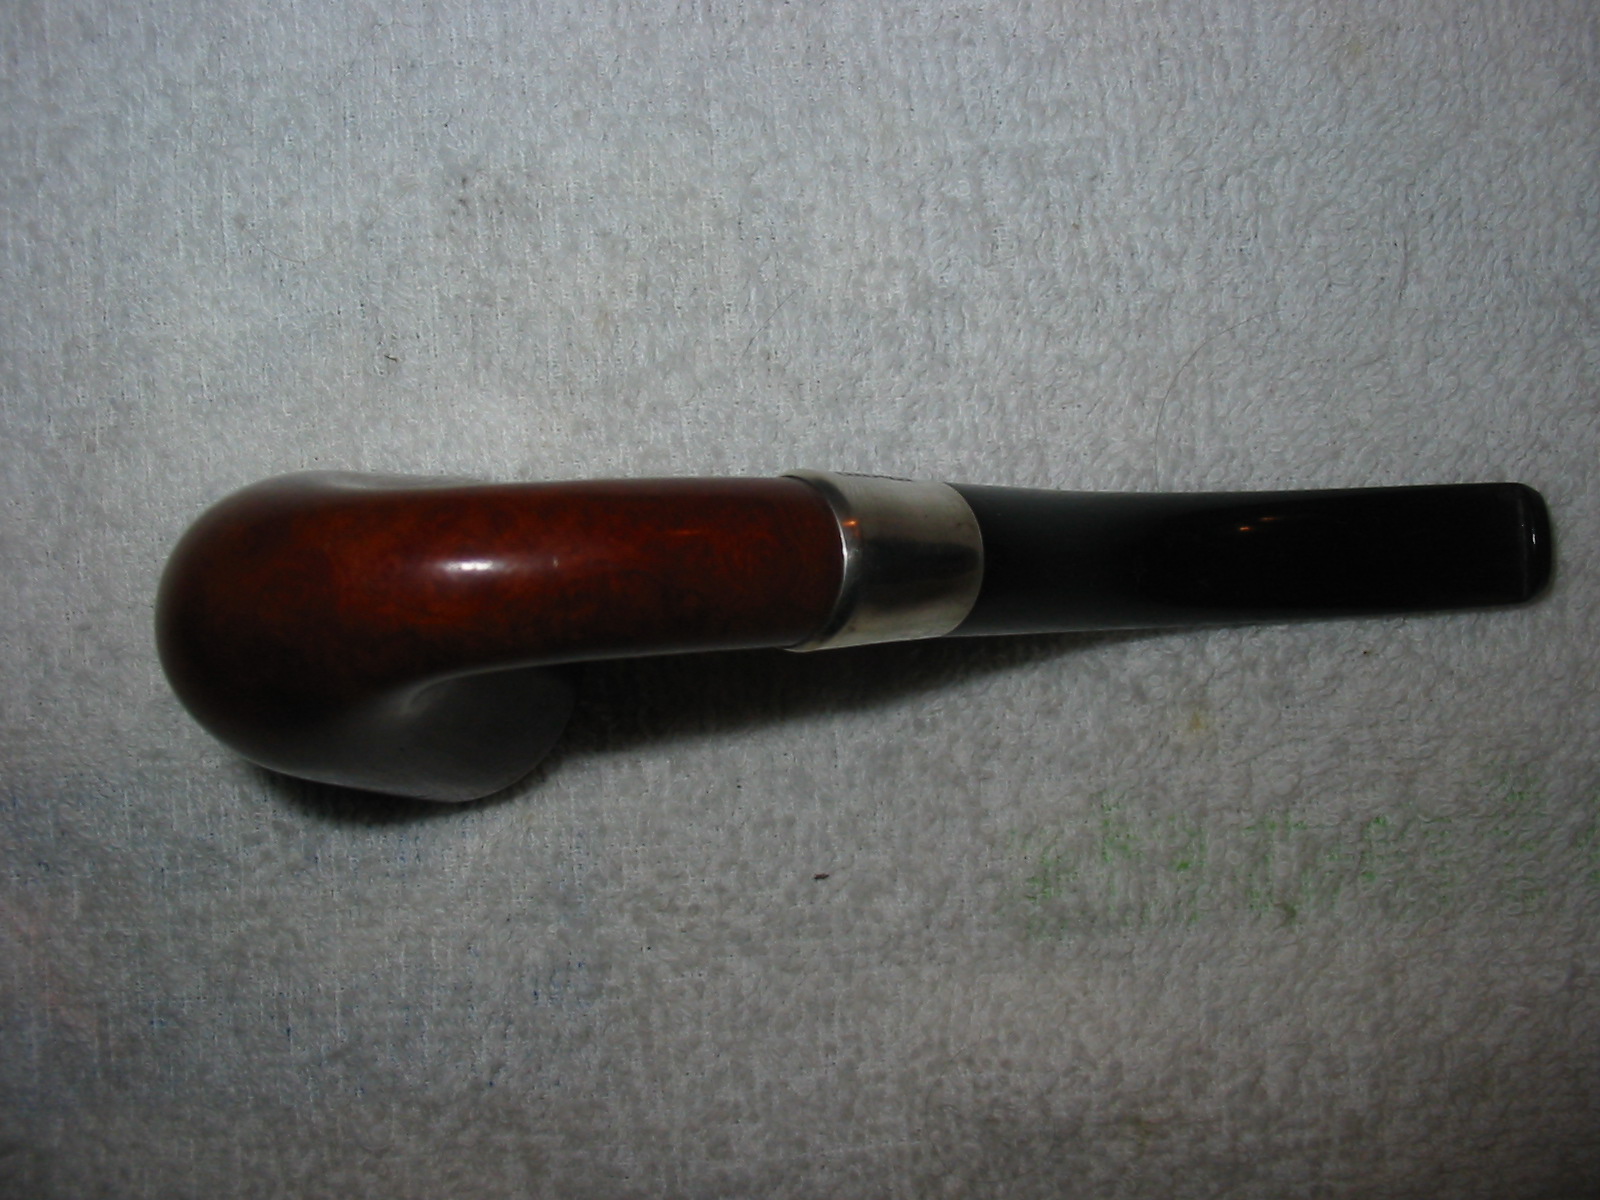
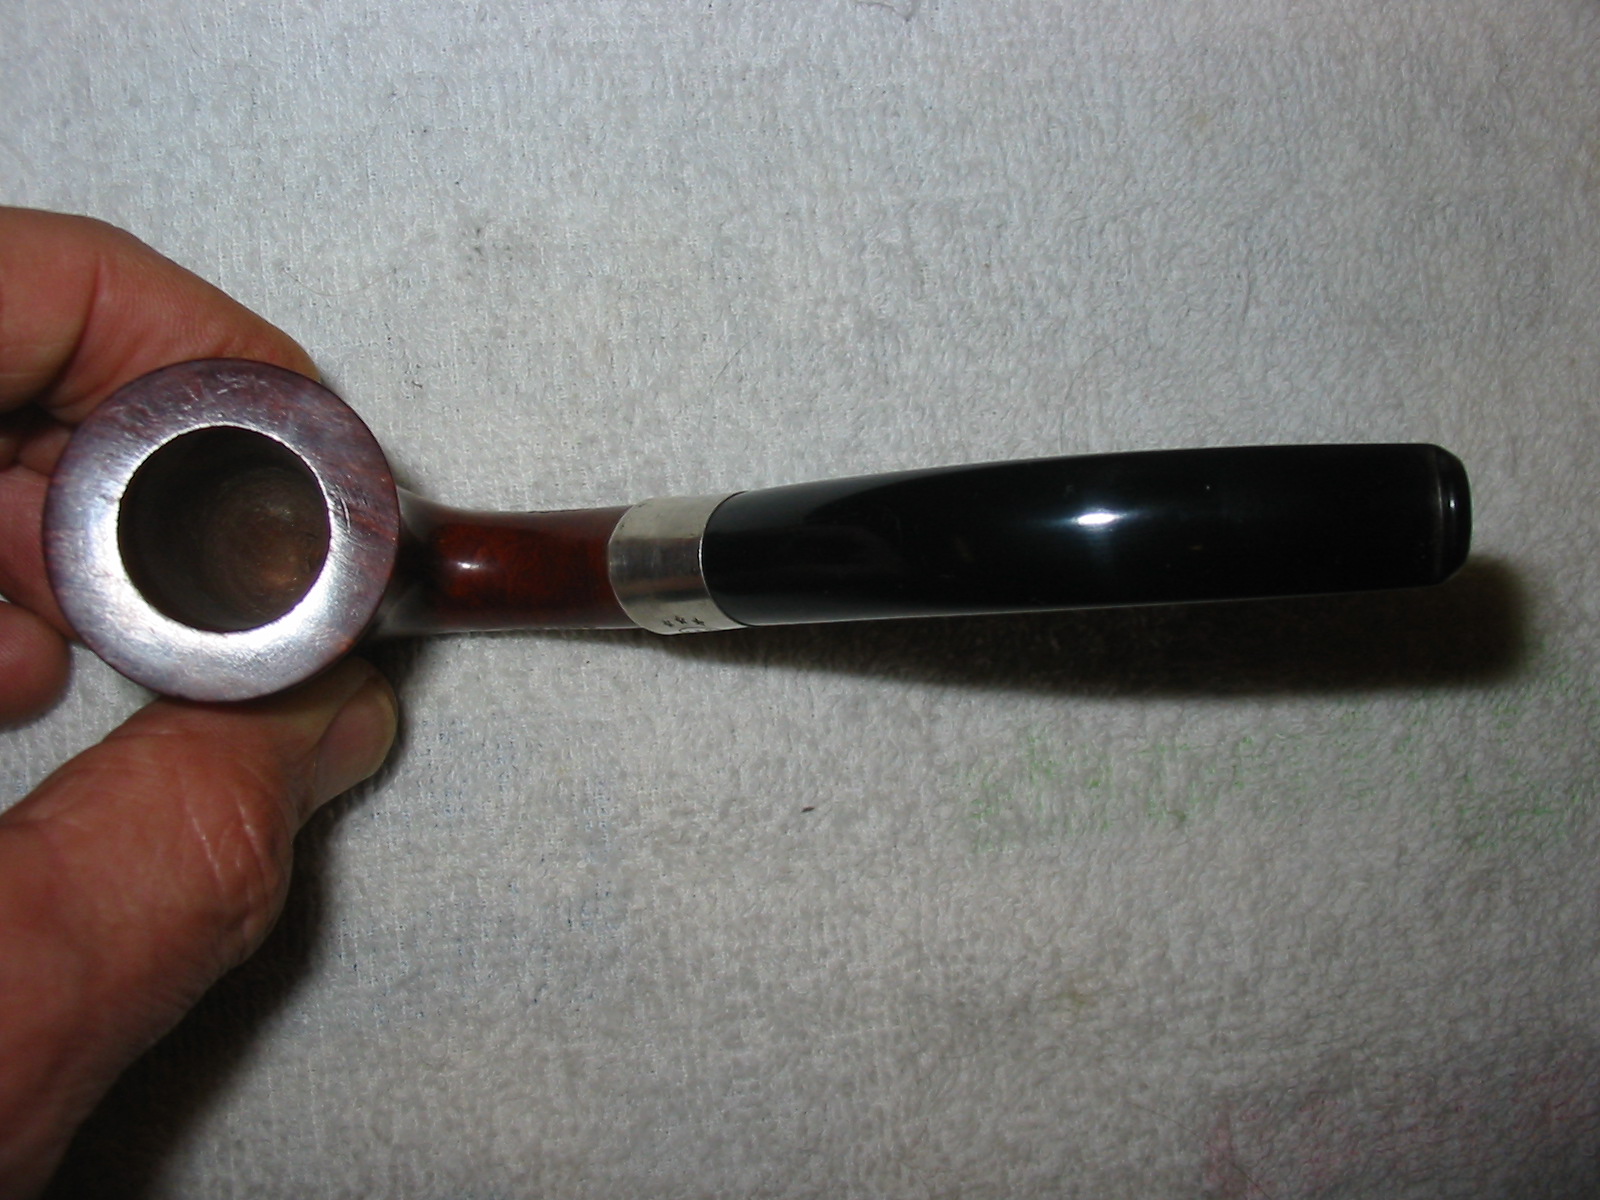
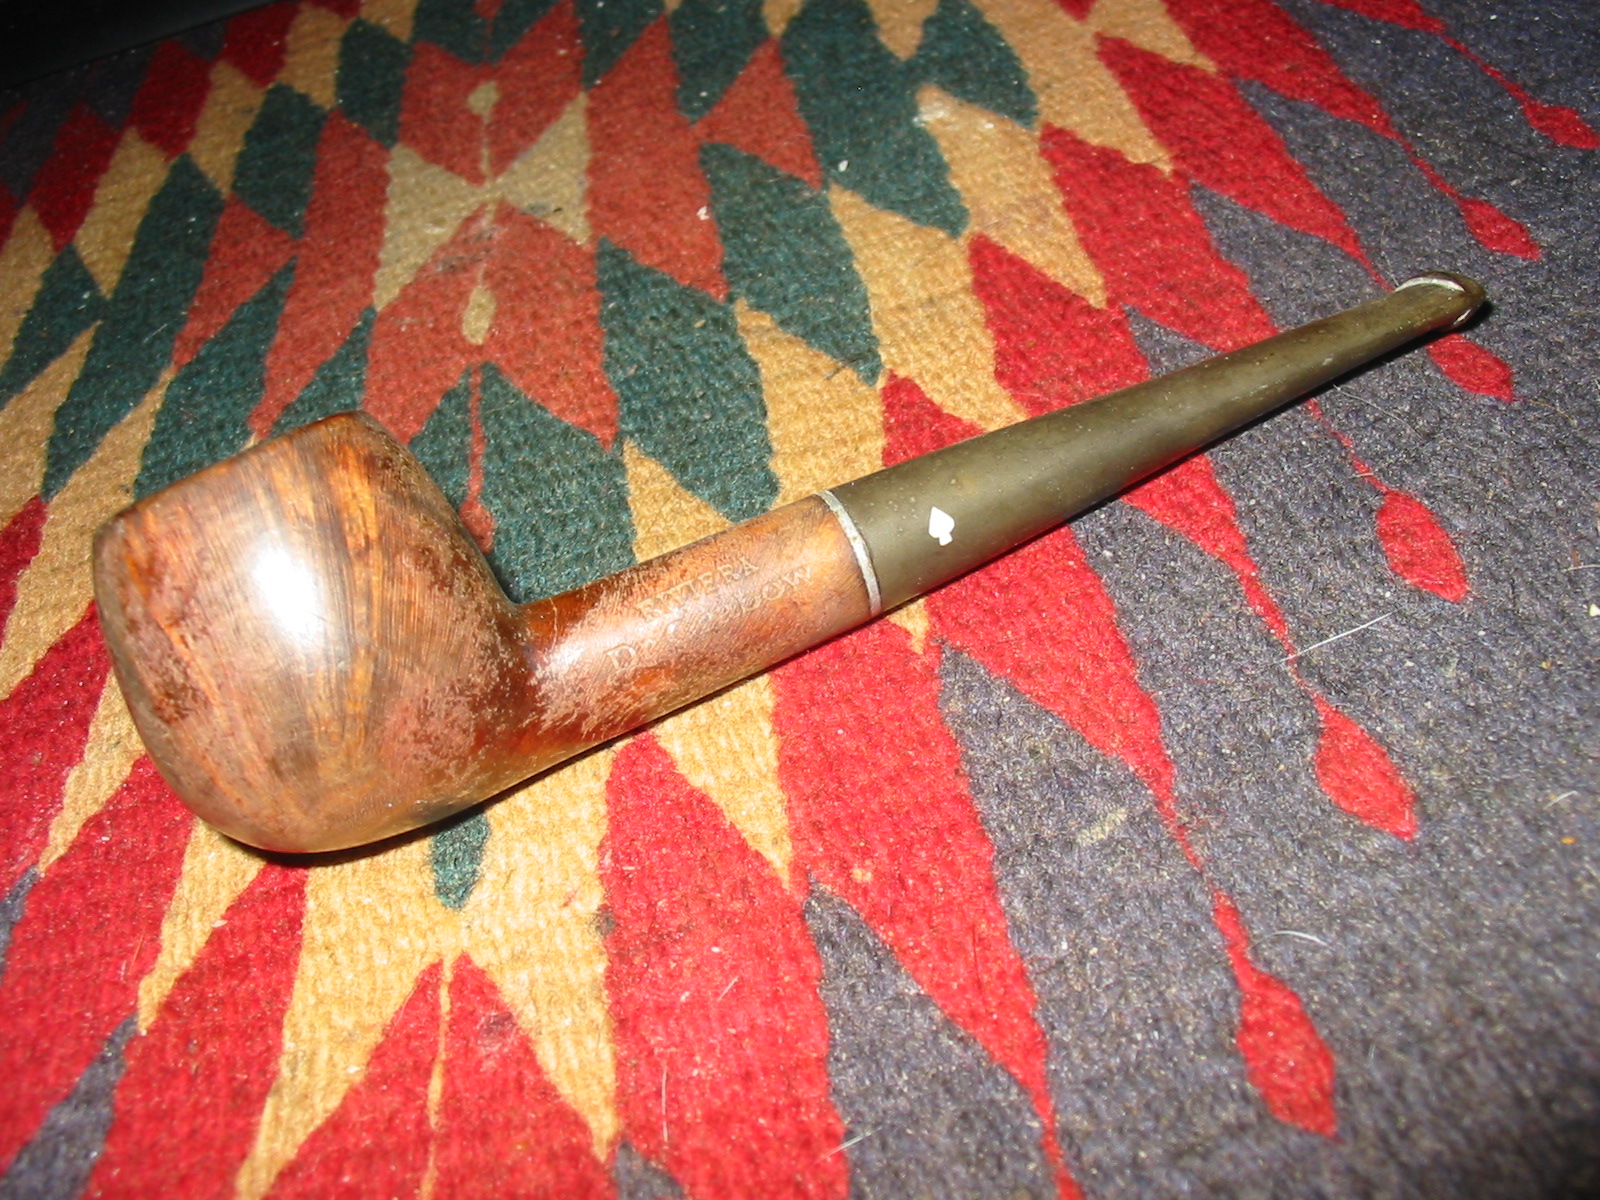
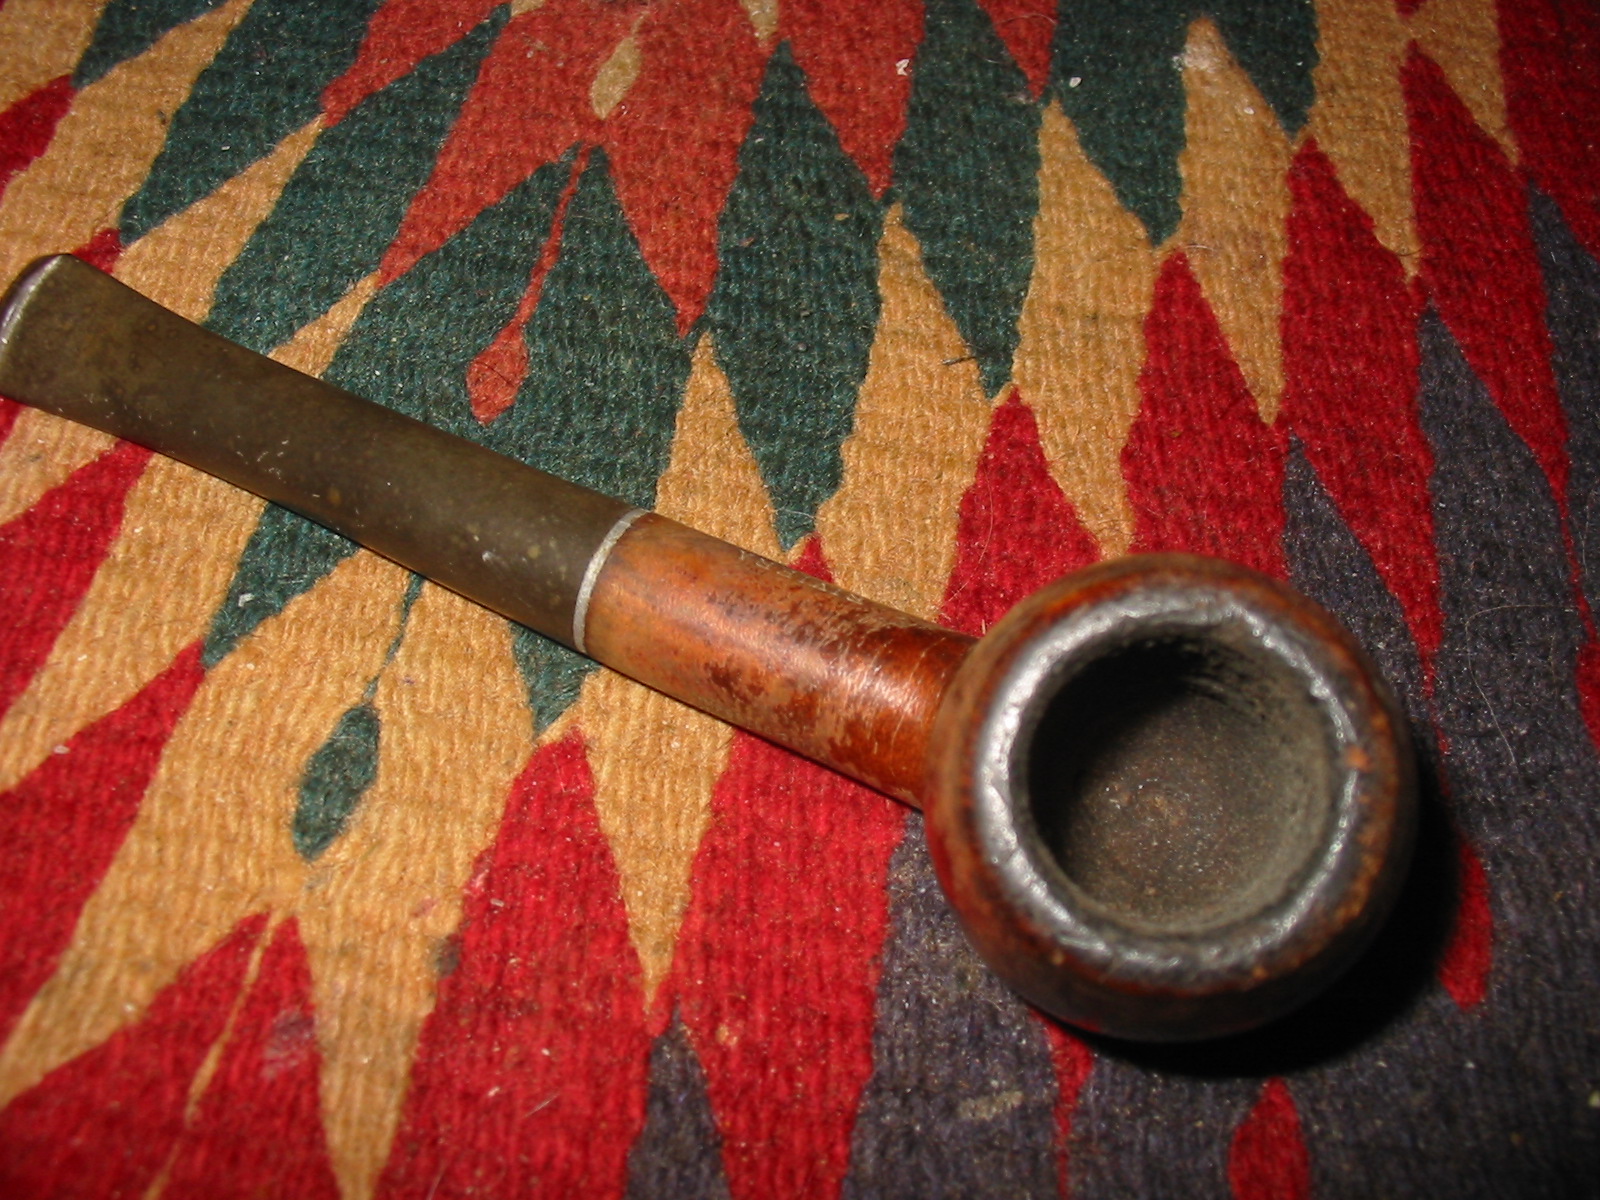
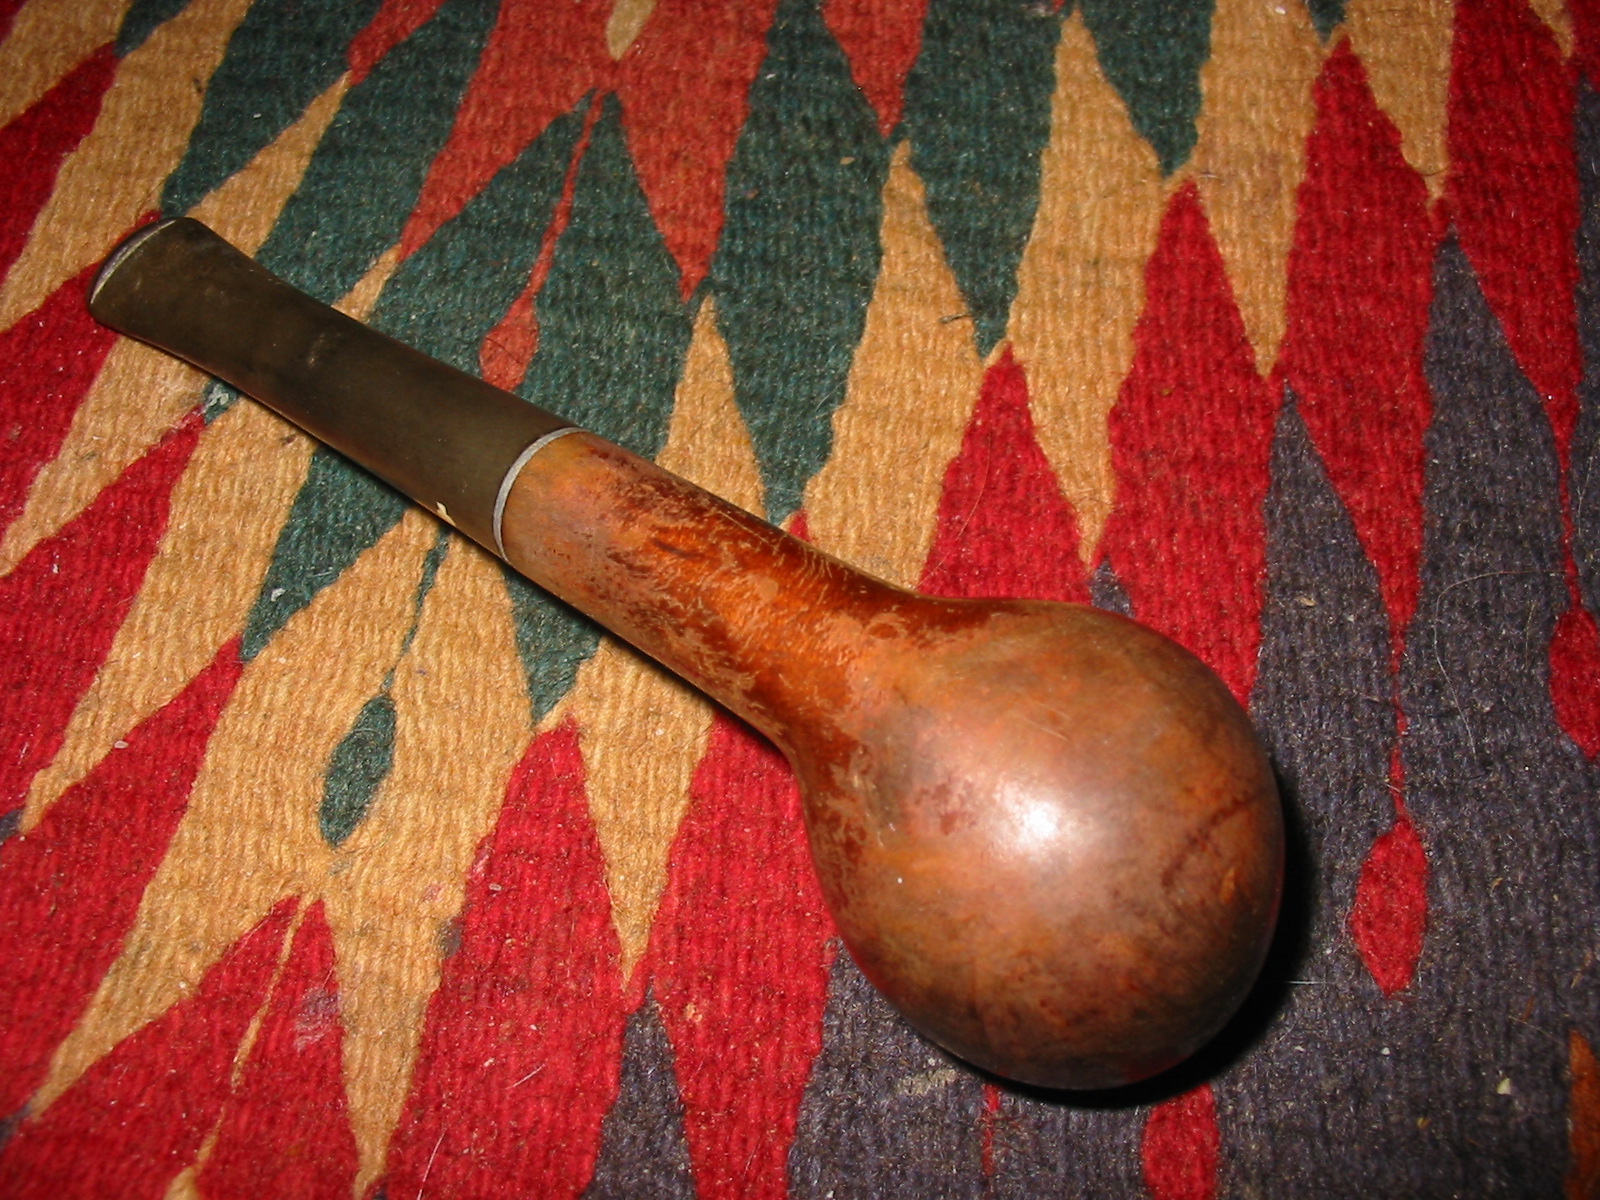
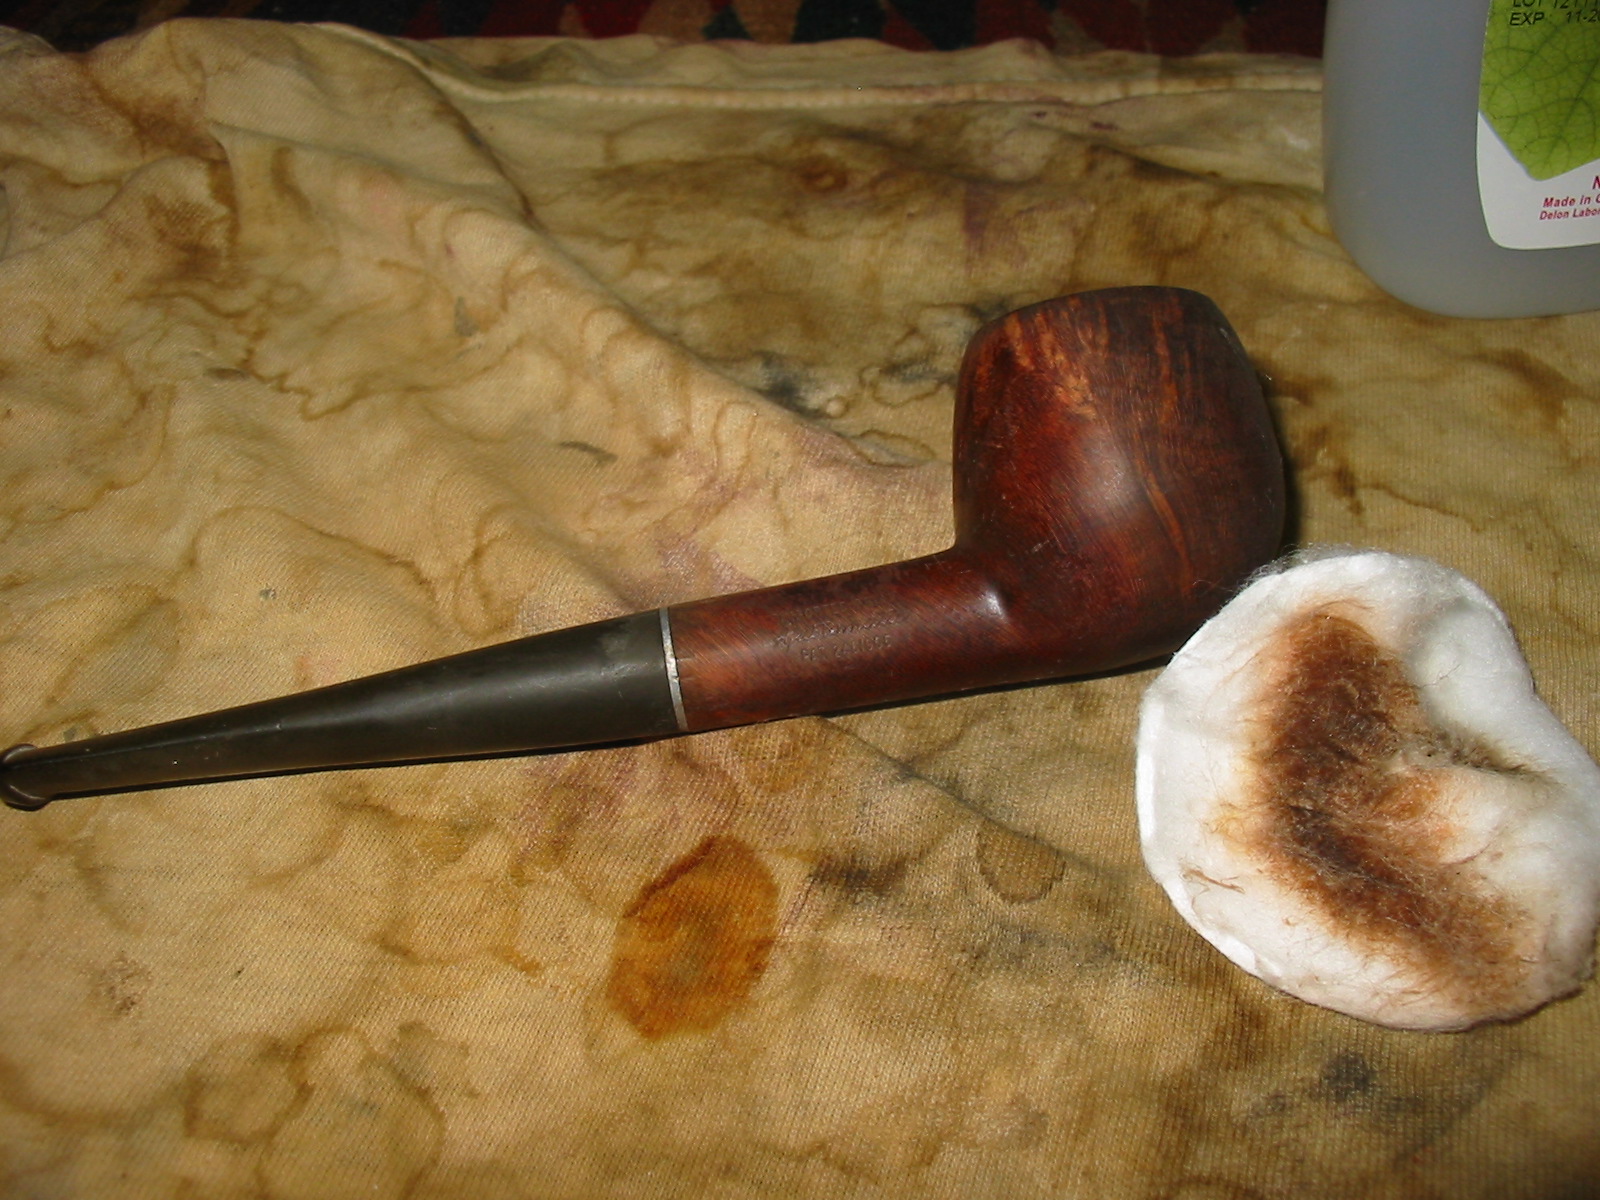
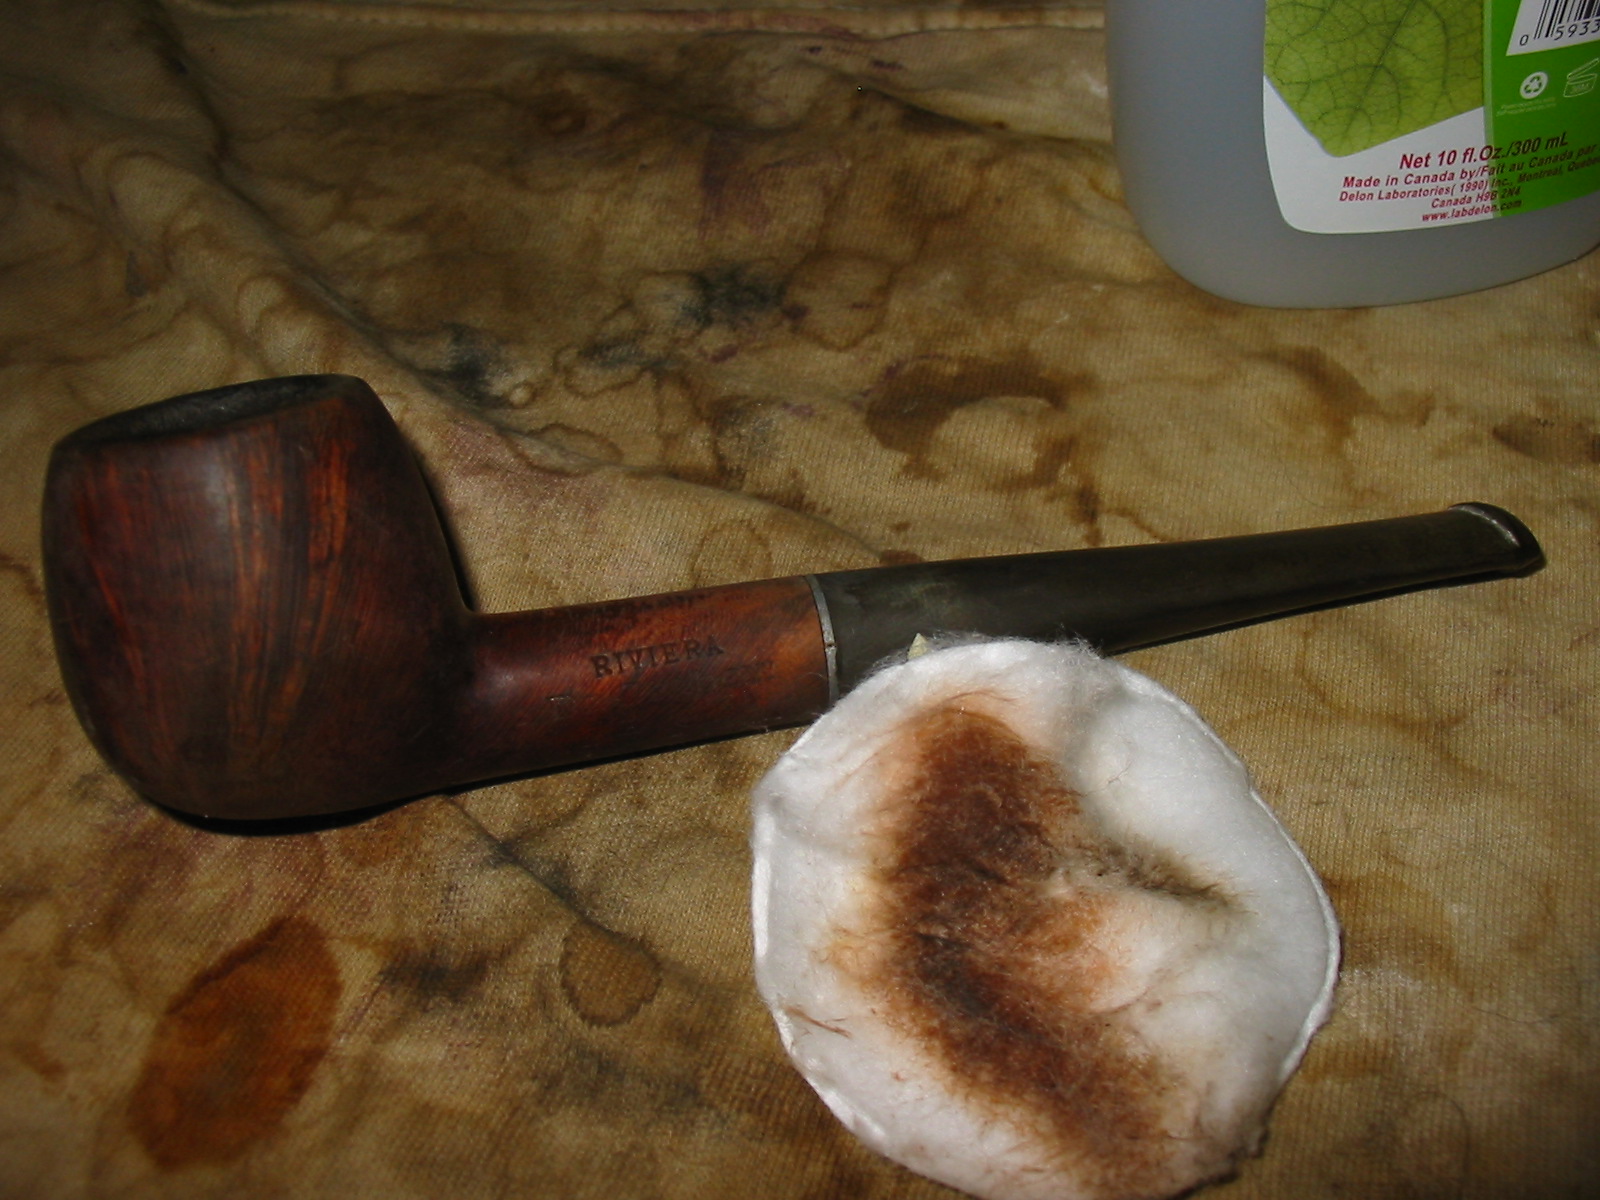
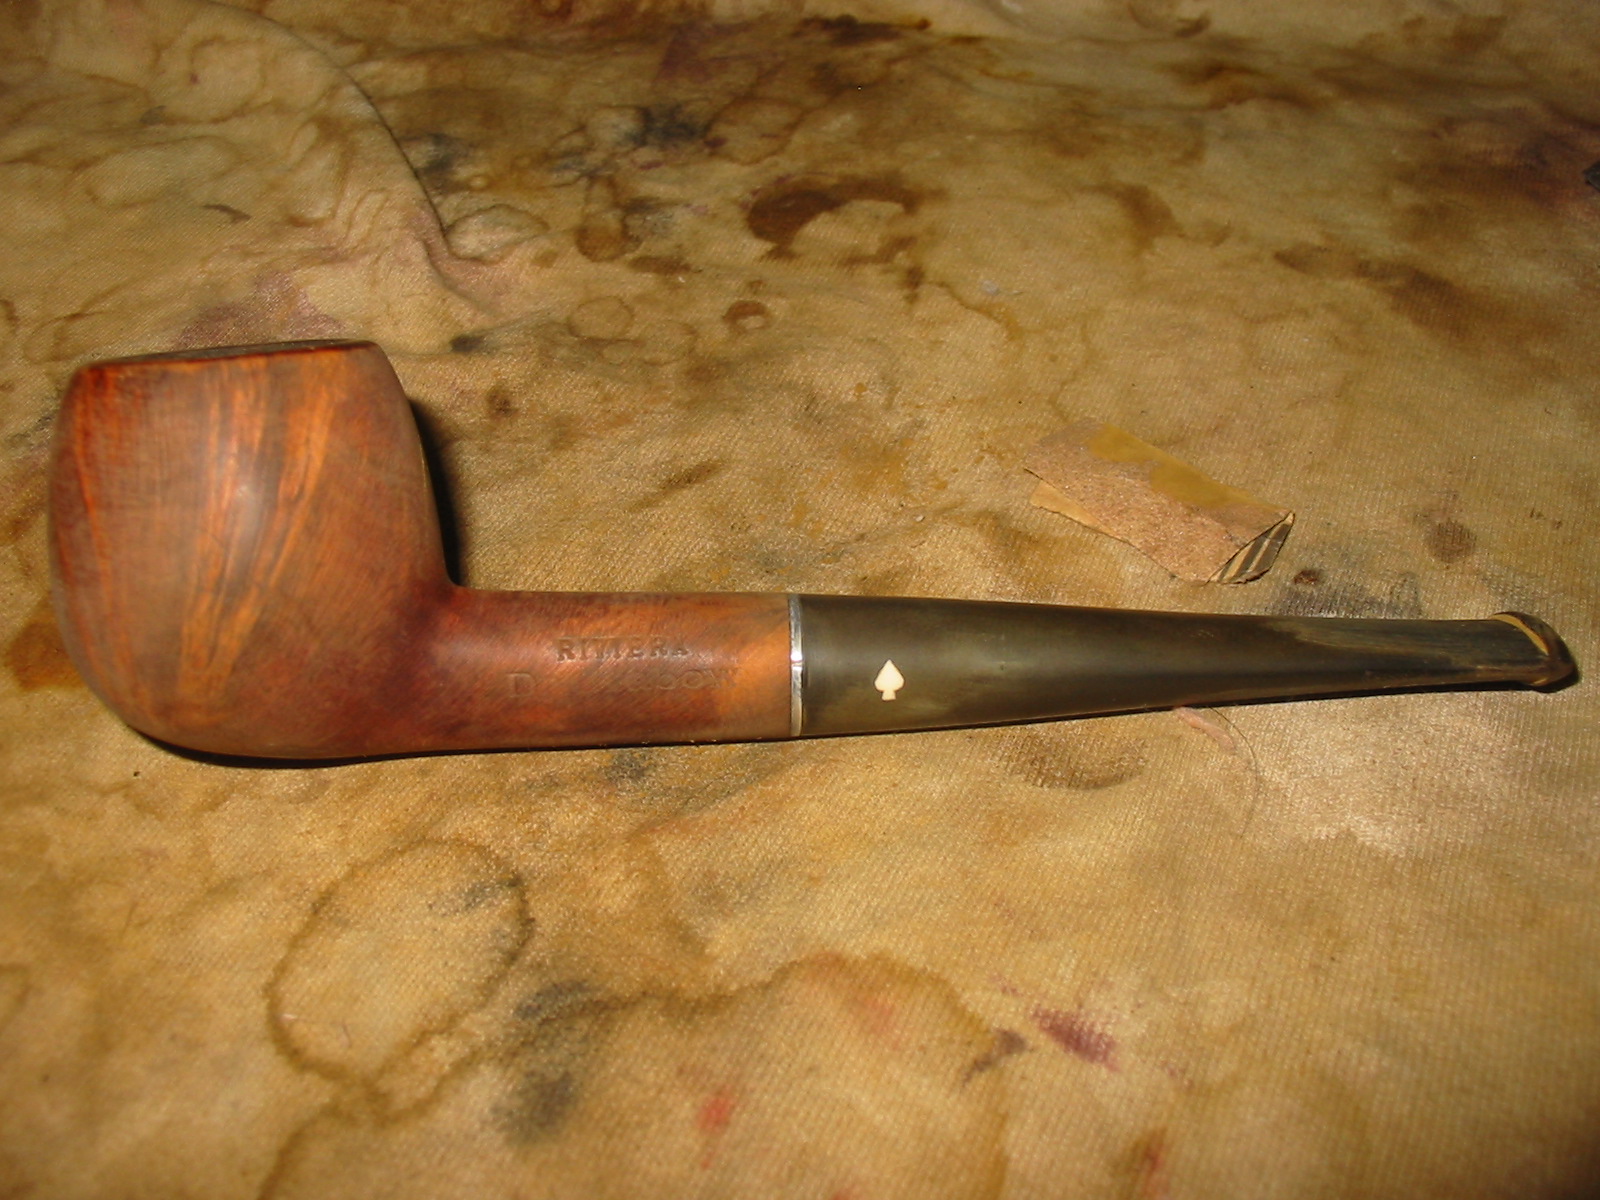
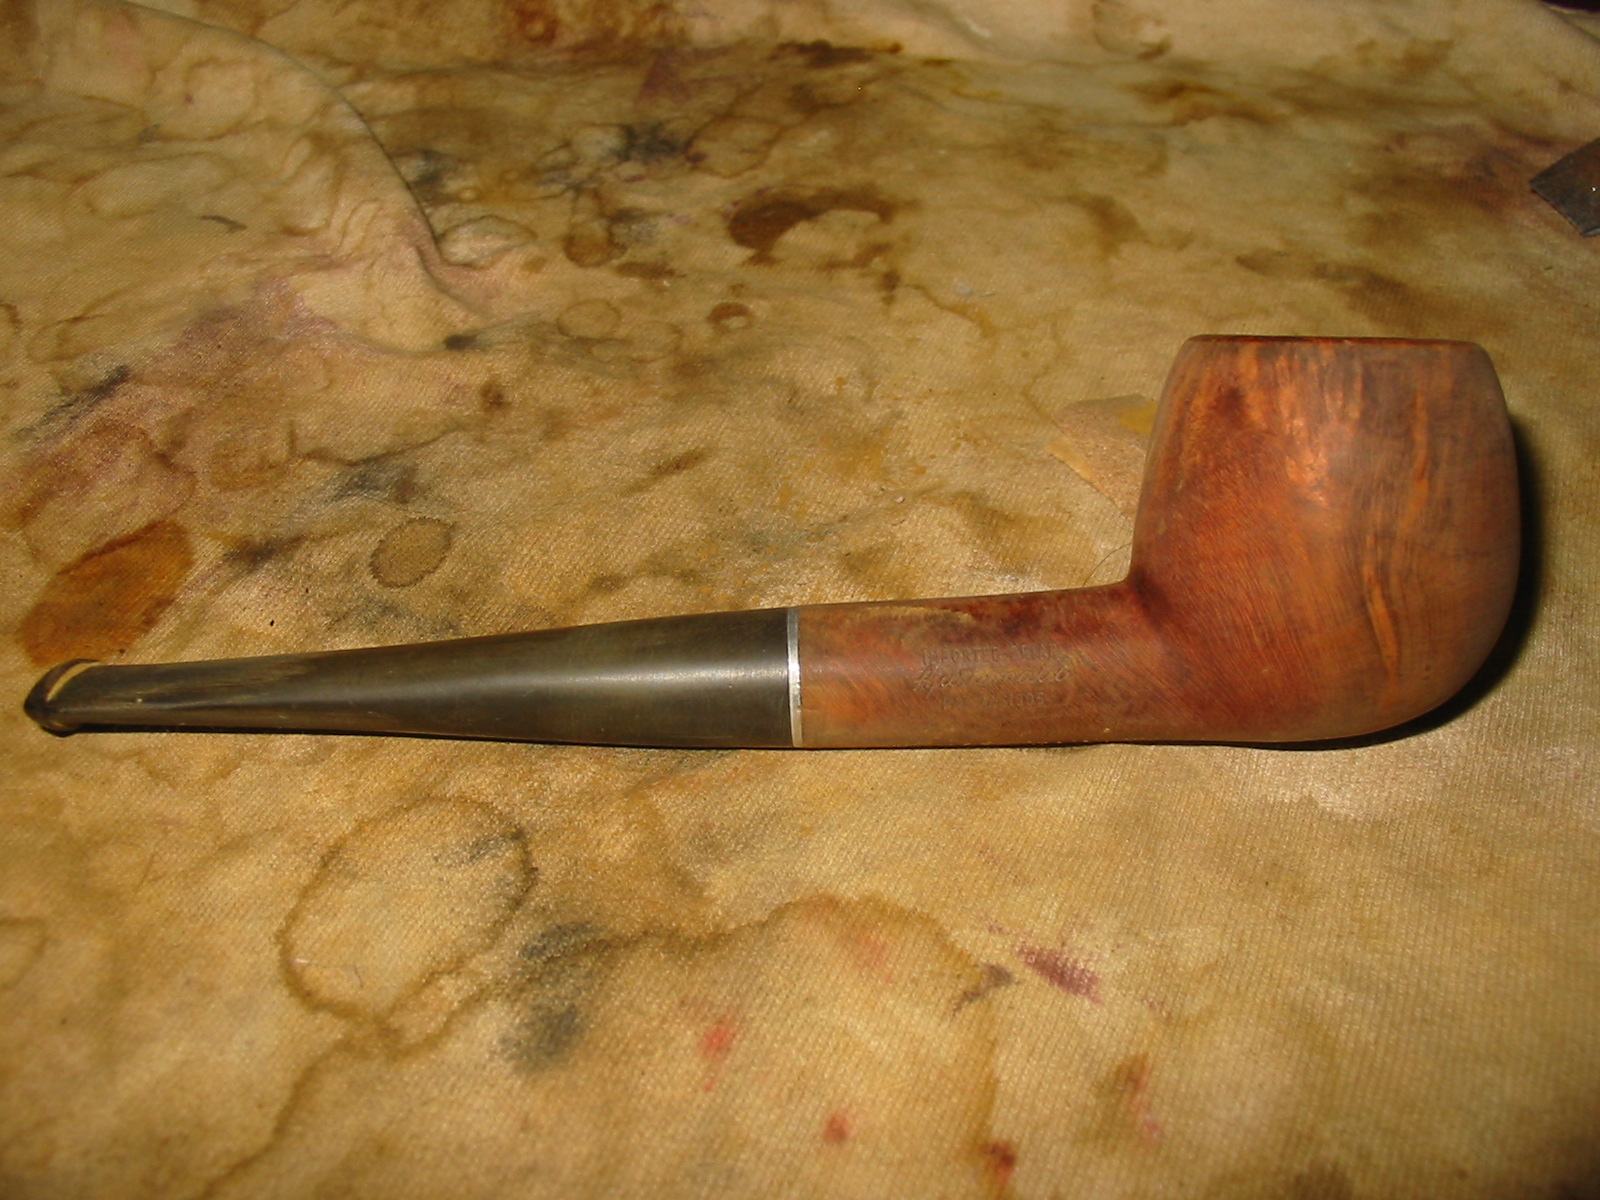
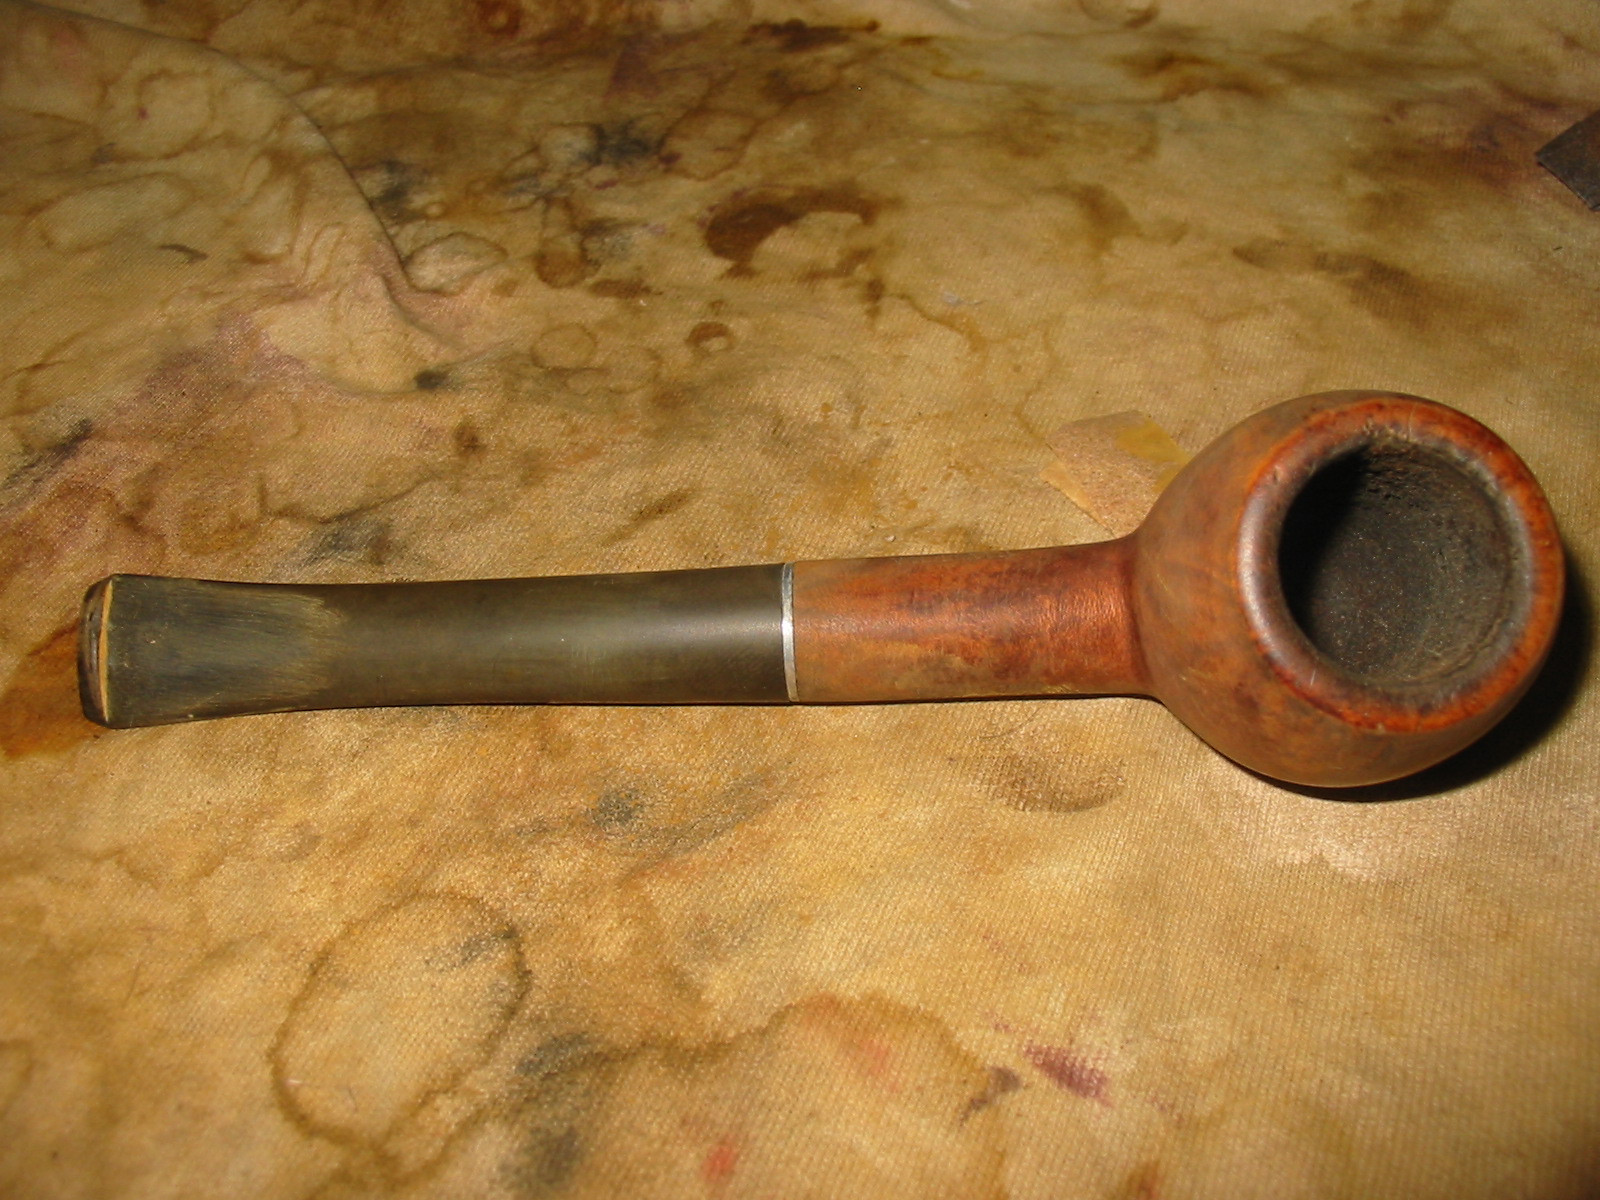
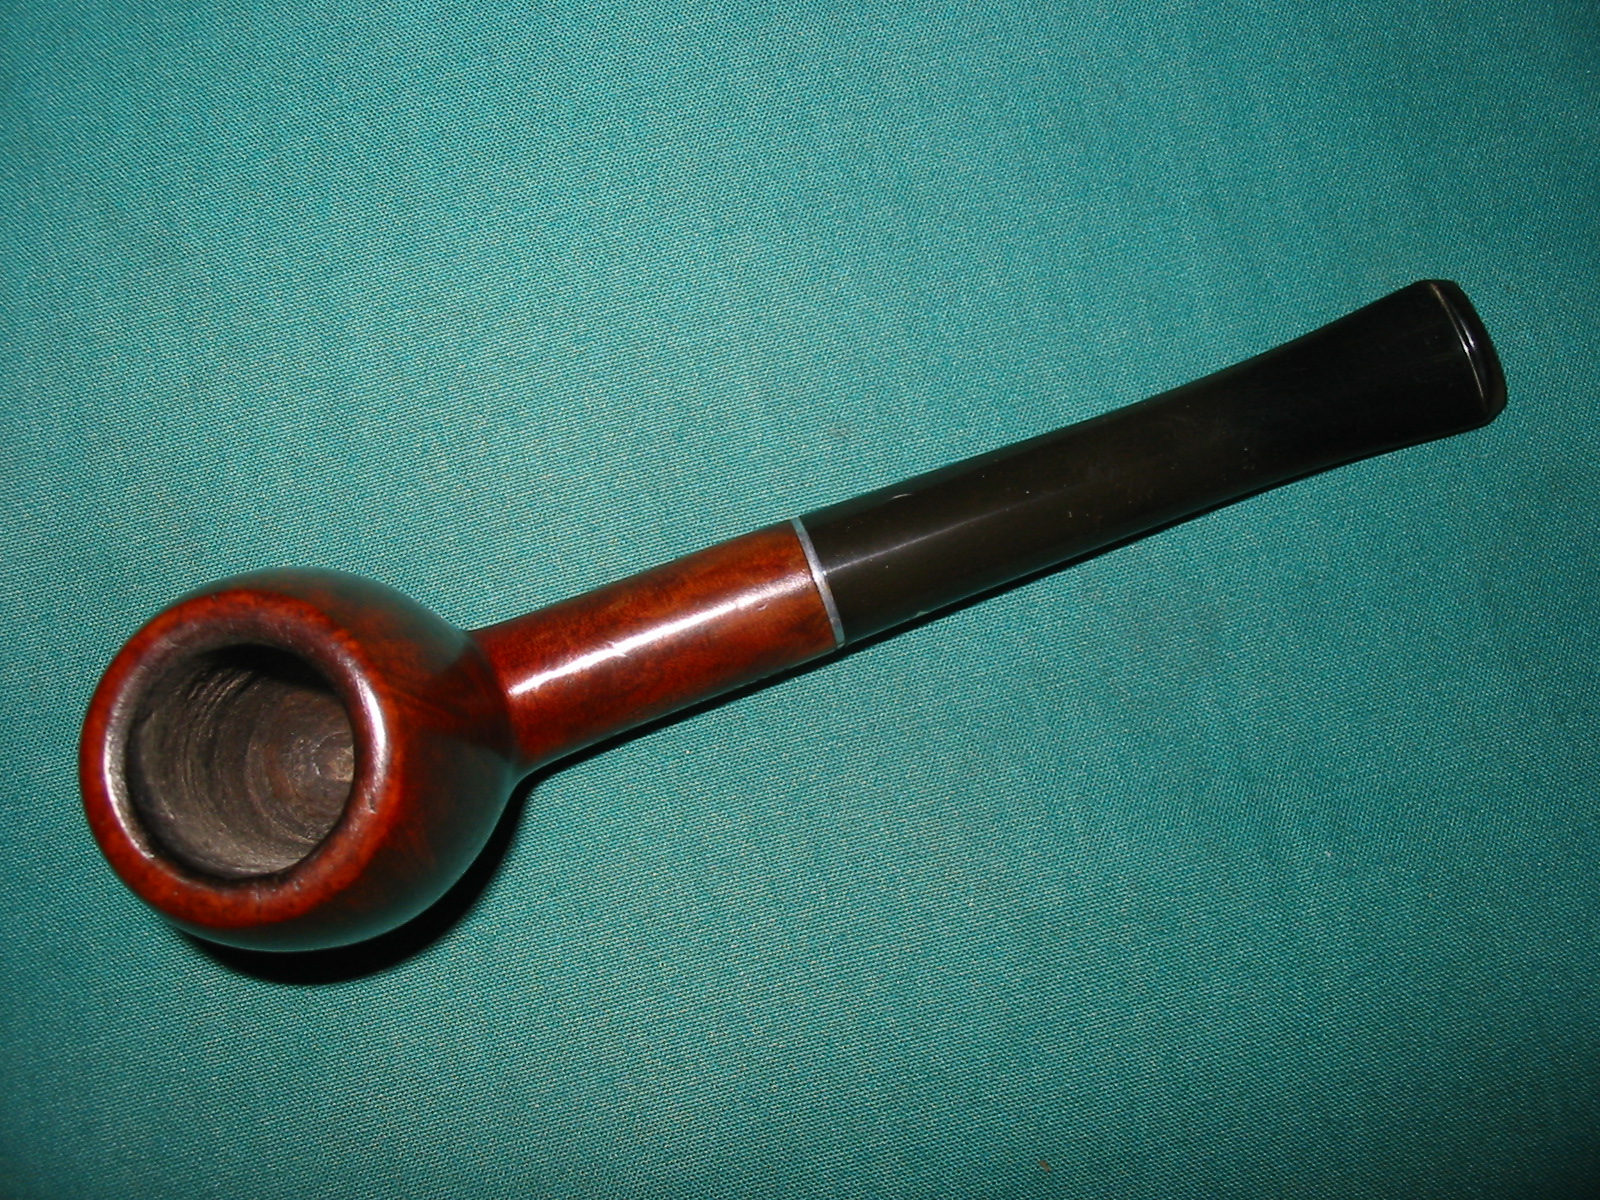
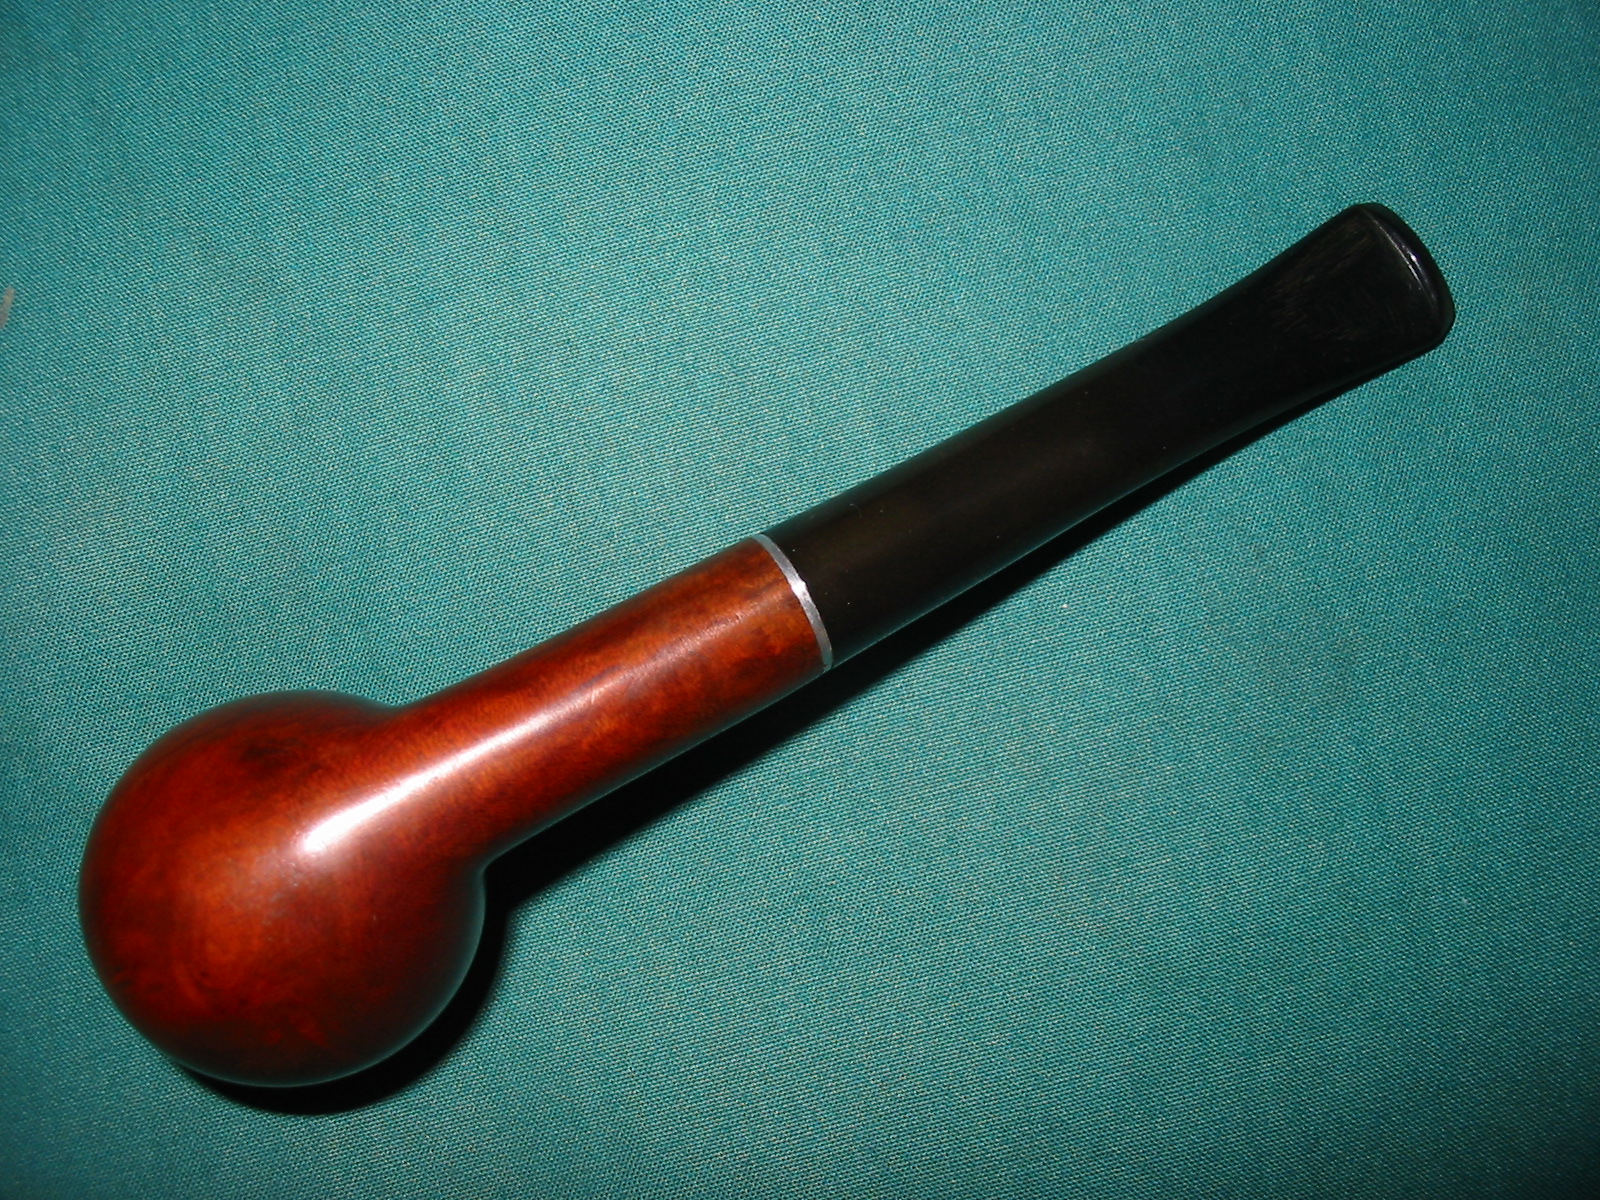
When I bought this old Leonard’s Sea Rock billiard on EBay I did a bit of hunting around the web to find out what I could about the brand. There was not a lot of information available but this is what I found out. I have edited it and added and adapted the material that I found on the web. I am unable to find who originally wrote this material. If anyone knows please leave a comment and I will acknowledge the work that person has done on gathering this helpful information.

Leonards

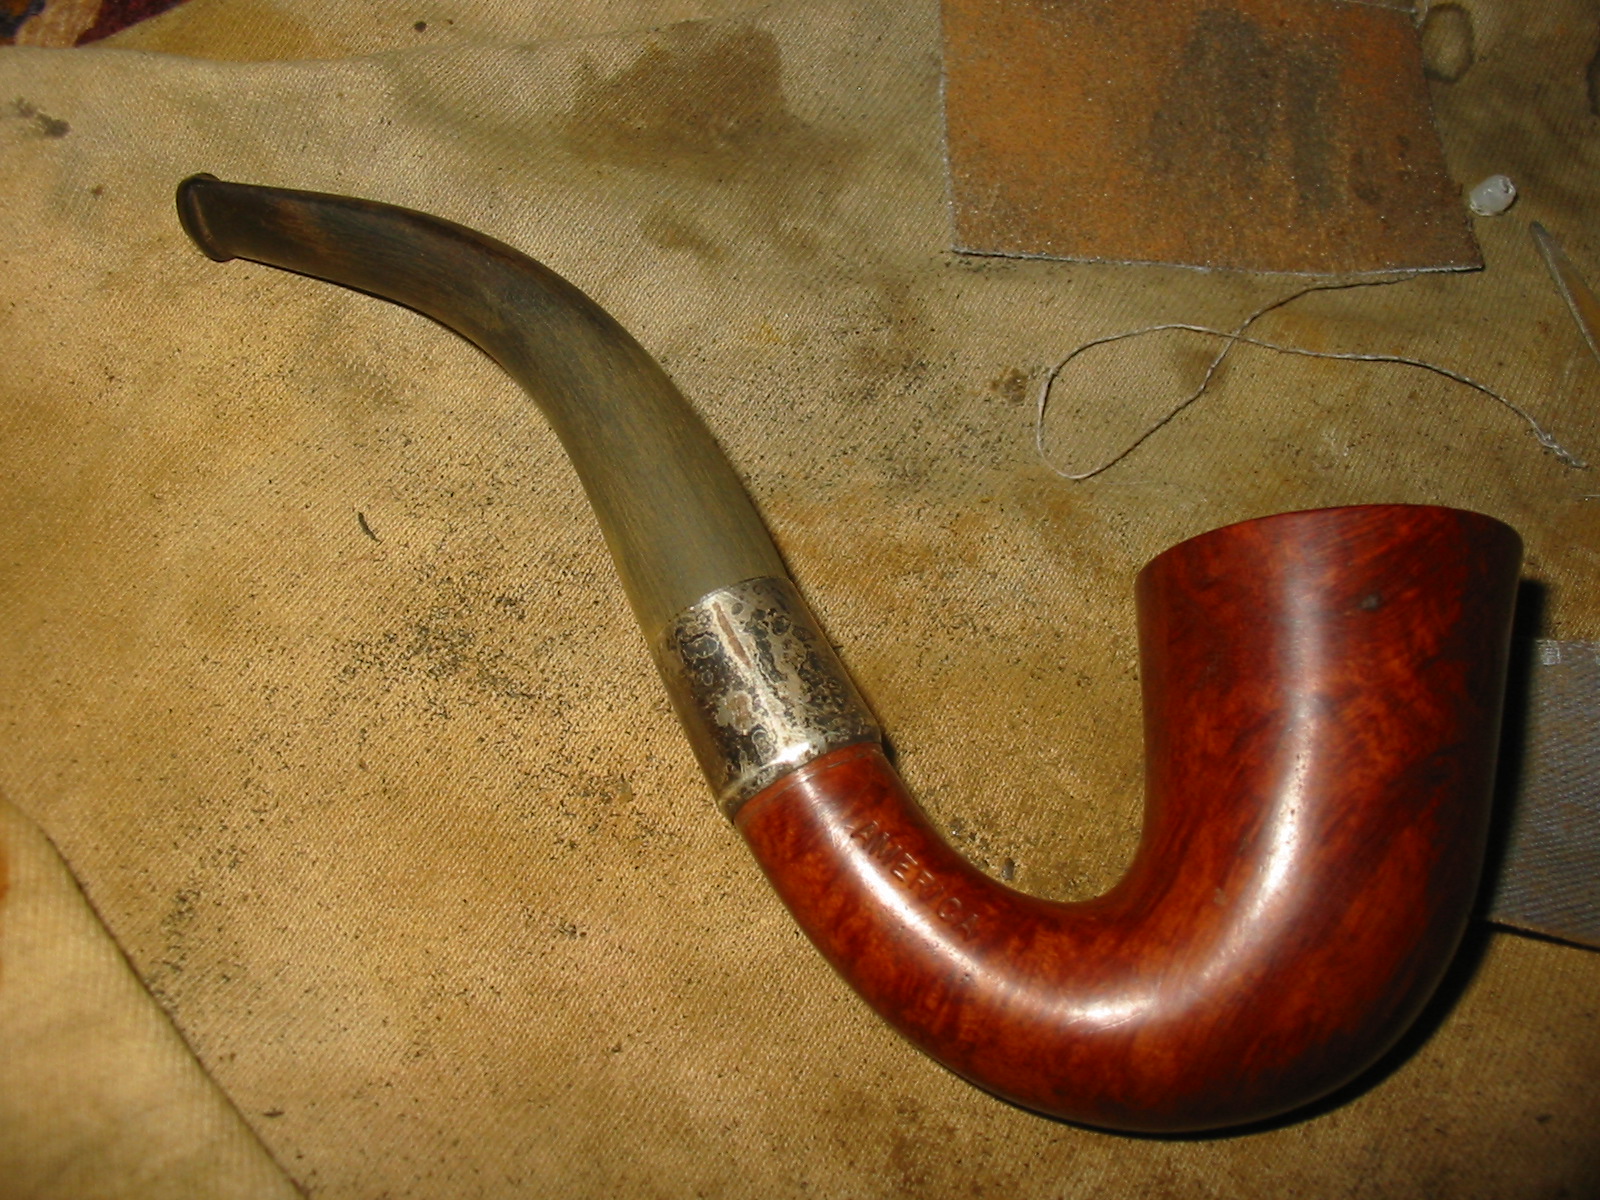
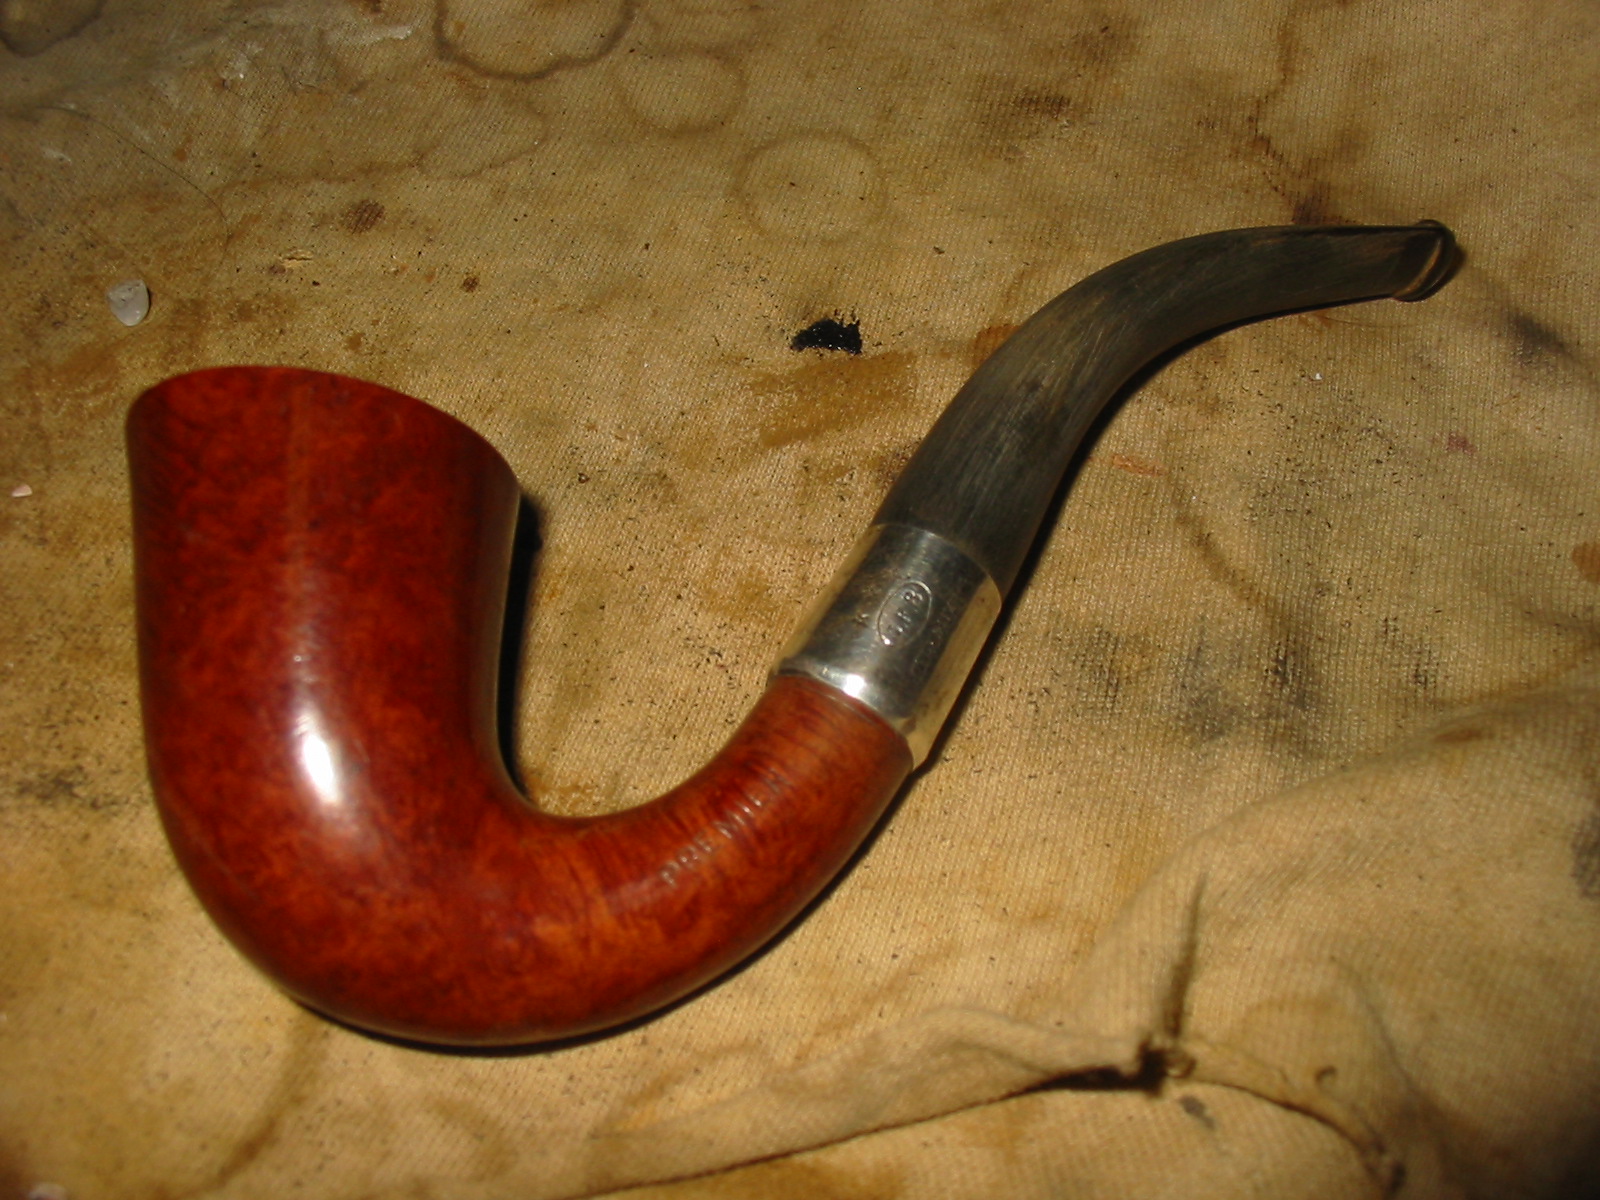
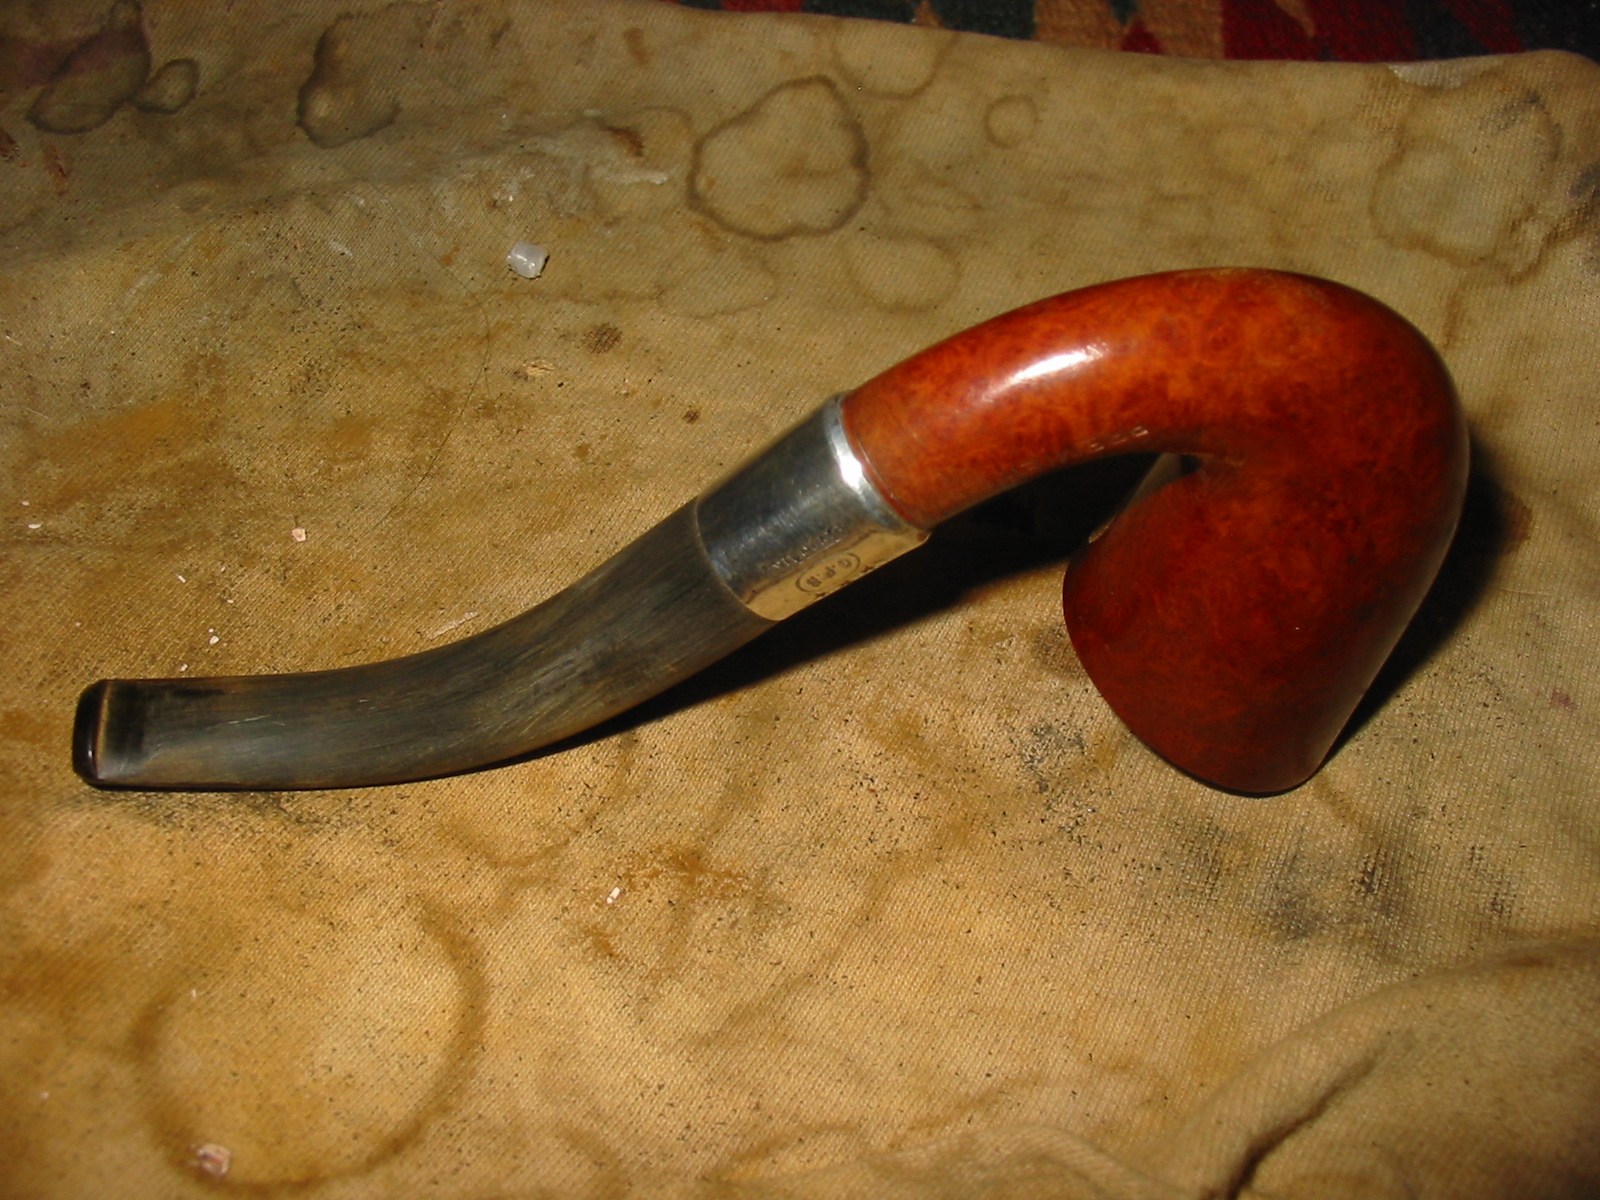
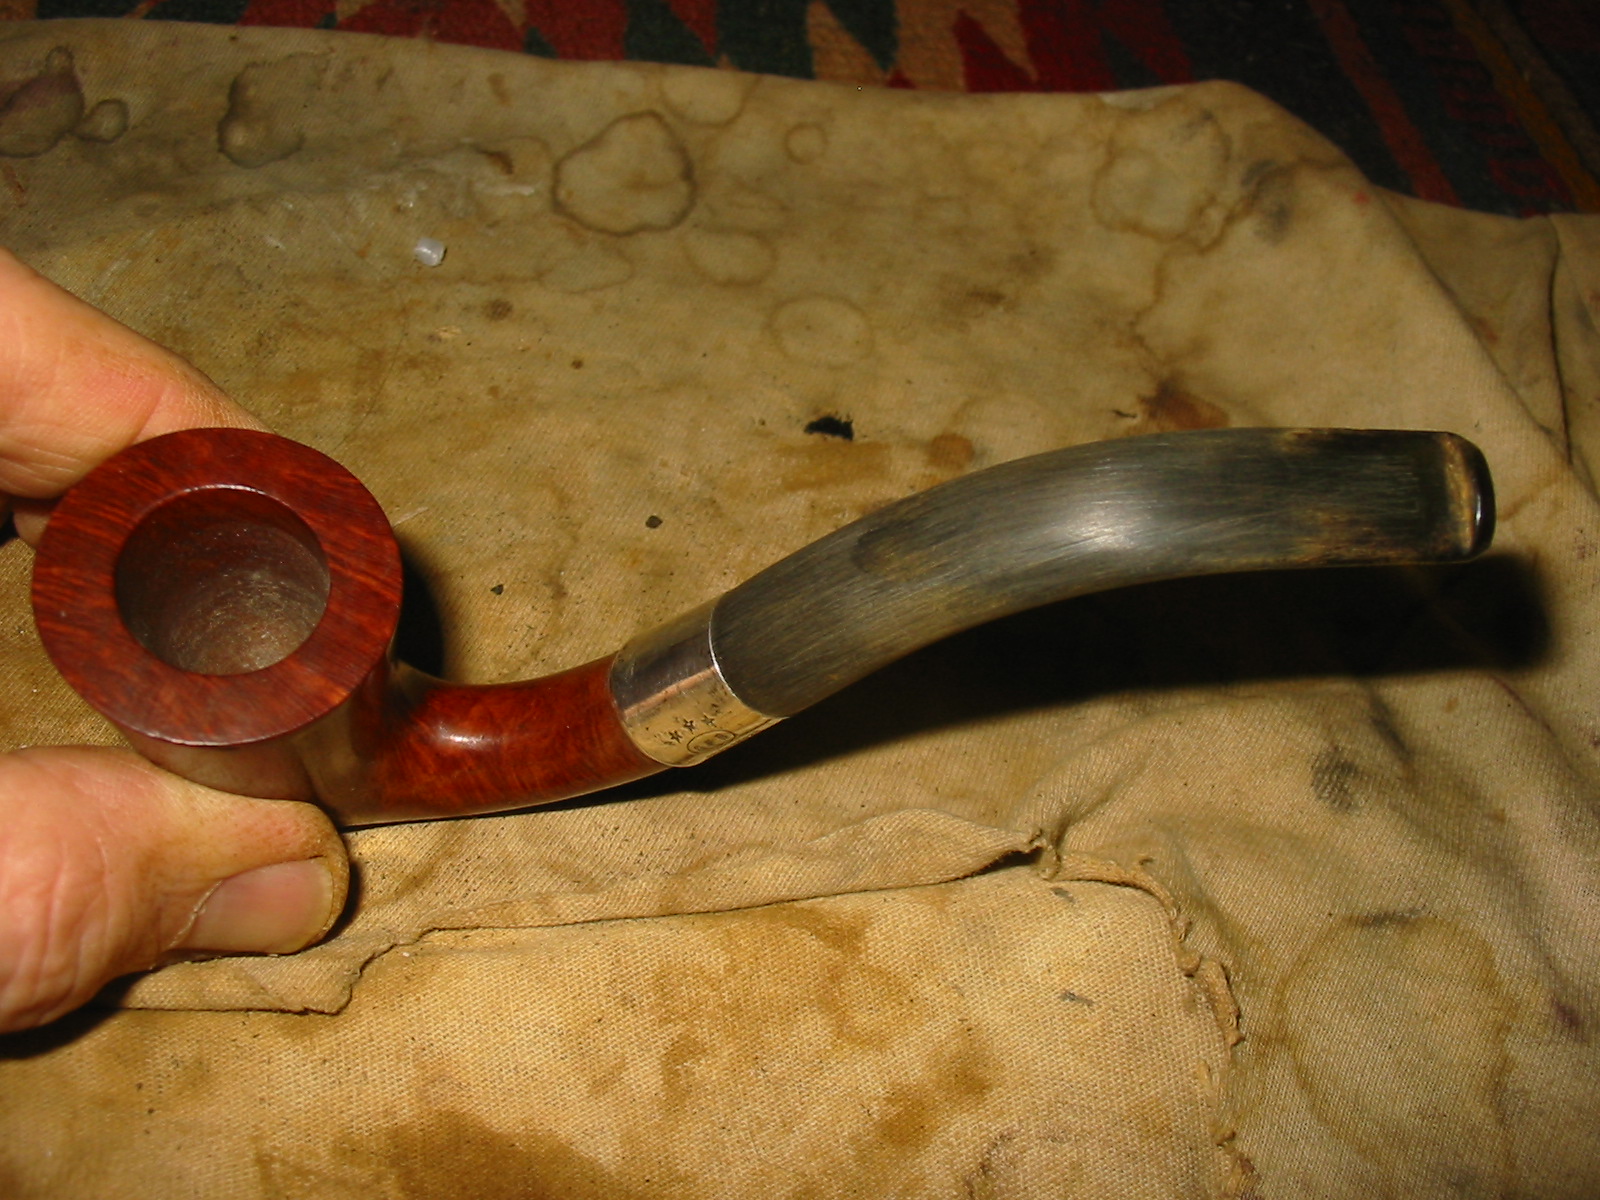
The pipe I purchased is a shop pipe that came from one of America’s great old pipe shops – LEONARD’S PIPE SHOP which was located in Portland, Oregon, USA.The shop and the brand never was as famous as Peretti’s, Ehrlich’s, The House of Robertson, Bertram’s, Garfinkel’s, Drucquers or some of the other great names from the past, possibly because of its’ location. But in terms of stature among the world’s greatest pipe makers, Leonard’s had no equal. While some pipe shops catered to the rich and famous, served politicians or visiting emissaries,or made pipes for actors, entertainers or stars in one field or another, Leonard’s catered to the other end of the pipe chain – the all-important source of supply! The shop was founded by Arthur Leonard in 1936 who worked hard to establish close relationships with the world’s biggest and best pipe maker’s — Charatan, Barling, Sasieni, Kaywoodie and others.

In 1936, Kaywoodie was the most important name in pipes producing top-quality pipes and the most expensive pipes then available. So, it was natural for Arthur Leonard to establish a relationship with the makers of Kaywoodie. It is fairly recent that some of the greatest Kaywoodie’s ever made returned to the marketplace. For example the Leonard-owned Kaywoodie Magnums dated from the late 1930s which were displayed and ultimately sold by the family at the Chicago Pipe Show a few years ago. It will always be a question how they wound up in Portland, Oregon rather than New York, Chicago, Washington DC or the “hometown” of any of the other great pipe shops in America. The answer must lie in the relationships that Arthur Leonard established with pipemakers!

Another huge “GROUP 6” or “ODA” sized KW billiard also came on the market. It no doubt originated from a special order placed by Arthur Leonard. But the question with this pipe and others that Leonard’s had was who made it? As many collectors who visited his shop know (as well as those who have met the last generation owners, Lou and Betty Leonard) this was once one of America’s greatest pipe shops! It operated on the same corner location from 1936 through 1983 before moving to an uptown location for another six years. On display the Leonard’s had the longest and largest Kaywoodies ever made, unsmoked Dunhill Magnums and a host of pre-1900 Barlings! Arthur Leonard had established a powerful relationship with the great pipe maker’s of the last century and his shop retained the bounty of those relationships.

It is interesting that when the Barling family sold out, they called the Leonard shop and Arthur Leonard responded- – -buying every single Barling on hand at the time of sale so no inventory was acquired by the new owners (ending speculation that “Transition” Barlings were really older pieces acquired by the new owners)! Leonard did the same thing for the Sasieni family when they sold out! The Leonard’s Shop was perhaps the most well-known American smoke shop in Europe! The Leonard Shop ONLY carried high grades, so when the craze for meerschaum pipes occurred in the 1950’s and early 1960’s, (and the Turkish government restricted the exporting of raw meerschaum) the Leonard shop placed an order with Charatan for 50 meerschaum-lined Charatans! (At that time, the Supreme was the top-of-the-line Charatan! Imagine meerschaum-lined Selected’s and Supreme’s! Lou Leonard says that only about 35 were ever delivered and Charatan said they would make no more!)

I read that those who saw the Leonard’s display pipes at the Chicago Show a few years ago marveled at the quality of the uncirculated, unsmoked pipes. He had acquired the original Barling Meerschaum’s from a company that made Meerschaum pipes before making Briar pipes! The Dunhill Magnums were unsmoked in their original cases. The Kaywoodie Magnums were displayed in a specially made case. And the Sasieni’s, Charatan’s, Comoy’s and all the rest were pipes of historical importance. You see, Arthur Leonard nurtured his relationship with the supplier’s rather than the movie stars and politicians who bought pipes. In fact, Betty Leonard told stories about the vast inventory of pipes kept out of the public eye in a back room from which they were produced on an occasional basis to meet the needs of a specific customer’s request.

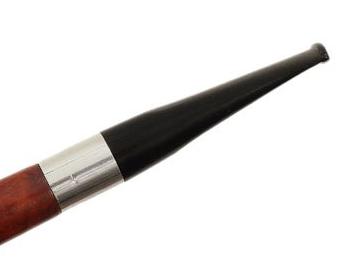
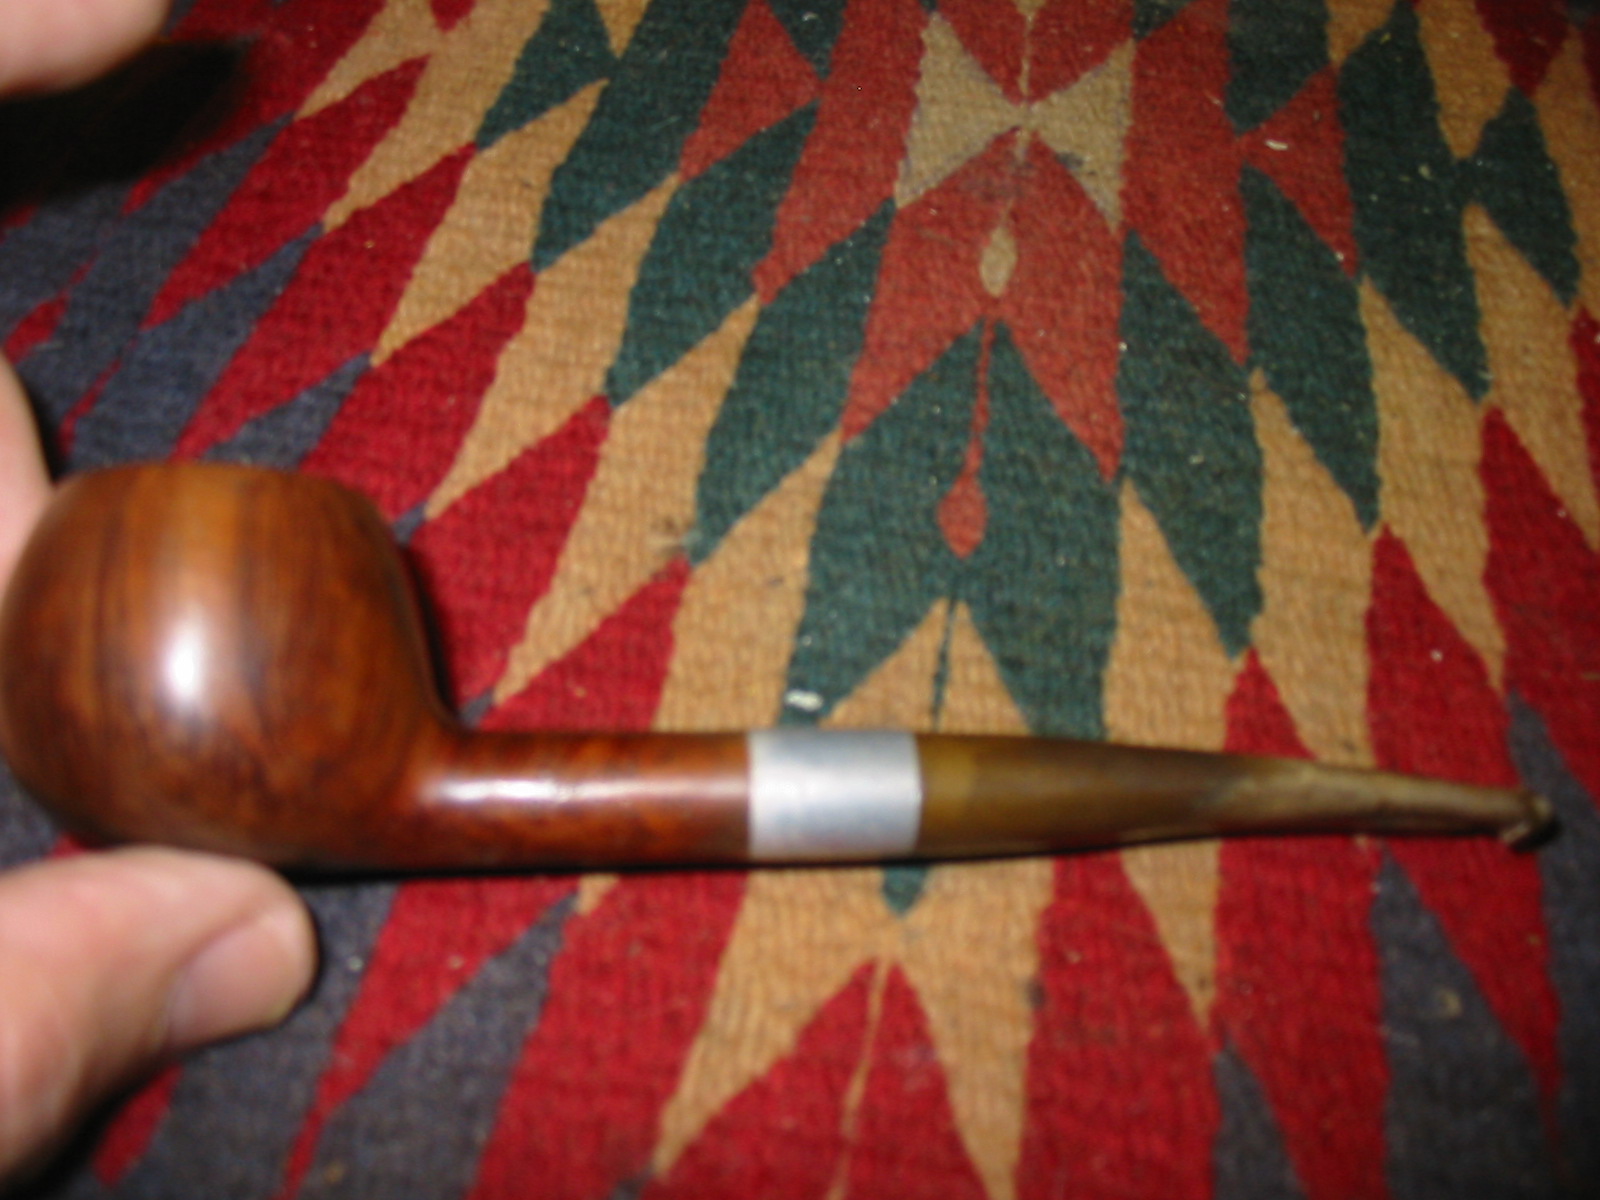
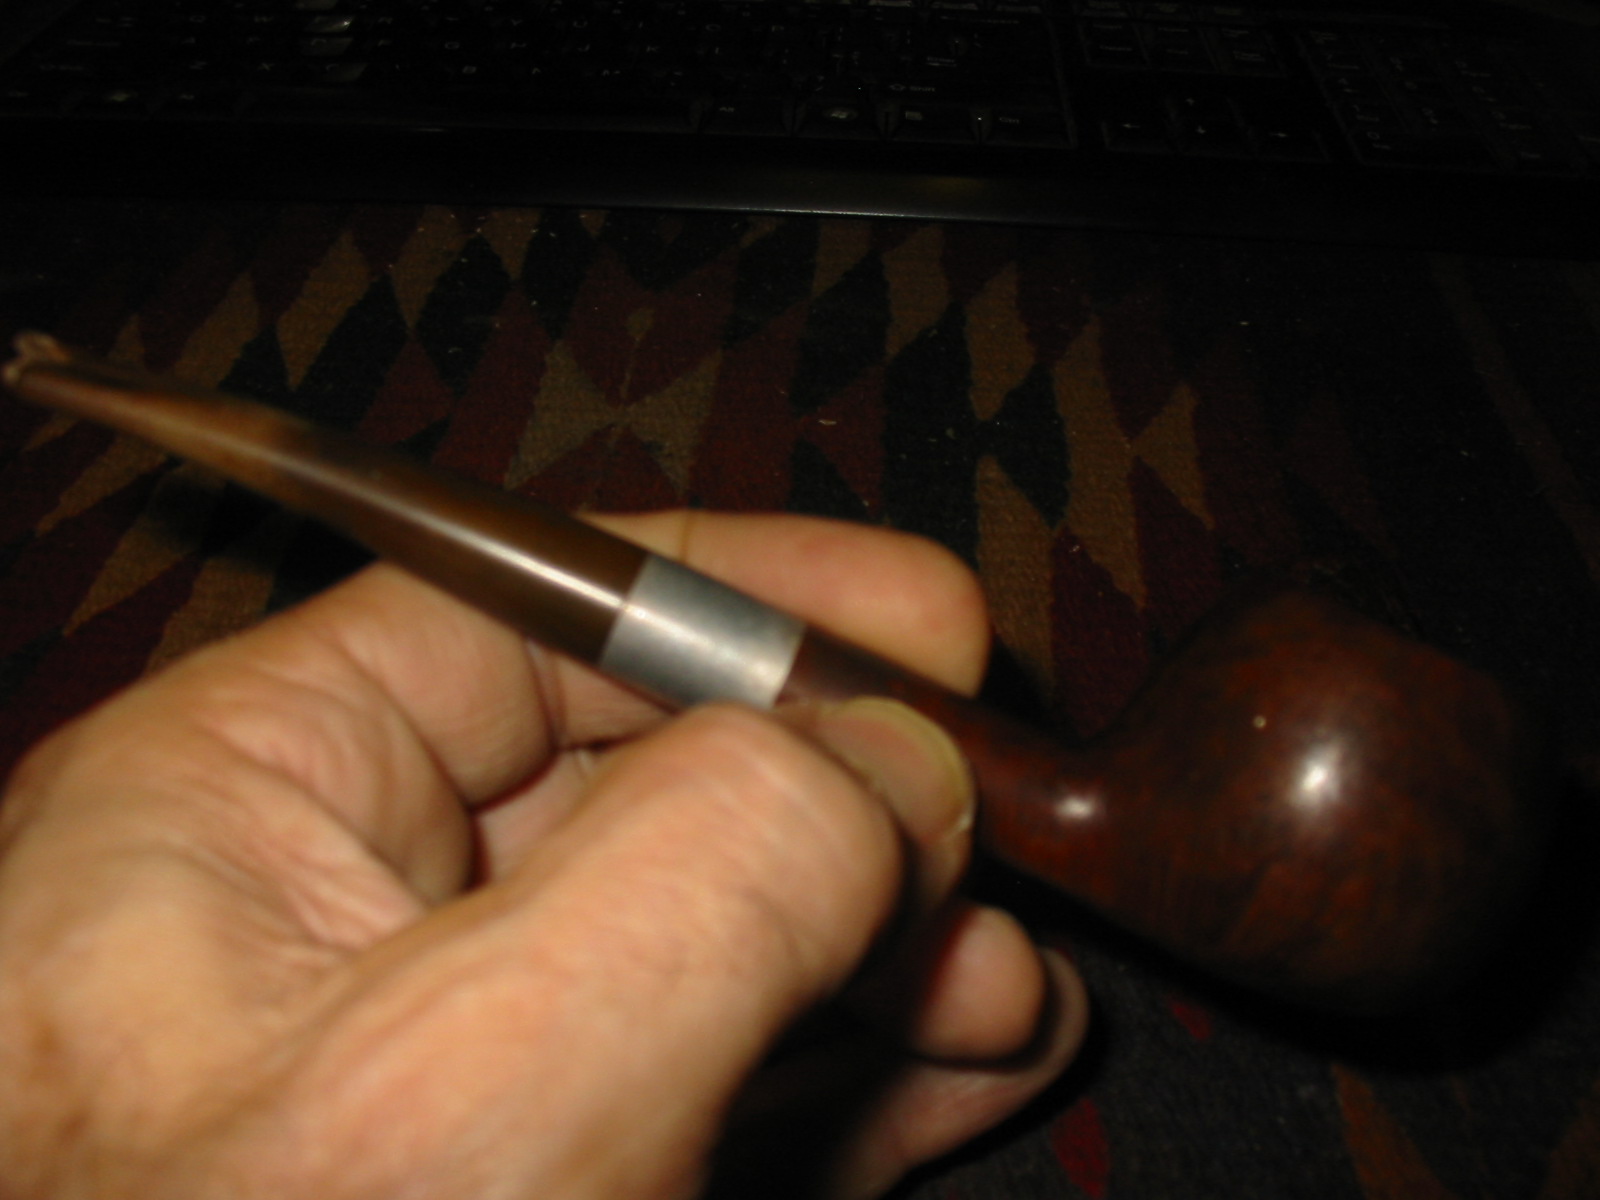
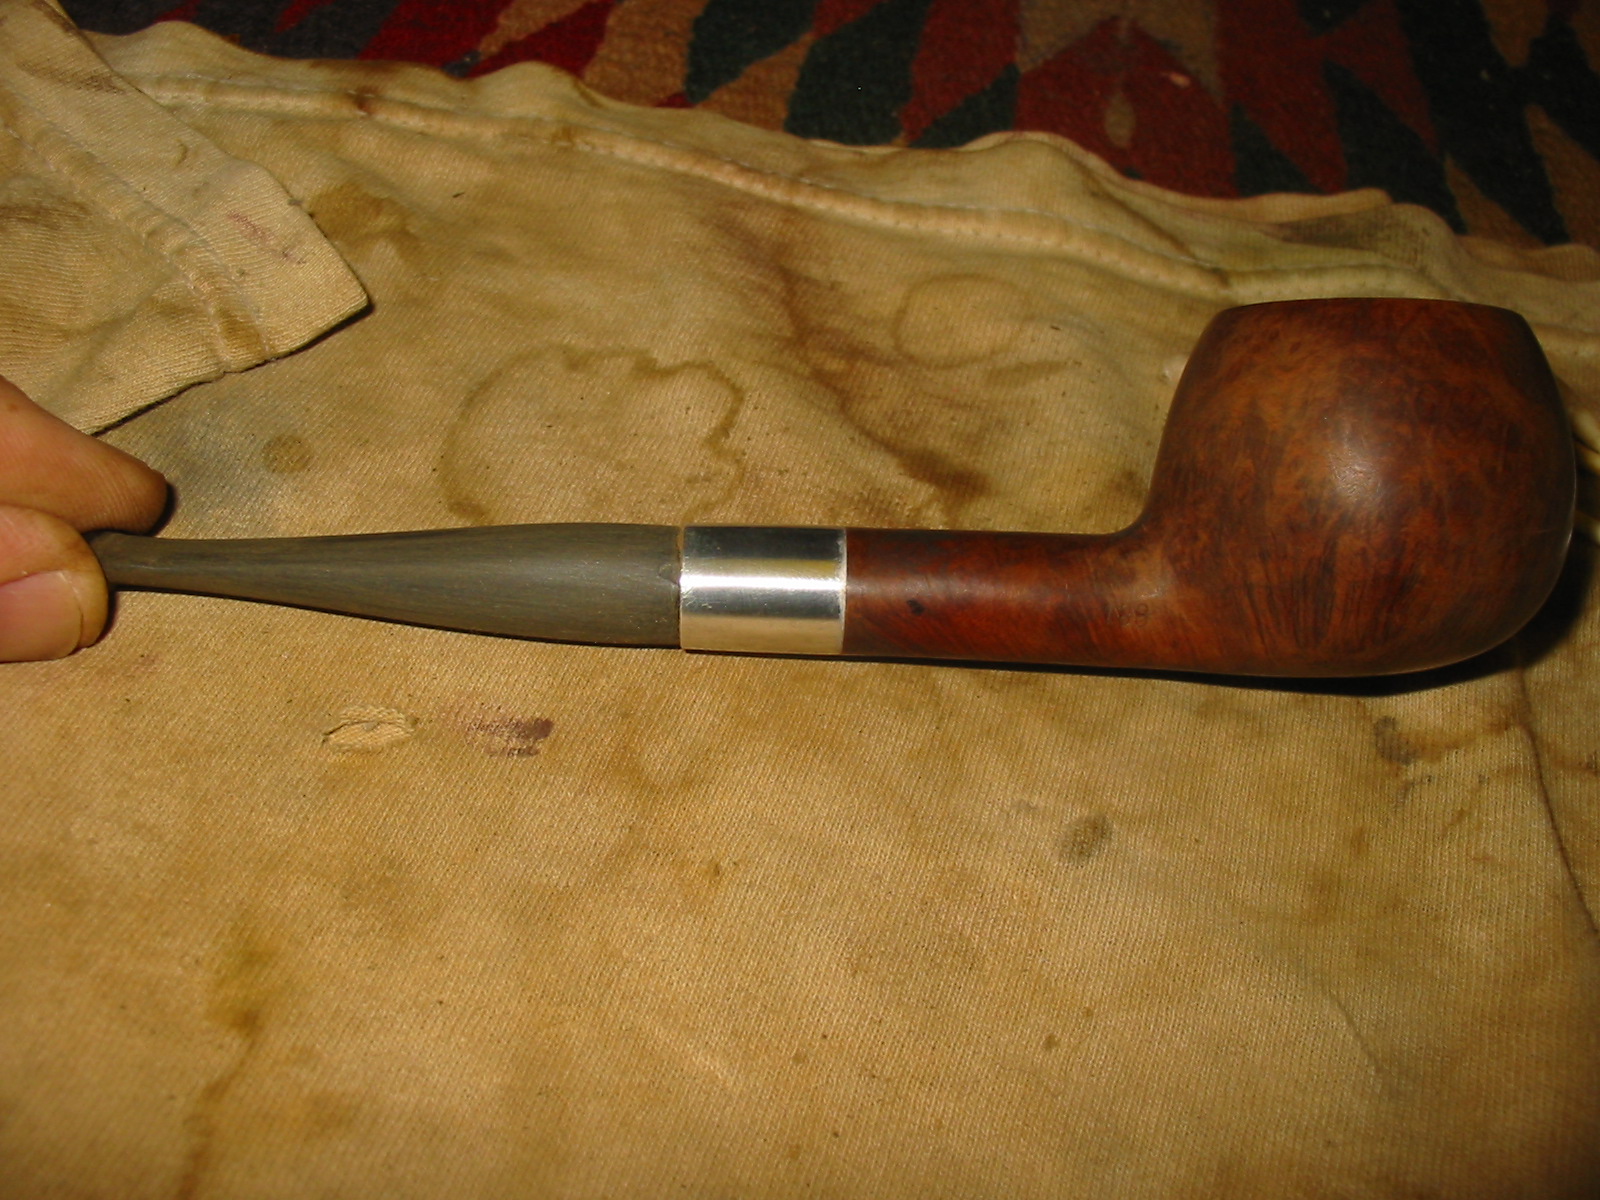
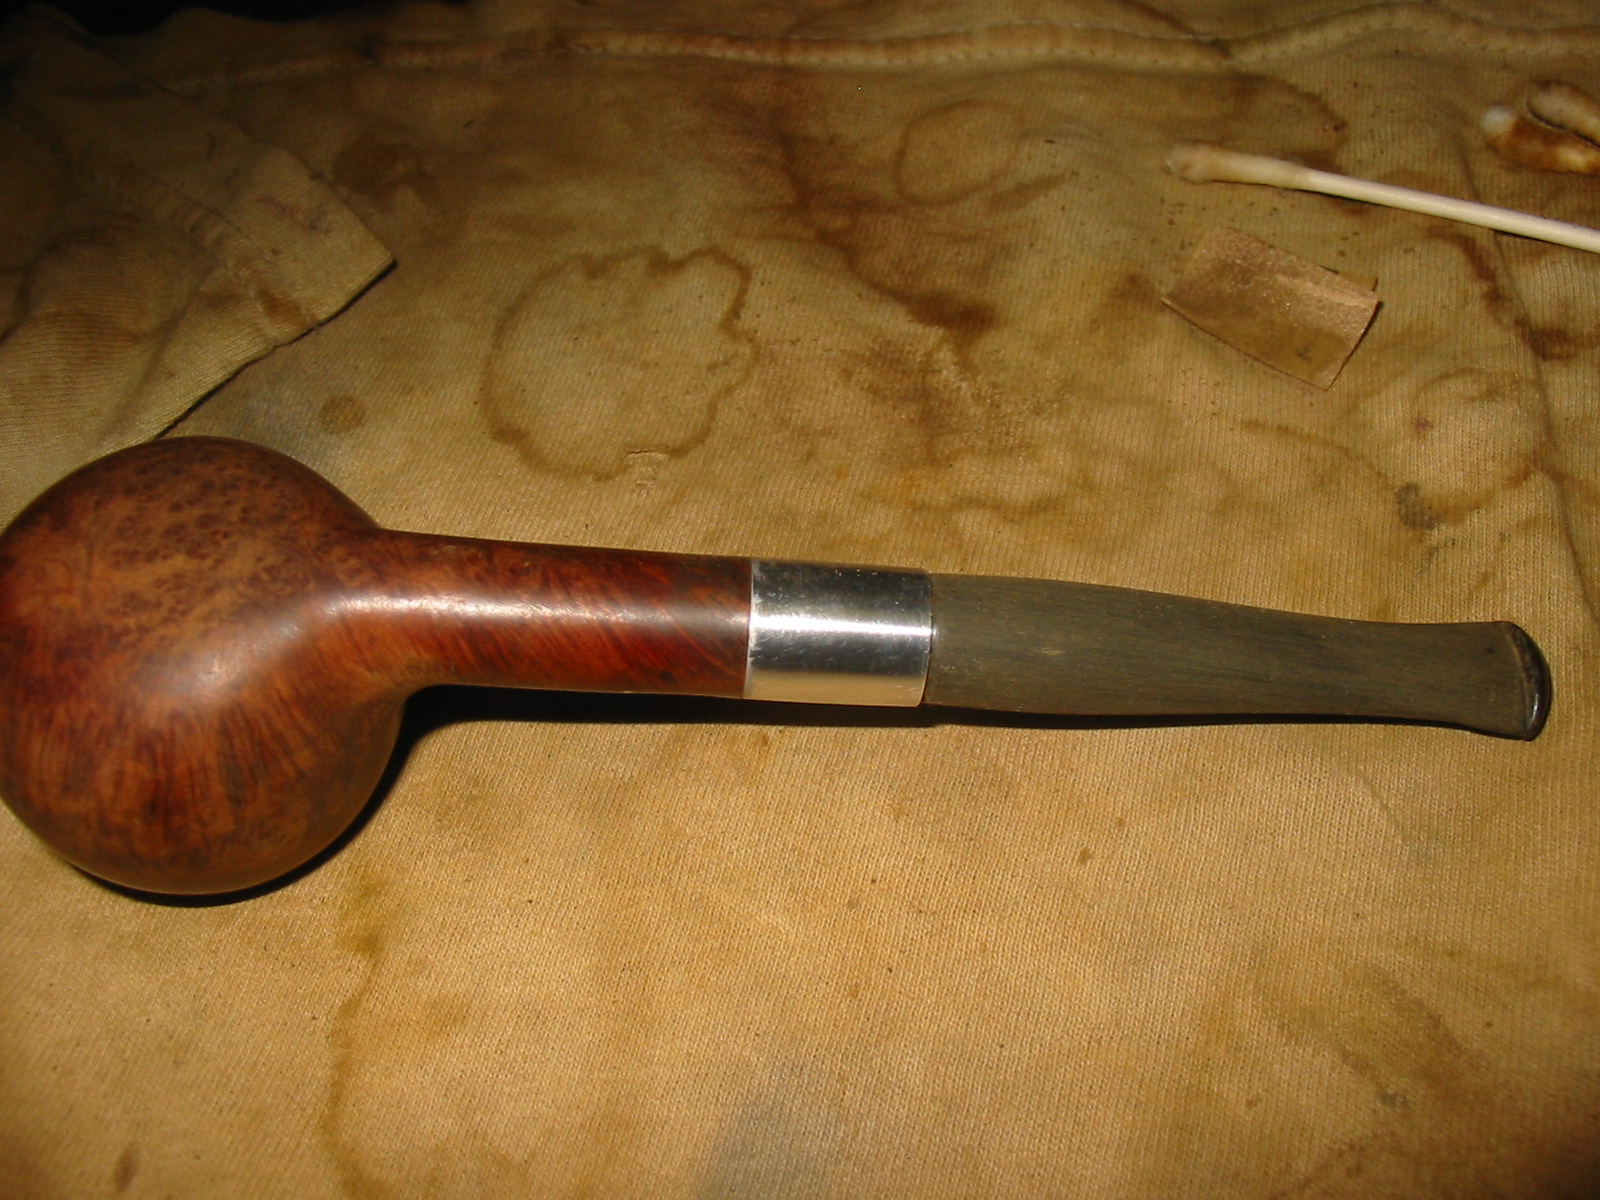
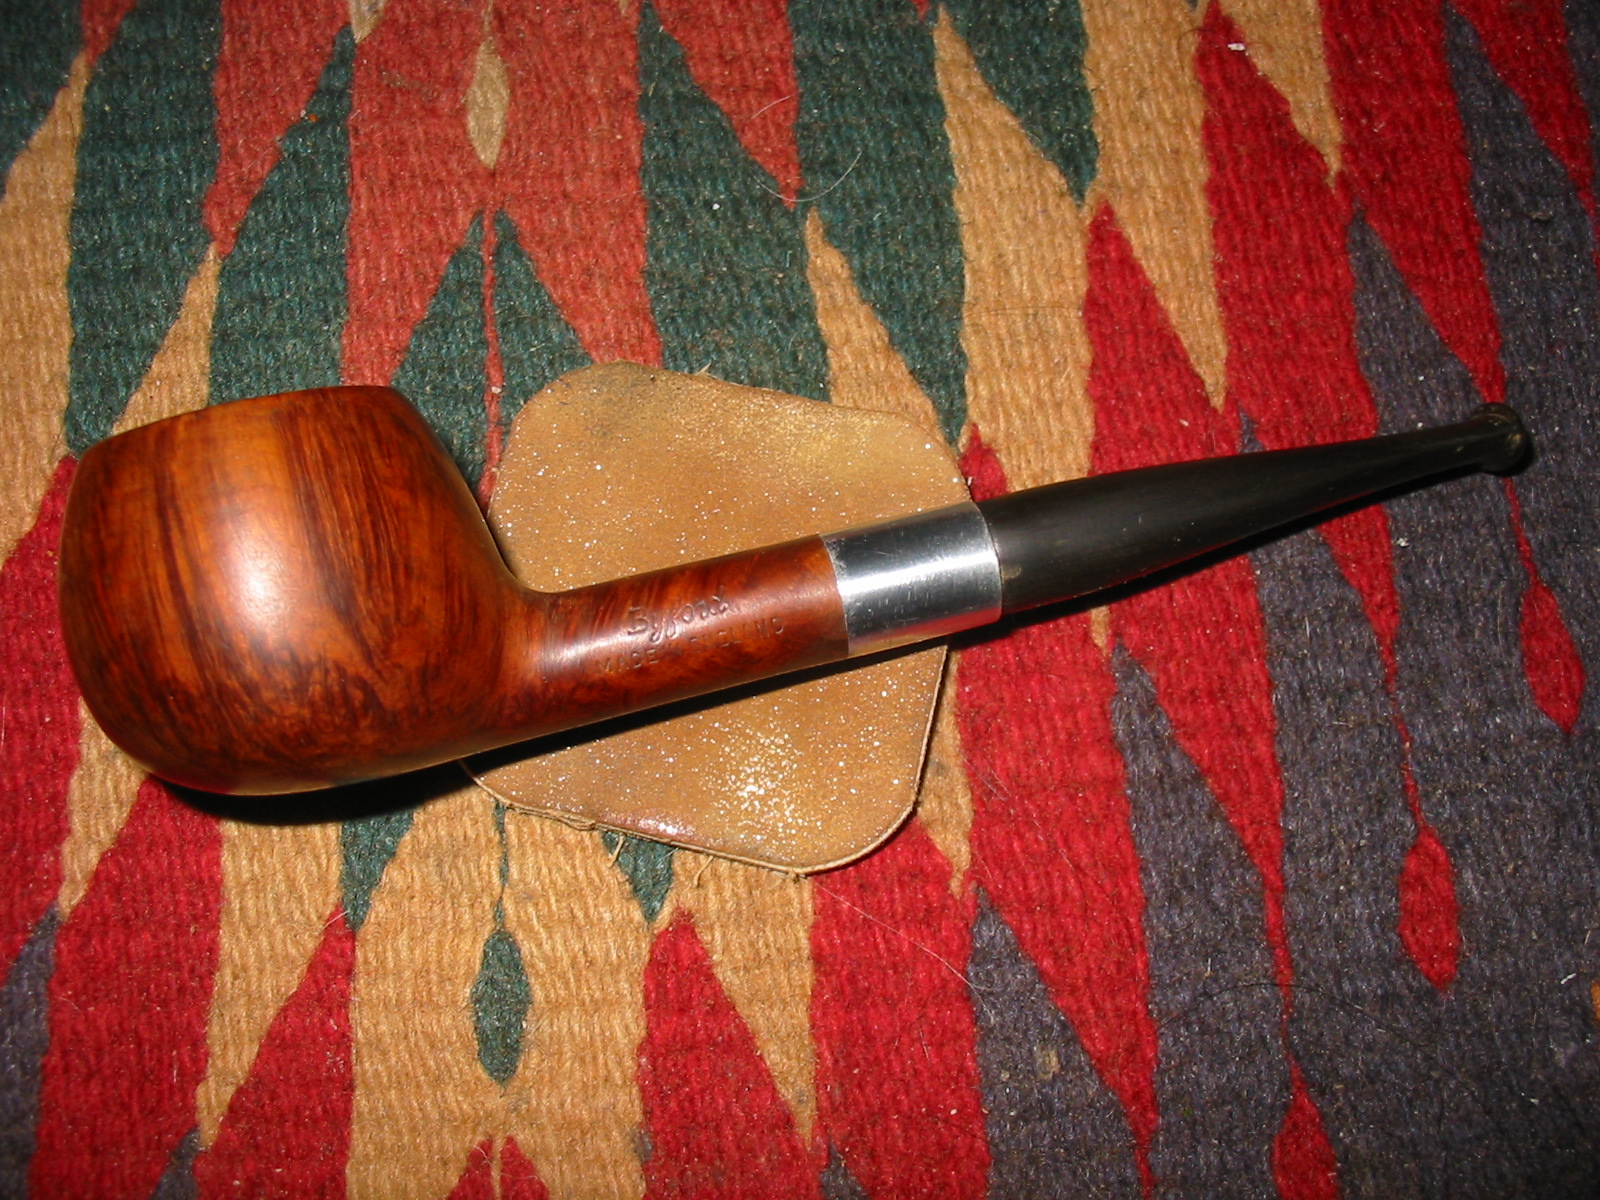
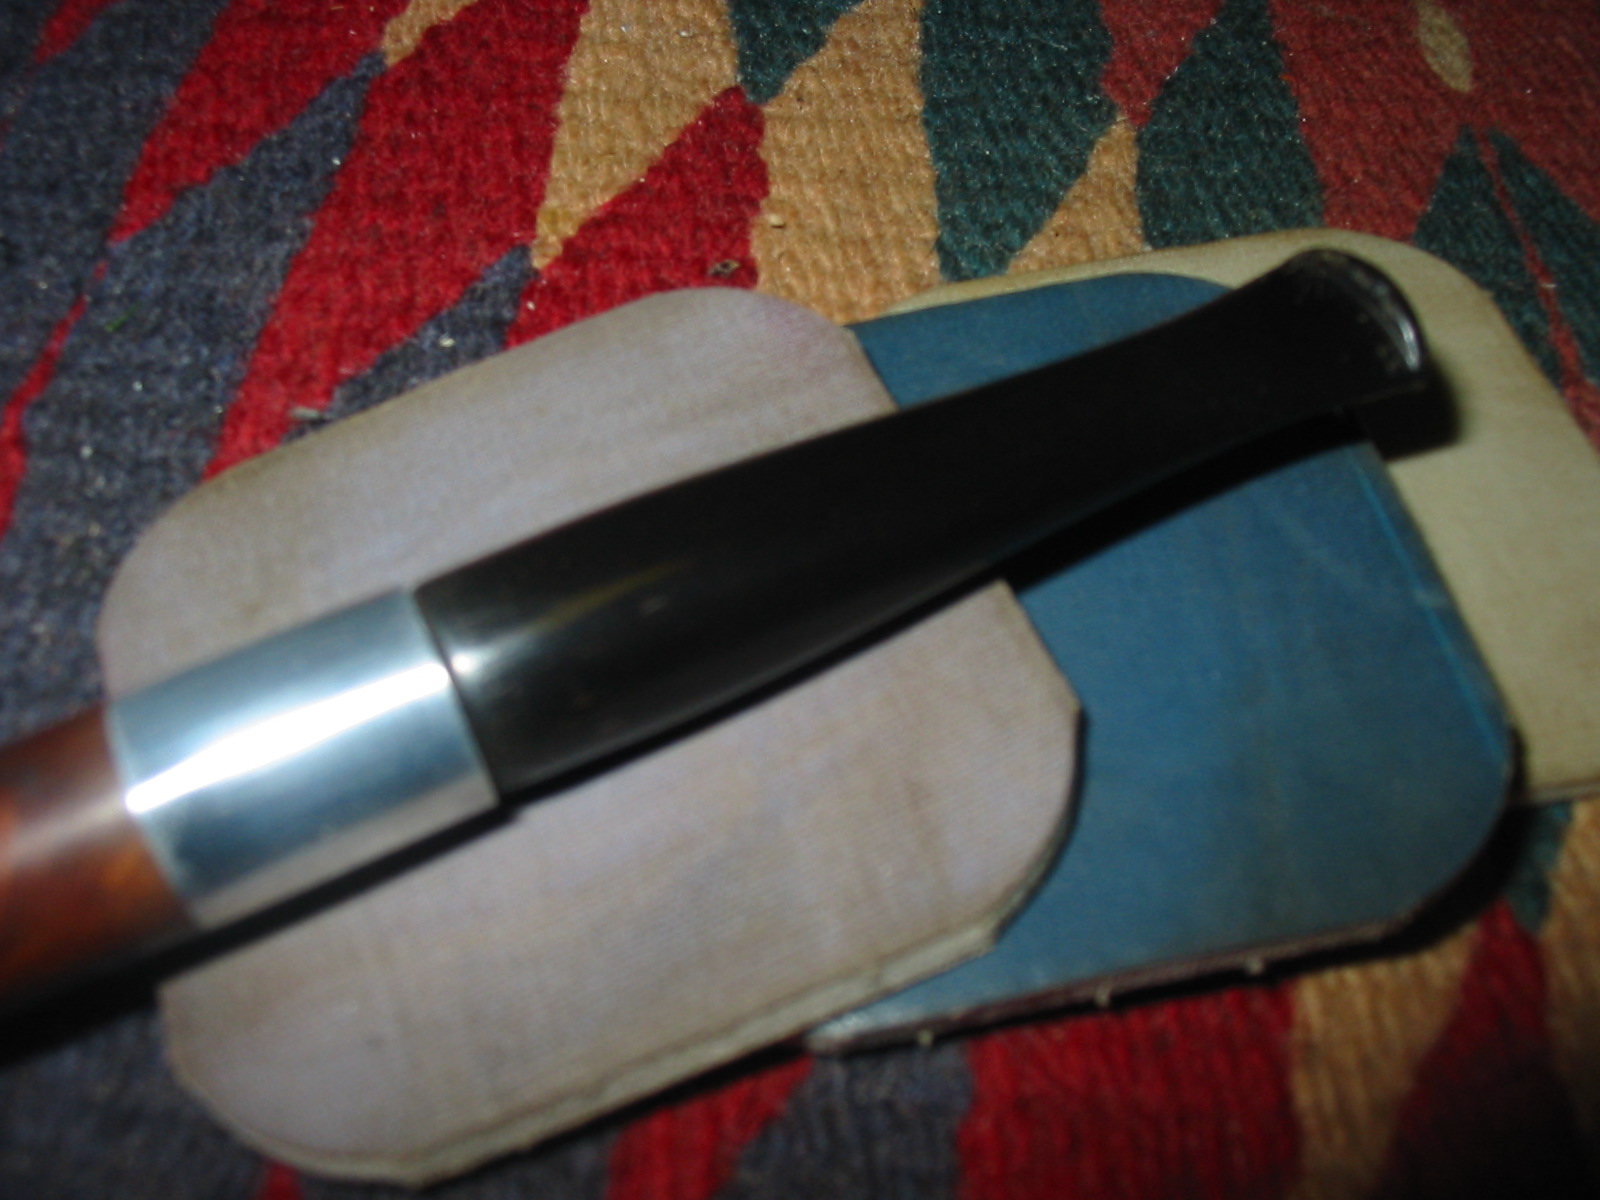
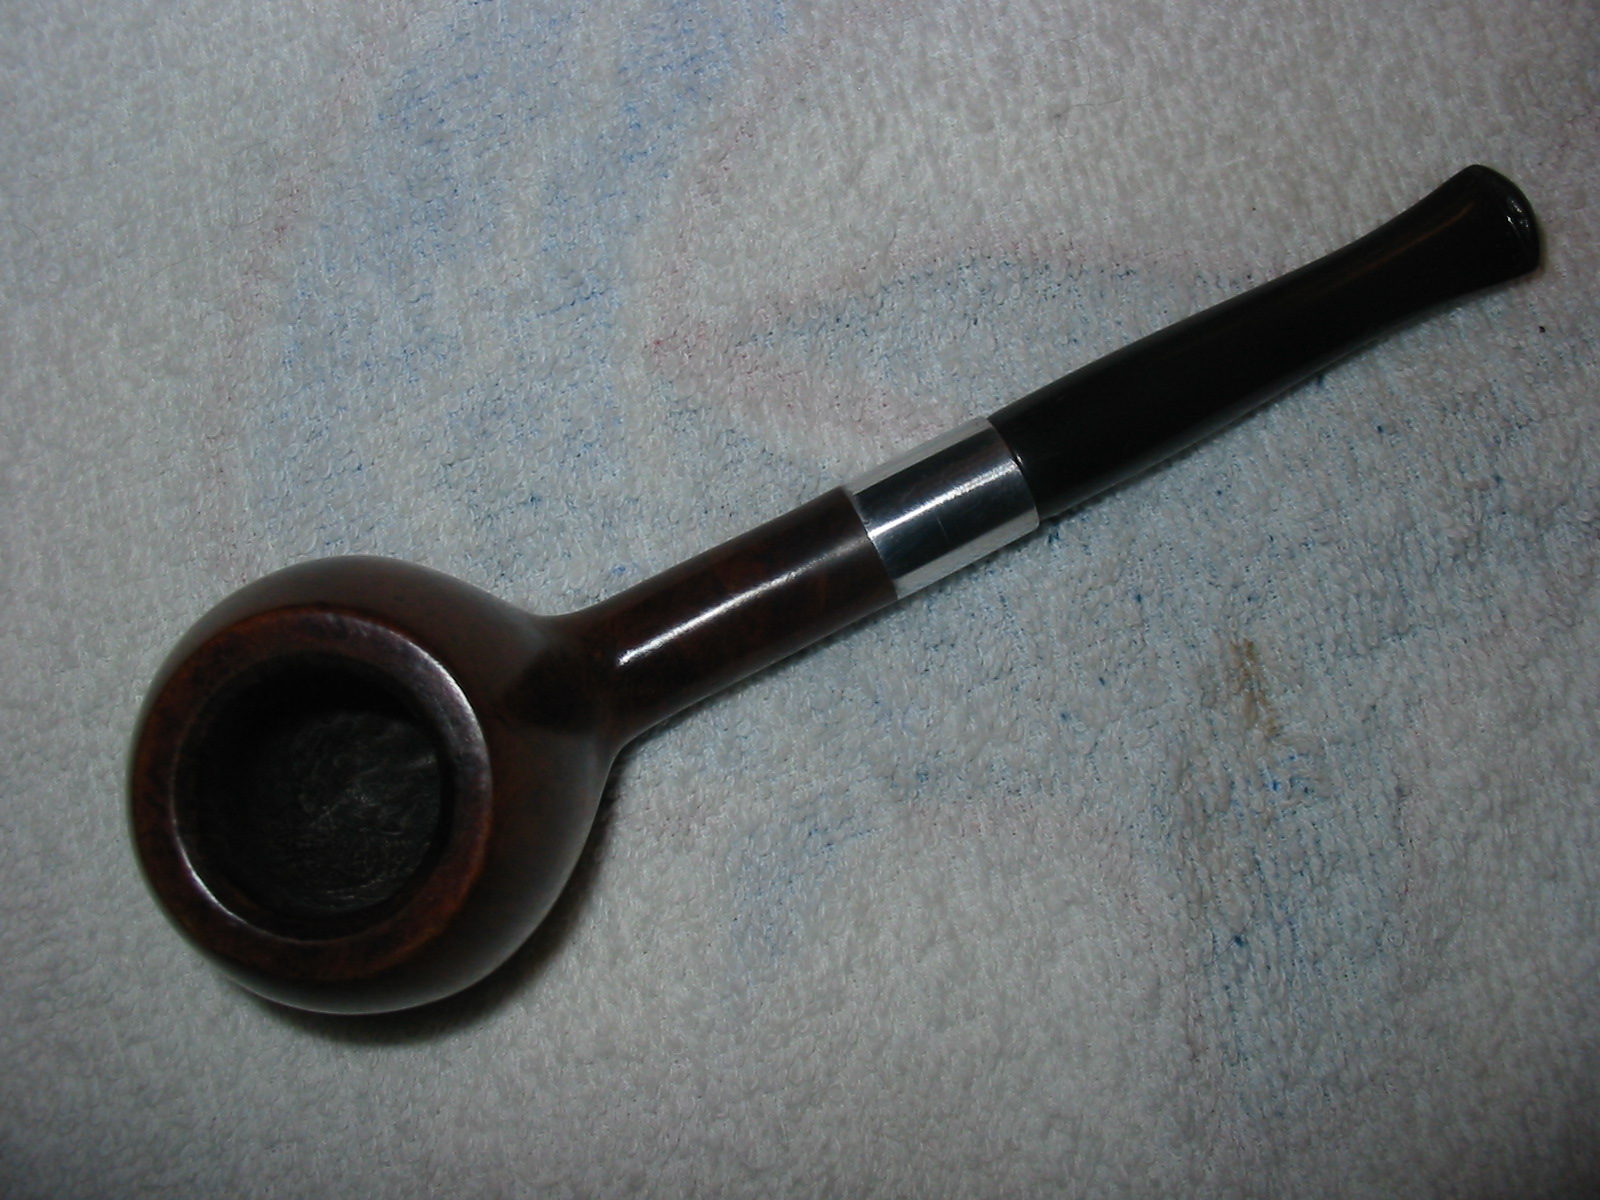
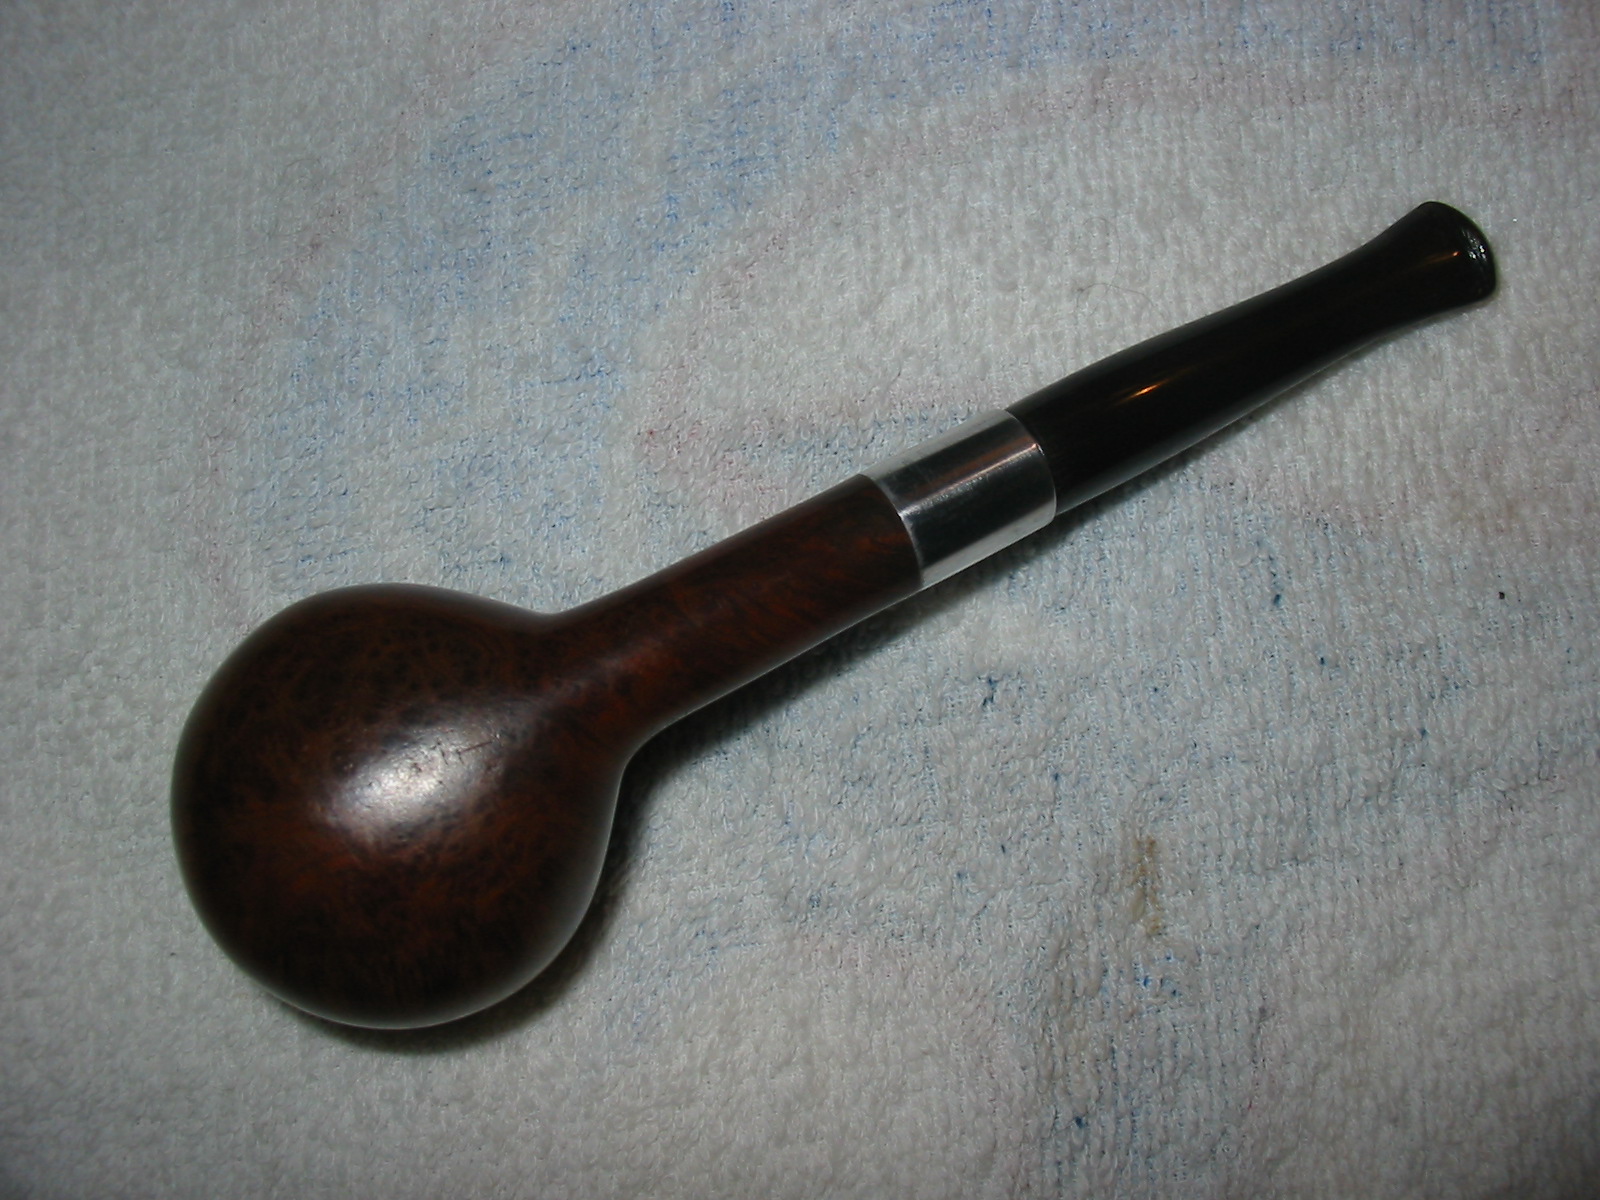
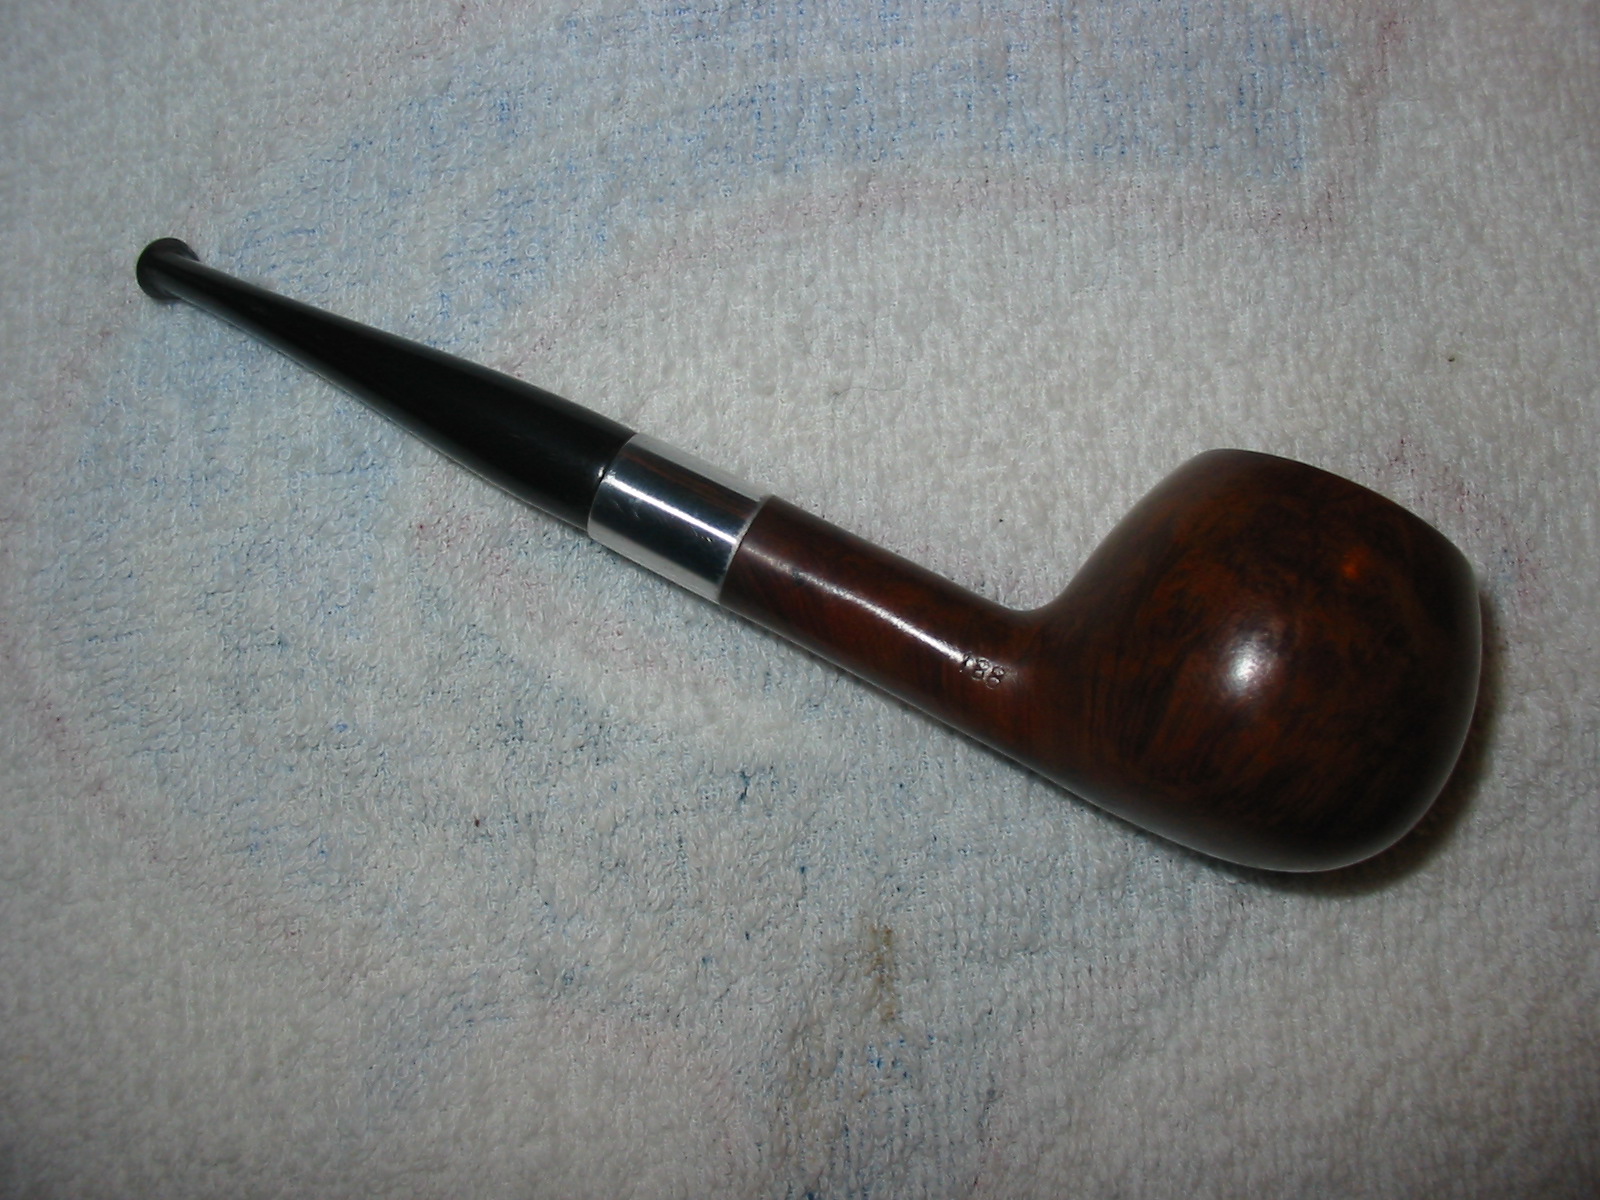
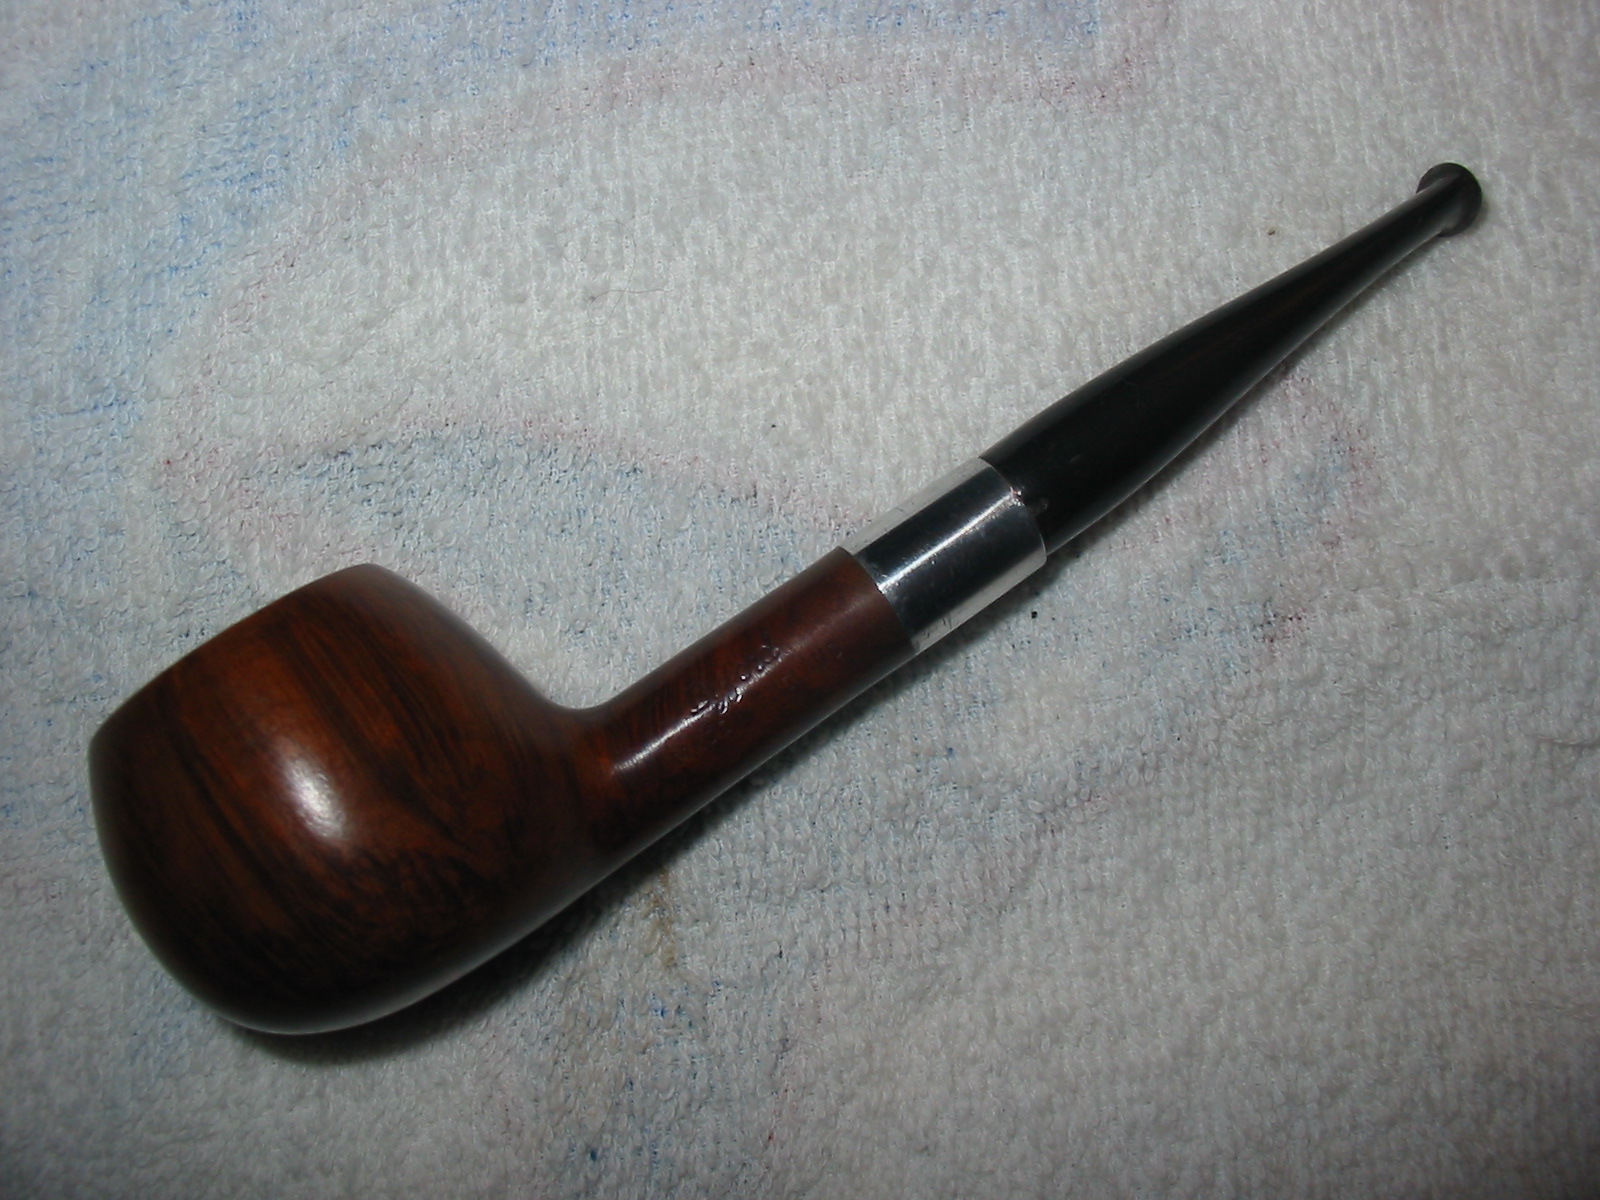
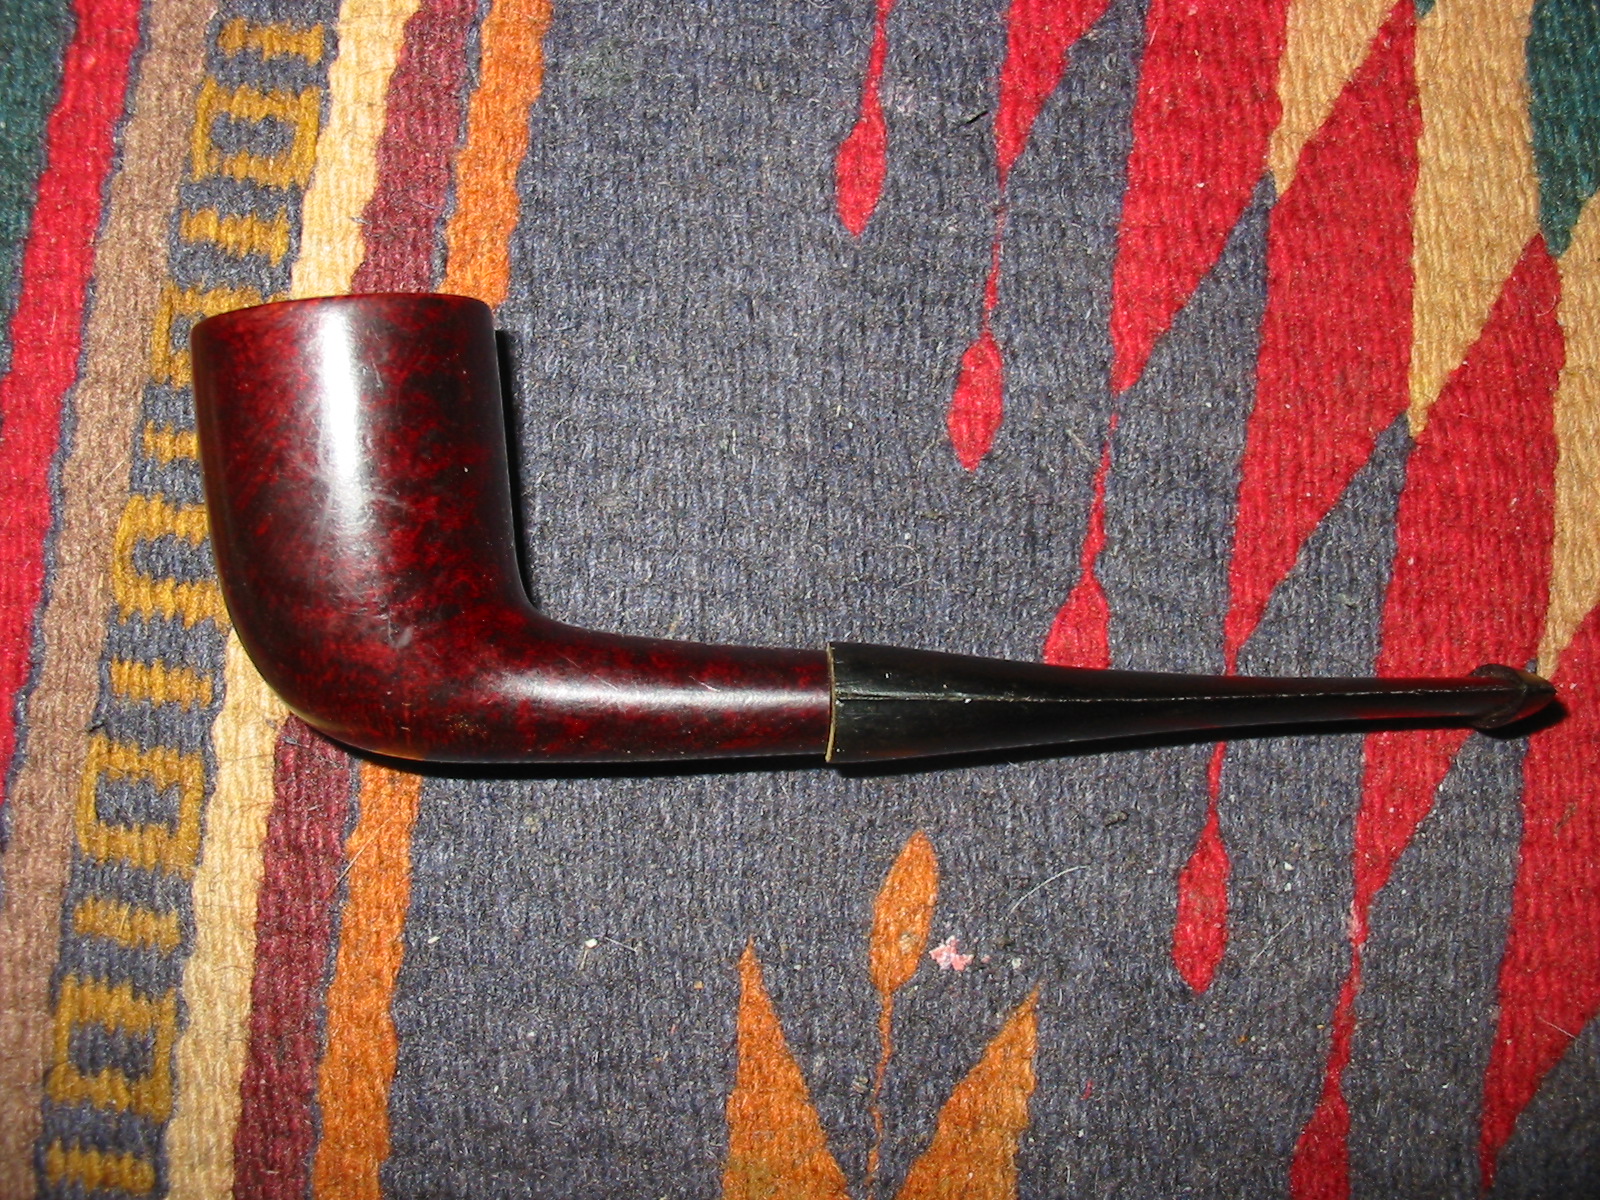
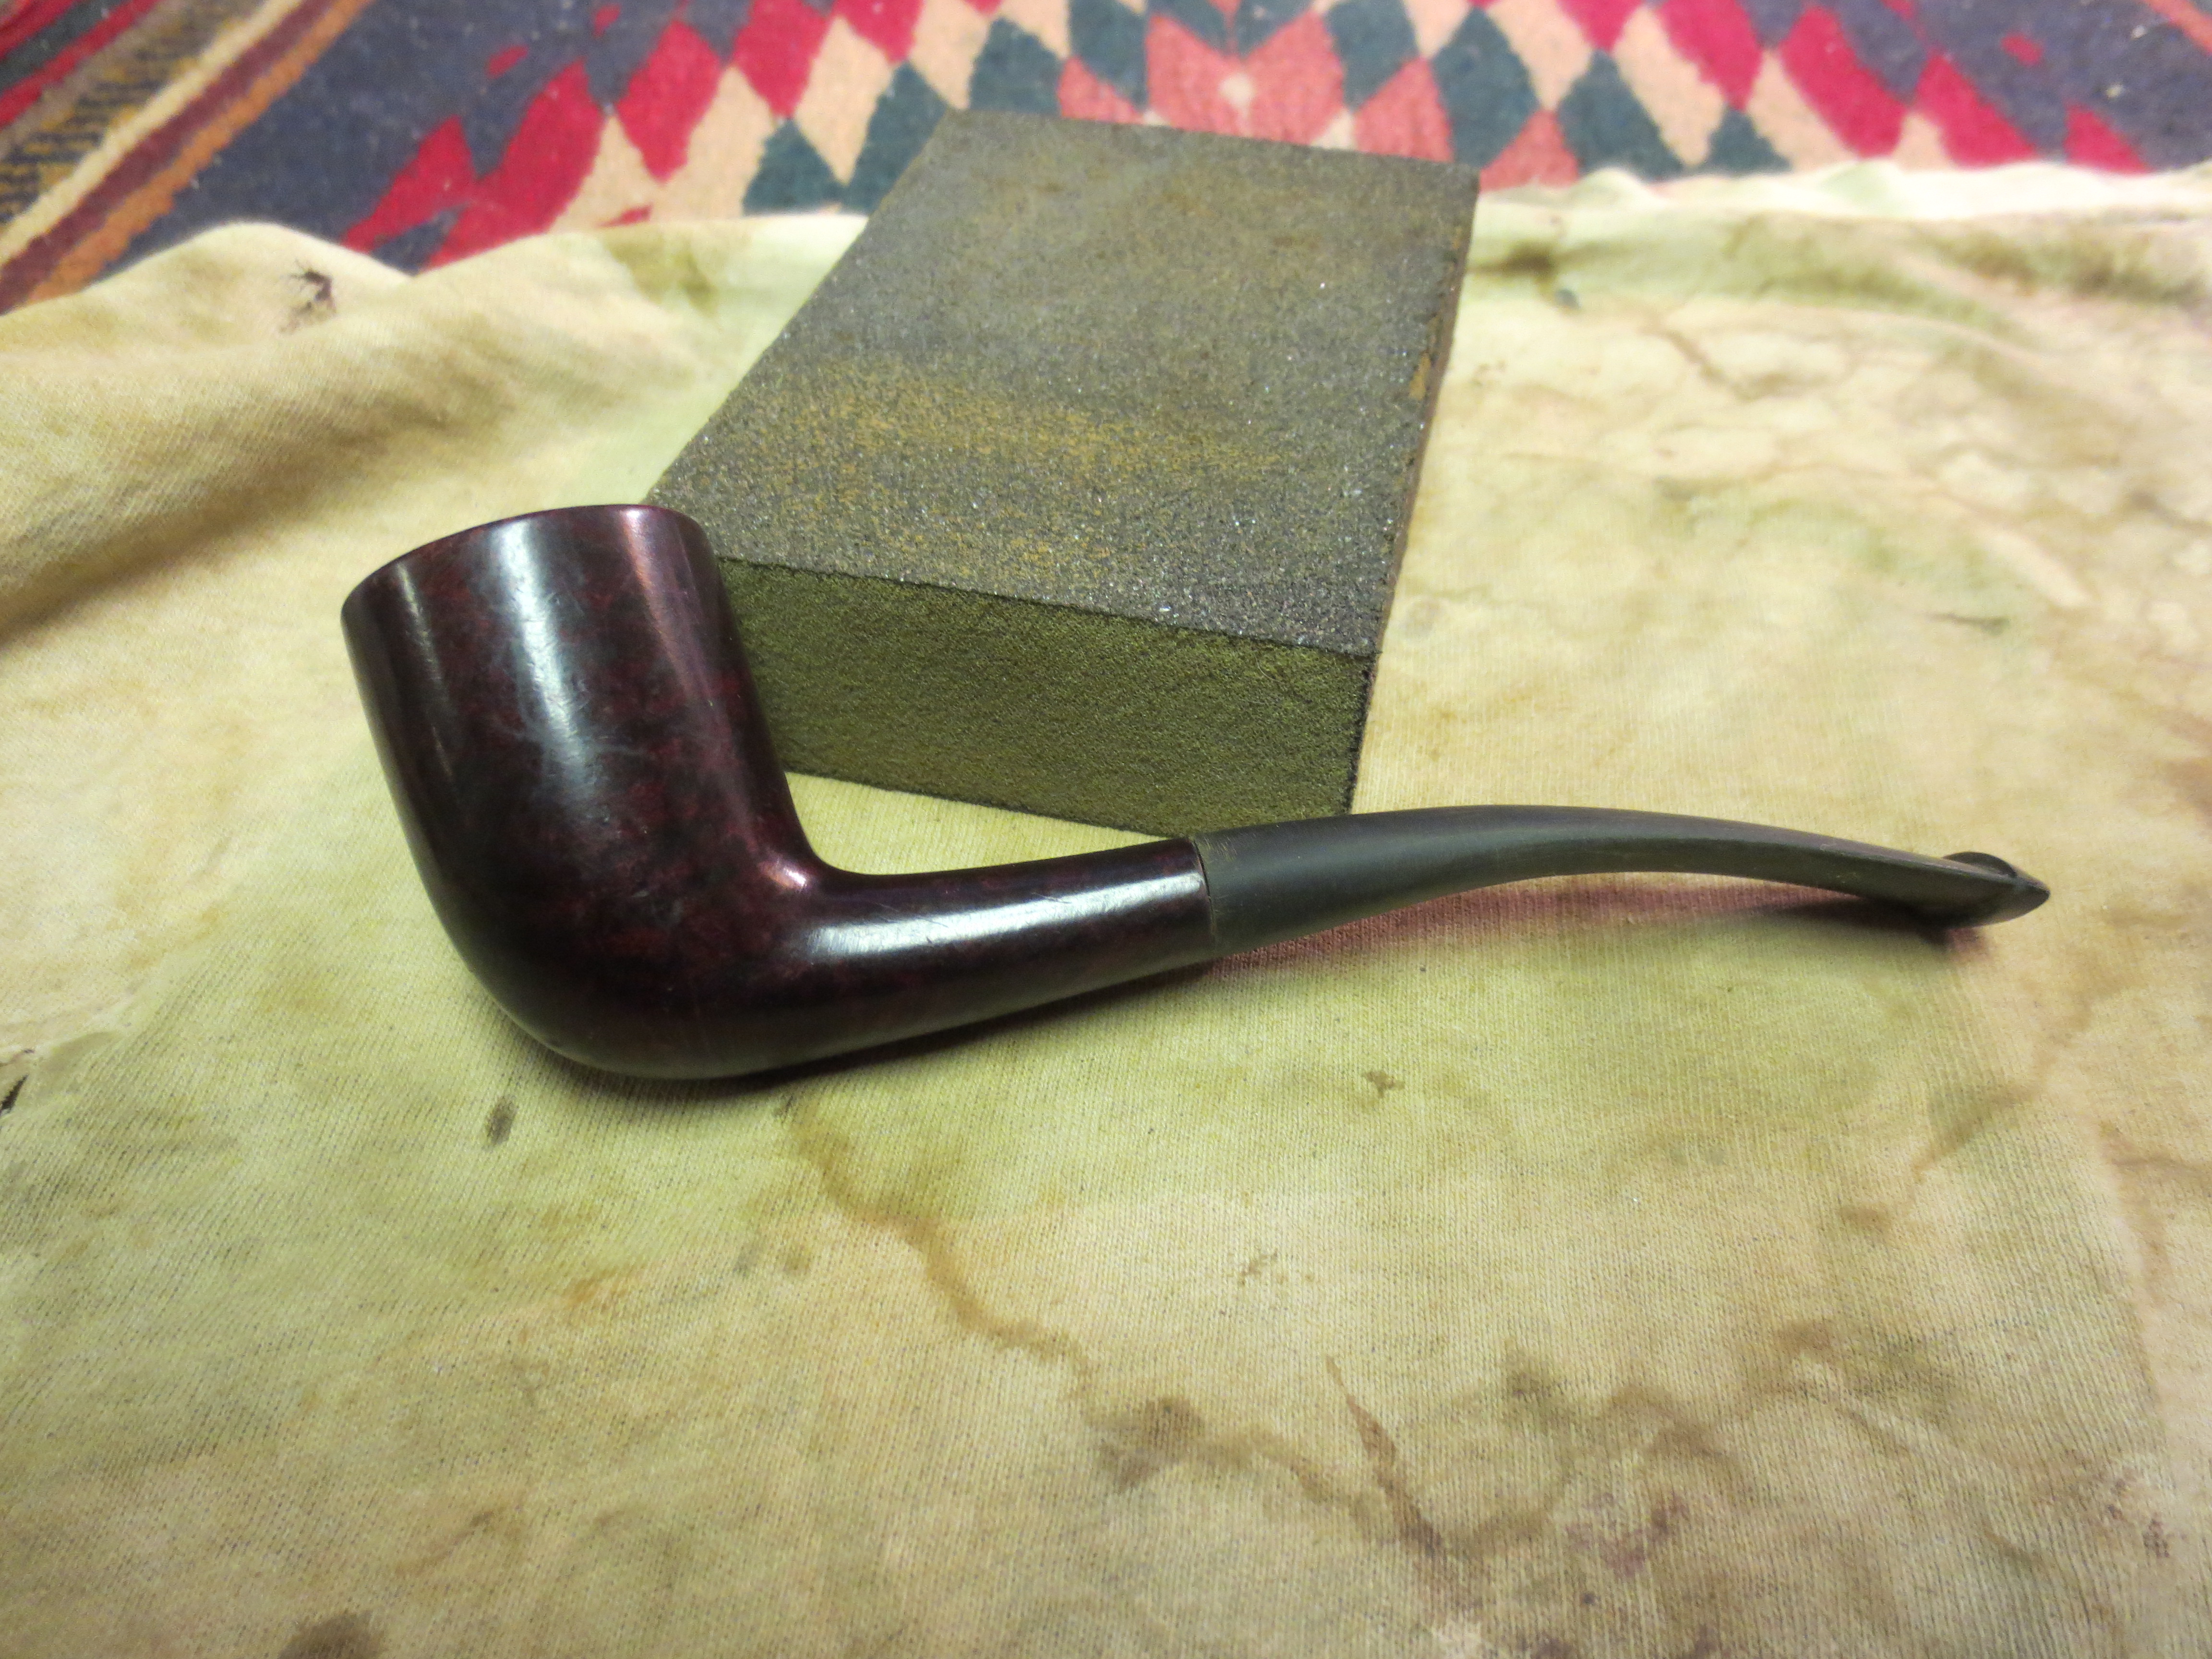
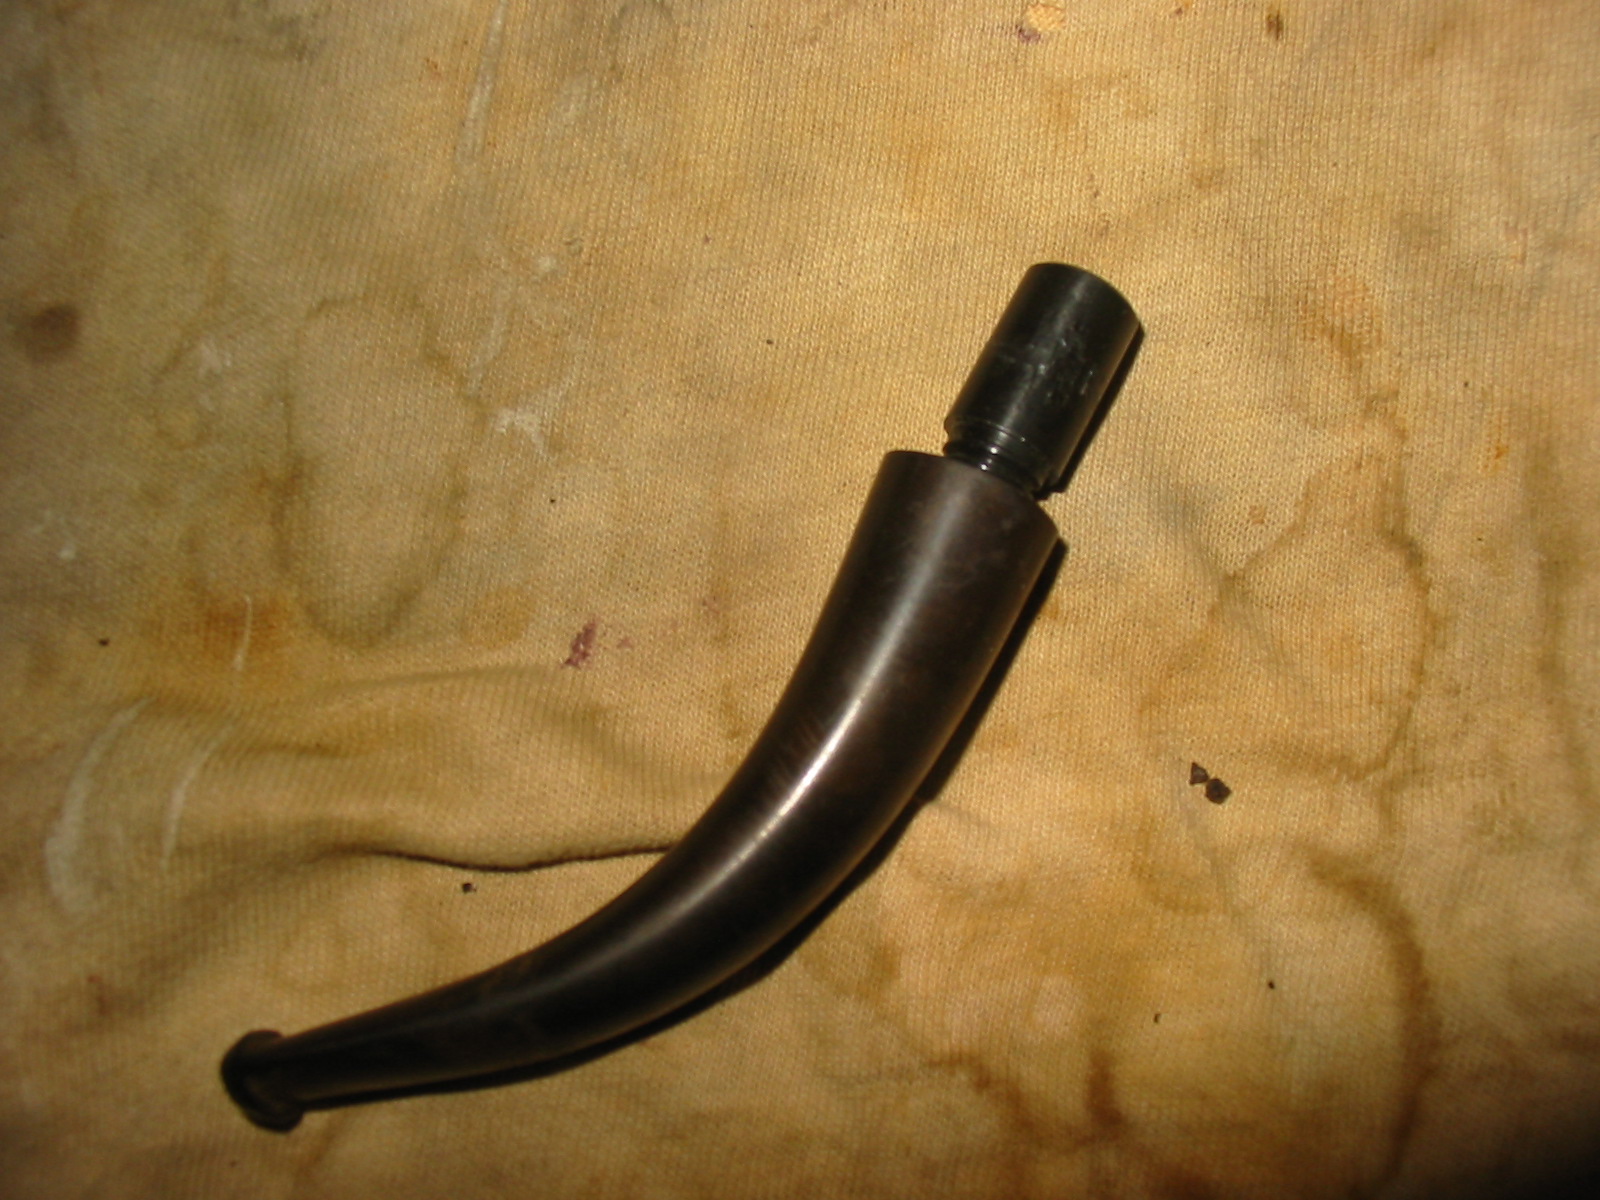
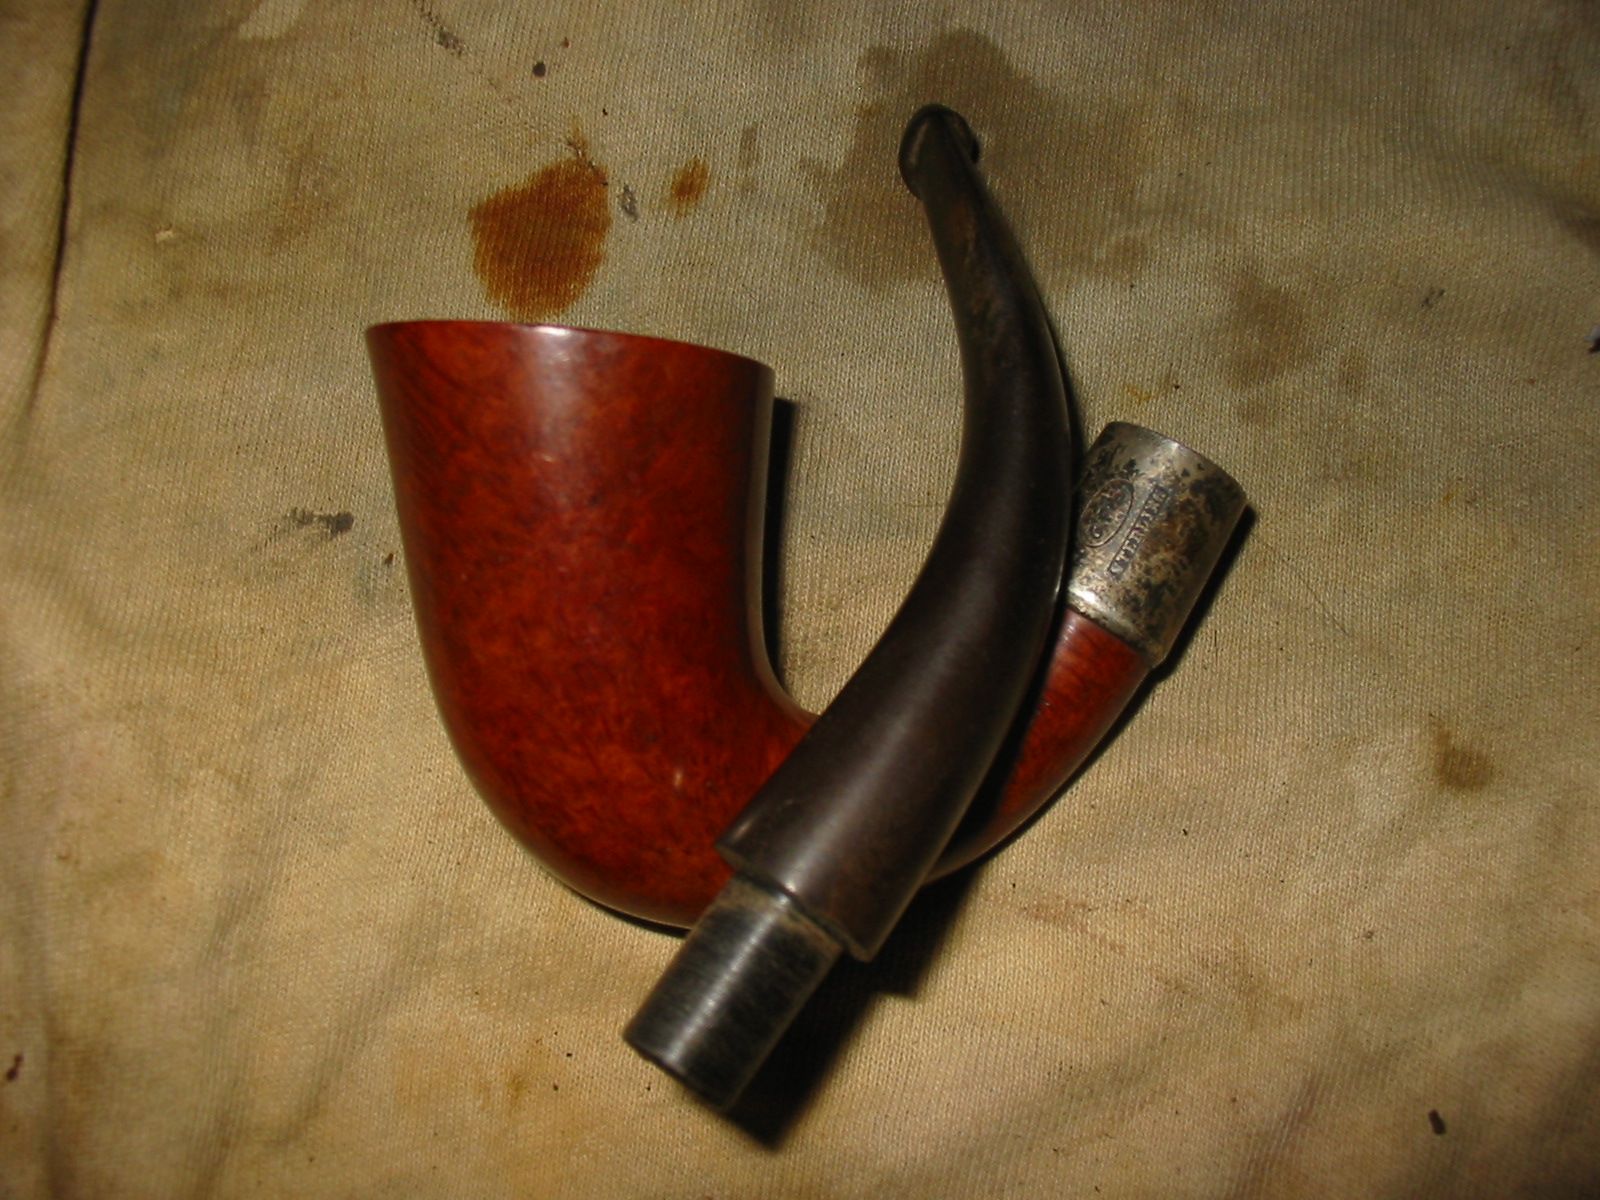
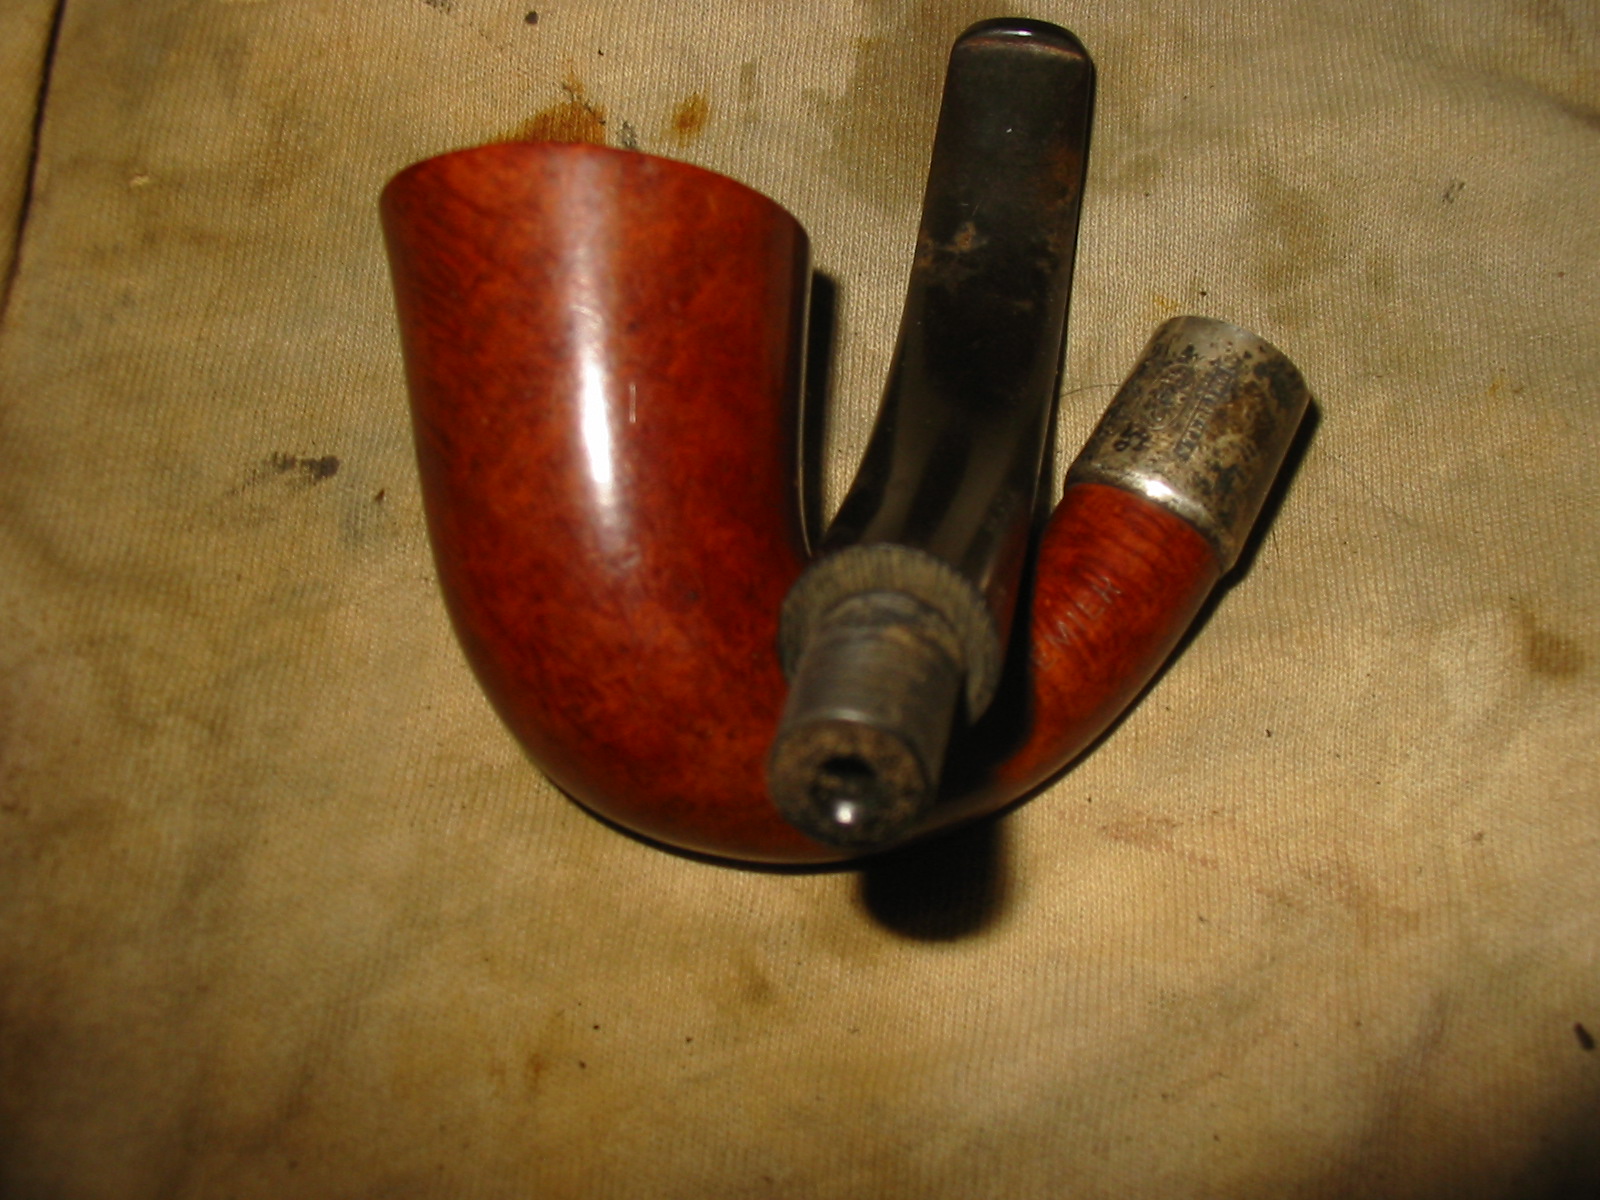
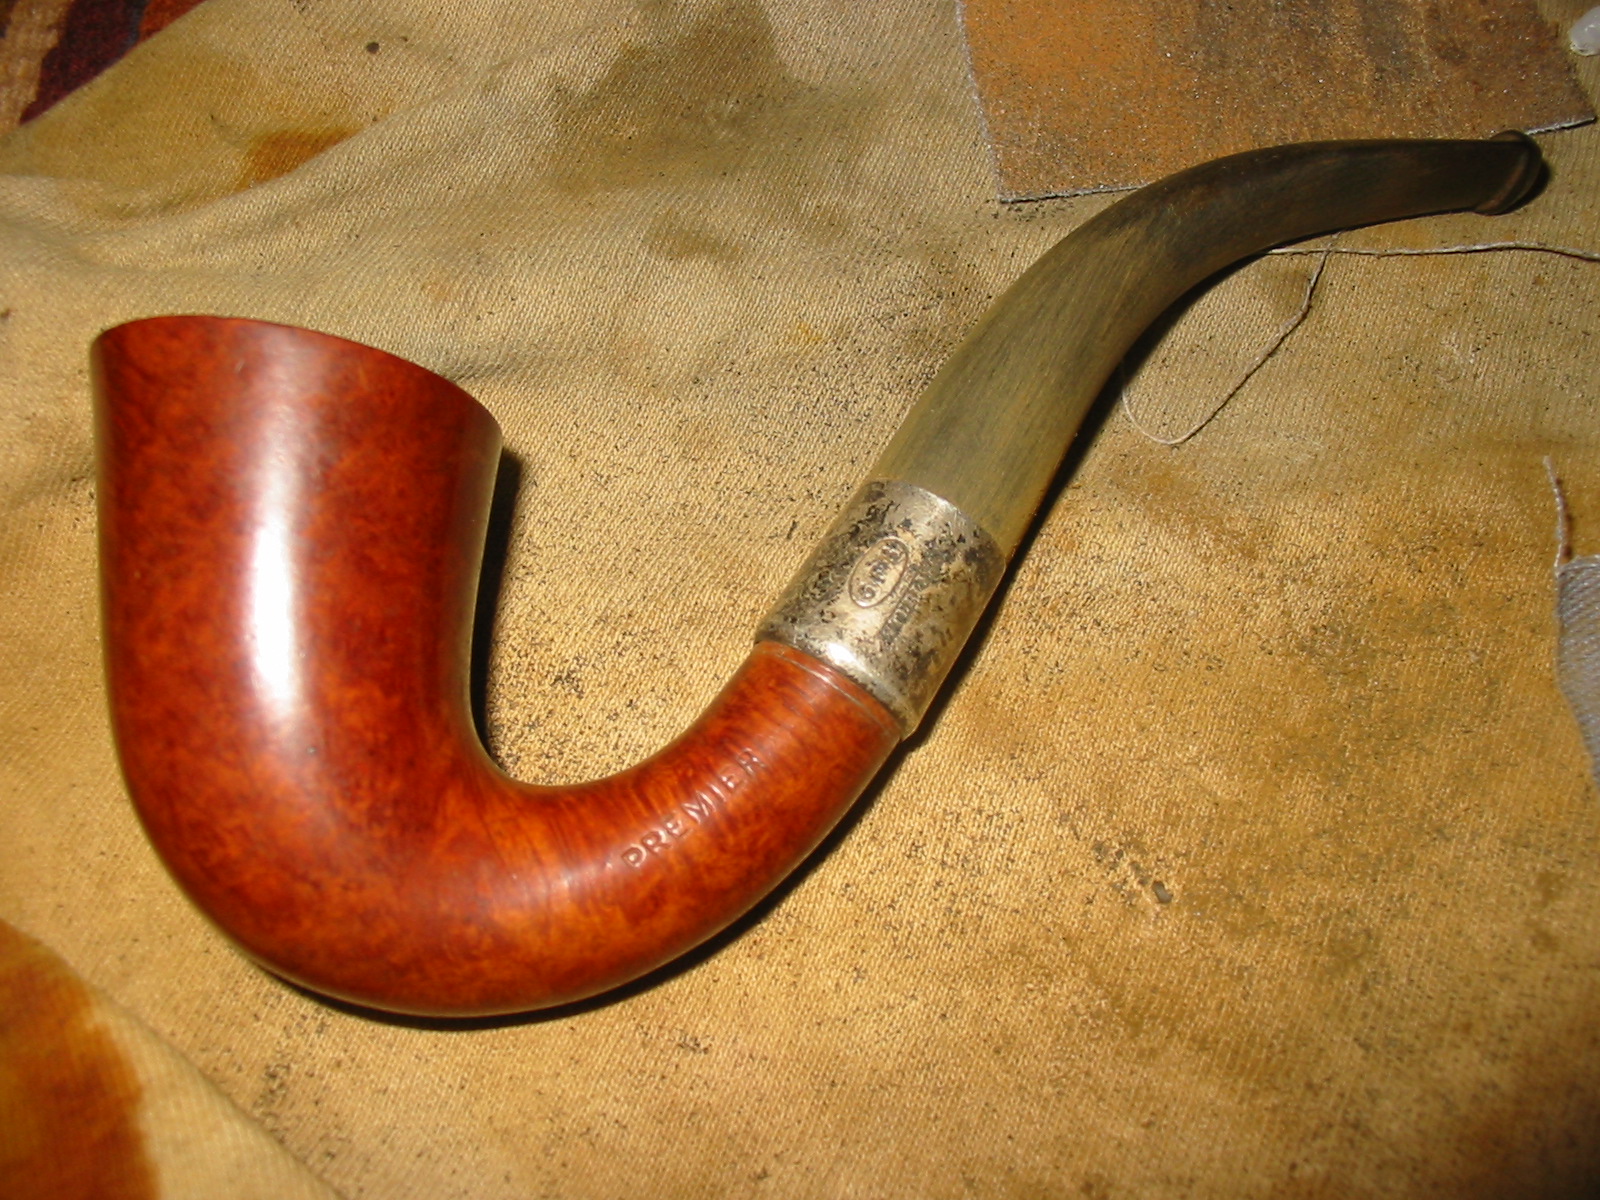
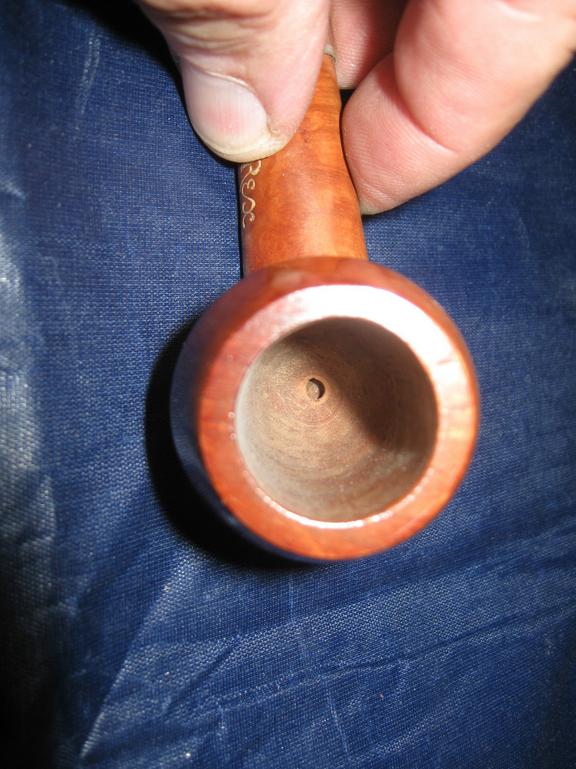
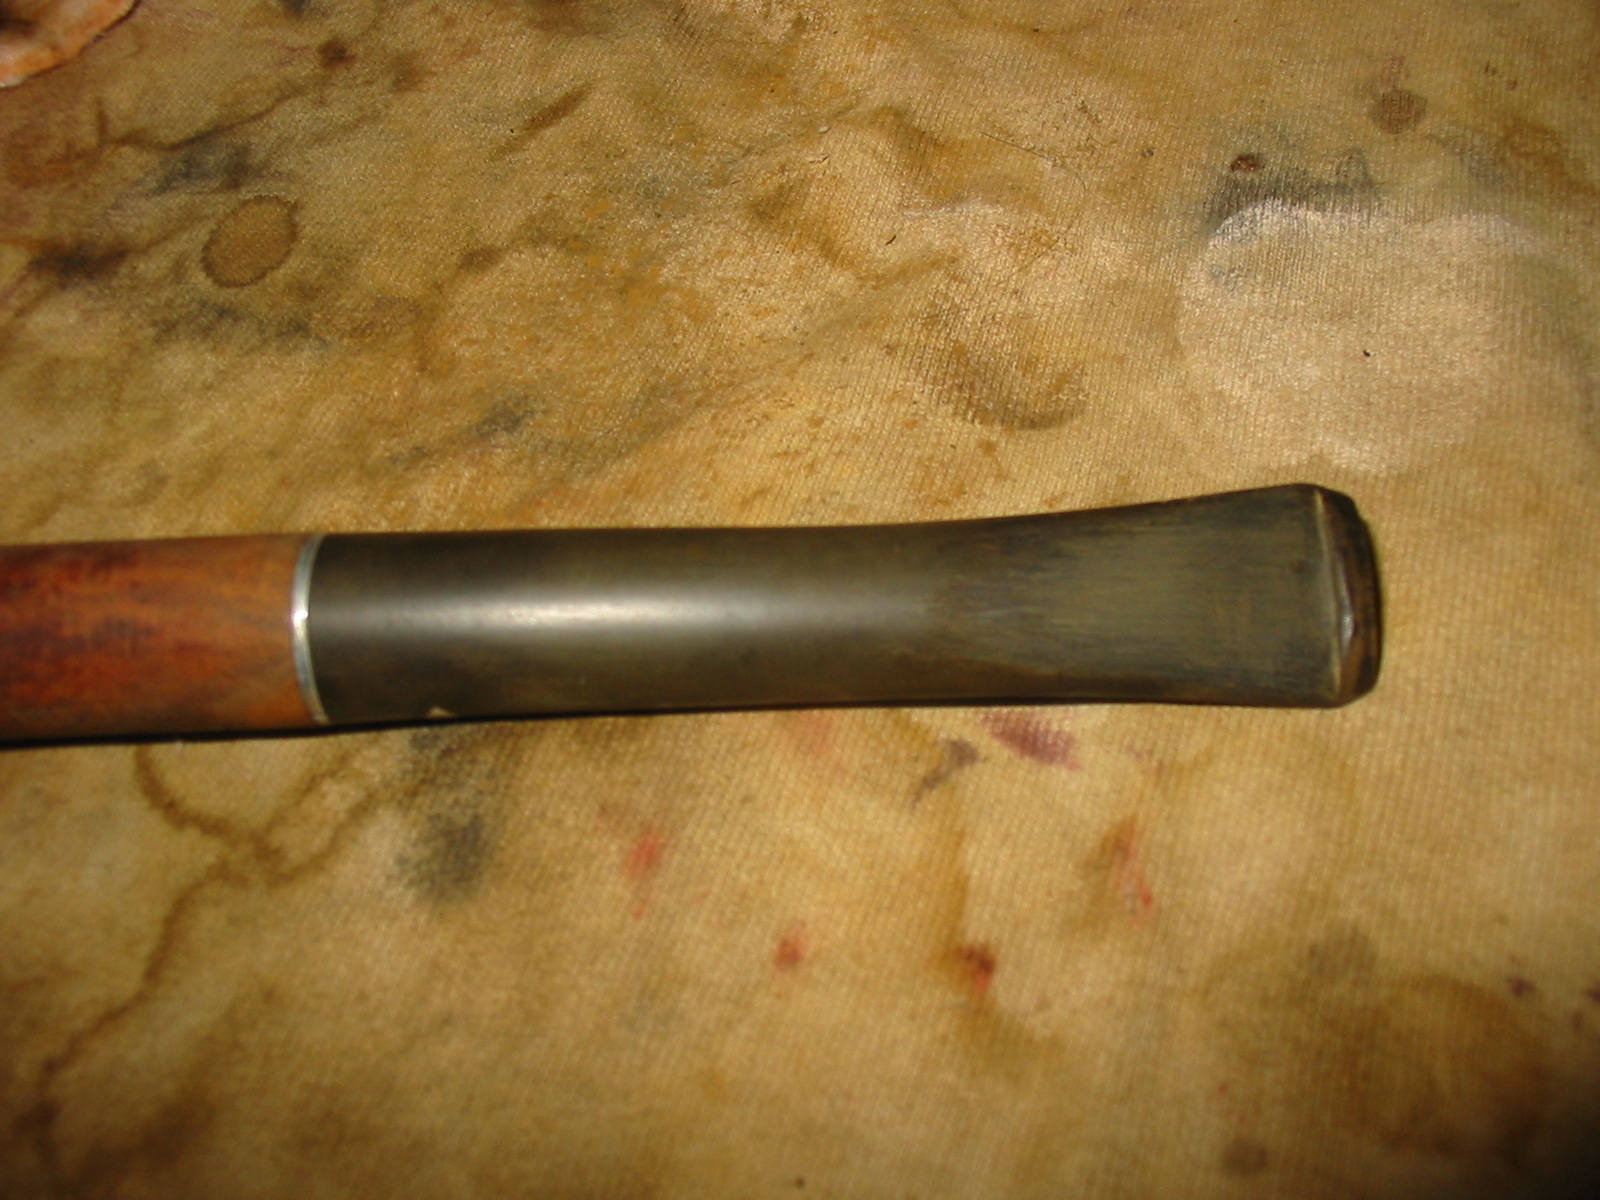
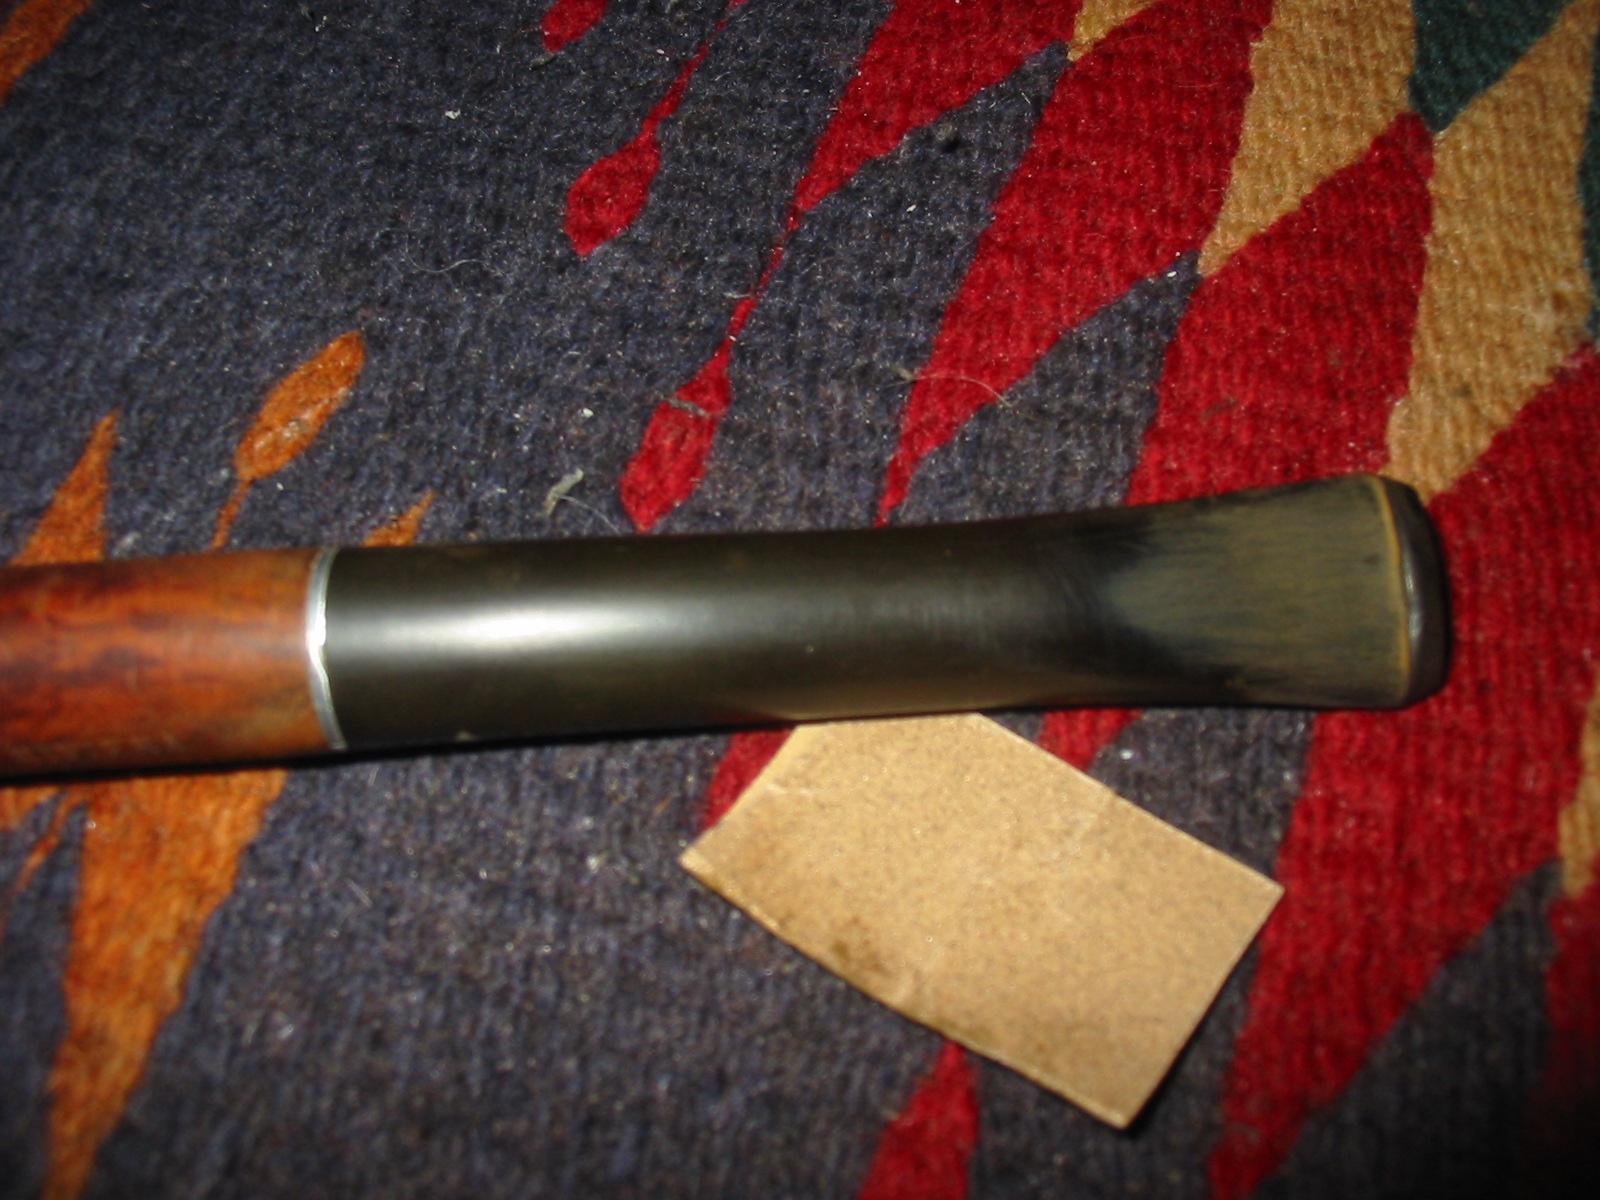
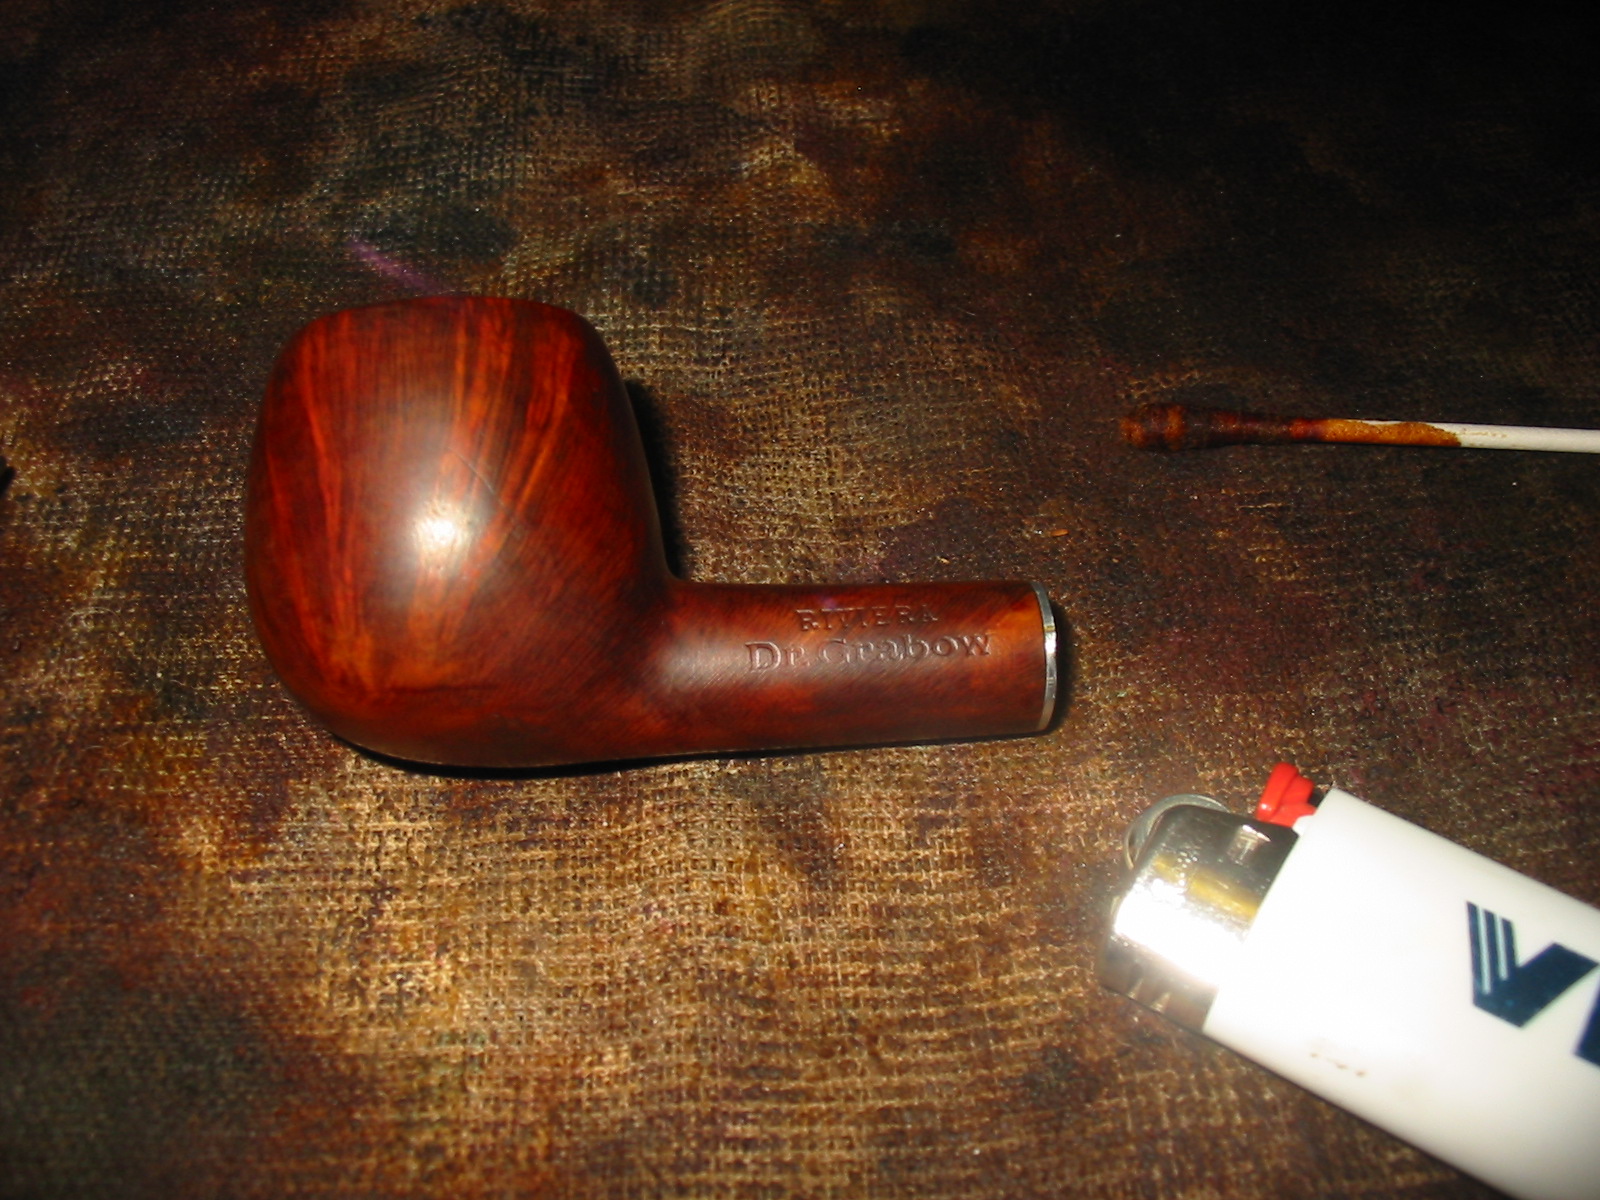
Like the other great American pipe shops, Leonard’s is gone. They closed their doors in 1989. Their inventory was slowly liquidated by the last family owners of the shop. It is sad that yet another piece of American pipe history is gone. It would be grand to have seen that back room filled with a huge inventory of beautiful old briars of renown. Ah well, we have to use our imaginations to enter that room now. As I go there in my mind, I load a bowl of good tobacco from Drucquer’s (another American Pipe Shop that is gone) in my Leonard’s Sea Rock and lift it in both of their memories.

ADDENDUM & CORRECTION: Please read the response below by Pete. He has added some great information that focuses and corrects some of the information above. Thank you Pete.

What’s the Story to be told by 3 Old Unsmoked Pipes without Stems?


I bid on these three pipes on Ebay based on the pictures I have included in this post. They were two different lots from the same seller in California. They were unsmoked according to the seller and as best as I could tell from the photos they looked at least very clean if not unsmoked. They arrived yesterday in the post and they are amazingly clean. All three are unsmoked and what I would label as New Old Stock. I am curious as to how they were separated from their stems and when this happened. They all came from the same seller and I asked what happened to the stems and was told that they were that way when they bought them. That is not a problem as I can easily restem them. They are all older pipes – my guess for the second and third pipe is that they came from the early 1900’s. Not sure about the BBB.
The first is a BBB Hand Made Dublin shape with an oval shank. In the photos the bowl looks dark, but upon examination it is unsmoked. It may have stain in the bowl that I will have to remove before it is smoked. The finish is very good with no fills. There are a few small scratches and dings that come from sitting unused for so long. I am guessing but I would say that the three and several others that the seller had all must have been kept in the same box for years. This one has a very clean shank mortise area so it should be fairly easy to match a stem to it. I am waiting on a BBB stem but in the mean time I have fit it with a vulcanite stem. I have to clean the stem up and finish the fit and the polish but it looks good.

BBB1

BBB2

BBB3

BBB4

The second pipe is a GFB calabash. It is stamped Premier on the left side of the shank and America on the right side. The band says GFB in an oval with 3 stars above that and Sterling underneath. The band was loose when it came. The photos made it a bit hard to tell what the size of the pipe was and also what the grain was like on it because of the lack of focus. When I took it out of the package I was glad to see that it was smaller than expected. The finish is great and the bowl is pristine. The shank and bowl are raw smooth briar. The silver was tarnished but the pipe was unsmoked. Like the one above it has some small scratches and dings from sitting in a box for so long. I am pretty sure this is an early 1900’s pipe. It is identical in shape to a 1912 BBB calabash I have here. The beauty is that I will get to break in this ancient old pipe. It is incredibly light weight. I worked on a stem for it last evening and have it fitted and the first stage of sanding and polishing finished. I will write it up when I am finished on the weekend.

GFB1

GFB2

GFB3

GFB4

The third pipe was a bit of a mystery to me. It is stamped with a gold filigree – REX in a script on the right side of the oval shank. It has a long shank and a factory fit silver band that is also stamped REX and Sterling. It too is unsmoked and very clean. Again like the others it has a few dings and scratches but otherwise is in good shape. There are several very small sandpits on it but they do not detract from the look and finish. I tried several lengths of stems on it before settling on an oval stem that would go on a Canadian. It looks right on this old guy. I can find out nothing regarding the REX stamping though my guess would be that it is an American made pipe. The seller noted that this one is an early 1900’s pipe as well but I got no response on how they know that. The look and feel of the pipe, the size and shape, the silver band all would argue for that age but there is no way to know for sure that I can tell. Do any of you recognize the brand? Some thought it might be an early Barclay-Rex pipe but I cannot find any back story that would make that certain. So for now the mystery remains. I will finsih polishing and shaping the stem over the weekend and then do a write up on the threesome. They are all beautiful examples of well made bowls.

Rex1

Rex2

Rex3

Rex4

With these three in hand from the same seller I am very curious as to their stories. Where did they come from? Who had them? Were they always without a stem? Were they purchased and set aside for a special time and then got separated from their stems? Did their stemless condition guarantee their not being smoked? Or maybe they came from a shop somewhere and the stems just were never put in place after they arrived from their makers. Who knows? All I know is that they will soon be put to the use they were intended for. I wish they could tell their stories. I for one would love to sit and listen. Wouldn’t you?

I just finished the initial work of restemming them. Here is a photo of the three bowls with their new stems inserted. A lot of work remains in terms of fitting the stems but the idea is clear from these photos.

IMG_0974

Breathing New Life into a Dr. Grabow Riviera


Blog by Steve Laug

When I am refurbishing pipes I take the same care on older factory made pipes as I do on the more collectible ones. To me this is part of the stewardship of refurbishing. It does not matter what the original price of the pipe was – it is worth redeeming and bringing back to life. The refurbishing of the next pipe is one of those. It is an older Dr. Grabow Riviera. It was given to me by a good friend in Ponoka, Alberta. He gave it to me as a gift when I visited him recently. It is stamped Riviera over Dr. Grabow on the left side of the shank and Imported Briar over Adjustomatic over a patent number – PAT. 2461905 on the right side of the shank. The stinger apparatus in this one is an insert into the metal tenon. It is tube with a scooped portion on top that has a hole in the bottom of the scoop. The air/smoke circulates in the shank and is drawn into the stem by the smoker. The surface area of the apparatus acts as a condenser and filter. The beauty of this design is that it can be removed. The stem was badly oxidized and also had tooth dents on the top and bottom near the button. The finish was shot and the varnish was peeling from the bowl and shank. The rim was darkened and dirty and had a small crack on the top left side. The four photos below show the state of the pipe when I brought it home.

IMG_0846

IMG_0847

IMG_0848

IMG_0849

I love doing research on old patents and with US made pipes it is very simple. The following website is a simple way to find data and diagrams. http://patft.uspto.gov/netahtml/PTO/srchnum.htm In the search parameters you enter the patent number from the pipe and click on the search button. Generally, these older patents have been made into PDF files that can be downloaded. Here is a copy of the information I found there. It is a patent for the Adjustomatic connector. I always find reading through these patent application documents gives me a feel for why the designer came up with invention. This proved true of this application as well.

Grabow Patent1

Grabow Patent2

Grabow Patent3

Grabow Patent4

After reading through the patent information I was ready to restore this old pipe. It appeared to be made somewhere around the time of the Patent as it had the patent number stamped on it. That dated it somewhere around 1949 after the patent was given. I began by reaming the bowl with the PipNet reaming set to clear up the uneven and broken cake. I decided to work on the externals first. I wiped down the bowl and shank with acetone on a cotton makeup pad to remove the finish. There was some very nice grain poking through the mottled finish and very few tiny fills that made it even more attractive to me. The acetone removed the varnish very well and also took away the dirt and filth on the exterior. The first two photos below show the process of wiping down the bowl. The old finish is visible on the cotton pad.

IMG_0850

IMG_0851

Once the finish was removed from the bowl as much as possible with the acetone, I sanded it down with 340 grit sandpaper and a fine grit sanding sponge to further remove the finish. The next series of four photos show the bowl after the acetone wash and the sanding. The grain on this one is very nice. The inner rim would need to have some attention to smooth out the rough edges and the darkening.

IMG_0852

IMG_0853

IMG_0854

IMG_0855

I sanded the metal shank band as it had some deep scratches and gouges in it. I could not remove the damage but I minimized its look. I worked on the tooth marks in the topside and the underside of the stem surface. I heated the stem with a Bic lighter – passing the flame over the tooth marks to lift them to the surface. I then sanded the stem with 220 grit sandpaper to remove the remaining marks that were present (Photos 1 – 4 below). I followed that by sanding with a fine grit sanding sponge to remove the scratches left behind by the 220 grit sandpaper (Photos 5 – 6 below).

IMG_0856

IMG_0857

IMG_0859

IMG_0860

IMG_0861

IMG_0862

I sanded the entire stem with the sanding sponge to remove the oxidation from the vulcanite. I took the pipe apart and cleaned the stinger apparatus with a cotton swab and alcohol. The next two photos show that design of the stinger. It is a two part piece and the extended tube can be removed from the screw in metal tenon. I cleaned the inside of the stem and also the inside of the stinger to remove the buildup of tars and oils inside.

IMG_0863

IMG_0864

I sanded the bowl with 1500 – 12,000 grit micromesh sanding pads, being careful around the stamping on the shank. Once the scratches were removed and the bowl was smooth I restained it with a dark brown aniline stain thinned 2:1 with isopropyl alcohol. Doing this makes the stain less opaque and also several shades lighter. I wanted to highlight the grain not hide it so this was the perfect mix to do that. I applied the stain with a cotton swab, flamed it with a lighter to set the stain and then repeated the process a second time. The next three photos show that process. You will note that I also cleaned up the inner edge of the rim with the sanding process noted above. Most of the roughness is removed. A small crack remains on the top of the left side of the bowl rim.

IMG_0948

IMG_0949

IMG_0950

I set the bowl aside and worked on finishing the stem. I sanded it with 1500 – 12,000 grit micromesh sanding pads until it was smooth and finished. I rubbed down the stem with Obsidian Oil to protect and remove the oxidation. I reattached it to the bowl and buffed the stem and bowl with White Diamond on the buffer. I gave the entirety several coats of carnauba wax to bring out the shine and protect it. The final four photos show the finished pipe – cleaned, restored and ready to smoke. The photos show tinges of brown/oxidation still remaining in the stem under the flash of the camera. To deal with that I polished the stem some more and gave it another coat of Obsidian Oil and let it soak in. Upon finishing I buffed it again with carnauba.

IMG_0951

IMG_0952

IMG_0953

IMG_0954

A Review – Ozark Mountain Briars, Craftsman Series, Straight Egg


Blog by Steve Laug

I am fairly certain that many of you have not heard of either Ozark Mountain Briars or of the carver, David Johnson. I have had two of David’s pipes in my collection since 2007 and have found that both of them are well made and aesthetically beautiful. The first one I purchased was a rusticated ball or apple shape. The second is this straight egg shaped smooth that I am reviewing today. Both were reasonably price and promptly delivered. I am not sure if David is still making pipes, I hope so. I see his pipes appearing on EBay periodically so if you have the opportunity to get one I don’t think you will be disappointed.

He carved this pipe as one of his higher lines, the Craftsman series, in 2007 and I picked it up at a discounted price because of some very small sand pits on the bottom of the shank. When it arrived in the mail I opened the package and took out the suede leather pipe glove that the pipe was placed in for protection and storage. I was amazed at its beauty. As I held it in my hand I could not believe how light it was. The 1.32 ounces / 37.4 grams make it light enough to be a comfortable clencher. The length of the pipe is 5.45 inches / 138.4 mm. The chamber diameter is .80 inches / 20.3 mm and the chamber depth is 1.50 inches / 38.1 mm. It is comfortable to hold in the hand.

cantedegg101

The pipe has a smooth finish and is stained with a 3-step process to bring out the grain. The bowl is egg shaped but slightly canted forward with elements of a Belge shape. The grain is decent on the pipe. I am not sure which stain David used first but the understains are darker and serve to make the grain stand out. The overstain is almost a yellow. The combination gives a dimensionality to the finish that is fascinating. The trim bead on the end of the shank is made of Marblewood and adds a nice finishing touch. The unique grain and shape of the bead is distinctive and feels great in the hand when held during a smoke.

cantedegg102

The stem is a hand cut Ebionite half saddle or half taper depending on your point of view! The top half is saddle and the bottom is tapered. The saddle portion is well done. It is soft cut on the saddle and then tapers back to the button. The saddle is rounded and has a very gentle cut to it. On the underside the stem blade tapers gradually back to the button where it flares to the same width as the flare on saddle. It is just the right thickness at the portion that rides in the mouth – not too thick or too thin. It is made of quality material as it has not oxidized in the years I have had it. The tenon is an integral part of the stem and is chamfered inward to form a dished end that is well-polished. The button is the size and shape that I really like – thin at the edges with a very slight rise to the centre top and bottom, forming an eye shaped end view. The lip on the button is very not to thick and fits well behind the teeth for a comfortable feel. The slot in the end of the button is also funneled and flattened to deliver a mouthpiece that has the same diameter from start to finish. David also rounded the ends of the slot giving it a finished look. The attention to detail shows the love of his craft that is transmitted into each of his pipes. It is a comfortable and well executed pipe. A pipe cleaner passes easily through the pipe with no obstruction.

cantedegg103

I have two Ozark Mountain Briar pipes and both are identical in terms of internal mechanics. David has well-crafted airflow dynamics in his pipes. The draught is clean and easy with no whistling or tightness. It has an easy draw that makes smoking it a pleasure. The bowl chamber is drilled to slightly over 3/4 of an inch with a .80 inch diameter. The tobacco chamber was coated with what David calls a Pre Carbed coating. It was neutral in taste and did not distract from the tobacco that was smoked. The cake built up on the bowl very easily. The draught hole is centered slightly above the bottom of the bowl and seems to have a slight funnel leading into the shank and stem. The fit of the stem to the shank is excellent – smooth and tight with no light showing at the joint. The tenon fits well in the mortise and sits deep in the mortise against the bottom. The airway is in the centre of the mortise and aligns with the airway in the tenon. The edges of the tenon have been polished and rounded and the airhole countersunk so that it meets the airway in the mortise. Looking at the airways with a flashlight it is clear to see that they are smooth and polished with no rough edges. The interior of the pipe is smooth and polished from the button to the bottom of the bowl.

cantedegg104

I broke this pipe in with some aged McClellands 5100. It is a dedicated Virginia pipe and always delivers a good tasting smoke. I have found that David’s other pipe also is a Virginia machine. It also smokes cool and dry and deliver good flavor with the Virginias that I choose to smoke in it.