It is a pleasure to have another article by Robert Boughton. In this article he demonstrates his skills in the restoration of a Portland Pot shaped pipe. Thanks Robert for your additions to the blog.
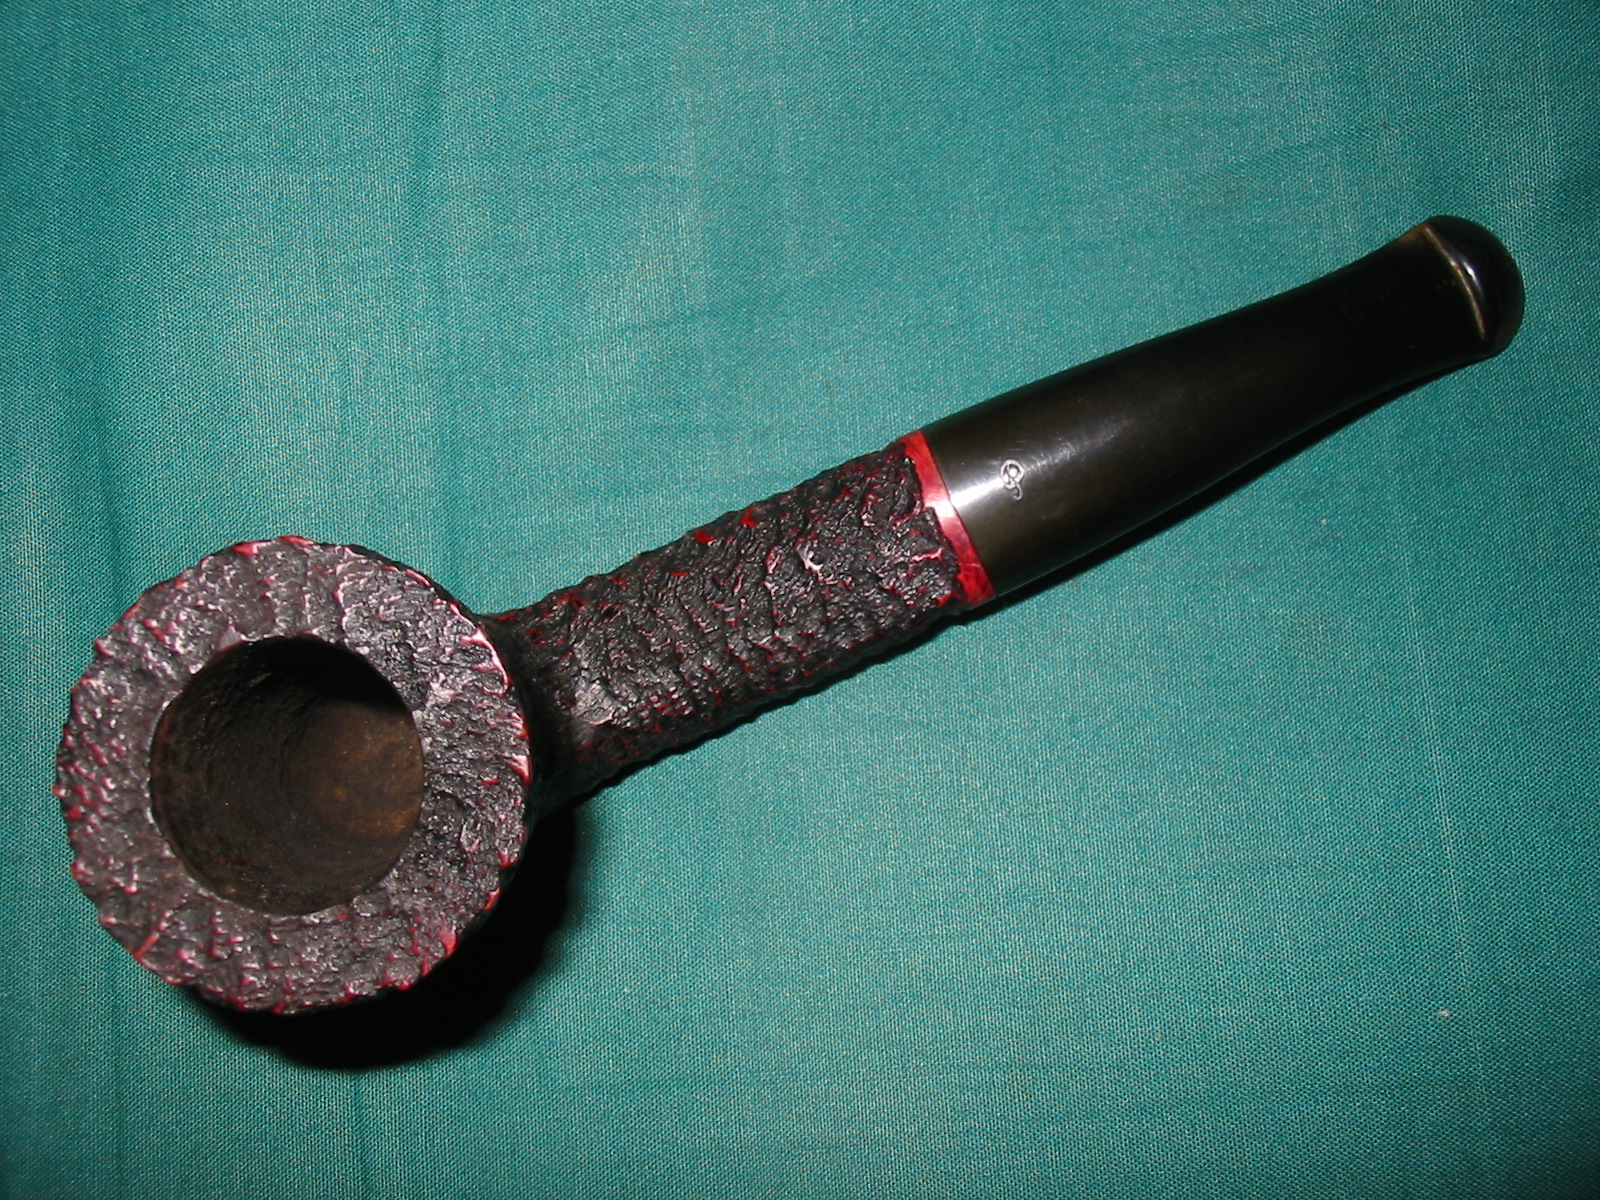
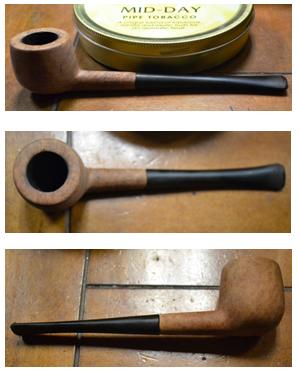
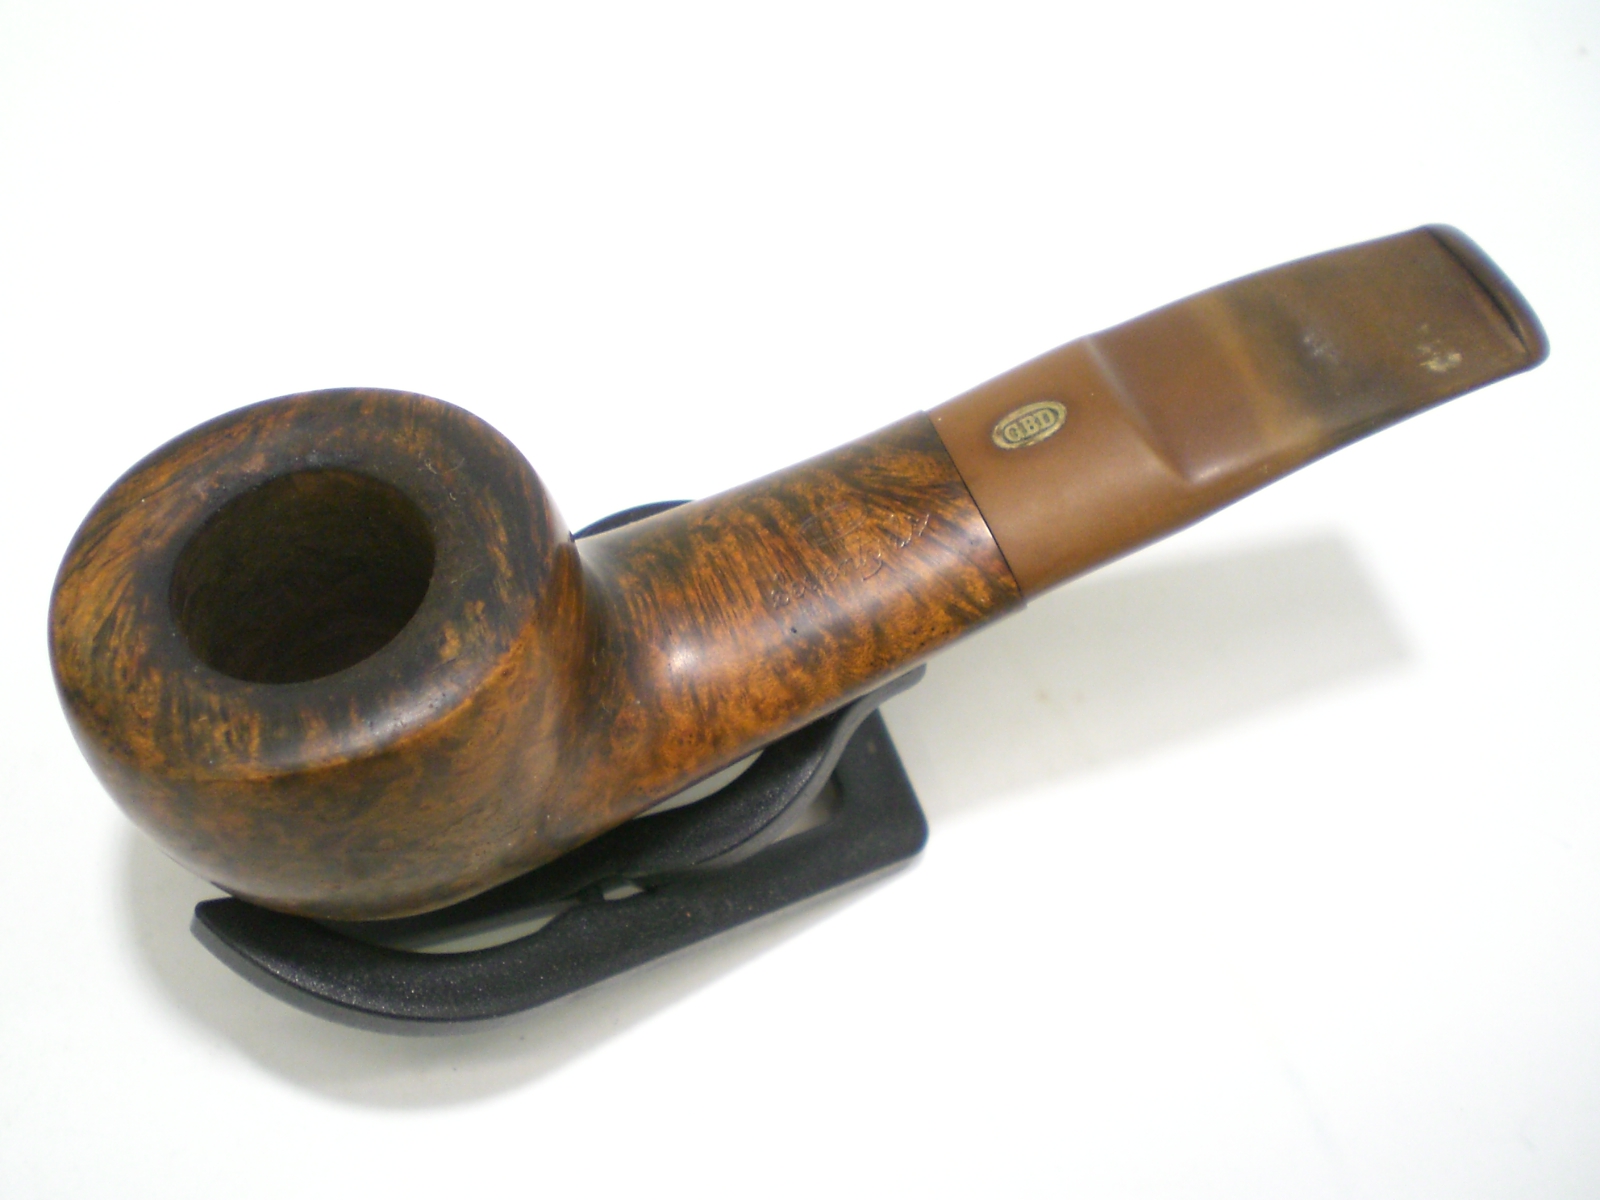
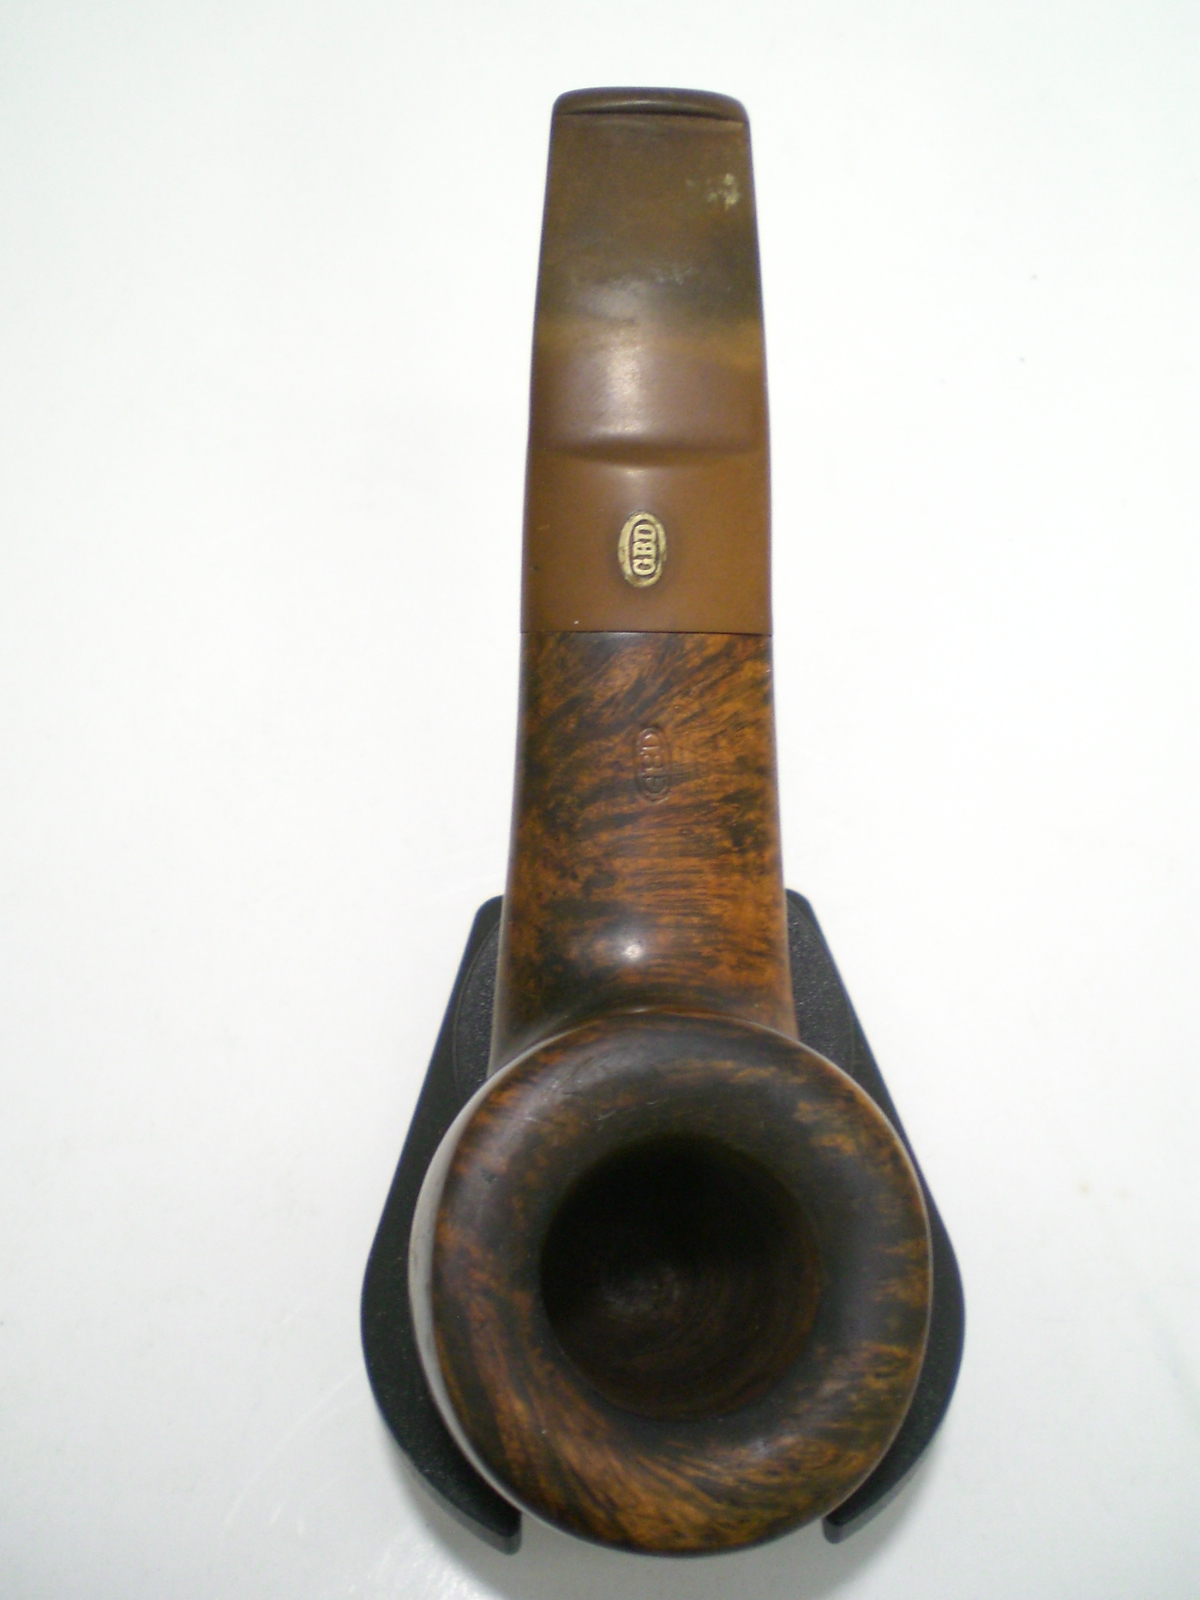
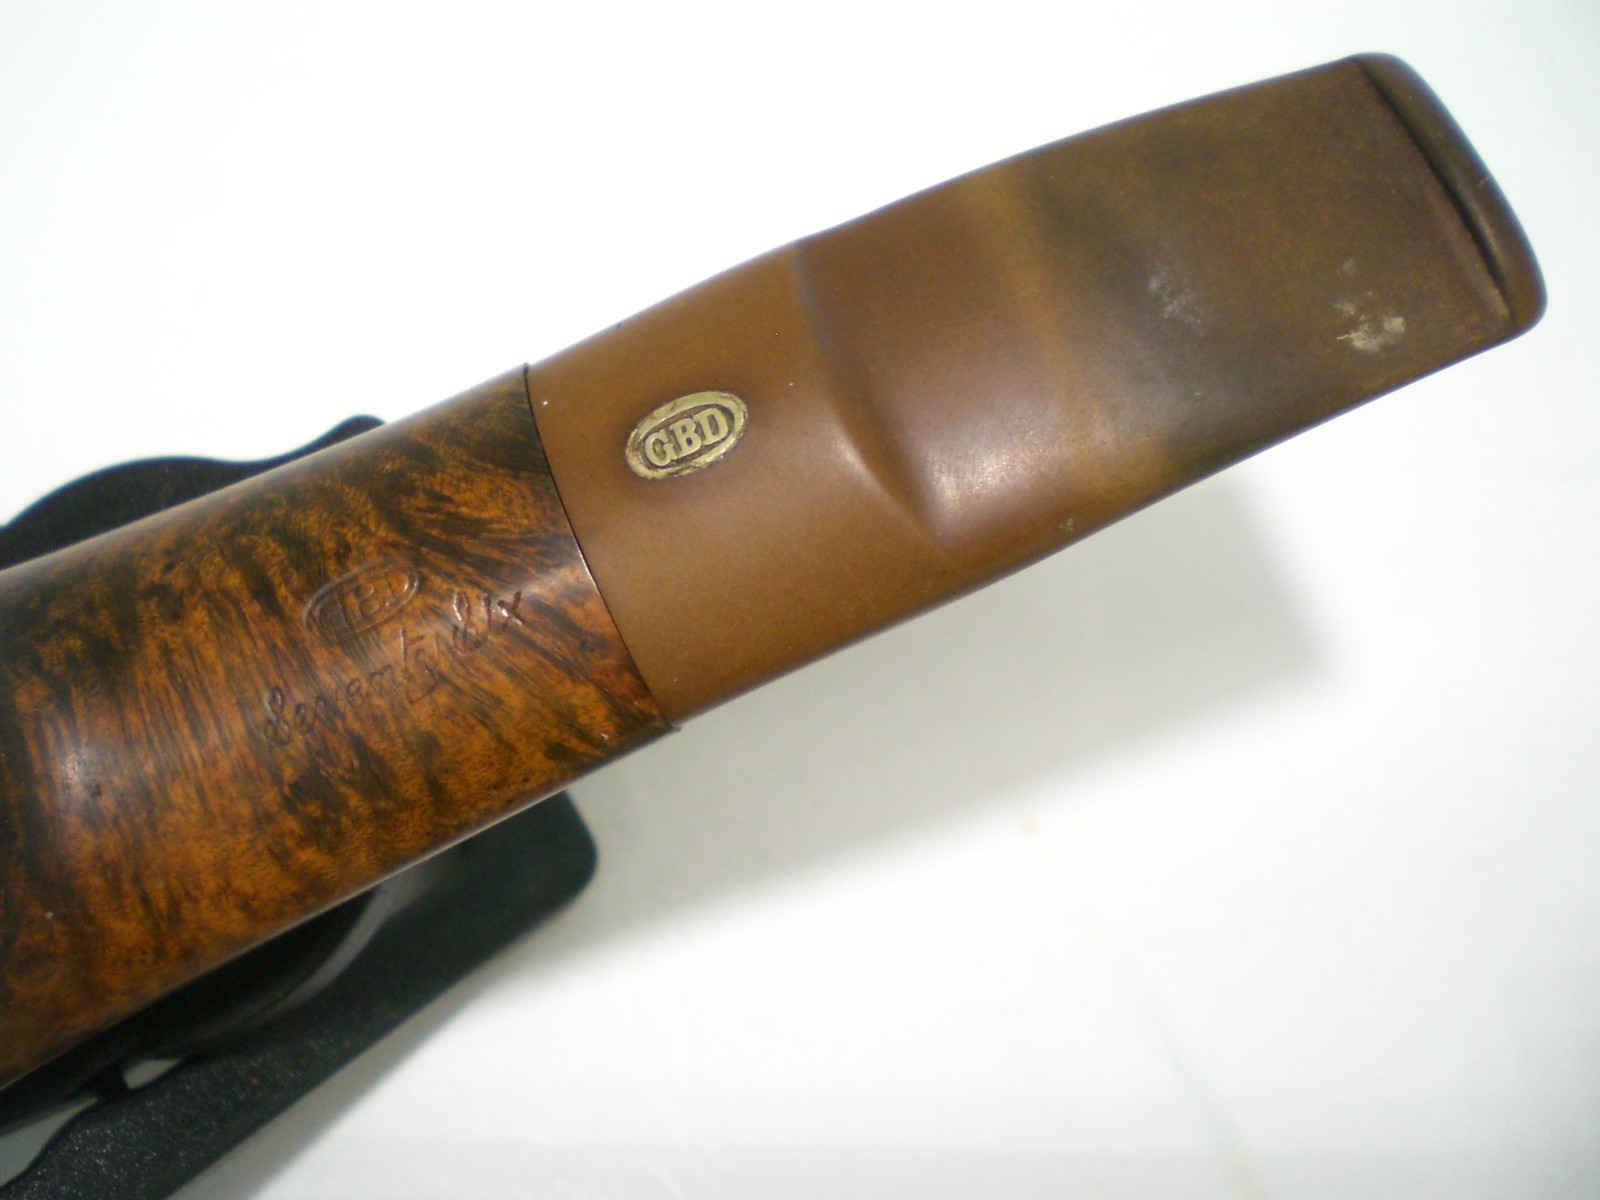
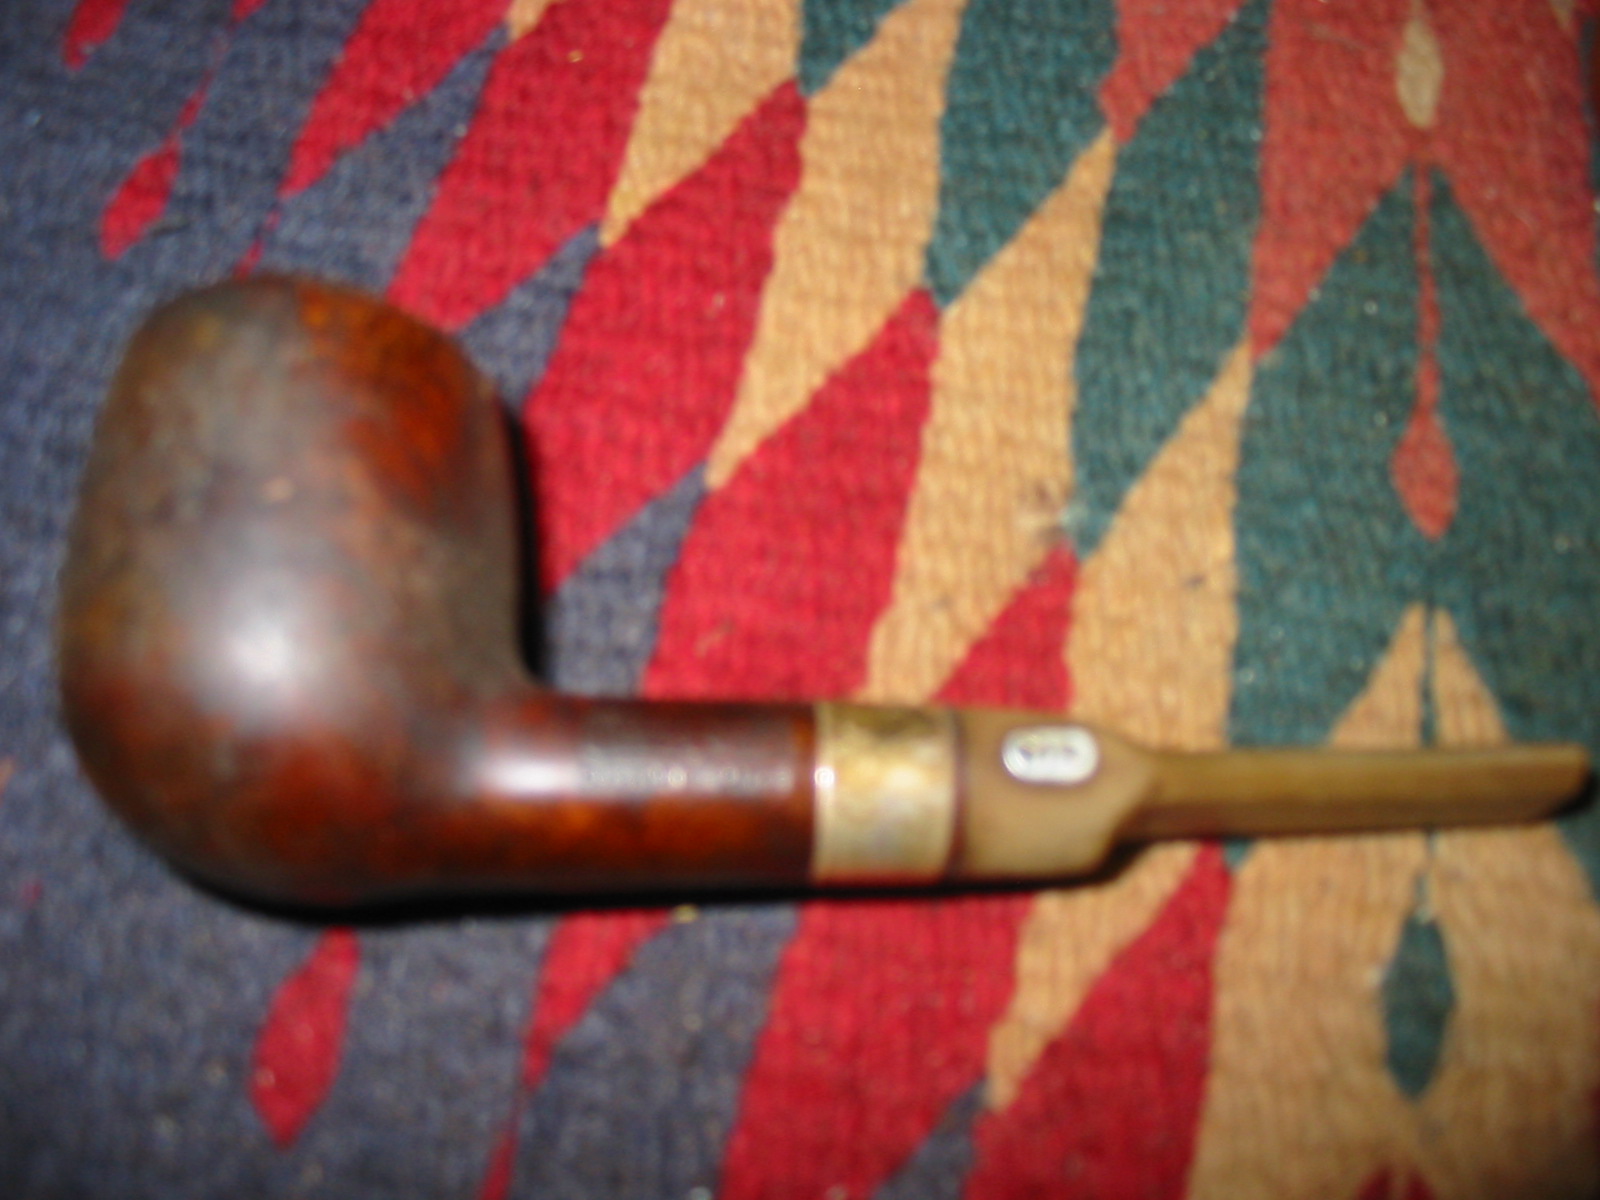
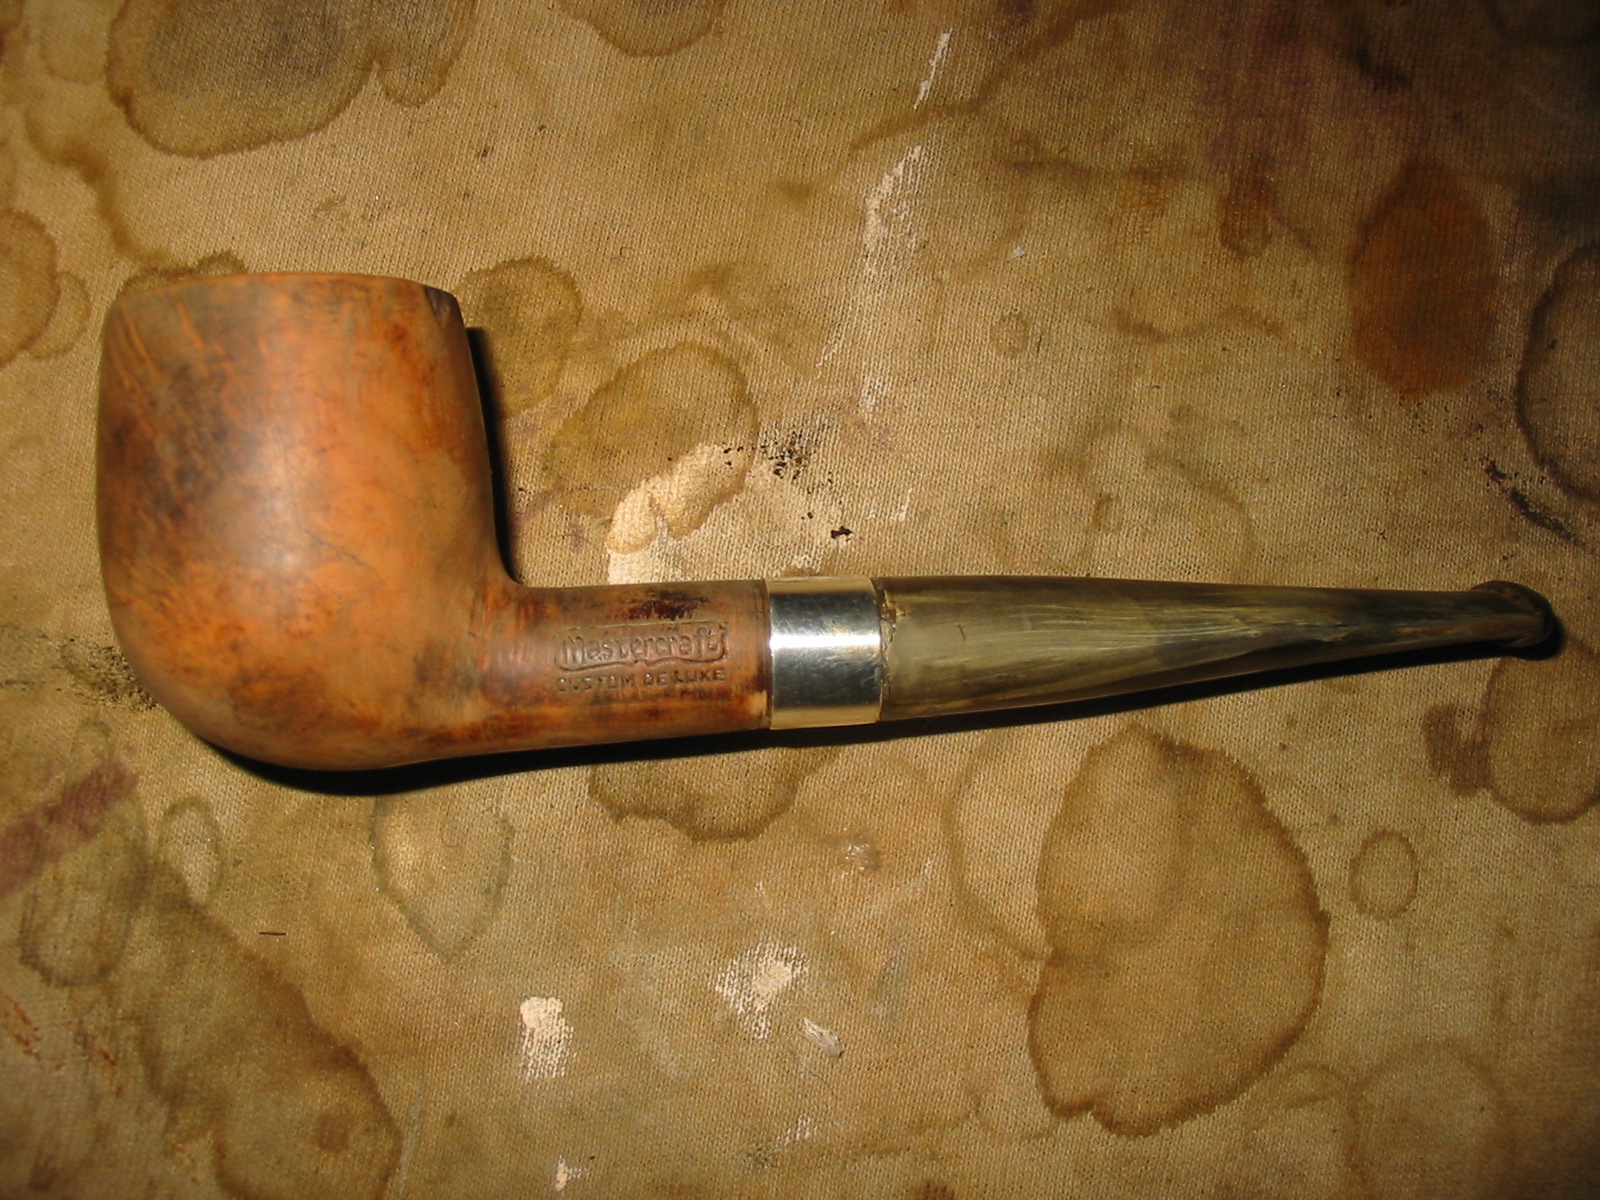
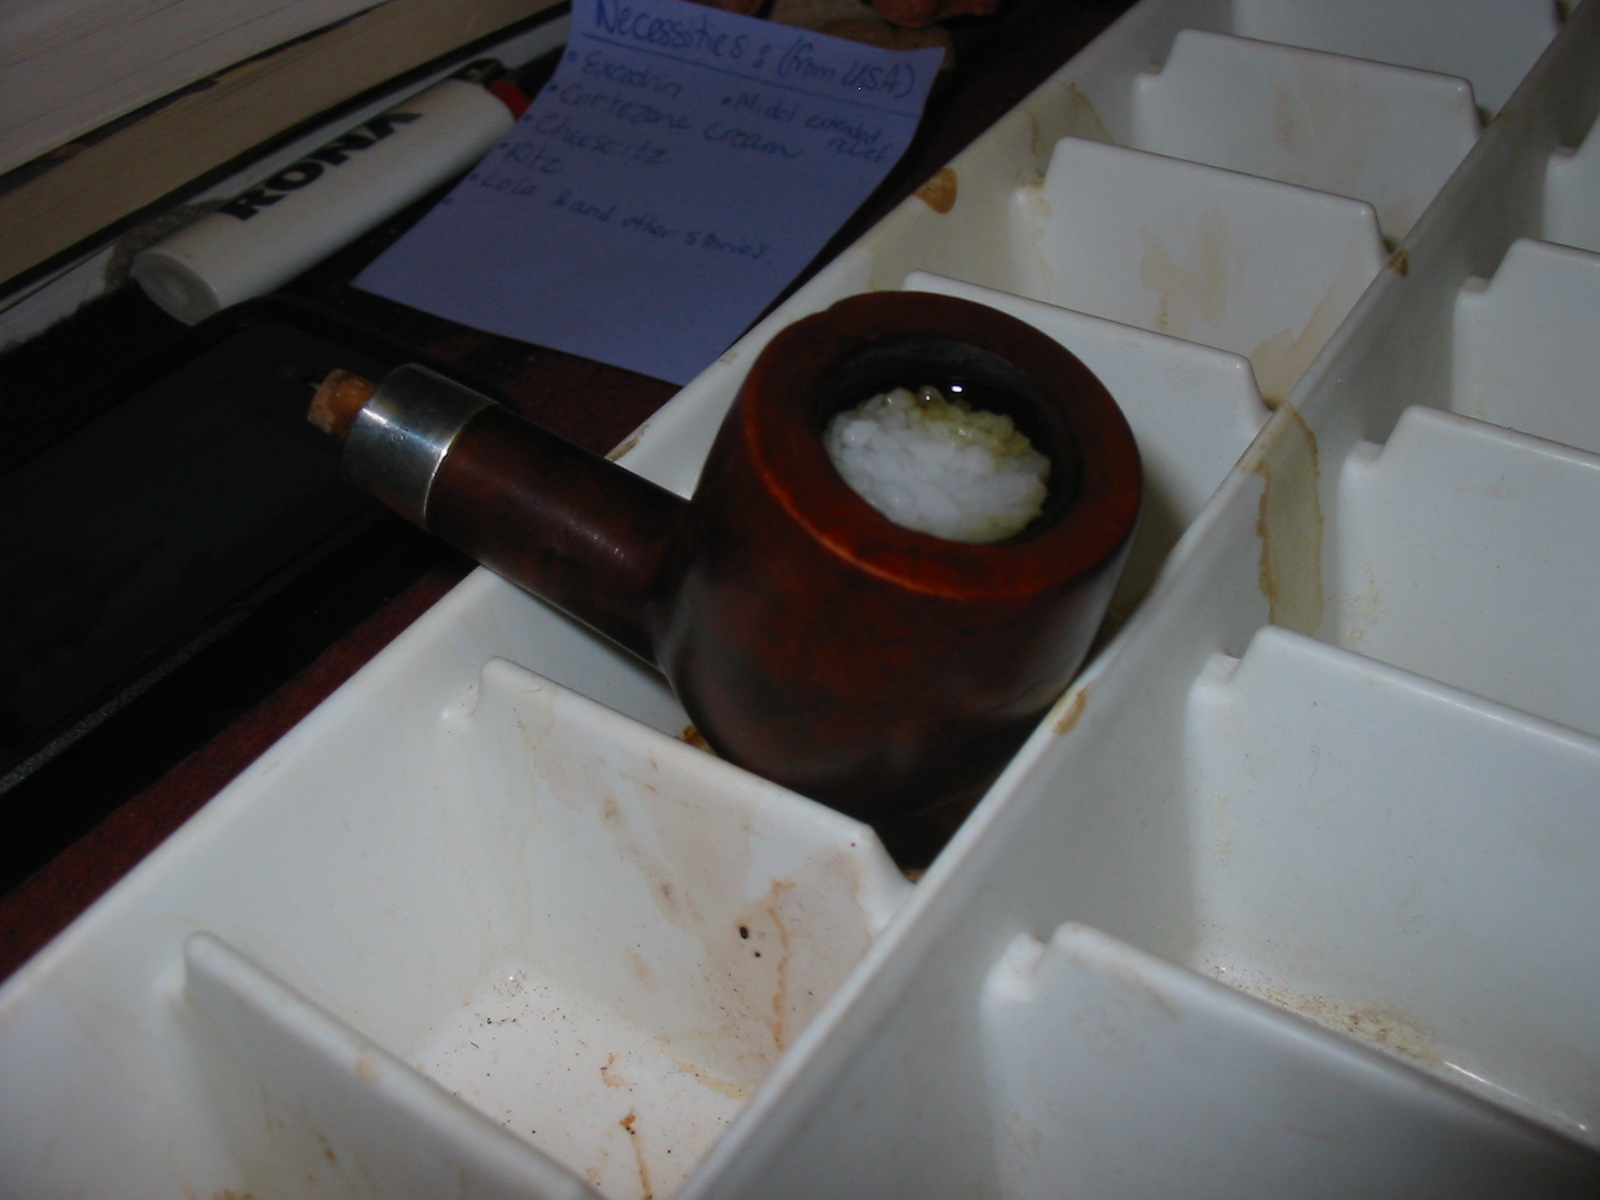
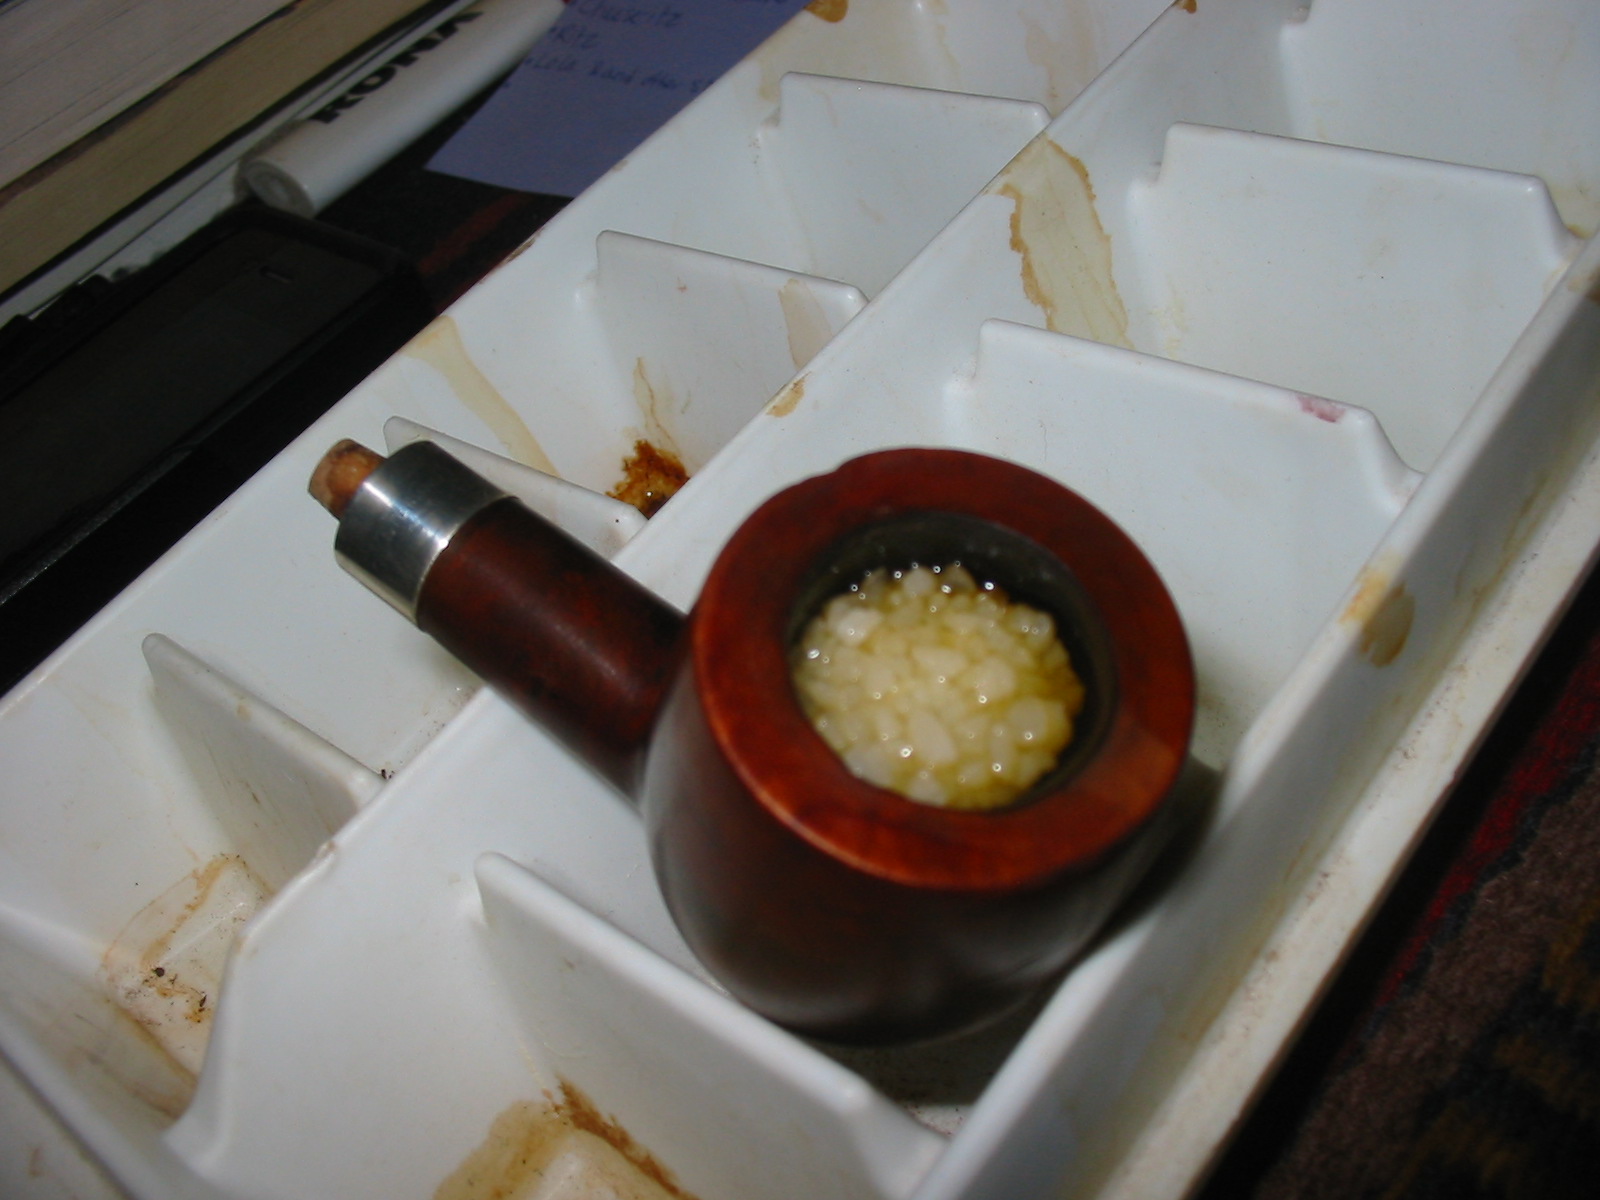
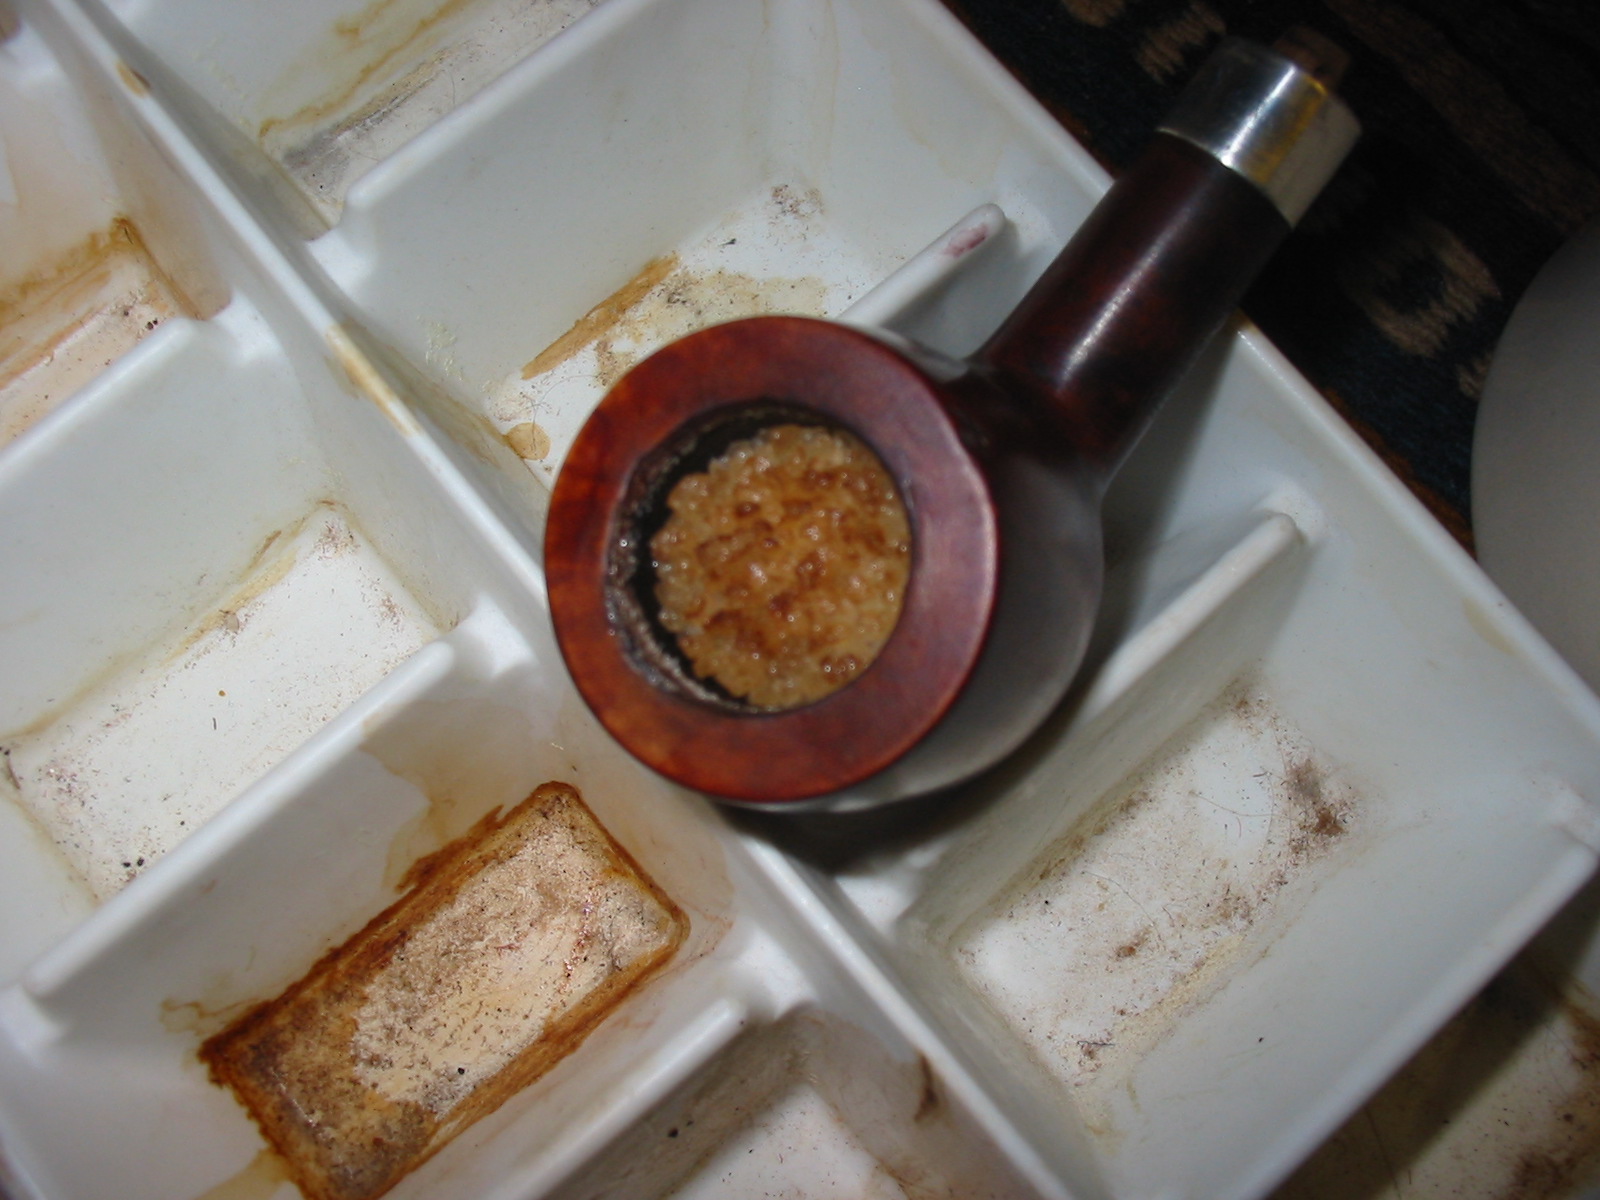
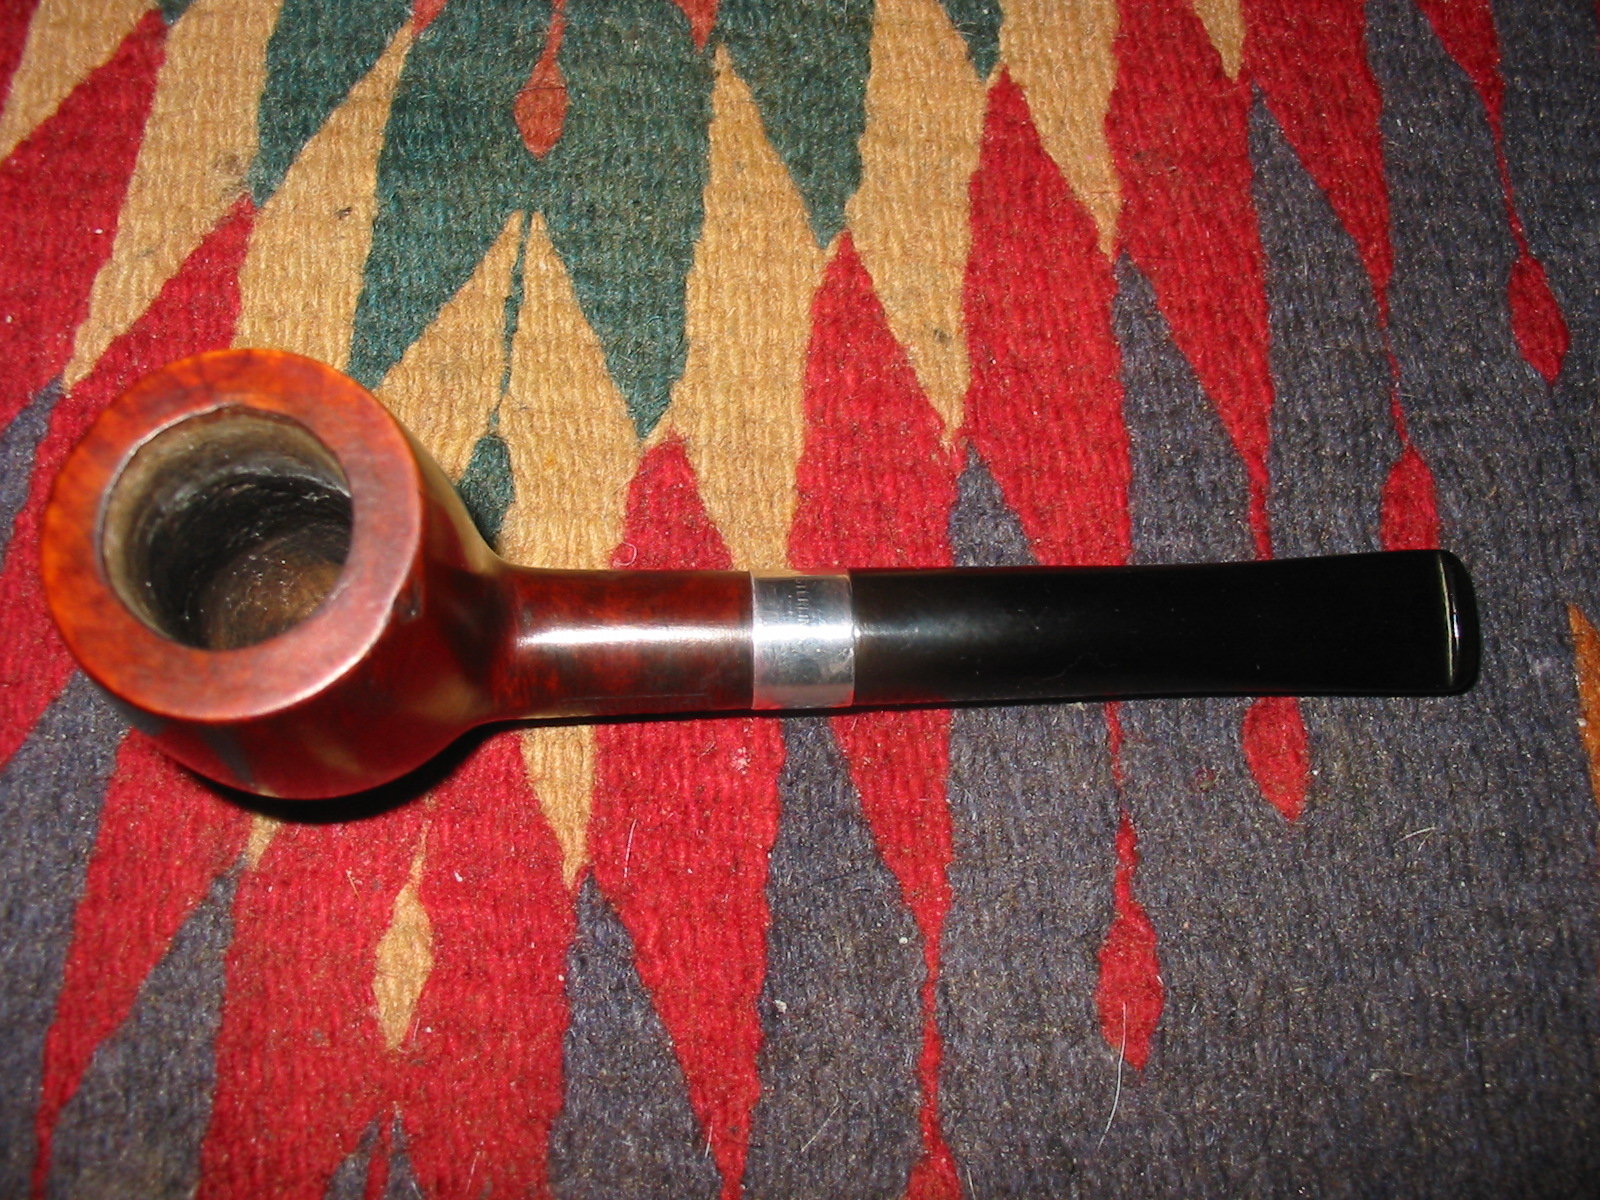
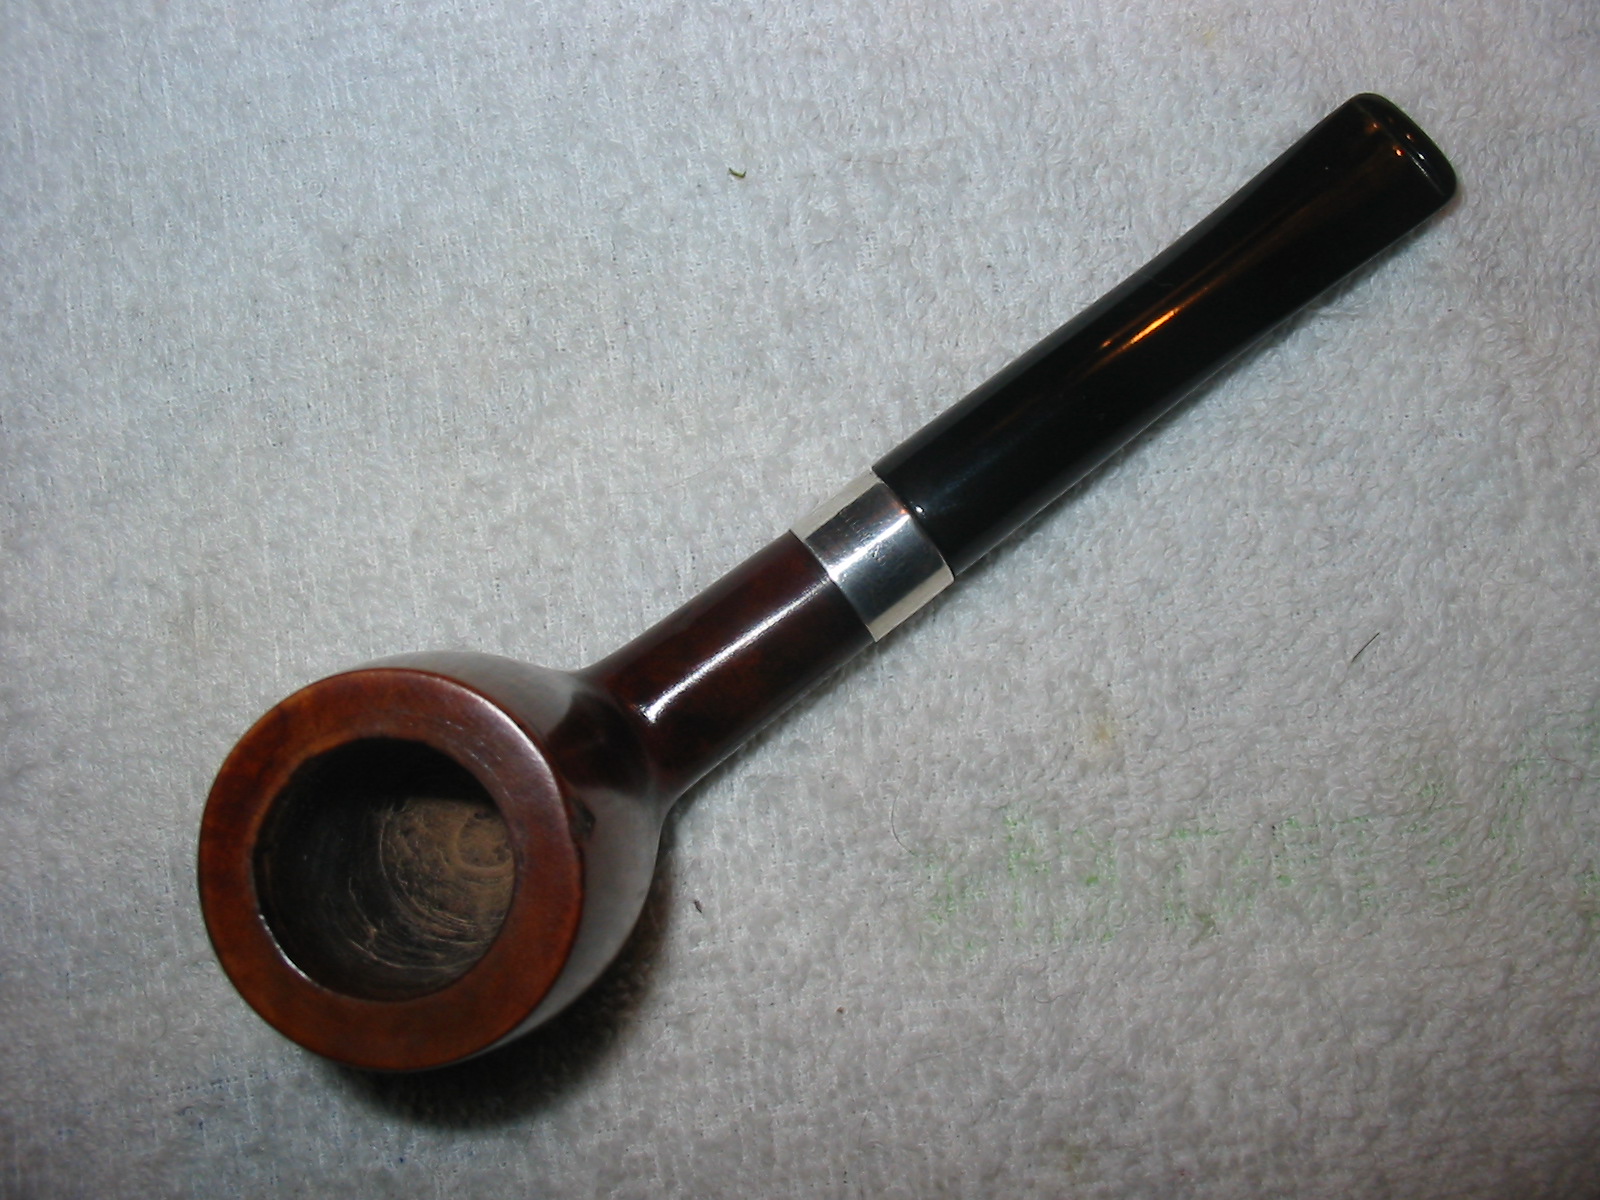
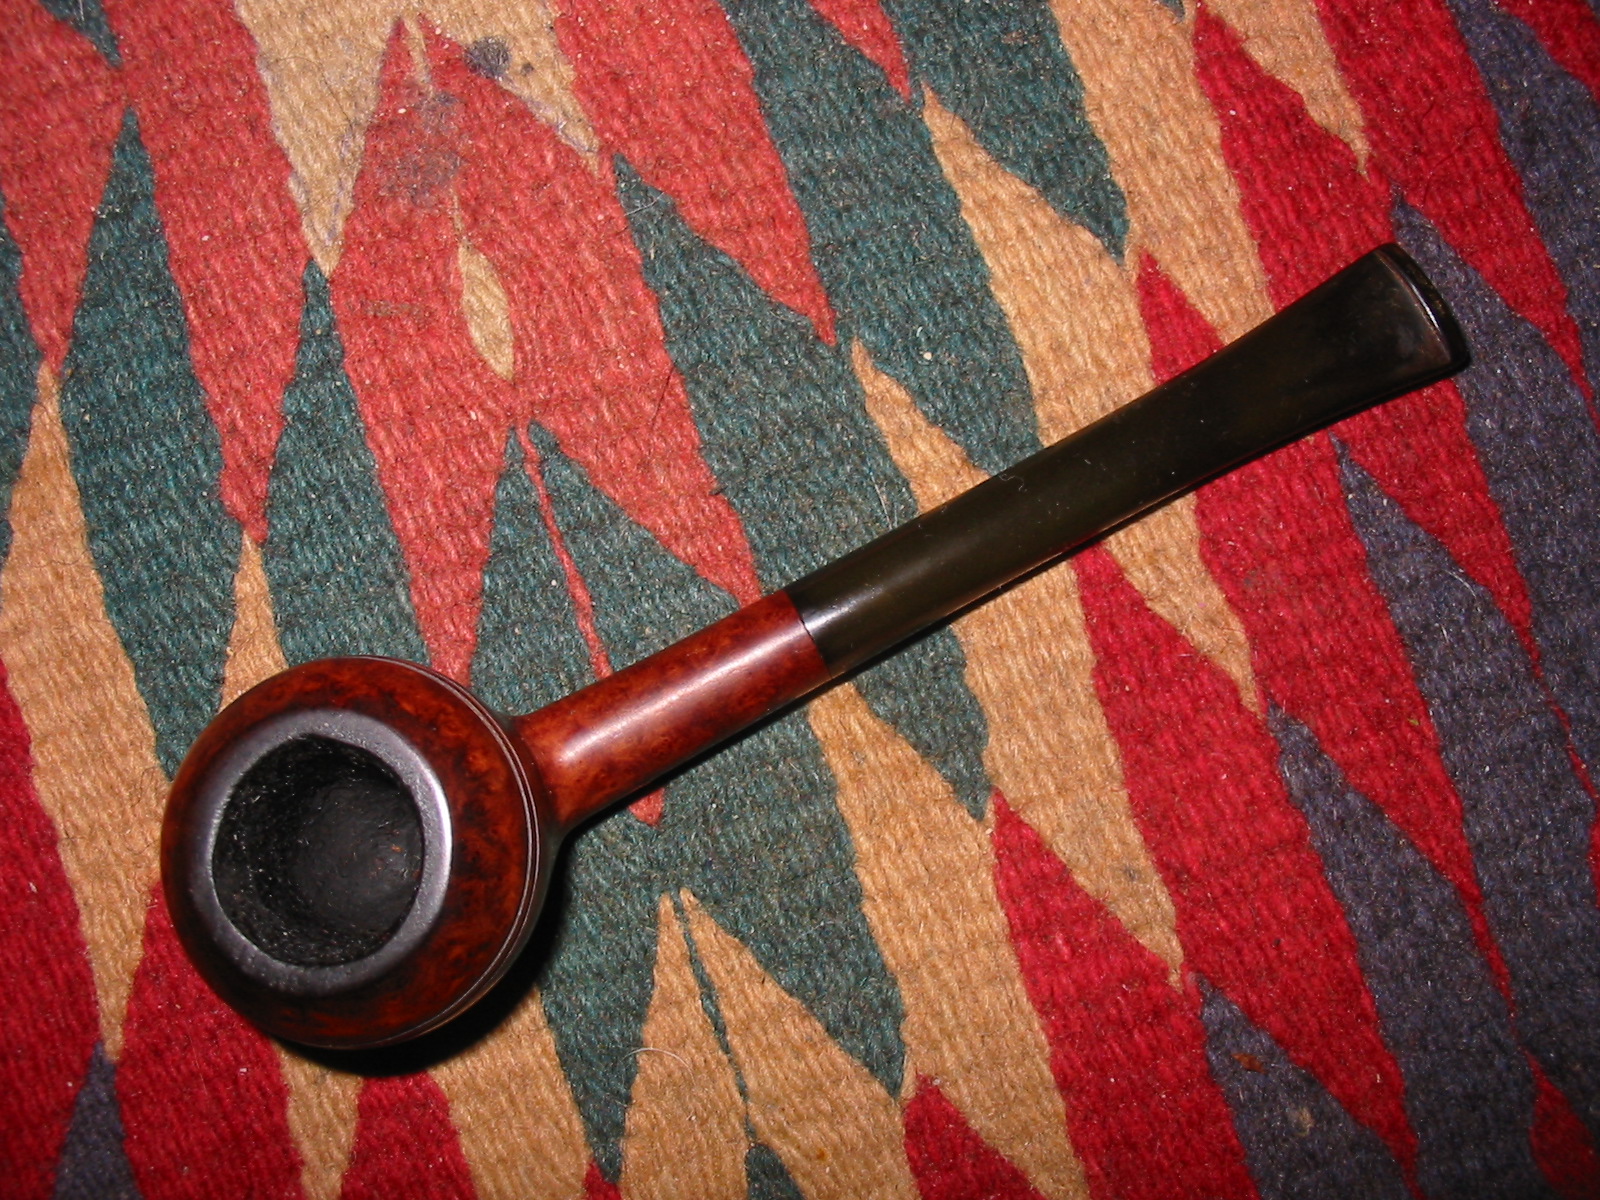
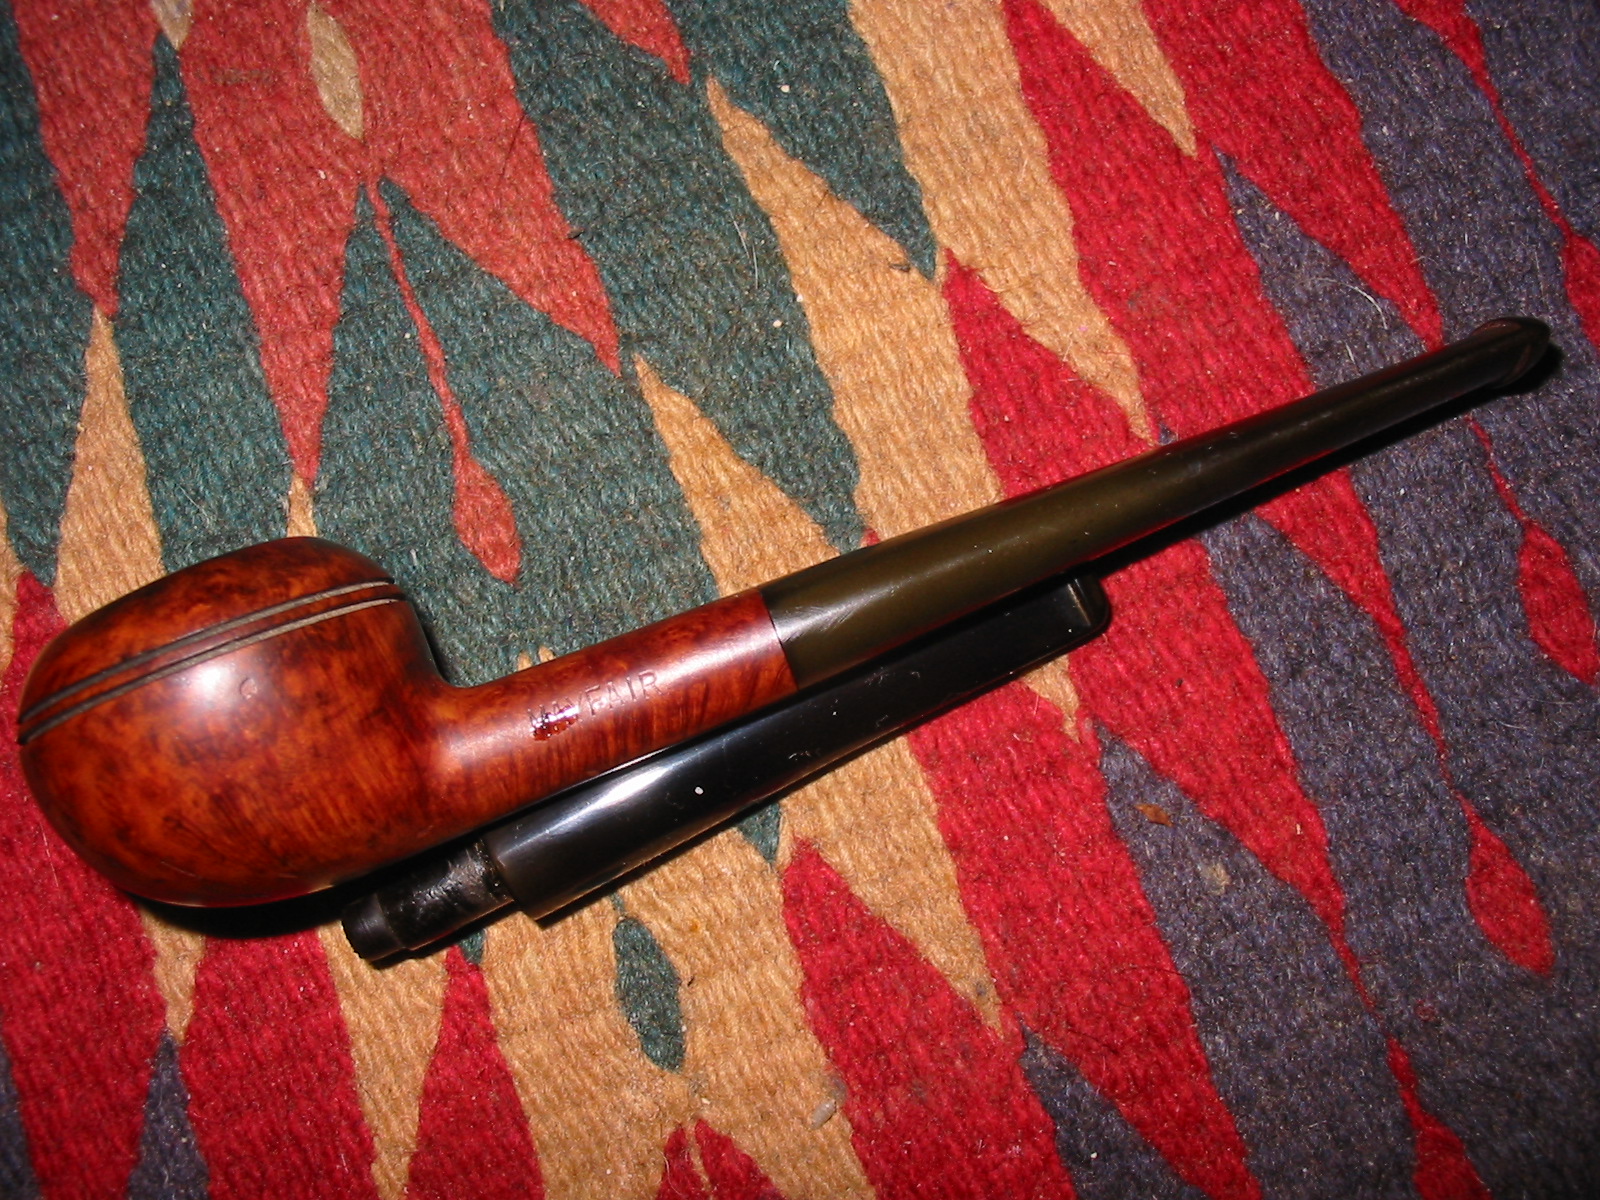
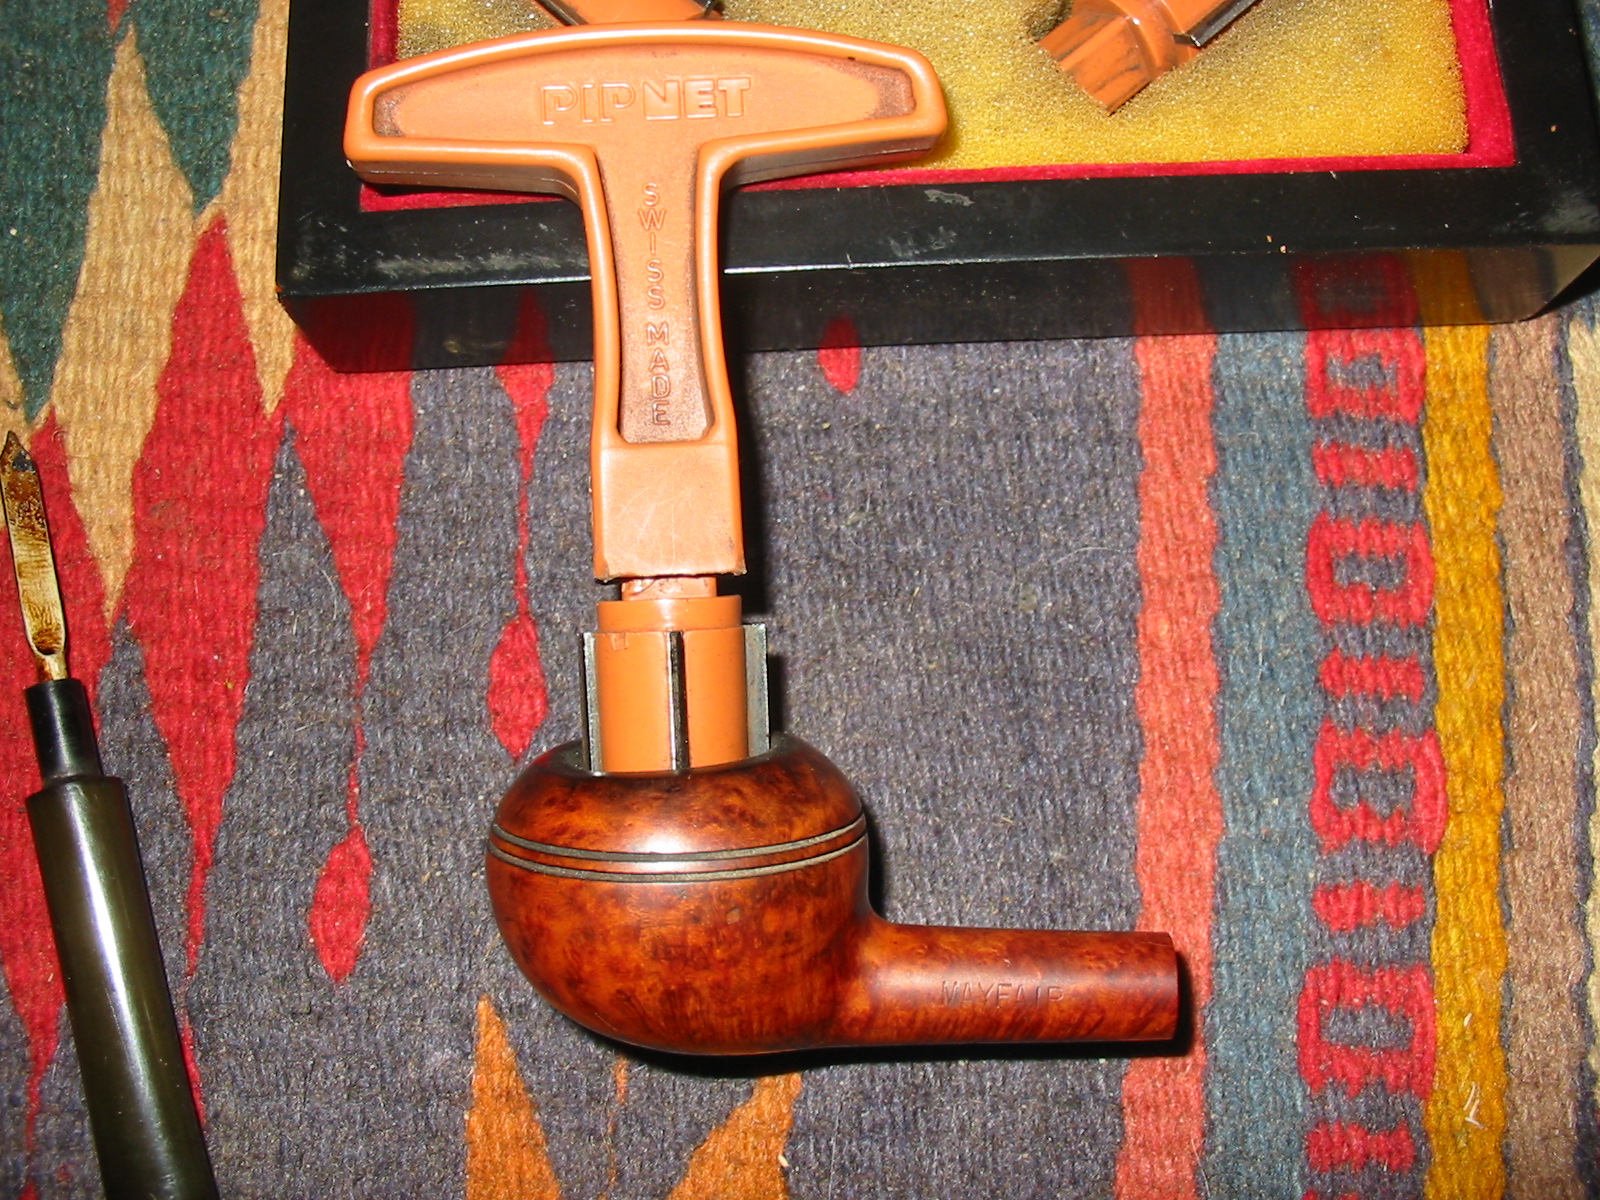
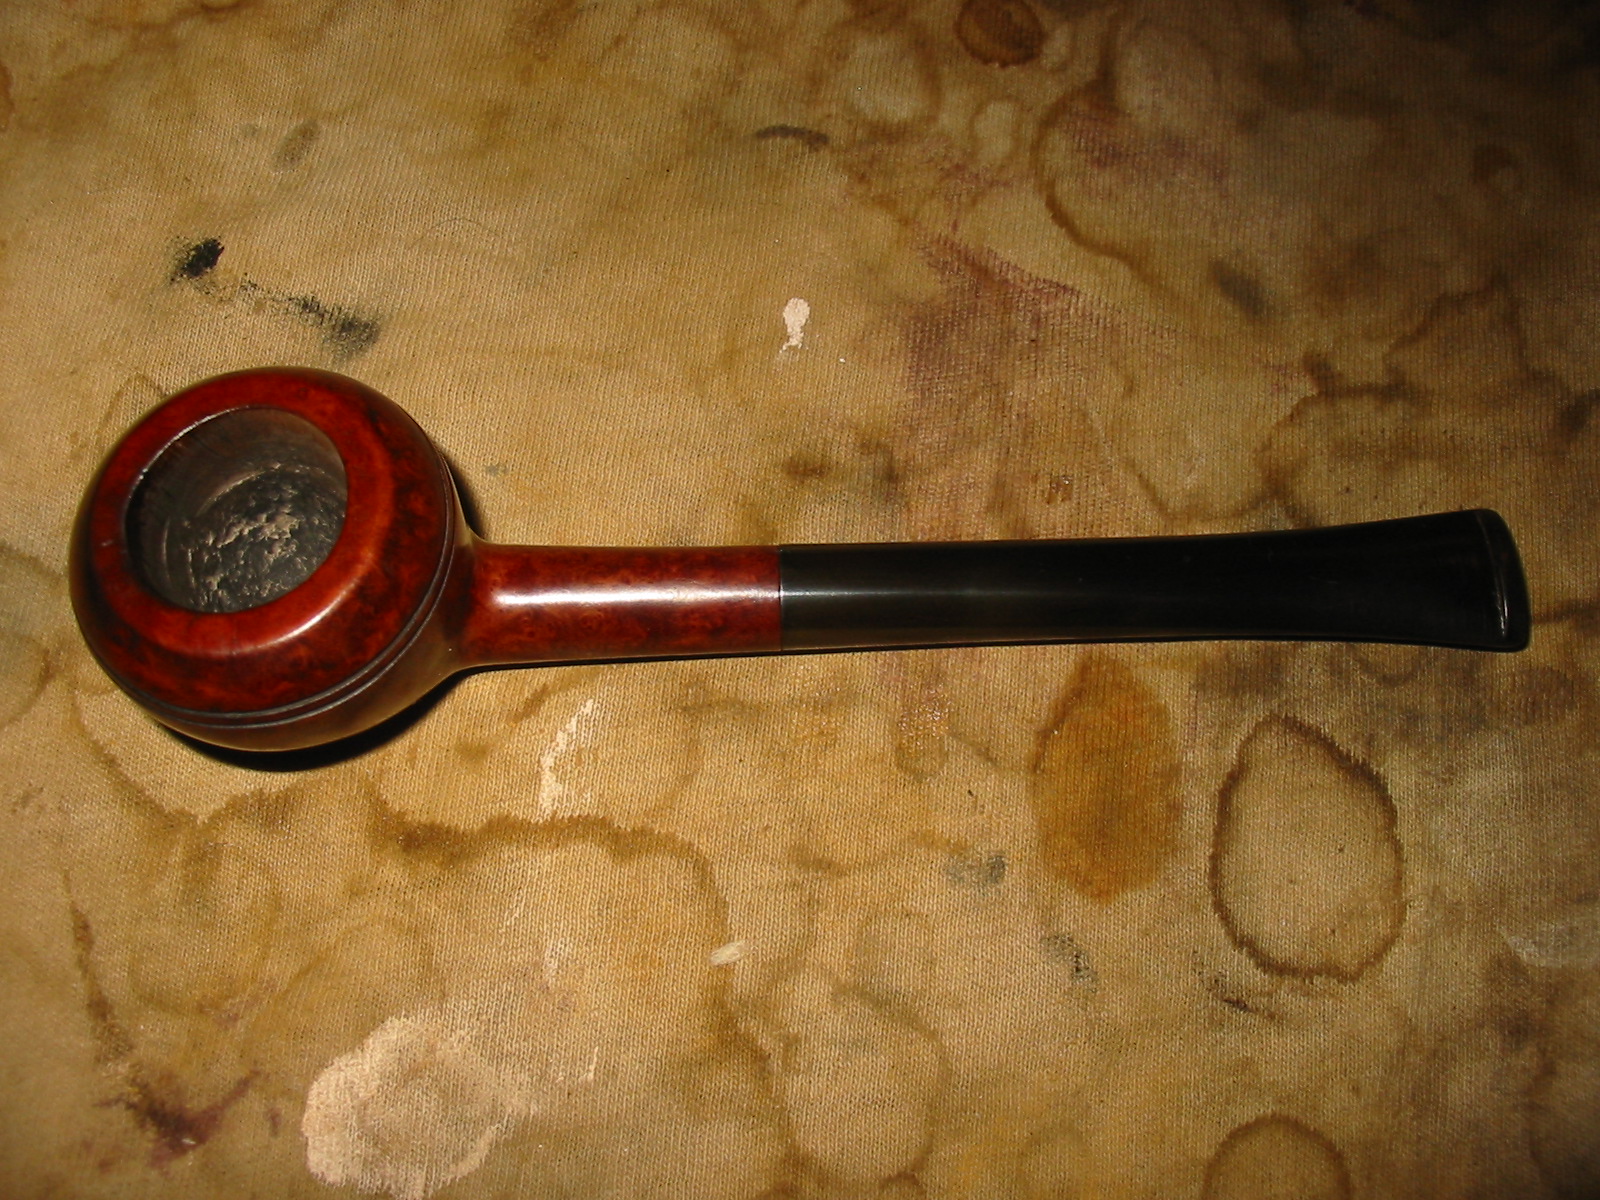
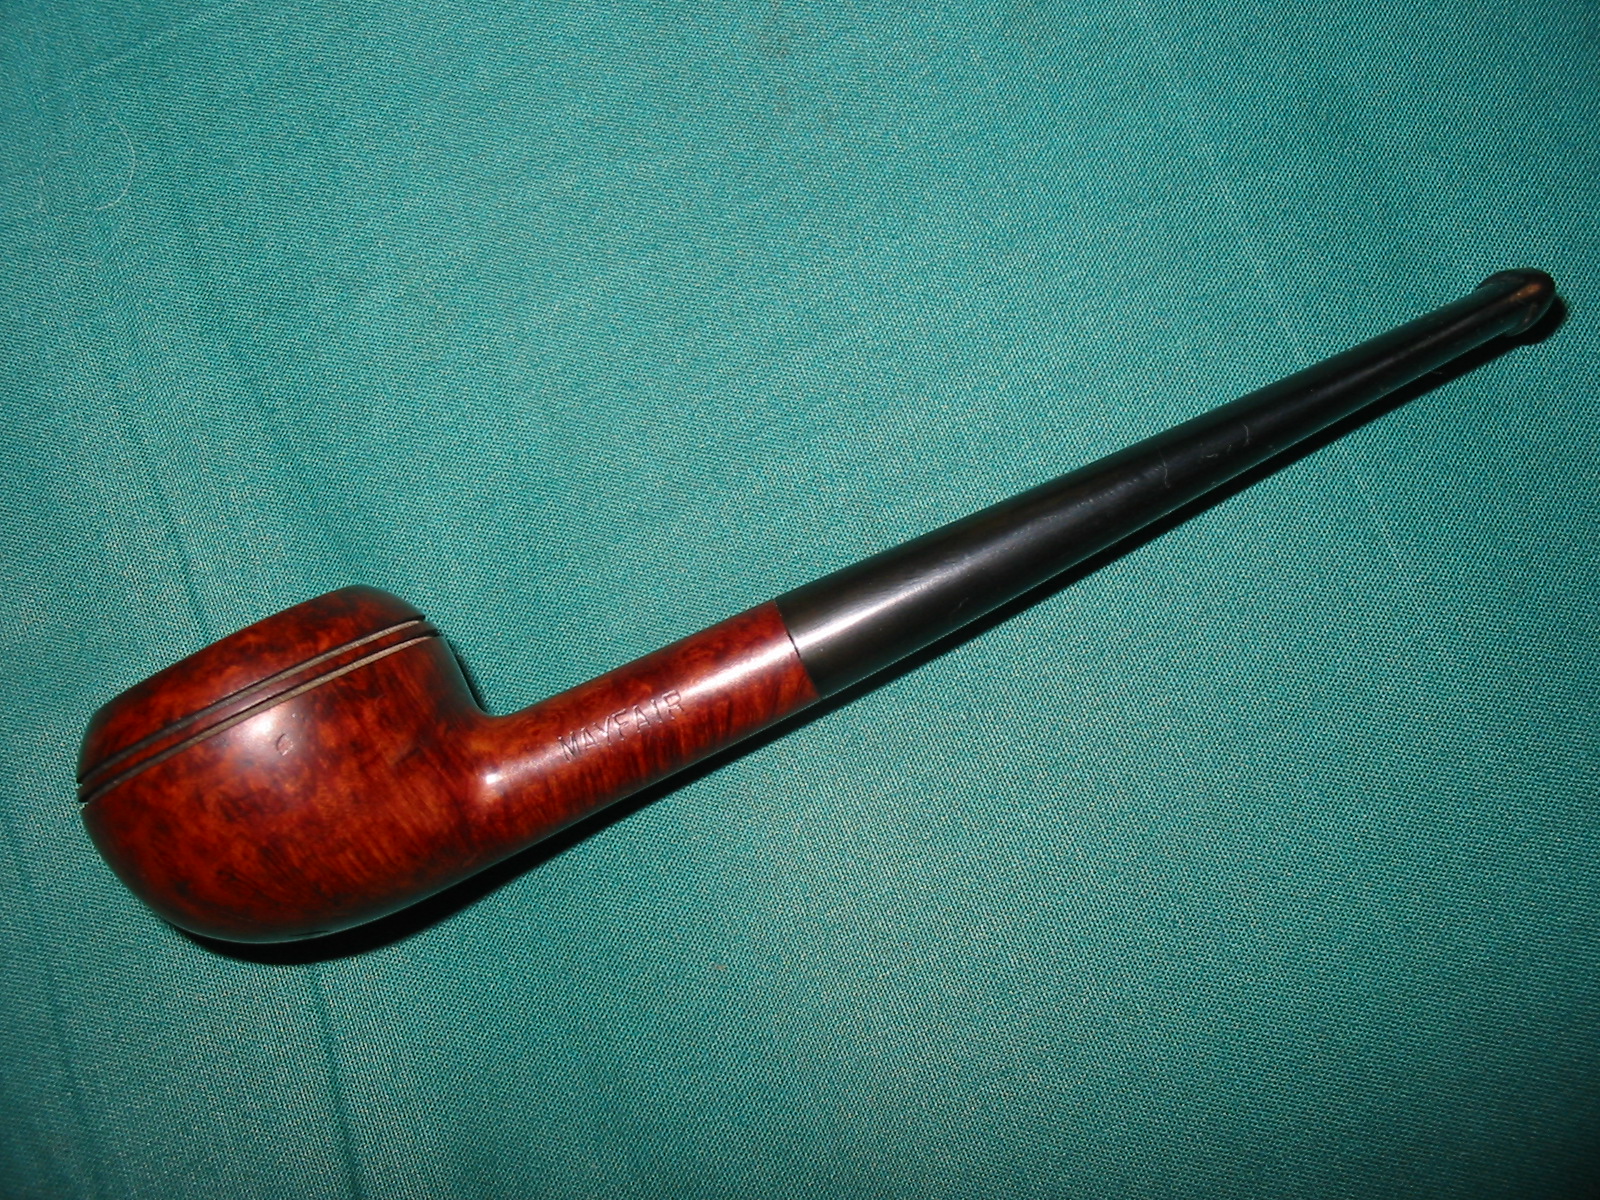
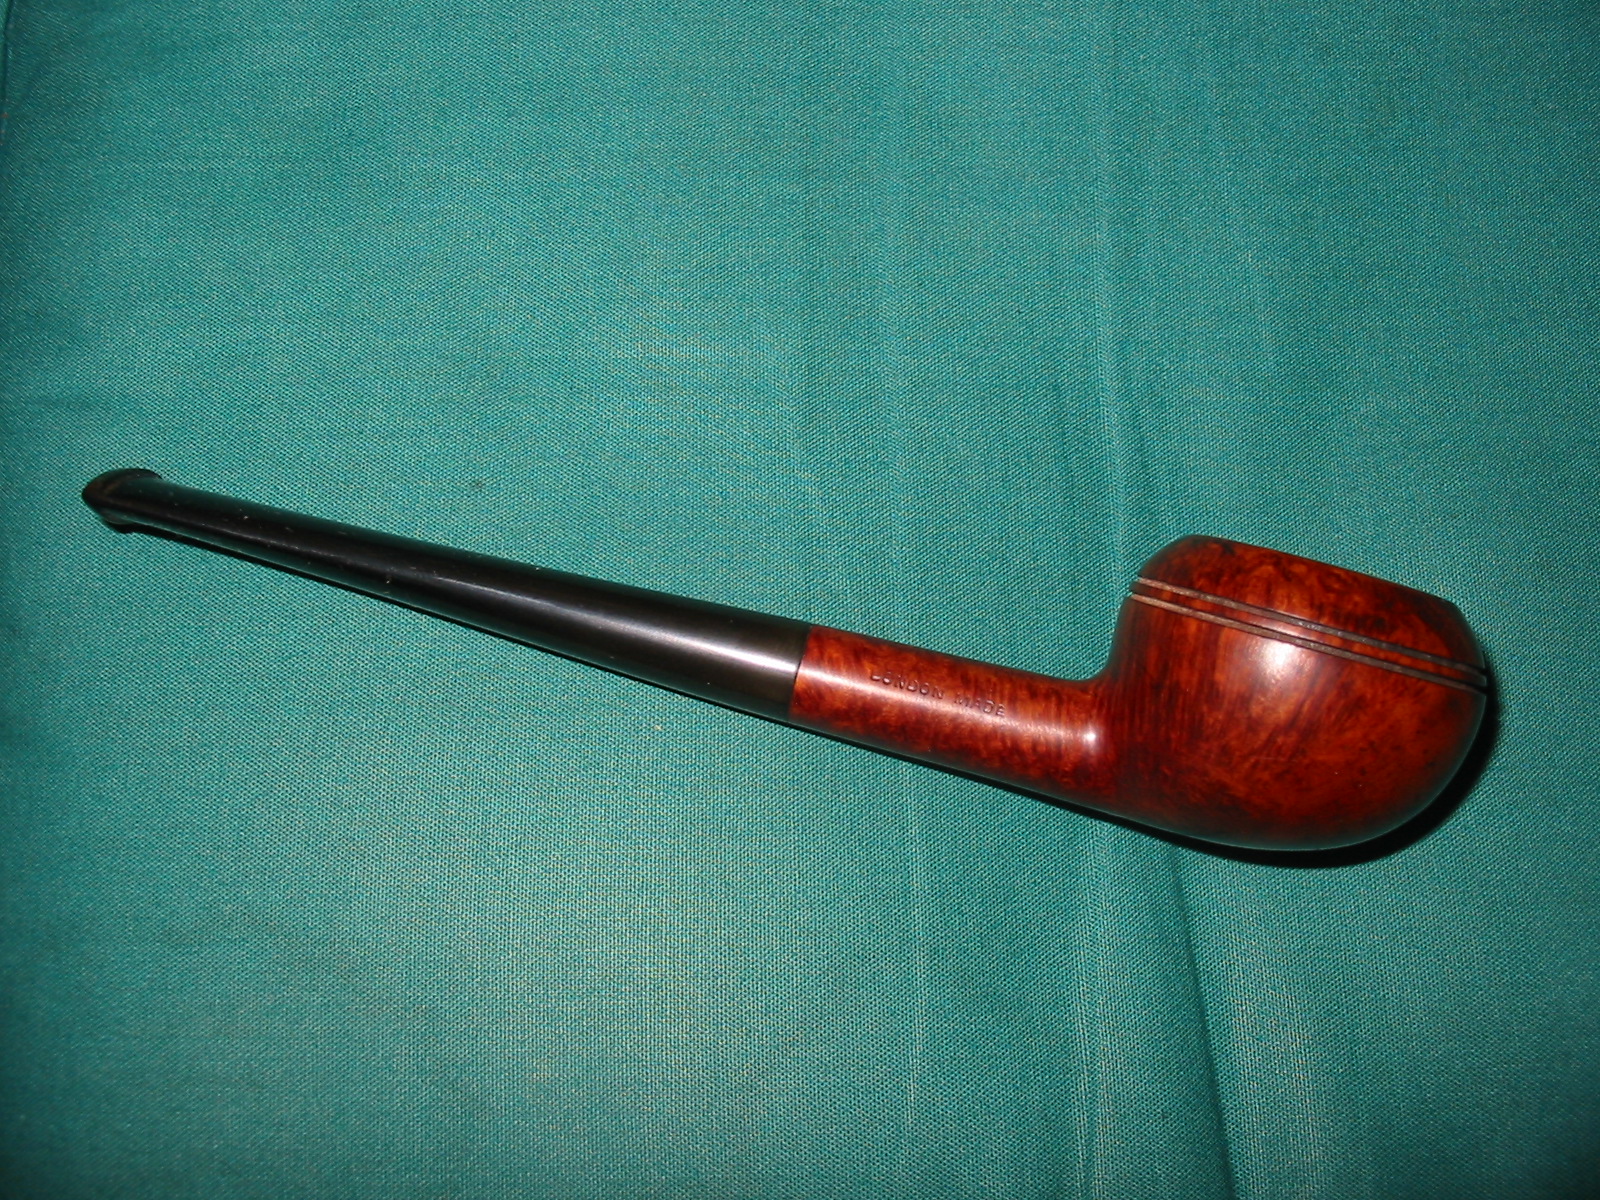
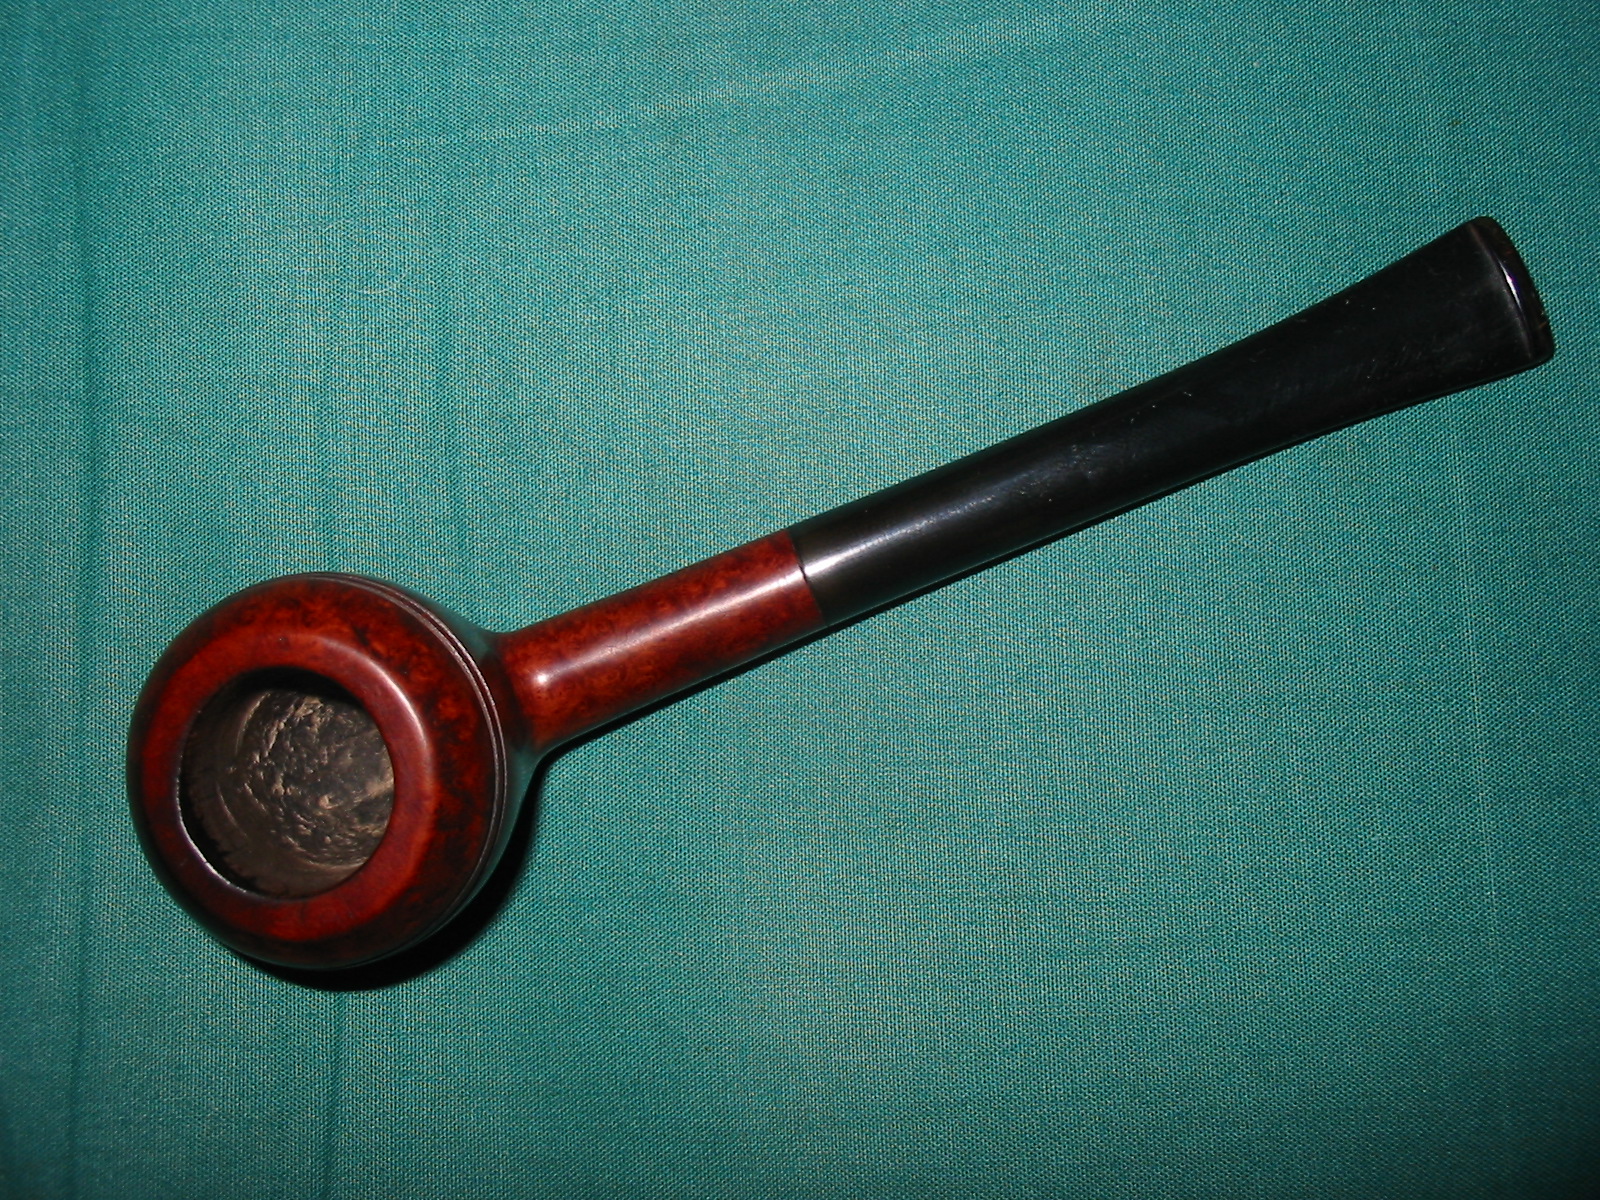
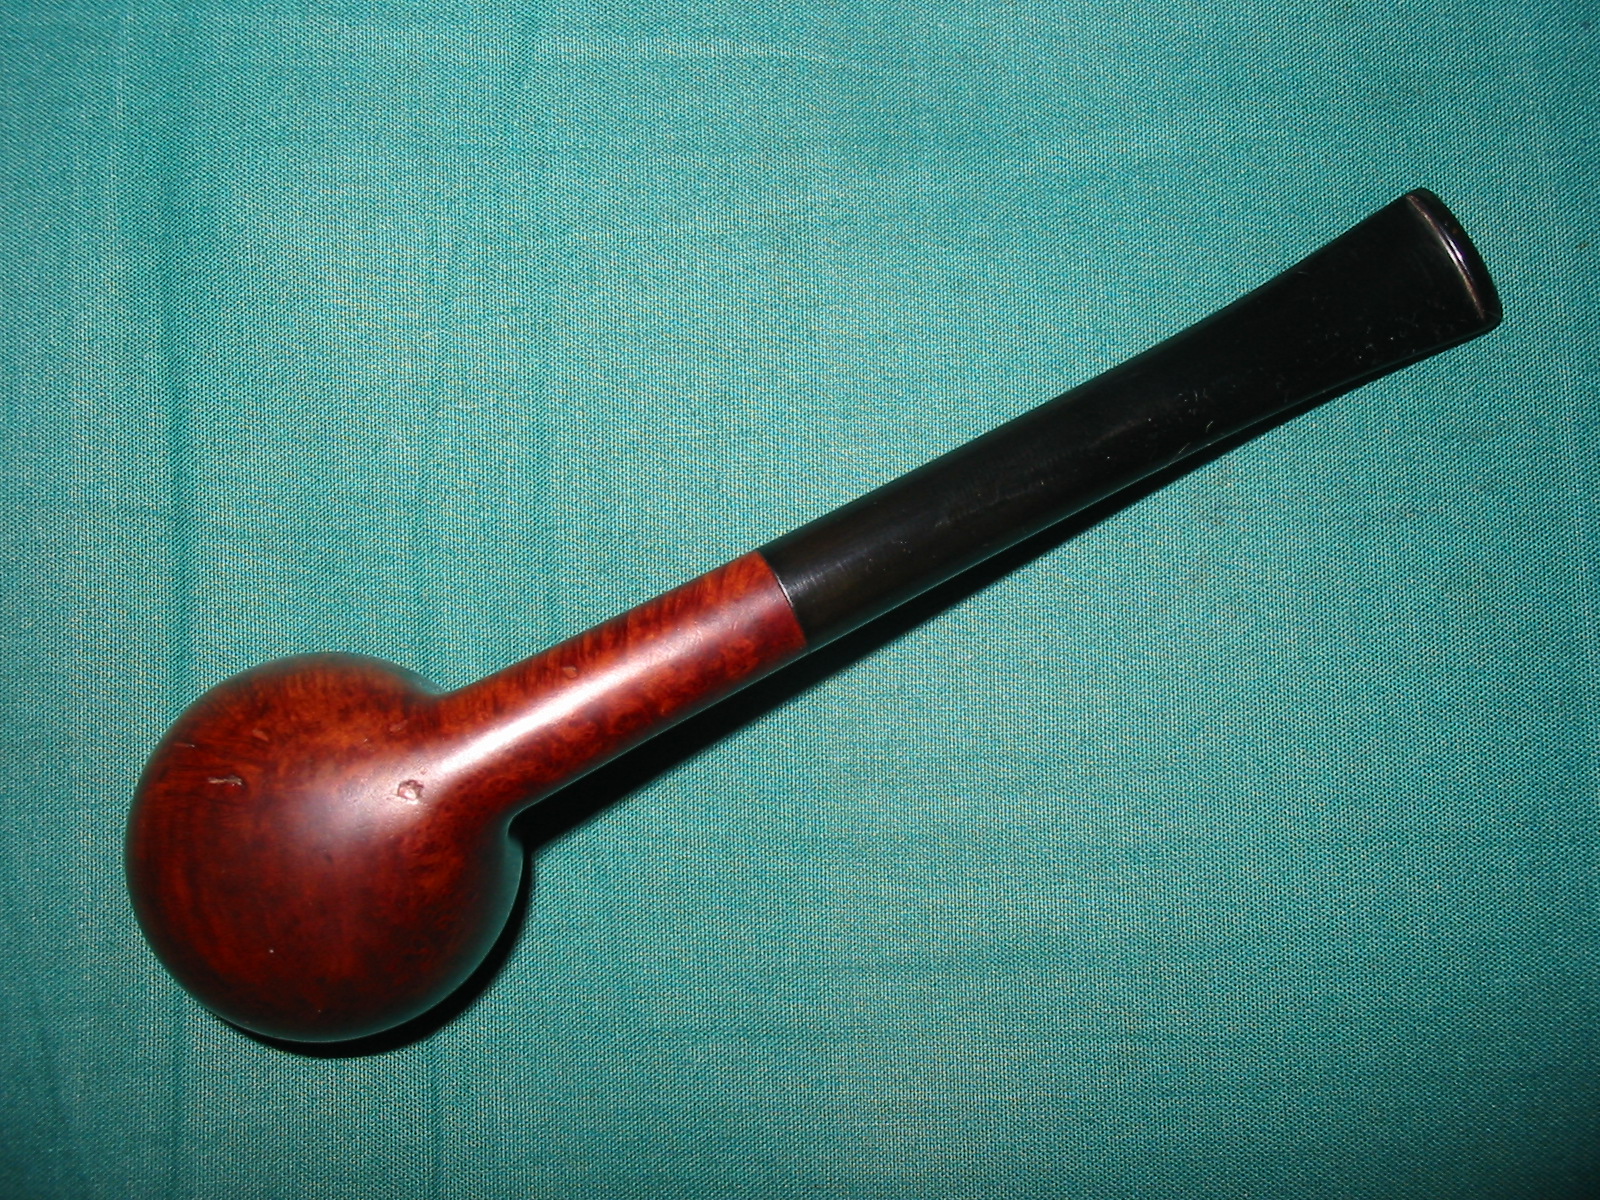
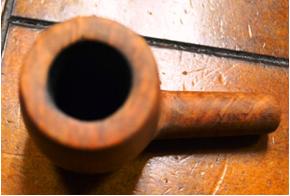
The particulars of said pipe being that it is an elegant, very small straight pot (5’’ length with a 1.5” x 1.25” bowl), and is believed by the author to be a BB&S, or Barling, seconded to Topsall Portland
Guest Blog by Robert M. Boughton
Introduction
Irish author James Joyce, in a memorable example of poetic license, called his collection of short stories assembled in Dubliners his “little epiphanies.” Rare stones are known as gems. Wise men have written that the smoking pipe is “the poor man’s friend”and“the fountain of contemplation, the source of pleasure, the companion of the wise,” and that it “draws wisdom from the lips of the philosopher, and shuts up the mouth of the foolish.” To me, the moment I first saw on eBay this fine specimen of pipe-making, its simple and classic lines and curves shining through the obvious considerable use by its previous owner(s),“sudden as the spark from smitten steel” I was effected the same as the hammer striking metal in a forge. I had to have this pipe, and for a penny less than $20 it became mine. Knowing nothing at the time of purchase of its possible history, my only desire was to restore the beautiful little pot to its original splendor.
As I sit here on the only piece of comfortable furniture so far moved into my new apartment in a much better and safer part of town than I described in my previous blog, with the morning view of a golf course outside my window, I am smoking in my little Portland pot – now restored to the above-sought condition – a gentle bowl of Stokeby’s 4th Generation 1855 ready-rubbed mixture with its natural Virginia sweetness, and feeling so happy I made the small investment of money and time. Although I am comfortable taking credit for the full restoration of the pipe, this being my first such complete endeavor in the art and craft of such work, I must again give thanks for the collaborative contributions of several friends, in this case Chuck Richards, Hunter Brooks and Leigh Brady, whose parts in the task will be described in time.
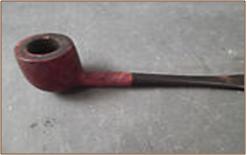
Again, when I bought this pipe, I did so without any initial research. By the time it arrived in the mail four days later, however, I had found references online that seem to identify it as a BB&S (Barling’s) second made for a company known as Topsall Portland. Other sources include eBay and the Brothers of Briar. I am satisfied with the pipe regardless of its origins, though, and any better information would be appreciated.

Chuck Richards. Photo © by the Author

Hunter Brooks. Photo © by the Author

Leigh Brady. Photo courtesy of L. Brady
Restoring the Portland
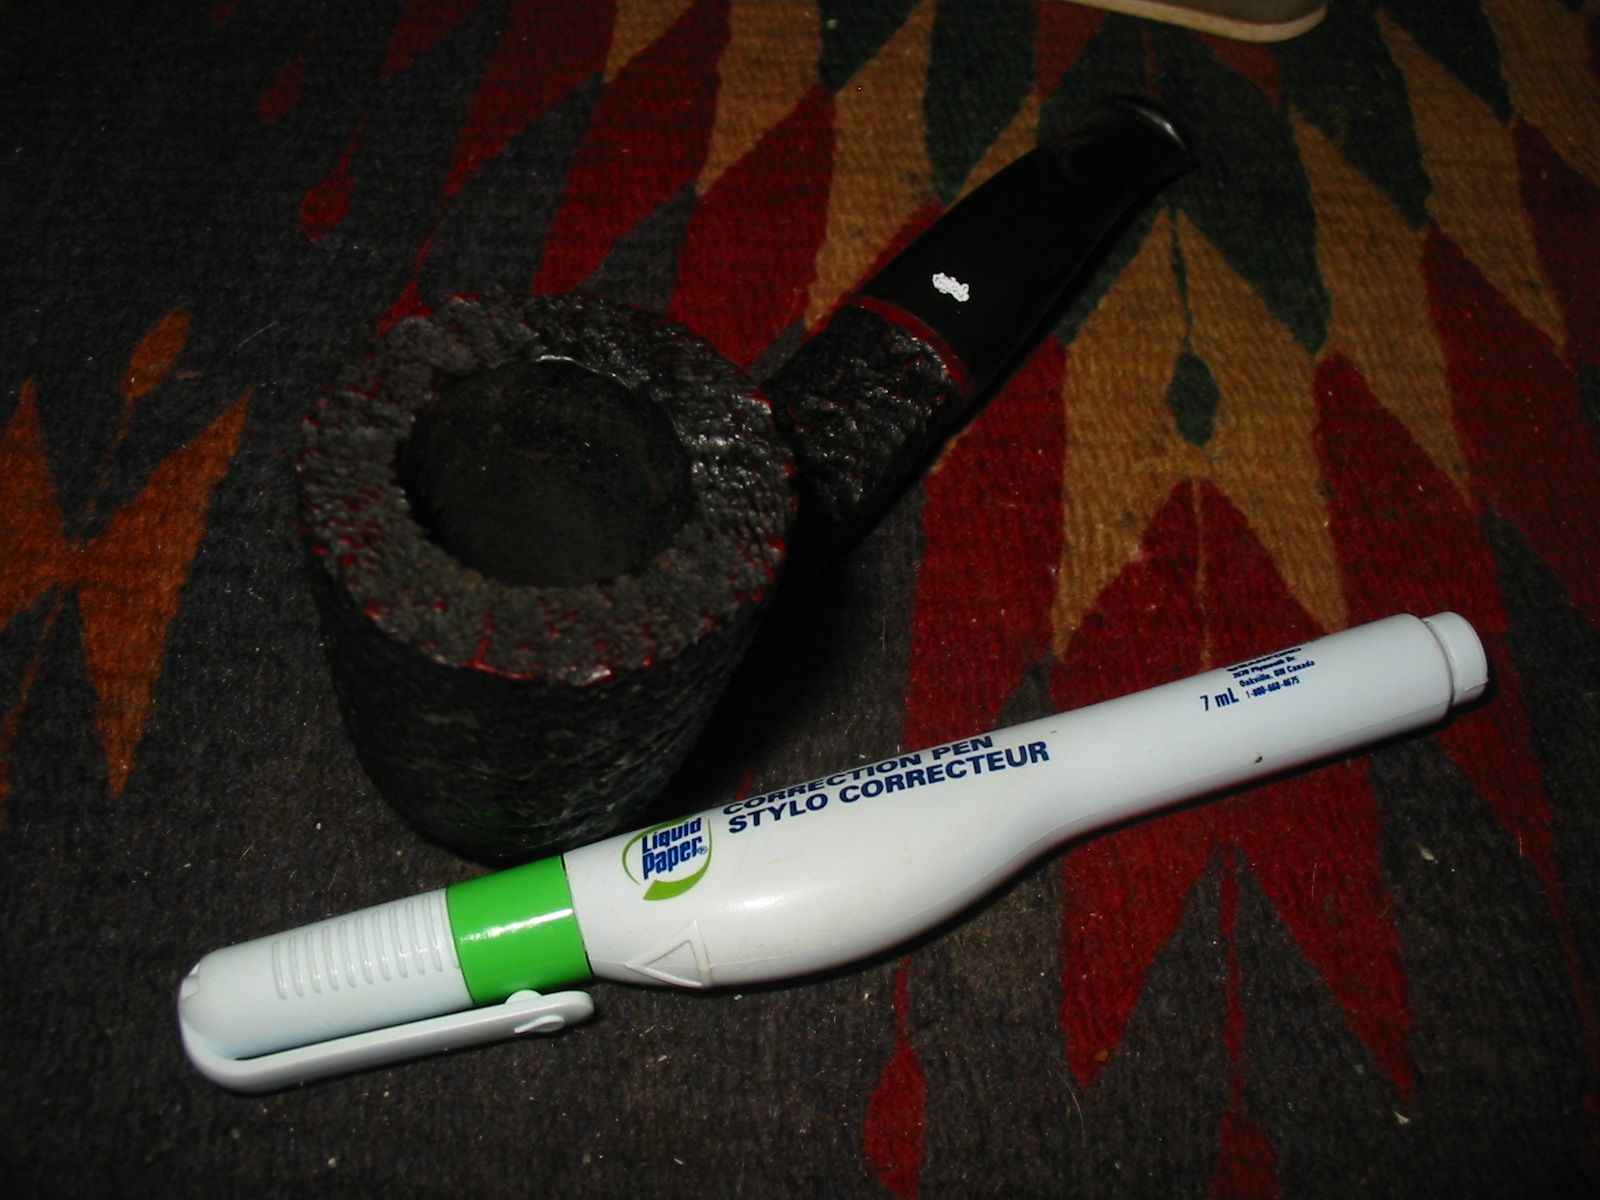
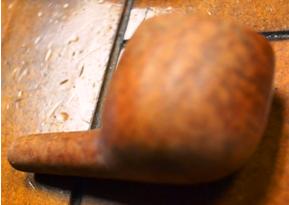
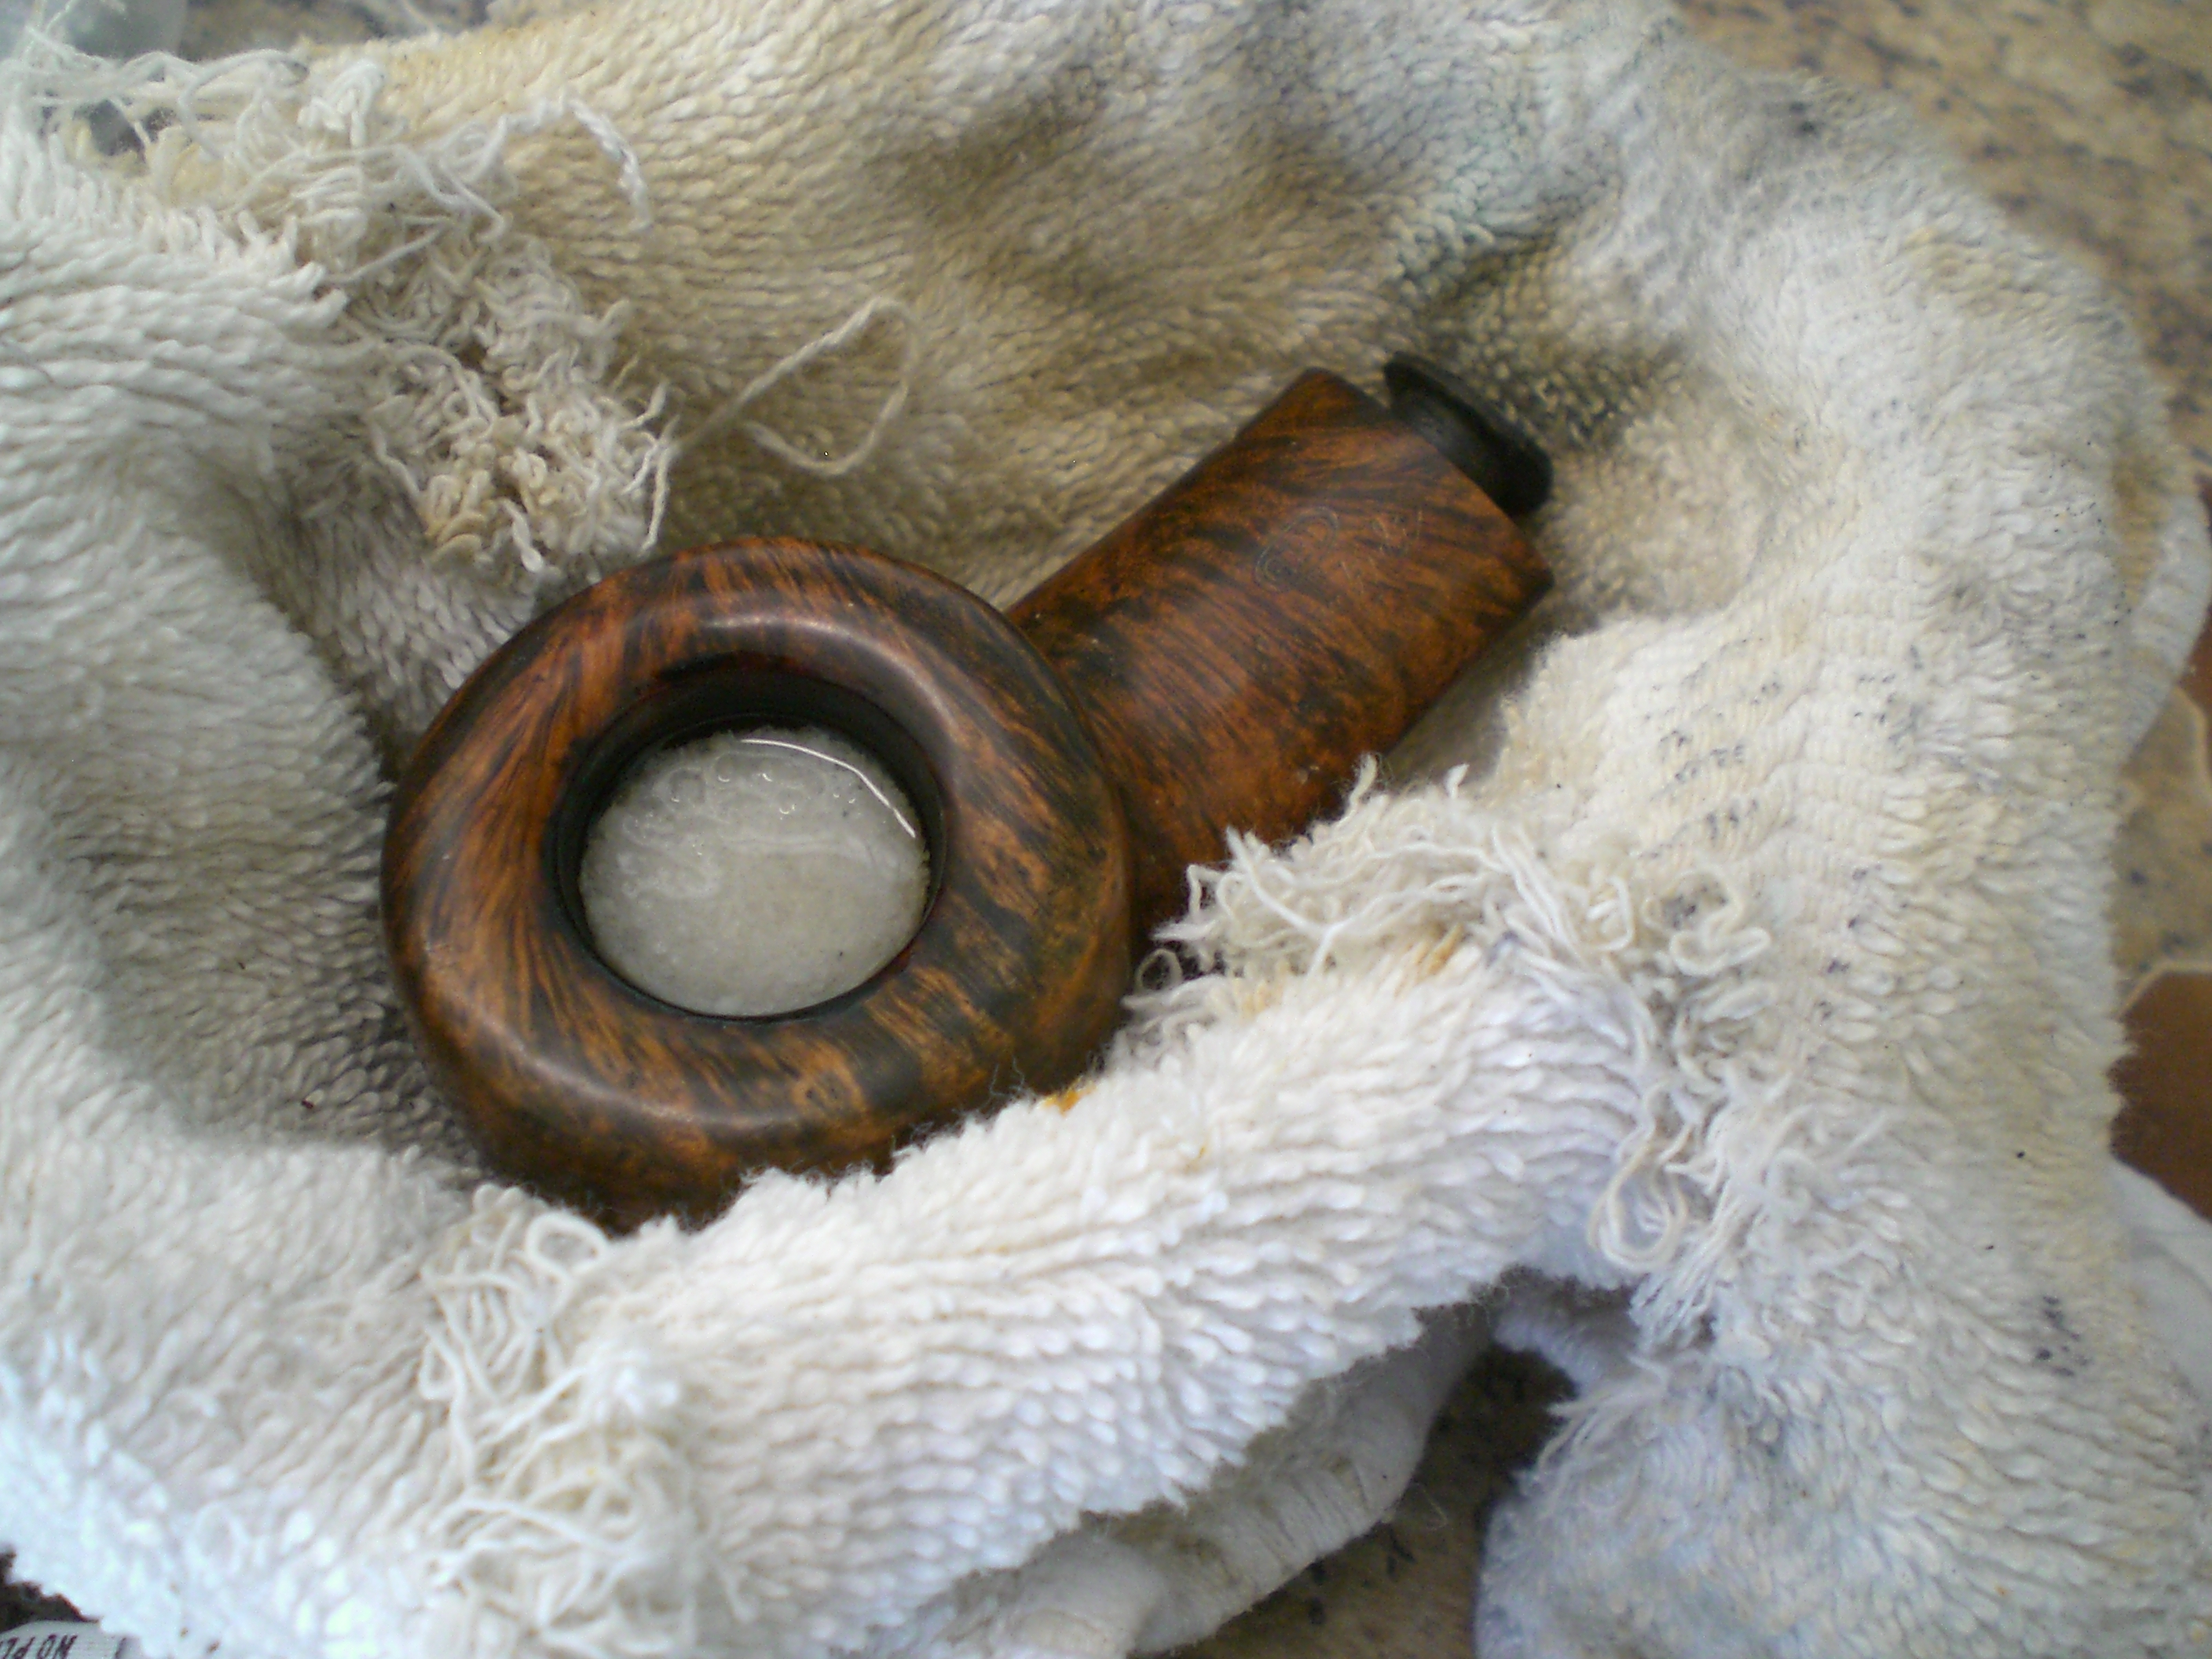
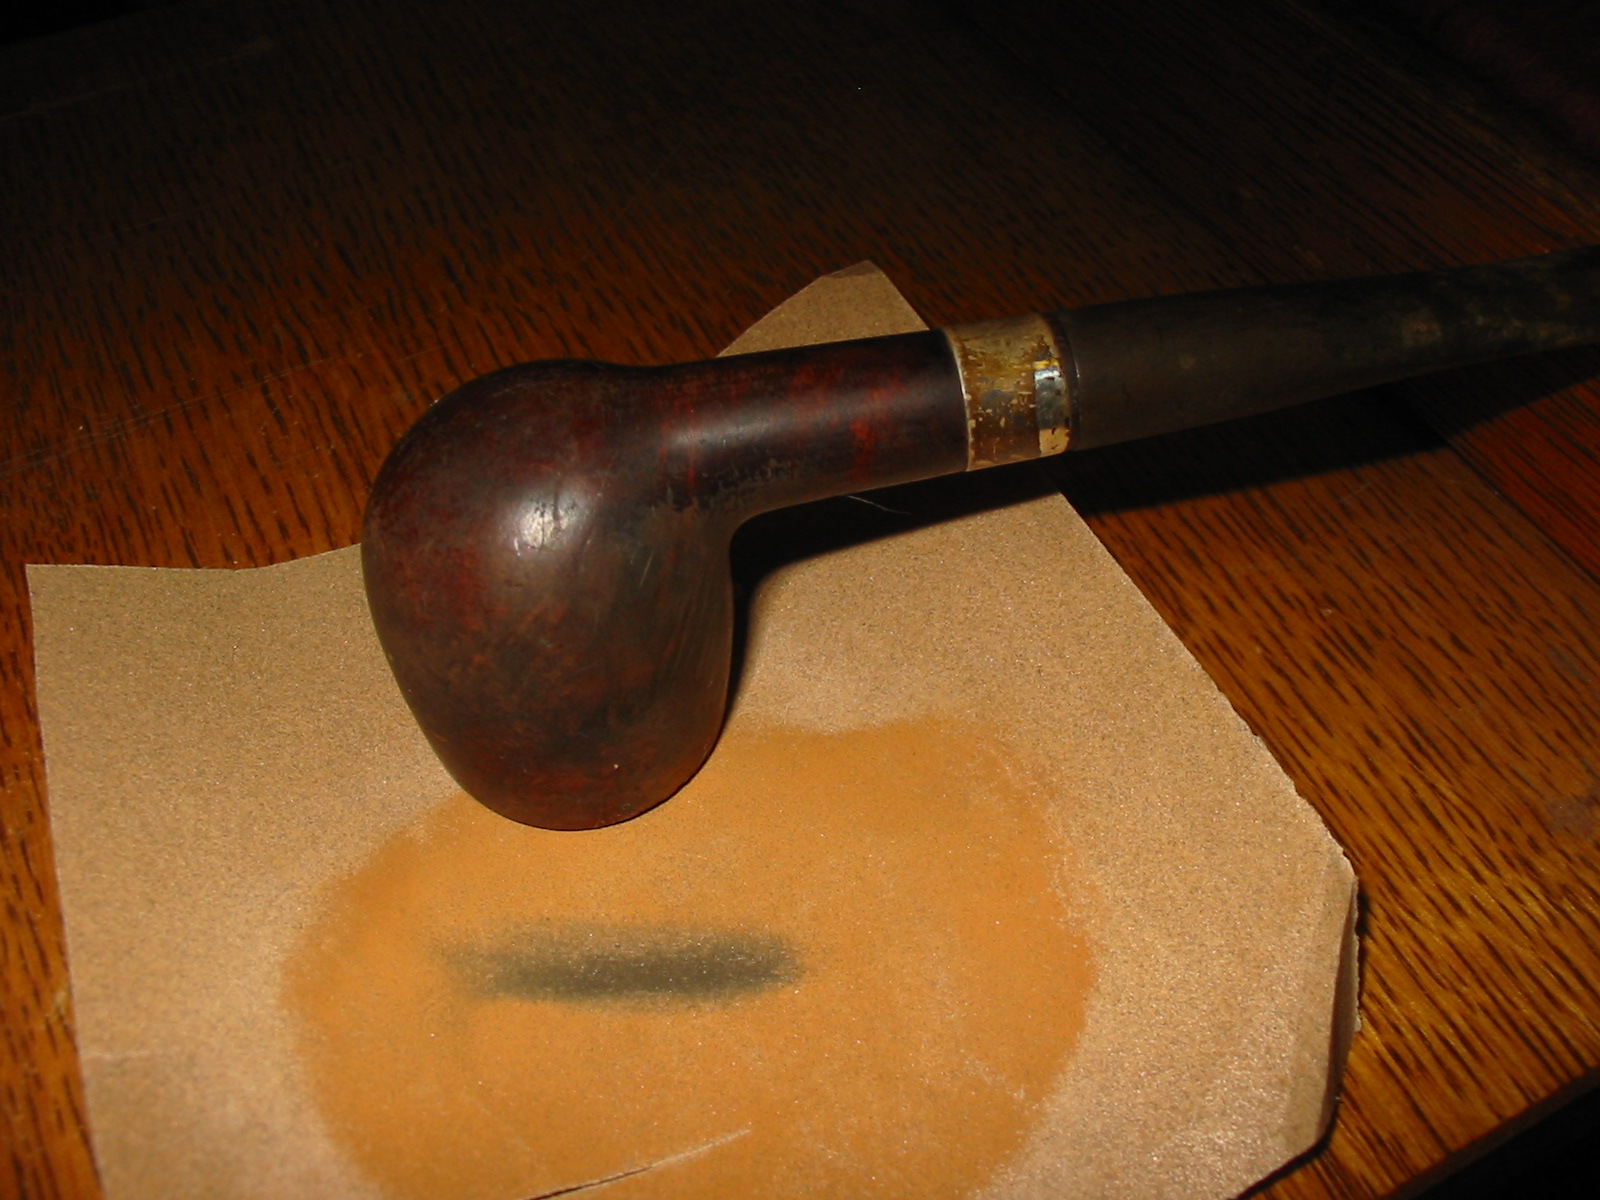
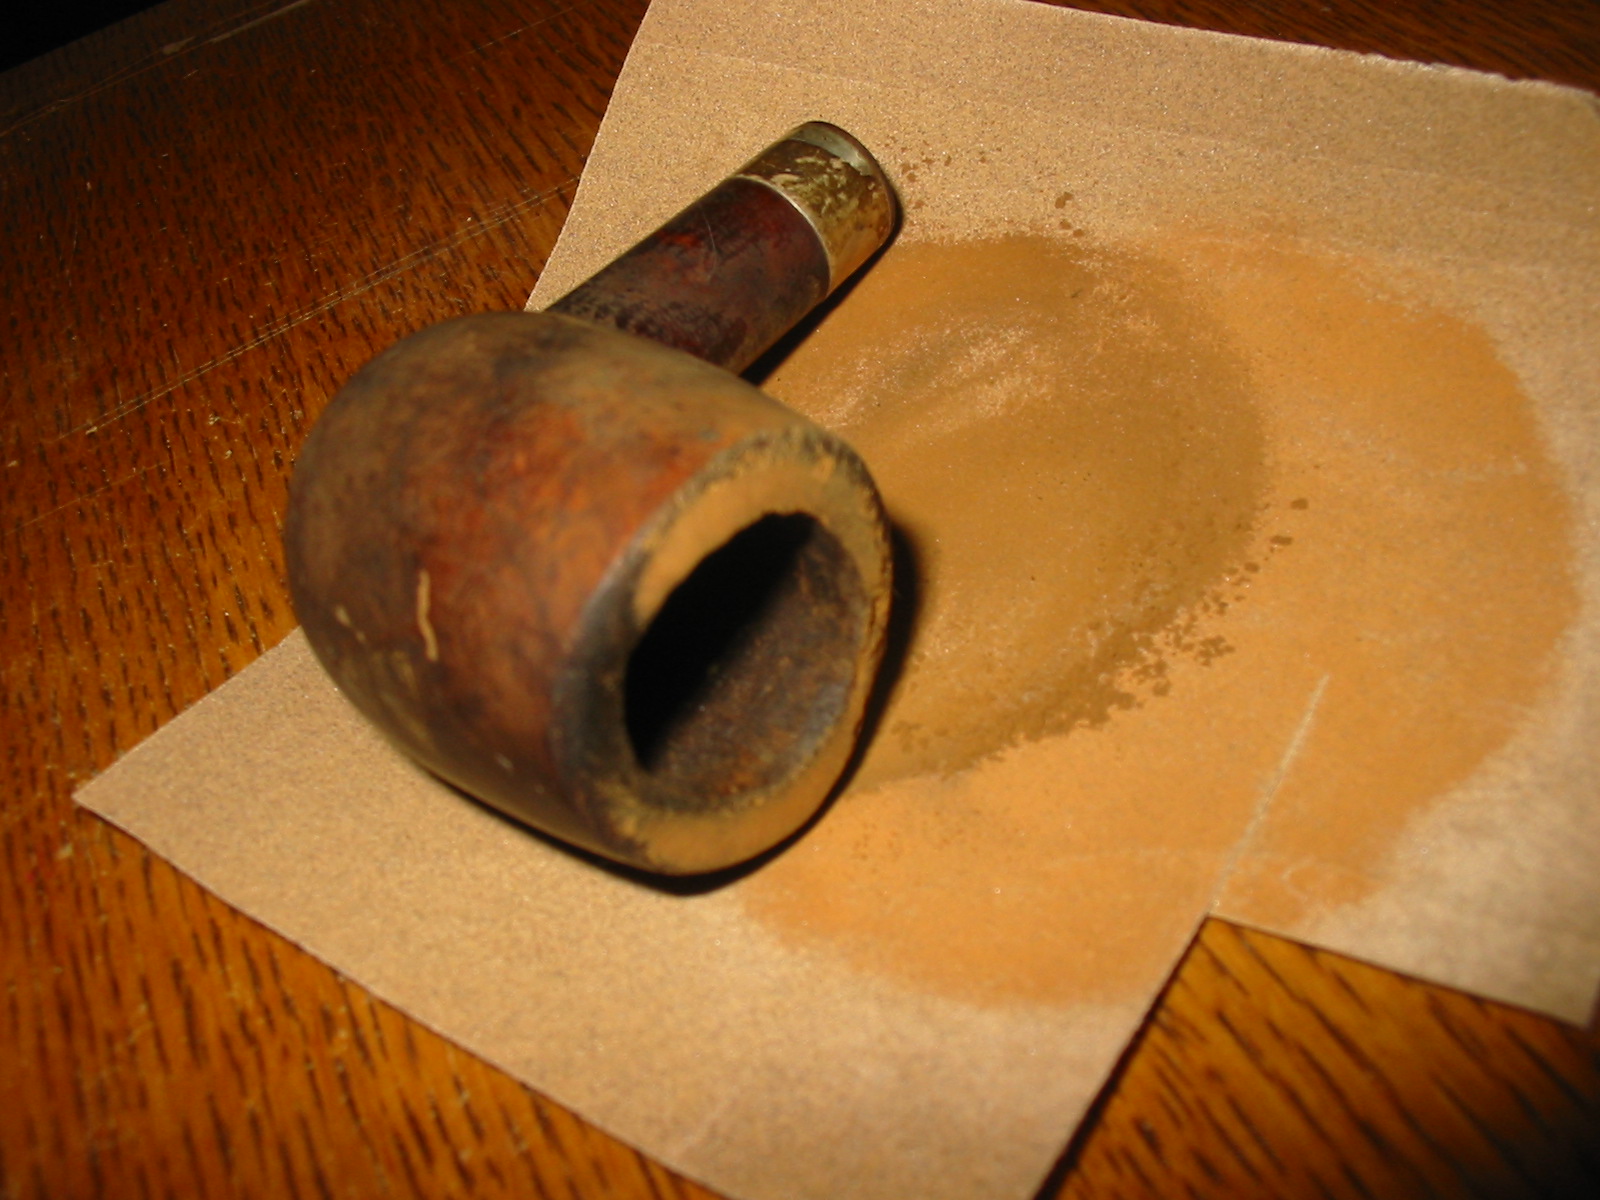
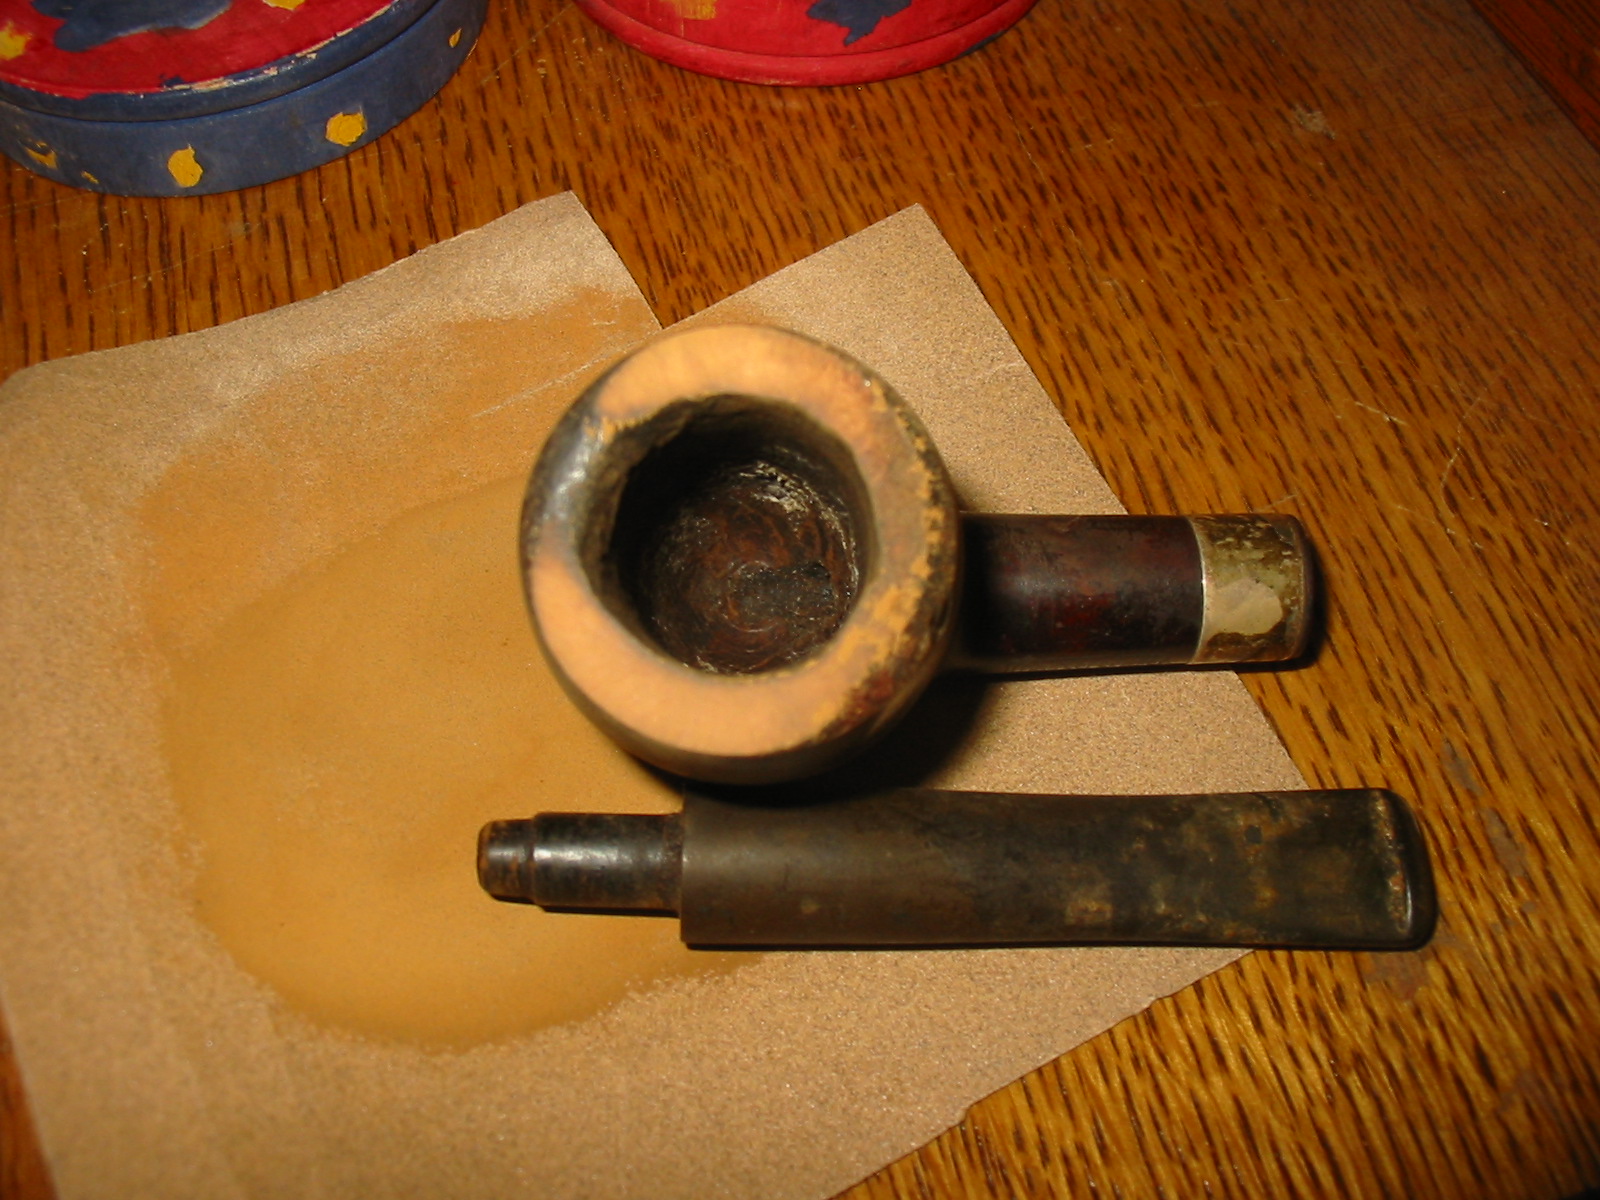
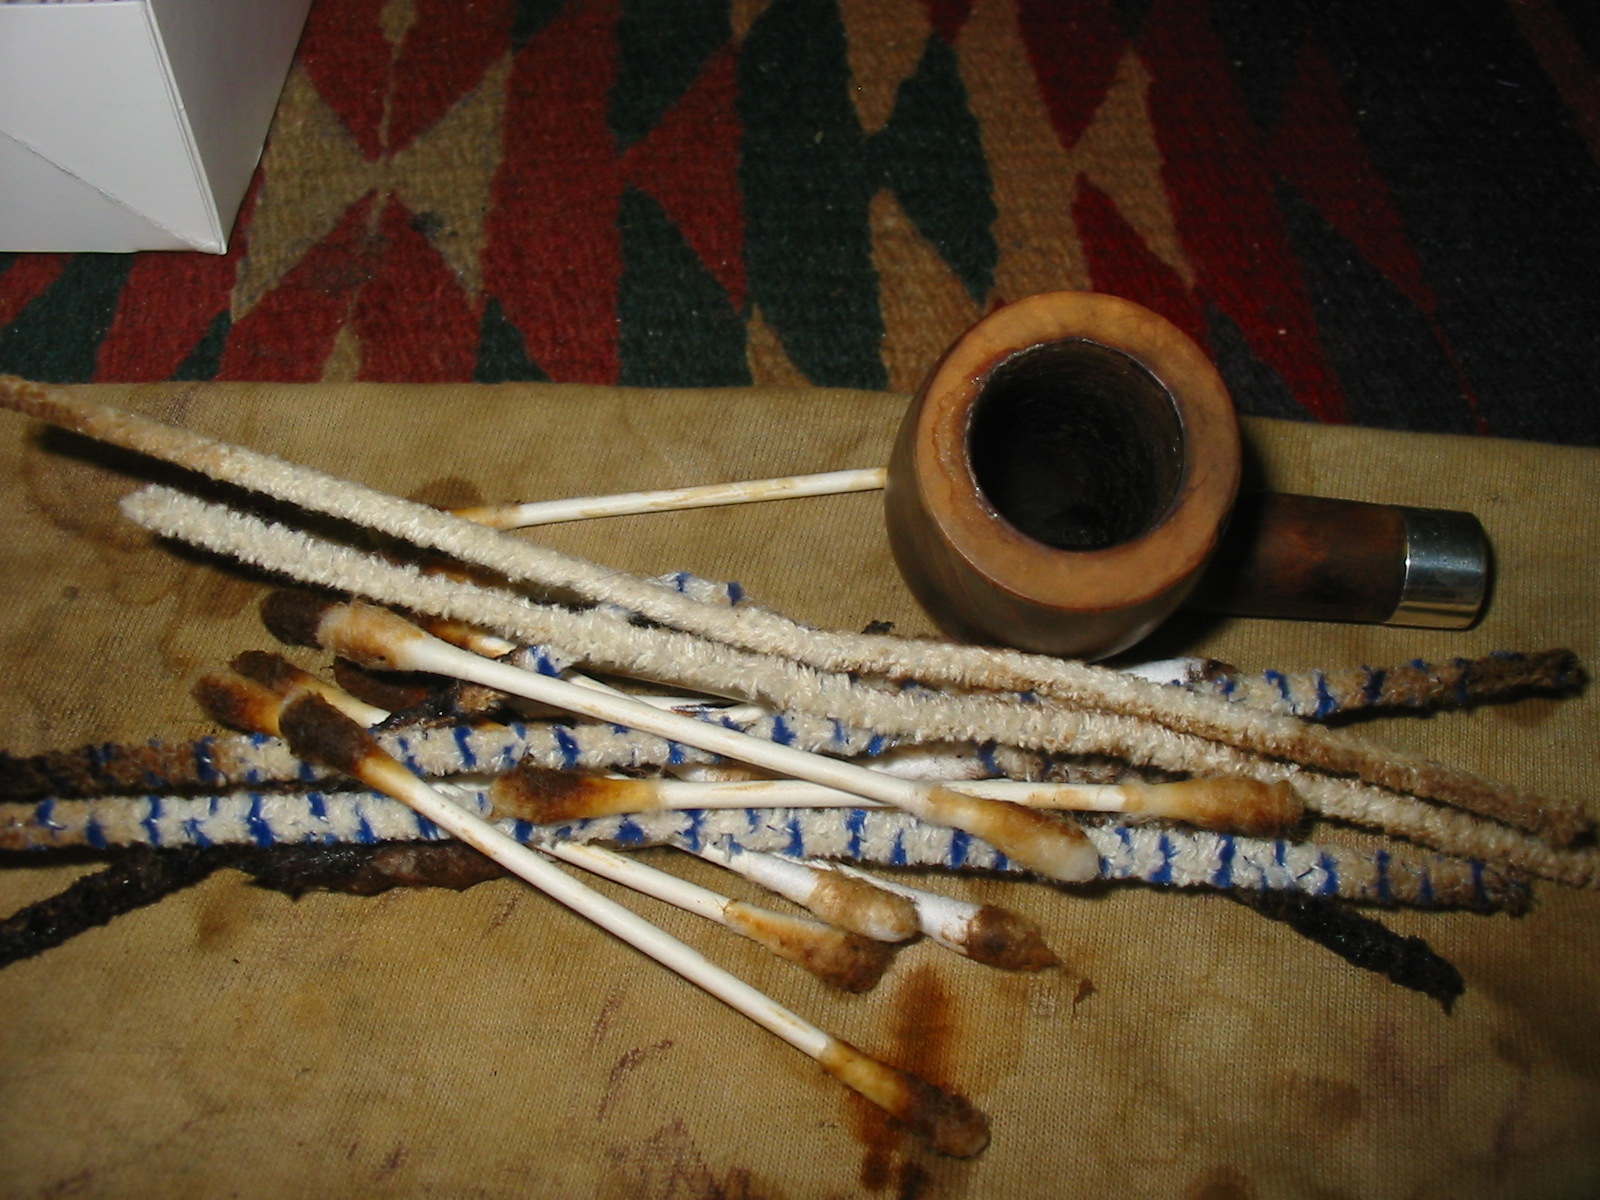
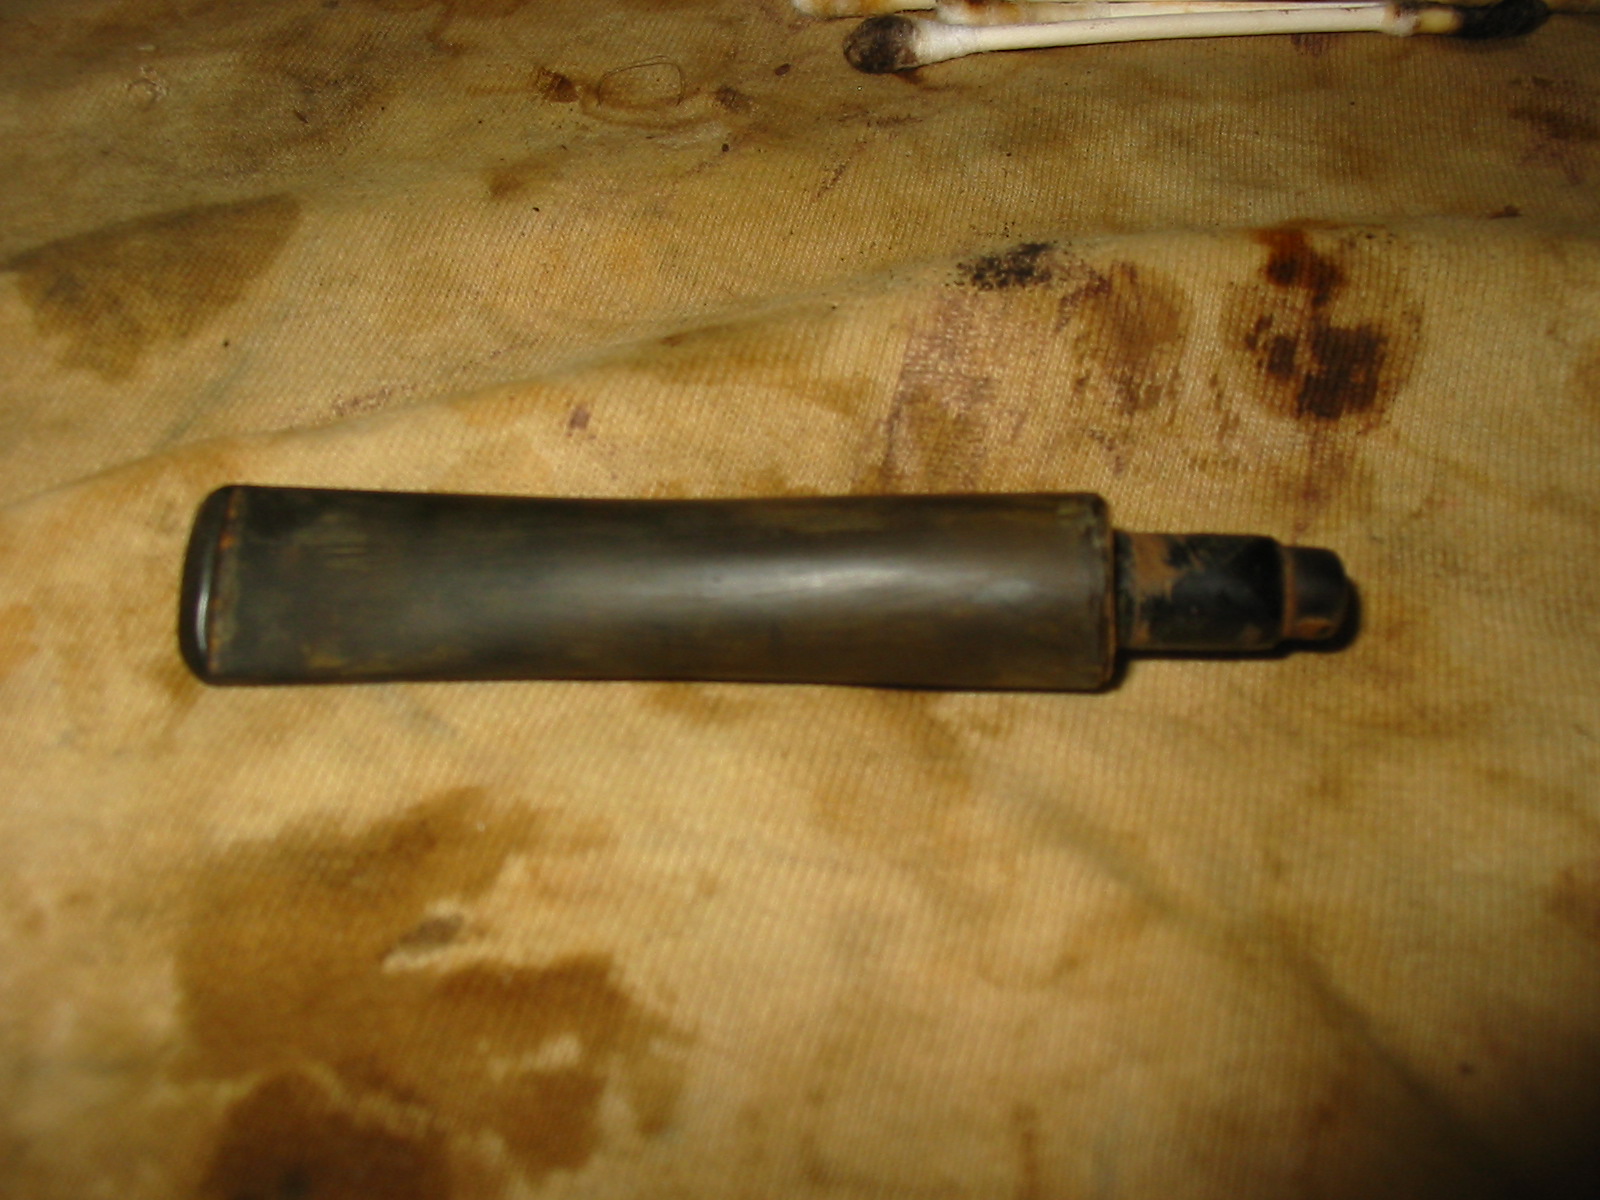
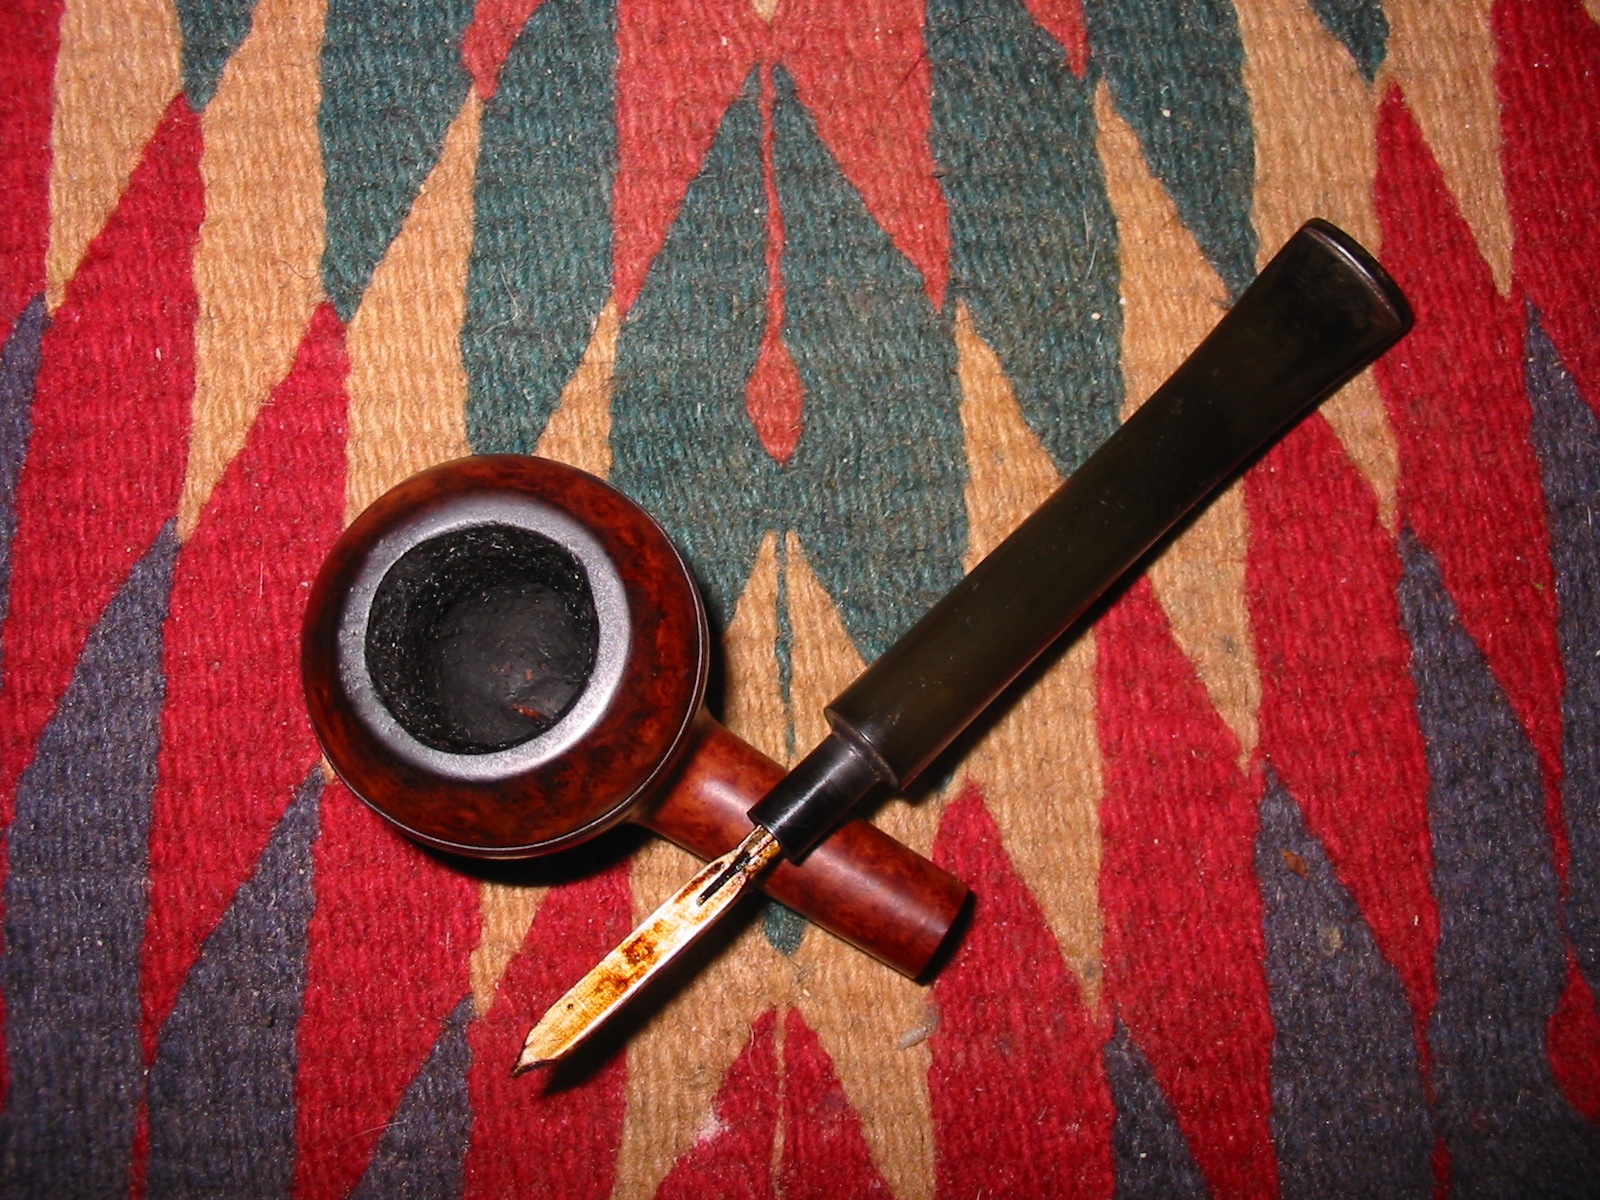
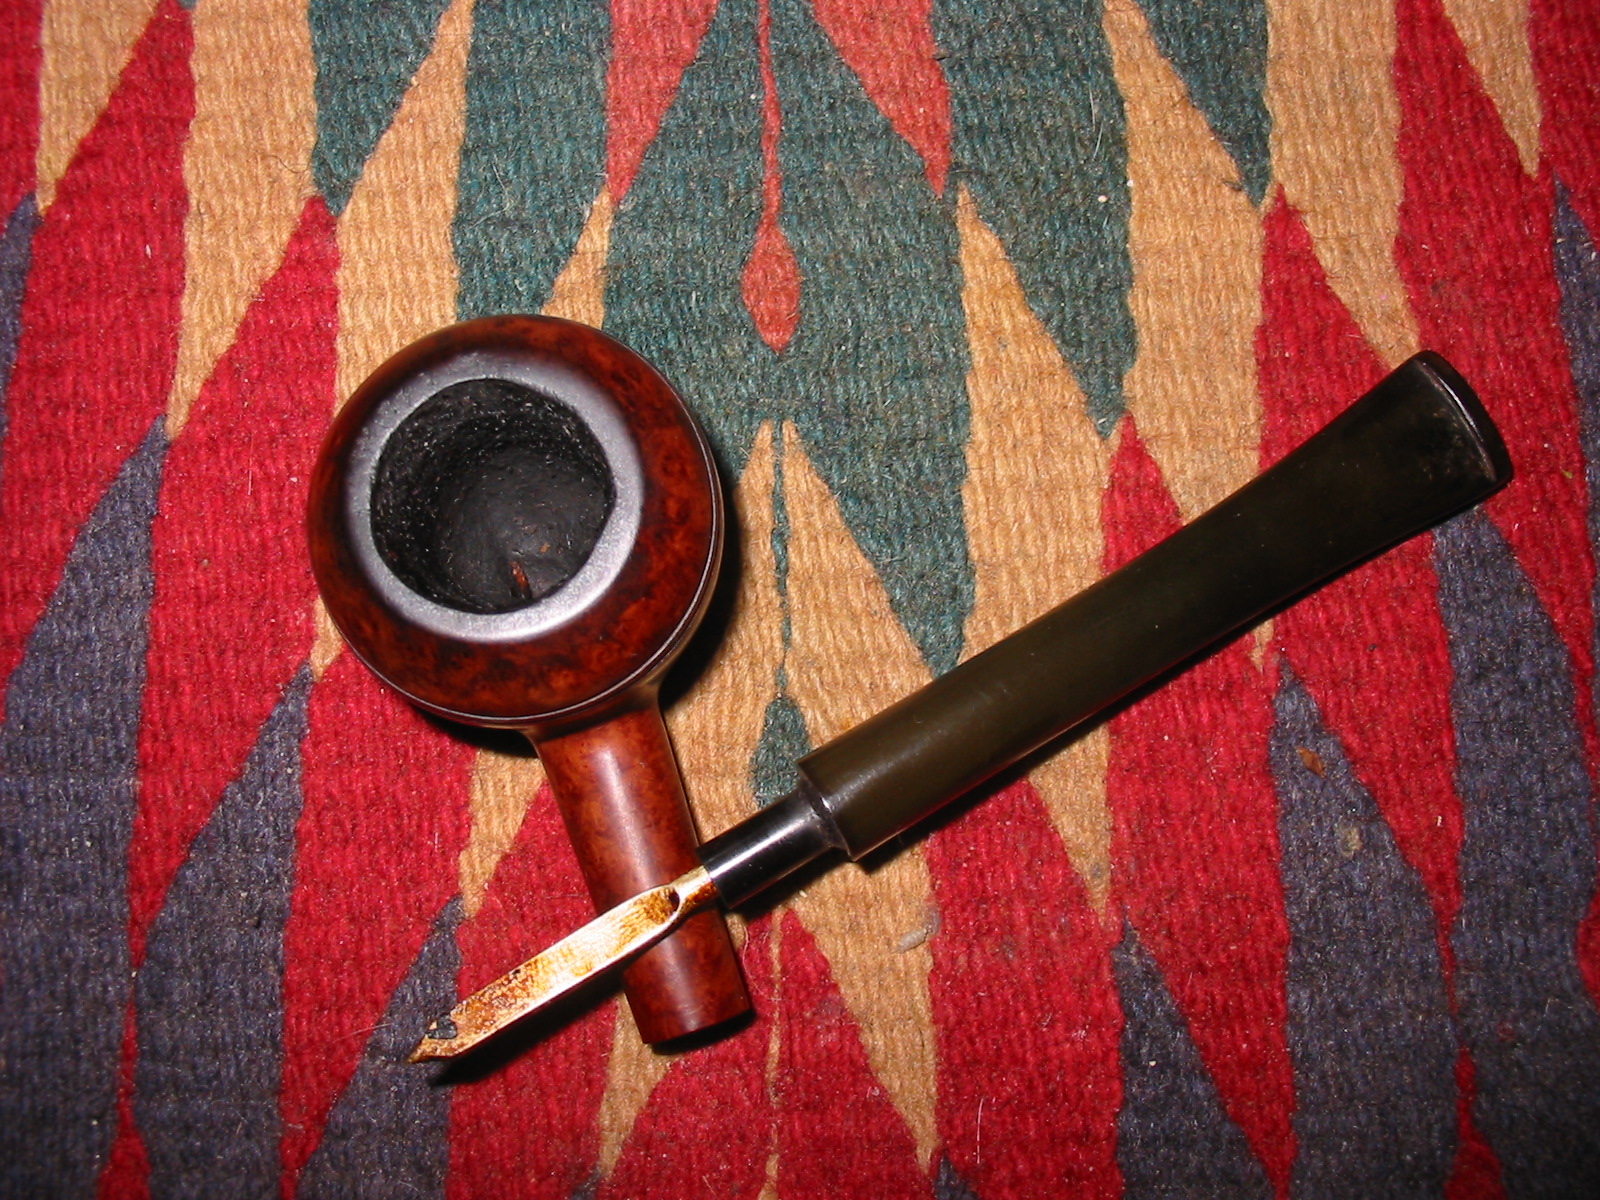
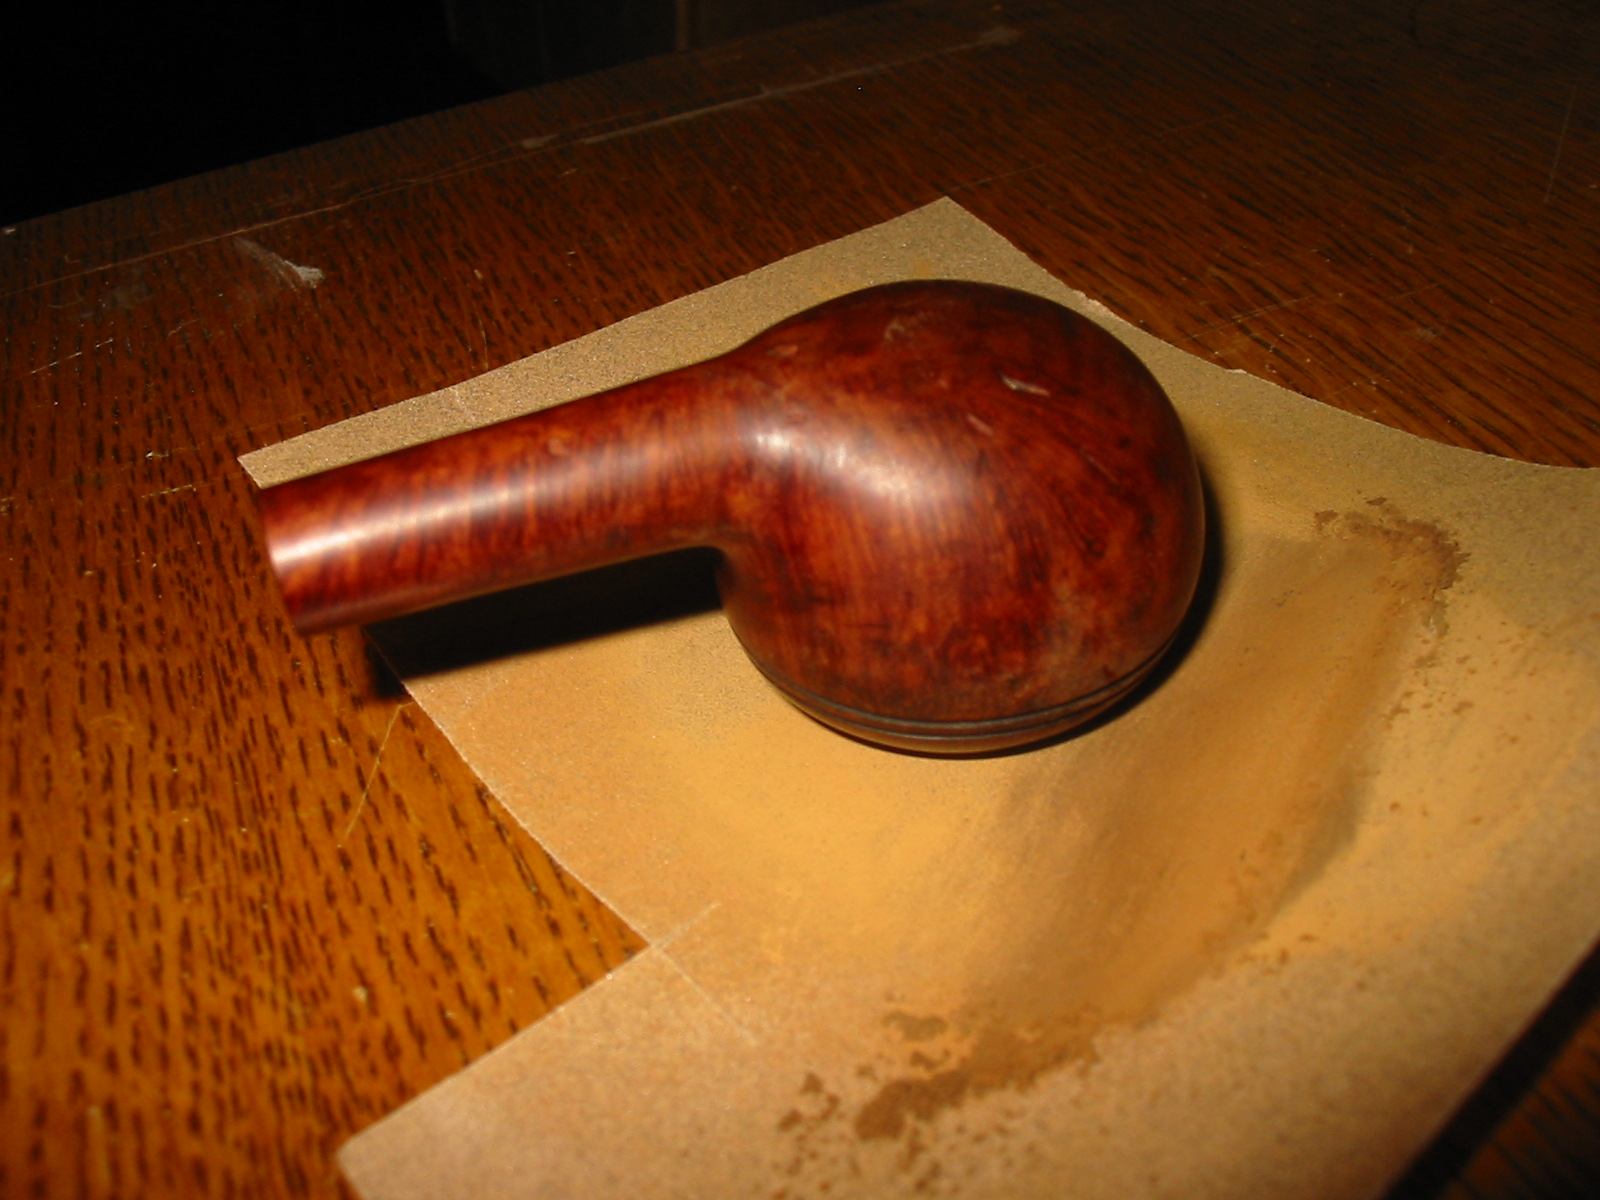
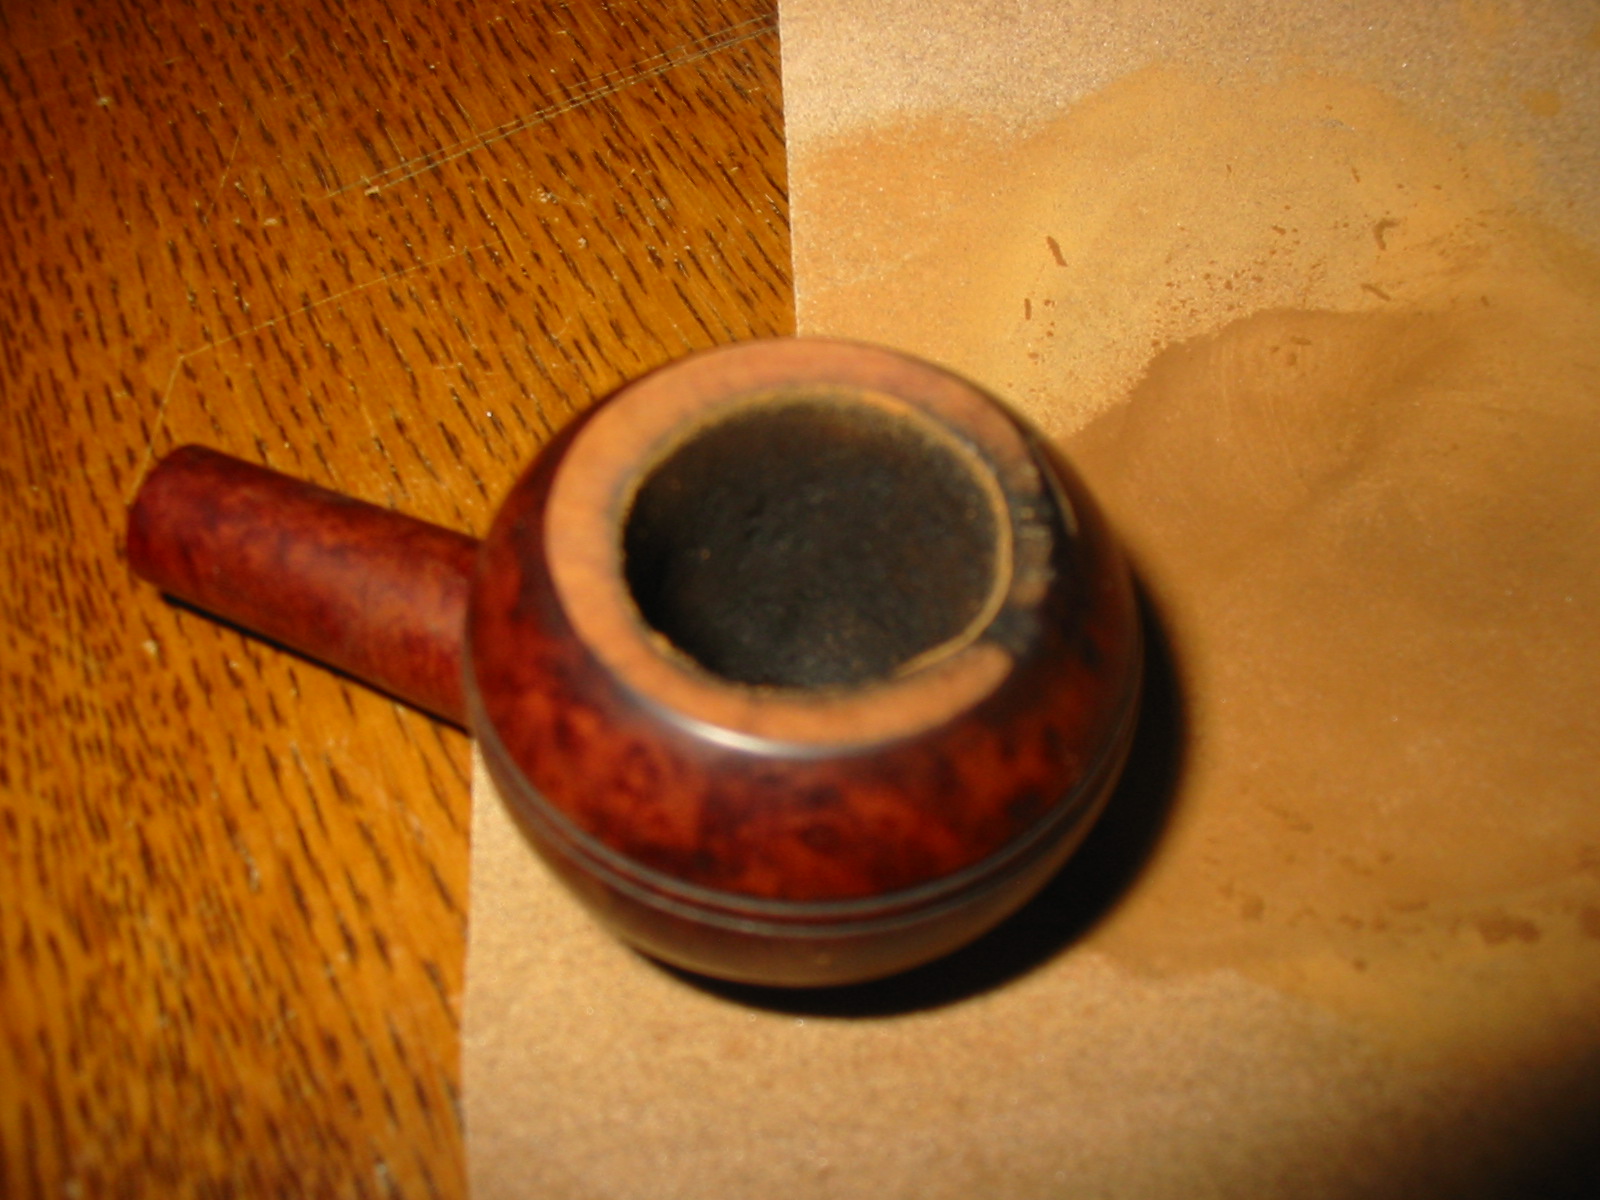
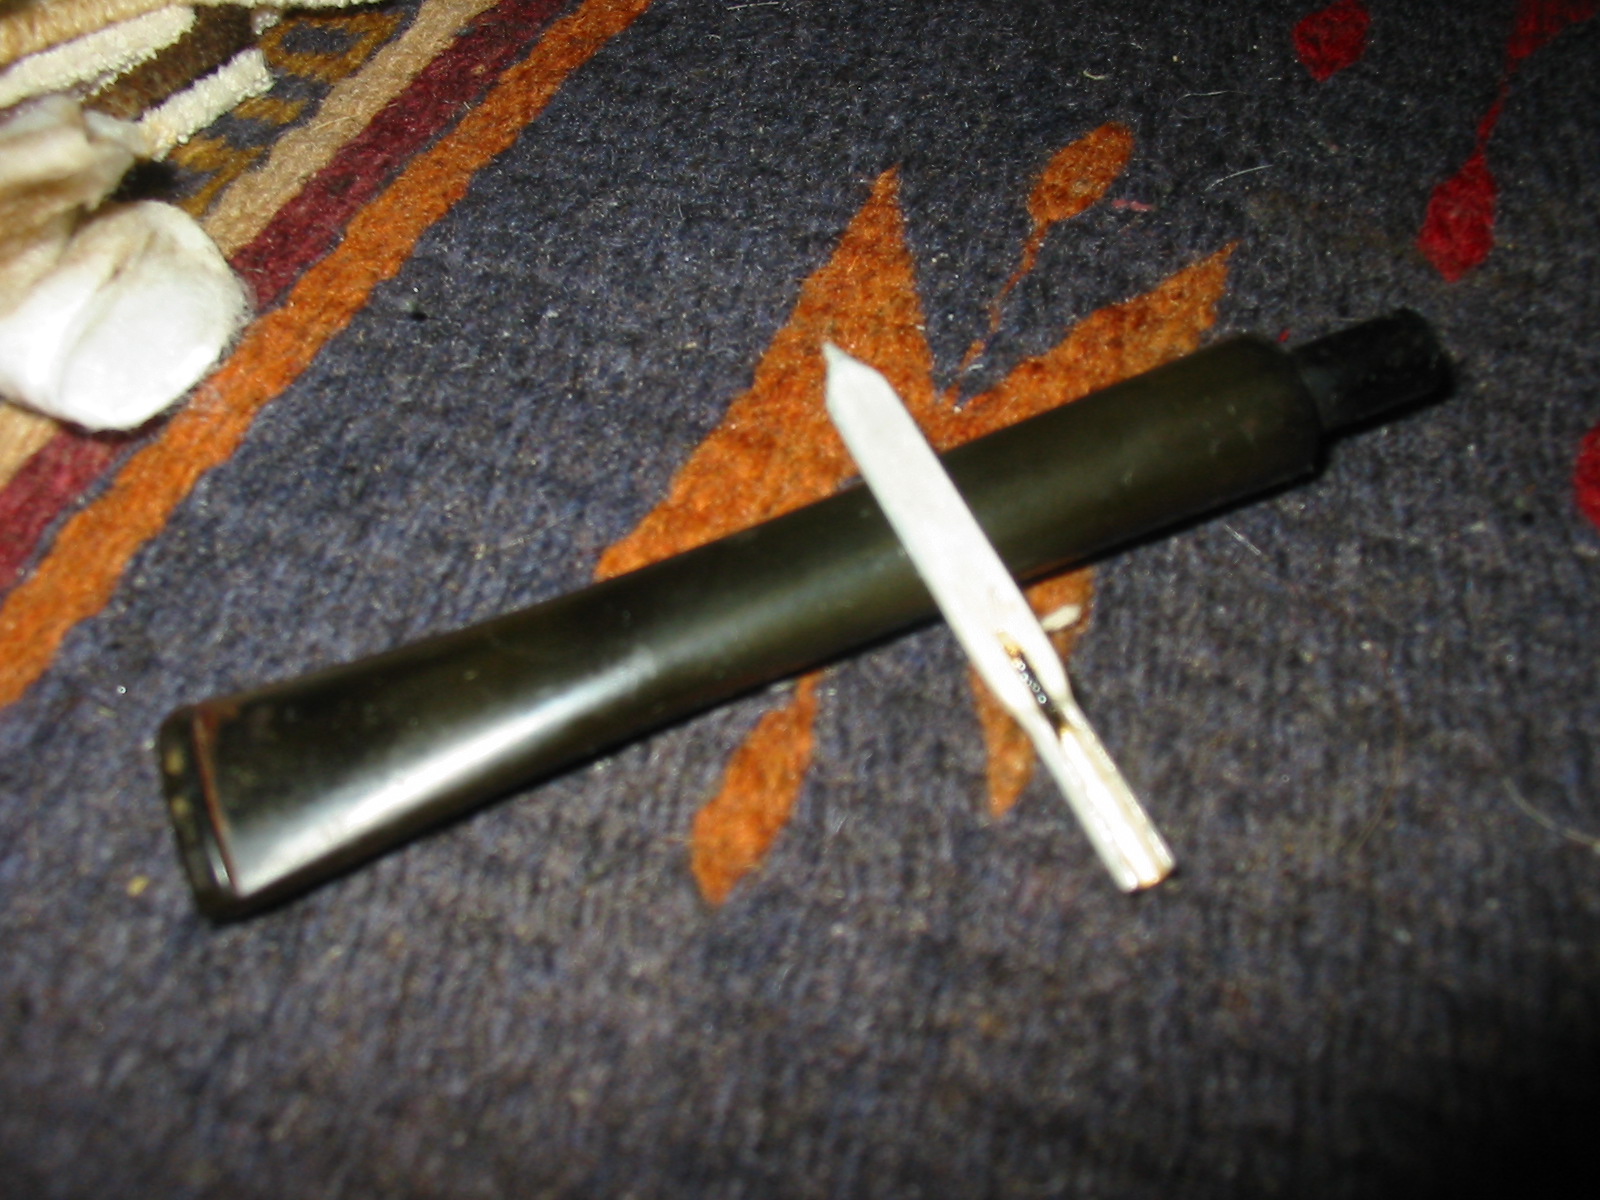
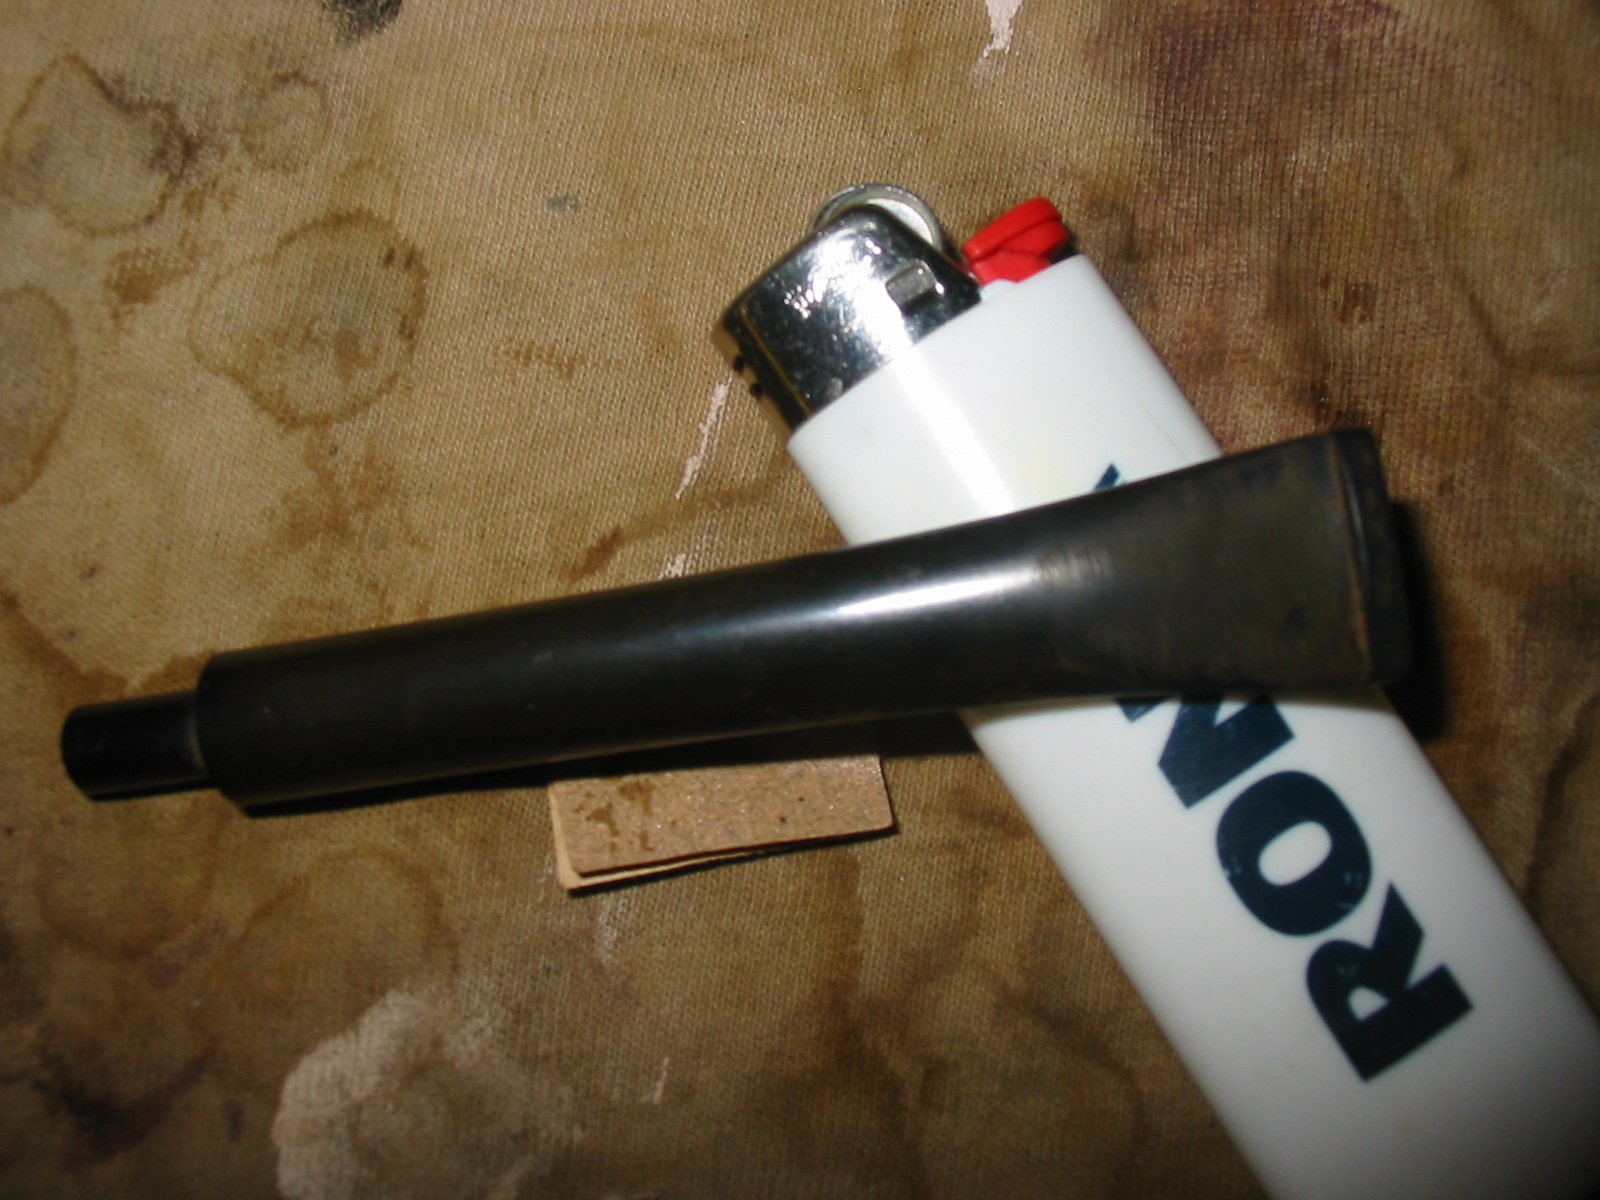
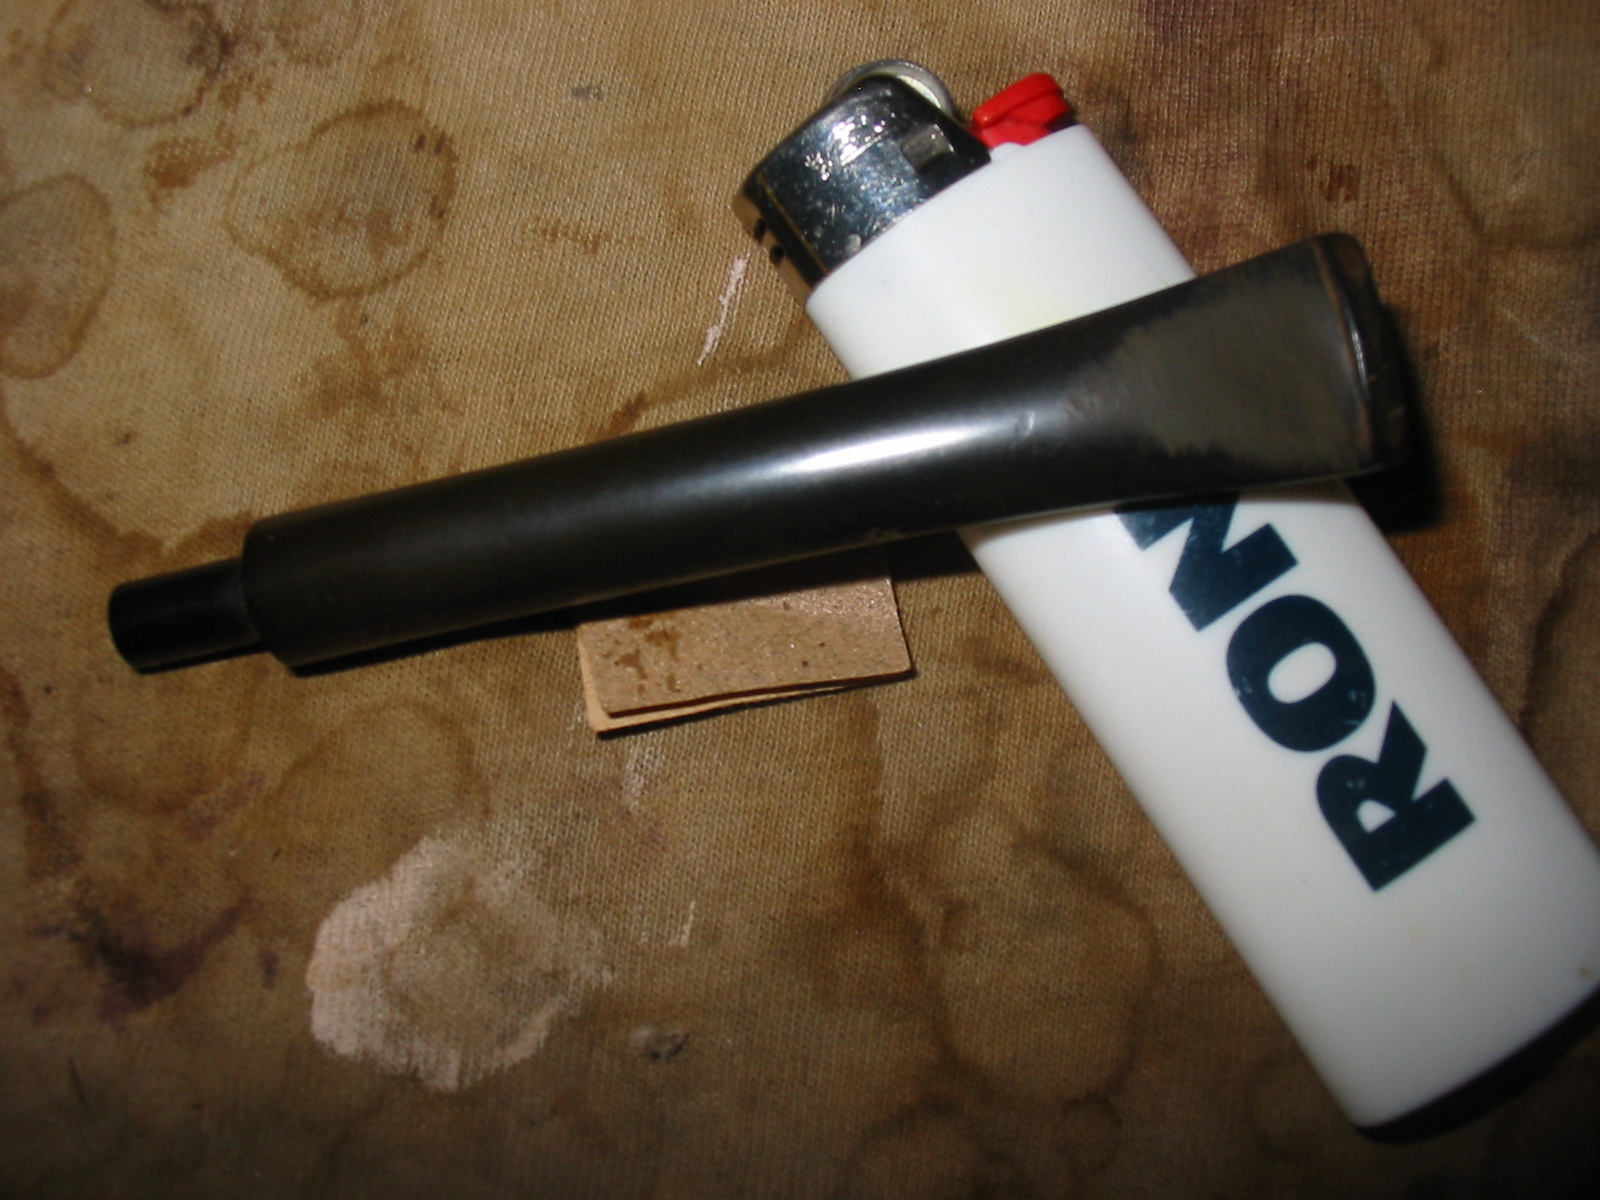
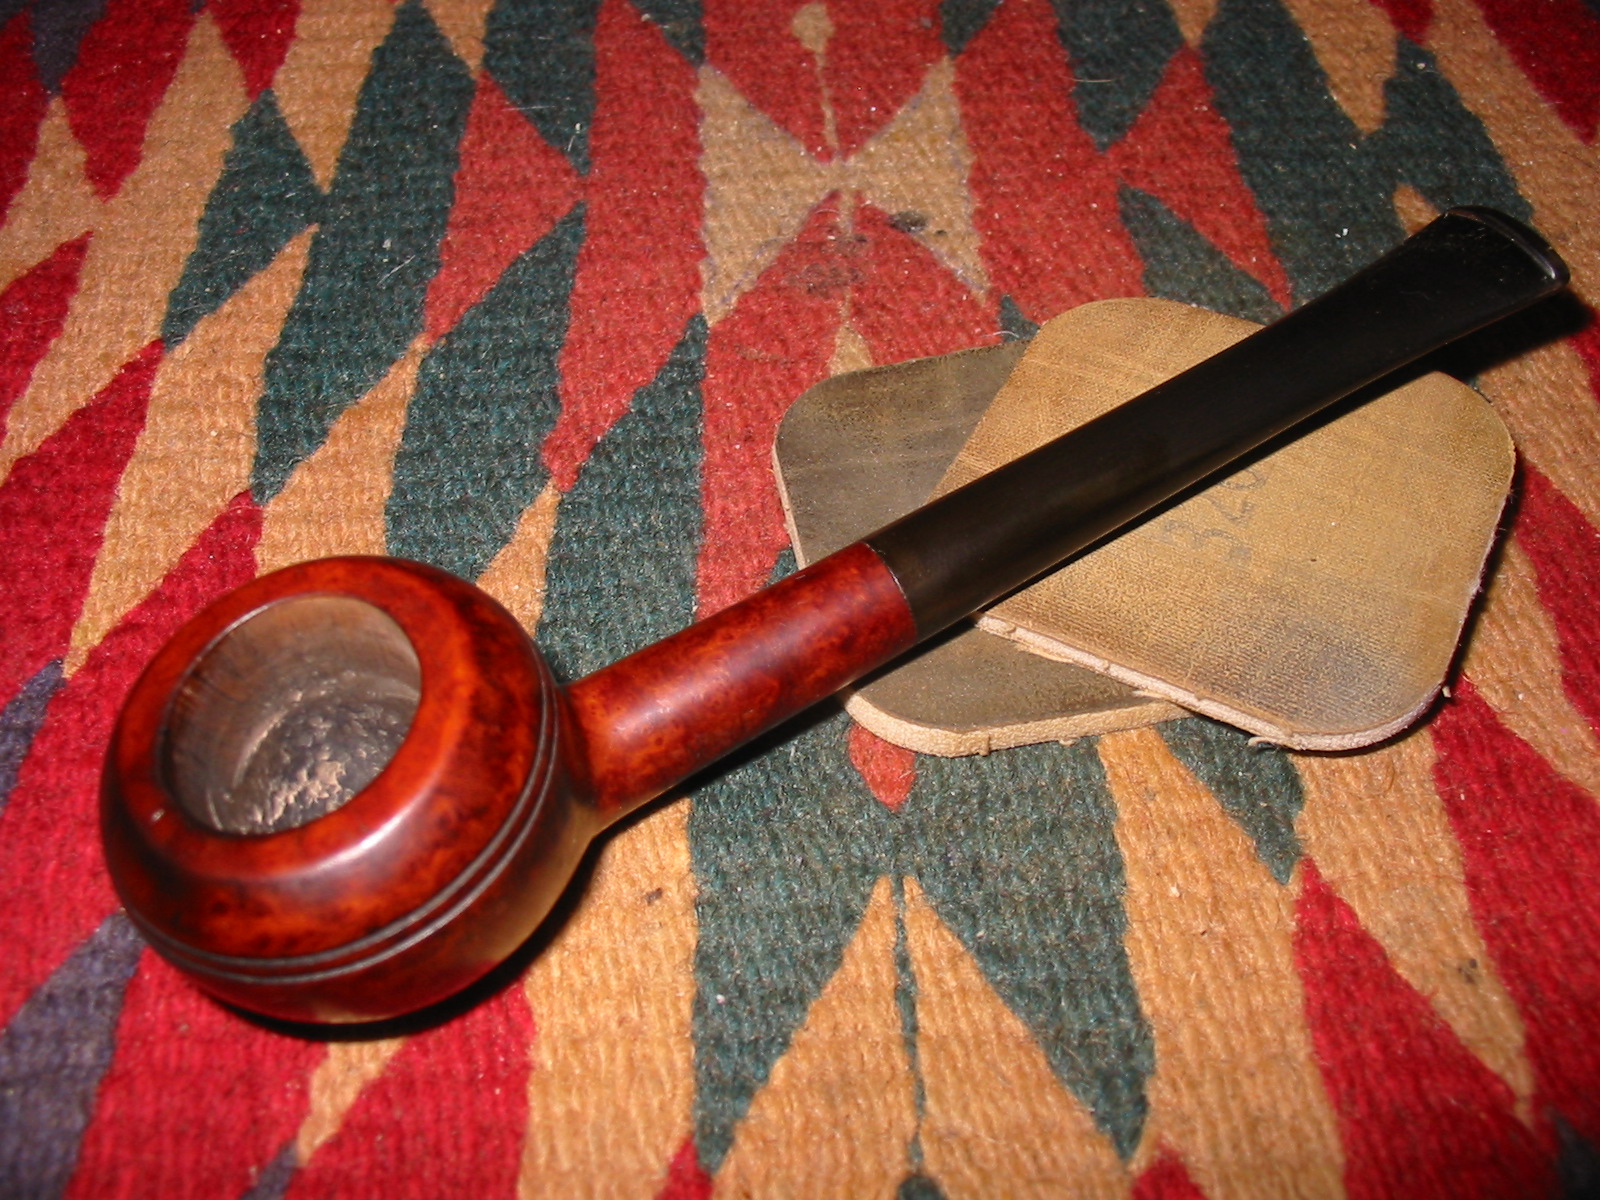
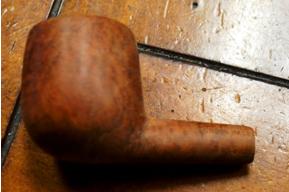
First, there’s the sanding that I expected to reveal a small crack in the top of the shank near the stem, which in fact was my original excuse for the full restoration of the pipe as opposed to the initial refinish I had completed to remove the bad discoloration of the bowl and stem…but after sanding down the entire bowl and shank, the “crack,” I was actually disappointed to discover, was only a mirage created by the old finish.

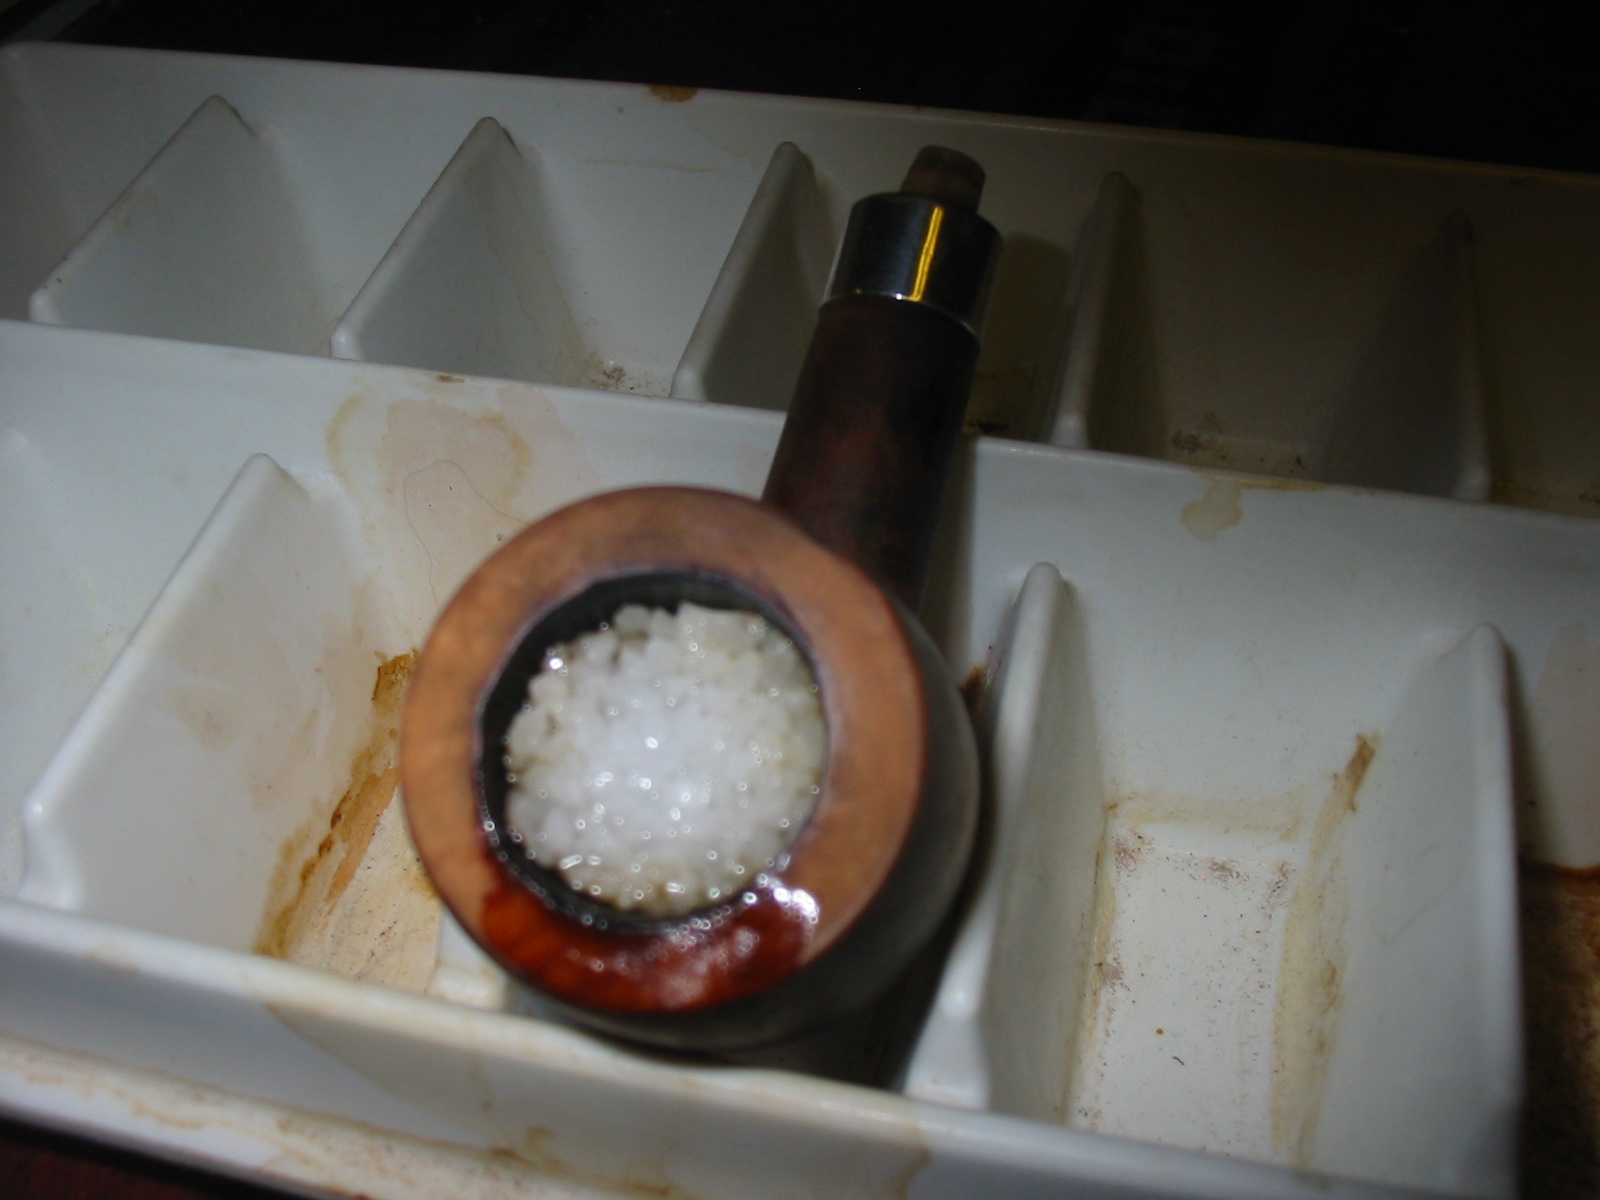
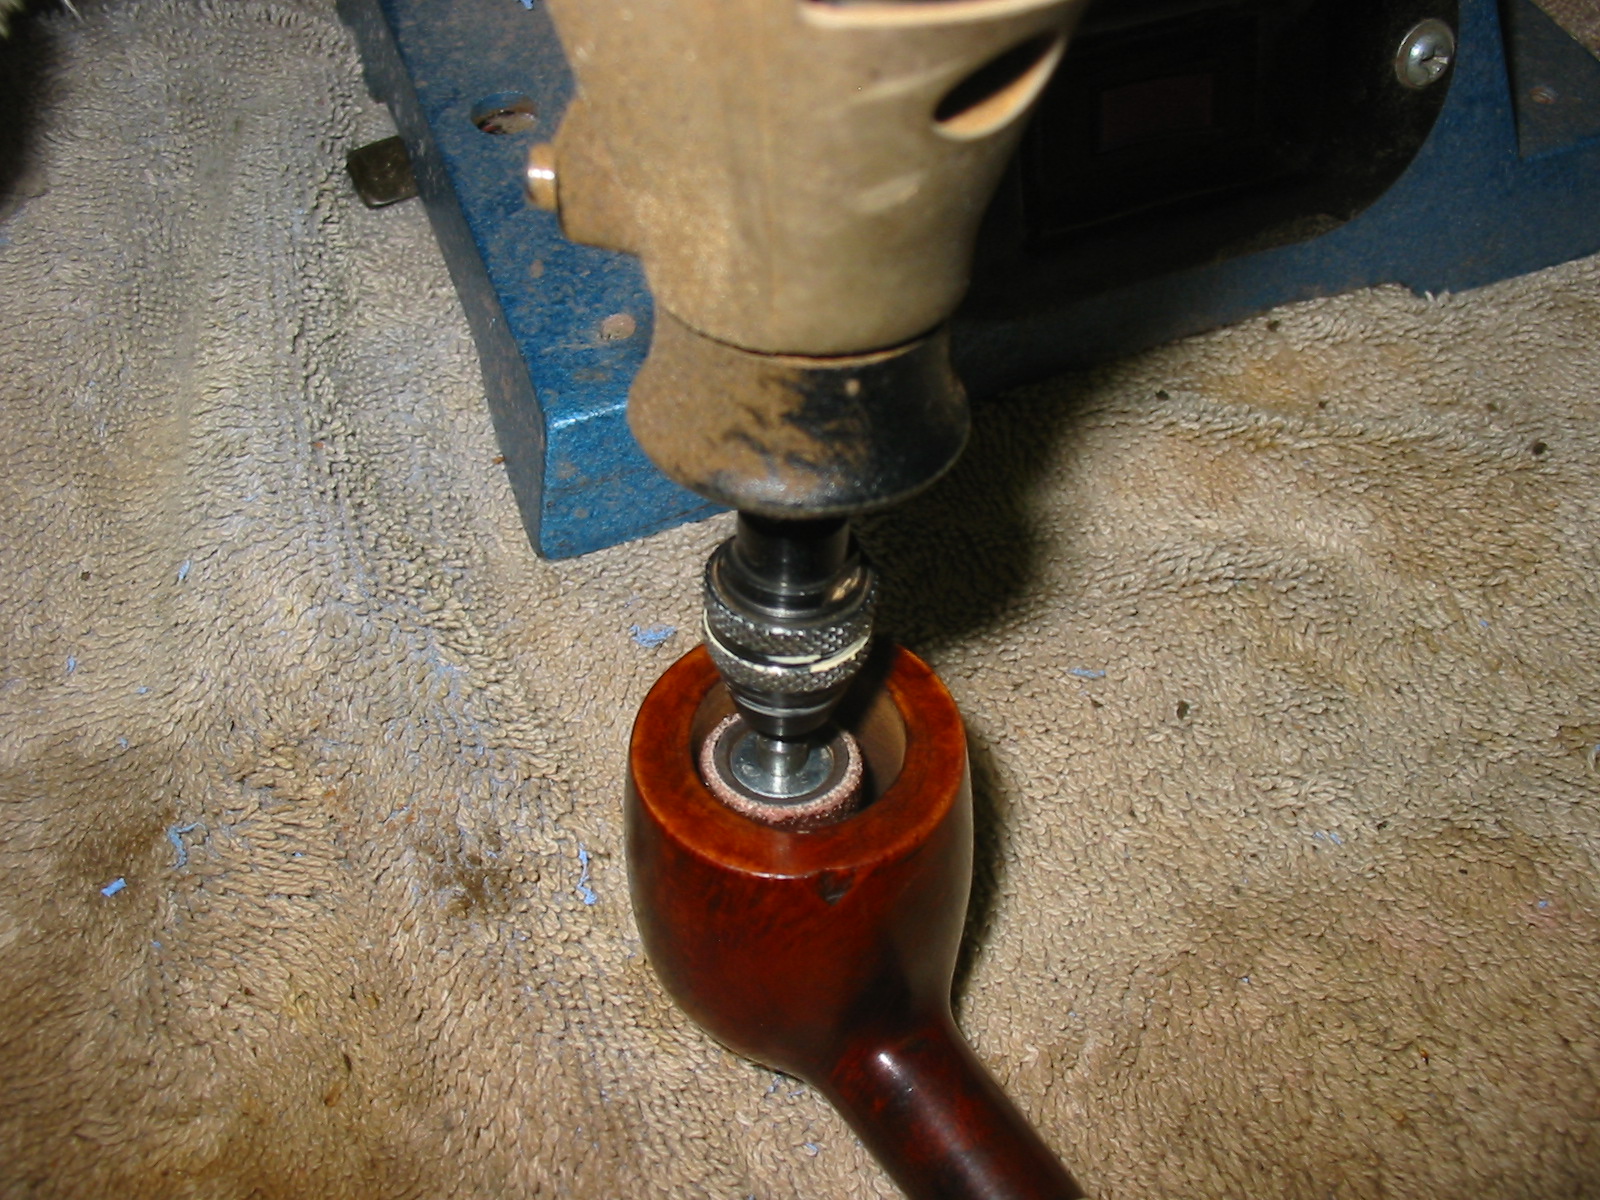
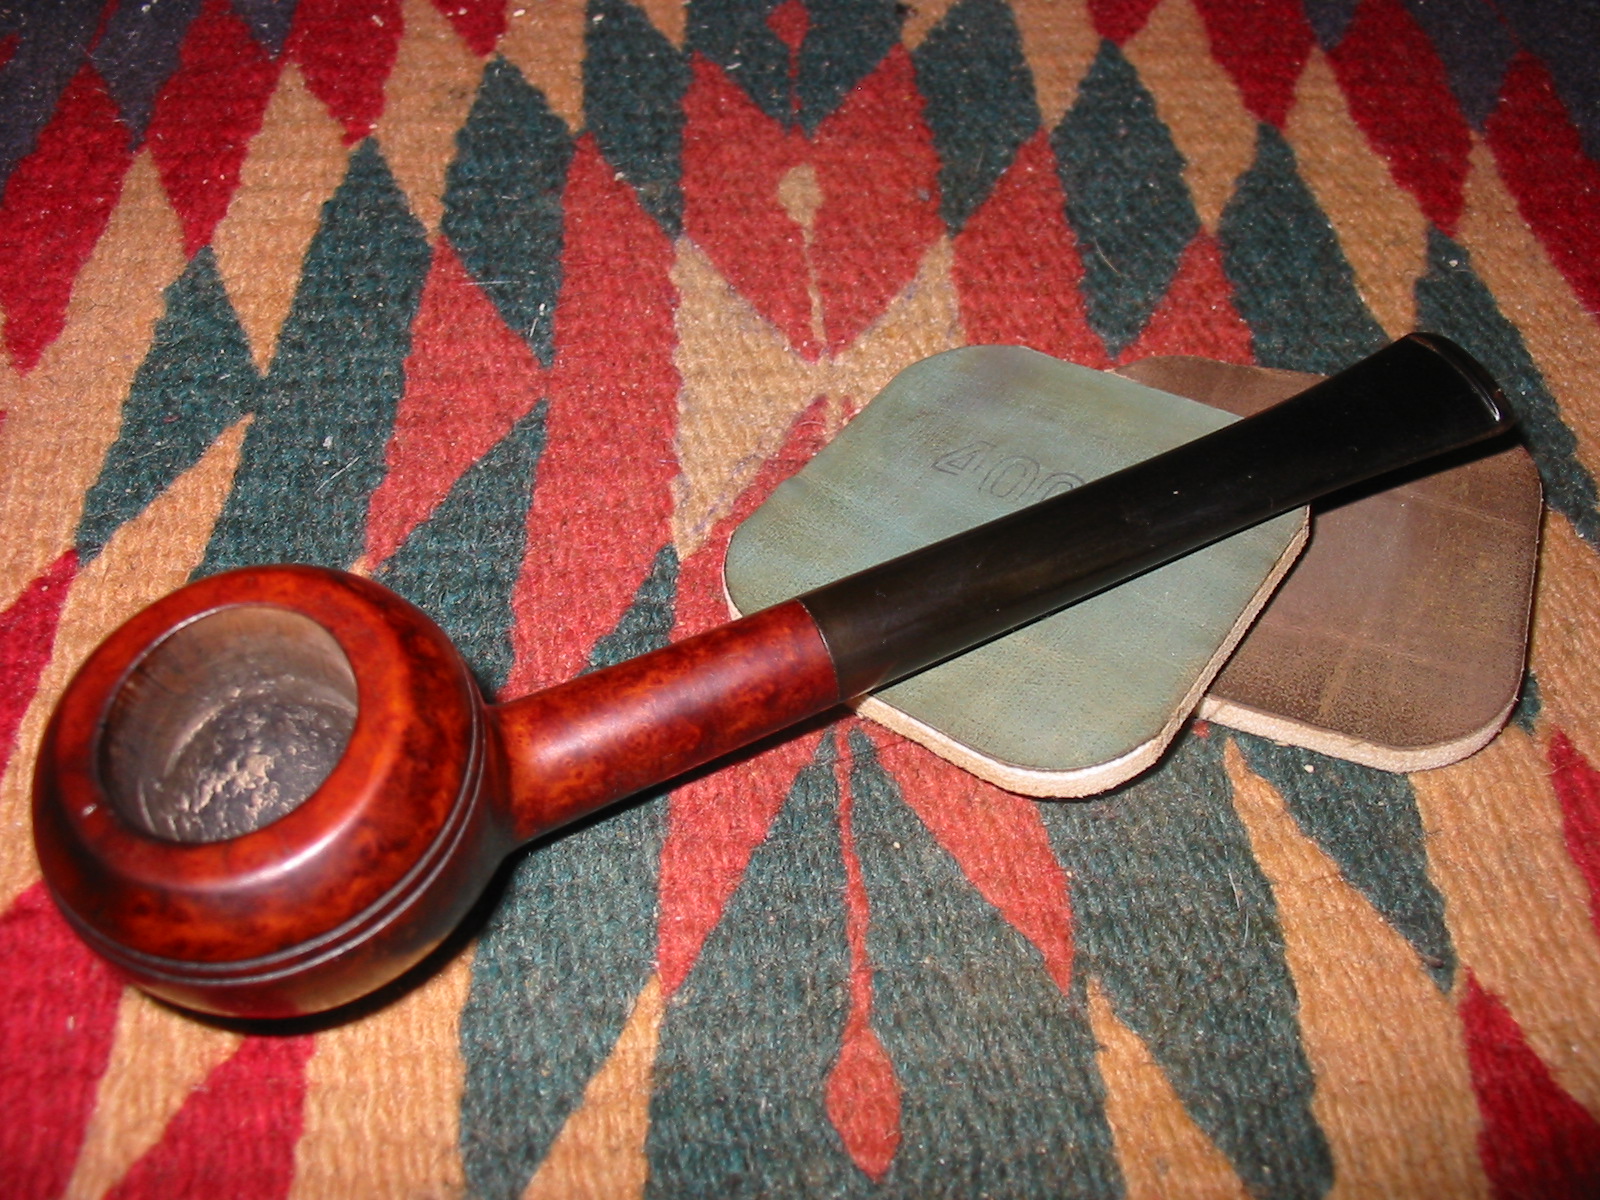
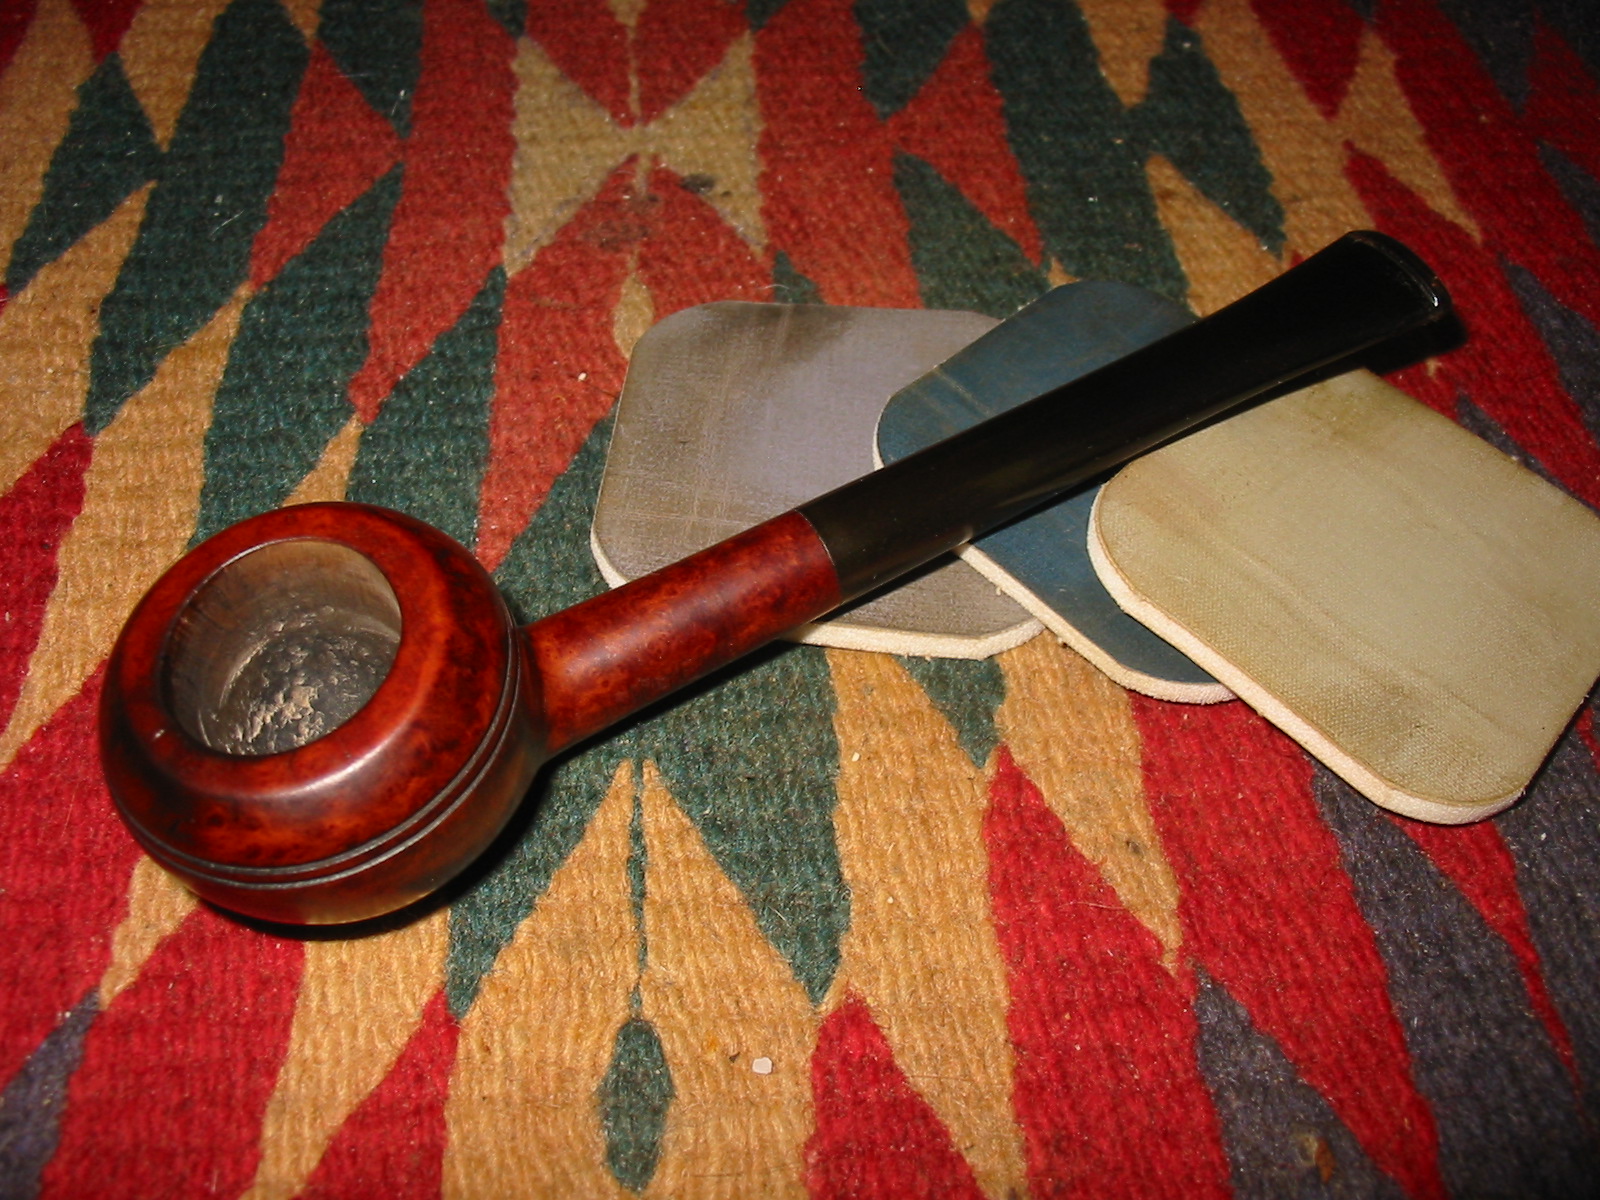
Then, after the initial setback of discovering there was no need to fill a crack and use a metal band to seal the shank, I micro-meshed the wood:

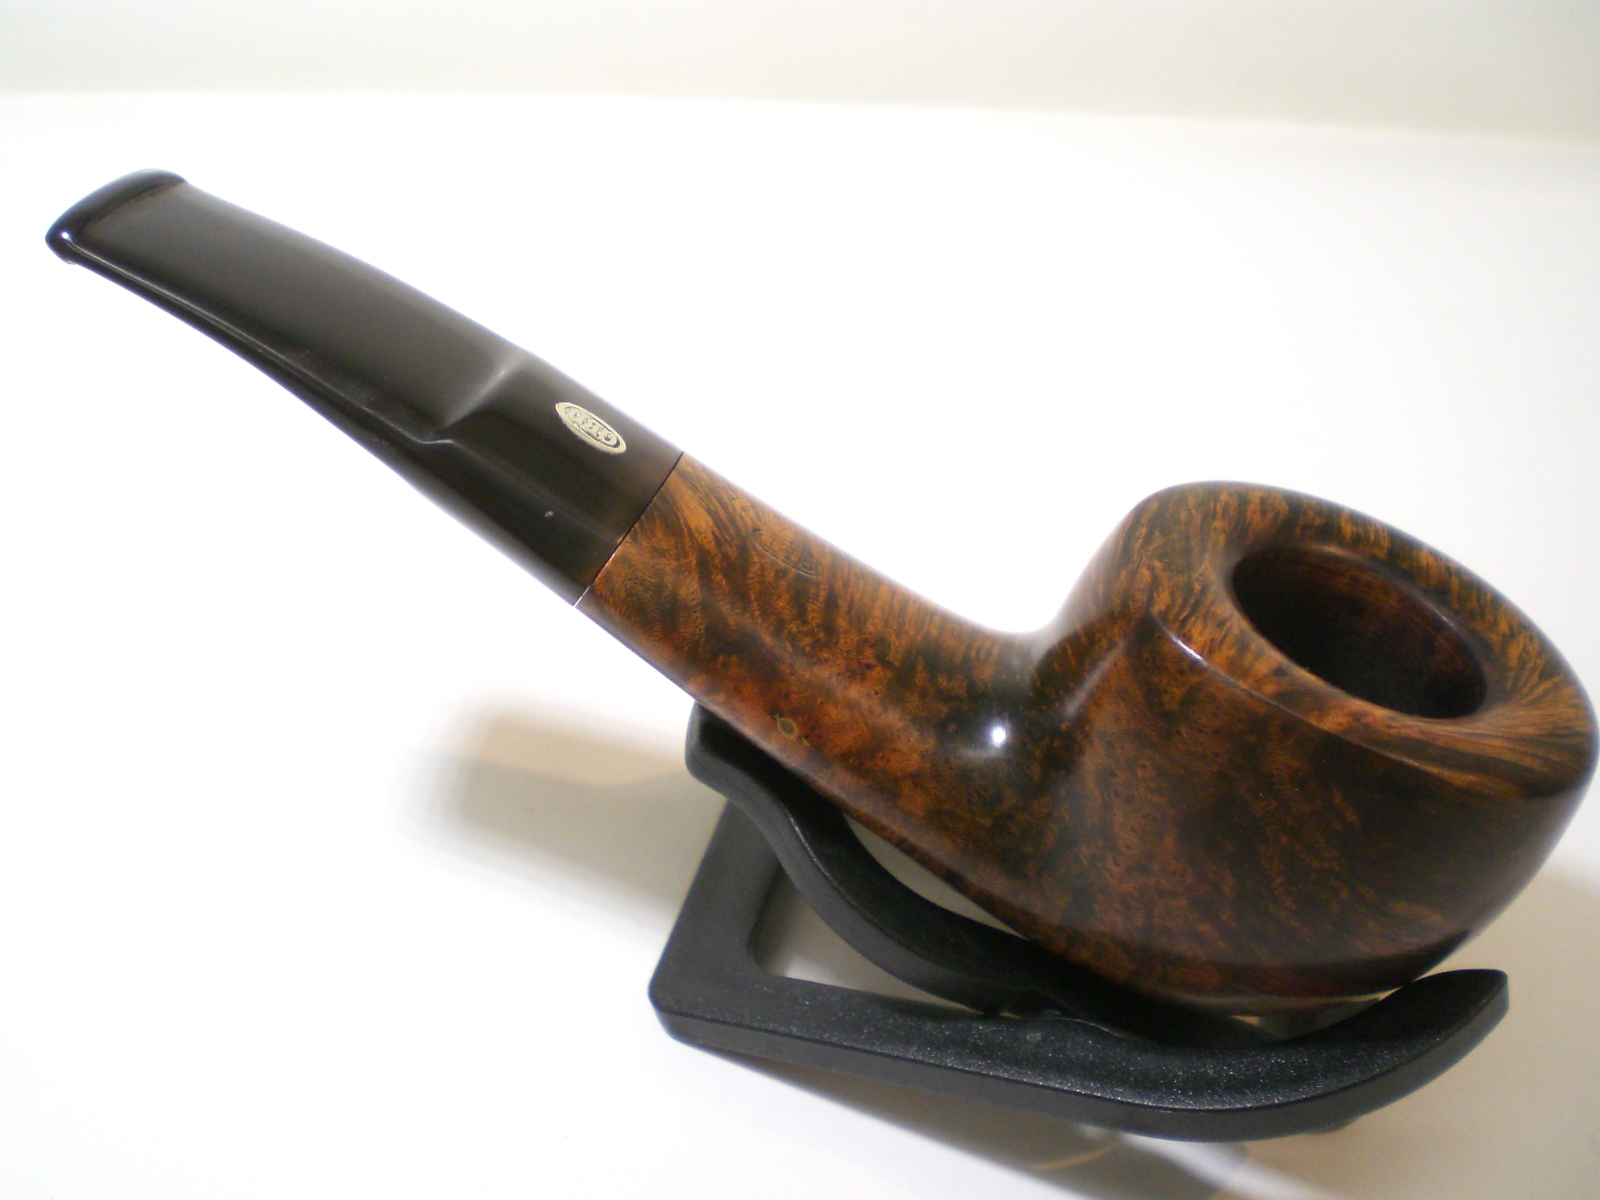
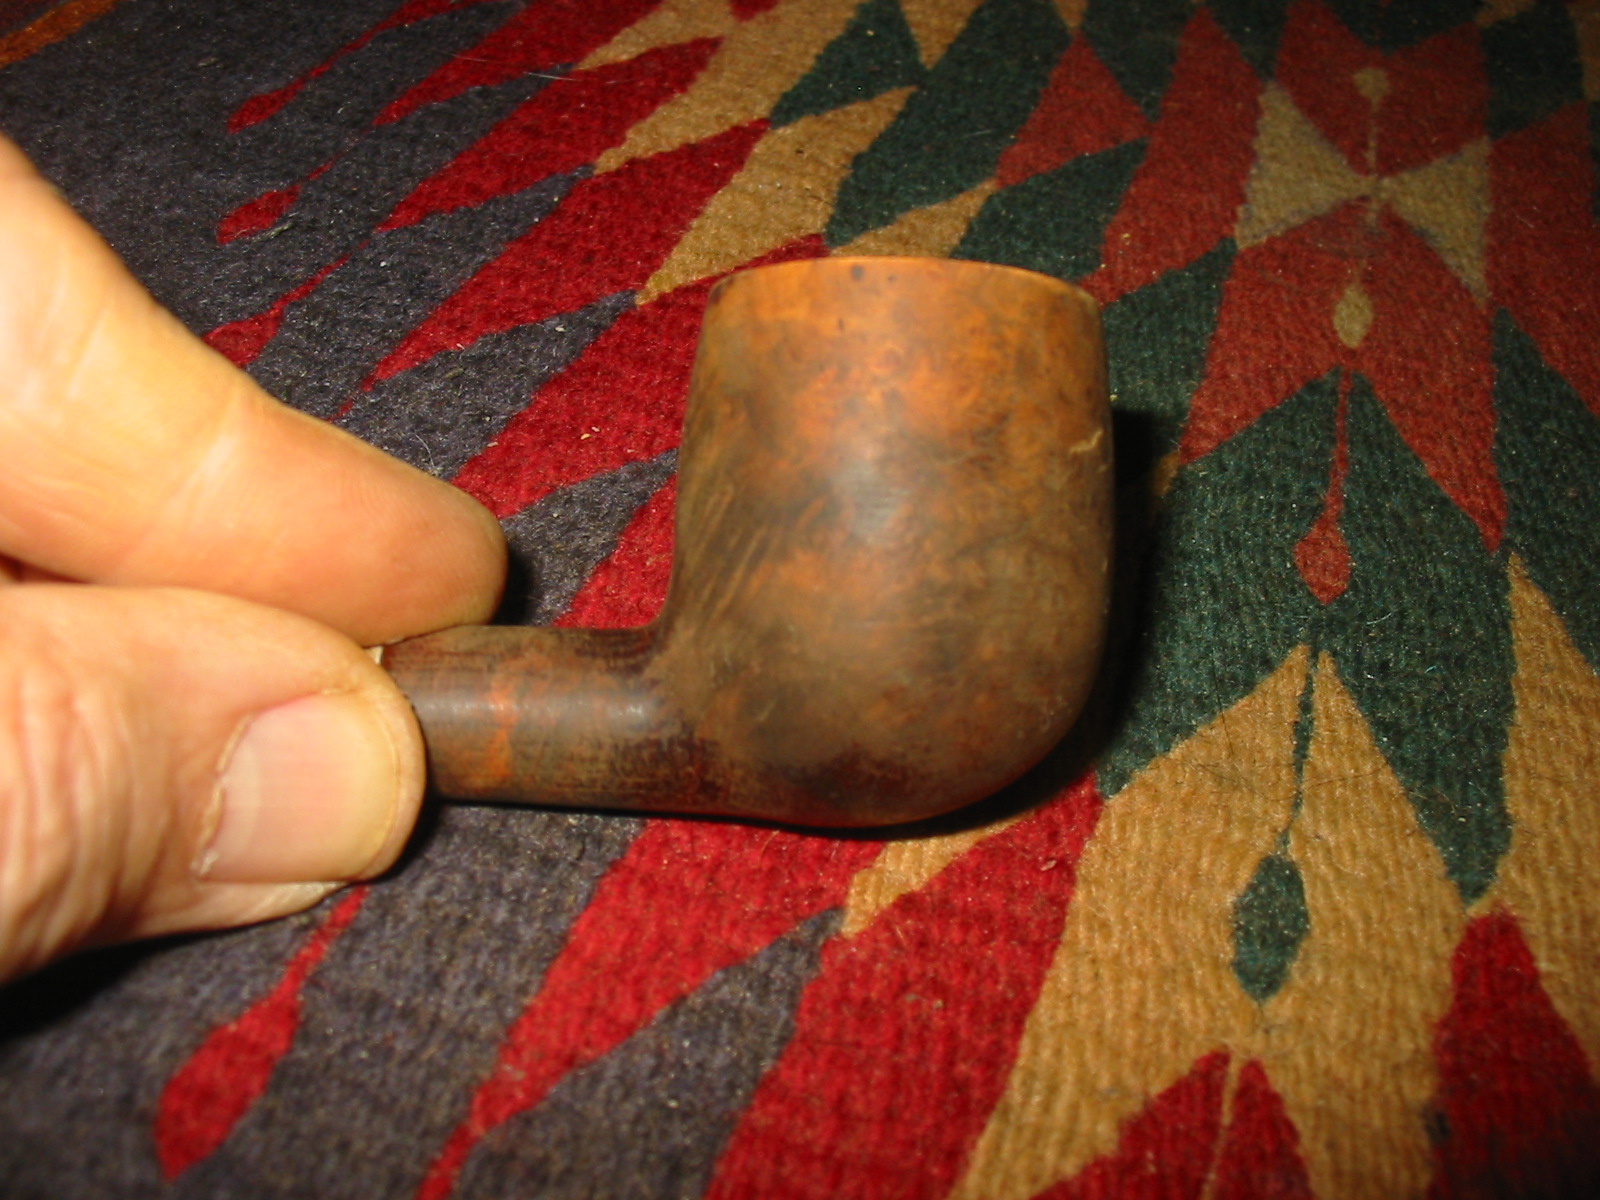
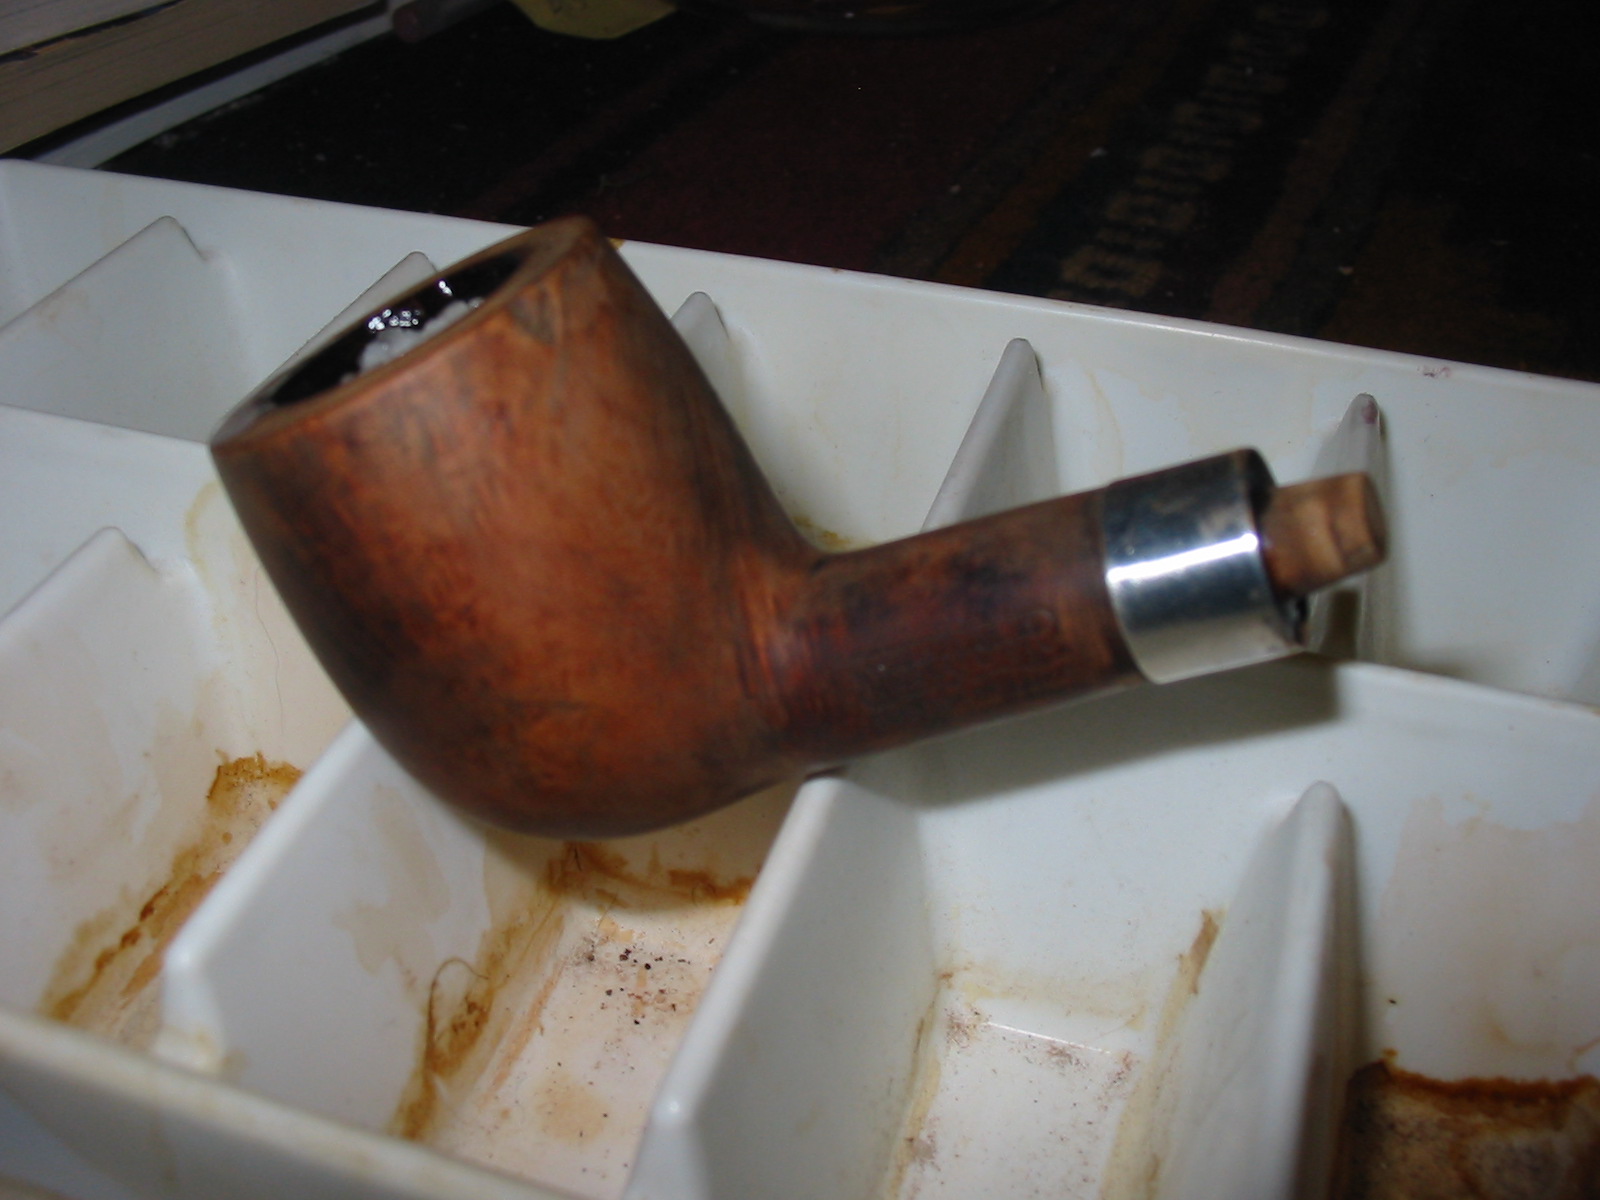
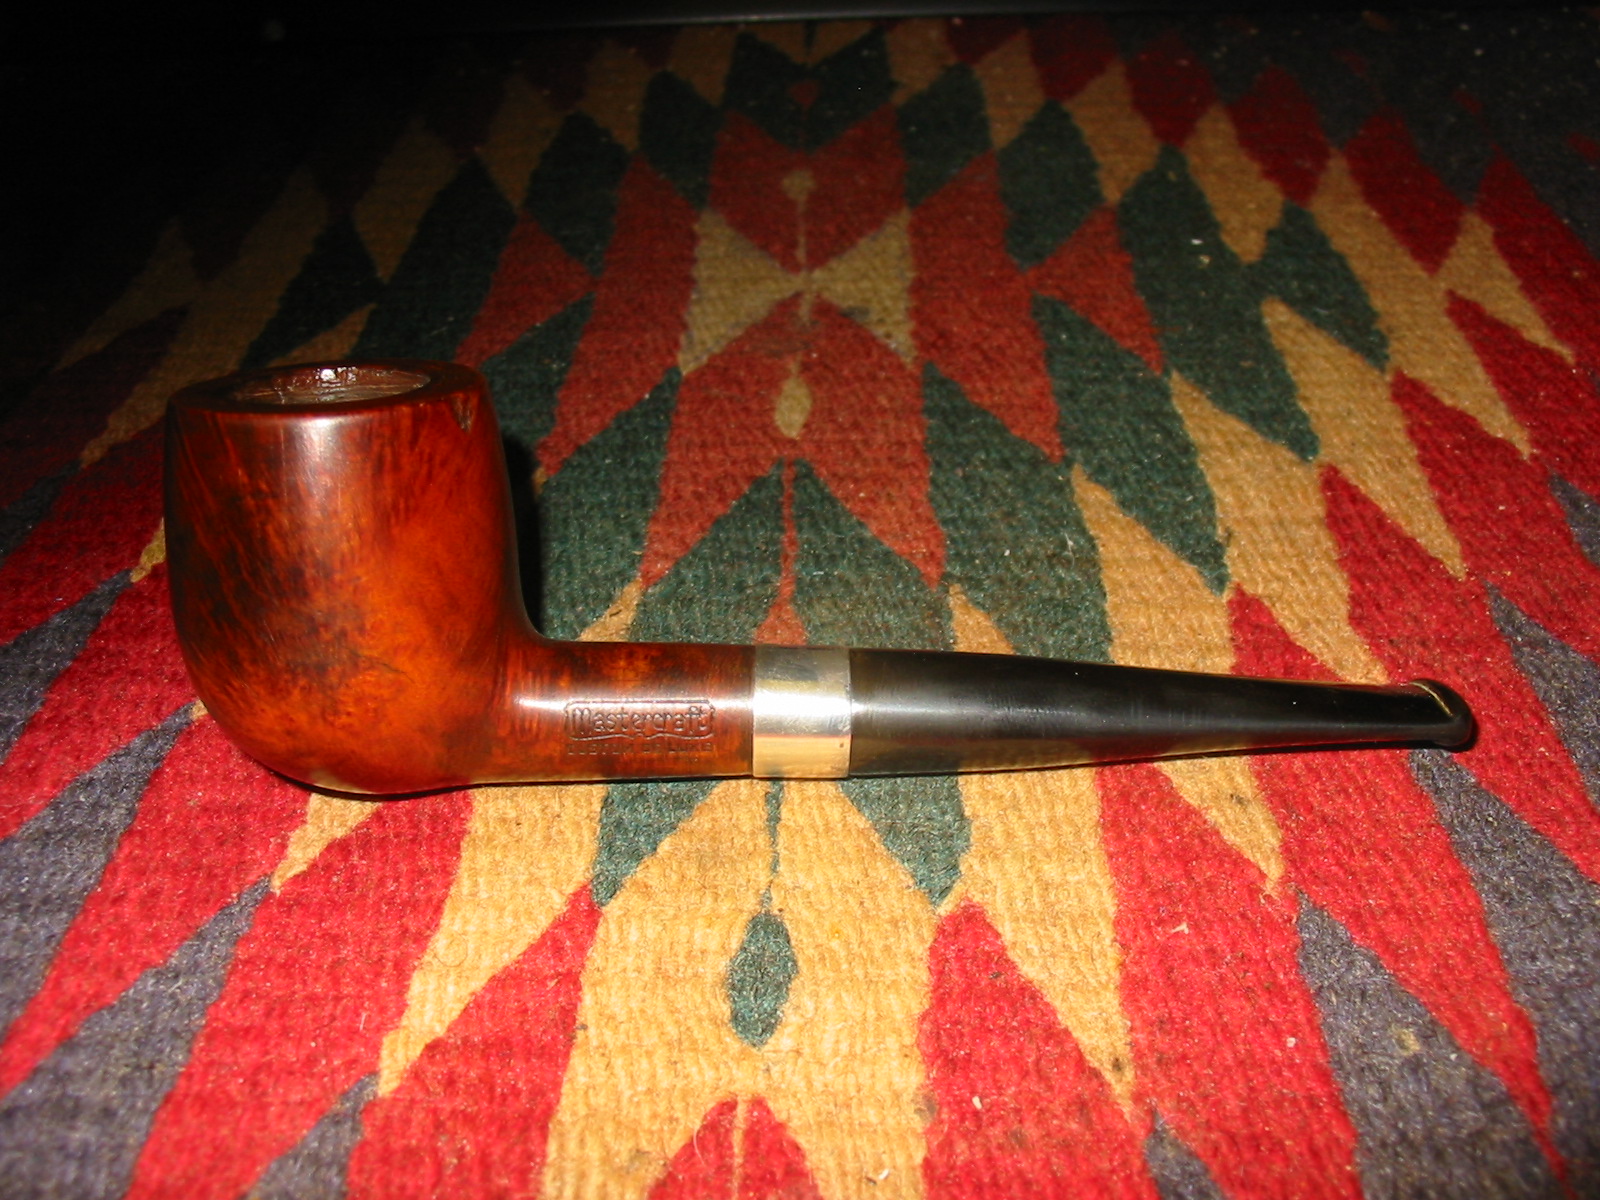
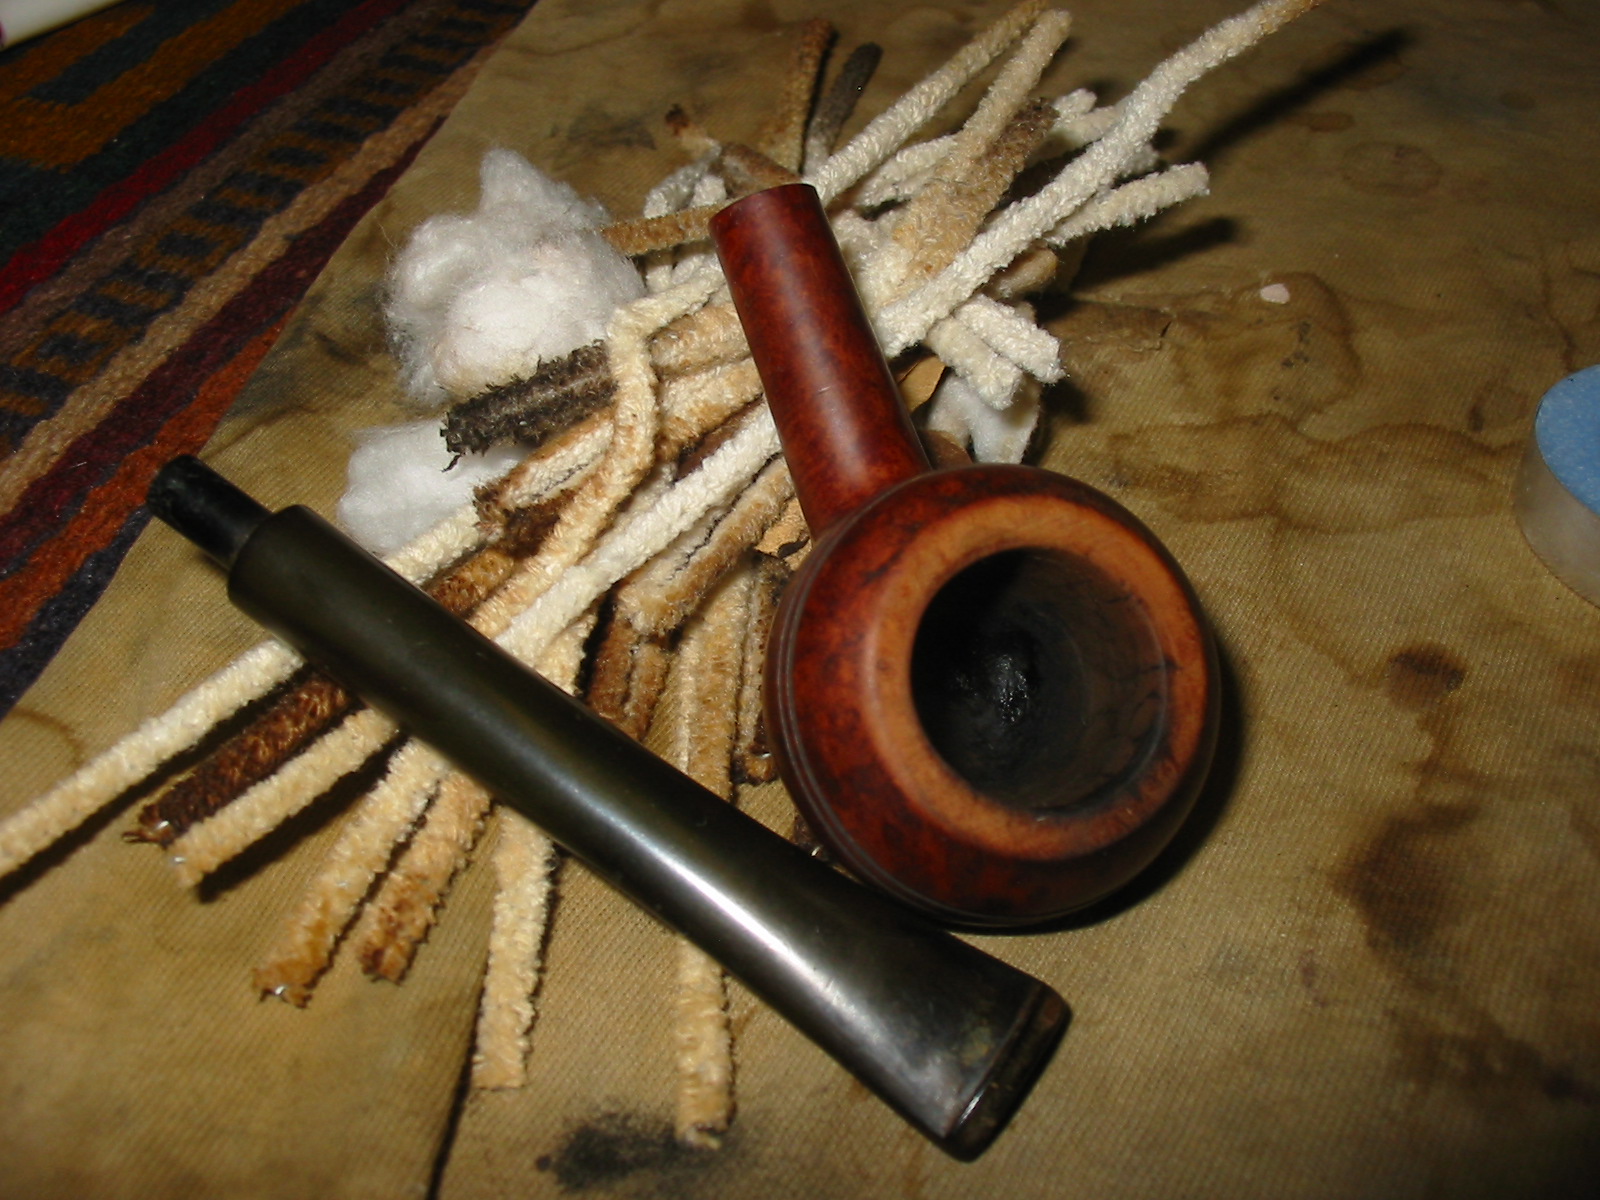
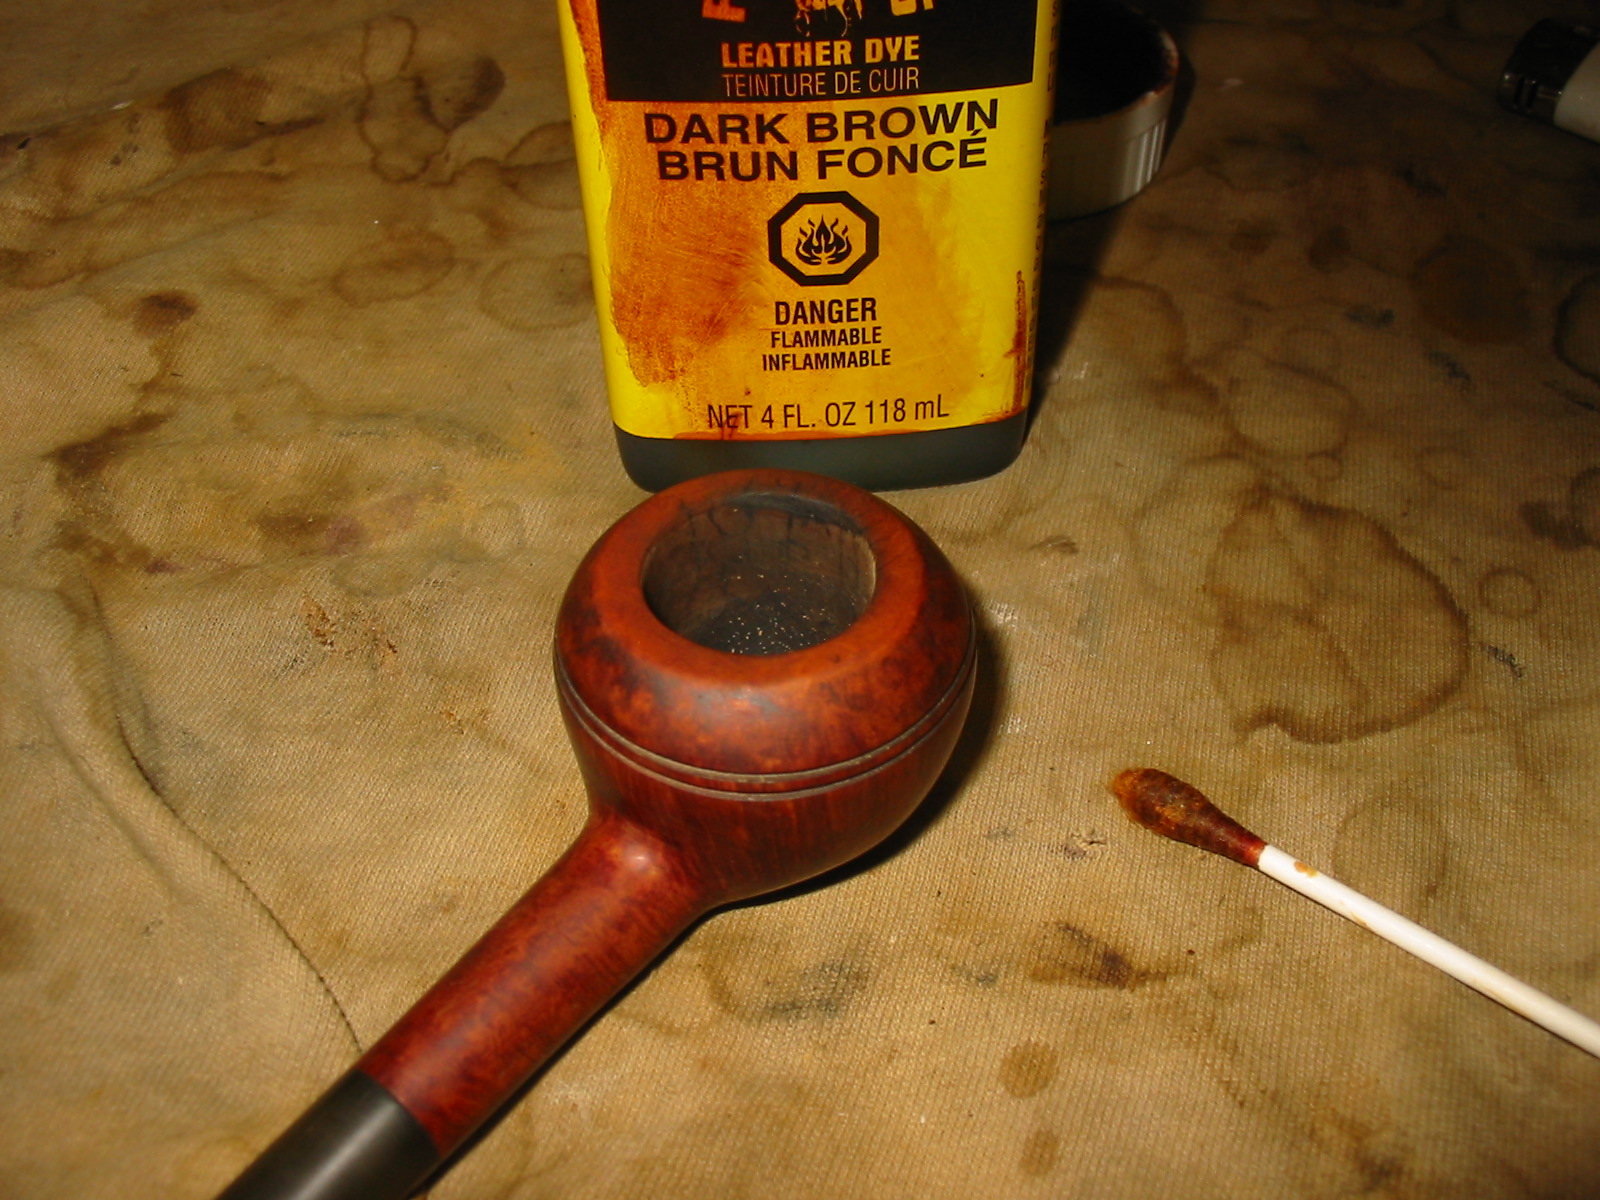
Following the micro-mesh, I used a light brown leather stain recommended by Chuck, which I found at Hoffmantown Shoe and Boot Repair, after which Hunter at Stag Tobacconist(owing to my lack of supplies and equipment) buffed the bowl with Red Tripoli Wax and the stem with White Tripoli.
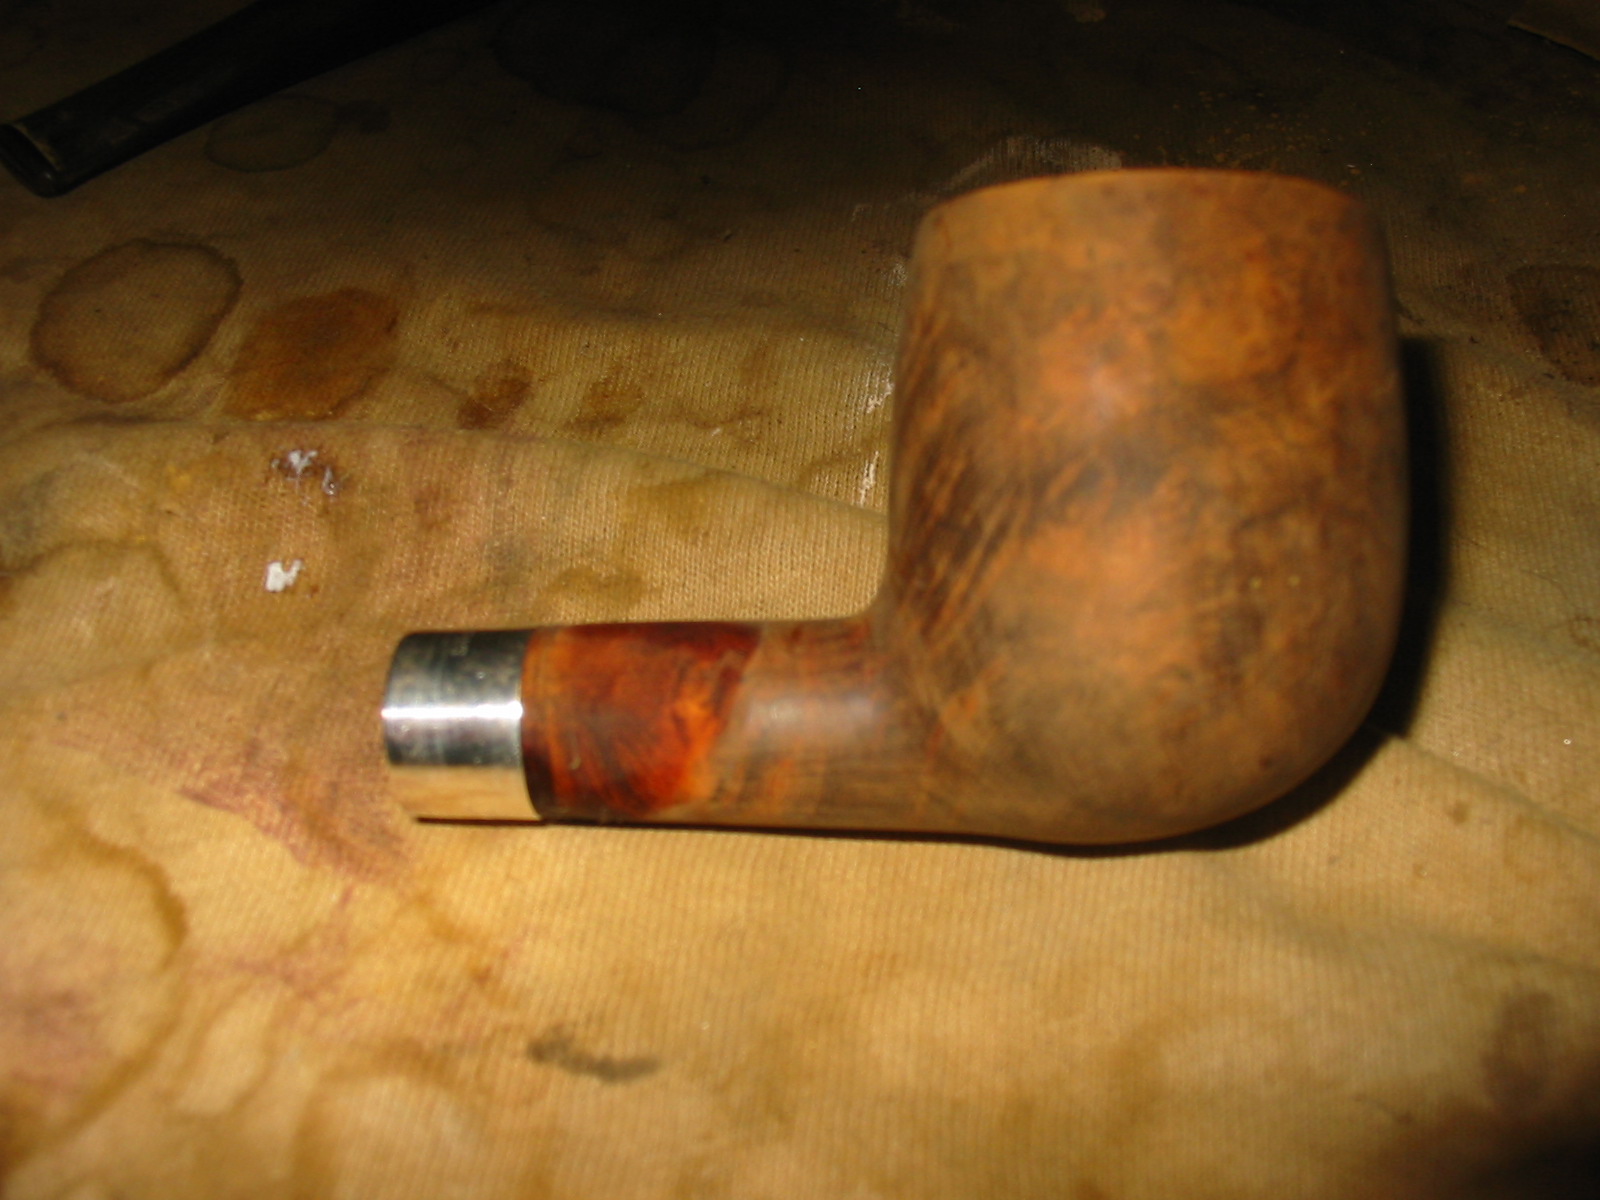
I bought a very cheap wheel buffer to apply Halcyon II Wax, which gave the pipe a decent but still somewhat wanting finish.
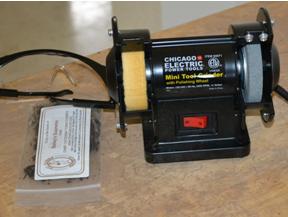
Chicago Electric Mini Grinder/Buffer
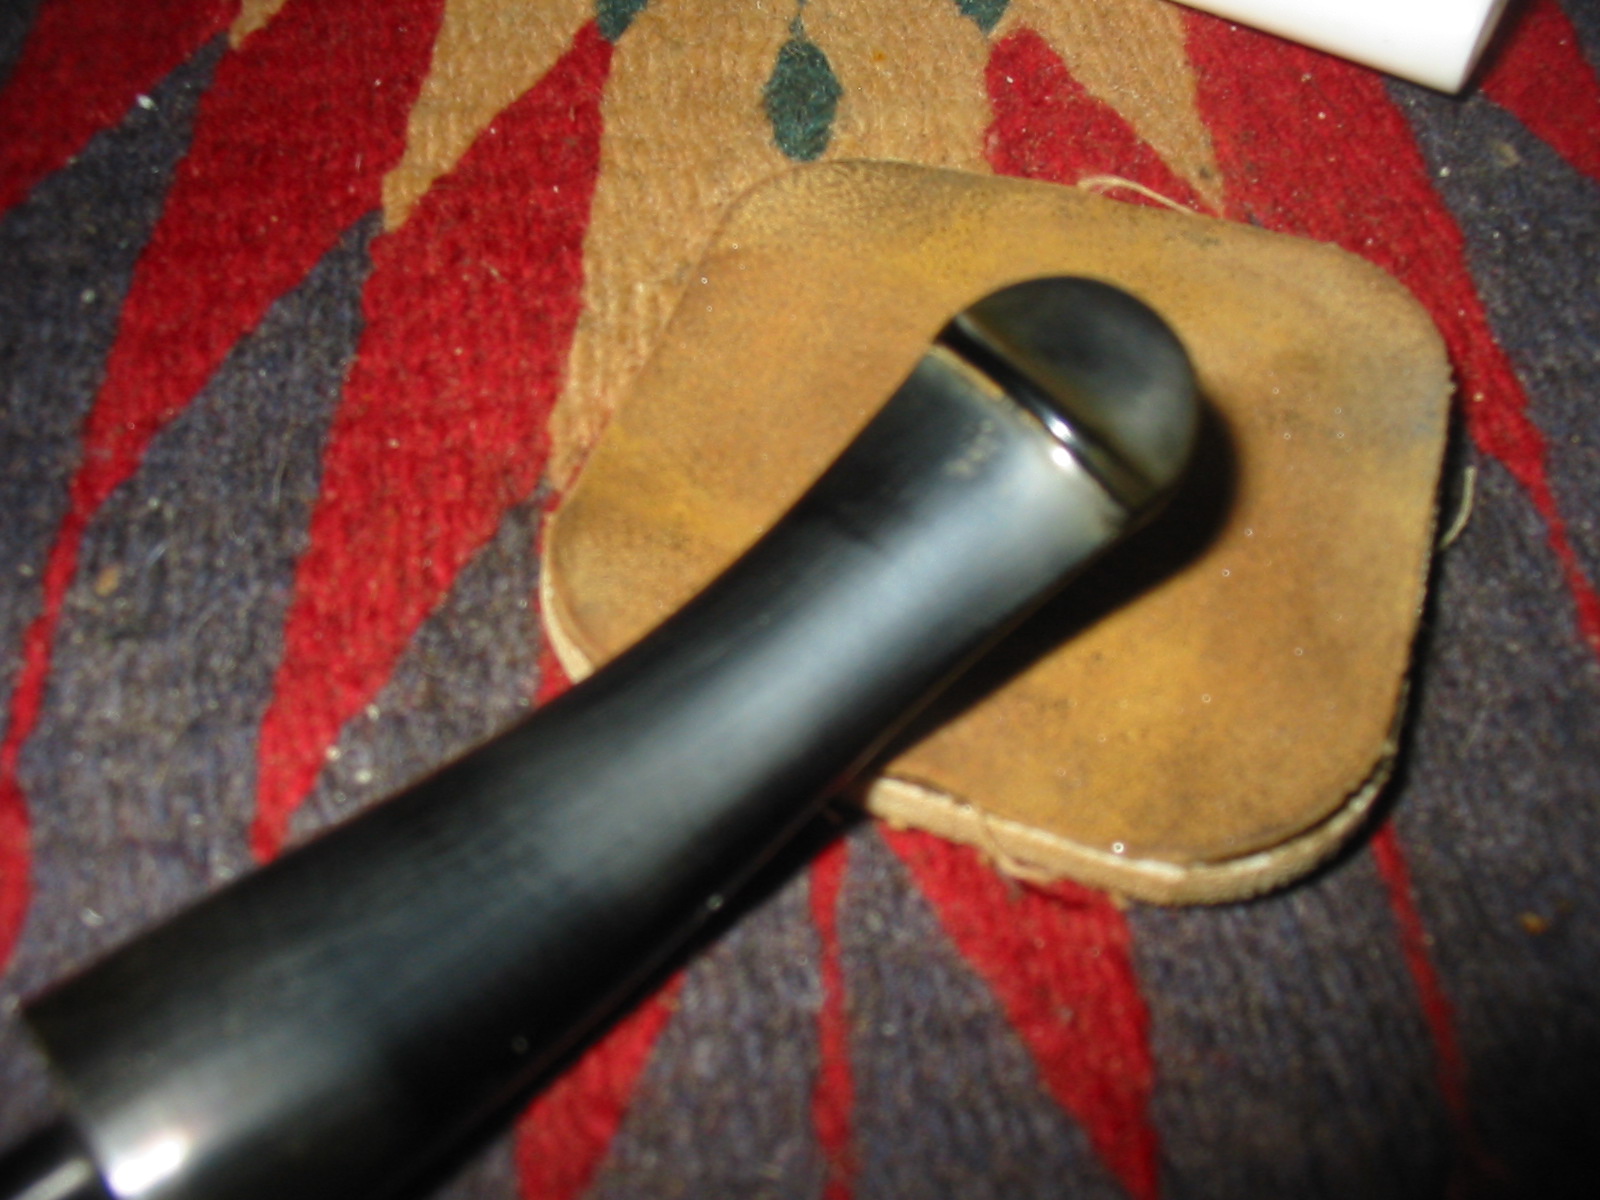
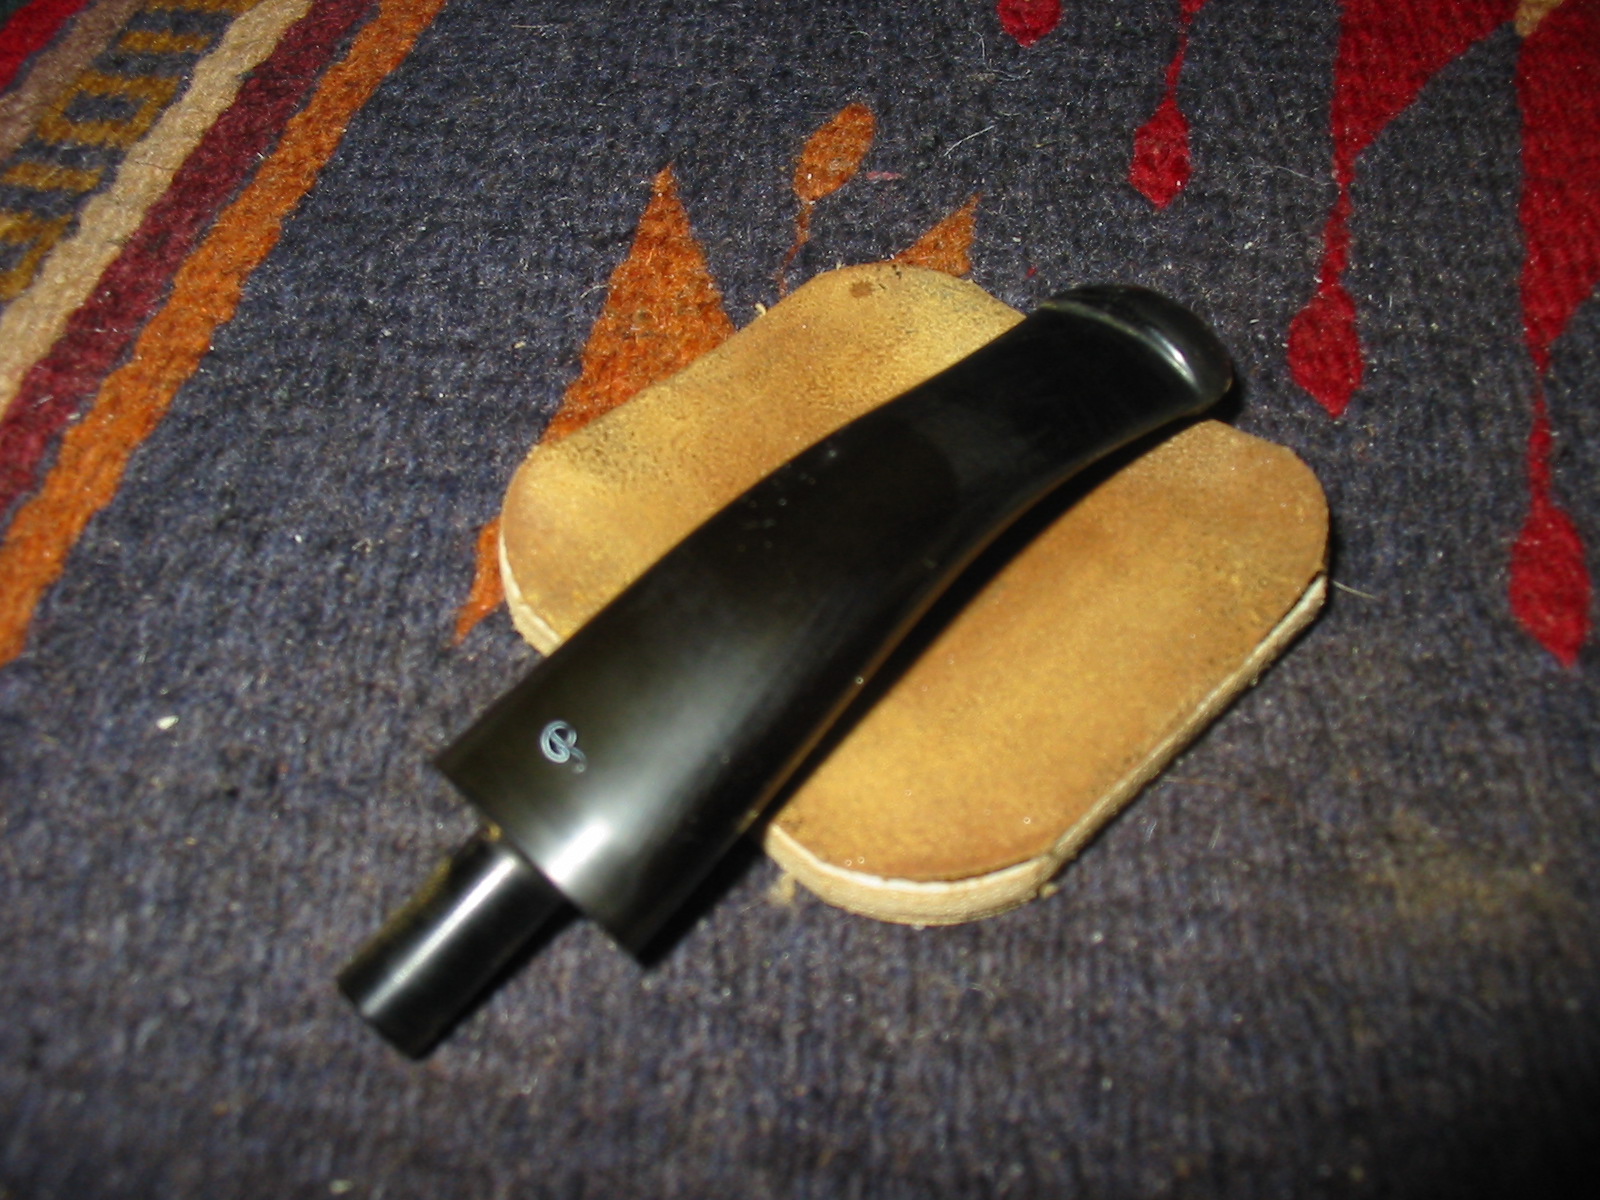
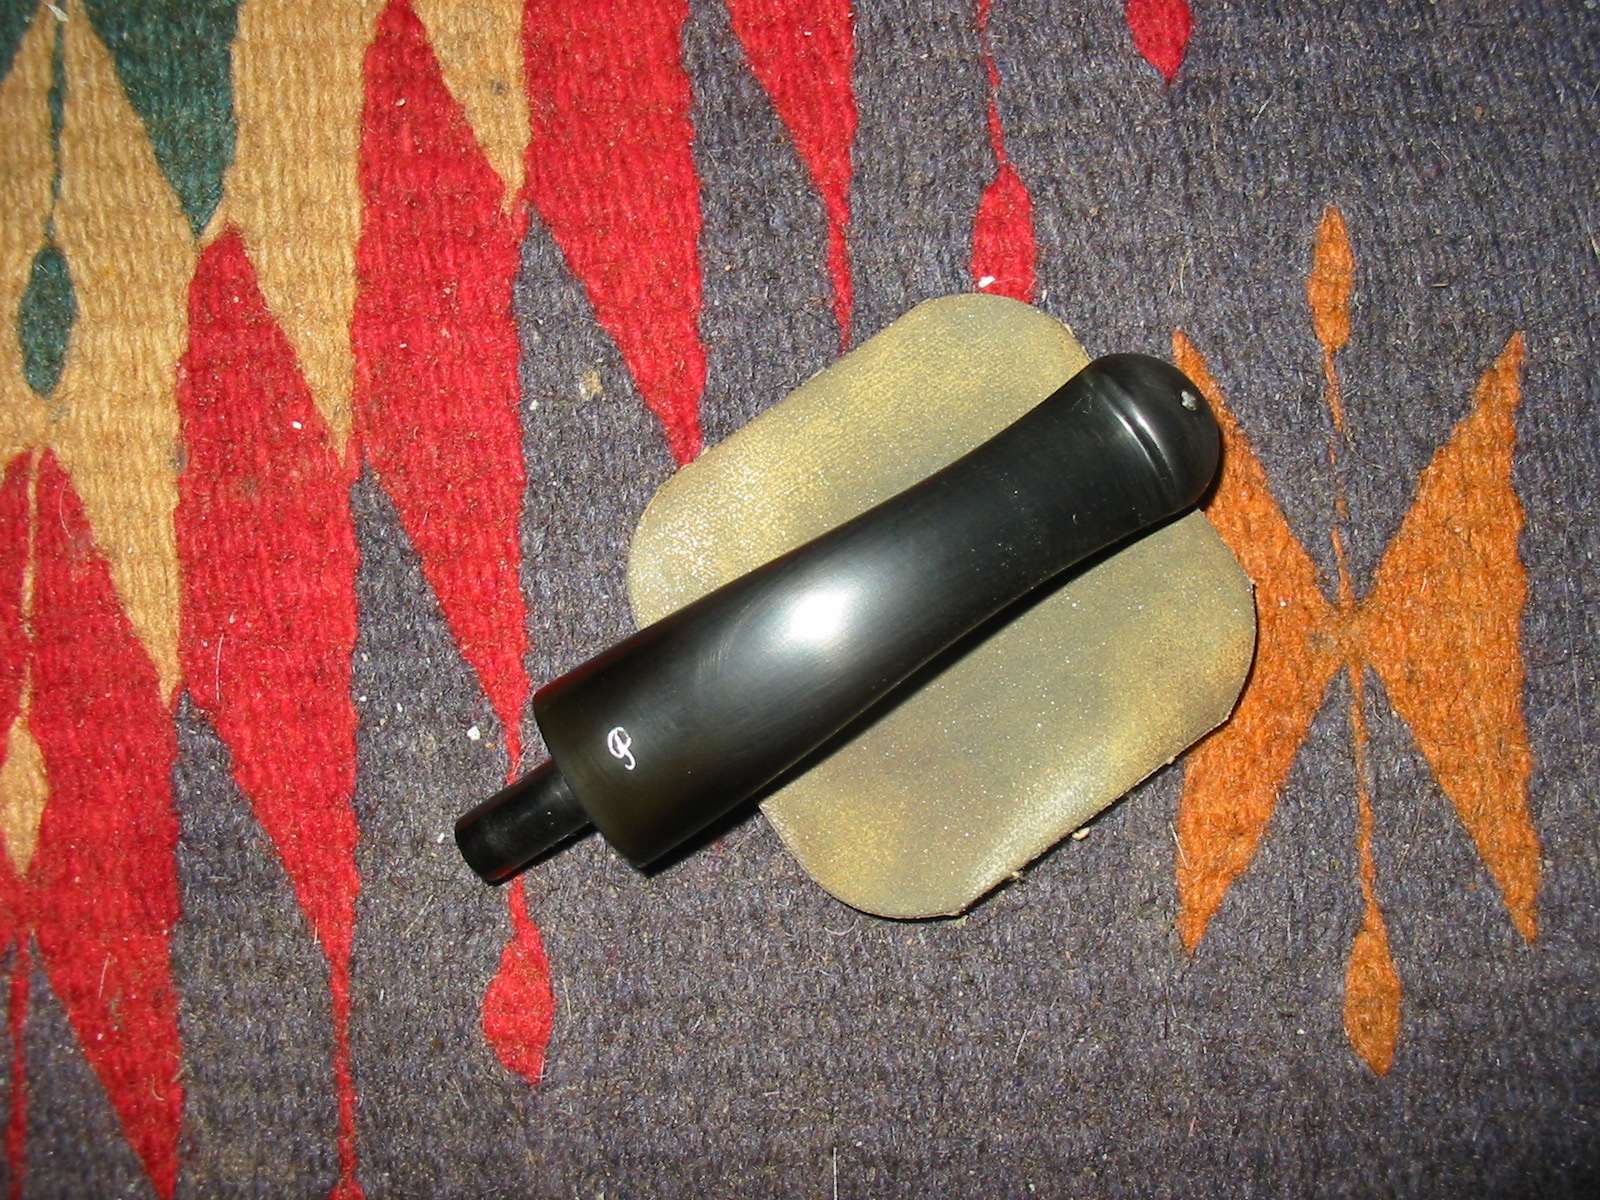
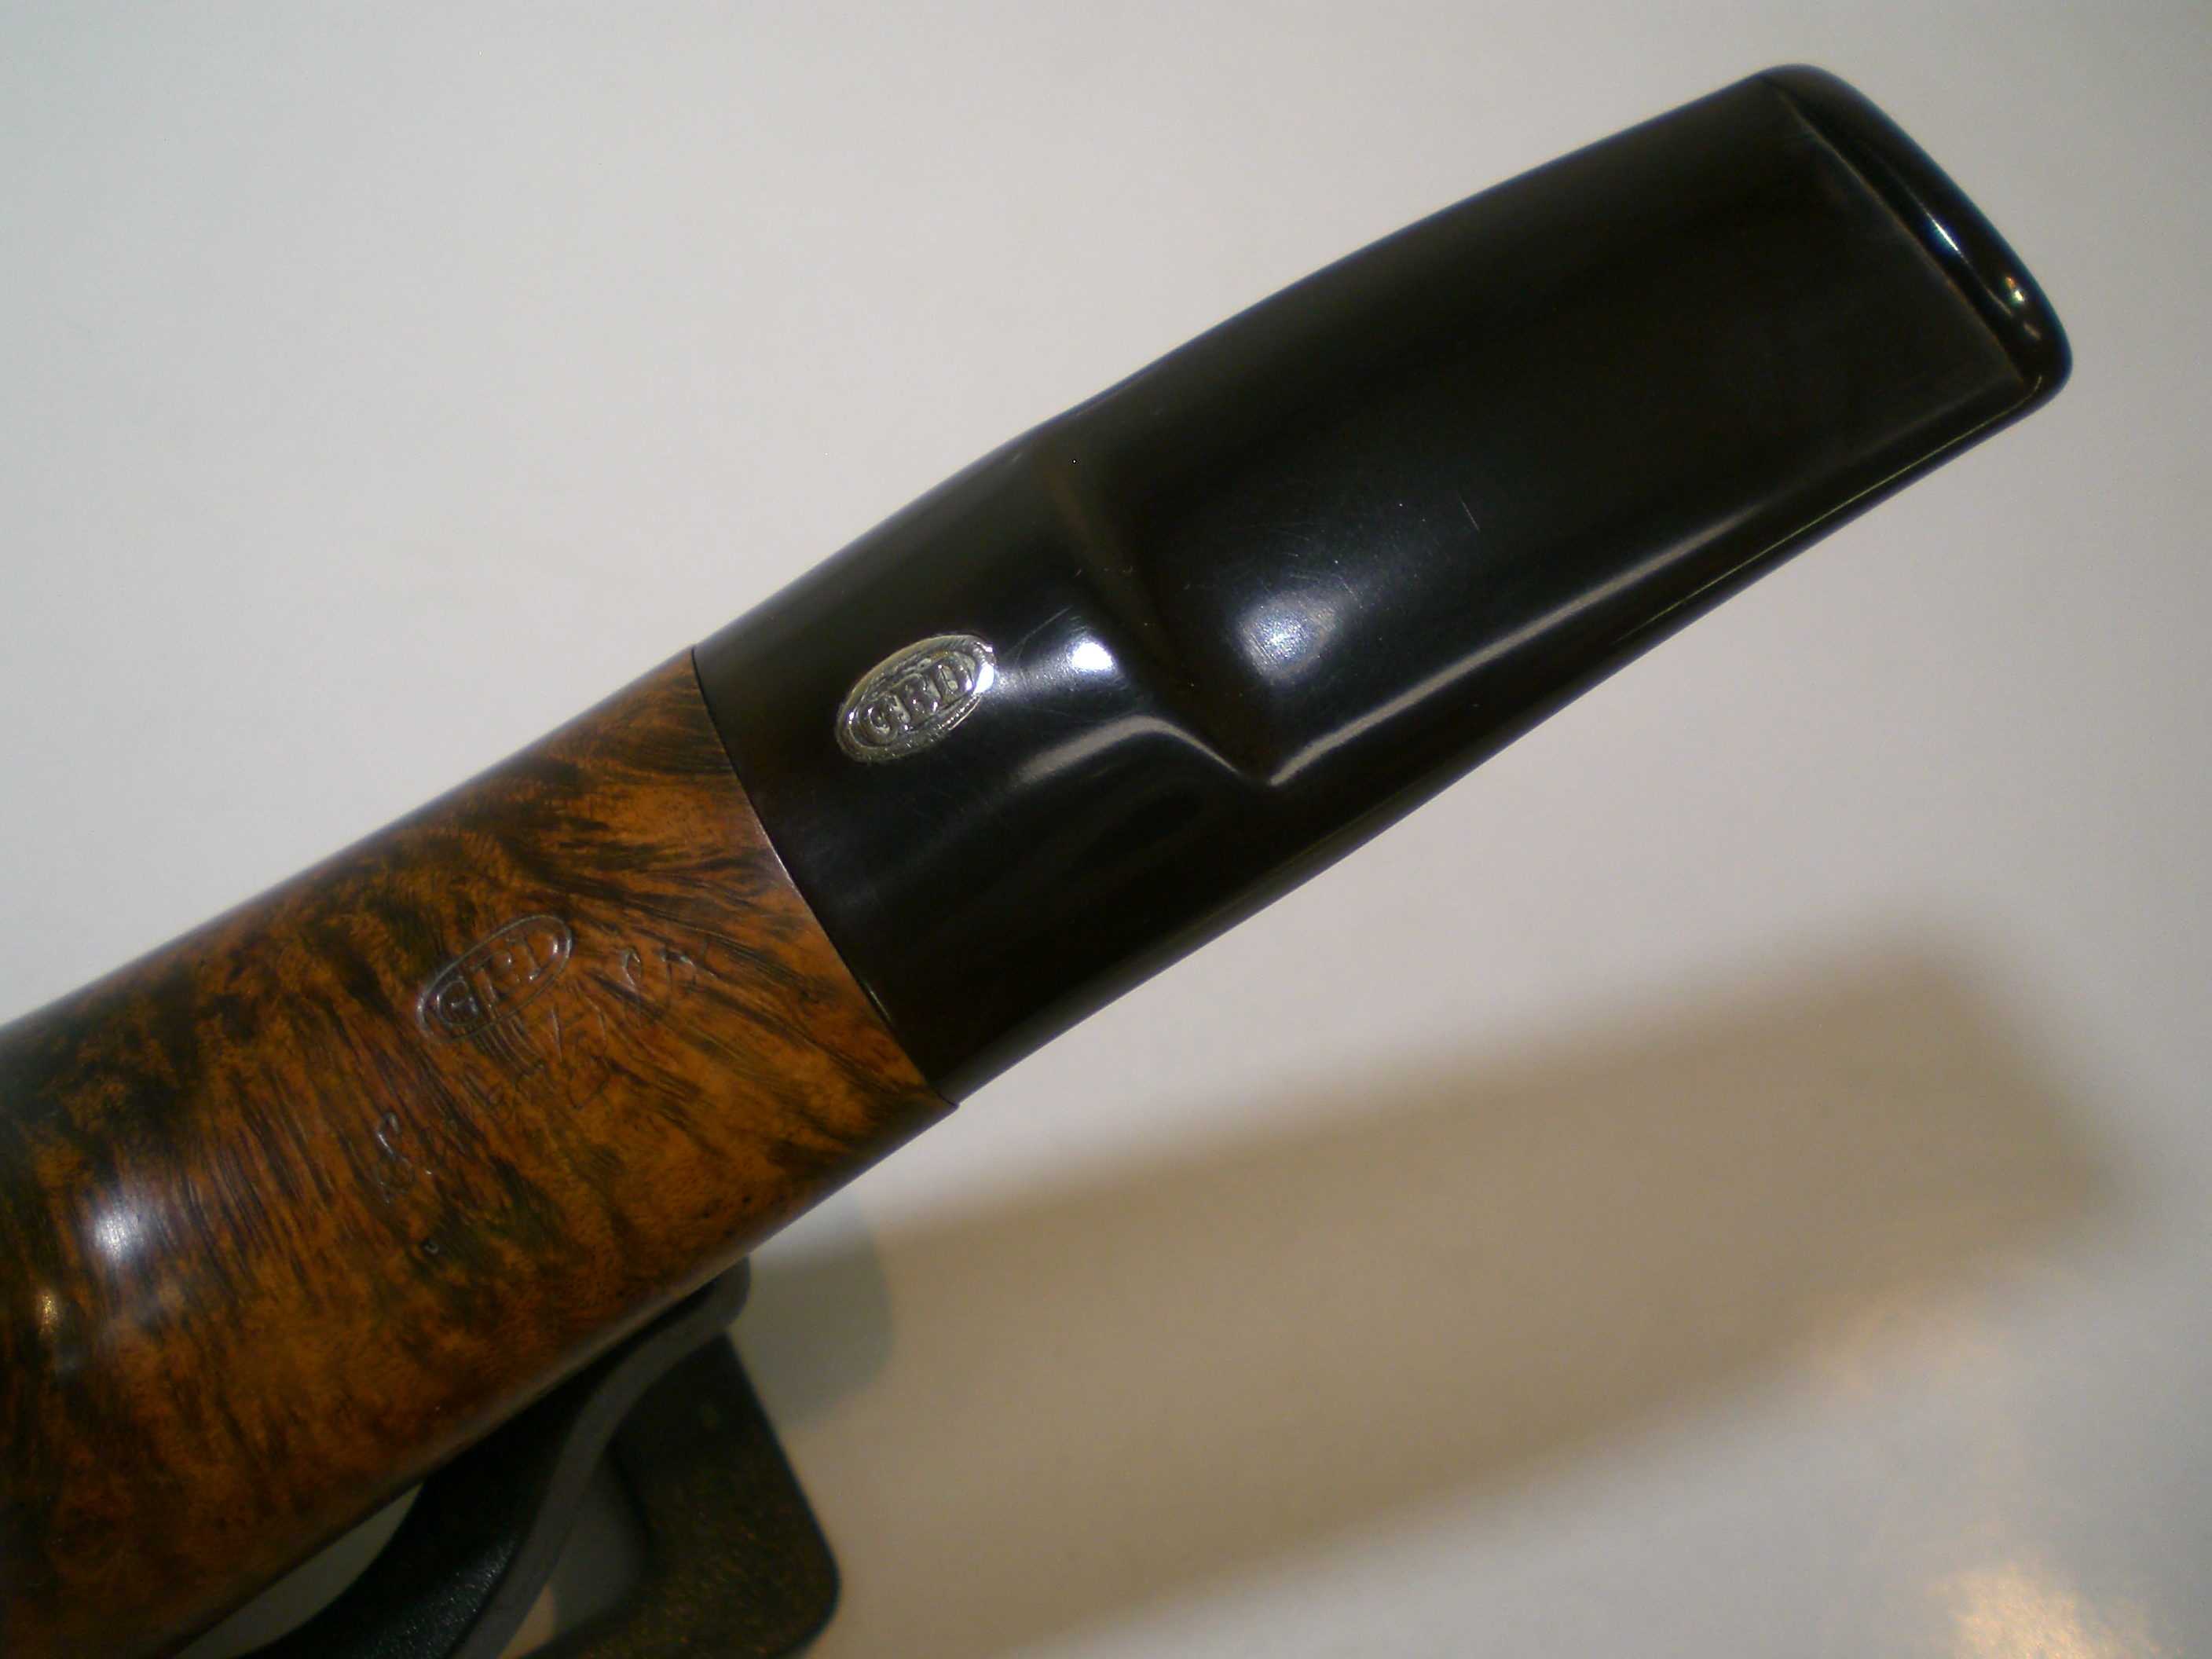
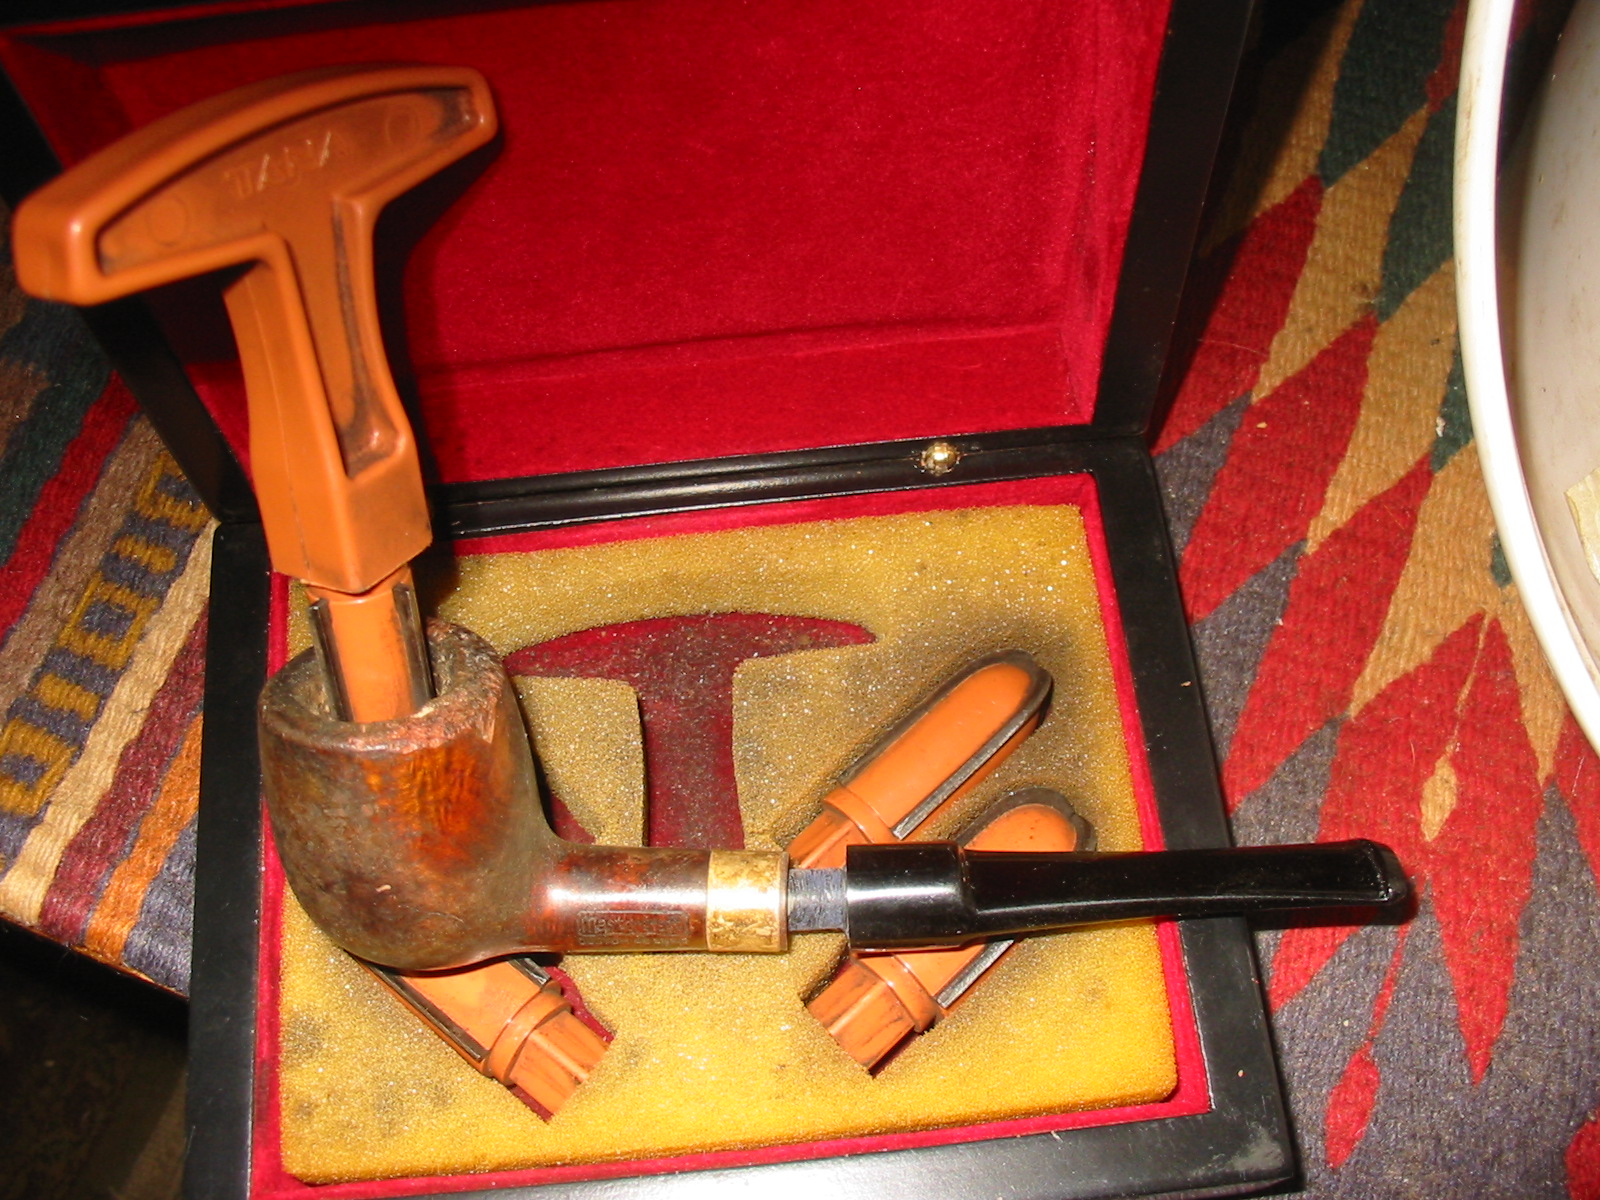
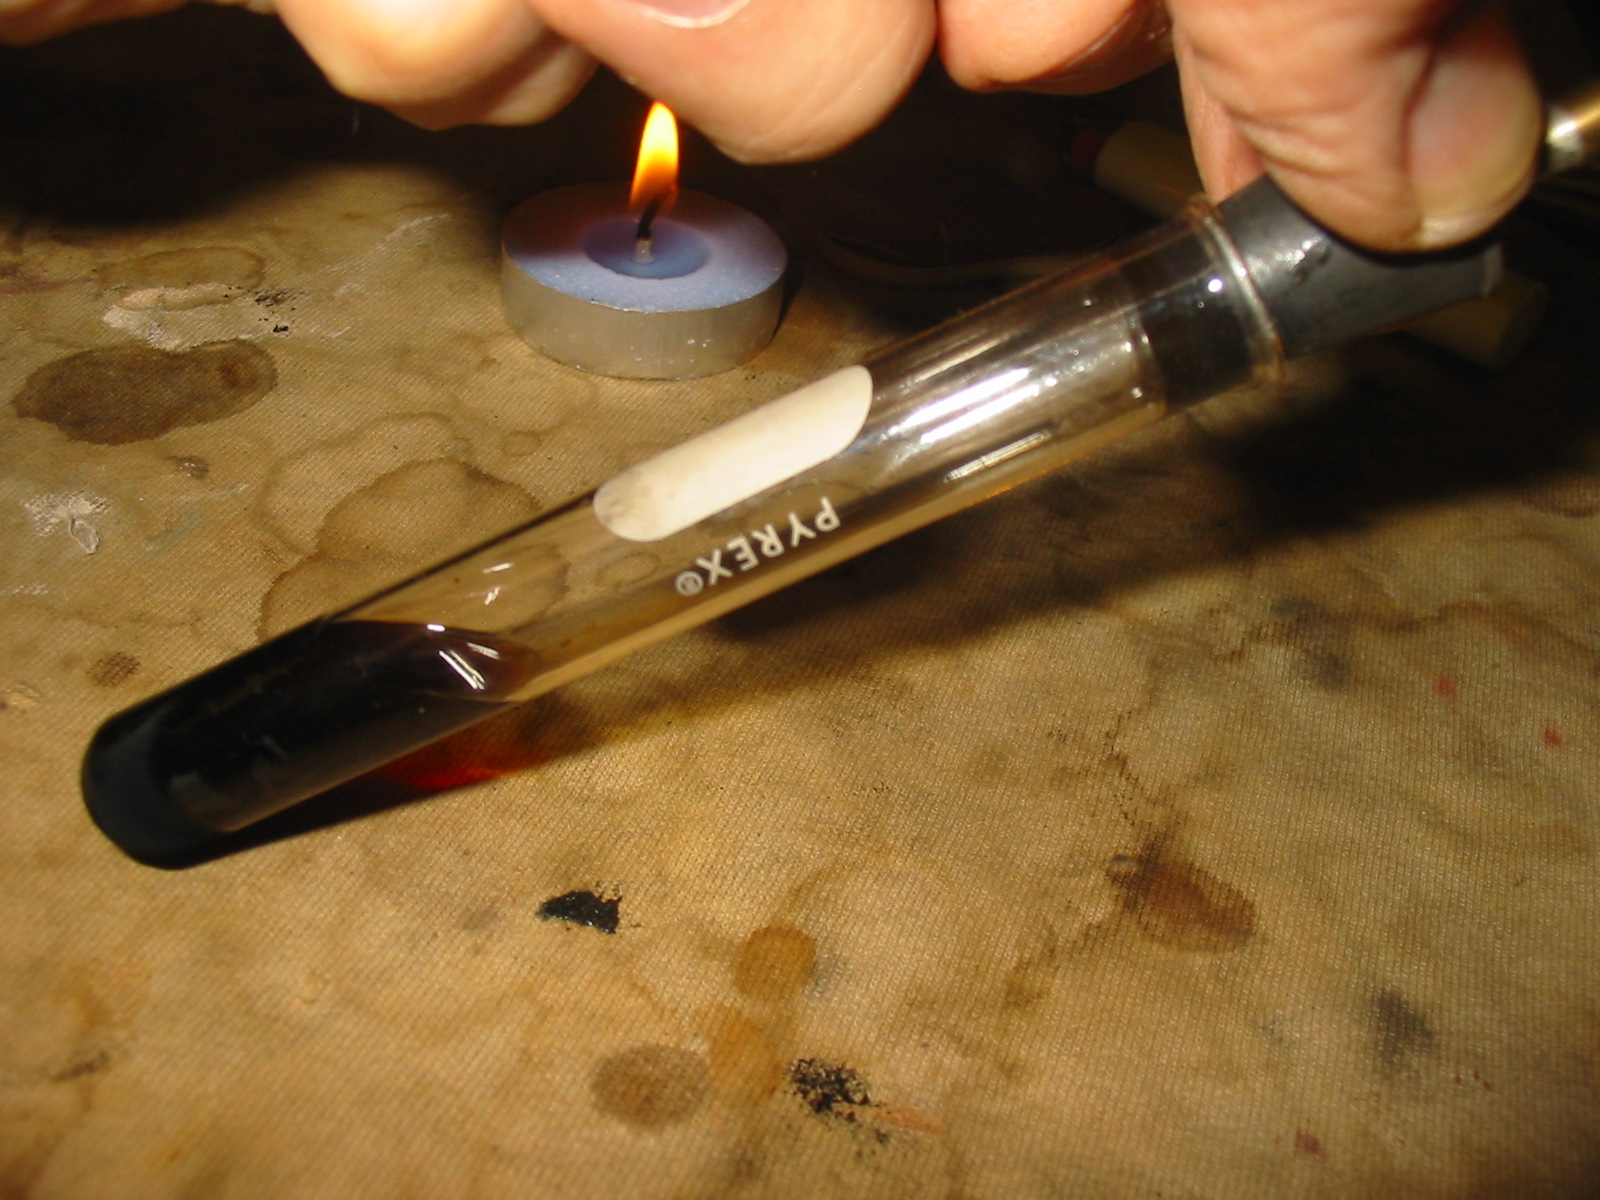
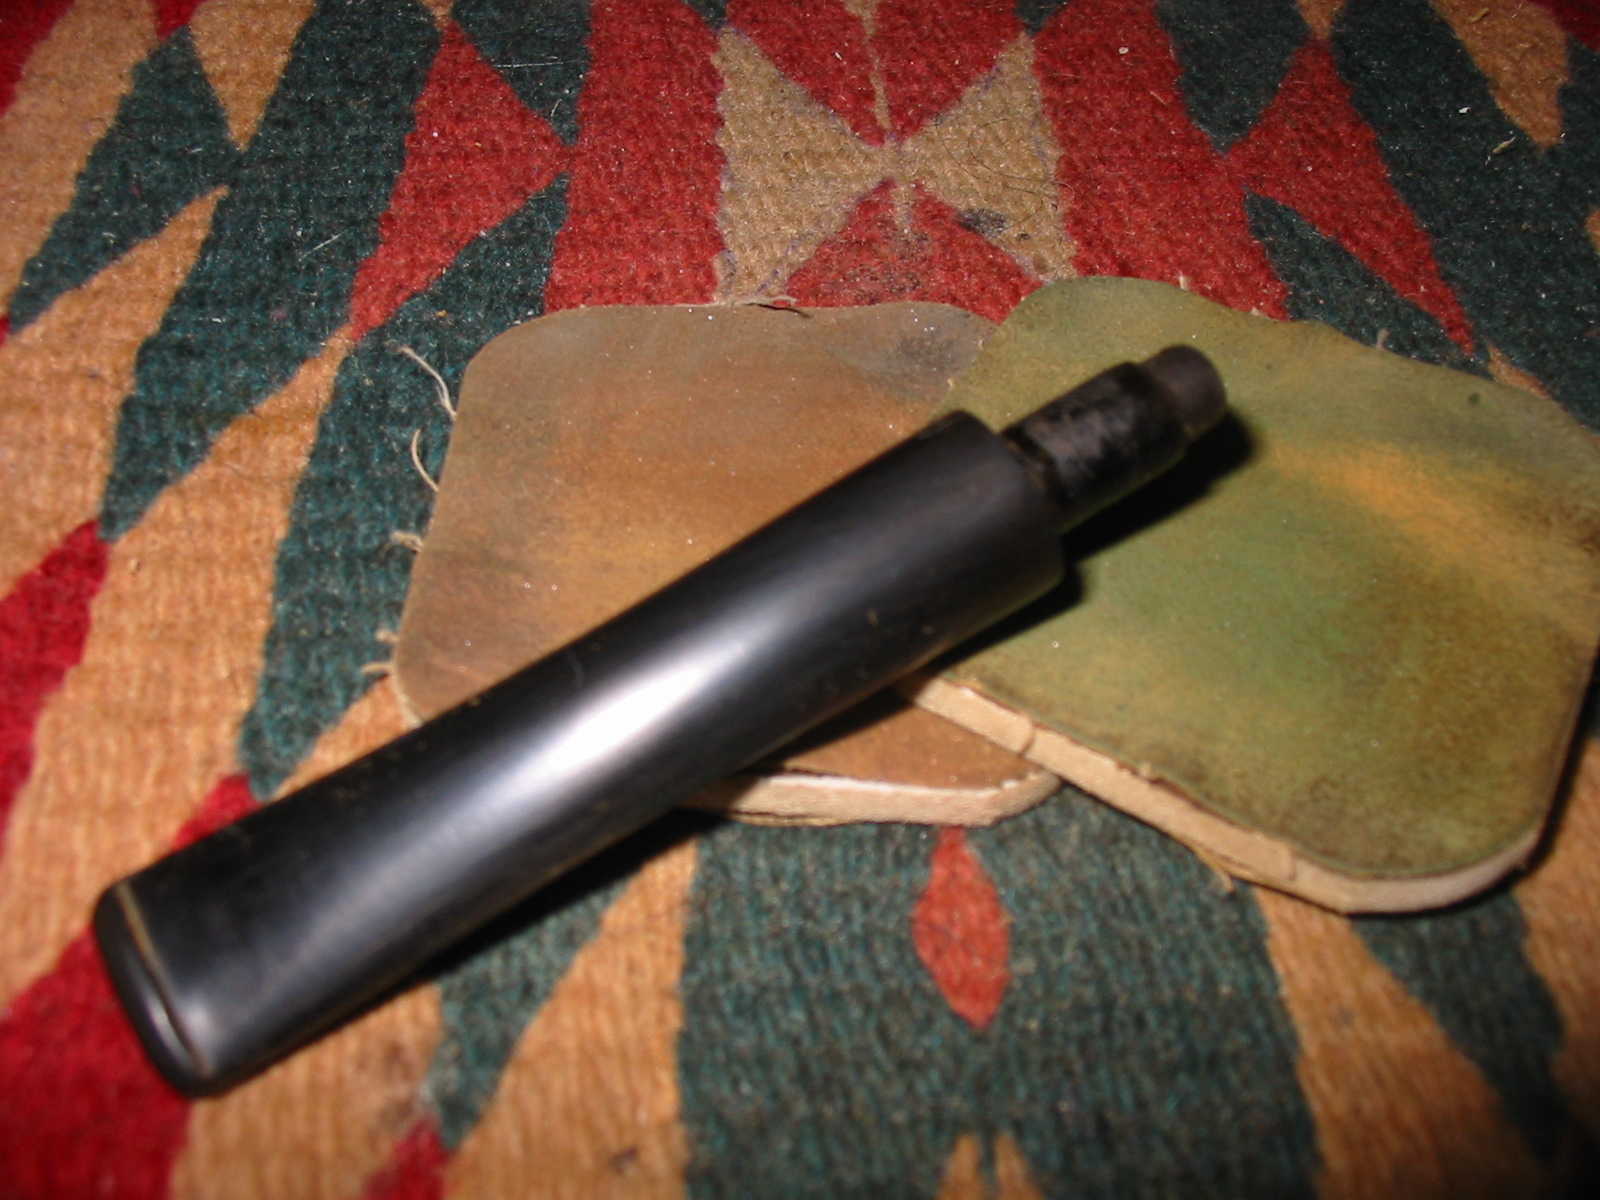
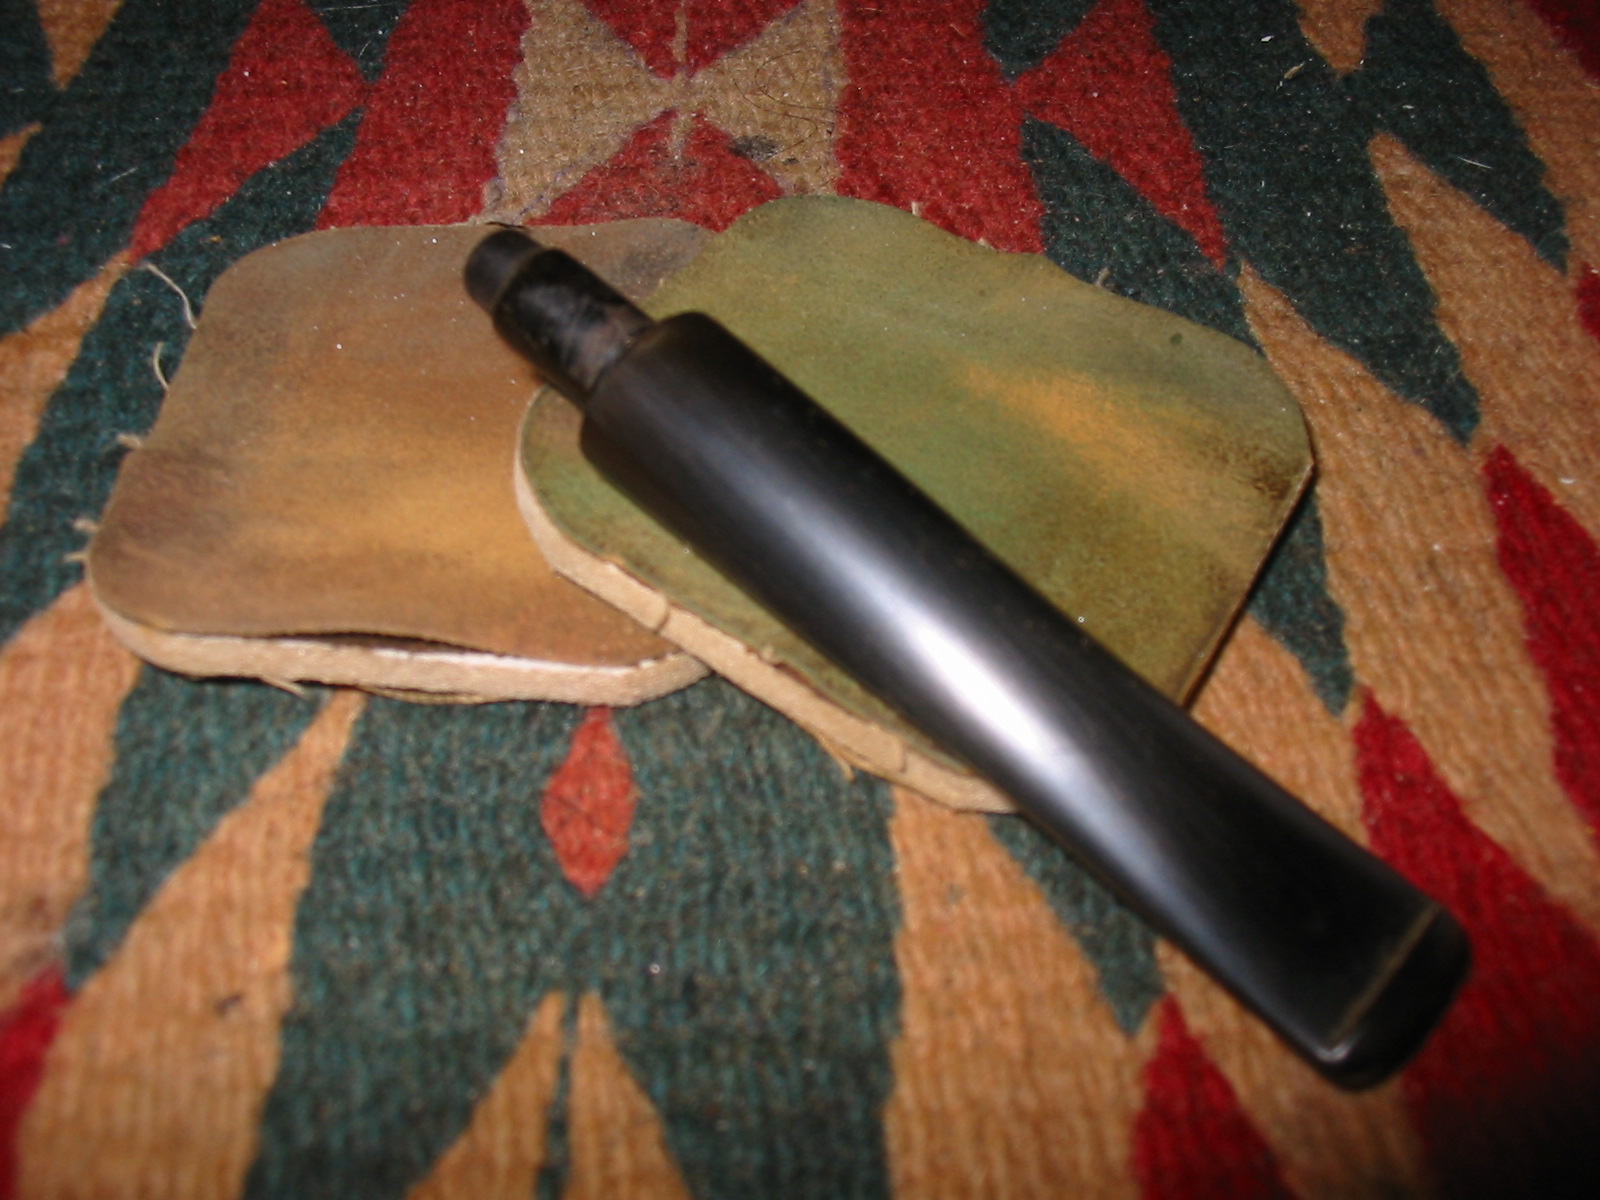
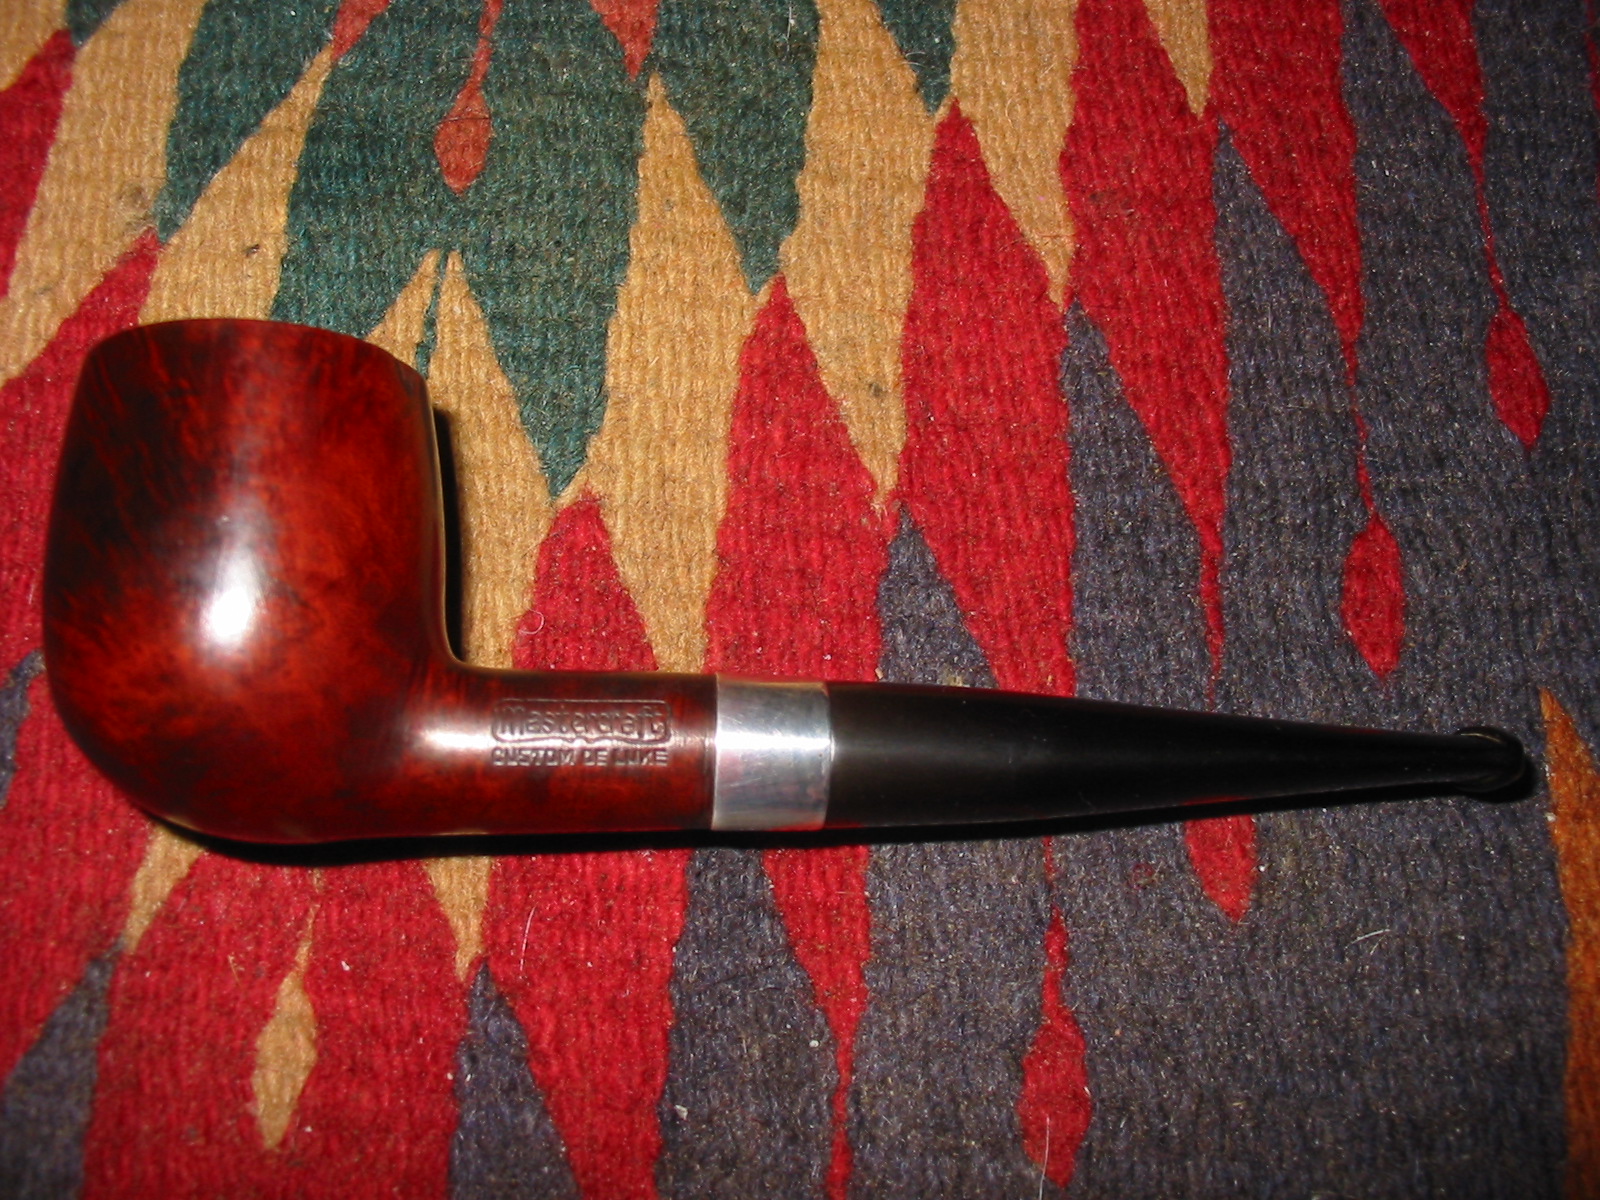
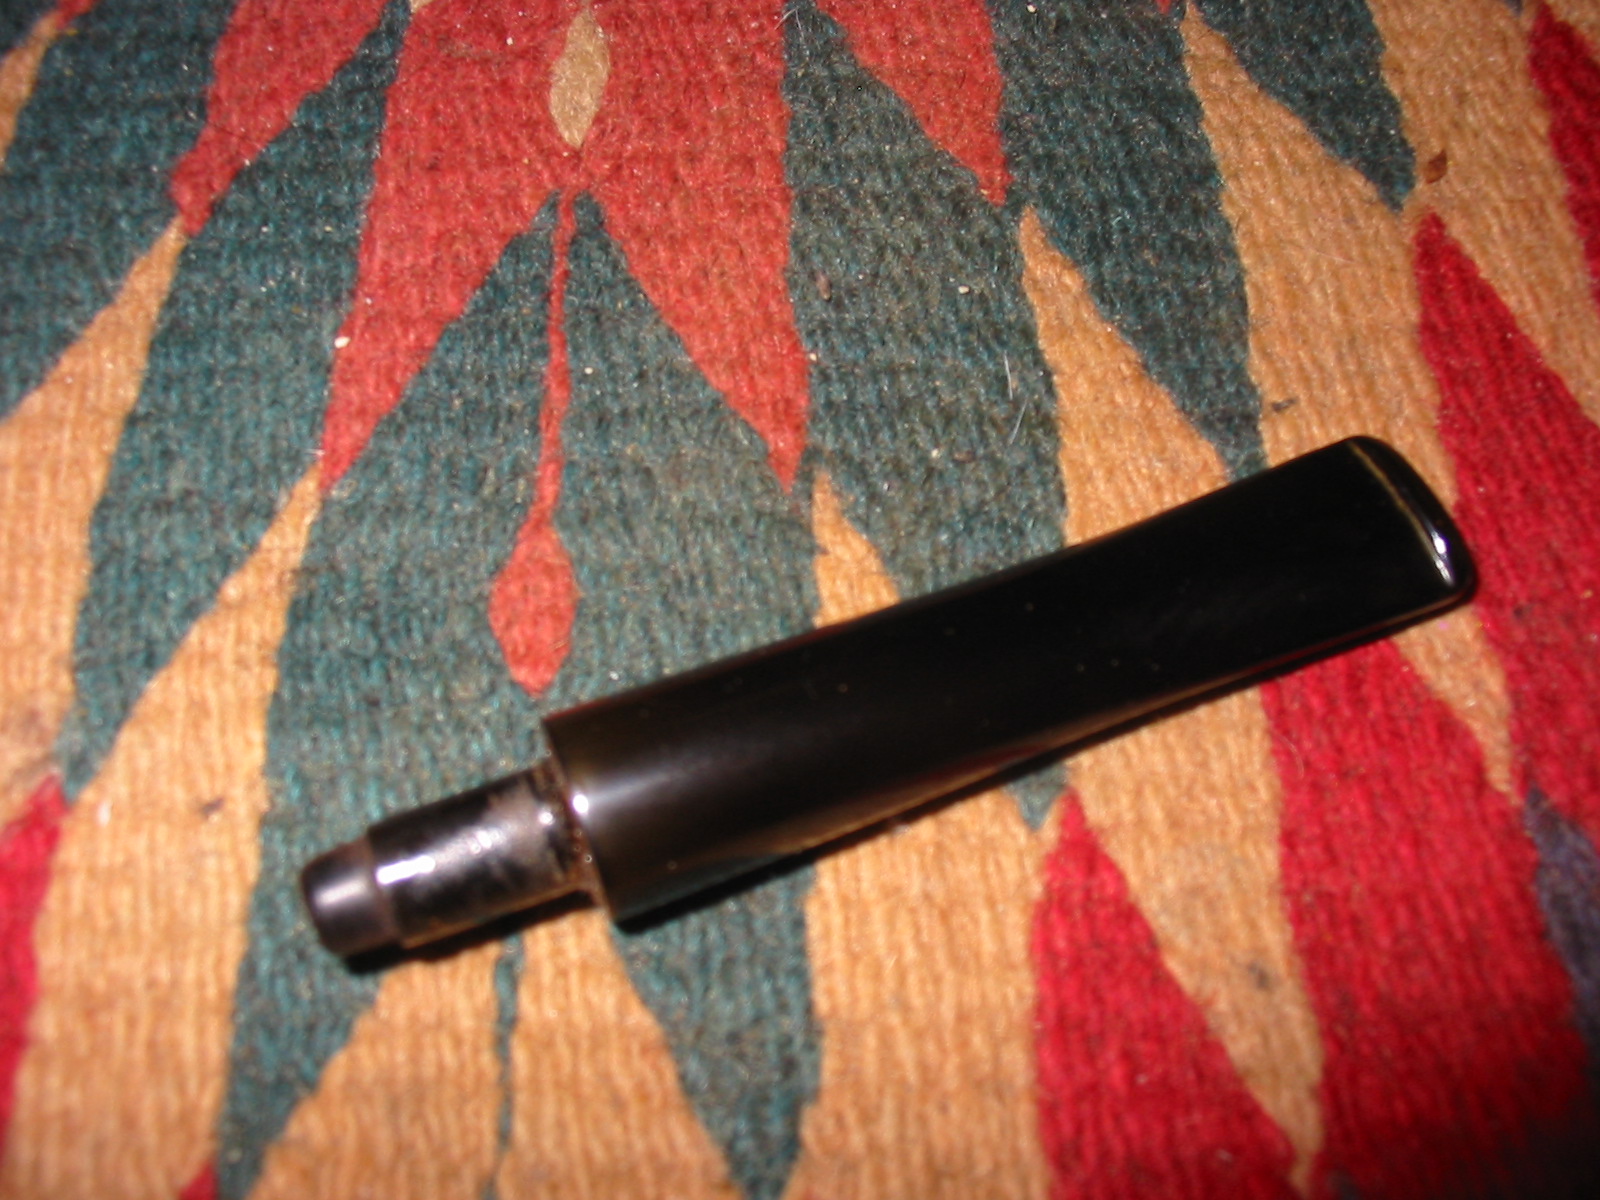
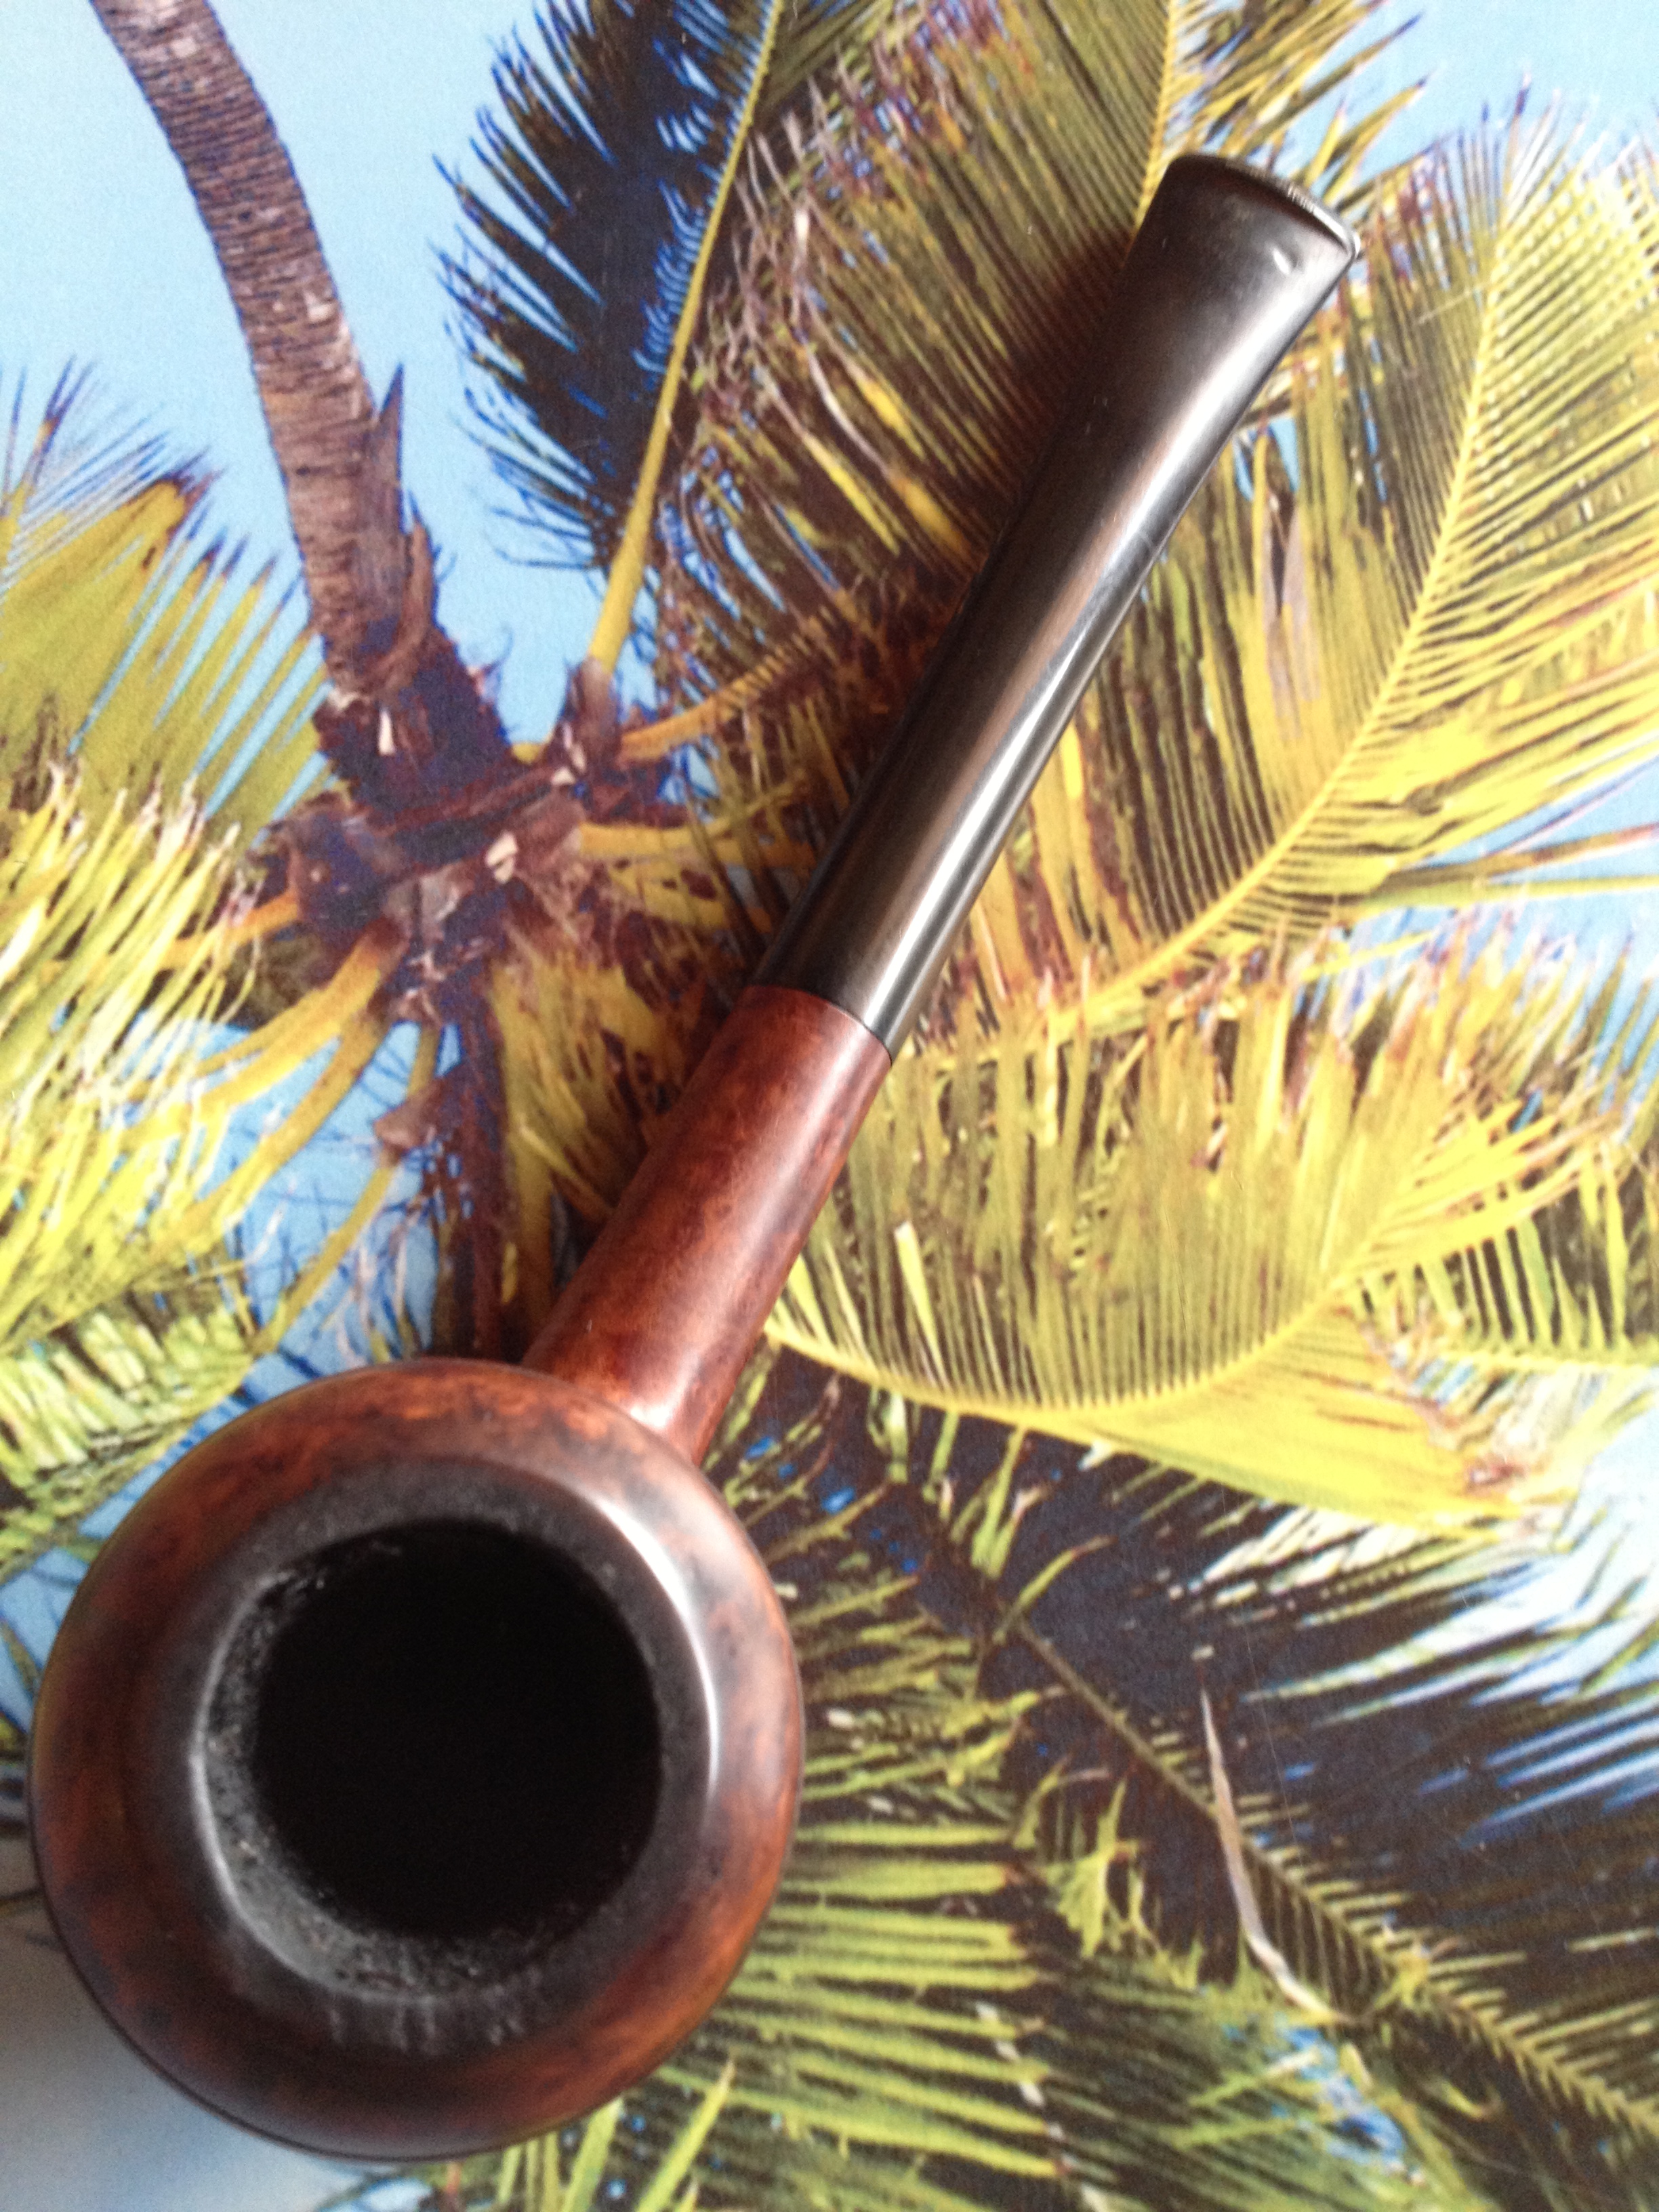
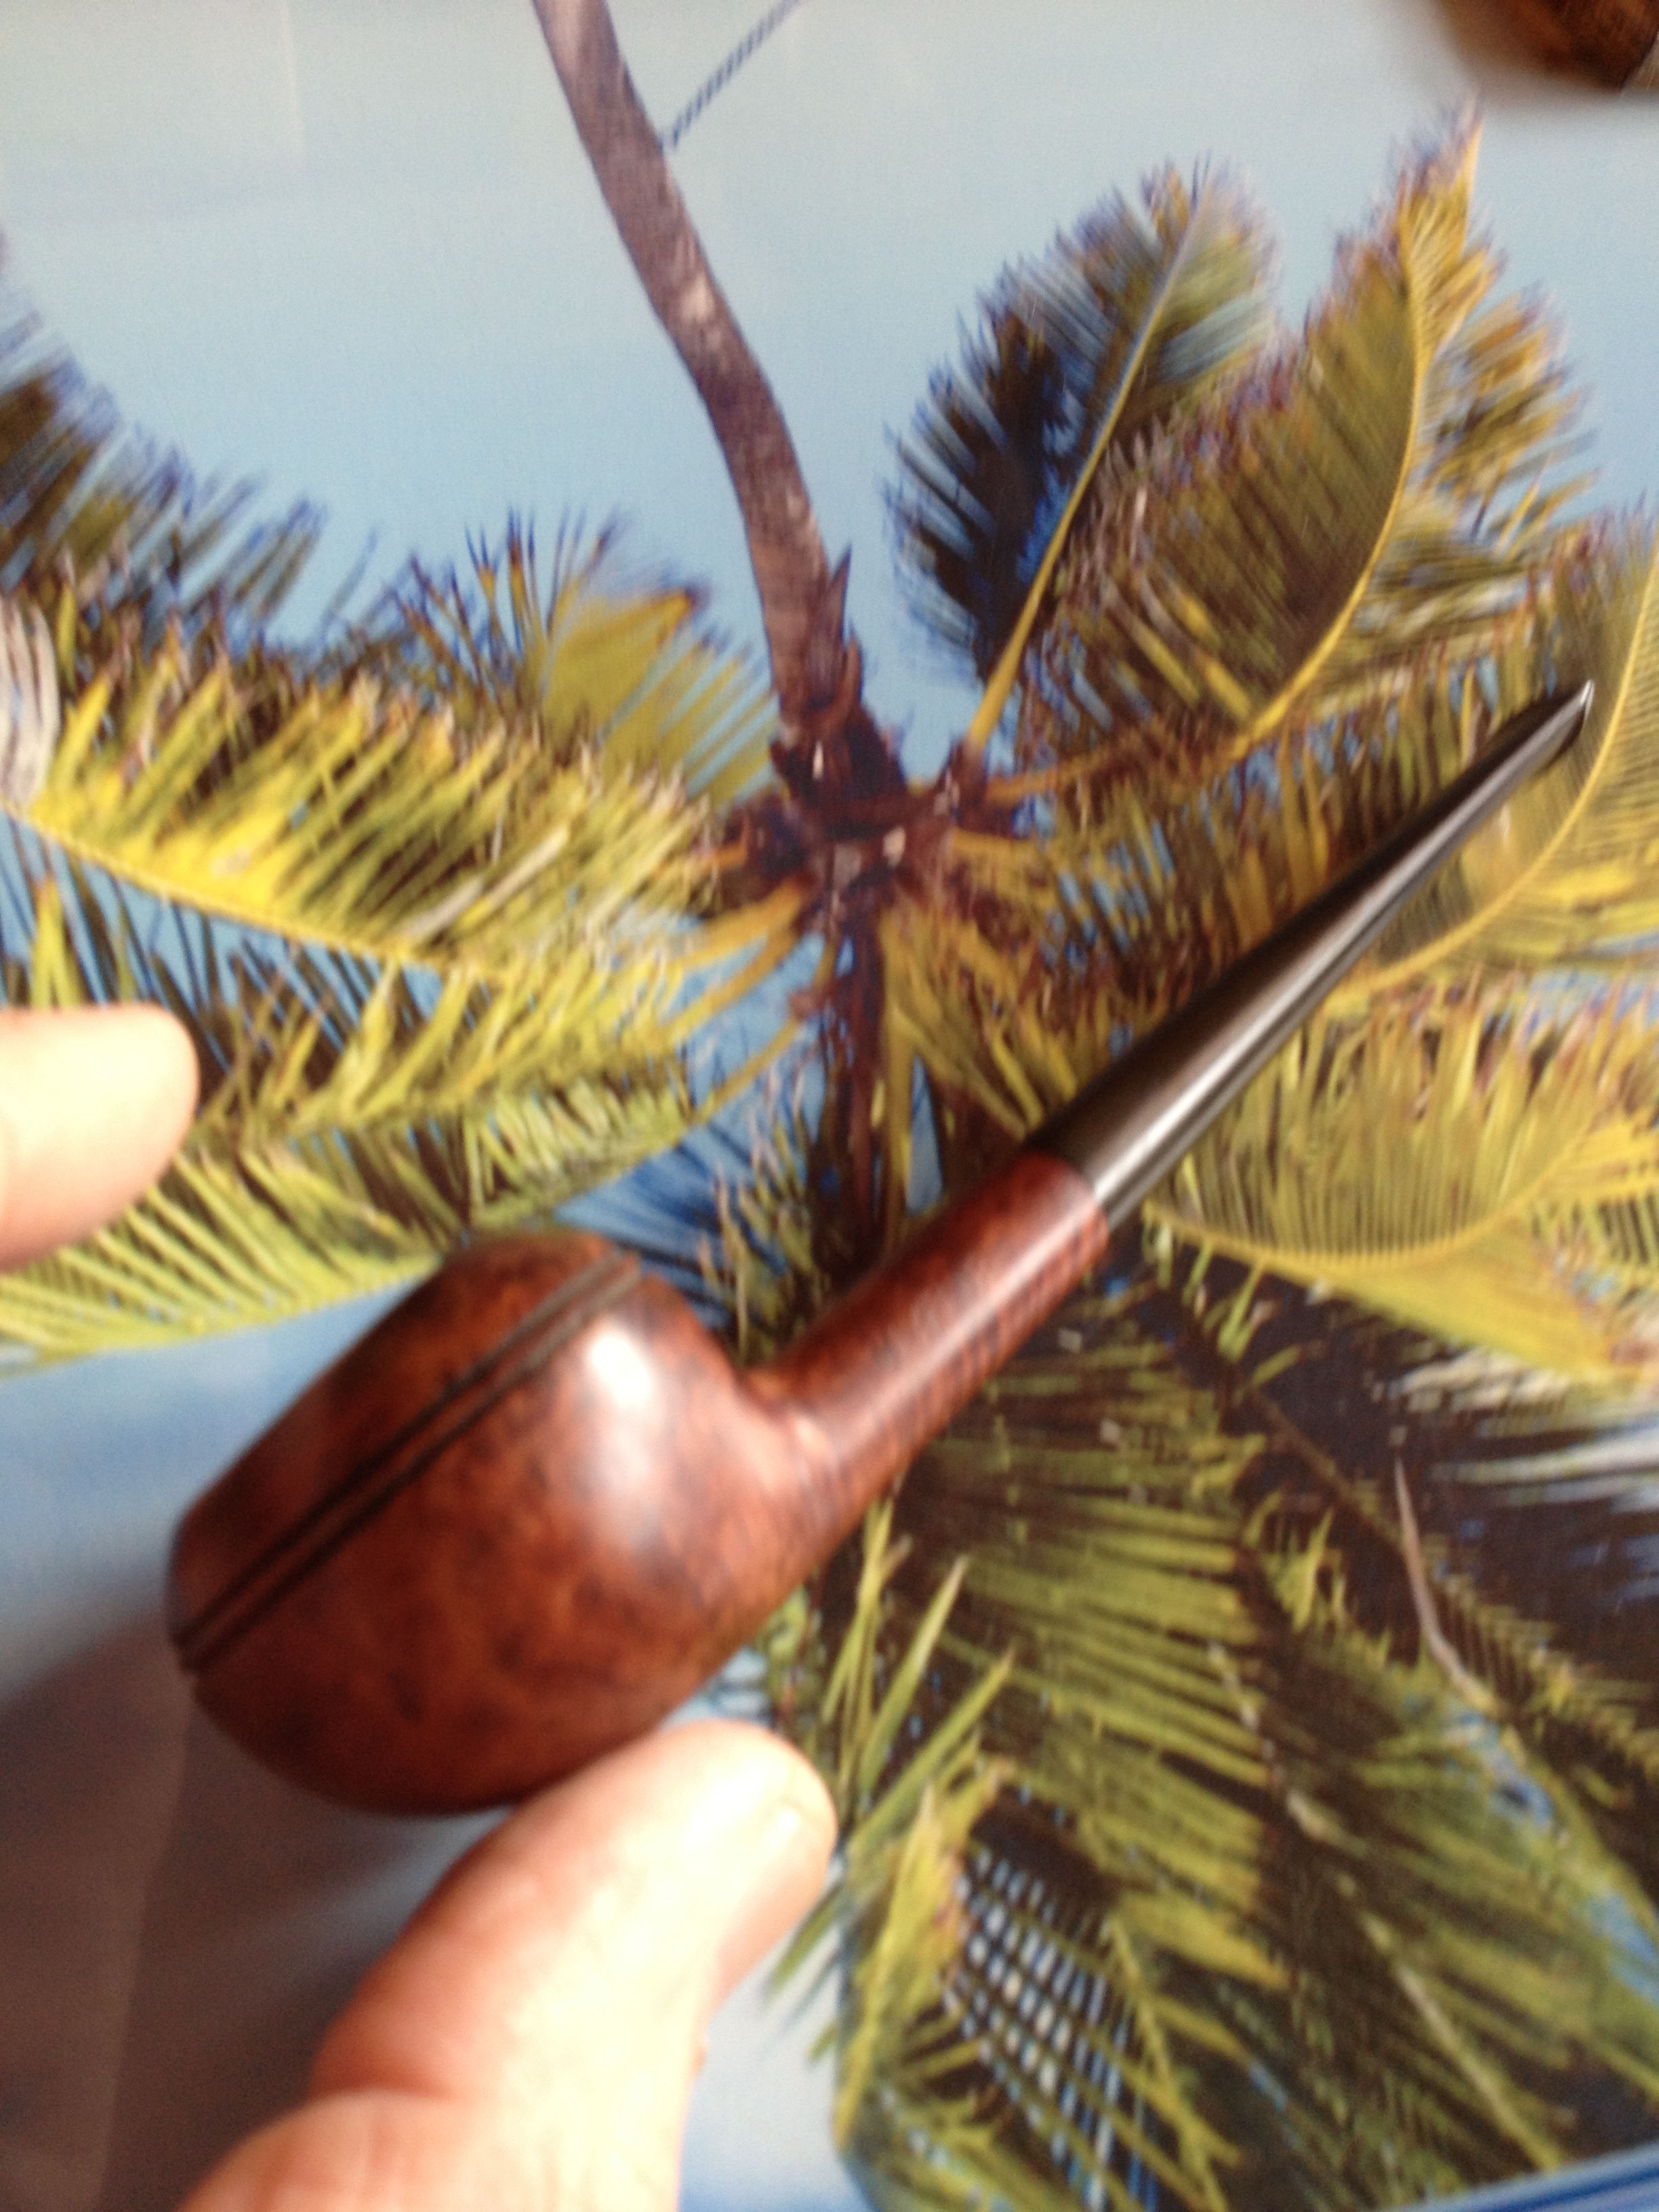
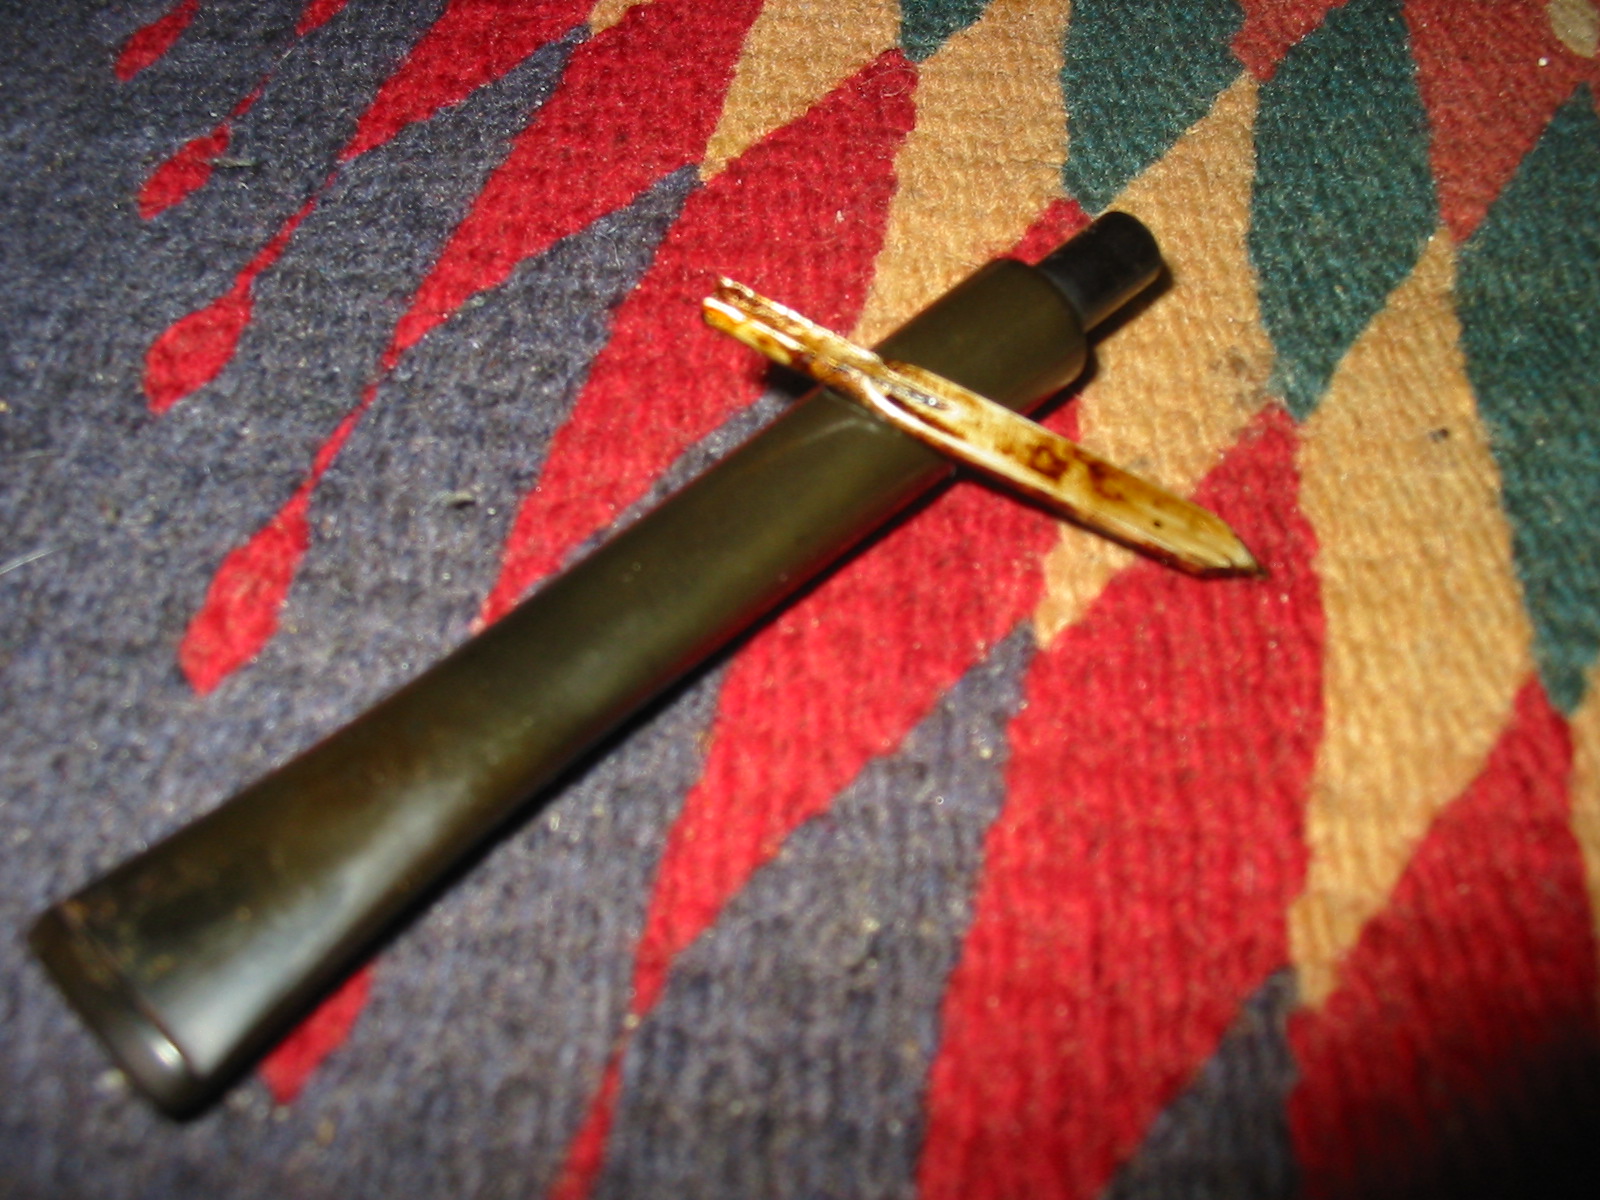
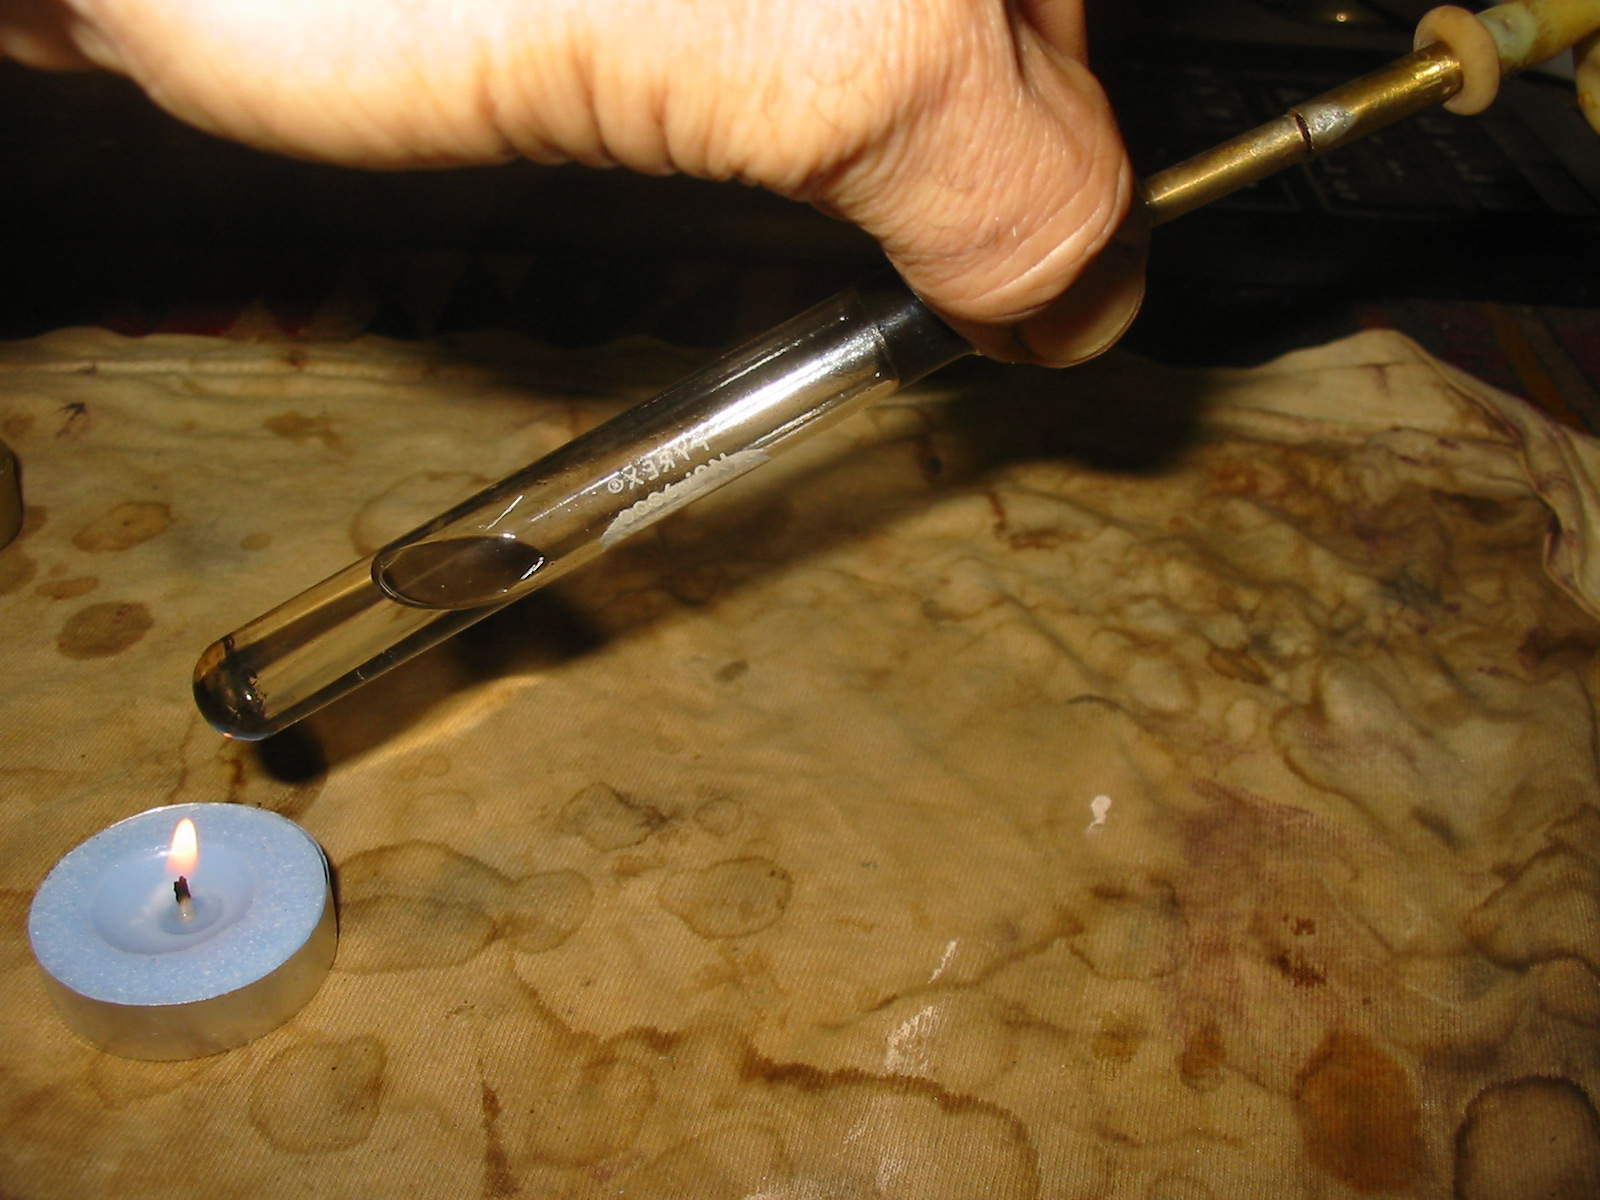
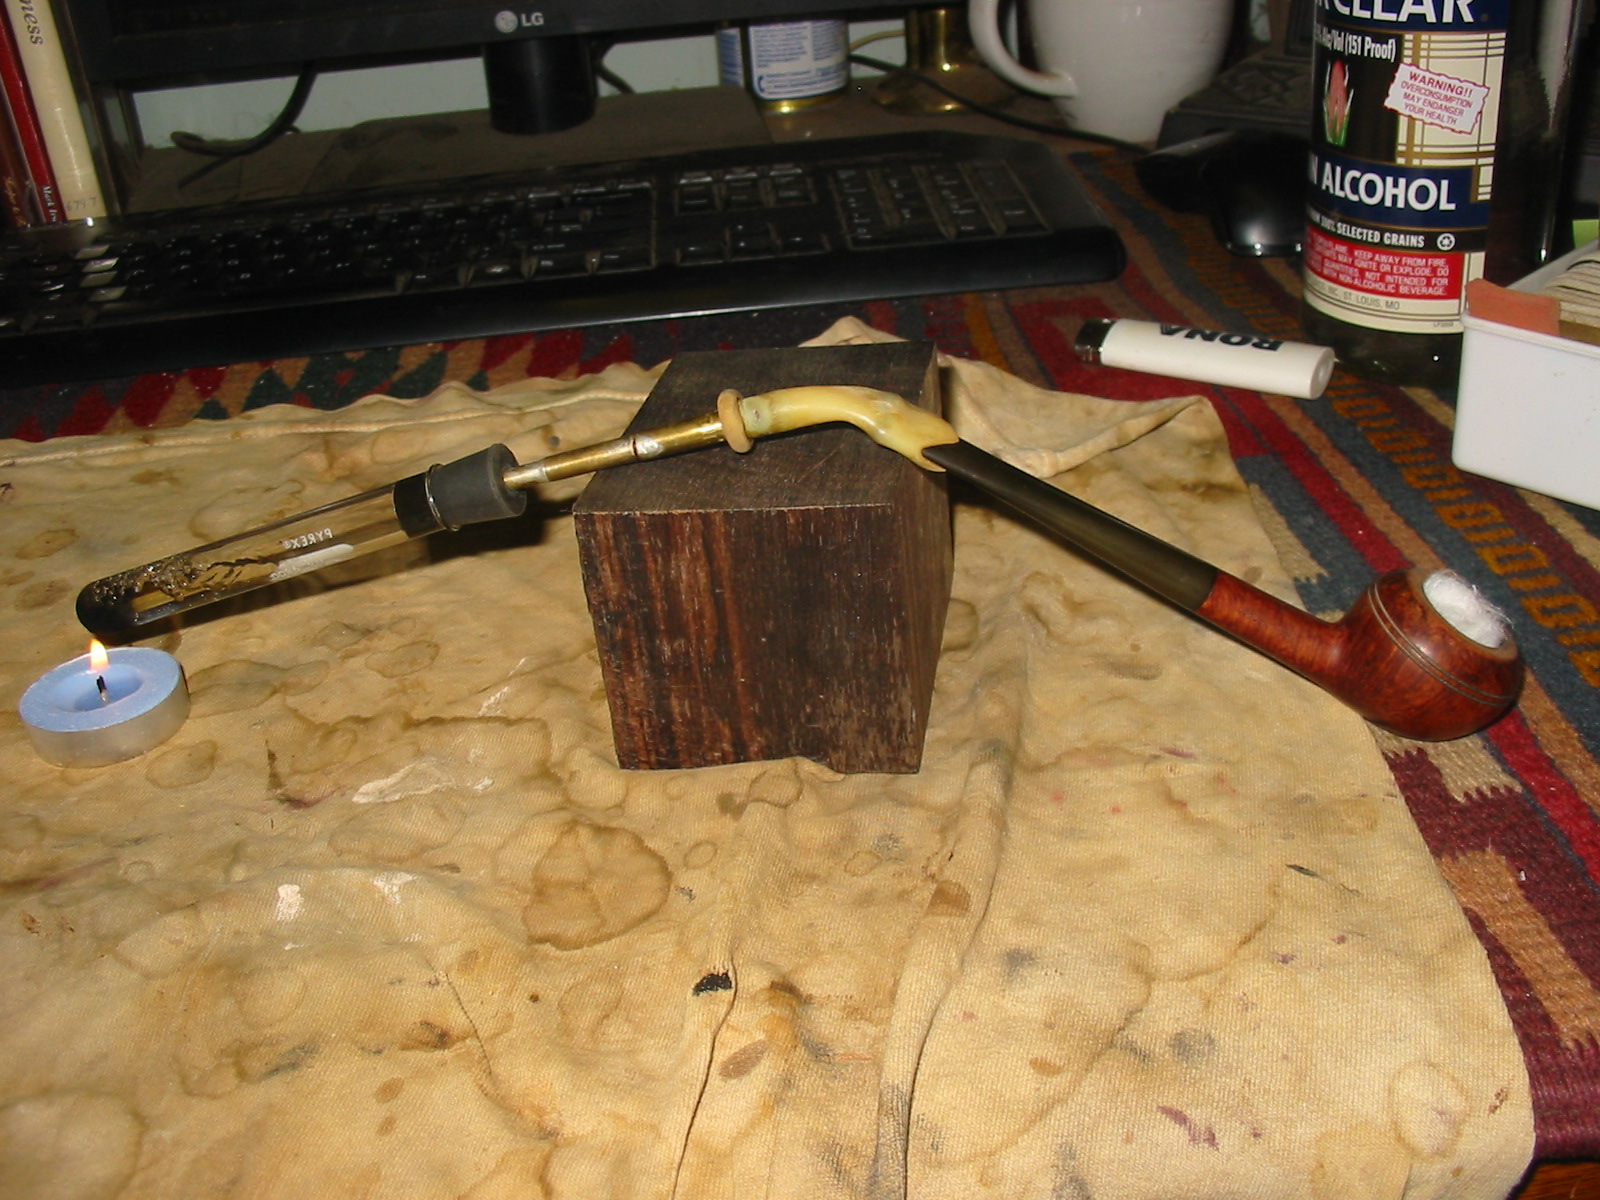
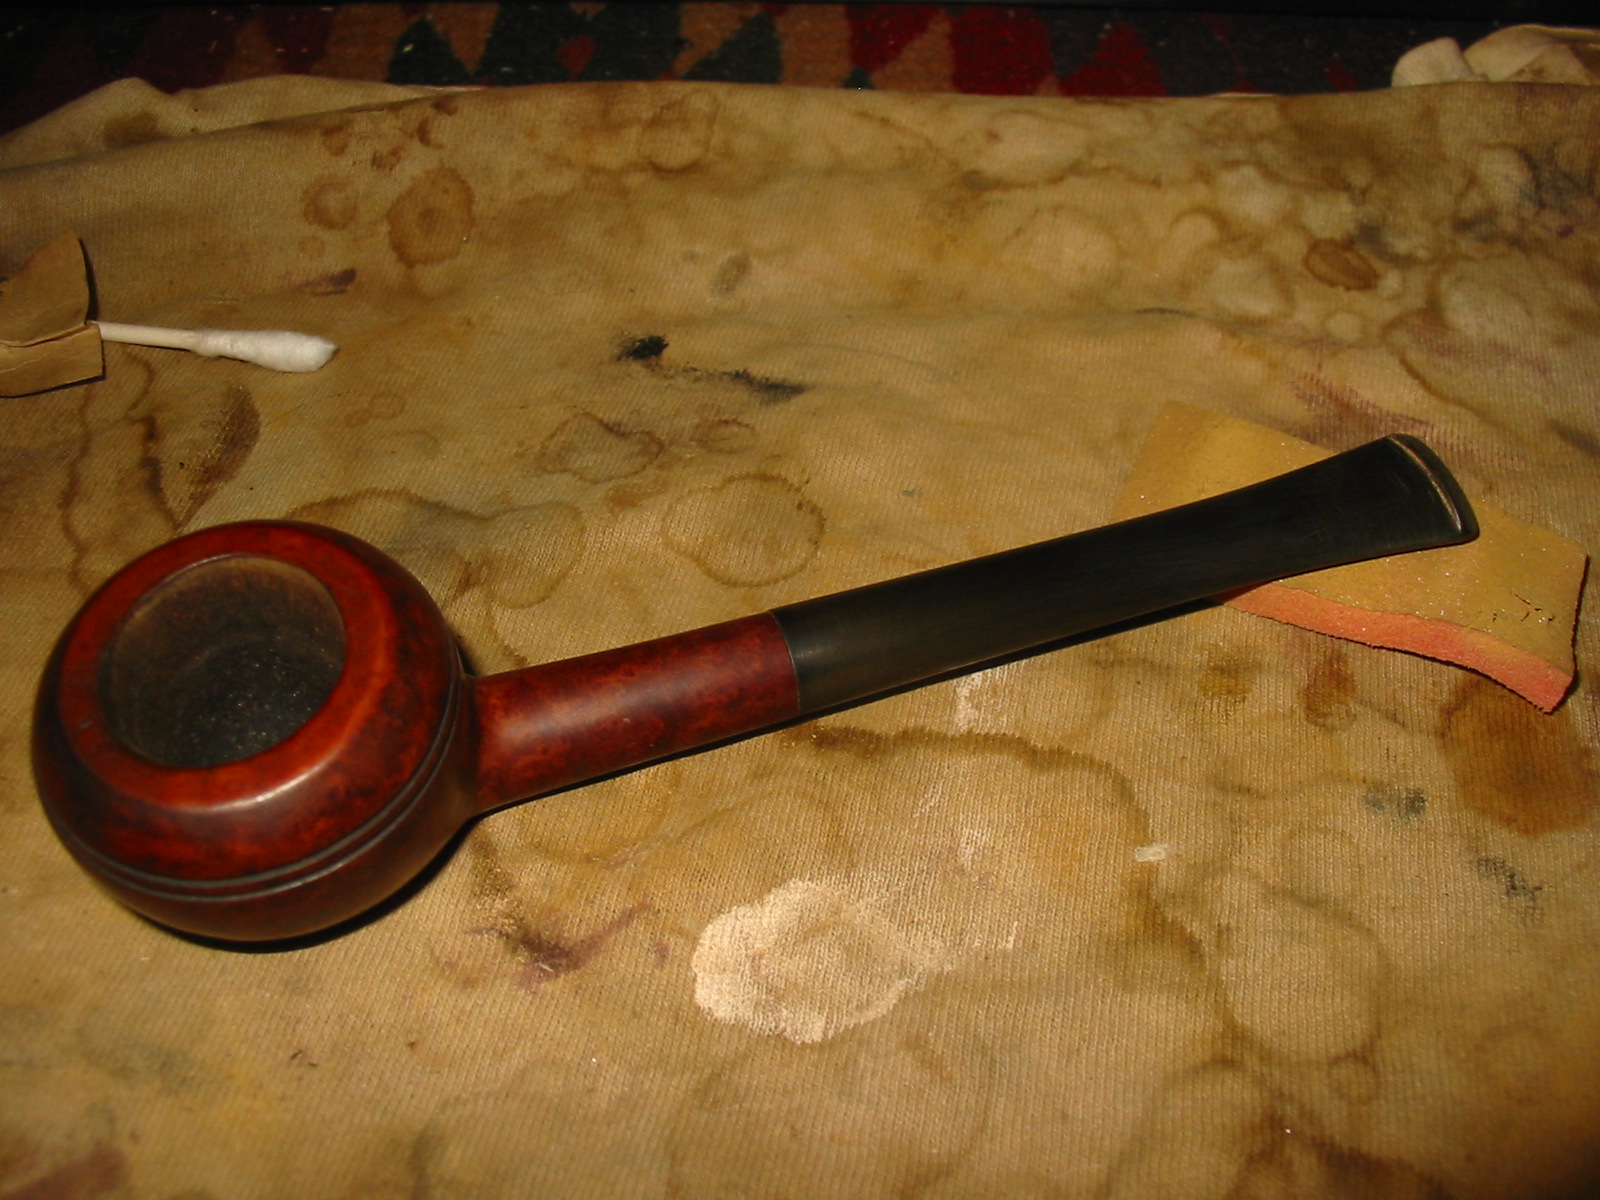
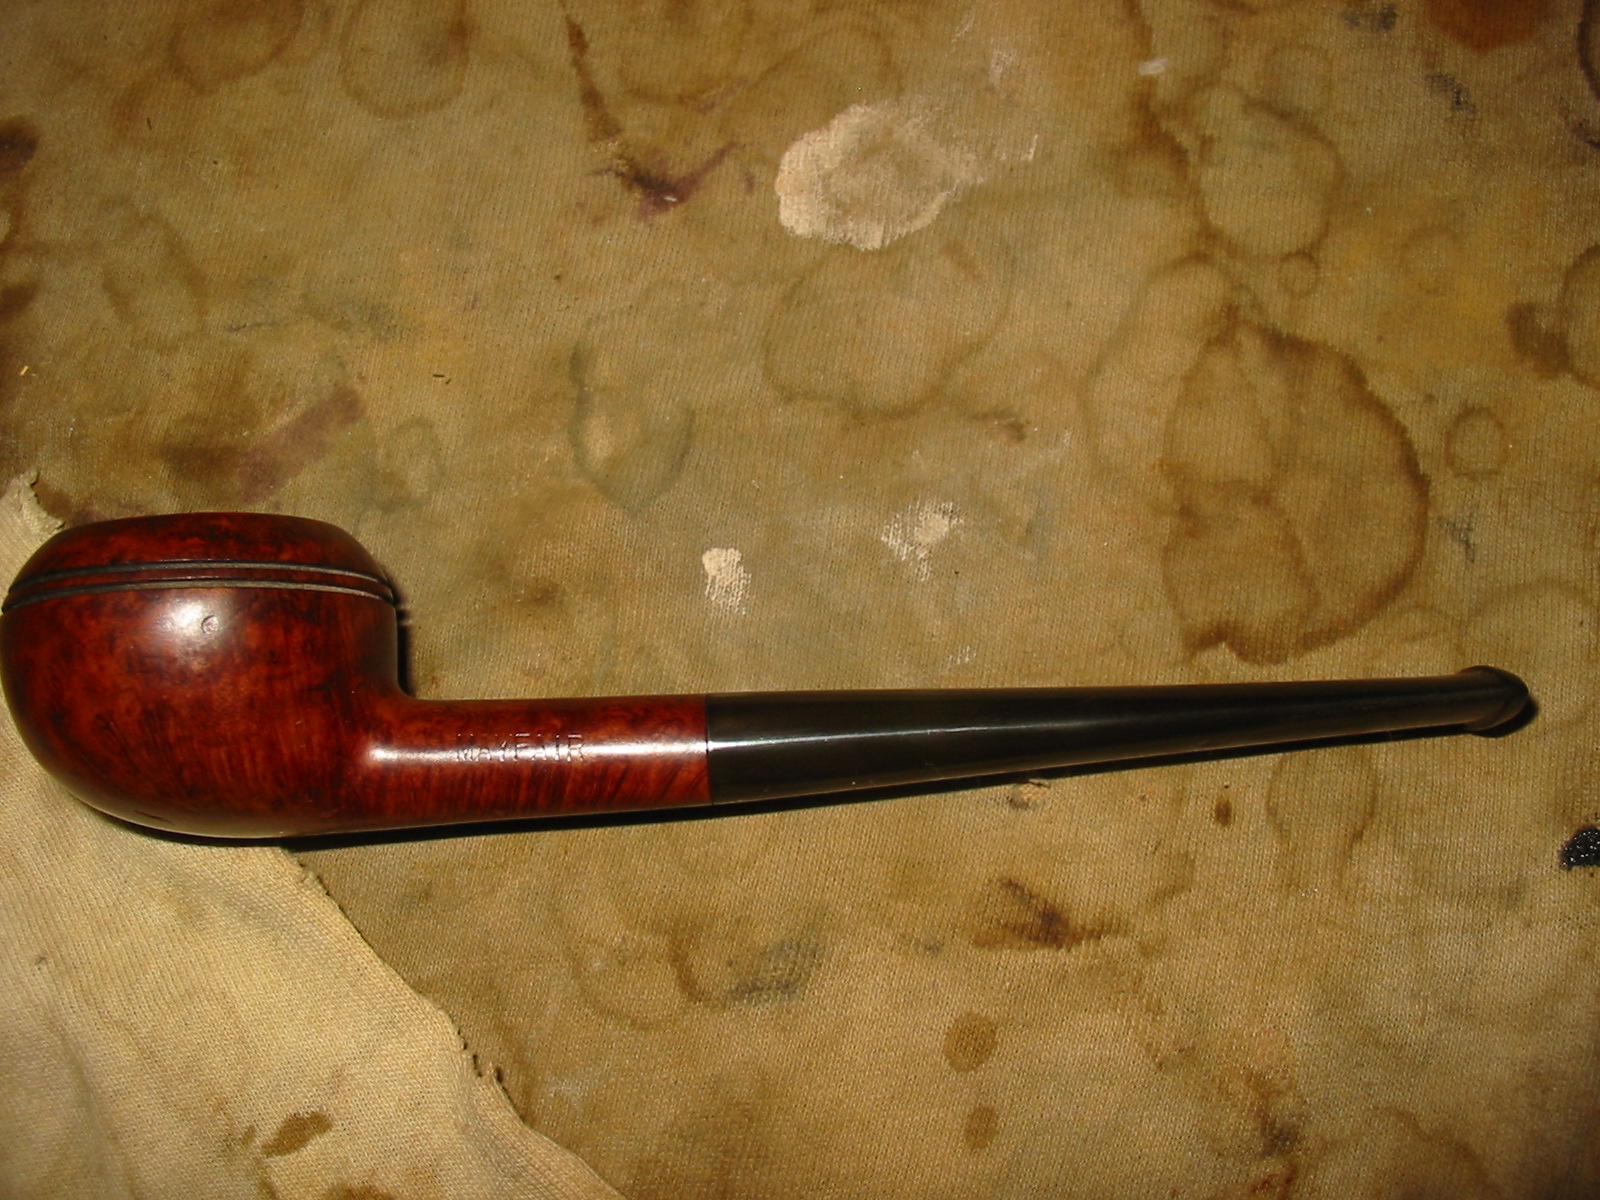
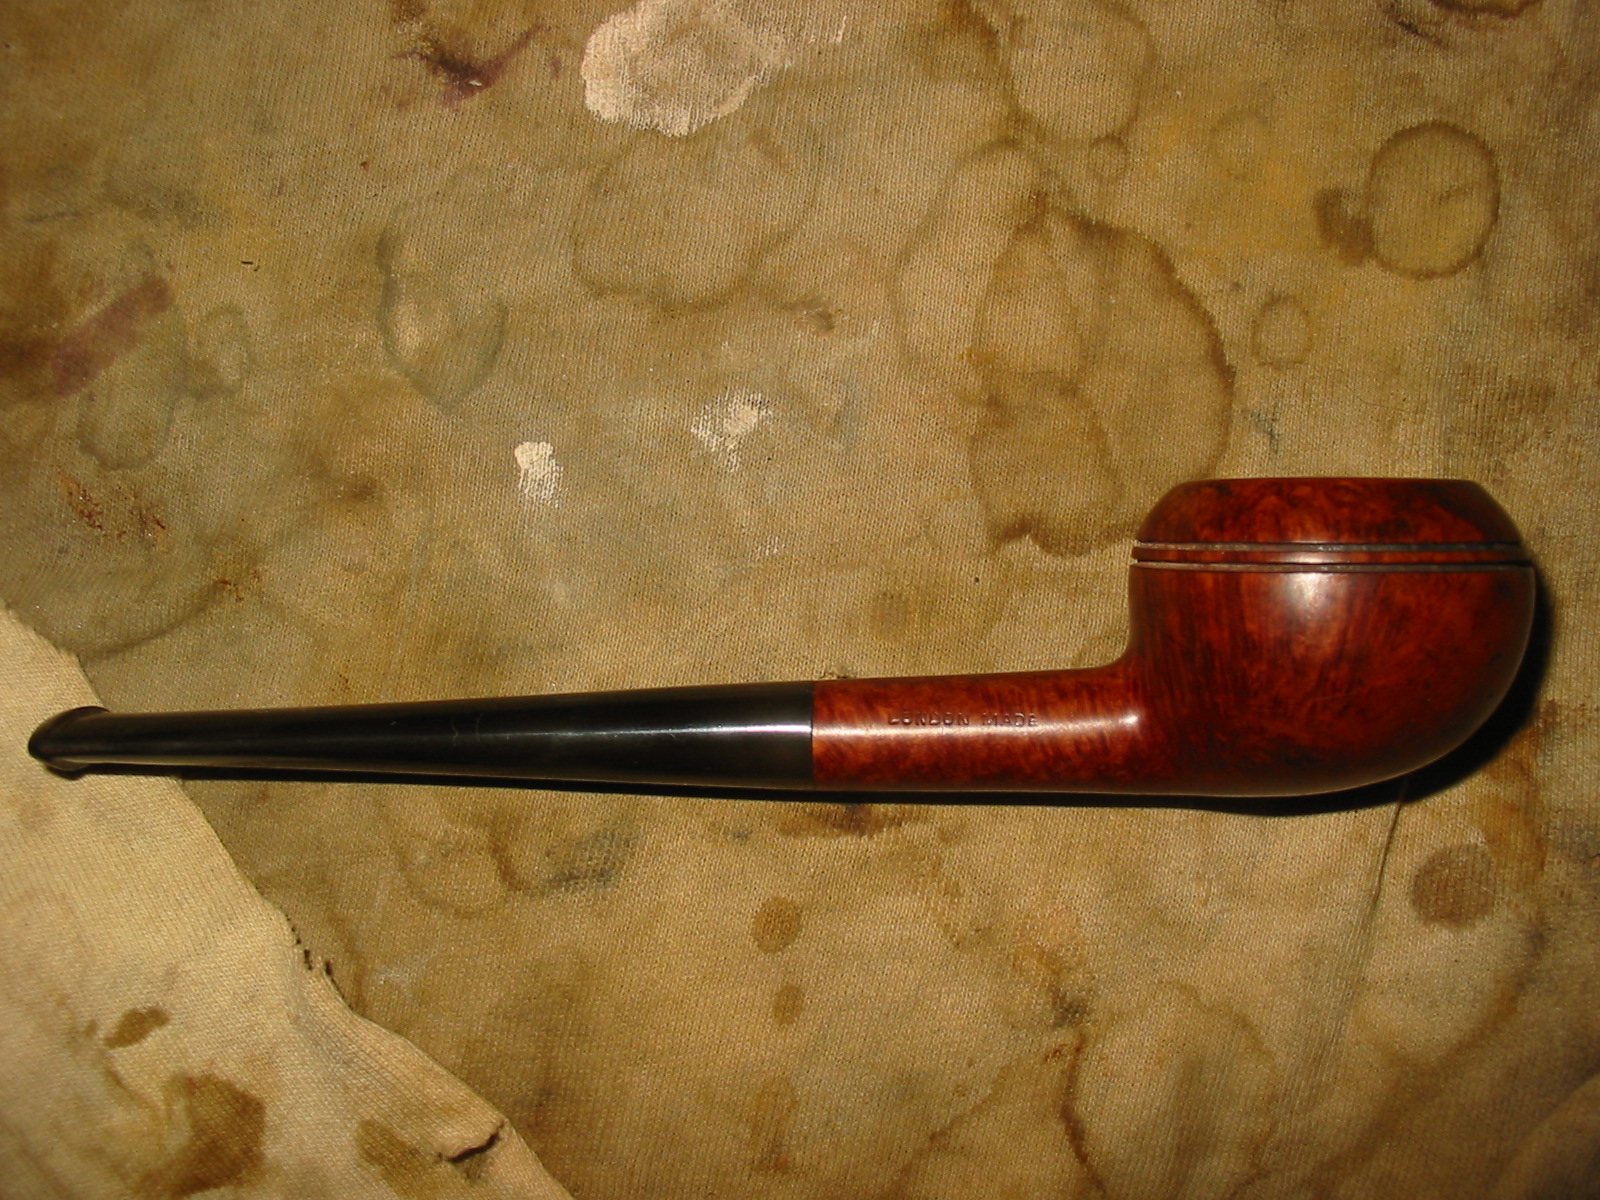
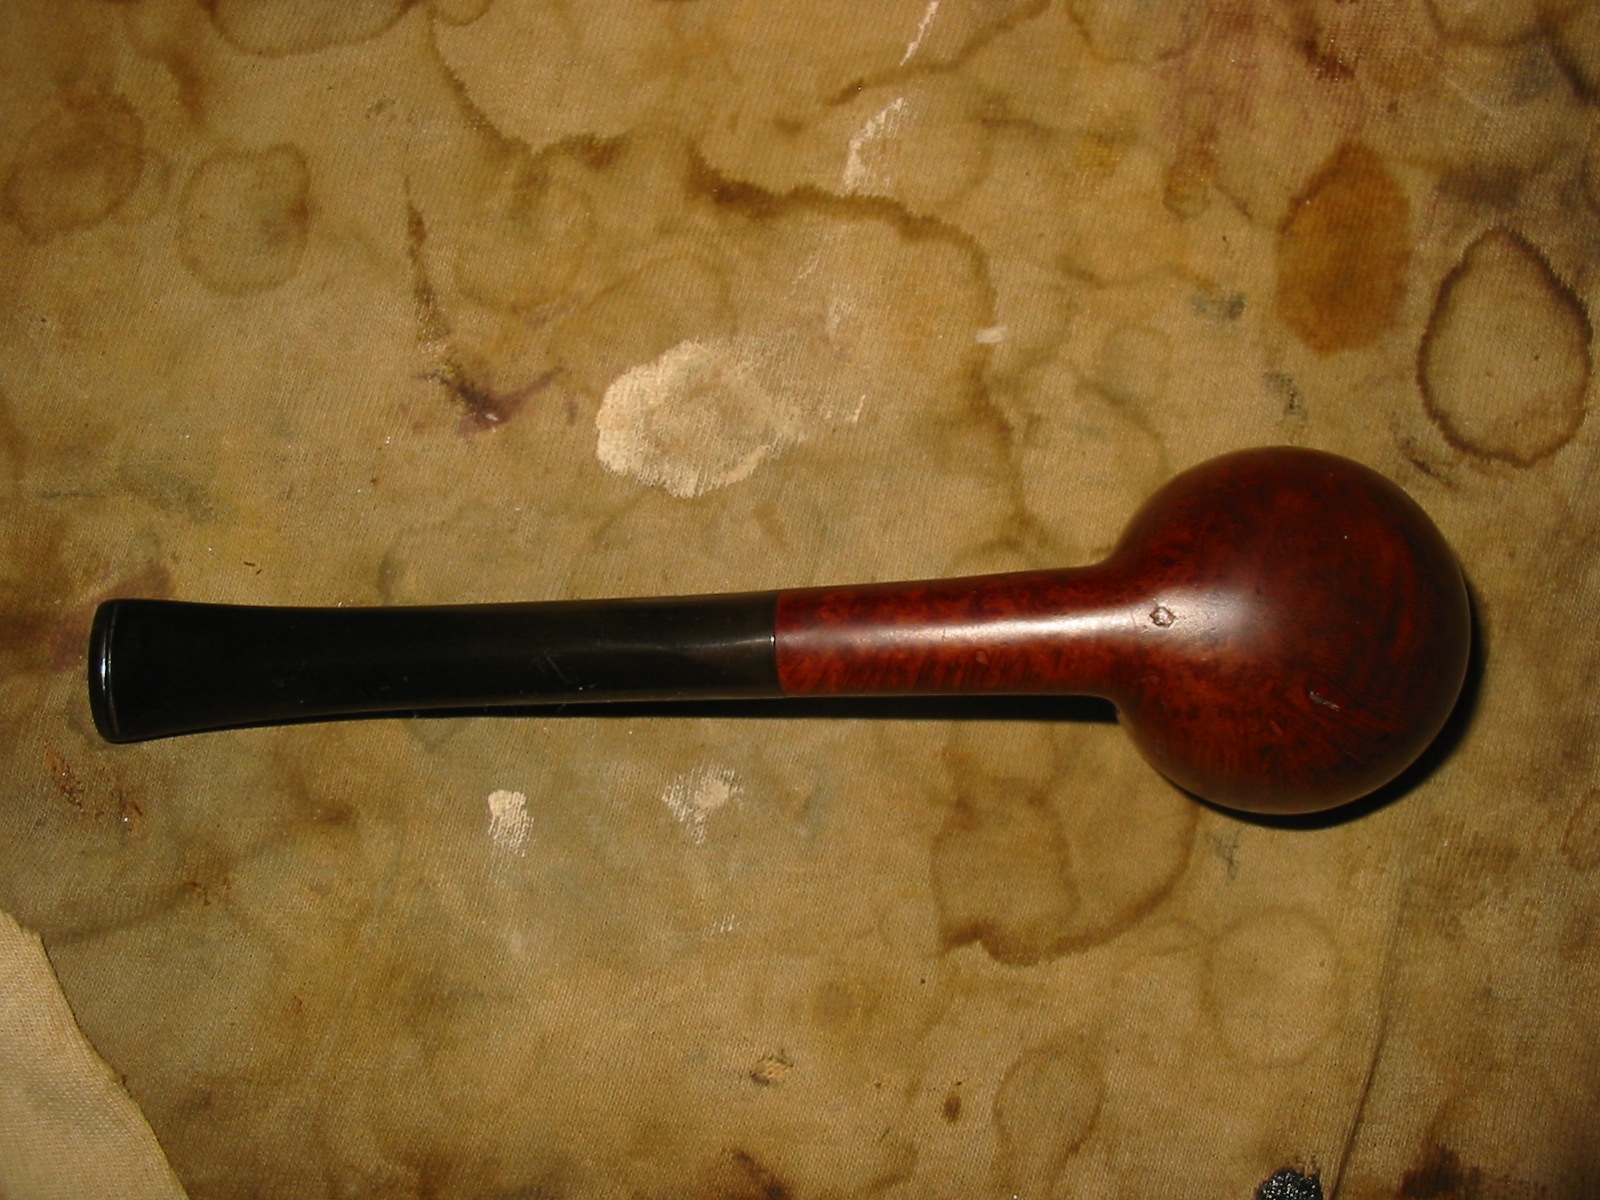
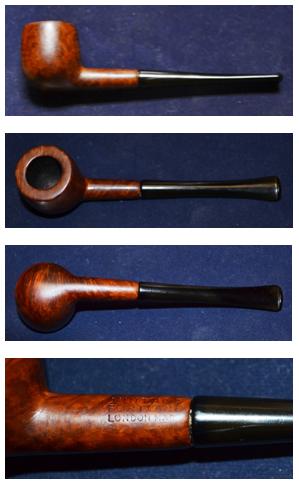
Finally, I tackled the hardest, and therefore most satisfying, task of micro-meshing the stem where it connected to the shank, which appeared to have been replaced at some point during the pipe’s long life. By my estimate, this Portland London Made pot was crafted no later than the 1960s. Perhaps this accounts in large part to my dread of fitting the stem to the shank, a job that even I could feel was necessary to call the overall work a full restoration but which I approached with considerable trepidation for fear of overdoing this step – and in so doing botching the entire effort! But, at Chuck’s insistence, I applied gentle, patient micro-meshing and at last achieved the desired effect. Again I am indebted to Chuck’s guidance, without which my own inclination to put the helpless stem to the wheel almost surely have obliterated all of my hard work!
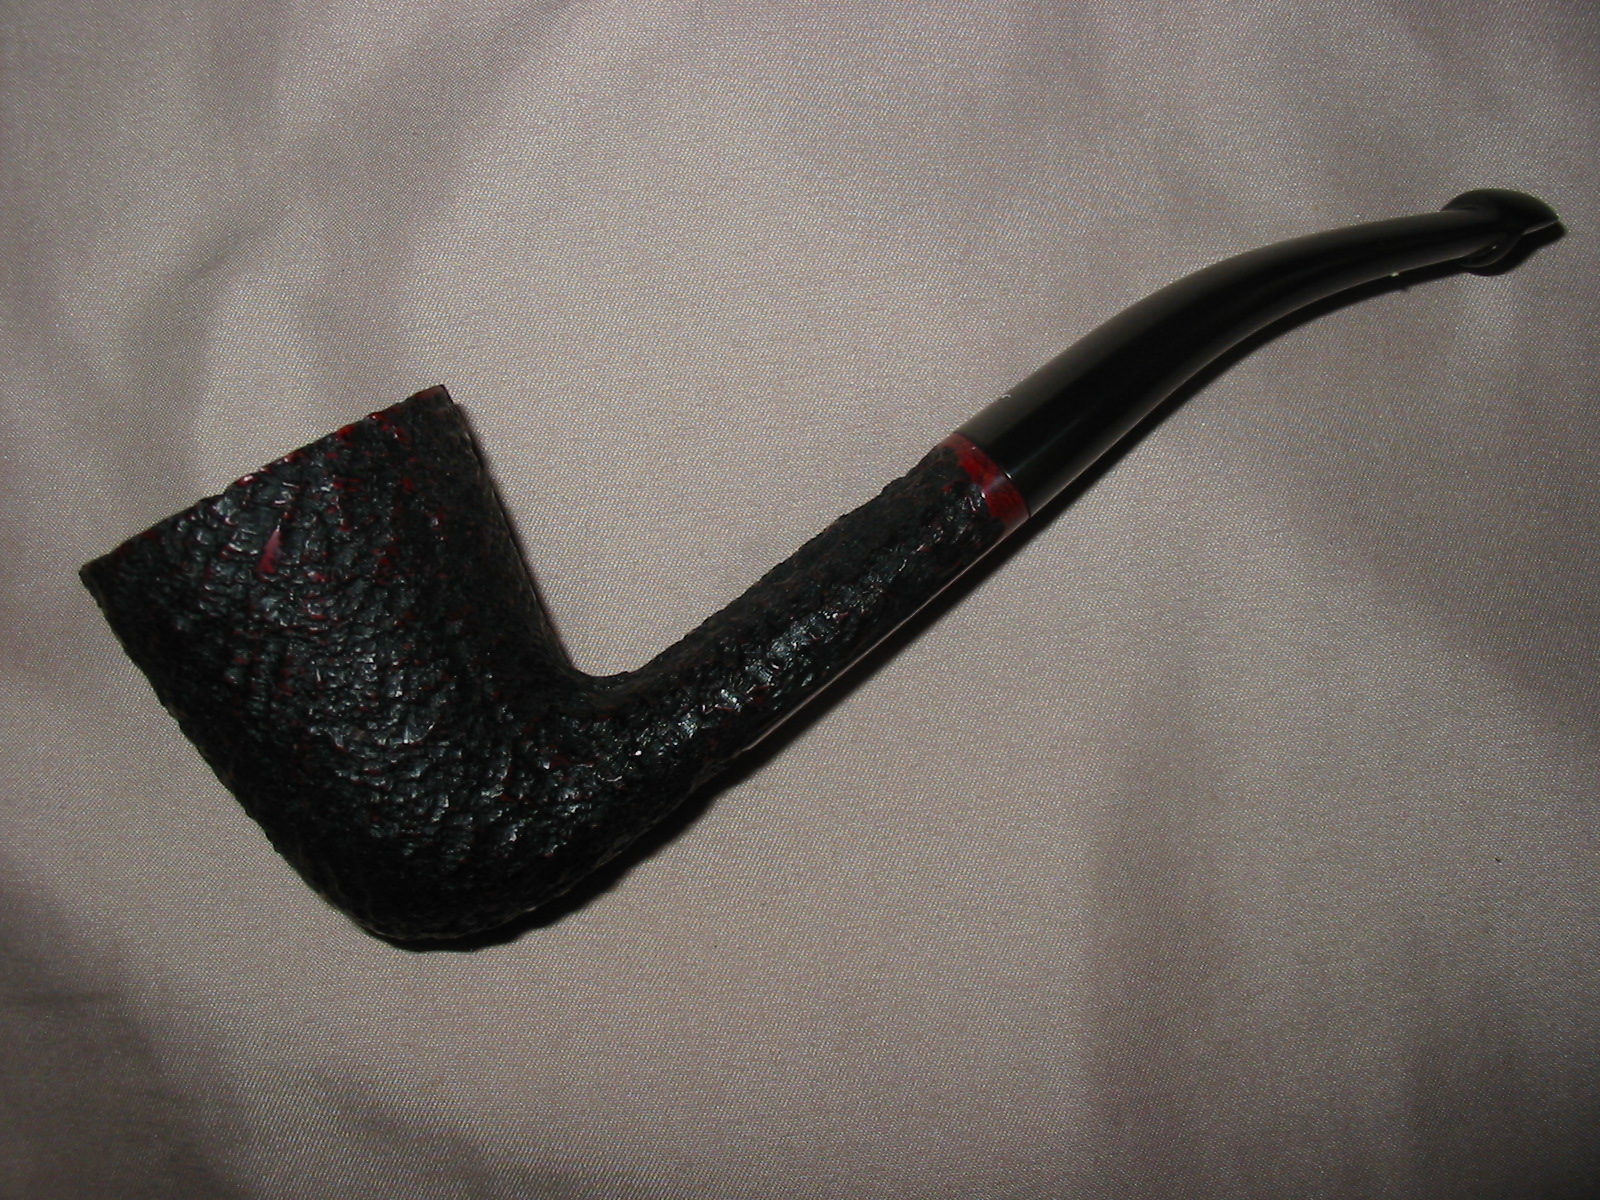
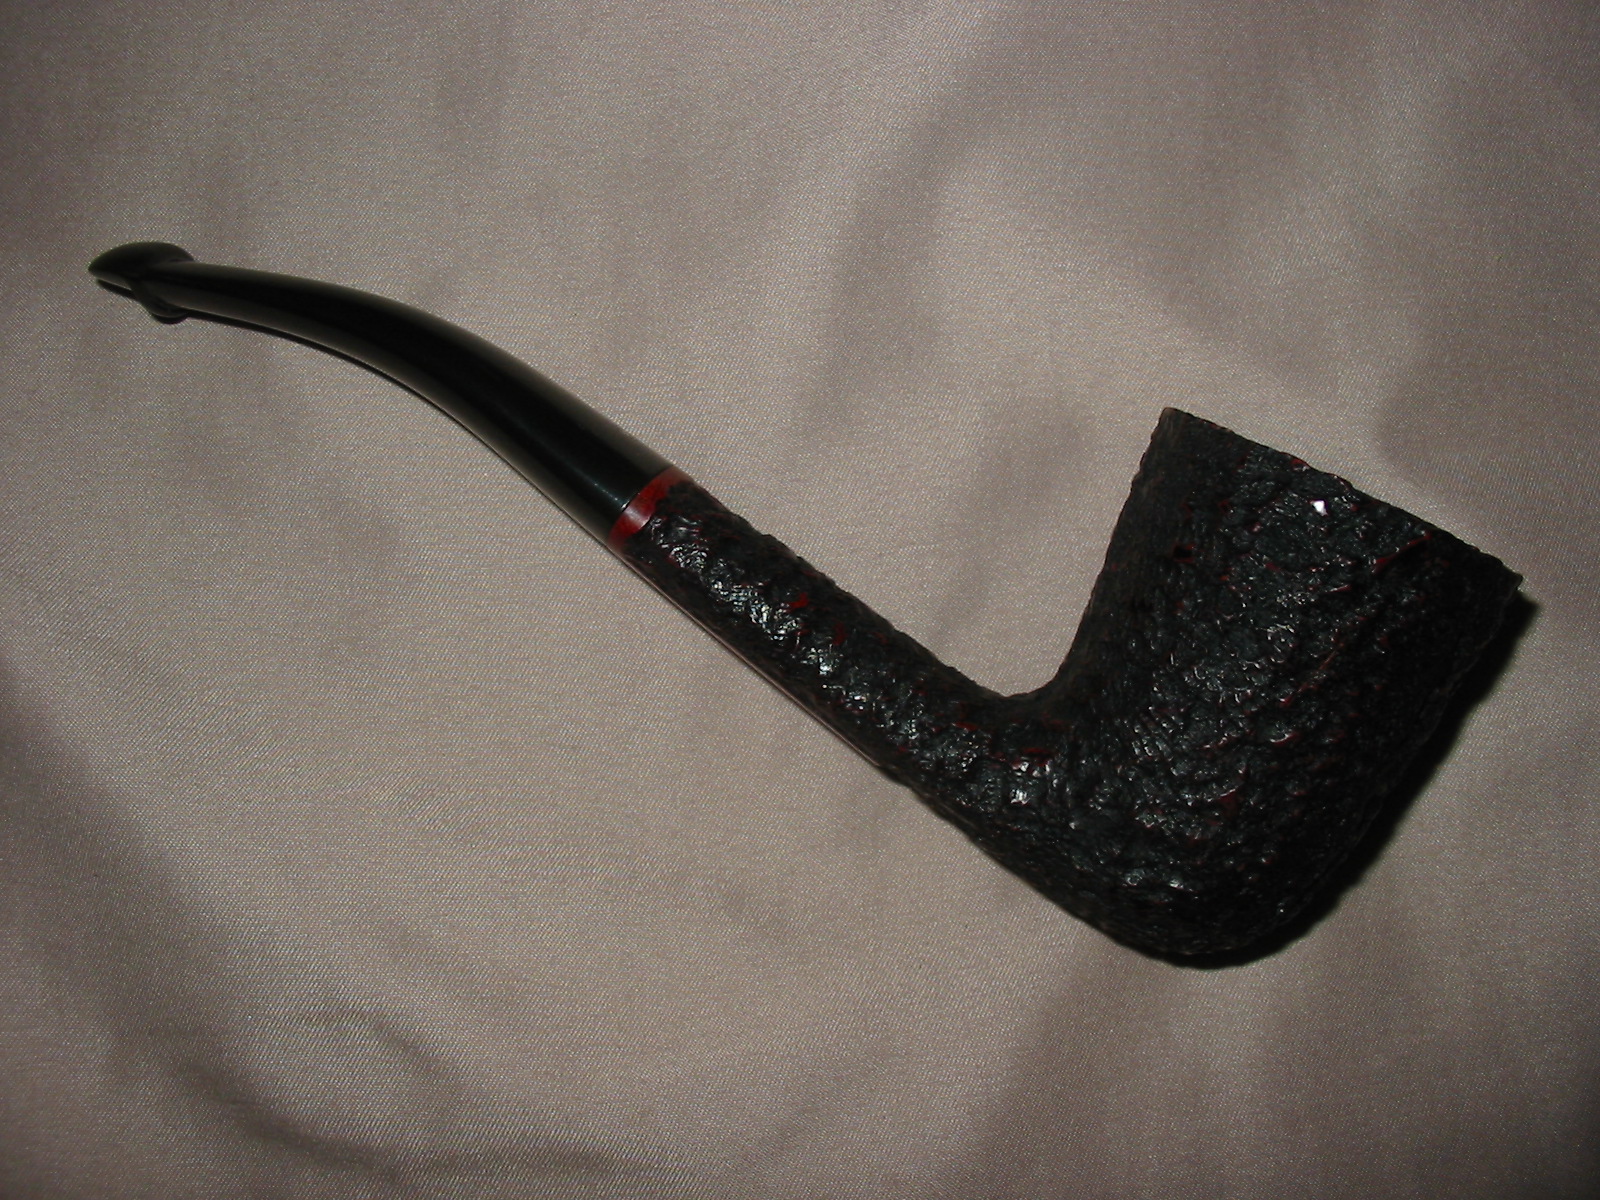
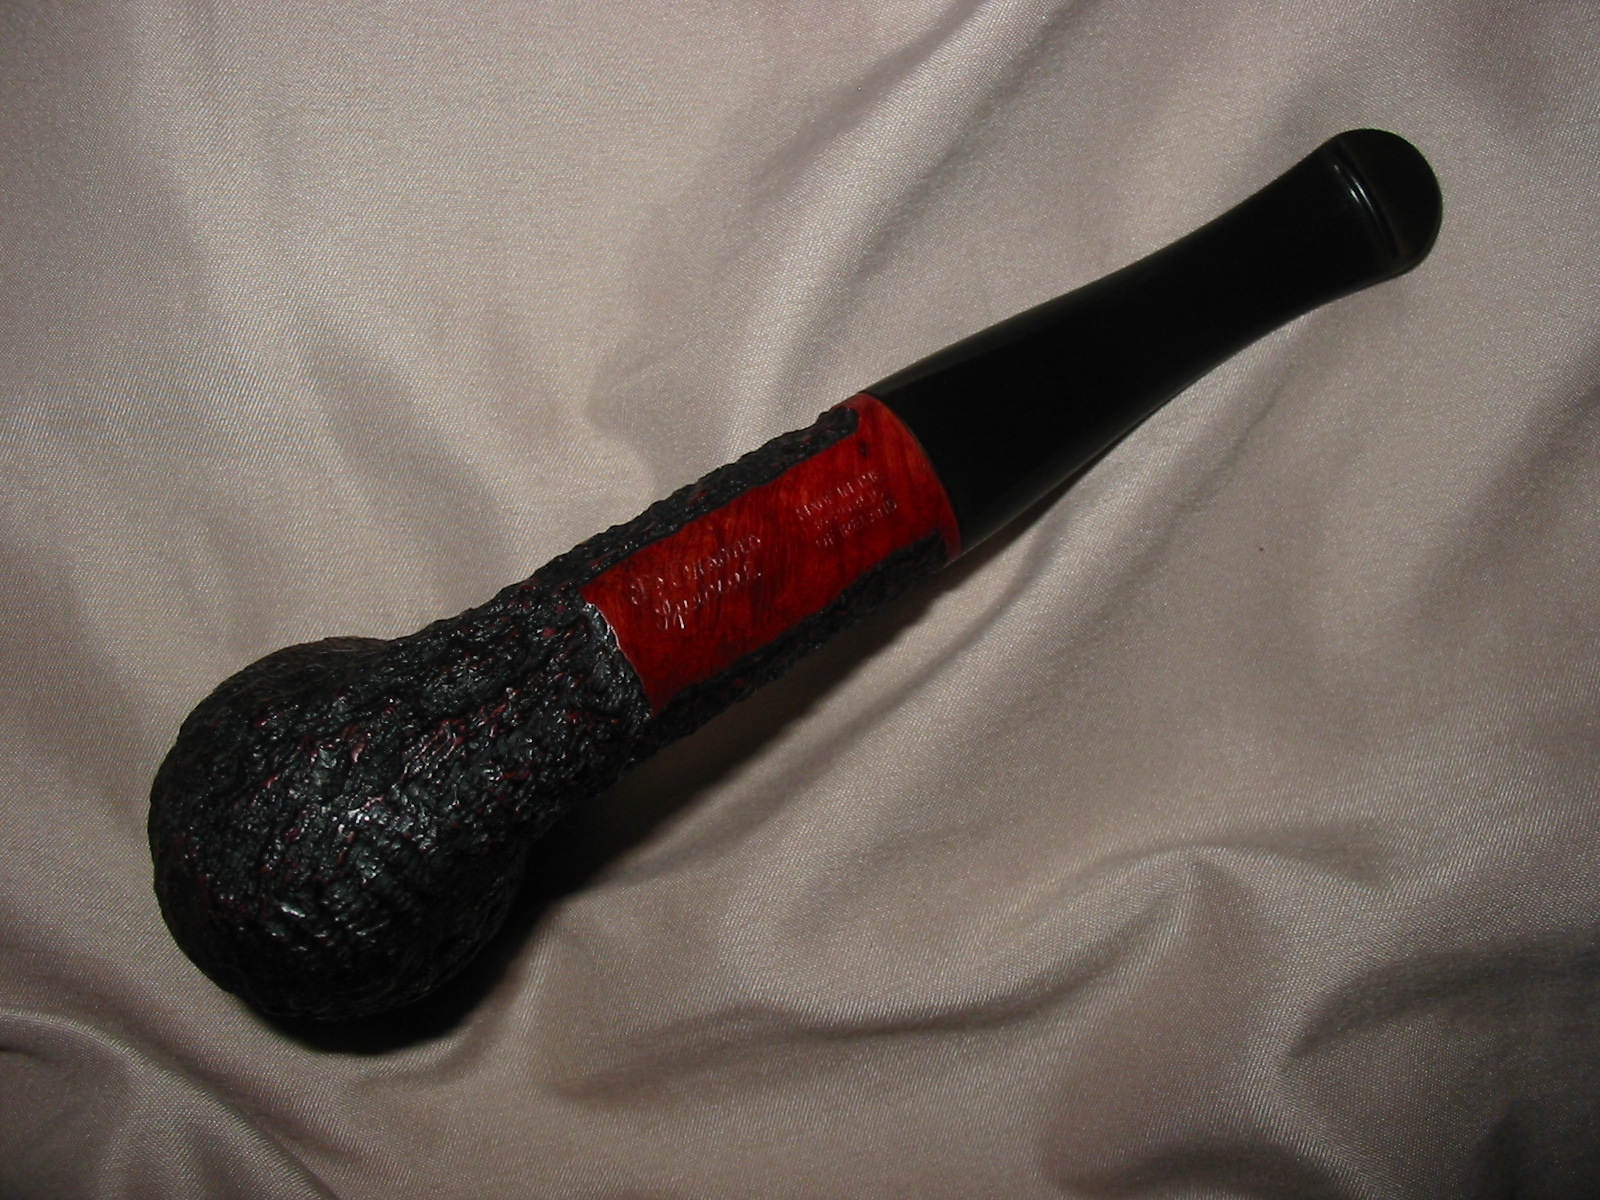
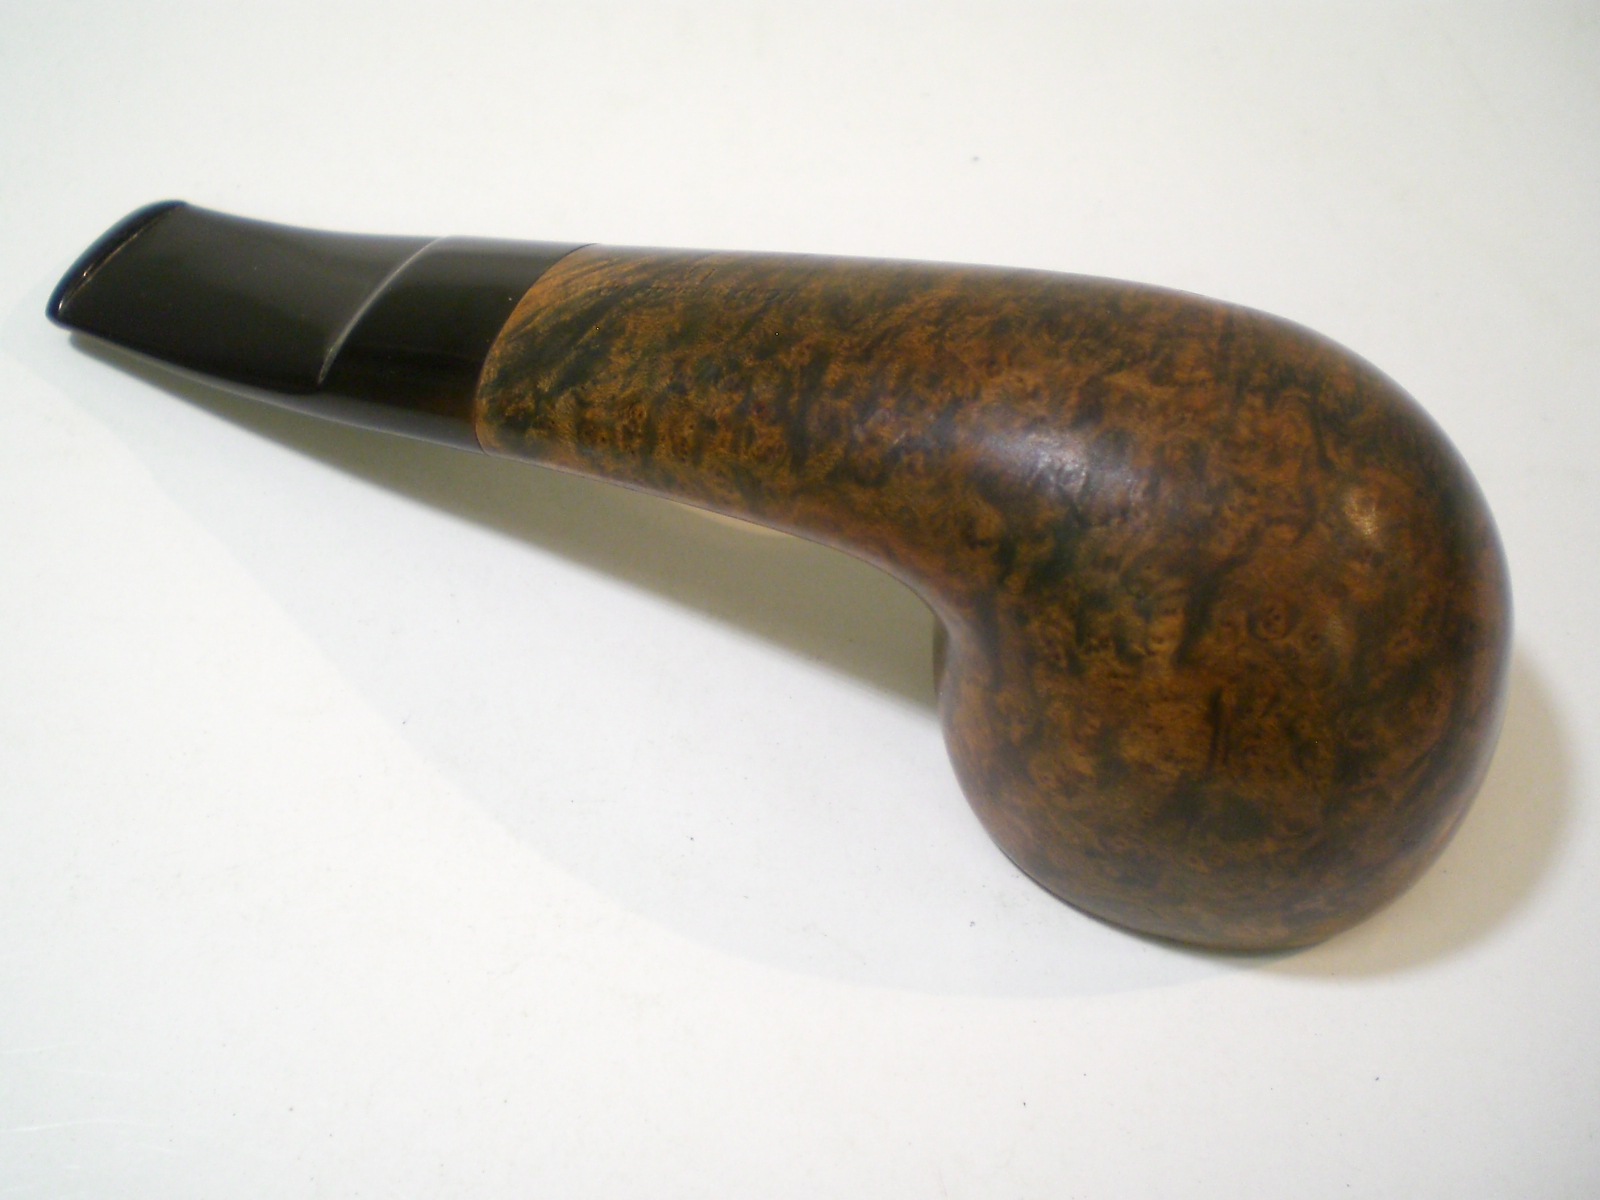
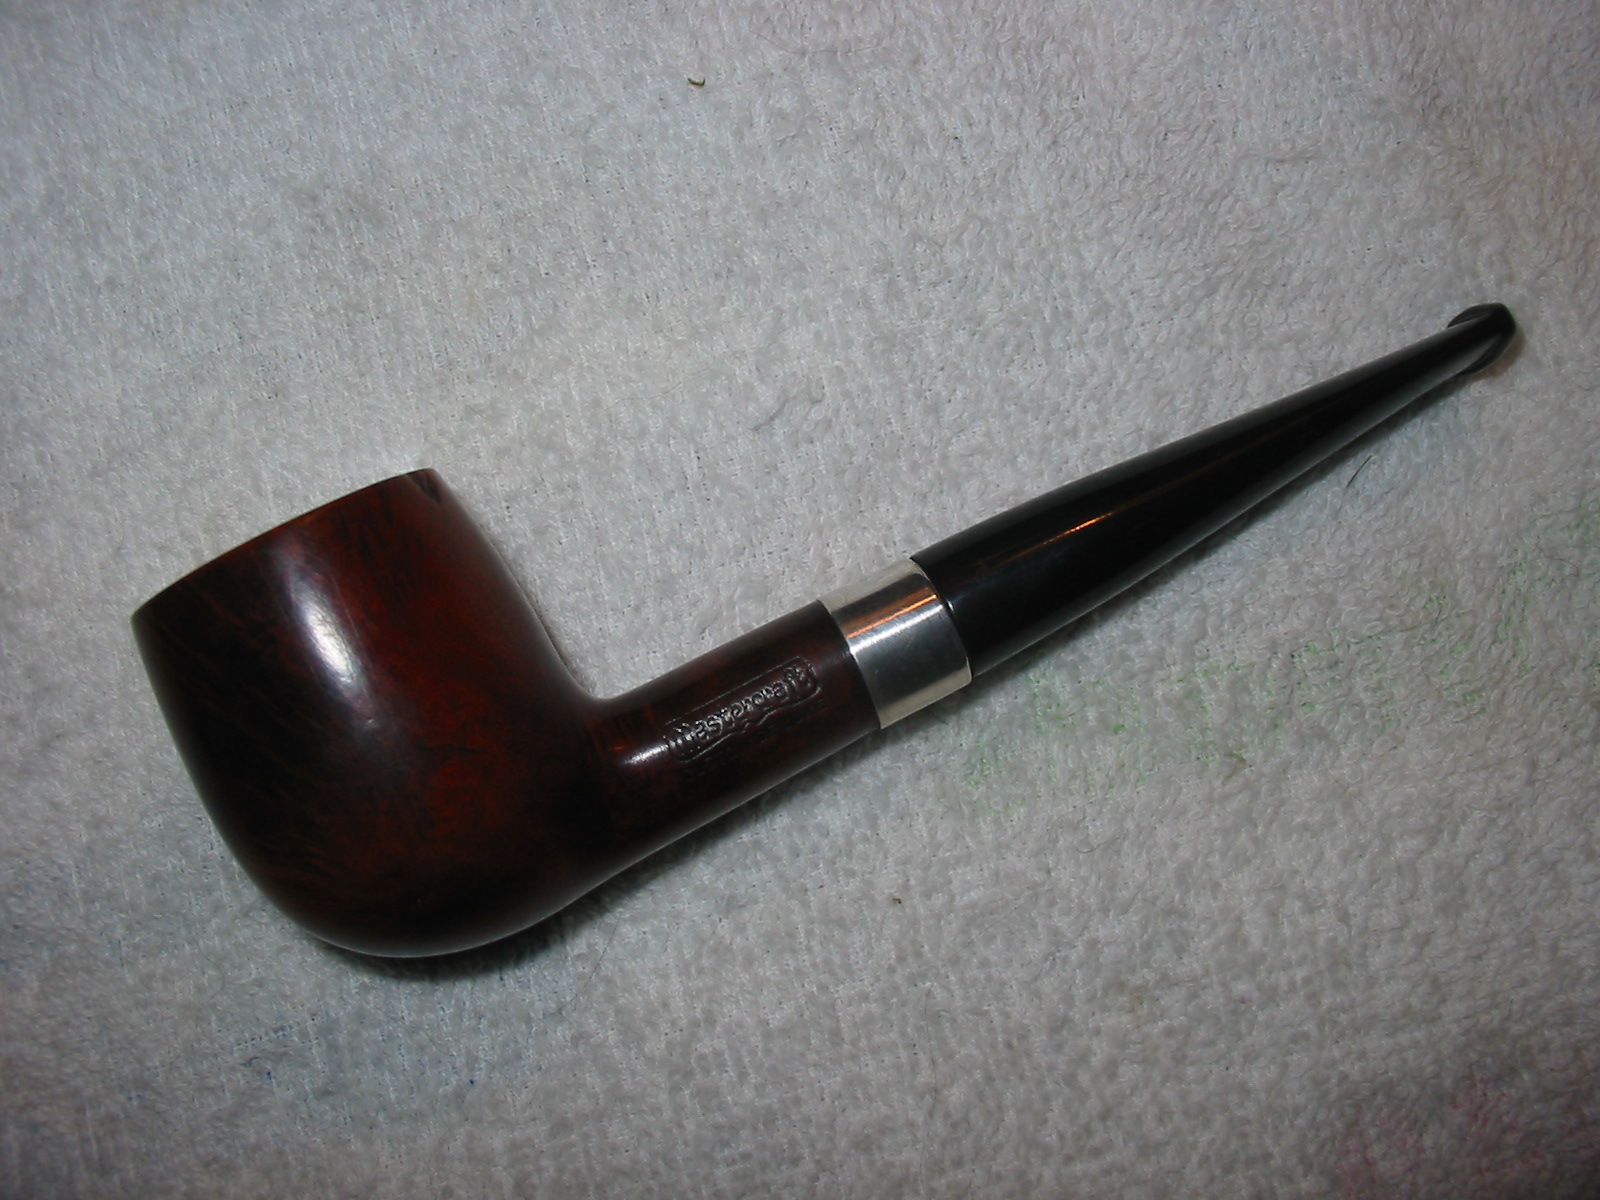
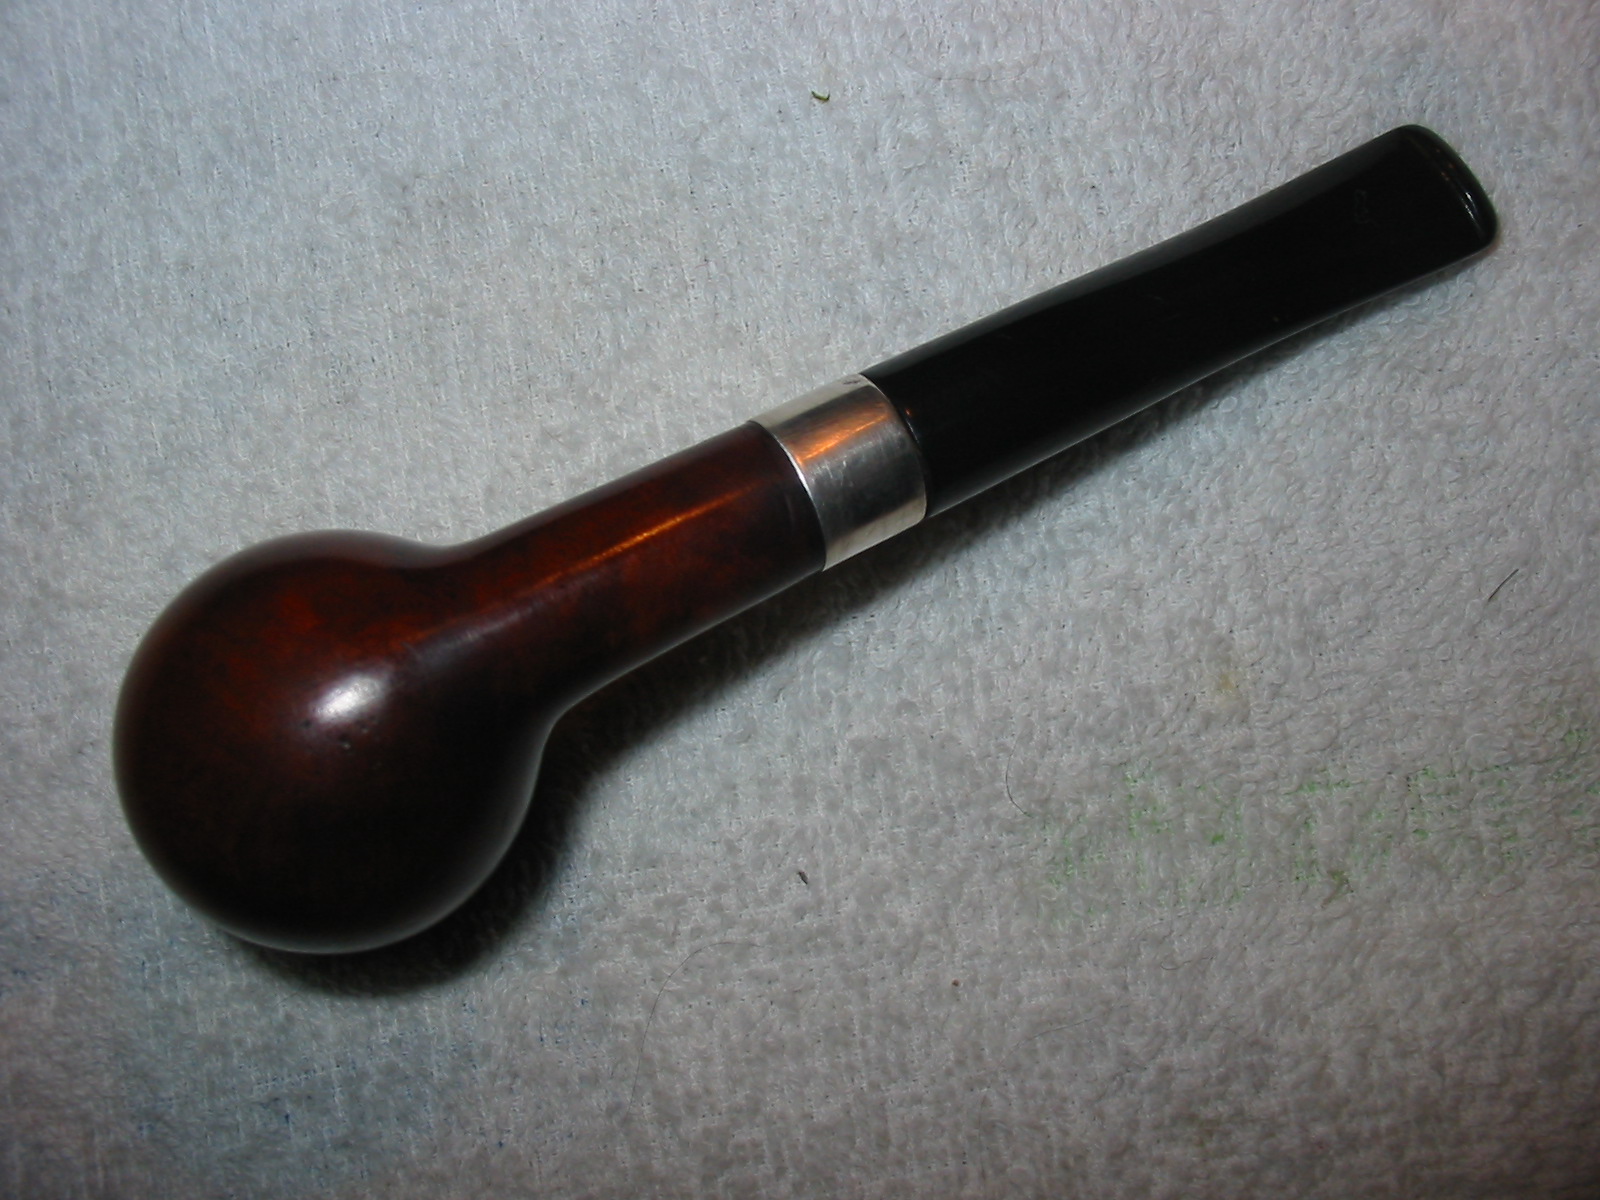
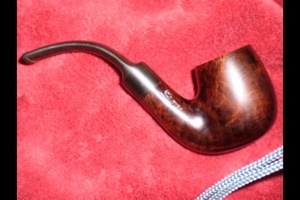
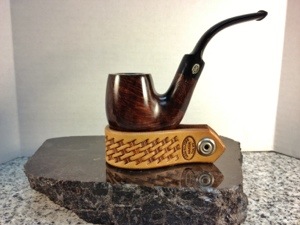
The next Friday night, at our weekly pipe club meeting, I presented the pipe for scrutiny by my fellow members. I was gratified by Chuck’s initial pronouncement, which was a simple “Nice!” but even more so for his almost immediate observation that I had attached the stem upside-down – and his final contribution of a quick carnauba Wax spin on the shop’s high-speed buffer wheel as well as a small amount of beeswax to tighten the loose stem, rendering the following finished product:
Conclusion
It is with a sense of humility and responsibility for the admitted first attempt at such a work that I present this finished product to the pipe smoking world at large for its final judgment and, I hope, suggestions for how to approach future restorations.
My final word of appreciation is owed to Leigh, a fine British friend and fellow lifelong member of the Stag Pipe Club, for his contribution concerning this pipe’s possible history being linked to the Great Portland Street of London, which he wrote in an email is known for its tobacconists as well as being “very close geographically to the famous Baker Street which was the choice of abode for the great Sherlock Holmes.”