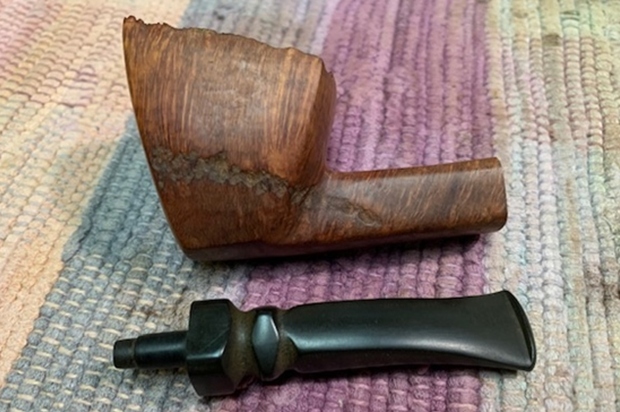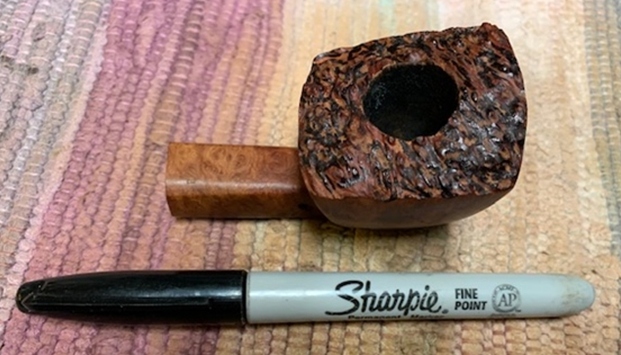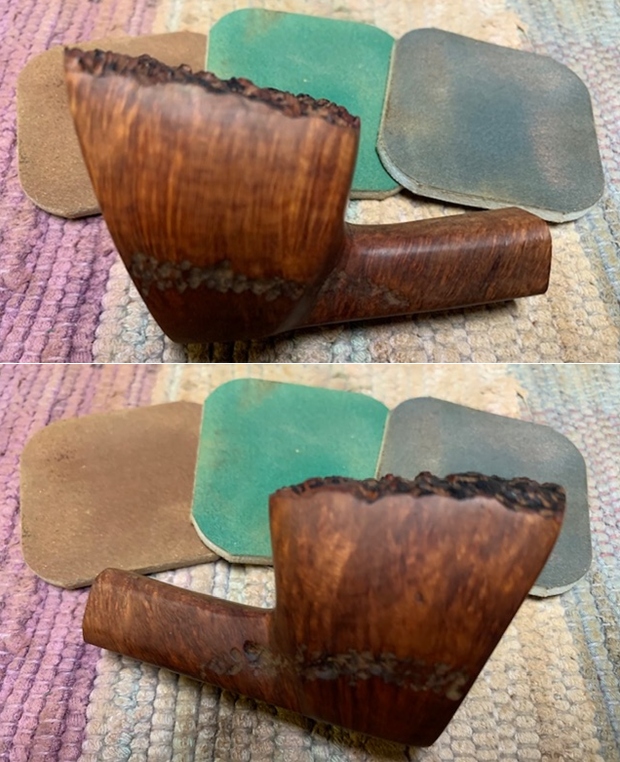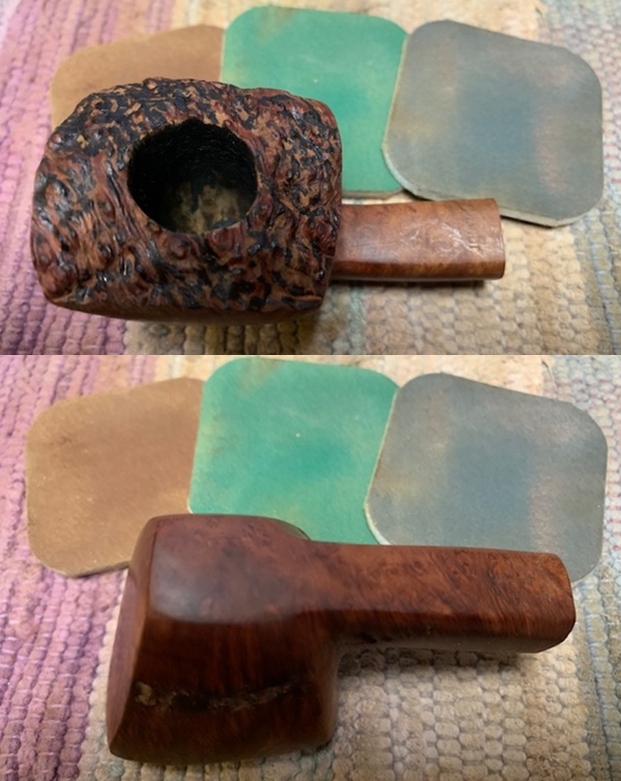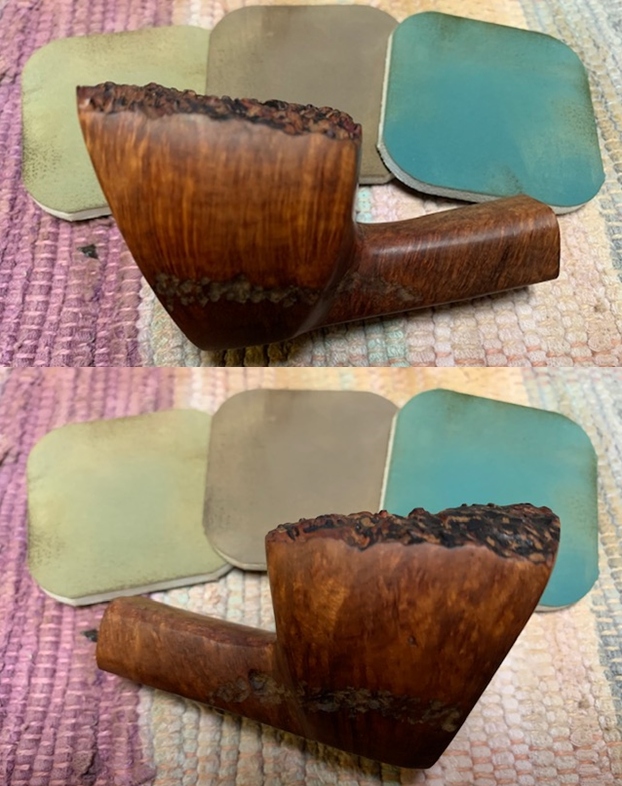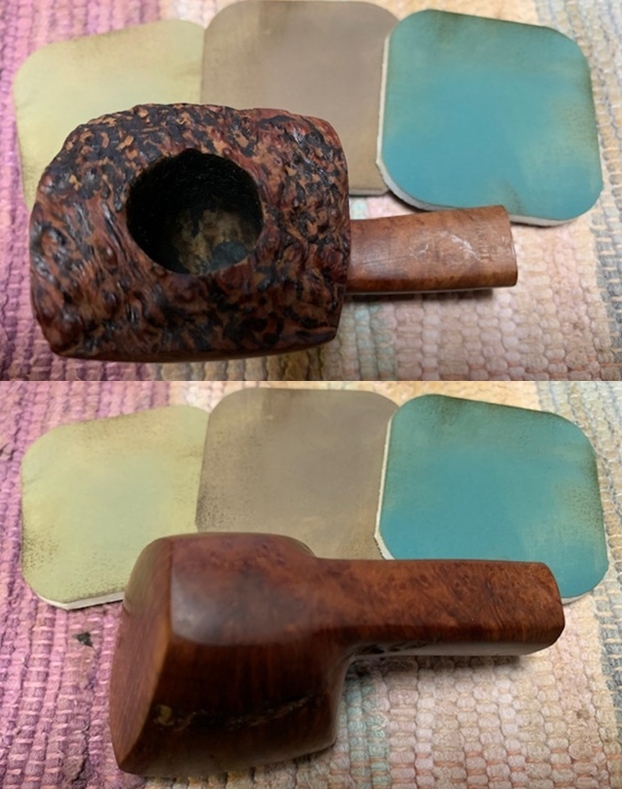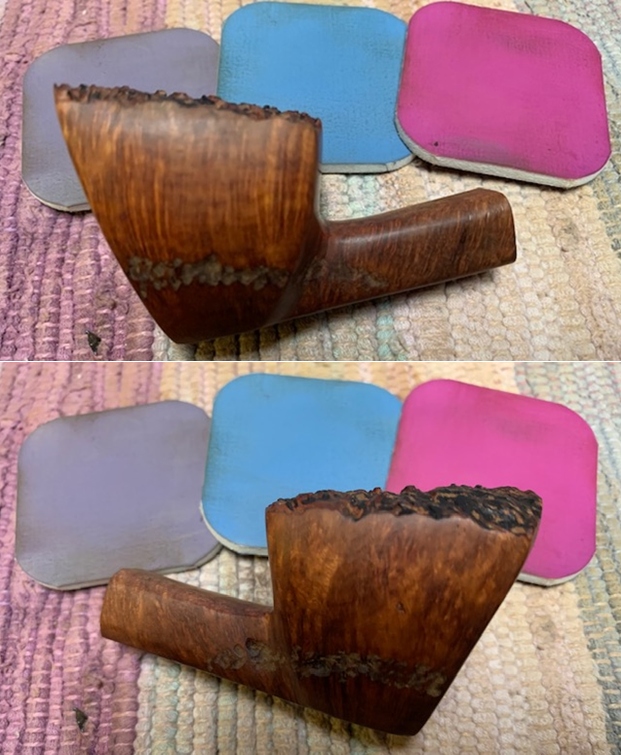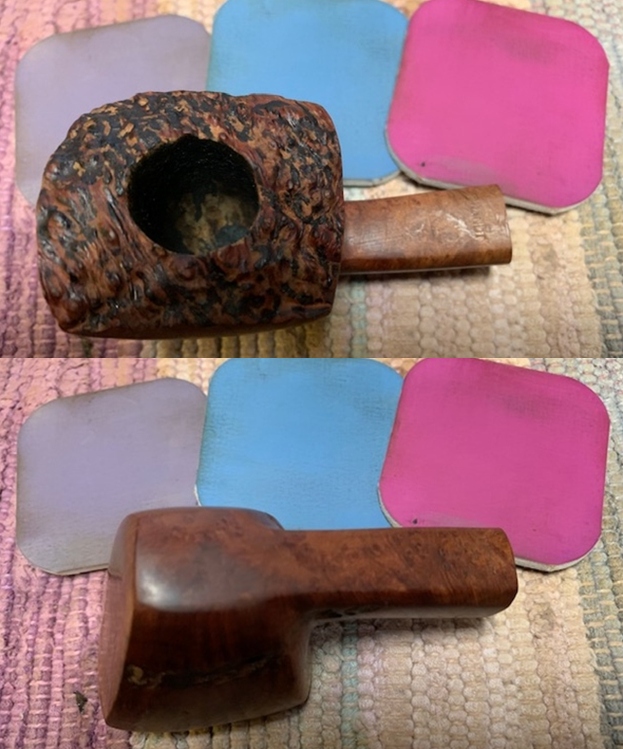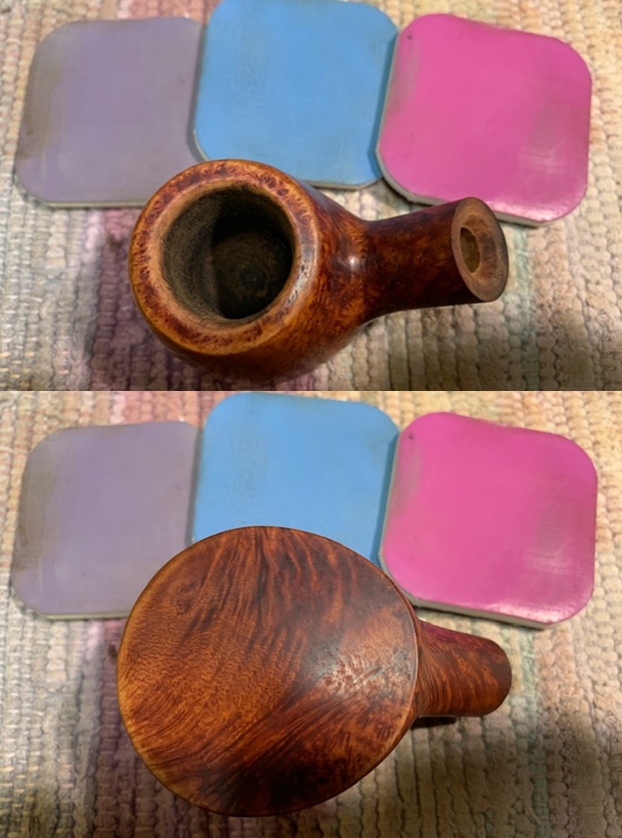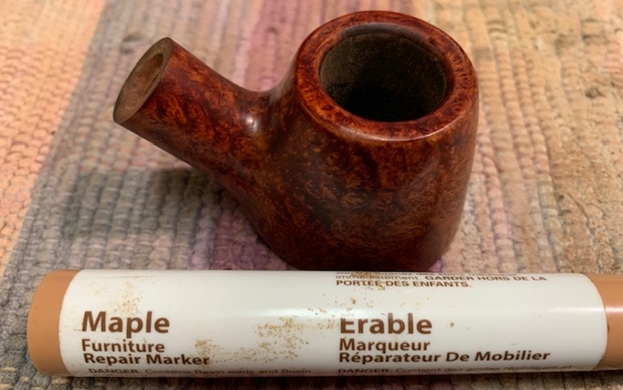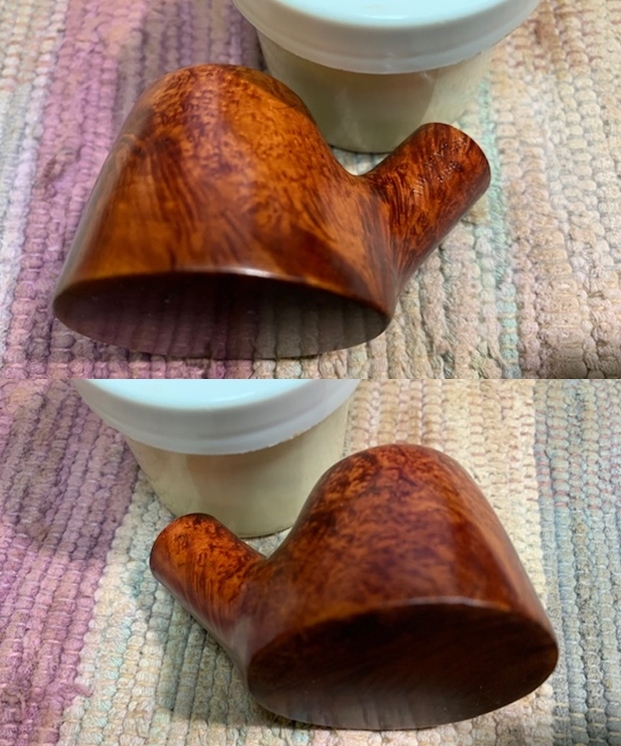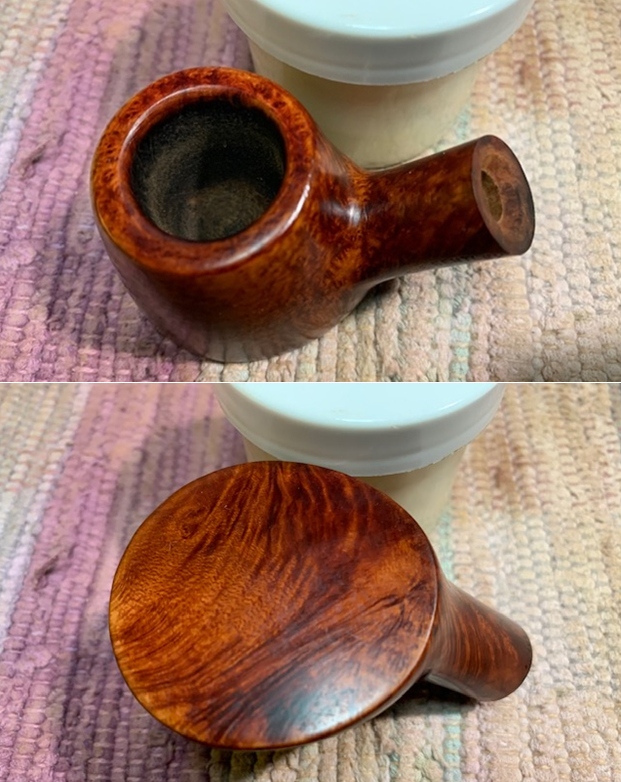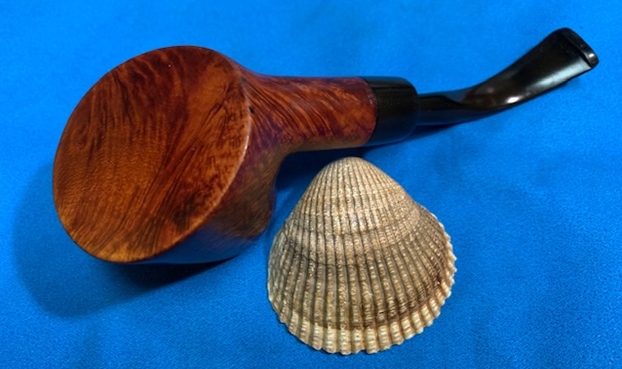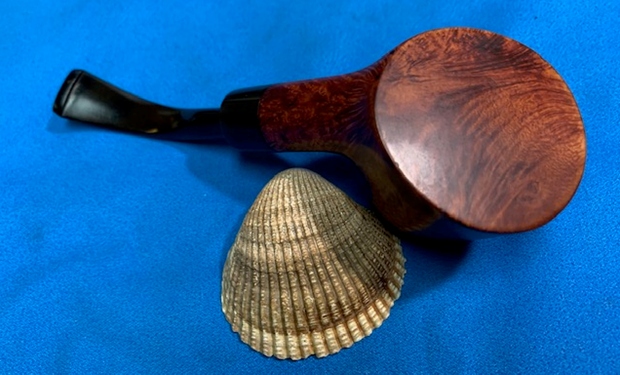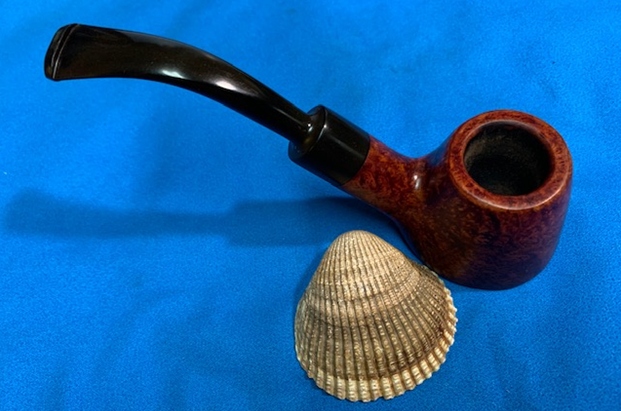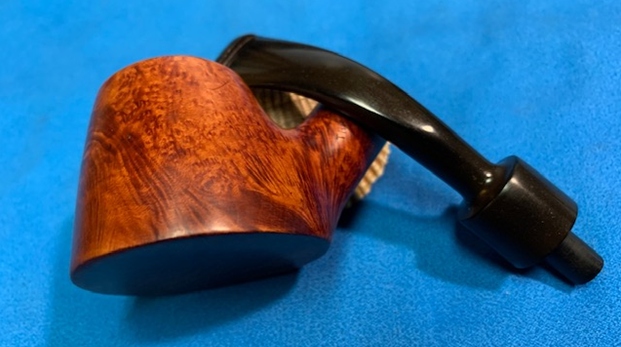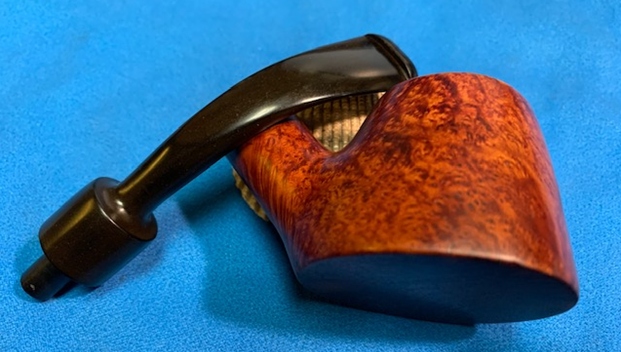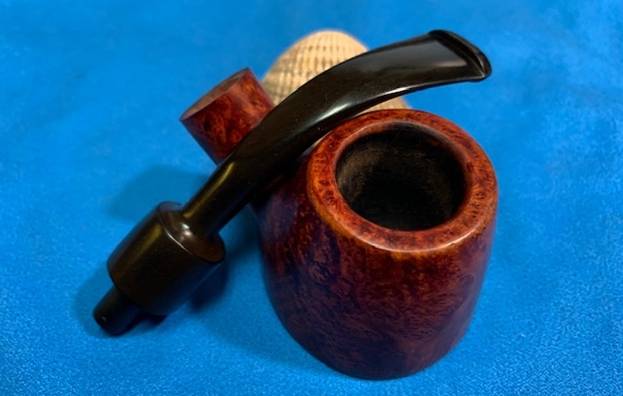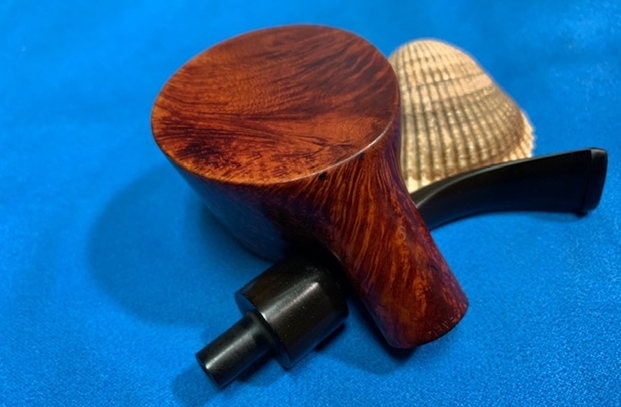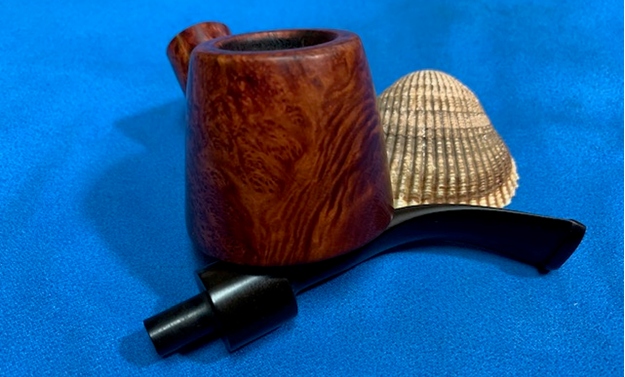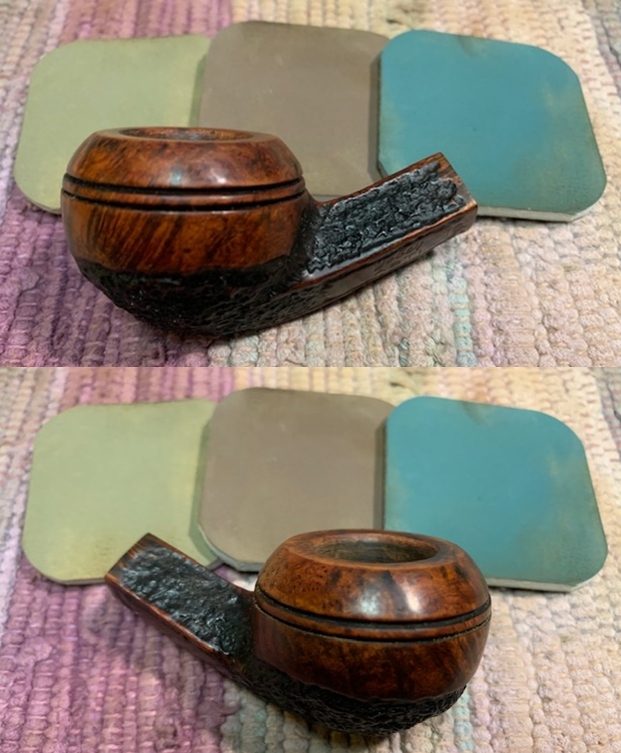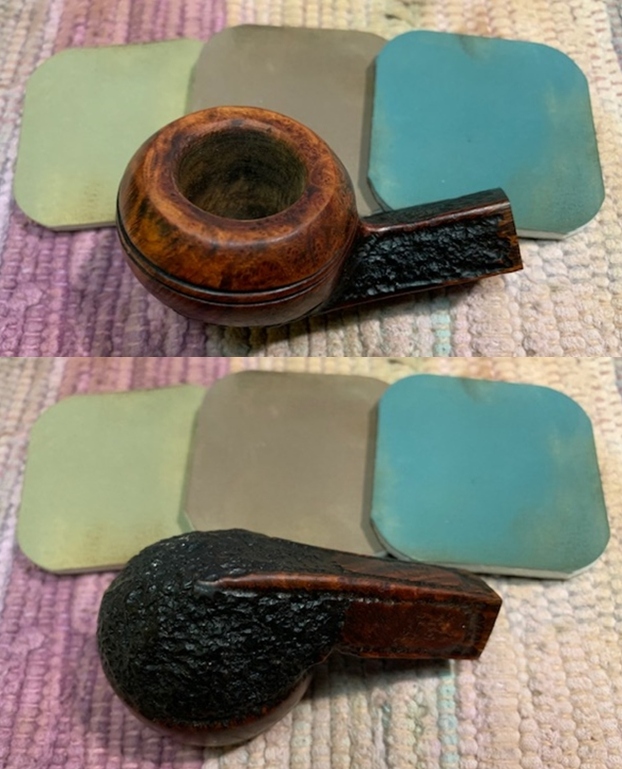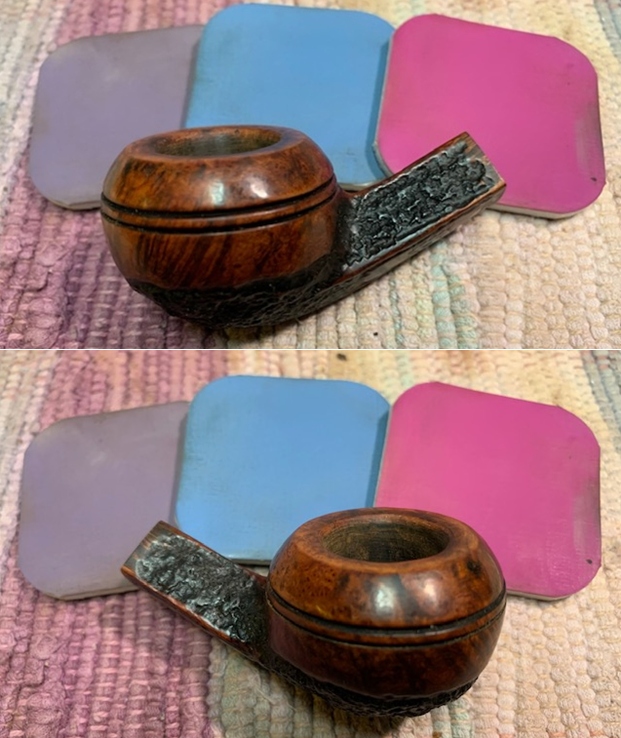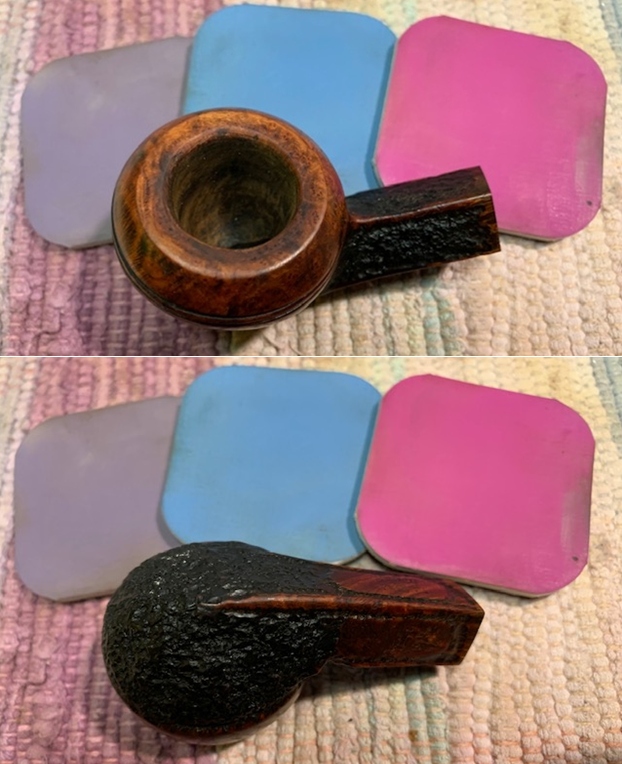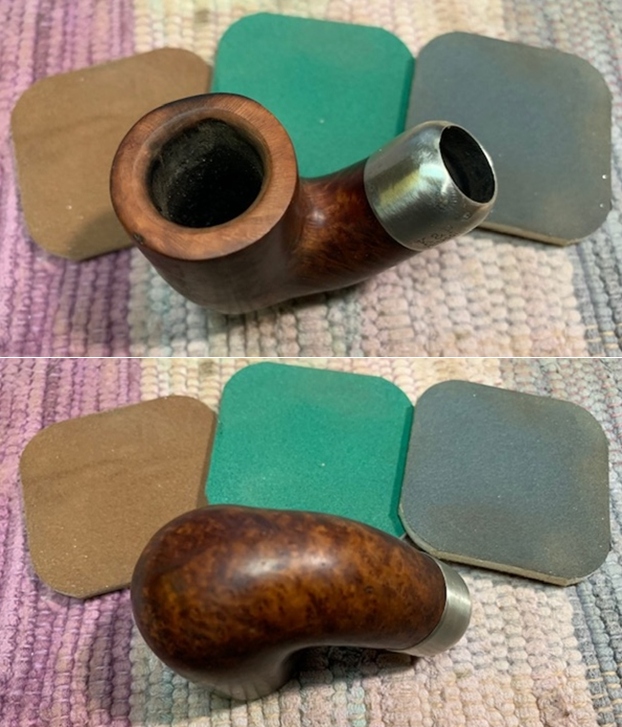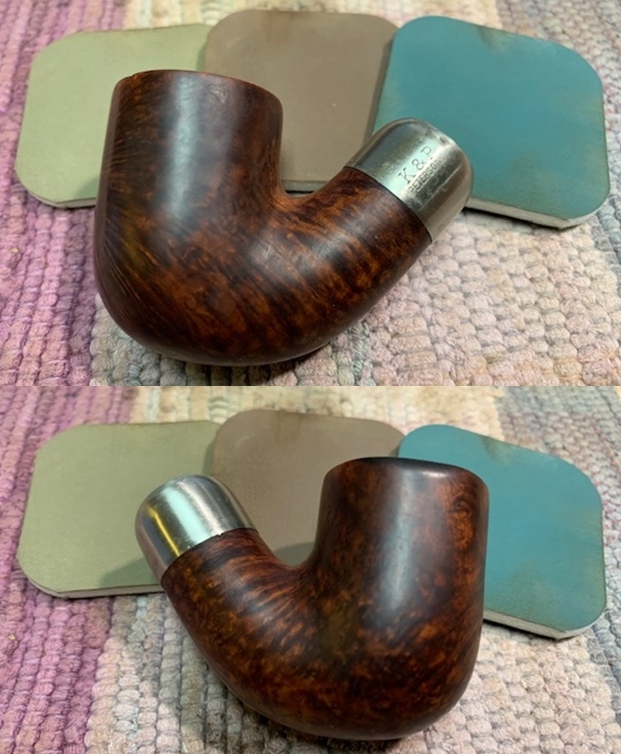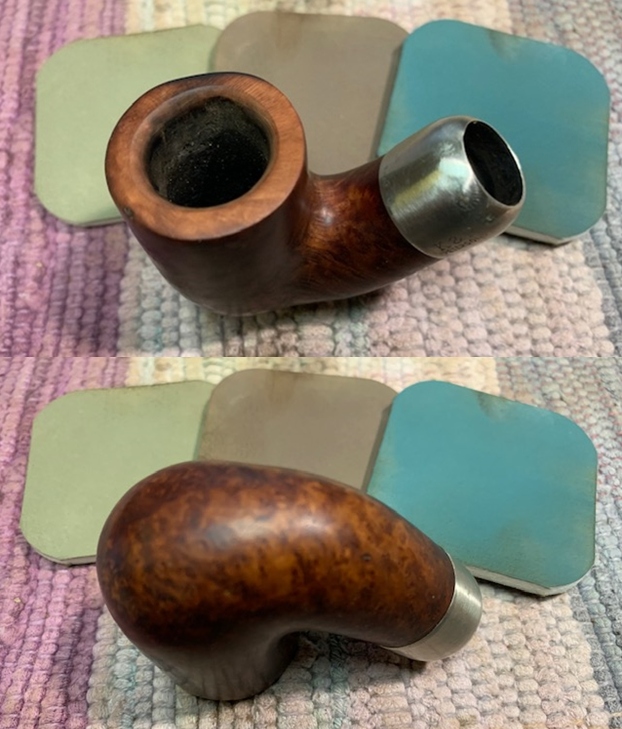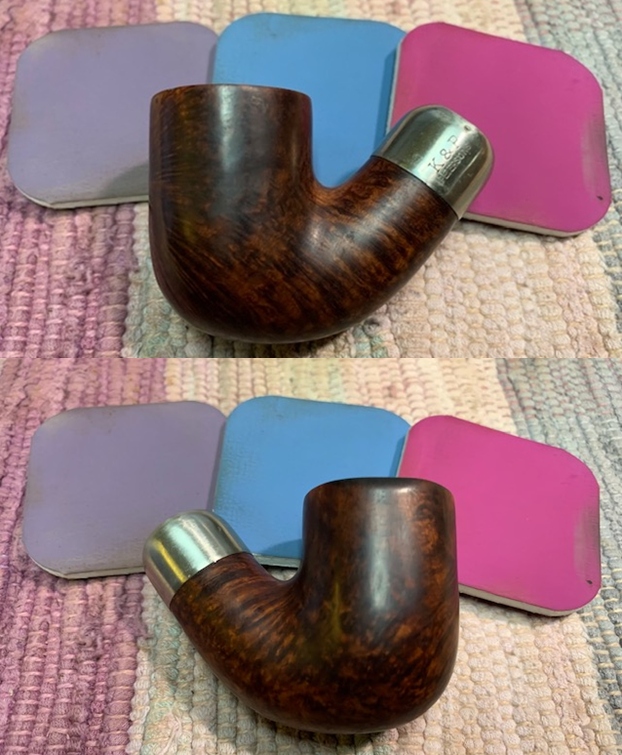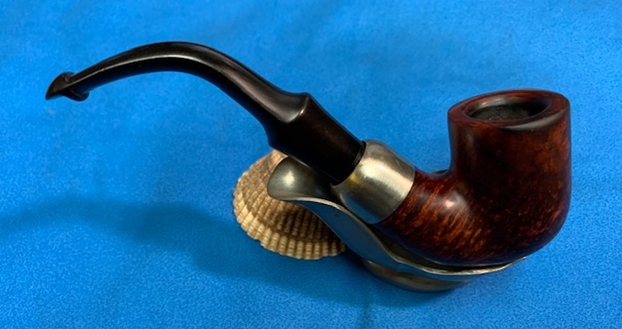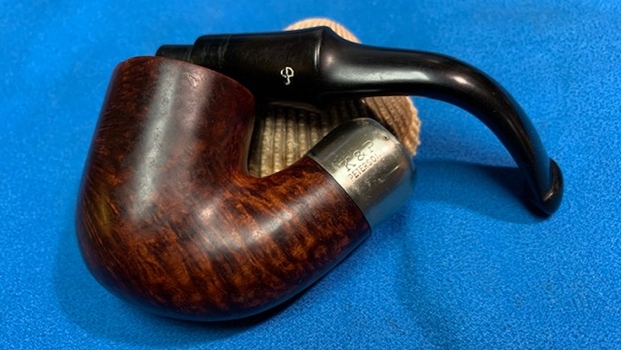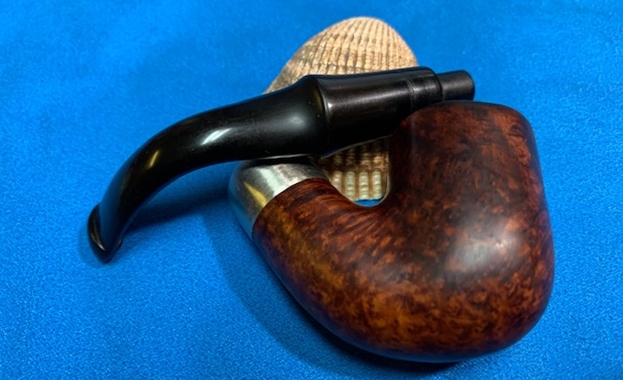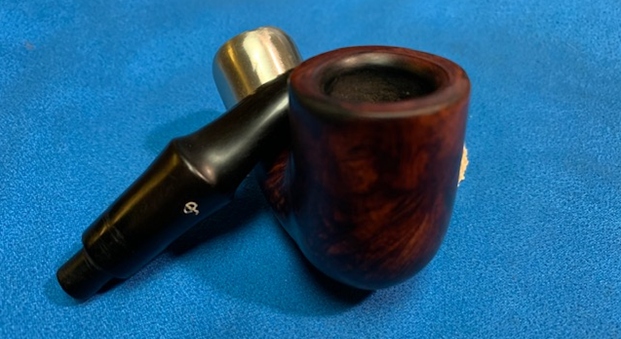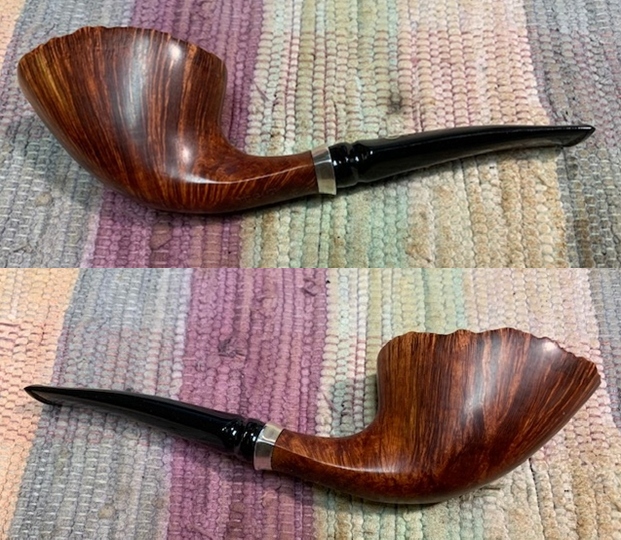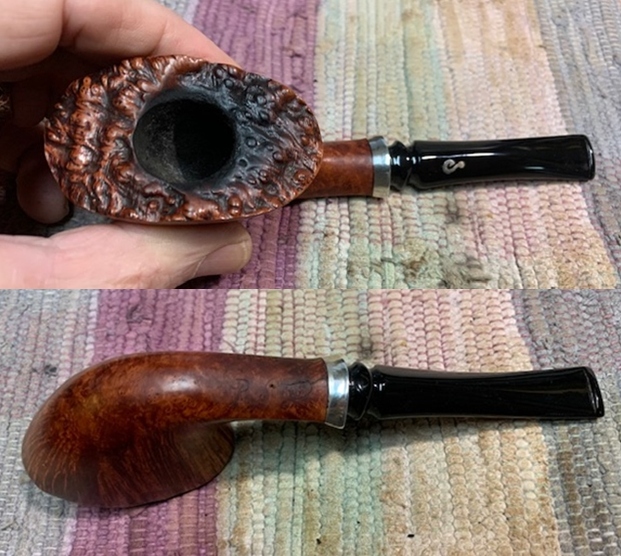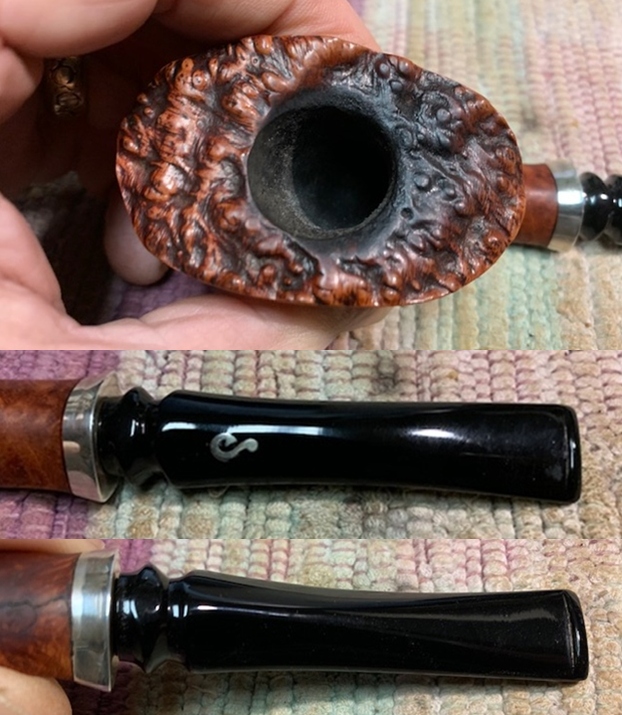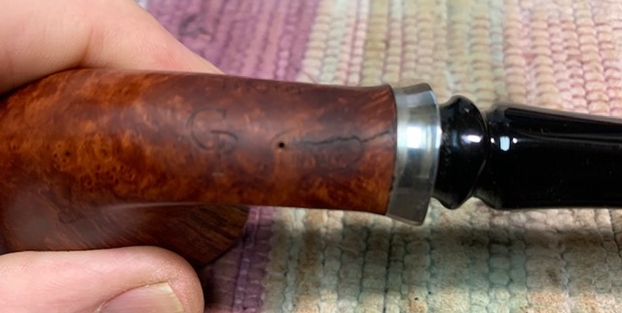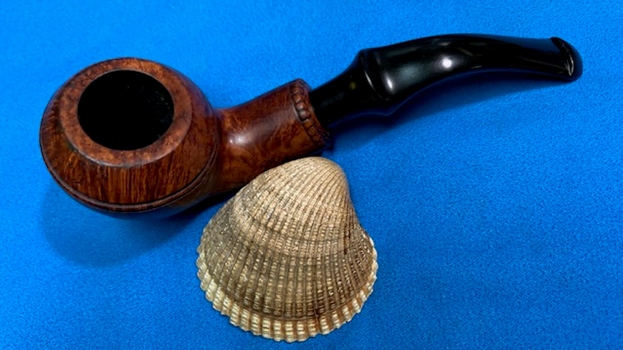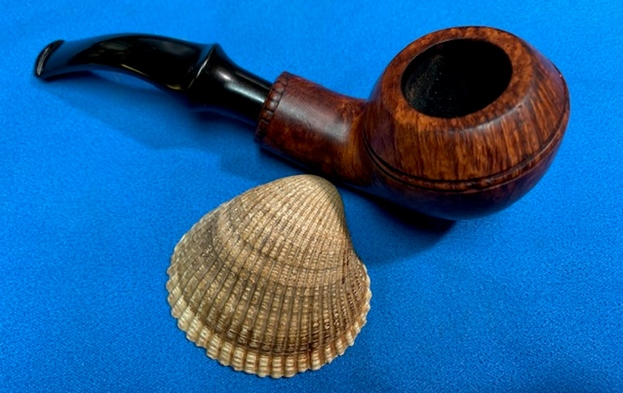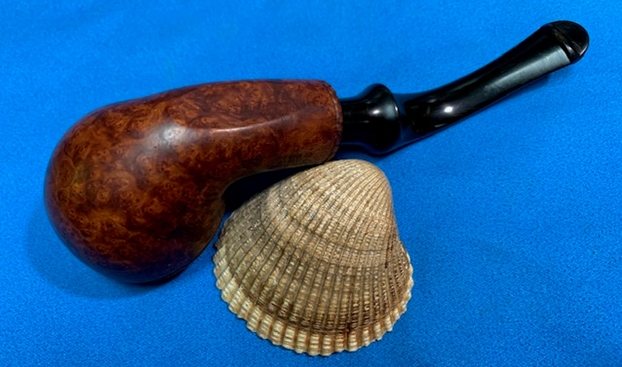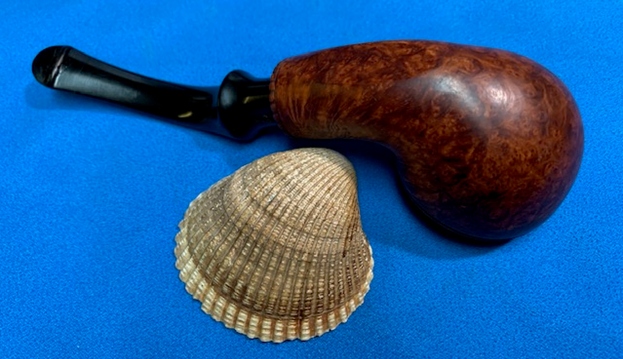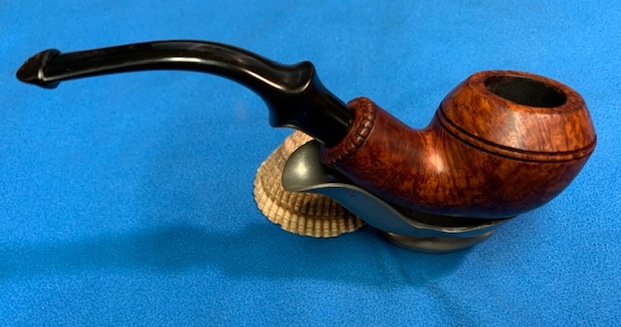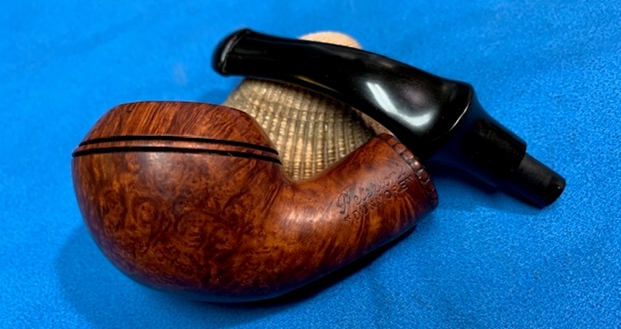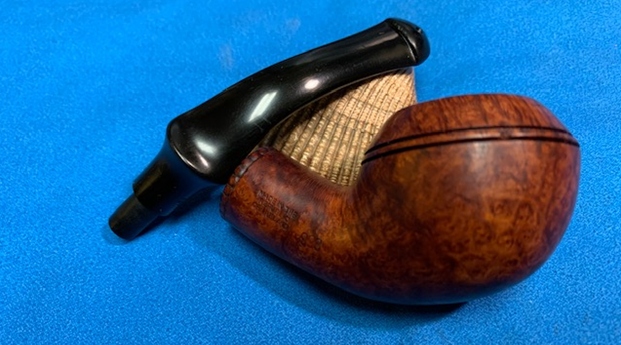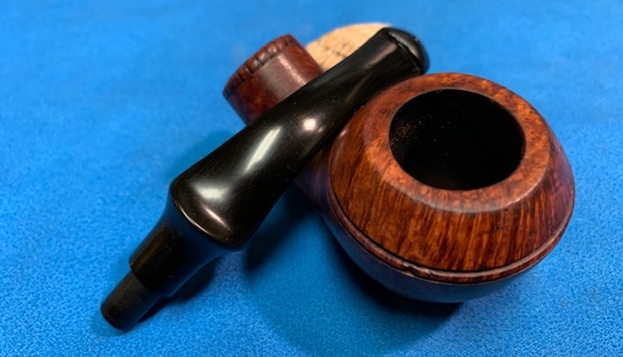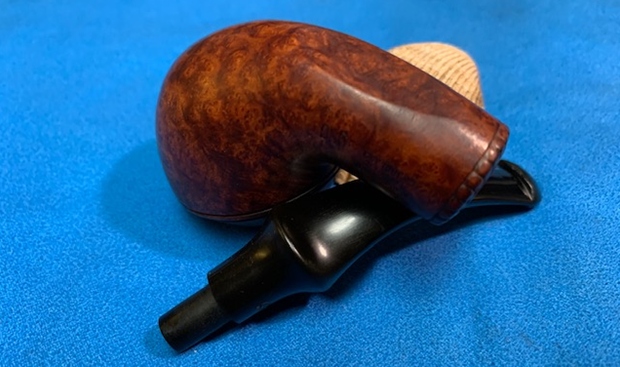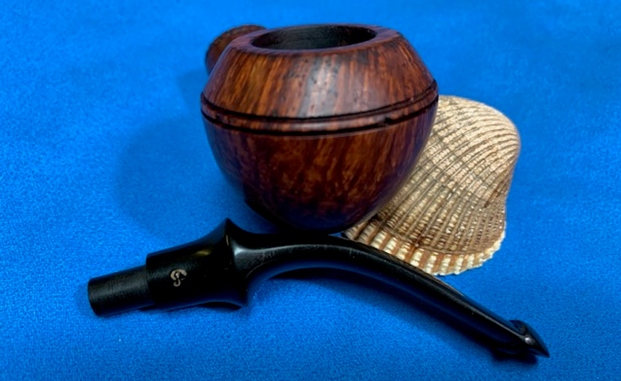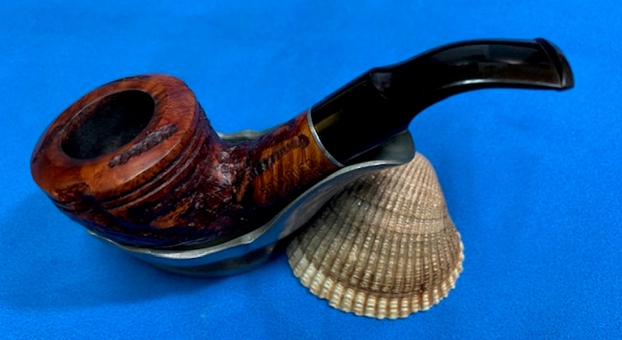
A ‘Mobile’ Colorado to Florida Quick Clean Up of a ‘Dragon Skin’ Fabric/Resin Applique Bent Billiard


Blog by Dal Stanton

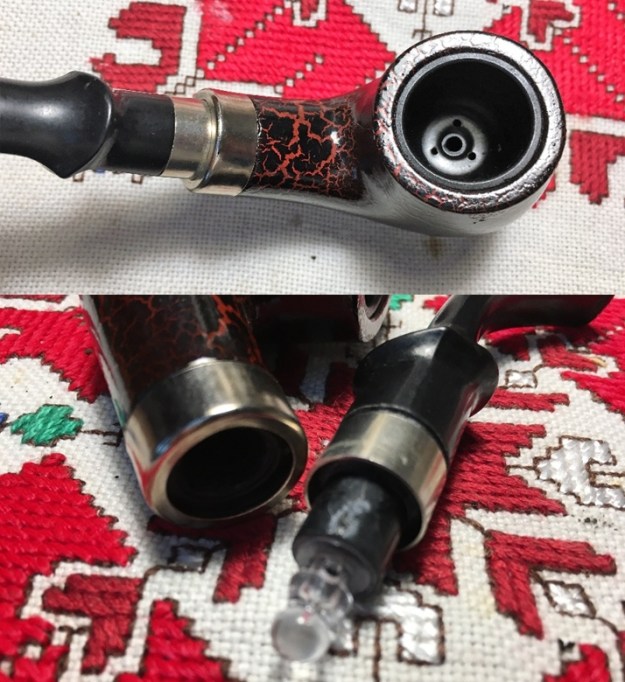
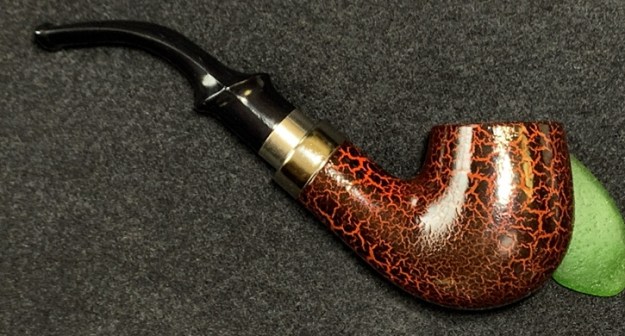
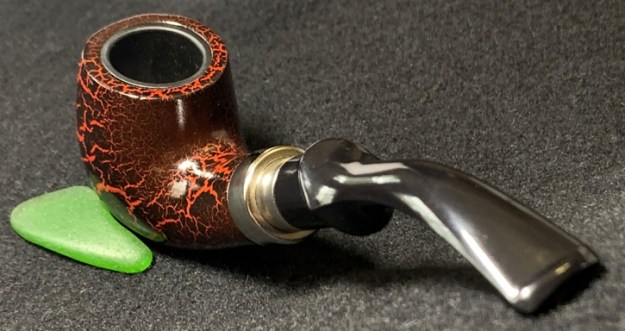
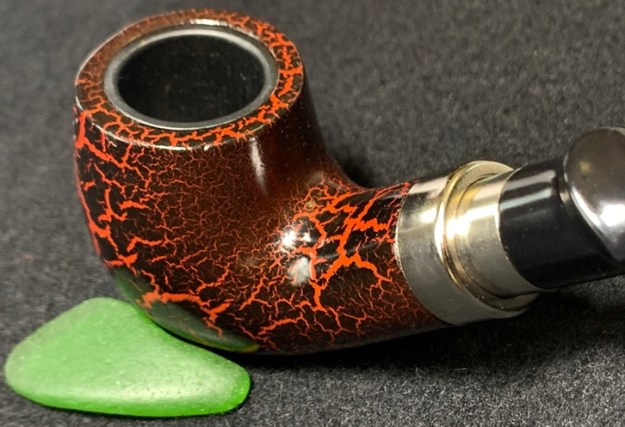
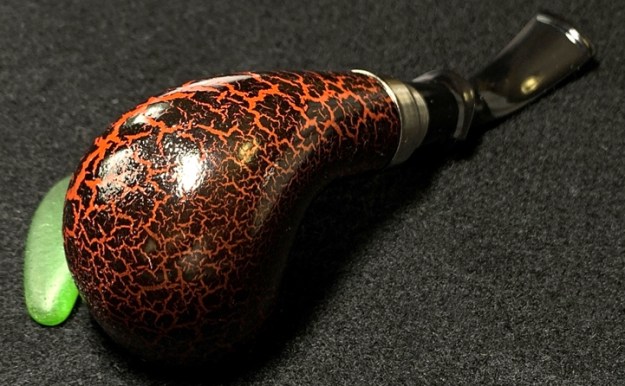
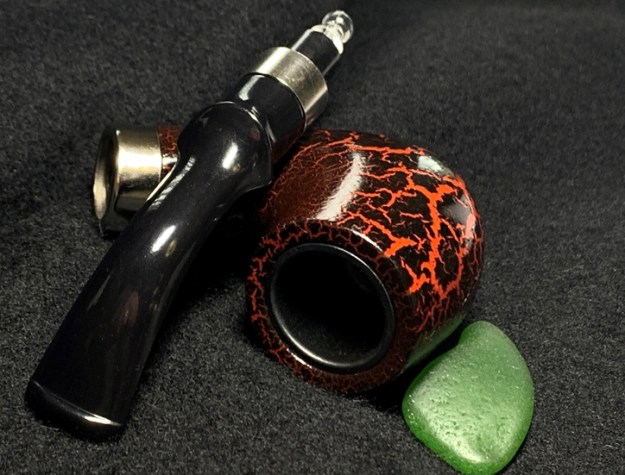
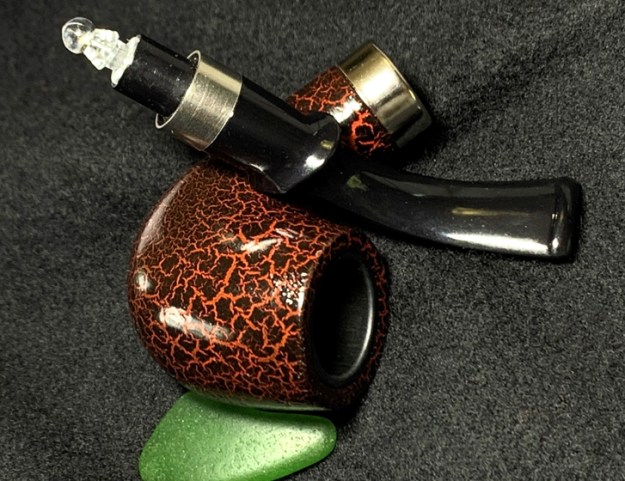
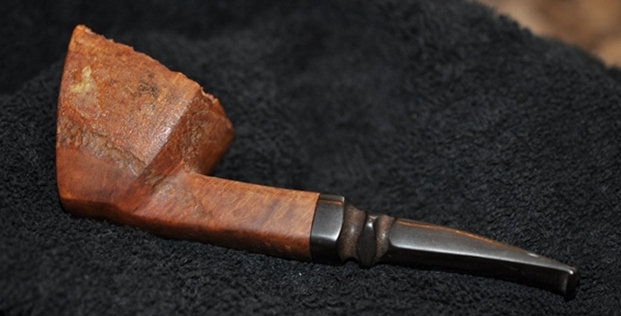
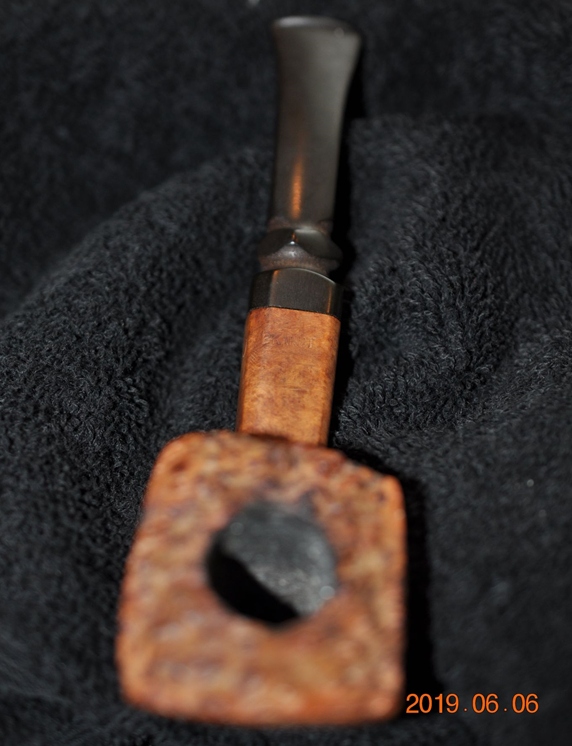
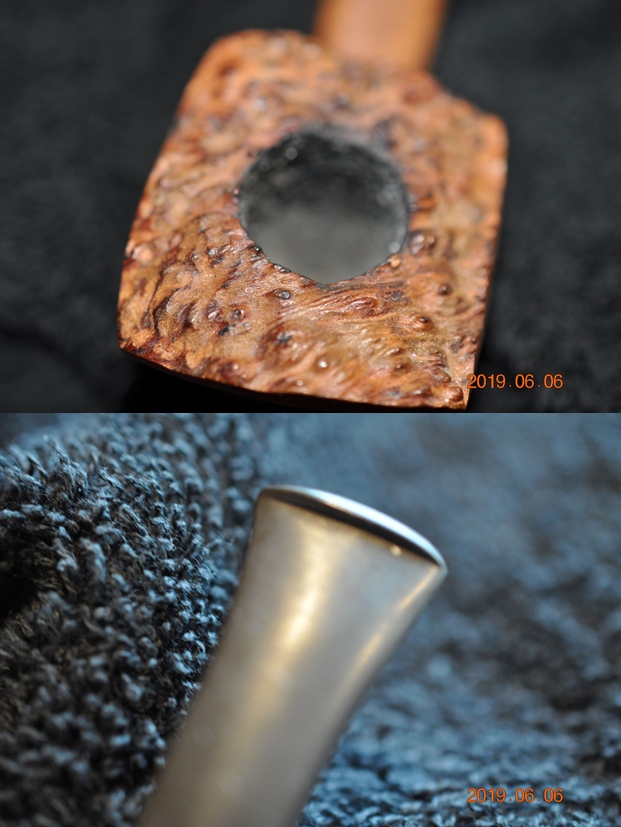
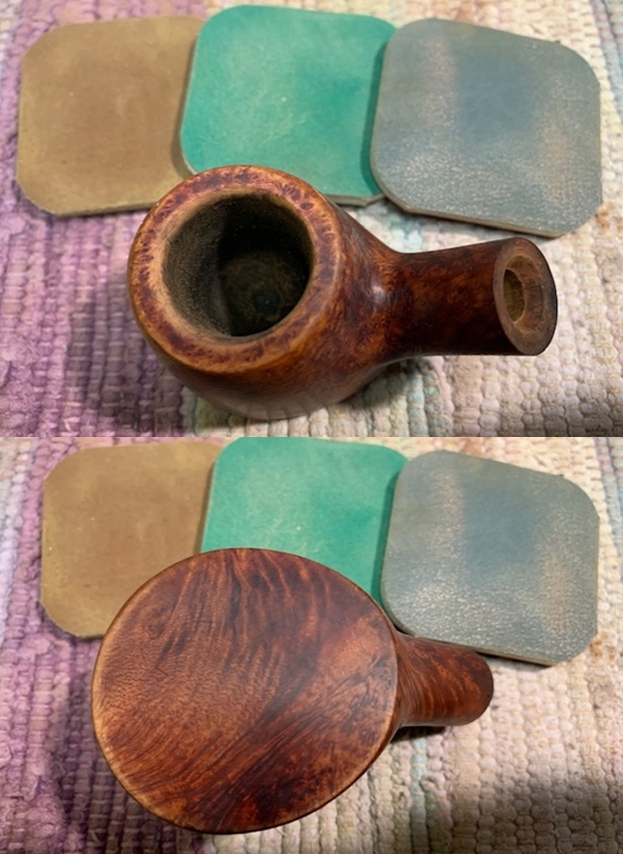
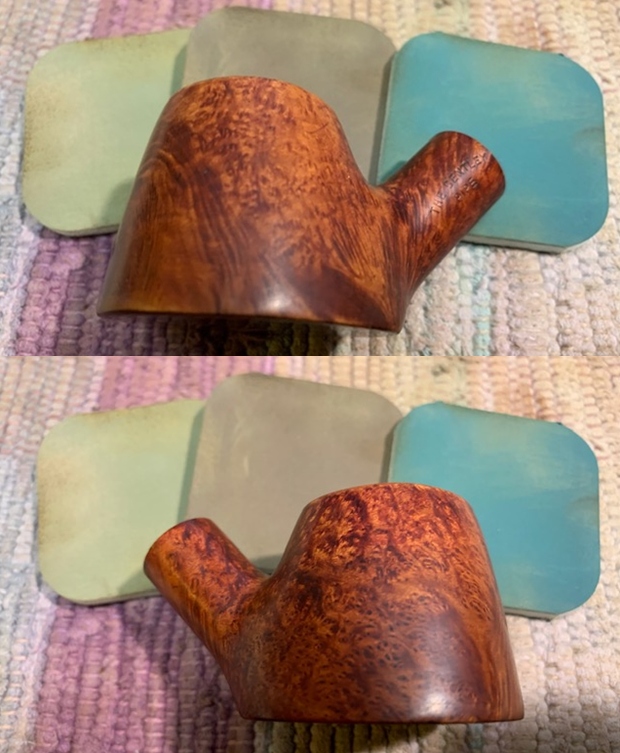
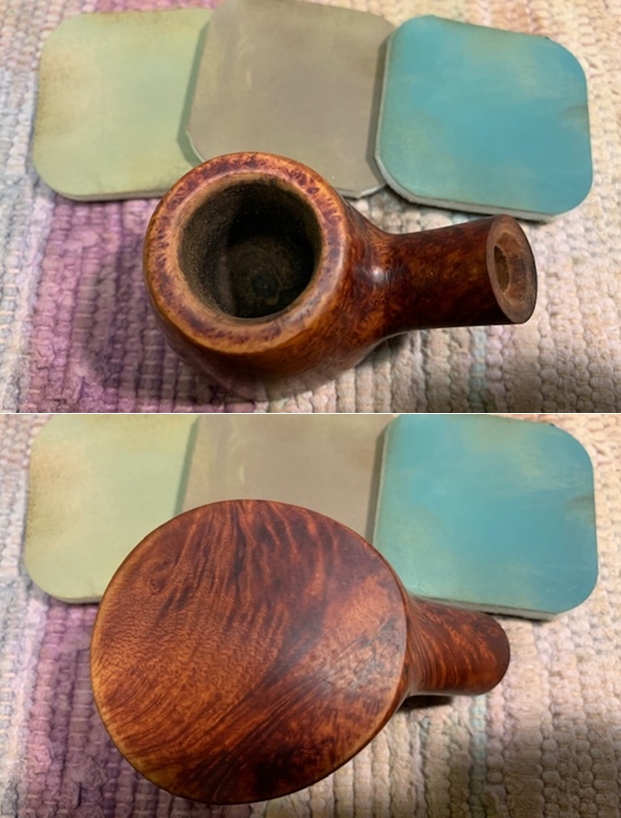
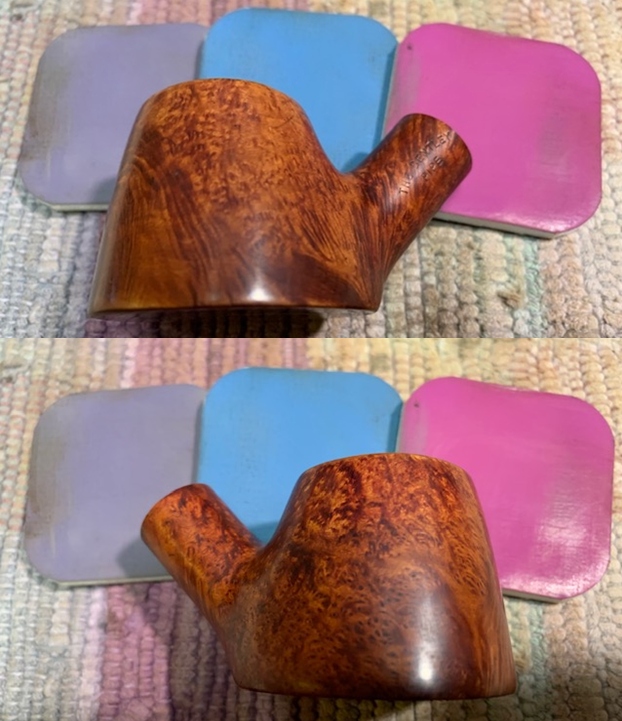
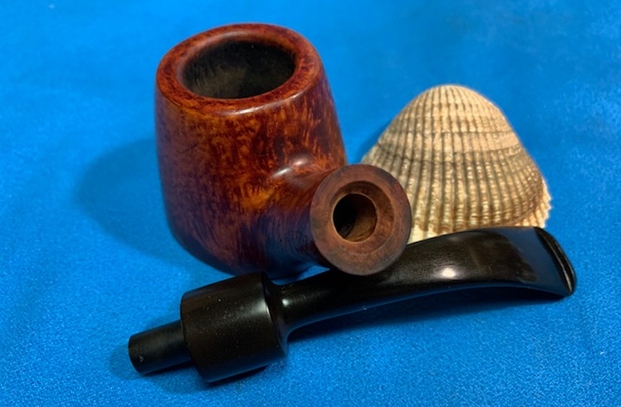
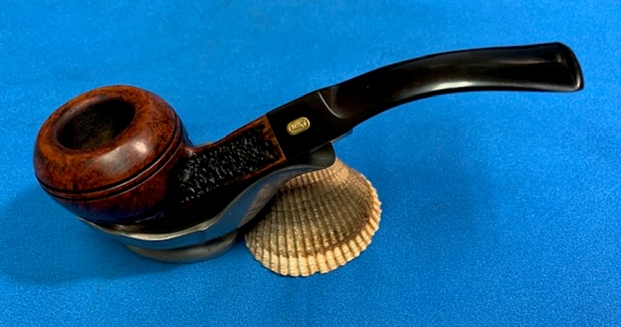
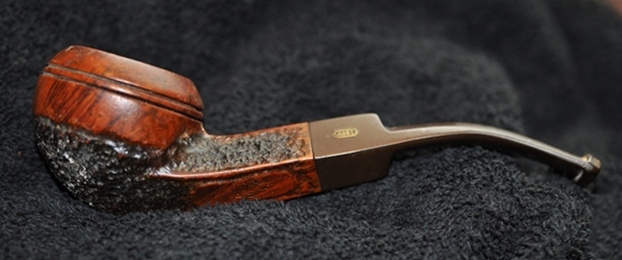
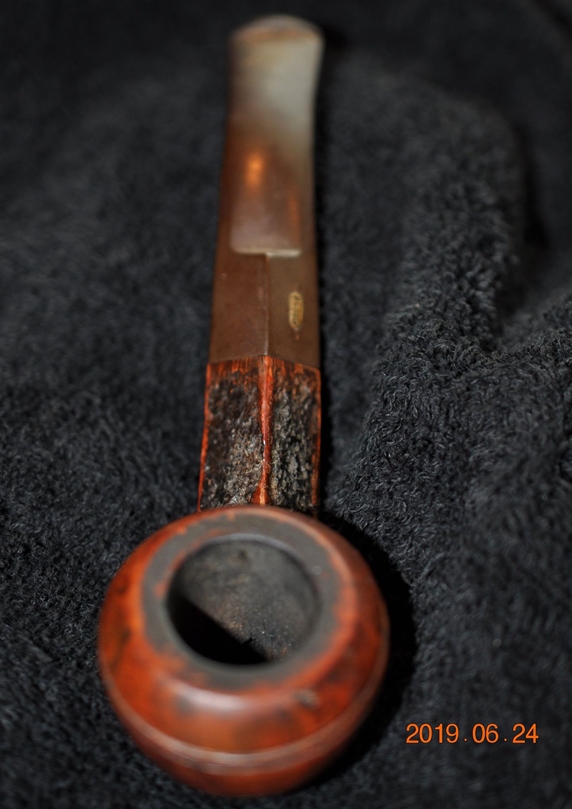
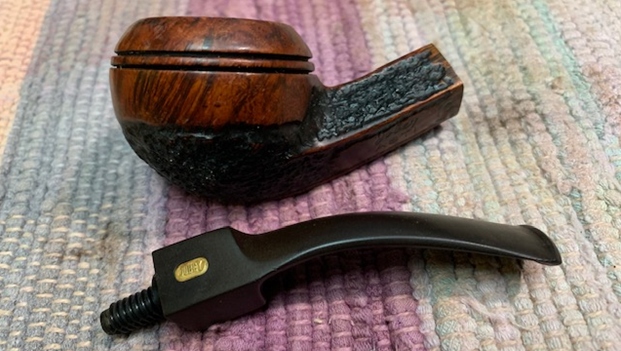
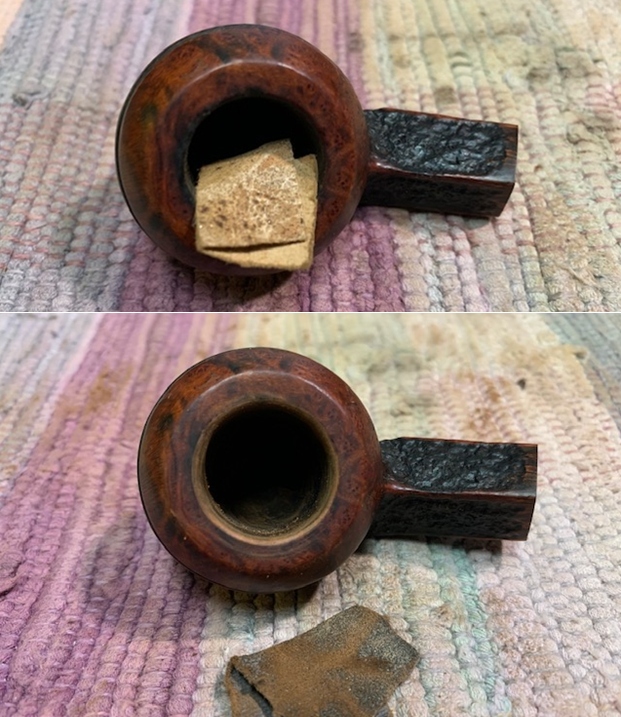
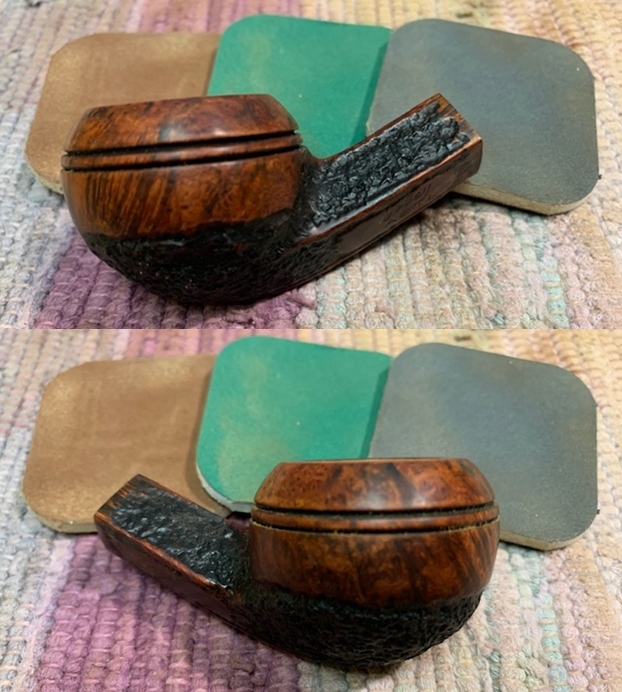
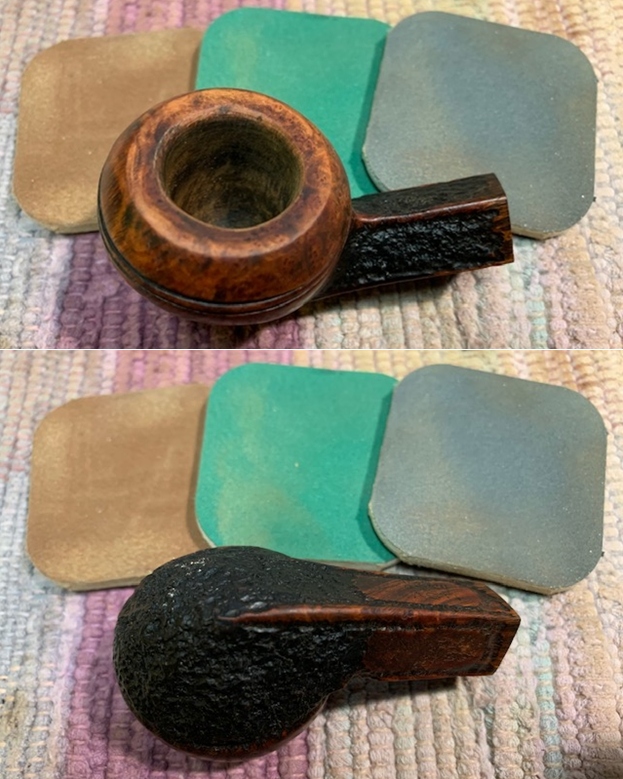
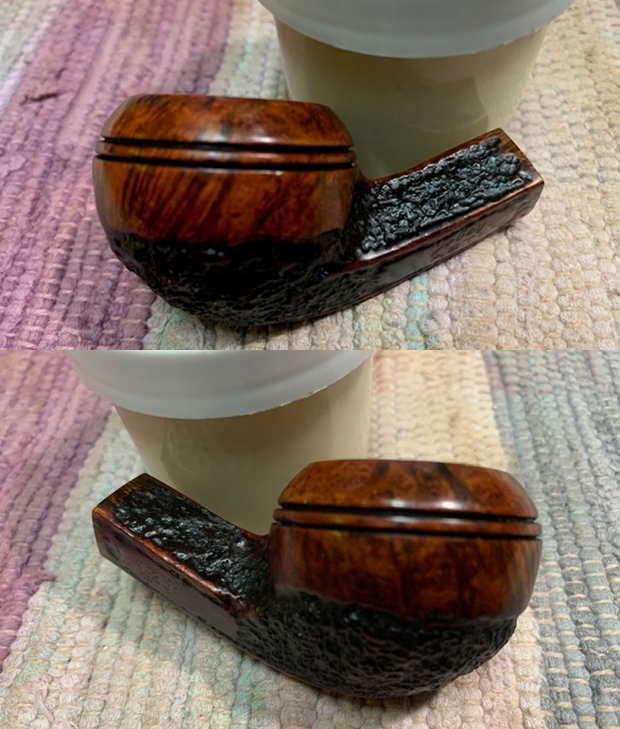
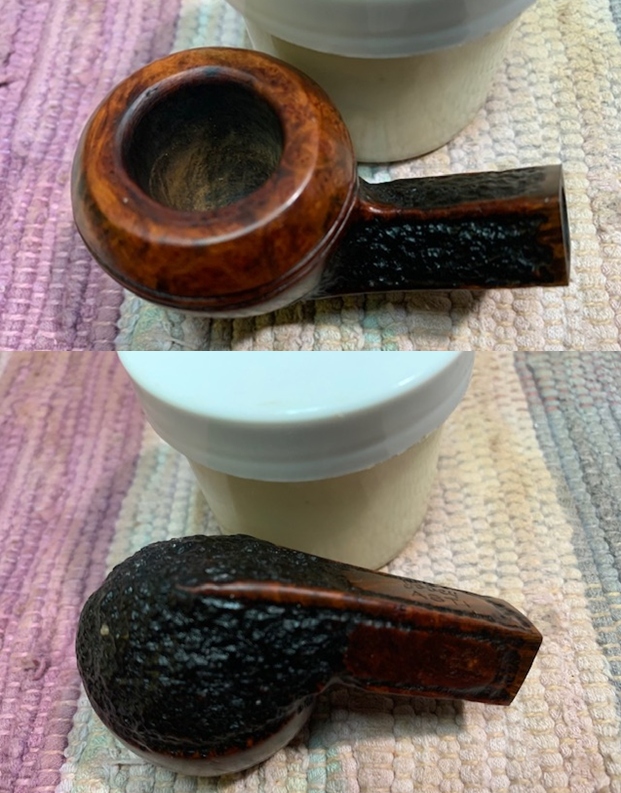
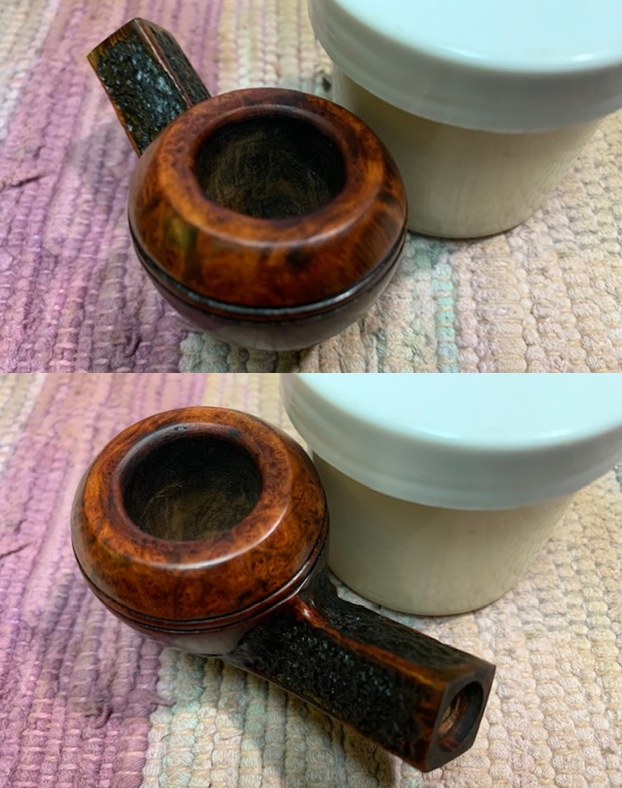
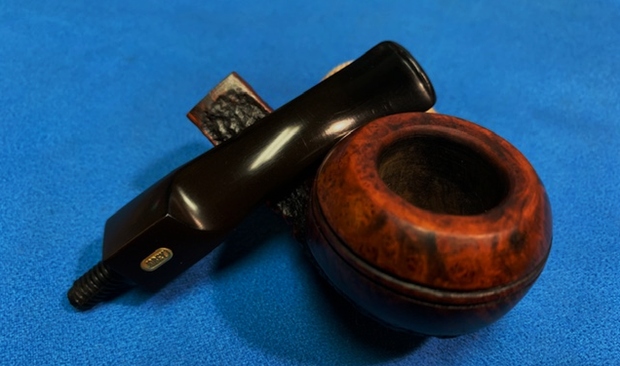
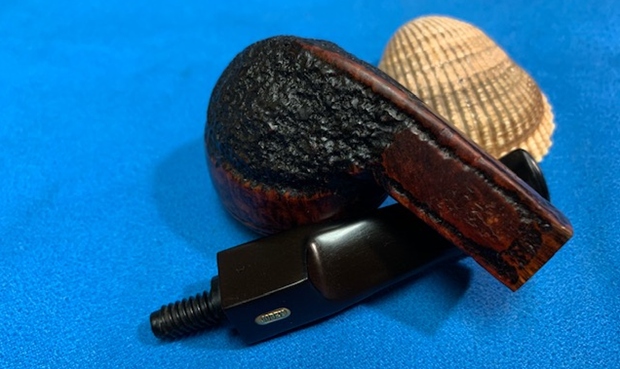
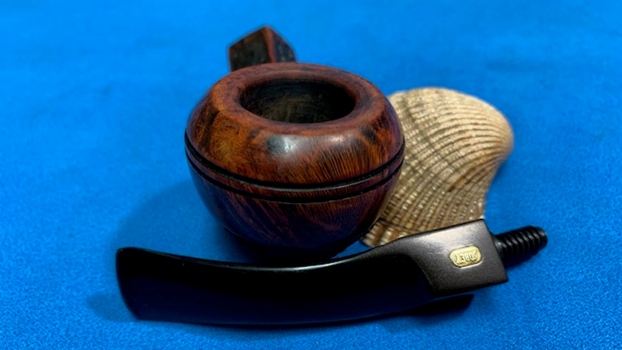
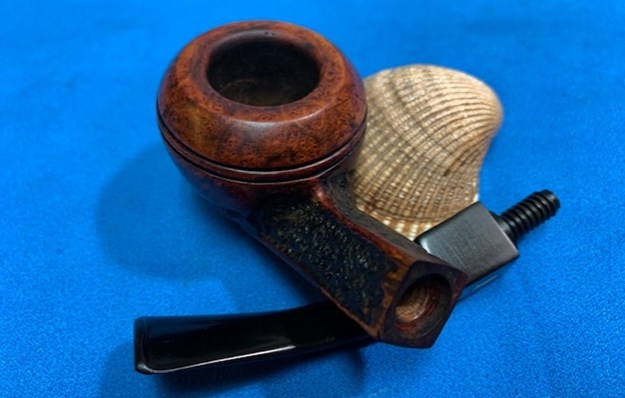
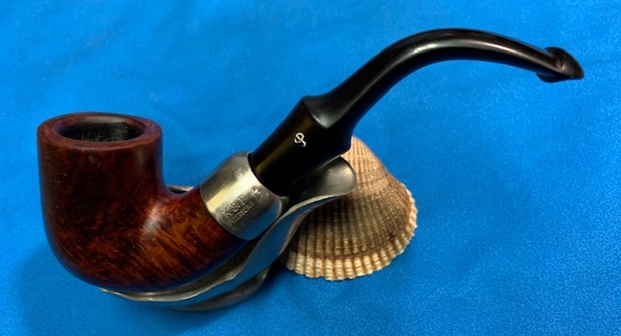
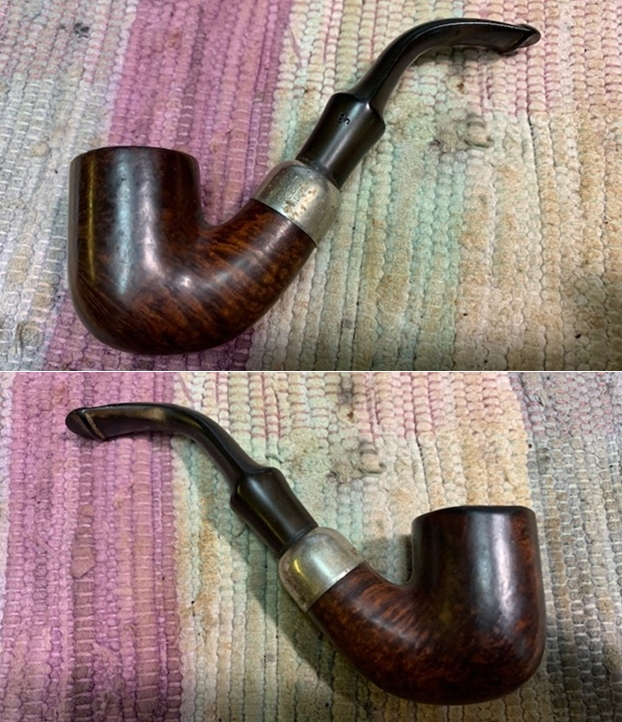
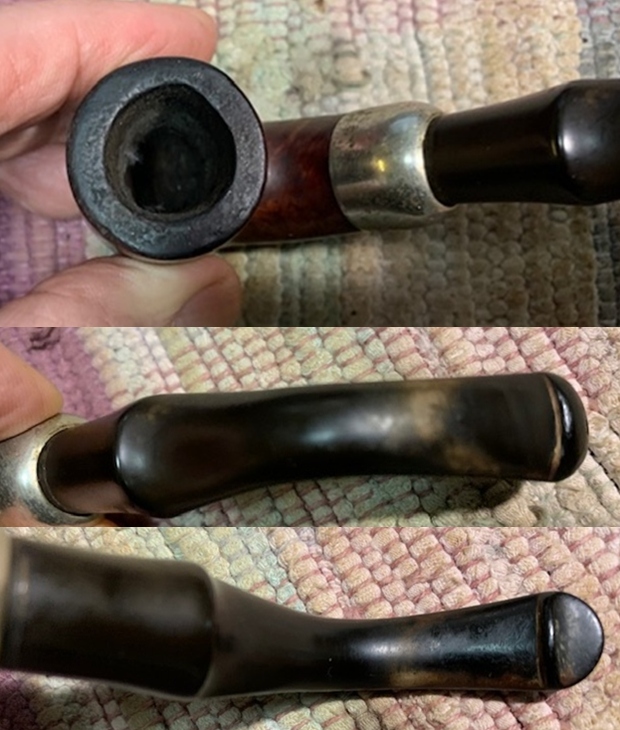
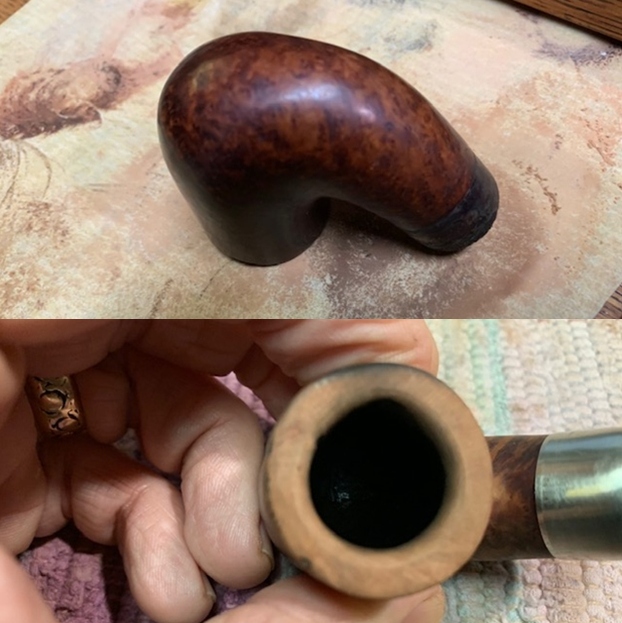
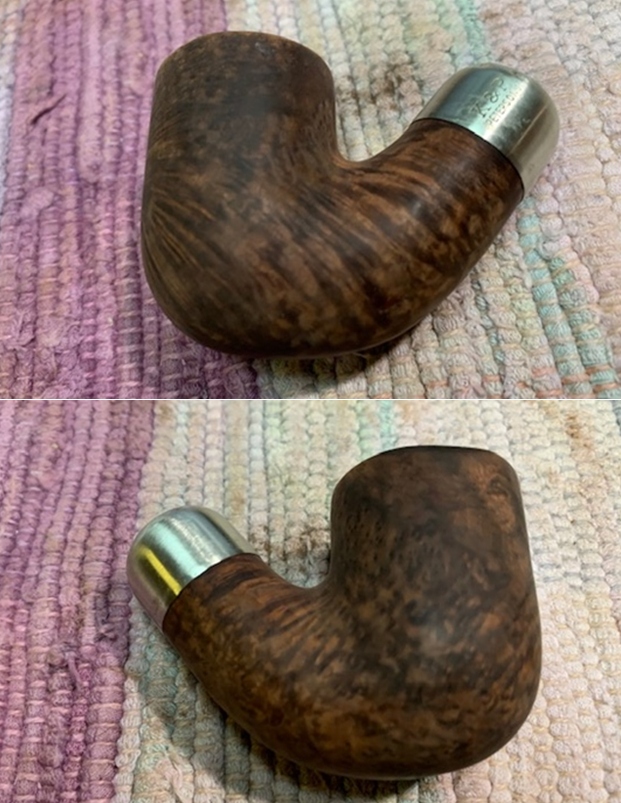
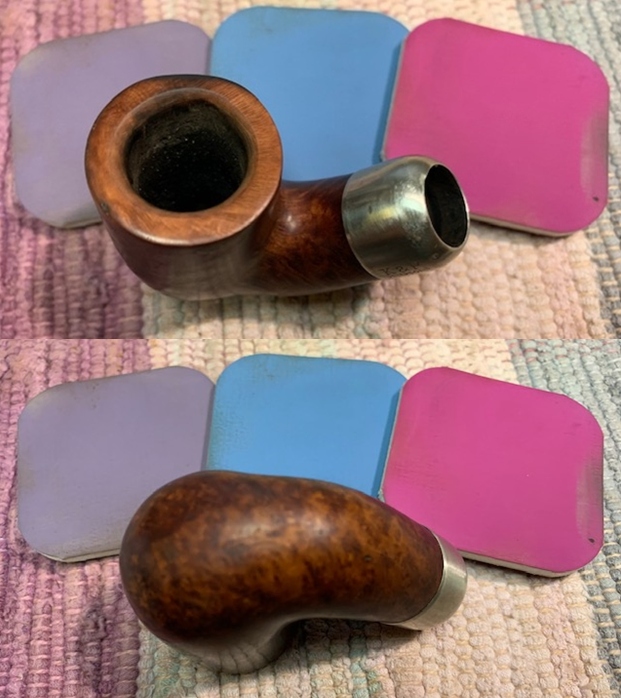
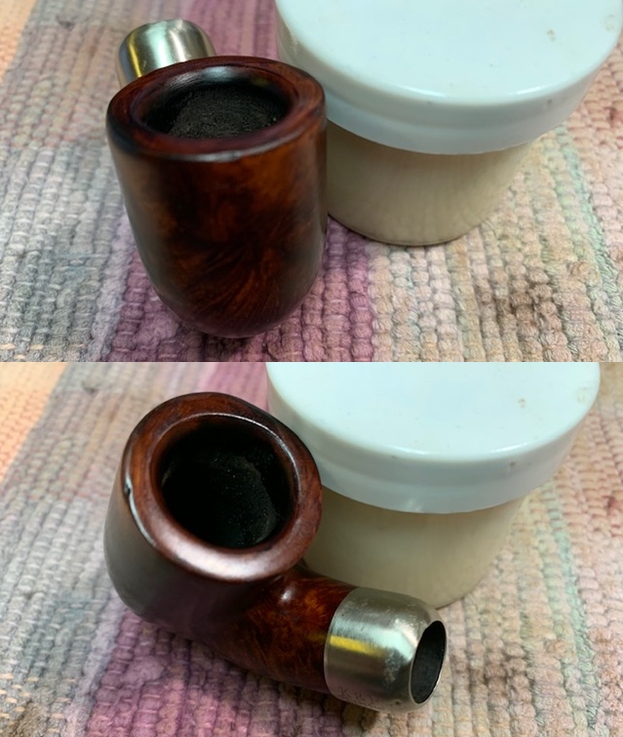
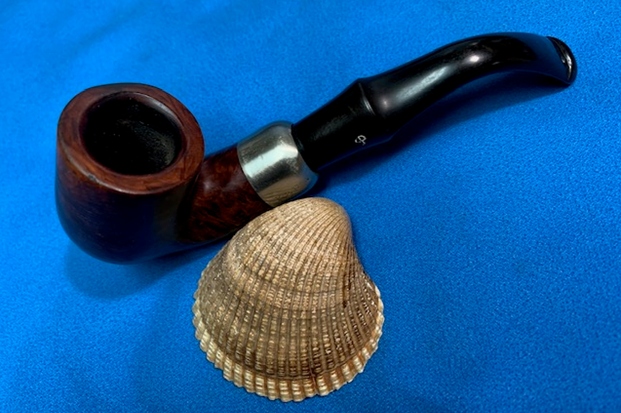
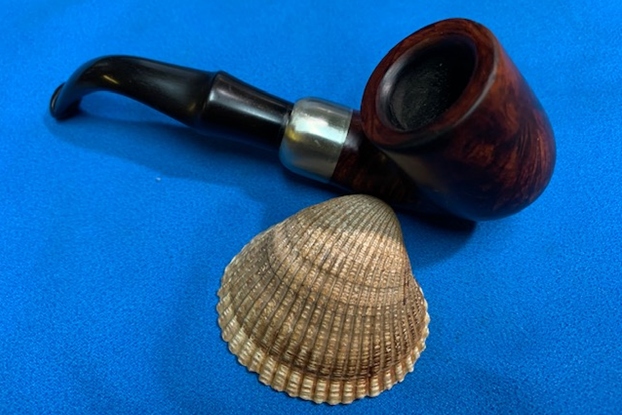
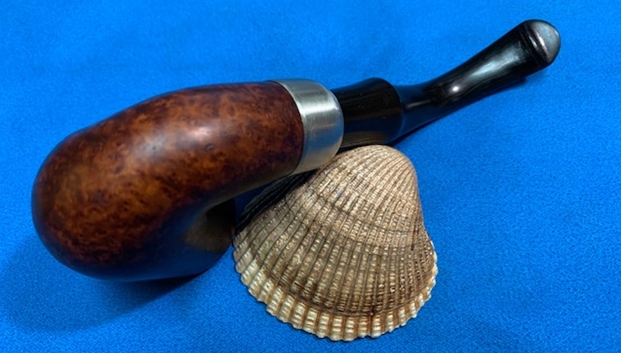
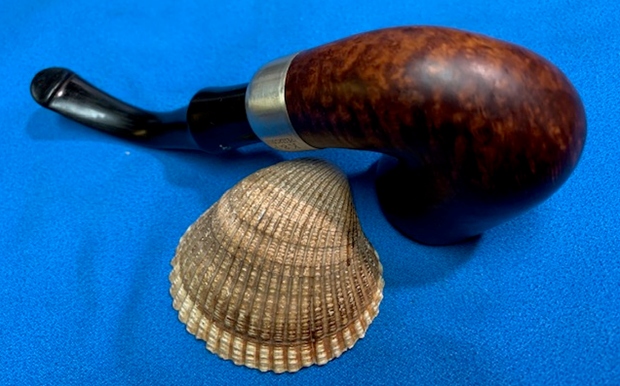
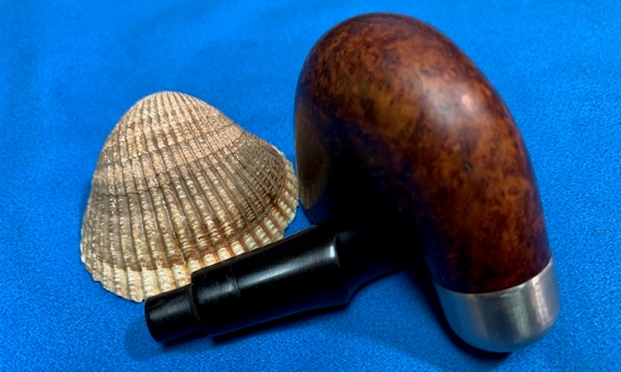
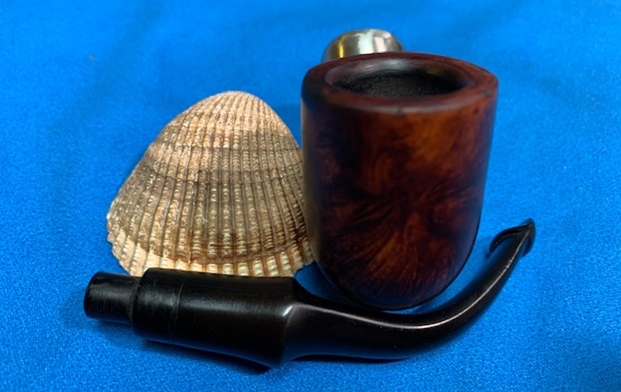
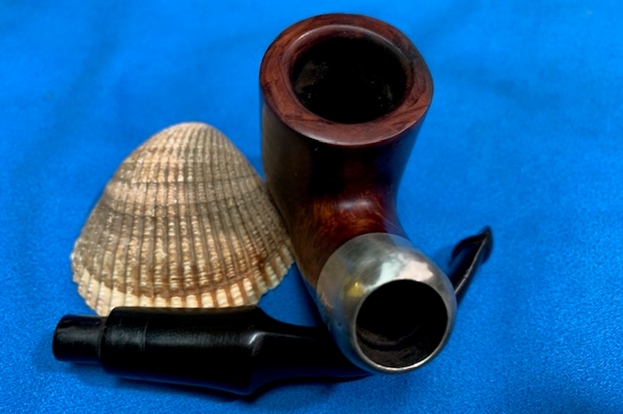
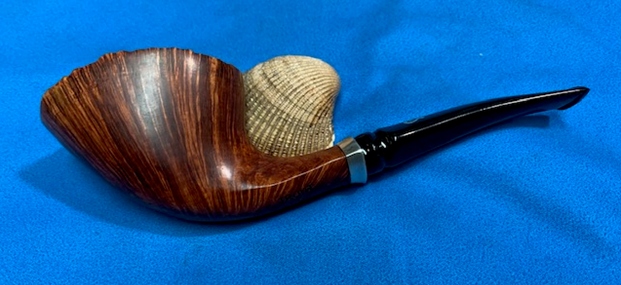
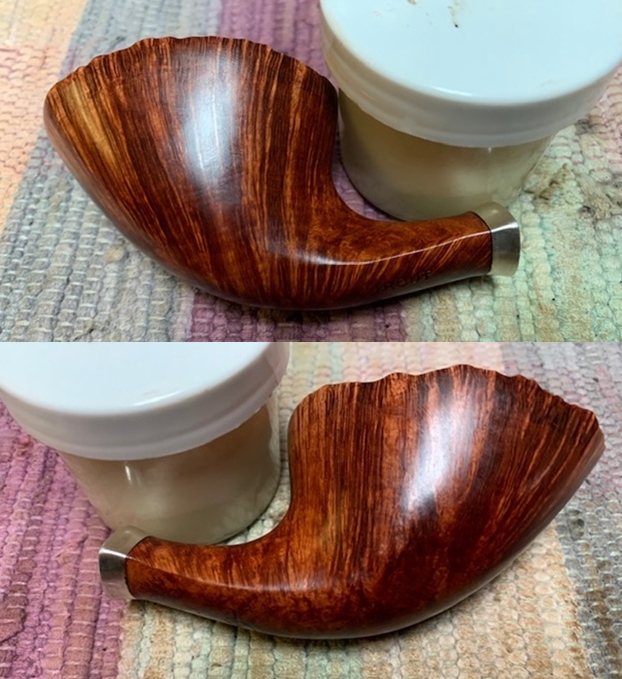
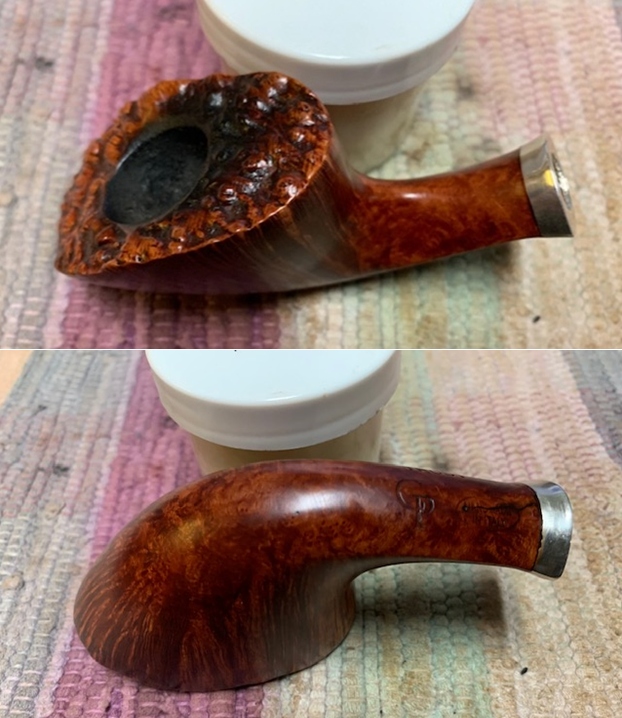
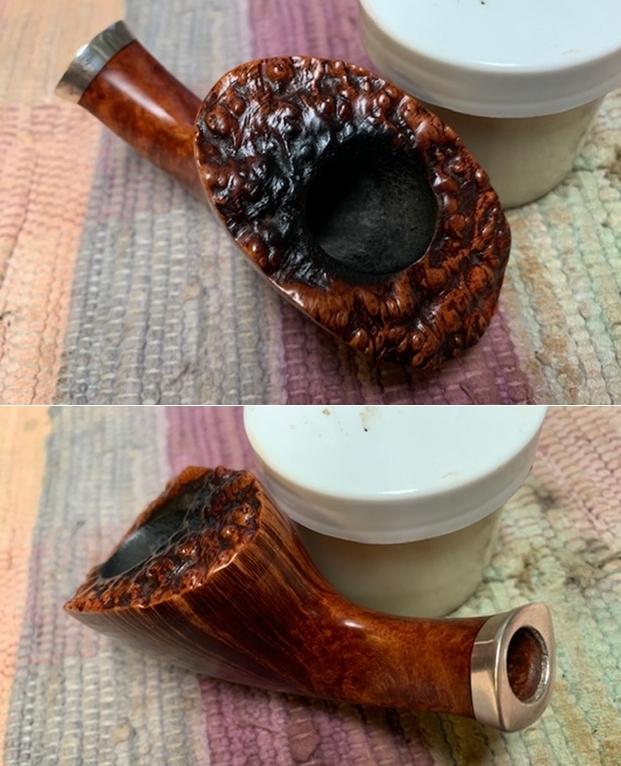
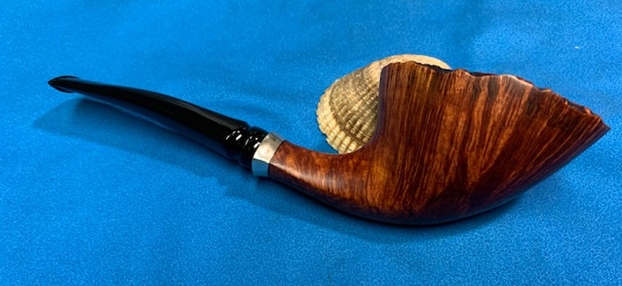
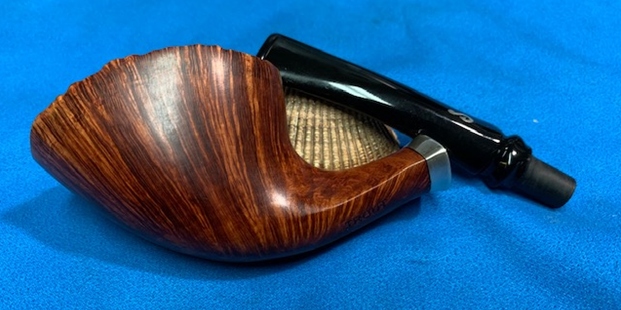
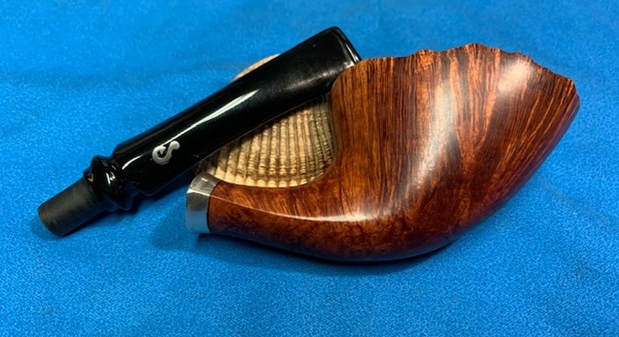
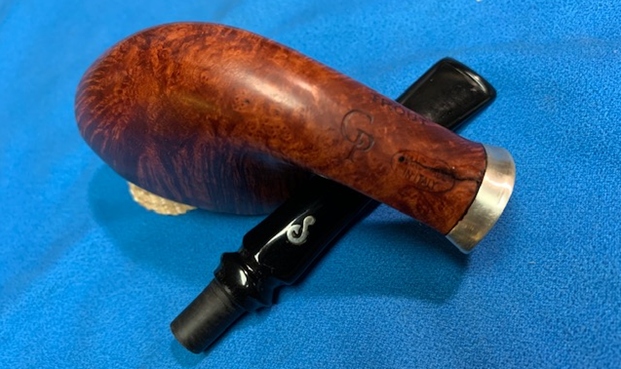
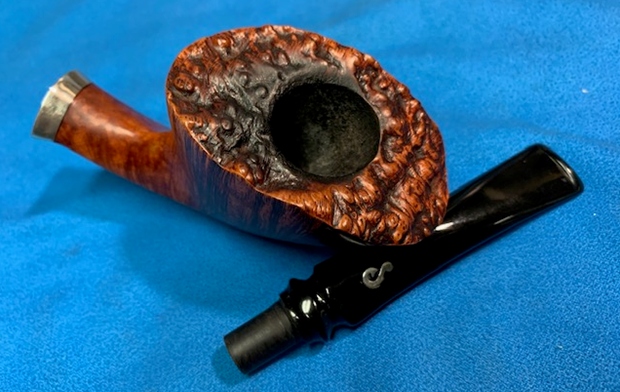
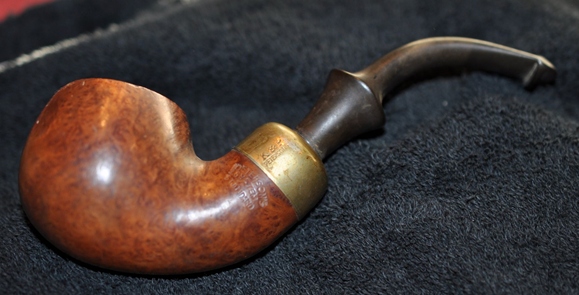
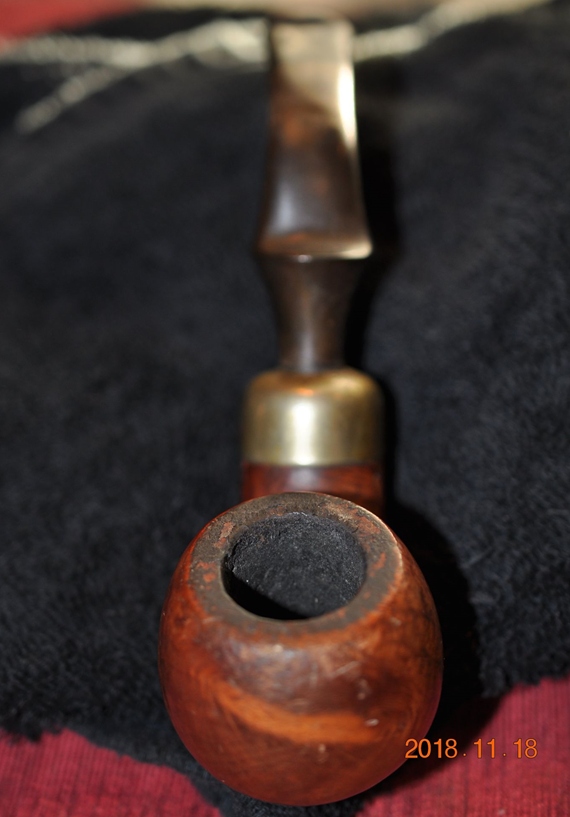
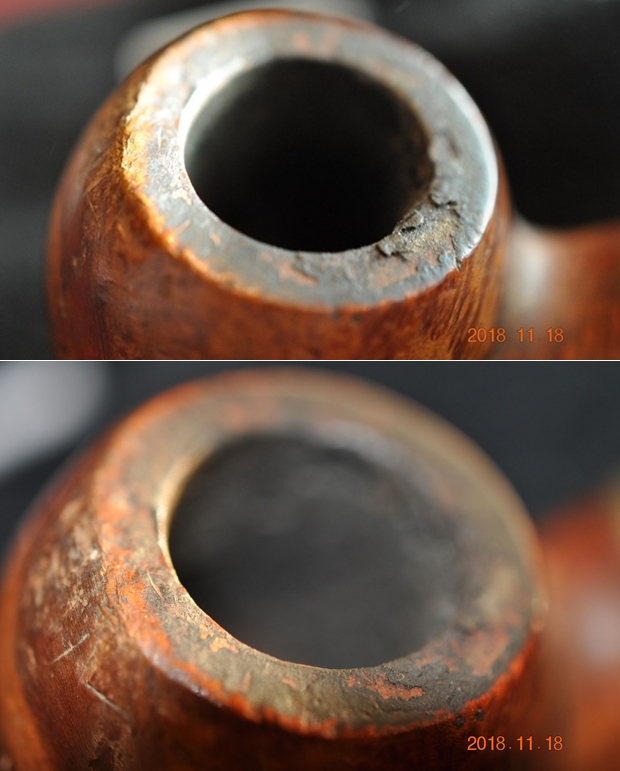
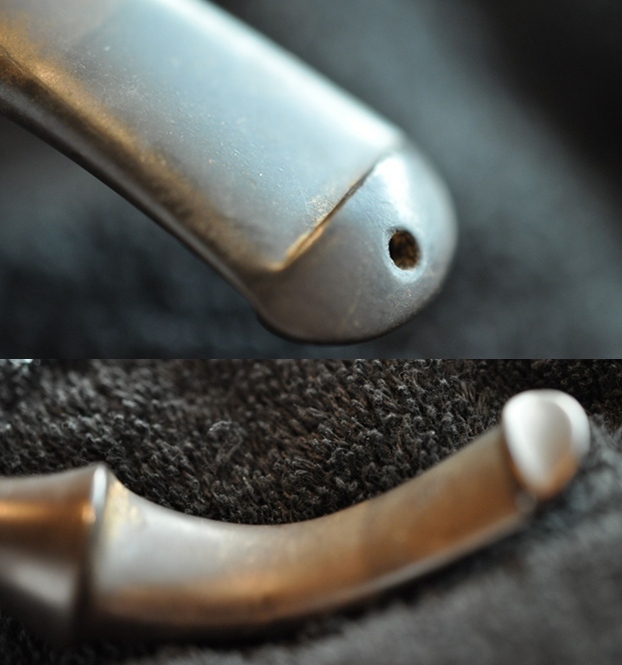
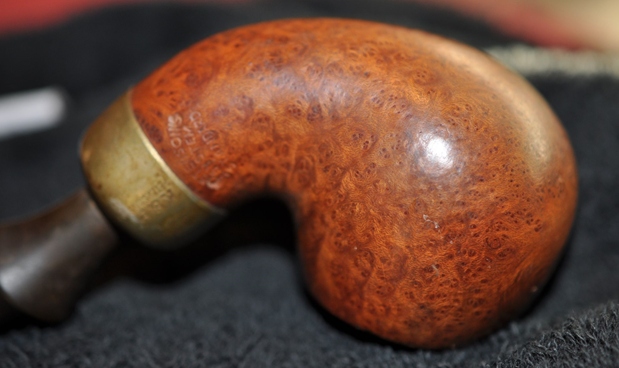
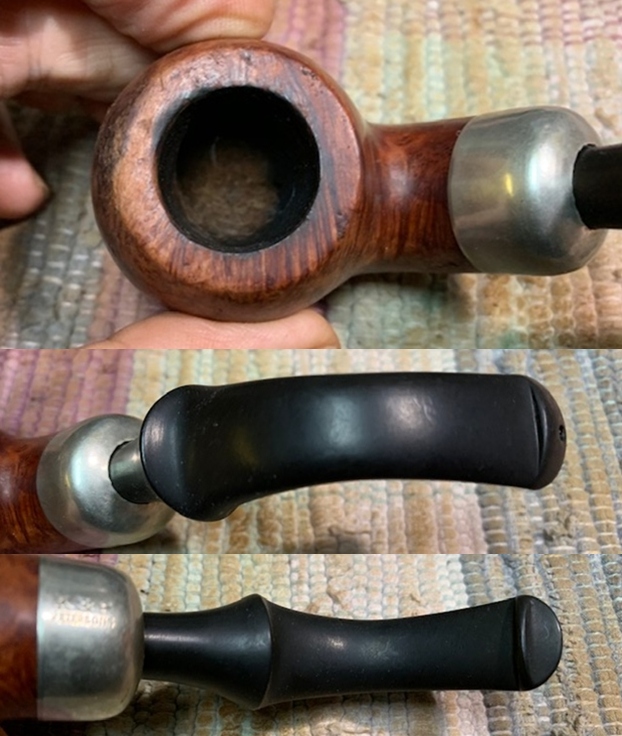
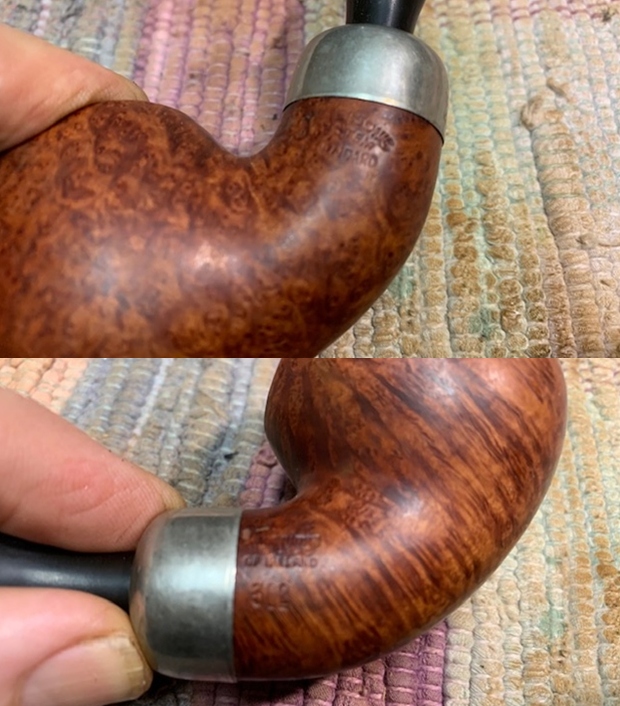
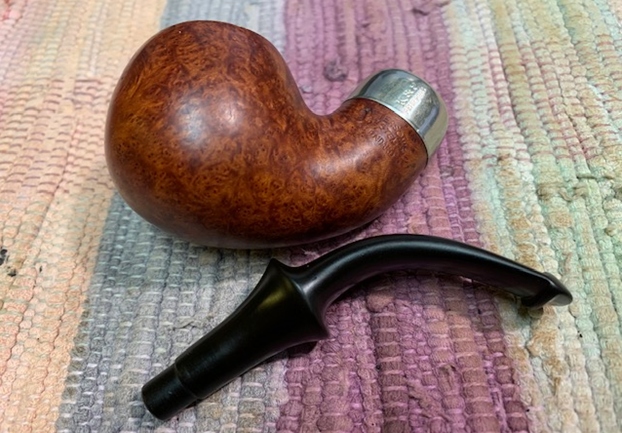
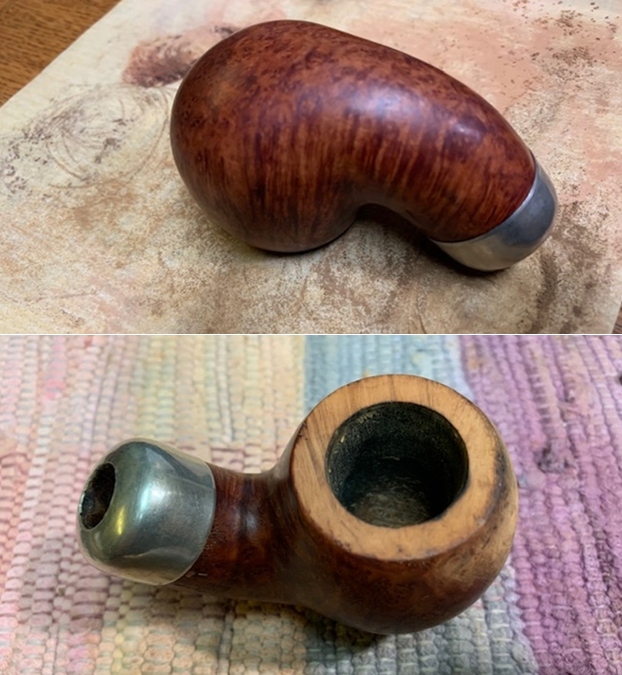
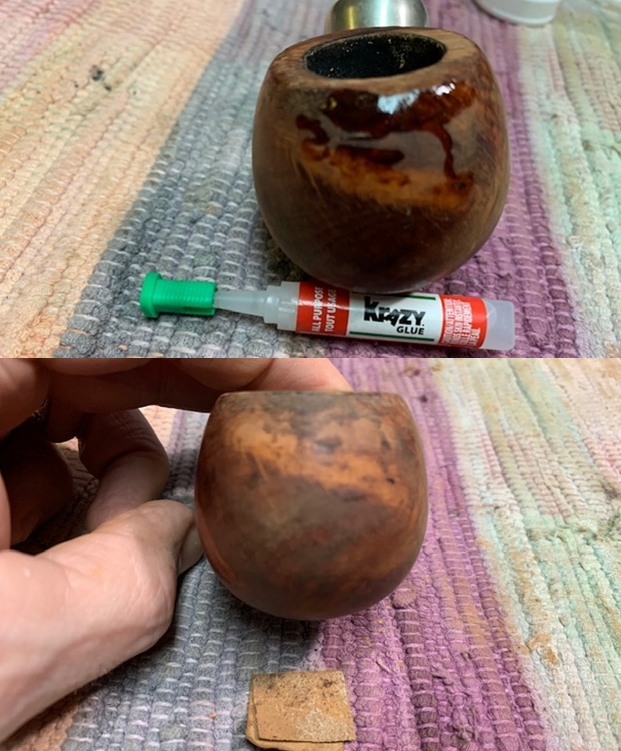
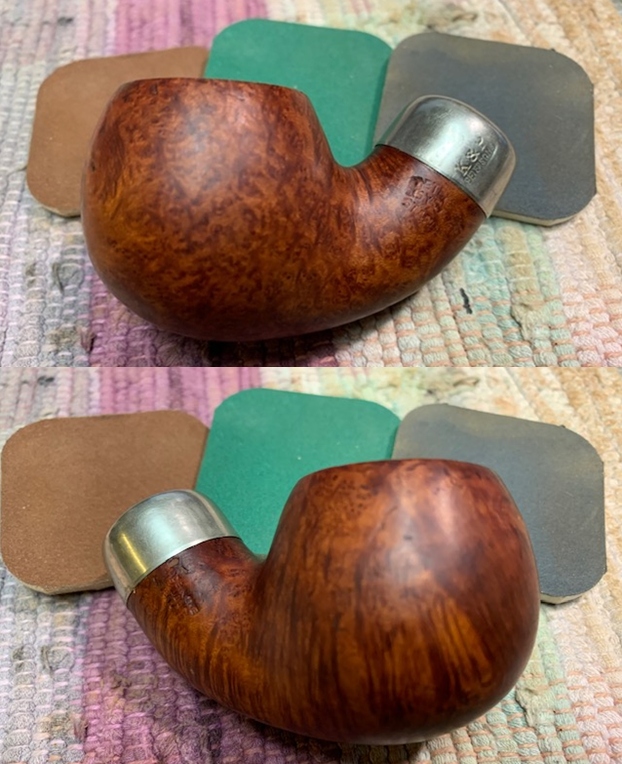
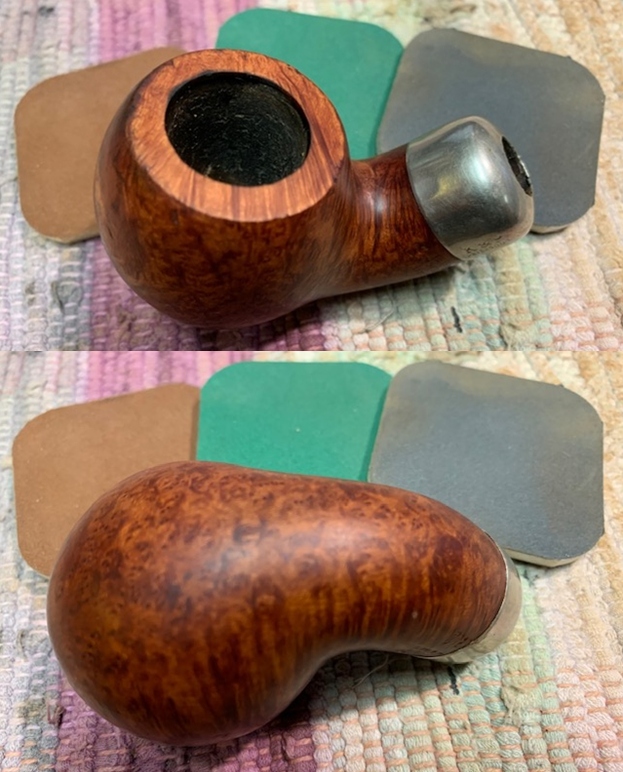
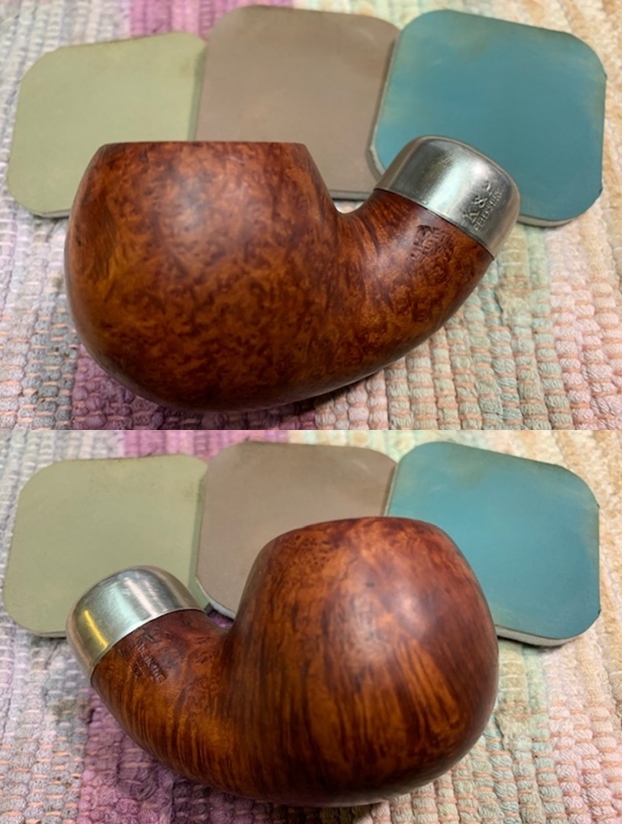
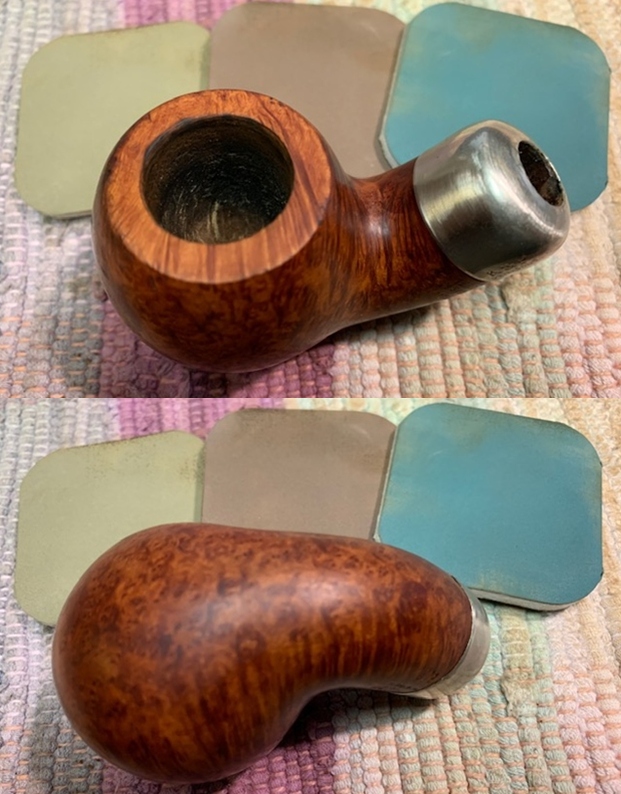
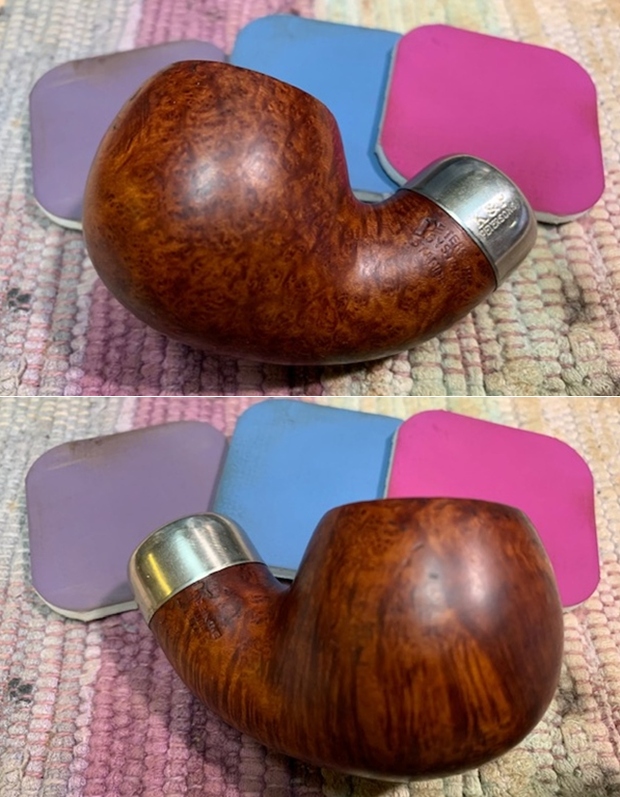
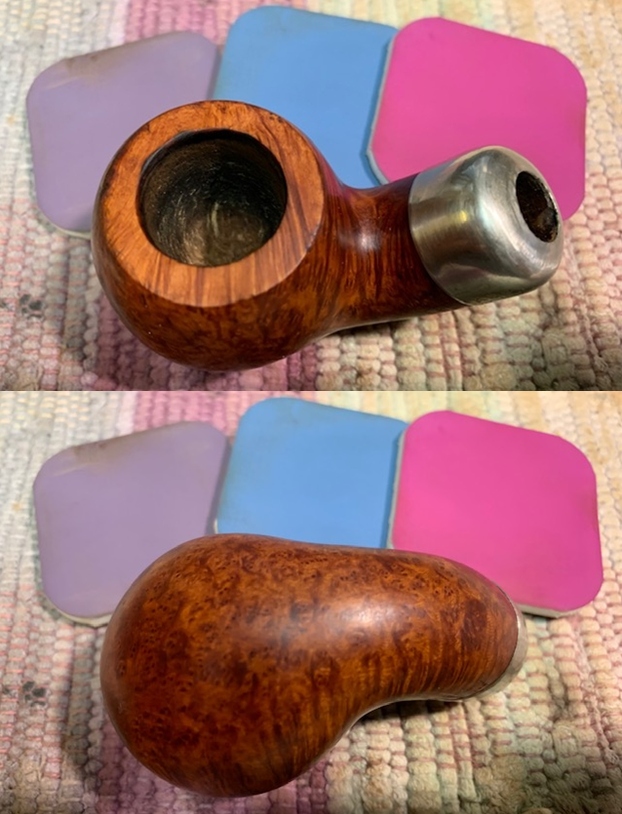
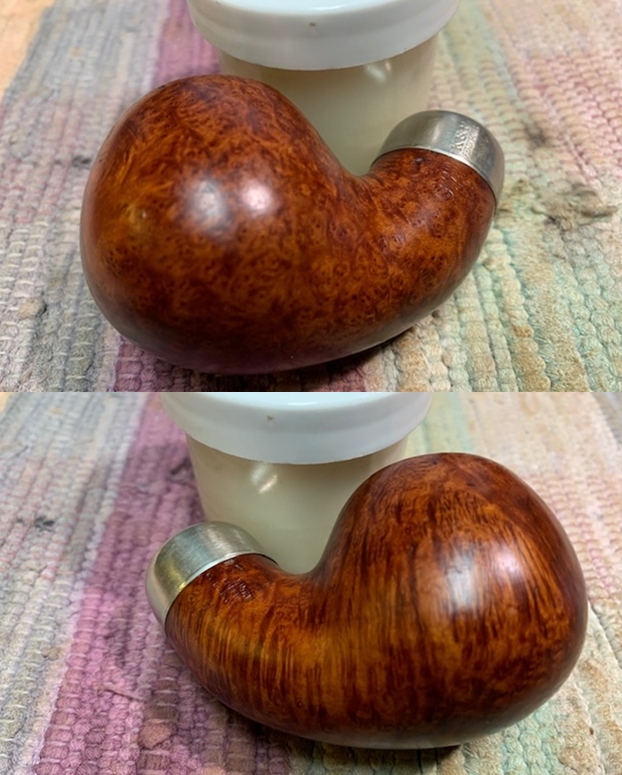
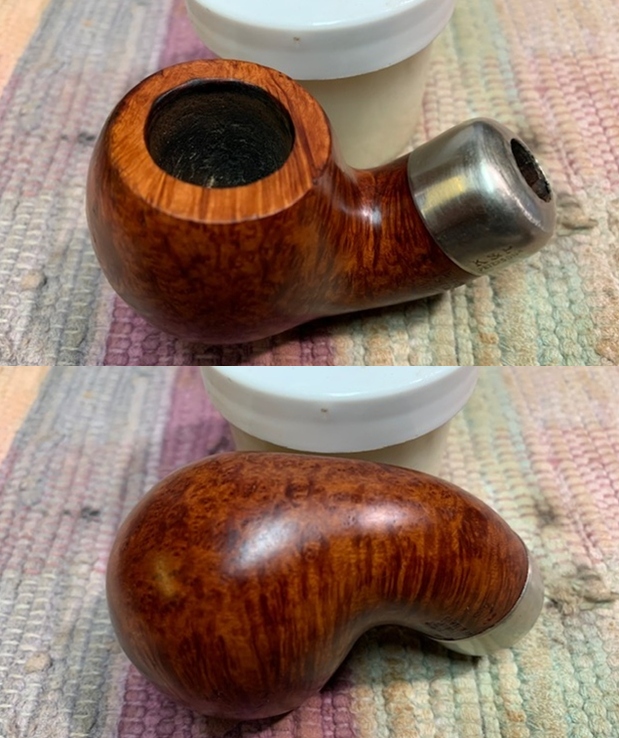
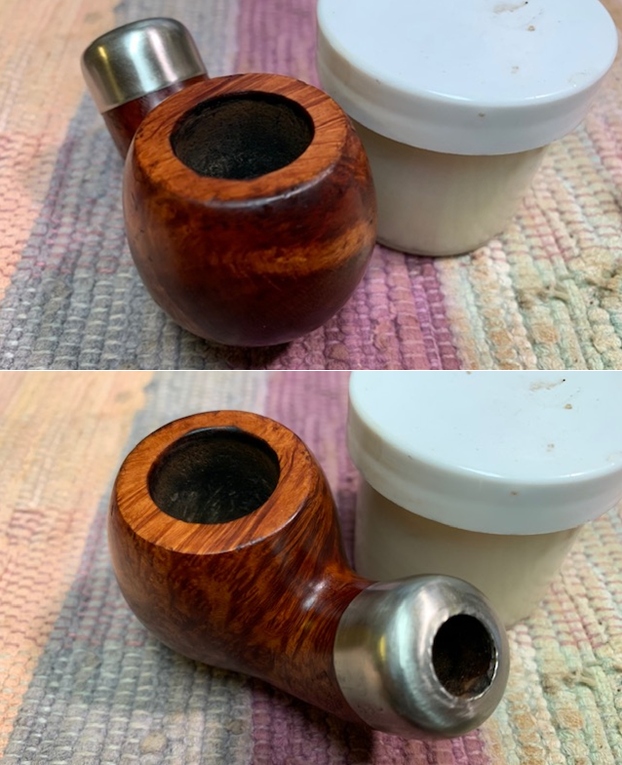
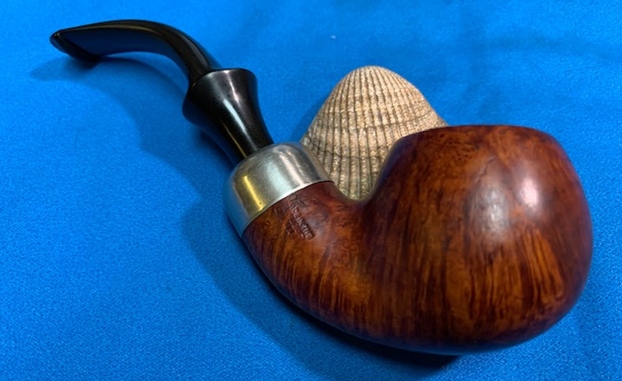
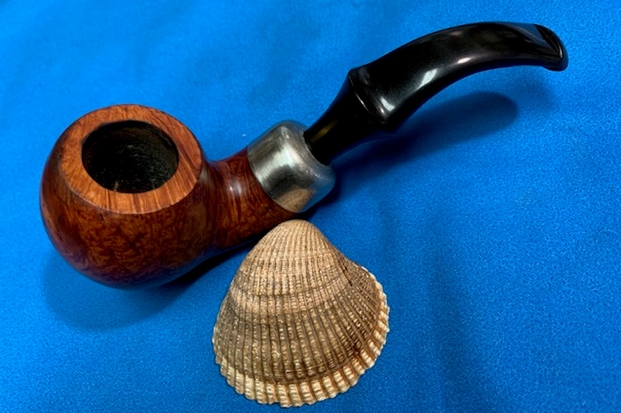
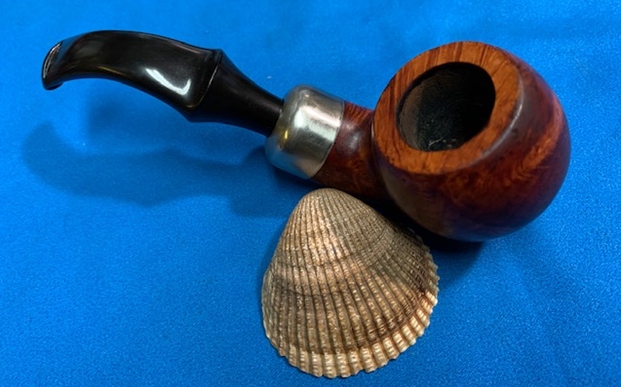
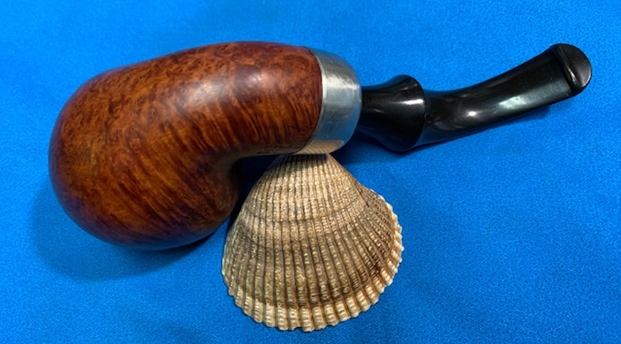
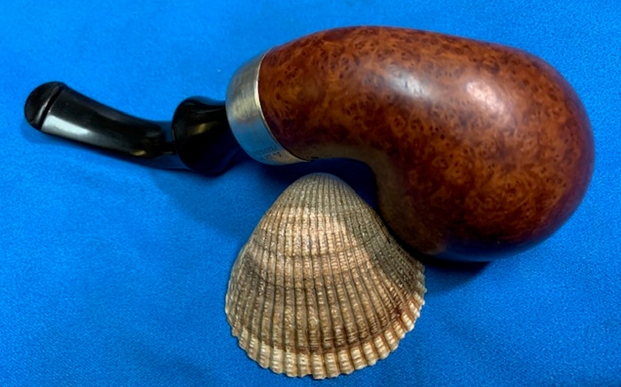
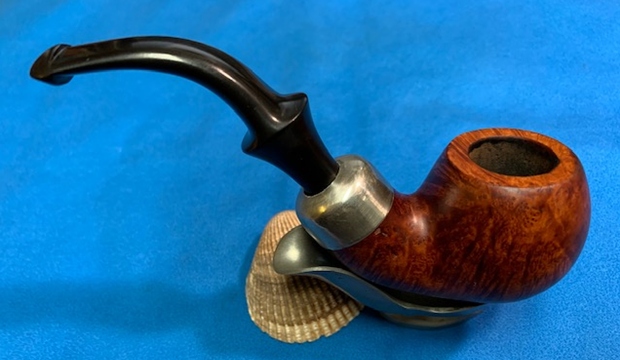
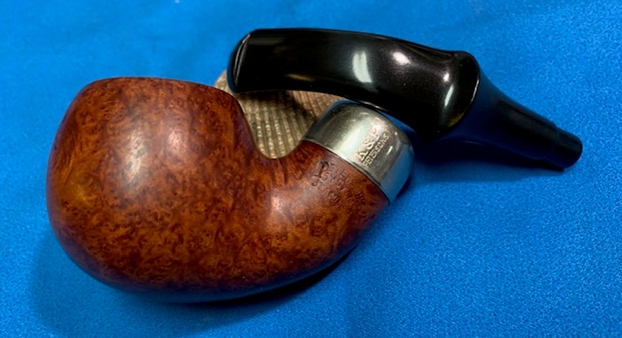
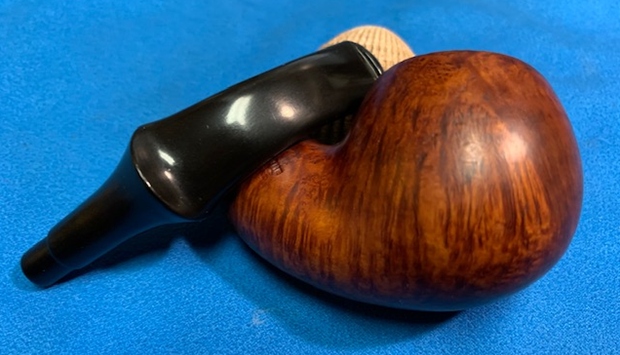
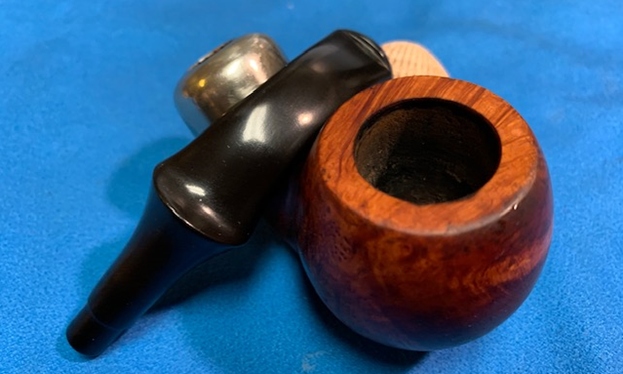
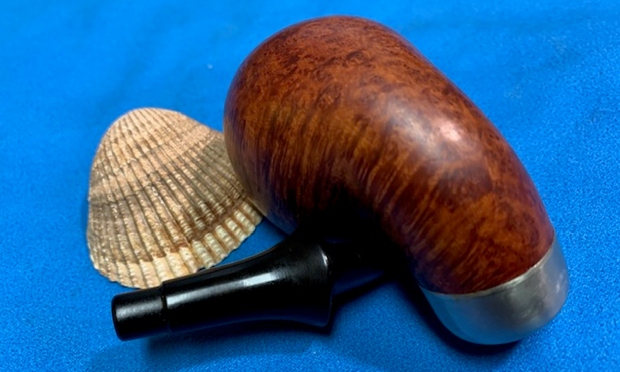
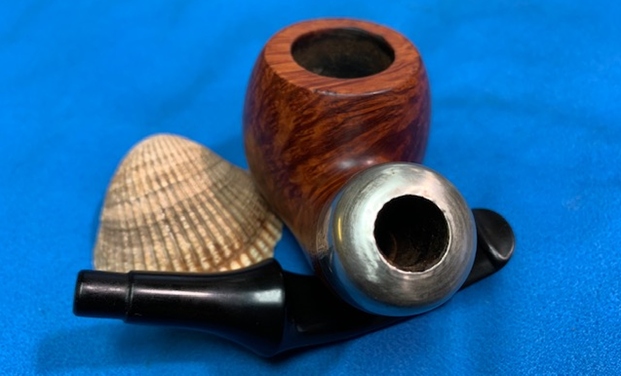
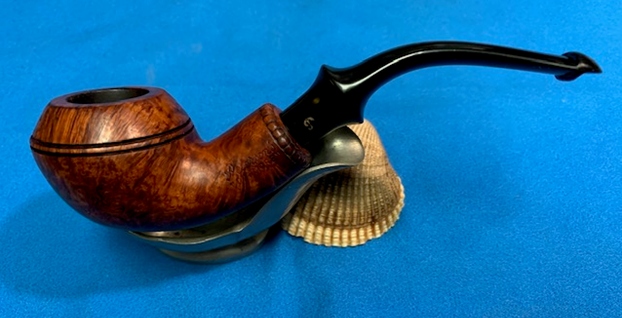
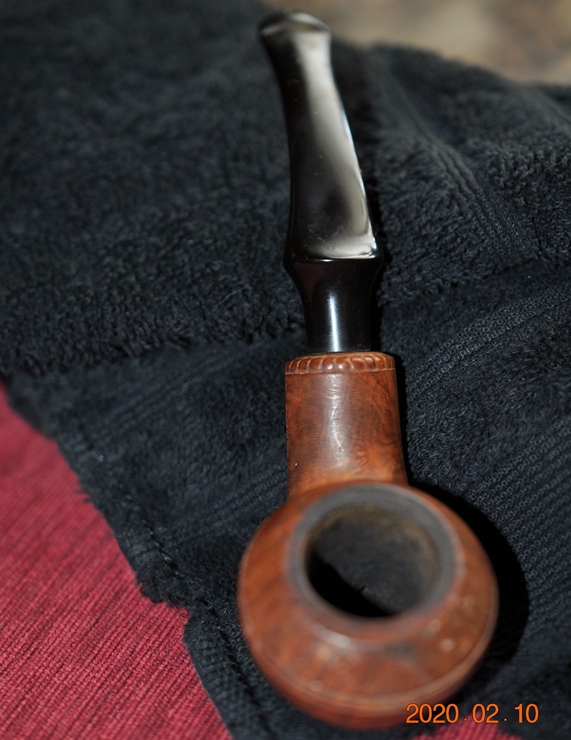
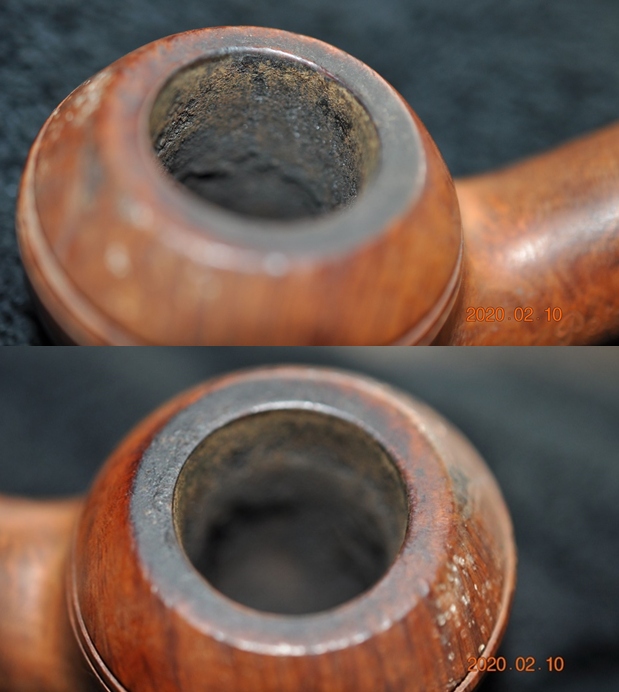
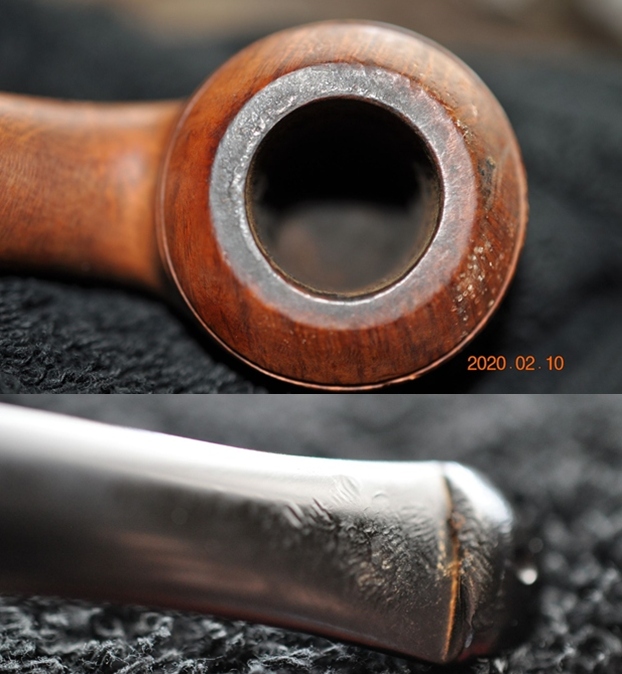
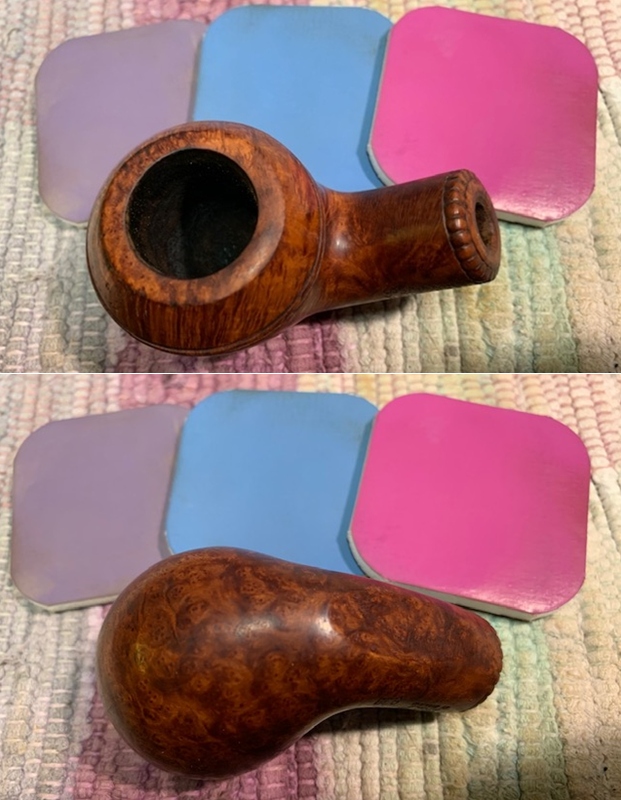
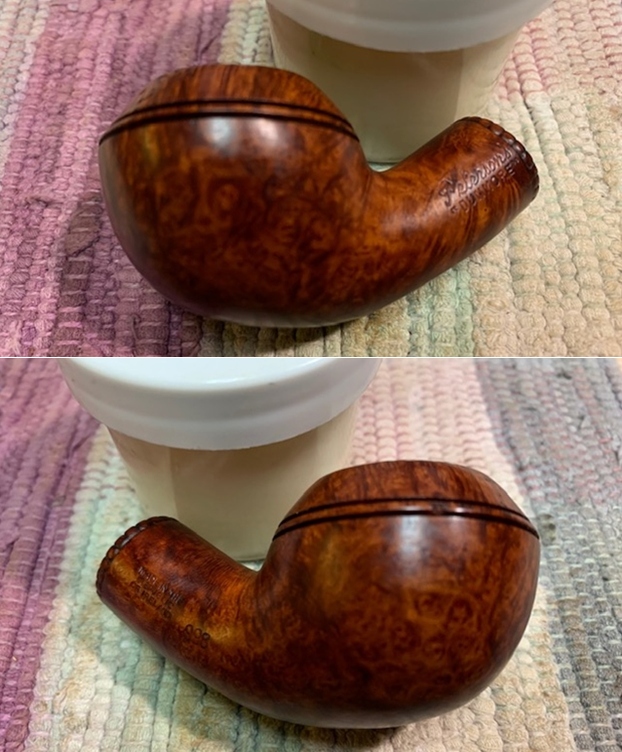
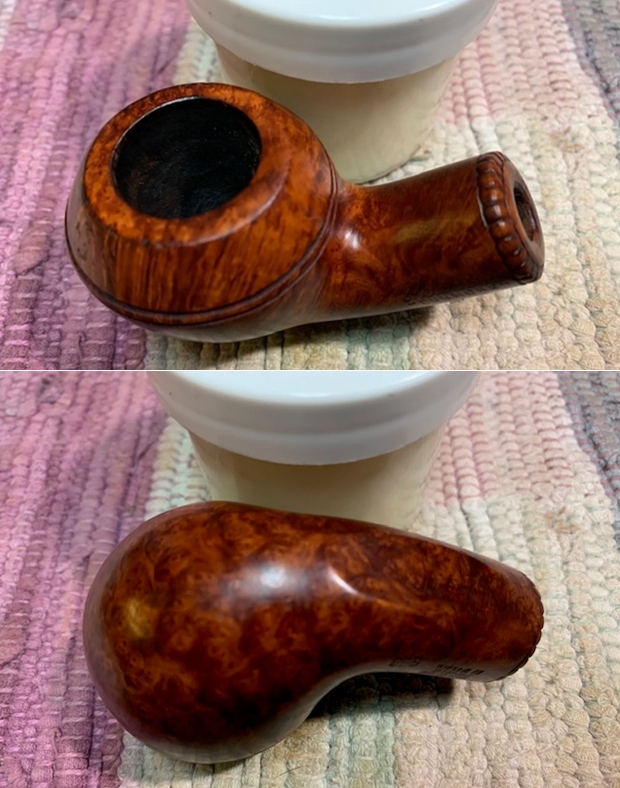
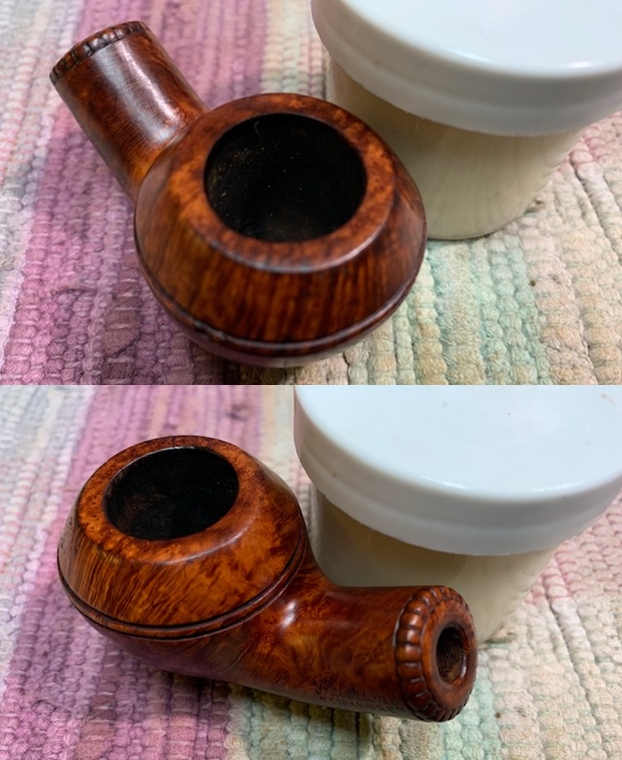
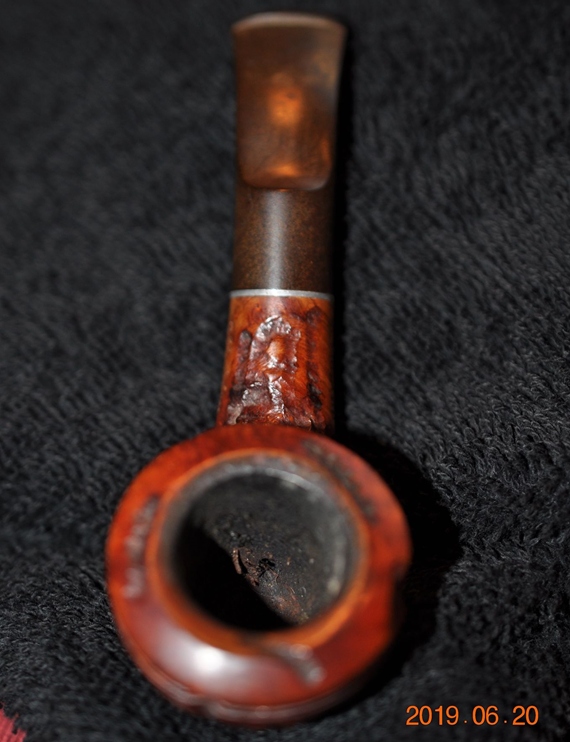
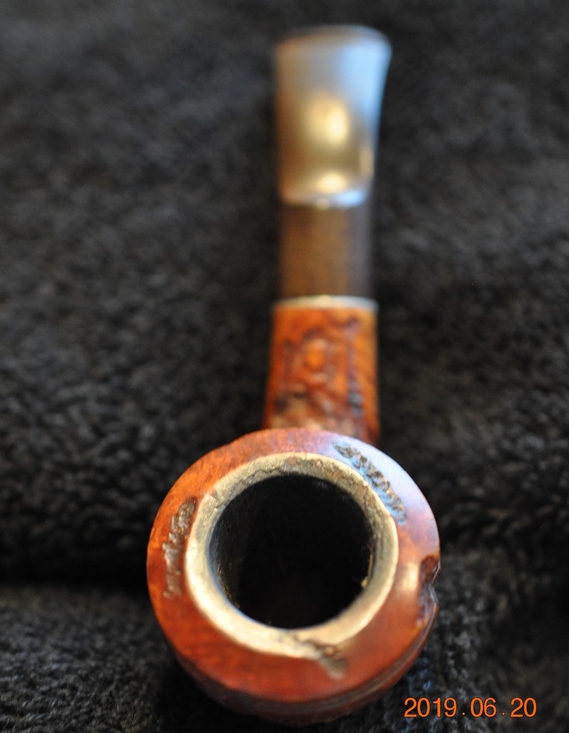
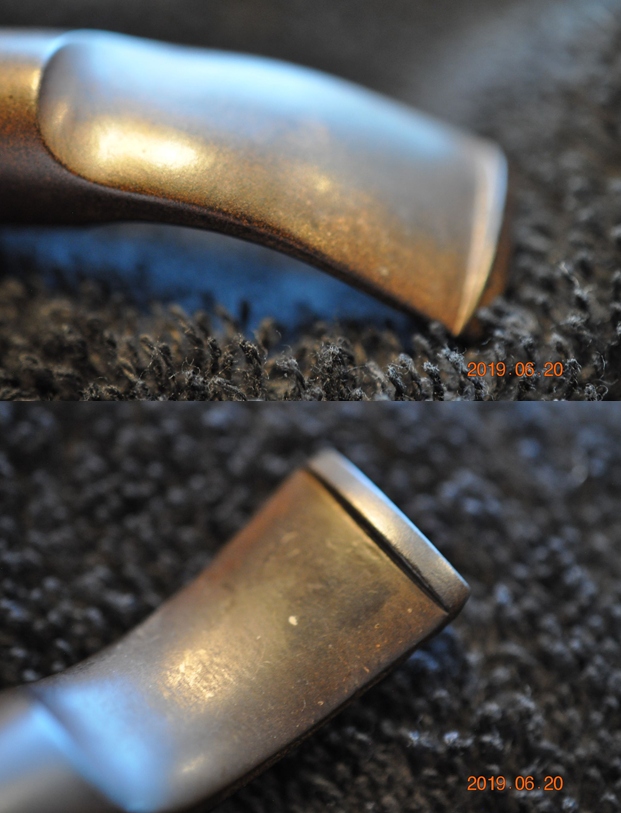
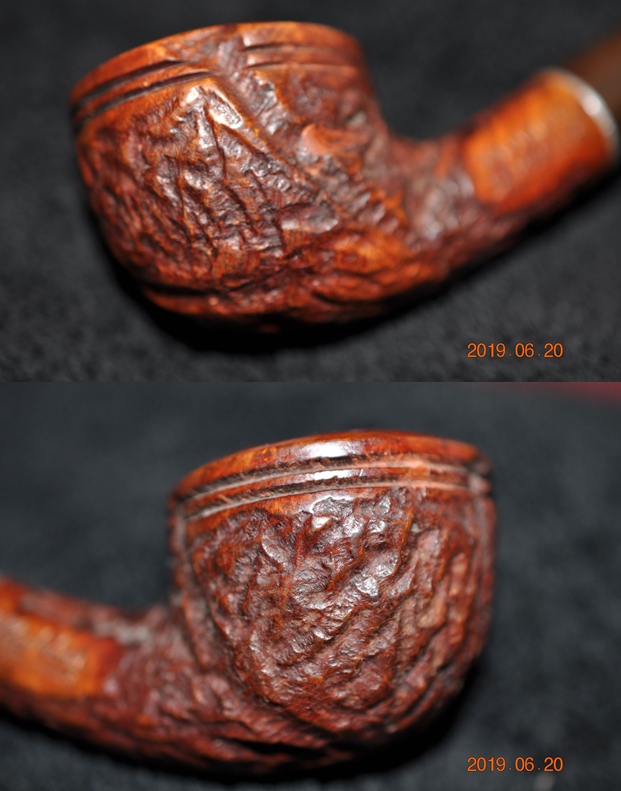
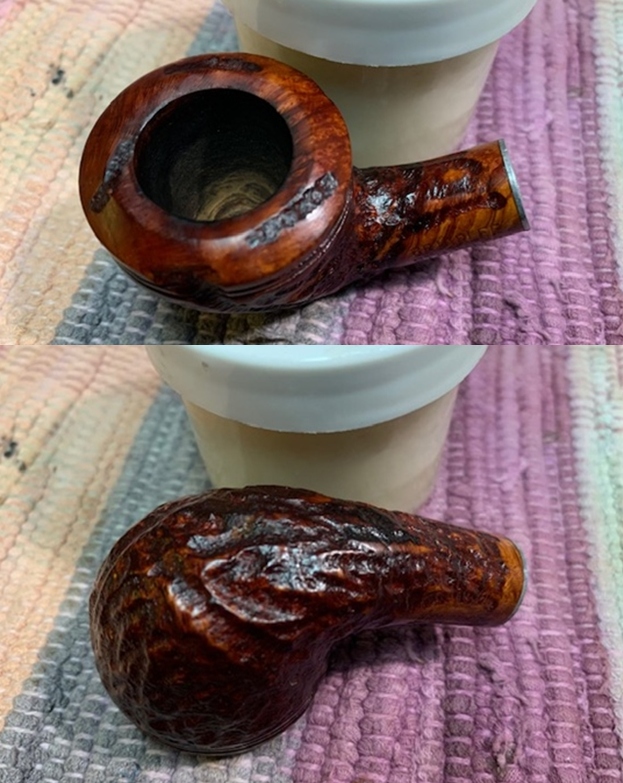
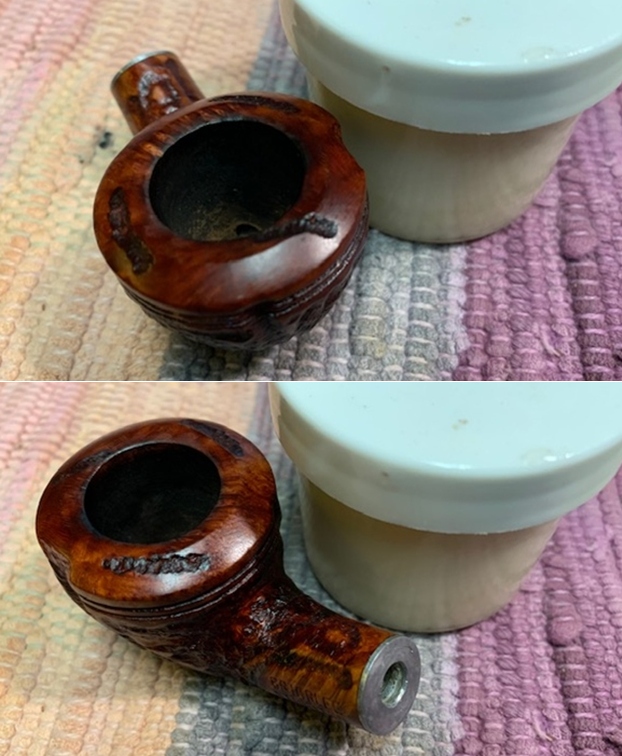
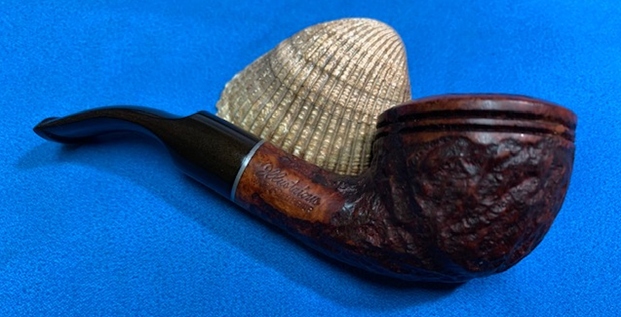
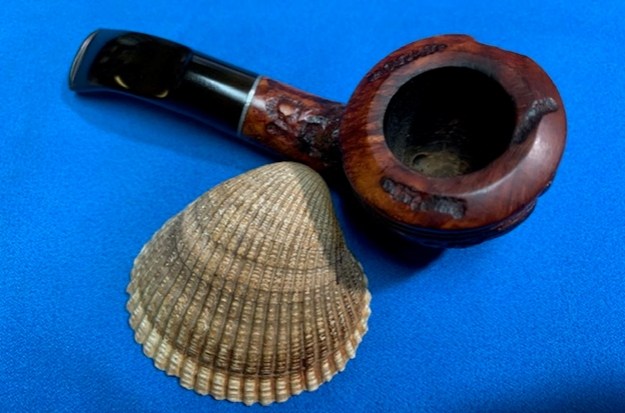
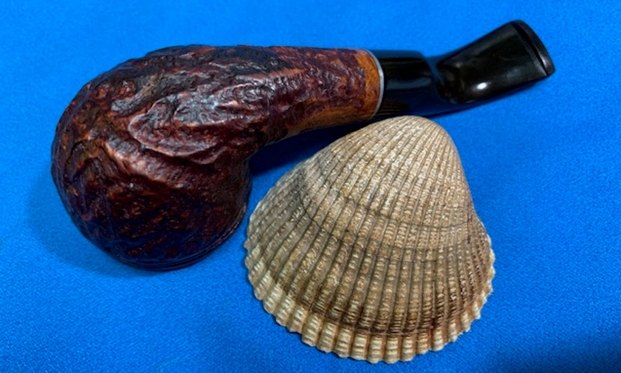
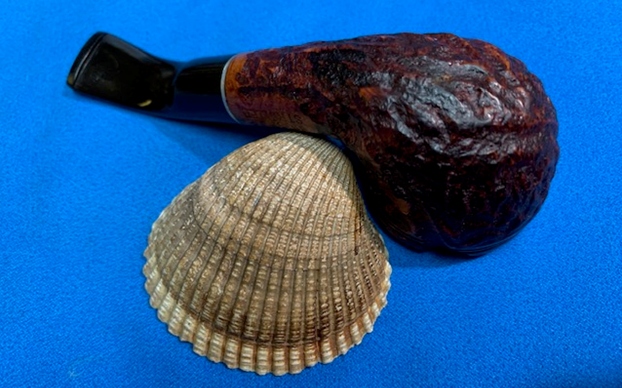
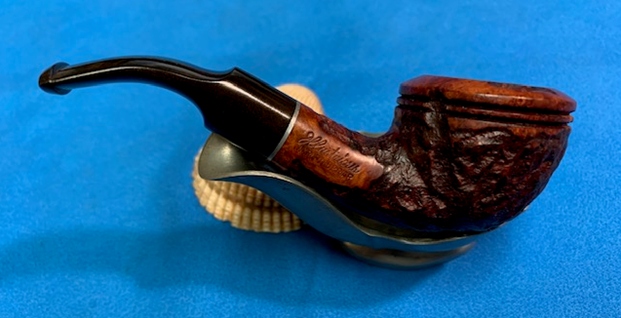
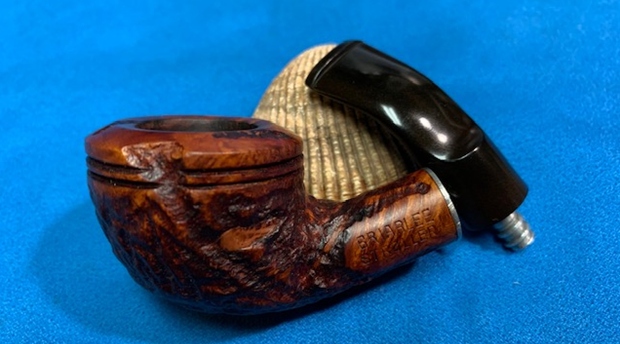
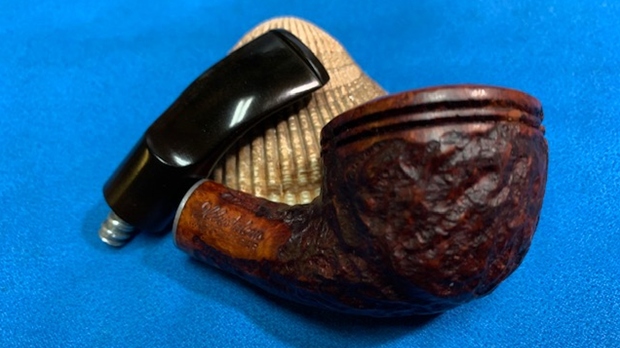
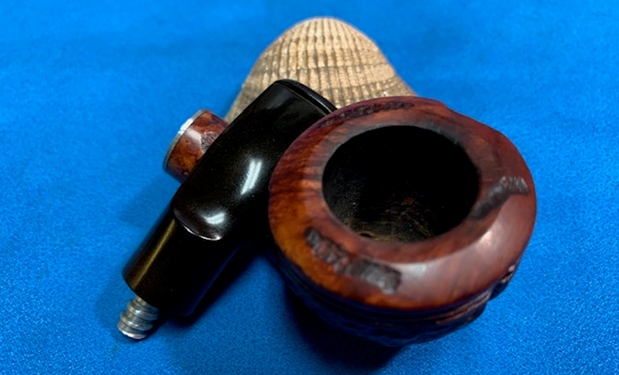
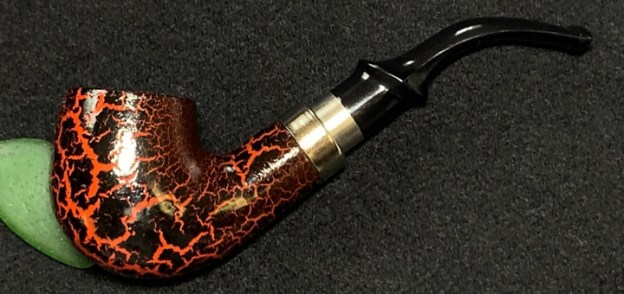
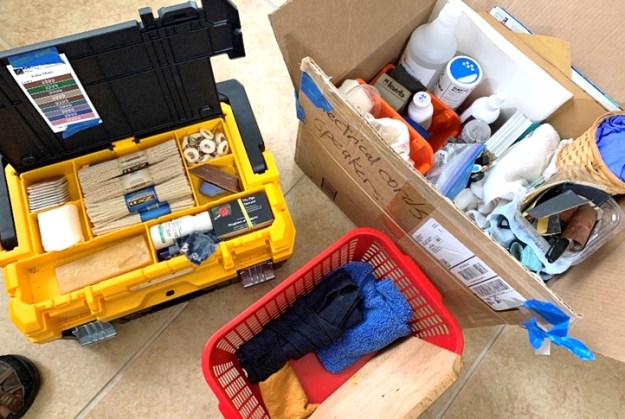
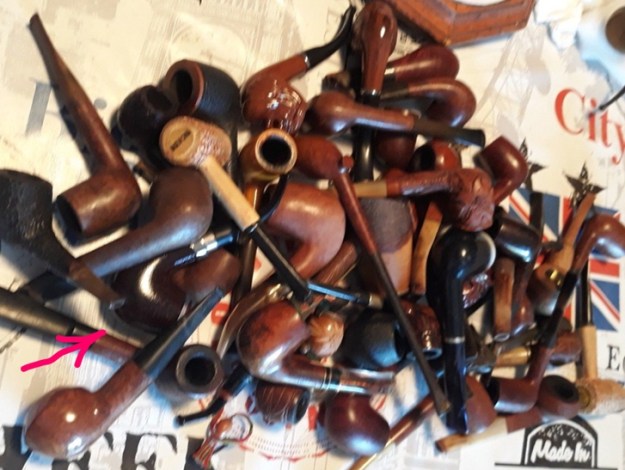
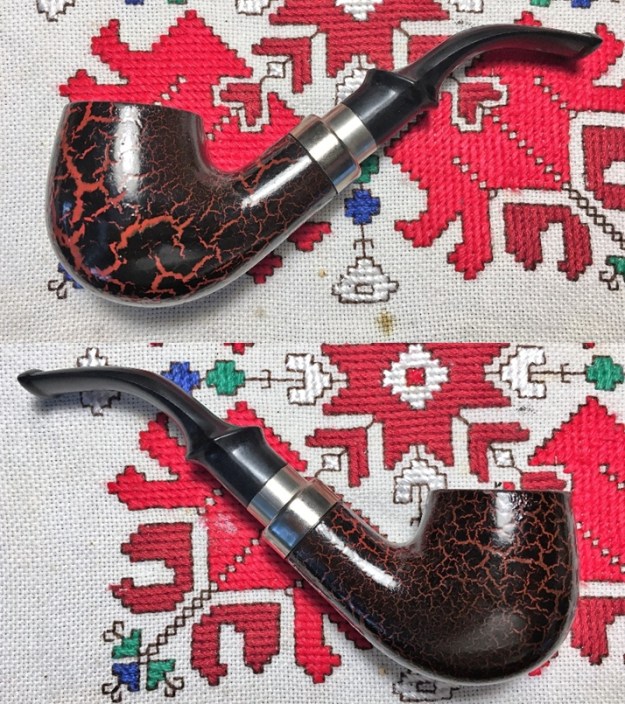
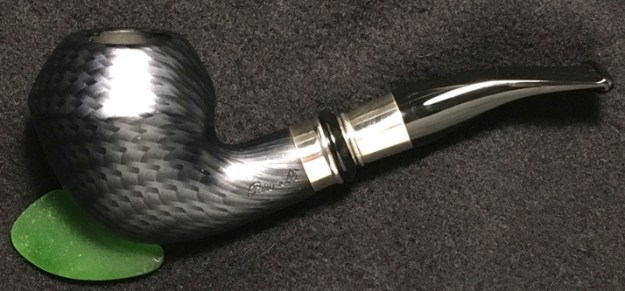
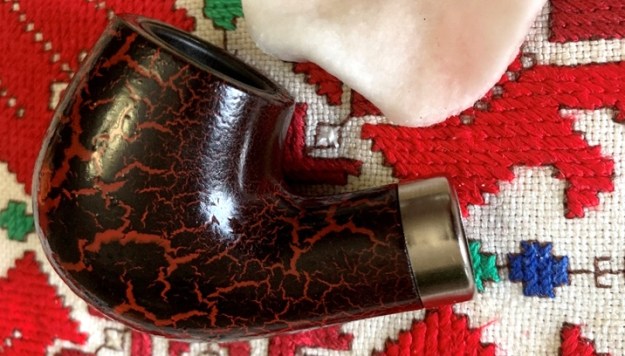
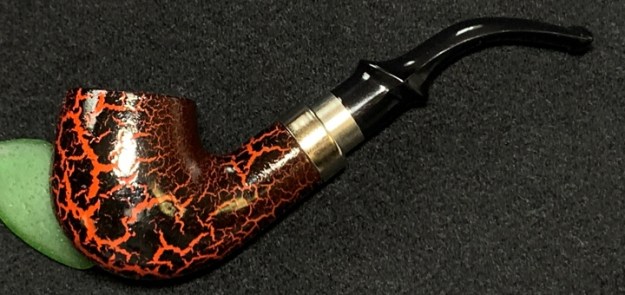
With Christmas vacation before me I decide to take The Pipe Steward work desk on the road!  I’ve never done this before, but the holidays give the opportunity to think through what packing up would look like.  In the end, with the rotary tool as the workhorse of my pipe restoration operation, I was able to consolidate the essentials.To see this great country and more safely visit loved ones amid COVID concerns, we acquired a small travel trailer called an R-pod to pull with the car.  We make a 5-day trek camping from Golden, Colorado, to Port St. Lucie, Florida, to spend a WARMER Christmas with my mother on the ‘Gold Coast’ of Florida.  The Pod is pictured below at our wintry first night’s stop near Pueblo, Colorado, with snow-covered mountains in the background! An interesting pipe occupies the mobile worktable now.  It is the final pipe that Daniel chose from the For “Pipe Dreamers” Only! Collection to form his trove of 7 pipes all benefiting the Daughters of Bulgaria.  I shared with Daniel that I was going mobile and that all the pipes he commissioned would be coming with me.  Hopefully, I’ll finish this last pipe and get them in the mail to him by Christmas!  I acquired this final pipe in 2018 from the French eBay auction block in a lot of 50 pipes.  It is difficult to make out without the help of the arrow in the picture below.  This French Lot of 50 has provided some great treasures and unique pipes.  There were a few pipes in the Lot of the genre of the pipe on the worktable now.  What makes these pipes unique is that the surface texture isn’t briar, but a fabric wrap-around the briar stummel.  It is a technique that emulates carbon fiber – a fabric/resin that is wrapped around the briar.  This technique started as a fad, but these pipes have increased in value and are more of a niche collectible.  This pipe is on the ‘bling’ side of things with a ‘spigot’ or military mount and the carbon fiber wrap adheres nicely to the contouring of the Bent Billiard stummel now on the worktable.  Here are the pictures of the Dragon Skin Applique Bent Billiard.   There are no markings on the pipe.  The spotted fabric design reminds me of ‘Dragon Skin’ and adding the metal of the nickel shank band and stem extender/spacer of the spigot or military mount fancy stem – well, I call this bling. I believe this could also be described as a spigot mount.  The tenon is also different – it’s made of clear acrylic.  The chamber also is interesting.  It appears to be a metal lining or cup with the draft hole at the center of the chamber floor.  I have never smoked a pipe of this genre and I’ve only worked on one before this – a Paronelli Cobalt Rhodesian of Italy which also came to me with the French Lot of 50.  The Paronelli only needed a cleaning so I didn’t do a write-up but did take some pictures of the process to show them to Michael from Pennsylvania, who commissioned this beautiful and unique pipe.The fabric wrapping the stummel is fascinating.  When I worked on the Paronelli, it was my first exposure to this wrapped genre.  I wrote to Steve with the question of what this material was and how to work with it?  His response was helpful which included a link discussing this genre.  Steve wrote:

To me it looks similar to one that Chacom made that was a fabric/resin applique put over briar. Seemed to be a fad for a while..

Steve also provided a link on Reddit where there was a discussion about this pipe genre titled, Can Someone Give Me An Info About This Pipe? Brand Paronelli, Model 62. It Feels So Weird In My Hands That I Don’t Even Know If It’s Made Of Wood.  The discussion centered around the makeup of the carbon fiber pipes and whether or not one has a carbon fiber pipe:

Nastyboots: Mostly the way it stretches around the bottom. Real cf typically comes in a roll and feels almost like canvas – it’s a tough fabric that has a little stretch or give, but not a lot. If that were real carbon fiber that checkered pattern would remain more consistent around the curves and not look so warped. Look at the front wing on a formula 1 car to see carbon fiber over some really crazy geometries and notice how consistent the pattern is.

The kicker is that real carbon fiber is impregnated with a resin. that’s what makes it a composite – a fabric and a resin come together to make a product that is greater than the sum of its parts. This resin is usually polished to a high gloss, giving it a deep, sexy, shine that, with the carbon fiber weave underneath, has an almost holographic look in the light. Vinyl wraps and hydro paint dips (which I’m sure yours is) look great but never really gets that wet glossy shimmery look.

Lorezo_Insigne:  Wow, thanks for the info. I heard that Chacom was also making carbon fiber pipes, but by your answer I assume isn’t actually made with carbon fiber. Guess mine it’s just finished with a material that resembles cf then. Once again, many thanks!

Whether the Dragon Skin Bent Billiard on the worktable is a carbon fiber pipe, I cannot say for certain.  Yet, there is no doubt that the more general words of Steve, that it’s a ‘fabric/resin applique’ pipe, are spot on.

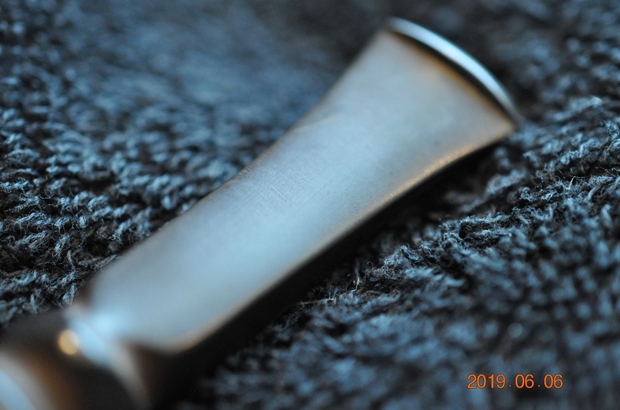
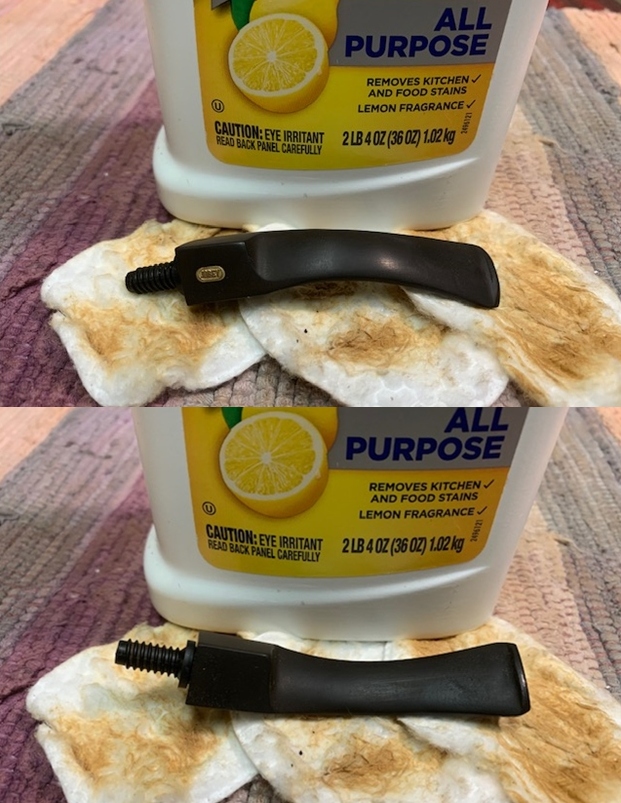
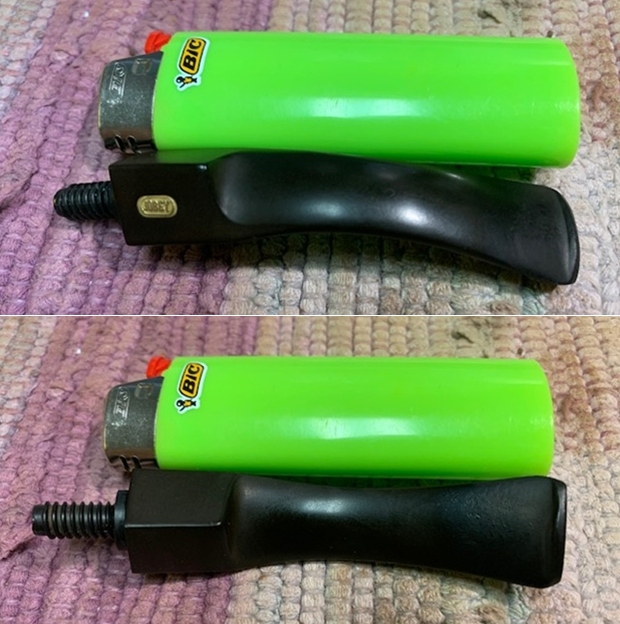
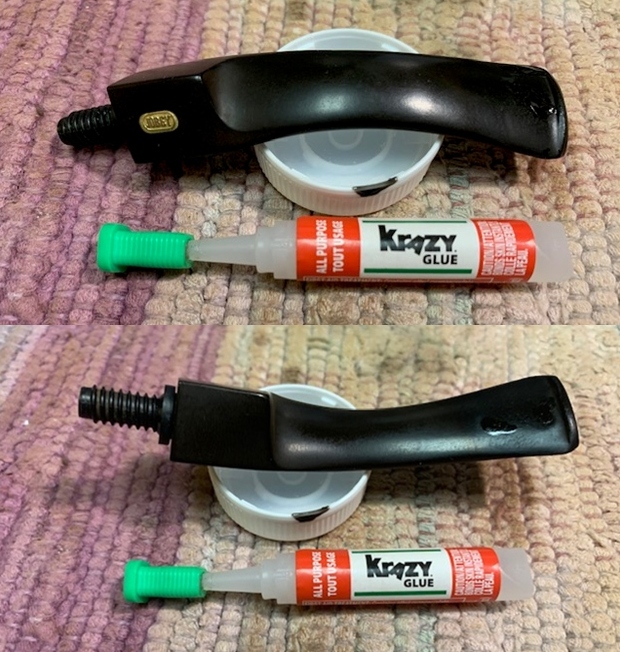
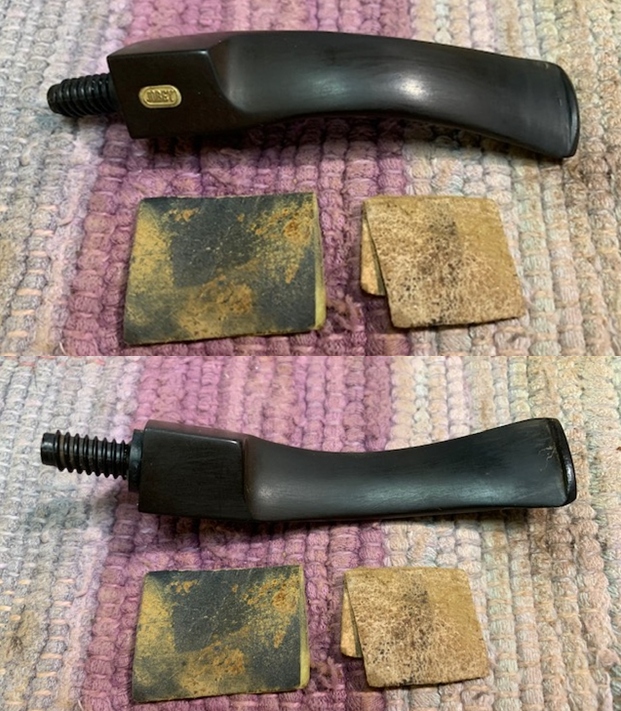
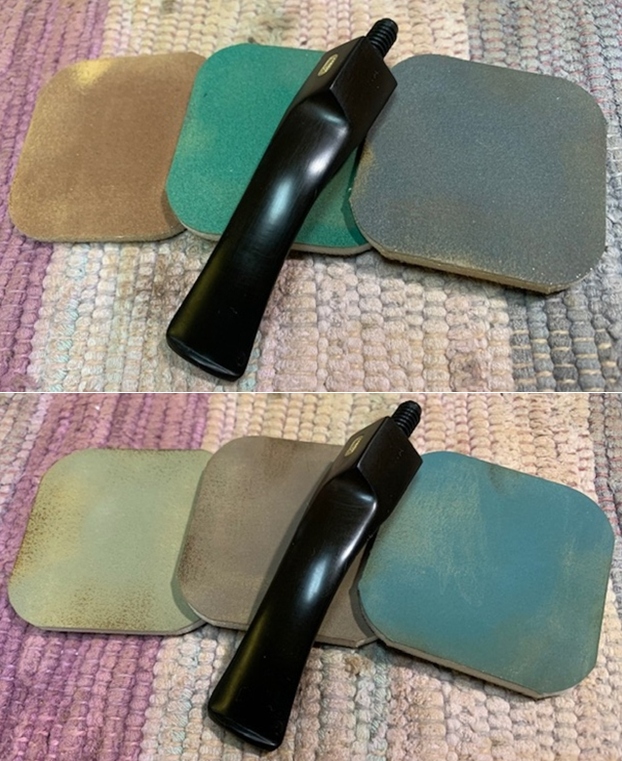
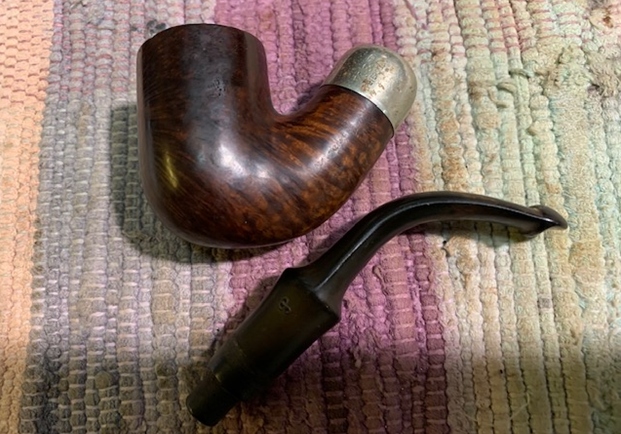
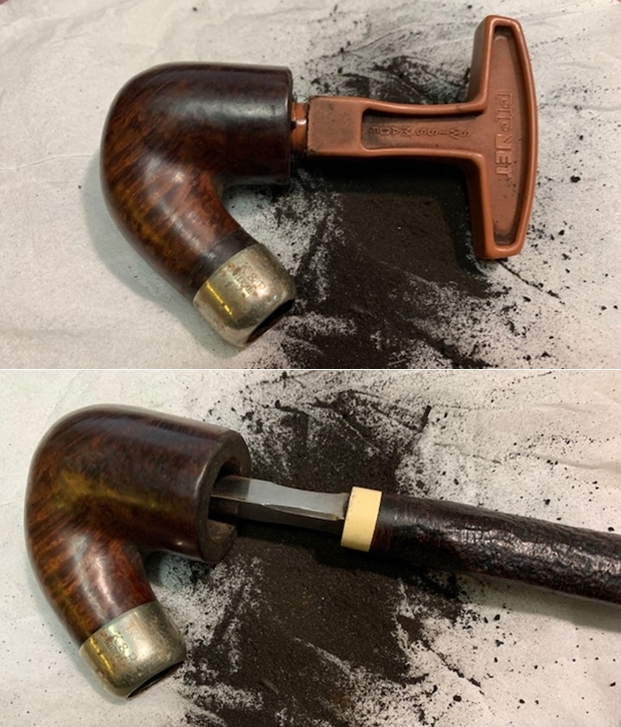
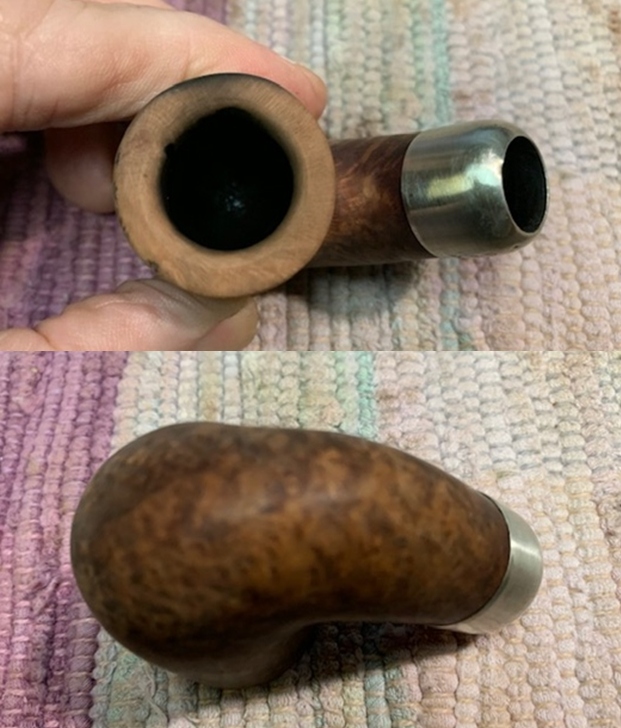
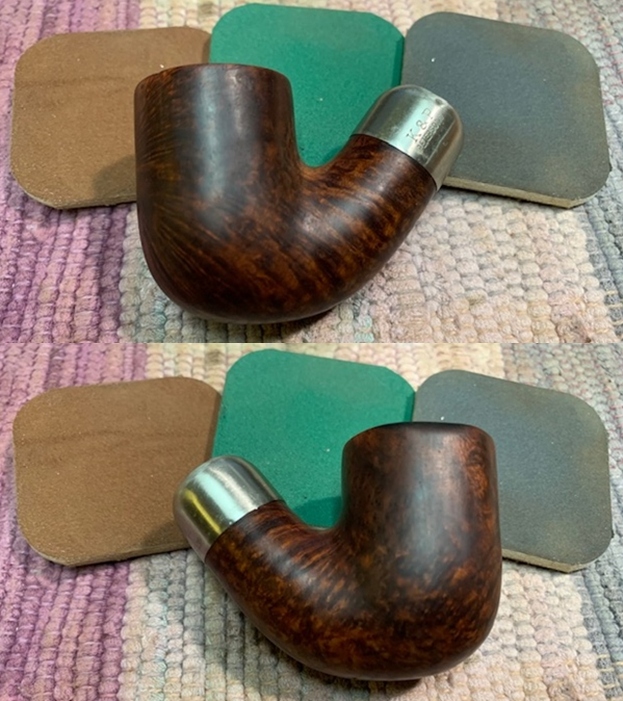
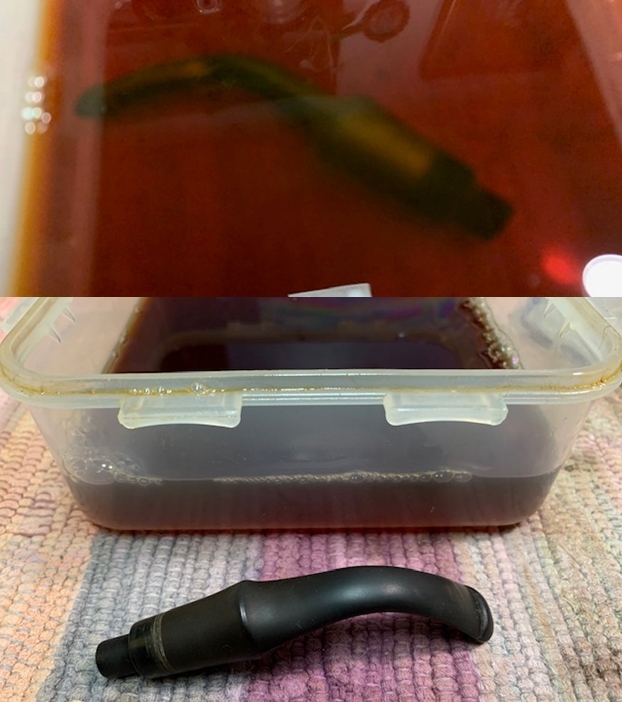
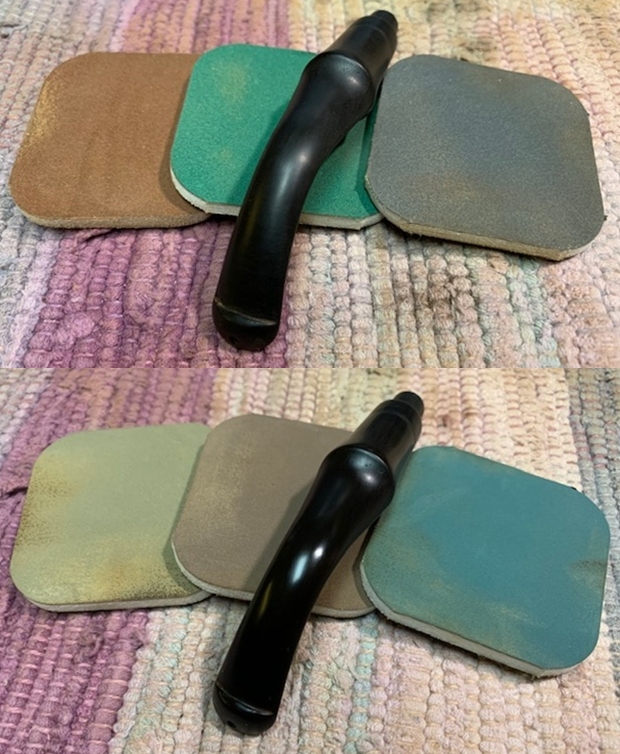
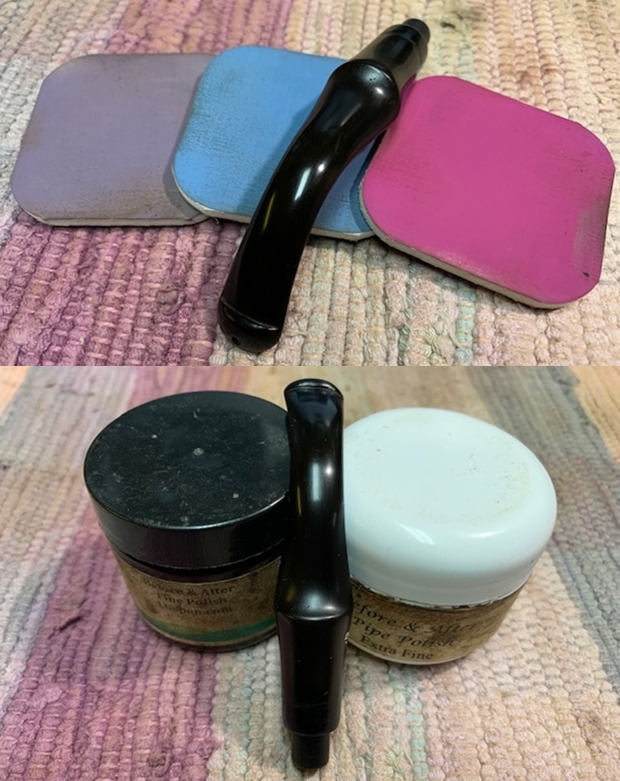
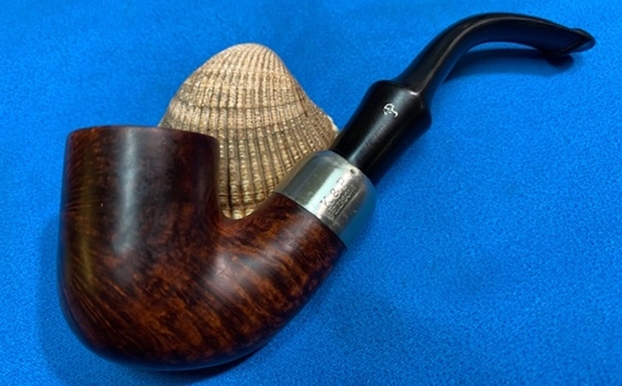
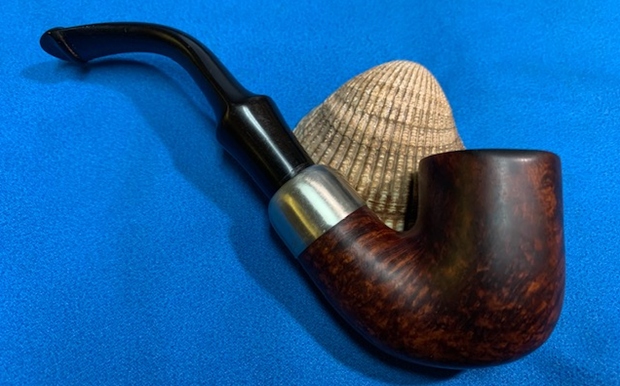
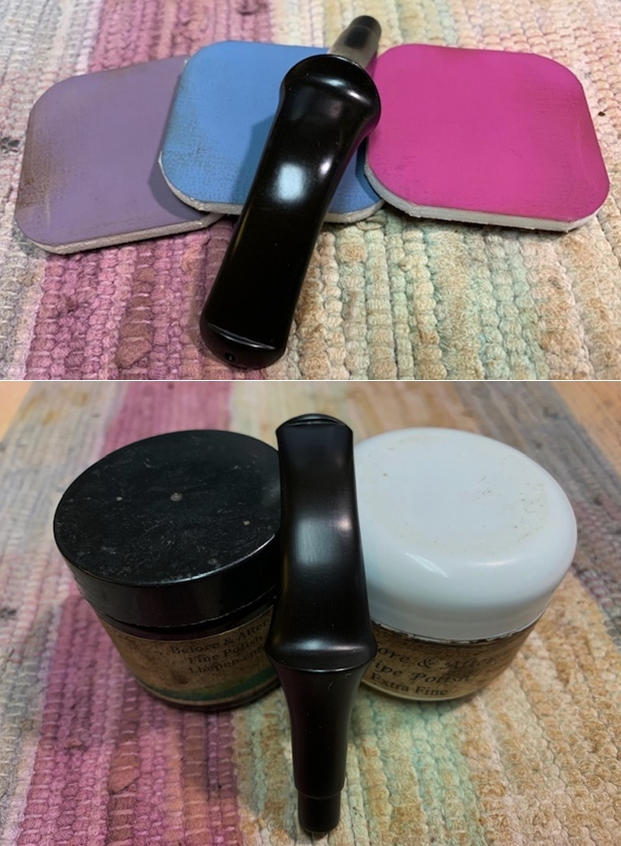
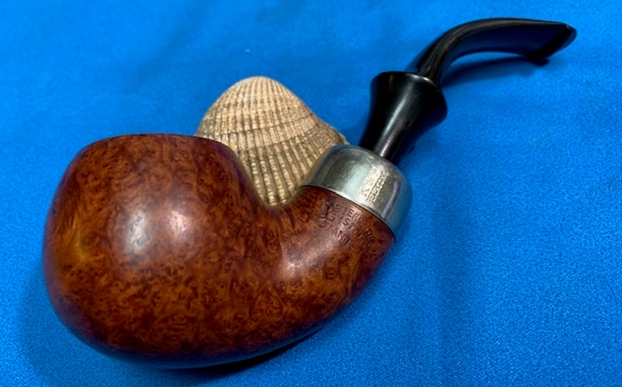
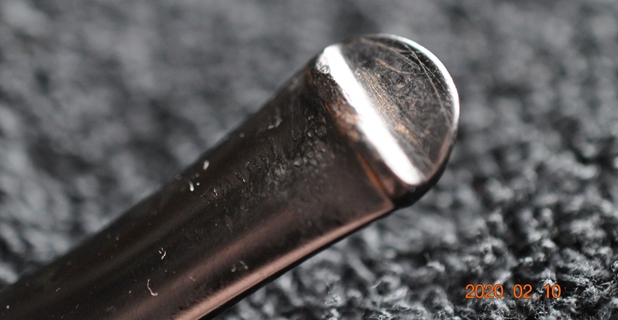
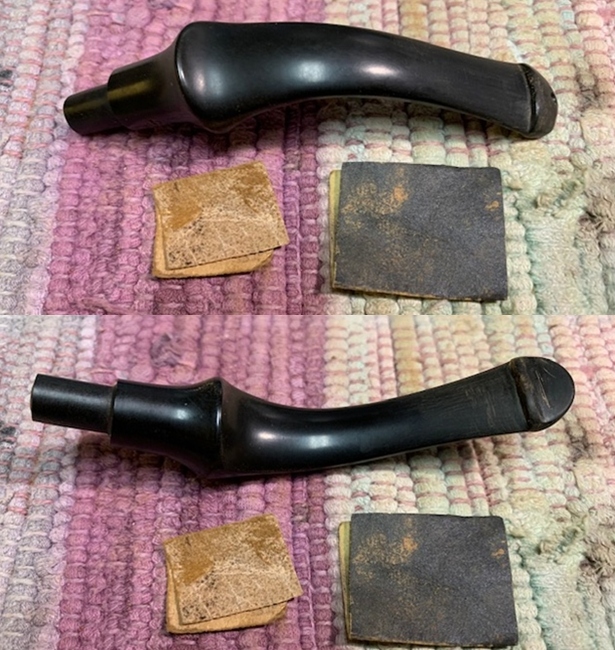
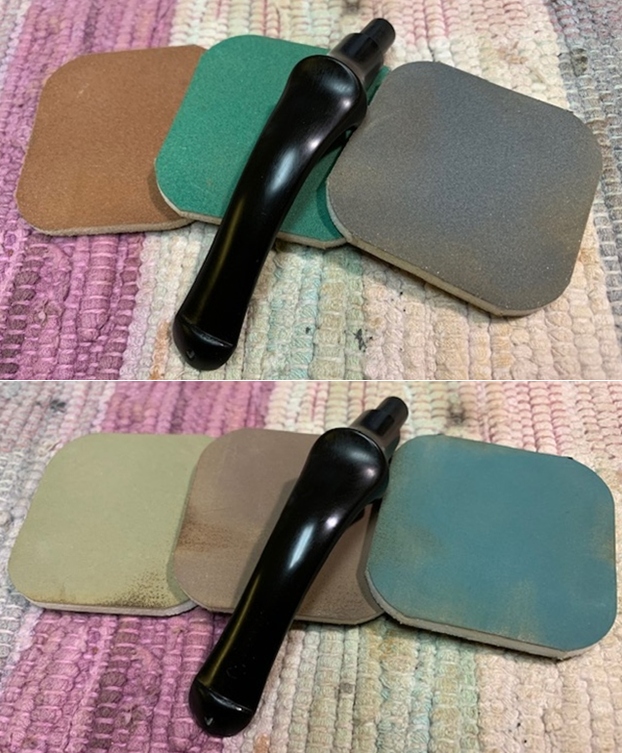
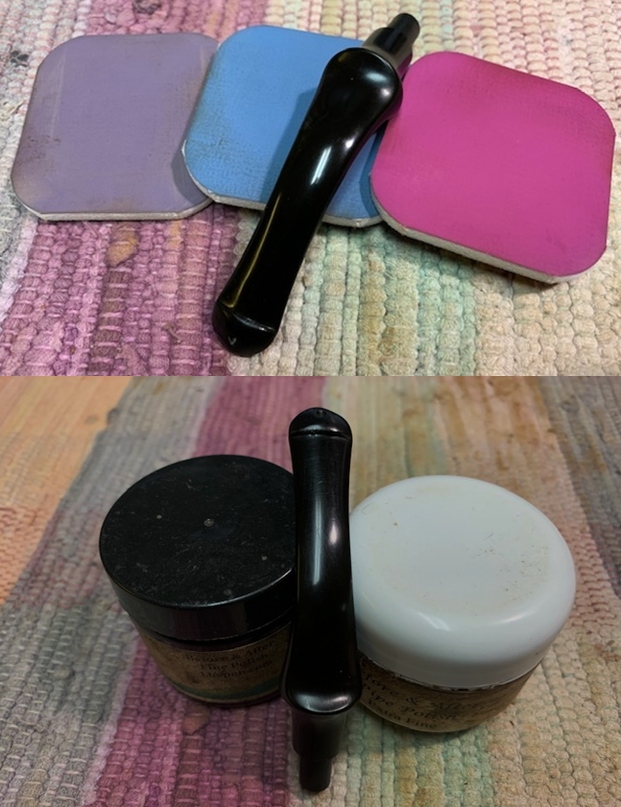
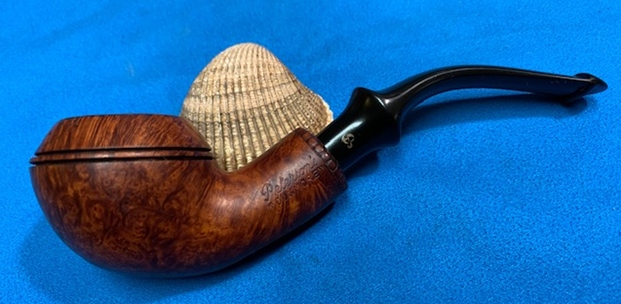
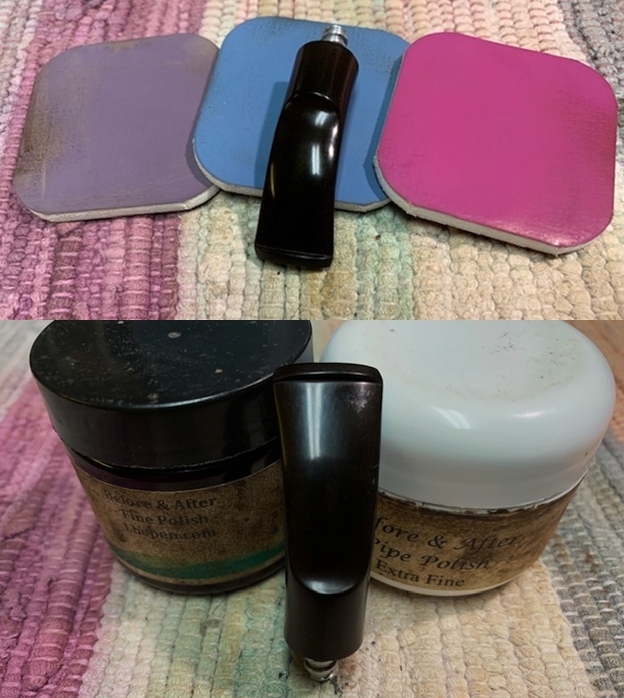
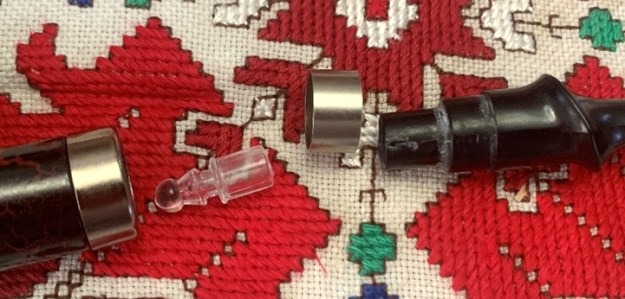
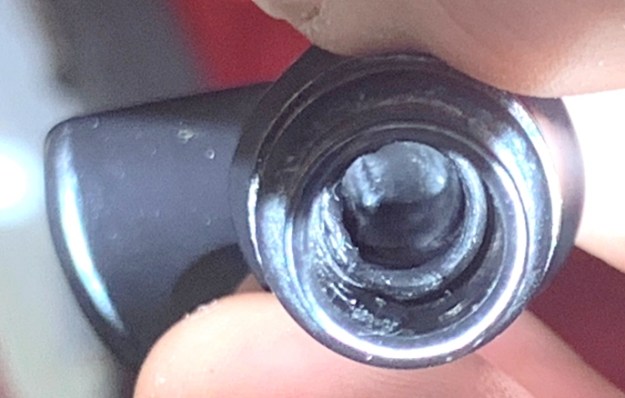
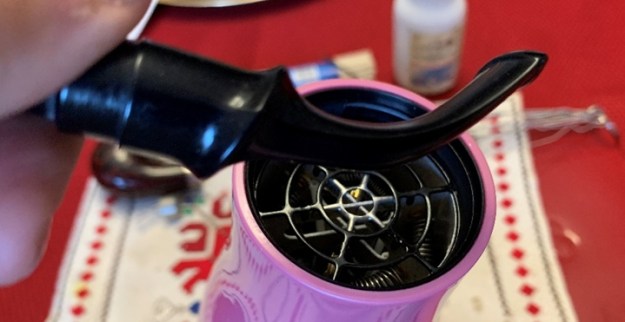
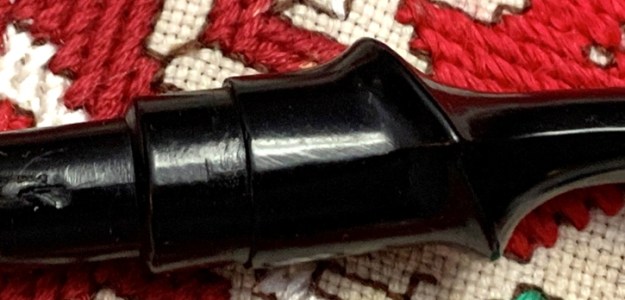
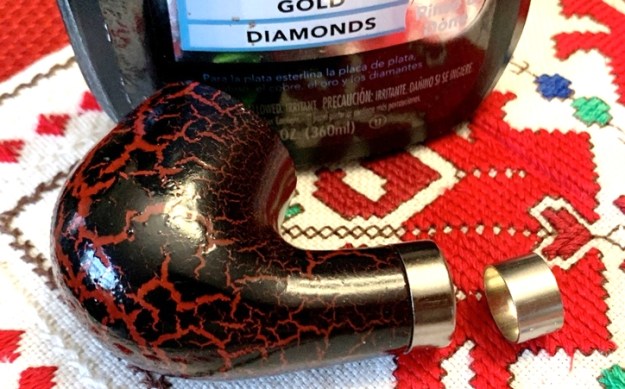
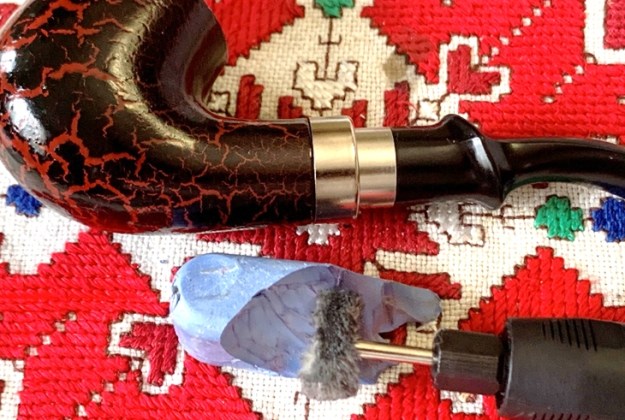
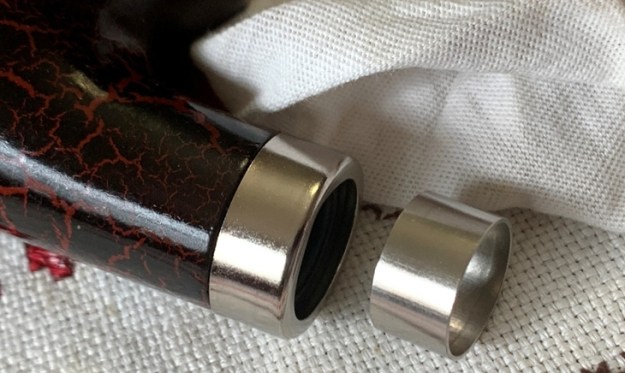
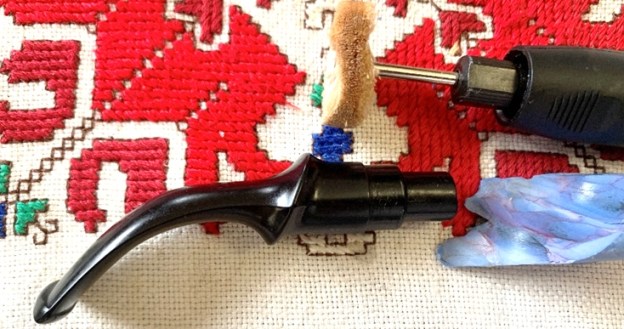
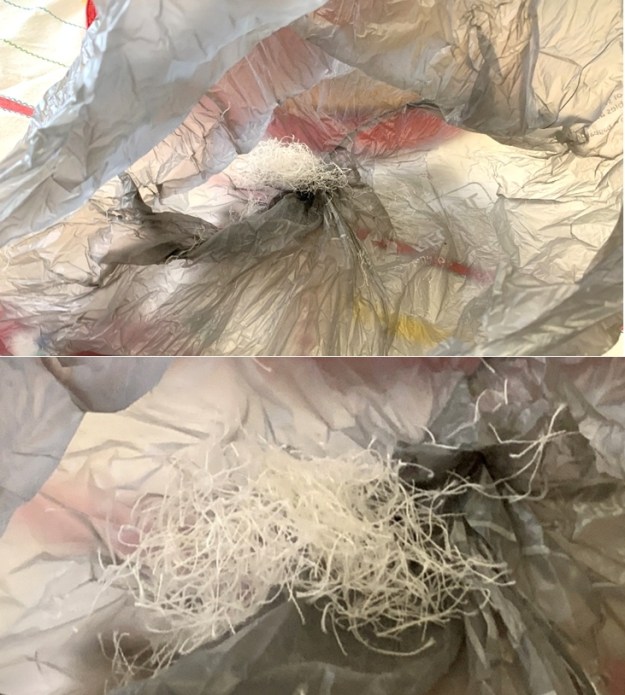
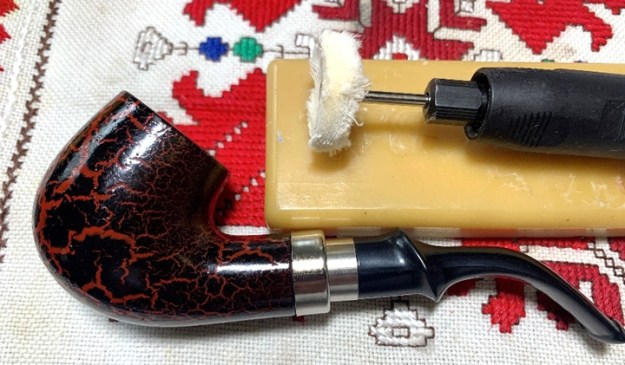
After disassembling the pipe, I take a picture to show the parts.  The acrylic tenon seems to function as an air restrictor.  With the removal of the tenon, a 9mm filter will fit the stem if one chooses. I’m calling this a simple ‘Clean Up’ because there is little to do to enhance the bling factor of the pipe. Cleaning the external surface of the pipe and shining the nickel shank cover and band will spruce things up.  The stem appears to have lost its shine as well, even though the pipe appears never to have been smoked.  I begin by cleaning the stem airway.  Using pipe cleaners dipped in isopropyl 99% I go to work.  It doesn’t take long into what I thought would be a simple clean-up, to discover that I cannot run a pipe cleaner through the airway.  After several failed attempts from both ends of the stem, I switch from pipe cleaners to a small diameter shank brush which has a wire stem.  This also was unsuccessful. I take some pictures to see if I can locate the airway.  I can blow through the stem, so I know there’s some opening somewhere.  Nothing jumps out looking at the picture of the inverted stem.  The bend of the stem appears to have crimped down on the airway.  It is not an option, I like to certify a pipe as restored and not be able to do the basic functions of cleaning the pipe.  To try to remedy the problem – to open the airway so that a pipe cleaner can navigate it, I heat the stem with a hairdryer to unbend the stem.  I’m hopeful this will do the trick.With permission to use my wife’s travel hair dryer as the ‘hot gun’, I heat the stem to soften the vulcanite so that it will unbend.I heat the stem for some time and apply pressure to encourage the vulcanite stem to unbend as the material becomes supple.  To my surprise, the material did not become supple in the time and with the temperature that should start seeing results.  In the end, I discover that the stem is not vulcanite but some sort of a plastic composite.  I confirm my suspicions of this by finding a seam on the side.  Warming the stem did not bend as a vulcanite stem.  I’m not sure, but it would probably melt if the stem got hot enough instead of becoming pliable.  Unfortunately, the cleaning of the stem will be more of a challenge having to come in from both ends as best as one can.I turn now to polishing the nickel shank cover and the stem band or extender.  Using Tarn-X Tarnish Remover on a cotton pad, I wipe on the Tarn-X and after rubbing it in, it is rinsed off with a cotton pad and water.  The Remover does a great job.To clean the fabric/resin applique Dragon Skin, I simply wipe it with a cotton pad wetted with water.  Next, after using the Tarn-X Tarnish Remover on the nickel shank cap and band, I apply Blue Diamond compound as well to increase the shine on the nickel.  A cotton cloth buffing wheel dedicated to Blue Diamond and nickel metal is mounted onto the rotary tool.  The rule of thumb is that each different kind of application has its own dedicated buffing wheel.  When the nickel is buffed with Blue Diamond, it produces a black residue that will stain the surrounding material.  I’ve learned the hard way that the black stuff will stain briar.  With the rotary tool set at about 40% full power, I’m careful to apply the Blue Diamond onto the metal with no runoff on the fabric/resin applique Dragon Skin.  After applying Blue Diamond, the metal is cleaned/buffed with a cotton cloth.  Wow!  This truly shined up the cap and band very nicely.  Next, after loading another cotton cloth buffing wheel to the rotary tool, with the speed set at about 40% full power, I apply Blue Diamond compound to the composite plastic stem.  I begin gingerly on the hidden, inserted part of the stem to make sure that the high-speed buffing/abrasion of the compound wasn’t going to melt or ripple the material.  It received the buffing nicely, so I continue with the rest of the stem.  Without doubt, this stem looks better now than new with the TLC provided. After applying the compound, the stem is wiped with a felt cloth to remove the residual compound dust before application of the wax.After attaching another cotton cloth buffing wheel, since it was new, I purge the wheel before using to remove the loose cotton strands.  I do this by inserting the rotary tool extension arm end into a plastic bag and turn on the rotary tool.  As the tool does its RPMs, I press a metal adjustment wrench into the cotton cloth of the wheel.  Much of the loose cotton fibers spin off and are captured in the bag.  After turning the power off, I then manually pluck the remaining lose fibers from the wheel.  I do this each time I put a new wheel into service.  It doesn’t remove all the ‘fly off’ but it reduces it by 90+ percent!    After the new wheel is purged, the speed maintained at about 40% full power, and carnauba wax is applied to the stem and the fabric/resin applique Dragon Skin stummel.  At first, I proceed very slowly to observe how the Dragon Skin applique receives the wax.  After seeing that it receives it quite nicely, I continue by applying a light coat of wax to the stummel.  When the carnauba wax is applied, the entire pipe is given a rigorous hand buffing to remove excess wax and to raise the shine.For an easy clean-up, this pipe threw in a few curve balls with the stem.  Even so, the results are good.  The unique Dragon Skin fabric/resin applique looks great and the nickel shank cap and stem extender add a nice touch of bling.  This system pipe is different with the metal bowl and draft hole in the center. The acrylic tenon or air restrictor fits well with this genre of pipe.  This is the last of the pipes that Daniel commissioned, and he will have the first opportunity to acquire it from The Pipe Steward Store benefiting the Daughters of Bulgaria – women and girls who have been trafficked and sexually exploited.  We made it safely to Port St. Lucy and I complete my first ‘mobile restoration’ with more to come.  I commemorate this by enjoying a bowl at the beach!  Thanks for joining me!

Breathing New Life into a Brandt Panel 32 Freehand Sitter


Blog by Steve Laug

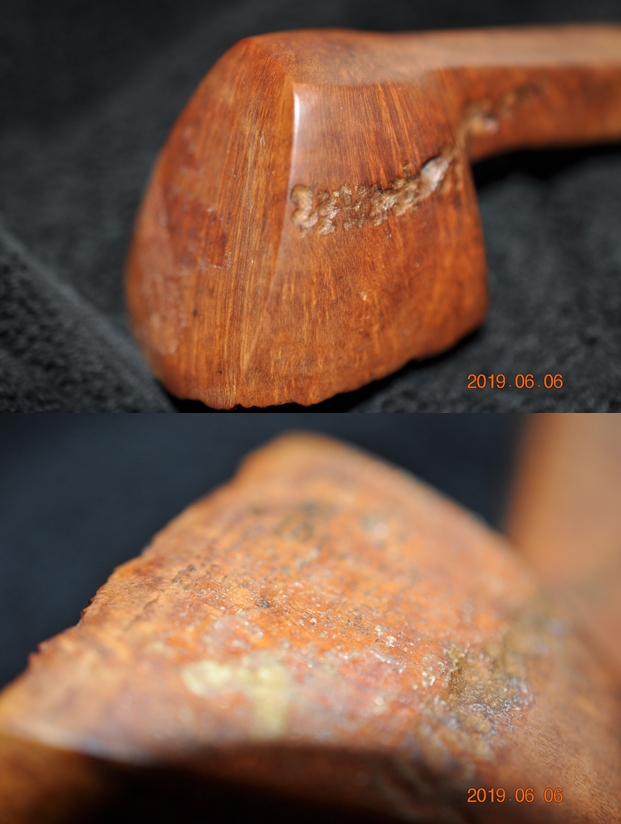
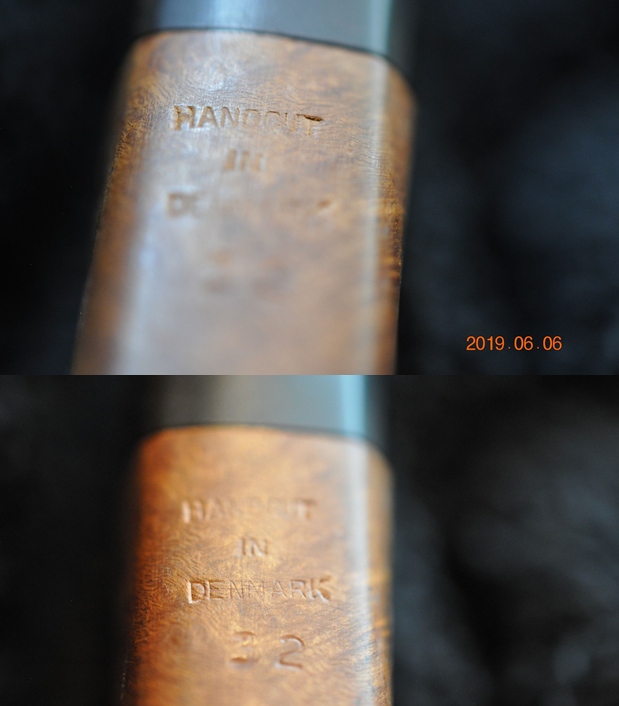
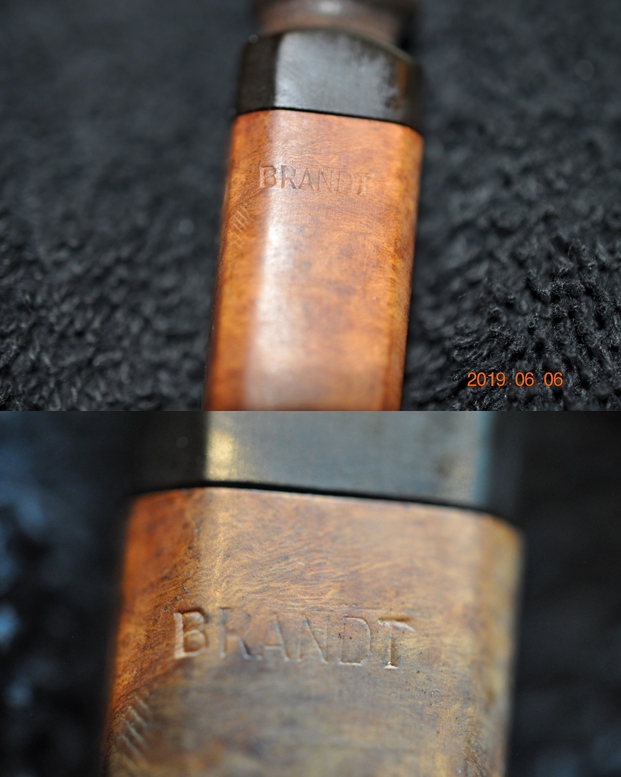
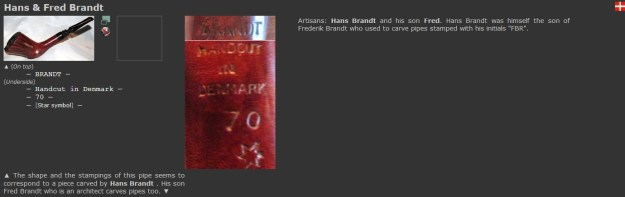
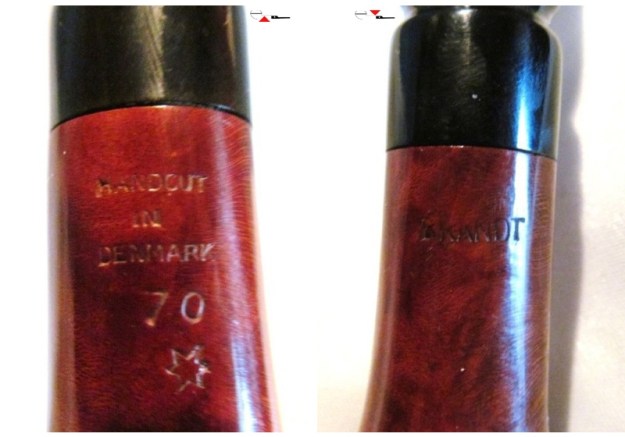
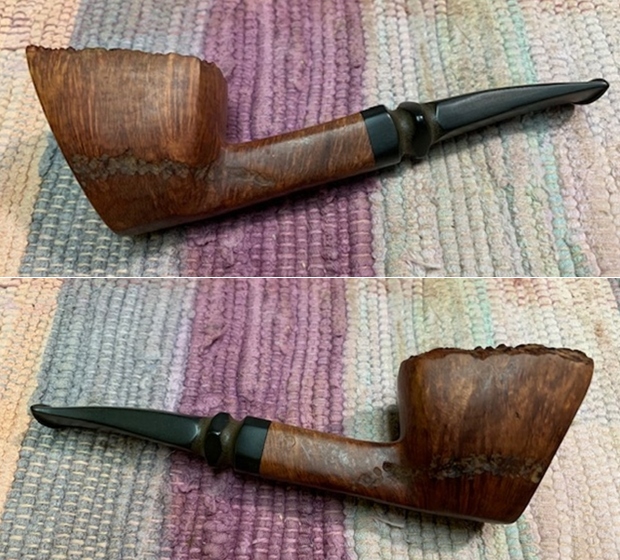
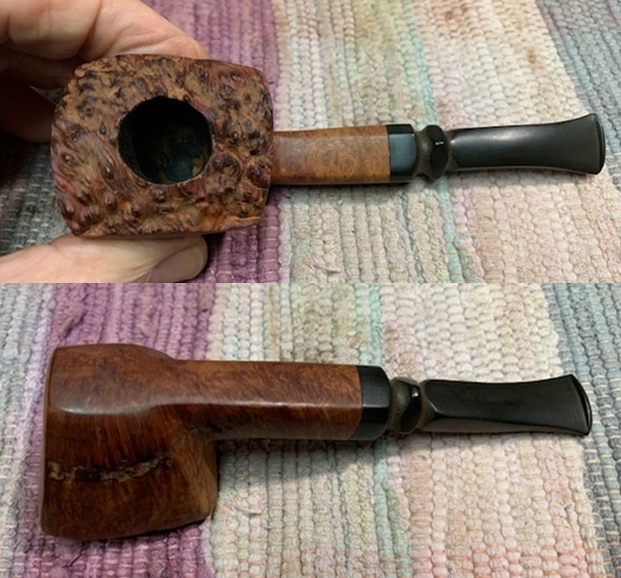
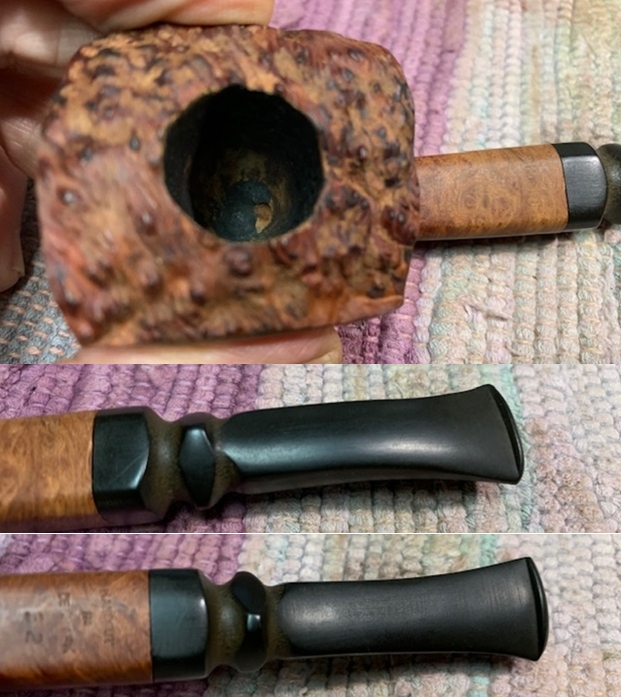
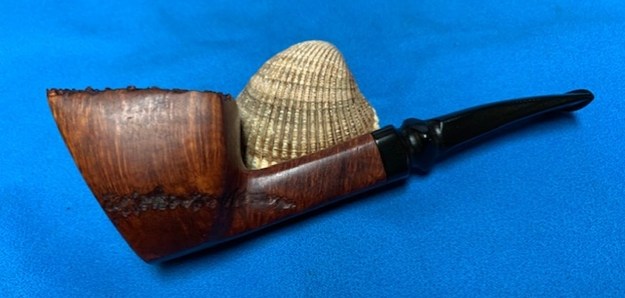
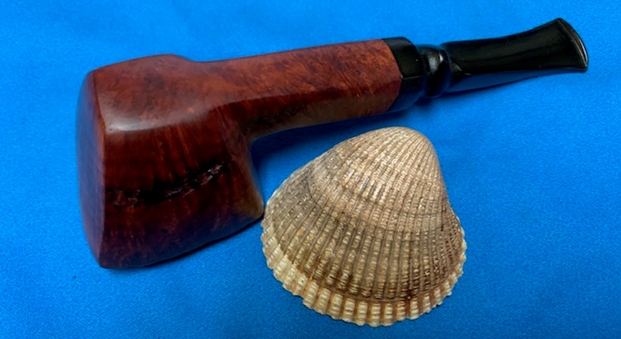
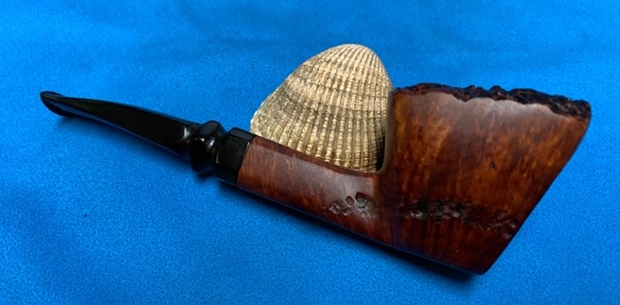
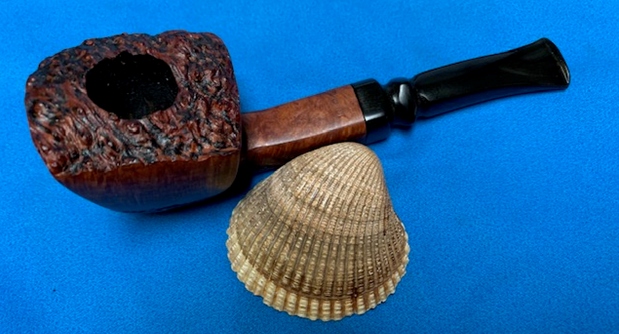
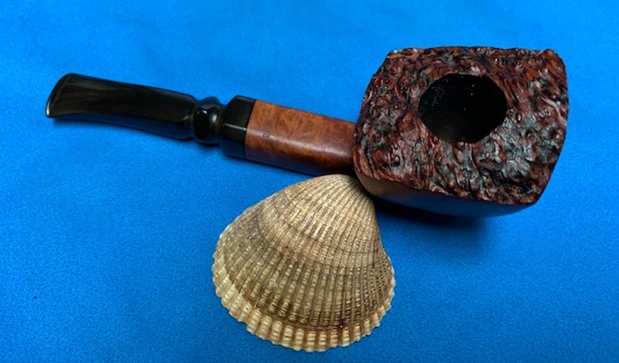
The next pipe on the work table came to us from an auction in Wilkes Barre, Pennsylvania, USA. It is a Panel shaped Freehand pipe with a plateau top and a smooth finish. The pipe has a fancy saddle vulcanite stem. The pipe is stamped on the topside of the shank and reads Brandt. On the underside next to the shank/stem junction it is stamped Hand Cut [over] in [over] Denmark [over] the shape number 32. The finish had a lot of grime on the surface and ground into both the briar and it was very dirty. The bowl was heavily caked and the inner edge of the rim had some darkening. The plateau top was dirty but undamaged. It was hard to tell what condition of the inner edge was because of the lava coat. Only cleaning would make that clear. The fancy square stem was oxidized, calcified and had tooth chatter and marks on the top and underside near the button. The pipe showed promise but it was very dirty. Jeff took photos of the pipe before he started his cleanup work.  He took photos of the rim top and bowl to give a clear picture of the thickness of the cake and the condition of the plateau rim top and edges. He also took photos of the top and underside of the stem to show the oxidation, calcification and light chatter and tooth marks. Jeff took photos of the sides and heel of the bowl to give a picture of what the briar around the pipe looked like.    He took photos of the stamping on the top and underside of the shank. It reads as noted above and is clear and readable. I turned first to Pipephil’s site (http://www.pipephil.eu/logos/en/logo-h1.html#hansfredbrandt). I found a pipe with the same stamping that was made by Hans Brandt.I turned to Pipedia to see what more I could find out on the brand. I looked in the Danish Pipemakers section of Pipedia (https://pipedia.org/wiki/Brandt). There was a great, short article on the brand. I quote it in full below

Hans Brandt is a quite forgotten pipemaker, who worked in the periphery of the legendary Copenhagen pipe shop Pibe-Dan. Very beautifully made, usually rather delicate freehands. Father of pipemaker Fred Brandt and son of pipemaker Frederik Brandt, who made pipes stamped “FBR”. Iwan Ries & Company imported Brandt pipes in the 1970s.

The 1976 Iwan Ries catalog includes this description accompanying a photo of 5 Hans Brandt pipes: “shape conformed.. meet old-fashioned quality in new fashioned shapes – luxury that’s unexpectedly practical! Original..perfectly proportioned! A-B Quality, natural finish..proficiently hand-made in Denmark, only for us. IRC originals..by Hans Brandt..highly talented Danish craftsman. Proud examples of the finest in pipemaking expertise – always ahead of tomorrow, with more devotees every year! Shapes G11 thru G15 – no 2 exactly alike. 24T68-2 $55.00”

That price is roughly $250 in 2020 dollars. They appear on the same page with 2 other “A-B quality” lines of pipes; Savinelli Autographs retailing for $110, and a new line of Danish fancies by Andersen going for $90.

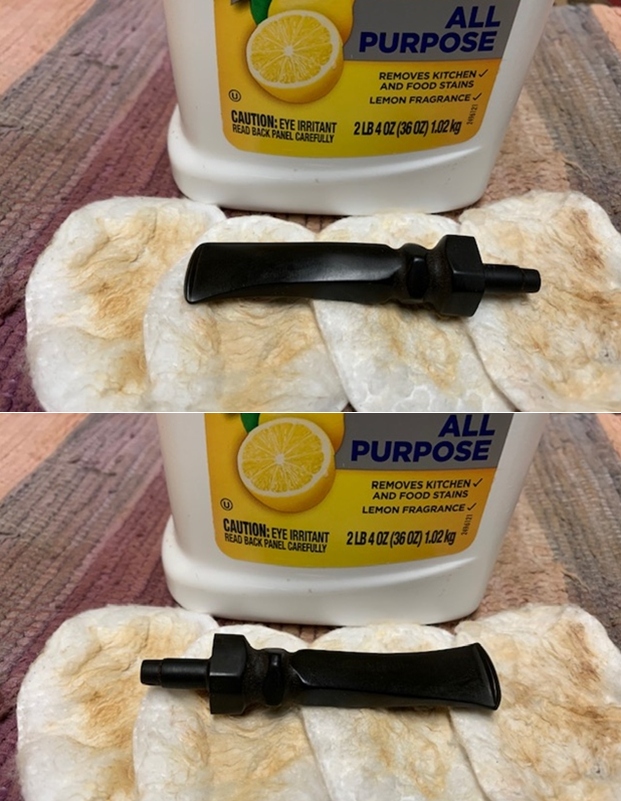
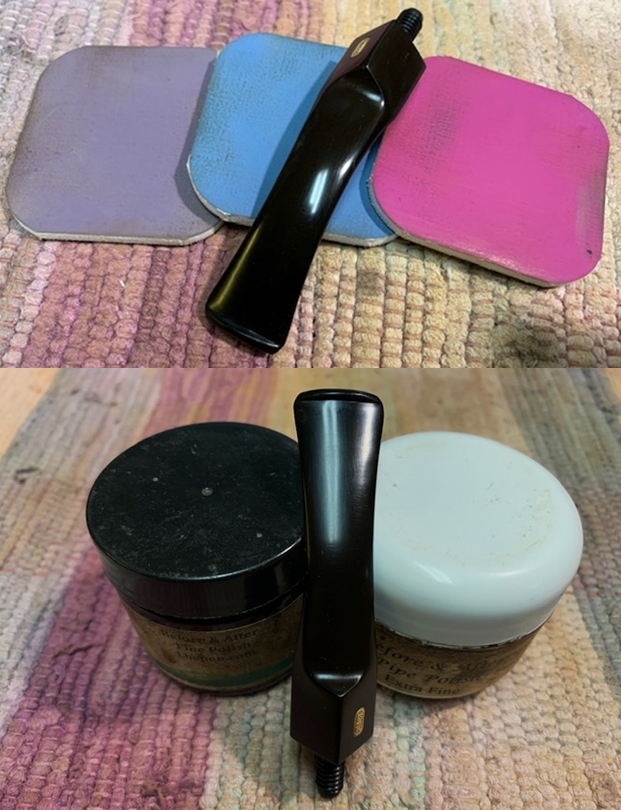
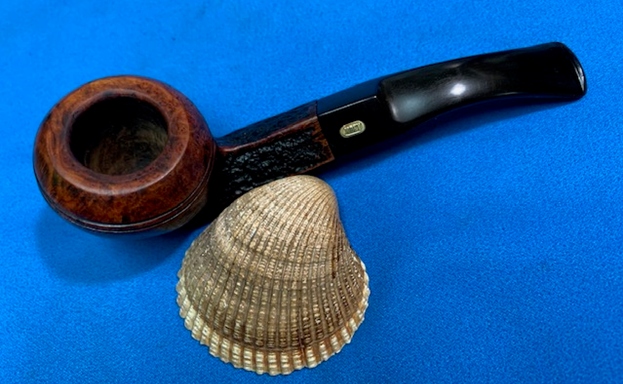
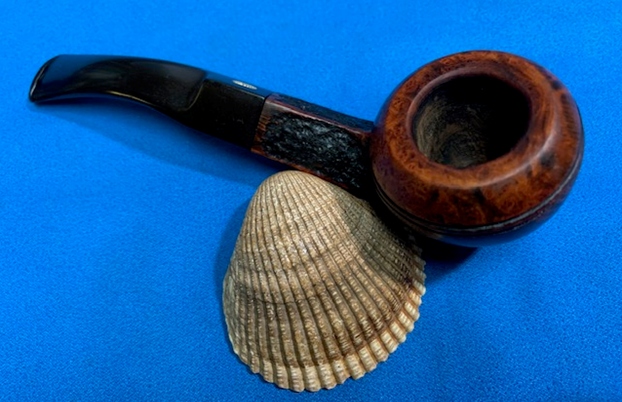
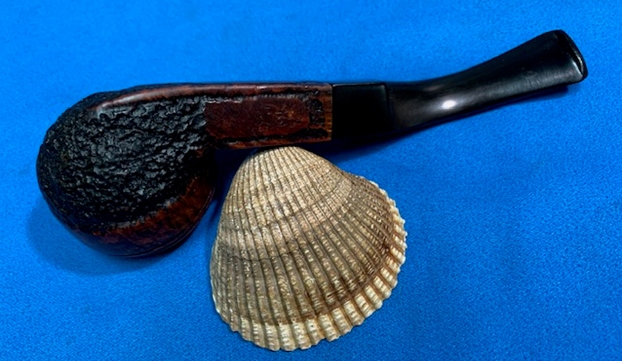
Now it was time to work on the pipe. Jeff had cleaned up the pipe with his usual penchant for thoroughness. He reamed the pipe with a PipNet Pipe Reamer and cleaned up the remnants with a Savinelli Fitsall Pipe Knife.  He scrubbed the bowl with undiluted Murphy’s Oil Soap with a tooth brush. He rinsed it under running warm water to remove the soap and grime. He cleaned out the inside of the shank and the airway in the stem with alcohol, cotton swabs and pipe cleaners. He soaked the stem in Before & After Deoxidizer and rinsed it off with warm water. I took photos of the pipe once I received it.    The plateau rim top and inner edge of the rim looked good. The stem surface looked very good with some light tooth marks and chatter on both sides near the button. It also had some residual oxidation.  I removed the stem and took a photo of the pipe to give a sense of the whole from the parts. I started my work on the pipe by working over the rim top with a Black Sharpie pen to differentiate the valleys and the high spots on the plateau top.I polished the smooth briar on the rim top and cap of the bowl with micromesh sanding pads – wet sanding with 1500-12000 grit pads. I wiped the bowl down after each pad with a damp cloth. I rubbed the bowl down with Before & After Restoration Balm. I worked it into the surface of the bowl sides and shank with my fingertips and a horse hair shoe brush. The product works to clean, enliven and protect the briar. I let the balm sit for a 15 minutes and then buffed with a cotton cloth to raise the shine.   I set the bowl aside and turned my attention to the stem. I scrubbed the stem with Soft Scrub All Purpose cleaner to remove the residual oxidation. It works very well to remove deep oxidation. I polished the vulcanite stem with micromesh sanding pads – 1500-12000 grit pads. I wiped it down with Obsidian Oil after each sanding pad. I used Before & After Pipe Polish – both Fine and Extra Fine to further polish the stem.      This Hans Brandt 32 Panel Freehand Sitter with a fancy vulcanite saddle stem is a great looking pipe now that it has been restored. The beautiful grain that shines through the polished smooth finish is stunning. The lines of rustication on the lower portion of the bowl on each side is quite distinctive. I put the stem back on the bowl and carefully buffed the pipe with Blue Diamond on the buffing wheel. I gave the bowl and the stem multiple coats of carnauba wax on the buffing wheel and followed that by buffing the entire pipe with a clean buffing pad. I hand buffed the pipe with a microfiber cloth to deepen the shine. The grain just popped with the wax and the buffing. It is a beauty! The finished Brandt Panel Freehand Sitter fits nicely in the hand and feels great. It is also a sitter that can stand on its own. Give the finished pipe a look in the photos below. The dimensions of the pipe are Length: 5 ½ inches, Height: 1 ¾ inches, Outside diameter of the bowl: 1 ¾ inches, Chamber diameter: ¾ of an inch. The weight of the pipe is 48gr/1.69oz. I will be putting it on the rebornpipes store in the DANISH PIPE MAKERS section soon. If you are interested in adding this pipe to your collection send me a message or an email. Thanks for reading this blog and my reflections on the pipe while I worked on it. There are many more to come!


Breathing New Life into a Volcano Sitter stamped The Bentley Pipe


Blog by Steve Laug

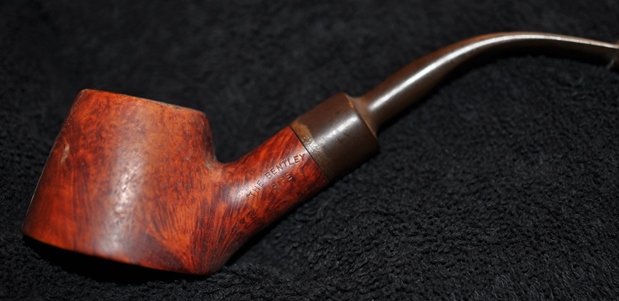
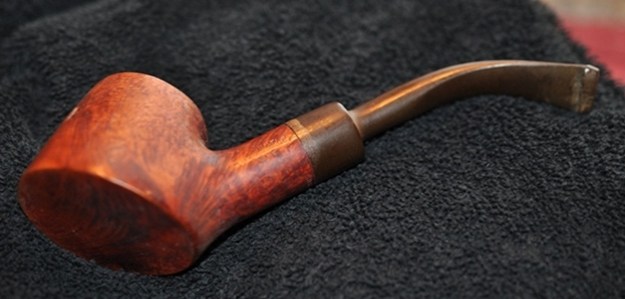
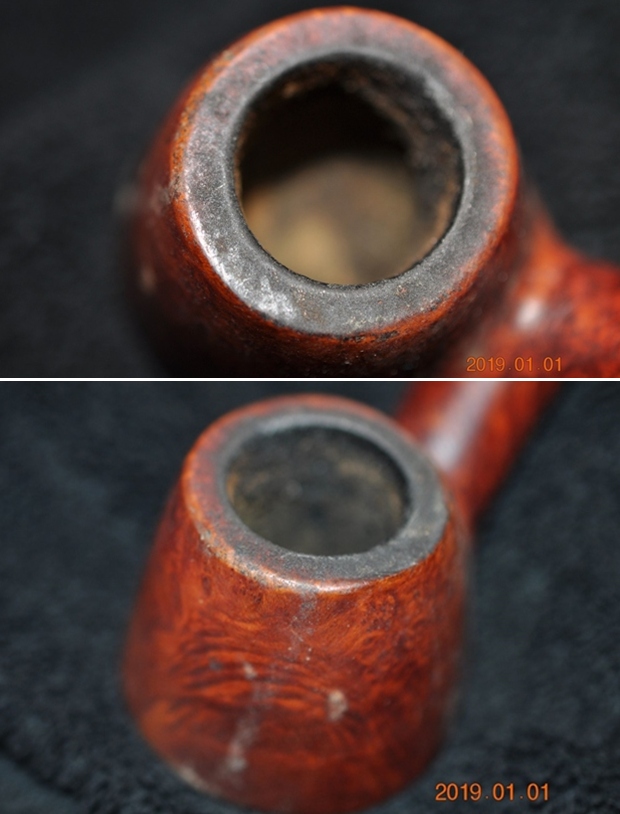
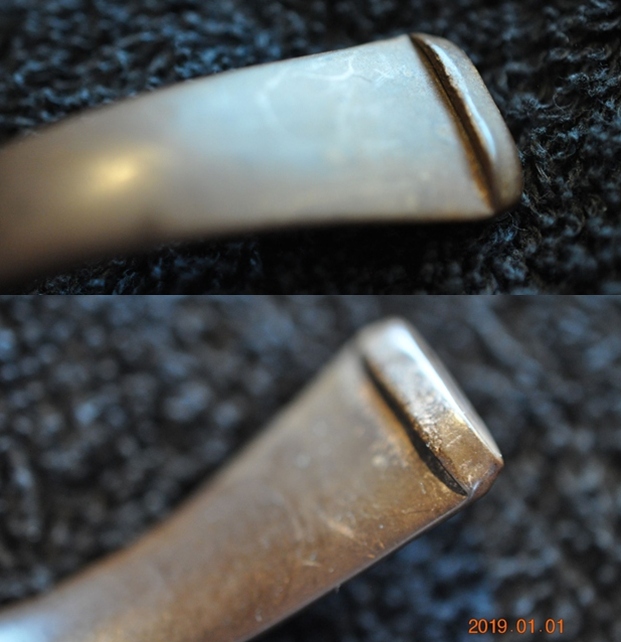
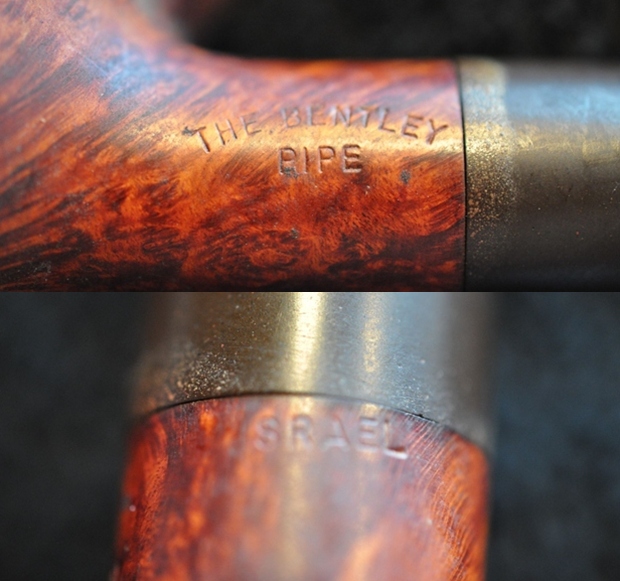
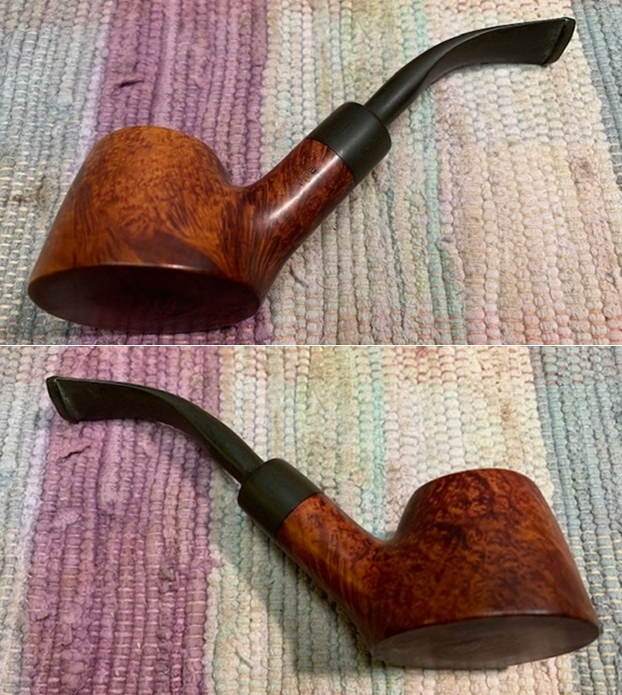
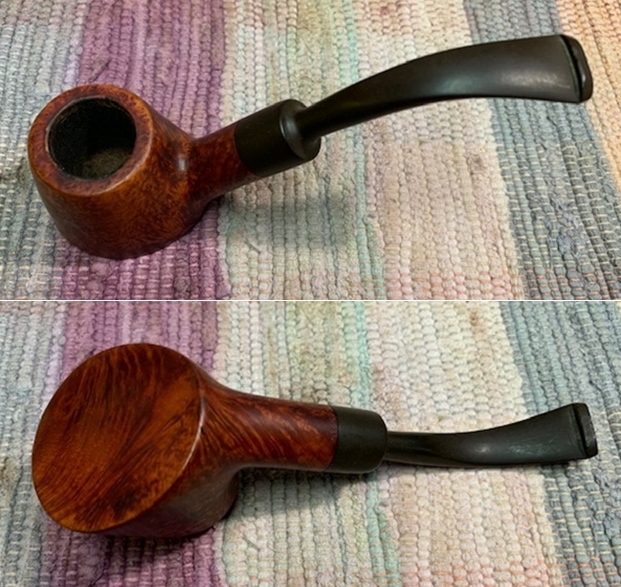
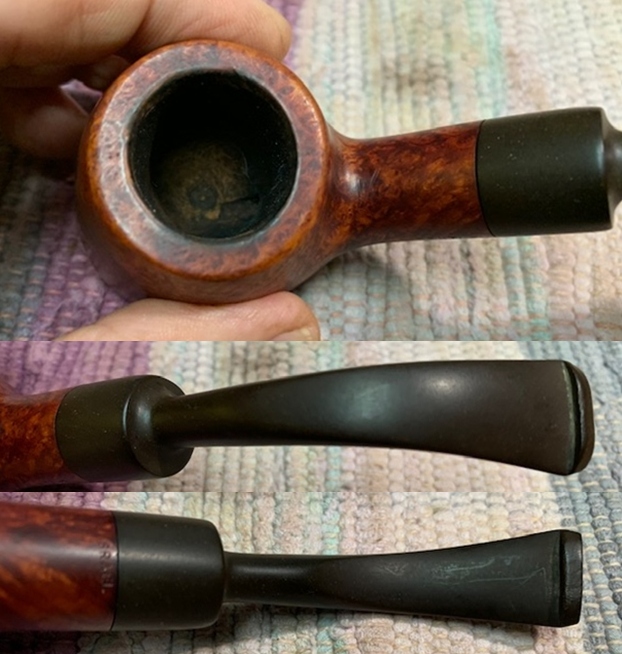
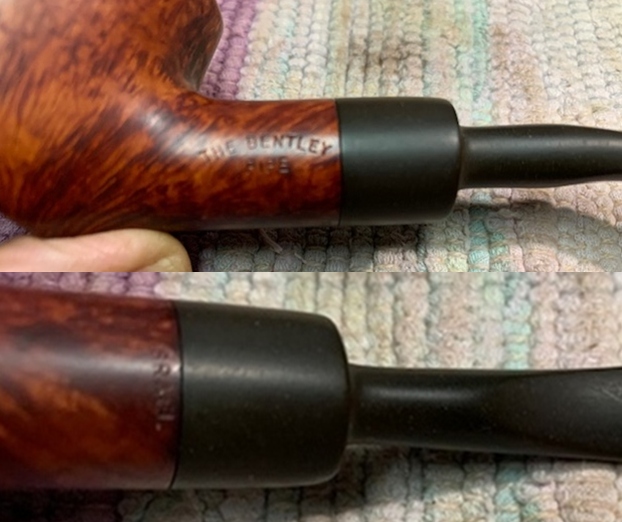
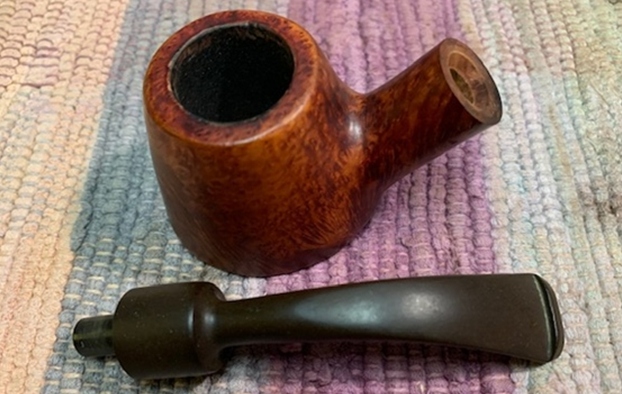
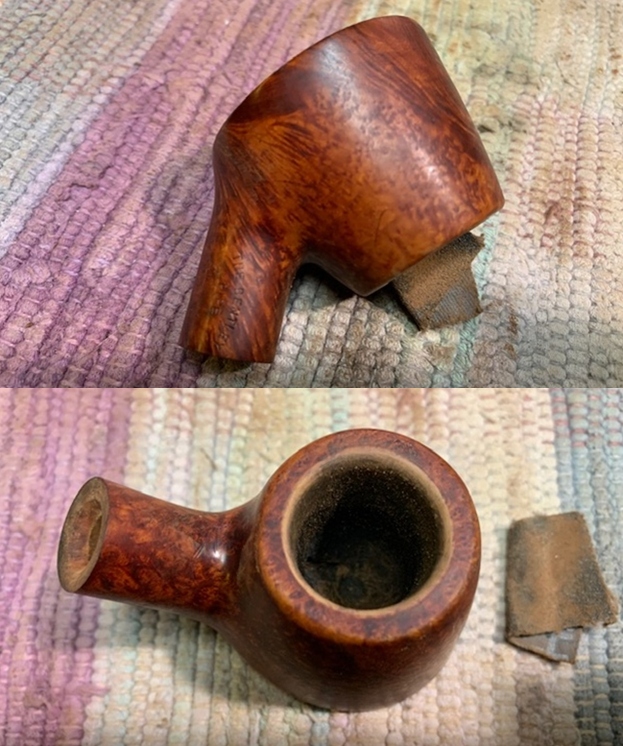
The next pipe on the work table came to us from an antique dealer back in 2018 in Sherwood, Arizona, USA. It is a Volcano Sitter shaped pipe with the mixed smooth finish. The pipe has a saddle vulcanite stem. The pipe is stamped on the left side of the shank and reads The Bentley [arched over] Pipe. On the underside next to the shank/stem junction it is stamped Israel. The finish had a lot of grime on the surface and ground into both the briar and it was very dirty. The bowl was heavily caked and there was a thick lava coat on the flat rim top and the inner edge of the rim. It was hard to tell what condition of the inner edge was because of the lava coat. Only cleaning would make that clear. The stem was oxidized, calcified and had tooth chatter and marks on the top and underside near the button. The pipe showed promise but it was very dirty. Jeff took photos of the pipe before he started his cleanup work.  He took photos of the rim top and bowl to give a clear picture of the thickness of the cake and the condition of the rim top and edges. He also took photos of the top and underside of the stem to show the oxidation, calcification and chatter and tooth marks. Jeff took photos of the sides and heel of the bowl to give a picture of what the briar around the pipe looked like.     He took photos of the stamping on the left side and on the underside of the shank. It reads as noted above and is clear and readable.     I knew that Bentley pipes were the production line of Former but this one was very different. It was stamped “The Bentley Pipe” and Israel. I looked Pipephil and Pipedia to see if I could find any information. Unfortunately there was nothing to be found. I also looked under the Shalom Pipe Factory information to see if I could find anything and there was nothing there either. I am pretty certain that it was made by Shalom as they made most if not all of the Israeli made pipe. I was left with a bit of a mystery pipe but it was truly a good looking pipe.

Jeff had cleaned up the pipe with his usual penchant for thoroughness. He reamed the pipe with a PipNet Pipe Reamer and cleaned up the remnants with a Savinelli Fitsall Pipe Knife.  He scrubbed the bowl with undiluted Murphy’s Oil Soap with a tooth brush. He rinsed it under running warm water to remove the soap and grime. He cleaned out the inside of the shank and the airway in the stem with alcohol, cotton swabs and pipe cleaners. He soaked the stem in Before & After Deoxidizer and rinsed it off with warm water. I took photos of the pipe once I received it.     The rim top and inner edge of the rim looked good with a bit of damage on the inner edge on the middle right. The damage on the right side inner edge made the bowl slightly out of round. The stem surface looked very good with some light tooth marks and chatter on both sides near the button. It also had some residual oxidation.  I took photos of the stamping on the shank. It is clear and readable as noted above. I removed the stem and took a photo of the pipe to give a sense of the whole.   I started my work on the pipe by working over the rim top and the inner edge of the bowl to clean up the damage. Once finished the rim top and edge looked much better.  I polished the smooth briar on the rim top and cap of the bowl with micromesh sanding pads – wet sanding with 1500-12000 grit pads. I wiped the bowl down after each pad with a damp cloth. I used a Maple Stain pen to touch up the rim top and inner edge of the rim. The colour blended in very well with the surrounding briar.I rubbed the bowl down with Before & After Restoration Balm. I worked it into the surface of the bowl sides and shank with my fingertips. The product works to clean, enliven and protect the briar. I let the balm sit for a 15 minutes and then buffed with a cotton cloth to raise the shine.   I set the bowl aside and turned my attention to the stem. I scrubbed the stem with Soft Scrub All Purpose cleaner to remove the residual oxidation. It works very well to remove deep oxidation.   I polished the vulcanite stem with micromesh sanding pads – 1500-12000 grit pads. I wiped it down with Obsidian Oil after each sanding pad. I used Before & After Pipe Polish – both Fine and Extra Fine to further polish the stem.    The Bentley Pipe Volcano Sitter Made in Israel with a vulcanite saddle stem is a great looking pipe now that it has been restored. The beautiful grain that shines through the polished smooth finish is stunning. I put the stem back on the bowl and carefully buffed the pipe with Blue Diamond on the buffing wheel. I gave the bowl and the stem multiple coats of carnauba wax on the buffing wheel and followed that by buffing the entire pipe with a clean buffing pad. I hand buffed the pipe with a microfiber cloth to deepen the shine. The grain just popped with the wax and the buffing. It is a beauty! The finished The Bentley Pipe Volcano fits nicely in the hand and feels great. It is also a sitter that can stand on its own. Give the finished pipe a look in the photos below. The dimensions of the pipe are Length: 5 ½ inches, Height: 1 ½ inches, Outside diameter of the bowl: 1 ¼ inches, Chamber diameter: 7/8 of an inch. The weight of the pipe is 54gr/1.90oz. I will be putting it on the rebornpipes store in the METAL AND OTHER TYPES OF PIPES FROM VARIOUS PIPE MAKERS section. If you are interested in adding this pipe to your collection send me a message or an email. Thanks for reading this blog and my reflections on the pipe while I worked on it. There are many more to come!
Breathing New Life into a Jobey Asti 200 Bulldog


Blog by Steve Laug

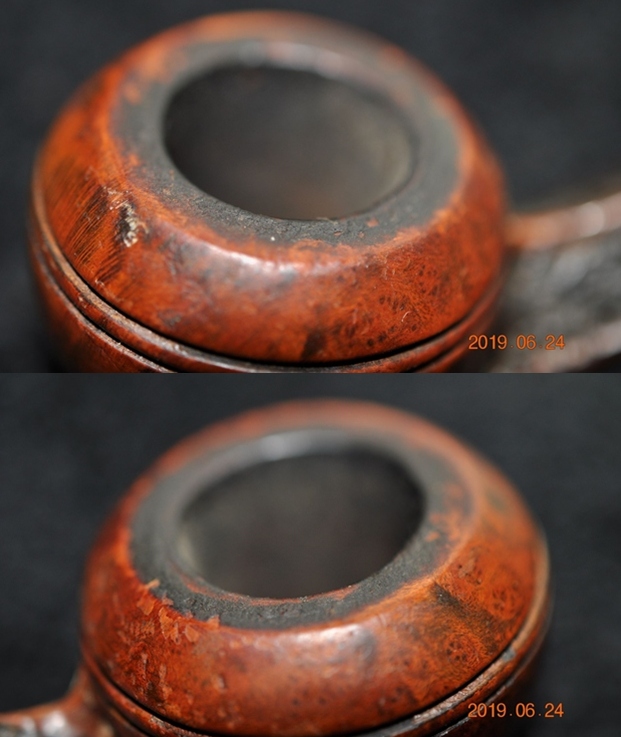
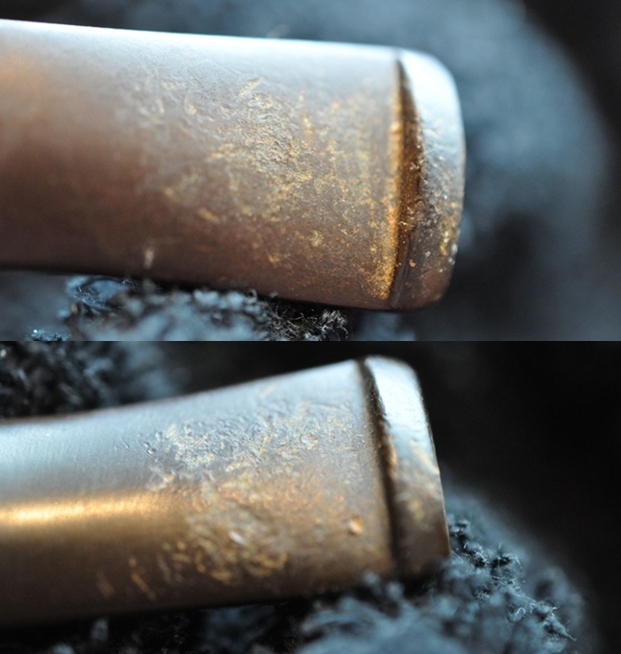
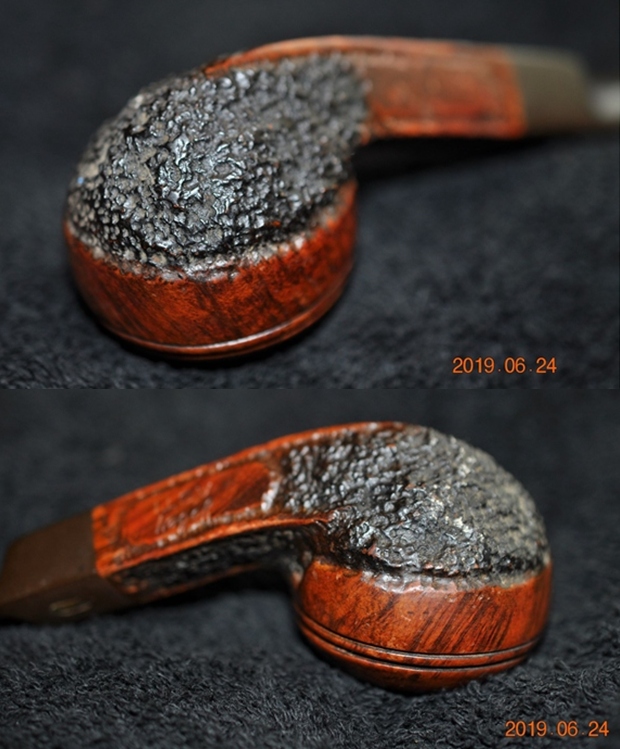
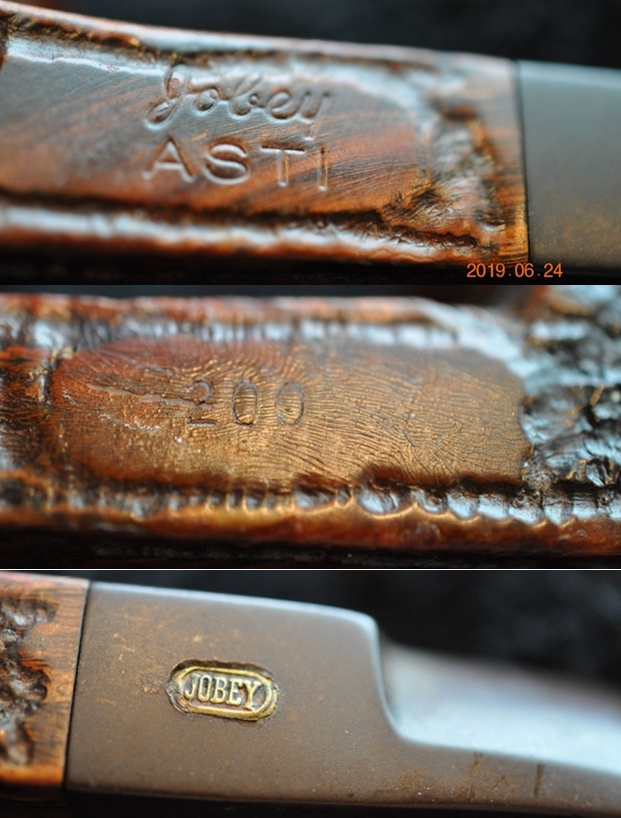
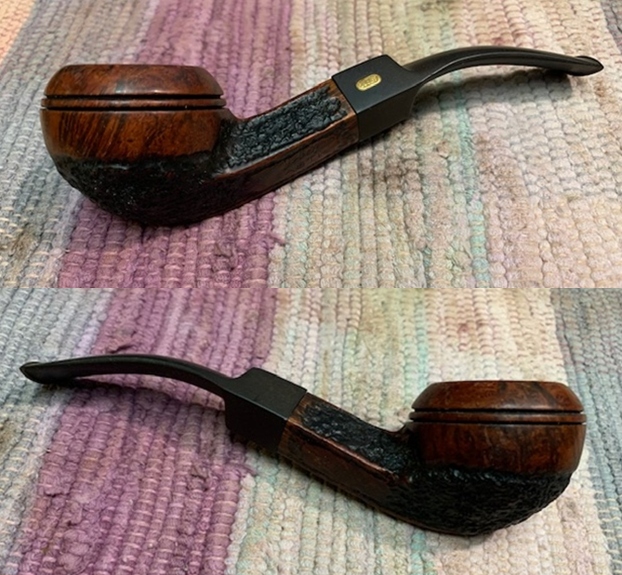
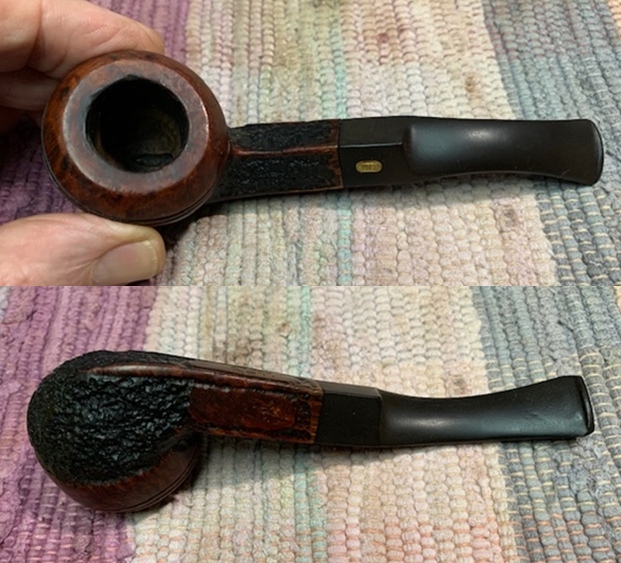
The next pipe on the work table came to us from an antique auction mid-2019 from Huntington Station, New York, USA. It is a Bulldog shaped pipe with the mixed smooth and rusticated finish that I have come to associate with Jobey Asti pipes. The pipe has a saddle vulcanite stem. The pipe is stamped on the left underside of the shank and reads Jobey [over] Asti. On the right side it is stamped with the shape number 200. On the left side of the saddle stem was the inset Jobey brass oval logo. The finish had a lot of grime ground into both the smooth and rusticated portions and it was very dirty. The bowl was heavily caked and there was a thick lava coat on the flat rim top and the inner edge of the rim. It was hard to tell what condition of the inner edge was because of the lava coat. Only cleaning would make that clear. The stem was oxidized, calcified and had tooth chatter and marks on the top and underside near the button. The pipe showed promise but it was very dirty. Jeff took photos of the pipe before he started his cleanup work. He took photos of the rim top and bowl to give a clear picture of the thickness of the cake and the condition of the rim top and edges. He also took photos of the top and underside of the stem to show the oxidation, calcification and chatter and tooth marks. Jeff took photos of the sides and heel of the bowl to give a picture of what the briar around the pipe looked like.   He took photos of the stamping on the shank and the logo on the left side of the saddle stem. It reads as noted above and is clear and readable.     I turned to Pipephil’s site for a quick review of the brand (http://www.pipephil.eu/logos/en/logo-j3.html). I quote a section of the post on the Jobey brand: These pipes are made in St Claude (France) by Butz-Choquin (Berrod-Regad group) since 1987. Before this date some were manufactured in England and Denmark (Jobey Dansk).

I turned then to Pipedia to gather further information regarding the brand and quote the first part of the article (https://pipedia.org/wiki/Jobey).

English – American – Danish – French… Sadly, solid information about Jobey is scant… Probably established in England around 1920(?) the brand hiked into the USA later. In the course of time owner, distributor and manufacturer changed repeatedly. As far as is known the following companies have been involved with the brand:

George Yale Pipes & Tobacco, New York (1942)

Norwalk Pipe Co., New York (1949)

Arlington Briar Pipes Corp., Brooklyn (when?)

Hollco International, New York (1969).

Weber Pipe Co., Jersey City, NJ (1970’s)

The Tinder Box, (1970’s – 80’s).

Throughout decades Jobey pipes were mainly sold in the USA, Canada and England but remained almost unknown in continental Europe. The bulk of Jobeys was predominantly made according to classical patterns and mainly in the lower to middle price range. The predominant judgment of the pipe smokers reads: “A well-made pipe for the price.” So there is hardly anything very special or exciting about Jobey pipes although a flyer from ca. 1970 assures: “The briar root Jobey insists upon for its peer of pipes is left untouched to grow, harden and sweeten for 100 years. […] Jobey uses only the heart of this century old briar and only one out of 500 bowls turned measures up to the rigid Jobey specifications.” 99.80% of cull… that makes the layman marveling!
Jeff had cleaned up the pipe with his usual penchant for thoroughness. He reamed the pipe with a PipNet Pipe Reamer and cleaned up the remnants with a Savinelli Fitsall Pipe Knife.  He scrubbed the bowl with undiluted Murphy’s Oil Soap with a tooth brush. He rinsed it under running warm water to remove the soap and grime. He cleaned out the inside of the shank and the airway in the stem with alcohol, cotton swabs and pipe cleaners. He soaked the stem in Before & After Deoxidizer and rinsed it off with warm water. I took photos of the pipe once I received it.    The rim top and inner edge of the rim looked good with a bit of damage on the inner edge and on the rim surface on the front right. There was some burn damage on the front and right that made the bowl slightly out of round. The stem surface looked very good with some light tooth marks and chatter on both sides near the button. It also had some residual oxidation.  I took photos of the stamping on the shank. It is clear and readable as noted above.    I removed the stem and took a photo of the pipe to give a sense of the whole. The stem has a patented Jobey Link Tenon. I started my work on the pipe by working over the rim top and the inner edge of the bowl to clean up the damage. Once finished the rim top and edge looked much better.  I polished the smooth briar on the rim top and cap of the bowl with micromesh sanding pads – wet sanding with 1500-12000 grit pads. I wiped the bowl down after each pad with a damp cloth. I rubbed the bowl down with Before & After Restoration Balm. I worked it into the surface of the bowl sides and shank with my fingertips and a horse hair shoe brush. The product works to clean, enliven and protect the briar. I let the balm sit for a 15 minutes and then buffed with a cotton cloth to raise the shine.   I set the bowl aside and turned my attention to the stem. I scrubbed the stem with Soft Scrubb All Purpose cleaner to remove the residual oxidation. It works very well to remove deep oxidation.   I “painted” the surface of the stem with the flame of lighter to lift the bite marks on the vulcanite. Heat lift the marks to the surface of stem. I was able to lift the majority of them but there were a few left on each side. I filled them in with clear super glue and set it aside to let them cure.  When the repairs cured I sanded them smooth with 220 grit sandpaper and started polishing the stem with 400 grit wet dry sandpaper. I polished the vulcanite stem with micromesh sanding pads – 1500-12000 grit pads. I wiped it down with Obsidian Oil after each sanding pad. I used Before & After Pipe Polish – both Fine and Extra Fine to further polish the stem.    This Jobey Asti 200 Bulldog with a vulcanite saddle stem is a great looking pipe now that it has been restored. The beautiful grain that shines through the polished smooth part of the finish and the dark rustication on the lower part of the bowl is stunning. I put the stem back on the bowl and carefully buffed the pipe with Blue Diamond on the buffing wheel. I gave the bowl and the stem multiple coats of carnauba wax on the buffing wheel and followed that by buffing the entire pipe with a clean buffing pad. I hand buffed the pipe with a microfiber cloth to deepen the shine. The grain just popped with the wax and the buffing. It is a beauty! The finished Jobey Asti Bulldog fits nicely in the hand and feels great. Give the finished pipe a look in the photos below. The dimensions of the pipe are Length: 5 ½ inches, Height: 1 ½ inches, Outside diameter of the bowl: 1 ½ inches, Chamber diameter: ¾ of an inch. The weight of the pipe is 35gr/1.23oz. If you are interested in adding this pipe to your collection send me a message or an email. Thanks for reading this blog and my reflections on the pipe while I worked on it. There are many more to come!
Restoring & Restemming a Peterson’s Republic Era System Standard 313 Bent Billiard


Blog by Steve Laug

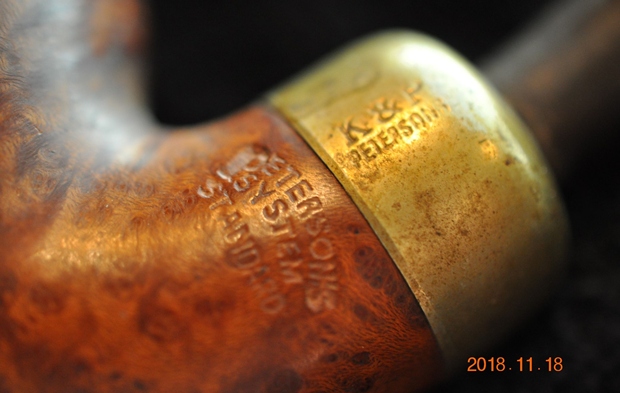
The next pipe on the work table was a bit of a surprise. I was sorting through the bowls that had accumulated over the past 20+ years with Jeff and pitching the worthless ones. You have to understand the drive that made me keep them around this long was still strong but I need to clean up things here so I asked Jeff to walk through the box of around 50-60 bowls and thin them down. As we went through them we came across a smooth Peterson’s System Standard 313 bowl. It had some interesting grain around the bowl but it also had a lot of damage. The right outer edge of the bowl was burned and damaged and the bowl was completely out of round. It had a thick cake and it was a mess. But there was something about it that caught our eye. The pipe is faintly stamped on the left side of the shank and reads Peterson’s [over] System [over] Standard. On the right side it is faintly stamped Made in the Republic of Ireland and underneath that is the shape number 313. The nickel ferrule is stamped K & P [over] Peterson. The nickel ferrule was also heavily discoloured by oils and tars and the glue holding it in place had long since dried and it was loose. The finish had a lot of grime ground into it and it was very dirty.

I remembered that I had a stem that would fit it perfectly that I had found recently. I found it and fit it on the shank and it was perfect. The stem was oxidized, calcified and had tooth chatter and marks on the top and underside near the P-lip style button. The “P” stamp on the left side of the saddle was undamaged. After putting it all together, the pipe showed promise but it was very dirty. I took these photos before I started my work on it.  I took a photo of the rim top and bowl to give a clear picture of the thickness of the cake and the condition of the rim top and edges. I also took photos of the top and underside of the stem to show the oxidation, calcification and chatter and tooth marks. He took photos of the stamping on the shank and the nickel ferrule. It reads as noted above and is faint but readable.    I removed the stem from the shank and took a photo of the pipe as a whole. It showed a lot of promise.I am including the information from Pipedia’s article on Peterson pipes. It is a great read in terms of the history of the brand (https://pipedia.org/wiki/Peterson). I have included a bit of the pertinent history here.

1950 – 1989 The Republic Era – From 1950 to the present time, the stamp for this era is “Made in the Republic of Ireland” in a block format generally in three lines but two lines have been used with or without Republic being abbreviated.

I knew that I was dealing with a Republic Era pipe made between 1950-1989. It was a smooth Peterson’s System Standard 313 Bent Billiard with nice grain. The finish was stained with a combination of brown stains. Now it was time to work on the pipe.

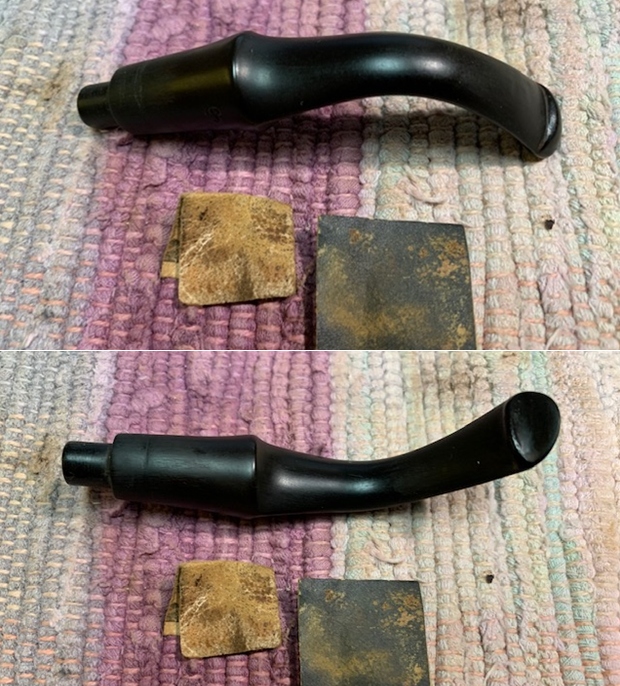
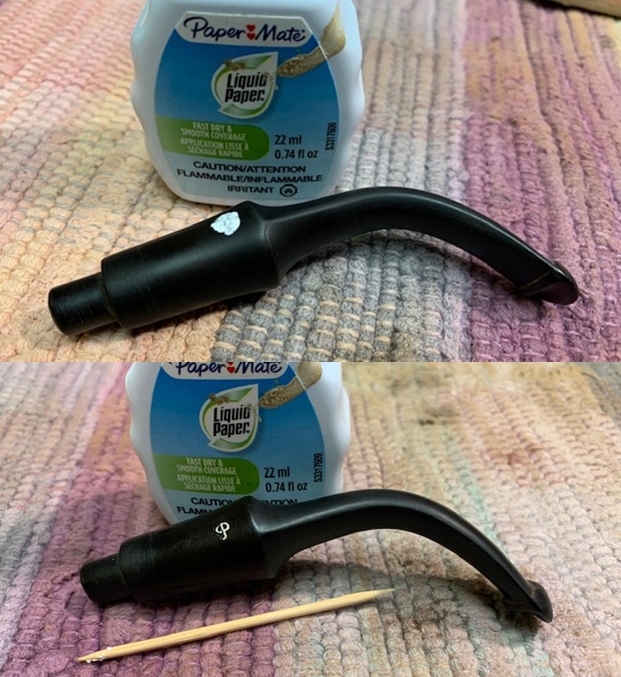
To start my work on the pipe I reamed the bowl with a PipNet pipe reamer and took the cake back to bare briar. I followed that by scraping the wall clear of remaining debris with a Savinelli Fitsall pipe knife. I finished the bowl by sanding the walls with 220 grit sandpaper wrapped around a piece of dowel.  The ferrule was loose so I removed it while I worked on cleaning the internals and externals of the pipe.I cleaned out the shank and the sump in the mortise as well as the airway into the bowl and in the stem with alcohol, pipe cleaners and cotton swabs. It came out quite clean and smelled significantly better.I set the stem aside and decided to address the damage on the rim top and edges before I scrubbed the exterior of the pipe. I topped the bowl on a topping board with 220 grit sandpaper and started reshaping the inner edge of the bowl with a folded piece of 220 grit sandpaper.  I scrubbed the pipe with undiluted Murphy’s Oil Soap and a tooth brush to remove the grime on the bowl and shank. I rinsed it off with warm running water and dried it off with a soft towel. The pictures show the grain around the sides of the pipe. With the briar clean I smeared the shank end with all-purpose glue. I aligned the stamping on the ferrule with the left side of the shank and pressed it on to the shank end.    With the ferrule in place and the briar clean it was time to take photos of the pipe. While the rim top still shows damage on the right outer edge and inner edge it is significantly better than it was when I started.     I polished the briar with micromesh sanding pads – wet sanding with 1500-12000 grit pads. I wiped the bowl down after each pad with a damp cloth.  I restained the front of the bowl and the rim top with a combination of Walnut and Maple stain pens to blend in the colour of those areas to the rest of the bowl.I rubbed the bowl down with Before & After Restoration Balm. I worked it into the surface of the bowl sides and shank with my fingertips. The product works to clean, enliven and protect the briar. I let the balm sit for a little while and then buffed with a cotton cloth to raise the shine. I set the bowl aside and turned my attention to the stem. Earlier in the day I had dropped the stem in a Deoxidizer Bath from Briarville and let it sit most of the day. Once I removed it from the bath it had soaked for about 5-6 hours. I removed it and wiped it down with a paper towel. I worked it over pretty roughly to remove the calcification and oxidation that sat on top of the vulcanite. It came out looking very good.  I sanded out the damage on the shank end of the stem where the previous pipe bowl and ferrule had cut a groove. I also sanded it with 220 grit sandpaper to remove the tooth marks and chatter on both sides ahead of the button. I started polishing the stem with 400 grit wet dry sandpaper.I touched up the “P” stamp on the left side of the stem with Paper Mate Liquid Paper. I applied it with the sponge in the bottle and worked it into the stamp with a tooth pick. Once it dried I scraped off the excess with the tooth pick. The stamp looks very good.   I polished the vulcanite stem with micromesh sanding pads – 1500-12000 grit pads. I wiped it down with a damp cloth after each sanding pad. I used Before & After Pipe Polish – both Fine and Extra Fine to further polish the stem.    This Peterson’s System Standard 313 Bent Billiard with a vulcanite stem is a great looking pipe now that it has been restored. The beautiful grain that shines through the polished finish is stunning. I put the stem back on the bowl and carefully buffed the pipe with Blue Diamond on the buffing wheel. I gave the bowl and the stem multiple coats of carnauba wax on the buffing wheel and followed that by buffing the entire pipe with a clean buffing pad. I hand buffed the pipe with a microfiber cloth to deepen the shine. The grain just popped with the wax and the buffing. It is a beauty! The finished Peterson’s System Standard Billiard 313 fits nicely in the hand and feels great. Give the finished pipe a look in the photos below. The dimensions of the pipe are Length: 5 inches, Height: 1 ¾ inches, Outside diameter of the bowl: 1 ¼ inches, Chamber diameter: ¾ of an inch. The weight of the pipe is 45gr/1.55oz. If you are interested in adding this pipe to your collection send me a message or an email. Thanks for reading this blog and my reflections on the pipe while I worked on it. There are many more to come!
Repairing a Cracked Shank in a Corso Silver Hook Freehand


Blog by Steve Laug

Not long ago I sold a pipe to a fellow in Quebec, Canada named Peter which led to several phone conversations. One of those conversations involved a pipe that was one of his favourites. It was a Corso Freehand and it had developed a crack in the underside of the shank that wept tobacco juices as he smoked it. The long and short of the conversation was that he would send the pipe to me to see what I thought could be done with it.

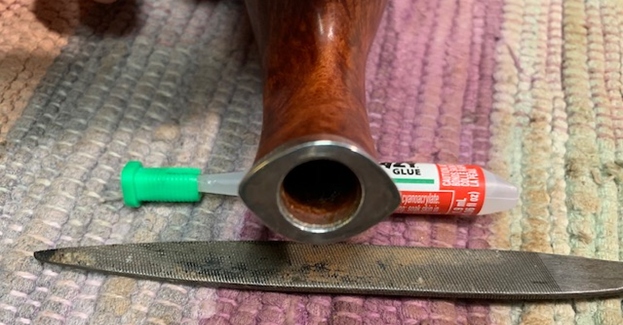
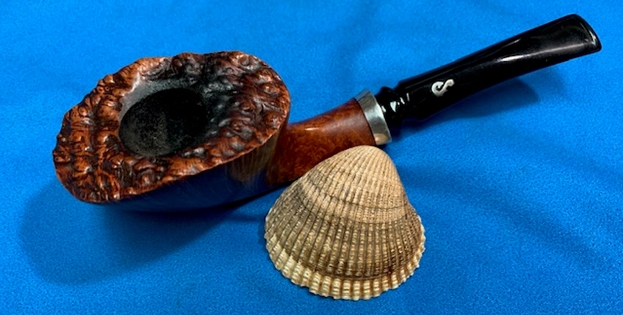
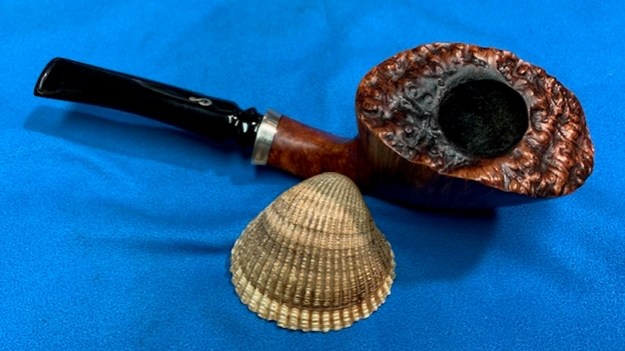
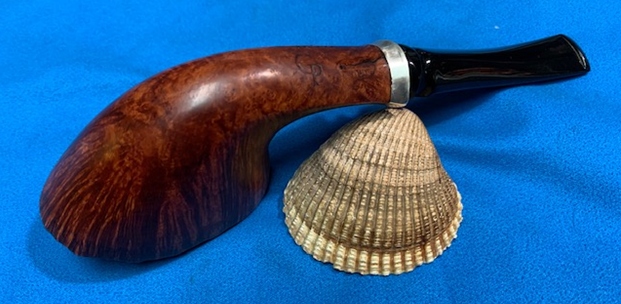
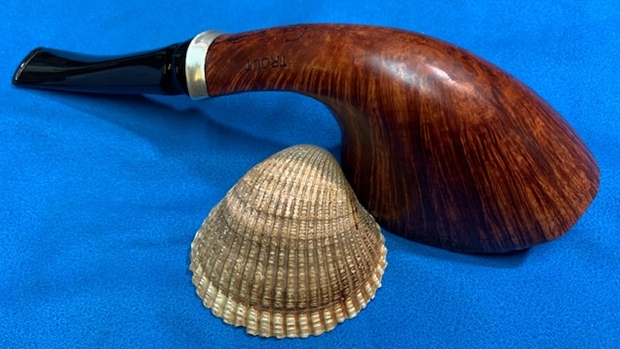
The pipe arrived in Vancouver yesterday. It is definitely an interesting pipe made by a maker that I had not heard of before. It is stamped on the underside of the shank CP Trout and has an oval that is stamped Handmade in Italy. The pipe had some amazing grain and an oval stummel with a normal round bowl in the center of the plateau top. The shank end was banded with an oval silver ferrule like cap that matched the shape of the stummel. The angle of the drilling followed the angle of the front of the bowl. The pipe was obviously a favourite as it was well smoked. The stem was black acrylic with a silver fish hook on the top side near the saddle. The tenon was drilled for a 9mm filter as was the shank of the pipe. Here is what the pipe looked like when it arrived. If you like beautifully grained freehand pipes you will understand how this one had captured its owner.  Out of habit I took photos of the rim top and stem to show the condition but in this case to show the design of the pipe.Getting past the external aesthetics of the pipe I removed the stem and examined it thoroughly to see the extent of the crack on both the inside and outside of the shank. Externally, the crack in the shank runs from the shank end coming out under the edge of the ferrule and extending almost ¾ of an inch straight up the shank toward the bowl. I ran through the “Handmade” part of the stamp and literally ended at the H. It was a messy crack in that it had spread open and had darkened from the tobacco juice that had seeped out of the crack and filled in along the silver band on the shank end. I put a dot on the underside of the shank to identify the end of crack. At that point on the shank it stopped and under a bright light, with a lens I could see that it ended. You can also see the faint oval stamp that the crack crosses in the photo below.The silver band/ferrule had been inset on the shank end and from what I could see had been glued with an epoxy. It had seeped out a bit along the edge of the band. Removing the silver band and leaving it useable would be next to impossible.

I then turned to the internals of the shank/mortise area. I expected to see the crack clearly on the bottom of the mortise but surprisingly it was not visible. I used a flashlight and probe to explore the mortise looking for the crack. The mortise had been drilled for a 9mm filter as I noted above. Because of that it was very dirty. I cleaned it out with a cotton swab and still did not find the crack. However, the light revealed something even more strange! It appeared that the pipe maker or a possible repair person had filled in the damaged area of the mortise with wood putty. The putty extended into the shank about a ½ of an inch. It ended abruptly with a sharp edge. Using the probe I found the crack under that edge. It matched the largest portion of the crack in the photo above. What was obviously happening was that the liquids from smoking the pipe were pooling at that point (the lowest point in the mortise) and seeping out the crack.
I had figured out what was going on with the crack in the shank, both internally and externally. Now I needed to communicate the issues with Peter and letter him know what I had found in my examination of his pipe. I wrote him the following assessment.

Examining your pipe this is what I see

  1. The pipe maker/ repair person filled in the inside of the shank with what appears to be some wood putty. It was used to build up the lower inside of the shank. The good news is that the crack is bound together on the inside by that.
  2. The pipe maker also permanently set the band in place as well to bind things together so that it cannot be removed. The good news also is that it will keep the crack from opening wider.

Now what I need to do

  1. I need to drill a pilot hole at the end of the crack which actually goes through the oval Hand Made in Italy stamp. It extends all the way to the “H” in Hand Made.
  2. I will fill in the crack with super glue and briar dust which should harden and keep it from weeping out as you smoke it.
  3. I will sand that repair smooth and then stain the repair to match the rest of the pipe.

After I sent that I continued to examine the inside of the shank with the light and the probe to make sure I was seeing the issues there correctly. Once I was convinced I was correct I sent an addendum about the putty and the issue on the inside of the shank.

  1. I will smooth out the transition from the putty to the briar and use some food grade super glue to fill in the area of the pit that is collecting the moisture. I will sand that area smooth. It should not be an issue for your smoking of the pipe as it cures completely inert.

I ended my email to him with a quick question about the pipe maker and the pipe. I wanted to know if he had purchased it directly from the pipe maker or if he purchased it as a used pipe. Peter’s response was helpful. It gave me the information I wanted on the brand and muddied the waters in terms of who had made the putty fill in the shank. It could well have been a repair made long after it had left the pipe maker’s shop.

It’s an estate pipe .The pipe maker is Paolo Corso and this model is called Trout. I didn’t notice the crack at first and when I did I guess it was too late. It’s a gorgeous pipe and smokes well. Paolo Corso is a fisherman and he uses Tuscany briar he has a Bass and Trout line under his brand “Silver Hook”.

Before I started my work on the pipe I wanted to learn about the maker and see some of his other pipes. I checked on Pipedia and Pipephil and the Corso Brand as well as the Silver Hook Brand did not show up in either place. Usually I follow that search up with a quick Google search for the name of the maker and the brand. Once I got past all of the extraneous bits of information I came across a link to the website of the brand (https://handmadepipes.it/silverhook.html).

The website gave a great idea of the philosophy of the pipe maker and a sense of his craftsmanship. After reading the site I am more certain than ever that the putty in the shank and the “cemented” ferrule were the work of an aftermarket repair person rather than the pipe maker cutting corners. I have included some information from the website below for your reading pleasure and introduction.

ABOUT SILVERHOOK PIPES

The Silver Hook pipes are exclusively hand made, produced in limited numbers, using first choice Tuscany briar, selected one by one, with a minimum aging of 5/6 years.

Customers who already smoke my pipes say they are as sweet as biscuits and have a particularly dry smoke.

The holes in the wood are made so that the brush passes easily through the stem, the shank, up to the chamber, so as to be able to clean the pipe perfectly.

The stems are made of Vulcanite, the hook is in silver and is inserted on the hot stem.

Mine are pipes for fishermen, but not only. I have personally designed the shapes for my pipes to be comfortable in the mouth, whether you are on the river for a day of trout fishing, or sitting comfortably in your favourite chair.

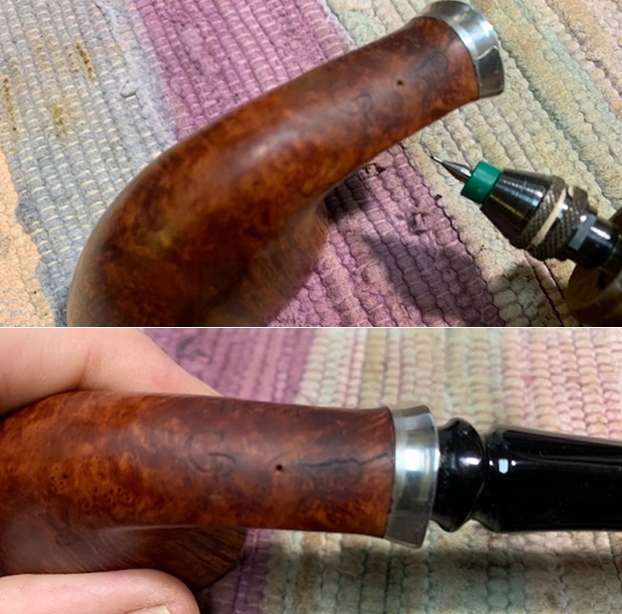
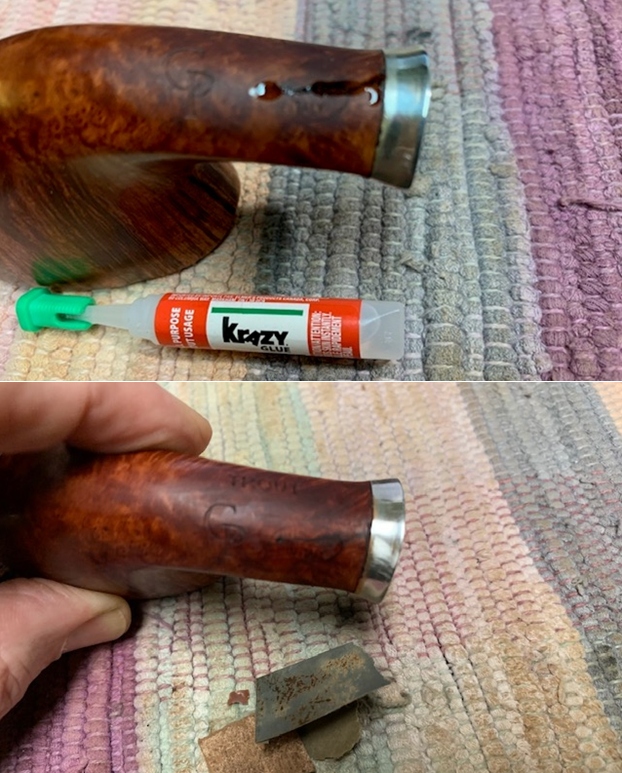
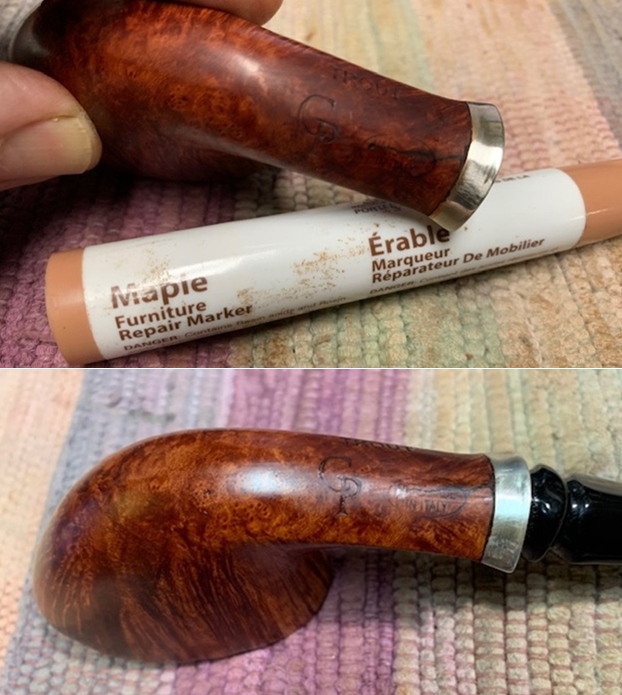
Now it was time to work on the pipe. I started by cleaning out the shank ahead of the large putty fill on the bottom of the shank on the inside. There were a lot of tars and oils built up there so I cleaned it with alcohol, cotton swab and pipe cleaners. Once it was clean I used a tooth pick to fill in the large gap just ahead of the putty with super glue. I gave the patch a smooth angle and filled in the large pit that was there. I squeezed the crack together while it cured and saw that the glue came out on the outside of the crack. Once it had cured the crack was tighter and had sealed.  I used a small file to smooth out the repair and the putty fill. With the internal repair finished I turned my attention to the exterior crack. Using a lens I located the end of the crack and marked it with a Sharpie pen. I used a micro drill bit in the Dremel to drill a pilot hole at the end of the crack forming an end to the crack.I filled in the pilot hole and the crack with clear super glue. I followed the crack to the band and spread the glue across the surface. I carefully sanded the repair smooth and blended it into the surrounding briar.  I stained the repaired area with a Maple stain pen to match the surrounding briar. I buffed it out with Blue Diamond to further blend it. I rubbed the bowl down with Before & After Restoration Balm. I worked it into the surface of the bowl sides and shank with my fingertips. The product works to clean, enliven and protect the briar. I let the balm sit for a little while and then buffed with a cotton cloth to raise the shine.  This interesting Corso Silver Hook Trout Freehand with an acrylic stem is a great looking pipe. The beautiful grain that shines through the polished finish is stunning. I put the stem back on the bowl and carefully buffed the pipe with Blue Diamond on the buffing wheel. I gave the bowl and the stem multiple coats of carnauba wax on the buffing wheel and followed that by buffing the entire pipe with a clean buffing pad. I hand buffed the pipe with a microfiber cloth to deepen the shine. The grain just popped with the wax and the buffing. It is a beauty! The finished Corso Silver Hook Trout fits nicely in the hand and feels great. The cracked shank is repaired and less visible and certainly less problematic. Give the pipe a look in the photos below. The dimensions of the pipe are Length: 7 inches, Height: 2 inches, Outside diameter of the bowl: 2 ½ inches long x 1 ¾ inches wide, Chamber diameter: ¾ of an inch. The weight of the pipe is 59gr/2.08oz. This one will head back to Quebec by the weekend. I am hoping Peter gets many more years of pleasure from it. Thanks for reading this blog and my reflections on the pipe while I worked on it.

Restoring a Peterson’s Republic Era System Standard 302 Bent Apple


Blog by Steve Laug

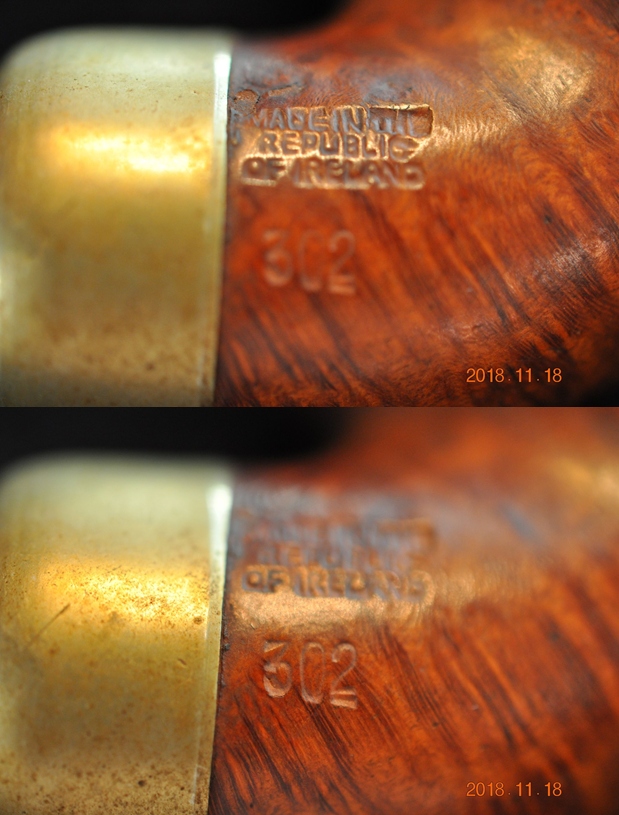
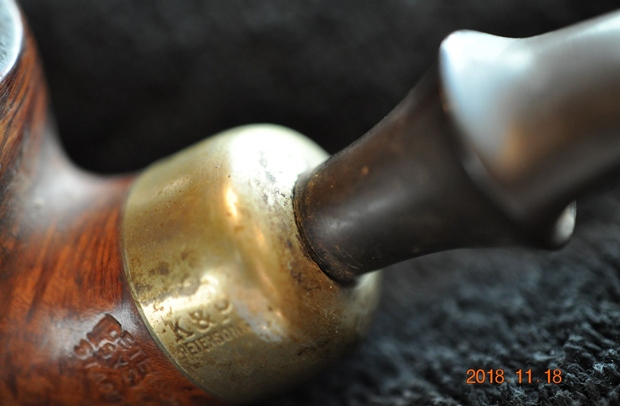
The next pipe on the work table came to us from an online auction from Romney, West Virginia, USA. It is a smooth Peterson’s System Apple shaped pipe with a saddle vulcanite stem. The pipe is stamped on the left side of the shank and reads Peterson’s [over] System [over] Standard. On the right side it is stamped Made in the Republic of Ireland and underneath that is the shape number 302. The nickel ferrule is stamped K & P [over] Peterson. The nickel ferrule was also heavily discoloured by oils and tars. The finish had a lot of grime ground into it and it was very dirty. There was also some serious road rash on the front of the bowl and rim. The bowl was heavily caked and there was a thick lava coat on the flat rim top and the inner edge of the rim. It was hard to tell what condition of the inner edge was because of the lava coat. Only cleaning would make that clear. The stem was oxidized, calcified and had tooth chatter and marks on the top and underside near the P-lip style button. The pipe showed promise but it was very dirty. Jeff took photos of the pipe before he started his cleanup work.  He took photos of the rim top and bowl to give a clear picture of the thickness of the cake and the condition of the rim top and edges. He also took photos of the top and underside of the stem to show the oxidation, calcification and chatter and tooth marks. Jeff took a photo of the side and heel of the bowl to give a picture of what the briar around the pipe looked like.     He took photos of the stamping on the shank and the nickel ferrule. It reads as noted above and is clear and readable.   I am including the information from Pipedia’s article on Peterson pipes. It is a great read in terms of the history of the brand (https://pipedia.org/wiki/Peterson). I have included a bit of the pertinent history here.

1950 – 1989 The Republic Era – From 1950 to the present time, the stamp for this era is “Made in the Republic of Ireland” in a block format generally in three lines but two lines have been used with or without Republic being abbreviated.

I knew that I was dealing with a Republic Era pipe made between 1950-1989. It was a smooth Peterson’s System Standard 302 Bent Apple with nice grain. The finish was stained with a combination of brown stains. Now it was time to work on the pipe.

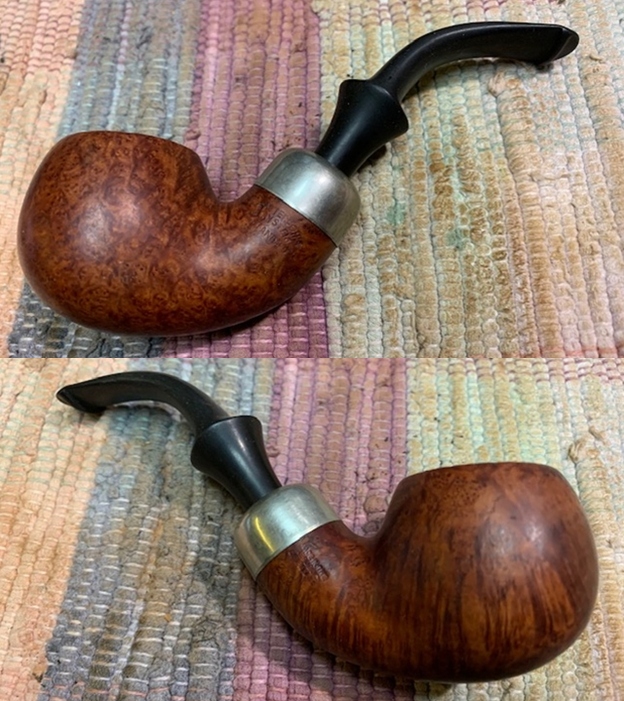
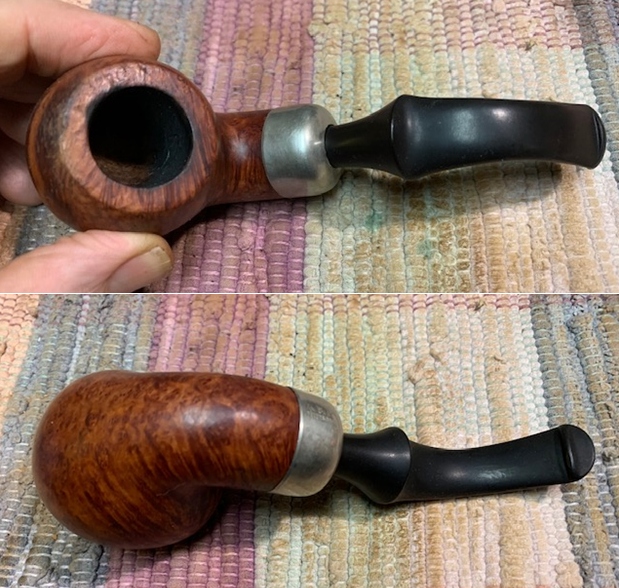
Jeff had cleaned up the pipe with his usual penchant for thoroughness. He reamed the pipe with a PipNet Pipe Reamer and cleaned up the remnants with a Savinelli Fitsall Pipe Knife.  He scrubbed the bowl with undiluted Murphy’s Oil Soap with a tooth brush. He rinsed it under running warm water to remove the soap and grime. He cleaned out the inside of the shank and the airway in the stem with alcohol, cotton swabs and pipe cleaners. He soaked the stem in Before & After Deoxidizer and rinsed it off with warm water. I took photos of the pipe once I received it.    The rim top and inner edge of the rim looked very good with a bit of damage on the inner edge and on the rim surface. There were some scratches and nicks on the front outer edge of the bowl. The stem surface looked very good with some light tooth marks and chatter on both sides near the button. I took photos of the stamping on the shank. It is clear and readable as noted above. I removed the stem and took a photo of the pipe to give a sense of the whole. The stem is a typical Peterson’s System stem.I started my work on the pipe by working over the rim top and the inner edge of the bowl to clean up the damage. Once finished the rim top and edge looked much better.  I repaired the deep gouges on the front side of the bowl by filling them in with clear super glue. Once it cured I sanded it smooth to blend it into the surrounding briar. I restained the front of the bowl and the rim top with a combination of Cherry and Maple stain pens to blend in the colour of those areas to the rest of the bowl.I polished the briar with micomesh sanding pads – wet sanding with 1500-12000 grit pads. I wiped the bowl down after each pad with a damp cloth. I rubbed the bowl down with Before & After Restoration Balm. I worked it into the surface of the bowl sides and shank with my fingertips. The product works to clean, enliven and protect the briar. I let the balm sit for a little while and then buffed with a cotton cloth to raise the shine. I polished the vulcanite stem with micromesh sanding pads – 1500-12000 grit pads. I wiped it down with a damp cloth after each sanding pad. I used Before & After Pipe Polish – both Fine and Extra Fine to further polish the stem.     This Peterson’s System Standard 302 Bent Apple with a vulcanite stem is a great looking pipe now that it has been restored. The beautiful grain that shines through the polished finish is stunning. I put the stem back on the bowl and carefully buffed the pipe with Blue Diamond on the buffing wheel. I gave the bowl and the stem multiple coats of carnauba wax on the buffing wheel and followed that by buffing the entire pipe with a clean buffing pad. I hand buffed the pipe with a microfiber cloth to deepen the shine. The grain just popped with the wax and the buffing. It is a beauty! The finished Peterson’s System Standard Apple 302 fits nicely in the hand and feels great. Give the finished pipe a look in the photos below. The dimensions of the pipe are Length: 5 ½ inches, Height: 1 ¾ inches, Outside diameter of the bowl: 1 ½ inches, Chamber diameter: ¾ of an inch. The weight of the pipe is 67gr/2.36oz. If you are interested in adding this pipe to your collection send me a message or an email. Thanks for reading this blog and my reflections on the pipe while I worked on it. There are many more to come!

New Life for a Peterson’s Republic Era Dunmore 998/9


Blog by Steve Laug

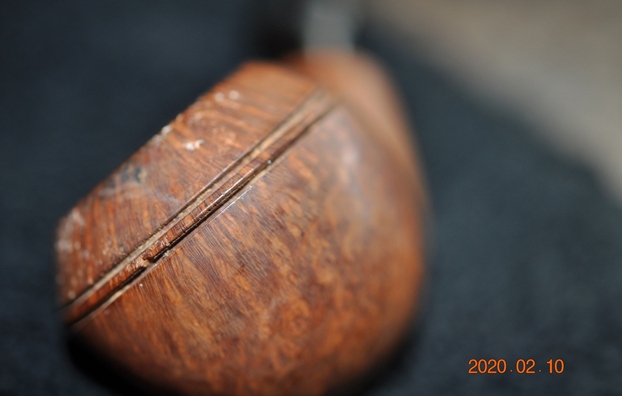
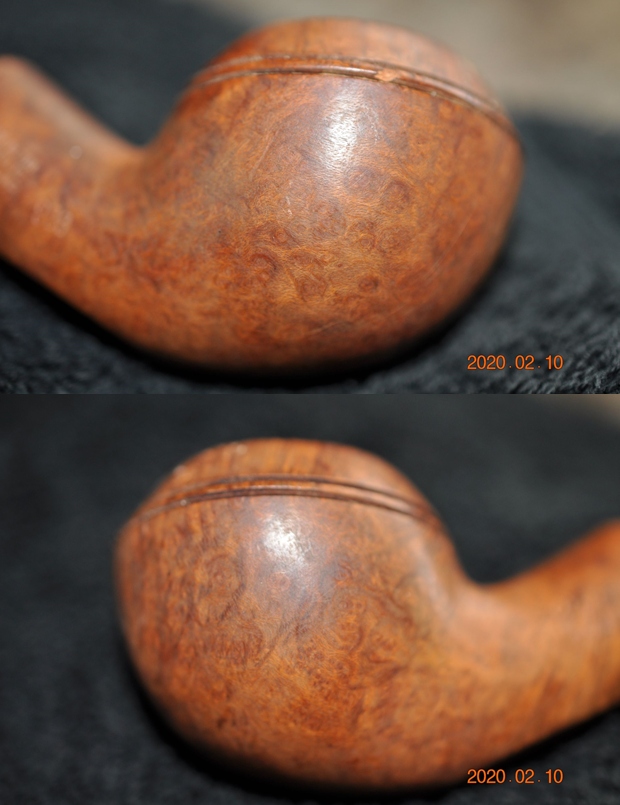
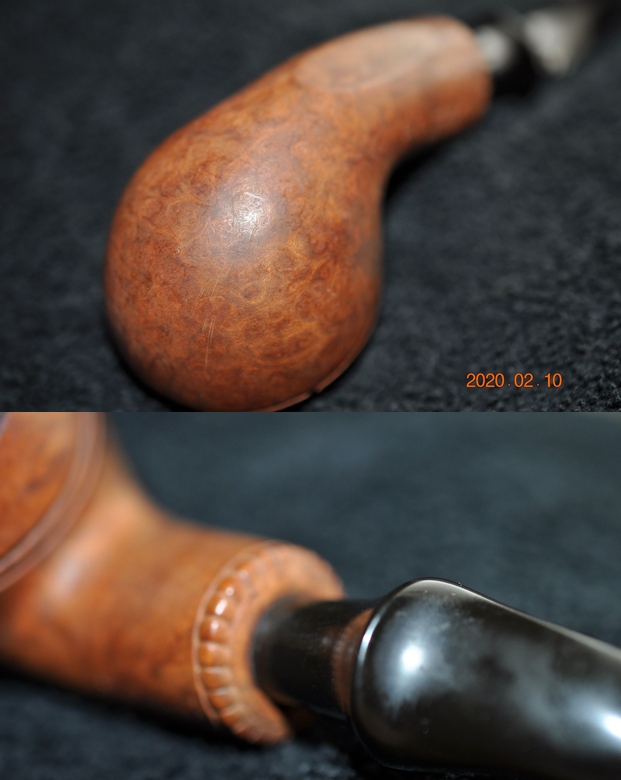
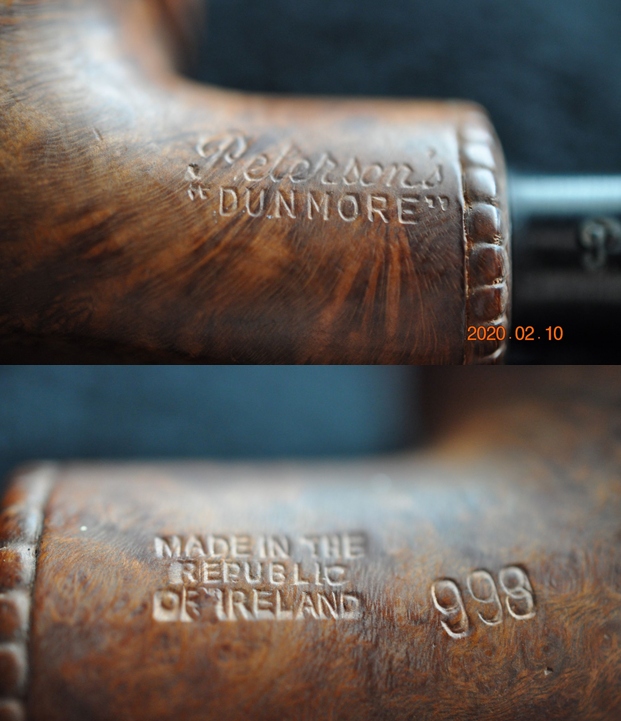
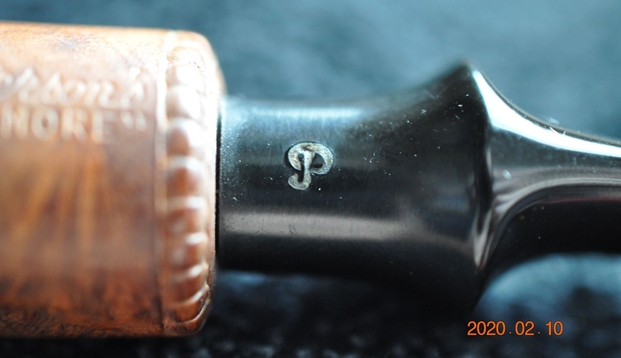
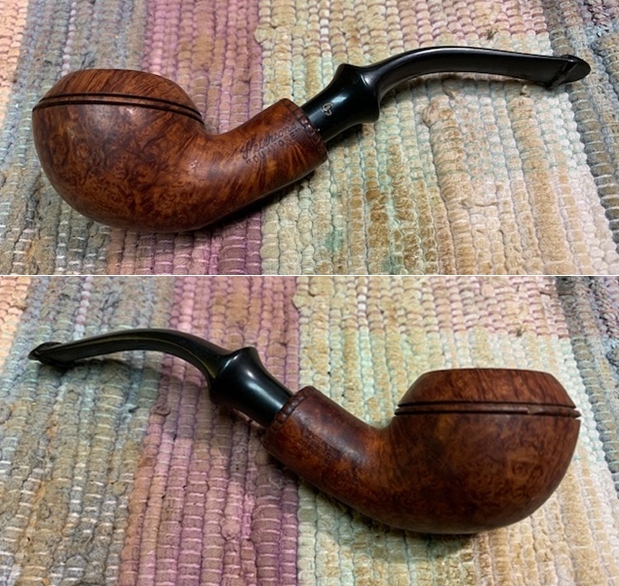
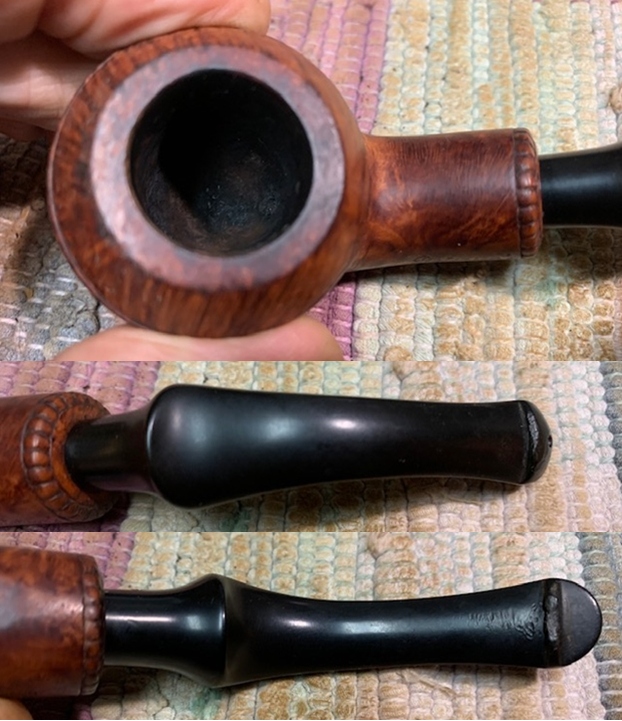
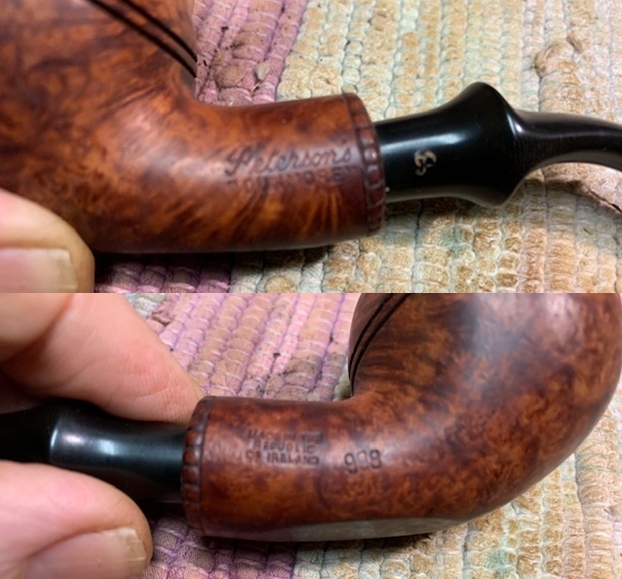
The next pipe I have chosen came to us I a group of pipe that we purchased from a fellow in Los Angeles, USA. It was stamped on the left side of the shank and read Peterson’s [over] “Dunmore”. On the right side it is stamped Made in the Republic of Ireland and the shape number which looks to be 999 over-stamped to read 998. The P-lip stem has the gold P stamping on the left side of the saddle.  It was filthy when Jeff brought it to the table to clean. The finish was dirty with grime ground into the briar sides and rim. There was debris in the twin rings around the cap and there was a chip out of the right side between the rings. There was a thick cake in the bowl and an overflow of lava on the rim top and the inner edge of the bowl. The decorative beaded band around the shank end was dirty but in good condition. The stem was oxidized, calcified and had light tooth marks and chatter on the top and underside on and near the button. Jeff took photos of the pipe before his cleanup work. They tell the story and give a glimpse of the promise that we see in this pipe.   Jeff took photos of the rim top and stem to show the general condition of the pipe. The bowl is heavily caked with a lava overflow on the rim top. You can see the grime on the outside of the bowl. The stem is oxidized, calcified and has tooth marks on the top and underside near the button.     Jeff took some photos of the bowl sides and heel to show grain that was around this bowl. It is a nice looking pipe. Notice the chips out of the middle of the twin rings are different points of the bowl in the photos below. He took photos of the sides of the shank to show the stamping. The stamping is readable in the photos below and is as noted above. I am including the information from Pipedia’s article on Peterson pipes. It is a great read in terms of the history of the brand (https://pipedia.org/wiki/Peterson). I have included a bit of the pertinent history here.

1950 – 1989 The Republic Era – From 1950 to the present time, the stamp for this era is “Made in the Republic of Ireland” in a block format generally in three lines but two lines have been used with or without Republic being abbreviated.

During the 1950’s and 60’s the Kapp & Peterson Company was still in the ownership of the Kapp family. However 1964 saw the retiral of the company Managing Director Frederick Henry(Harry) Kapp.

On rebornpipes Al Jones did a great restoration and write up on the Peterson’s 998 shape (https://rebornpipes.com/2020/01/28/1979-peterson-998-challenge/). It is a helpful blog so I quote it below.

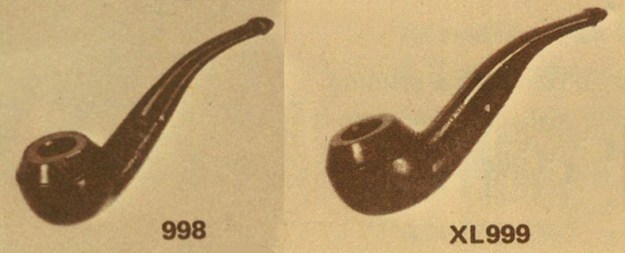
From Mark Irwin’s blog entry on the John Bull, we know that the 998 shape was introduced in the 1970’s.  Below, a picture from a 1977 catalog. Marks blog describes the 998 as:

Around 1977, as seen in the Associated Imports Distributor’s Catalog illustrations above, the John Bull 999 became the XL999, and Peterson introduced shape 998, a stream-lined version of the 999 The two shapes ran alongside one another for several years, which happens when shapes are in transition. The XL999 / 999 Large John Bull was still in the 1987 catalog, but by the 1992 Handmade Brochure it had morphed into the slimmer 998 shape, which number was henceforth deleted from the catalog. I might add it was still called the “John Bull,” and Pete Nuts worthy of the name should educate all comers that while others may call the shape a bent Rhodesian, we know better.

Most 999’s weigh in the mid-50 gram range, while this 998 weighs 40 grams.  I then turned to the book I should have consulted first, The Peterson Pipe, by Mark Irwin and Gary Malmberg to garner some background on the “Dunmore” line. On page 298 there is an entry for Dunmore pipes. It reads as follows:

Dunmore (1971-c.1984 2006-10). Appeared first as Iwan Ries & Co. exclusive line “Dunmoor,” a Premier-grade in light-brown smooth or rustic red in all System shapes, with beading at the shank. Documented in the Associated Imports Catalog from 1973. Classic Range Dunmore shapes from ’78. A third Dunmore line (’06-10) featured standard and some B shapes, with beading around bowl instead of at shank-face, produced for European market.

On page 268 there is a shape chart that does comparison of the shapes in the various lines. There I found the following information:

In the Standard and Premier System it was shape 302. In the De Luxe System it was shape 25. In the Dunmore System (1977-1983) it was shape 70. In the Classic Lines it was shape 02/XL02. The production still continues. It is a Peterson Extra Large Size and was named an Extra Large Apple.

On page 165 there were also photos of pages from a catalogue with the description: The unmounted Dunmore Premier debuted in both System and Classic Range shapes circa 1973 with a final appearance in the 1981 catalogue.

The information blurb on each page read: “Dunmore Briars.” Beautifully grained best quality briar in light-brown, matt or rustic finish. Often described as “Petersons Unmounted System” has all the advantages of the system range. Ten models each fitted with the Peterson Lip mouthpiece.

With that information in hand I knew what I was dealing with in terms of the stamping on the pipe. It is a Late Republic era pipe. It showed up in Peterson Catalogue in 1973 and from what I have learned about the Dunmore, this date fits well. Now it was time to work on the pipe.

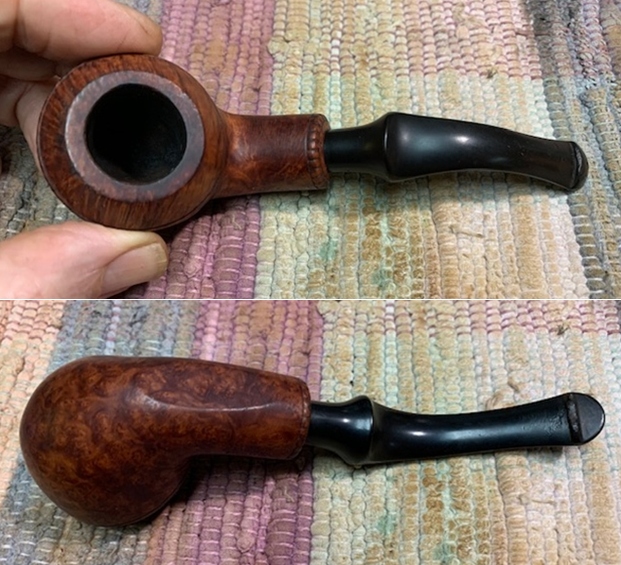
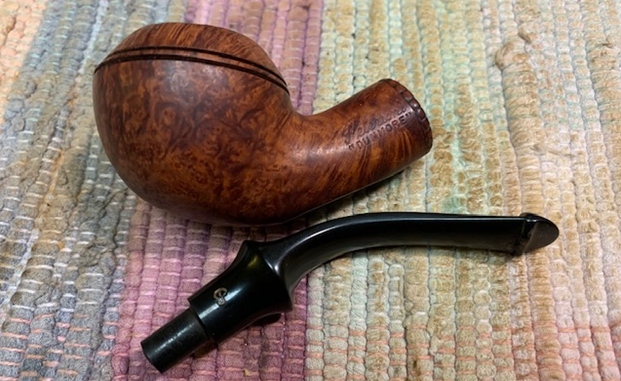
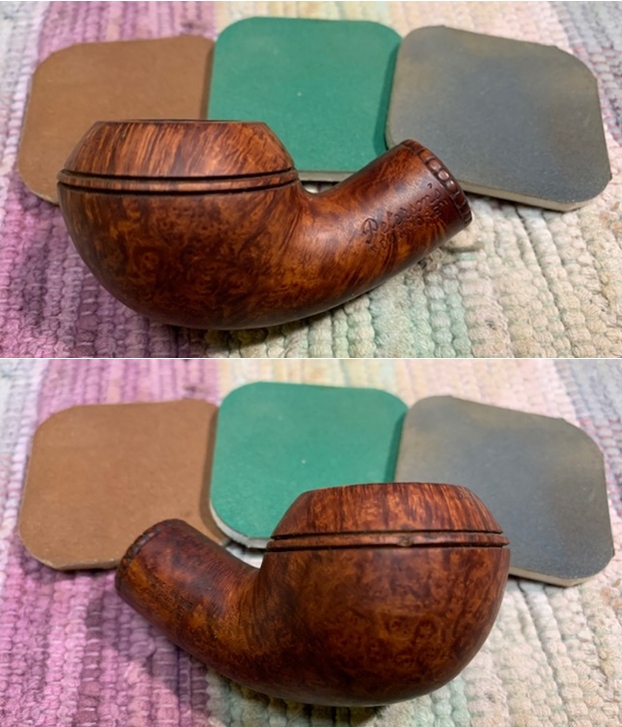
Jeff had done a great job cleaning up the pipe as usual. He reamed the pipe with a PipNet reamer and cut back the cake back to the bare briar. He cleaned up the walls with a Savinelli Fitsall Pipe Knife. He scrubbed the interior of the bowl and shank with pipe cleaners, cotton swabs and alcohol to remove the tars and oils. He scrubbed the exterior of the pipe with Murphy’s Oil Soap and a tooth brush to remove the grime from the finish. He worked on the rim top lava and darkening with the soap and tooth brush. He scrubbed the inside of the stem with alcohol and pipe cleaners. He scrubbed the exterior with Soft Scrub and then soaked it in Before & After Deoxidizer. He washed it off with warm water to remove the Deoxidizer. The pipe looked far better.    I took some close up photos of the rim top and also of the stem surface. I wanted to show how well it had cleaned up. The rim top and edges look quite good. There is a small chip on the back outer edge of the bowl. It should clean up really well. I also took close up photos of the stem to show the light tooth marks on the surface near the button.     I took photos of the stamping on the sides of the shank. You can see that it is stamped as noted above. It is clear and readable.   I took the pipe apart and took a photo of the pipe. It is a good looking pipe and has some great grain around the bowl and shank.I repaired the chip in the twin rings with super glue and briar dust. Once it cured I smoothed it out with 220 grit sandpaper. I sanded the rim top with 220 grit sandpaper to remove some of the darkening on the rim top at the back of the bowl. It came out looking good.  I polished the briar with micromesh sanding pads. I dry sanded with 1500-12000 grit sanding pads. I wiped the briar and bamboo down with a damp cloth after each sanding pad.   I worked some Before & After Restoration Balm into the surface of the briar with my fingertips and a horsehair shoe brush to clean, enliven and protect the briar. I let the balm sit for 15 minutes and then buffed with a cotton cloth to raise the shine. The grain really pops.  I sanded out the tooth marks on the top and underside of the stem with 220 grit sandpaper. I worked over the area ahead of the button and on the button edges as well. I started the polishing process with 400 grit wet dry sandpaper.  I polished the stem with micromesh sanding pads – wet sanding with 1500-12000 grit sanding pads. I wiped it down after each sanding pad with Obsidian Oil. I polished it with Before & After Pipe Stem Polish – both Fine and Extra Fine.     I am excited to finish this Republic Era Peterson’s “Dunmore” 998 Rhodesian. Al Jones’ contribution to the shape number helped to cinch this one for me. It is definitely more petite than the 999 pipes that I have worked on. I put the pipe back together and buffed it with Blue Diamond on the buffing wheel. I gave the bowl and the stem multiple coats of carnauba wax. I hand buffed the pipe with a clean buffing pad to raise the shine. It is fun to see what the polished bowl looks like with the grain popping through on the bowls sides and rim top. The polished black vulcanite stem was beautiful. This Republic Era Rhodesian is a nice looking and the pipe feels great in my hand. It is light and well balanced. Have a look at it with the photos below. The dimensions are Length: 6 inches, Height: 1 ½ inches, Outside diameter of the bowl: 1 ½ inches, Chamber diameter: ¾ of an inch. The weight of the pipe is 42grams/1.48oz. It is a beautiful pipe and one that will be on the Irish Pipe Makers section of the rebornpipes store soon. If you are interested in adding it to your collection let me know. Thanks for walking through the restoration with me as I worked over this pipe. Thanks to each of you who are reading this blog.


New Life for a Briarlee Stroller Illustrious Rhodesian


Blog by Steve Laug

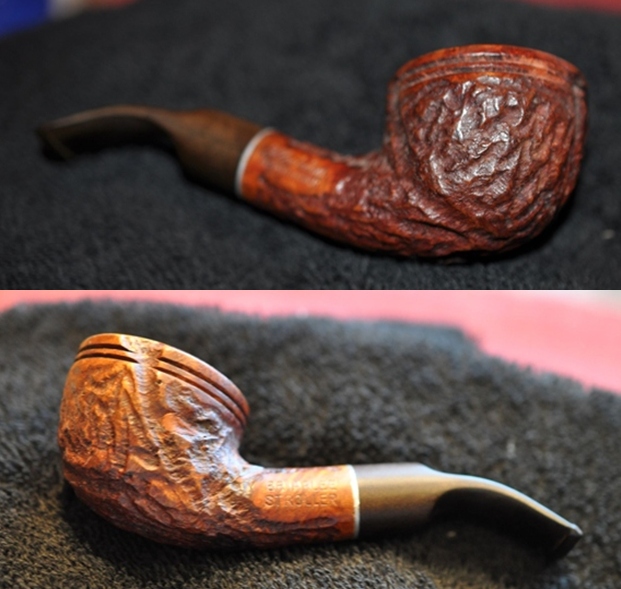
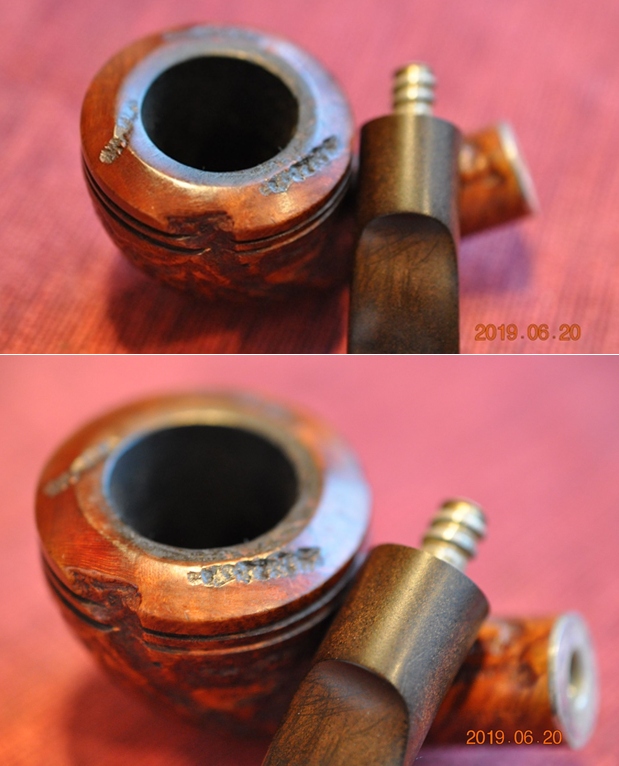
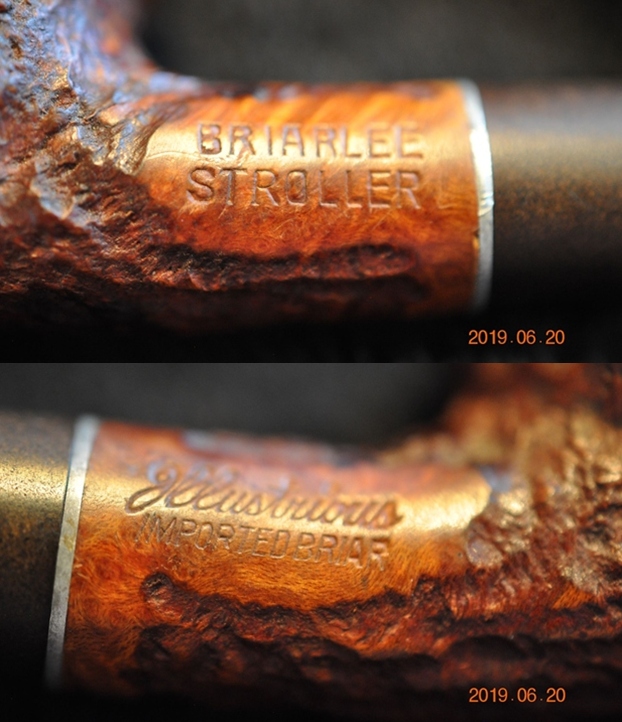
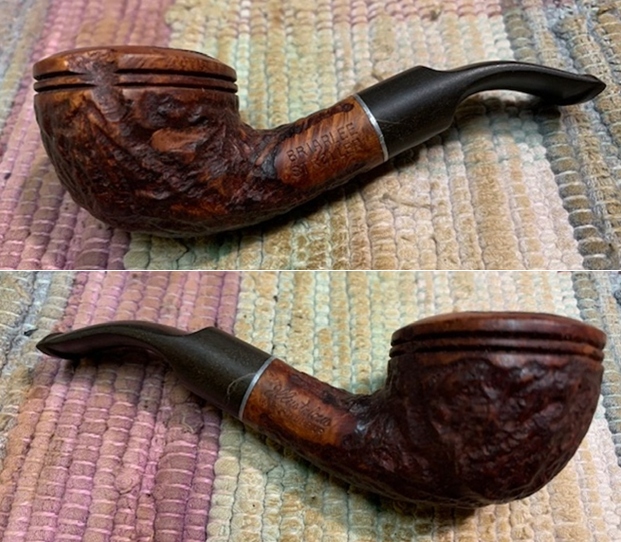
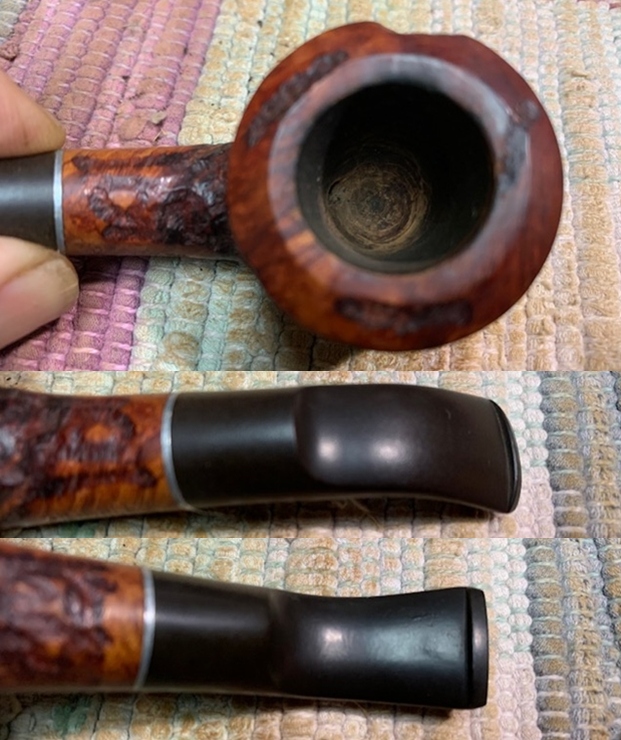
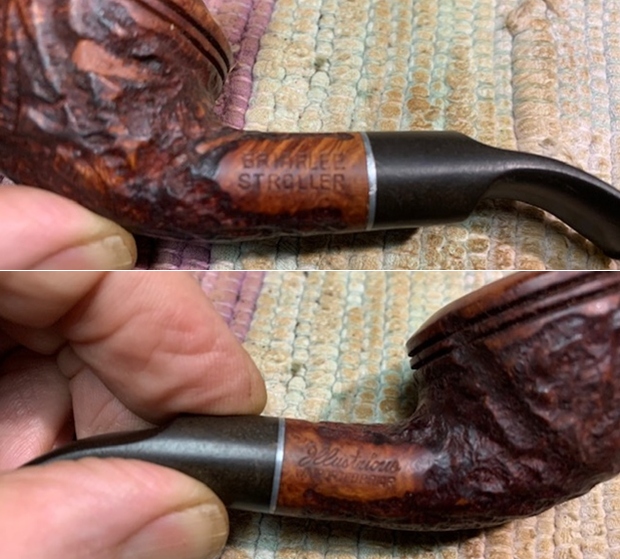
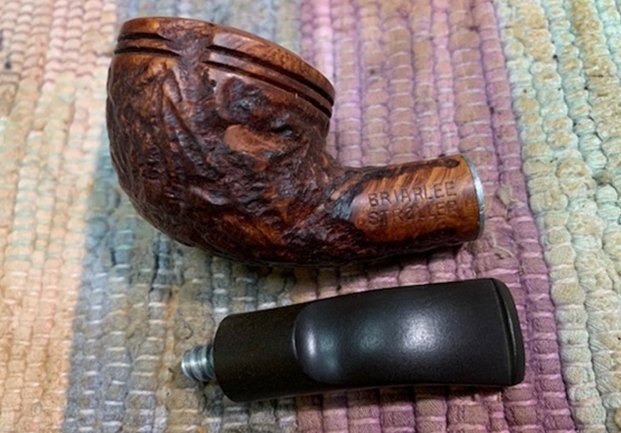
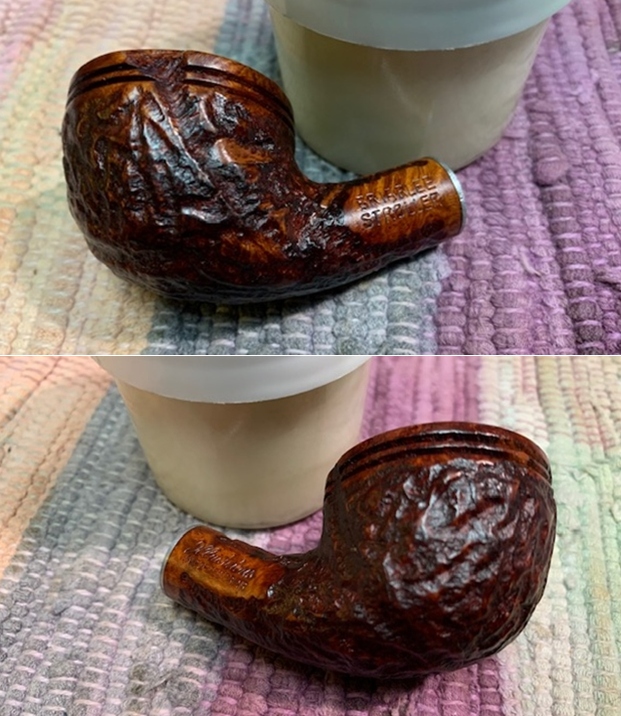
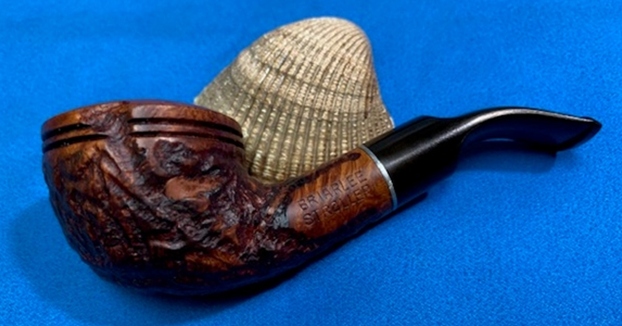
The next pipe I have chosen is a smooth Briarlee Stroller Illustrious Rhodesian that was incredibly dirty. The contrast of the brown stains gave the bowl a sense of depth. Jeff and I picked it up from an auction early in 2019 in Wilkes Barre, Pennsylvania, USA. It was stamped on the left side of the shank and read Briarlee [over] Stroller. On the right side of the shank it read Illustrious [over] Imported Briar. It was in filthy with grime and grit ground into the finish of the bowl when he brought it to the table. The rim top was dirty with dust in the rustication on the cap and the beveled edge had some buildup of lava. There was a moderate cake mixed with bits of tobacco in the bowl and an overflow of lava on the beveled inner edge of the bowl. The stem was oxidized, calcified and had light tooth marks and chatter on the top and underside on and near the button. Jeff took photos of the pipe before his cleanup work. They tell the story and give a glimpse of the promise that we see in this pipe. Jeff took photos of the rim top and stem to show the general condition of the pipe. The bowl is moderately caked with a lava overflow on the rim top. The stem is oxidized, calcified and has tooth marks on the top and underside near the button.     Jeff took some photos of the bowl sides and heel to show carving that was around this bowl. It is a nice looking pipe.    Jeff took photos of the pipe with the stem unscrewed from the shank.      He took photos of the sides of the shank to show the stamping. The stamping is readable in the photos below and is as noted above. He also took a photo of the band. I am including the information from Pipedia. It connects the Briar Lee brand to the Arlington Briar Pipes Corp brand (https://pipedia.org/wiki/American_Pipe_Brands_%26_Makers_A_-_B). I have included a bit of the pertinent history here.

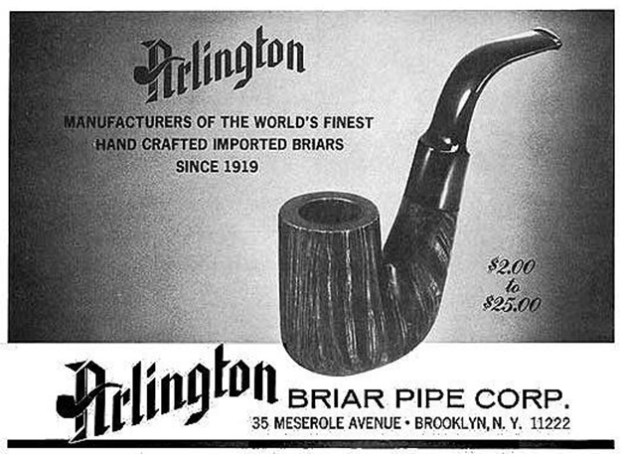
The article on Arlington Briar Pipes Corporation (https://pipedia.org/wiki/Arlington) includes a link to the Briar Lee Pipes. I have highlighted that connection in the paragraph below. It also gives a good summary of the history of the brand.

Arlington Briar Pipes Corporation was founded in 1919 in Brooklyn, New York, and produced the Arlington, Briarlee, Firethorn, Krona and Olde London brands among dozens of others, primarily acting as a subcontractor making pipes to be sold under other brand names. Among others, in the 1950’s, Arlington turned pipes for the famed Wilke Pipe Shop in New York City. The corporation was dissolved by the State of New York as inactive on December 6, 1978. Arlington Briar Pipe Corporation, located at 200 Kosciusko Street, Brooklyn, New York, registered only a single brand trademark, the Arlington brand, the trademark for which was applied for on November 13, 1962 and granted on February 25, 1964. Jack Kaye, of Arlington Briar, was also granted a patent for a combined mirror and stand in 1967.

According to José Manuel Lopes, “North American brand that belonged to Arlington Briar Pipes Corp., Brooklyn, New York, founded in 1919. In the 1940s, Ludwig Rosenberger gave the company new life, and it continued until the 70s. His son, Mel Rosenberger, has recently launched the DiMonte brand. Jack Uhle was also linked to Arlington.” Arlington, as far as known, mainly operated as a sub-contractor for other brands. The Jobey pipes are said to be made by Arlington at an unknown point of time. Arlington’s own pipes are seldom seen.  I knew that I was dealing with a pipe that was made before 1978 when the company was dissolved. Now it was time to work on the pipe.

Jeff had done a great job cleaning up the pipe as usual. He reamed the pipe with a PipNet reamer and cut back the cake back to the bare briar. He cleaned up the walls with a Savinelli Fitsall Pipe Knife. He scrubbed the interior of the bowl and shank with pipe cleaners, cotton swabs and alcohol to remove the tars and oils. He scrubbed the exterior of the pipe with Murphy’s Oil Soap and a tooth brush to remove the grime from the finish. He worked on the rim top lava and darkening with the soap and tooth brush. He scrubbed the inside of the stem with alcohol and pipe cleaners. He scrubbed the exterior with Soft Scrub and then soaked it in Before & After Deoxidizer. He washed it off with warm water to remove the deoxidizer. The pipe looked far better.   I took some close up photos of the rim top and also of the stem surface. I wanted to show how well it had cleaned up. The rim top and edges look quite good. It should clean up really well. I also took close up photos of the stem to show the light tooth marks on the surface near the button.   I took photos of the stamping on the sides of the shank. You can see that it is stamped as noted above. It is clear and readable.   I took the pipe apart and took a photo of the pipe. It is a good looking pipe and has some great carvings around the bowl and shank.I worked some Before & After Restoration Balm into the surface of the briar with my fingertips and a horsehair shoe brush to clean, enliven and protect the briar. I let the balm sit for 15 minutes and then buffed with a cotton cloth to raise the shine. The photos show the bowl at this point in the restoration process.   I polished the stem with micromesh sanding pads – wet sanding with 1500-12000 grit sanding pads. I wiped it down after each sanding pad with Obsidian Oil. I polished it with Before & After Pipe Stem Polish – both Fine and Extra Fine.      I am excited to finish this Arlington Made Briarlee Stroller Illustrious Rhodesian. I put the pipe back together and buffed it with Blue Diamond on the buffing wheel. I gave the bowl mulitiple coats of Conservator’s Wax and the stem multiple coats of carnauba wax. I hand buffed the pipe with a clean buffing pad to raise the shine. It is fun to see what the polished bowl looks like with the grain popping through on the bowls sides and rim top. Added to that the black vulcanite stem gave the pipe a classic look that was reminiscent of Tracy Mincer’s Custom-Bilt pipes though smaller. This rusticated Briarlee Stroller Rhodesian is nice looking small pipe that feels great in my hand. It is light and well balanced. Have a look at it with the photos below. The dimensions are Length: 4 ½ inches, Height: 1 ½ inches, Outside diameter of the bowl: 1 ½ inches, Chamber diameter: ¾ of an inch. The weight of the pipe is 28grams/.99oz. It is a beautiful pipe and one that will be on the American Pipe Makers section of the rebornpipes store soon. If you are interested in adding it to your collection let me know. Thanks for walking through the restoration with me as I worked over this pipe. Thanks to each of you who are reading this blog.

A Book Review – Tobacco Leaves by Bewlay (Second Edition – 1892)


Review by Steve Laug

I don’t remember where I picked this book up but it is an old timer with the Second Edition coming out in 1892. It is called Tobacco Leaves by Bewlay. Under that it is stamped Entd at Stationers Hall. The title on the cover of the book is stamped in gold around a pair of tobacco leaves. The book was printed and distributed by Bewlay and Company – makers of fine tobacco pipes and accessories.

From the Preface I dray the following paragraphs:

“The universal use of Tobacco in some form or other all the world over, and the interest which devotees of the weed take in everything related to it, have suggested the literary whiffs now offered from the entertainments of our numerous supporters and the public generally.

The smoker is a contemplative man, and we venture to hope that he may find food for reflection in the Tobacco Leaves which are here unrolled for his perusal.

Among smokers, a sort of Freemasonry exists; and not only does their harmless indulgence constitute a fraternal bond between them  which levels social distinctions, but it has educed a mystic symbolism that has found expression in very many effusions of which the following is an example:-

 “Of lordly men, how humbling is the type,

A fleeting shadow, a tobacco pipe!

His mind the fire, his frame the tube of clay,

His breath the smoke so idly puffed away,

His food the herb that fills the hollow bowl,

Death is the stopper, ashes end the whole.”

While in the following pages an endeavor is made to the principal sources of supply whence the best growths of tobacco are obtained, we would specially direct attention to what is said respecting the importation by us of Indian and Burmah Cheroots and Cigars. Our agents write, that “the natives take great pains in their manufacture (especially in Burmah), to turn out a well-made Cigard and Cheroot, very different in appearance to the rough-looking Lunkah formerly sent.” The excellence of these Cigars and Cheroots has resulted in a large and growing demand since we first introduced them. – Bewlay & Co. 49. Strand.

Because of the breadth of material in the small, less than 100 page book I decided to divided it by the chapters that Bewlay divided it into and make comments in each section by Chapter division.

The book begins immediately after the Preface with a chapter on smoking and whether or not is beneficial of harmful. The chapter is entitled: Chapter 1 – Pages 7-18 Is Smoking Beneficial or Pernicious? In the chapter various historical arguments are made for both sides of the argument – yea or nay. Of course it moves forward to a strong defense of the beneficial nature of the moderate use of tobacco. It is sprinkles with quotes in defense of the use of tobacco and the serious benefits to those who use it! From there the book turns to exactly what I would expect in the second chapter.

This chapter marshals famous devotees of tobacco and what they say about their use of the “weed”. Chapter 2 – Pages 19-28  is entitled:  Eminent Devotees of the Weed. It cites various proponents from all over the continent on their use of tobacco and what they have found that it does for them. There are some poems and odes to the beauty of tobacco that are also included in this chapter. These figures include political, scientific, medical and literary figures. It is a great read and pretty normal for this kind of booklet from this time period.

From there the book turns to talk about Tobacco itself instead of defending it. Chapter 3 – Pages 29-31 Tobacco as a Prophylactic covers some interesting information. I quote the opening paragraph as it captures the focus of the chapter.

Tobacco smoking has long been regarded as a warder off or prophylactic of catching disease, and is strongly believed in both by soldiers and sailors, and many other classes. Army surgeons consider smoking gives confidence to many soldiers, and this confidence they regard as a very important factor on the outbreak of an epidemic such as cholera – pg 29.

From there the chapter turns to it use in gardening for killing blight in a greenhouse and as a germicide. Its use is also noted by doctors who have seen its value in the medical and dental professions. It is a short chapter but fascinating in its old time medical information.

Chapter 4 – Pages 32-41 Some Facts About Tobacco moves to giving a general overview of the history of tobacco and the nature and use of tobaccos of various regions and countries. It also overviews the various tobaccos from the United States which are by far the greater proportion of the unmanufactured tobaccos imported into the United Kingdom – Shag, Returns, Bird’s Eye, Maryland, Canaster or K’naster. The chapter ends with a witty poem about tobaccos.

Chapter 5 – Pages 42-47 The Adulteration of Tobacco and Cigars. This chapter is not what I expected from the title. It is actually about flavoring or topping tobacco and snuff with such things as molasses, sugar, aloes, liquorice, gum, catechu, oil and lampblack, alum, tannic acitd and iron, logwood, and such leaves as rhubarb, chicory, cabbage, burdock and coltsfoot. It is an interesting read about this in all forms of tobacco products including cigarettes and cigars. It makes me wonder what they would have written about in our day!

Chapter 6 – Pages 48-57 On Pipes gives a short overview of the history and types of pipes that have been and are available. It covers clay, meerschaum and briar pipes quite well and has some great quotable lines such as: “The best kind of pipe to use is a perfectly clean pipe, composed of an absorbing material, like briar, clay or meerschaum, with a long stem, which can suck up the oily matter before it reaches the mouth….”  The chapter ends with some great older poems about the pipe.

Chapter 7 – Pages 58-66 Remarks on Havannah, Indian, Burmah, Flor de Dindigul and Flor de Java Cigars and Cheroots covers by region cigars and cheroots that are sold by Bewlay and Company. Great historical read by region.

Chapter 8 – Pages 67-77 Cigarettes, like the previous chapter covers this method of using tobacco. There is a great quote that heads the chapter that I cite below:

“The man who smokes thinks like a sage and acts like a Samaritan.” – Bulwer Lytton

Chapter 9 – Pages 78-93 a Catalogue of Bewlay & Co. Limited. As the title suggests these large section of the book is a catalogue of products. Each product has a description and there are often etchings of the product itself – such as pipes.

This is a great little book well worth the read. It is a journey into the past with a great sense of what the world was like at this time in the history of England. If like me you enjoy Bewlay pipes in your collection it is all the more reason to keep an eye for this book.