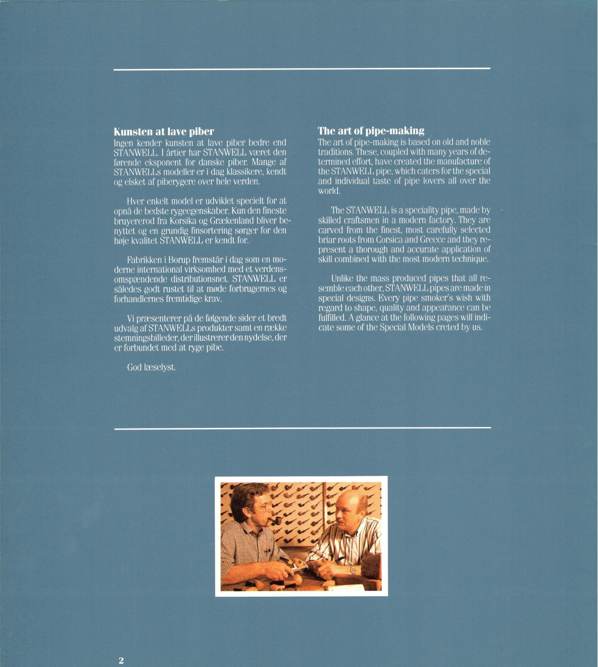
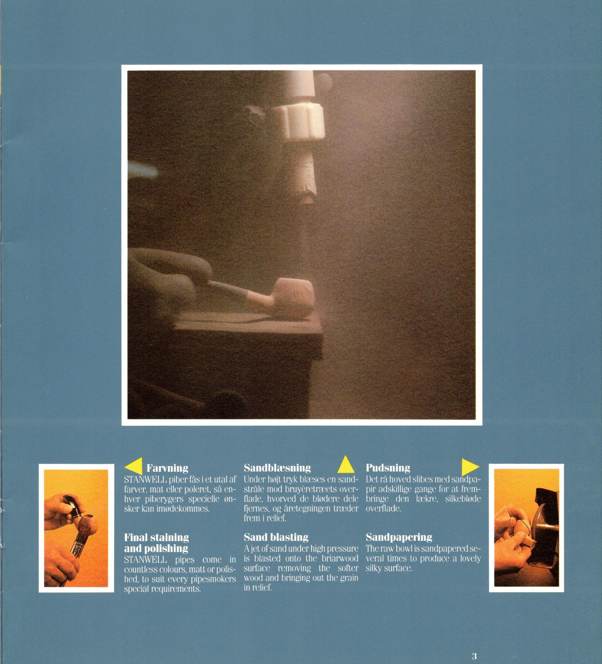
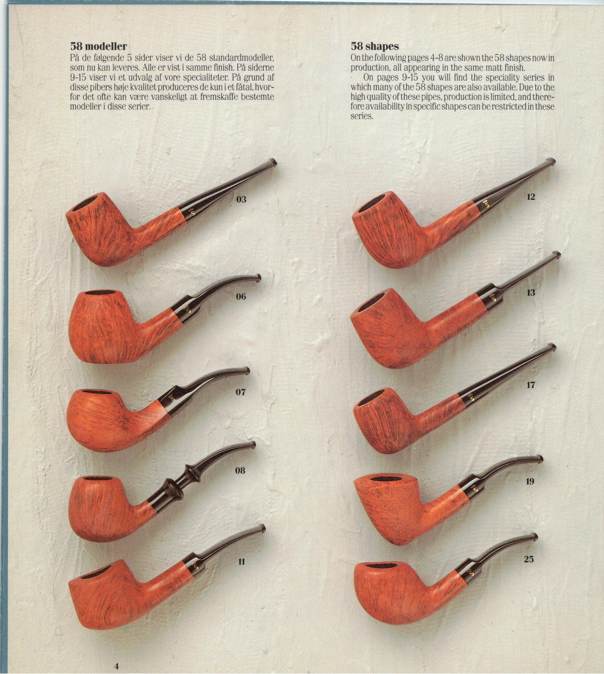
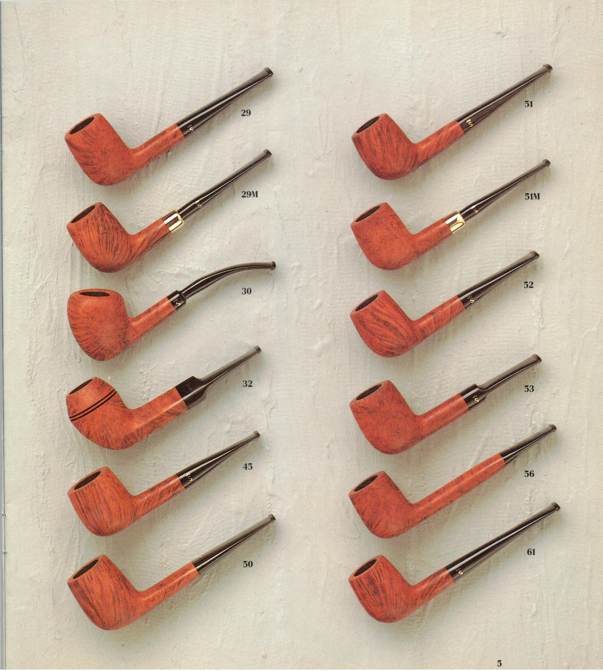
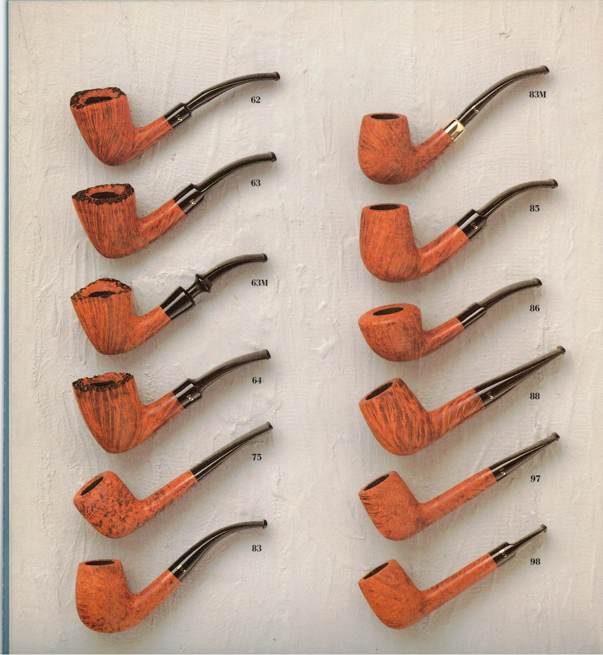
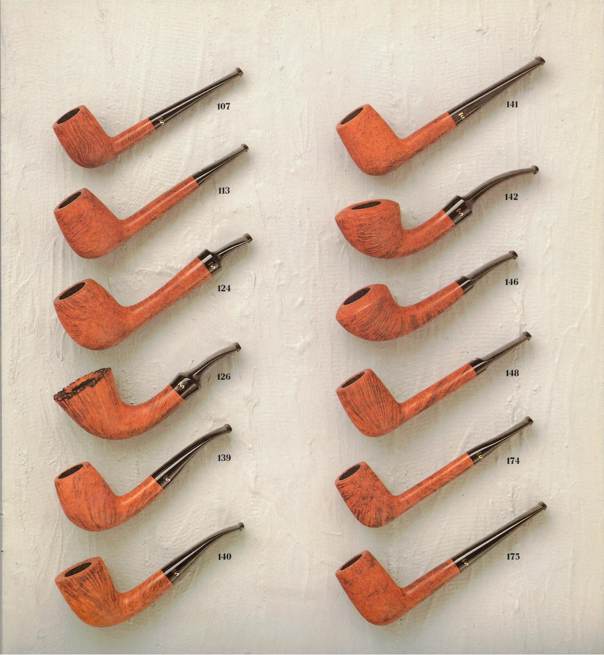
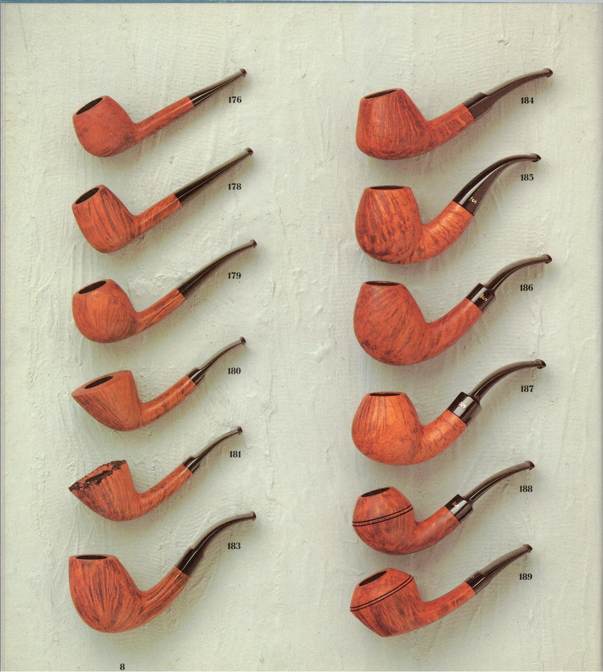
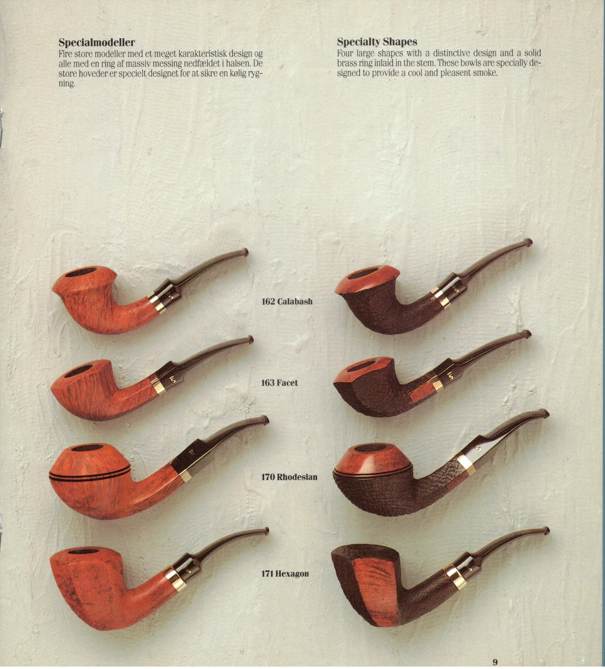
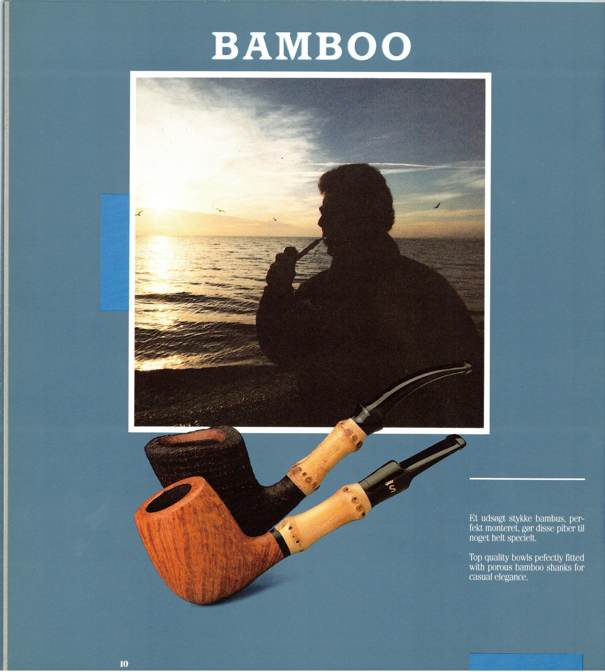
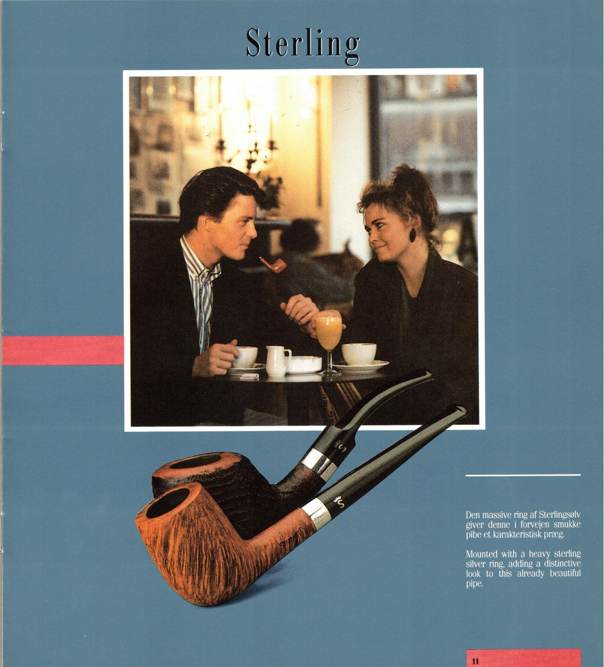
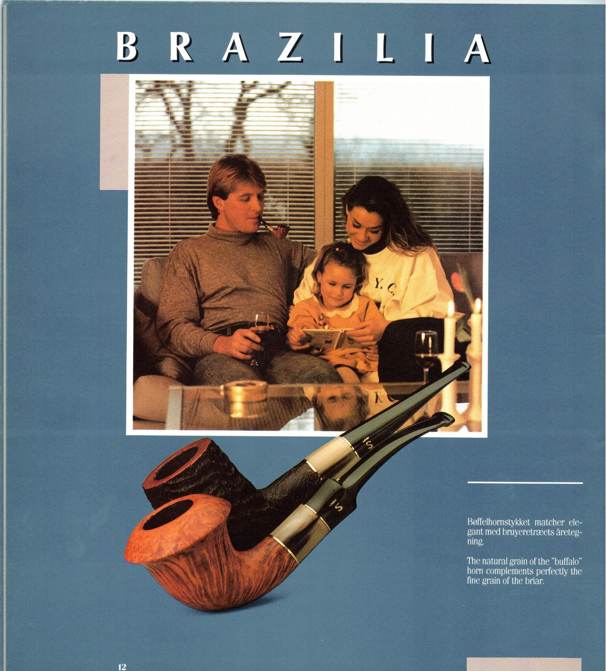
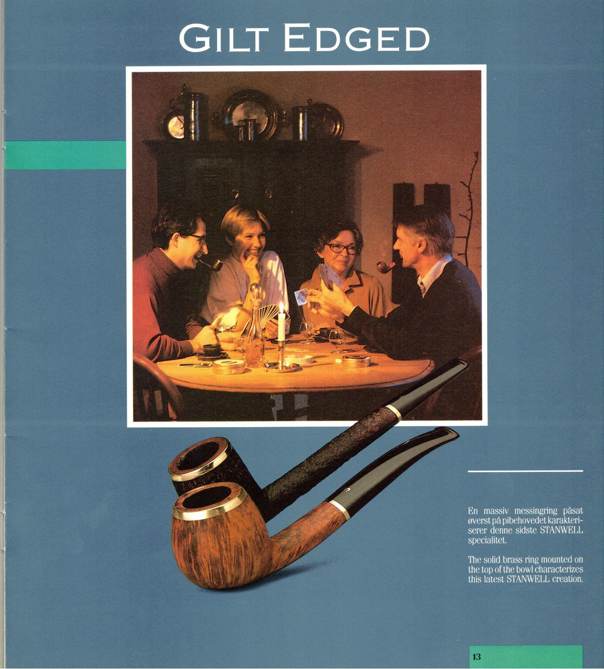
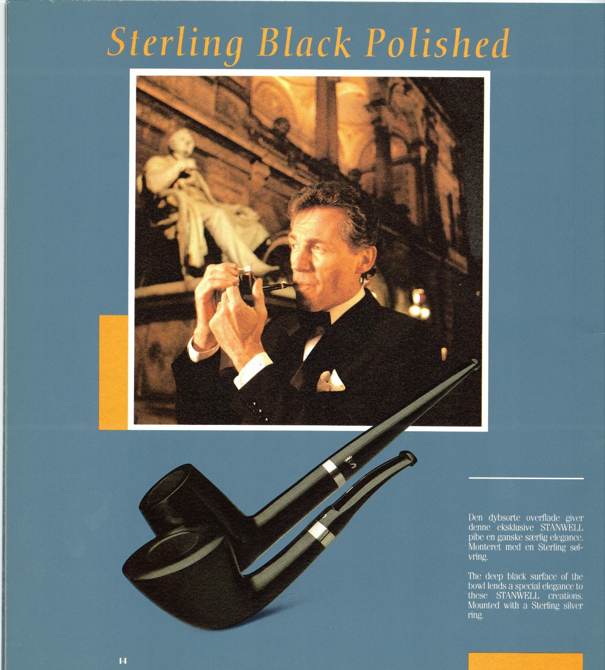
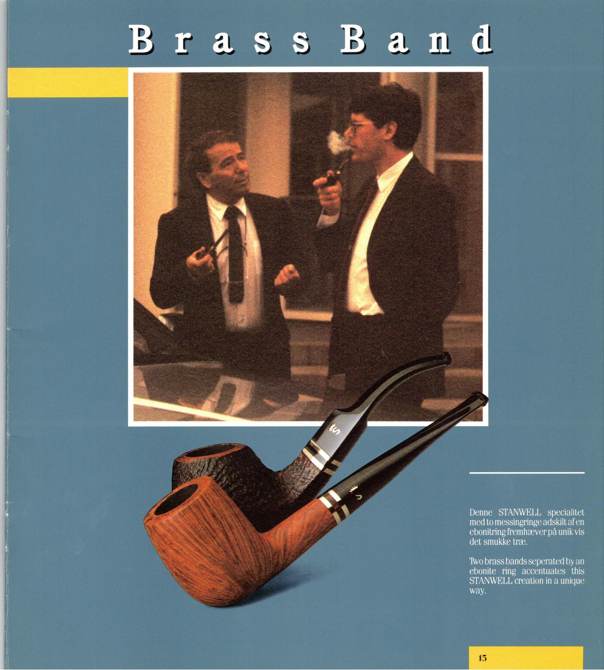
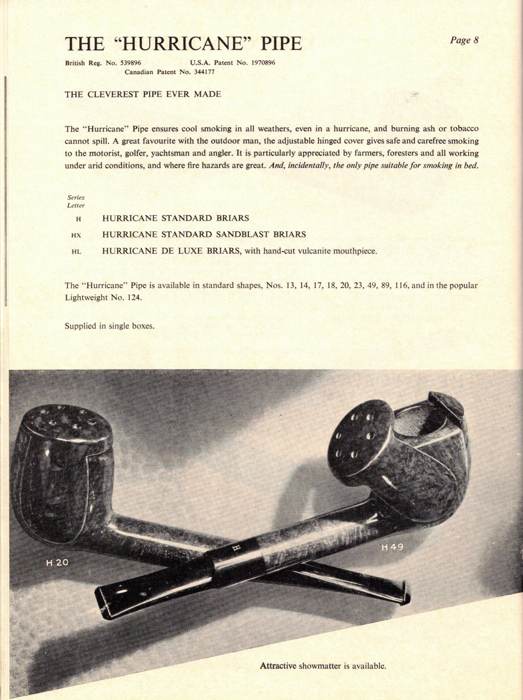
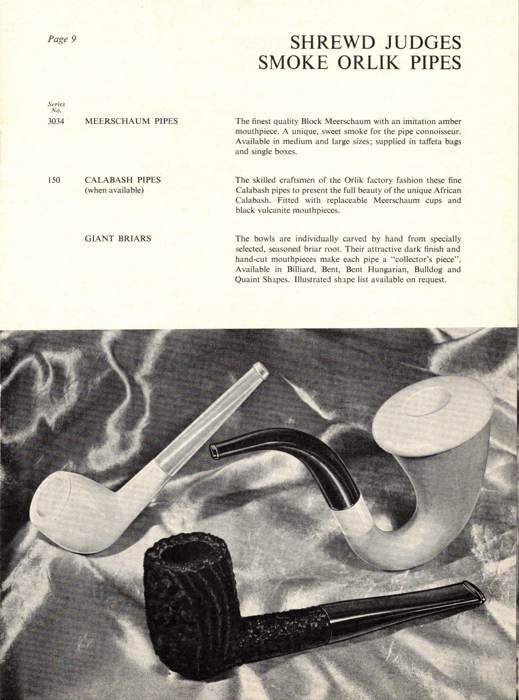
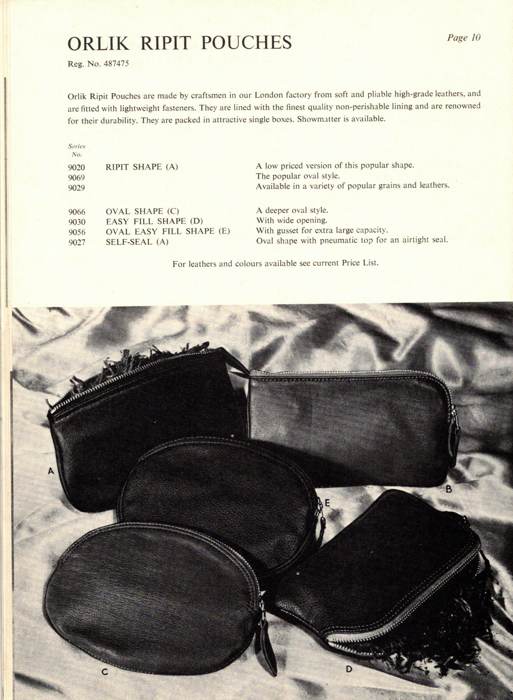
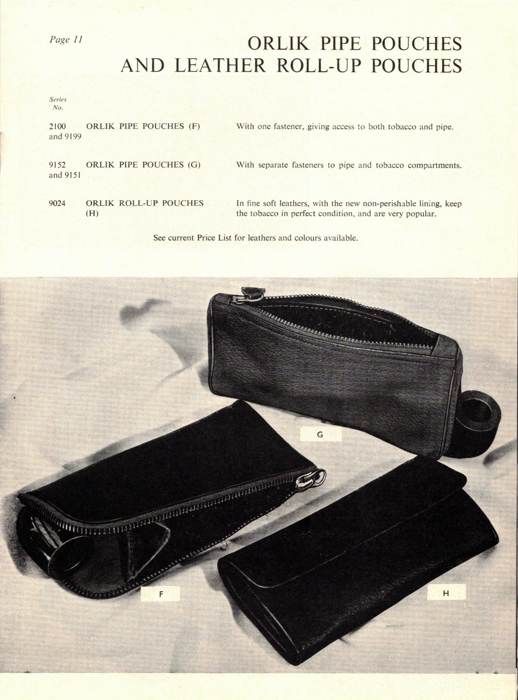
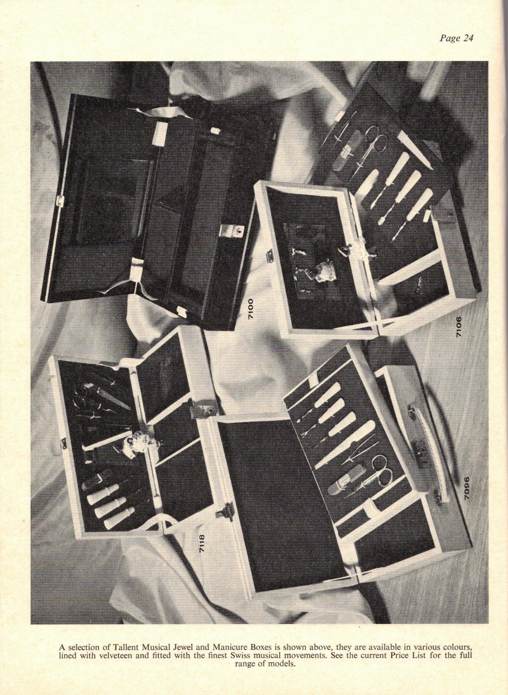
A Stanwell Catalogue with a great shape guide


The next catalogue I scanned was this beautiful Stanwell Pipe Catalogue. It is beautifully laid out and designed with lots of photos and colour. But the shape guide through out the book is priceless to me. I thought I would share it with you all.

Cleaning up a New Old Stock Meerschaum Sheik


Blog by Steve Laug

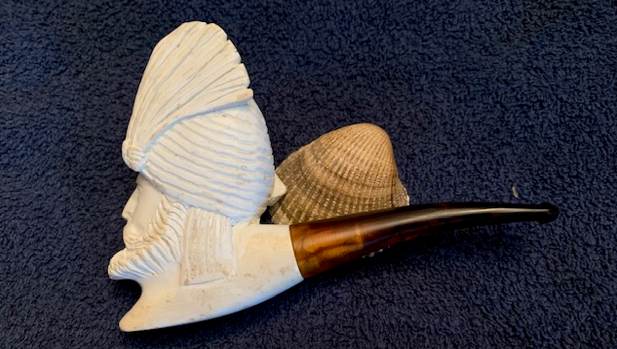
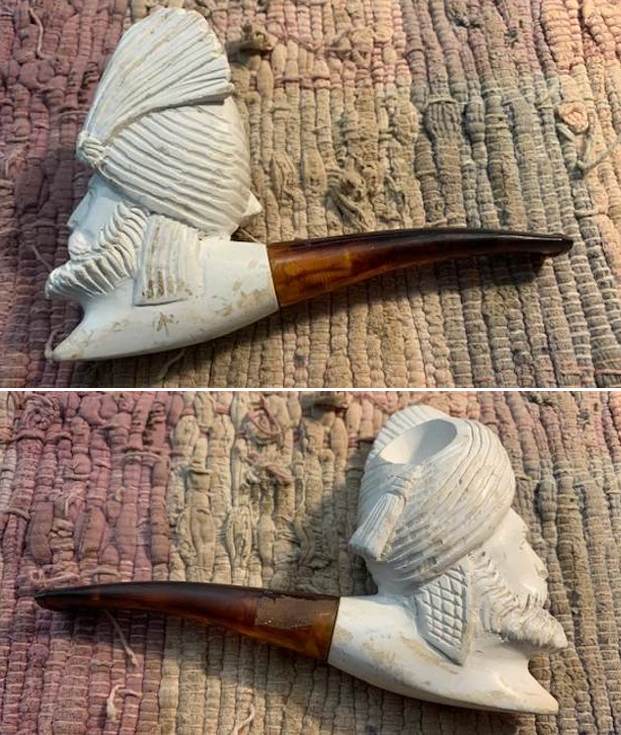
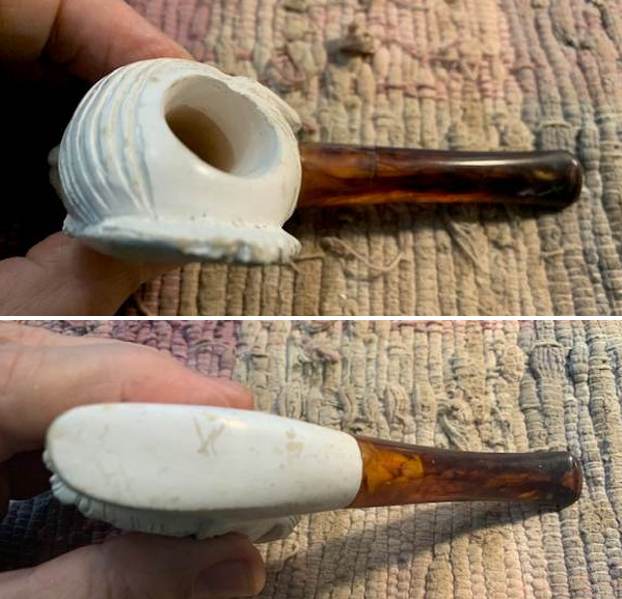
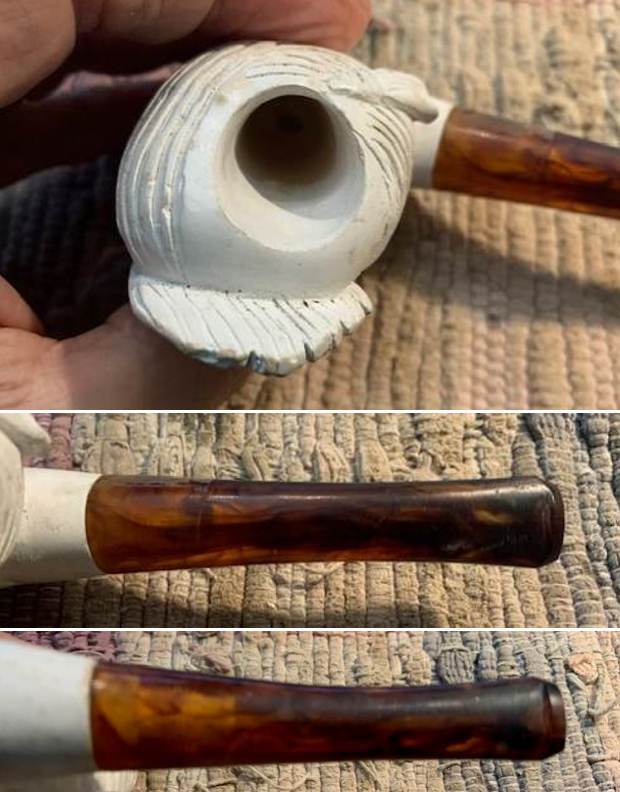
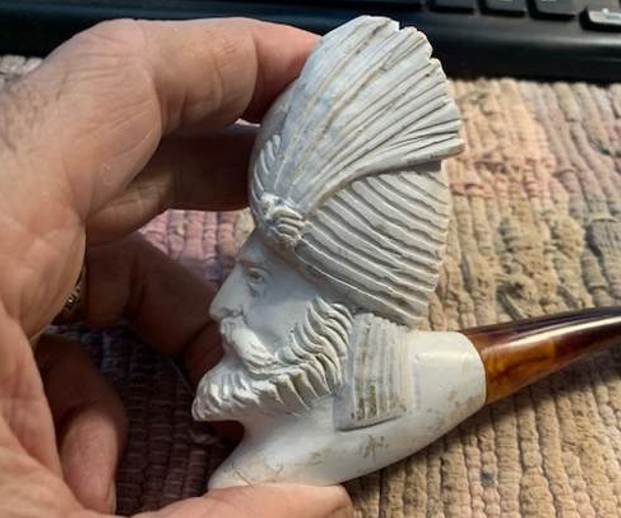
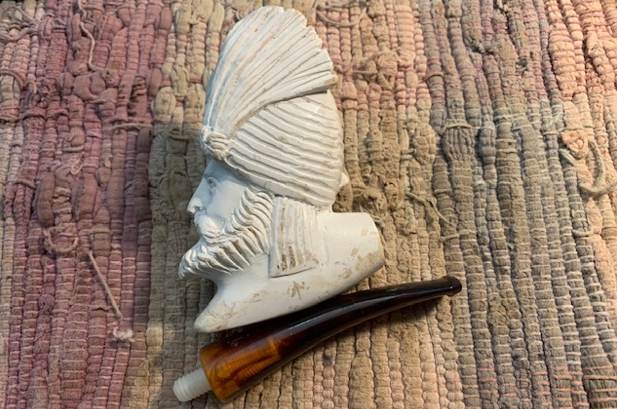
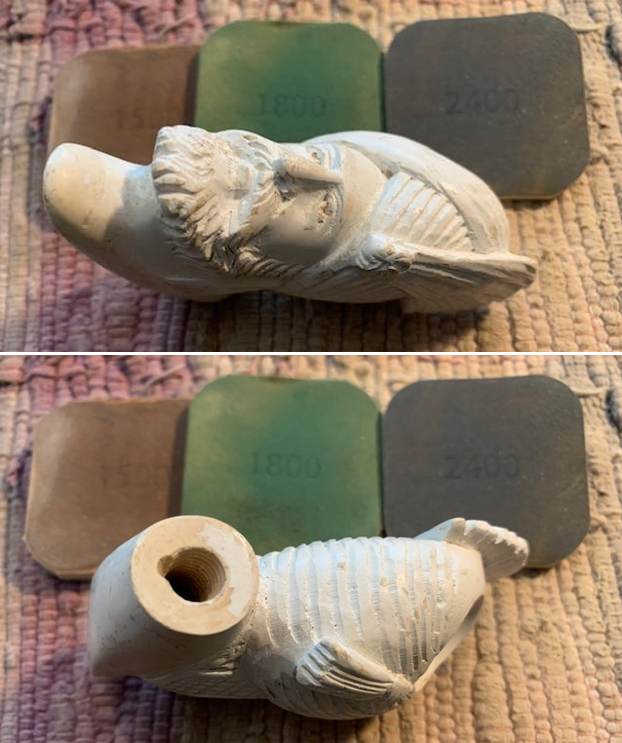
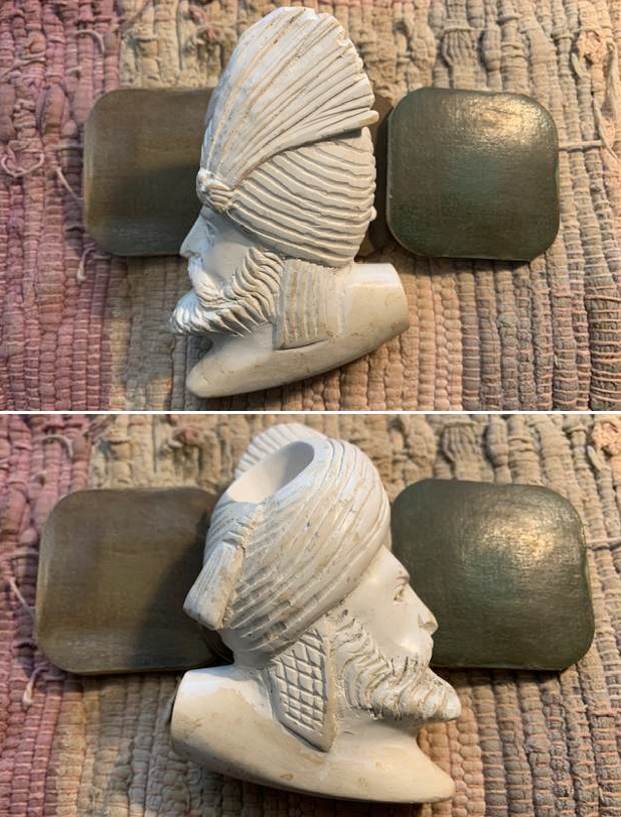
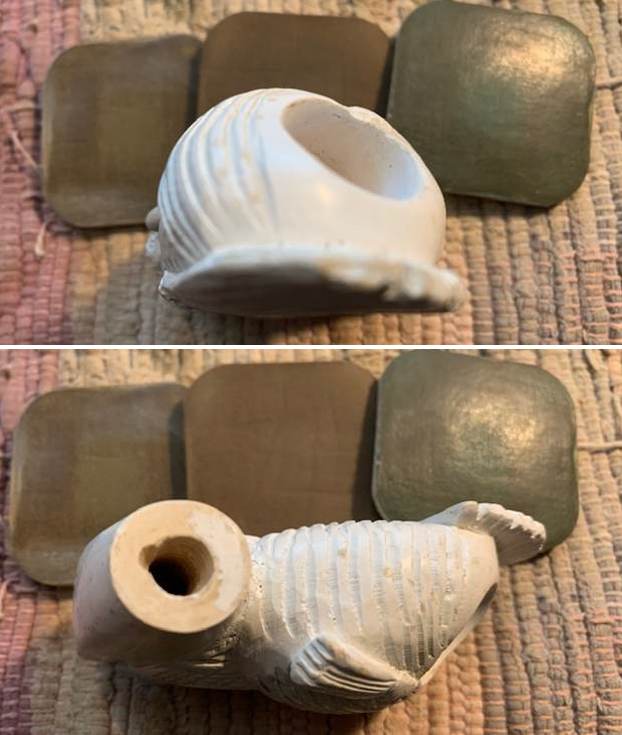
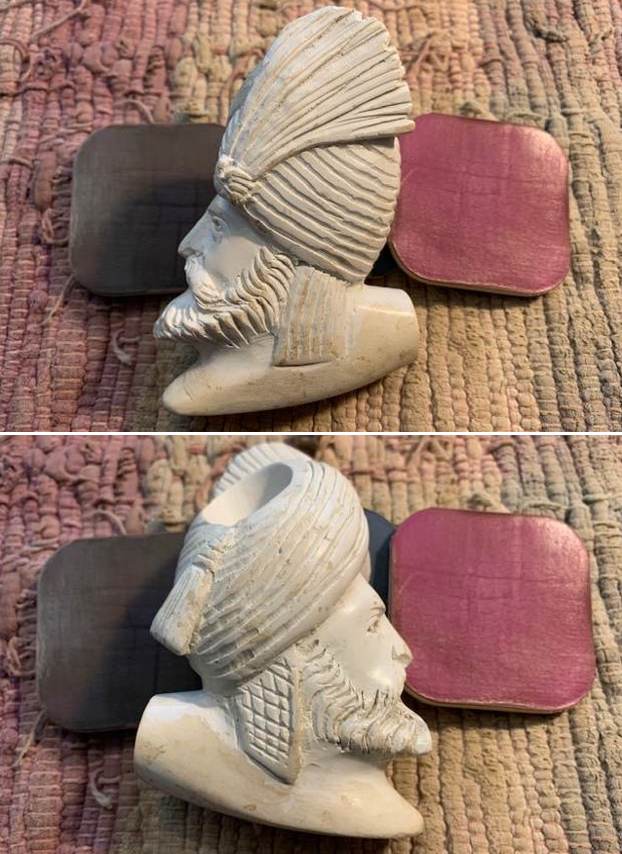
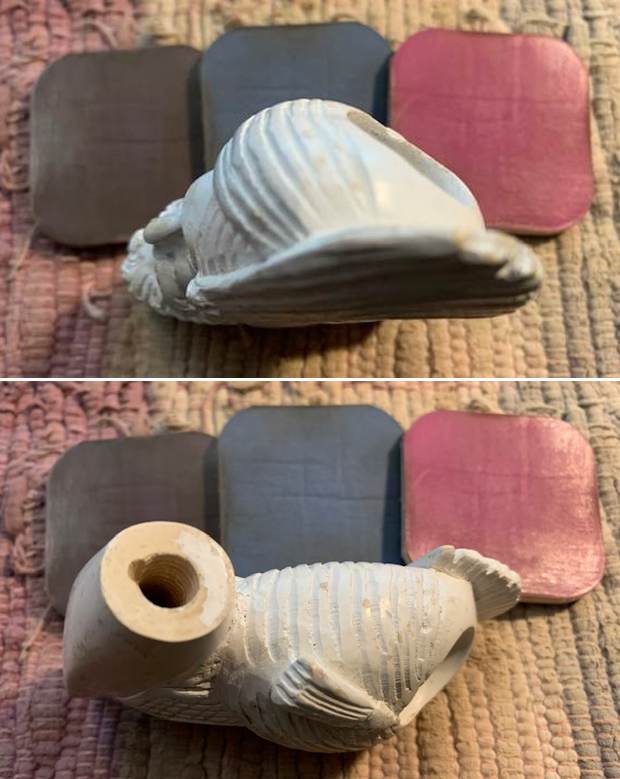
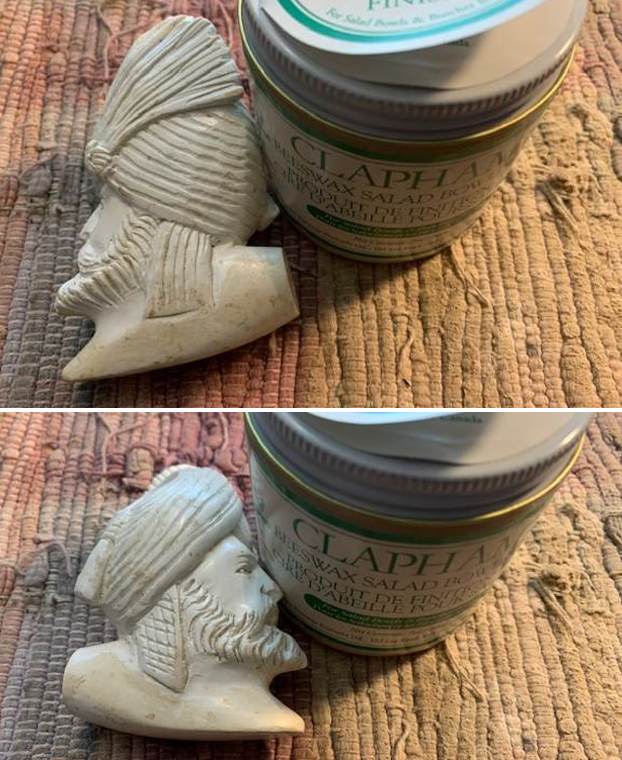
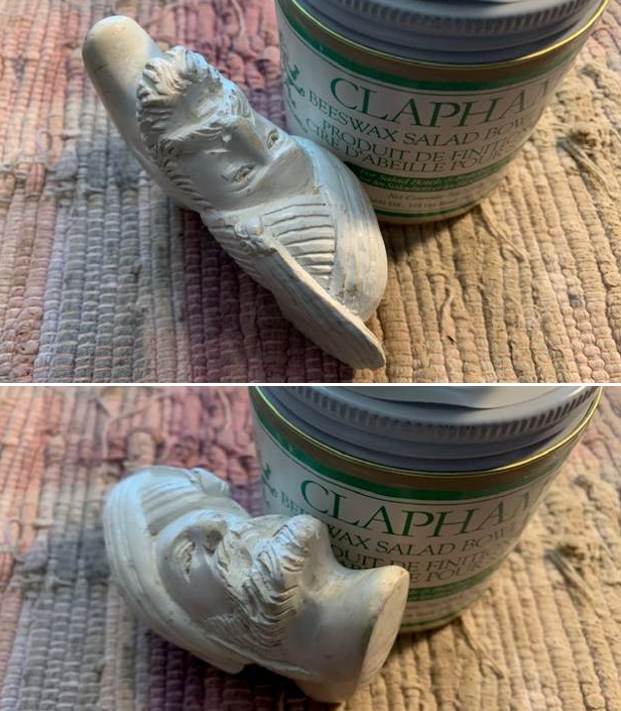
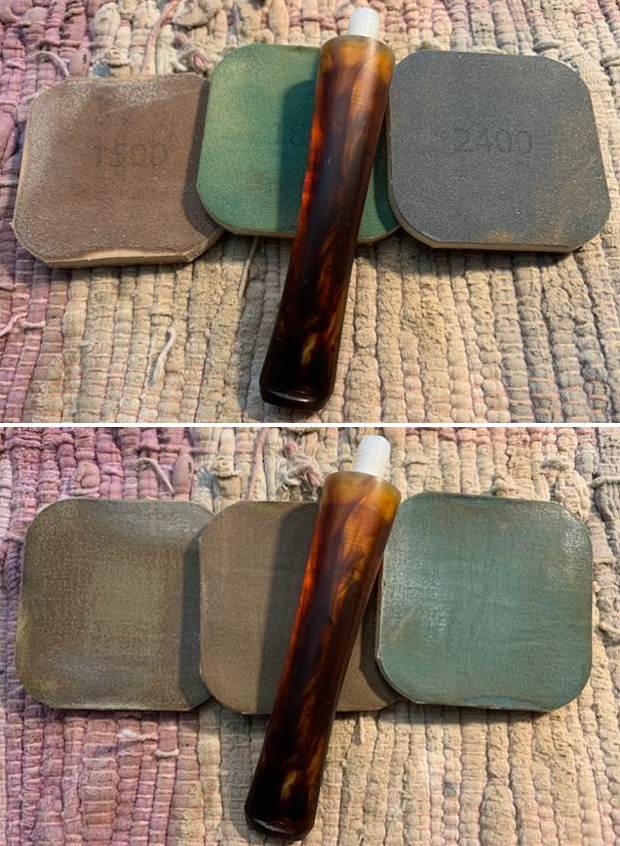
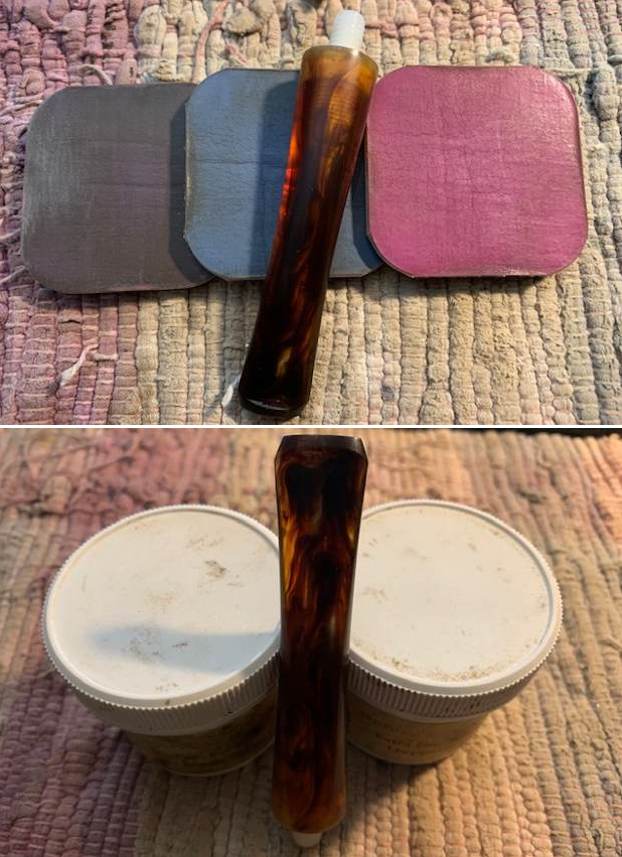
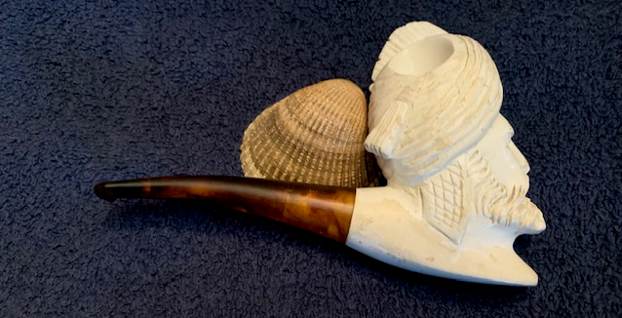
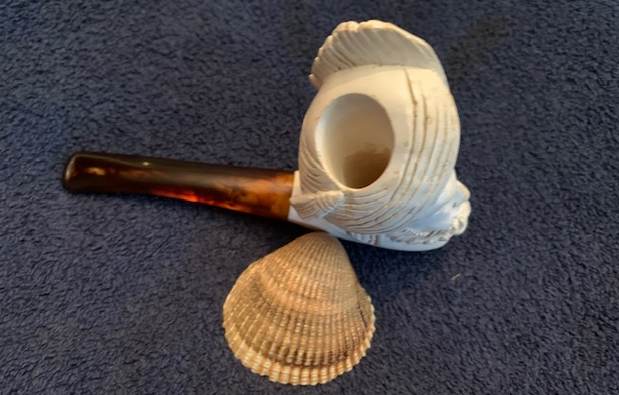
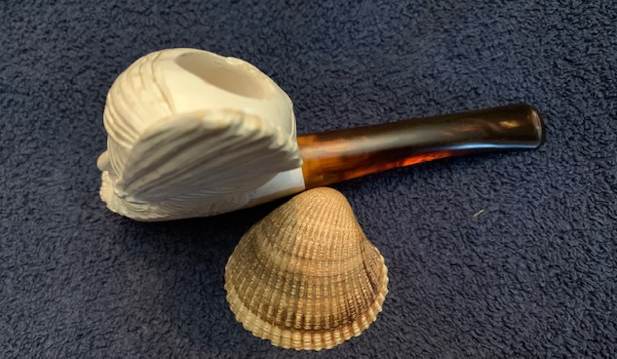
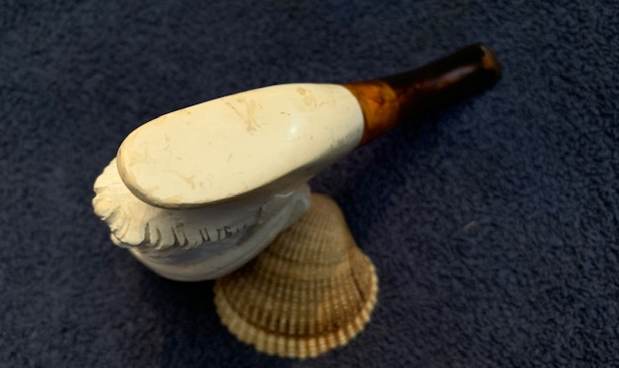
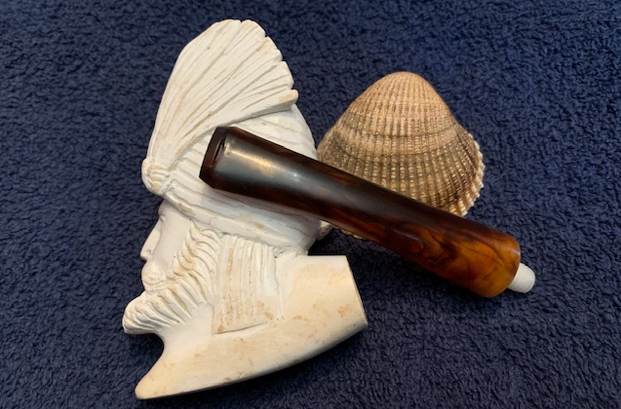
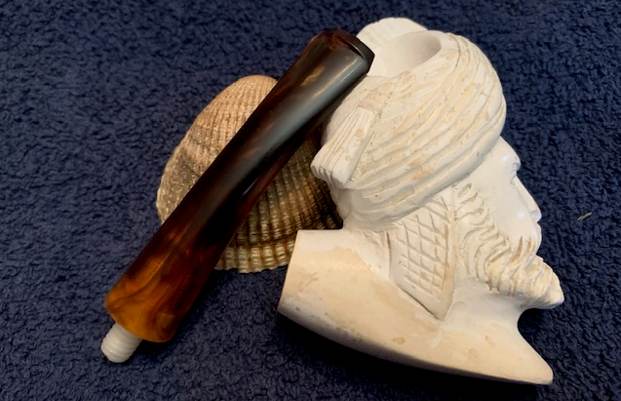
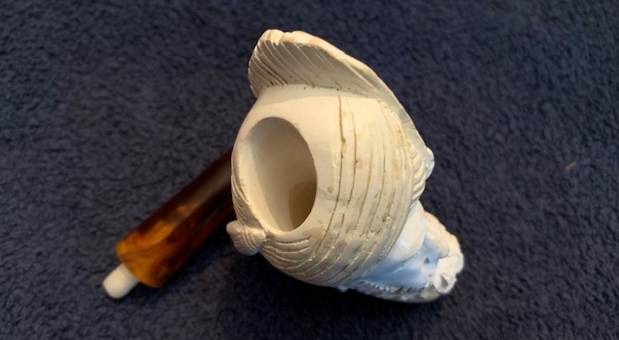
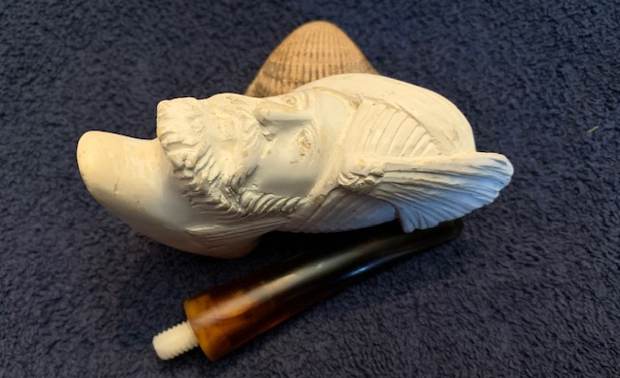
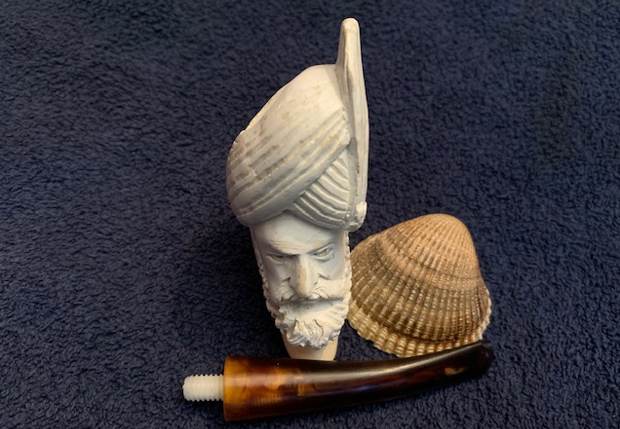
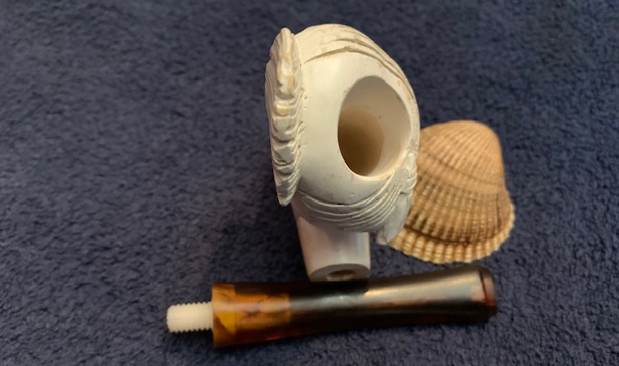
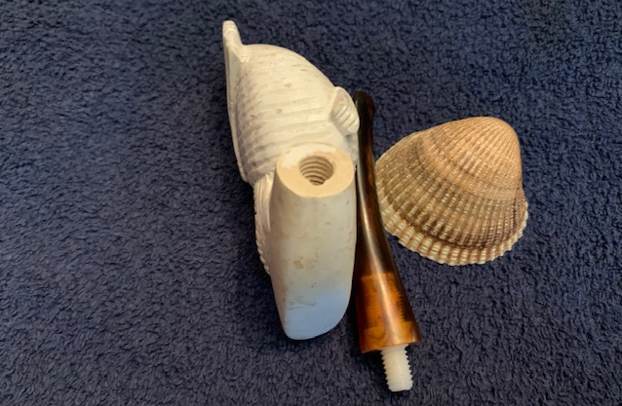
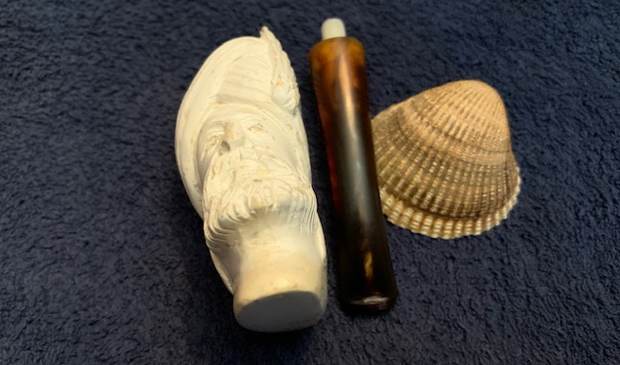
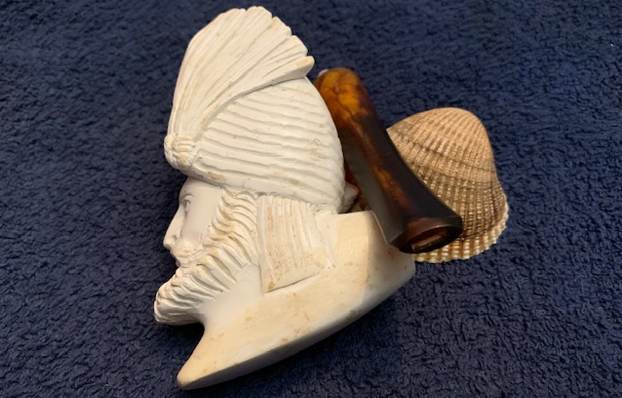
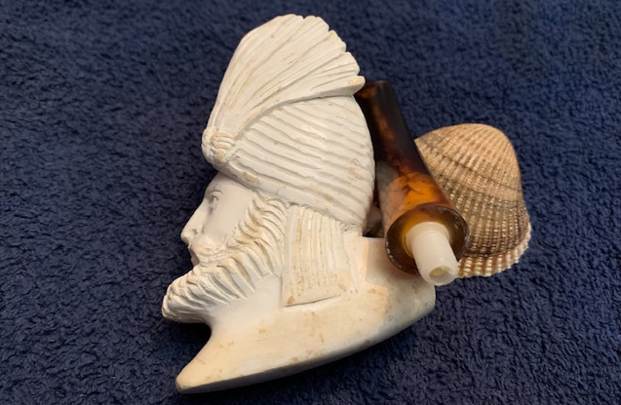
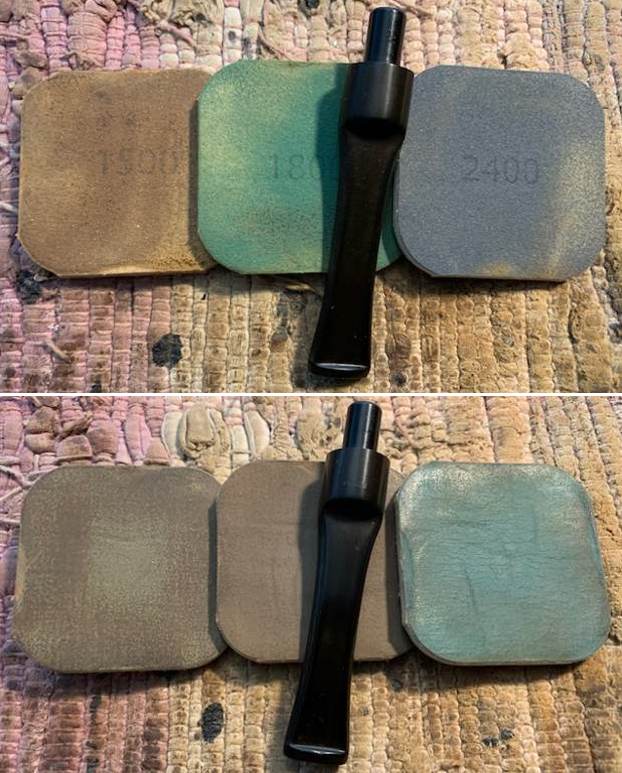
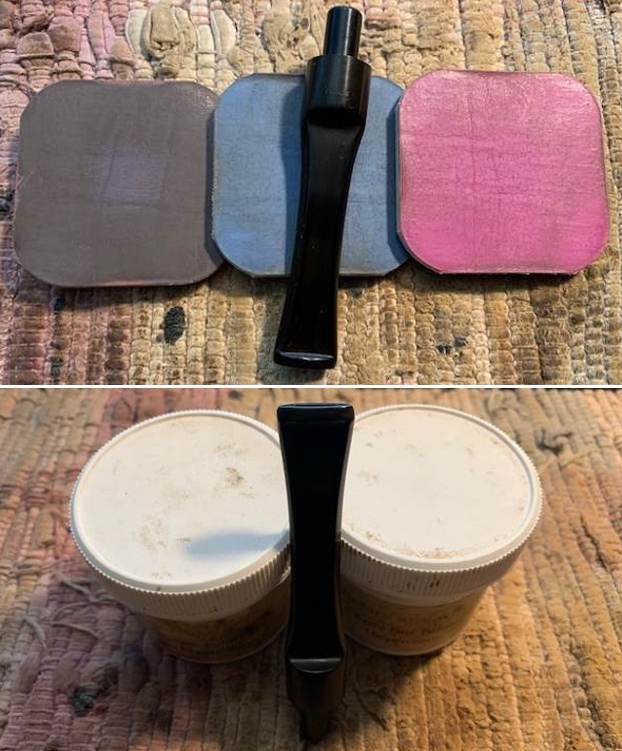
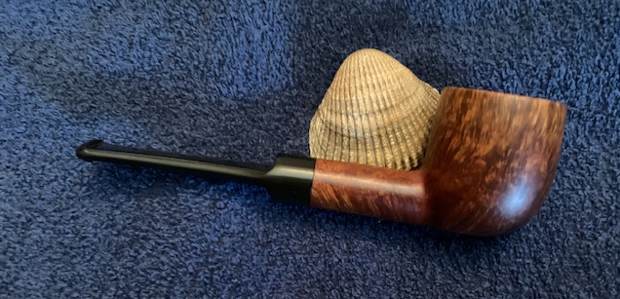
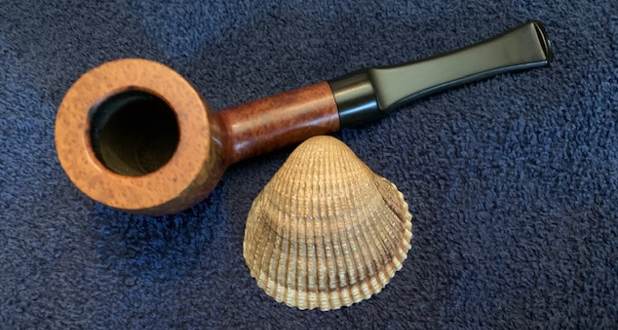
The next pipe I chose to work on is an unsmoked New Old Stock Meerschaum Sheik that Jeff and I picked up in a lot somewhere. Neither of us have any memory of where or when we picked it up. It had a lot of dust and debris in the grooves and on the smooth surface of the shank and bowl sides as well as the heel. It was dirty but unused. The bowl was clean on the top and inside. The stem was also clean and unused but still had stickiness on the top near the shank from the price tag that must have “graced” its surface somewhere in its life. There were no tooth marks or chatter on the stem and the pipe smell clean. I took photos of the pipe before I started my work on to try and capture the condition it was in when I brought it to the table. I include those below. I took a photo of the rim top and the stem to show the condition of them both. The bowl and rim are clean and with a bit of polishing should clean up. The stem was dirty – it had sticky substances on the top and underside of the stem just ahead of the button.I took photos of the carving on the bowl from the front and from both sides. It is a nicely done carving of a sheik with a tall turban and feather. I removed the stem from the shank and took a photo of the pipe as a whole to show the overall look of the bowl and the proportions of the pipe.I polished the meerschaum with micromesh sanding pads  – 1500-12000 grit pads. I wet sanded the grime that was on the sides of the bowl and shank. It was marked and a little dirty on the surface of the bowl. I worked several coats of Clapham’s Beeswax/Carnauba Mixture wax into the meerschaum and let it sit for 20 minutes. I buffed it with a soft cloth and repeated the process several times until the finish looked and felt right. I polished the tortoise shell acrylic stem with micromesh sanding pads – dry sanding with 1500-12000 grit pads. I wiped it down after each pad with a cloth impregnated with Obsidian Oil. I polished it with Before & After Fine and Extra Fine stem polish and buffed it out with a soft cloth. I don’t know if I would say that I am excited to be on the homestretch. But I do look forward to the final look when it is put back together, polished and waxed. I put the bowl and stem back together. I hand buffed the bowl and stem with a soft cloth to polish the waxed bowl and stem. The pipe polished up pretty nicely. The meerschaum looks much better with the wax and polish. The shiny tortoise shell acrylic stem is a beautiful contrast to the white of the bowl and thick shank. This Carved Sheik Figural Meerschaum was an interesting pipe to work on. The pipe is actually quite comfortable pipe to hold in the hand. The finished pipe is shown in the photos below. The dimensions of the pipe are Length: 5 ½ inches, Height: 3 ½ inches, Outside diameter of the bowl: 1 ½ inches, Chamber diameter: ¾ of an inch. The weight of the pipe is 2.15 ounces/61 grams. I will be putting this pipe on the rebornpipes store in the Ceramic & Meerschaum Pipes section. Thanks for reading this blog and my reflections on the pipe while I worked on it.

An older Charatan Leaflet


Here is another addition to the collection of catalogues and leaflets that I have scanned and added to the rebornpipes document library. Give it a read.

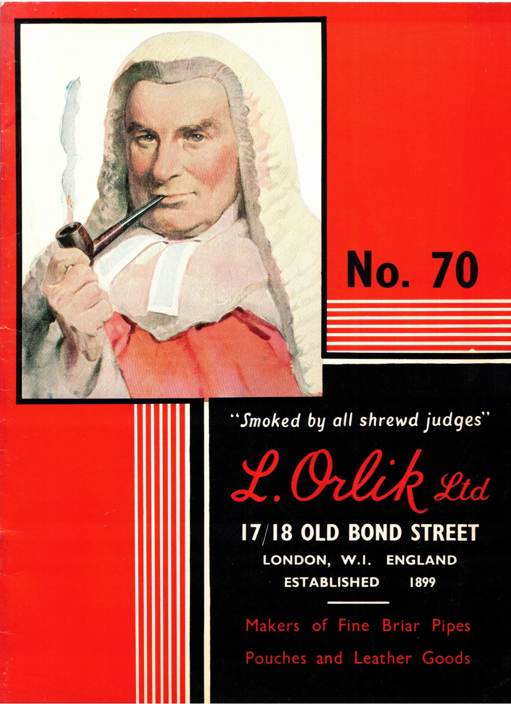
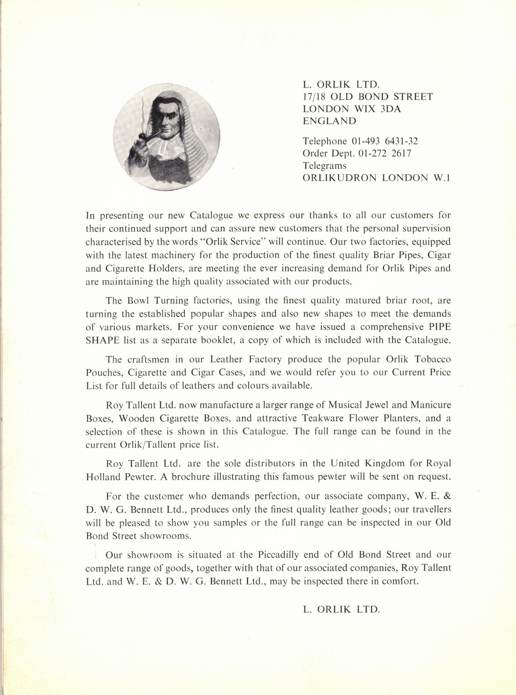
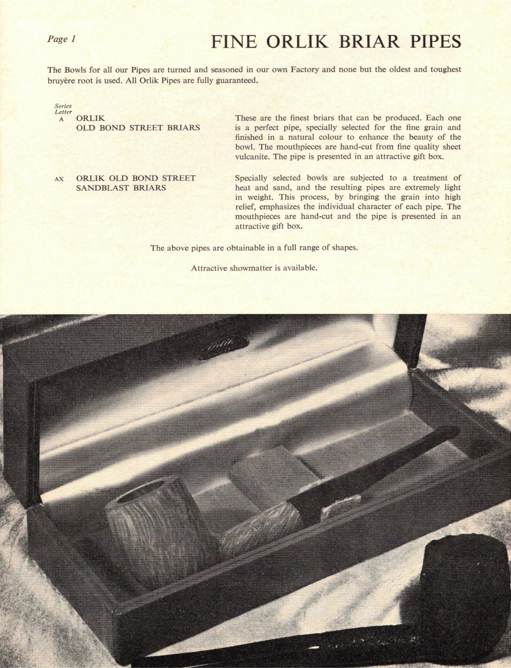
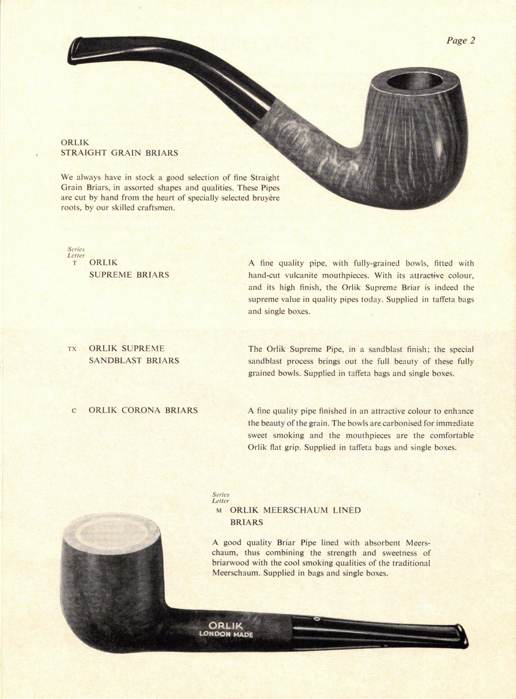
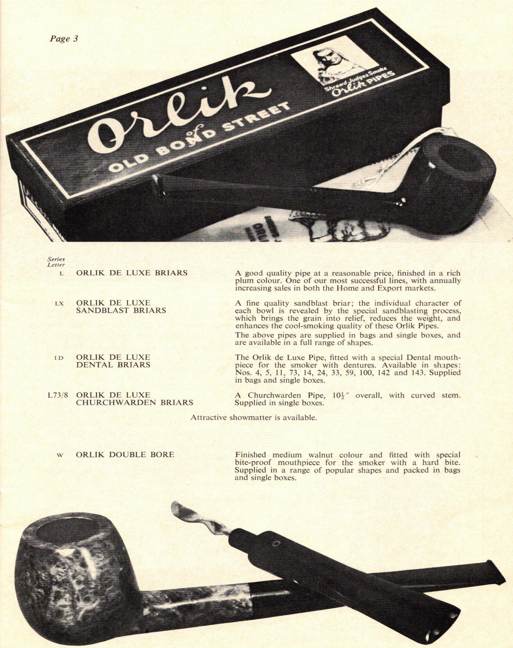
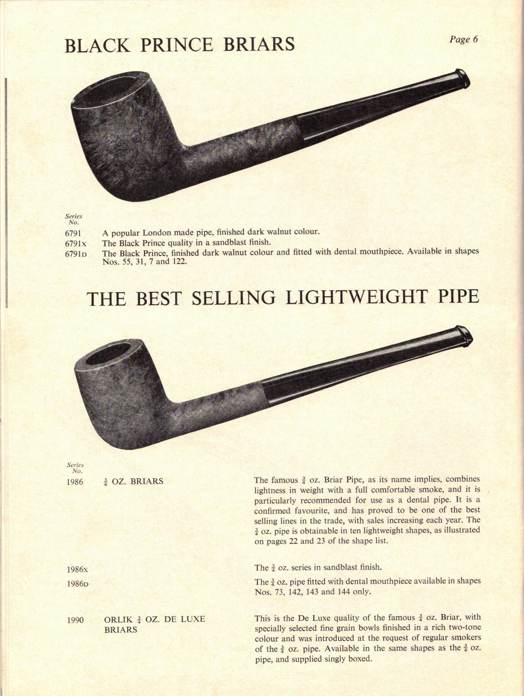
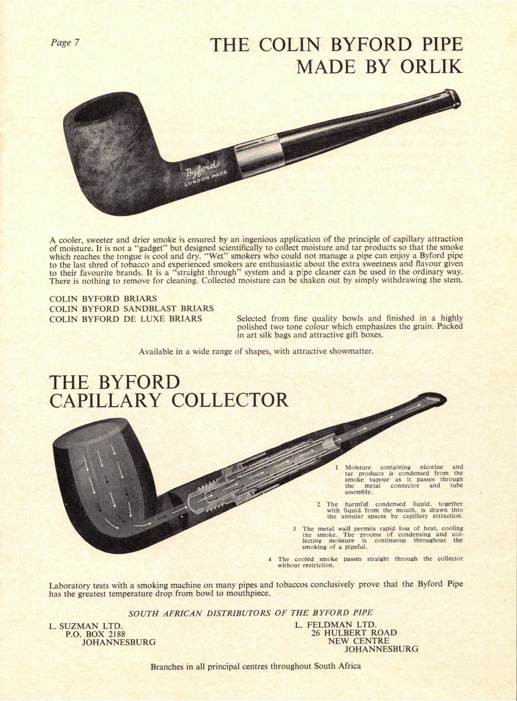
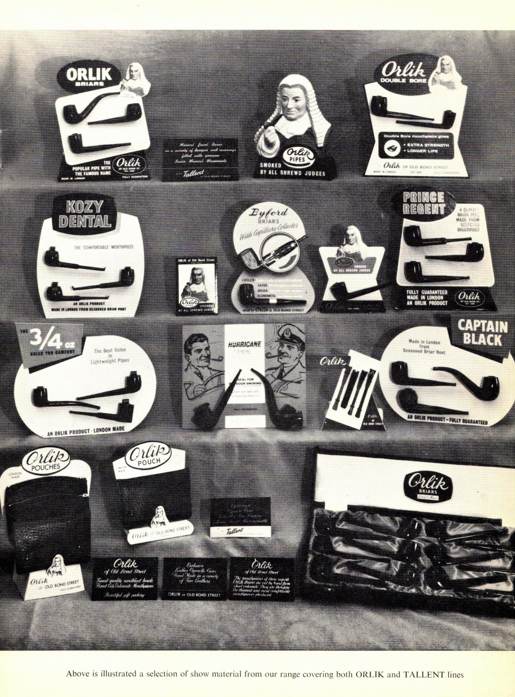
An older Orlik No. 70 Catalogue


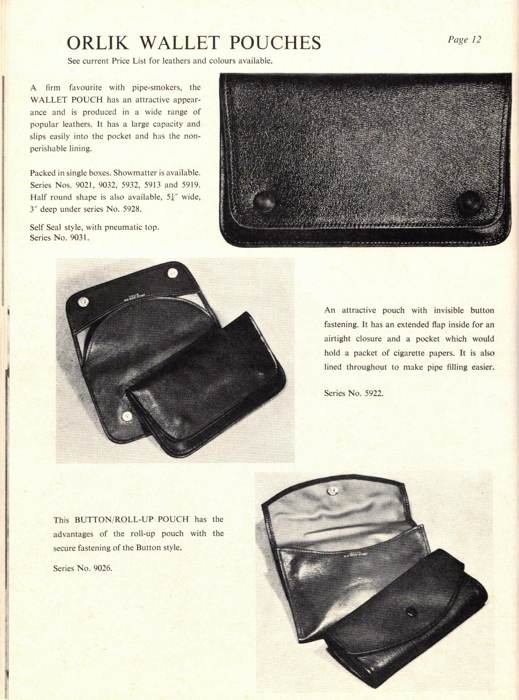
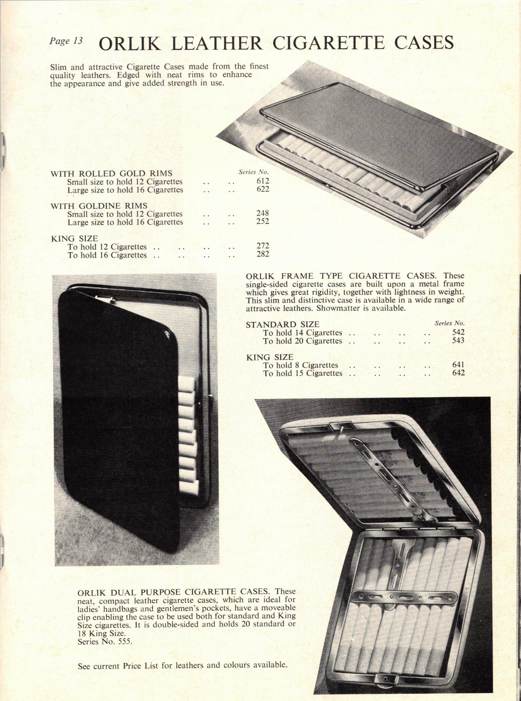
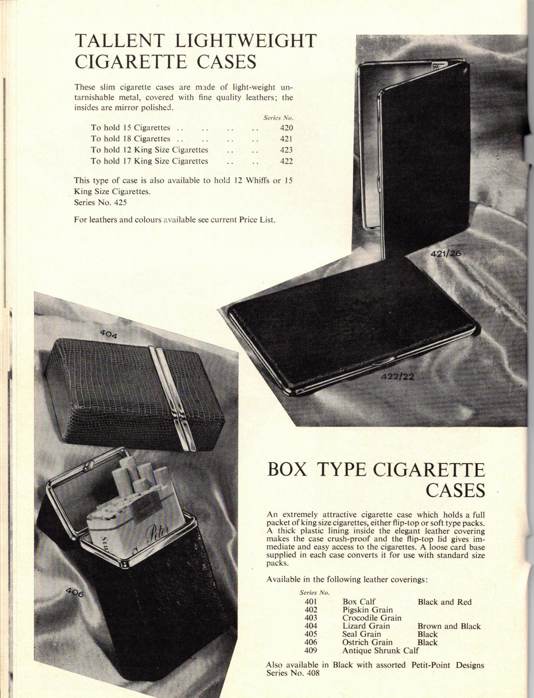
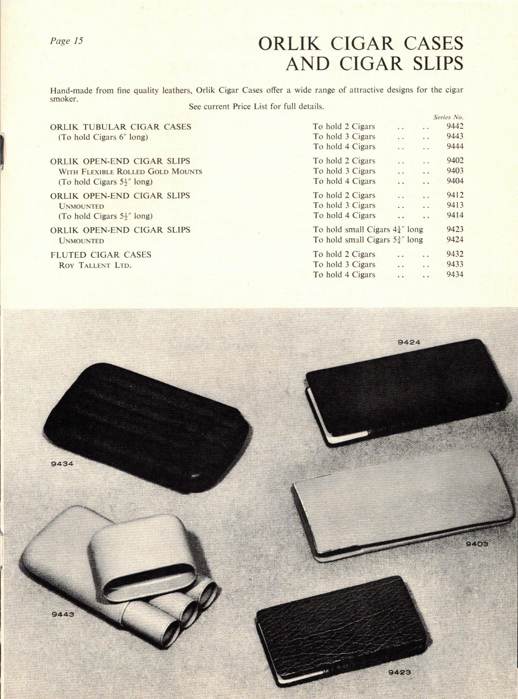
Have a look at this Orlik Ltd Pipe and accessories catalogue. There are some really unique items and some great information tying Orlik to other brands. Give it a read.

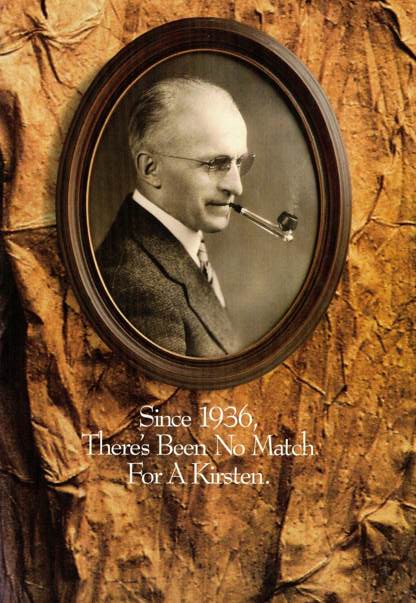
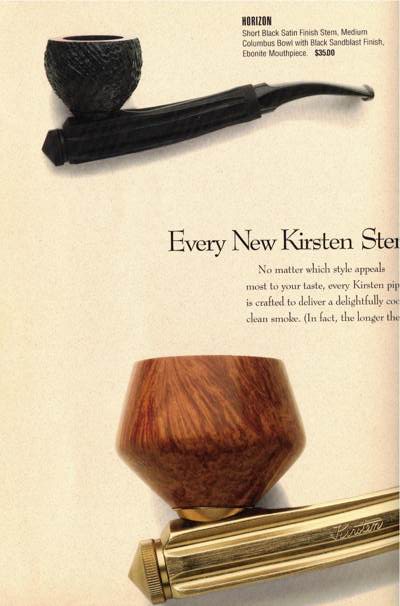
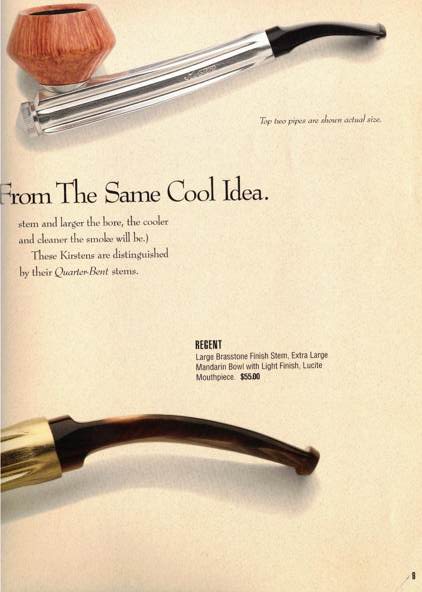
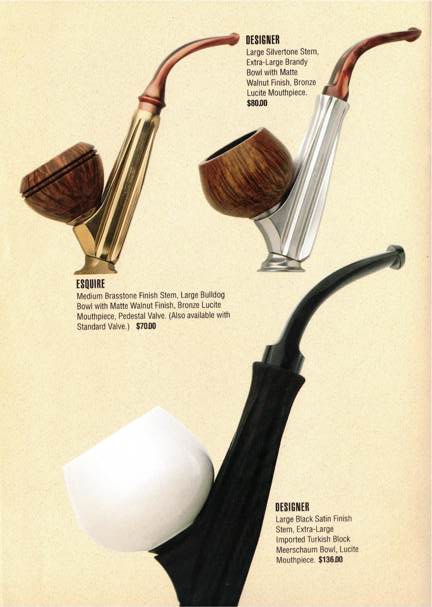
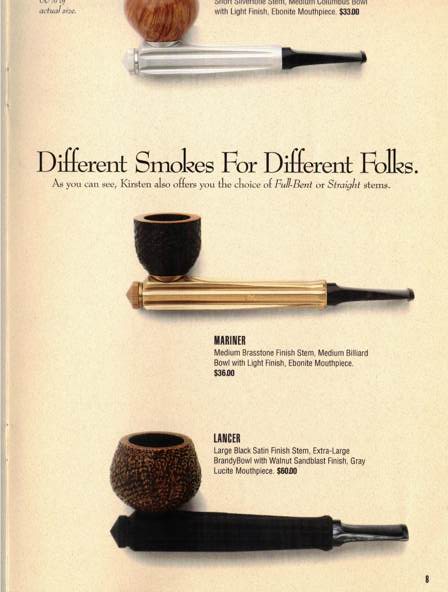
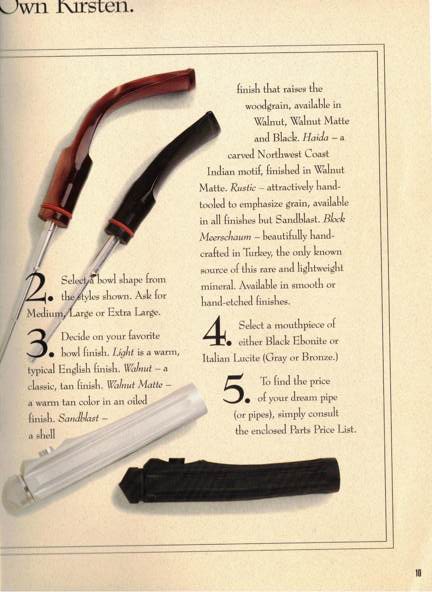
1993-94 Kirsten Pipe Catalogue


I was given a copy of this Kirsten Catalogue from 1993-1994 and thought it would be a great addition to the online collection that is available on rebornpipes. Give it a read.

Fresh Life for a Beautiful Butz-Choquin Maitre Pipier Flamme Extra Horn


Blog by Steve Laug

The next pipe in the queue came from a group of pipes a friend here in Vancouver passed on to me to restore and sell for him. The pipe is a beautiful Butz Choquin Maitre Pipier Flamme Extra pipe. It is almost a Danish shaped horn/scoop with a triangular shank and a uniquely shaped bowl. The entire pipe had some beautiful flame grain around the bowl and birdseye grain on bottom and top of the shank. The rim top was clean other than some burn or darkening damage on the back inner edge of the bowl. I could see that the carver had done an amazing job utilizing the block of briar to maximize the grain. The pipe is stamped on the left side of the shank and reads Butz-Choquin [over] Maitre Pipier [over] Flame [over] Extra. On the right side of the shank it is stamped Fait Main over St. Claude France. On the underside of the shank it is stamped J Berrod. The stem is vulcanite and has the inset BC circle on the left side of the uniquely fit triangular taper stem. I took photos of the rim top and edges and the stem surfaces. The rim top looked very good with some great birdseye. The inner edge had some burn damage and some darkening on the back inner edge. The stem had some oxidation, calcification and tooth marks and chatter on both sides ahead of the button. I took photos of the stamping on the sides of the shank. It read as noted above and is very clear. I removed the stem from the bowl and took a picture of the pipe to show the general look and proportion of the pipe. It is quite pretty in terms of grain and shape. The stem is definitely a fitted blank rather than a hand cut one. I have worked on another Maitre Pipier not too long ago and wrote up a blog on it. It was a nice looking Calabash (https://rebornpipes.com/2019/02/14/a-butz-choquin-maitre-pipier-hand-made-calabash/). On that blog I included some overall information on the brand and I will repeat it here to set the stage.

Butz-Choquin was a brand that I was familiar with having worked on quite a few of them over the years. I decided to check on a few sites to refresh the memory of the brand. I turned first to Pipephil and as usual the site gives a great summary (http://www.pipephil.eu/logos/en/logo-butzchoquin.html). I quote:

The origin of the brand reaches back to 1858 when Jean-Baptiste Choquin in collaboration with his son-in-law Gustave Butz created their first pipe in Metz (France). Since 1951 Butz-Choquin Site officiel Butz Choquin, pipes de Saint-Claude jura. BC pipe de bruyere luxe is a brand of the Berrod-Regad group (Saint-Claude, France).

I also found the line of Fait Main Maitre Pipier pipes listed. The pipe I am working on is stamped the same way as the one in the screen capture below. The shape is different but the rest is the same. The capture has a small paragraph on the line that reads as follows: Pipes of the “Maitre Pipier” séries were crafted by Paul Lanier until he retired and after him by Alain Albuisson.I turned then to Pipedia to see what I could find out there (https://pipedia.org/wiki/Butz-Choquin). I quote the article in its entirety as it gives a clear history.

The pipe, from Metz to Saint-Claude. Jean-Baptiste Choquin of Metz started out as a tobacconist. This enterprise was prosperous; he had several employees. Among those, there was a certain Gustave Butz who was its first workman and who became his son-in-law by marrying Choquin’s daughter Marie in 1858.

In 1858 Jean-Baptiste Choquin created, in collaboration with Gustave Butz, the Choquin pipe. This bent pipe with a flat-bottomed bowl was finished with an albatross-bone mouthpiece, fixed with silver rings.

In 1858, still in Metz, Gustave Butz built an establishment for the manufacture of the Choquin pipe which took the name of . In 1951, the Berrod-Regad company bought the trademark, continuing manufacture until 2002. Departing from Metz, the workshop was relocated to Saint-Claude, then also called “the world capital of the briar pipe,” under the Berrod-Regad group. The Berrod-Regad group would go on to completely rebuild the network of representatives until finally entering the export market in 1960 and has since won several prizes, as well as the Gold Cup of French good taste.

In a few years, the brand’s collection increased from ten to seventy series. 135 years after it was founded, the pipe is still well-known not only in France but throughout the world. In 2002, the Berrod family, wishing to preserve manufacture of pipes in Saint-Claude, handed over the company to Fabien Guichon, a native of the area, who will continue to develop the brand during the 21st century.

I reamed the bowl with a Savinelli Fitsall Pipe Knife to scrape out the thin cake in the bowl. There was not much there but enough that it had to go. I also sanded the bowl walls with a piece of 220 grit sandpaper wrapped around a piece of dowel. The bowl walls were smooth when I finished the work.  I wiped the bowl down with acetone to remove the shiny varnish coat as it was spotty on the sides and rim top. With it removed the grain really stood out clearly. It is a great looking piece of briar. I cleaned out the shank and the airway in the mortise and stem with pipe cleaners, cotton swabs and isopropyl alcohol. It was quite a bit dirtier than I expected from just the appearance. With the cleaning the pipe smelled cleaner. I worked over the inner edge with a folded piece of 220 grit sandpaper to smooth out the damage and to give the edge a slight bevel to remove the burn damage. I polished the briar with micromesh sanding pads – polishing it with 1500-12000 grit pads. By the time I was finished the briar had a great shine. The grain on the pipe is quite beautiful.  I rubbed the bowl and shank down with Before & After Restoration Balm to deep clean the finish on the bowl and shank. The product works to clean, enliven and protect the briar. I worked it into the finish with my fingers. After it sat for 15 minutes I wiped it off with a soft cloth. The briar really began to have a rich shine. I took some photos of the bowl at this point to mark the progress in the restoration. It is a beautiful bowl.  I set the bowl aside and turned my attention to the stem. I “painted” the surface with the flame of a lighter to lift the tooth marks and chatter. It worked very well and I sanded out the remnants and oxidation on the top and underside with 220 grit sandpaper and started polishing it with 400 grit wet dry sandpaper.   I polished the stem with micromesh sanding pads – dry sanding with 1500-12000 grit pads. I wiped the stem down after each pad with a damp cloth to remove the sanding dust. I used the Before & After Pipe Polish to remove the small minute scratches left in the vulcanite. I finished by wiping the stem down with a final coat of Obsidian Oil and set it aside to dry.   As usual at this point in the restoration process I am excited to be on the homestretch. I look forward to the final look when it is put back together, polished and waxed. I put the bowl and stem back together. I polished the bowl and stem with Blue Diamond to polish out the scratches in the briar and the vulcanite. I gave the bowl and the stem multiple coats of carnauba wax. I buffed the pipe with a clean buffing pad to raise the shine. I hand buffed it with a microfiber cloth to deepen the shine. The pipe polished up pretty nicely. The grain really pops with the wax and polish. The shiny black vulcanite stem is a beautiful contrast to the browns of the bowl and thick shank. This Butz-Choquin Maitrie Pipier Flamme Extra Scoop was another fun pipe to work on. It is a nice piece of briar whose shape follows the flow of the briar. The pipe is comfortable pipe to hold in the hand. The finished pipe is shown in the photos below. The dimensions of the pipe are Length: 5 ½ inches, Height: 1 ½ inches, Outside diameter of the bowl: 1 ½ inches, Chamber diameter: ¾ of an inch. The weight of the pipe is 1.45 ounces/41 grams. I will be putting this pipe on the rebornpipes store in the French Pipe Makers section. Thanks for reading this blog and my reflections on the pipe while I worked on it.

Restoring an Amphora Sandblasted Bent Billiard


Blog by Kenneth Lieblich

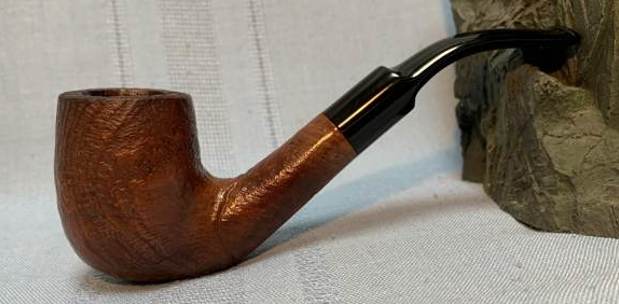
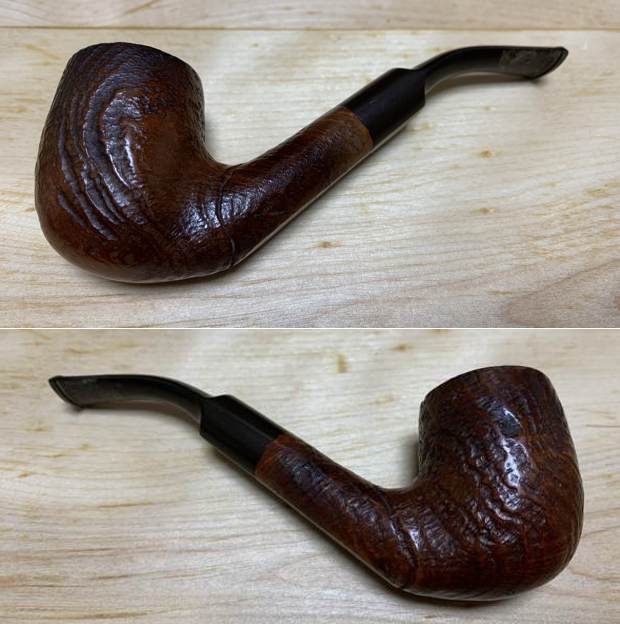
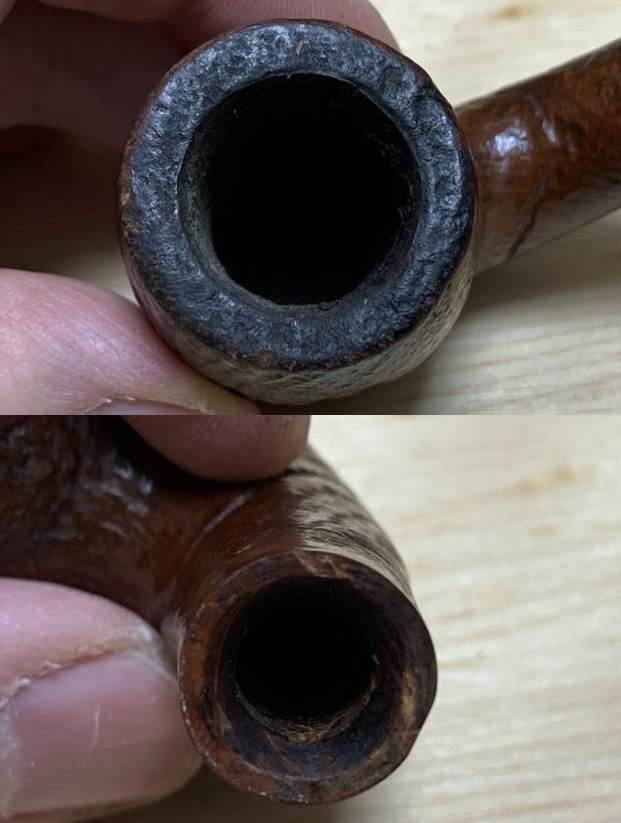
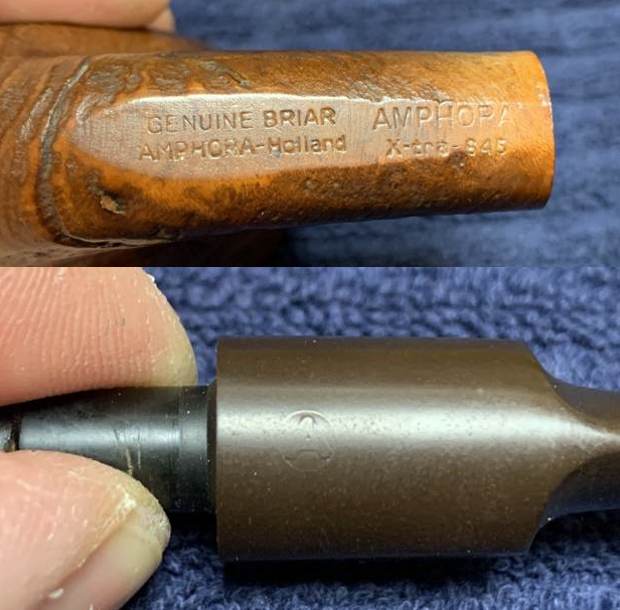
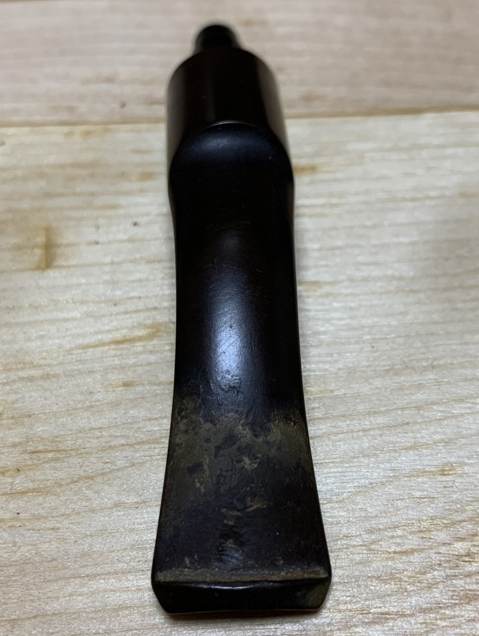
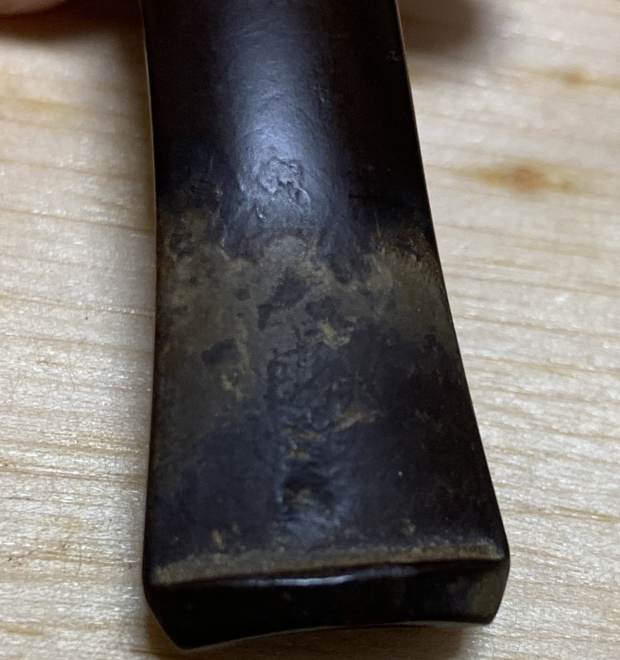
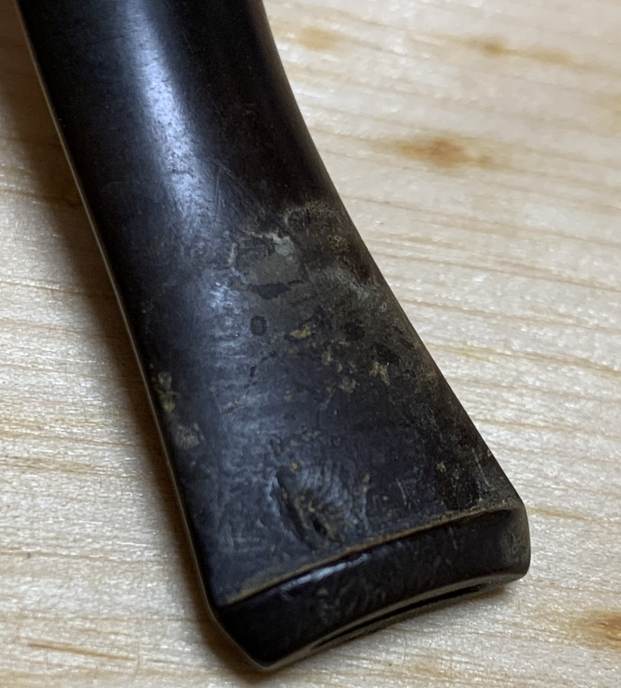
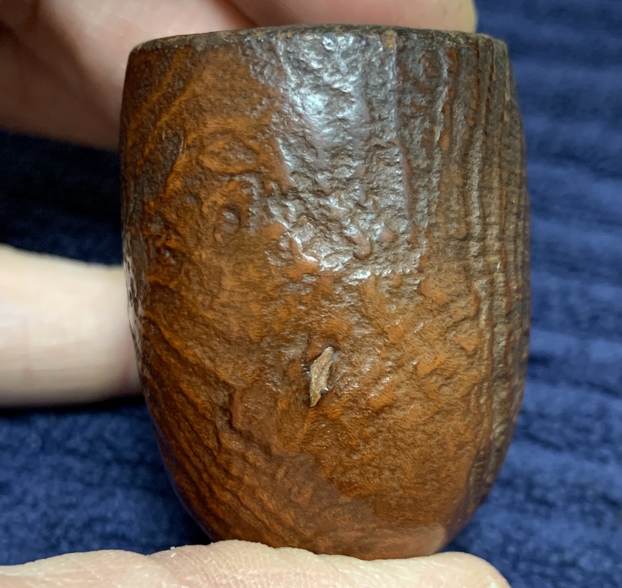
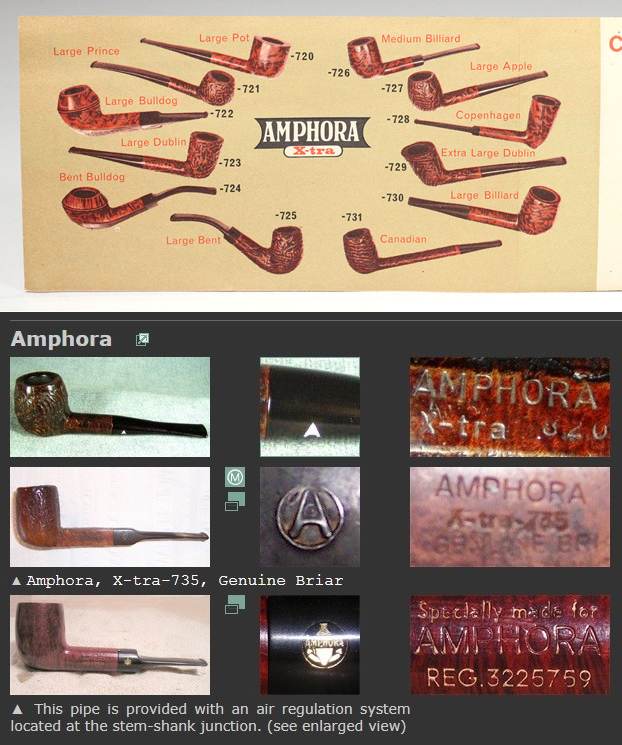
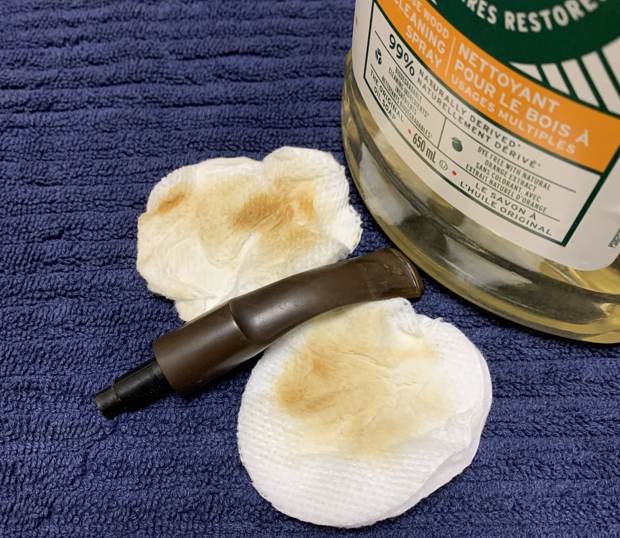
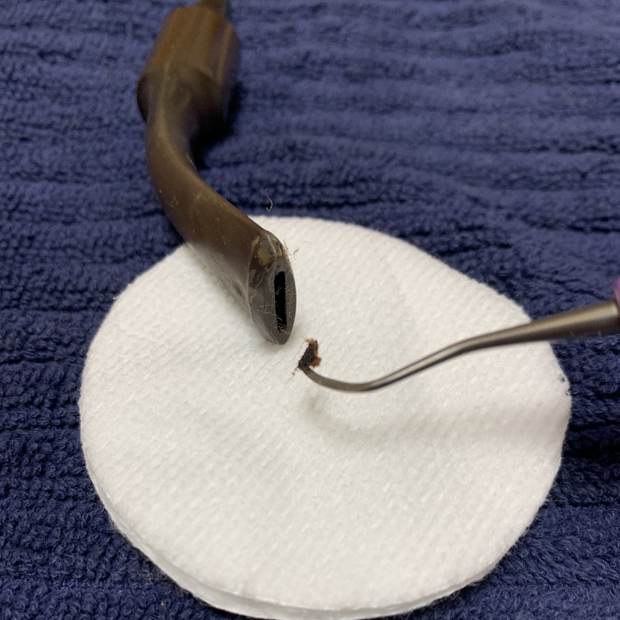
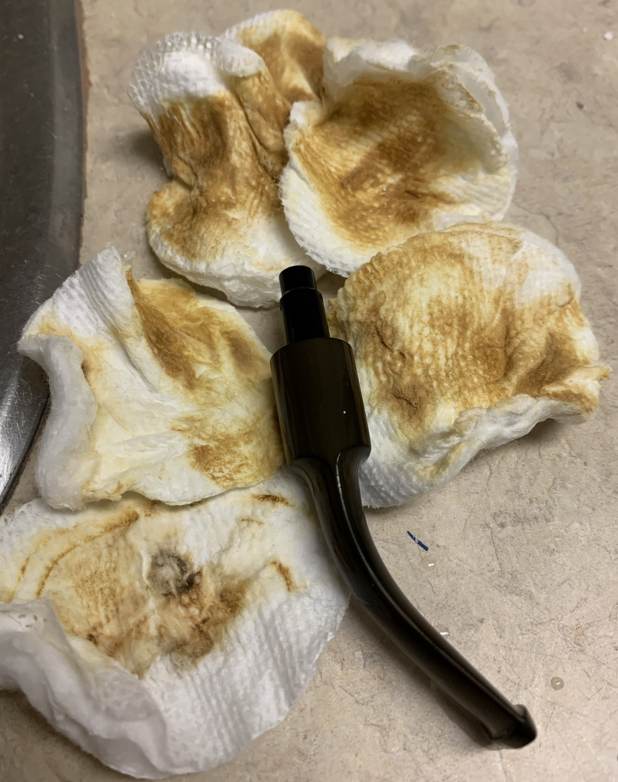
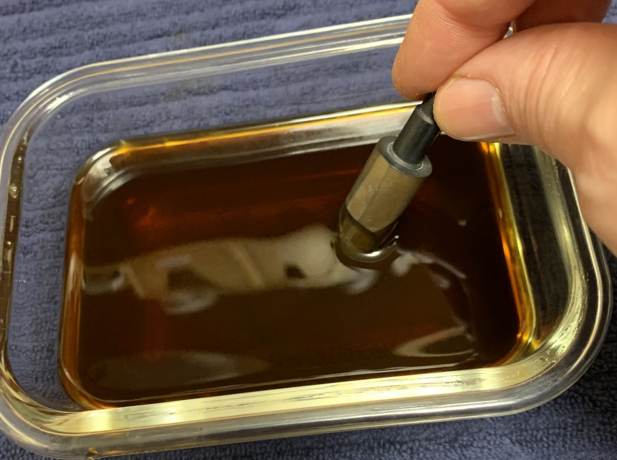
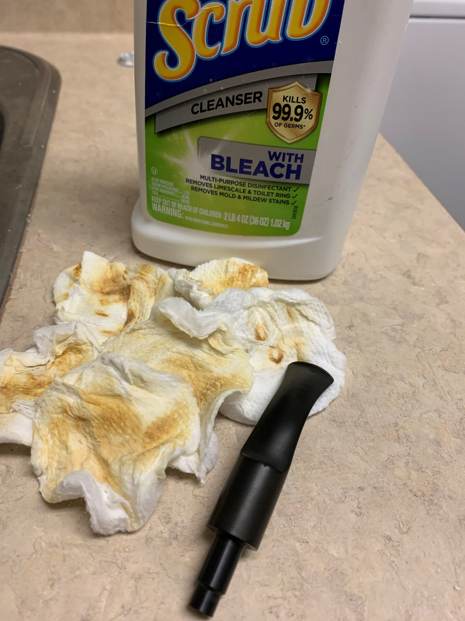
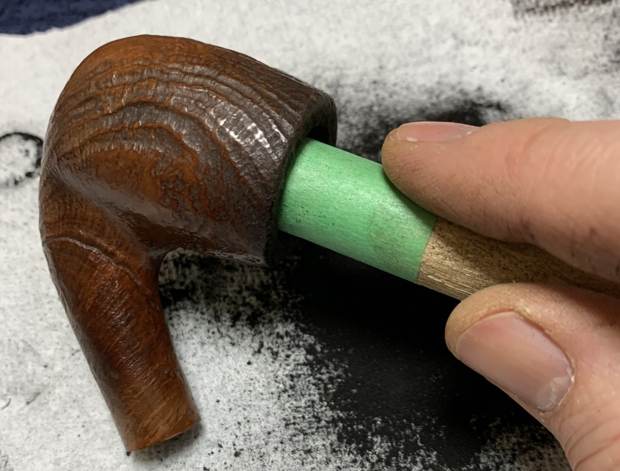
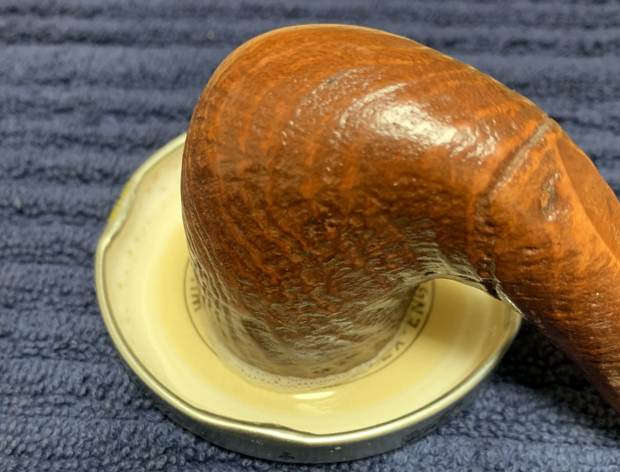
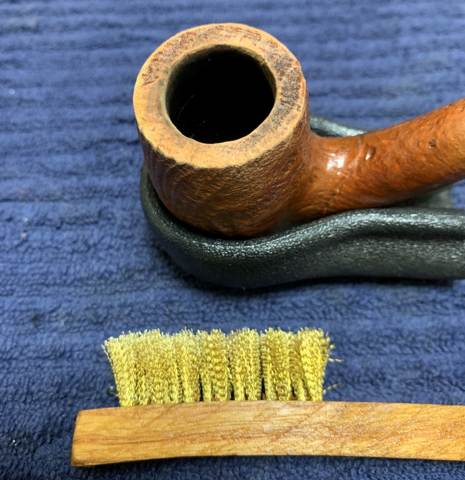
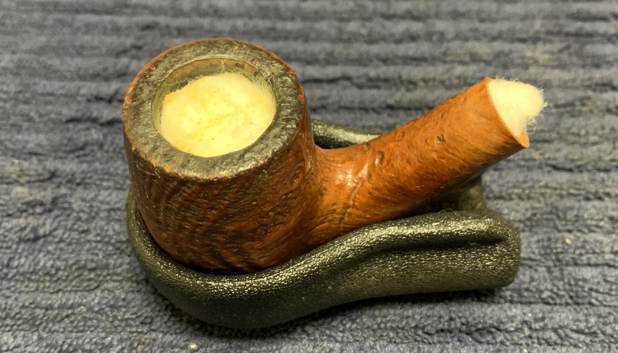
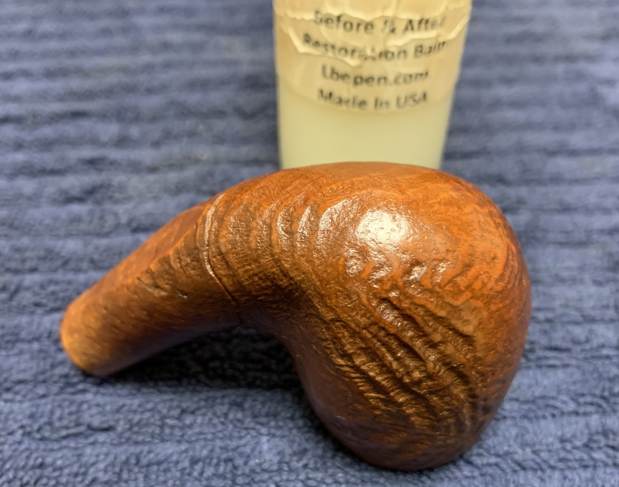
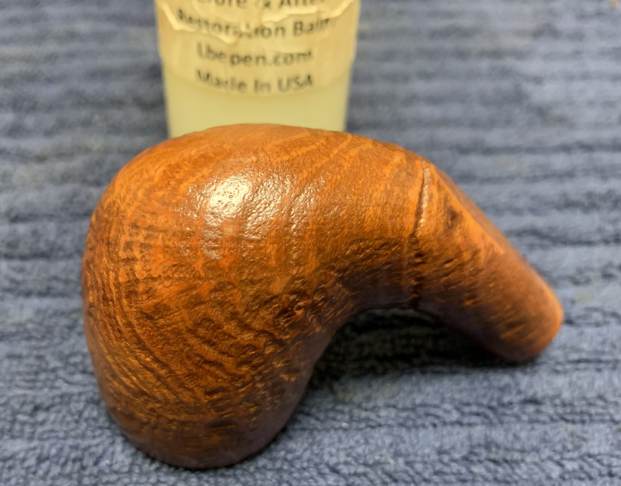
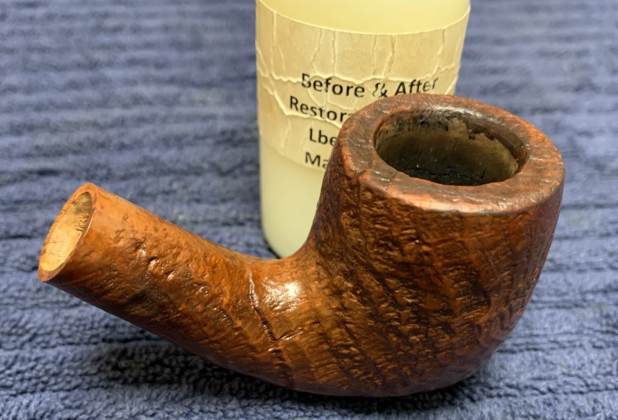
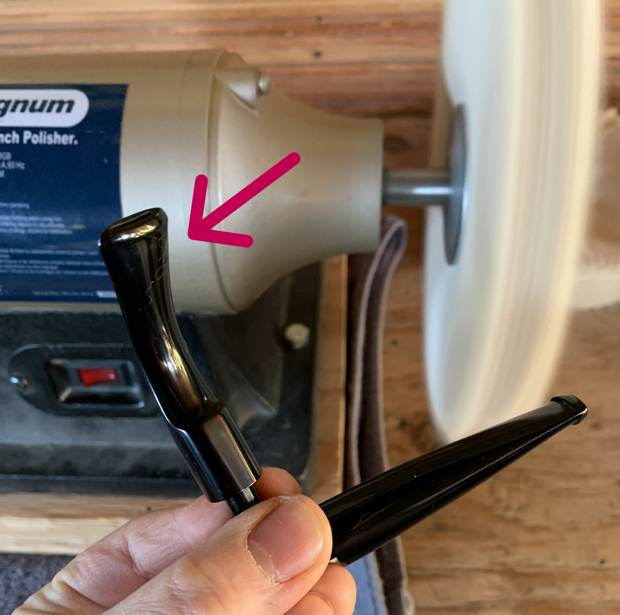
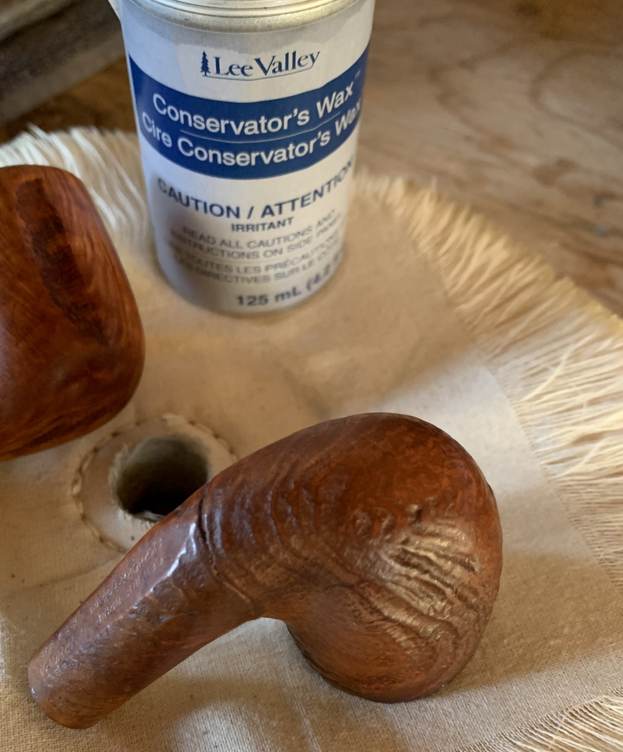
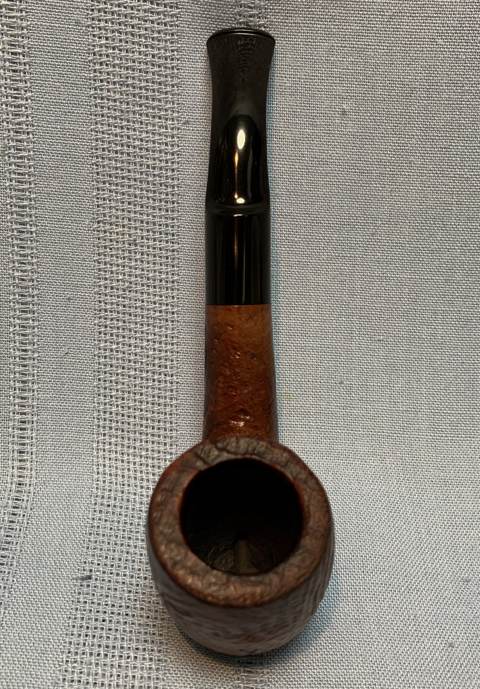
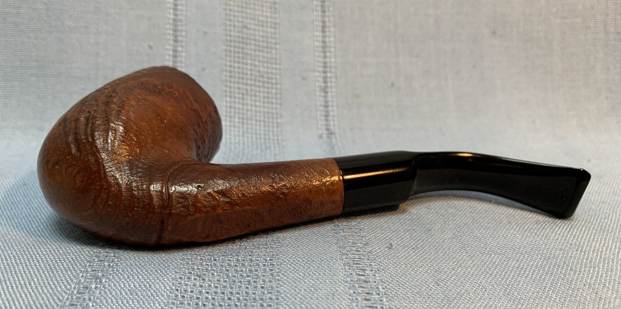
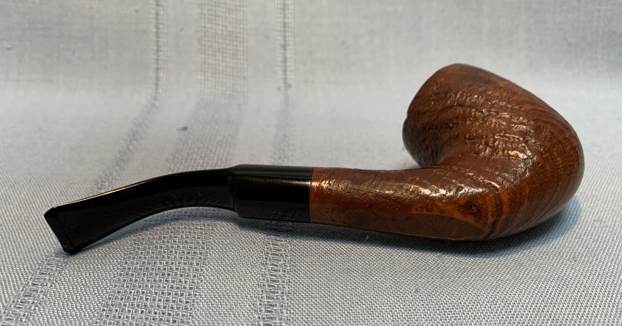
Next on the chopping block is a pipe which was selected by a customer of mine in the prime of his youth. Understandably, this very young fellow wanted a handsome and inexpensive pipe and chose this Amphora sandblasted bent billiard. I acquired it in a lot of pipes from a gentleman living on Vancouver Island. It was quite an assortment of pipes, as they ranged from horrible to beautiful. The selected pipe looked like a handsome, solid pipe that would smoke well and my young customer took a liking to it immediately. So did I – the sandblast is really quite attractive and I felt that he had made a good choice. The underside of the shank had the pipe’s markings. They read as follows: Genuine Briar [over] Amphora-Holland. Next to that was Amphora [over] X-tra-845. Secondarily, the Amphora logo (and encircled ‘A’) was on the left side of the stem. This logo was quite worn and I was unsure if I could restore it. Clearly, this pipe had been well-loved, as it arrived with some marks and general wear, and the stem was pretty nasty. There were also a couple of fills, but I was confident that those would be easy to handle. Amphora is a Dutch pipe brand of long-standing and they are perhaps best known because of their pipe tobacco. I must admit that whenever I heard the word “amphora”, I immediately think of this:I have cobbled together the brief bits of information from Pipedia, Pipephil, and the forums of PipesMagazine. Amphora was a brand of the Royal Dutch Pipe Factory, owned by Elbert Gubbels & Sons B.V. They produced several other brands, such as Douwe Egberts and Royal Dutch. Dr Grabow also produced bowls for them for some time and I have reason to believe that this particular pipe was from the Grabow factory. The Royal Dutch Pipe Factory went bankrupt in 2012. For some further speculative information about Amphora, please read Robert M. Boughton’s article here. Off to work! First, I wiped the filthy stem with Murphy’s Oil Soap on some cotton pads. There was oxidation and calcification there and I needed to remove it.The bore in the mouthpiece was clogged with debris (yuck!) and I used a dental pick to remove it. I feared that this might hint at the filthy horrors awaiting me in the stem. Fortunately, although the stem was pretty dirty, it was not as bad as I had feared. I had no problem cleaning out the inside with pipe cleaners and isopropyl alcohol. Before the stem went for an overnight soak in the Pipe Stem Oxidation Remover, I used some SoftScrub to remove the first layer of filth and give the soak the best chance of working. It then went into the bath overnight. The following day, I cleaned all of the de-oxidizing mess off with alcohol, pipe cleaners, et cetera. The oxidation had migrated to the surface and would be fairly straightforward to remove. I scrubbed with SoftScrub on some cotton pads to remove the leftover oxidation. Once clean, I took a BIC lighter and ‘painted’ the stem with its flame to lift the bite marks. This did very little, but I built up the bite marks on the stem with black cyanoacrylate adhesive and let them fully cure. Following that, I sanded the adhesive down with 220- and 400-grit sandpapers to meld seamlessly into the stem. I then used all nine Micromesh pads (1,500 through 12,000 grit) to bring out the lovely black lustre on the stem, with some Obsidian Pipe Stem Oil in between each pad scrubbing. Now for the stummel. Firstly, I decided to ream out the bowl. I used the KleenReem to remove the built-up cake and followed that with 220-grit sandpaper taped to a dowel to eliminate as much as I could. I took the chamber down to bare briar to ensure there were no hidden flaws in the wall. Following this, I cleaned the insides with the requisite pipe cleaners, Q-tips and isopropyl alcohol. As the stack of cleaning materials show, it was a mess! I also took this opportunity to wash the stummel with Murphy’s Oil Soap and remove as much grime as I could. The pipe’s rim was so caked with filth that I opted to soak it in a jar-lid of Murphy’s to soften it. Then I used a wire brush to dig out all the gunk. As the pictures show, the rim was badly worn and had lost a fair amount of colour. So, I took one of my furniture pens and touched it up. A bit later, you’ll see how much the rim improved. I decided the pipe needed some additional TLC and I chose to de-ghost it. I thrust cotton balls in the bowl (and plugged up the shank) and saturated it with isopropyl alcohol. I left it overnight and let all the evil spirits in the pipe leech into the cotton. Once complete, the pipe looked great and smelled even better.   I really liked the colour of the pipe and felt that it didn’t need any stain, so I applied some Before & After Restoration Balm which I massaged into the wood and let sit for 15-20 minutes. After that, I rubbed it with a microfiber cloth. The balm brings out the best in the beautiful wood. It makes things shine and really shows the lustre. Finally, it was off for a trip to the buffer. I used neither White Diamond nor carnauba wax because I didn’t want to lose any of the beautiful sandblast. Also, carnauba wax gets gummed up in the grooves. Instead, I used Conservator’s Wax and my bench buffer. One of the pictures below shows me holding two stems, but the stem in question is the one on the left (with the arrow). All finished! This is a handsome pipe with a beautiful sandblast and a classic look. I know the new owner will enjoy smoking it for many years to come and he’s already told me that he’s thoroughly enjoyed several bowls with it. I hope you enjoyed reading the story of this pipe as much as I did restoring it. If you are interested in more of my work, please follow me here on Steve’s website or email me directly at kenneth@knightsofthepipe.com. Thank you very much for reading and, as always, I welcome and encourage your comments.

Cleaning up a Lightly Smoked French Made Shop Pipe –  Butz-Choquin Made Pot


Blog by Steve Laug

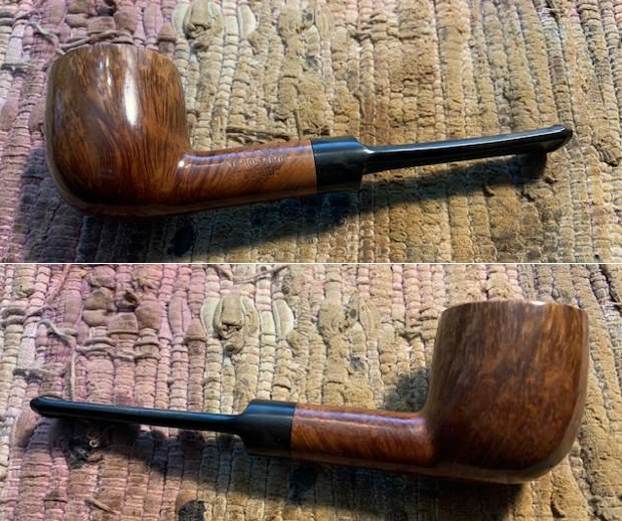
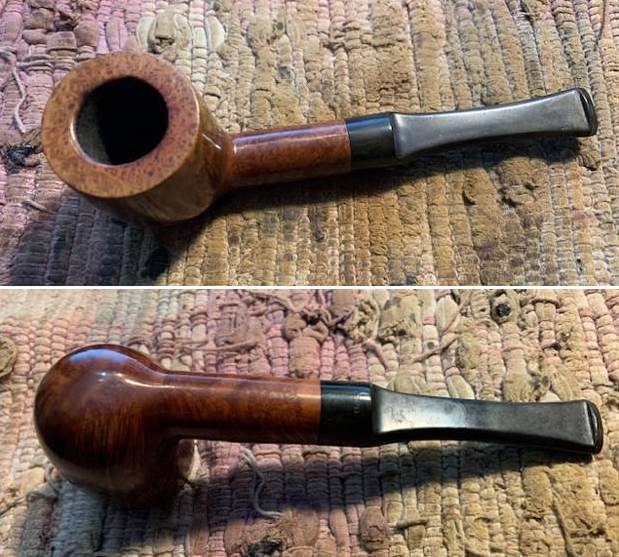
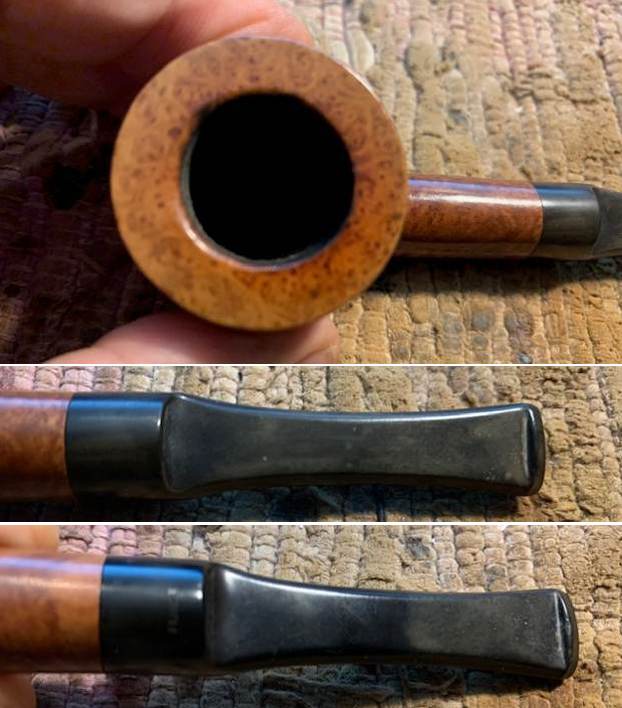
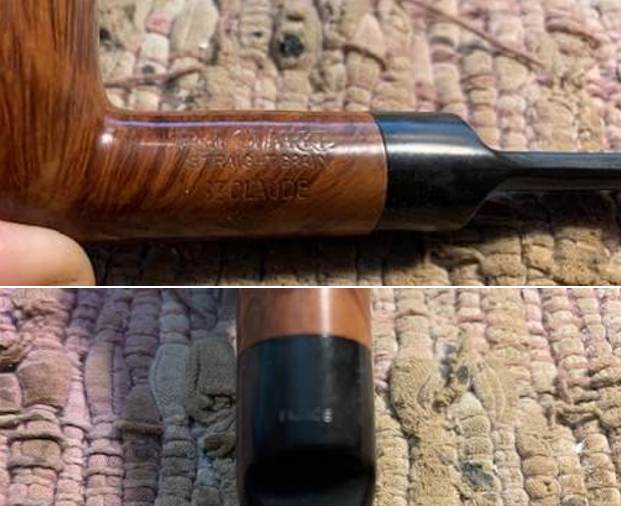
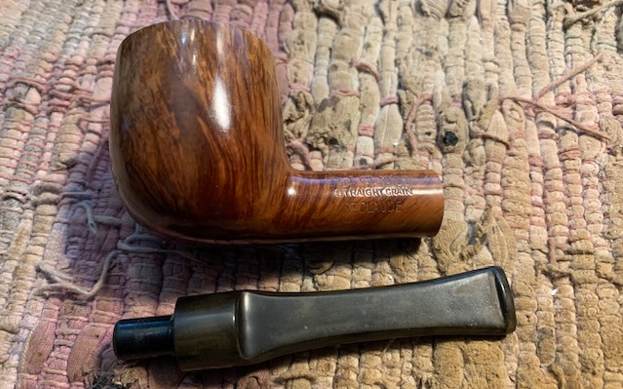
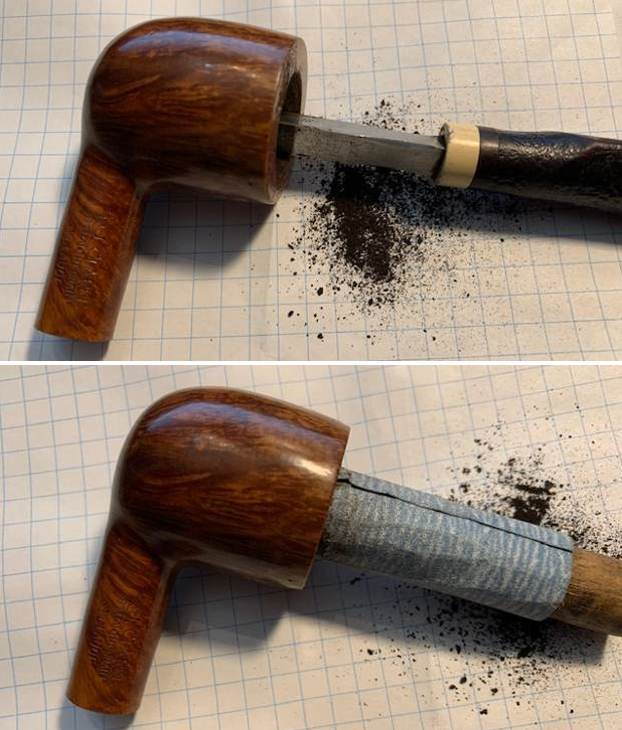
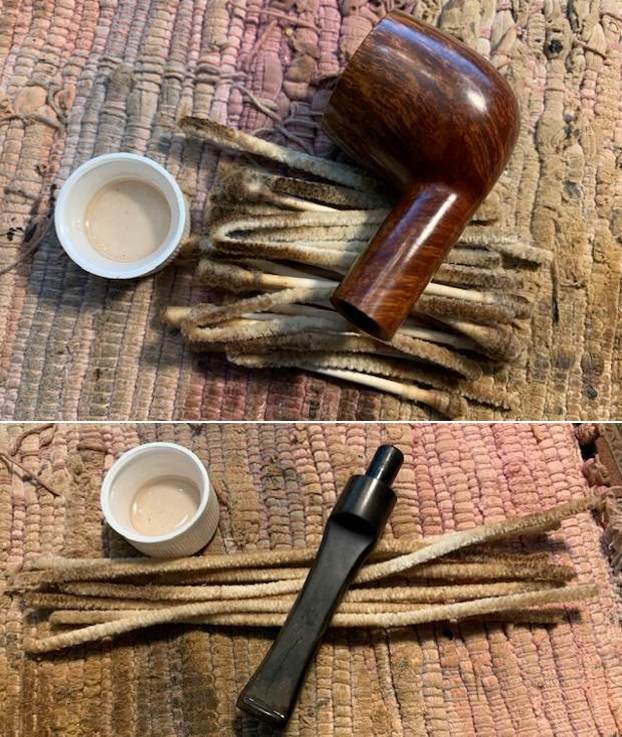
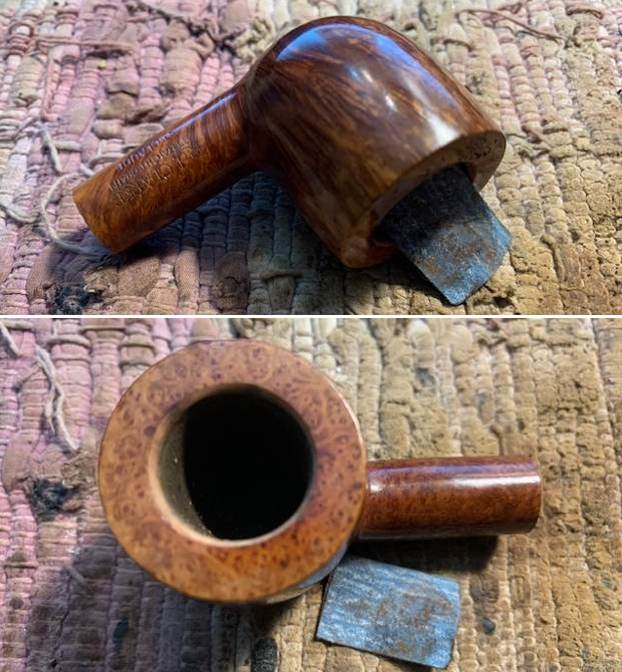
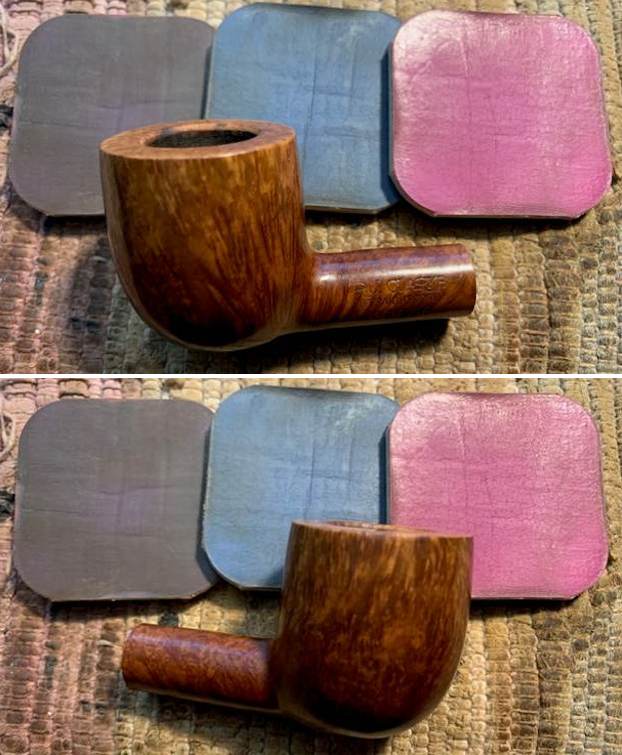
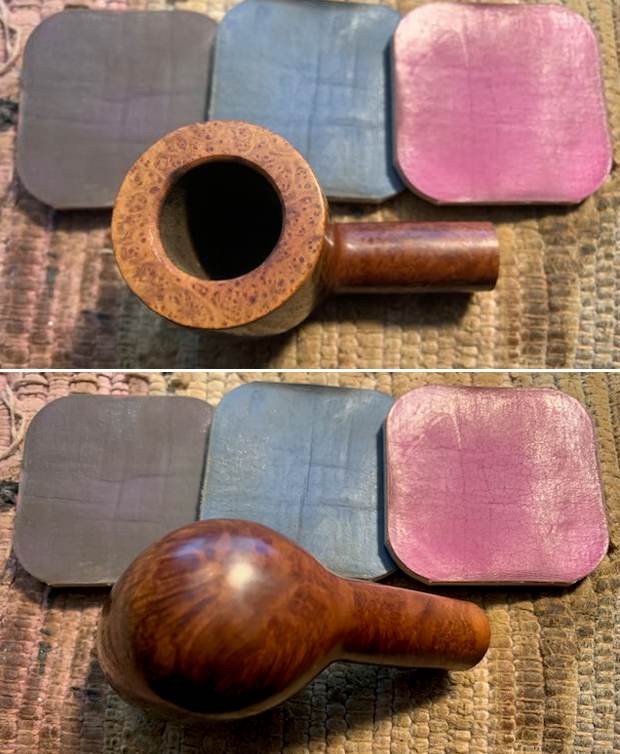
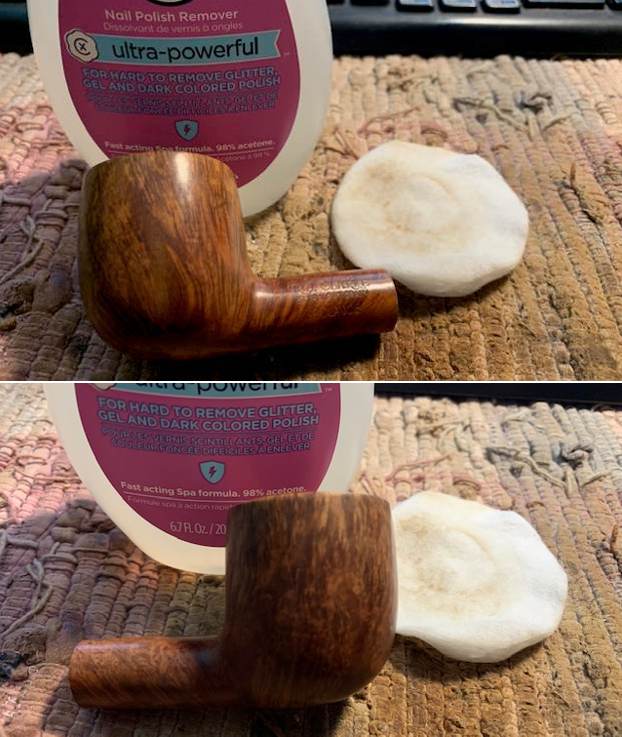
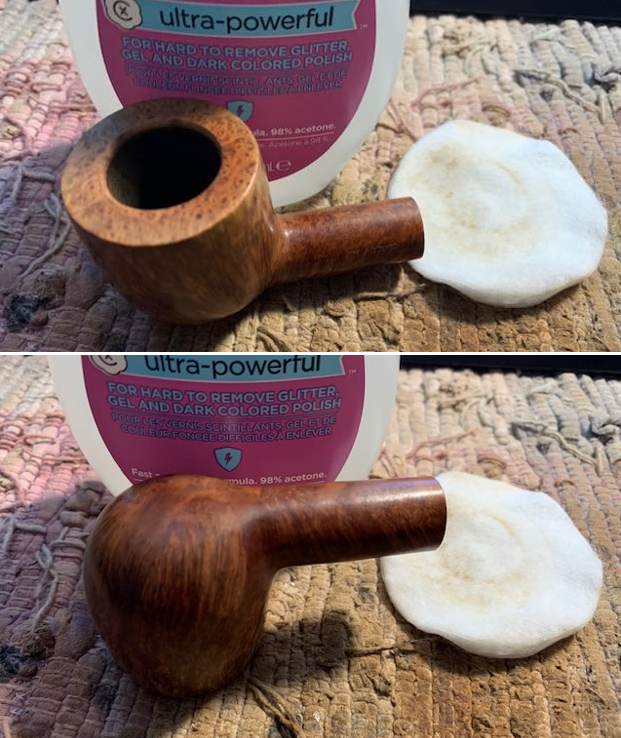
The next pipe on the work table is an interesting piece of Vancouver Pipe Smoking History. It is a shop pipe that is stamped on the left side and reads R.J. Clarke [over] Straight Grain [over] St. Claude. The underside of the stem is stamped FRANCE next to the shank/stem union. For a bit of background, R.J. Clarke’s was my go to Tobacco Shop before its Gastown location closed down. To enter the shop was like a bit of time travel. It had been a Vancouver tradition for many years. The location had been a Vancouver tradition for years. Inside it looked like I imagined shops in 1800’s England must have looked. Inside, it was dark but wasn’t intimidating, fragrant but not overpowering. The owner was friendly and informative and I made it a Saturday tradition to visit there once I moved to Vancouver. There were chairs and couches in the back of the shop to sit and sip a coffee and a pipe or cigar and solve the world’s  problems with other like minded pipemen. Those memories will never leave me but the shop is long gone – closed around 2000 (give or take a year). This nicely made Pot shaped pipe has some nice mixed grain around it. There was a light cake in the bowl and some slight damage to the inner edge. The vulcanite saddle stem was lightly oxidized and had tooth marks and chatter on the top and underside ahead of the button. I took photos of the pipe before I started my clean up work on it. It is a pretty pipe with some great grain around the bowl and shank. I took photos of the rim top and edges and the stem surfaces. The rim top looked very good with some great birdseye. The inner edge had some burn damage and some darkening all the way around. There was some darker spots on the right front and the rear left edges. The stem had some oxidation and tooth marks and chatter on both sides ahead of the button.I took a photo of the stamping on the left side of the shank. It read as noted above and is very clear. I removed the stem from the bowl and took a picture of the pipe to show the general look and proportion of the pipe. It is quite pretty in terms of grain and shape. The stem is definitely a fitted blank rather than a hand cut one.I reamed the bowl with a Savinelli Fitsall Pipe Knife to scrape out the thin cake in the bowl. There was not much there but enough that it had to go. I also sanded the bowl walls with a piece of 220 grit sandpaper wrapped around a piece of dowel. The bowl walls were smooth when I finished the work.  I cleaned out the shank and the airway in the mortise and stem with pipe cleaners, cotton swabs and isopropyl alcohol. It was quite a bit dirtier than I expected from just the appearance. With the cleaning the pipe smelled cleaner.I worked over the inner edge with a folded piece of 220 grit sandpaper to smooth out the damage and to give the edge a slight bevel to remove the burn damage. I polished the briar with micromesh sanding pads – polishing it with 1500-12000 grit pads. By the time I was finished the briar had a great shine. The grain on the pipe is quite beautiful. I wiped down the surface of the briar with acetone on a cotton pad. It cut through the thick varnish coat and with it removed the grain on the briar really shone through clearly.  I rubbed the bowl and shank down with Before & After Restoration Balm to deep clean the finish on the bowl and shank. The product works to clean, enliven and protect the briar. I worked it into the finish with my fingers. After it sat for 15 minutes I wiped it off with a soft cloth. The briar really began to have a rich shine. I took some photos of the bowl at this point to mark the progress in the restoration. It is a beautiful bowl.  I set the bowl aside and turned my attention to the stem. I “painted” the surface with the flame of a lighter to lift the tooth marks and chatter. It worked very well and I sanded out the remnants and oxidation on the top and underside with 220 grit sandpaper and started polishing it with 400 grit wet dry sandpaper (in my late night work on this stem I forgot to take photos of the sanded stem after the 220 and 400 grit papers).   I polished the stem with micromesh sanding pads – dry sanding with 1500-12000 grit pads. I wiped the stem down after each pad with a damp cloth to remove the sanding dust. I used the Before & After Pipe Polish to remove the small minute scratches left in the vulcanite. I finished by wiping the stem down with a final coat of Obsidian Oil and set it aside to dry.   As usual at this point in the restoration process I am excited to be on the homestretch. I look forward to the final look when it is put back together, polished and waxed. I put the bowl and stem back together. I polished the bowl and stem with Blue Diamond to polish out the scratches in the briar and the vulcanite. I gave the bowl and the stem multiple coats of carnauba wax. I buffed the pipe with a clean buffing pad to raise the shine. I hand buffed it with a microfiber cloth to deepen the shine. The pipe polished up pretty nicely. The grain really pops with the wax and polish. The shiny black vulcanite stem is a beautiful contrast to the browns of the bowl and thick shank. This French Made RJ Clarke Straight Grain St. Claude Pot was another fun pipe to work on. It is a nice piece of briar whose shape follows the flow of the briar. The pipe is comfortable pipe to hold in the hand. The finished pipe is shown in the photos below. The dimensions of the pipe are Length: 5 ½ inches, Height: 1 ¾ inches, Outside diameter of the bowl: 1 ¼ inches, Chamber diameter: ¾ of an inch. The weight of the pipe is 1.20 ounces/34 grams. I will be putting this pipe on the rebornpipes store in the Canadian Pipe Makers section. Thanks for reading this blog and my reflections on the pipe while I worked on it.

Cleaning up a Second Peterson’s De Luxe System 8S Bent Billiard with a Sterling Silver Ferrule


Blog by Steve Laug

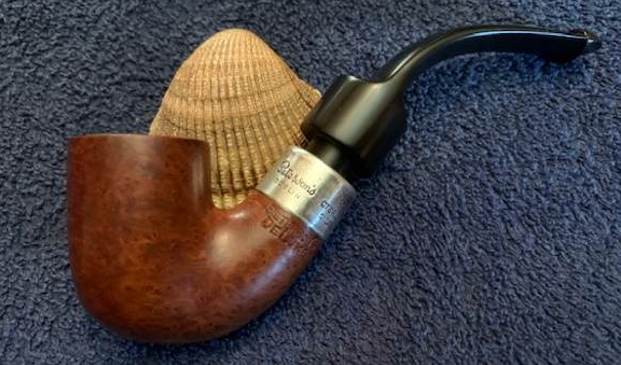
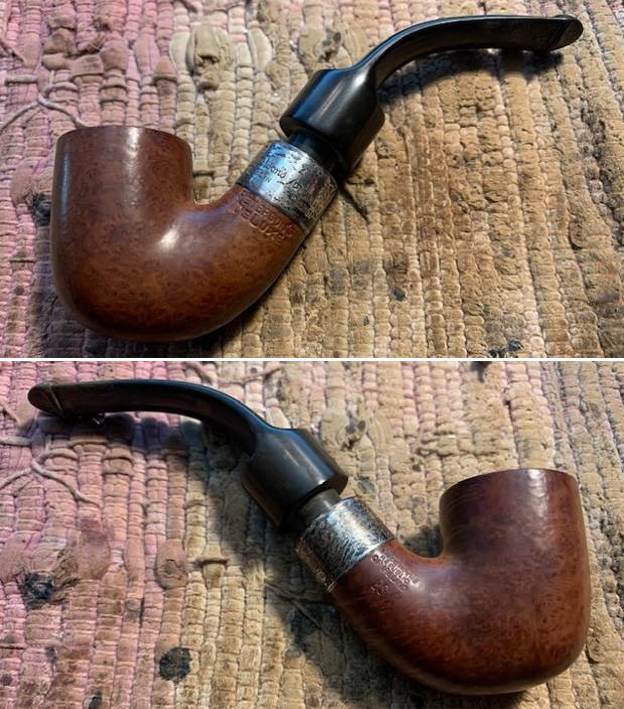
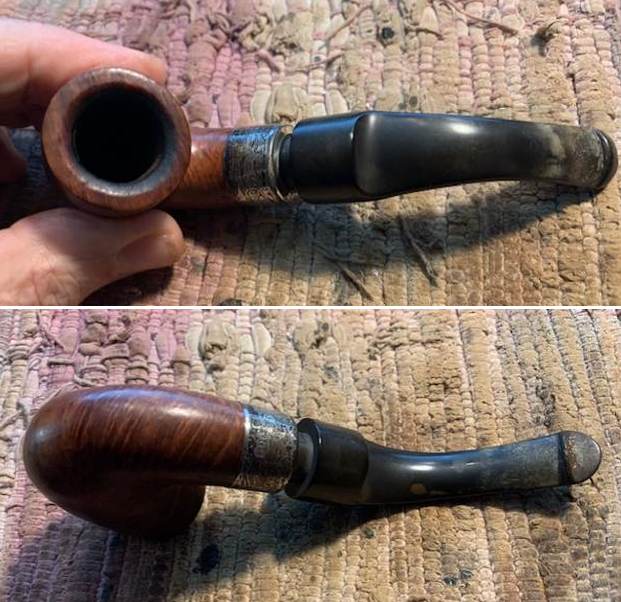
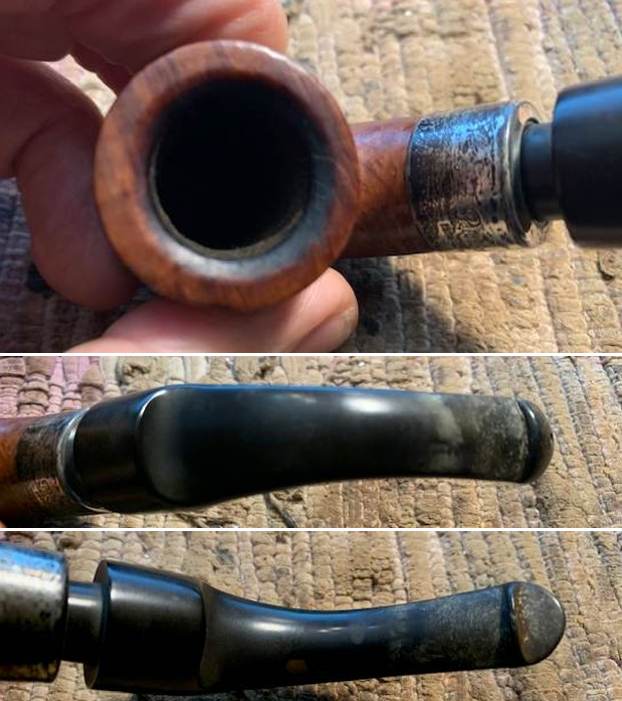
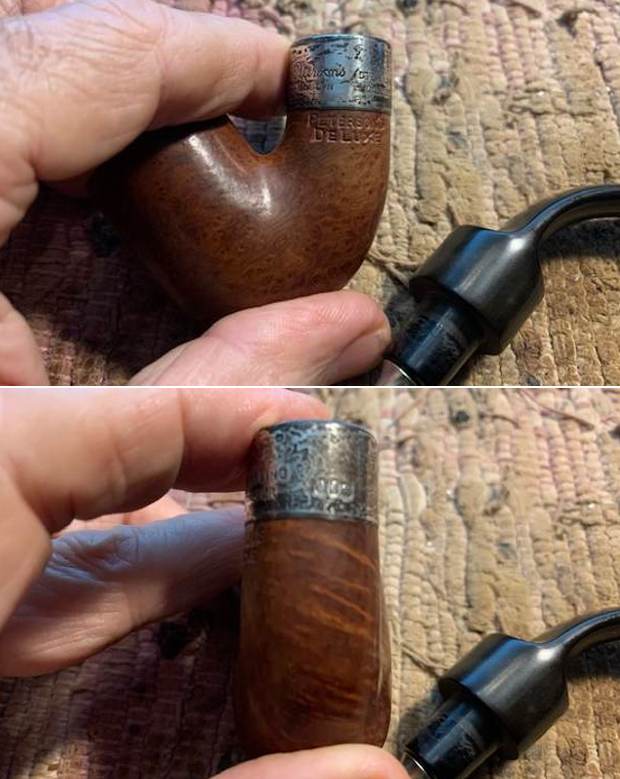
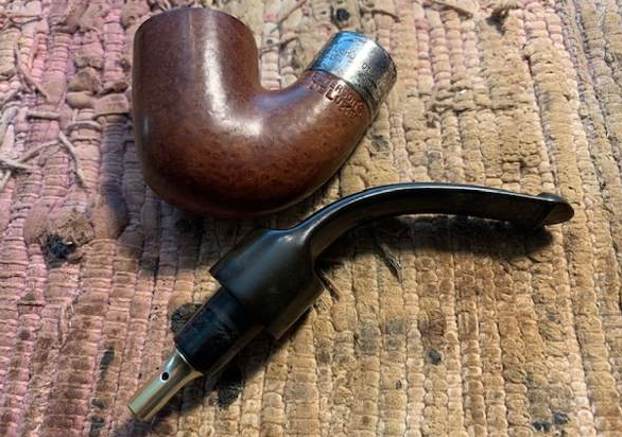
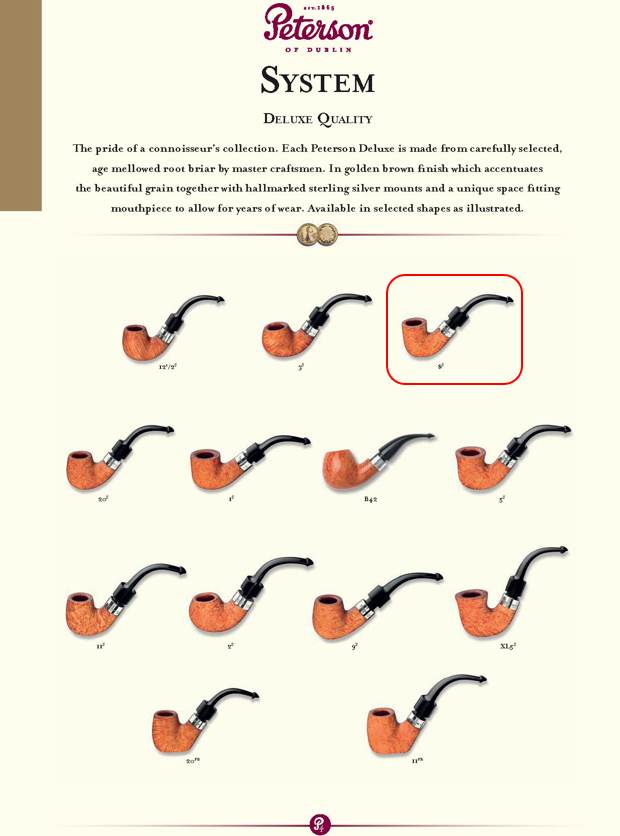
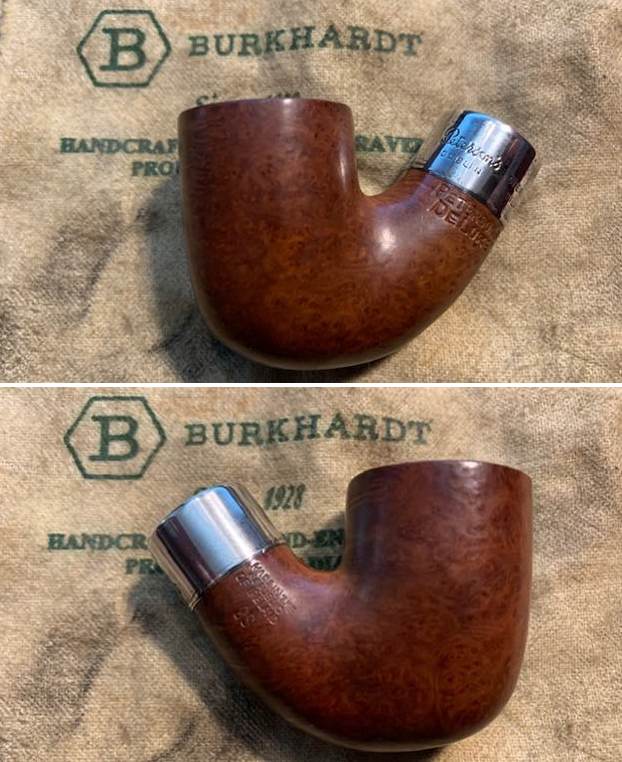
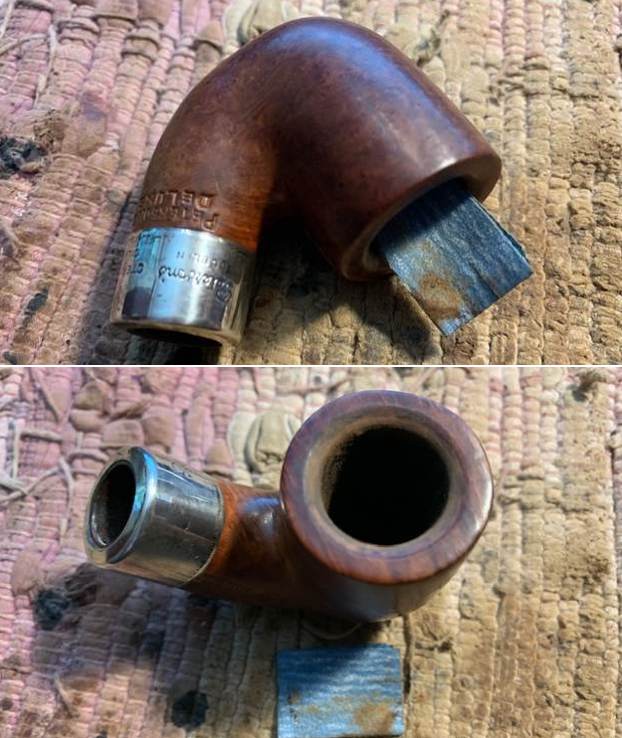
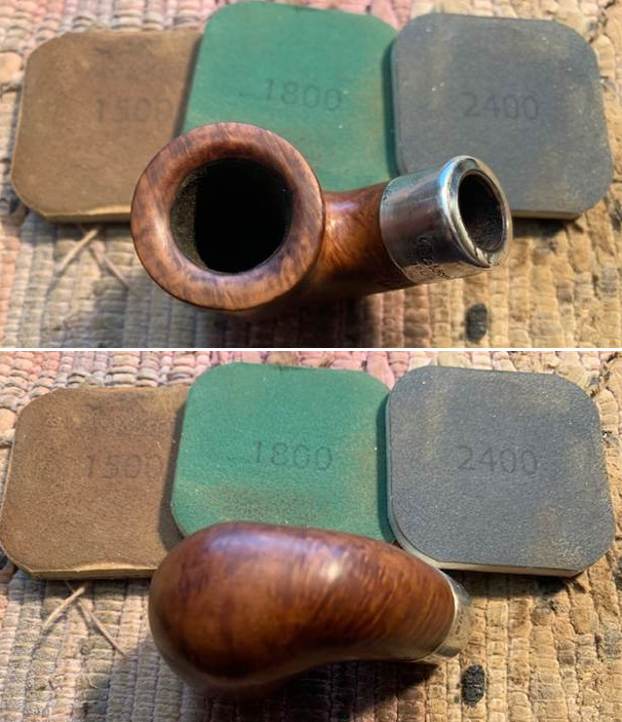
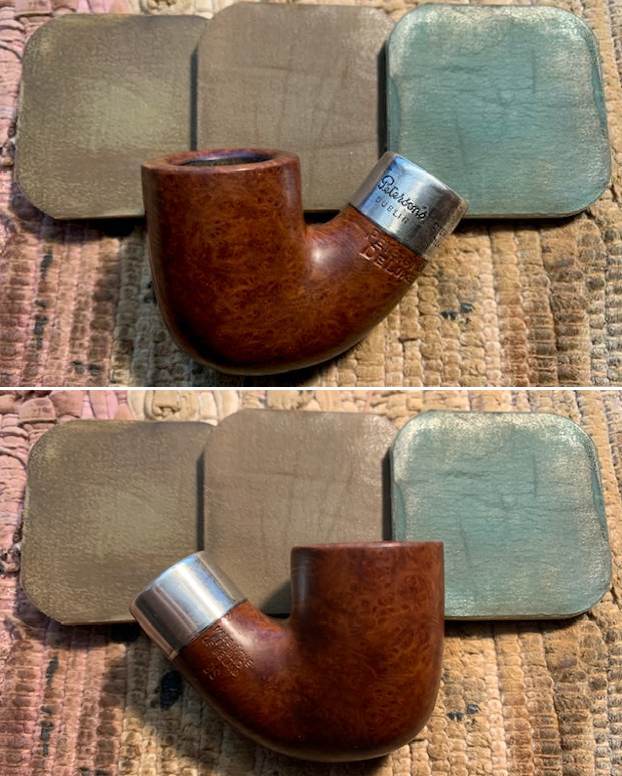
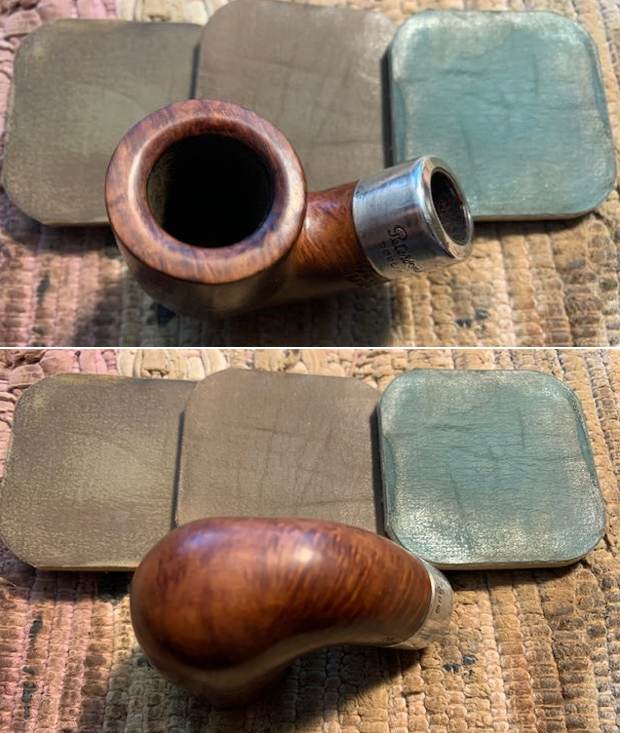
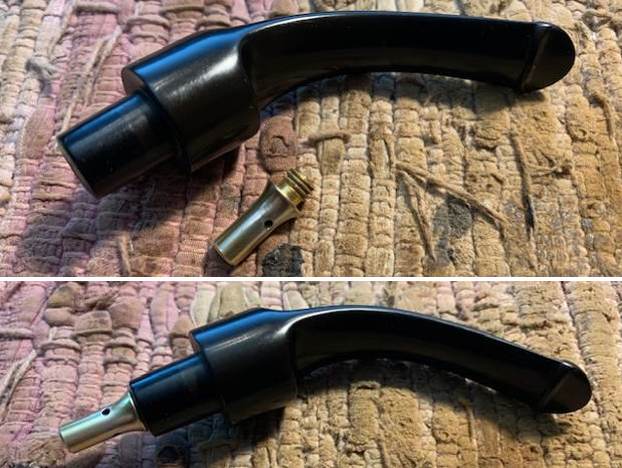
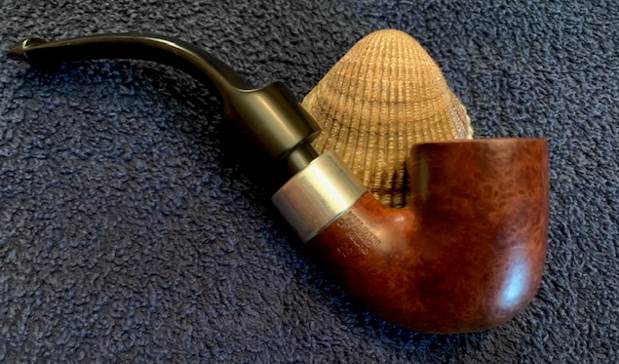
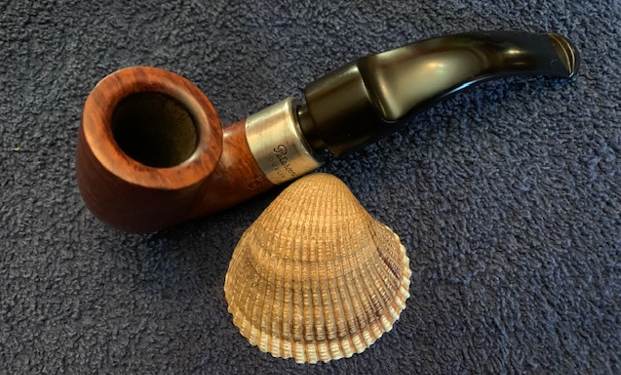
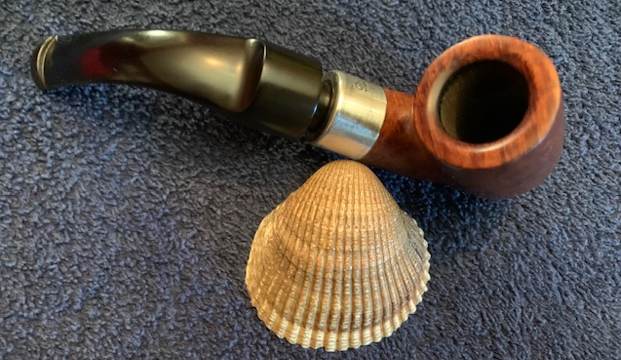
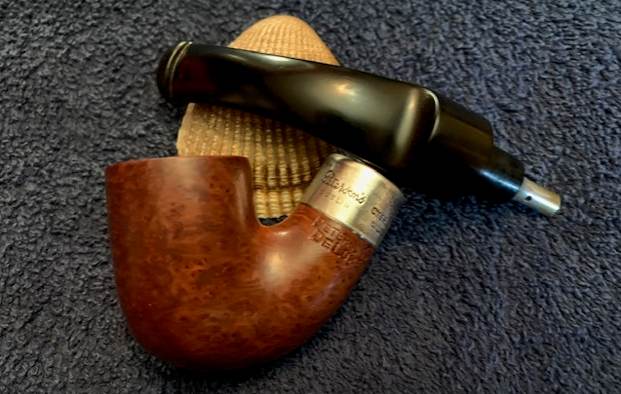
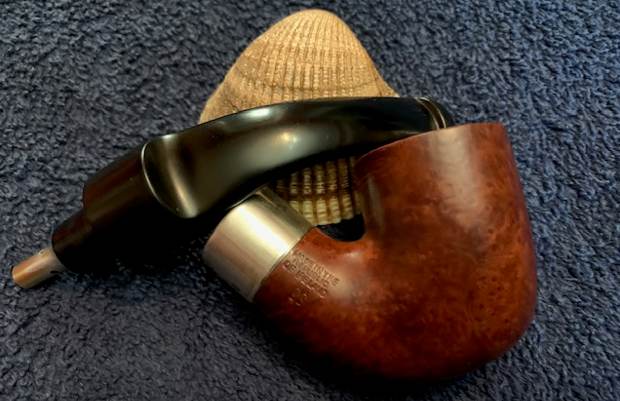
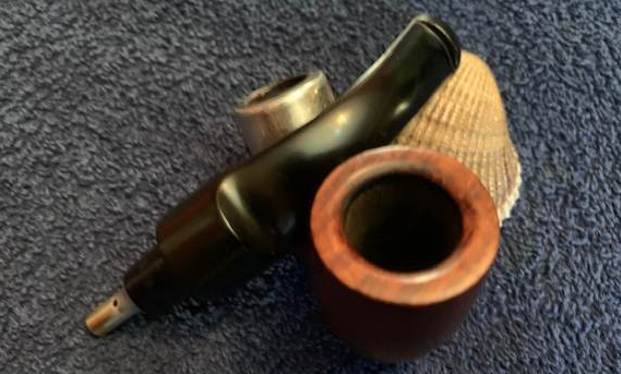
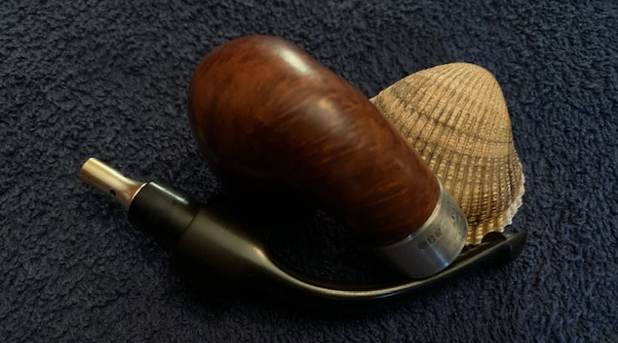
I have a few pipes that I am working on for local folks who either have dropped them off or who are friends that I am catching up with. The next pipe on the worktable is the second of two more that belongs to an old friend of mine who is in the process of moving. He stopped by and asked me to clean up two more of his favourite pipe. This first one I worked on was a Whidbey Hand Cut CW ’76 Freehand (https://rebornpipes.com/2022/11/11/cleaning-up-a-chuck-whitmore-hand-cut-whidbey-freehand-for-a-friend/). This second on is another Peterson Deluxe with a Sterling Silver Ferrule. It is stamped on the left side of the shank and reads Peterson’s [over]De Luxe. The stamping on the right side reads Made in the Republic of Ireland (3 lines) over the shape number 8S. The ferrule on the shank is clear and readable under the tarnish. It reads Peterson’s [over] Dublin. That is followed by Sterling [over] Silver. That was followed by three hallmarks – The Hibernia stamp, the Crowned Harp stamp and finally the letter “m”. It has some stunning grain around the bowl and shank under the grime. There was a thin cake in the bowl and the top and edges of the rim had some scratches and damage on both. The stem was lightly oxidized and calcified. There were light tooth marks on the surface of both sides. I took some photos of the pipe before I started my work. I took photos of the rim top and the stem to show their condition. The top and edges look quite good other than some darkening on the beveled rim top – heavier toward the back. The silver was badly oxidized but I could still read the stamping. The stem was oxidized, calcified and has light tooth marks and chatter on both sides. I took photos of the stamping on the shank and the Sterling Silver ferrule to capture its condition. The stamping on the shank is readable as noted above. The stamping on ferrule is clear and readable as noted above. There was no “P” stamp on the stem side. I removed the stem from the bowl and took a picture of the pipe to show the general look and proportion of the pipe. It also shows the metal condenser tube in the tenon end. To help identify the shape number I turned to a Peterson Catalogue that I have on rebornpipes and looked up the System Deluxe pipes (https://rebornpipes.com/tag/peterson-hallmark-chart/). I compared the shape of the pipe in hand with the shape chart show below. I have put a red box around the 8S pipe shown in the catalogue page shown below. So now I knew it was an 8S Bent Billiard.I turned first to Pipephil’s site to reacquaint myself with the DeLuxe. Unfortunately there was no information to be found on this specific line. I then turned to Pipedia’s article on Peterson pipes to see what I could garner from that information. It is a great read in terms of the history of the brand (https://pipedia.org/wiki/Peterson). I have included a bit of the pertinent history here.

1950 – 1989 The Republic Era  – From 1950 to the present time, the stamp for this era is “Made in the Republic of Ireland” in a block format generally in three lines but two lines have been used with or without Republic being abbreviated…

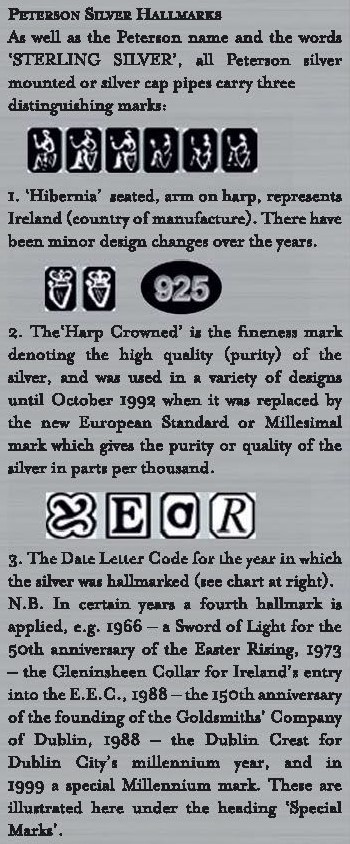
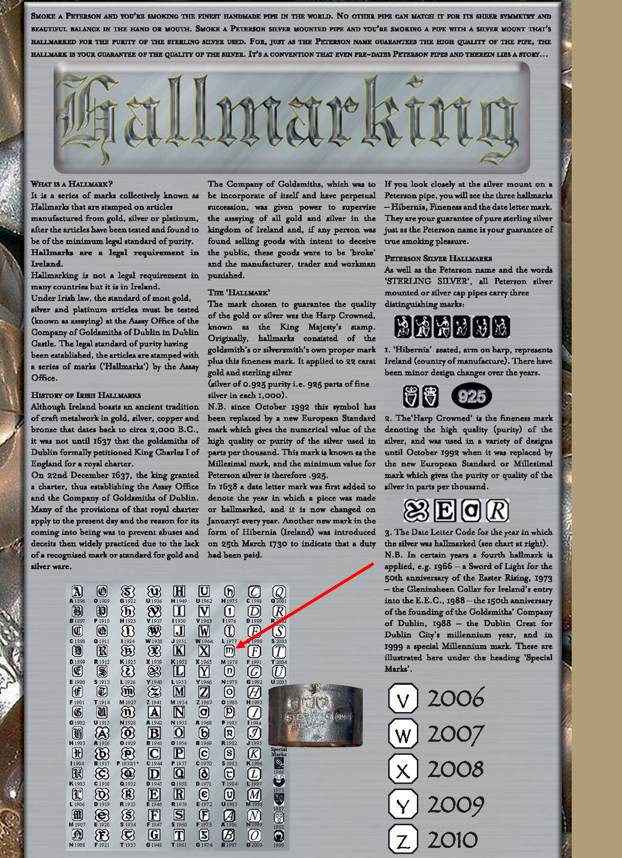
…With that information in hand I knew what I was dealing with in terms of the stamping on the pipe. It is a Republic Period pipe. I also wanted to be able to interpret the hallmarks on the silver band. I have captured a portion of the chart that include below that helps to clarify the meaning of each of the three hallmarks. I like the Hallmark feature on the higher end Peterson pipes with Sterling silver bands. It helps to pin down the date even further.

  • “Hibernia” seated, arm on harp represents Ireland (country of manufacture). There have been minor design changes over the years.
  • The “Harp Crowned” is the fineness mark denoting the high quality (purity) of the silver, and was used in a variety of designs until October 1992 when it was replaced by the new European Standard or Millesimal mark which gives the purity or quality of the silver in parts per thousand.
  • The Date Letter Code for the year in which the silver was hallmarked (see the chart below). In certain years a fourth hallmark is applied – for example 1966 – a Sword of Light for the 50th anniversary of the Easter Rising 1973. There were also other marks used for the fourth hallmark.

The pipe on my table had the Hibernia seated mark (Ireland) followed by the Harp Crowned signifying Sterling Silver percentage and finally in this case a lower case “m”. Each of the hallmarks was in an octagonal cartouche. The chart below helps me identify the date mark to 1978. I have drawn a red arrow to point out the 1978 mark in the chart below.

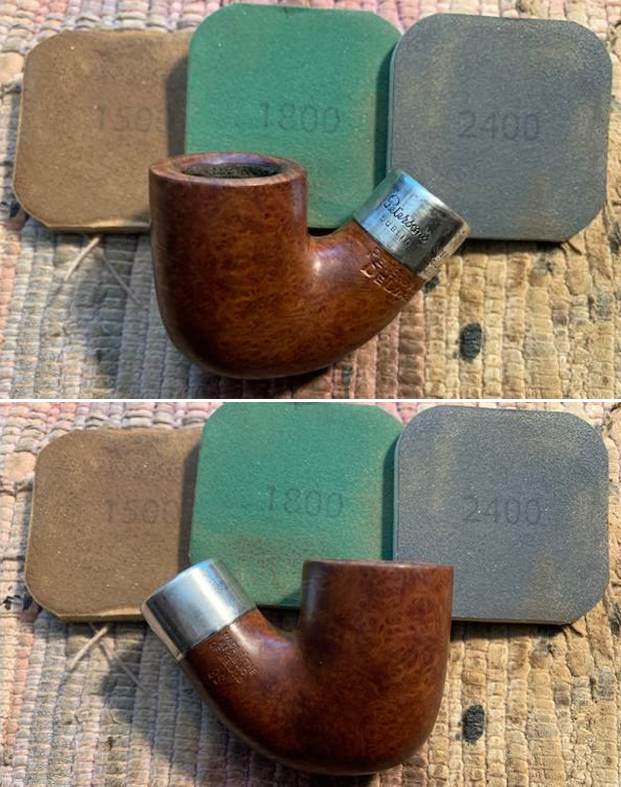
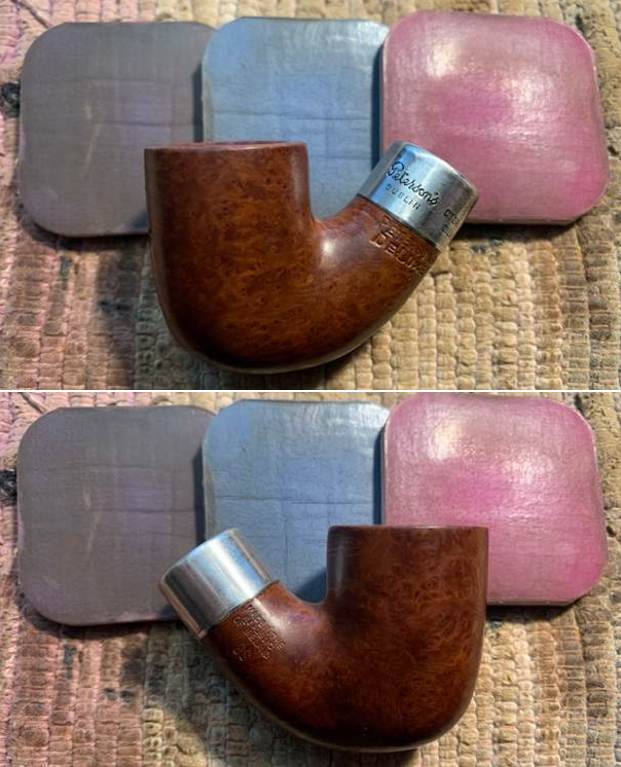
I have included the entire Hallmark chart for ease of reference show any of you be looking to date the pipes that you are working on at present.I polished the silver to remove the tarnish so that I could confirm the stamping on the silver and the date noted above. It is indeed hallmarked with the year stamp identifying it as a 1978 pipe. I took photos of the polished silver to show what it looked like after polishing. It is quite stunning. I worked over the rim top and the inner edge with a folded piece of 220 grit sandpaper to smooth out the damage and to bring the bowl back to round as much as possible. I polished the briar with micromesh sanding pads – polishing it with 1500-12000 grit pads. By the time I was finished the briar had a great shine. The grain on the pipe is quite beautiful. I rubbed the bowl and shank down with Before & After Restoration Balm to deep clean the finish on the bowl and shank. The product works to clean, enliven and protect the briar. I worked it into the finish with my fingers. After it sat for 15 minutes I wiped it off with a soft cloth. The briar really began to have a rich shine. I took some photos of the bowl at this point to mark the progress in the restoration. It is a beautiful bowl.  I set the bowl aside and turned my attention to the stem. I “painted” the surface with the flame of a lighter to lift the tooth marks and chatter. It worked very well and just a few small spots were left. I filled them in with clear CA glue and set it aside to cure. I sanded out the repairs and oxidation on the top and underside with 220 grit sandpaper and started polishing it with 400 grit wet dry sandpaper. I polished the stem with micromesh sanding pads – dry sanding with 1500-12000 grit pads. I wiped the stem down after each pad with a damp cloth to remove the sanding dust. I used the Before & After Pipe Polish to remove the small minute scratches left in the vulcanite. I finished by wiping the stem down with a final coat of Obsidian Oil and set it aside to dry.   I cleaned up the condenser and then put it back I place I the stem. This condenser was metal instead of the older bone ones. It is an integral part of the System pipe.As usual at this point in the restoration process I am excited to be on the homestretch. I look forward to the final look when it is put back together, polished and waxed. I put the bowl and stem back together. I polished the bowl and stem with Blue Diamond to polish out the scratches in the briar and the vulcanite. I gave the bowl and the stem multiple coats of carnauba wax. I buffed the pipe with a clean buffing pad to raise the shine. I hand buffed it with a microfiber cloth to deepen the shine. The pipe polished up pretty nicely. The grain really pops with the wax and polish. The shiny black vulcanite stem is a beautiful contrast to the browns of the bowl and thick shank. This Peterson’s DeLuxe 8S Bent Billiard was another fun pipe to work on. The Sterling Silver Ferrule works as a contrast between the stem and the briar and binds it all together. It really is a quite stunning piece of briar whose shape follows the flow of the briar. The pipe is comfortable pipe to hold in the hand. The finished pipe is shown in the photos below. The dimensions of the pipe are Length: 5 ½ inches, Height: 1 ¾ inches, Outside diameter of the bowl: 1 1/8 inches, Chamber diameter: ¾ of an inch. The weight of the pipe is 1.45 ounces/41 grams. This beautiful pipe will be going back with the other pipe to my friend. He will enjoy smoking it once again in his new place. Thanks for reading this blog and my reflections on the pipe while I worked on it.

Cleaning up and restoring a Shadow Box on the Process of Manufacture of a Briar Pipe


Blog by Steve Laug

My friend who is moving offered me this interesting old shadow box. It is entitled PROCESS OF MANUFACTURE and shows the movement of a block of briar to bowl with a mouthpiece. It was in pretty rough shape with the felt board with briar on it loose in the frame with the nails loose in the back. There was some kind of logo or label missing at the top of the shadow box and there appeared to also be a pipe missing from the flow of manufacture. Each item was labeled. From left to right by row the labels read as follows:

Row 1 – Briar Block, Prepared Briar

Row 2 – Turning of Bowl, Turning of Stem, Shaping of Bowl

Row 3 – Polished by Hand, Fitted Rough Mouthpiece, Finished Mouthpiece (third piece is missing).

Row 4 – Ready for smoking (wrong pipe in the clamp there).

I was looking forward to cleaning it up and repairing it to hang above my desk once I moved back into my basement office. The photo below shows what it looked like when I received it.I used a small hammer to reattach the nails that were sticking out on the back of the frame. It tightened both the backing and the corners of the piece. Each block had a screw through the backing into it holding it in place. I took the pipe out of the bracket at the bottom of the shadow box and sure enough there was a threaded hole in the back of it. That told me that it was the missing piece in the last spot in the third row in shadow box. I used some wood glue and a tooth pick to anchor the blocks to the back board. I set it aside to cure. The photo below shows the newly glued in place blocks. I talked to my friend about the missing pipe and he said he remembered that the display was originally a Butz-Choquin display. The missing sticker/logo at the top would have been a Butz-Choquin logo. He also believed that the finished pipe was in a box that he had dropped off for me to clean up. I went through the box and sure enough, in a Stanwell pipe sock was an unsmoked Butz-Choquin Billiard that was a perfect match to the size and shape of the block. I put it in place in the clamp at the bottom of the frame and it looked complete. I also knew that I was dealing with a Butz-Choquin display so I would need to print a BC logo for the top area of the box. I did a quick Google search and found exactly what I wanted. I cut it out with scissors and used a glue stick to attach it to the felt back board. I took a photo of the shadow box at this point in the process to show how it looked. We are in the process of having my basement office restored after flooding. My daughter and I chose the gray charcoal paint for the walls with a white ceiling and white trim and doors. There will be an oak desk and oak bookcases coming back in place. I chose a spot over my desk for this shadow box and hung it on the wall. It was the very first picture I have hung since the painting and restoration work. The finished shadow box looks amazing on the wall and the contrast with the paint is perfect. The piece will hang above my work desk that I also use for working on pipes. It is a silent witness to the process of birthing a pipe from a block of briar. It also links my restoration work of rebornpipes to the ongoing life of a briar. Thanks for taking time to read this.