Blog by Kenneth Lieblich
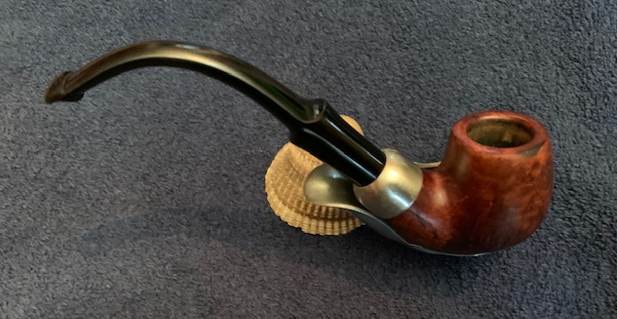
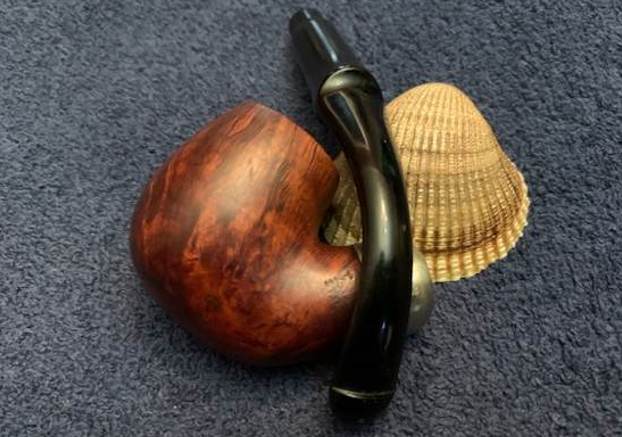
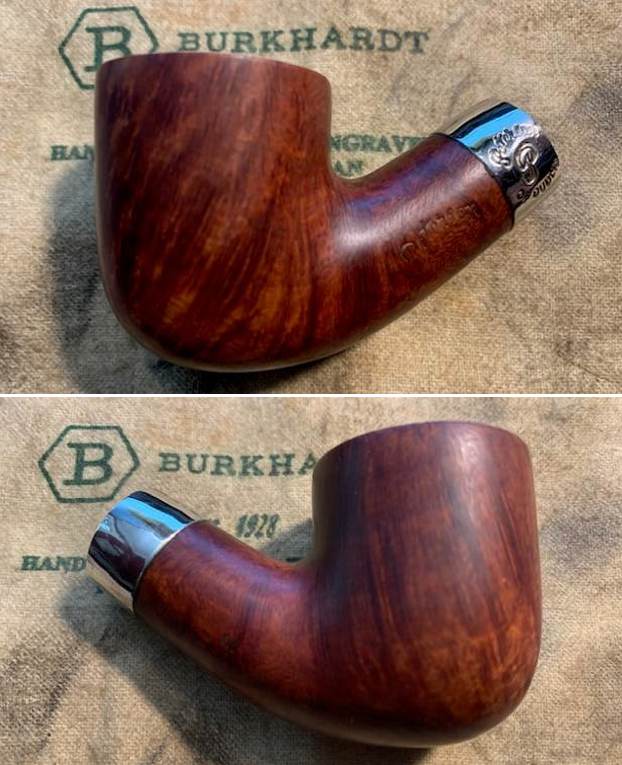
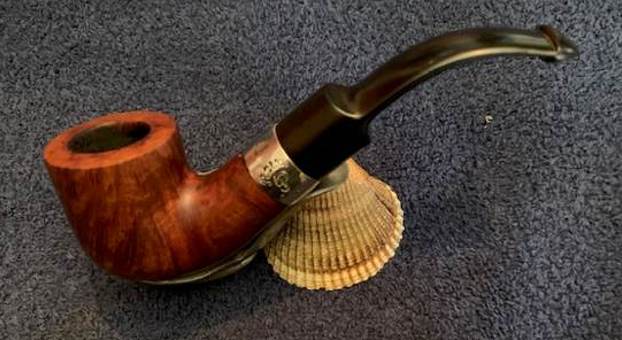
Ah, Dunhill. It is a name that inspires awe and warms the cockles of the hearts of many pipe smokers worldwide. Today, I am pleased to show the restoration of a wonderful shell briar. I acquired it in an auction on the Canadian Prairies. Other than that, I don’t know much of its provenance. What I can say definitively is that this must have been a great smoker and a much-loved pipe – it had been very thoroughly used. Rightly or wrongly, I instinctively have a certain respect for Dunhill pipes, and I am especially keen to restore this one so that the next smoker can enjoy it. 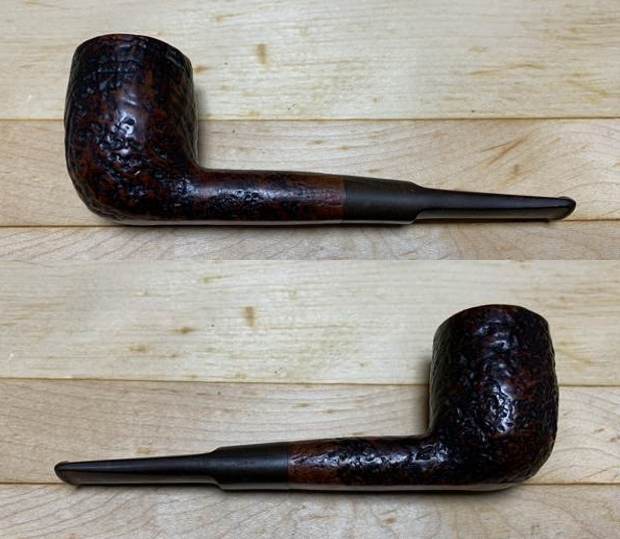
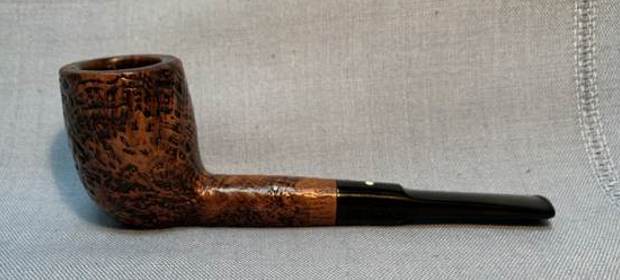
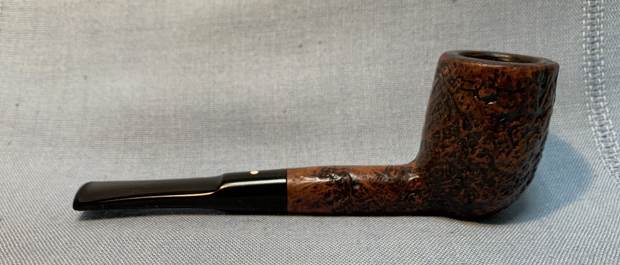
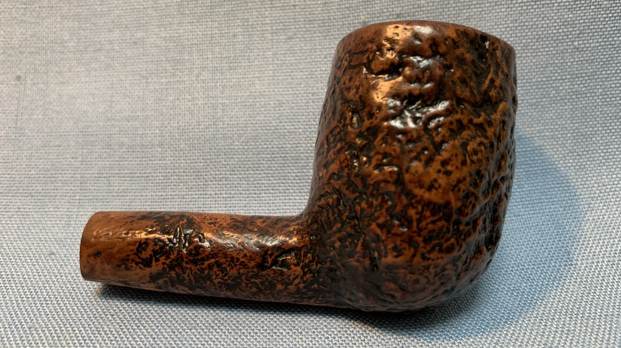
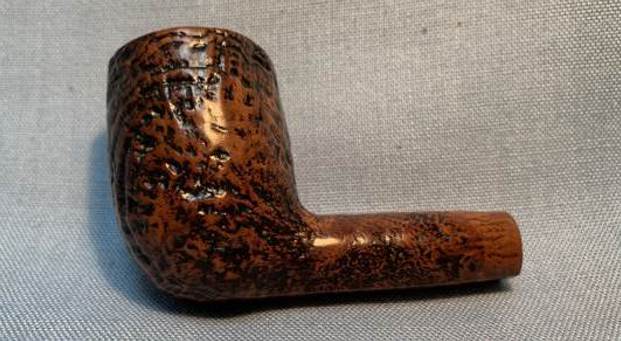
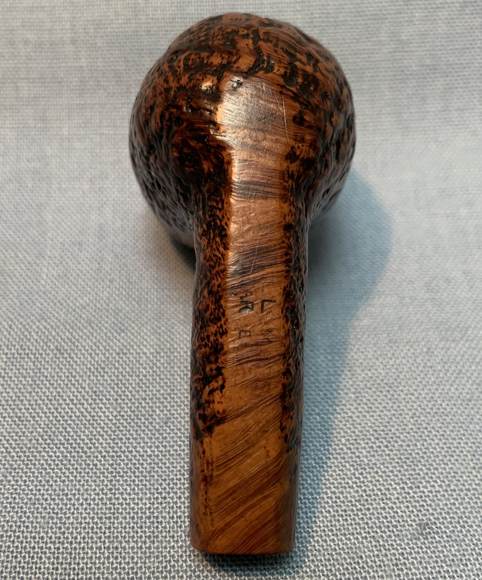
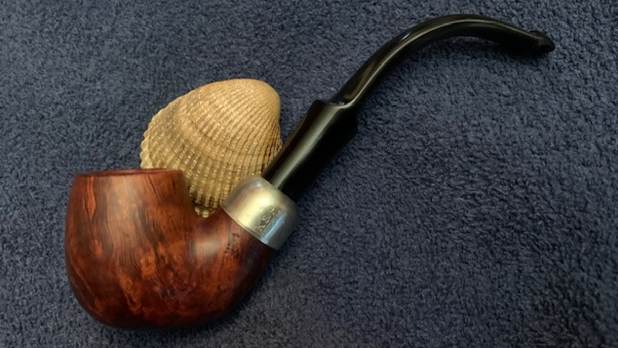
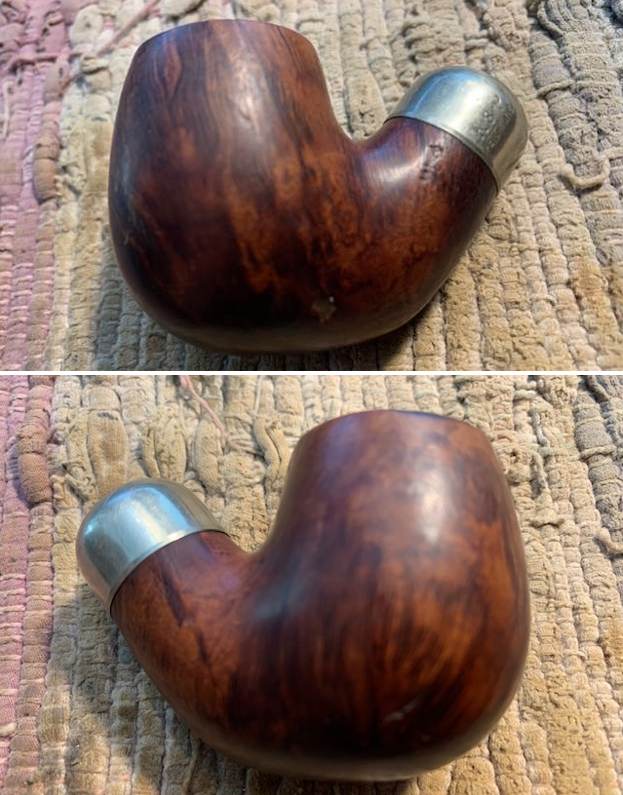
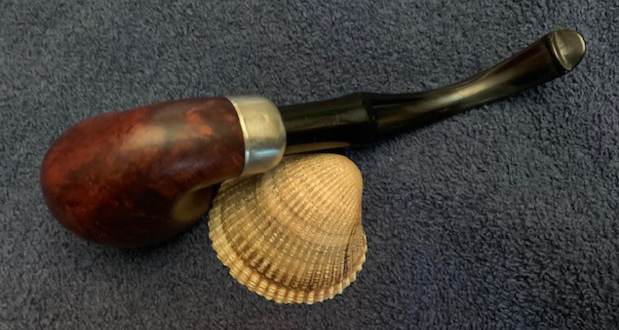
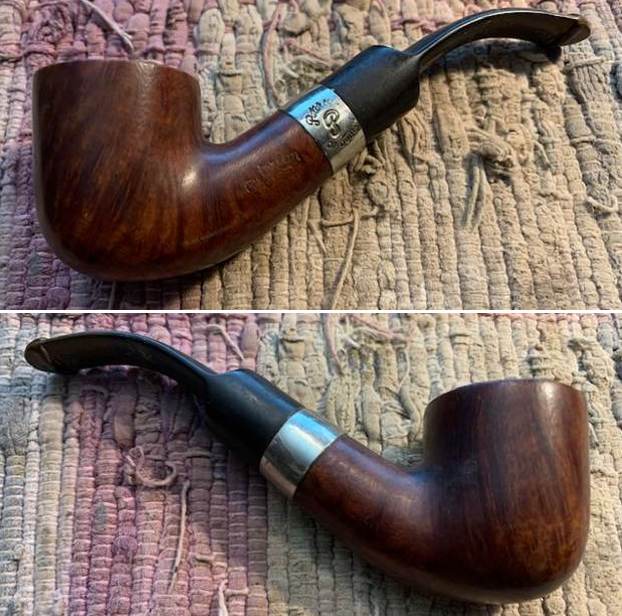
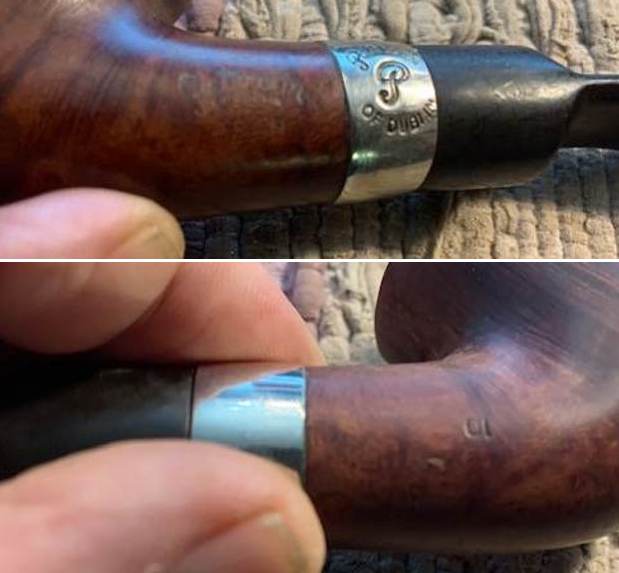
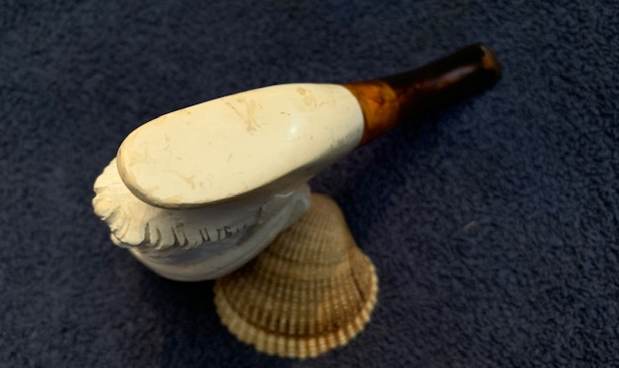
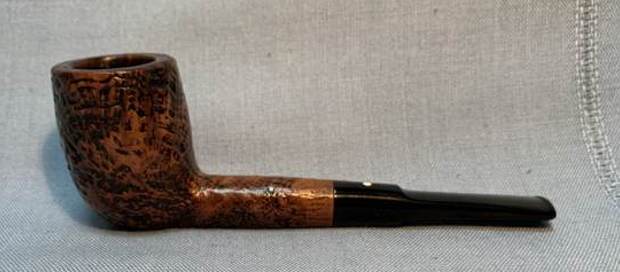
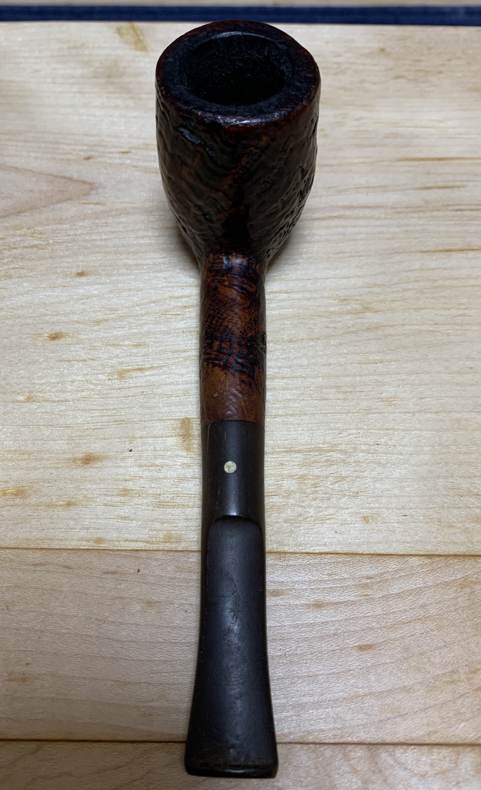 As I mentioned this is a Dunhill Shell Briar and the markings confirm this. It is a beautiful, classic billiard shape. One of the ways I can tell that this was a much-loved pipe is that the markings on the underside of the shank were quite worn. As you can see, I can only make out so much. On the left-hand side is the model number, 39. Immediately to the right of this is Dunhill [over] Shell Briar. Then, to the right of that, is Made in [over] England. I cannot make out the year suffix, but my instincts tell me that it’s probably from the 1960s. Steve concurs with this. Additionally, this is a size three pipe. Normally, there would be an encircled 3, followed by an S. In this case, these marks are not visible, but I compared it with other Dunhills of size three and they are identical.
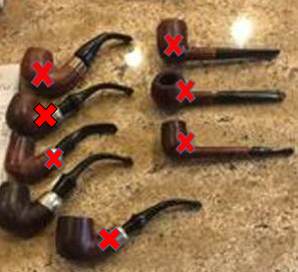
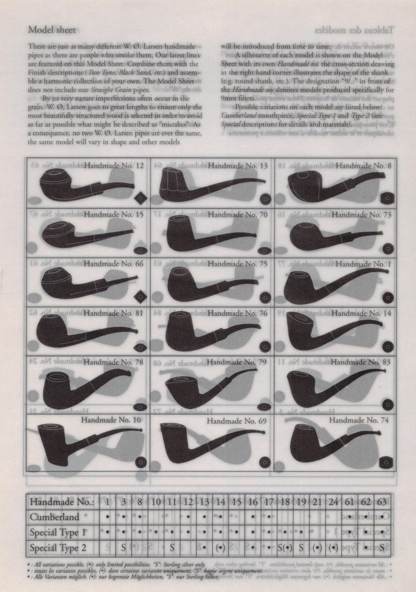
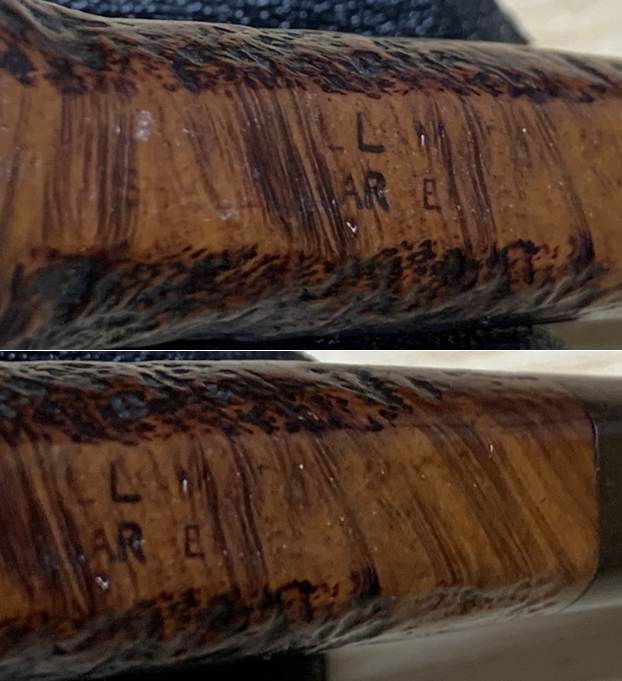 The image below from Pipephil seems to confirm my suspicions about this pipe. The history of Dunhill’s shell briar pipes is fascinating. If you are interested in learning more, have a read of this article from Pipedia.
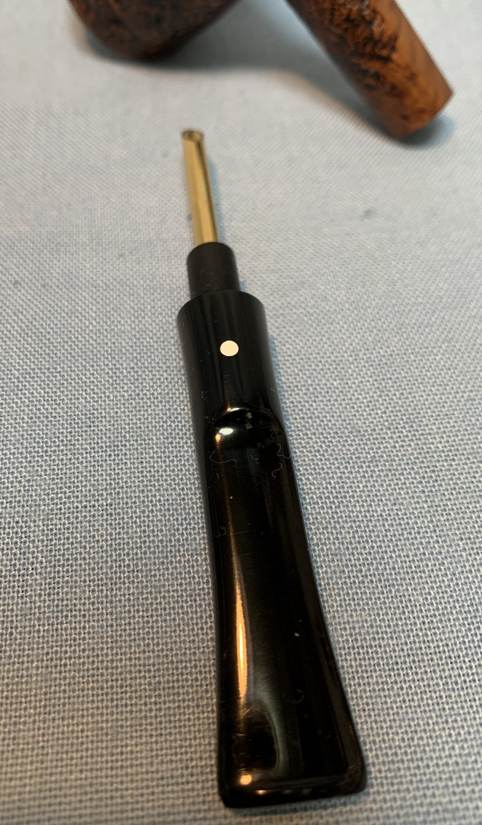
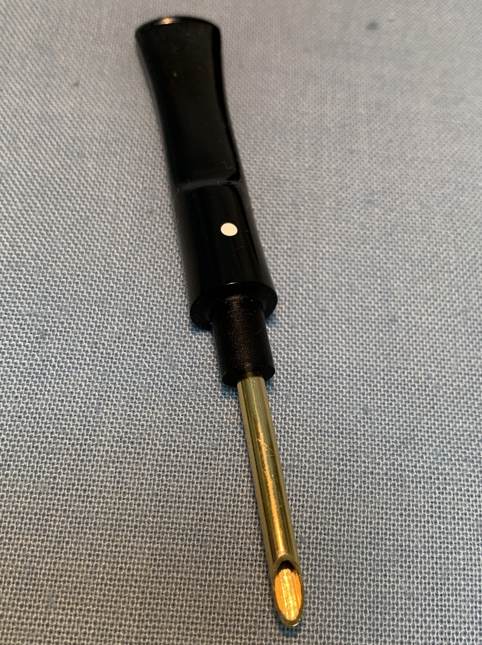
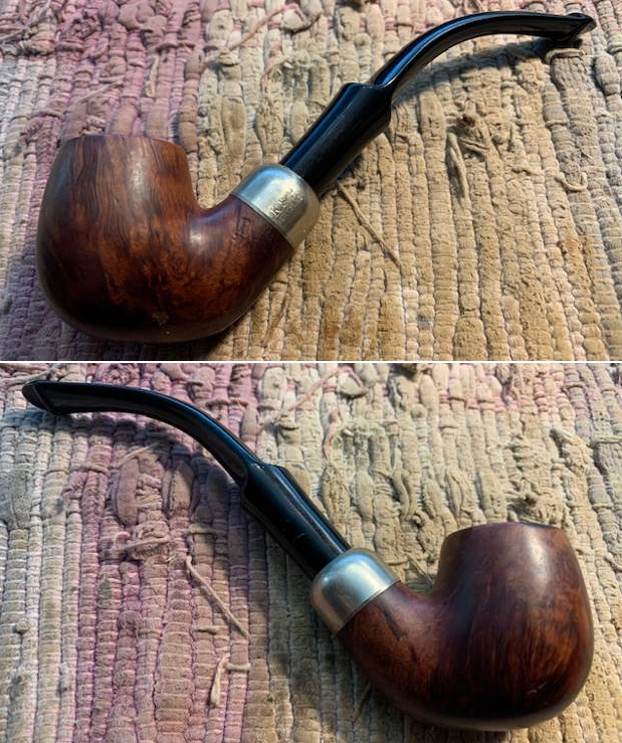
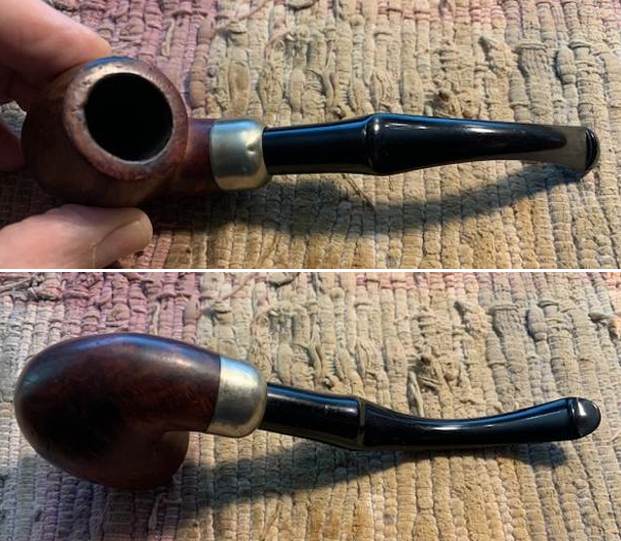
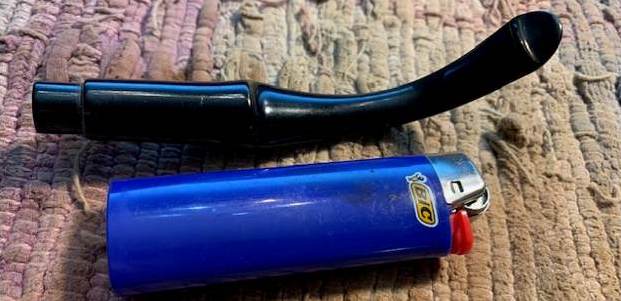
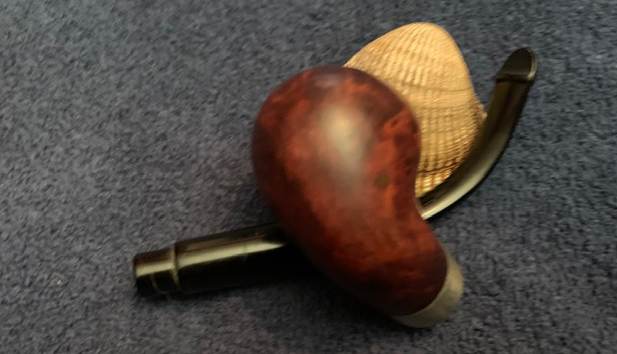
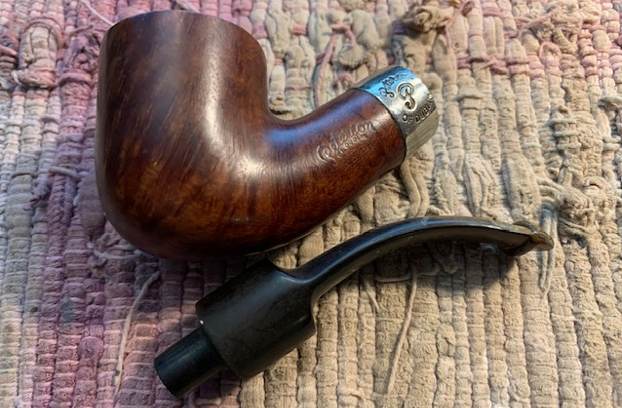
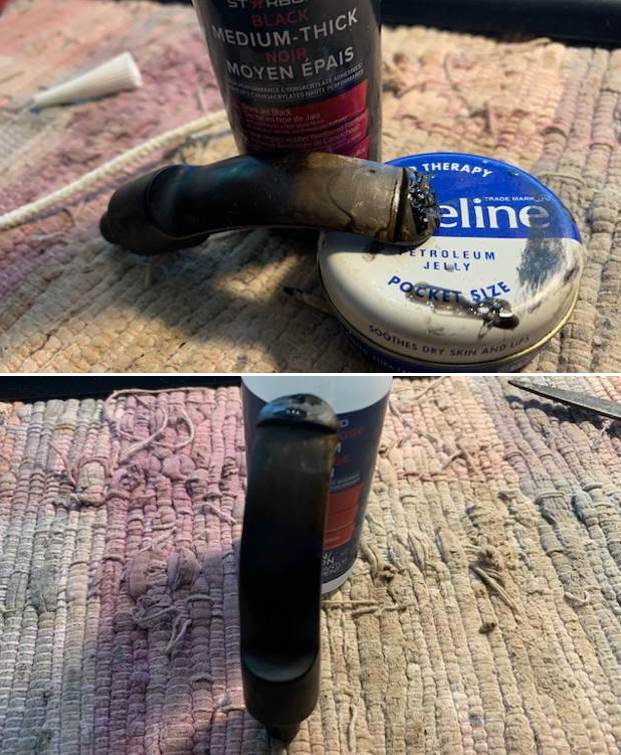
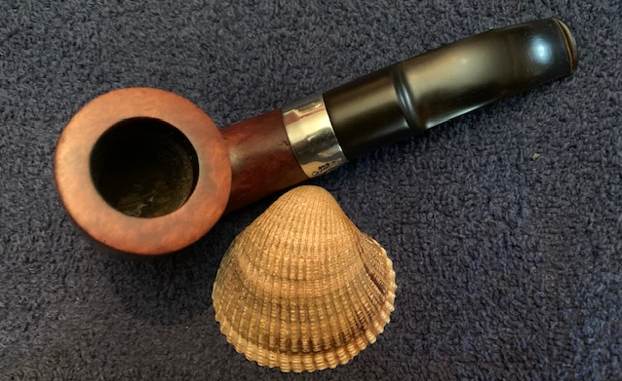
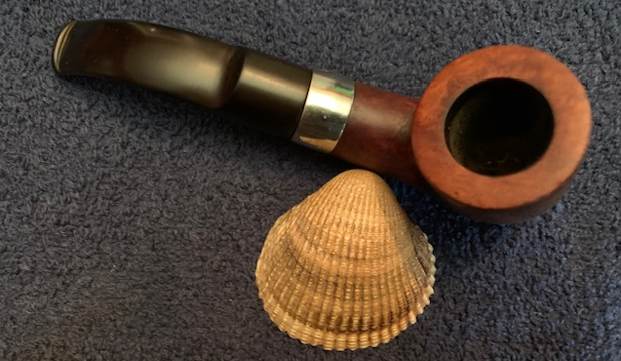
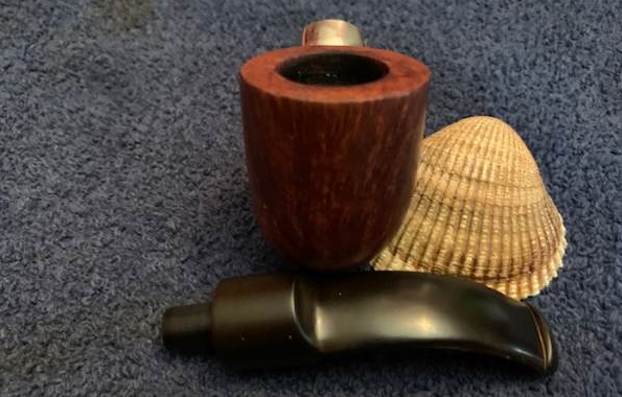
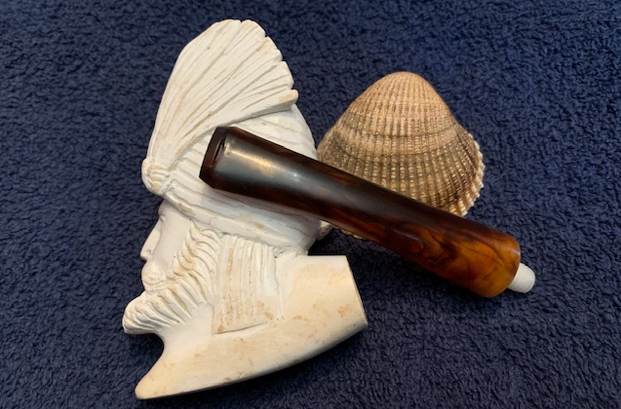
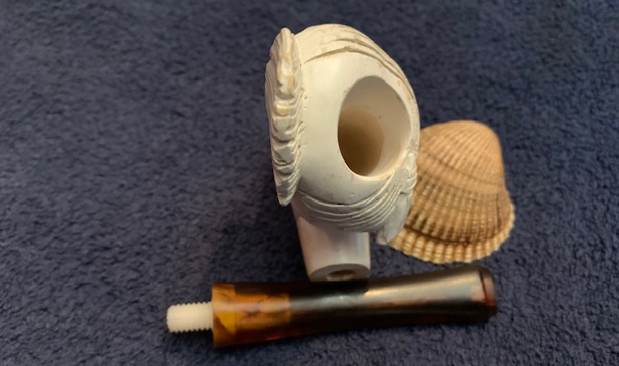
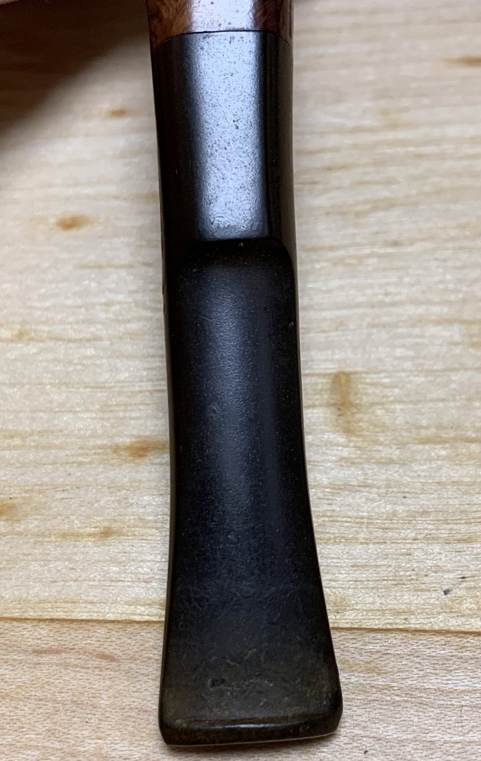
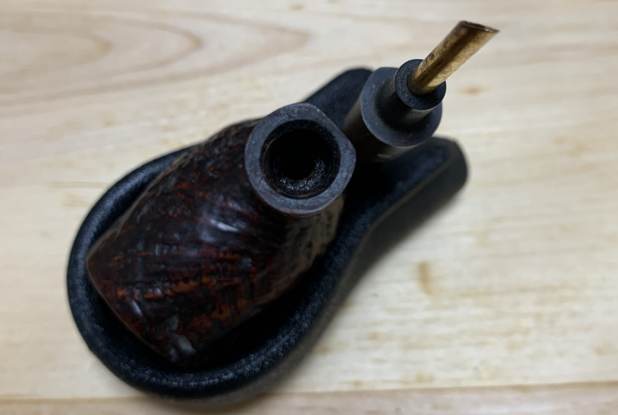
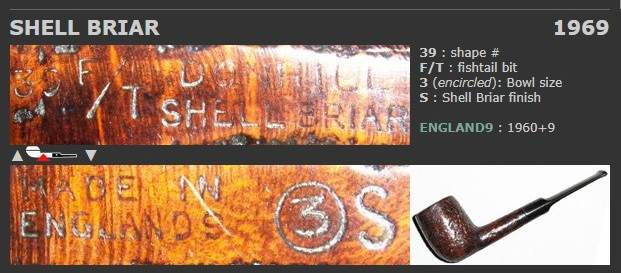 This pipe was pretty darn filthy. As you can see, the stem had the usual wear-and-tear – some scratches, etc. There were no notable tooth dents, which pleasantly surprised me. There was some calcification, but not much oxidation. I figured the inside would be dirty because the inner tube certainly was!
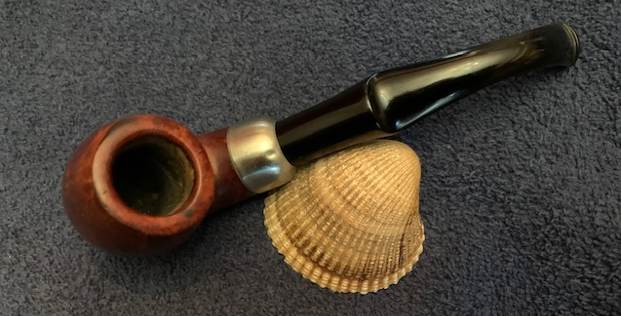
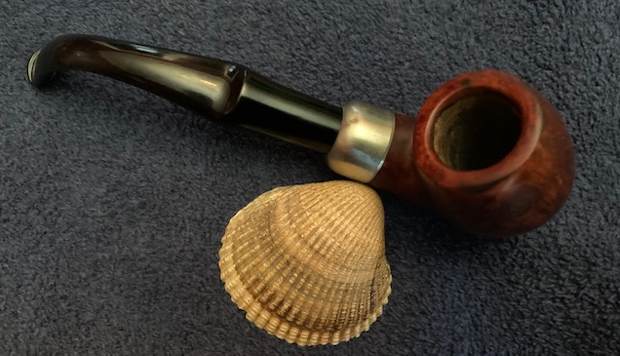
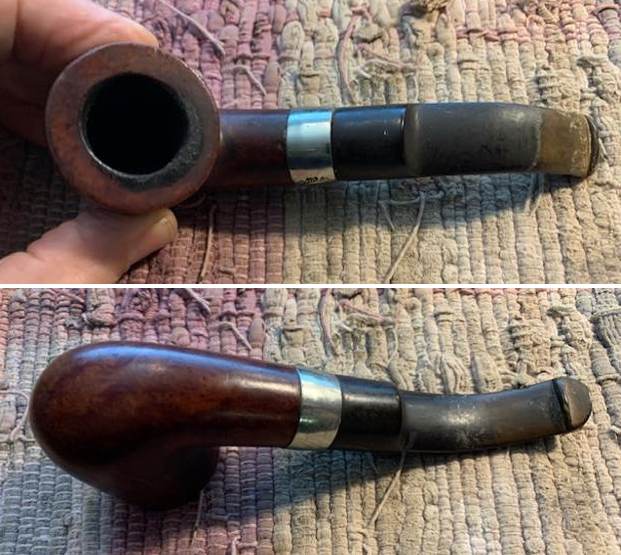
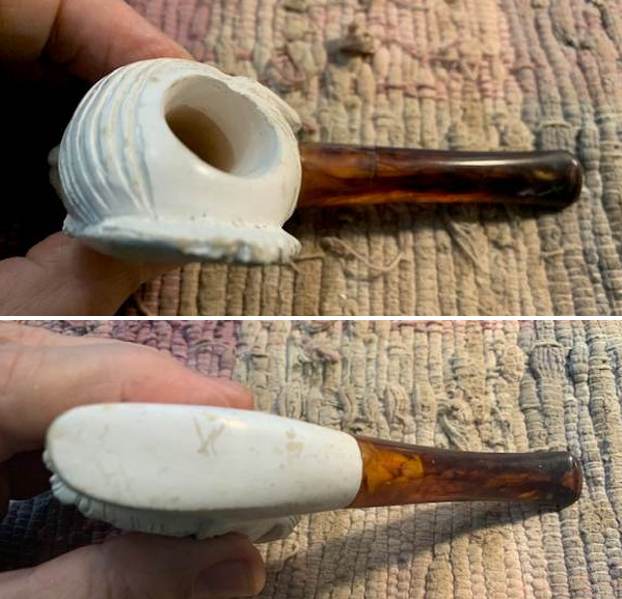
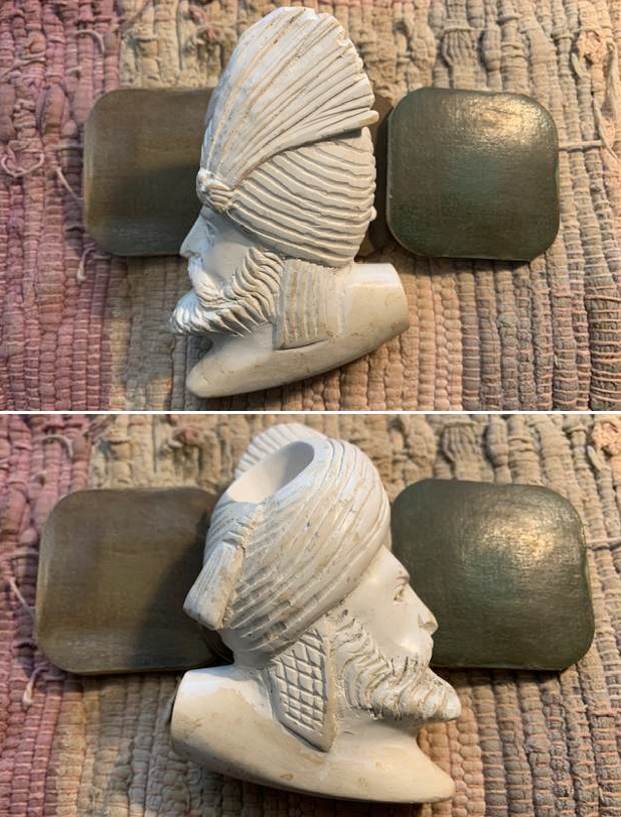
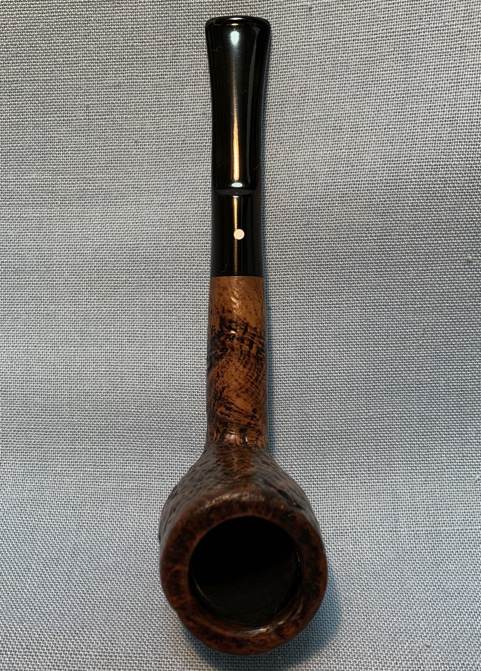
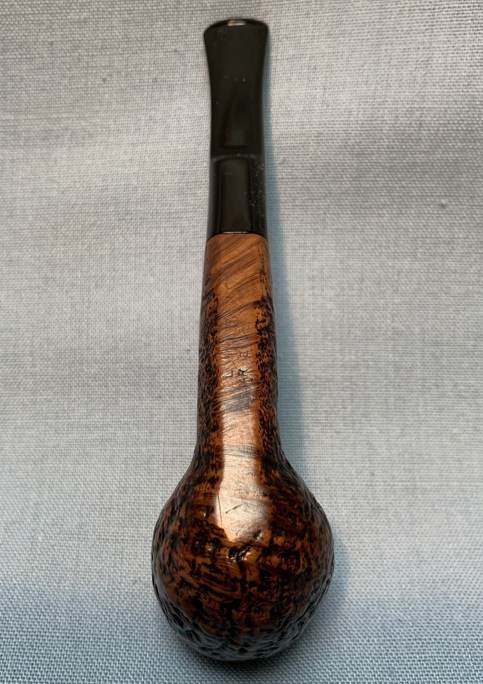
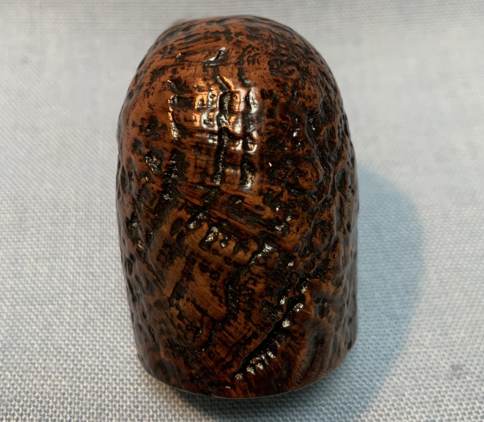
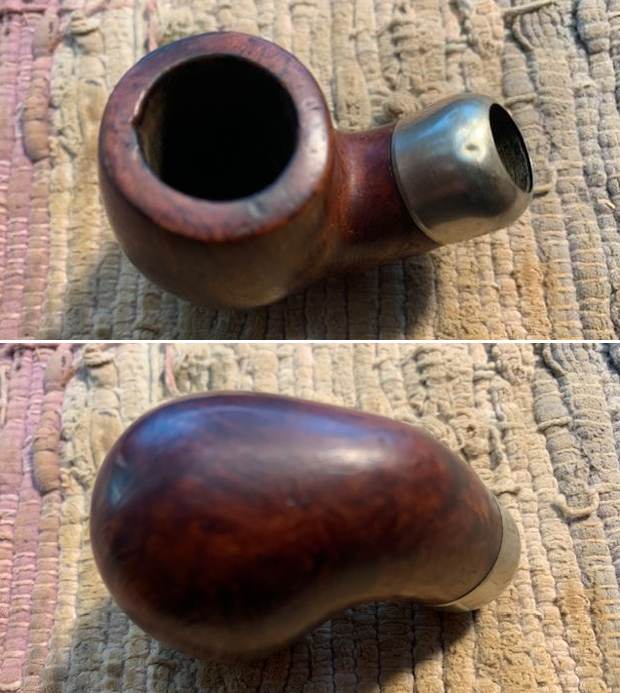
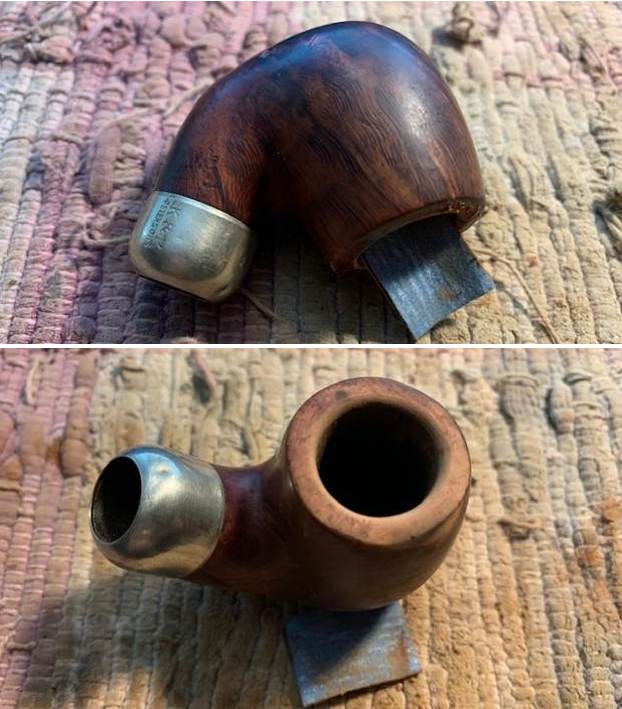
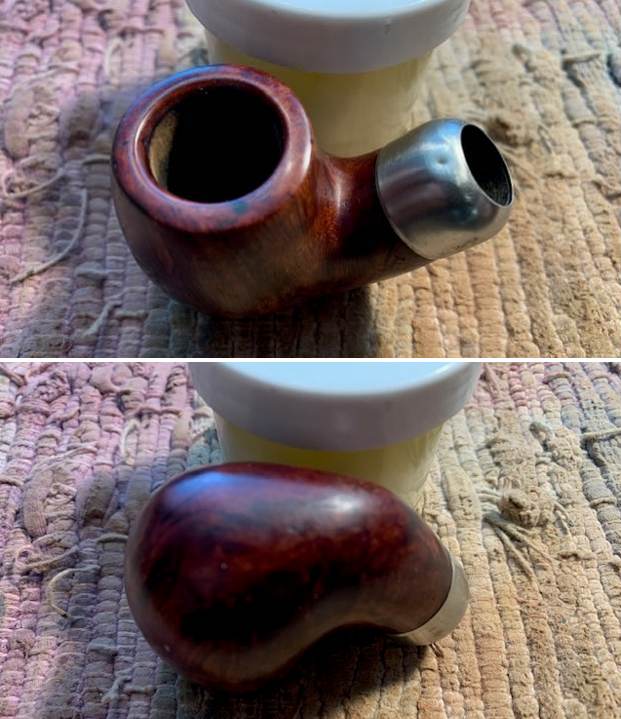
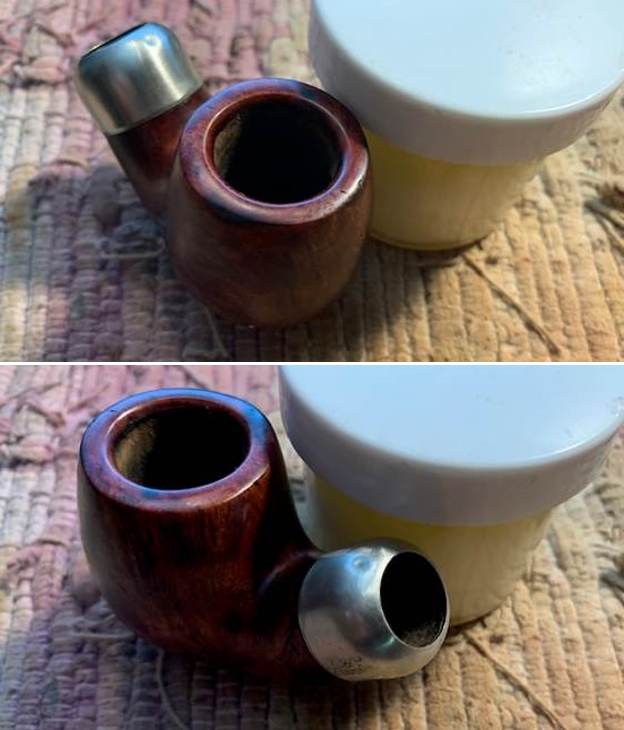
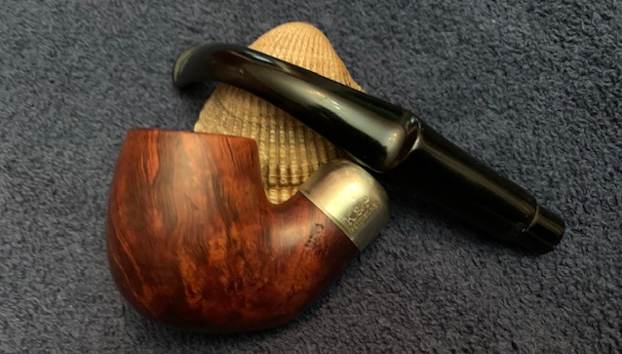
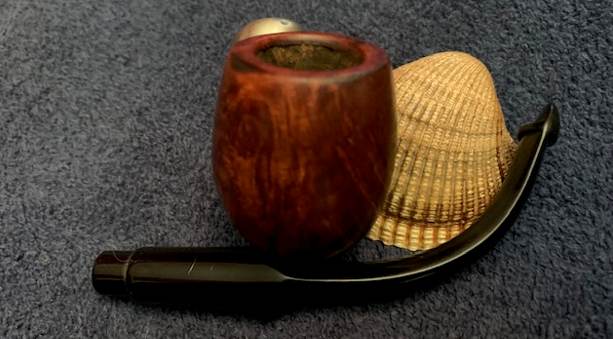
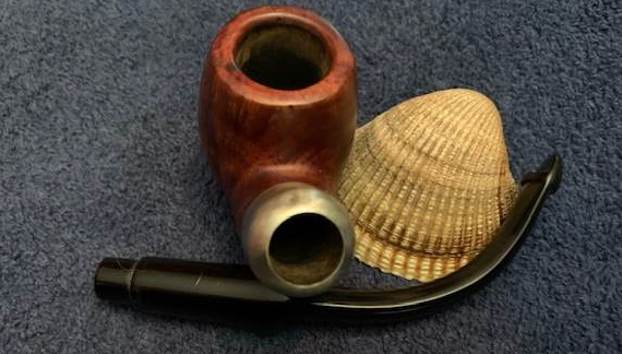
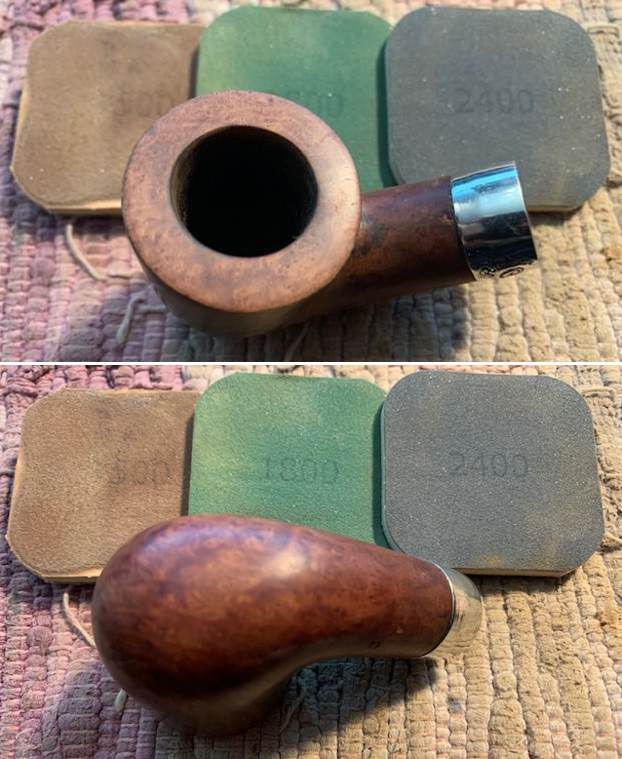
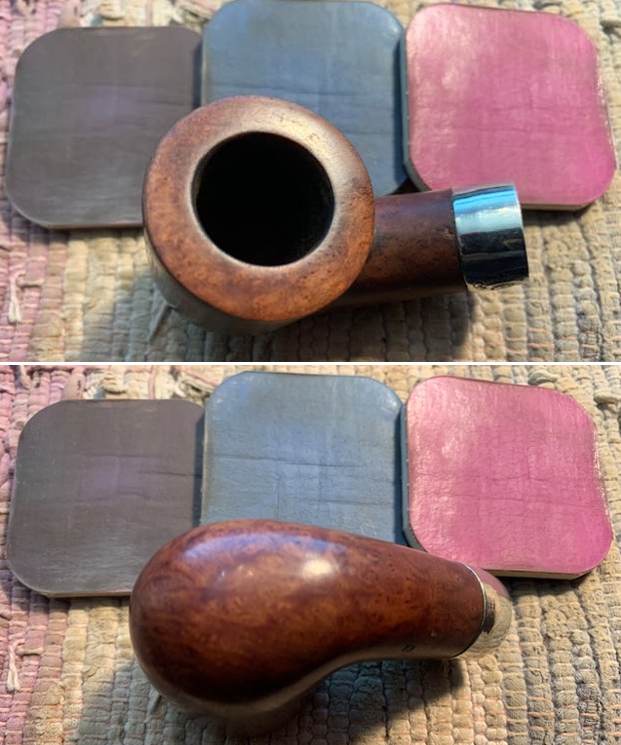
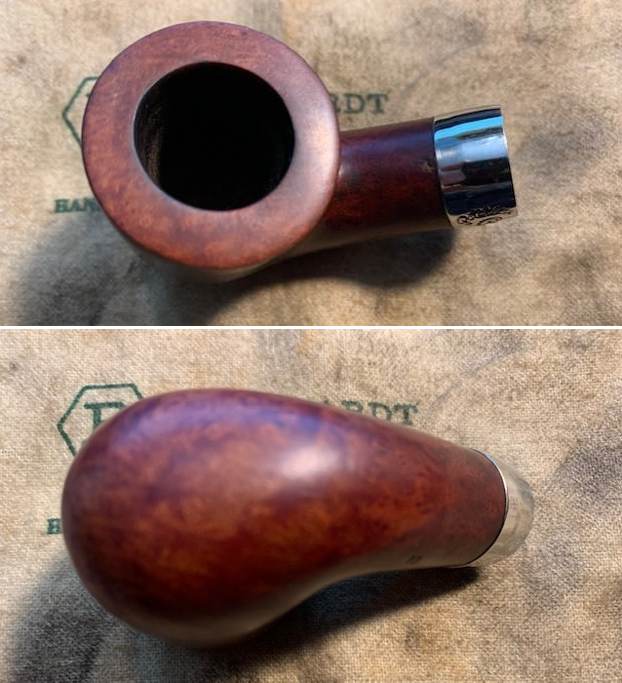
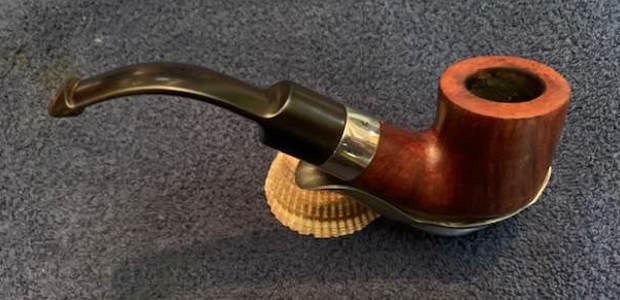
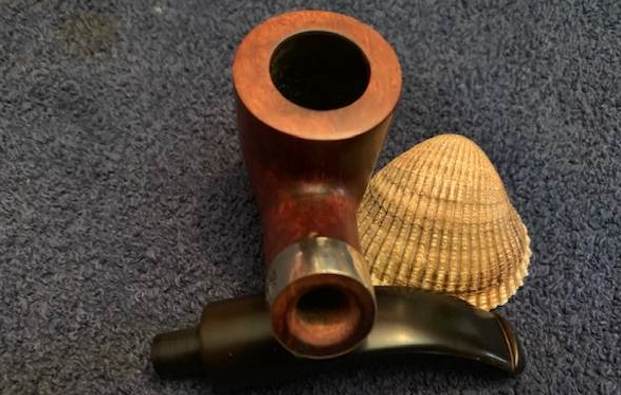
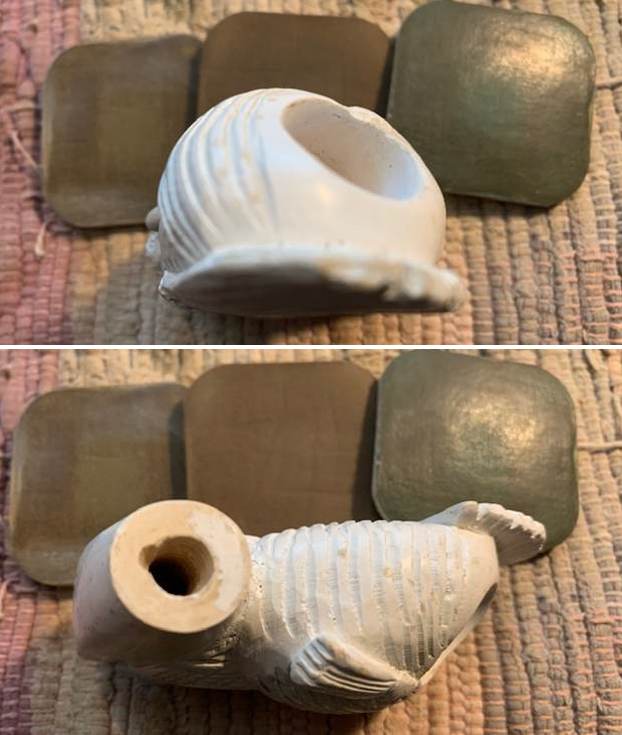
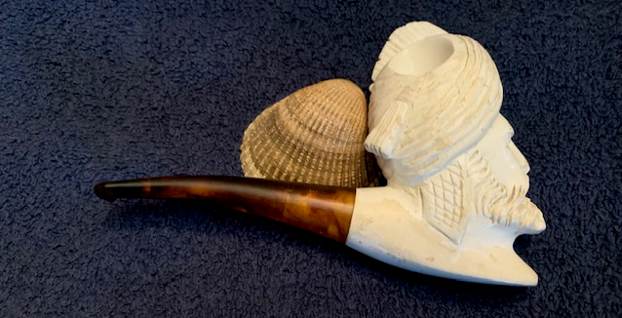
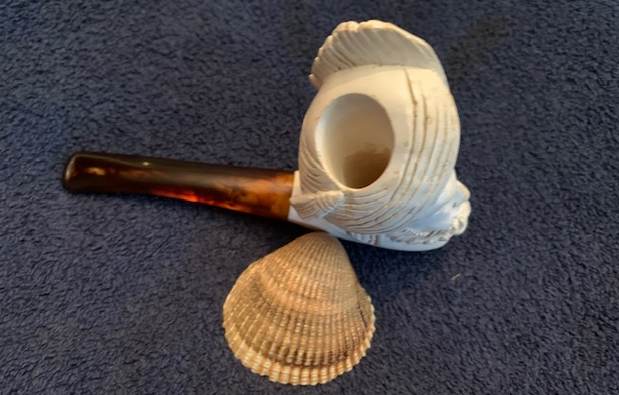
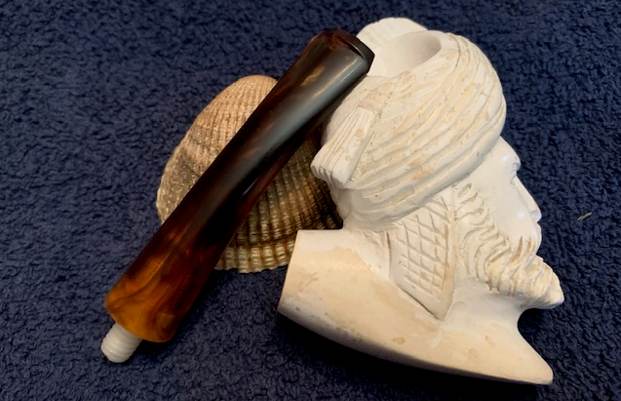
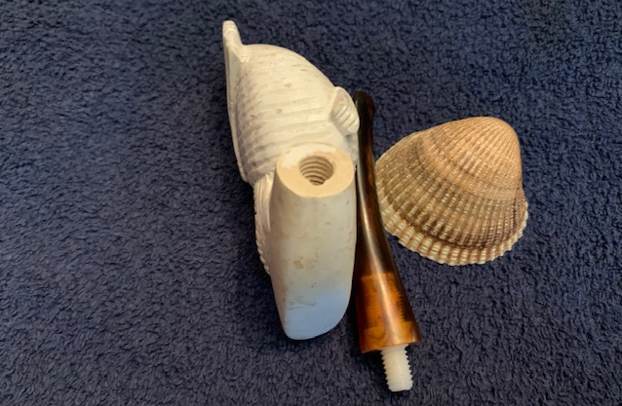
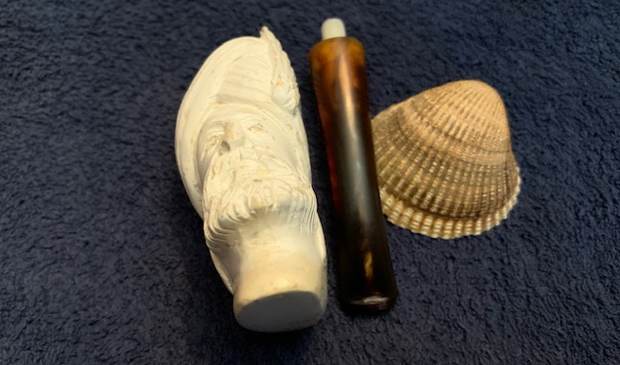
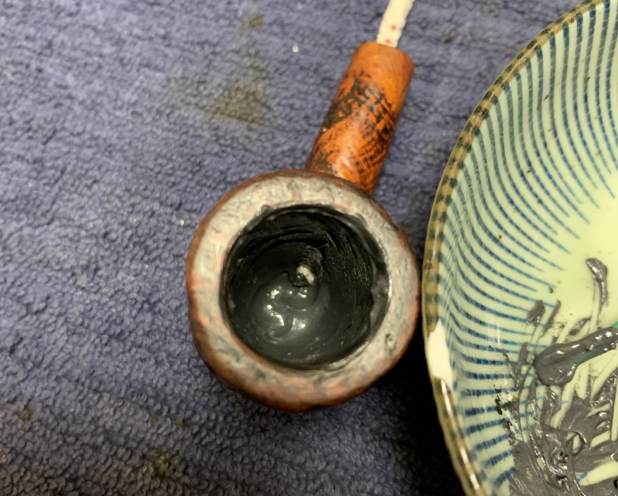
 Meanwhile, the stummel was in lovely condition, but very dirty inside. The shank was dark and dank, and the bowl had lots of cake and lava. Who knows what horrors I might find inside? Spoiler alert: it wasn’t good.
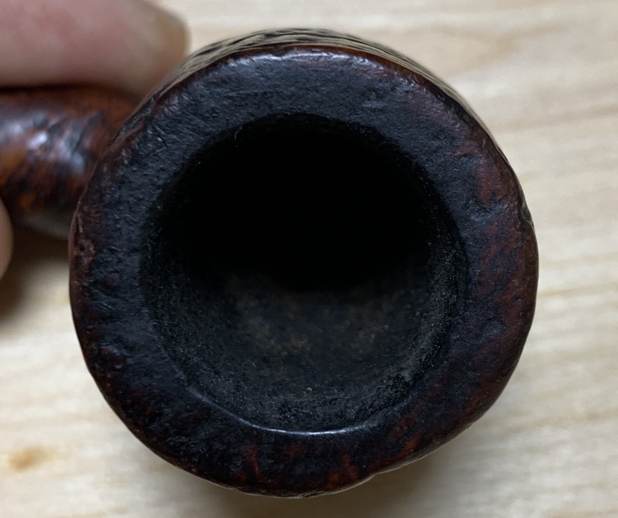
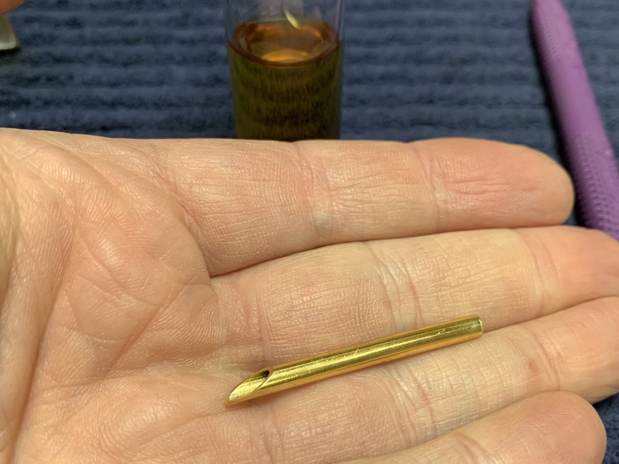
 The inner tube was first on my list. It was being quite stubborn about coming out of the tenon, so I opted to warm the stem and inner tube with my heat gun. This provided just enough softening of the internal goo to allow me to pull it out. It then went for a soak in some lemon-infused isopropyl alcohol. I let it sit for several hours and then cleaned it off and it looked much improved. I then finished it with a quick polish and moved on.
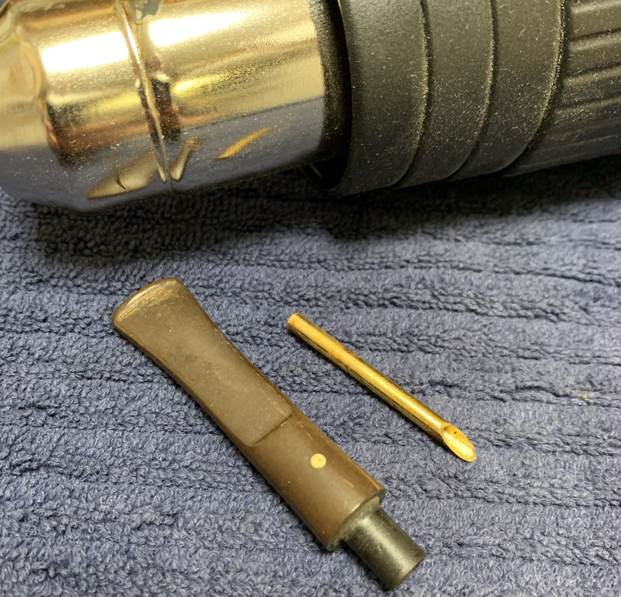

 I wiped the stem with Murphy’s Oil Soap on some cotton pads. There was calcification there and I needed to remove it. Fortunately, although the stem was pretty dirty inside, it was not as bad as I had feared. I had no problem cleaning out the inside with pipe cleaners and isopropyl alcohol.
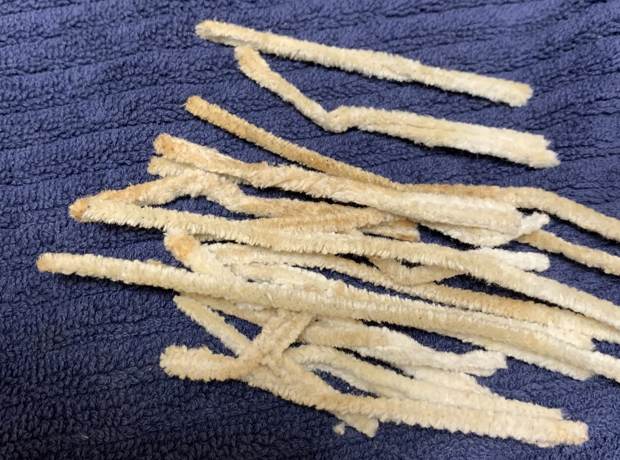 I then wiped down the stem with SoftScrub cleaner to remove some surface oxidation. Once this process was done, the stem went for an overnight soak in the Pipe Stem Oxidation Remover. As the name suggests, this liquid removes oxidation, but, more than anything, it helps draw oxidation to the surface of the vulcanite. This allows me to clean the oxidation off in a couple of ways: both by applying a mild abrasive cleaner to the surface, then by sanding the stem.
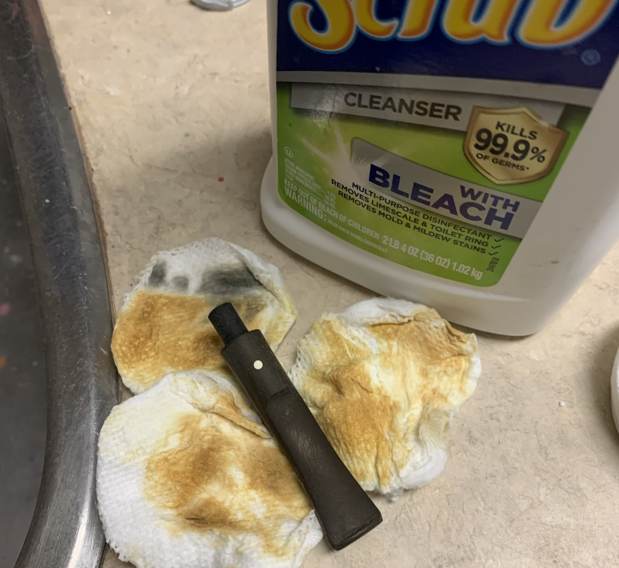
 The following day, I cleaned all of the de-oxidizing mess off with alcohol, pipe cleaners, et cetera. The oxidation had migrated to the surface and would be fairly straightforward to remove. I scrubbed with SoftScrub on some cotton pads to remove the leftover oxidation.
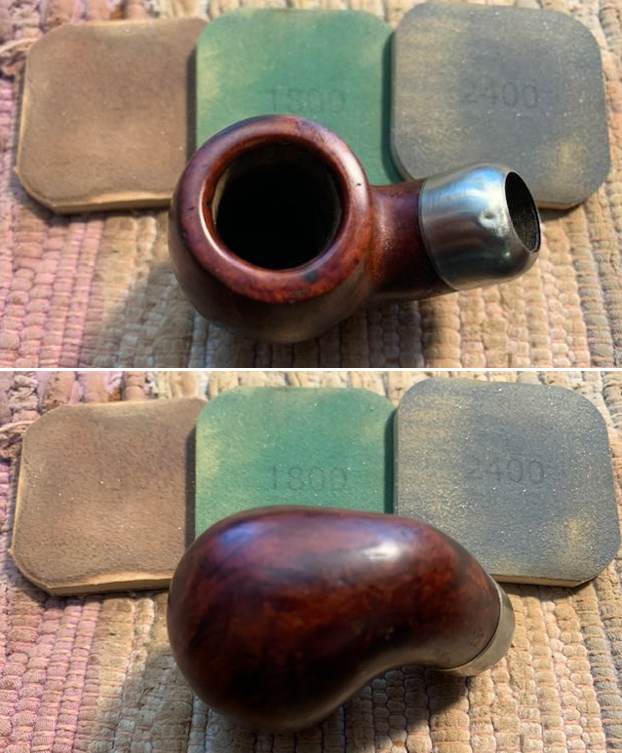
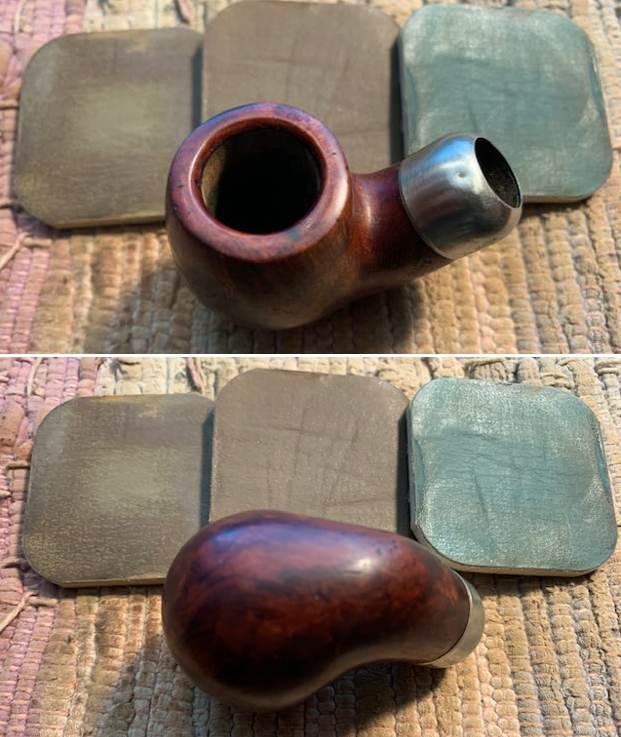
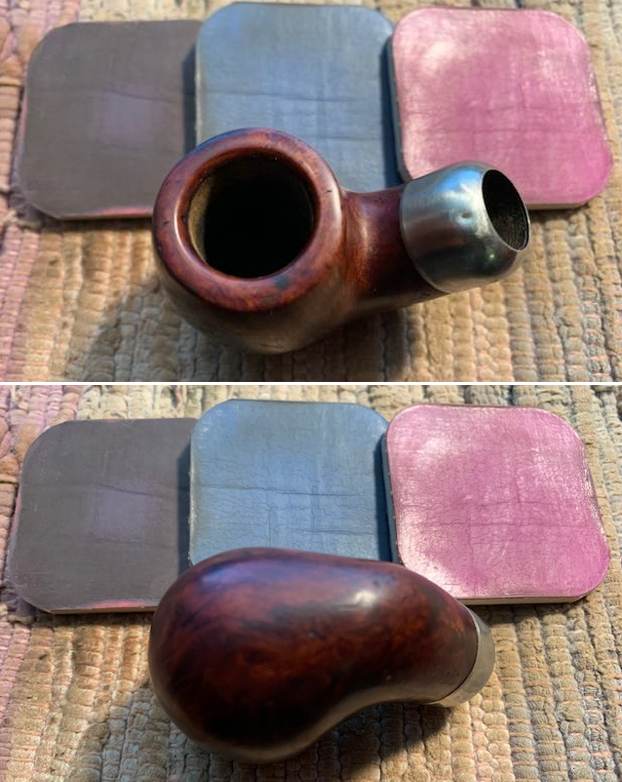
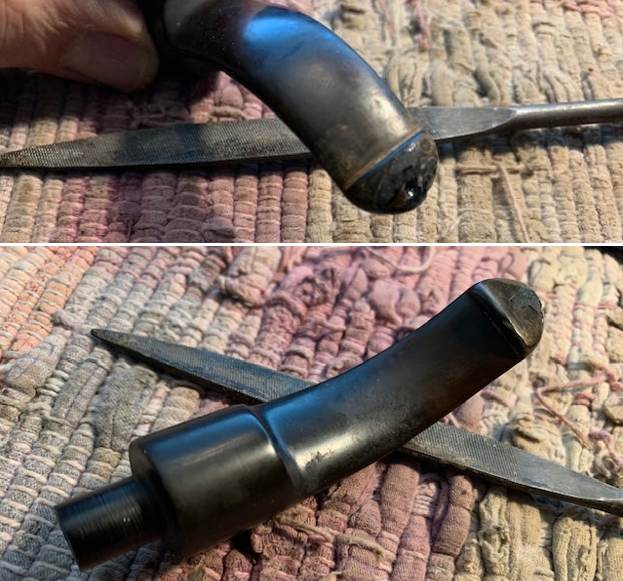
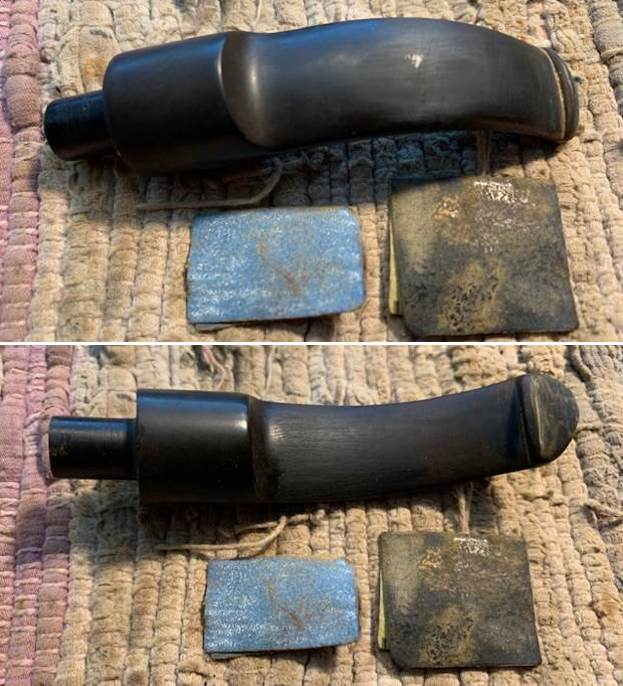
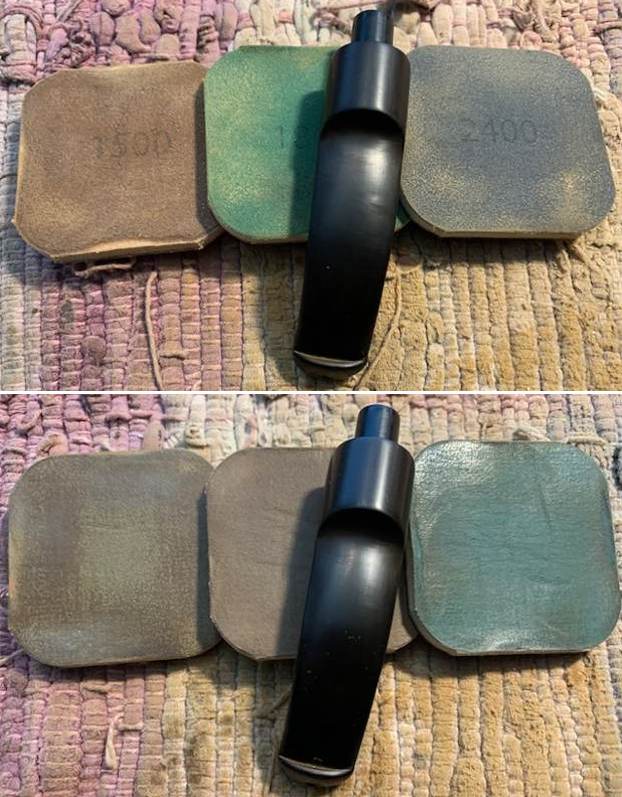
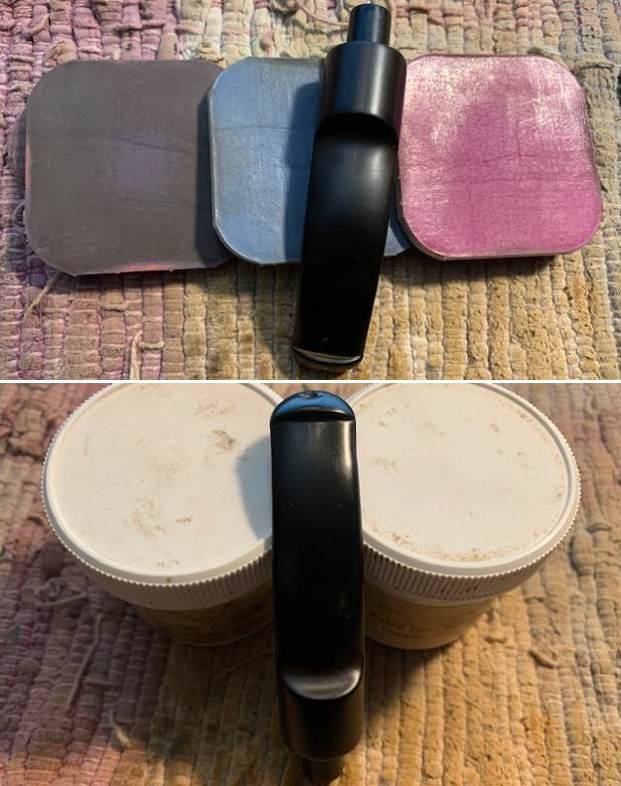
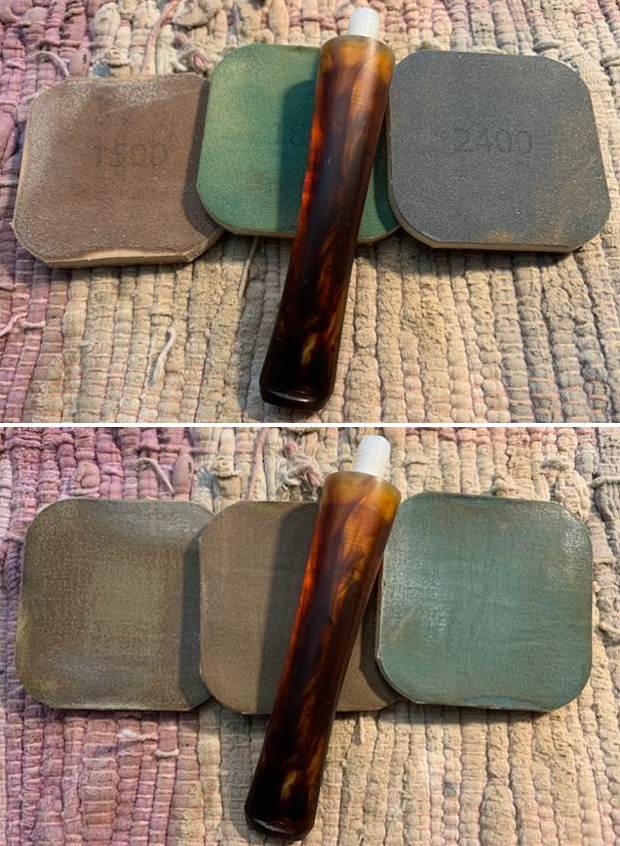
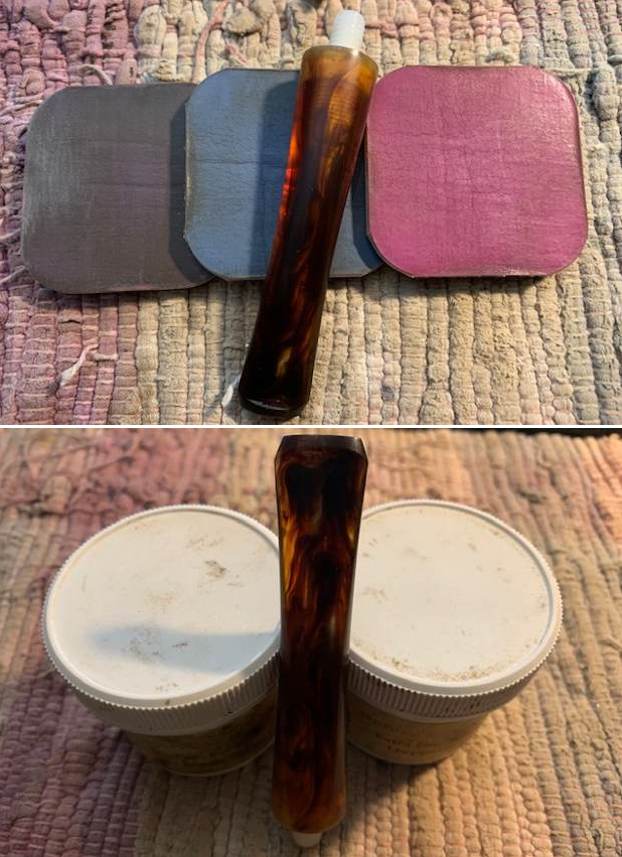
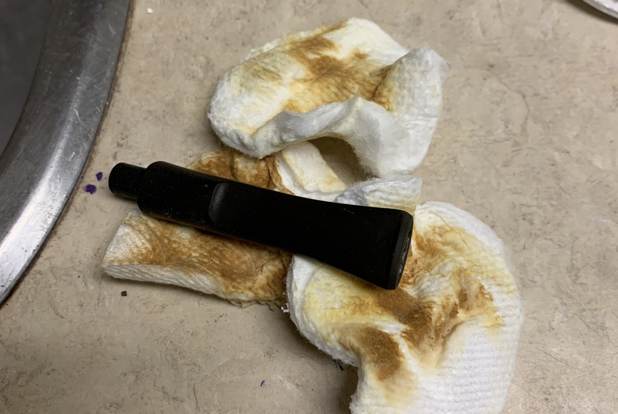 Then I used a set of nine Micromesh pads (1,500 through 12,000 grit) which gradually erased the ravages of time and brought out the stem’s lovely black lustre. For the last five pads, I also lightly coated the stem with Obsidian Pipe Stem Oil in between each scrubbing. At last, I set the finished stem aside.
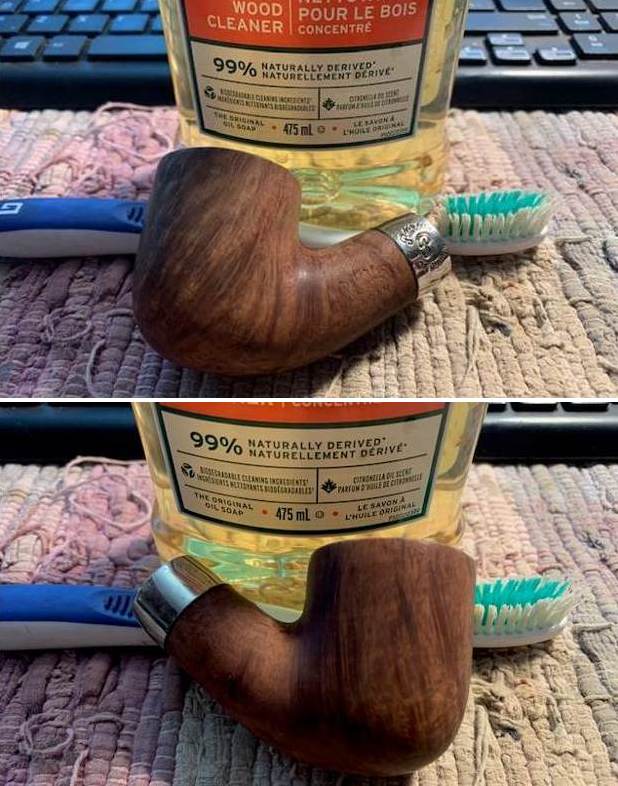
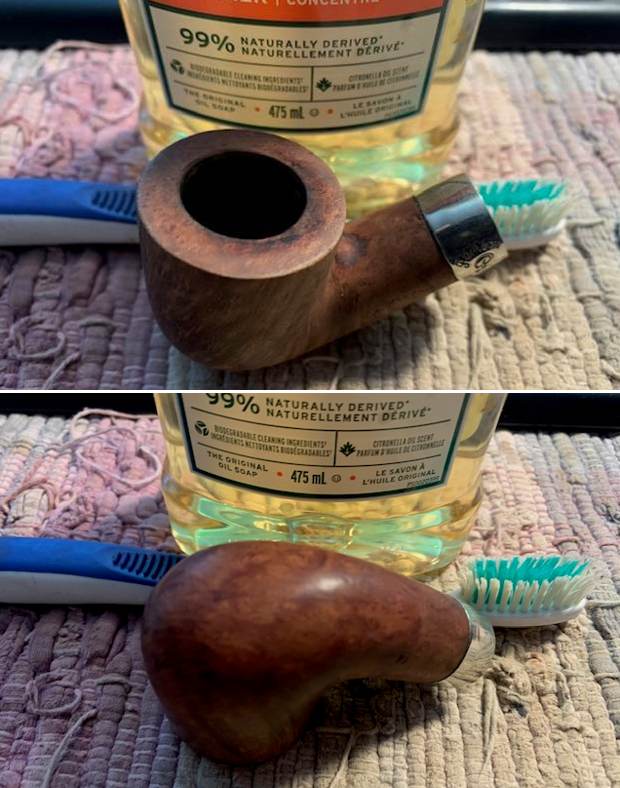
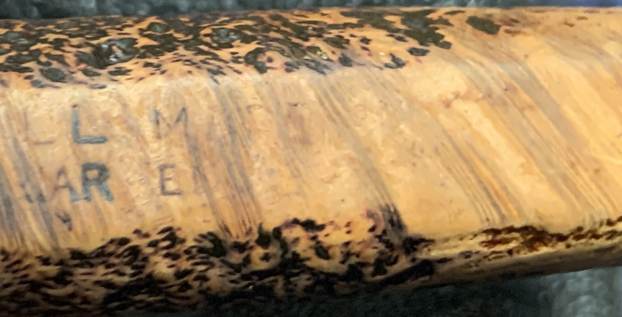
 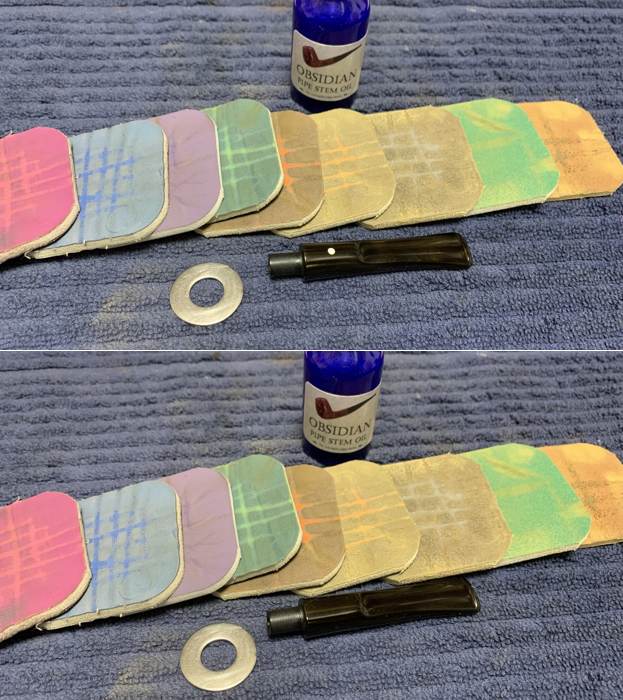 Off to work on the stummel! It was pretty dirty after all these years, so I used cotton rounds and some Murphy’s Oil Soap to scrub the outside of the stummel and a toothbrush with Murphy’s for the lava on the rim of the pipe. This had the benefit of revealing a bit more of the markings on the underside of the shank.
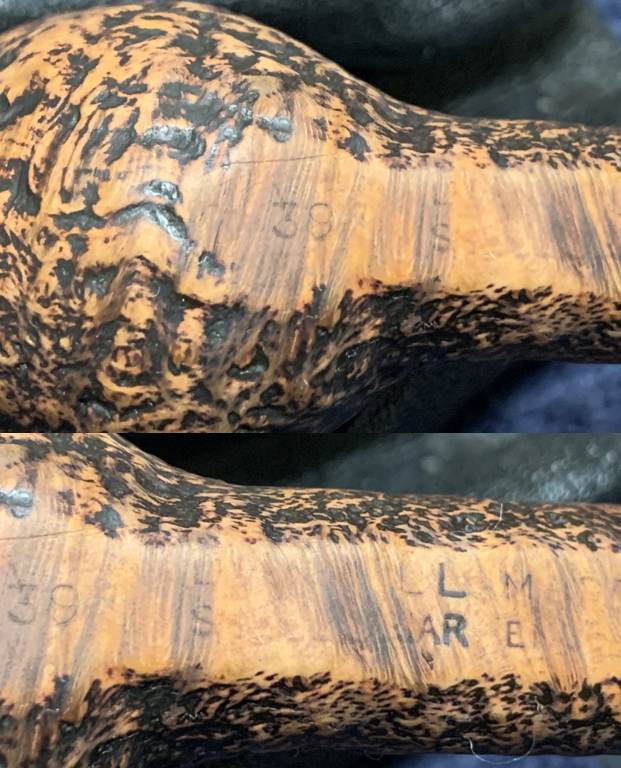
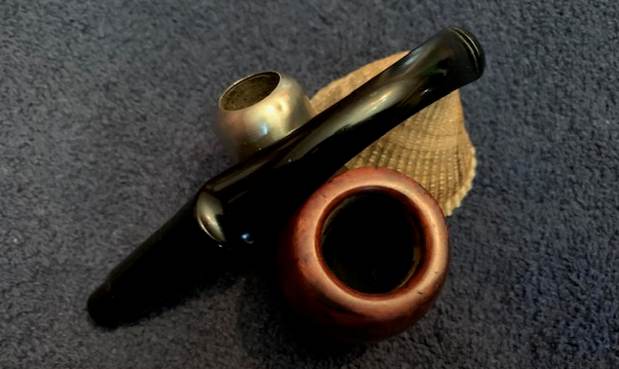
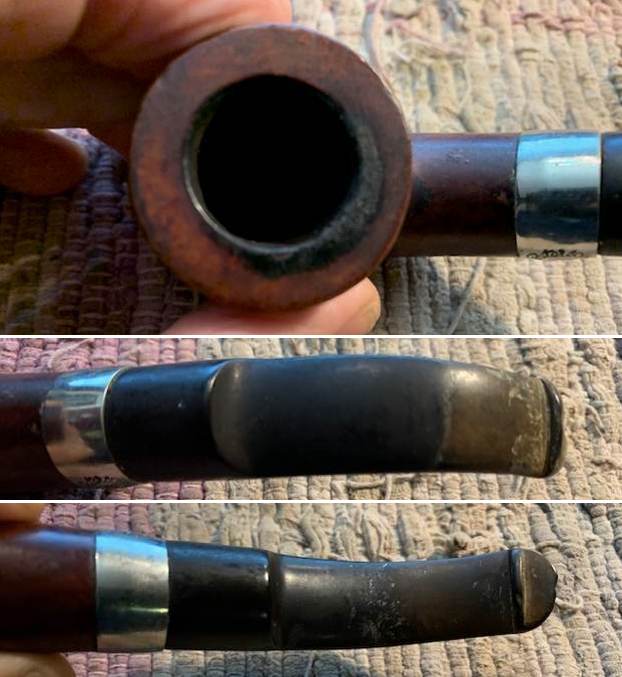
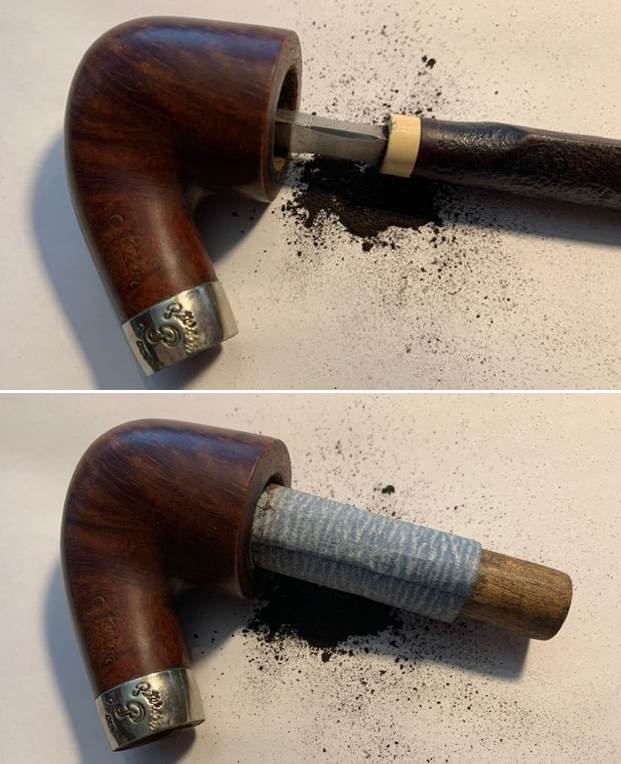
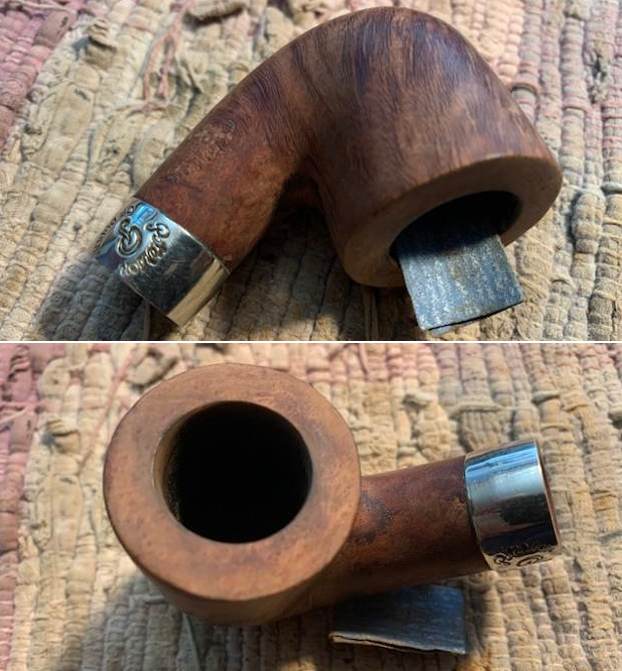
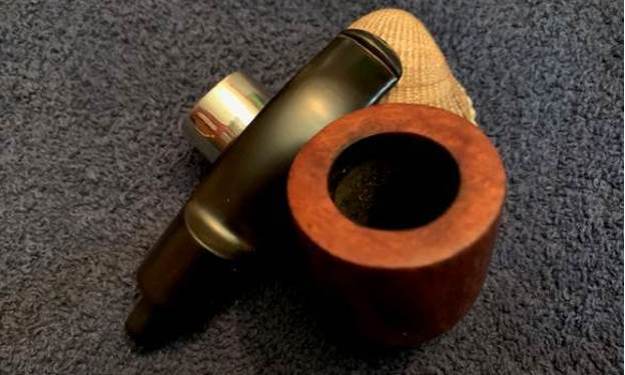
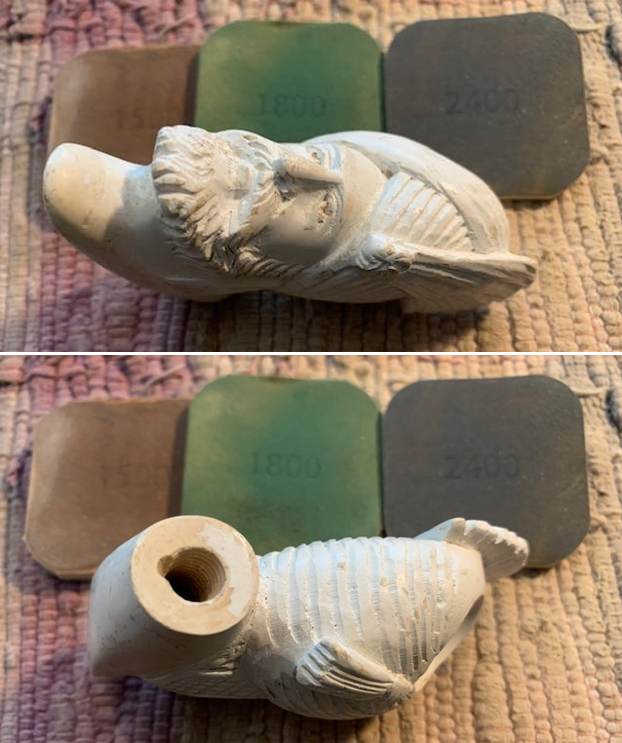
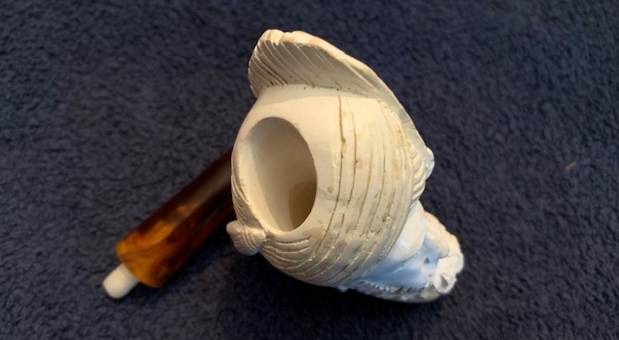
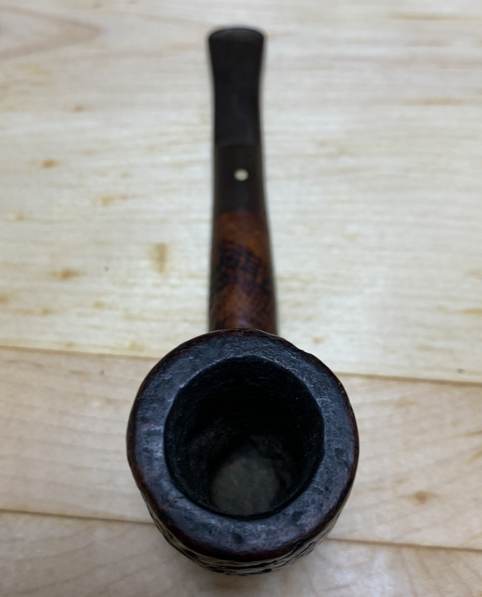
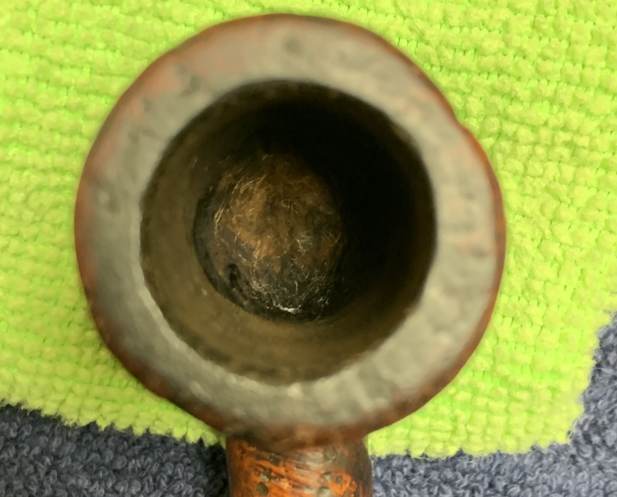
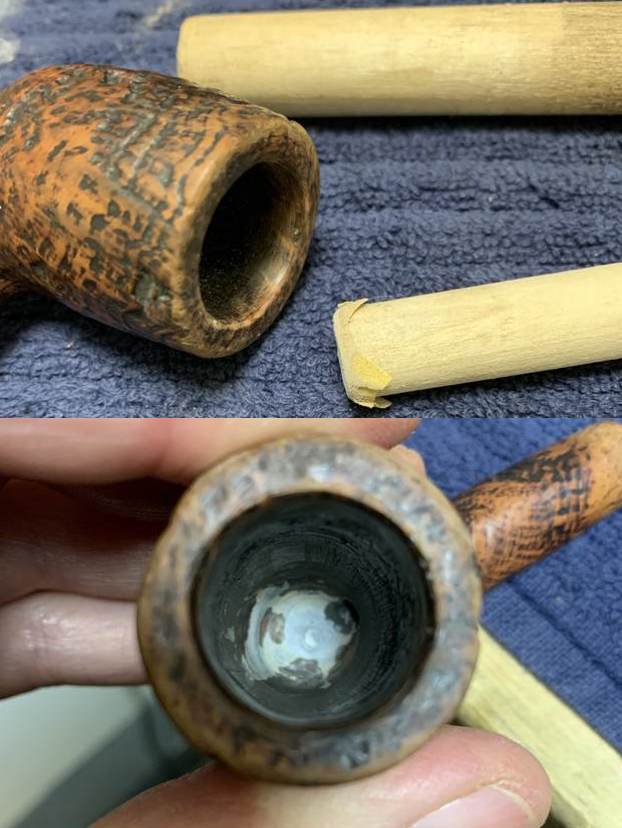
 The bowl needed a thorough reaming, so I used the KleenReem to scrape off the built-up cake and I followed that with 220-grit sandpaper taped to a dowel to eliminate as much as possible. Generally, I prefer to sand the chamber down to bare briar. When restoring, it is important to ensure that there is no damage to the briar in the bowl, under the cake. Normally, there is none, but today…
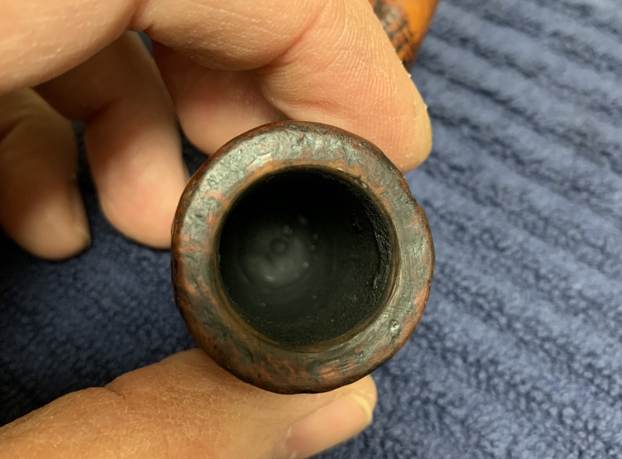
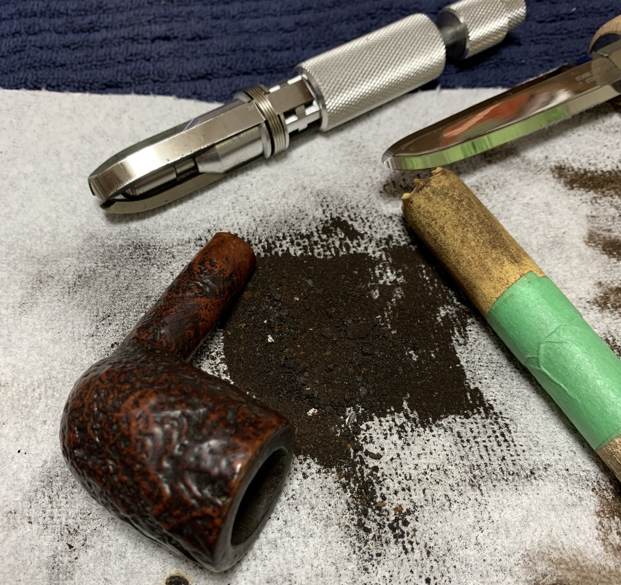 The walls of the pipe were just fine, but – horror of horrors! – the previous owner had clearly cleaned the bottom of the bowl with a jackhammer. There were some deep gouges in the heel. The gouges are hard to make out in the photos, so take my word for it. This is a straightforward fix, just time-consuming.

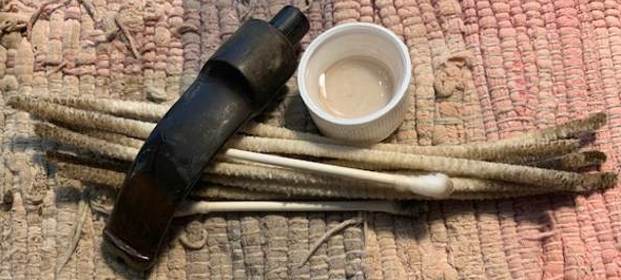
 However, before I addressed that issue, I needed to clean the shank and bowl thoroughly. I proceeded to use Q-tips, pipe cleaners, and lemon-infused isopropyl alcohol. Holy moly – this was an incredibly dirty pipe. Not sure it had ever seen a pipe cleaner before. Just look at the pile of Q-tips and pipe cleaners below!
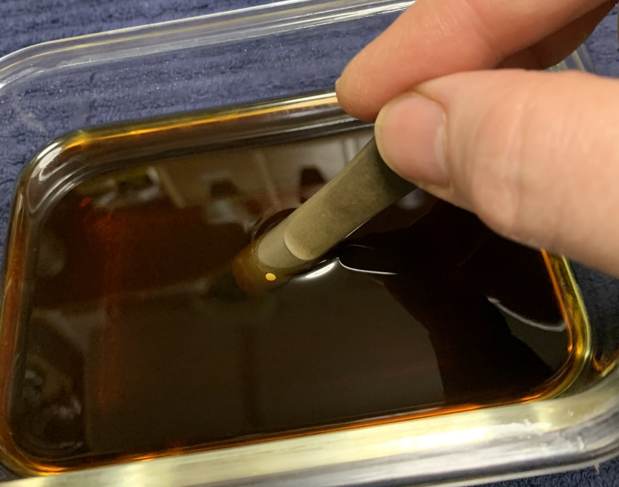
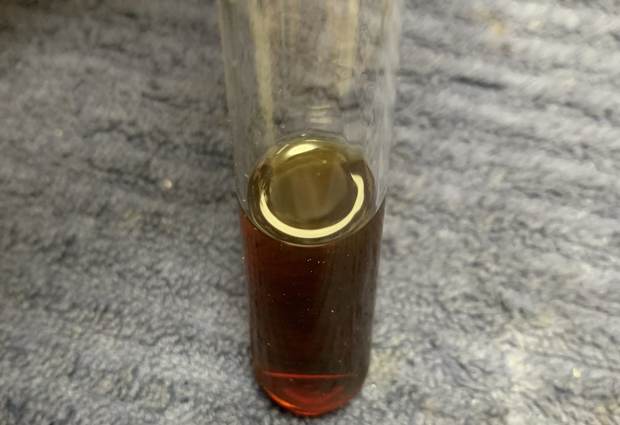
 Then, to further clean the inside of the pipe, I put the stem and stummel back together and used my pipe retort system. This system uses boiling isopropyl alcohol and a vacuum (i.e. a void, not the household appliance) to clean the interior of a pipe. As you can see by the brownish colour of the alcohol, the retort worked well. I managed to extract lots of otherwise inaccessible filth from inside the pipe. Once I followed that up by cleaning the insides with some Castile soap and tube brushes.
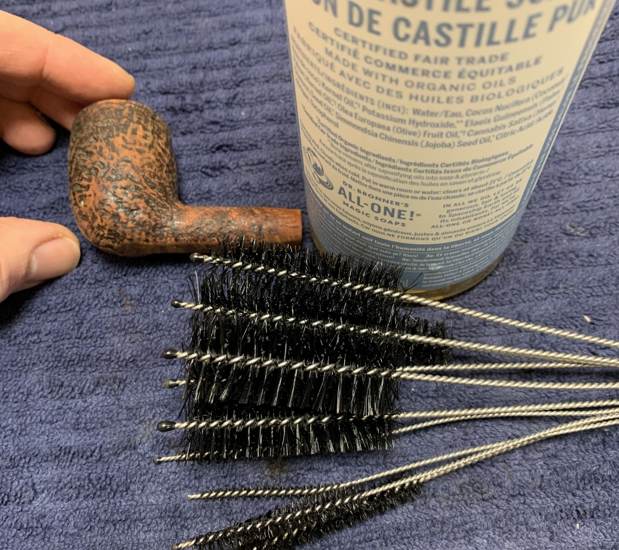
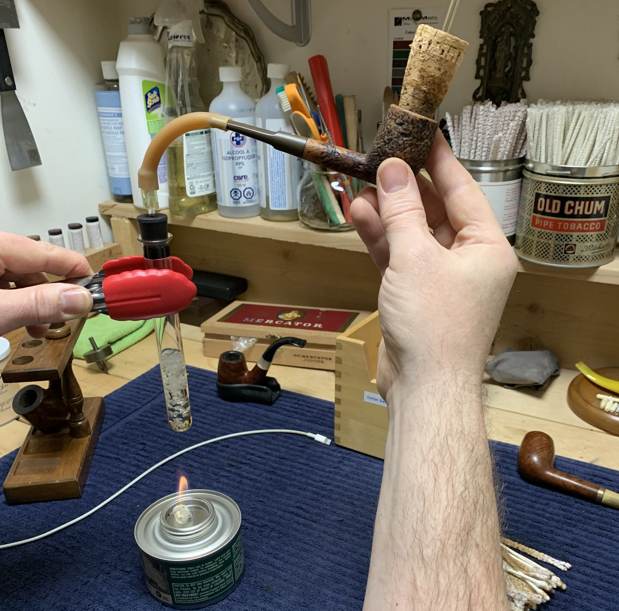
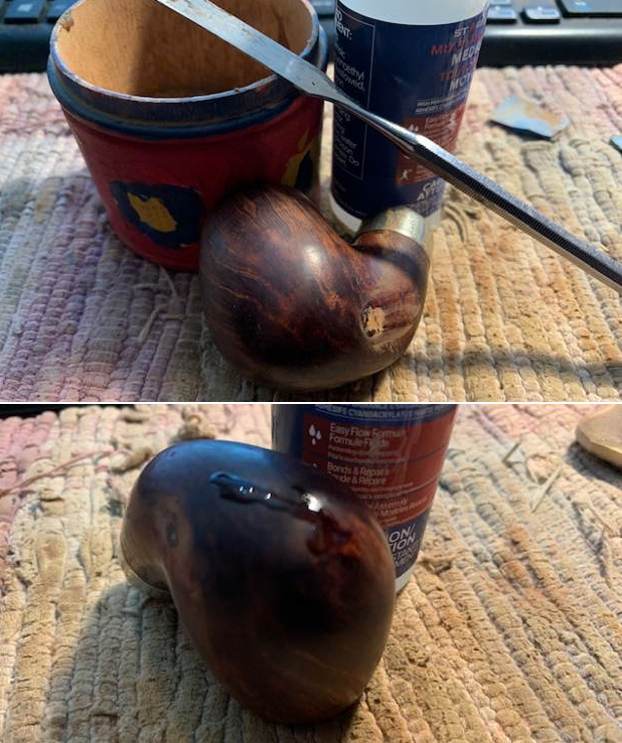
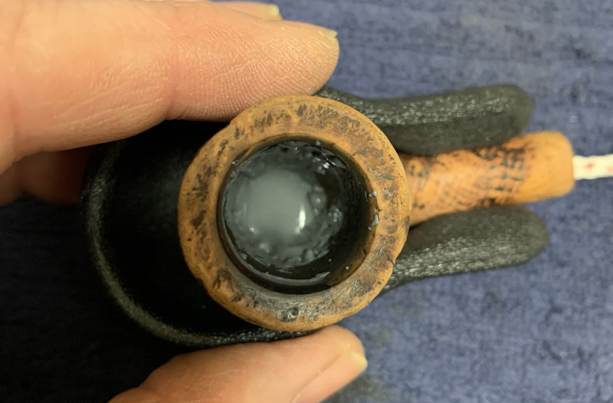
 Now for the reconstructive surgery. I prepared some J.B. Weld epoxy for the purposes of filling the gouges in the briar. The great thing about J.B. Weld is that, once cured, it is totally inert, heat resistant to well beyond pipe temperatures, and hard as rock. I used a folded pipe cleaner and awkwardly smeared the stuff into the breach – then left it to cure overnight.
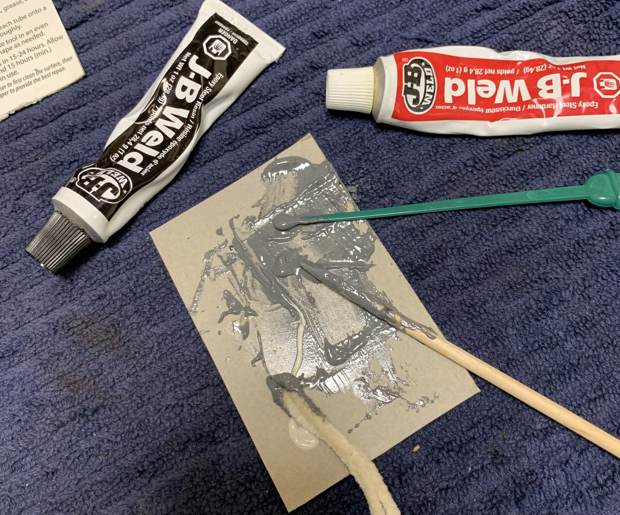
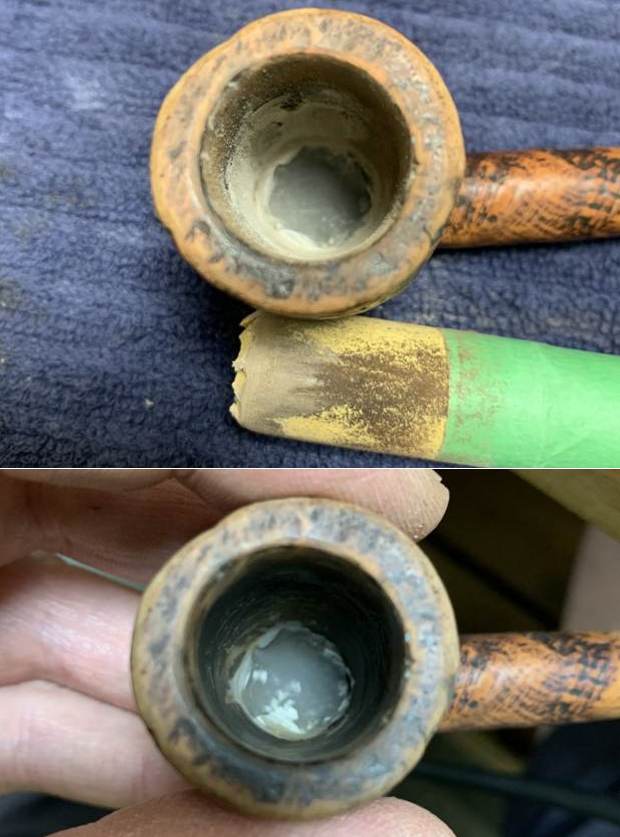
 On the morrow, I needed to remove all the excess epoxy from the bowl. I only wanted epoxy in the repair and nowhere else. This is a tricky and tedious exercise, but I used a combination of techniques to accomplish it. First, I used my Dremel (with different attachments) to remove most of the excess material. Second, I went back to my 200-grit sandpaper on a dowel to sand it down to where I wanted it. Naturally, the bottom of the bowl was much narrower than the top, so I acquired a couple of thinner dowels in order to sand where I needed to. I am very pleased with the results. The repair is exactly as big as it needs to be – and no bigger.
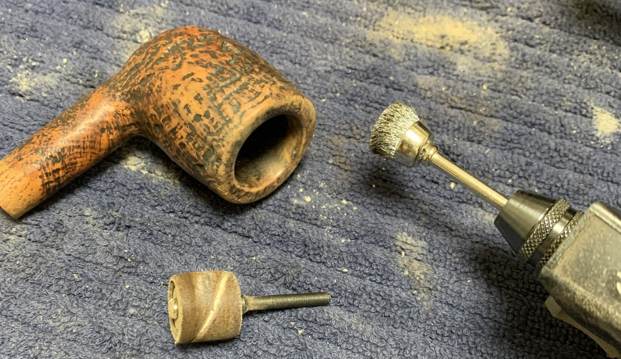

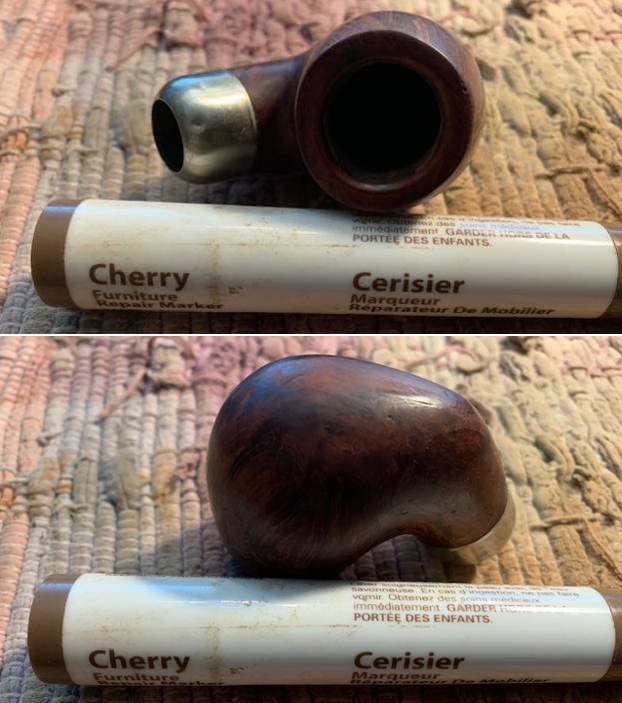
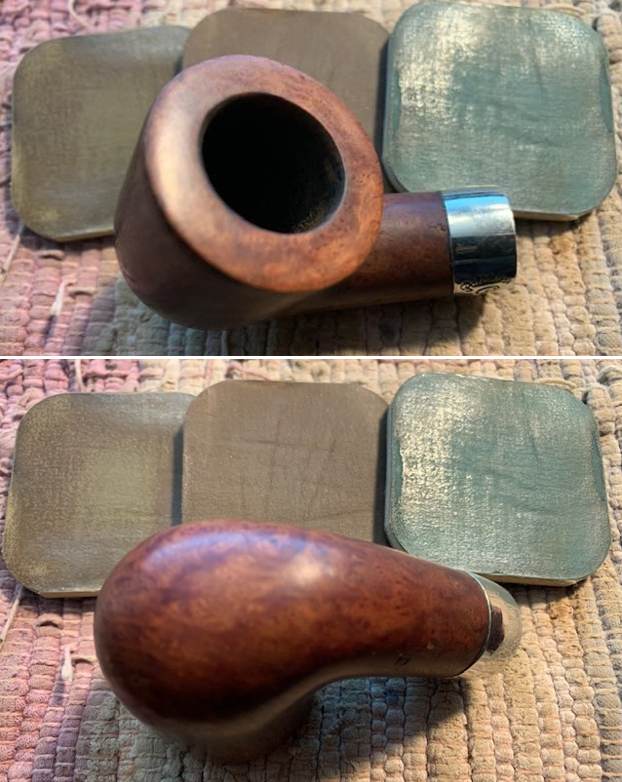
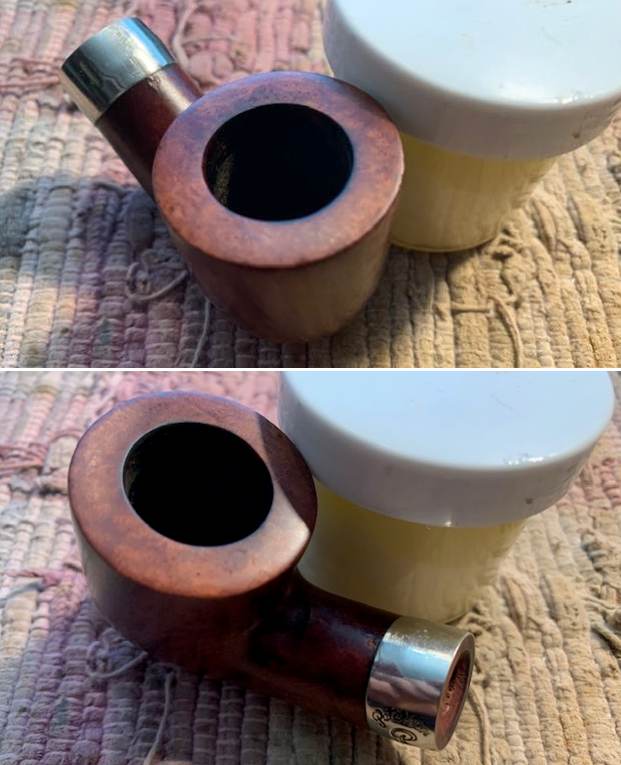
 After the pipe’s use over the years (and my restoration), the rim had lost some of its colour. I opted to use my furniture stain pens to match the colour of the rest of the stummel. Voilà! Looks terrific.
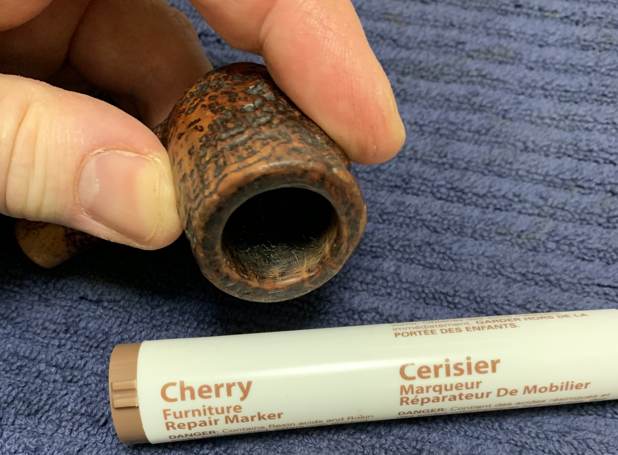 At this point, I rubbed some Before & After Restoration Balm into the briar and left it to sit for 15 minutes or so. I brushed it with a horsehair brush and buffed it with a microfibre cloth. The BARB does wonderful things to the wood, and I really like the sheen on the sandblast.
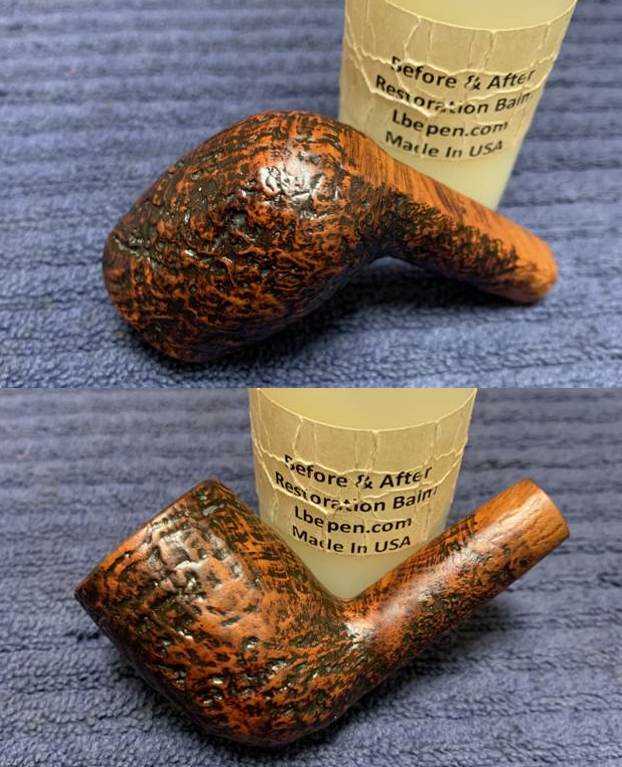
 I then coated the entire inside of the bowl with a thin coat of a mixture of activated charcoal and my wife’s homemade yogurt. It hardens overnight and provides a good, slightly rough surface for a new cake to build. Now, the bowl can be used again as if nothing happened.
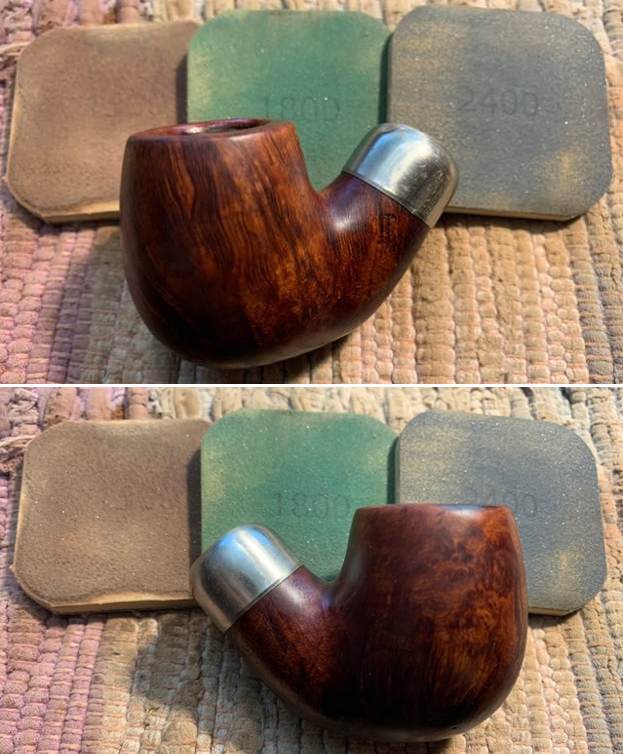
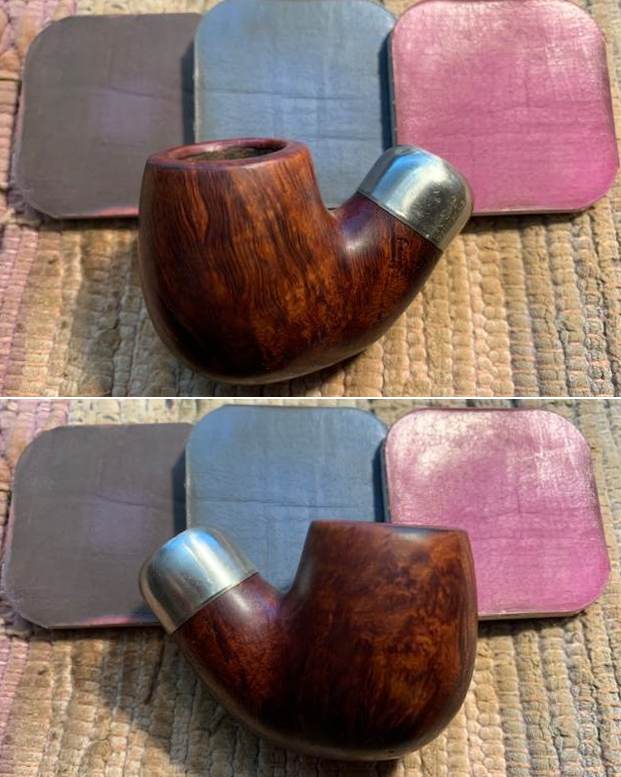
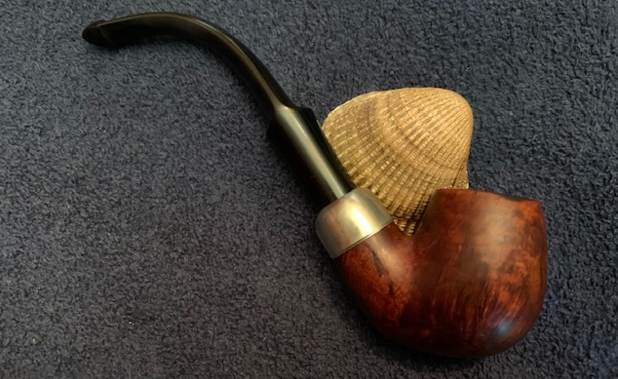
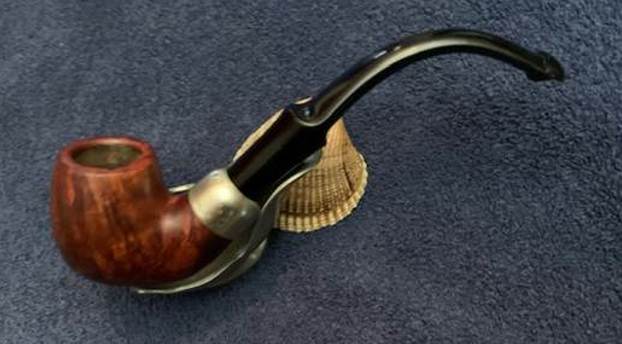
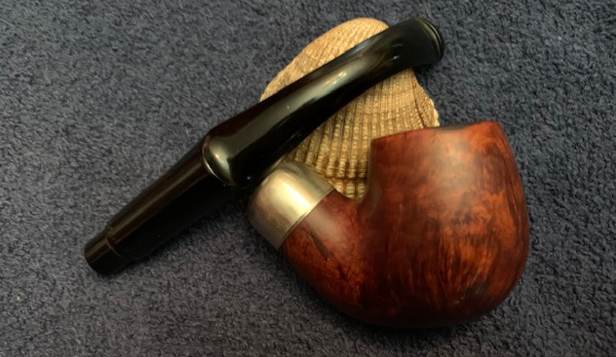
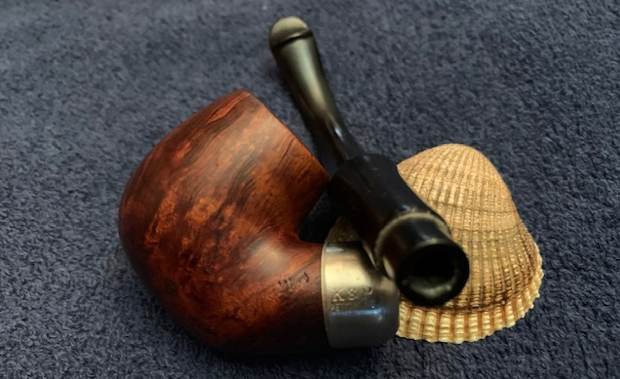
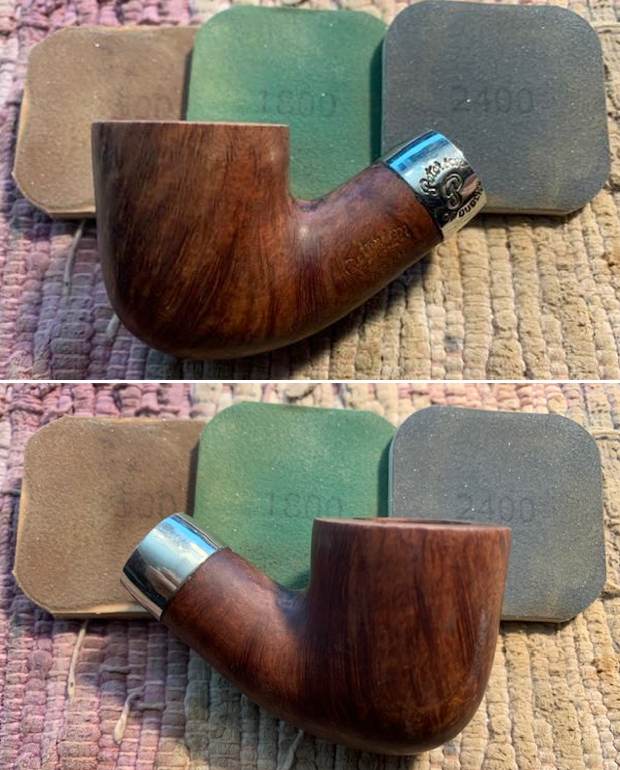
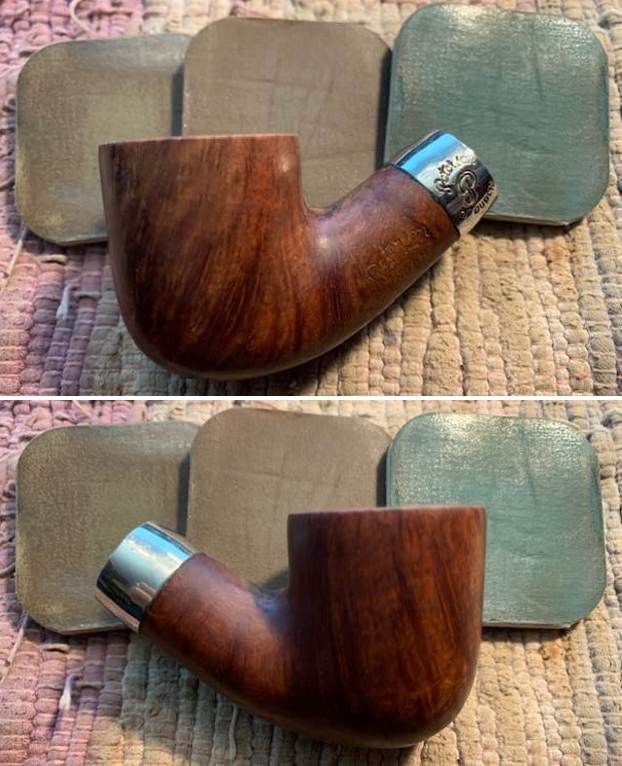
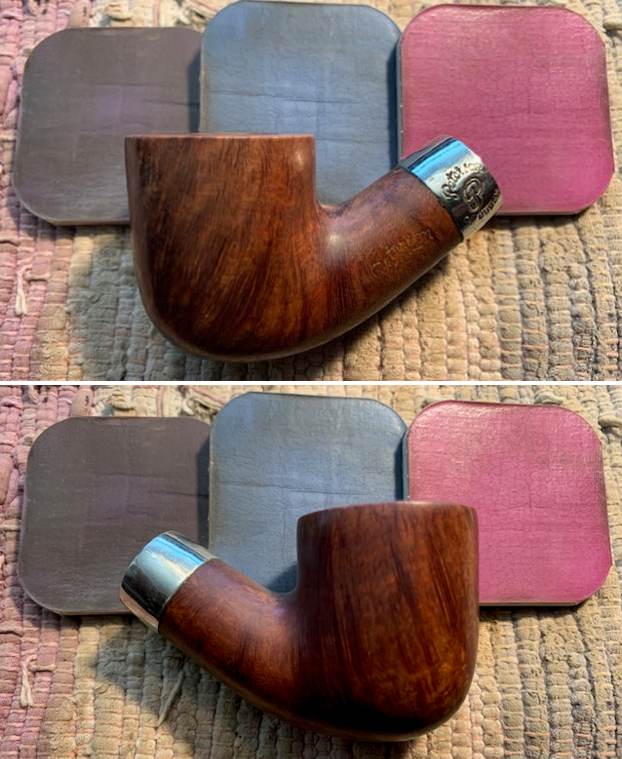
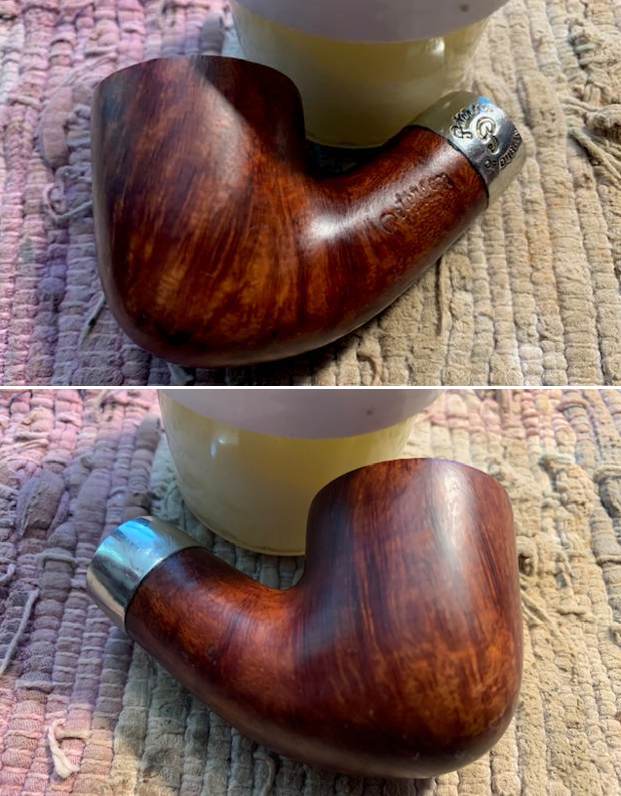
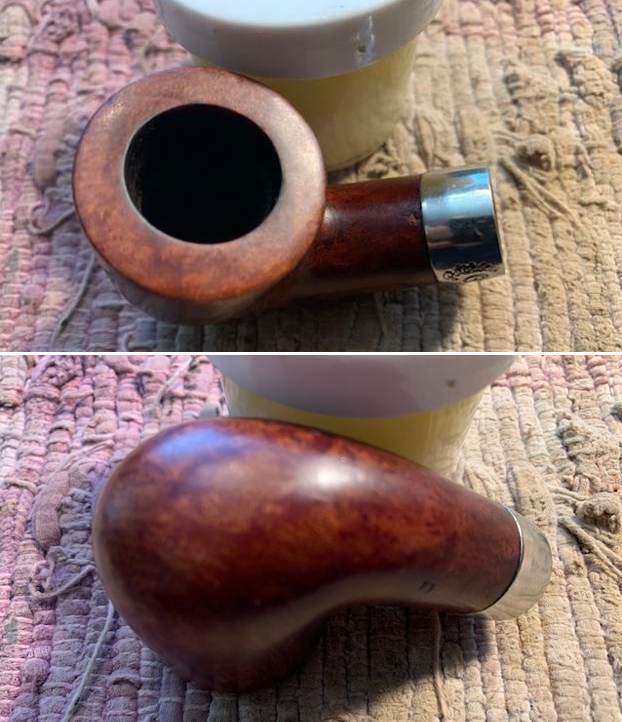
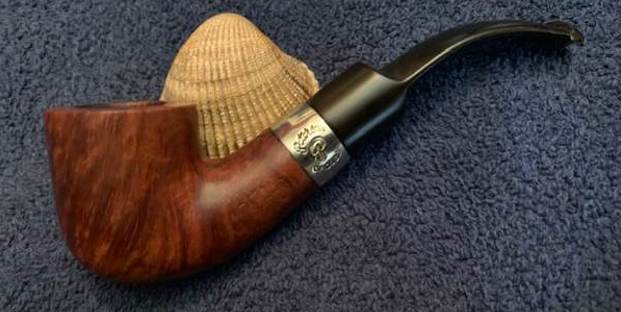
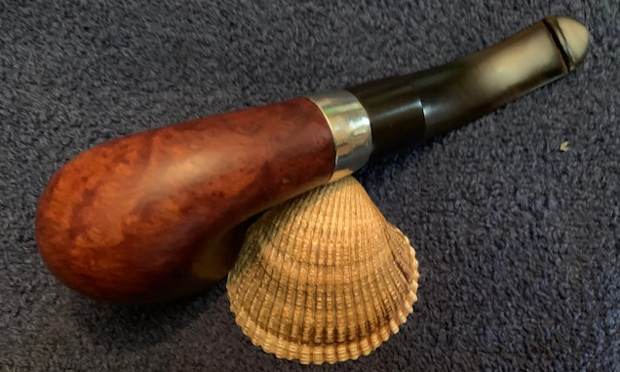
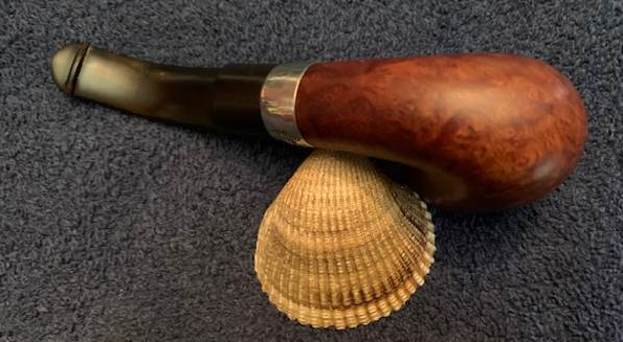
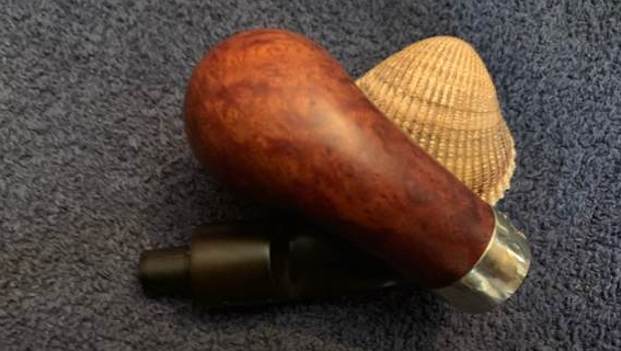
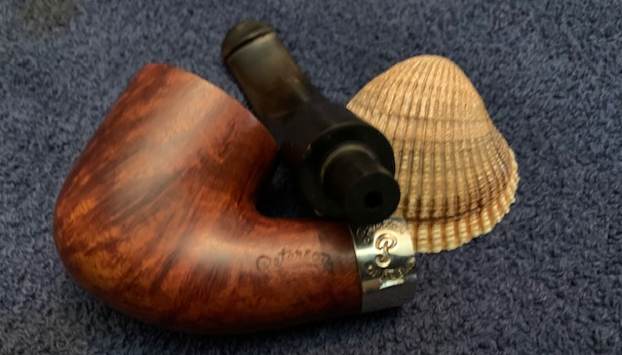
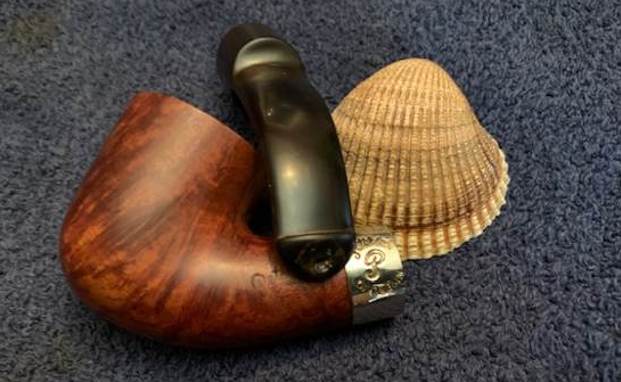
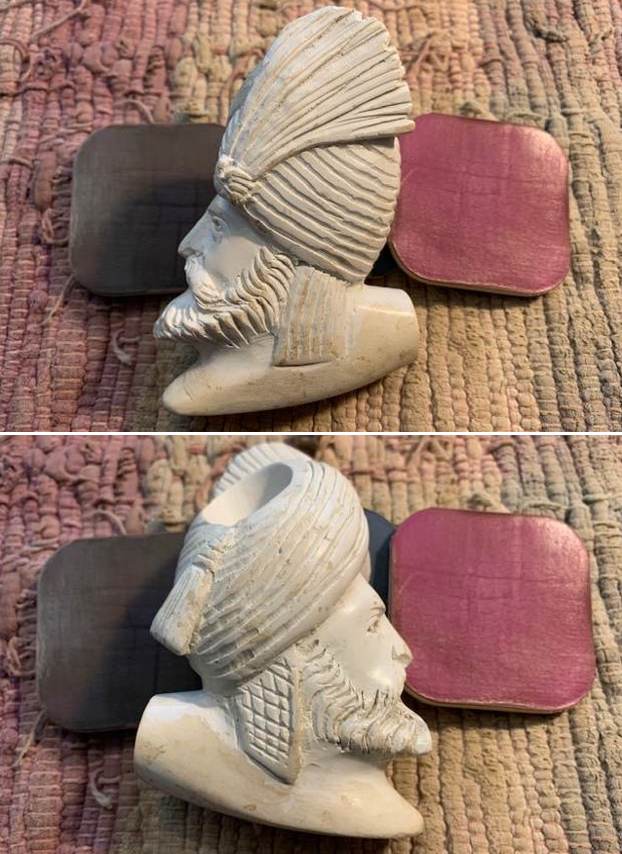
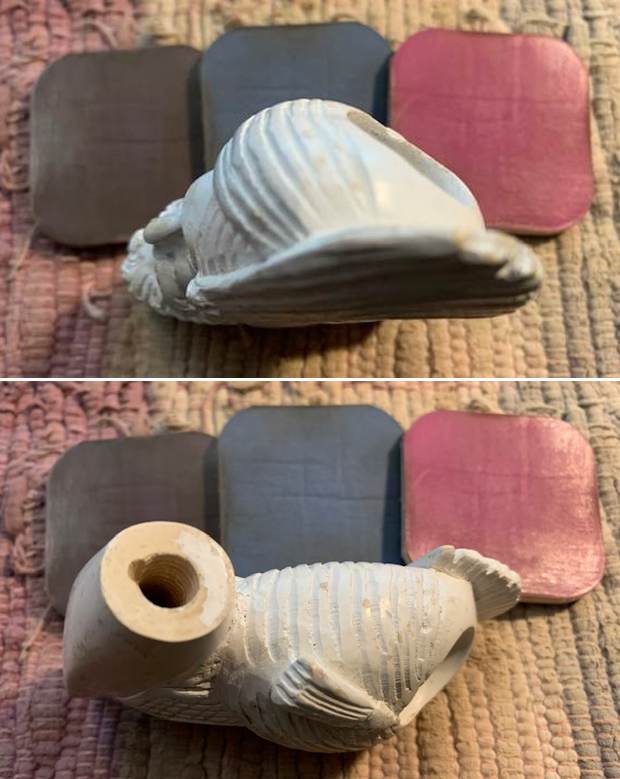
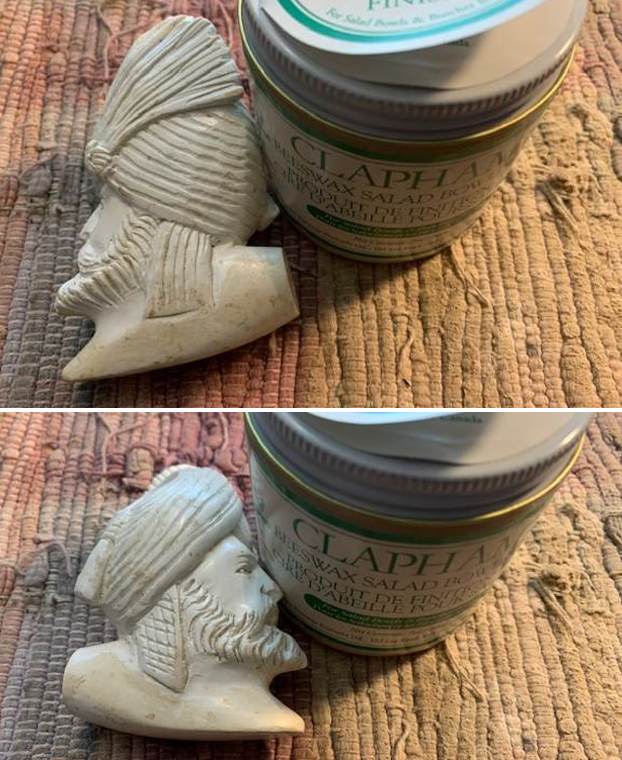
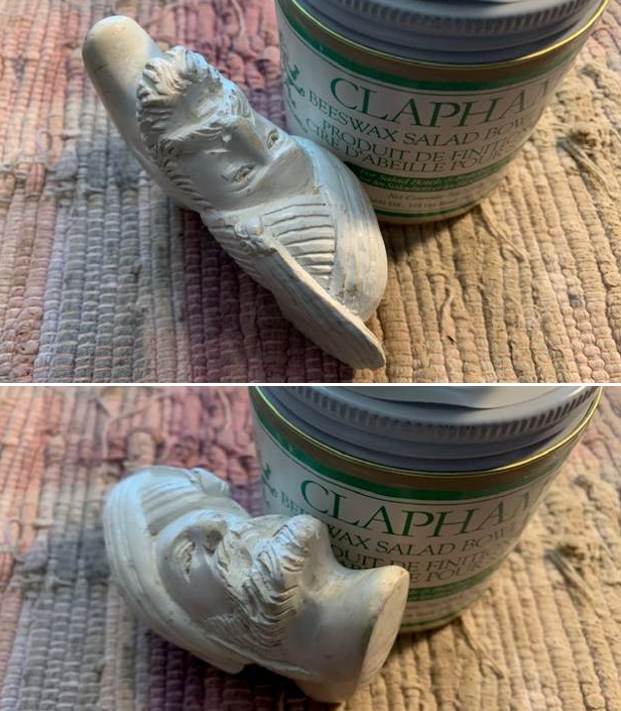
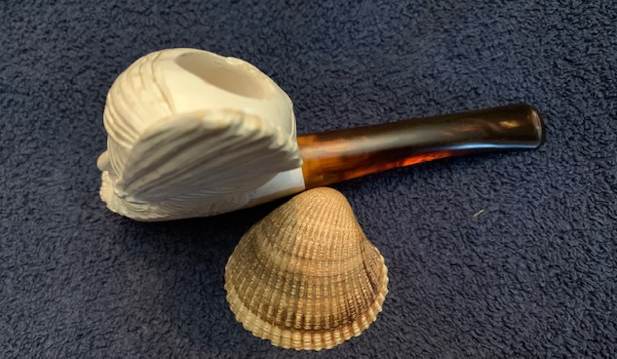
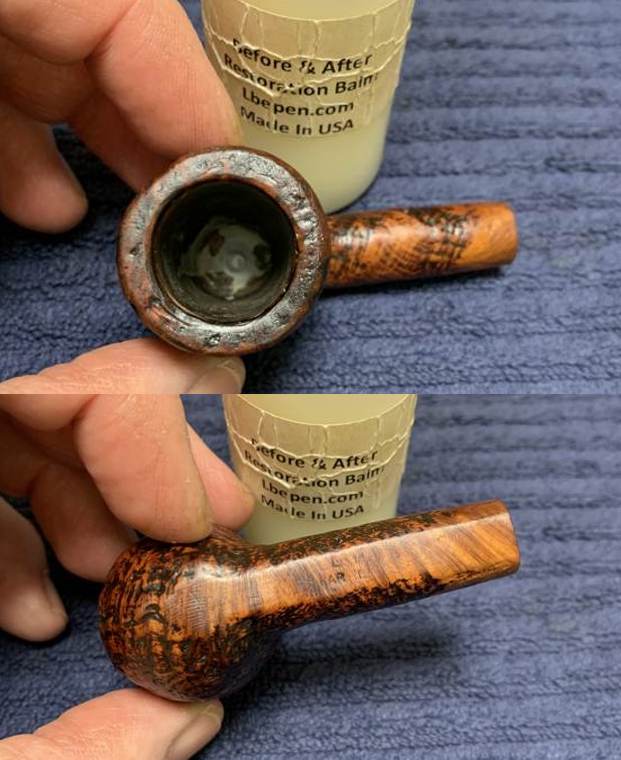
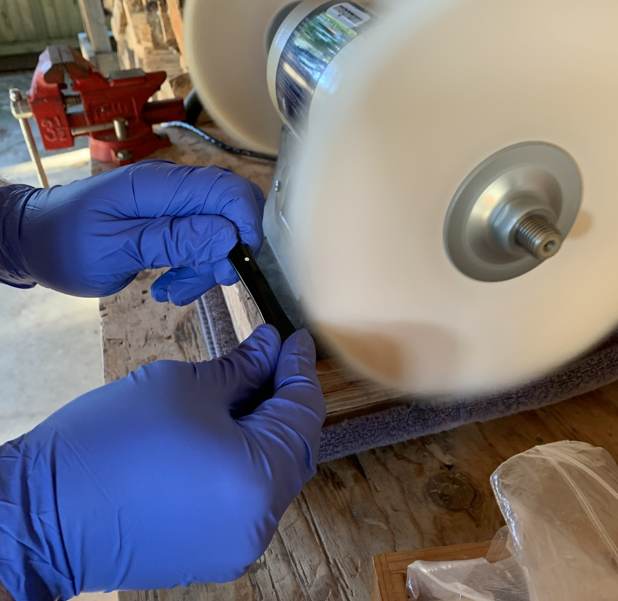
 Then it was off for a trip to the bench polisher. A few coats of Conservator’s Wax (from Lee Valley) were just what this pipe needed. Boy – that wax really makes this pipe pop! The lovely shine made the wood look absolutely beautiful. The sandblast looks fantastic and is ready to be enjoyed again by the next owner.
 I thoroughly enjoyed bringing this Dunhill Shell Briar 39 Billiard back to life and I am pleased to announce that this pipe is for sale! If you are interested in acquiring it for your collection, please have a look in the “British” Pipe Section of the store here on Steve’s website. You can also email me directly at kenneth@knightsofthepipe.com. The approximate dimensions of the Dunhill are as follows: length 5 in. (125 mm); height 1¾ in. (43 mm); bowl diameter 1⅛ in. (29 mm); chamber diameter ¾ in. (19 mm). The weight of the pipe is ⅞ oz. (25 g). I hope you enjoyed reading the story of this restoration as much as I enjoyed restoring it. If you are interested in more of my work, please follow me here on Steve’s website or send me an email. Thank you very much for reading and, as always, I welcome and encourage your comments.