Category Archives: Pipe Refurbishing Essays

Essays and pictorial essays on the art of refurbishing

Refurbed Rutledge Author


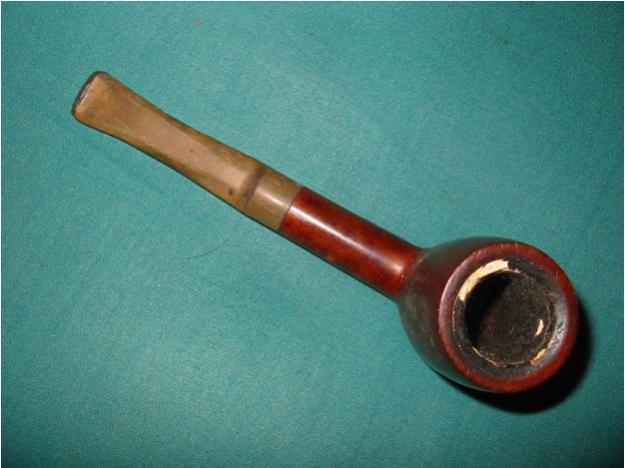
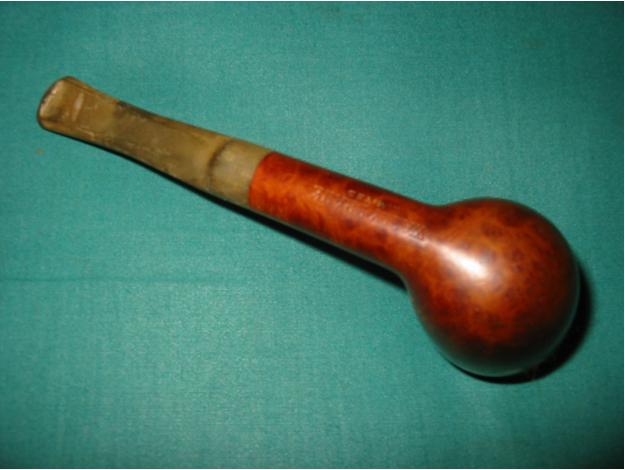
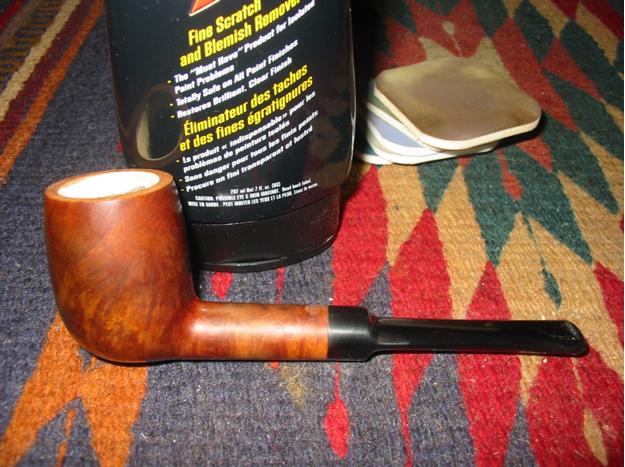
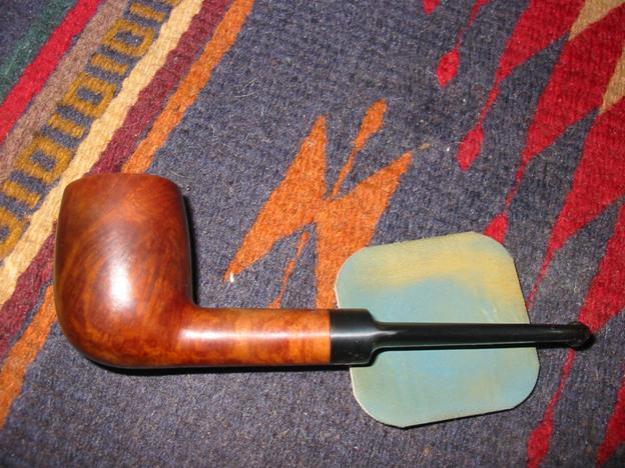
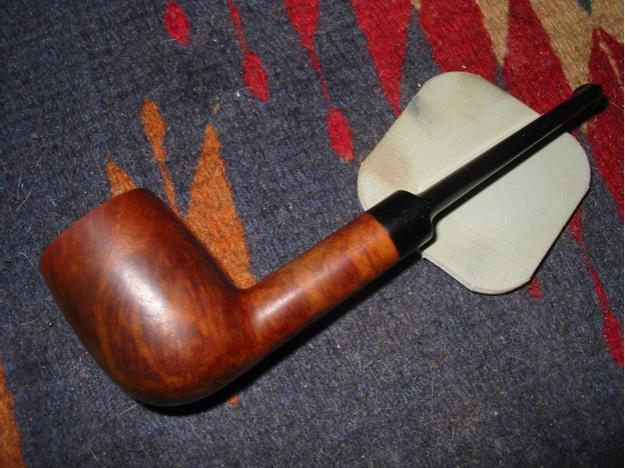
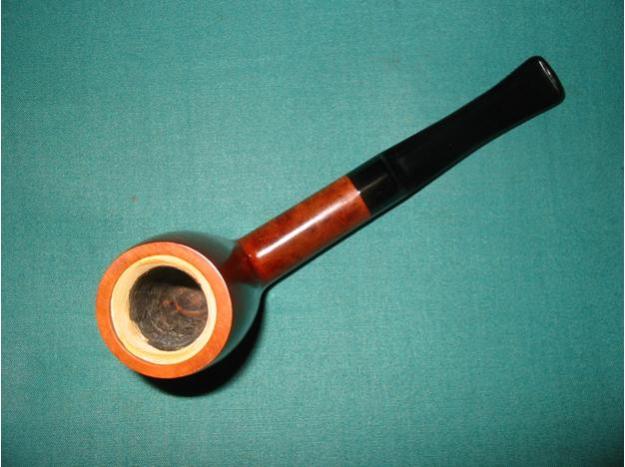
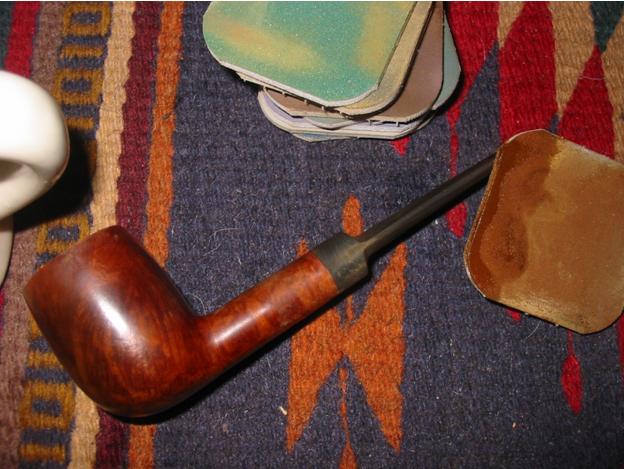
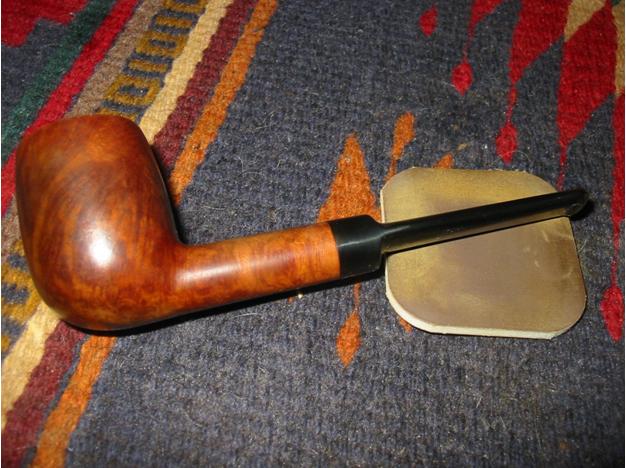
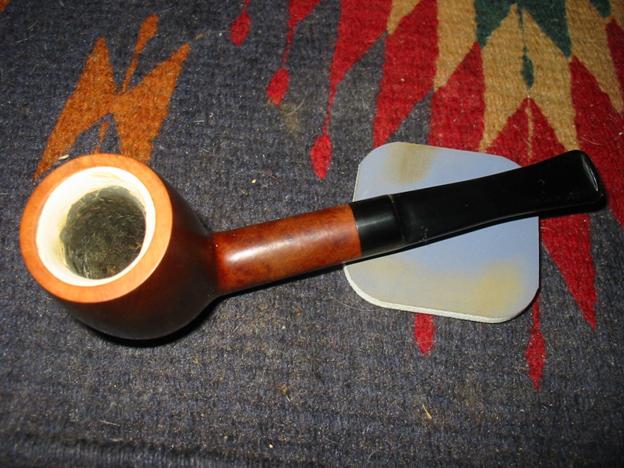
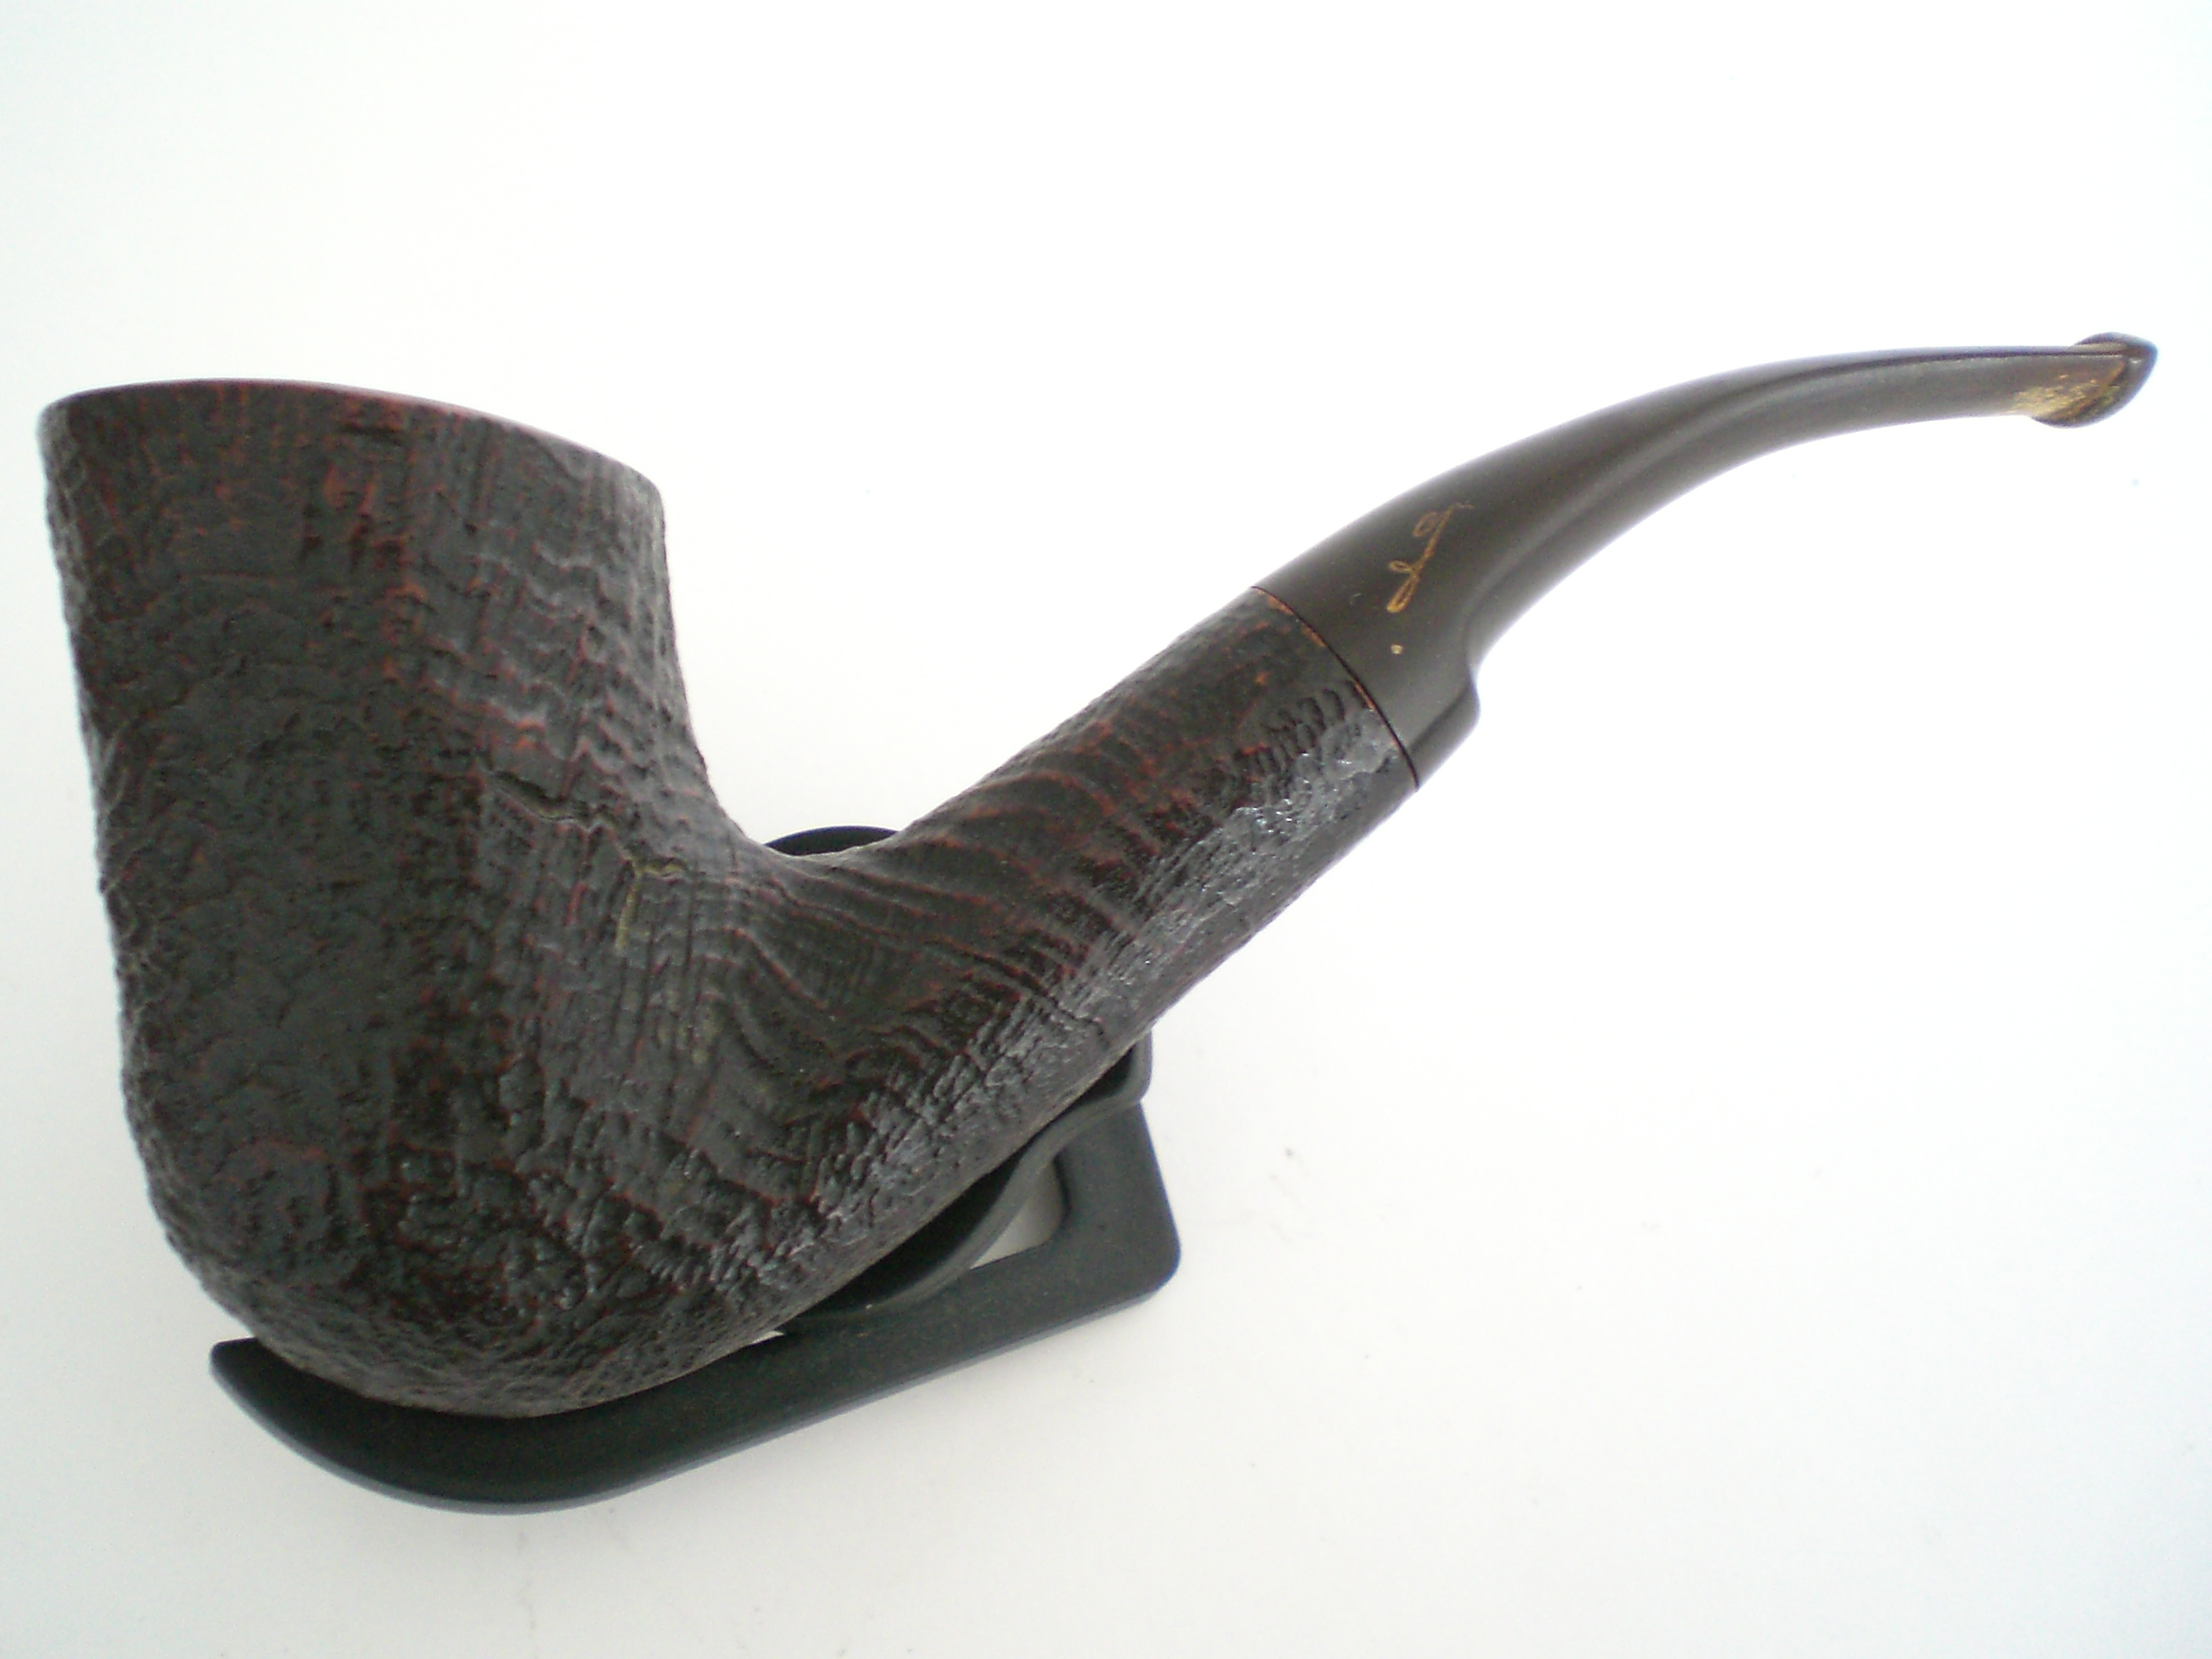
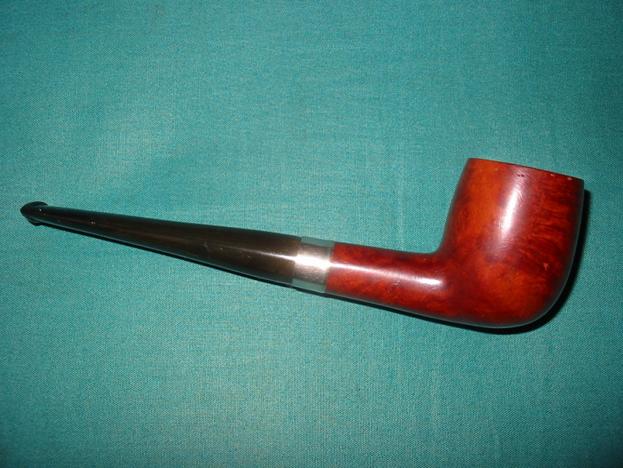
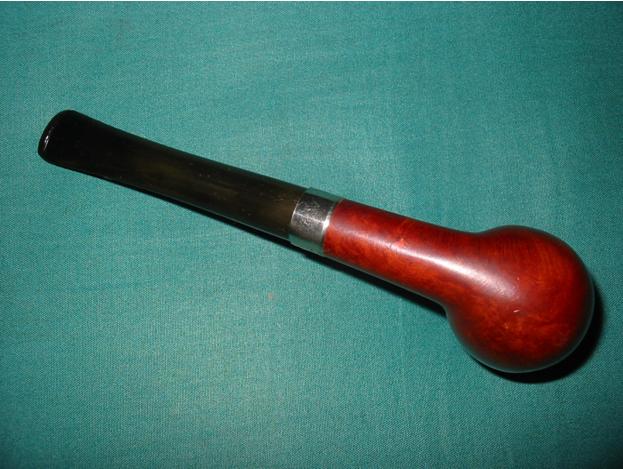
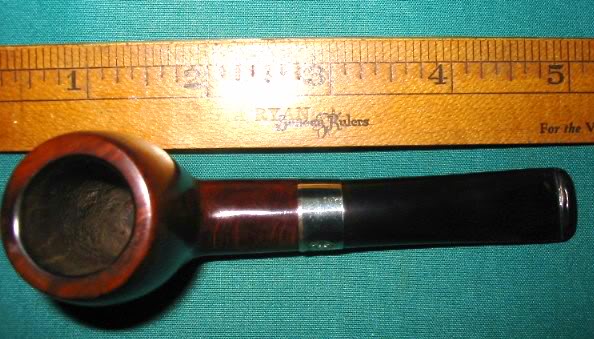
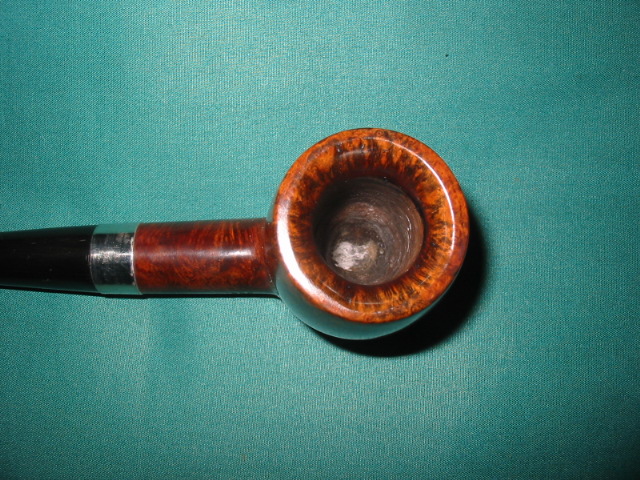
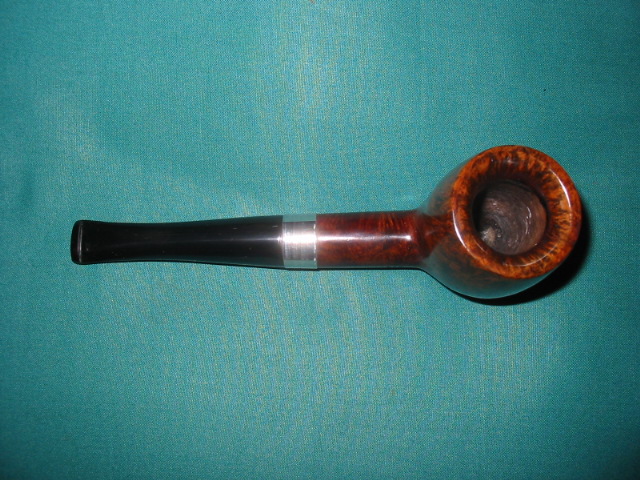
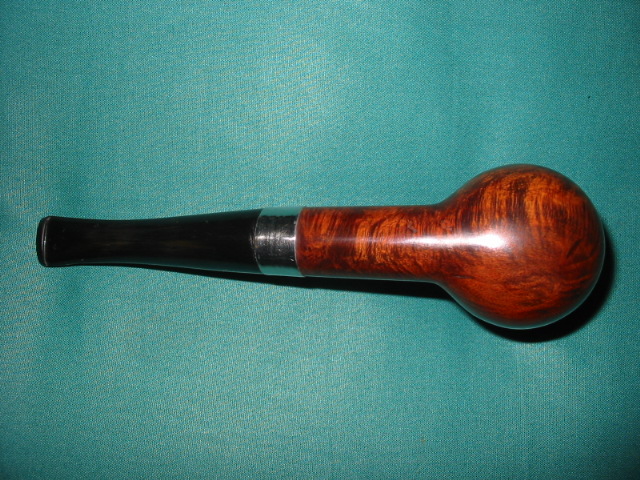
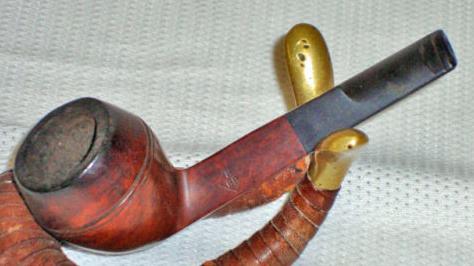
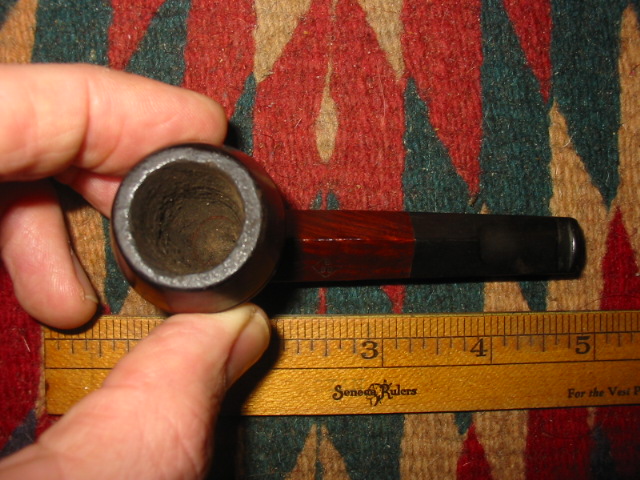
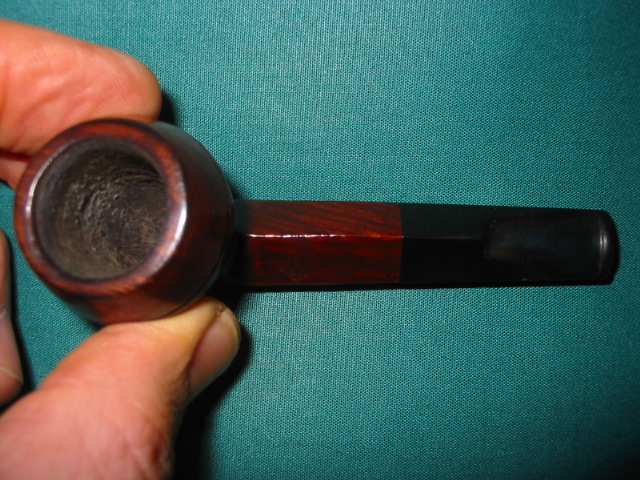
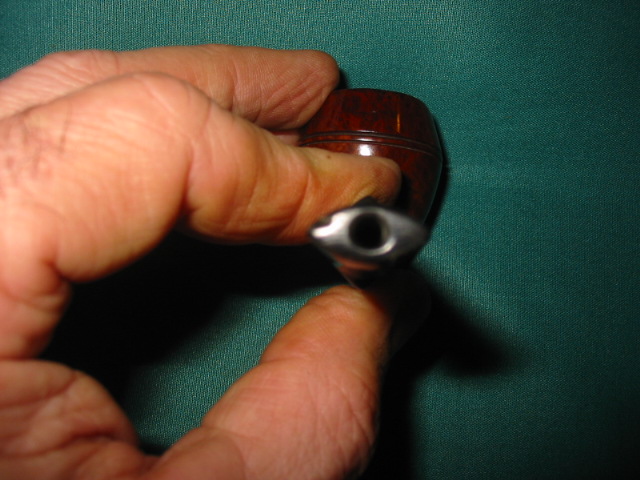
This old Rutledge pipe is the one that came with the Beuchner Ashtray Reamer that I wrote about in an earlier blog post. I have not found a lot of information about the brand or the maker of this pipe so it is a mystery that remains for me. However, the author shape is one that I particularly like so it finally got the attention needed to clean it up. You can see from the first two pictures the state of the pipe. The stem was badly oxidized and needed some work. The bowl was clean but dusty and even had a cobweb or two in it. The rim had some tar build up but was not dented or dinged. When I removed the stem – a screw mount stem – I found that it had originally had a KW stinger that had been clipped. It was fairly oxidized as well and the aluminum on the threads was pitted and darkened with tars and oils.
rut1

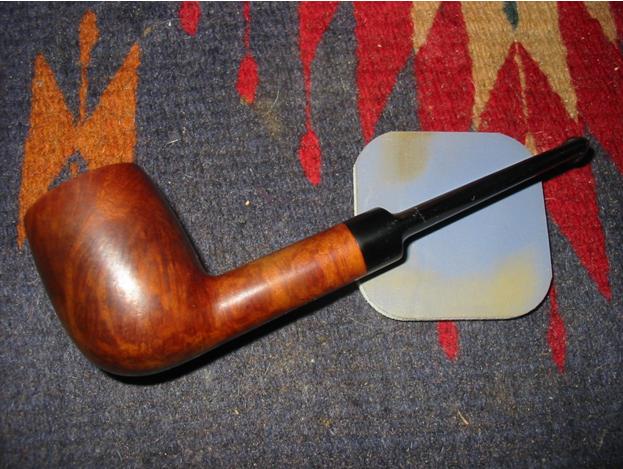
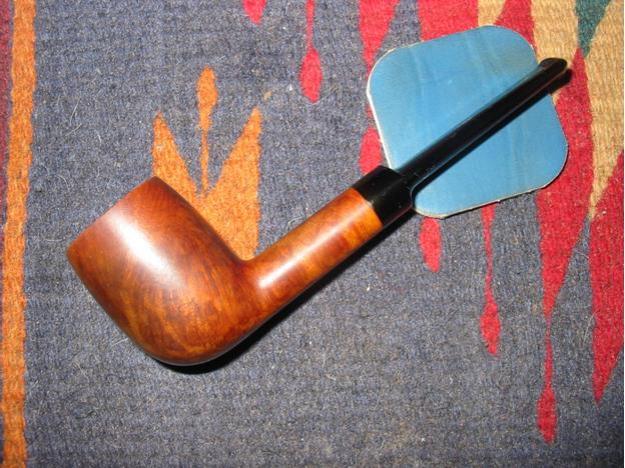
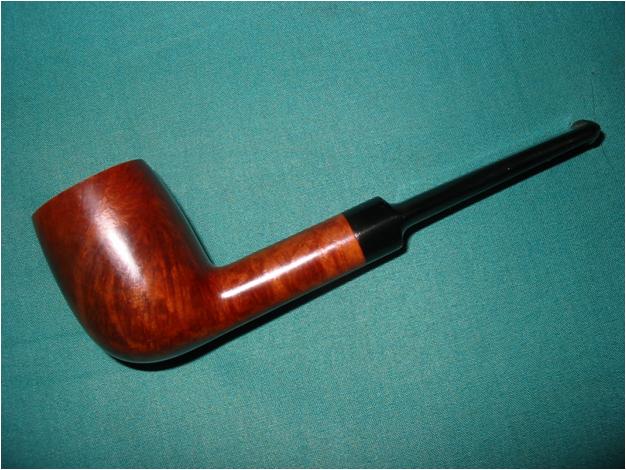
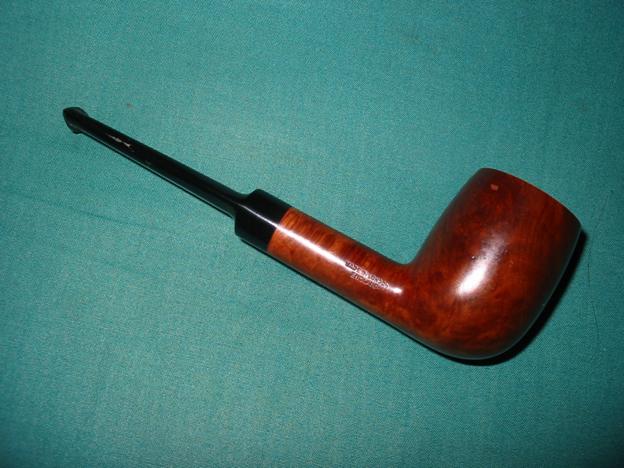
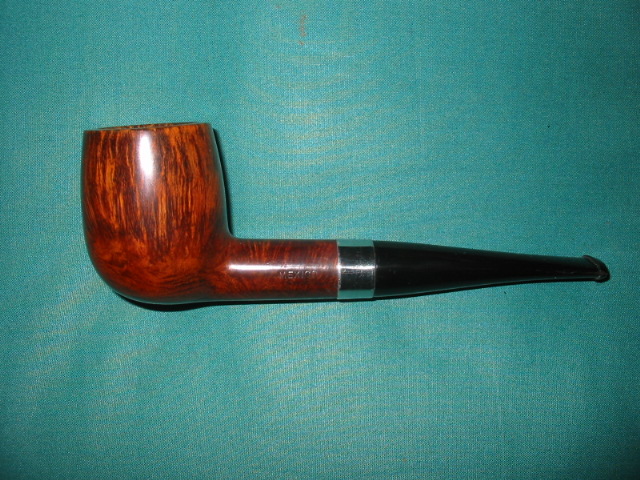
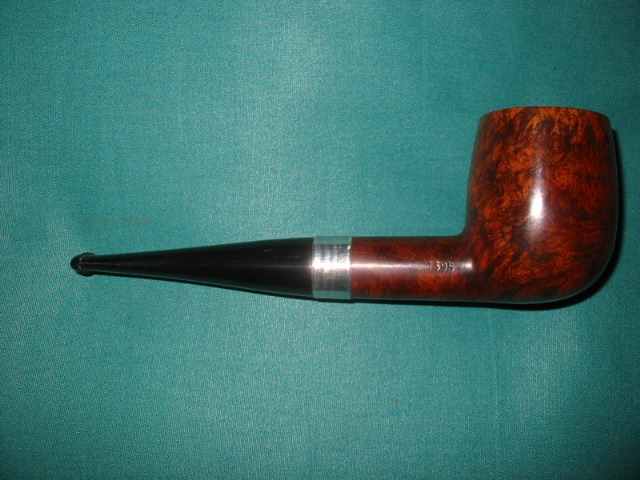
I unscrewed the stem and cleaned it out and used 0000 steel wool on that to clean the tenon and remove the oxidation and grime. I also used it to smooth out the pitting. One it was clean I dropped it in a bath of Oxyclean and warm water to soak while I worked on the bowl. I gave the bowl a light reaming and scrubbed the rim with a soft cloth and some Murphy’s Oil Soap. I wiped the entirety down with a cotton pad and some acetone and then buffed the bowl on my buffer with White Diamond and Carnauba wax. The metal band at the end of the shank made this quite easy to do without the stem attached. I never do that with a regular shank as it can round the edges and ruin smoothness of the shank stem junction. With the bowl finished I took the stem out of the Oxyclean bath and began to work it over with micromesh sanding pads from 1500-12,000 grit. I polished the stem with plastic polish after that and reattached it to bowl and gave the whole pipe several coats of carnauba wax and buffed with a clean flannel buffing pad to polish it.
rut2

A Journey from Oxidation to Shine – Refurbishing a Wally Frank Meerlined Billiard


I have had this old meerlined billiard in my box for refurbishing for quite awhile. The stamping on it says Made in London England on the right side of the shank. On the underside of the shank it is stamped Wally Frank Limited. The finish on the bowl was cloudy from many coats of wax and there was a gummy substance on the front of the bowl from a sales label. The rim was dented and the inner edge of the meer lining was damaged. There was a heavy buildup of cake on the meer. The stem was badly oxidized.
ox1
ox2
ox3
ox4

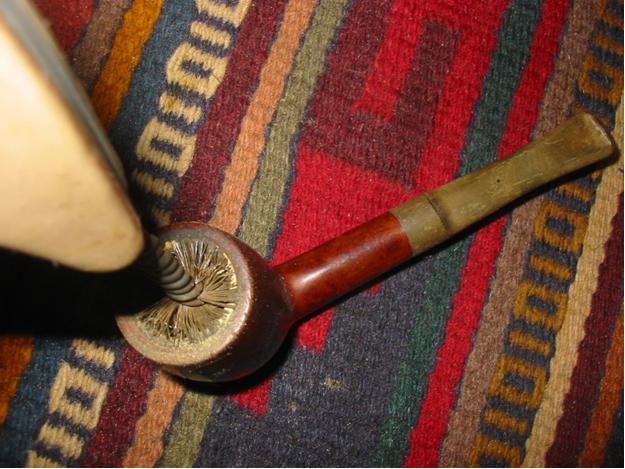
ox5 I decided to work on the interior first so I used a plumbers wire brush (used for smoothing the edges of a newly cut pieces of pipe or tubing). It is a ¾ inch brush (see the photo to the left of this text) and I have found that if it is used carefully it is good at removing the initial cake build up on the interior of a meerlined bowl. I say carefully because too much and the brush scratches the meer lining. In this case I ran it through one time and then dumped out the ash and carbon buildup. The two photos below show the brush inserted in the bowl and give an idea of the tool itself.
ox6
ox7

Once the brush has done its work I use a blunt edge letter opener/knife to smooth out the rest of the cake that is still present. The next photo gives a clear picture of the pipe bowl after I have used the brush in it and just inserted the knife. There was still some stubborn cake left that I used the knife to scrape away. The second photo below shows the bowl after I have finished with the knife. Once the bowl was at this point it was time to use sandpaper in the bowl to smooth out the edges and rough spots.
ox8

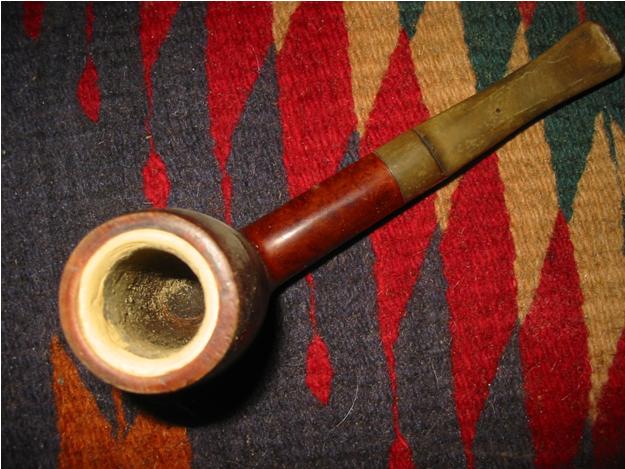
The next photo shows the bowl after the initial sanding on the cake. I had lots more to sand at this point but I wanted to document the process. At this point in the process I removed the stem and put it in a jar of Oxyclean to soak and soften the oxidation while I continued to work on the bowl.
ox9

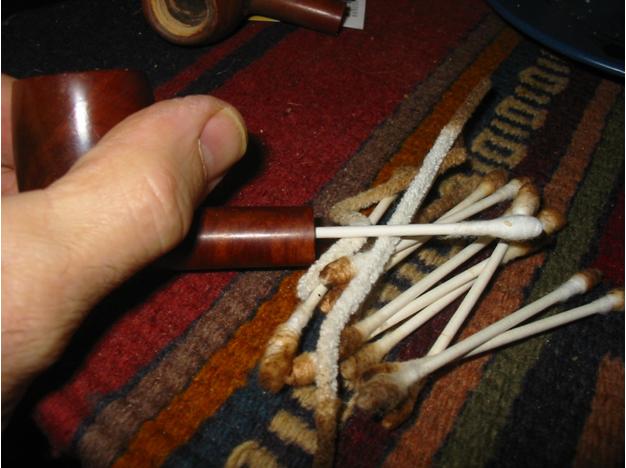
I used many cotton swabs on the inside of the bowl to remove the sanding dust and to clean out the inside of the shank once the stem was removed. The mortise had a thick coating of tars and the airway into the bowl was constricted with tars as well. It took many swabs and about the same number of pipe cleaners to get the interior clean. I dipped the swabs and pipe cleaners in 99% Isopropyl alcohol and washed out the inside. The first swabs came out almost black with the tars. I did some more sanding on the rim and the inner edge of the rim and meer lining. The rim was quite dented and had some chunks missing so I topped it lightly using the methods I have written about in other articles on the blog. I also used a folded piece of sandpaper to bevel the edge of the meer lining inward to take care of the damaged edge of the meer.
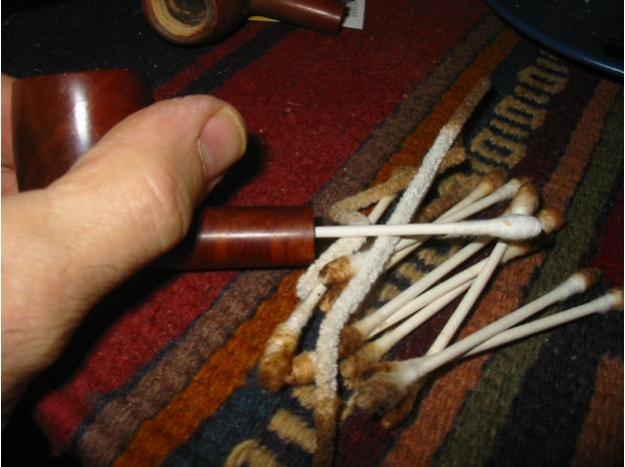
ox10

Once the bowl was finished I wiped it down with some acetone on a cotton pad to remove the wax buildup and give me a clean surface to work with. I took the stem out of the soak and went to work on it. I wiped it down with a soft cotton cloth to dry it and to remove the softened oxidation. I then filled a cup with warm water and began to work on the stem with the micromesh sanding pads 1500-12,000. I took pictures of each successive micromesh pad and the result of using it to show the progression of the polishing.

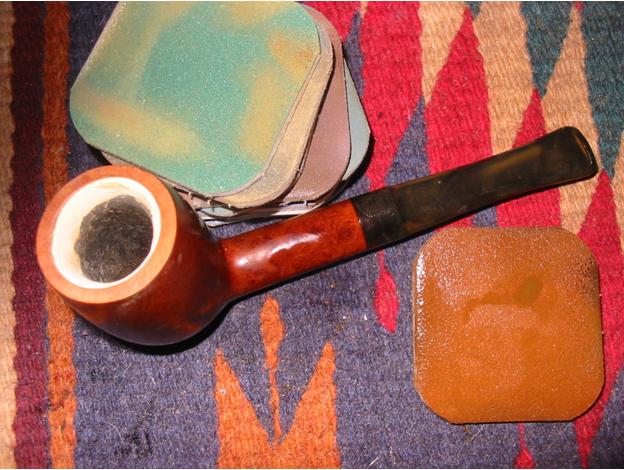
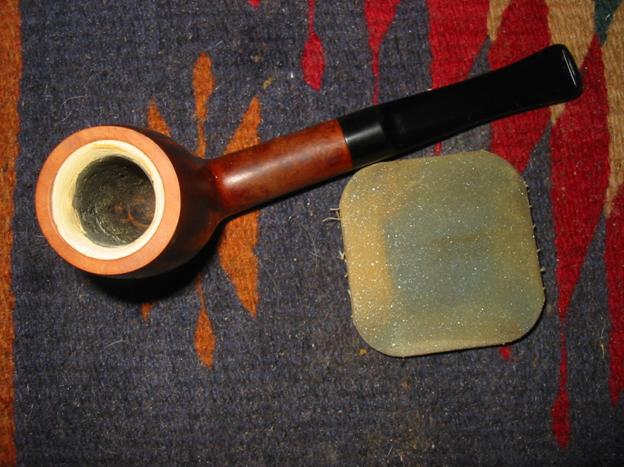
The first four pictures below show the stem after wet sanding with the 1500 rust coloured sanding pad. You can also see the inner rim and bowl top after my work on them as well. The first sanding took what remained of the majority of the oxidation off the stem and gave it a dull matter finish. I wet the sanding pad down and sanding with it wet. I repeated the sanding of the stem repeatedly until the oxidation was gone. Then I wiped it down before the picture to show the progress.
ox11

ox12

ox13

ox14

Once I was satisfied that the majority of the oxidation was gone I move on to the green 1800 grit micromesh sanding pad. I also used this pad with water and wet sanded the stem repeatedly. You can see the remaining oxidation still showing up on the wet sanding pad in the two photos below. The two photos show the stem after multiple sanding. I wiped it down with a soft cloth to dry it off and wipe away the grime left behind by the wet sanding. The stem is beginning to take on a bit of a shine. The matte finish of the 1500 grit is getting a polish.
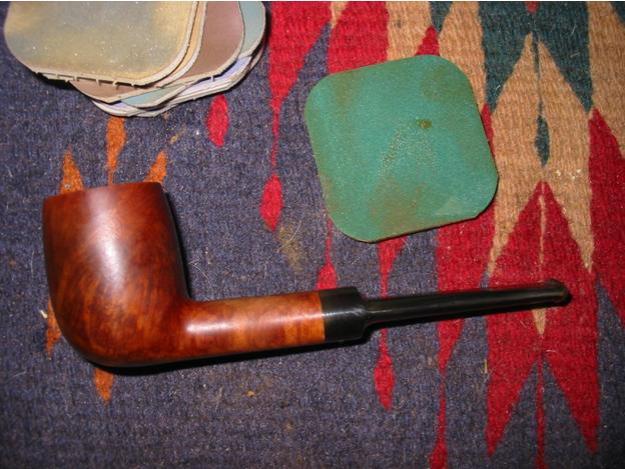
ox15

ox16

The next two photos show the 2400 grit micromesh disk (grey coloured). I used this pad without water to polish and shine away some of the scratches. I found on the left side of the stem near the button there was a fairly deep scratch on the edge. I used some 280 grit sandpaper to remove this scratch and then repeated the 1500 and 1800 grit micromesh sanding. Once finished I gave the entirety of the stem a sanding with the 2400 grit pads to smooth out the finish. I also used the pad to sand the top of the bowl and the edge of the meer lining.
ox17

ox18

A 3200 grit micromesh pad (tan coloured) was used next. I also dry sanded the stem with this one the first few times I sanded it. The last time I wet sanded the stem. The next two photos show the stem after the sanding. I wiped it down with a soft cotton cloth to remove the dust and residue from the wet sanding.
ox19

ox20

Once I got to this point I decided to try some Mequiar’s Scratch X 2.0 fine scratch and blemish remover that I picked up at an auto parts store. It is used to polish headlight lenses. I applied the polish to the stem and let it dry a short time before wiping it down and polishing the stem with the cotton cloth. The first two photos show the application of the white polish. The last two show the result of the polish on the stems at this point in the process.
ox21

ox22

ox23

ox24

At this point in the process I decided to continue with the micromesh sanding pads. I wanted to take them through the 12,000 grit pad and document the progressive shine that comes alive in the stems. The next two photos show the wine/brown 3600 grit sanding pad and the results. I sanded the entirety of the stem repeatedly before wiping it down for the photos below. I dry sanded with this grit pad and also with the remaining micromesh pads.
ox25

ox26

A 4000 grit Teal coloured micromesh pad was next. I also dry sanded with this pad. The next two photos show the shine starting to come alive on the stem.
ox27

ox28

A 6000 grit Purple coloured micromesh pad was next. I dry sanded with this pad as well. The next two photos show the shine after I repeatedly sanded the stem.
ox29

ox30

An 8000 grit Royal Blue micromesh pad was the next in line to be used. The difference in shine between the 6000 and the 8000 grit is quite remarkable. The shine takes on a depth that the early grits did not bring out in the vulcanite. The next two photos show the stem after sanding several times with this grit pad.
ox31

ox32

The final micromesh pad to be used was the Grey coloured 12,000 grit pad. I also dry sanded with this pad. I sanded the stem several times until the vulcanite shine had a depth that was visible. The two photos below show the result of the final sanding.
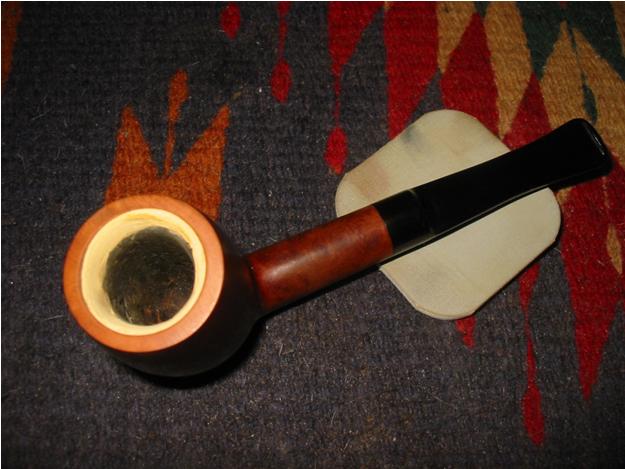
ox33

ox34

At this point in the process I once again wiped the stem down with the Meguiar’s polish and buffed it off by hand with a soft cotton cloth. I then took it to the buffer and gave it several coats of carnauba wax. I also buffed the bowl with White Diamond and then carnauba wax as well. The finished pipe is in the four photos below.
ox35

ox36

ox37

ox38

The Versatile Dremel Tool


Throughout various articles on the blog I have mentioned the use of the Dremel Tool in my refurbishing and carving of pipes. I thought it would be helpful to write a bit about the ones that I use regularly and refer to often.

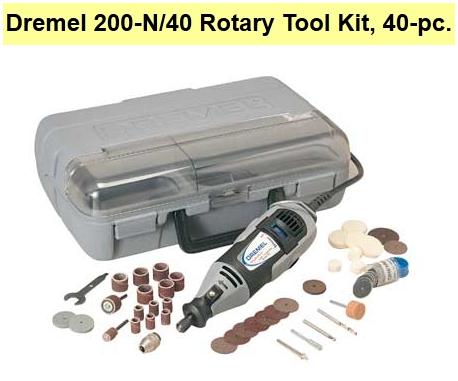
I have two Dremels that I use for working on pipes for repair and those I have carved. The first one is a relatively new one that my girls gave me for Christmas last year. It is pictured below and is a MultiPro. It is a variable speed precision handheld rotary tool with ball-bearing motor that drives a wide variety of bits at any speed from 5,000 to 35,000 RPM. The Model 395 Multi-Pro tool came with an assortment of accessories that are pictured below – sanding drums, grinding stones, sanding and cutting disks and polishing disks, a drill bit. The tool itself has carbon motor brush set; keyless chuck, wrench, quick-change collet nut and a Windowed organizer case.
dremel1

dremel2

My second Dremel is the one pictured above. I have had this one for over 10 years and it has been trouble free since I purchased it. It has seen a lot of work on stems and briar. I have had to clean out the brushes and opening with an air gun several times over the course of the years but it has become and old standby. It is a Dremel MultiPro 200-N/40 Rotary Tool. It came with a full kit like the first Dremel but includes a few more accessories as listed below.

Kit Accessories:
• Drill Bit
• High speed cutter
• Mandrel
• Coarse 1/2″ sanding drum
• Coarse 1/2″ sanding band (3)
• Emery cut-off wheel (5)
• Coarse sanding discs (36)
• Small felt wheel (4)
• Heavy duty emery cut-off wheel (3)
• Emery wheel (2)
• Fiberglass cut-off wheel
• Large felt wheel
• Coarse 1/4″ sanding drum
• Coarse 1/4″ sanding band (3)
• Fine 1/2″ sanding band (3)
• Fine 1/4″ sanding band
• Aluminum oxide wheel
• Aluminum oxide stone

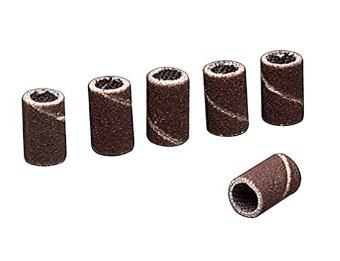
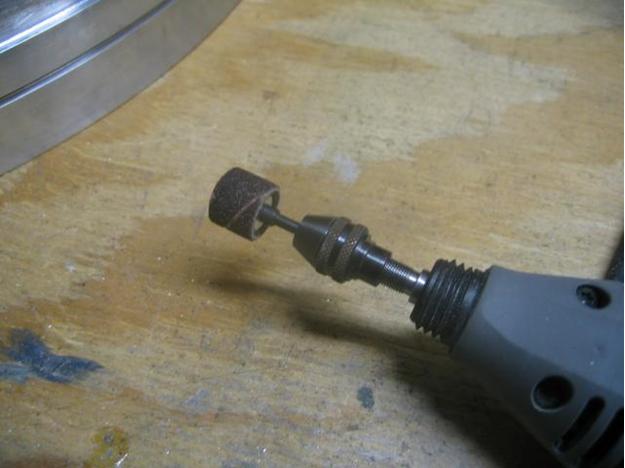
I use many of the accessories in a variety of ways. The one that use the most is the sanding drums like the ones pictured below and on the picture of the Dremel with the sanding drum attached. I have found that in my restoration work I use the sanding drum for shaping a stem and adjusting the diameter of the stem at the shank junction. It takes a steady hand to not nick the shank of the pipe but the tool really makes short work of removing excess vulcanite or Lucite material. I also use it on a low speed to sand out the bowl and remove excess cake. I insert the drum into the bowl before turning it on and then adjust to a low speed on the Dremel to slowly sand away excess cake or smooth out existing cake. It does not work in the heel of the bowl and that work must be done with a reamer or a piece of dowel and sandpaper.
dremel3

I also use the sanding drums when carving briar pipe kits or shaping a drilled block of briar. It quickly and easily removes excess briar and is very maneuverable in shaping the angle and curves of the block into the shape of the pipe I am carving. The sanding drums come in two sizes. The one pictured below is the one I use the most in both refurbishing and carving. It is ½ inch in diameter. The smaller size is half the diameter (1/4 inch) and comes with its own head for holding the sanding drum. I find that I use it when working on more detailed work in refurbishing or shaping a stem. In carving I use it for the bowl shank union.
dremel4

I know others hang the Dremel from a stand and use a long flexible shaft attachment to carve and shape briar and stems. I have not found that I need a flex shaft though I have one in my tool box. I like the up close control of the tool as it is. It is probably a matter of what I have grown accustomed to in my work. I have also had competitor models and lower priced models over the years but have come back to the Dremel as it outlasts all the competition. I believe I have burned through at least two other rotary tools made in China and found that the brushes and motors just do not last for long. They are also very noisy to use in comparison to the Dremel.

Savinelli Autograph & Sherlock Restorations (3 & 4 of the Four Pipe group)


Back in September, I documented the restoration of two pipes in a four pipe set belonging to a friend in Ohio.  (Charatan Shape 44 and London Billiard)  Steve reminded me that I hadn’t submitted the final two pipes of that group.

The third pipe was this lovely Savinelli Autograph.  To this point, I had never seen an Autograph model in person and I was very impressed with the pipe.  As with the others in my friends group, this was also a very large pipe.

Here is the pipe as it was delivered to me.

This one definitely felt like a hand-made pipe.  The stem is wonderful and feels good in the hand, so I bet she’s a wonderful smoker.  In this group of pipes, this Autograph was the one least abused. The finish was a little grimy.  Removing the tar build up on the bowl top took some rubbing with first isopropyl  alcohol on a rag.  But, once removed, a beautiful birdseye top was revealed.  The bowl was buffed lightly with Tripoli, than white diamond and finished with several coats of carnuba

The stem took the usual steps and was deeply oxidized with some teeth chatter. I soaked the stem in an oxyclean solution for several hours with a dab of grease over the logo. I was able to preserve Gincarlo Savinelli’s stamp nicely. I sanded the stem (on the pipe) first with 1500 grit and then 2000 grit wet paper.  Next I buffed the stem with the final two grades of micromesh (8000 and 12000).  The stem was then polished on the buffer, with white diamond and then plastic polish.

I learned that Savinelli used vulcanite for the Autograph stem prior to 1982, when they switched to acrylic and 6 mm filters. I believe these pipes came from Smokers Haven in Ohio in the mid 70’s as my friends father lived in this area.

I didn’t weigh the pipe, but estimate it was approximately 90 grams.

Here is the finished pipe.  After handling this pipe, I would one day love to add a vulcanite stemmed Autograph to my collection.

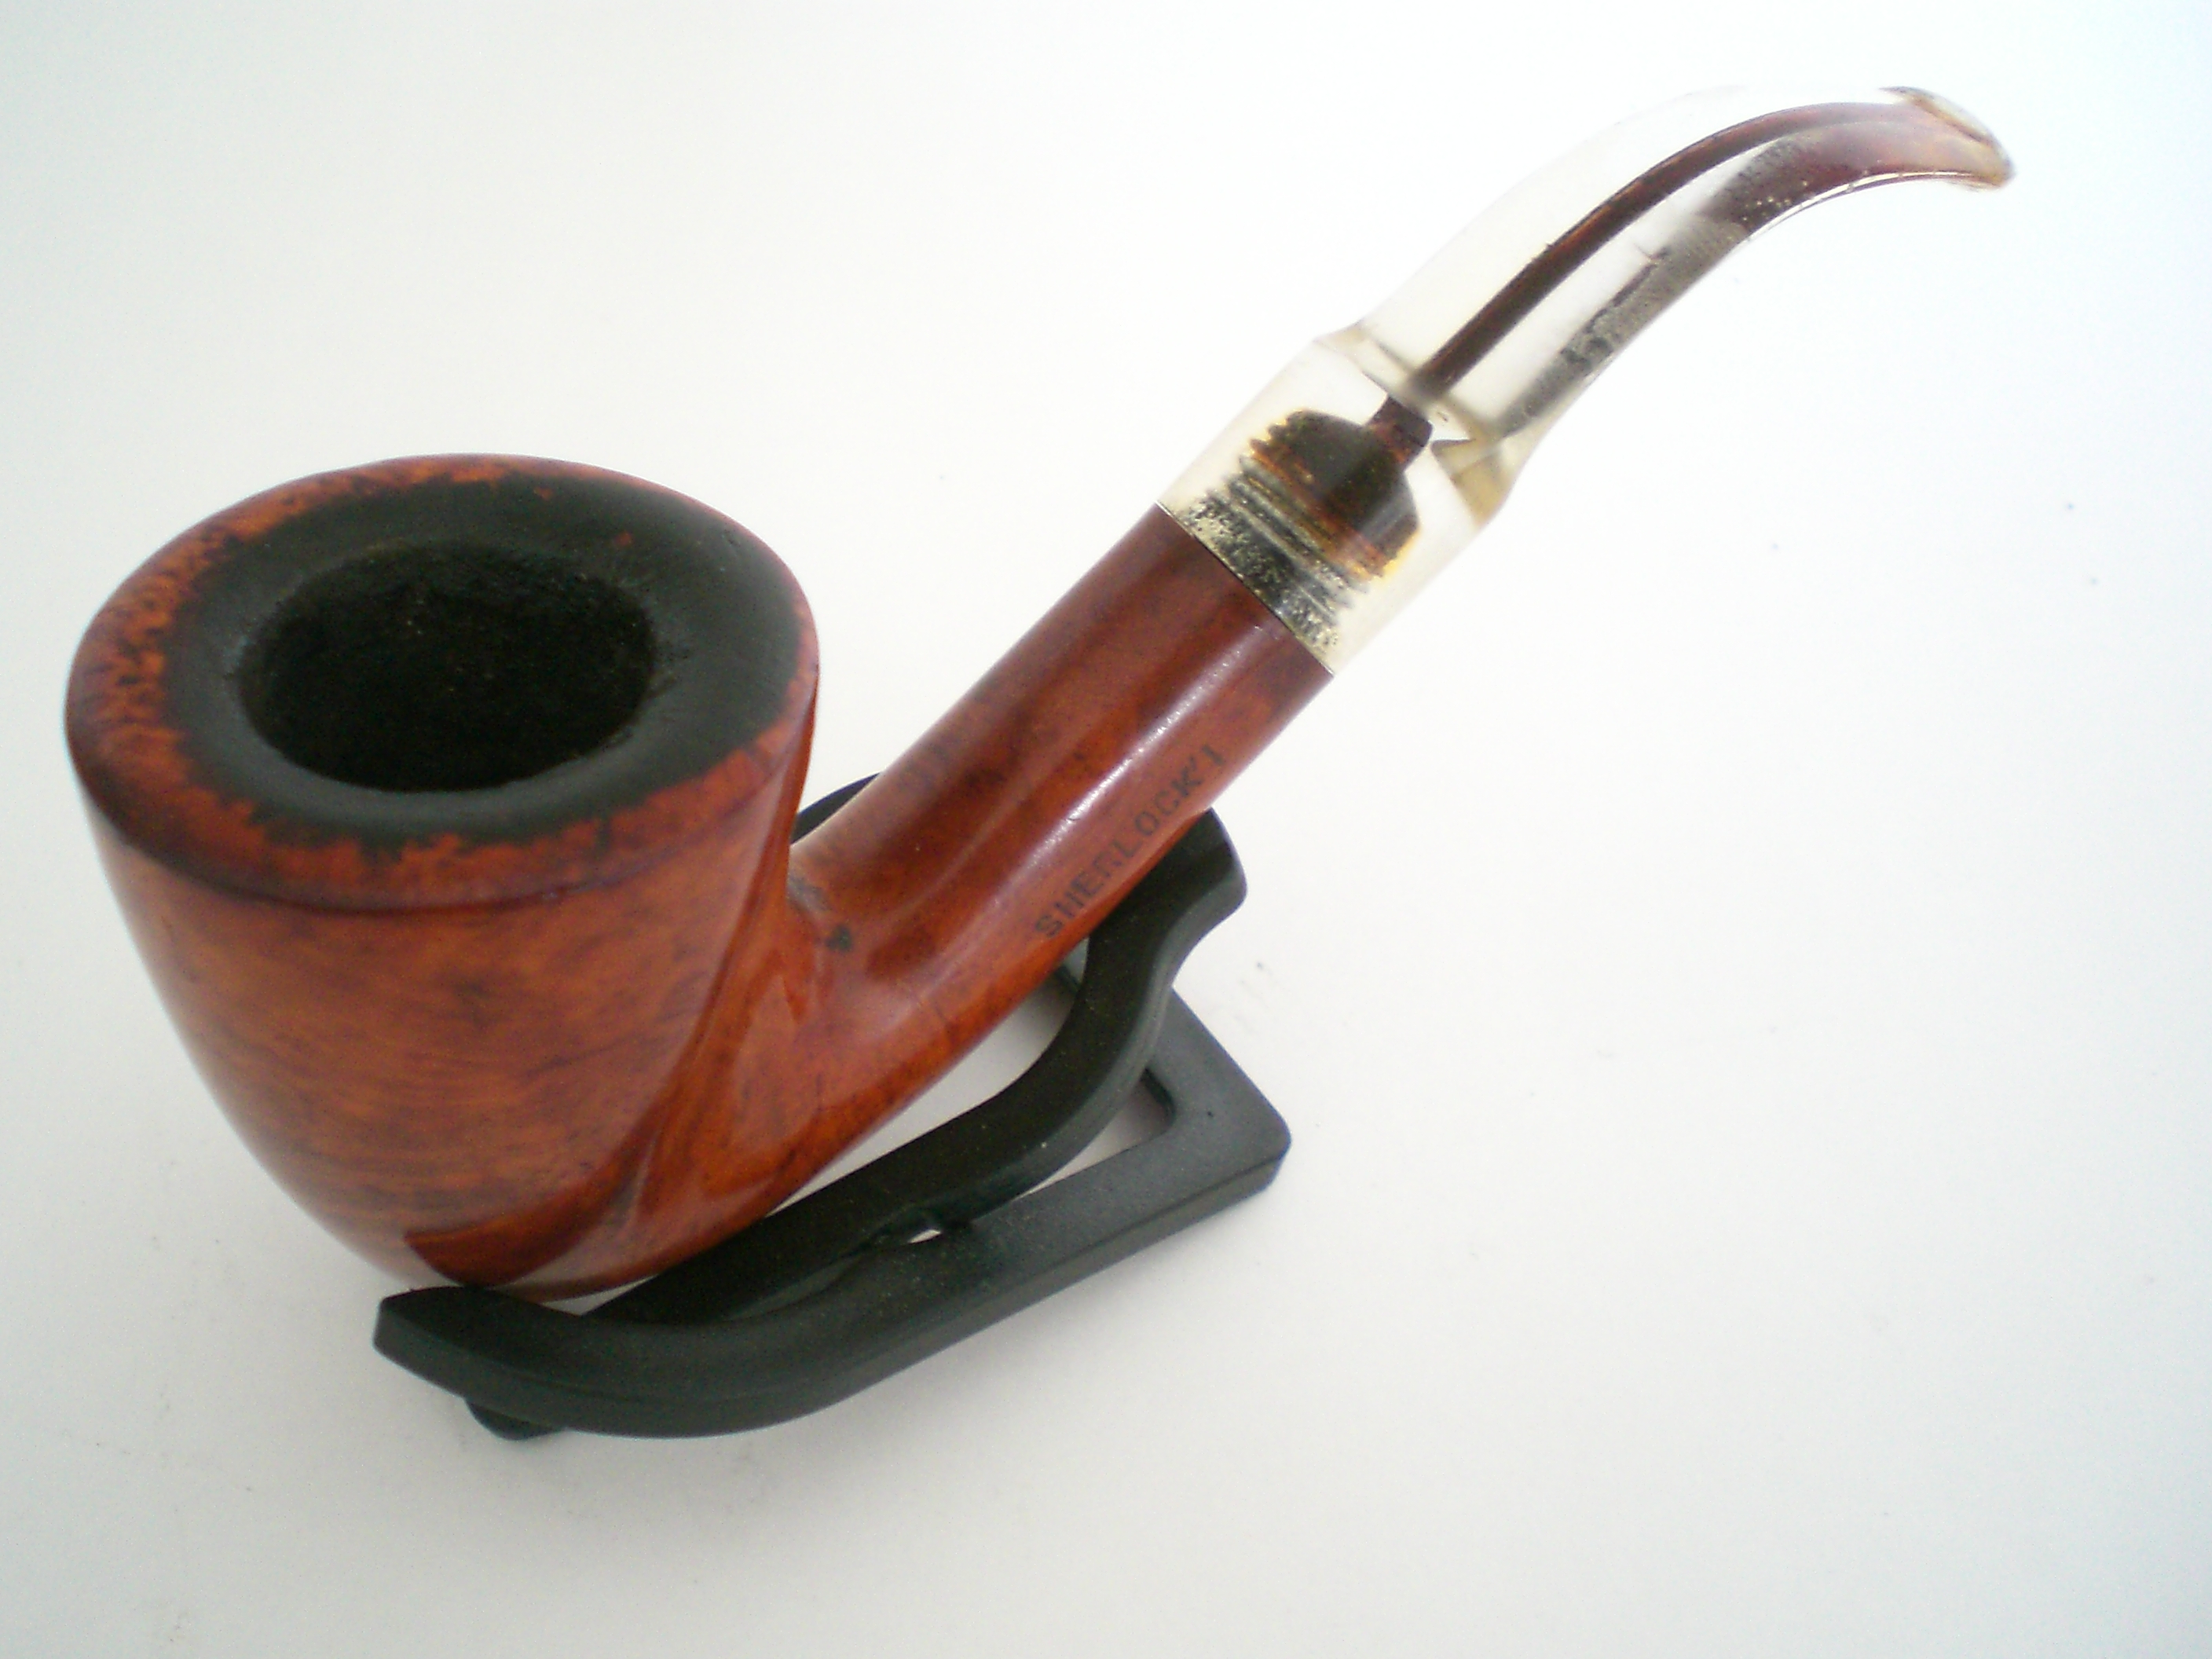
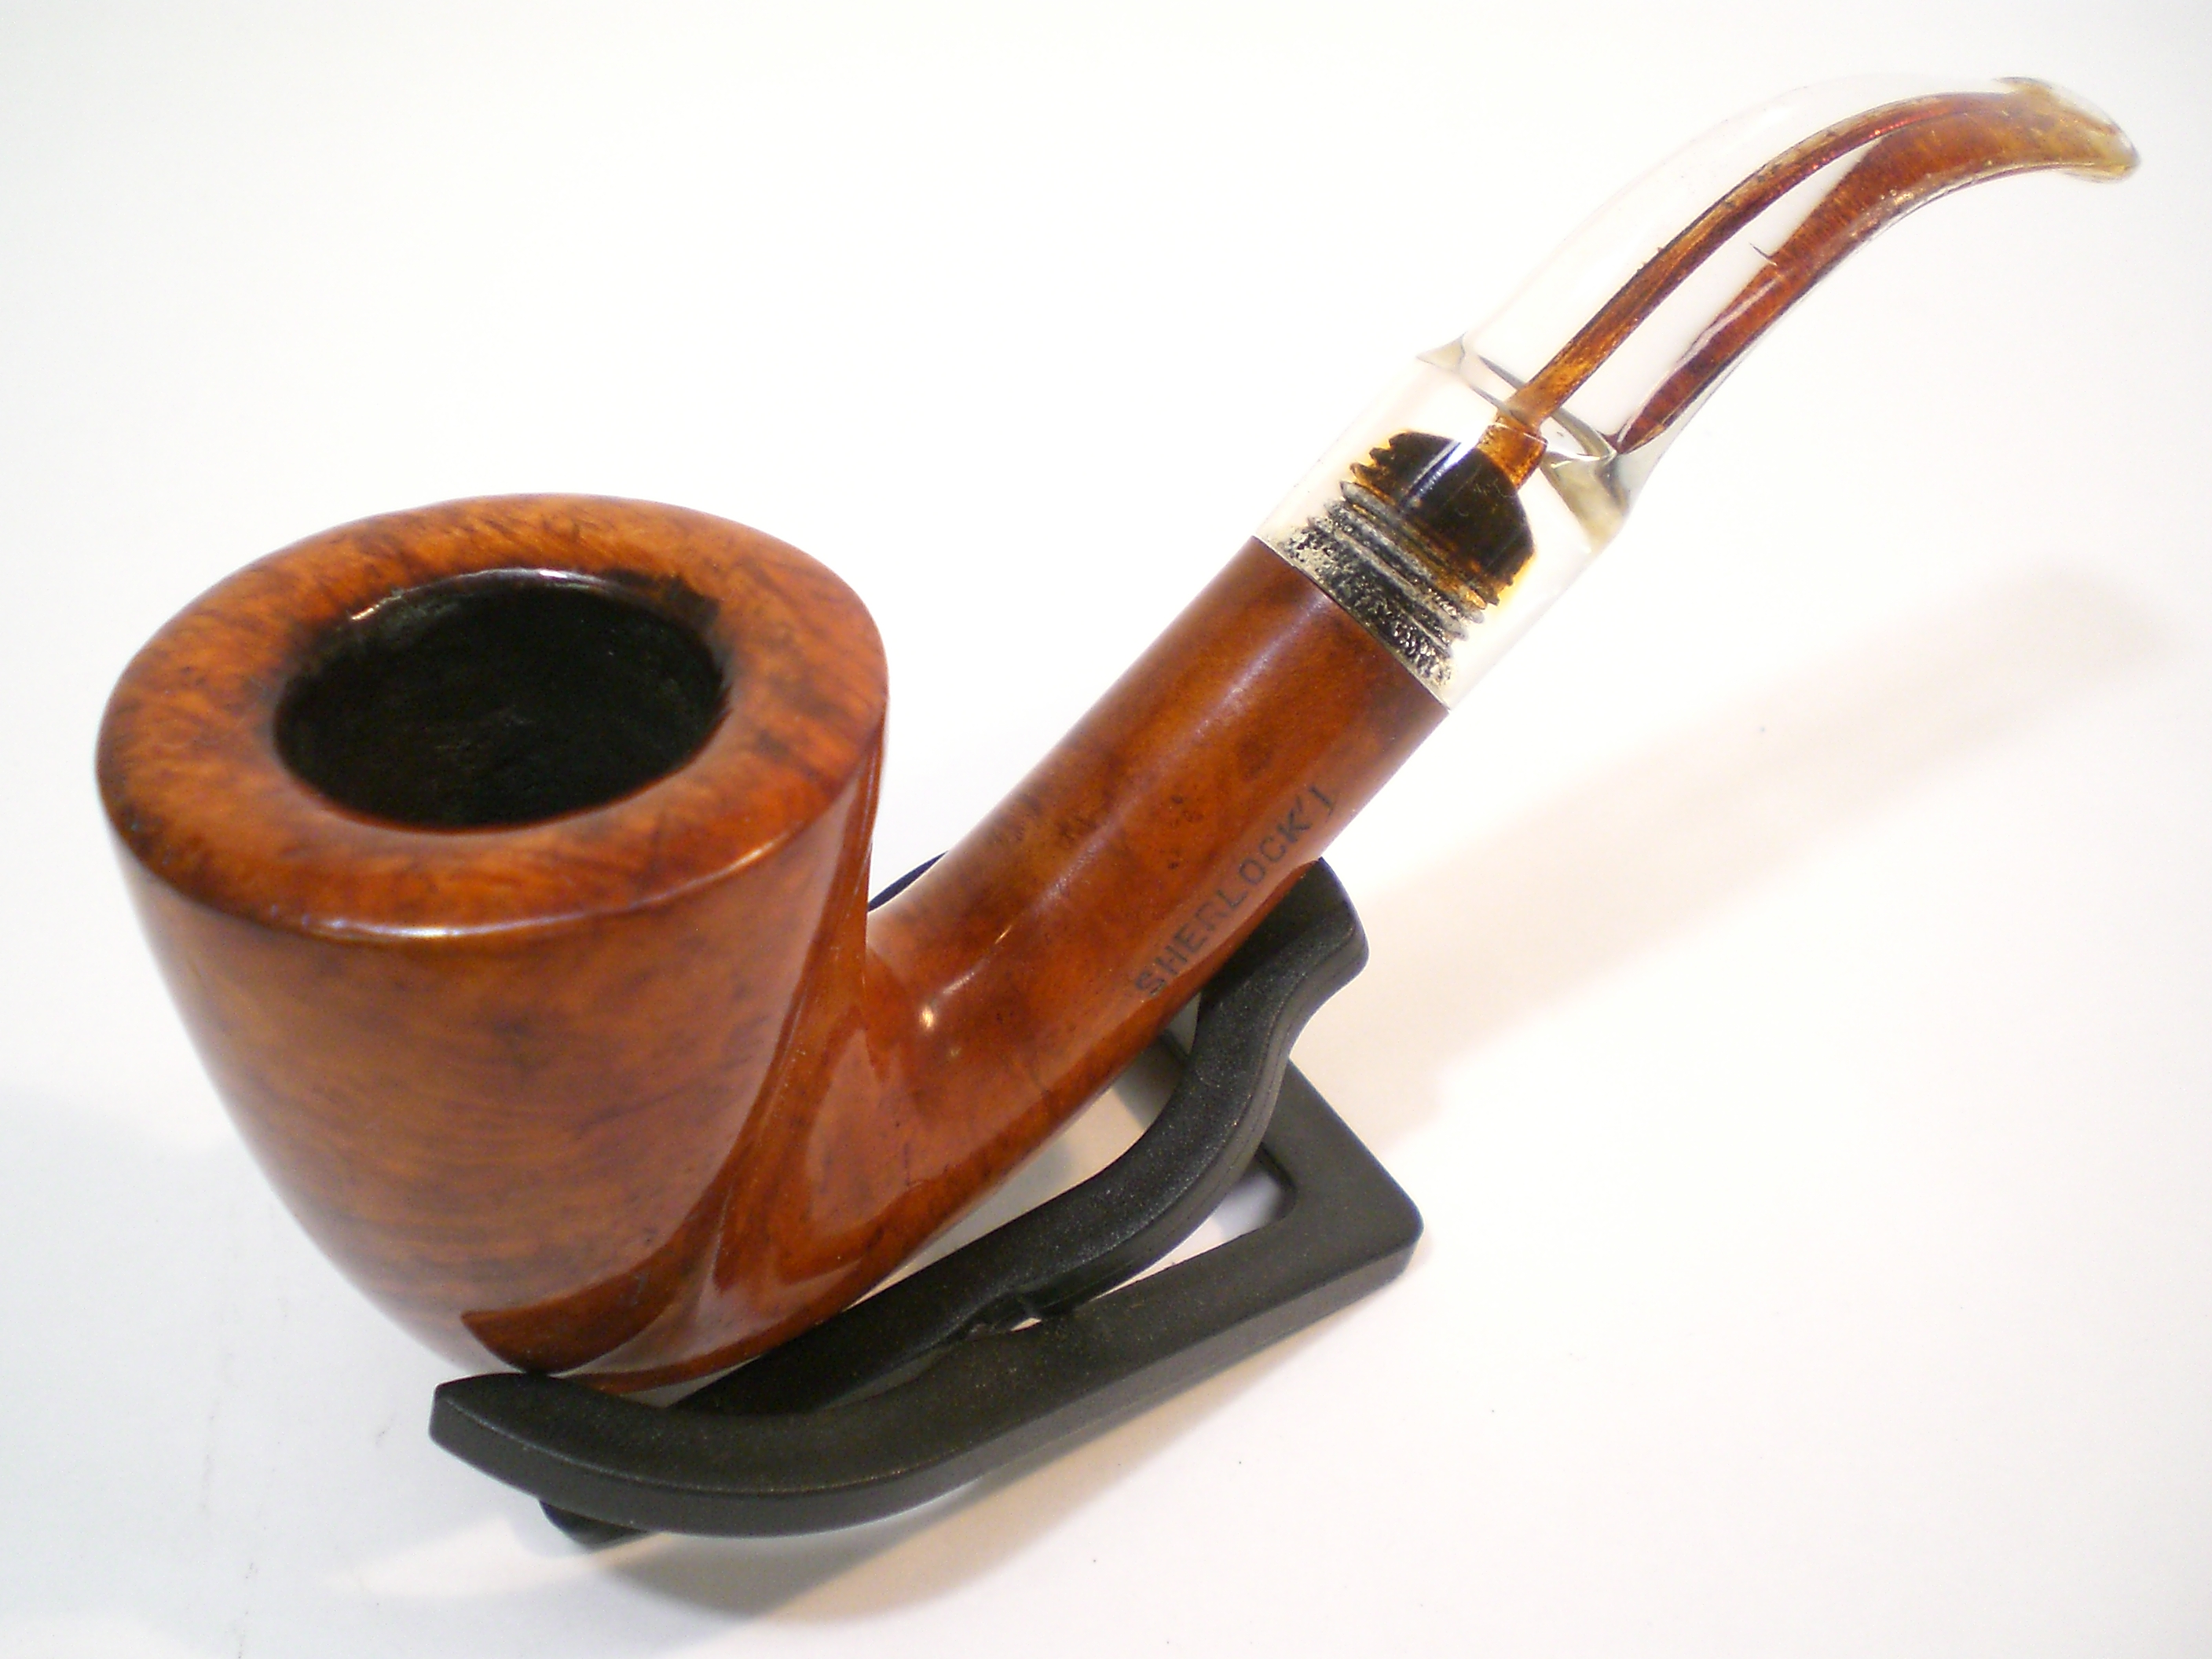
The last pipe in the group was another large pipe, stamped simply “Sherlock”and “Made in Italy”. This one had a perspex stem, that had some stubborn staining but no teeth chatter. I removed a good bit but not all of the stain in the perspex. I use a bristle cleaner soaked in 90% isopropyl alcohol.  You must run a dry cleaner thru the perspex next to remove the alcohol which could fog the clear plastic.  The briar has a lovely golden glow with some faceted features on the bowl (ala Willmer?). I’m not familiar with this brand, but the briar is beautiful. The tars on top came off, just leaving a light scorch mark on the inner bowl rim.   I estimated this pipe weighed approximately 80 grams.


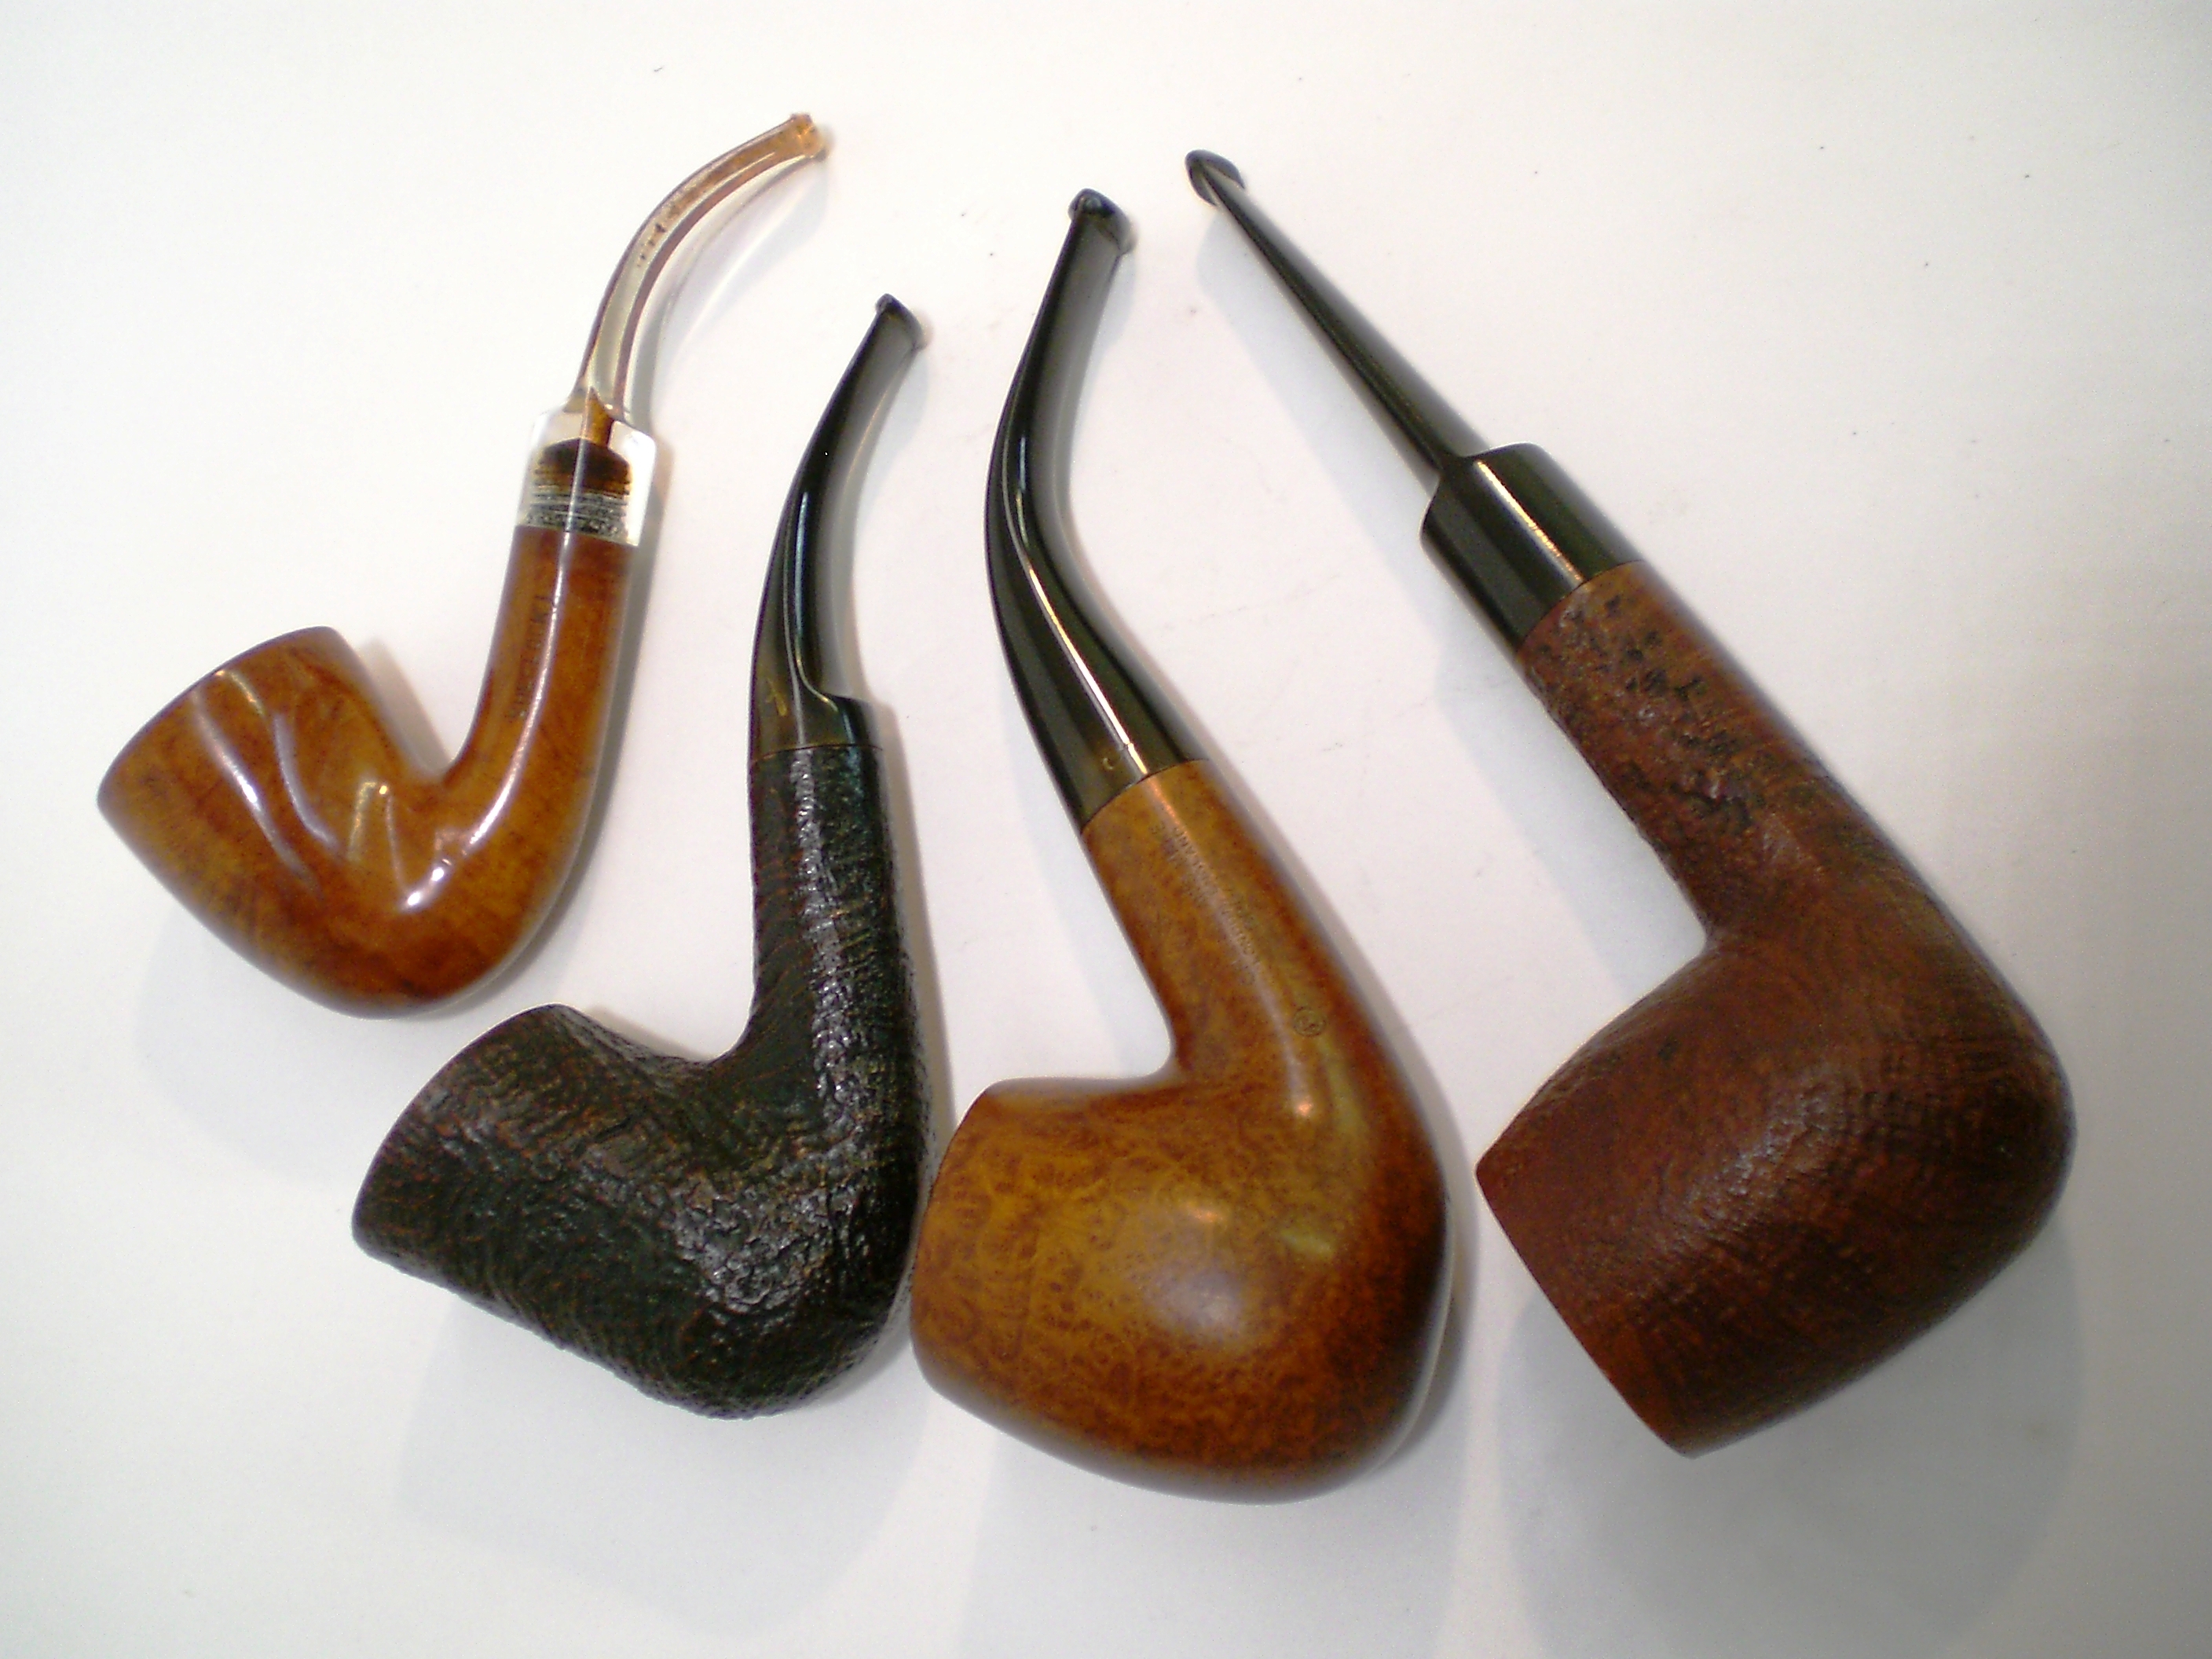
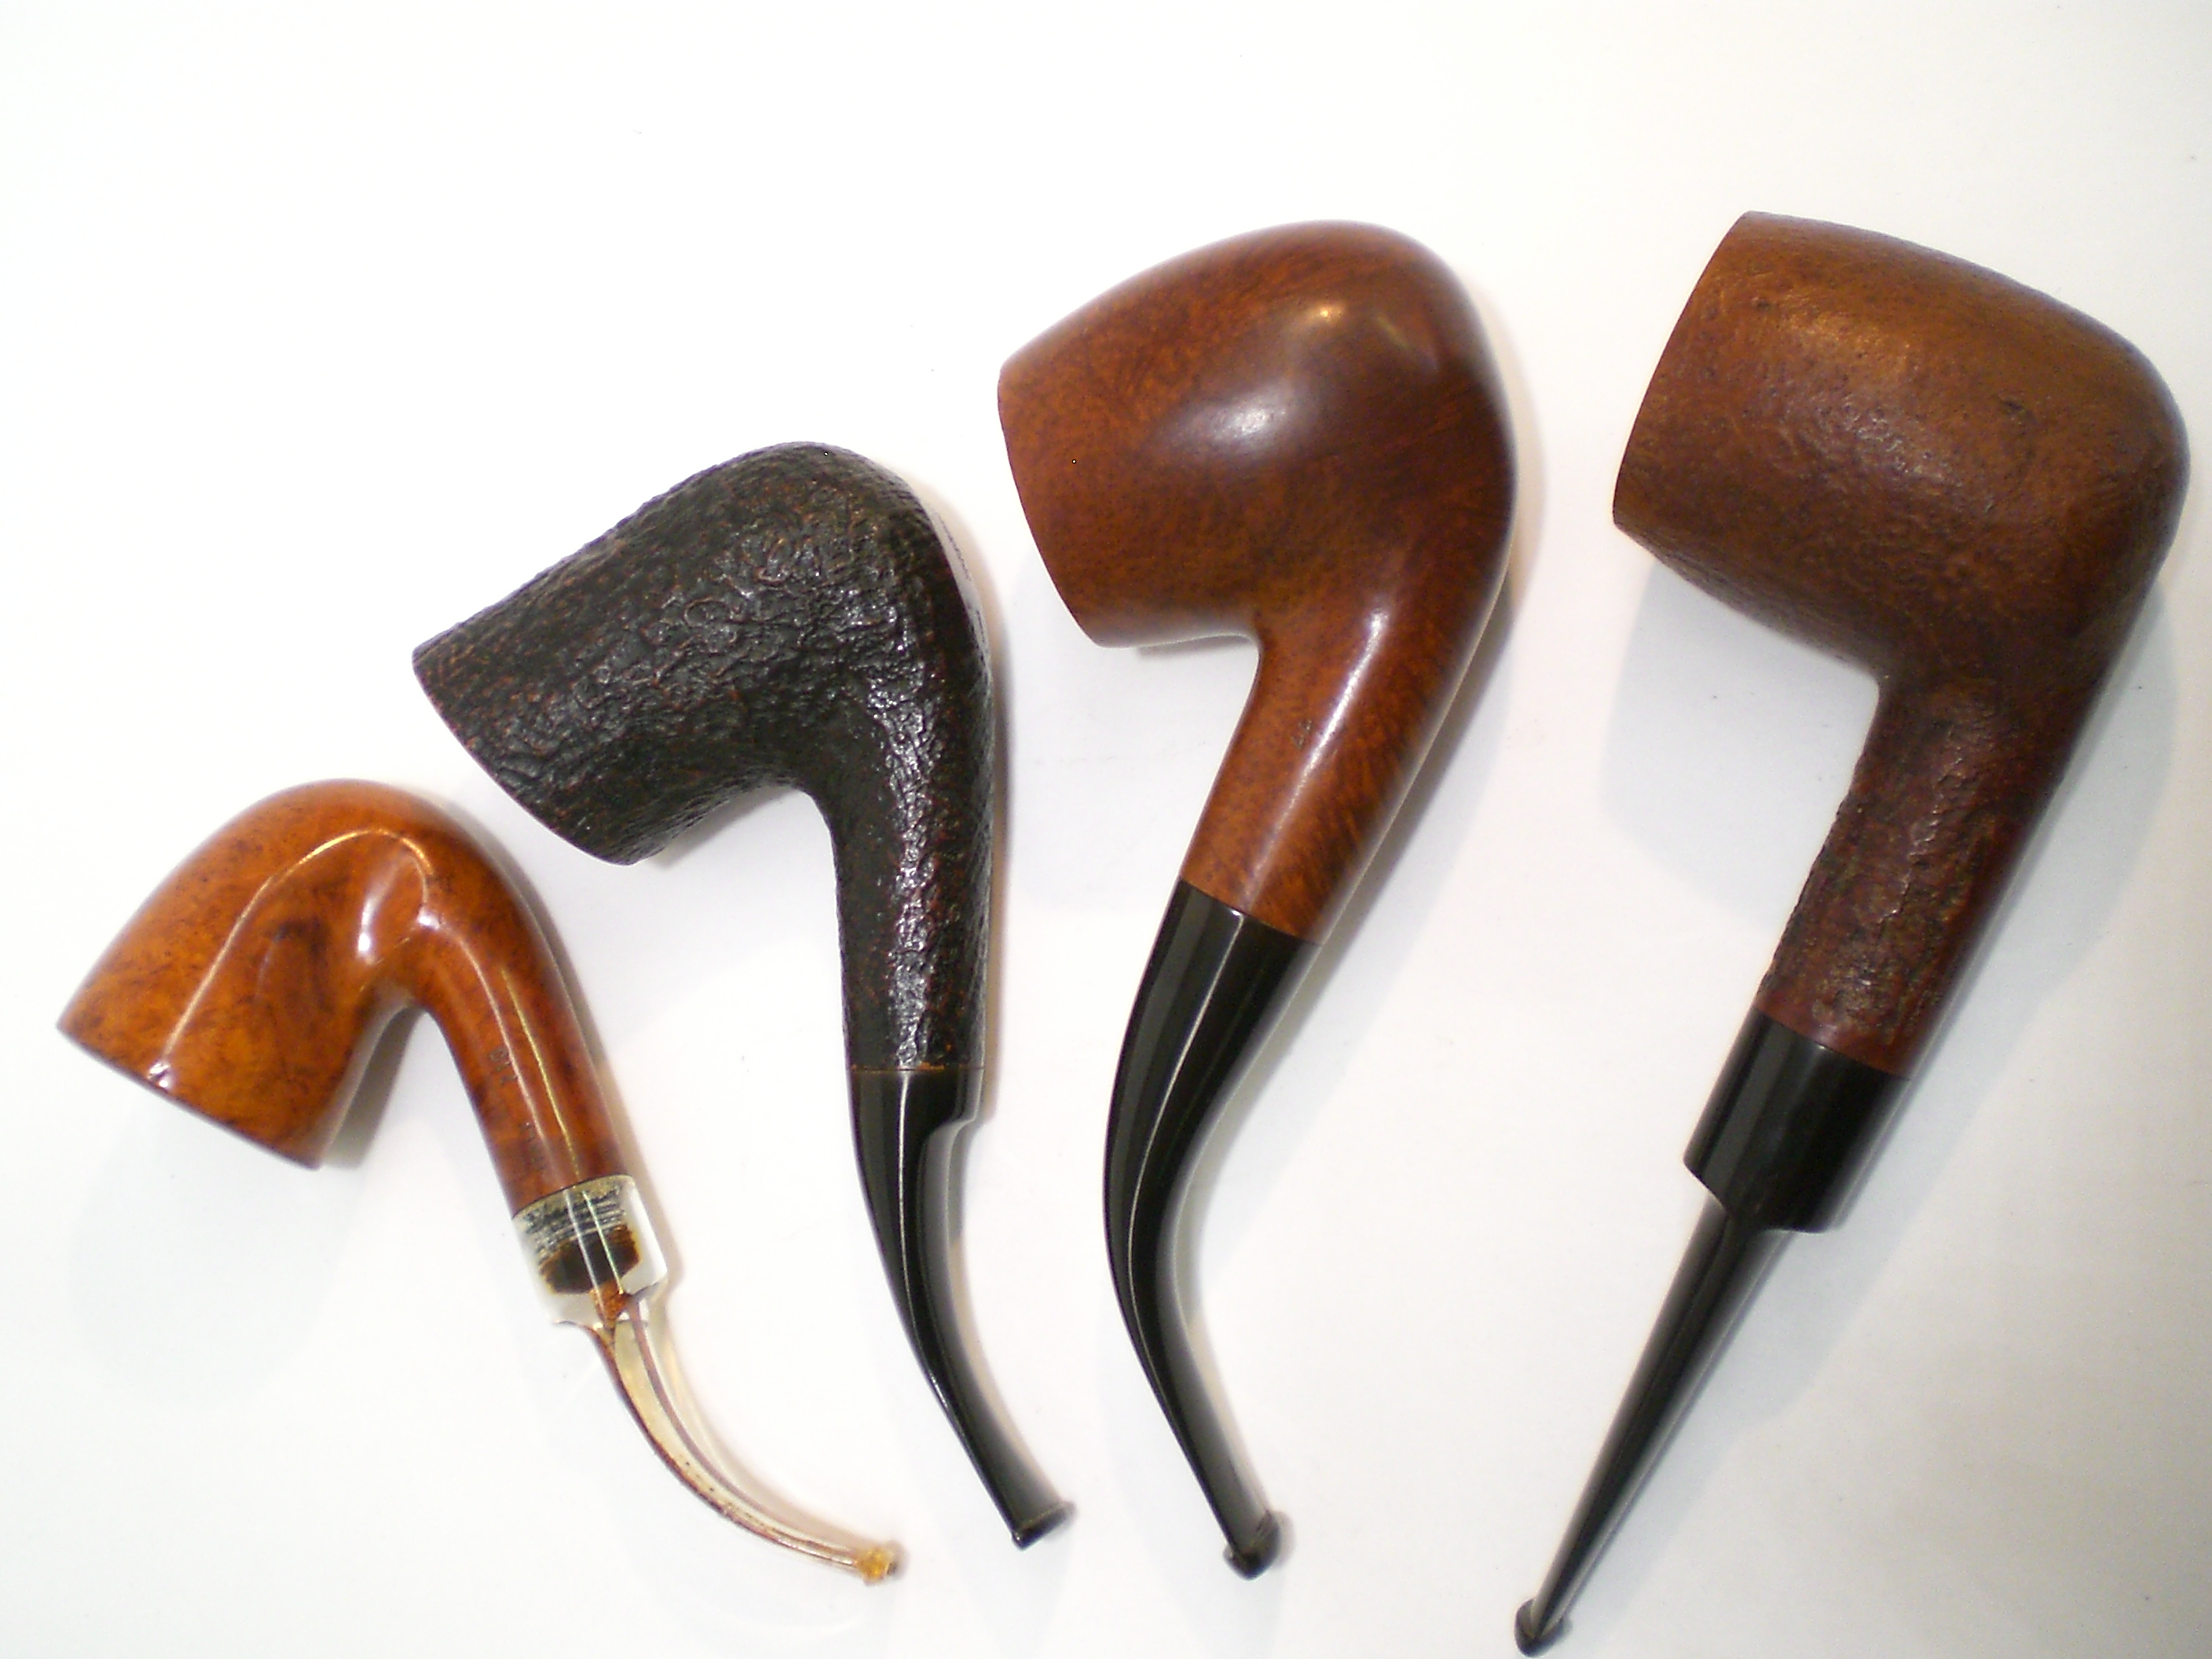
Here is a shot of all four finished pipes.


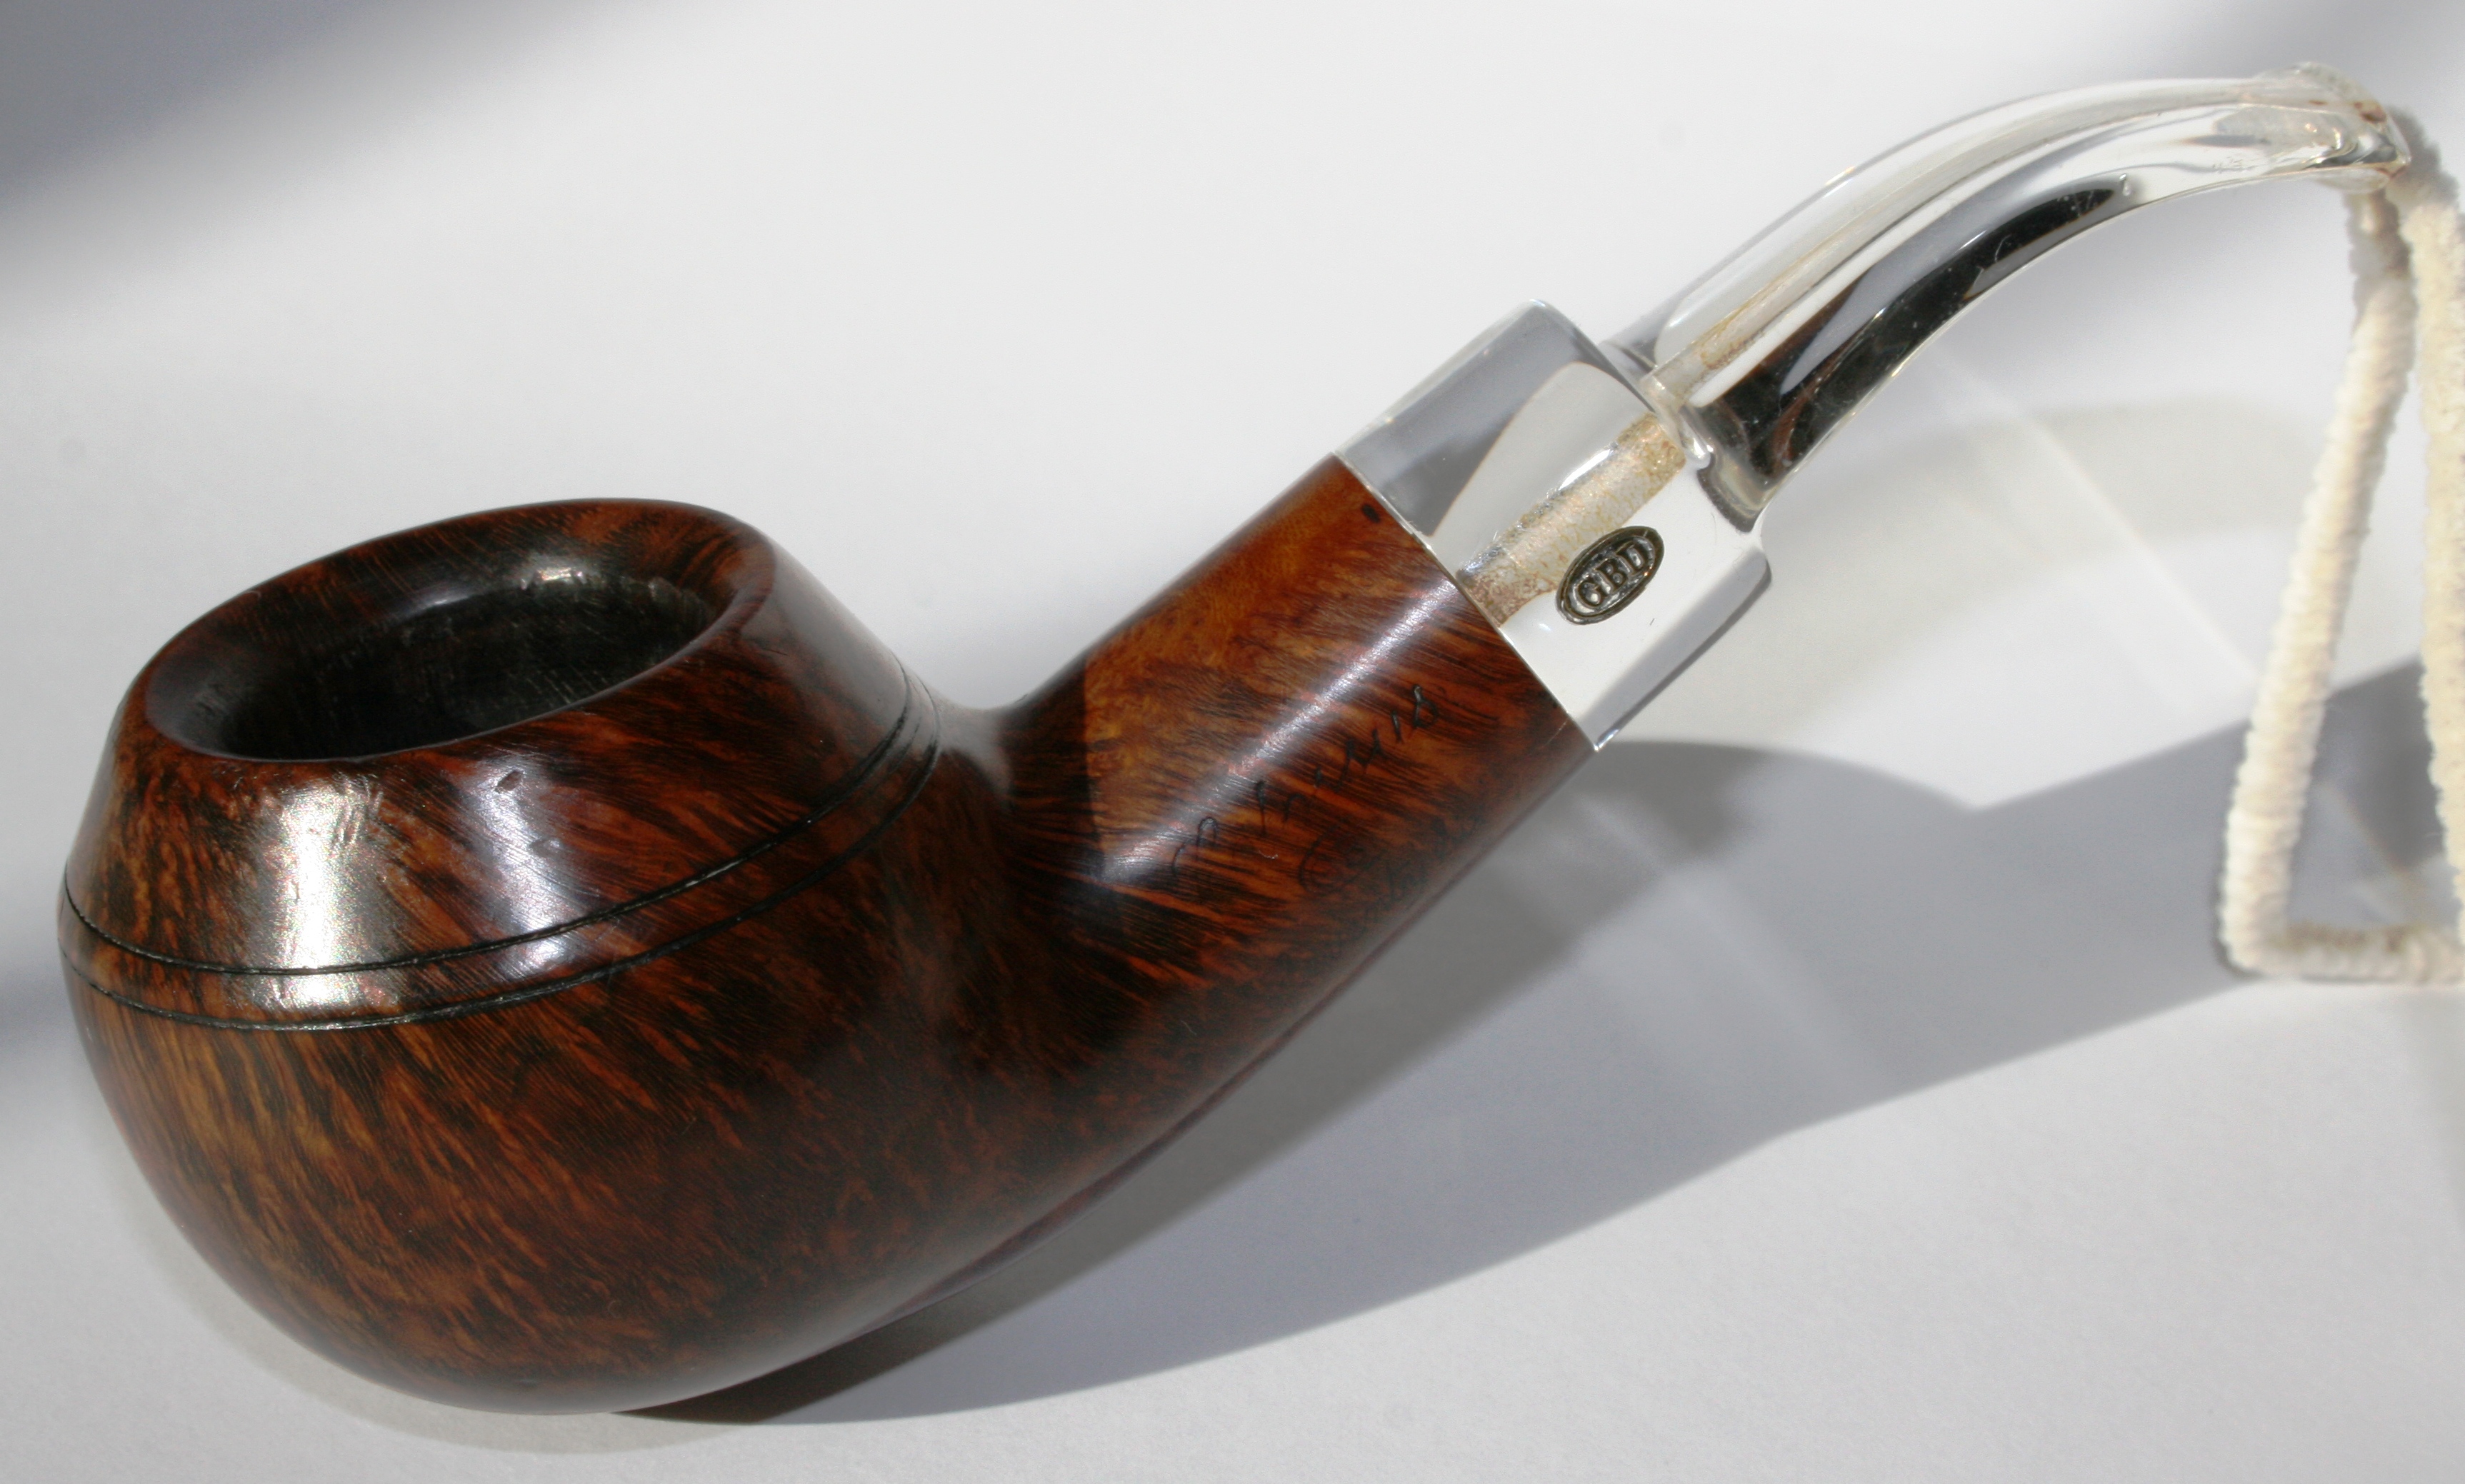
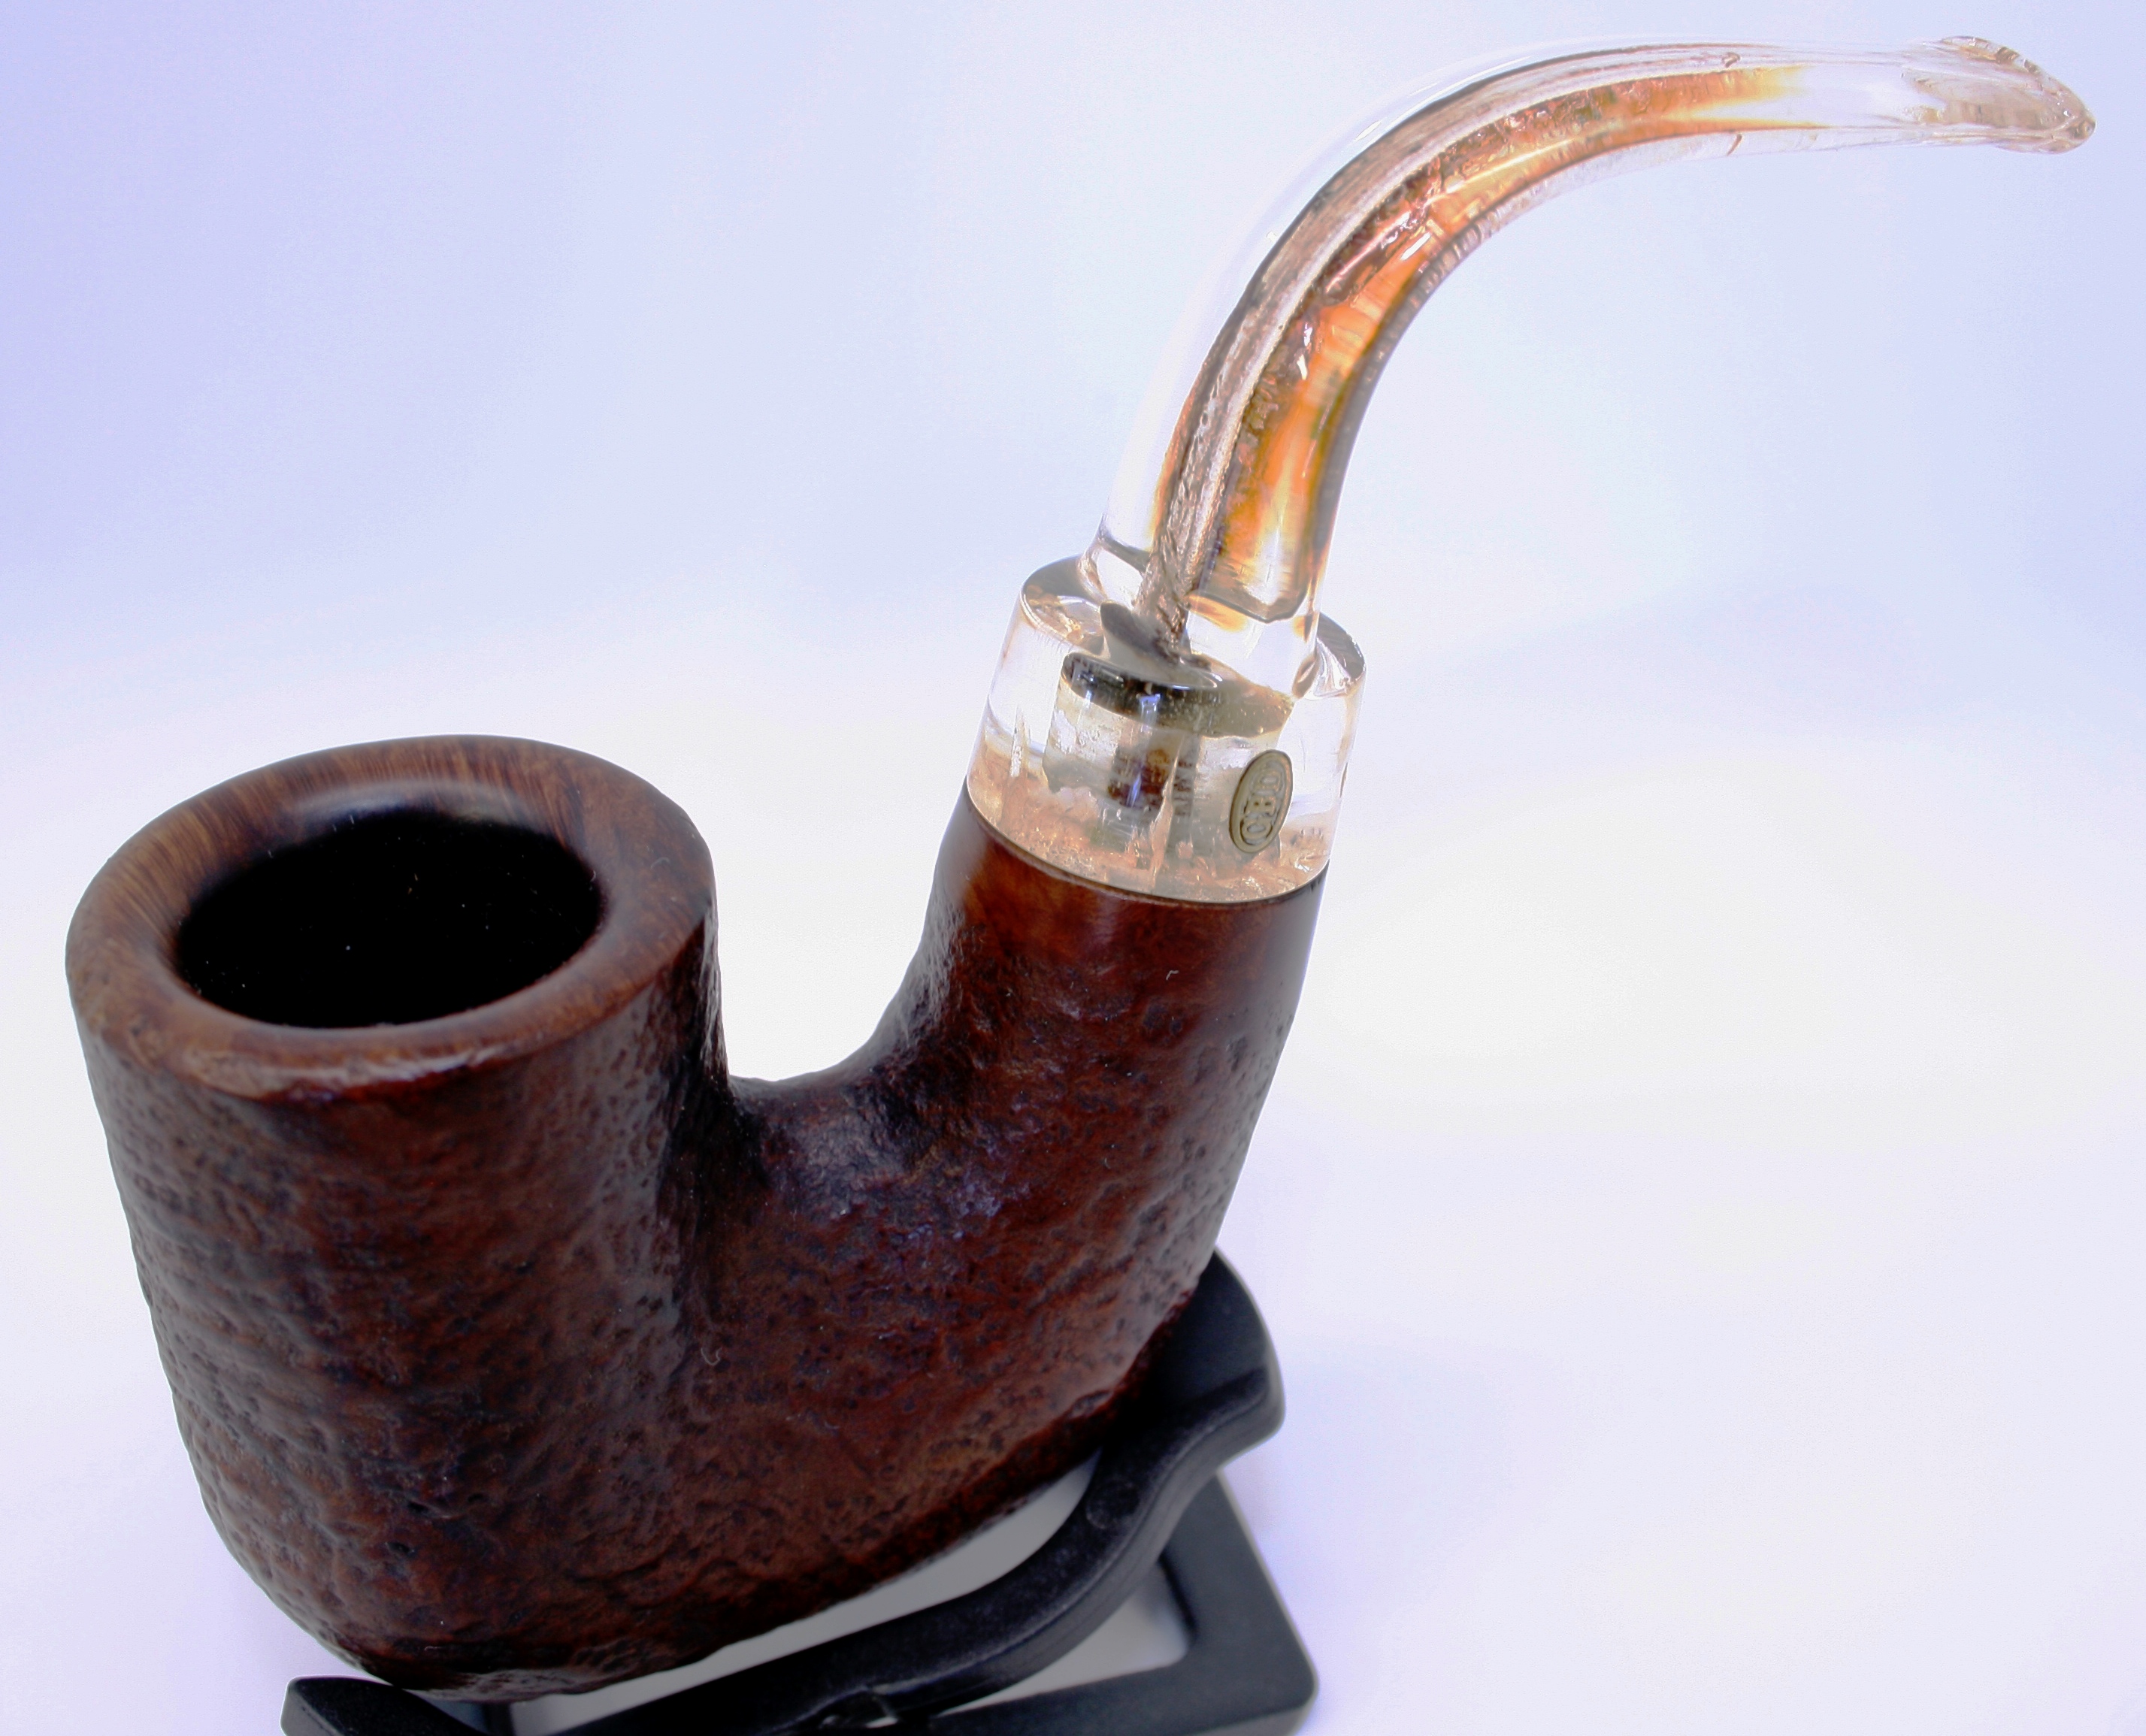
I also add pictures of these two GBD pipes, both Colossus models as they came from this estate and were gifted to me by this gentleman.  Both are treasured and enjoyed pipes in my collection and I was very happy to restore these other four for my friend.

GBD Seventy-Six Colossus, Shape 9676.

Prehistoric Oom-Paul Colossus:

As you can see, the gentleman who owned all six of these pipes had an affinity for large briar pipes!


Making a Rustication Tool out of a Phillips Screwdriver


Blog by Steve Laug

I have made several rustication tools from screwdrivers in my tool box. It is a pretty simple process so I thought I would document it through text and pictures. Hopefully some of you will find this useful.

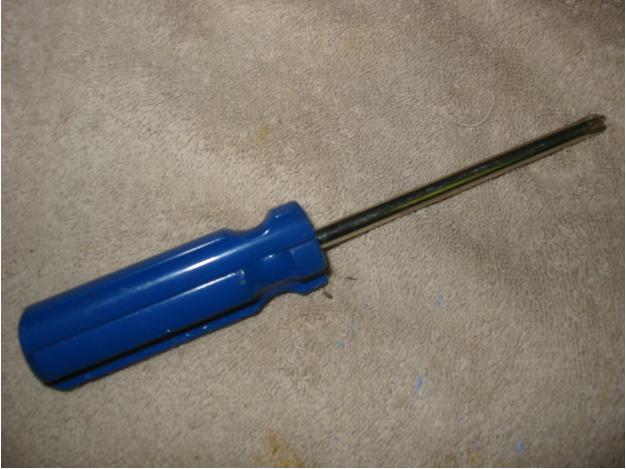
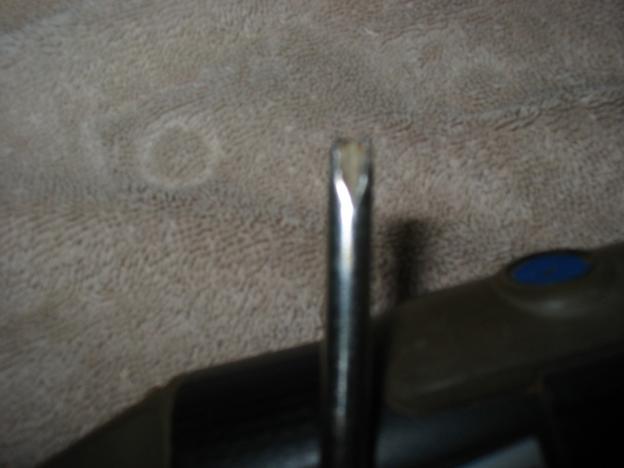
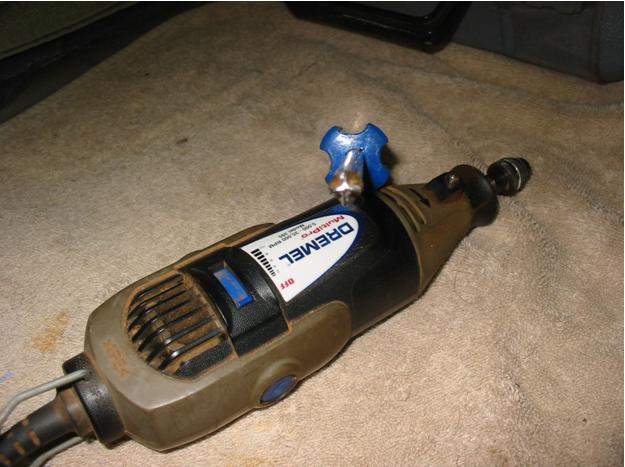
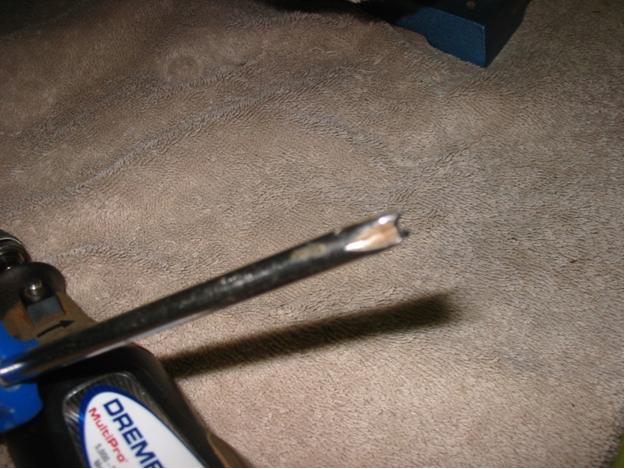
I start with a regular Phillips screwdriver which is a screwdriver with a blunted pointed tip that is shaped to fit the crossed slots in the heads of Phillips screws. It is distinguished from a Reed and Prince screwdriver which has a pointed tip. The photos below show the tip of the screwdriver before I begin working on it.
rust1

Rust2

You can choose any kind of Phillips screwdriver or Reed Prince screwdriver but I would recommend one with a comfortable handle. The one I made in the photos below has a hard plastic handle and when I am pushing and turning it into the briar it is hard on the palm of my hand so I wrap it in a thick cotton cloth for cushioning. You may wish to use one with a softer rubber coated handle to begin with.
rust3

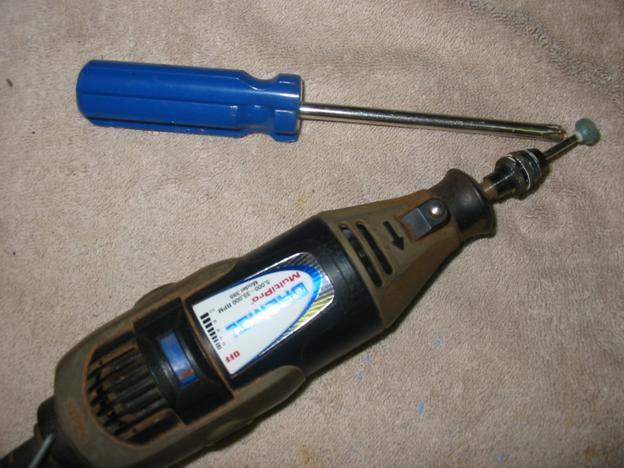
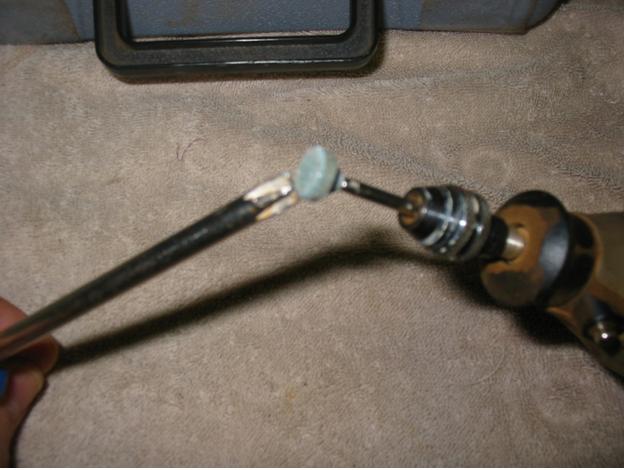
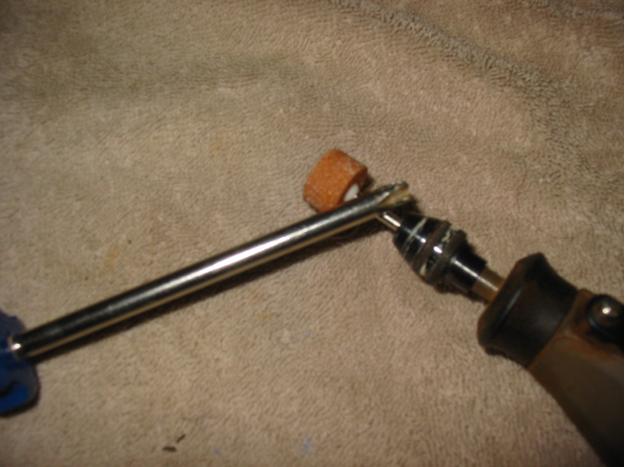
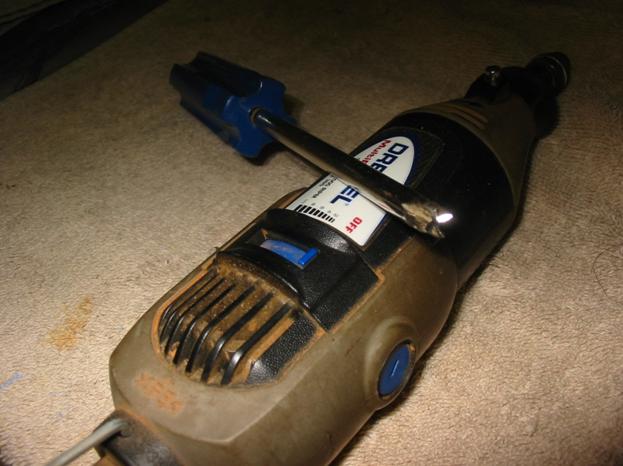
A Dremel makes short work of the shaping and cutting process in crafting this tool. I use several Dremel bits to do the grinding. The first is an 11/16 x 3/8 inch Blue Cobalt Grinding Stone with a 1/8 inch shank. It is 2 inches in length from shaft to tip. The second is a 19/32 x 11/32 inch Brown Aluminum Oxide Cylinder Grinding Stone with a 1/8 inch shank. It is 1 1/2 inches in length from shaft to tip. I finish by polishing it with a sanding drum on my Dremel.

The next two photos show the Cobalt grinding stone on the Dremel and the work of cutting the tip off and then cutting into the grooves of the cross mark.
rust4

rust5

The next four photos show the finished work of the Cobalt grinding stone. I apologize for the poor quality of the photos but they give the idea of the process. The first photo show an end view of the four points beginning to be defined on the tip of the screwdriver. The next three photos show profile views of the tip at this point in the process. Once I get to this point it is time to change the grinding stone for the aluminum oxide stone.
rust6

rust7

rust8

rust9

The next photo shows the aluminum oxide grinding stone in the Dremel and the work ready to begin in grinding the tip to sharper and more defined points. I do this with the grinding stone held at an angle to the tip so that I can cut valleys into the cross point of the tip.
rust10

The next series of photos show the tip of the tool in its finished condition after the aluminum oxide stone has been used to cut the grooves deeply and define the points of the tool. At this point in the process I switch to the sanding drum and polish the tip and burnish the edges of the teeth.
rust11

rust12

rust13

The tool is finished and ready to be used to rusticate the surface of the briar. The method is quite simple. The tip of the tool is pressed into the surface of the briar and then twisted and turned as it cuts grooves and valleys into the briar. This is done over the entire surface of the pipe or in selected areas. The beauty of this tool is that is can be used in very tight areas of the surface such as the angle of the bowl and shank union. You can also work it carefully to leaves unmarked surface as you wish.

Banding a cracked shank – Pressure fitting a metal band on a pipe shank


Blog by Steve Laug

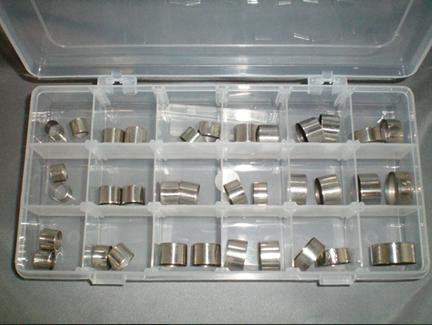
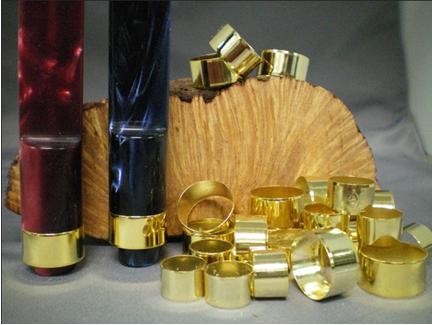
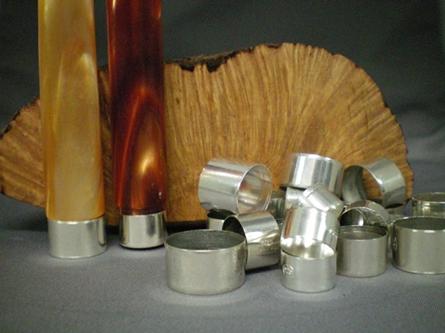
There are many options in terms of the bands that can be used to repair a cracked shank or to give a cosmetic facelift to a pipe shank. Pipe Makers Emporium carries nickel, silver and gold bands in both short and long lengths. They also carry end caps should you want to use an end cap on a pipe or do a repair on a Peterson pipe. I have included pictures of the options that you can choose with regard to bands. I personally purchased the nickel banding assortment that is in the first photograph. It gives you a wide range of diameter bands that can be used. From this I then replenished the areas that I needed more and also added some silver, gold and end caps to the lot. This set up has worked for me for many years and I just add as necessary.
Bands1

Bands2

Bands3

Bands4

Pipe Makers Emporium also sells a banding tool that they advertise as making banding more simple. I have not used the tool as I find that my method works well for me. I will detail my procedure below and include photos of the process.
Bands5

My process for banding a pipe will be seen in the following photos and the accompanying description of the work.

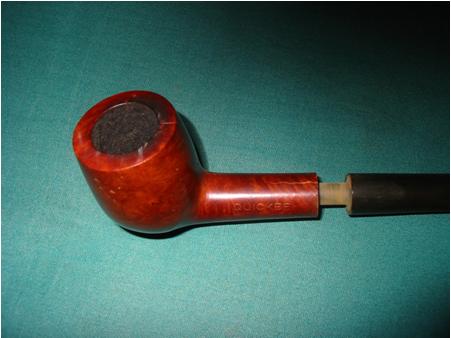
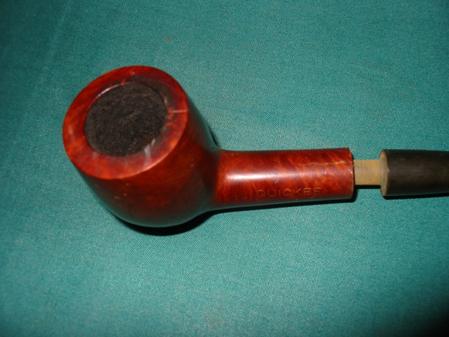
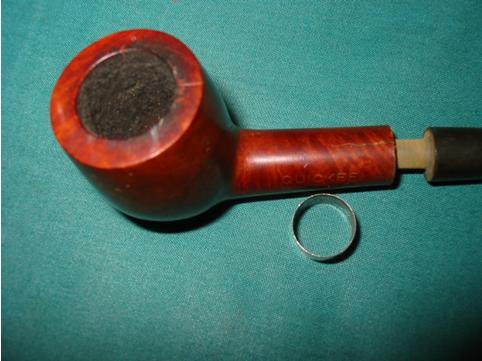
The pipe that I needed to band had a crack in the shank at the top. You can see the length of the crack. I always clean it out with a dental pick and drip some superglue into the crack and squeeze it together with a clamp that has rubber on the teeth. Once the glue is dry – which is actually very quick – I choose a proper band (in the case of the pipe that I picture below it is a 13.5mm nickel band). The ideal choice is a band that is approximately the same size as the diameter of the shank. You do not want it too large as it will slide when the pipe is disassembled or heated. You also want one that will bind together the crack in the shank. The 13.5mm was perfect and matched the size of the shank.
Bands6

Bands7

Bands8

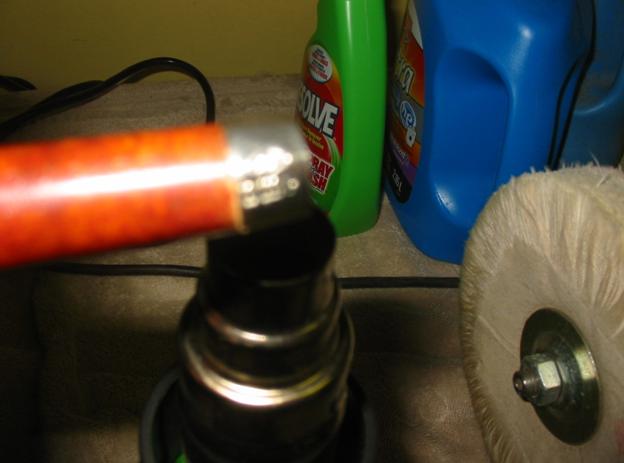
I place the band on the end of the shank – in this case it only fit minimally along ¾ of the band. One edge was too tight to fit. I heat the band with a heat gun, being careful not to burn wood – this generally only takes a few moments.
Bands9

Bands10

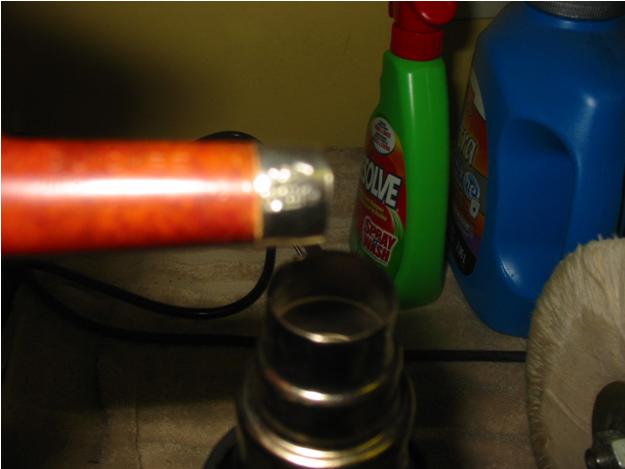
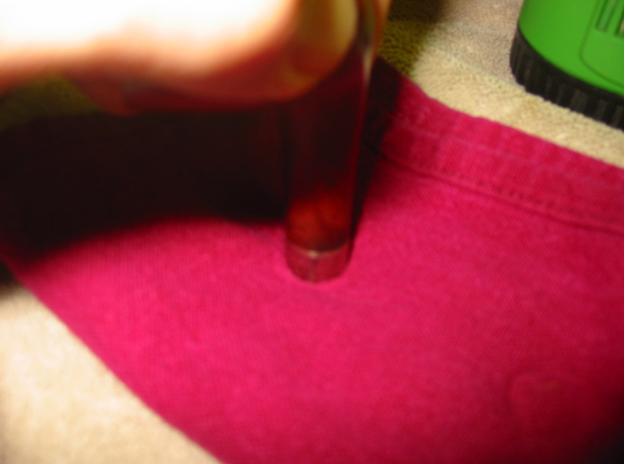
I then pressed the shank into the band on a piece of soft carpet that is on a solid table top. Do not force the fit as a heated band will tear. Reheat it until it is pliable enough to fit the shank well. When you are satisfied as to the fit and placement of the band, cool the band slowly before proceeding to work on the edges. I use room temperature water and dip the end of the shank with the band into the water. If you use the tool here you can press the end into the bowl at the end of the tool to round the edges and make for a nice fit. I use a piece of tightly woven wool carpet and twist the end of the banded shank into the carpet. In my opinion this does the same thing as the shank tool.
Bands13

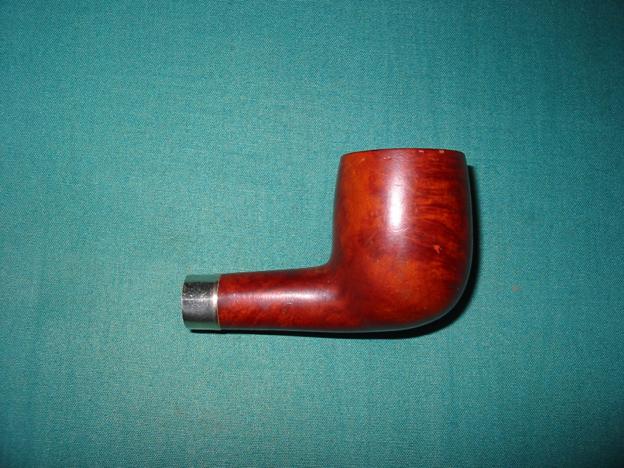
When the band is in place the pipe is ready for the stem to be refitted. Often the tenon will need to be reduced in diameter to fit the tightened shank. In the case of this pipe I needed to fit a stem as the bowl did not come to me with its stem. I used sandpaper to turn the tenon down to size on an older stem that I had in my jar of stems. The next series of photos show the band in place on the shank. It is pressure fit and it is tight and immovable. The third photo shows the top view of the shank and you will notice that the crack that was very visible before is now no longer visible. The fourth and fifth photos show an end view of the fit of the band. It is flush with the end of the shank so that the new stem will fit snugly in place.
Bands14

Bands15

Bands16

Bands17

The next series of four photos show the new stem that is fitted to the pipe. There is still some oxidation that needs to be removed from it but you can see the fit and finish of the stem and the banded shank.
Bands18

Bands19

Bands20

Bands21

Restemmed a Couple of Interesting Smaller Uniques


I am posting pictures of two pipes that I finished up that needed new stems. I am putting them into one post as I did the two of them at the same time. The first is unique in terms of cut and shape of the bowl. The second is unique in terms of its size.

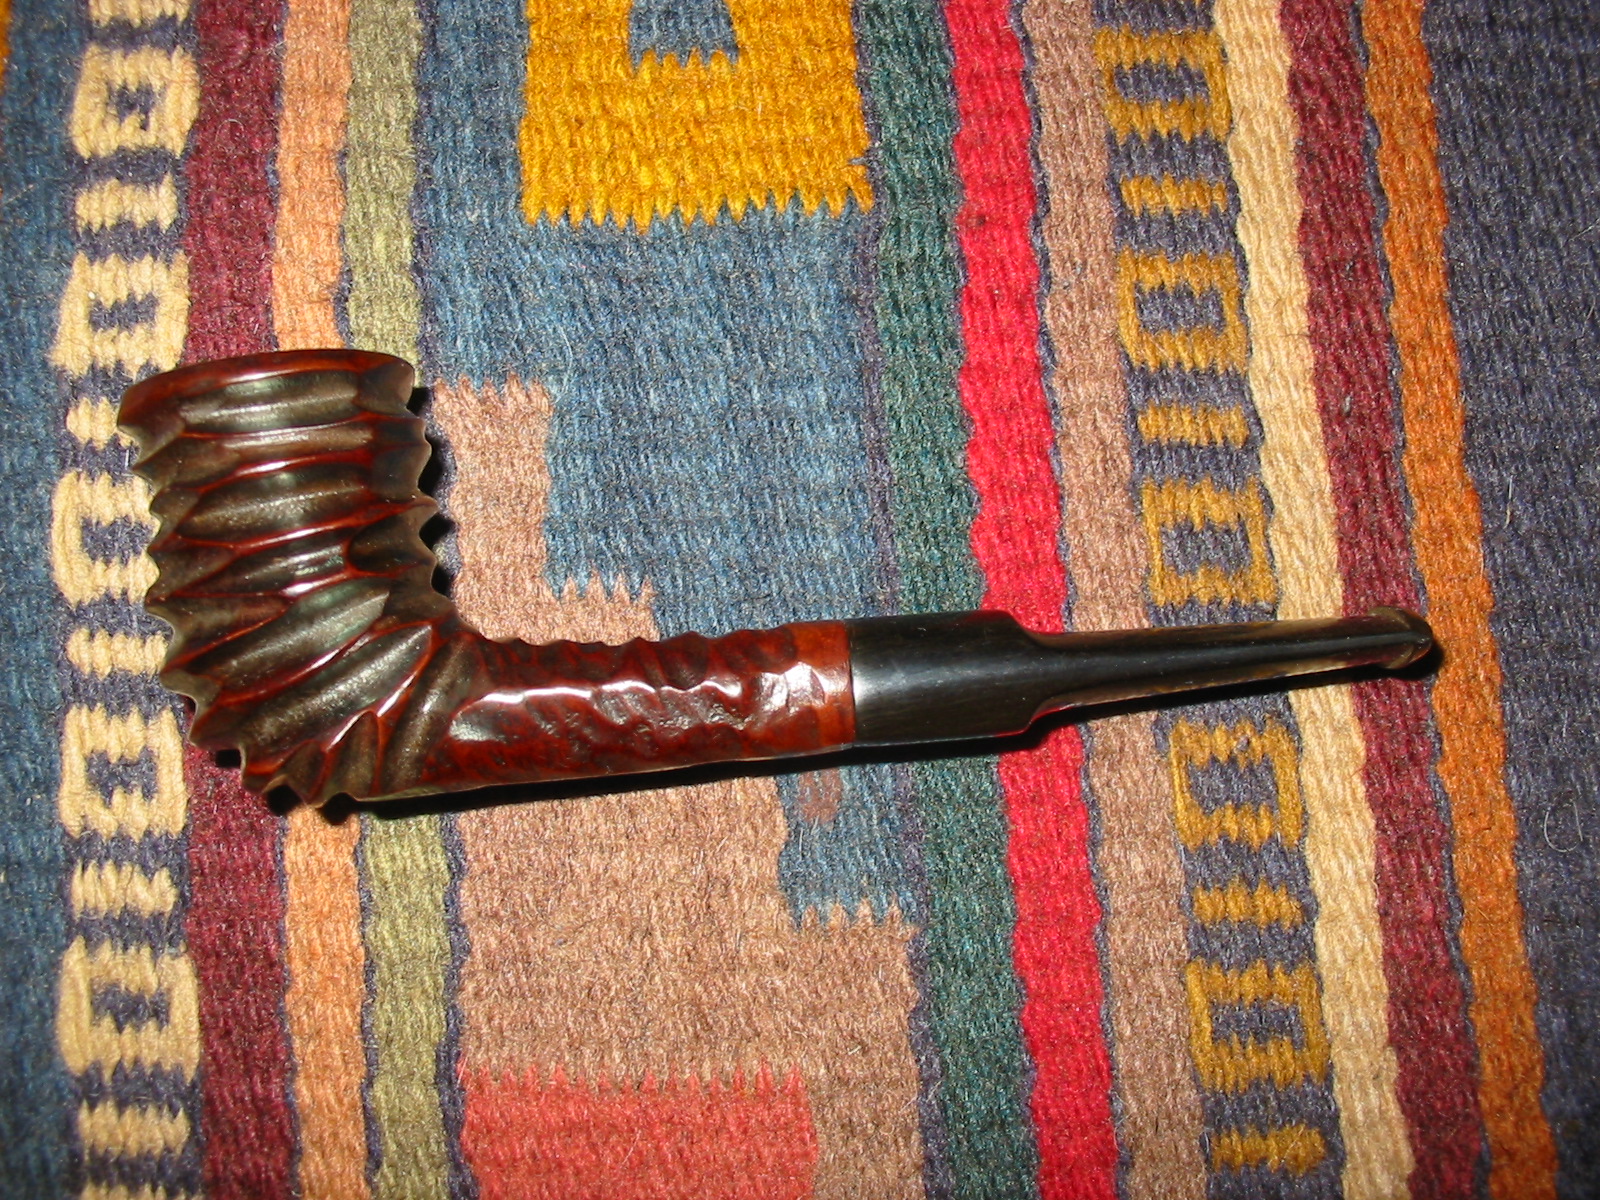
The first is a no name spiral cut piece of briar that is unique in terms of the cut and shape. It is almost like a cylinder on a motor in terms of defusing the heat from the bowl. I have smoked it and it does not heat up at all no matter how I puff on it. I used a pre-moulded stem that I turned the tenon on and cut to fit with a Dremel. I chose the saddle stem because of the look of the profile. I sanded it with 280 grit sandpaper until smooth and then followed up with my usual combination of 400 and 600 grit wet dry sandpaper and micromesh pads from 1200-12000 grit.
IMG_5723

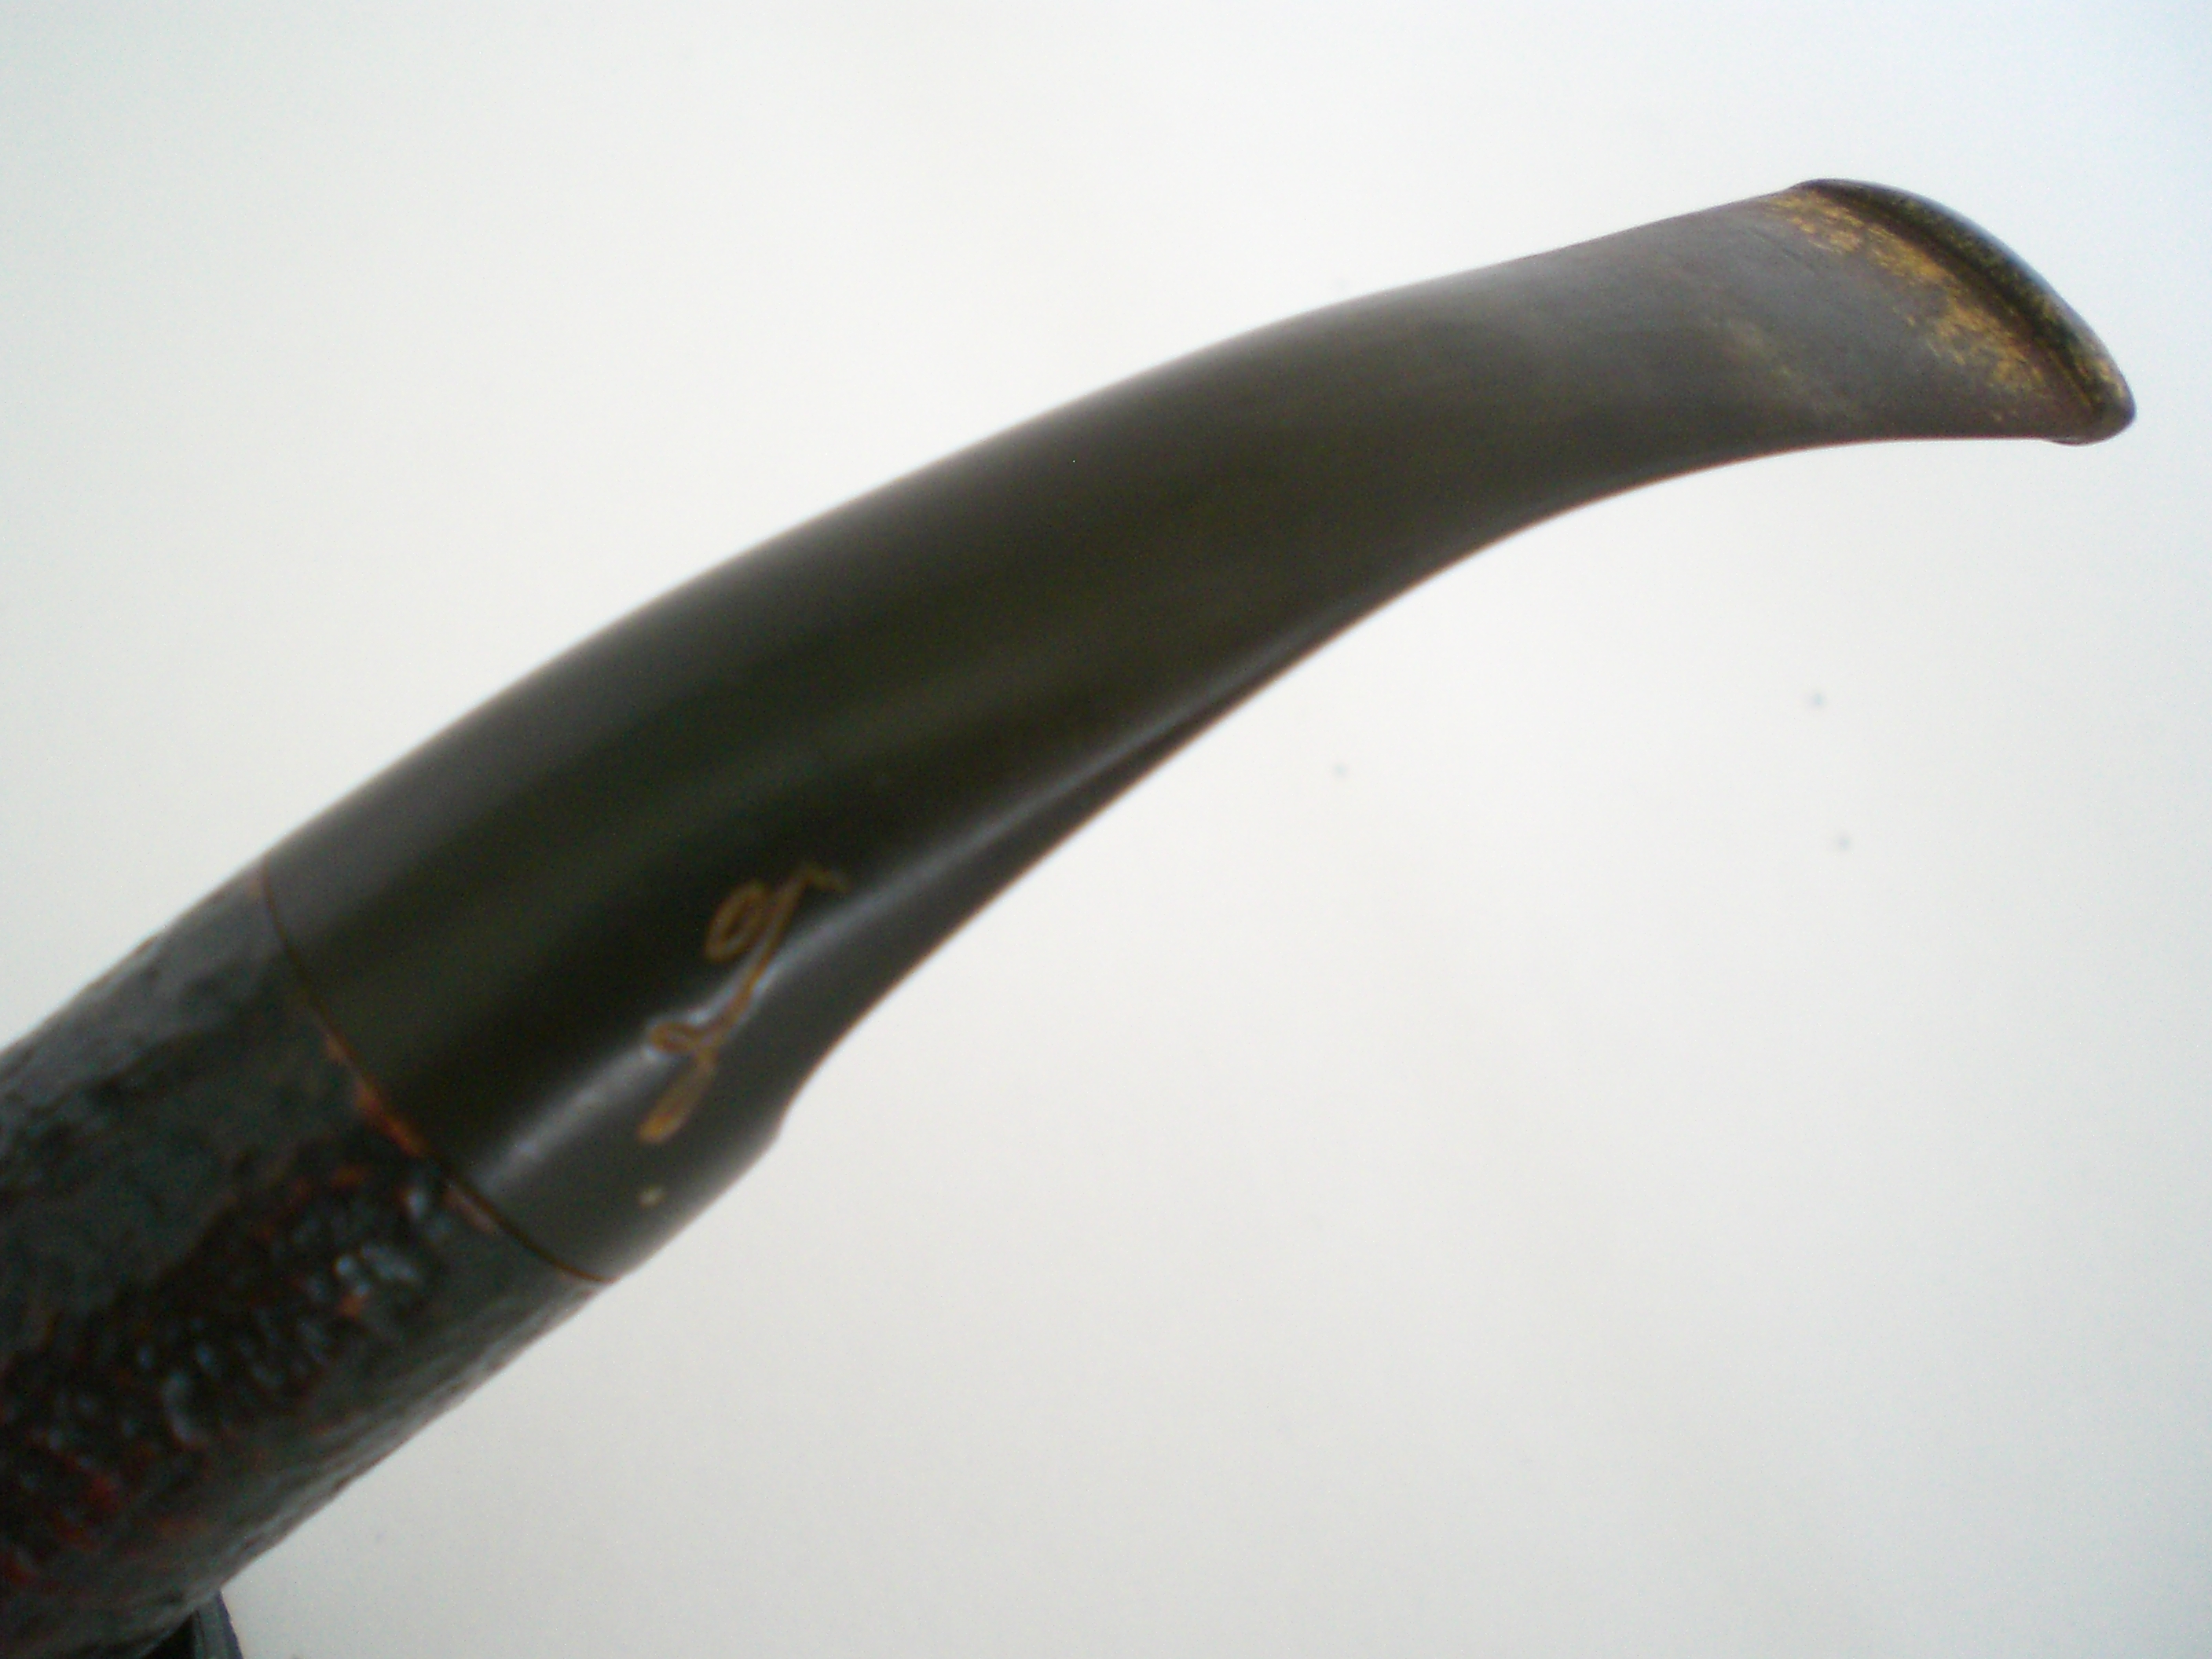
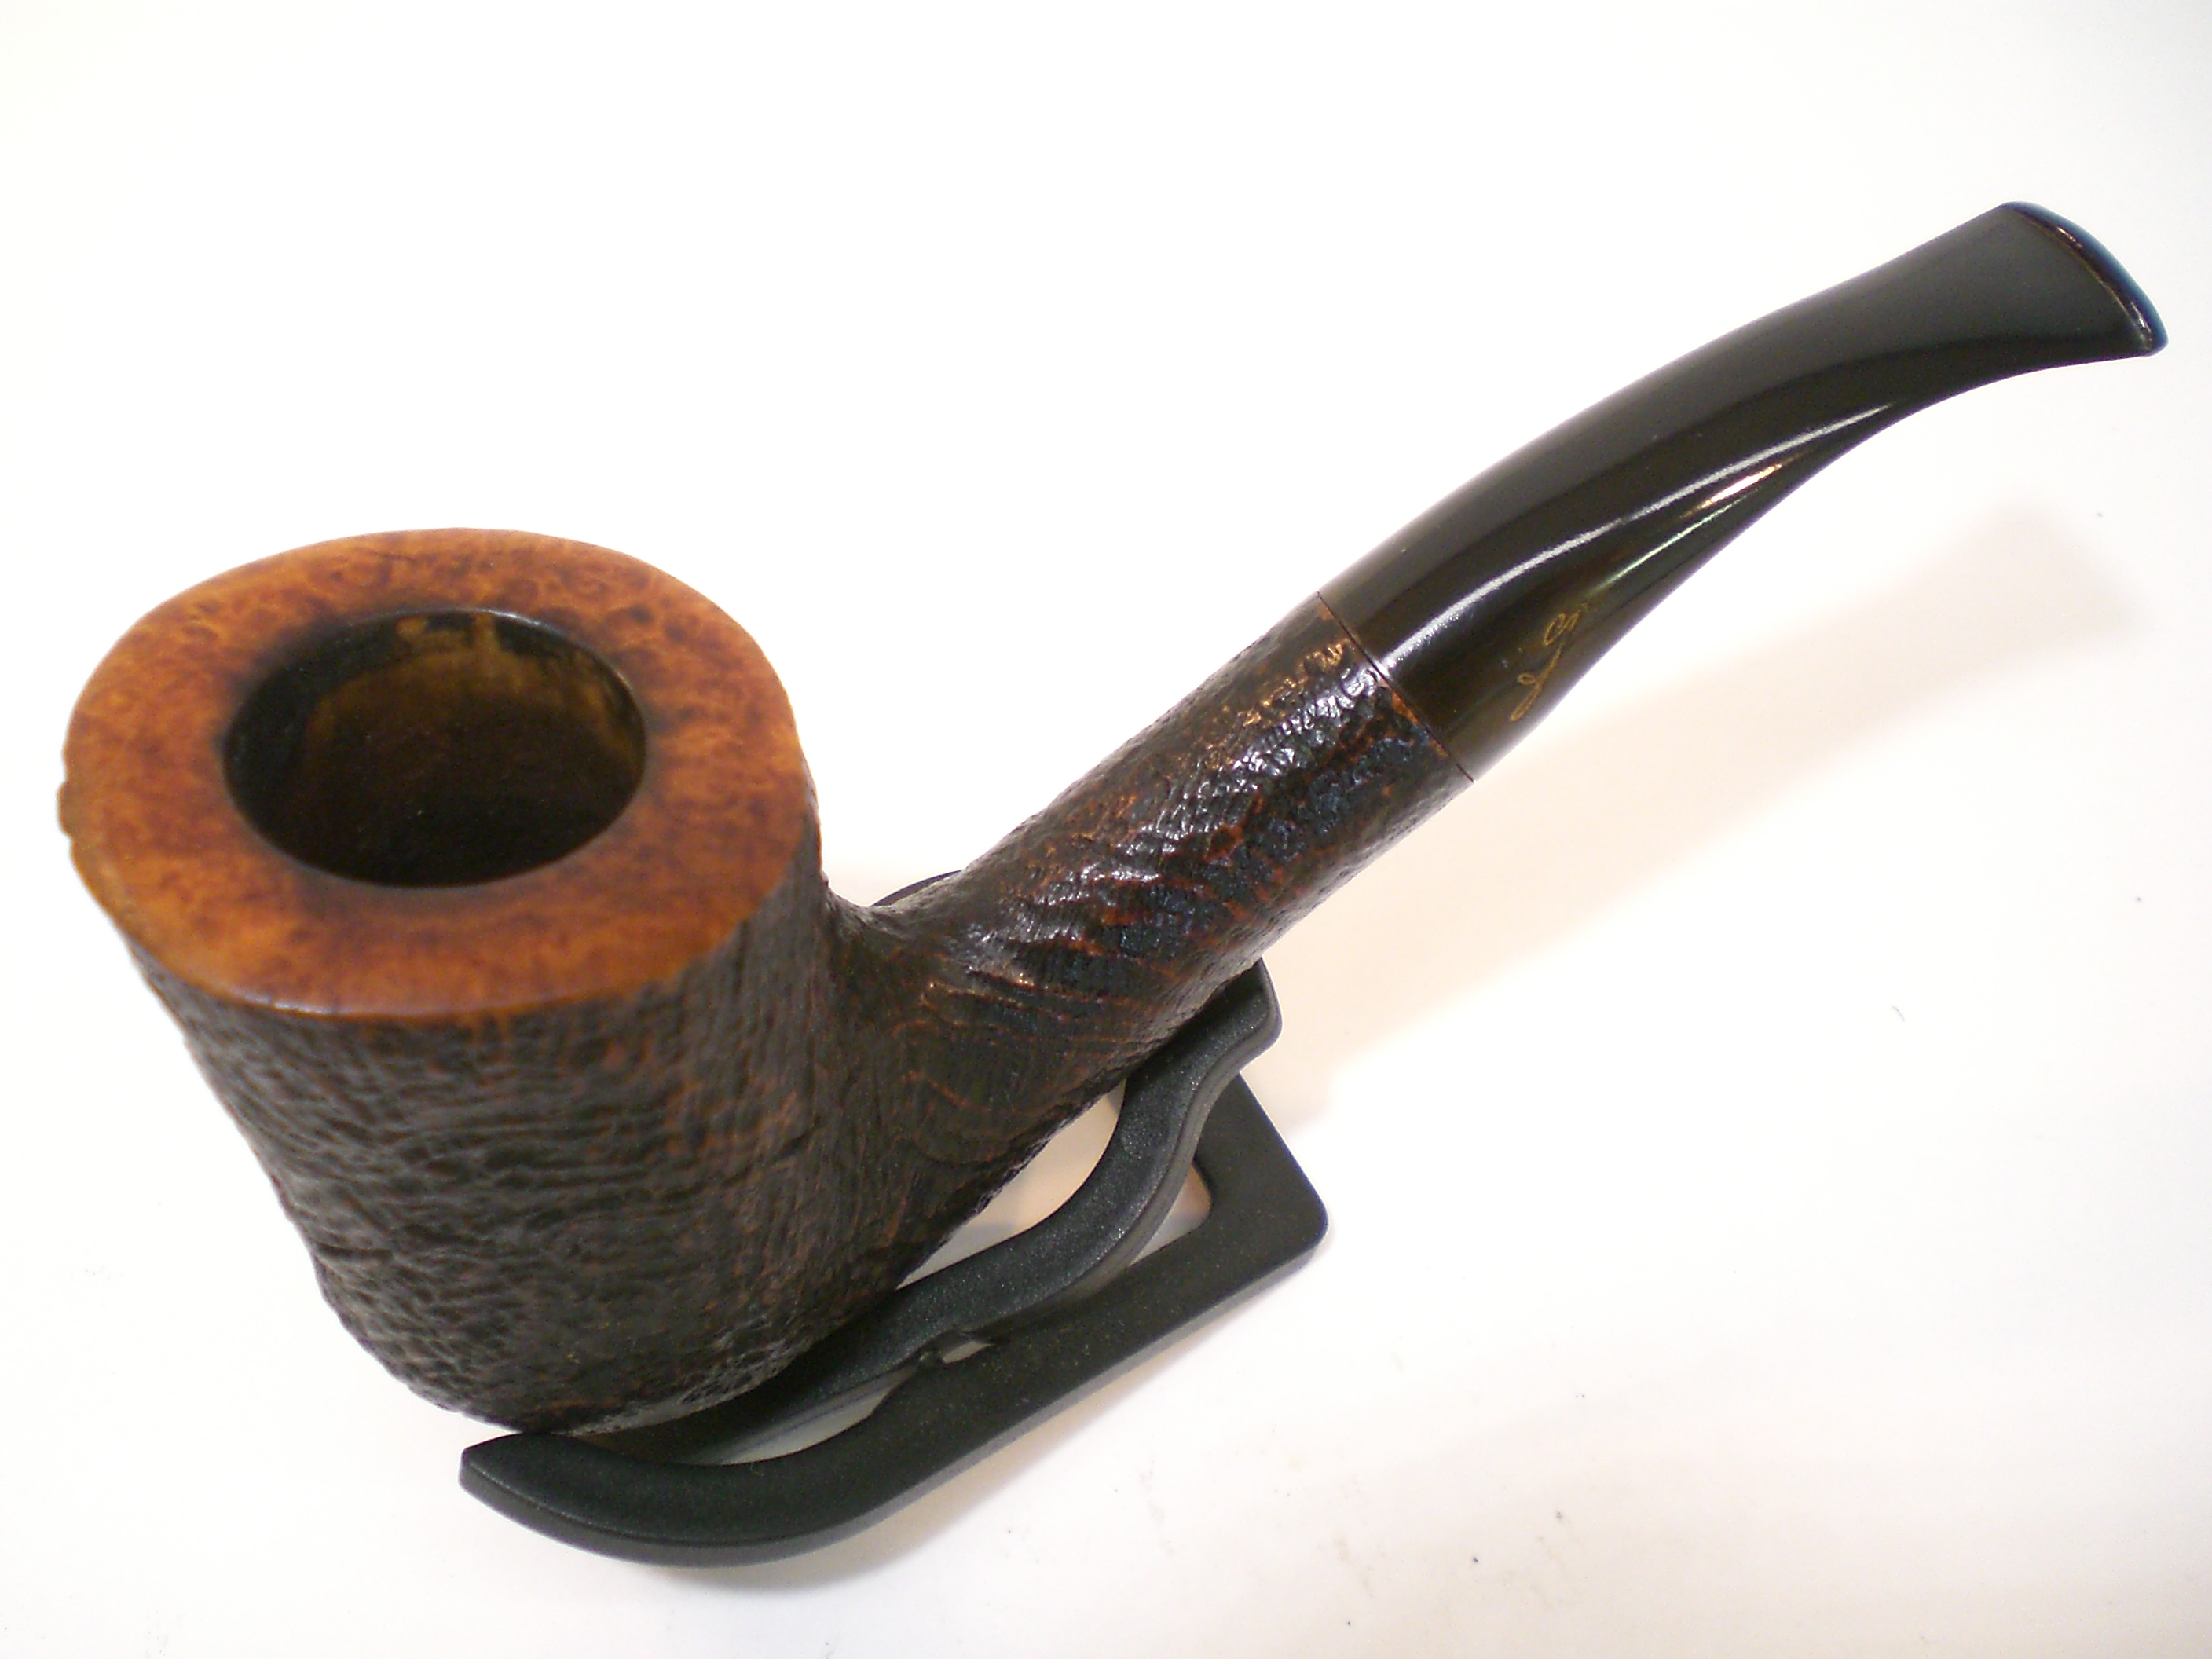
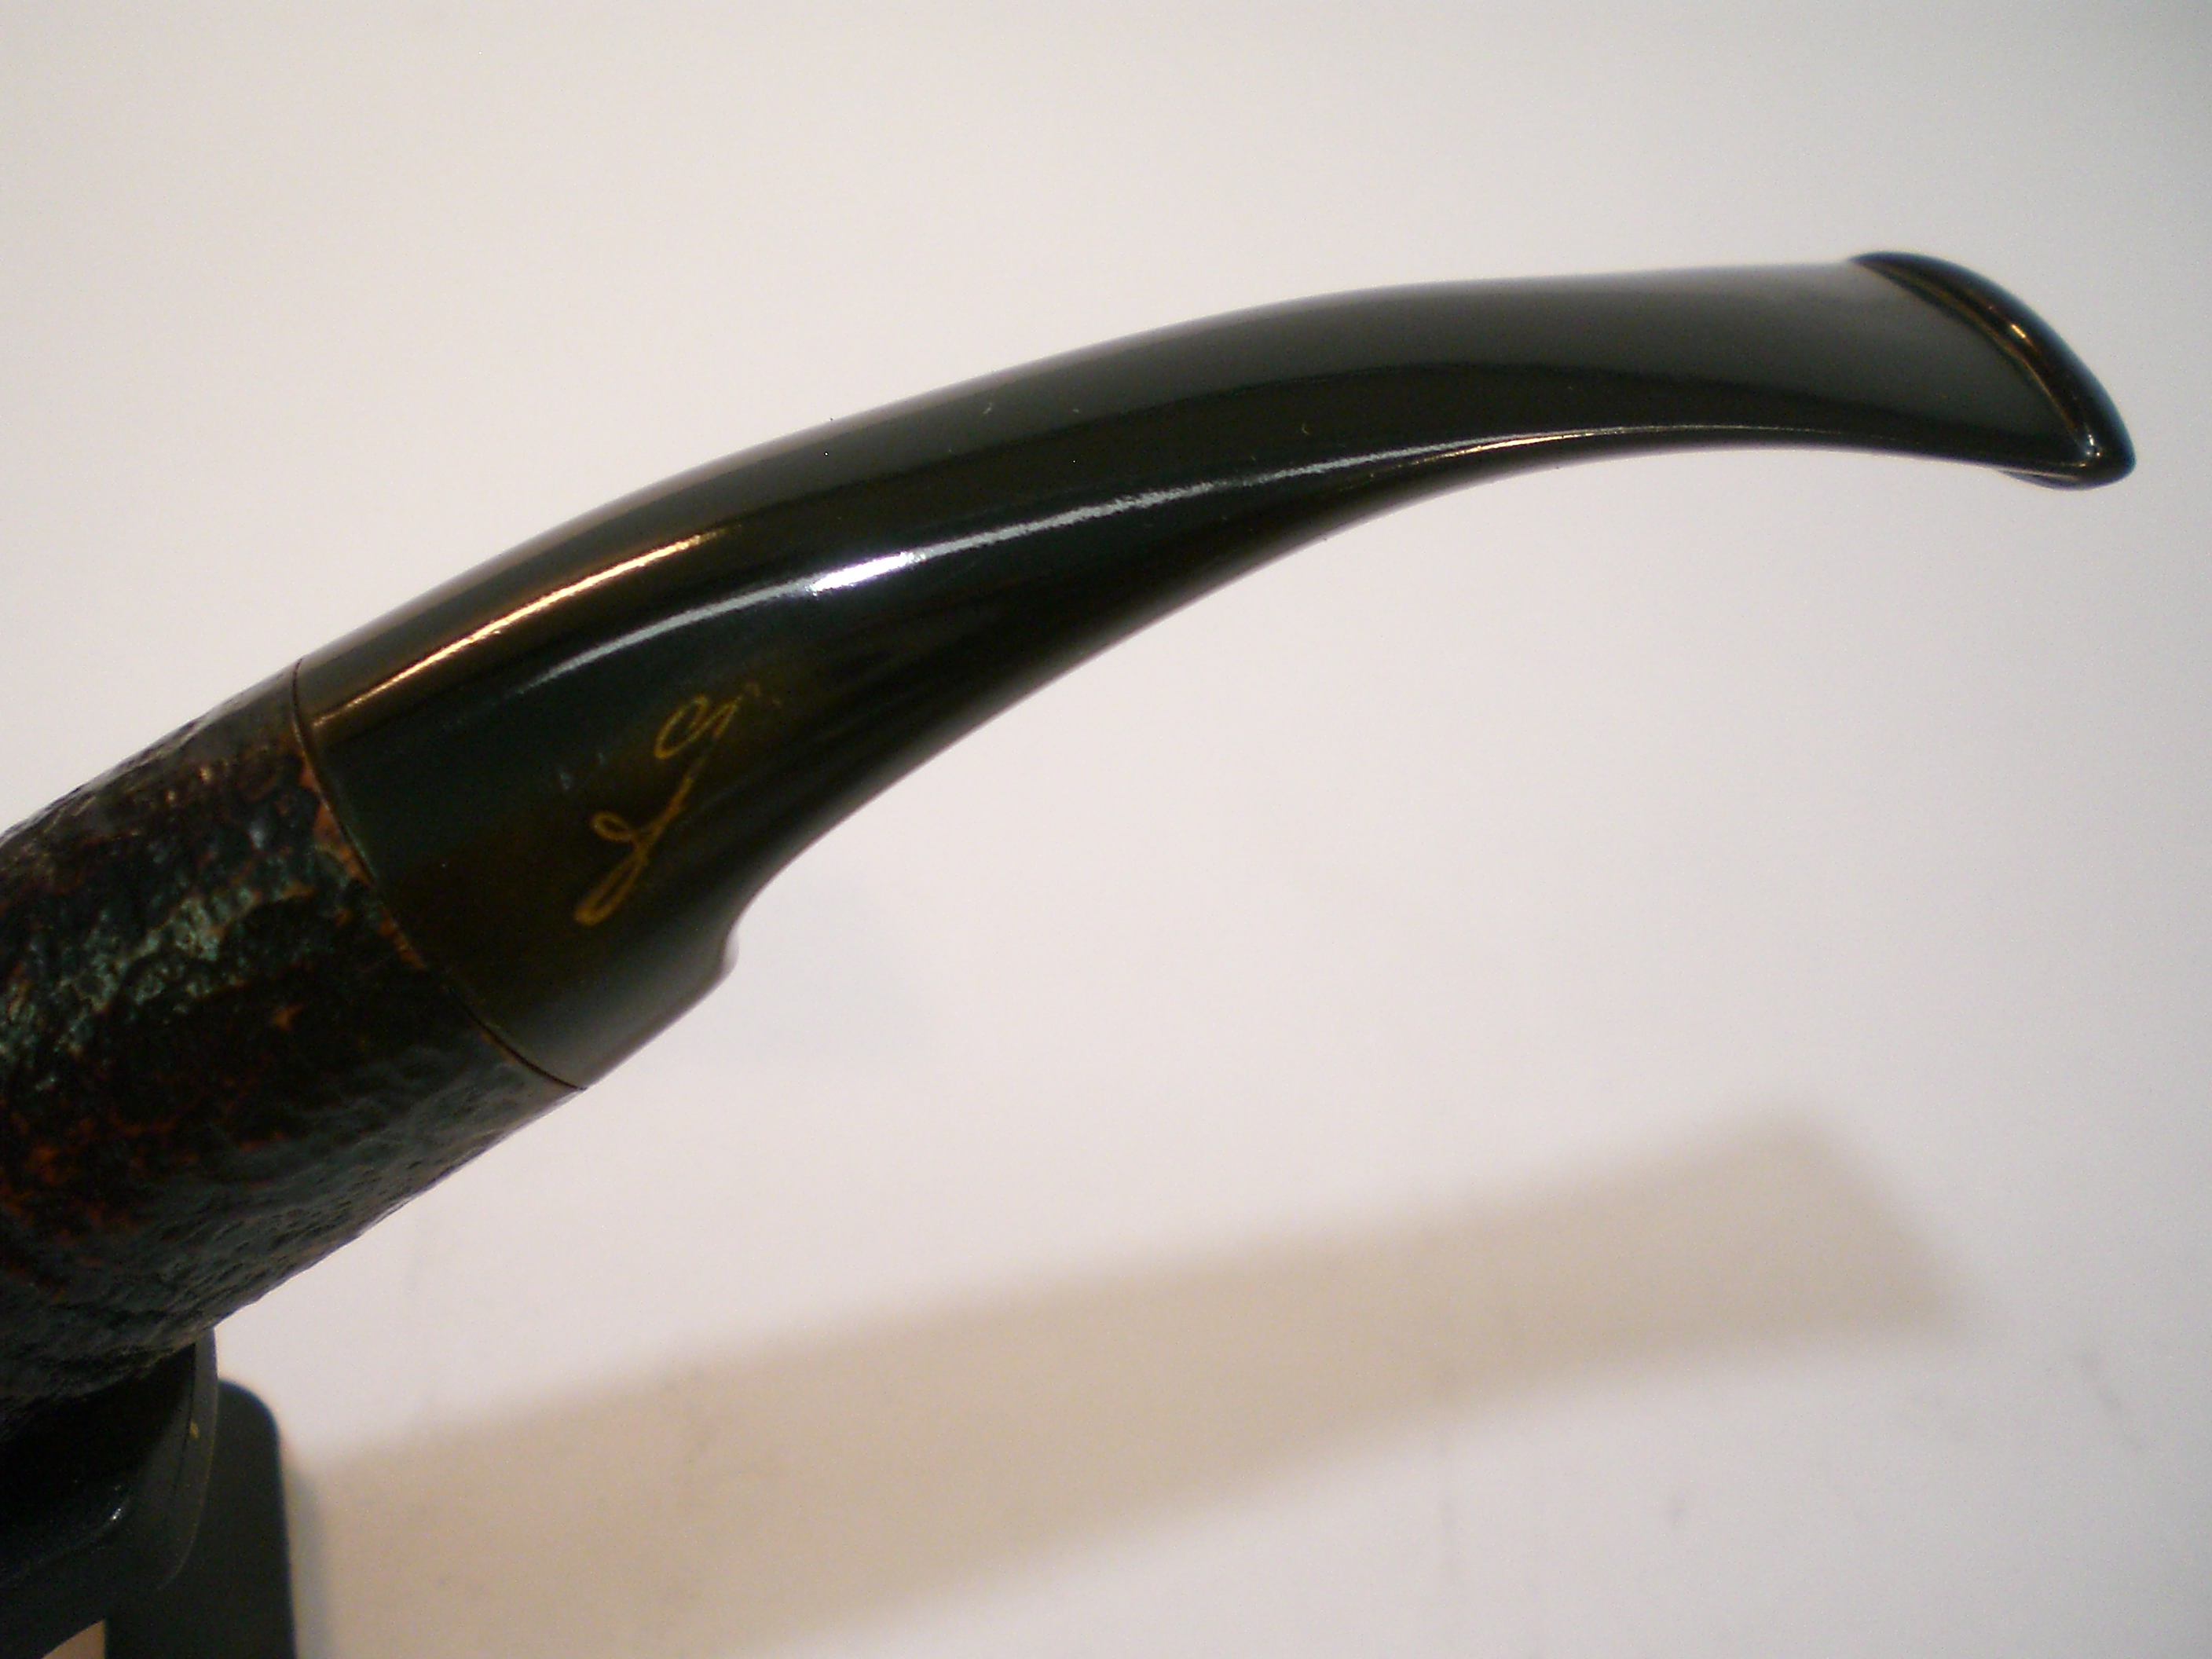
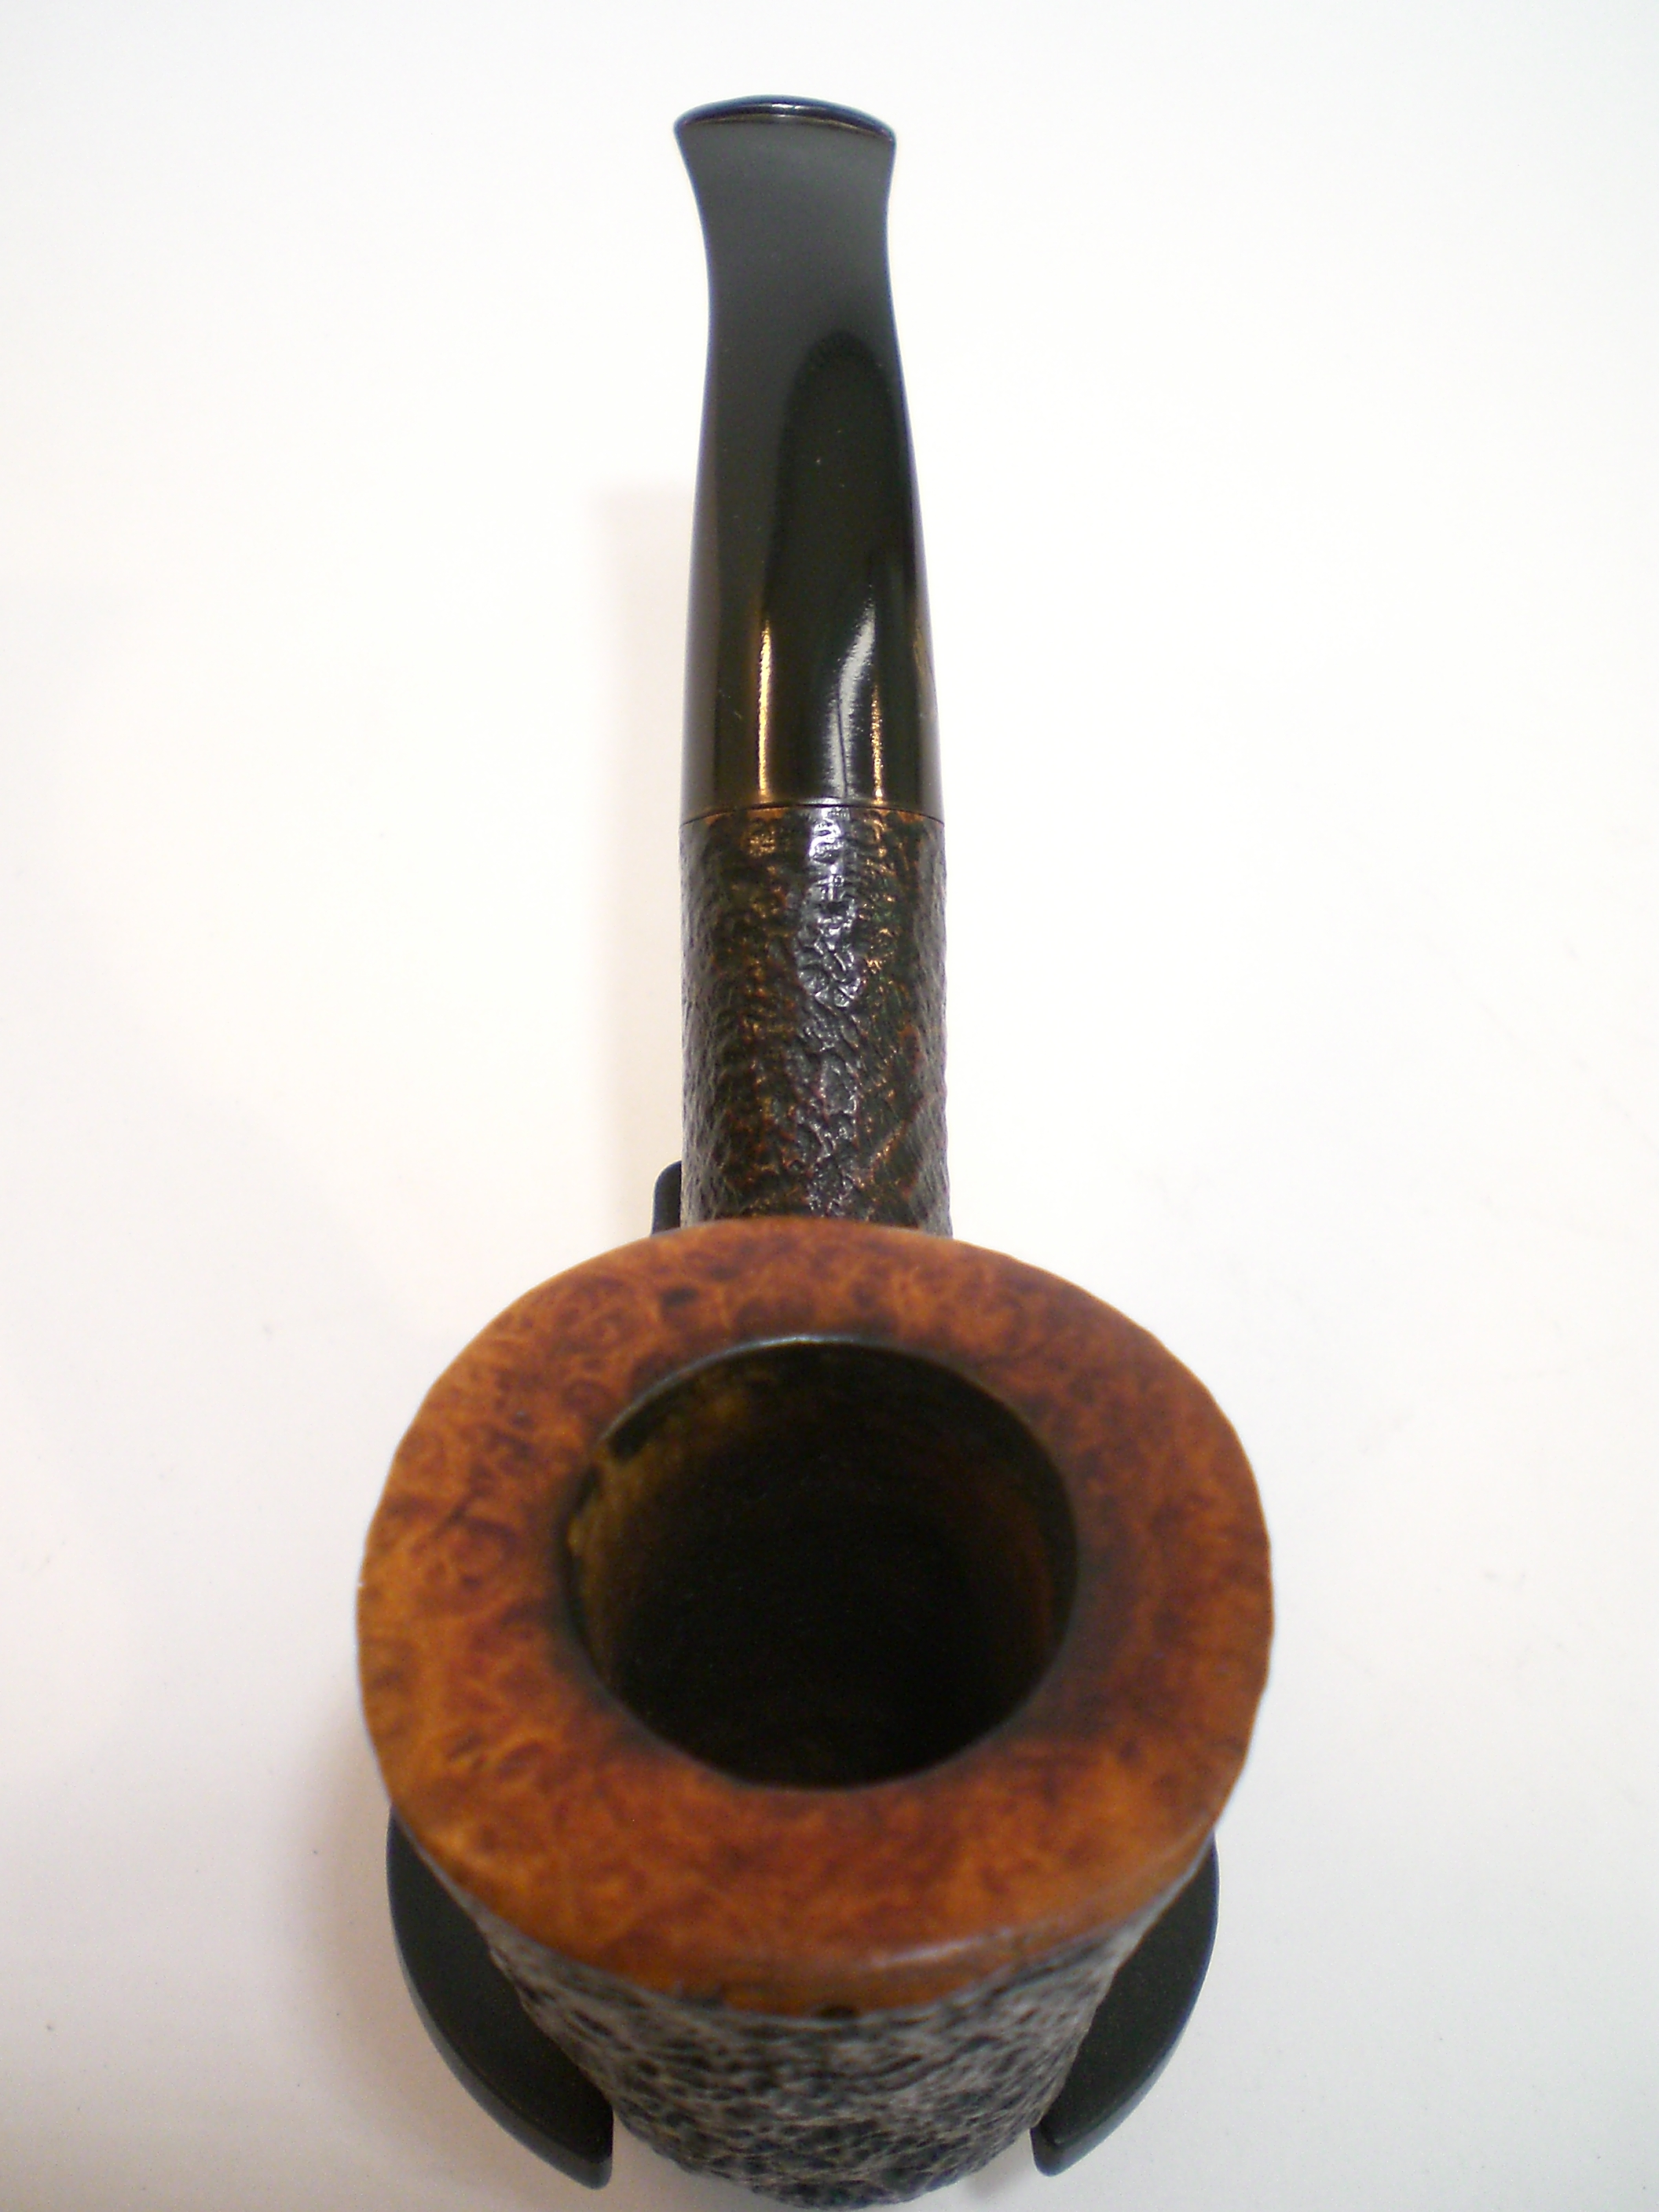
This is the second pipe that I restemmed in this series of pipes. It also is a no name brand. There is no stamping on the bowl. It is 4 inches in length but has a full sized bowl. It is a great little pocket pipe. It has a beautiful sandblast that is rustic and deep. I also used a pre-moulded stem that I turned the tenon on and cut to fit with a Dremel. I chose the saddle stem because of the look of the profile. I sanded it with 280 grit sandpaper until smooth and then followed up with my usual combination of 400 and 600 grit wet dry sandpaper and micromesh pads from 1200-12000 grit. Once it fit well I heated it with my heat gun and bent it with a slight downward angle.

Both pipes were buffed with White Diamond (most attention to the stem) and then given multiple coats of carnauba to the stems. I used Halcyon II wax on the sandblast bowl and carnauba on the finned bowl to give them a sheen.

ImageImageImage

New Life for a BBB Ultima Thule Pocket Billiard


Blog by Steve Laug

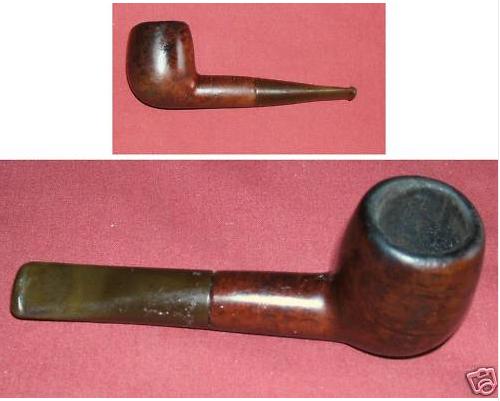
I picked up this little BBB in the same lot as the little BBB bulldog that I posted about recently. It is a similar pocket size (4 and ½ inches) and needed a bit of work. It is stamped BBB in the standard diamond and over that Ultima Thule. (According to Wikipedia the name refers to any distant place beyond the known world.) Under the diamond it is stamped Own Make. The first two pictures are the EBay seller’s photos. When the pipe arrived I can honestly say that the seller did a great job on taking honest photos. The pipe was solid but in rough shape. The rim was slanted toward the front and round all the way around with many nicks and dents in it from tamping the pipe out. It was still round on the inner edge which is pretty amazing on these old timers. This was a pretty well cared for pipe other than the tamping. The finish was dirty and spotty – lighter in some places than others – with a mottled look to it. The stem was oxidized and the edge/ shoulder at the shank junction was rounded and no longer a good smooth fit. There were no bite marks on the stem and the surface was smooth under the oxidation. This would not be a bad clean up.
ult1

I separated the stem and bowl and reamed the bowl. I wiped the exterior with acetone to remove the remaining finish and the grime. Then I placed the bowl in the alcohol bath to soak while I worked on the stem.

The stem actually was relatively easy to clean up. I wiped it down with a damp magic eraser and removed the majority of oxidation. Then I sanded it with 400 and 600 grit wet dry sandpaper followed by 1200-6000 grit micromesh sanding pads. I gave it a coating of Obsidian Oil and set it aside to dry. Once the bowl was finished I would buff them together. I did not want to chance rounding the edges even more. I also did not want to lose any more of the button on the pipe stem by over buffing.

I removed the bowl from the alcohol bath after 1 hour of soaking. I dried it off and cleaned out the shank with pipe cleaners, shank brush and cotton swabs soaked in isopropyl alcohol. I worked those until they came out clean. I used sandpaper on the interior of the bowl to smooth out the remaining cake and clean the surface. I wiped it down with cotton swabs and isopropyl afterwards. I used the sanding board and paper to top the bowl and bring it back to a flat and even condition. I did not have to remove very much of the top but I wanted it to be straight and not slanted toward the front. I used my normal variety of sandpapers (280, 400 and 600) to do this and finished it with micromesh sanding pads 1200-6000 to remove the remaining scratches. I wiped down the bowl with a cotton pad dampened with acetone to remove any sanding dust and remnants of the topping process. I restained this bowl with an oxblood stain thinned with isopropyl to arrive at the original colour. I flamed the stain and when dry took it to the buffer and gave it a buff with White Diamond.

I reinserted the stem and the gap and roundness of the shoulders on the stem made a smooth fit impossible to attain. I decided to use an old BBB band that I had in my box and heated it and pressure fit it to the shank. I liked the finished look of the pipe. I gave the entirety several coats of carnauba wax and a polishing buff with a clean flannel buffing pad. The pictures below show the finished product.
ult2

ult3

Refurbished – A Stunning New Look for a Butz Choquin Billiard


I picked up this old Butz Choquin in a lot I was given by a friend and it was in very rough shape. I somehow neglected to take any pictures of what the pipe looked like when it arrived. But it came stem less and the rim was ruined. It had been hammered on concrete or something like that as it was stippled and rough. The inner rim was ruined as it seemed to have been reamed with a pocket knife and it was cut and grooved at all different angles. To have topped it I would have had to lose almost a half an inch on the pipe. In my opinion that would have ruined the billiard profile and created a pot shape. I decided to try something different on this one. The finish was shot as well and the stain was gone. It was a dull brown with much dirt and grime ground into the surface of the briar.

I reamed the pipe with a PipNet reamer (like a Castleford T handle reamer) to even the sides of the bowl and smooth out the inner surface. I wiped the bowl down with acetone to clean off the grime and grit. Once it was clean I hunted down a stem blank that would work on a pipe with this sized shank. I cut the tenon with my Pimo tenon turner and shaped the stem to a clean fit with my Dremel. Then I took the bowl and dropped it in the alcohol bath while I worked on the stem. I sanded the stem to remove the scratches left by the Dremel. I also shaped the button a bit to change the shape and open up the slot to an oval.

I took the bowl out of the bath and dried it off. I gave it another wipe down with the acetone to give me a clean surface to work on. I then went to work on the rim. I wanted to chamfer the rim inward toward the bowl to remove the damaged material and give it a different look. I topped the bowl first to get a smooth and even surface. From there I sanded the inner edge of the rim with a folded piece of sandpaper (280 grit). I use a one inch square piece of sandpaper folded into quarters. Then I set the angle I want to have on the chamfer by the way I hold the paper. I sanded it until I got it at the angle I wanted and removed the damaged material. Once I had the angle right I then changed the grade of sandpaper sanding it with 400 and 600 grit wet dry and then with the micromesh sanding pads from 1500 to 6000 grit.

At that point I put the stem back on the pipe and sanded it until the transition between the shank and the stem was smooth. I wanted it to be a fit that appeared to be seamless. Once I had that done and had sanded the stem smooth with the various grades of micromesh sanding pads I took it to the buffer to give the stem a shine. I brought it back to my work table and sanded the bowl and shank until they were also smooth. I did not sand around the nomenclature as I wanted that to be intact.

I decided that I would give the bowl a contrasting stain finish. I heated the briar with a blow dryer to warm it up and open the grain on the bowl. Once it was warm I stained it with a black aniline stain. I flamed the stain and let it dry. I took it to the buffer and buffed it with Red Tripoli to remove the black stain from the surface of the briar. This takes off the extra black and leaves it in the softer grain of the briar. I sanded it again with 600 and 800 grit wet dry sandpaper and then buffed it again with White Diamond. I wanted contrast between the black that was deeply set in the grain and the harder smooth surfaces. Once that was done I wiped the bowl down with acetone to tone down the blacks and to clean off the surfaces that did not have the stain set in them. I restained the pipe with a Medium Brown aniline stain and flamed it as well. Once it was dry I buffed it with White Diamond to polish it. The whole pipe was then given multiple coats of carnauba wax and a finish buff with a soft, clean, flannel buffing pad.

While I liked the look of the pipe at this point I decided that it needed a bit of bling to finish it off. I have a box of bands here and found one the correct size – a nickel band that would add just the touch I was looking for. I heated the band with my heat gun and pressure fit it on the shank of the pipe. The finished product is in the photos below. This pipe found a new home with a friend on one of the online forums. I am sure he has enjoyed it as it was a great smoking machine.
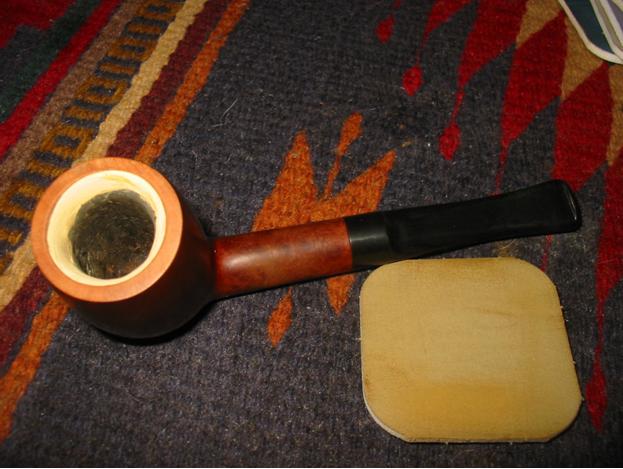
The verdict is yours is the new look stunning or not?
bc1

bc2

bc3

bc4

bc5

New Life for a BBB Short Dog


I picked up this little BBB Bulldog on EBay and knew it would take some work. In the photo below you can see the cut in the stem – a groove or channel that served as a dental grip for the pipe. It is just in front of the button. There was some minor oxidation on the stem as well. The button had an orific opening (round hole in the button) rather than a slot. The rim and sides of the bowl were dirty and there was some darkening around the edges. The bowl was caked with a thick cake that would need to be reamed. The photo below is the one that was on EBay.
BBB1

When the pipe arrived it was smaller than I had imagined. No problem there as I like these pocket sized pipes. The stamping on the shank only had the BBB logo in the diamond. No name or other identifying marks were on either side of the shank. The stem did not have the BBB stamp or roundel. The finish was not too bad. The majority of work would need to be done on the rim and the top edges of the bulldog bowl. The stem was going to take some work to get rid of the trough that had been cut in it by a previous owner as a kind of dental bit. The bowl was not as caked as it had appeared in the original picture but had been over reamed and was out of round. The walls at the top appeared to be thinner than normal on a pipe of this shape.
bbb2

bbb3

You can see the size of the pipe from the photos above with the ruler. It is four inches long and delicate in the hands. I went to work on the stem first with my needle files and sandpaper to remove the trough on the top of the stem and the underside of the stem. This took some work as it could have radically changed the slope of the stem. I worked to keep the angle looking right from the saddle to the button. It took quite a bit of time to remove the excess vulcanite and reshape the blade of the stem. I sanded the stem smooth and then progressed through the micromesh grits 1500 through 12000. I put it back on the pipe and took it to the buffer and buffed it with White Diamond until it shone. Then I removed the stem and set it aside while I worked on the bowl.

The bowl needed most of the work on the area of the rim and the edges following down the bowl. There was lava and also darkening. I worked on the rim and the darkening with acetone on a soft cloth. It removed the majority of the darkening and grime. I decided to top the bowl minimally to smooth out the surface. I chamferred the inner rim with a folded piece of sandpaper to minimize the chatter from the over reaming. The pipe was given a coat of medium brown aniline stain, flamed and then buffed gently with White Diamond. The entirety was given multiple coats of carnauba wax and buffed with a soft clean flannel buff. The final picture below has a Canadian penny included to give an idea of size. This will be helpful to those who are familiar with US and Canadian money. To others who are not you can refer to the photos above with a ruler. This is a nice little pipe that smokes very well. It also fits nicely into a coat pocket or shirt pocket!
bbb4

bbb5

bbb6

bbb7