Guest Blog by Robert M. Boughton
Member, North American Society of Pipe Collectors
http://www.naspc.org
http://www.roadrunnerpipes.com
http://about.me/boughtonrobert
Photos © the Author
“Voters in the southern German state of Bavaria [April 7, 2010] voted for Germany’s strongest smoking ban, meaning lighting up in bars, restaurants and beer tents at Munich’s famous Oktoberfest will be ‘verboten.’”
― David Levitz, journalist, Agence France-Presse
INTRODUCTION
Who would have dreamed that those crazy, fun-loving Bavarians who have been hosting the annual Oktoberfest since October 12, 1810, the day Crown Prince Ludwig (later King Ludwig I) married Princess Therese von Sachsen-Hildburghausen; the culinary health scoffers who gave to the world such artery-hardening treats as Weisswurst, Schweinshaxe, schnitzel and spaetzle, and for snacks and dessert, laugen pretzels, apfelstrudel, Baverische crème and zvetchgenkuchen – would ban smoking in all public buildings just months before the bicentennial of the world’s biggest excuse to get betrunken?
Bavarians are even so fond of beer and schnapps that they have a great little saying: Saufen bis zum Verlust der Muttersprache, or drink until you forget your mother tongue. And if you’ve ever seen many German tourists, how many of them didn’t look like triple bypass candidates? Of course, everyone knows smoking kills more people than drinking and/or diet-related maladies…right?
One 31-year-old Garden Grove, California woman who lost her job and started a blog, and has written a book but is still searching for a publisher, has a particularly active gift of gab. She blogged, “Bavaria’s cuisine is a monster truck. It crumples the delicate-by-comparison culinary offerings of Spain, Italy, and France like tiny little Fiats and Peugots in its path… It is rich and doughy and filling and is the only thing on the planet that can soak up German beer. Every other fare will simply hide in the corner of your stomach, petrified at the sheer awesomeness of the brew that resides in there with it, and it will never get digested.” Perhaps the most succinct line from this particular blog is, “Germans do it with bigger sausages.” [http://www.everywhereist.com/7-badass-bavarian-foods-you-must-try/] I, for one, can’t wait until the book comes out.
If the world is going mad as far as singling out tobacco as the great evil, then Bavaria may now be the capitol for the insanity. Maybe all that ice bockbier and apfelstrudel have saturated their bodies and have nowhere left to go but the brains.
At any rate, there remains for those of us who still appreciate the virtues of pipes and their tobaccos the glorious contributions of German craftsmanship in general and Bavarian in particular.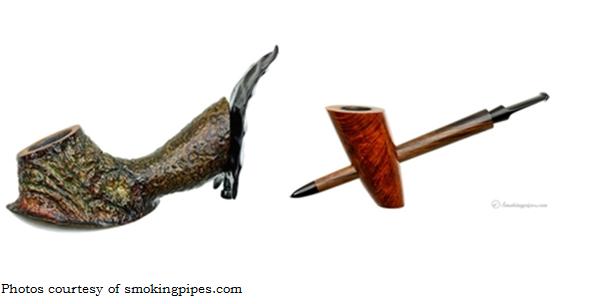 And more along the lines of the subject of this blog: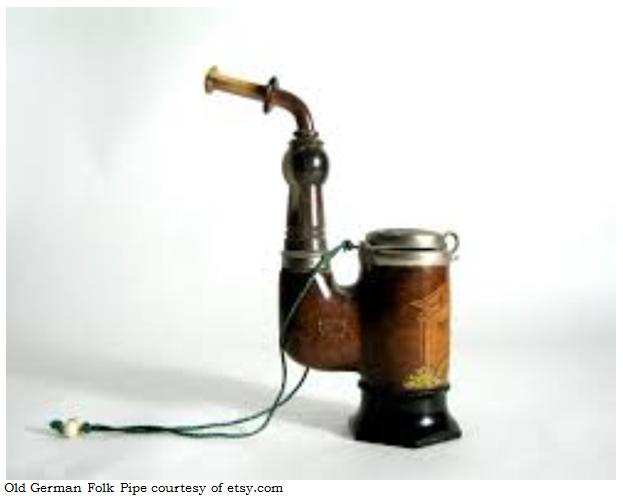
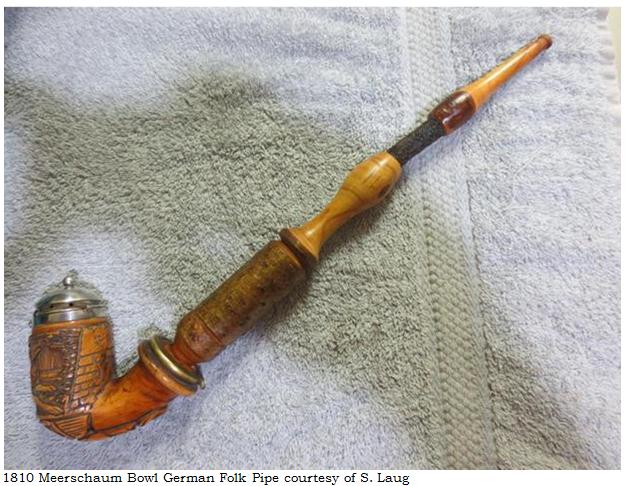
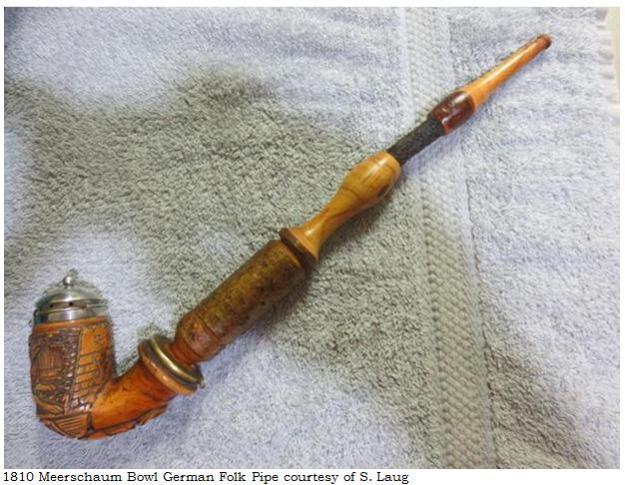 When I emailed Steve a few photos of my new acquisition from eBay, for less than $11, I was happy as usual to receive a response but, I must admit, a little disheartened to hear of the 20 hours he spent restoring the 1810 Meerschaum Bowl masterpiece above. Then I considered the facts that his folk pipe was part meerschaum, and of course suspected he had, as his masterful skills and (if I may be so bold) somewhat obsessive creative bent allow, more than just restored it. He had in fact, of course, re-worked parts of it, as I learned when I read with pleasure his July 7 account. I mentioned the conjecture that Steve is a born pipe maker to my mentor, Chuck Richards, who with not an inkling of surprise to me that Steve has made a few pipes in his time. I therefore hereby suggest a blog by our host on these endeavors, which I am certain I am not alone in my curiosity to hear about and see.
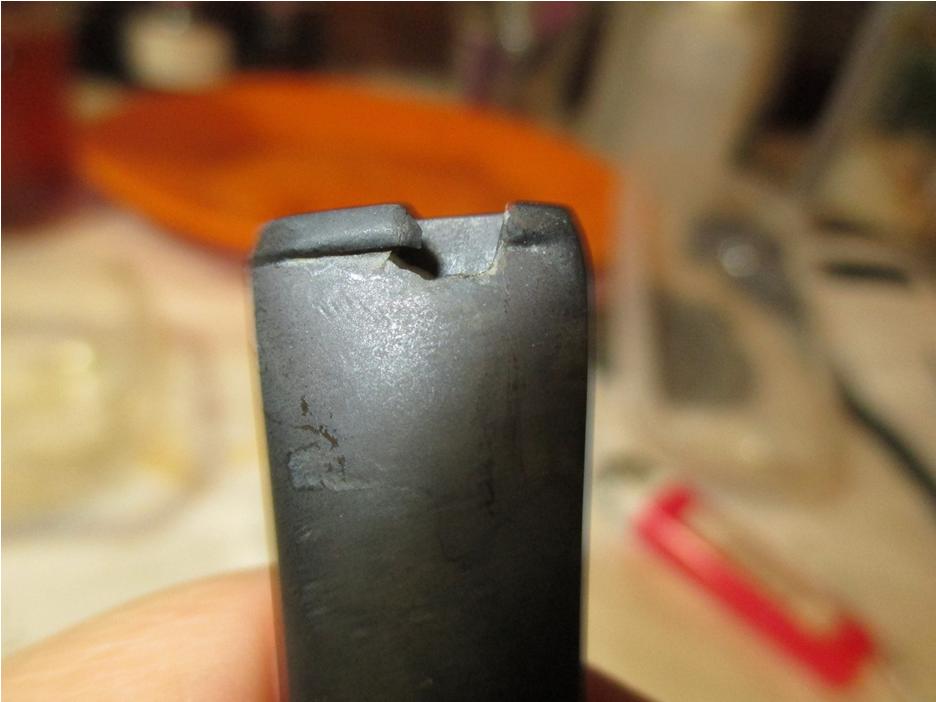
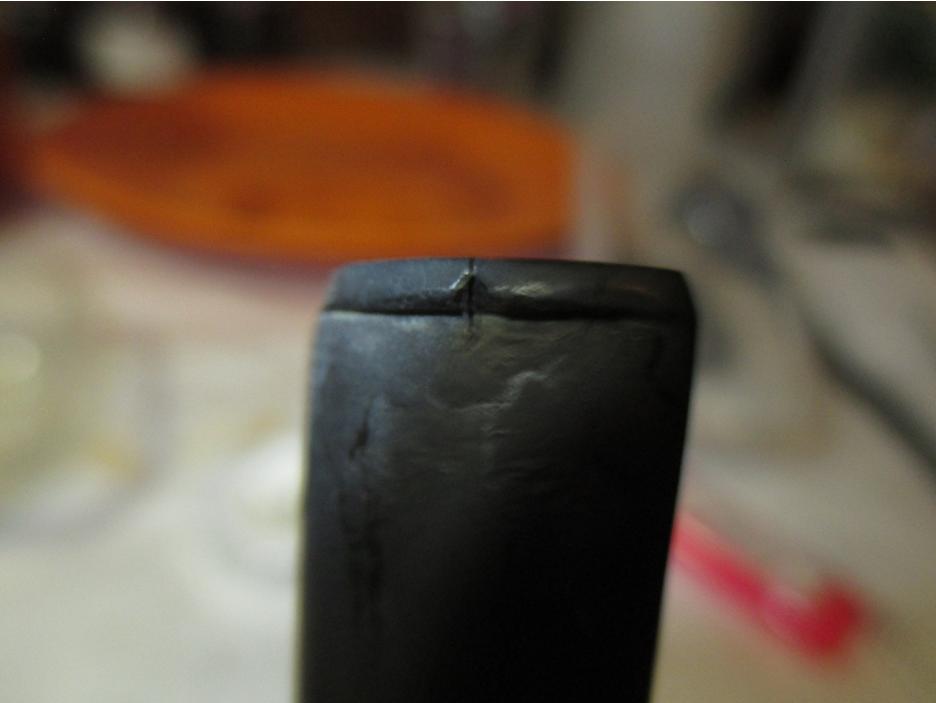
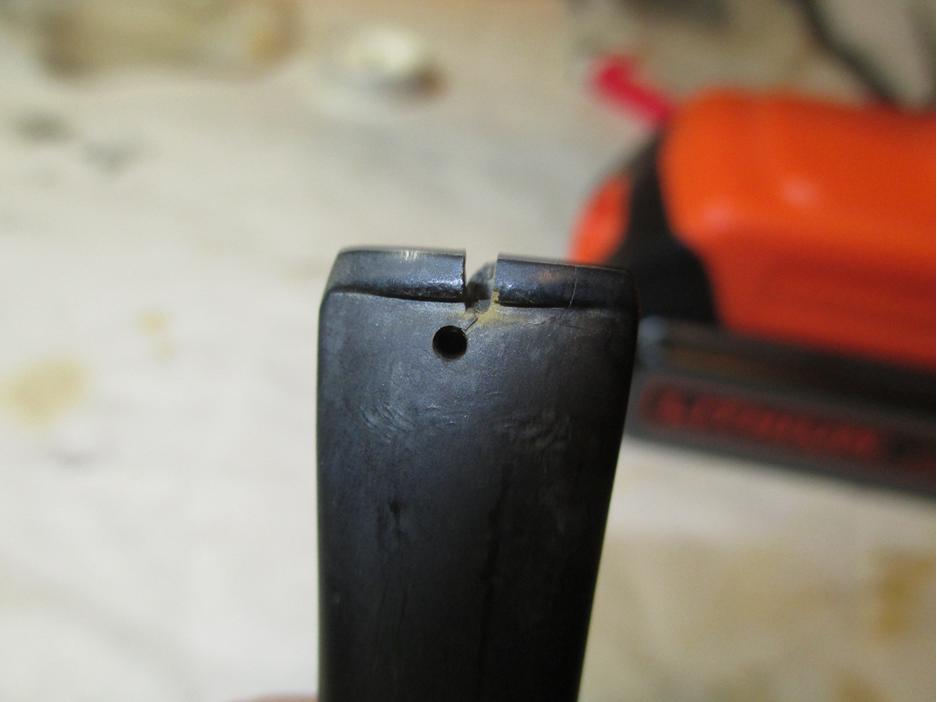
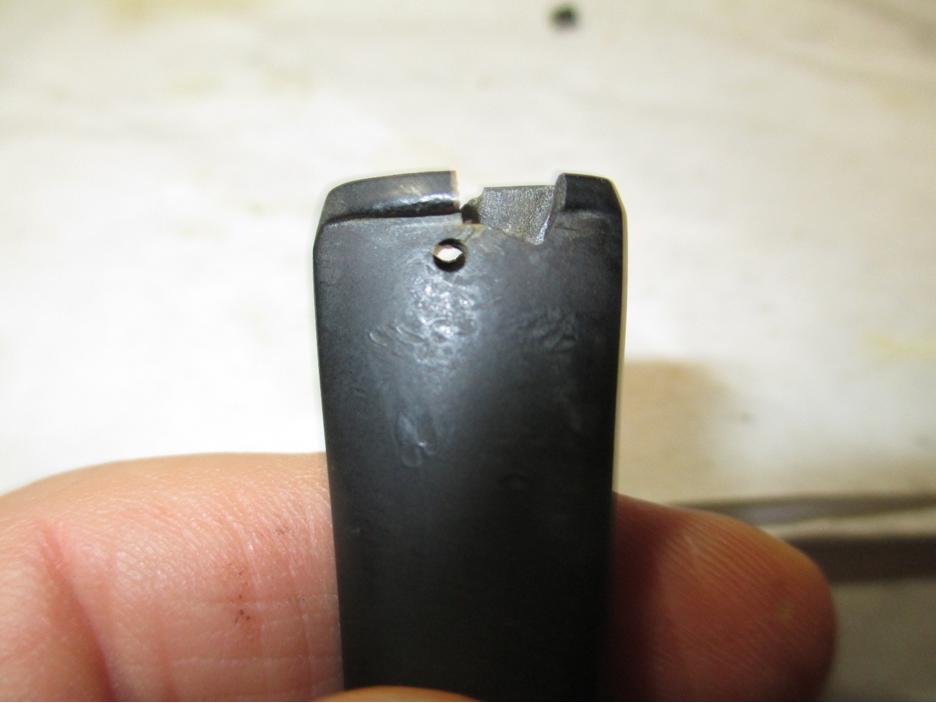
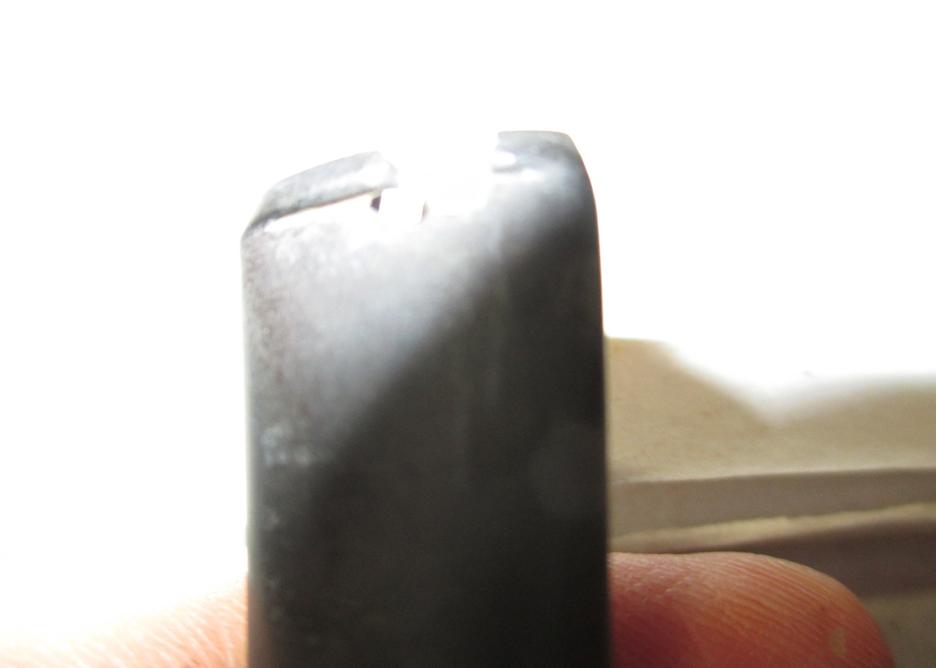
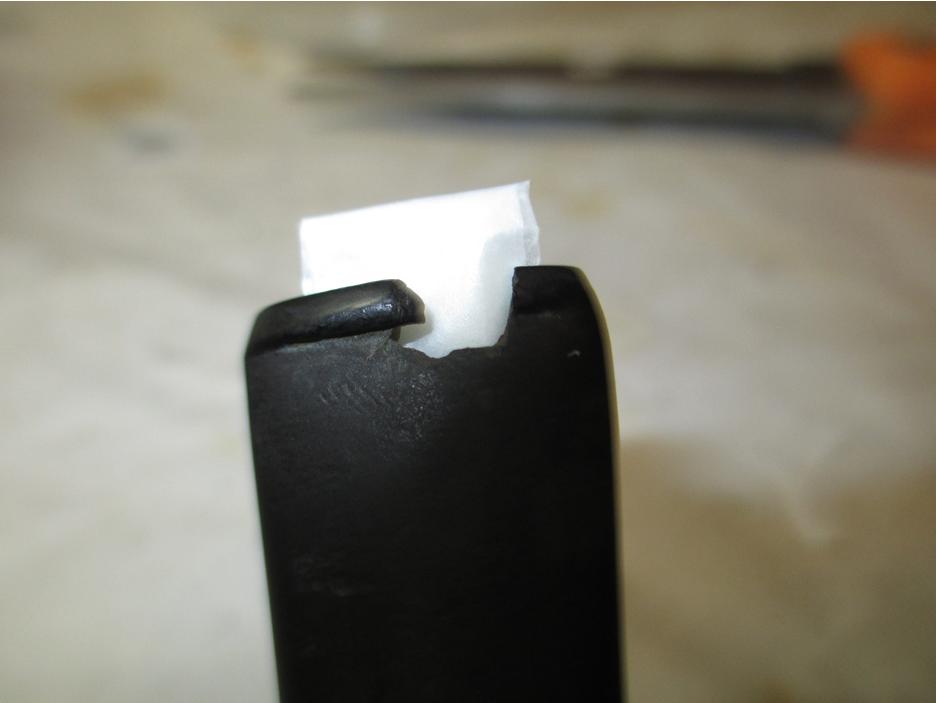
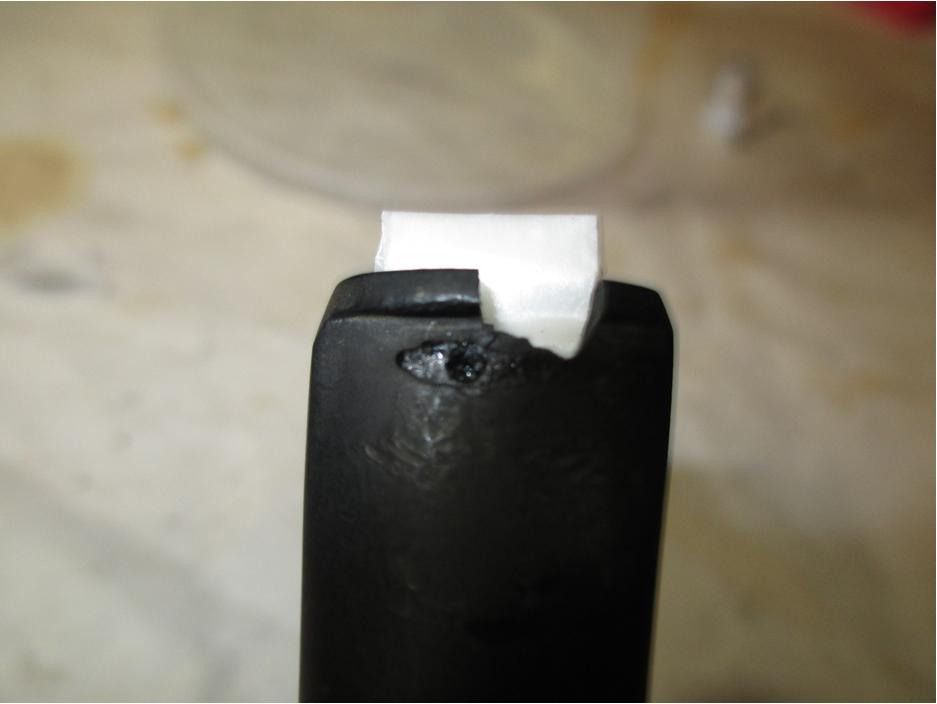
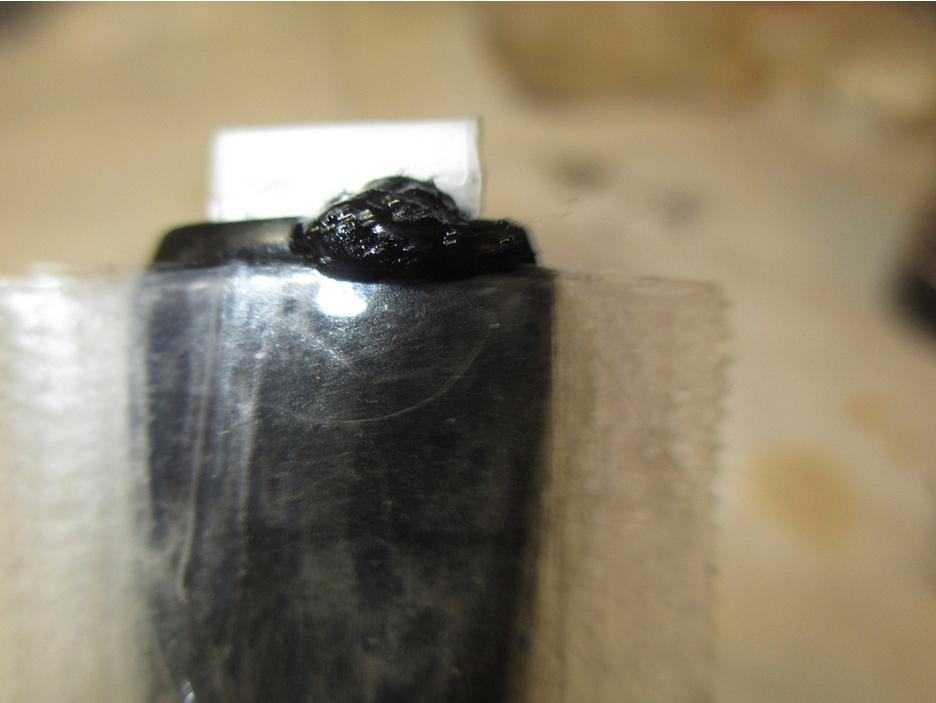
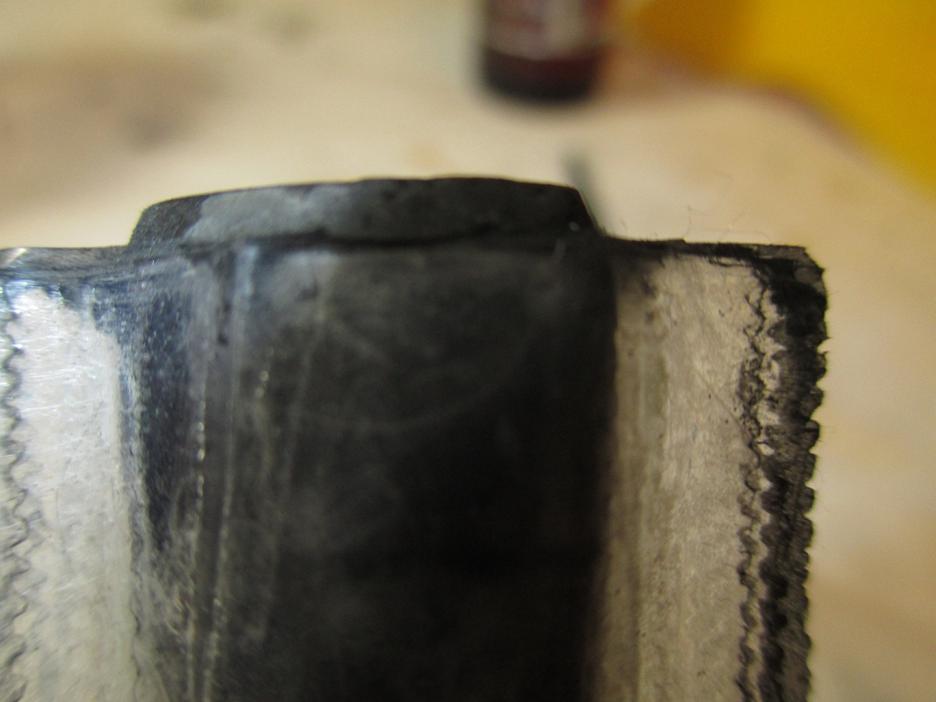
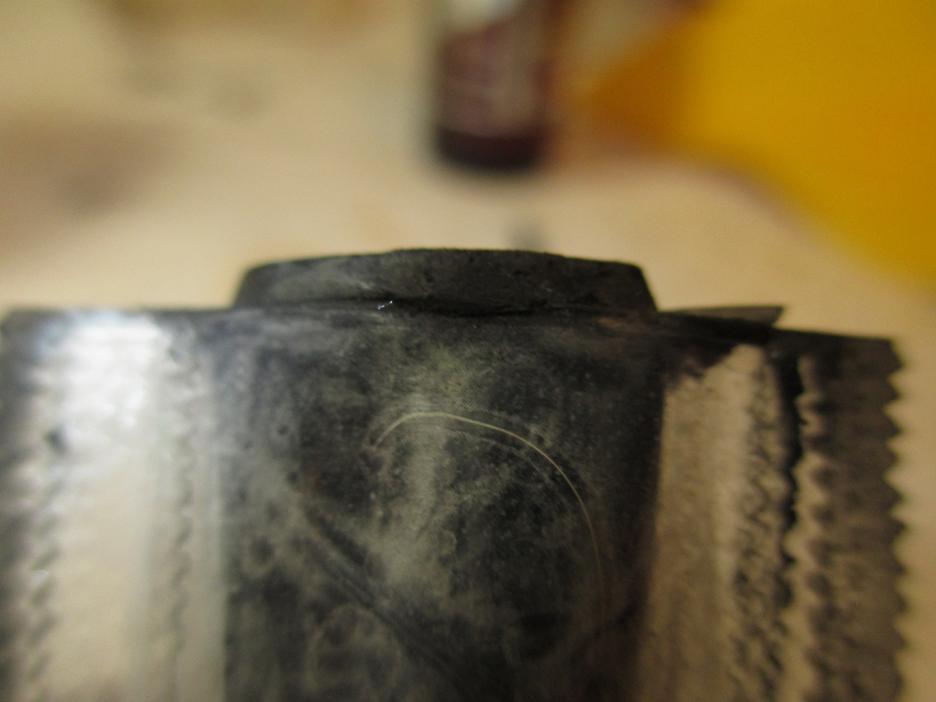
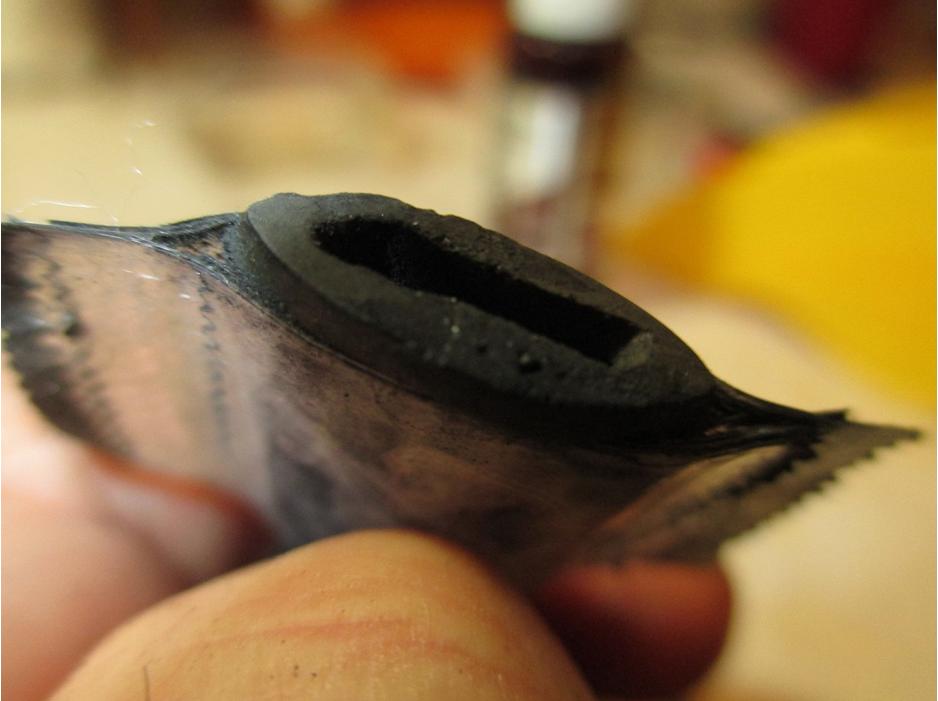
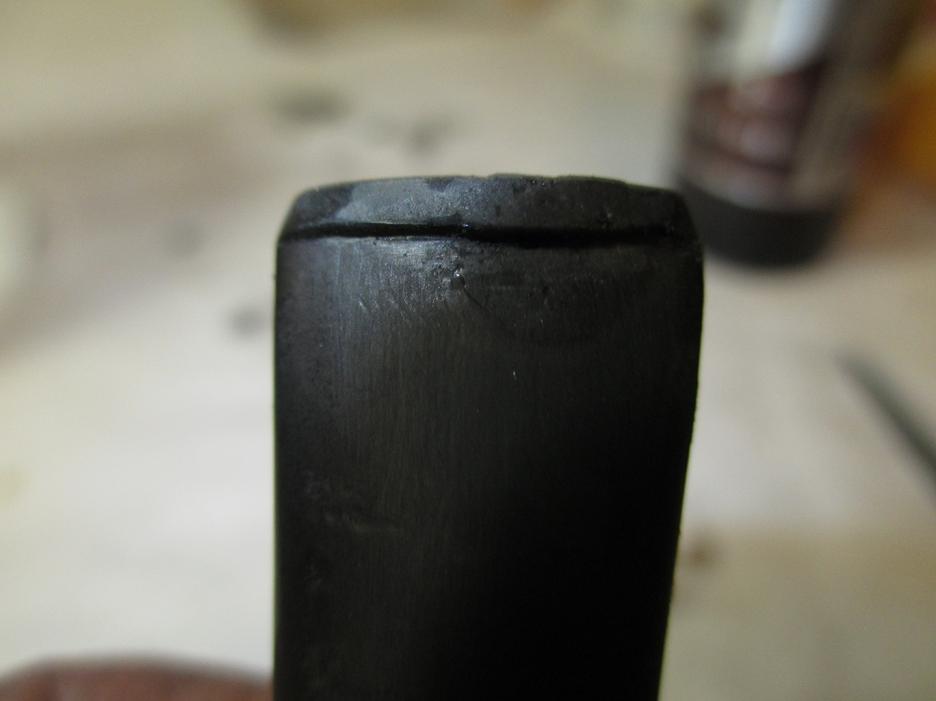
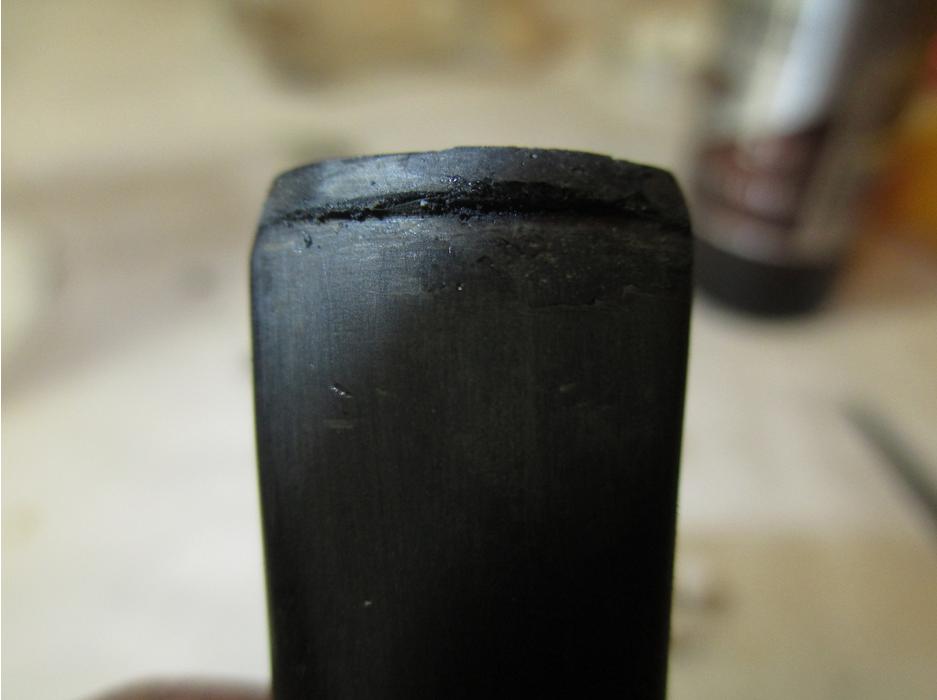
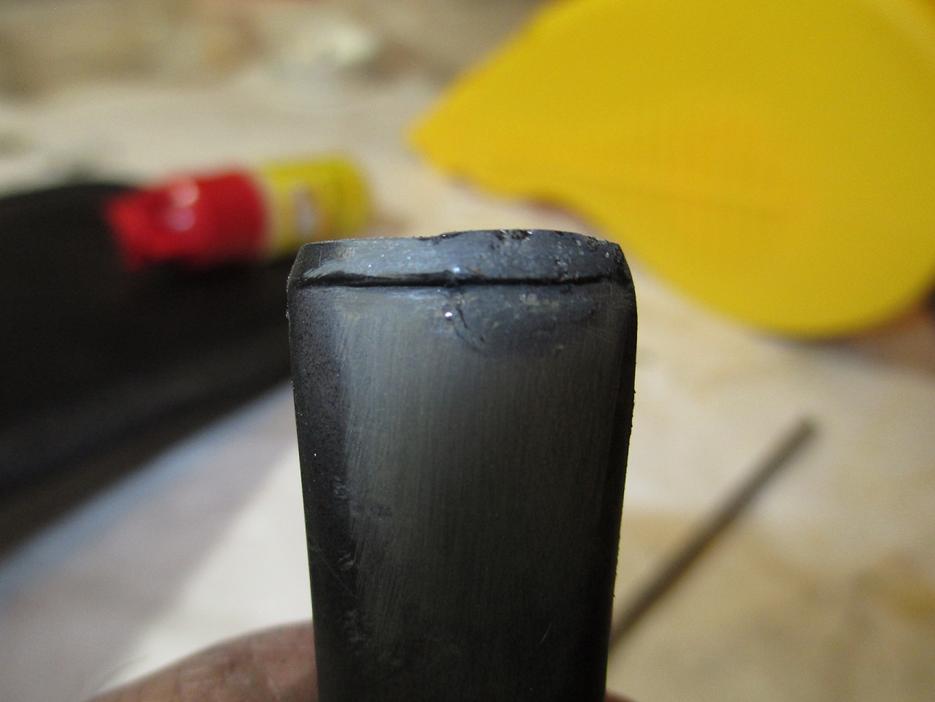
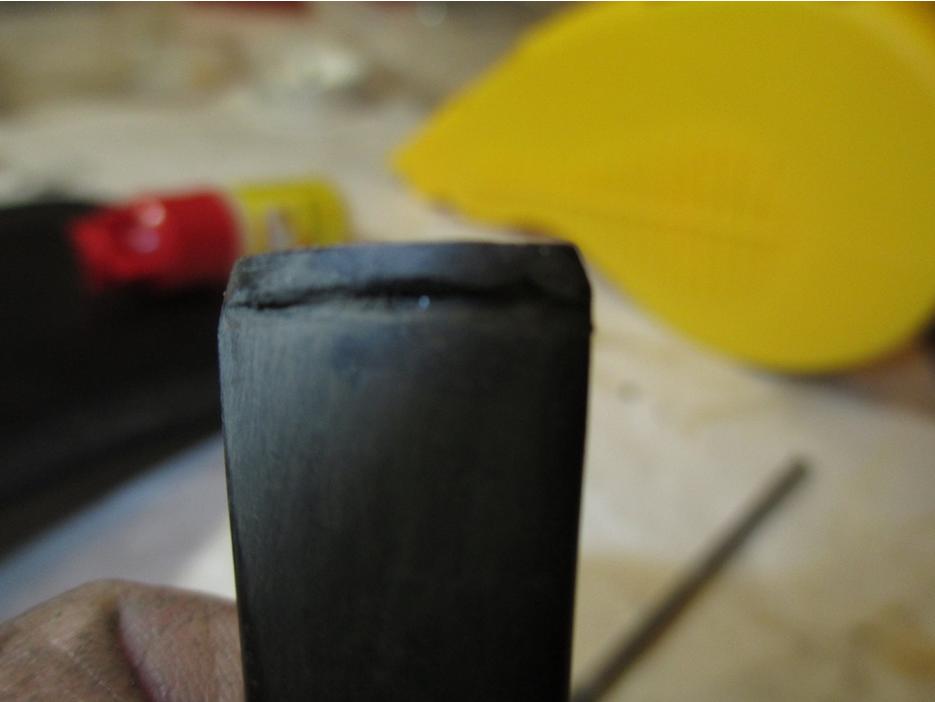
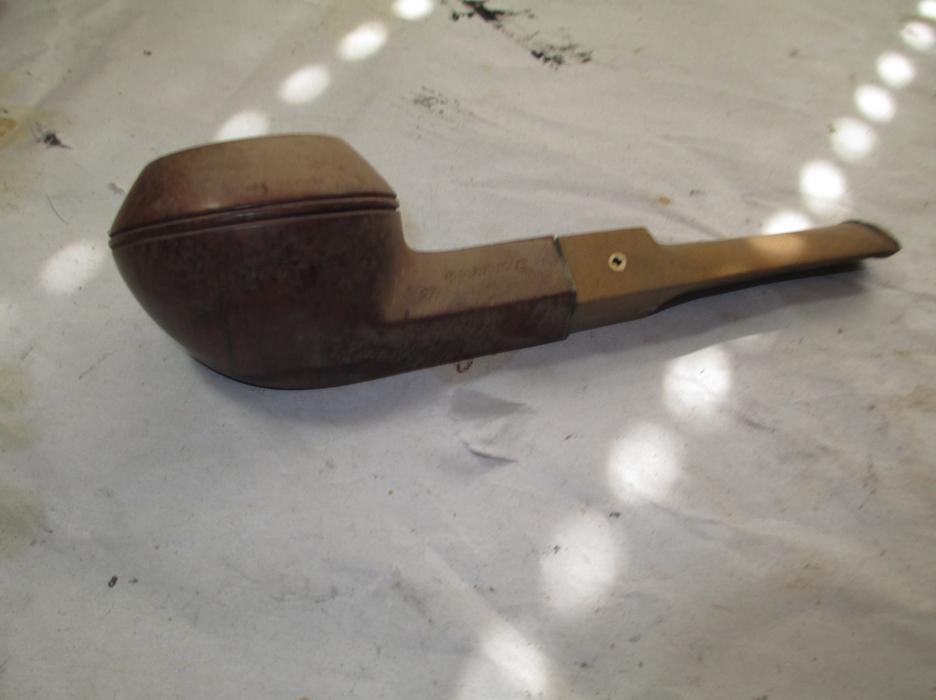
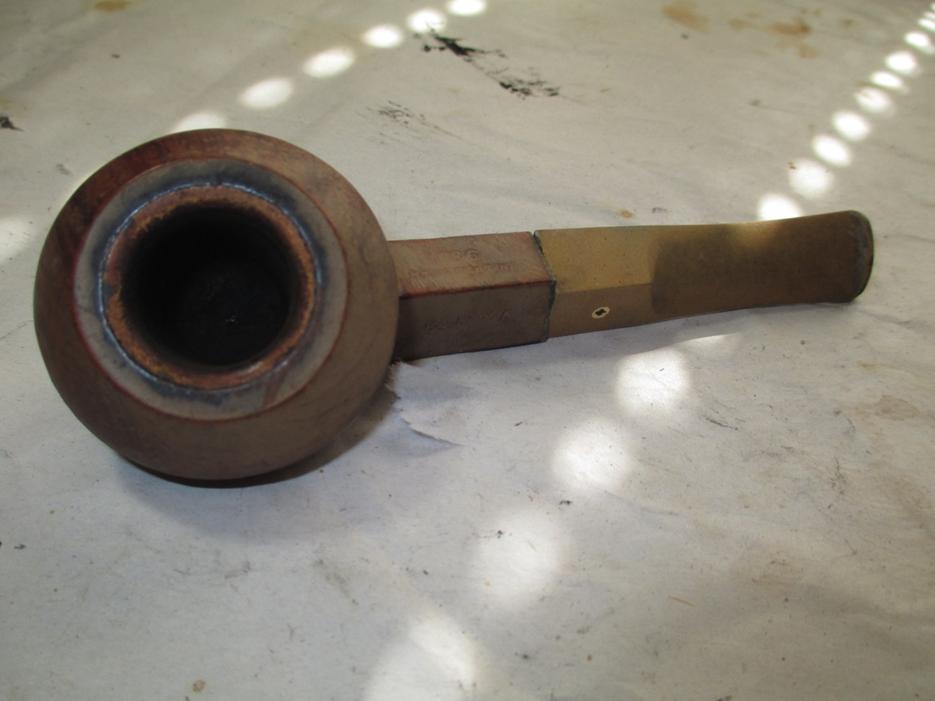
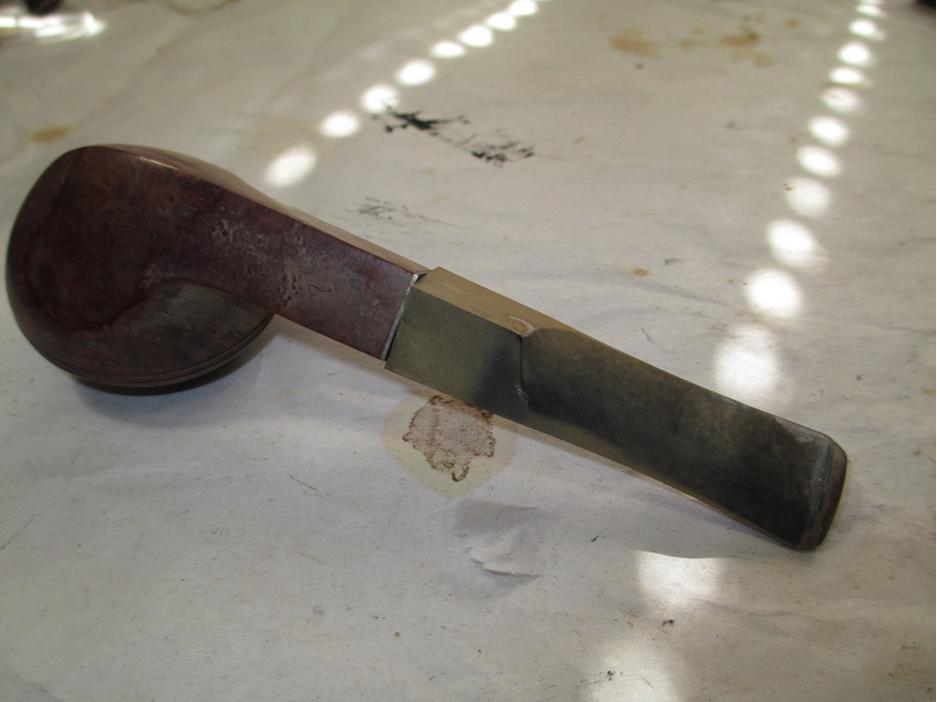
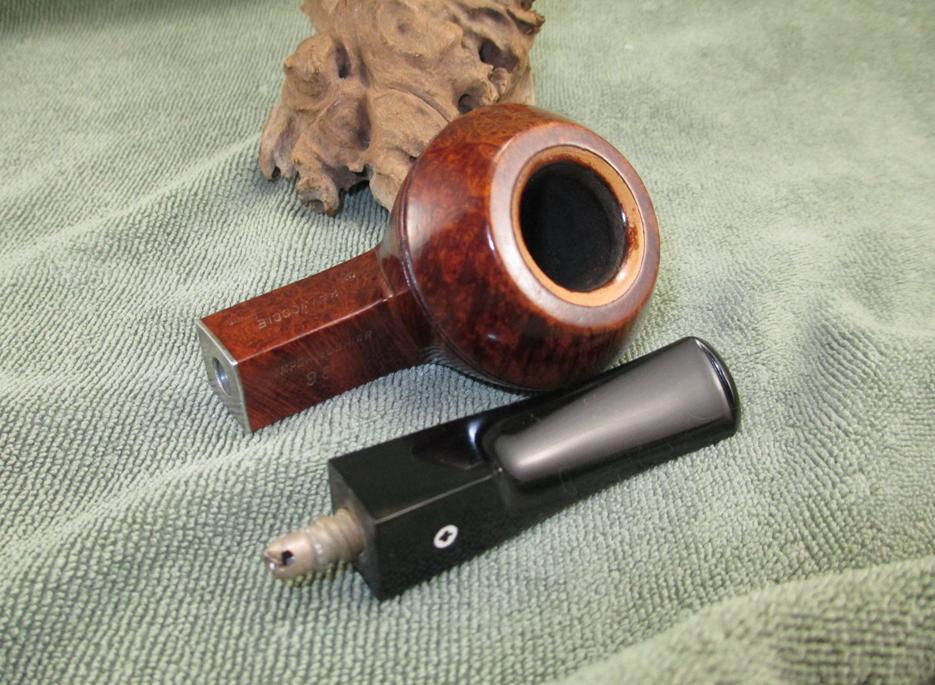
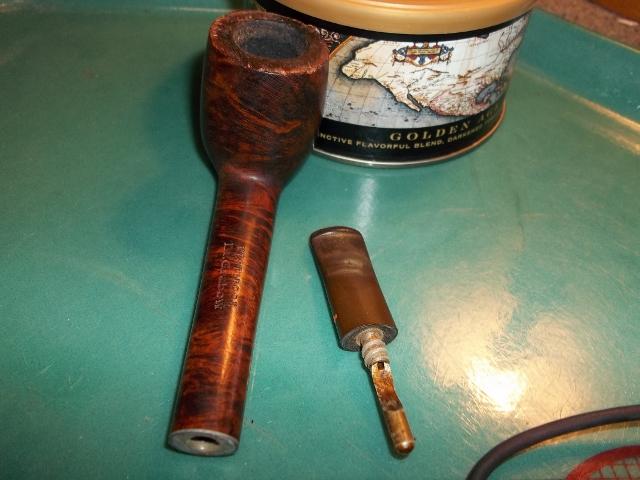
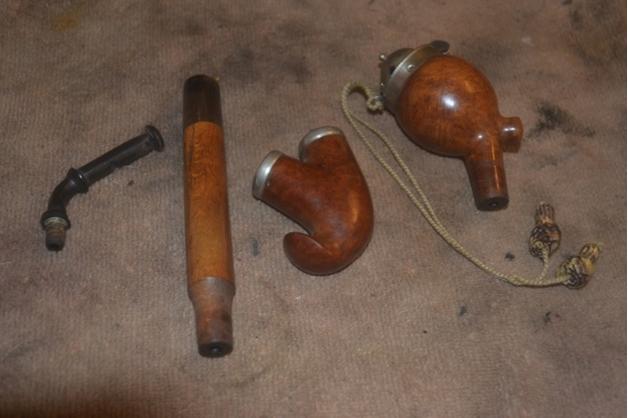
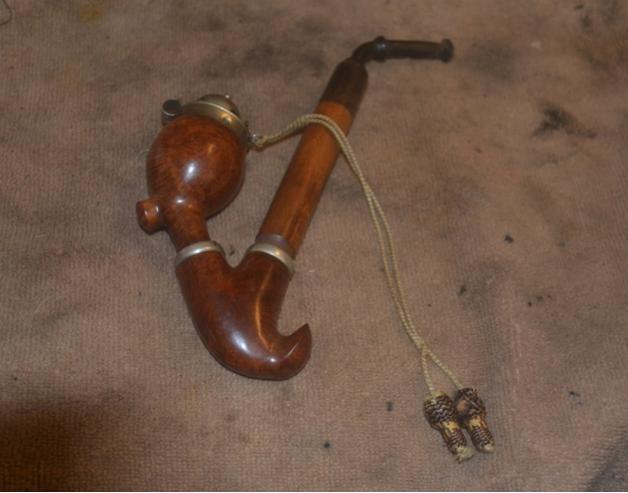
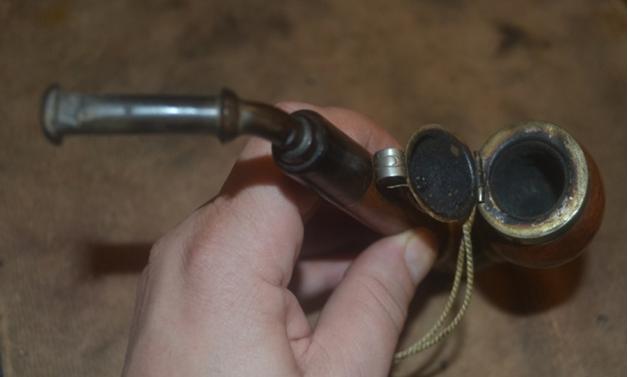
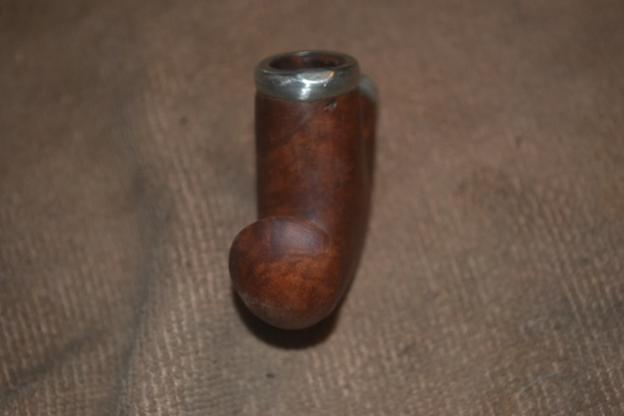
Alas, as shall be seen, my Bavarian Three-Piece Folk Wine Pipe – not counting the screw-in bit – pales in comparison, although it did present problems I had not before encountered. Starting with the bit, the eBay photos revealed one gash that appeared to be so deep that it must have pierced the air hole. As Lady Luck provided, however, such was not the case. On the other hand, there turned out to be three bad divots in the bit, not counting the severe wounds just below the lip, top and bottom, from grinding teeth. Then there were the countless scratches on every piece; the well-caked chamber; scorching of what I believe is the ornate but aluminum wind cap; a serious cleft in the alternative wood shank, the variety of which I have not yet determined, and a hole in the bottom piece, where the wine is placed, too deep for any fix other than wood putty.
All of these complications, I knew, would be nothing compared to the task of cleaning and sanitizing a pipe with a form that defied retorting. Noting this anticipated cleaning conundrum with a quip, “That’s entirely rhetorical,” in fact, was the reason for Steve’s second reply to my email where he mentioned the time he spent on his folk pipe.
By the way, I owe a final nod to Steve, as well as the owner of my local tobacconist who confirmed his assessment, for identifying my Bavarian folk pipe (which turns out to be a no-name Italian version) as being designed to add wine.
RESTORATION 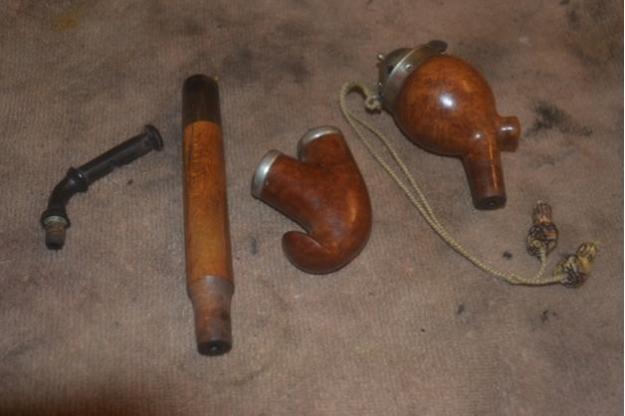 This, as it happens, is how I decided to approach the restoration: piece by piece.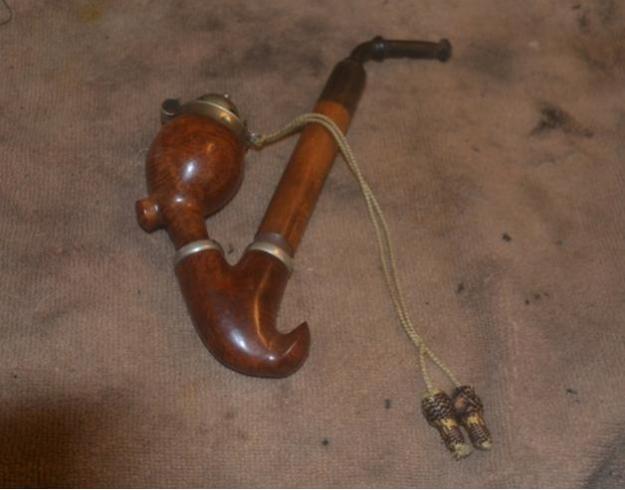
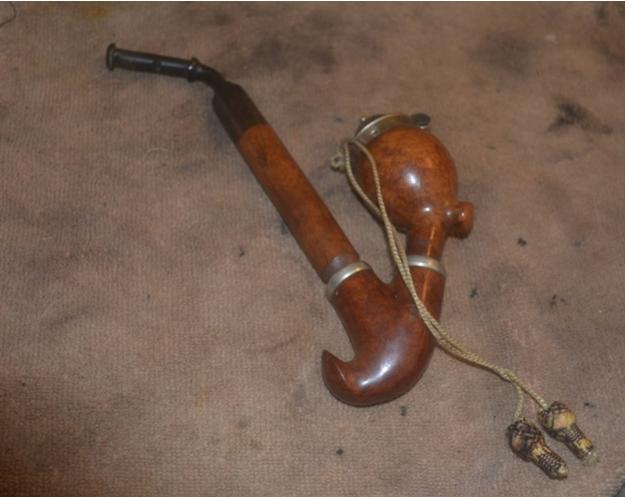
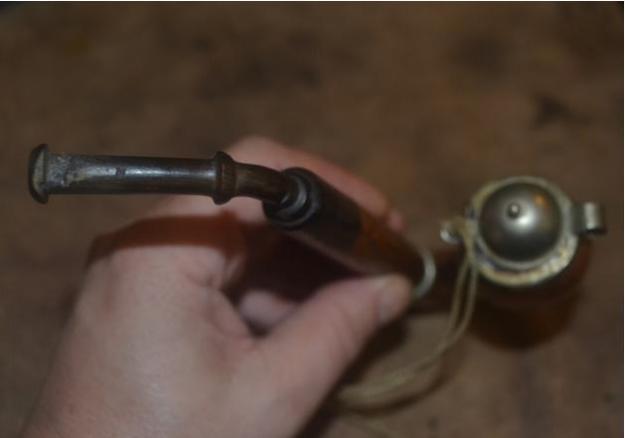
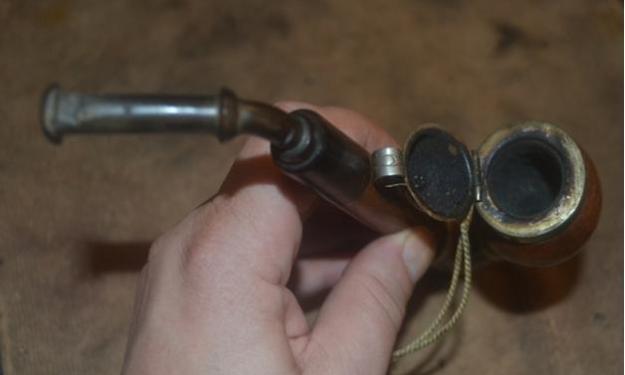
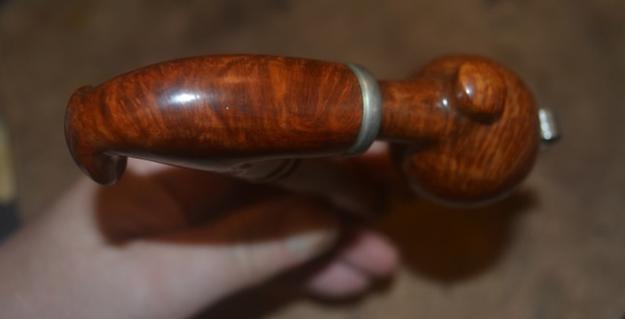
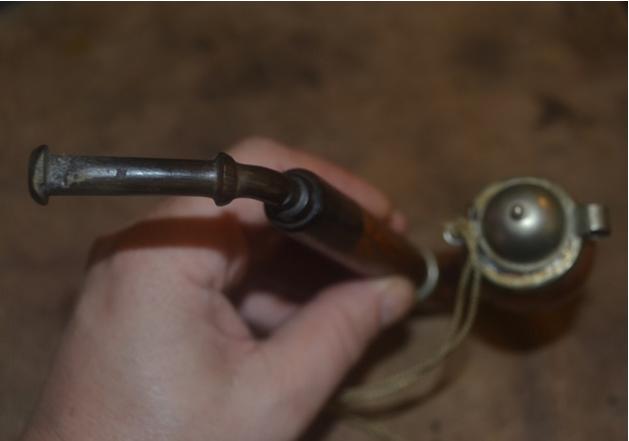
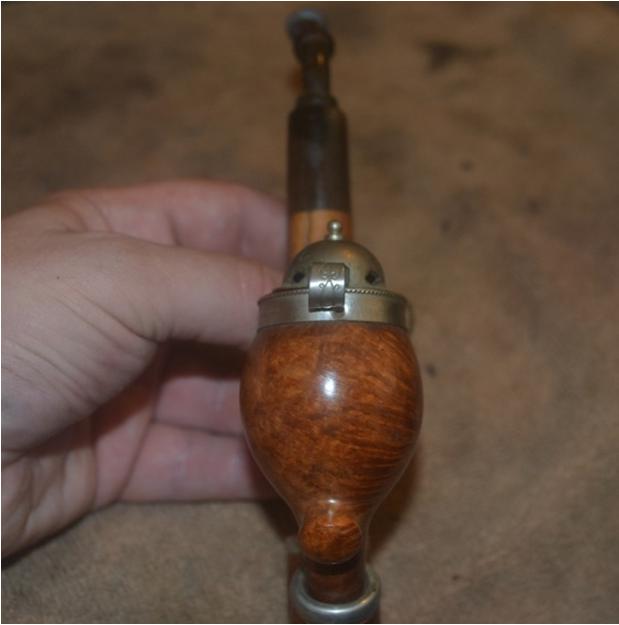 Without thinking – you might say a bit compulsively on my own part – I already cleaned and polished the wind cap before snapping the last shot above.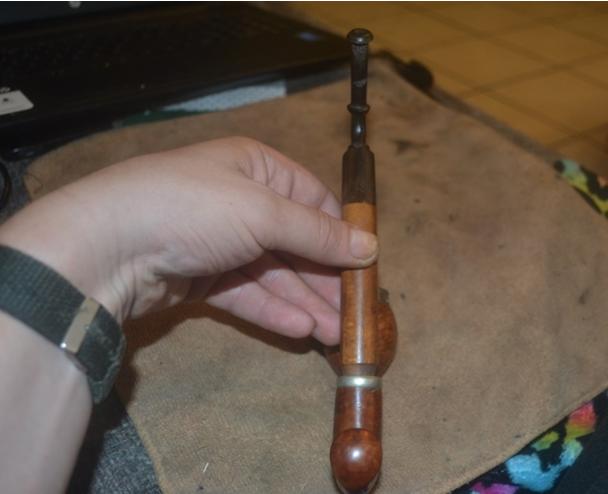
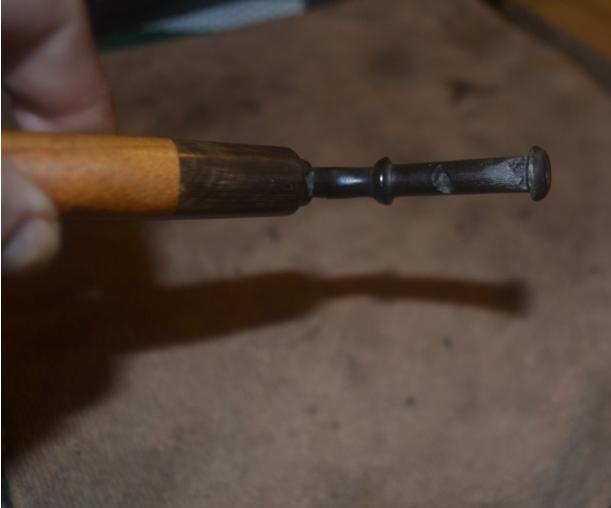
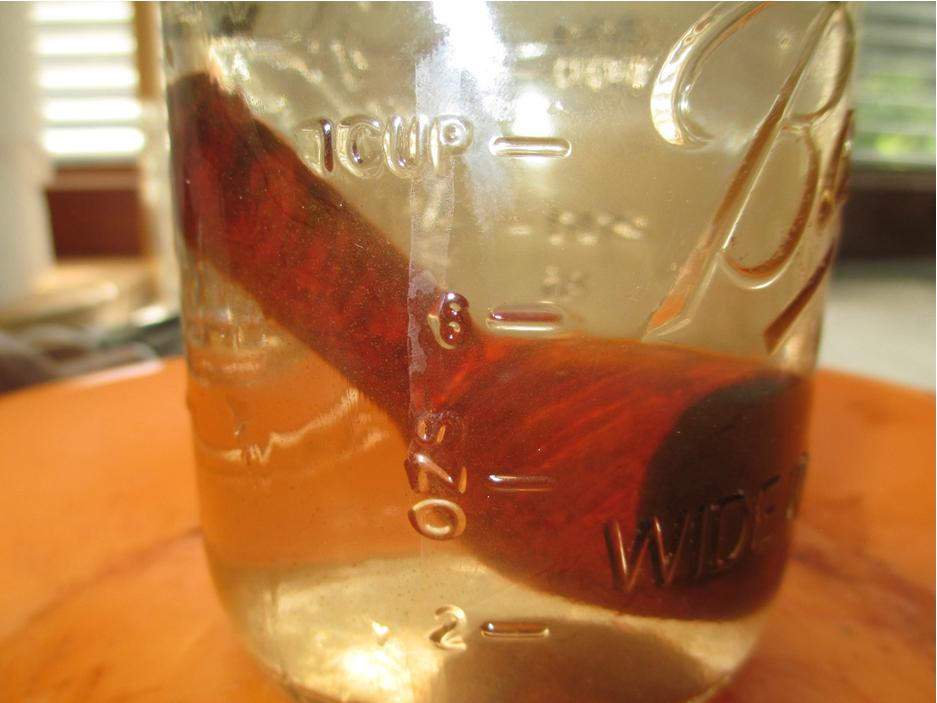
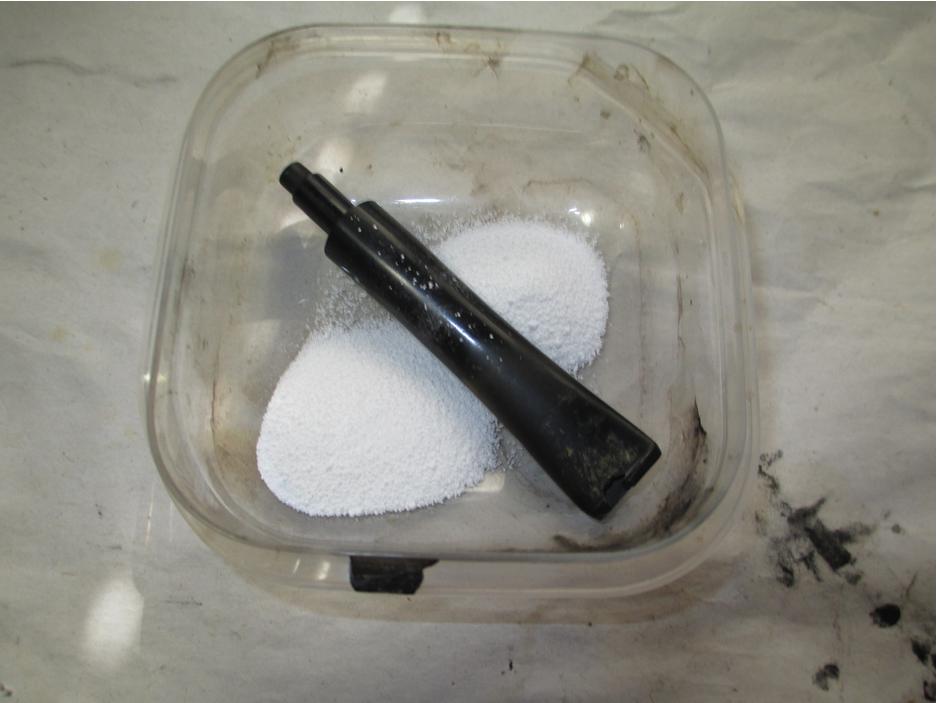
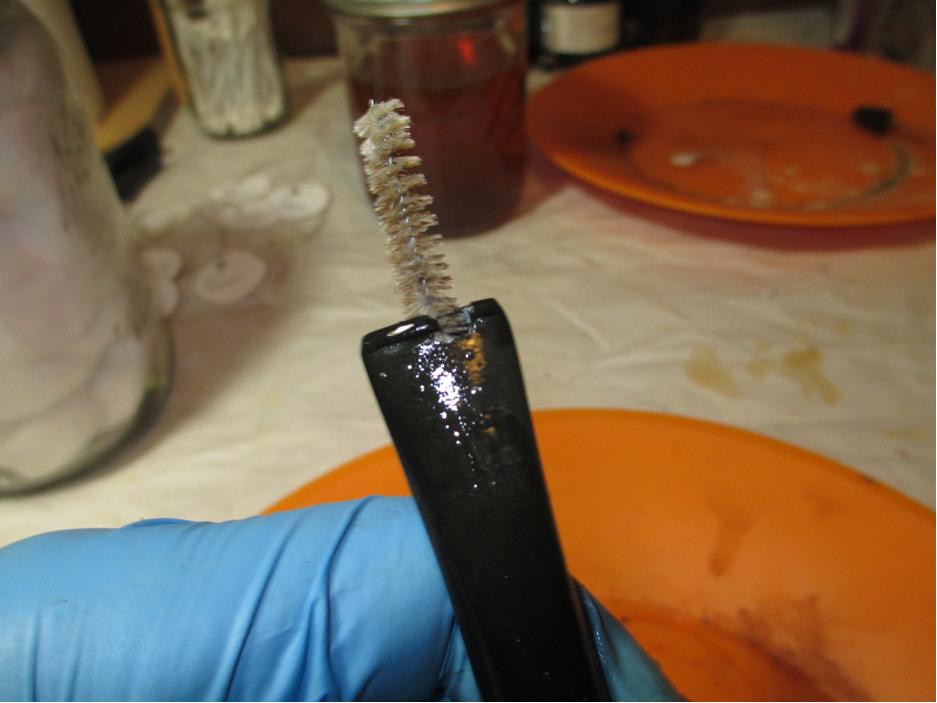
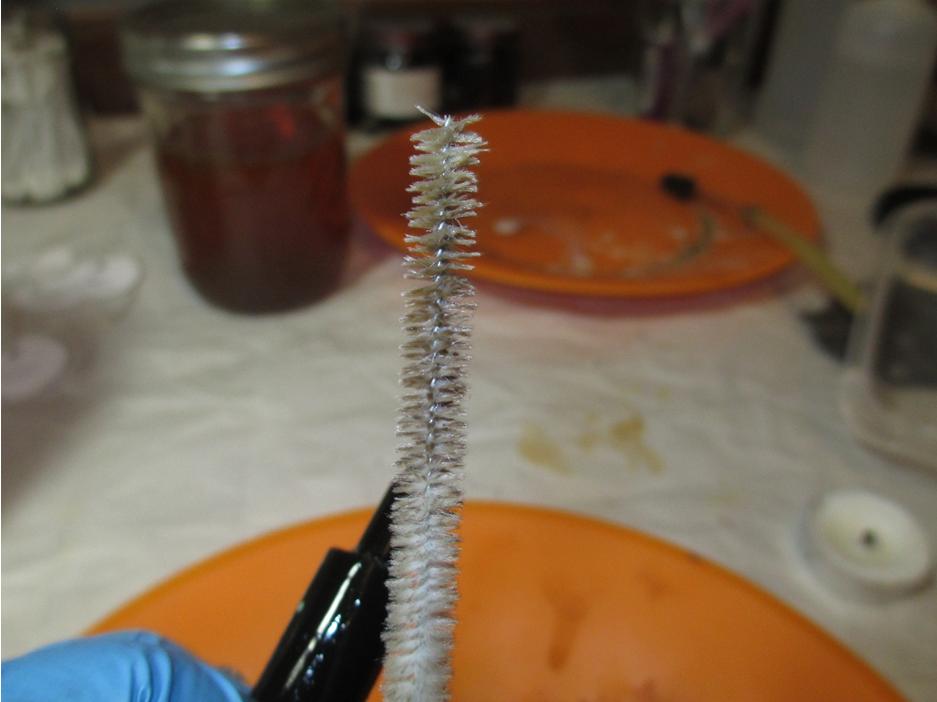
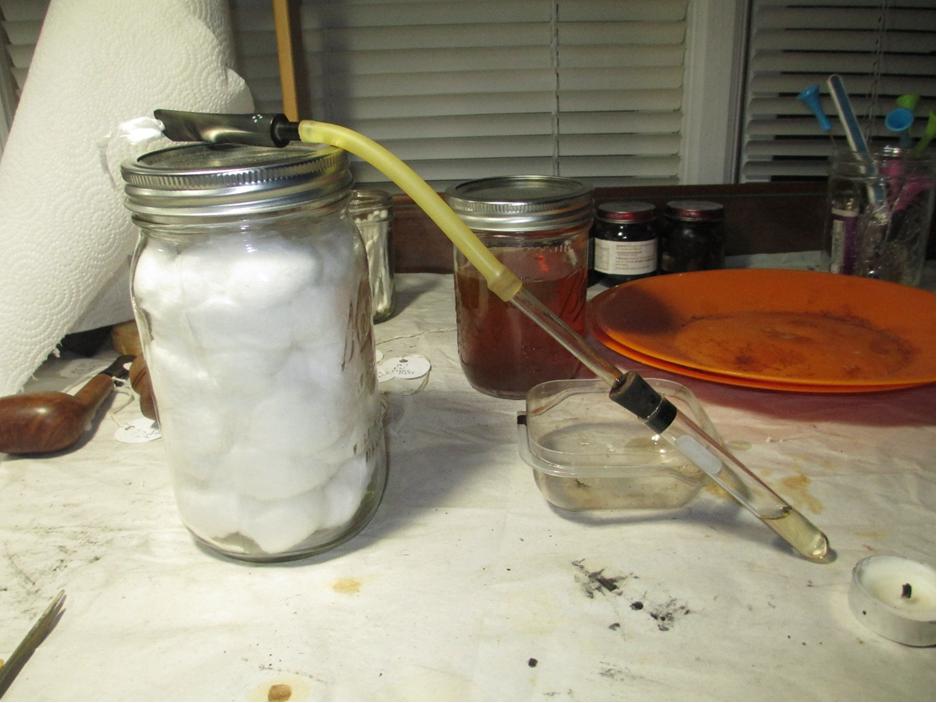
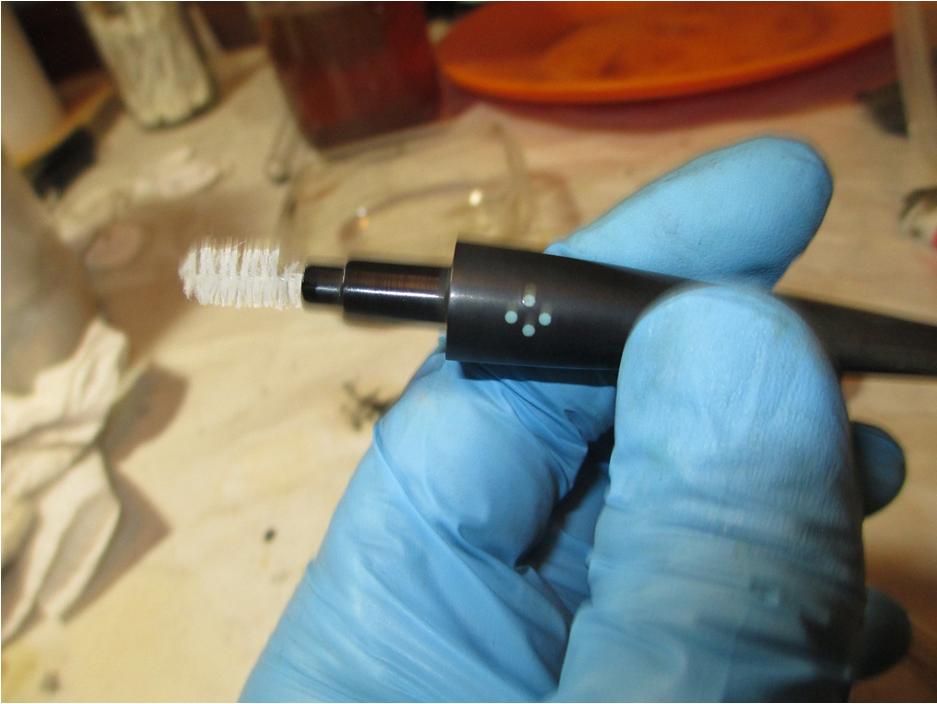
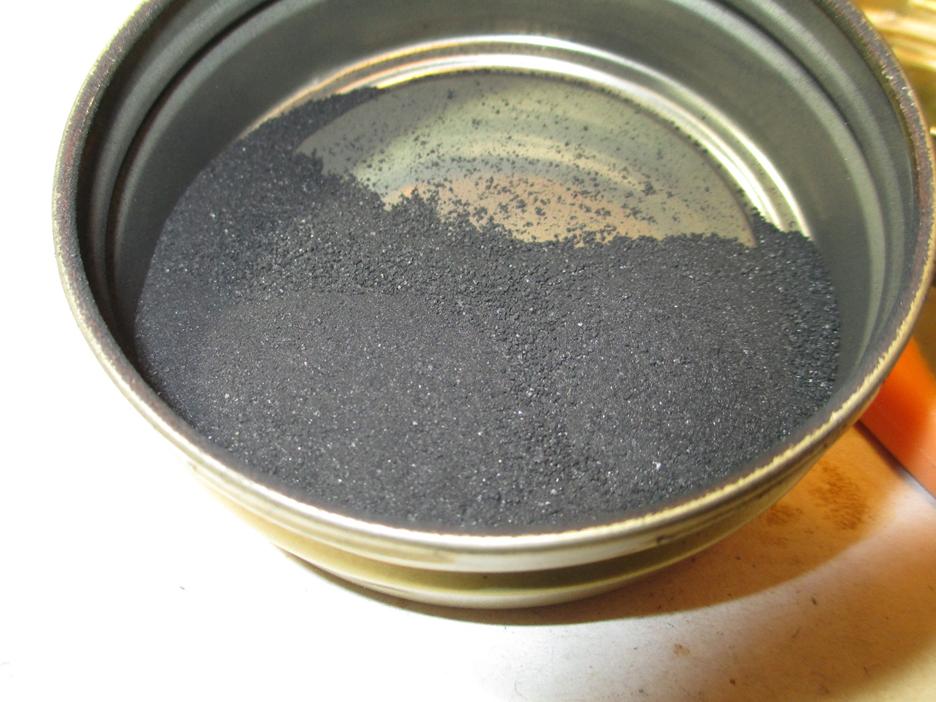
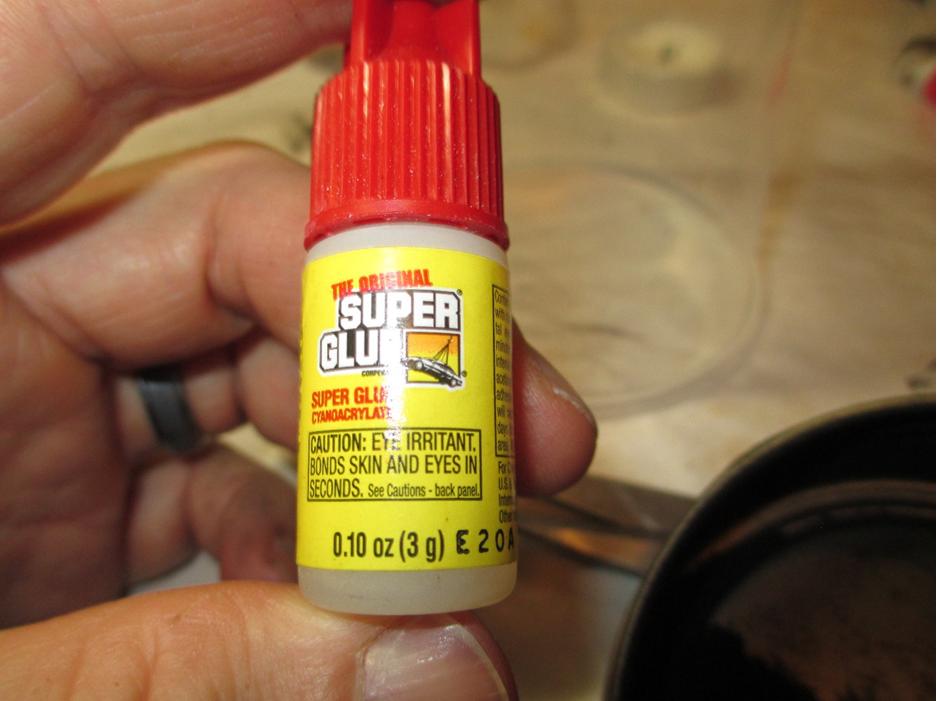
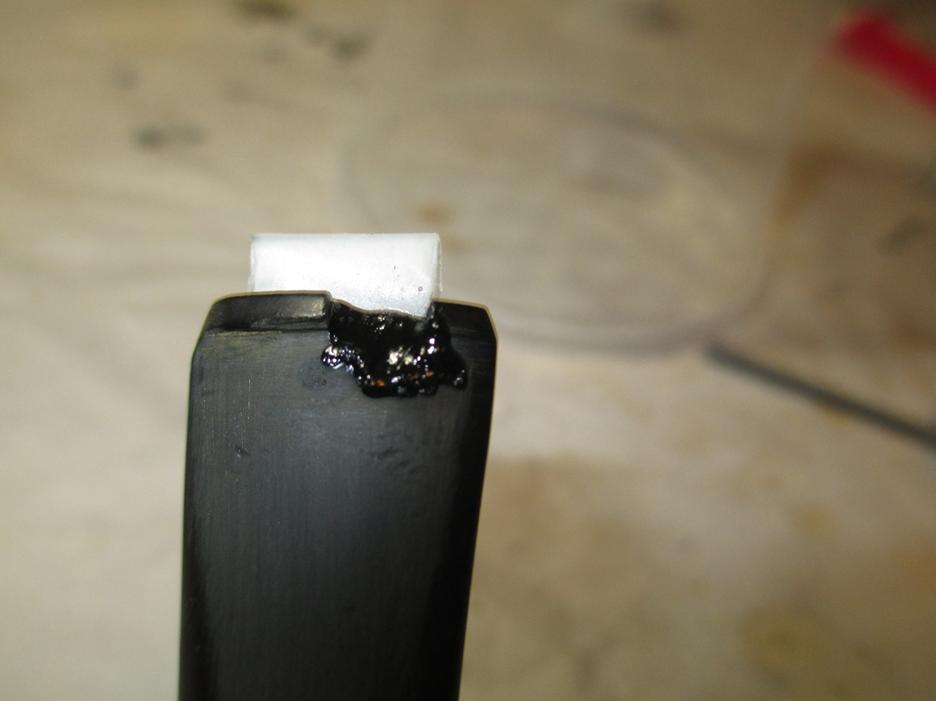
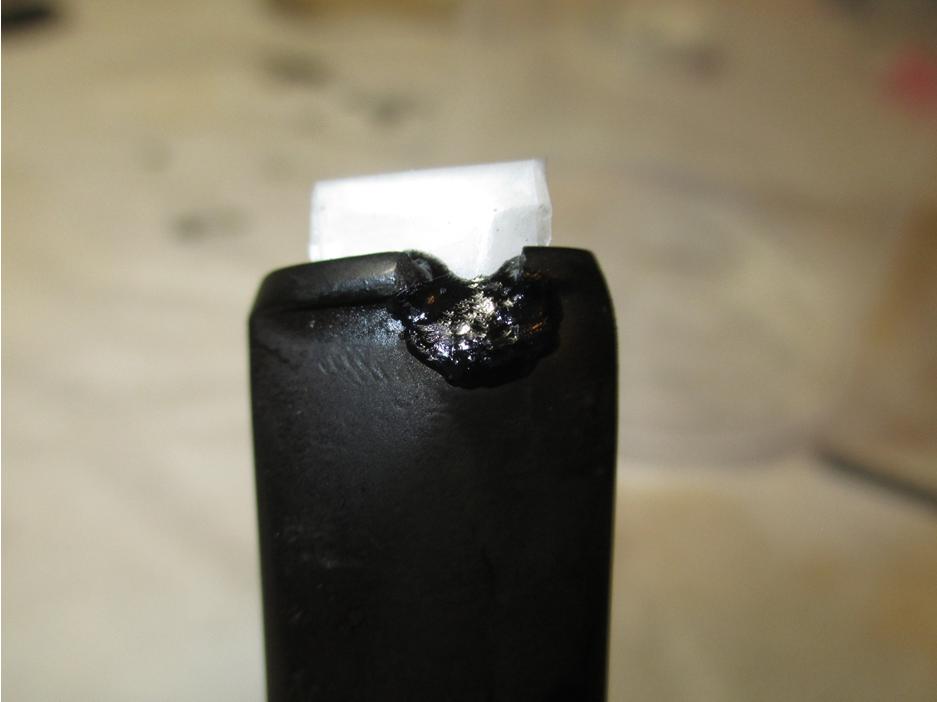
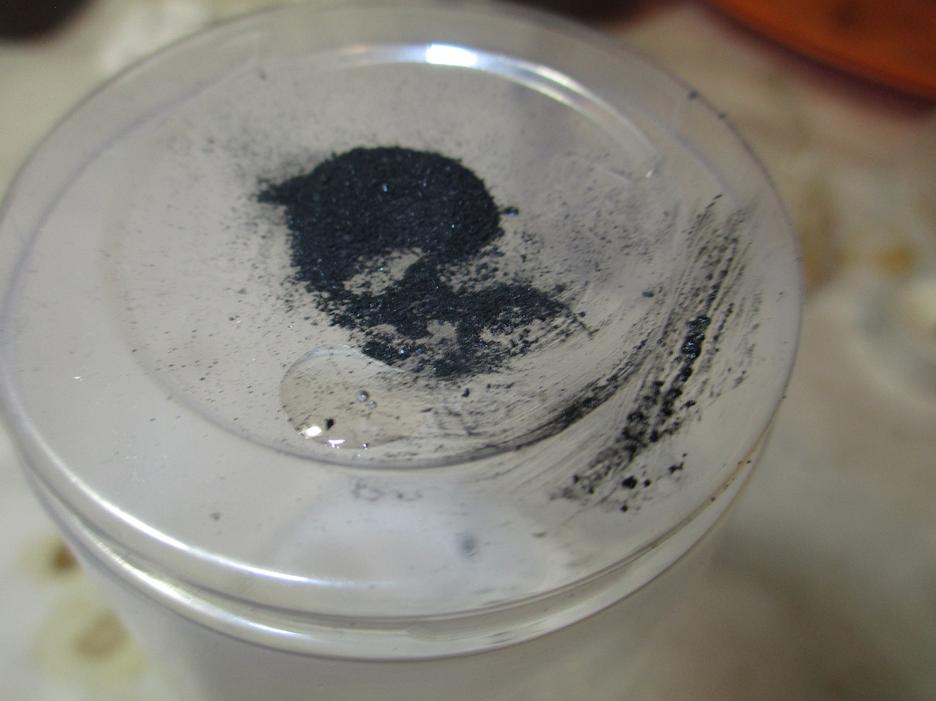
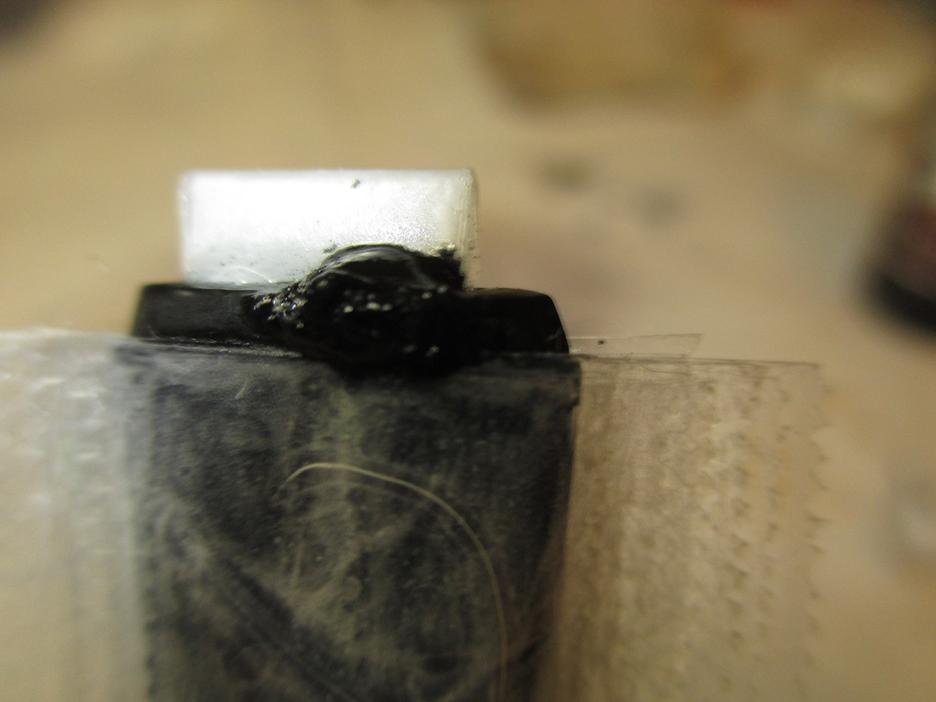
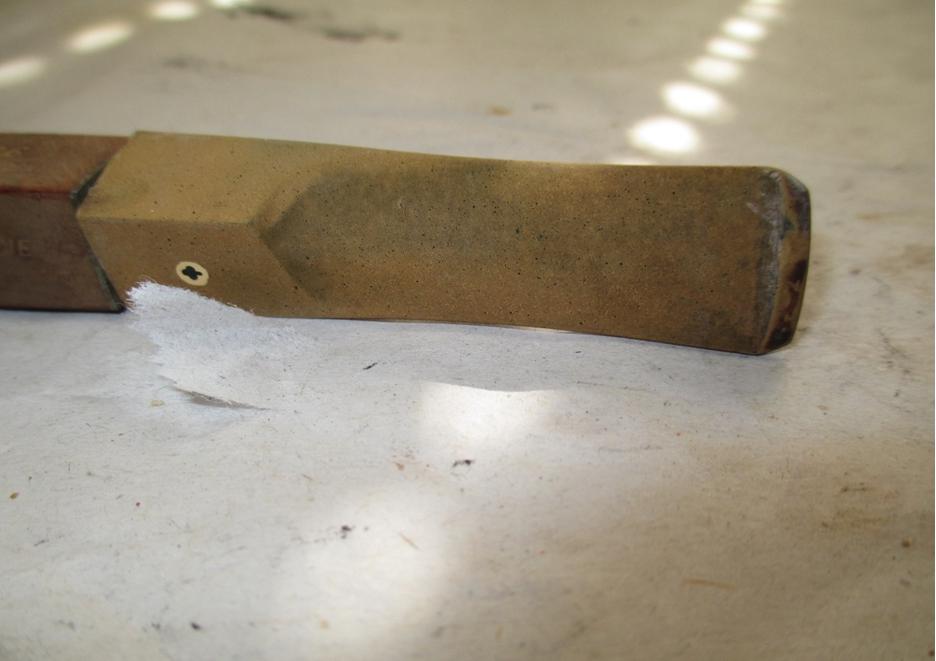
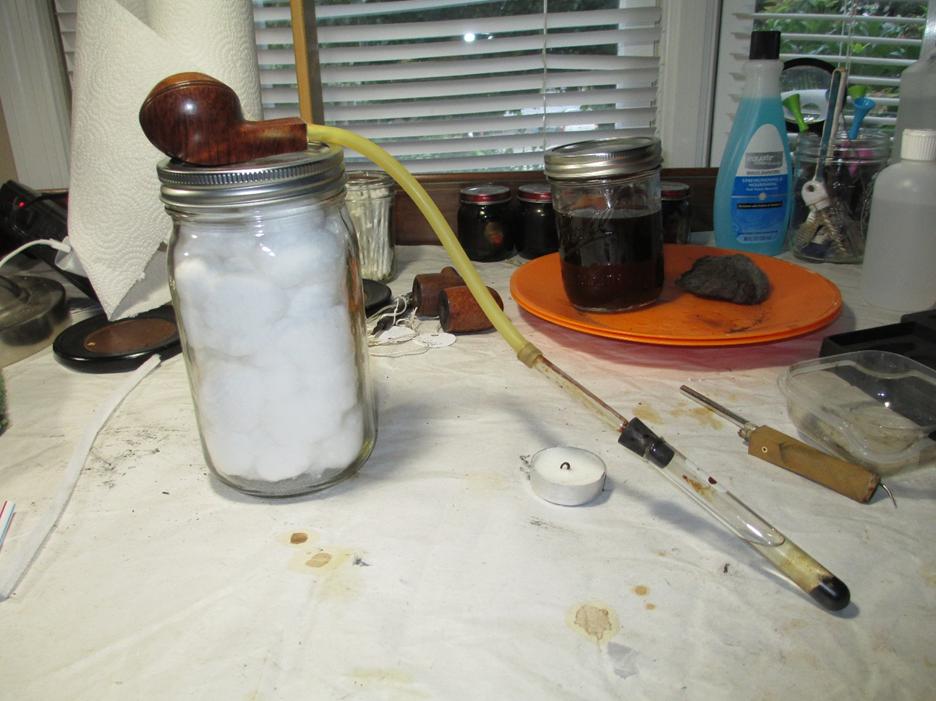
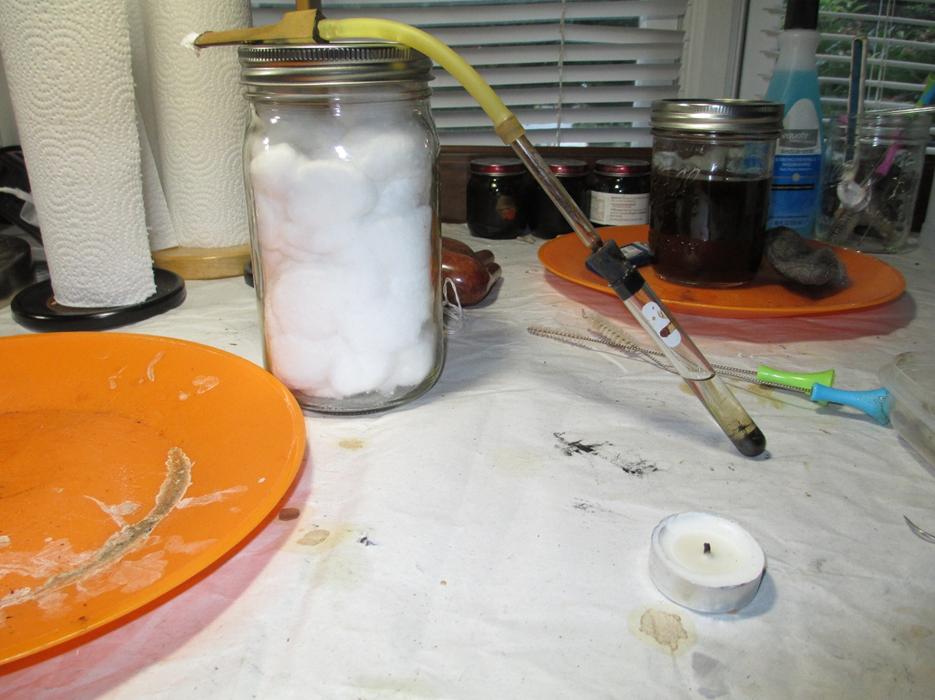
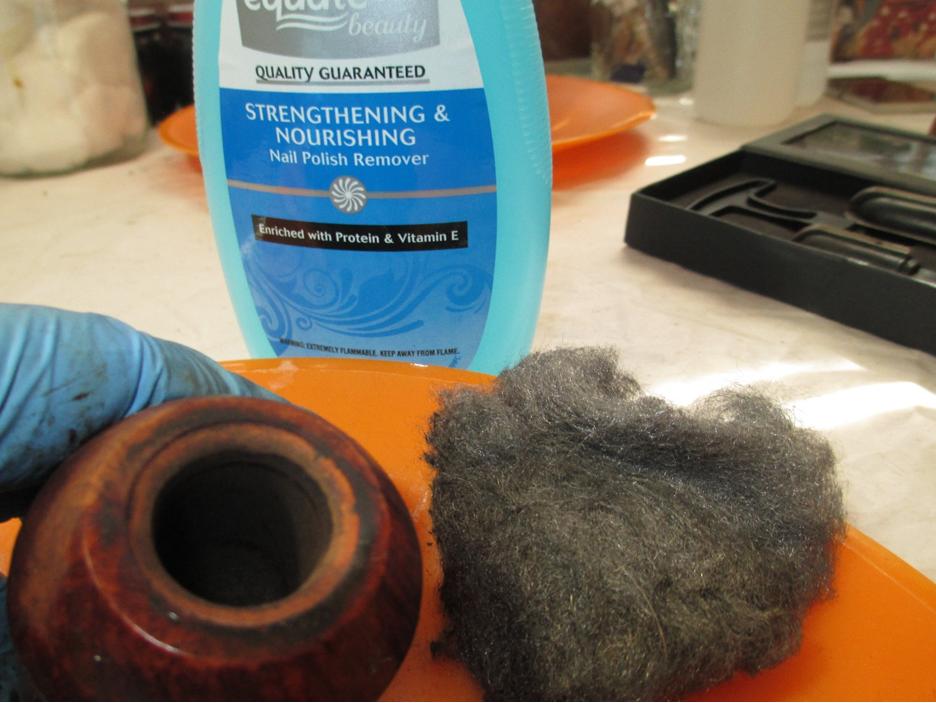
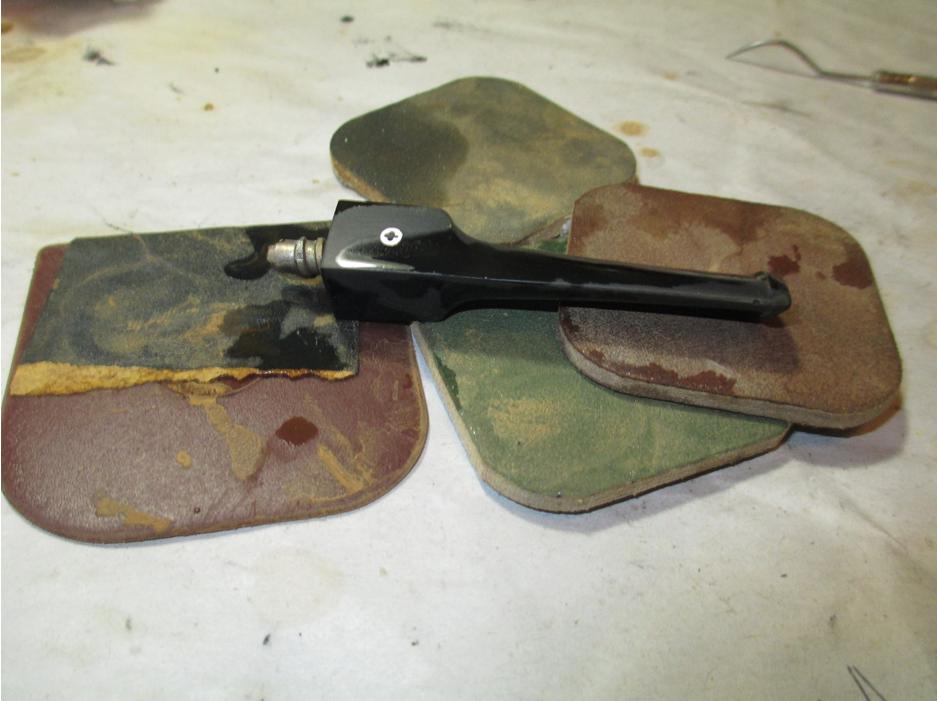
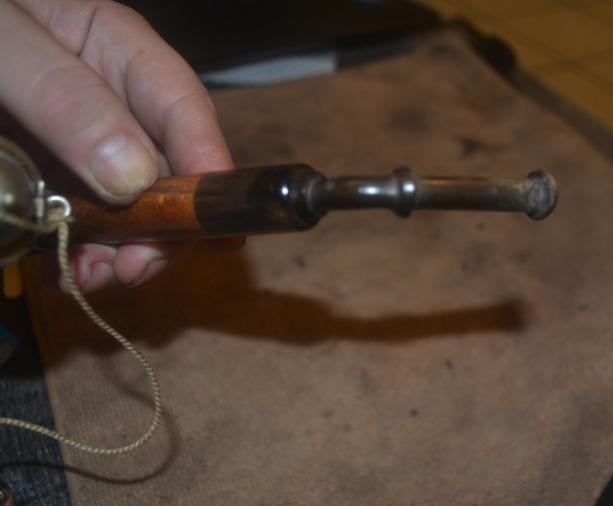 Other than the almost unconscious cleaning and shining of the wind cap, inside and out, with Everclear-soaked cotton cloths, super fine steel wool and mostly 500-grit paper except for a few tough spots requiring 320, I saw no reason not to dive in with the bit. After all, filling the crevasses – and I can only imagine the drunken stumbling about that caused them – would take several days of layering with black Super Glue and drying time in between. The remainder of the restore was finished in a day and a half of intense work. I gave the bit a good soak in an OxiClean solution to start and cleaned out the mess inside with about six bristly cleaners dipped in Everclear before they came out clean.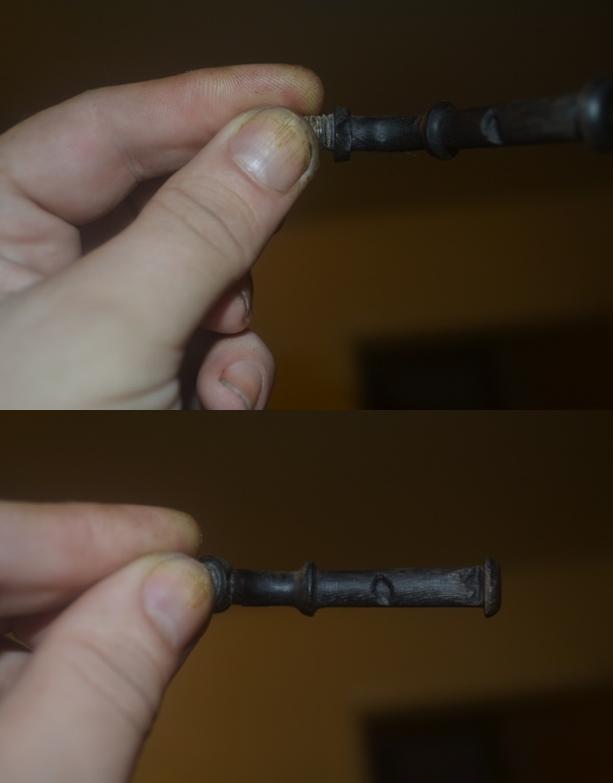
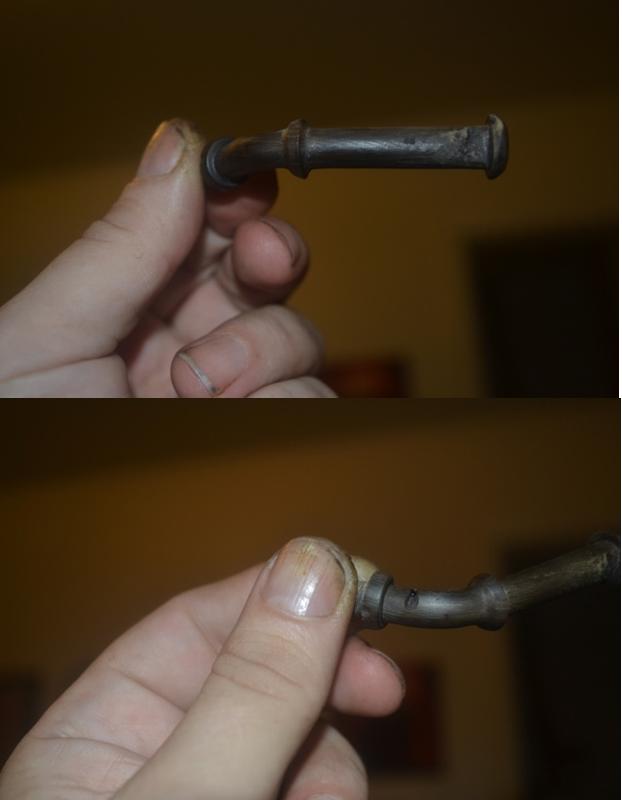
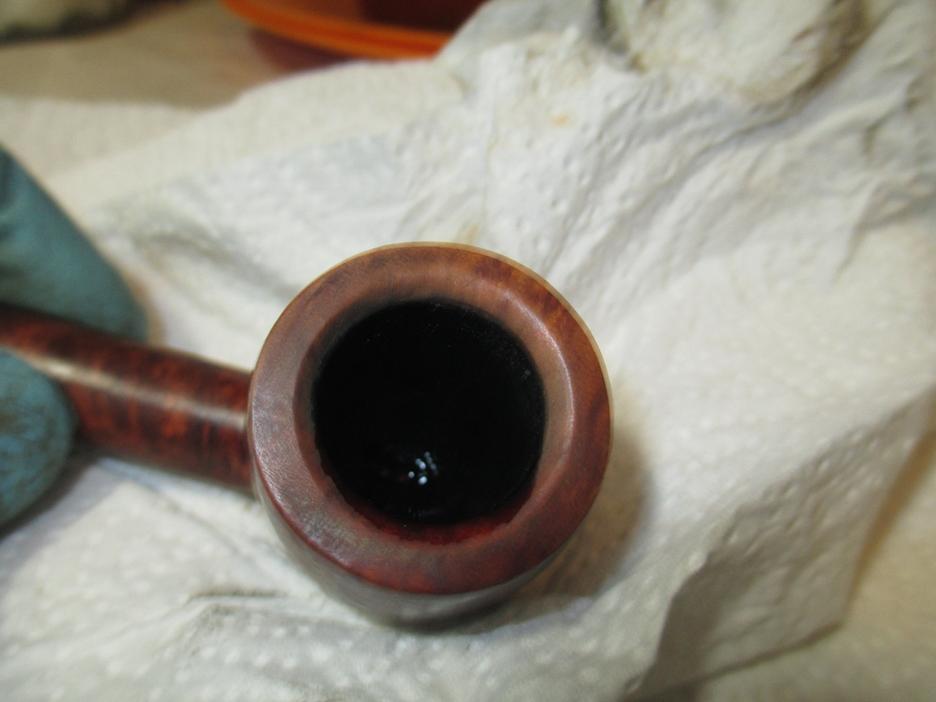
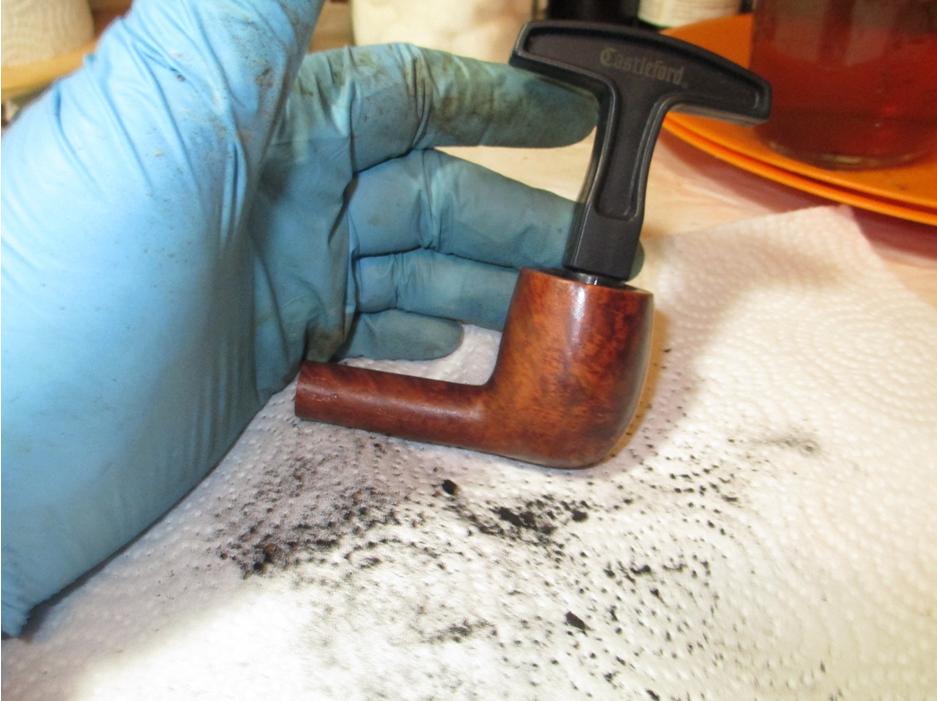
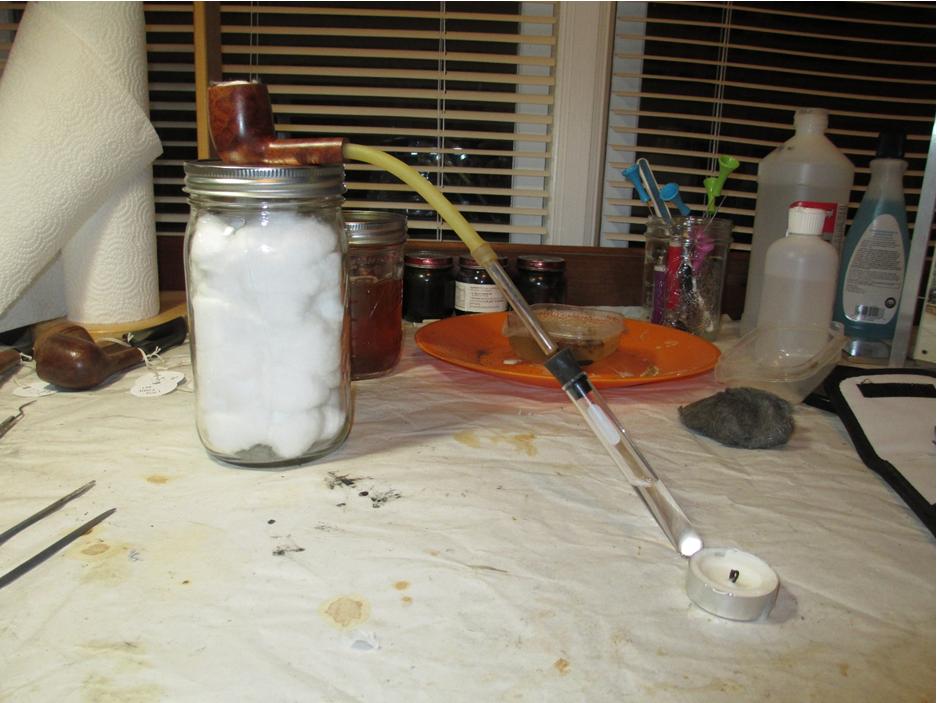
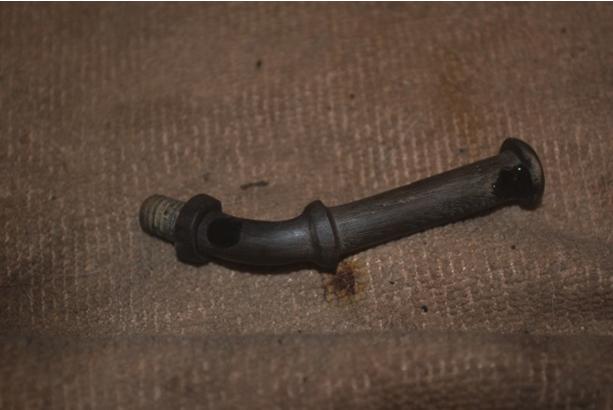 With that process begun and the pipe disassembled, I returned to the main tobacco chamber (remember, this three-parter has a second chamber at the bottom for wine) and used my Senior Reamer to take out most of the fairly even though excess cake. After that I swabbed it out with some alcohol-soaked cotton gun cleaner squares and finished the removal of char and smoothing with 200-, 320- and 500-grit paper.
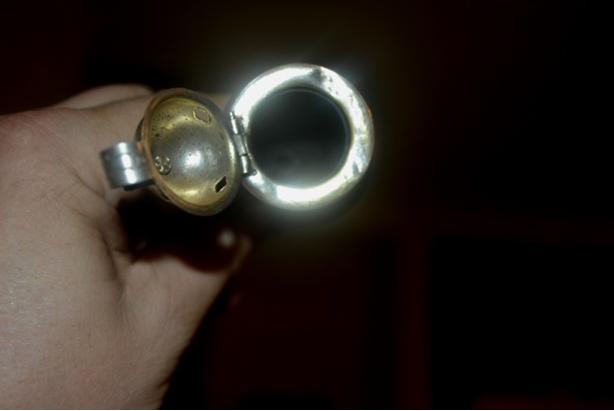 The yellowing of the cap’s inside area is the fault of my photography, not lack of attention. I know nothing of body work on cars, which is the kind of detail work the metal rim requires, and despite my restoration of this pipe for my own enjoyment, any tips on eliminating dings in metal, preferably without removing the entire rim piece, will be appreciated. Since the pipe is staying in my own collection, after all, I have a long time to work out that part.
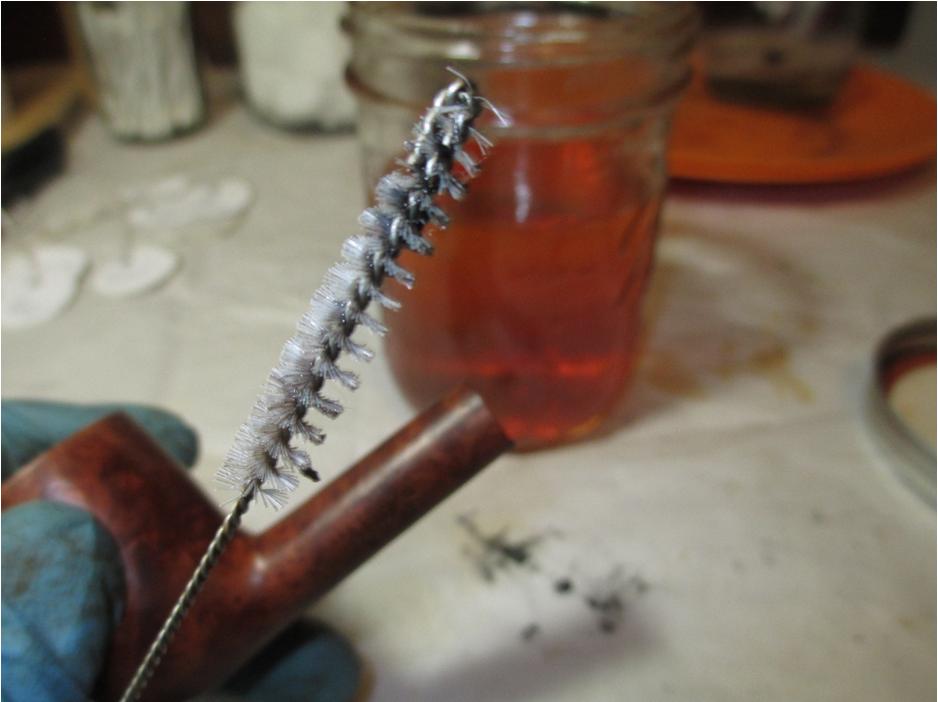
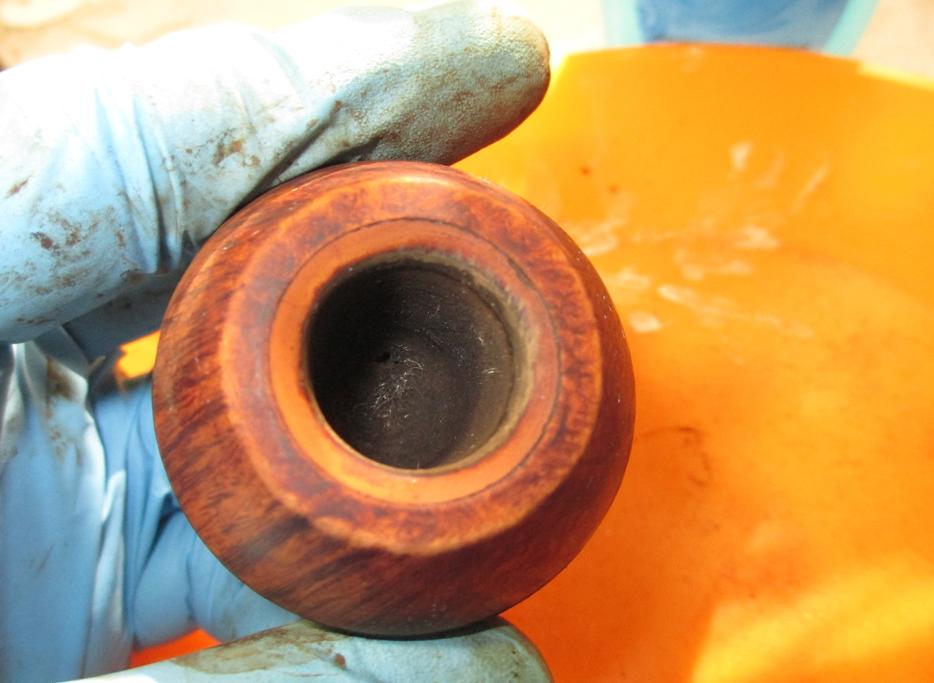
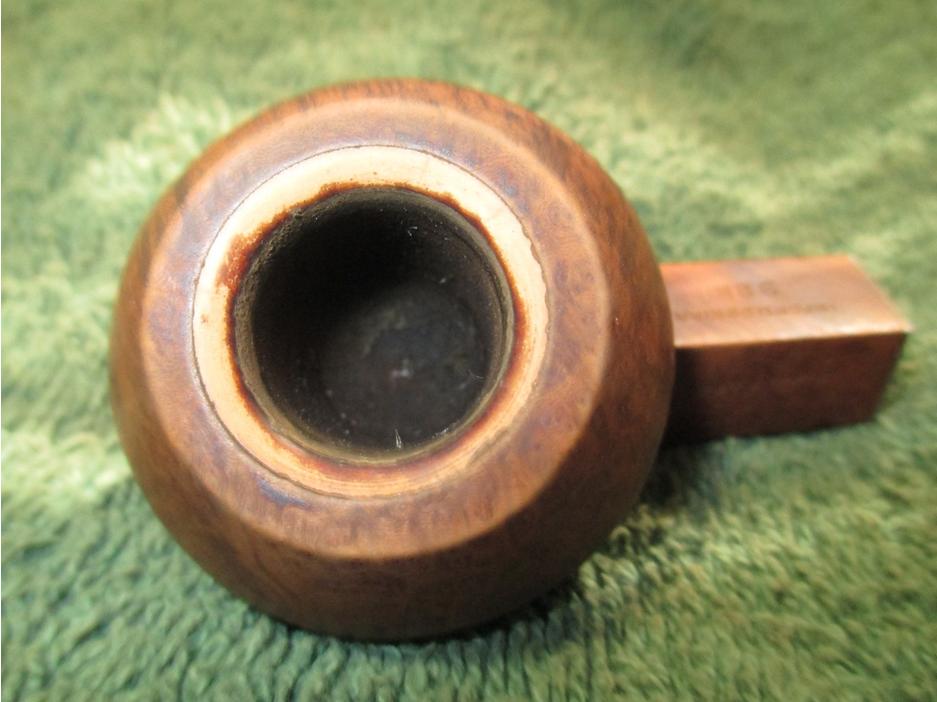
I turned my attention to the outer bowl, first scrubbing out the draught hole with bristly cleaners soaked in alcohol – quite a few, in fact. Then I used 320-grit paper to remove both the old finish and the scratches, starting with the rough, un-sanded opening of the draught hole showing before and after below.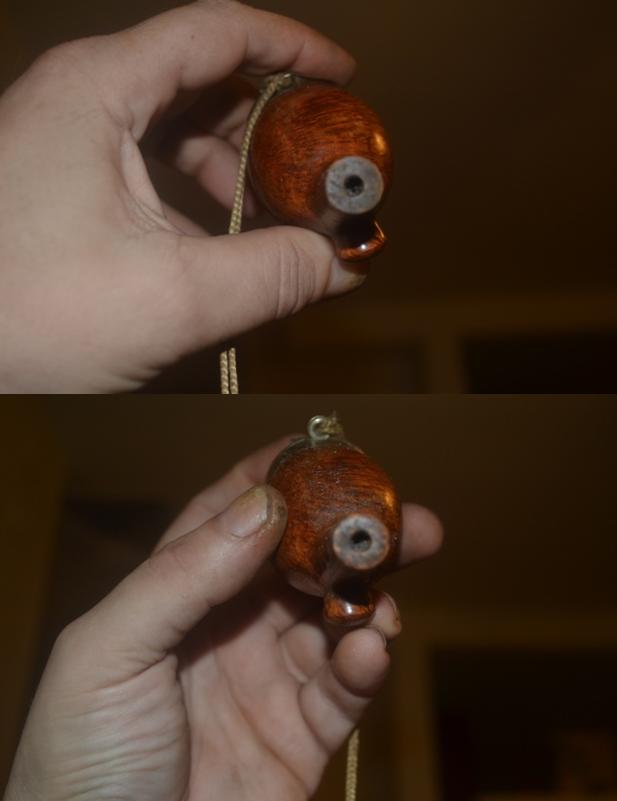
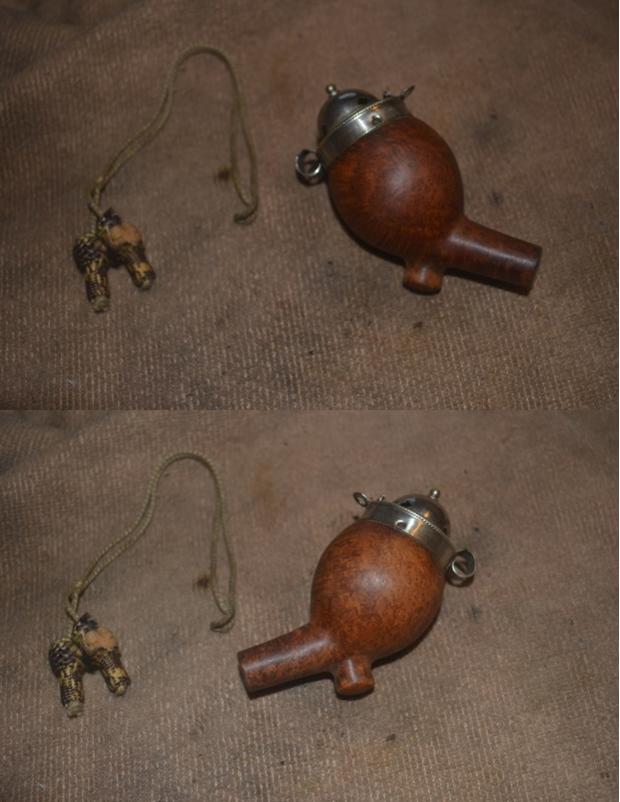
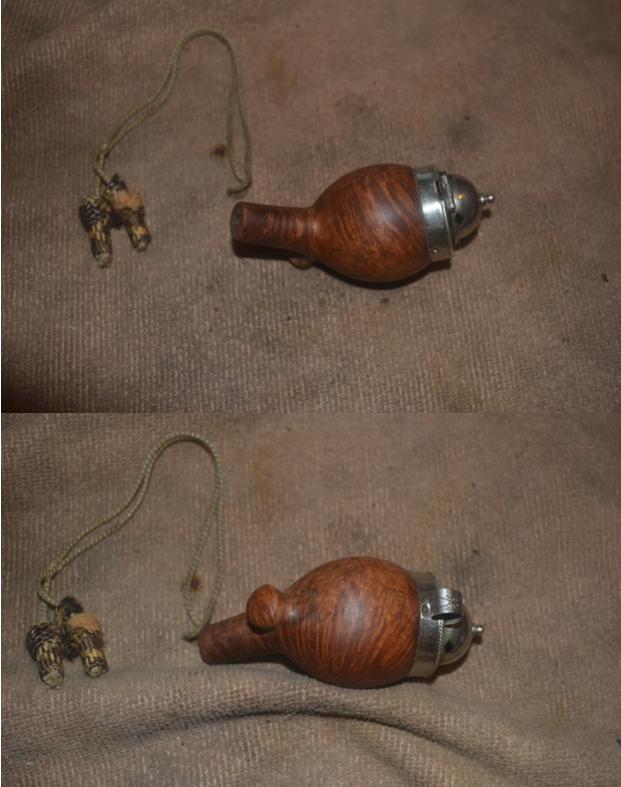 From 1500-4000 micromesh, I prepped the bowl for buffing. I liked the natural, lighter shade of the briar and chose not to re-stain it, proceeding straight to the buffer wheels. I used white Tripoli, White Diamond and carnauba.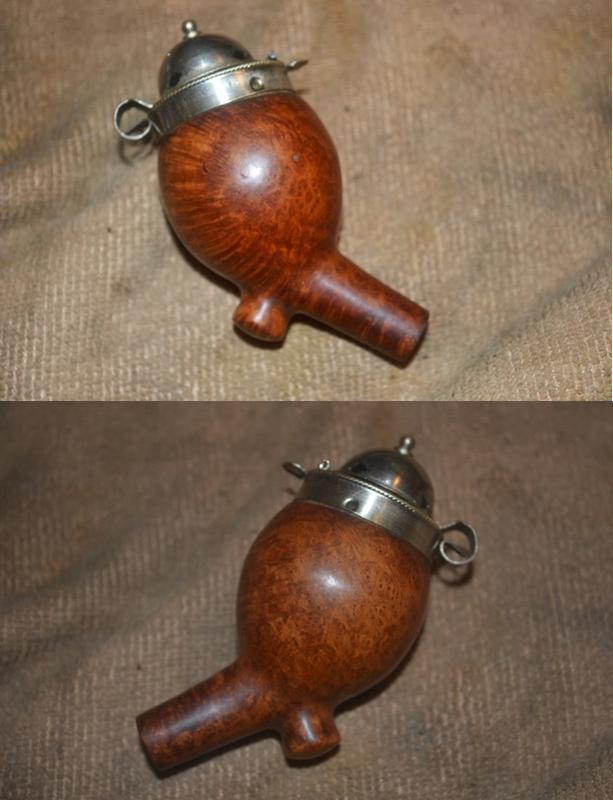
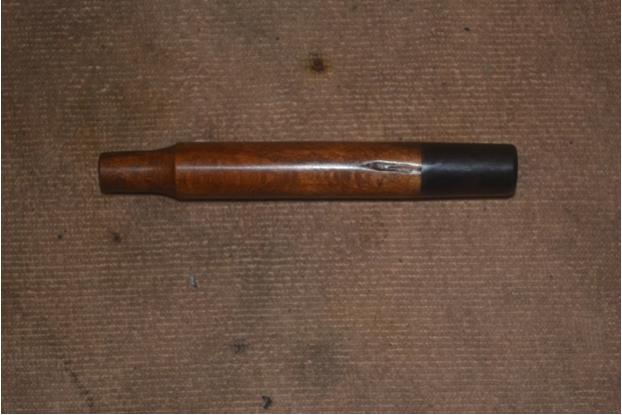
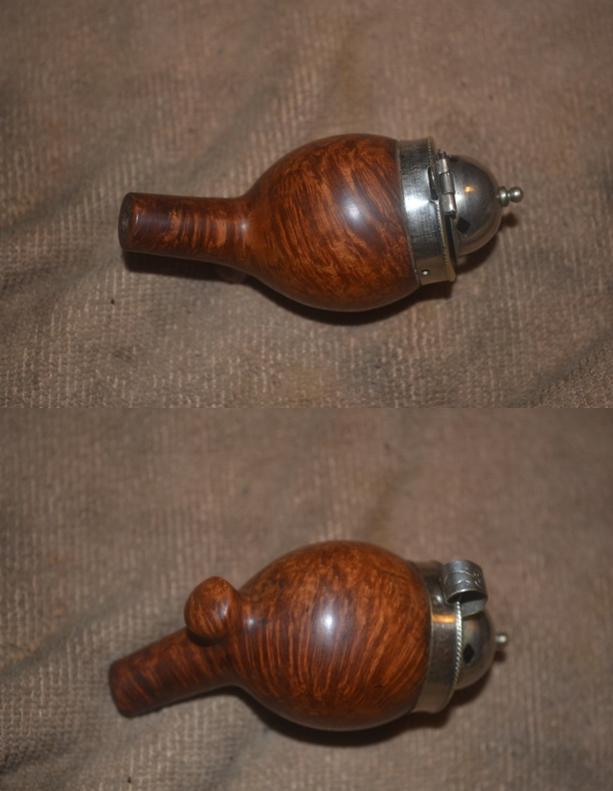 The shank was what I expected would take most of the work, and I was right. I sanded the wood with 200 and 320 paper, deciding the cleft in the unknown wood gave it a certain character. Besides, it wasn’t going anywhere without the kind of serious reshaping Steve is into.
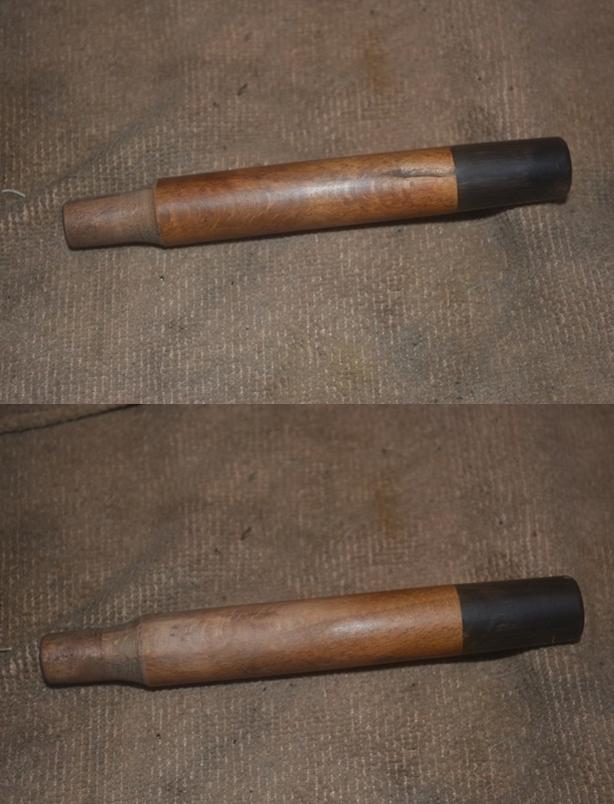 I sanded it again with 500-grit paper and micro-meshed all the way.
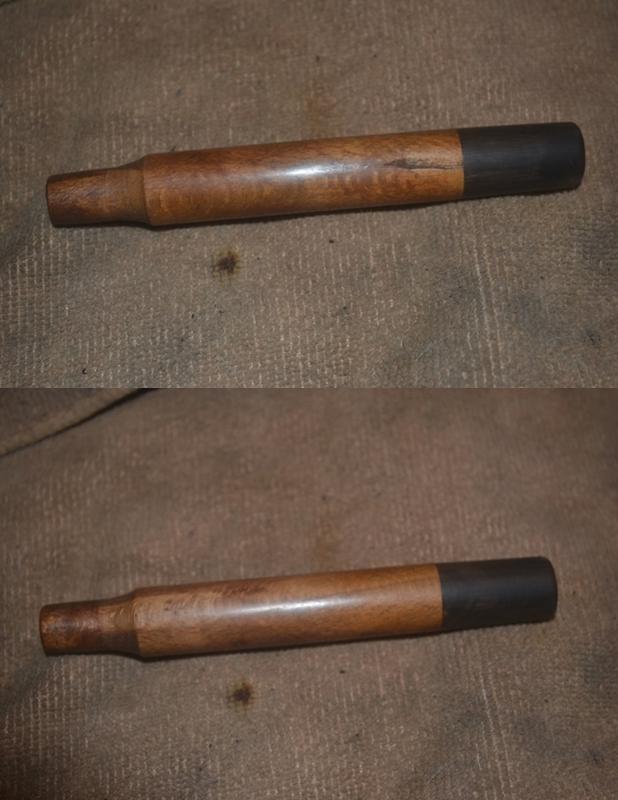 The ferrule was dull and scratched.
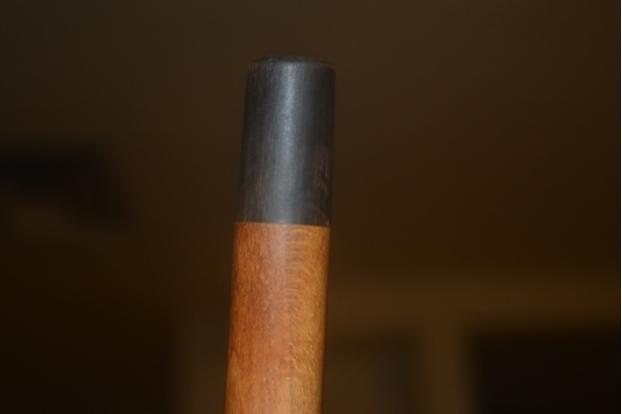 I used micromesh on it and then Lincoln black boot stain, which I flamed, let cool and wiped clean with 4000 micromesh.
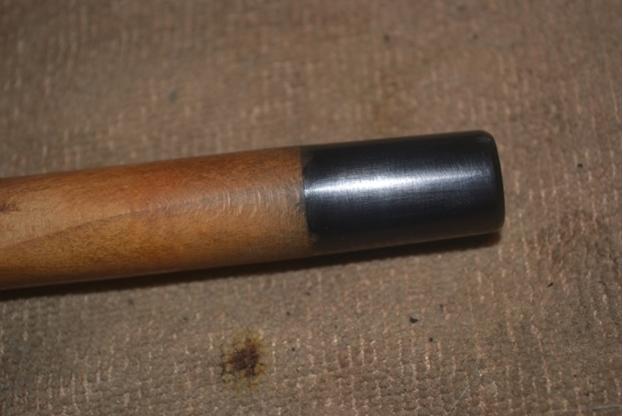 Finally, I used Lincoln brown stain on the shank’s wood and used 4000 micromesh to take off the ash.
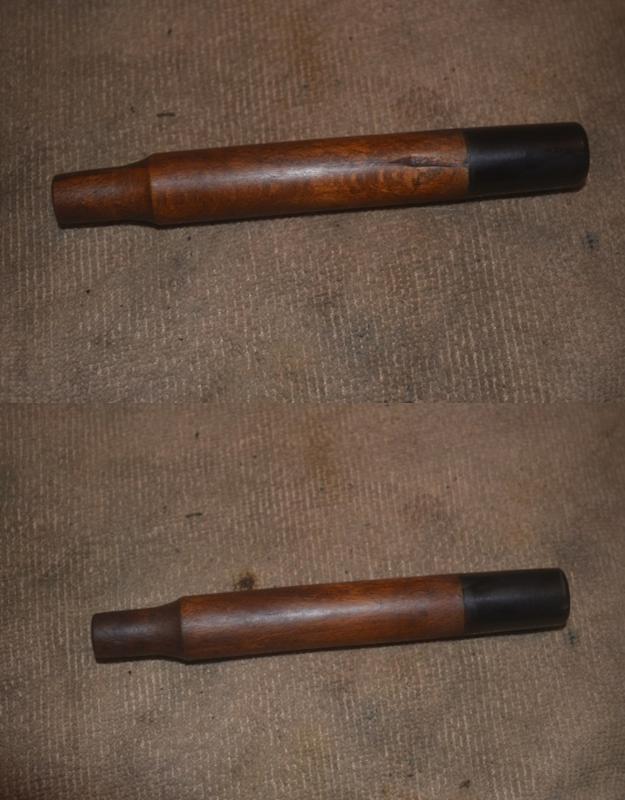 I buffed it with white Tripoli, White Diamond and carnauba, and used red and white Tripoli on the ferrule.
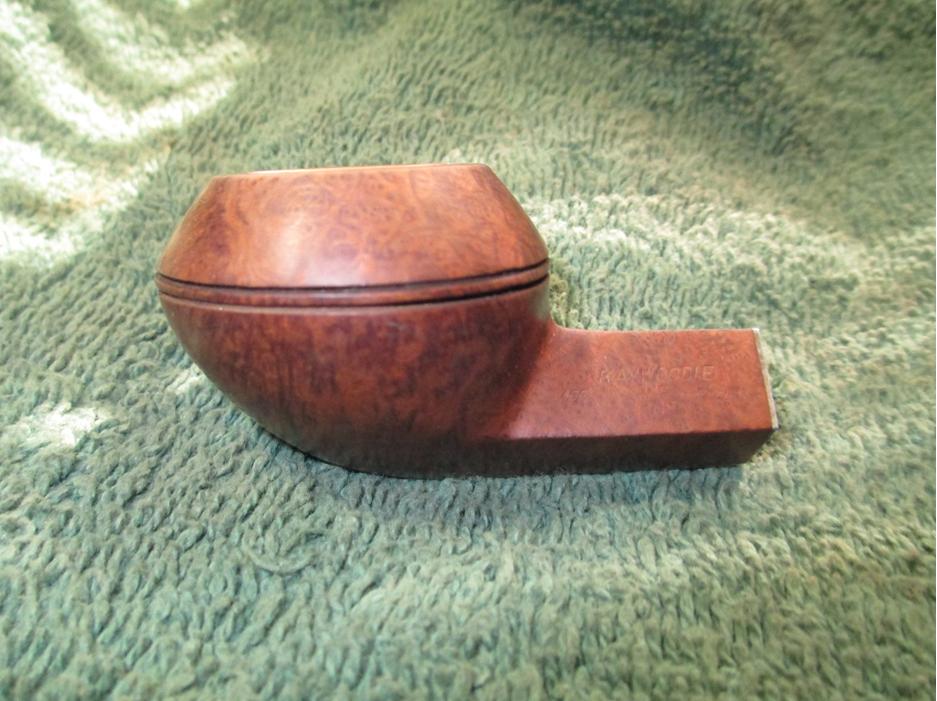
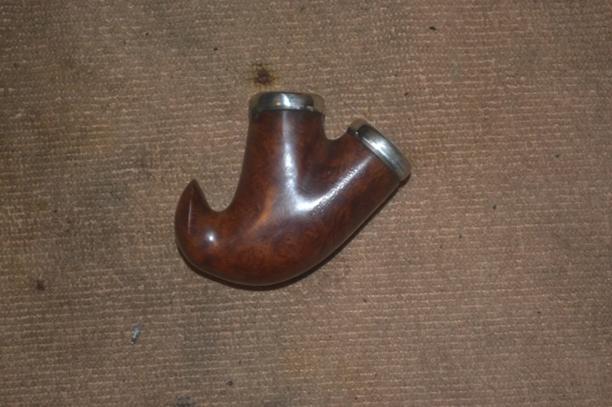
 Onto the final stage – the bottom chamber where the wine is added. Here it is after sanding with 320-grit paper.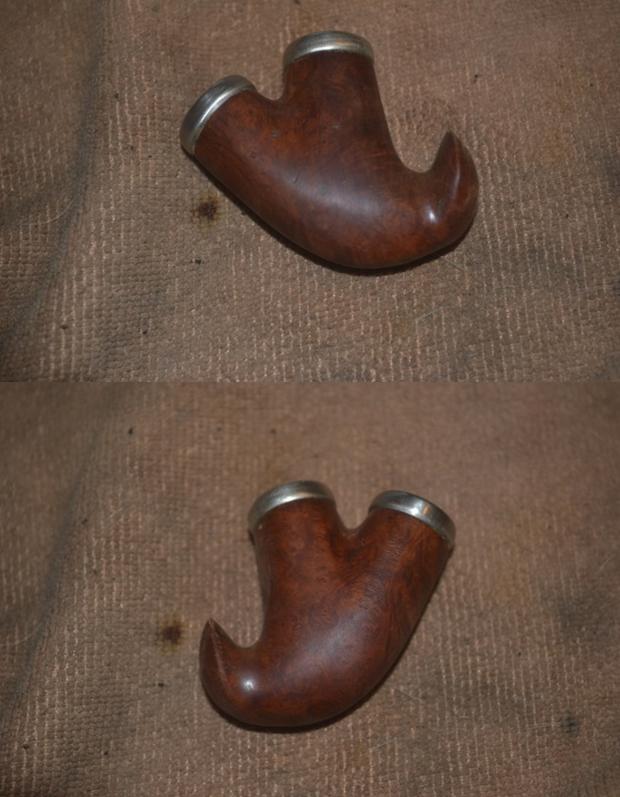
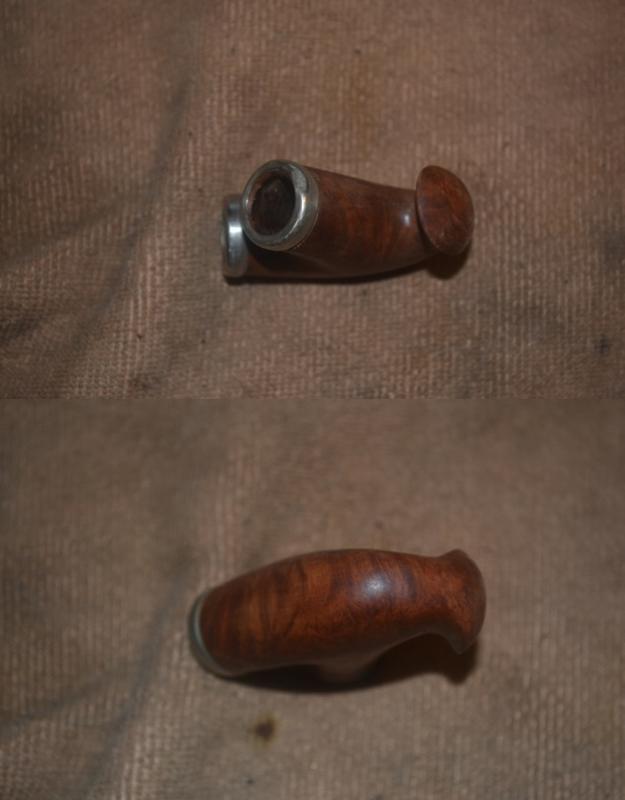
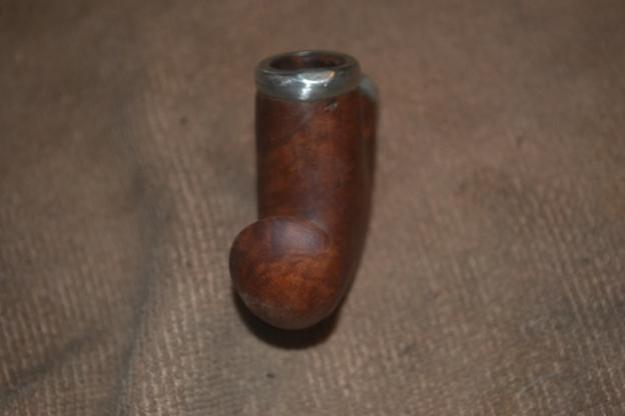
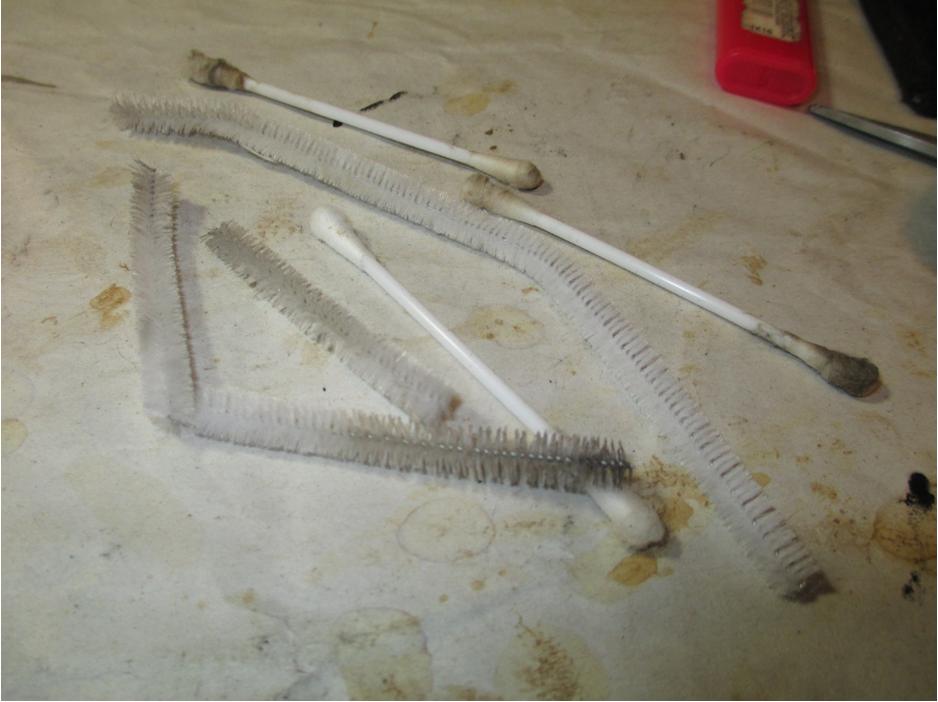
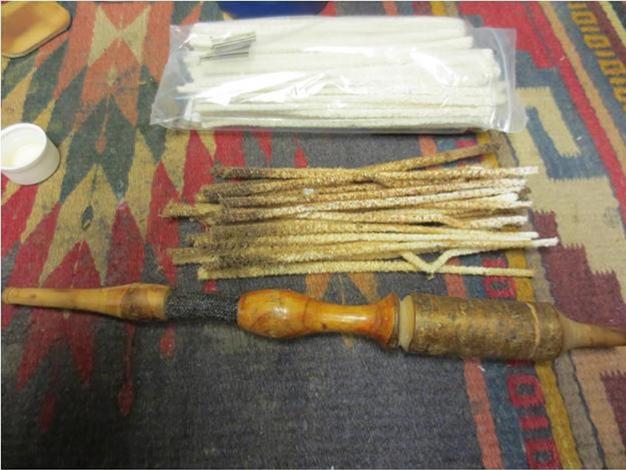
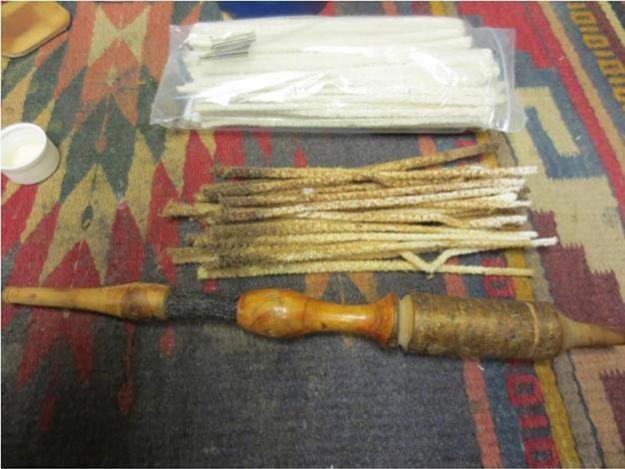 By the time I cleaned it out with bristly cleaners and Everclear, when added to those used for the other parts, I had a pile about as high as Steve’s from his meerschaum bowl folk pipe, only much grimier except for the last that came out clean.
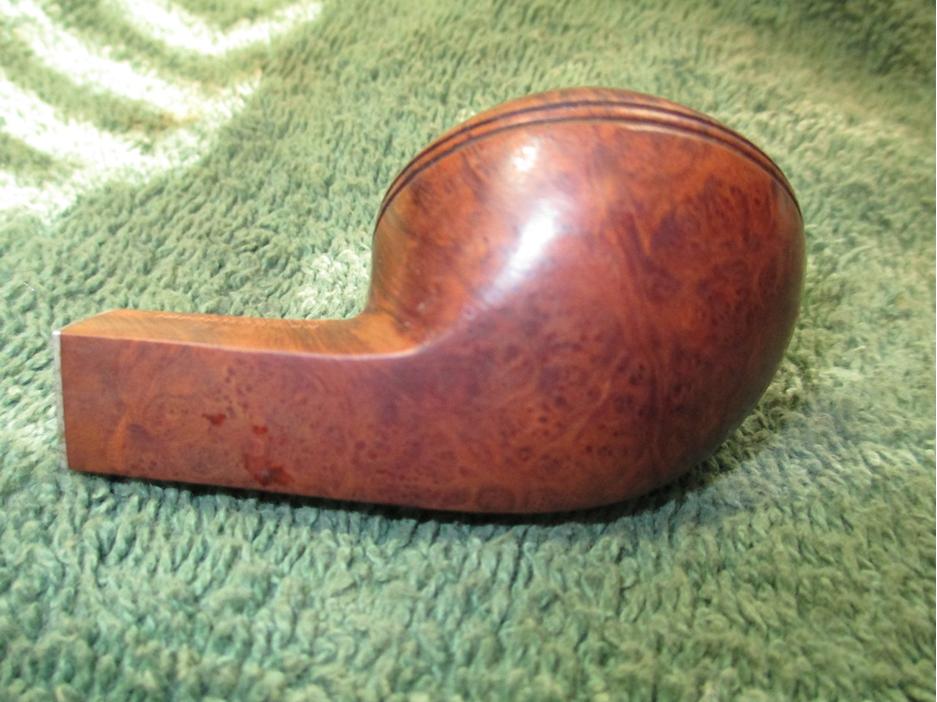
Now take a closer look at the right side, first with the small hole that could neither be sanded away nor ignored, then filled with a dab of wood putty. I let it sit and harden until the next day, when I colored the putty with an indelible brown marker and squeezed a drop of Super Glue over the mark.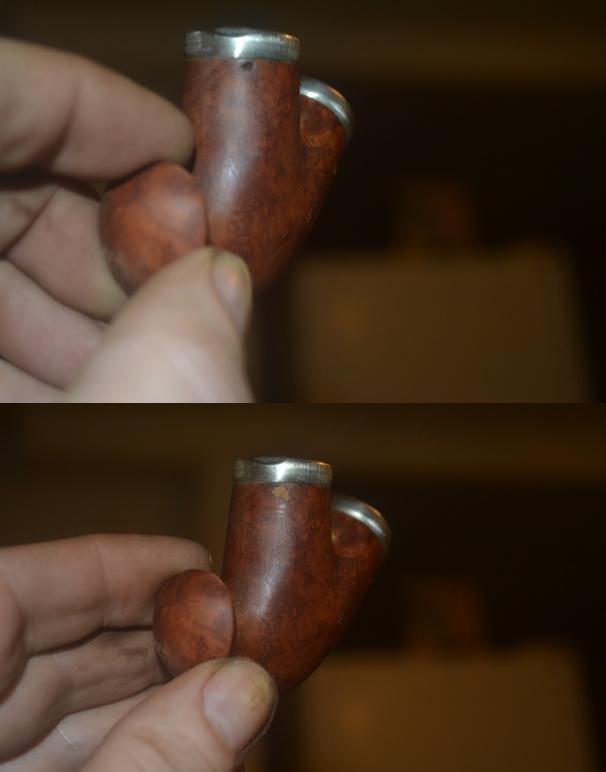
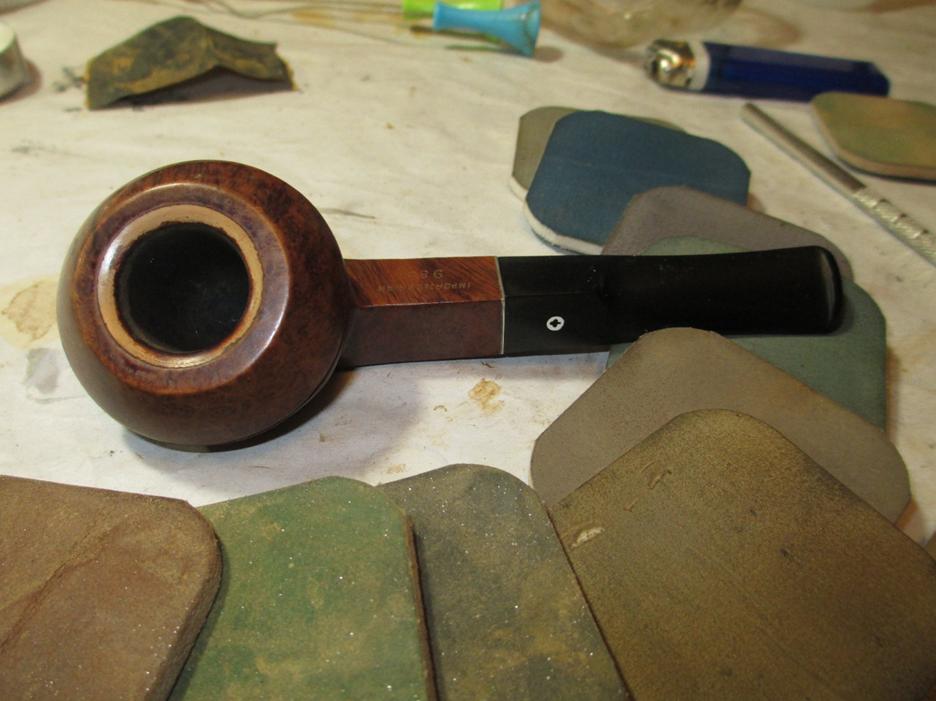
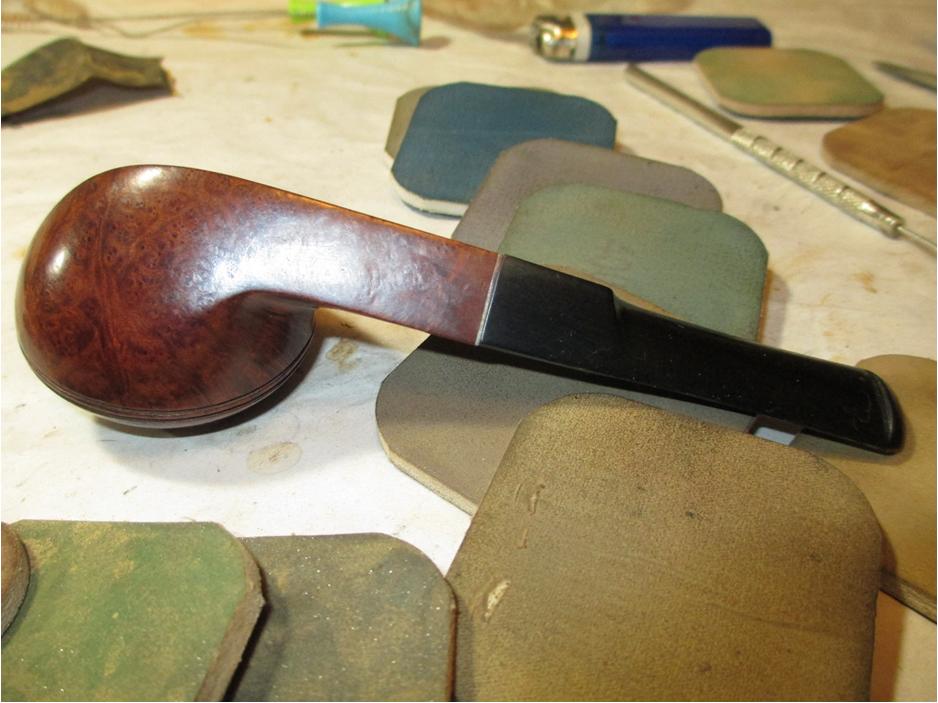
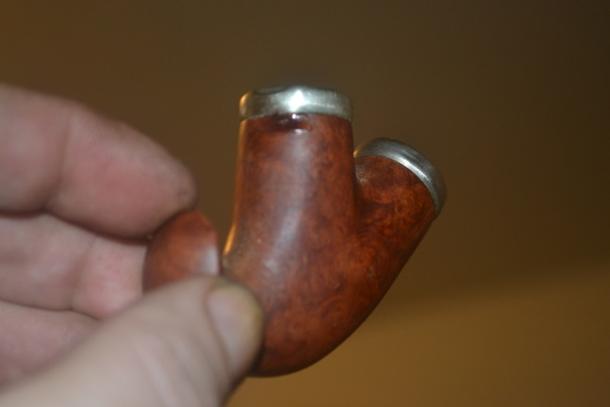 Late that night, I sanded off the roughness of the dried Super Glue and smoothed the whole piece with micromesh. And here is the finished, waxed result, without re-staining.
 At last, I was ready to assemble the separately restored parts and wipe it all down with a soft cotton rag.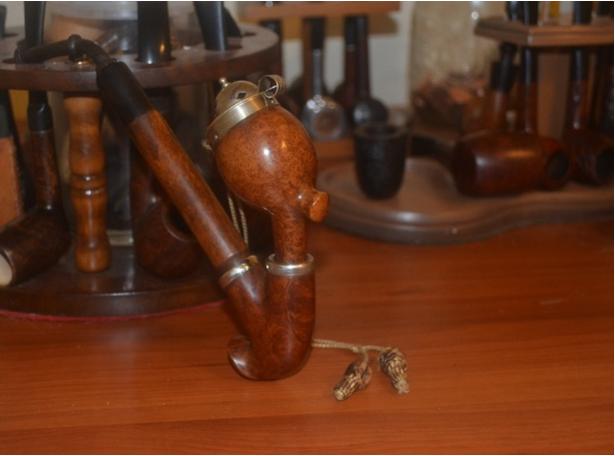
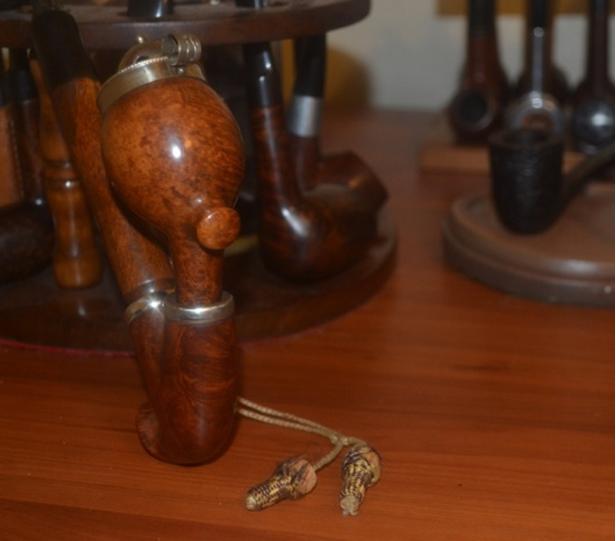
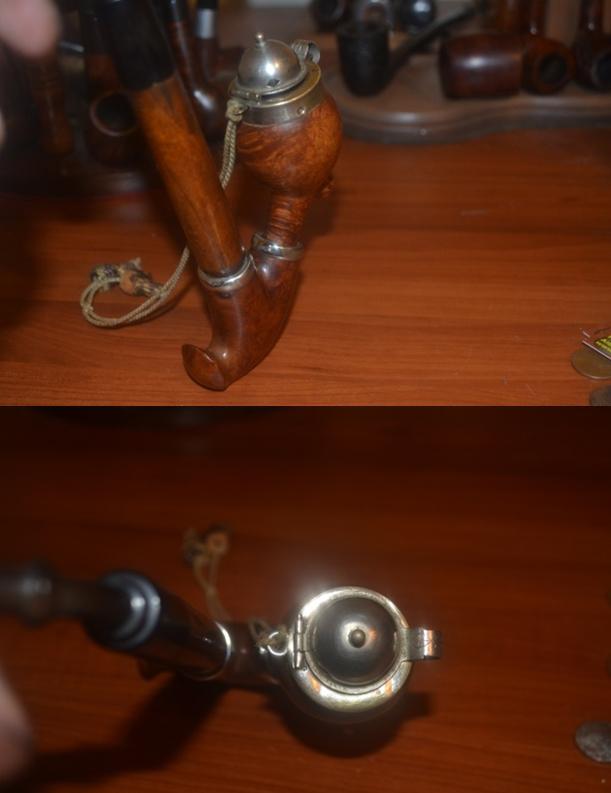
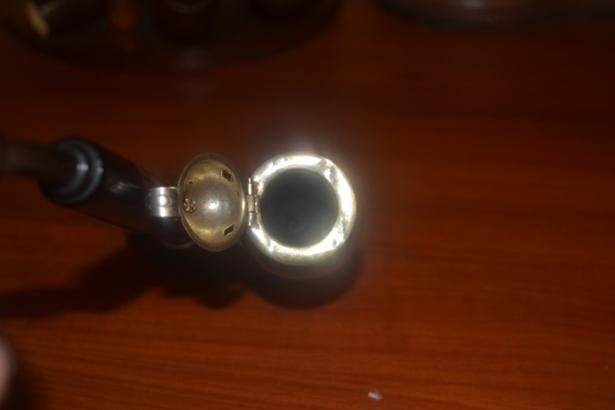
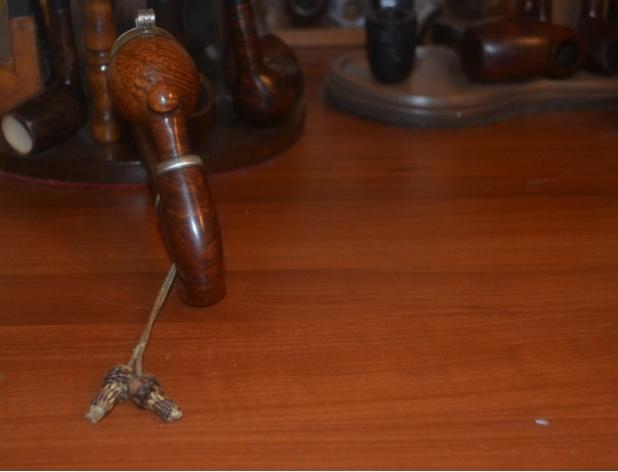
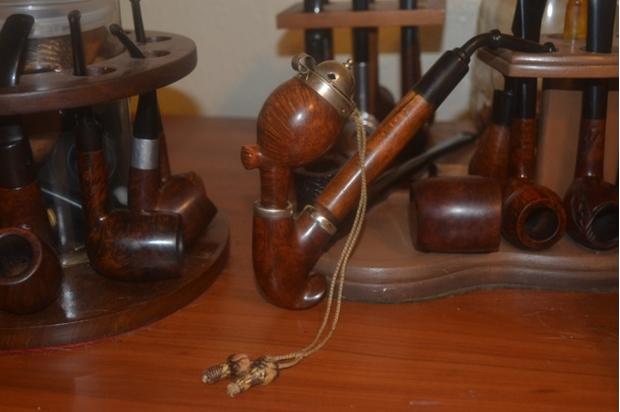
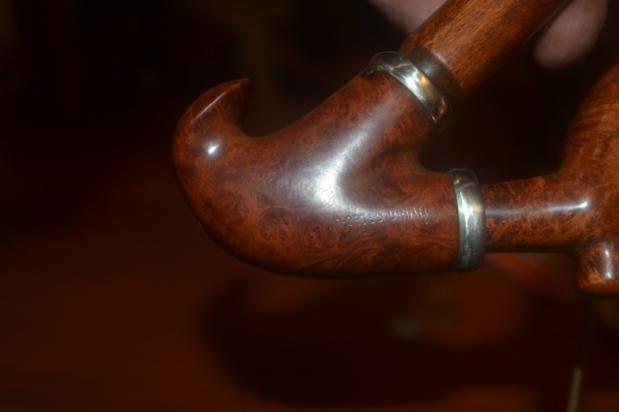 The only nomenclature, just under the bottom ring in the last photo, reads Imported Briar over Made in Italy.
CONCLUSION
This restoration involved two firsts for me: filling a hole with wood putty, as basic as that is, and more significantly, the importance of considering each independent part of the whole. Never before had I encountered a pipe with more than a bit connected to a shank that in turn attached to the bowl. The simple addition of a second chamber for wine with two openings – one for the shank and the other for the regular tobacco chamber – forced me to approach the project from an angle that was novel to me. The ultimate restoration was a unique pleasure for me, and I am happy to report that the finished folk pipe smokes quite well, even without wine. I look forward to seeing how it works with Martinelli’s Sparkling Cider.
Now I have just a few final words on the Bavarian tobacco ban. It seems they tried the same thing in 2008, but the result was a scoff law that the authorities didn’t even try to enforce. Let’s hope that all of the pipe smokers in the southern German state of Bavaria unite to overcome the 61% of voters who decided to deny them the right to run their own lives.