Category Archives: Pipe Refurbishing Essays

Essays and pictorial essays on the art of refurbishing

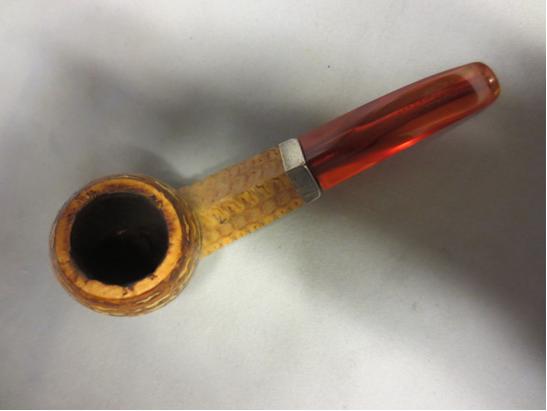
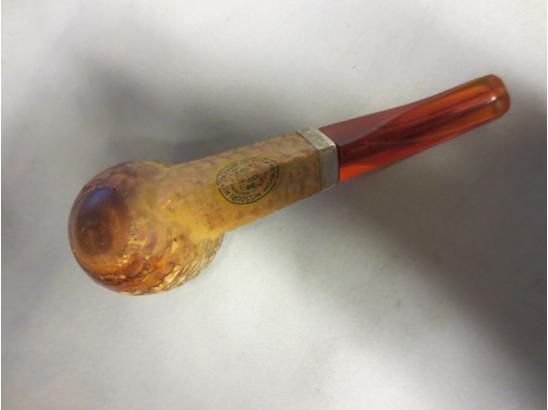
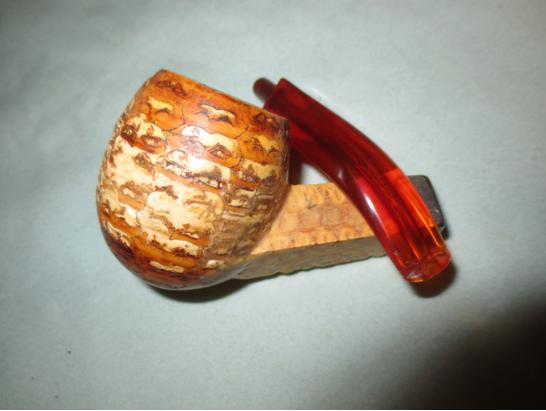
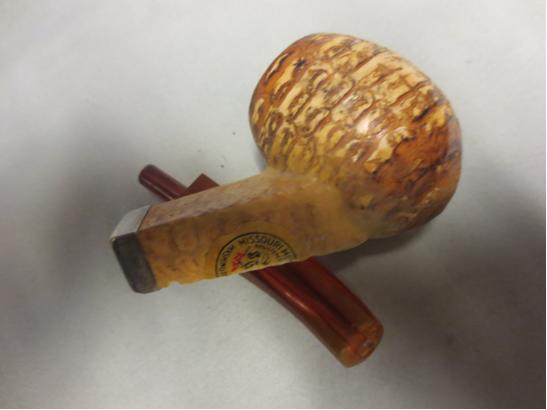
Bringing new life to an old corn cob


Blog by Steve Laug

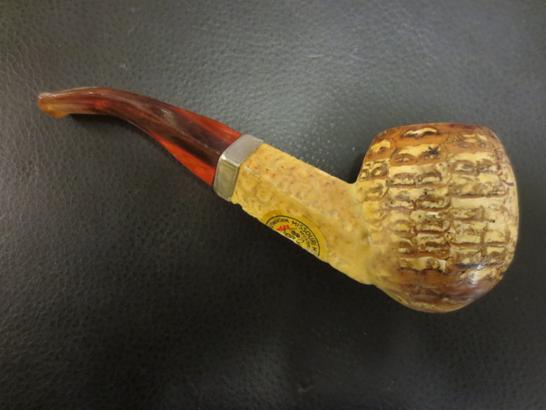
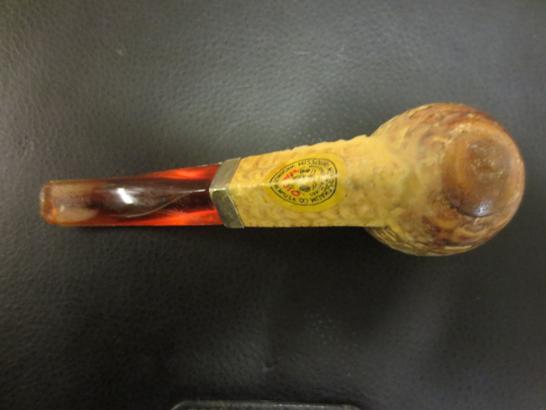
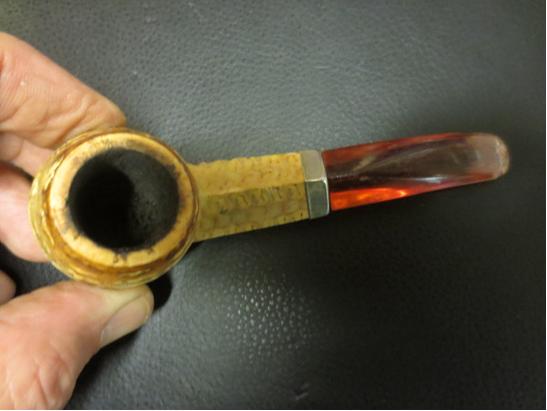
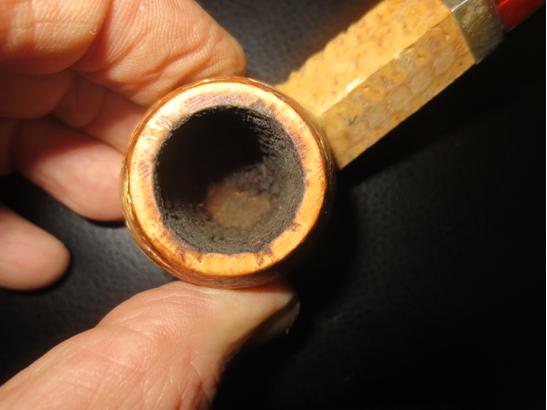
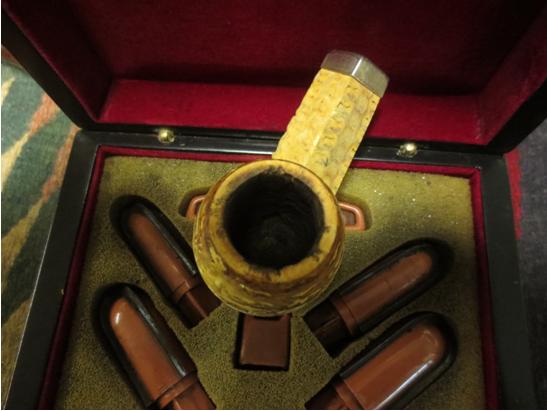
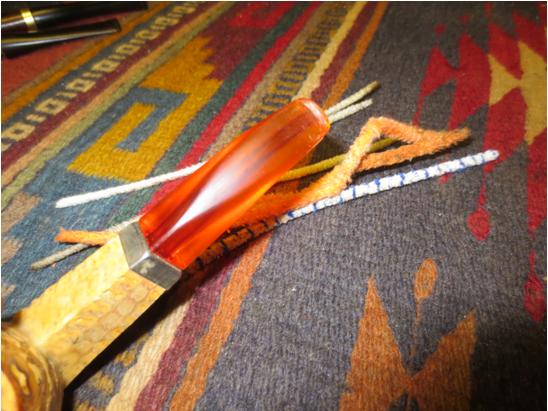
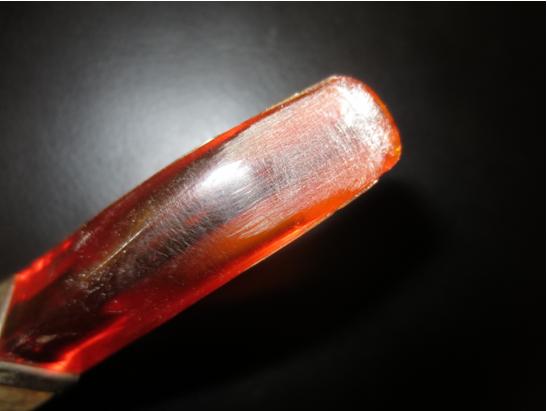
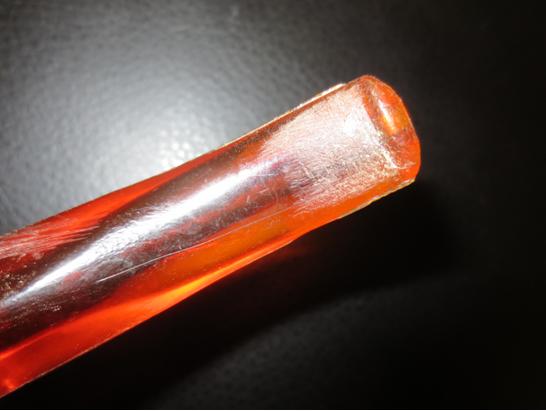
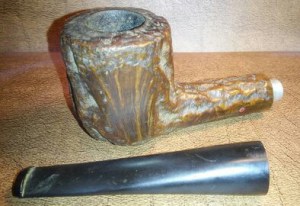
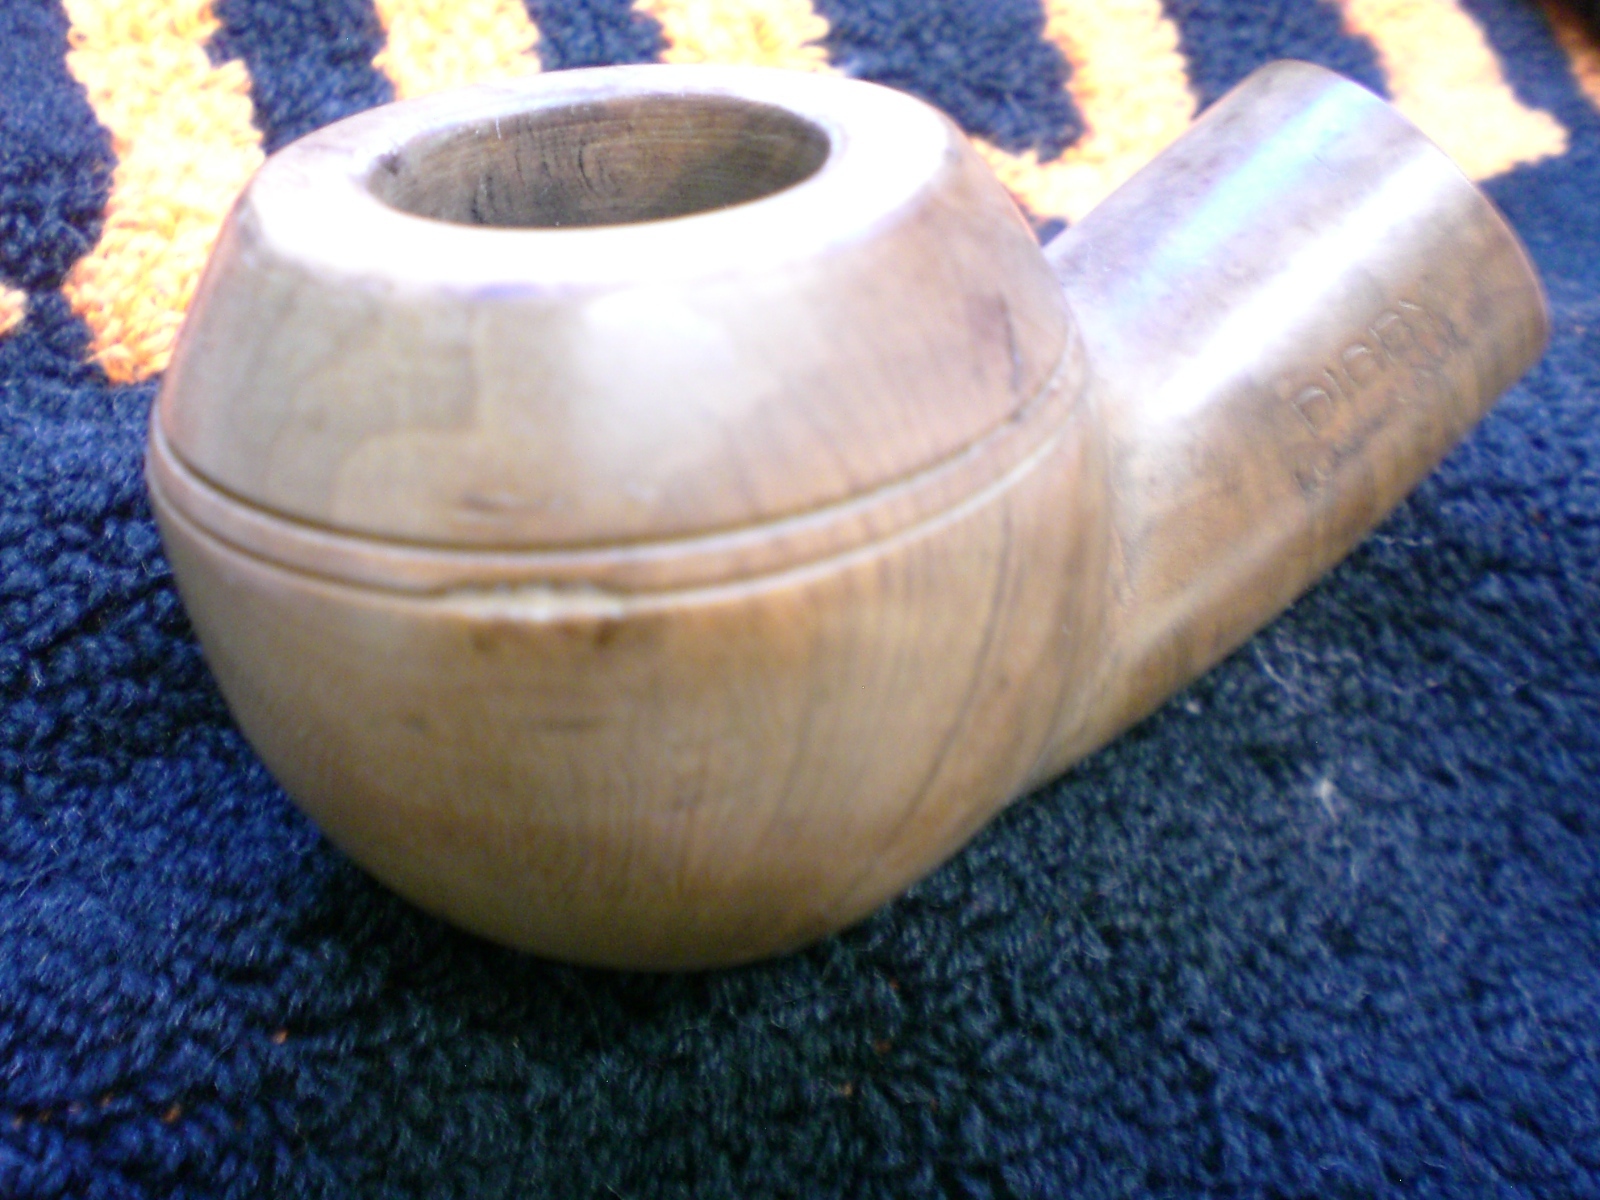
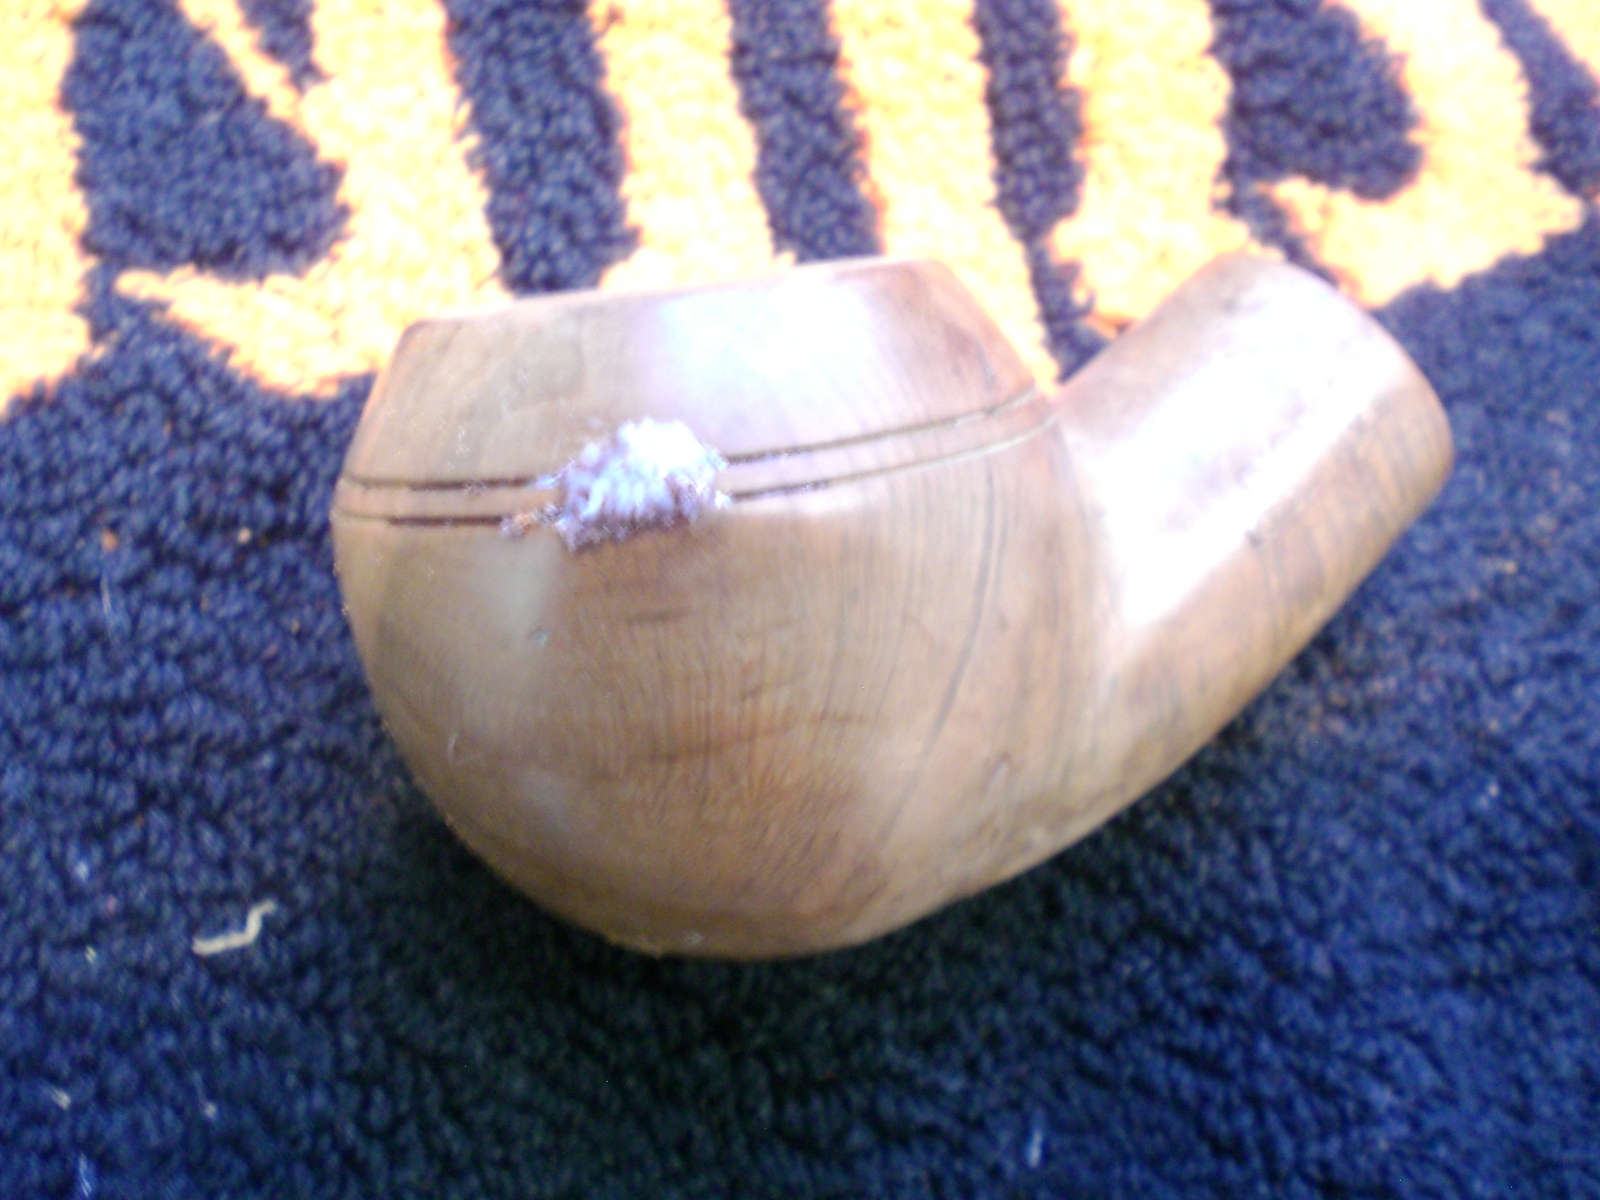
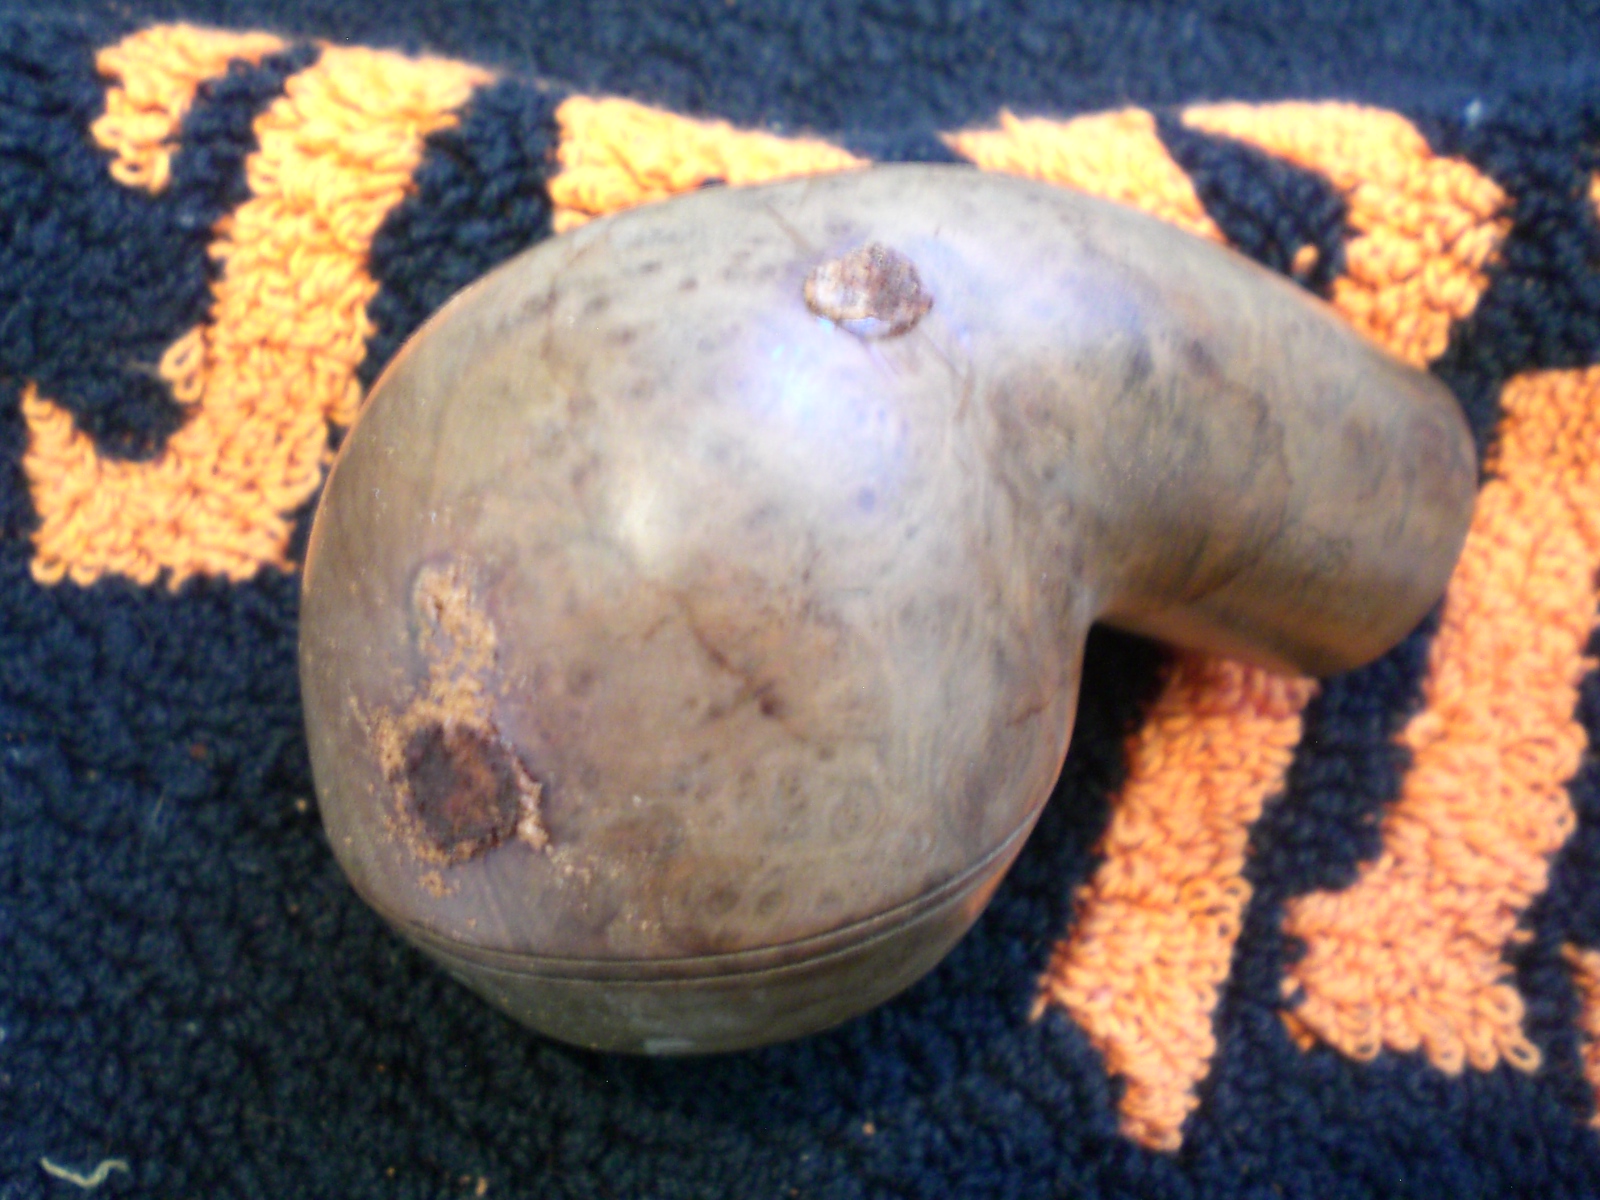
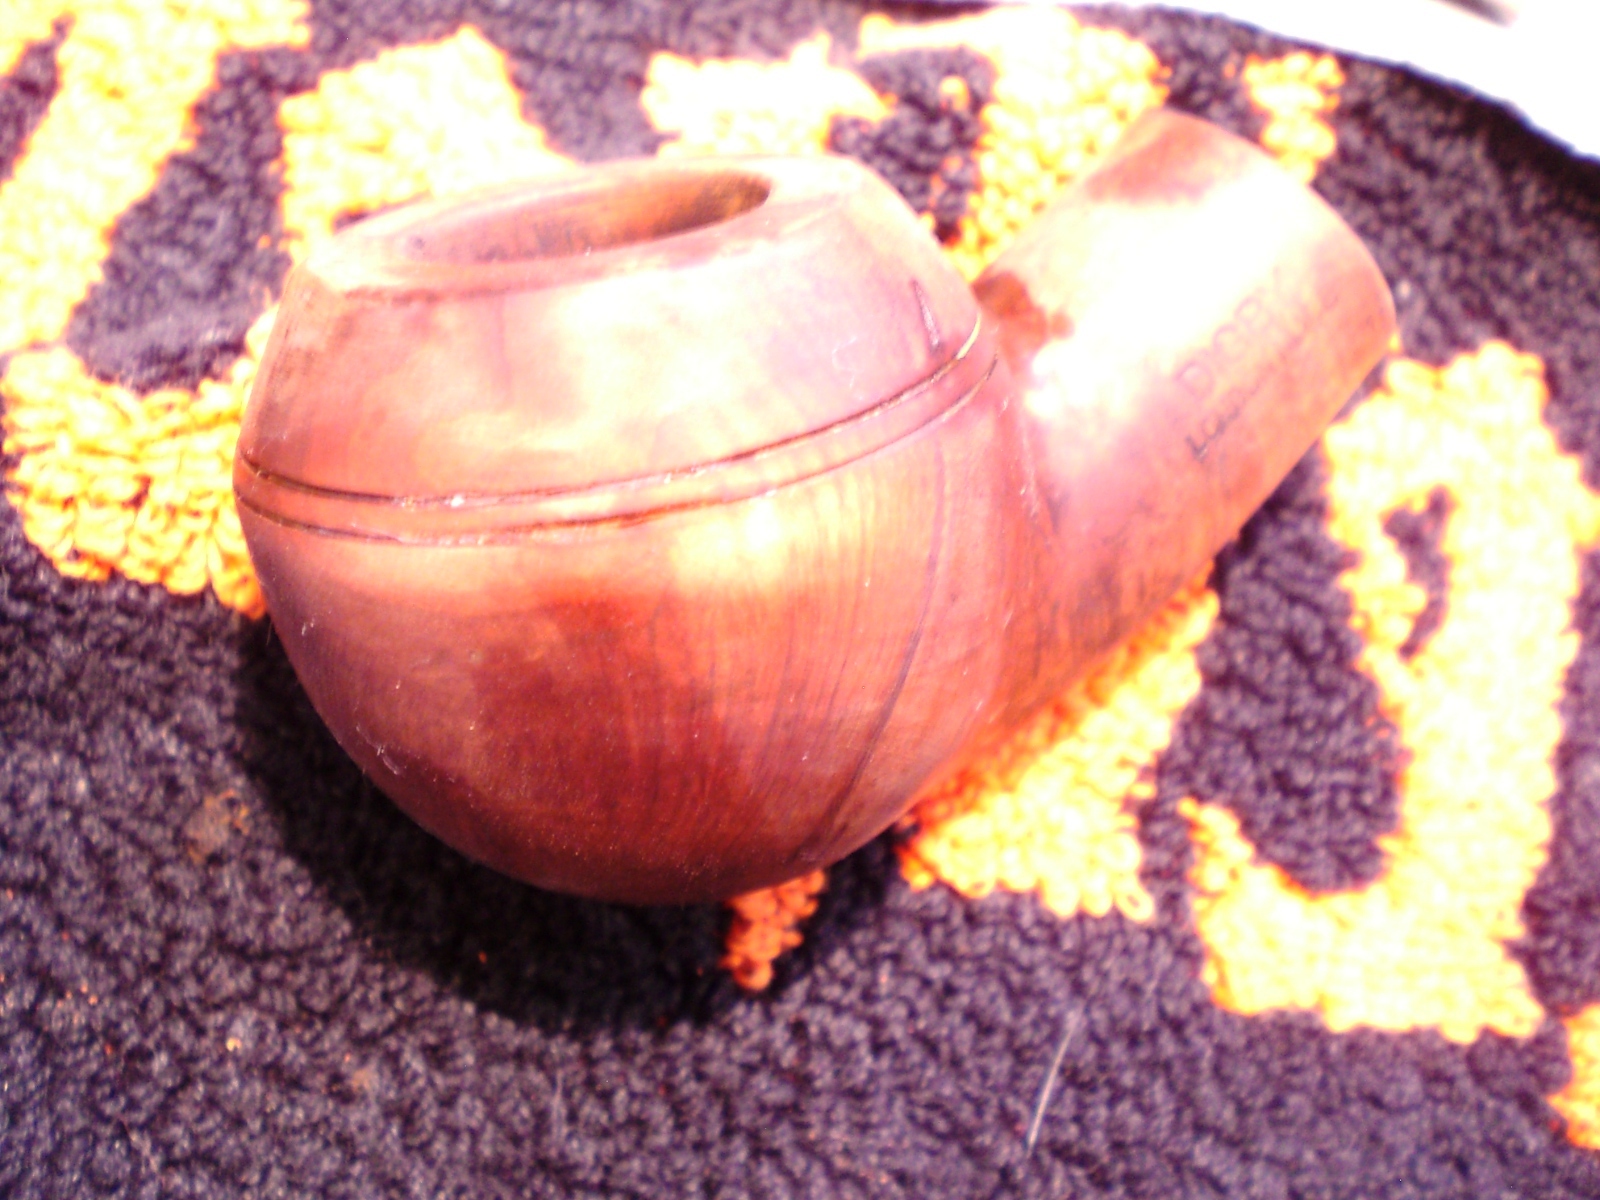
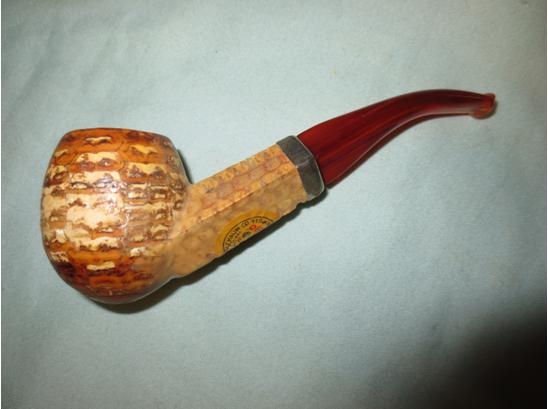
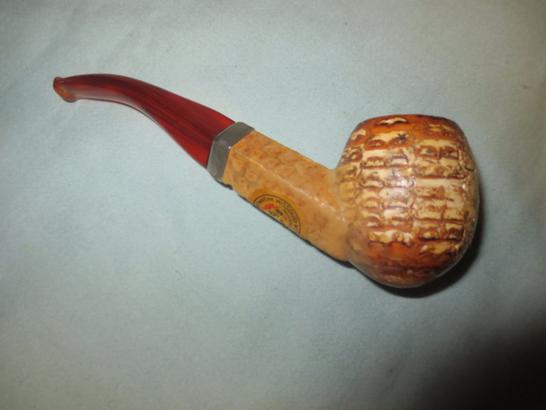
When I was in Idaho for the funeral of my mother in law my brother and I took the day after the funeral and went on a pipe hunt. He has been attending auctions and going to antique shops on his travels and he picked up some nice pipes that he passed on to me. I will be working on them for a few months. He also had visited several of the antique malls in Idaho Falls where we were. On that day we visited three of them. In one of them there were a few pipes that caught my fancy one of them was an old corn cob bent with a diamond shank. It was in rough shape in that the glue that usually seals the shank into the bowl was gone and it was pretty loose. The bowl was well smoked and had a cake that I would need to clean up. The rim was also blackened. The bowl has a hardwood plug in the bottom which adds to the durability of the pipe. One unique feature of this pipe was that the shank was made of cob. It had some dings and nicks on it. The bottom of the diamond shank bore the Missouri Meerschaum label. There was a brass band that protected the end of the shank. The stem was Redmanol or Bakelite – a nice rich red coloured plastic that had some tooth chatter but no deep tooth marks or cracks. The orifice button on the stem and the material it was made of made me pretty certain that this was an old timer – possibly from the 30s.

Typical of what happens when I find old pipes like this I can’t wait until I get home to start working on them. In this case I figured I wanted to stabilize the shank in the bowl so that it would not get damaged when I carried it home in my luggage. I bought some Elmer’s Wood Glue and used it to fill in the gap around the entrance of the shank to the bowl. I used it to also repair some of the nicks on the sides of the bowl and the shank. I gave it multiple coats to build it up so that shank bowl union was smooth and the dings and marks were also smooth. Of course being in a rush to work on it I forgot to take pictures of the pipe before or during the early stages of the repair. When I left for Vancouver the bowl and the shank transition were smooth and the nicks and dings were also smooth on the surface of the bowl. I need to sand them and feather them into the surface and take off some of the glue shine.Cob1

Cob2

Cob3 I lightly sanded the rim to remove the blackening and clean up that surface. I reamed the pipe with a PipNet reamer and took the cake back to a very thin coat. The bowl is still round so that will not take further work to fix it.Cob4

Cob5

Cob6

Cob7 I cleaned out the bowl and shank with cotton swabs, pipe cleaners and alcohol until they were clean. Due to the shank being cob I was careful how much alcohol I ran through it as I did not want to soften the shank any further by making it wet. I cleaned out the inside of the stem with pipe cleaners and alcohol again being careful to not damage the Redmanol material.Cob8 I sanded the stem with 220 grit sandpaper and then with a medium grit sanding sponge to remove the too chatter on the top and bottom sides of the stem.Cob9

Cob10

Cob11

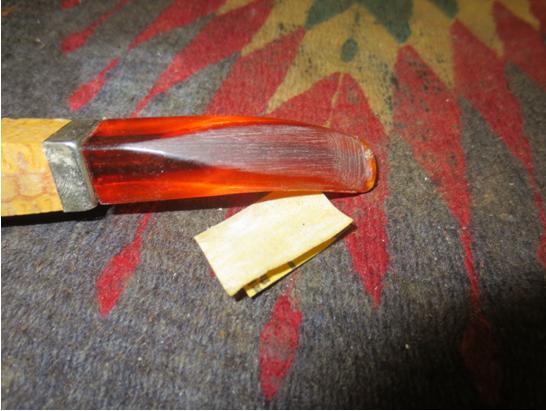
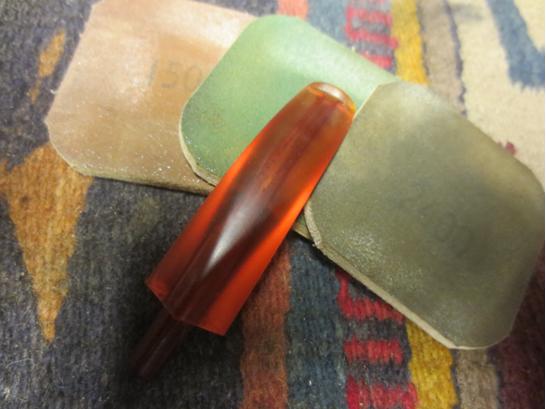
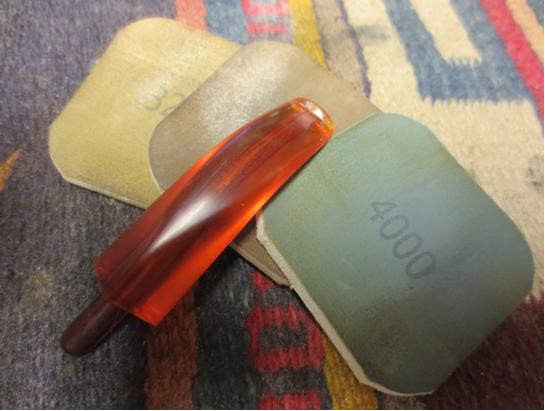
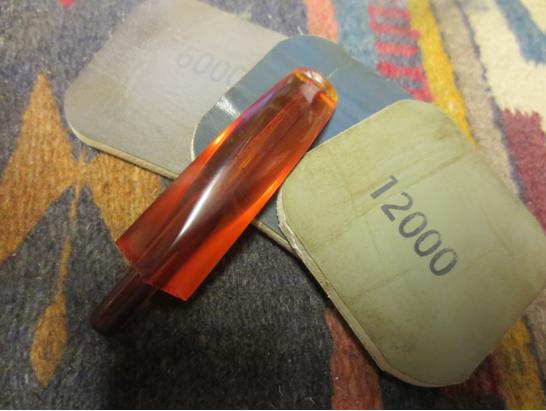
Cob12 I wet sanded the stem with 1500-2400 grit micromesh and rubbed it down with Obsidian Oil. I dry sanded it immediately with 3200-4000 grit pads so that the micromesh had some bite to it. The oil provided a surface that allowed the micromesh pads to polish the stem. I dry sanded further with 6000-12000 grit pads and then buffed it with Blue Diamond on the buffing wheel. I gave the stem several coats of carnauba wax and then buffed it with a clean flannel buff to give it a shine. I hand buffed it with a microfiber cloth to finish the polishing.Cob13

Cob14

Cob15 The finished pipe is shown in the photos below.Cob16

Cob17

Cob18

Cob19

Cob20

Cob21

Cob22

Medico’s Answer to the Falcon – The Double-Dri


This is one Medico I would like to add. I am on the lookout for things like this. Well done.

Charles Lemon's avatar

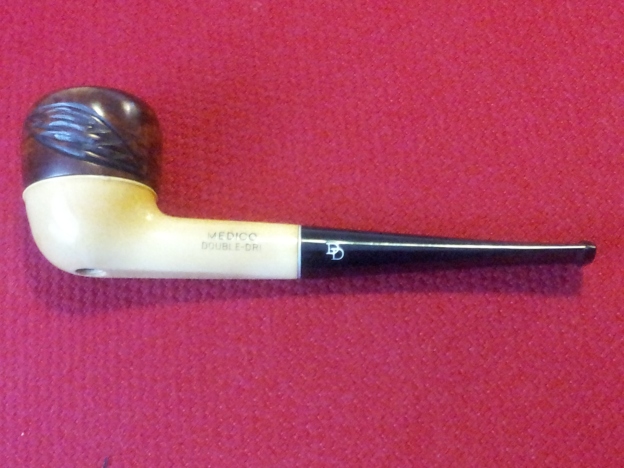
I pulled this Medico Double-Dri pipe out of my refurb box the other day. It had been rattling around in there for a while, and I decided it was time to do something about it.

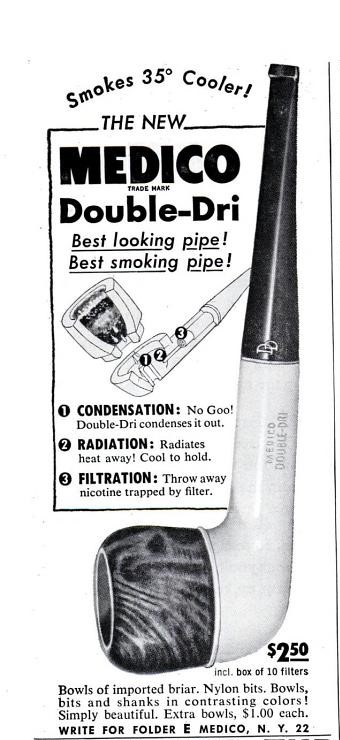
There are several well-known brands of pipes designed with removable and interchangeable bowls – the Falcon and Kirsten pipes jump to mind. The Double-Dri was Medico’s foray into the field, though where the Falcon pipe used aluminium for its shank, the Double-Dri used another 1950’s Space Age material, Nylon, for both shank and stem. Press-fit bowls were available in briar or the more expensive meerschaum. I couldn’t find much information online when I set about researching the Double-Dri pipes, though I did come across this Medico advertisement in the March 1955 edition of Popular Mechanics magazine.

Advert - March 1955 Popular Mechanics

This ad is clearly from the period before truth-in-advertising laws took effect. I wouldn’t bet the farm on the existence…

View original post 840 more words

A Quick DIY Pipe Display


Great idea Charles. I may have to adapt that to my collection… it sure is easier than the boxes and drawers I use now. Well done.

Charles Lemon's avatar

Hi everyone. Here’s a quick mid-week post to share a DIY solution to every piper’s perennial pipe storage shortage.

I made this 28-pipe storage/display rack in just a few hours. I was lucky enough to find a 24″ x 32″ piece of 5/8″ plywood in my garage, and a rummage through the fabric bin turned up a suitable remnant of black velvet fabric left over from another project. An old bath towel the Mrs had declared unfit for human use completed my scrounged materials.

I lay the velvet face down on my work table, then lay the towel on top of the velvet. The plywood was then laid on top of the towel. I trimmed excess fabric away, leaving just enough to wrap up over the edges of the plywood and about an inch more, where it was securely stapled to the back of the wood. This produced a nice…

View original post 269 more words

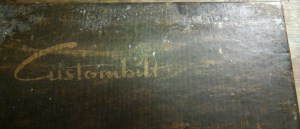
( EUGENE RICH ) Boxed Custombilt 1946-1952


Yet another beautiful Custombilt. Great restoration of a wonderful boxed pipe. Well done.

pipesrevival's avatarPipesRevival

20151030_223109~2

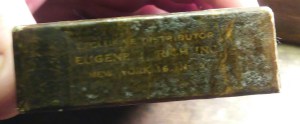
My wife and father through a joint effort picked this one up for me, it arrived today and I was blown away . I’ve been trying to get my hands on a boxed Custombilt for a few years but they were always just out of reach. This beautiful bulldog is a Eugene Rich era Custombilt very lightly smoked, amazing condition and it came with the original box, paperwork and guarantee. The box was a little rough around the edges not unlike the pipes themselves. This is my first Rich era Bilt and not an ounce of filler, I’m starting to think it’s time to broaden my horizons.

 This is more of a standard clean up then a restoration. I decided to share this clean up because every collector/pipe smoker has there white whale. Whether it be a priceless one of a kind or an inexpensive hard to find piece.

20151030_211521~220151030_211525~220151030_211515~220151030_211530~220151030_211535~2

Sometimes it’s the packaging that needs the work…

View original post 435 more words

Why You Need to Disassemble a Pipe


It’s been a while since I’ve been able to do much restoration work but I did have this short video I cobbled together with an article and thought I’d share it here; I know this is something many of the regular readers here will identify with and have come in contact with. And for new folks that may be searching for information I figured they would find it here easier than where it was first posted. 

Why You Need to Disassemble a Pipe – Tobacco University (Reblogged from Smoking Jacket Magazine.)

I know some folks aren’t big on regular, routine maintenance/cleaning of their pipes; I get a little lax at times, too. But for the best performance, enjoyment, and taste from you pipe it is very necessary to have a routine and actually do it. Being one who enjoys and has restored many old estate pipes […]

Briar, cleaning, featured, stuck stem, pipe, pipe smoking, maintenance

http://smokingjacketmagazine.com/2015/10/28/why-you-need-to-disassemble-a-pipe-tobacco-university/

Custombilt Compilation


I love the old CB pipes so this is a natural for me to reblog. Nice work on these. I had never seen a CB Canadian like the one you posted. It is a beauty.

pipesrevival's avatarPipesRevival

I’m starting to realize the photos of my process on many of the pipes I’ve redone in the past are lost. Luckily I have before and after photos, please bare with me as new pipes are redone I will add more detailed photos of my process. I decided to put together a compilation of some of my favorites.

20151009_1027472_zpsuvvs9drj~2

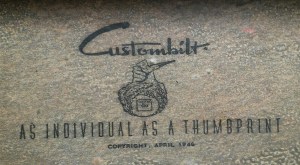
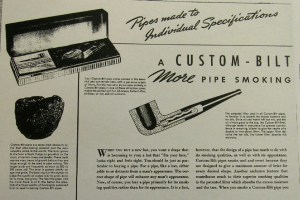
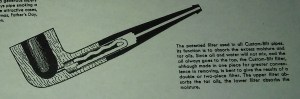
Custom-bilt pipes there will be quite a few of these. I’m a collector and I haven’t seen an end in sight. Each one has it’s own personality “As Individual As A Thumbprint“ stands true. The few below were redone in the past year.  My process has remained the same for that time, I followed the same process as in my previous posts.

20151025_122929~220151025_112240~2~2

(1939 brochure)

20151025_123435~2

Images & information courtesy of Bill Ungers As Individual As A Thumbprint-The Custombilt Pipe Story.

~~~~~~~~~~~~~~~~~~~~~~~~~~~~~~~~~~

20150501_112045_zpszhnfky8g~220150501_112005_zpsxasdh2wi~2PhotoGrid_1430935869731_zps1gymblhs20150506_1414002_zpsrn9kgjfl~2PhotoGrid_1430935937335_zpsawasawyt

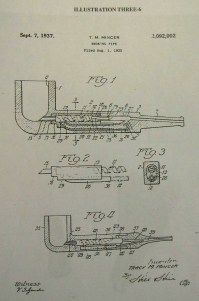
First up a Custom-Bilt patiented filter system billiard from what I’ve read it was…

View original post 151 more words

Removing Stain from a Briar Pipe – Additional info added


Blog by Dave Gossett
stain1

stain2 I’ve been working on a stain removal recipe/technique with some junker pipes and came up with this. It works pretty well. It will also strip the color out of any fills in the pipe and they will stand out afterwards. This is great for a fill free briar, but not recommended if it does, unless you plan on digging out the old fills and replacing them with briar dust. I always advise trying new repair and restoration tips on a test pipe before trying it on a keeper.

Step 1. Use Murphy’s wood soap to remove the wax. Take care not to get the Murphy’s soap inside the pipe!

Step 2. Wipe down with alcohol.

Step 3. Mix a heavy batch of Oxy Clean powder with hot water. 3 tablespoons give or take. Use just enough hot water to dilute the powder and then add a couple of shots of 91% alcohol. Heat the briar with a hair dryer before starting. This opens the pores and speeds up the removal process. (at least that’s my theory.)

0000 steel wool can be used with mix to gently scrub the briar. The steel wool is fine enough it will not scratch the briar. Use gently, let the wool do the work for you. A rag can be used but it will take a few runs to achieve the same results. When dipping the rag or wool don’t submerge to the bottom of the mix where the undissolved gritty powder is settled. You don’t want the grit on the briar when scrubbing. Stay clear of the stampings with the steel wool. Use a rag on those areas.

Rinse the stummel clean with tap water and towel off so the oxy residue doesn’t dry on the wood.

Let the stummel dry completely to see if you’re satisfied with the coloring. repeat the process again if it’s still dark.

Step 4. Depending on how much time and cleaning it took to remove the stain, it could raise the grain a bit. Don’t worry. Most of the time this isn’t the case. After the stain has been striped and the pipe has thoroughly dried, give the stummel a light dry sanding with 2000-3000 grit and this will take care of any raised grain concerns.

Step 5. Now your pipe is ready for your color change of choice or waxed up for a beautiful natural finish.

I tried to be as detailed as possible but may have forgotten something. This is why I recommend trying new techniques on a test pipe.

Here are the results of the stain removal on a very dark pipe.

Photos of the pipe before stripping the stain:stain3

Stain7

stain6

stain5 Photo of the pipe with the stain stripped:stain2 Photos of the finished pipe:stain9

stain10

stain11ADDENDUM

Dave took the time to measure all of the components in his recipe and has sent them to be added to this post. Here it is:
1 cup hot water (hotter the better)

3 spoons of Oxy Clean powder

After the Oxy is thoroughly dissolved then add the alcohol

1 spoon of 91% alcohol

The alcohol cuts the suds and stops the solution from becoming a foaming mess while you’re working on the pipe.

Thanks Dave

Fitting a Stem to an Old Ceramic/Porcelain Pipe Bowl


Blog by Steve Laug

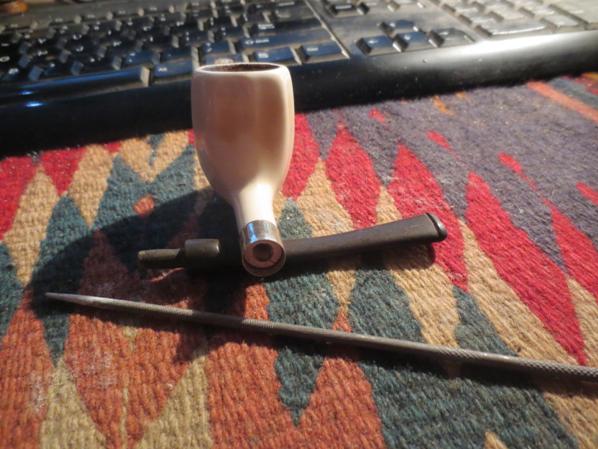
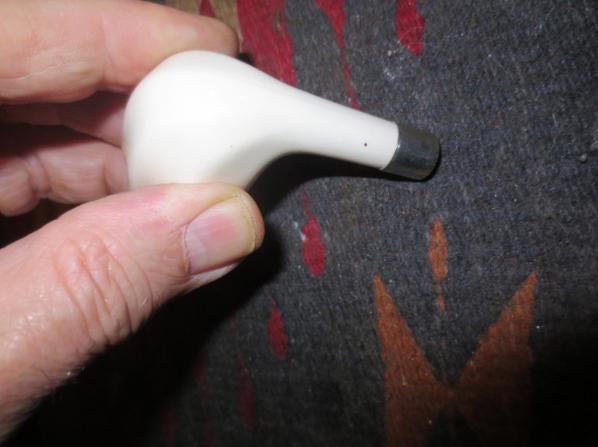
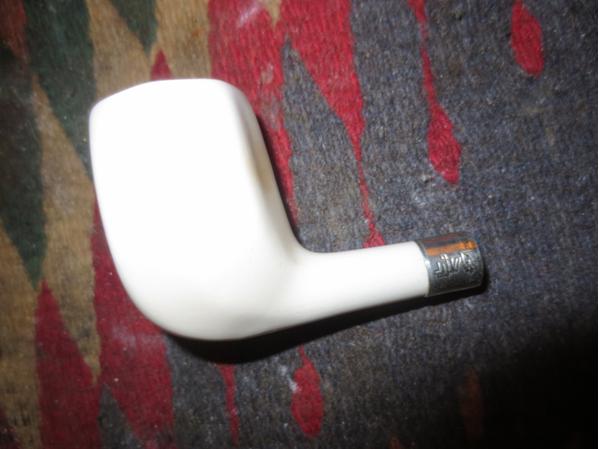
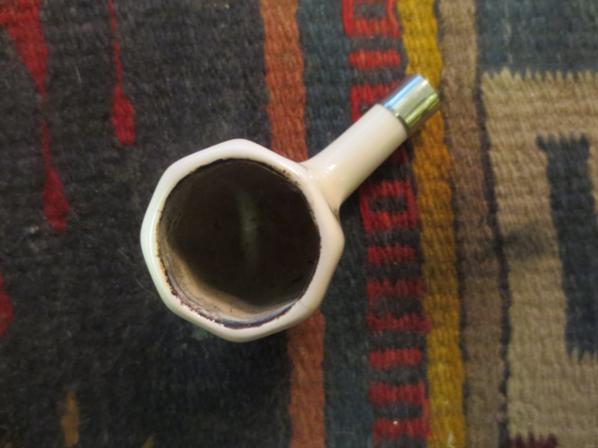
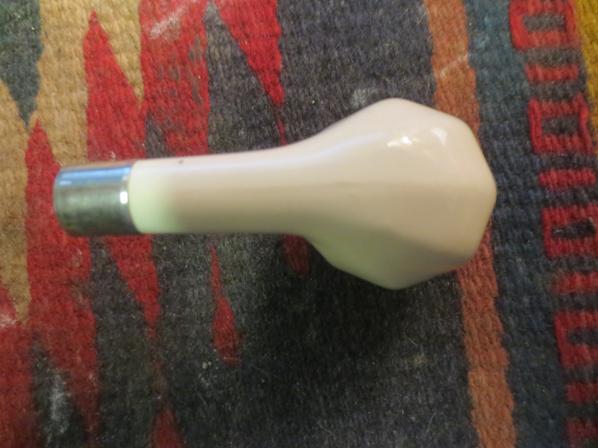
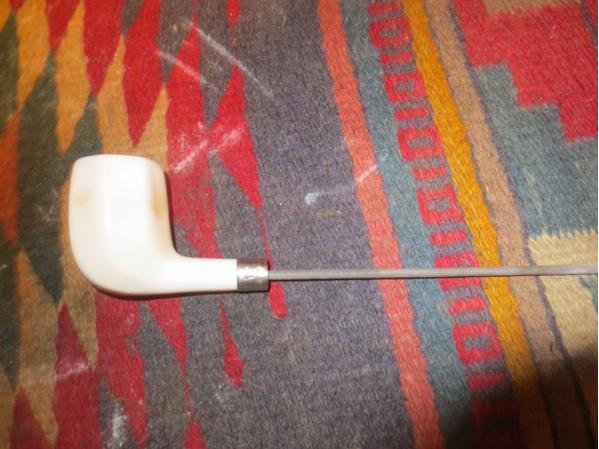
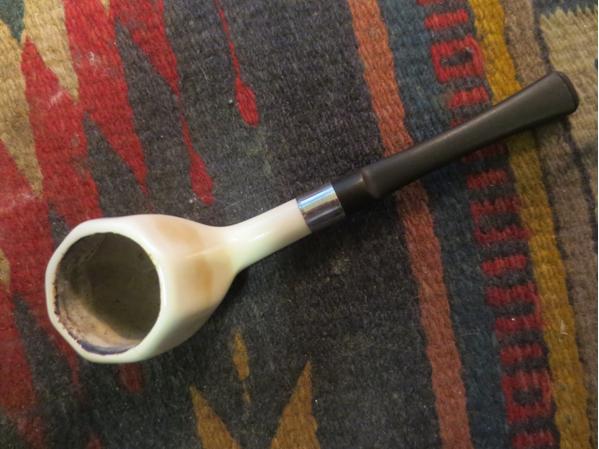
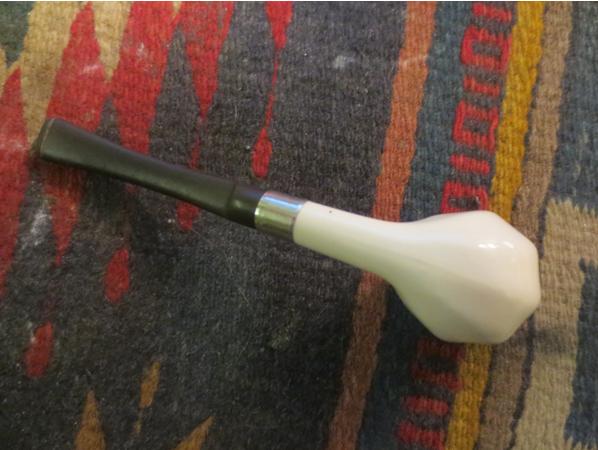
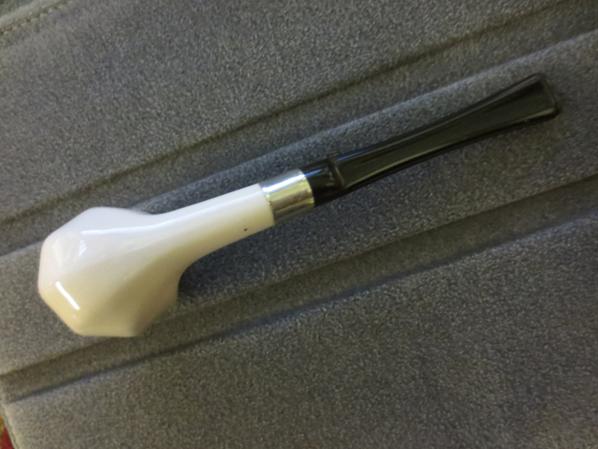
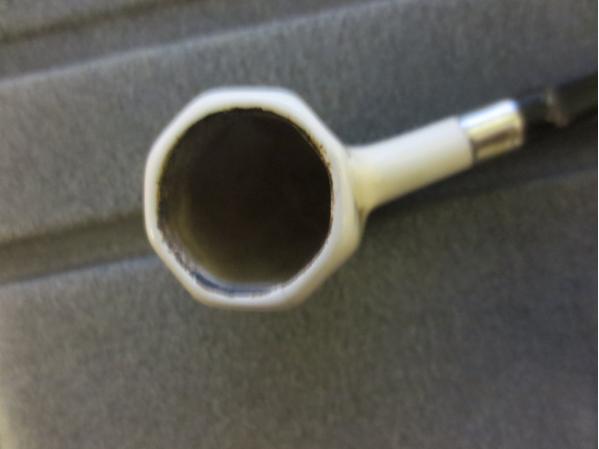
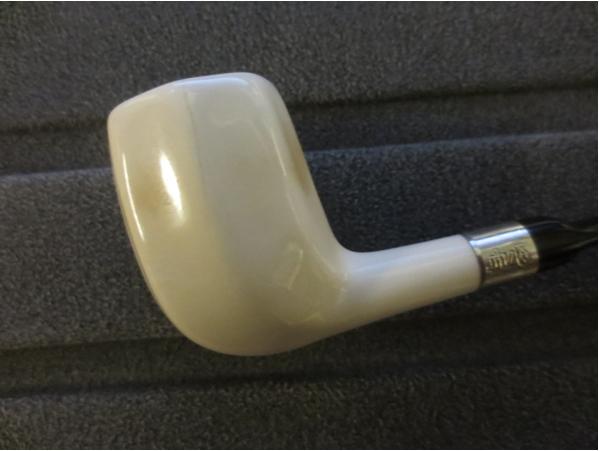
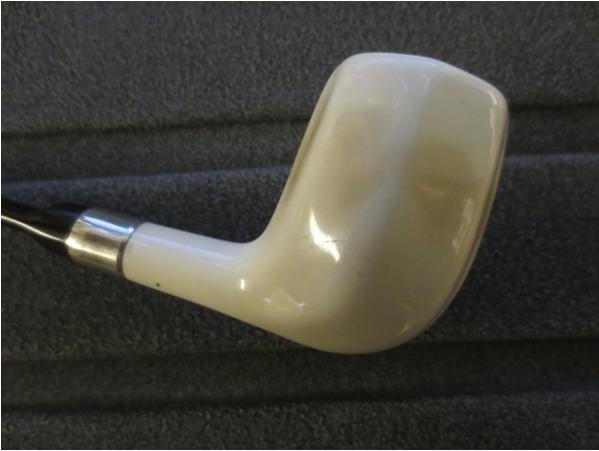
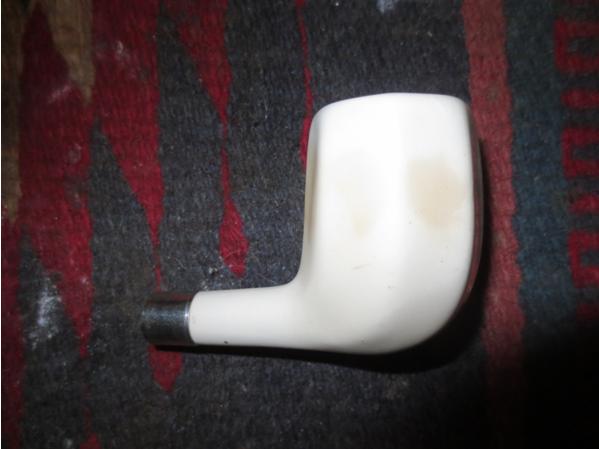
In a box of pipe parts I was given was a hexagonal shaped ceramic/porcelain pipe bowl with a thin pencil shank. It was cut off mid-shank at a slight angle. Looking at it I decided that it would be an interesting looking pipe to restem. The finished pipe would be unique and well worth the work to restem. I am guessing that the pipe originally had been longer and possibly had a bit on the end. There was a tiny chip cracked in the end of the shank. I reglued that and held it in place until it dried. Since the shank had been cut at an angle, I used a topping board to flatten the edge and square the end of the shank as much as possible. I then used a nickel band that I had in my box of bands and heated it and pressed it in place on the shank. I left a small portion of the band extending beyond the end of the shank to help square the fit of the stem to the shank. I went through my can of stems and found one that was the perfect diameter for a match to the shank. The tenon would need to be made smaller to fit in the shank and the mortise would need to be opened further with needle files for the stem to fit well.ceramic1 I scrubbed the bowl with Murphy’s Oil Soap and polished it with a microfibre cloth. There was a small hairline crack on the left side of the bowl coming from the rim downward about one half-inch. It was sealed so it was not currently a problem that I would need to deal with. I took some photos of the newly banded stem and the polished bowl to show the new look of the pipe. The bowl is quite thin so it will be a hot one to hold. It will need to be smoked slowly to keep it cool.ceramic2

ceramic3

ceramic4

ceramic5

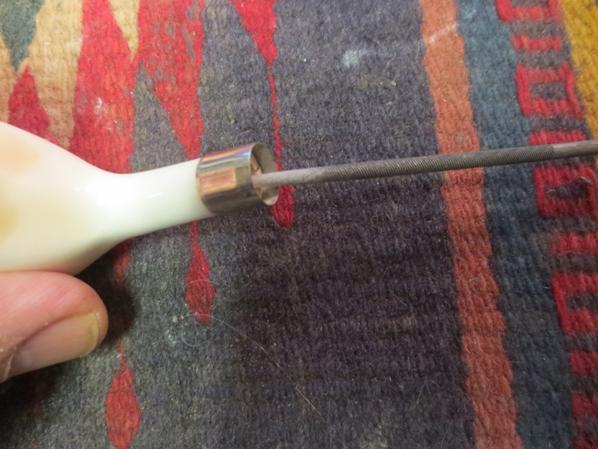
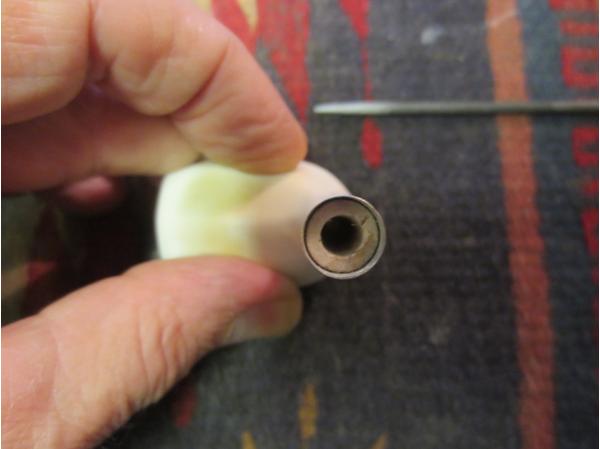
ceramic6 I used a coarse needle file to open up the mortise in the shank to accommodate the tenon. I used a Dremel with a sanding drum to reduce the tenon as much as possible. I worked on the mortise to file down the inside of the shank. It took some careful file work to keep the mortise round so that once the opening was sufficient the tenon would not be loose inside.ceramic7

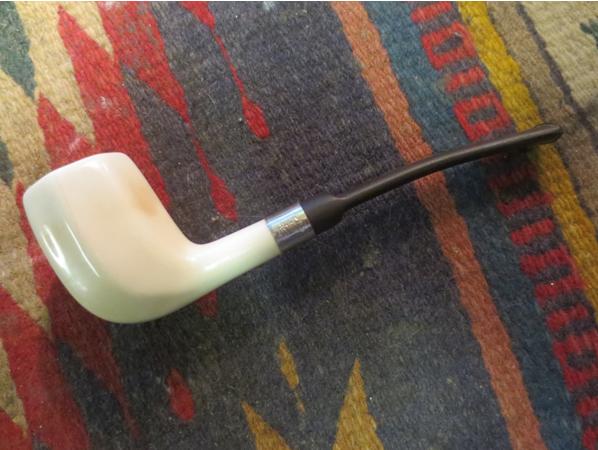
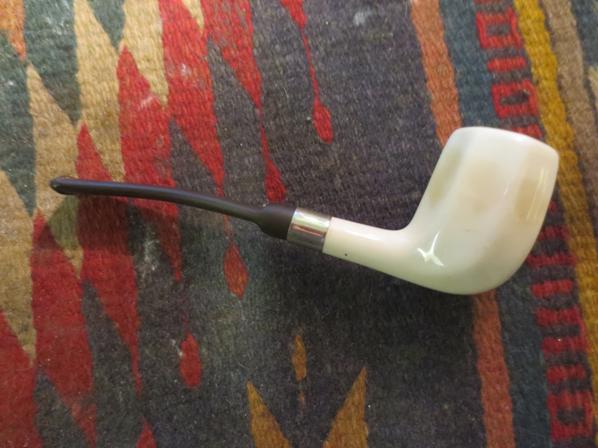
ceramic8 The next photo shows the finished mortise. The files worked well and the newly shaped tenon fit the shank perfectly.ceramic9 I put the stem in place on the bowl and took some photos to get a better look at the new pipe. The newly stemmed pipe actually looked very good. I loved the delicate look of it. The slight bend in the stem worked well with the bowl and allows the pipe to sit upright on a flat surface.ceramic10

ceramic11

ceramic12

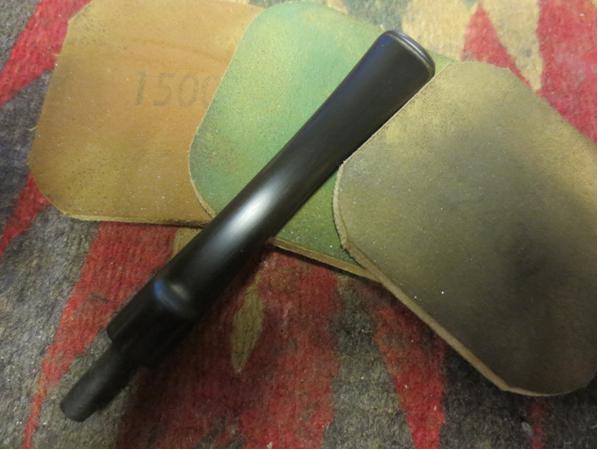
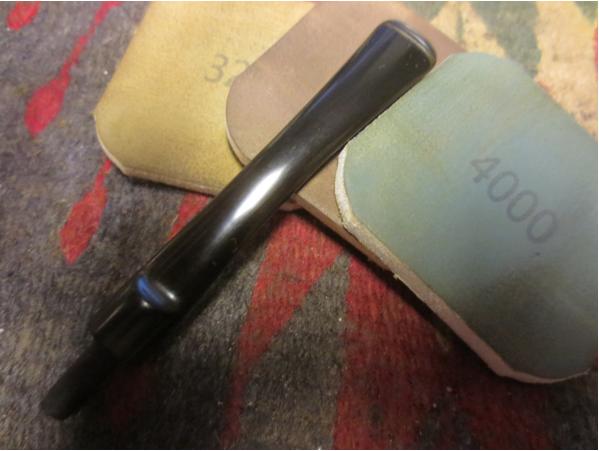
ceramic13 The stem was rough and lightly oxidized. I sanded it with 220 grit sandpaper to loosen the oxidation and then used a medium and a fine grit sanding sponge to smooth out the scratches on the stem. I then wet sanded the stem with 1500-2400 grit micromesh sanding pads and rubbed the stem with Obsidian Oil. I dry sanded it with 3200-4000 grit pads, gave it another coat of oil and then finished sanding with 6000-12000 grit pads. I gave the stem a final coat of Obsidian Oil and let it dry.ceramic14

ceramic15

ceramic16 I buffed the stem and bowl lightly with Blue Diamond polish on the wheels and then gave the stem and bowl multiple coats of carnauba wax. I polished it with a clean flannel buff on the wheel making sure to hold the bowl tightly. To have the buffer grab this one and throw it would be a disaster that the pipe would not survive. Once I finished the buffing on the wheel I hand buffed it with a microfibre cloth to raise the final shine. The finished pipe is shown in the photos below. There is some slight coloring forming on the sides of the bowl midway down from the top. I am wondering if the rest of the bowl will also colour with use. The pipe looks really good with the new stem and band. It will fit well in my collection of unique older pieces.
Thanks for looking.ceramic17

ceramic18

ceramic19

ceramic20

ceramic21

ceramic22

ceramic23

ceramic24

Cleaning up a London Made Charleston Banker


Blog by Steve Laug

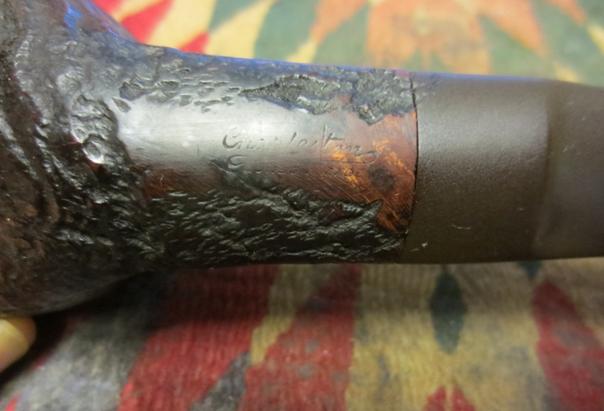
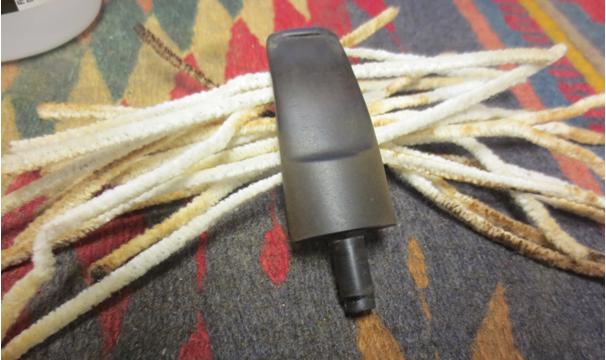
When I saw this pipe on Ebay I decided to bid on it. I had bought from this English sell a few times in the past and he generally has some great older pipes. He had listed this one as a Criterion London Made pipe. I had looked and found that Criterion was made by Comoy’s. He described it as a 1/8th bent sandblasted prince. To me it is almost a Banker shape. The bowl is quite large and the oval shank ends with a saddle bit. It is 5 inches (12.75cms) long and the bowl height is 1.5 inches (3.75cms). He described it as lightly smoked, and in very good condition and as usual his description was perfect. He said that the markings on the bottom of shank were very faint and read Criterion over London Made. When the pipe arrived I looked at the faint stamping with a lens and a bright light and it actually reads: Charleston in script over block script LONDON MADE. I had not heard of Charleston pipes before so I did a bit of research and found the brand listed in Who Made That Pipe. It was listed as being made by Sydney Charleston Ltd. London, England. The first two photos are the ones provided by the seller on Ebay.Charleston1 When the pipe arrived I took it to the work table and took a few photos of the state of the pipe before I began to work on it. It was in pretty decent shape. The finish was dirty and the rim had dirt on it. The bowl had a cake build up. The stem was oxidized with a few small tooth marks on the top and bottom of the stem near the button. The slot was virtually plugged so I could not get a pipe cleaner through it to clean the inside.Charleston2

Charleston3

Charleston4

Charleston5 I took the pipe apart and put the bowl in an alcohol bath to soften the hard cake and the stem into an Oxyclean bath to soften the oxidation on the stem. I left them to soak overnight.Charleston6 When I took the bowl out in the morning I scrubbed it with a brass bristle whitewall tire brush to clean out the grooves in the blast on the bowl and the rim. I was able to remove all of the build up and grime from the ridges and grooves.Charleston7

Charleston8 I wiped out the bowl with a cotton swab and then reamed it with a PipNet reamer to remove the cake. The bath had softened the cake so it came out very easily.Charleston9 I took the stem out of the Oxyclean bath and the oxidation had all come to the surface. It was soft and would be easier to remove.Charleston10 I used a dental pick to clean out the slot and then a pipe cleaner to make sure the edges of the Y were wide open to further clean it.Charleston11 I scrubbed down the bowl and stem with a Mr. Clean Magic Eraser and gave the bowl a light rub down with olive oil. I took the following photos. There was progress to be seen.Charleston12

Charleston13 The cleaning and oil seemed to make the stamping more legible. In the photo below you can see the Charleston with a curled line under it and the London Made stamping underneath the line.Charleston14 I cleaned out the bowl, shank and stem with pipe cleaners, cotton swabs and alcohol. It was incredibly dirty. I would need to use the retort to really clean it.Charleston15

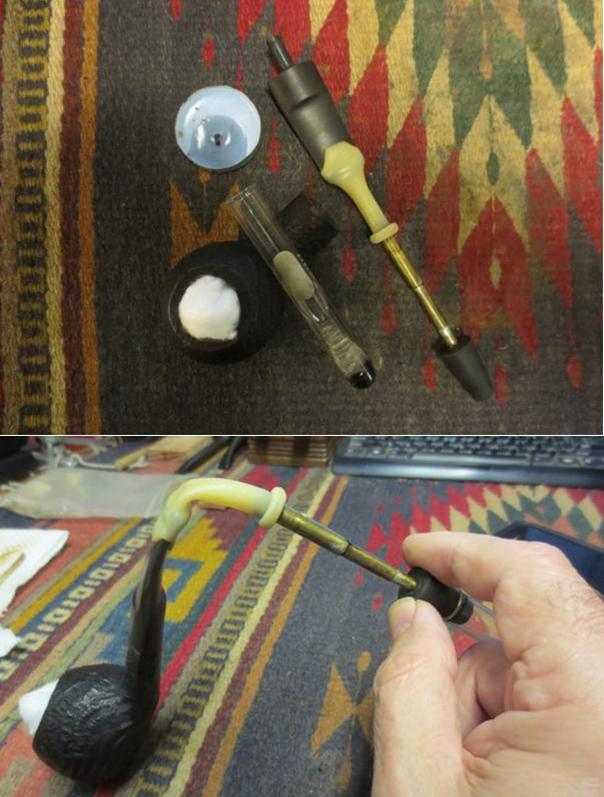
Charleston16 I sanded the stem with 220 grit sandpaper and worked out the tooth marks on the top and underside near the button.Charleston17 I set up the retort and held the tube over the flame to boil the alcohol through the stem and bowl. I ran three test tubes of alcohol through the pipe before it came out clean. The fourth bowl came through with clear.Charleston18

Charleston19 I took the cotton ball out of the bowl, wiped out the bowl with a cotton swab and ran pipe cleaners through the stem and shank to remove any moisture and final debris. The pipe smelled fresh and clean and the interior was clear.Charleston20

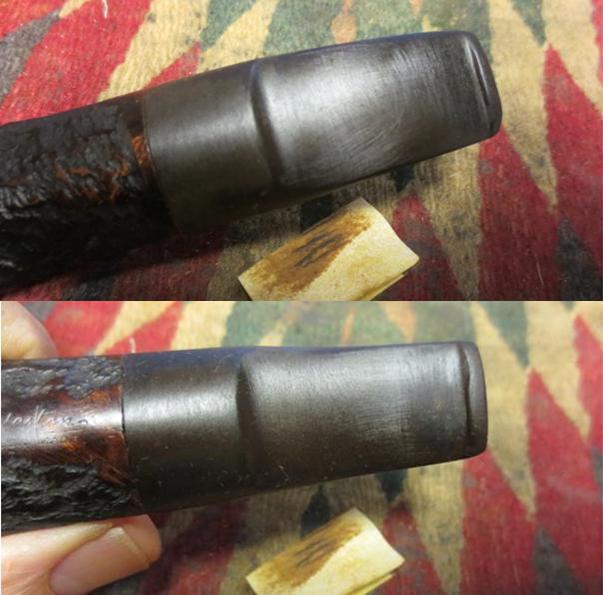
Charleston21 I worked on the stem with a medium and a fine grit sanding sponge and then wet sanded with 1500-2400 grit micromesh sanding pads. I rubbed the stem down with Obsidian Oil before dry sanding with 3200-4000 grit pads. I gave it another rub down with oil and then finished sanding with 6000-12000 grit pads. I gave it a final rub down of Obsidian Oil and let it dry.Charleston22

Charleston23 I buffed the pipe with White Diamond and Blue Diamond on the buffing wheel and then gave it multiple coats of carnauba wax. I then buffed it with a clean flannel buff and a final hand buff with a microfibre cloth. The finished pipe is shown in the photos below. It is fresh and ready to smoke. I intend to fire up a bowl today!
Thanks for looking.Charleston24

Charleston25

Charleston26

Digby 9438 Bead Repair/Refinish


By Al Jones

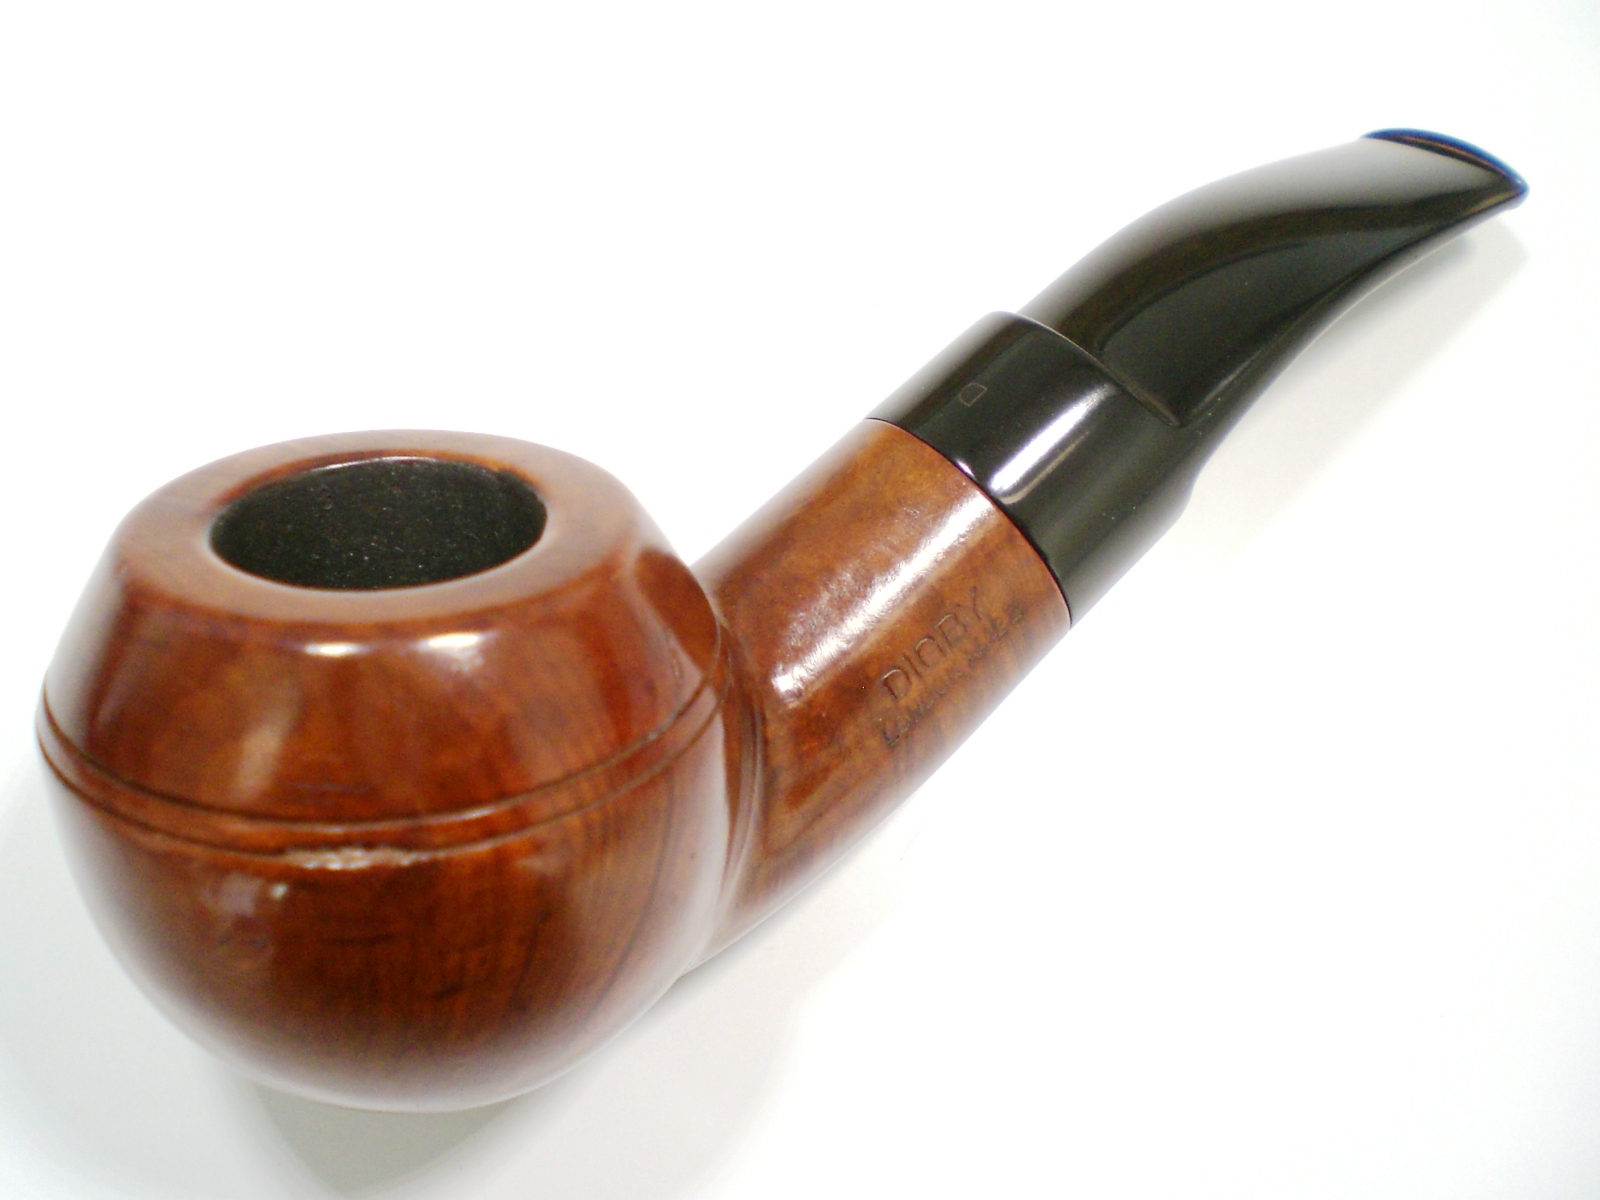
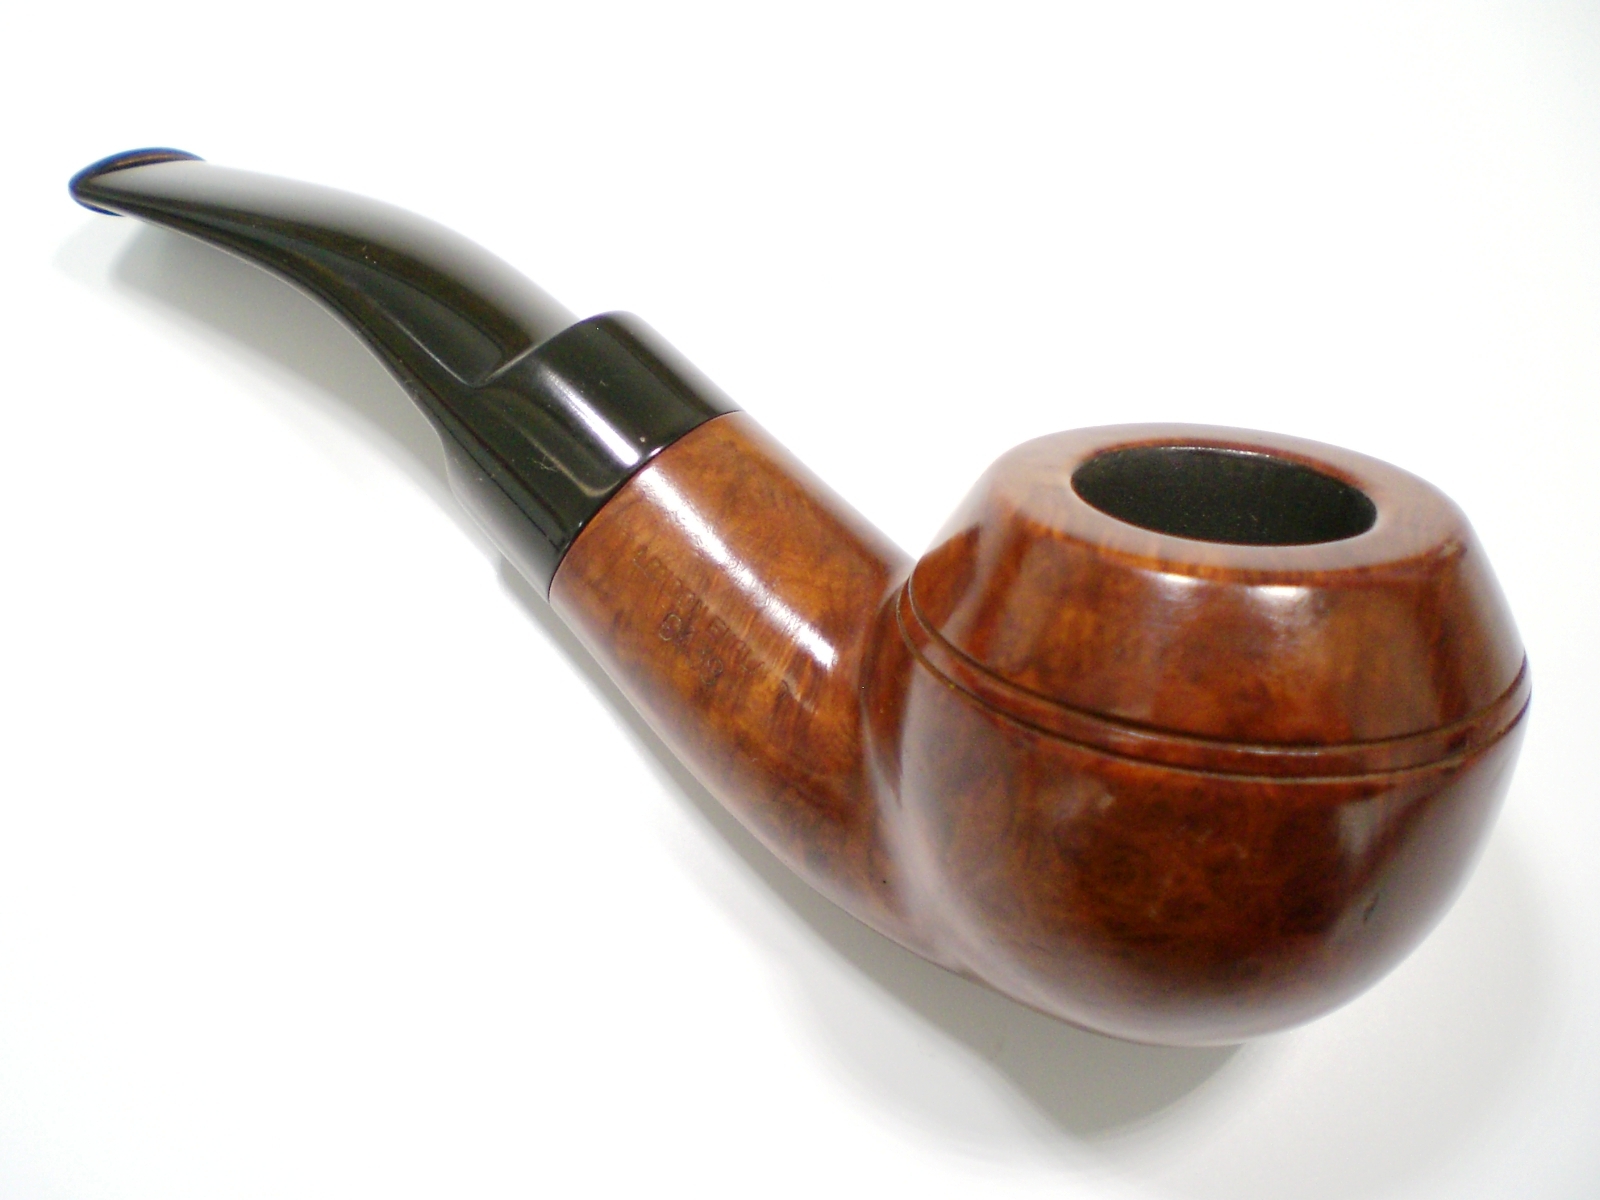
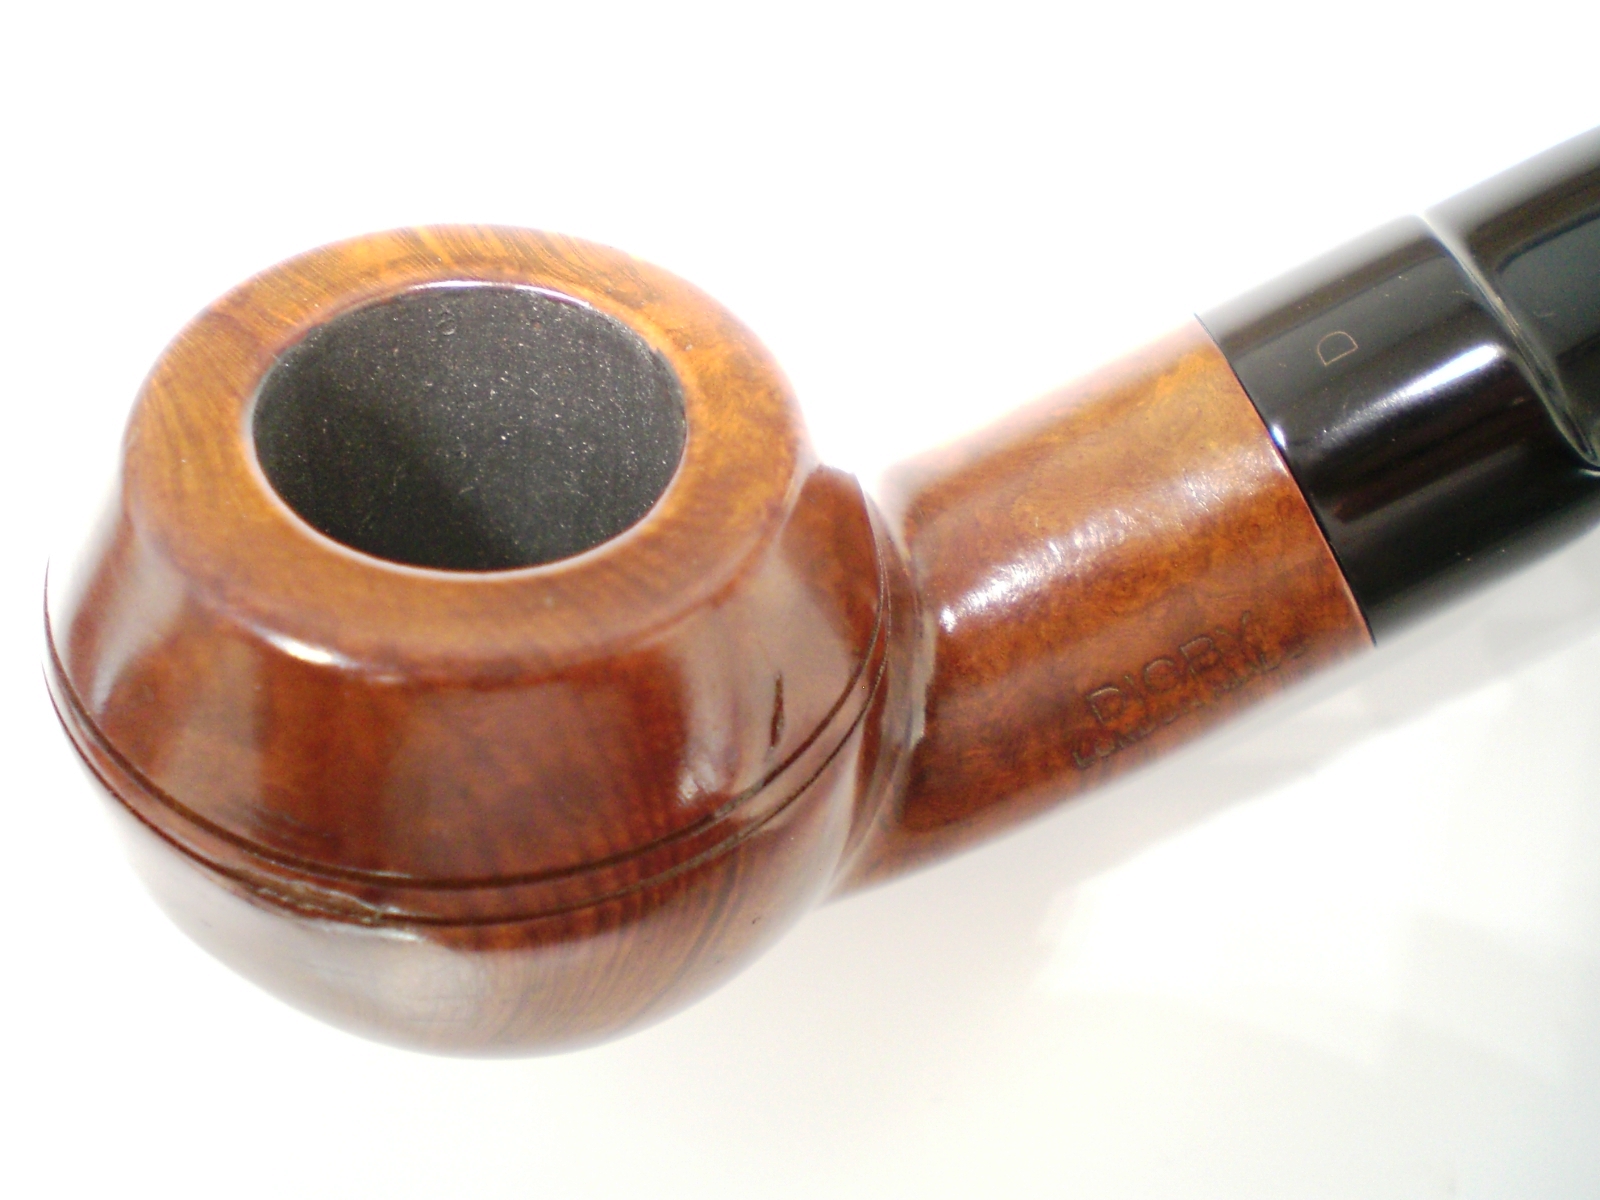
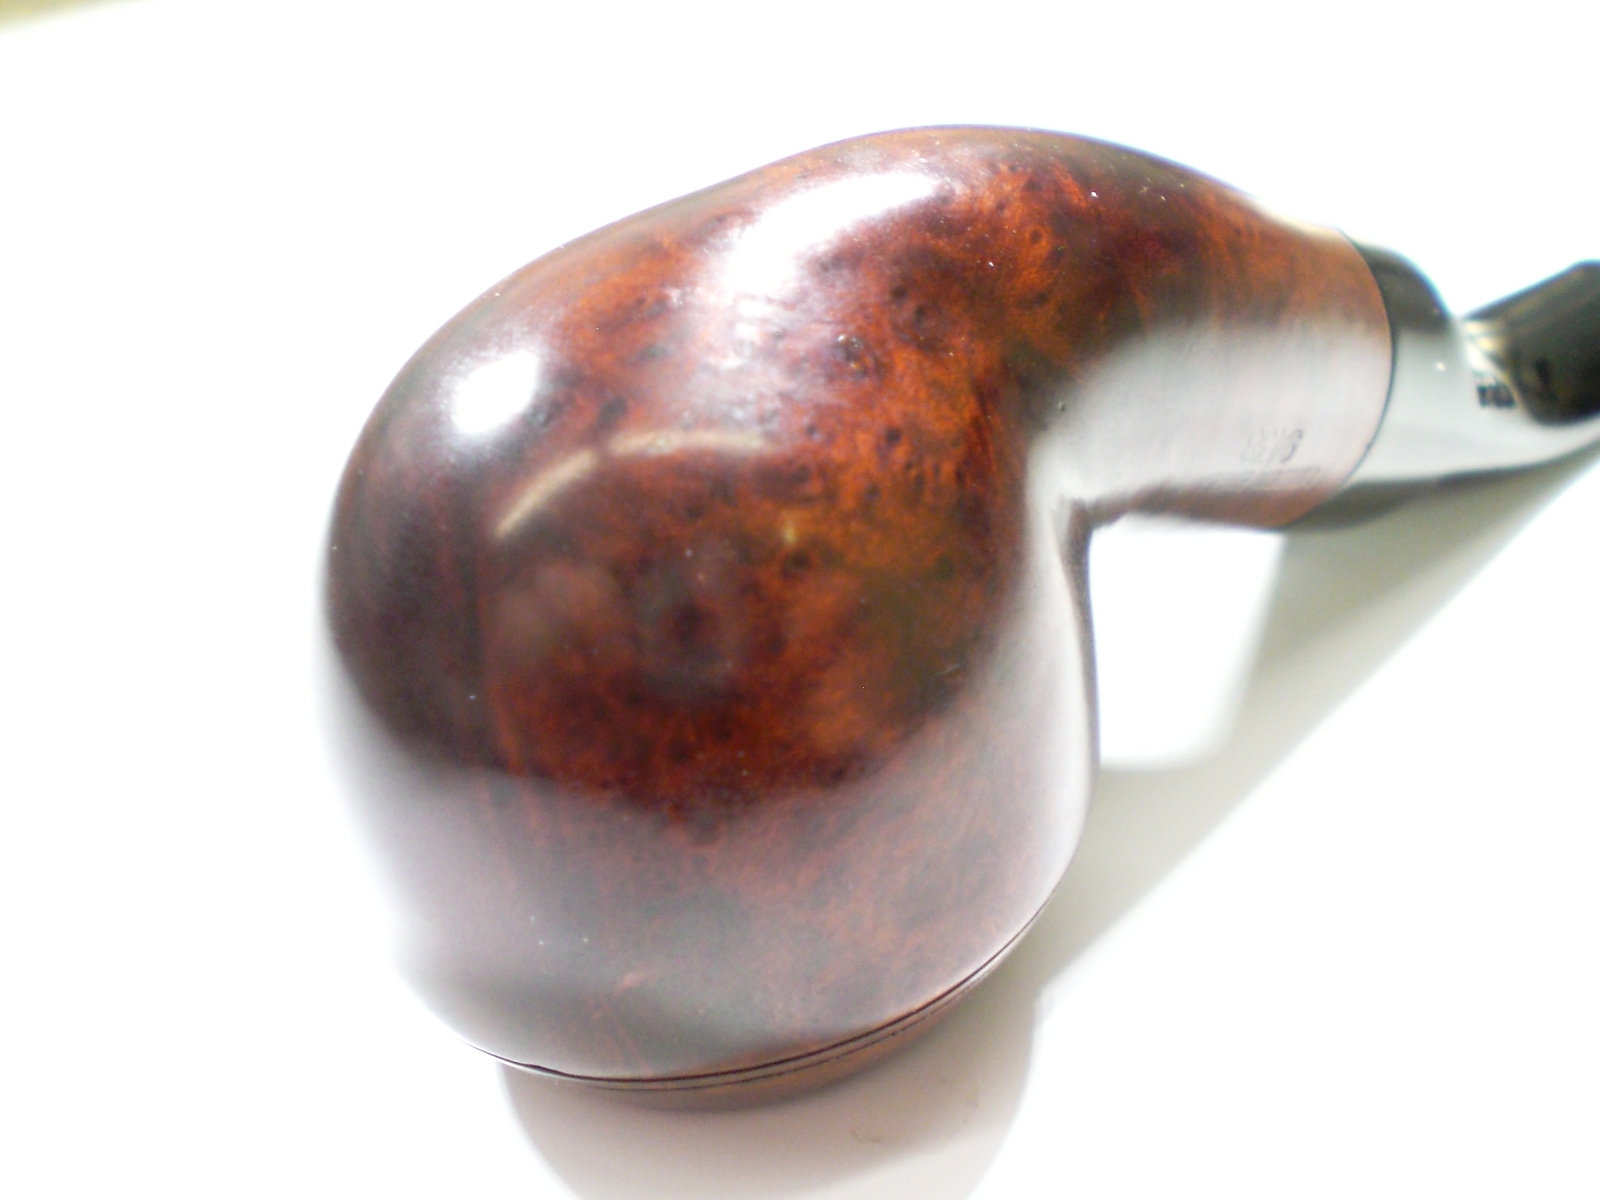
I really didn’t need another 9438 shape, but this Digby model was listed at a reasonable Buy-It-Now price eBay from seller “Shiny Pipes” and I couldn’t resist. The overall pipe was in good condition and the stem was in great condition. There were a few dings and or fill holes on the bowl and one section of the bead line had been damaged. Typically, I’m never happy with the stem finish on eBay pipes, but I didn’t need to do anything to this one.
Pipedia lists very little for the Digby line, only:

Digby pipes were made by GBD as a second line for pipes with too many flaws to carry the primary brand. They appeared, in the 1976 catalog, in either a smooth walnut finish or a dark sandblast. Digby pipes were openly sold as being made “By the Makers of the Famous GBD”.

The pipe as received. The damaged bead line is noticable.

Digby_9438 (2)

Digby_9438 (3)

Digby_9438 (4)

I’ve never tried to repair a bead line, but I’ve followed with great interest of the work by Dave Gossett, whose excellent work is detailed in this blog.

I gave the pipe a brief soak in alcohol, to remove the wax and stain. Dave has warned me that the alcohol soak has raised grain and damaged nomenclature so I only left the pipe immersed for 30 minutes.

I used clear CA glue and pressed in briar dust/shavings (created with a file from an old pipe). Dave has mentioned putting a tape-covered piece of cardboard in the bead ring, but these rings were so shallow that didn’t work. I was forced to cover both bead lines with the repair.

Digby_9438_Resto (8)

Digby_9438_Resto (9)

Digby_9438_Resto (10)

Digby_9438_Resto (11)

Digby_9438_Resto (12)

Digby_9438_Resto (13)

I used 600 and then 800 grit wet sandpaper (3M) to smooth the glue repairs.

On the bead ring, I used a sharp, think knife blade to recut the bead line. One fill was on top of the bead line, but very close. I covered the bead line with a piece of clear packing tape to keep the glue out of the lines. The bead line repair is not perfect, but a big improvement from what was received.

I used Feiblings Medium Brown stain on the bowl. The stain color blended in the fill areas nicely and gave the briar a richer look. The original stain was a little washed out and highlighted the bland grain too much.

I then buffed the pipe with White Diamond and several coats of Carnuba wax to finish the job. The stem was already in great condition, including the D stamp, which somehow survived.

Below is the finished pipe. Curiously, the tenon on this Digby is nicely funneled, a feature I’ve only seen on GBD “Hand Cut” stamped stems.

Digby_9438_Resto (1)

Digby_9438_Resto (2)

Digby_9438_Resto (3)

Digby_9438_Resto (4)

Digby_9438_Resto (5)

Digby_9438_Resto (6)

Digby_9438_Resto (7)

Digby_9438_Resto (1)