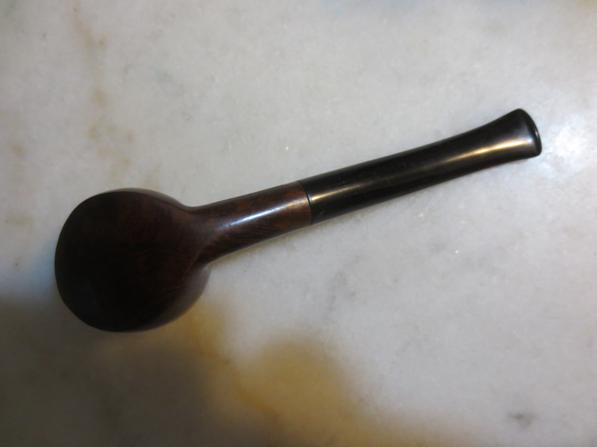
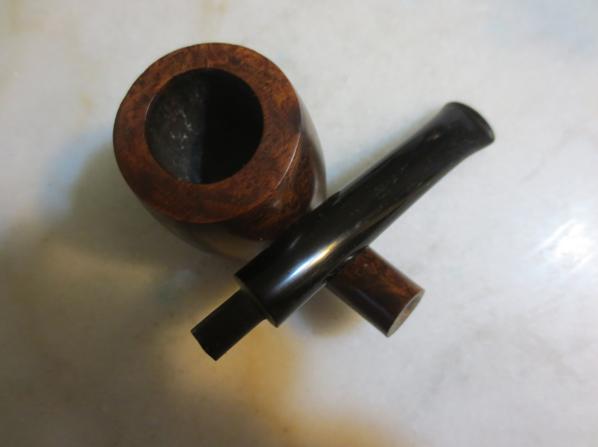
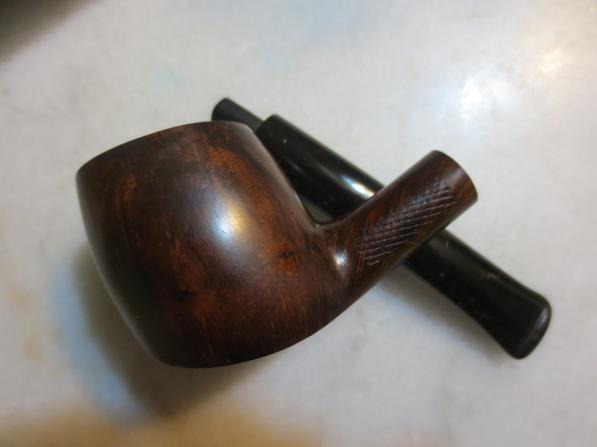
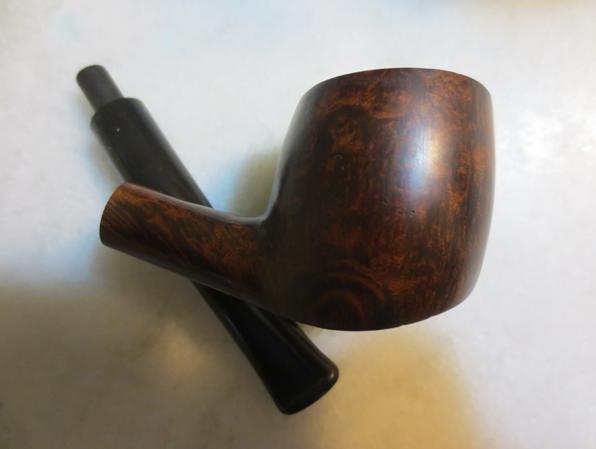
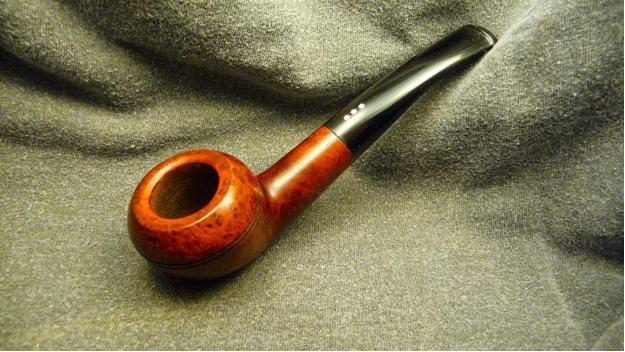
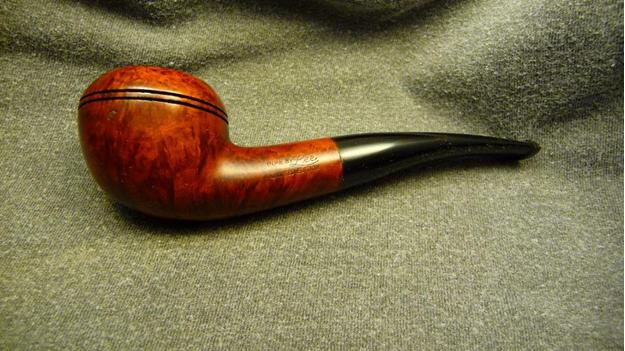
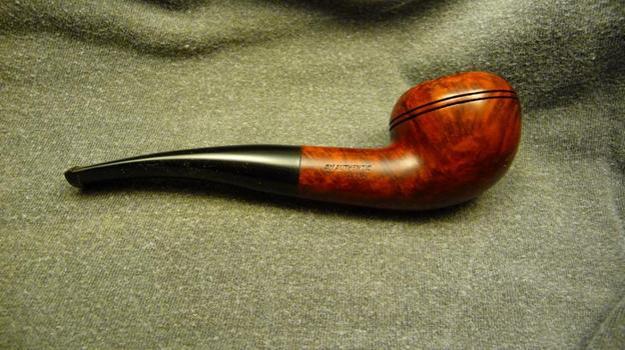
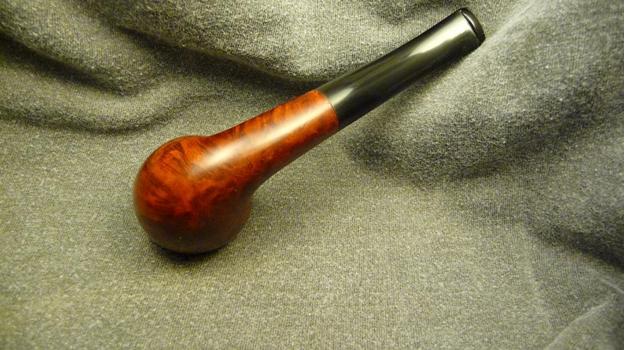
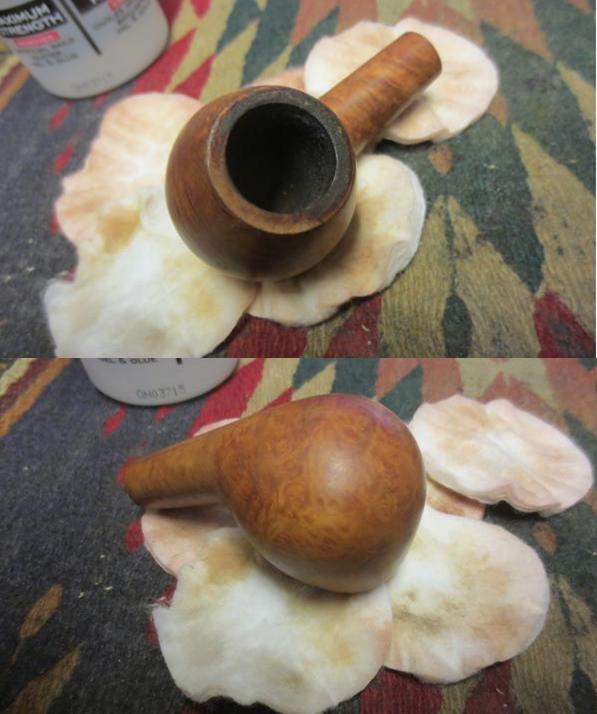
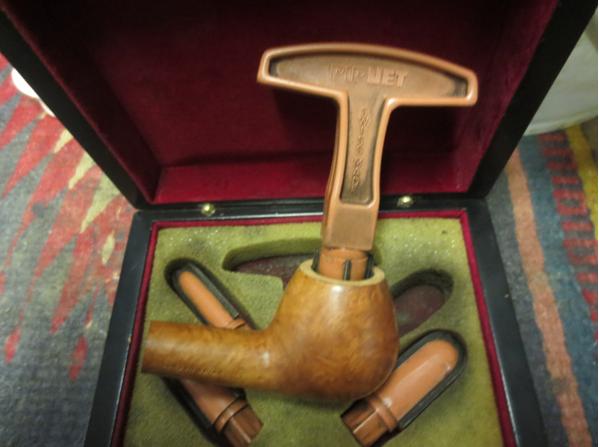
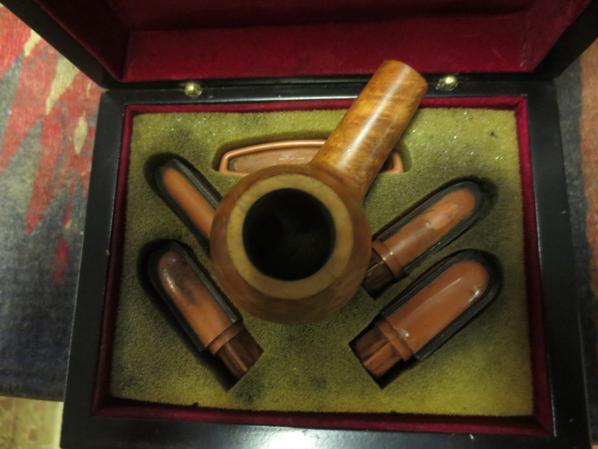
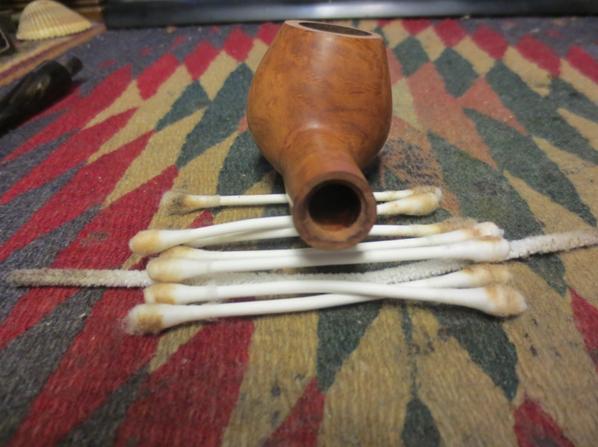
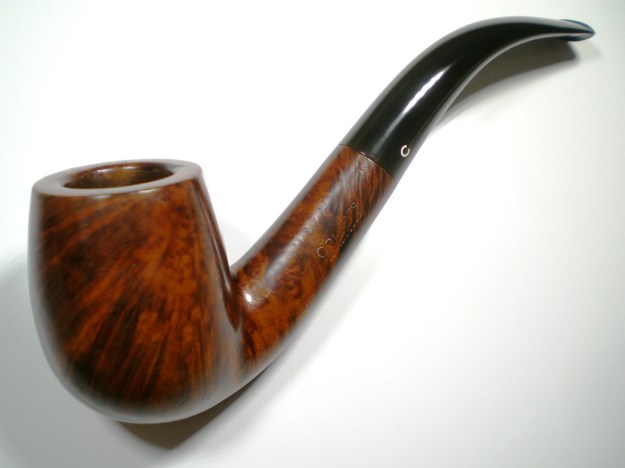
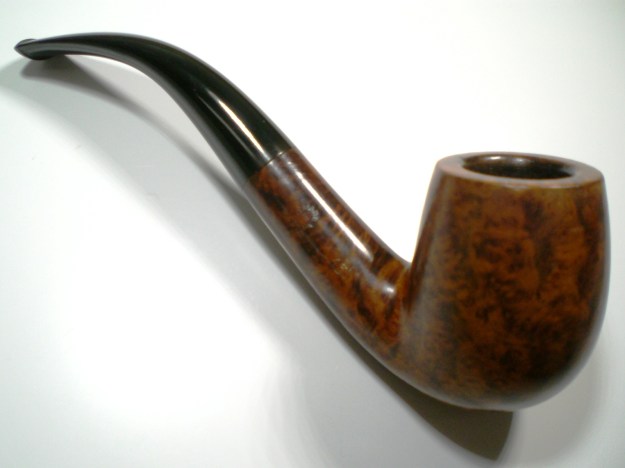
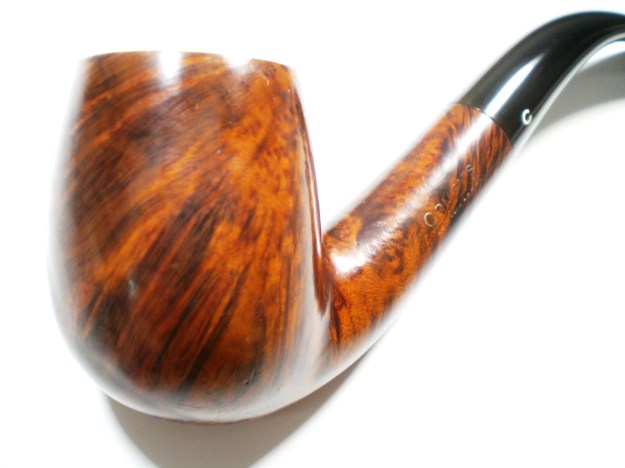
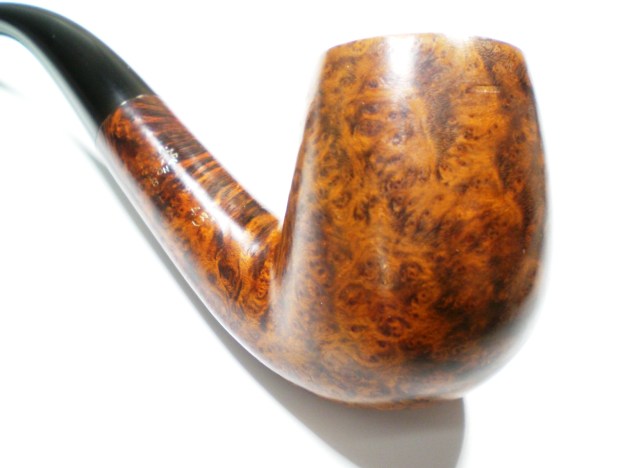
Category Archives: Pipe Refurbishing Essays

Essays and pictorial essays on the art of refurbishing

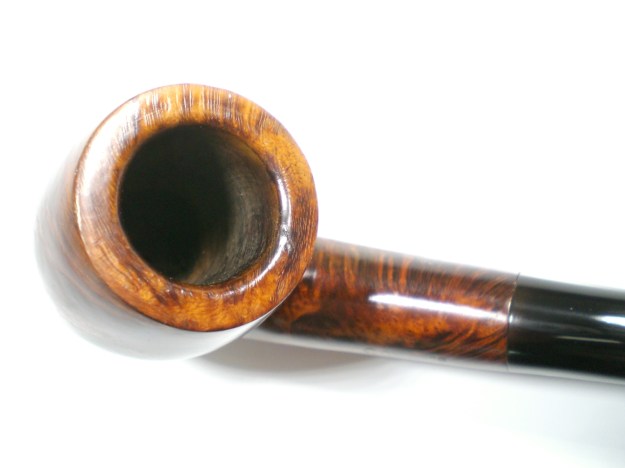
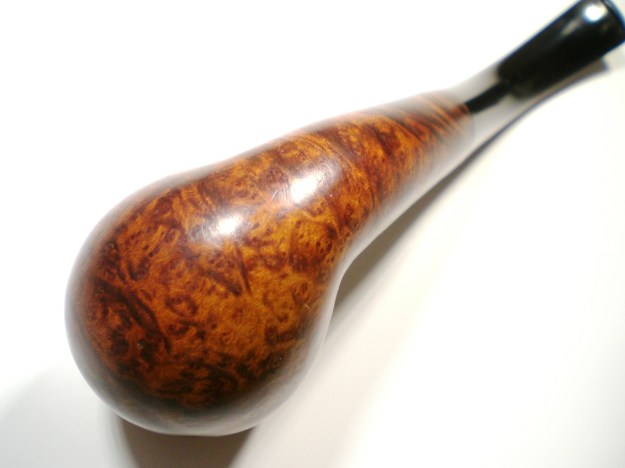
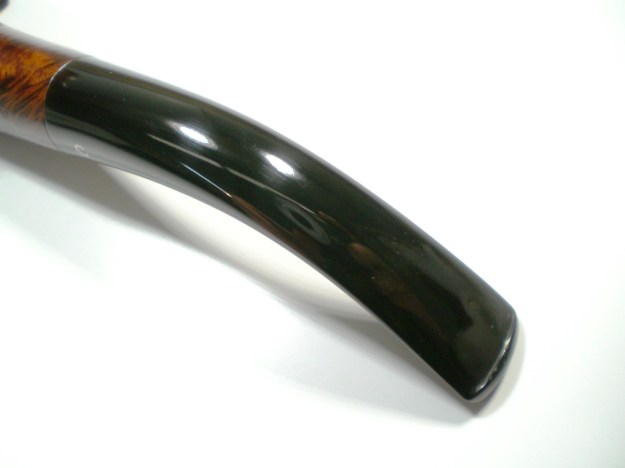
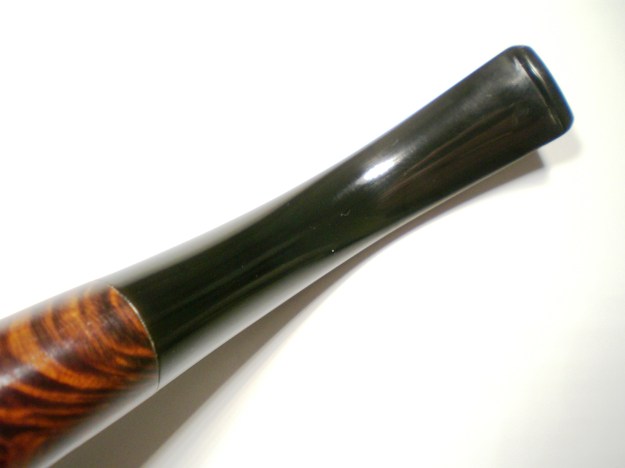
Restoring an Interesting Older XXXX’d out Sitter


Blog by Steve Laug

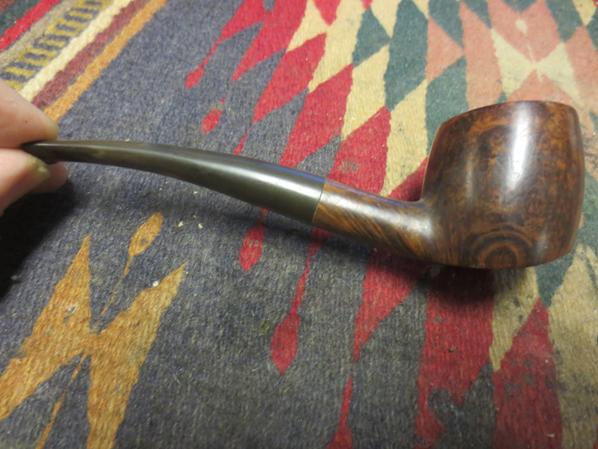
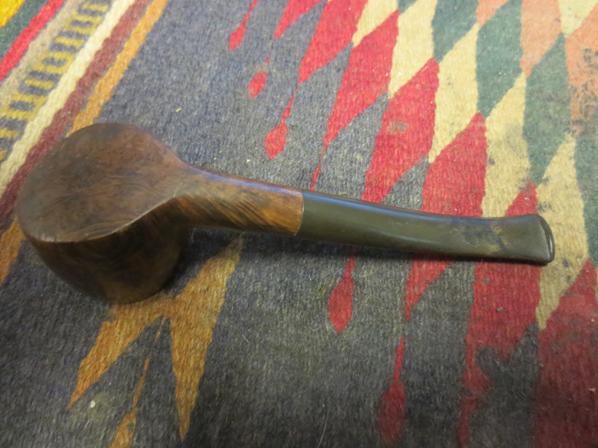
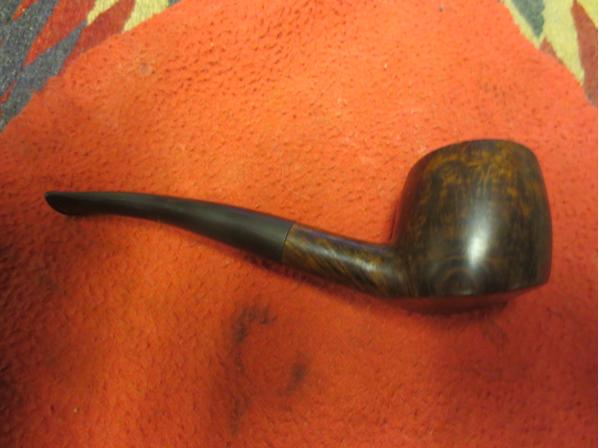
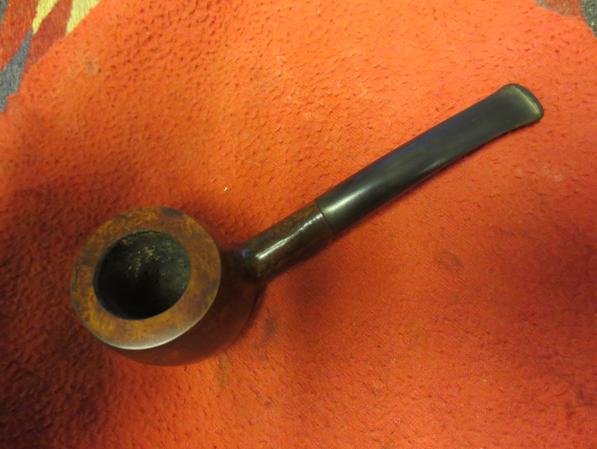
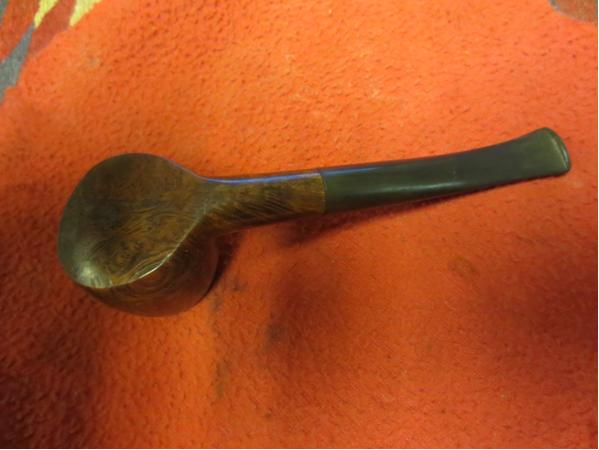
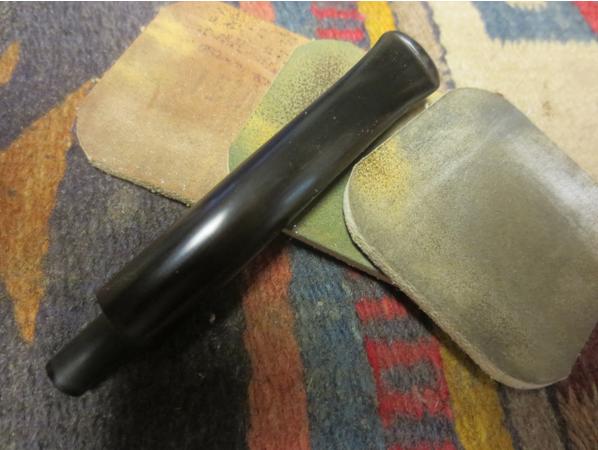
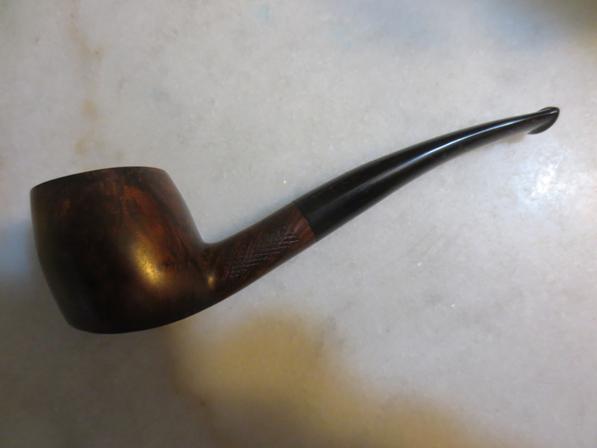
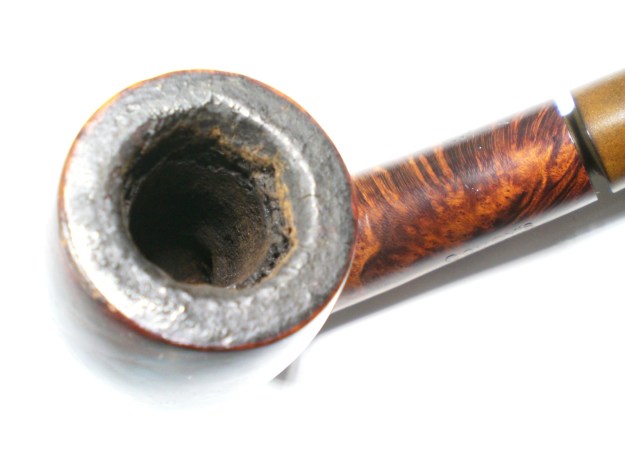
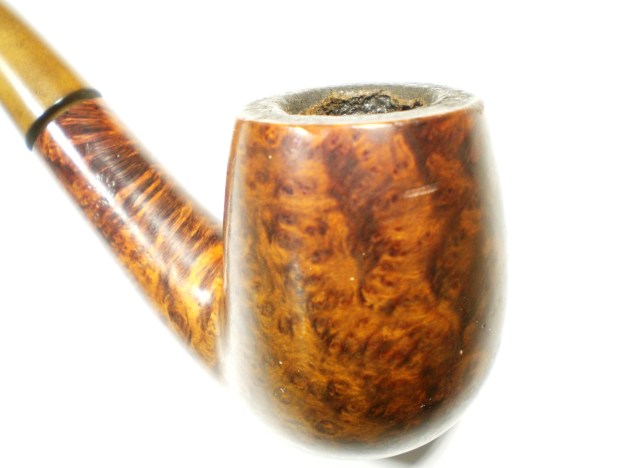
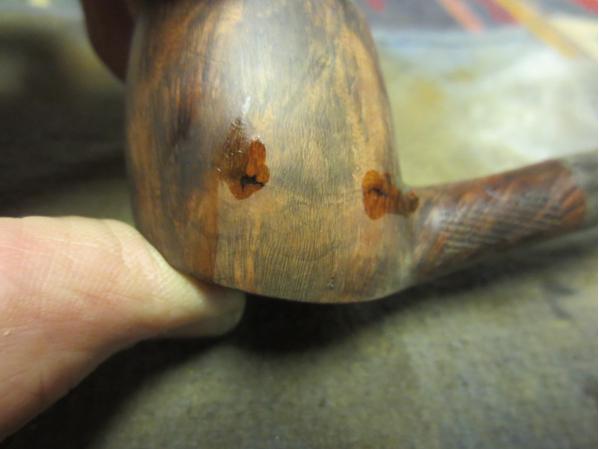
When my brother Jeff sent me the photos of this pipe I could see what had attracted him to purchasing it. The unique sitter shape with the angled bottom, the interesting grain patterns and the clean though oxidized stem all pointed to a pipe that would clean up very well. The stamping on the left side of the shank was XXXX’d out so he could not read it to see who had made the pipe. There was something about it however, that niggled at my memory and the shape had a quintessential British made pipe look. When it arrived I examined it under a bright light and was able to make out the stamping under the XXX’s. It read MAJESTIC over Danish Crown. From research on the web I found that the brand was made by Ben Wade in England.Ben1 In person the pipe was quite nice. There were scratches and nicks in the bowl that would need some work. On the left side toward the bottom of the bowl were two marks joined by a line. At first glance it looked like a crack but it was not. There were two flaws in the briar and a long horizontal scratch in the surface of the briar. Even if it had been a crack the two flaws stopped it from spreading so it was not a problem.Ben2
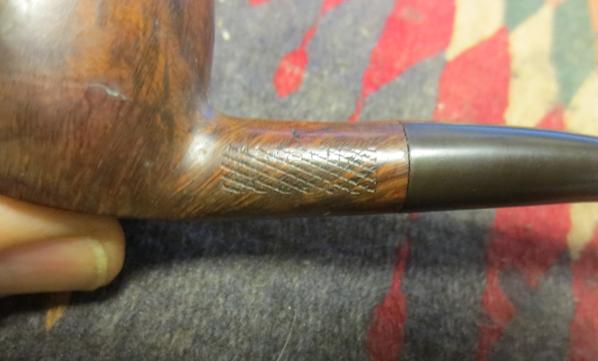
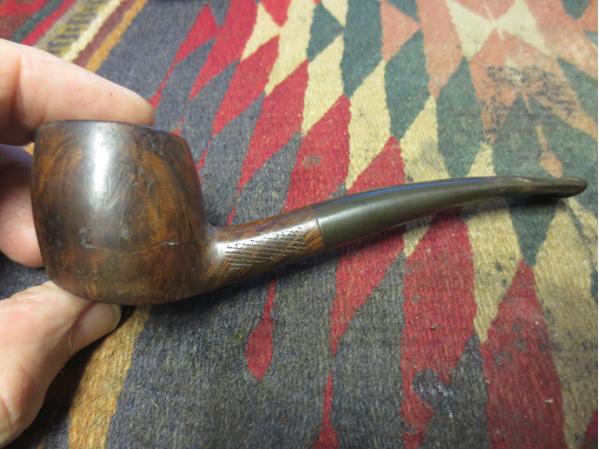
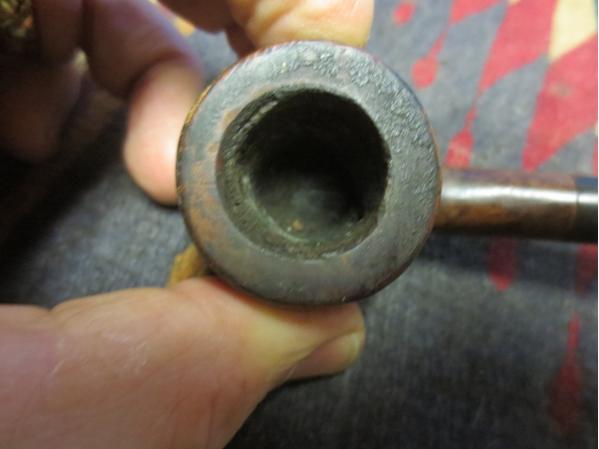
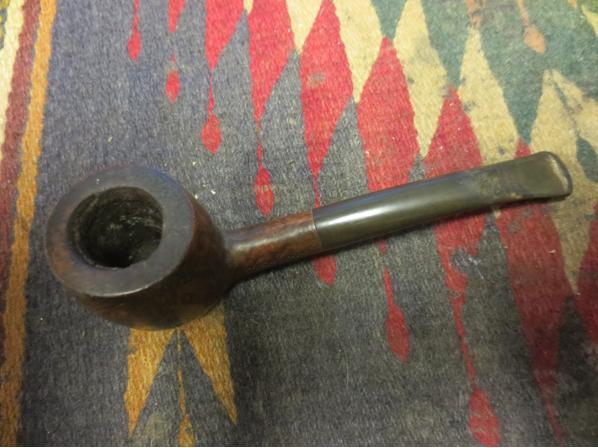
Ben3 There was beautiful grain on the sides and bottom of the bowl. The dirty rim promised some interesting grain underneath the tars and lava build up. The outer edge of the rim had damage on the front and the rear. It had been tapped out on something solid and had rounded and damaged the edge. The inner edge looked good though the crumbling cake would need to be reamed to know for sure.Ben4
Ben5

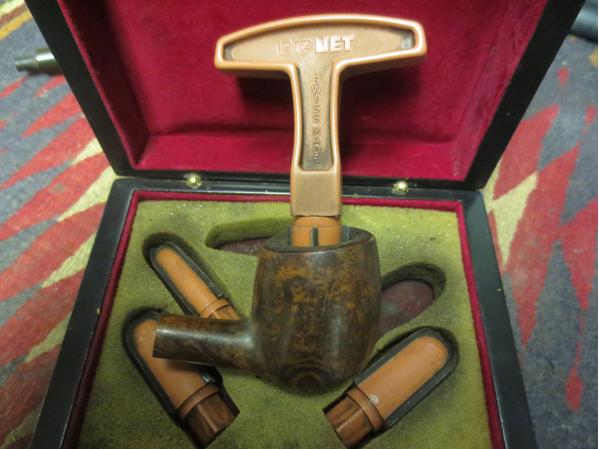
Ben6 I reamed the bowl with the PipNet reamer and completely removed the cake. I wanted to clean up the inner edge of the rim and check the bowl walls for cracks or damage. (In the top view photo you can see the rounding on the front and back outer edges of the rim.)Ben7
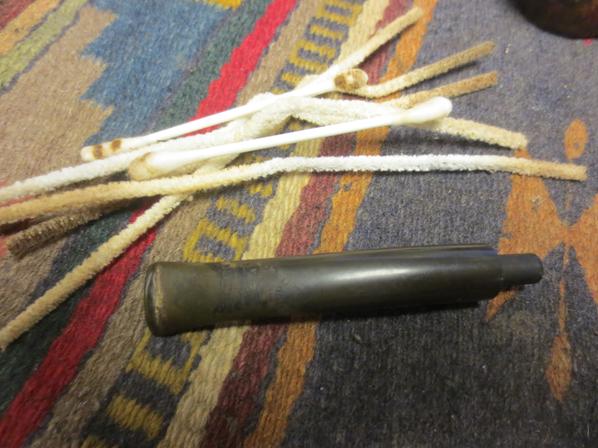
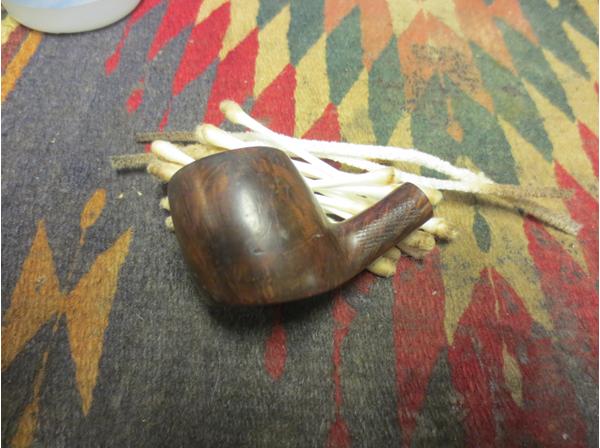
Ben8 I cleaned out the airways from button to bowl with pipe cleaners, cotton swabs and alcohol. I used a dental pick to clean out the slot.Ben9
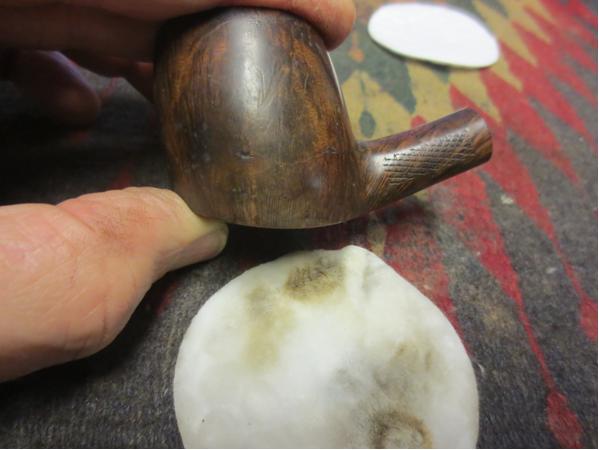
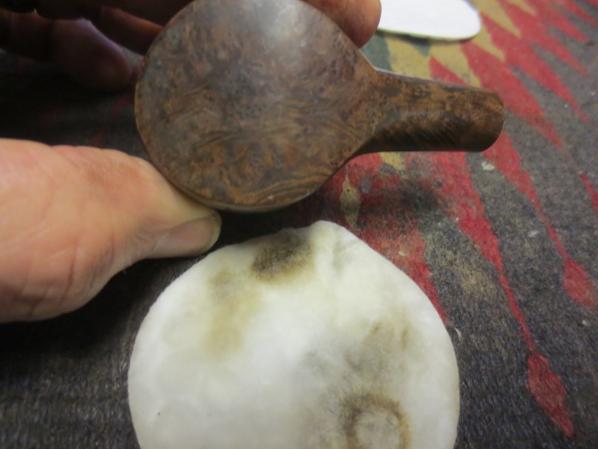
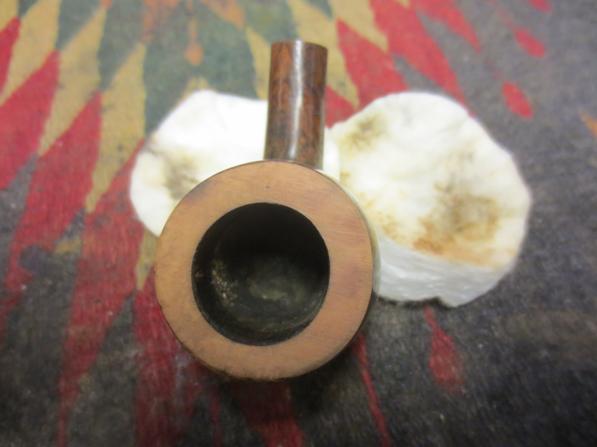
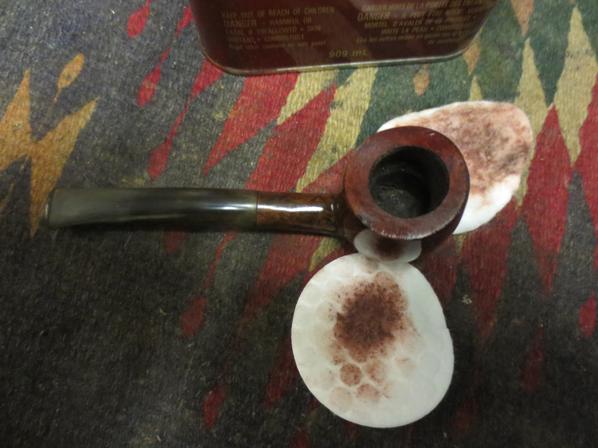
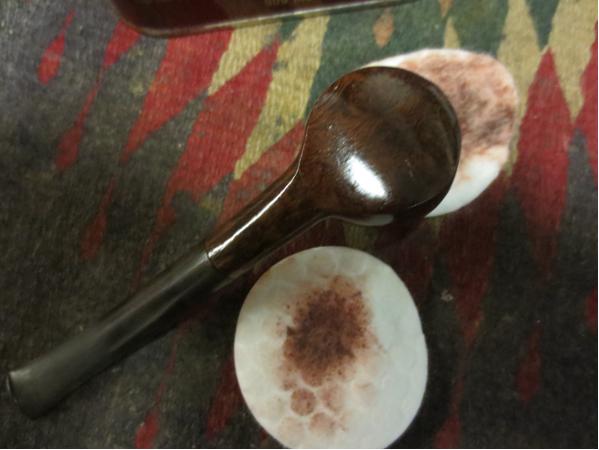
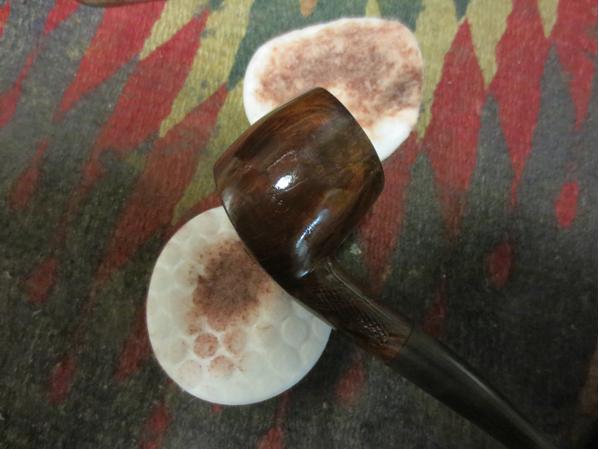
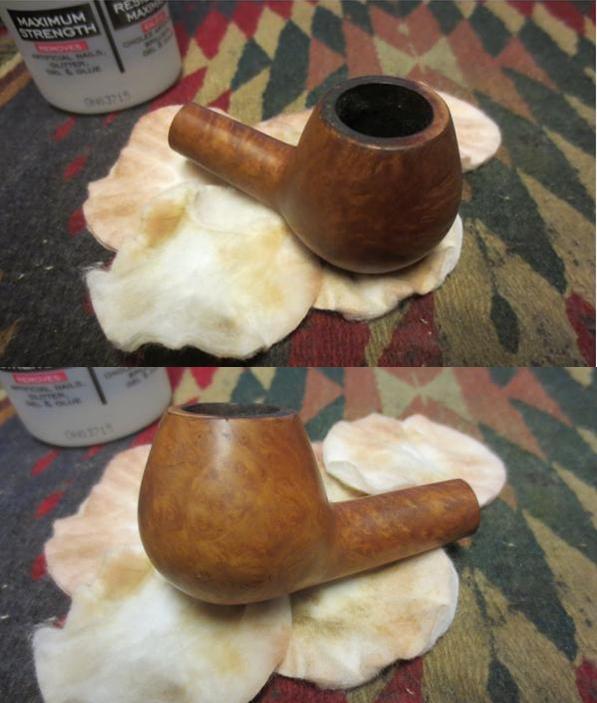
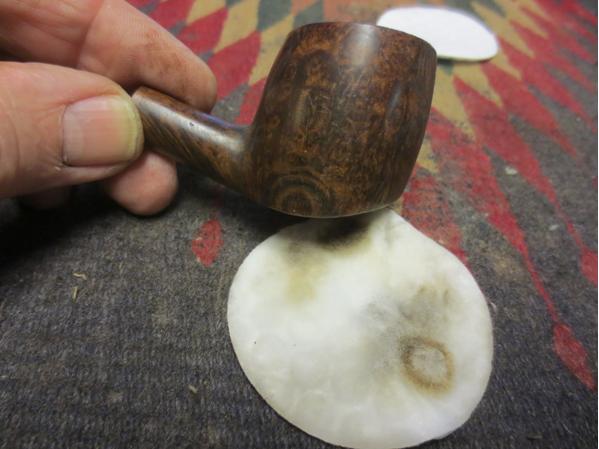
Ben10 I scrubbed the exterior of the bowl with acetone on cotton pads to remove the grime and the damaged finish.Ben11
Ben12

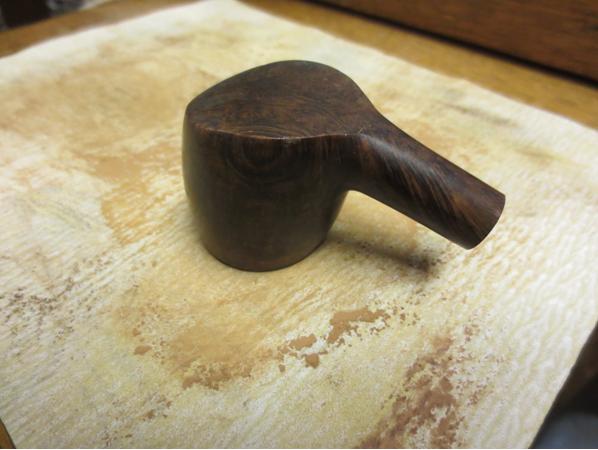
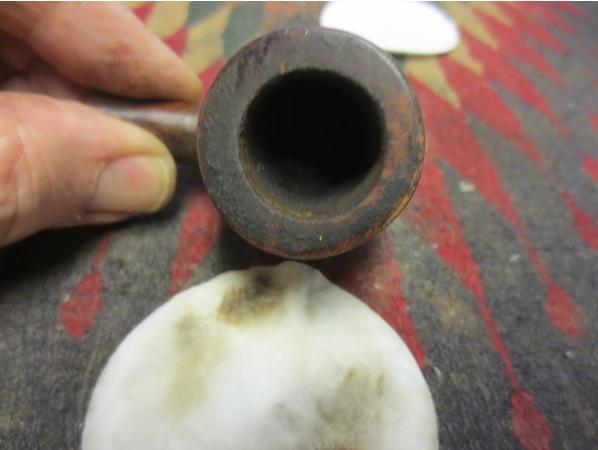
Ben13 I scrubbed the rim and then used the topping board to remove the damaged top of the rim. A light topping took the surface down and sharpened the edges on the front and back side of the bowl.Ben14
Ben15

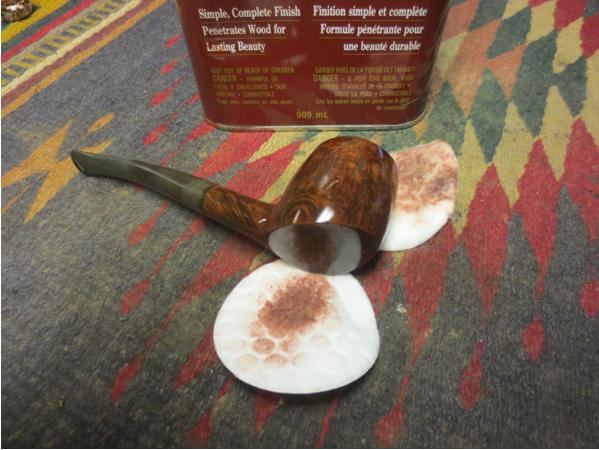
Ben16 I used the dental pick to clean up the line and the two end points that marked the bowl on the left side. I used clear super glue to fill in the flaws and the groove in the line.Ben17 I sanded the repairs to the bowl until the surface was smooth. I sanded it and the rim with micromesh sanding pads 1500-6000 grit. I used a black marker and a dark brown stain pen to prepare the bowl for staining. I decided to use a Cherry Stain and Danish Oil on the briar on this one. It would highlight the grain and make it shine.Ben18
Ben19

Ben20

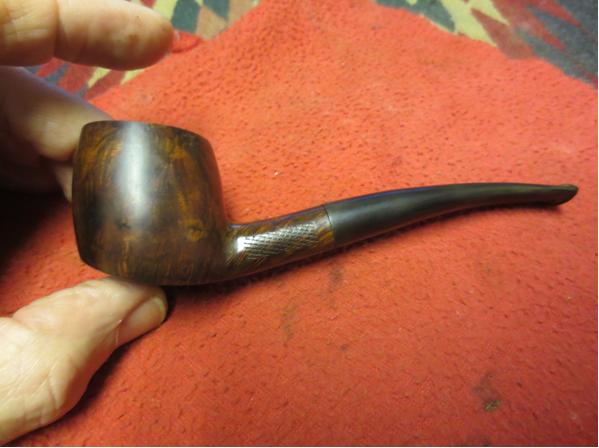
Ben21 I laid the pipe aside to dry over night. In the morning I buffed it with some Blue Diamond and then gave it a coat of carnauba wax. I buffed it with a flannel buffing pad and then took the next photos.Ben22
Ben23

Ben24

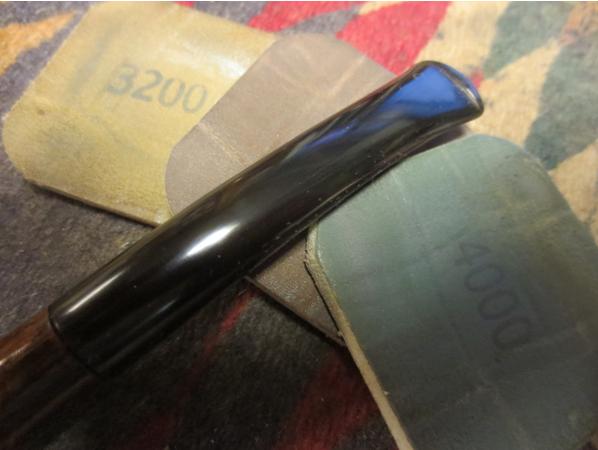
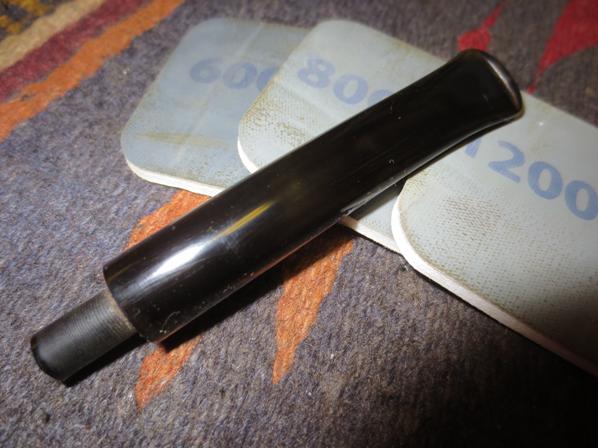
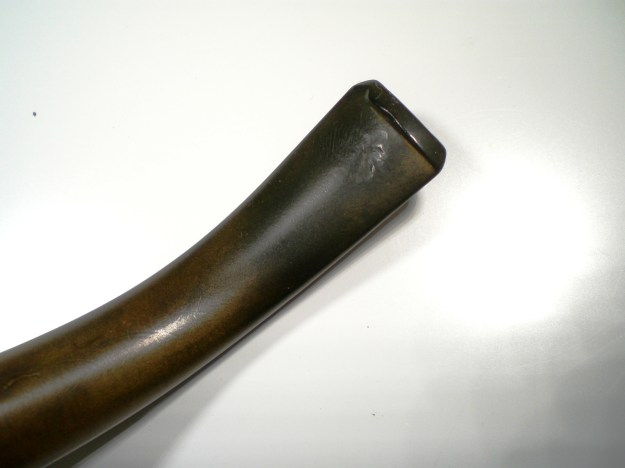
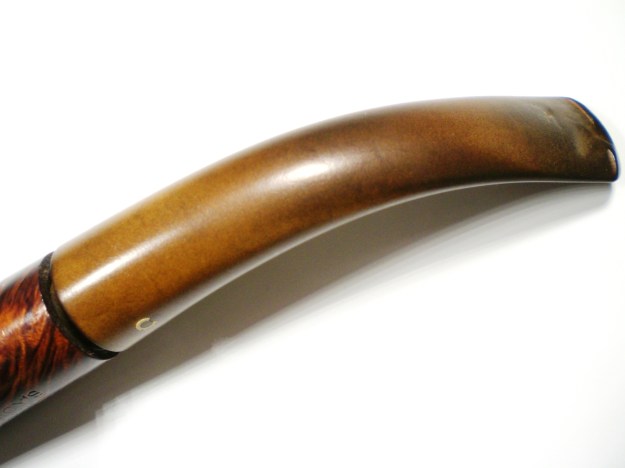
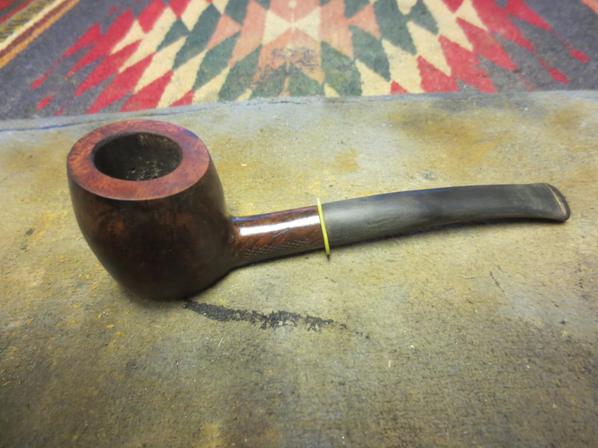
Ben25 The stem still needed attention. I sanded it with 220 grit sandpaper to remove the nicks and deep oxidation in the vulcanite. I followed that by wet sanding it with 1500-2400 grit micromesh sanding pads and rubbing it down with Obsidian Oil. I dry sanded with 3200-4000 grit pads and repeated the oil. I finished by dry sanding it with 6000-12000 grit pads and gave it a final coat of oil. I set it aside to let the oil soak into the vulcanite.Ben26
Ben27

Ben28

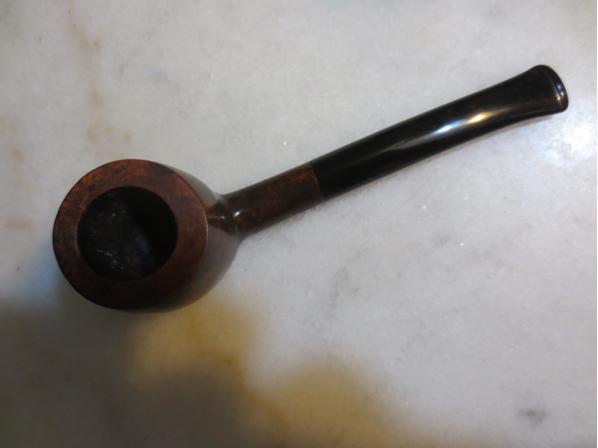
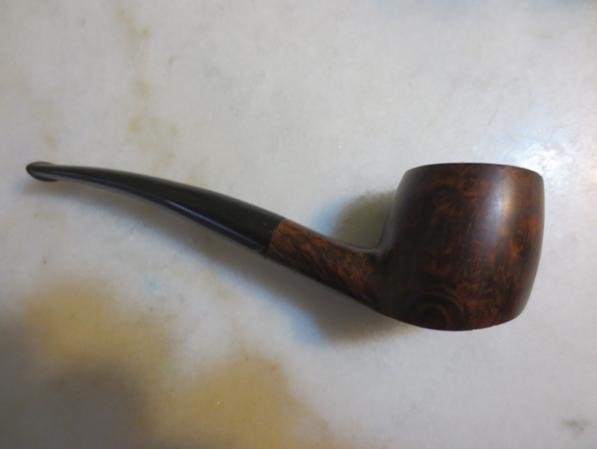
Ben29 I buffed the pipe with Blue Diamond and then gave it several coats of carnauba wax. I buffed it with a clean buffing pad and then with a microfibre cloth. The finished pipe is shown in the photos below. The unusual shape and the unique grain on the briar really stand out with the finish I chose. The slight bend to the stem gives it a jaunty look. The stem is too heavy for the bowl to sit flat on the angled base but it balances on the point.Ben30
Ben31

Ben32

Ben33

Ben34

Ben35

Ben36

Ben37 Thanks for looking.

Brebbia Clean Up


I had to share this with you all. It is one of my favourite shapes and the restoration was well done!

pipesrevival's avatarPipesRevival

Screenshot_2016-02-20-05-12-10~2~2

Happy International Pipe Smoking Day to all my friends, readers and fellow bloggers. For the day I wanted something new, well new to me . She came in on Friday just in time for a Saturday puff. The Brebbia Fat Bob is a pipe I’ve been in search of in my price range for two year’s. Now I’m unsure if that’s what I have here but if it’s not it’s a close match. The pipe itself is unmarked but the stem has the Brebbia inlay. I have seen other unmarked Brebbia’s in the past made for private B&B’s.
As Received

PhotoGrid_1455960948669

I got a little ahead of myself with this refurb and began working without stopping to take before and after photos, the photo above is from the auction. It was listed as clean and ready to smoke apparently my standard’s are a little higher than others. The pipe was badly reamed ( out…

View original post 415 more words

Easy Restoration of a 3-Star Pipes by Lee Rhodesian


Blog by Aaron Henson – 2/20/16

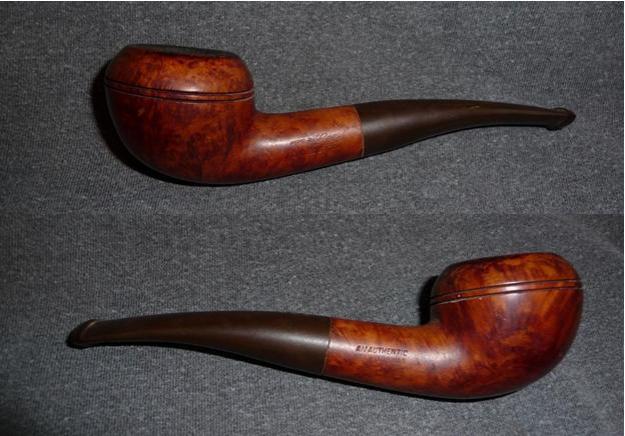
Aaron1I have found that writing up my pipe restorations is handicapped by my in-ability to remember to take pictures as I am working. On this Pipes by Lee Rhodesian I did a little better job at taking pictures. Although this was a simple restoration I thought I would take the opportunity to share my experience.
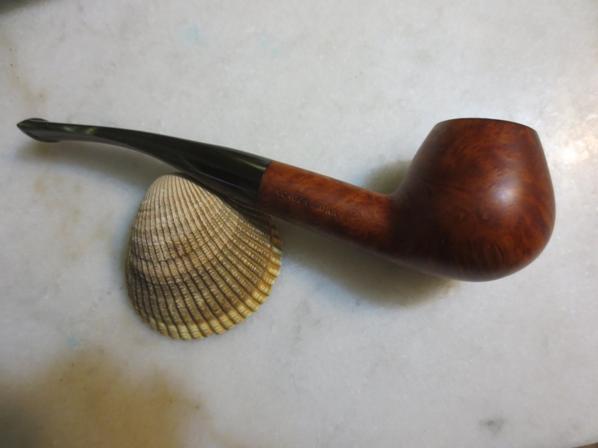
I found this 3-star Lee with two other pipes (a Mastercraft and a Grabow) in a lot at a local antique shop. I wanted to know more about the Lee brand but I found there is not much out there. But here is what I found:

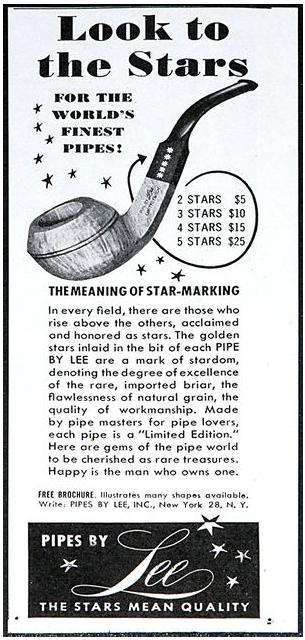
The Pipes by Lee brand was distributed by Stewart-Allen Co, Inc., NY. The pipes were graded by stars: 1 to 5 stars (5 being the high end). Early pipes have seven pointed stars; the middle run have five pointed stars and later pipes are stamped with colored gold stars. (the preceding content from the “Pipes: Logos & Markings” website and the 1947 Ad, courtesy Doug Valitchka).

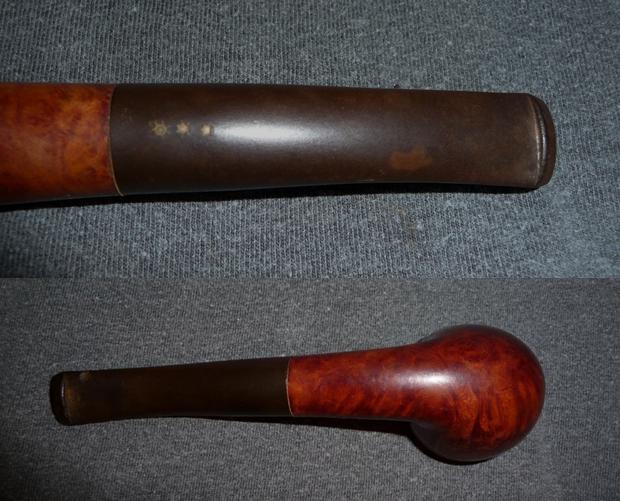
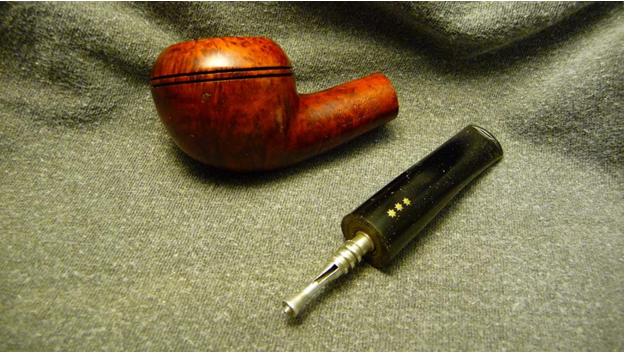
This pipe has three 7-point gold/brass stars set in a line in the top of the stem. I could not find the dates of the different runs/eras mention above but based on the ad I would have to guess my pipe dates to the late 1940’s to 1950’s.

The Pipe
The outside of the pipe was in very good condition. The briar was clean and the stem was moderately oxidized. The stamps on the shank were very clear: left side read ‘Pipe by Lee’ over ‘Limited Edition’. The right side of the shank is stamped ‘An Authentic’ over ‘Imported Briar’.Aaron2 Aaron3The stem was slightly over-clocked and the previous owner had placed a couple of sheets of paper between the stem and shank to act as a spacer. There was one divot in the bottom stem near the button but otherwise was free from tooth chatter.

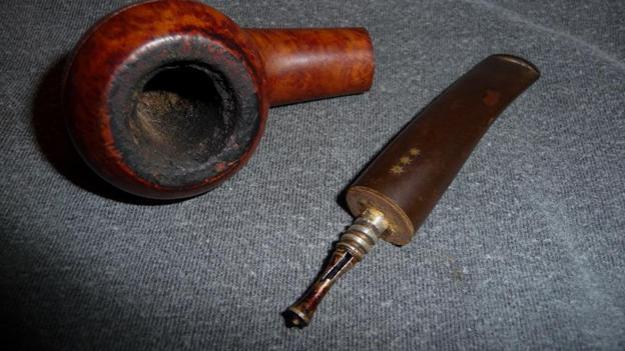
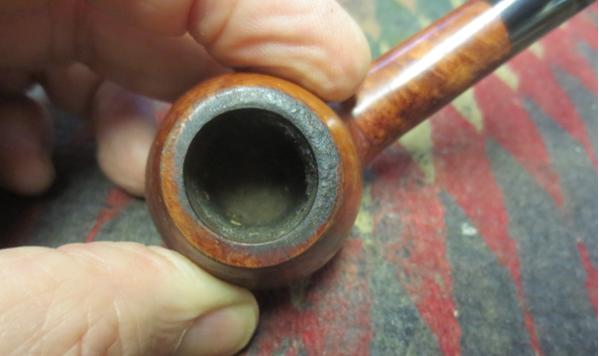
The internals were a different story; the chamber had a healthy cake buildup and good amount of tar on the rim. The shank was full of tar and the stinger was coated in dried tar. The internals of the stem itself were not as bad as the shank and I will attribute this to the removable filter/stinger. Aaron4I began the restoration by cleaning the rim. I moistened a little powdered Oxyclean and placed it on a damp green-pad. I laid the pad on a flat surface and worked the bowl much like I was topping it. I don’t have a picture of the result but this worked very well.

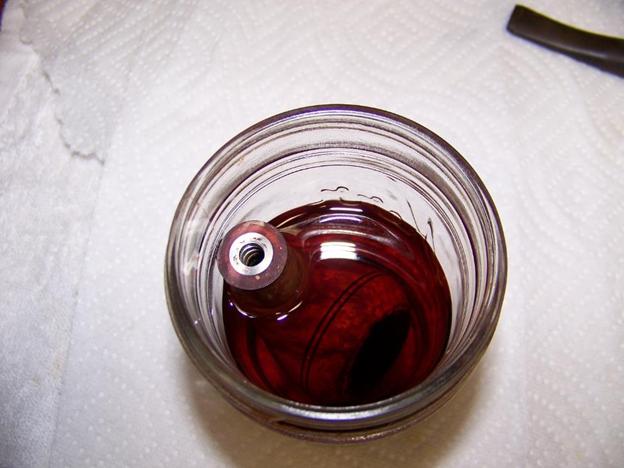
The cake was very hard and resisted my attempts with the reamer so set the bowl to soak in alcohol overnight. I also set the stem to soak in an Oxyclean bath using a pipe cleaner to hold the stinger out of the solution.Aaron5With the cake nice and soft, I reamed the bowl back to bare wood with little difficulty. An inspection of the inside of the chamber showed that the briar to be sound and without burnouts or cracks. The airway was clear and located precisely at the bottom center of the chamber. The alcohol soak also removed much of the stain and revealed three small pink fills that would have to be addressed.Aaron6I finished up the internals by cleaning the shank with cotton swabs and pipe cleaners until they came out as clean as they went in.

I neglected the pictures during this next part but in summary I used a dental pick to remove fills and packed the voids with briar dust. A dab of clear CA (cyanoacrylate) glue set the dust in place. After drying, the fills were sanded smooth. I also sanded the entire bowl (except around the stamps) with 1500-3200 micromesh pads.

Returning to the stem, I removed the aluminum ‘filter’ and cleaned it and the threads with 0000 steel wool and alcohol. Then I tried to raise the divot out of the stem with flame from a lighter. I didn’t expect to completely eliminate the divot but wanted to reduce it as much as possible before filling it. The fill was made with black CA glue and charcoal powder then sanded smooth when cured.

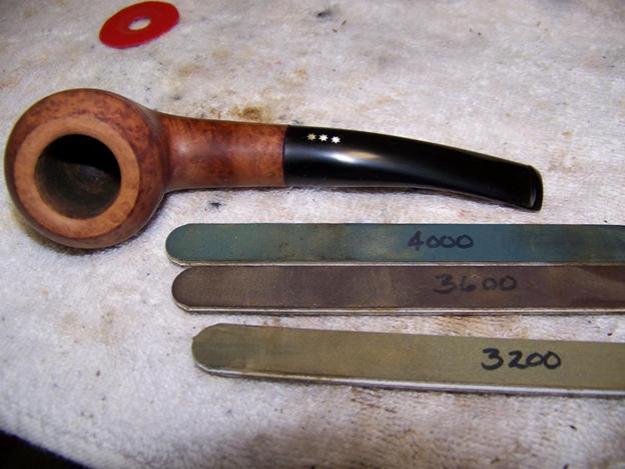
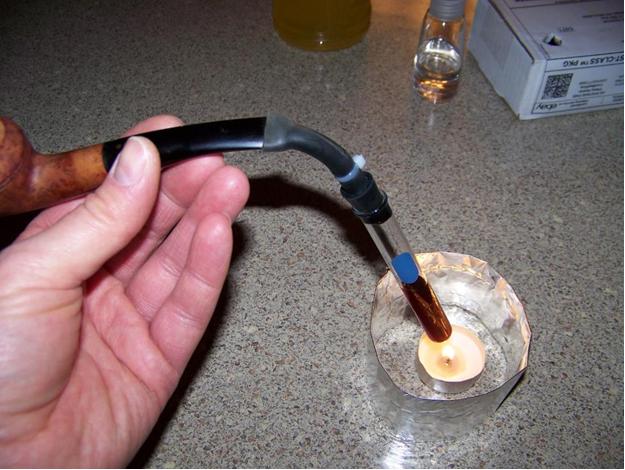
I polished the stem by wet sanding with 1500-4000 micromesh pads, rubbing down with mineral oil after each group of the three pads. A plastic washer was placed between the stem and the stummel at this stage to prevent damaging the wood and to keep from rounding the shoulder of the stem.Aaron7 Aaron8At this point I set up the alcohol retort. It took three test tubes until the alcohol was clean; note that I left the filter off during the retort. I won’t describe the retort process because that can be found in other posts but I do want to comment on one point. I have found that heating the alcohol often time lead to an explosive boiling – not a very controlled process. The smooth surface of the test tube and purity of the alcohol does not provide a surface for bubble to form on. However, if I add a small foreign object to the bottom of the tube the boil is much more controlled. I small piece of cake or charred candle wick gives the bubbles a place to form and eliminate the possibility of super-heating the alcohol.Aaron9Now that the pipe was cleaned and sanitized I finished the stummel by applying two coats of Feibing’s light brown aniline stain. I flamed the stain to set it and then wiped off the excess with a cotton pad and alcohol. While reassembling the pipe I heated the threaded tenon and re-align the stem. Then I coated the entire pipe with mineral oil and set it aside to soak in before applying three coats of carnauba wax.

Thanks for reading and please let me know what you think.Aaron10 Aaron11 Aaron12 Aaron13 Aaron14 Aaron15

Didn’t Break a Sweat Cleaning this London Briar Brandy


Blog by Steve Laug

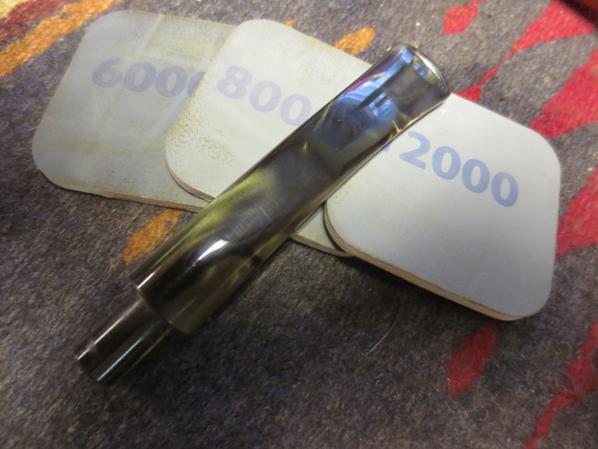
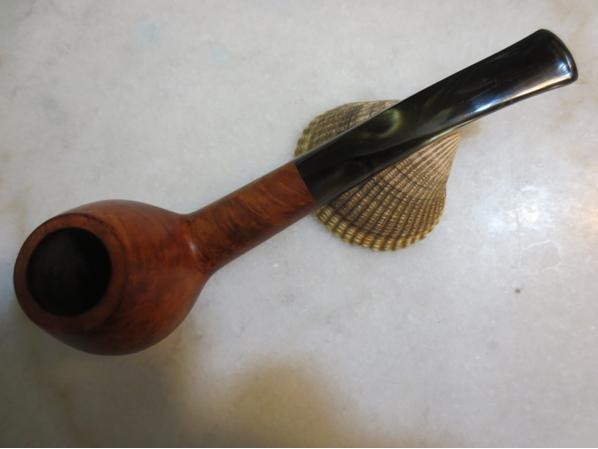
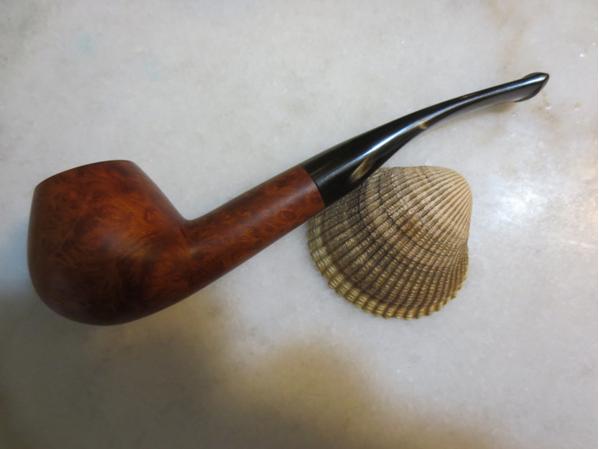
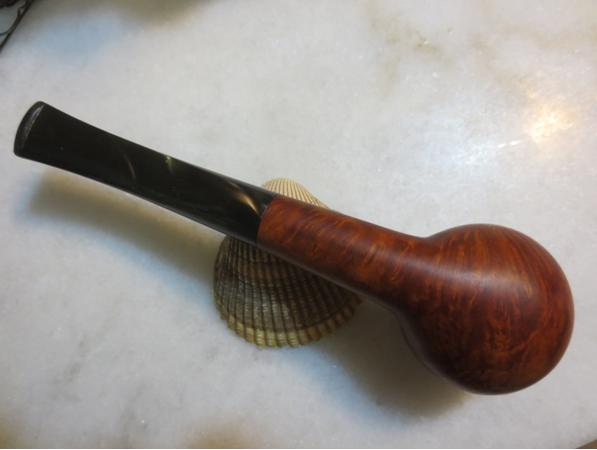
My brother sent me this nice brandy shaped pipe. It has a Lucite stem that is a swirled black and olive or brown depending on the light. The bowl was in good shape with a light cake and some rim lava. There was a scratch on the left top of the rim top. The finish had a coat of varnish over the briar and it was cloudy and dirty. The stem had some tooth chatter and was dull. Otherwise the pipe was in very good shape. The only stamping on it is LONDON BRIAR on the right side of the shank.

I had not seen the stamping London Briars before so I did some hunting on the web for the brand and found that the brand was made by/for Gauntleys of Nottingham. They sold new for £31.95 Here is the link to their site: https://cigars.gauntleys.com/uk/offer/gauntleys-london-briar-pipes

I quote directly from the site:
Gauntleys London Briar Pipes – Our London Briar pipes have become very popular since we introduced them just a few months ago. Each is made from selected second briar blocks from one of the country’s largest and most respected pipe makers.

If the briar was flawless these pipes would sell for over £250. These are from briar with small flaws in the grain or needing small amounts of filler so are great value. The briar is some of the finest in the world and can be up to 80 years old.

Each pipe is hand made in a range of classic English shapes and comes in a number of finishes from Smooth Brown to Black (Shell Briar) Sandblasted.

If you are looking for a first pipe or something to use around the house or garden the Gauntleys London Briars are very affordable and smoke like an entry level premium briar. Each pipe comes boxed with a silk bag.

Here is the state of the pipe when I brought it to the worktable today. There is not a fill or a flaw that I can find in the briar. It is a light weight and clean pipe.Gaunt1 I took a close up photo of the rim top to show the build up and scratches.Gaunt2 I scrubbed the bowl with acetone on cotton pads to remove the varnish coat. There was some nice grain under the varnish coat.Gaunt3

Gaunt4 I lightly topped the bowl to remove the scratches and the lava.Gaunt5 The cake was uneven so I reamed it back to the briar to facilitate the building of an even cake.Gaunt6

Gaunt7 I cleaned out the shank, mortise and airway with alcohol, pipe cleaners and cotton swabs until the pipe cleaners and cotton swabs came out clean. I scrubbed out the airway and the slot in the stem at the same time.Gaunt8

Gaunt9 I used a light brown stain pen to stain the rim to match the bowl.Gaunt10 I sanded the stem with 1500-2400 grit micromesh sanding pads and then wiped it down. I continued to sand it with 3200-12000 grit micromesh to polish it.Gaunt11

Gaunt12

Gaunt13 I buffed the pipe and stem with Blue Diamond on the wheel and then gave them multiple coats of carnauba wax. I buffed it with a clean flannel buff and then hand buffed it with a microfiber cloth. The finished pipe is shown in the photos below.Gaunt14

Gaunt15

Gaunt16

Gaunt17

Gaunt18

Gaunt19

Gaunt20

Gaunt21

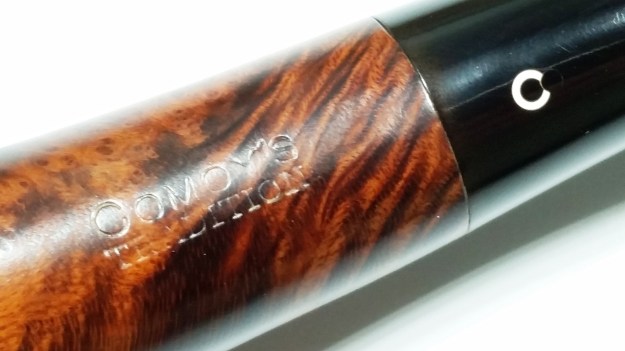
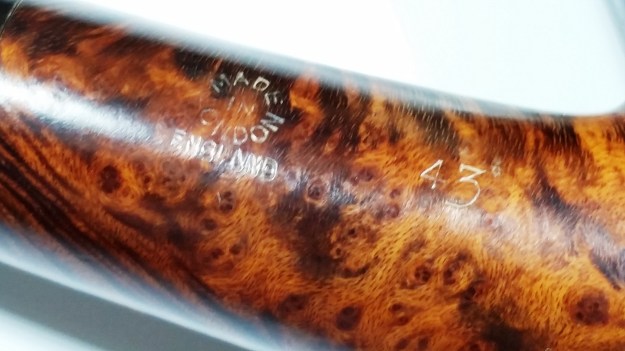
Comoy’s Shape 43 Tradition Restoration


Blog entry by Al Jones

I can’t resist pre-Cadogan, Comoys Tradition grade pipes. They are readily available and decent examples needing restoration don’t sell for exorbitant prices. This Shape 43, Large Bent Billiard was well loved, but showed promise. I’ve worked on a few Shape 42 Medium Bent Billiards, but this is the first Shape 43 that I’ve encountered. Curiously, this shape is not on any of the on-line Comoy’s shape charts (pipepages, etc.). It is on the shape number list on the Pipepedia site.

The stem was heavily oxidized, but the drilled, 3 piece “C” logo was readily identifiable. The stem had some teeth marks on both sides of the stem and some small sections of button were worn. Tars in the shank kept the stem from being inserted all the way. The bowl had a heavy layer of tar on top.

“Before” Pictures

Comoys_43_Tradition_Before (1)

Comoys_43_Tradition_Before (3)

Comoys_43_Tradition_Before (5)

Comoys_43_Tradition_Before (4)

Comoys_43_Tradition_Before (6)

Comoys_43_Tradition_Before (2)

I used some 800 grit wet paper to carefuly remove the thickest coating of tars from the bowl top. Then, 1000 grit and finally a wet cloth with oxy-clean water. The tars came off completely and showed no scorched briar. The Comoys trade-mark beveled bowl top was worn but intact. There was one dent in the bowl top and one small crease on the front of the bowl. Using an iron set on “High” and a wet cloth, I was able to steam most of the bowl top dent out and raise the crease as well.

The bowl was soaked with isopropyl alcohol and sea salt. After the soak, I used a series of bristle brushes and alcohol to clean the interior of the shank.

The stem was soaked for several hours in a mild Oxy-Clean solution. I use a lighter to lift out the dents on the top and bottom of the stem. There was one tooth prick that was repaired with Black Superglue. I used the Black Superglue to rebuild the worn sections of the button. I blended the button in using 800 grit paper. The oxidation was removed starting with 800 grit paper, then 1500 and 1000 grades. This was followed with 8000 and 12000 grade micromesh. The stem was then buffed with White Diamond rouge and auto plastic polish. I’m very pleased with the condition of the stem.

The bowl was buffed lightly with White Diamond and several coats of Carnuba Wax. The excellent nomenclature was buffed by hand.

Below is the finished pipe.

Comoys_43_Tradition_Finish (1)

Comoys_43_Tradition_Finish (4)

Comoys_43_Tradition_Finish (2)

Comoys_43_Tradition_Finish (5)

Comoys_43_Tradition_Finish (6)

Comoys_43_Tradition_Finish (8)

Comoys_43_Tradition_Finish (3)

Comoys_43_Tradition_Finish (7)

?

?

?

?

Comoys_43_Tradition_Finish (1)

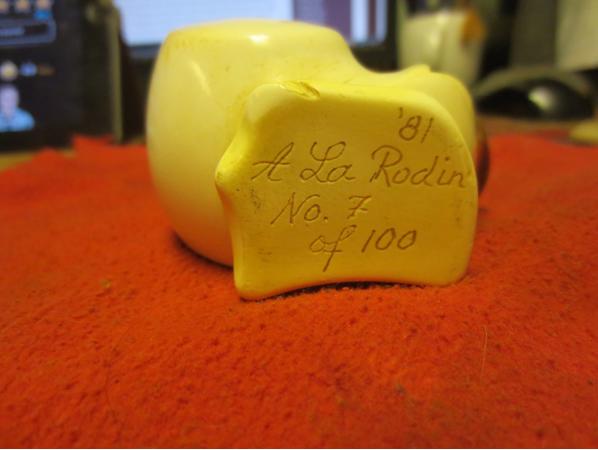
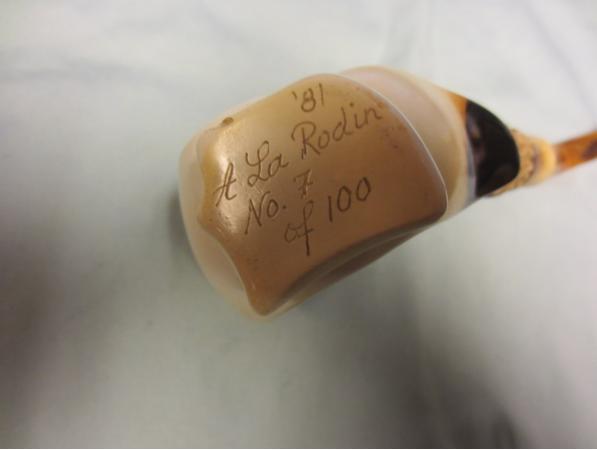
This one was a challenge for me – a 1981 CAO Bekler A La Rodin No. 7 of 100


Blog by Steve Laug

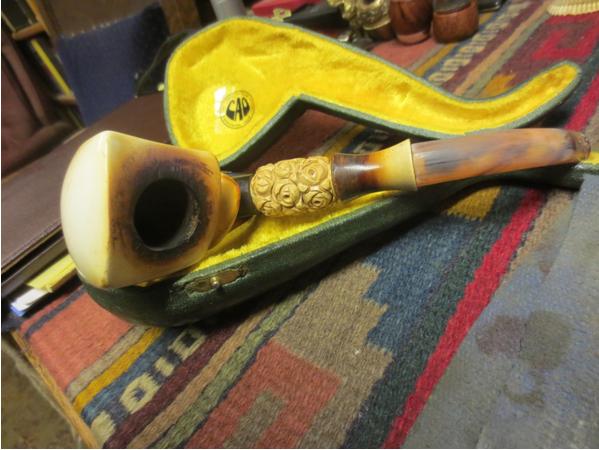
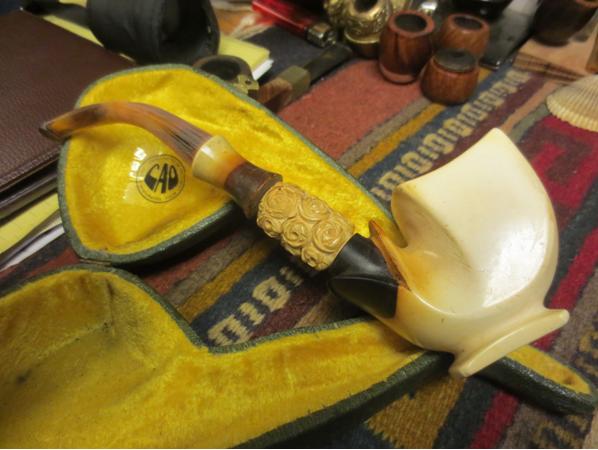
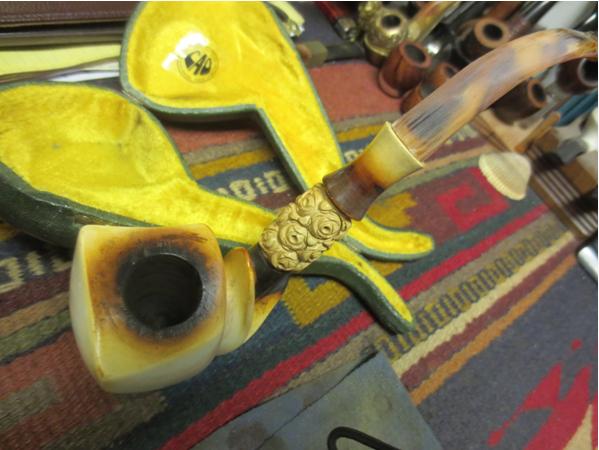
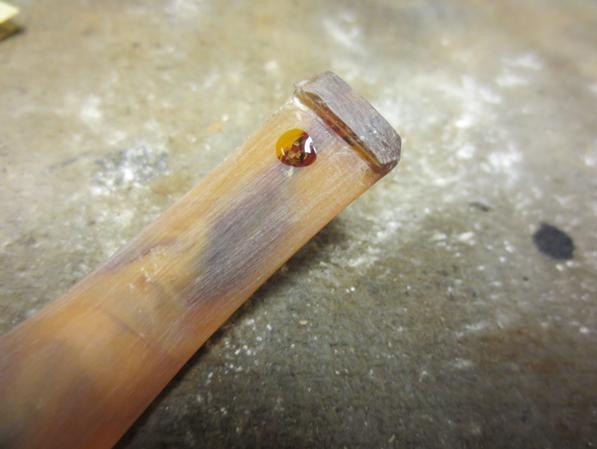
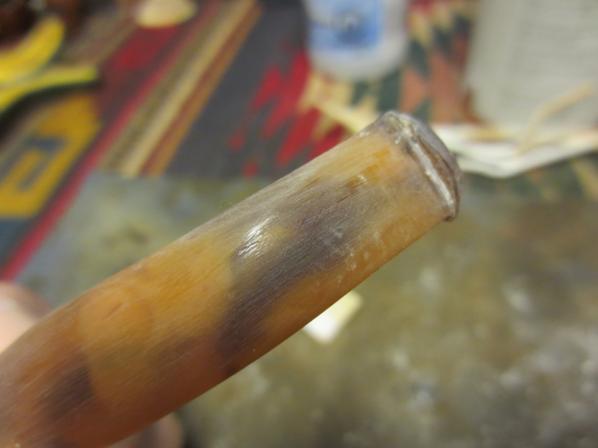
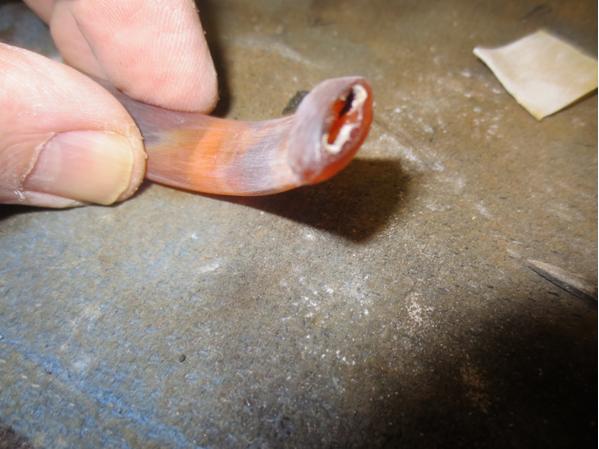
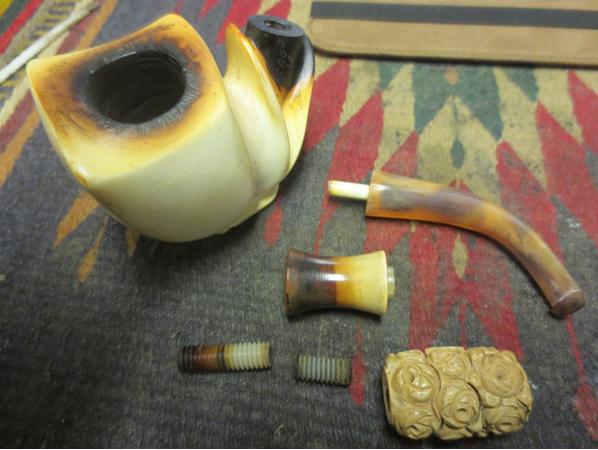
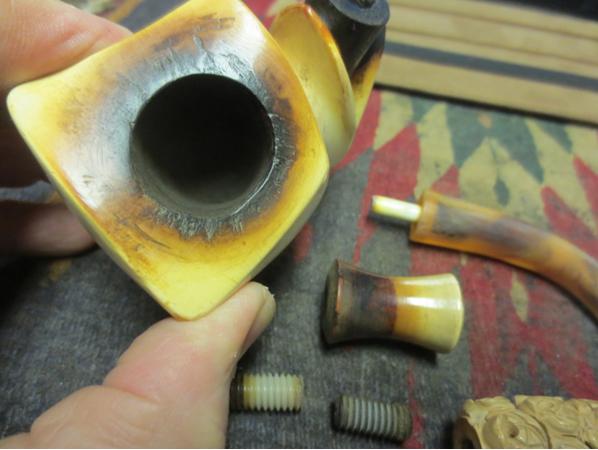
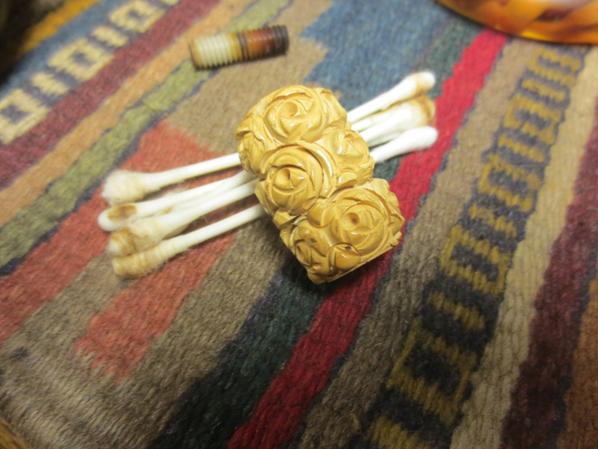
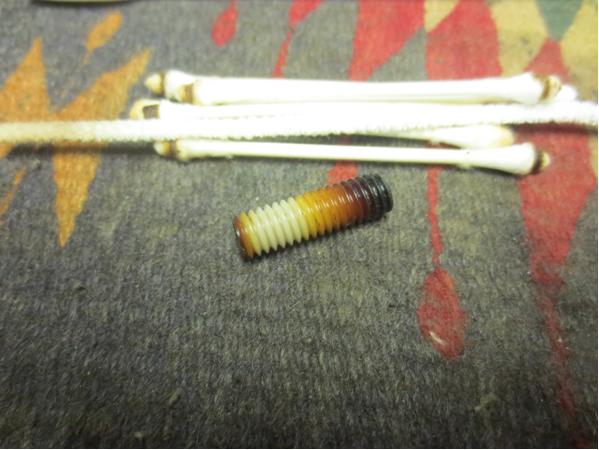
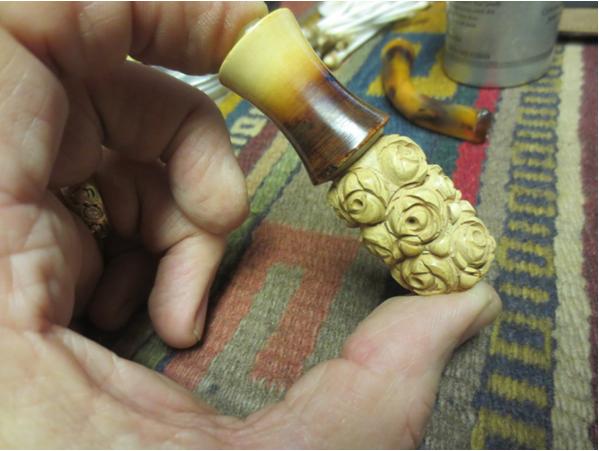
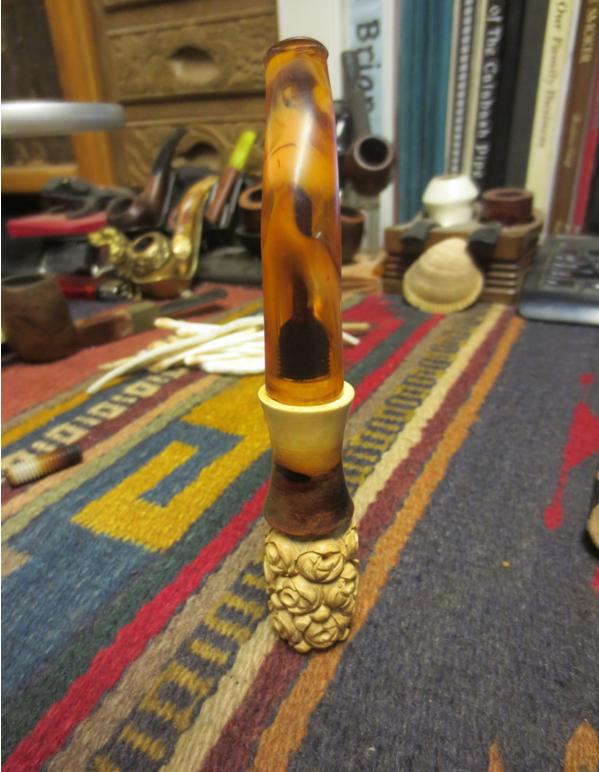
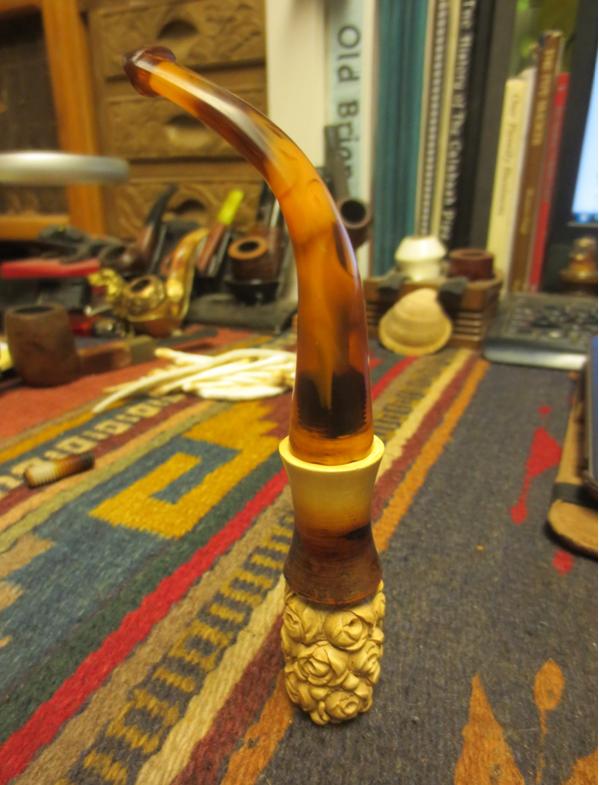
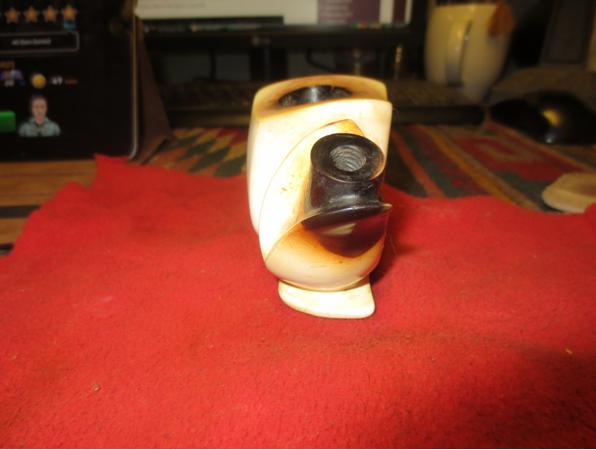
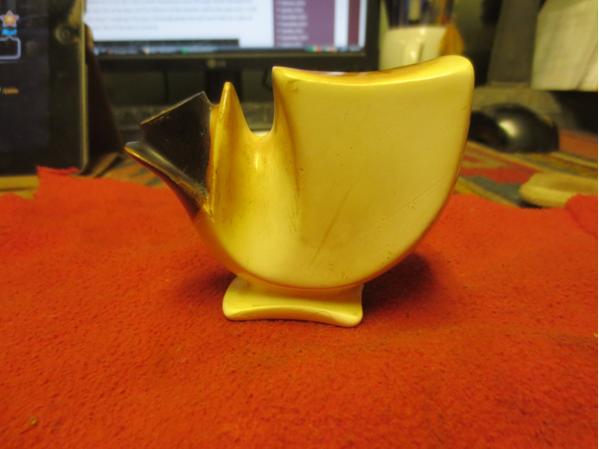
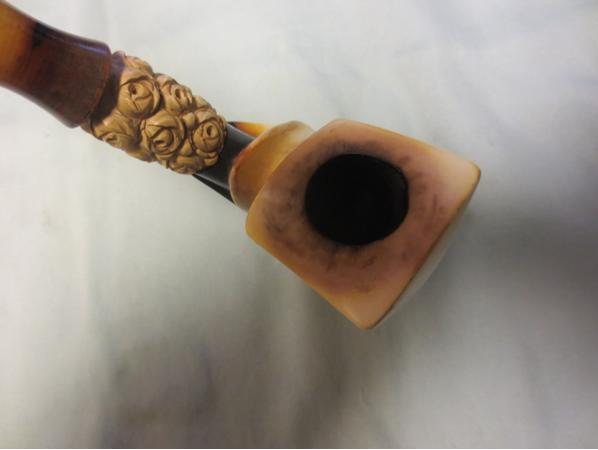
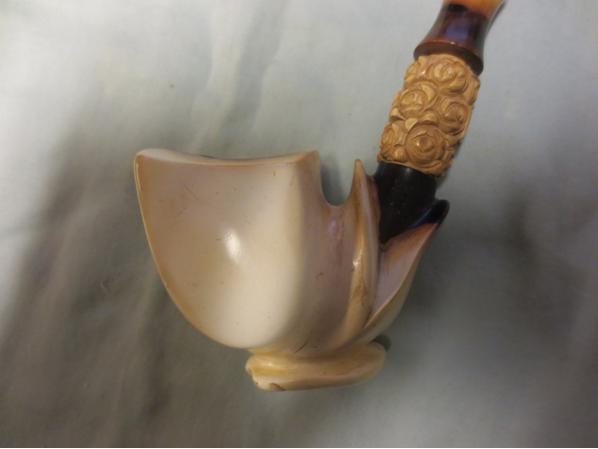
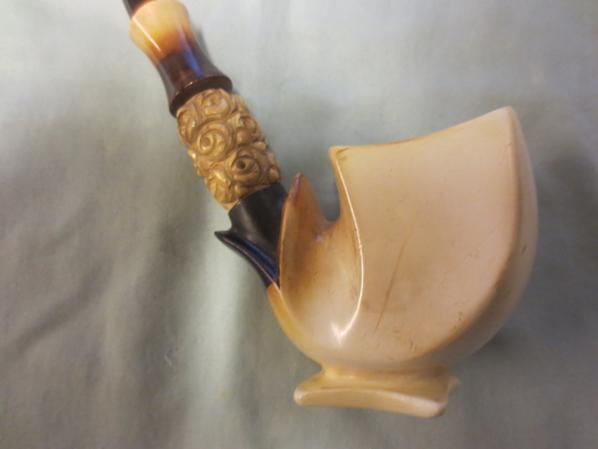
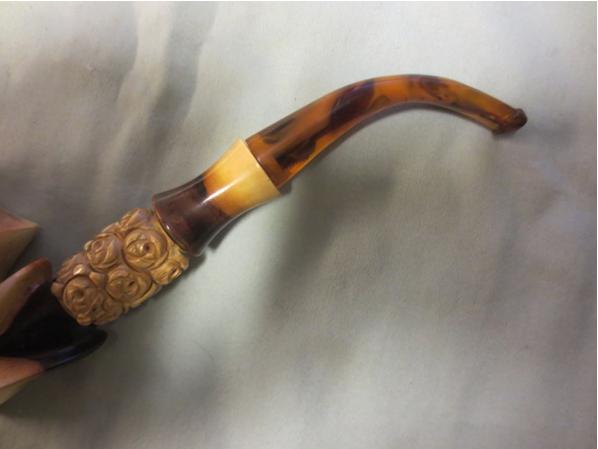
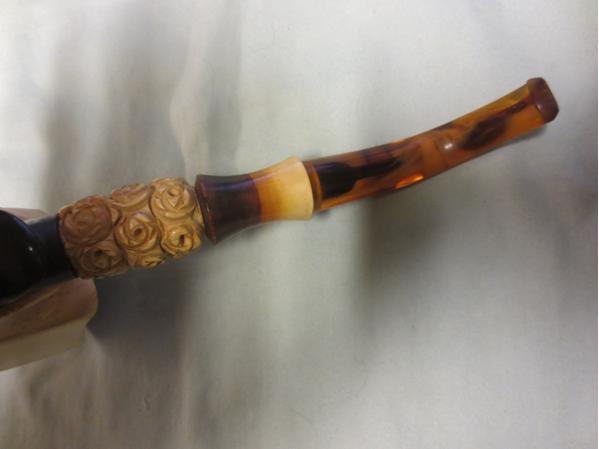
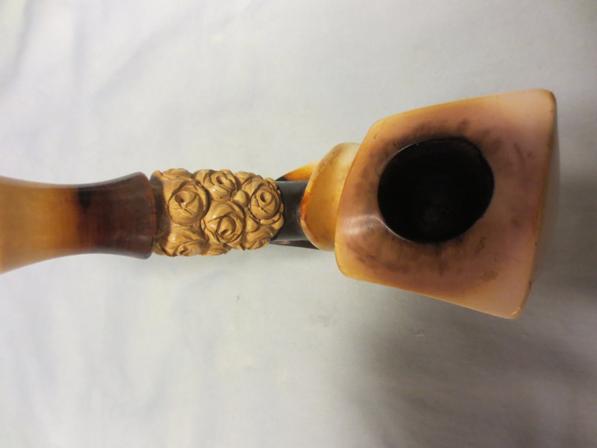
A fellow Canadian contacted me about working on a Bekler that he had picked up. He said it was pretty rough. He sent me these photos for a quick look. I loved the look of this pipe. It is stamped CAO Bekler on the darkened shank. On the foot it is stamped ’81 over A La Rodin no. 7 of 100. Above the darkened shank is an insert of carved roses. Above that is a bi-colour spool. The stem was pushed into the spool. There are threaded connectors between each piece of the shank. Bekler1 Bekler2When the pipe arrived it was in worse shape than I had expected. Joe had said that the stem needed work but I did not expect the mess that came. Someone had hacked the stem with files and left behind an uneven surface with many deep file marks and scratches. Some of the flaws were raised and some were indents. It looked as if they had tried to thin the mouthpiece down and narrow the width of the stem. The button was intact but had file marks. The file marks went every direction across the stem. The slot in the end of the stem was off centre with the drilling in the slot slightly to the left. The stem itself was twisted to the left as well. The inside of the stem had a dark sludge in it that pretty well hid the tortoise shell look of the Lucite. The bowl and shank were badly scratched and the rim was a mess. The bowl was out of round and the same person had used the file on the rim leaving behind deep gouges in the top of the rim. On top of the scratches there was a thick coat of lava that covered the top from the inner edge out to about the middle of the top. The foot had some nicks out of it. This would take some tedious work to clean up.

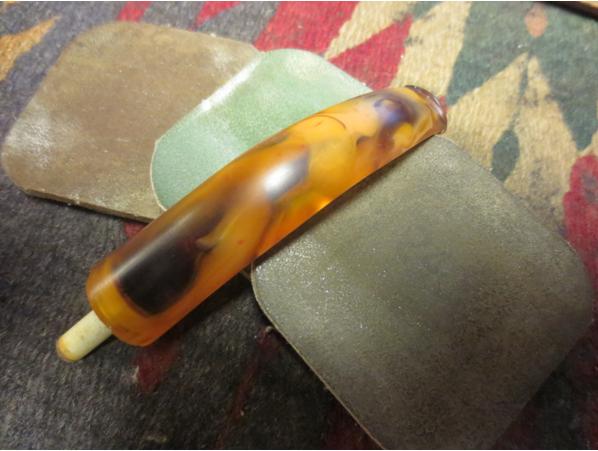
I took some photos after I initially sanded the stem. I wanted to document the condition of the pipe.Bekler3 Bekler4 Bekler5 Bekler6 Bekler7 I sanded the stem with 220 grit sandpaper to smooth out all of the cuts and file marks. It took a lot of sanding and shaping to smooth out the stem surface. I found that under the file marks there were some tooth marks in the underside of the stem. I sanded that surface smooth and wiped it clean. I used a clear super glue to fill in the divots.Bekler8 Once the glue dried I sanded the entire stem once again and blended the patch into the surface of the Lucite. I reshaped the button and the edge with the sandpaper and cleaned up the slot with needle files.Bekler9

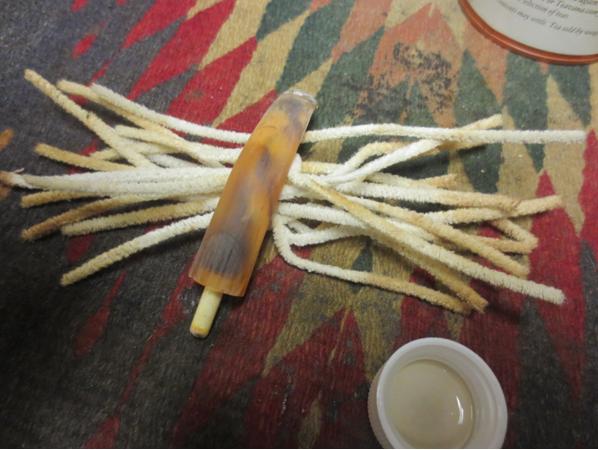
Bekler10 Once the surface was smooth I cleaned out the inside of the stem with pipe cleaners and alcohol. I scrubbed the interior with both smooth and bristled pipe cleaners. I was able to clear out the darkening and tar in the airway.Bekler11 With the stem cleaned up and the surface smooth I took a picture of all of the parts on this pipe. The connectors look rough but upon examination I found that they were solid and needed to be cleaned up. You can also see the file marks on the top of the rim and the tars and lava that filled them.Bekler12

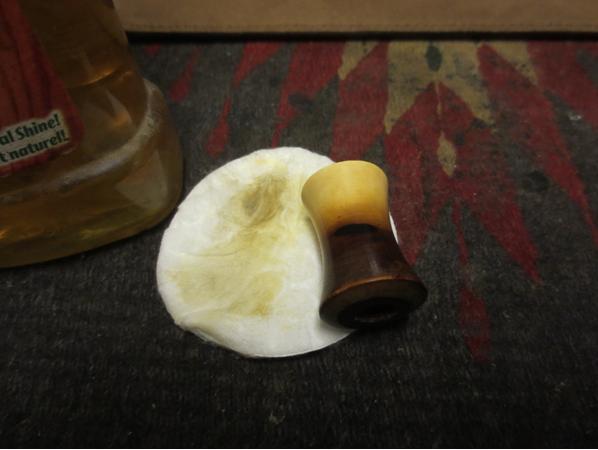
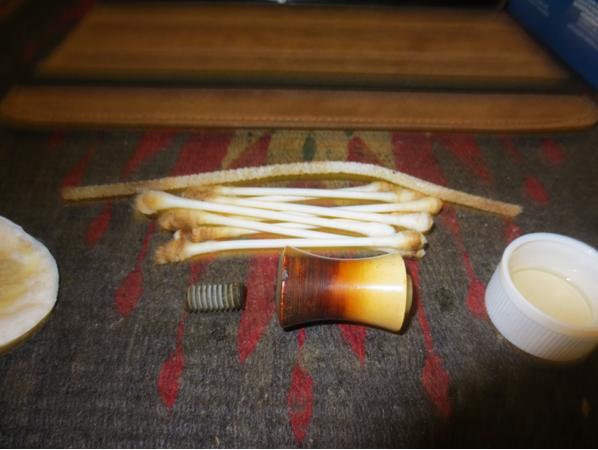
Bekler13 I scrubbed the spool insert with Murphy’s Oil Soap and then rinsed it off with water.Bekler14 I cleaned out the inside of the spool and the threaded connector with alcohol, cotton swabs and pipe cleaners. I used a topping board to clean up the ends of the connector as it was poorly done. It looked like someone had shortened it with a pair of cutters and left the residual chips and flakes on the connector. The tars had caught on them giving the end a rough look. The threads were also caked with tars and oils.Bekler15 I scrubbed the next shank insert, the carved rose piece with the Oil Soap and a tooth brush and rinsed it with water. I cleaned out the interior with pipe cleaners, cotton swabs and alcohol. I also cleaned the longer connector inside and out. I used a dental pick to clean out the threads. I also used the topping board to smooth out the ends.Bekler16

Bekler17 The next photo shows the two shank inserts joined together with the smaller of the two connectors. I gave them a light coat of Conservator’s Wax and buffed them with a shoe brush to raise a shine.Bekler18 I decided to work on the stem with the micromesh pads to see what the surface looked like with some shine. I find that the first three grits of micromesh pads – 1500-2400 – tell a lot. I could see the spots that I needed to still work on but I could also see the lovely tortoise shell Lucite beginning to show its colours.Bekler19 I put the stem on the two inserts to get a feel for the look of this part of the pipe. I took the next two photos to show the progress. The stem was getting there. I still needed to heat it and straighten out the twist in the bend and bend it slightly more as it did not fit snugly in the case. Before I heated the stem I examined it carefully. There was a small flaw in the swirls of the material on the top surface of the stem at the bend so I would need to be careful in the heating and bending. Fortunately the flaw did not go too deeply into the stem material but sat on the surface. I heated the tip of the stem and straightened out the twist in it as I bent it slightly to match the case. I repaired the flaw with super glue and sanded it with 20 grit sandpaper to smooth out the repair.Bekler20
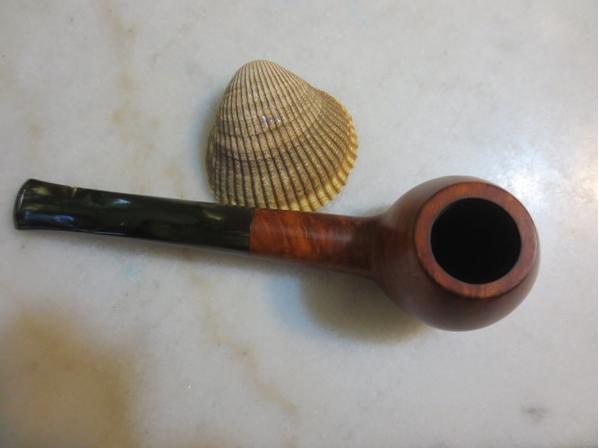
Bekler21 I cleaned the interior of the bowl and shank with pipe cleaners, cotton swabs and alcohol.Bekler22 I set the bowl aside to dry out and I sanded the stem with micromesh sanding pads. I wet sanded with 1500-2400 grit pads and rubbed the stem down with Obsidian Oil. I dry sanded it with 3200-4000 grit pads and gave it another coat of oil. I finished with dry sanding it with 600-12000 grit pads and gave it one last coat of oil.Bekler23

Bekler24

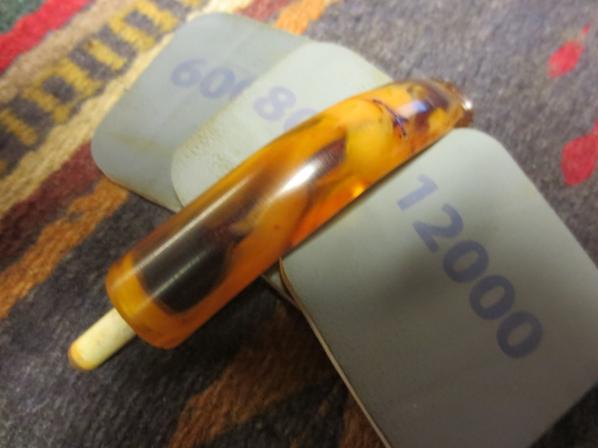
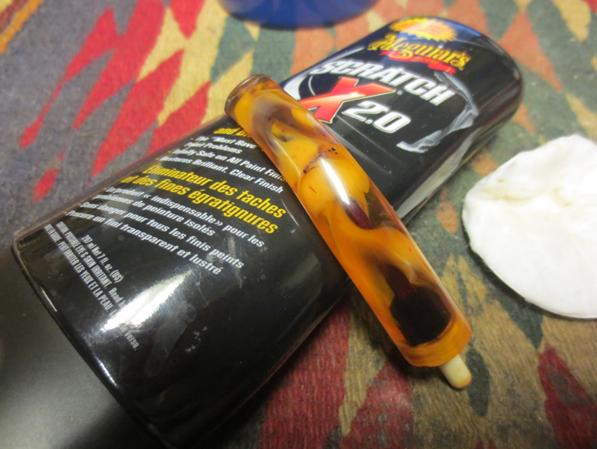
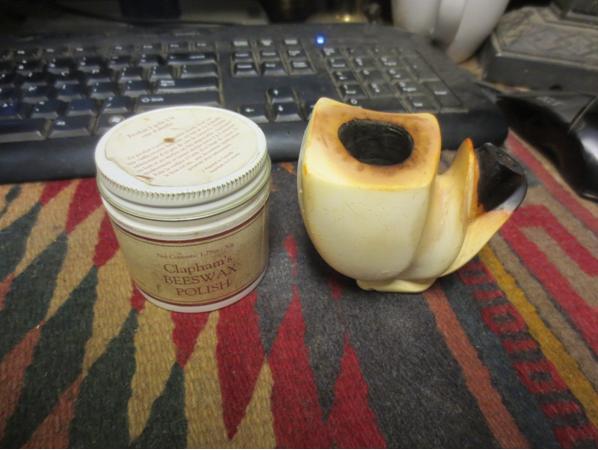
Bekler25 I polished the stem with Meguiars Scratch X2.0 and then gave it several coats of wax.Bekler26 I scrubbed the surface of the bowl with the Scratch X2.0 and hand buffed it with a cloth.Bekler27 I sanded the file marks on the rim to bring it back to smooth. The deep gouges were blackened and took quite a bit of sanding to remove them. I started sanding with 220 grit sandpaper and worked on the surface of the rim. I was careful to not change the profile of the bowl or the angles of the rim.Bekler28 I sanded the rim with micromesh pads from 1500-12000 grit to smooth out the surface and give it a shine. I gave the bowl several coats of Clapham’s Beeswax Polish and buffed it by hand with a cloth.Bekler29

Bekler30

Bekler31

Bekler32 With the buffing the bowl began to shine. The carving on the foot of the bowl stood out clearly. The rim surface looked far better than when I began.Bekler33

Bekler34 I lightly buffed the bowl with Blue Diamond on the wheel being careful around the blackened shank. The shine rose in the meerschaum and the pipe looked good. Though there were still nicks and scratches they now looked like marks of honour and age rather than abuse. To me it is always a fine balance between restoring a pipe and reworking a pipe. On a beautiful pipe like this one I opted to work on the big issues and leave some of the war wounds on the sides of the bowl. To me the pipe has been around long enough to earn those marks. I want a pipe that is finished to look better than when I started but I am not aiming at making a 35+ year old pipe look new. I want it to look cared for and well smoked. The finished pipe is shown in the photos below.Bekler35

Bekler36

Bekler37

Bekler38

Bekler39

Bekler40

Bekler41

Bekler42

Bekler43

Bekler44

Bekler45

Bekler46

Bekler47

The English Patient – Repair & Restoration of a 1918-1921 Dunhill Shell Briar


Charles just posted his work on this one on his blog. It is an old early Dunhill Shell. Some innovative techniques and some patient fussing brought an old wreck back to life. Well done.
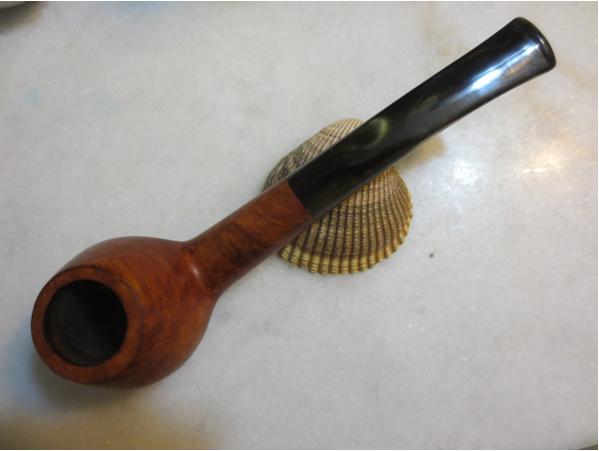
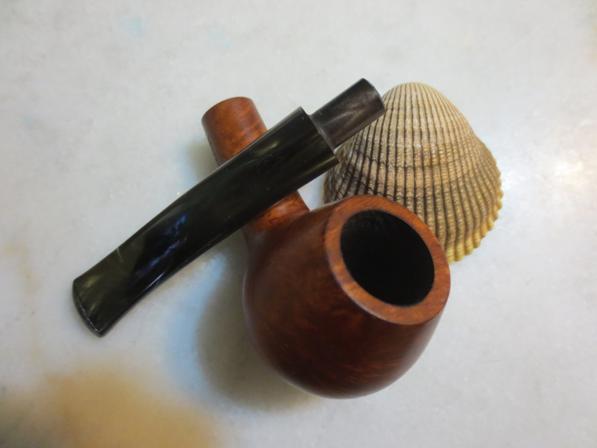
Charles Lemon's avatar

An email pinged into my inbox a few weeks ago, sent by a fellow member of the Briars & Bull Pipe Club here in Kitchener. He had, he said, an old Dunhill pipe he’d like to have cleaned up, and would I be interested in tackling the project for him?

I said yes, of course, and soon after I had the patient in hand. The owner was right – it was an OLD Dunhill, though exaclty how old would take a bit of research. At first glance, the pipe looked good, but in the way that an old, well-worn tuxedo looks good – far from pristine, a bit thin at collar and cuffs, but still a great suit. Someone had given this old suit – er, I mean pipe – a brushing up. The stummel had been polished up, and the replacement stem showed a few tooth dents but fit well…

View original post 1,917 more words

Dunhill Bulldog Gets a Facelift


Blog by Dutch Holland

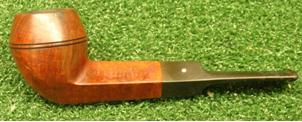
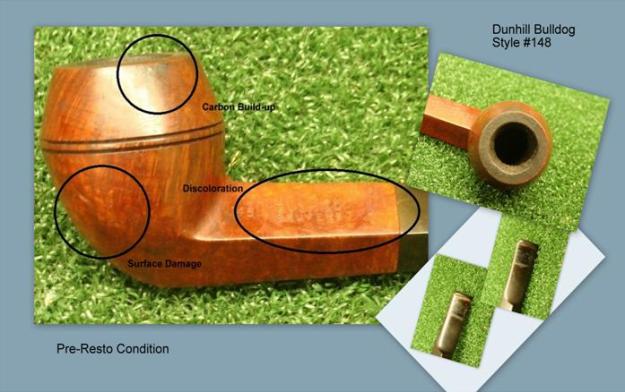
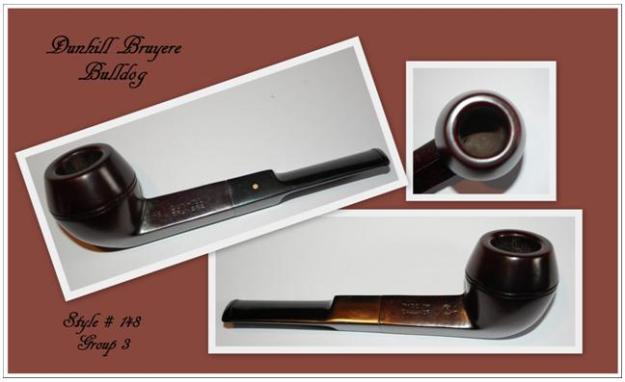
I had been looking for a small Dunhill Bulldog and recently found this one. It’s a 1962, style 148, Bruyere, Group 3 in need of some TLC. It’s quite petite, almost delicate compared to thDun1e GBD Rhodies I’m usually drawn to but the price was right so I pulled the trigger and several days later it arrived. Although not in really bad shape, it had some issues that would need attention. The bowl top hadn’t seen a cleaning in some time, carbon build-up had migrated onto the upper outside of the bowl and the tobacco chamber had a significant build-up of cake. At some point the pipe had apparently been dropped because there was a nasty crease and some dents surrounding it on the front. The shank had several tones of color, the cause is uncertain. After cleaning the rim area I discovered a number of edge scars and some charring on one side that made the inner edge look out of round. There would be no saving the finish, a stripping would be necessary. The nomenclature was clear and strong so attention to method would be important to preserve it. Dave G’s stripping formula worked out exceptionally well but who would expect anything less? Dun2I slightly topped the rim after beveling the inner edge to minimize the amount that needed removal. Topping was done with 1000 grit sandpaper on a flat surface following the application of some steam. The steam had all but eliminated the edge scars and a little softening of the outer edge did the rest. Treating the inner edge with a slight bevel took out the majority of the scorch so almost nothing needed to be removed. Preserving that classic profile was important. That came at the expense of giving the top a somewhat different look. One that seems to better compliment the delicate style of this pipe but that’s just a personal opinion.

The crease and dents on the front were steamed out and the entire pipe stripped of wax and stain. I really wanted something darker than the original stain so I mixed 2 parts of medium brown with 1 part oxblood and applied it. After the color set I buffed it to a rich dark mahogany and then applied four coats of carnauba wax, giving each a chance to harden in between. The stem was worked with Micro-Mesh and then a final buff with white diamond to bring up the gloss. Dun3There are some who would consider changing the color of a Dunhill to be heretical but I’m not so constrained. This one’s for my pleasure, the next guy can restore it for authenticity. I really like the color and overall the pipe looks better than it did at the start so I don’t feel the slightest bit guilty. Burn me at the stake if you like, I’m unrepentant.

City deLuxe 9240 Restoration


Blog entry by Al Jones

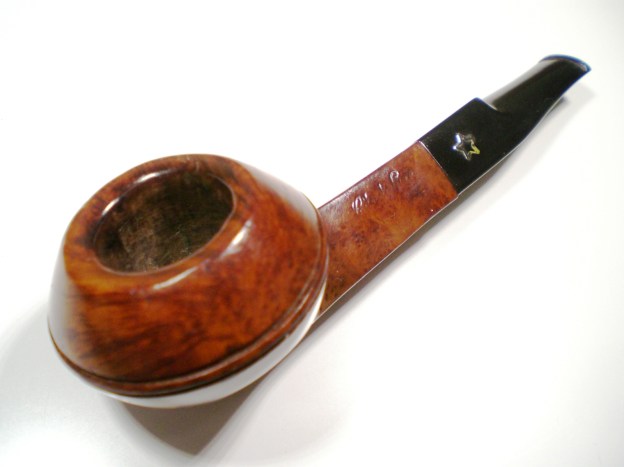
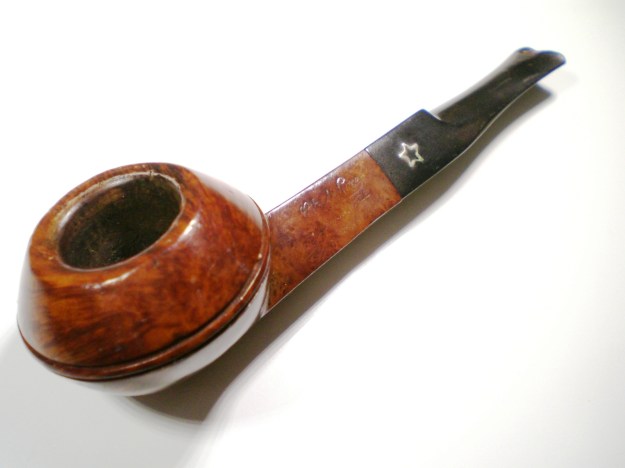
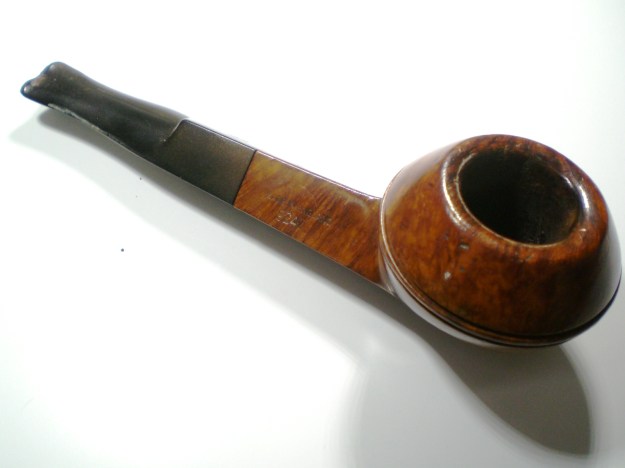
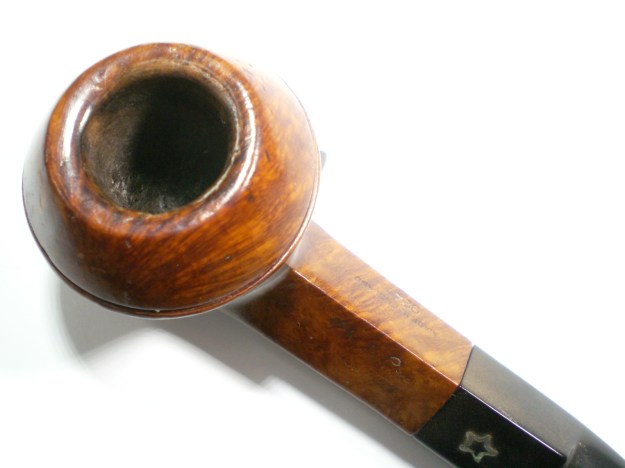
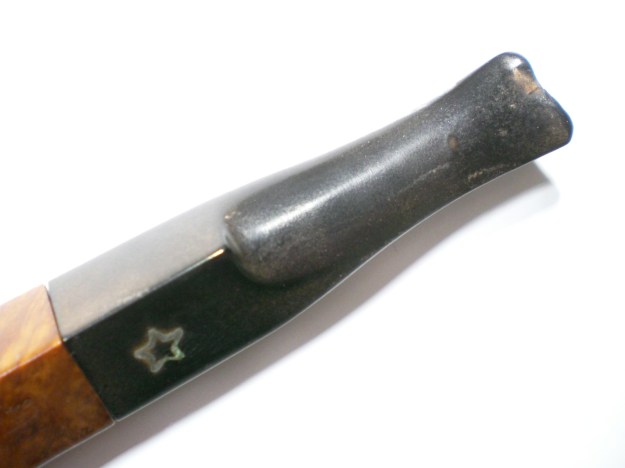
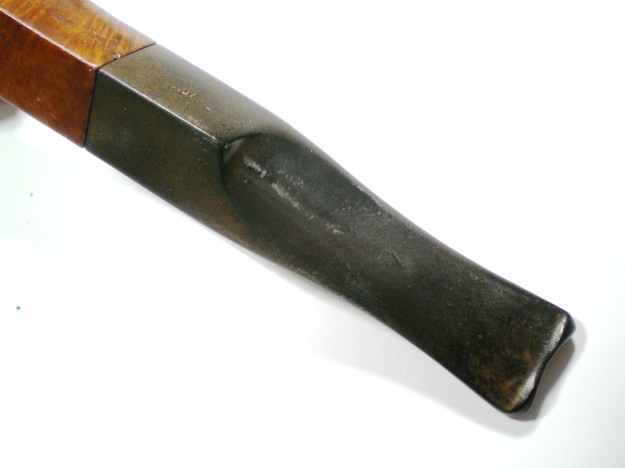
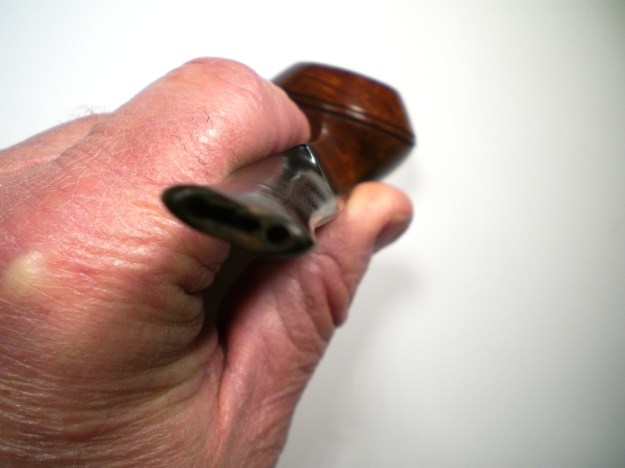
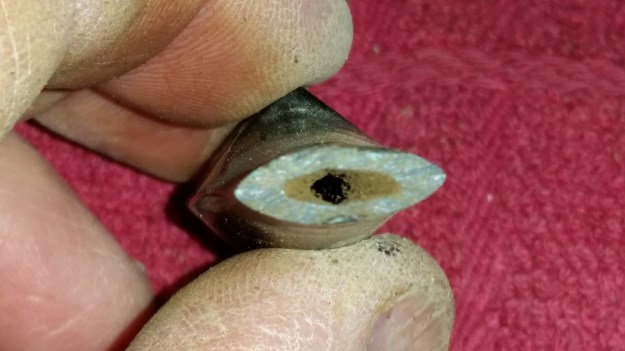
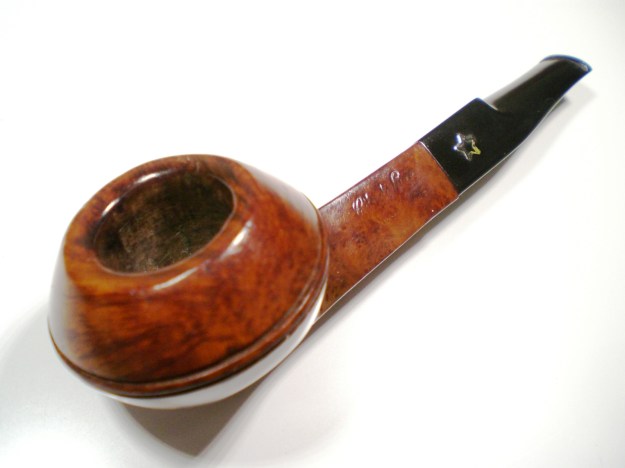
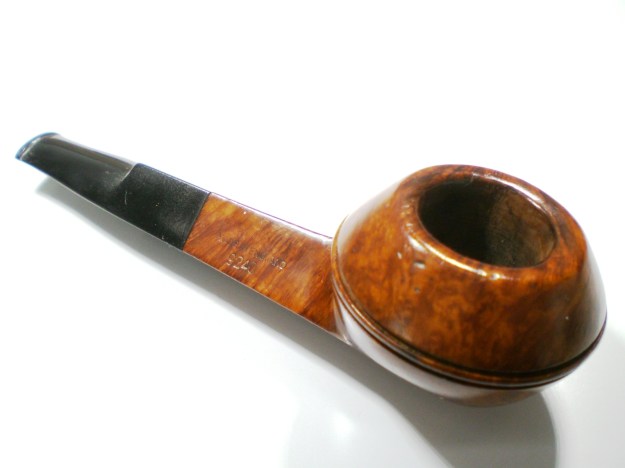
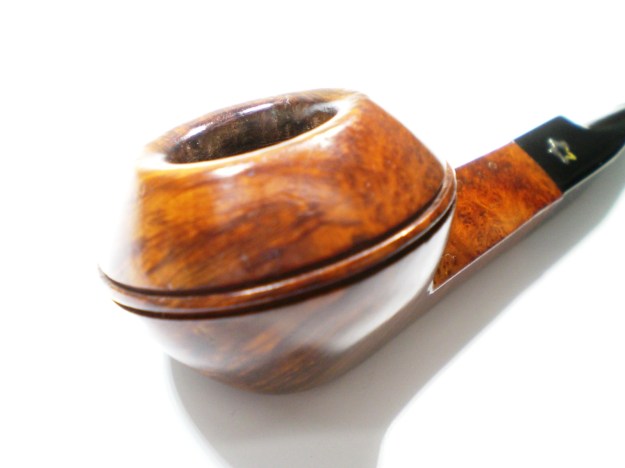
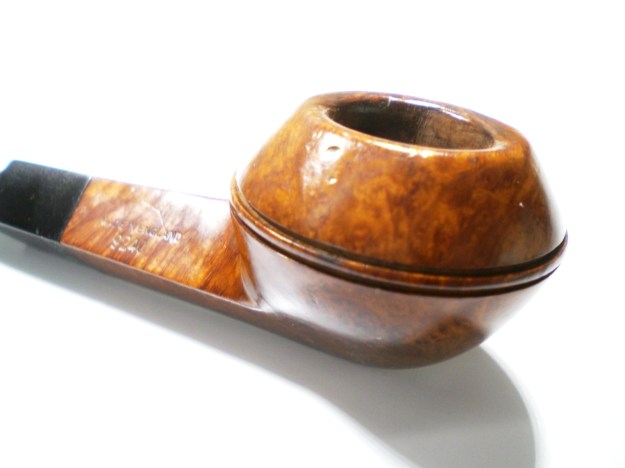
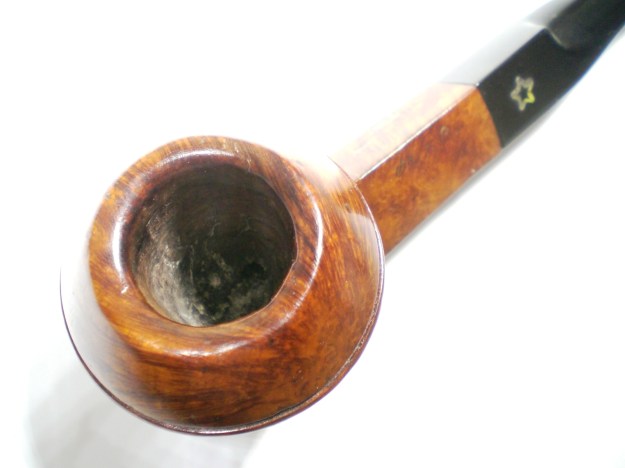
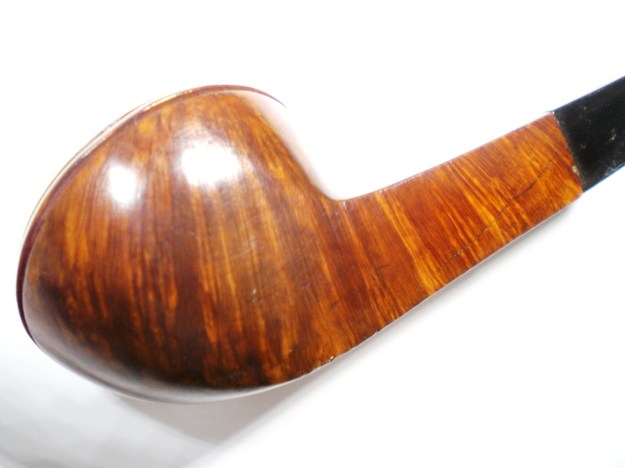
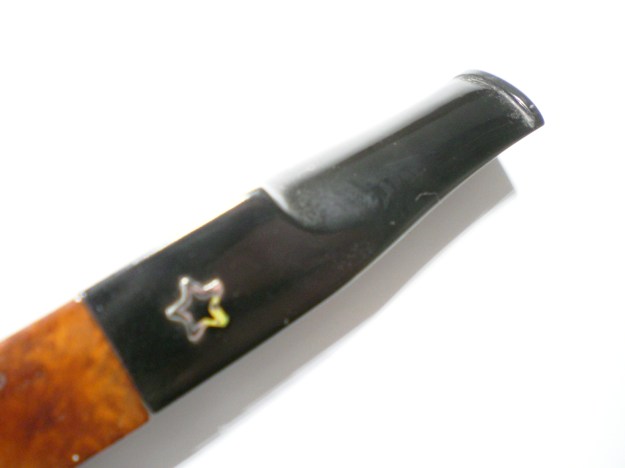
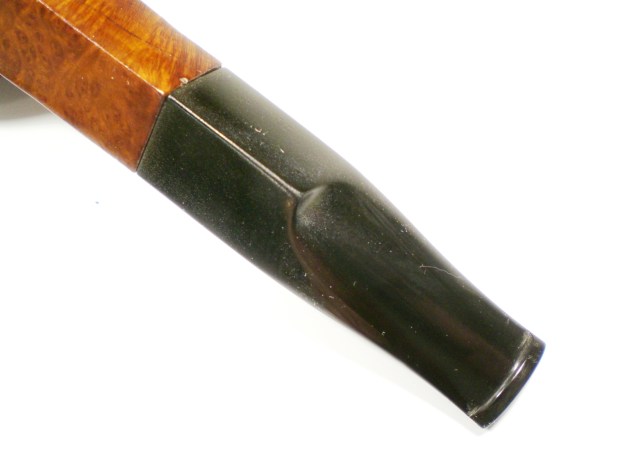
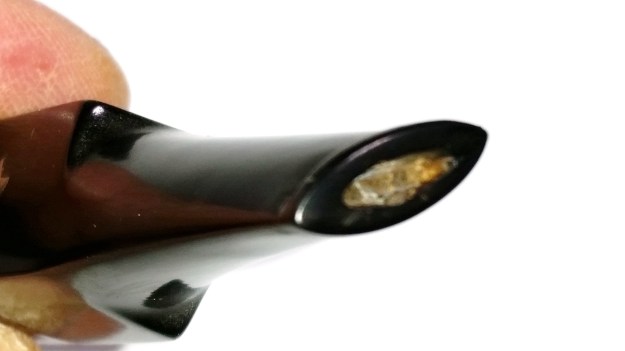
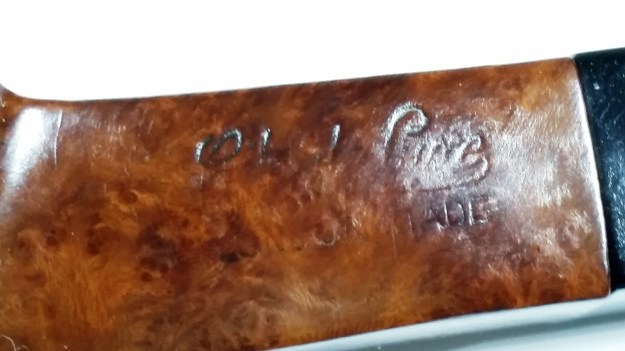
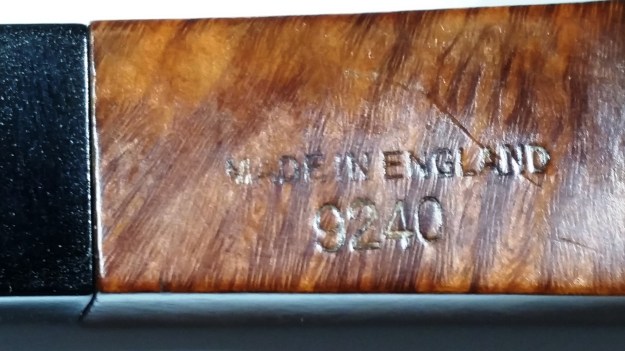
This City deLuxe short, shape 9240, squat bulldog came in a group of pipes I found on Ebay. I thought it had the most promise of the trio. As with most City deLuxe pipes, this one came with a twin-bore stem, they called the “Tuscan Lip”. Unfortunately the pictures didn’t disclose the damage to the button end. The white plastic fill bit was missing and one of the bore holes was cracked thru to the fill inset.

City_deLuxe_9240_Before (1)

City_deLuxe_9240_Before (4)

City_deLuxe_9240_Before (2)

City_deLuxe_9240_Before (3)

City_deLuxe_9240_Before (5)

City_deLuxe_9240_Before (6)

My first attempt to the repair the button was to completely fill in the button holes. My plan was to re-drill the draft hole. After numerous attempts with the black superglue, I was unsuccessful. When I attempted to re-drill the draft hole, using a 1/16″ drill but, the repair portions kept flaking off.

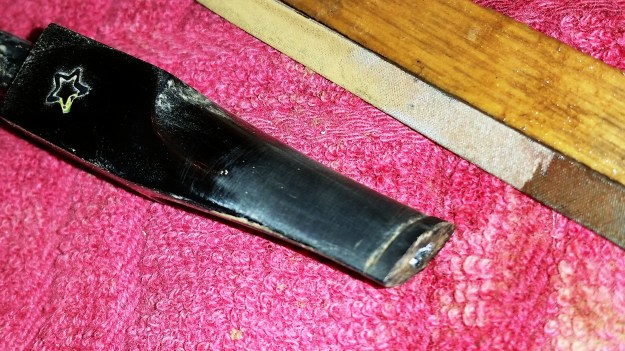
I finally gave up and decided to cut off the broken button and shape a new button. I used a fine-tooth hobby saw to make a clean cut. I cut in a new button using a flat needle file. With 400 grit paper wrapped around the needle file, I tapered the stem up to the new button. That was finished with 800, 1500 and 2000 grit paper. At this time, I removed the oxidation from the rest of the stem. The brass star logo was in great shape. I used another needle file to funnel the draft hole. The stem was mounted and buffed with White diamond rouge and Meguiars Plastic Polish. Below are two shot taken as the new button was shaped.

?

?

City_deLuxe_9240_Before (8)

The bowl was reamed and then soaked with alcohol and sea salt. I scrubbed the shank with a bristle brush dipped in alcohol. There were some dents on the briar. I used an electric iron set on high and a wet cloth to stem them out. Not all of them were removed, but I don’t mind a little patina on my pipes, those marks were all earned. The bowl was then buffed with White Diamond and several coats of Carnuba wax.

Below is the finished pipe.

City_deLuxe_9240_Finish (1)

City_deLuxe_9240_Finish (4)

City_deLuxe_9240_Finish (6)

City_deLuxe_9240_Finish (5)

City_deLuxe_9240_Finish (2)

City_deLuxe_9240_Finish (7)

City_deLuxe_9240_Finish (3)

City_deLuxe_9240_Finish (8)

?

?

?

?

?

?

City_deLuxe_9240_Finish (1)