
Blog by Steve Laug
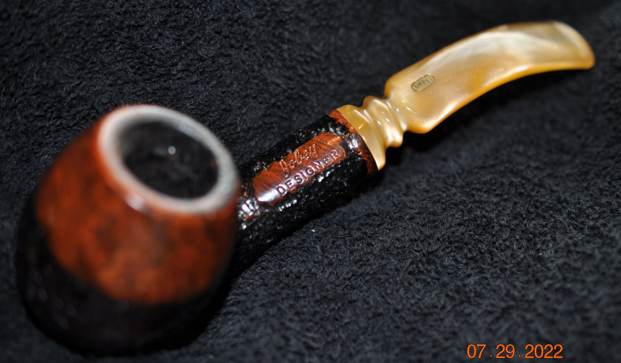
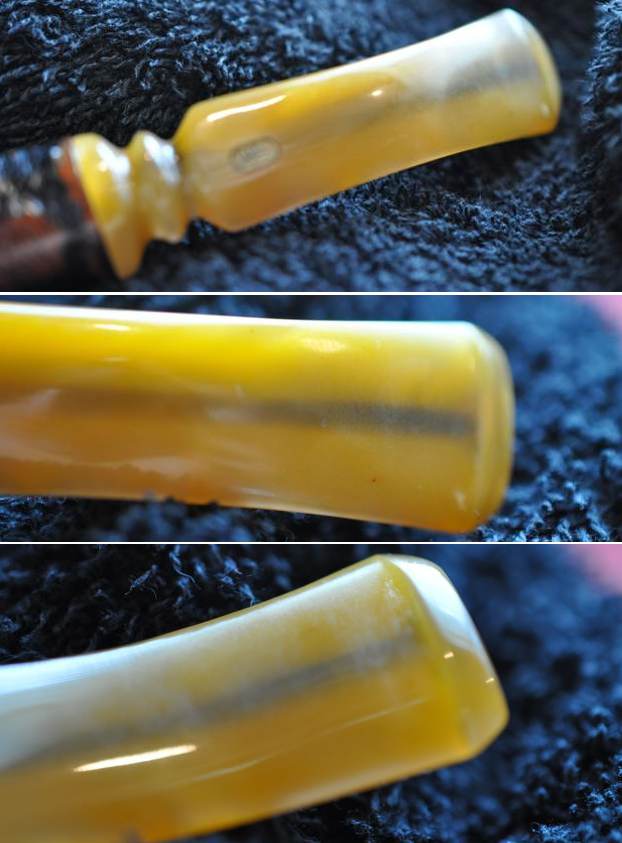
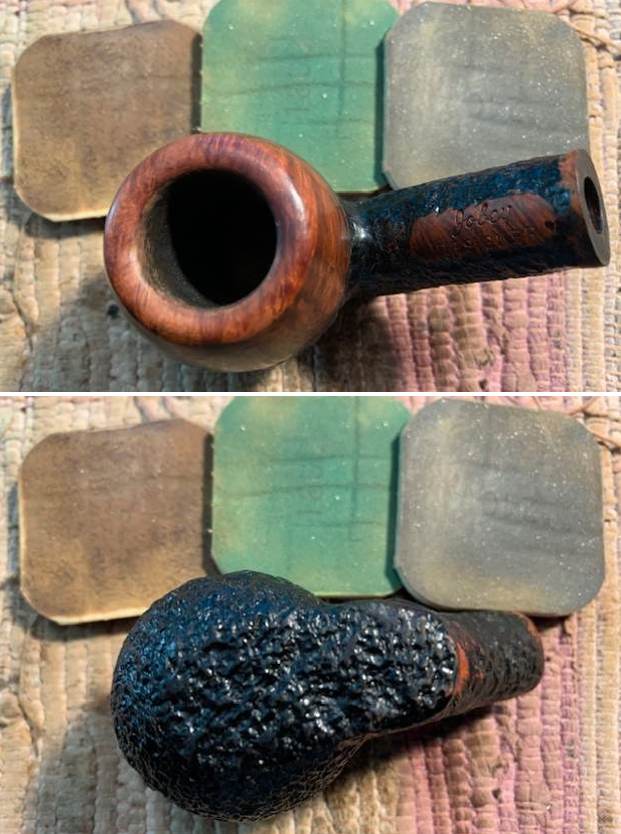
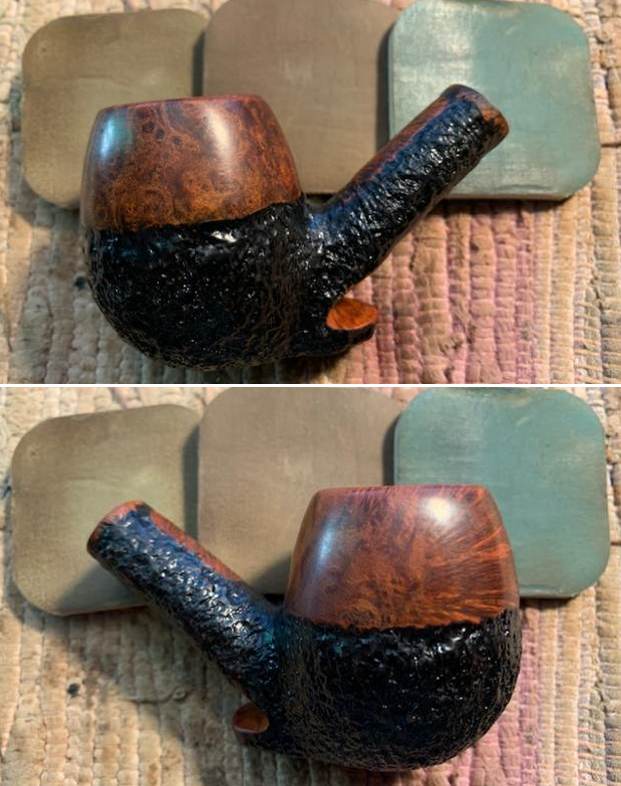
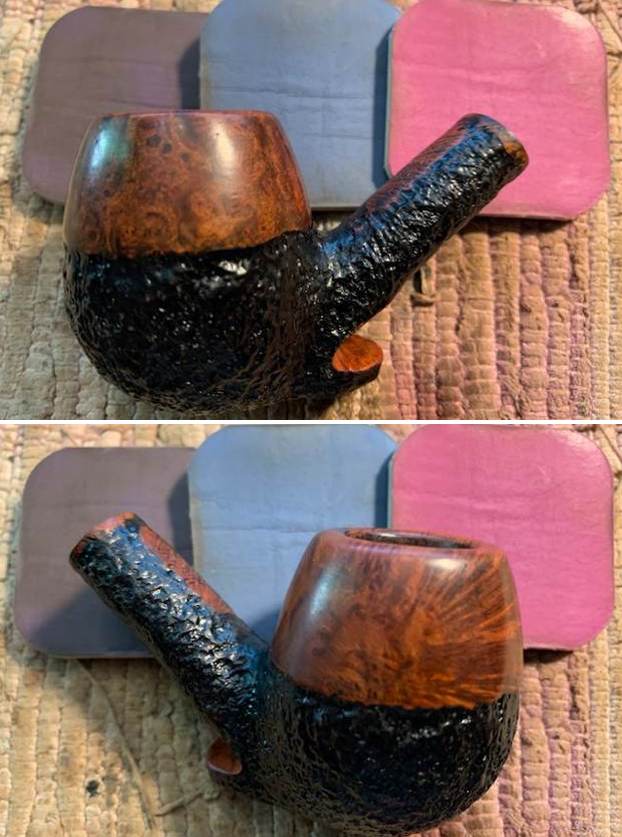
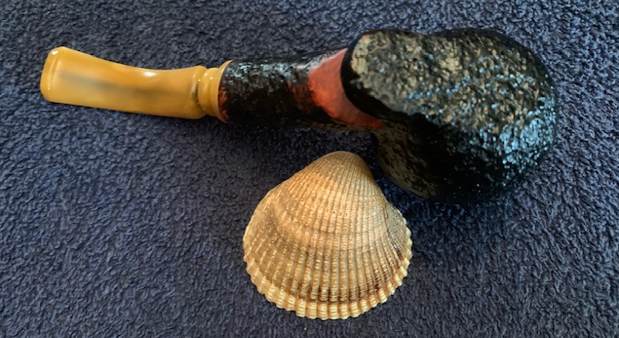
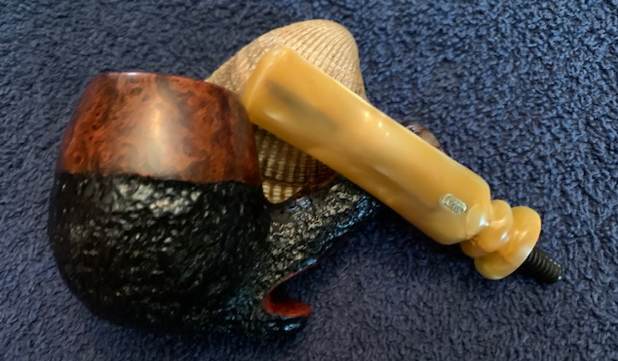
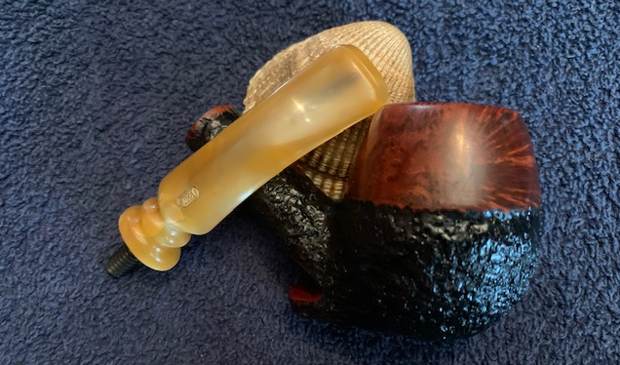
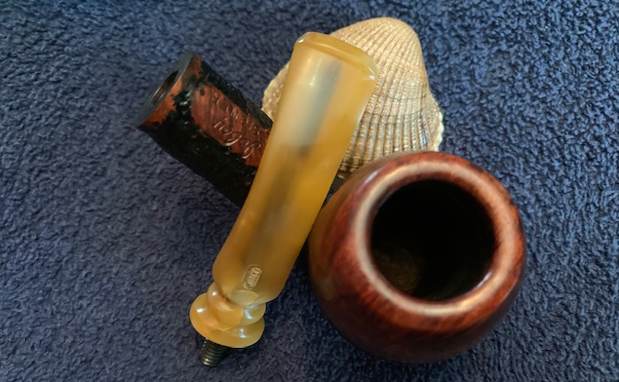
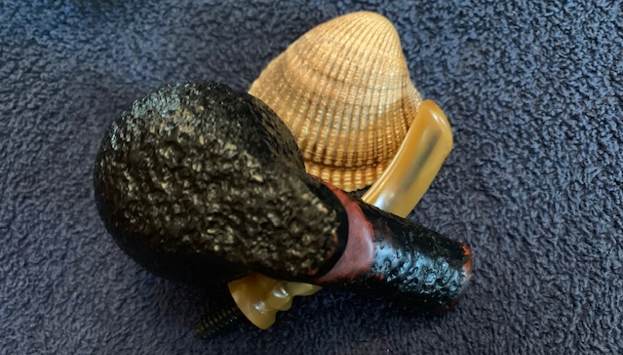
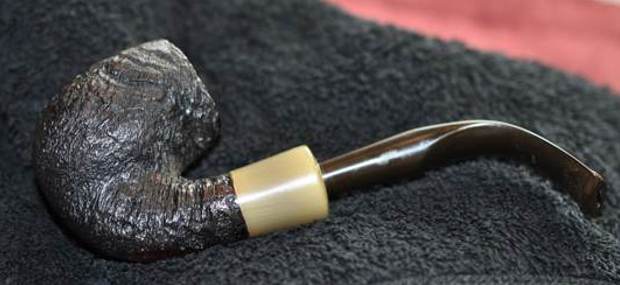
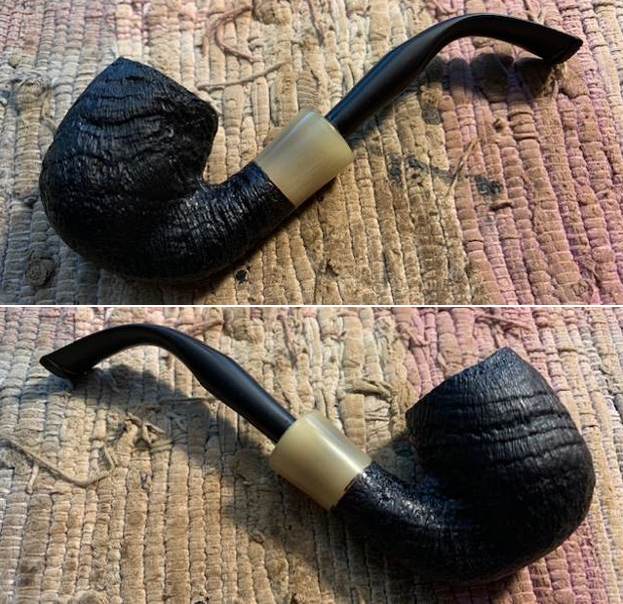
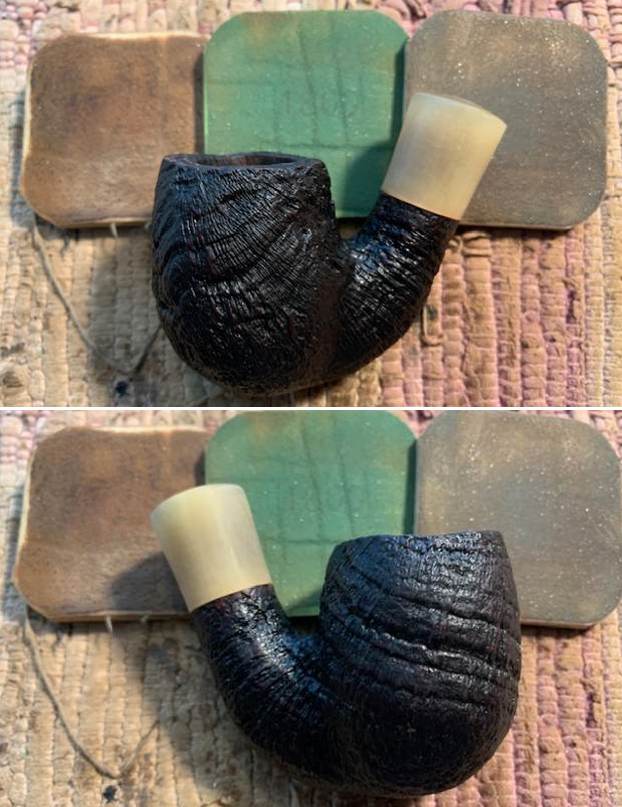
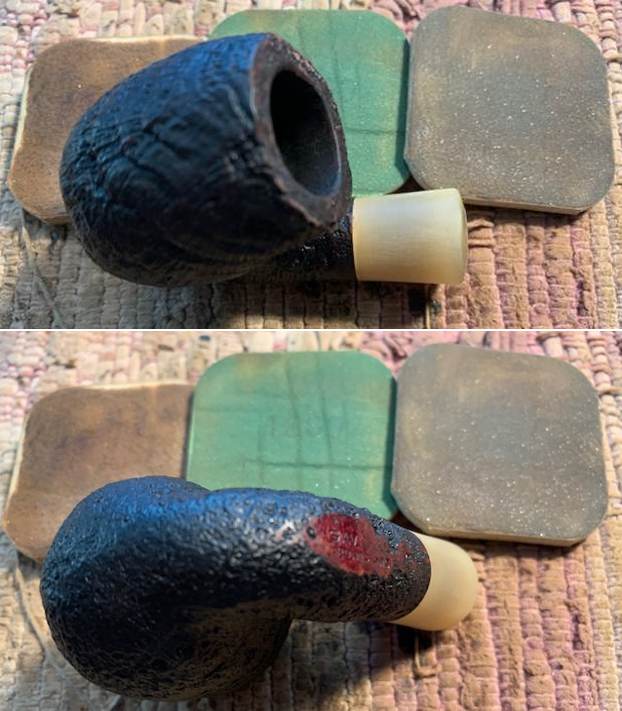
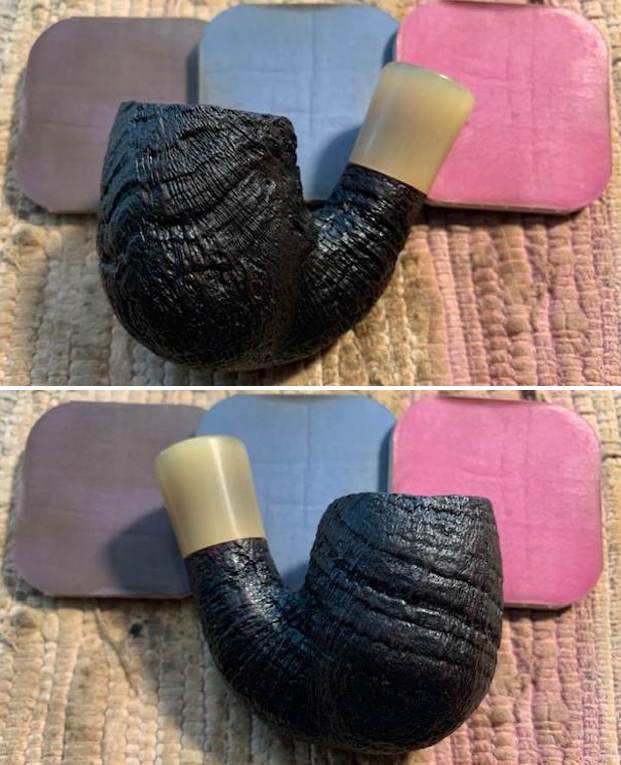
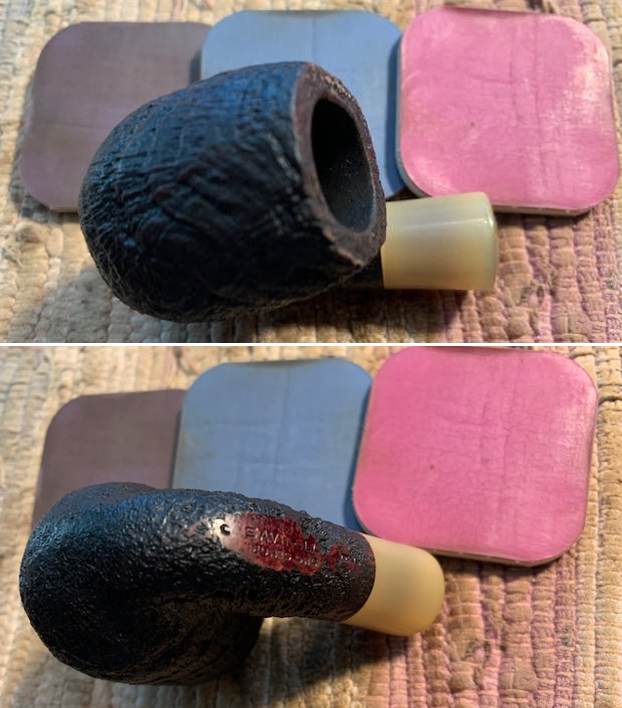
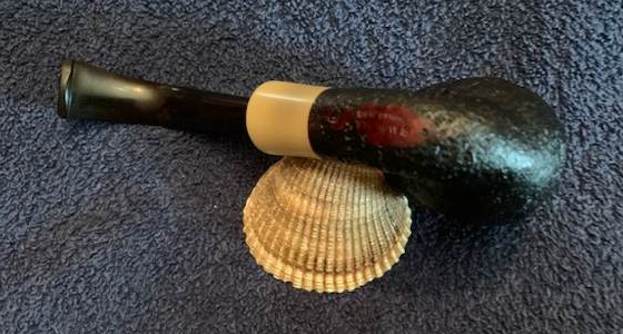
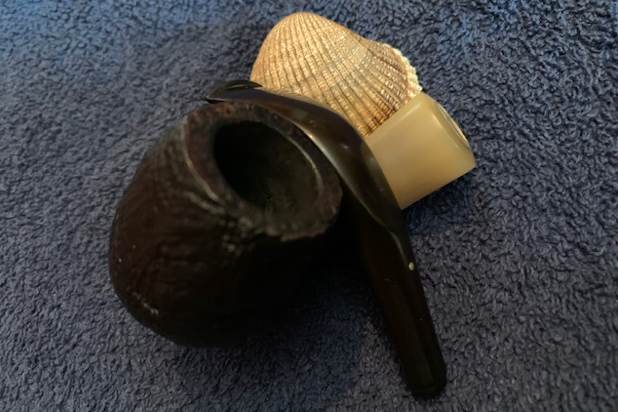
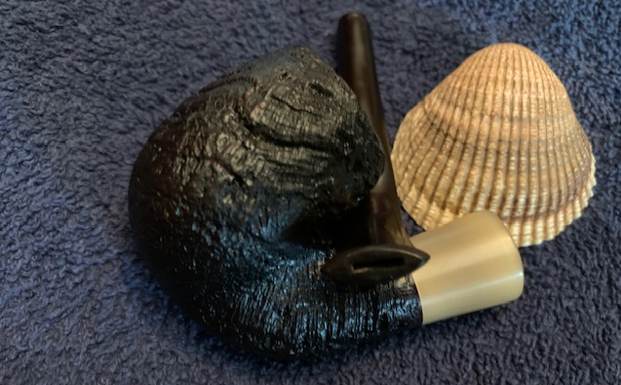
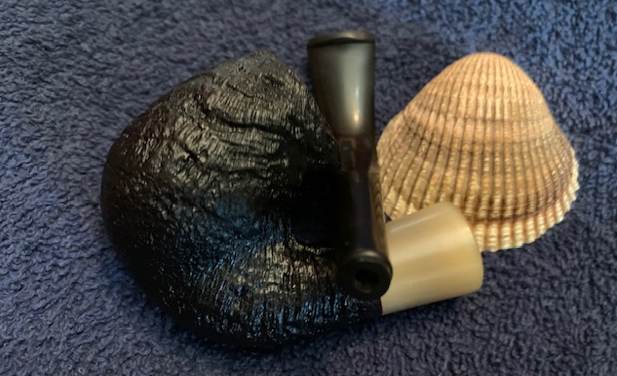
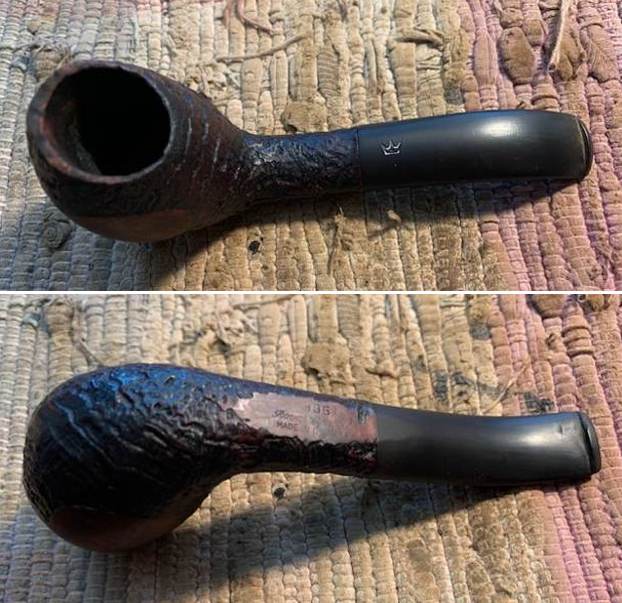
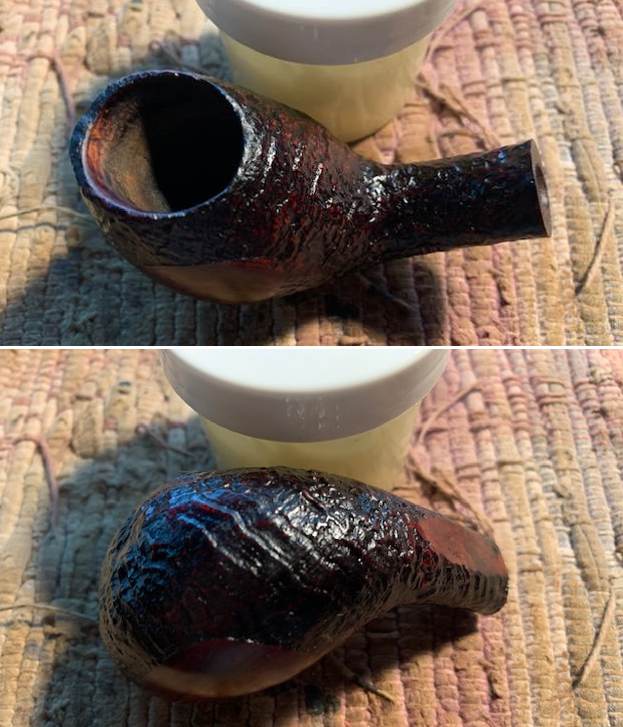
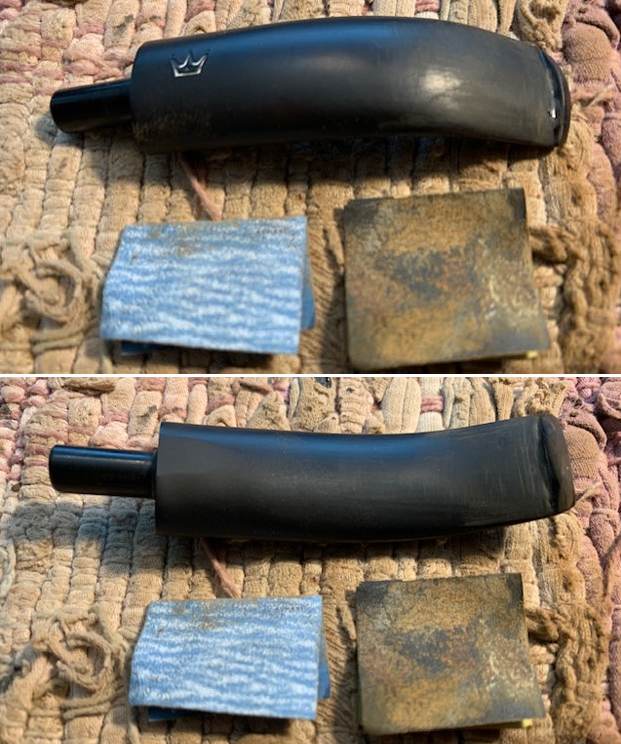
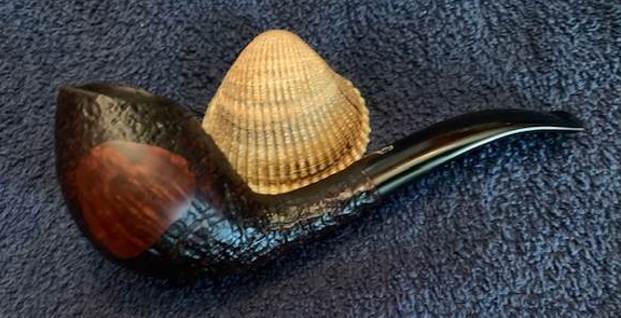
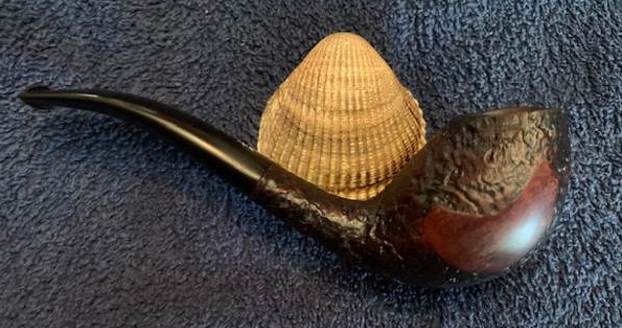
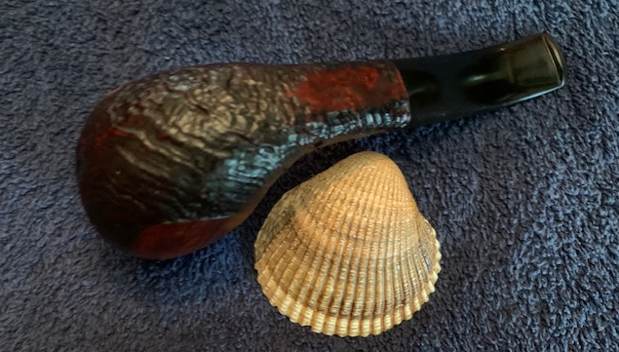
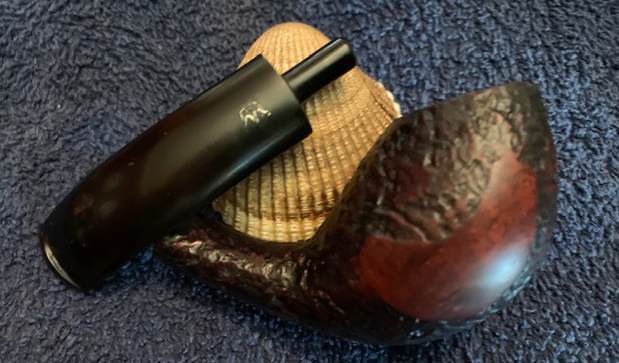
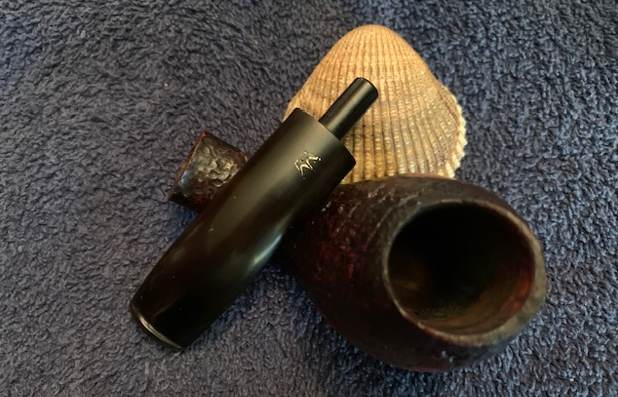
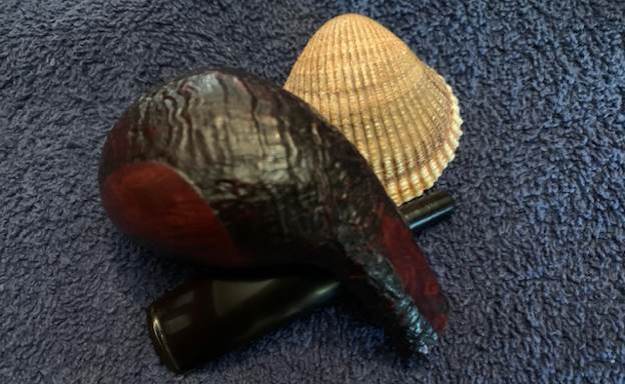
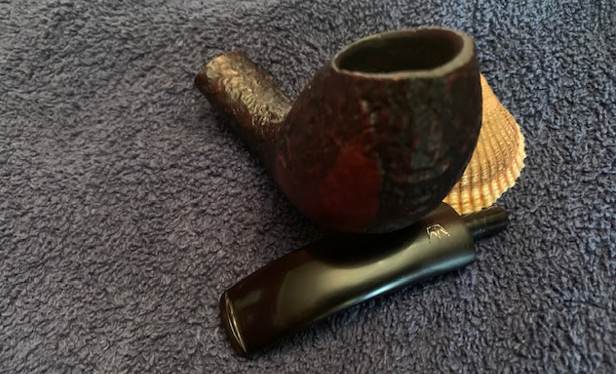
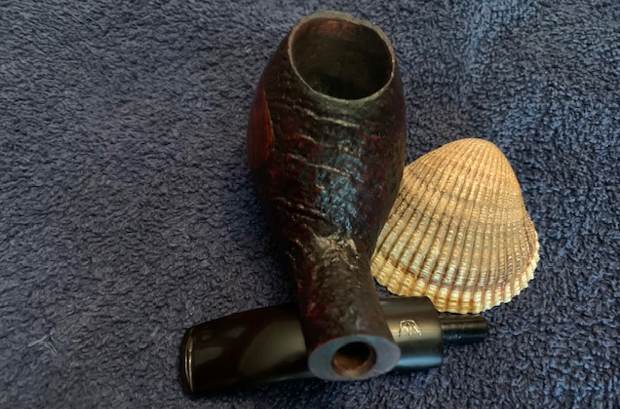
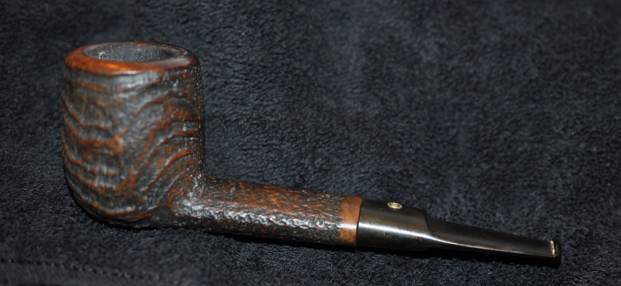
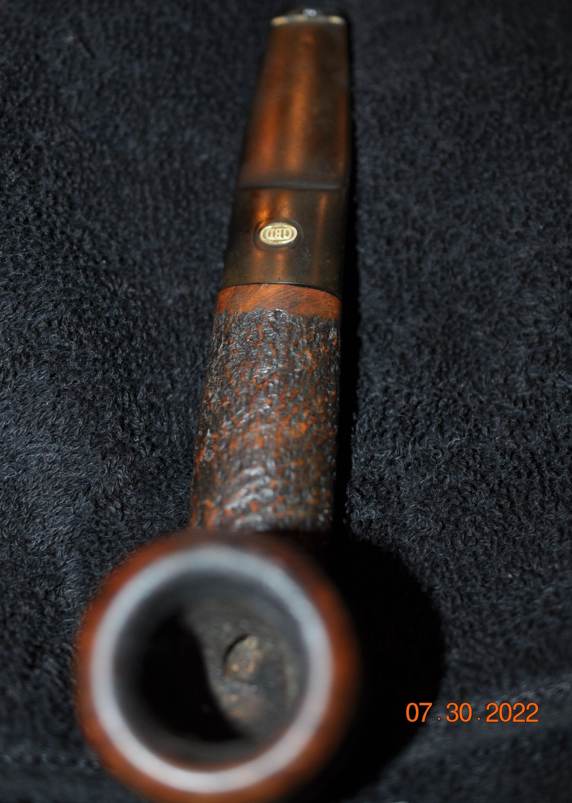
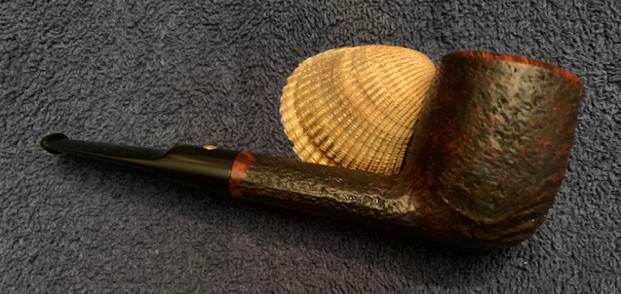
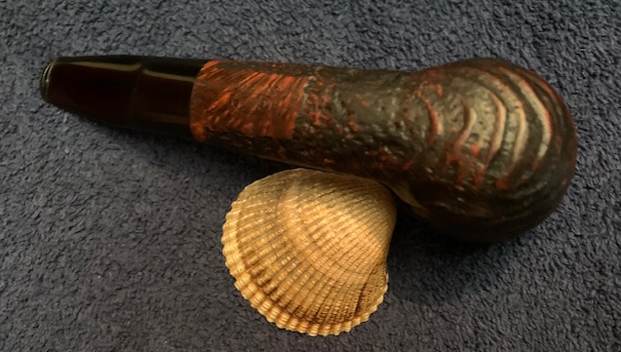
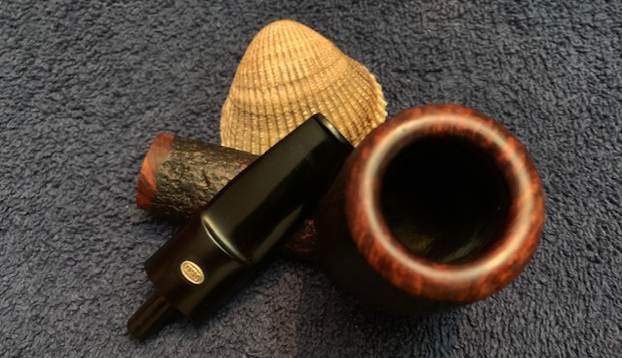
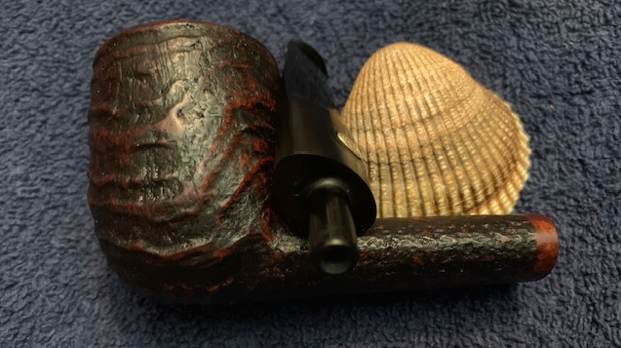
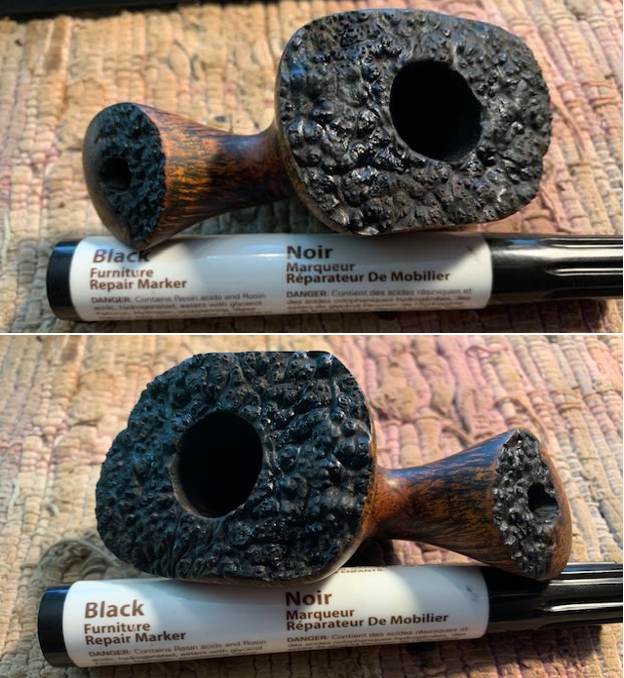
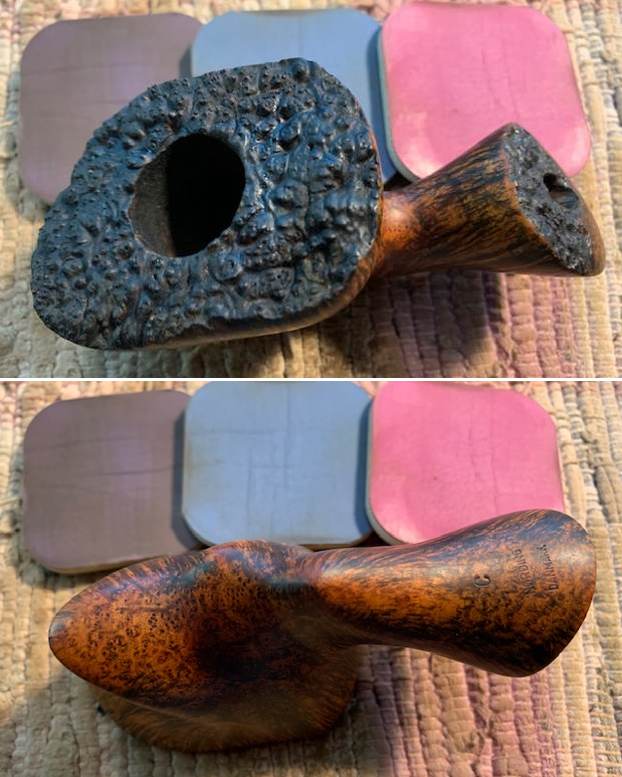
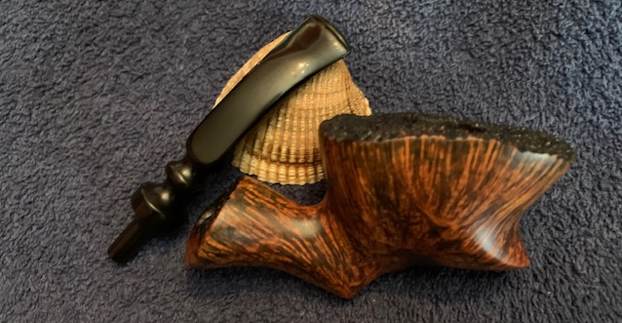
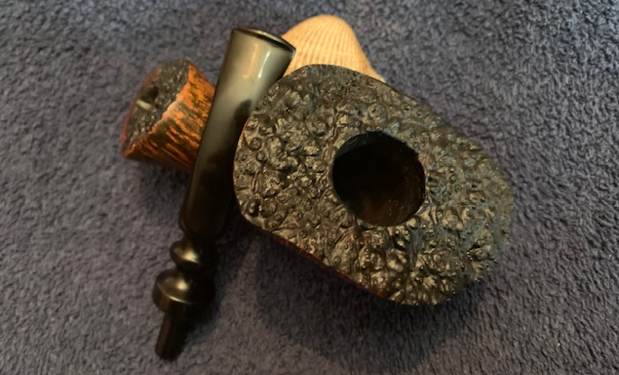
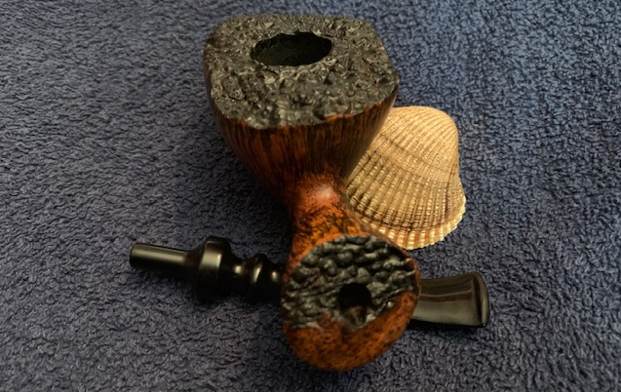
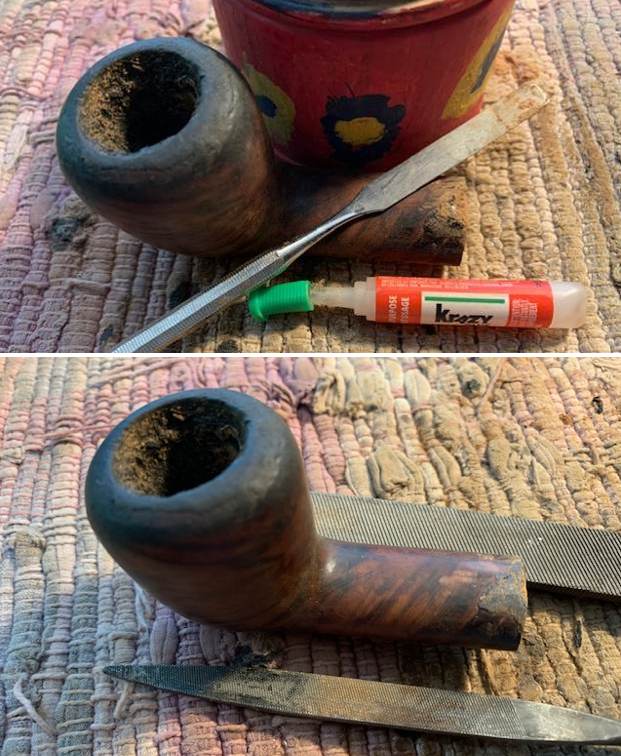
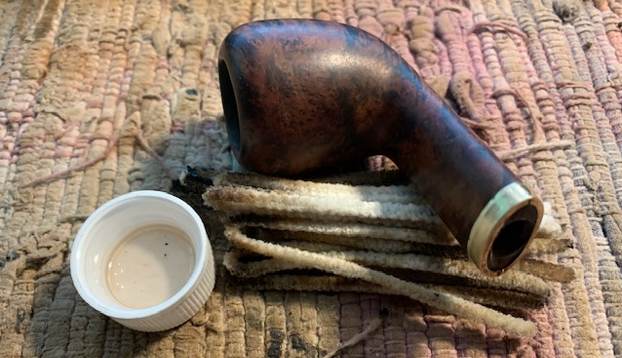
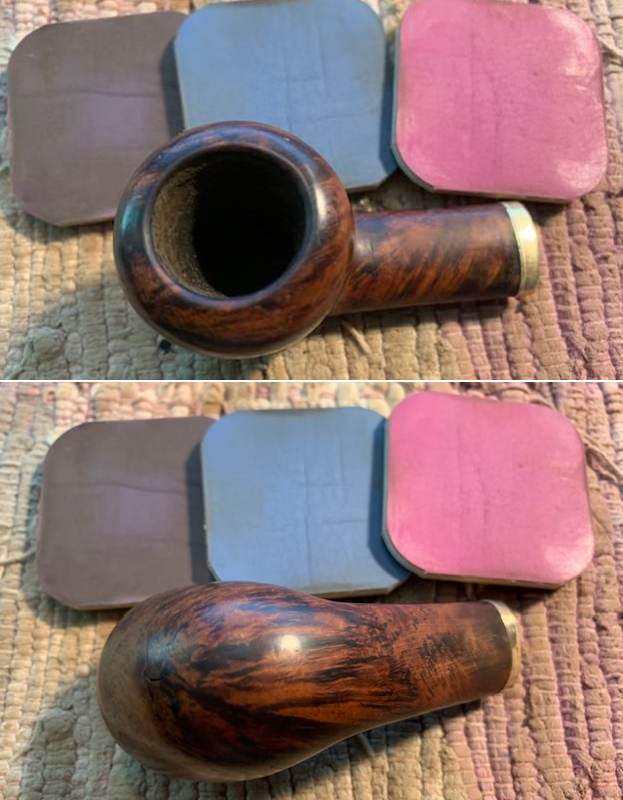
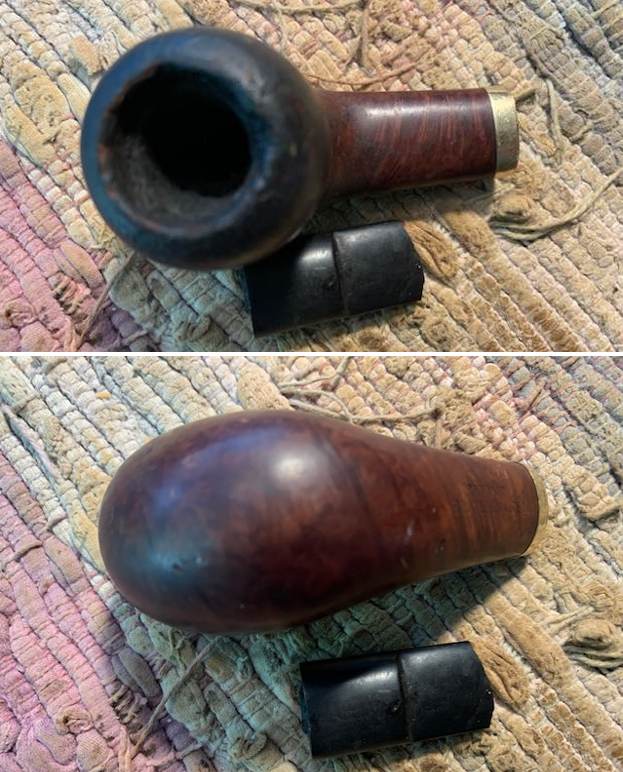
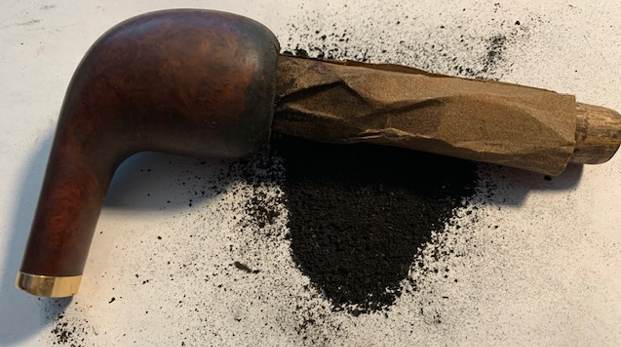
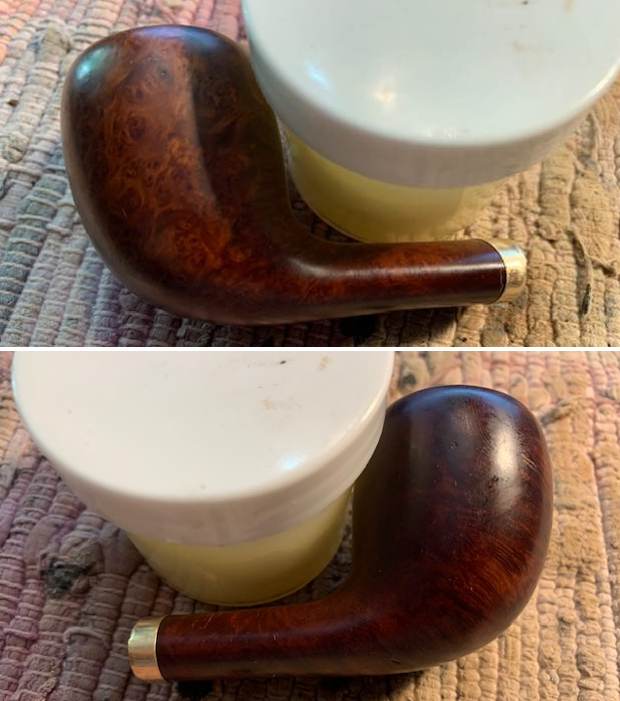
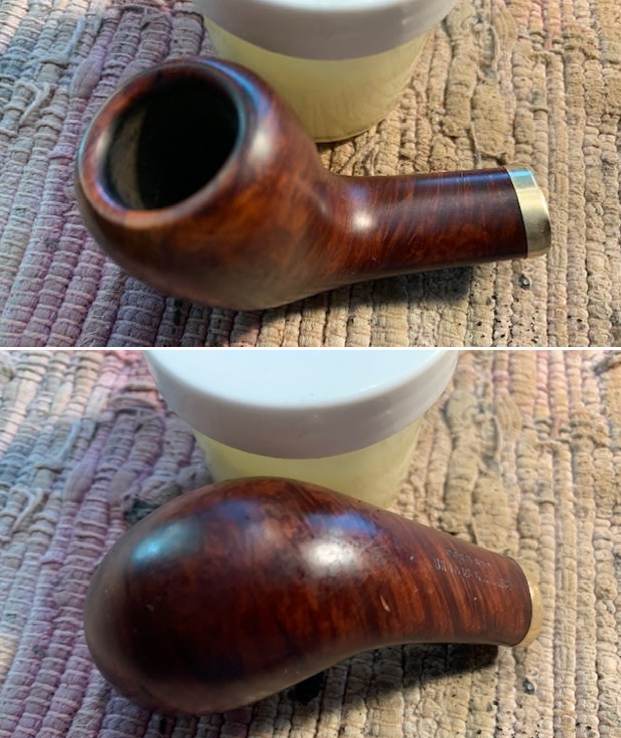
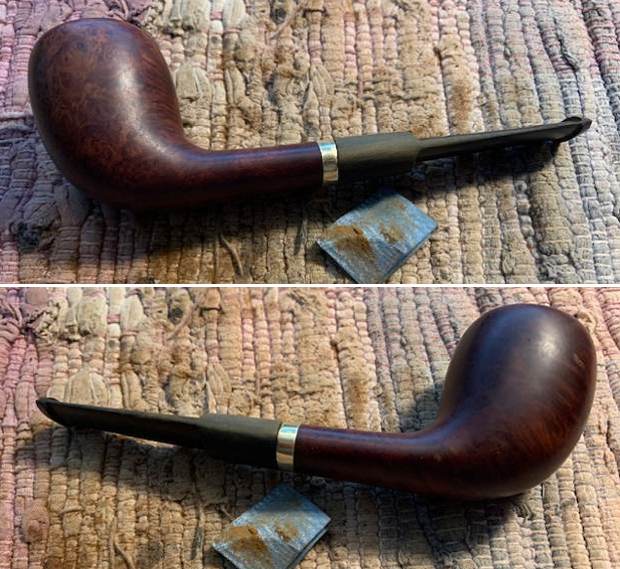
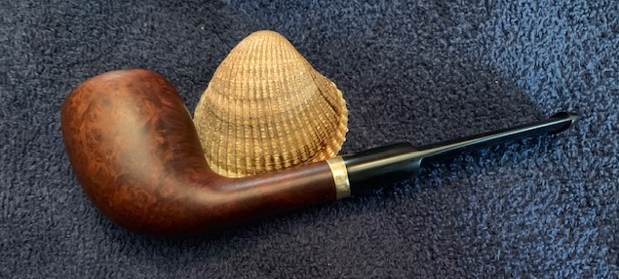
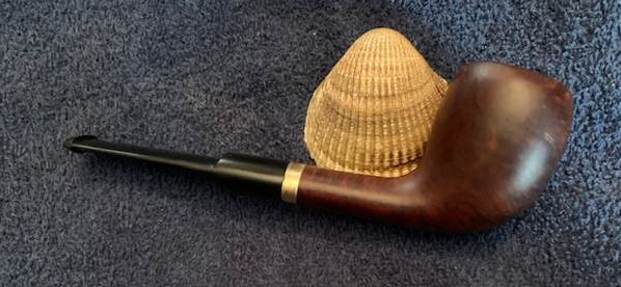
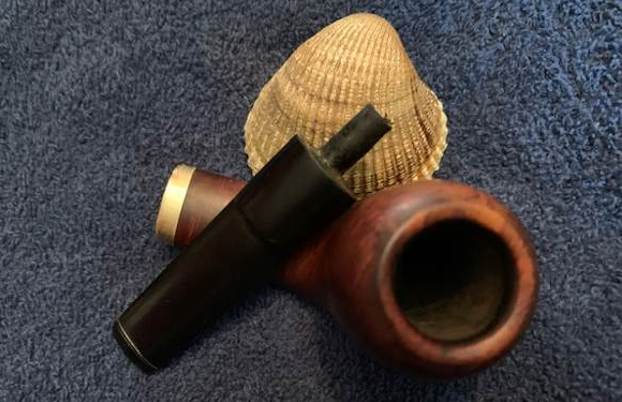
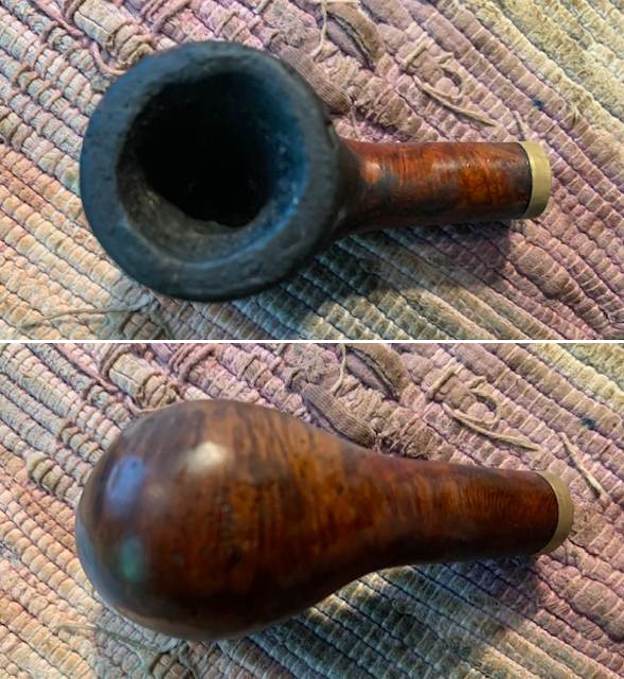
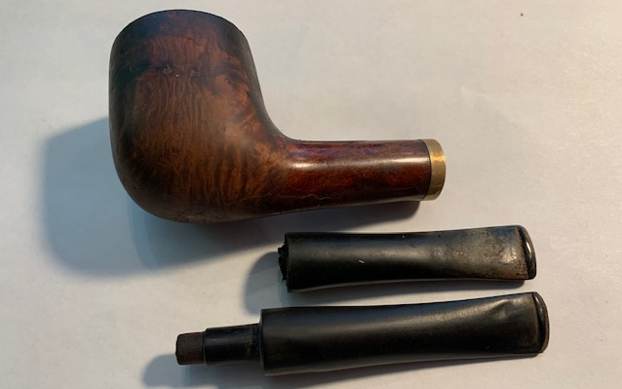
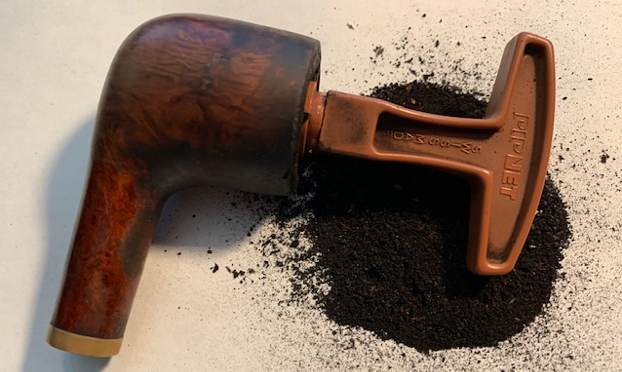
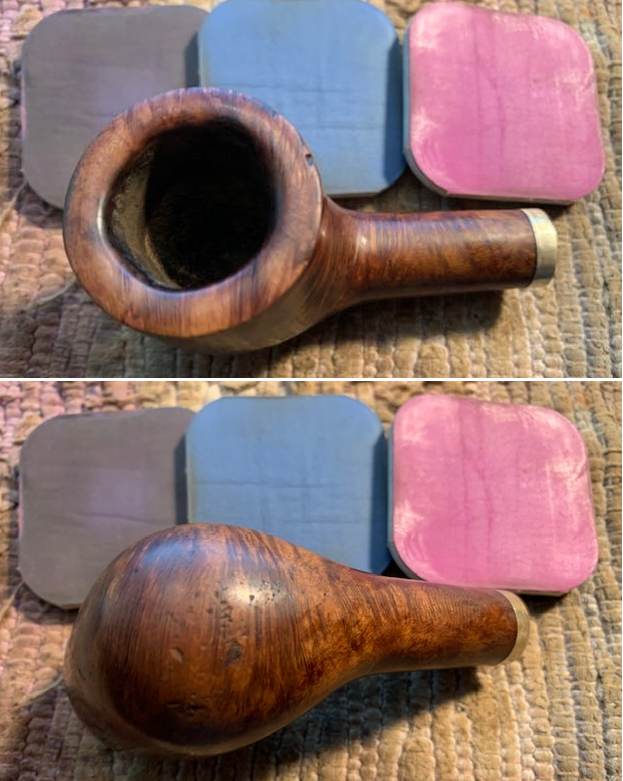
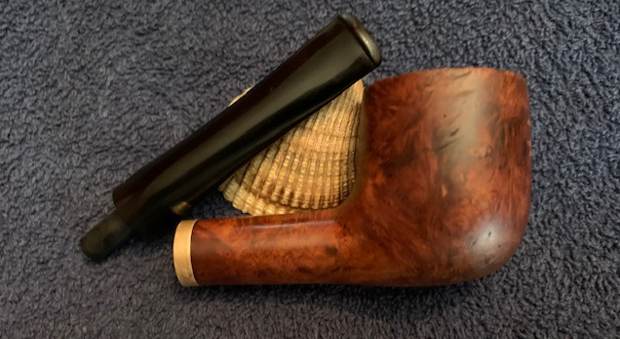
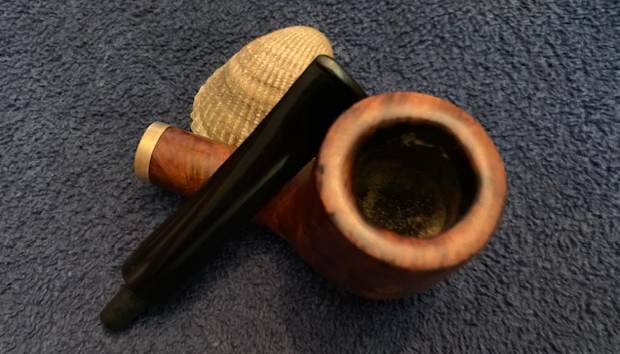
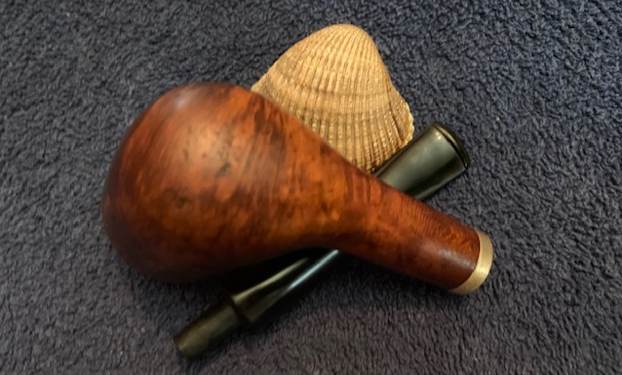
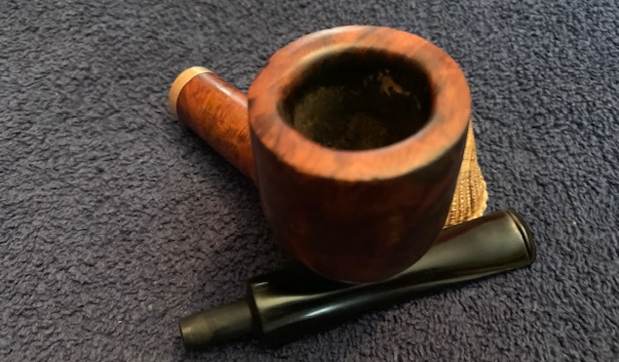
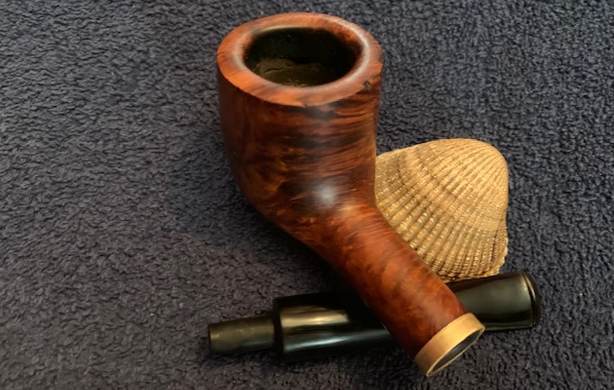
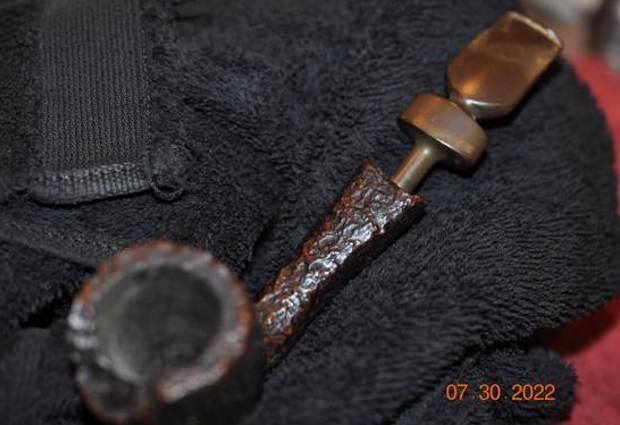
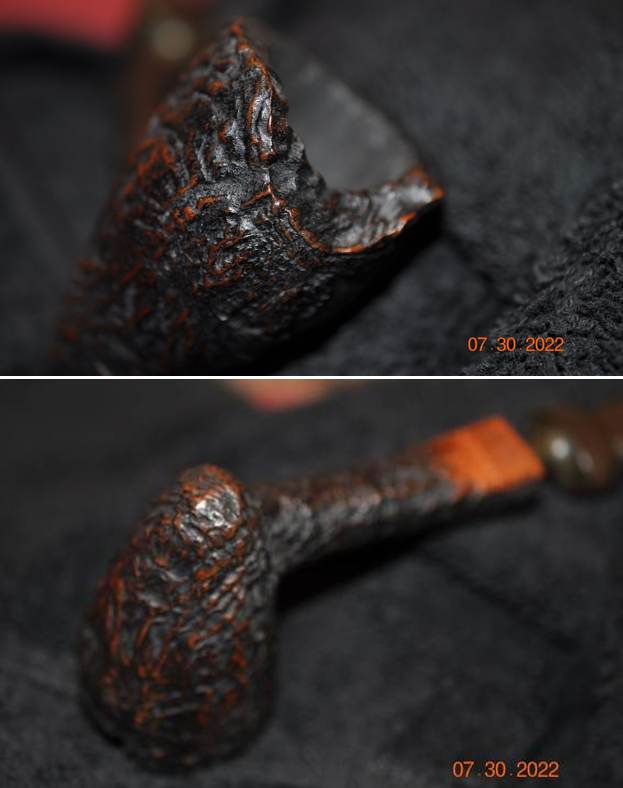
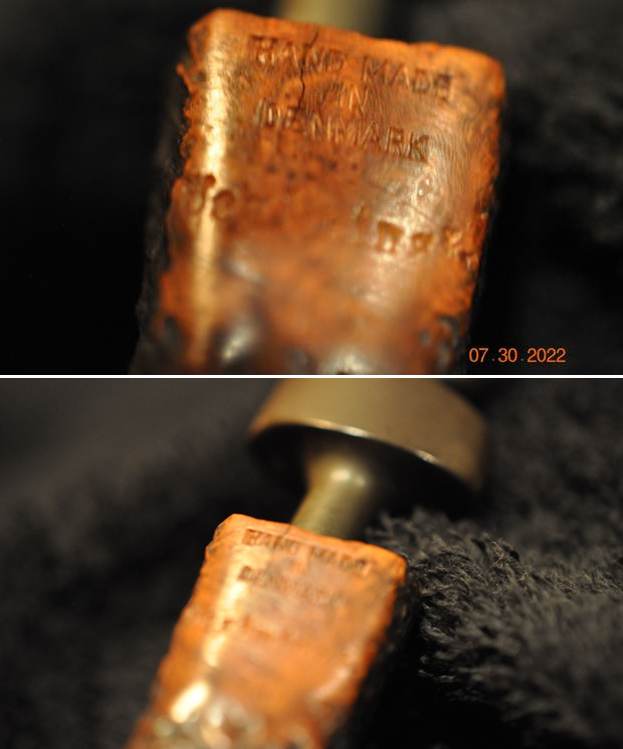
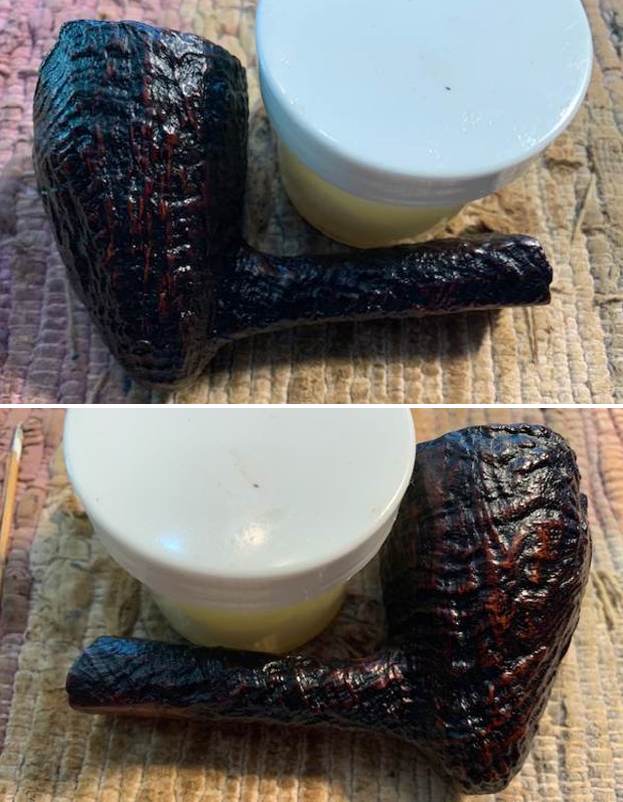
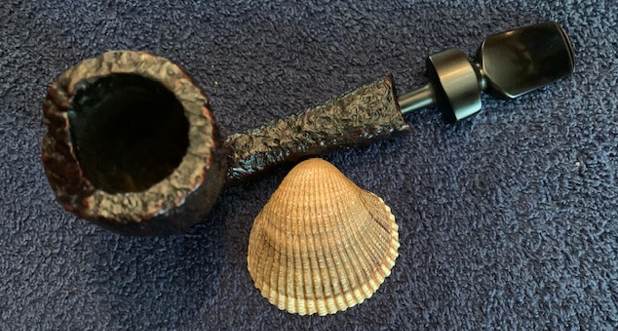
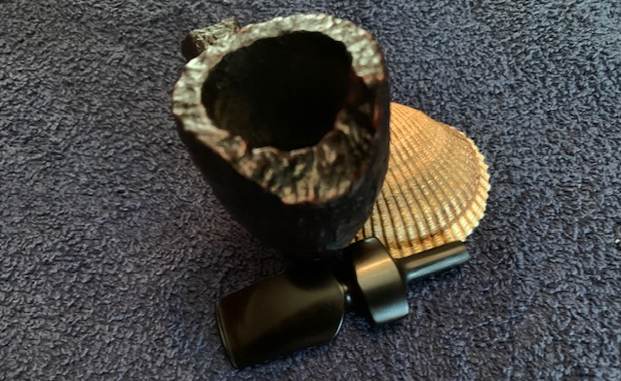
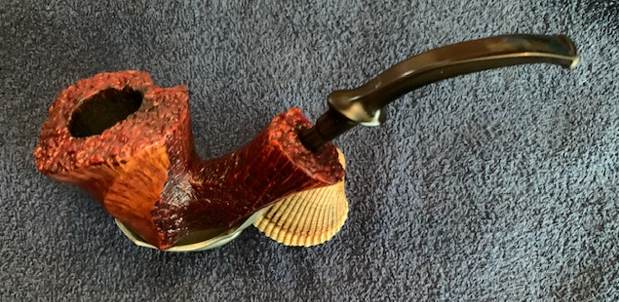
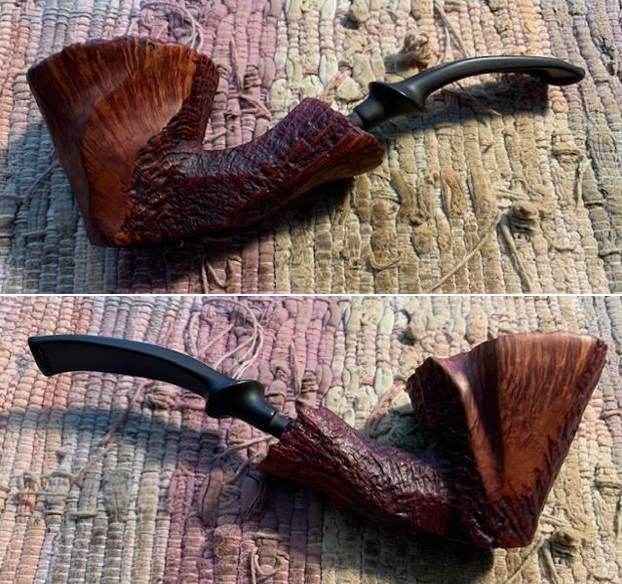
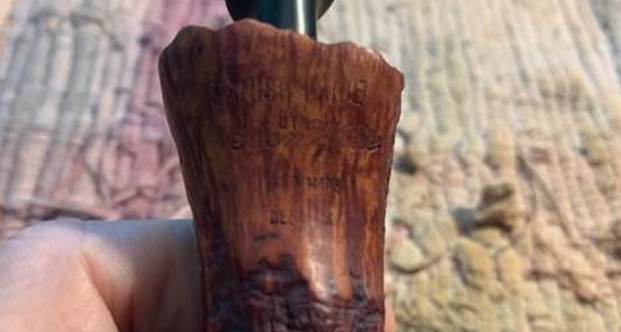
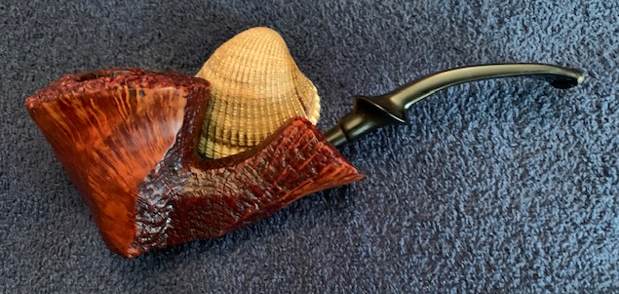
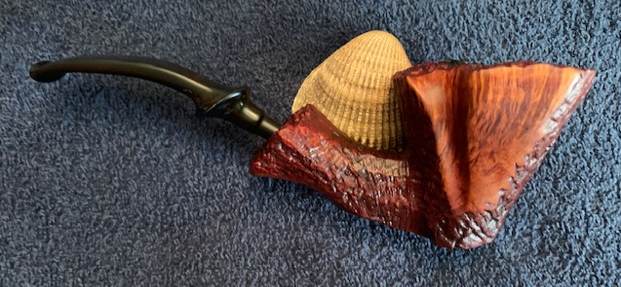
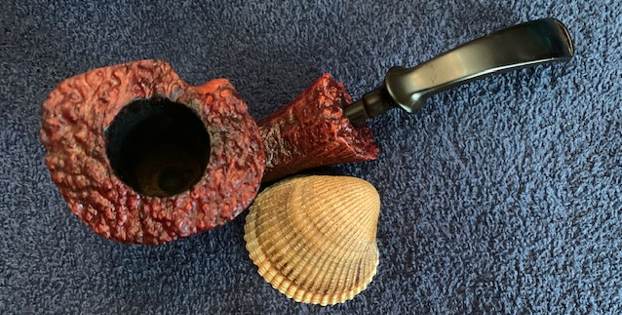
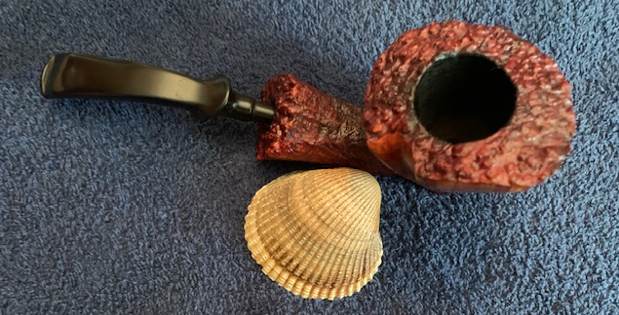
The next pipe on the table was purchased on 05/10/22 from an antique mall in Astoria, Oregon, USA. This unique Jobey has a flat base with a short tail that stabilizes the sitter. It has a rugged, finish that looks like a combination of sandblast and rustication (blastication) with lots of nooks and crannies in the briar. The top of the shank and the upper 1/3 of the bowl are smooth briar. The come together and really are quite beautiful! The pipe is stamped on a smooth panel on the topside of the shank and reads Jobey [over] Designer. The valleys and ridges of the “blasticated” grain showing through the grime and dirt are a mixture that leaves a rich texture. It had rich dark and medium contrasting brown stains that do not look too bad. There was a thick cake in the bowl with remnants of tobacco stuck on the walls. There was a lava overflow on the crowned top of the rim and covering the inner edge. It was hard to know if the rim edges were damaged. It was a beautiful pipe that was dirty and tired looking but there was a thick coat of shiny varnish or shellac covering the whole thing. The stem was golden variegated acrylic that had fancy turnings on the saddle. The tenon was the patented Jobey Link System that was developed to protect the shank. There was a hairline crack on the top of the stem where the tenon fit but it was not open and was very fine. There were tooth marks and chatter on the stem near the button on both sides. There is a brass Jobey oval logo on the top of the stem identifying it as a Jobey pipe. Jeff took photos of the pipe before he cleaned it up.
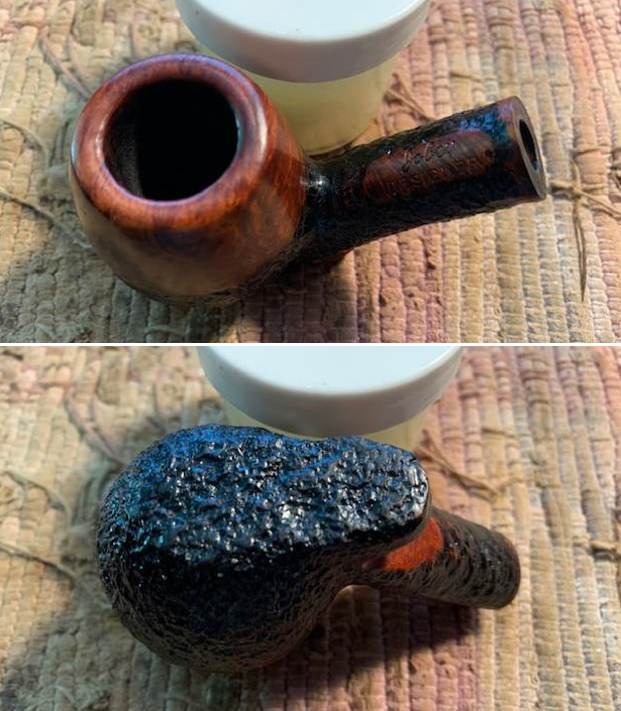
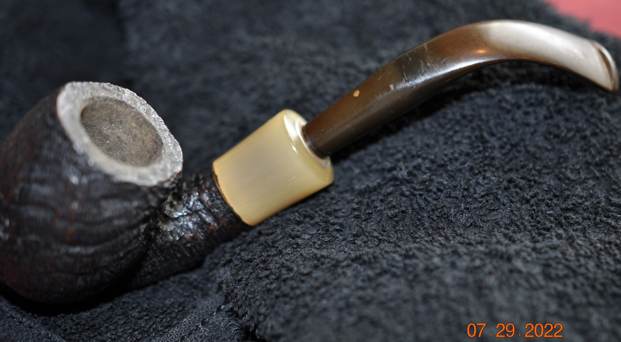
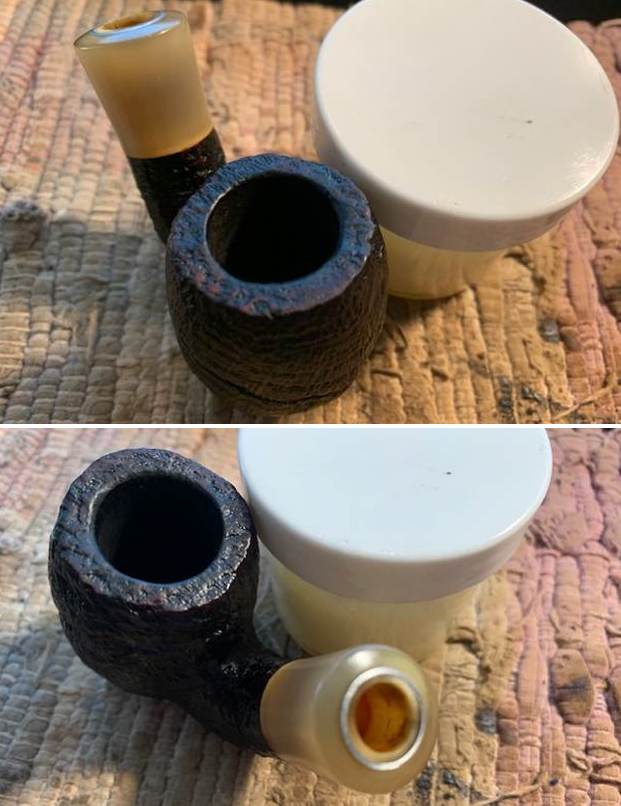
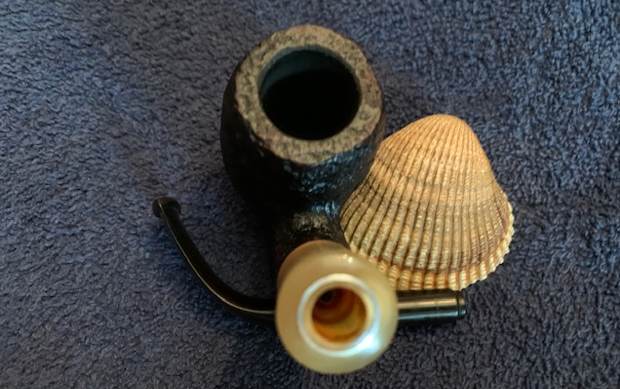
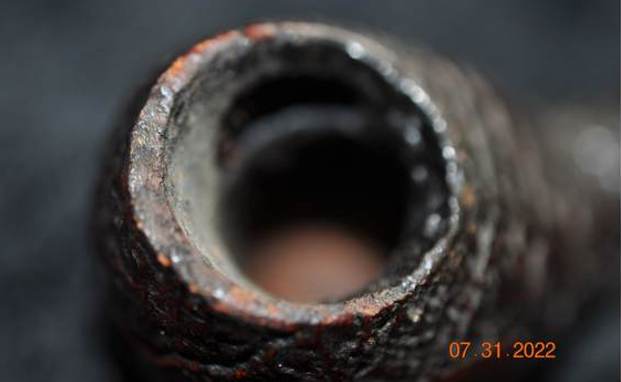
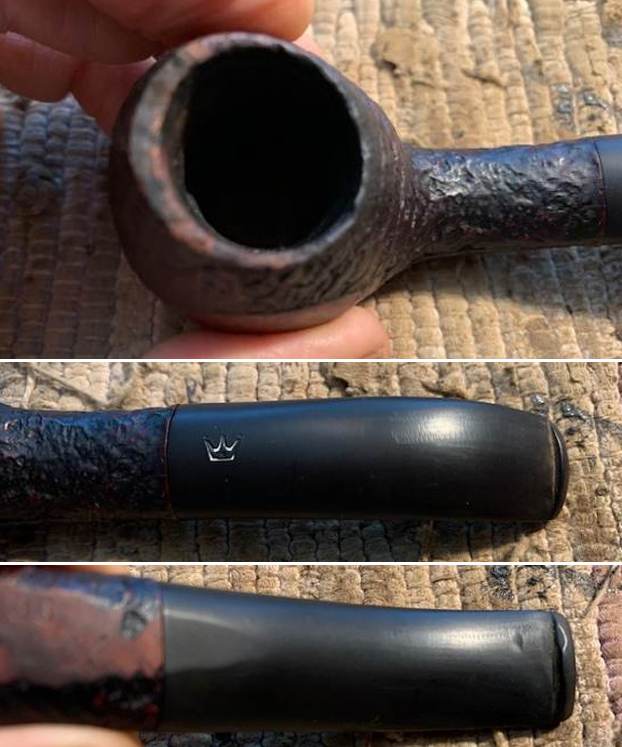
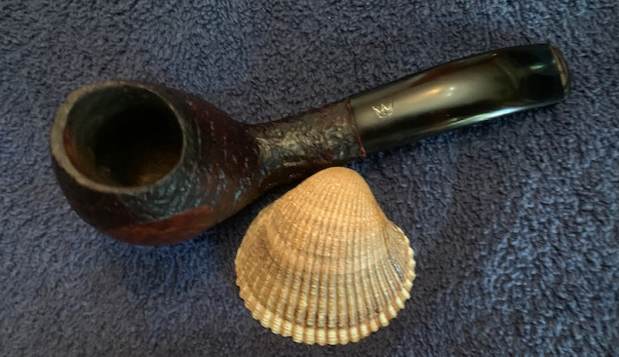
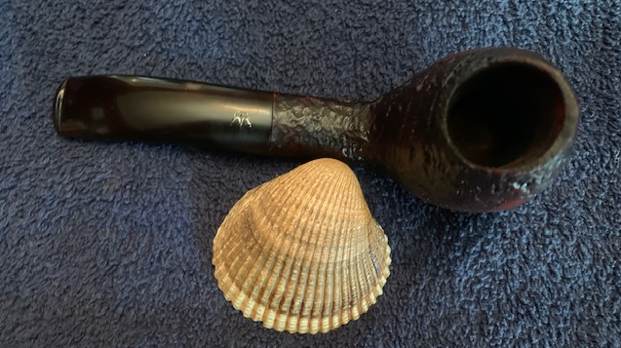
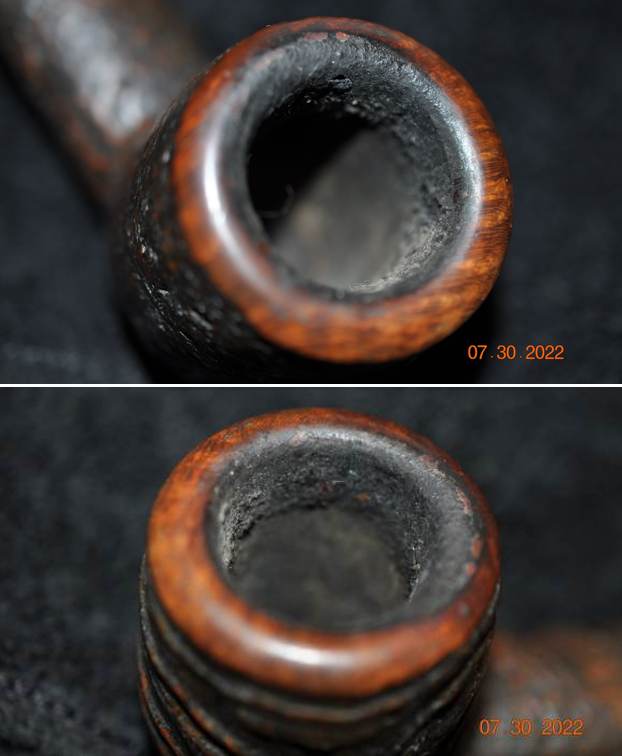
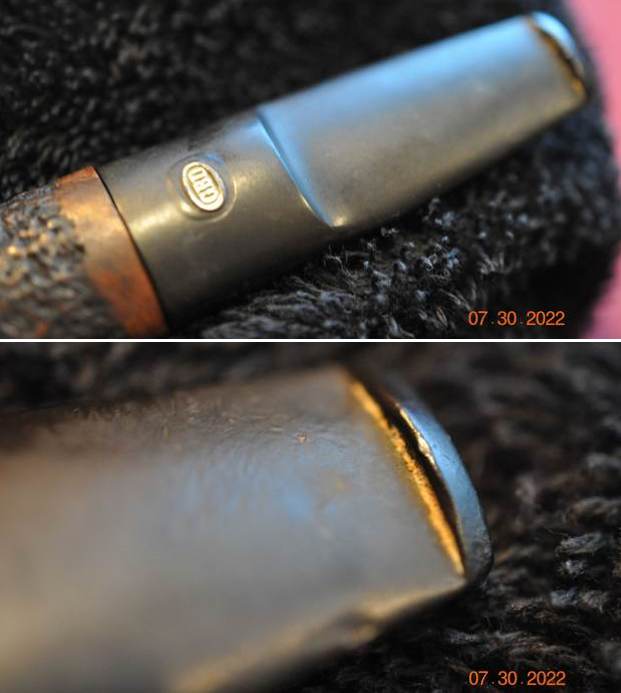
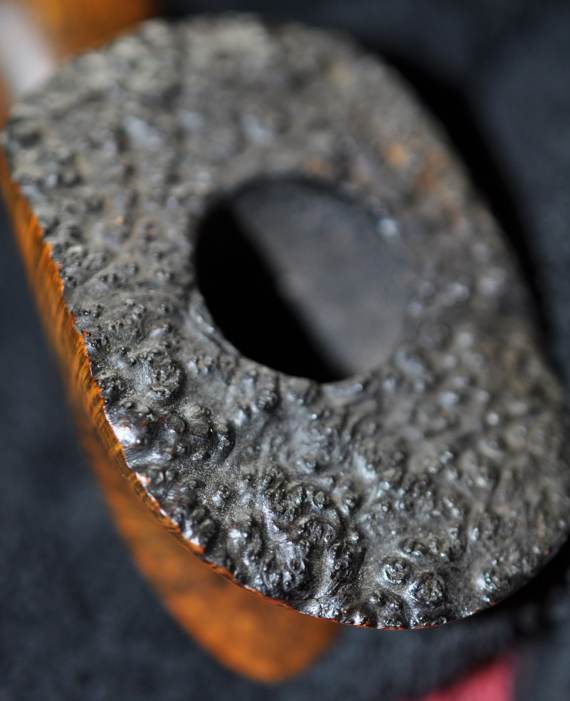
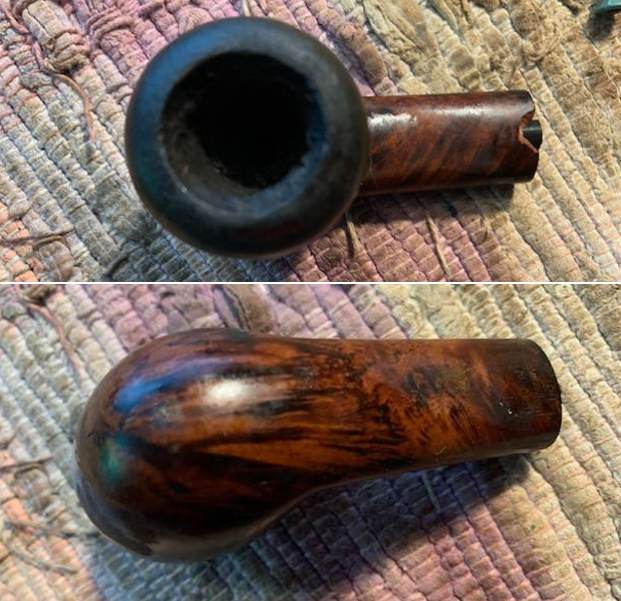
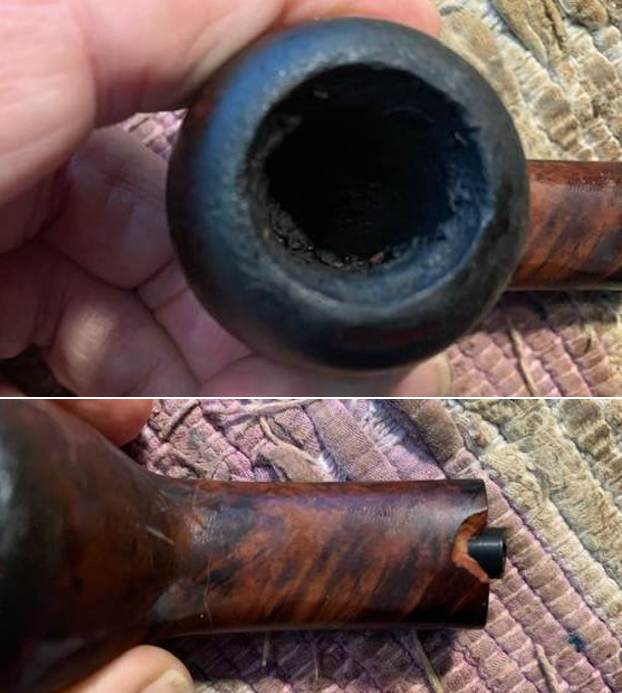
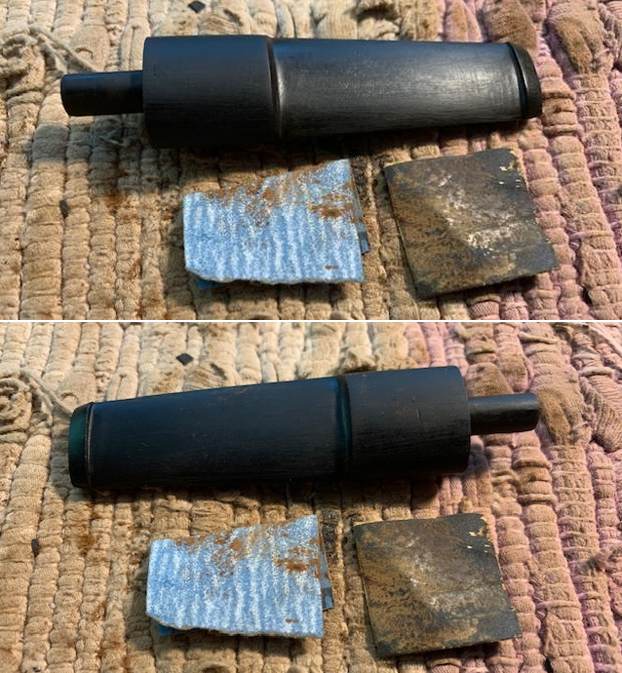
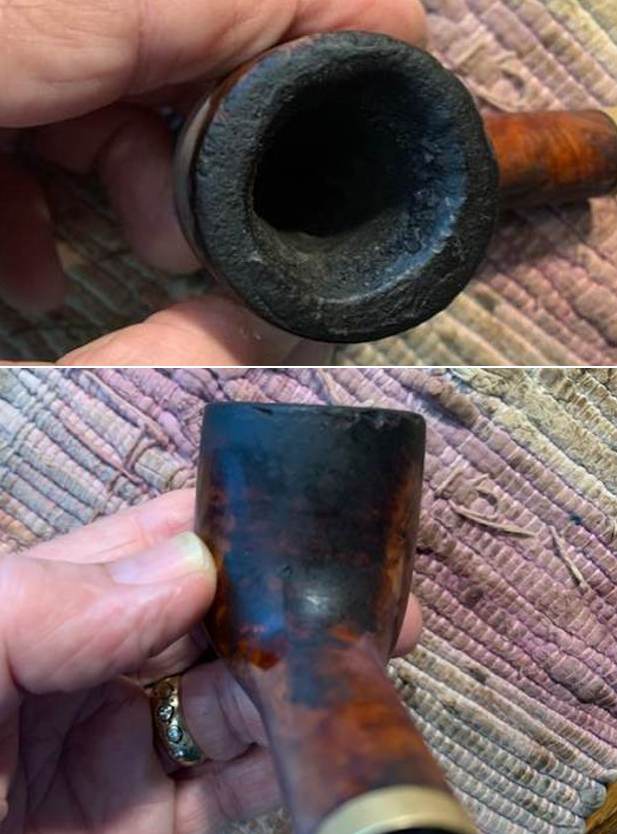
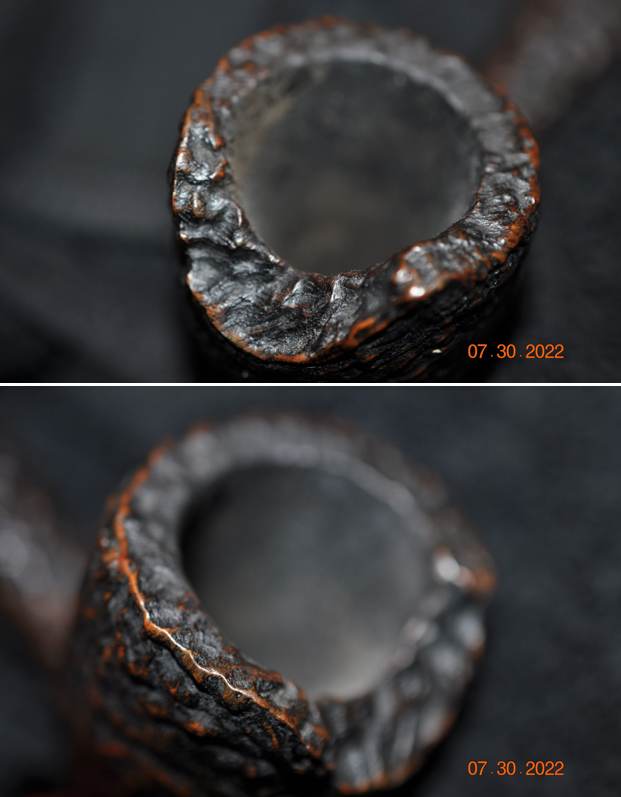
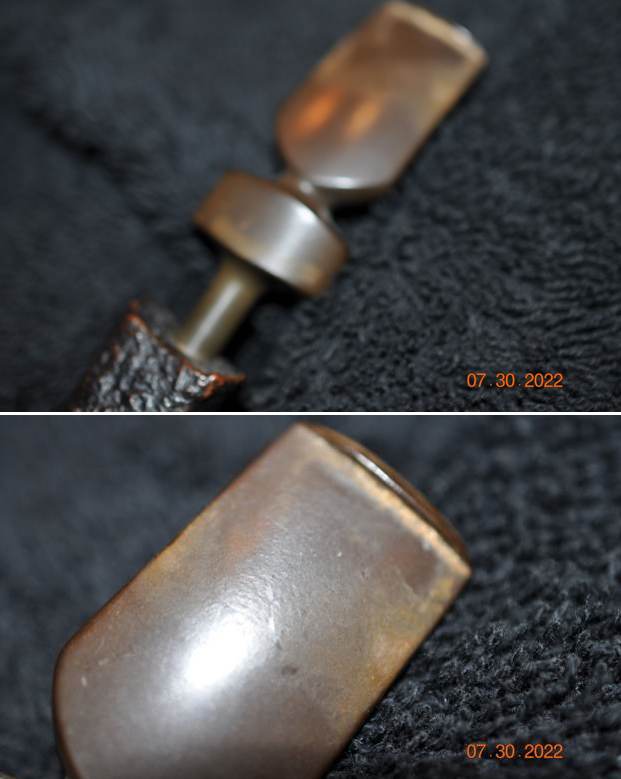
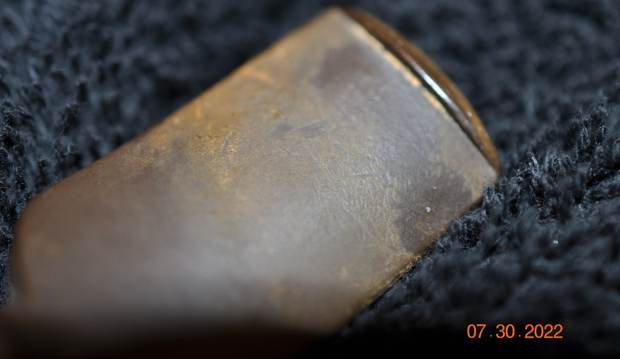
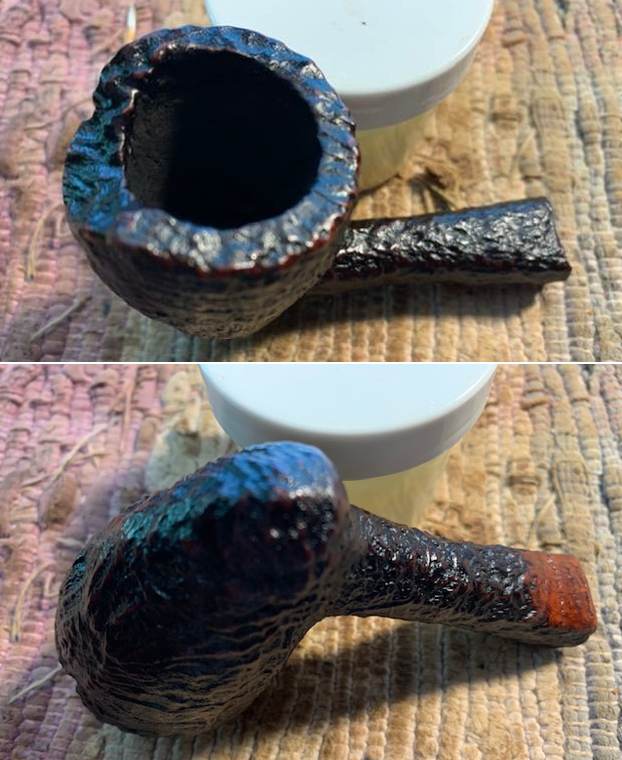
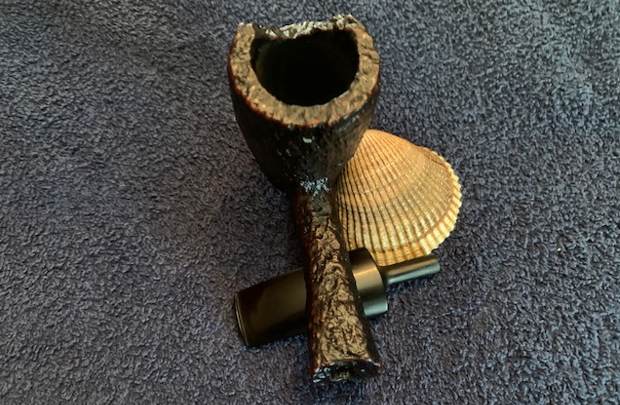
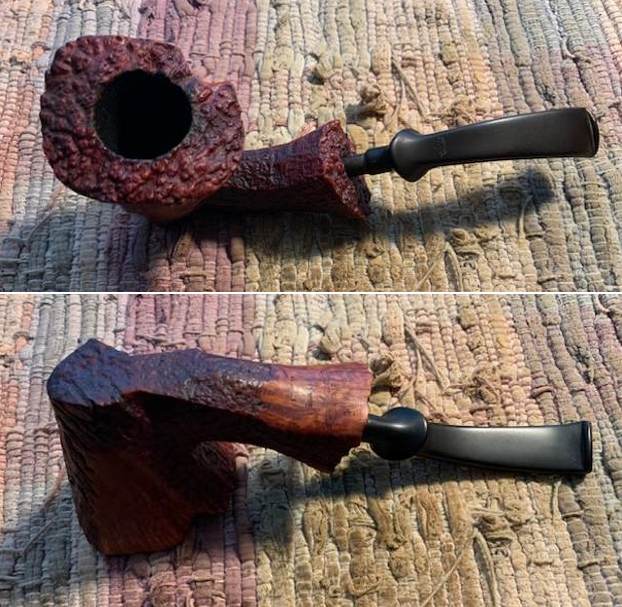
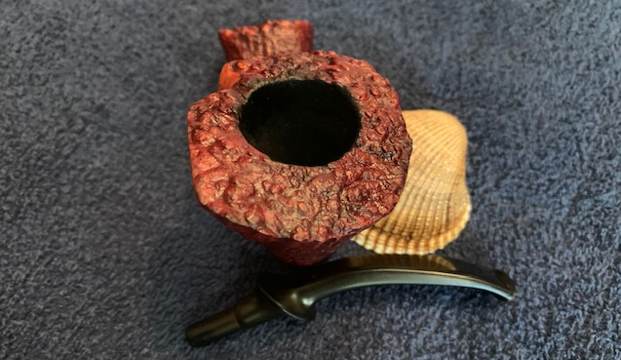
 He took photos of the bowl and rim top to show the cake in the bowl and the lava build up on the rim top and edges of the bowl. It was thick and hard but hopefully it had protected the rim and edges from damage. It was hard to know for sure from the photos. Jeff took photos of the top and underside of the stem showing the tooth chatter, scratching on the stem surface and wear on the edges of the button. The airway in the stem was stained with the tars and oils that would need to be cleaned up.
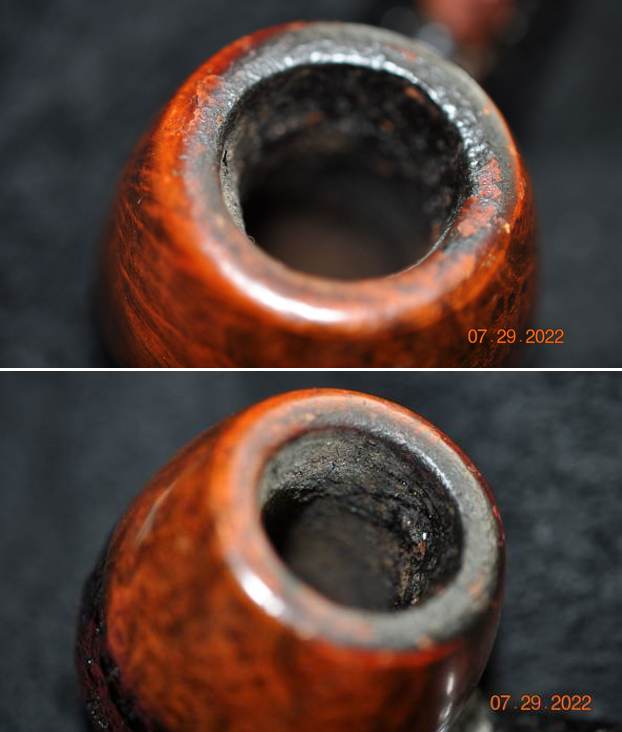
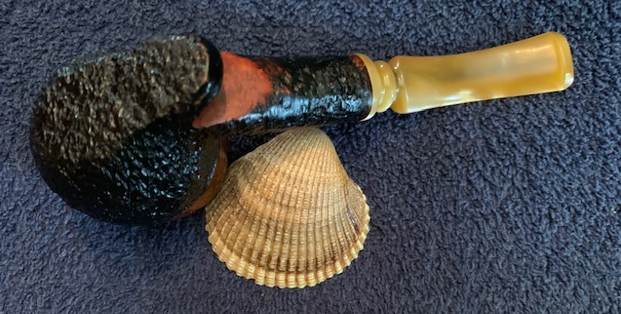
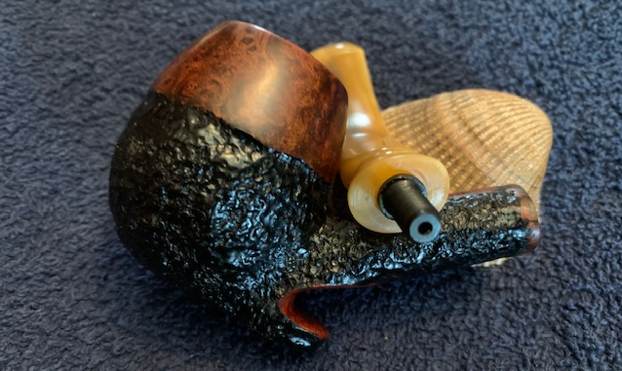
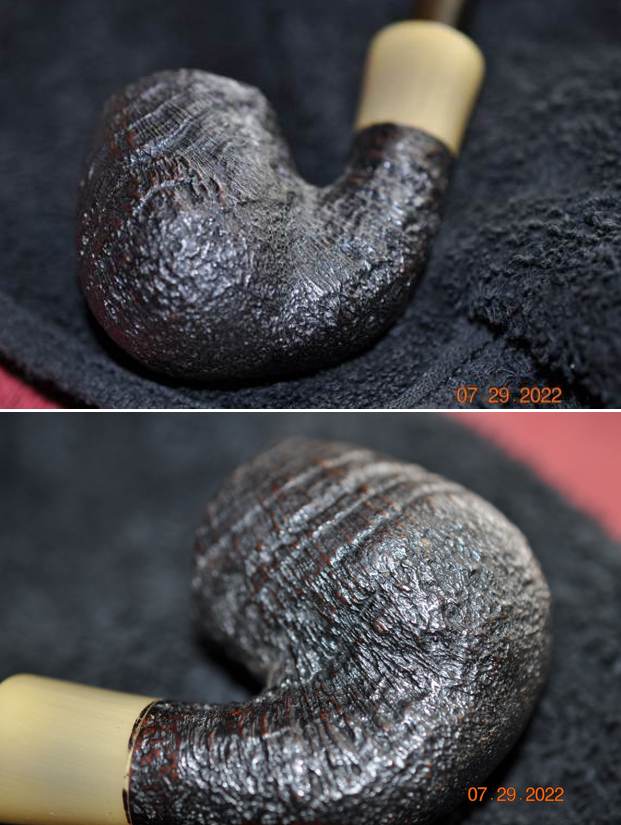
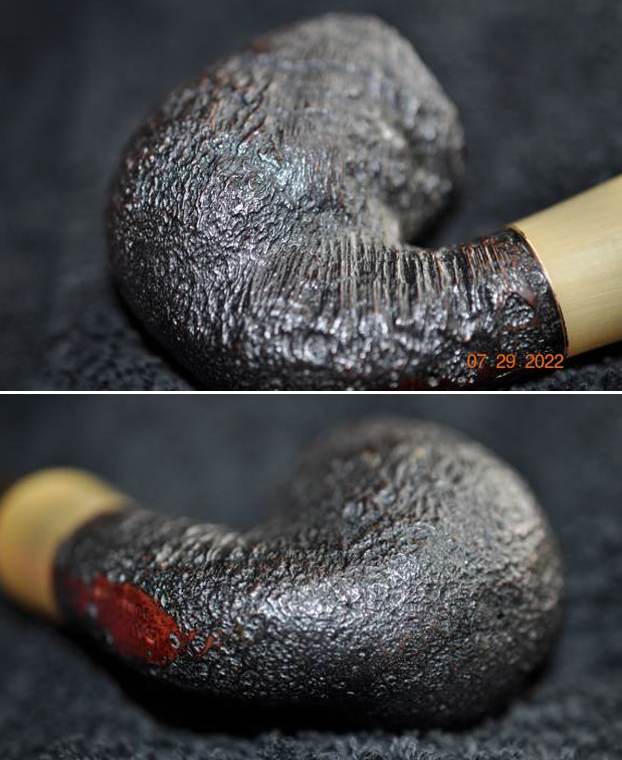
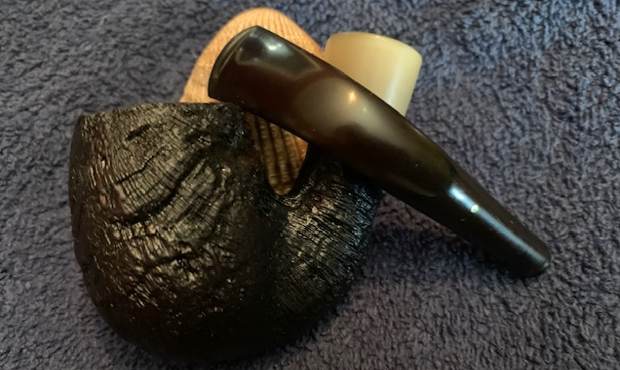
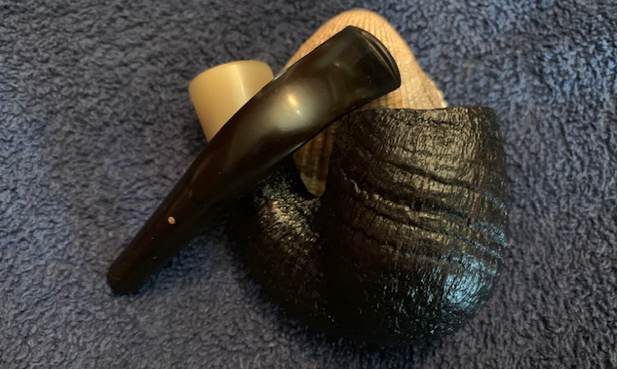
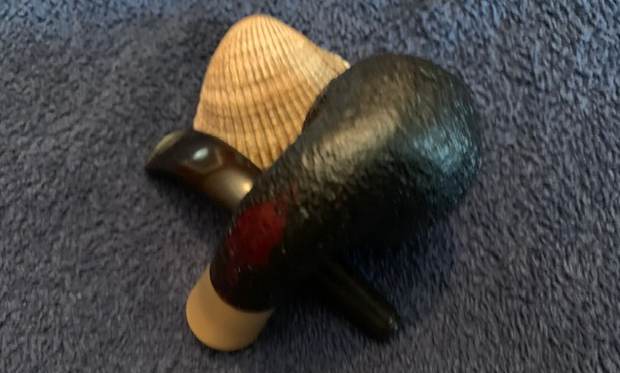
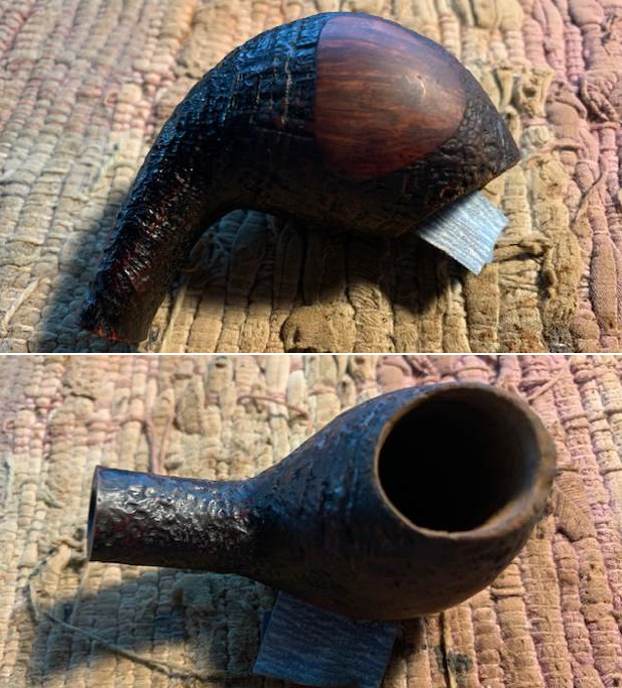
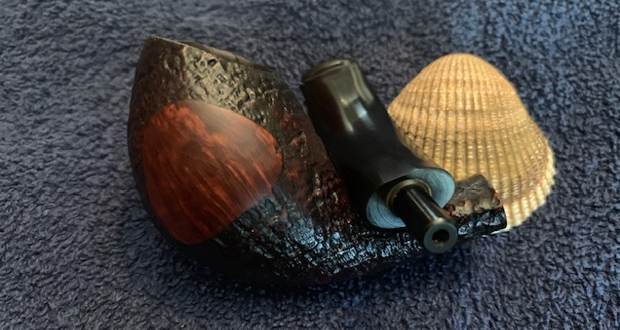
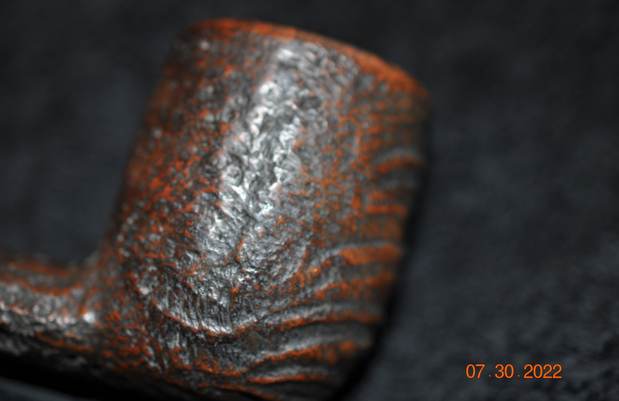
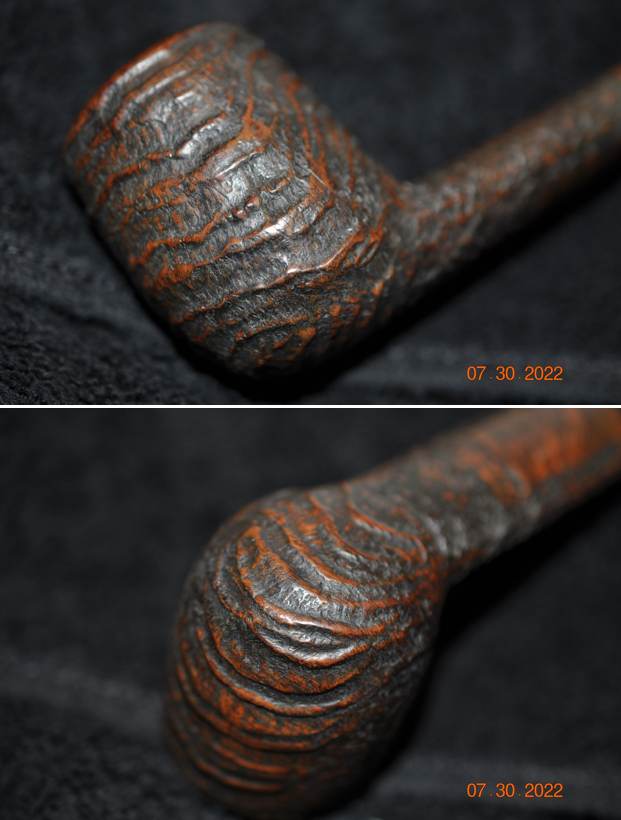
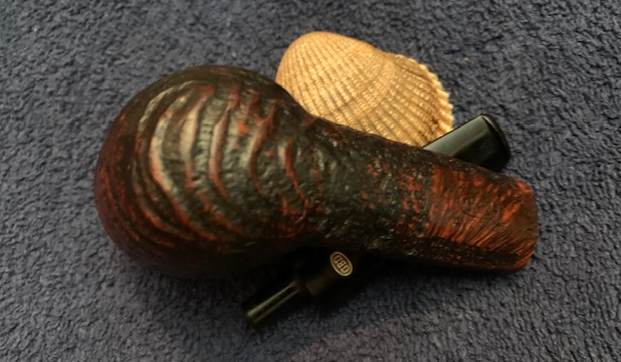
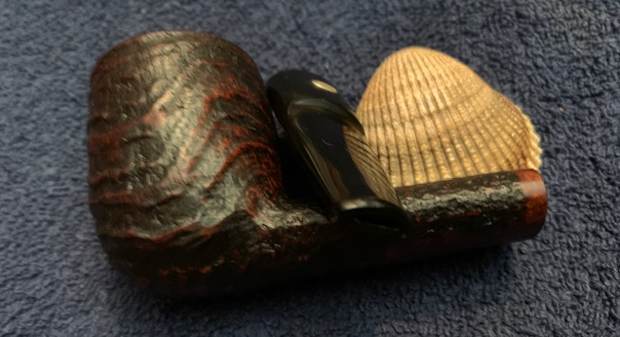
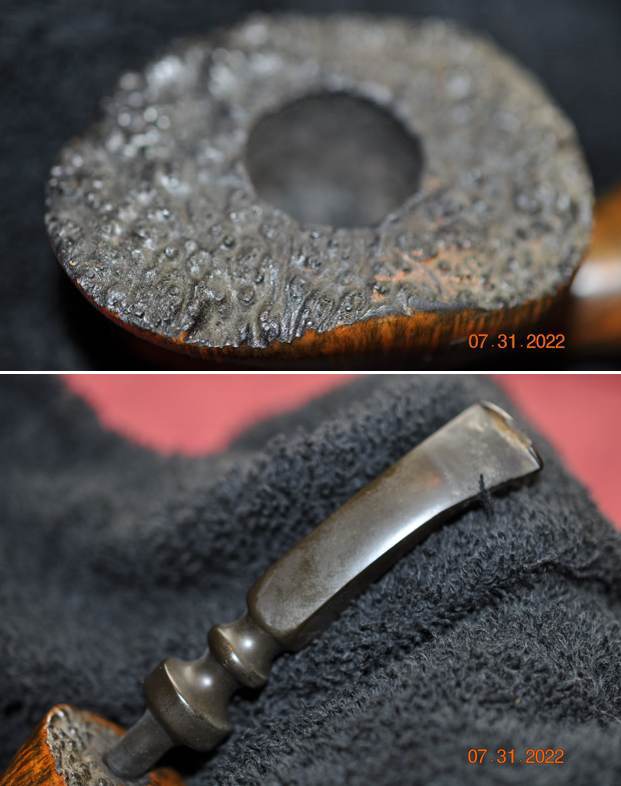
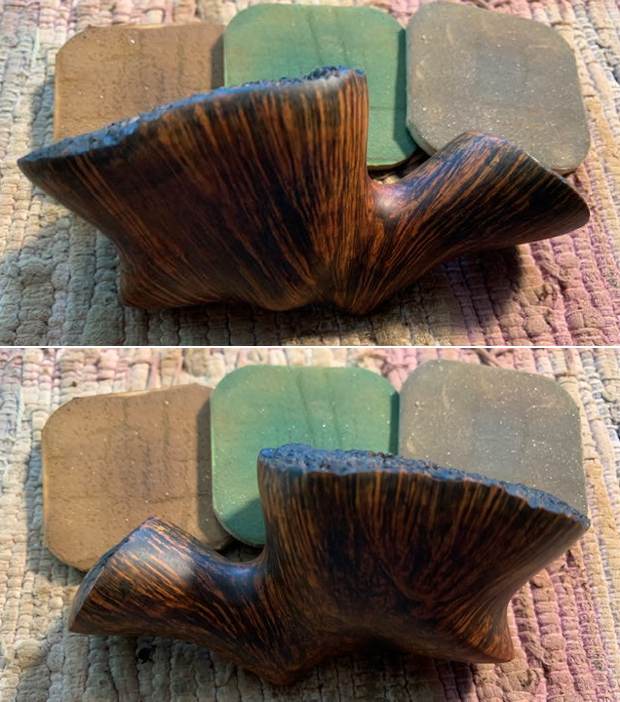
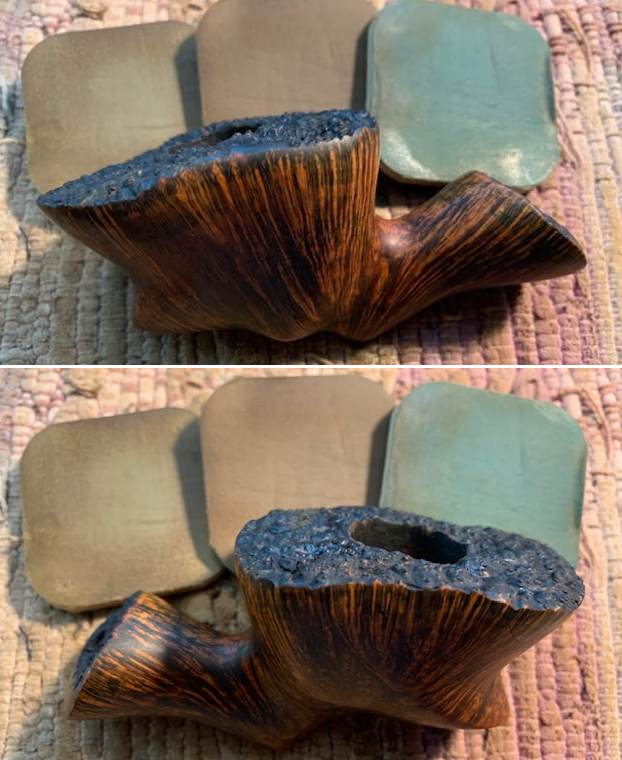
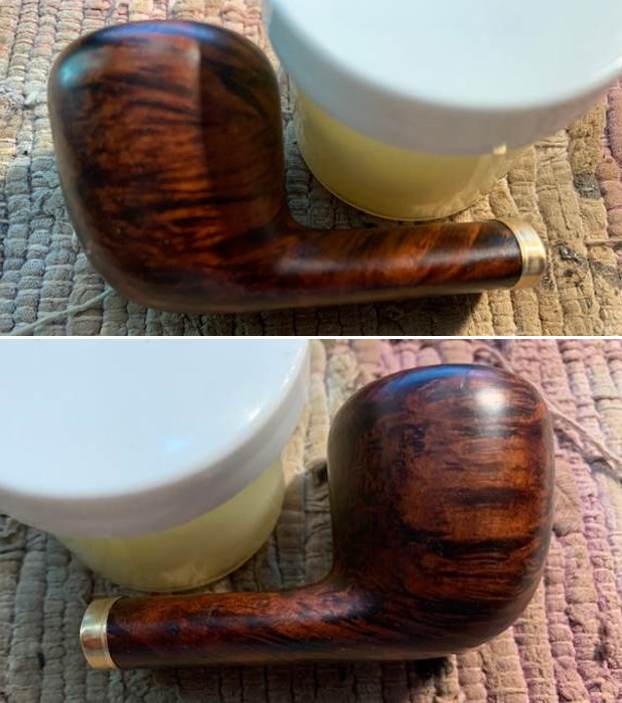
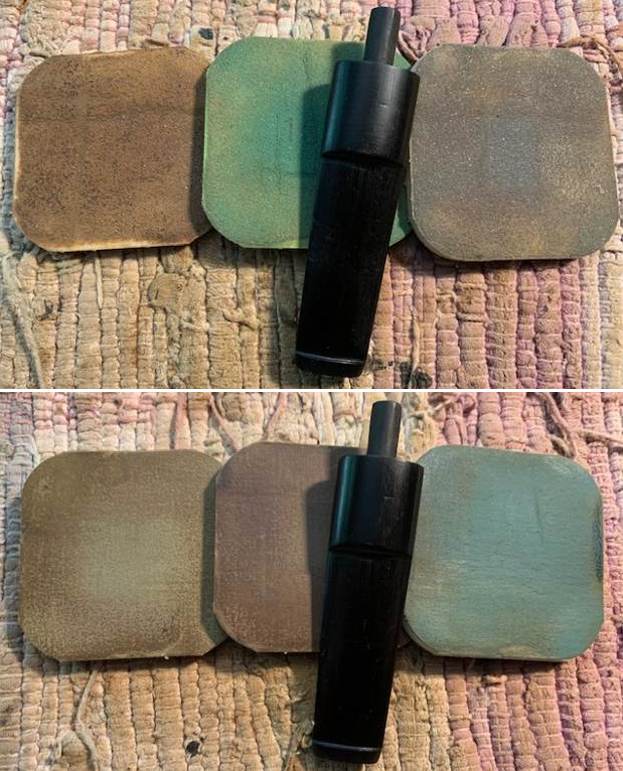
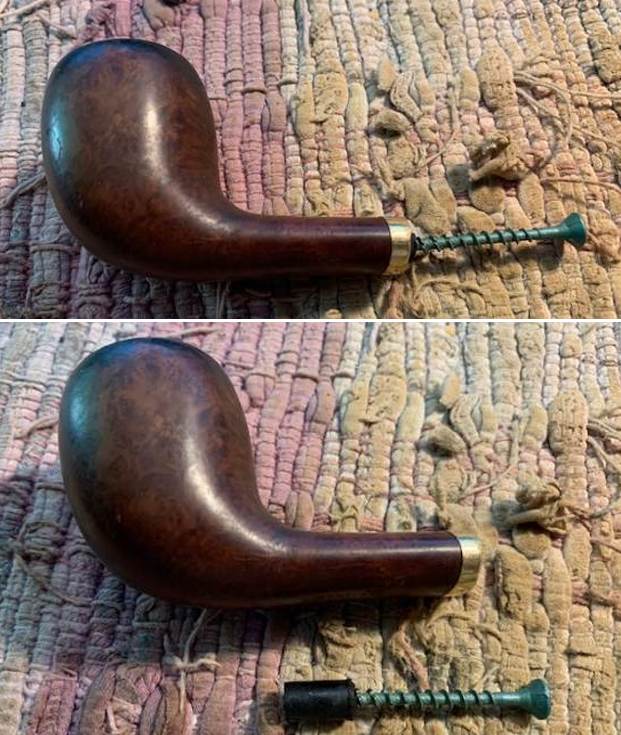
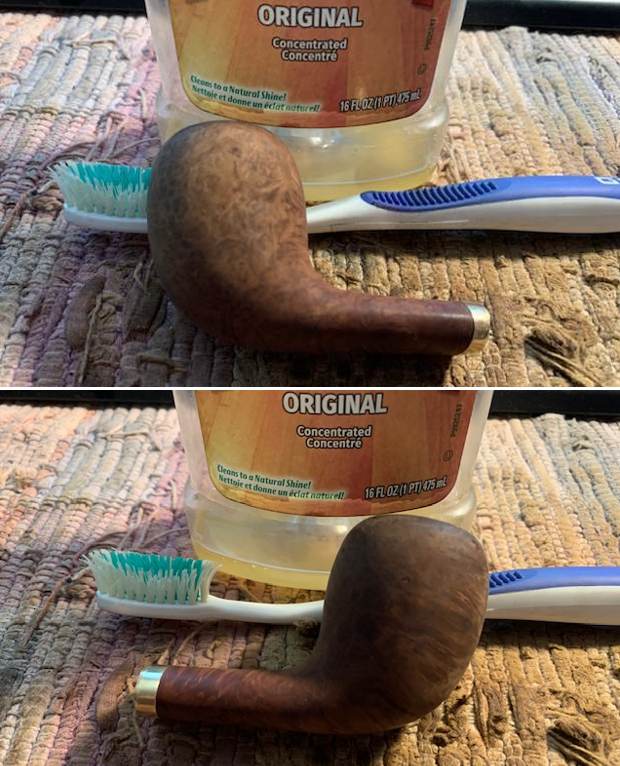
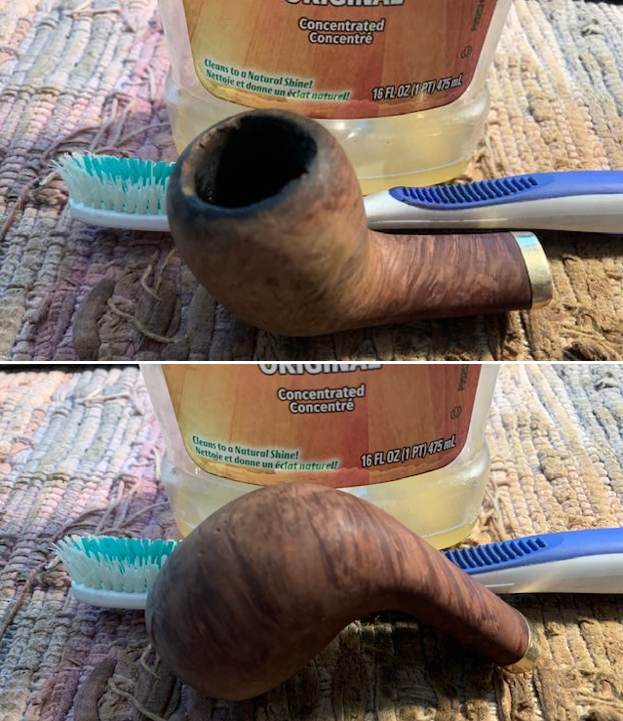
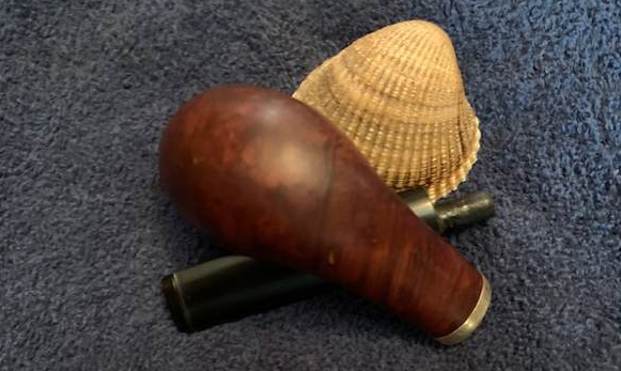
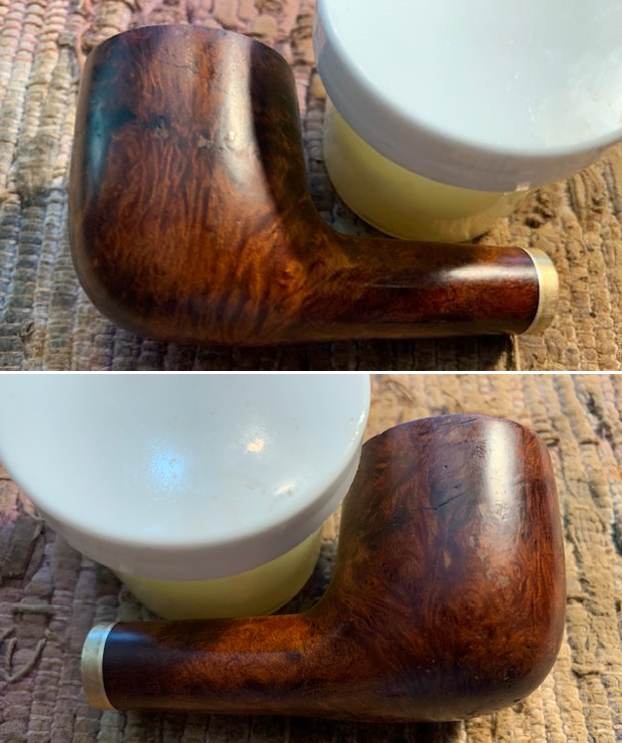
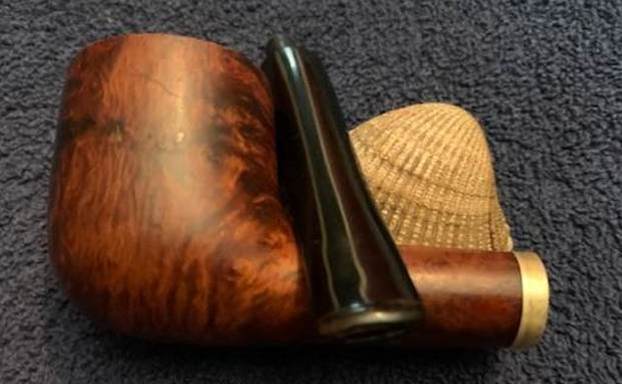
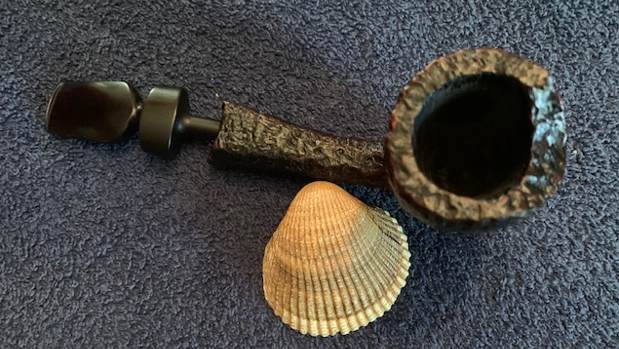
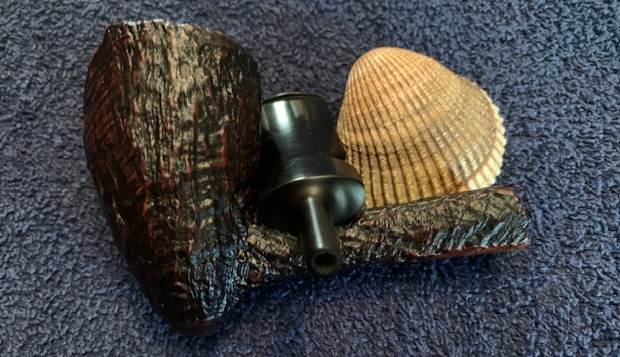
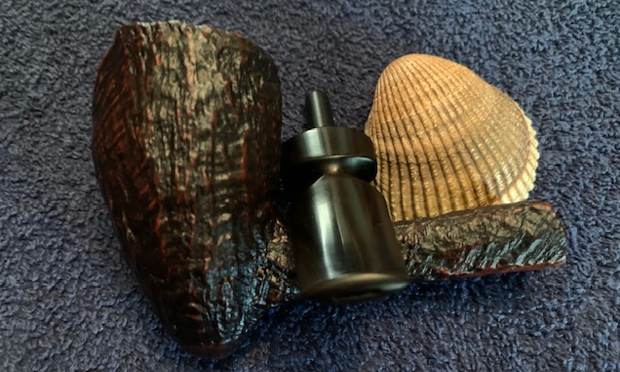
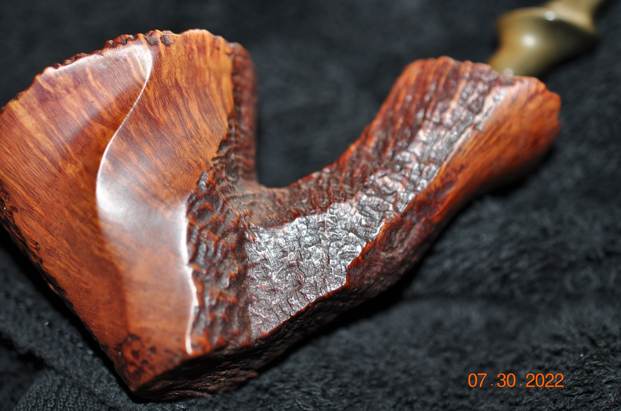
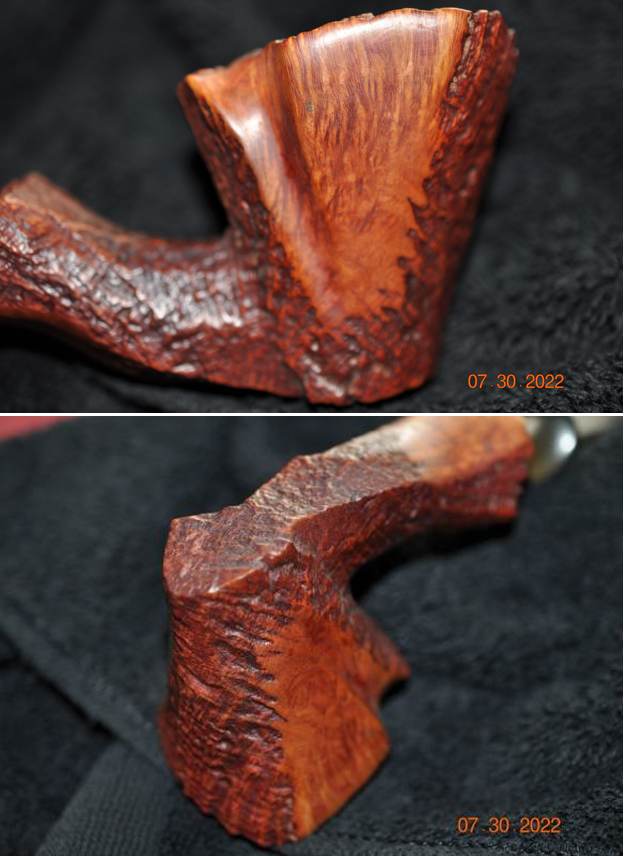
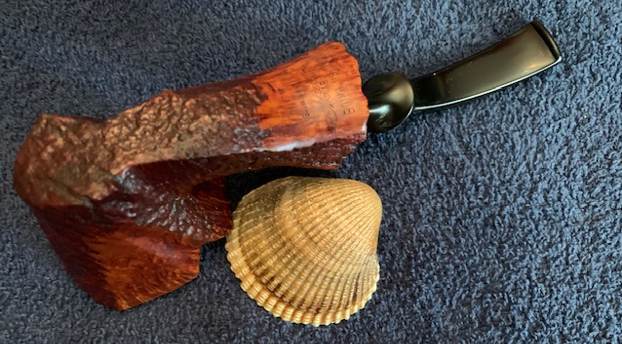
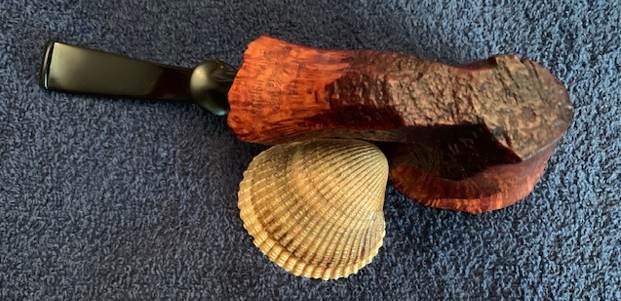
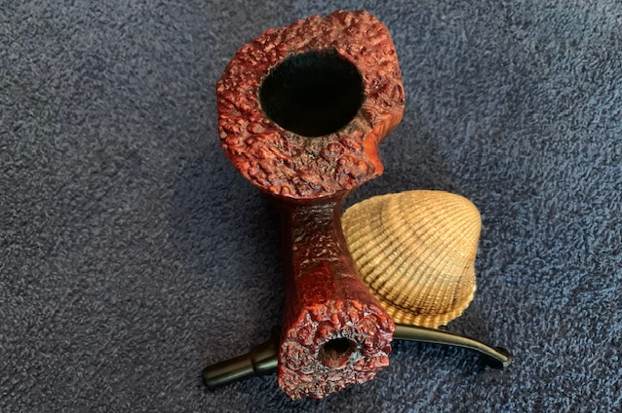
 Jeff took photos of the sides and heel of the bowl to show the condition of the finish. You can see the rugged dark look of the blastication. There is a lot of dust and grime filling in the valleys. The smooth portions on the top 1/3 of the bowl, the underside of the shank and foot as well as the patch on the top of the shank.
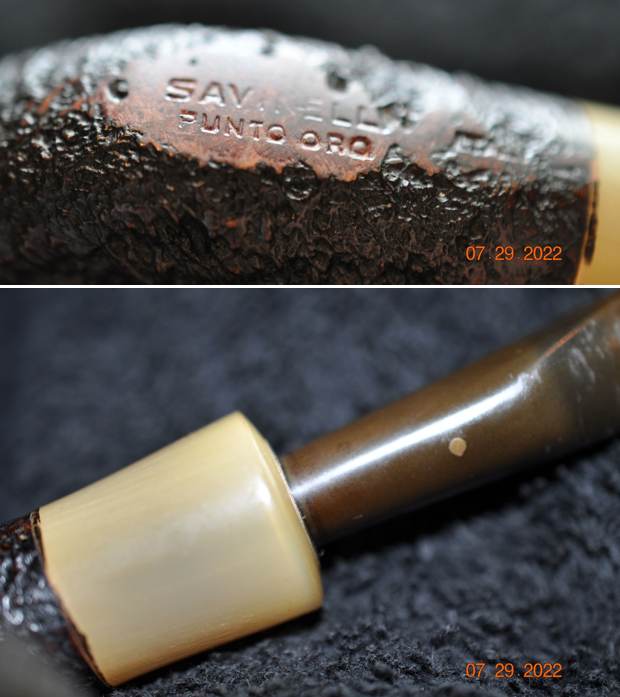
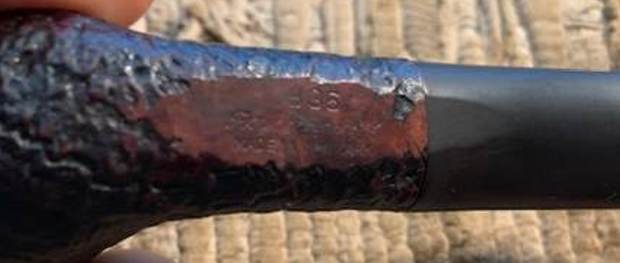
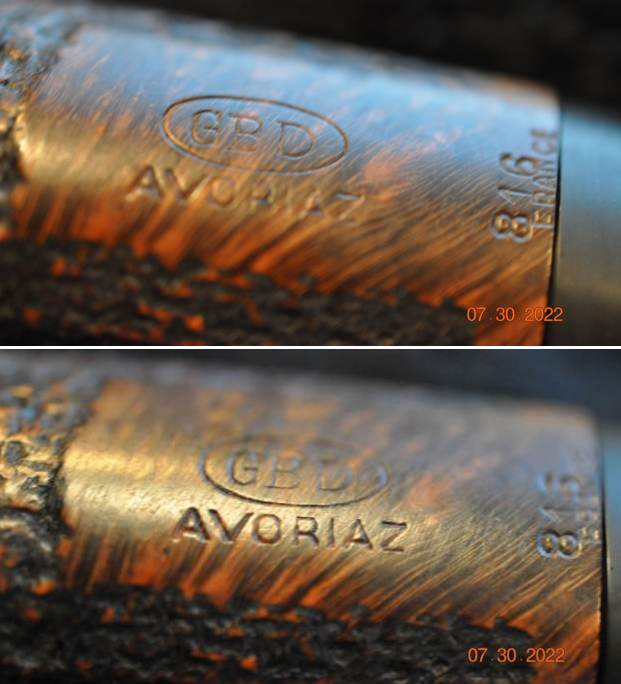
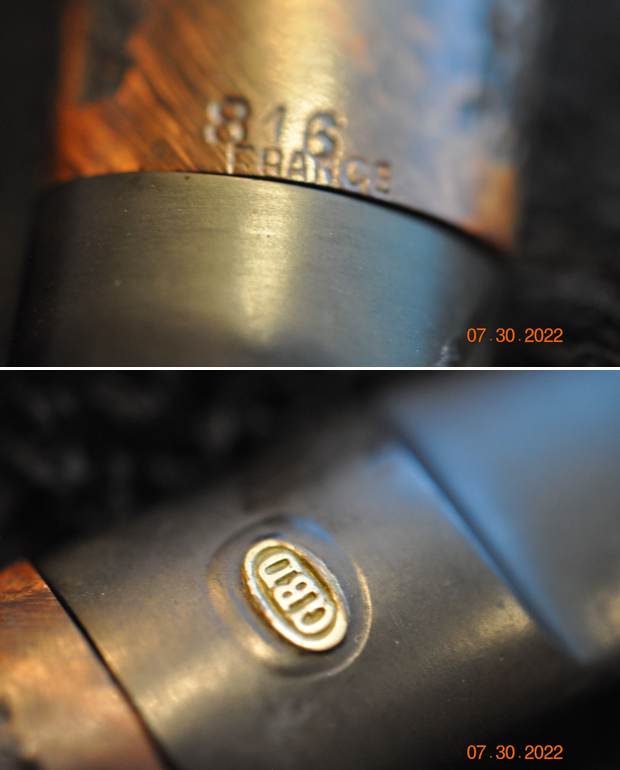
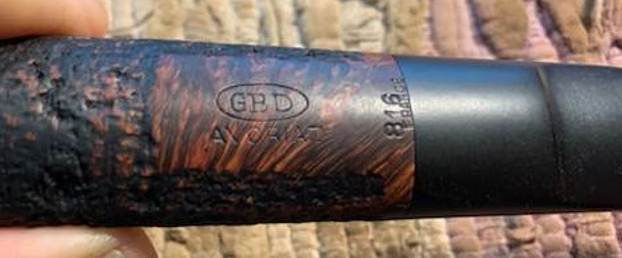
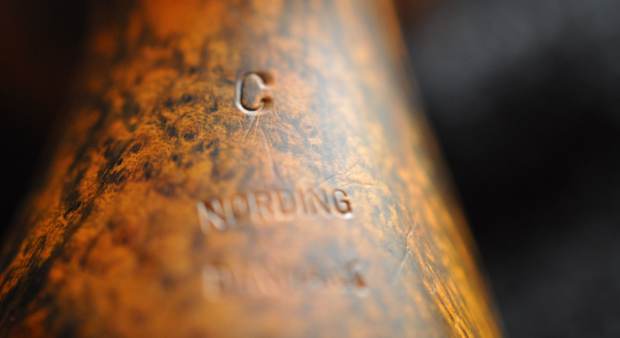
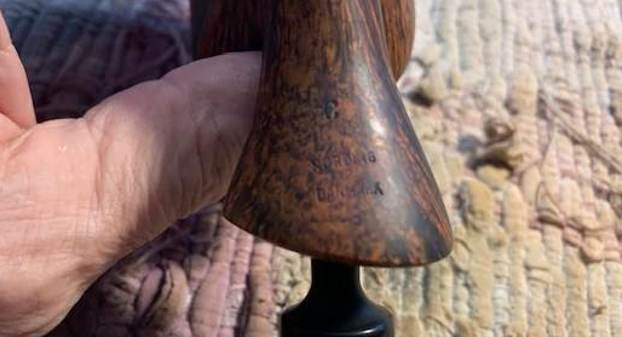
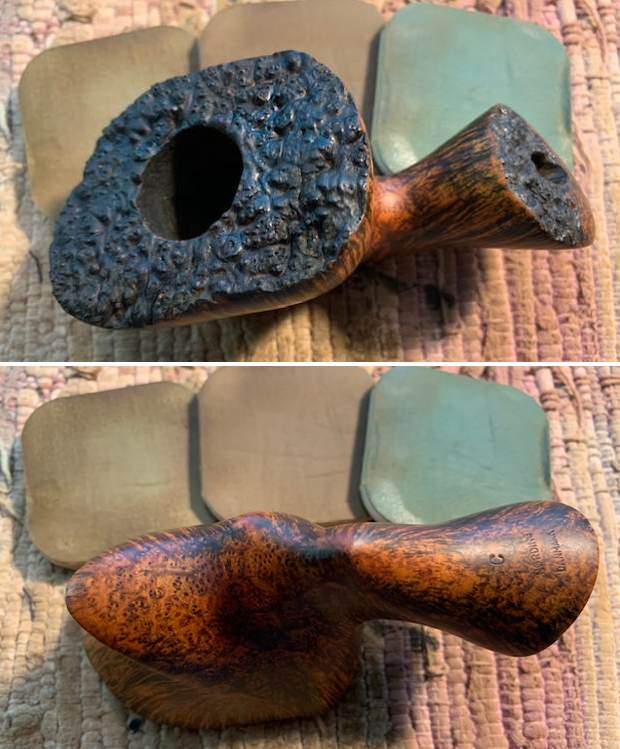
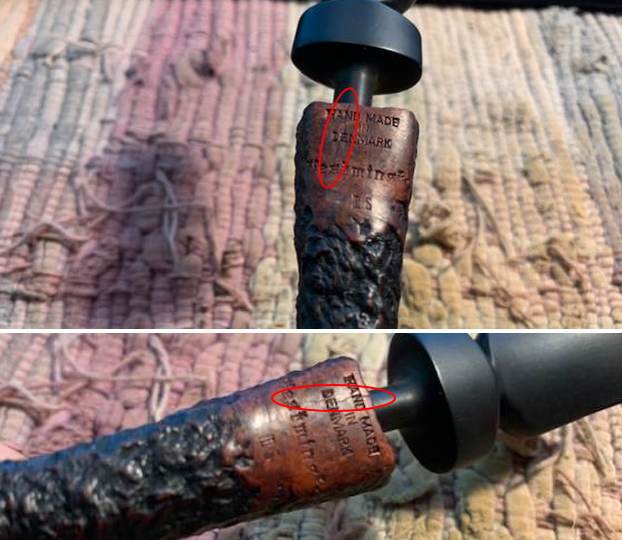
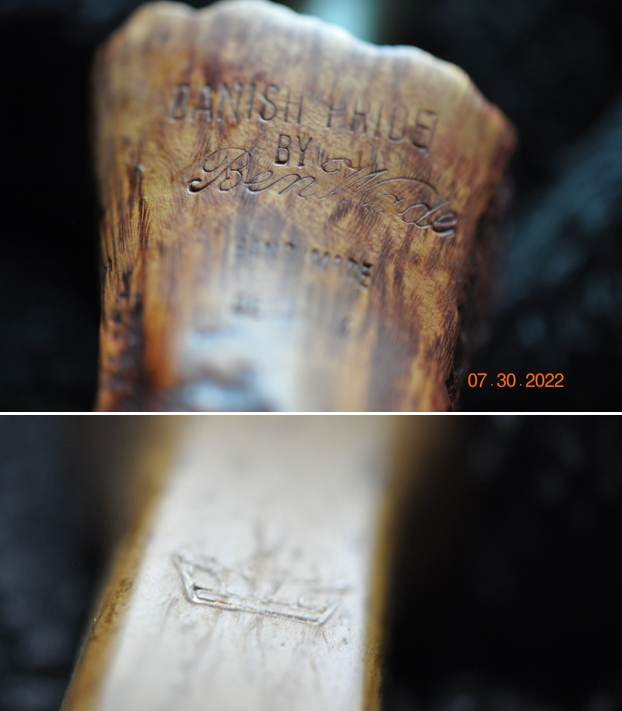
 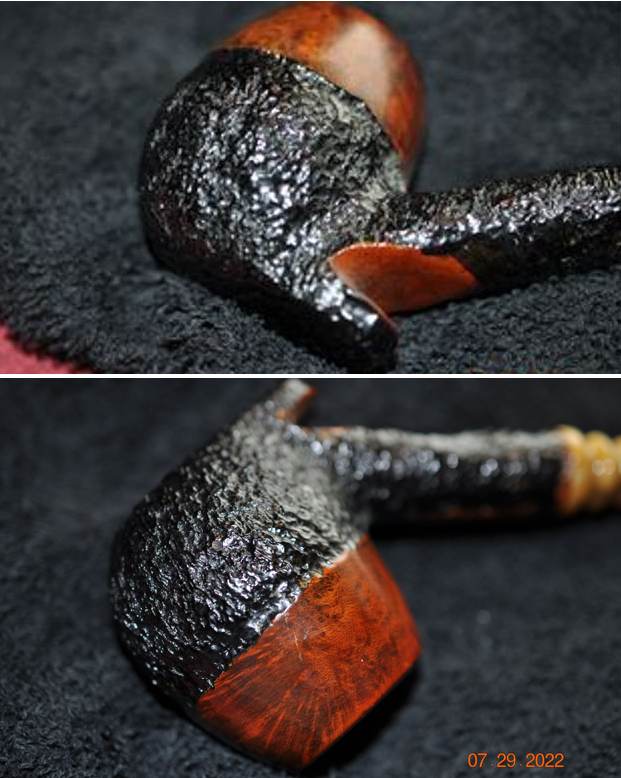 He took a photo of the stamping on the smooth panel on the topside of the shank. The stamping was readable as you can see from the photos and read as noted above. He also captured the logo brass insert on the top of the stem.
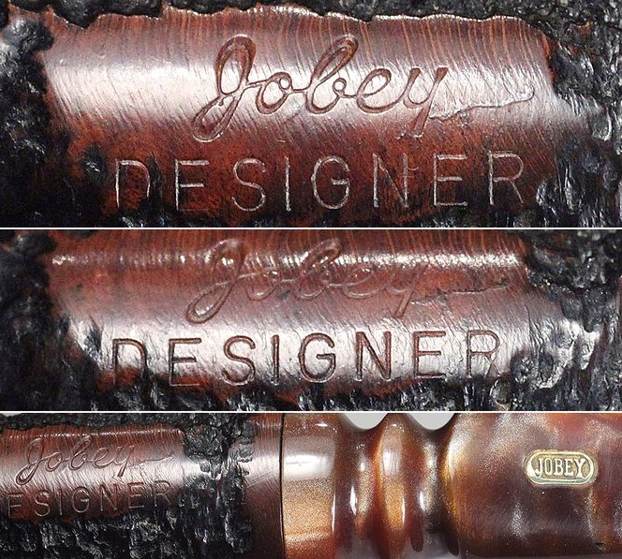
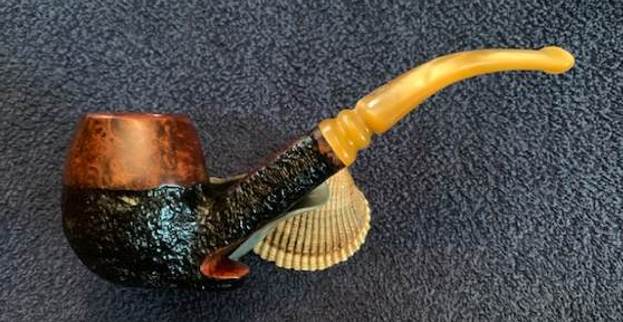
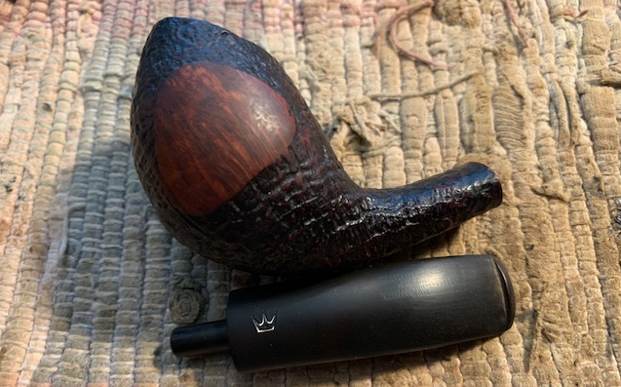
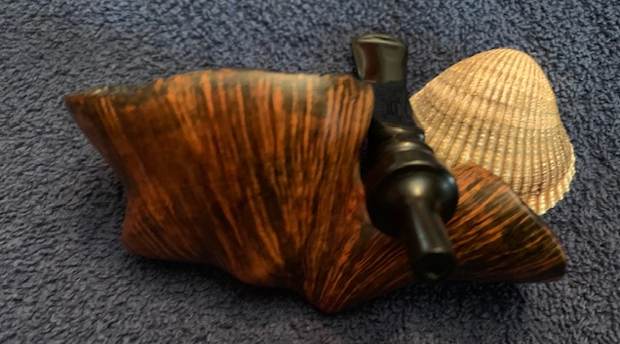
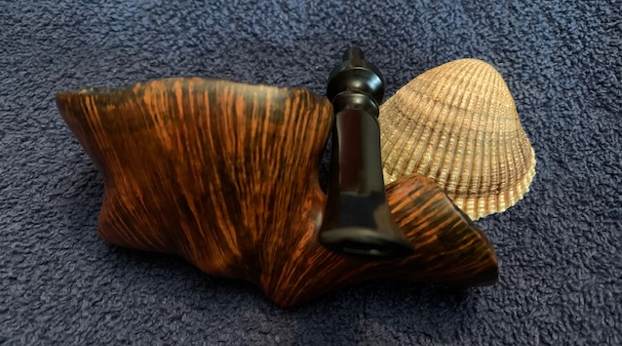
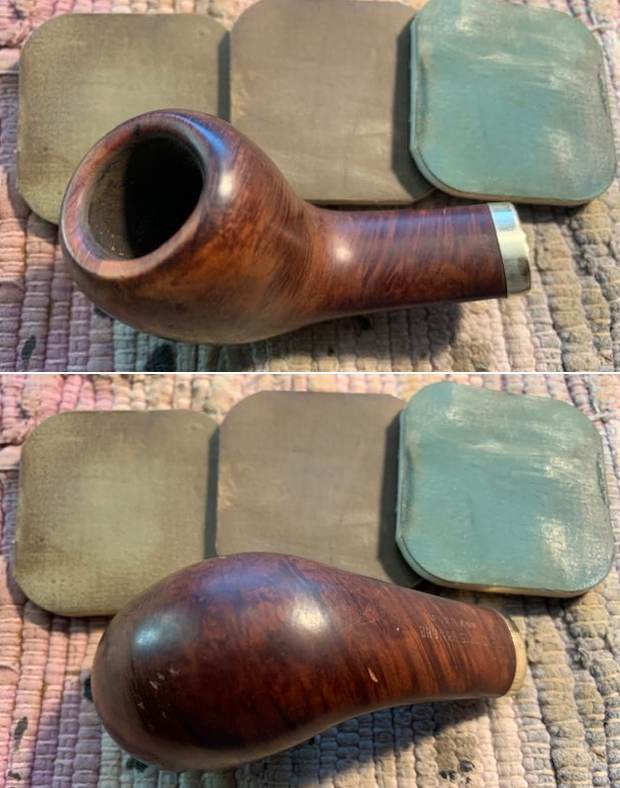
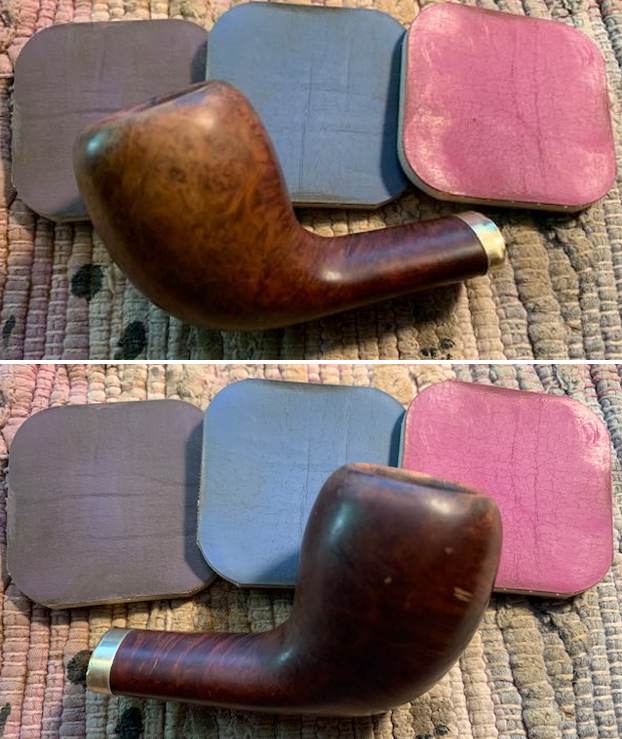
 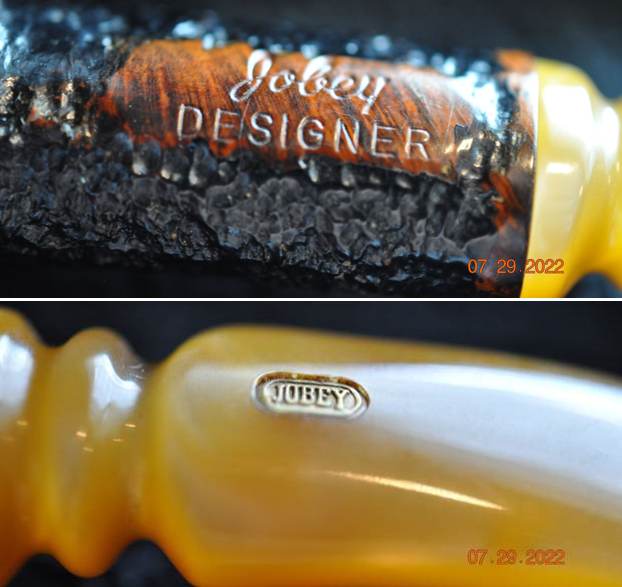 I turned to Pipedia to see if I could find a Jobey Designer or any information on the line (https://pipedia.org/wiki/Jobey). Along with the history of the brand that is there which you can read if you are interested there was also a photo of the same pipe that I am working on with a dark stem rather than the yellow of the one on the table. The shape and stamping are identical so I have included them below.
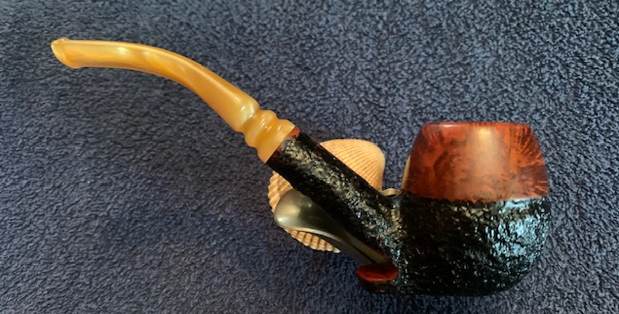
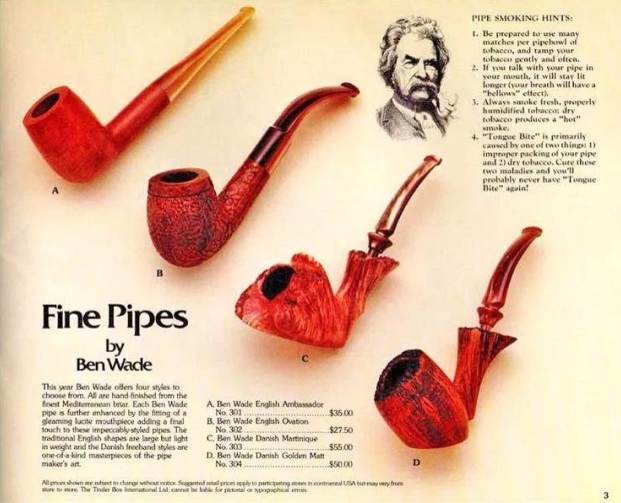
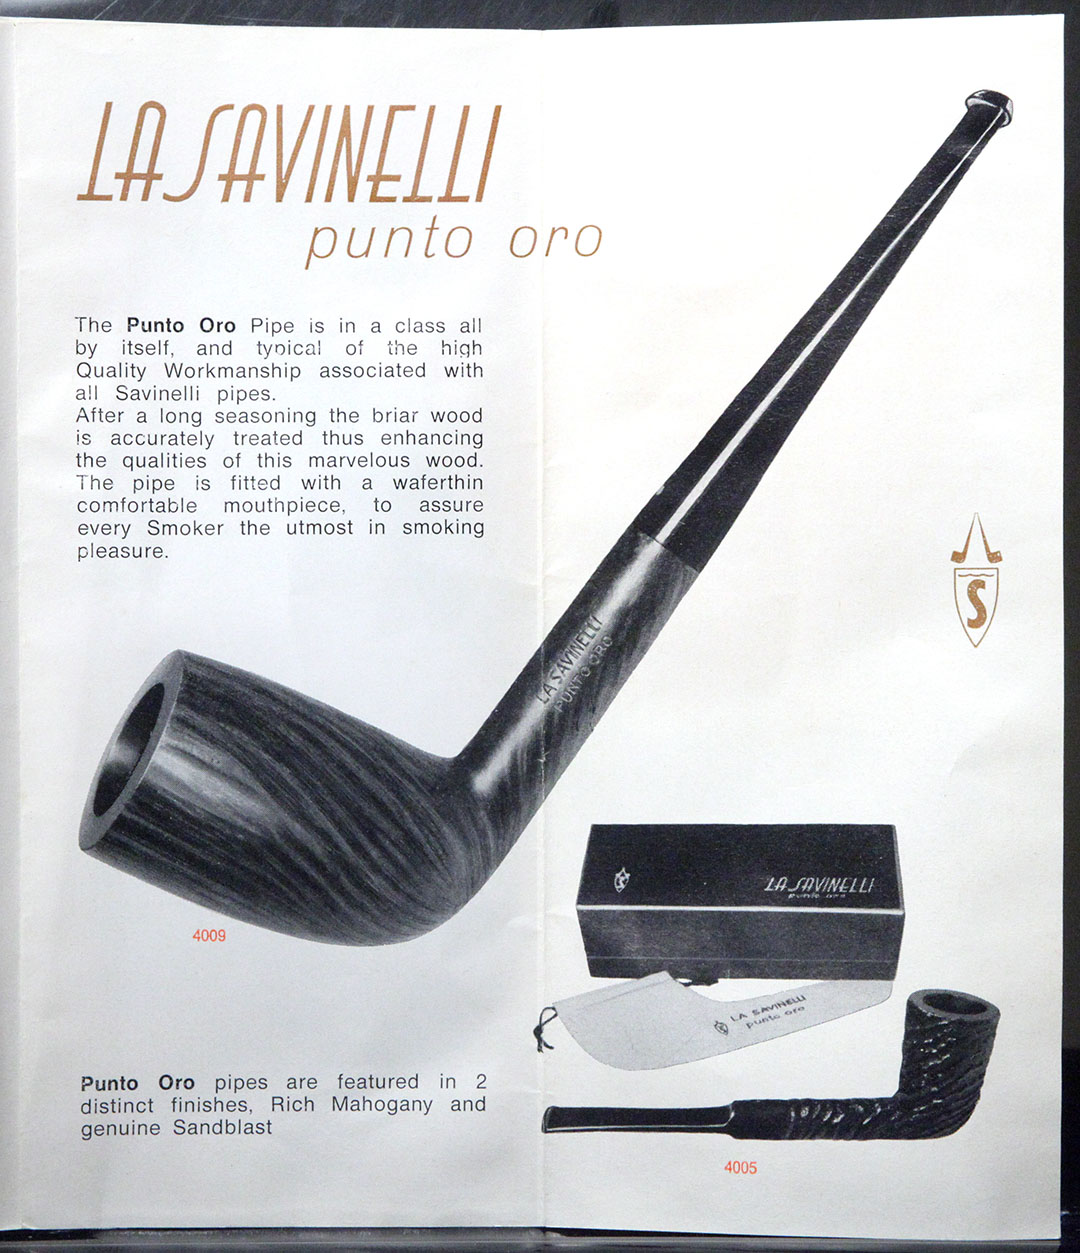
 I am also including and advertisement that was included on the site. I have included it below along with an enlargement of the section on Jobey Designer pipes.
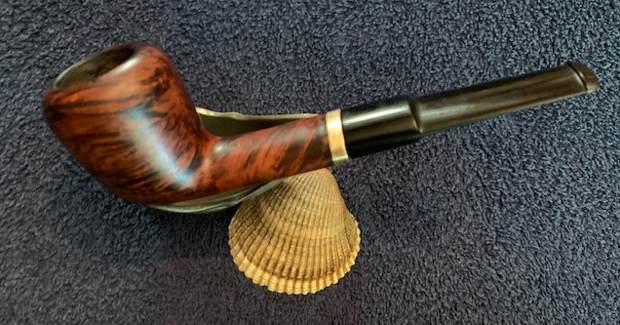
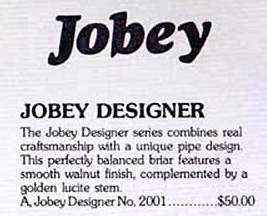 The Designer series combines real craftsmanship with a unique pipe design. This perfectly balanced briar features a smooth walnut finish, complemented by a golden Lucite stem. It sold for $50USD
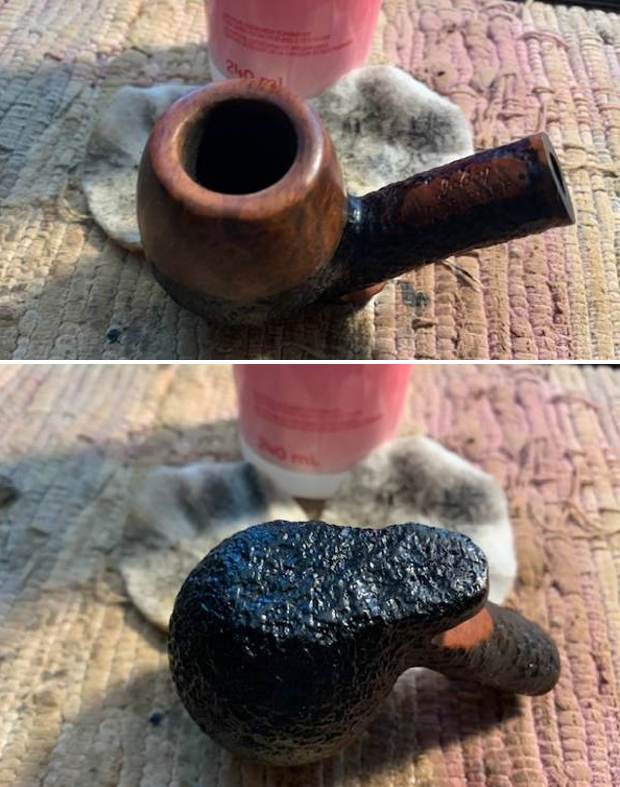
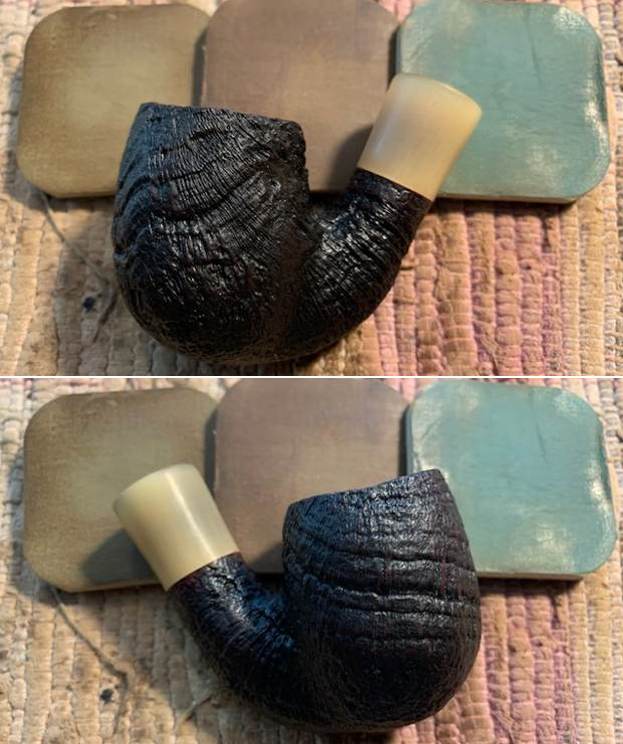
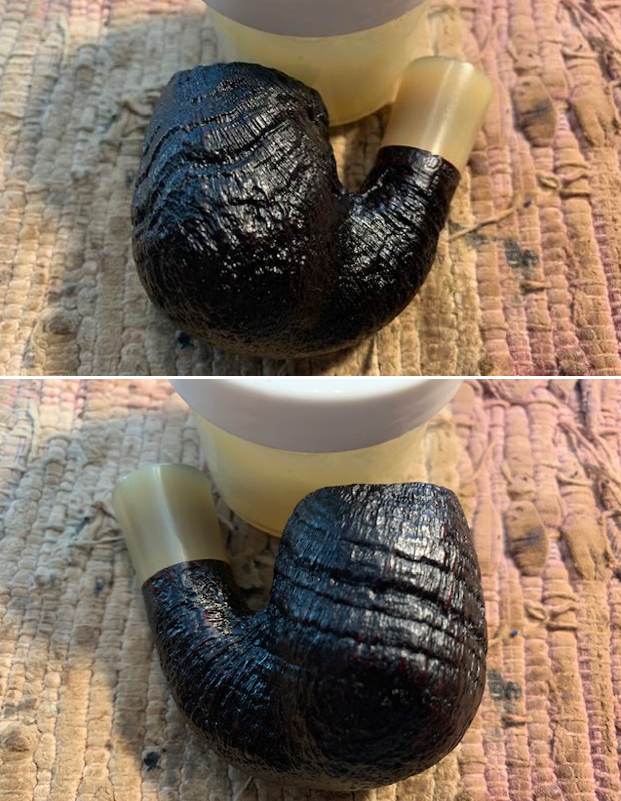
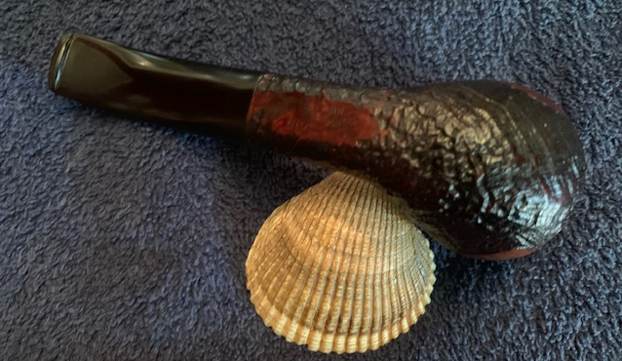
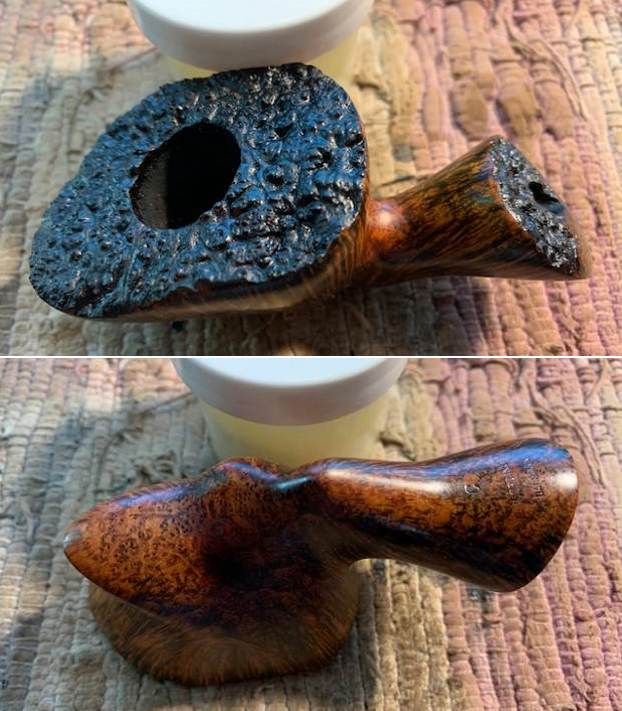
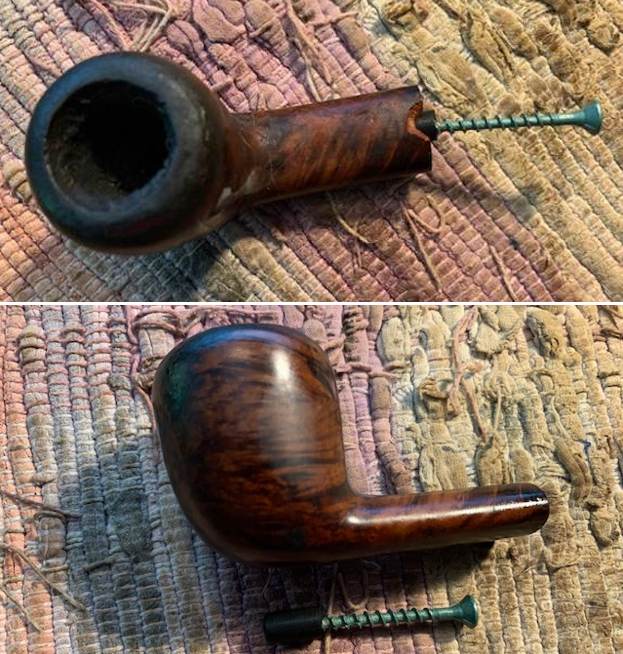
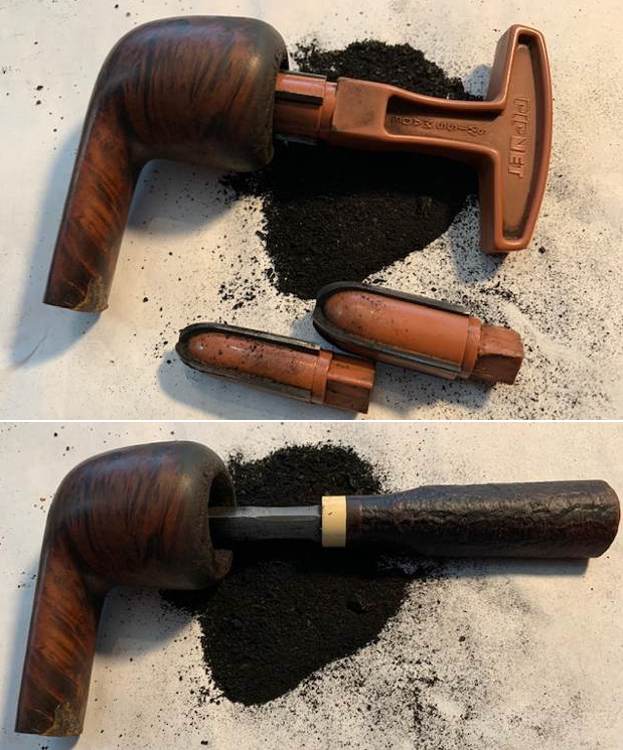
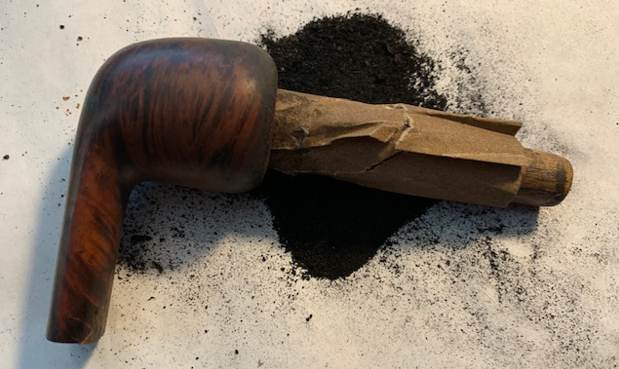
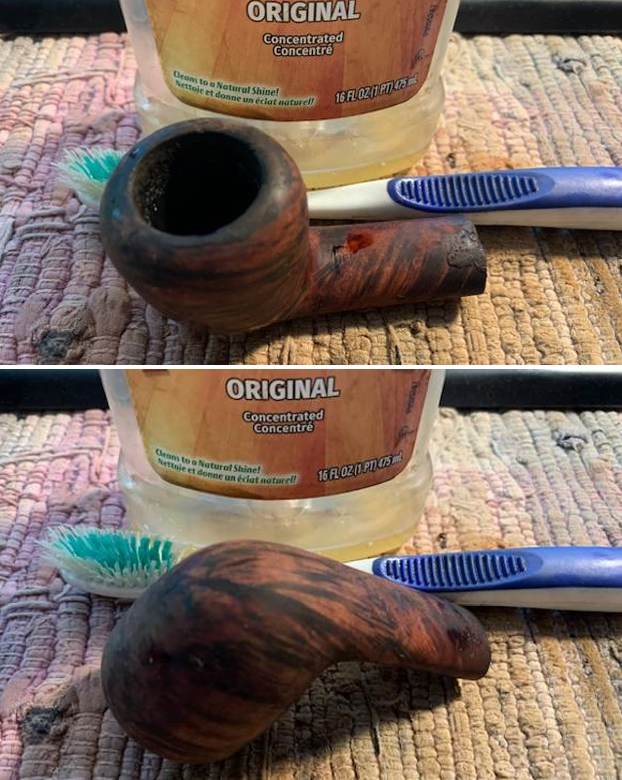
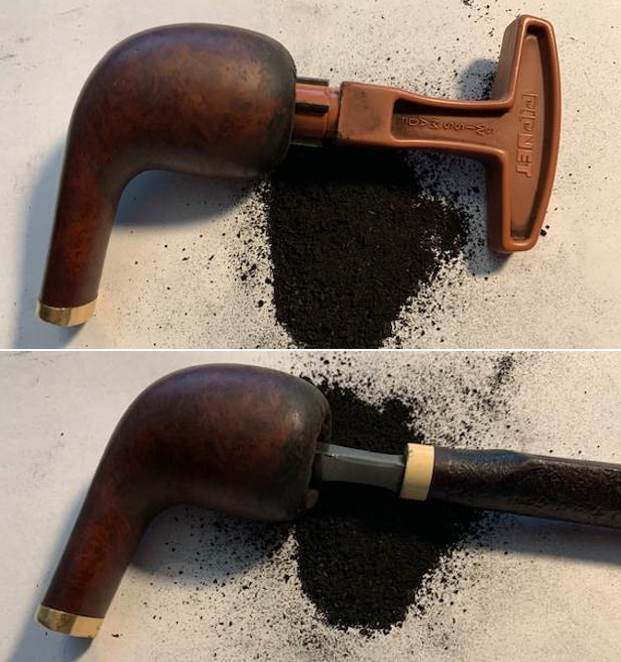
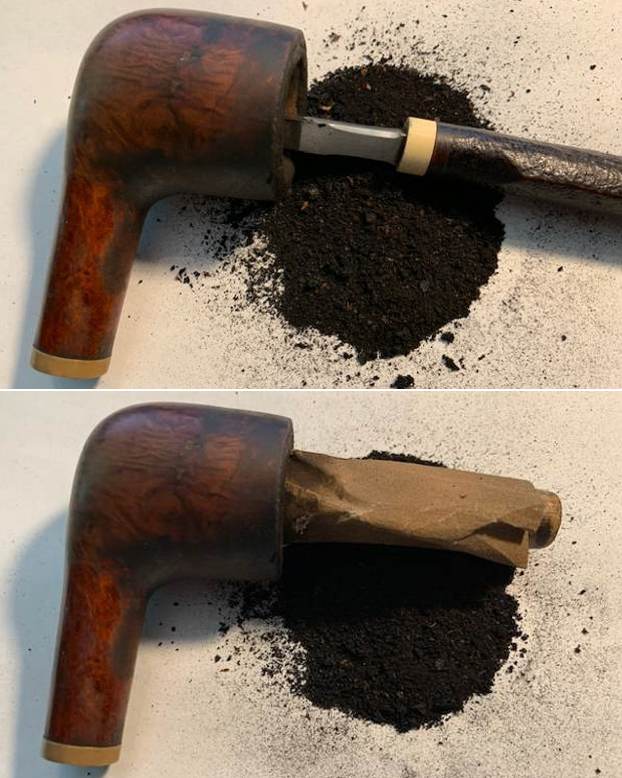
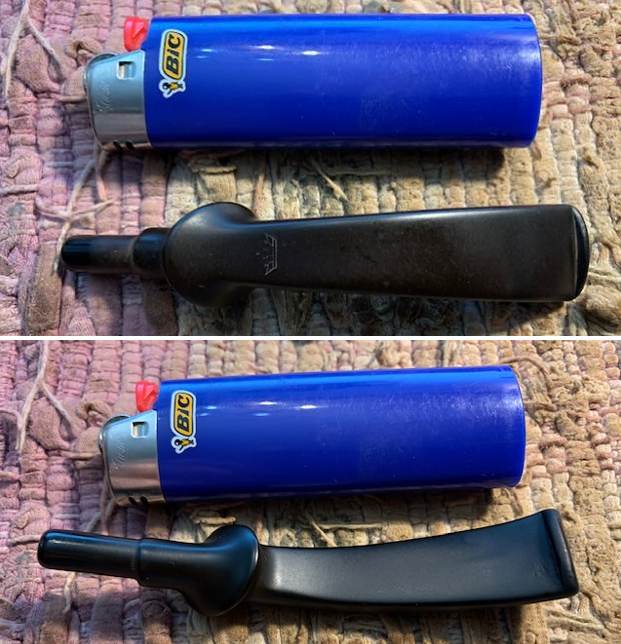
Now it was time to work on the pipe. Jeff reamed it with a PipNet pipe reamer and cleaned up the reaming with a Savinelli Fitsall Pipe Knife. He scrubbed out the internals of the shank and stem with alcohol, pipe cleaners and cotton swabs until the pipe was clean. He scrubbed the exterior of the bowl with Murphy’s Oil Soap and a tooth brush to remove the grime and grit on the briar and the lava on the rim top. The finish looks very good with good looking sandblast around the bowl and shank. Jeff scrubbed the stem with Soft Scrub and rinsed it with running water. When the pipe arrived here in Vancouver for the second stop of its restoration tour it looked a lot better. The airway in the stem still had some darkening and would need to be cleaned up some more. I took photos before I started my part of the work. 
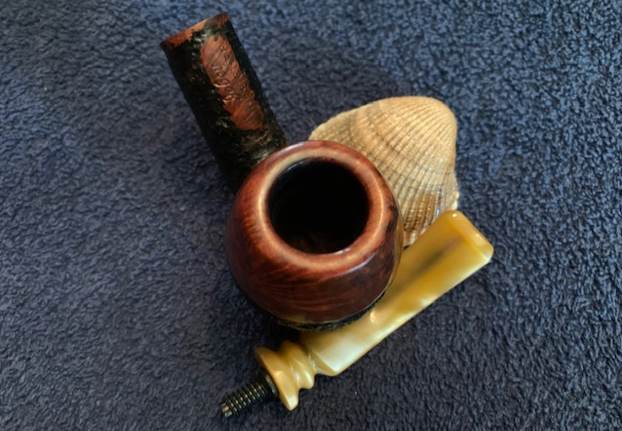
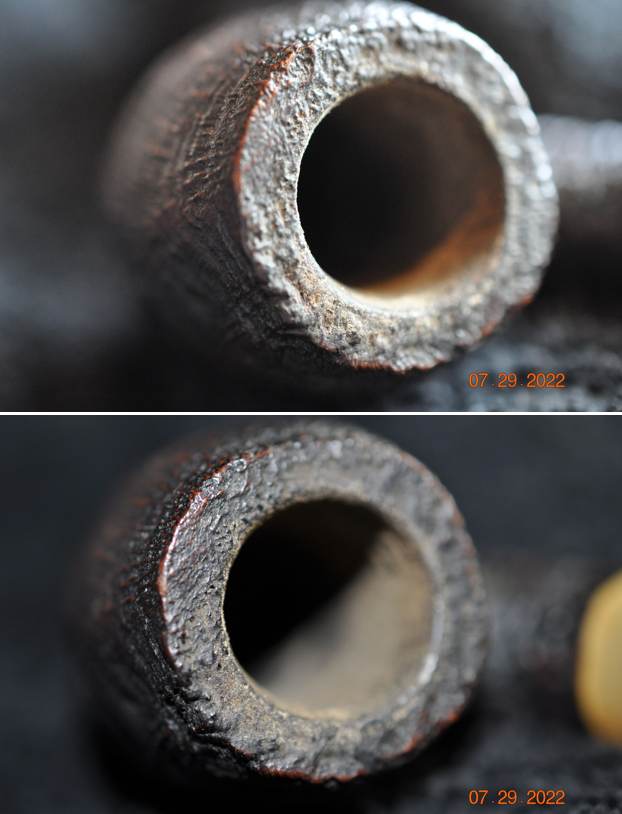
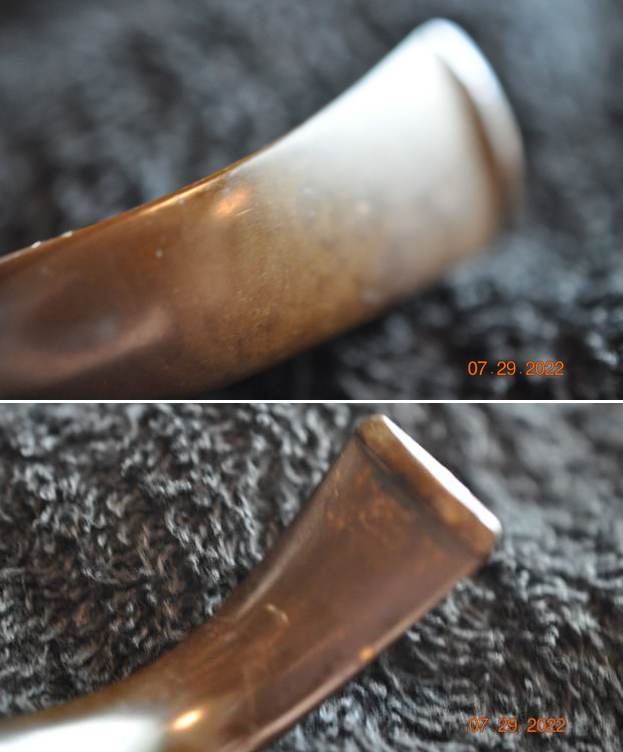
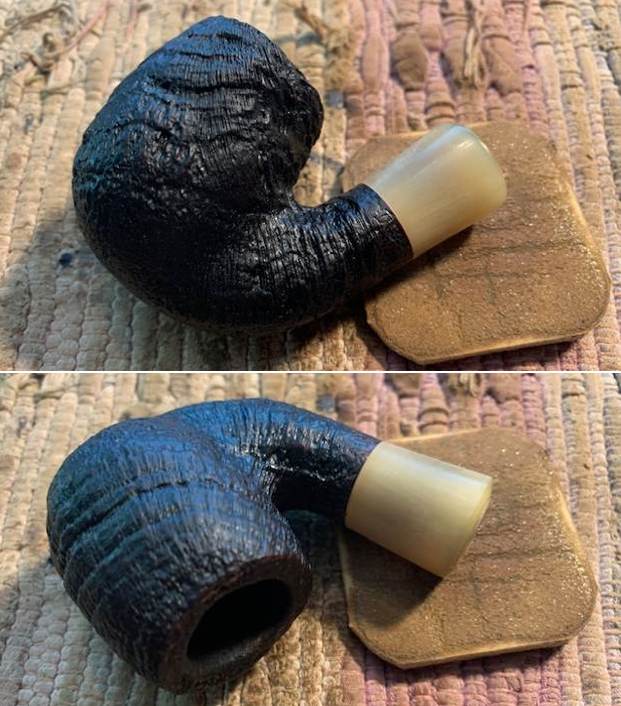
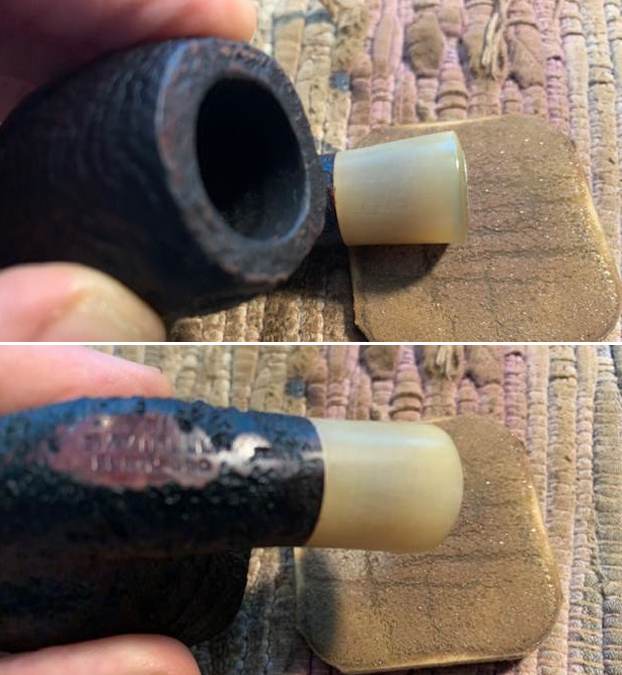
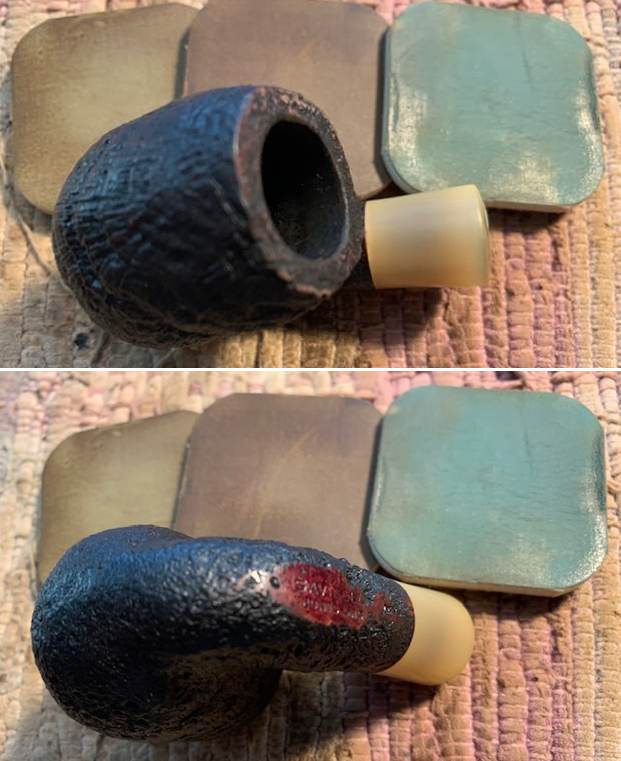
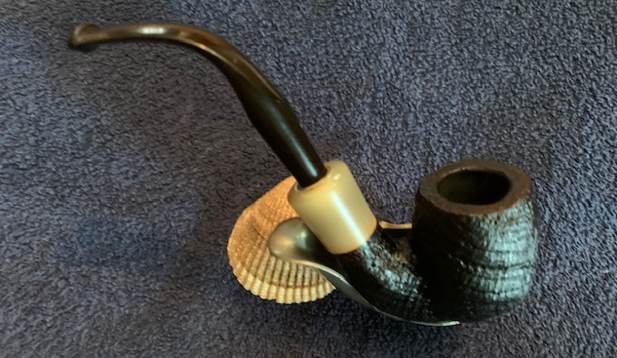
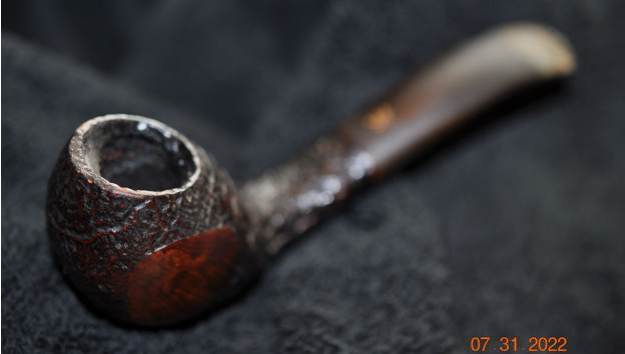
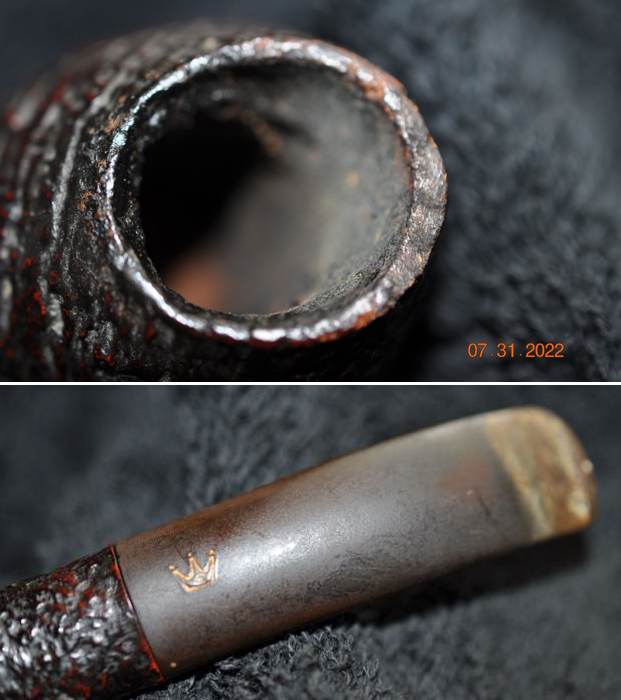
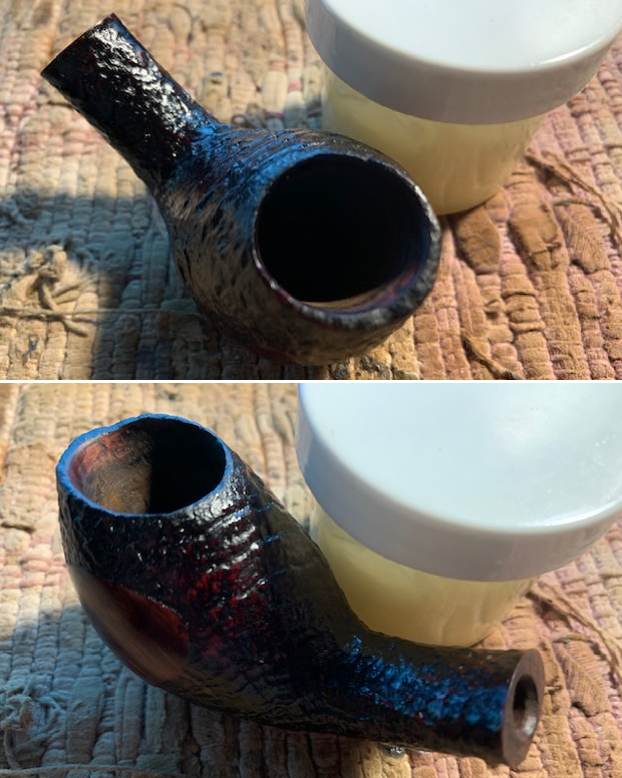
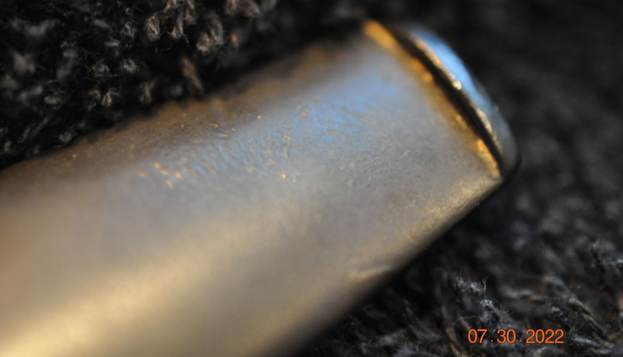
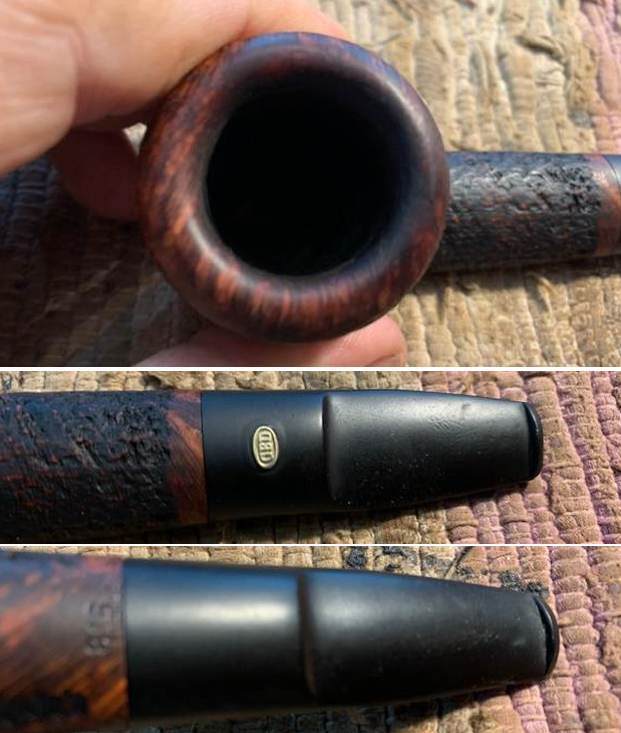
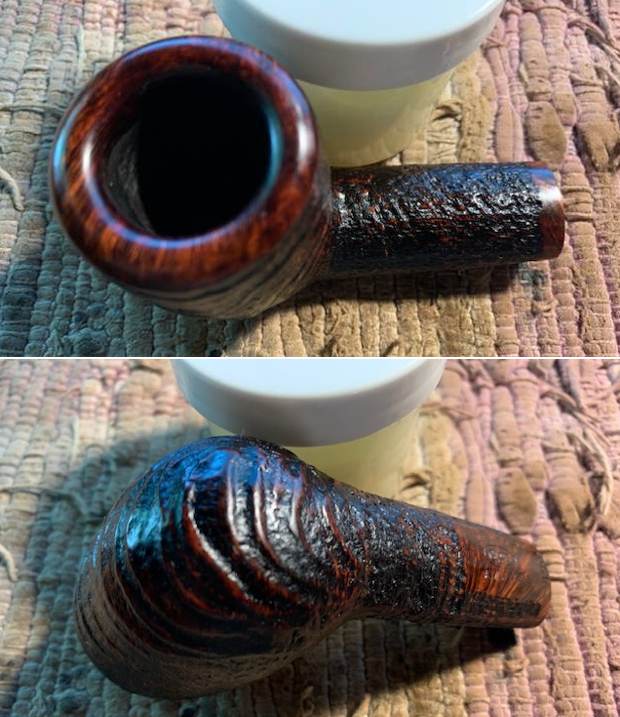
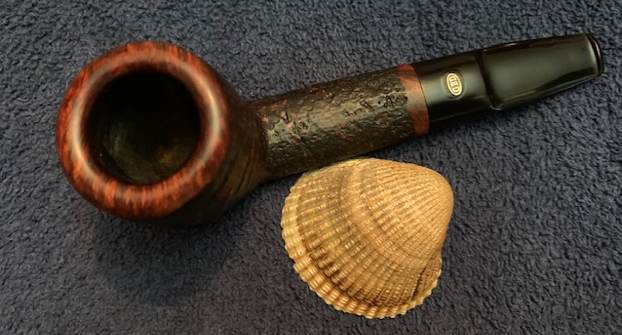
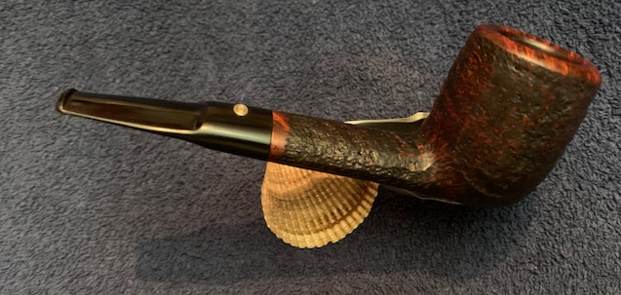
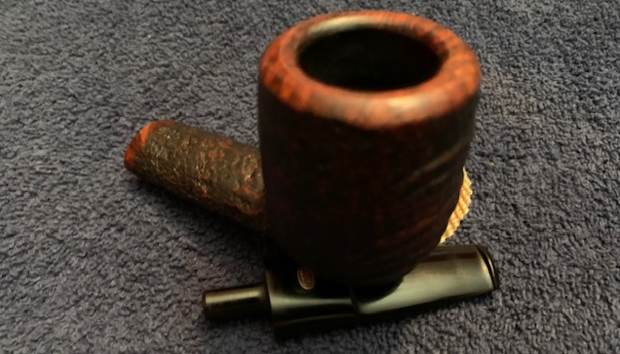
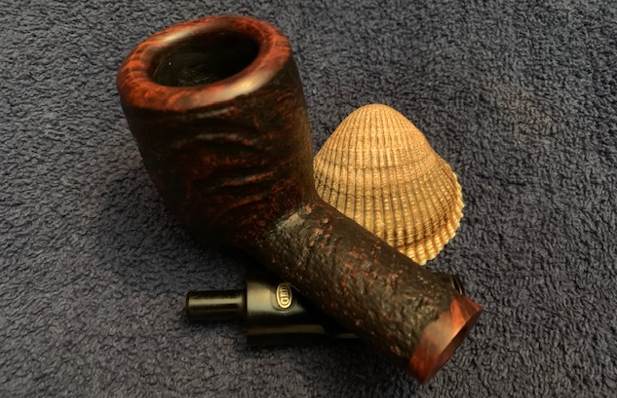
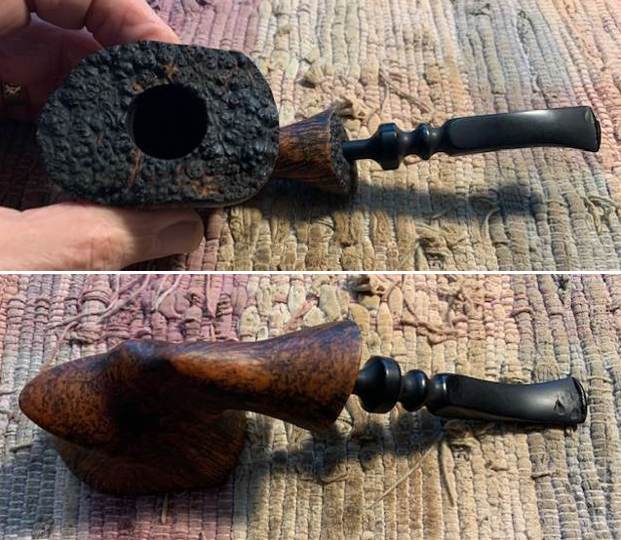
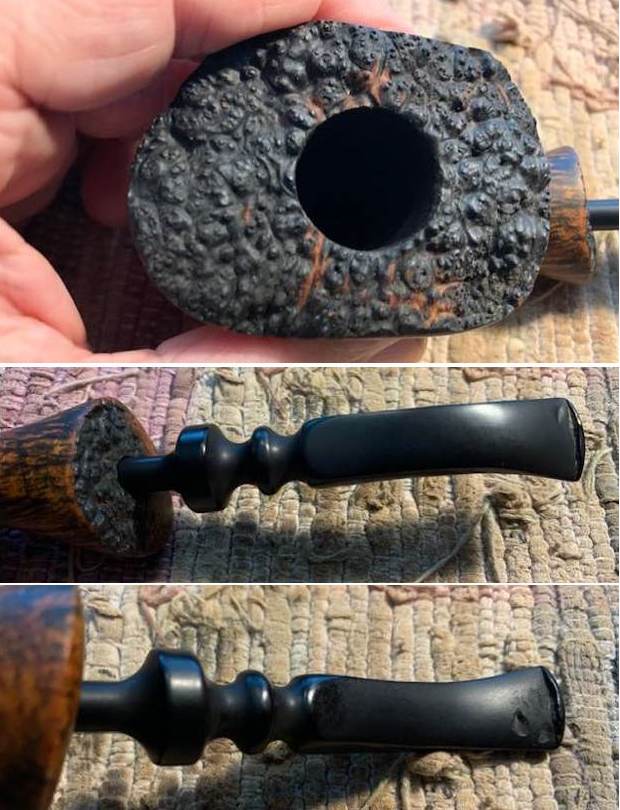
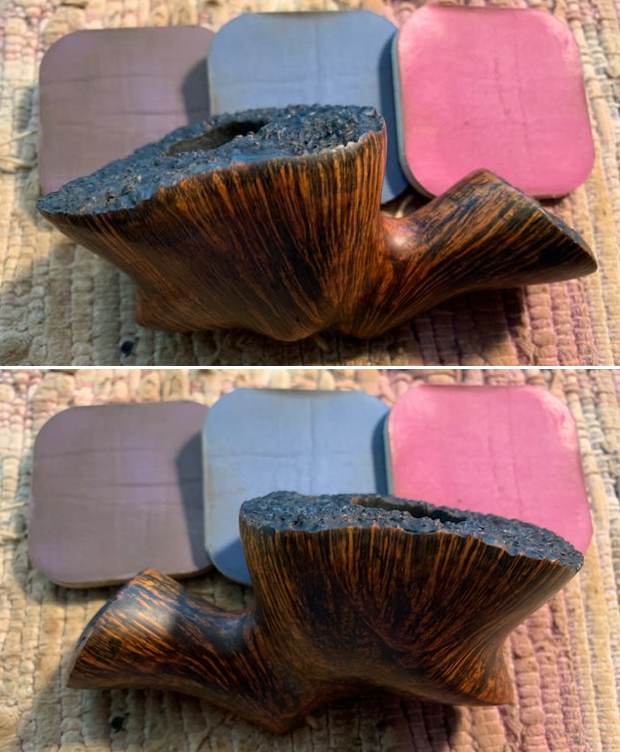
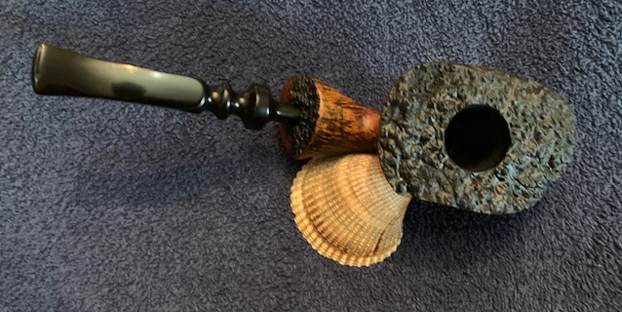
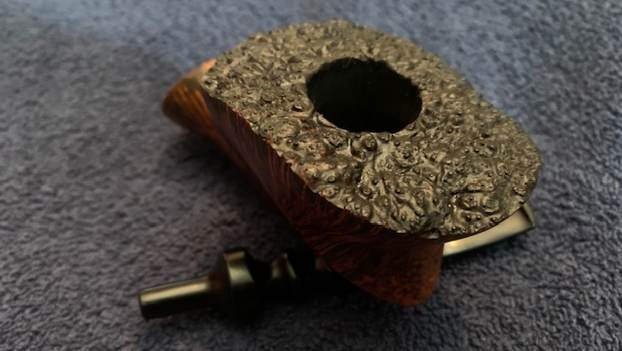
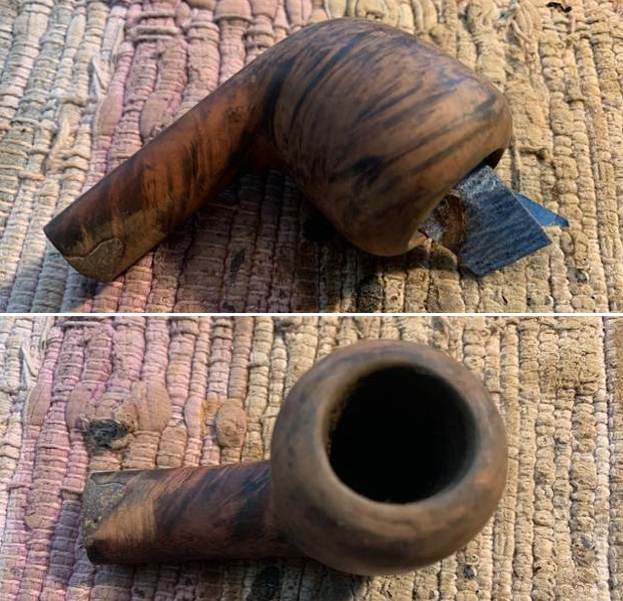
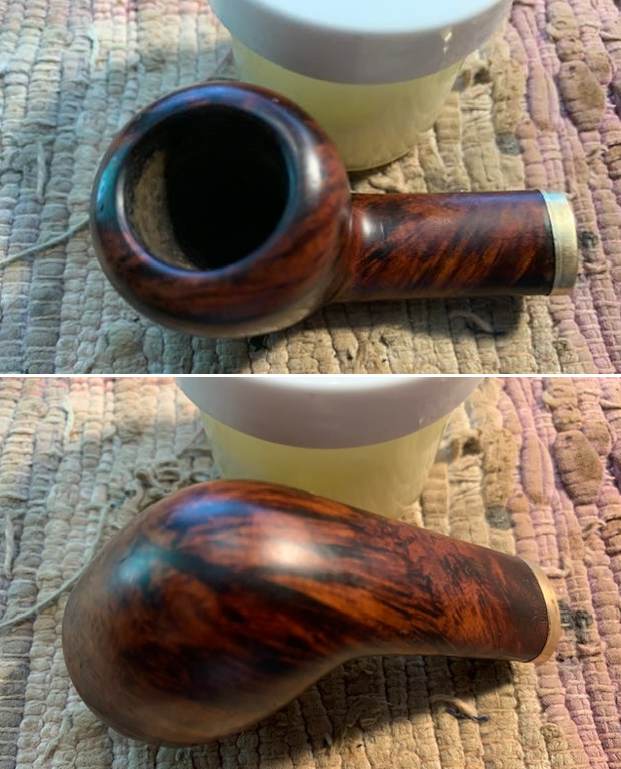
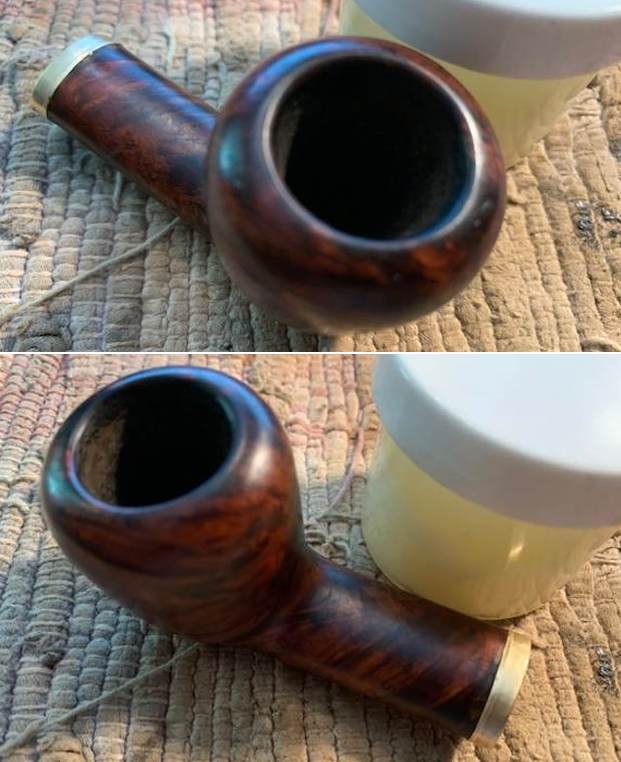
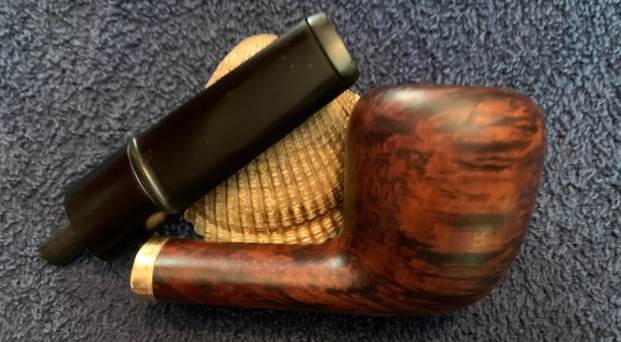
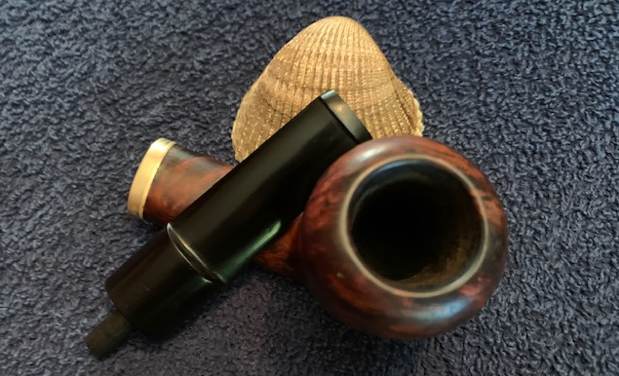
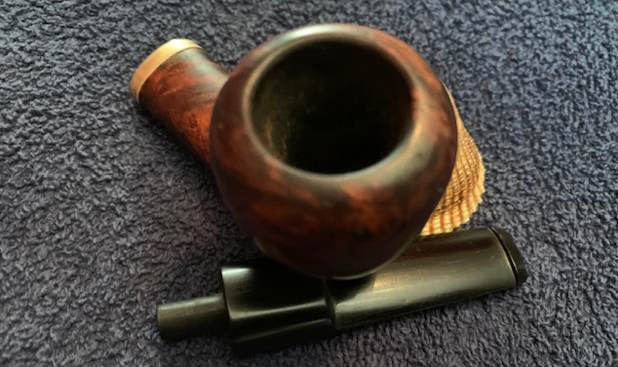
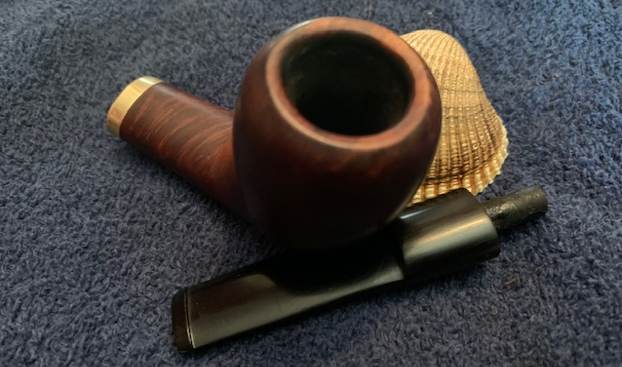
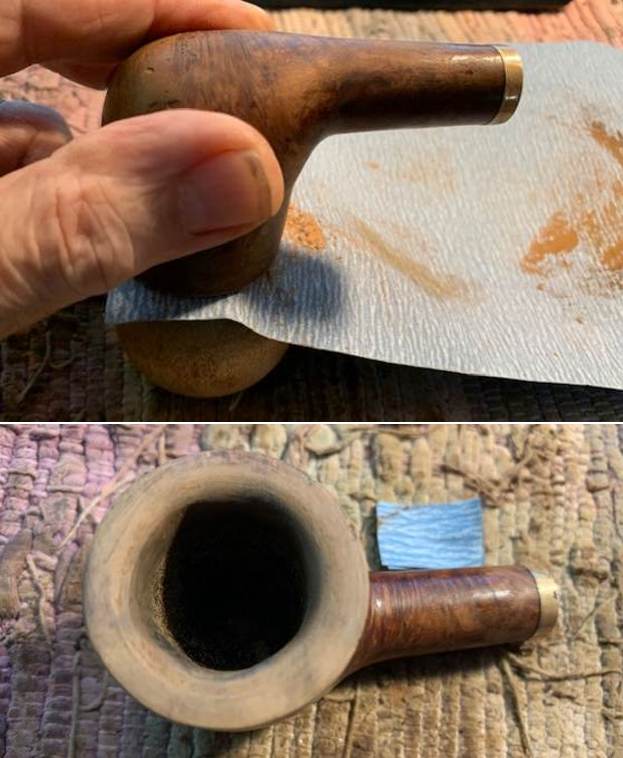
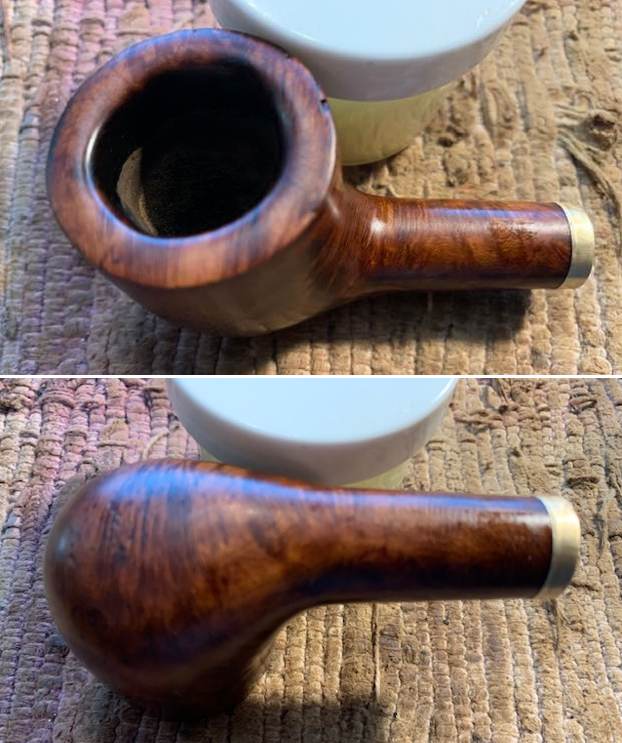
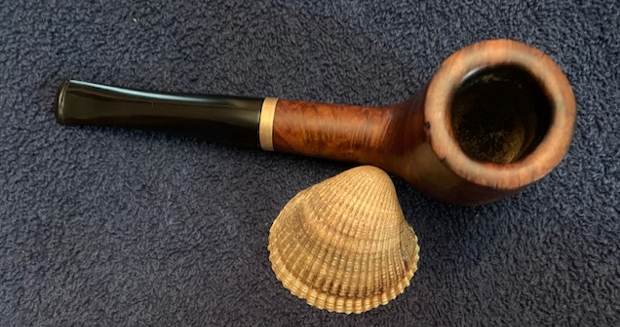
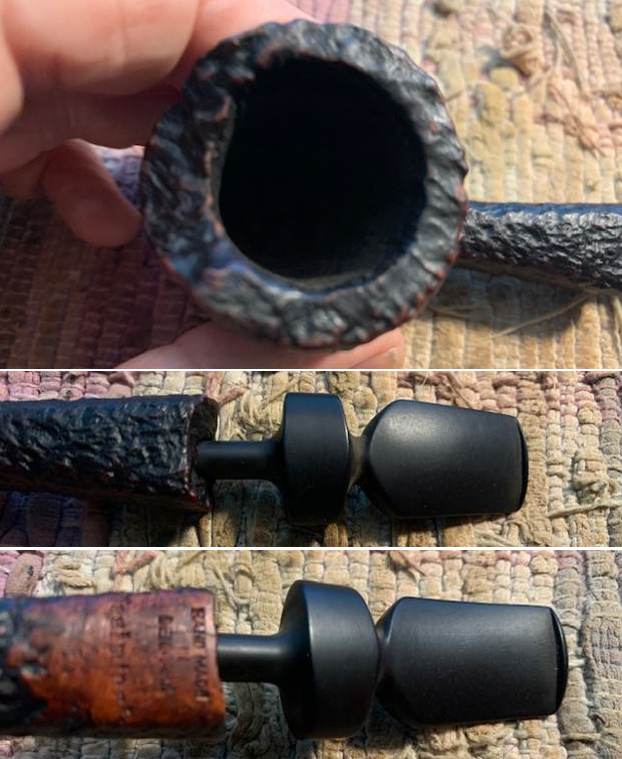
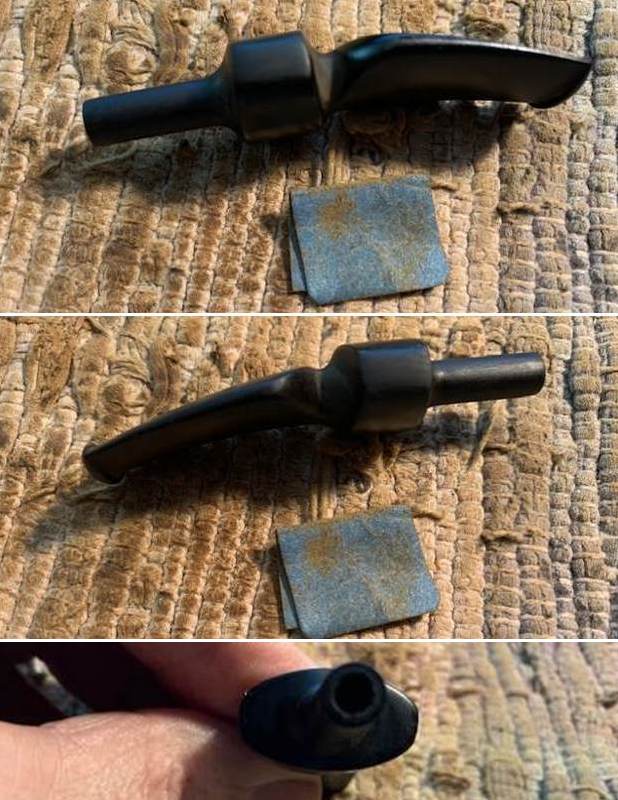
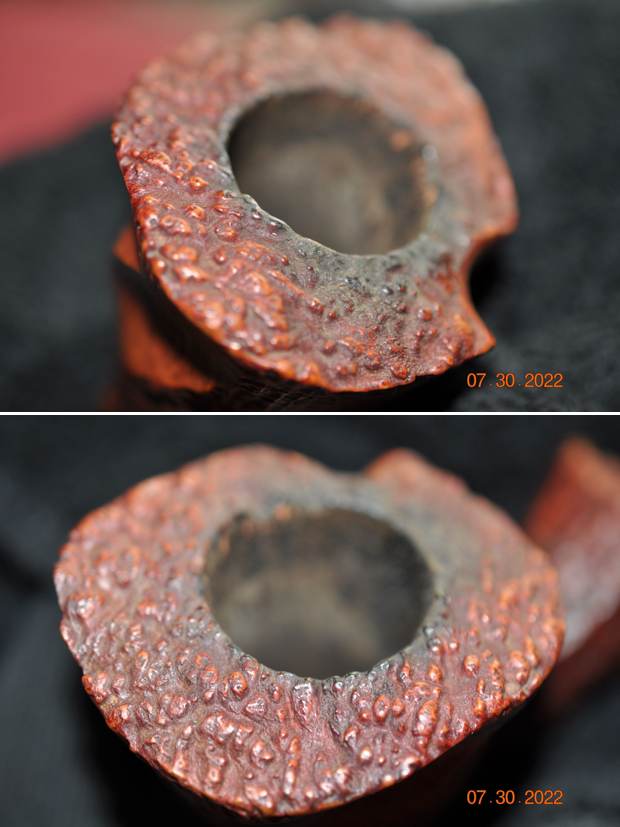
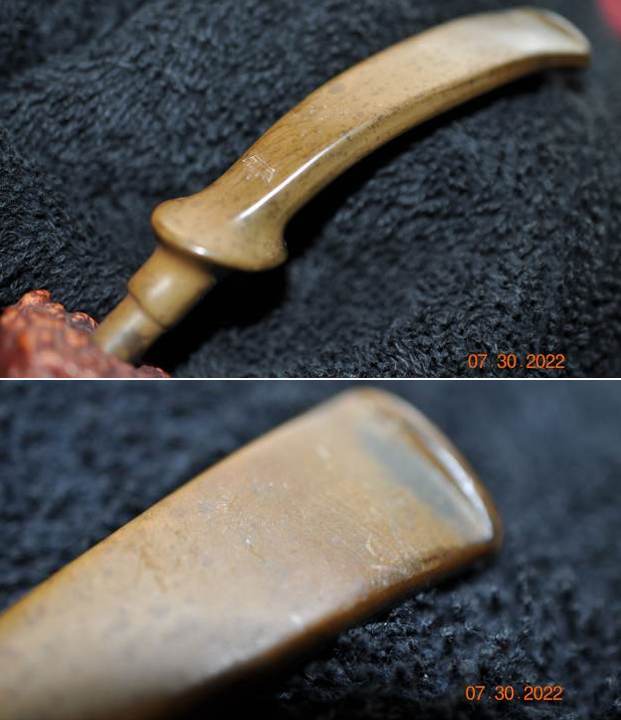
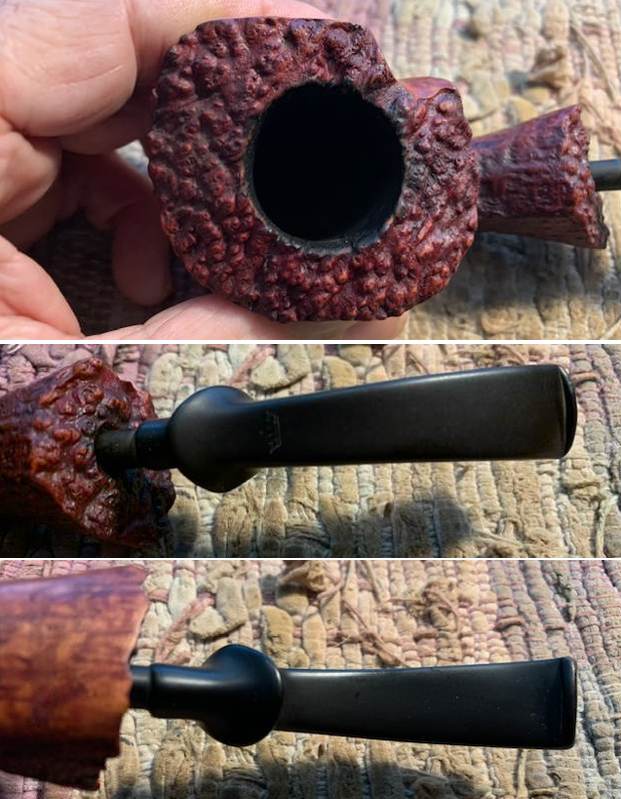
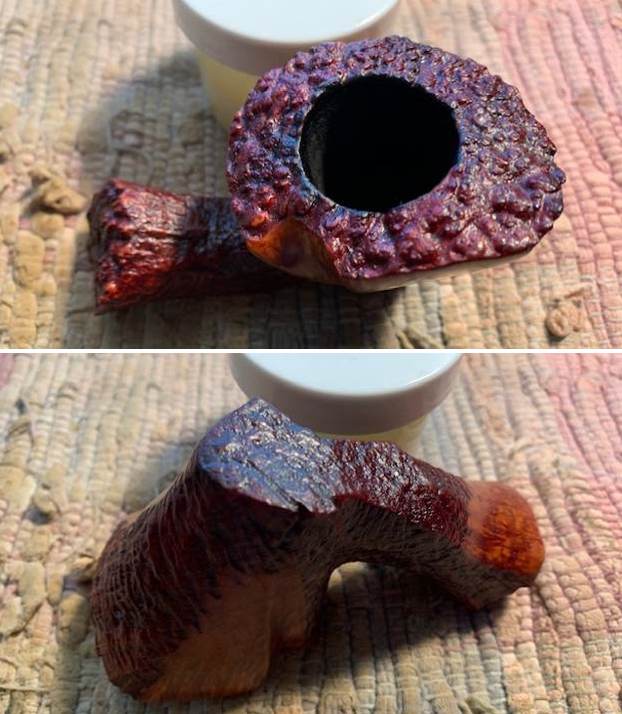
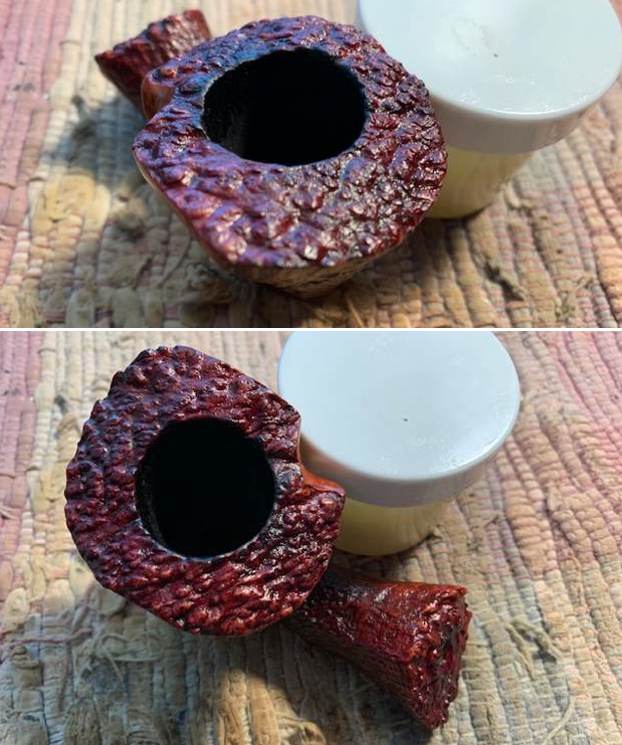
 I took some close up photos of the rim top and also of the stem surface. I wanted to show what cleaned bowl and rim top looked like. The rim top and edges looked very good. I also took close up photos of the stem to show the light tooth marks and the staining in the airway on the stem. The hairline crack is in the darkened spot near the shank end.
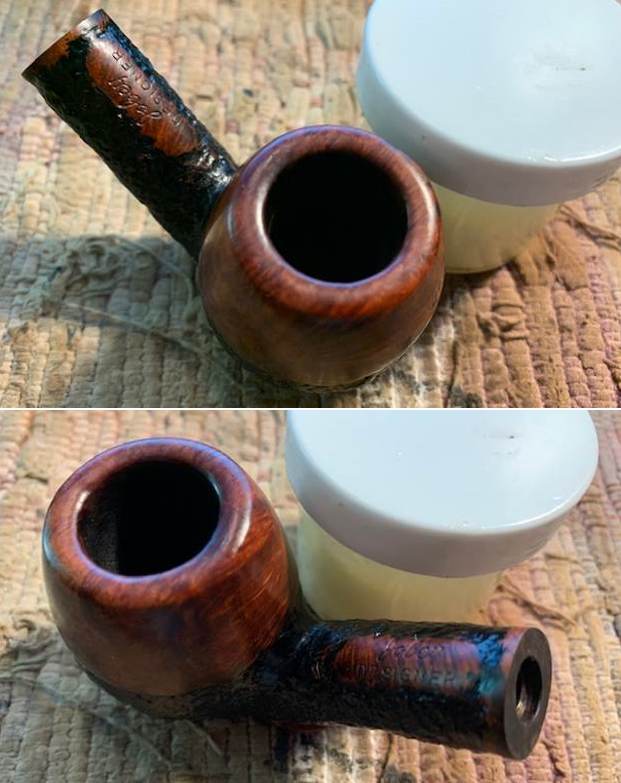
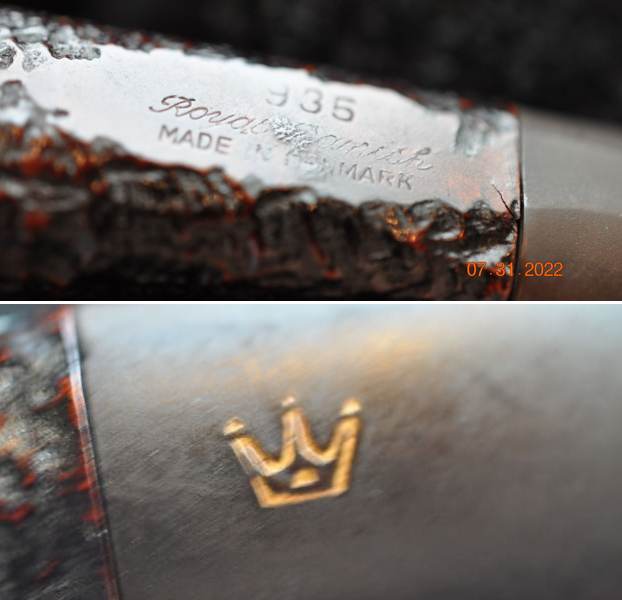
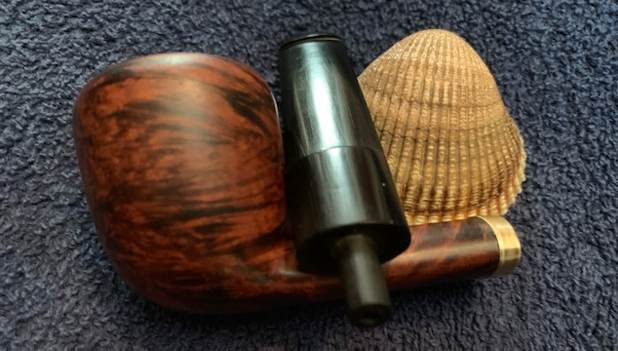
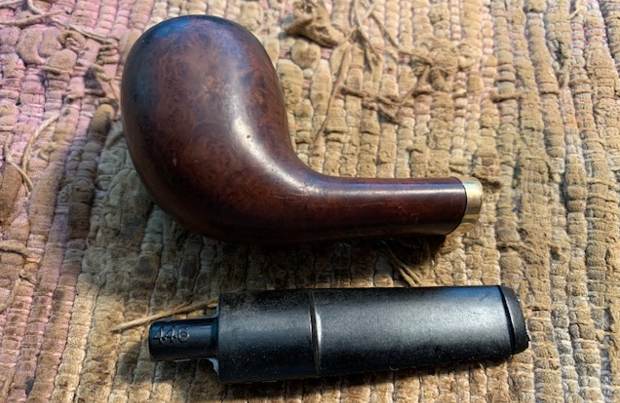
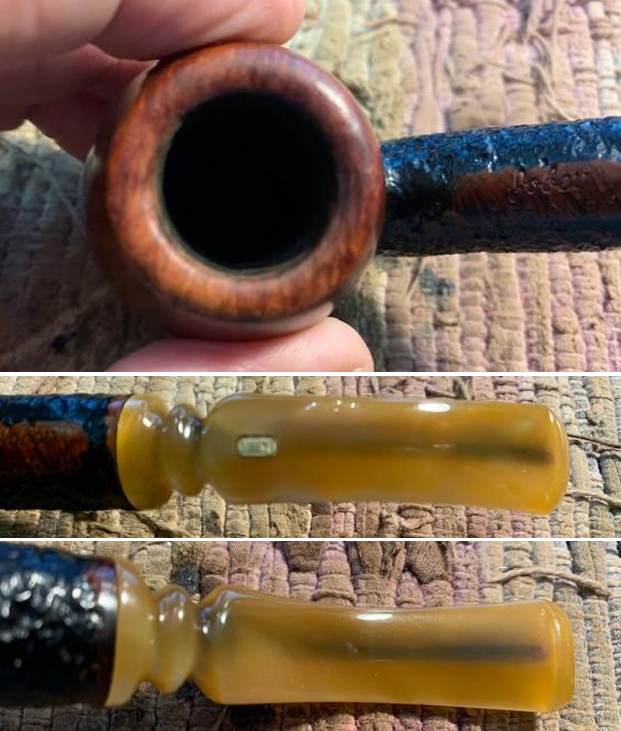 I took a photo of the stamping on the topside of the shank and it is clear and readable. I also took a photo of the Jobey oval brass inset on the top of the stem.
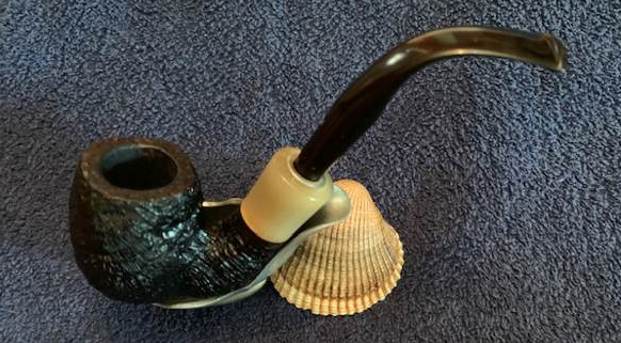
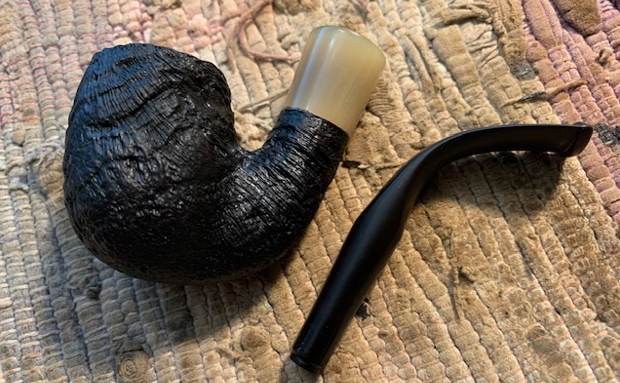
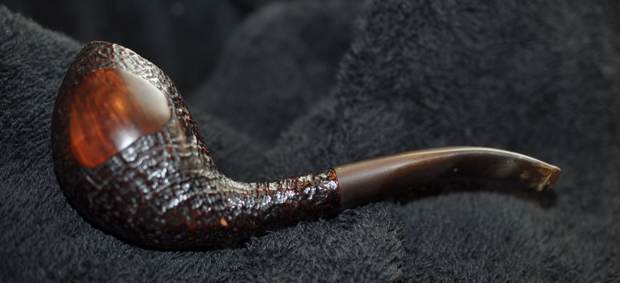
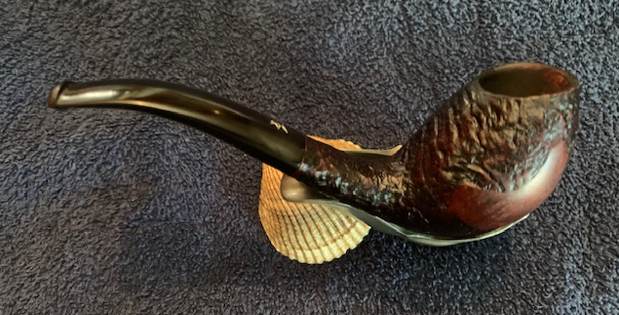
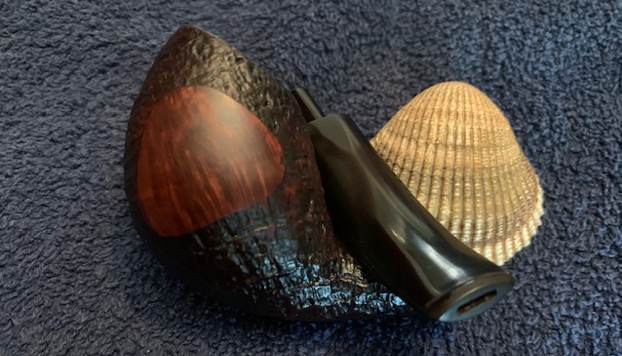
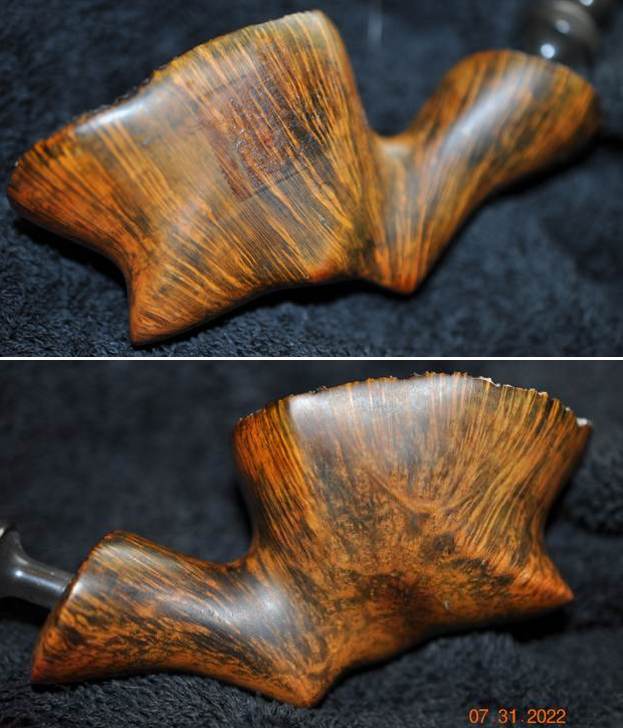
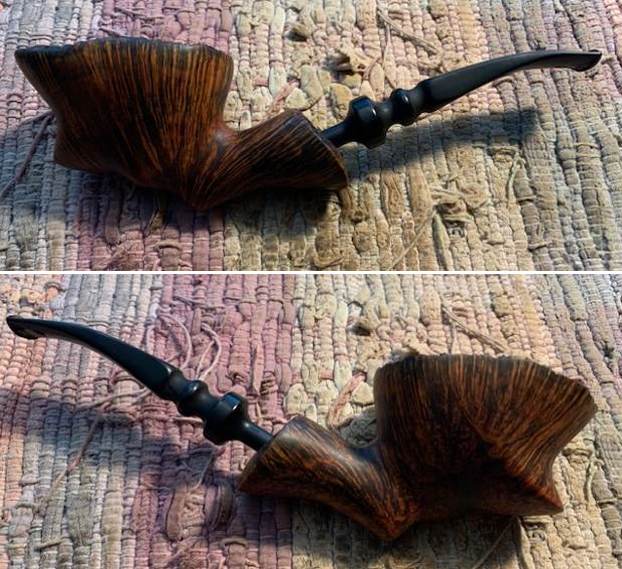
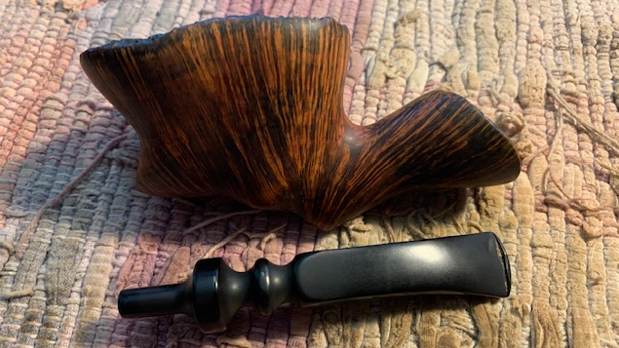
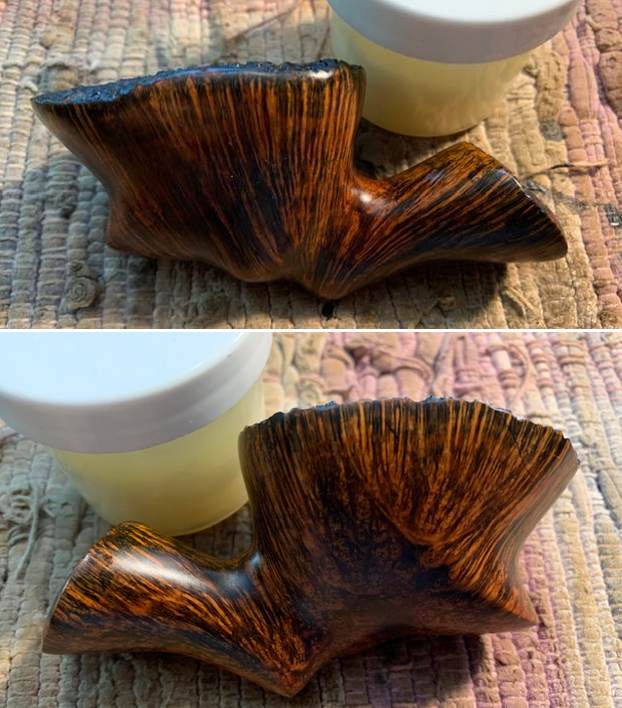
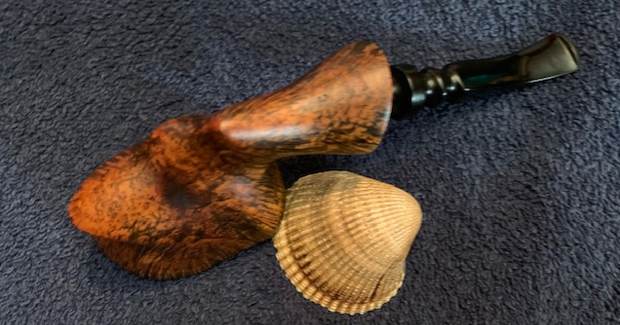
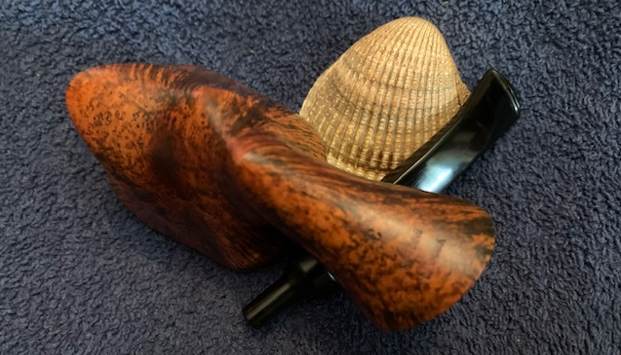
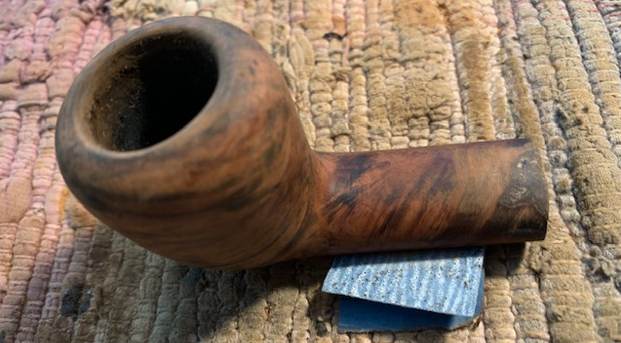
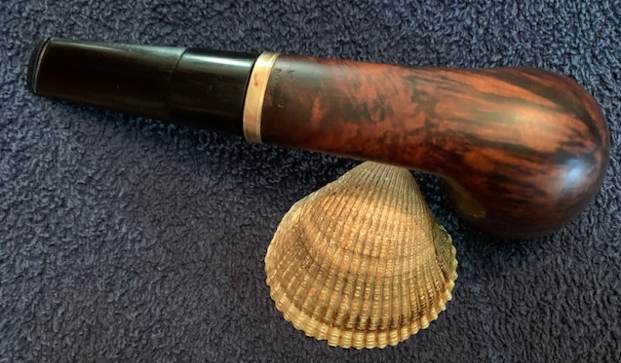
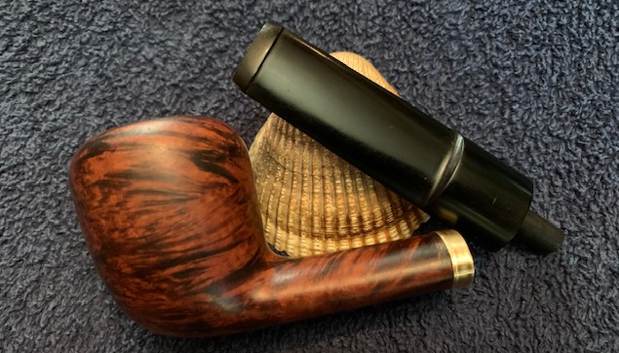
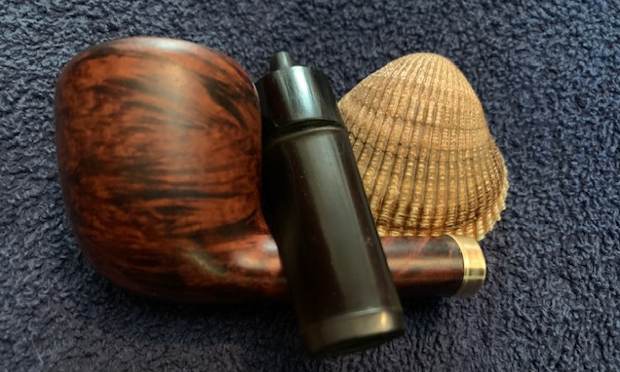
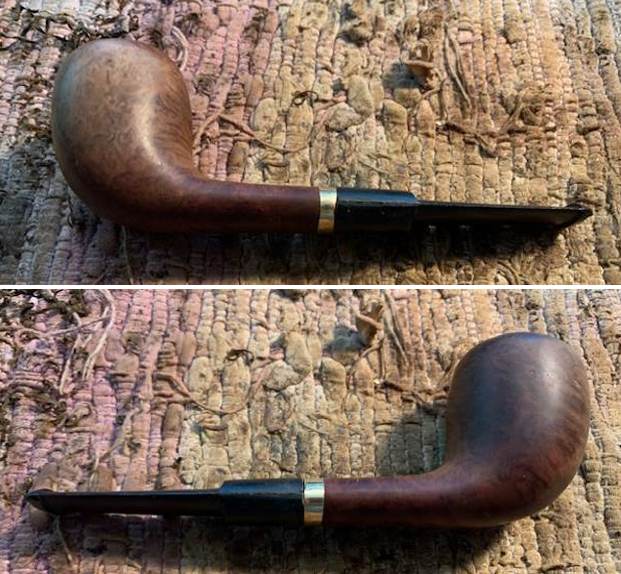
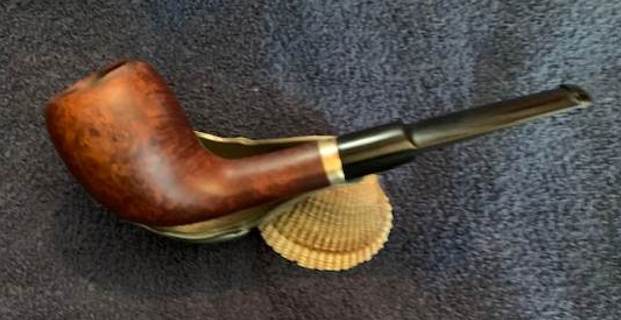
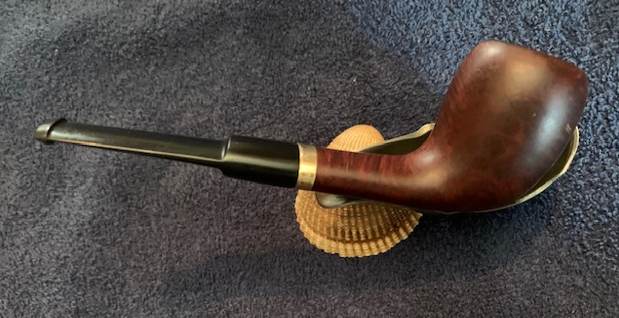
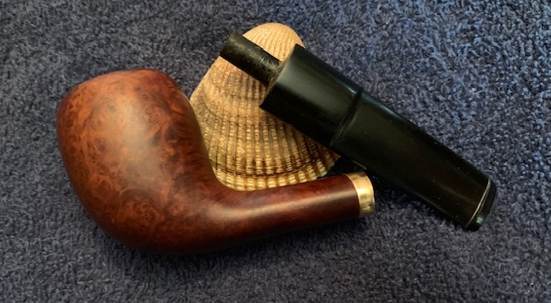
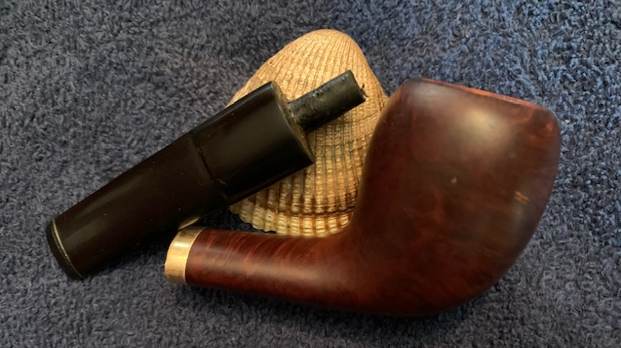
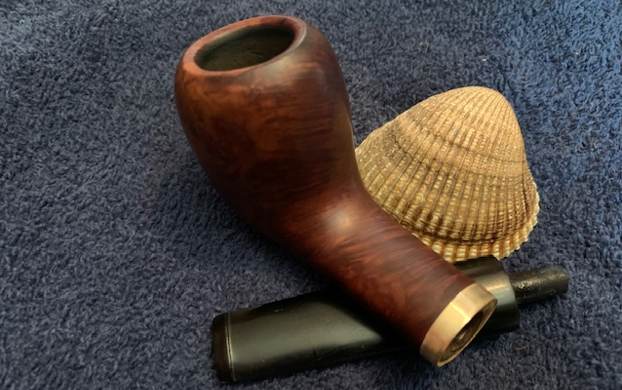
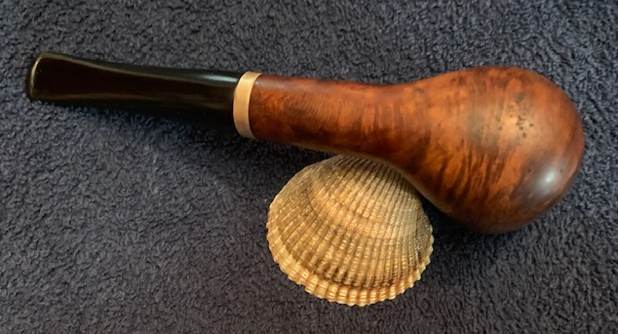
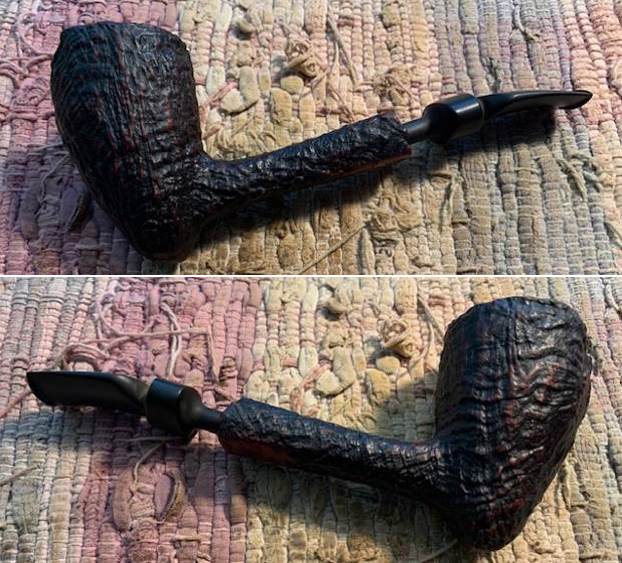
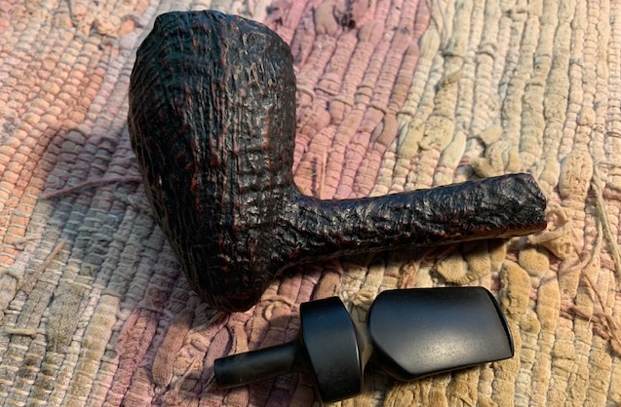
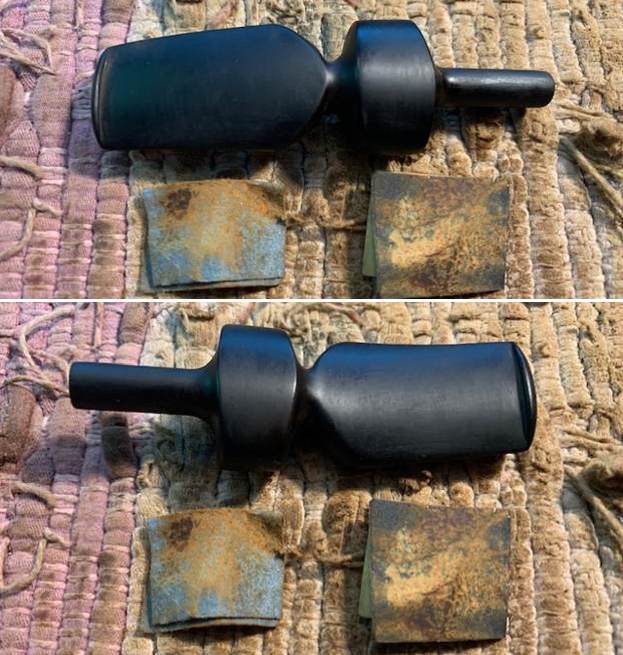
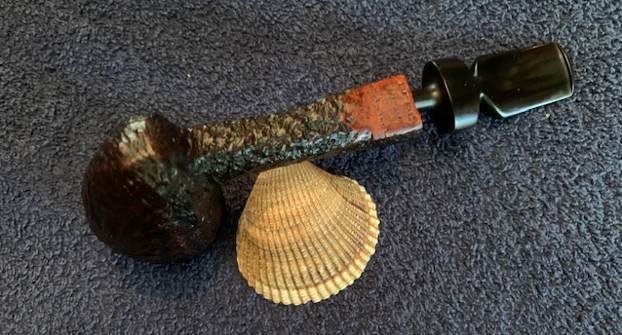
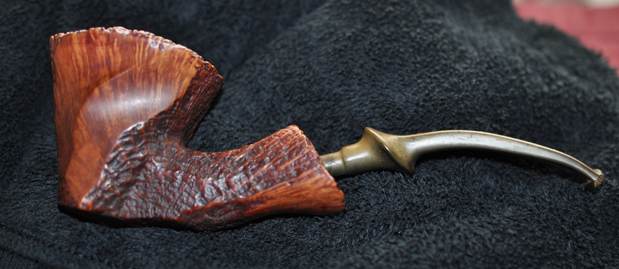
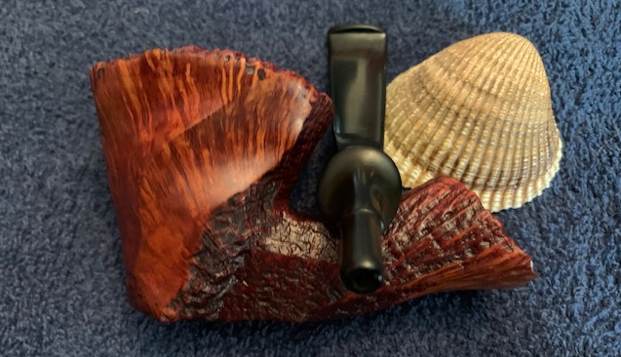
 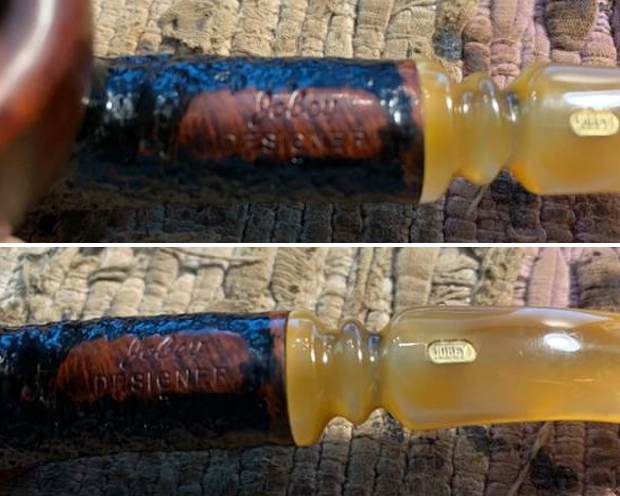 I took the stem off the shank and took a photo to give a clear picture of the pipe from the left side profile and the top looking down. It is a really pretty pipe.
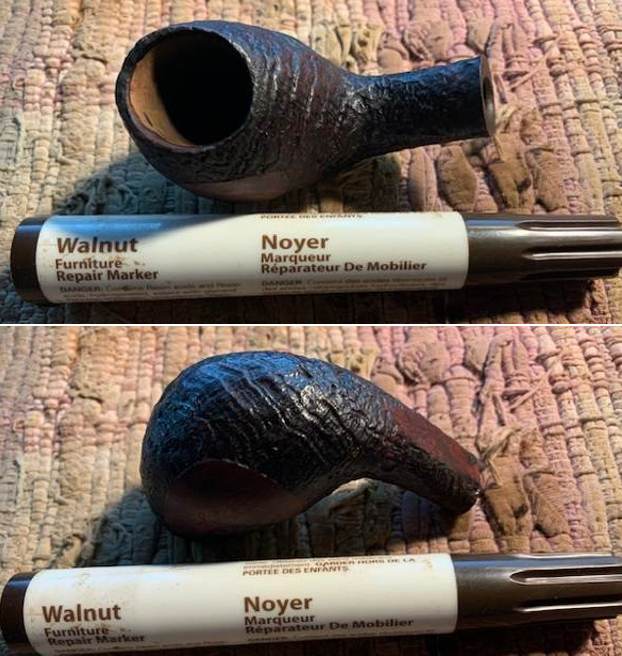
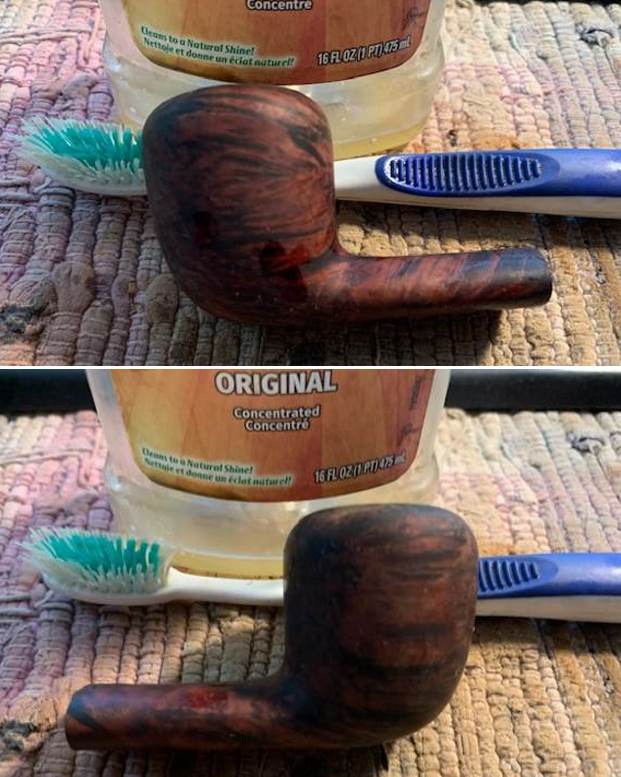
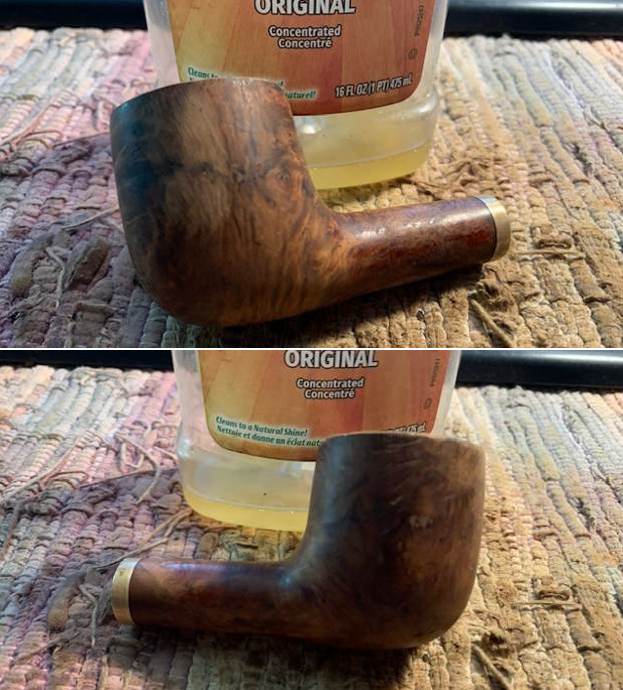
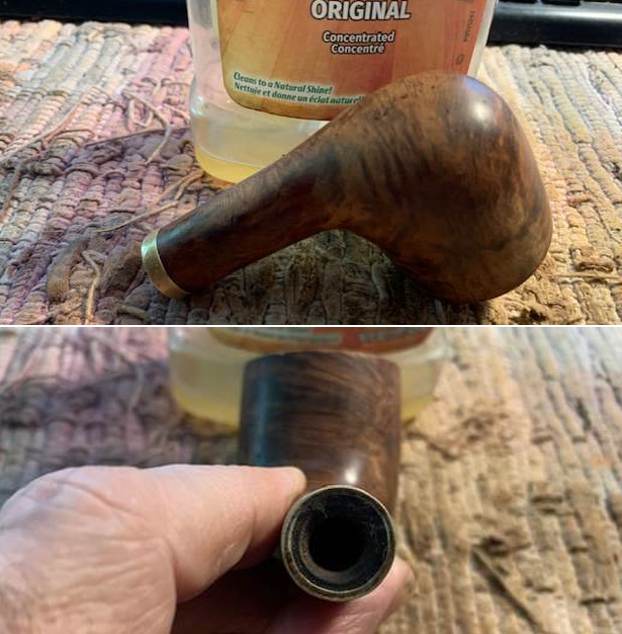
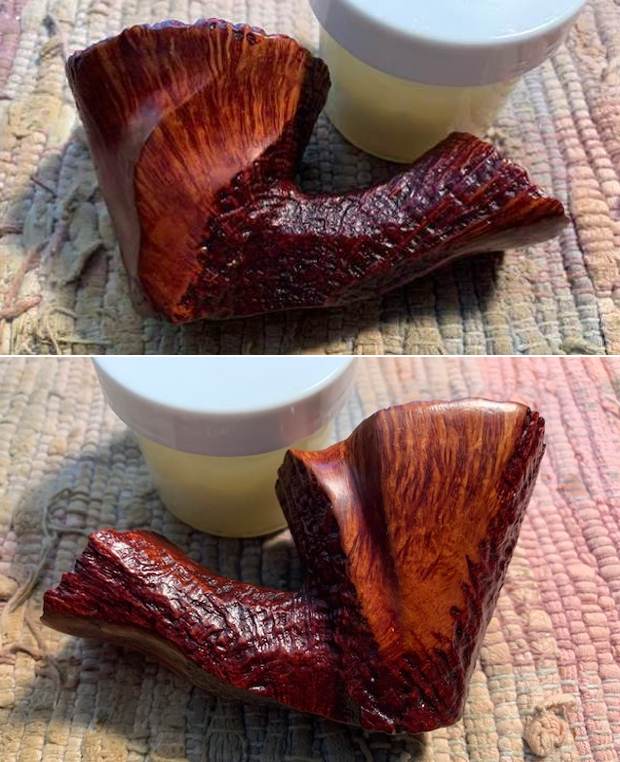
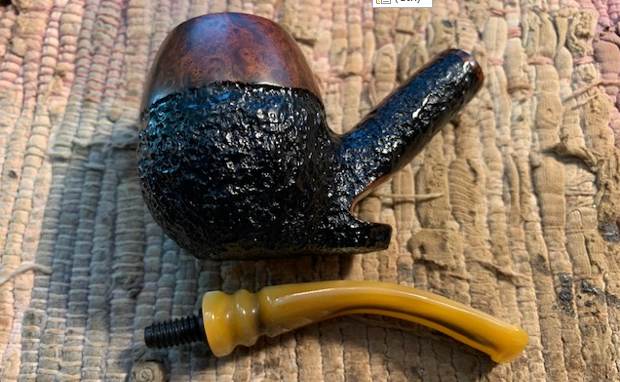 I wiped down the briar with acetone on a cotton pad to remove the shiny varnish coat. It took some scrubbing but the grain really stood out on the smooth portion much better.
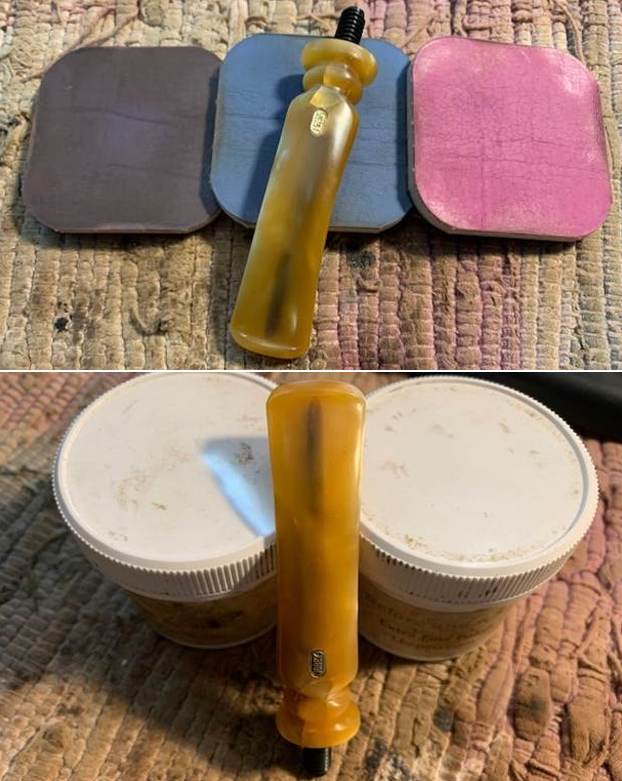
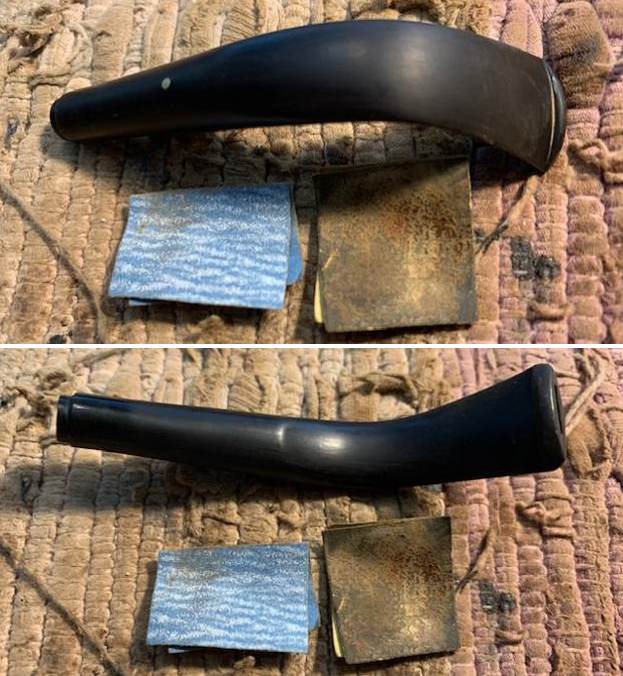
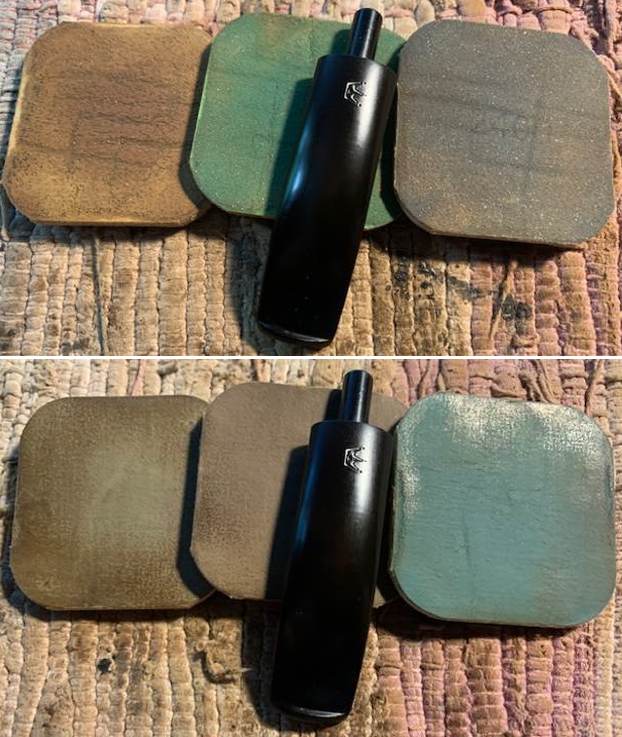
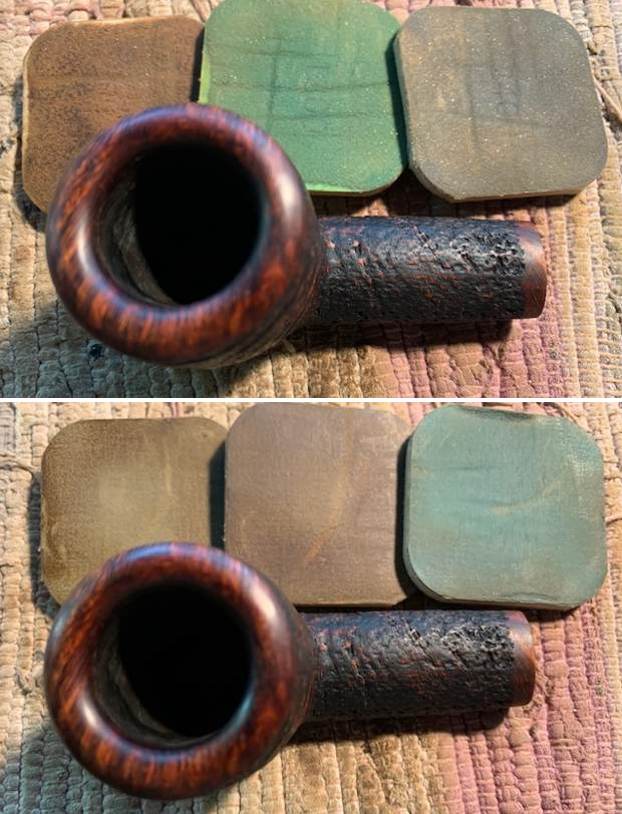
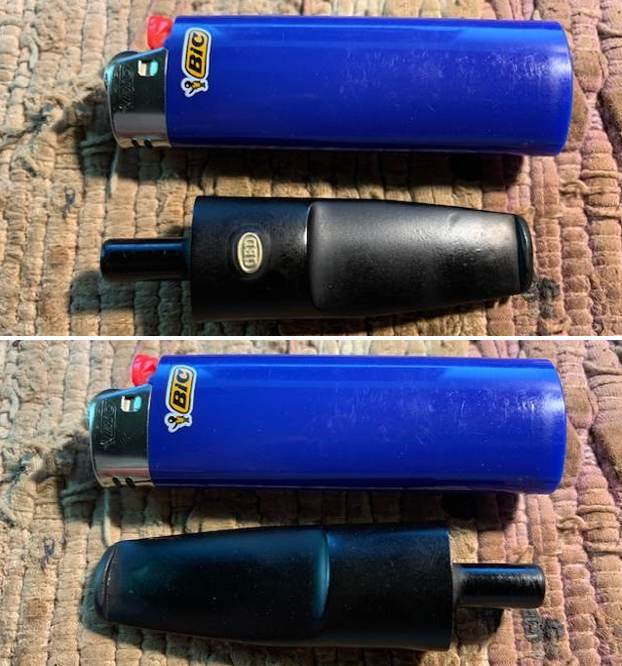
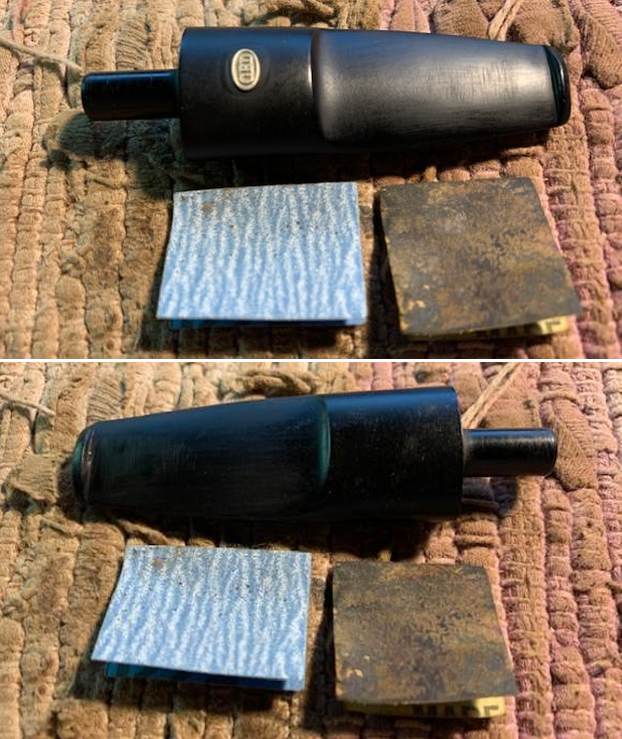
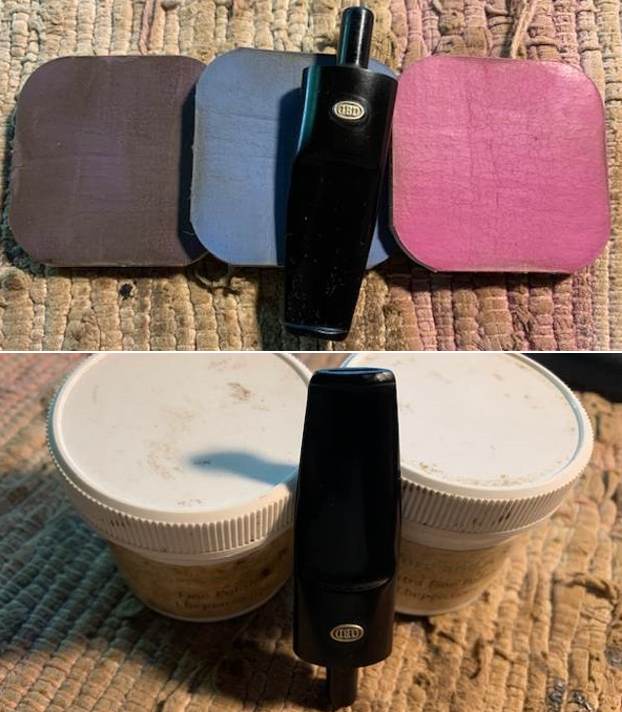
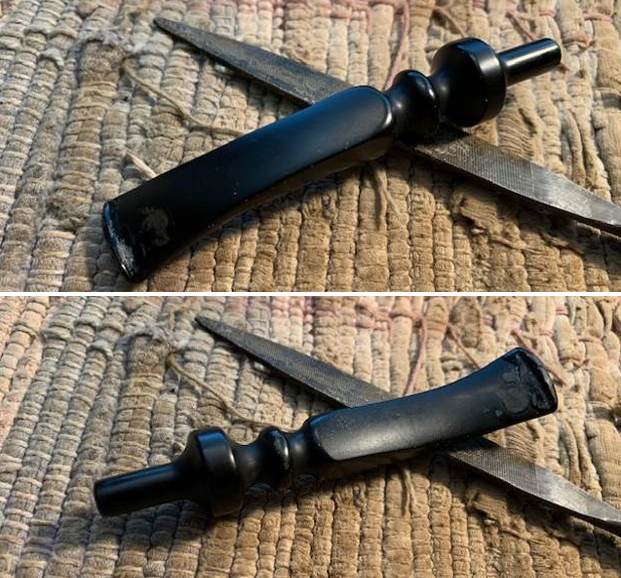
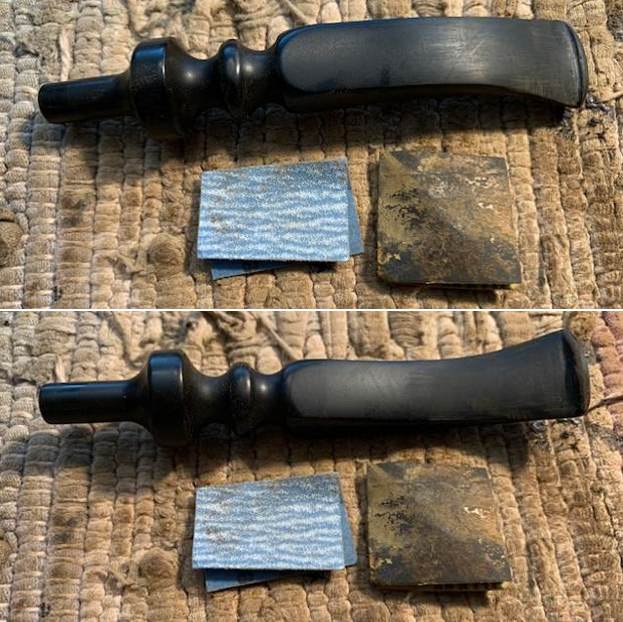
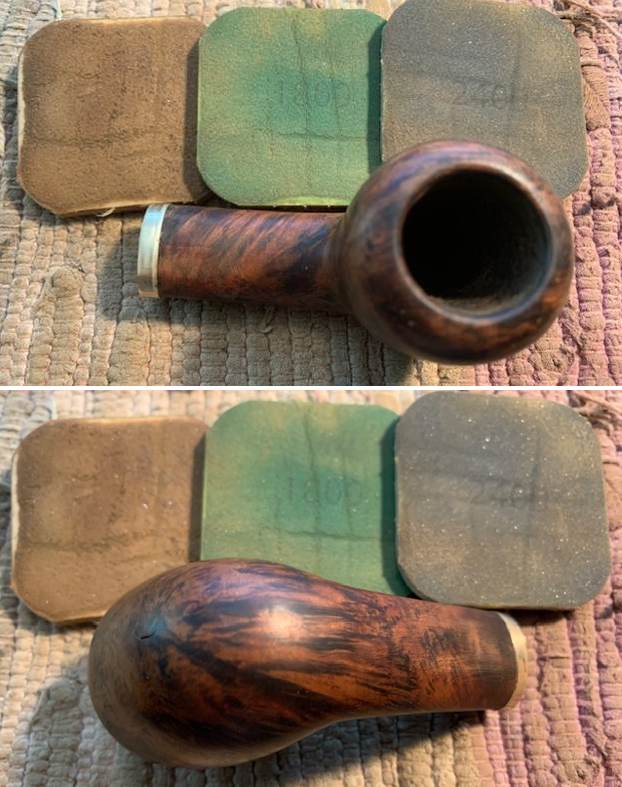
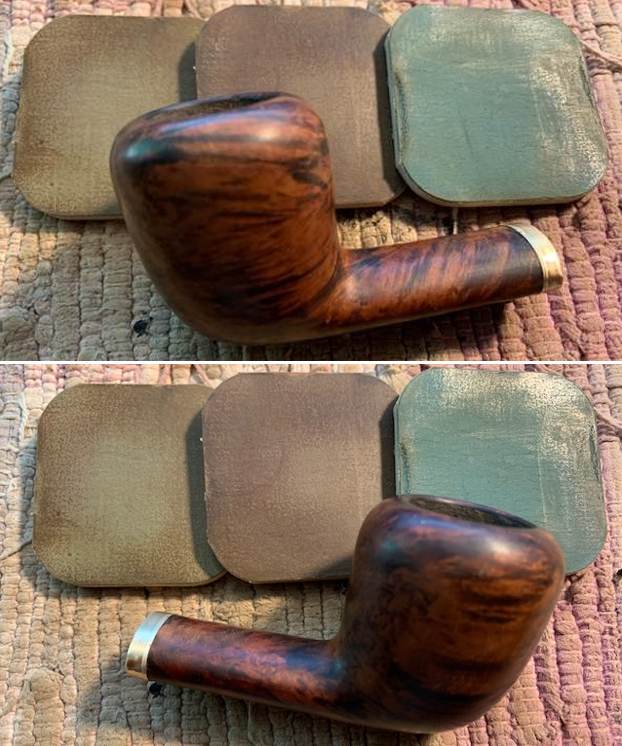
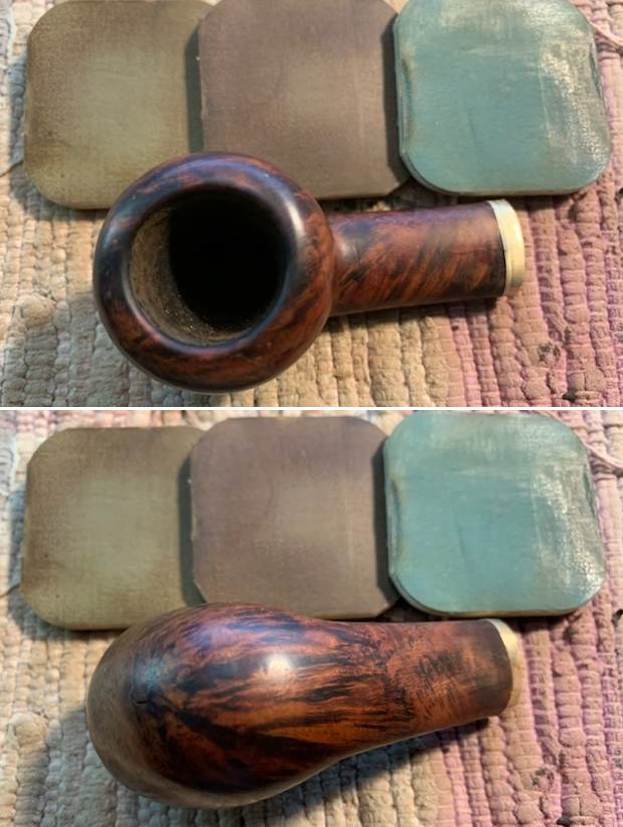
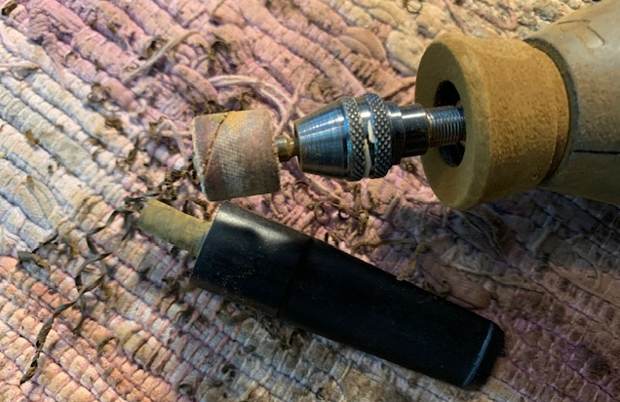
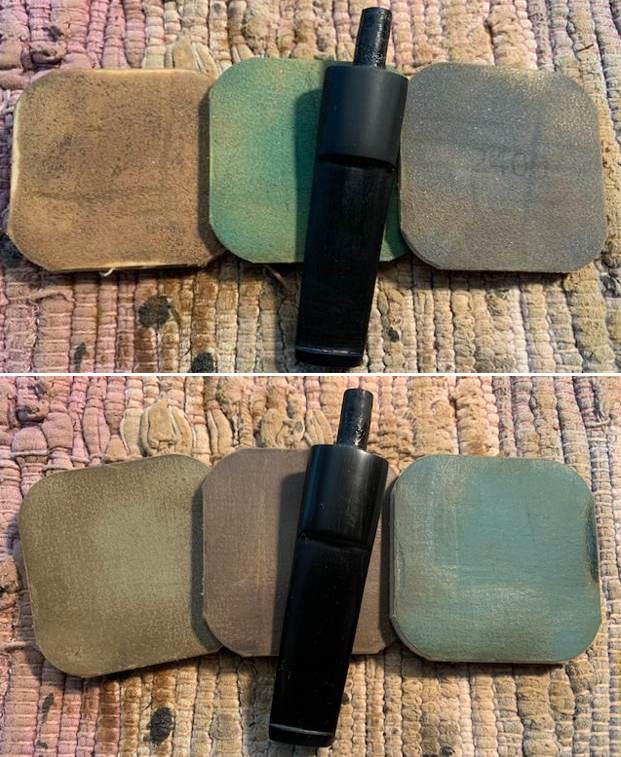
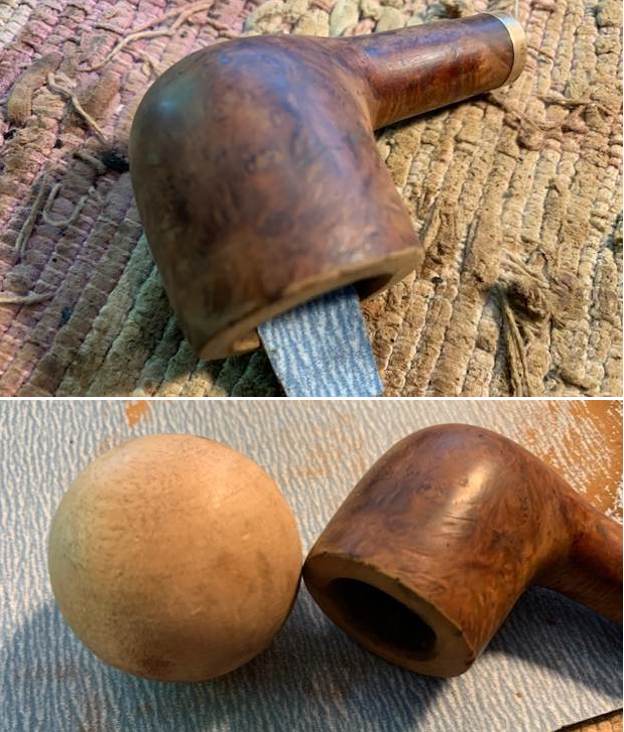
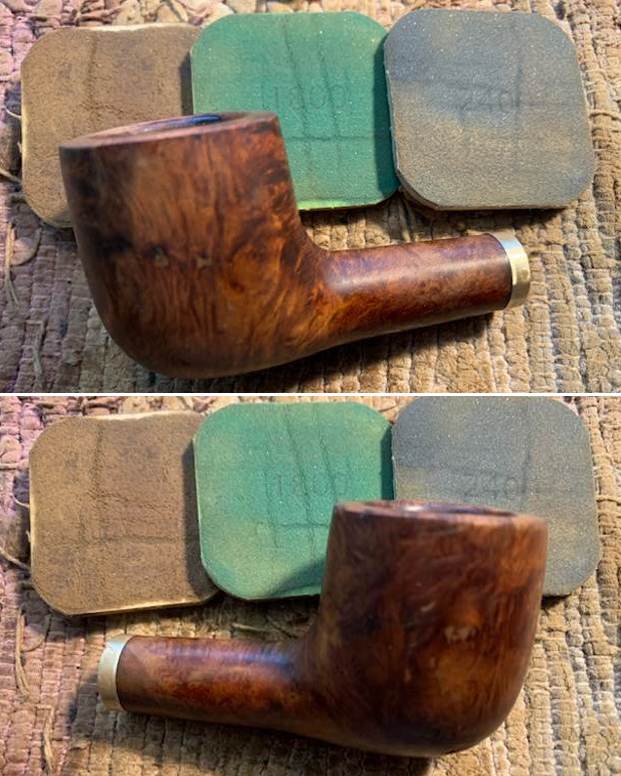
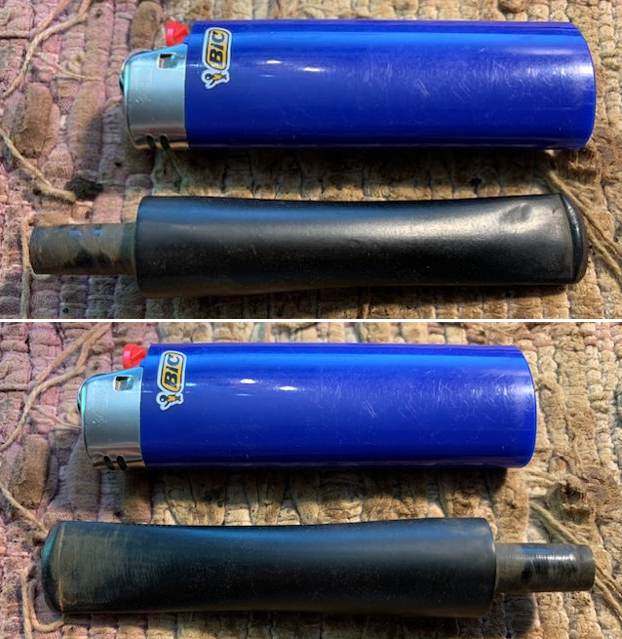
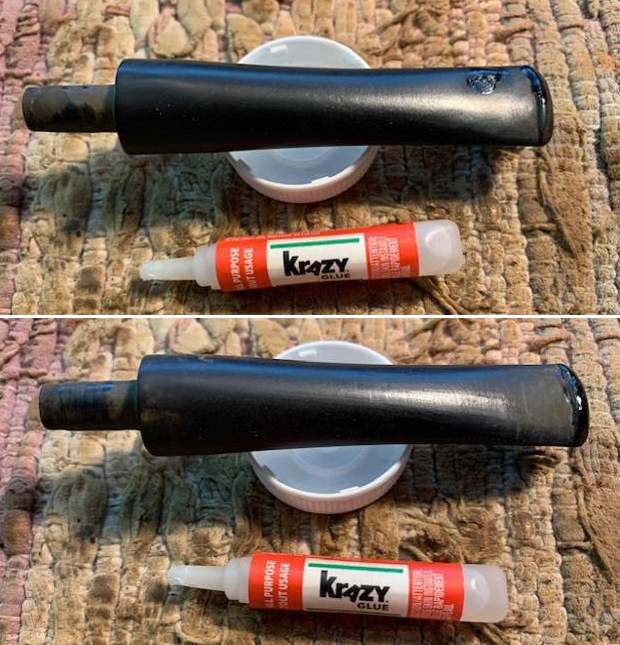
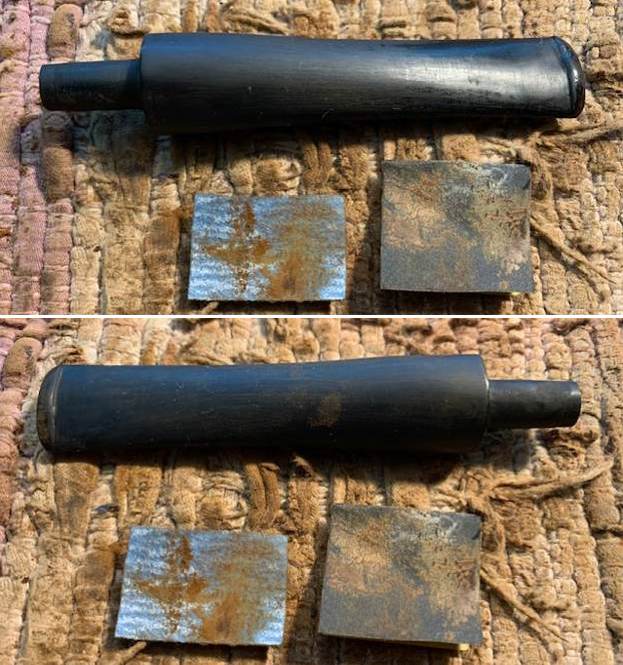
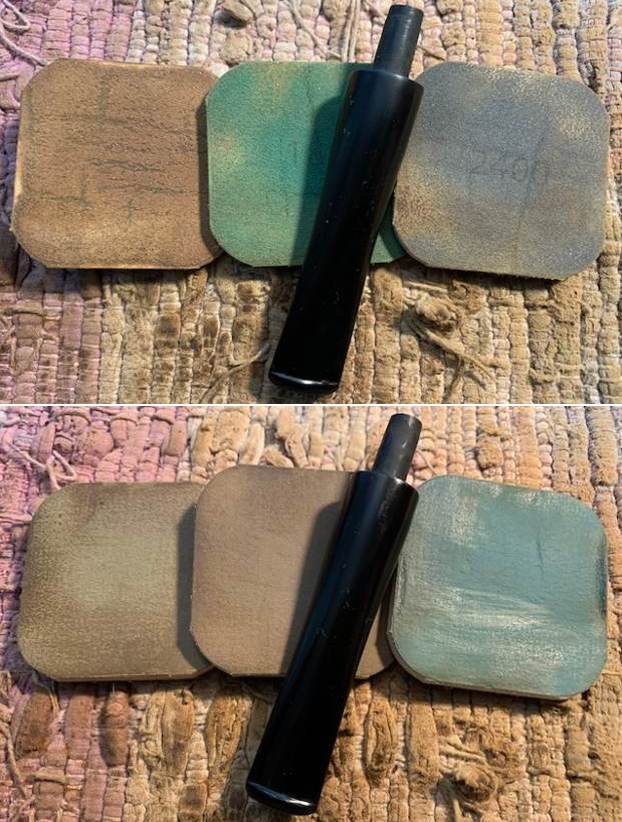
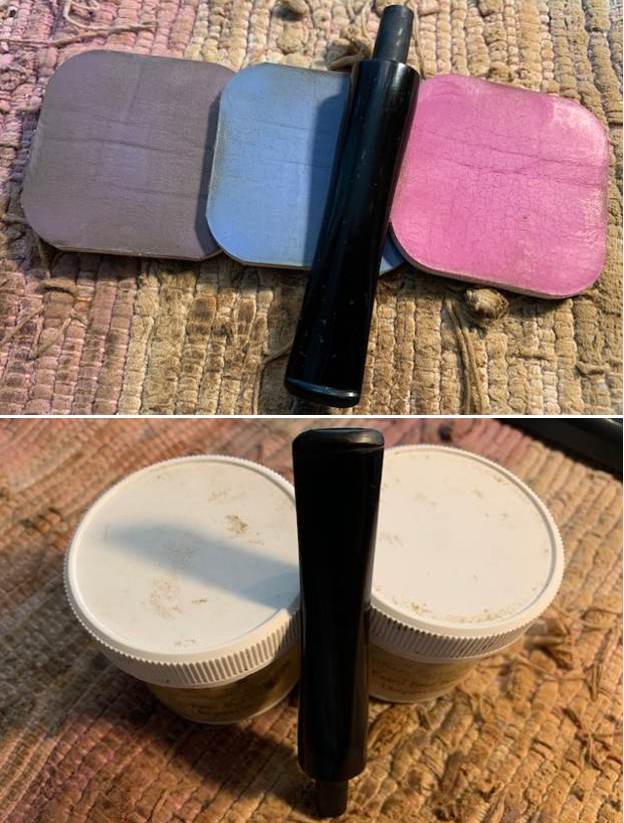
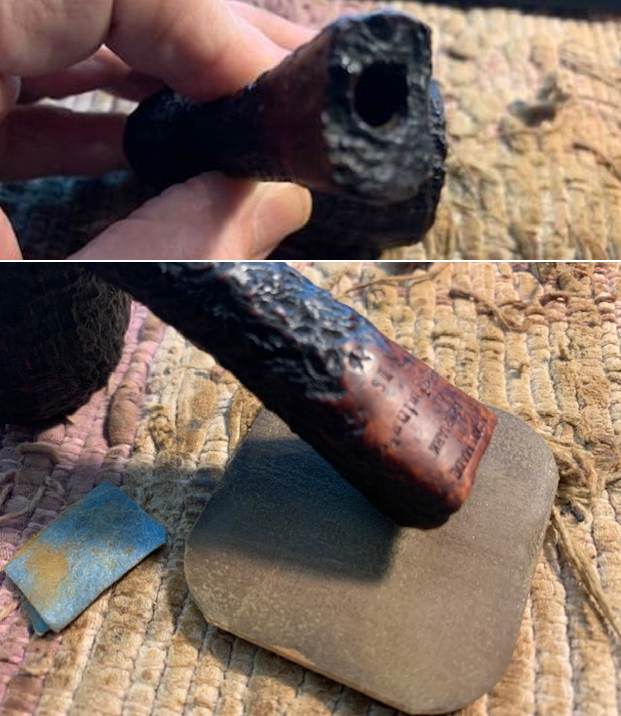
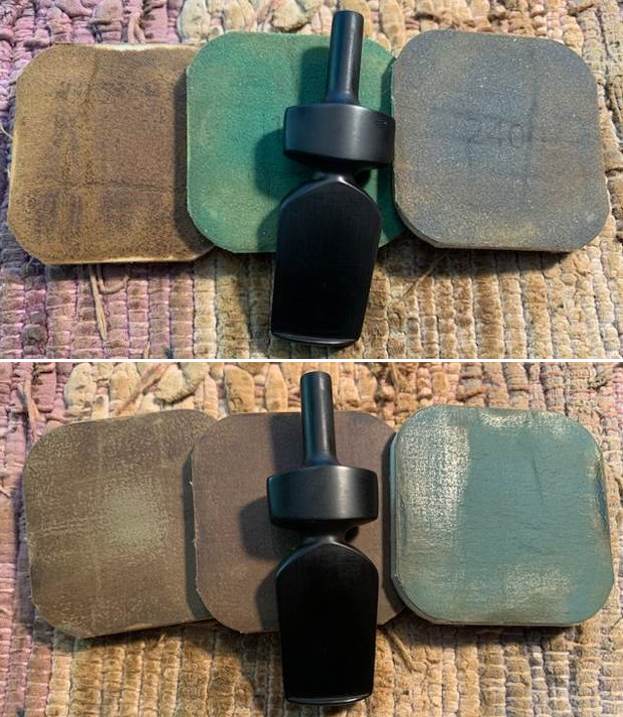
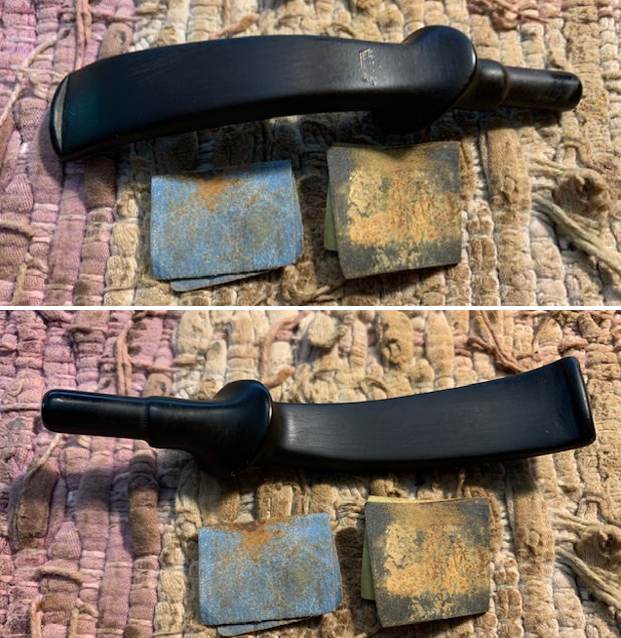
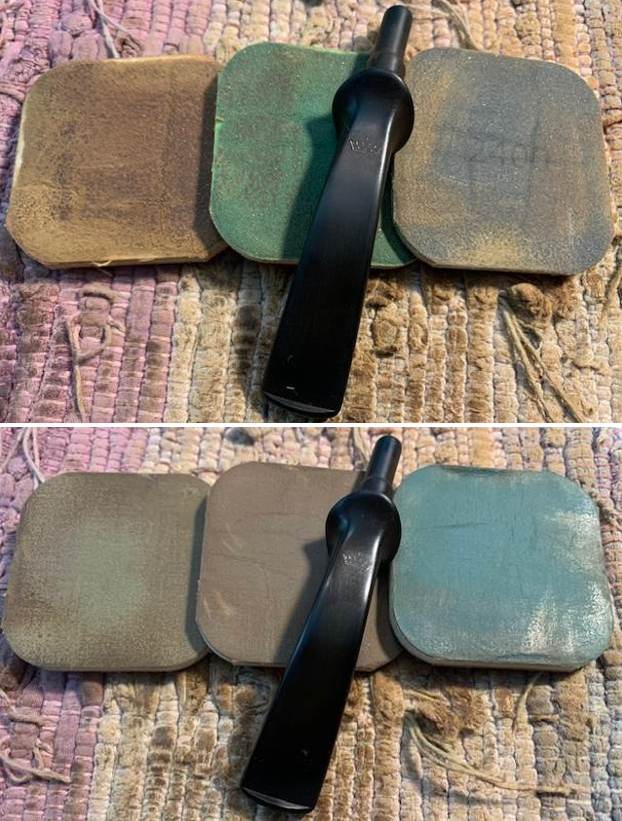
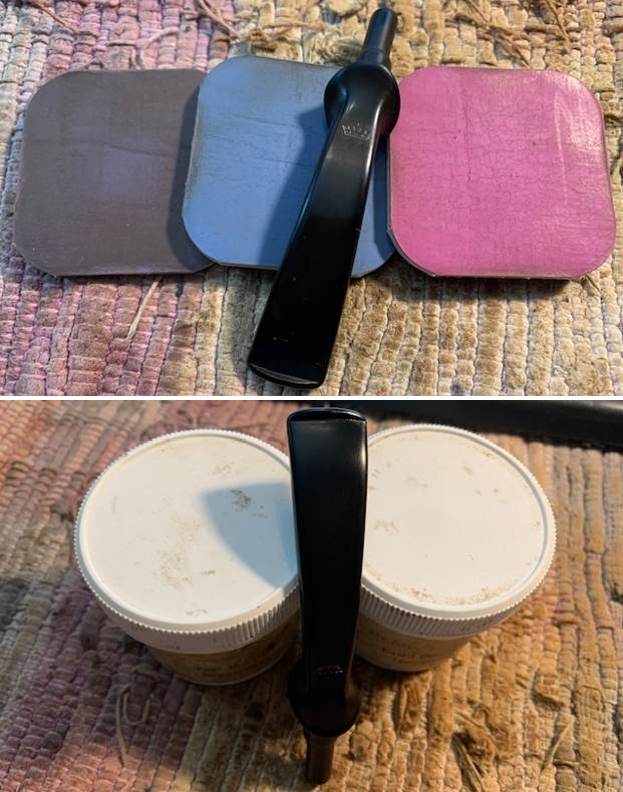
 I polished the extension with micromesh sanding pads – dry sanding with 1500-12000 grit pads. I wiped the surface off after each pad to remove sanding debris. It is becomes more shiny with each sanding pad.
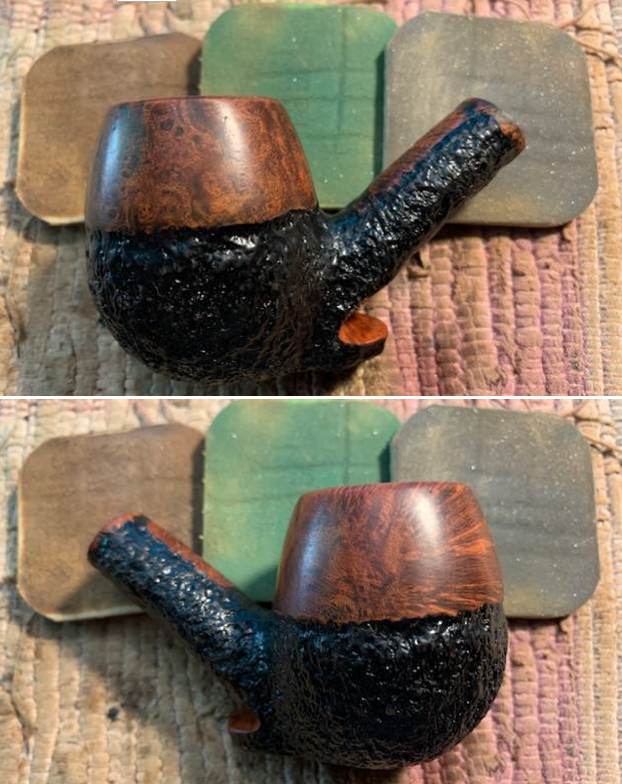

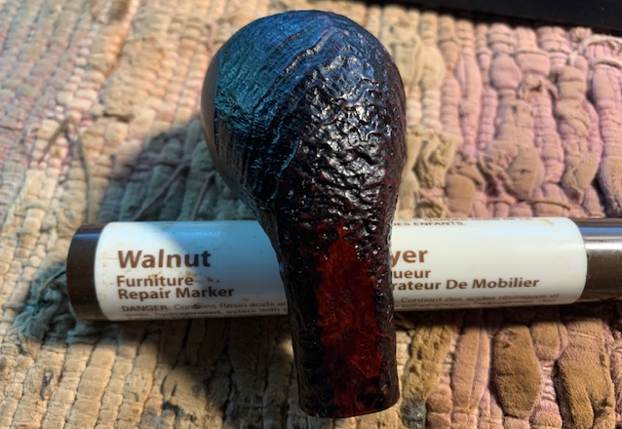
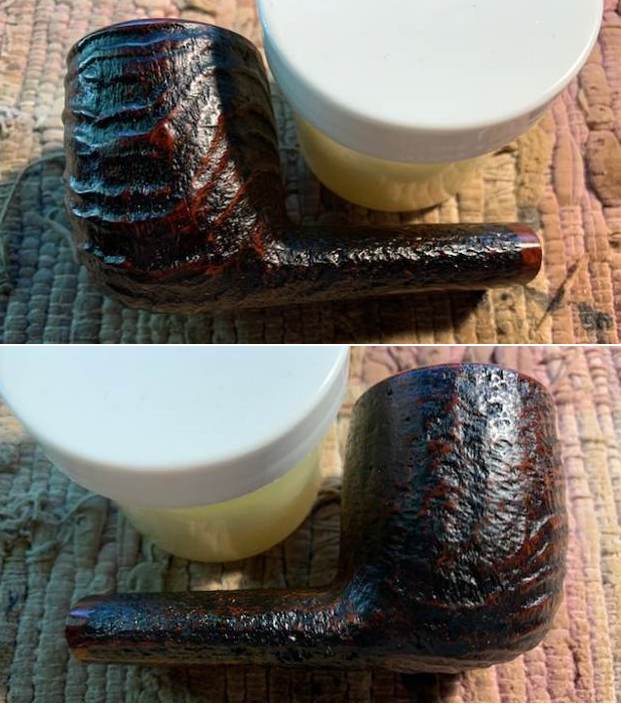
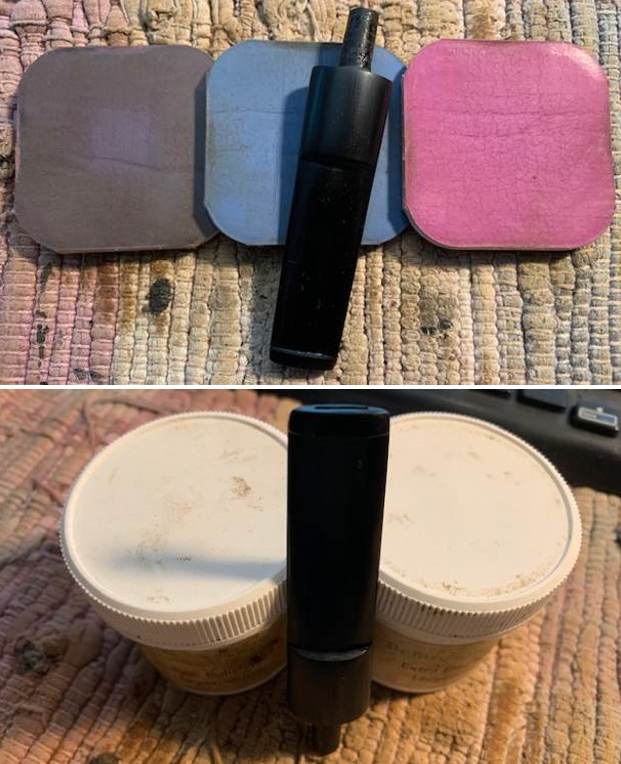
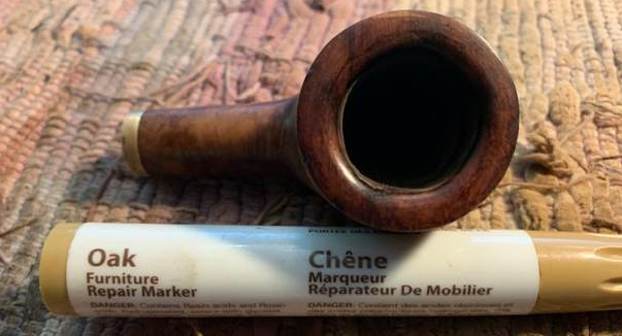
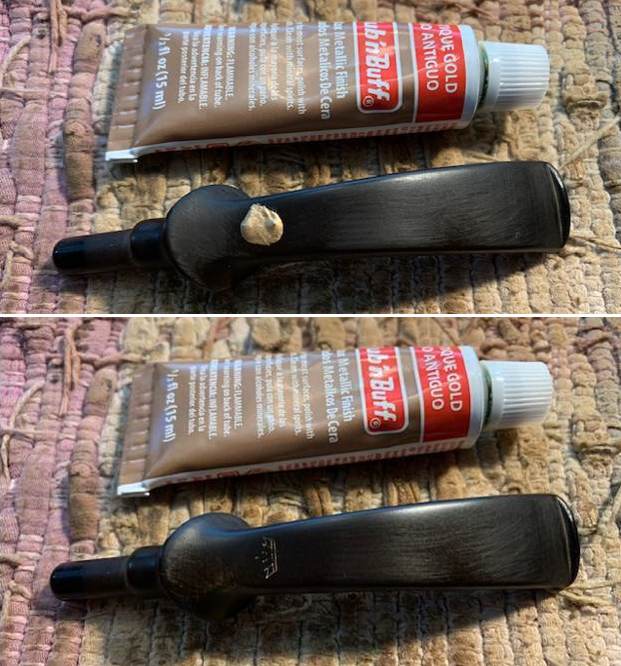
 I rubbed the bowl down with Before & After Restoration Balm. I worked it into the surface of the briar with my fingertips and a horsehair shoe brush to clean, enliven and protect it. I let the balm sit for 10 minutes and then buffed with a cotton cloth and shoe brush to raise the shine. Mark Hoover’s Balm is a product that I have come to appreciate and one I use on every pipe I have been working on.
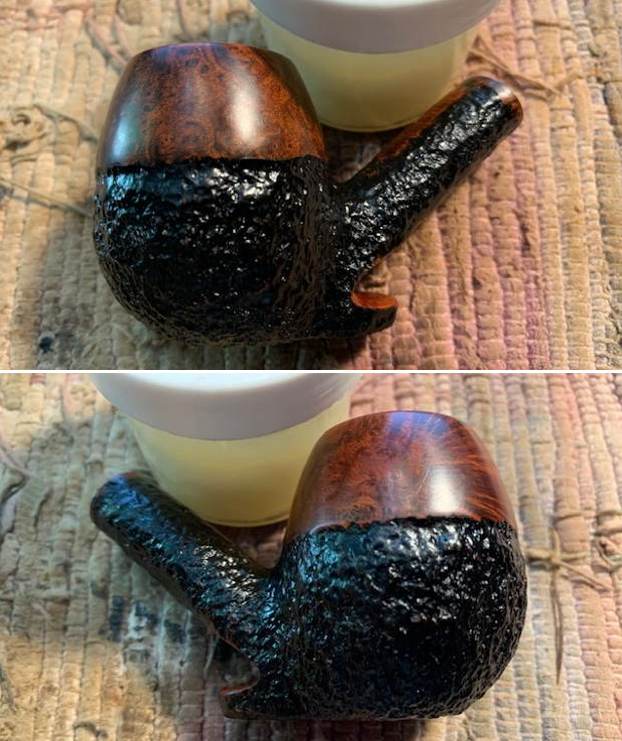
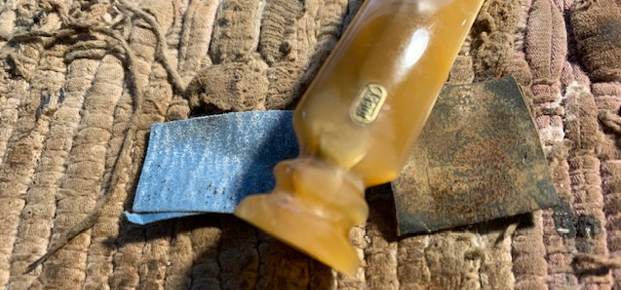
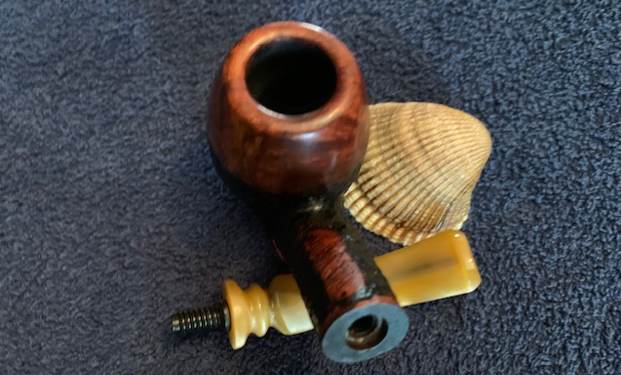
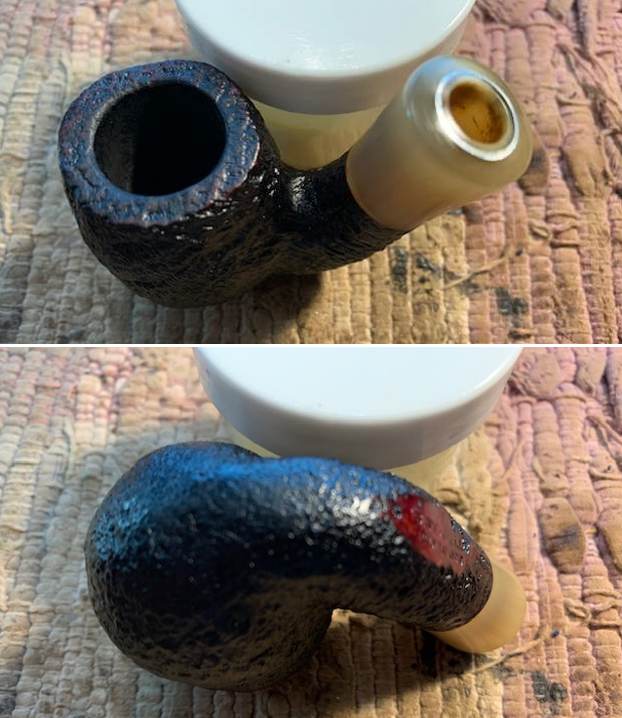
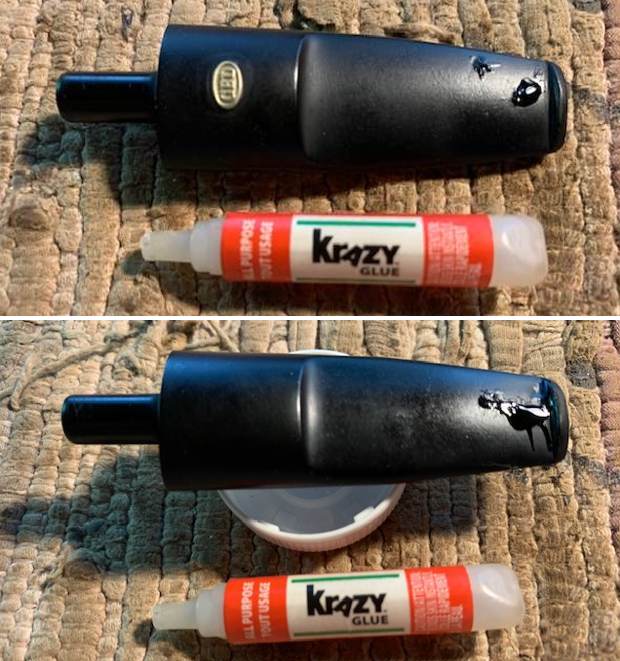
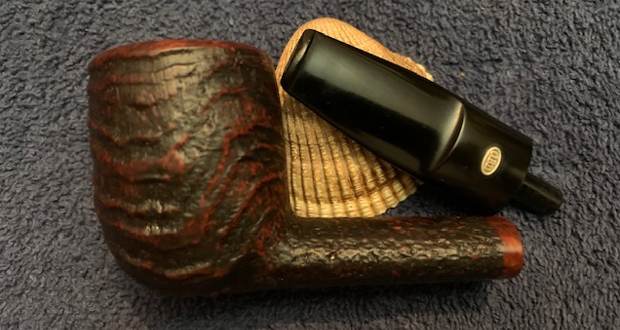
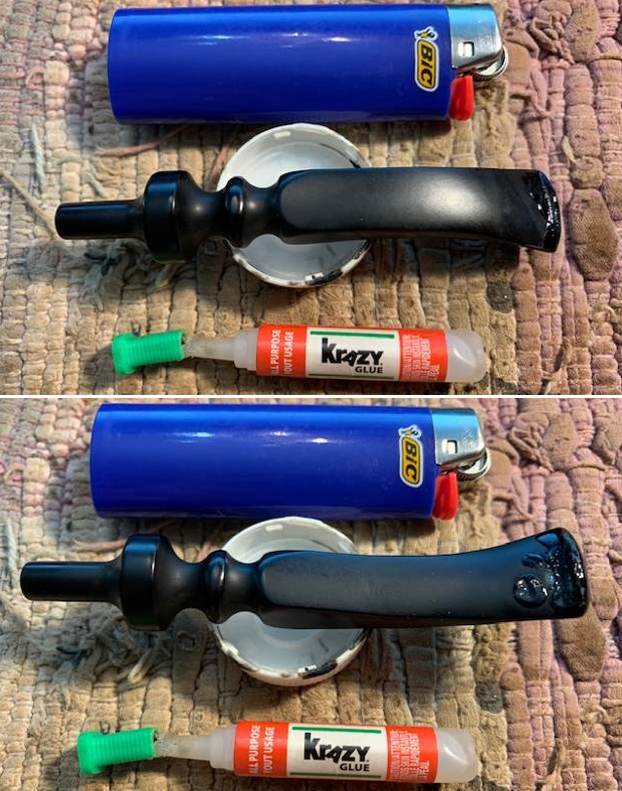
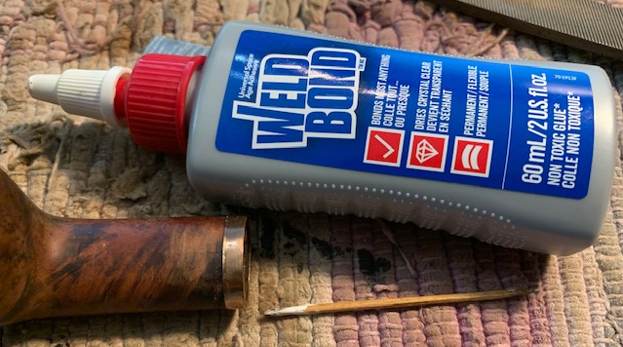
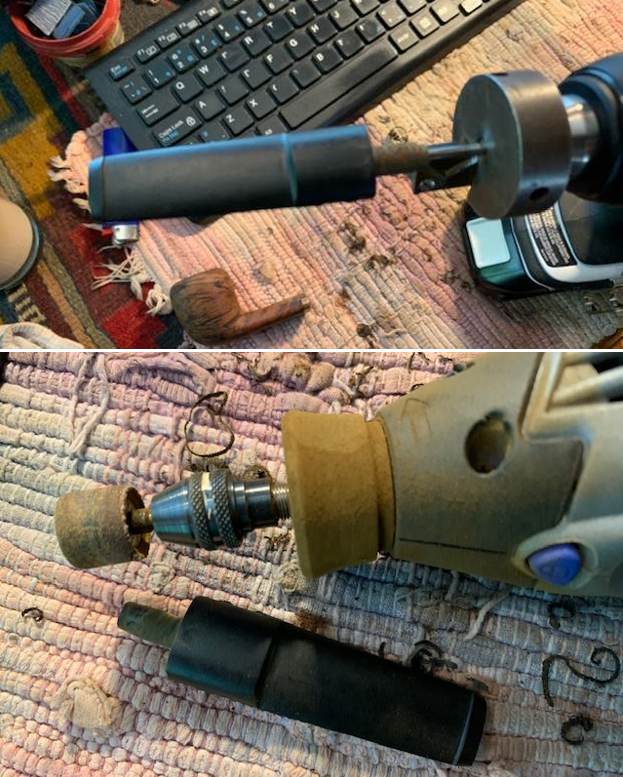
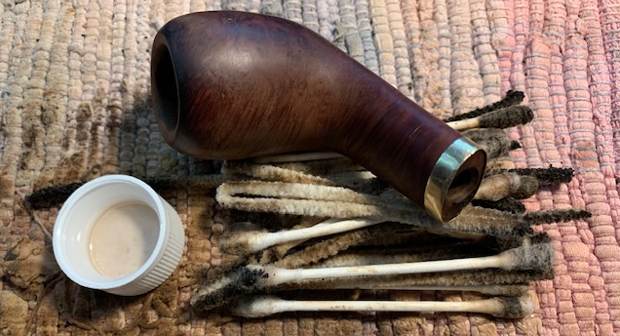
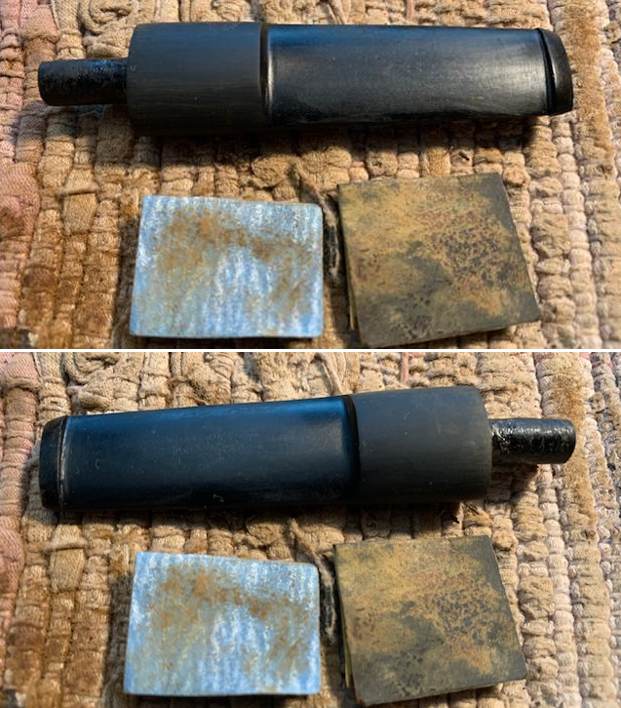
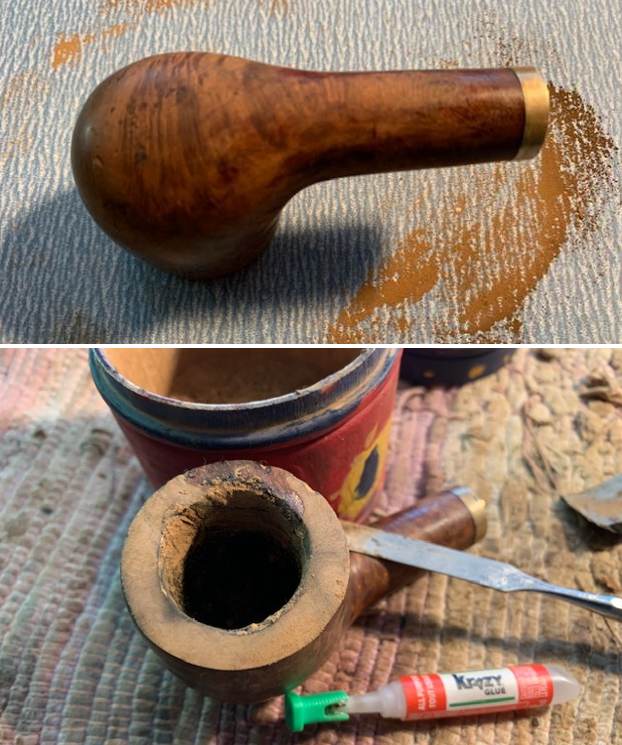
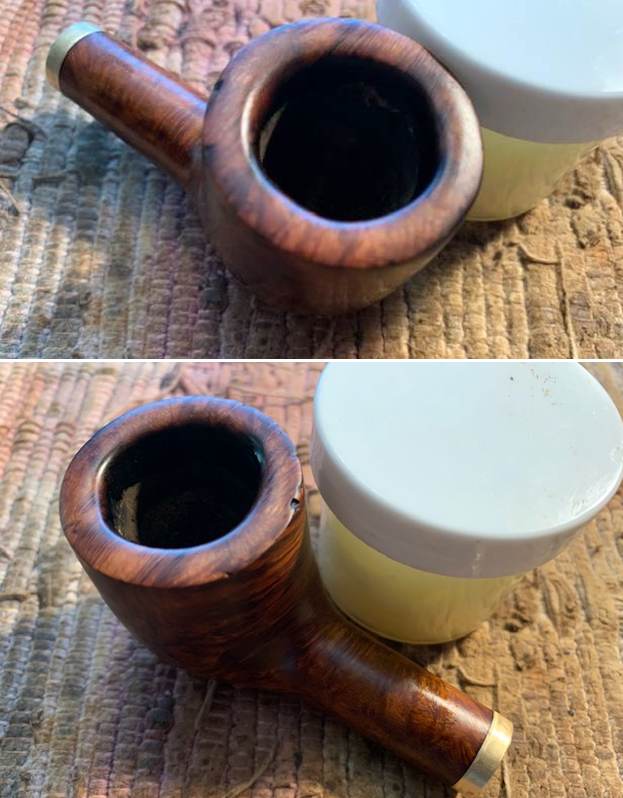
 I set the bowl aside and turned my attention to trying to get some of the tars from the stem. I removed the Jobey Link Tenon from the stem and worked it over with cotton swabs, pipe cleaners and alcohol. It was amazing how much grit and grime came out of the stem. I then used some Soft Scrub on the pipe cleaners and continued to work on the airway and was able to remove a lot of it. I flushed it a final time with alcohol. It was much better when I finished. The only draw back (if it is one) is that the hairline crack was very visible after cleaning.
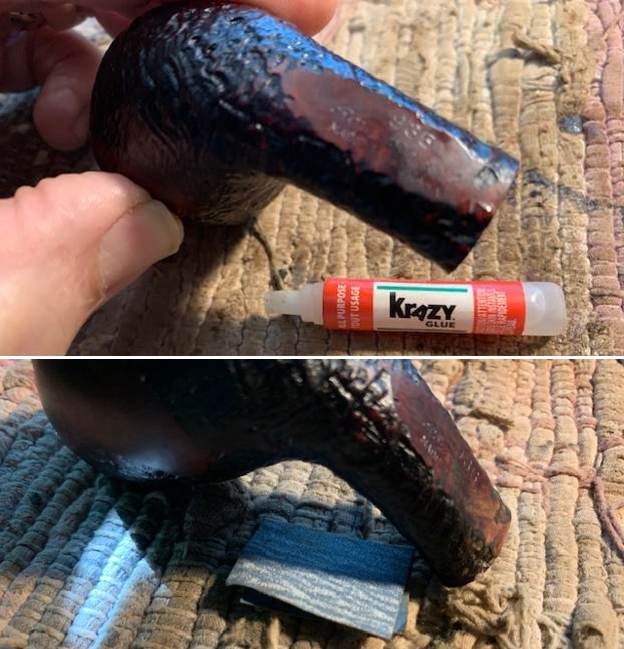
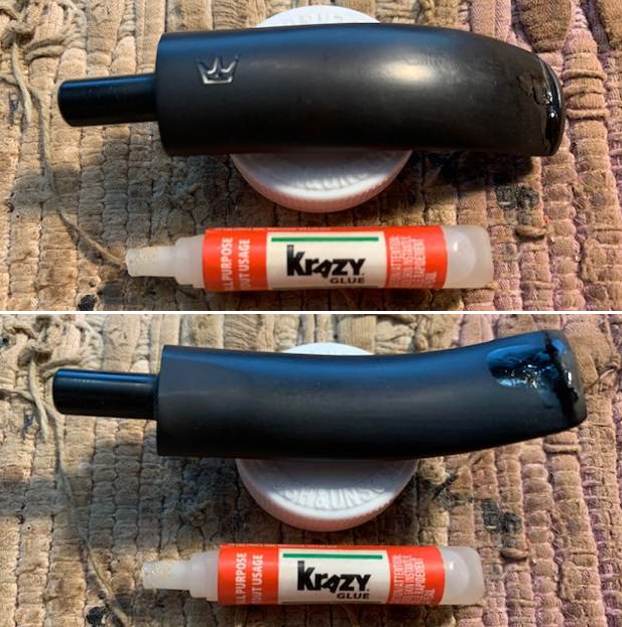
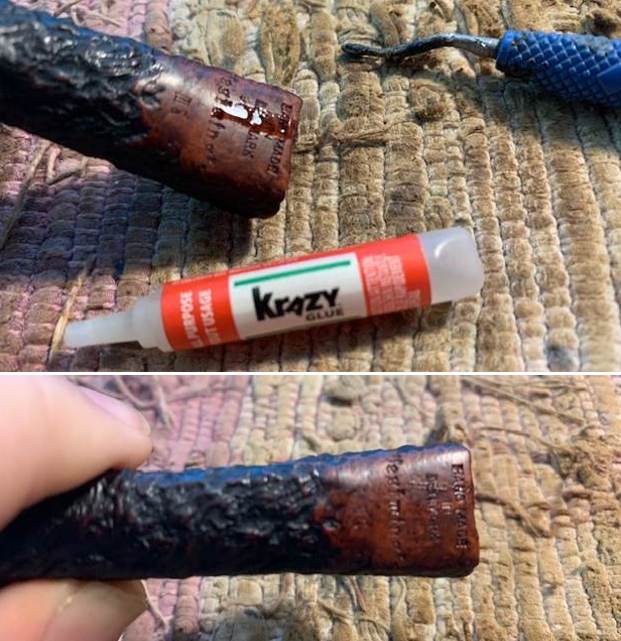
 There was a tooth mark that was deep on the top left side of the stem next to the button. There was also a small crack in the turned area of the stem and top. I filled both of them both in with clear CA glue and set the stem aside to cure. Once it cured I sanded the repaired areas smooth with 220 grit sandpaper and started polishing it with 400 grit wet dry sandpaper.
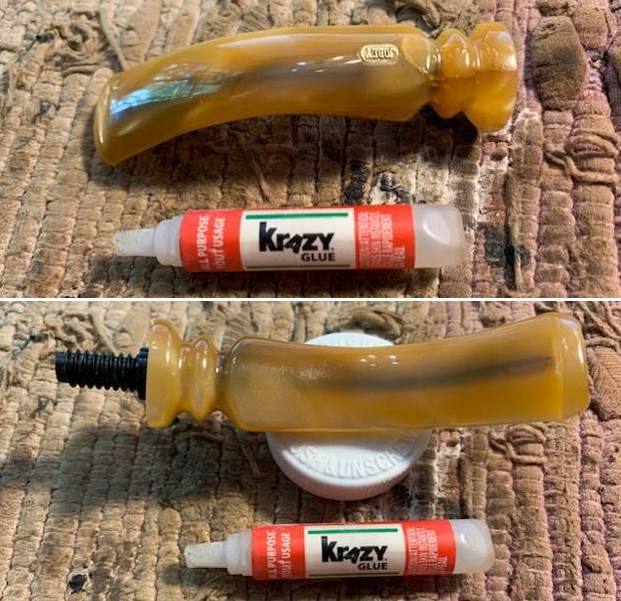
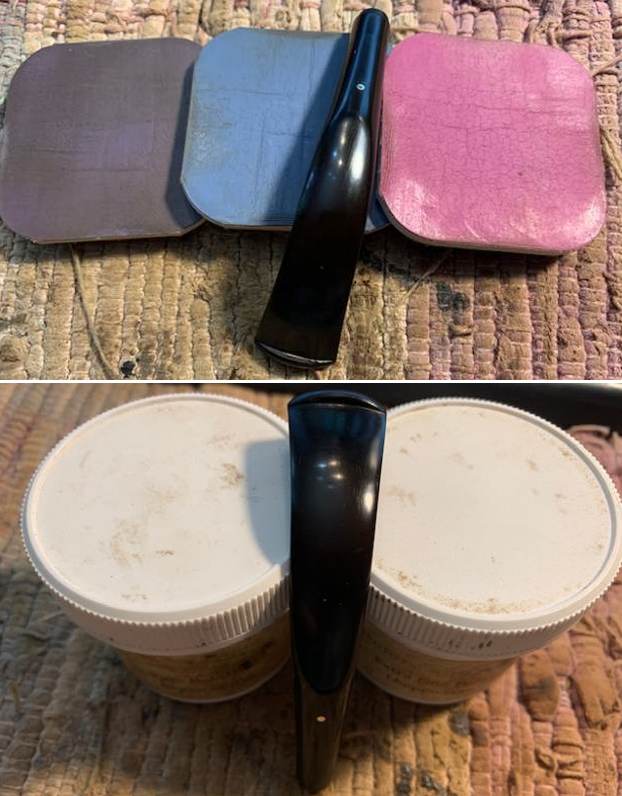
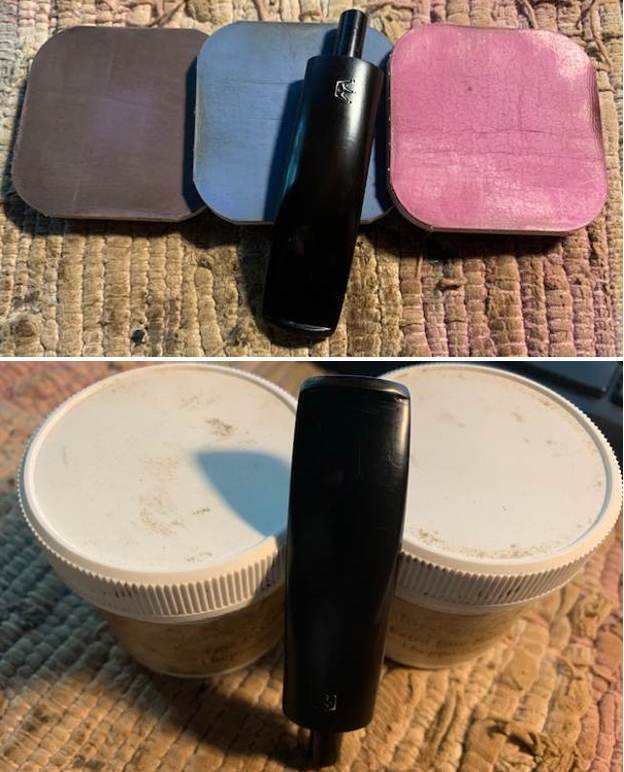
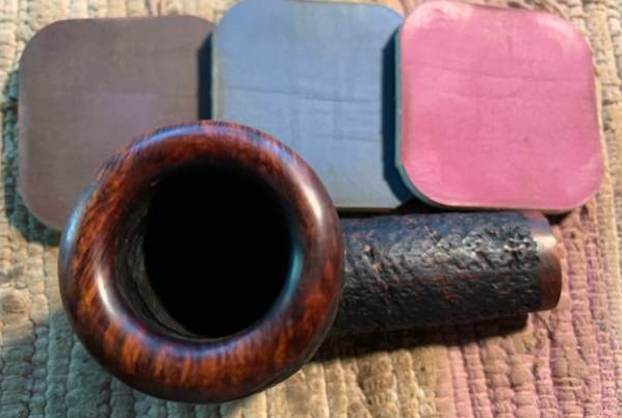
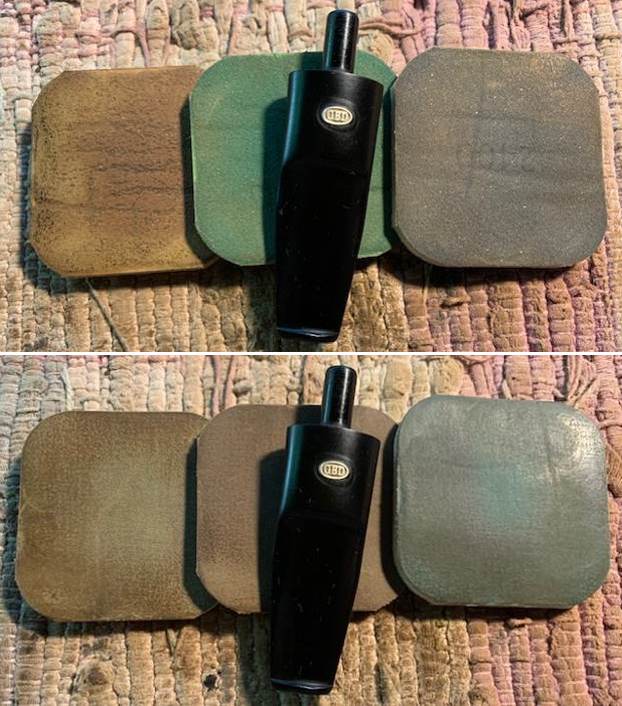
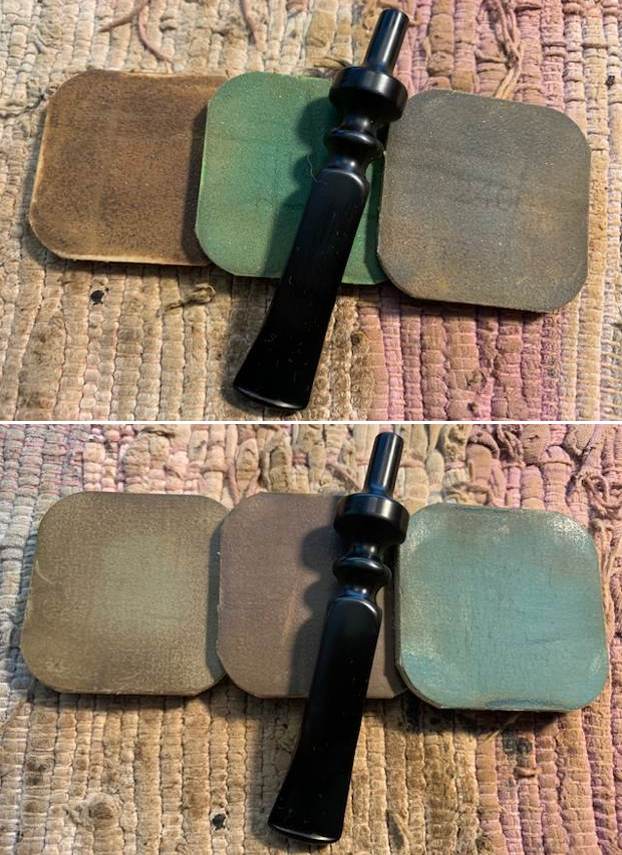
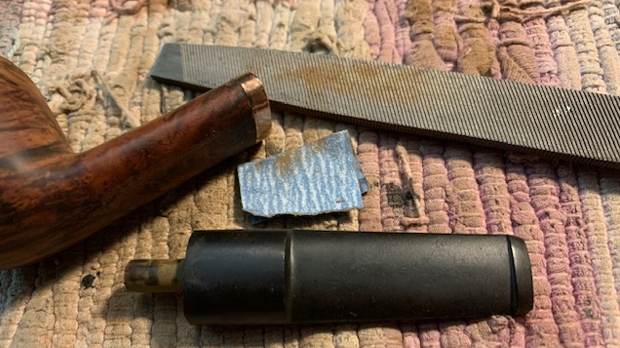
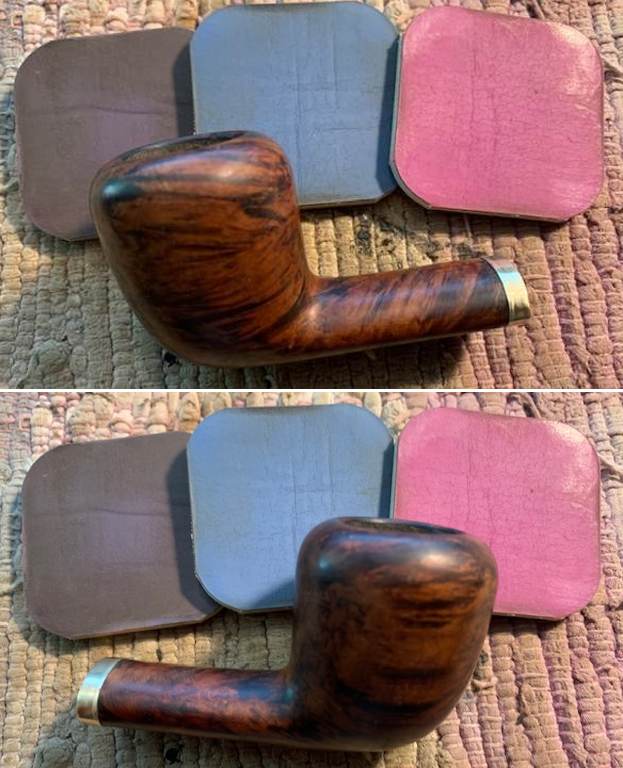
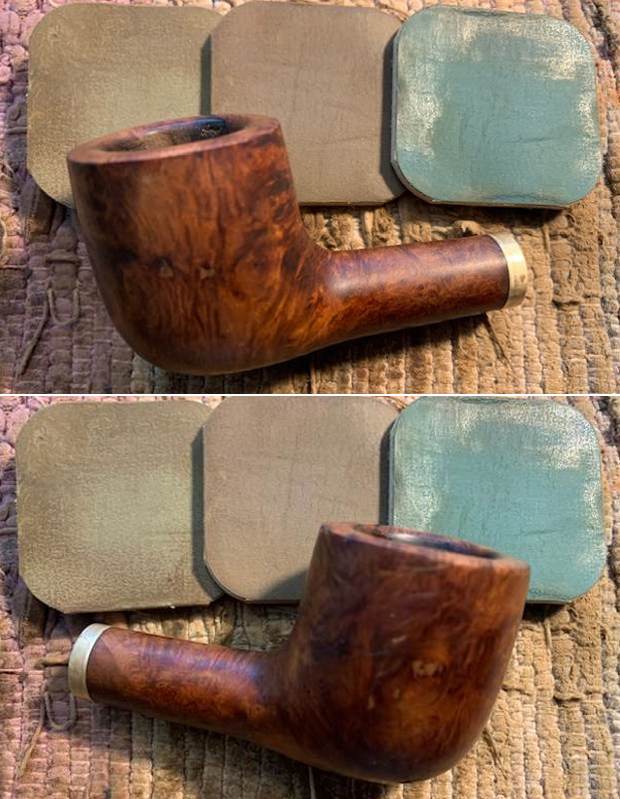
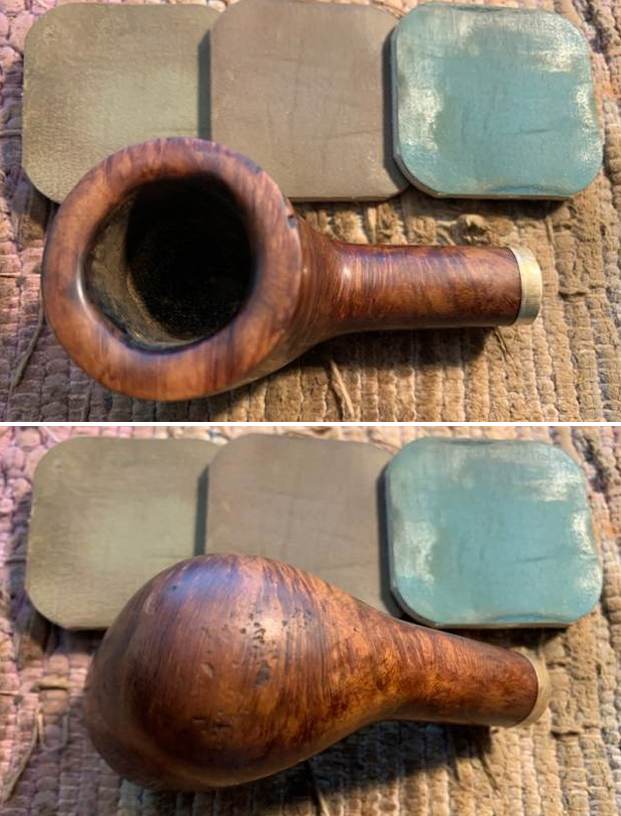
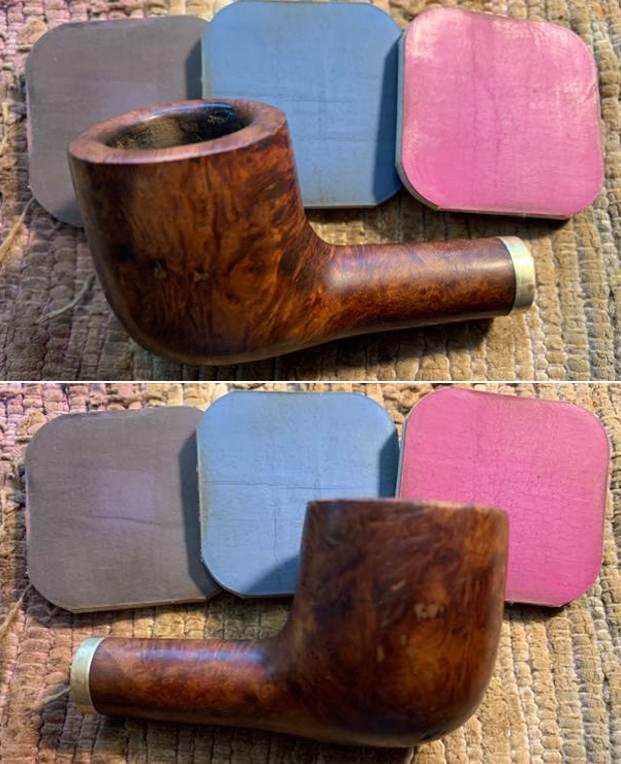
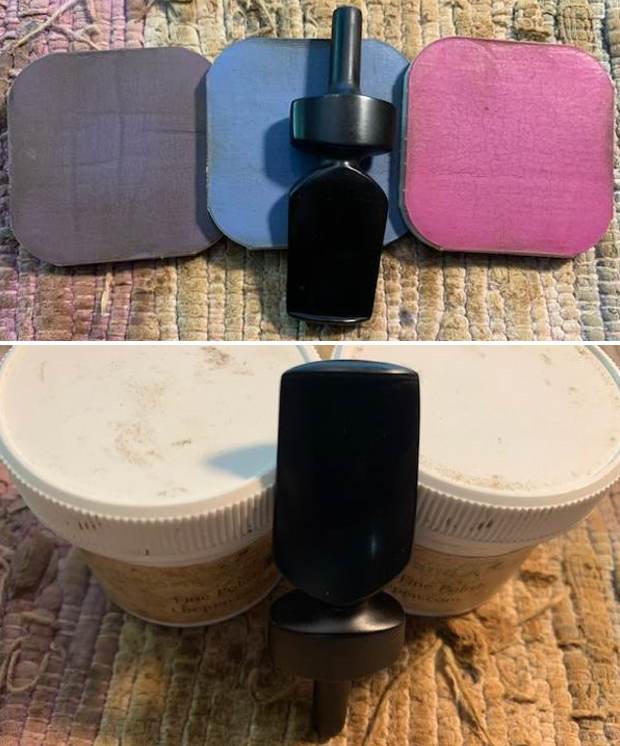
 I polished the Lucite stem with micromesh sanding pads – 1500-12000 grit pads. I wiped it down with a damp cloth after each sanding pad. I used Before & After Pipe Polish – both Fine and Extra Fine to further polish the stem.
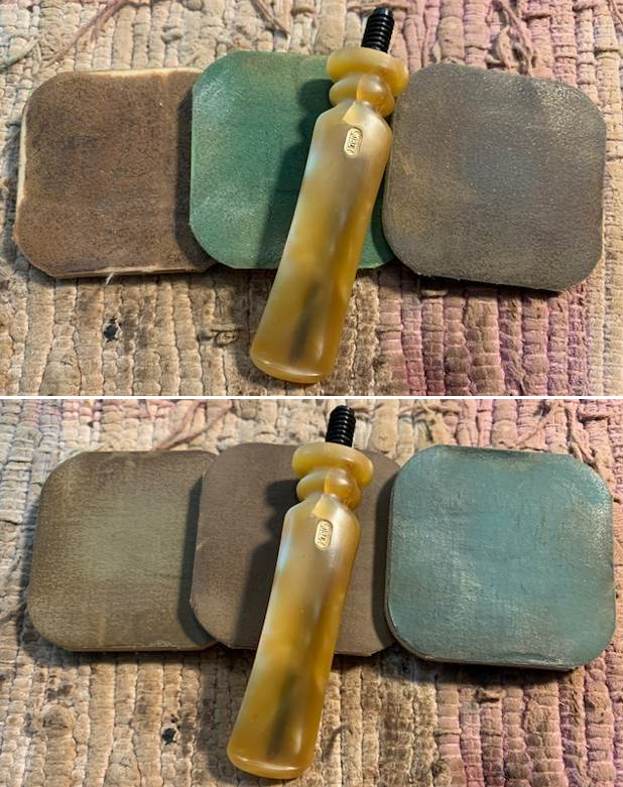
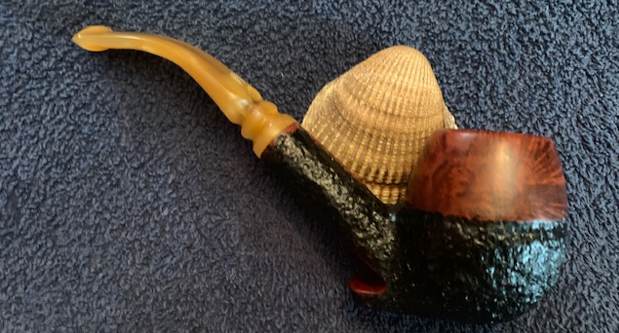
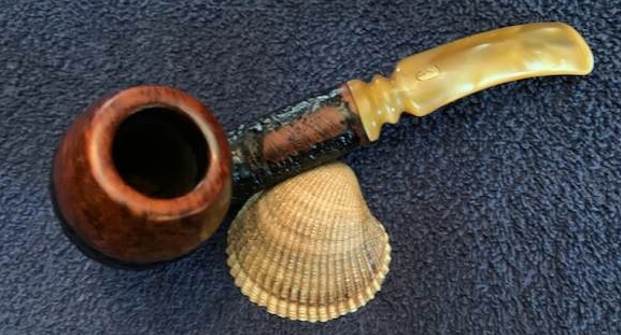
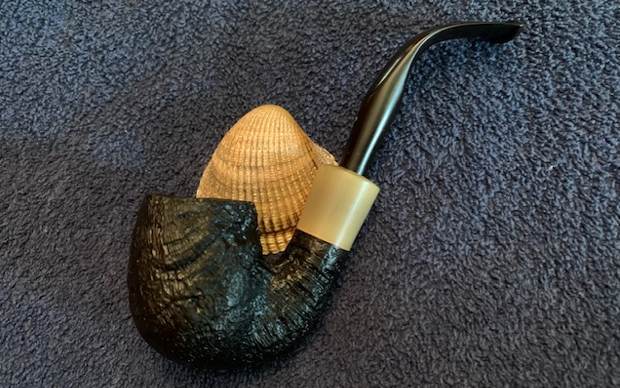
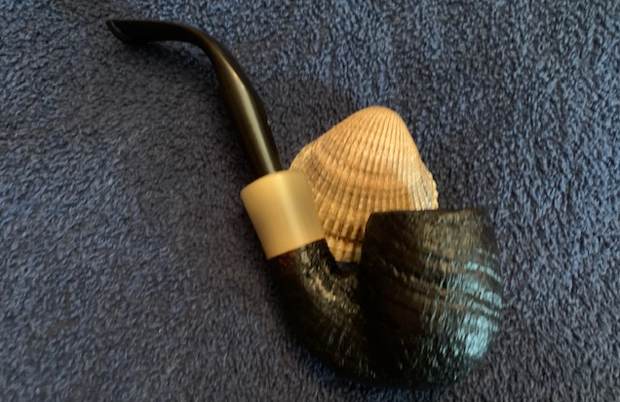
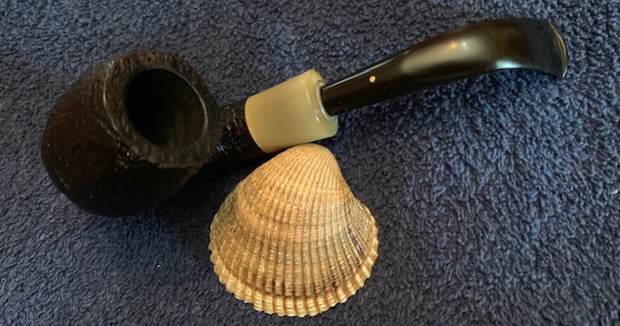
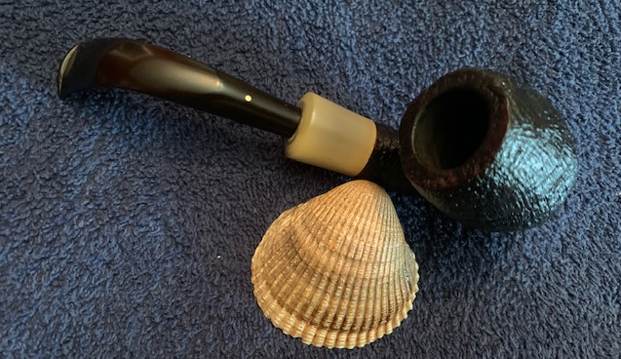
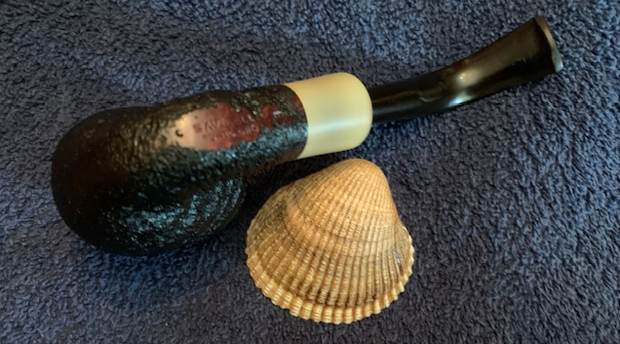
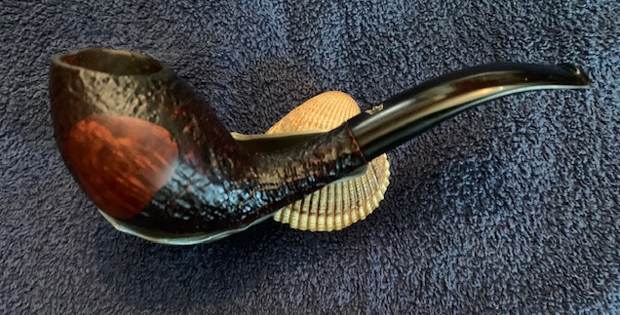
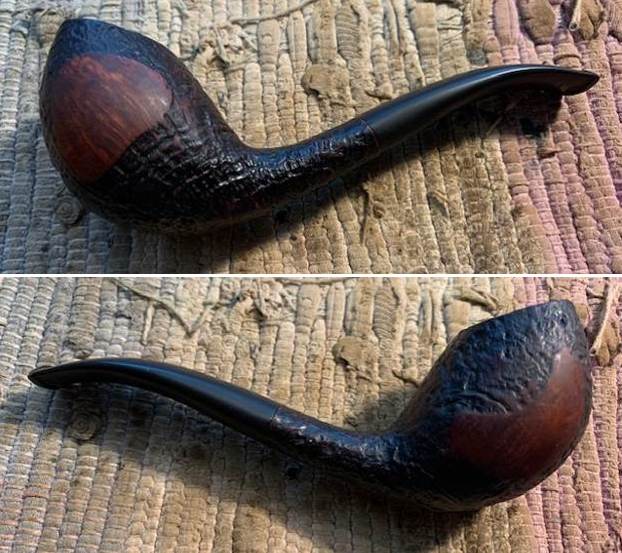
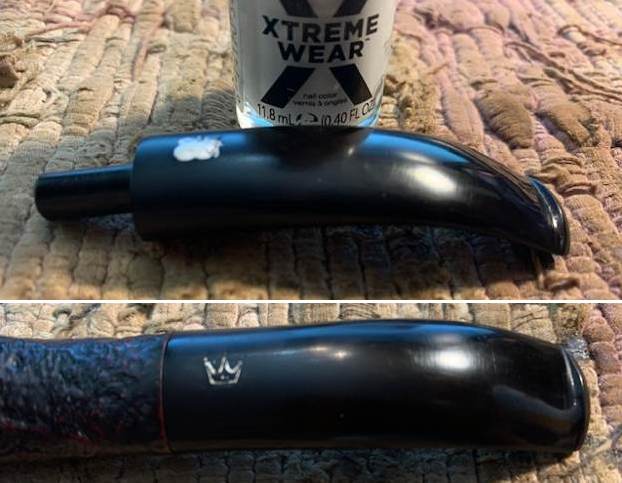
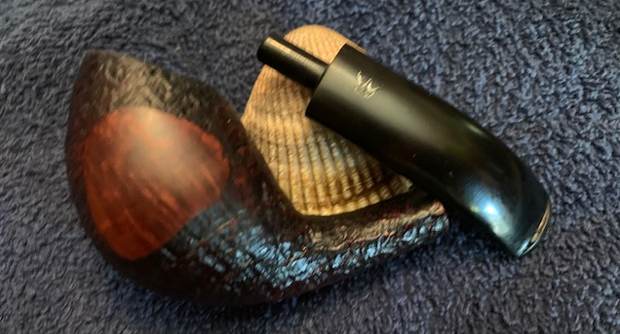
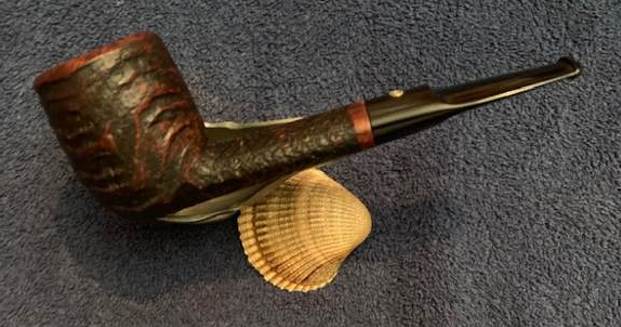
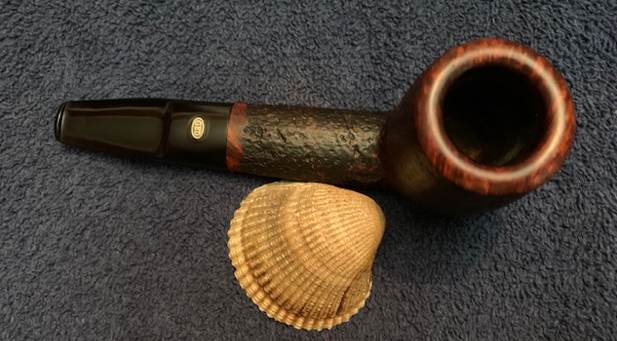
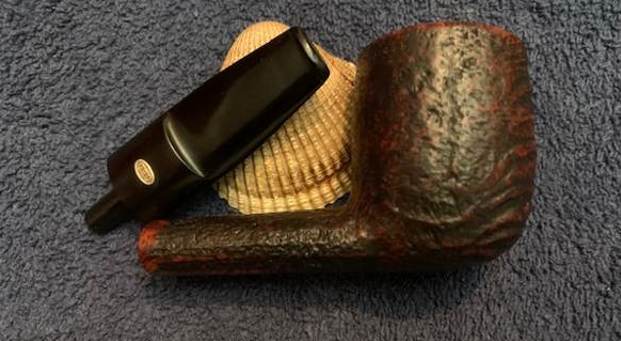
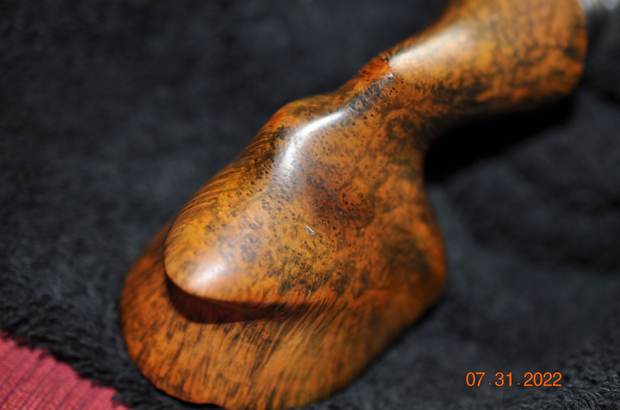
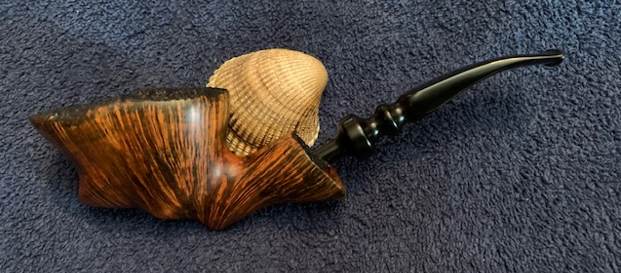
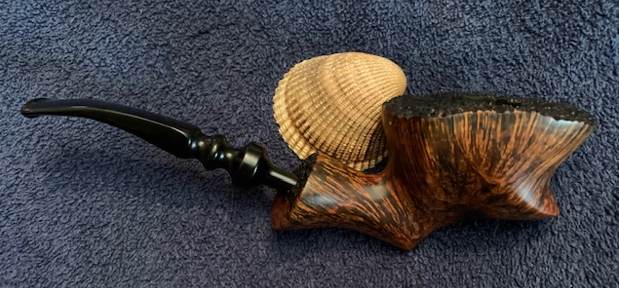
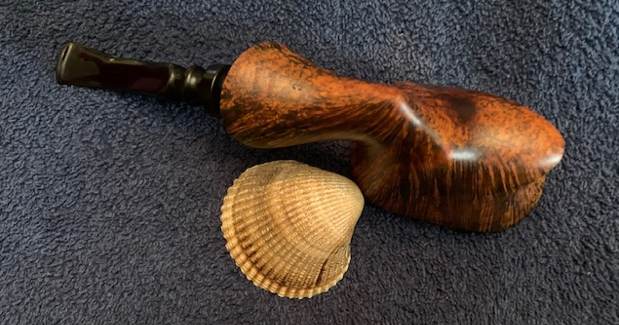
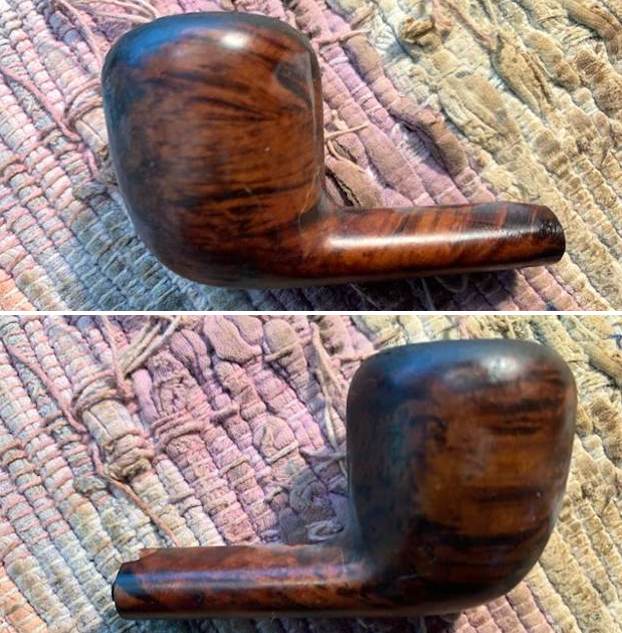
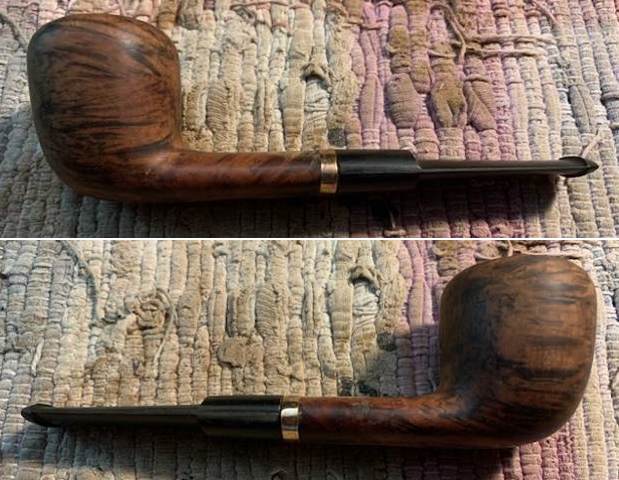
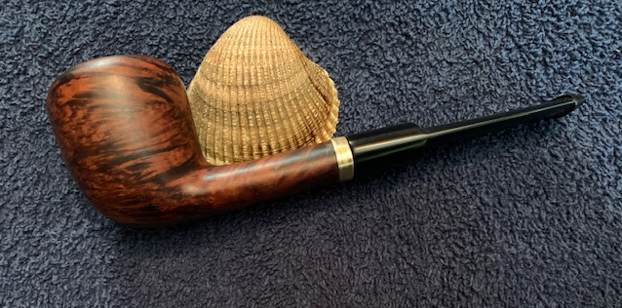
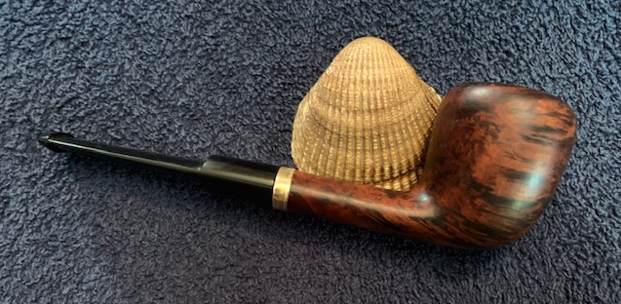
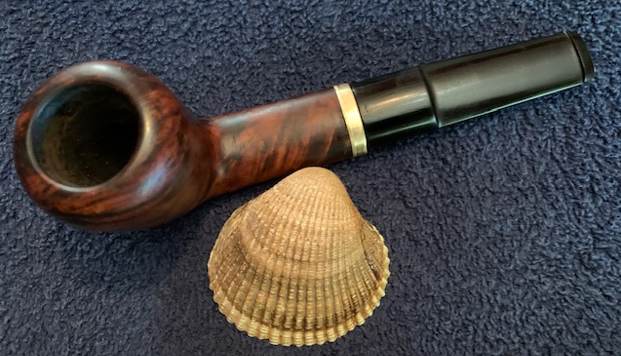
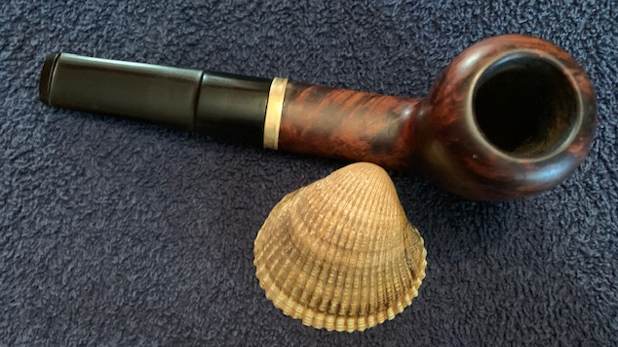
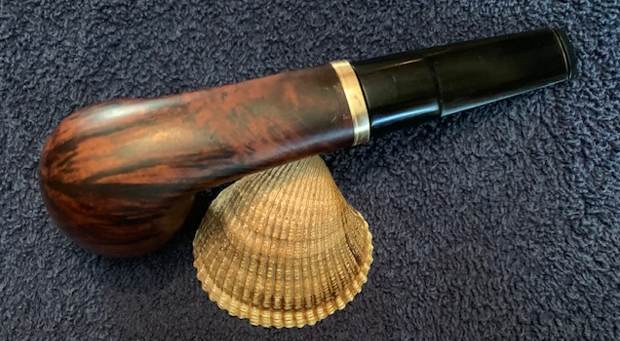
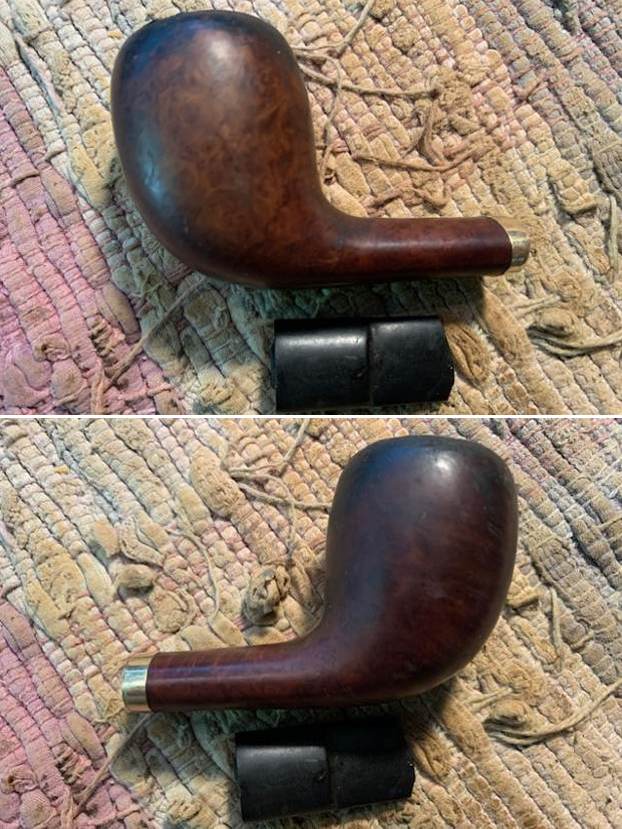
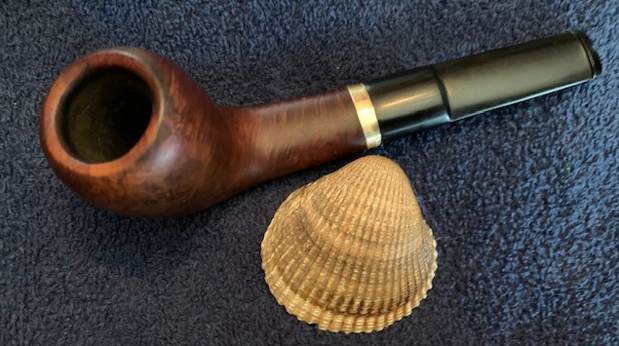
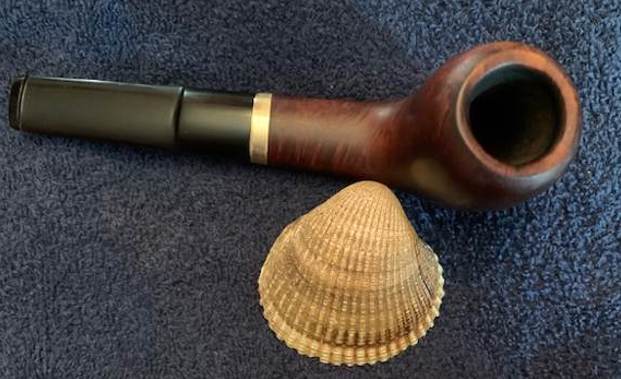
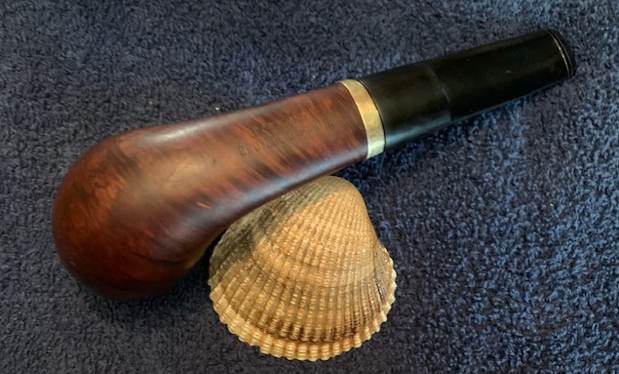
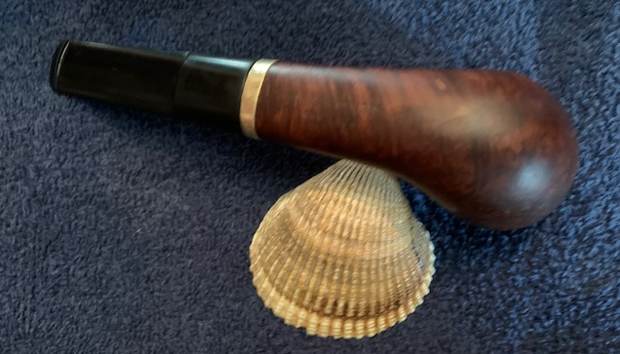
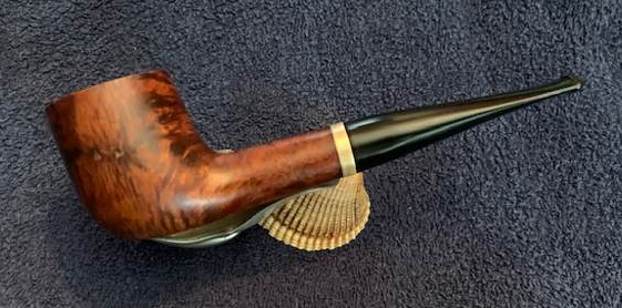
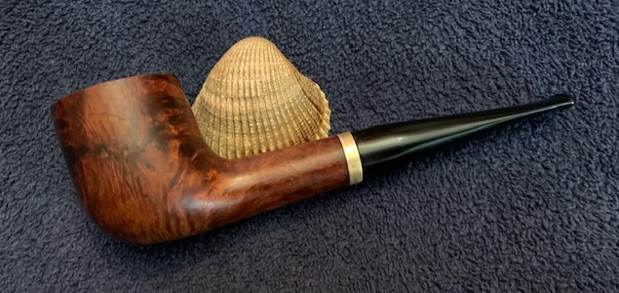
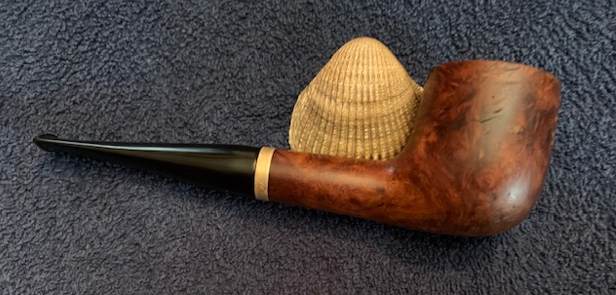
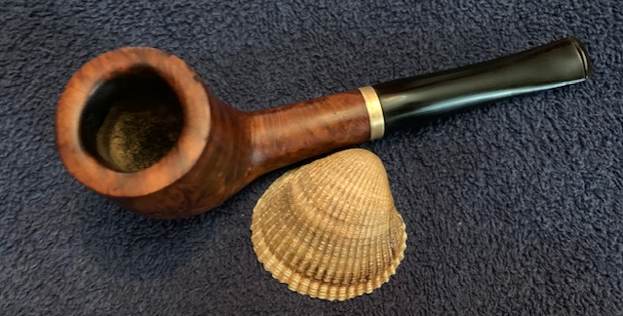
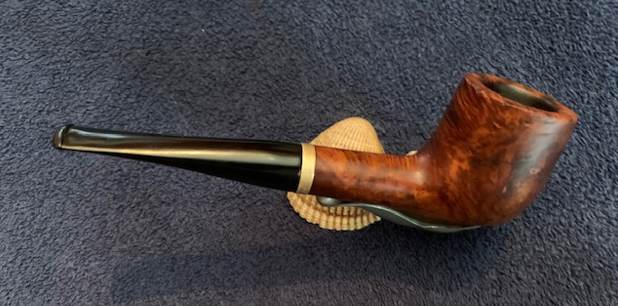
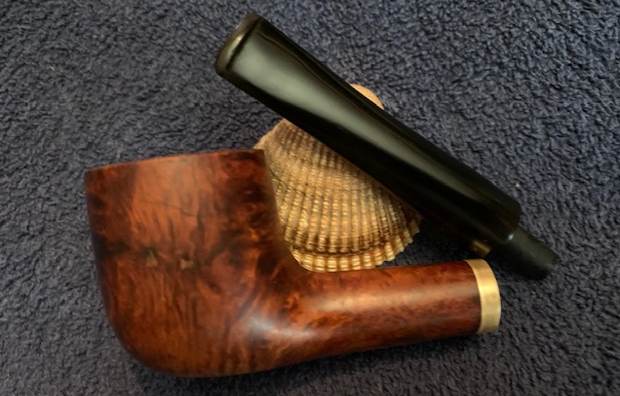
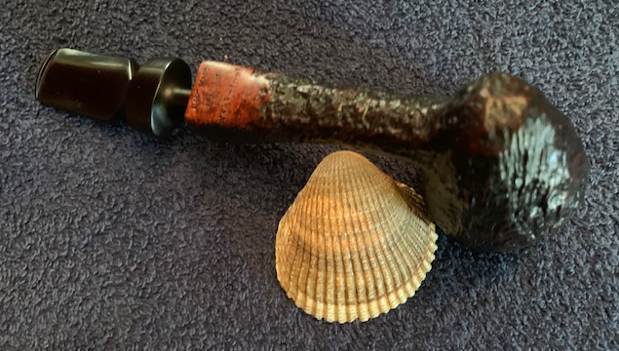
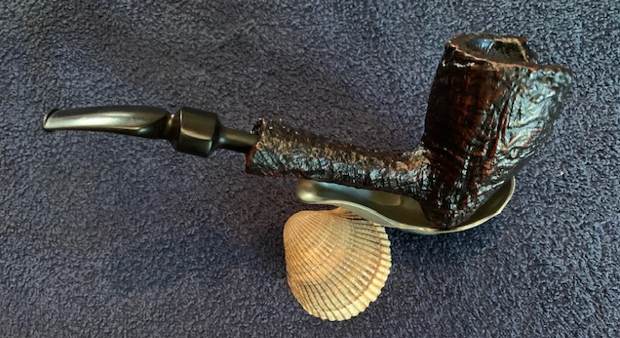
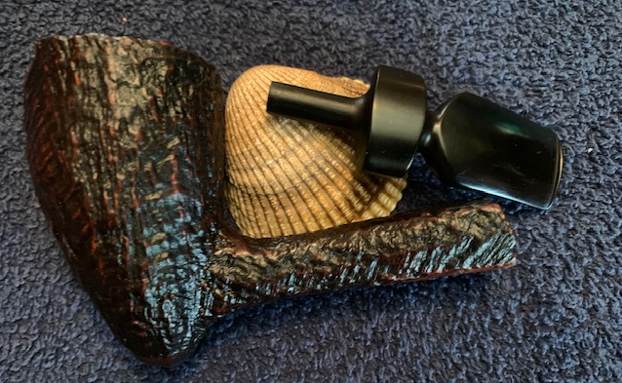
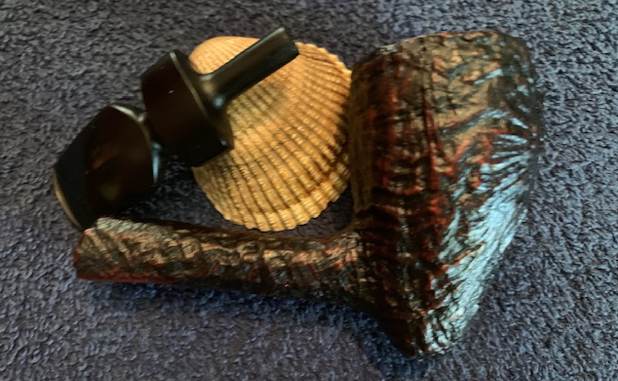
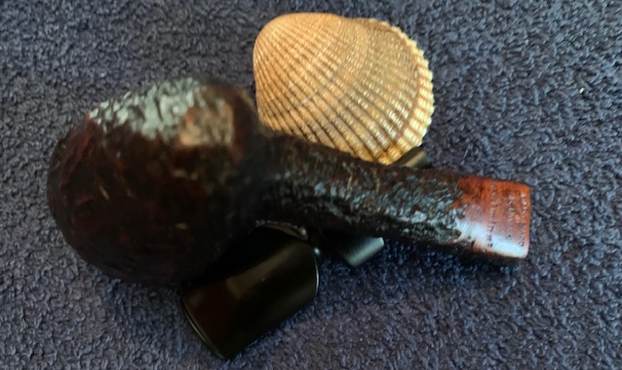
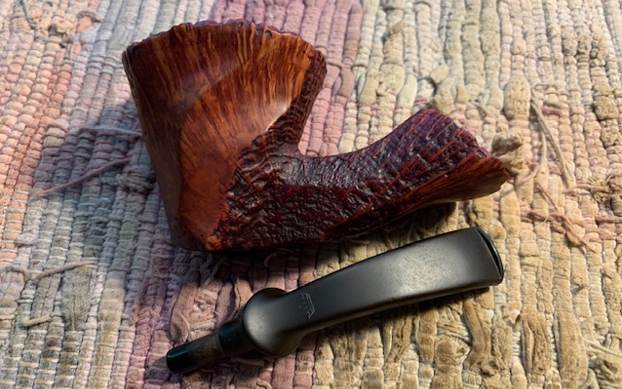
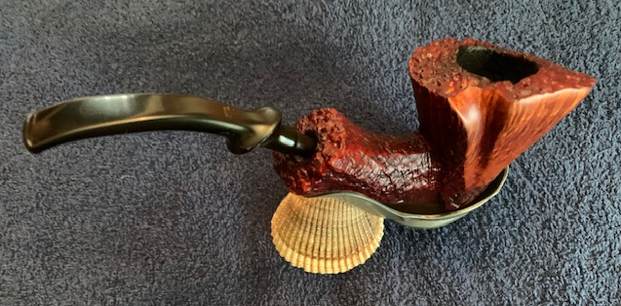
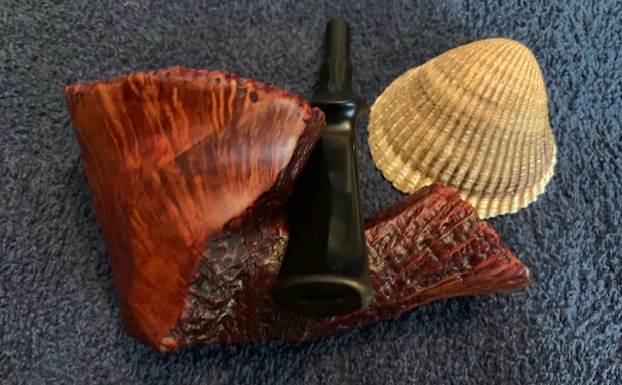
 This Unique Jobey Designer Egg Sitter turned out to be a great looking pipe. The mix of dark stains highlights the smooth and rusticated portions around the bowl sides, top and bottom. The golden coloured acrylic stem works very well with the natural and dark finish on the bowl. I put the stem back on the bowl and carefully buffed the pipe with Blue Diamond on the buffing wheel using a light touch on the briar. I gave the bowl and the stem multiple coats of carnauba wax on the buffing wheel. I buffed the entire pipe with a clean buffing pad followed by hand buffing with a microfiber cloth to deepen the shine. The finished full bent Jobey Designer Bent Egg Sitter fits nicely in the hand and feels great. Give the finished pipe a look in the photos below. The dimensions of the pipe are Length: 5 ¾ inches, Height: 2 inches, Outside diameter of the bowl: 1 ¼ inches, Chamber diameter: ¾ of an inch. The weight of the pipe is 2.26 ounces/64 grams. I will be adding it to the American Pipe Makers Section on the rebornpipes store soon. If you are interested in carrying on the pipeman’s legacy with this pipe send me a message or an email. Thanks for reading this blog and my reflections on the pipe while I worked on it.
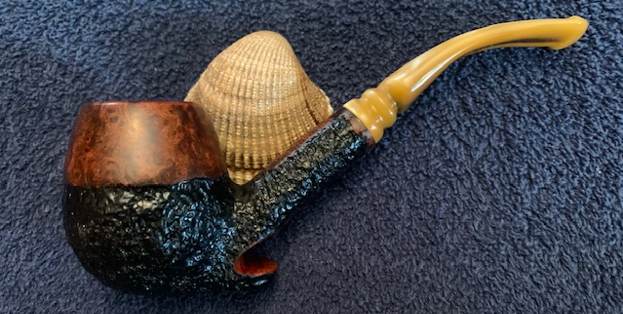


