By Steve Laug
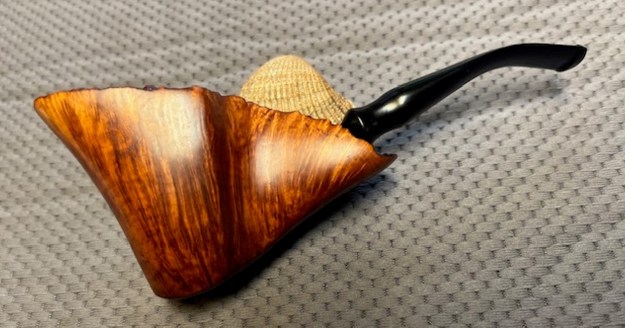
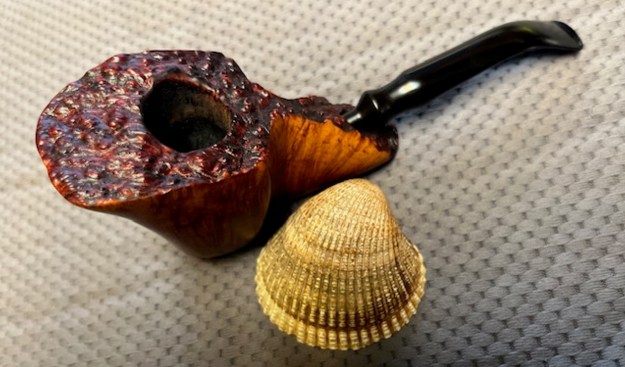
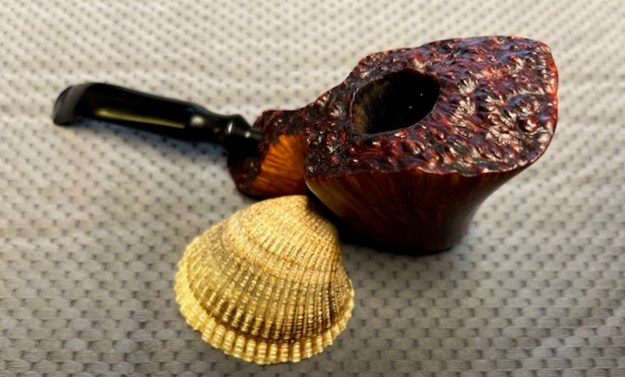
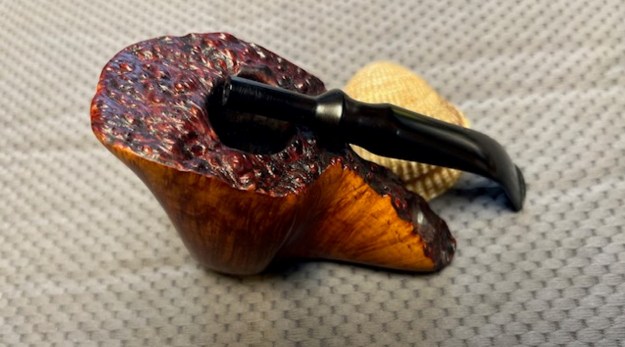
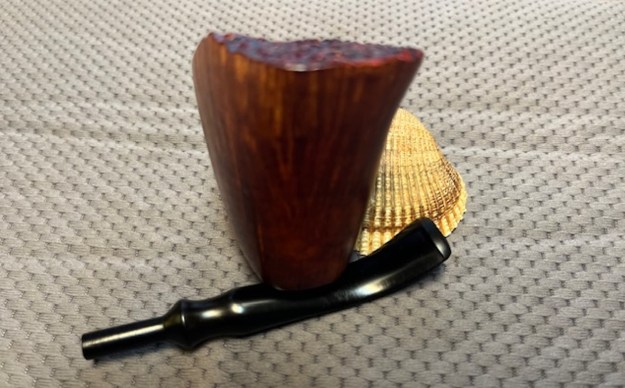
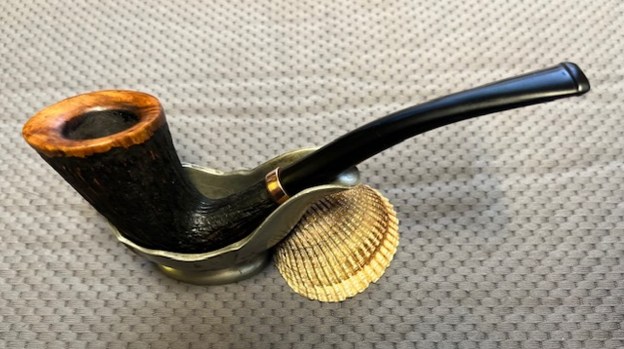
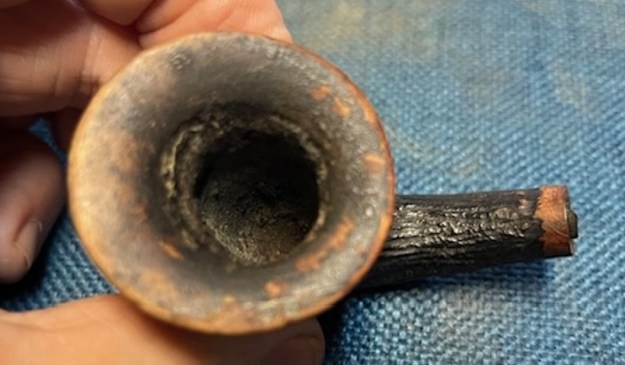
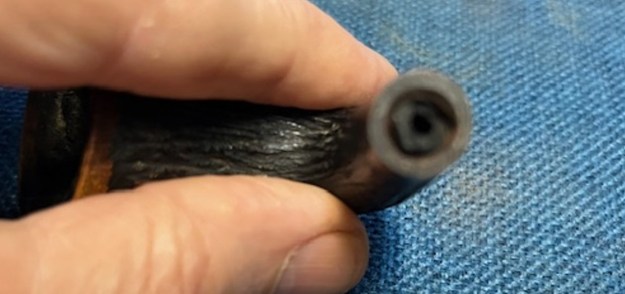
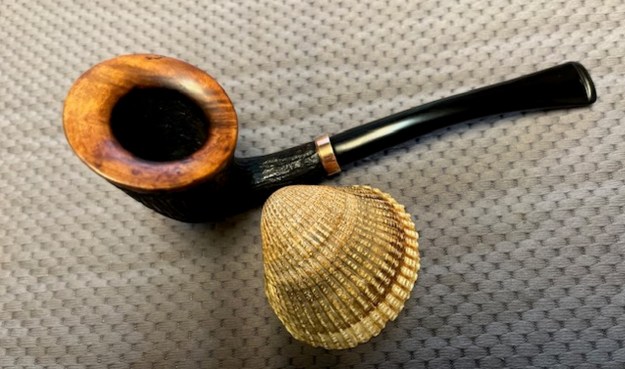
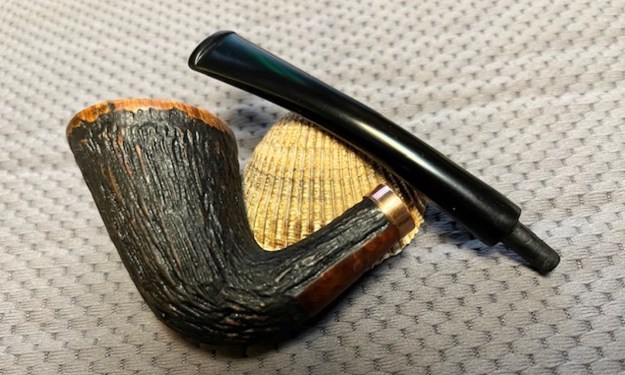
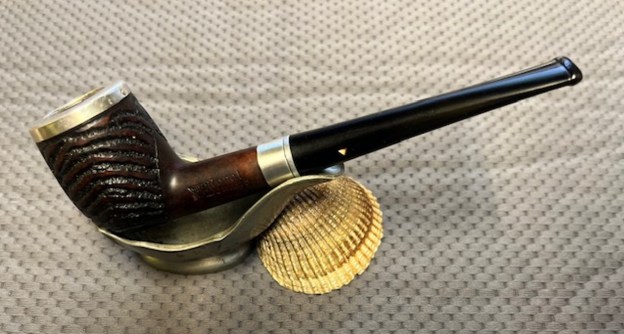
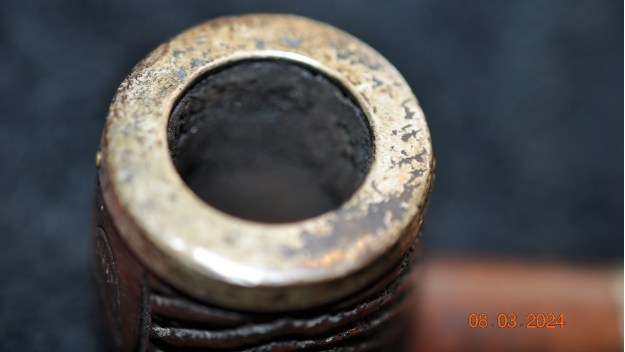
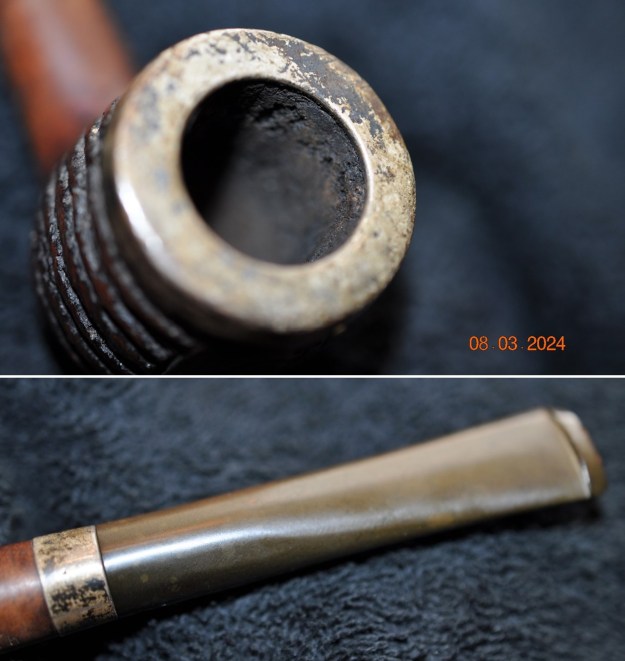
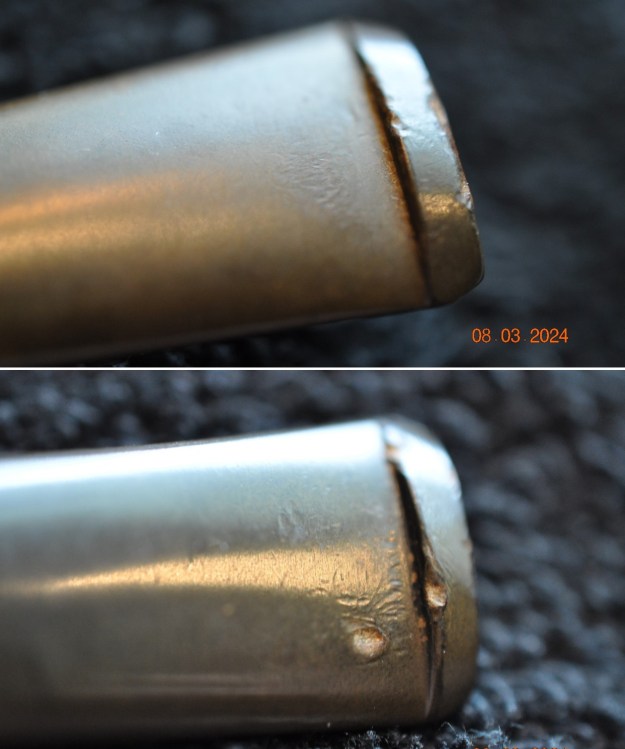
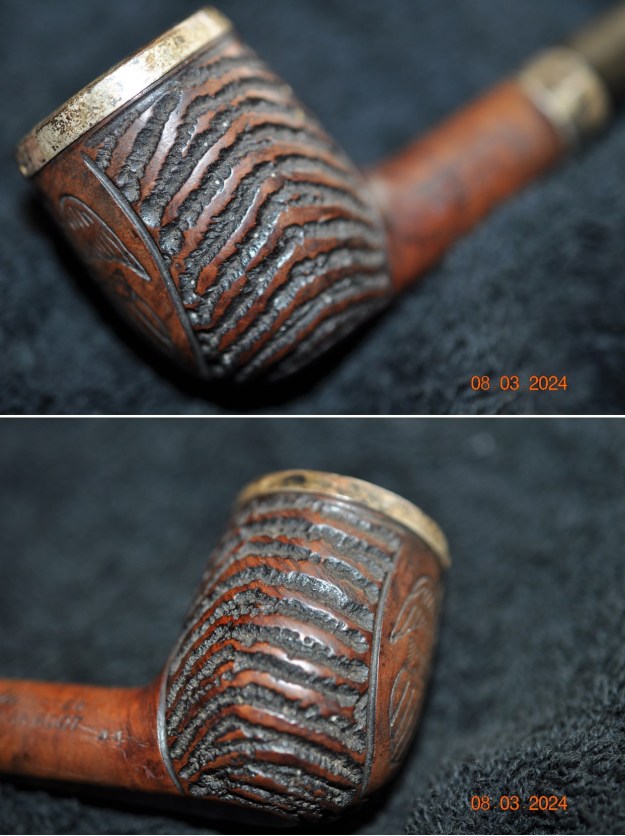
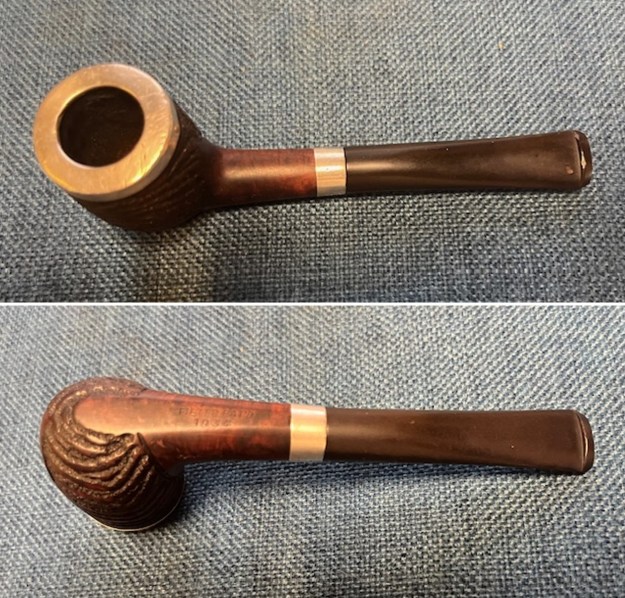
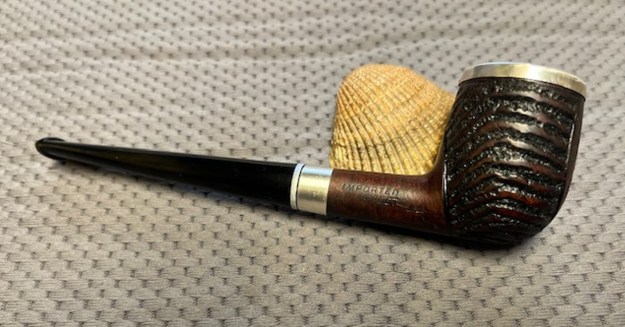
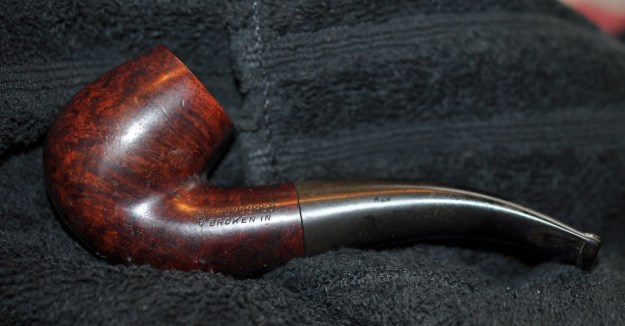
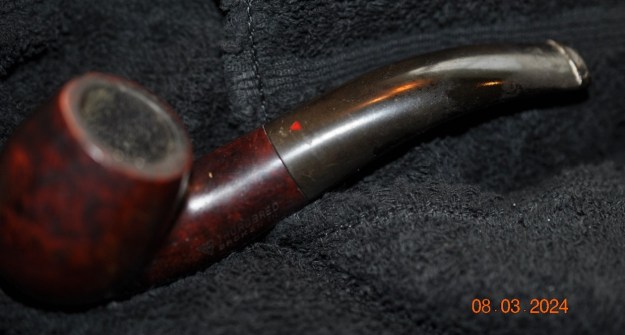
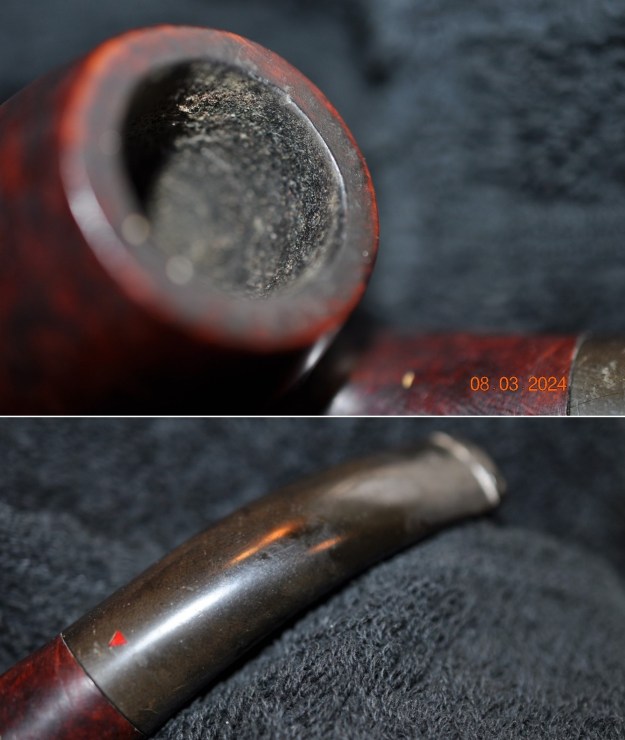
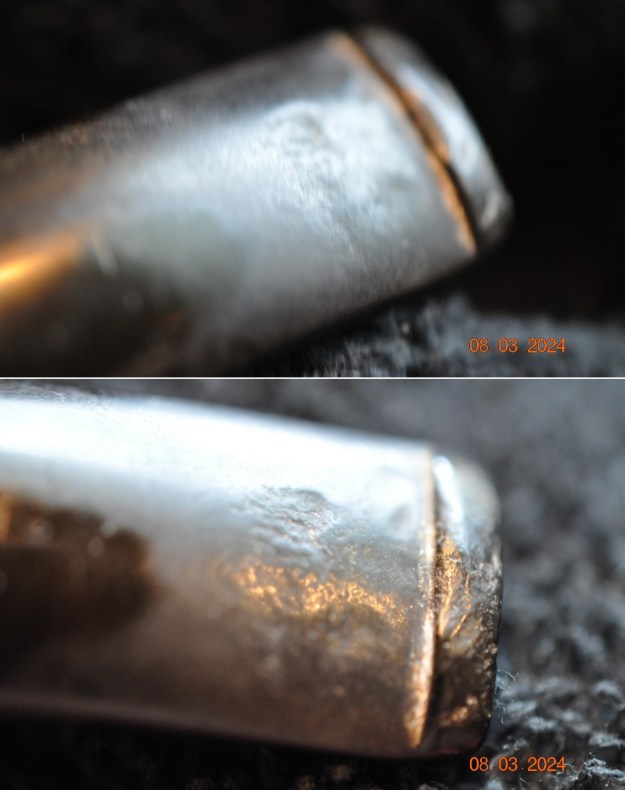
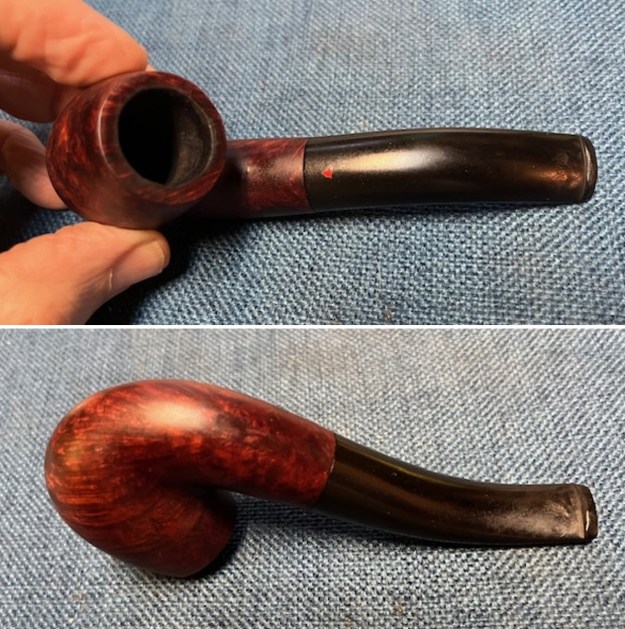
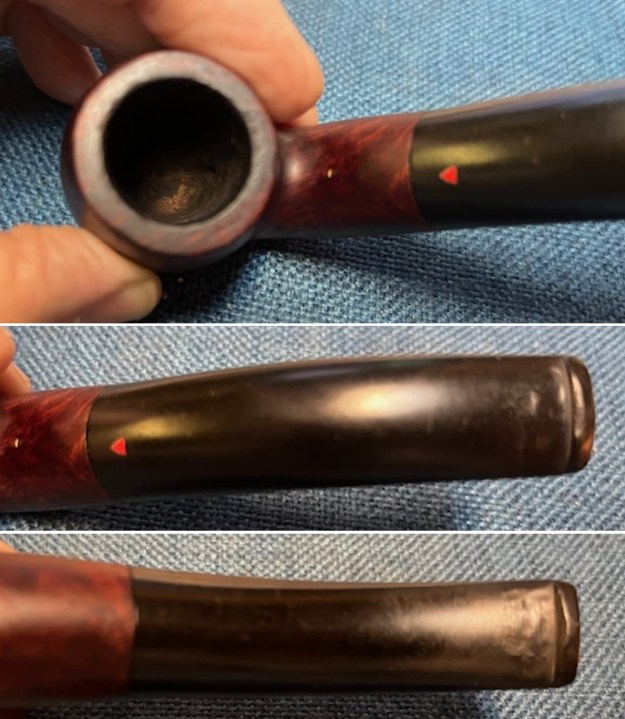
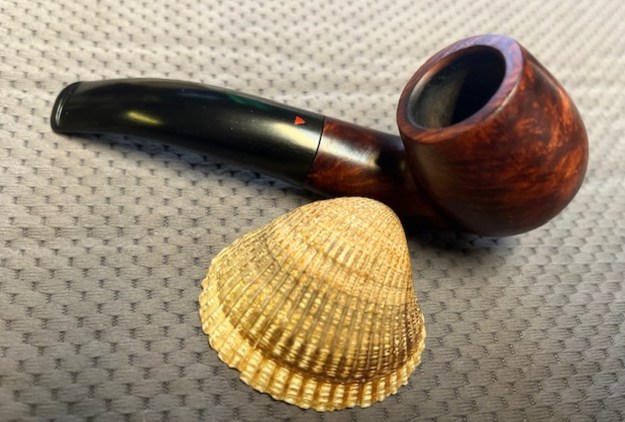
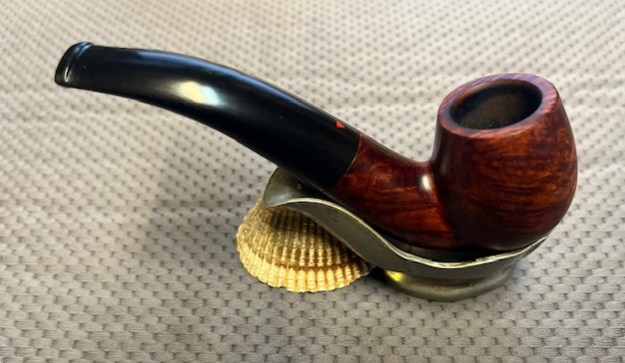
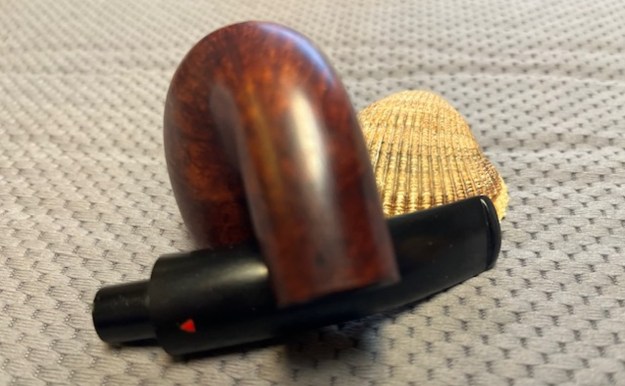
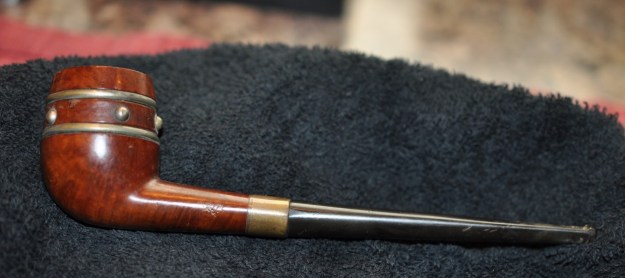
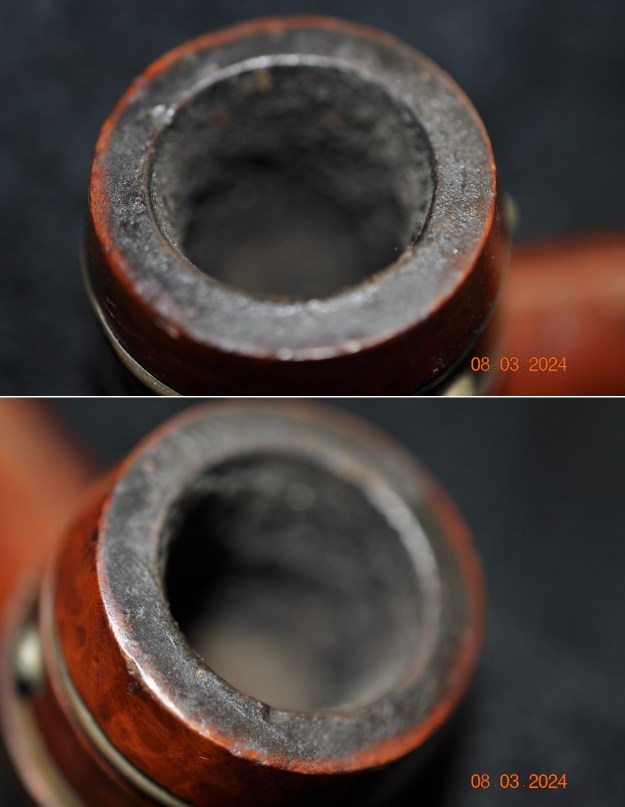
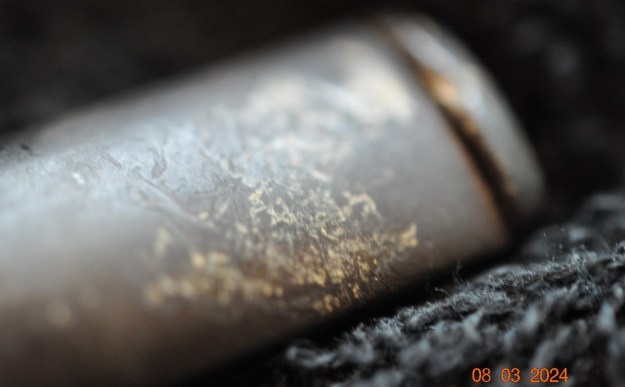
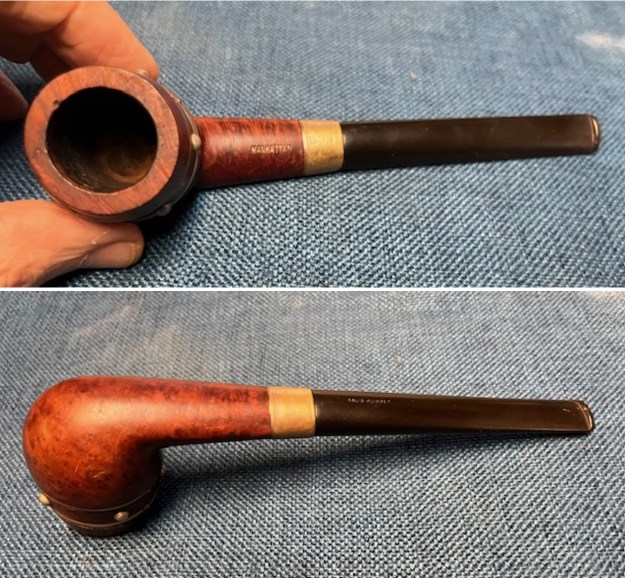
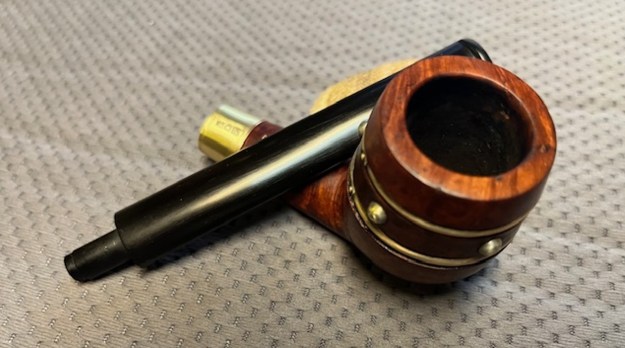
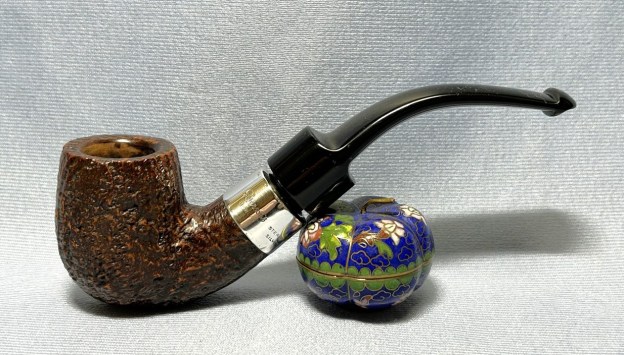
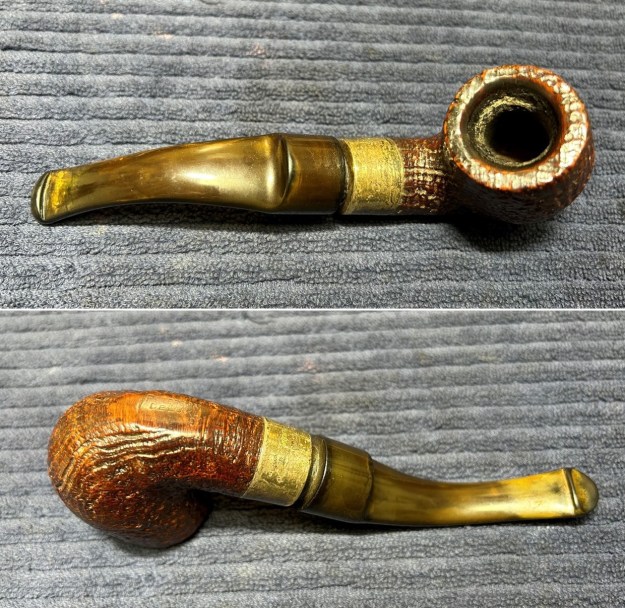
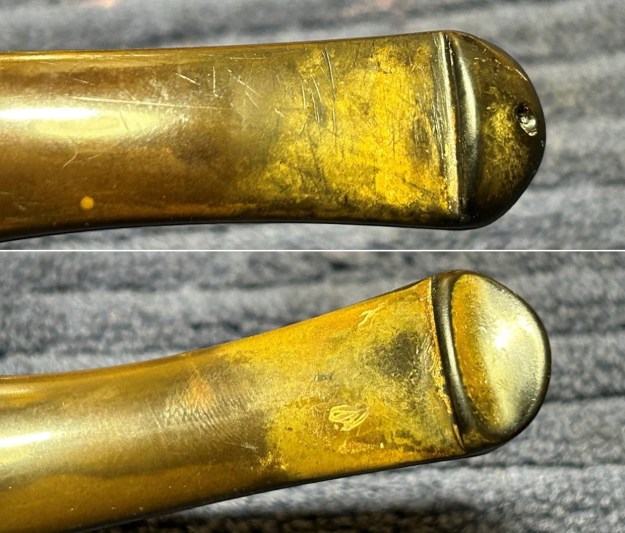
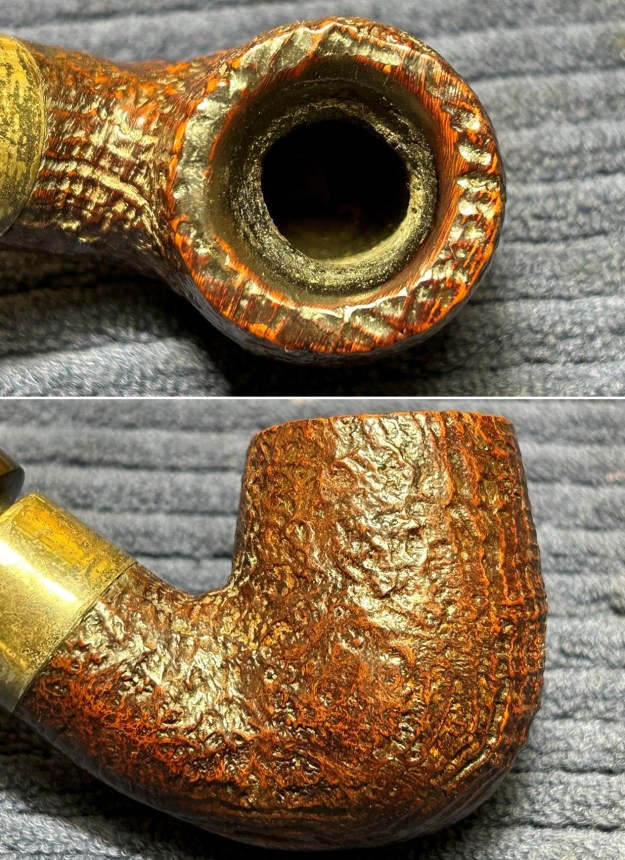
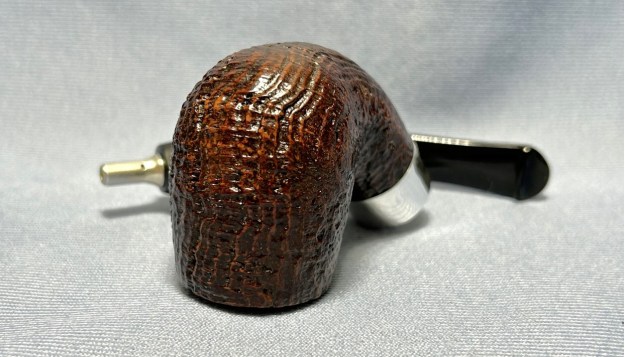
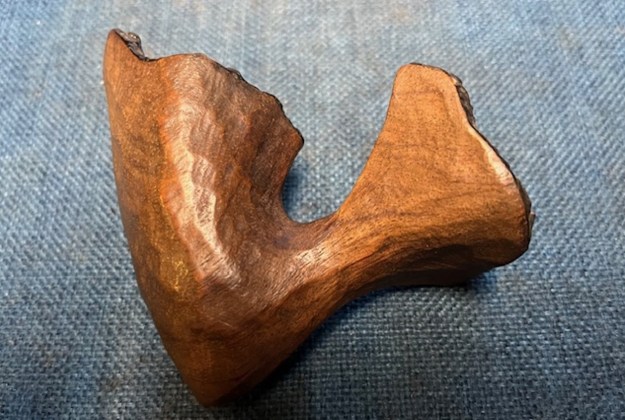
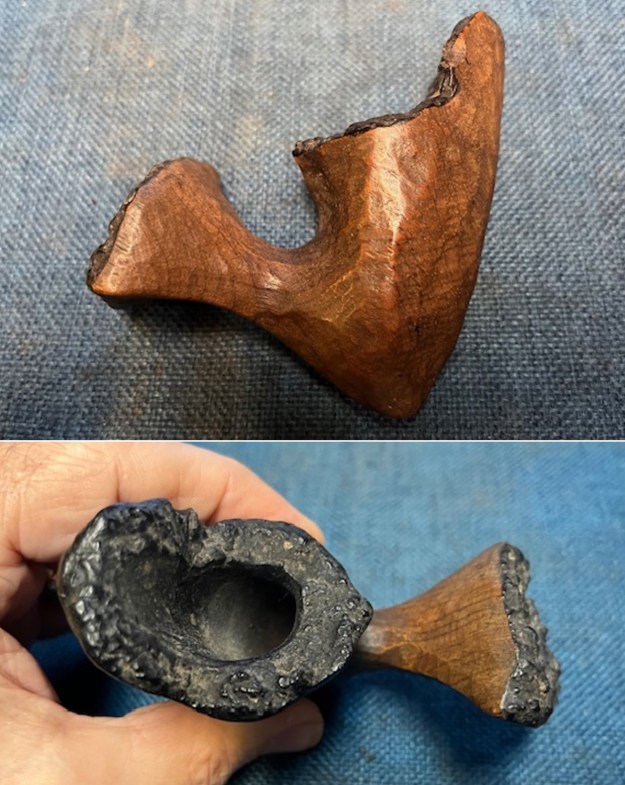
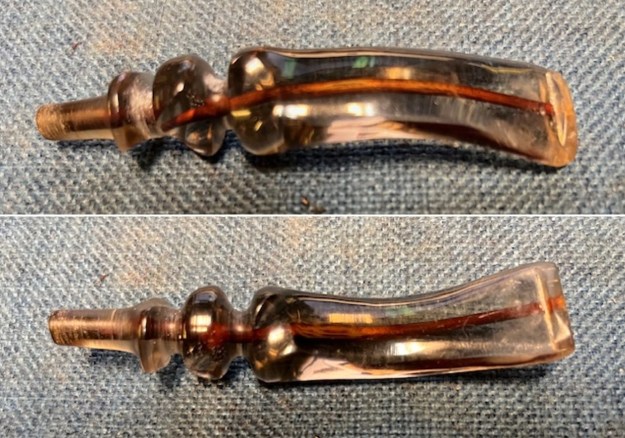
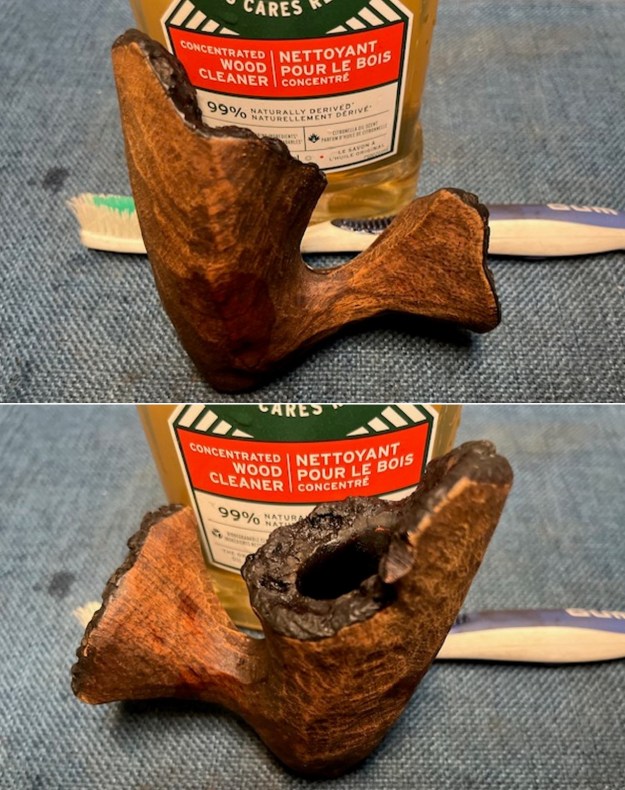
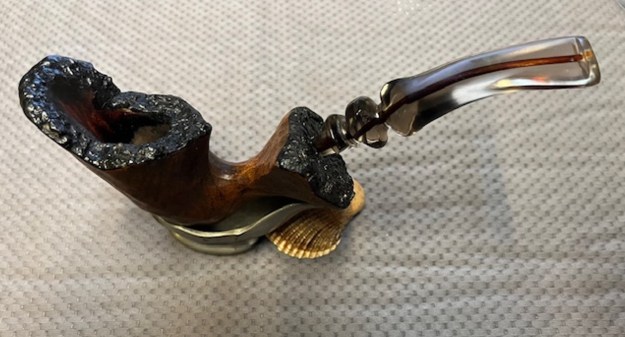
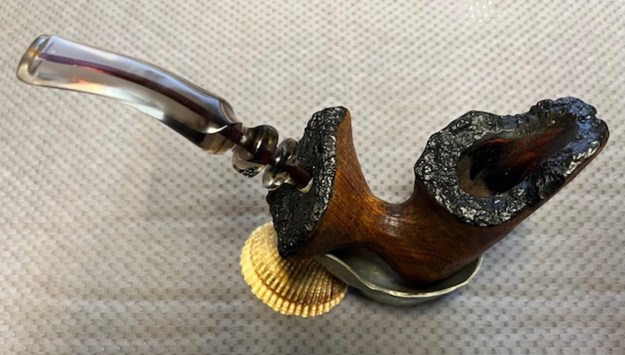
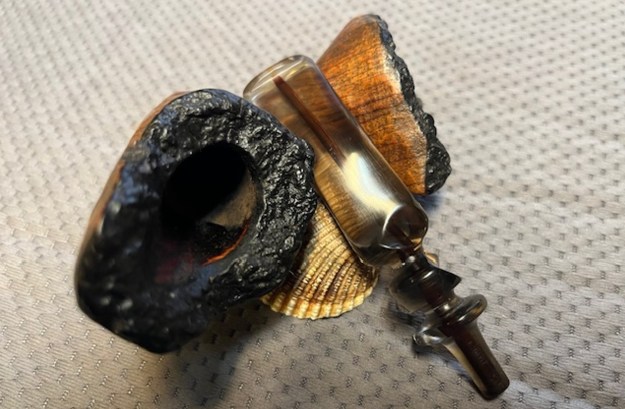
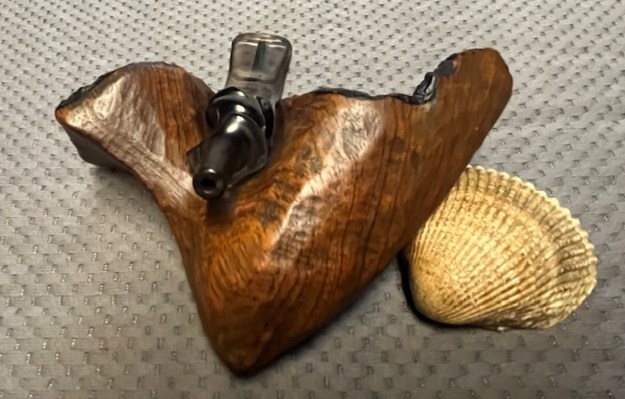
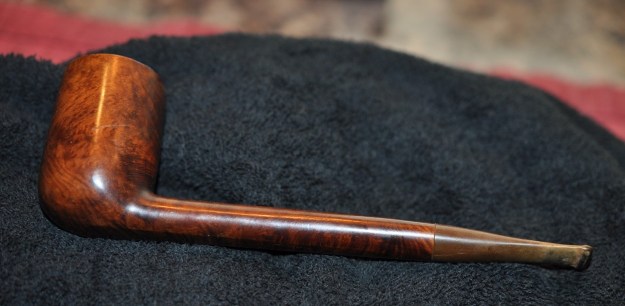
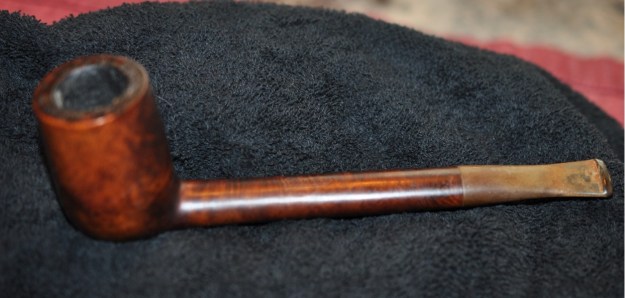
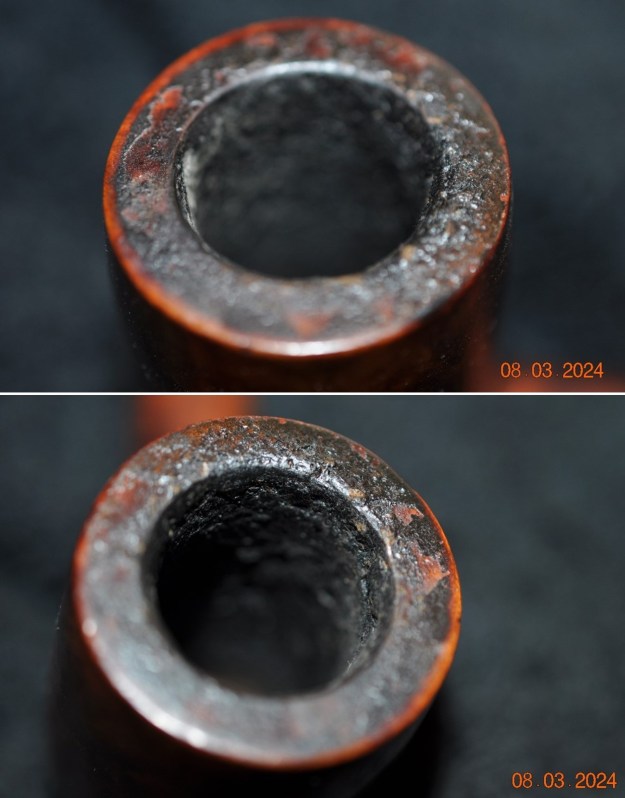
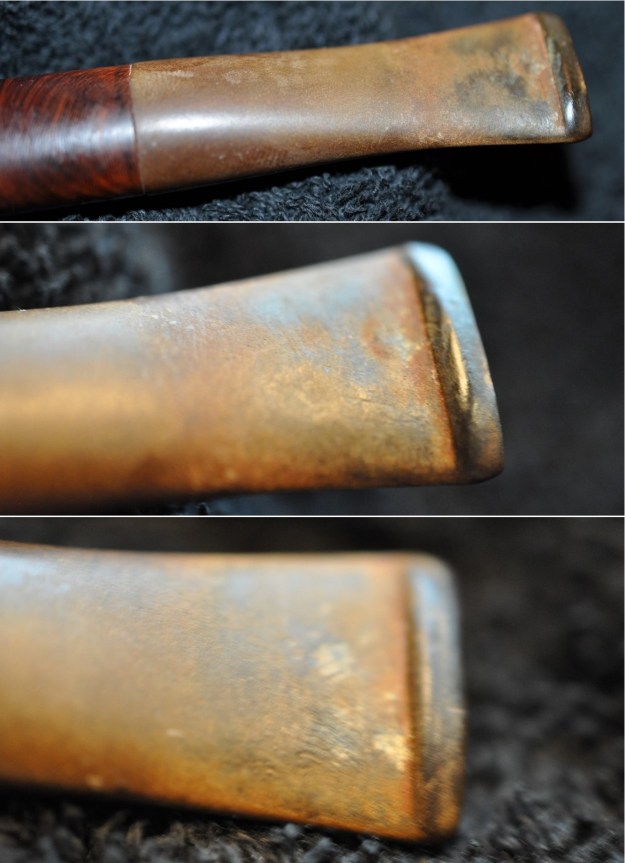
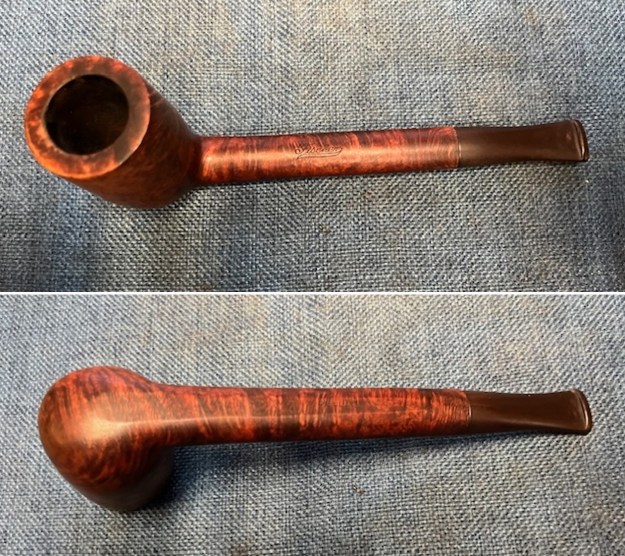
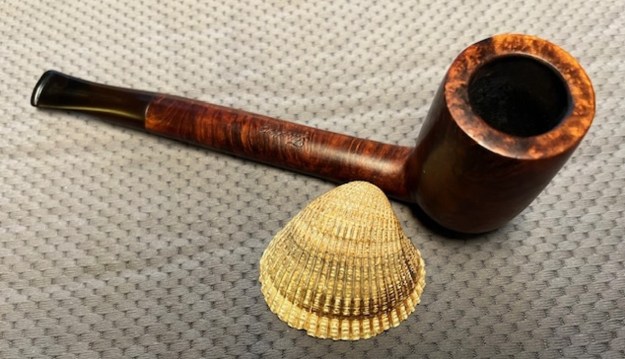
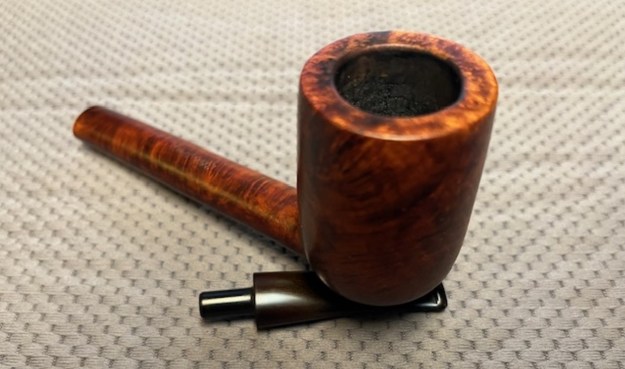
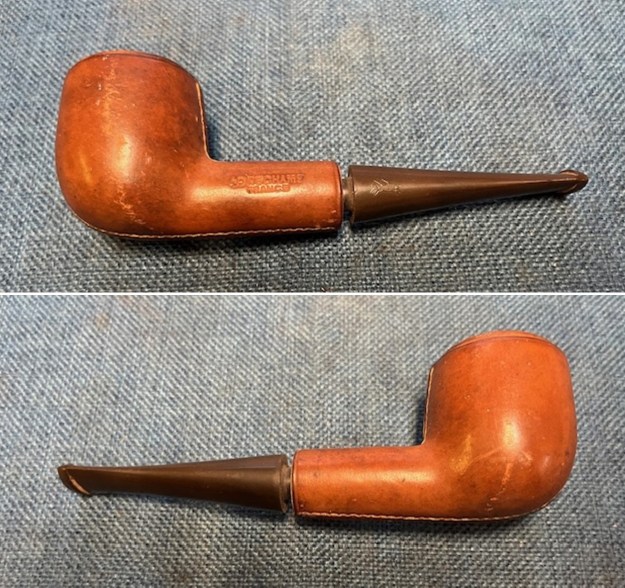
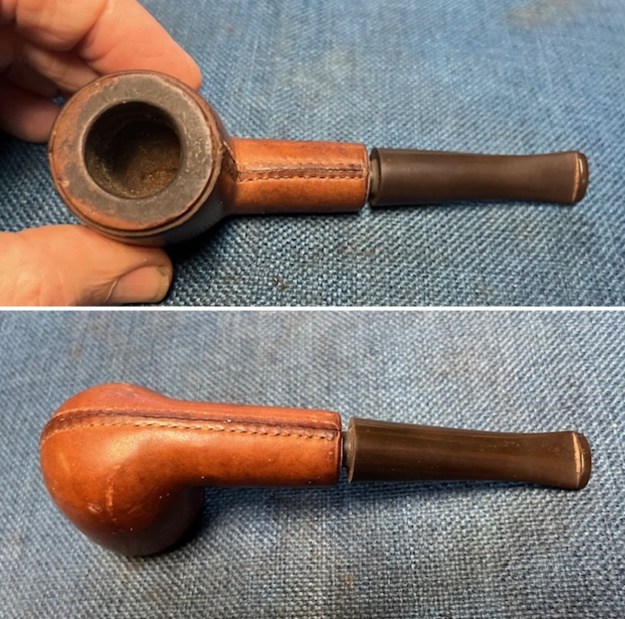
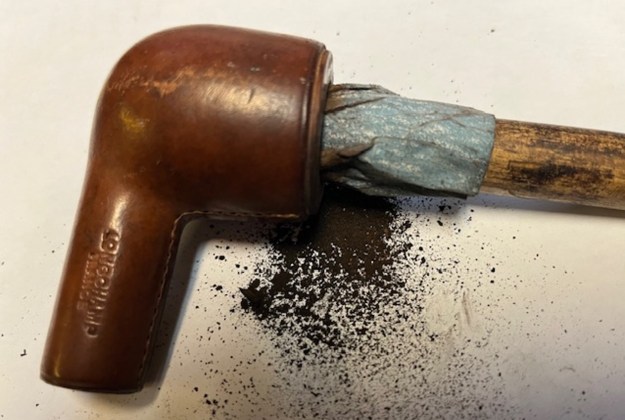
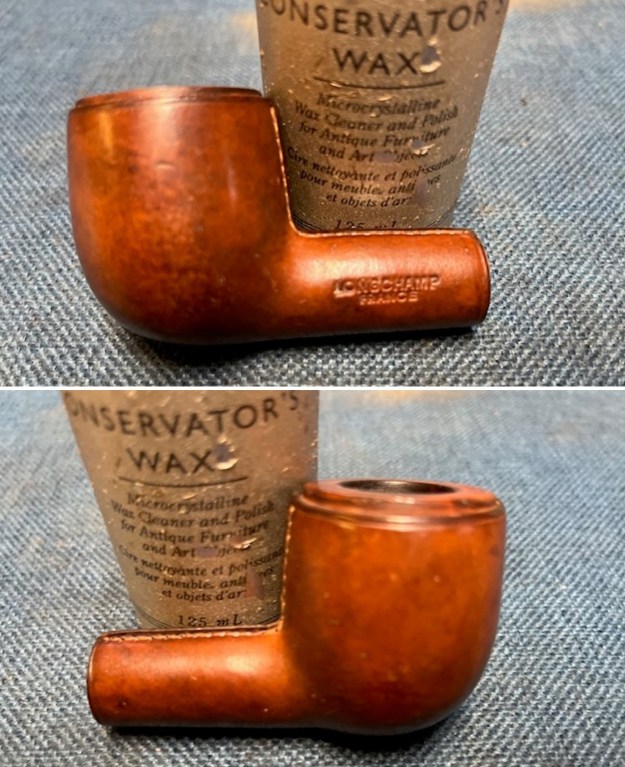
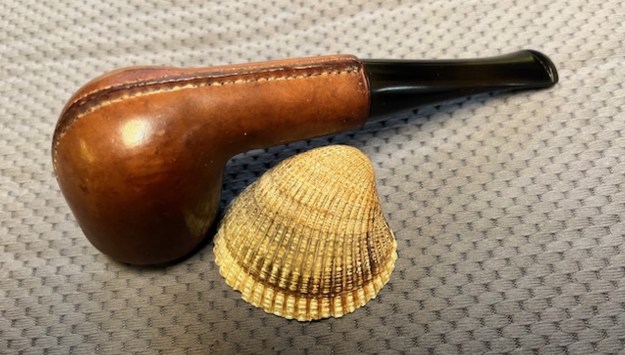
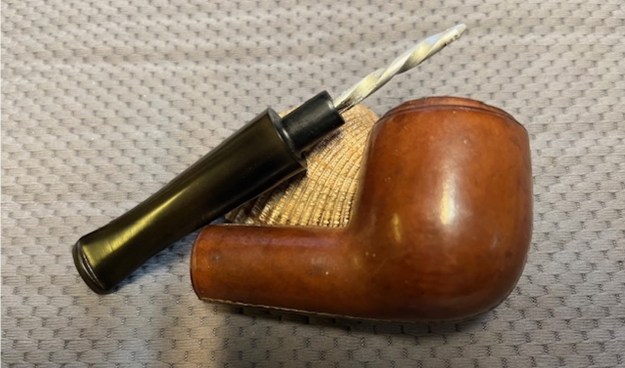
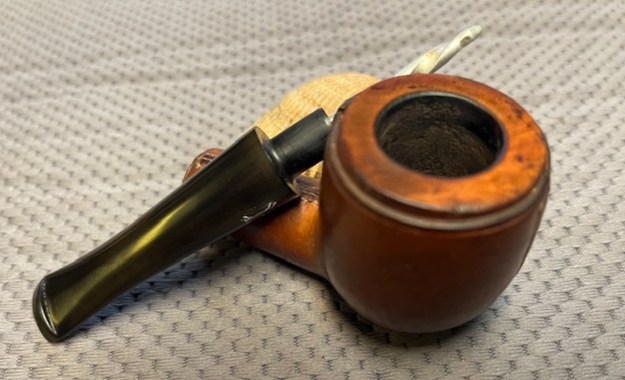
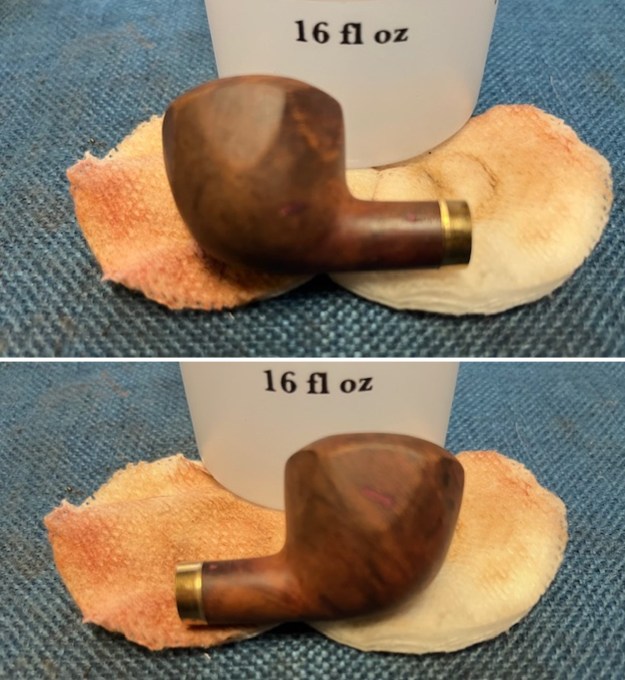
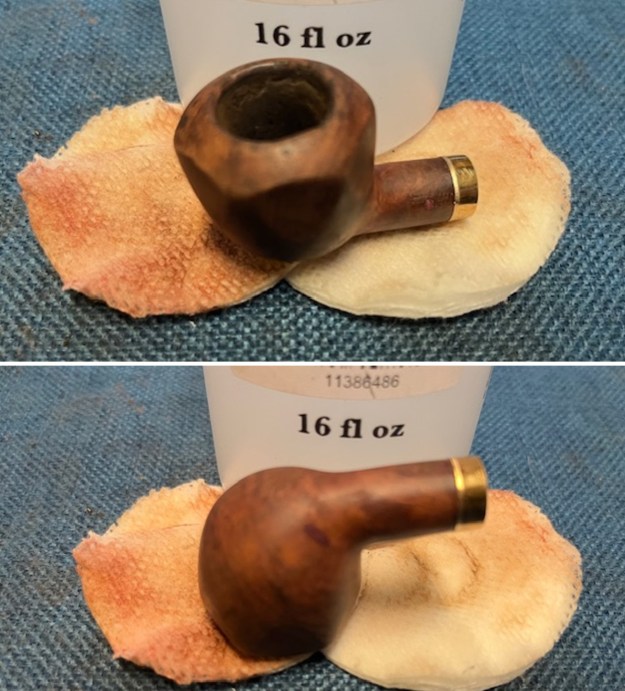
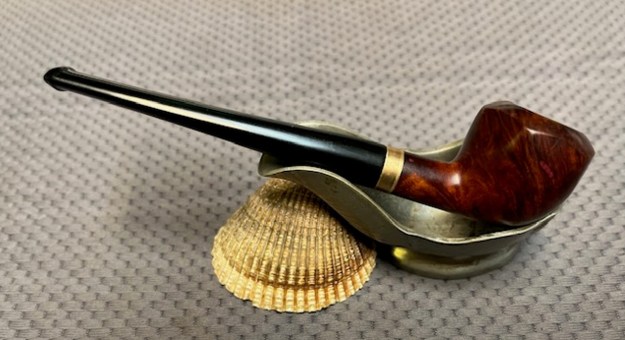
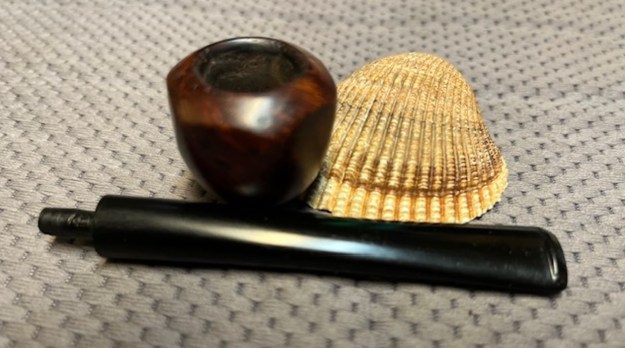
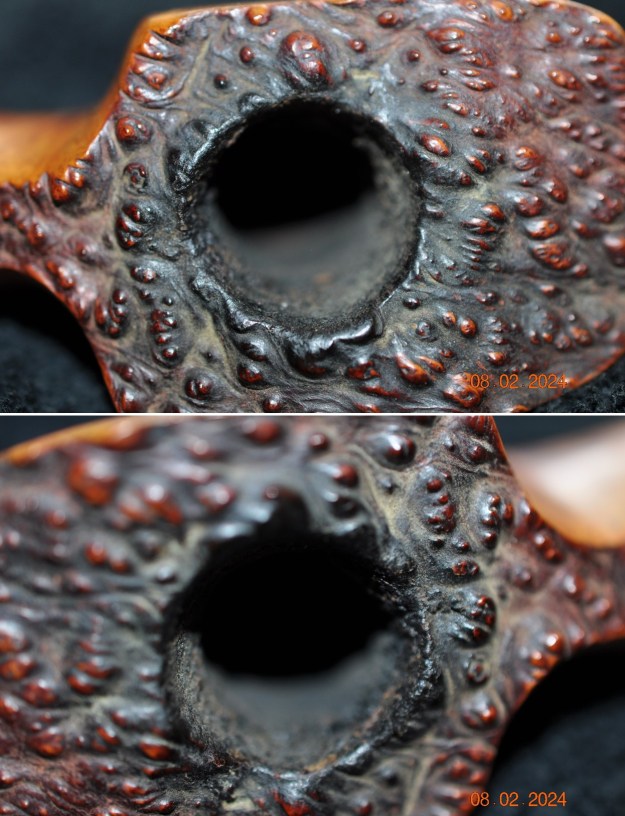
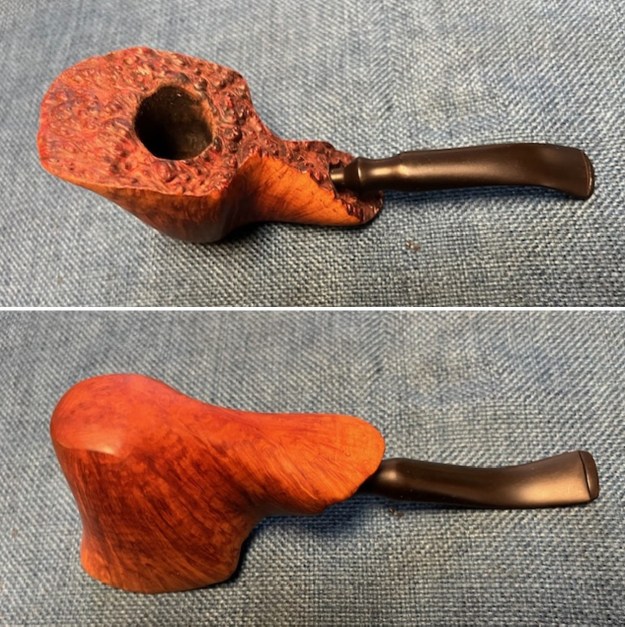
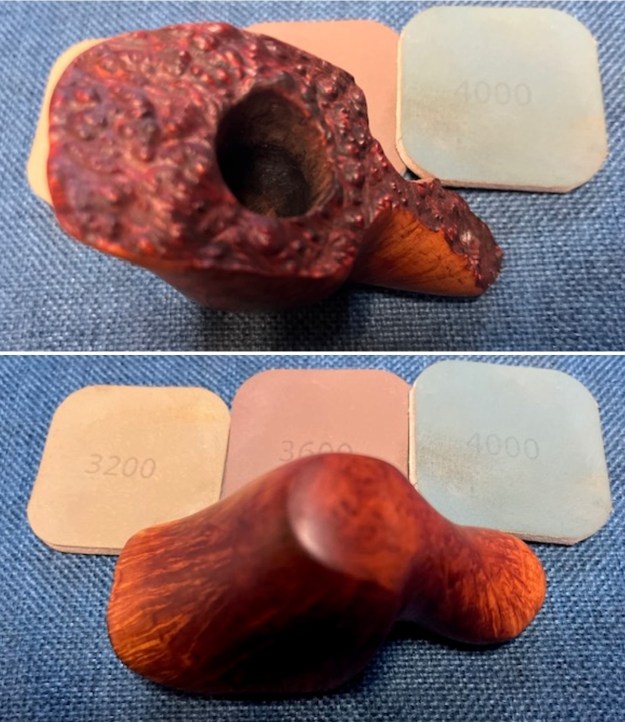
This beautiful straight grained wedge shaped freehand is an amazing piece of briar to look at. pipe. The grain around the bowl is highlighted by the stain and the plateau on top from the front to the end of the shank. We picked the pipe up on 01/31/2023 from a seller in Annapolis Valley, Nova Scotia, Canada. It is stamped on the underside of the shank and reads holtorp [over] Hand Made [over] Denmark. The grain follows the flow of the carved briar. The finish is stained with rich browns that give depth to its finish. It was filthy with oils, dust and debris ground into the sides of the bowl. There is a thick cake in the bowl with lava overflow in the plateau rim top valleys and high points and the edge is hard to assess the condition at this point. The stem is a fancy saddle with a long tenon. It was oxidized and calcified with tooth marks and chatter on both sides ahead of the button. Jeff took photos of the pipe before he started working on it. It really is a beauty. 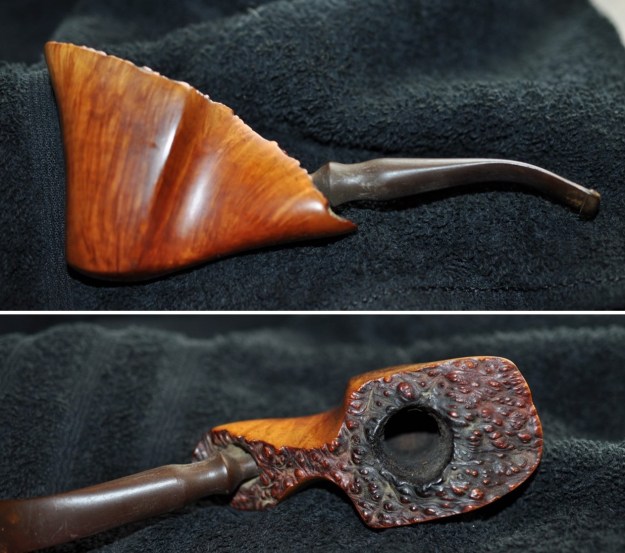 He took photos of the rim top and the stem to show the condition. You can see the thick cake in the bowl and overflow of lava on the rim top. The photos of the stem show the tooth marks and chatter on the top and underside ahead of the button.
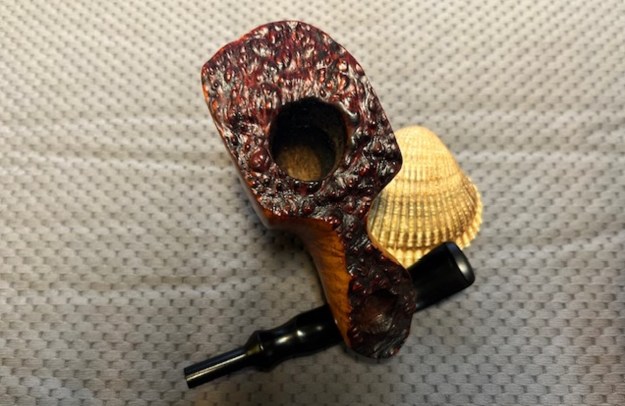
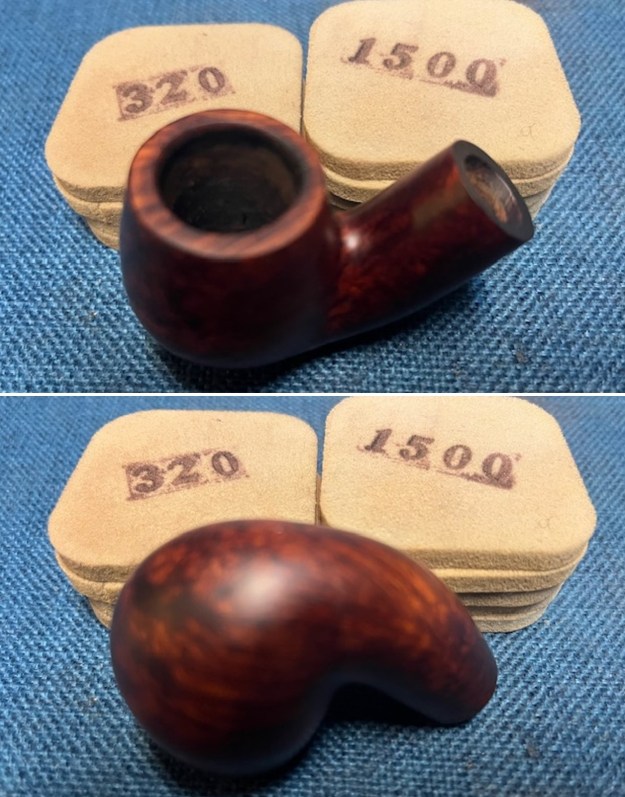
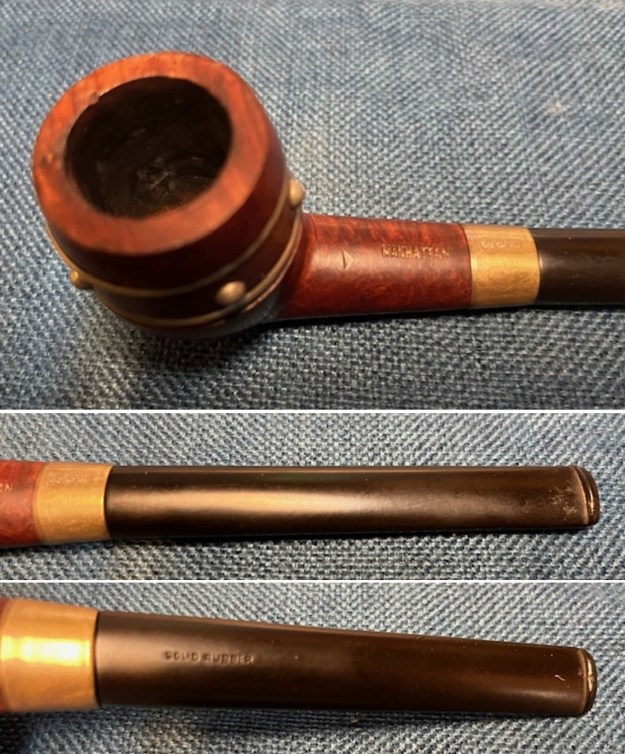
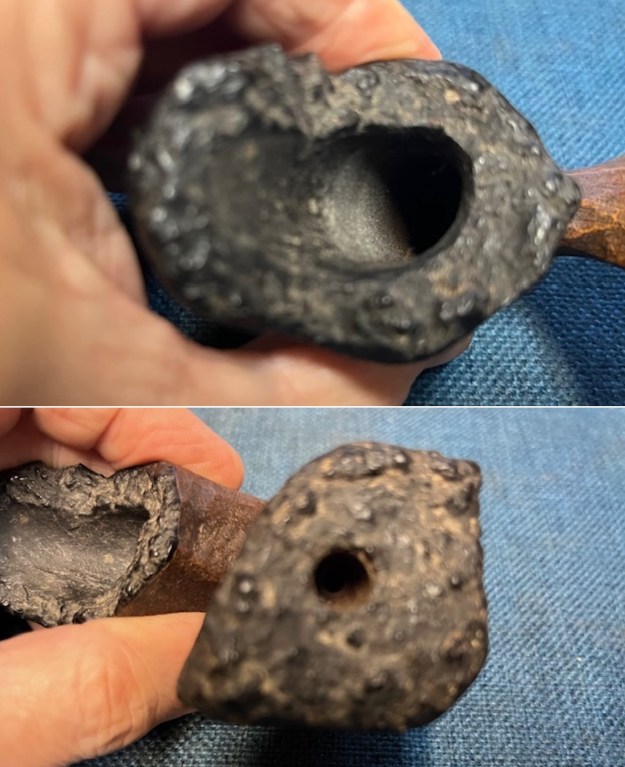
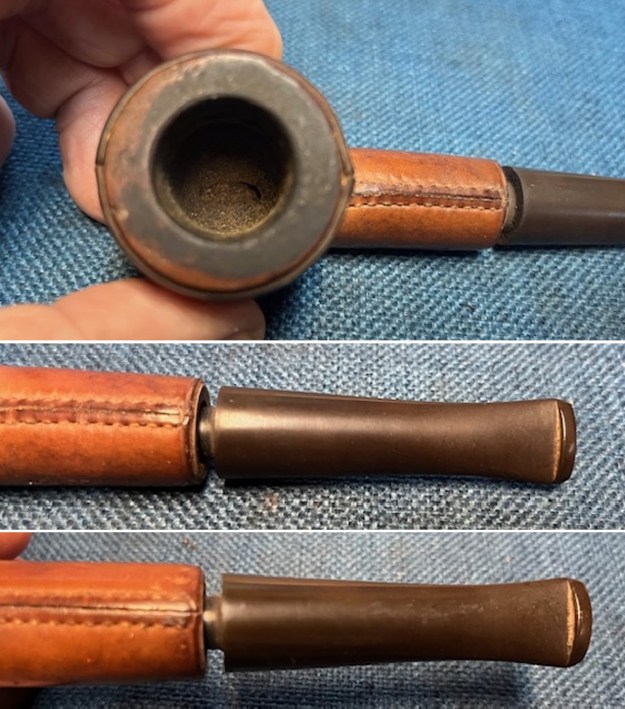
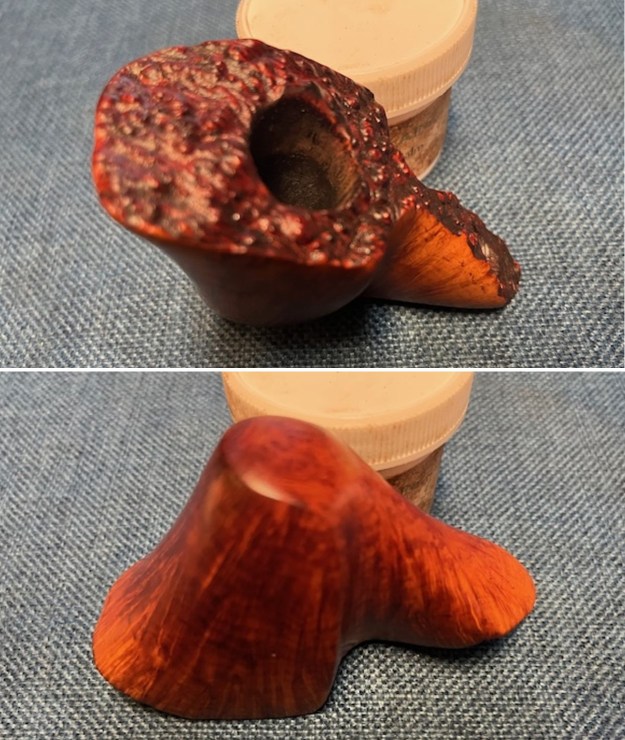
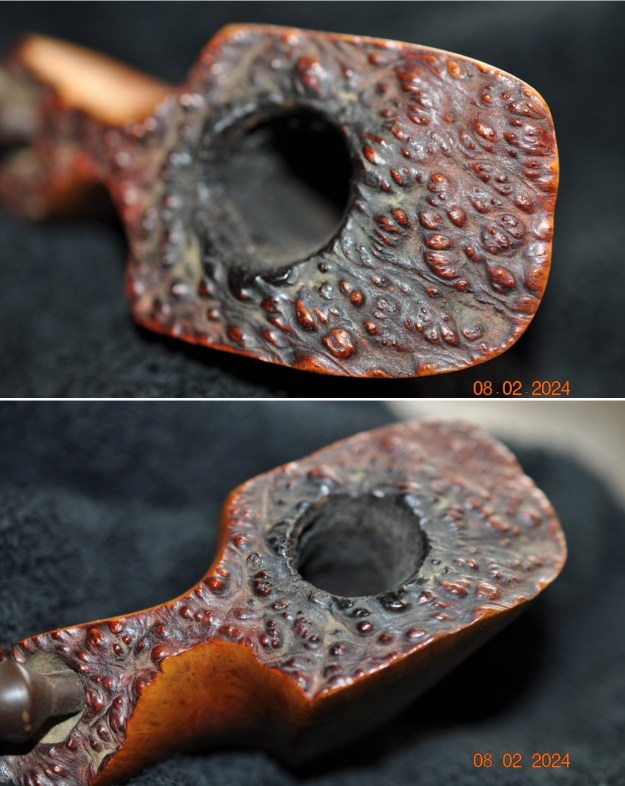

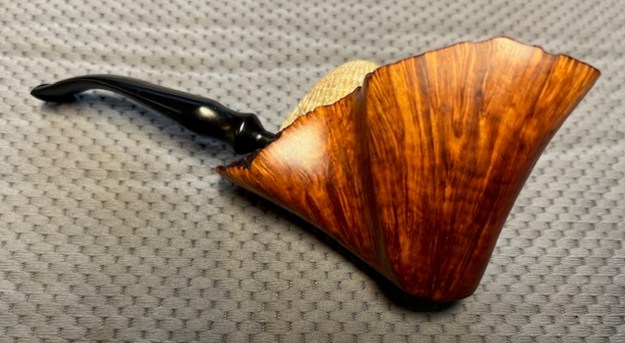
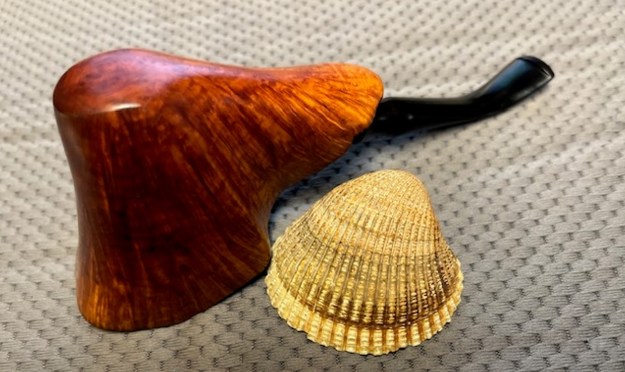
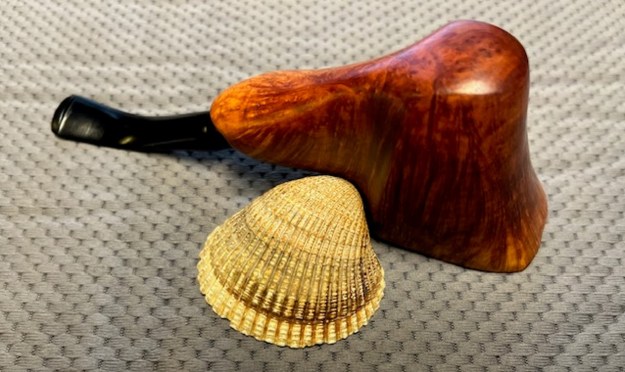
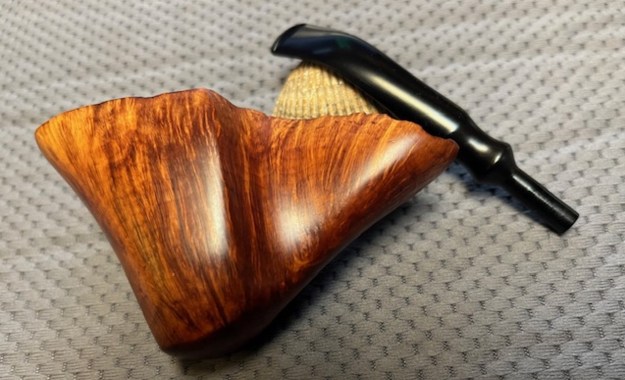
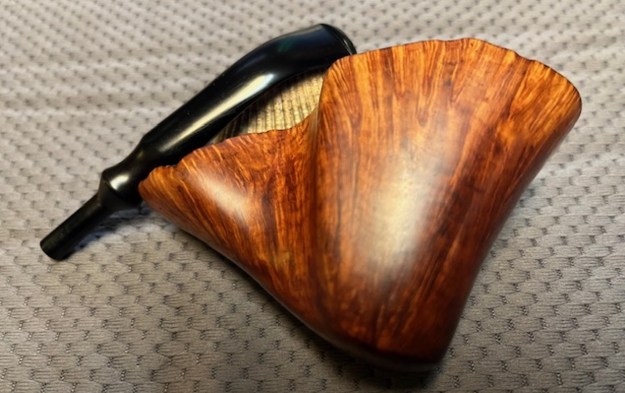
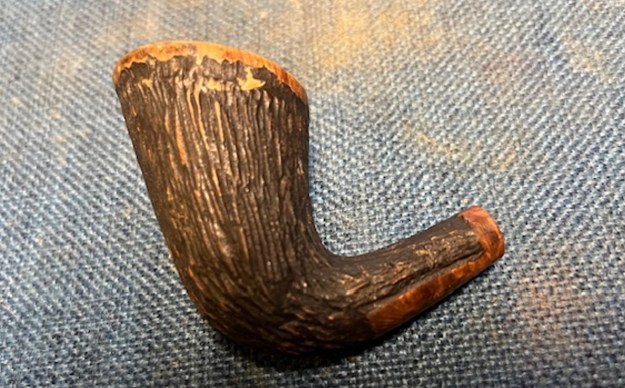
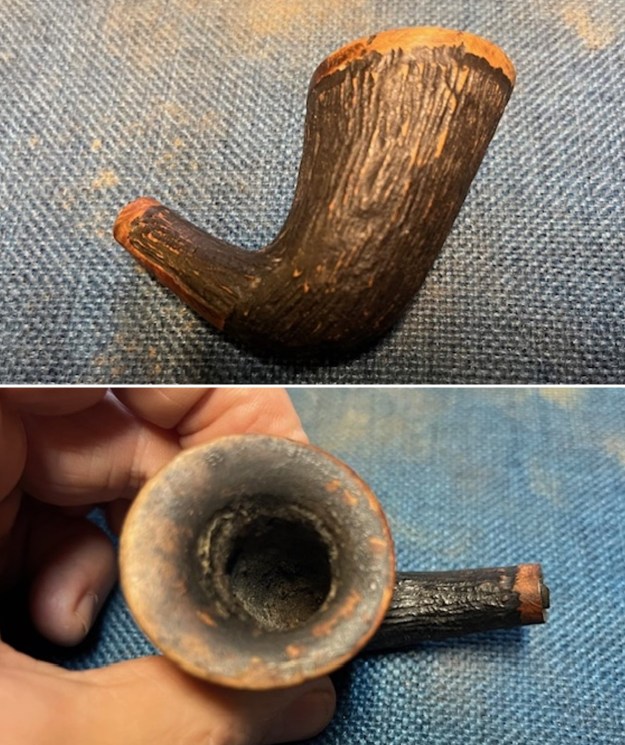
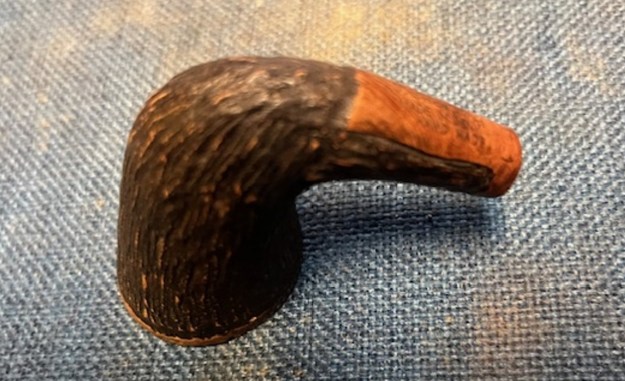
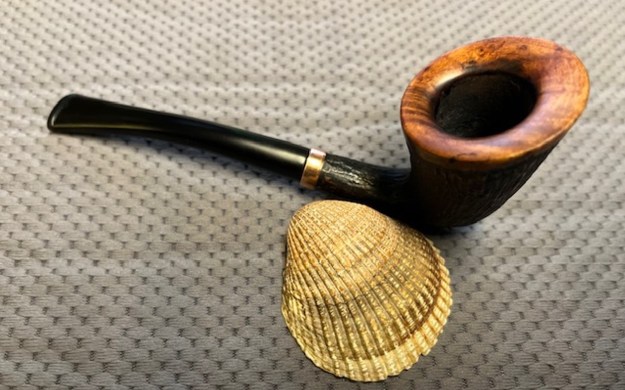
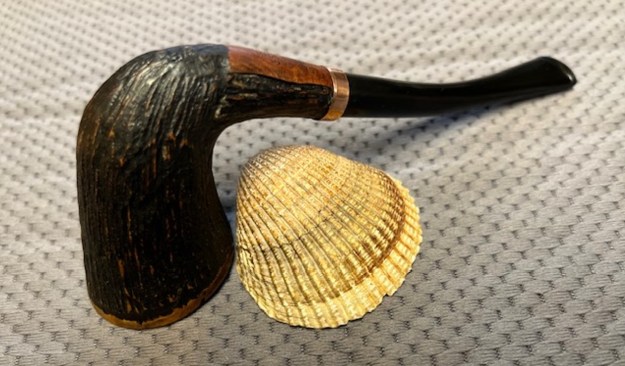
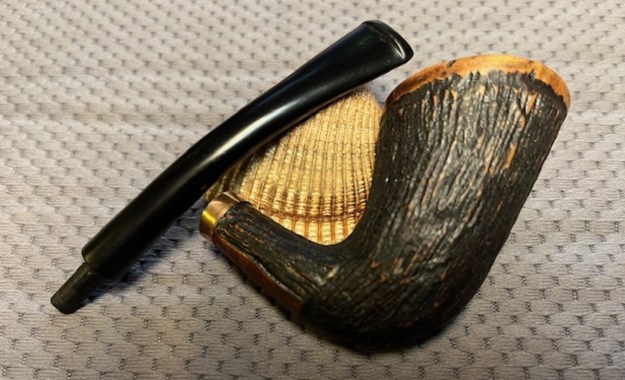
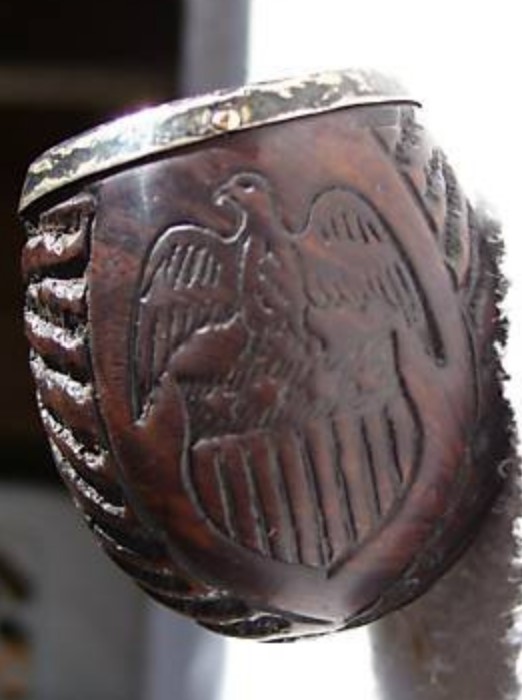
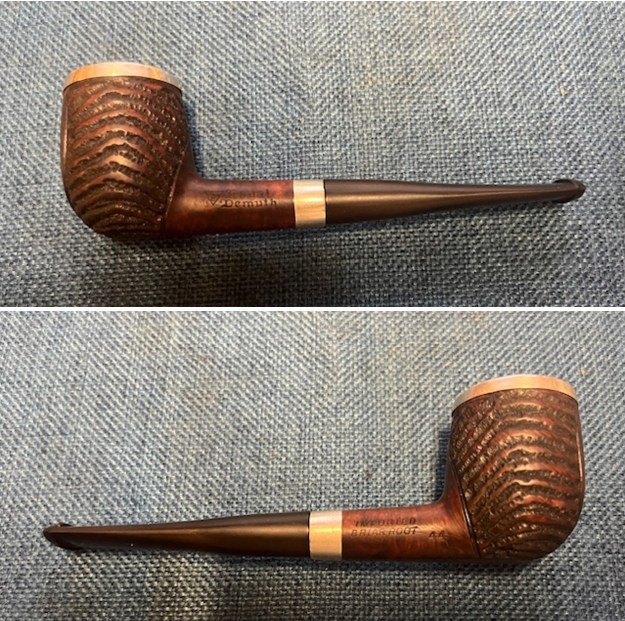
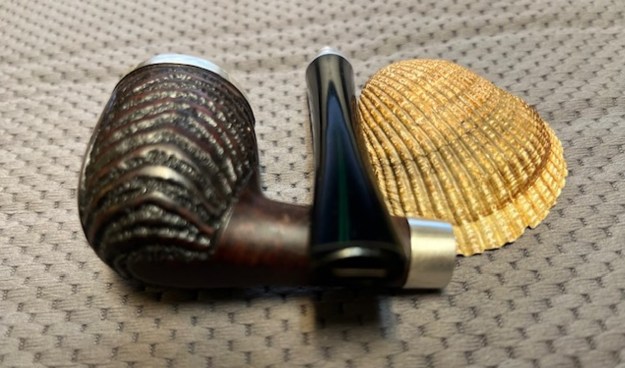
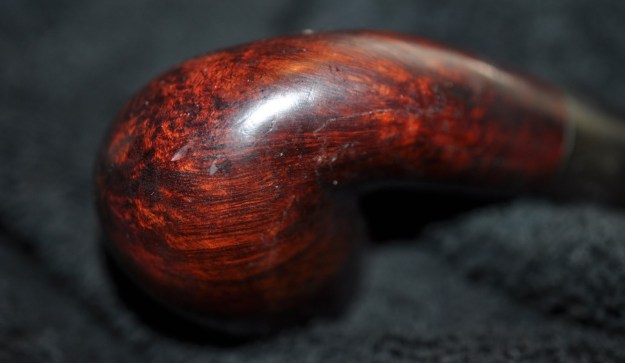
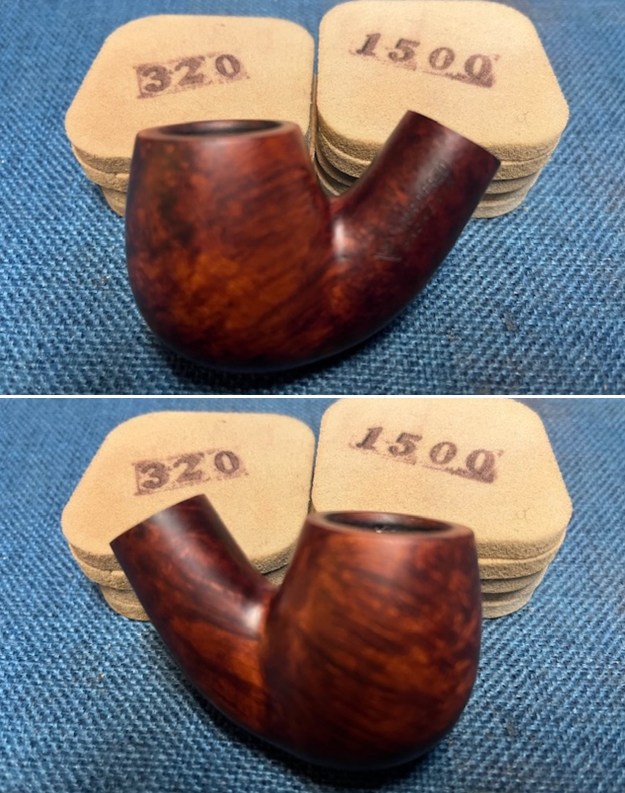
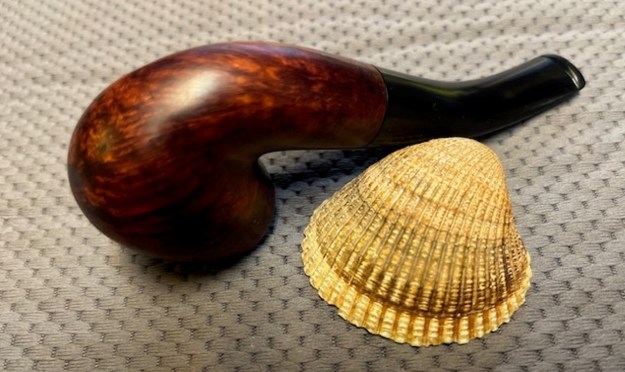
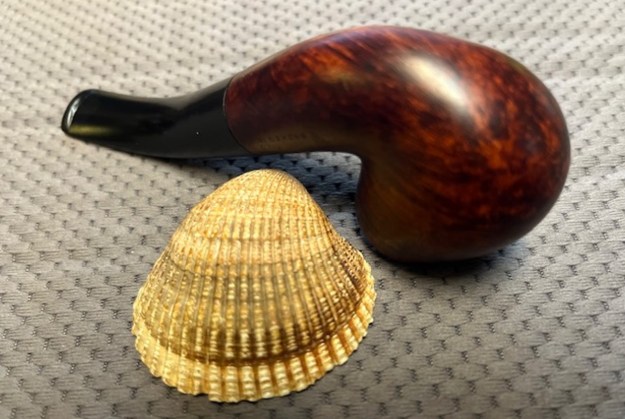
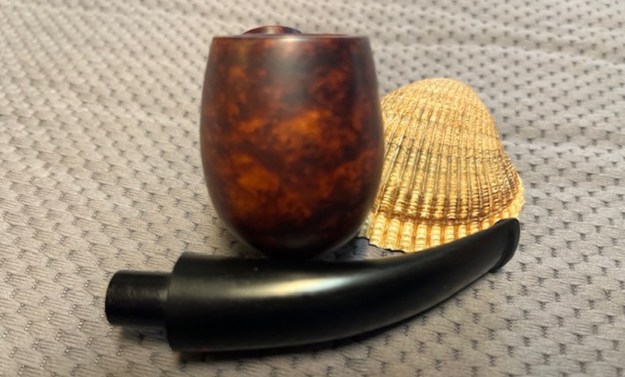
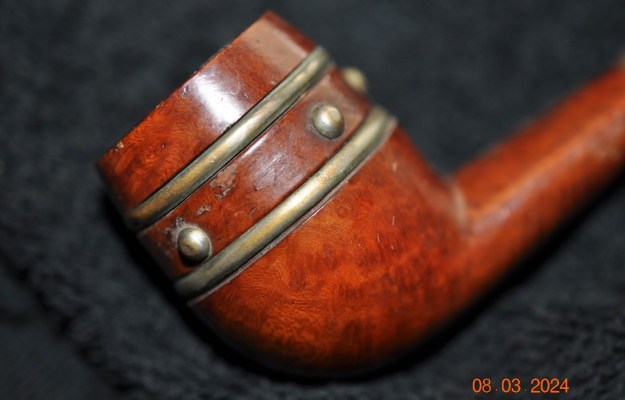
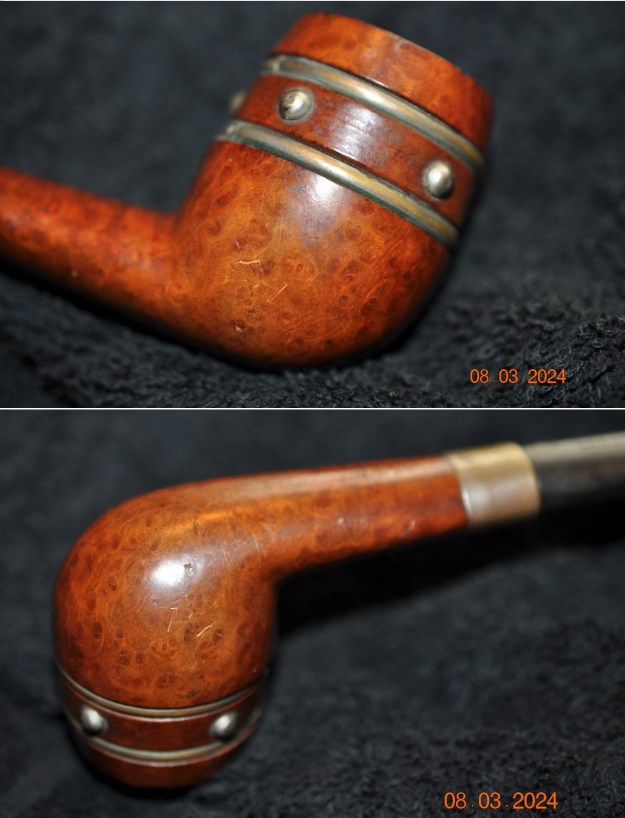
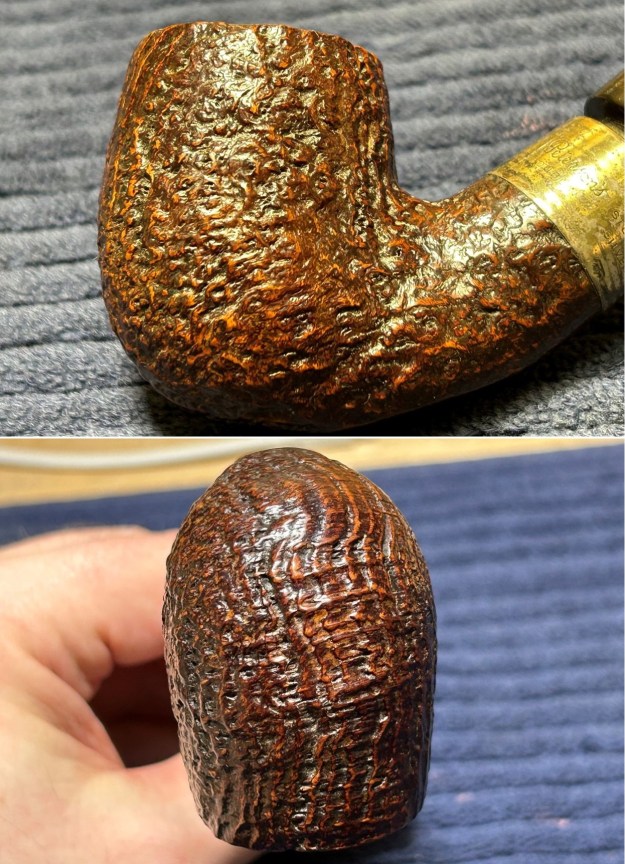
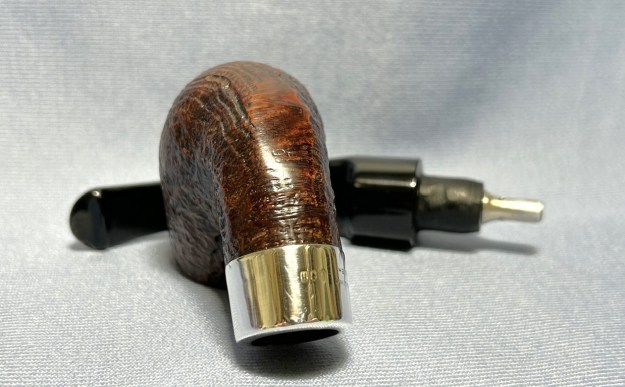
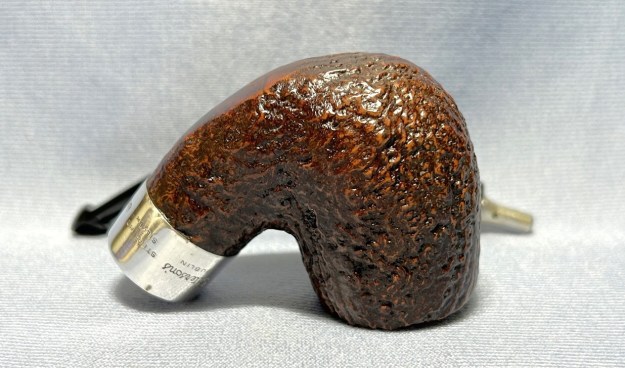
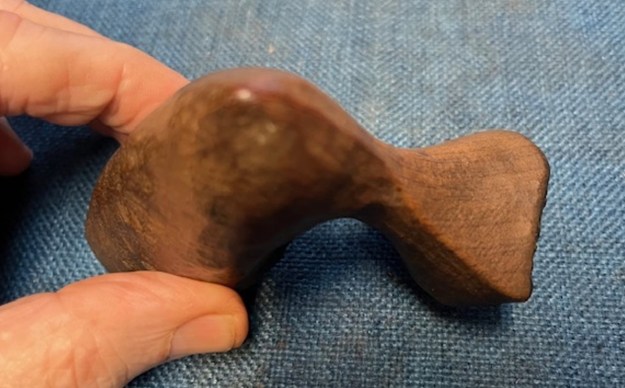
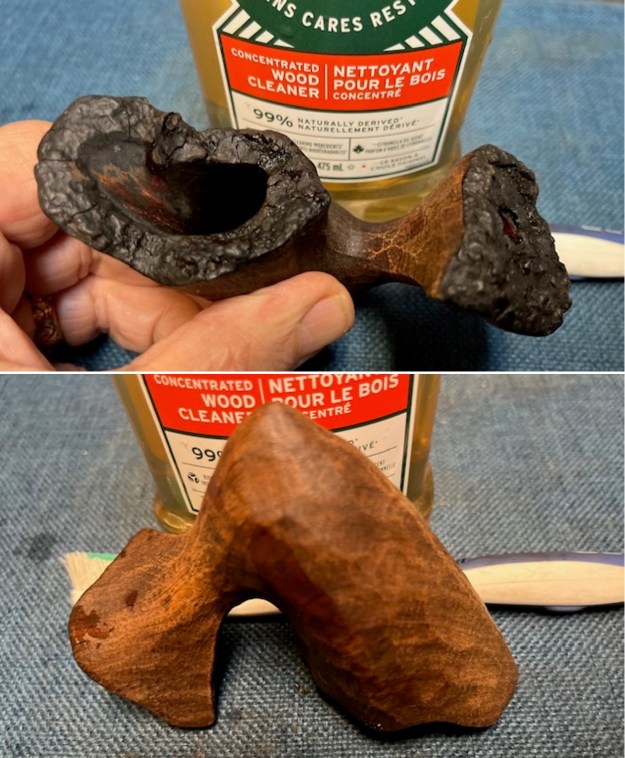
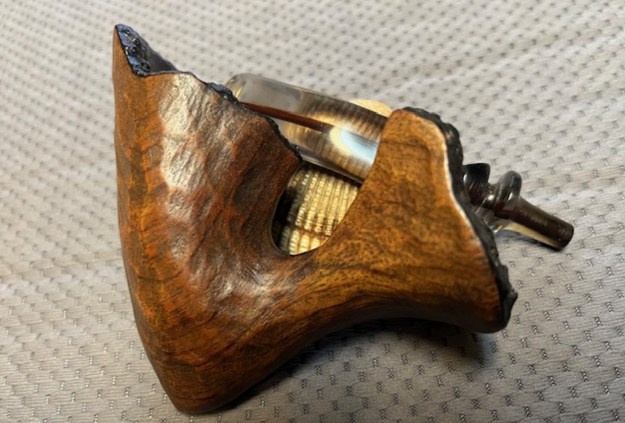
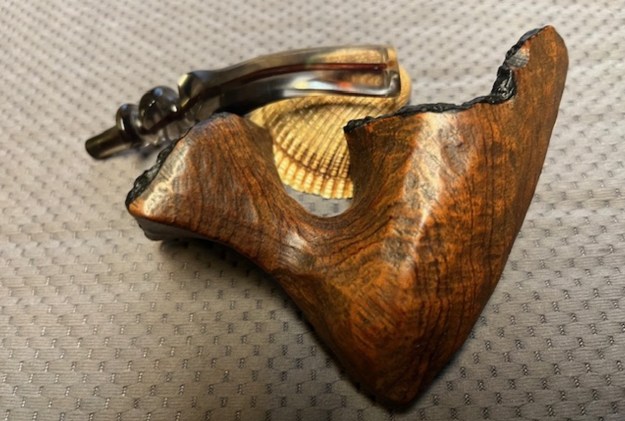
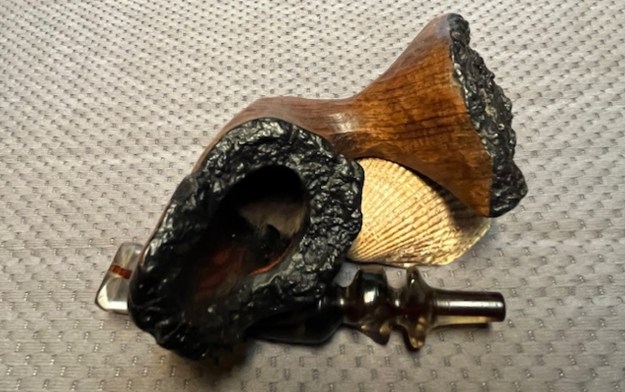
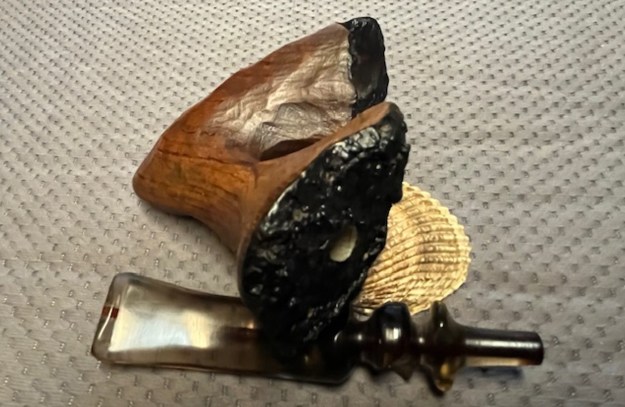
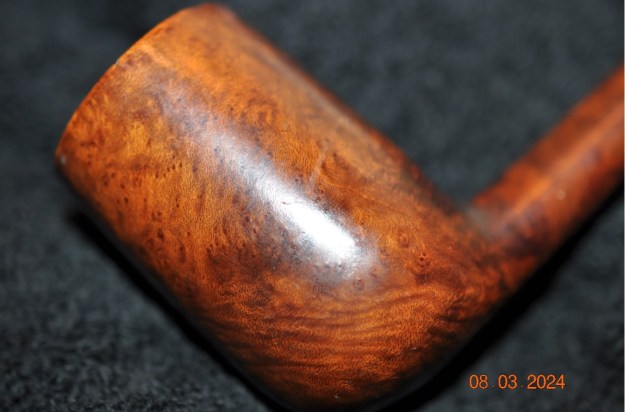
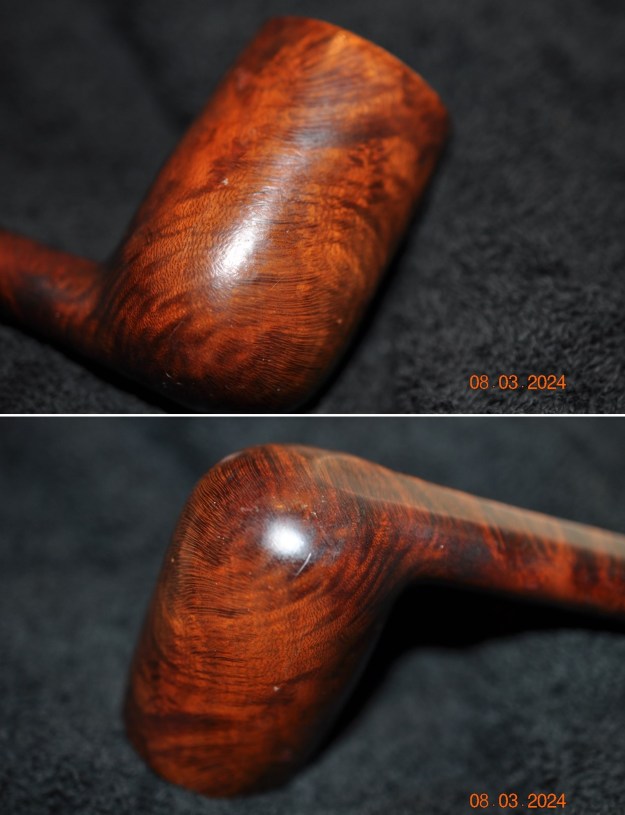
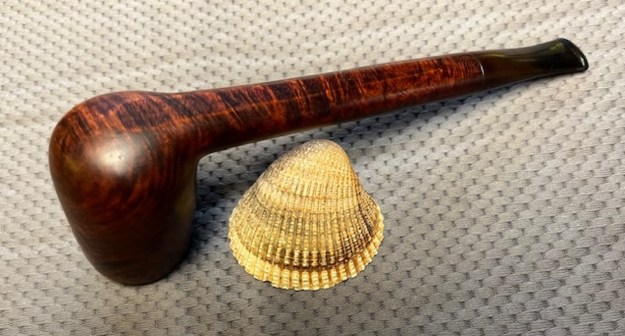
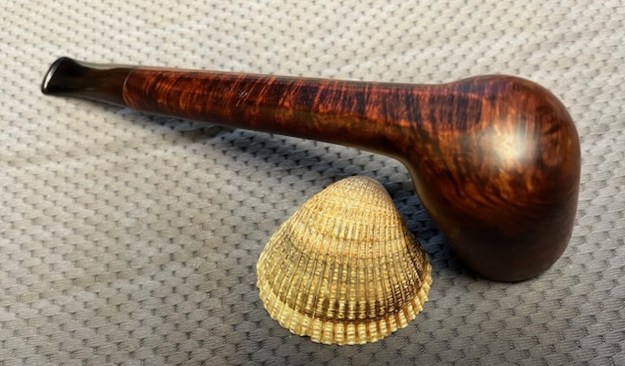
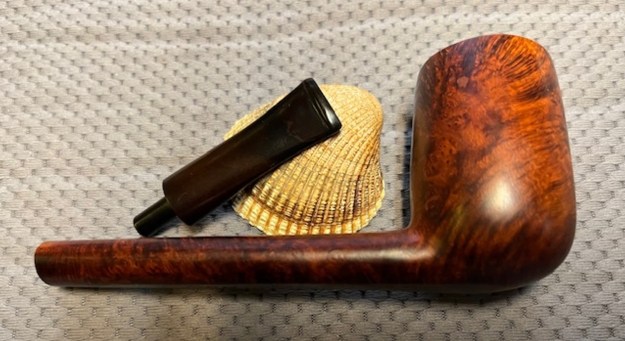
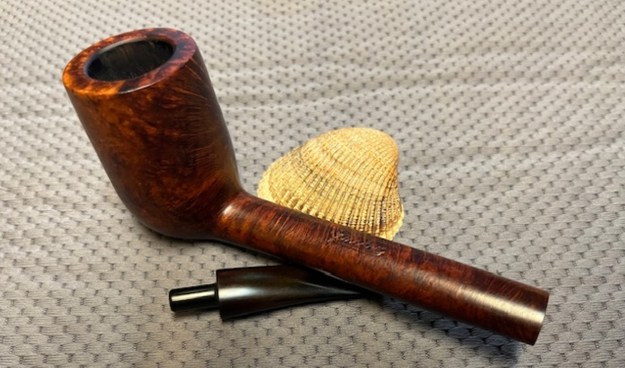
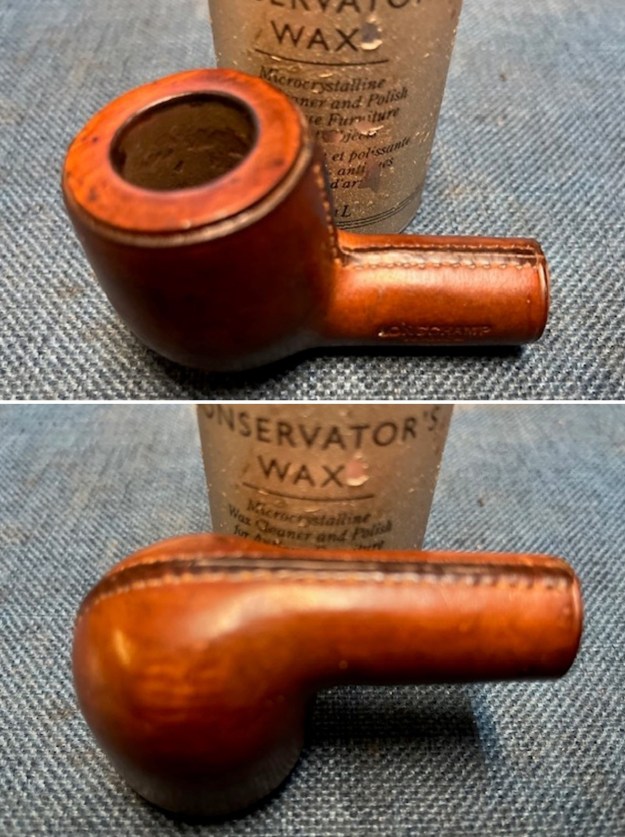
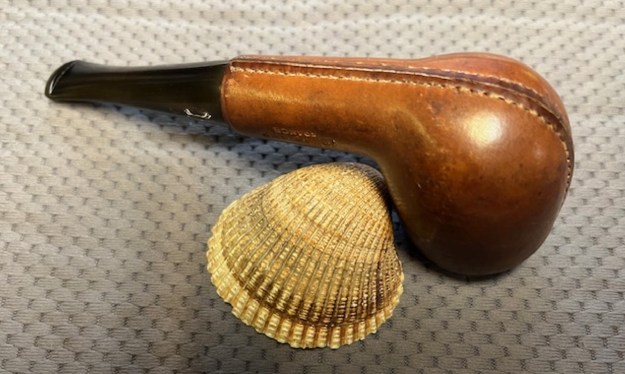
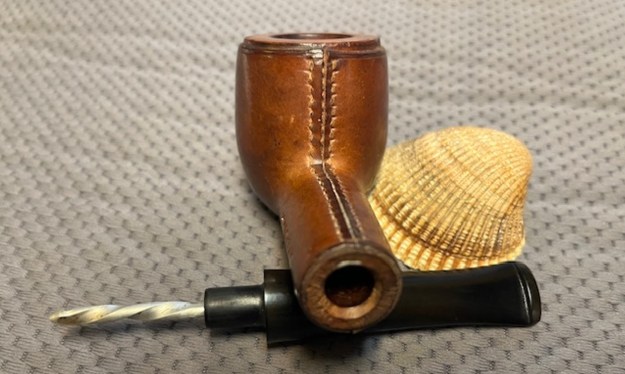
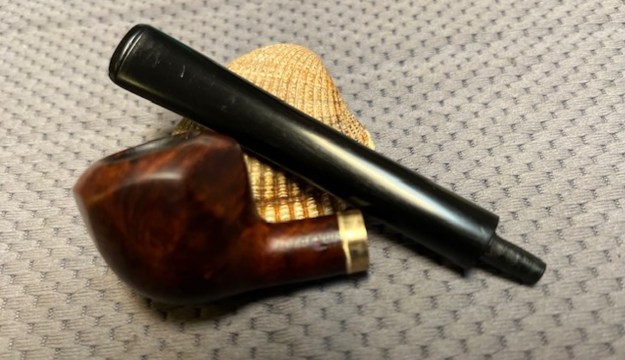
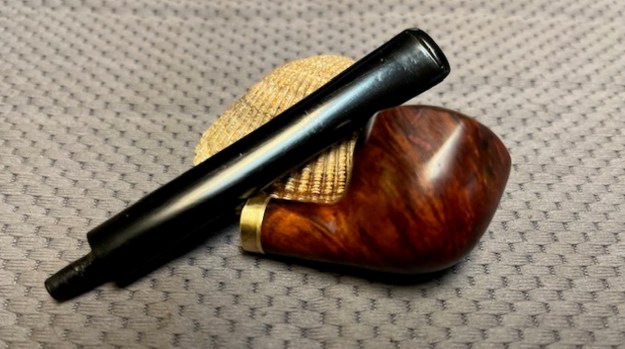
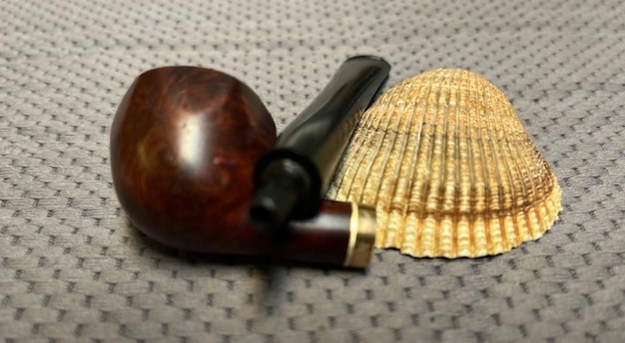
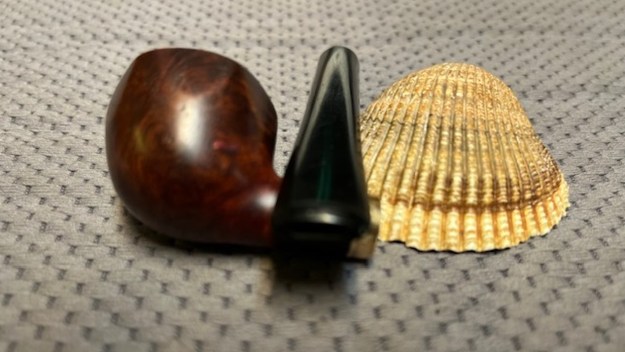
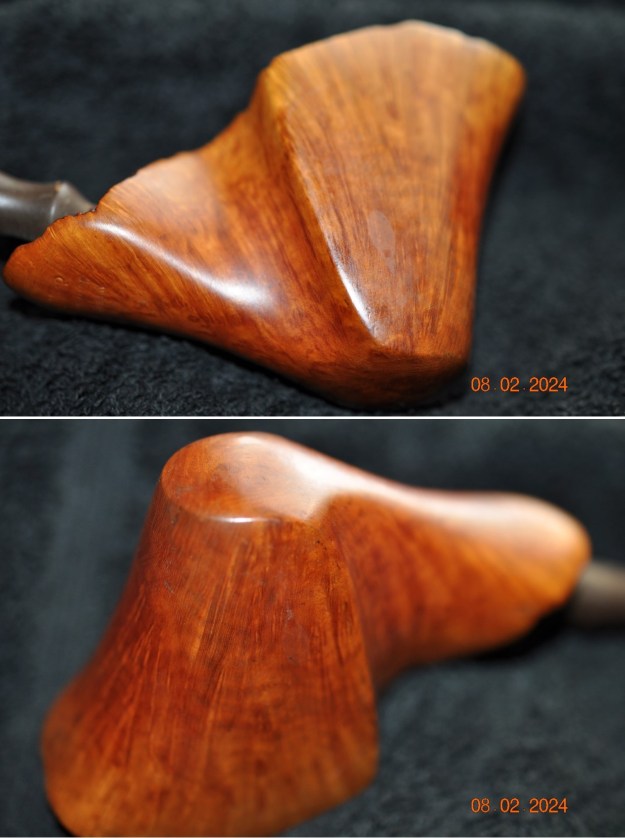
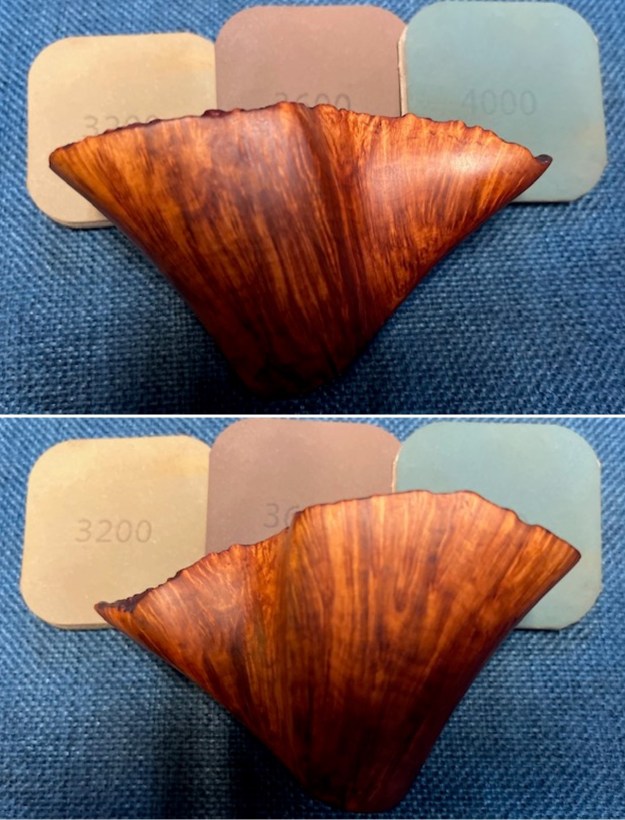
 Jeff took photos of the finish around the bowl sides to show flow of the grain around the bowl. You can also see the dust and debris in the finish.
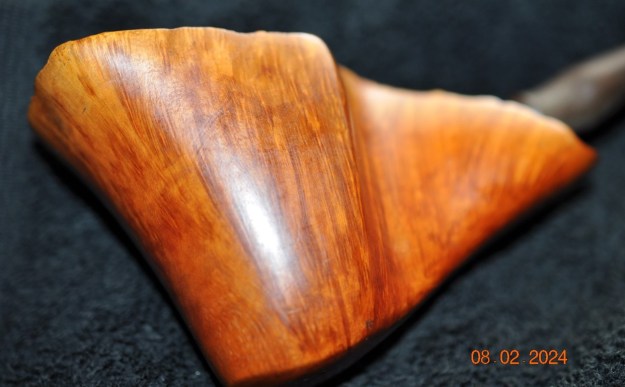
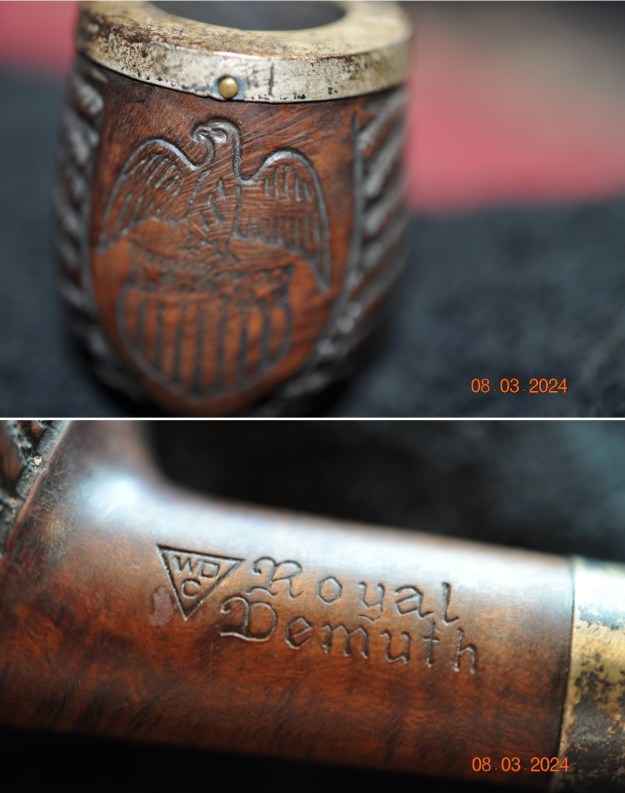
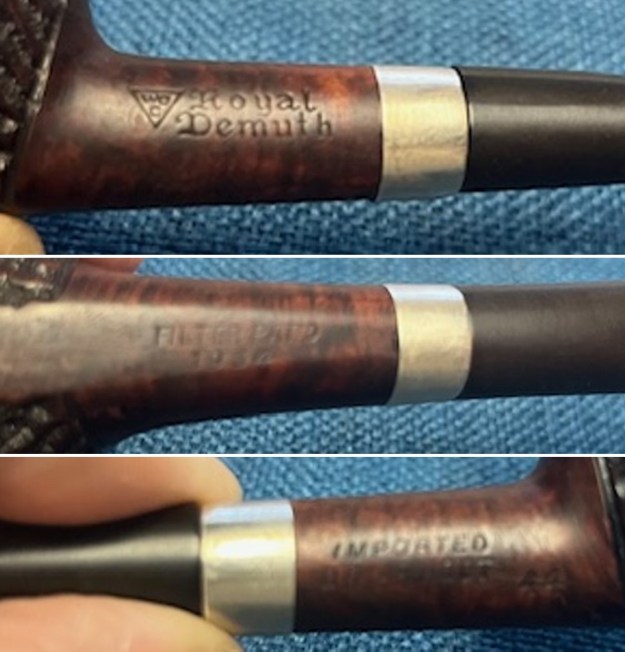
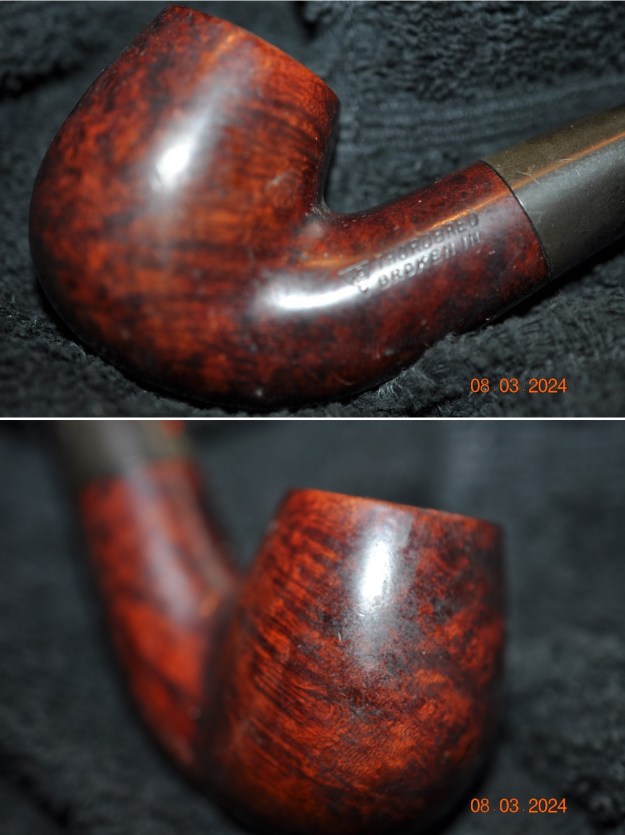
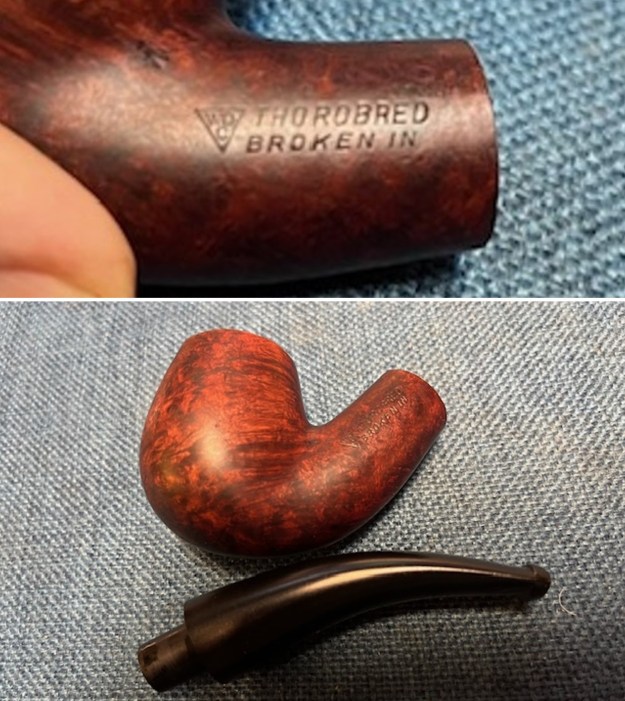
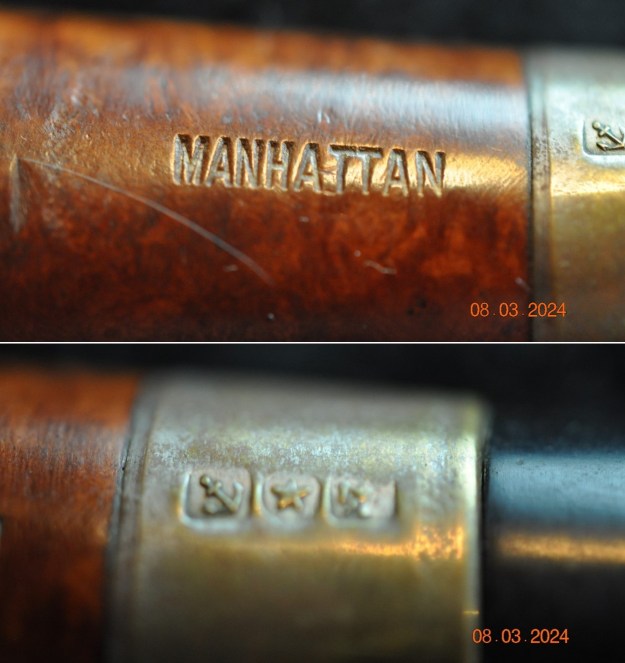
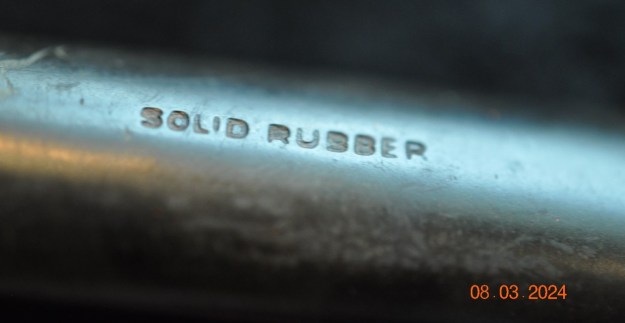
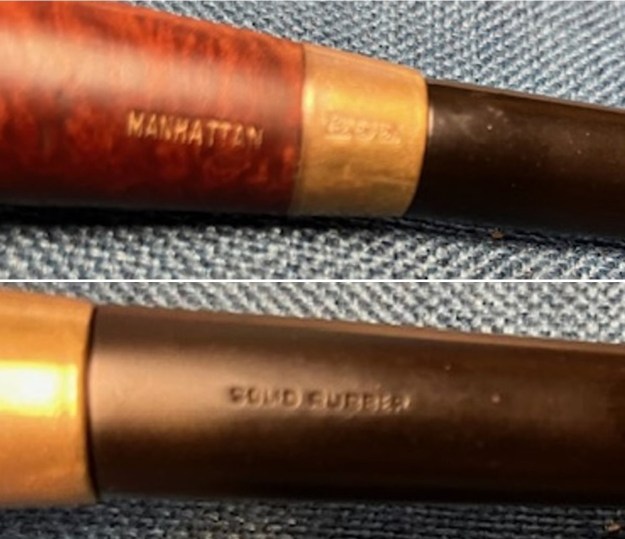
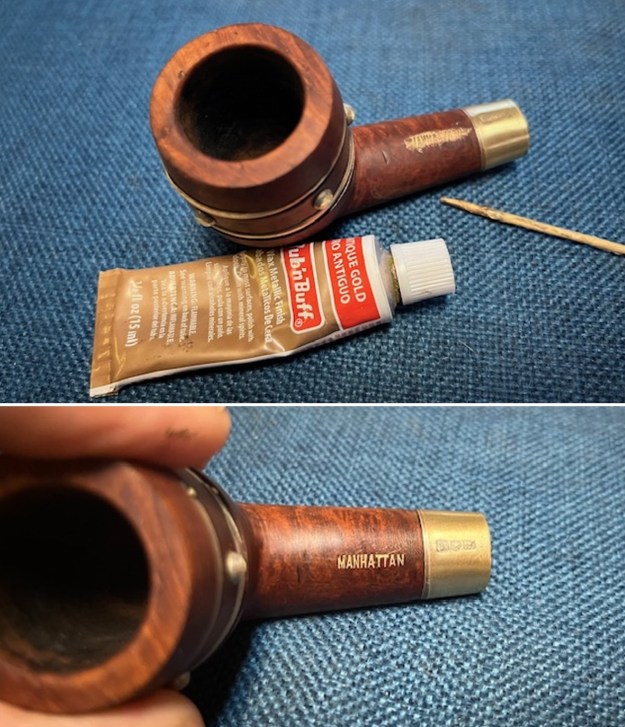
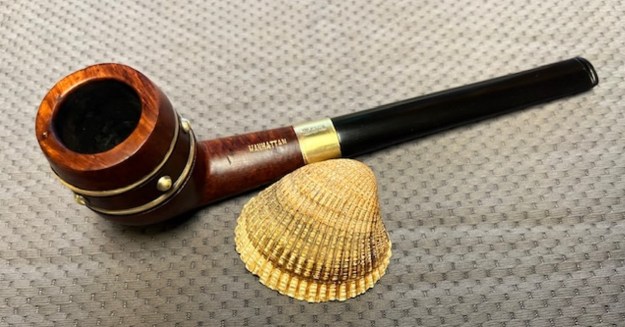
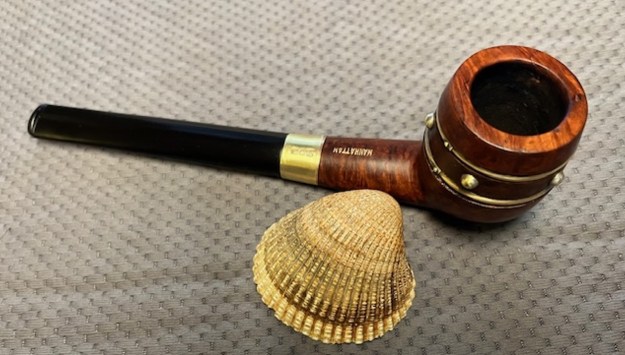
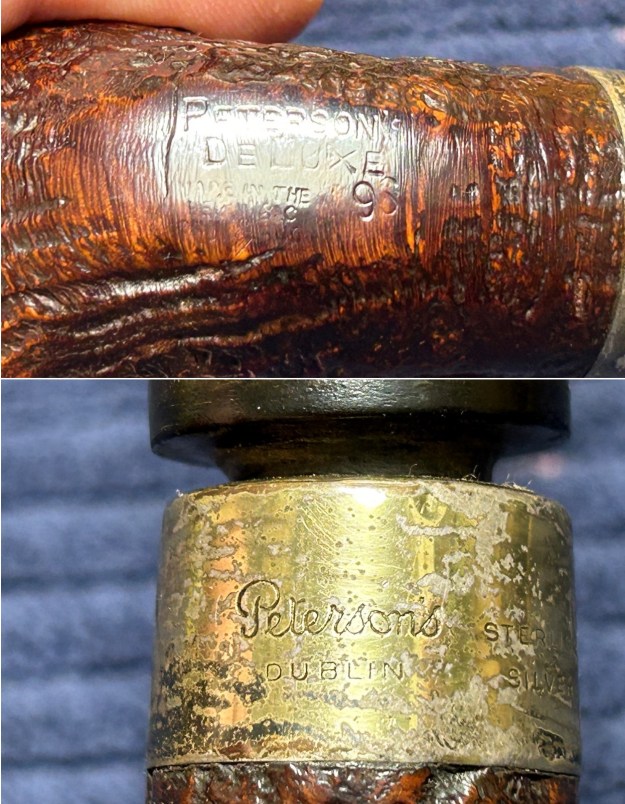
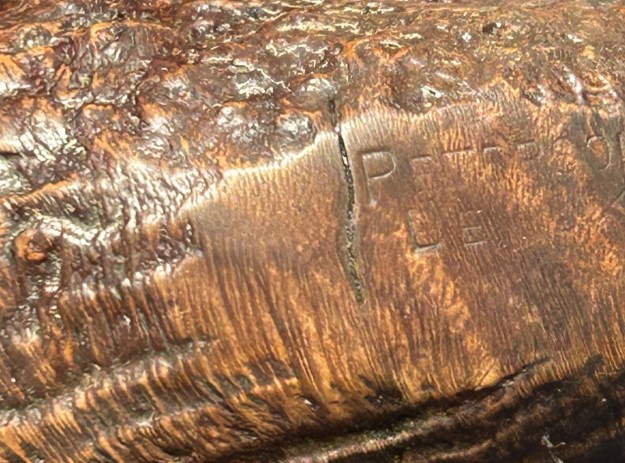
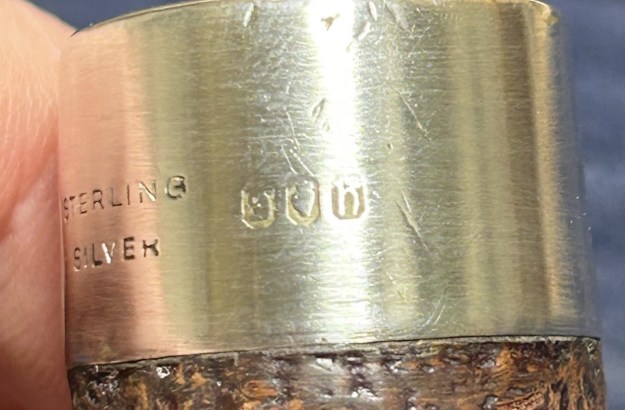
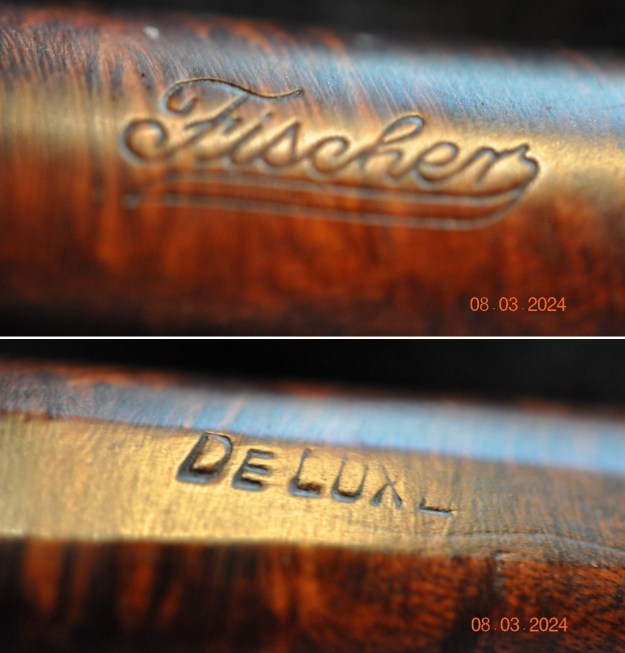
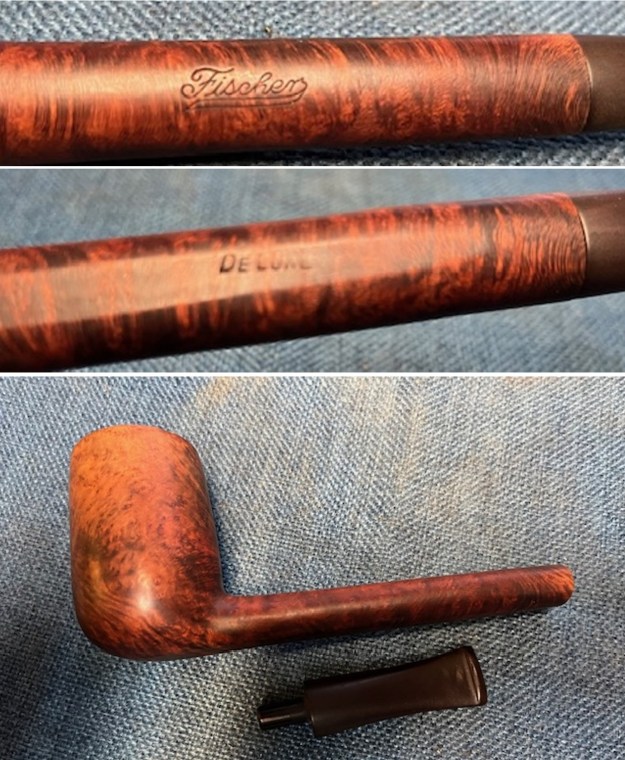
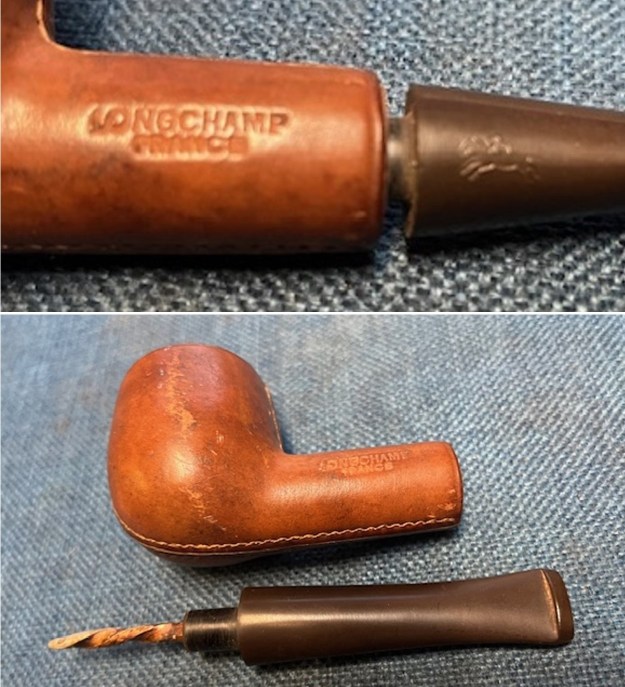
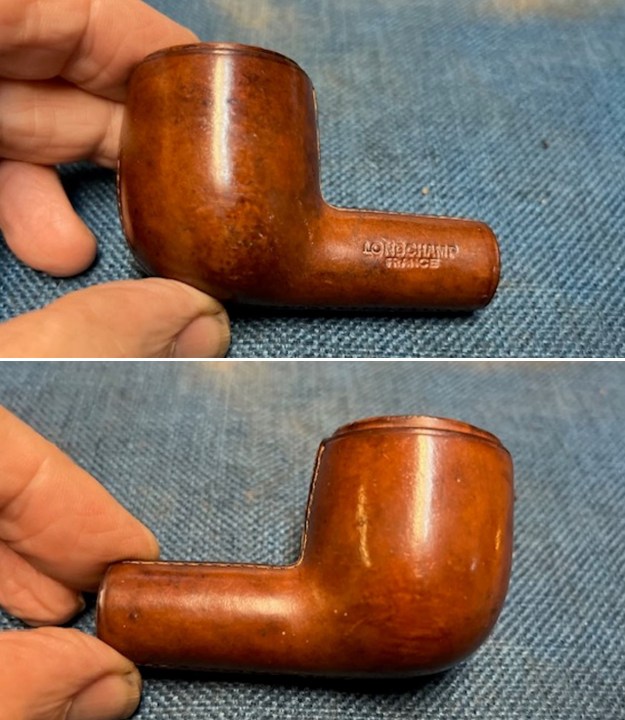
 Jeff took photos of the stamping on the underside of the shank to capture it. It was clear and readable as noted above.
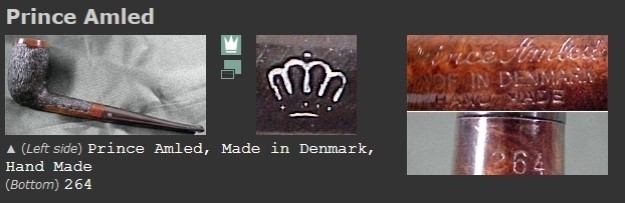
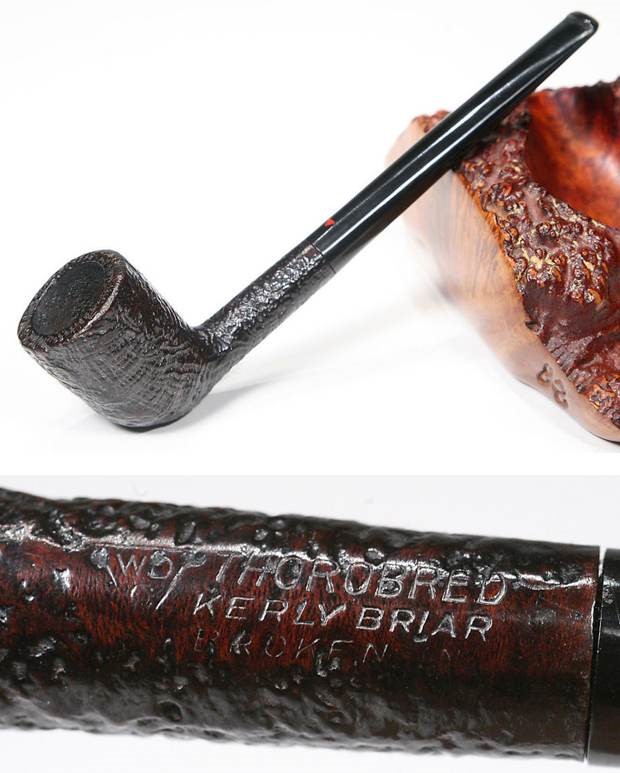
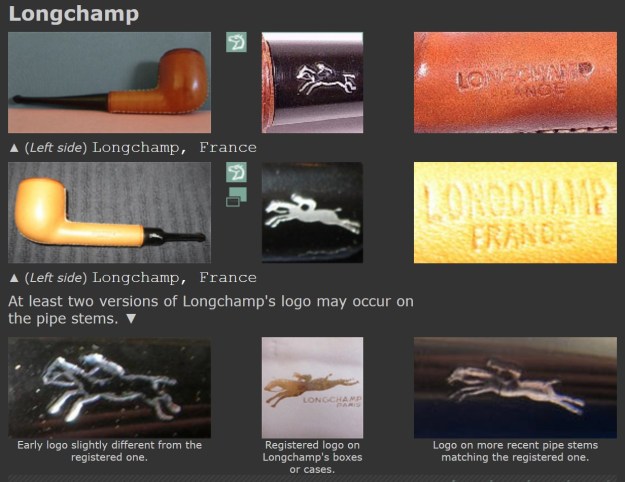
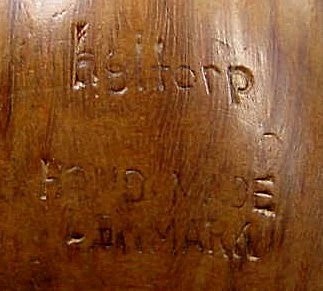
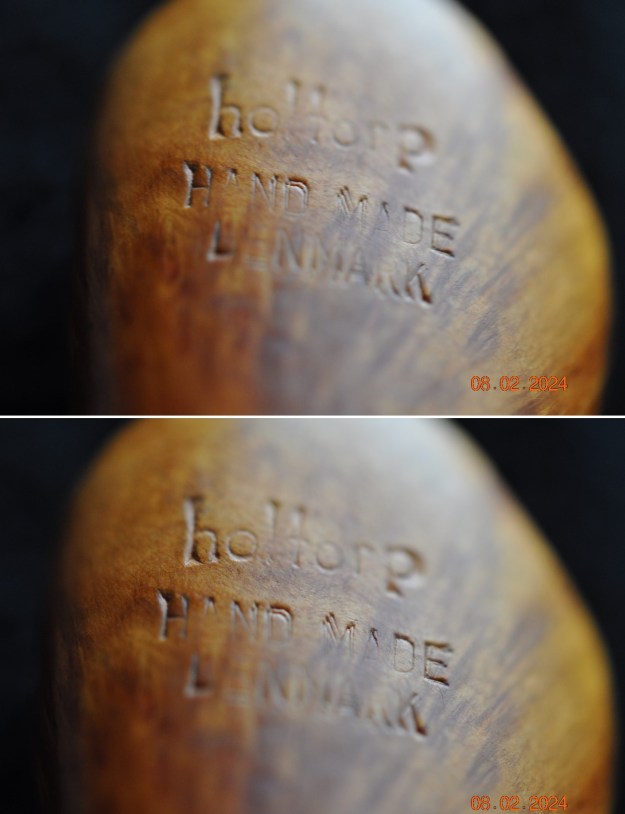 I turned first to Pipephil’s site to see what I could learn (http://www.pipephil.eu/logos/en/logo-h3.html). There are typically short notes and some photos of the pipes and stamping. Sure enough that was true of the Holtorp brand as well. I have included a screen capture of the photo and notes on the brand. I have included the side bar information as well below the photo.
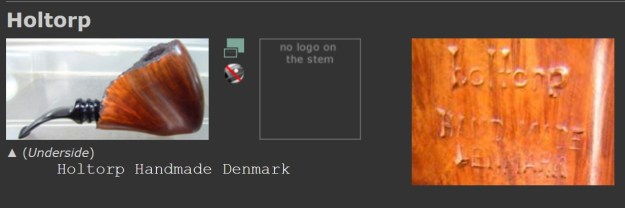 Artisan: P. Holtorp was one of the regular pipe carver at Pipe-Dan in Copenhagen during the 1960’s. Rather massive (sometimes heavy) and well grained flawless pipes.
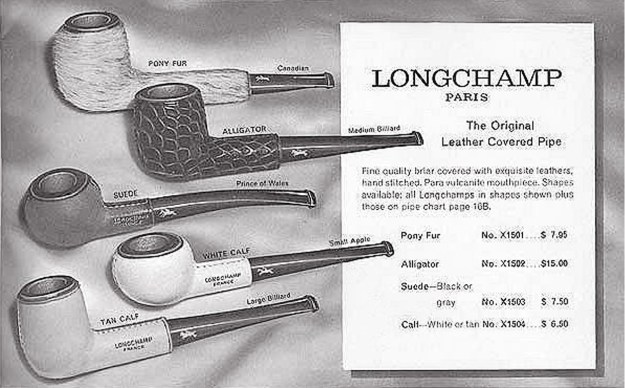
I have included a short history of the brand from the article on Pipedia that is interesting and is helpful (https://pipedia.org/wiki/Holtorp).
Dan-Christensen’s shop Pipe-Dan at Vestergade 13 – just off Copenhagen’s Town Hall Square – was one of the most important turntables for upcoming as well as established pipemakers and pipe enthusiasts from all over the world from the 1960’s to the 1980’s.
 P. Holtorp was one of the many artisanal carvers who worked in the periphery of Pipe-Dan. In the 1960’s – maybe up to the early 1970’s – he was one of the in-house pipemakers working together with Sven Knudsen, Gert Holbek, Axel Svend Celius, Tom Eltang – just to name a few. Later he worked from his own shop but still sold most of his pipes via Pipe-Dan.
Holtorp never became as famous as some of the names mentioned. Most probably, because the majority of his pipes was a bit different from the Danish “fancy freehands” and more striving for elegance. The typical Holtorp features bold lines and forms. Some are very manly pipes, so to say, rather made for stronger built pipesters. Accordingly, the weight tended to be considerable – e.g. 118g the pipe shown below. Many were versions of earlier Holbek or Pipe-Dan designs. His “Bird” shape pipes for Pipe-Dan are clean simple shapes that have become Danish classics.
Holtorp’s craftsmanship and execution match very high standards. Straight grains from his hands are more than a rarity but the dense and flawless graining of his pipes is remarkable.
Estates by Holtorp don’t ask the prices of some other contemporaneous Danes by far – Thus an excellent buy for those who love a quality pipe if they can find them.
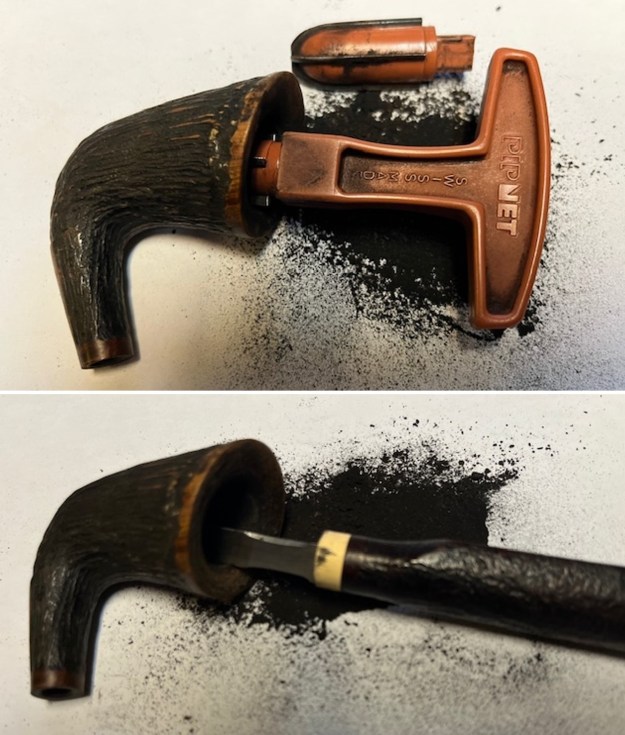
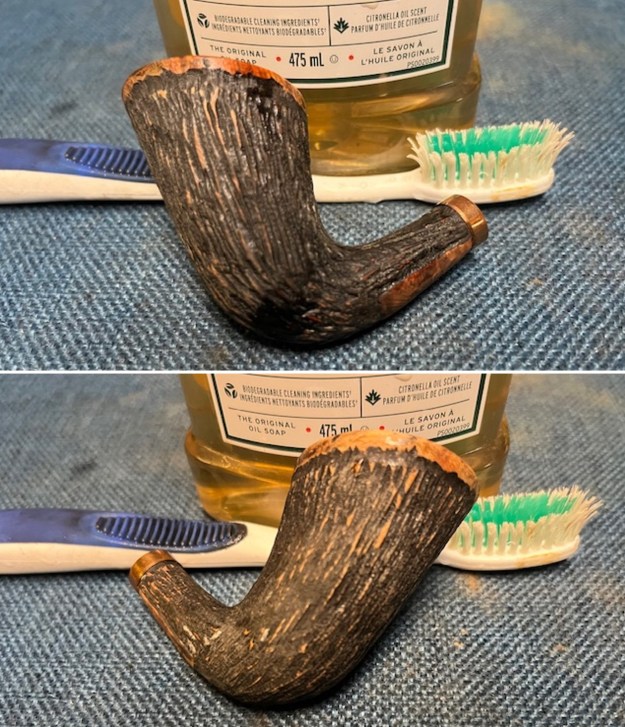
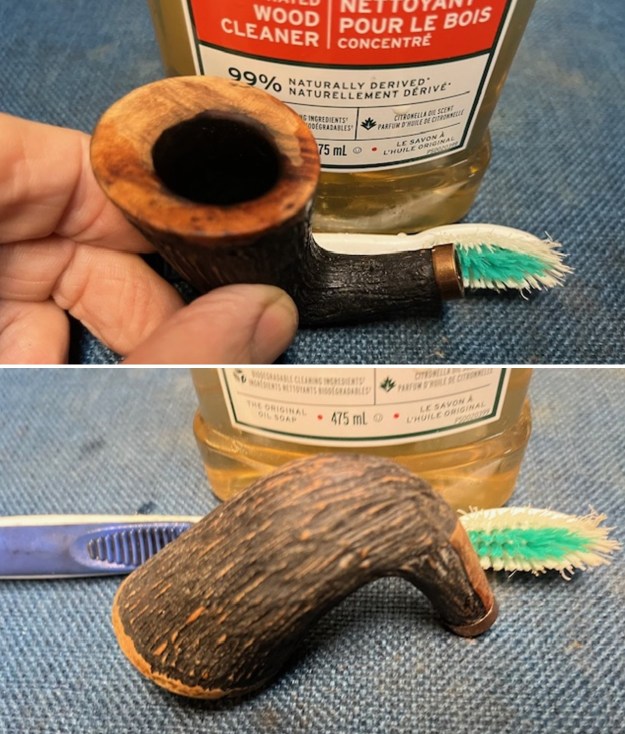
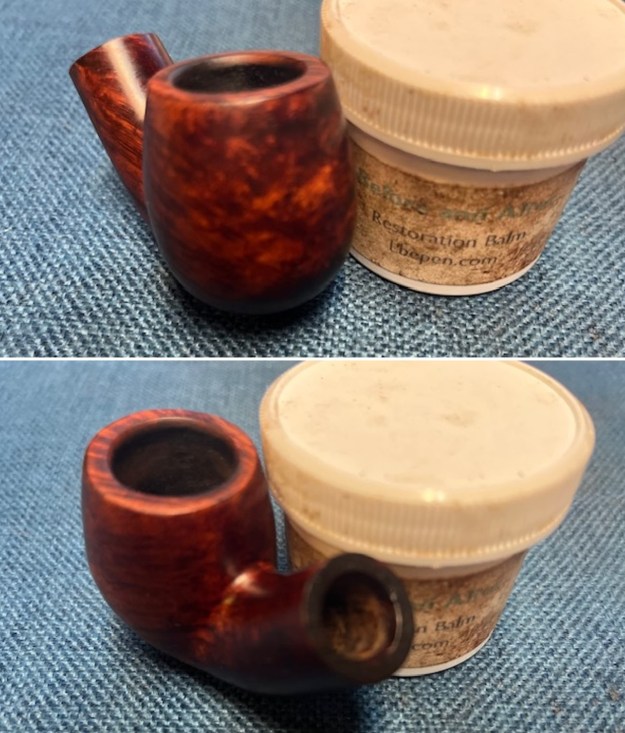
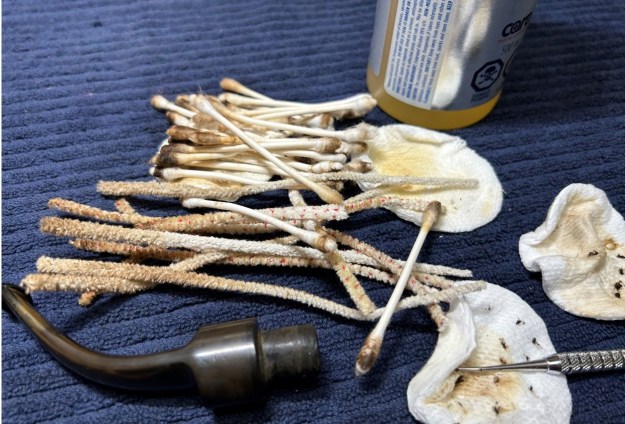
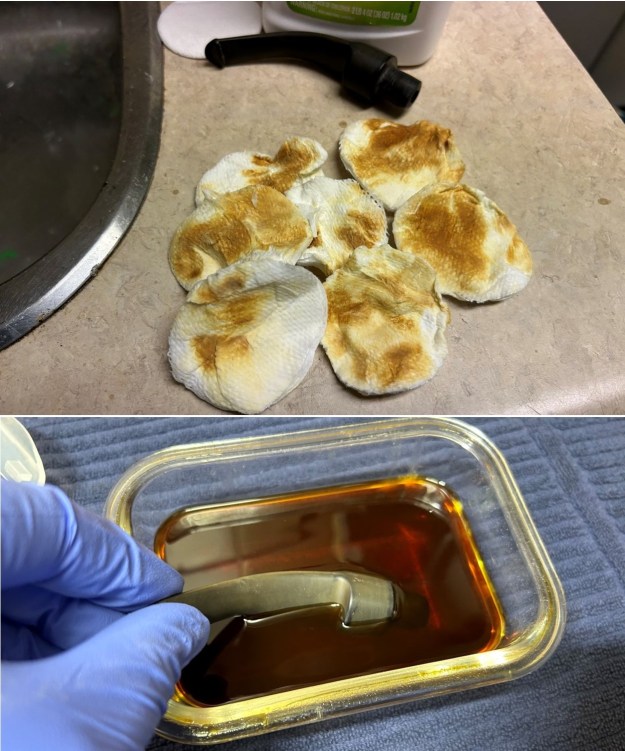
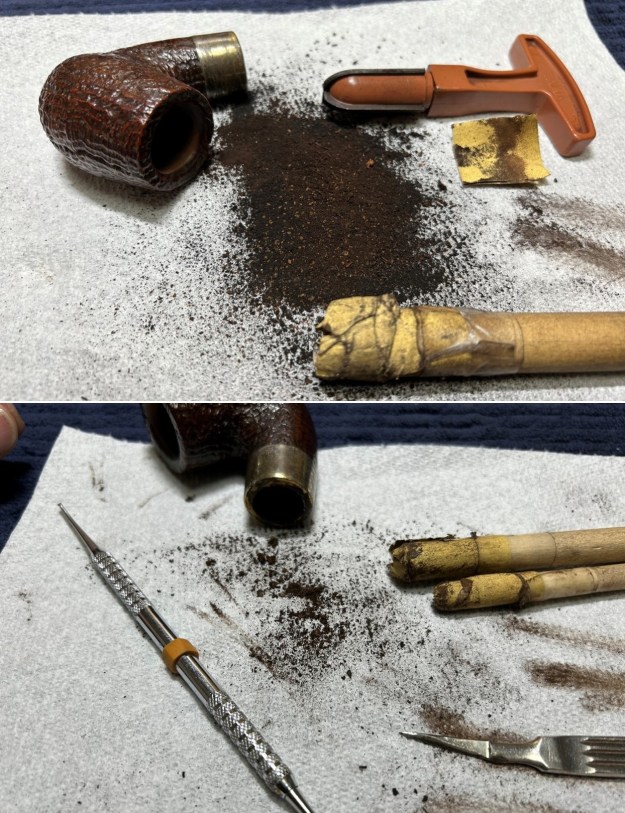
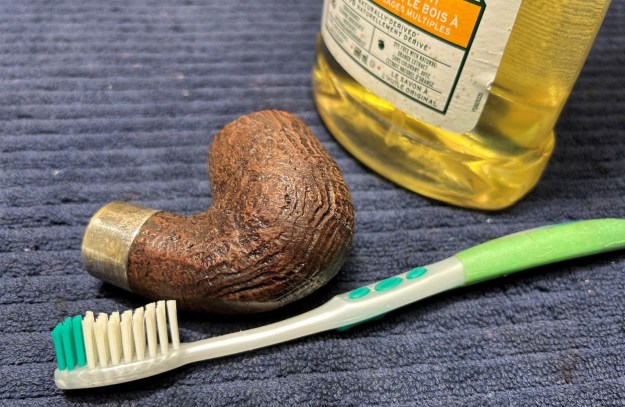
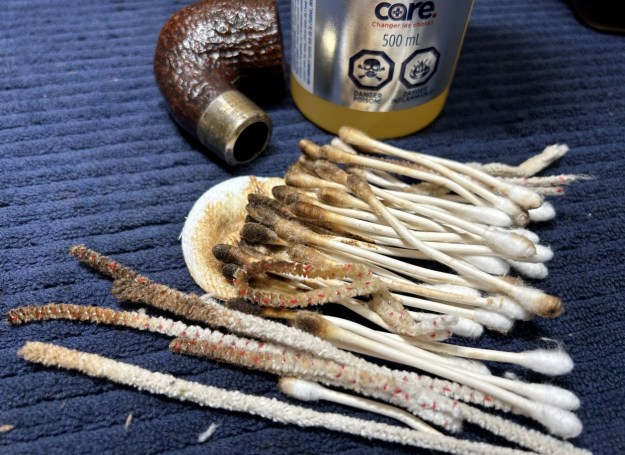
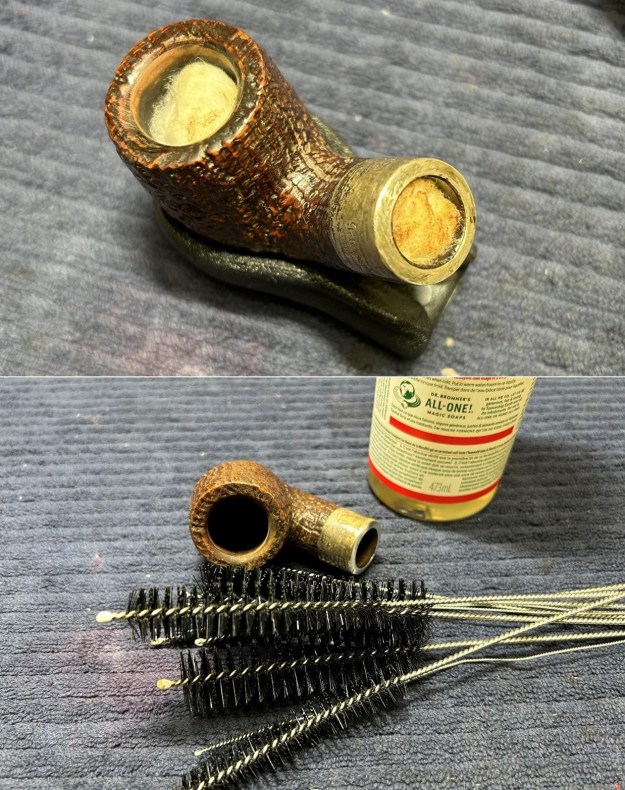
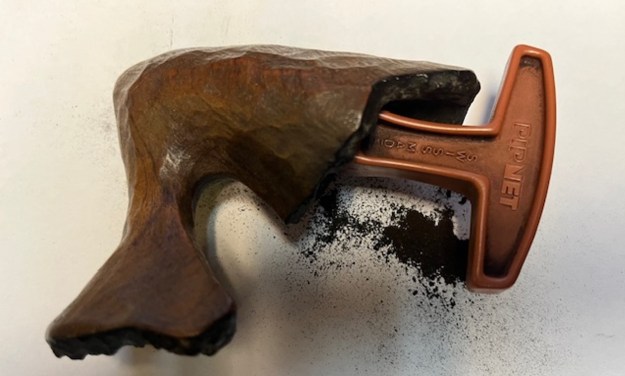
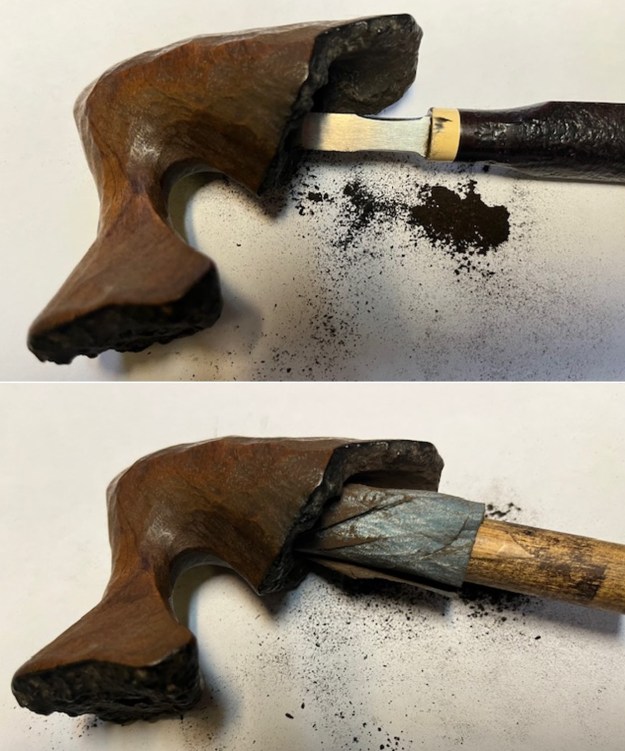
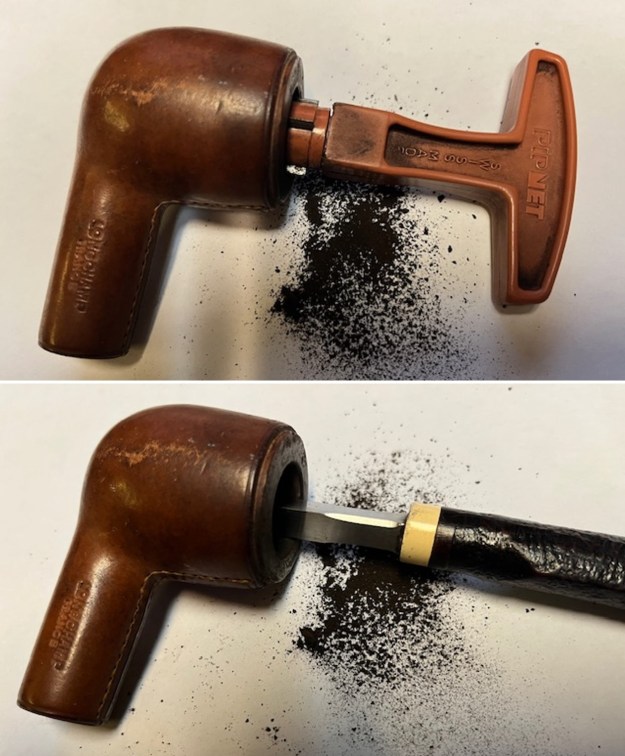
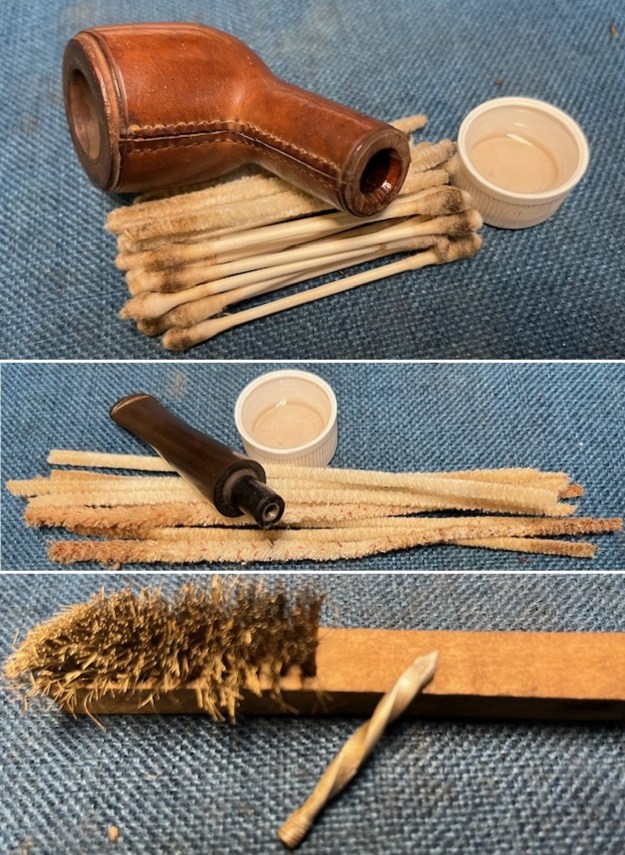
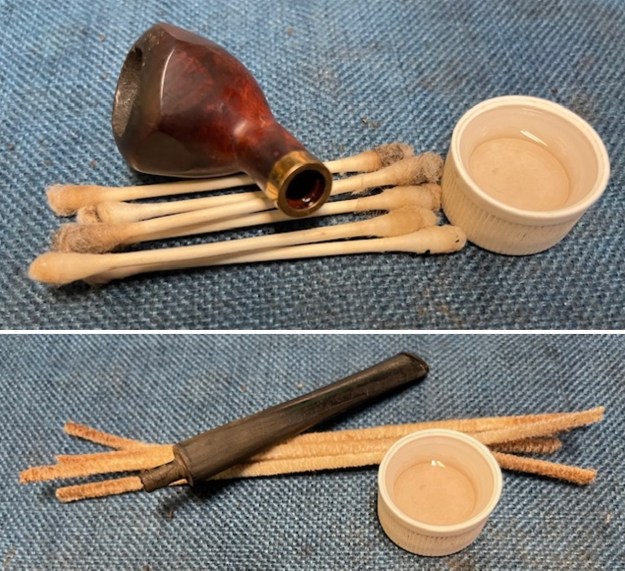
Now it was my turn to work on the pipe. Jeff had done an amazing cleanup of the pipe. He reamed the cake with a PipNet reamer and cleaned up that with a Savinelli Fitsall Pipe Knife. He scrubbed the internals of the bowl and stem with alcohol, cotton swabs and pipe cleaners. He scrubbed the externals with undiluted Murphy’s Oil Soap and rinsed the bowl off with running water. He soaked the stem in Briarville’s Pipe stem Deoxidizer and once it had soaked rinsed it off with warm water to remove the residual solution. He dried it off and rubbed it down to remove any oxidation that was still on the stem. The pipe looked very good when I received it.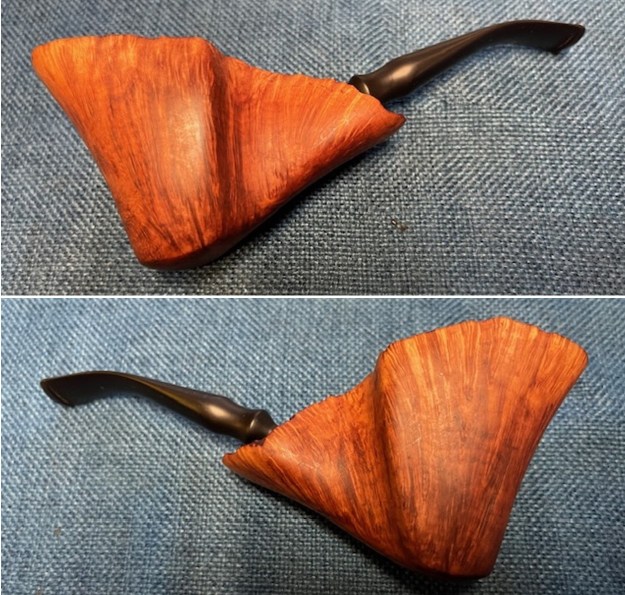
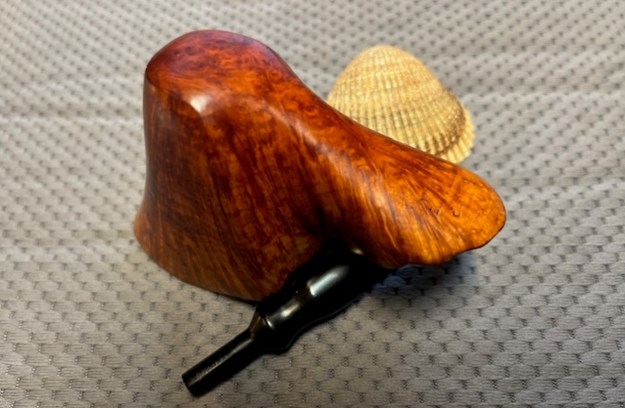
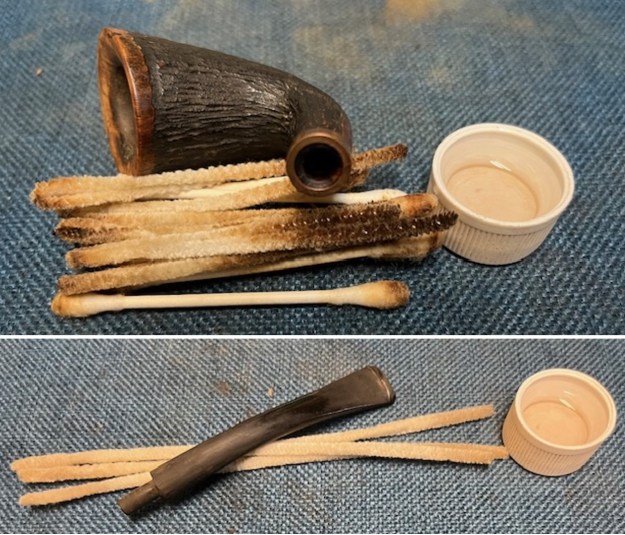
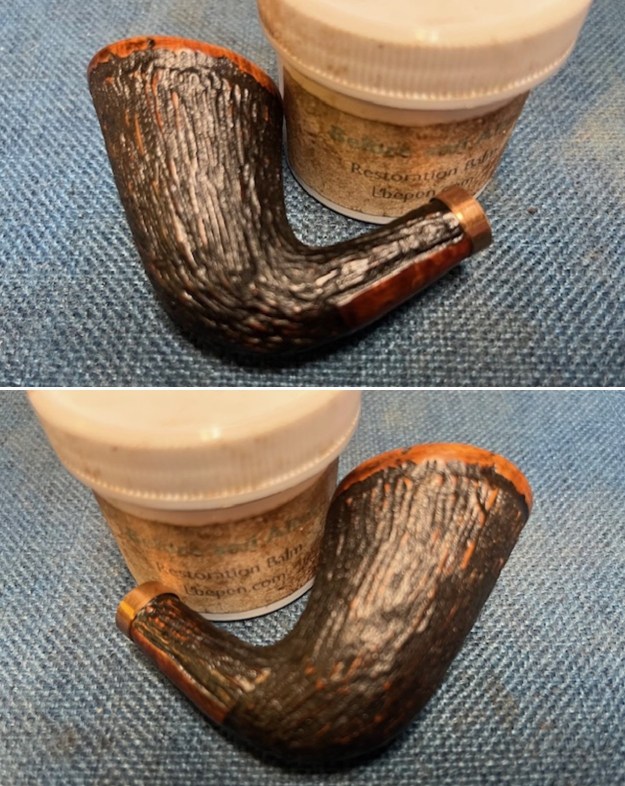
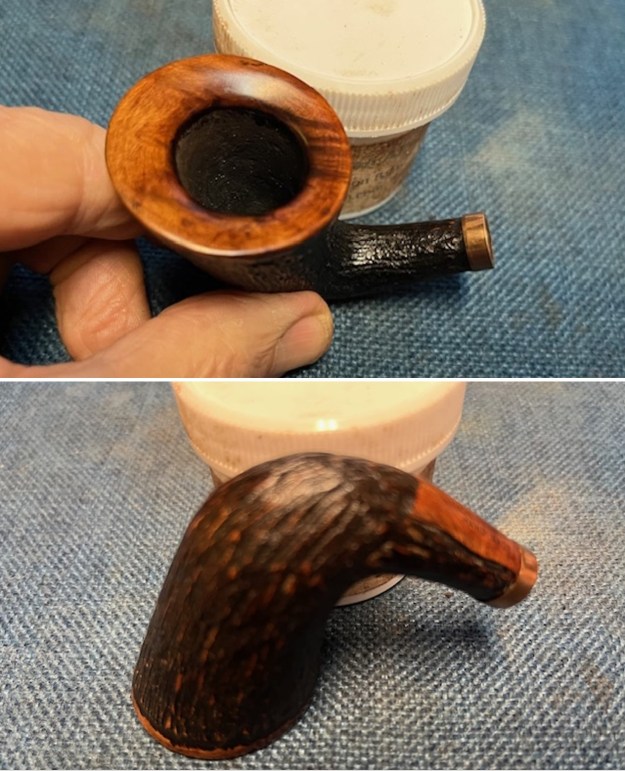
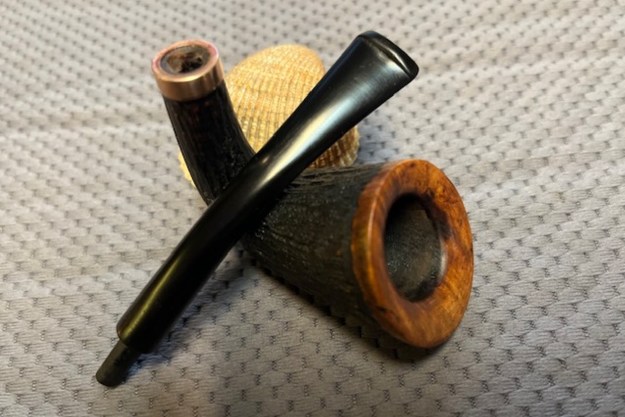
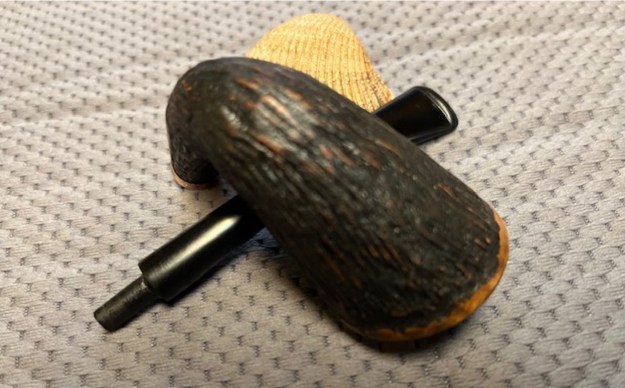
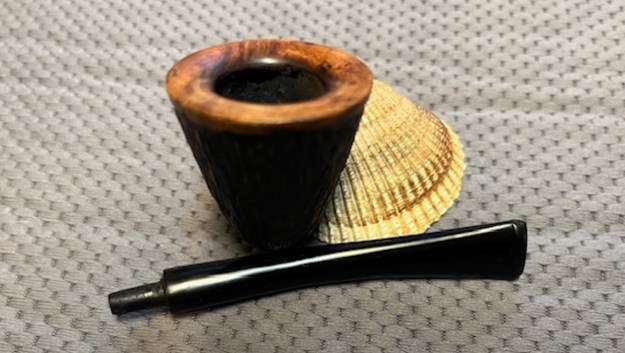
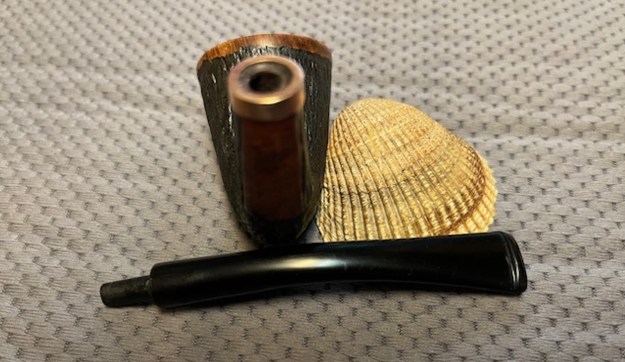
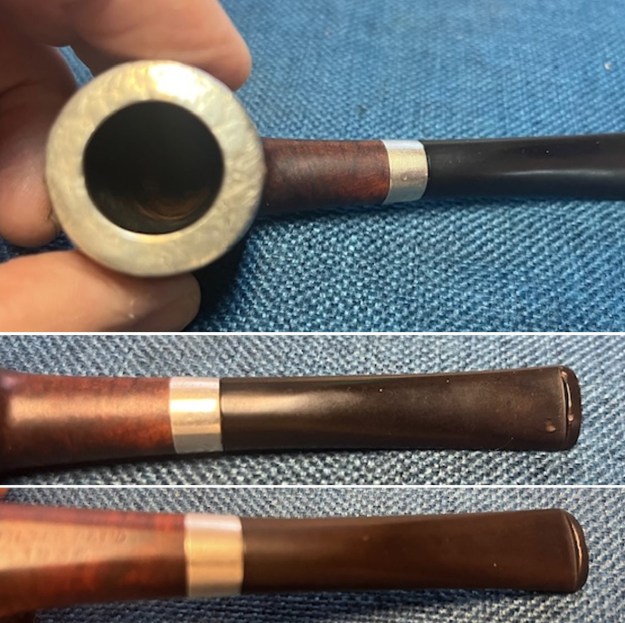
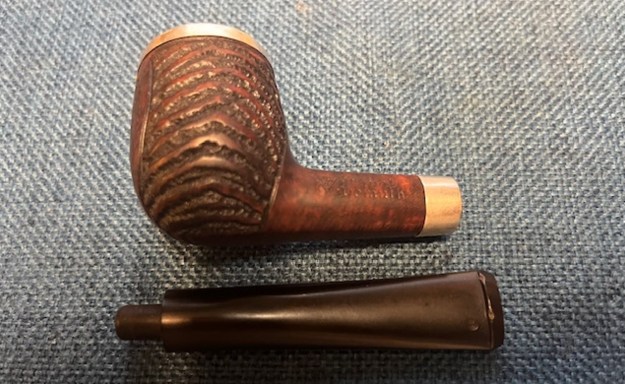
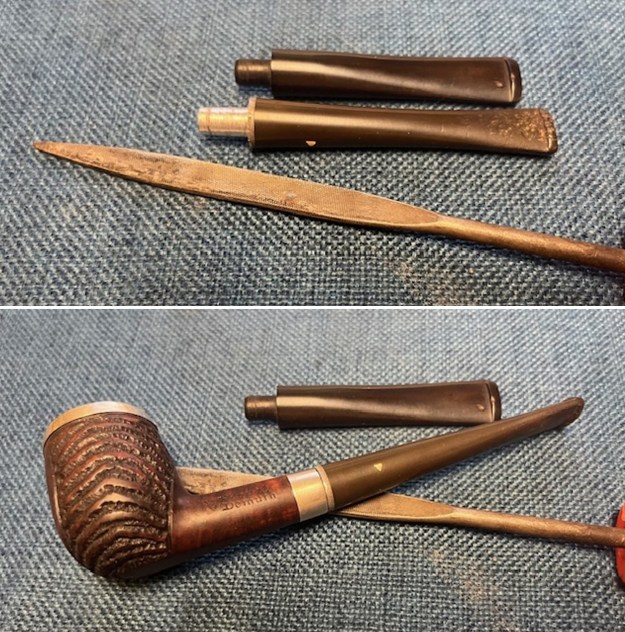
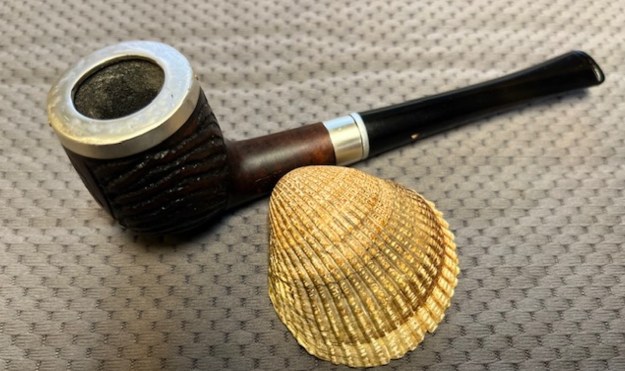
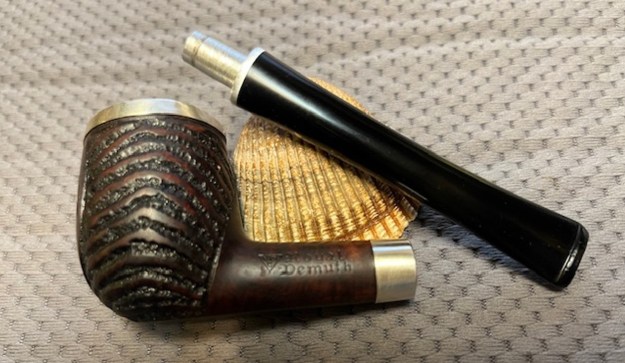
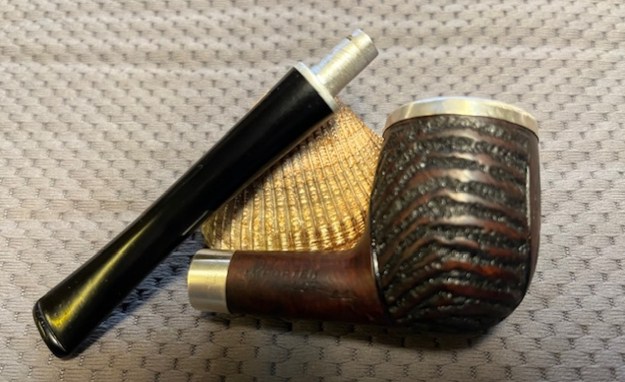
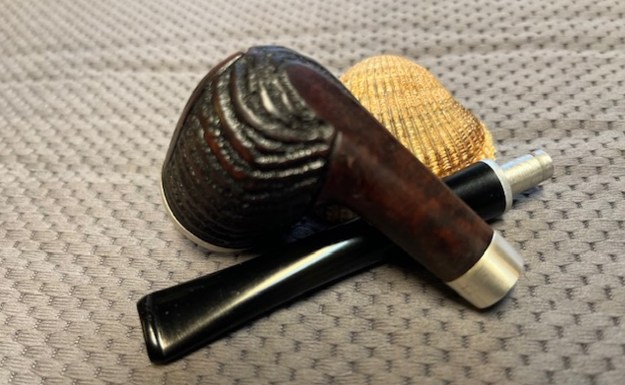
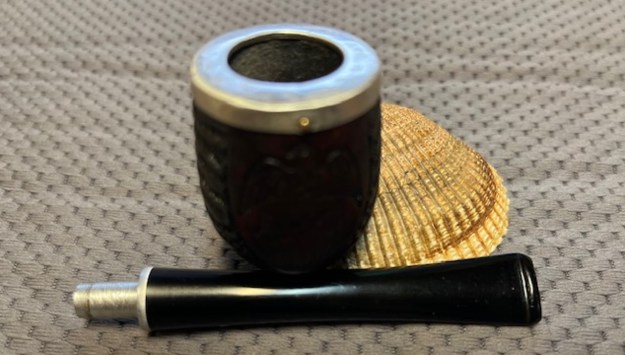
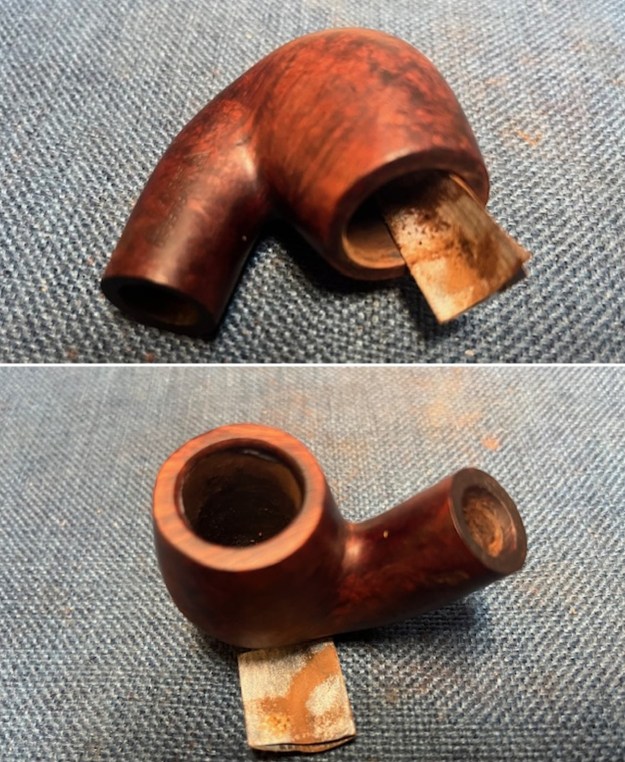
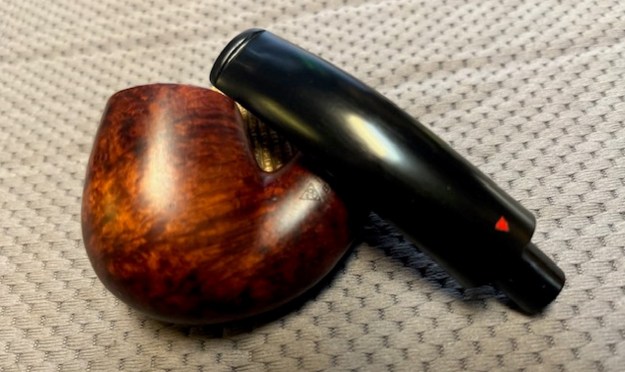
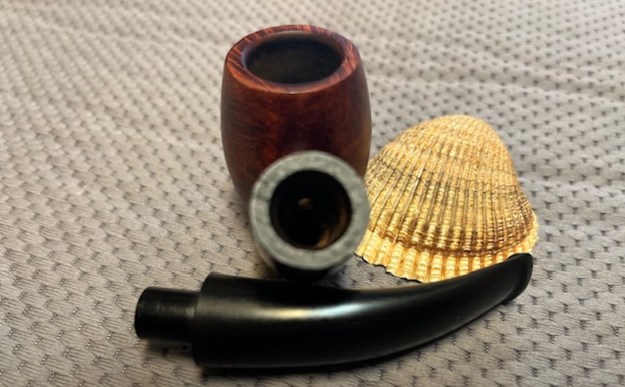
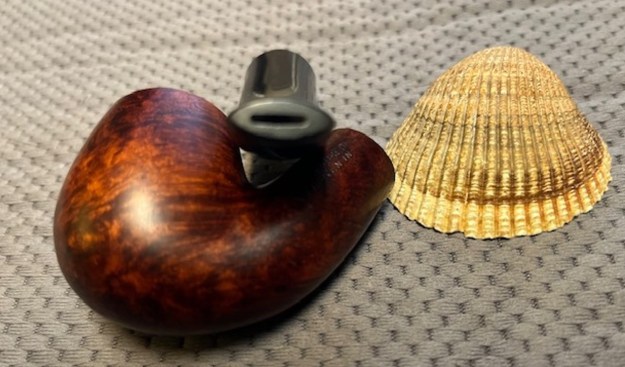
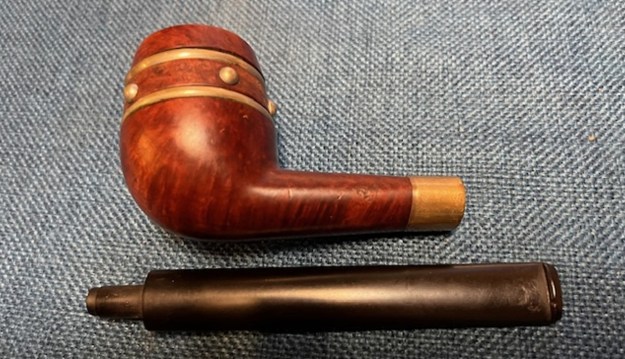
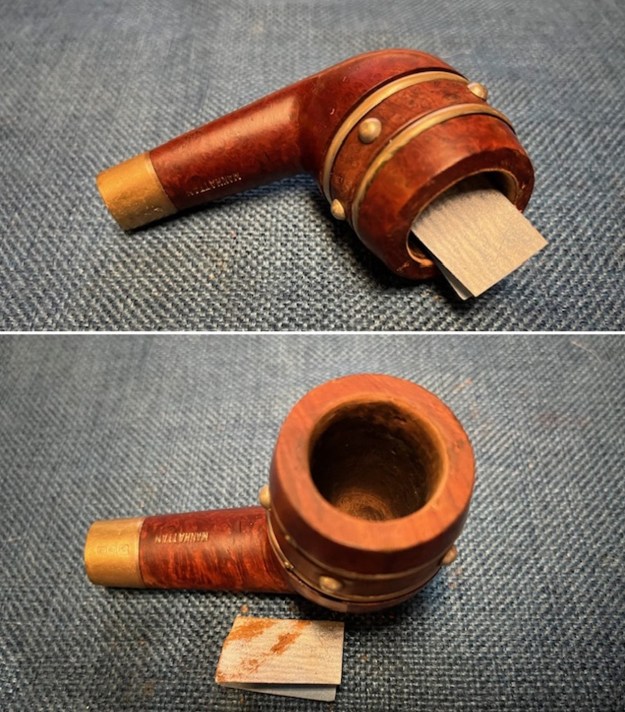
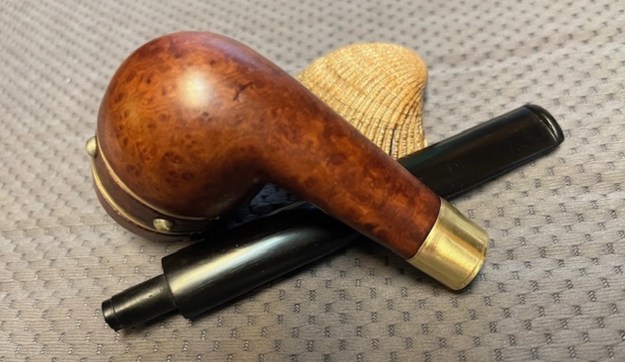
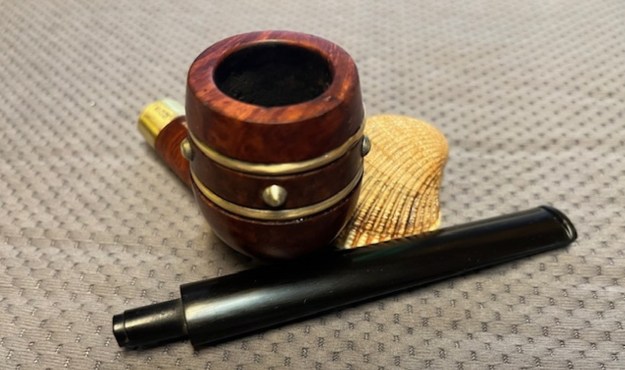
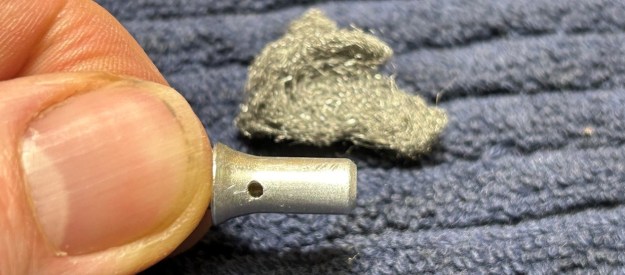
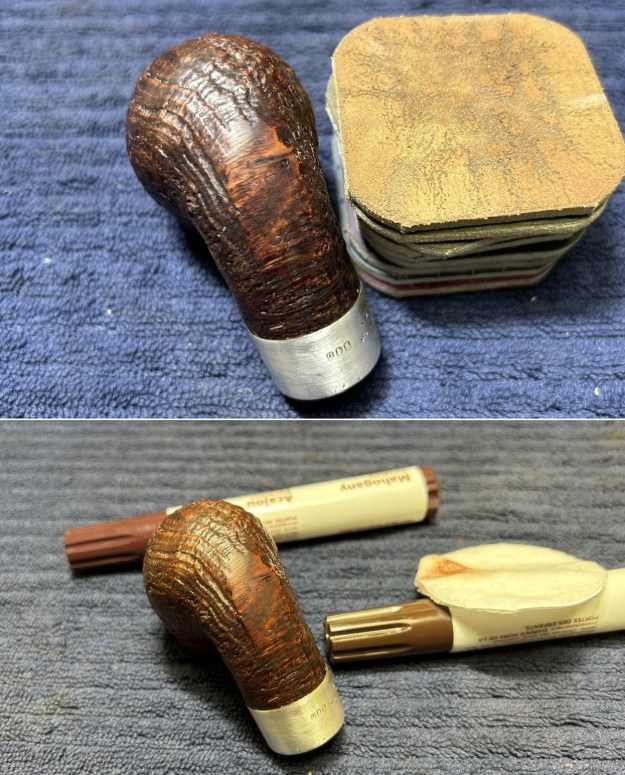
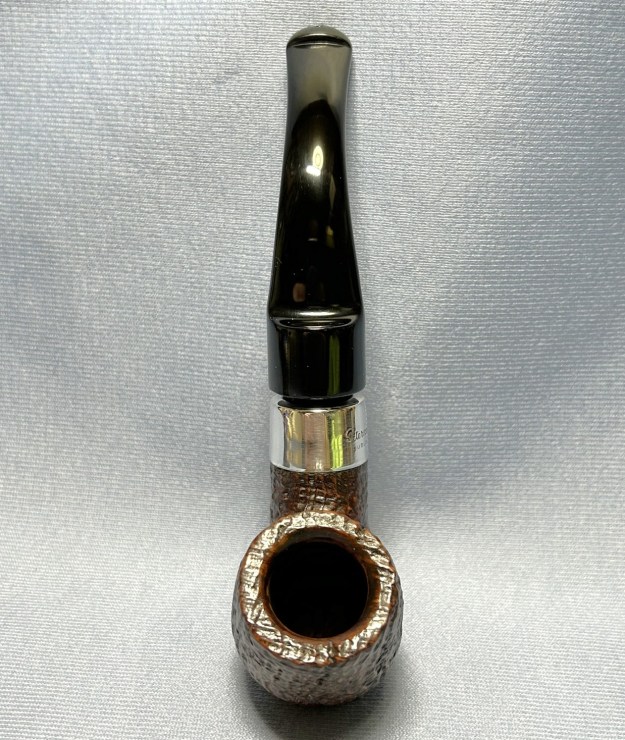
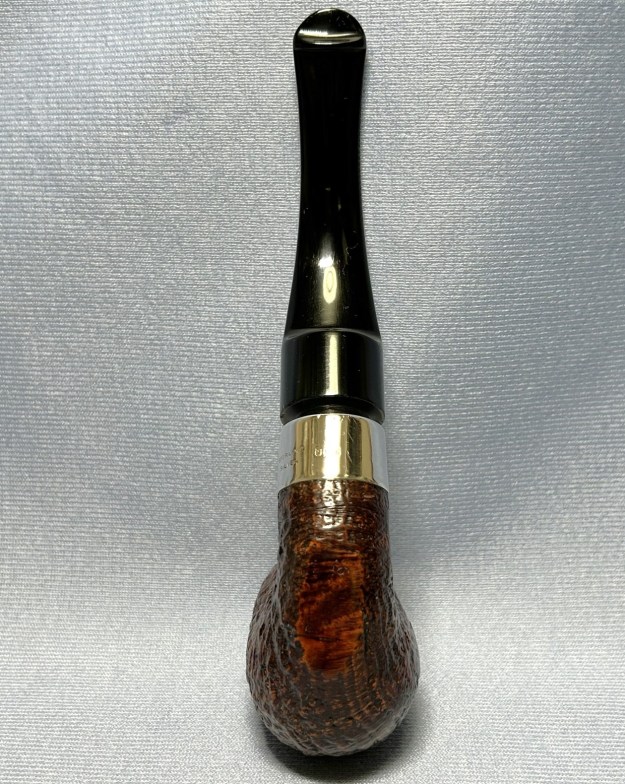
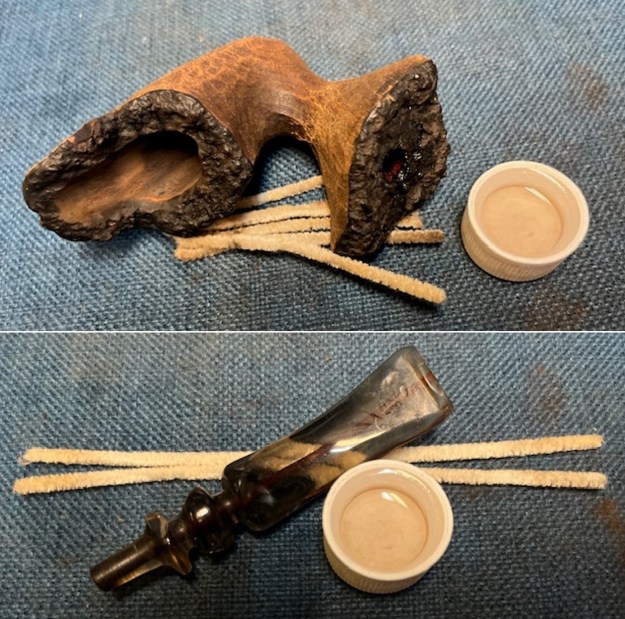
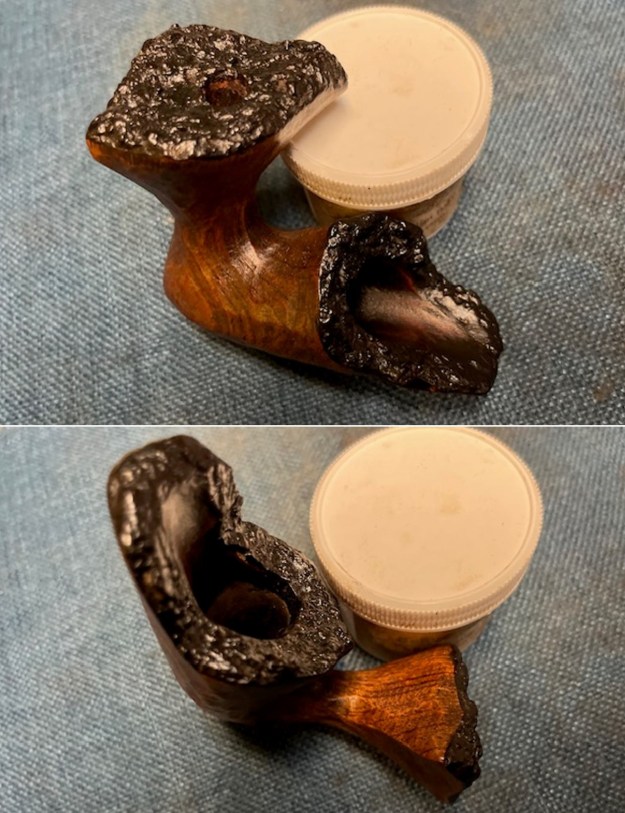
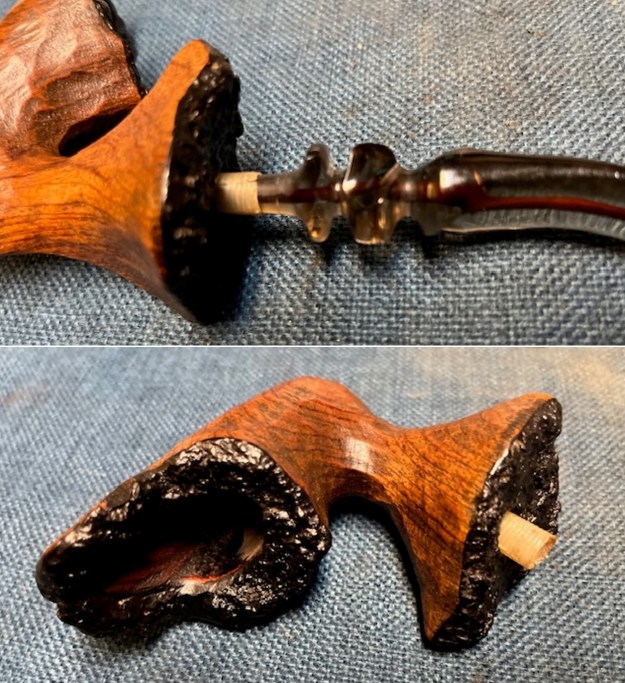
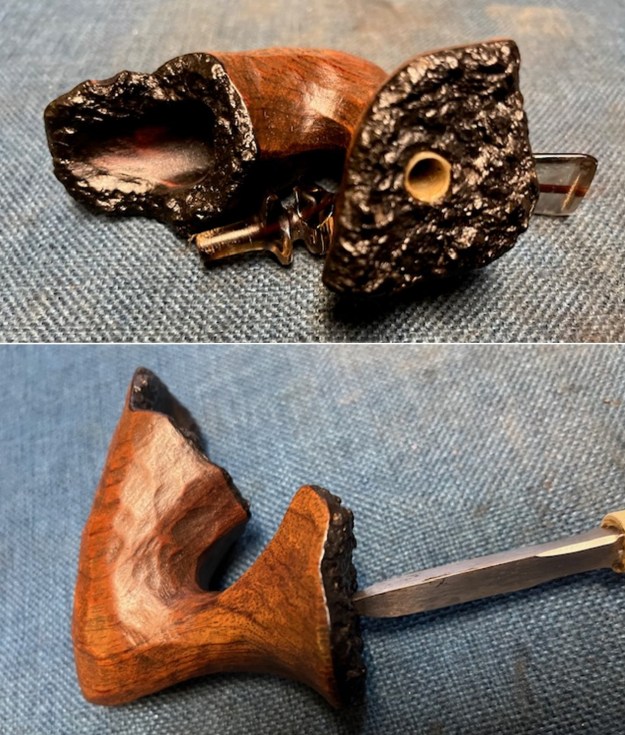
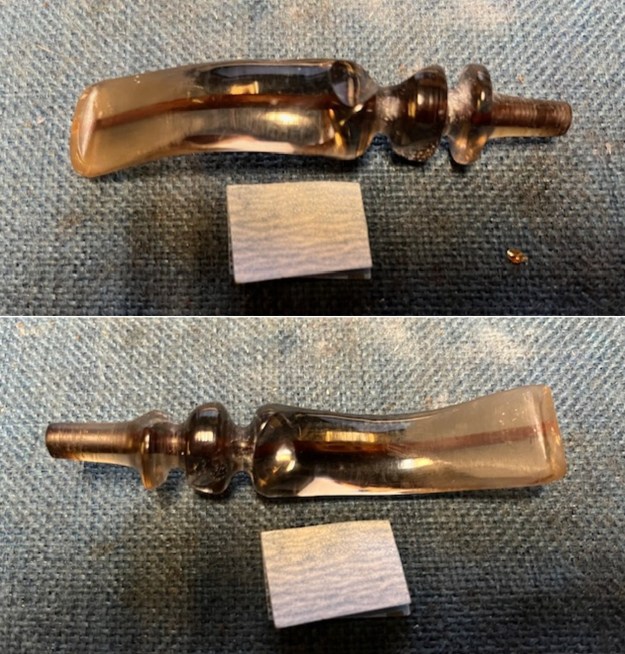
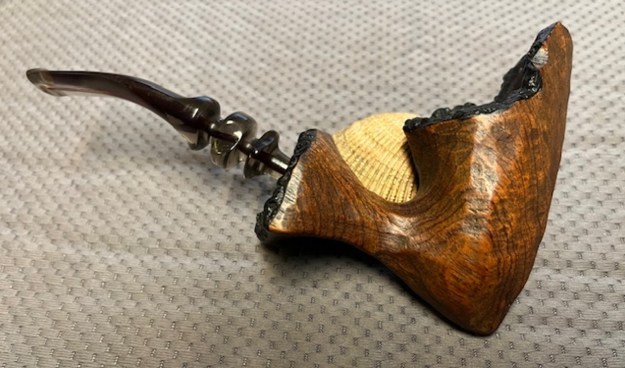
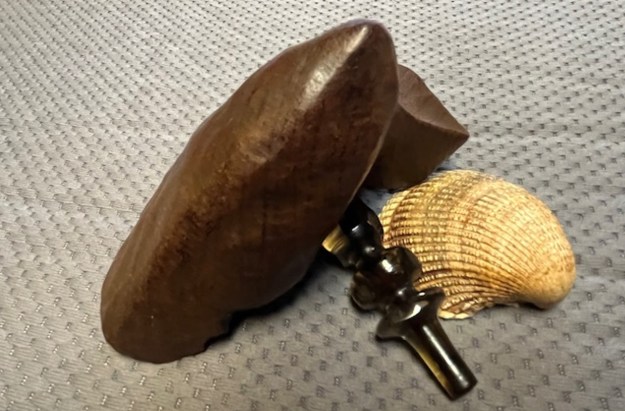
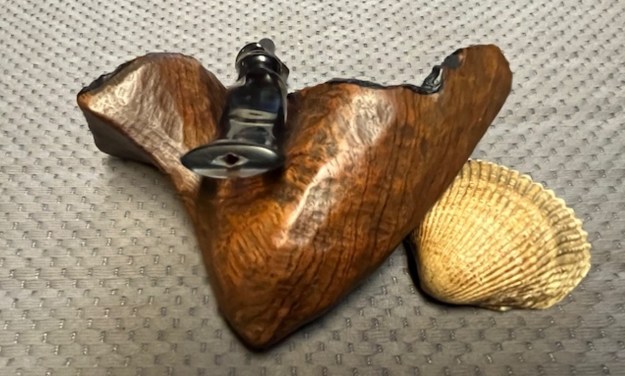
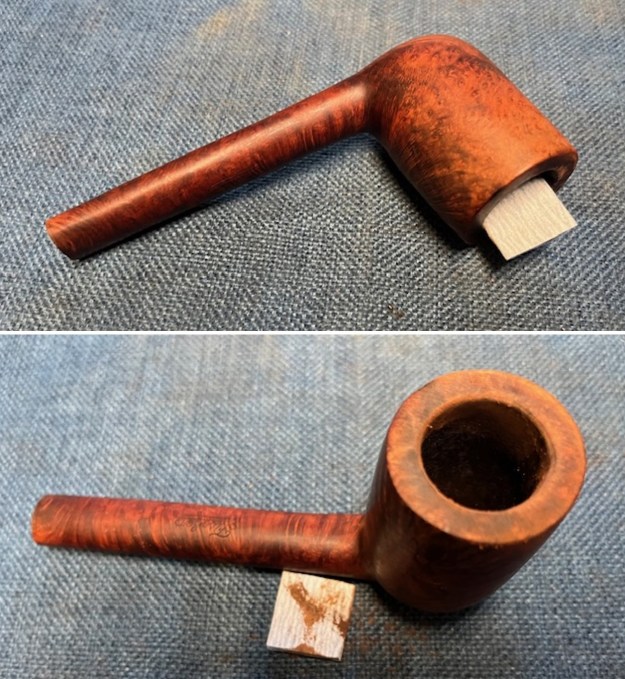
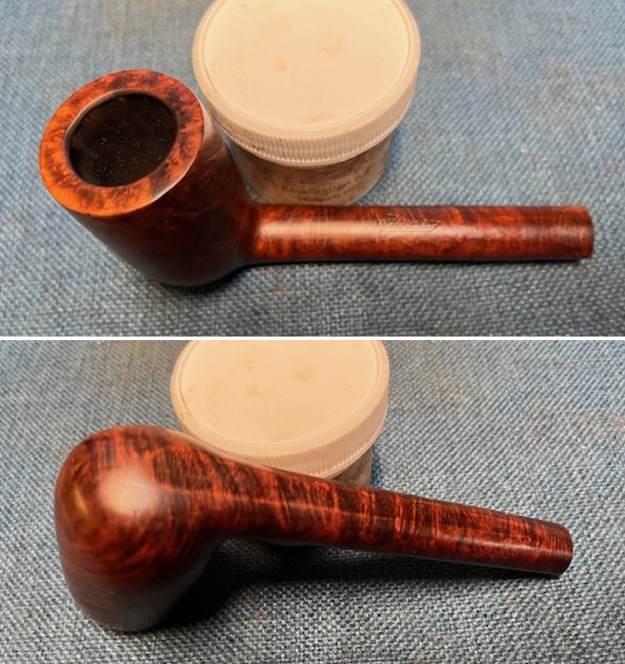
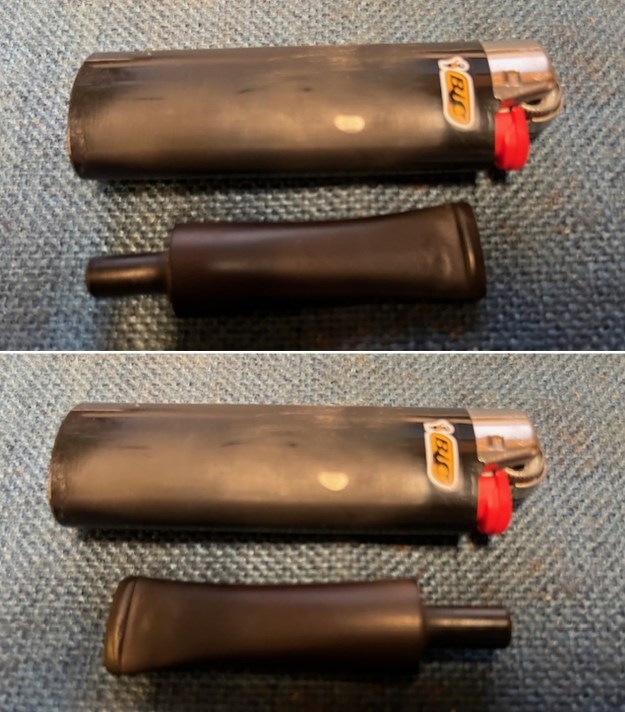
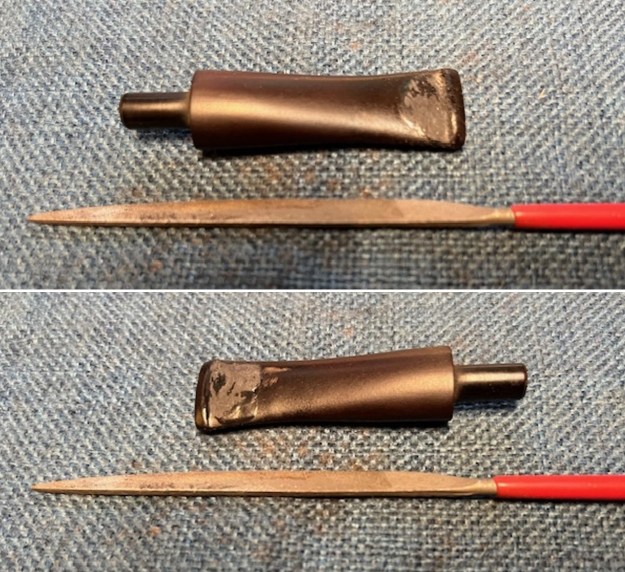
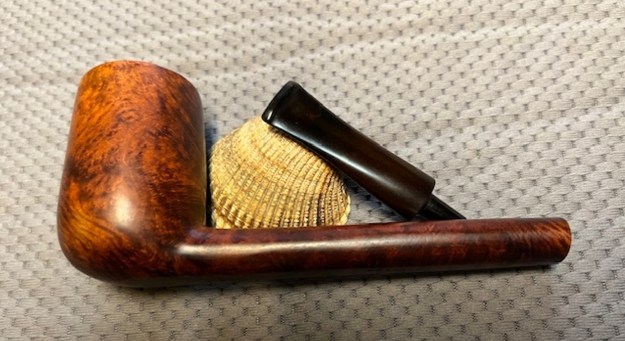
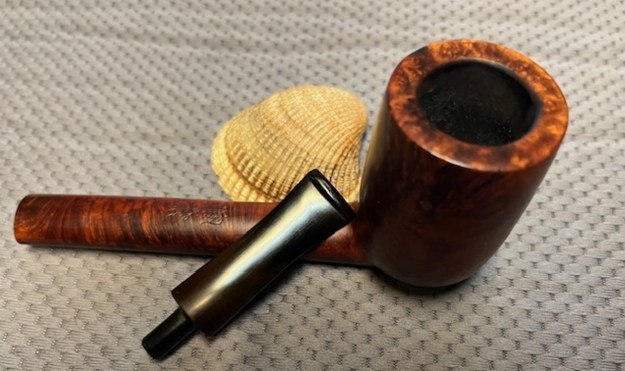
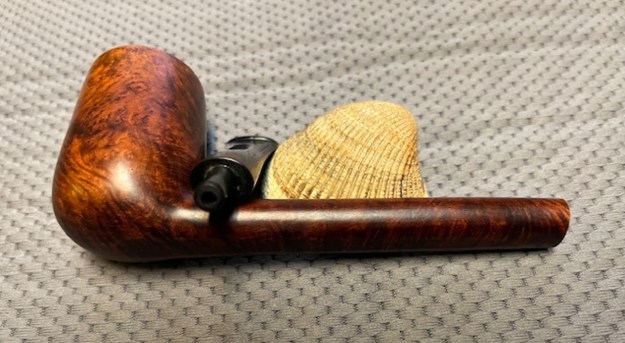
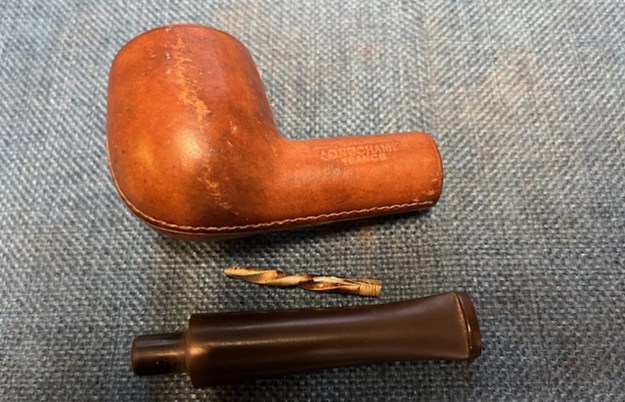
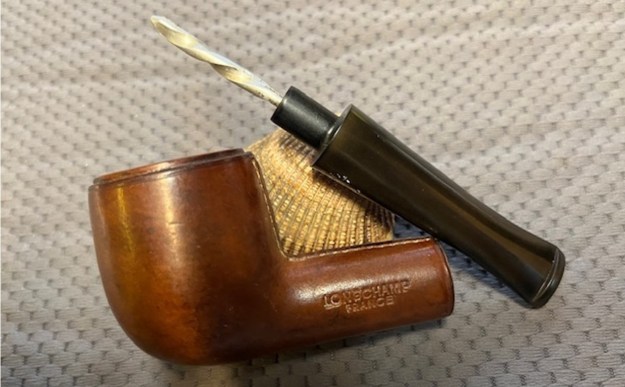
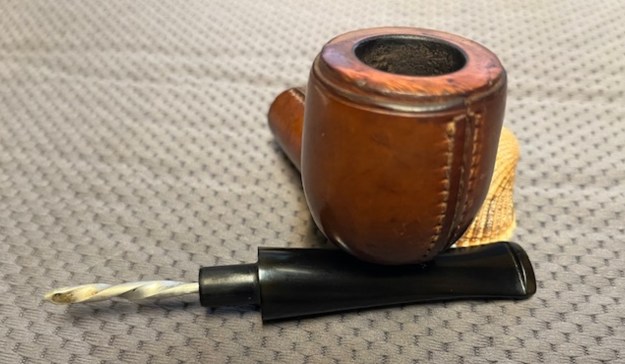
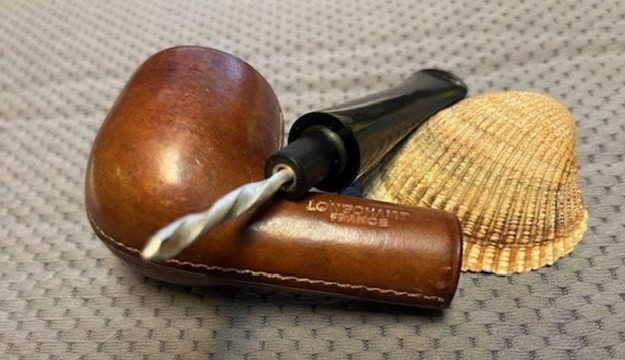
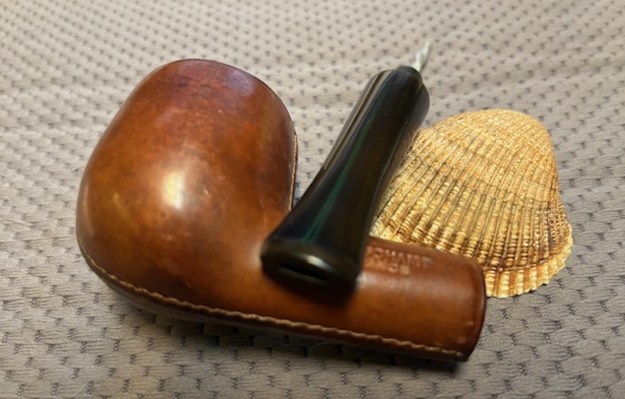
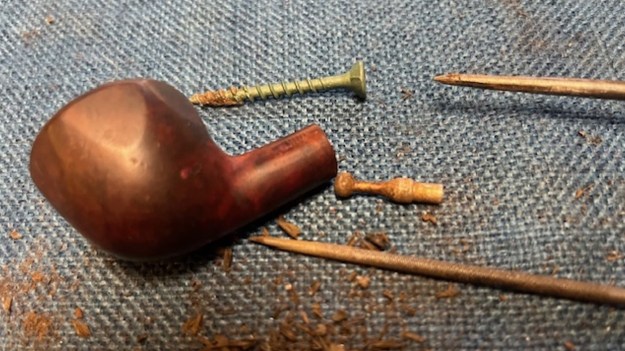
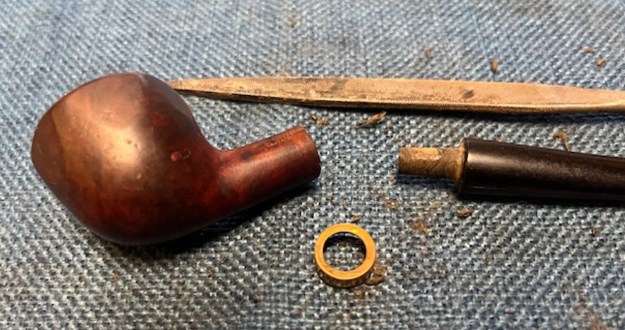
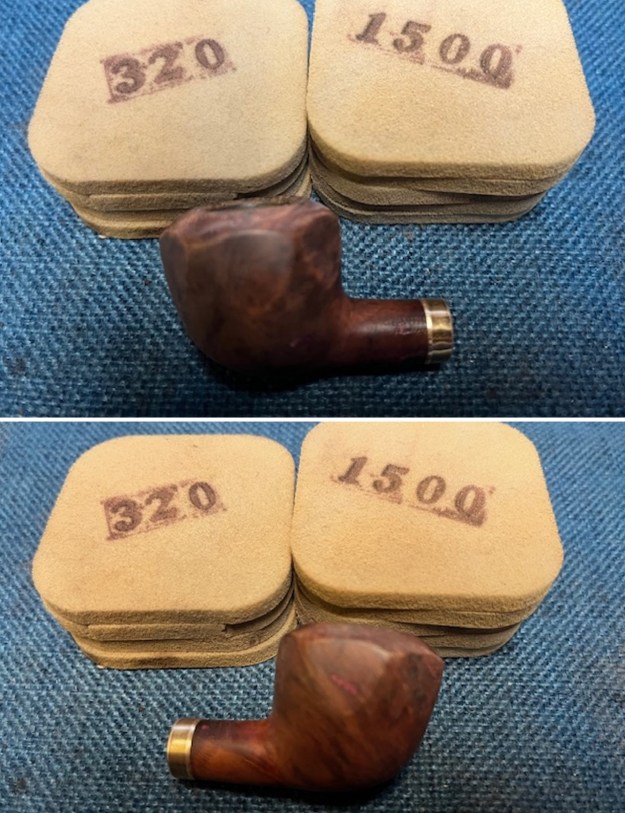
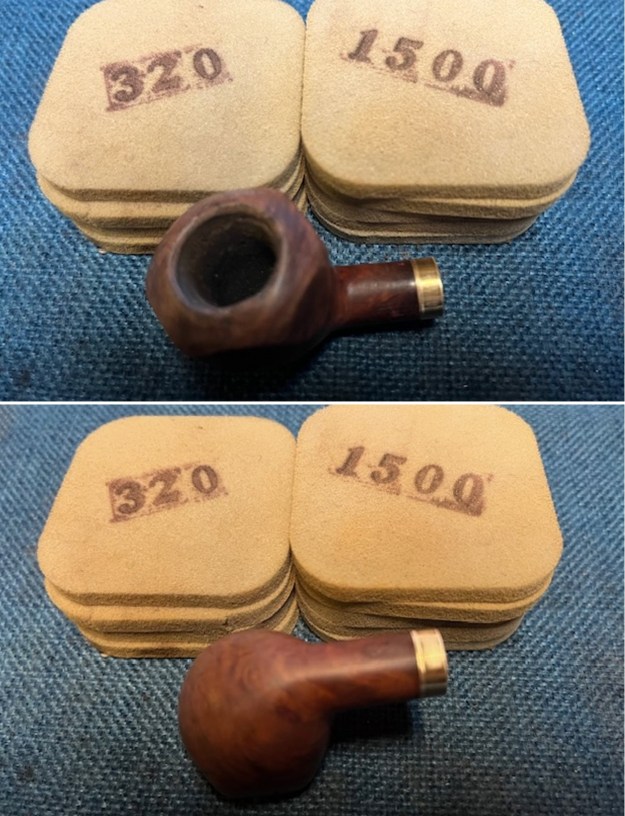
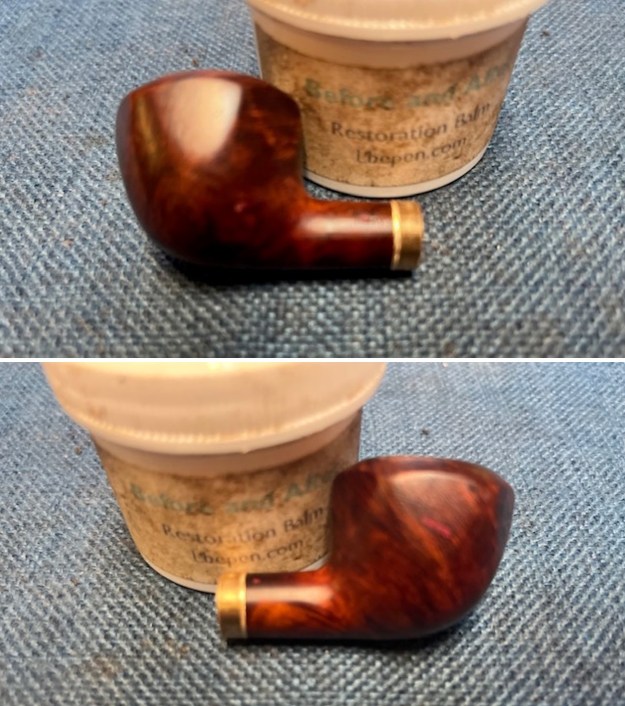
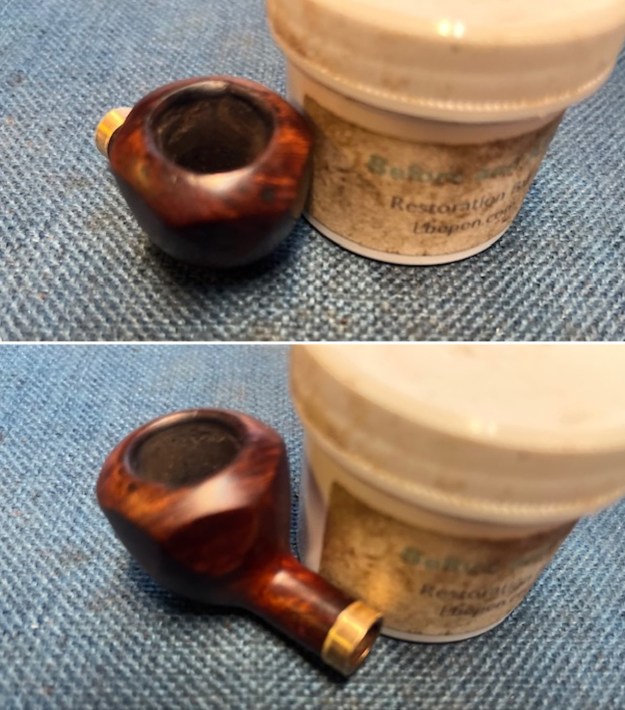
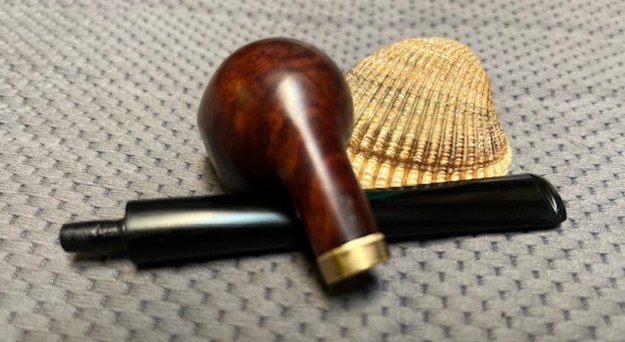
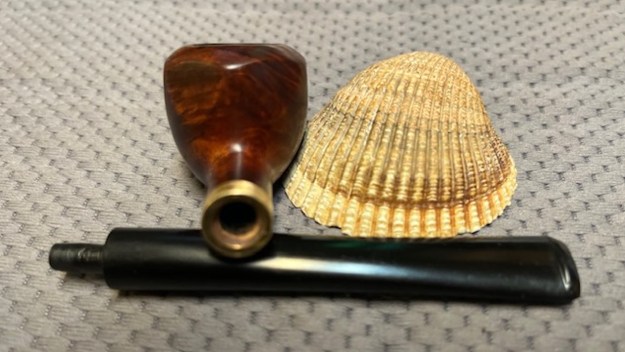
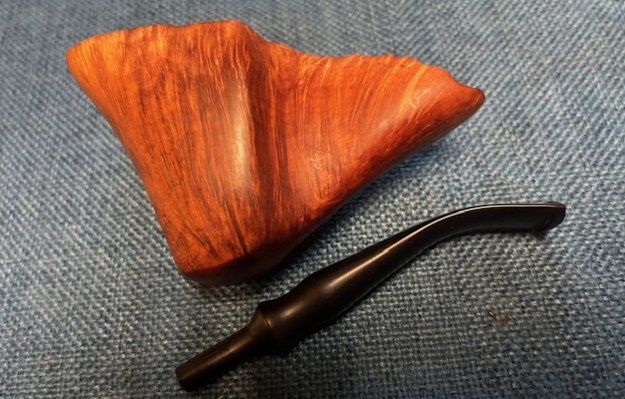
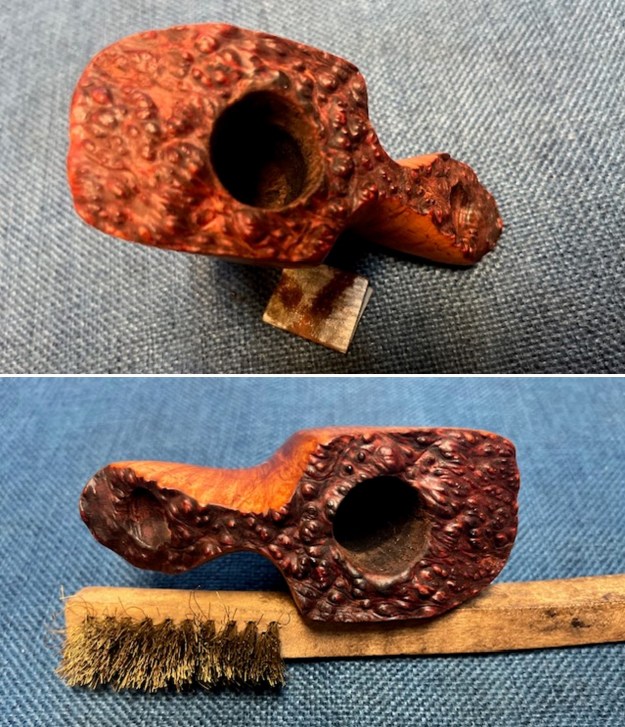
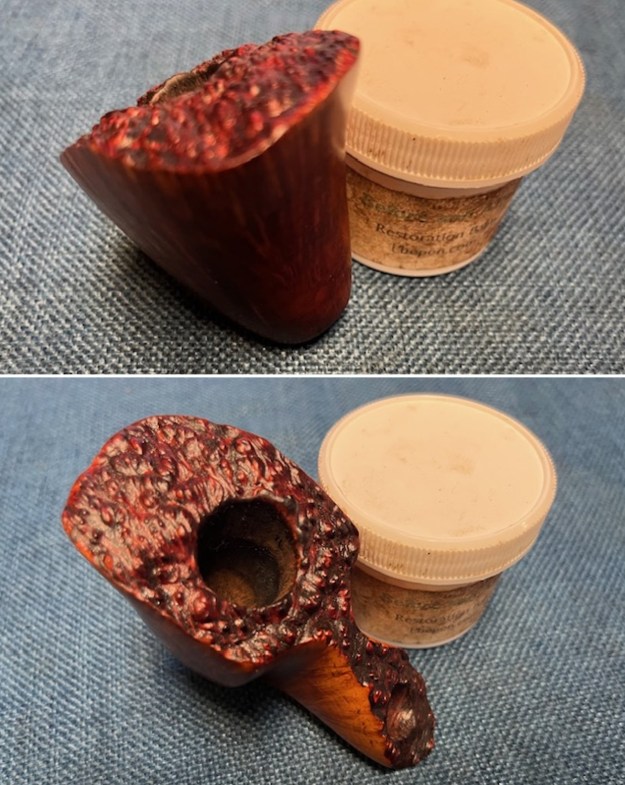
 I took photos of the bowl and the rim top as well as both sides of the stem to show the condition of the pipe before I started my work. The rim top was very clean and the inner edge and plateau top look much better. The stem showed light tooth marks on the top and underside near the button. I took the stem off the bowl and took a photo of the parts. It is an interesting pipe.
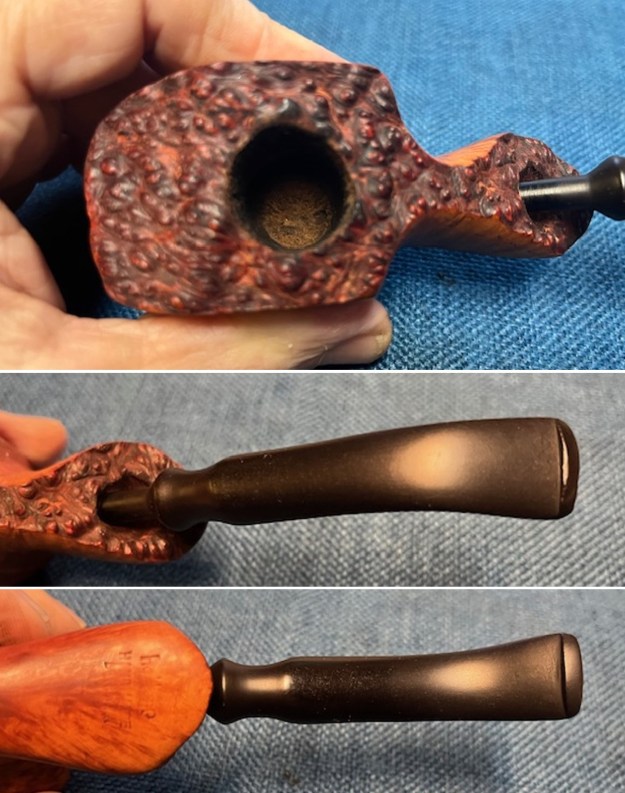
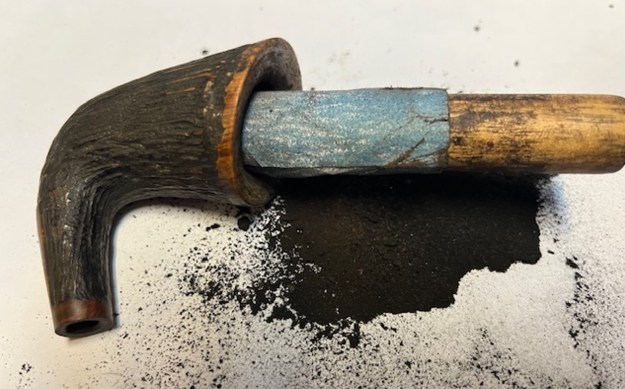
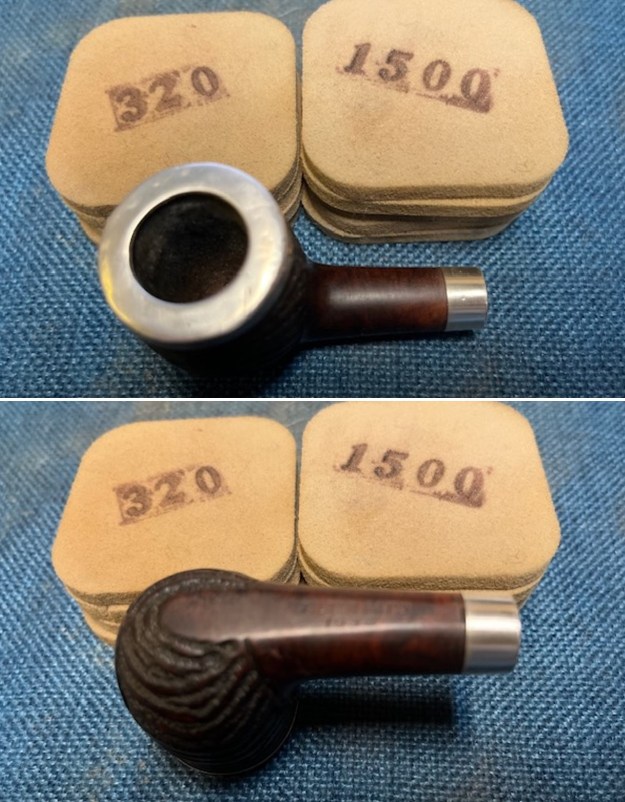
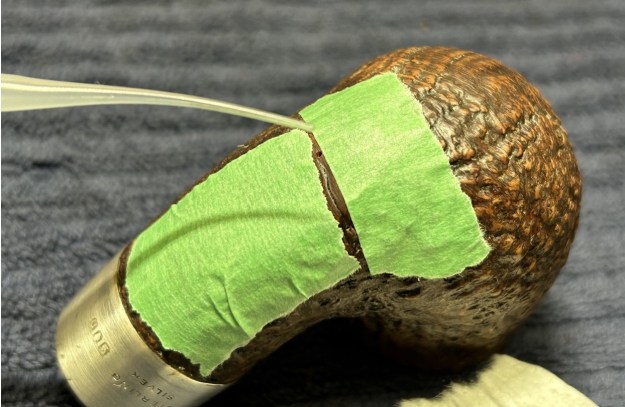
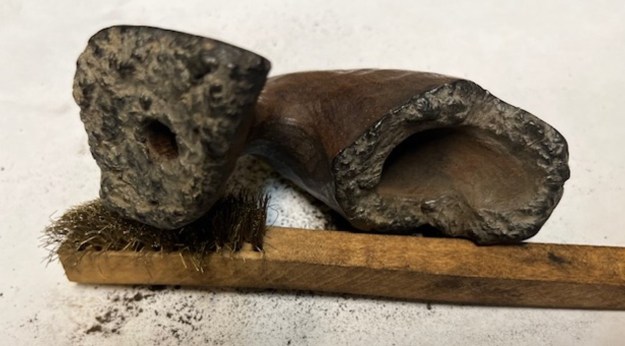
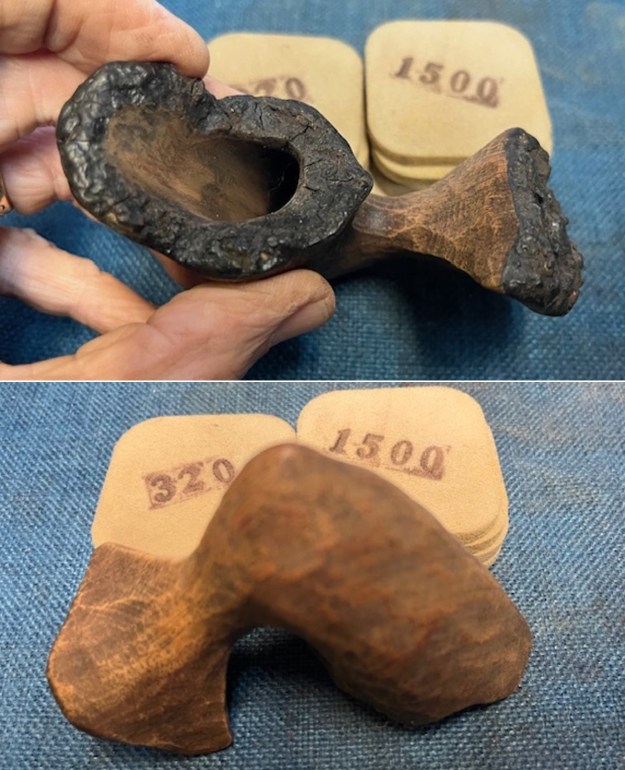
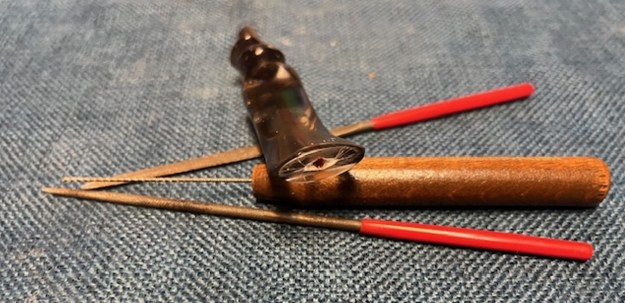
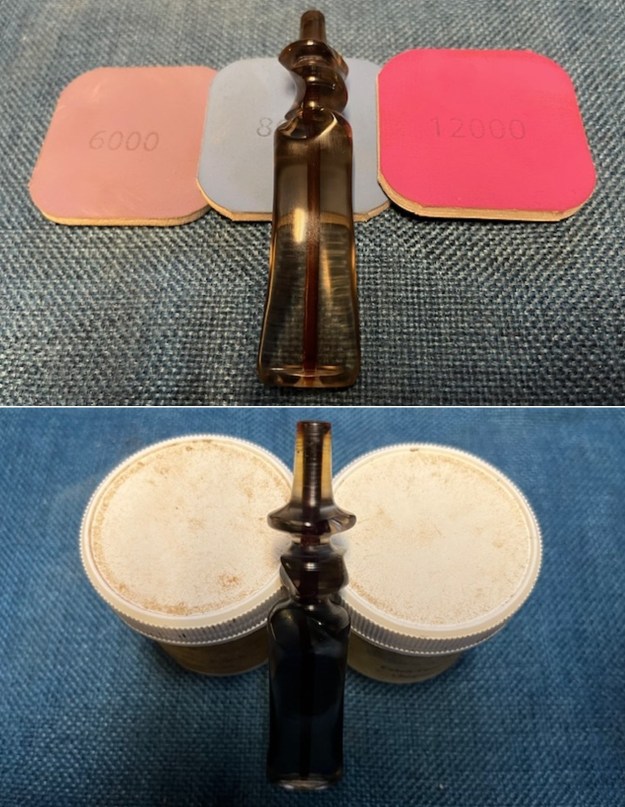
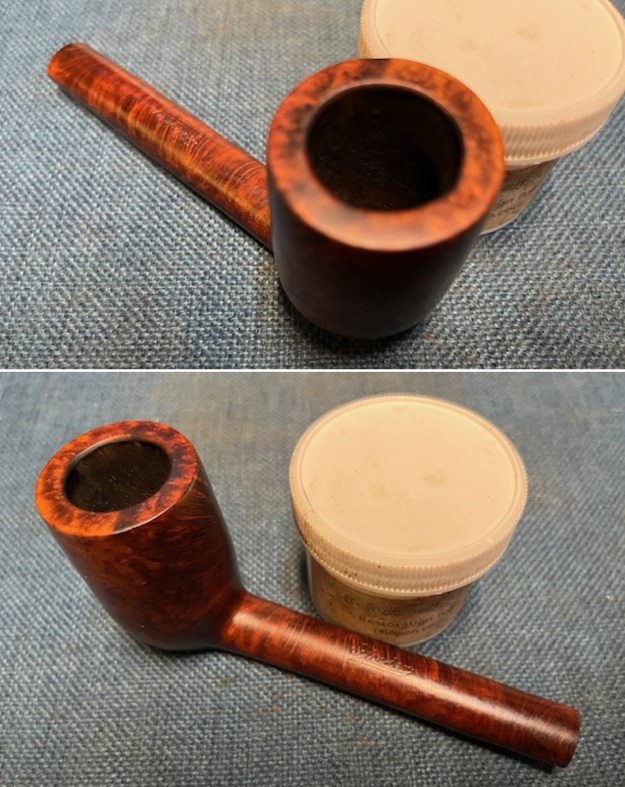
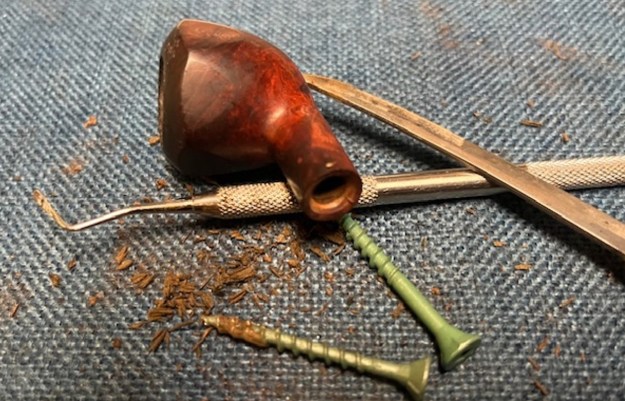
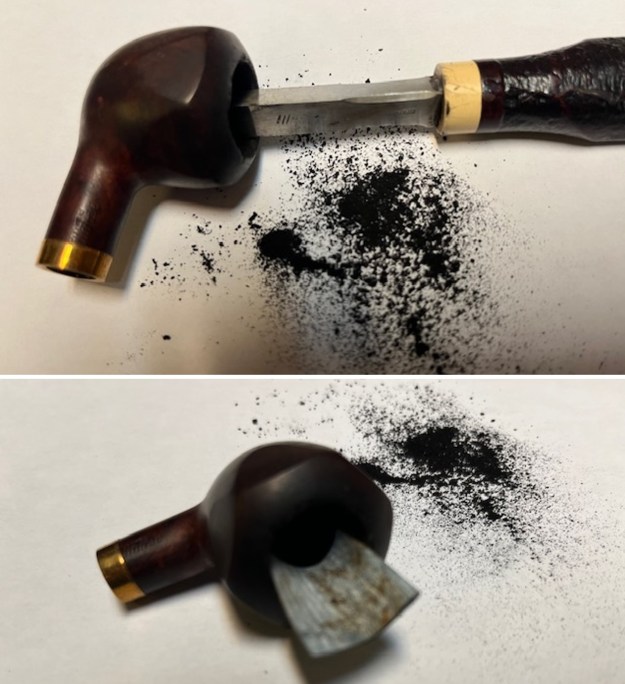
 I used a folded piece of 220 grit sandpaper to smooth out the inner edge and remove some of the darkening still remaining on it. I worked over the plateau with a brass bristle wire brush to further clean it up.
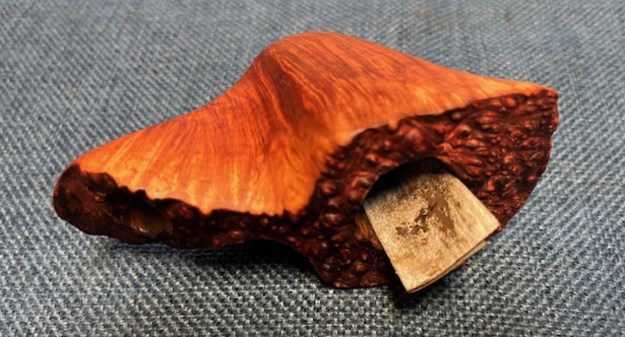
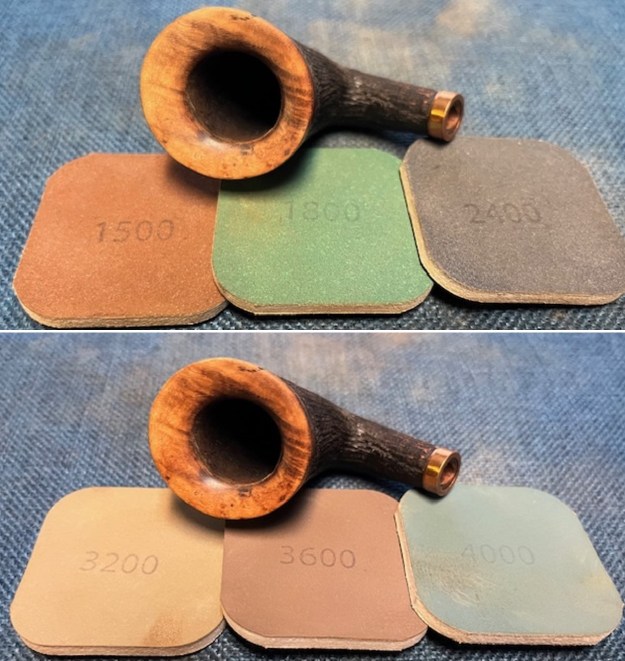
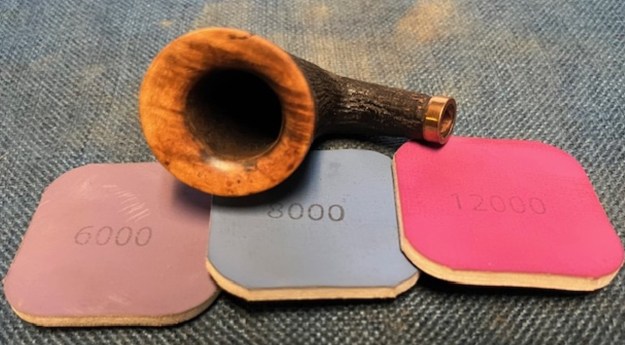
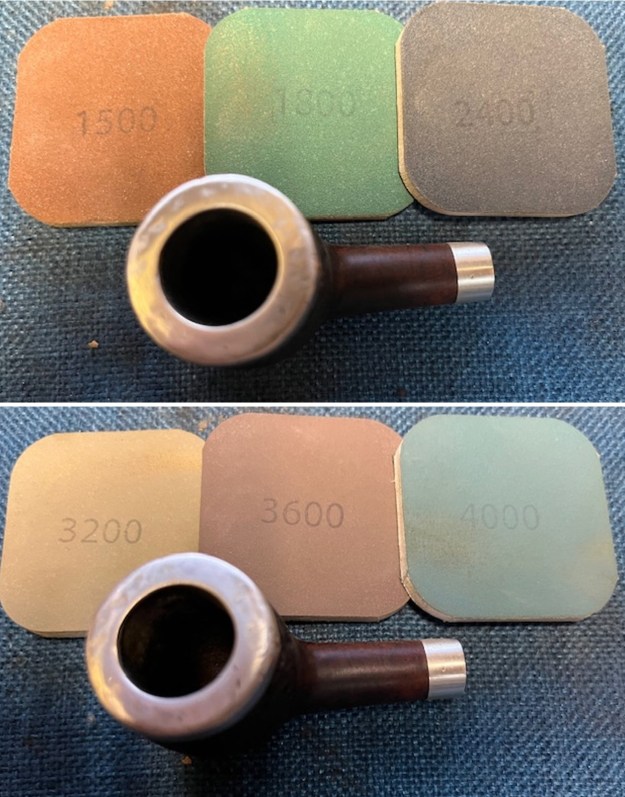
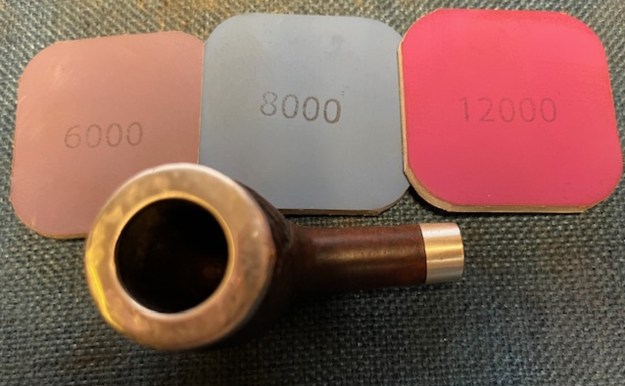
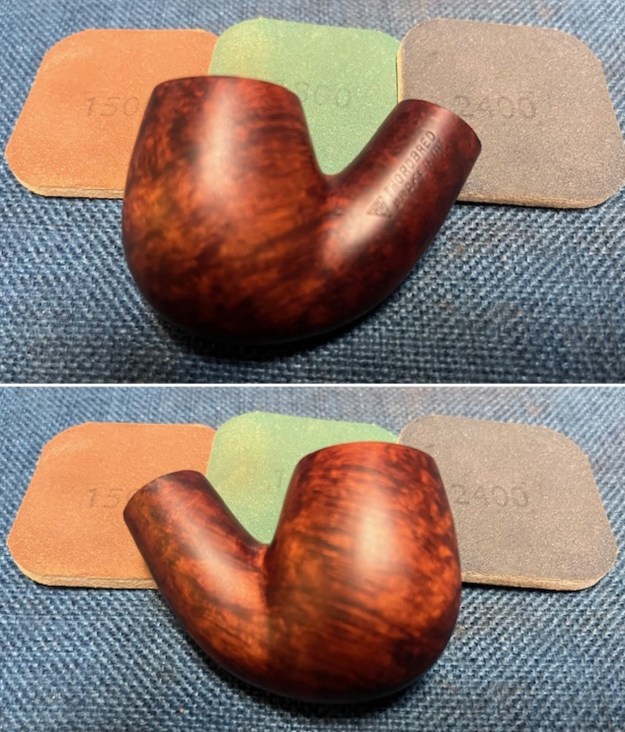
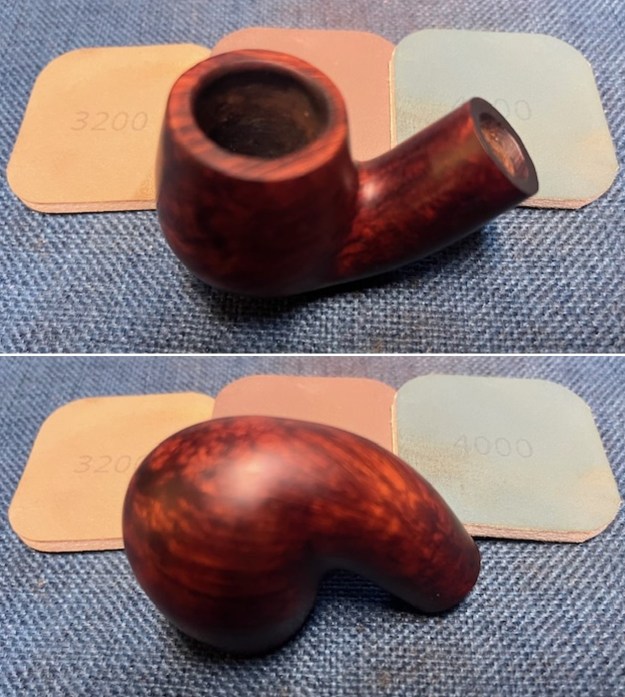
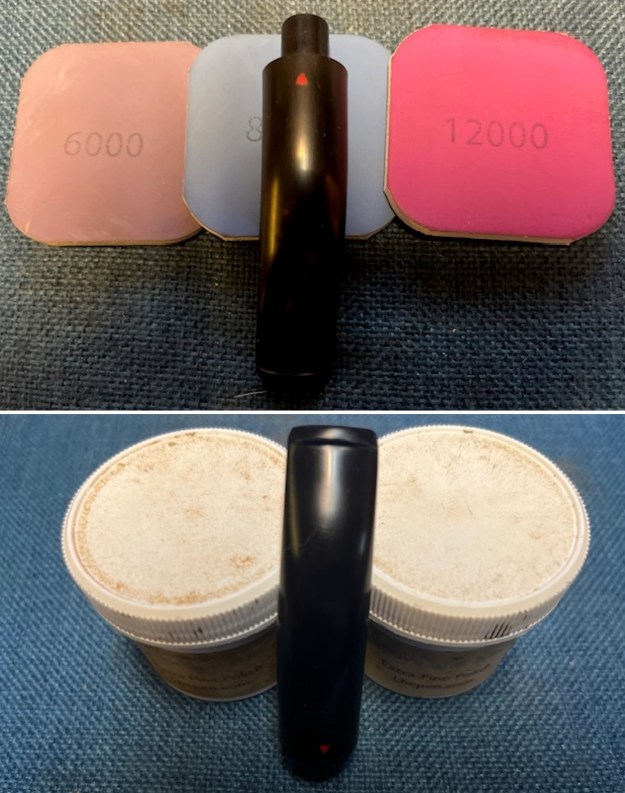
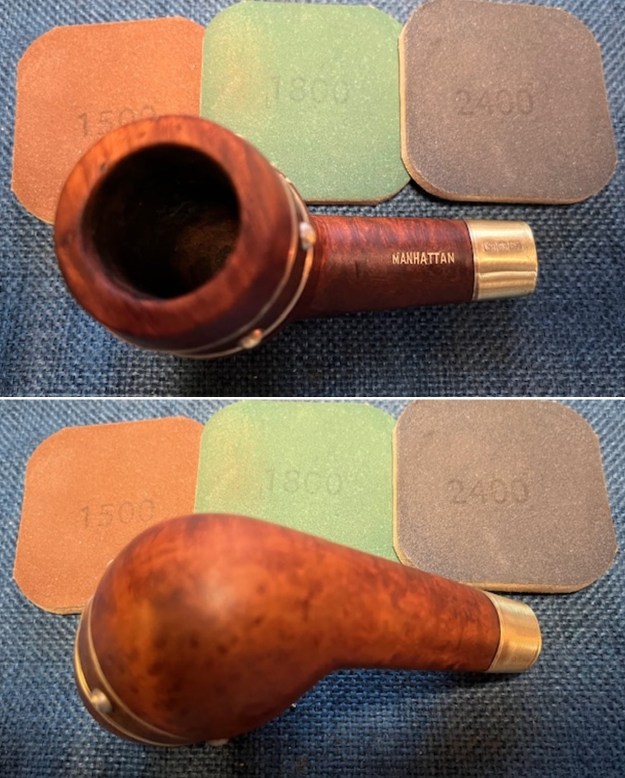
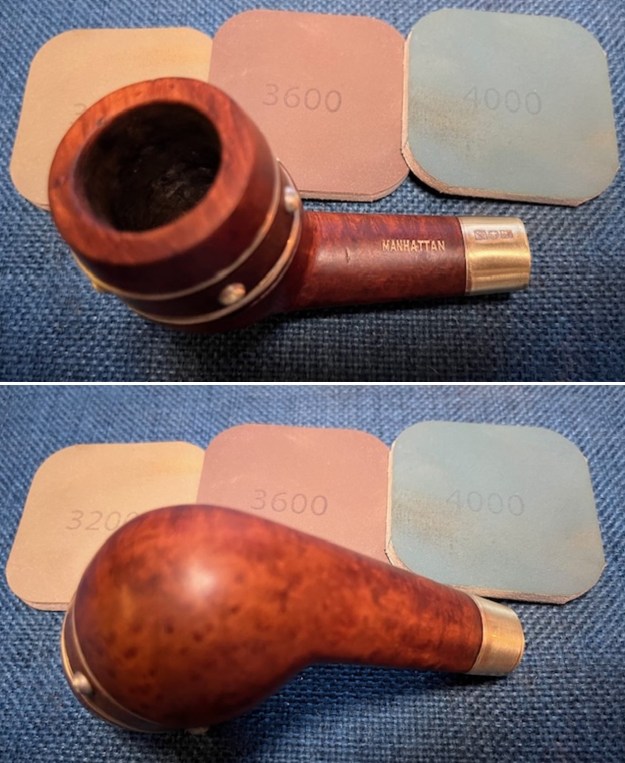
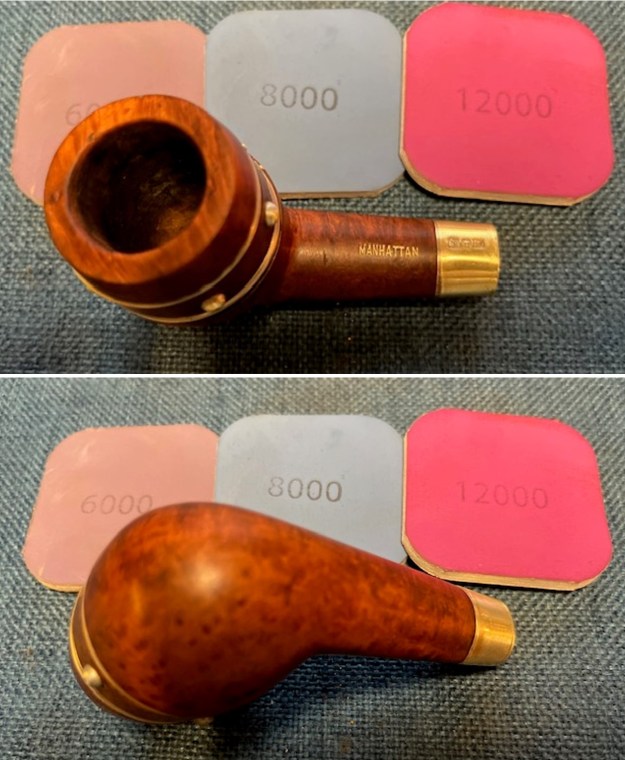
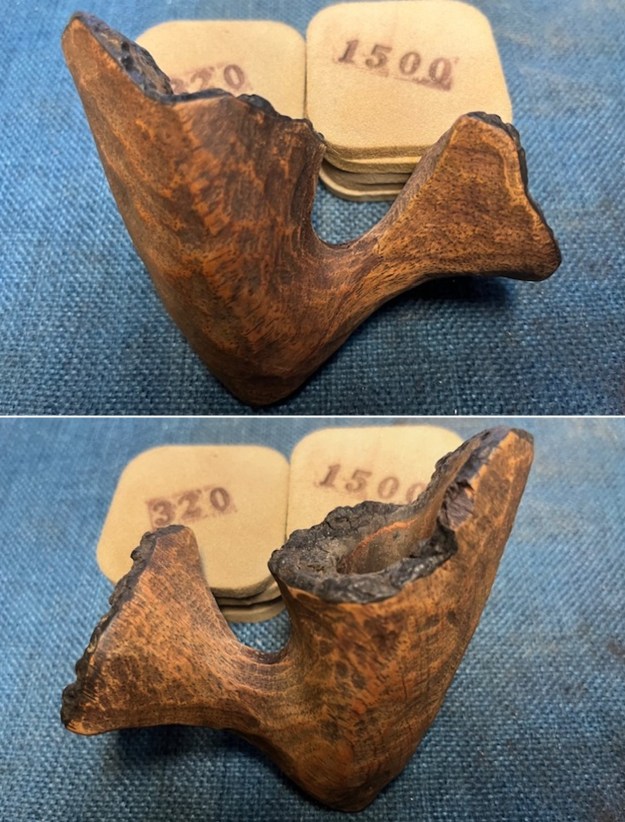
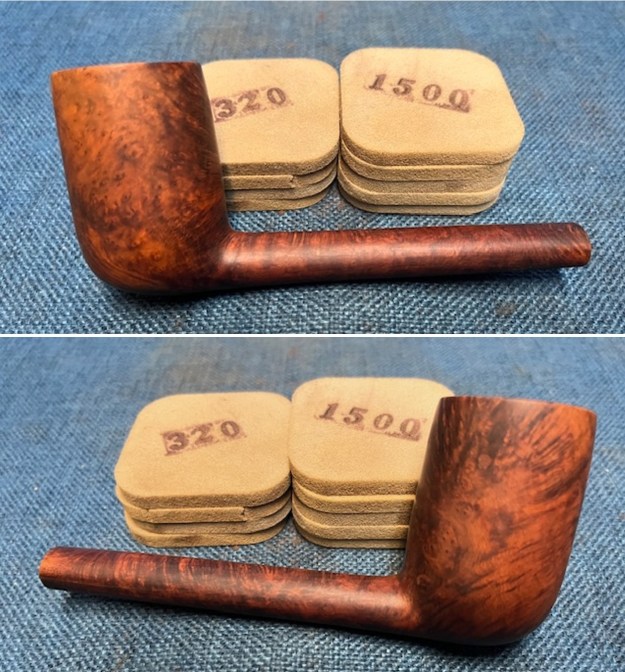
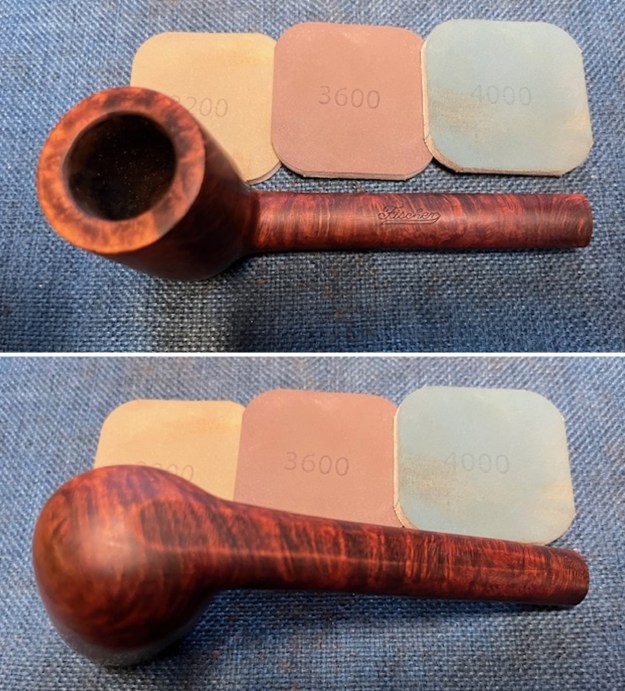
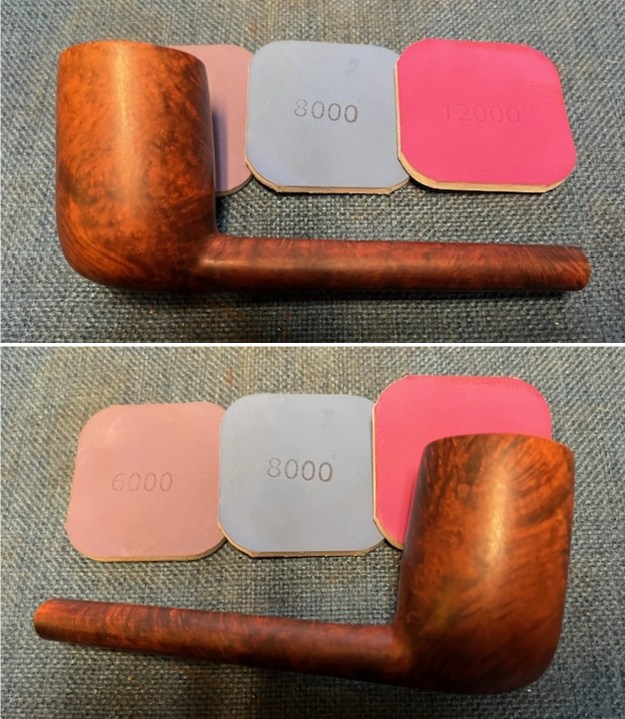
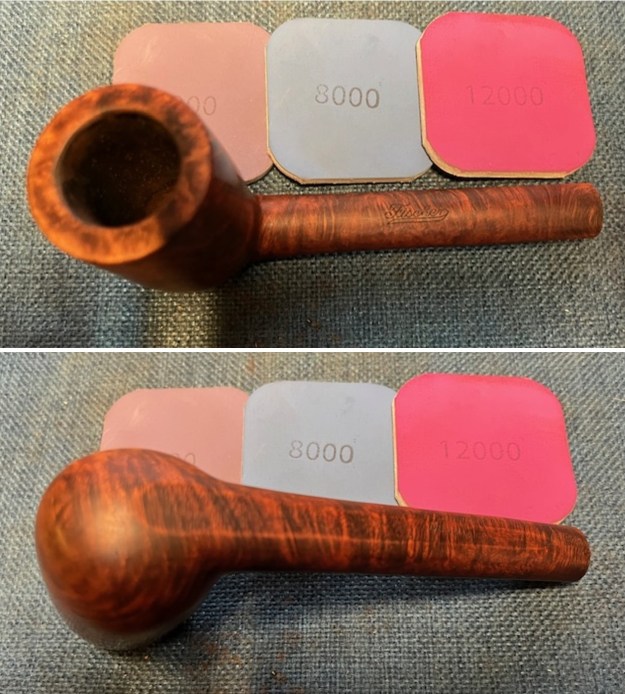
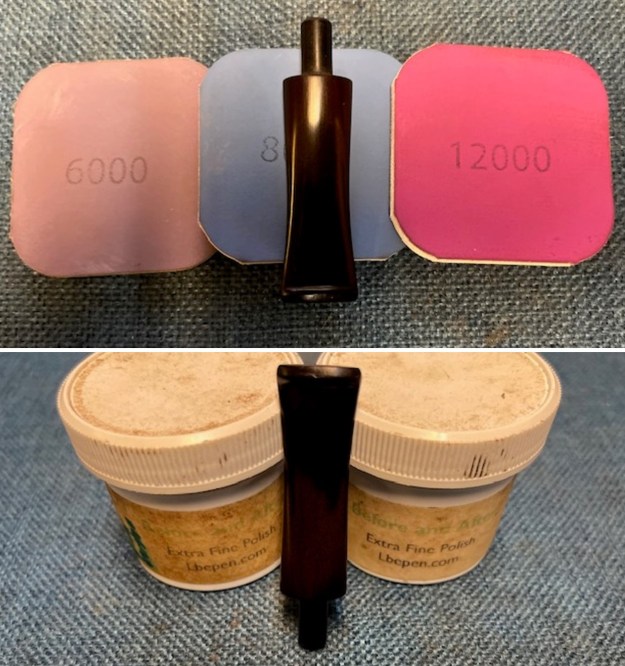
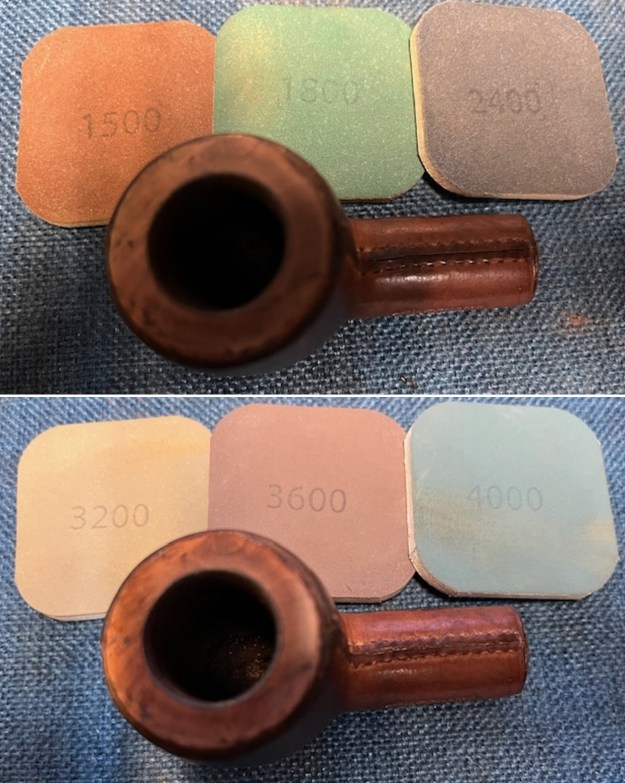
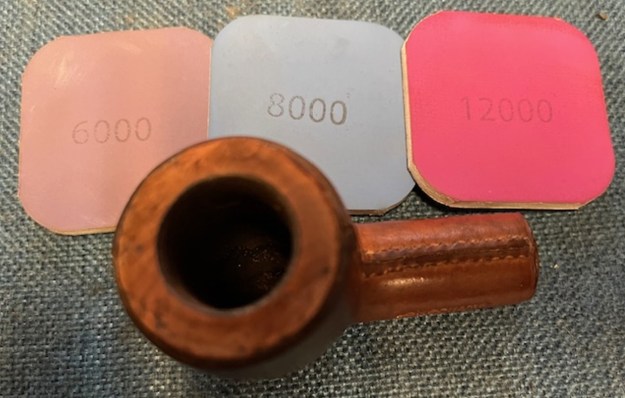
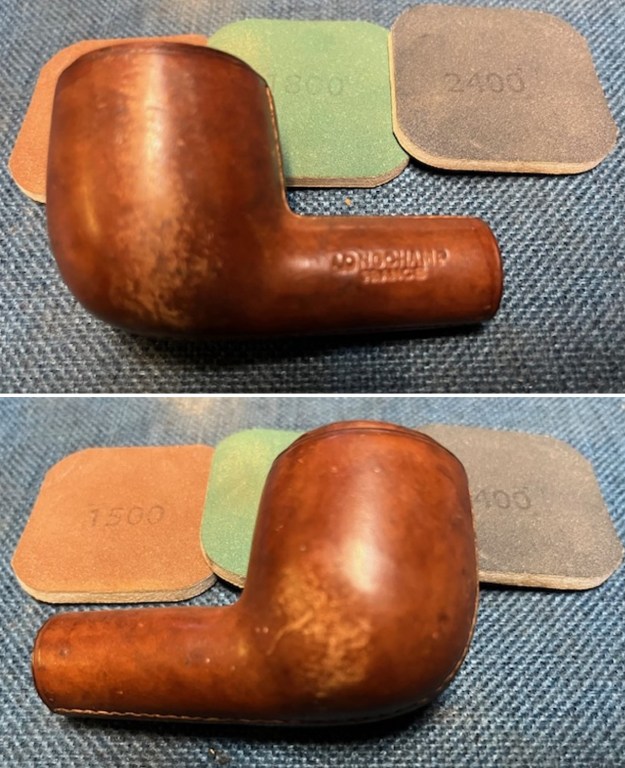
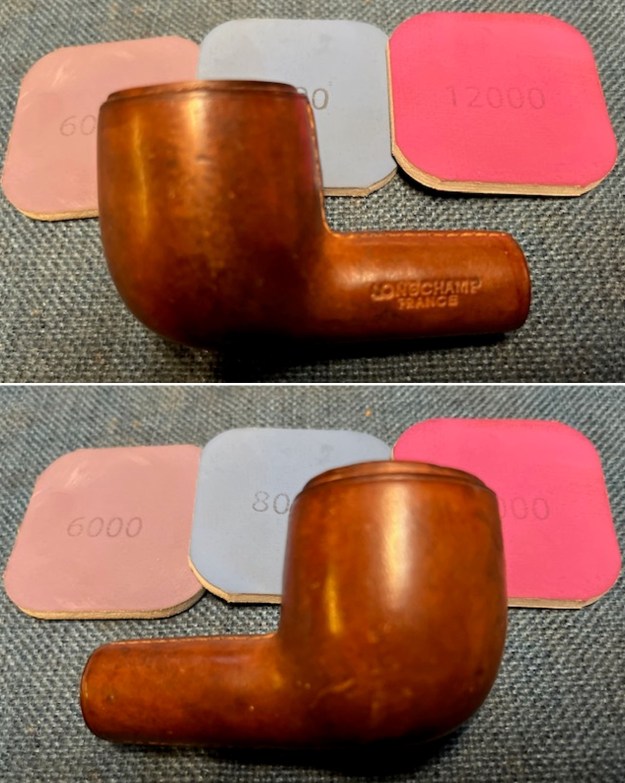
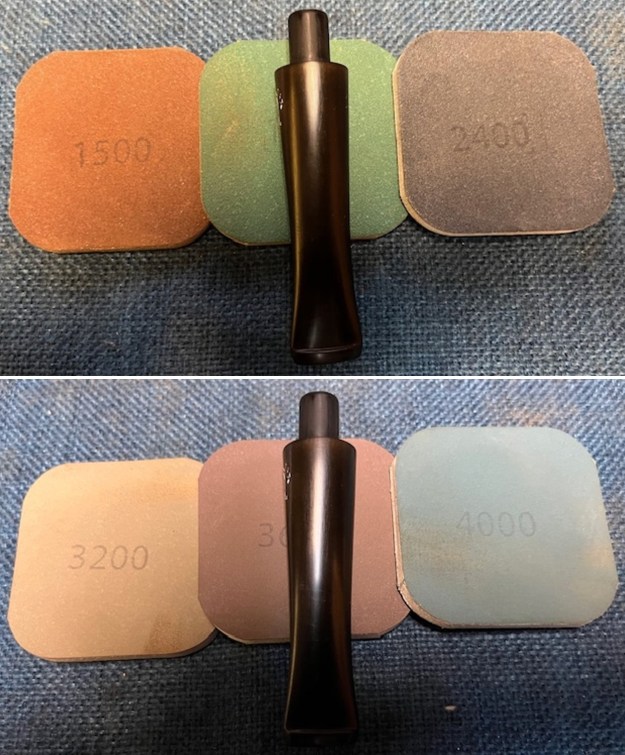
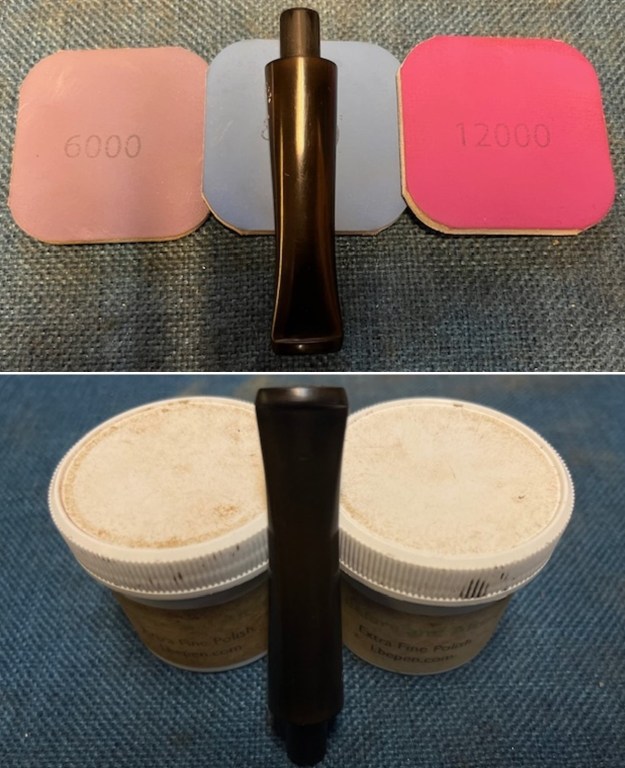
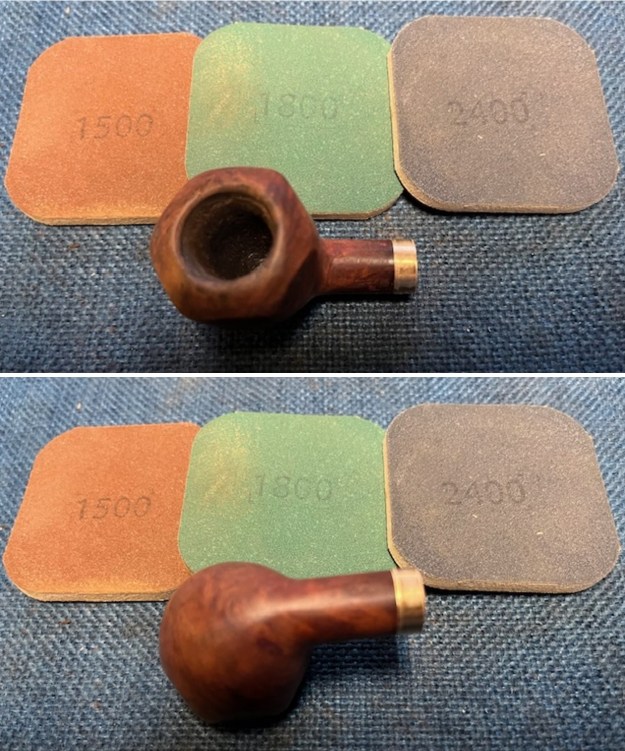
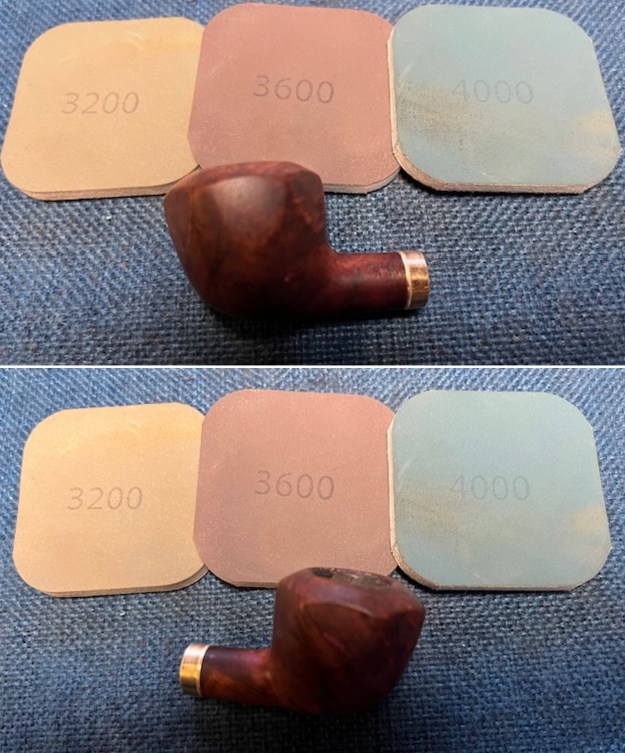
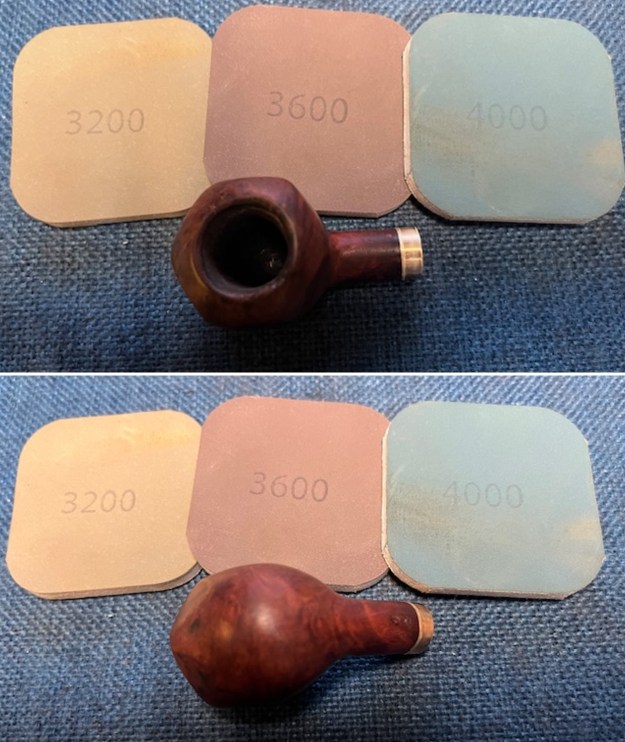
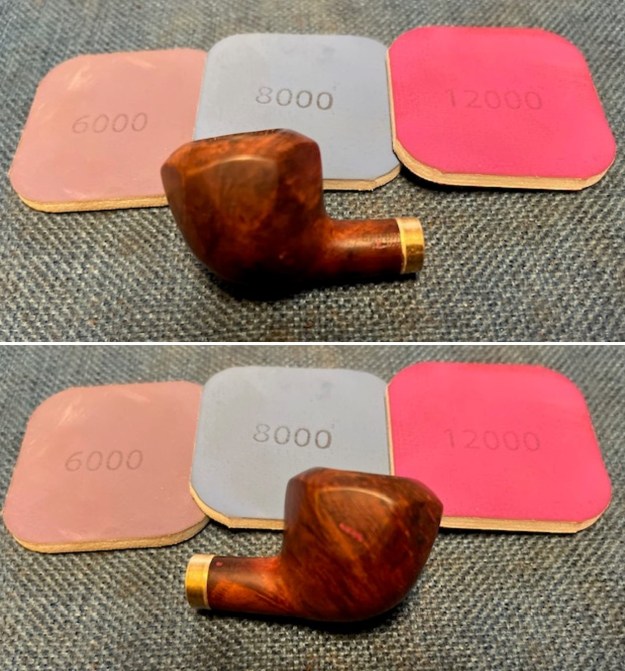
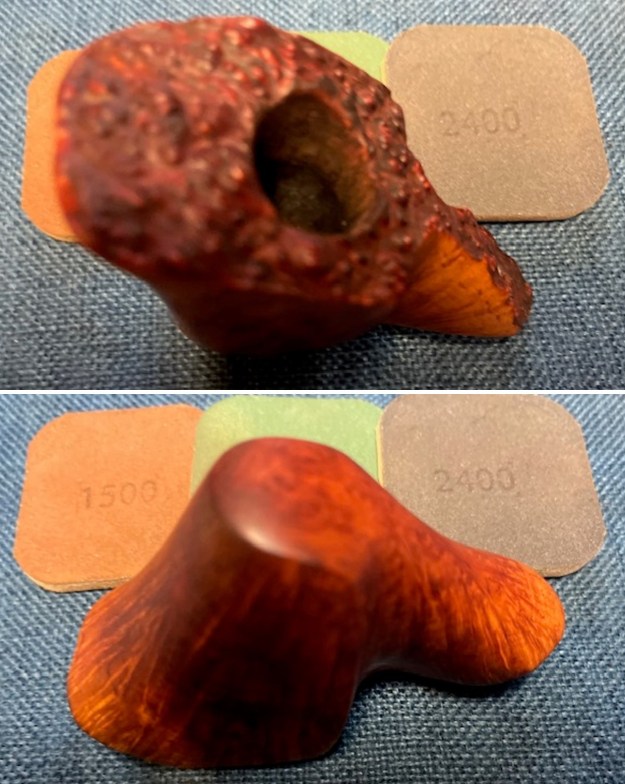
 I polished the briar bowl and shank with micromesh sanding pads – dry sanding with 1500-12000 grit sanding pads. I wiped it down with a damp cloth after each pad to remove the debris. The bowl took on a rich glow.
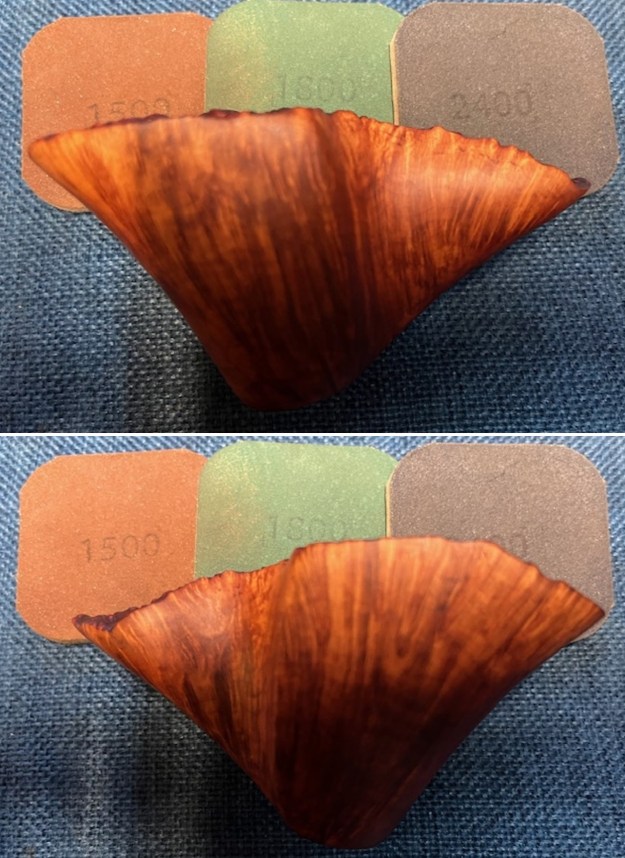
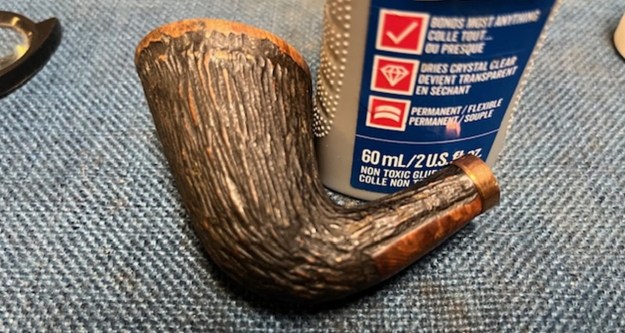
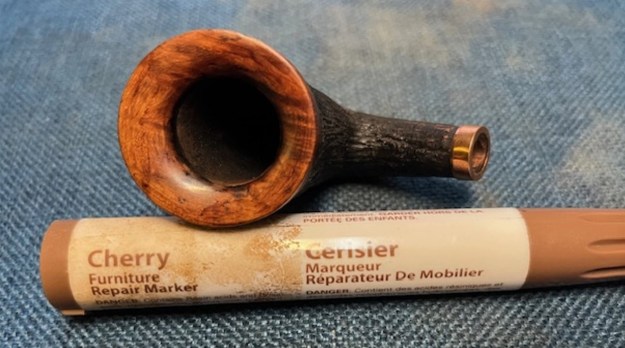
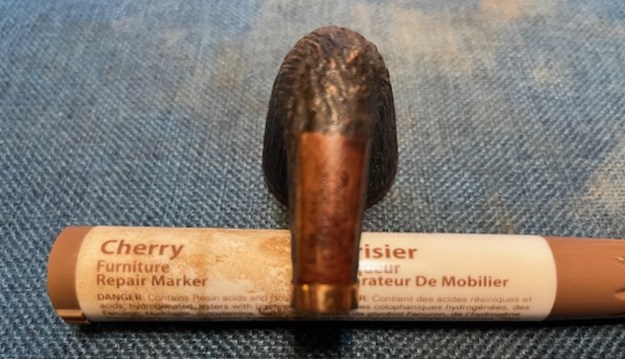
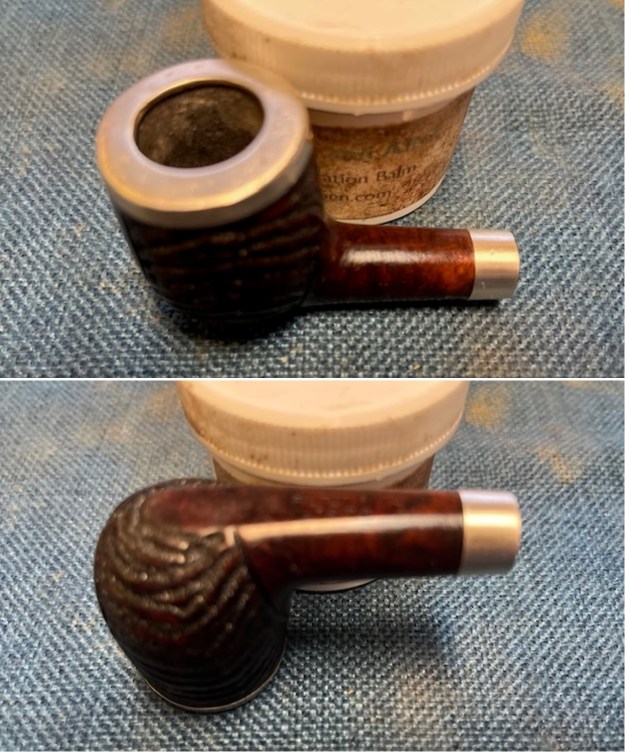
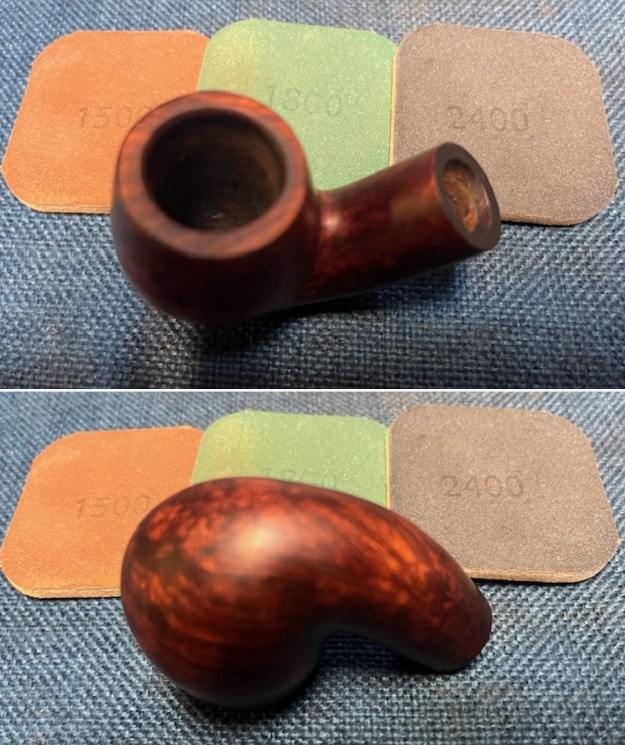
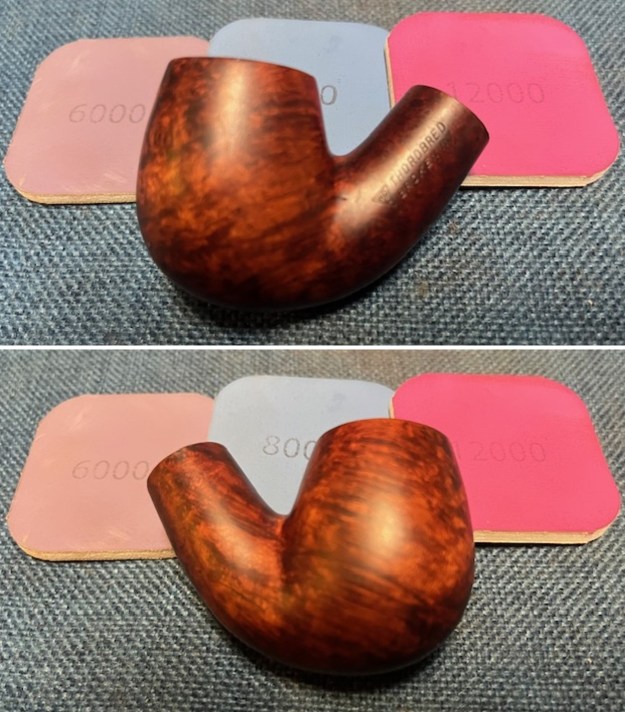
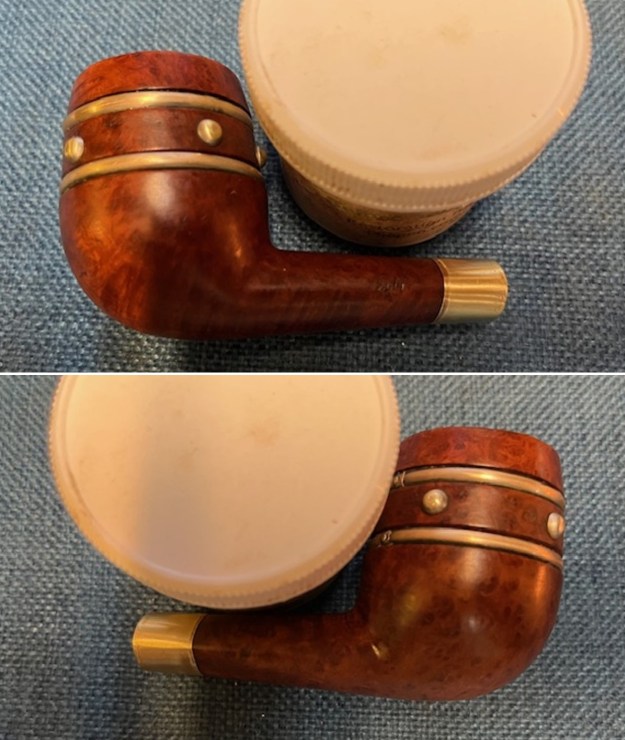
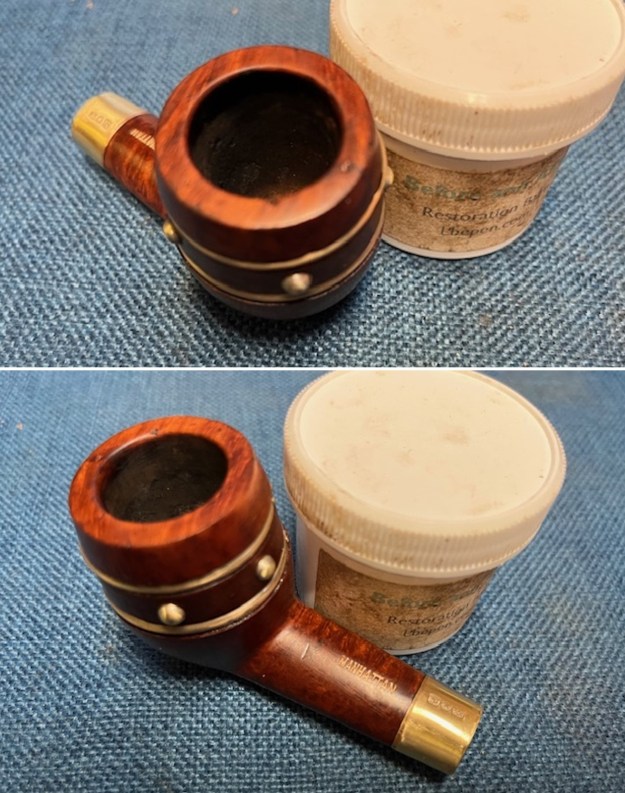
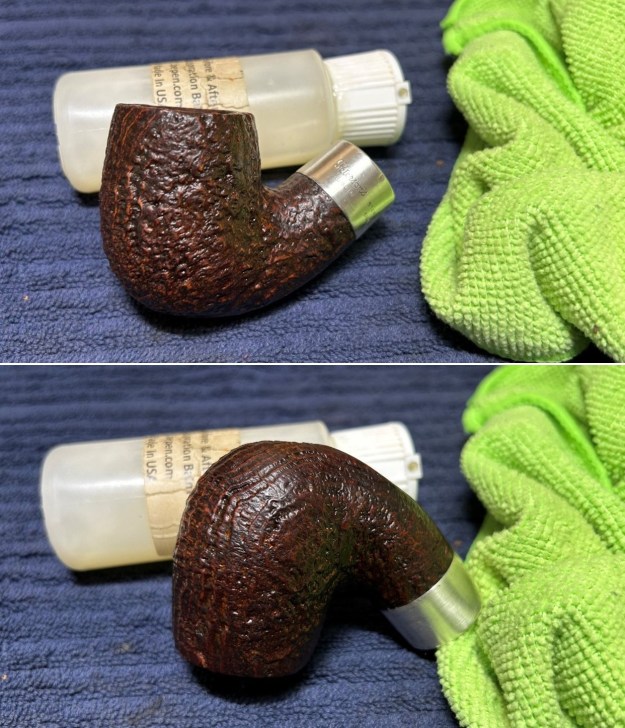
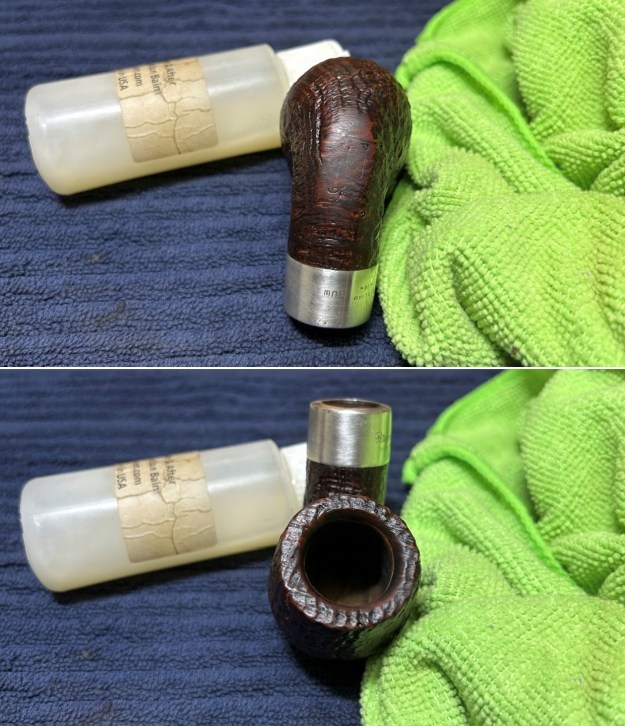
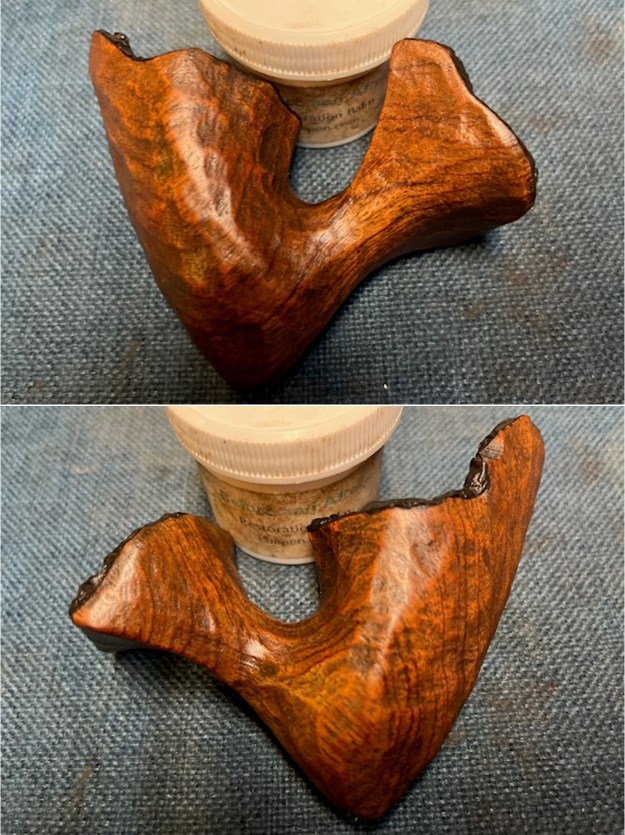
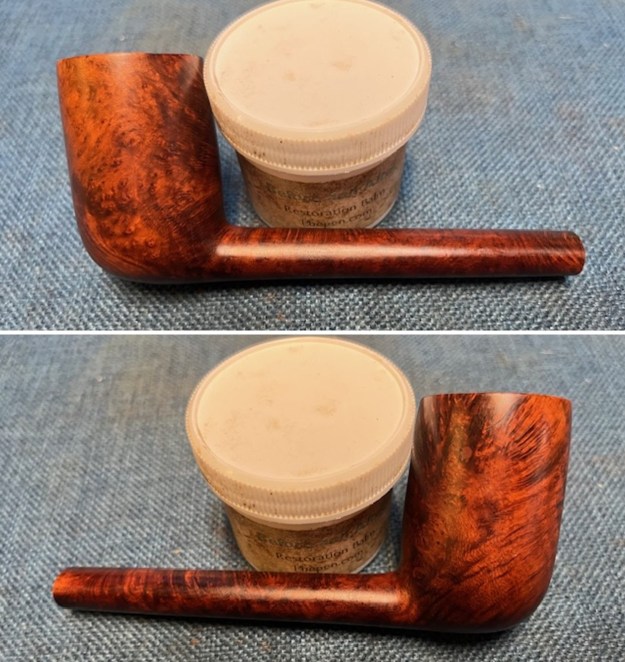
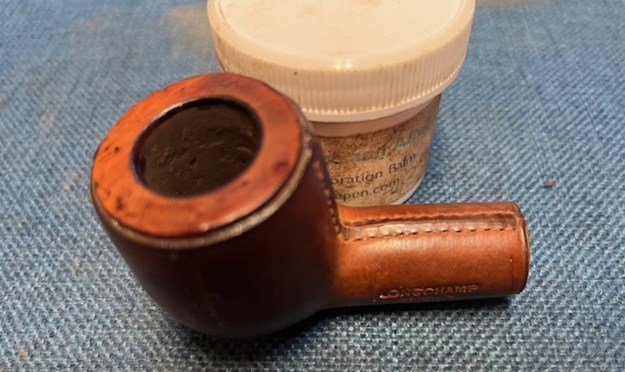
 I rubbed the briar down with Before & After Restoration Balm. I worked it into the plateau rim top surface with my fingertips and a shoebrush. The product works to clean, enliven and preserve the briar. I let it sit for 10 minutes then I buffed it with a cotton cloth to deepen the shine. The briar really comes alive with the balm.
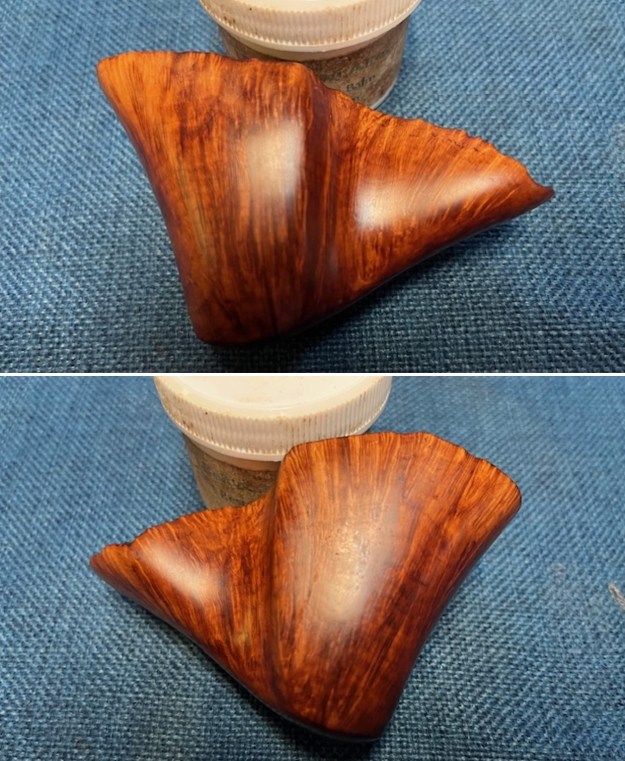
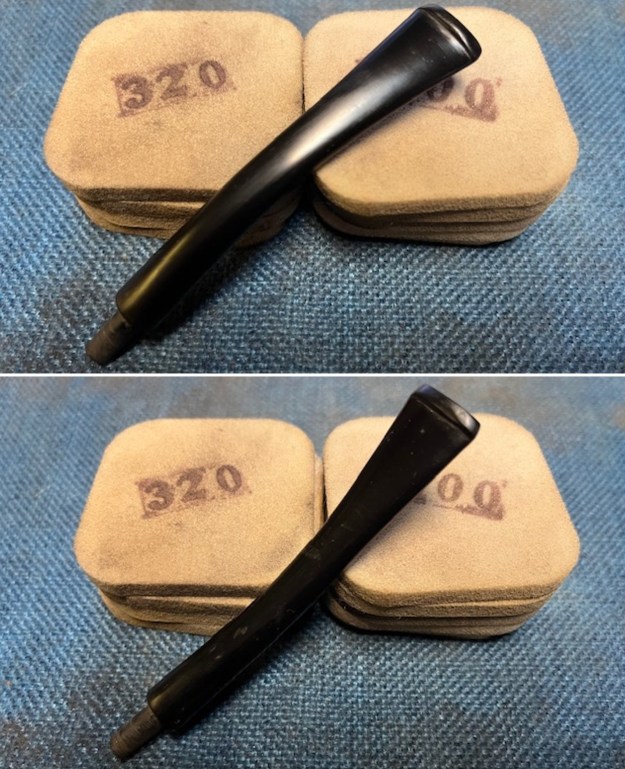
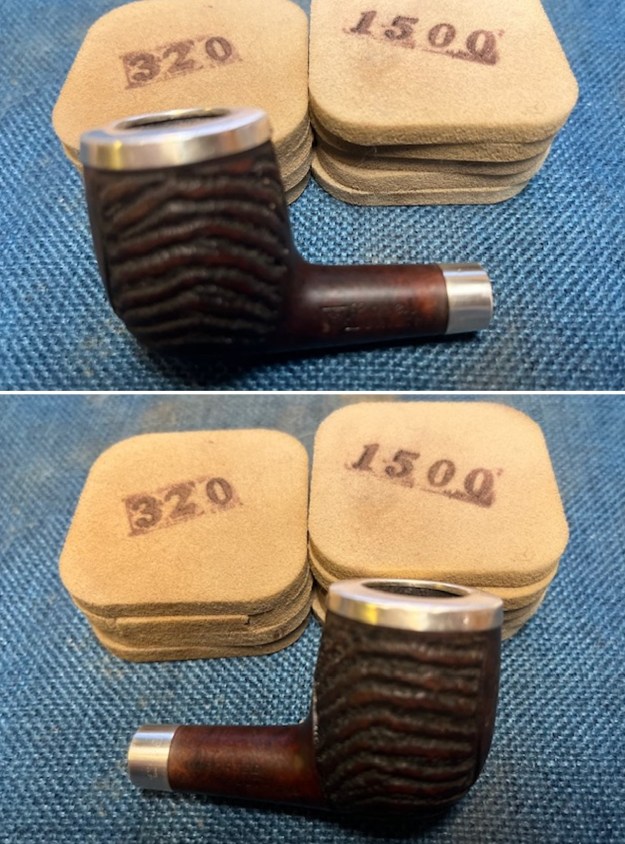
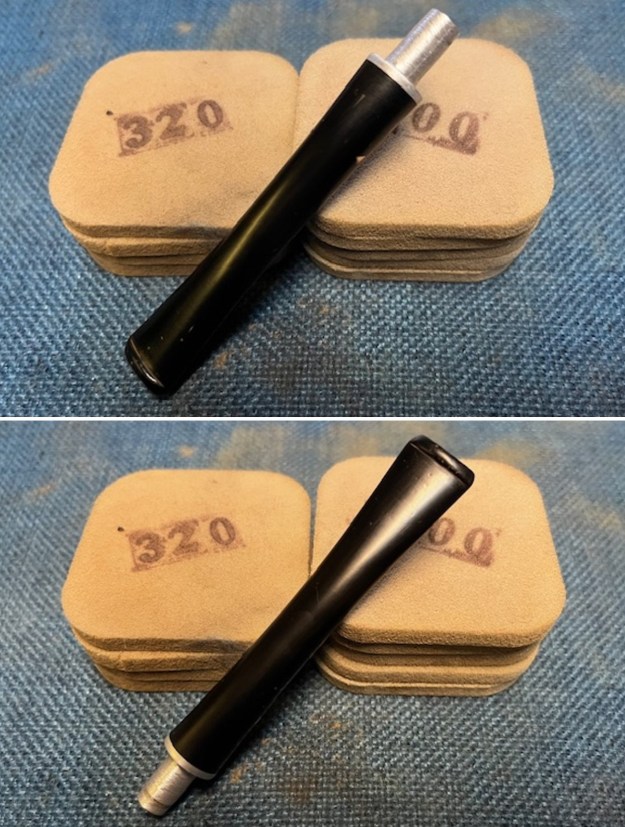
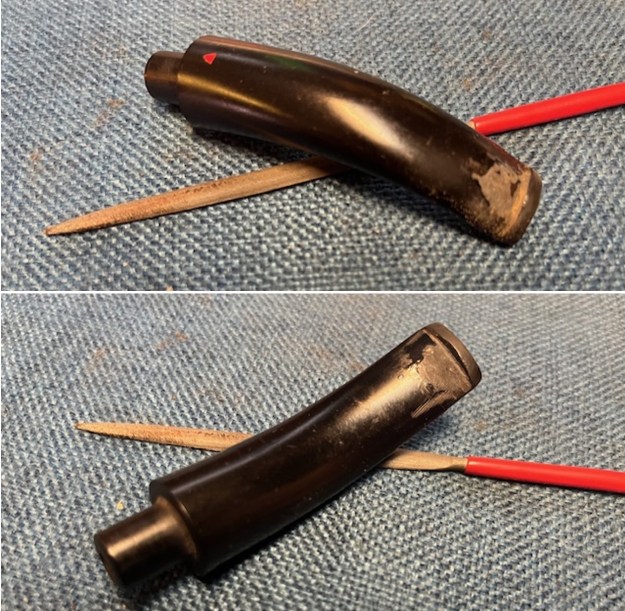
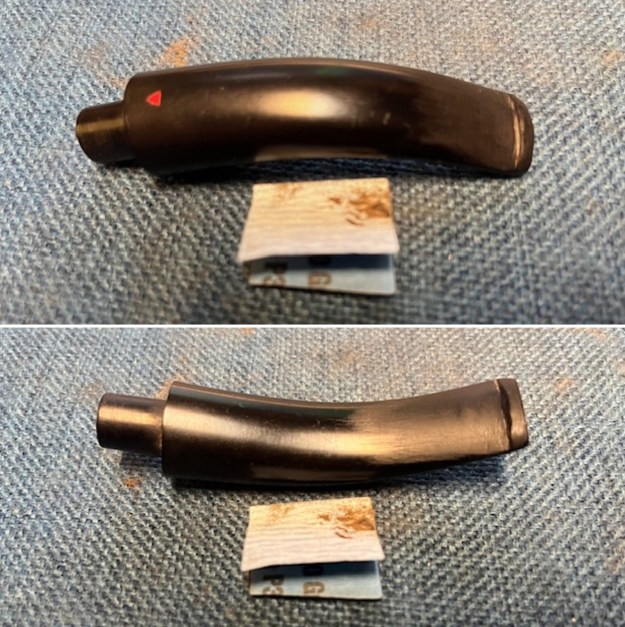
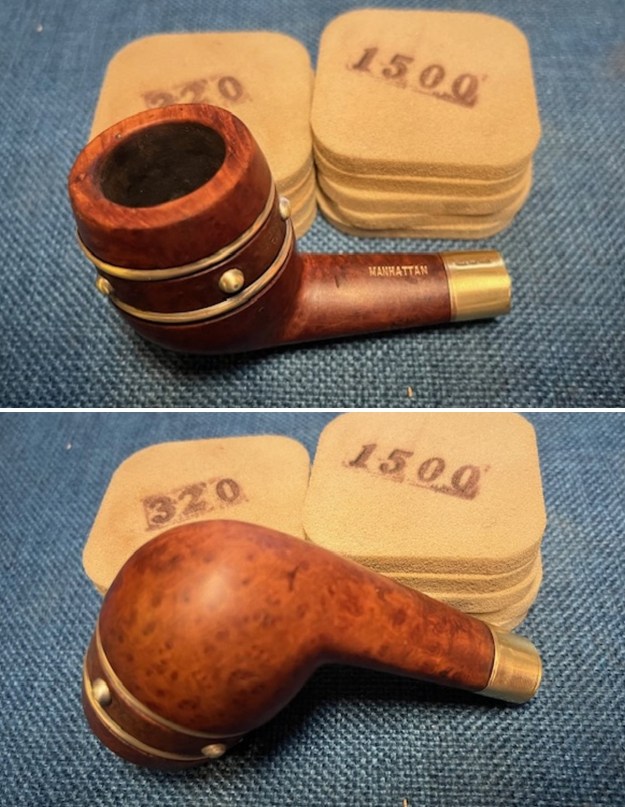
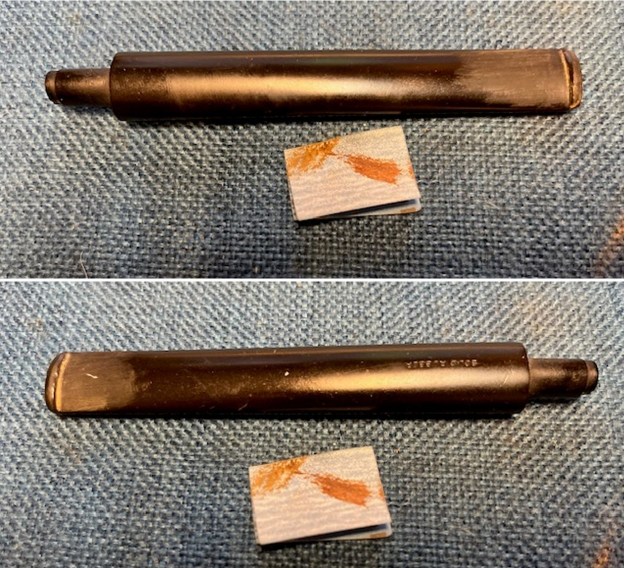
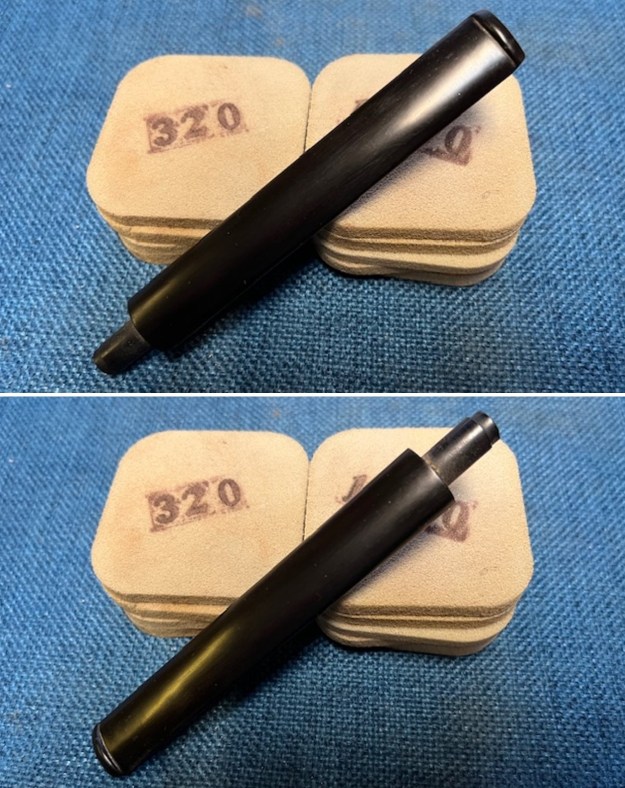
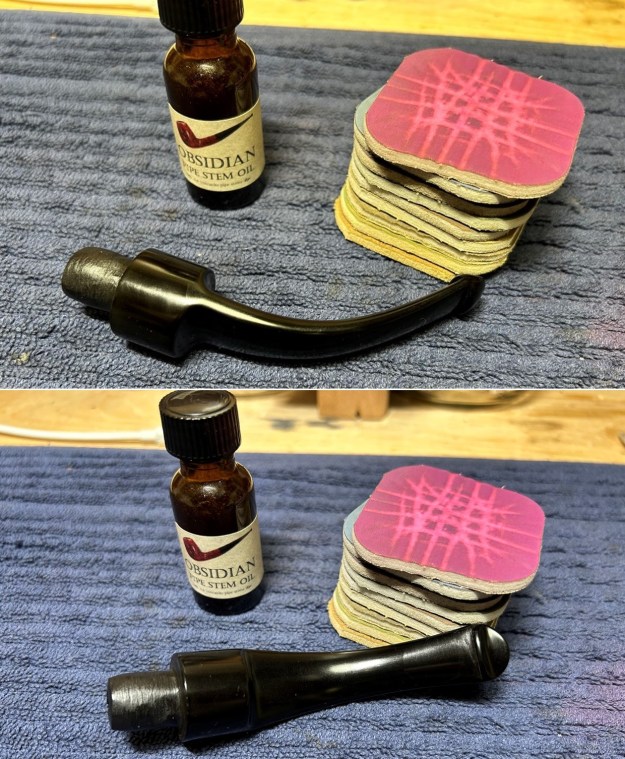
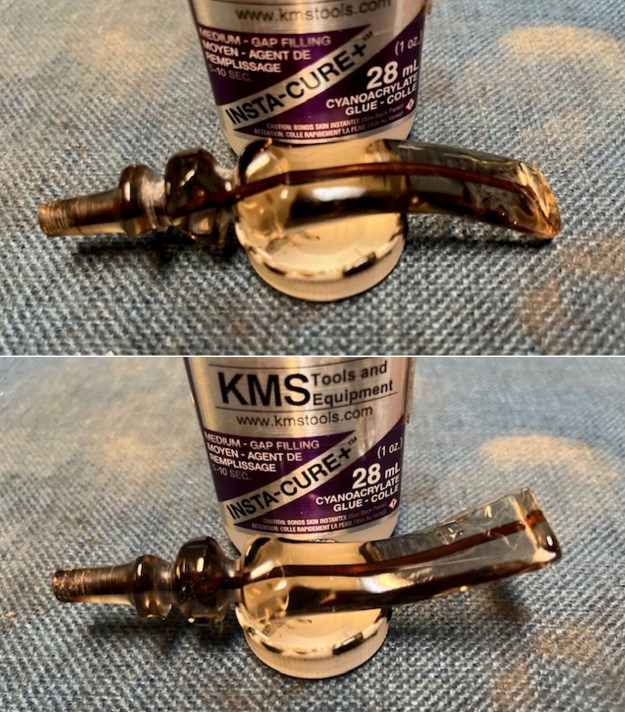
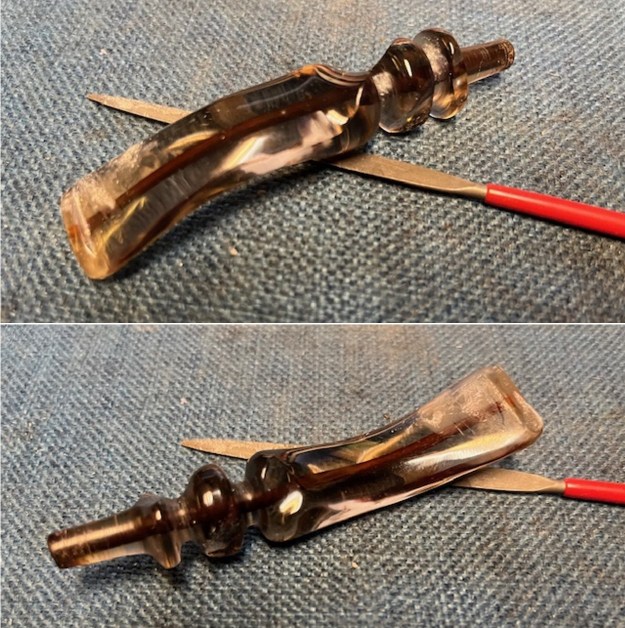
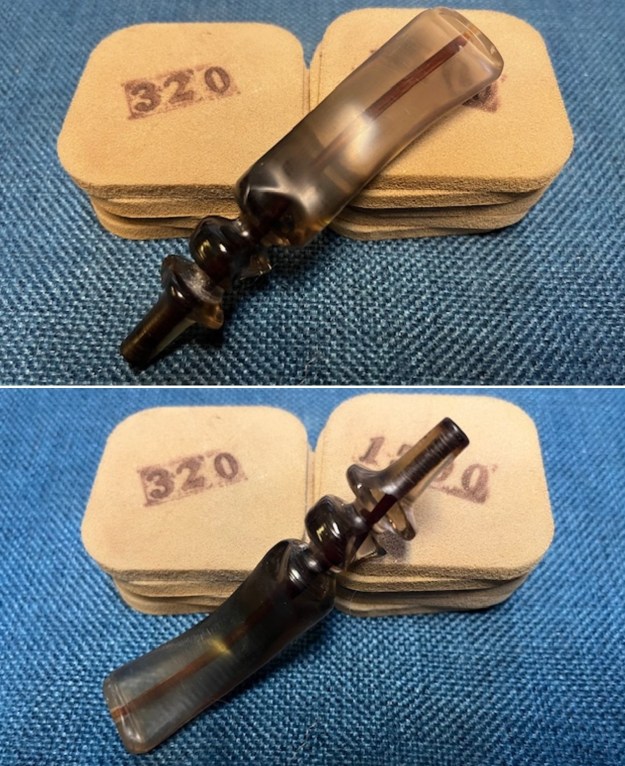
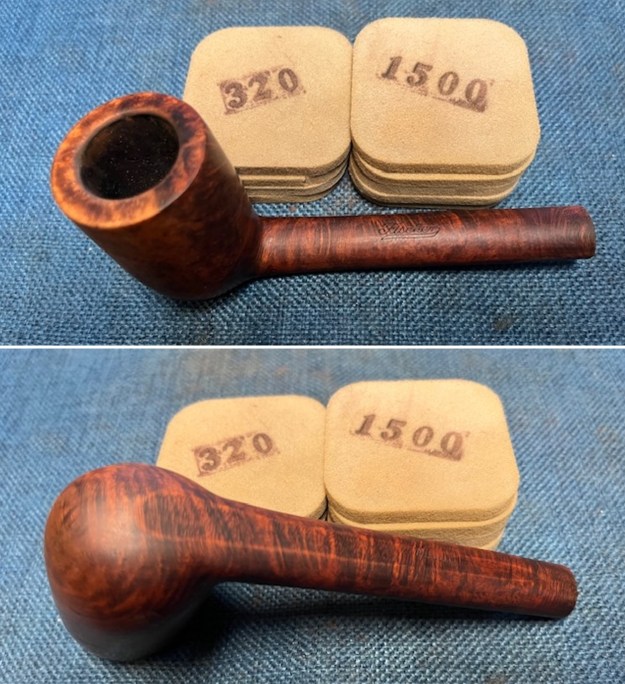
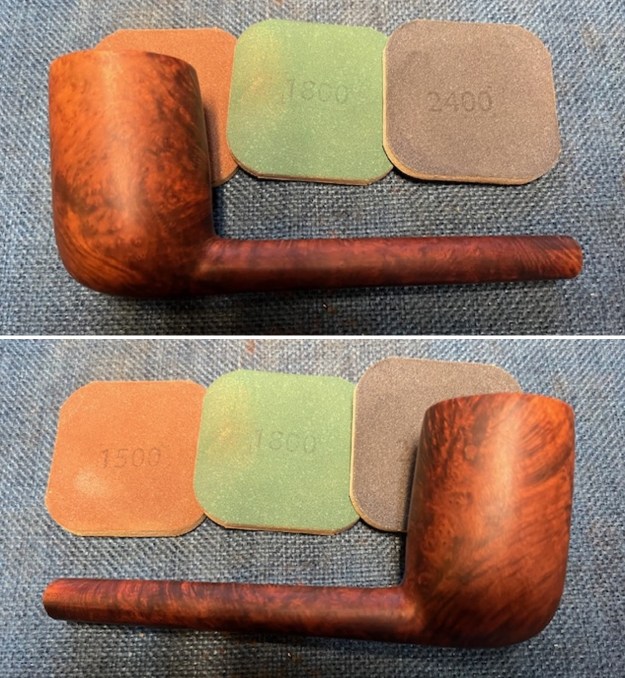
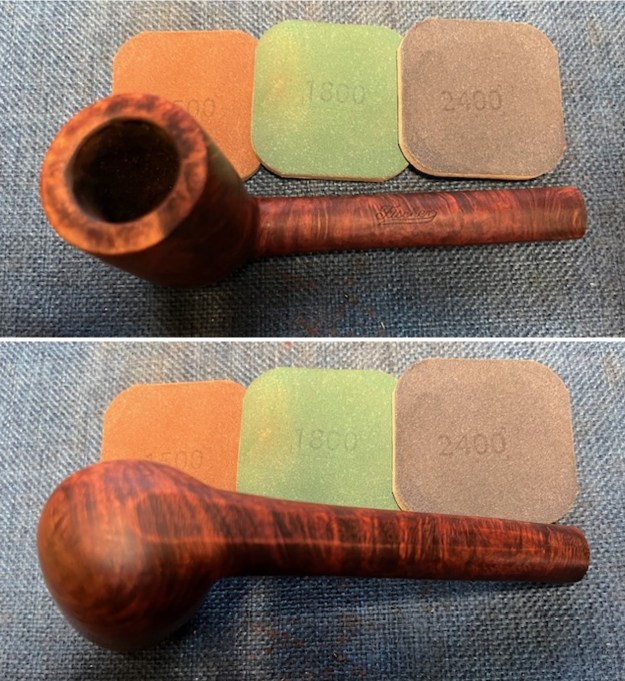
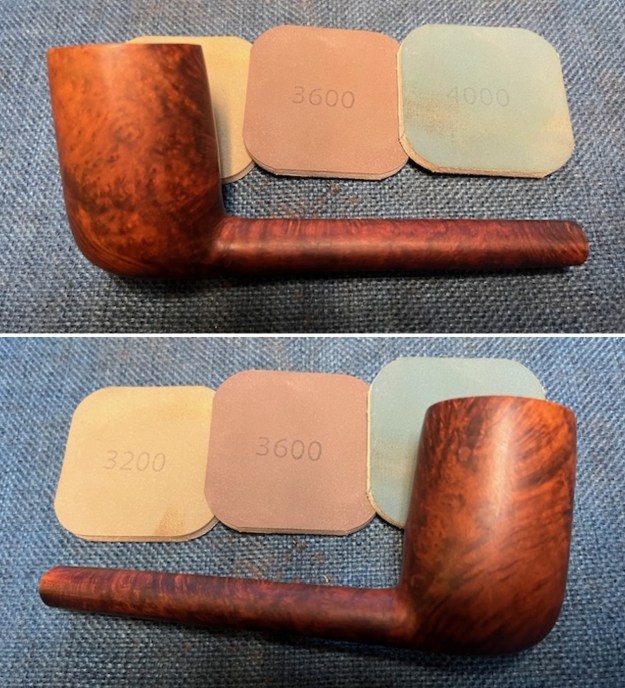
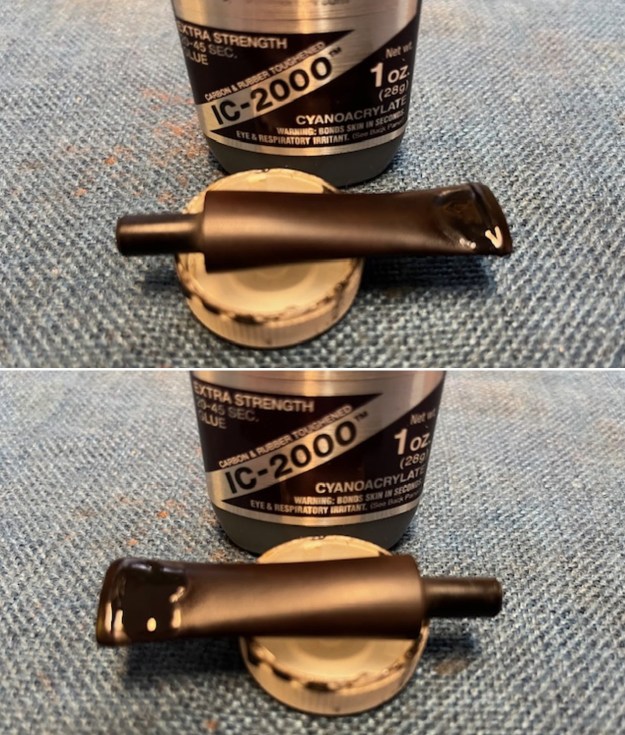
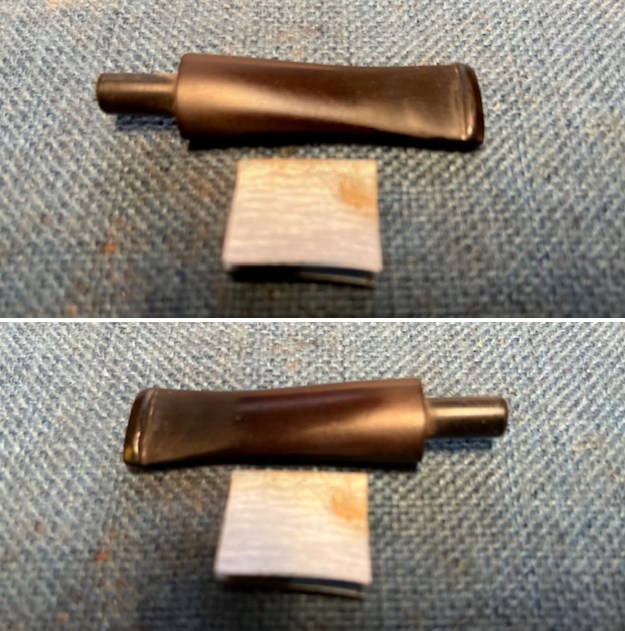
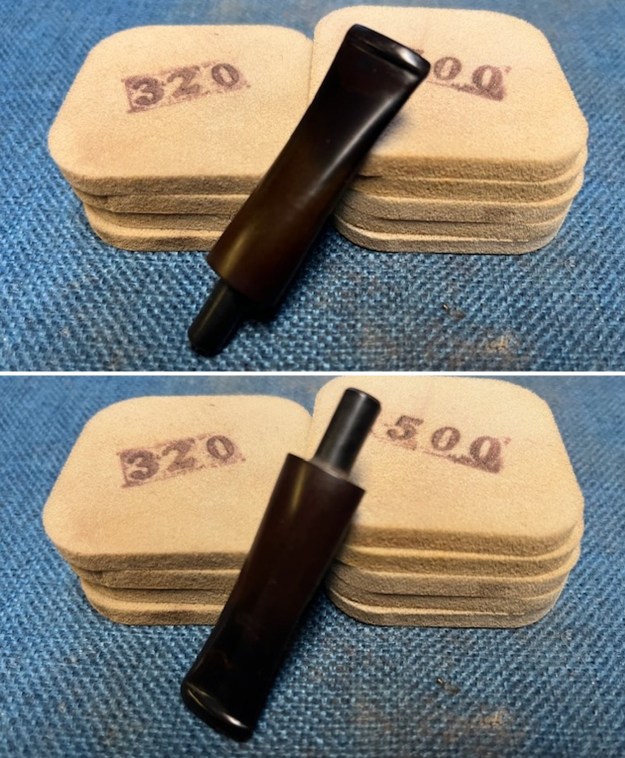
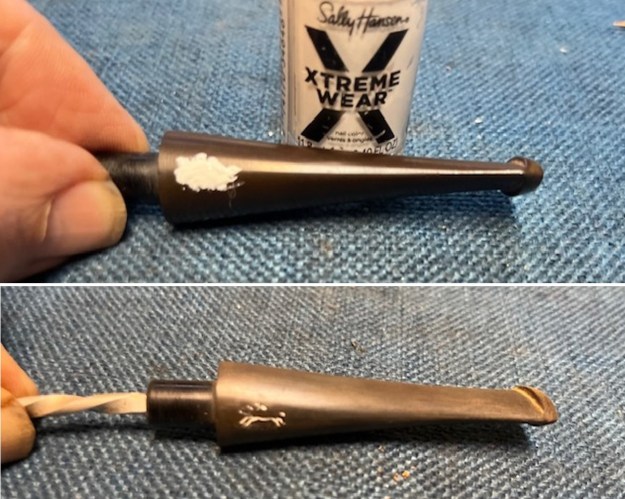
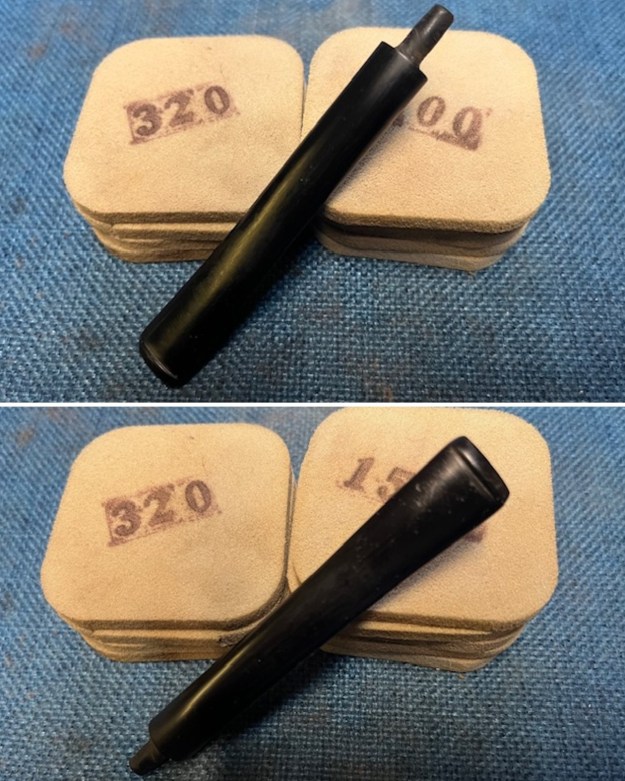
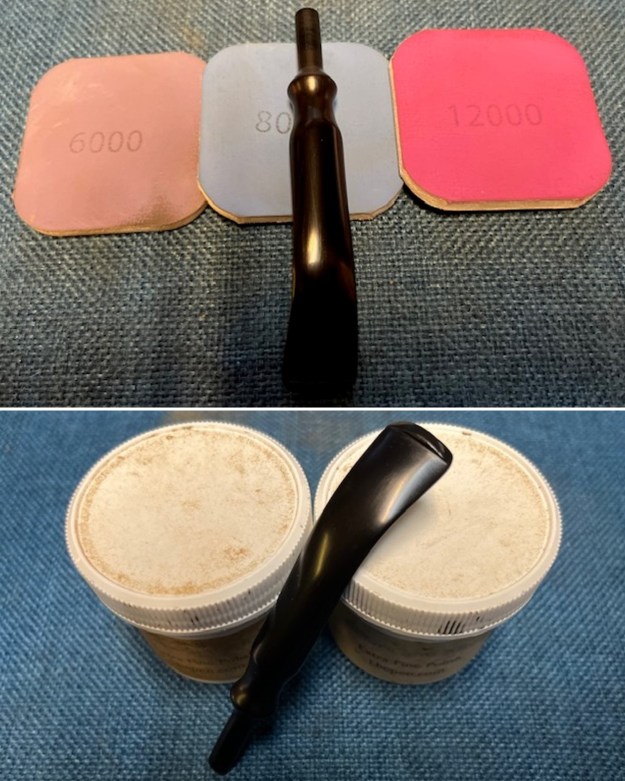
 I set the bowl aside and turned my attention to the stem. I sanded out the roughness and smoothed out the remnants of tooth damage with 320-3500 grit sanding pads. I wiped the stem down after each pad with Obsidian Oil. I was able to remove the roughness and damage and the stem looked better.
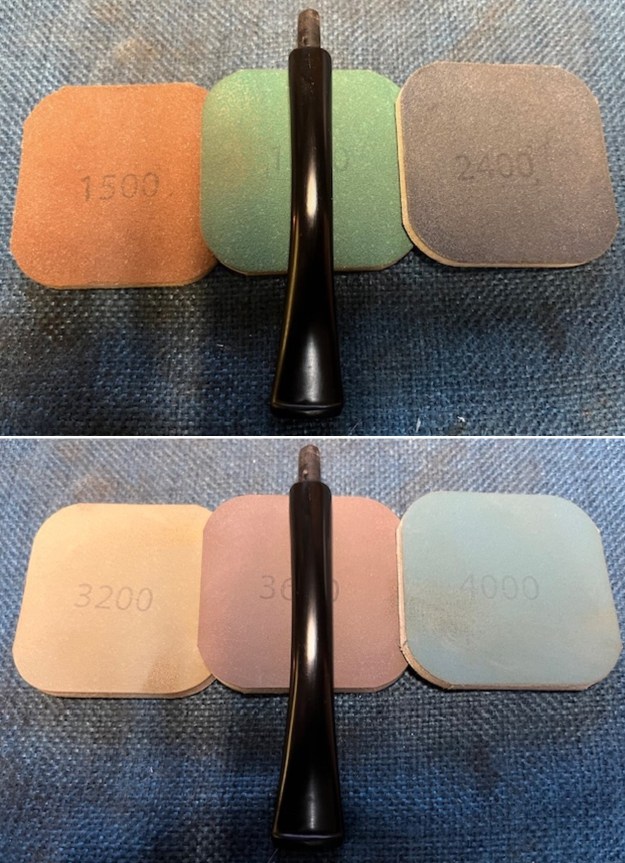
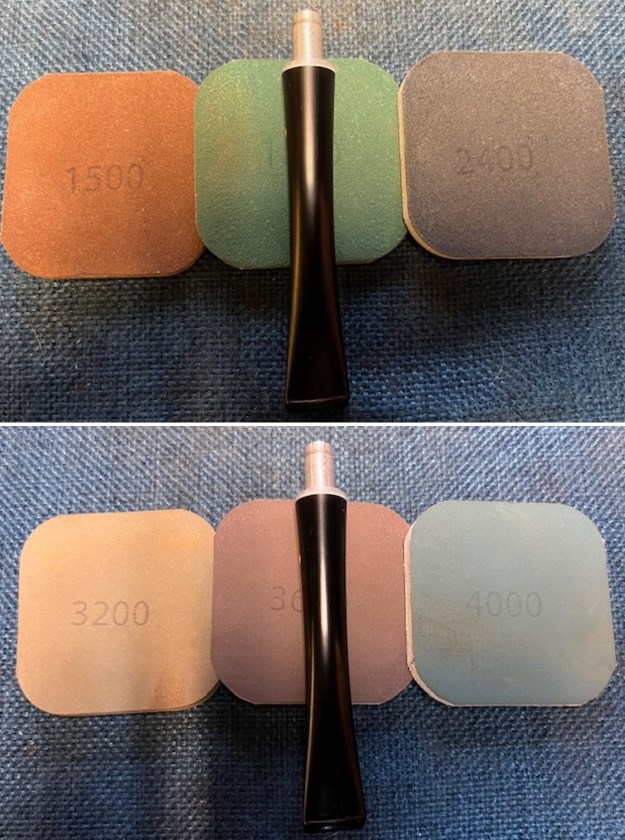
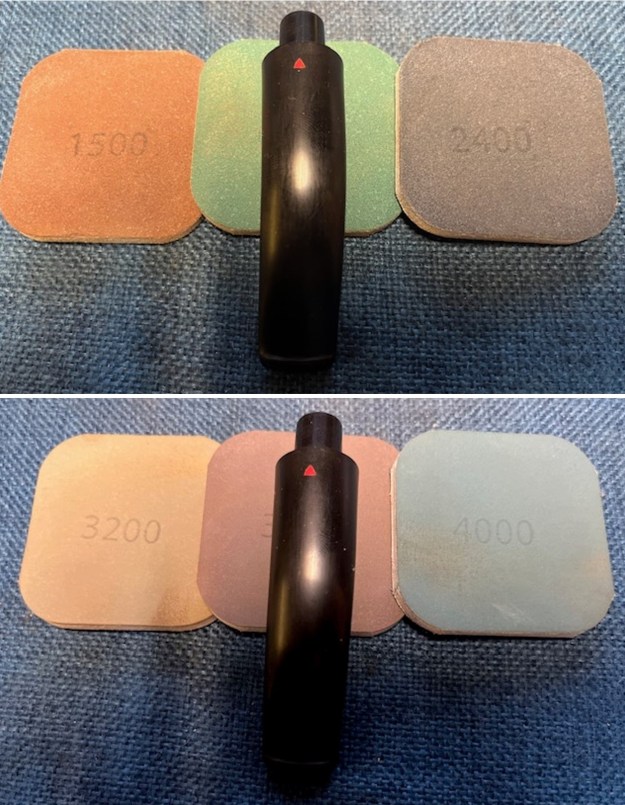
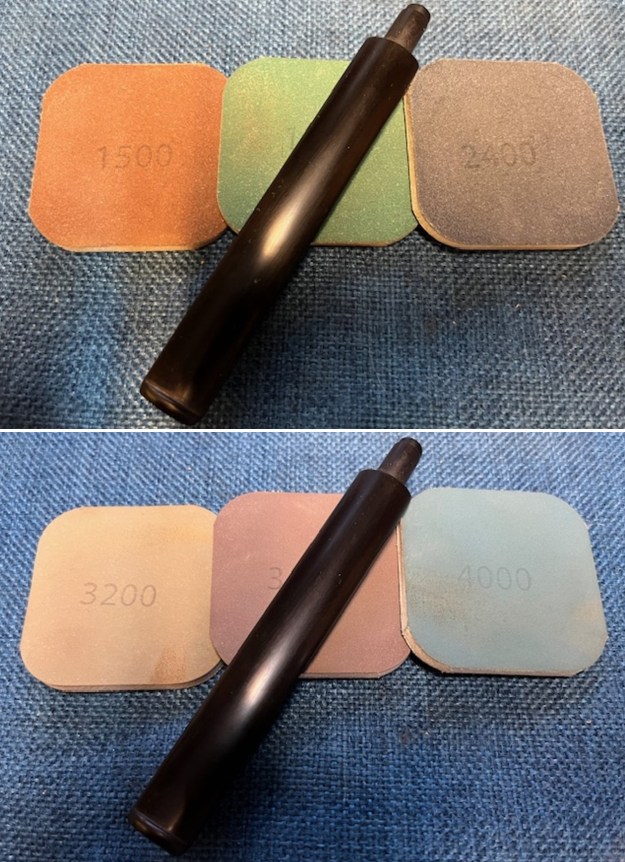
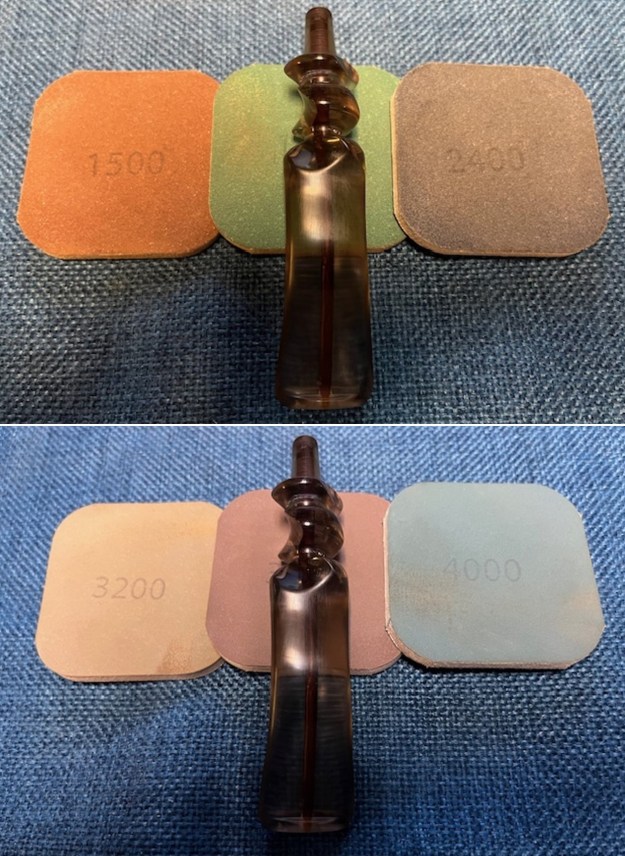
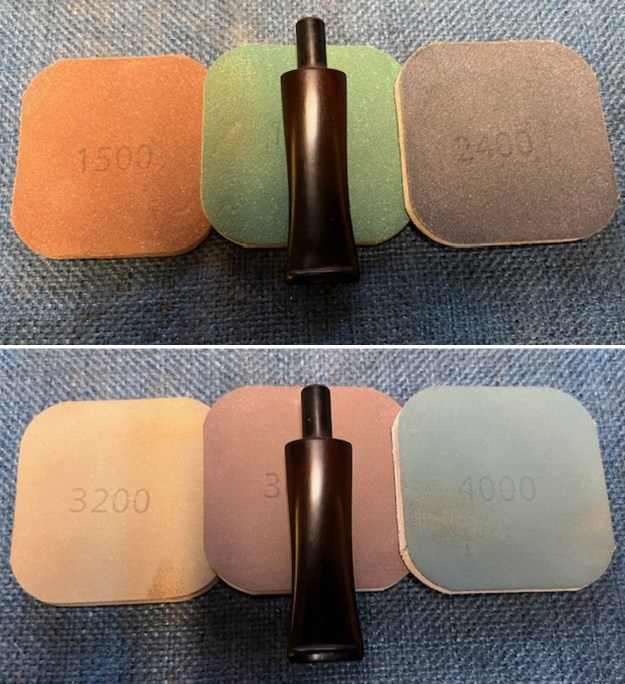
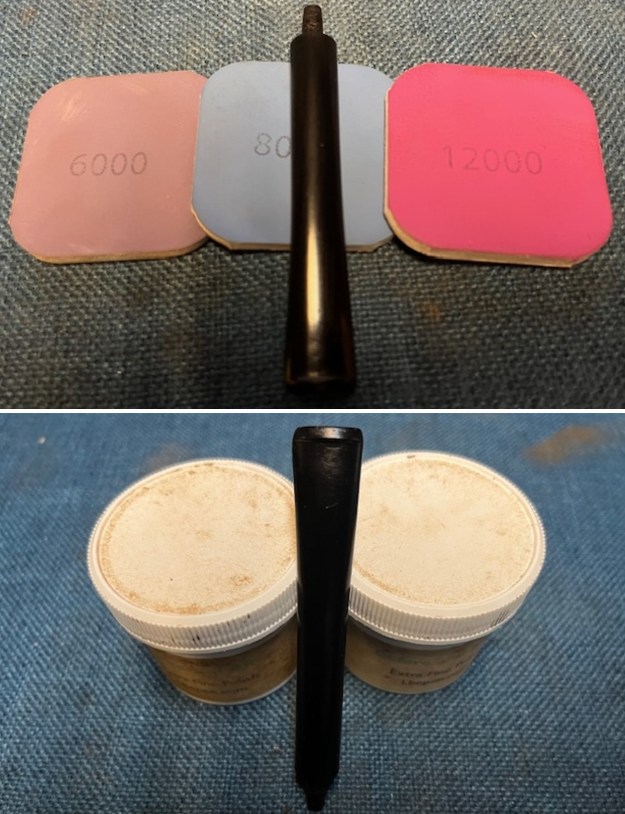
 I polished the vulcanite stem with micromesh sanding pads – 1500-12000 grit pads. I wiped it down with Obsidian Oil after each sanding pad. I used Before & After Pipe Polish – both Fine and Extra Fine to further polish the stem.
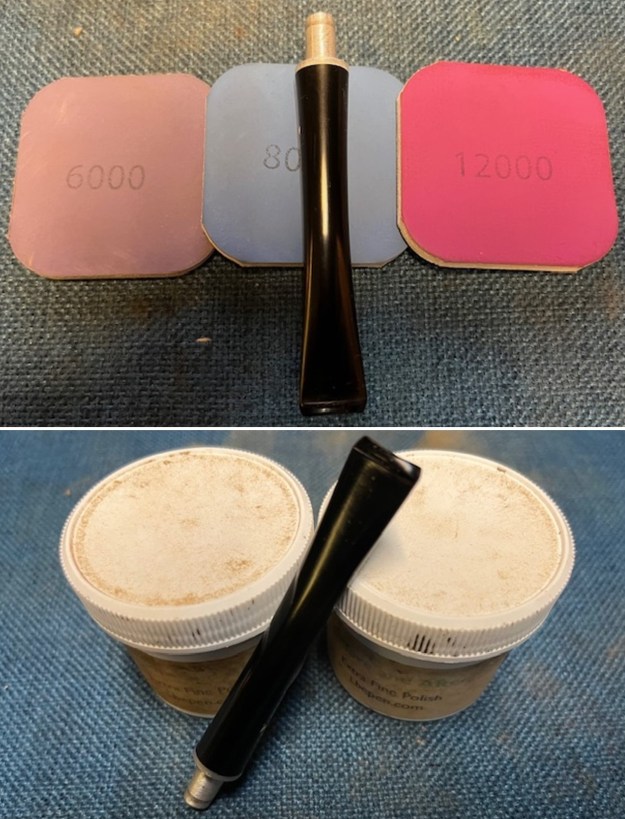
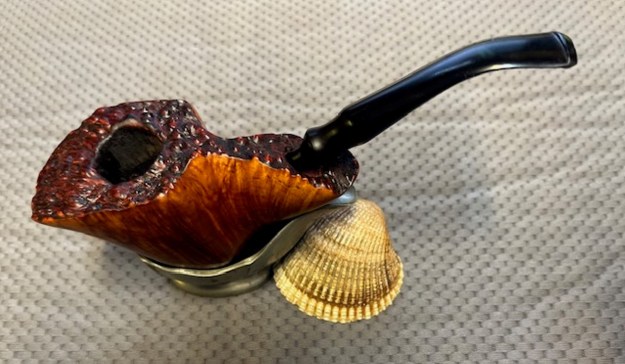
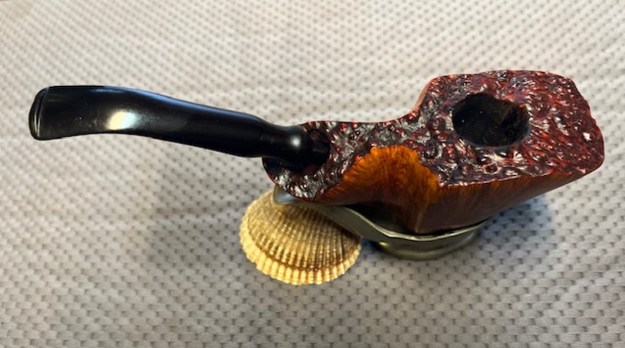
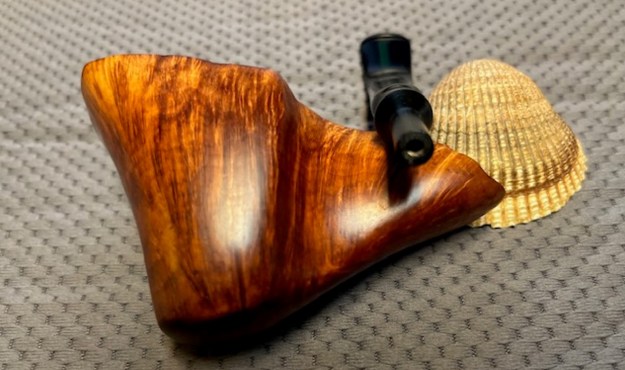
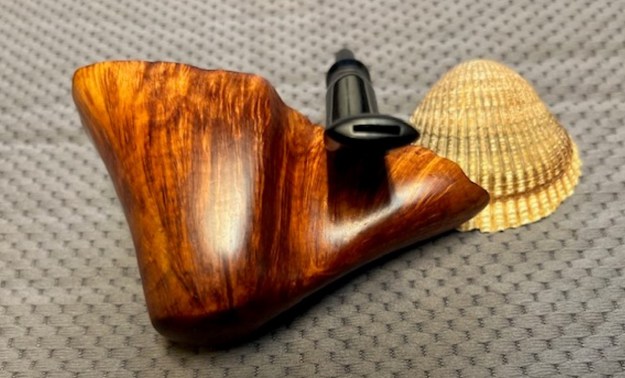
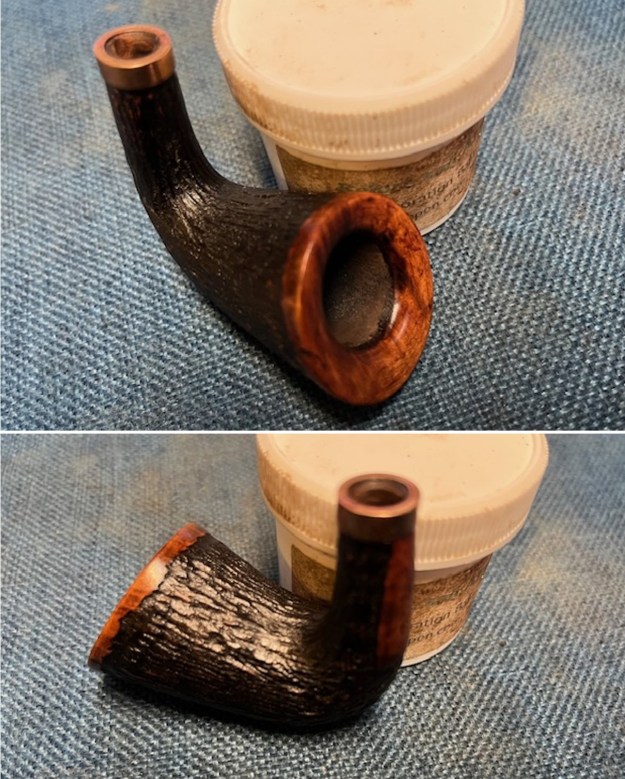
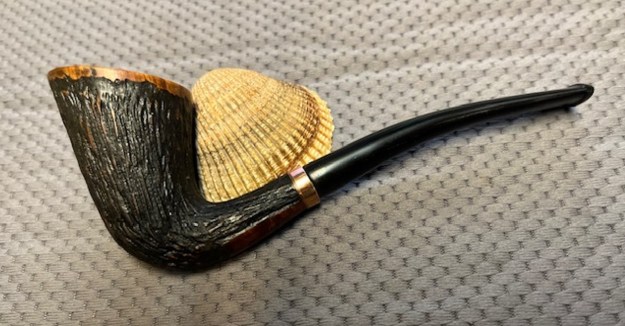
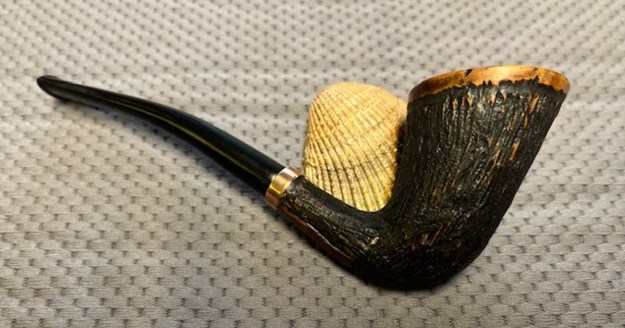
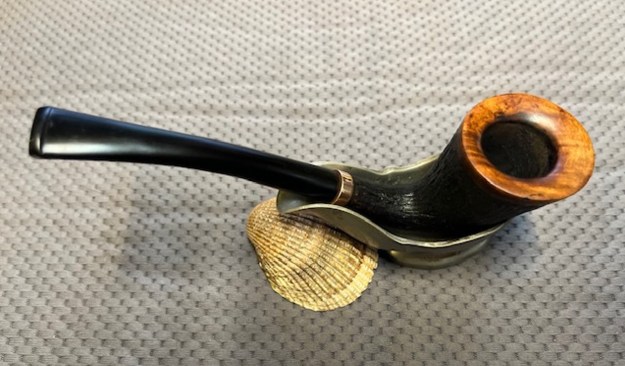
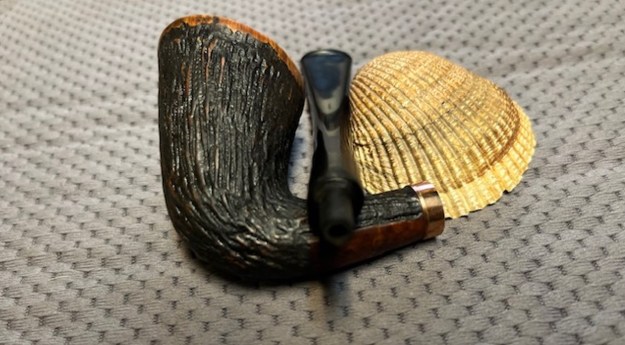
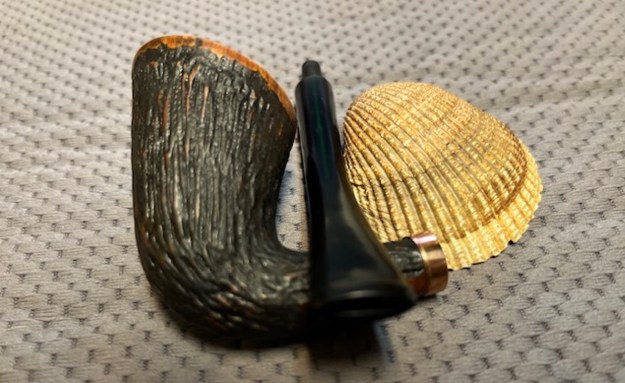
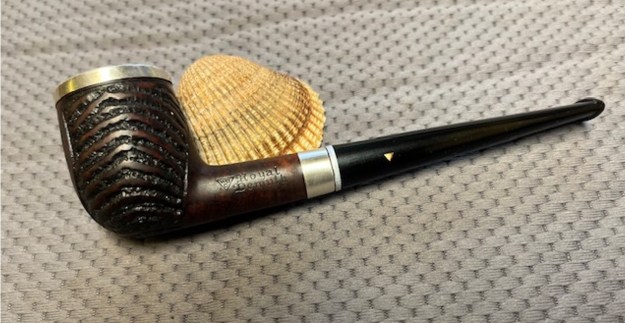
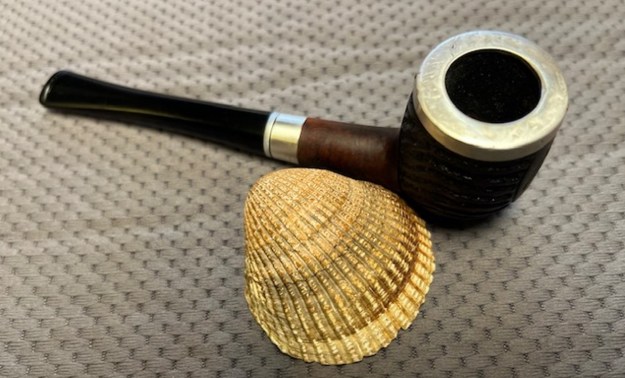
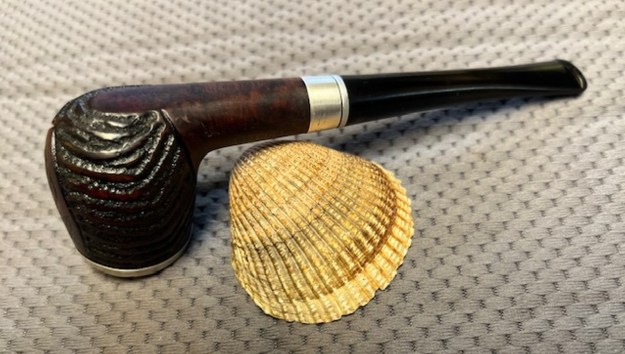
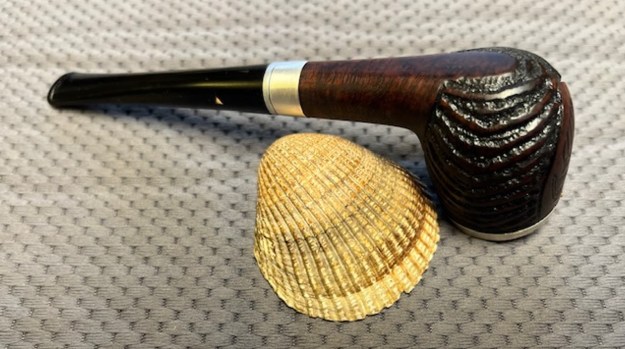
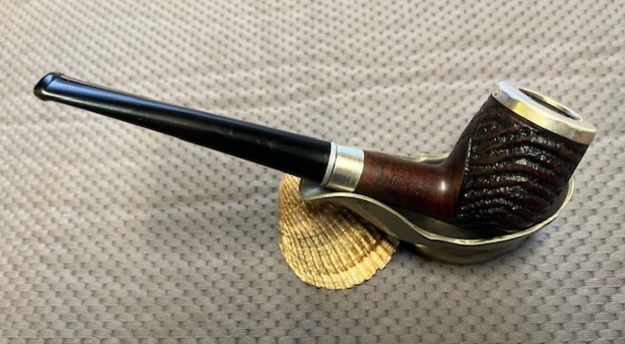
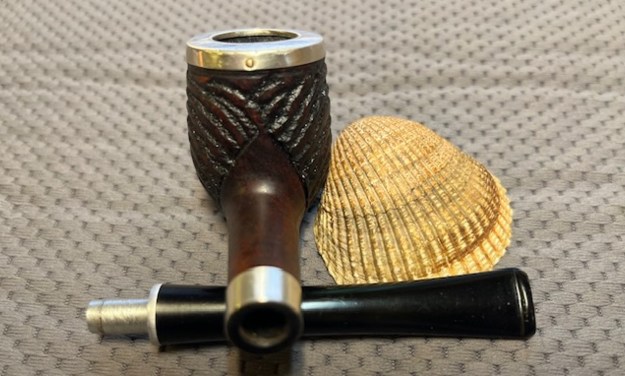
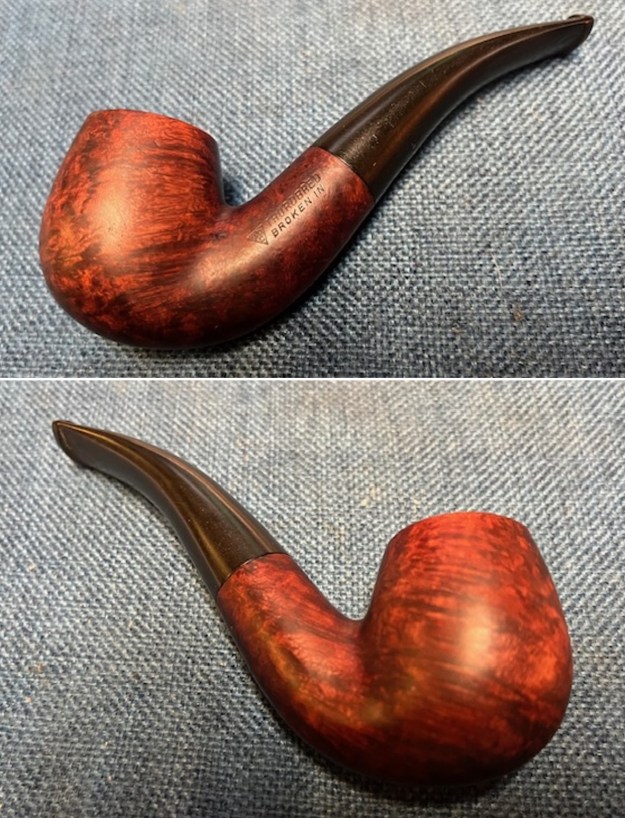
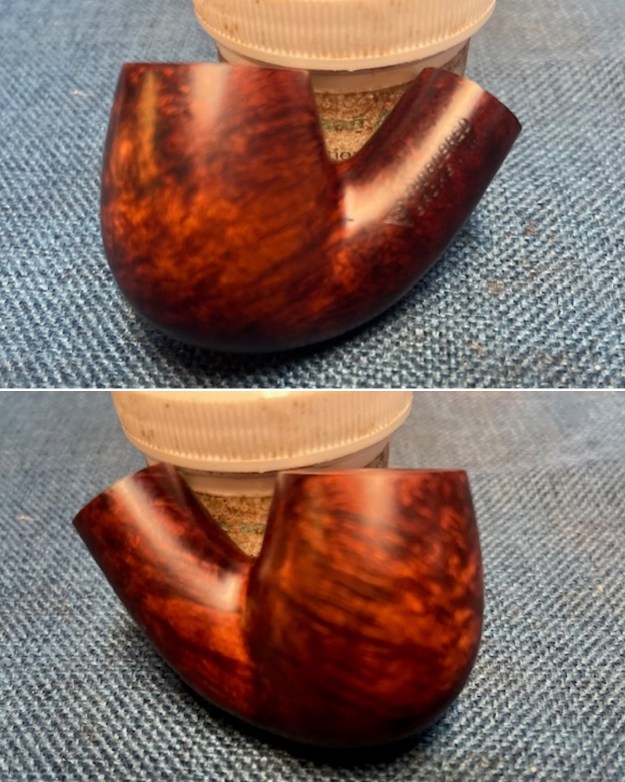
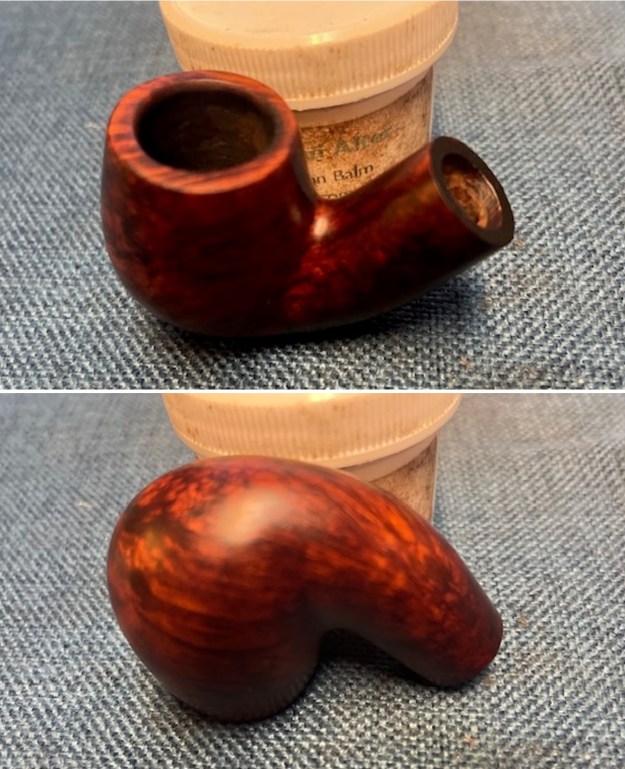
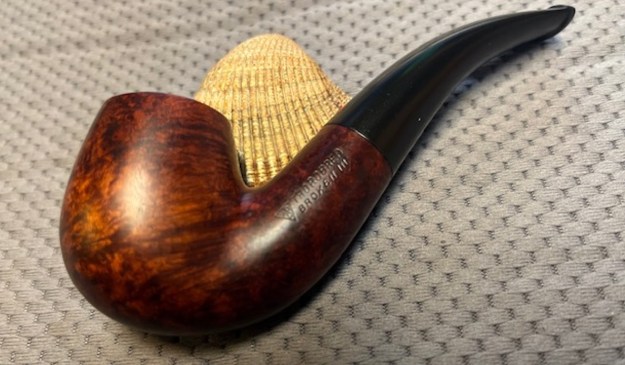
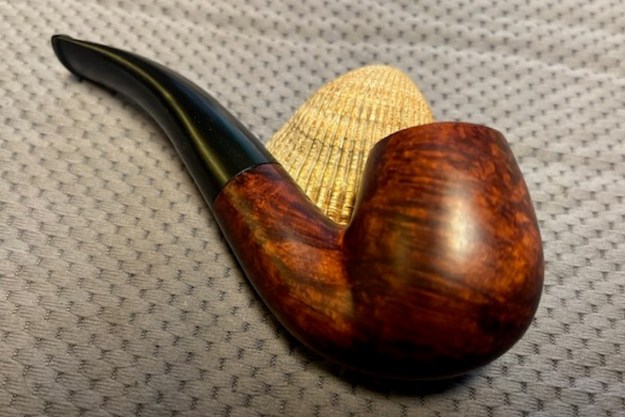
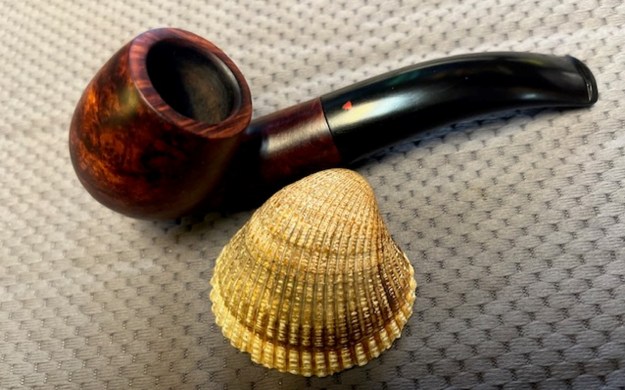
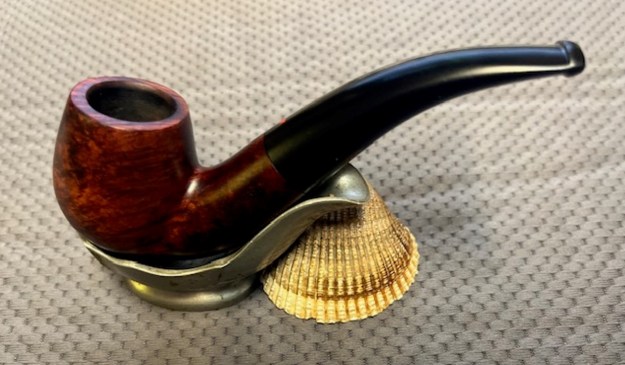
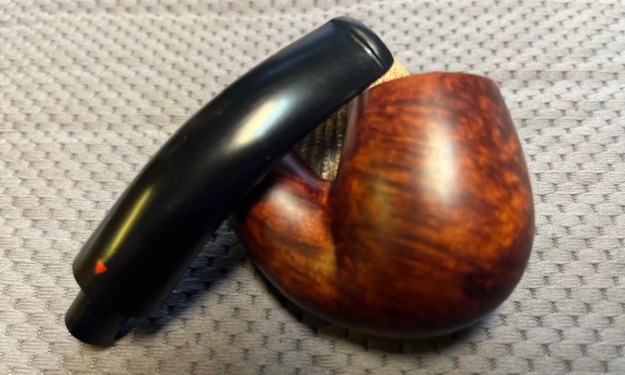
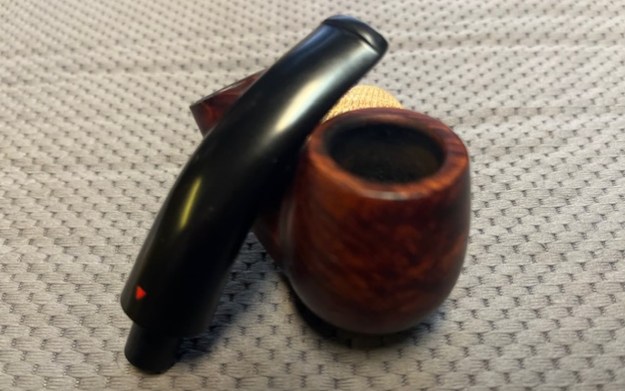
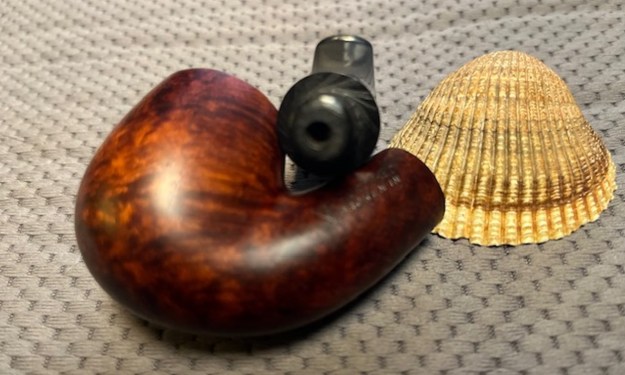
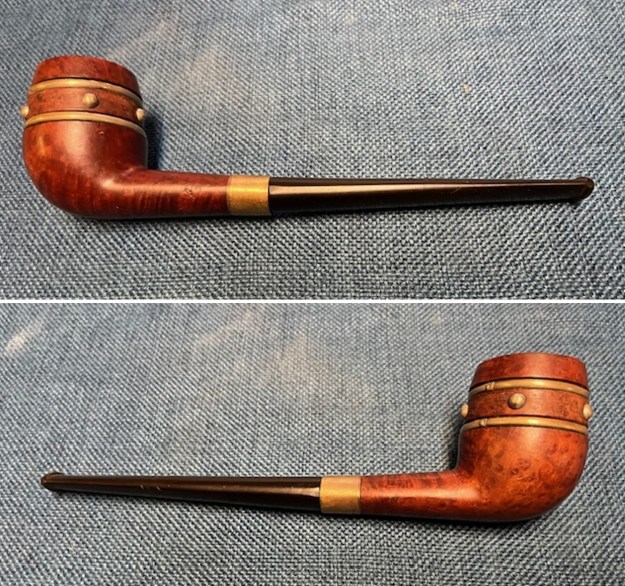
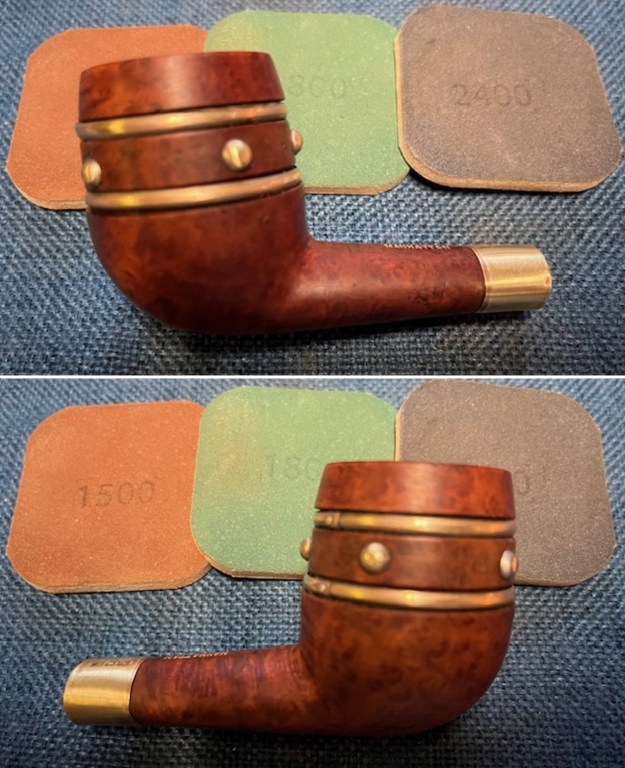
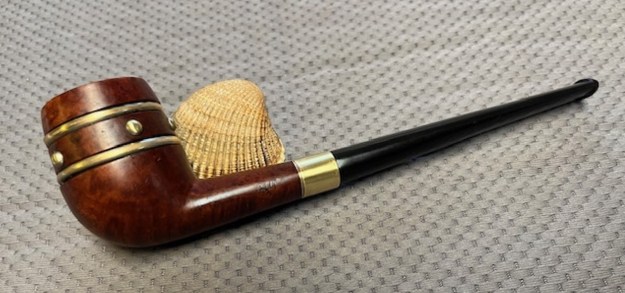
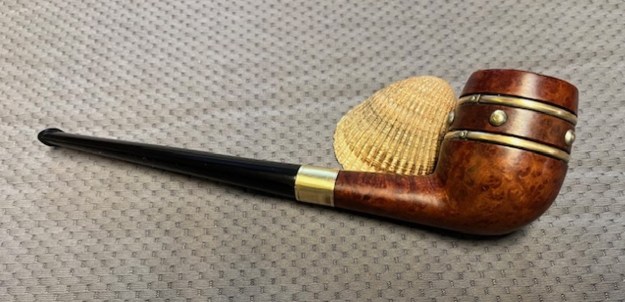
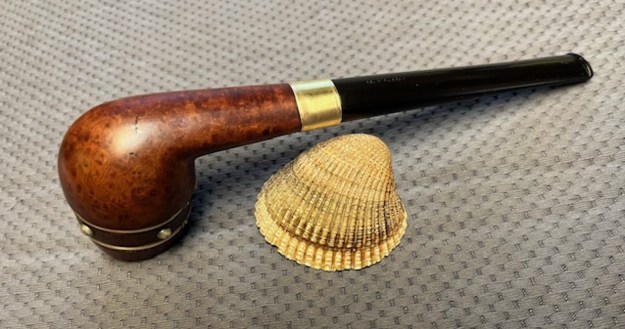
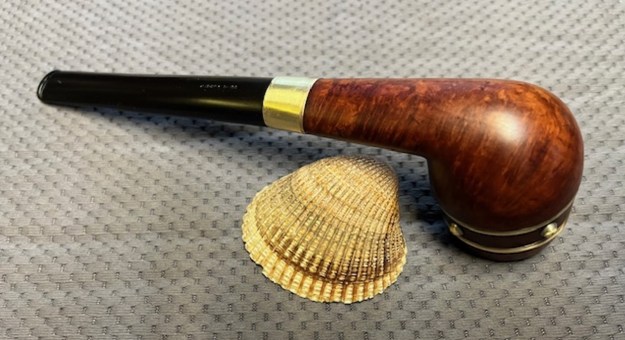
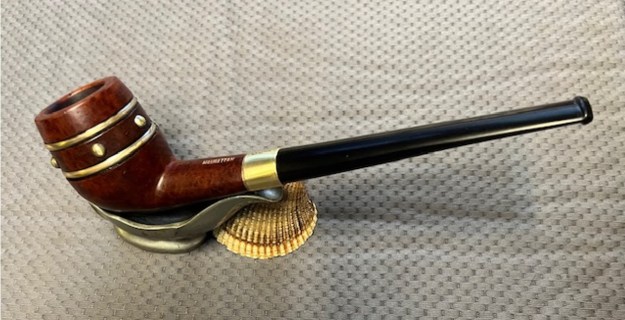
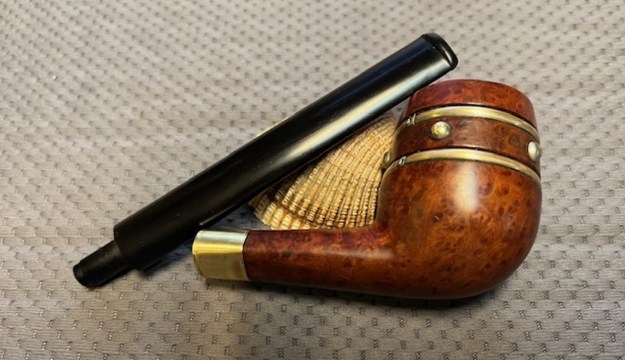
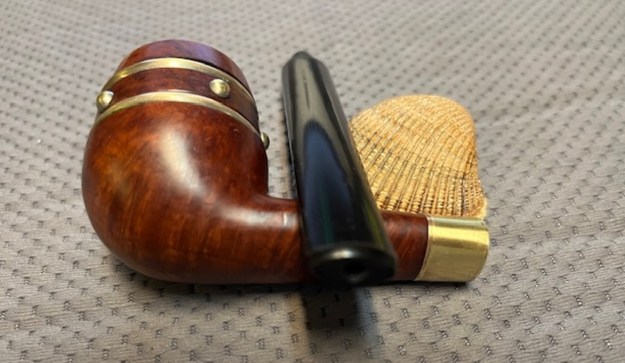
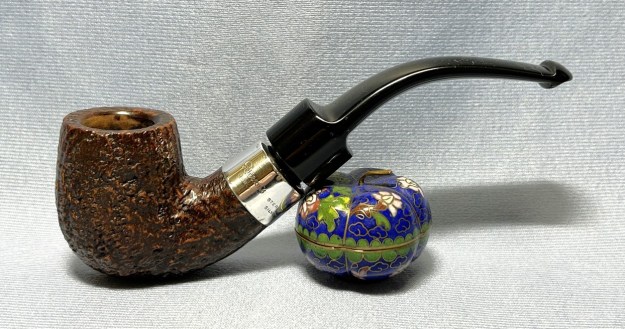
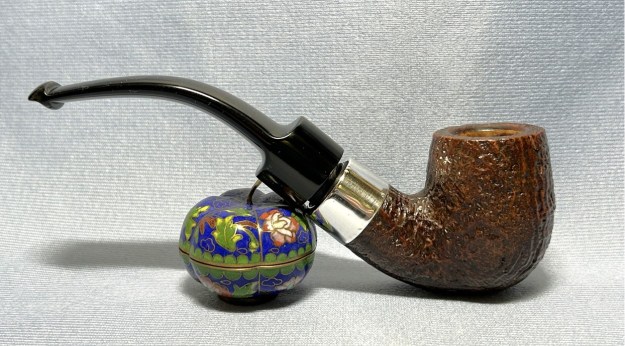
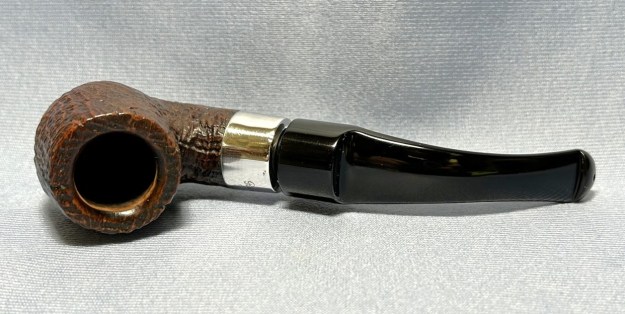
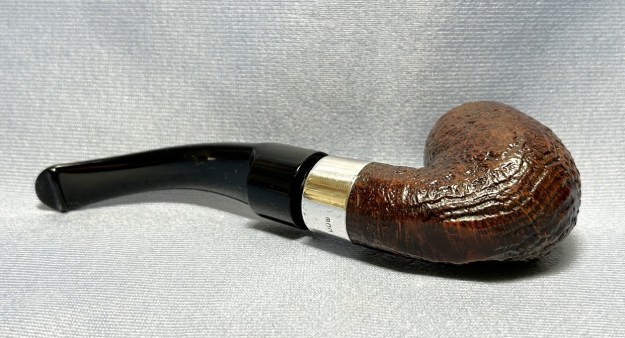
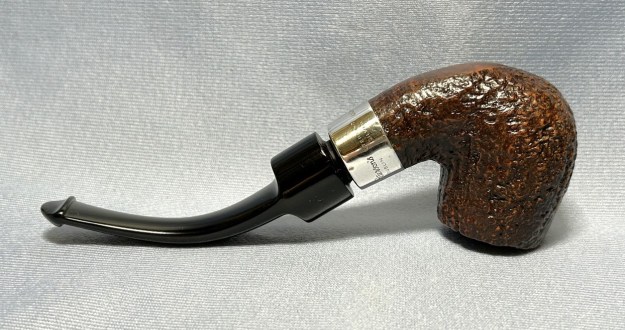
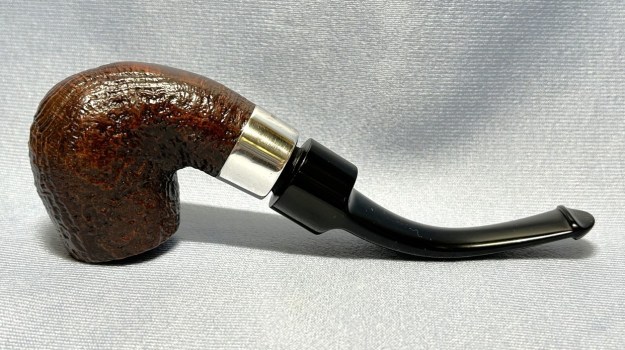
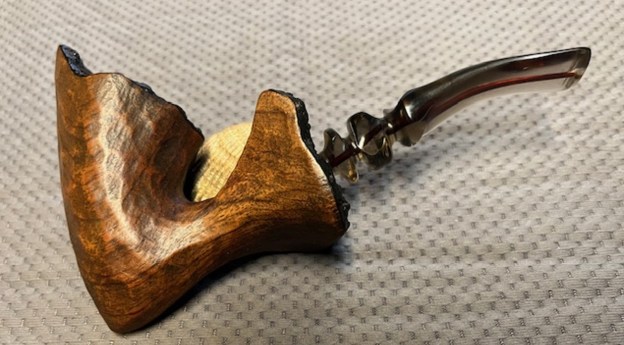
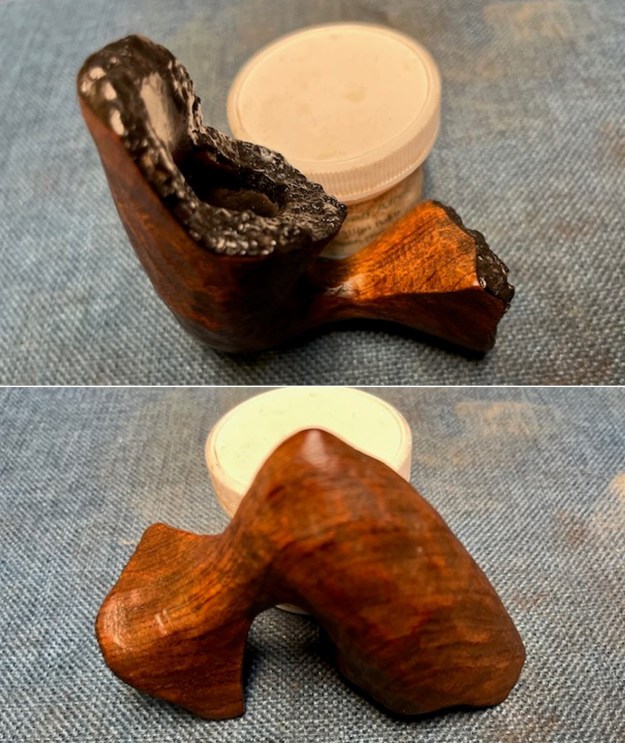
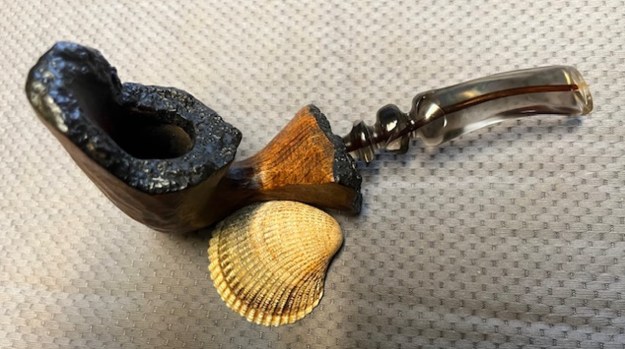
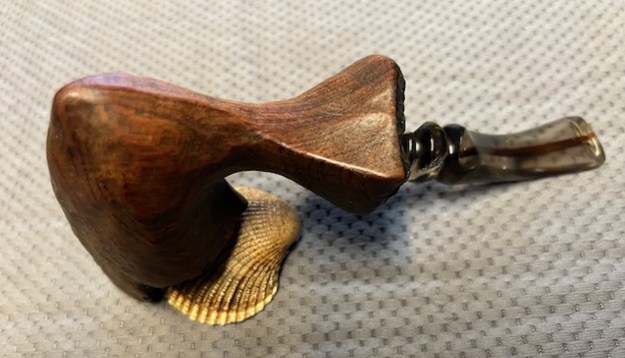
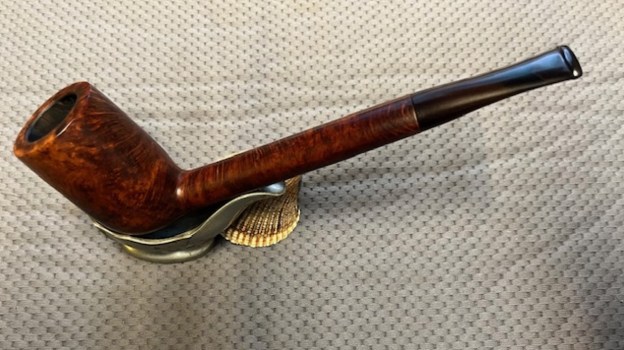
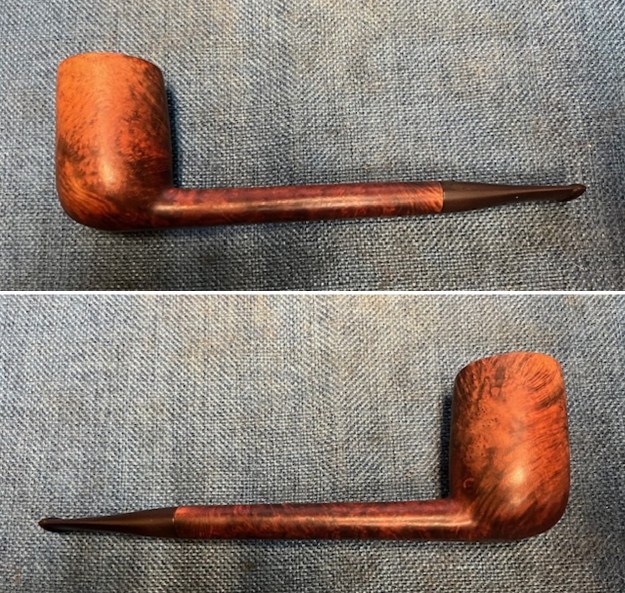
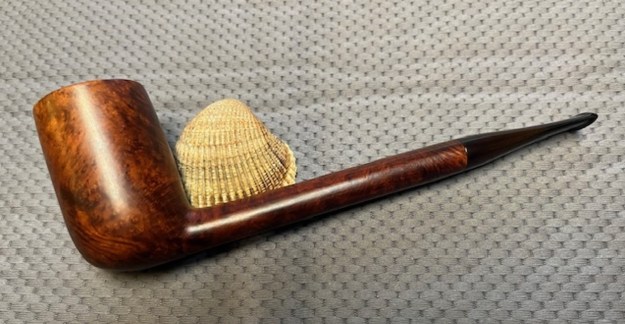
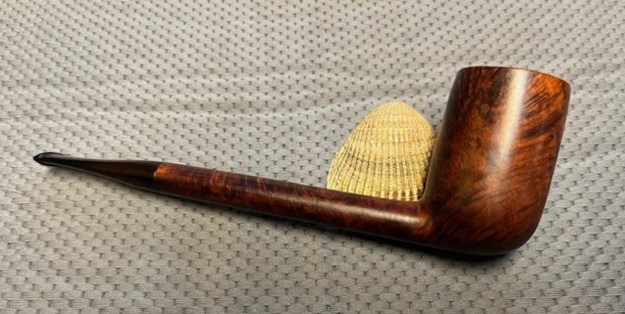
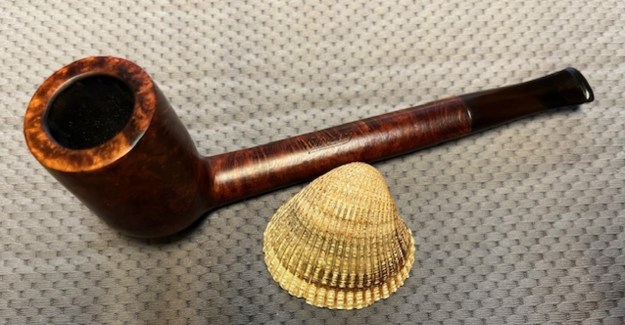
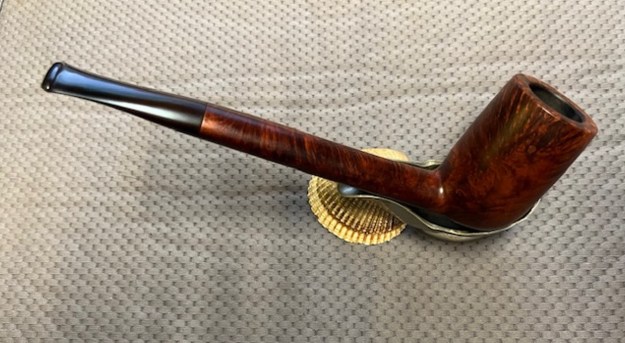
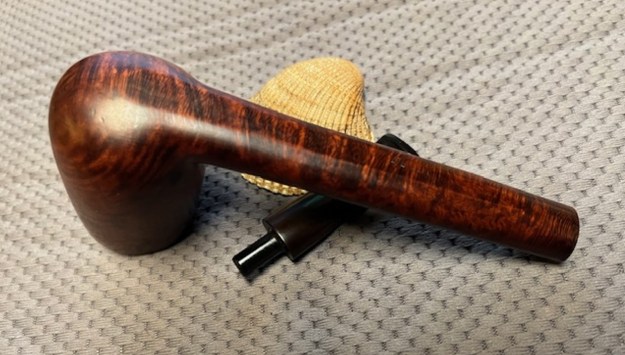
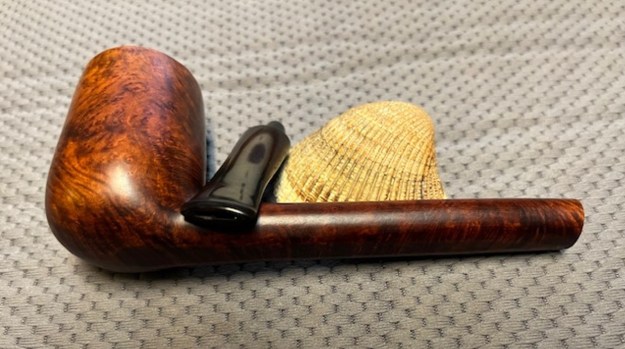
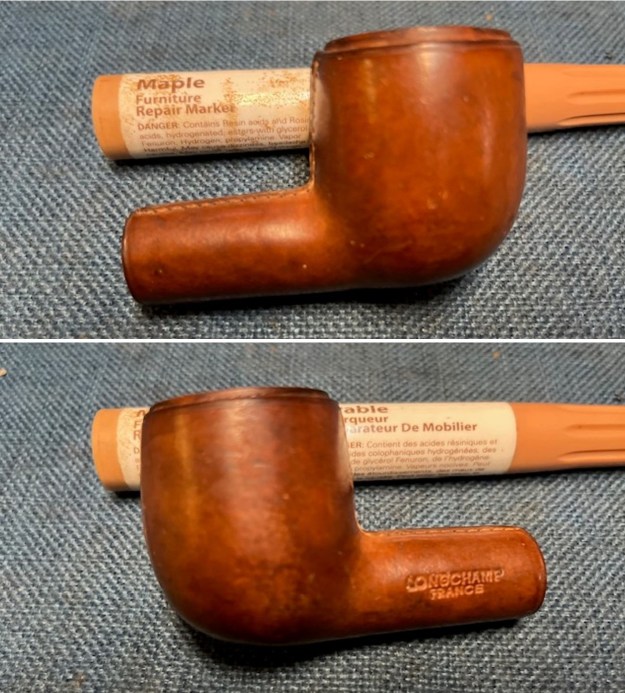
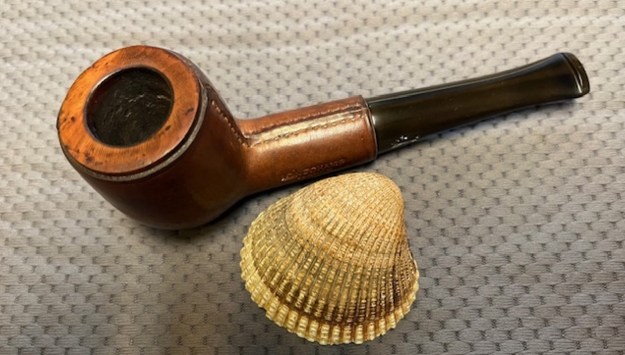
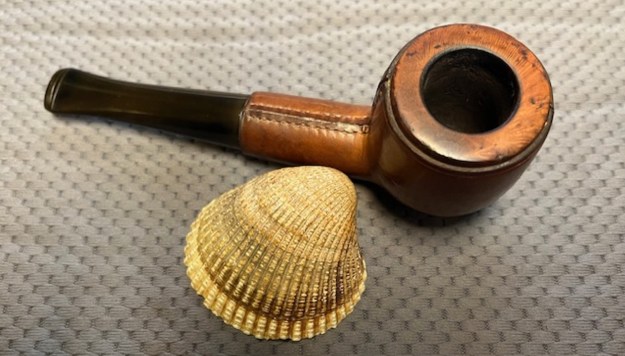
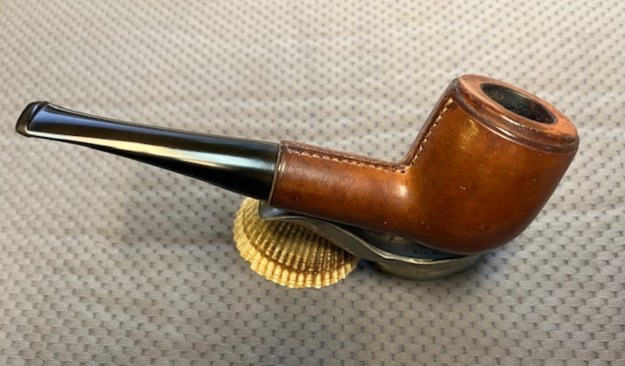
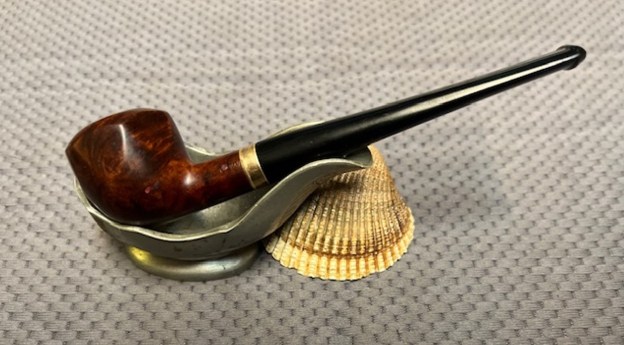
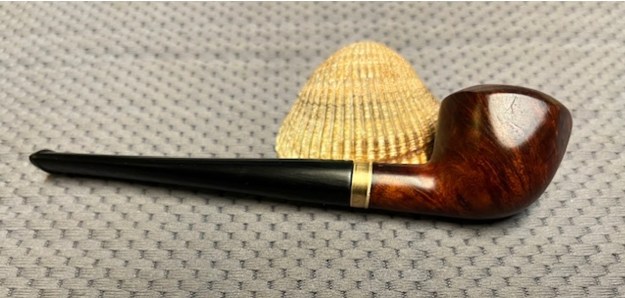
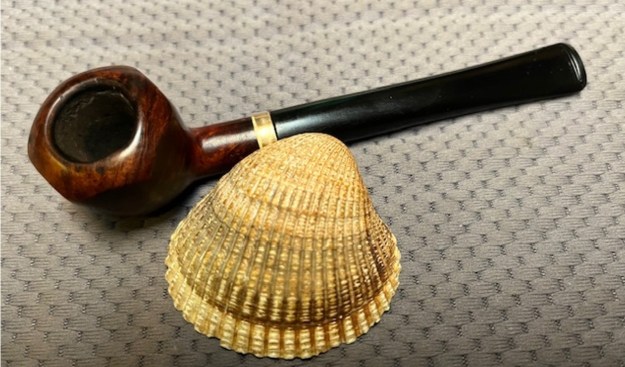
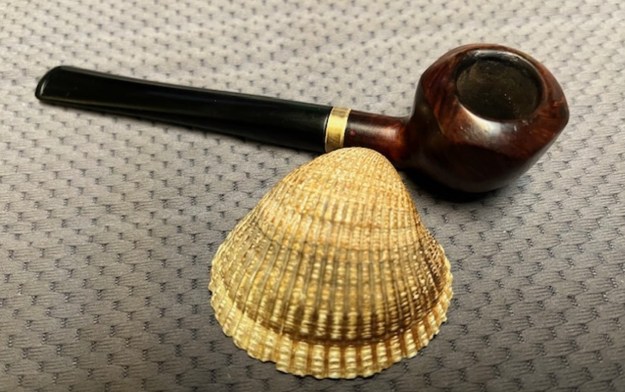
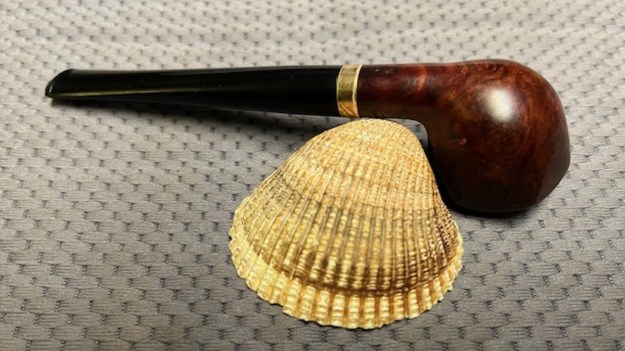
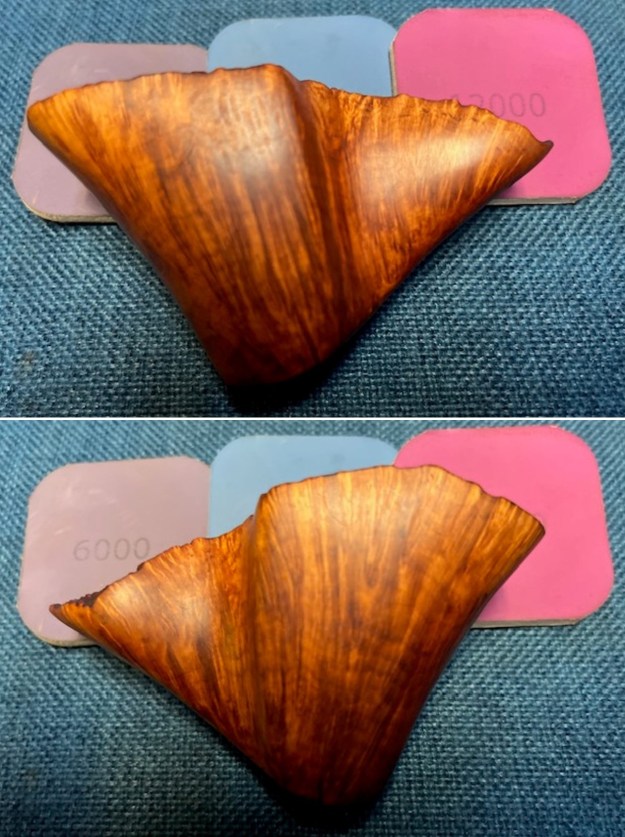
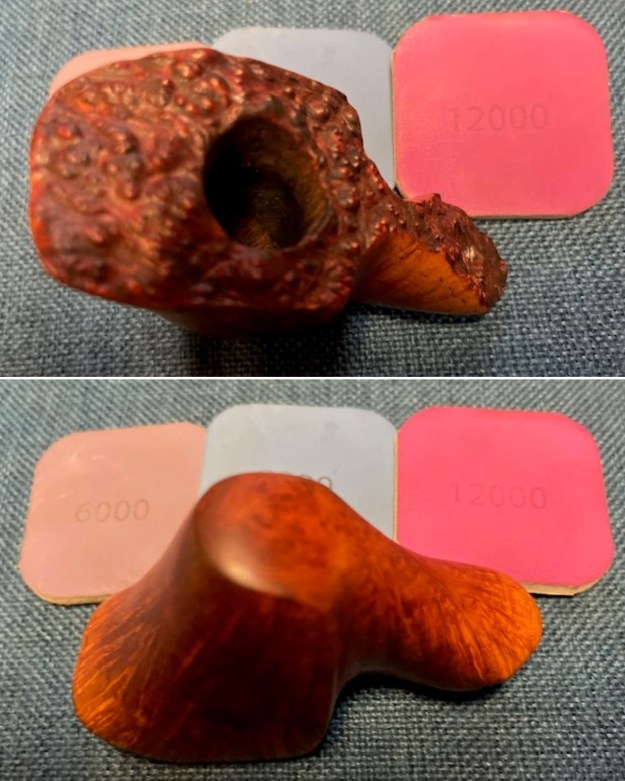
 This nice looking Holtorp Wedge Plateau Freehand with an understated fancy turned saddle vulcanite stem is a great looking pipe now that it has been restored. The briar is clean and the grain really came alive. The rich stains gave the finish a sense of depth with the polishing and waxing. I put the stem back on the bowl and buffed the pipe with Blue Diamond on the buffing wheel using a light touch on the briar. I gave the bowl and the stem multiple coats of carnauba wax on the buffing wheel. I buffed the pipe with a clean buffing pad to raise the shine. I hand buffed the pipe with a microfiber cloth to deepen the shine. The finished Holtrop Wedge Plateau Freehand really is a beauty and feels great in the hand and looks very good. Give the finished pipe a look in the photos below. The dimensions of the pipe are Length: 6 inches, Height: 2 ¼ inches, Outside diameter of the bowl: 2 inches x 1 ½ inches, Chamber diameter: ¾ of an inch. The weight of the pipe is 77 grams/ 2.65 ounces. This beautiful Freehand pipe will soon be on the rebornpipes store in the Danish Pipemakers Secton. It should make a great smoker for the next trustee. Thanks for reading this blog and my reflections on the pipe while I worked on it. It was a fun one to work on.