by Steve Laug
A few days ago, I received an email from our local pipe and cigar shop regarding a repair that needed to be done for a customer. Joe included some photos with his email to help me see what he was looking at. I have included the email and the photos below so you can read and see what I read and saw.
Good afternoon Steve! How’ve you been?
Seems like it was every other day I’d email you about a broken pipe, and you’ll never guess….
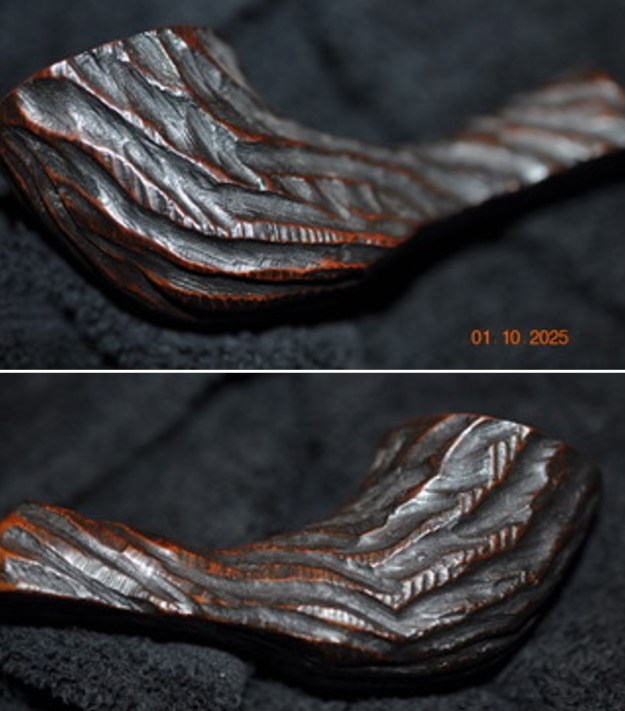
A gentleman dropped off a beautiful Calabash Meerschaum pipe, I believe he said a part of the bowl cracked when he dropped it. Regardless, I can’t really tell what’s wrong with it from looking at it. I’ve attached a couple pictures, and was wondering if you could help us with it.
All the best,
Joe
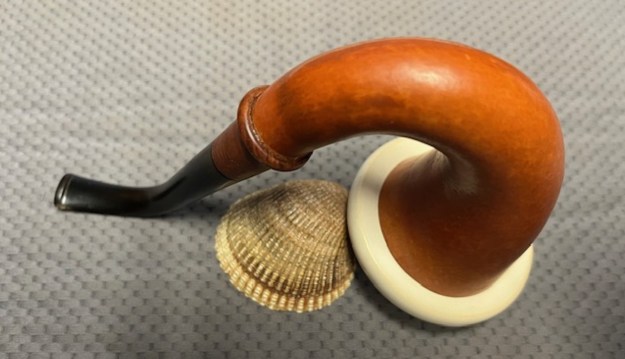
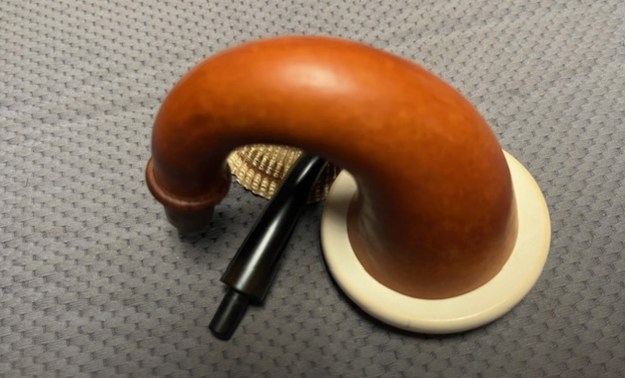
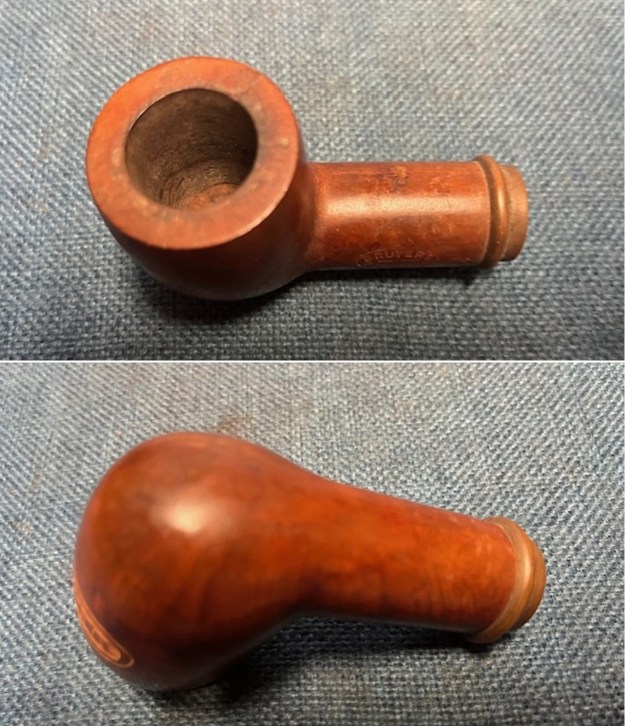
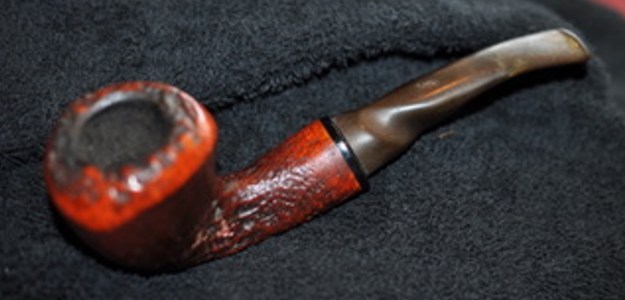
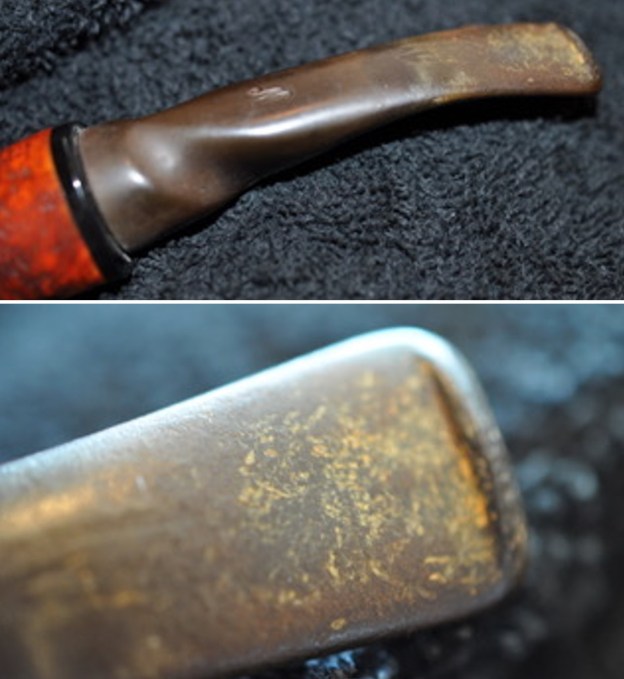
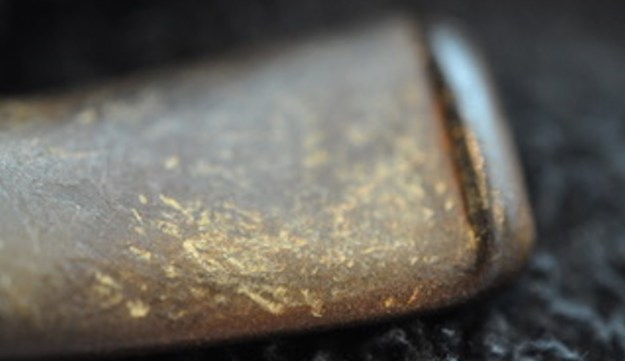
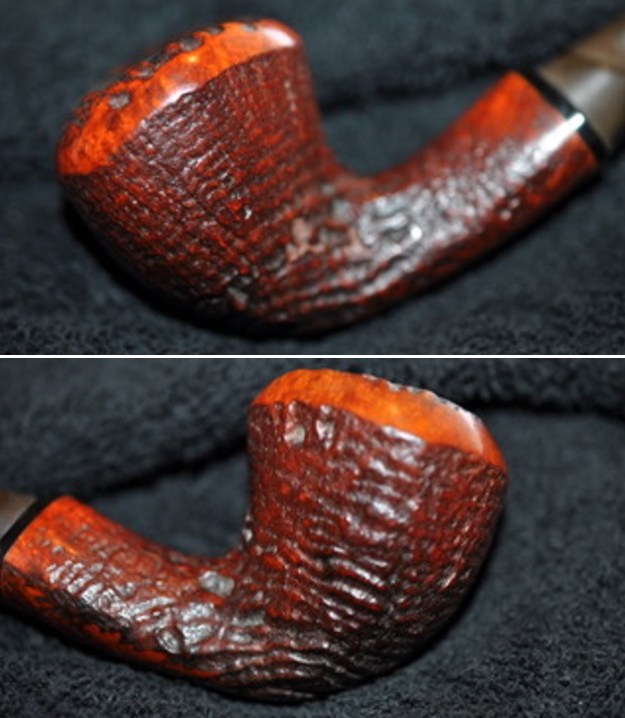
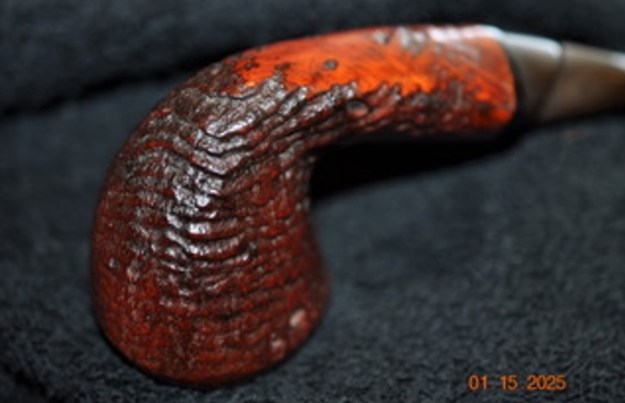
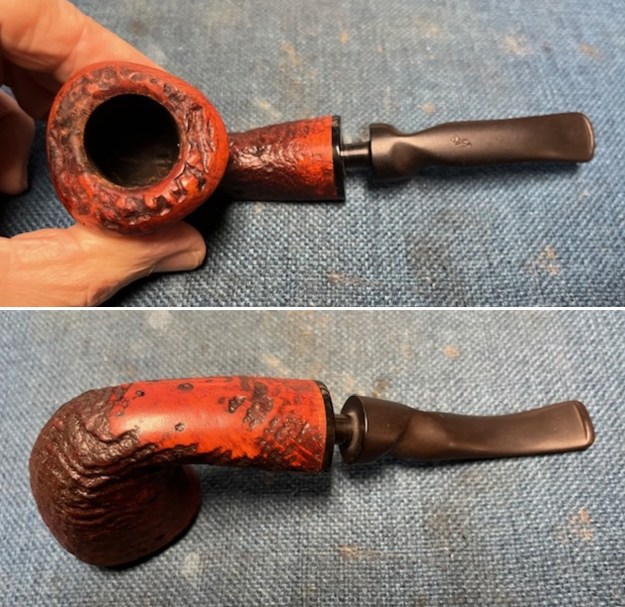
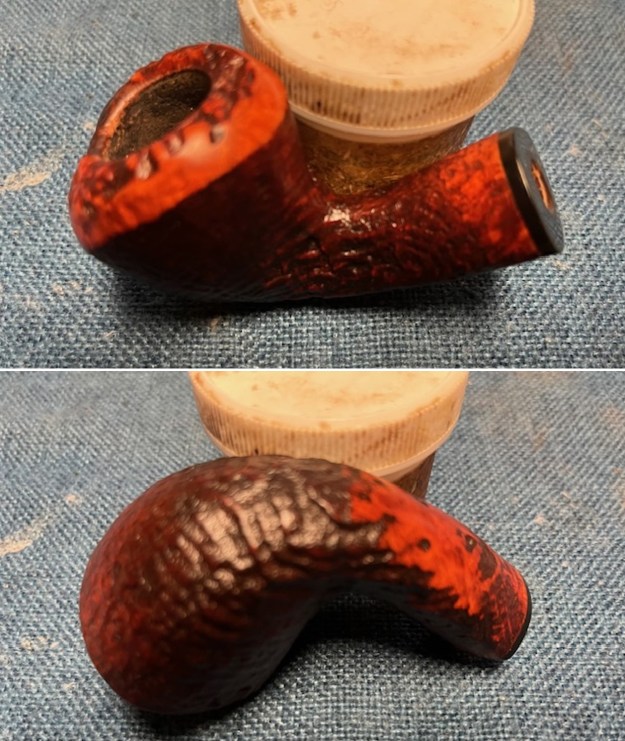
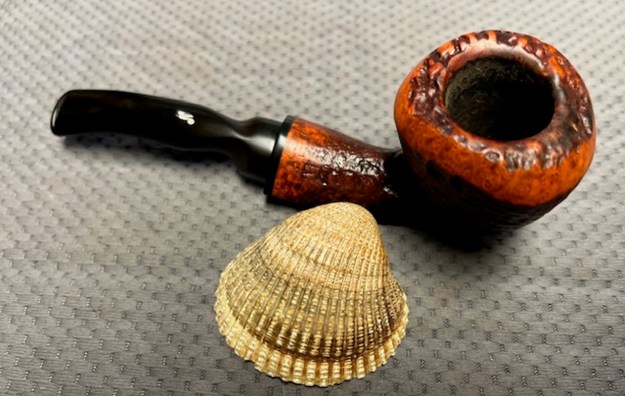
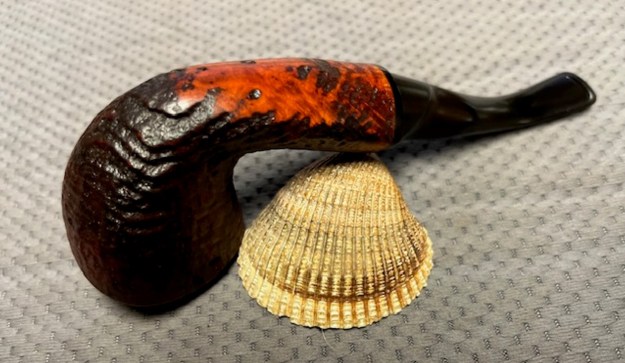
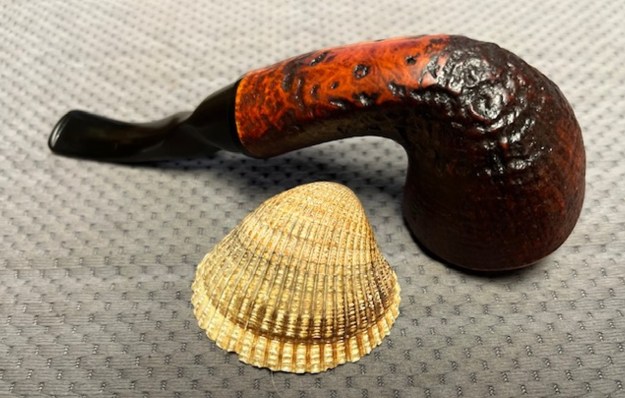
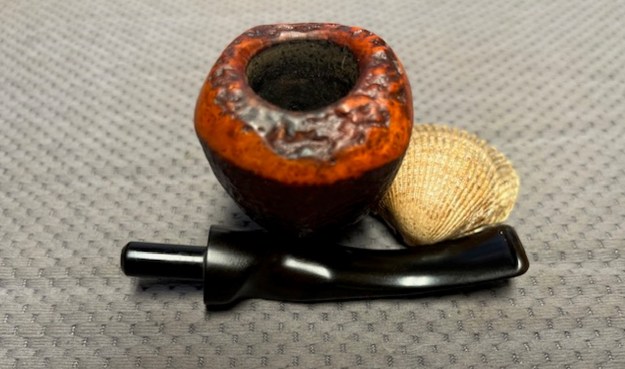
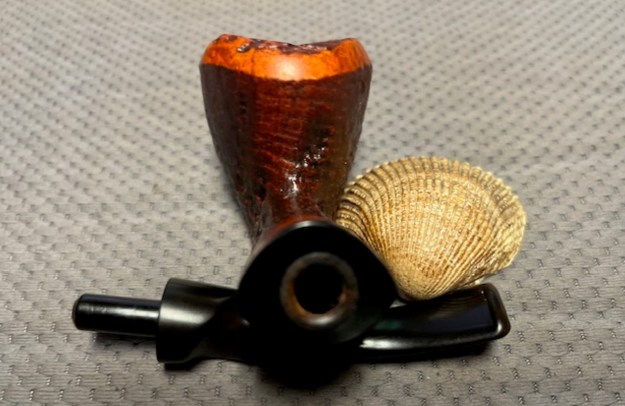
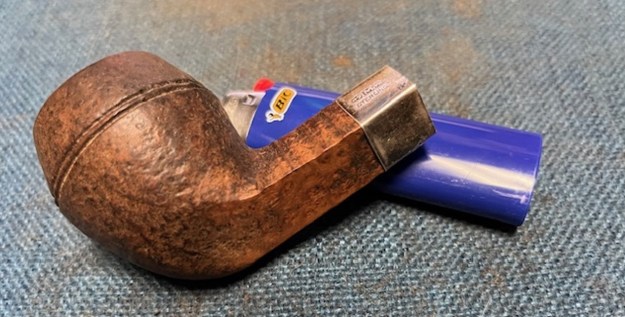
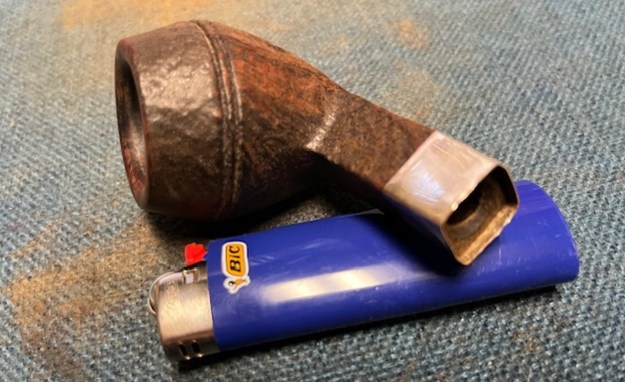
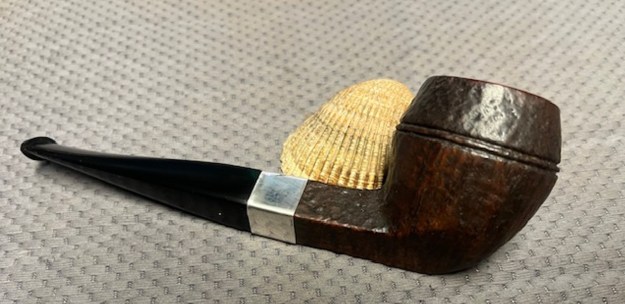
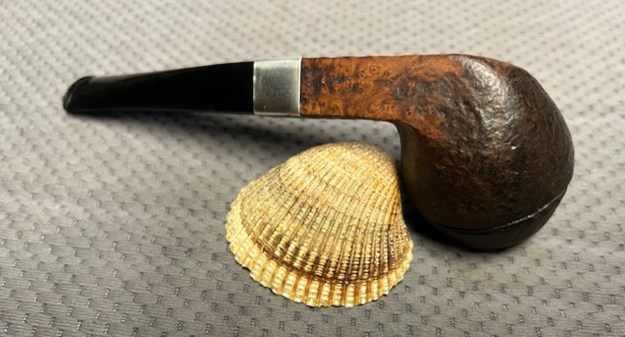
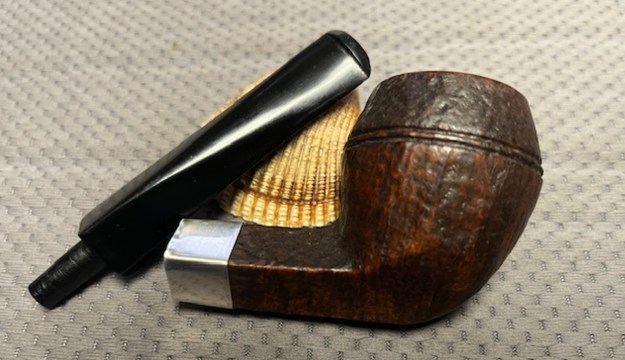
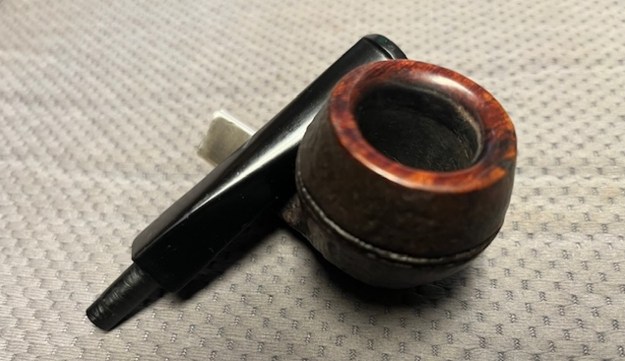
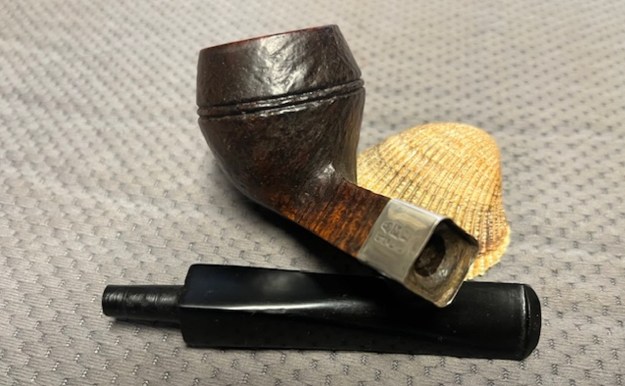
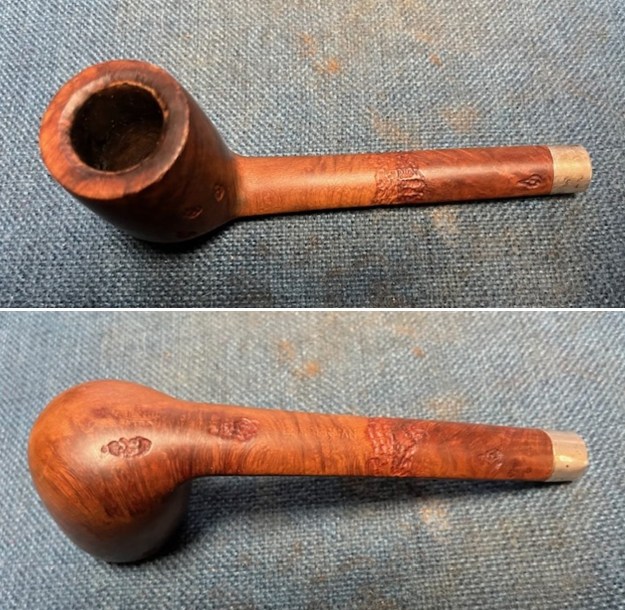
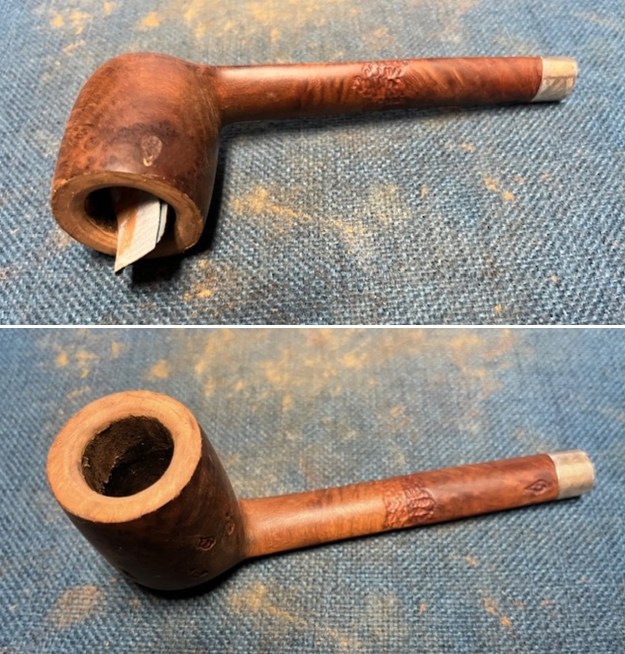
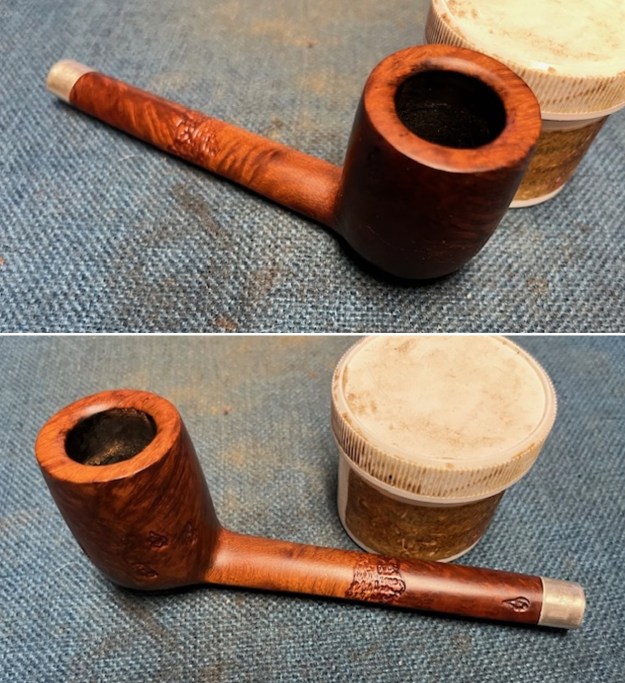
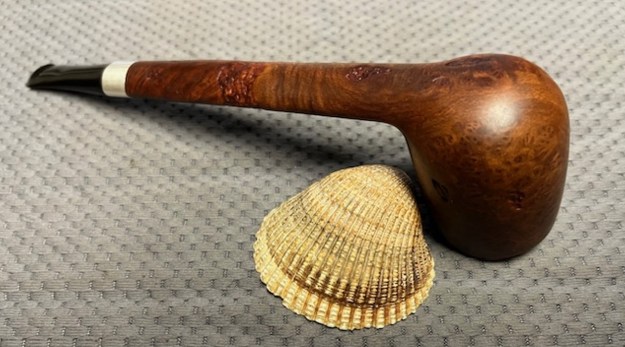
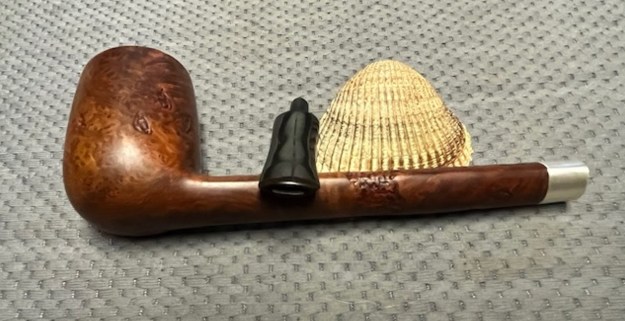
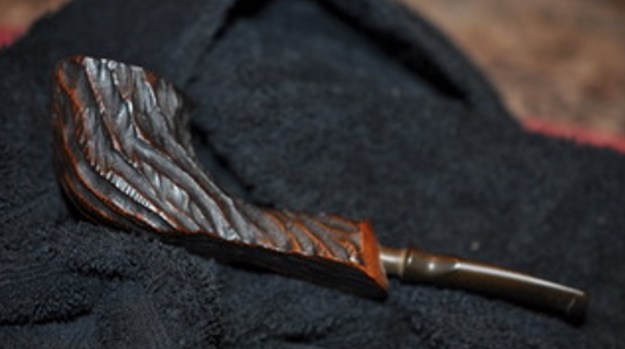
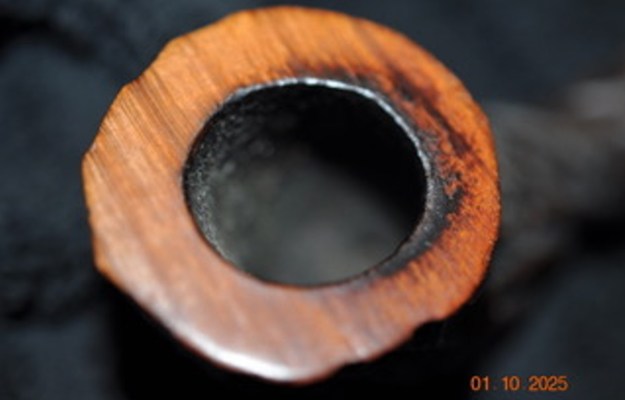
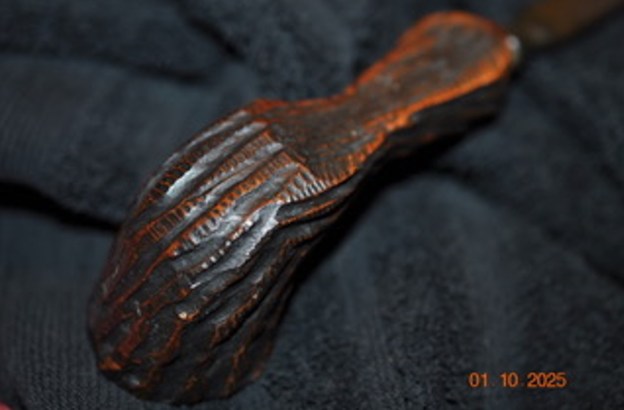
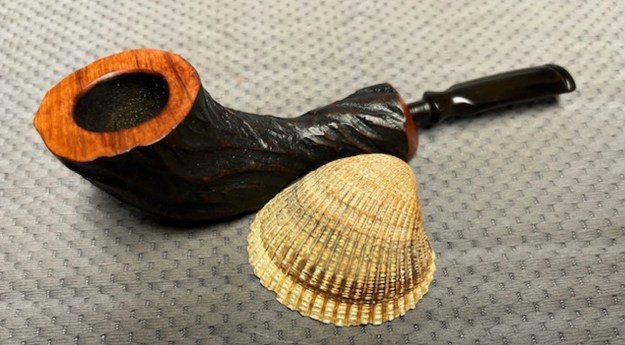
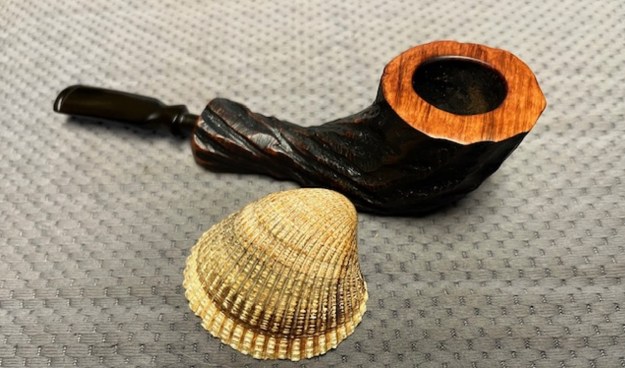
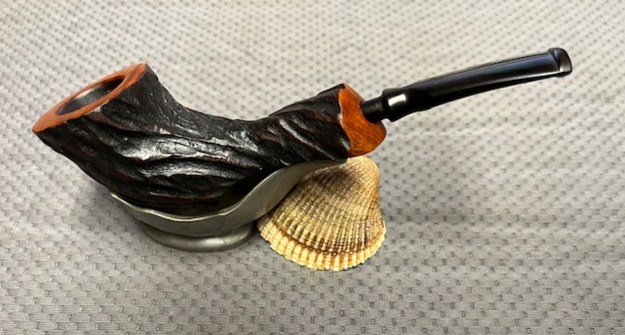
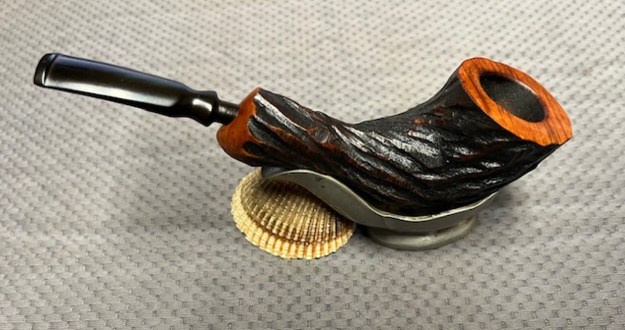
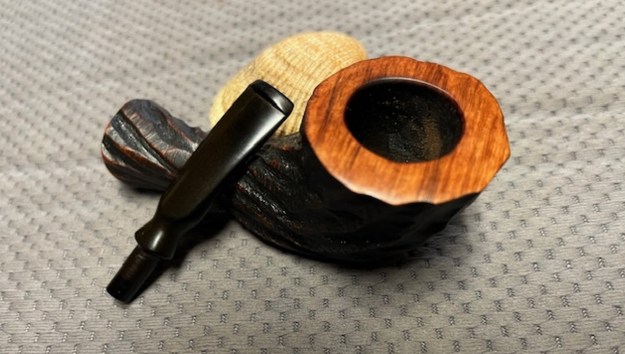
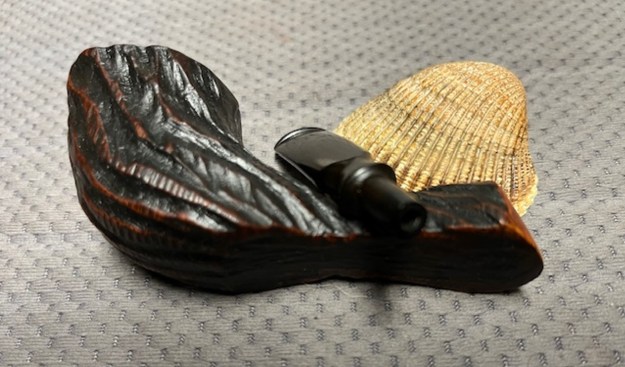
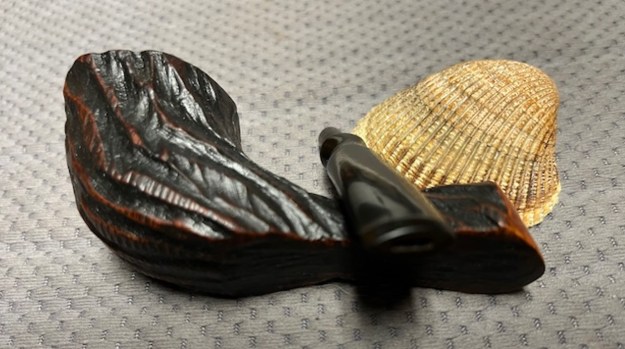
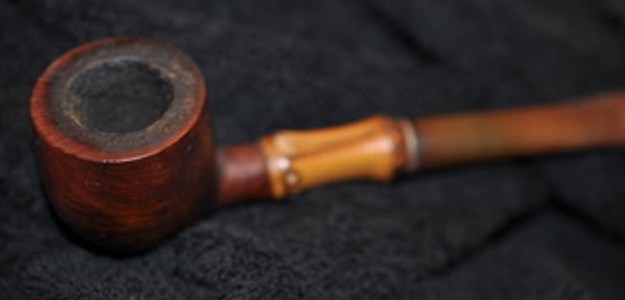
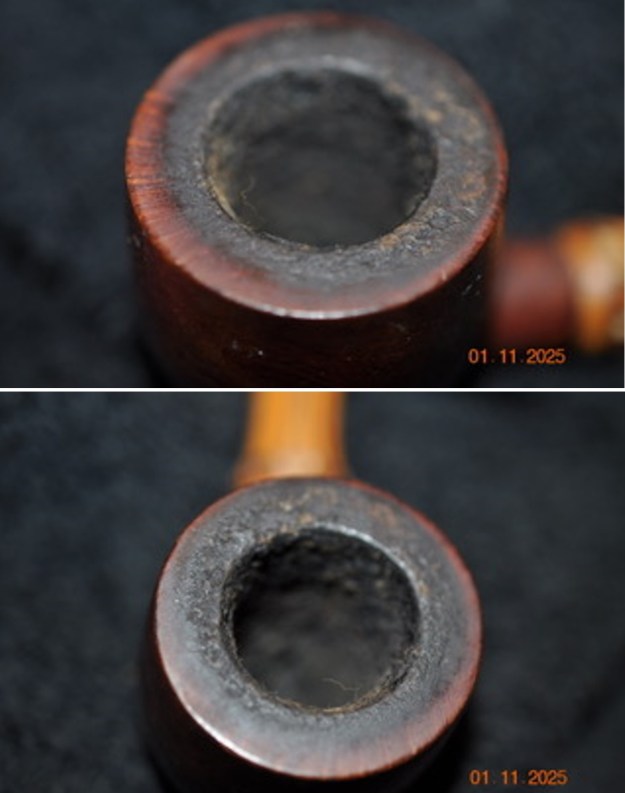
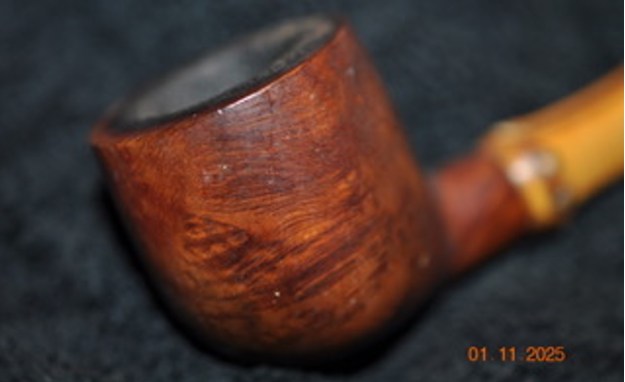
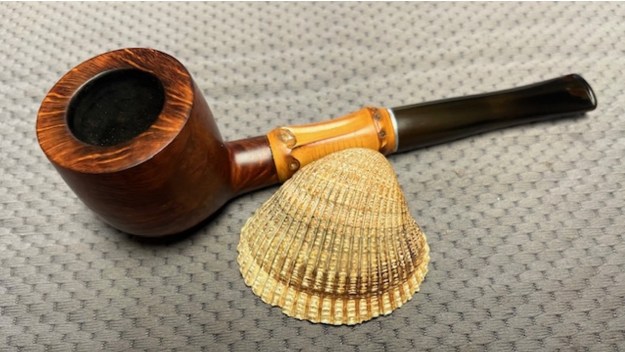
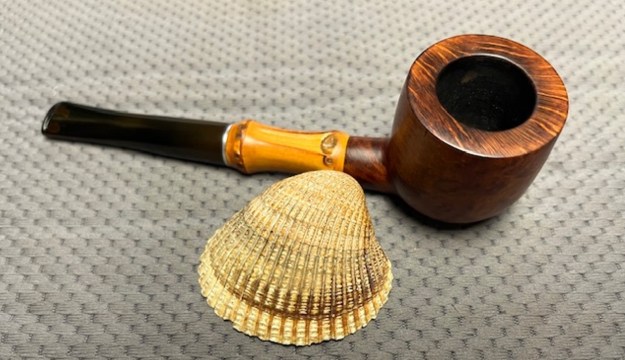
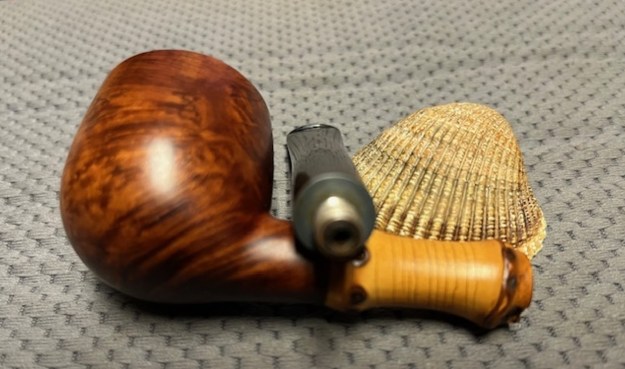
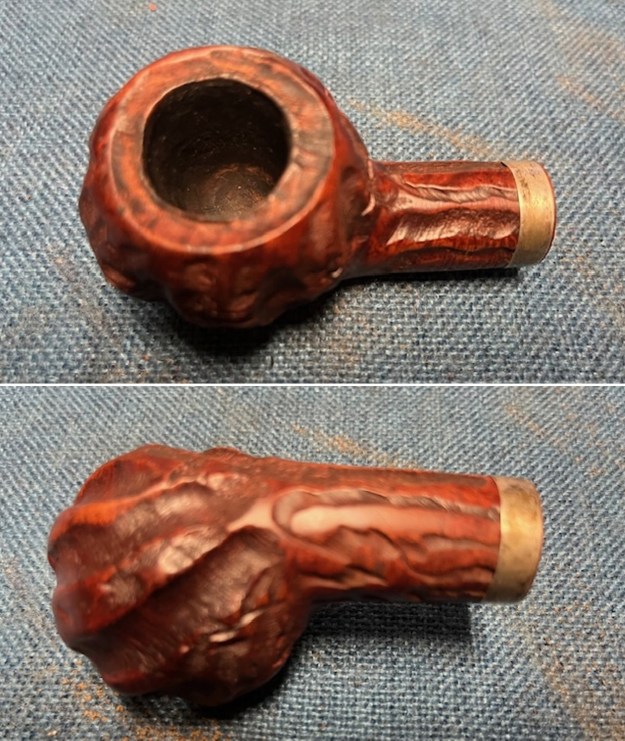
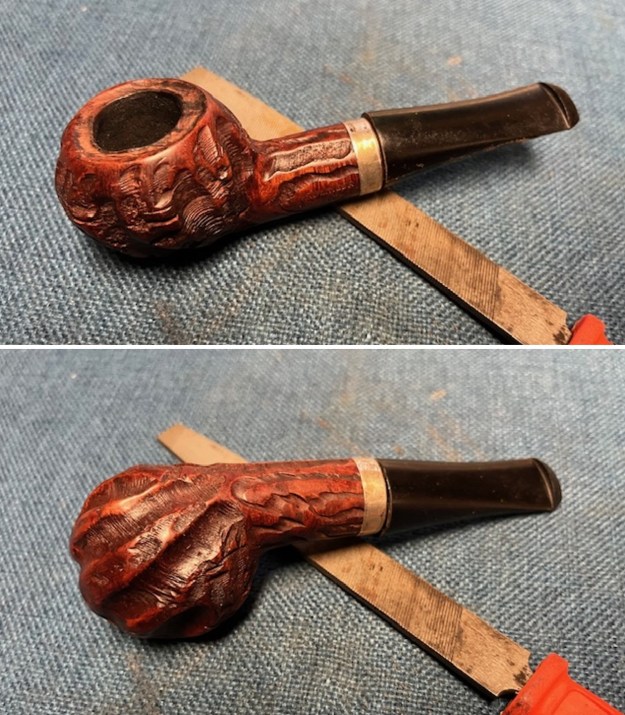
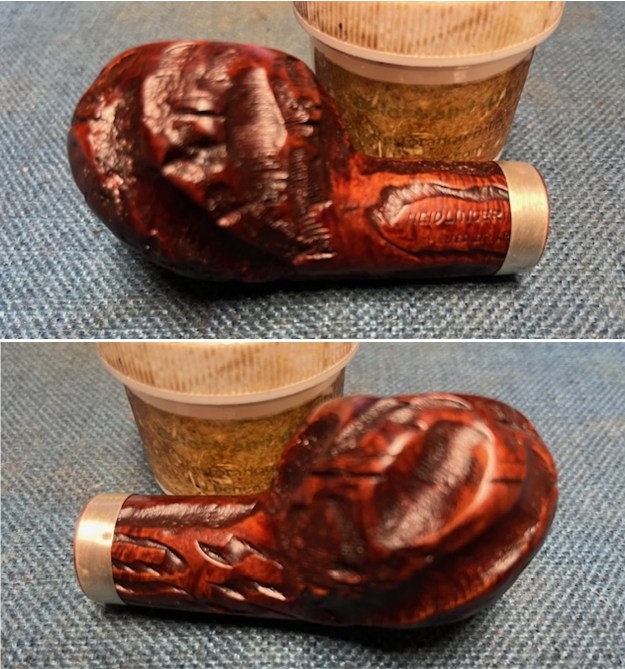
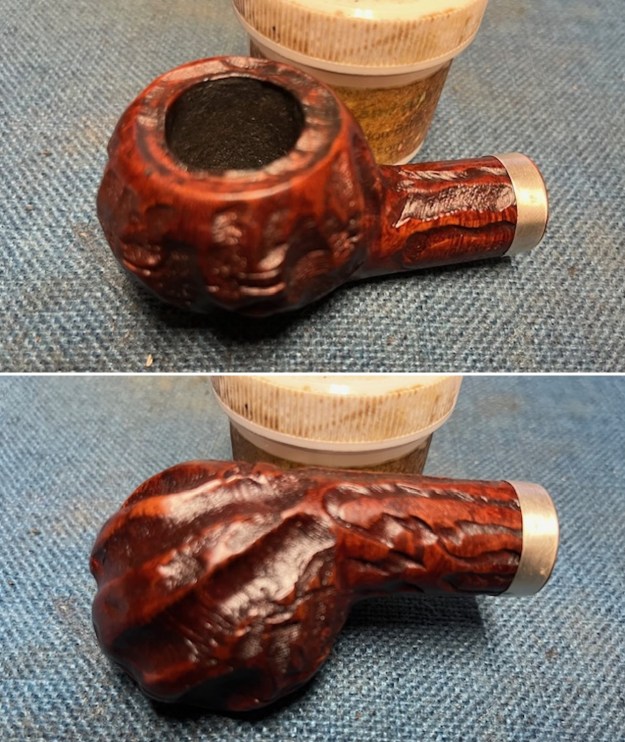
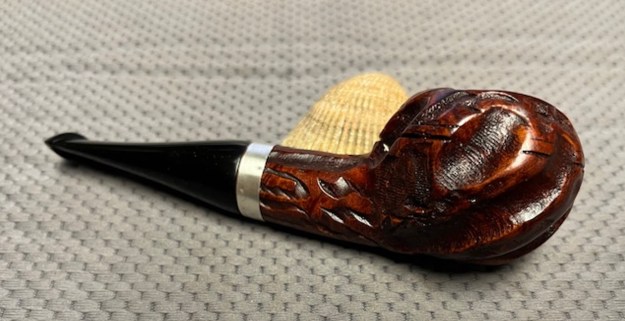
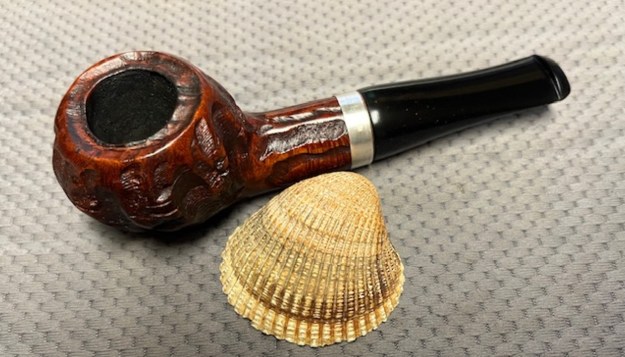
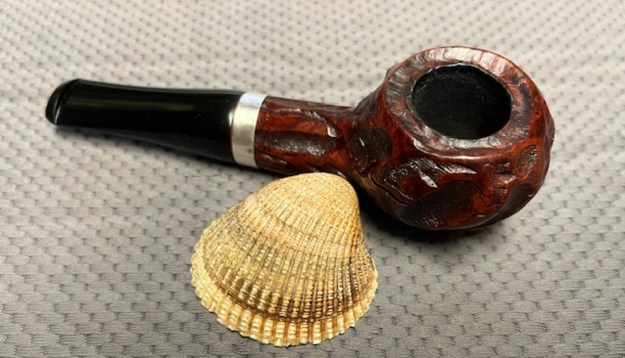
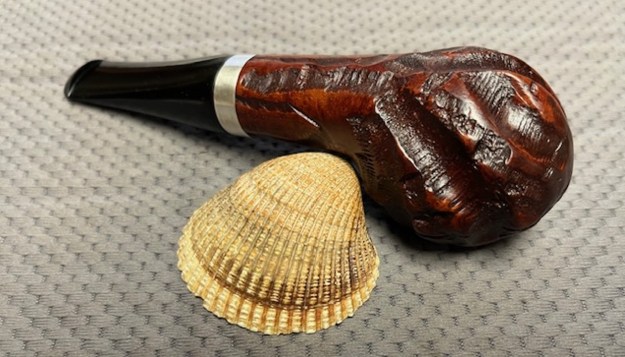
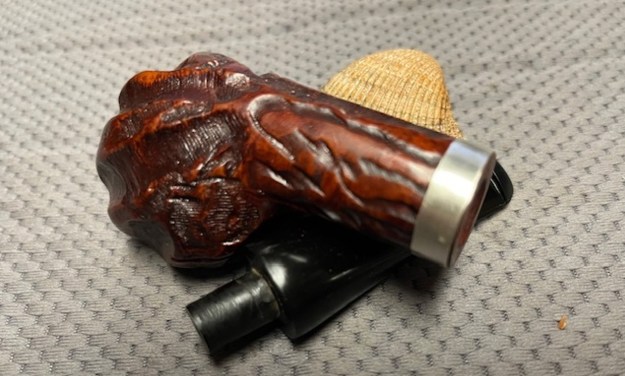
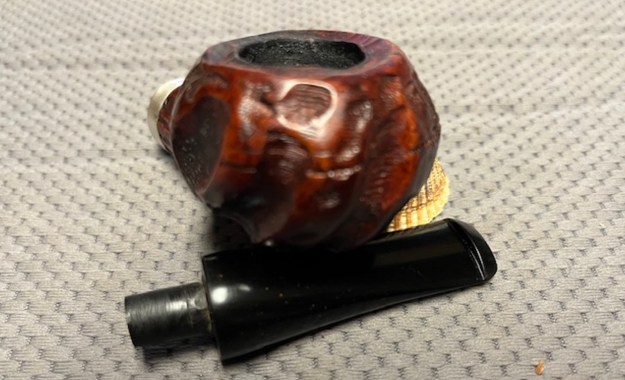
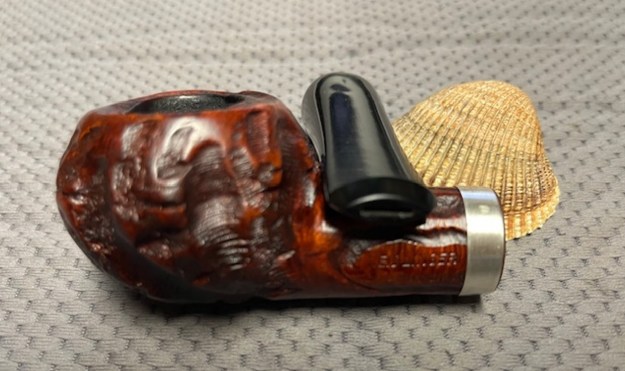
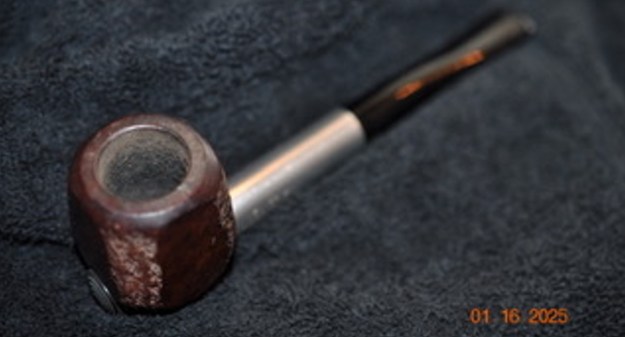
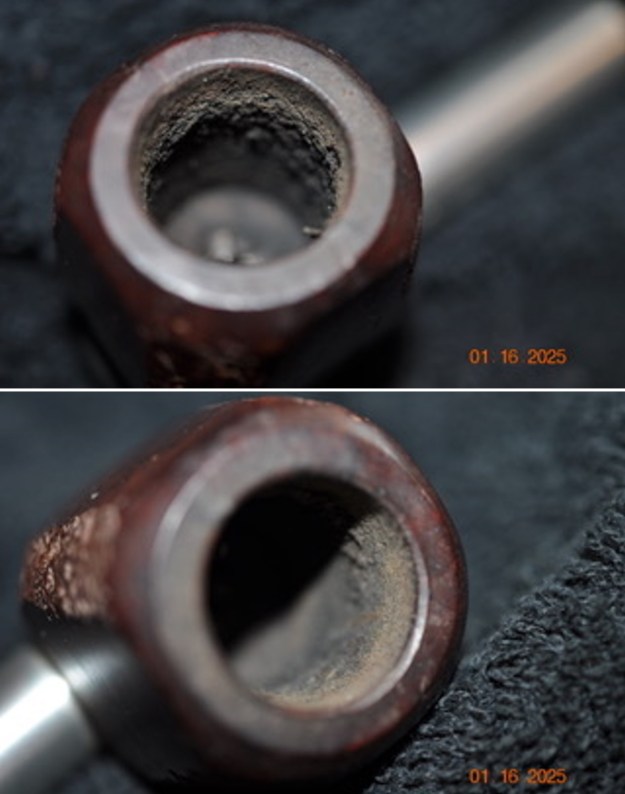
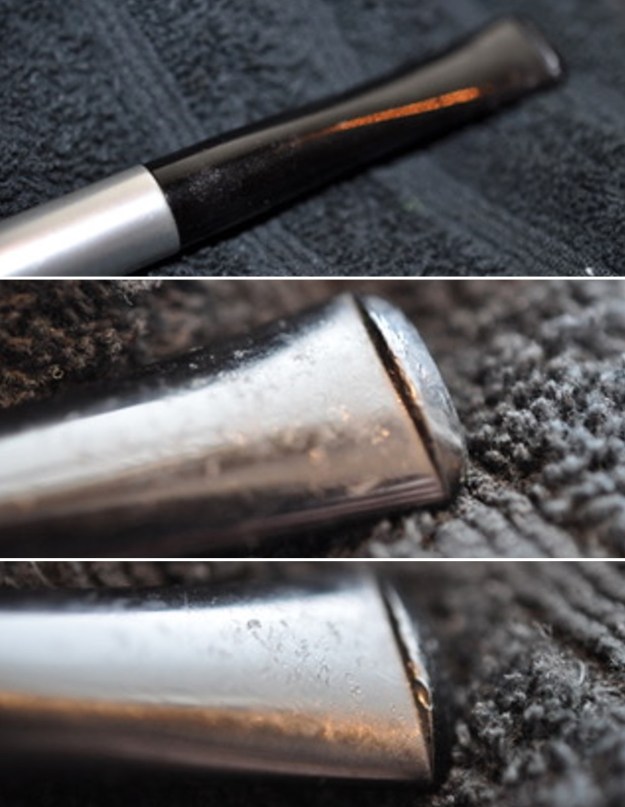
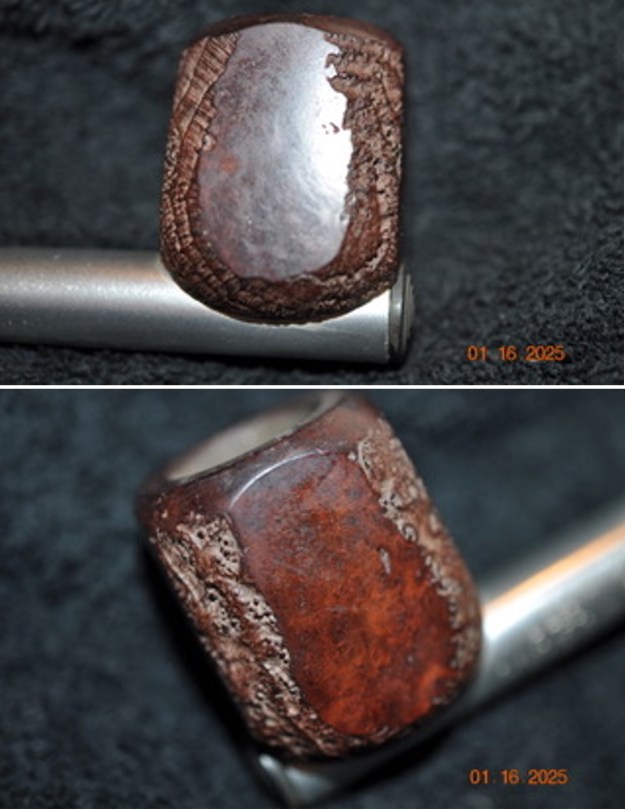
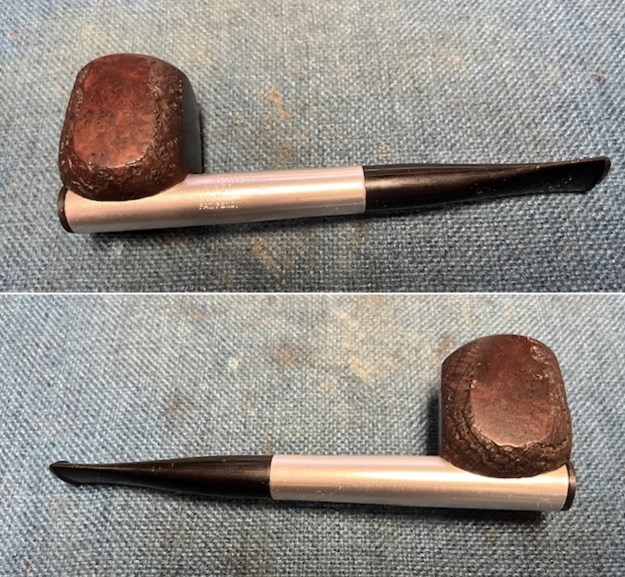
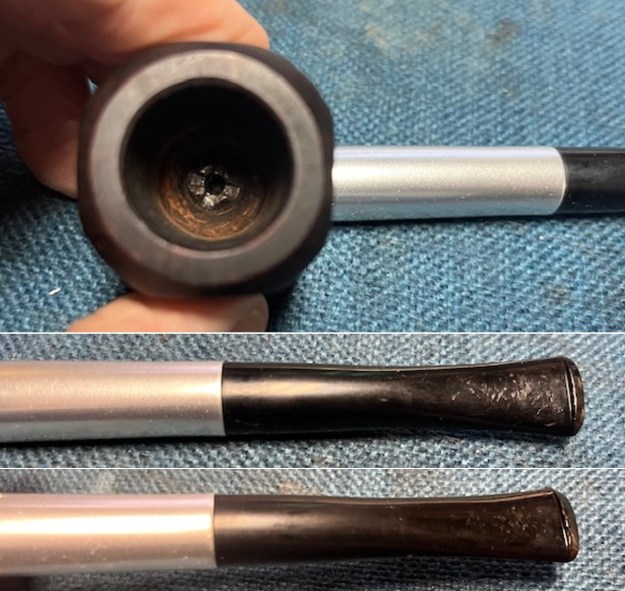
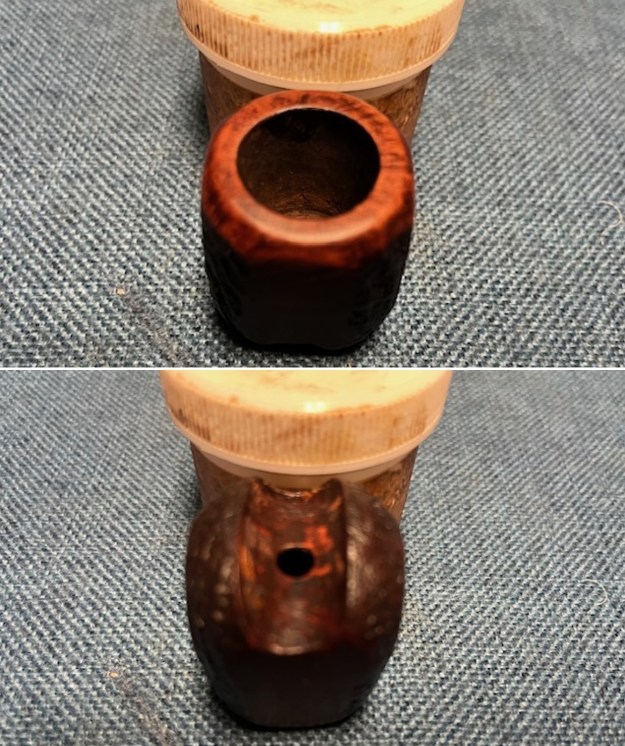
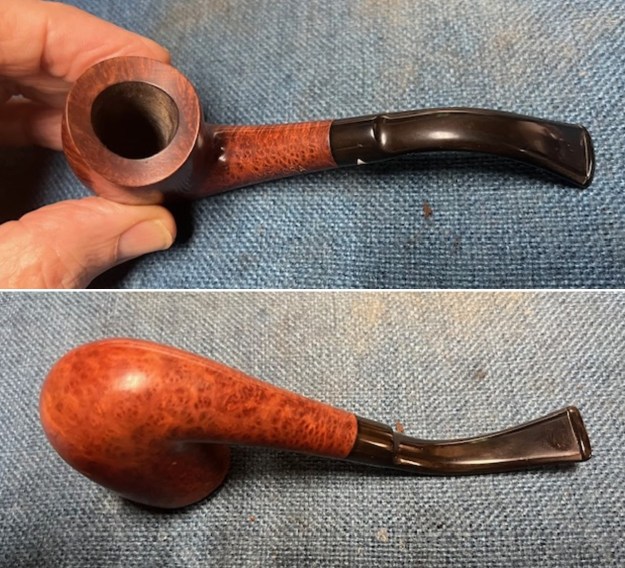
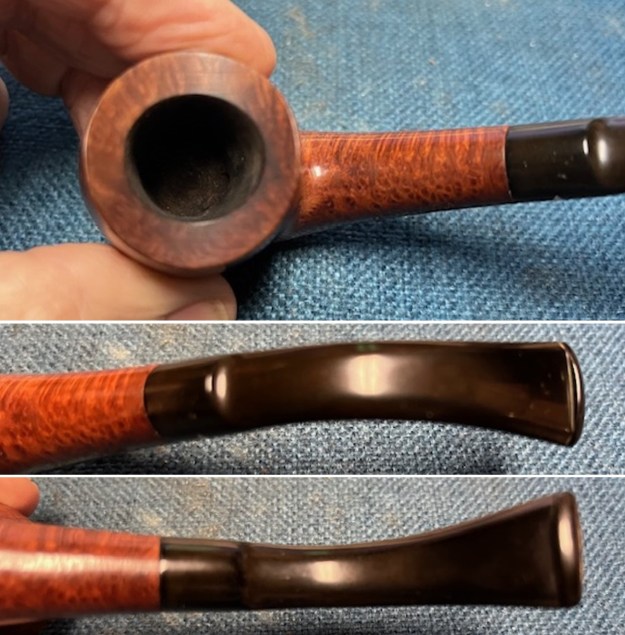
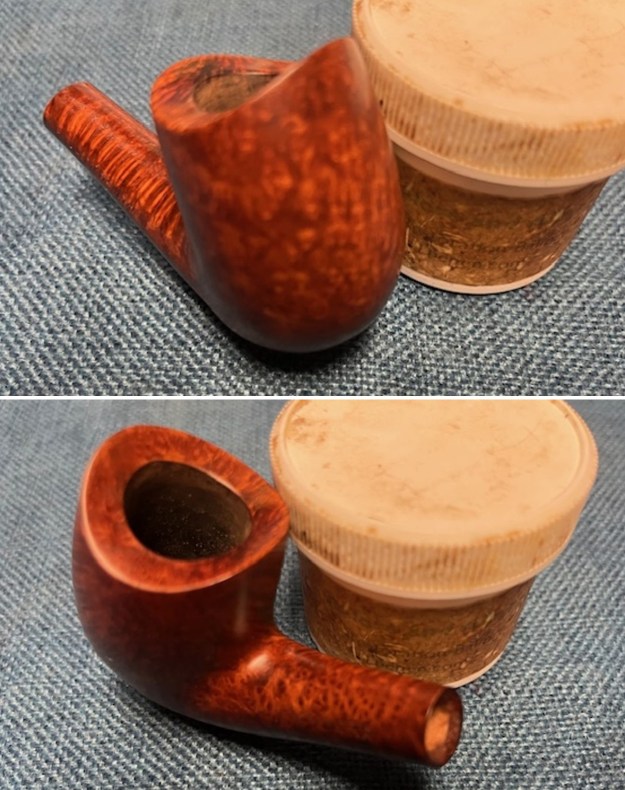
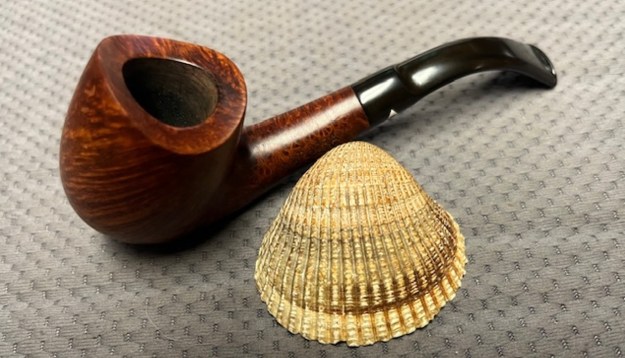
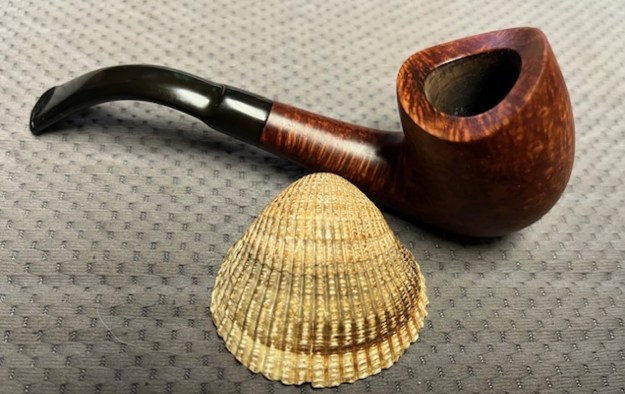
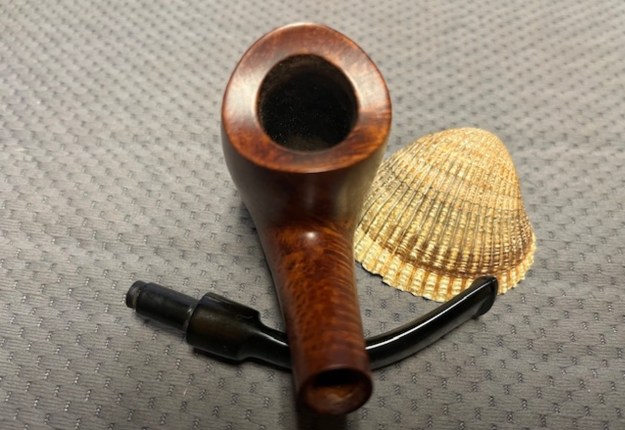
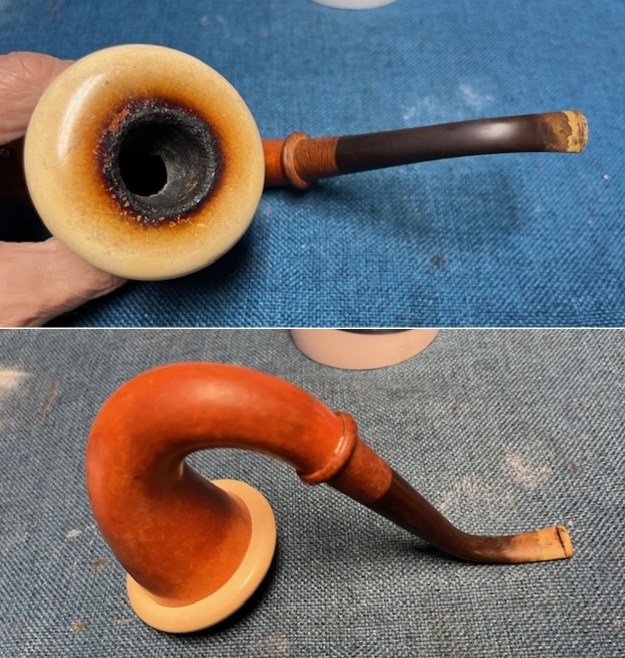
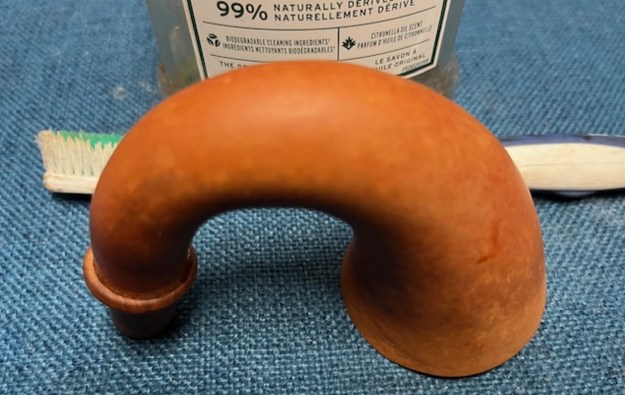
I looked over the pipe photos to see what I was going to have to work on. It was a nice-looking Meerschaum Gourd Calabash. The gourd was dry and dirty with some discoloring around the sides from the top to the shank. The shank end was a briar extension that looked nice, but also dirty. The stem was well bent but was oxidized, calcified and had light marks and chatter on both sides ahead of the button. The photo of the bowl from the top down seems to show the bottom has broken out of the bowl and it too was very dirty. I was curious to see what the pipe looked like once I had it in hand. Perhaps I would have a replacement bowl here that could be used in the bowl.
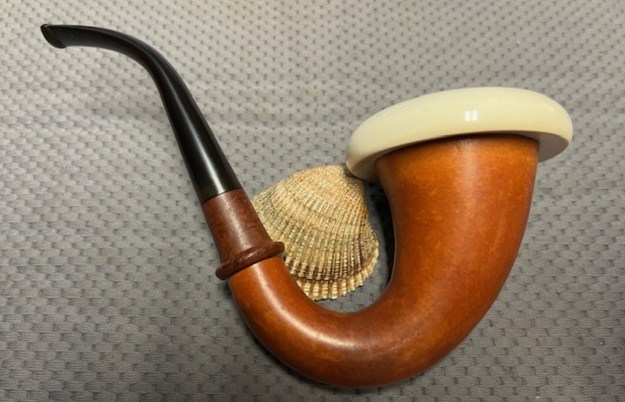
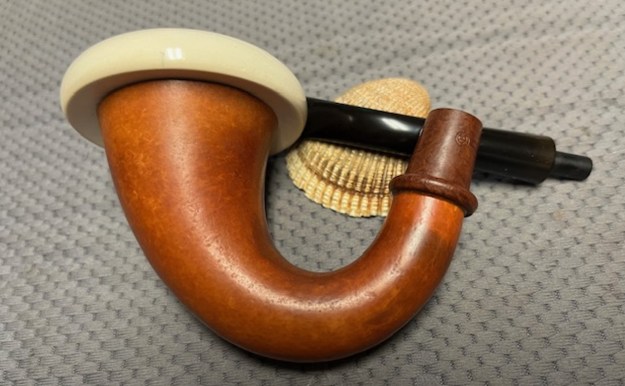
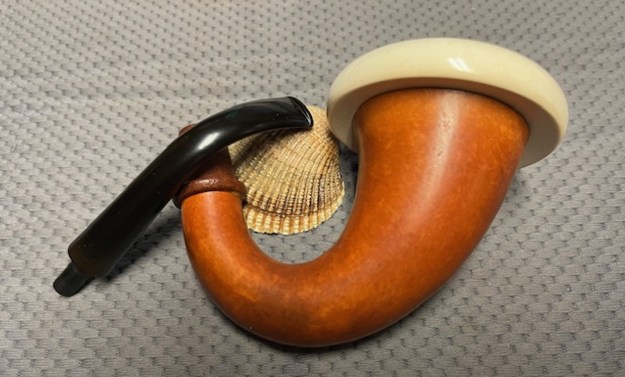
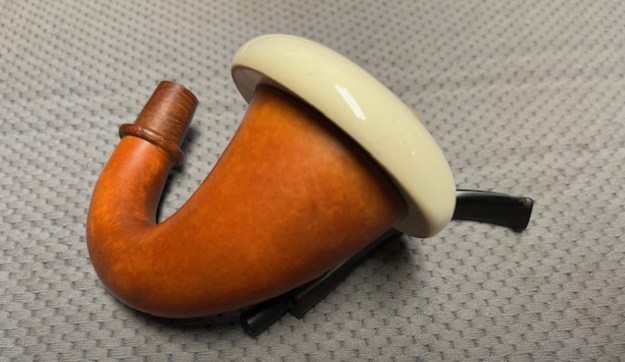
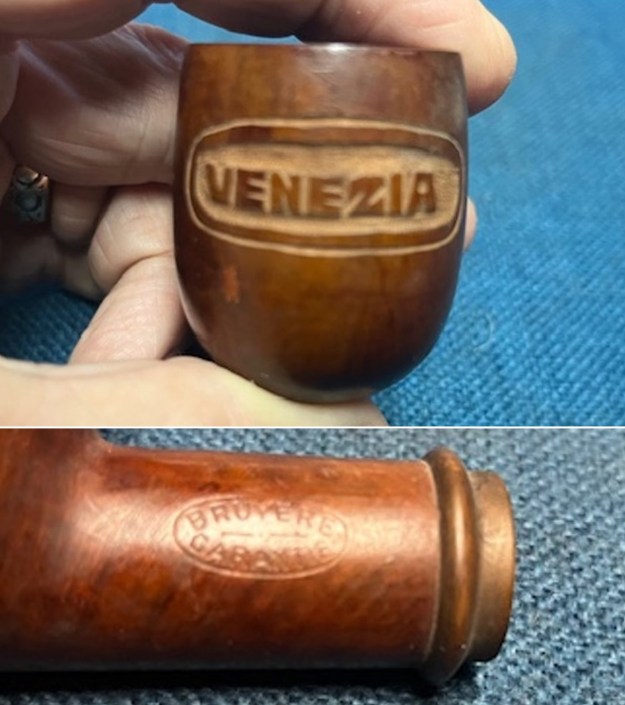
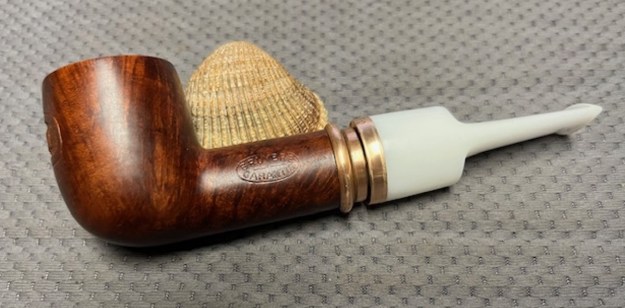
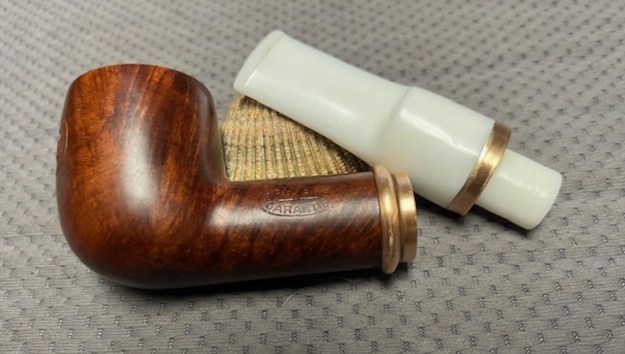
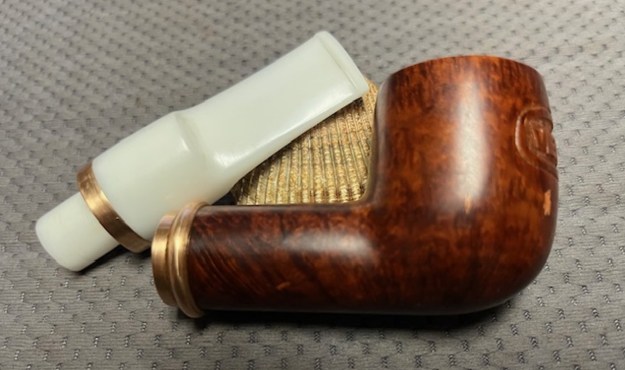
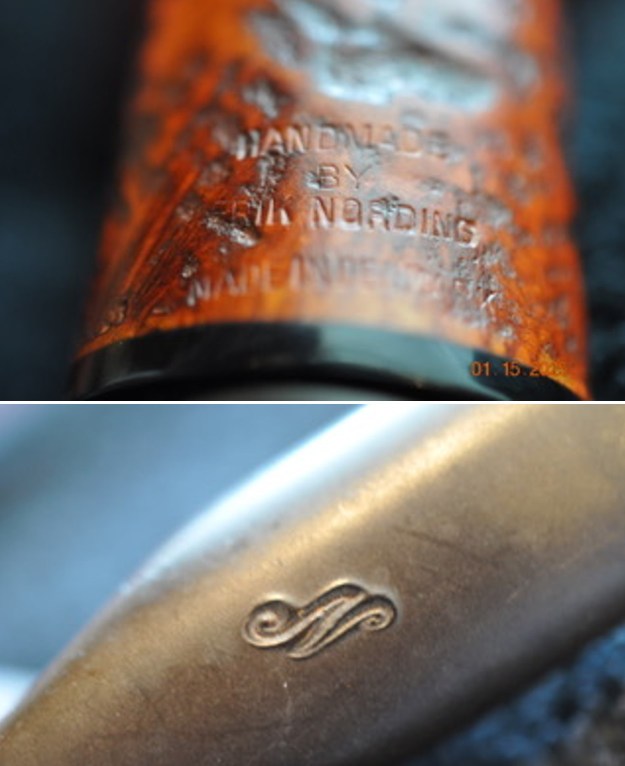
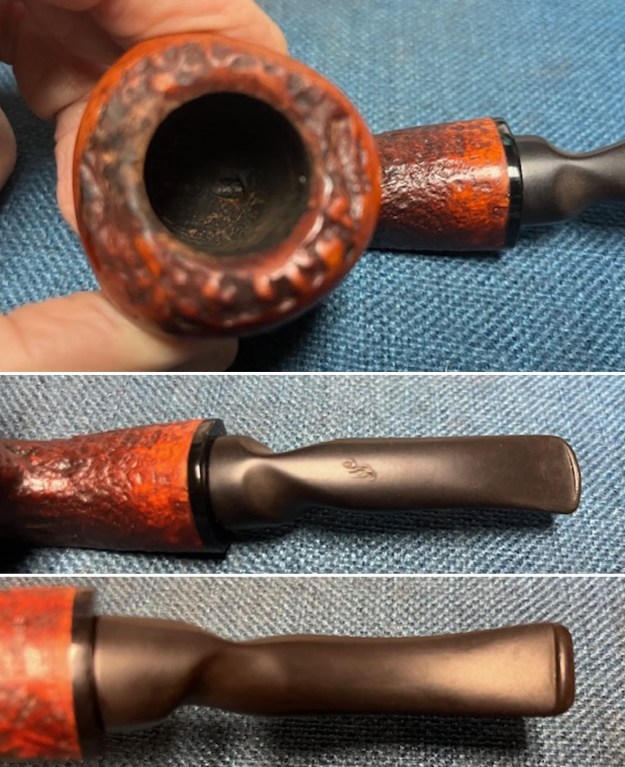
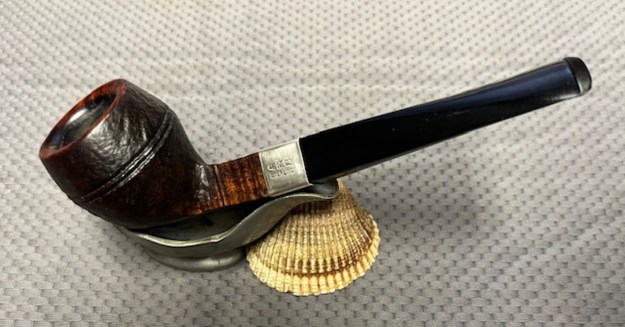
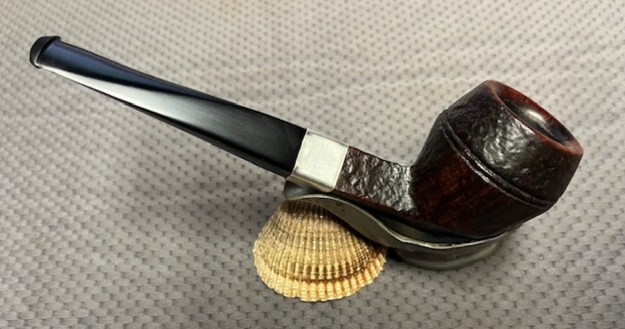
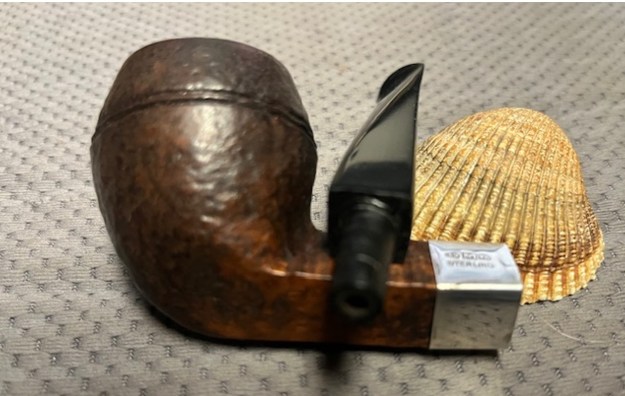
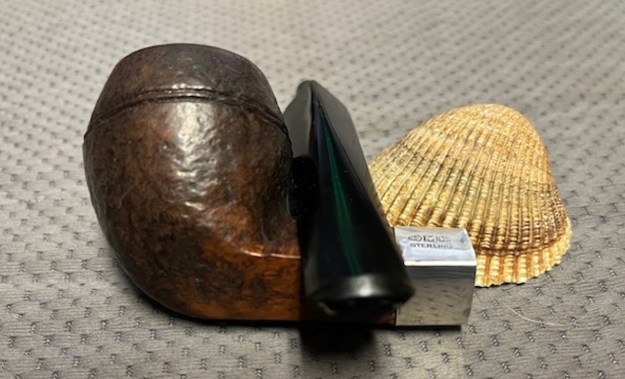
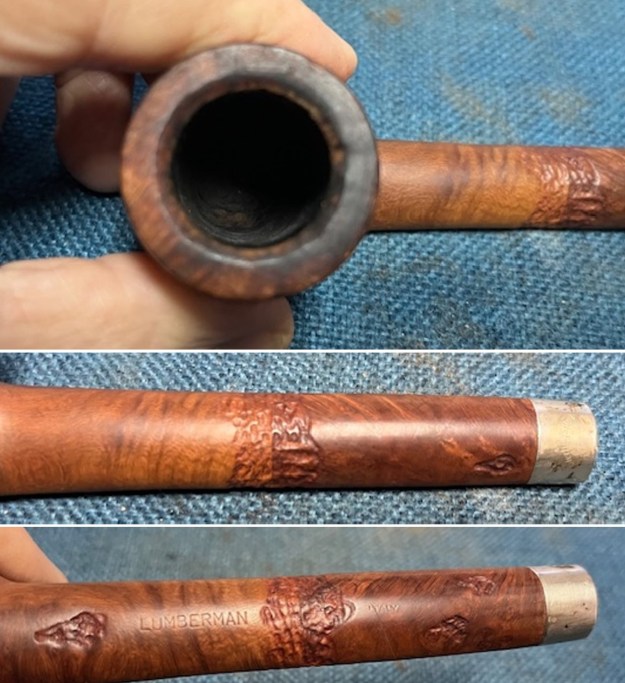
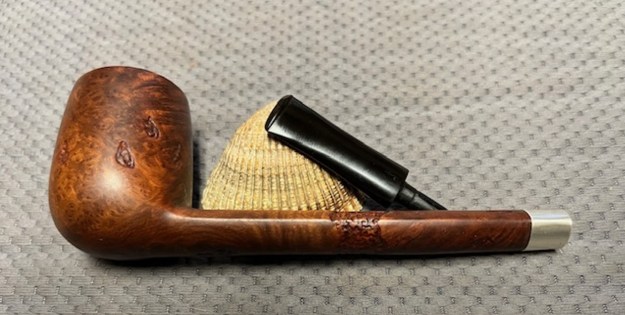
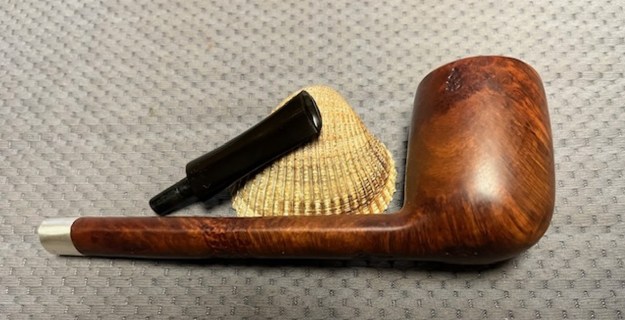
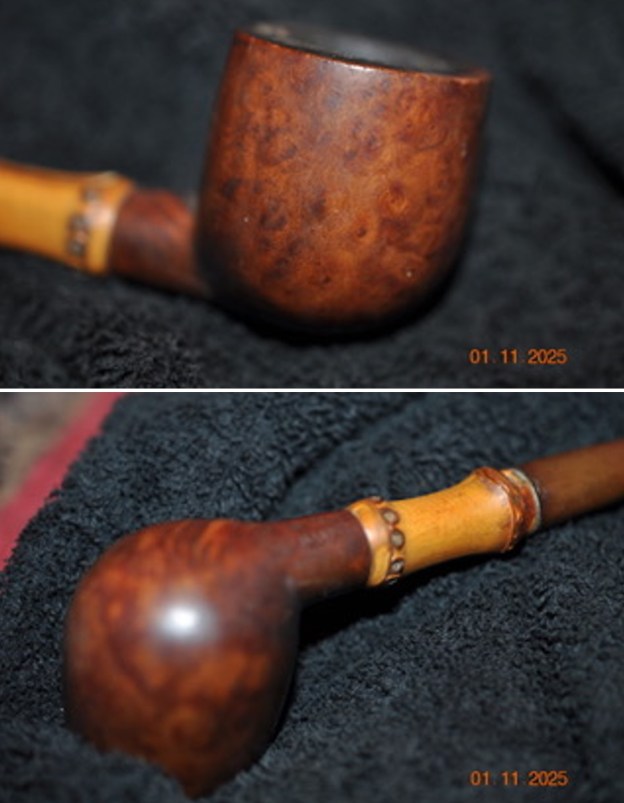
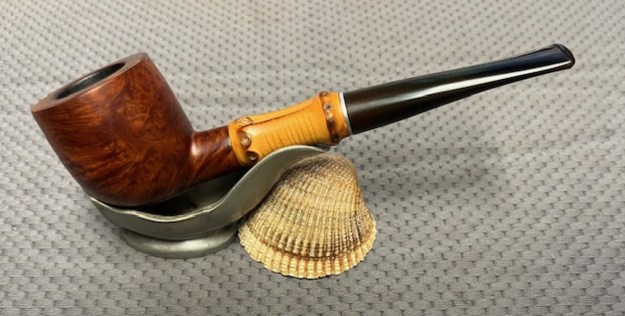
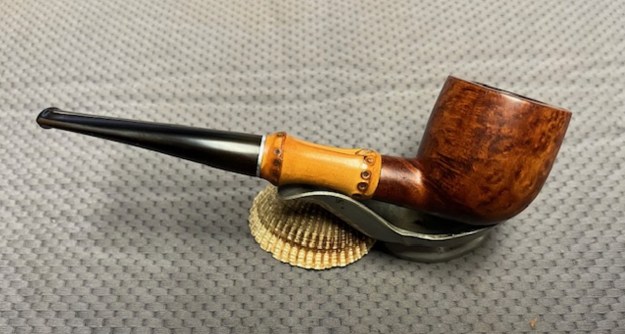
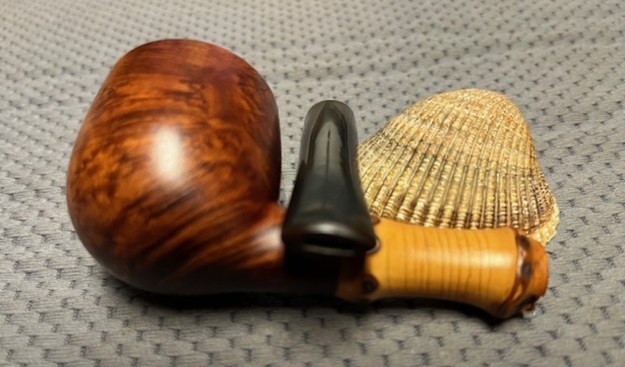
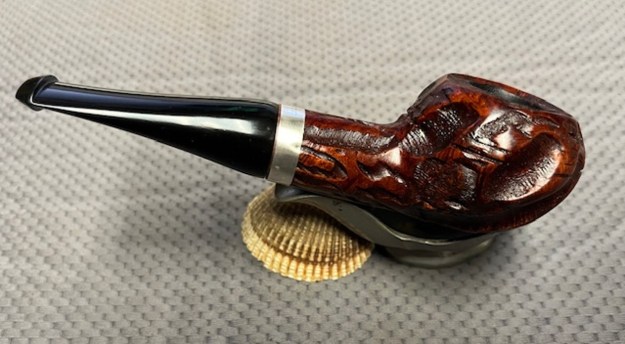
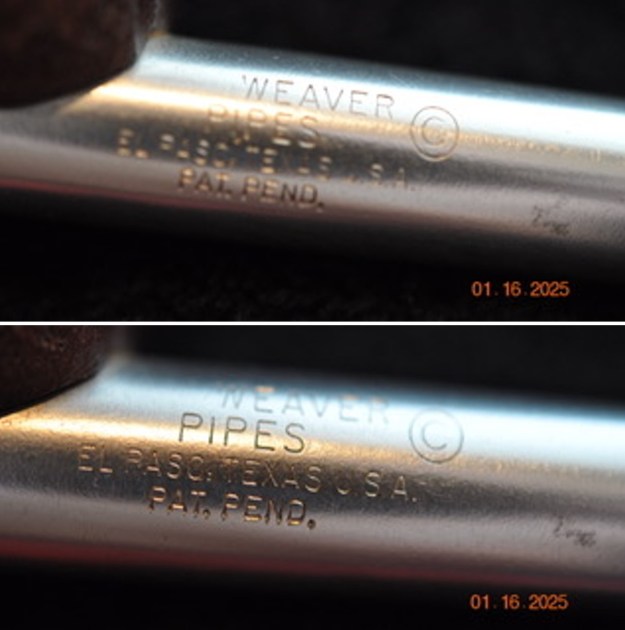
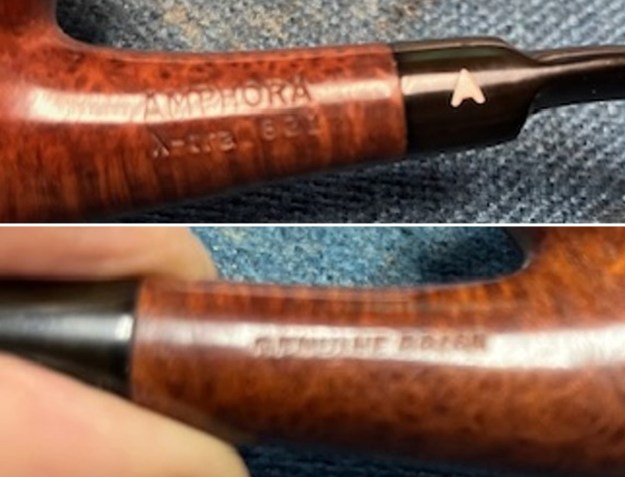
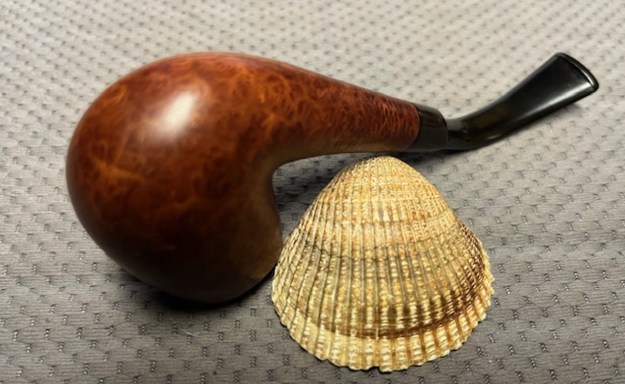
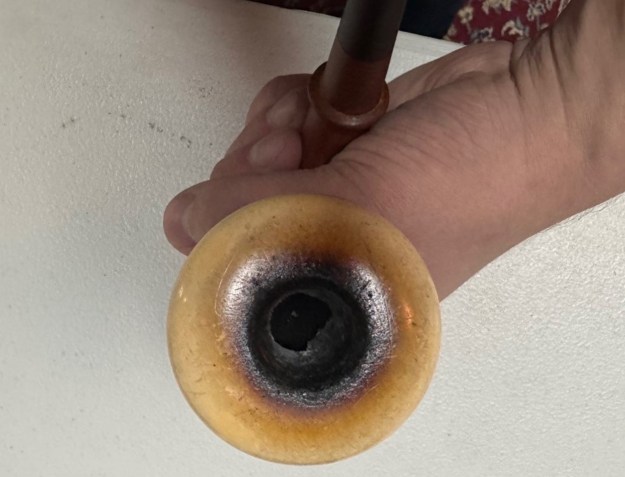 Joe dropped the pipe by this afternoon and I had a look. I was very interested in seeing what I could do with it. I took photos of the pipe before I started working on it to show what I saw. It really is a pretty pipe. The stem is as I noted above and the Meerschaum Bowl was missing its bottom and the nipple that fit into the gourd. The briar shank extension was stamped on the left side with an AB in a circle. That interested me even more in that it pointed me to a well Austrian Meerschaum carver Andreas Bauer. I would need to do some more checking on that but that is what I remember at this point in the process.
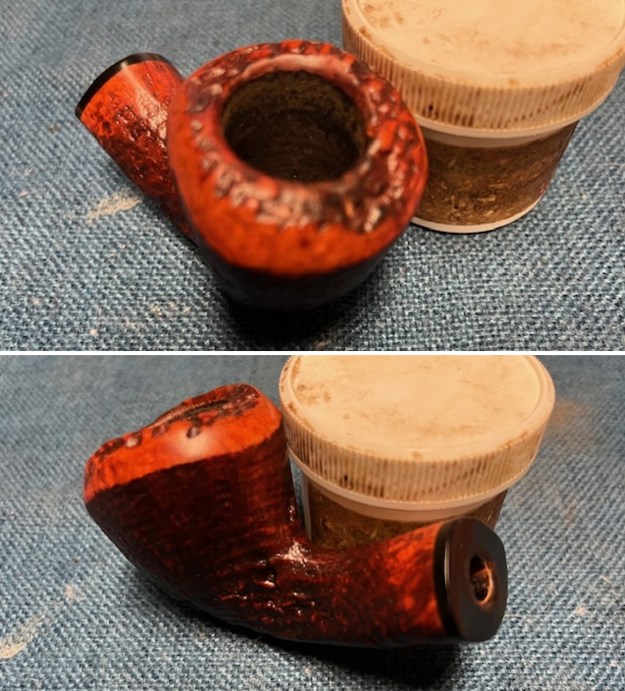
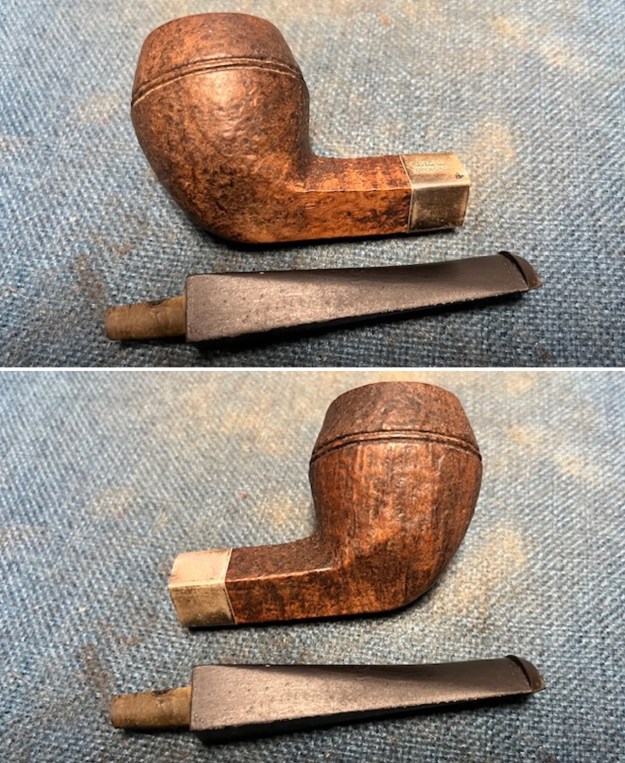
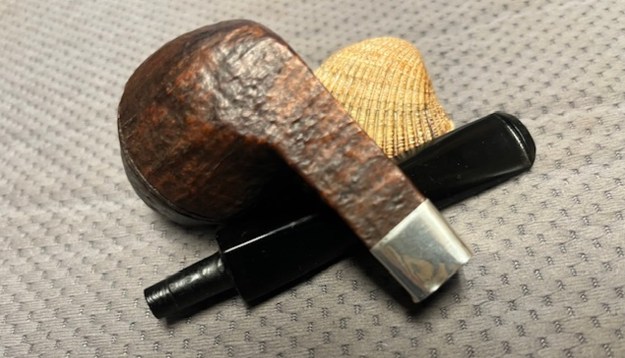
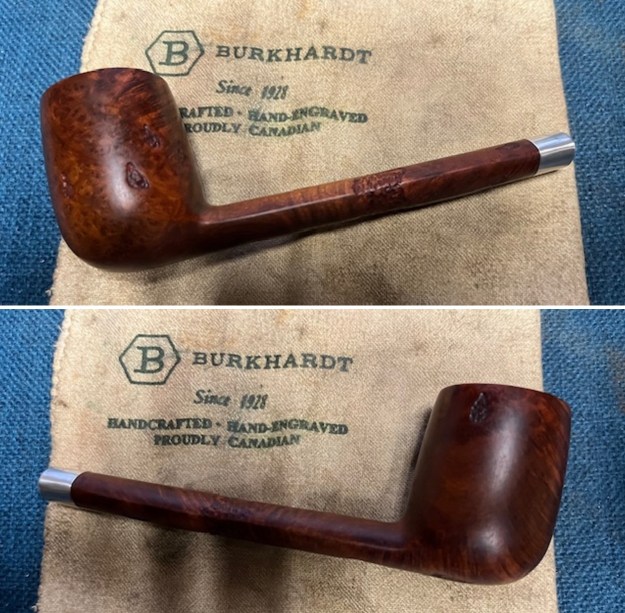
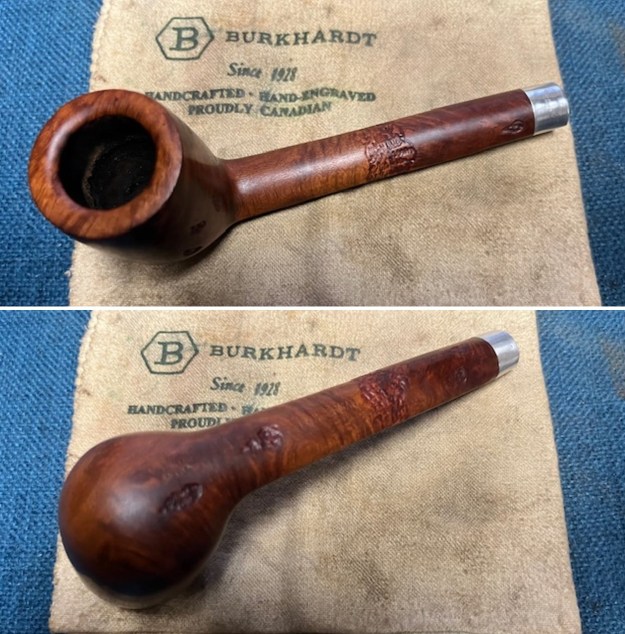
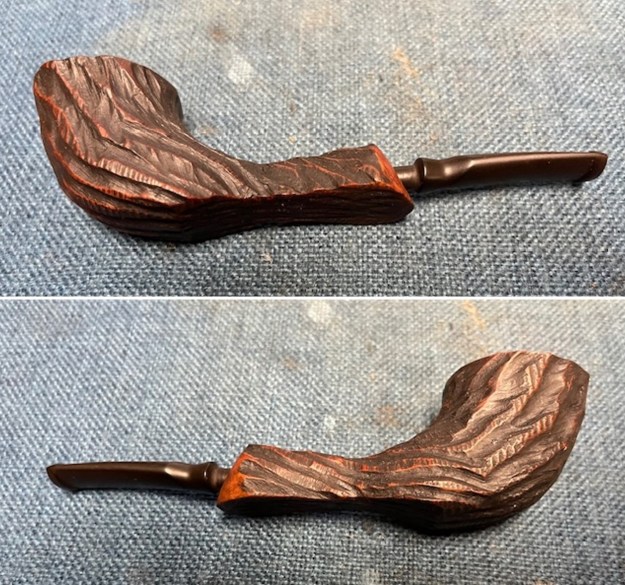
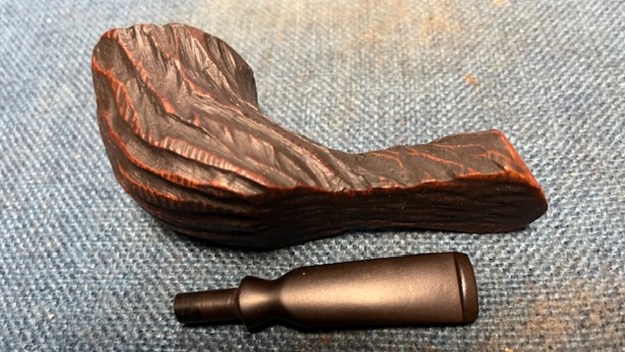
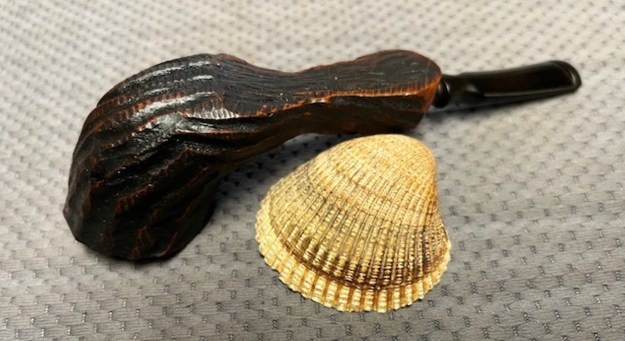
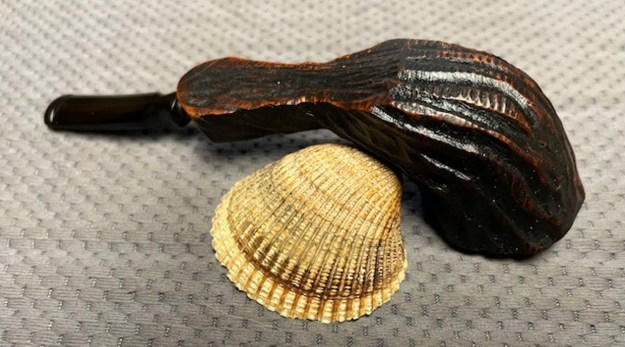
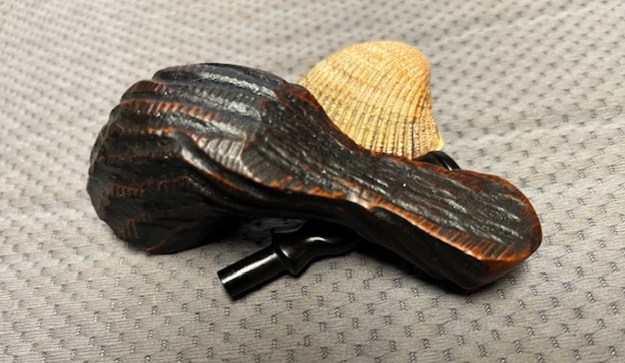
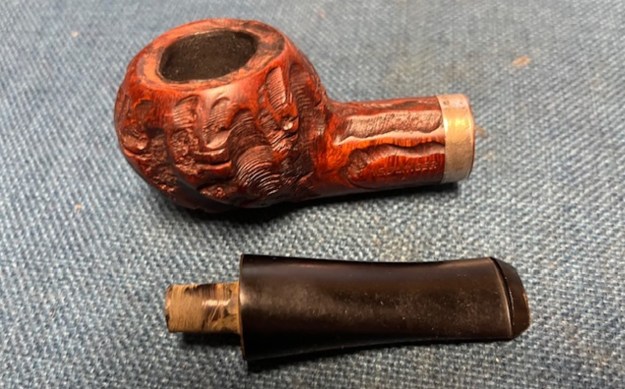
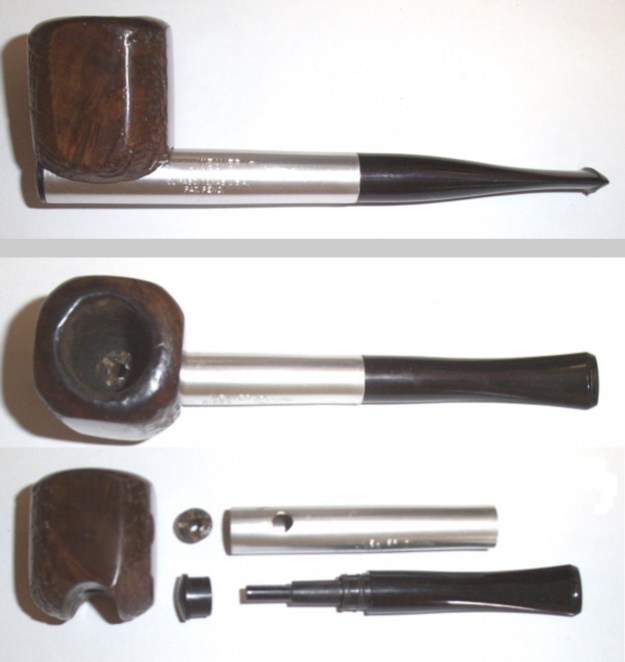
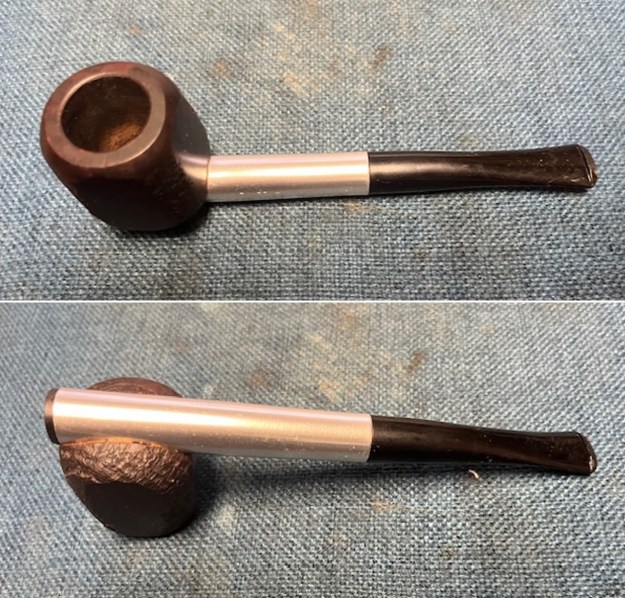
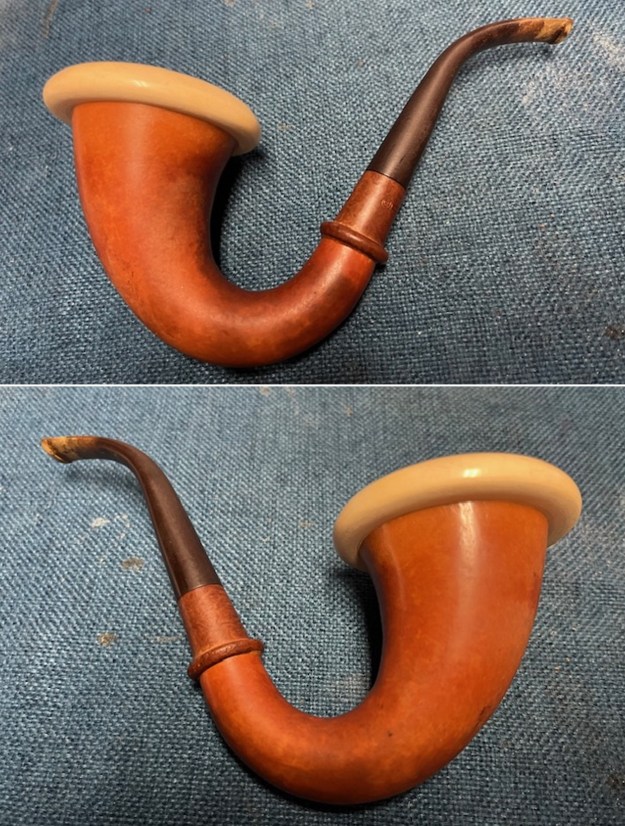
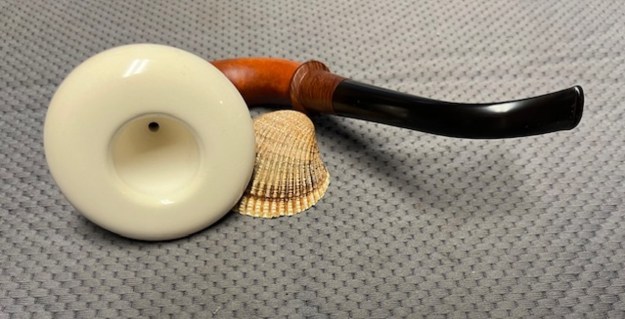
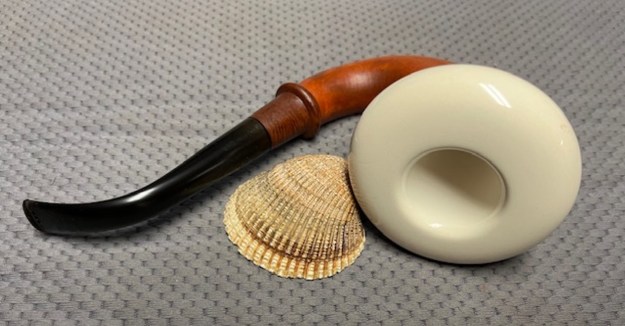
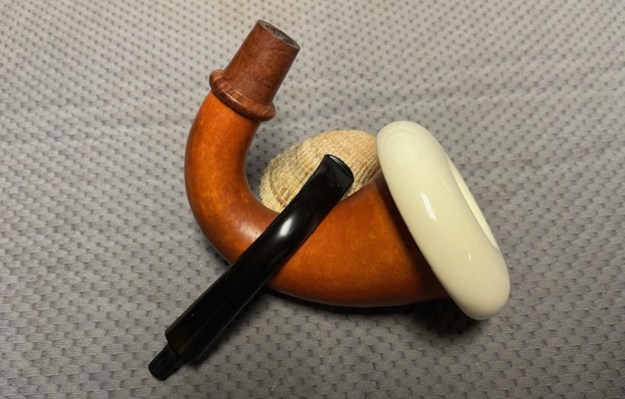
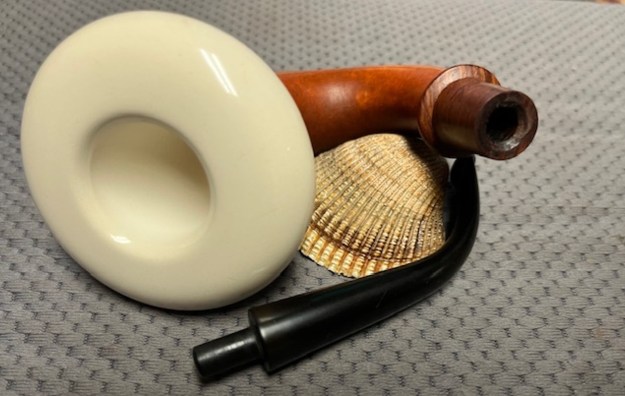
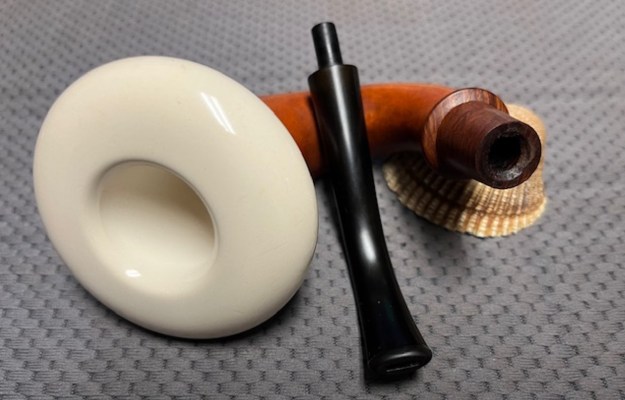
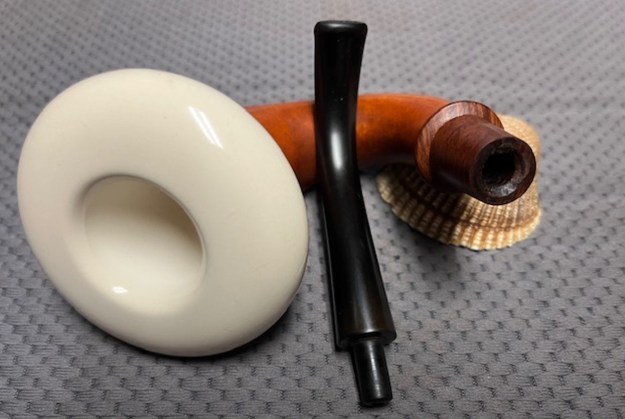
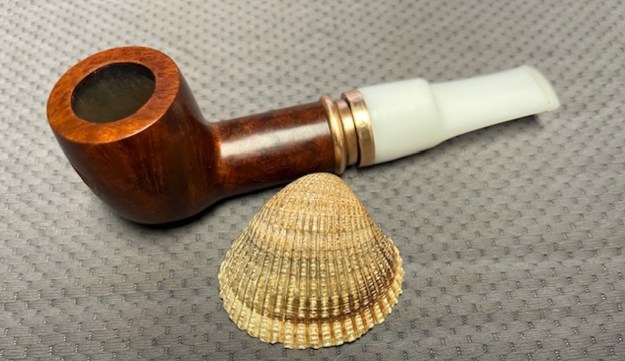
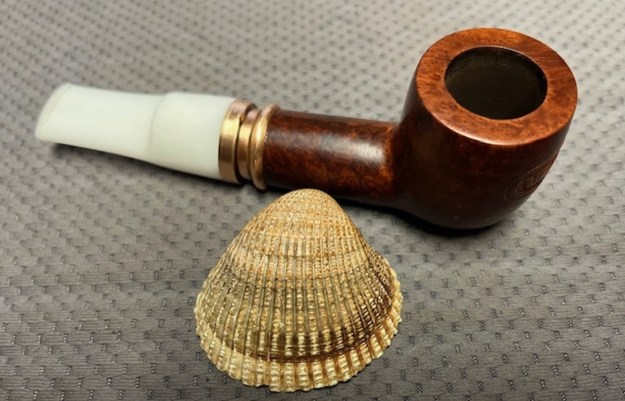
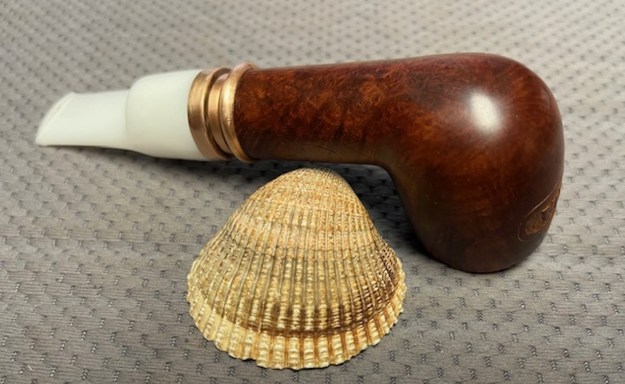
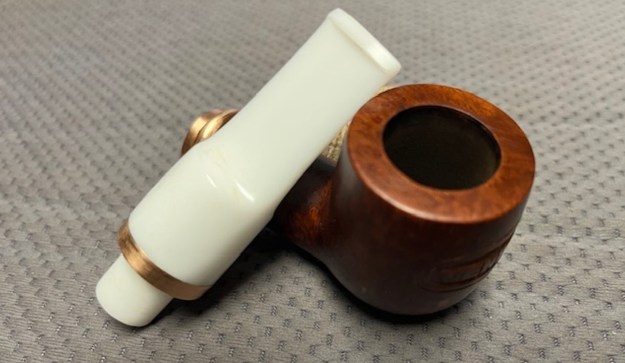
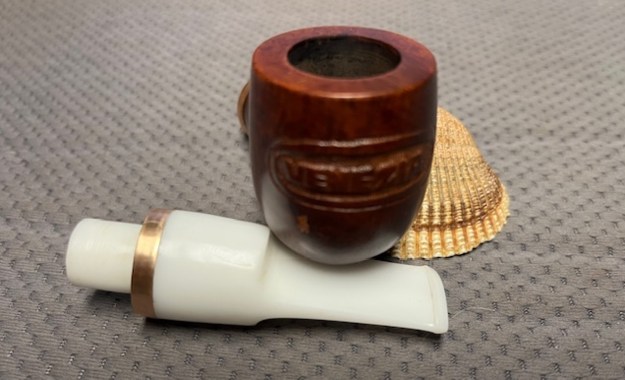
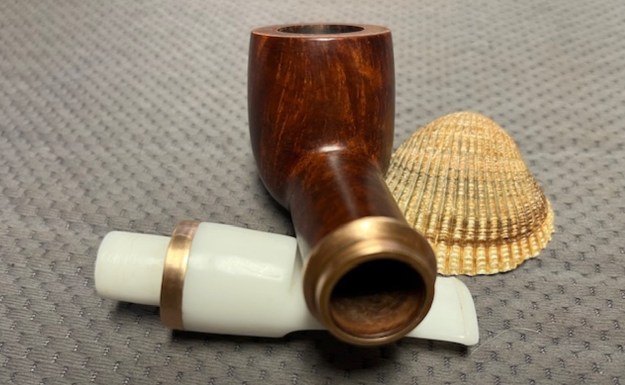
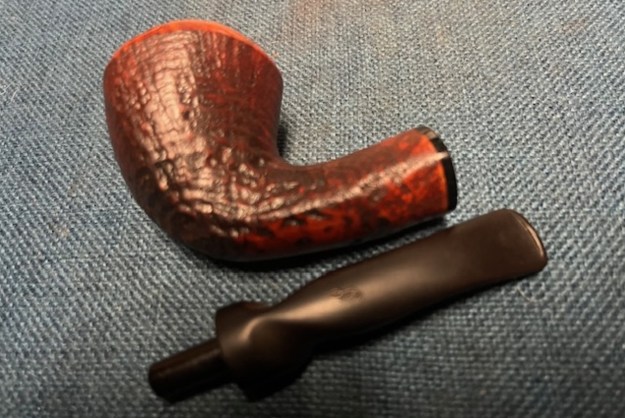
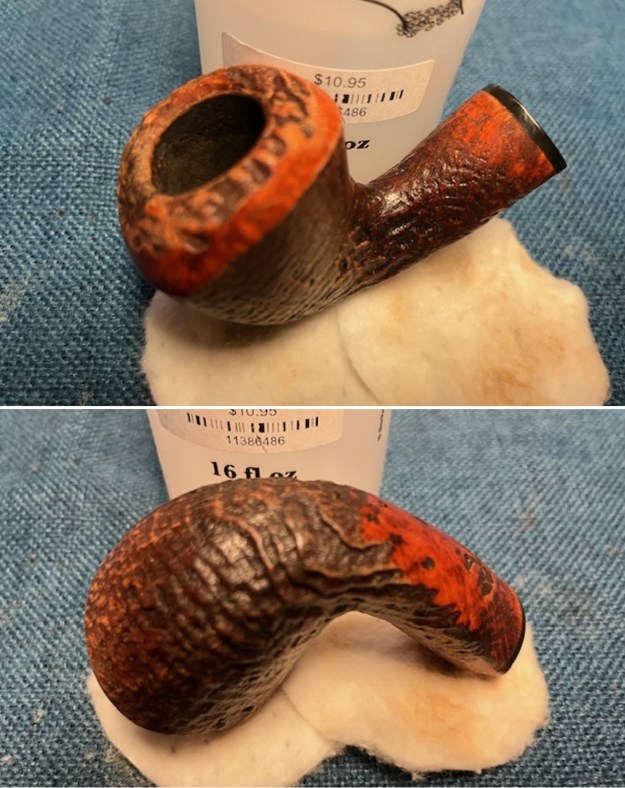
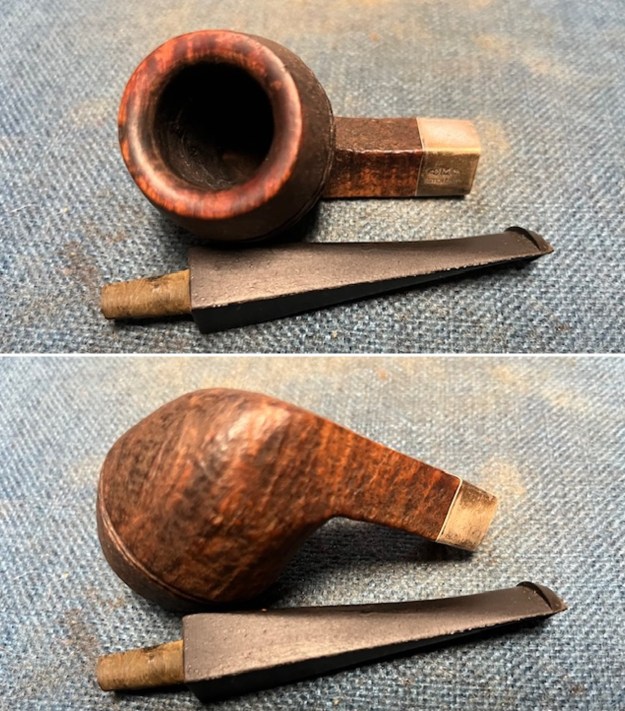
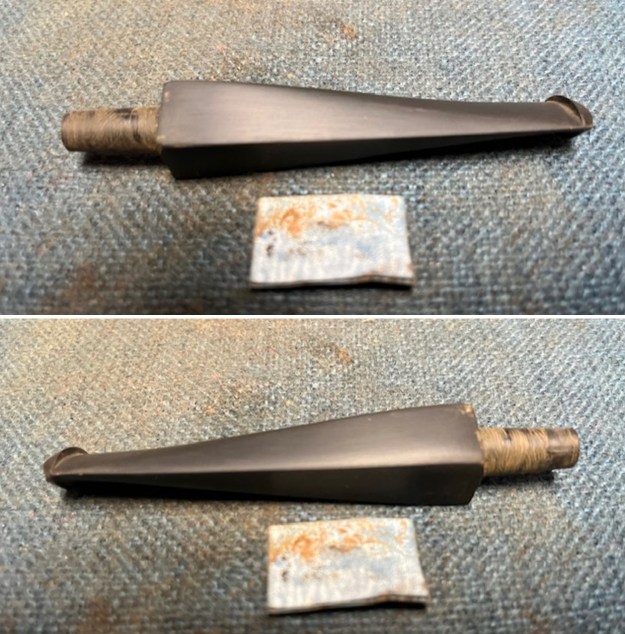
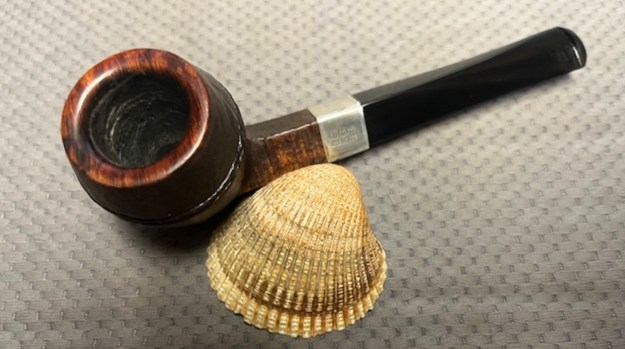
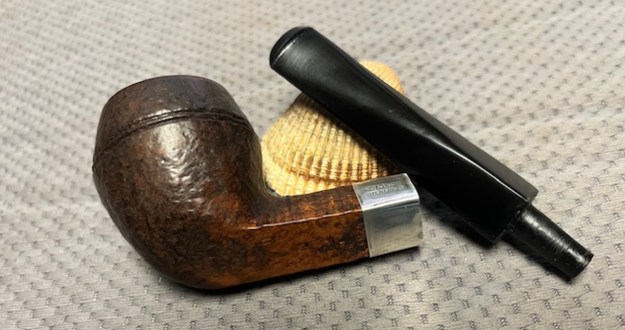
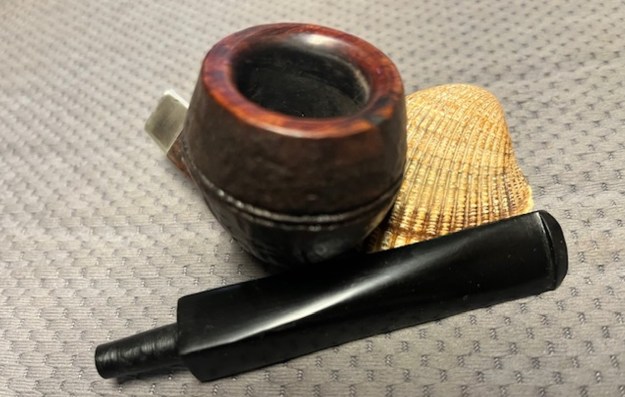
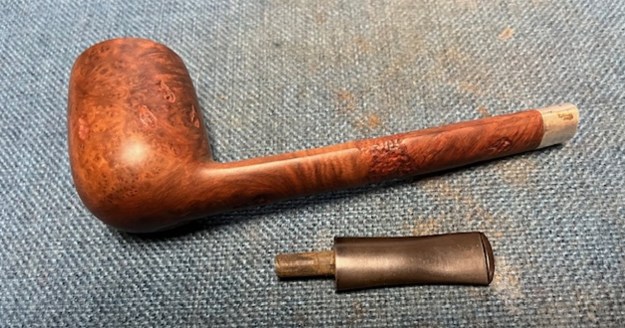
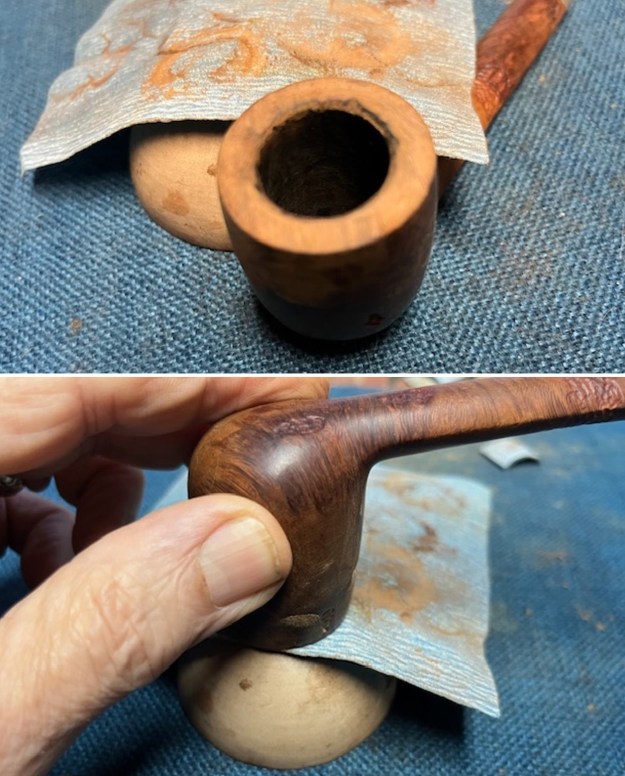
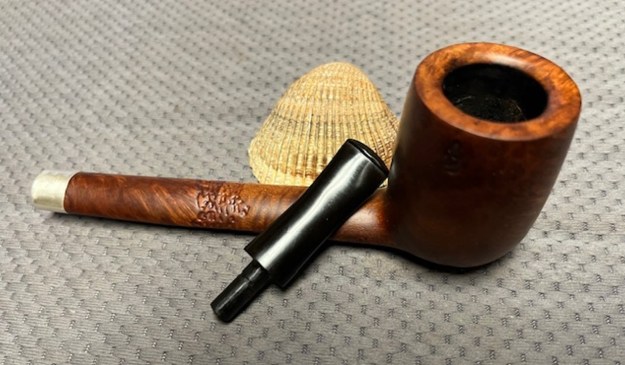
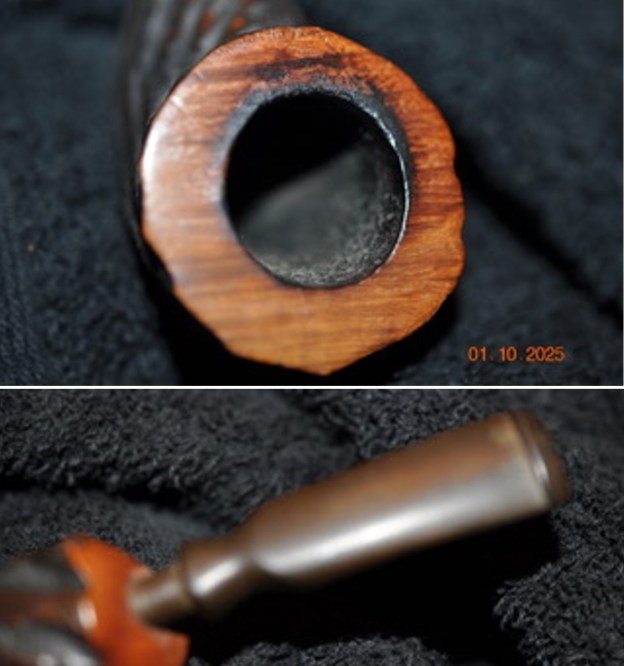
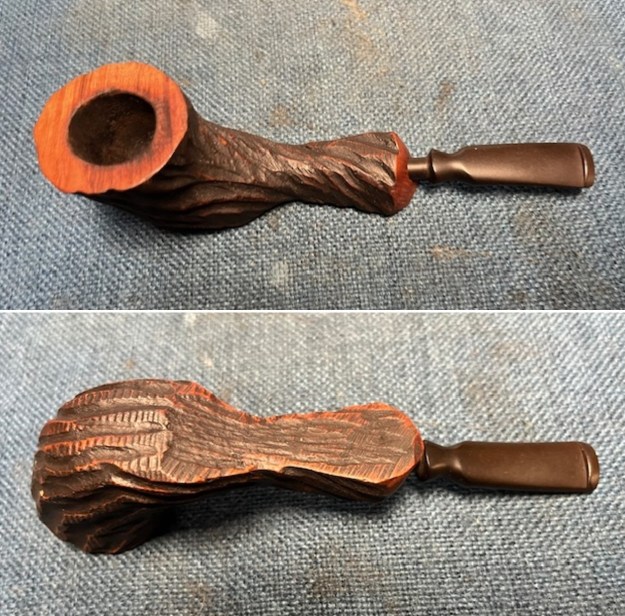
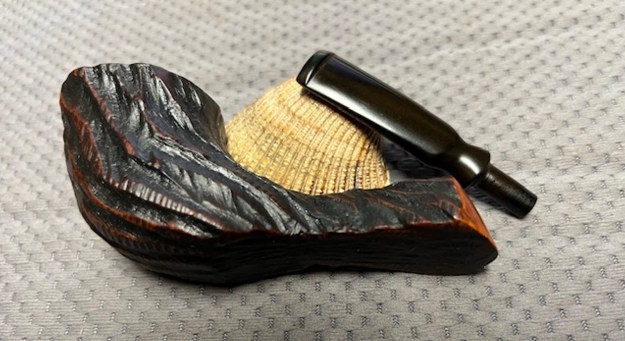
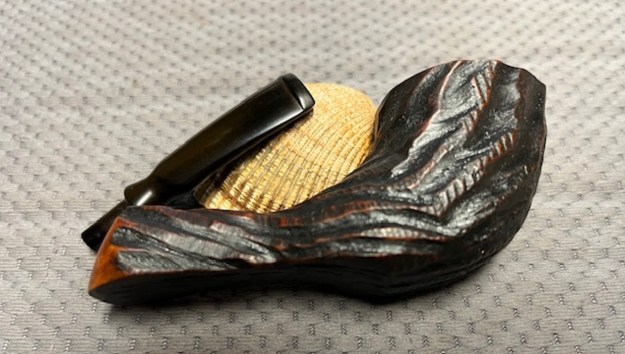
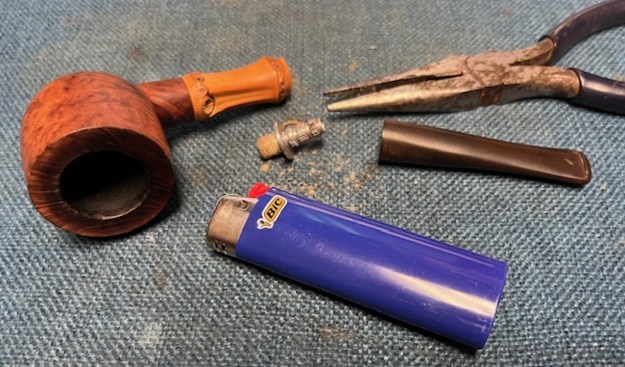
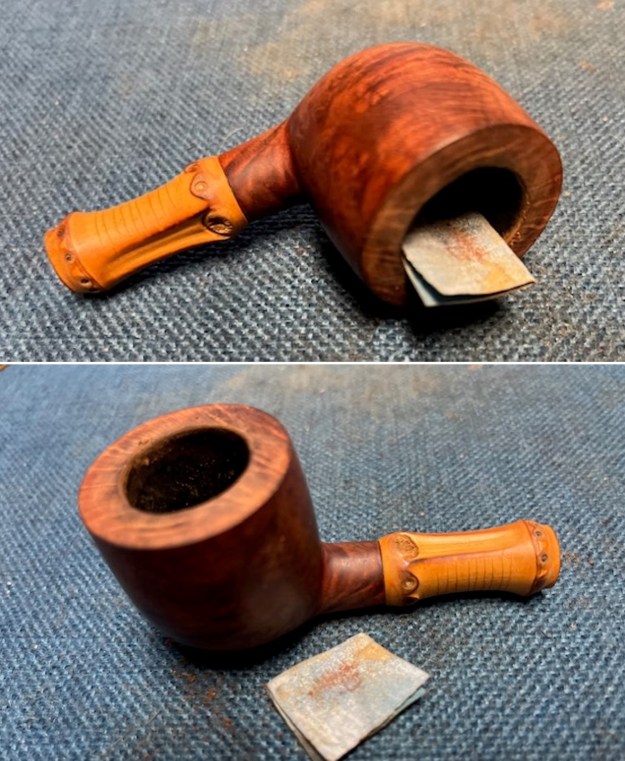
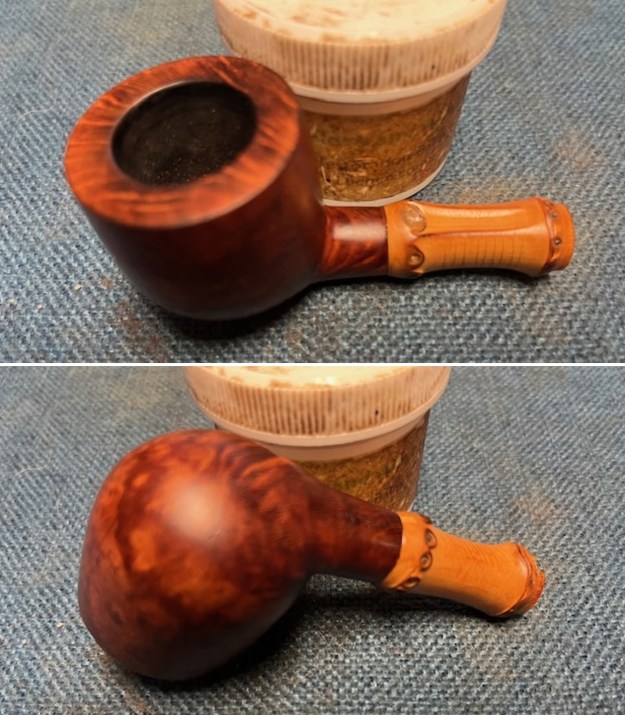
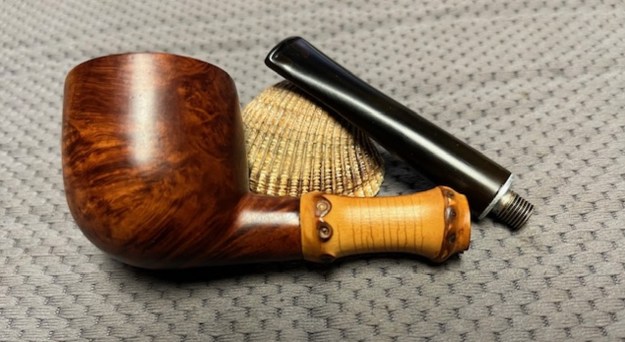
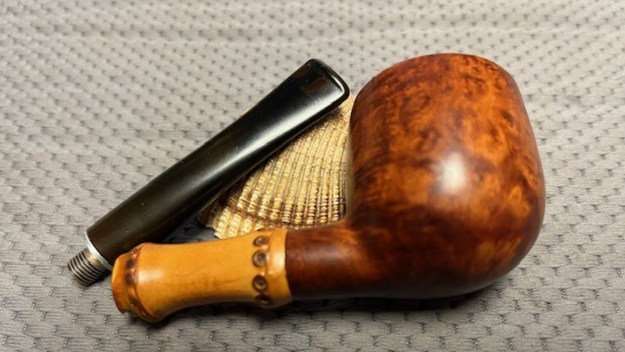
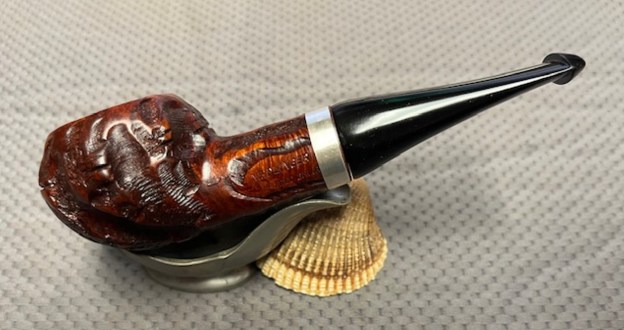
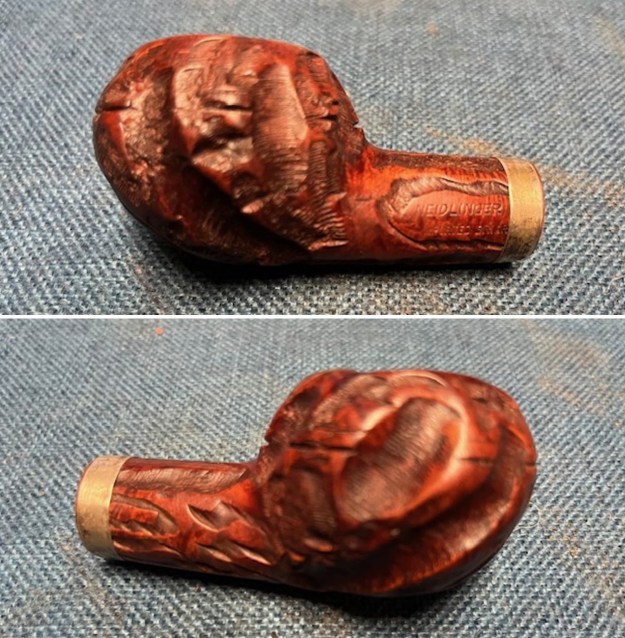
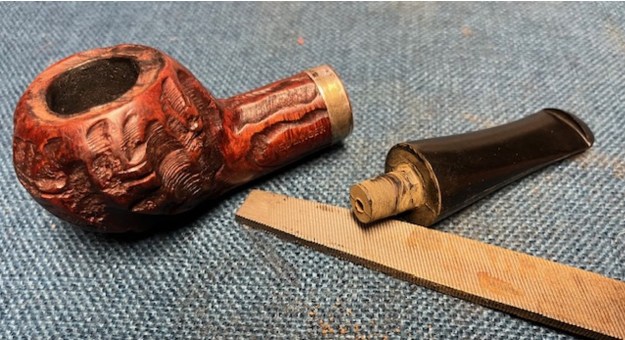
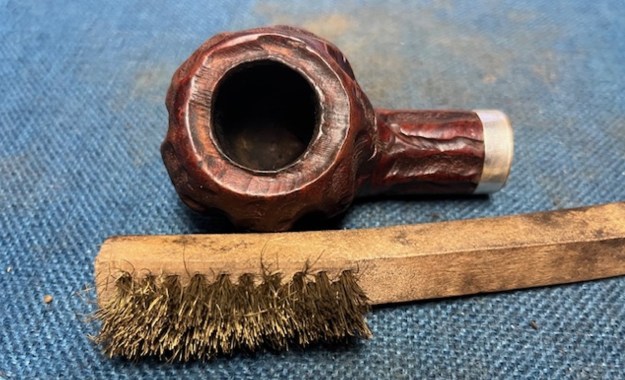
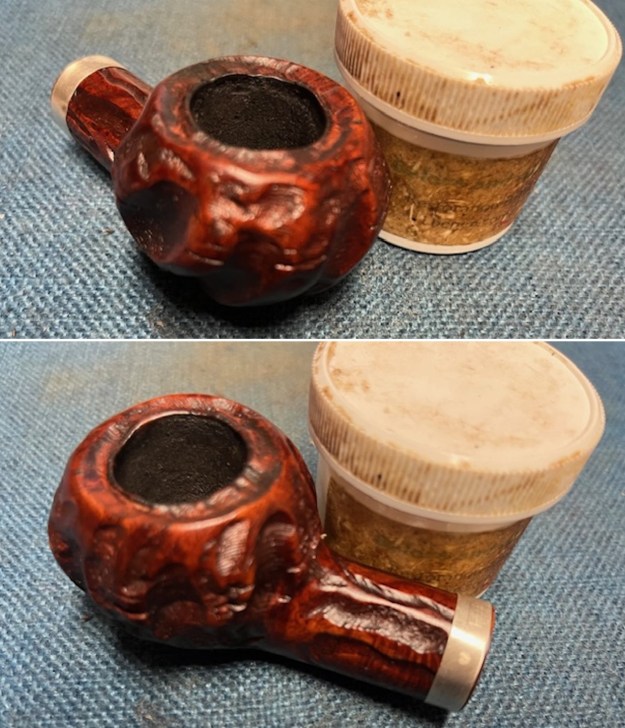
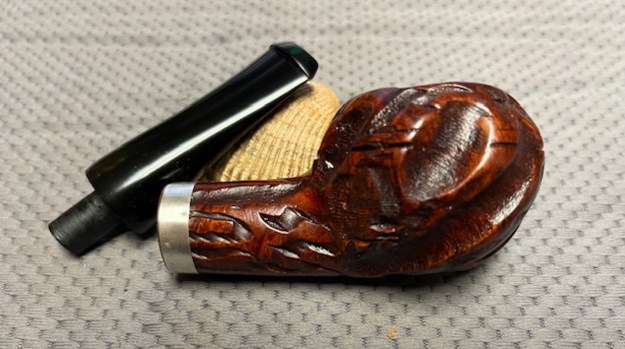
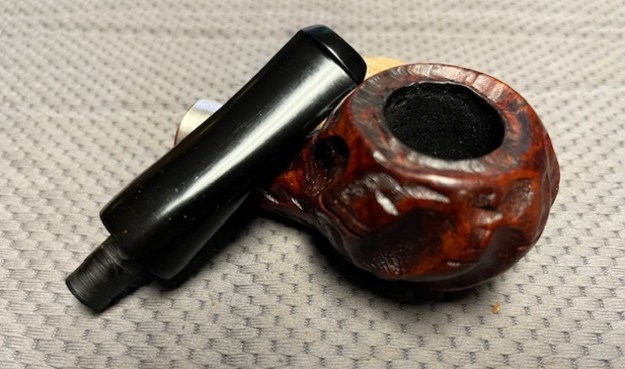
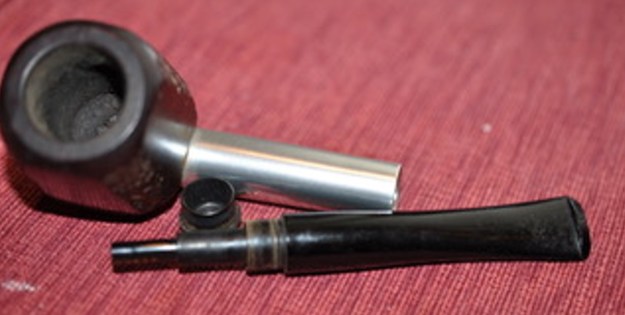
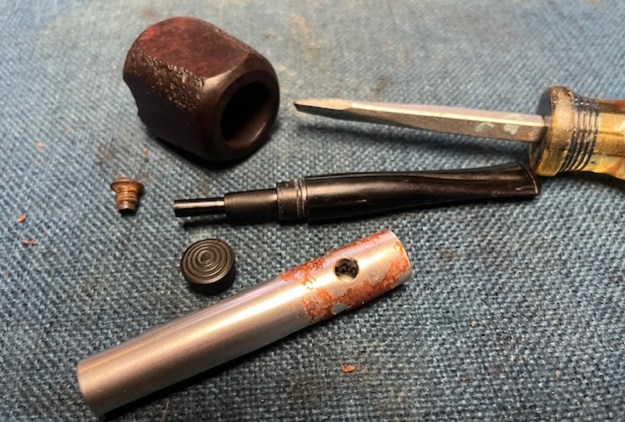
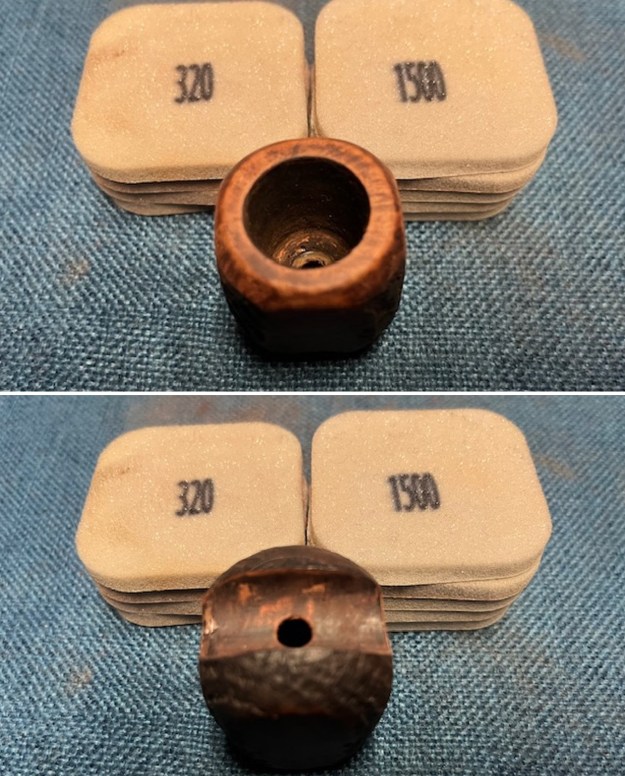
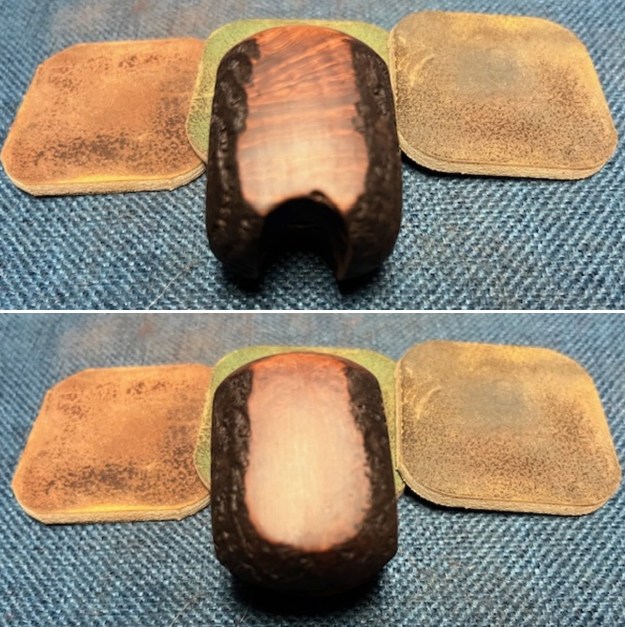
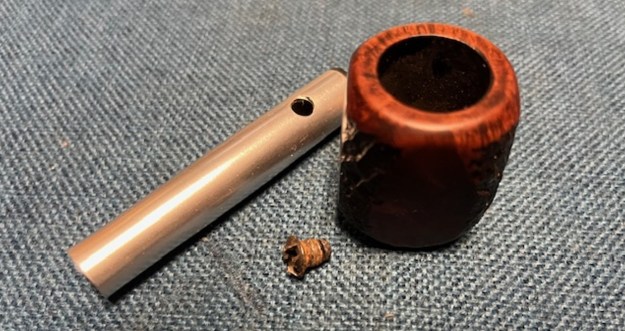
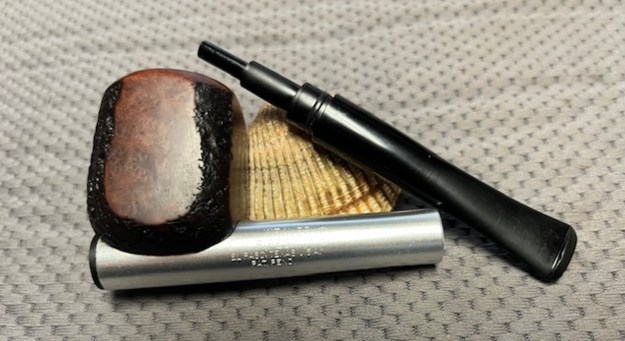
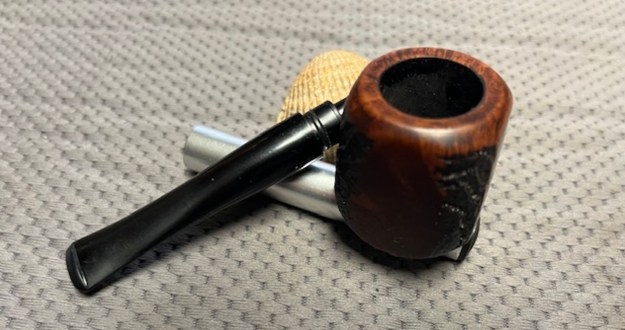
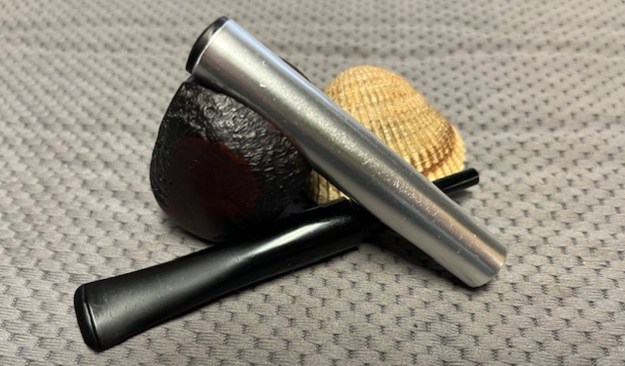
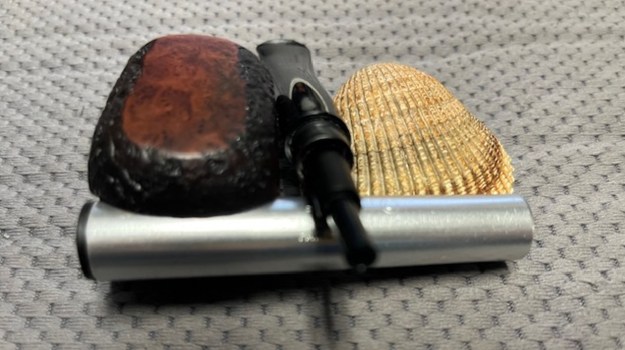
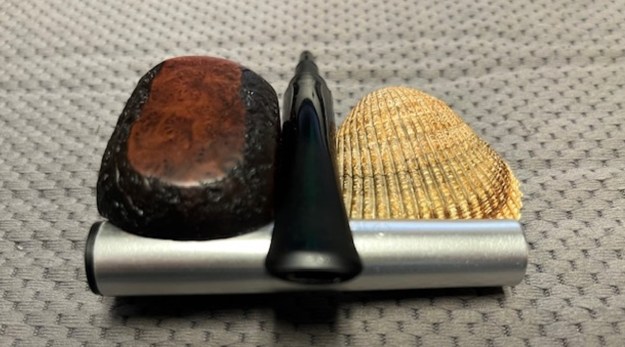
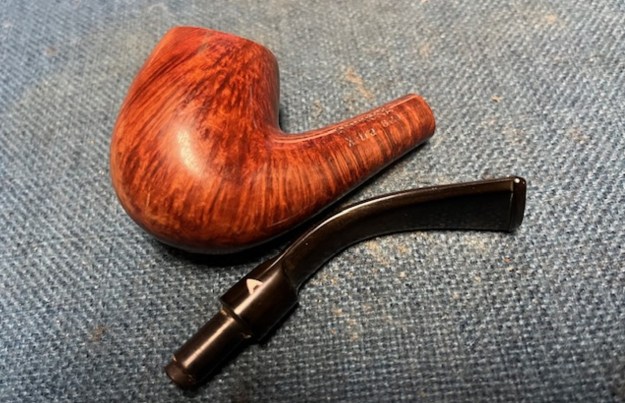
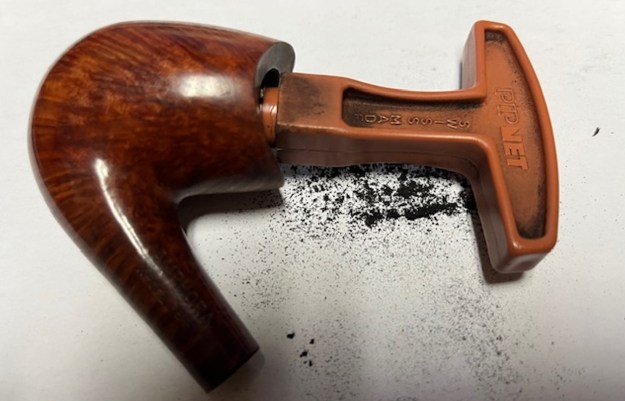
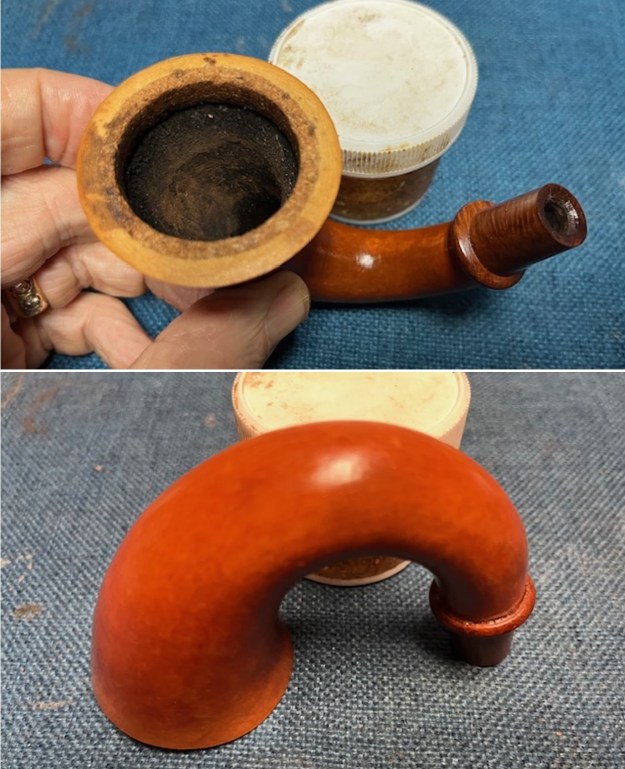
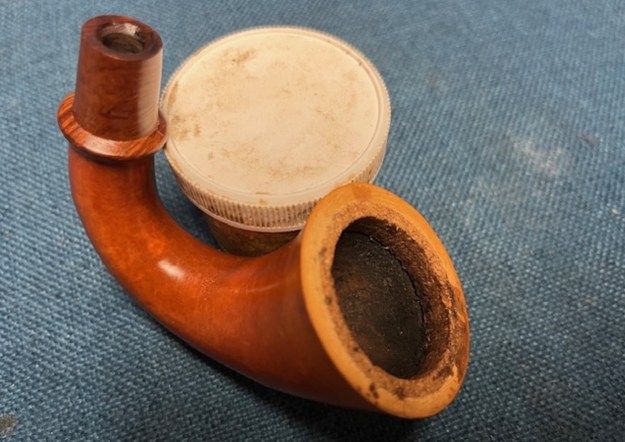
 I took the pipe apart and took photos of the parts. You can see the badly damaged meerschaum bowl. It truly was broken when the bowl was dropped.
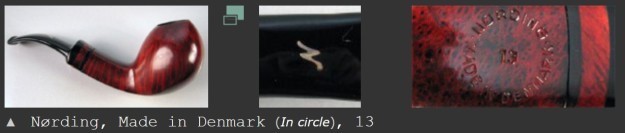
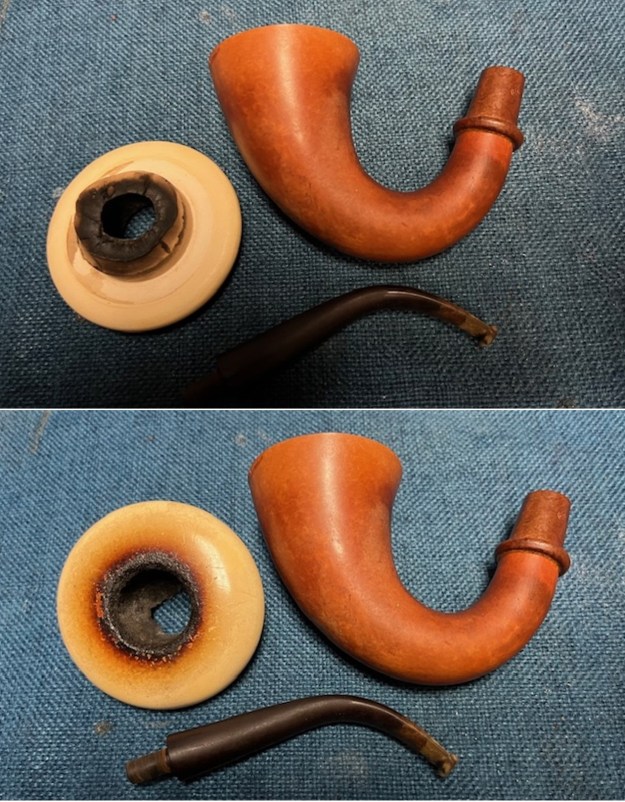 Before I started working on the pipe I turned to Pipephil’s site to see what I could learn about my AB guess pointing to Andreas Bauer (http://www.pipephil.eu/logos/en/logo-b2.html). I did a screen capture of the information on the site and included the sidebar info below the photo.
 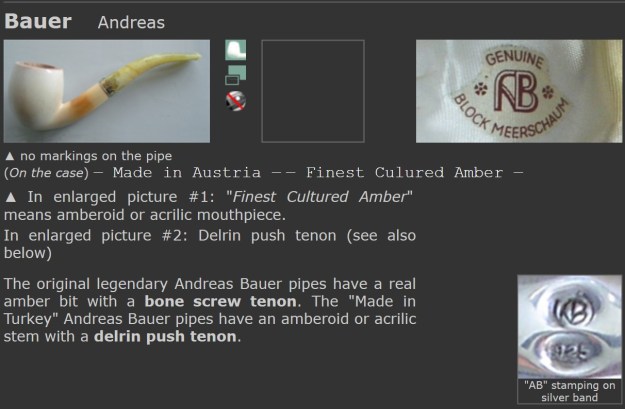 Company founded in Vienna (Austria) by Andreas Bauer in 1906. In 1942 Ernst Bauer, the founder’s son, took over the management of the enterprise until early 1970s when Turkish law banned the export of raw meerschaum. At this time Otto & Kopp Gmbh bought the trademark. They were a large Meerschaum distributor to the German tobacconists and good customer of the Turkish Konçak Meerschaums. Lastly Sedat Konçak bought the trademark in 1990. Unfortunatly the pipes carved in Turkey continue to be labeled “Made in Austria” (pipe next).
It is indeed an Andreas Bauer pipe and it looks like it may be one that was made either in the 1970s by Otto & Kopp Gmbh who bought the trademark or by Koncak Meerschaums in the 1990s who also bought the mark. Even though made in Turkey Koncak still labled the pipes as Made in Austria.
Now it was time to work on the pipe itself.
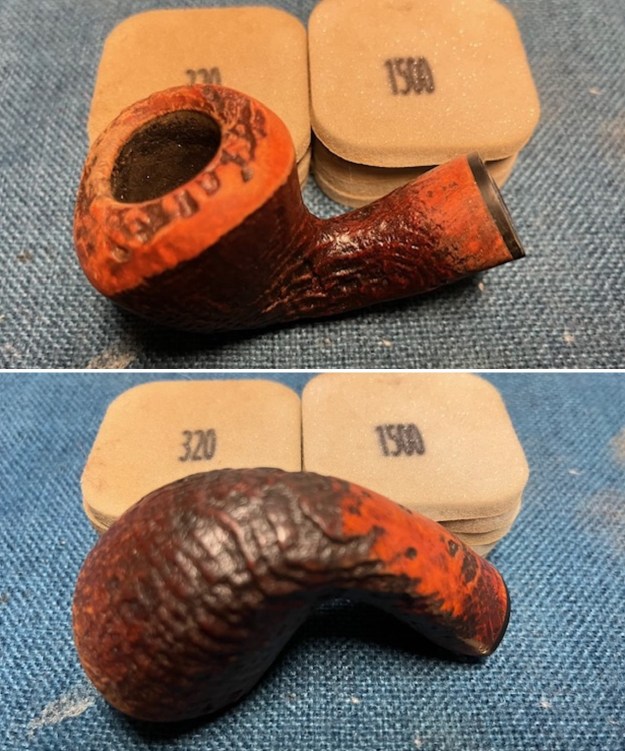
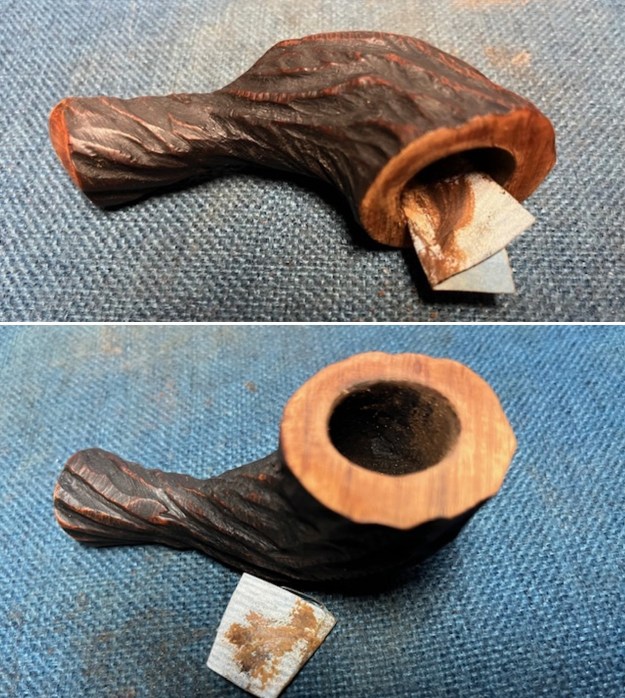
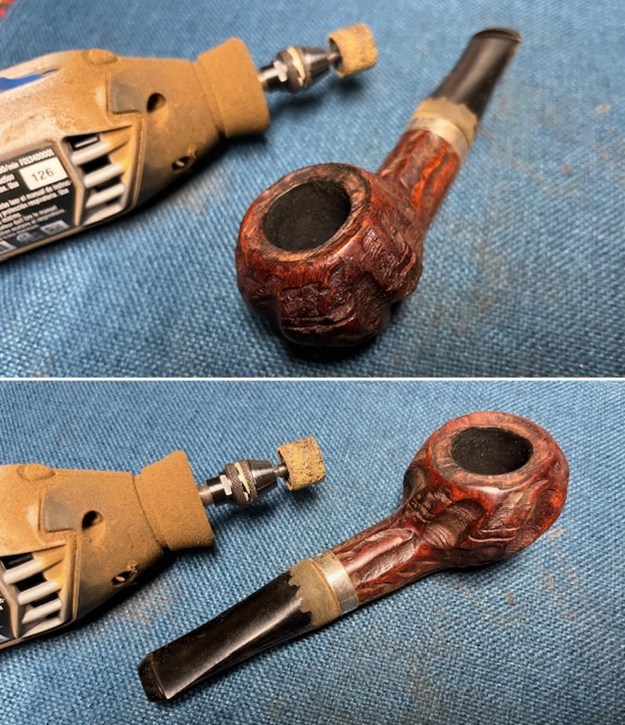
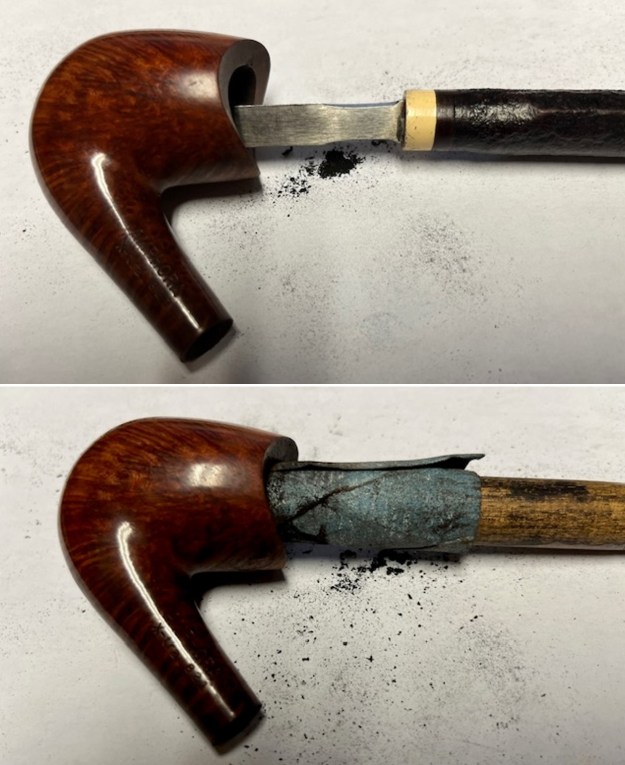
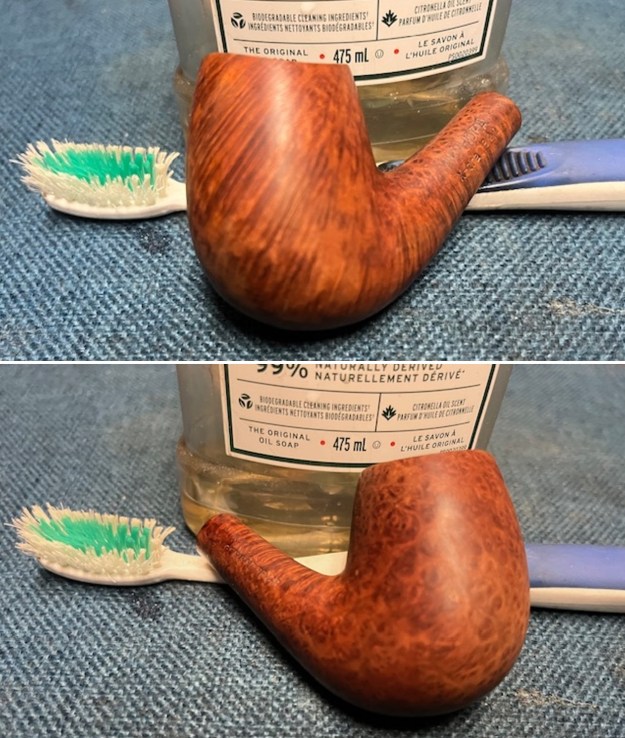
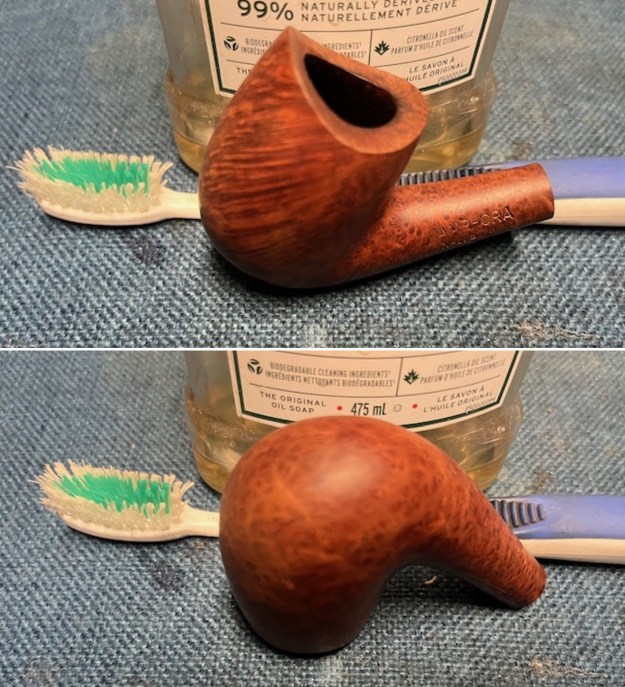
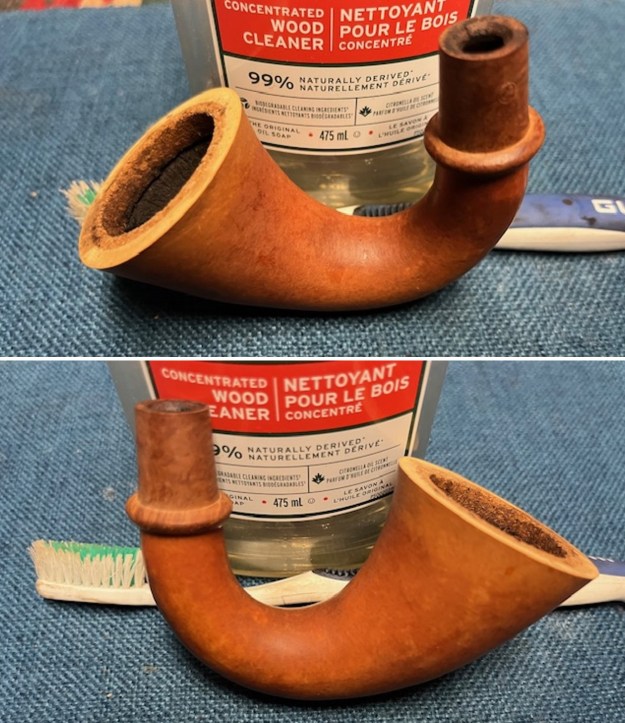
To prepare the pipe for the replacement bowl I need to clean up the gourd and shank to be ready for the replacement. I scraped out the build up inside the gourd with a Savinelli Fitsall Pipe Knife. I followed that up with some 220 sandpaper wrapped around a dowel. I was able to sand the walls smooth. It looked much better.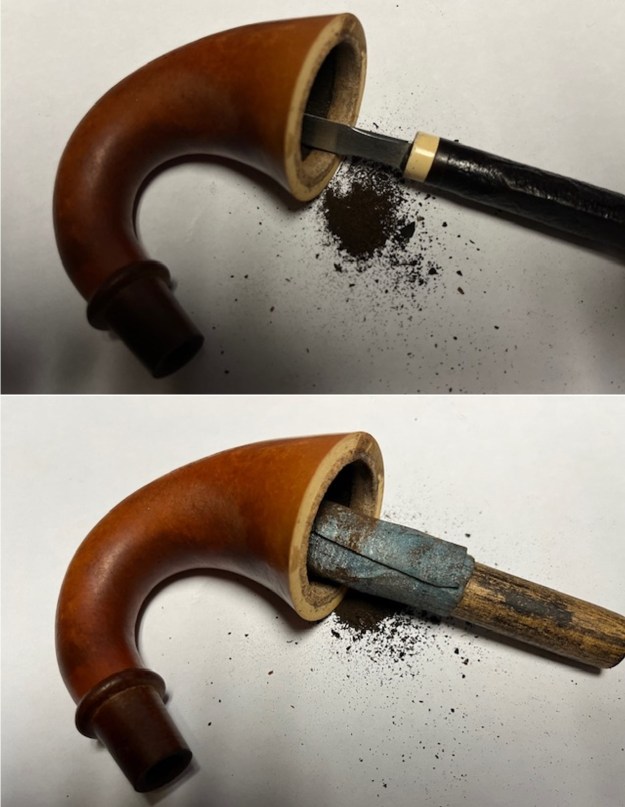 I scrubbed the exterior of the gourd with a tooth brush and undiluted Murphy’s Oil Soap. I was able to remove the debris in the gourd and the briar extension. I rinsed off the soap and the debris with warm running water. I carefully dried off the gourd inside and out with a soft cloth.
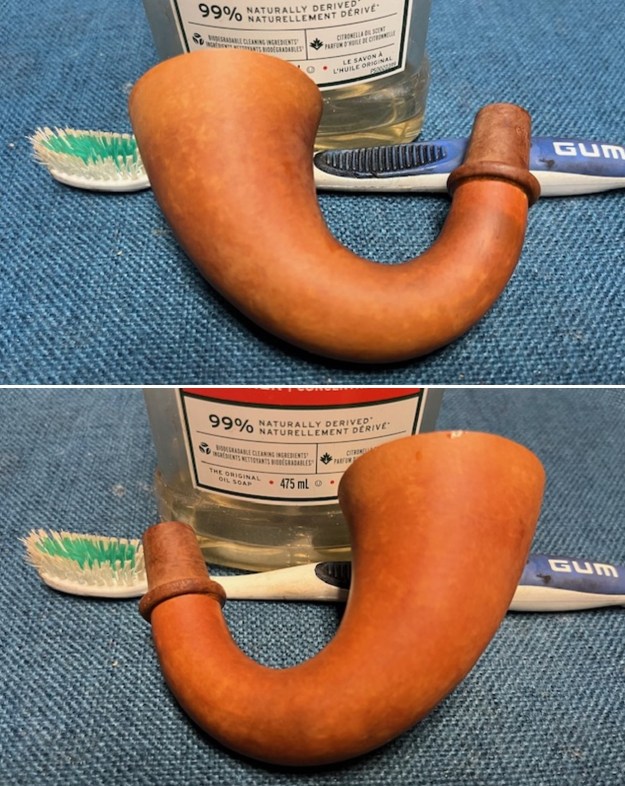
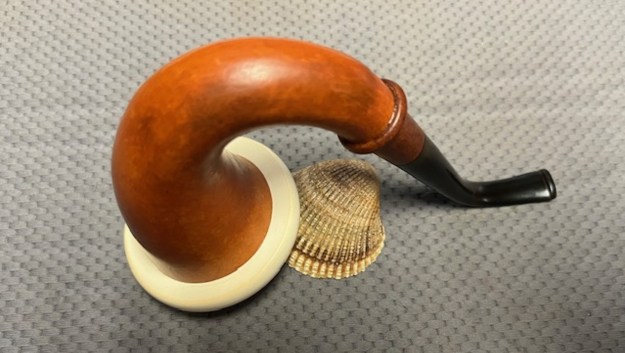
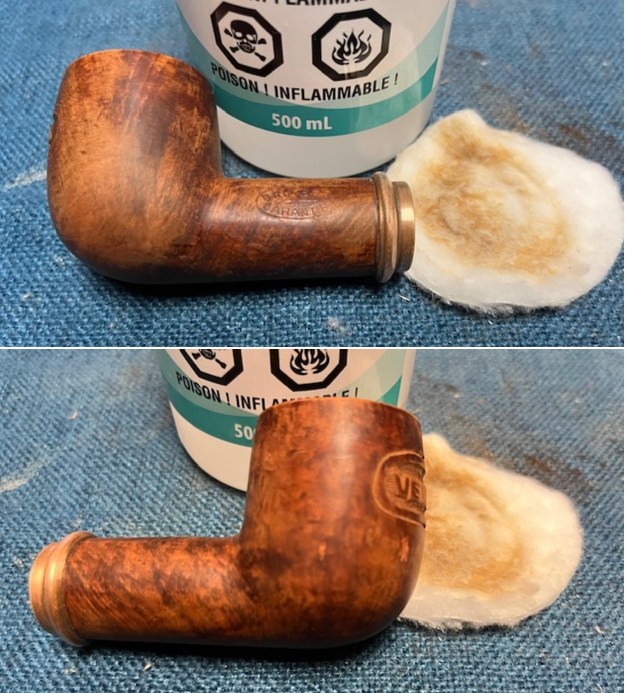
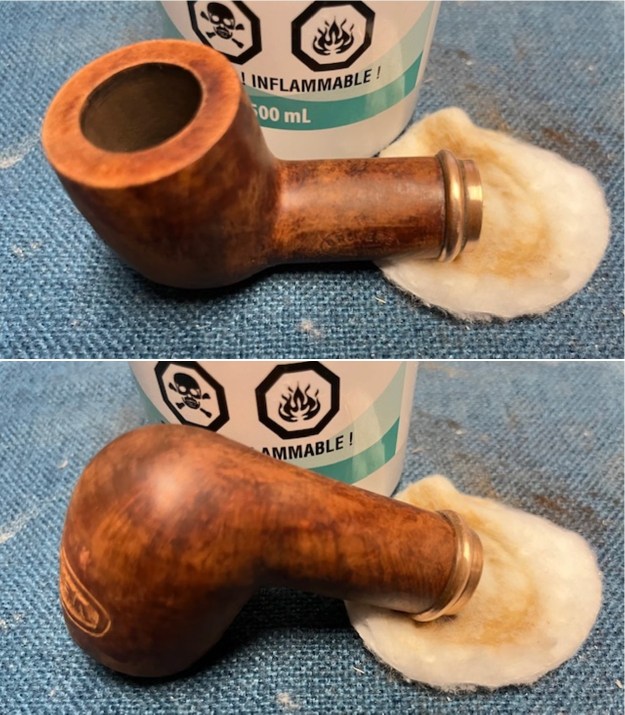
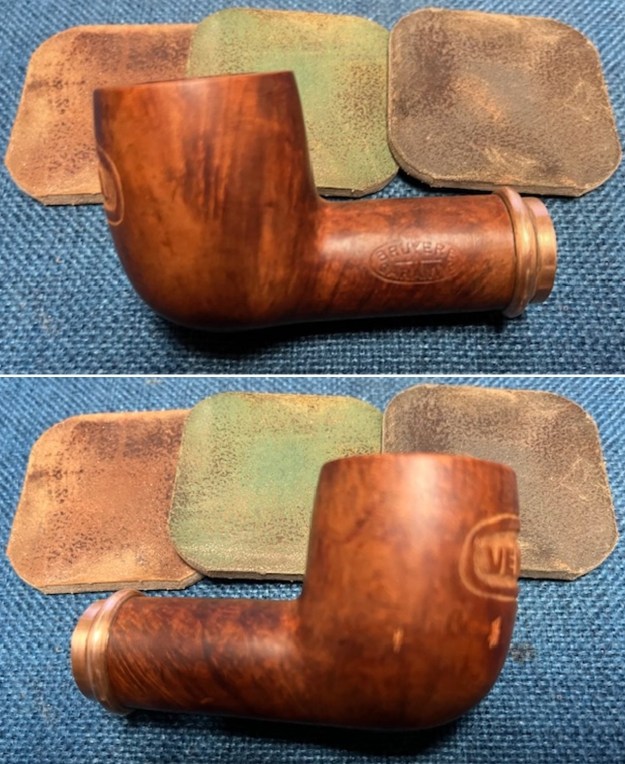
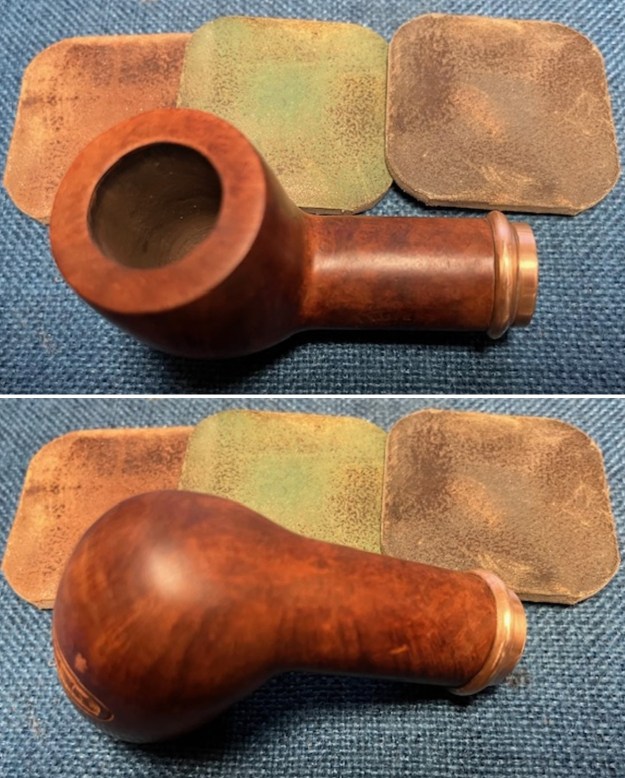
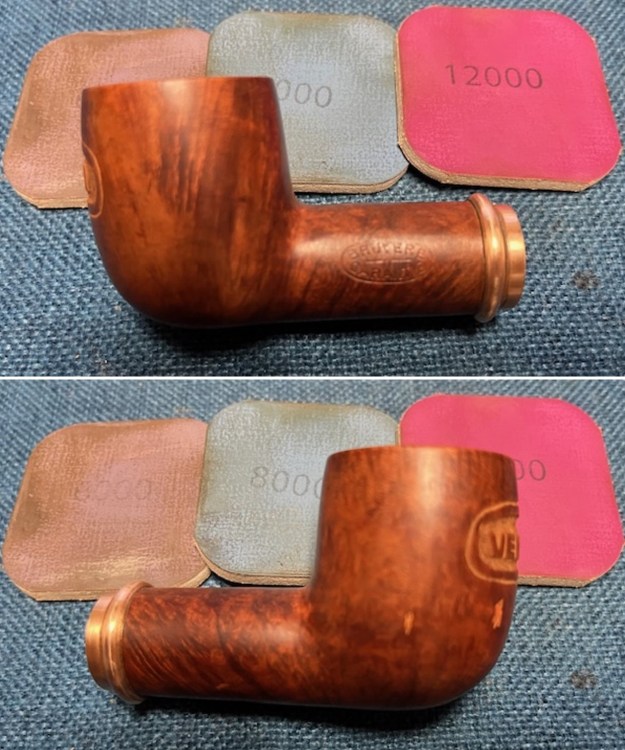
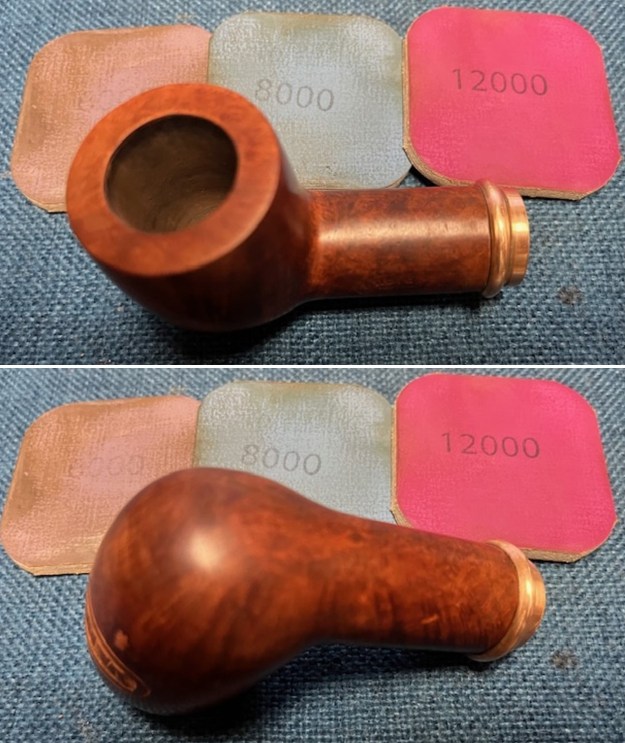
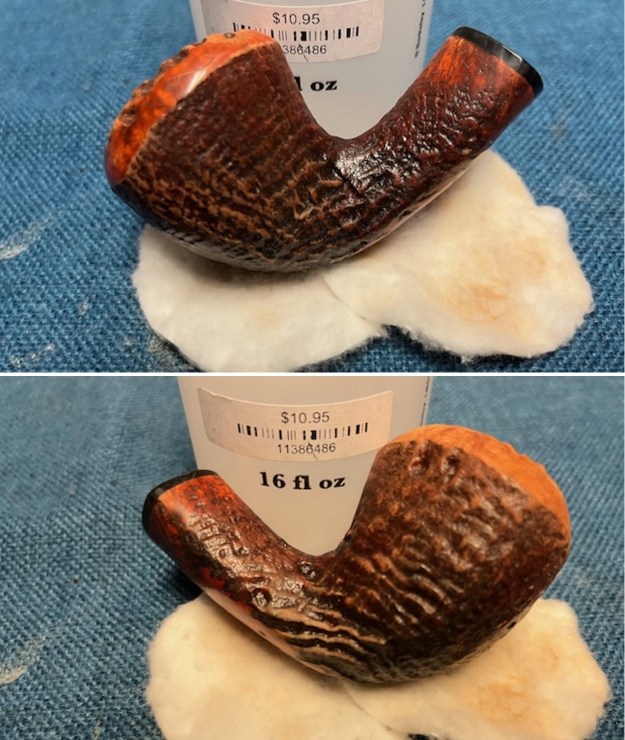
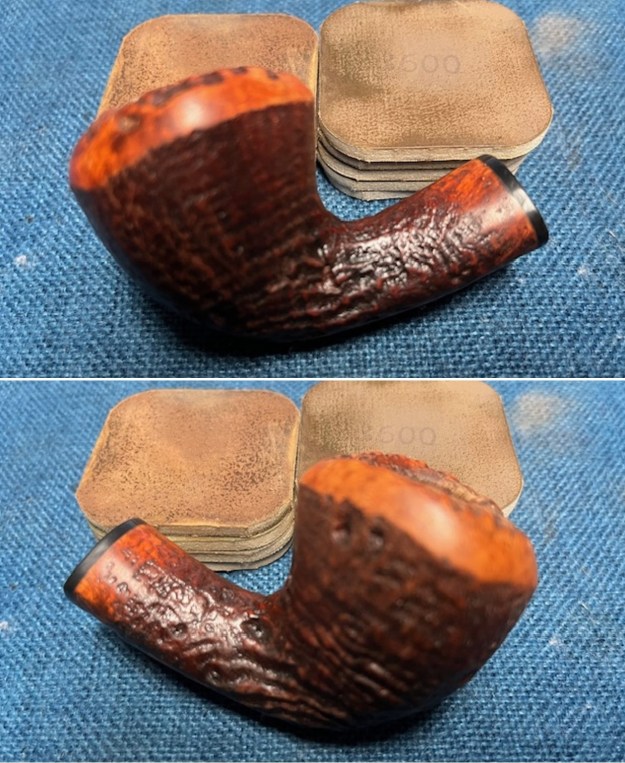
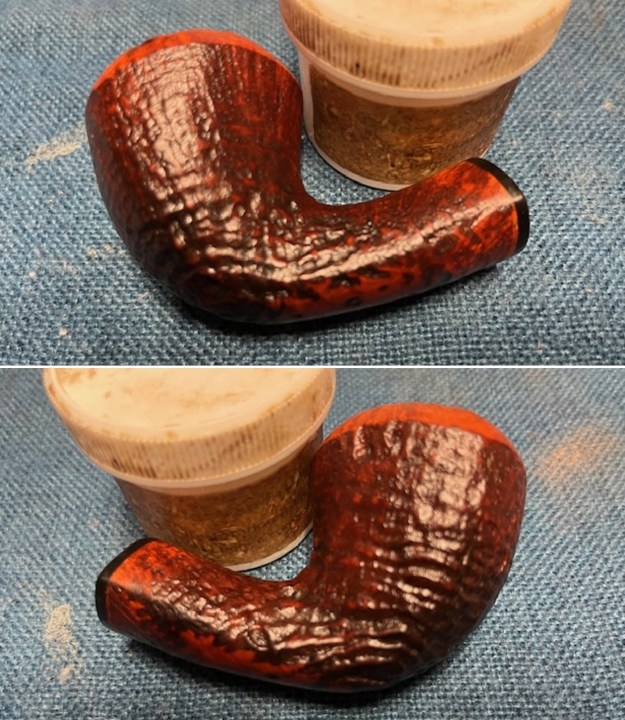
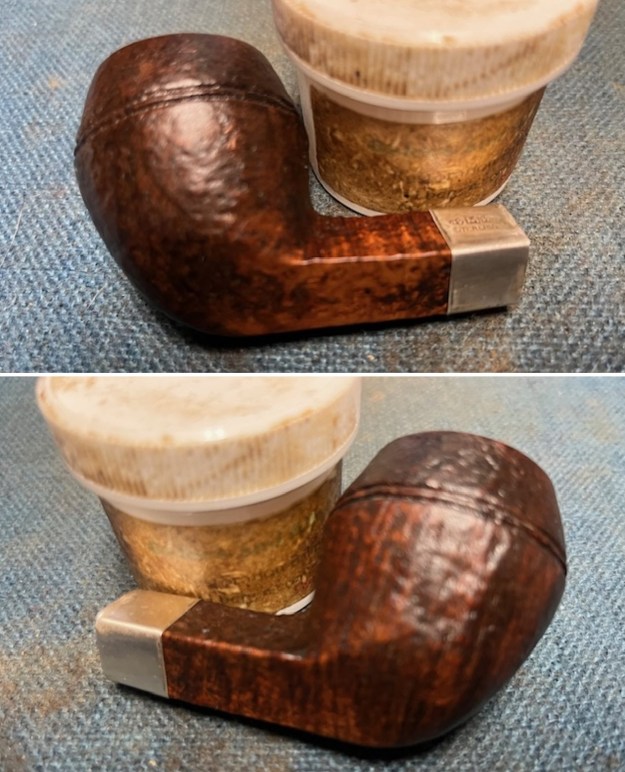
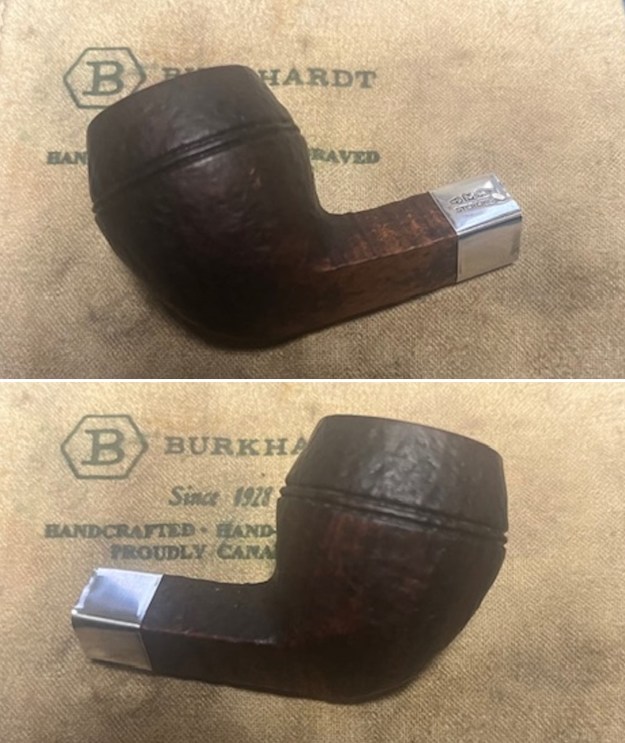
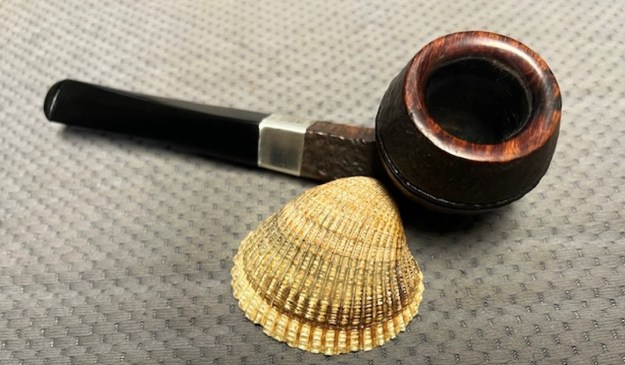
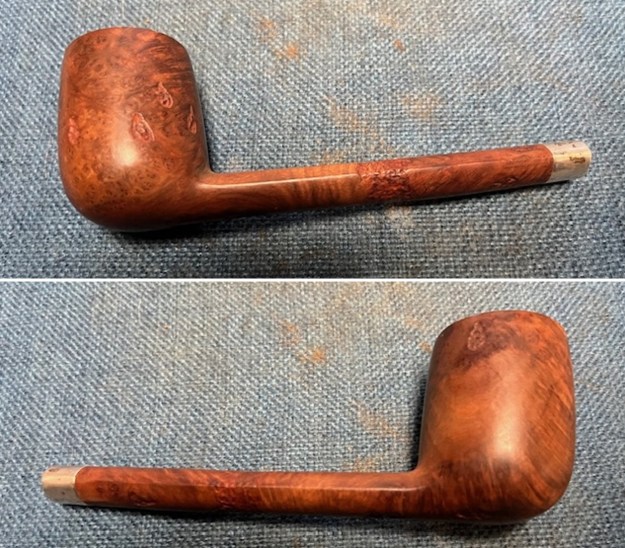
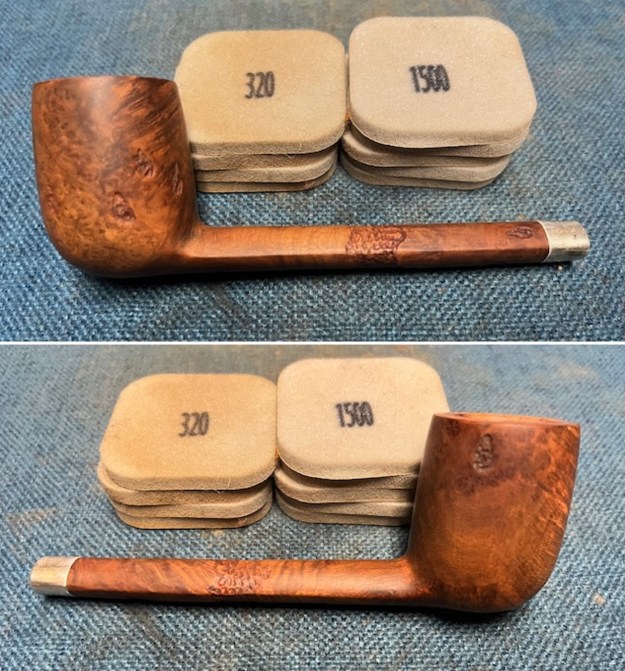
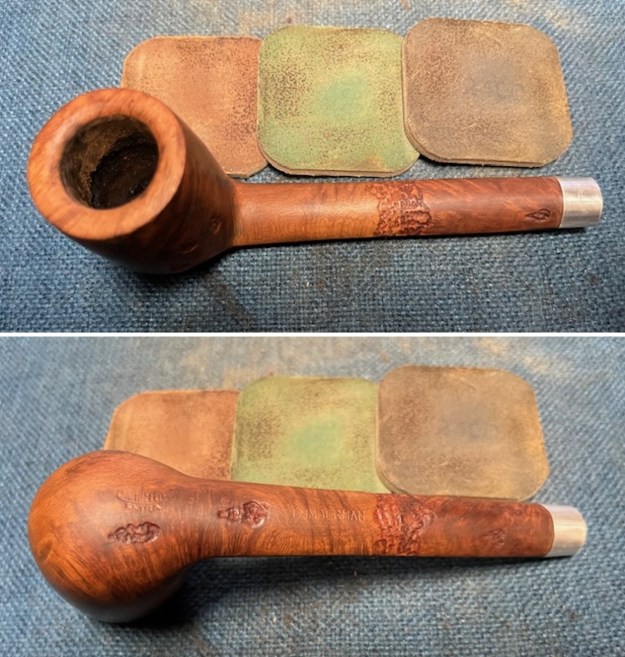
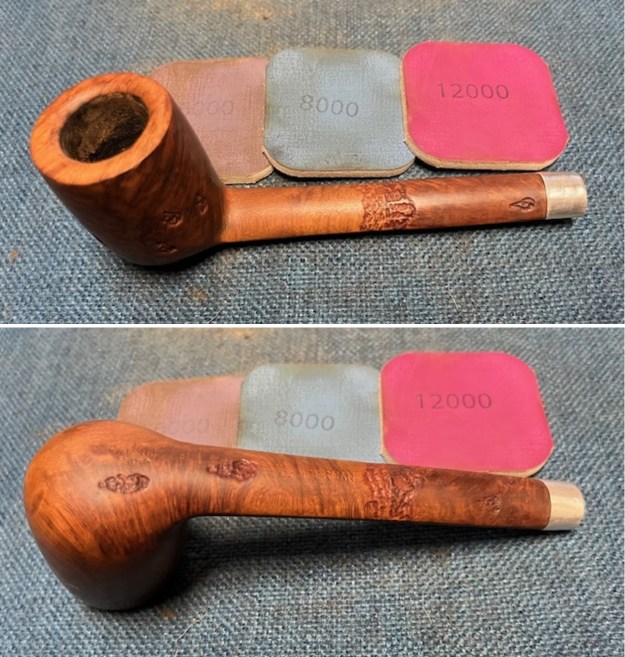
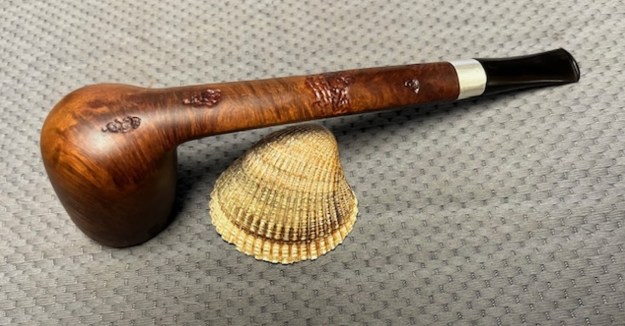
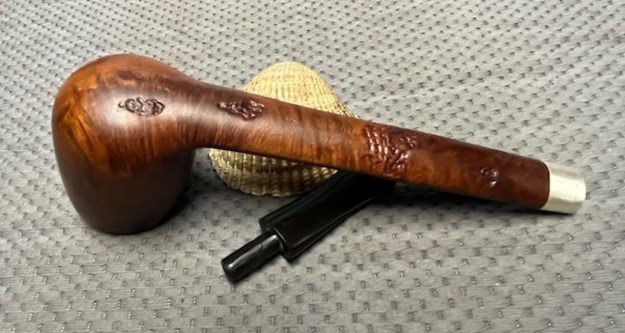
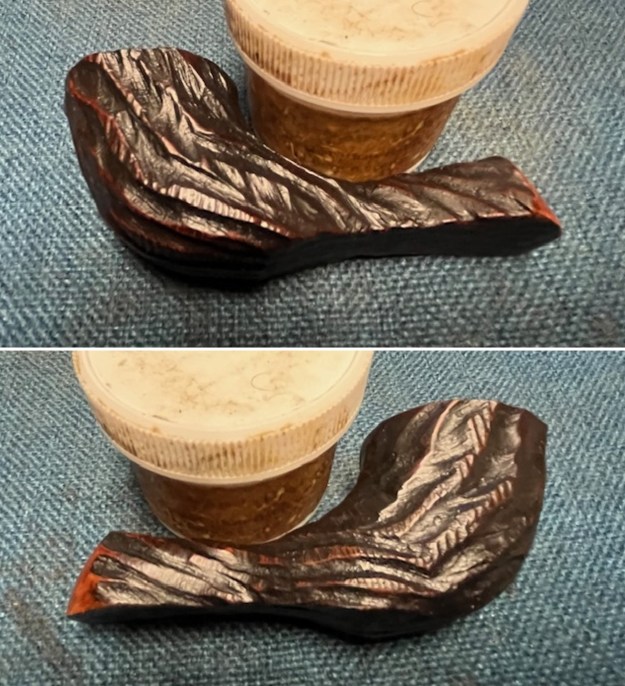
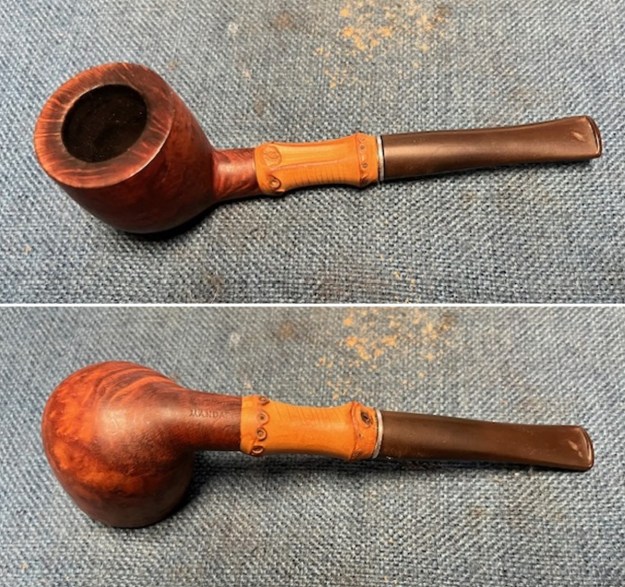
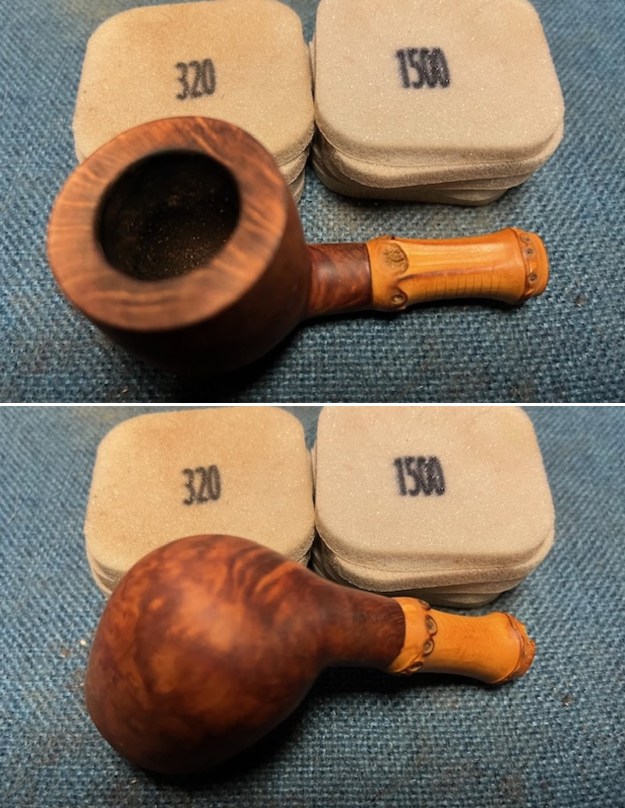
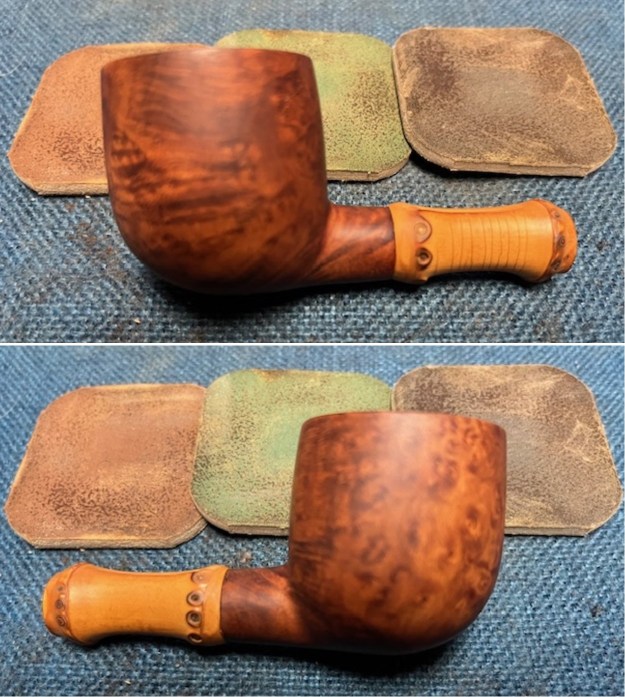
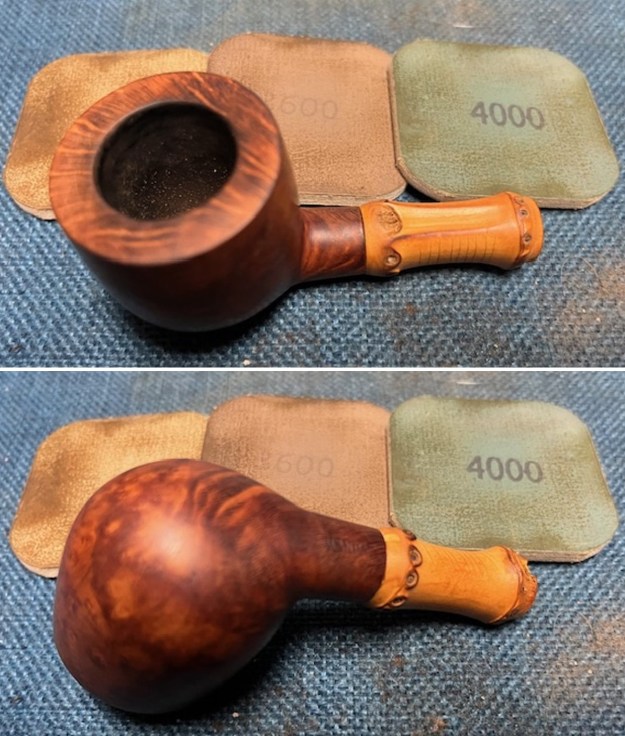
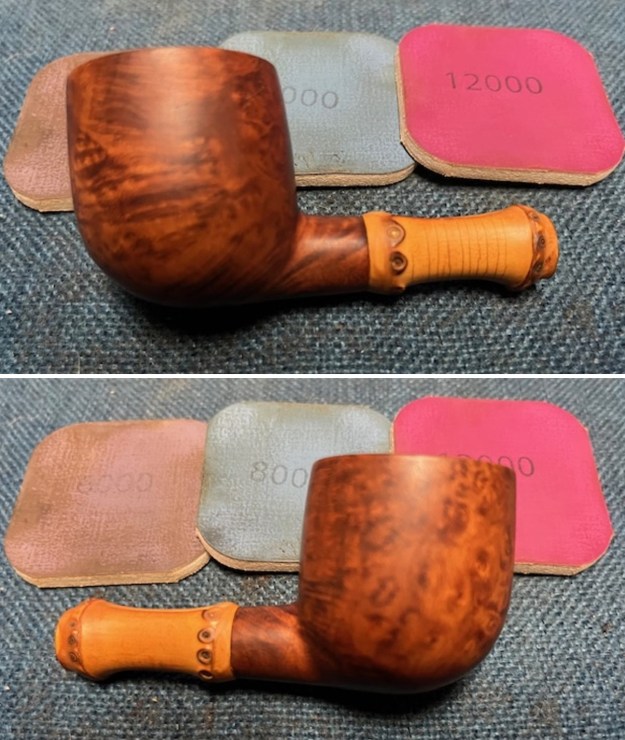
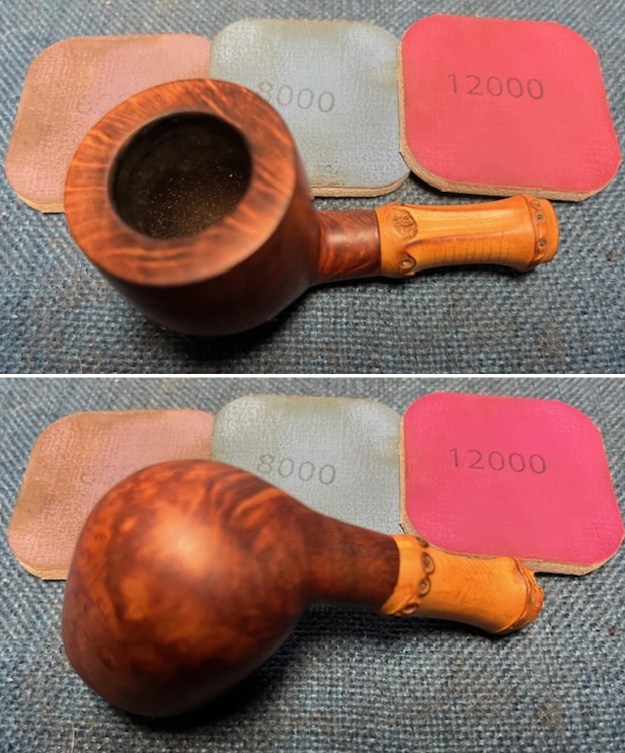
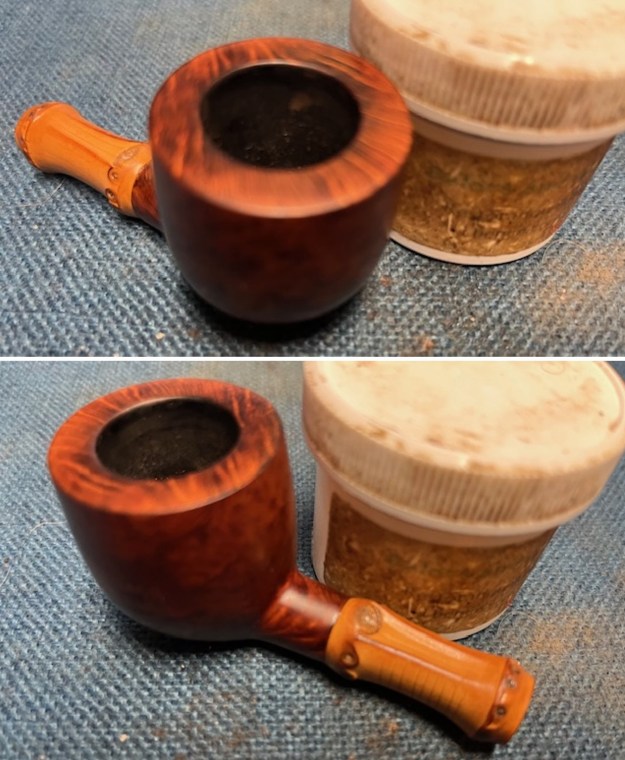
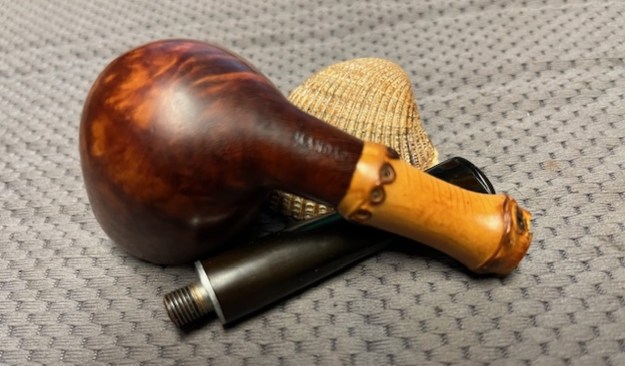
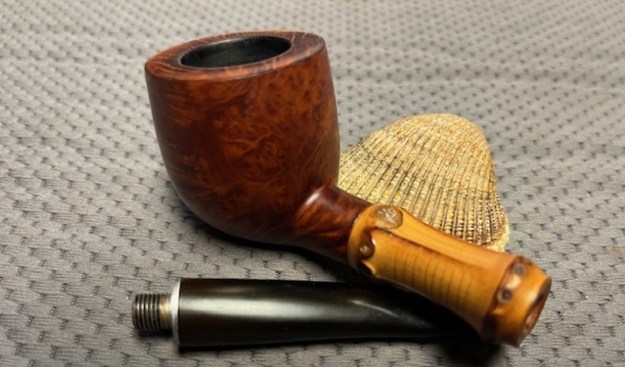
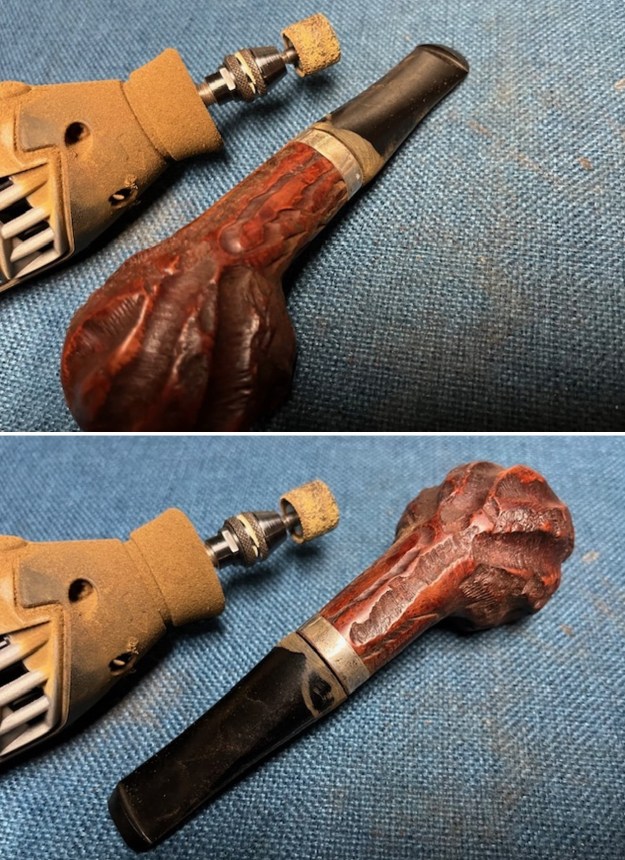
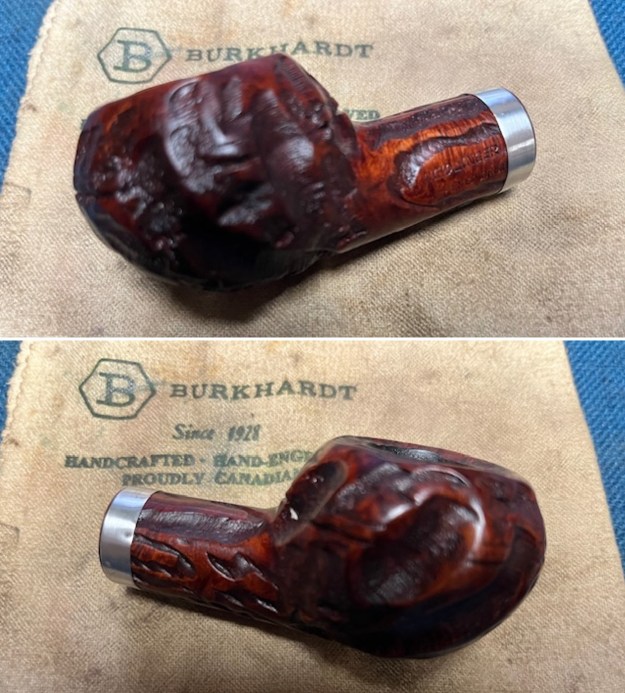
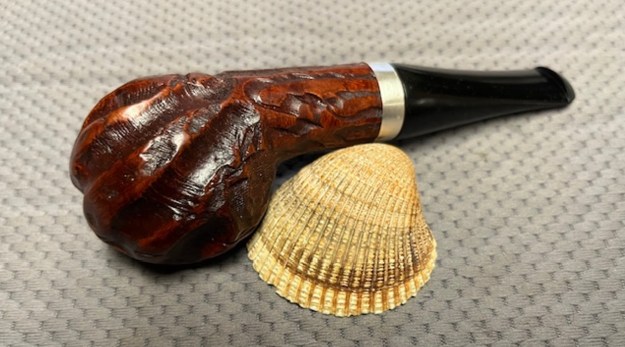
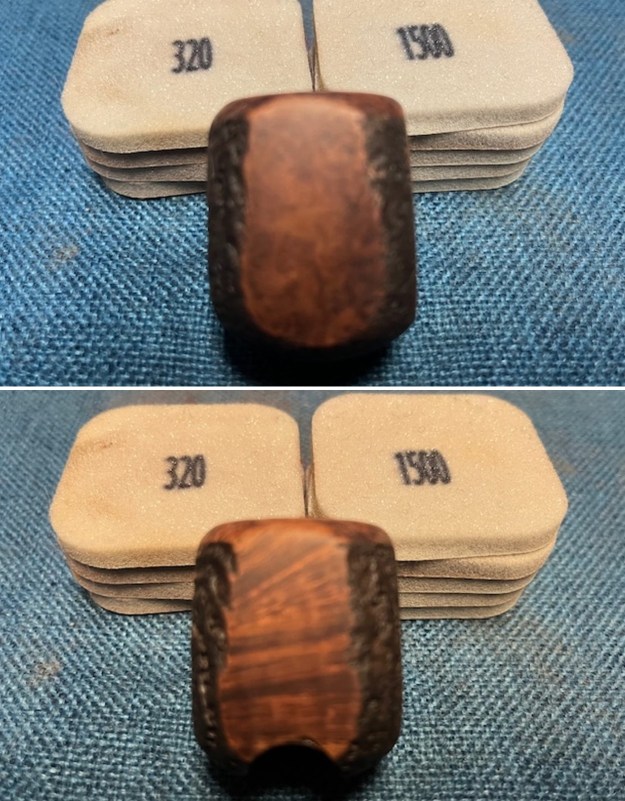
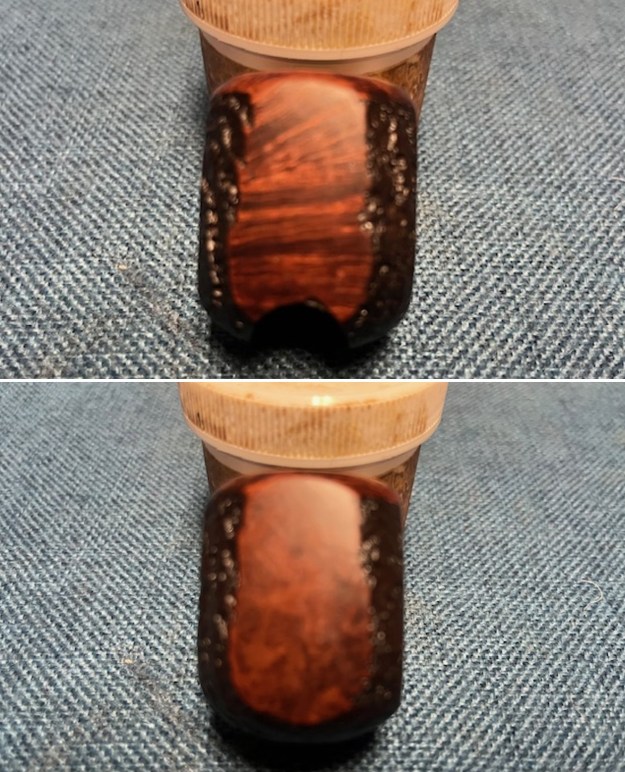
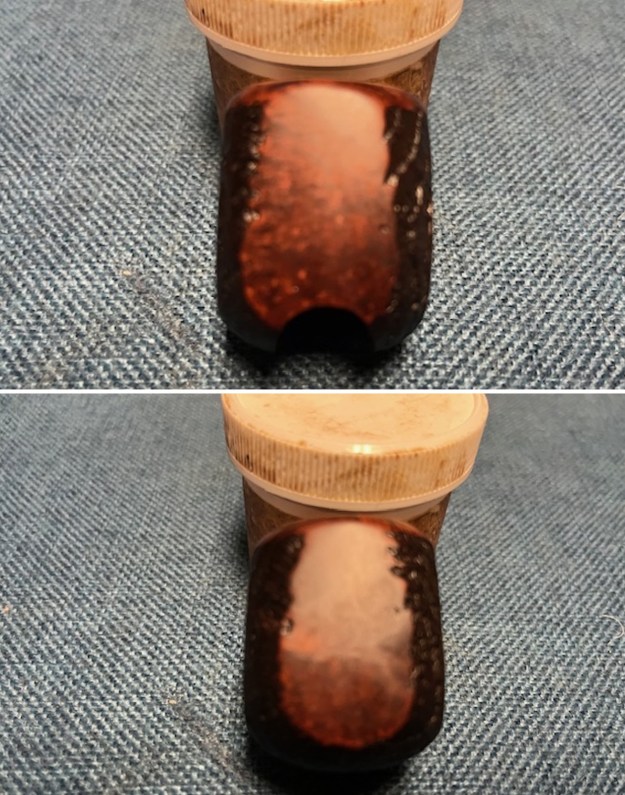
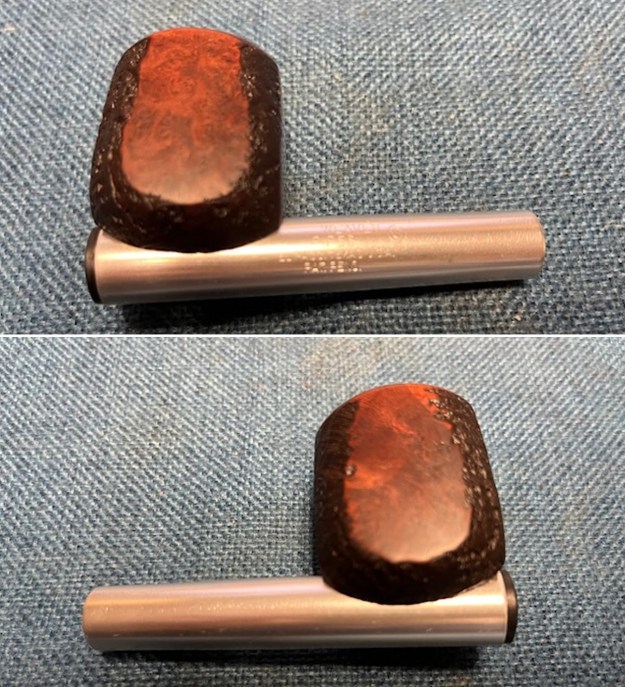
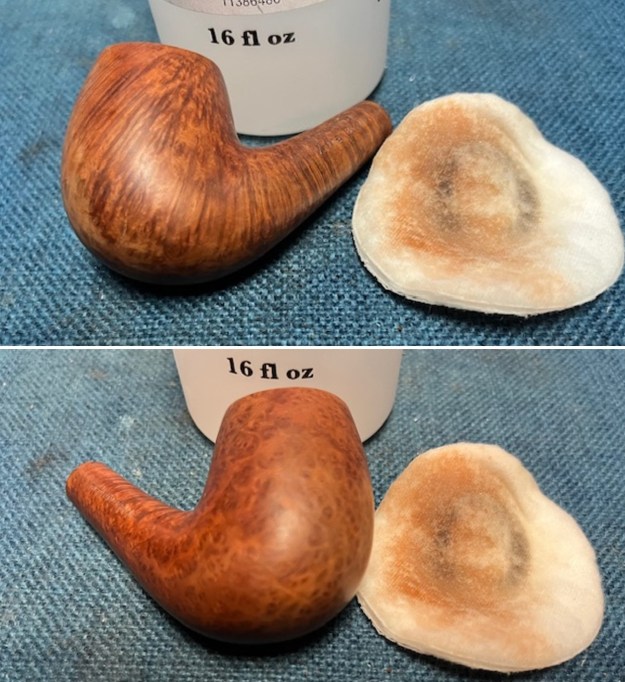
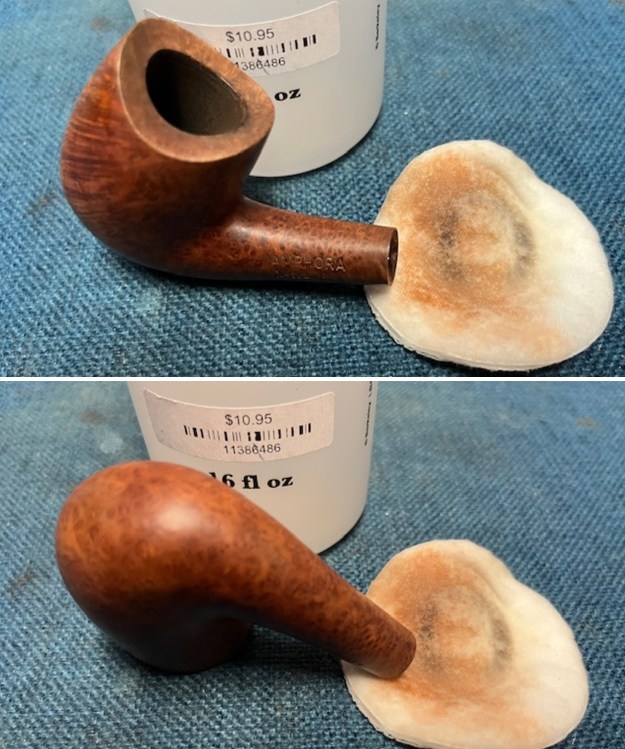
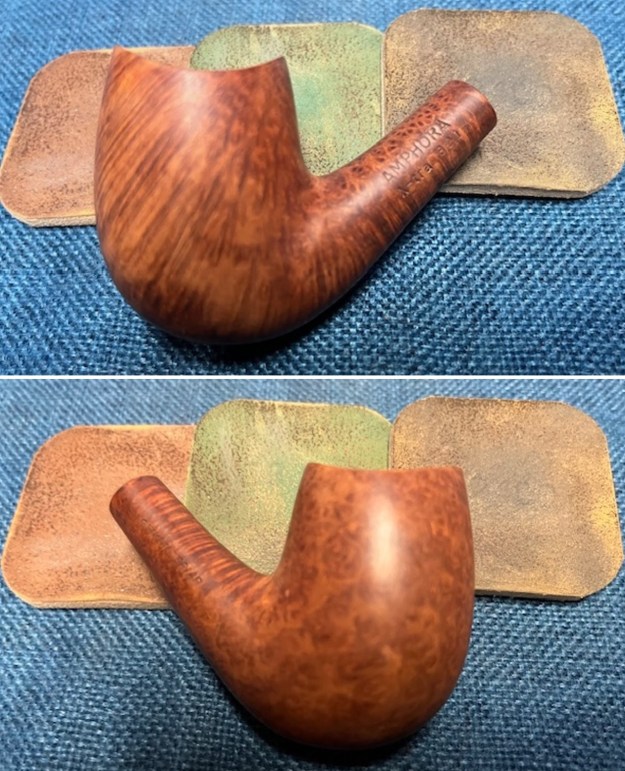
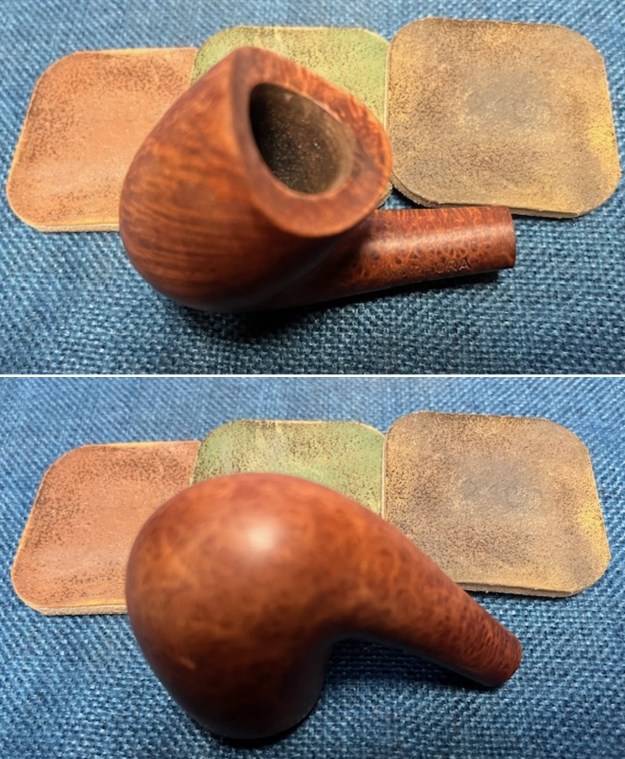
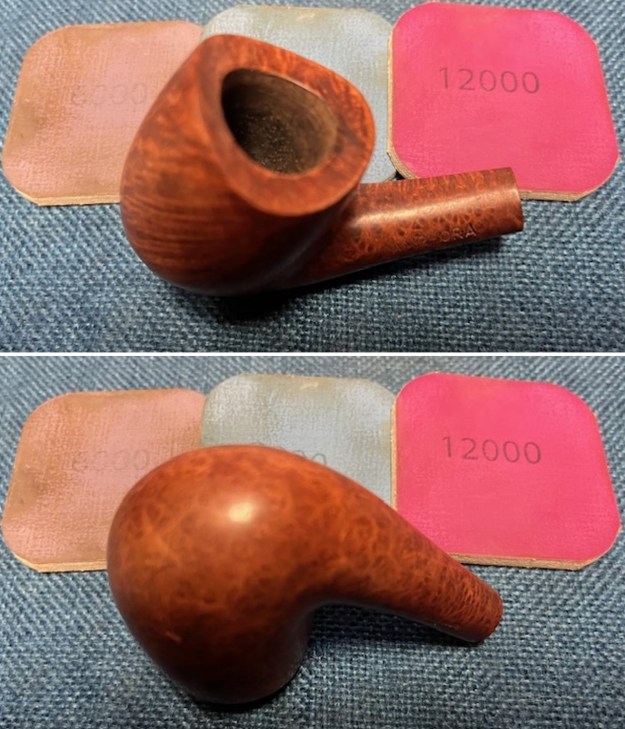
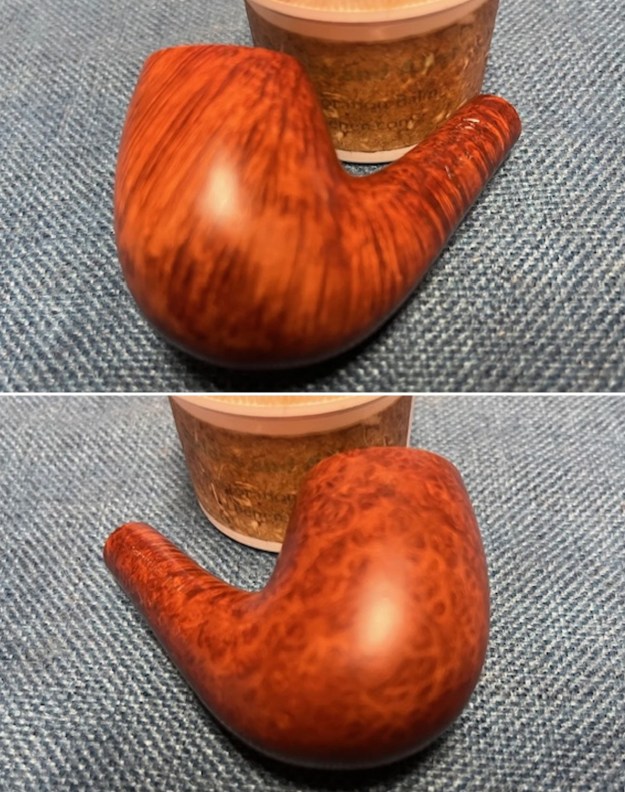
 I worked some Before & After Restoration Balm into the surface of the Gourd Calabash with my fingertips on the smooth gourd surface. The product works to clean, enliven and protect the gourd. I let the balm sit for 15 minutes and then buffed with a cotton cloth to raise the shine. The photos show the bowl at this point in the restoration process.
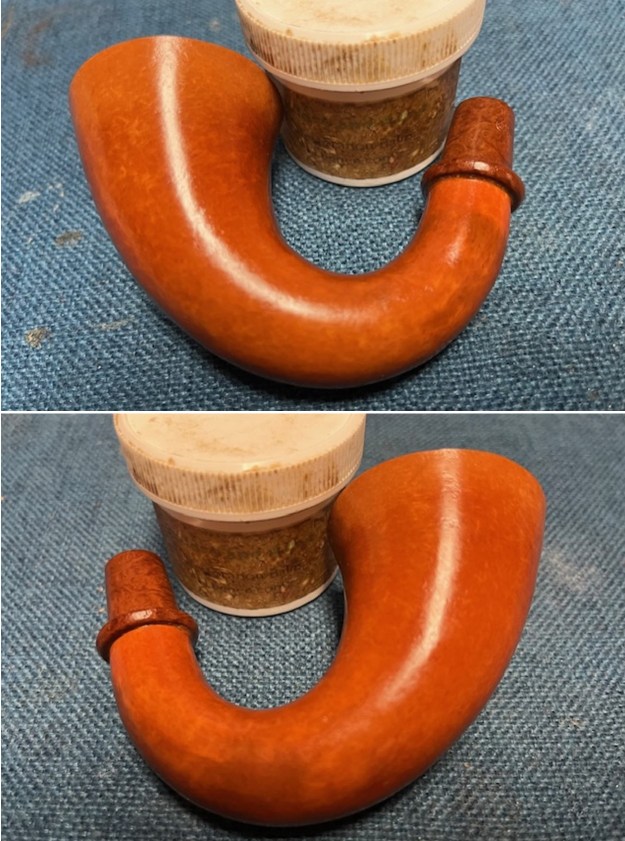
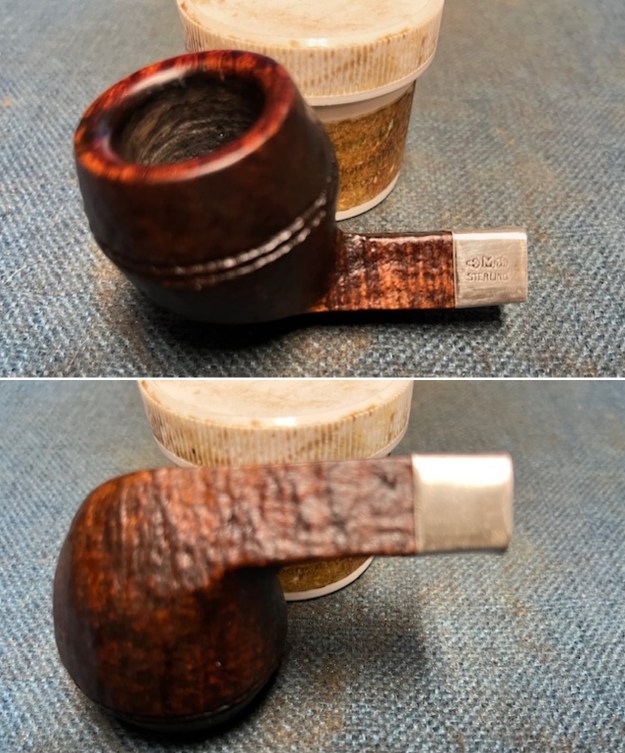
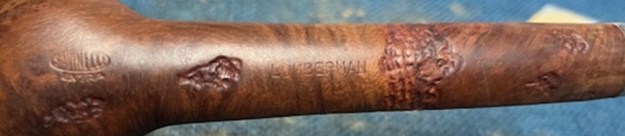
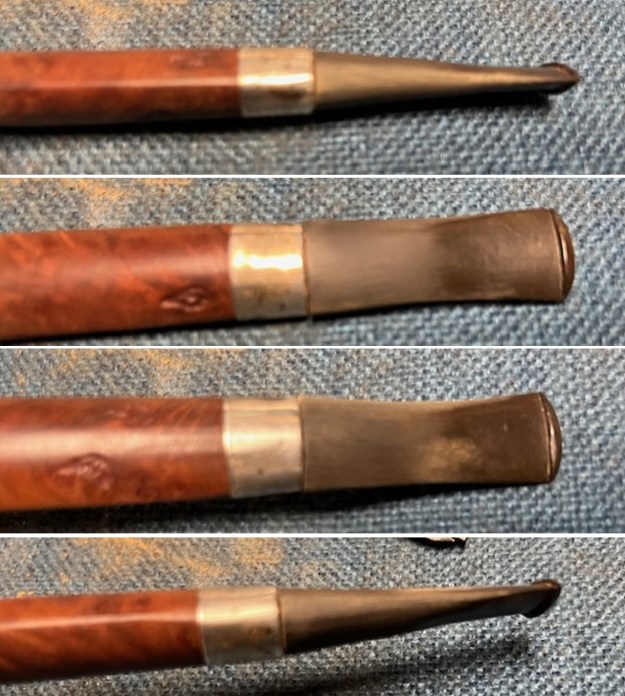
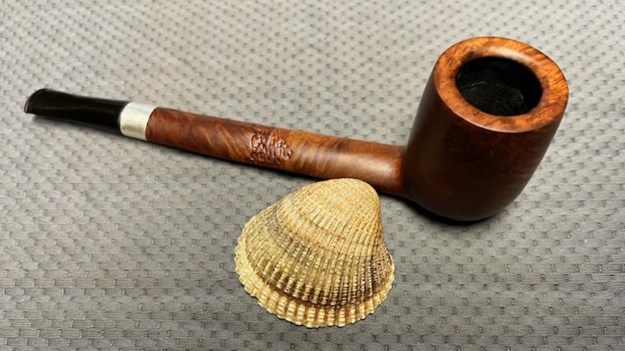
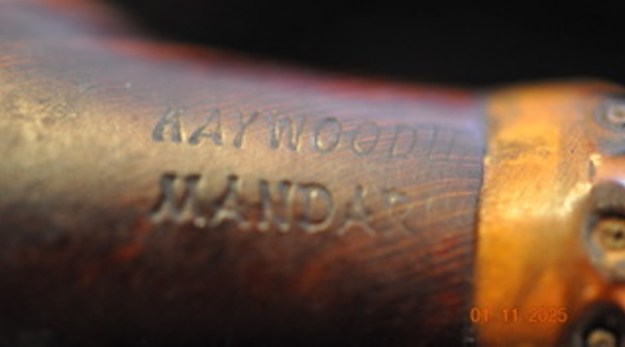
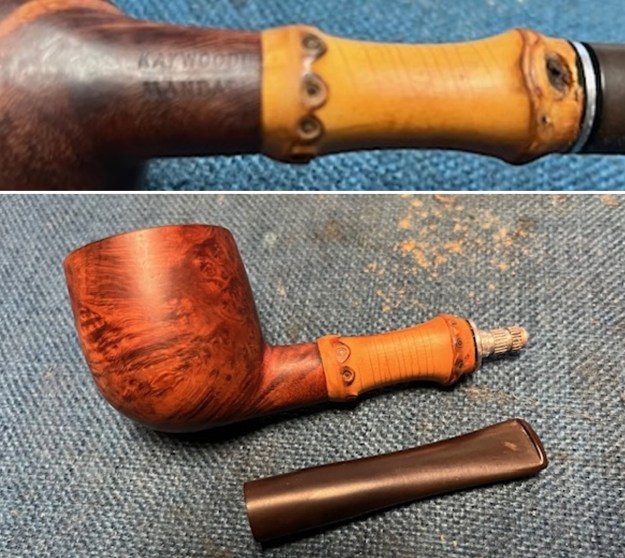
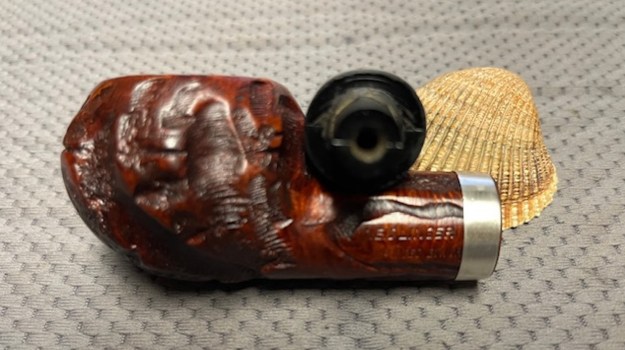
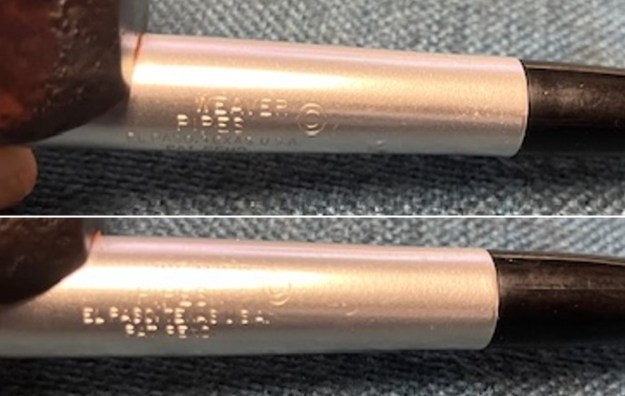
 After the clean up and rub down with Before & After Restoration Balm I took a photo of the AB stamp on the left side of the shank extension. It is clear and readable.
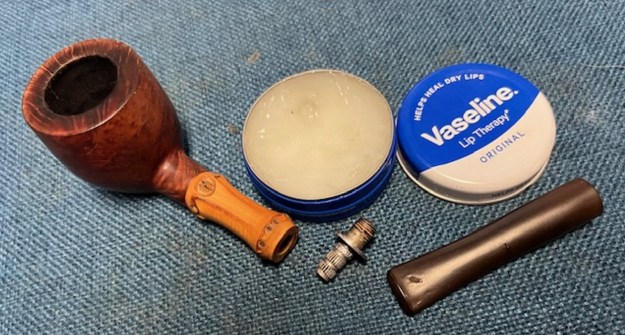
 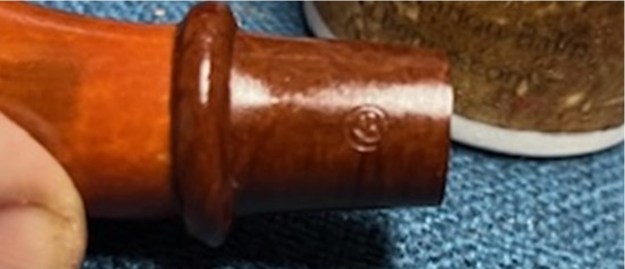 I worked Vaseline Petroleum Jelly into the cork gasket on the inside of the Gourd Calabash. The cork would swell and come alive with the Vaseline and hold the Meerschaum bowl or cup in place in the gourd. I worked it into the cork and set it aside for the evening to be absorbed. In the morning I would fit the new Meerschaum bowl into the Gourd.
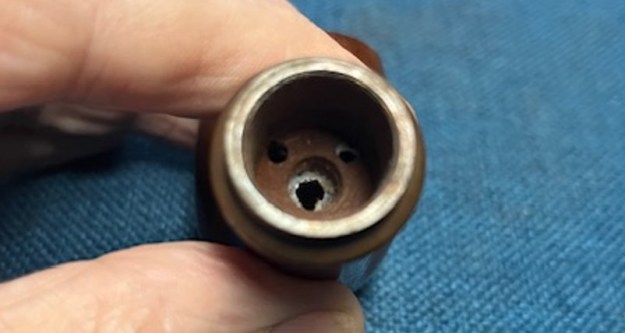
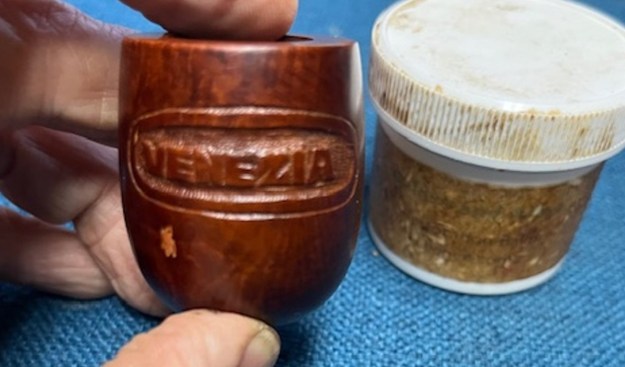
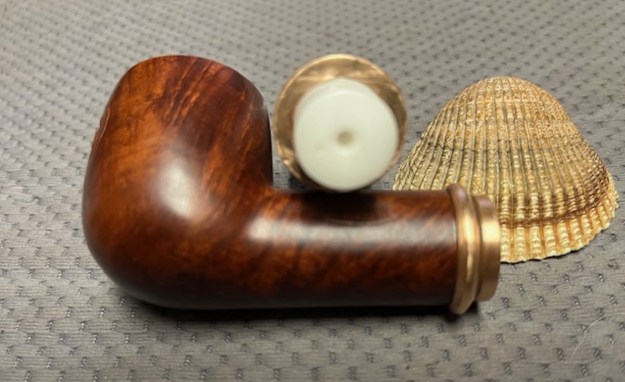
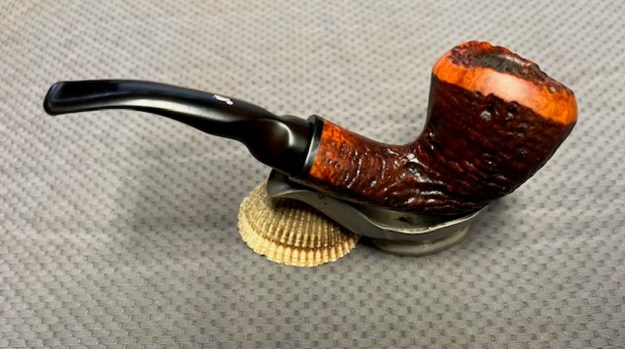
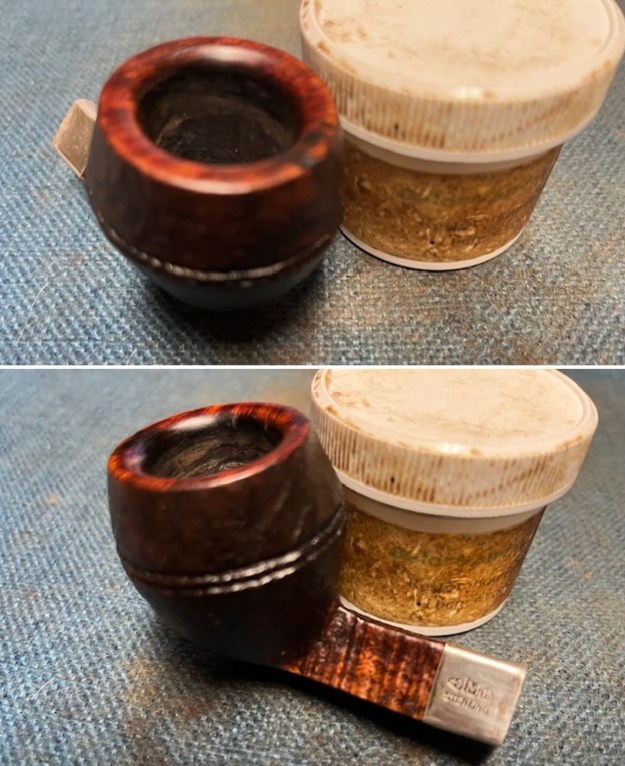
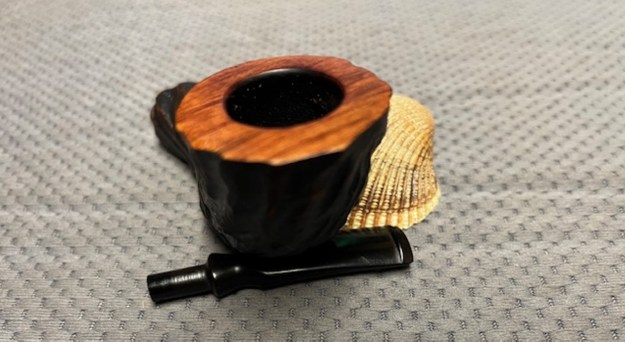
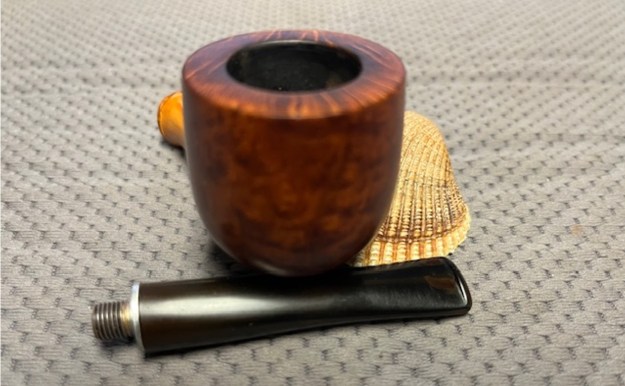
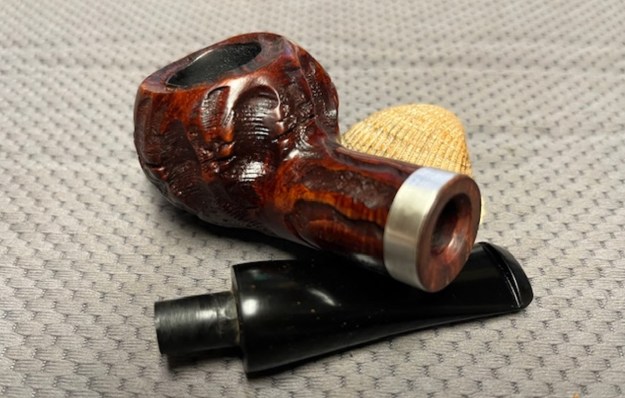
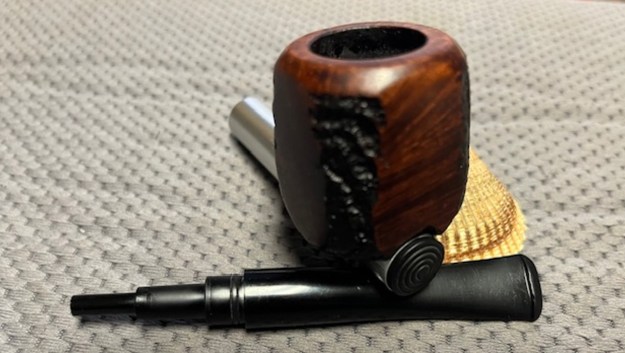
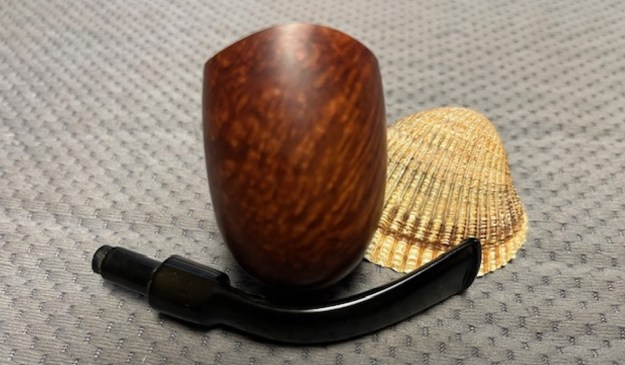
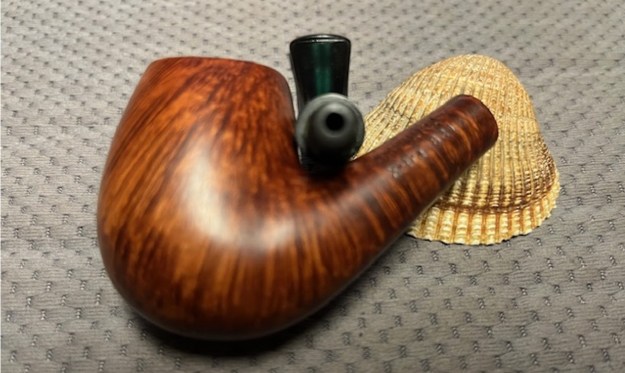
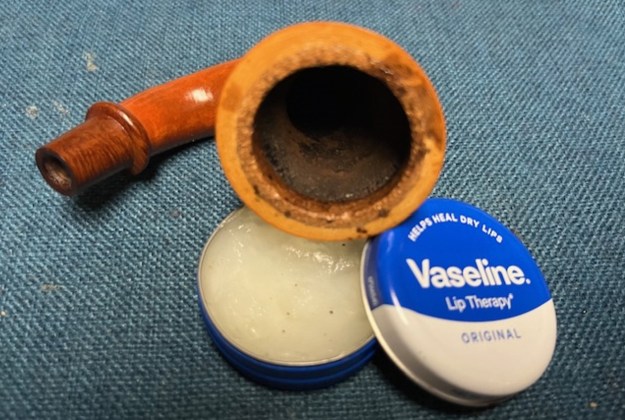 I went through my Meerschaum bowls that I have in boxes here. I have bought quite a few over the past years so I was pretty sure that I had one that would fit in the gourd. Sure enough, I had a bowl that had the same nipple/cone that fit the gourd perfectly. The height of the Meerschaum cup or bowl is a bit taller but it looks good.
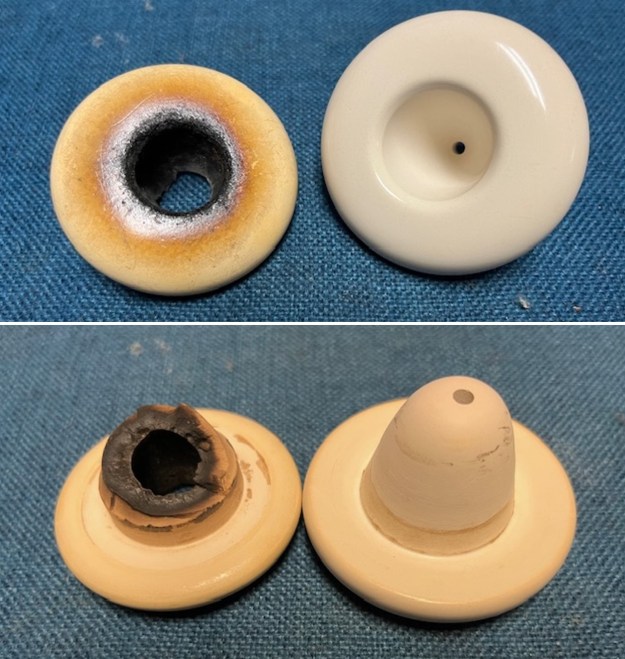
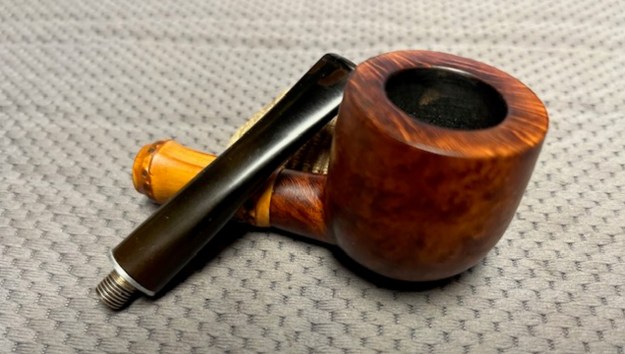
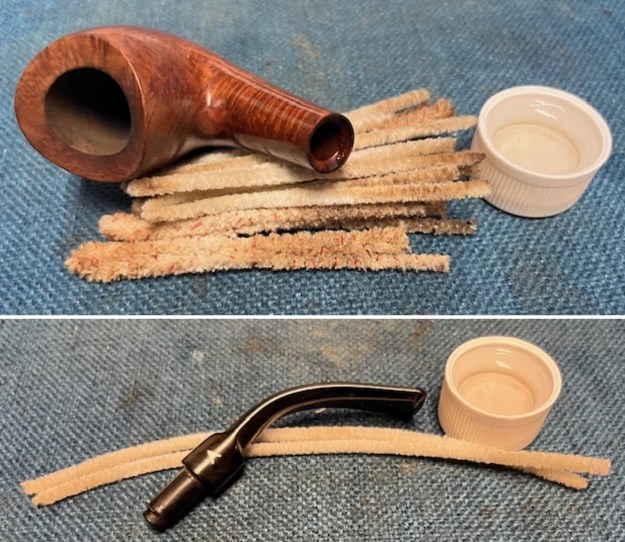
 I cleaned out the shank extension and shank of the gourd and the inside of the stem with alcohol and pipe cleaners.
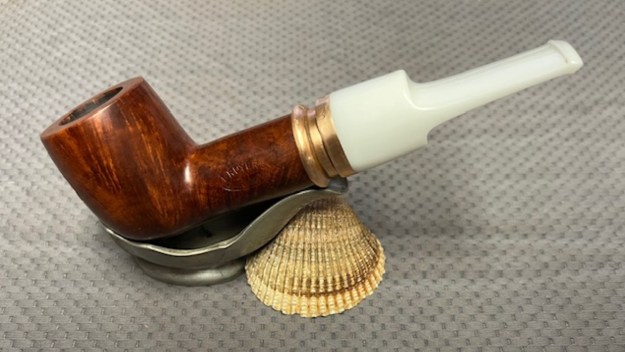
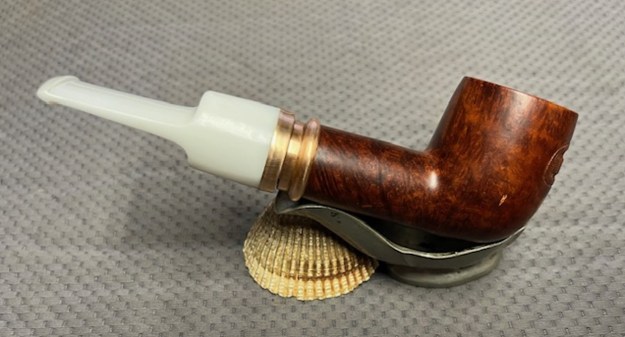
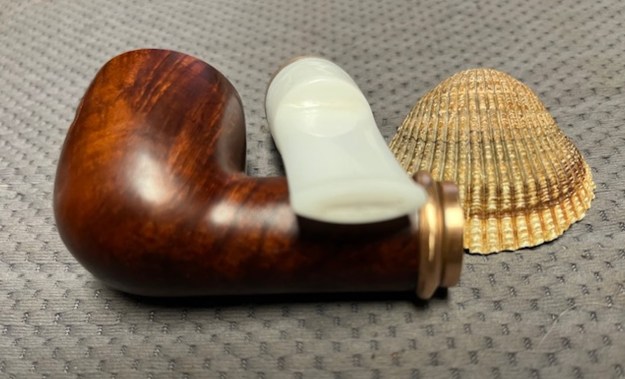
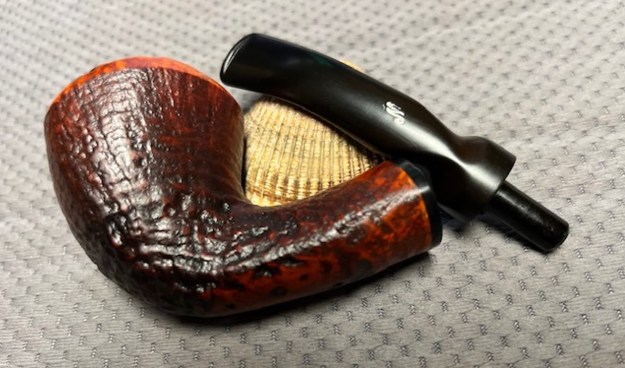
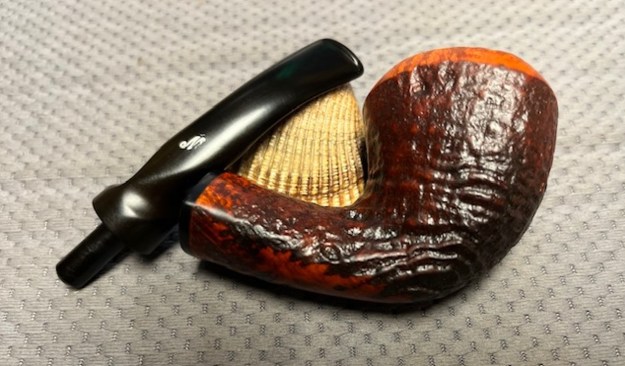
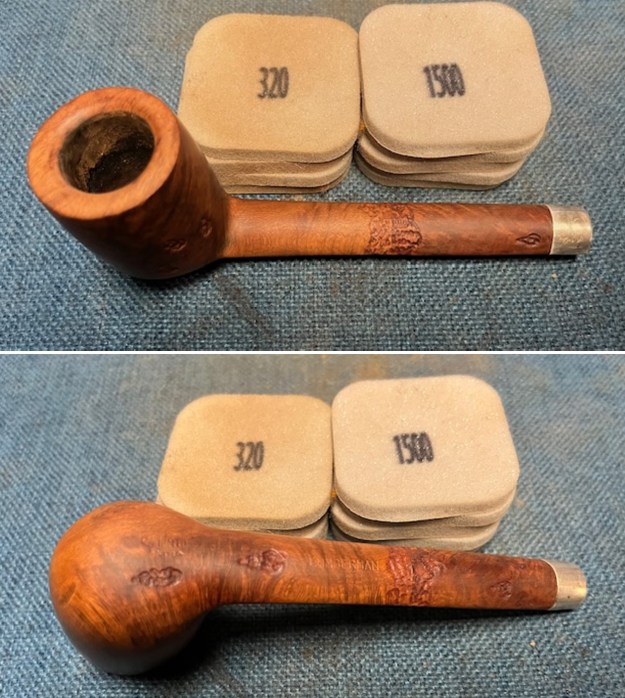
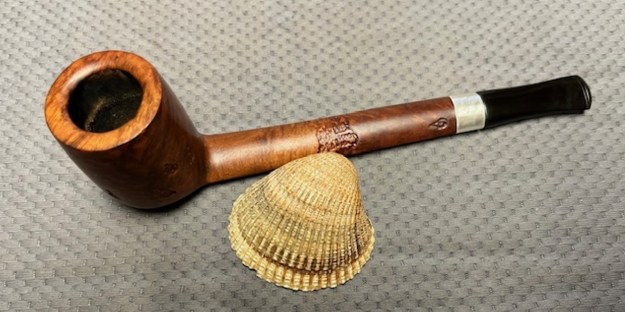
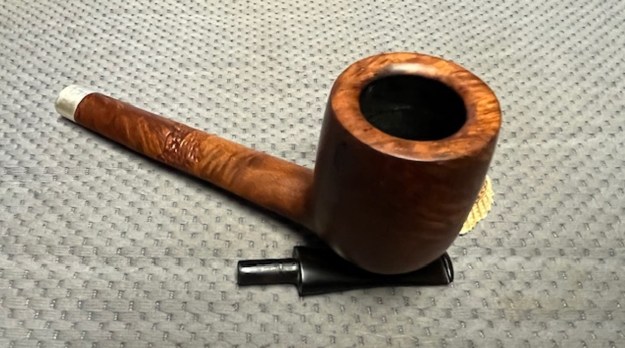
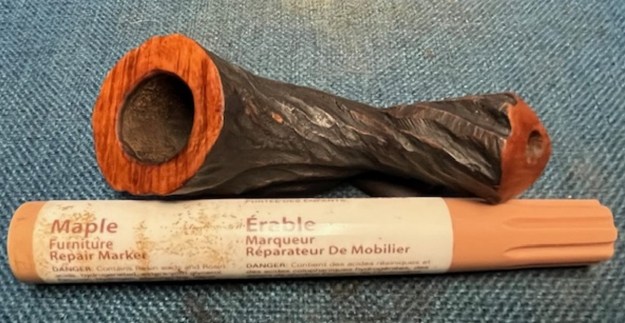
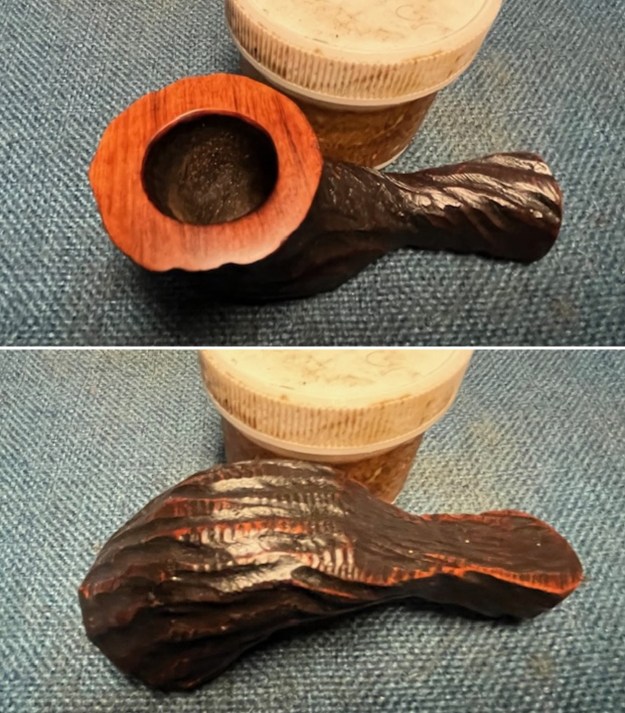
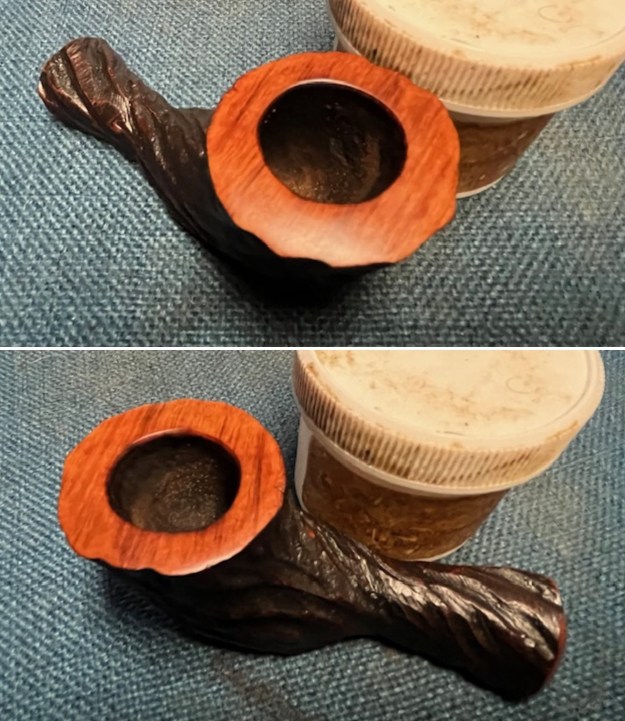
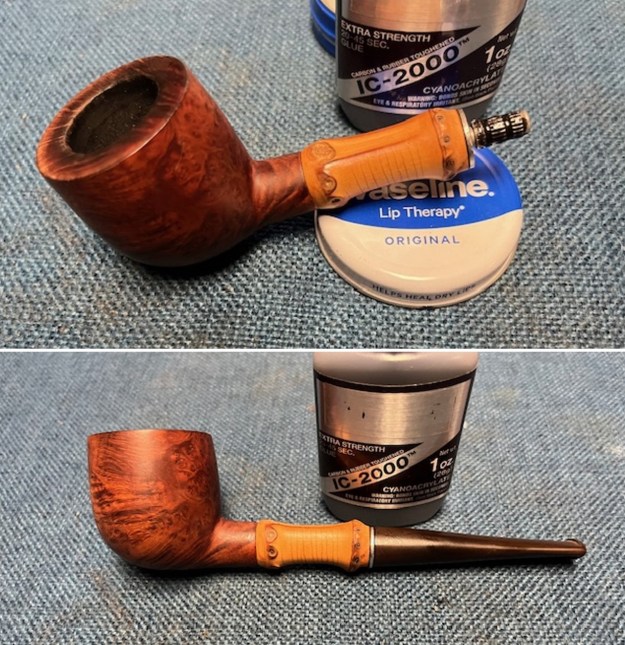
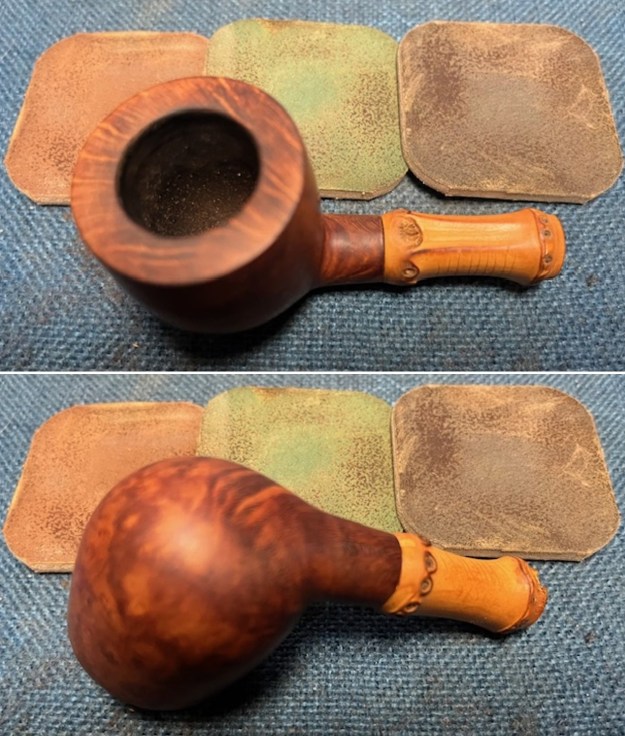
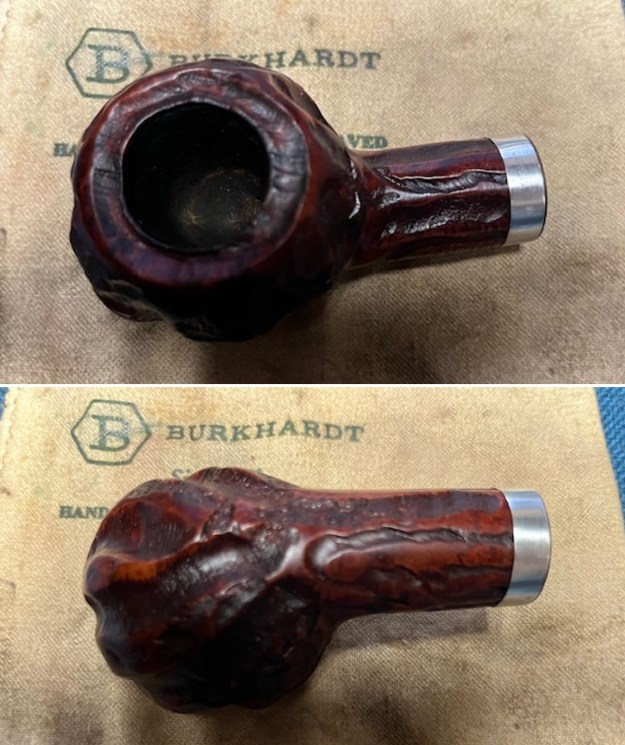
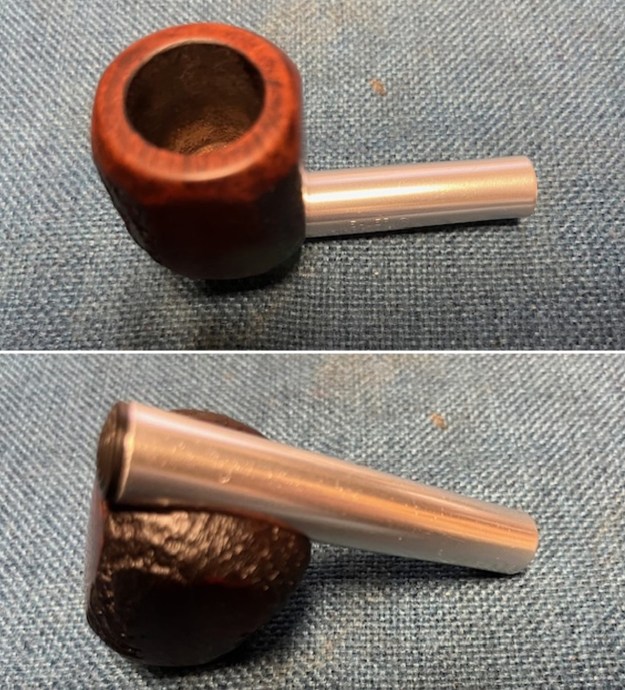
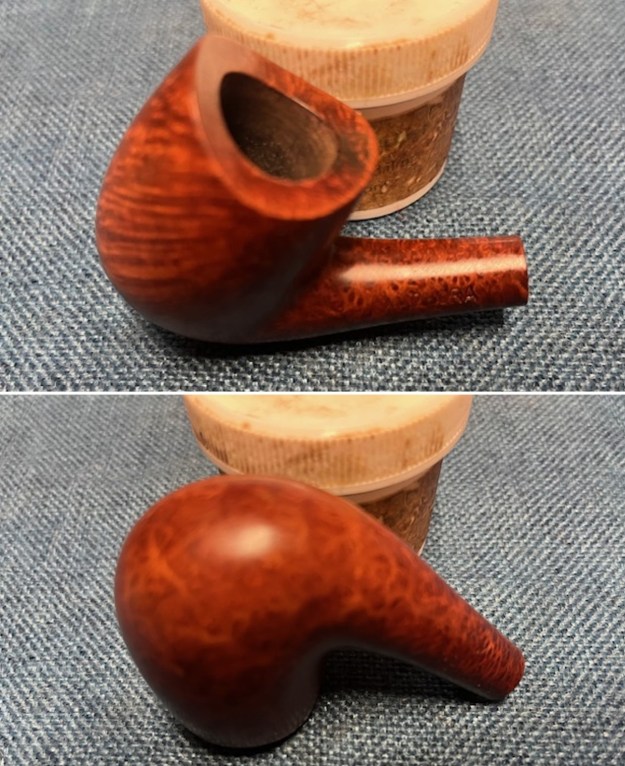
 I fit the new meerschaum cup in the gourd calabash base. The fit was actually very good and it looked like new once more.
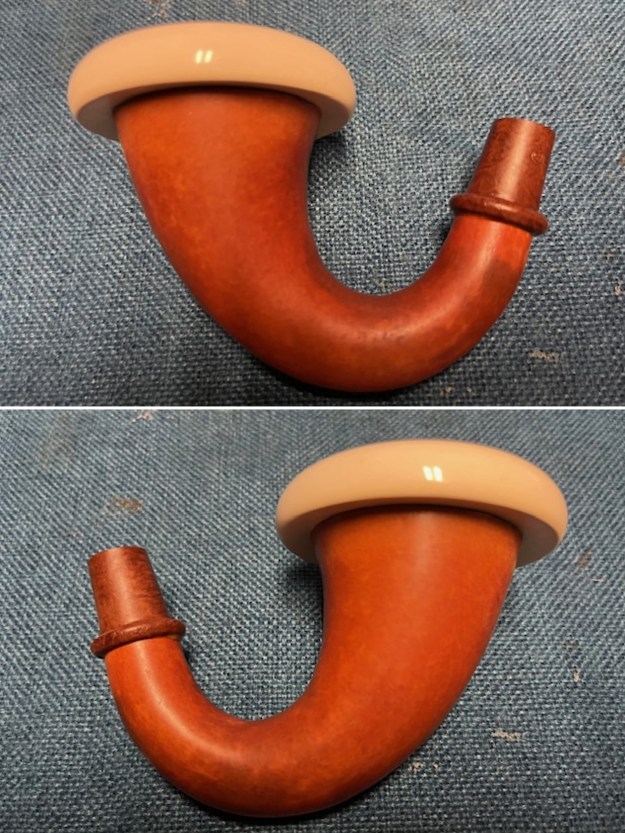
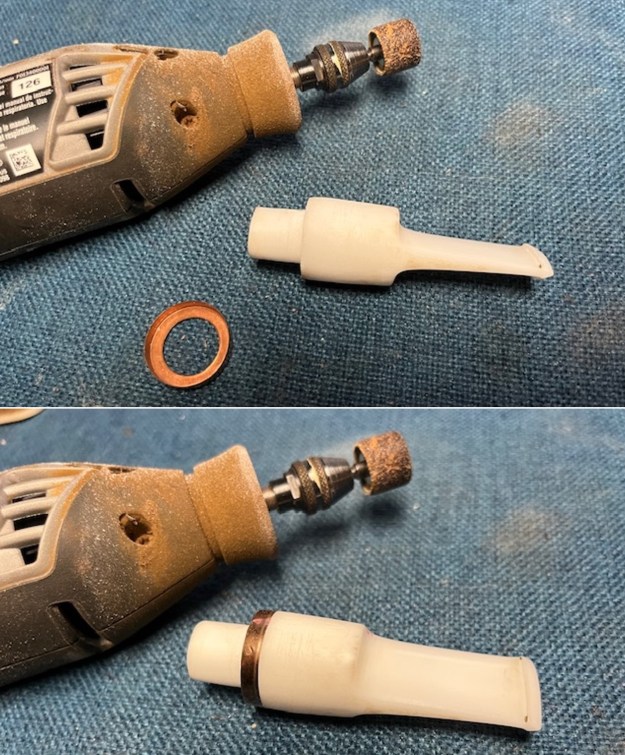
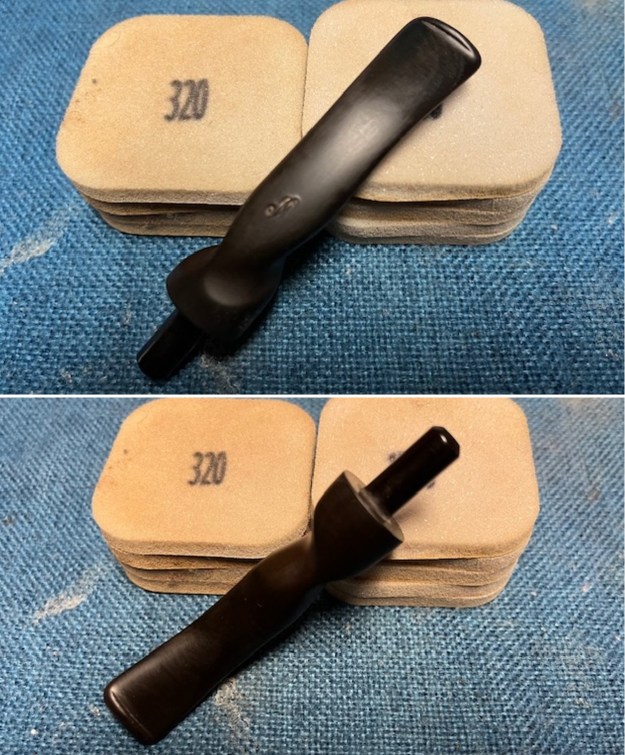
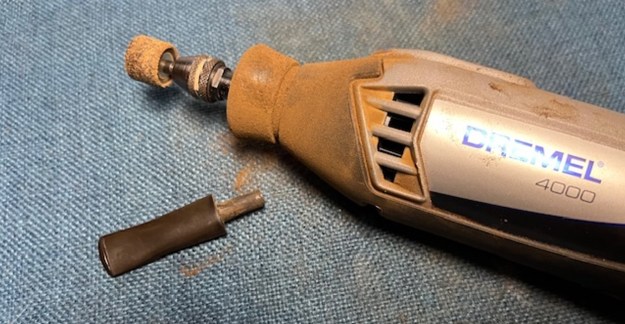
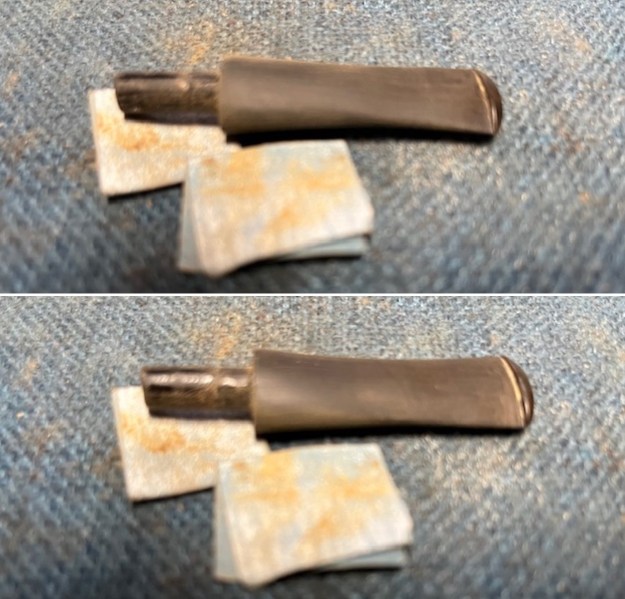
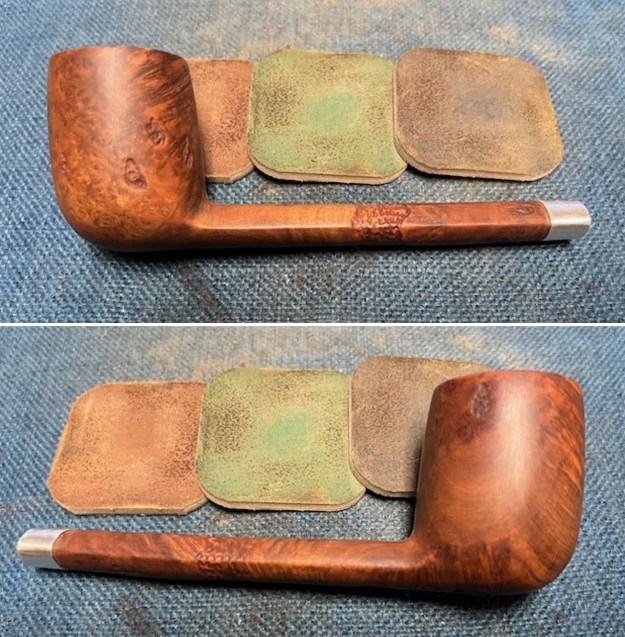
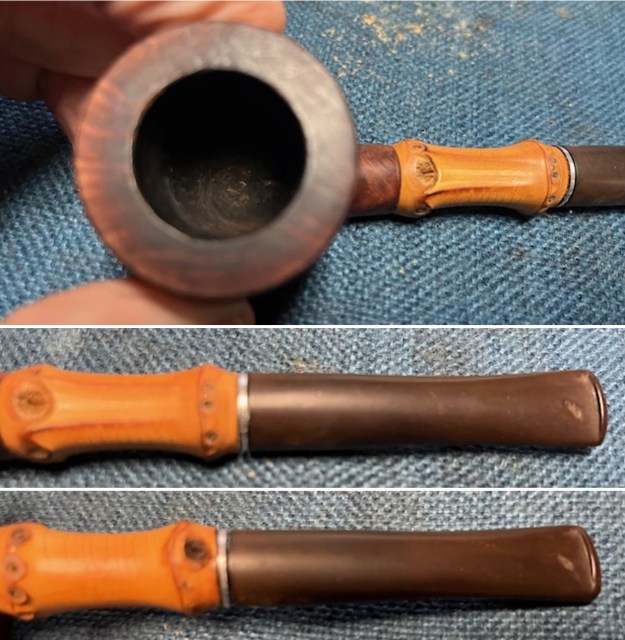
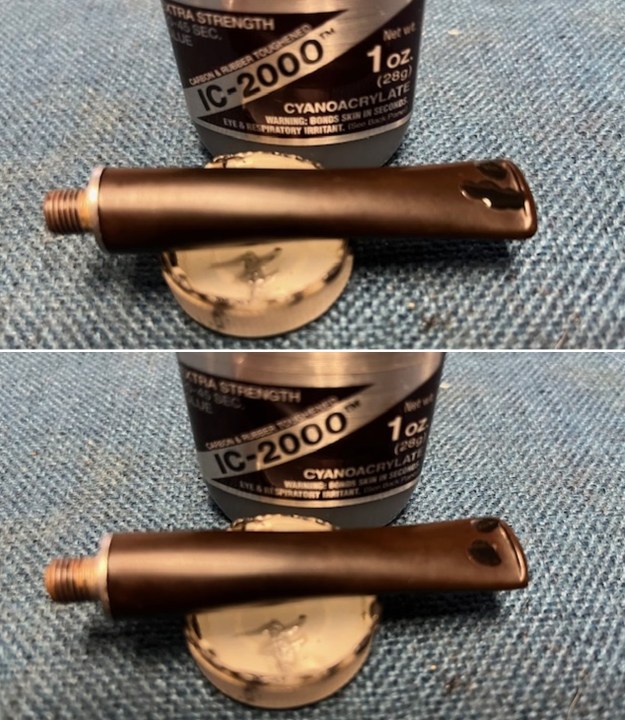
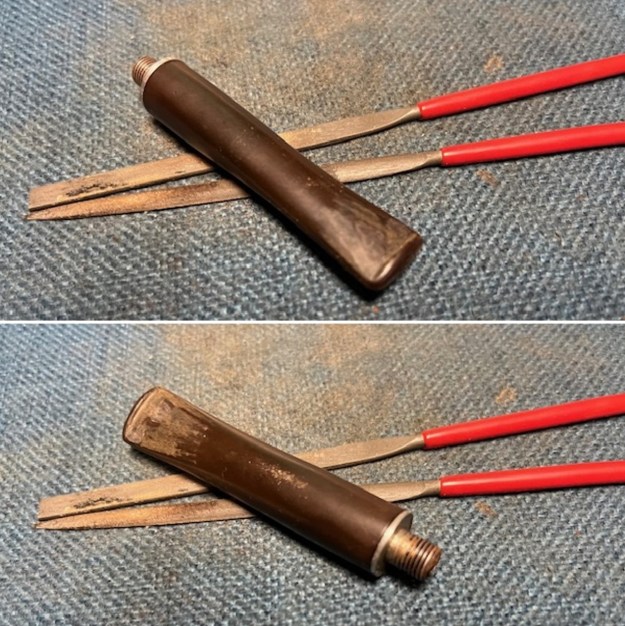
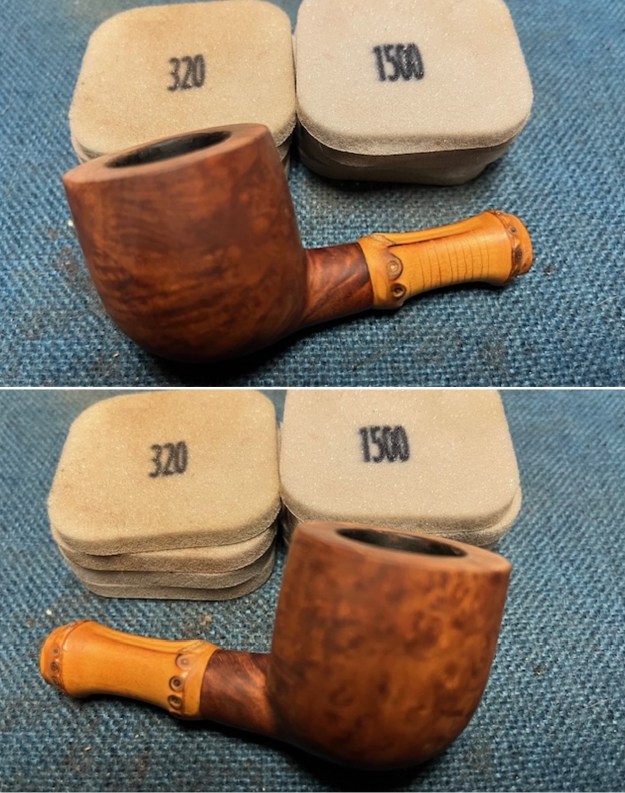
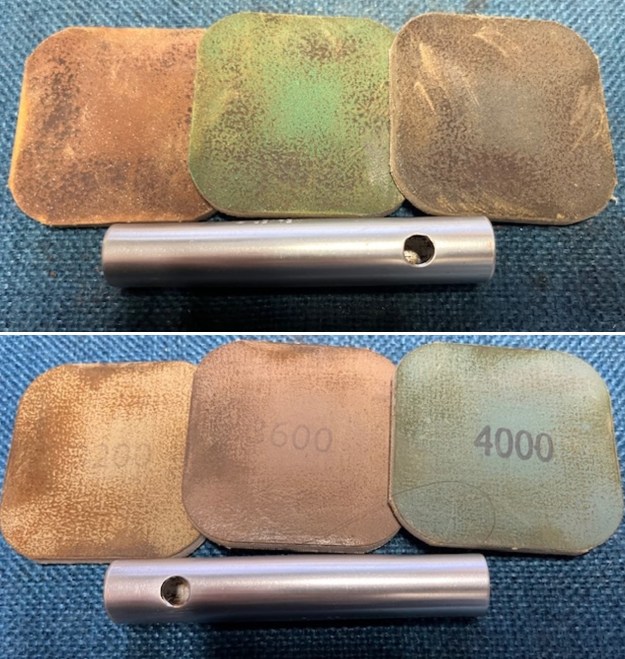
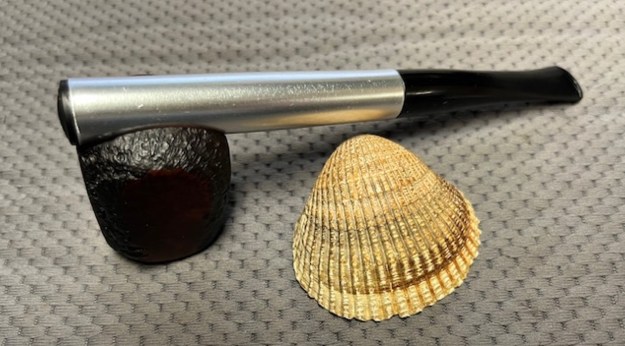
 I worked on the oxidation and calcification on the stem with Soft Scrub and cotton pads. I was able to remove the majority of it using this process. It was looking significantly better.
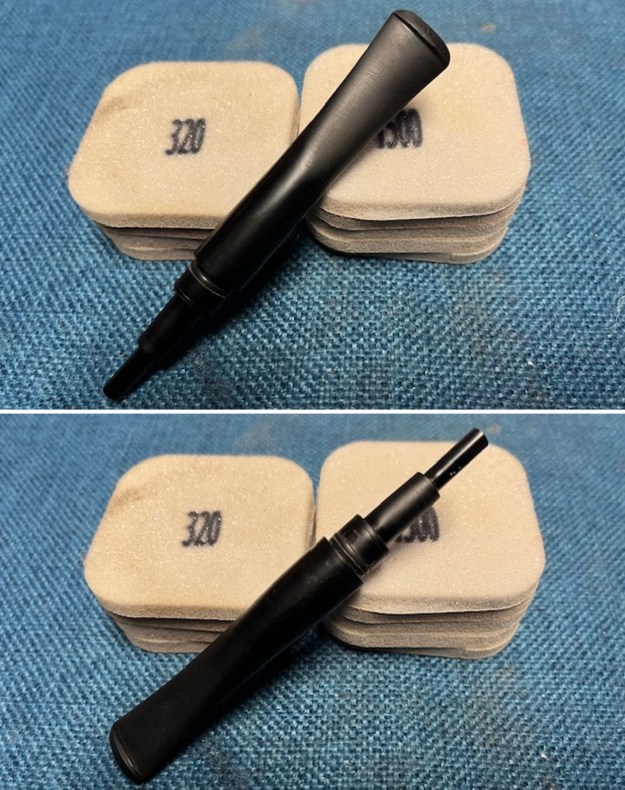
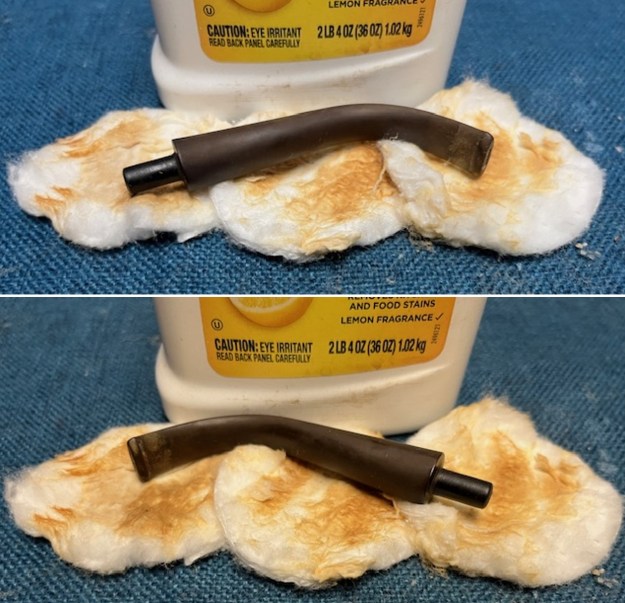 I sanded out the tooth chatter and marks in the surface of the button with 220 grit sandpaper. I wiped it down with an Obsidian Oil cloth before moving on to the next step.
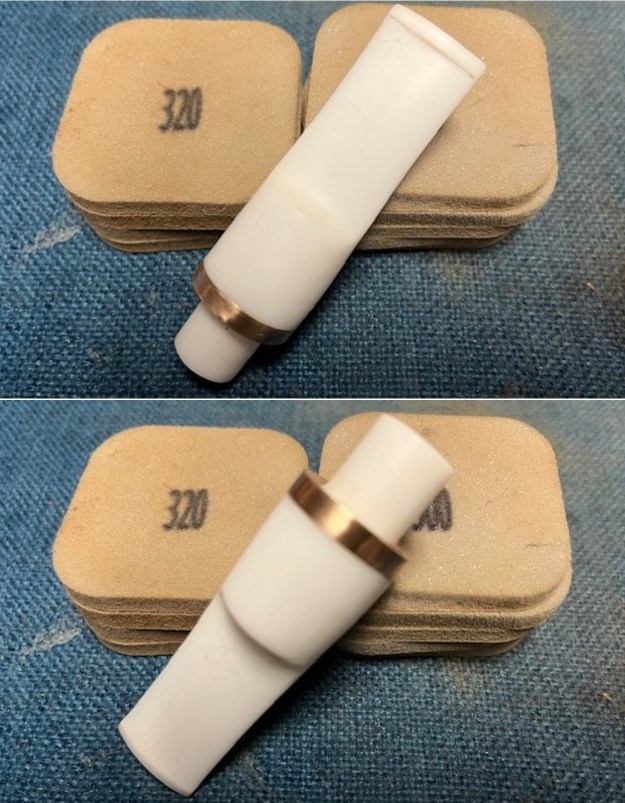
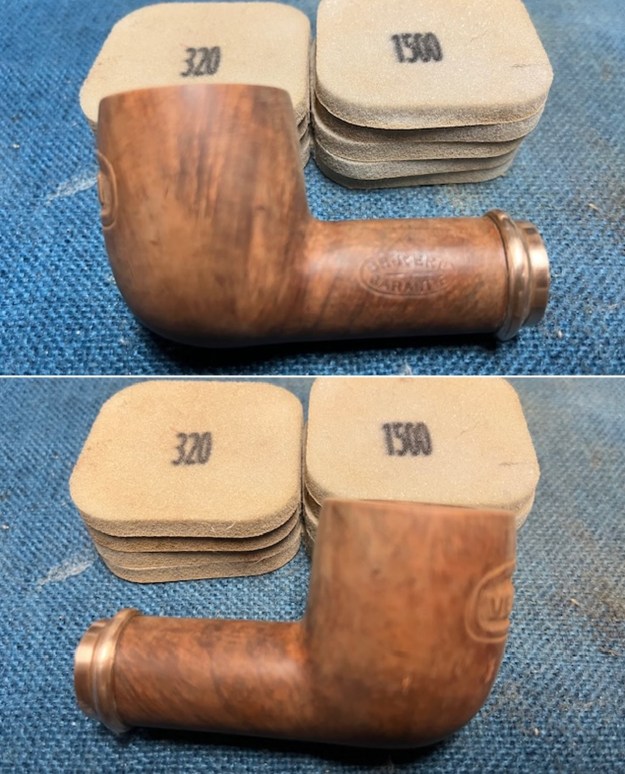
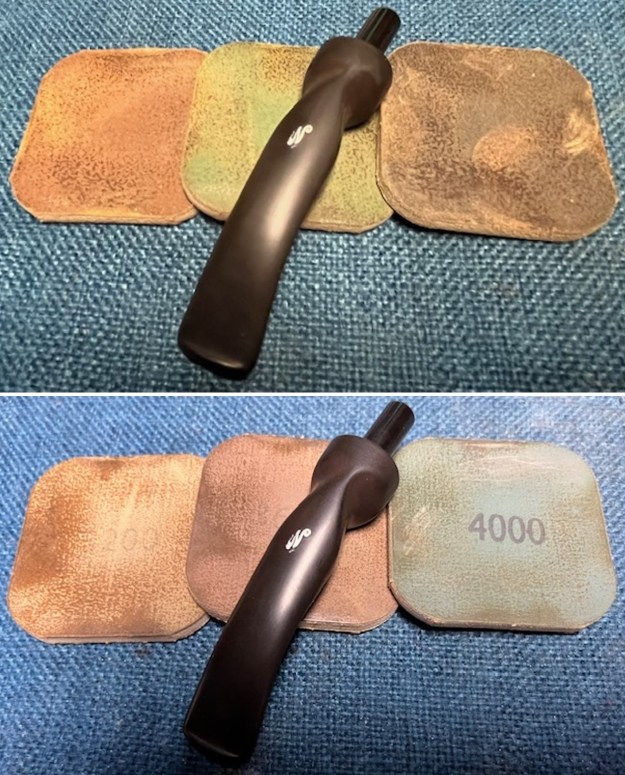
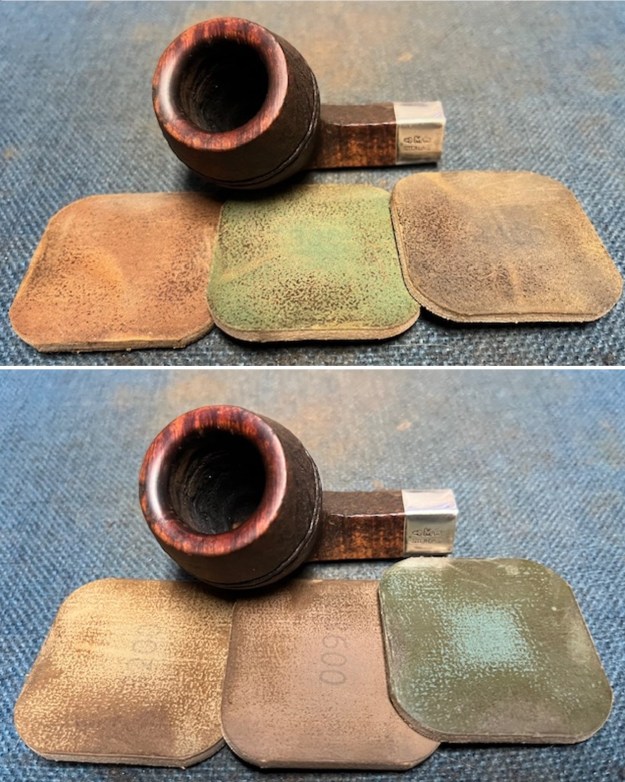
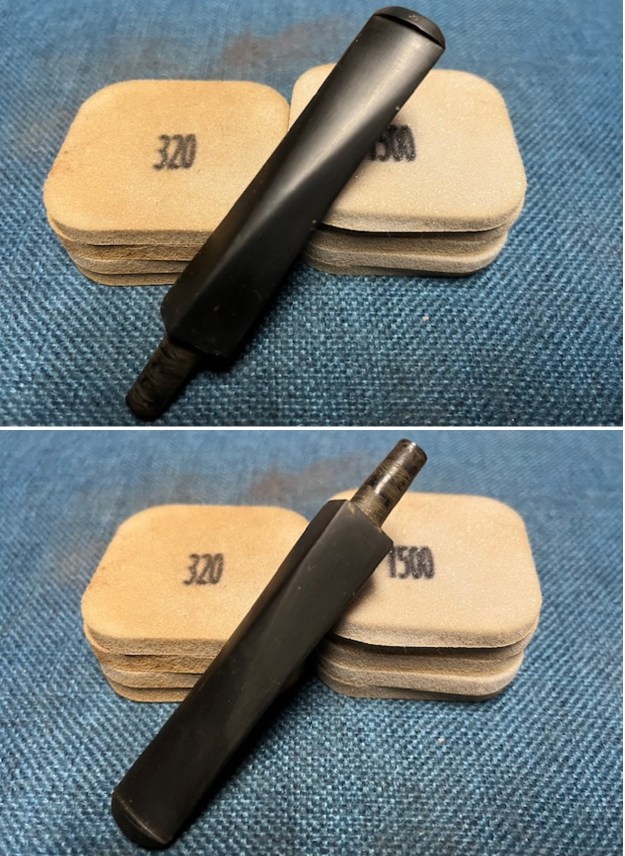
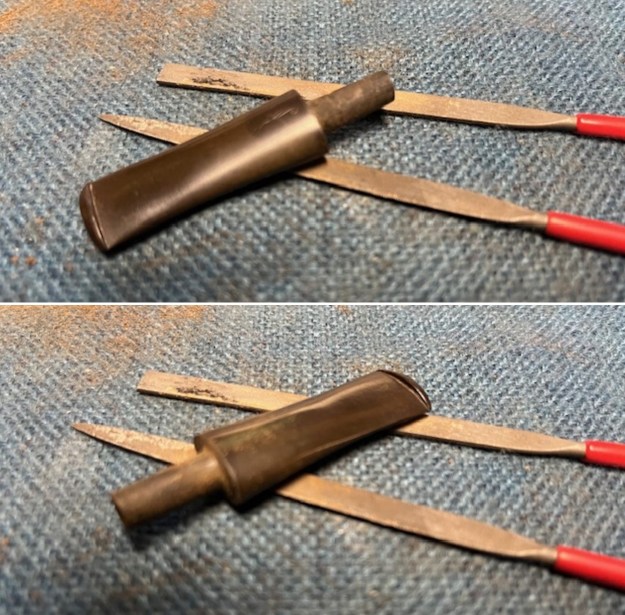
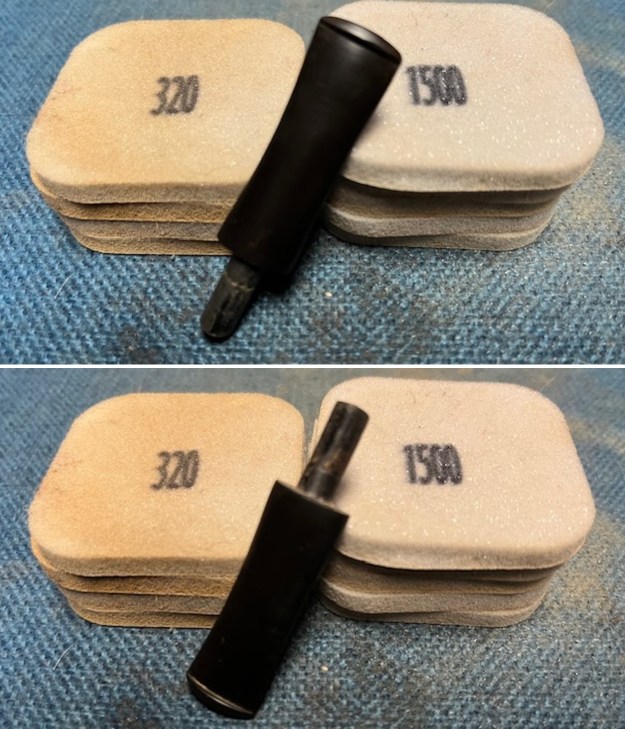
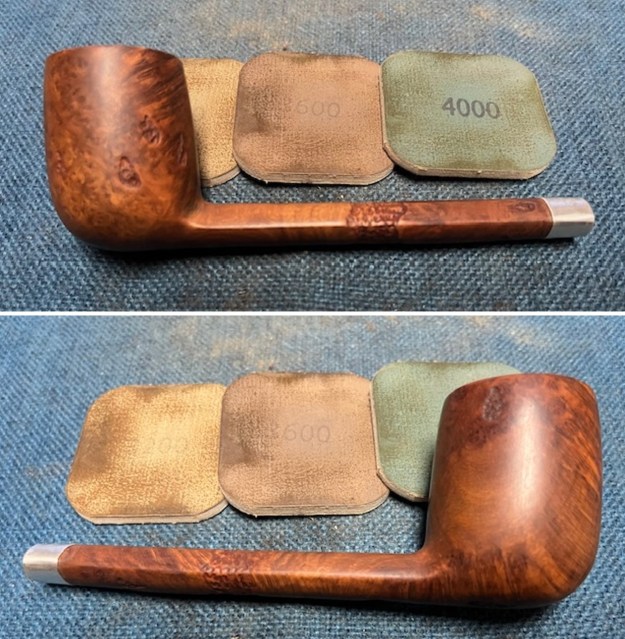
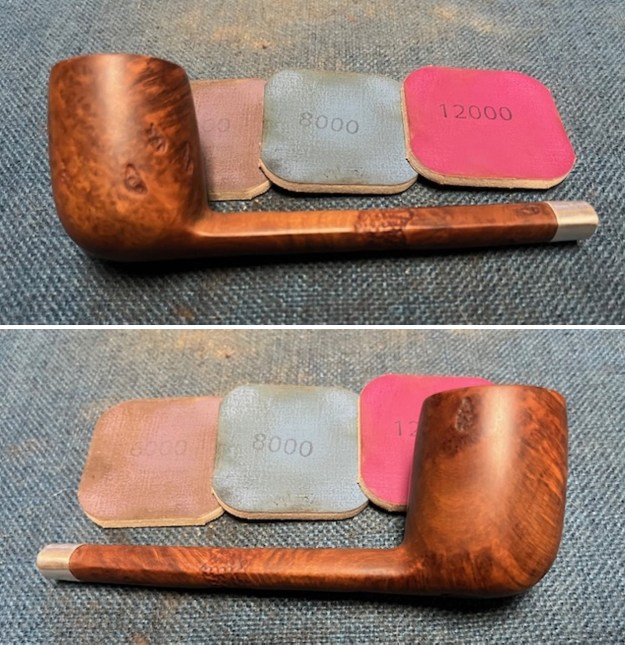
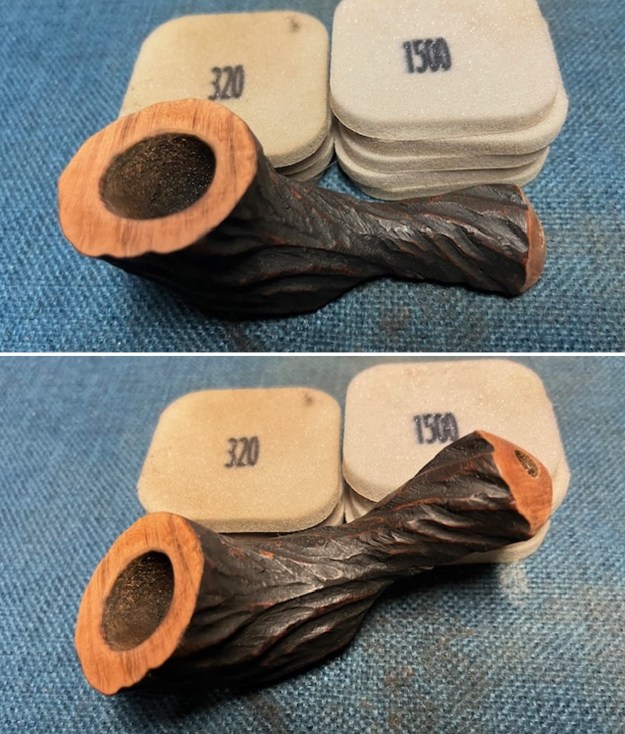
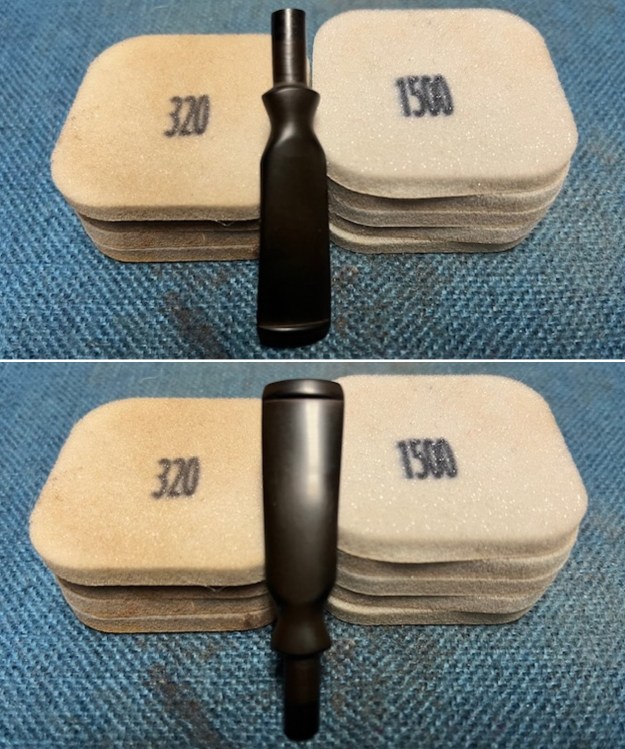
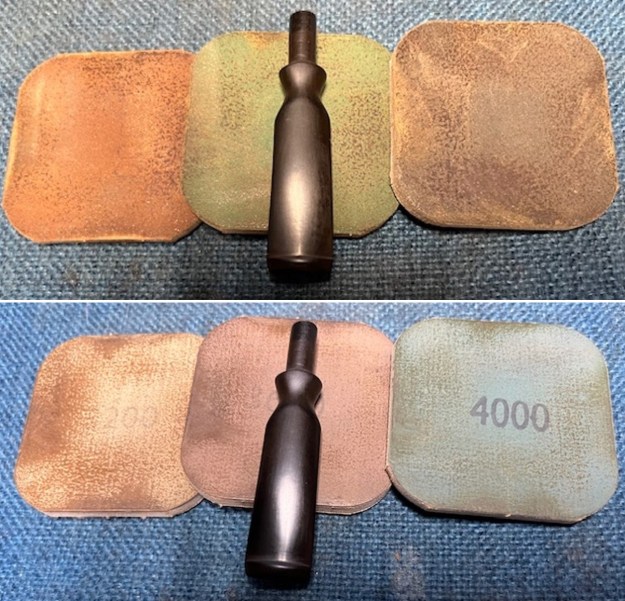
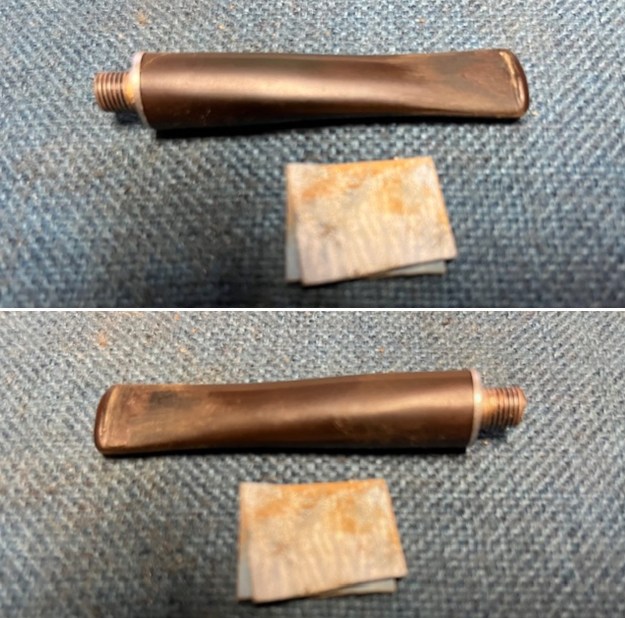
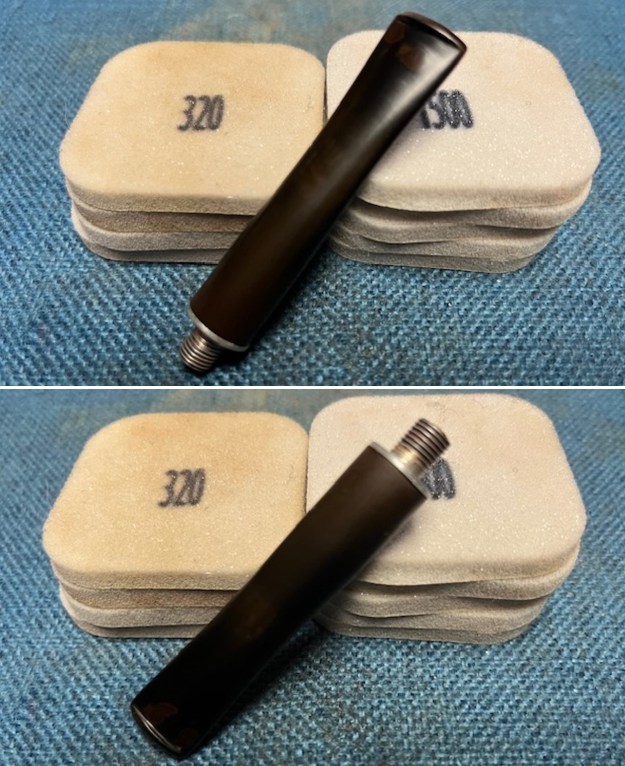
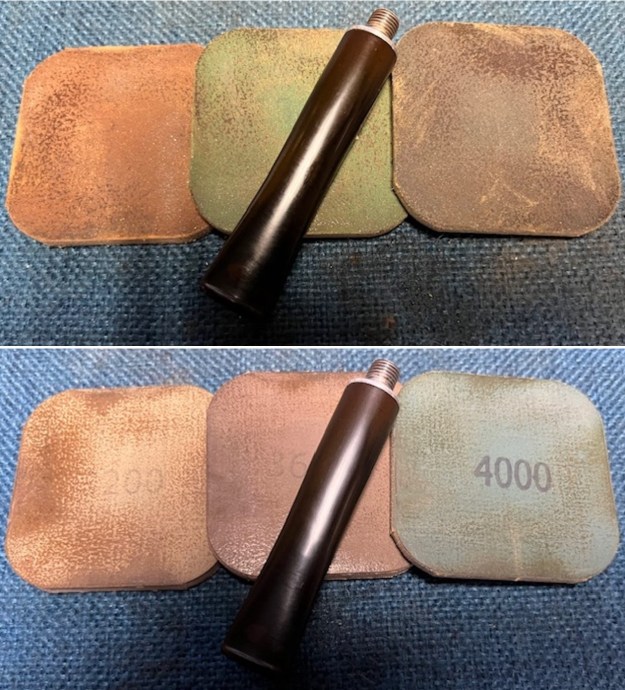
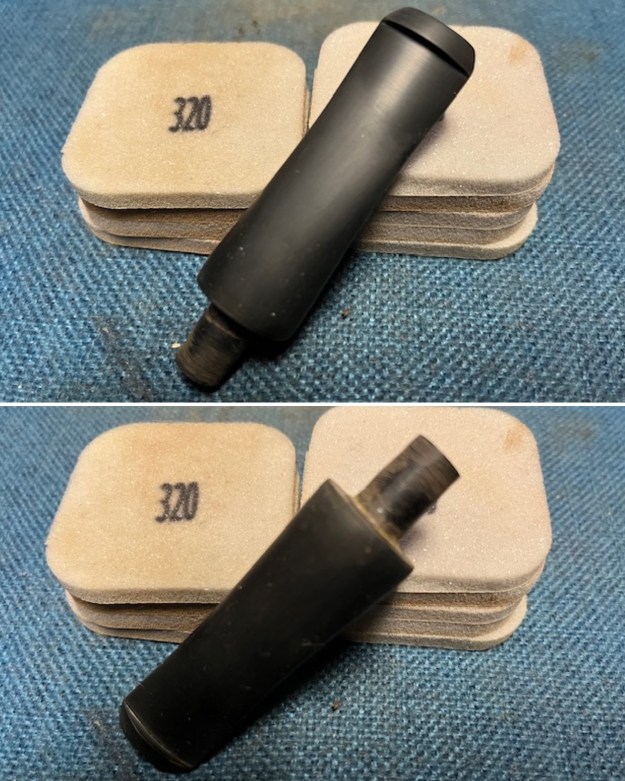
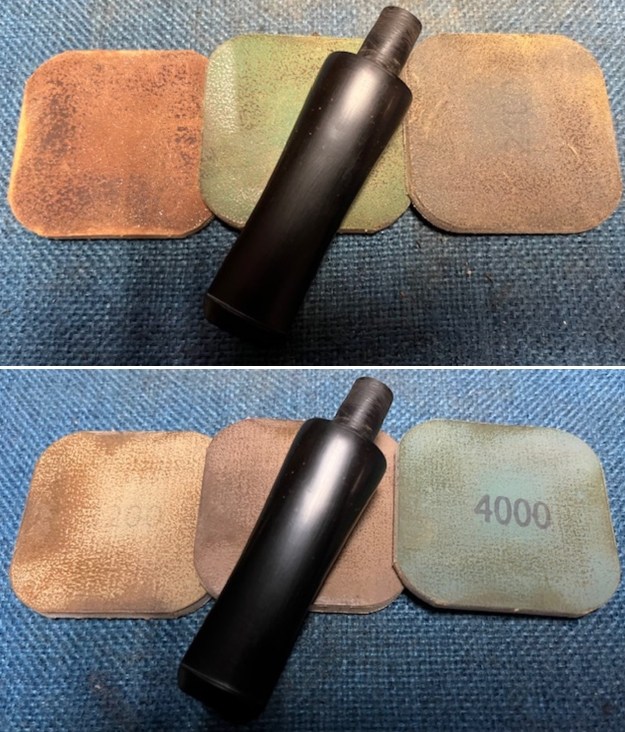
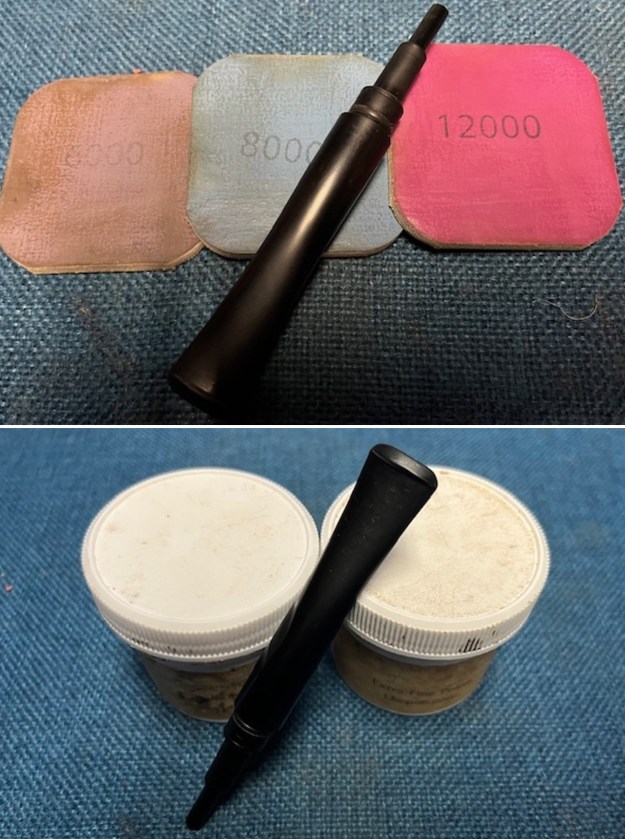
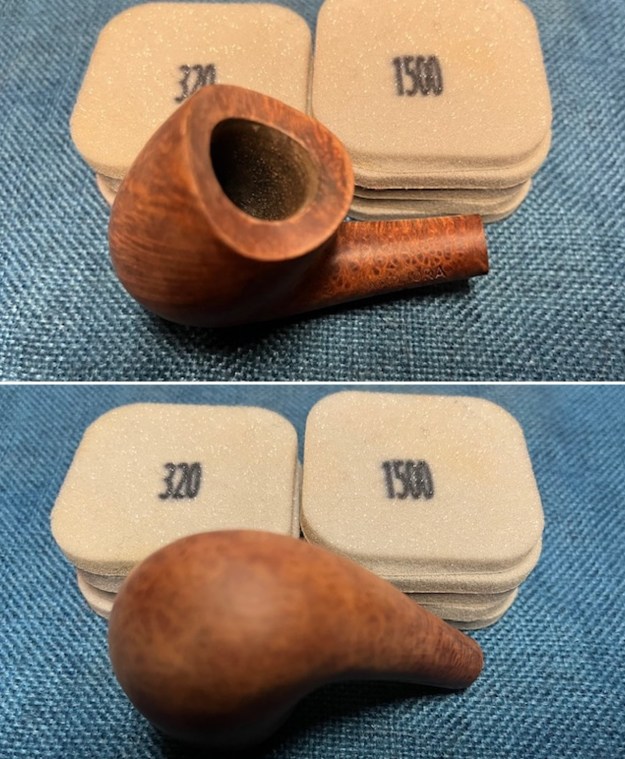
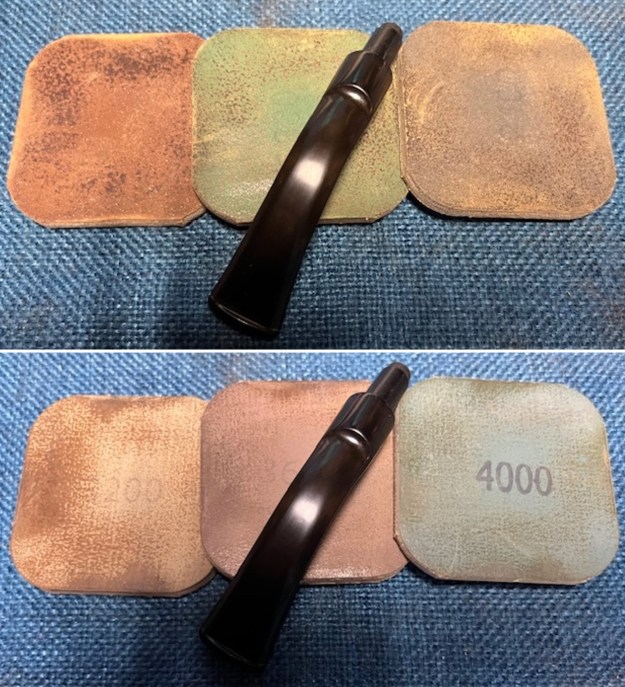
 I followed that by sanding it with 320-3500 grit sanding pads to further blend down the sanding areas. I wiped the stem down between pads with an Obsidian Oil cloth to remove the sanding debris from the stem.
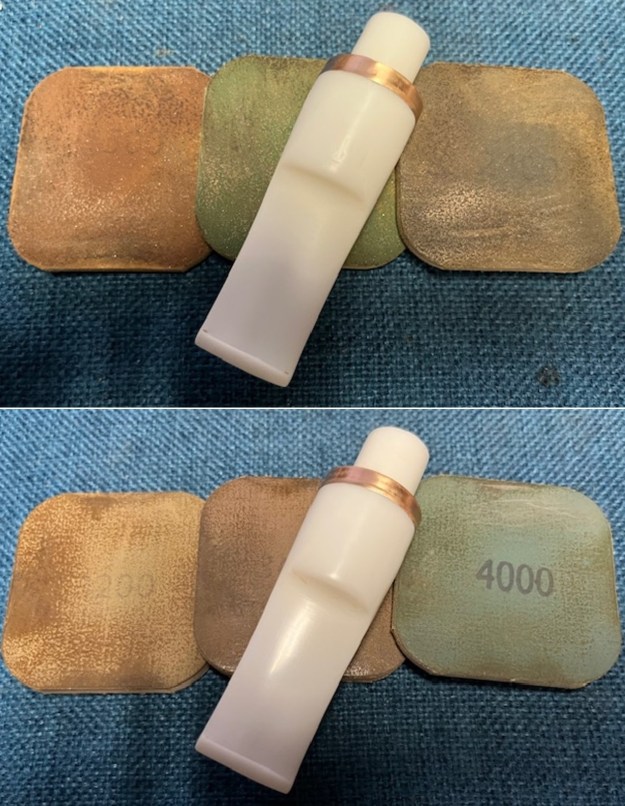
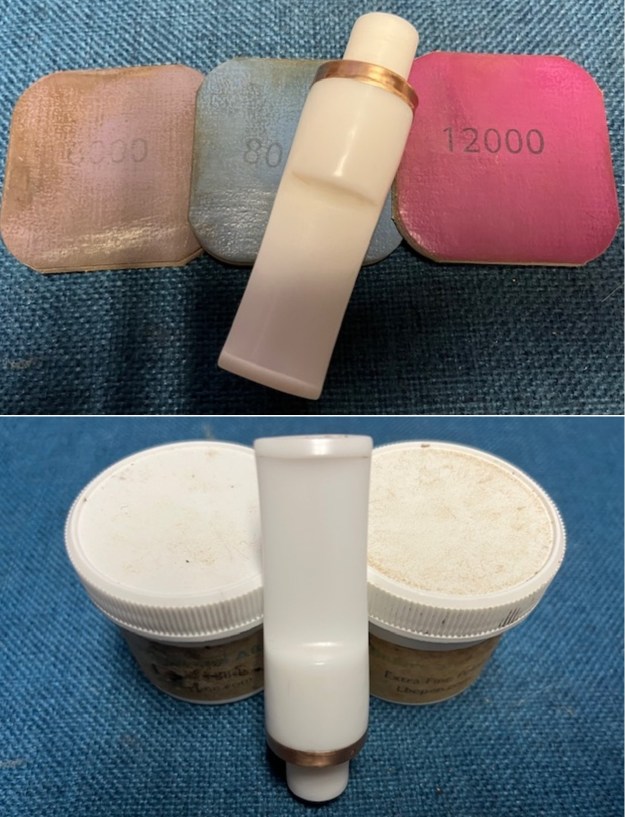
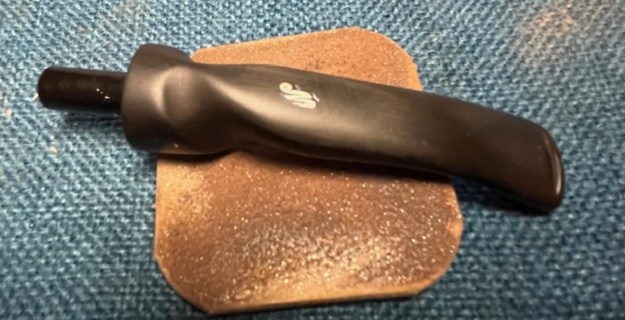
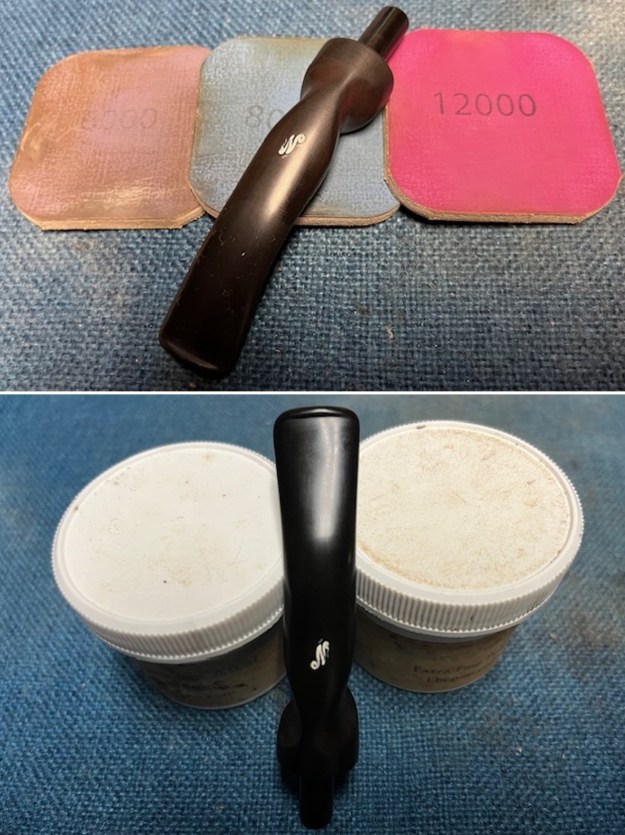
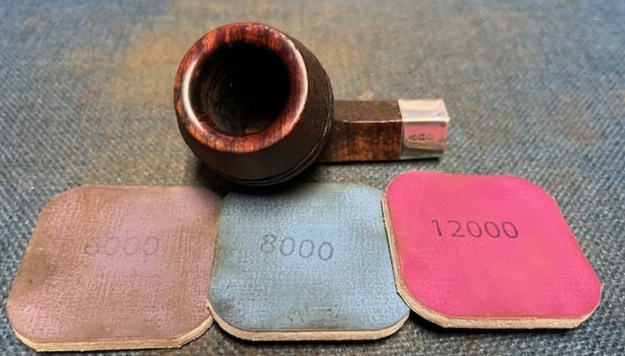
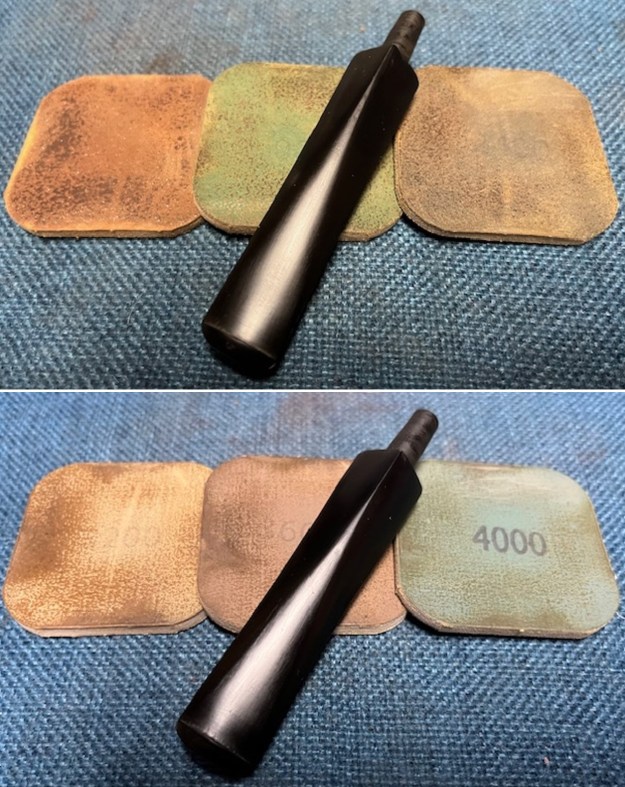
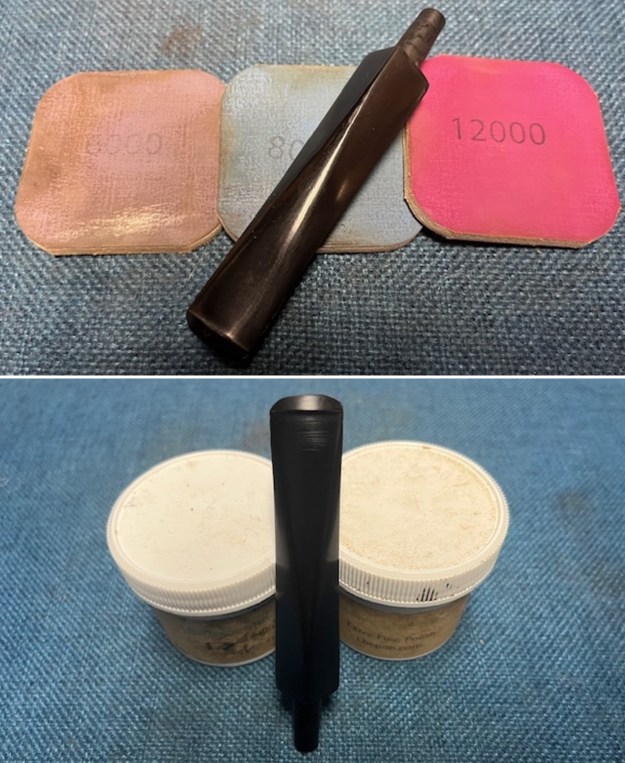
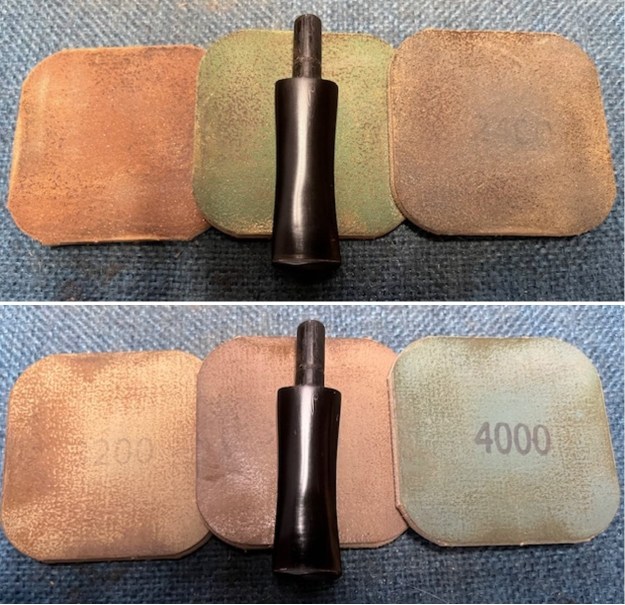
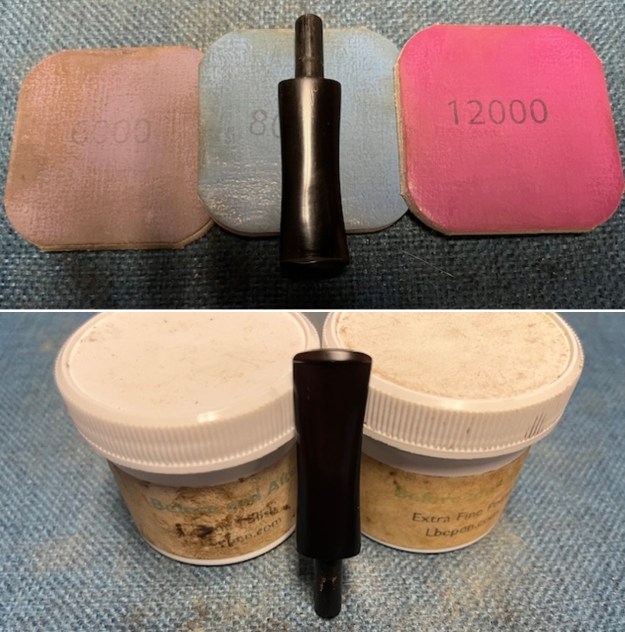
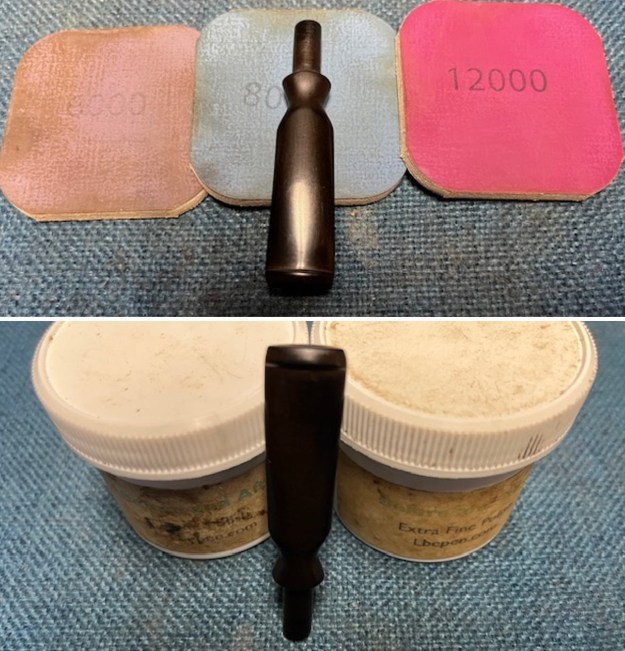
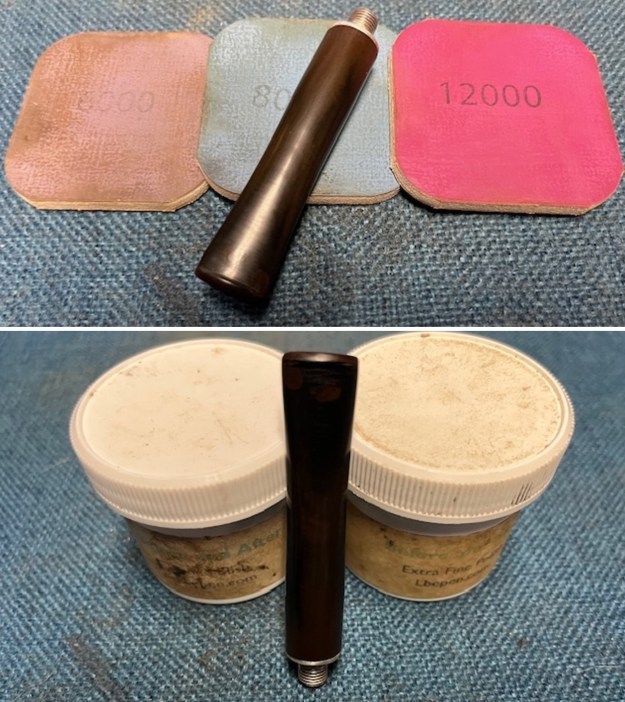
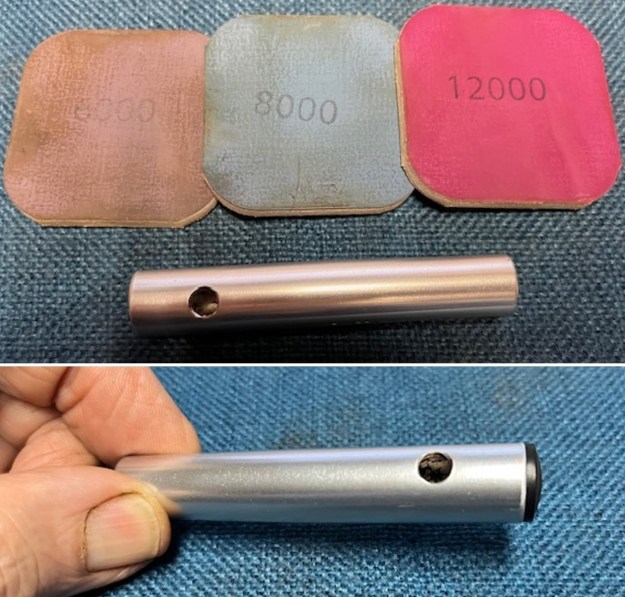
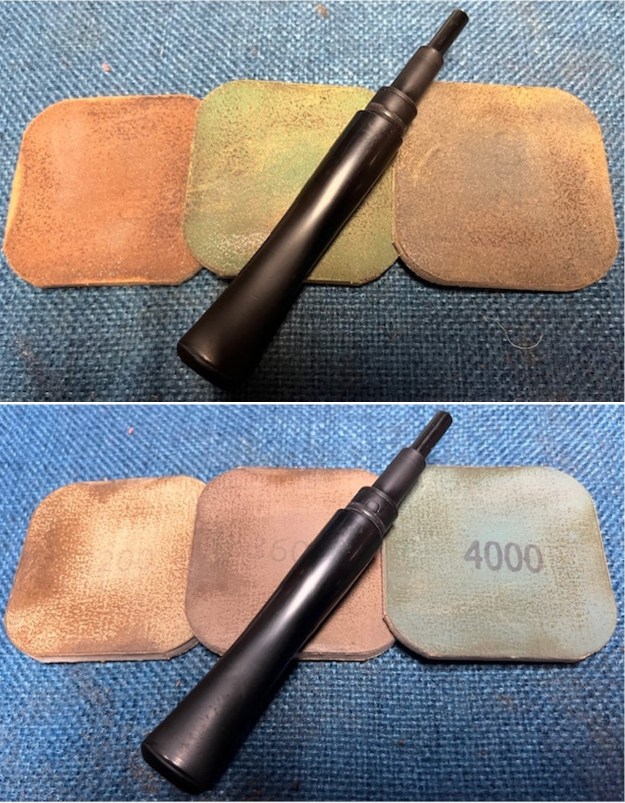
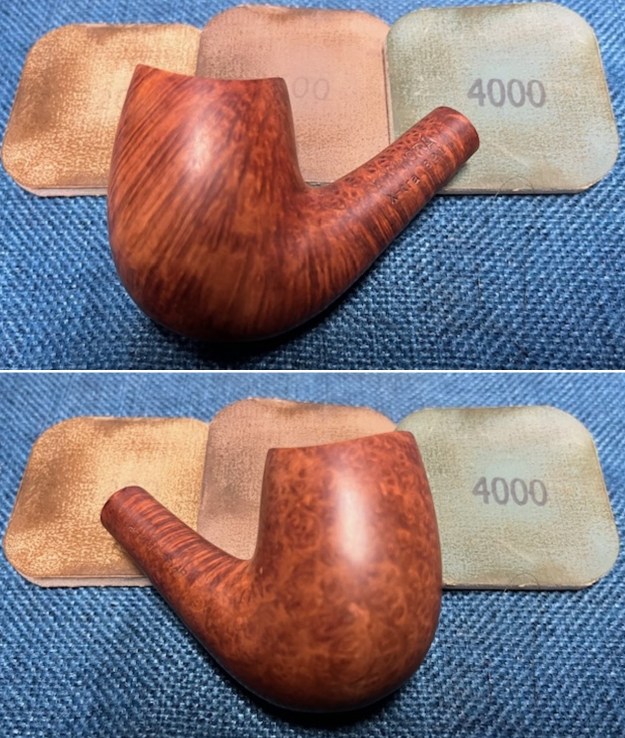
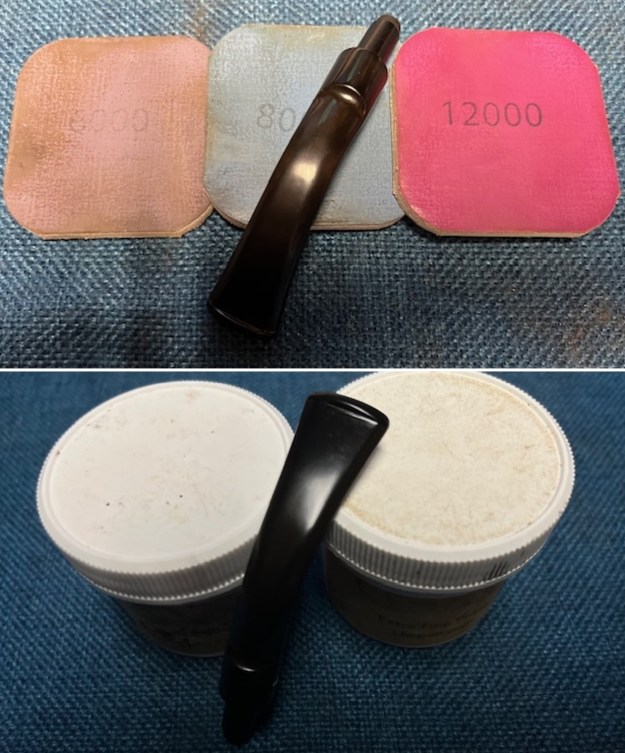
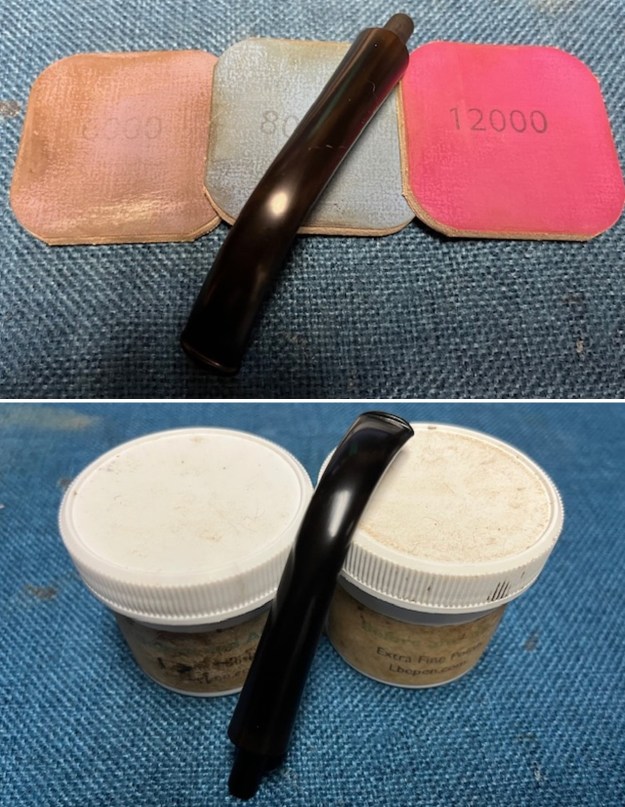
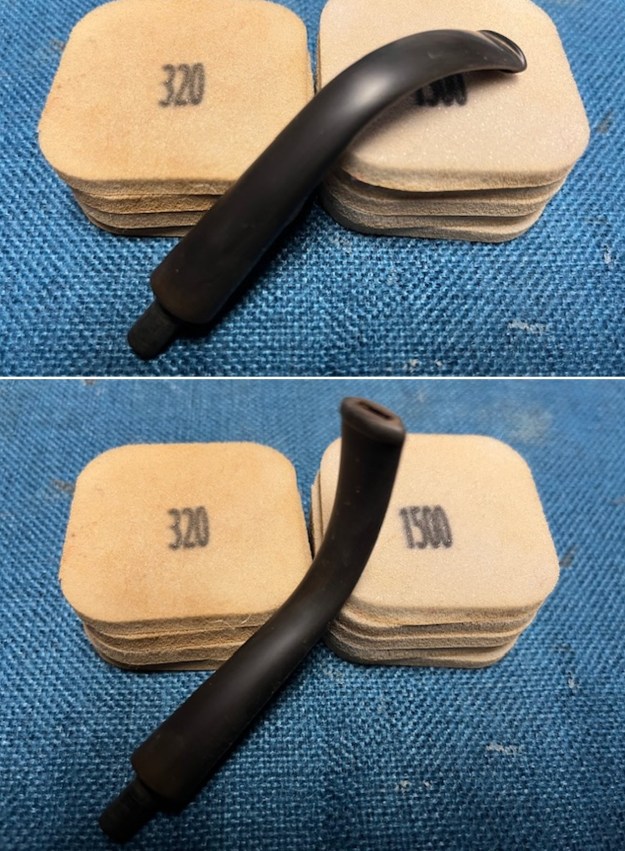 I polished the stem with micromesh sanding pads – dry sanding with 1500-12000 grit sanding pads. I wiped it down after each sanding pad with Obsidian Oil. I polished it with Before & After Pipe Stem Polish – both Fine and Extra Fine.
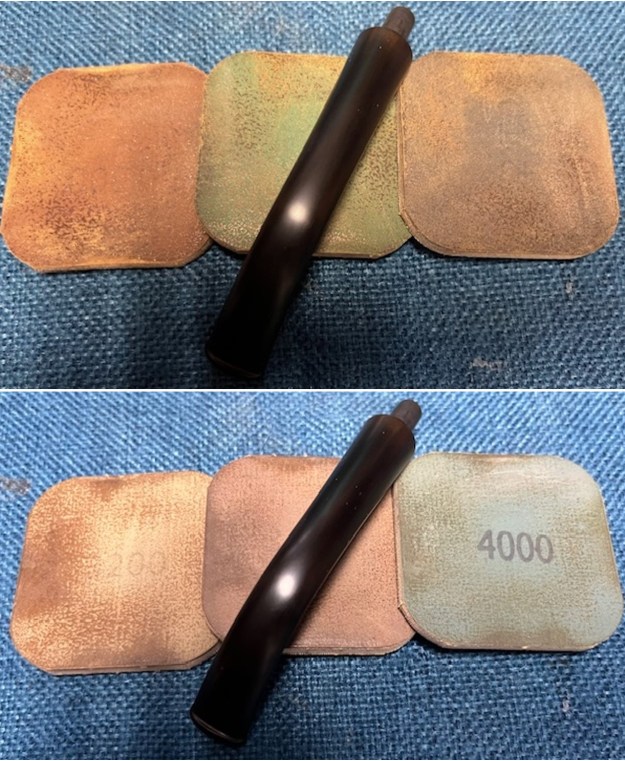
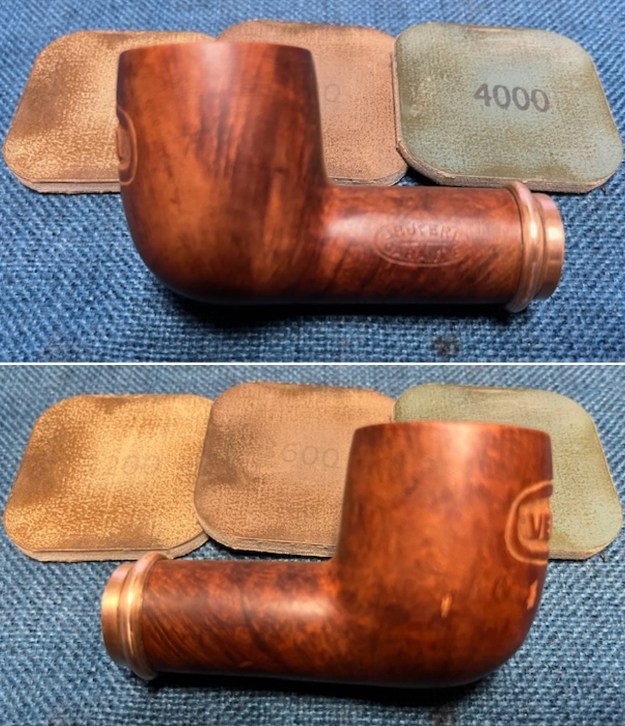
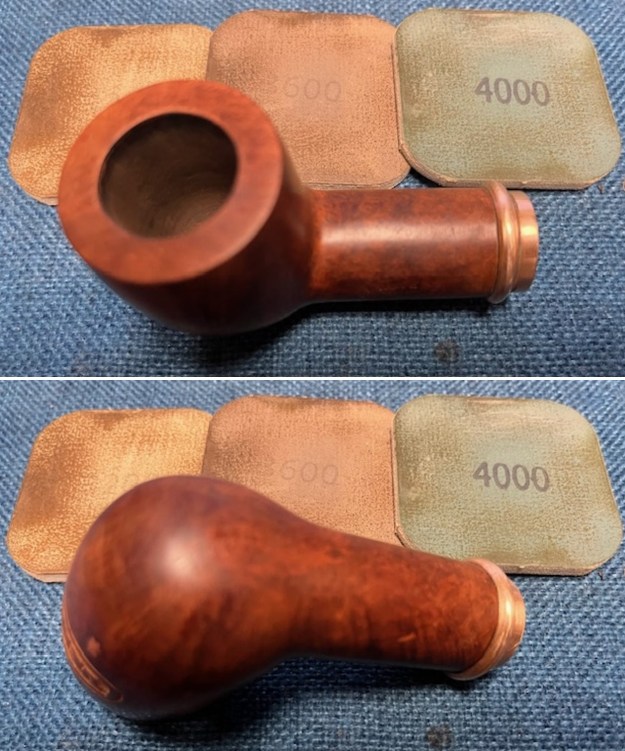
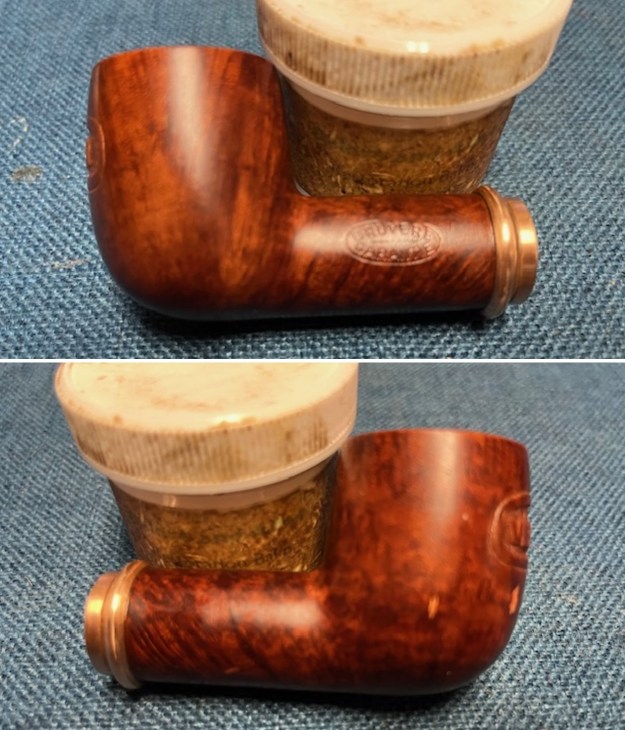
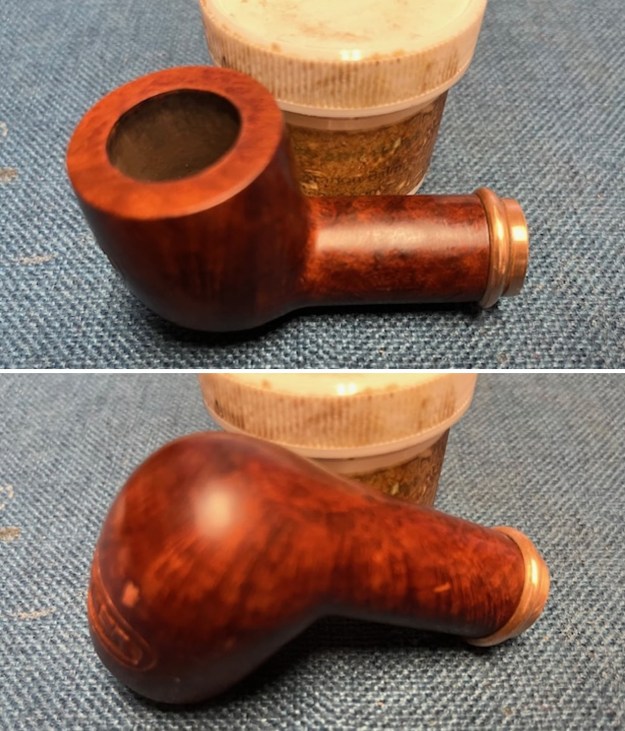
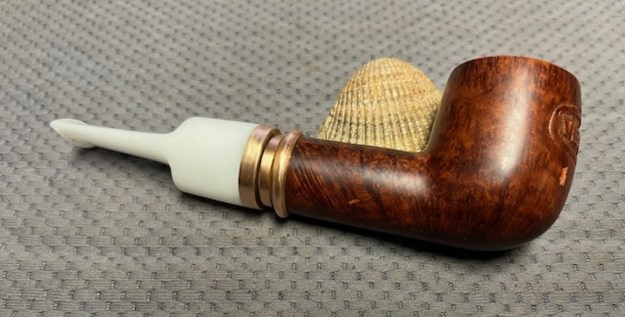
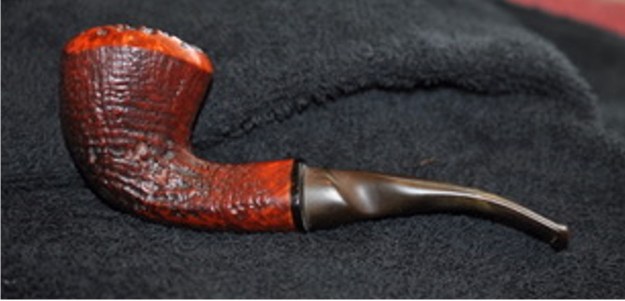
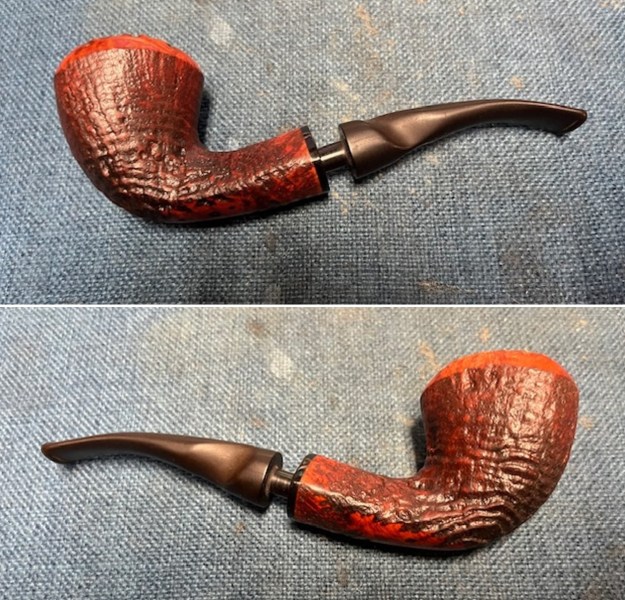
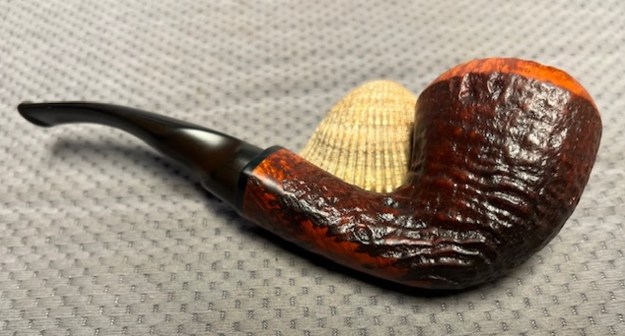
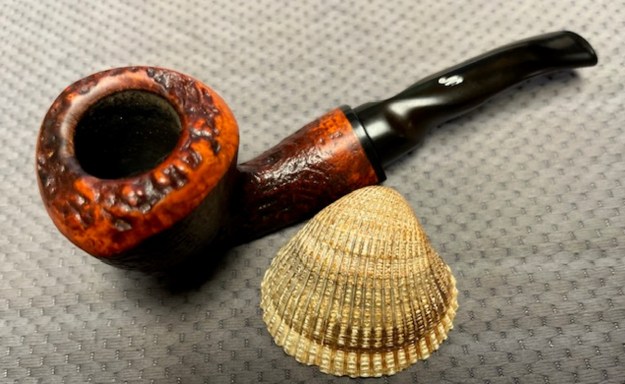
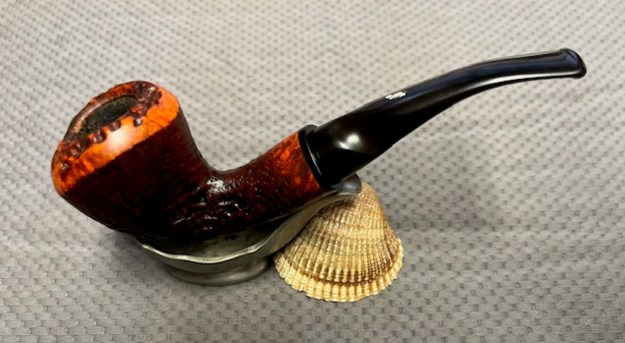
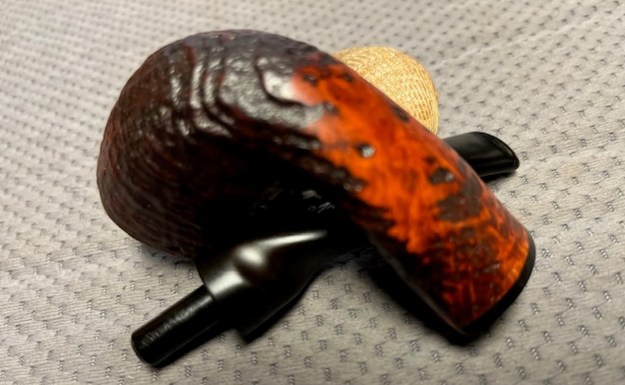
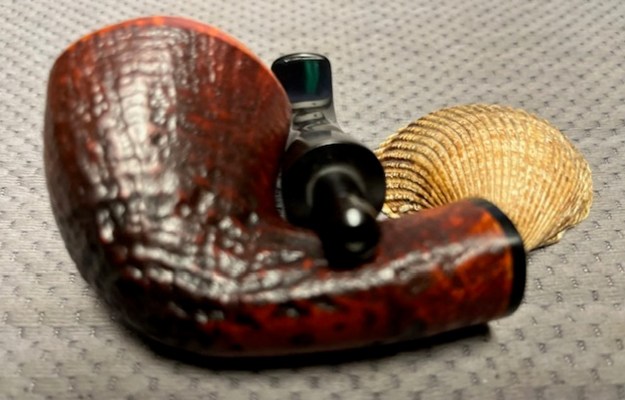
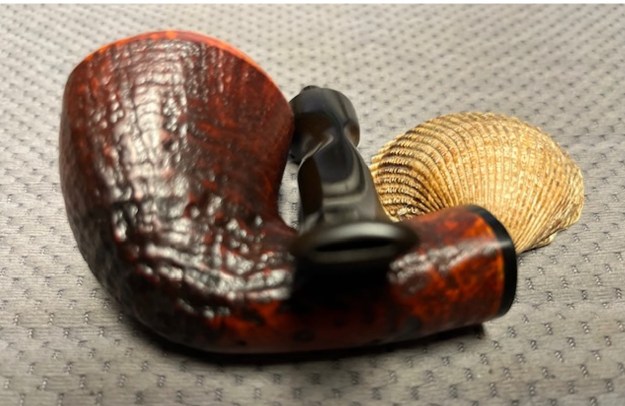
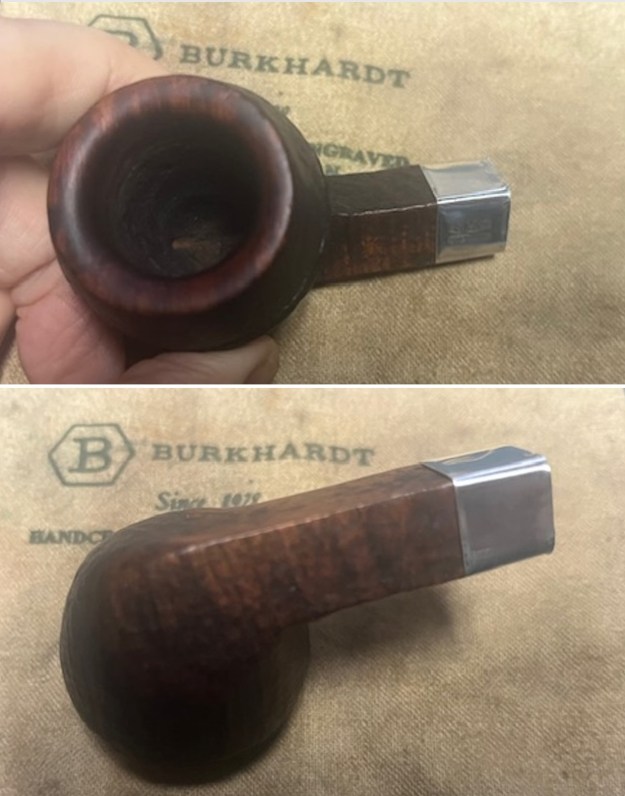
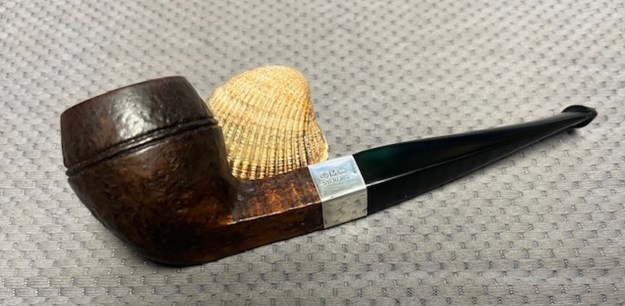
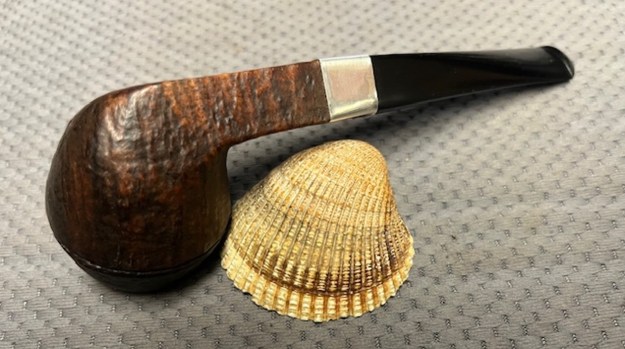
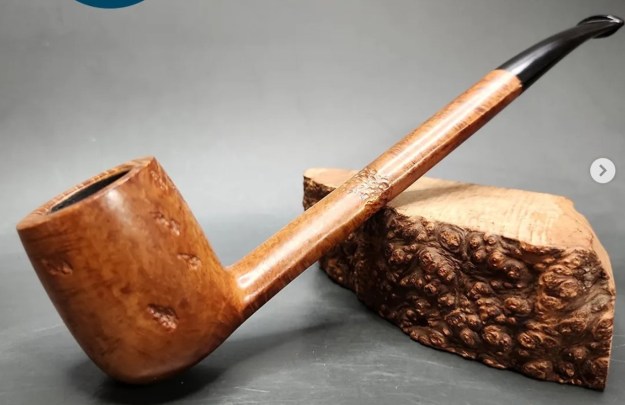
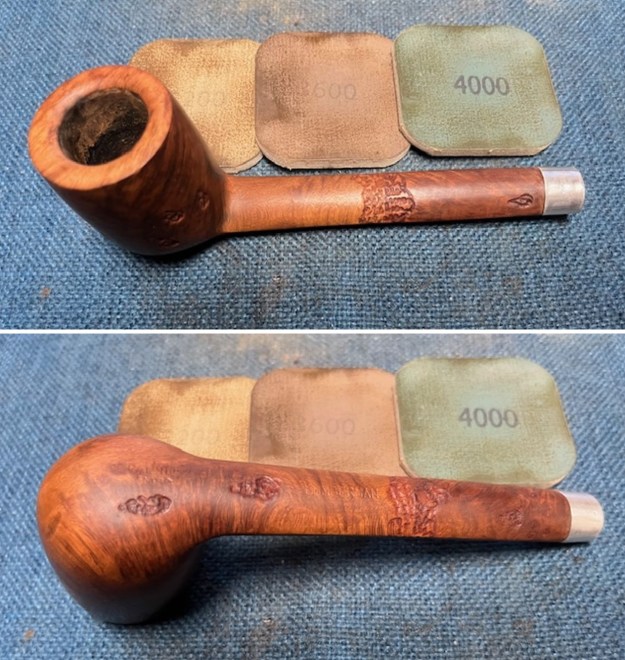
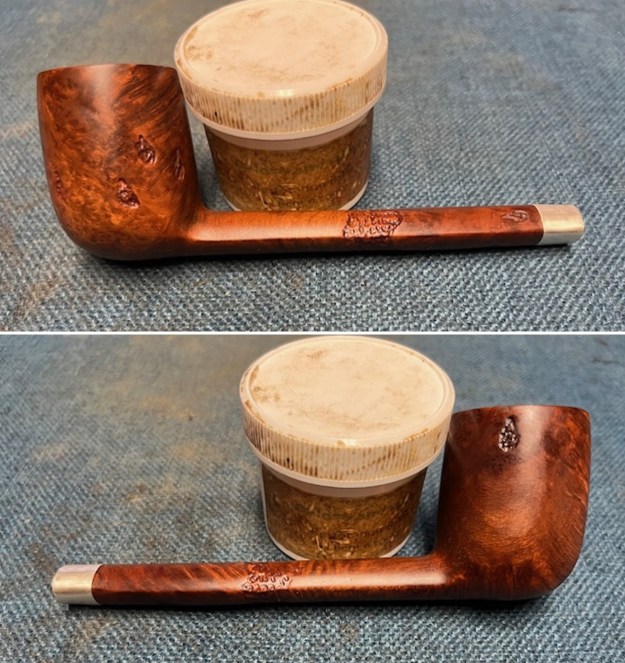
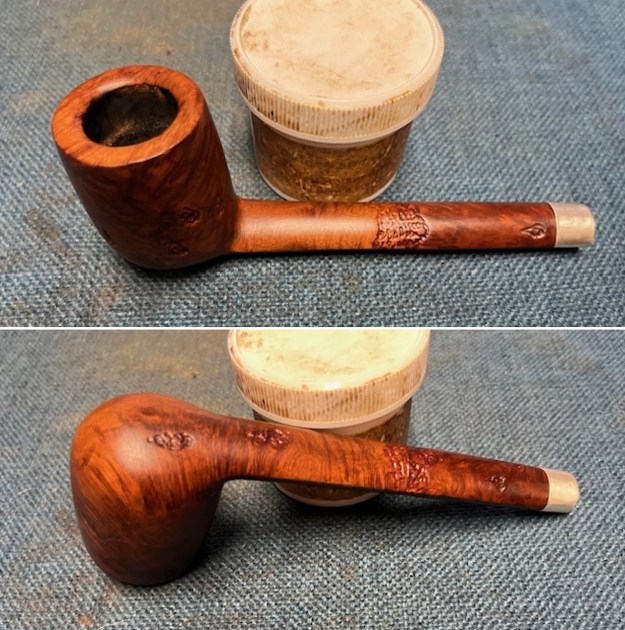
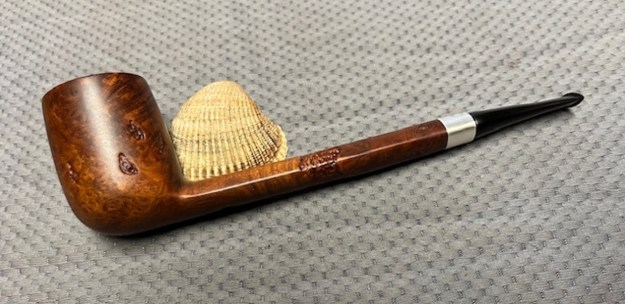
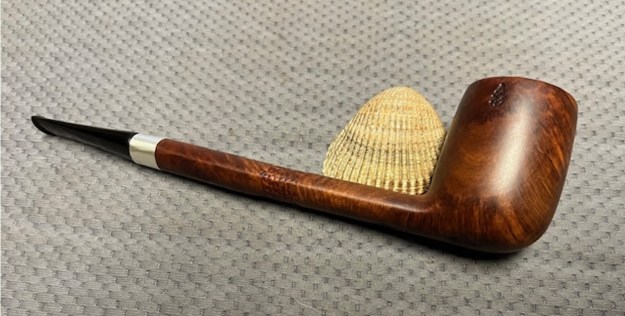
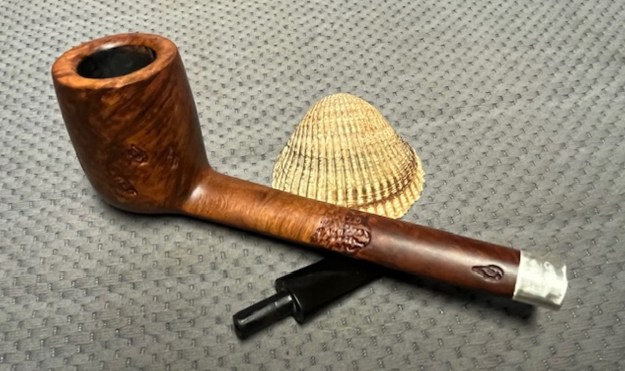
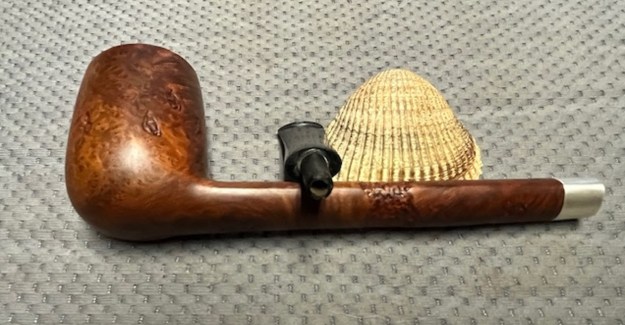
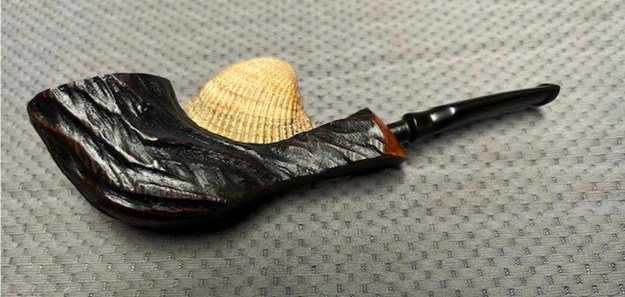
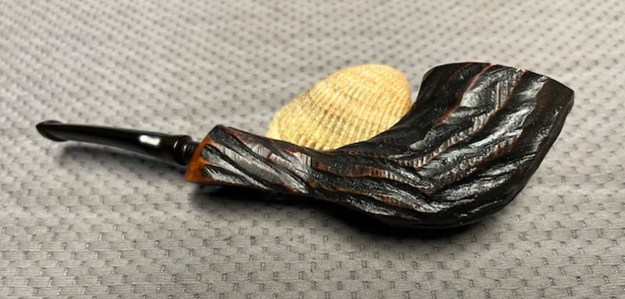
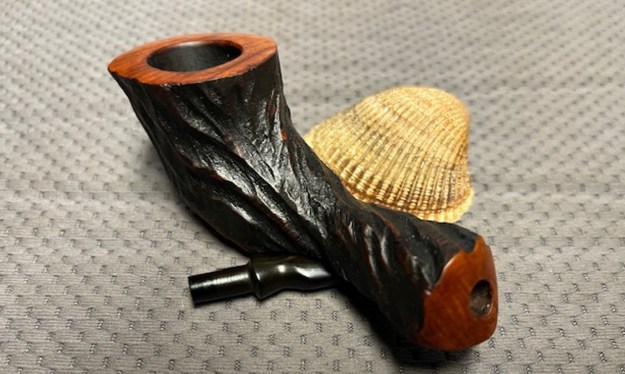
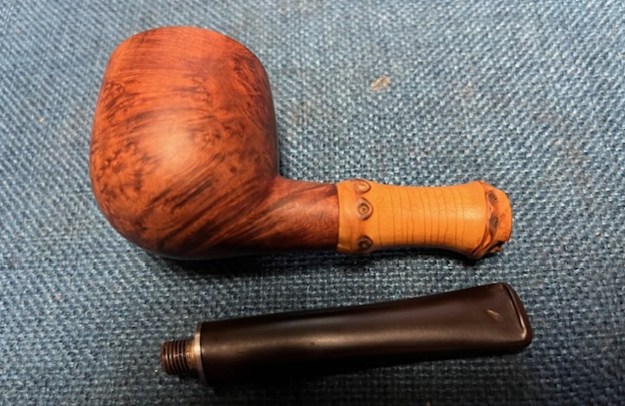
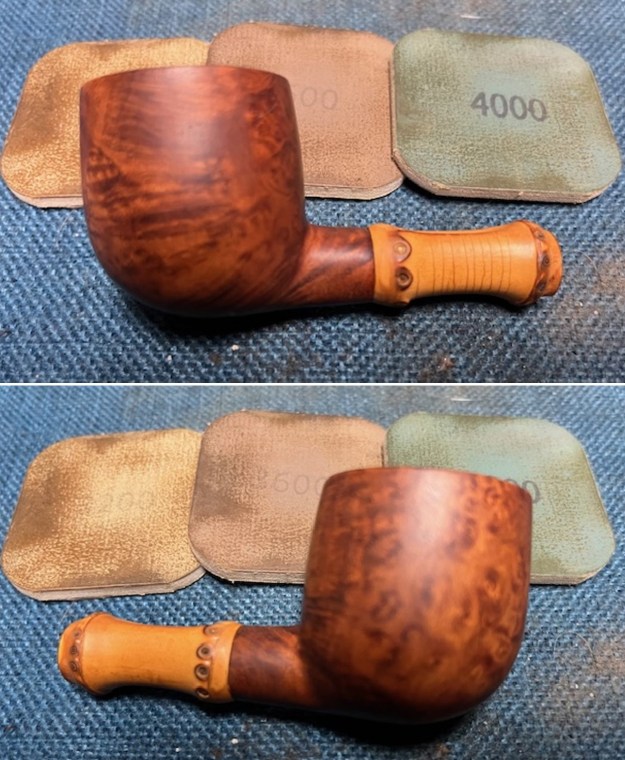
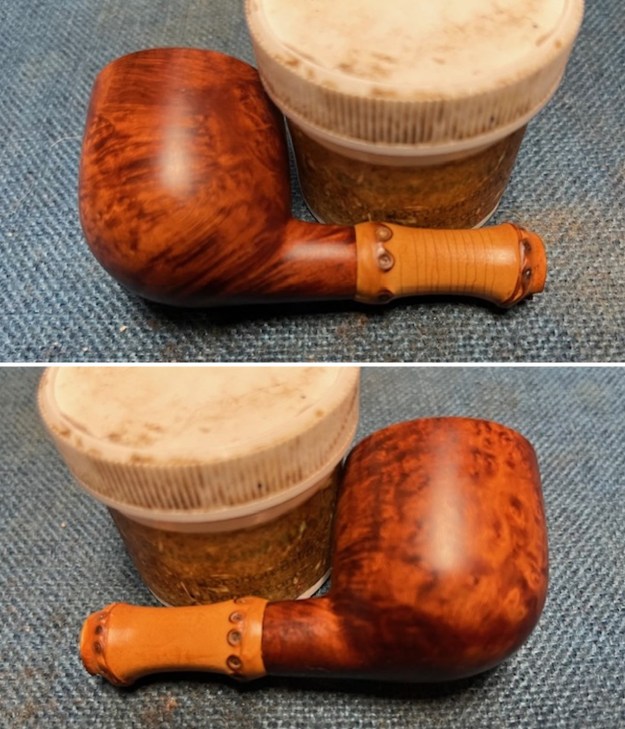
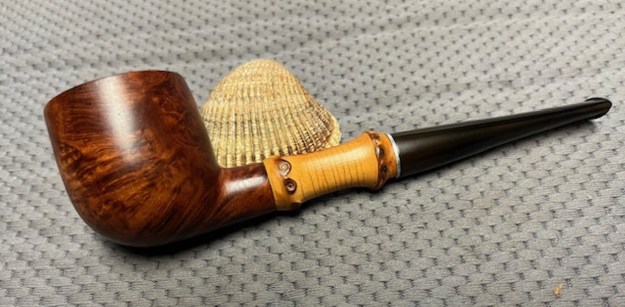
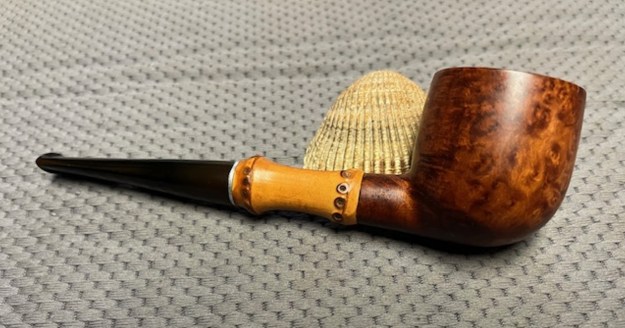
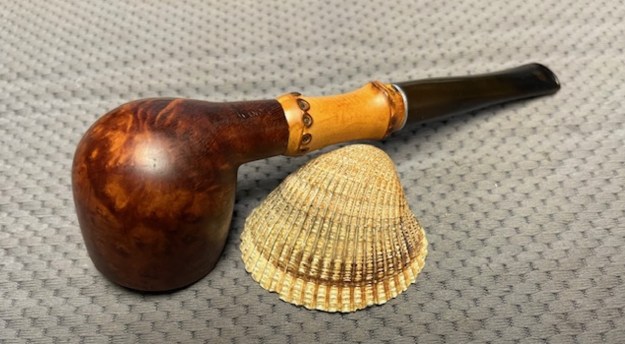
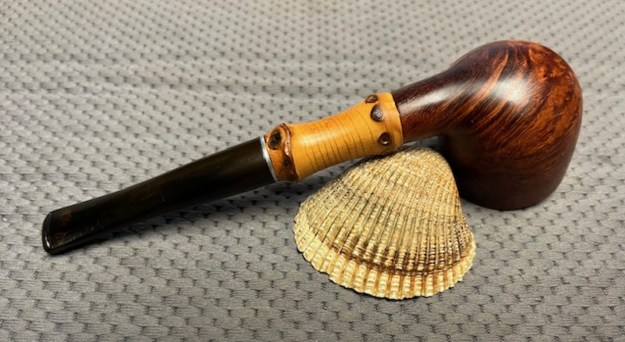
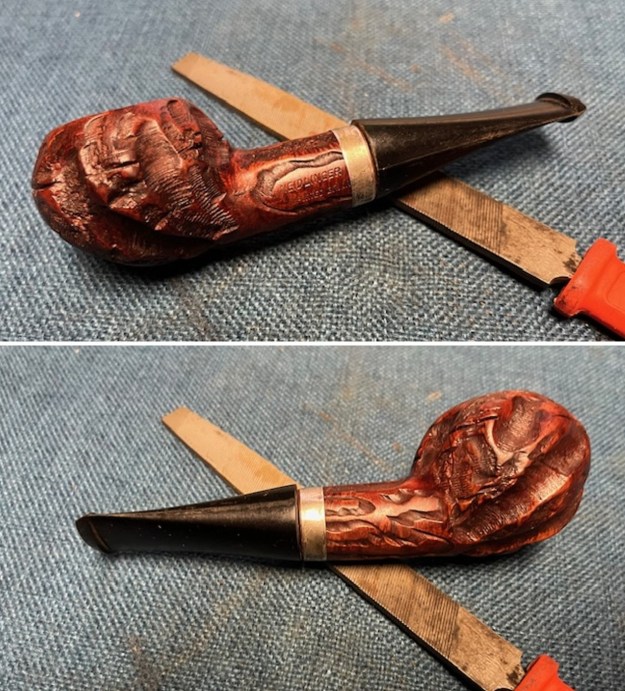
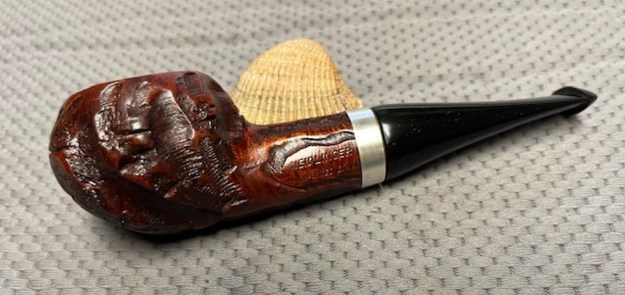
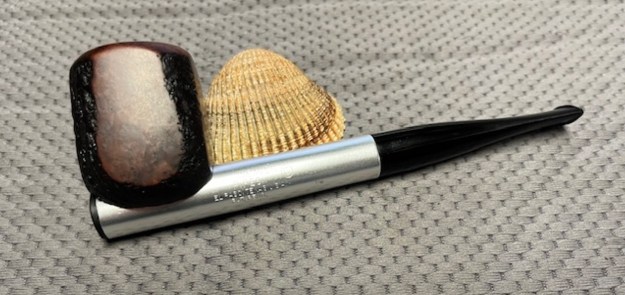
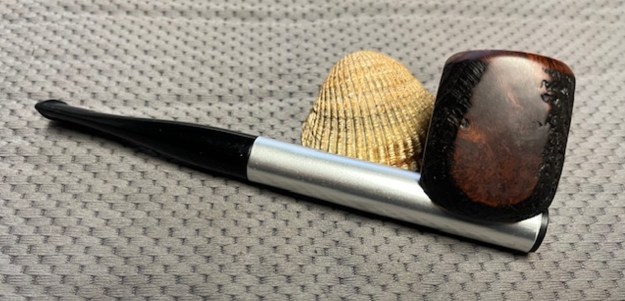
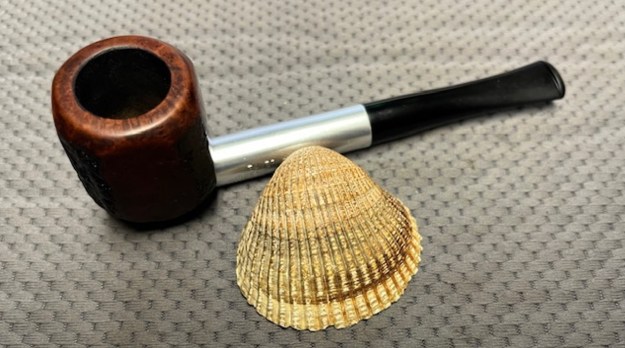
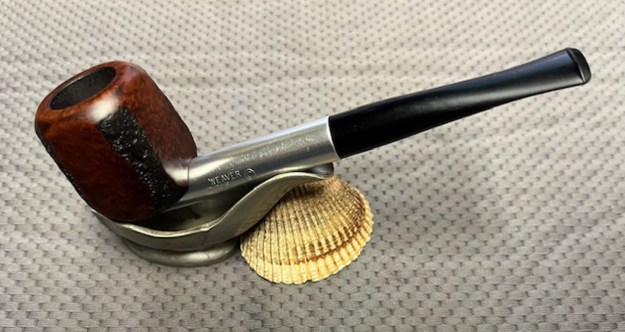
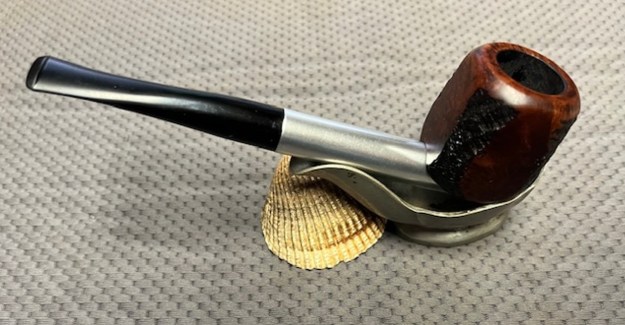
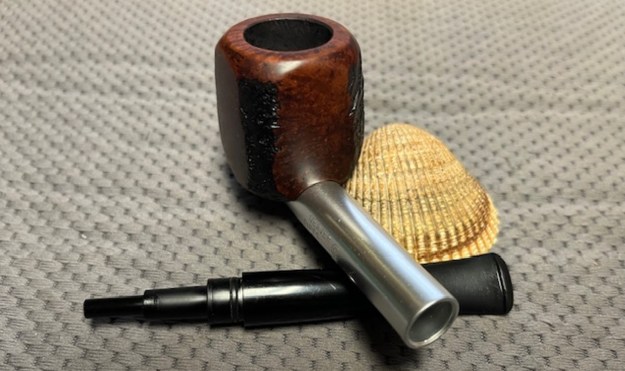
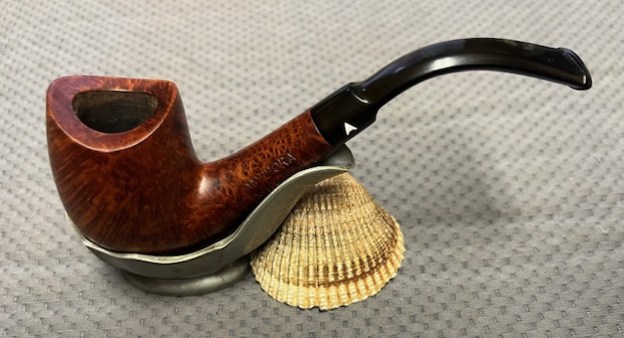
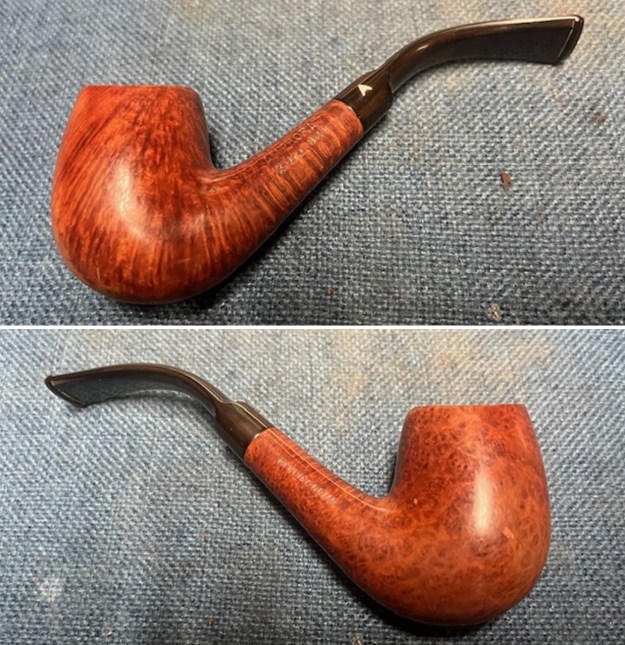
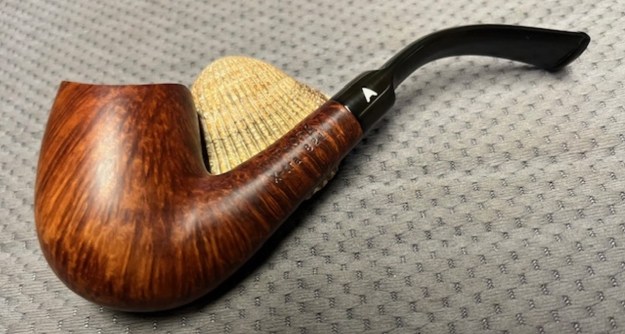
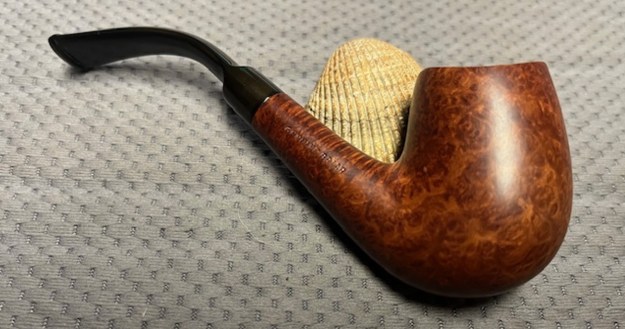
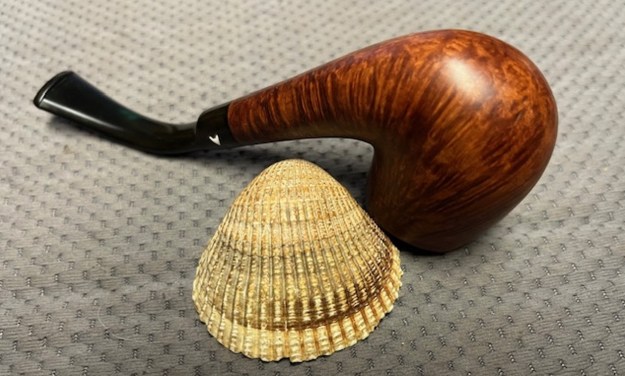
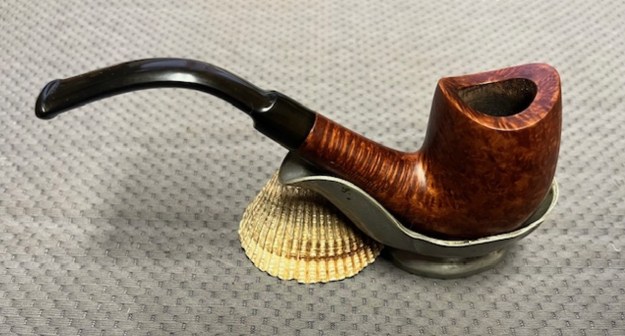
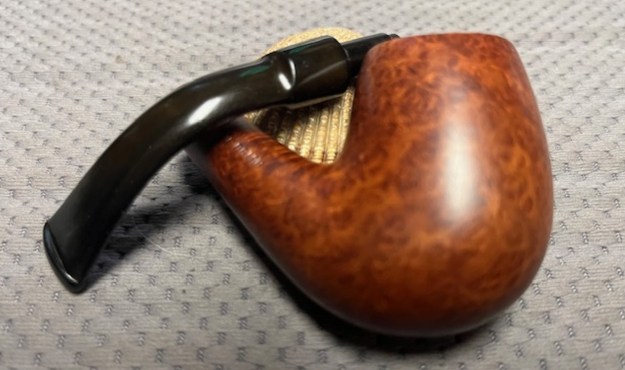
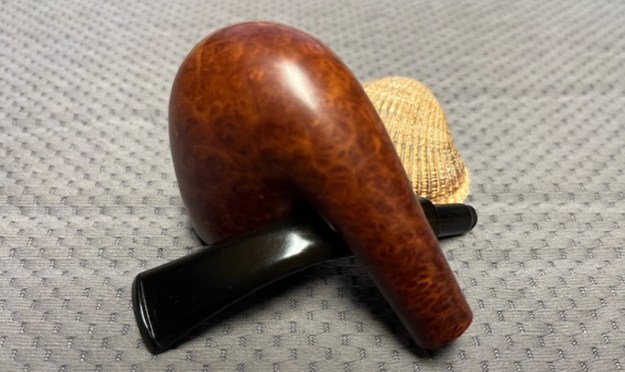
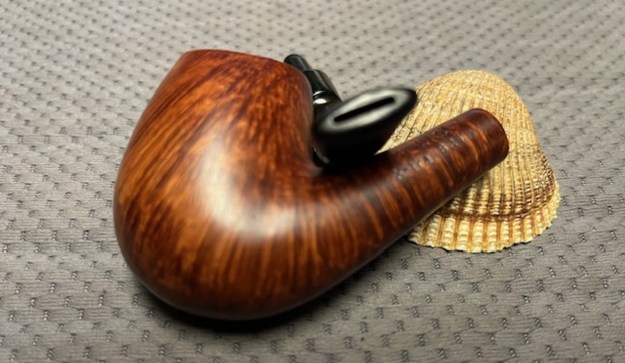
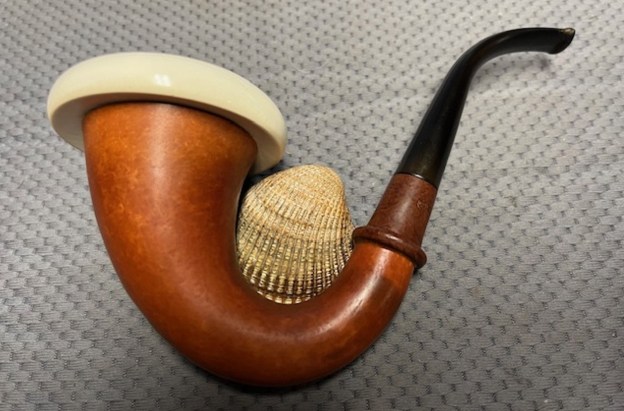
 This Andreas Bauer Gourd Calabash with a replacement Meerschaum bowl and a vulcanite taper stem is a beautiful pipe. The waxed and polished gourd and calabash looks stunning. I put the stem back on the bowl and carefully buffed the pipe with a clean buffing pad. I hand buffed the pipe with a microfiber cloth to deepen the shine. The finished Bauer Gourd Calabash fits nicely in the hand and feels great. Give the finished pipe a look in the photos below. The dimensions of the pipe are Length: 6 ½ inches, Height: 3 ¼ inches, Outside diameter of the bowl: 2 ½ inches, Chamber diameter: 1 inch. The weight of the pipe is 102 grams/ 3.60 ounces. I will be calling the local pipe shop and Joe will pick up the pipe very soon. I look forward to hearing what he has to say and what the customer thinks. Thanks for reading this blog and my reflections on the pipe while I worked on it.