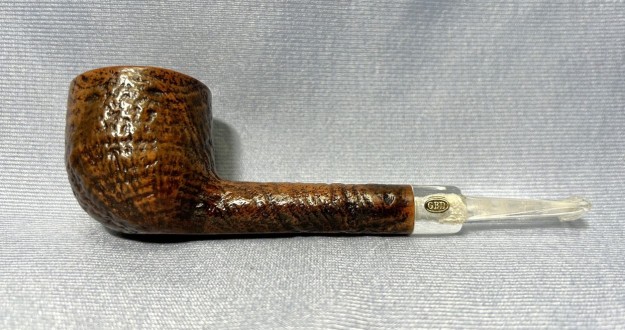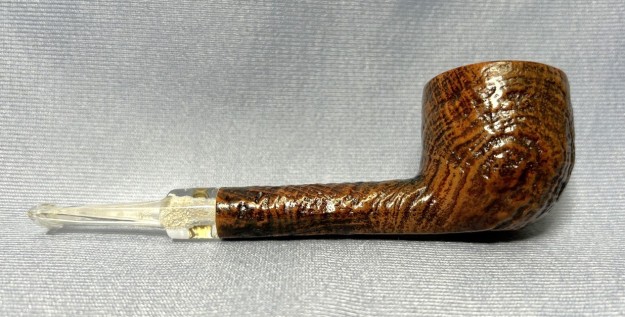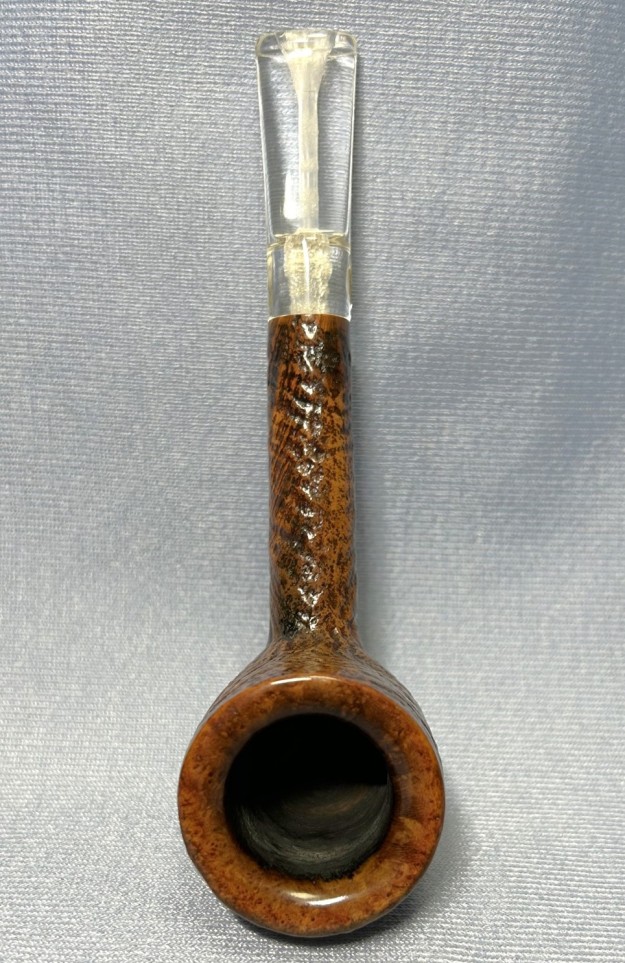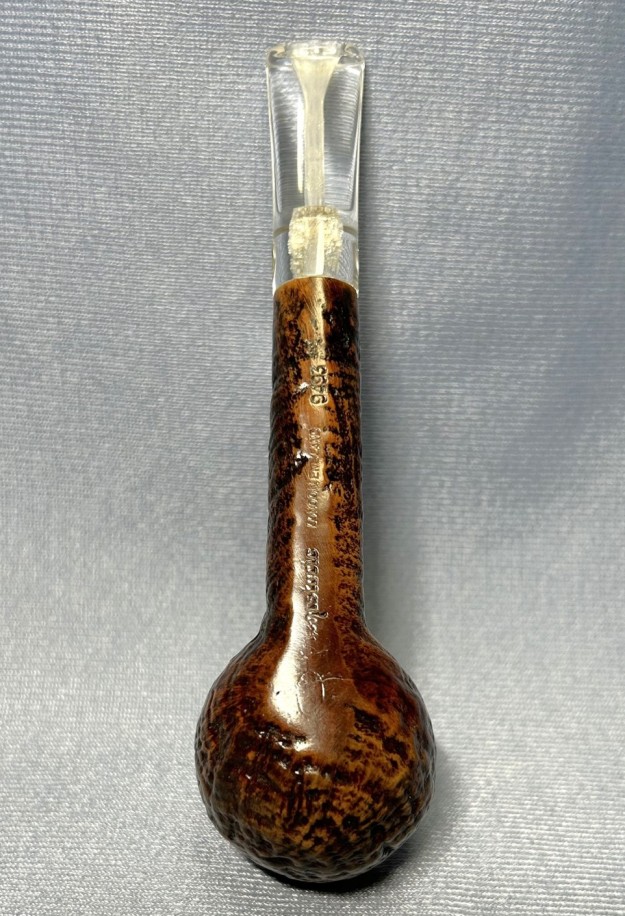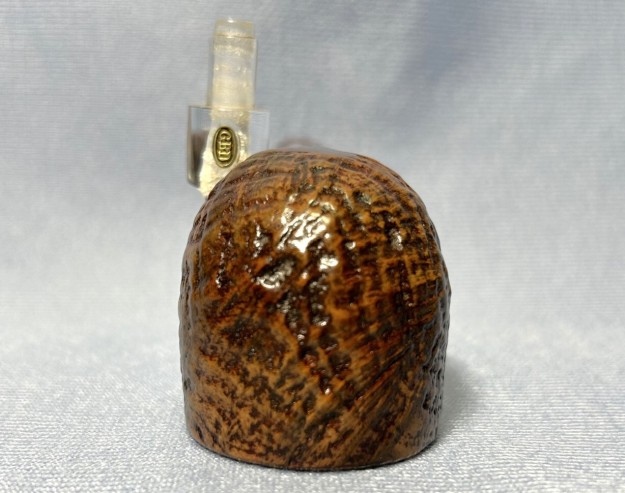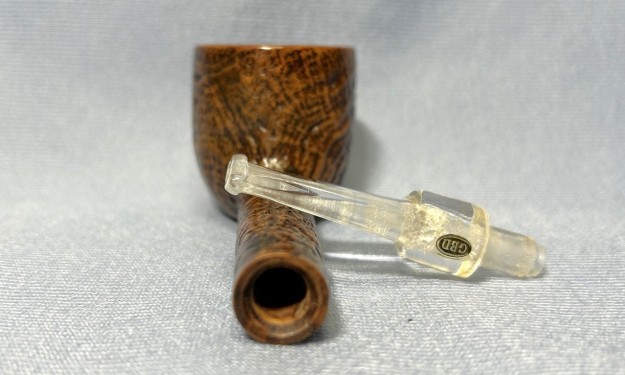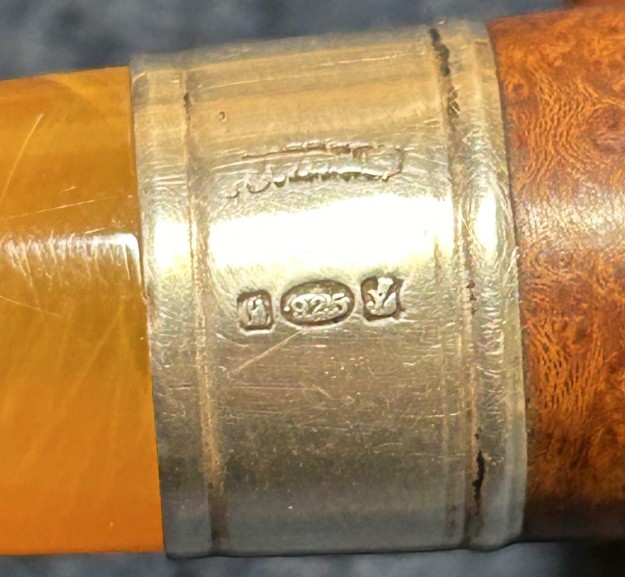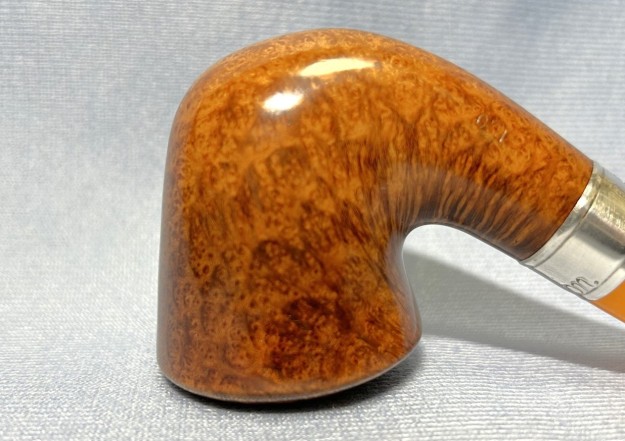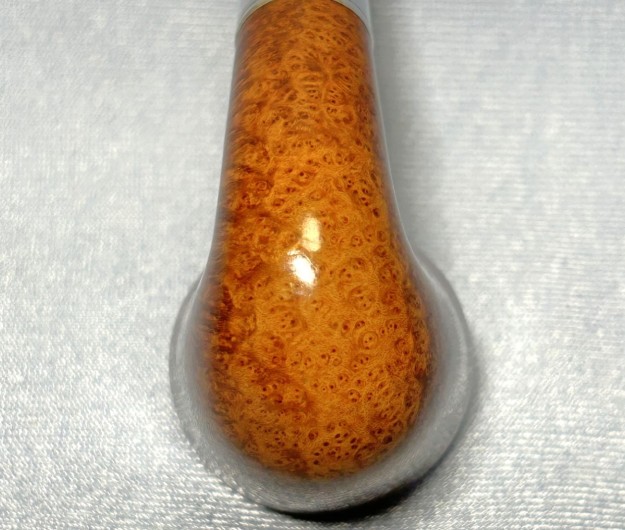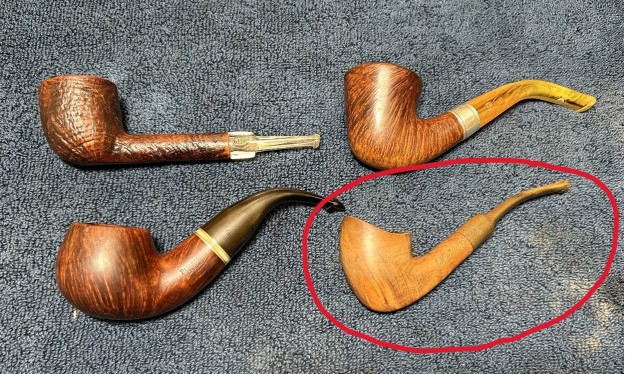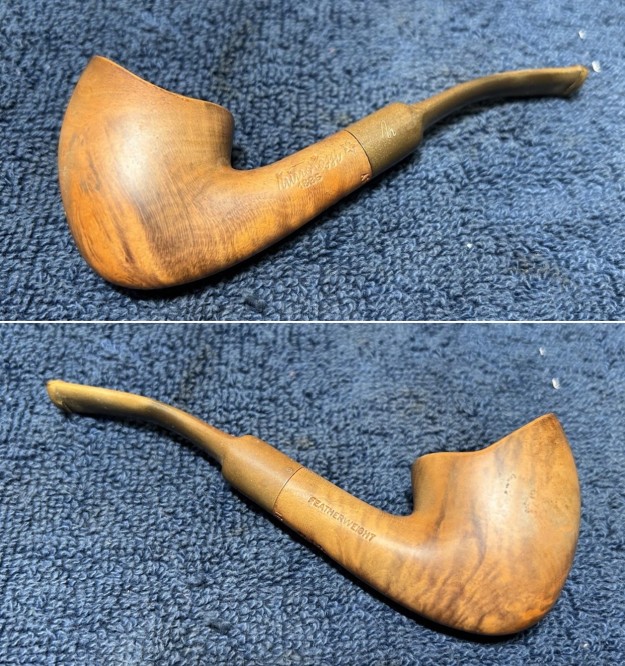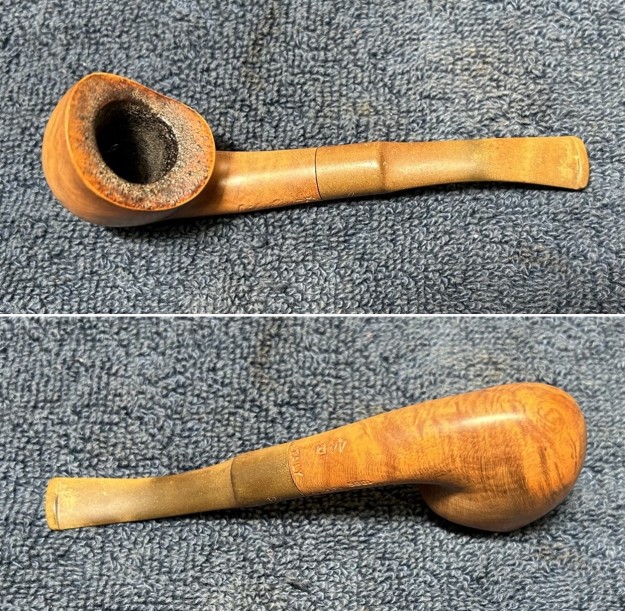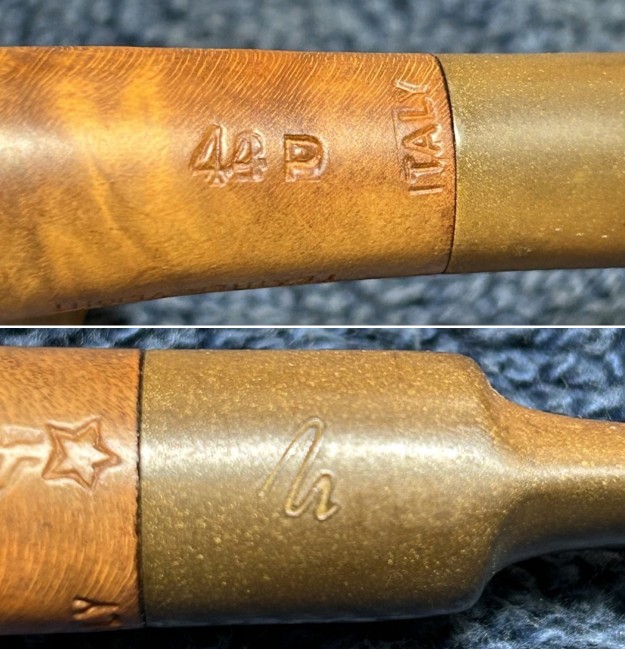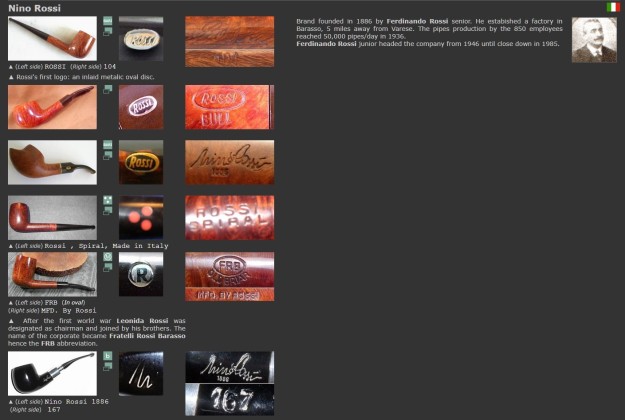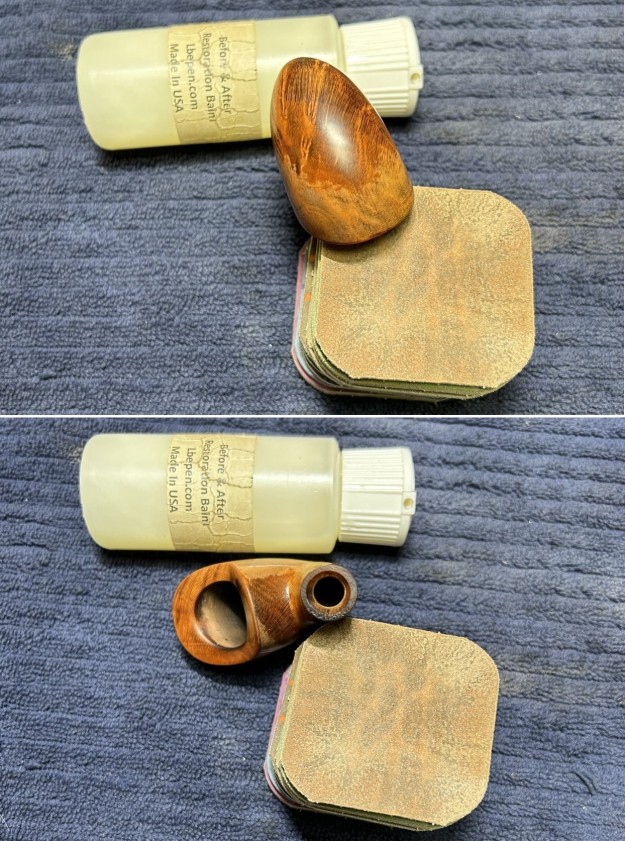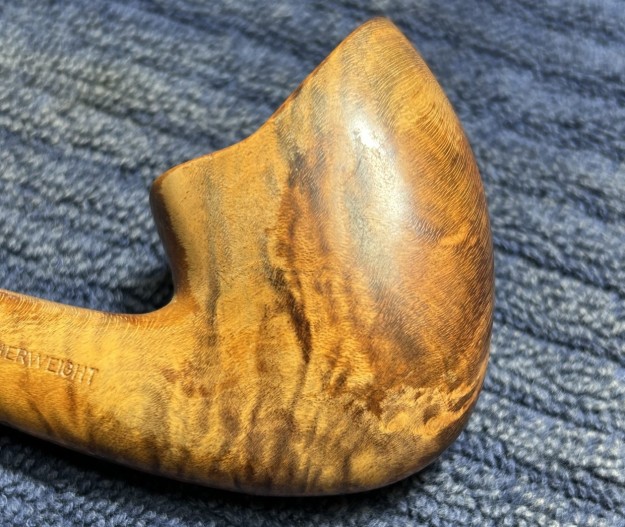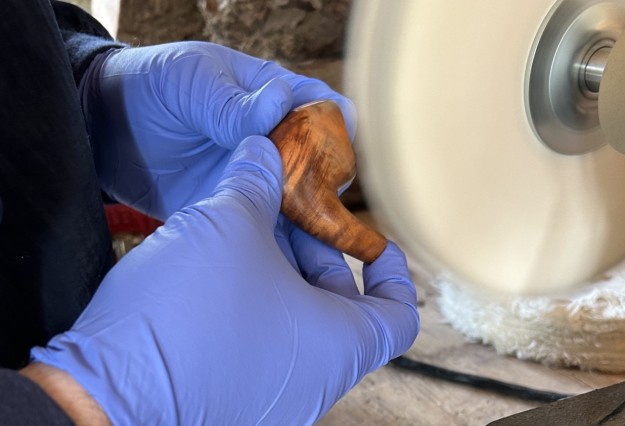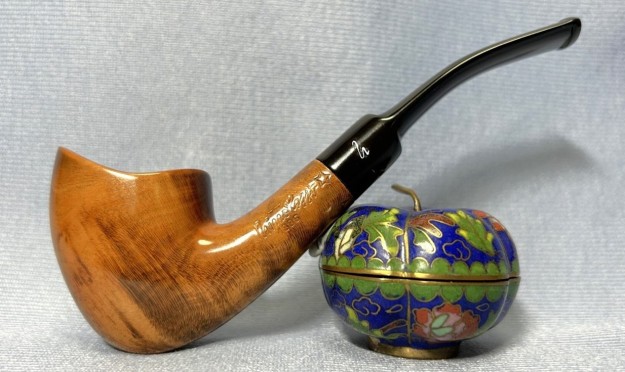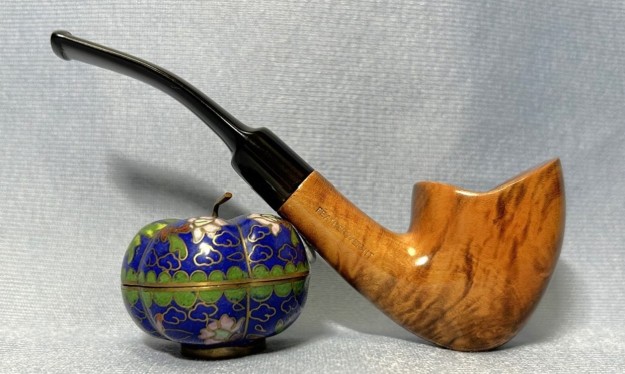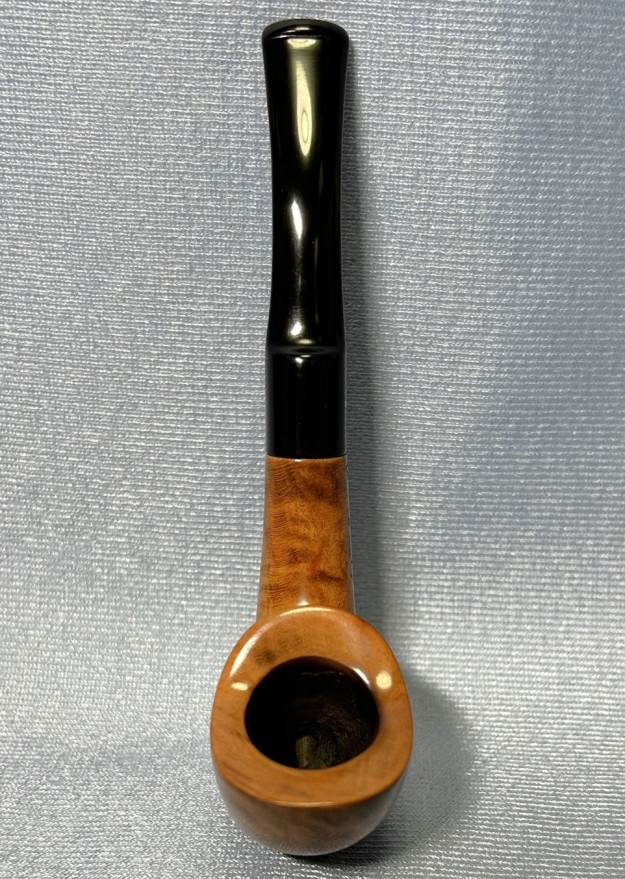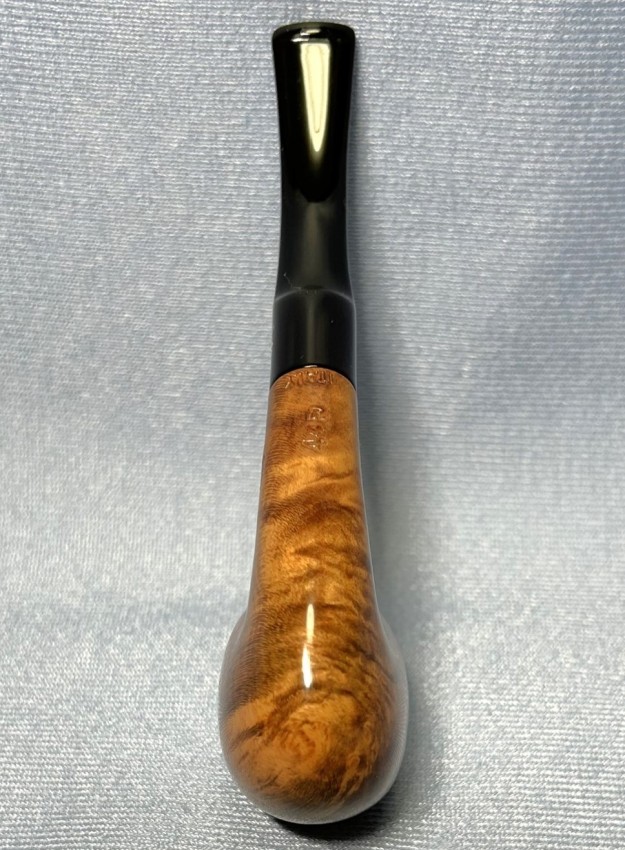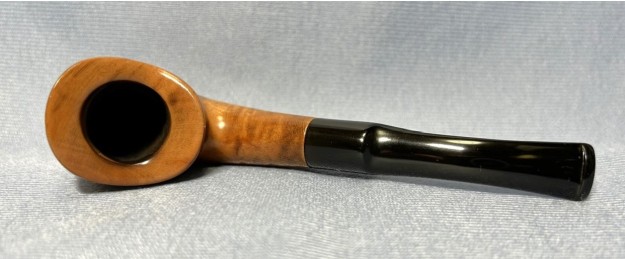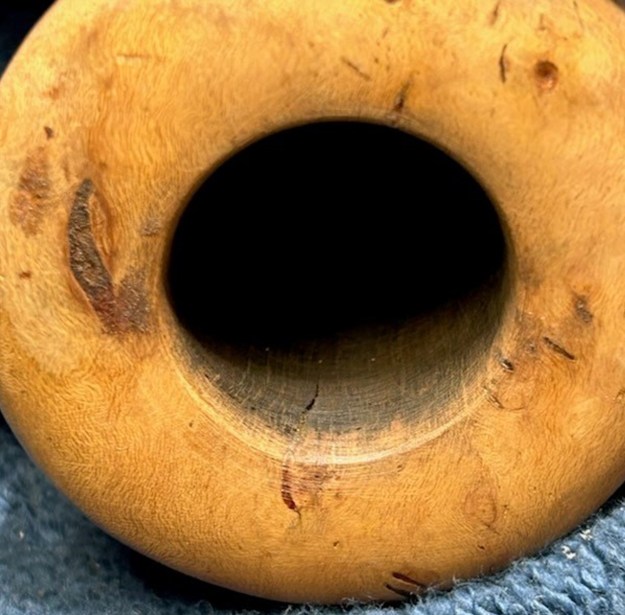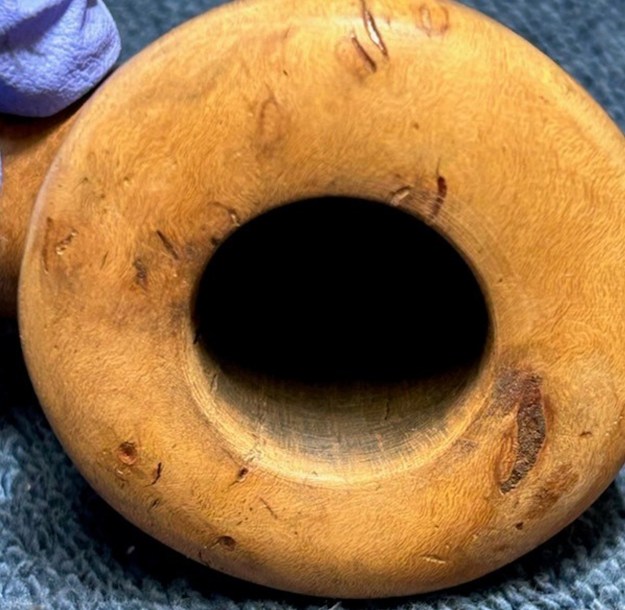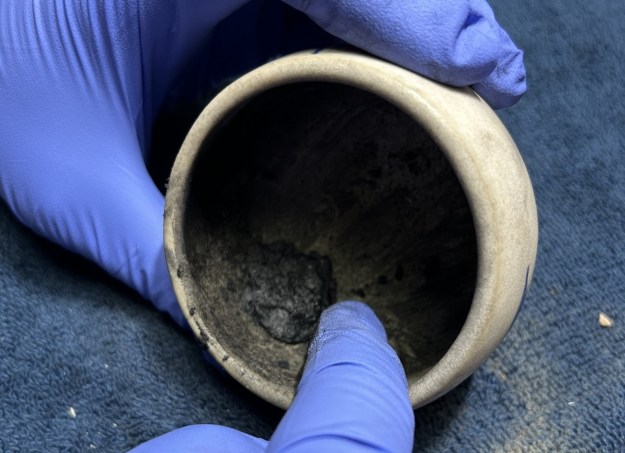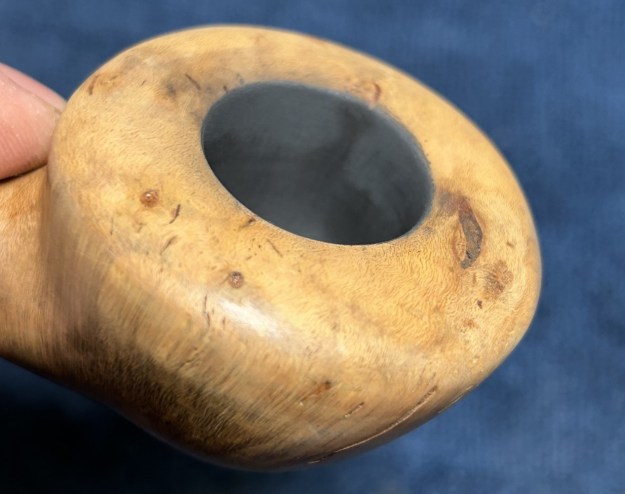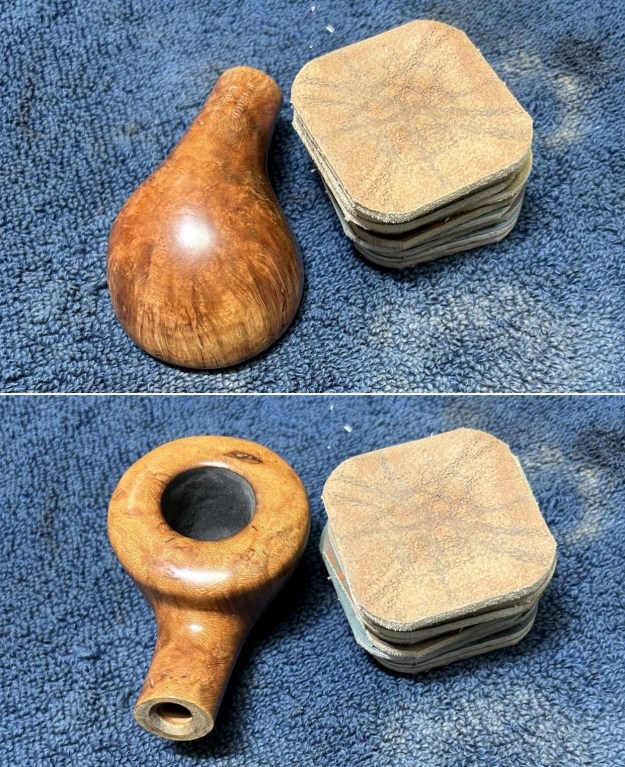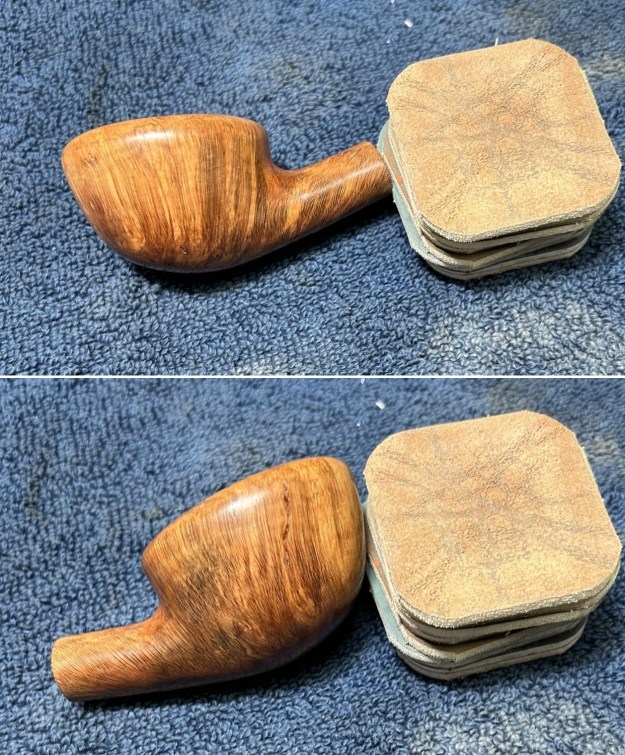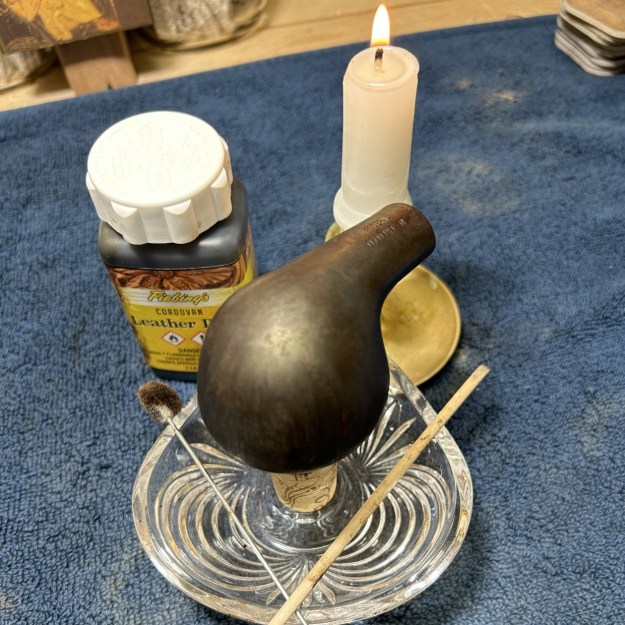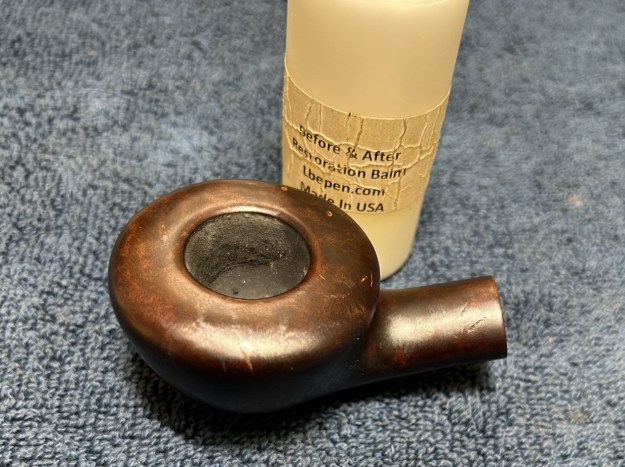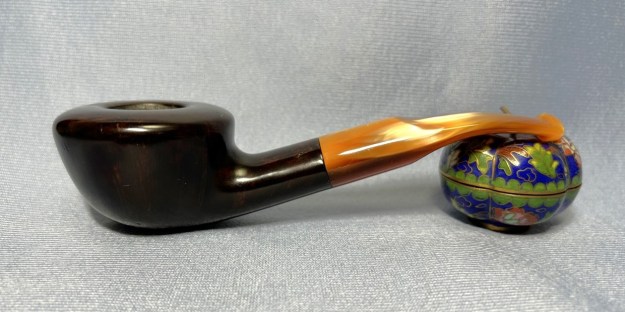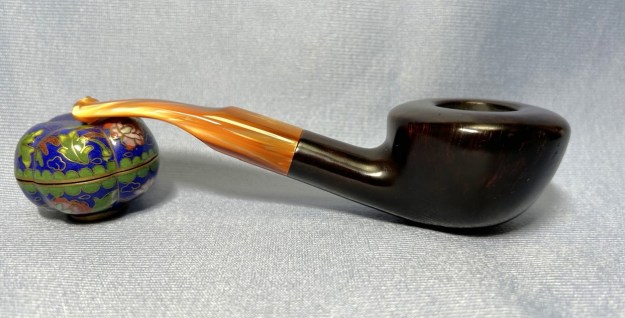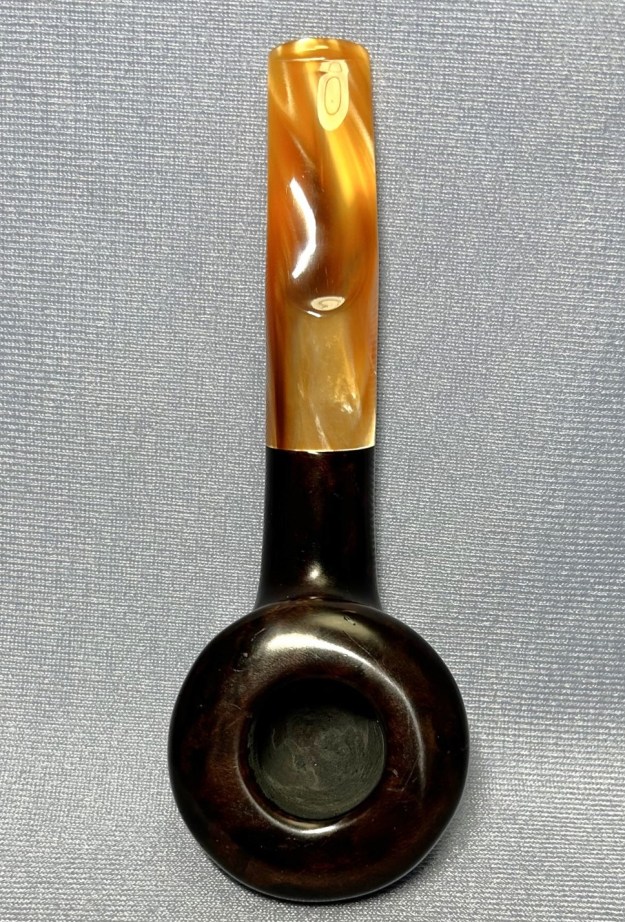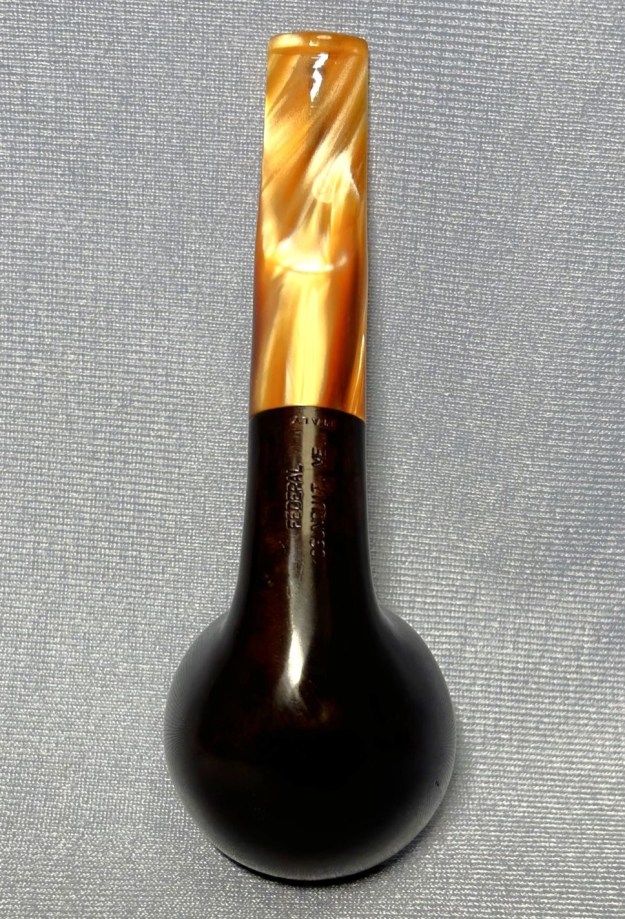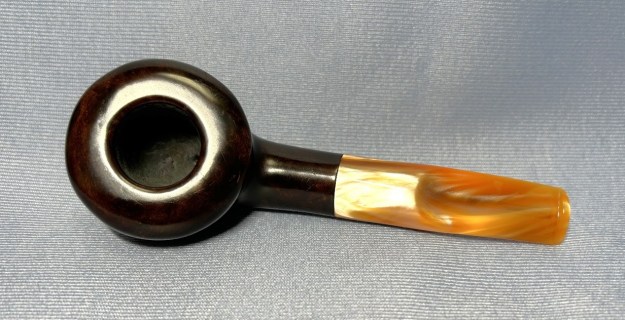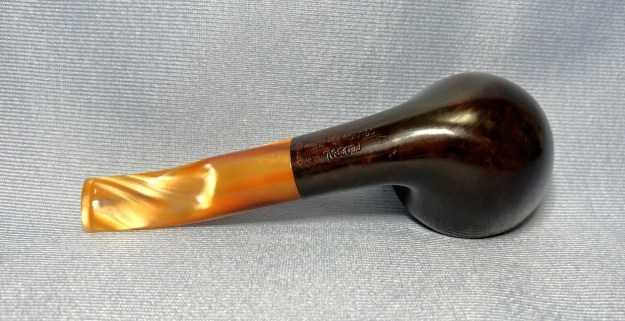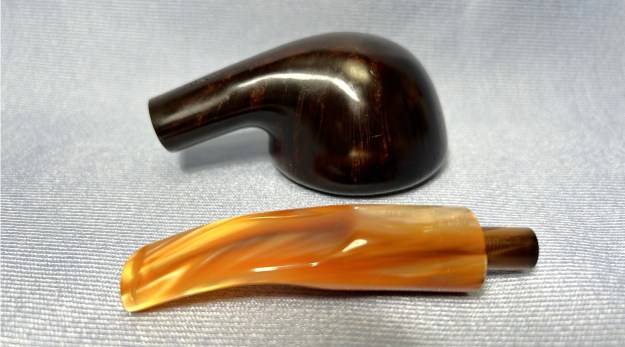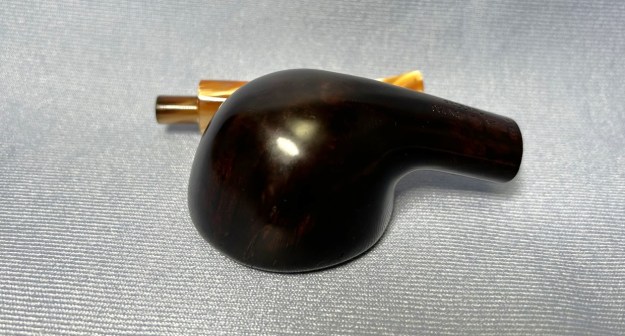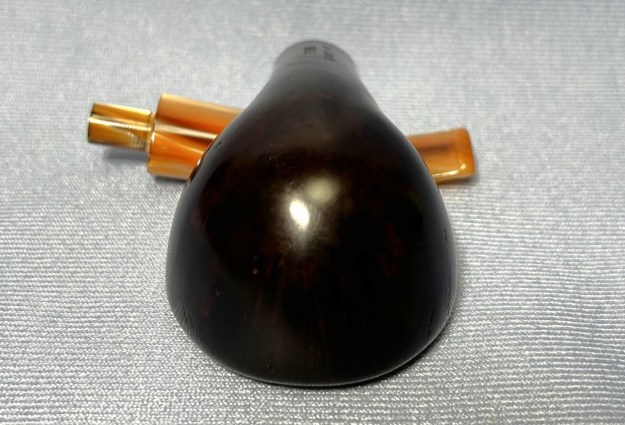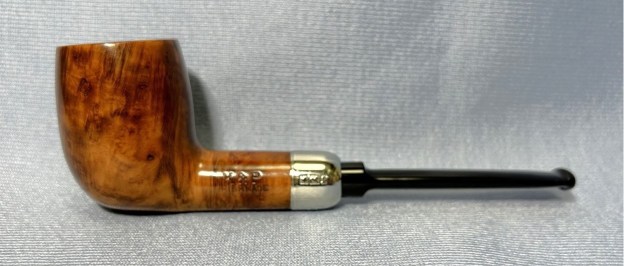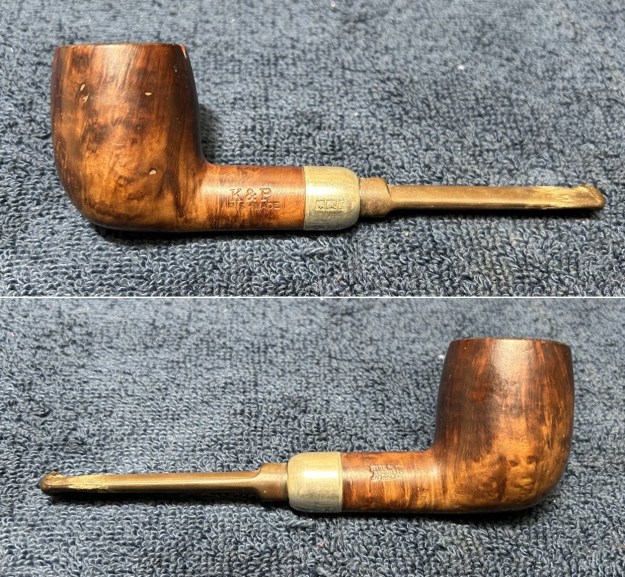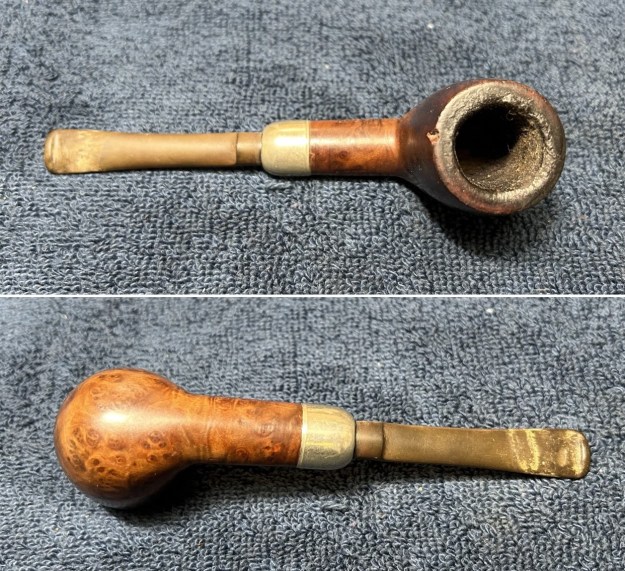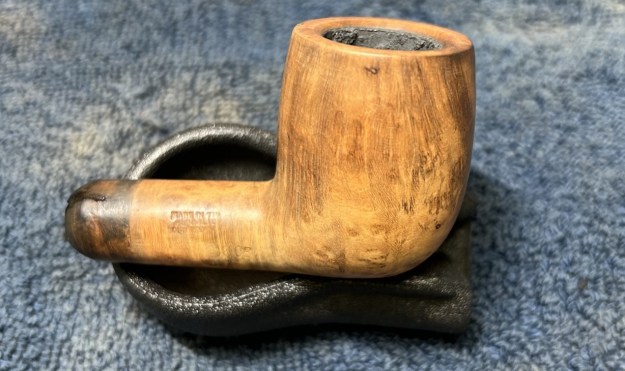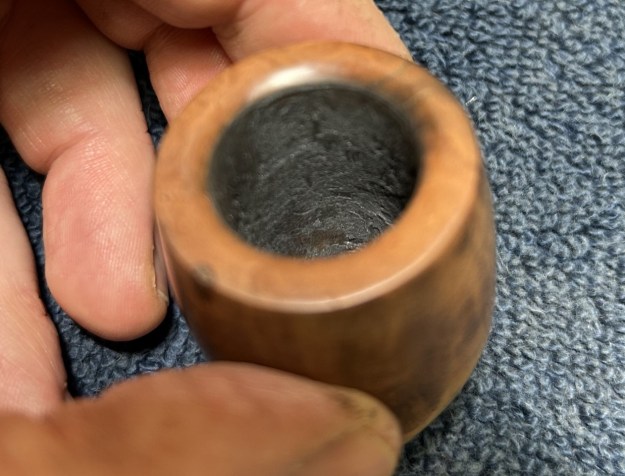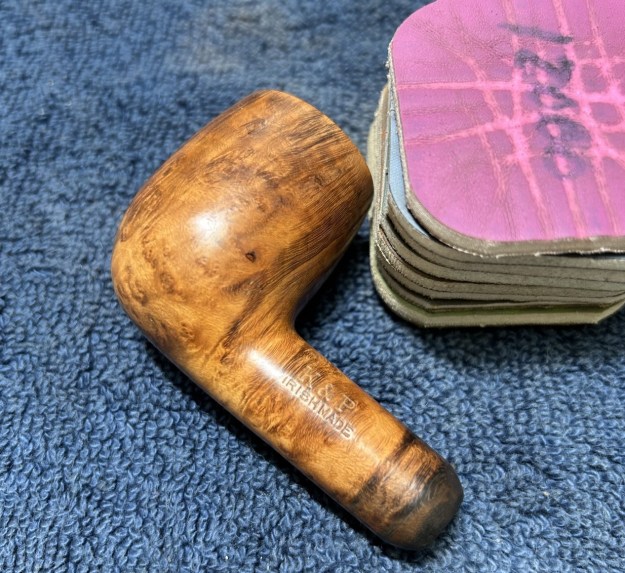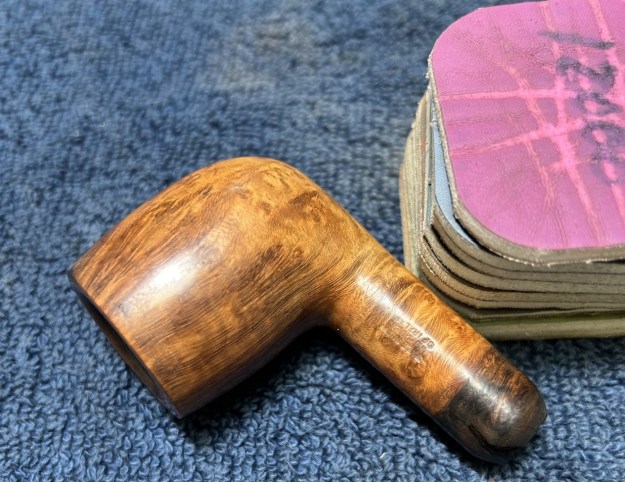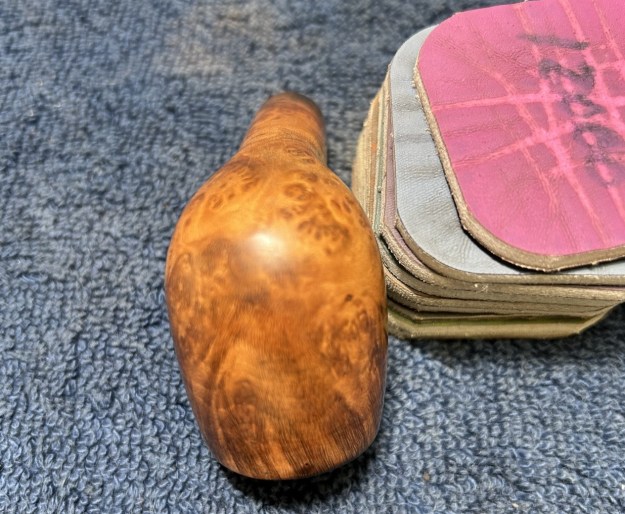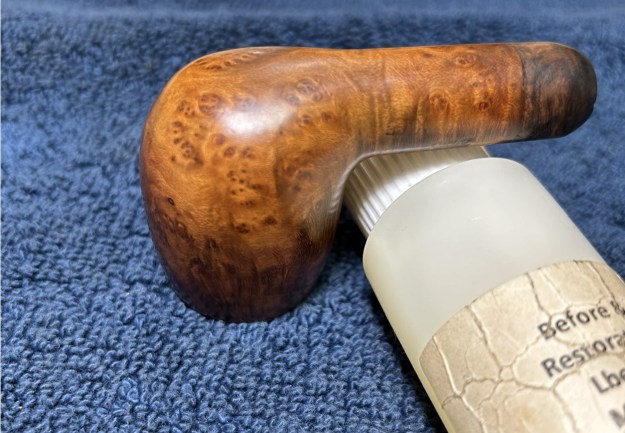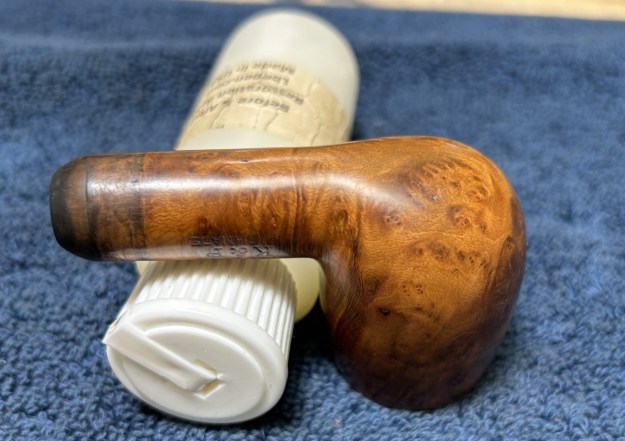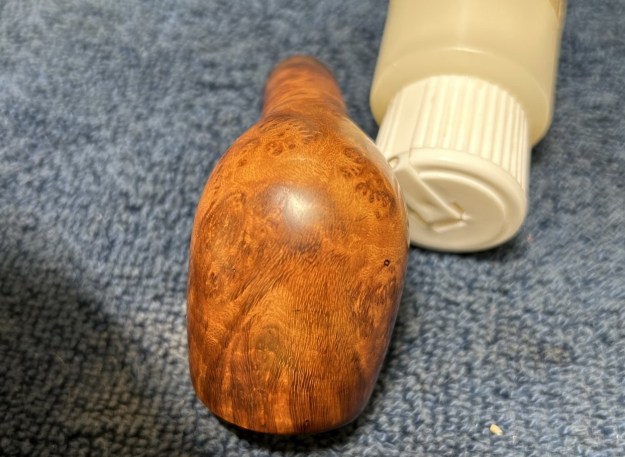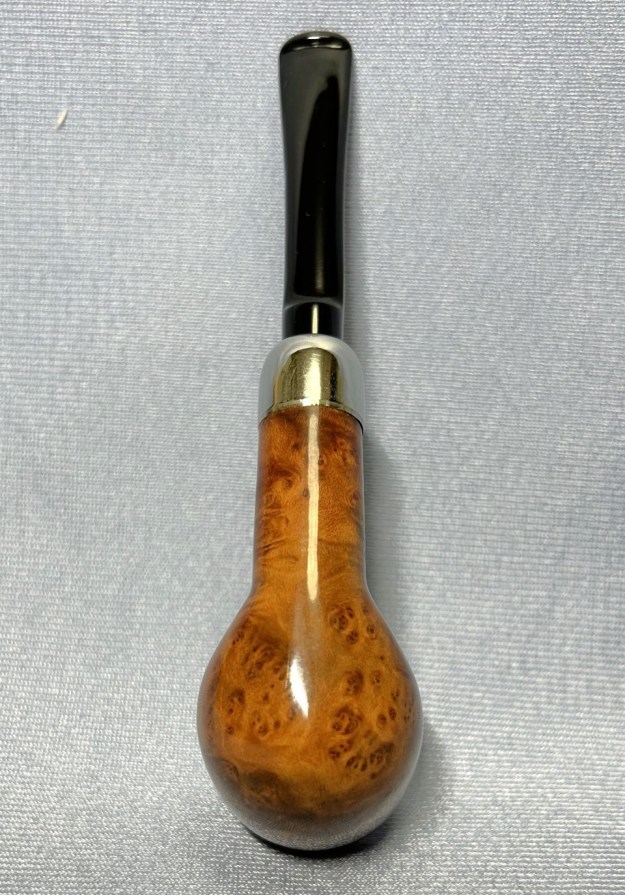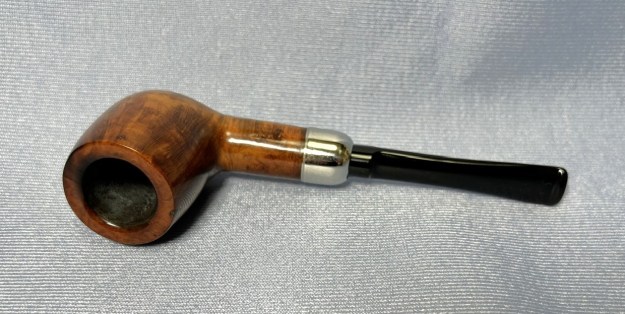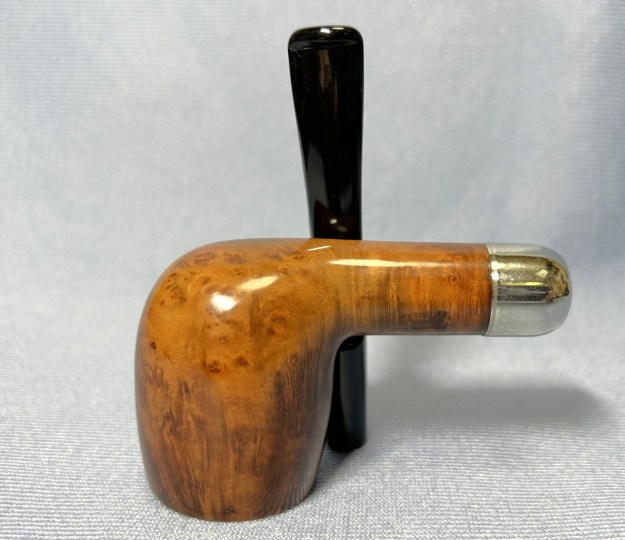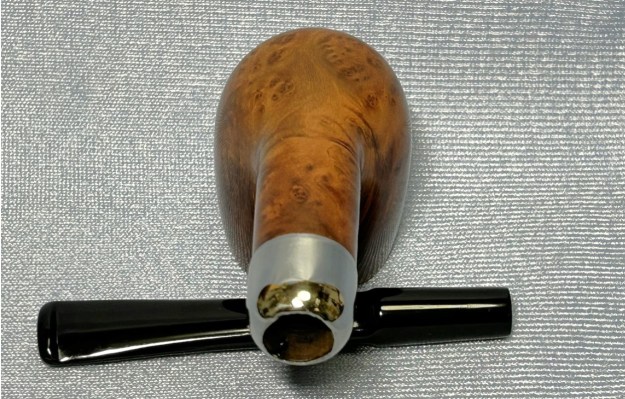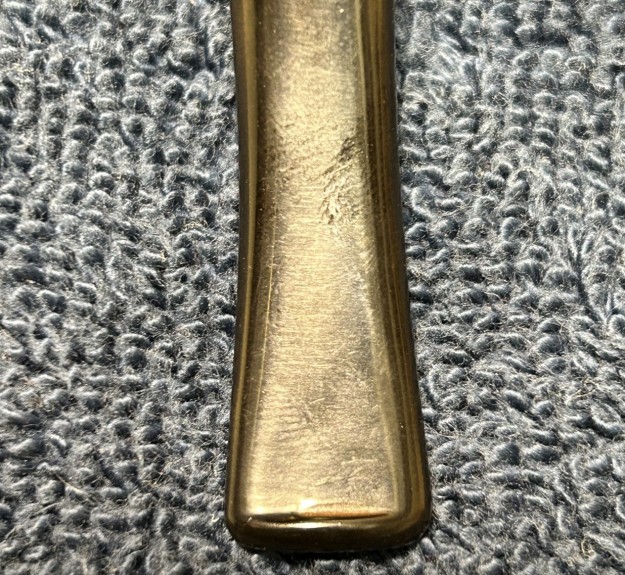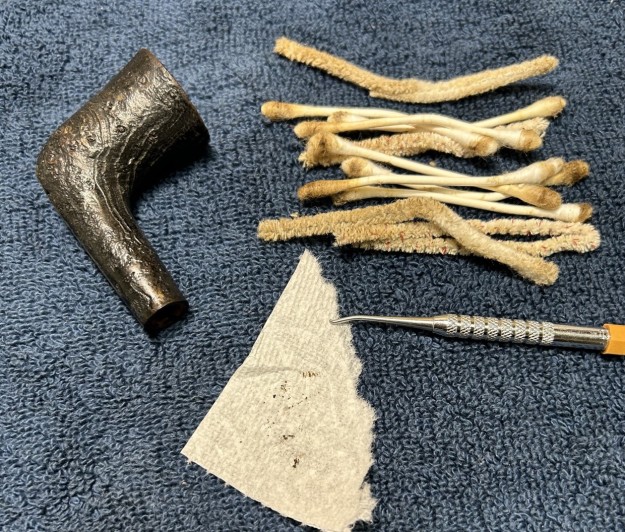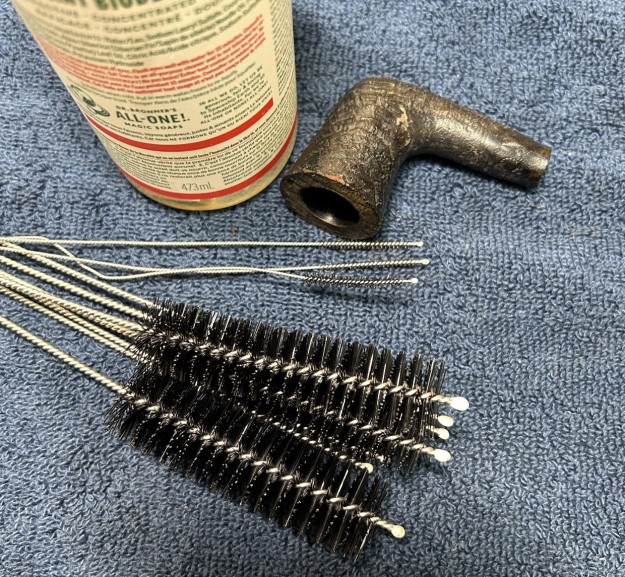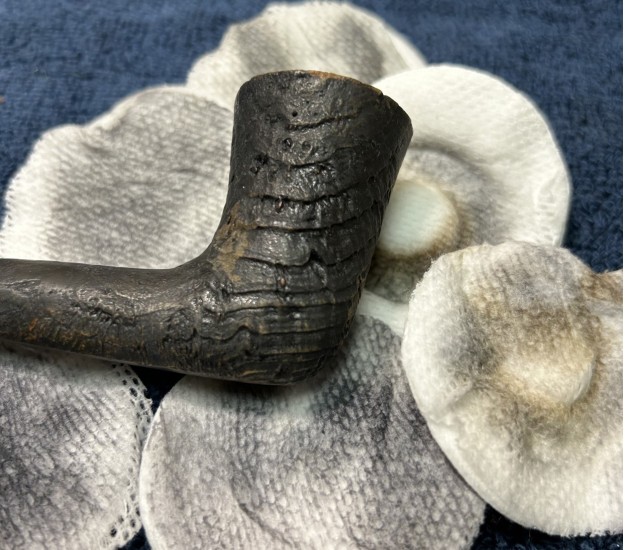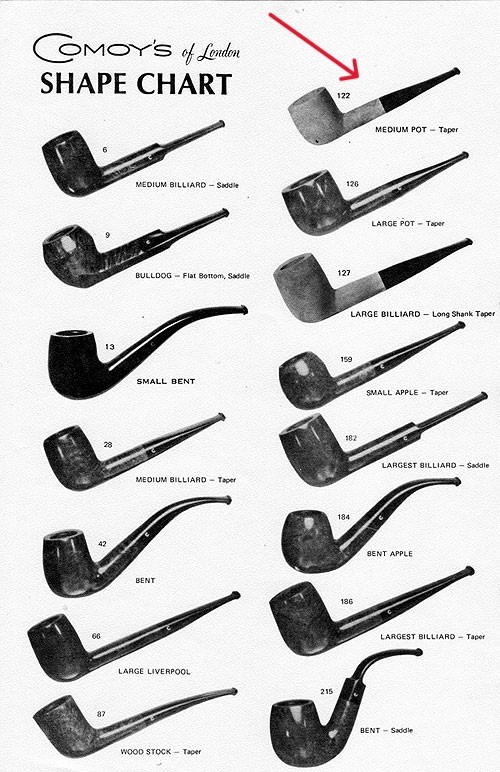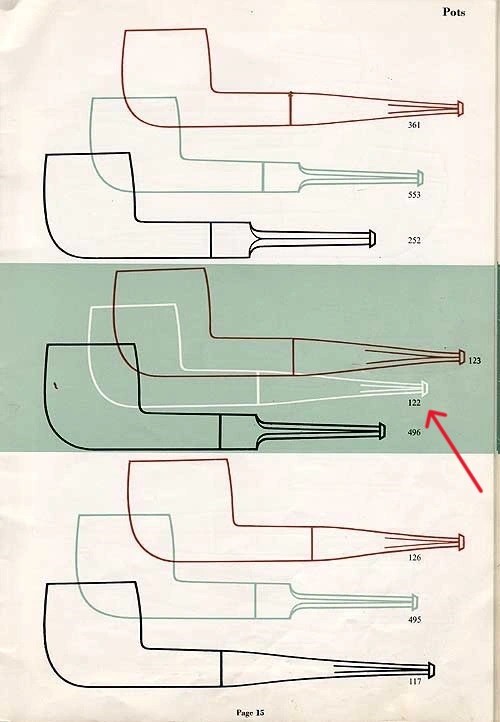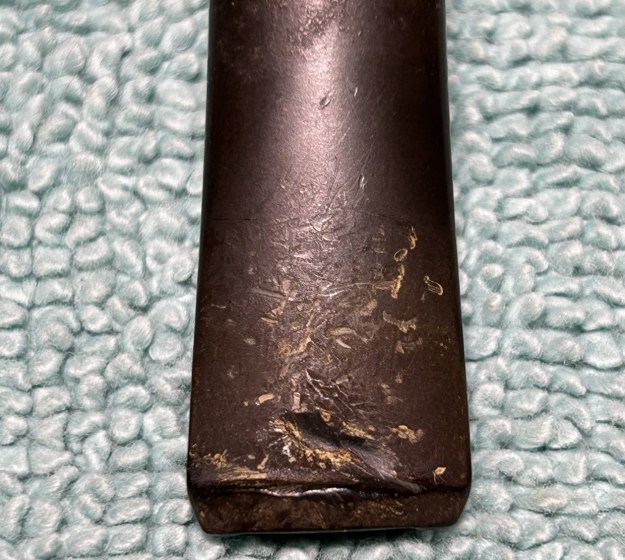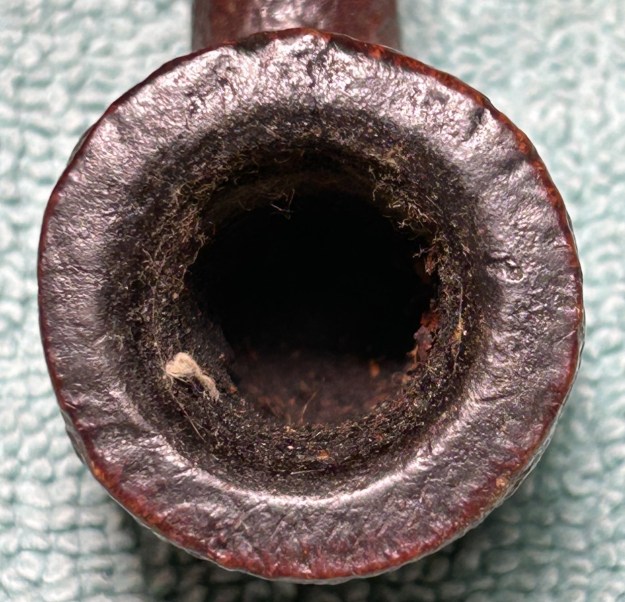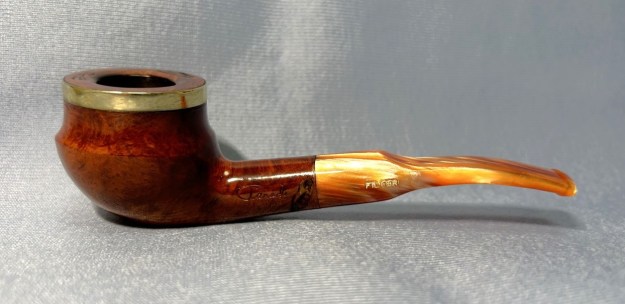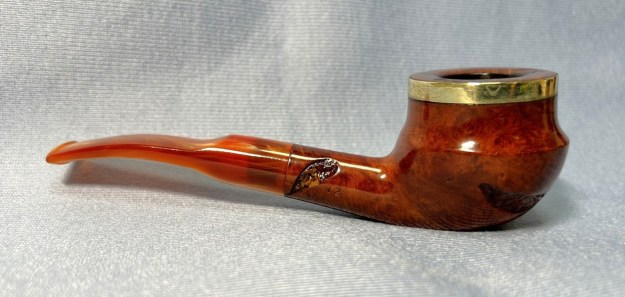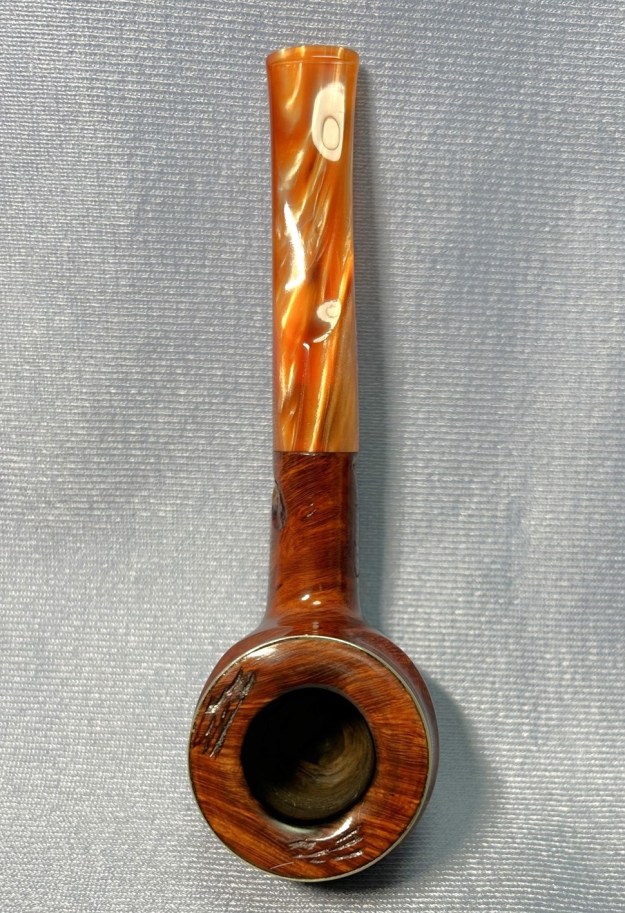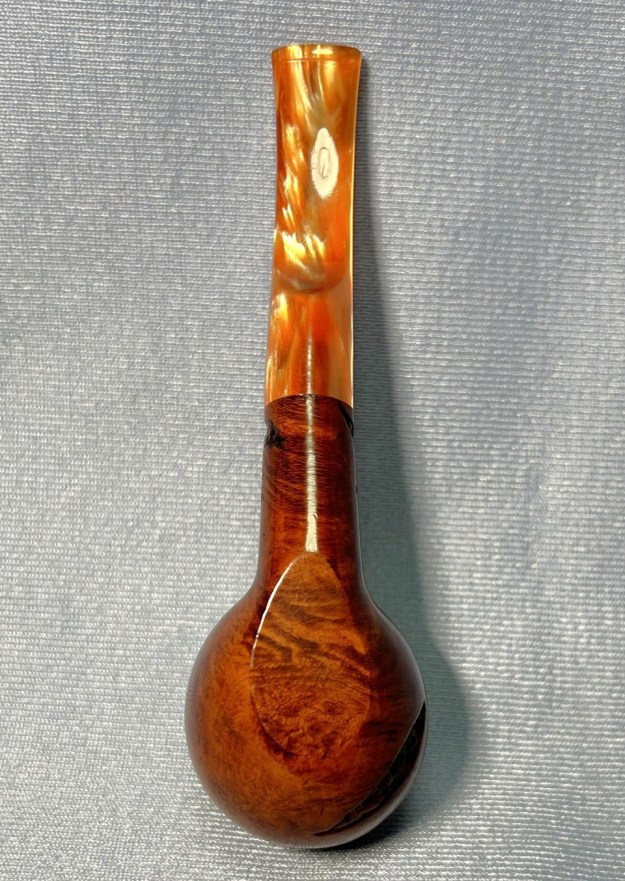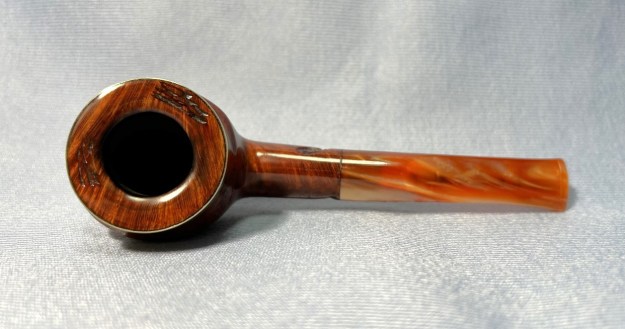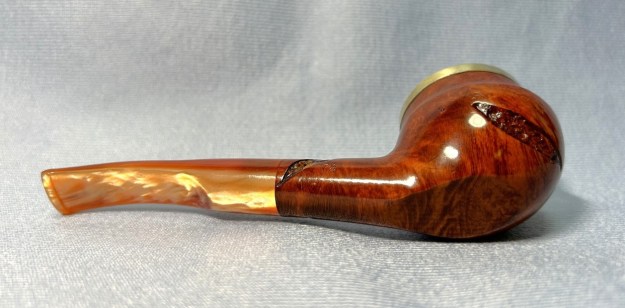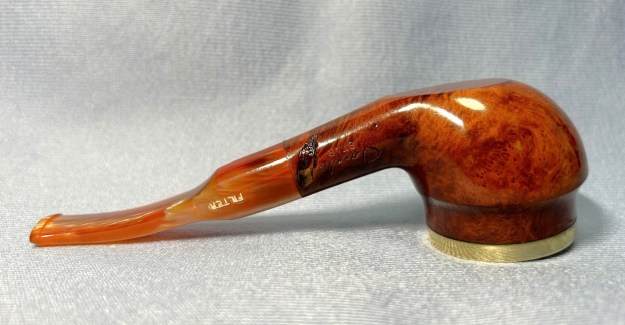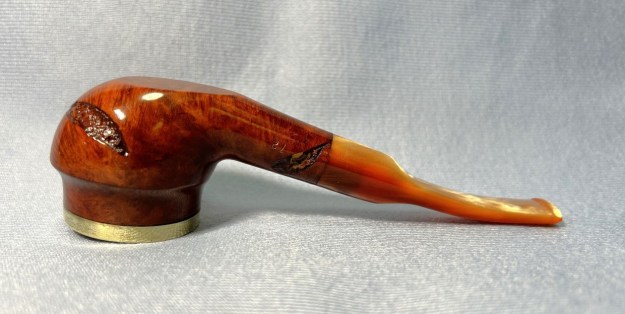
Author Archives: Kenneth Lieblich

Resurrecting a Savinelli Dry System


by Kenneth Lieblich

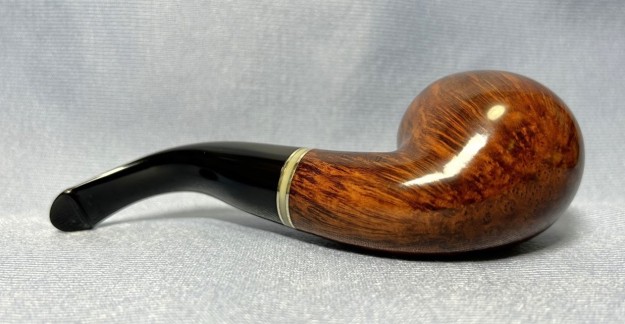
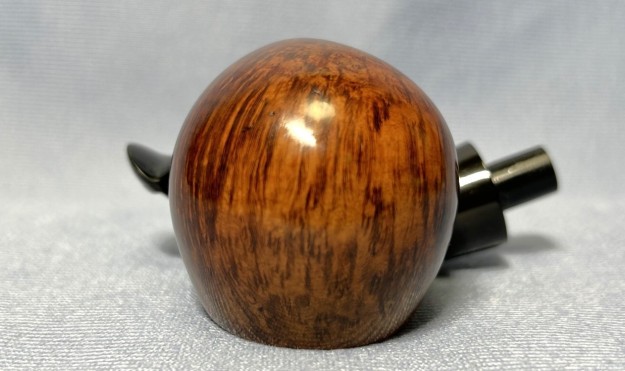
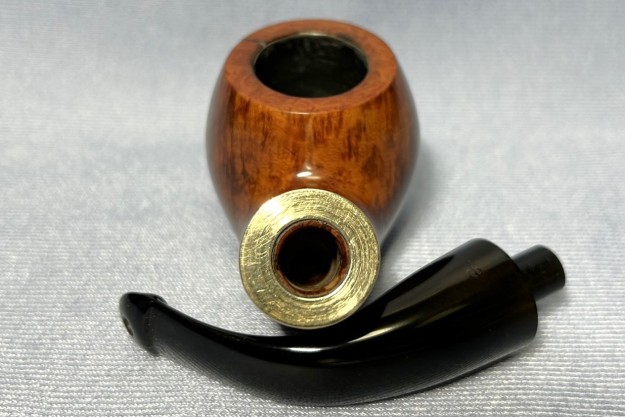
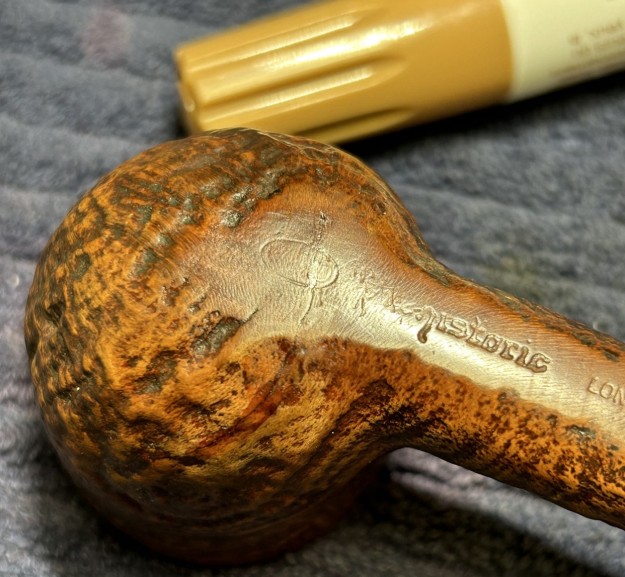
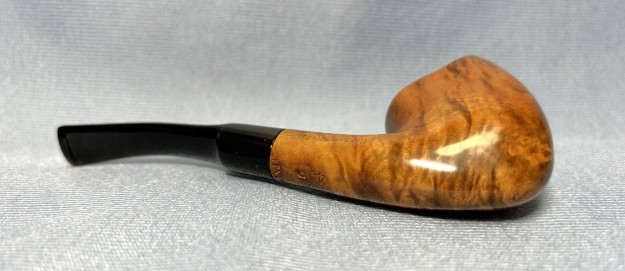
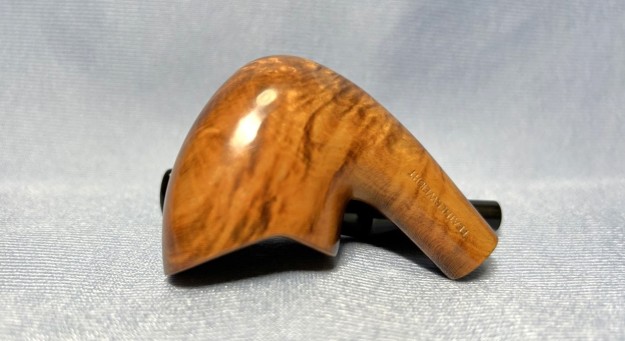
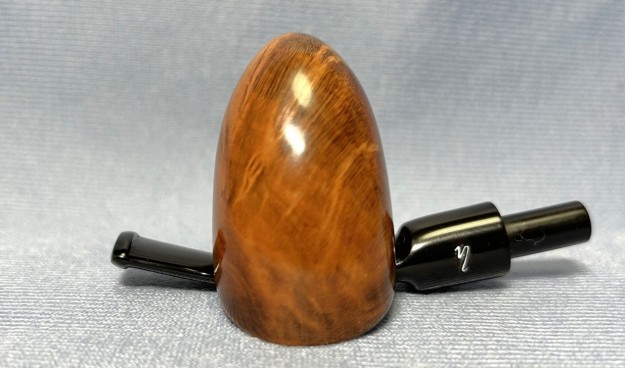
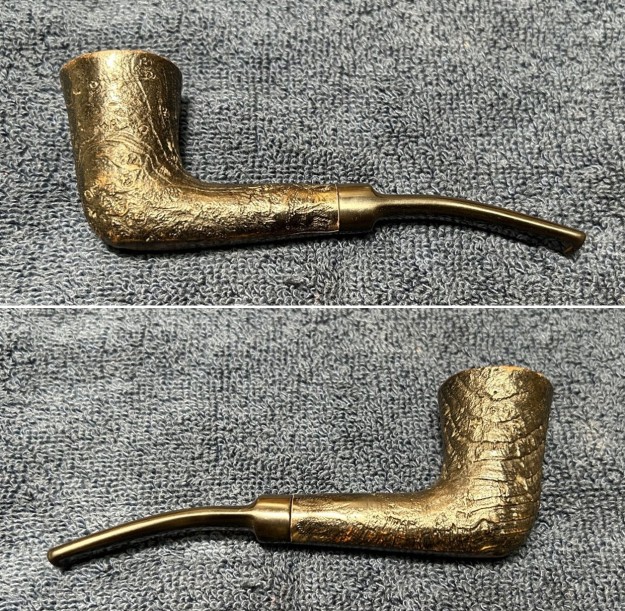
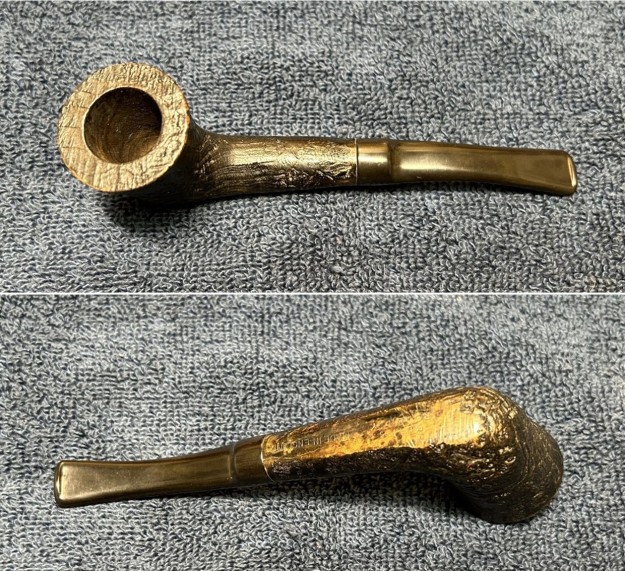
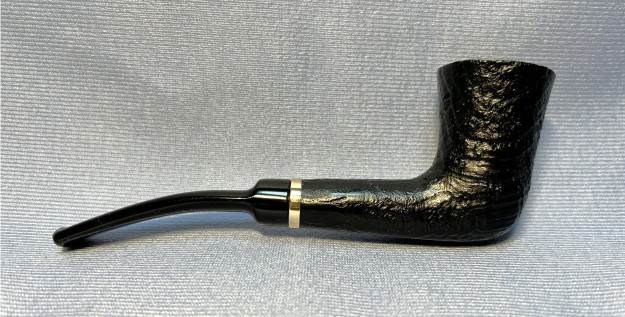
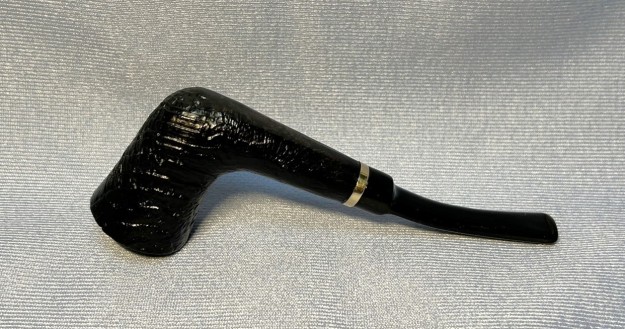
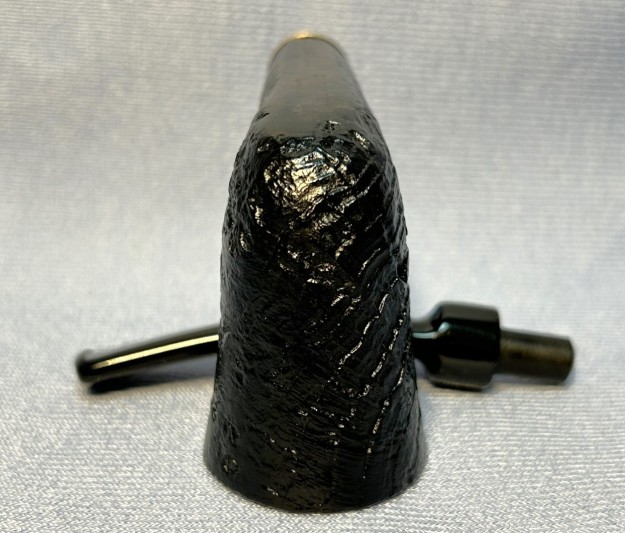
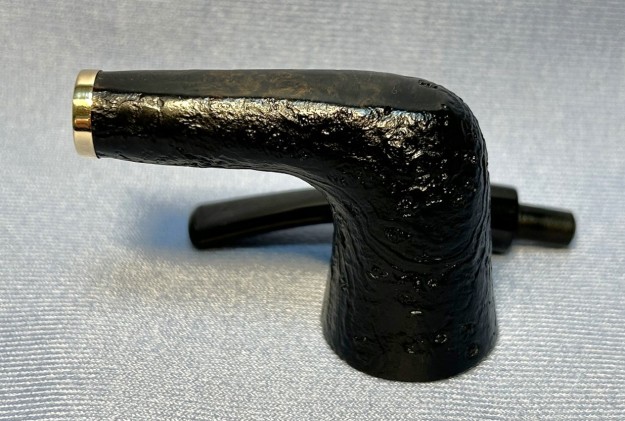
Next on the old chopping block is a wonderful Savinelli Dry System 3621 Bent Dublin. It’s a really good-looking pipe and I understand that this is a popular and well-loved series. I got it recently in a lot of pipes and it called out to me for some help. I suppose this pipe is meant to be reminiscent of the Peterson system pipes – it even has a sort of P-lip button! It’s a terrific-looking pipe, with a bit of a rough history. The main markings of the pipe are on the underside of the stummel. On the left it reads Savinelli [over] Dry [over] System. Next to that is the Savinelli crown and “S” logo. And next to that is 3621 [over] Italy.  The shank has a nickel cap with Savinelli stamped on it. Finally, the stem has a worn, but still readable, stylized “S” on the top.Savinelli is one of the most recognized names in pipe smoking and they have a long and storied history. You can read about them from their own website or from Pipedia’s article about them. However, I was particularly interested in learning more about the Dry System. Sadly, Pipedia had nothing on this subject. I checked with Pipephil and they did have a bit of information which I provide here below:However, the definitive word on the Dry System comes from Savinelli’s own website. It provided some very useful information.

In 1981, after several years of research, Savinelli launched the “Dry System”, combining trap and filter. The name “Dry” comes from the introduction of the balsa “filter” into the traditional system pipe – the “System” being the presence of the built-in moisture trap in the shank. The balsa mops up the moisture in the smoke hence the term “Dry” system, and if the pipe is smoked without the balsa all that will happen is that this moisture will condense and collect in the trap. It can then either be mopped up with a folded pipe cleaner, or flicked out.

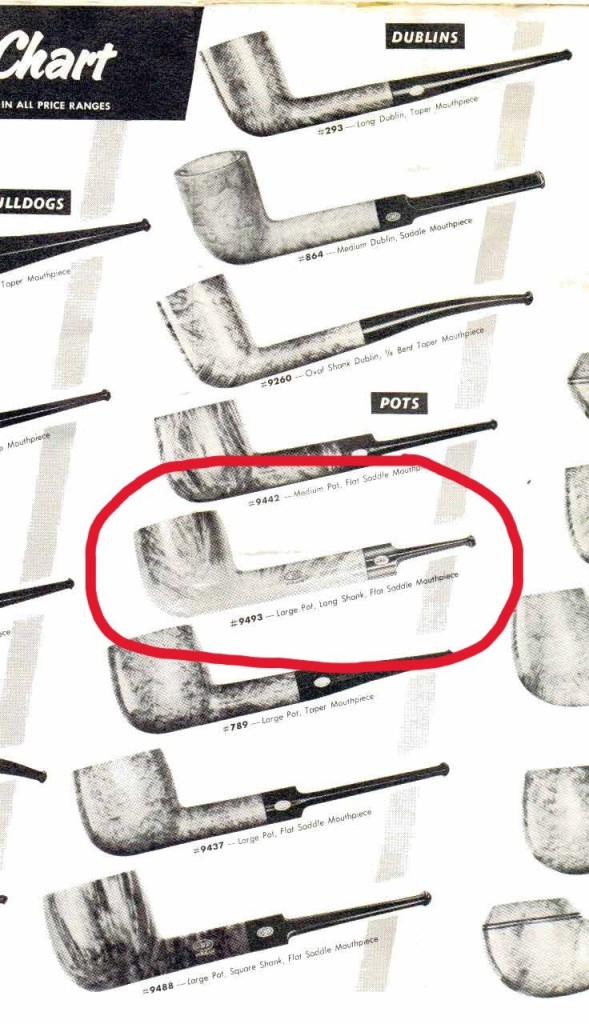
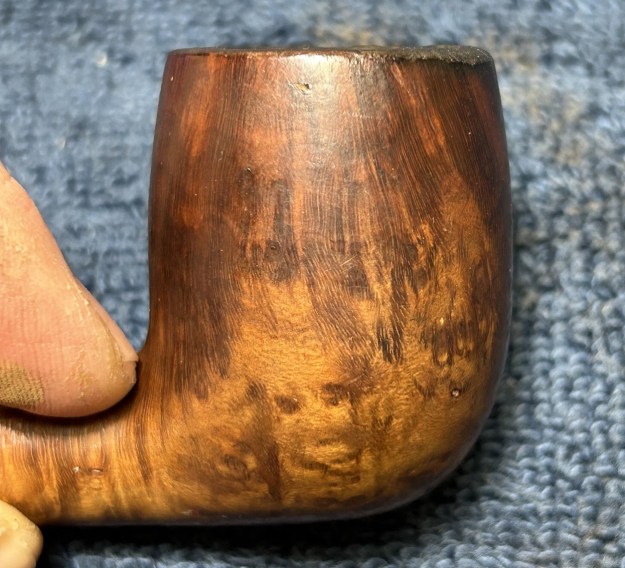
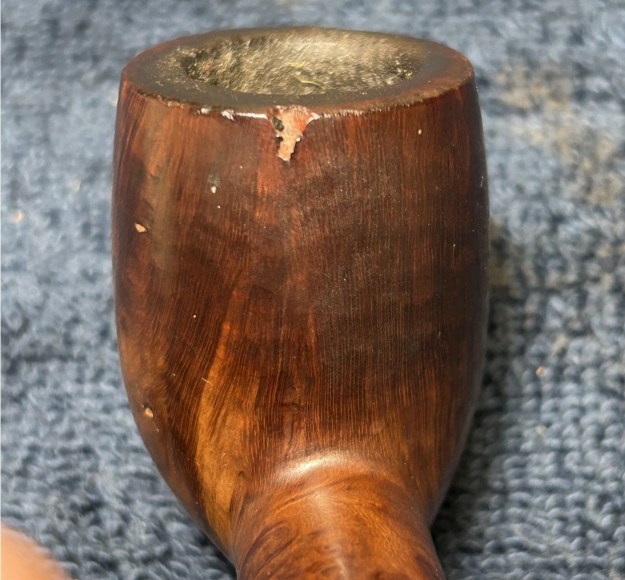
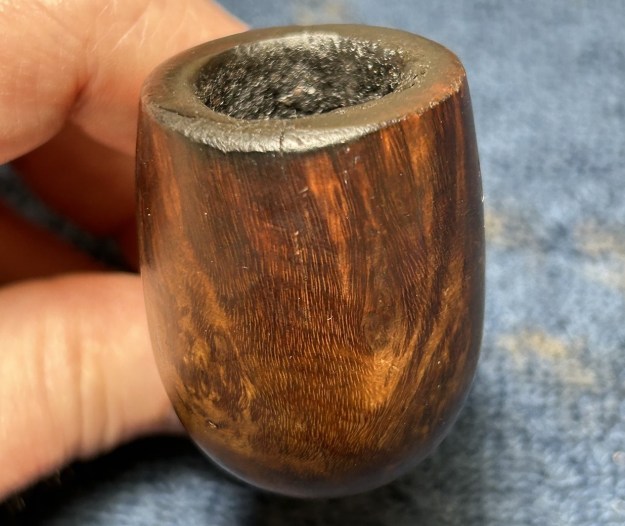
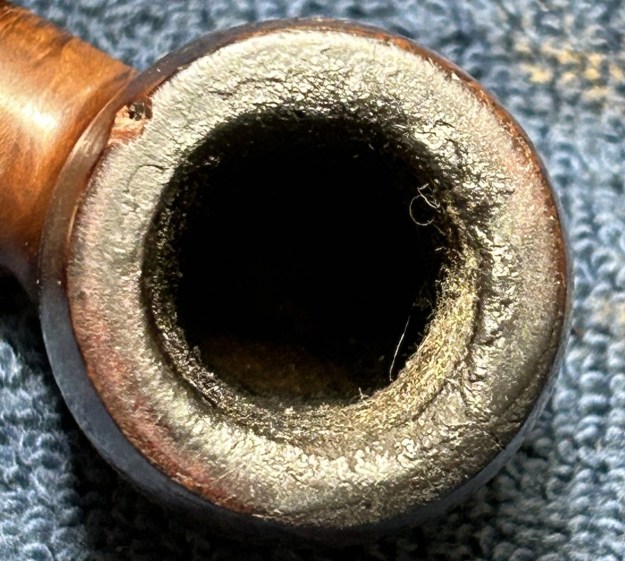
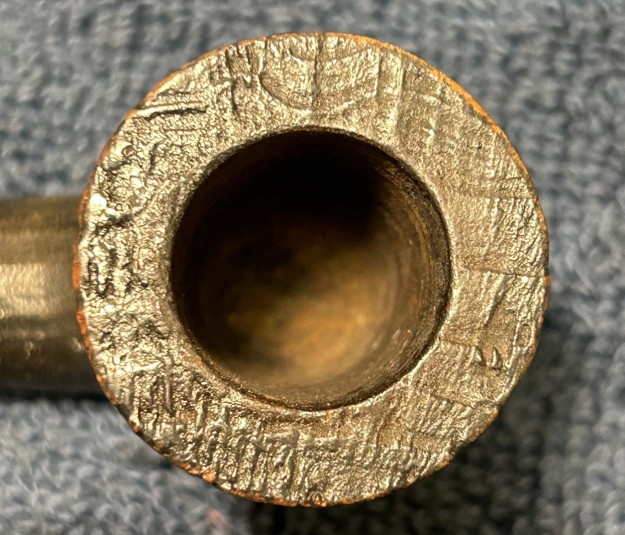
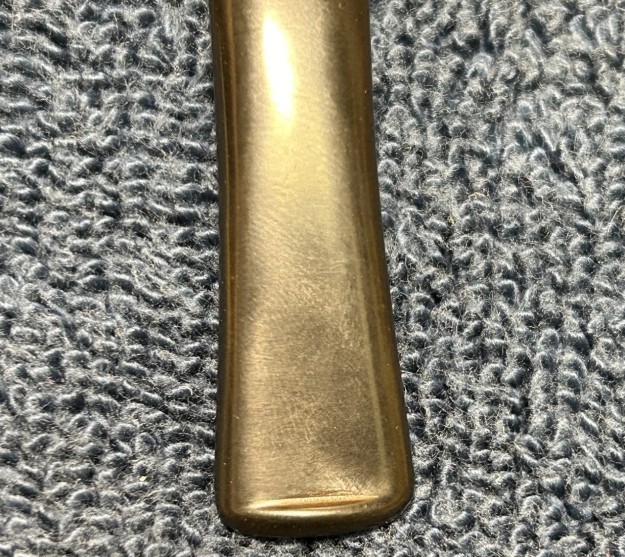
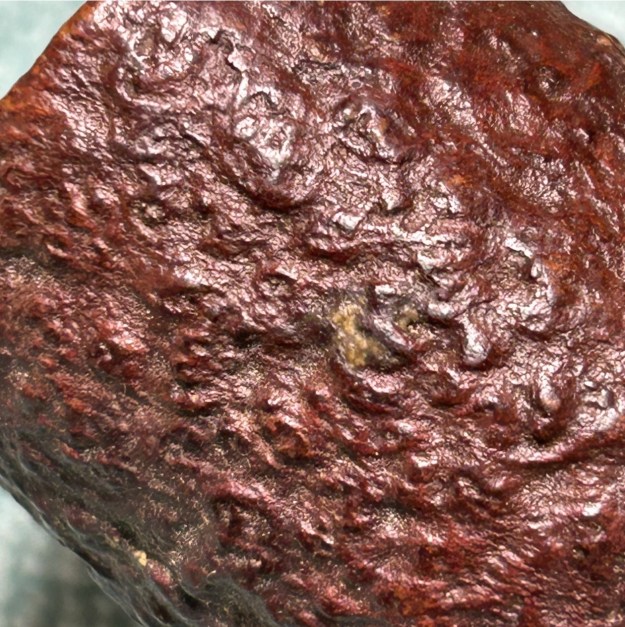
Finally, here’s an image of the pipe from an old Savinelli shape chart:This was obviously a terrific smoker, as the wear and tear on this pipe shows. The stummel was quite dirty – both inside and out – and even appeared to have some dust-bunnies inside the bowl (not to mention all the cake). The finish was well worn and would need to be addressed. The nickel cap had some mess on it too. The stem, however, was from another planet. Have you ever seen such oxidation on a pipe stem? In fact, my wife asked me if the stem was actually meant to be brown. “No” was my emphatic answer! Aside from that, the stem had some tooth marks and nicks. I could tell that this stem was going to be a bear to deal with. This pipe is always going to retain some marks from its hard life, but it is my job to make sure this pipe looks as good as possible. It’s a wonderful pipe and it deserves to be part of someone’s collection again.

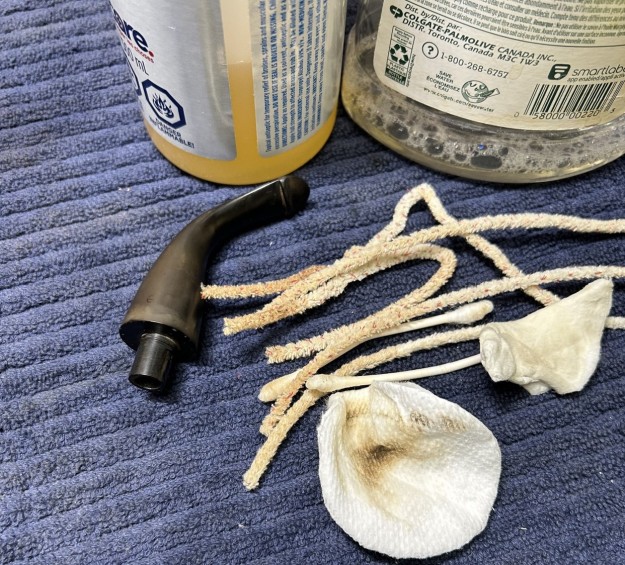
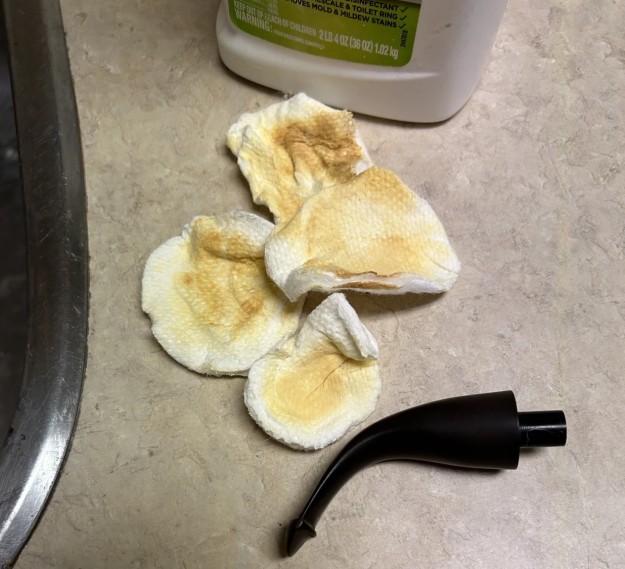
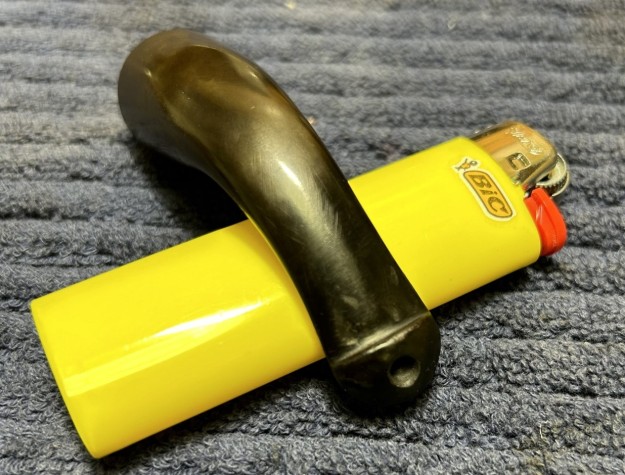
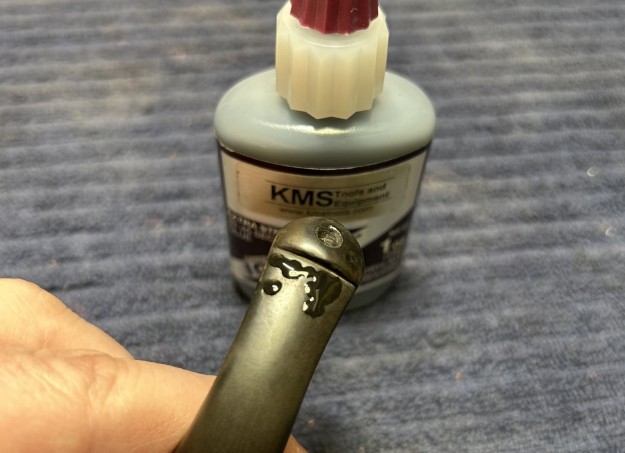
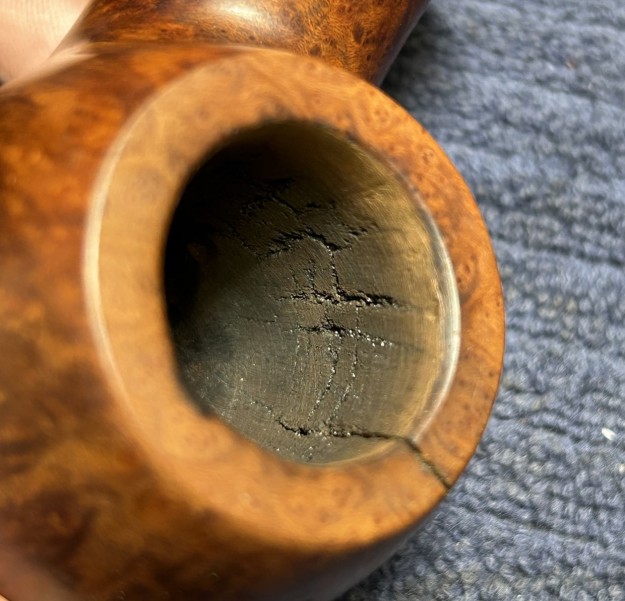
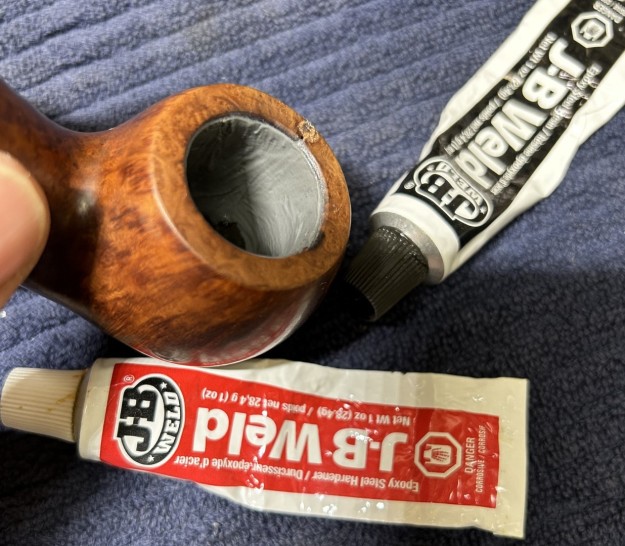
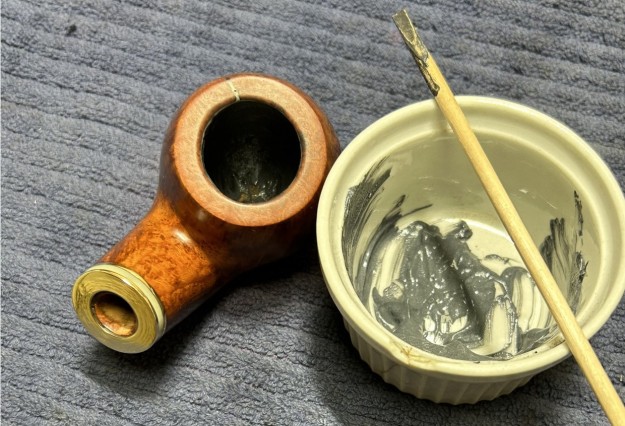
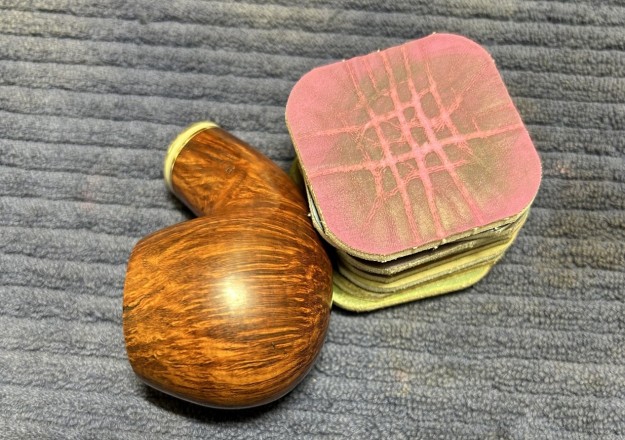
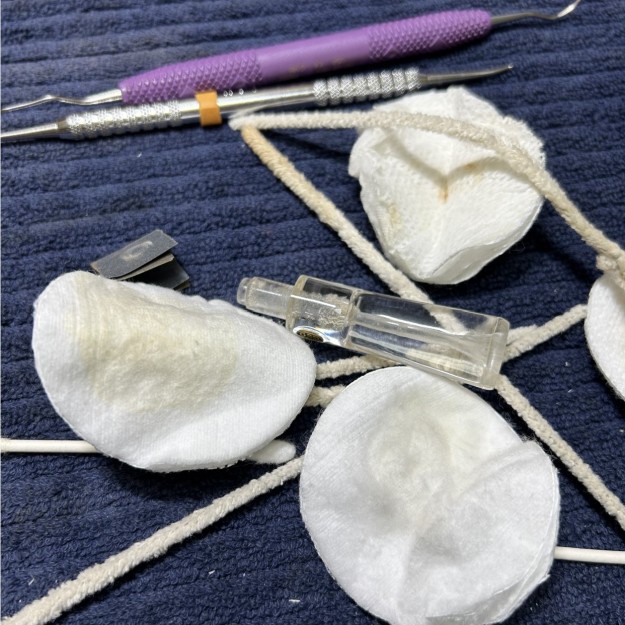
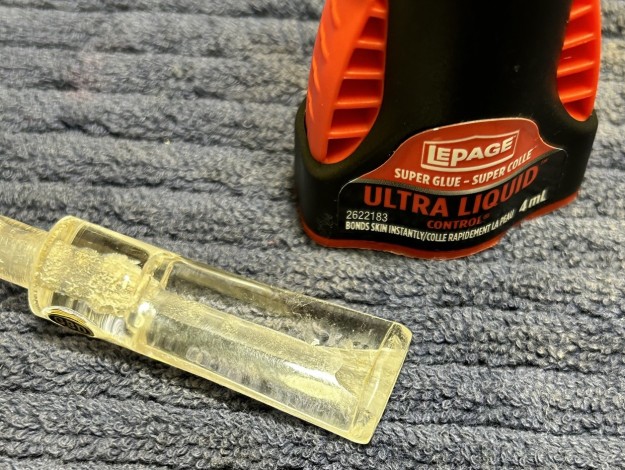
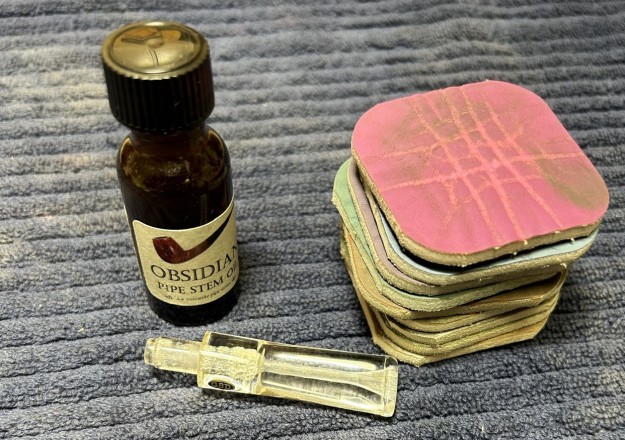
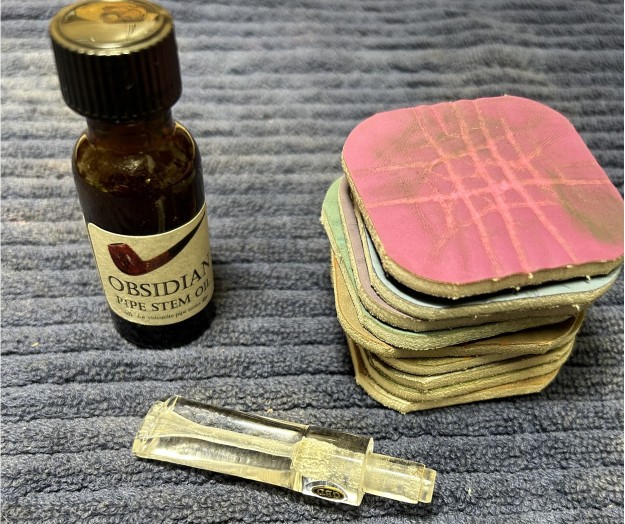
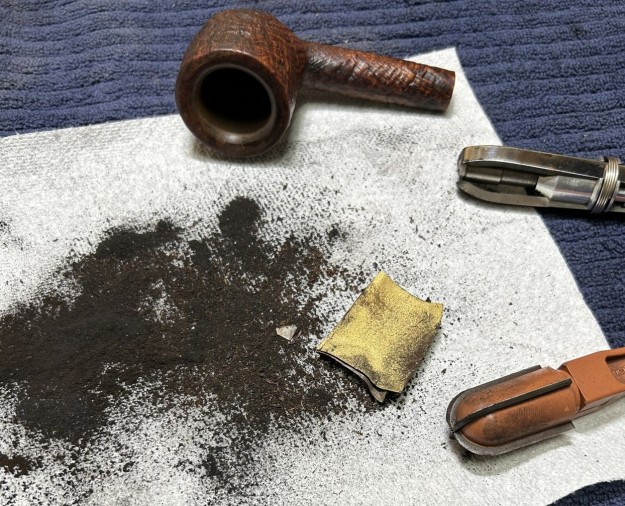
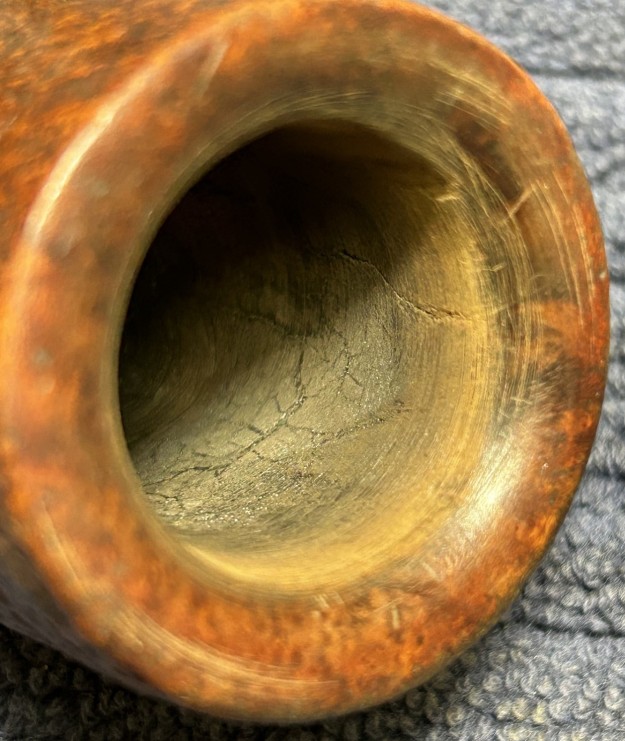
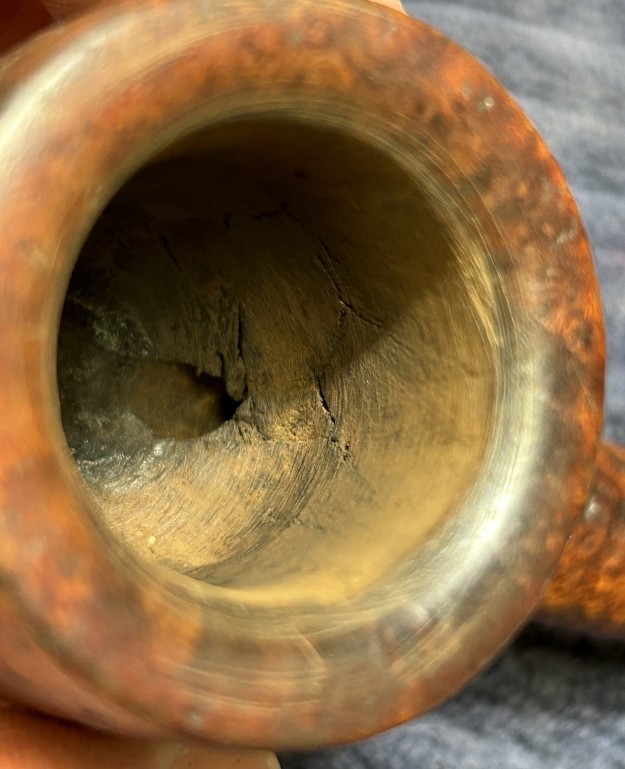
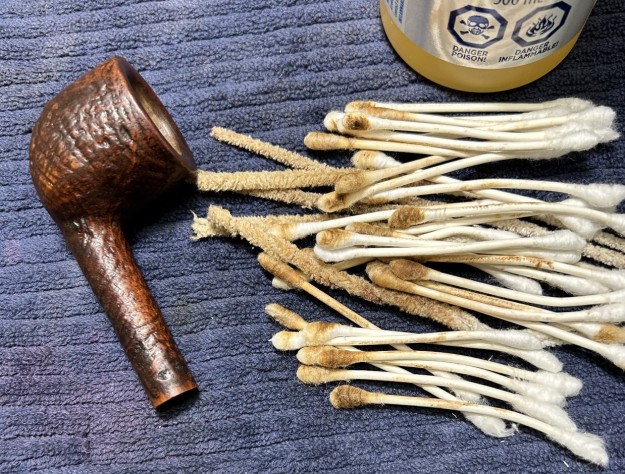
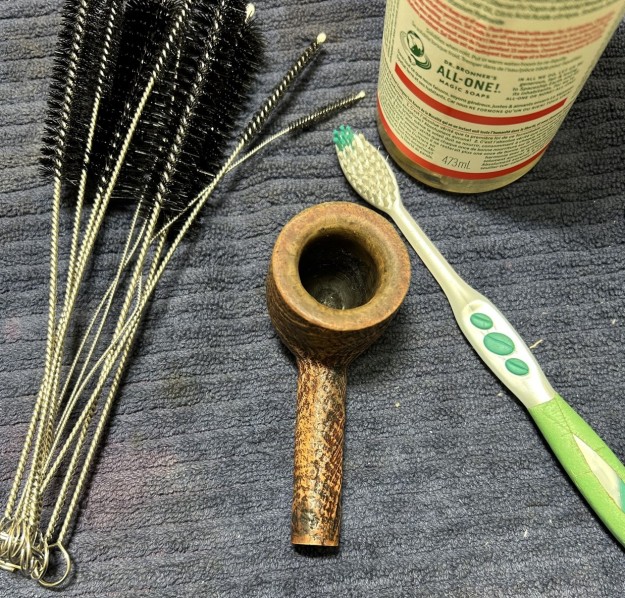
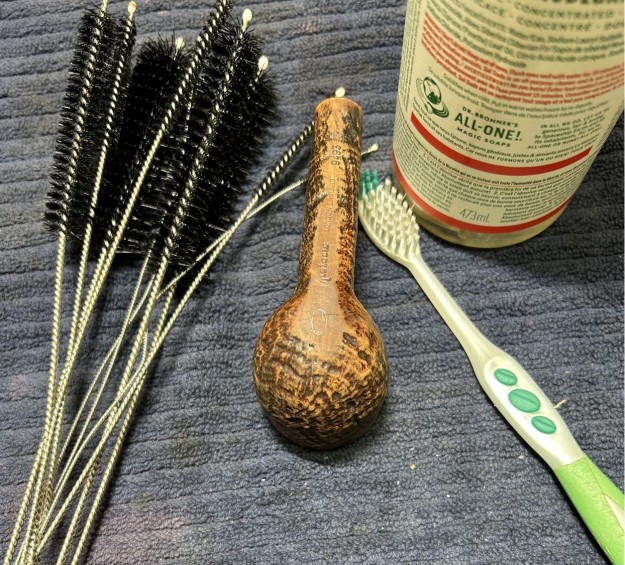
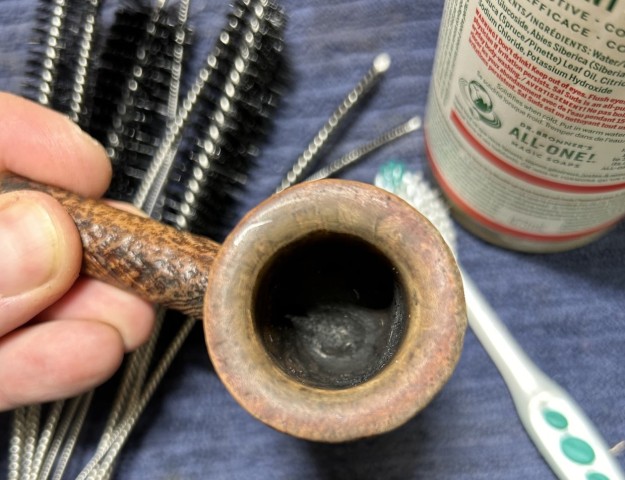
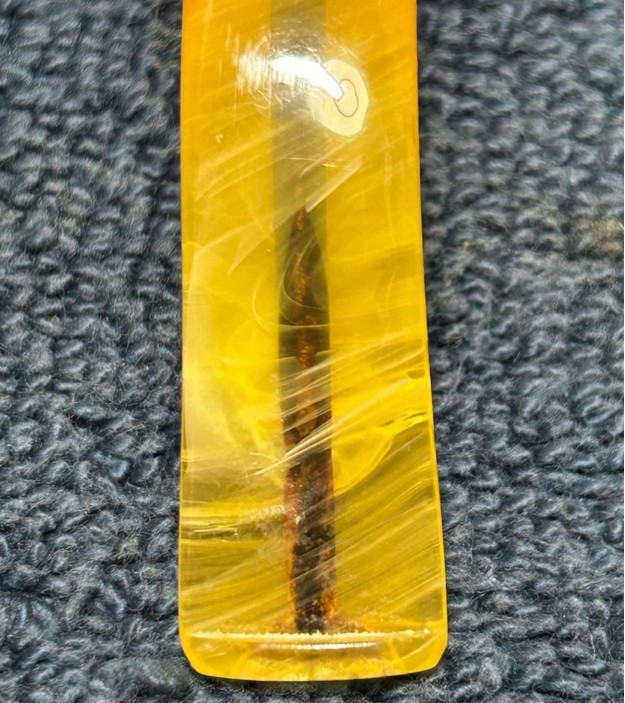
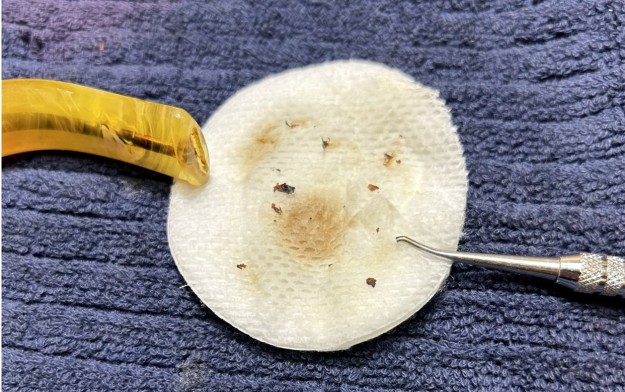
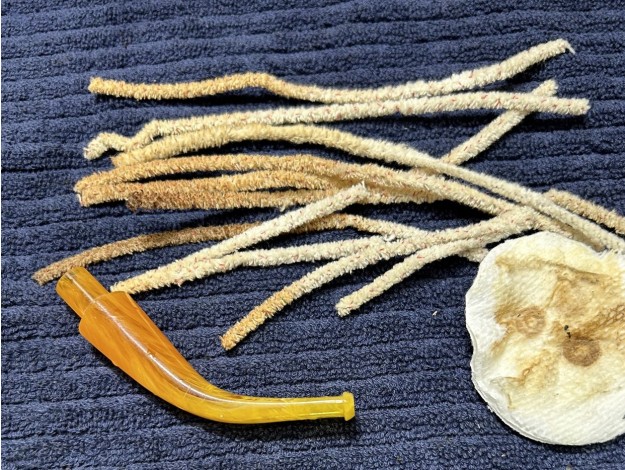
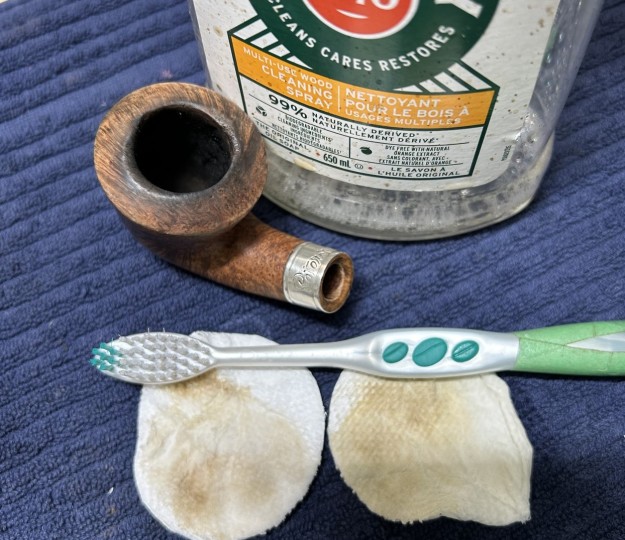
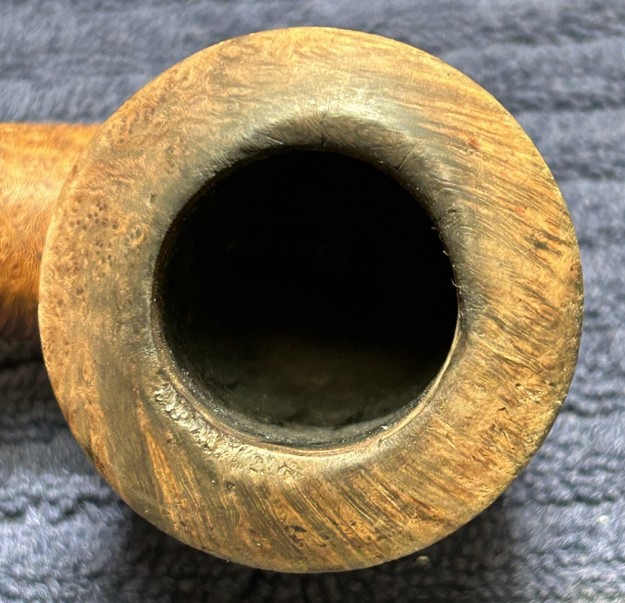
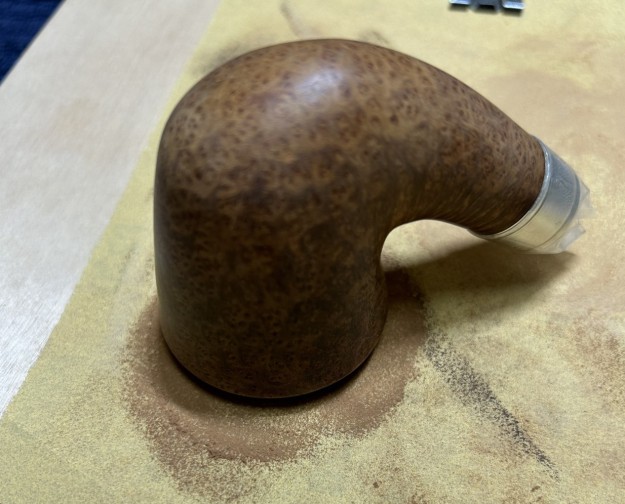
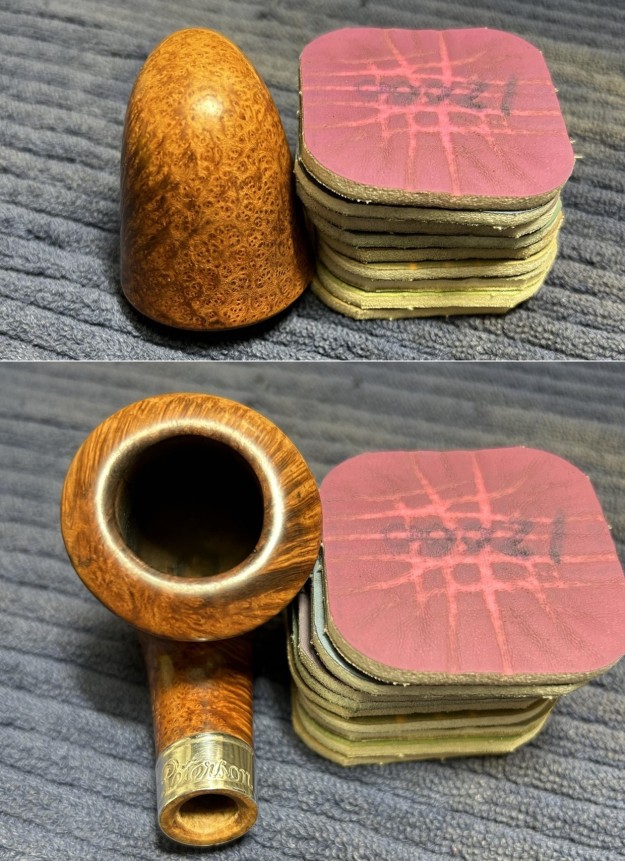
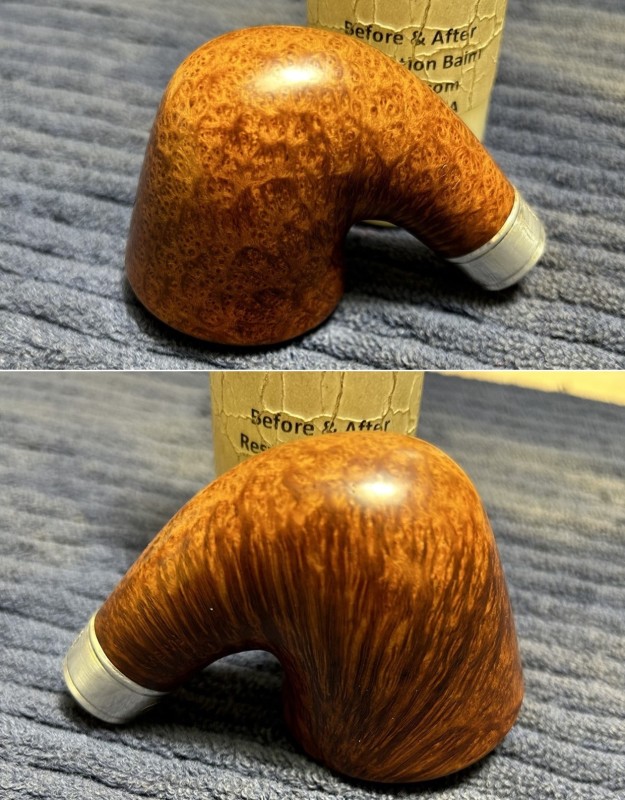
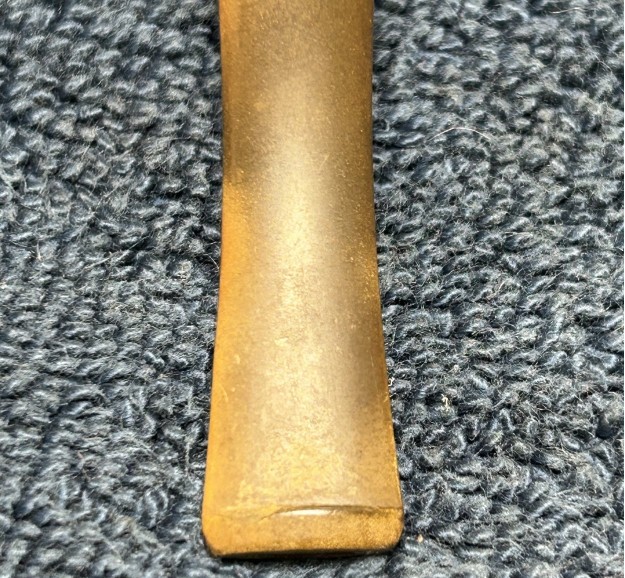
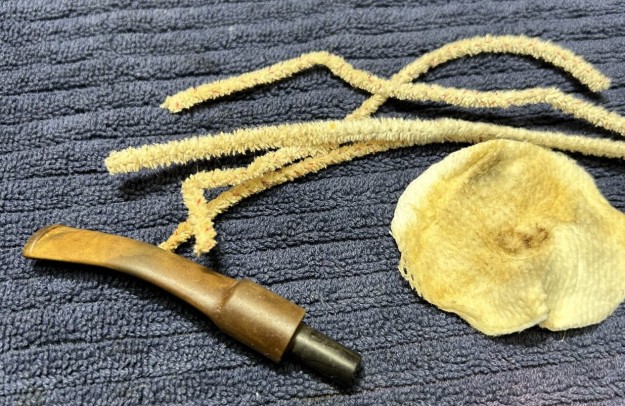
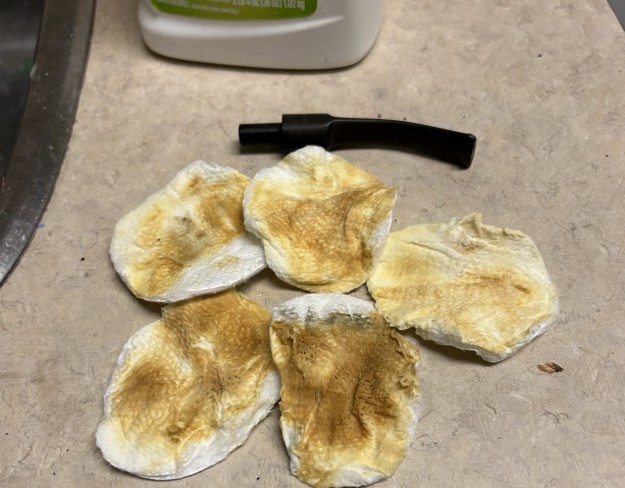
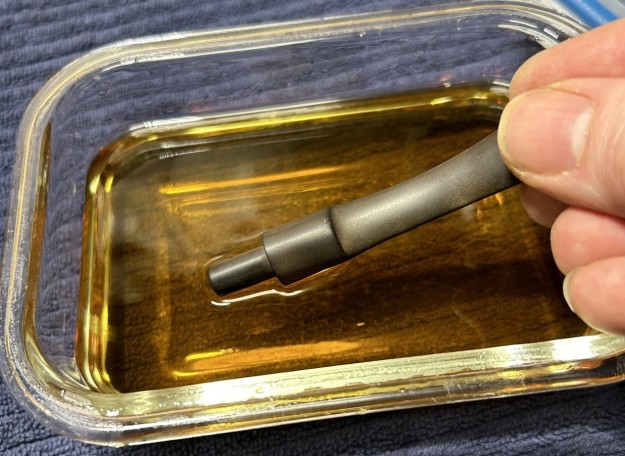
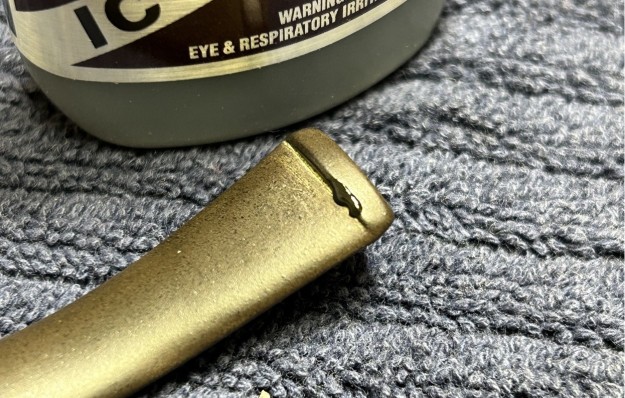
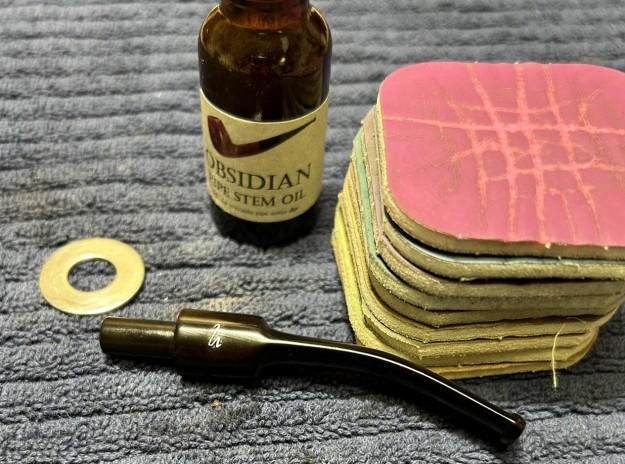
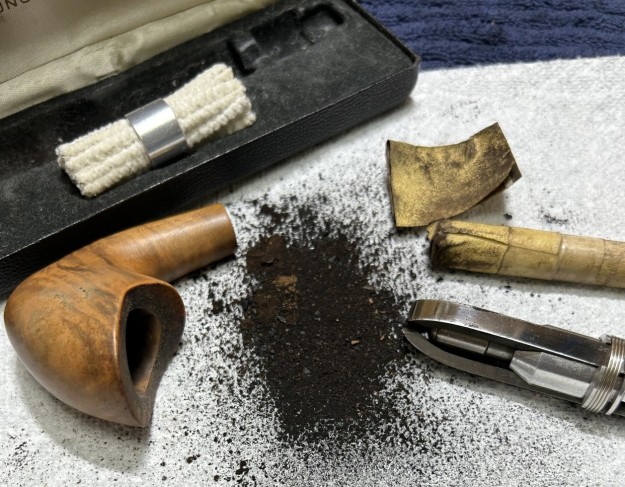
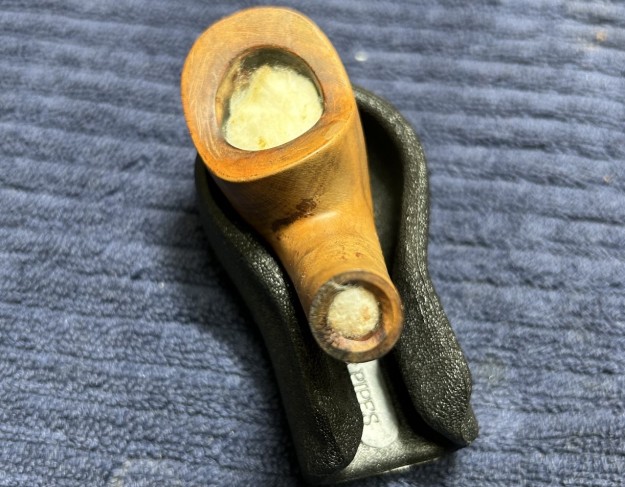
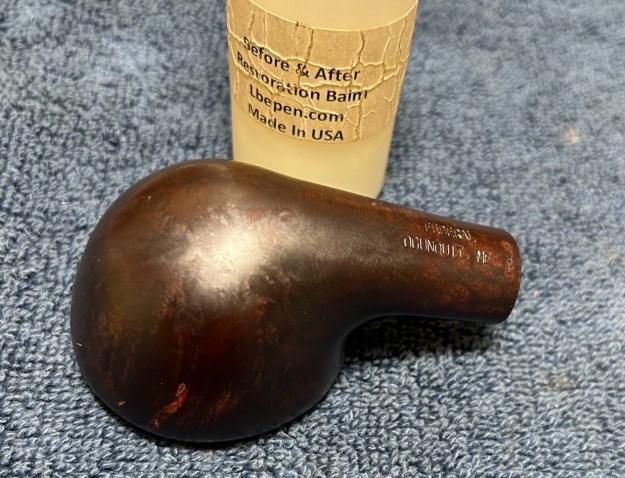
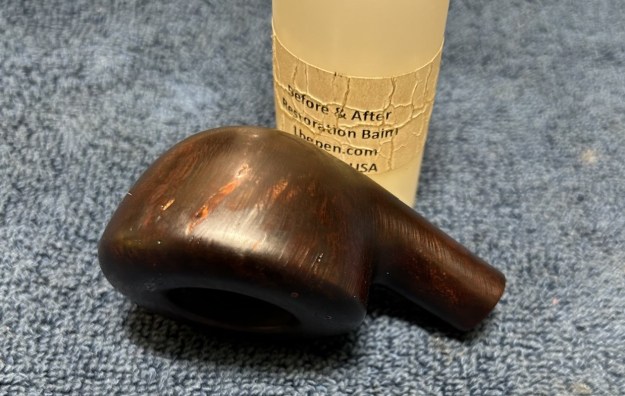
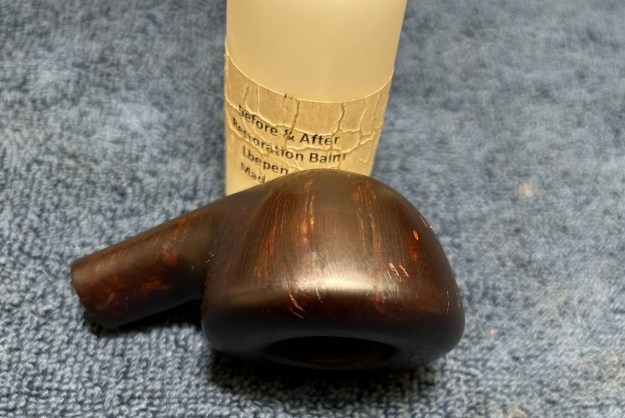
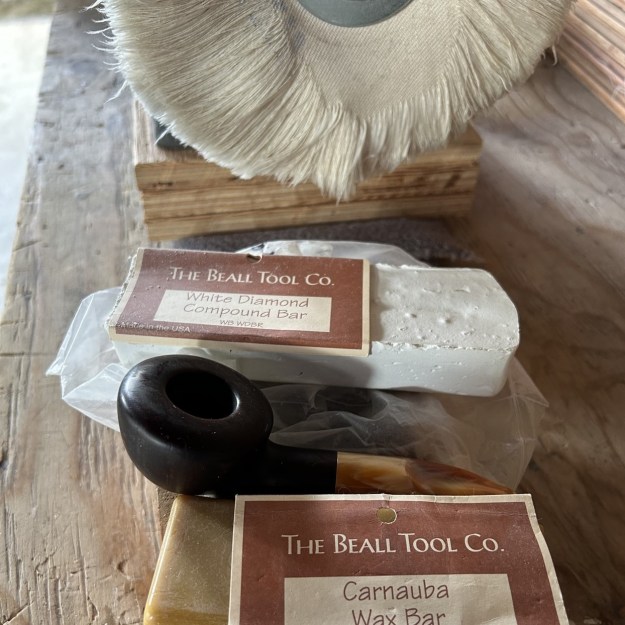
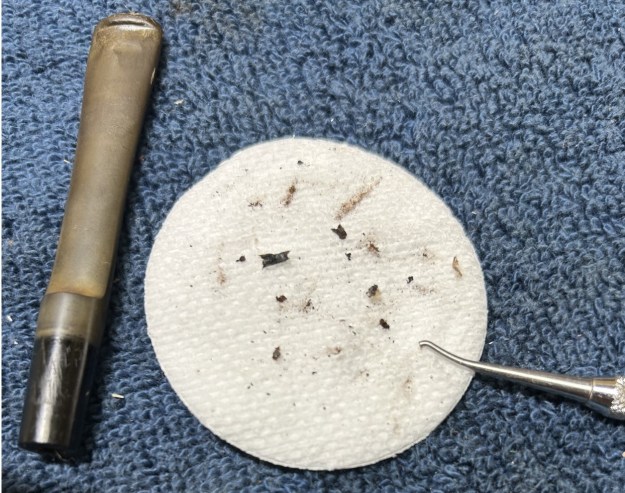
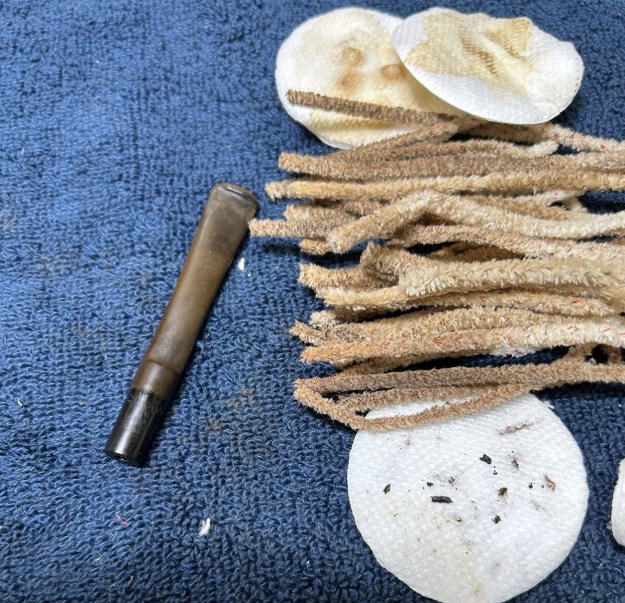
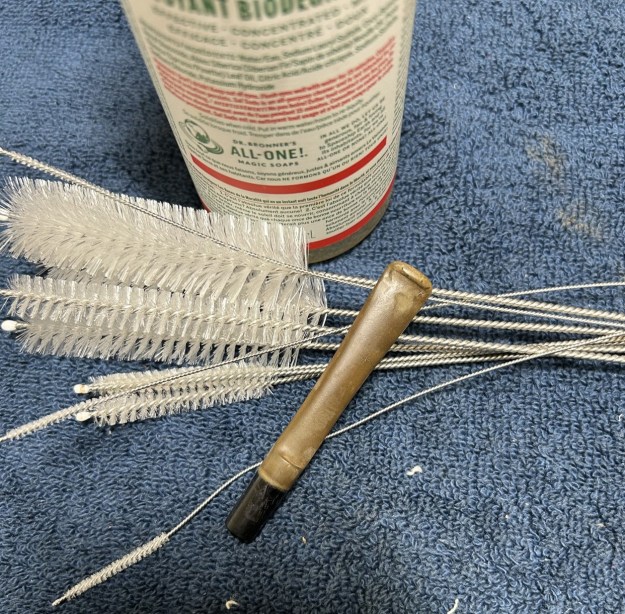
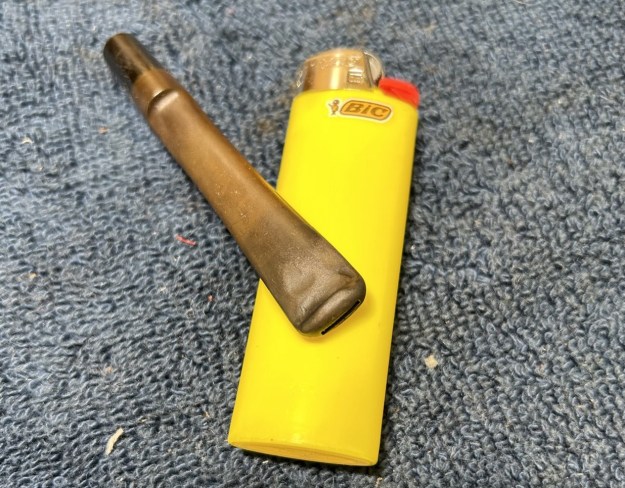
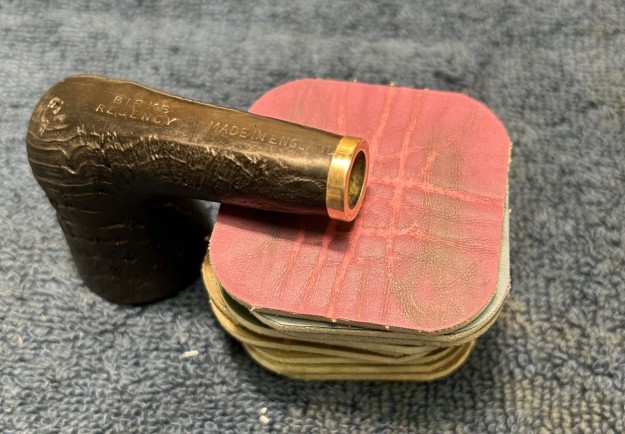
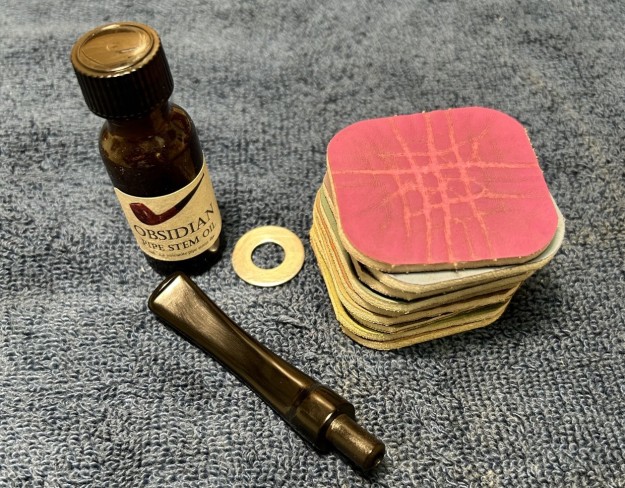
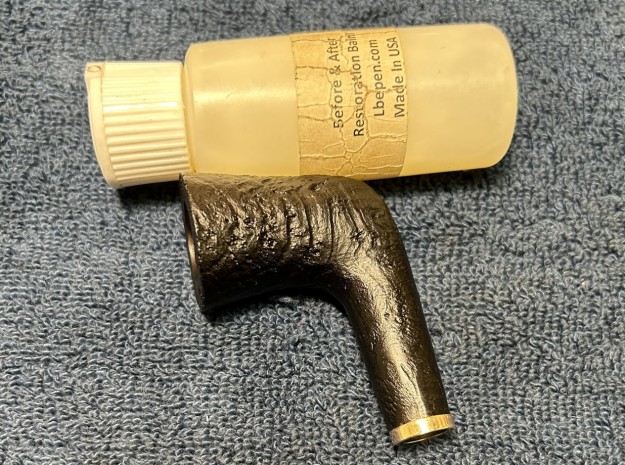
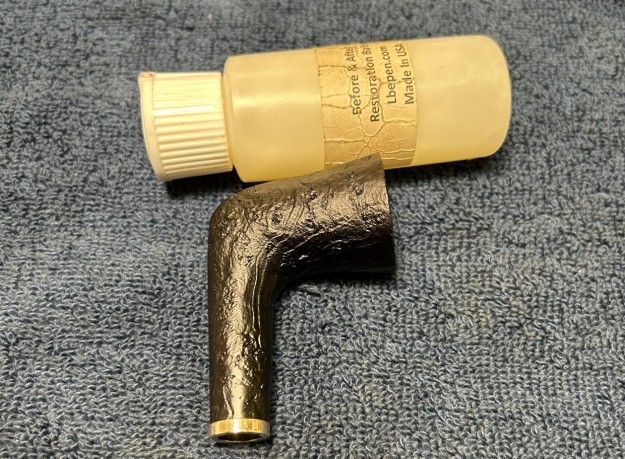
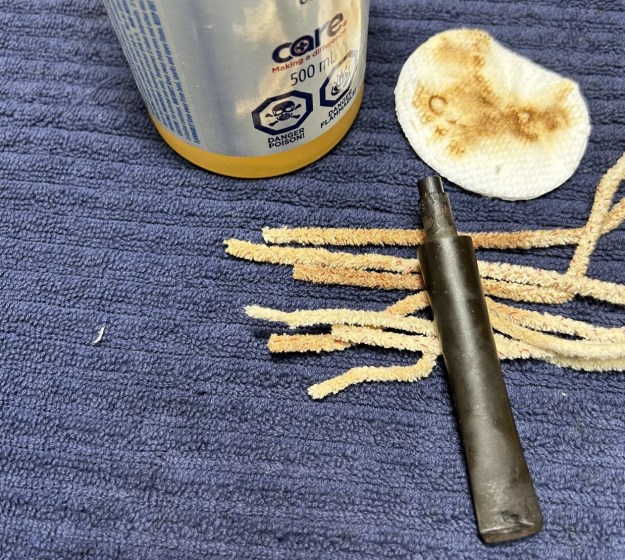
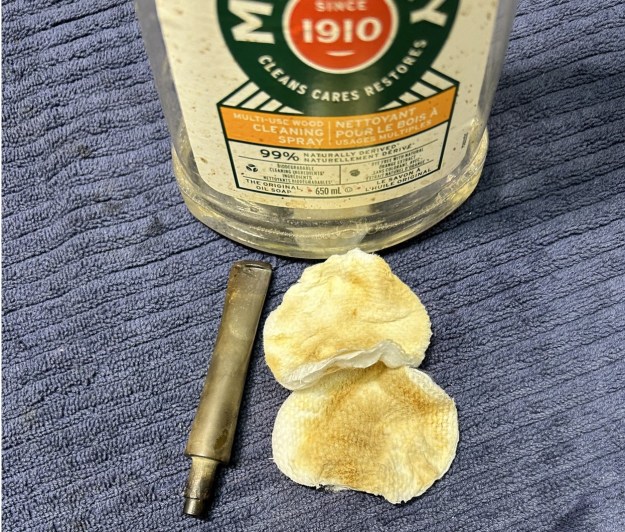
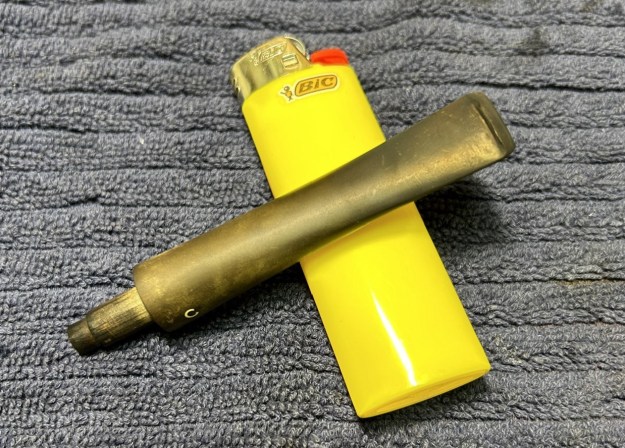
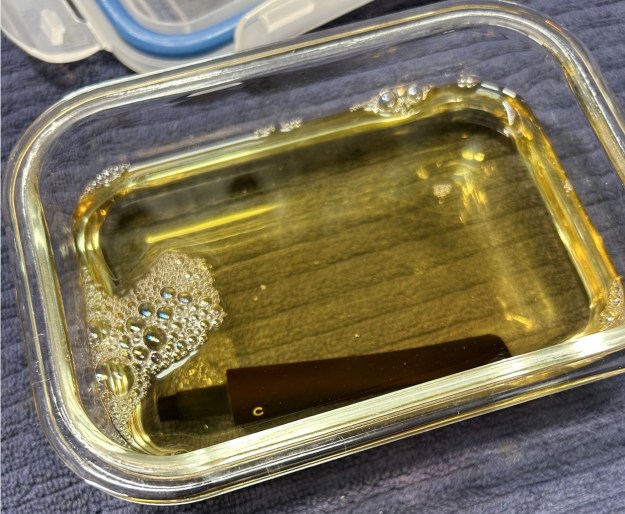
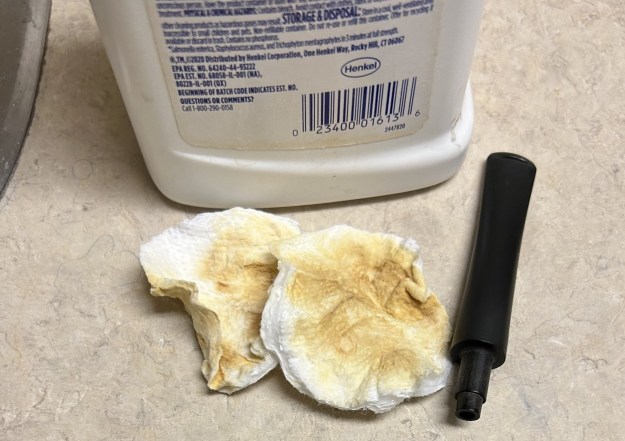
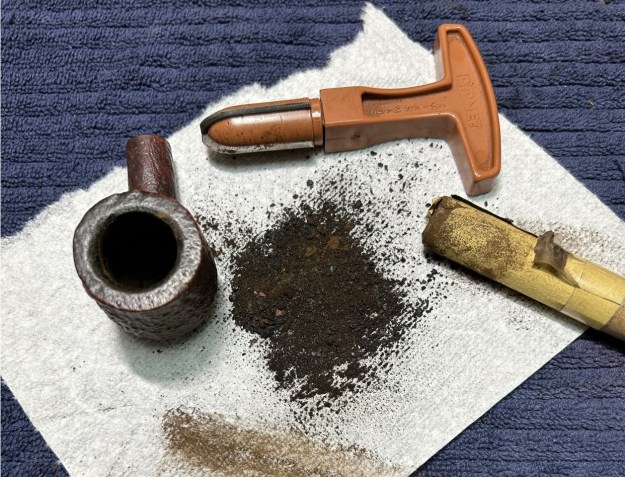
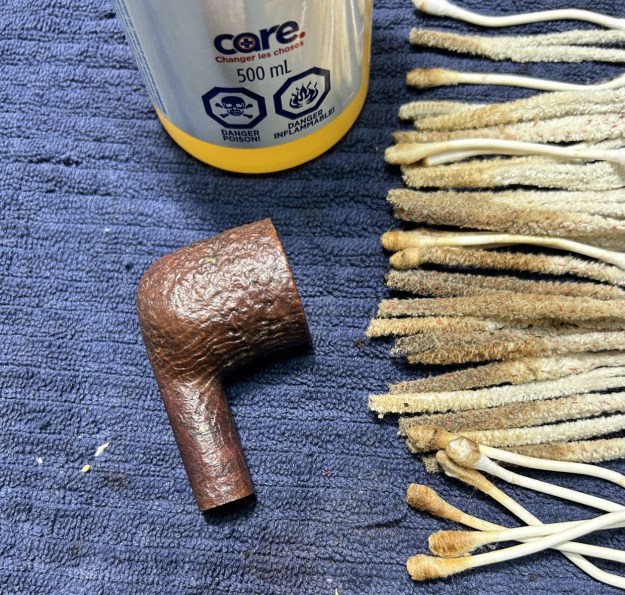
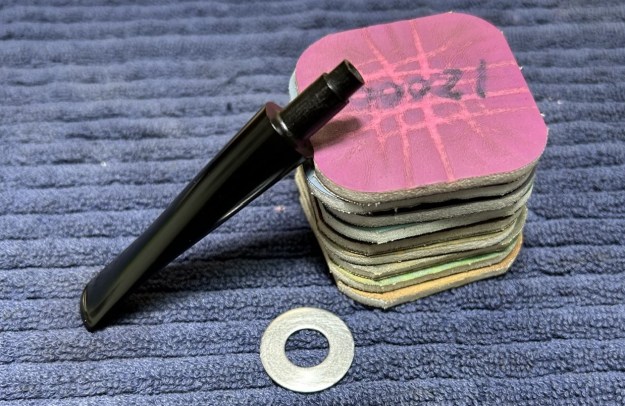
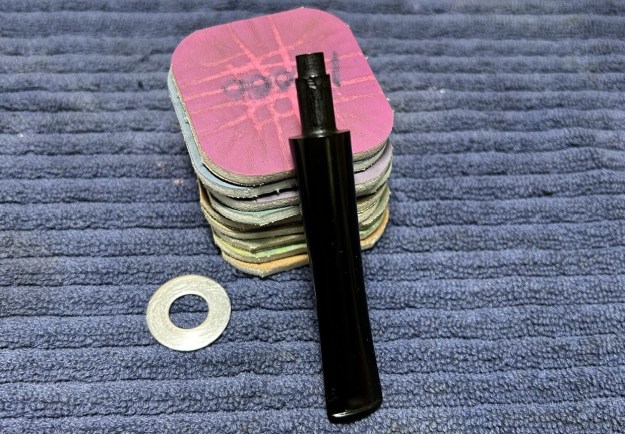
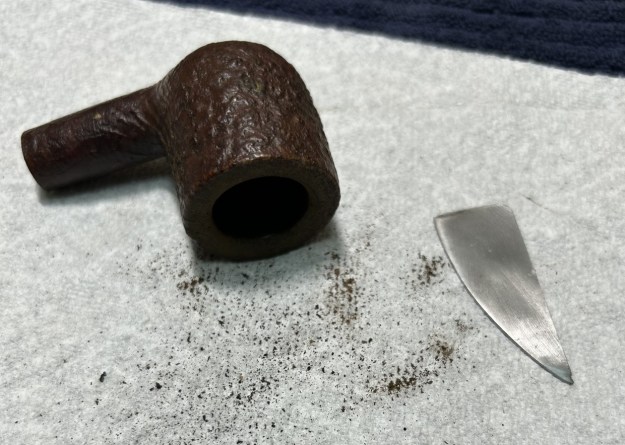
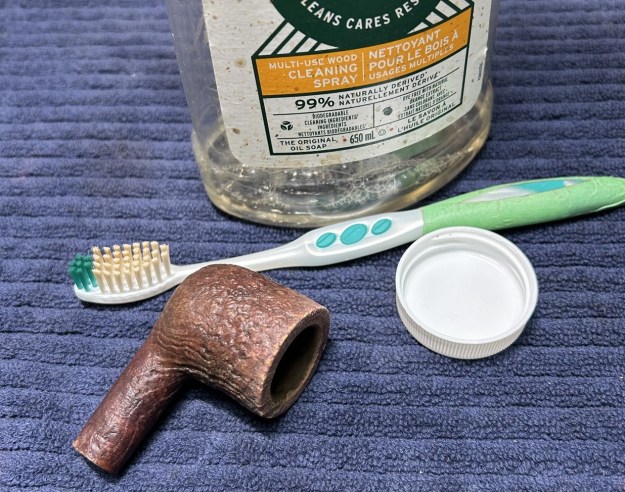
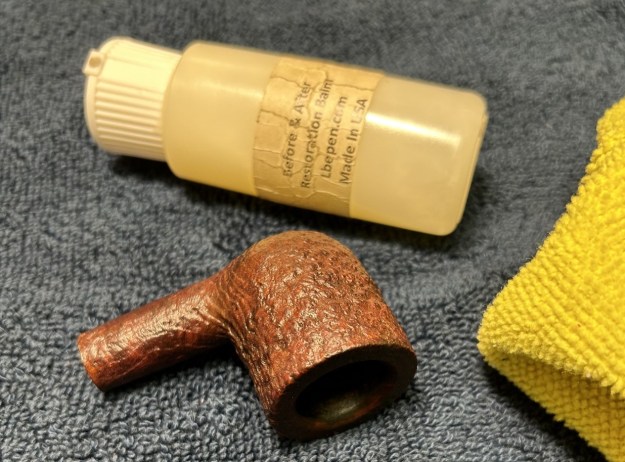
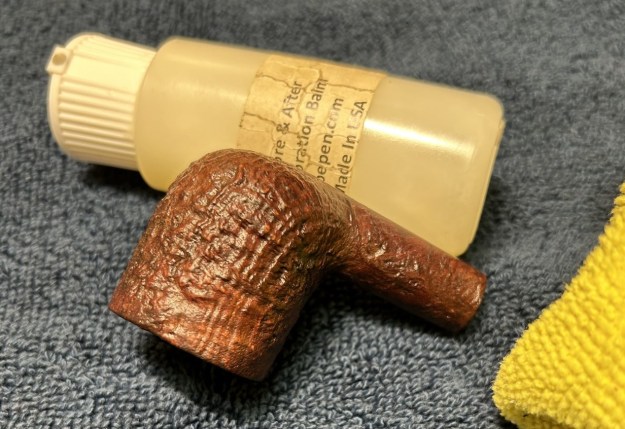
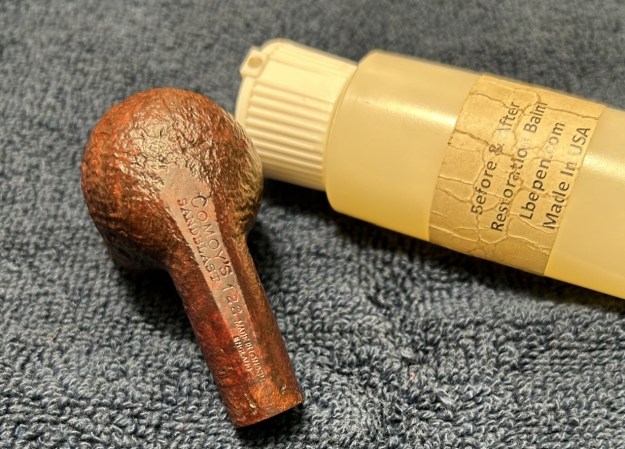
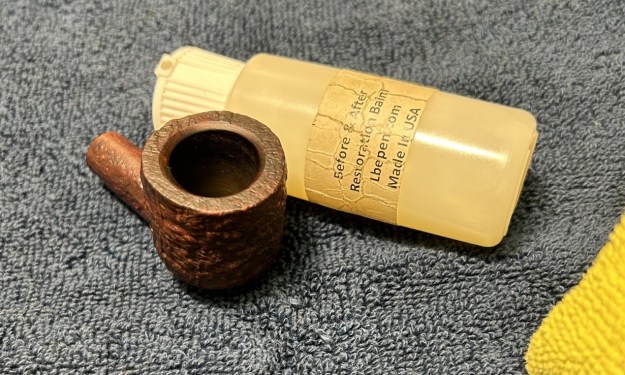
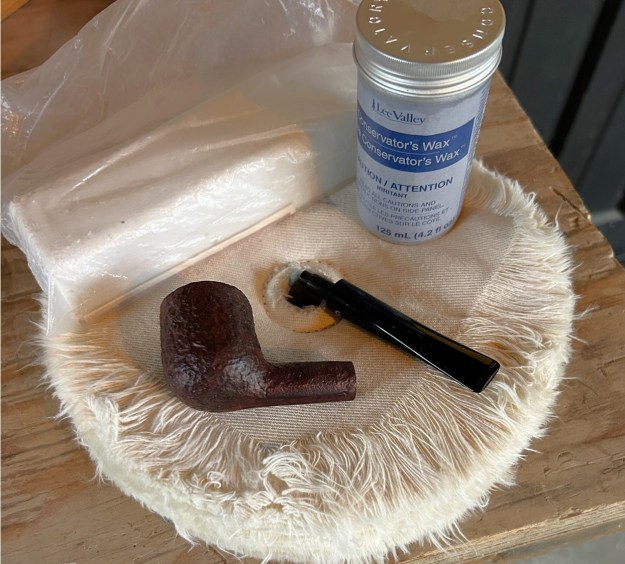
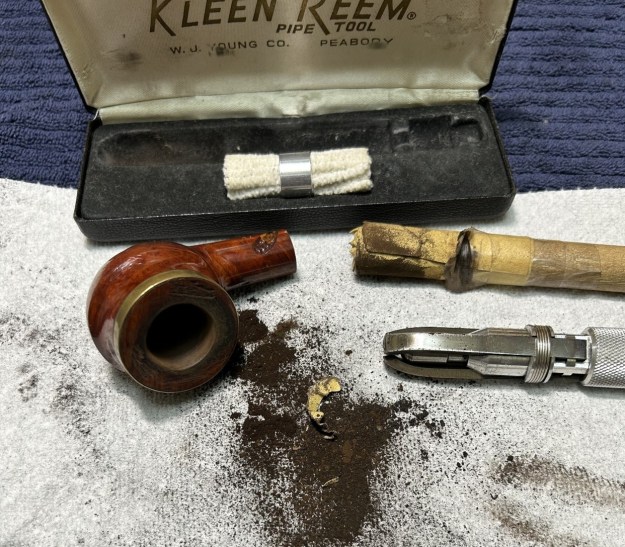
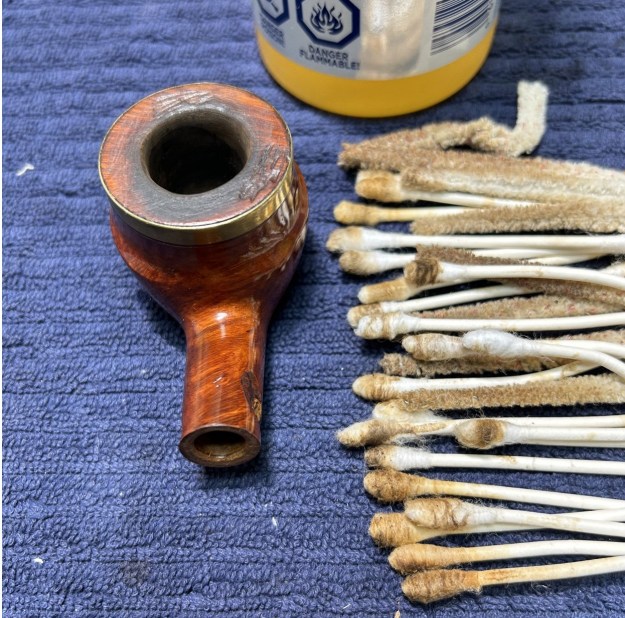
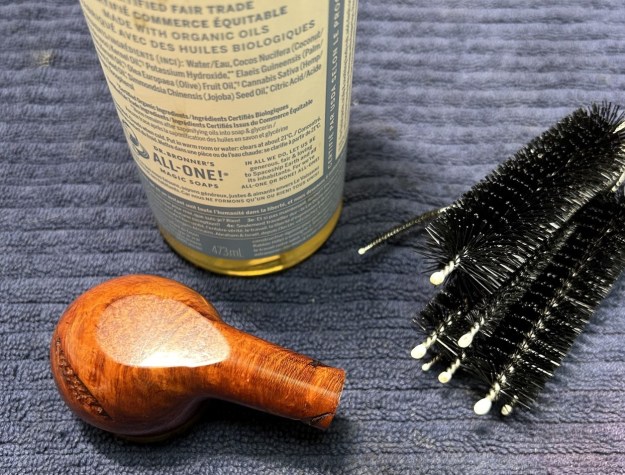
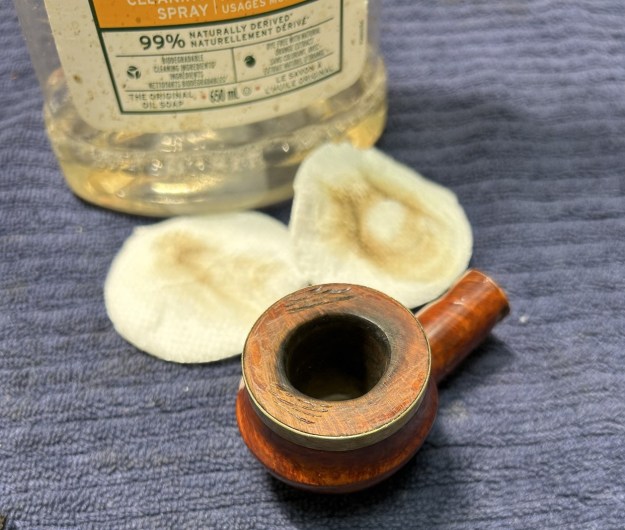
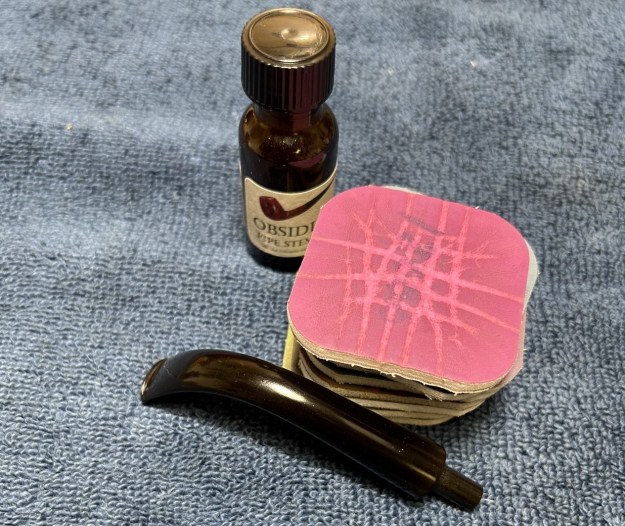
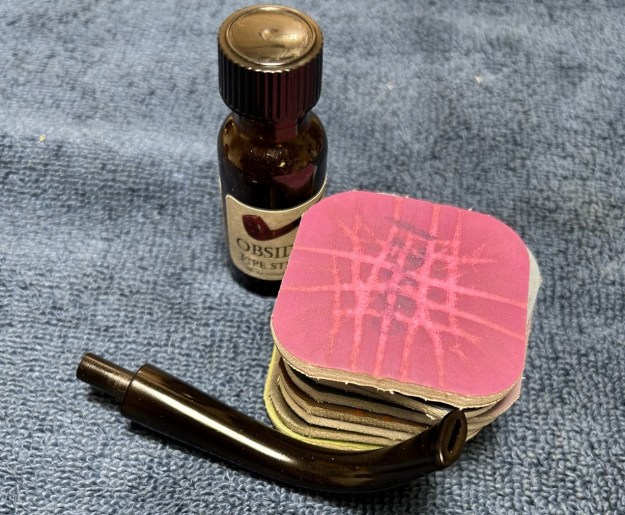
The stem is going to take a lot of work, so let’s get started. I took up the stem and cleaned it off with Murphy’s Oil Soap. It was quite dirty and needed some scrubbing. I then cleaned out the insides of the stem with pipe cleaners and lemon-infused isopropyl alcohol, and, as you can see, if was pretty dirty inside. I also took a BIC lighter and ‘painted’ the stem with its flame in order to lift the tooth marks. This was only moderately successful in raising the dents.Now to tackle the epic oxidation. Next, I scrubbed (and scrubbed and scrubbed) the stem with some SoftScrub cleanser and then put the stem in my container of deoxidizing fluid overnight. This works to draw the oxidation to the surface of the stem, so that it can be cleaned off again with more SoftScrub. As you can see, this worked in the sense that it drew out the oxidation, but there remained a lot of labour ahead. In fact, I repeated the process of scrubbing and soaking overnight, because the situation was so dire. Eventually, I got to a point where the stem was something I could work with. Before I moved on to sanding, I built up the tooth marks on the stem with black cyanoacrylate adhesive and let them fully cure. I then sanded them down with sandpapers to merge a bit better into the stem. I also added some nail polish to the ‘S’ on the stem. At this point, it was clear that more than the ‘usual’ sanding was going to be required here. I took two sanding sponges (220- and 320-grit) and worked the stem hard. I needed to sand out the remaining oxidation to get this stem the best chance of looking decent again. I then used all nine Micromesh pads (1,500 through 12,000 grit) to bring out the lovely black lustre. I also used Obsidian Pipe Stem Oil in between each pad scrubbing. As I mentioned before, there are still hints of its past life, but I’m pretty pleased with how the stem came out. On to the stummel and the usual cleaning procedures were in order for this pipe. I used the KleenReem to remove the cake in the bowl and I followed up by sanding the walls down with some 220-grit sandpaper attached to a wooden dowel. I took it down to bare briar, as I wanted to see if there were any issues in the walls of the bowl. There was some charring and some slight fissures, but nothing serious. I then proceeded to clean out the insides of the shank with Q-tips, pipe cleaners, and isopropyl alcohol. There was some nastiness inside this stummel and it took a lot of cotton to get this thing clean. I decided to de-ghost the bowl to be on the safe side. I thrust some cotton balls into the bowl and the shank and saturated them with 99% isopropyl alcohol. I let the stummel sit overnight. This caused any remaining oils, tars and smells to leach out into the cotton. I then moved on to cleaning the outside of the stummel with Murphy’s Oil Soap and a toothbrush. What a difference that made! I followed that up by cleaning the insides with some dish soap and tube brushes. As I mentioned earlier, there were some minor issues to fix inside the bowl. The solution to this problem is an excellent one: epoxy. I prepared some J.B. Weld epoxy and smeared the walls, ensuring that the epoxy was evenly spread. Once done, a good 24 hours was needed to ensure that the epoxy was properly cured. After that, I gently sanded the inside of the bowl to provide a rough surface for what was to come later. I coated the entire inside of the bowl with a mixture of activated charcoal and my wife’s homemade yogurt. Once hardened, this provides a good, slightly rough surface for a new cake to build. Due to the pipe’s hard life, it was clear to me that the pipe needed to be stained. I applied some Fiebing’s Dark Brown Leather Dye. I flamed it with a BIC lighter and let it set. I then removed the excess with isopropyl alcohol on a cotton round. It looked so much better after this. I then rubbed some Before & After Restoration Balm into the wood. I gently brushed it into the rustication grooves and let the balm sit for fifteen minutes or so. The BARB works so well at bringing out the best in the wood. I brushed it with a horsehair brush and buffed it with a microfibre cloth. Beauty! I rubbed the nickel band with 0000 steel wool. This is the least abrasive grade of steel wool and I wouldn’t use anything harsher than that. I then used a few MicroMesh pads to make the metal shine. Later, I went to the bench buffer and applied some White Diamond to the stummel and stem. Then the final polish! The rusticated surface meant that I didn’t use carnauba wax – it gets gummed up in the grooves. Instead, I used Lee Valley Conservator’s Wax which worked like a charm. This was a nifty restoration and I had fun with it. I think the result is terrific and it’s a very handsome pipe once again. I am pleased to announce that this pipe is for sale! If you are interested in acquiring it for your collection, please have a look in the “Italy” pipe section of the store here on Steve’s website. You can also email me directly at kenneth@knightsofthepipe.com. The approximate dimensions of the Savinelli Dry System 3621 Bent Dublin are as follows: length 5 in. (126 mm); height 4 in. (101 mm); bowl diameter 1⅜ in. (36 mm); chamber diameter ¾ in. (19 mm). The weight of the pipe is 1⅛ oz. (35 g). I hope you enjoyed reading the story of this restoration as much as I enjoyed restoring it. If you are interested in more of my work, please follow me here on Steve’s website or send me an email. Thank you very much for reading and, as always, I welcome and encourage your comments.

Restoring a BIG, Beautiful Charatan


Blog by Kenneth Lieblich

Next on the chopping block is a Lumberman-shaped Charatan, from the family of a local gentleman who had passed away. It’s great-looking pipe, with a large bowl and a long, lovely shank. The stem is a handsome saddle – not the “double comfort” version. I’m looking forward to getting this one fixed up and available for sale. On the top of the shank, it says “Charatan’s Make [over] London, England [over] Special”. Nothing on the left side of the shank, but on the right side it reads the shape number “4402 X”. On the stem, there was the traditional “CP” of the Charatan company. The Lumberman is a member of the Canadian family of pipe shapes, and this one is a real beauty. Let’s do some research and see what we find. First of all, a search of Charatan shape numbers provides this nugget:

“402 Outsize Lumberman”

And that fits this pipe to a T. Now let’s see if we can date this pipe. I went to Pipedia and found an excellent article on dating Charatans. Here are some relevant quotations for this pipe:

“From 1863 to 1960 the mouthpieces have a normal shape, saddle or tapered. From 1961 they use the ‘Double Comfort’ style still used today. By the way there are some saddle bits (without the double comfort) used in pipes that date after 1960 but these models are always characterized by a X (in the place of the DC) engraved after the shape number on the shank. This means that if a pipe has a tapered mouthpiece instead of a double comfort one, it is definitely a pre-Lane pipe before 1960. While if a pipe has a normal saddle bit stem, it could belong to every era. Nevertheless the pipe is pre 1961 if the shape code does not include an X, and is a pipe from after 1960 if the X is engraved.”

So this tells us that this pipe dates from after 1960. But there’s more!

“The CP logo on the stem is stamped in a different shape according the era it was used. Some differences are less obvious than others, however the glaring differences are detectable in 4 phases…. From 1961 to 1977 the CP logo is more pronounced and the C penetrates the P.”

So this tells us that this pipe dates from after 1960, but before 1977. And, again, there’s even more!

“Presence of the writing “CHARATAN’S MAKE LONDON ENGLAND” on 2 lines.”

This is the clincher. It confirms that this comes from the “First Lane era, 1961-1965”. After this date, that specific writing on the shank changes from 2 to 3 lines. So this pipe dates from approximately 60 years ago. One important note: from 1955 all the pipes imported into the USA (and presumably Canada?) by Lane has a stylized “L” (to indicate Lane’s proprietorship). This pipe does not have the stylized “L”, so was likely acquired in England. Here’s an image of the pipe in question, from a 1964 catalogue: On to the pipe itself. It arrived in fairly good shape – no major problems to report. Just needs some TLC and it will look fantastic. The stem has a few minor bite marks and a good bit of oxidation, but nothing serious. The stummel had a few very minor nicks on the bowl, plus there was a good amount of lava on the rim and some charring. Most of the stummel, however, was in excellent condition – especially for 60 years old. Time to get to work! The stem was first on my list. I wiped the outside down with Murphy’s Oil Soap on some cotton pads. I also took a BIC lighter and ‘painted’ the stem with its flame to lift the few bite marks and dents. Then I cleaned out the inside with pipe cleaners and isopropyl alcohol. It was minorly dirty and I only went through a few pipe cleaners. I then wiped down the stem with SoftScrub cleaner to remove surface oxidation. Once this process was done, the stem went for an overnight soak in the Pipe Stem Oxidation Remover. This allows me to clean the oxidation off in a couple of ways: by applying a mild cleaner to the surface and sanding the stem. The next day, I used SoftScrub again with some cotton rounds. After this, I used some acrylic paint to restore the logo on the stem. I painted the area carefully and let it fully set before proceeding. I built up the dents on the stem with black cyanoacrylate adhesive and let them fully cure. I then sanded the adhesive down with 220- and 400-grit sandpapers to meld seamlessly into the stem. I then used all nine Micromesh pads (1,500 through 12,000 grit) to bring out the stem’s lovely black lustre. I also used Obsidian Pipe Stem Oil in between each pad scrubbing. With the stem shiny and clean, I set it aside and moved on to the stummel. Firstly, I decided to ream out the bowl. I used the PipNet Reamer to remove the built-up cake and followed that with 220-grit sandpaper taped to a dowel to eliminate as much as I could. I took the chamber down to bare briar, as I wanted to ensure there were no hidden flaws in the wall. There were a few thin, wispy heat fissures inside the bowl, but nothing serious. That’s easily dealt with – later. I then proceeded to clean out the insides of the shank with Q-tips, pipe cleaners, and lemon-infused isopropyl alcohol. There was a bit of filth inside this stummel and it took a fair amount of cotton to get it clean. I followed that up by cleaning the insides with some dish soap and tube brushes. I decided to de-ghost the pipe to remove any lingering smells of the past. I thrust cotton balls into the bowl and the shank and saturated them with 99% isopropyl alcohol. I let the stummel sit overnight. This caused any remaining oils, tars and smells to leach out into the cotton. The bowl was nice and clean after this.Even though the nicks on the stummel were slight, I dug out my iron and a damp cloth to try to raise them. The hot and moist steam can often cause the wood to swell slightly and return to shape. This worked quite well, but alas, I forgot to take pictures.
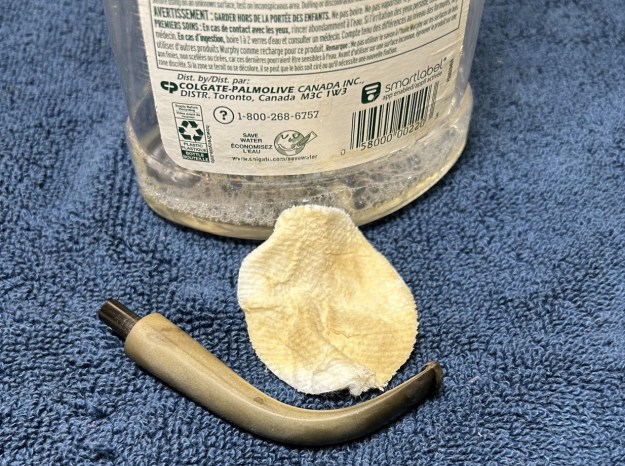
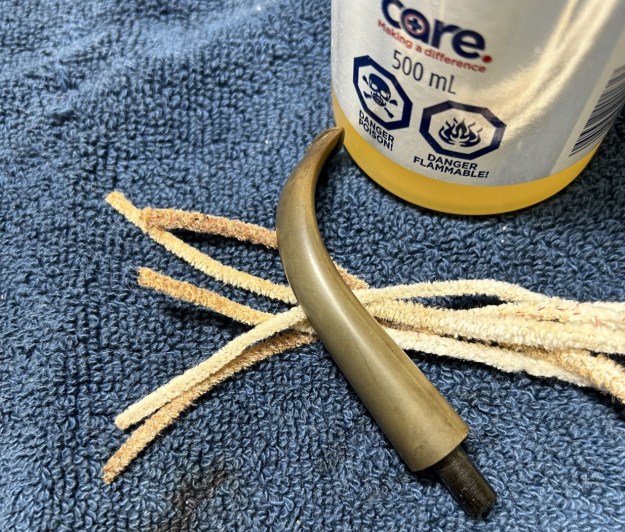
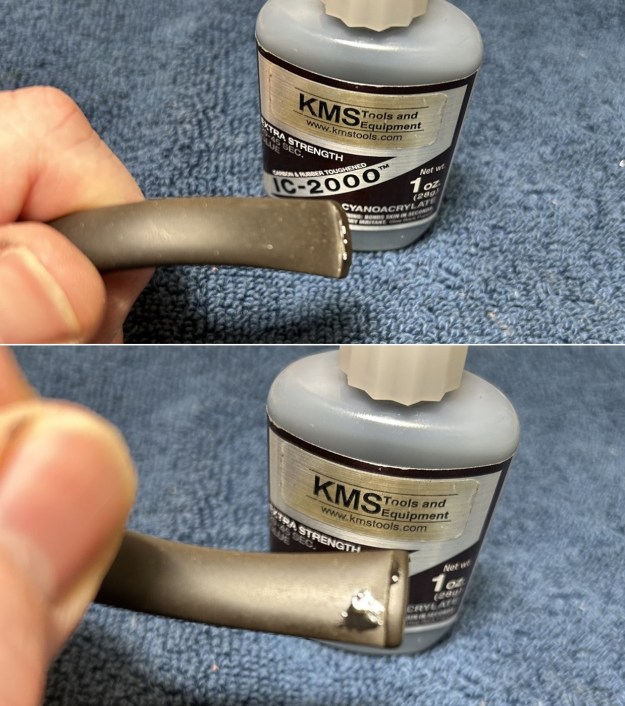
I used cotton rounds and some Murphy’s Oil Soap to scrub the outside of the stummel. I decided it wasn’t necessary to top this pipe. I felt that I could remove the charring without removing any patina. I used a piece of machine steel to gently and carefully scrape away the lava on the rim, before using a toothbrush with Murphy’s to get rid of the rest. So, I opted for just the Micromesh pads to finish things up. Since the pipe was in such good condition, I only used the 3200-grit and up.I addressed the small fissures in the bowl, by coating the entire inside of the bowl with a mixture of activated charcoal and my wife’s homemade yoghurt. Once hardened, this provided a good, slightly rough surface for a new cake to build. I applied a light application of Before & After Restoration Balm. This stuff works wonders in bringing out the beauty of wood. I make use of the stuff in every restoration. Then it was off to the buffer. I used White Diamond and carnauba wax to make this pipe super spiffy.This Charatan looks amazing and is ready to be enjoyed by the next owner! I am pleased to announce that this pipe is for sale! If you are interested in acquiring it for your collection, please have a look in the British Pipemakers section of the store here on Steve’s website. You can also email me directly at kenneth@knightsofthepipe.com. The approximate dimensions of the pipe are as follows: length 6¼ in. (160 mm); height 2 in. (53 mm); bowl diameter 1⅝ in. (42 mm); chamber diameter 1 in. (24 mm). The weight of the pipe is 1¾ oz. (52 g). I hope you enjoyed reading the story of this pipe’s restoration as much as I did restoring it. If you are interested in more of my work, please follow me here on Steve’s website or send me an email. Thank you very much for reading and, as always, I welcome and encourage your comments.

My Grandfather’s Apple


Blog by Kenneth Lieblich

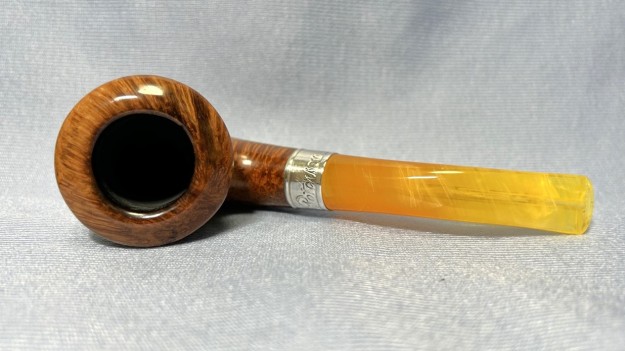
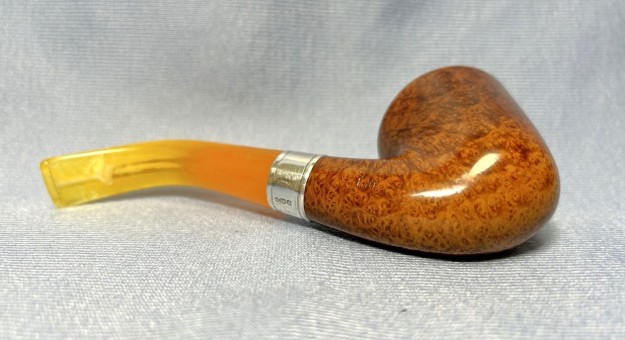
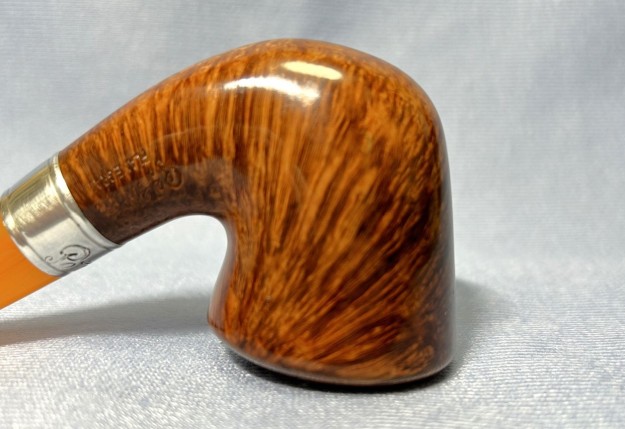
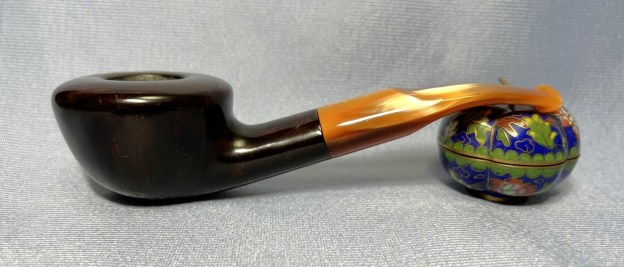
Next on the chopping block is a personal pipe – and one that is staying in my collection. This pipe is a charming apple shape with a straight stem of what I assume is amberoid – and not real amber. I do not know where my grandfather acquired it (or under what circumstances), but I suppose it does not ultimately matter. My grandfather was an enthusiastic pipe smoker and he clearly enjoyed this one. I am definitely looking forward to cleaning this one up. It has a value well beyond dollars. As the photos show, this pipe has a stem that tapers towards the button. In addition to this, it also has an orific button. These two facts suggest a pipe from the pre-WW2 era. For more information on the orific button, take the time to read Steve’s interesting article on the subject. This type of button is a feature that apparently disappeared by the 1930s, but the metal tenon suggests a date that is more likely in the 1940s. The pipe’s markings read Racine de [over] Bruyere [over] Garantie (on the left side of the shank). Alas, there are no other markings to be found. As you may know, Racine de Bruyere Garantie means “Guaranteed Briar Root”. This indicates that the pipe almost certainly comes from St Claude, France, but gives no indication of who made it. As previously mentioned, I do not know the exact date of the pipe, but it is likely from the 1940s.Anyway, on to the pipe – and it’s a pipe that just makes you smile. There is something wholesome and comforting about the look of the pipe. I must admit, however, that I may be thinking of my grandfather more than the pipe!

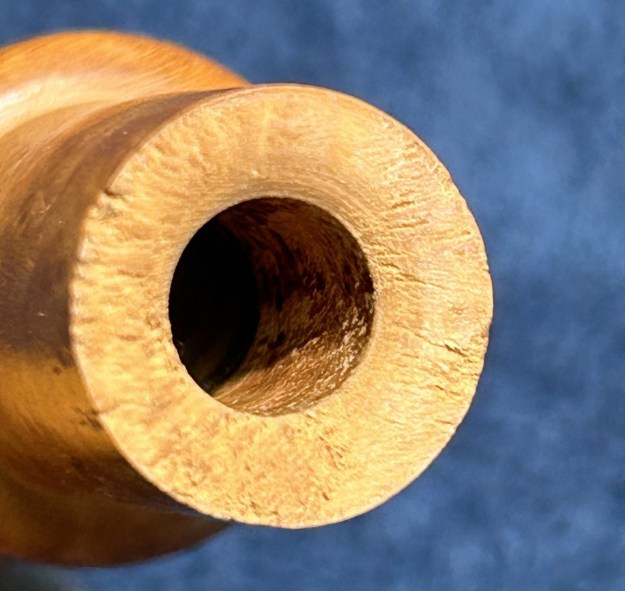
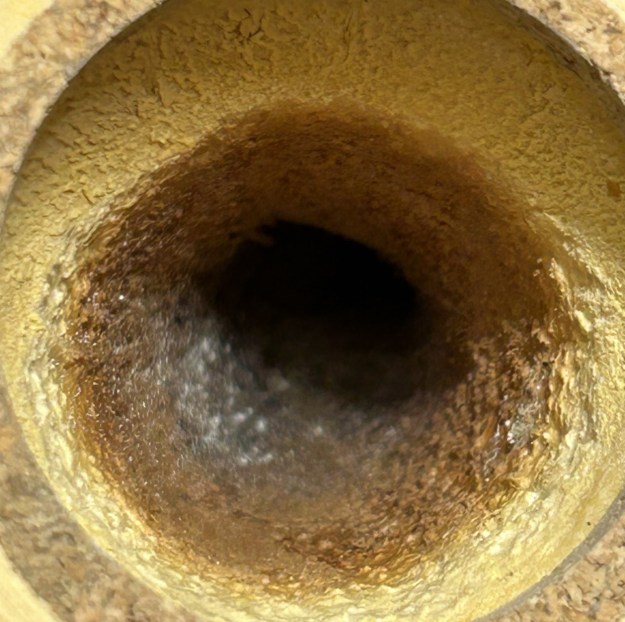
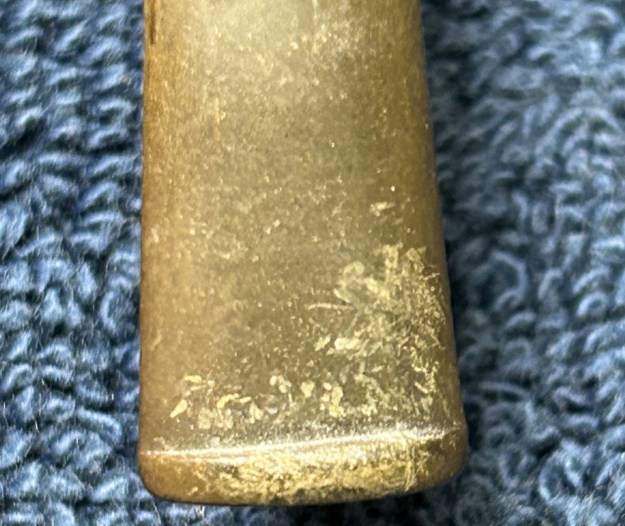
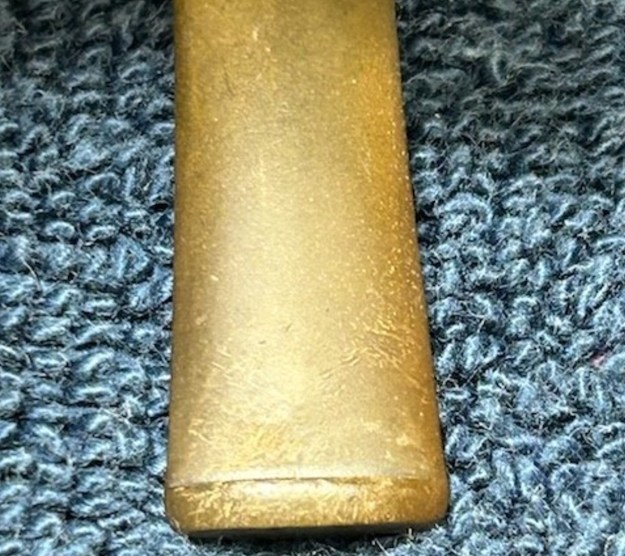
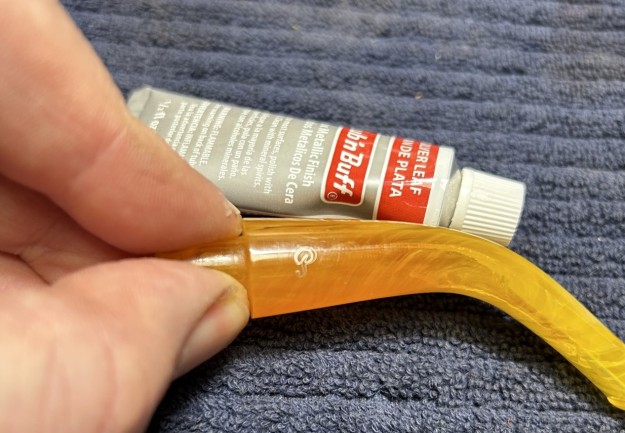
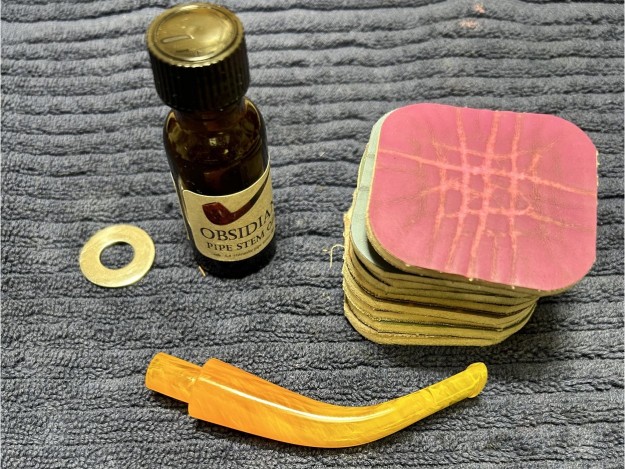
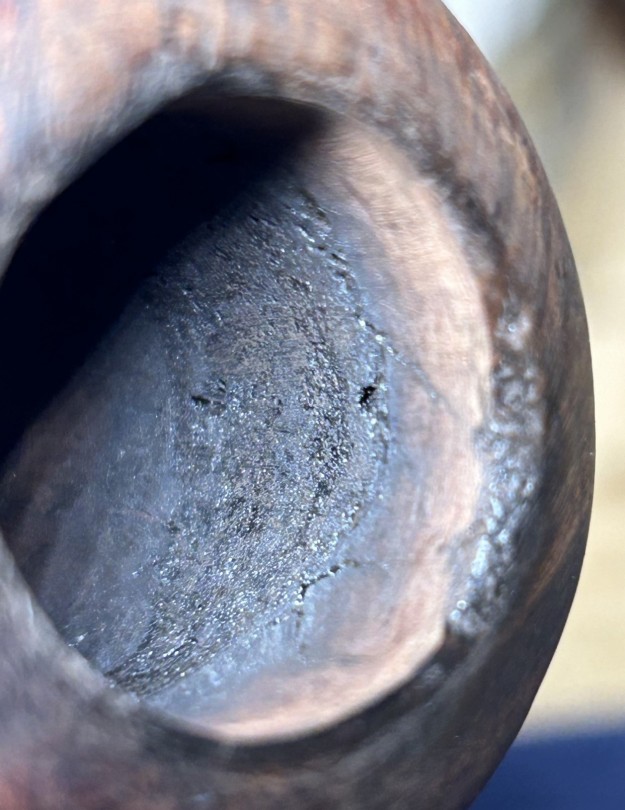
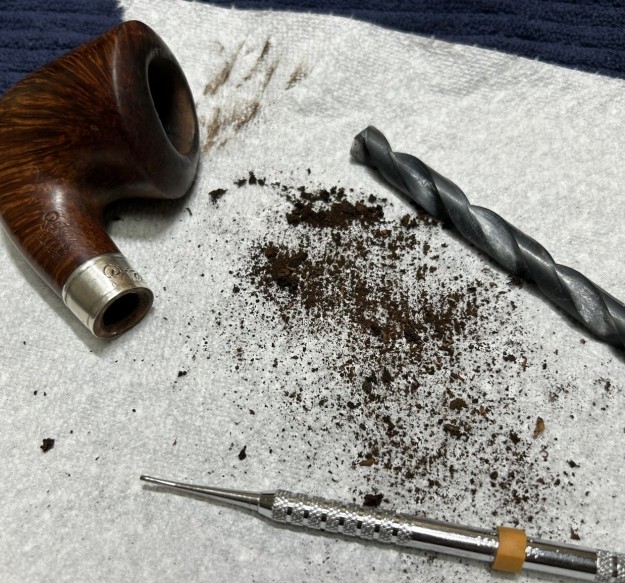
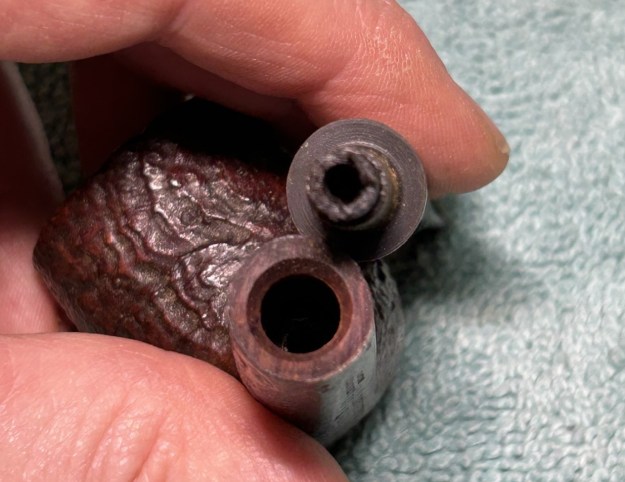
This poor pipe was not without its issues. The stummel had the following problems: lava on the rim, charring to the rim, a bashed rim, plenty of cake in the bowl, a few substantial and ugly fills, and a tired, worn-out colour of wood. By the way, some of the strange “marks” on the bowl are, in fact, old bits of newspaper. After my grandfather died, the pipes were wrapped in newspaper and stuck in a box. The newspaper got wet at some point in the intervening years. Meanwhile, the stem had its own set of problems: major tooth marks and dents, a bite-through, and a filthy stinger. The stem was first on my list. The stinger actually screwed into the tenon – and it was being quite stubborn about coming out! I opted to warm the stinger with a heat gun and this provided just enough softening of the internal goo to allow me to pull it out. The stinger then went for a soak in some lemon-infused isopropyl alcohol. I let it set for several hours and then cleaned it off and it looked much improved. I then finished it with some 0000-grit steel wool, greased the threads with some petroleum jelly and moved on. I wiped down the outside of the stem with Murphy’s Oil Soap on some cotton pads. Then, I cleaned out the insides with pipe cleaners and isopropyl alcohol. As I mentioned earlier, I think this stem is made from amberoid. This is a synthetic of small pieces of amber, pressed together under great pressure and high heat.Now it was time to make a fix the damage. I tried desperately hard to clean the discoloration inside and outside the stem, but this met with limited success. I ended up filing the dents etc. with clean cyanoacrylate adhesive. I first plugged up the stem’s draught hole with a pipe cleaner coated in petroleum jelly. This ensured that any of the cyanoacrylate would not accidentally plug up the air passage in the stem. I then used a miniature file to shape the button and make it suitable for sanding. I then sanded the stem down with 220- and 400-grit sandpapers to meld seamlessly into the stem. This ensures that it keeps its shape and looks like it should. I then used all nine Micromesh pads (1,500 through 12,000 grit) on the stem to make look as much like amber as possible. I also used Obsidian Pipe Stem Oil in between each pad scrubbing. It is worth noting that a repair this big on a stem will never be invisible, but I was pleased with how the stem finished up. On to the stummel, and the usual cleaning procedures were in order for this pipe. I used the KleenReem to remove the built-up cake, and followed that with 220-grit sandpaper to remove as much as I could. I wanted to take the bowl down to bare briar to ensure there were no hidden flaws in the walls of the bowl. Fortunately, there were none. I then proceeded to clean out the insides of the shank with cotton swabs, pipe cleaners, and isopropyl alcohol. There was quite a bit of filth inside this stummel – it took many pipe cleaners et cetera to clean it out. Have a look at the photos – disgusting! I decided that a de-ghosting session would be a good idea. I thrust cotton balls into the bowl and the shank and saturated them with 99% isopropyl alcohol. I let the stummel sit overnight. This caused the oils, tars and smells to leach out into the cotton. The bowl was nice and clean after this. One interesting point of note is that the mortise on this pipe is lined with cork (another sign of the pipe’s age). This complicated the cleaning process, as I needed to ensure that the alcohol etc. didn’t degrade the cork. I worked carefully and it turned out alright.I followed that up by cleaning the insides with some Castile soap and tube brushes. I then moved on to cleaning the outside of the stummel with Murphy’s Oil Soap and some cotton pads. That removed the bits of aforementioned newspaper and any remaining dirt. I also soaked the rim in Murphy’s for a while, then used a toothbrush to loosen up the lava.There were several notable dents and nicks on the rim. Normally, I would top the pipe on a piece of 220-grit sandpaper. I didn’t do that this time because I wanted to maintain the rounded profile of the rim. I still used 220-grit sandpaper, but made sure to keep the look of the pipe.Having completed that, I was able to address the fills on the stummel. I used a dental tool to dig out the old, crumbly putty. I filled the divots with a mixture of cyanoacrylate adhesive and briar dust – then let it cure. Now, with the nicks filled, it was time to sand down the stummel. I used all nine Micromesh pads (1,500 through 12,000 grit) to sand everything smooth.After that, a light application of Before & After Restoration Balm brought out the best in the stummel’s grain. What a difference that made! I felt that this pipe really needed some colour for two reasons: some dark colour would contrast nicely with the orange of the stem and it would help obscure some of the dreadful fills. I applied Fiebing’s Cordovan Leather Dye with a cotton dauber. I flamed it with my Bic lighter, let it set, then coated it again with dye, flamed it again, and let that set too. I decided to let the pipe sit overnight. Upon the morrow, I used isopropyl alcohol to wipe down the pipe and remove excess stain. I am very happy with the results.Then it was off for a trip to the buffer. A dose of White Diamond and a few coats of carnauba wax were just what this pipe needed. The lovely shine made the wood look absolutely beautiful.This is a wonderfully crafted pipe and has a very elegant feel to it. It took a lot of work, but I am proud of it and the final product is (hopefully) worthy of my beloved grandfather’s memory. Obviously, this is one pipe that I am keeping for myself and adding to my collection. I am sure that I will be enjoying this one for many years to come. I hope you enjoyed reading the story of this pipe as much I as I did restoring it. The approximate dimensions of the pipe are as follows: length 5⅜ in. (136 mm); height 1⅝ in. (43 mm); bowl diameter 1⅜ in. (37 mm); chamber diameter ¾ in. (19 mm). The weight of the pipe is 1¼ oz. (40 g). If you are interested in more of my work, please follow me here on Steve’s website or email me directly at kenneth@knightsofthepipe.com. Thank you very much for reading and, as always, I welcome and encourage your comments.

A Major Overhaul for an S&R Woodcrafters Pipe


Blog by Kenneth Lieblich

I’ve mentioned before that there are some pipes that are so challenging that they are an entire pipe-restoration course in and of themselves. This is one may not be as bad as some I’ve tackled in the past, but it certainly needs some major help! This is a S&R Woodcrafters Pipe and it belongs to my cousin in Montréal. He asked me if I could bring it back to life and I said I’d give it the old college try. This pipe reminded me that sometimes the wear-and-tear of the years needs to remain on a pipe as part of its story. This pipe has been abused over the years. I managed to bring great beauty back to this pipe, but it would always retain signs of its past. The pipe in question was made by Stephen and Roswitha Anderson (hence, S&R Woodcrafters) of Columbus, Ohio. They make unique, handcrafted pipes and are fascinating pieces. I read a blog Steve wrote on an S&R pipe earlier this year to learn more about the pipe’s background. I was directed to the Pipedia page on S&R and it has a lot of good information:

Stephen and Roswitha Anderson of S&R Pipes, also known as S&R Woodcrafters, have become pipe makers renowned throughout the world as talented carvers of high-grade briar pipes. They have been featured in several trade publications and magazines such as Pipes and Tobaccos and PipeSmoker, and have several pieces on display in museums in Europe and the United States. 

They are the first American pipe carvers honored with induction into the Conferee of Pipe Makers of Saint-Claude, France; the very place where the carving of briar pipes became a world-wide industry. Sadly, Steve passed away in March of 2009. Roswitha is still carving S&R pipes and carrying on with the shop with help from her “guys” David, Marty, and Tony. 

Steve and Roswitha began carving pipes in the 1960’s. They travelled to pipe shows and arts and crafts shows throughout the country and Europe selling their pipes and built up quite an extensive loyal customer base. Eventually, it became time to offer their pipes to the retail fraternity of pipe smokers. 

Pipes & Pleasures had its grand opening in a distinct red brick house on Main Street in Columbus, Ohio in 1977. The front section of the house was converted into a traditional tobacco shop selling pipe tobacco, cigars, and pipes manufactured by well known companies such as Dunhill, Charatan, and Savinelli as well as the high-grade S&R pipes that Steve and Roswitha carved. A workshop was set up in the back section of the house. 

When the cigar boom hit in the ’90’s, the shop was expanded by building a large computer controlled walk-in humidor. It’s no secret throughout the country that Pipes & Pleasures has the best maintained cigars in the Columbus area as well as the best selection of premium cigars available in the area including the much sought-after Davidoff line. 

Soon after the boom began, Steve and Roswitha moved their pipe making workshop to their farm and converted that space into a large smoking lounge for their many customers. The lounge features comfortable easy chairs, a television set, a stereo, a library of books and magazines about every aspect of tobacciana, a chess table, and a couple of card tables. The lounge is populated daily with long-time loyal customers and newcomers to the enjoyment and relaxation of cigar and pipe smoking. It’s also the room where several cigar tastings and samplings are held every year by representatives from cigar companies such as Davidoff and La Flor Dominicana.

In fact, their shop, Pipes & Pleasures, is still running. You can visit their website here.This is a charming pipe, but it had a number of significant issues, aside from the usual. Let’s take a closer look.

  • The rim is heavily shredded and notably burned.
  • The opening of the bowl is badly out of round.
  • There’s a big gouge on the side of the bowl.
  • There are several fissures inside the bowl (one of which might connect to the gouge).
  • There’s a crack on the top of the button.
  • There’s a piece missing on the underside of the button.
  • The mortise and tenon are not seated properly, but this might be corrected by a thorough cleaning.

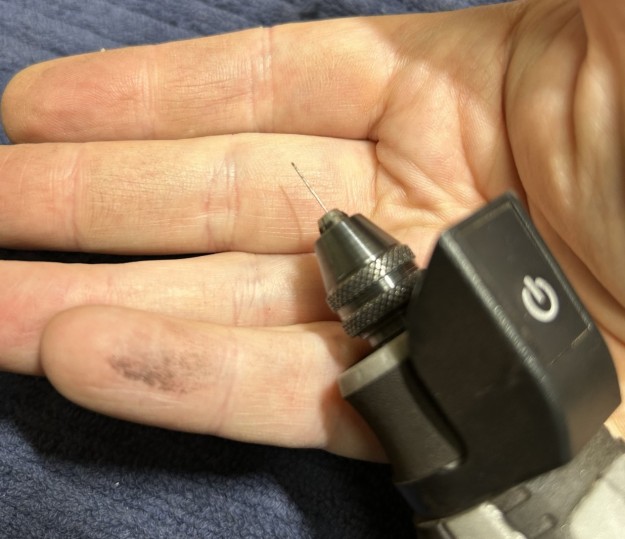
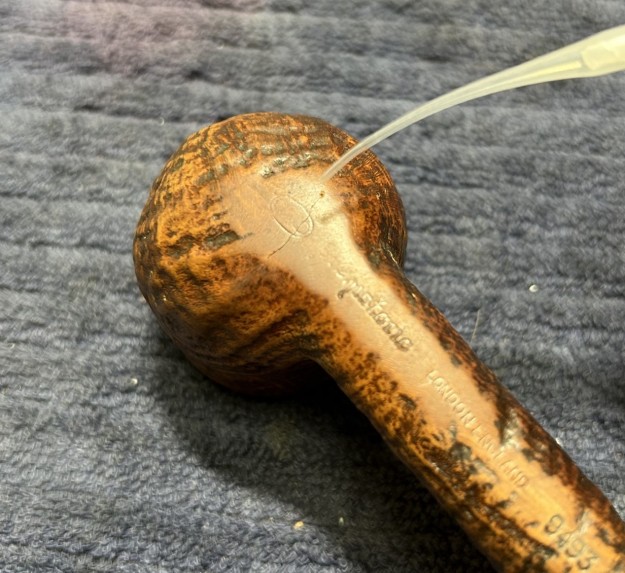
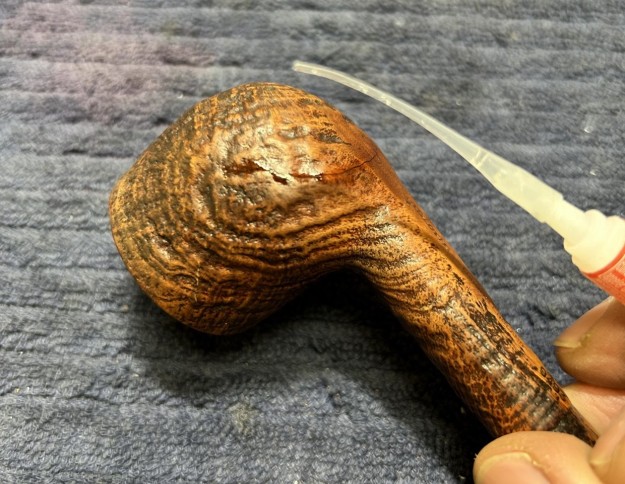
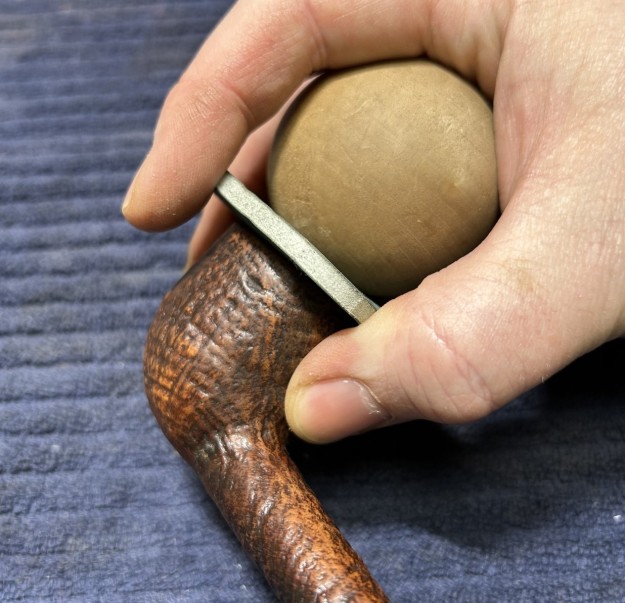
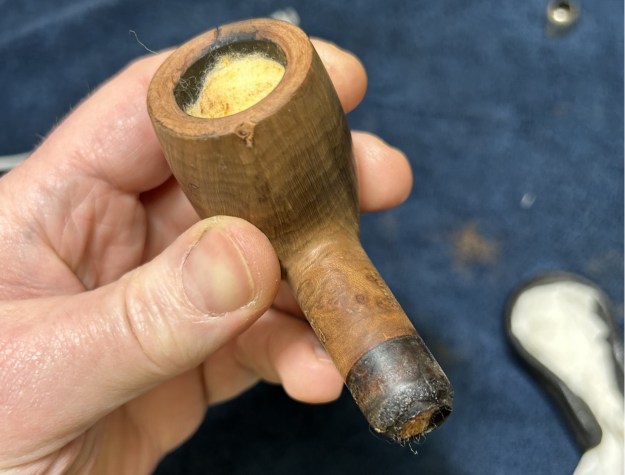
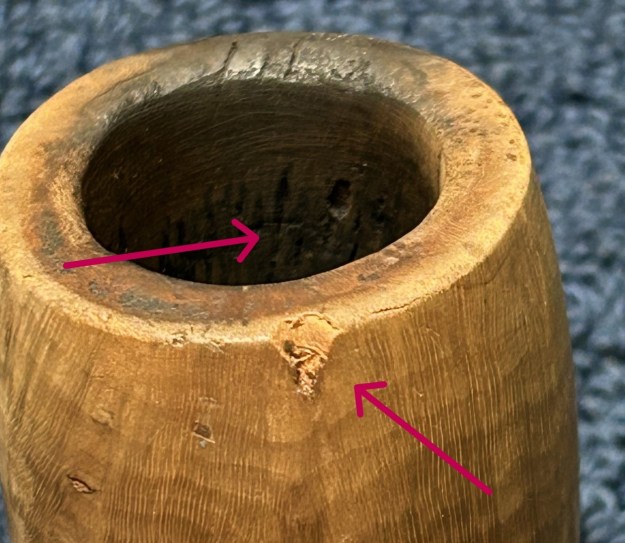
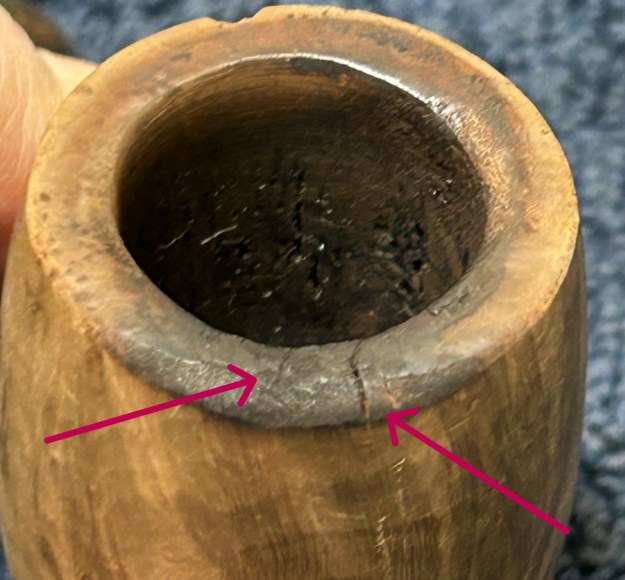
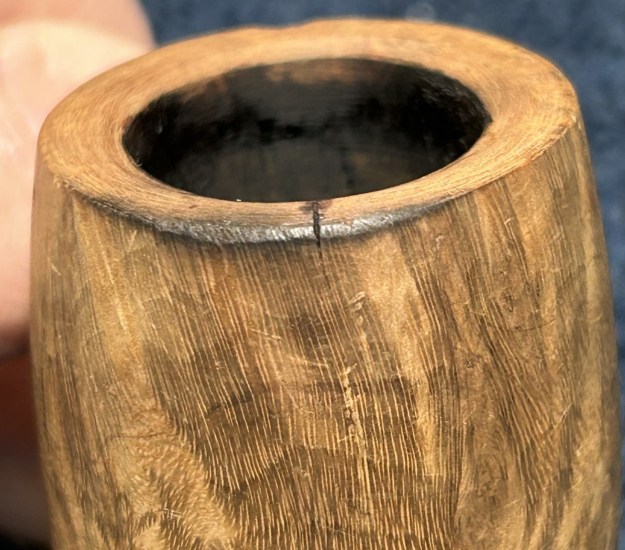
I began by cleaning the outside of the stem with some Murphy’s Oil Soap on cotton rounds. This removed some of the surface staining. Then, I started cleaning the insides with isopropyl alcohol, cotton swabs, and pipe cleaners. The inside was dirty and it took a bit of cotton.There was some oxidation and calcification on the stem, so I wiped it down with SoftScrub cleaner. Once this process was done, the stem went for an overnight soak in the Pipe Stem Oxidation Remover. This allows me to clean the oxidation off in a couple of ways: by applying a mild cleaner to the surface and sanding the stem. The next day, I used SoftScrub again with some cotton rounds. As the photos show, the bit of the stem was badly damaged. The top side was significantly cracked and ruptured, while the underside was missing a chunk of vulcanite. I brought out my black cyanoacrylate adhesive and I applied it to the topside damage. I used some accelerant to get the glue going, and then moved on to the underside.The major gouge would need far more work. I made a patch out of black cyanoacrylate adhesive and a little activated charcoal in). I first plugged up the stem’s draught hole with a shaped piece of cardstock, coated in petroleum jelly. This ensured that any of the CA glue would not accidentally plug up the air passage in the stem.This was a tricky business and it took some real patience and effort to make it work. As the photos show, after I applied the cyanoacrylate, it looked pretty darn ugly, but I was expecting that. After the curing, I ended up sanding down the end of the stem to reduce some of the excess material. To carry this process on, I used some miniature files to further shape the button and make it suitable for sanding. I used another file on the inside to ensure there were no rough edges in the bore.I then sanded the stem down with 220- and 400-grit sandpapers to meld seamlessly into the stem. This ensures that it keeps its shape and looks like it should. I then used all nine Micromesh pads (1,500 through 12,000 grit) to bring out the lovely black lustre on the stem. I also used Obsidian Pipe Stem Oil in between each pad scrubbing. It is worth noting that a repair this big on a stem will never be completely invisible, but I was pleased with the results. On to the stummel – and there was plenty of work here too. As the photos show, there was a notable crater on the outside of the bowl and I could see a couple of fissures. This concerned me greatly, as I wondered if the two wounds were connected (literally and figuratively). The insides (both bowl and shank) had plenty of cake and tar. The bowl really needed to be reamed, so I used the KleenReem tool to scrape off as much built-up cake. Generally, I prefer to sand the chamber down to bare briar. When restoring, it is important to ensure that there is no damage to the briar under the cake. There are a few situations when I might leave some cake in the bowl, but not today. Sadly, there were definitely some hidden flaws to the briar on this pipe. I’ll come back to that later. I wiped down the wood with some Murphy’s and pulled off lots of grime. Then I started cleaning the insides with isopropyl alcohol, cotton swabs, and pipe cleaners. The inside was pretty dirty and required some cotton to clean it up.I decided to de-ghost the pipe in order to remove any lingering smells and dirt of the past. I thrust cotton balls into the bowl and the shank and saturated them with 99% isopropyl alcohol. I let the stummel sit overnight. This caused oils, tars and smells to leach out into the cotton. I finished this part off by cleaning the shank with Castile soap and tube brushes. The bowl was nice and clean after this. I went back for another go with the Murphy’s and a toothbrush, to ensure the grooves were done too. Now that the pipe was clean, I wanted to have a closer look at the state of the briar. One piece of good (and remarkable) news was that the crater on the outside of the bowl and the fissures on the inside did NOT meet up. This was a great relief. Nonetheless, both areas needed to be repaired. But before that, I wanted to correct the appalling roughness (and burns) on the rim of the pipe. It was bad – really bad – and it would be a challenge to make the pipe look normal. At the same time, it was necessary to address the bowl being so badly out of round. I put a sanding drum (and a couple of other bits) on my Dremel and carefully began removing the burns and shredded wood, and correcting the out-of-round- bowl. This is NOT an option that I use regularly. The risk of oversanding is high and that can be an even bigger problem. However, I worked slowly and cautiously. I only used the Dremel briefly before moving on to sandpaper. I also used a solid wooden sphere on the inner edge of the rim. In addition to this, I also sanded down the outside of the bowl, near the rim, so as to minimize the visual effect of the bashed edge. I sanded all the way around to ensure that the pipe retains its look. It was a laborious process to sort out these issues, but I was delighted in the end. Moving back to the fissures – the solution to this problem is always a tricky one: epoxy. I prepared some J.B. Weld epoxy and filled the cracks and gouges, ensuring that the epoxy was evenly spread throughout the bowl. Of course, I did plug the draught hole with a folded pipe cleaner (coated in Vaseline) to make sure none of the epoxy made its way up there. Once done, a good 24 hours was needed to ensure that the epoxy was properly cured. Once done, I gently sanded the inside of the bowl to provide a rough surface for what was to come next. I coated the entire inside of the bowl with a mixture of activated charcoal and my wife’s homemade yogourt. Once hardened, this provided a good, slightly rough surface for a new cake to build.As mentioned earlier, there was a crater on the bowl. It was large enough that I would not be able to make it disappear entirely, but I wanted to make it solid and smooth, and meld into the rest of the wood. I fixed it up with a mixture of cyanoacrylate adhesive and briar dust. This, too, was tricky, as the wound occurred immediately adjacent to one of the stylized grooves in the pipe. Next, I used all nine Micromesh pads (1,500 through 12,000 grit) all over the stummel to make it lovely and smooth. Then, applying some Before & After Restoration Balm added that je ne sais quoi which brings out the wood’s beauty. At long last, I was off to my bench buffer to put the final touches on this pipe. I first gave it a thorough going-over with White Diamond compound. Following that, several coats of carnauba wax created a beautiful, glossy seal on the pipe and some closure to this long and involved repair.The lovely shine made the wood look beautiful! Once again, I’m sure my cousin will love this pipe! I hope you enjoyed reading the story of this pipe as much I as I did restoring it. The approximate dimensions of the pipe are as follows: length 5¾ in. (146 mm); height 3½ in. (90 mm); bowl diameter 1½ in. (39 mm); chamber diameter ¾ in. (20 mm). The weight of the pipe is 1½ oz. (46 g). If you are interested in more of my work, please follow me here on Steve’s website or email me directly at kenneth@knightsofthepipe.com. Thank you very much for reading and, as always, I welcome and encourage your comments.
Reviving a Lovely Stanwell Pickaxe


Blog by Kenneth Lieblich

Next on the chopping block is a beautiful Danish pipe from the fine pipemaking firm, Stanwell. The shape of this pipe is a freehand pickaxe. I acquired it locally from the estate of an old fellow who kept a lovely collection of pipes. This is a Stanwell de Luxe 482 freehand pickaxe. It has lovely (albeit dirty) briar from the bowl all the way down the shank. I think this is going to be a beauty when I’m done. My cousin in Montréal asked me to clean this up for him and I was only too happy to do so. The left side of the shank reads Stanwell [over] Regd. No. 969-48 [over] de Luxe. The right side of the shank reads Fine Briar [over] 482. Finally, the stem’s left side also has the trademark S of the Stanwell company.Of course, 482 refers to the model number, and I went to check the list of Stanwell shapes here on rebornpipes. Hmm – no shape number 482. Fair enough, so I looked up shape number 48, but that was a egg-shaped bowl – definitely not this pipe. I figured it was worth looking up shape number 82 and that was blank. Drat.I went searching through some old Stanwell catalogues and, ultimately, found an image for my pipe – and with the number 82. This catalogue is from 1970 and I have included the image below: I know from information at Pipephil that the pipe I have is certainly more than 50 years old – and this corresponds to the catalogue above. Pipephil says, “The “Regd. No.” stamping discontinued in late 1960s to very early 1970s”. My pipe has both the “Regd. No.” and the S logo without a crown. The screen capture below explains that clearly. Meanwhile, Pipedia has a good amount of information on the Stanwell brand and its history. I certainly recommend looking it over: https://pipedia.org/wiki/Stanwell.Anyway, this is a great-looking pipe. No major issues to resolve – just a few minor ones. The stem was dirty, though not too beat up. There were some scratch/tooth marks on the stem, and some oxidation and calcification on the vulcanite. The rim on the stummel had some very light charring. The insides were a bit dirty and would need a little work to clean out. The stem was first on my list. I wiped down the outside of the stem with Murphy’s Oil Soap on some cotton pads. Then, I cleaned out the inside with pipe cleaners and isopropyl alcohol. It wasn’t too dirty and only required a few pipe cleaners. I then wiped down the stem with SoftScrub cleaner to remove surface oxidation. Once this process was done, the stem went for an overnight soak in the Pipe Stem Oxidation Remover. This allows me to clean the oxidation off in a couple of ways: by applying a mild cleaner to the surface and sanding the stem. The next day, I used SoftScrub again with some cotton rounds. Some of the more pronounced dents had to be dealt with, so I whipped out my black cyanoacrylate adhesive to fill those in and let them fully cure. After curing, I used some paint to restore the letter S on the stem. I painted the area carefully and let it fully set before proceeding. For sanding the adhesive, I used 220- and 400-grit sandpapers to meld seamlessly into the stem. Then I used a set of nine Micromesh pads (1,500 through 12,000 grit) which gradually erased the ravages of time and brought out the stem’s lovely black lustre. For the last five pads, I also lightly coated the stem with Obsidian Pipe Stem Oil in between each scrubbing. The restored logo came out very nicely. At last, I set the finished stem aside. Off to work on the stummel! The bowl needed a bit of reaming, so I used the Kleen Reem to scrape off the built-up cake, and I followed that with 220-grit sandpaper taped to a dowel to eliminate as much as possible. Generally, I prefer to sand the chamber down to bare briar. When restoring, it is important to ensure that there is no damage to the briar in the bowl under the cake. Fortunately, there were no hidden flaws in the briar on this pipe.I gently removed the lava on the rim with a piece of machine metal. When the rim of a pipe isn’t damaged, I prefer to use this technique rather than my topping board. The machine metal preserves the rim and doesn’t remove stain and/or patina. I then proceeded to clean out the insides of the shank with Q-tips, pipe cleaners, and lemon-infused isopropyl alcohol. I also used some more Murphy’s here. There wasn’t too much filth in this one, fortunately. I followed that up by cleaning the insides with some dish soap and tube brushes. I decided to de-ghost the pipe in order to remove any lingering smells of the past. I thrust cotton balls into the bowl and the shank and saturated them with 99% isopropyl alcohol. I let the stummel sit overnight. This caused any remaining oils, tars and smells to leach out into the cotton. The bowl was nice and clean after this.I used all nine Micromesh pads (1,500 through 12,000 grit) on the stummel to make it lovely and smooth.At this point, I rubbed some Before & After Restoration Balm into the briar and left it to sit for 15 minutes or so. I brushed it with a microfibre cloth. The B&ARB does wonderful things to the wood, and I really like the walnut colour of the briar. Finally, it was off for a trip to the bench polisher. A dose of White Diamond and a few coats of carnauba wax perfectly complemented the briar. The lovely shine made the wood look absolutely beautiful. This pipe is elegant, light, and incredibly comfortable to hold.I thoroughly enjoyed bringing this Stanwell de Luxe 482 freehand pickaxe back to life. It is a gorgeous pipe. I know that my cousin will enjoy it for many years to come. I hope you enjoyed reading the story of this pipe as much I as I did restoring it. The approximate dimensions of the pipe are as follows: length 5⅞ in. (150 mm); height 2 in. (50 mm); bowl diameter 1¼ in. (31 mm); chamber diameter ⅝ in. (18 mm). The weight of the pipe is ⅞ oz. (29 g). If you are interested in more of my work, please follow me here on Steve’s website or email me directly at kenneth@knightsofthepipe.com. Thank you very much for reading and, as always, I welcome and encourage your comments.

Restoring a Real Beauty from Peterson


Blog by Kenneth Lieblich

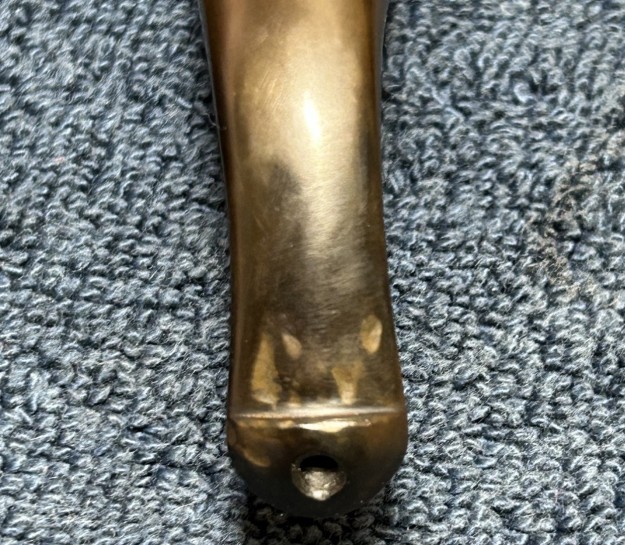
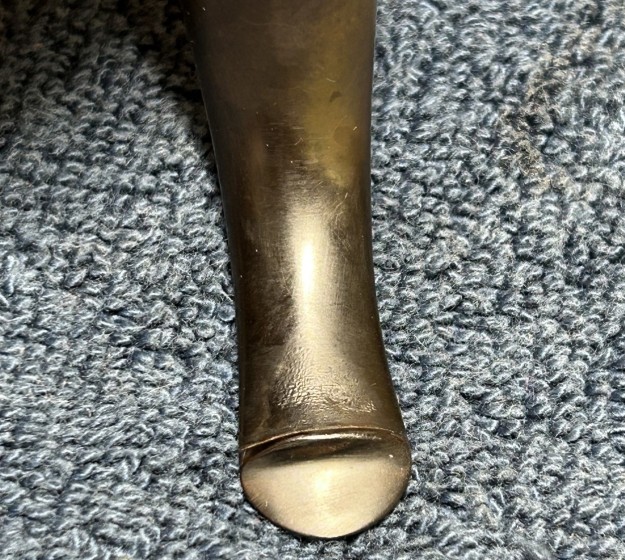
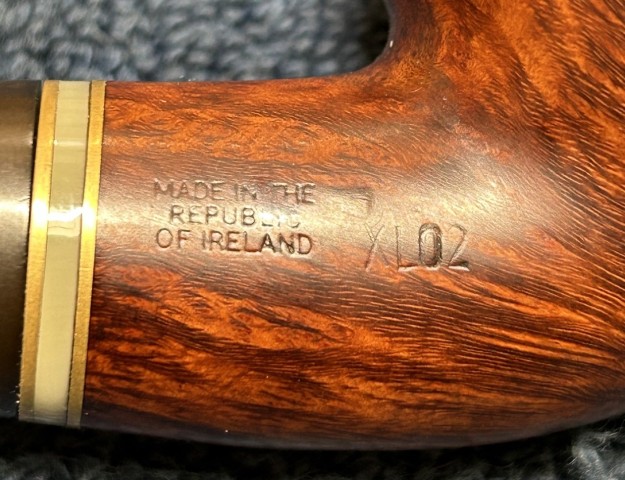
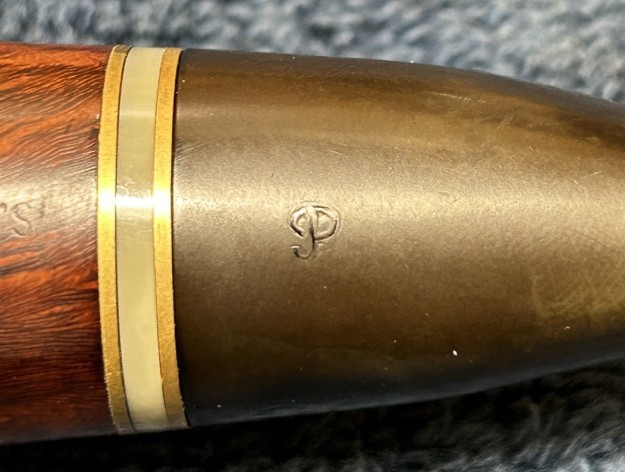
How fine it is to come across a pipe as comely as this! I found this republic-era Peterson “Kildare” bent billiard 69 recently and I was charmed by it right away. There is absolutely beautiful grain on this pipe! There is a feeling of satisfaction in just looking at it and a feeling of comfort with it in hand. Despite its rather shabby appearance when I found it, the pipe held great promise – and I was sure that I could tease out its beauty with a little TLC. Let’s have a closer look. This Peterson pipe has the classic bent-billiard shape: beautiful curves, tapered stem, and the traditional Peterson P-lip stem. The markings on the left side of the shank are Peterson’s [over] “Kildare”. The right side of the shank showed Made in the [over] Republic [over] of Ireland. Further along the right side of the shank was the shape number: 69. Naturally, the Peterson logo “P” was engraved on the stem – more about that “P” later.I know something about Peterson pipes, but little about the Kildare line, so I went over to Pipedia to have a look. Obviously, there is a long and very good article about Peterson – here is the link. Here is a brief quotation about the republic-era pipes:

1950 – 1989 The Republic Era – From 1950 to the present time, the stamp for this era is “Made in the Republic of Ireland” in a block format generally in three lines but two lines have been used with or without Republic being abbreviated. During the 1950’s and 60’s the Kapp & Peterson Company was still in the ownership of the Kapp family. However, 1964 saw the retiral of the company Managing Director Frederick Henry (Harry) Kapp.

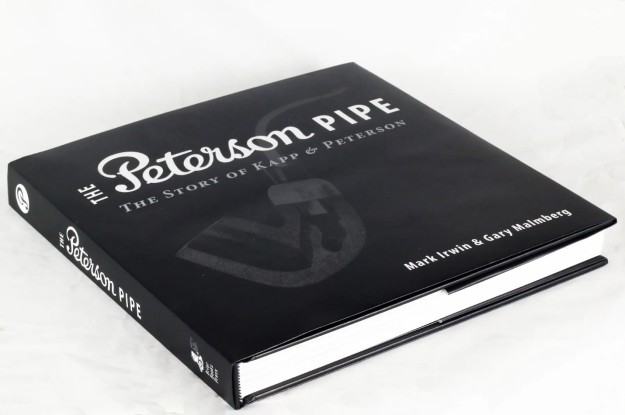
No mention was made of the Kildare line there, but Mark Irwin and Gary Malmberg’s book, The Peterson Pipe: The Story of Kapp & Peterson, did make mention of it:

Kildare (1965–) First issue of line with matte-finish in Classic Range shapes, P-Lip and fishtail mouthpiece. Second issue C.1979 as Kildare Patch, with rusticated patches on pipe surface. Third issue 2010, matte-brown, P-Lip or fishtail mouthpiece, no band. Fourth issue 2011-, burgundy sandblast finish, nickel army mount, fishtail mouthpiece, exclusive to smokingpipes.com.So? Does this mean I have a First Issue Kildare or a Third Issue Kildare (it’s clearly not Second or Fourth). Truth be told: I don’t know for sure. But the First Issue is the only one that specifically mentions the Classic Shapes, of which the 69 is one. So I have no reason to think that this isn’t from the earliest (1965-79) range. I am more than happy to be corrected by someone who knows more than I do!

Let’s have a closer look at this pipe. Someone had clearly enjoyed this pipe in the past. No big problems with this pipe – just dirty. The rim of the bowl had a good amount of lava and there was some cake inside the bowl. Looks like there could be some burns on the rim too. The stummel has stunning grain and was merely dull and grungy. Fortunately, the stem was in good shape – just dirty and some oxidation to address. There was an inner tube in this pipe and it needed to be cleaned. I had to use the heat un to get it out first, though. Then, I threw it in some lemon-infused isopropyl alcohol and let it soak for a while. I took it out, cleaned with some SoftScrub, gave it a rinse, and gave it a polish. Much better.Stem next. As usual, I cleaned the insides with lemon-infused isopropyl alcohol and some pipe cleaners. Fortunately, it wasn’t too dirty inside. Then I wiped down the outside of the stem with Murphy’s Oil Soap on some cotton rounds – that removed some exterior dirt. I wiped them stem with SoftScrub, then of course, I stuck it in the deoxidizing solution overnight. The next day, I scrubbed it down again with some SoftScrub on cotton rounds. Before moving on to sanding, I had a problem. The deox solution removed the stylized “P” from the stem. I wanted to restore the logo, but I could see that the impression was very shallow. I painted that “P” in white and let it dry. I then used all nine Micromesh pads (1,500 through 12,000 grit) to bring out the lovely black lustre on the stem. I also used Obsidian Pipe Stem Oil in between each pad scrubbing (from 3,600 on). Unfortunately, the “P” never really came back properly. Oh well. Setting aside the stem, I grabbed the stummel and started on that. I took a piece of machine metal and gently scraped away the lava on the rim. I do this in order to remove the filth without damaging the rim. I saw that there were some burn marks.I reamed out the bowl. I used the KleenReem to remove the built-up cake and followed that with 220-grit sandpaper taped to a dowel to eliminate as much as I could. I took the chamber down to bare briar, as I wanted to ensure there were no hidden flaws in the wall. Fortunately, there were none.Just like the stem, I cleaned the insides with lemon-infused isopropyl alcohol and some pipe cleaners and Q-tips. One has to keep cleaning until the pipe cleaners no longer show any interior filth.I decided that a de-ghosting session would be a good idea. I thrust cotton balls into the bowl and the shank and saturated them with 99% isopropyl alcohol. I let the stummel sit overnight. This caused the oils, tars and smells to leach out into the cotton. The bowl was nice and clean after this.I then took some 400-grit sandpaper and gently sanded down the inside edge of the bowl. I wanted to improve the burn marks and remove any remaining detritus. Once done, I thoroughly cleaned the outside with Murphy’s on cotton rounds. The pipe was really beginning to look beautiful. I followed that up by cleaning the insides of the stummel with some dish soap and tube brushes. After this, I used all nine Micromesh pads (1,500 through 12,000 grit) to sand the stummel smooth. I then applied some Before & After Restoration Balm which I massaged into the wood and let sit for 20 minutes or so. After that, I rubbed it with a microfiber cloth. The balm brings out the best in the beautiful wood. It makes things shine and really shows the lustre. Finally, I took it to the buffer and used some White Diamond and a few coats of carnauba wax.This Peterson Kildare 69 bent billiard really came out well. I am proud of the work and I’m sure the new owner will love it! Just look at the grain! I am pleased to announce that this pipe is for sale! If you are interested in acquiring it for your collection, please have a look in the ‘Irish’ pipe section of the store here on Steve’s website. You can also email me directly at kenneth@knightsofthepipe.com. The approximate dimensions of the pipe are as follows: length 5½ in. (140 mm); height 2⅜ in. (60 mm); bowl diameter 1½ in. (38 mm); chamber diameter ⅞ in. (21 mm). The weight of the pipe is 1⅜ oz. (42 g). I hope you enjoyed reading the story of this pipe’s restoration as much as I did restoring it. If you are interested in more of my work, please follow me here on Steve’s website or send me an email. Thank you very much for reading and, as always, I welcome and encourage your comments.
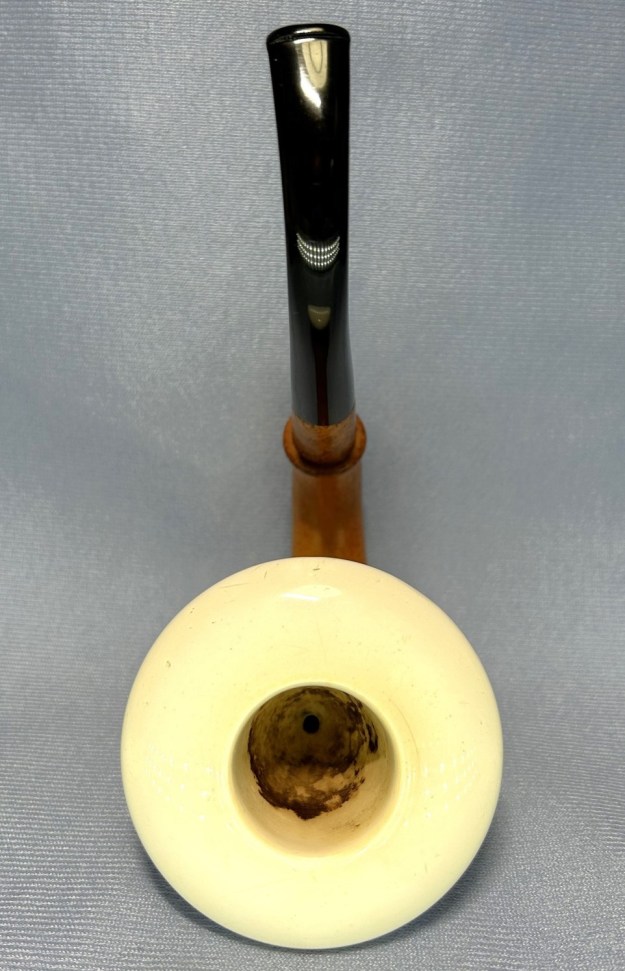
Amazing Research in the Restoration of a Classic French Pipe


Blog by Kenneth Lieblich

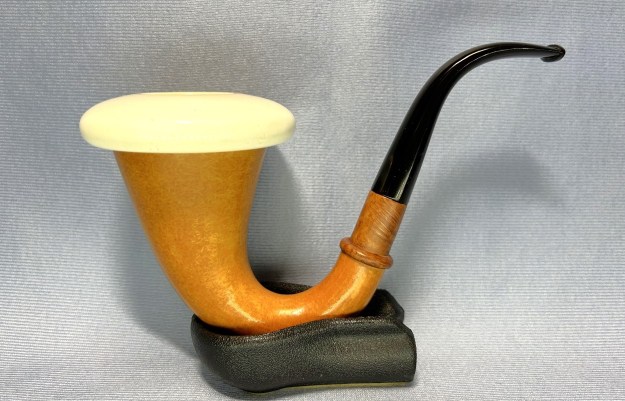
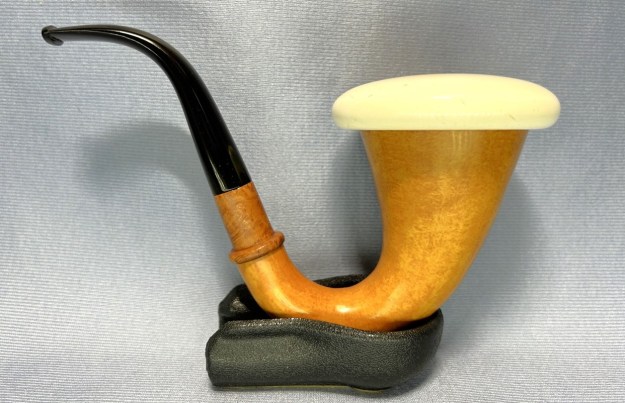
Next on ye olde chopping block is a charming pipe from France and it dates back a century – or more. It’s a very attractive bent billiard pipe that I acquired in a lot from France. Recently, I had the pleasure of meeting a young man studying for the priesthood. While he as visiting the Vancouver area, he told me he was interested in acquiring a pipe. I had him over to the house and showed him many pipes. He picked this very pipe. He wanted one of modest size and this fit the bill very well. The briar wood was quite lovely and it had an equally fetching stem made of horn. There was also a nickel band around the shank which read, S [over] LV. This was next to some blackletter characters that I couldn’t quite make out. Meanwhile, the markings on the left side of the shank read: Dr Wolf [over] BTE. S.G.D.G. The Dr Wolf part was clear enough, but I needed to confirm what the other letters referred to. I was fairly sure this was something to do with French patents, but I googled to make sure. Indeed, it was a type of French patent, extant between 1844 and 1968. The letters BTE. S.G.D.G. stand for Breveté Sans Garantie du Gouvernement, meaning “patent without government guarantee”. As Wikipedia explains:

In France, the law of 1844 states that patents are issued “without prior examination, at the risk of the applicant and with no guarantee of function, novelty and merit of the invention also in terms of precision or accuracy of the description”. Back to the brand name, Dr Wolf. This was tricky – I wasn’t familiar with the brand Dr Wolf and there was nothing about it online – except for one seemingly unhelpful advertisement. This ad was on an antique shop’s website and it was listed as being from the “end of the 19th century”. I was annoyed by the lack of information, but I am nothing if not tenacious in discovering the history of pipes – especially French pipes, for which I have a particular fascination. I saved that advertising image to my computer, so I could show it in this article.My first step was consulting both Wilczak & Colwell and my own personal database of French pipe makers and, of course, there was no listing for “Dr Wolf”. However, in my database, the name, “Wolf”, did appear in the listing for a late-19th century pipe maker: CC Paris. Here is the write-up from Pipedia on CC Paris:

Every collector of antique pipes knows that pipe factory and retail store catalogs from the 1800s – early 1900s are as rare as hen’s teeth to find…and an even rarer occasion, when found complete and in good to better condition. This fragile catalog from this little-known French manufactory, merchandised its pipes with the logo of a triangle bearing the letters “C C Paris” embossed in fitted cases. Cases with this logo are known, but the Wolf and Mathiss name, until now, was not known as the factory behind the retail establishment.

Wolf & Mathiss was originally known as Cawley & Henry, a pipe manufacturer founded in 1867. The product line was fairly robust, catering to not only pipe and cigar smokers, but also to cigarette consumers, because the catalog includes cigarette rolling papers that, according to company information, had received silver medals at two expositions, Anvers (1885) and Paris (1889).Unfortunately, the name “Wolf” is not uncommon and there was nothing to suggest that this Wolf was the same as Dr Wolf. There was also no indication of what the given names were for either Mr Wolf or Mr Mathis. As a side note, I assume that the correct spelling is “Mathiss”, not “Mathis”, as shown on Pipedia. A 1907 copy of Kelly’s Directory of Merchants, Manufacturers and Shippers lists the name with a single “S”.However, the Pipedia page for CC Paris made me wonder about a connection to Dr Wolf. First of all, the pipes on catalogue pages shown there bear some resemblance to my Dr Wolf pipe – hardly a definitive clue, but interesting nonetheless. The other thing that struck me was the logo, shown here:There is no obvious reason why the logo would be of interest, but I recognized it and couldn’t remember where I’d seen it. I love researching pipe history, but it’s always frustrating when one hits a dead end. And then it struck me! That logo! I’d seen it in the very same advertisement I downloaded earlier. Here it is (zoomed in) and look what it shows!!!So there we have it – the Wolf of Wolf & Mathiss must, in fact, be Dr Wolf. I am delighted to have made this discovery. It completes the loop between the relevant pipe makers and demonstrates the origin of the Dr Wolf name.

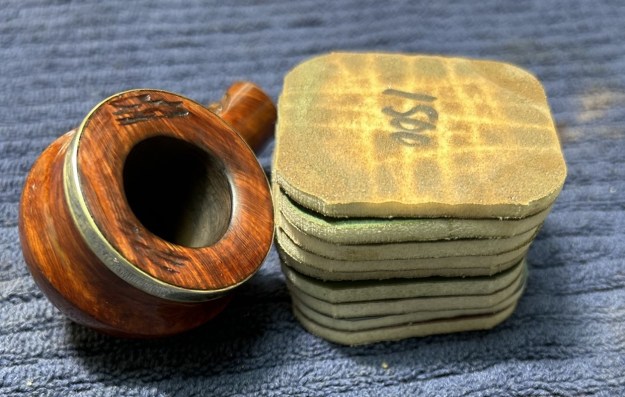
Clearly, this particular pipe had been well-loved, as it arrived well worn, with plenty of filth inside, a few dents in the work, gouges in the horn stem, and scratches all over the rim. Interestingly, this pipe had an orific button at the end of the stem, a feature that apparently disappeared by the 1930s, so it must be around a hundred years old. For more information on the orific button, take the time to read Steve’s interesting article on the subject. Well, time to get to work! I started by wiping the stem with Murphy’s Oil Soap on some cotton pads, then cleaned out the inside with pipe cleaners and isopropyl alcohol. Fortunately, it wasn’t overly dirty, and it only needed a handful of pipe cleaners. One of the odd features of this pipe was that the tenon was also made of horn. I quite liked that feature, but it did make it a pain to clean. I built up the bite marks and gouges on the stem with clear cyanoacrylate adhesive and let them fully cure. Following that, I sanded the adhesive down with 220- and 400-grit sandpapers to meld seamlessly into the stem. I then used all nine Micromesh pads (1,500 through 12,000 grit) to bring out the lovely grain of the horn on the stem, with some Obsidian Pipe Stem Oil in between each pad scrubbing.

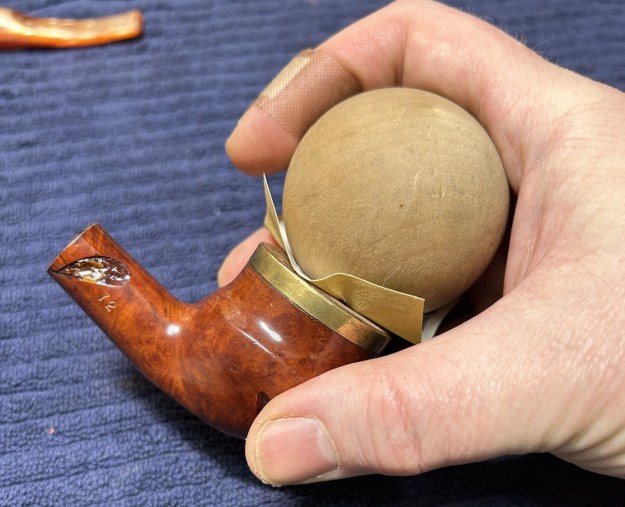
Now for the stummel. Firstly, I decided to ream out the bowl. I used the PipNet Reamer to remove the built-up cake and followed that with 220-grit sandpaper taped to a dowel to eliminate as much as I could. I took the chamber down to bare briar, as I wanted to ensure there were no hidden flaws in the wall. I also took this opportunity to wash the stummel with Murphy’s Oil Soap and remove as much grime as I could. Following this, of course, I cleaned out the insides with the requisite pipe cleaners and isopropyl alcohol. Boy, it was dirty! One issue that complicated the cleaning of the stummel was the mortise was lined with cork. This was a nifty feature, but I had to ensure that I didn’t damage the cork as I used the alcohol and implements to clean the insides. In order to restore it a bit, I added petroleum jelly to the cork with a cotton swab.The rim was so badly scratched that I had to “top” the pipe – that is, I gently and evenly sanded the rim on a piece of 220-grit sandpaper. This effectively removed the damage without altering the look of the pipe.The old patina was nice enough that it didn’t need a new stain so I cleaned it with some Murphy’s and then set it for a de-ghosting. I followed that up by cleaning the insides with some Castile soap and tube brushes. Due to the wear on the rim of the pipe, I used my wood sphere, wrapped in 220-grit sandpaper, to create a beautiful, chamfered edge on the rim. This also helped return the opening of the bowl to round. I think the results turned out very nicely. I then finished it up by sanding with my Micromesh pads (1,500 through 12,000 grit). Then applying some Before & After Restoration Balm added that je ne sais quoi which brings out the wood’s beauty. One of the issues you will have noticed in the photos is that the stem’s tenon didn’t fit well in the shank’s mortise. In order to make it fit properly, I built up one side of the tenon with some clear cyanoacrylate adhesive. This worked like a charm and the fit was perfect after I fiddled with the adhesive for a bit.I also cleaned the nickel band with SoftScrub and that worked well. I also gave it a polish with a few of my finer MicroMesh pads – then finished with my jewellery cloth which added some much-needed pizzaz. Finally, it was off for a trip to the buffer. A dose of White Diamond and a few coats of carnauba wax were just what this pipe needed.This is a handsome pipe with a classic look and feels very comfortable in hand. The lovely shine made the wood very attractive, and I know that the new owner will enjoy smoking it for many years to come. I hope you enjoyed reading the story of this pipe as much as I did restoring it. If you are interested in more of my work, please follow me here on Steve’s website or email me directly at kenneth@knightsofthepipe.com. Thank you very much for reading and, as always, I welcome and encourage your comments.

Kenneth’s Pipe Incident Report


Blog by Kenneth Lieblich

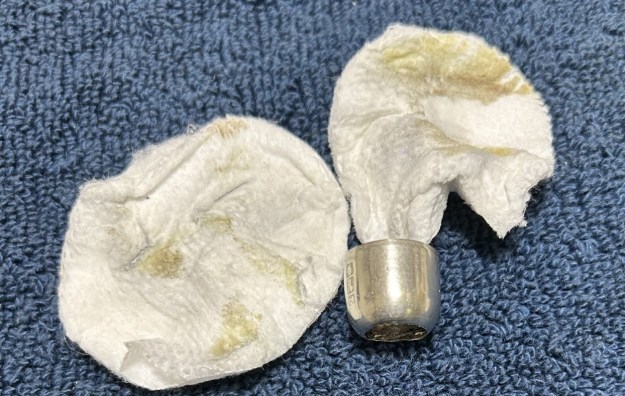
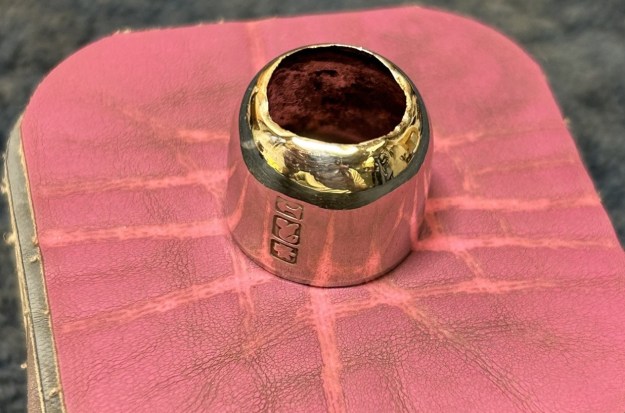
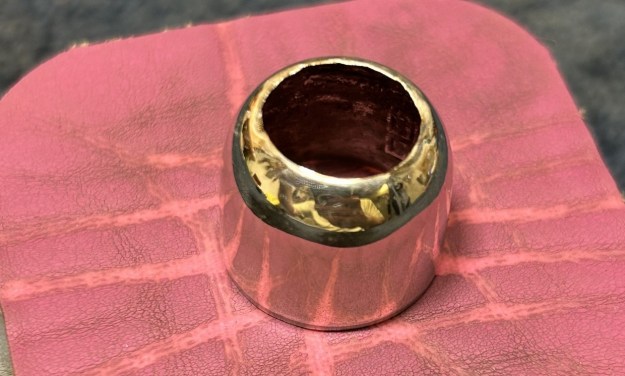
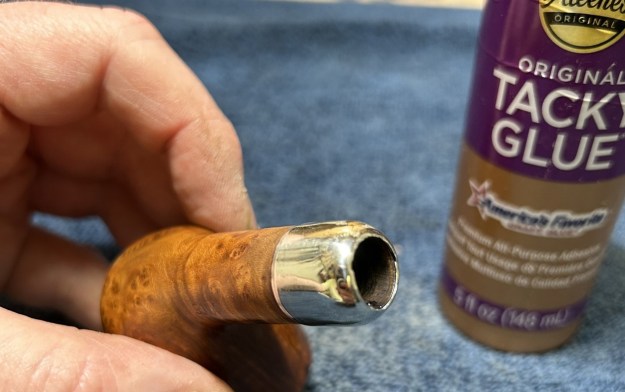
Here is another instalment of my Pipe Incident Report. The idea, in general, is to provide a brief write-up – focusing on a particular pipe-related problem and/or solution, rather than an entire restoration story. Previous articles in this series have discussed such things as plaster of Paris, lemon-infused isopropyl alcohol, Cordovan stain, et cetera. Today, I will talk you through my process of repairing a badly damaged shank. This shank was not simply cracked (as is often the case), but, as the photos show, was missing a large chunk of briar. One’s first question might be, “Why bother fixing this at all? Toss it in the fireplace!” That’s a fair point. In this case, however, the owner of the pipe wanted to keep it as a memento of her grandfather. Beauty is in the eye of the beholder and I was only too happy to help fulfill her wish.The pipe is a no-name churchwarden (with the word “Czech” along the shank) and it had clearly been through the wars. Not literally, of course, but this pipe was smoked hard! The old fellow must have loved this pipe and it must have smoked well. The stummel was full of cake, lava erupting on the rim, and fills everywhere – in fact, I counted no fewer than 39 fills. Anyway, let’s take a closer look at the shank. You can see what the problem is. My guess is that the shank was broken when the stem was removed from it at an inopportune moment. The tenon on the stem is an odd metal thing, which I suspect might be a replacement. The tenon and mortise certainly don’t fit together very well. Regardless, the tenon needs to be repaired in a manner that is both structurally sound and aesthetically pleasing.Furrowing my brow, I consulted with Steve about solutions he’s used in the past for this sort of problem. He initially proposed building up the shank with a mixture of briar dust and CA glue. This is what I had originally considered too, but I also toyed with the idea of actually using a chunk of briar in place of the missing wood. Steve said it might be fun to try, so that’s what I did. Regardless of which technique I used, the shank would have to be banded in order to provide structural integrity and (preferably) to hide some of the repair – which will be unsightly no matter what.

I have some wrecked stummels among my workbench items. I picked one, broke off a piece, and set about fitting it in place. It was immediately apparent that I needed a bit more wood, so I took another, smaller piece and fit that one too. I must admit, it took some trimming, filing, and general tinkering/fiddling to make it fit. Once I had a reasonable fit, I glued the pieces to the shank with CA glue. There were still gaps among the cracks and I dealt with that by adding a mixture of CA glue and briar dust.

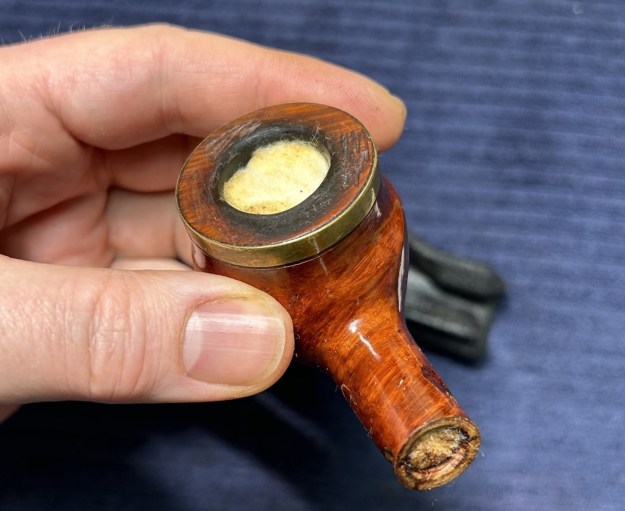
Once the CA glue was cured, I set about filing, sanding, and shaping my repair. I obviously sanded the top of the shank to make it look normal, but I also sanded the end because the added bits extended beyond the main part of the shank. I also ensured that there was no roughness (or other problems) inside the mortise. To that end, I also gently filed the mortise. What an improvement! Fortunately, I found the perfect band to place on this stummel. It was made of brass, fit very snuggly, and – most importantly – it was quite long. The band covered all repairs beautifully.After prepping the stummel, I stained it so as to provide some camouflage for the aforementioned fills. I then added the band with some glue and polished it to a shine. The photo below is not quite the finished product but it is close enough to show what a difference this repair made.If you do try this type of shank repair, please let me know how it goes. I would be interested to know what your results are. I hope you enjoyed reading this instalment of the Pipe Incident Report – I look forward to writing more. If you are interested in my work, please follow me here on Steve’s website or email me directly at kenneth@knightsofthepipe.com. Thank you very much for reading and, as always, I welcome and encourage your comments.


Life-Support for a Butz-Choquin Oom Paul Egg


Blog by Kenneth Lieblich

Another pipe in my ongoing “French Collection”, this new addition came in a lot of pipes from France (appropriately). I pulled it out of the pile of filthy pipes and found it quite charming. This pipe is an Oom Paul Egg shape. It was made by the famous and long-standing French pipe maker Butz-Choquin and is a small, wounded, but very attractive pipe. On the left side of the shank, it reads Butz-Choquin [over] Cocarde (which is the model name). On the right side of the shank, it reads St Claude [over] France [over] 1307. On the left side of the stem is the company’s logo, a “BC”. The logo is badly worn and will be difficult to restore.Both Pipedia and Pipephil have good write-ups on the history of Butz-Choquin and I encourage you to read both. Also, Steve has restored quite a few and it’s worth having a look at his writings too. For the moment, here is some information from Pipedia:

The pipe, from Metz to Saint-Claude.

Jean-Baptiste Choquin of Metz started out as a tobacconist. This enterprise was prosperous; he had several employees. Among those, there was a certain Gustave Butz who was its first workman and who became his son-in-law by marrying Choquin’s daughter Marie in 1858.

In 1858 Jean-Baptiste Choquin created, in collaboration with Gustave Butz, the Choquin pipe. This bent pipe with a flat-bottomed bowl was finished with an albatross-bone mouthpiece, fixed with silver rings.

In 1858, still in Metz, Gustave Butz built an establishment for the manufacture of the Choquin pipe which took the name of . In 1951, the Berrod-Regad company bought the trademark, continuing manufacture until 2002. Departing from Metz, the workshop was relocated to Saint-Claude, then also called “the world capital of the briar pipe”, under the Berrod-Regad group. The Berrod-Regad group would go on to completely rebuild the network of representatives until finally entering the export market in 1960 and has since won several prizes, as well as the Gold Cup of French good taste.

In a few years, the brand’s collection increased from ten to seventy series. 135 years after it was founded, the pipe is still well-known not only in France but throughout the world. In 2002, the Berrod family, wishing to preserve manufacture of pipes in Saint-Claude, handed over the company to Fabien Guichon, a native of the area, who will continue to develop the brand during the 21st century.

Meanwhile, Pipephil says this:

The origin of the brand reaches back to 1858 when Jean-Baptiste Choquin in collaboration with his son-in-law Gustave Butz created their first pipe in Metz (France). Since 1951 Butz-Choquin Site officiel Butz Choquin, pipes de Saint-Claude jura. BC pipe de bruyere luxe is a brand of the Berrod-Regad group (Saint-Claude, France).

Jean Paul Berrod managed the company from 1969 to 2002 when he retired and sold the corporate to Mr Fabien Gichon. Denis Blanc, allready owner of EWA, took over the S.A. Berrod-Regad in 2006.

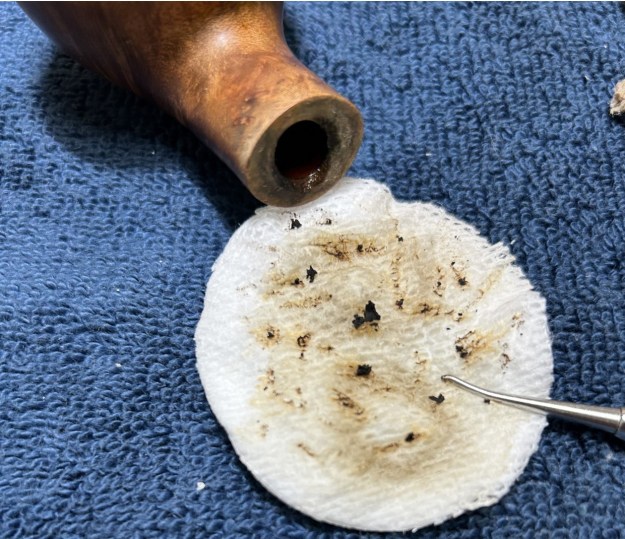
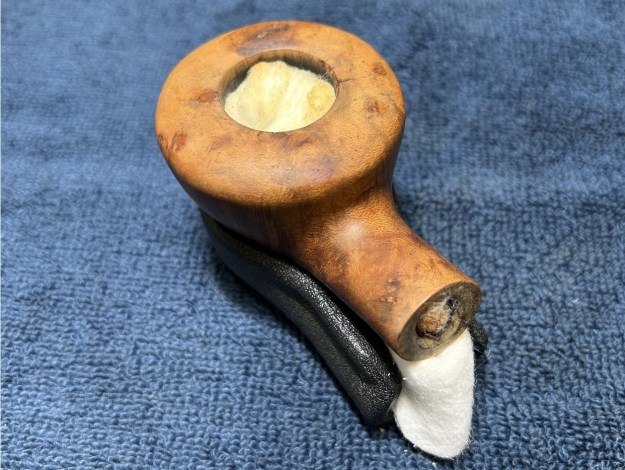
In an old Butz-Choquin catalogue, I found the pipe shape in question, listed with its requisite number:This is an older pipe, and is heavily used, though the stem is in reasonably good shape, compared to the stummel. There are a few minor tooth marks, some oxidation and calcification, but nothing too serious. Additionally, over the decades, the stem has straightened somewhat, so it will need to be bent back into place. The stummel is a different kettle of fish. The wood is very nice, but it has several fills on the outside of the bowl, there are nicks around the rim, the wood is filthy, and there are scratches around the bowl. It just looks tired and worn. The stem was first on my list. . .  This stem has a stinger in it – and it was being quite stubborn about coming out! The goo had glued the stinger into the tenon, so I opted to warm the stem and stinger with my heat gun and this provided just enough softening of the internal gunk to allow me to pull it out. It then went for a soak in some lemon-infused isopropyl alcohol. I let it sit for several hours and then cleaned it off and it looked much improved. I then finished it with some metal cleanser and moved on. Next, I wiped the outside down with Murphy’s Oil Soap on some cotton pads. I also took a BIC lighter and ‘painted’ the stem with its flame in order to lift the few bite marks and dents. Then I cleaned out the inside with pipe cleaners and isopropyl alcohol. It was pretty dirty, and I went through a good amount of pipe cleaners. I then wiped down the stem with SoftScrub cleaner to remove surface oxidation. Once this process was done, the stem went for an overnight soak in the Pipe Stem Oxidation Remover. This allows me to clean the oxidation off in a couple of ways: by applying a mild cleaner to the surface and sanding the stem. The next day, I used SoftScrub again with some cotton rounds. After this, I used some nail polish to restore the logo on the stem. I painted the area carefully and let it fully set before proceeding. I built up the dents on the stem with black cyanoacrylate adhesive and let them fully cure. I then sanded the adhesive down then with 220-, 400-, and 600-grit sandpapers to meld seamlessly into the stem. As I previously mentioned, the stem had straightened itself out over the years; so I used my heat gun to warm the stem and return it to its original shape.I then used all nine Micromesh pads (1,500 through 12,000 grit) to bring out the lovely black lustre on the stem. I also used Obsidian Pipe Stem Oil in between each pad scrubbing.On with the stummel! I decided to ream out the bowl. I used the PipNet Reamer and the KleenReem to remove the built-up cake and followed that with 220-grit sandpaper taped to a dowel to eliminate as much as I could. I took the chamber down to bare briar, as I wanted to ensure there were no hidden flaws in the wall. Fortunately, there were none. I used cotton rounds and some Murphy’s Oil Soap to scrub the outside of the stummel and a toothbrush with Murphy’s for the lava on the rim of the pipe.I then proceeded to clean out the insides of the shank with Q-tips, pipe cleaners, and lemon-infused isopropyl alcohol. The shank was absolutely caked with debris and I went through an extraordinary amount of cotton to clean it out. With all the filth in this pipe, I opted for an alcohol bath to clean it thoroughly. I followed that up by cleaning the insides with some dish soap and tube brushes. I decided to de-ghost the pipe in order to remove any lingering smells of the past. I thrust cotton balls into the bowl and the shank and saturated them with 99% isopropyl alcohol. I let the stummel sit overnight. This caused any remaining oils, tars and smells to leach out into the cotton. The bowl was nice and clean after this.Having completed that, I was able to address the blemishes to the outside of the bowl. First, I repaired the half-dozen fills with CA glue and briar dust. For the nicks on the rim and bowl, I dug out my iron and a damp cloth to raise the nicks. The hot and moist steam can often cause the wood to swell slightly and return to shape. A little unusually, this technique worked brilliantly and the next two photos (before and after) show a good example of what the iron can do. Now I could address the burn on the rim. I took some sandpaper and my Micromesh pads to sand and smooth everything out. After that, a light application of Before & After Restoration Balm brought out the best in the stummel’s grain, then took it to the buffer. A dose of White Diamond and a few coats of carnauba wax were just what this pipe needed. This little pipe looks fantastic again and is ready to be enjoyed again by the next owner! I am pleased to announce that this pipe is for sale! If you are interested in acquiring it for your collection, please have a look in the ‘French’ pipe section of the store here on Steve’s website. You can also email me directly at kenneth@knightsofthepipe.com. The approximate dimensions of the pipe are as follows: length 4 in. (100 mm); height 3¾ in. (94 mm); bowl diameter 1⅜ in. (36 mm); chamber diameter ¾ in. (19 mm). The weight of the pipe is 1⅜ oz. (41 g). I hope you enjoyed reading the story of this pipe’s restoration as much as I did restoring it. If you are interested in more of my work, please follow me here on Steve’s website or send me an email. Thank you very much for reading and, as always, I welcome and encourage your comments.
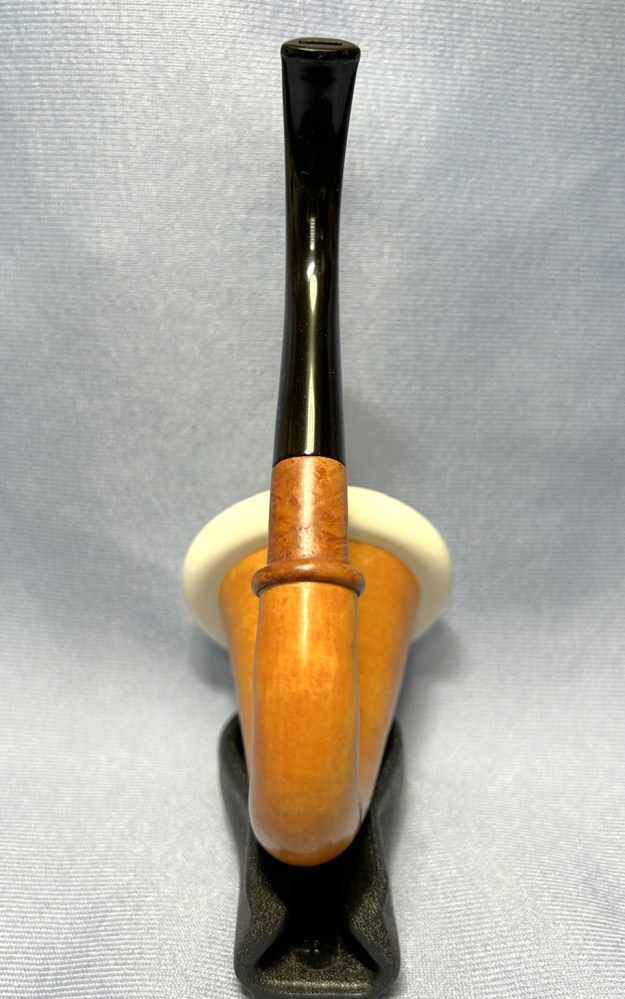
Back to my Grandfather’s Pipes


by Kenneth Lieblich

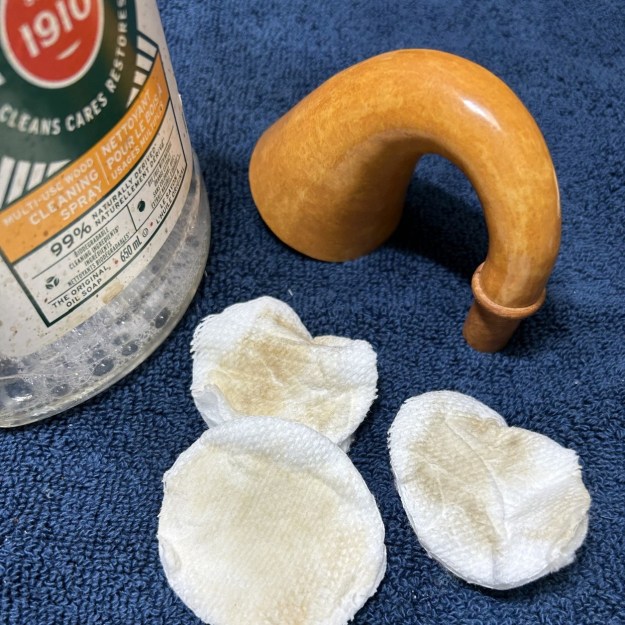
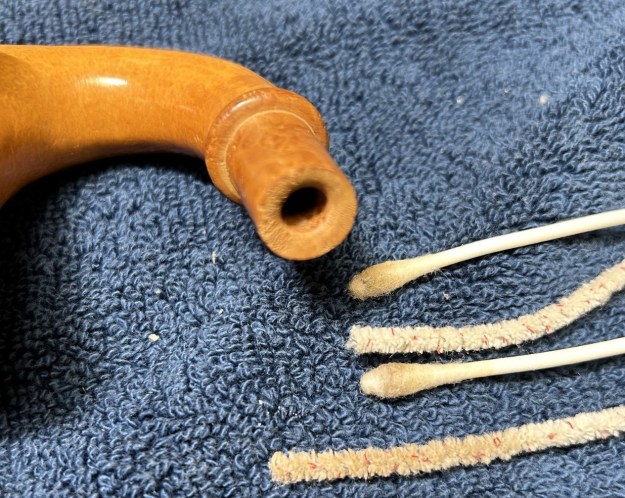
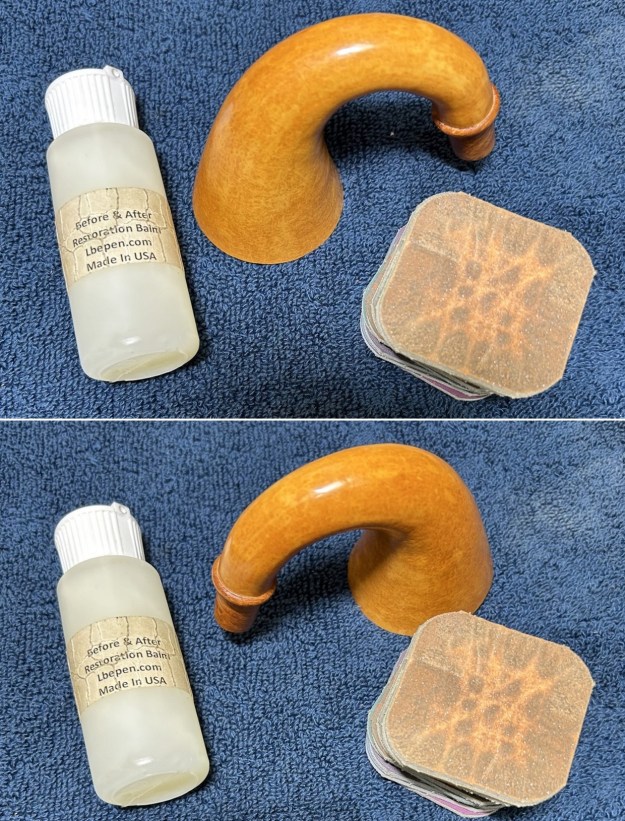
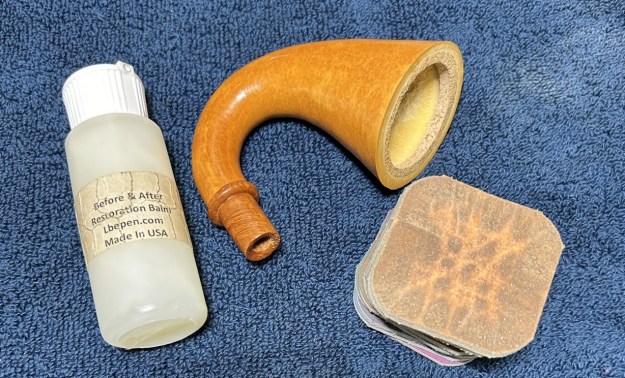
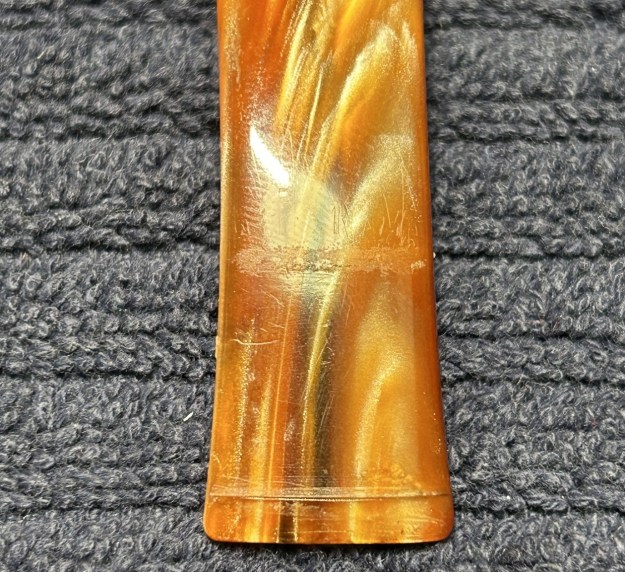
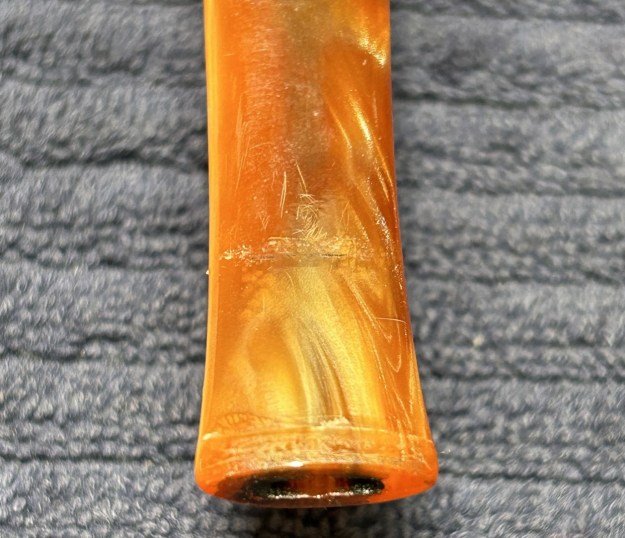
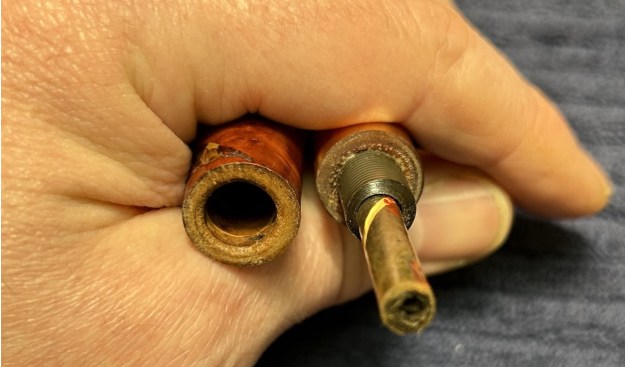
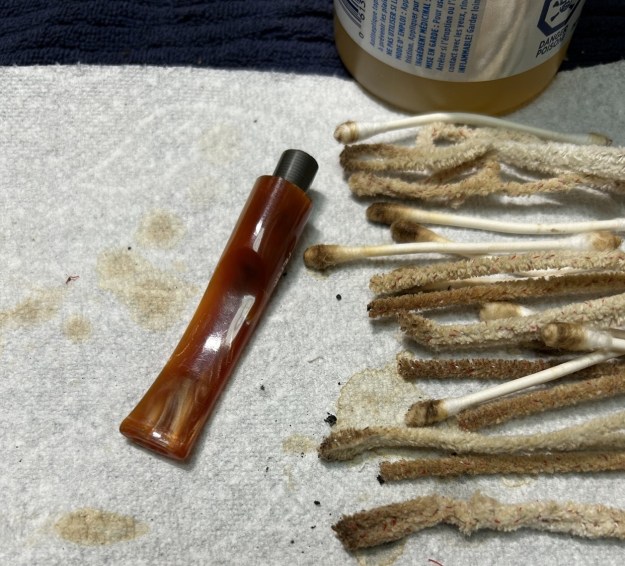
Next on the chopping block is a very personal pipe – and one that is staying in my collection. The unusual pipe you see belonged to my late grandfather. It is this pipe’s restoration that I am recounting today. I have blogged here about some of my grandfather’s pipes before, but I haven’t done one in a while. In this case, I do not know where my grandfather acquired it (or under what circumstances), but I suppose it does not ultimately matter. My grandfather was an enthusiastic pipe smoker and he clearly enjoyed this one. I am definitely looking forward to cleaning this one up. It has a value well beyond dollars.The pipe is a pencil-shank Rhodesian, with a long stem made from horn. What a charming and elegant pipe! I do not know the exact date of the pipe, but it seems likely to be from the 1950s or 1960s.On the left-hand side of the shank, the pipe’s markings read simply, Bruyere de Luxe – an utterly unhelpful bit of information. Since that’s all there is, I don’t have any useful information to be provide about the pipe maker. Also, I will apologize in advance for the fact that I don’t have so many photos this time. My brain was obviously in neutral.It’s a nifty pipe – however, it was not without its issues. The stem had some worm holes in the horn (not unusual for this type of stem). There was also some notable tooth wear near the button. The stummel was actually in pretty good shape. It had some minor wear, but nothing too tricky. I suspect that this pipe hadn’t been smoked too much. The wood had a kind of lacquer finish – I must say, I don’t like that look. The stem was first on my list. This stem had a stinger in it – and it was being quite stubborn about coming out of the tenon! I opted to warm the stem and stinger with a heat gun and this provided just enough softening of the internal goo to allow me to pull it out. The stinger then went for a soak in some lemon-infused isopropyl alcohol. I let it set for several hours and then cleaned it off and it looked much improved. I wiped down the outside of the stem with Murphy’s Oil Soap on some cotton pads. Then, I cleaned out the insides with pipe cleaners and isopropyl alcohol. I also built up the worm holes on the stem with clear cyanoacrylate adhesive and let it fully cure.I then sanded the stem down with 220- and 400-grit sandpapers to bring down the repairs to the level of the stem. I ensured that the stem kept its shape and looked like it should. I then used all nine Micromesh pads (1,500 through 12,000 grit) to bring out the beautiful horn grain on the stem. I also used Obsidian Pipe Stem Oil in between each pad scrubbing. Some of the adhesive ended up having a strange reaction with the horn, but in the end, I think it looks pretty good.On to the stummel, and it was quite clean already. I began with some 220-grit sandpaper inside the chamber to even out the surface and remove any debris. I wanted to take the bowl down to bare briar to ensure there were no hidden flaws in the walls of the bowl. Fortunately, there were none. I then proceeded to clean out the insides of the shank with cotton swabs, pipe cleaners, and isopropyl alcohol. There was a bit of filth inside this stummel – it took a few pipe cleaners et cetera to clean it out. I followed that up by cleaning the insides with some dish soap and tube brushes. I then moved on to cleaning the outside of the stummel with Murphy’s Oil Soap and some cotton pads. In order to remove the lacquer finish, I used acetone on some cotton rounds and worked it hard. This worked very effectively.Now, it was time to sand down the stummel. I used all nine Micromesh pads (1,500 through 12,000 grit) to wet/dry sand everything smooth. After that, a light application of Before & After Restoration Balm brought out the best in the stummel’s grain. What a difference that made! There is some beautiful wood there! Then it was off for a trip to the buffer. A dose of White Diamond and a few coats of carnauba wax were just what this pipe needed. The lovely shine made the wood look absolutely beautiful.This is a quirky and charming pipe that has a very elegant feel to it. I hope the final product is worthy of my beloved grandfather’s memory. Obviously, this is one pipe that I am keeping for myself and adding to my collection. The approximate dimensions of the little Rhodesian are as follows: length 6 in. (150 mm); height 1 in. (25 mm); bowl diameter 1½ in. (38 mm); chamber diameter ¾ in. (19 mm). The weight of the pipe is ¾ oz. (24 g). I hope you enjoyed reading the story of this pipe as much I as I did restoring it. If you are interested in more of my work, please follow me here on Steve’s website or email me directly at kenneth@knightsofthepipe.com. Thank you very much for reading and, as always, I welcome and encourage your comments.