by Steve Laug
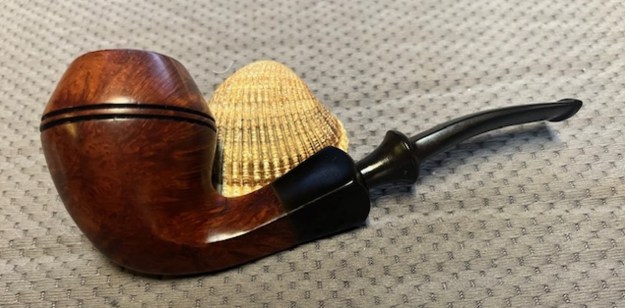
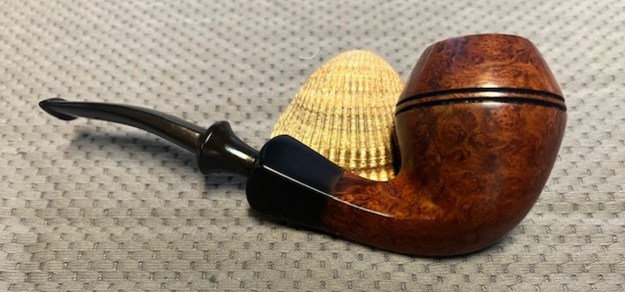
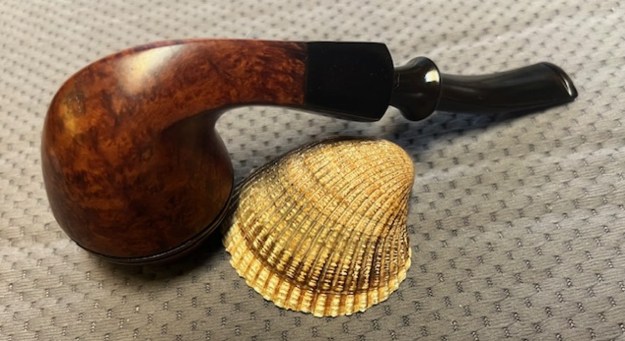
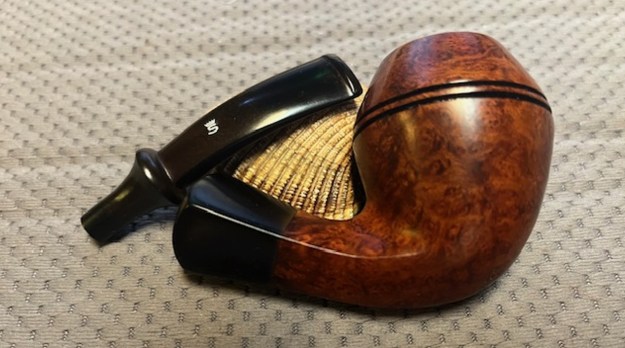
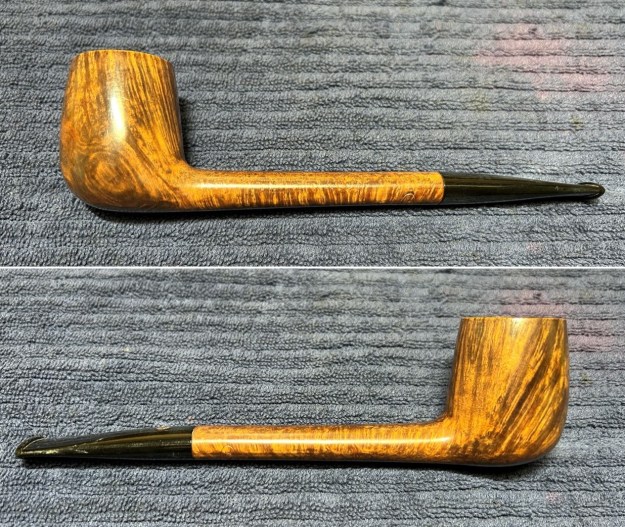
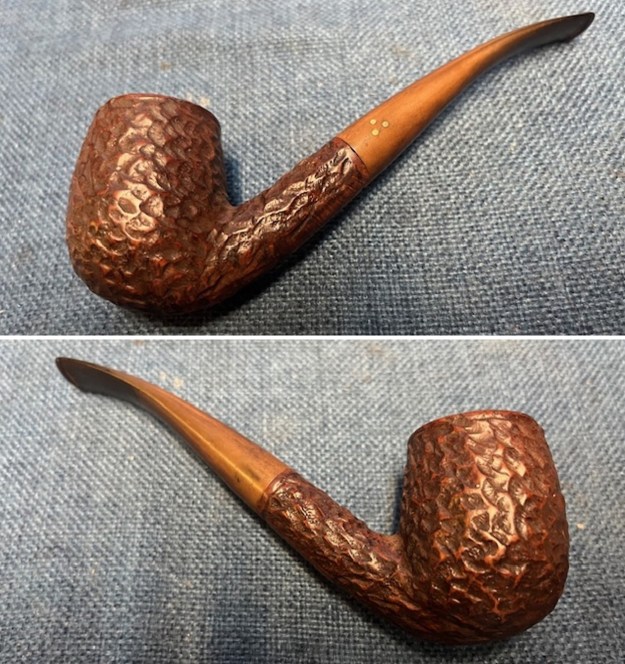
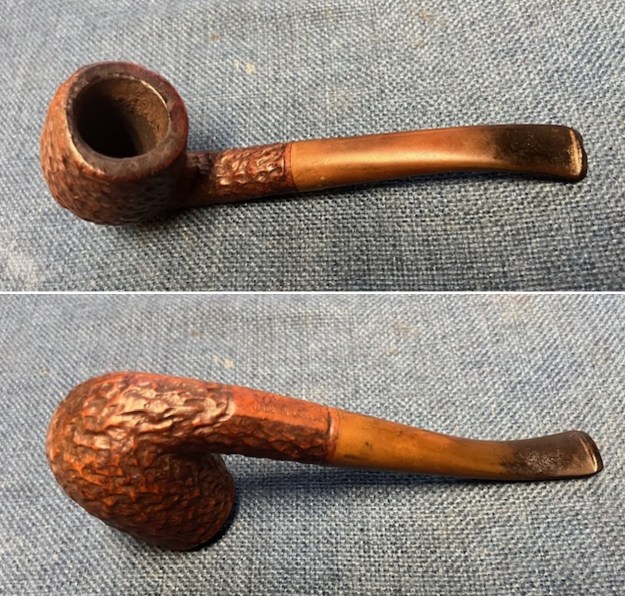
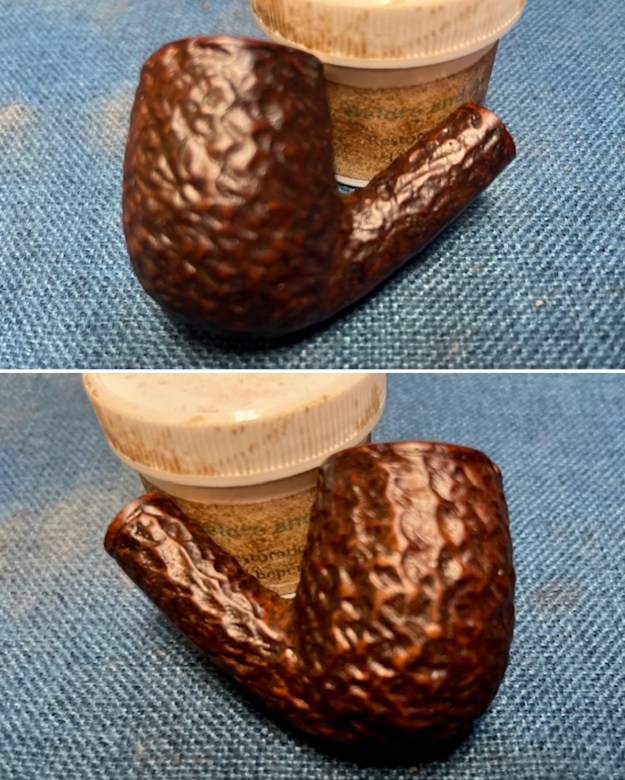
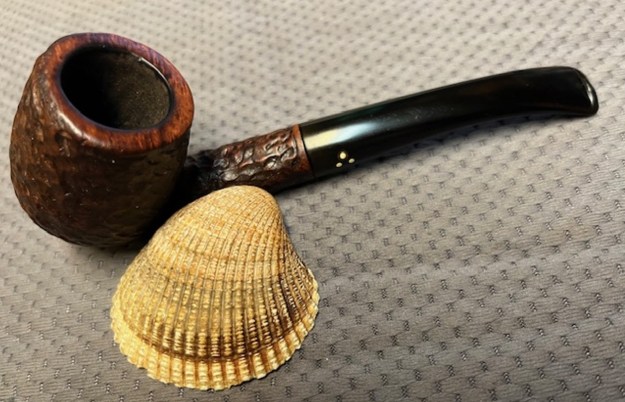
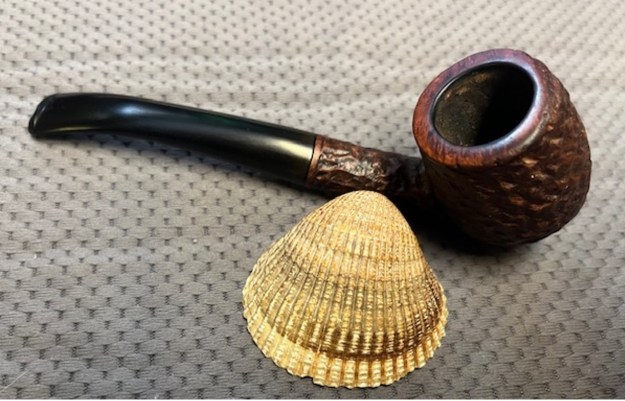
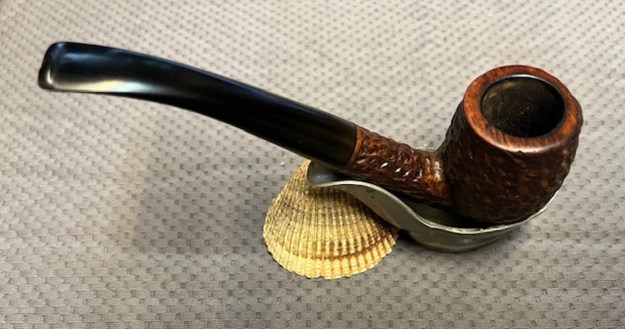
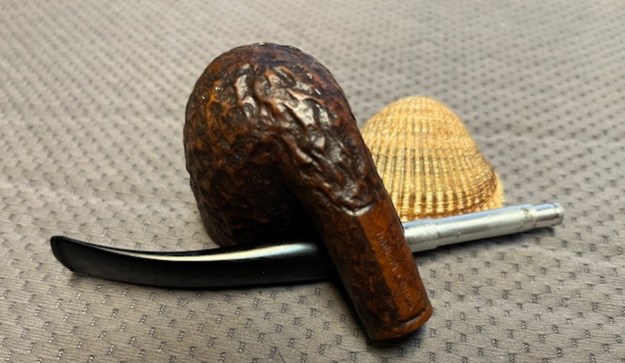
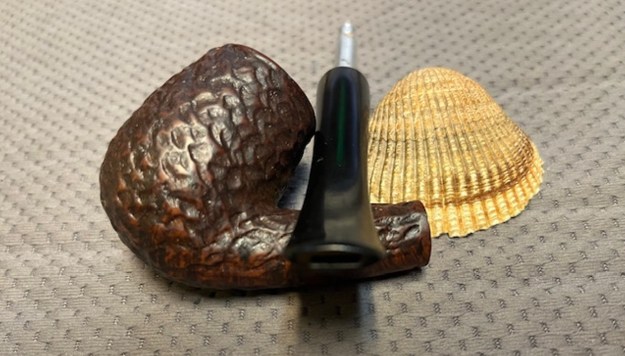
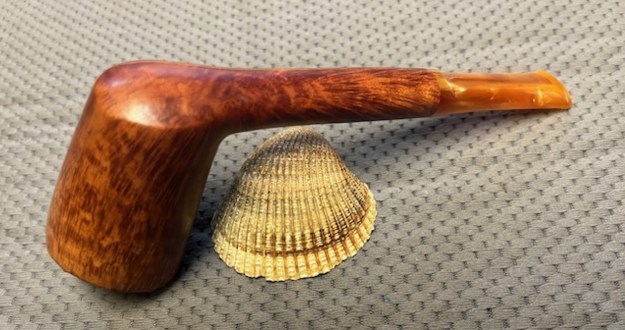
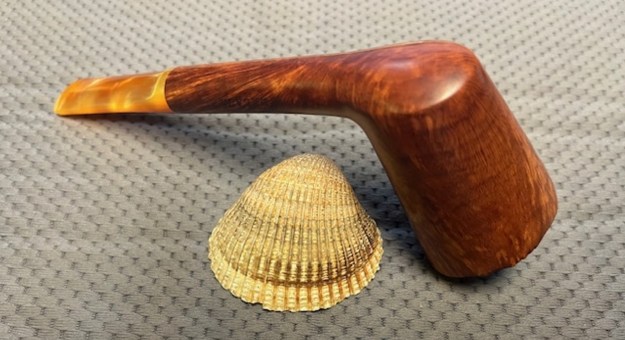
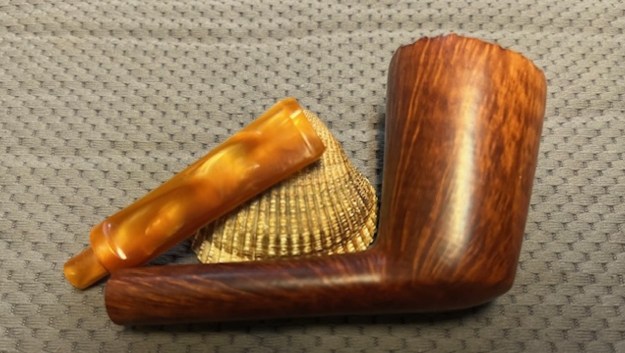
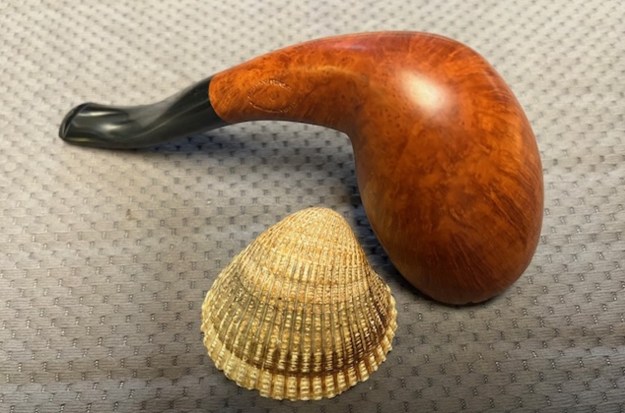
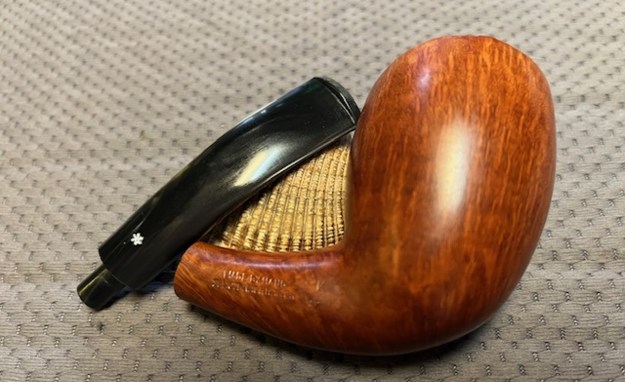
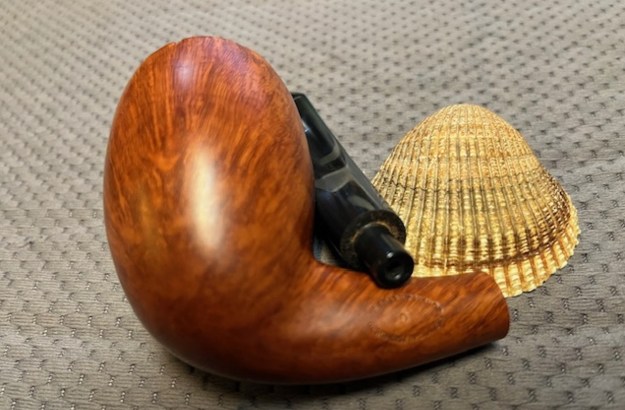
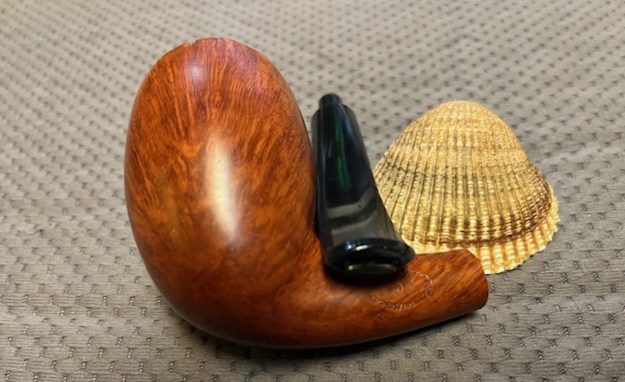
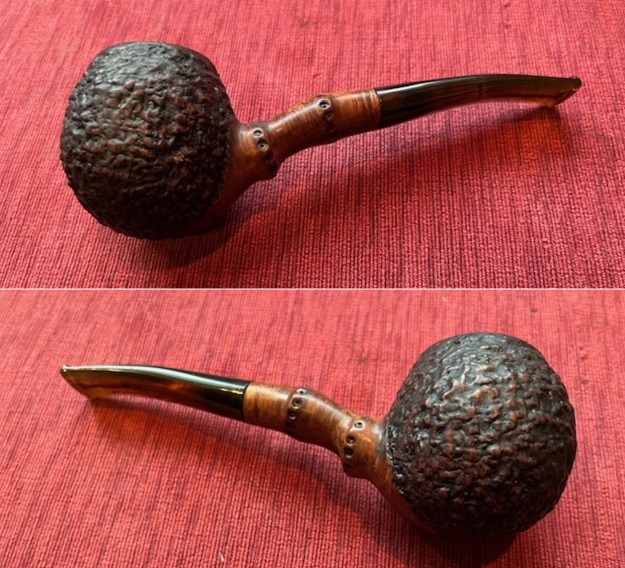
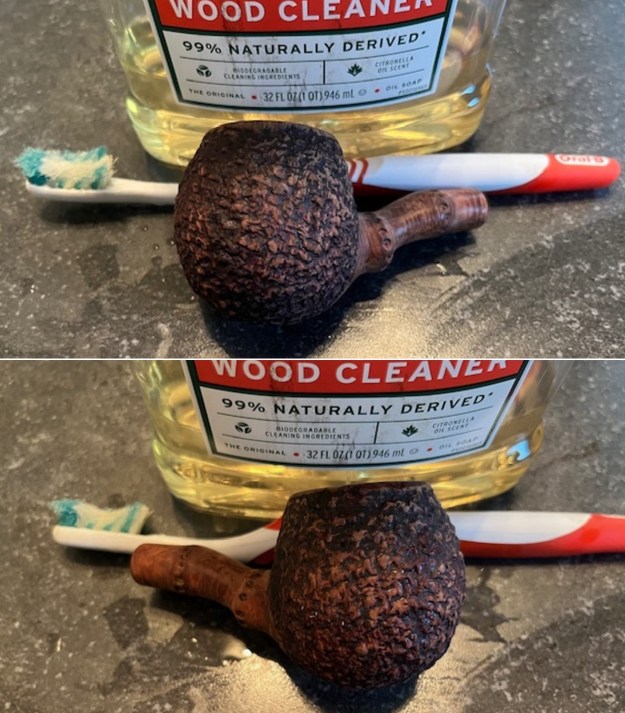
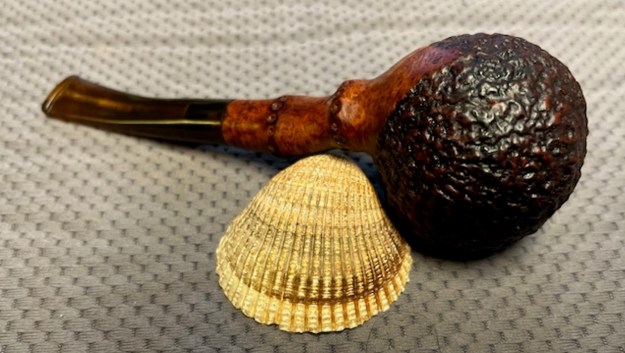
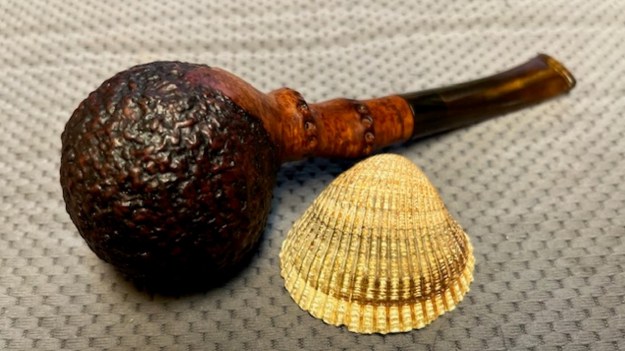
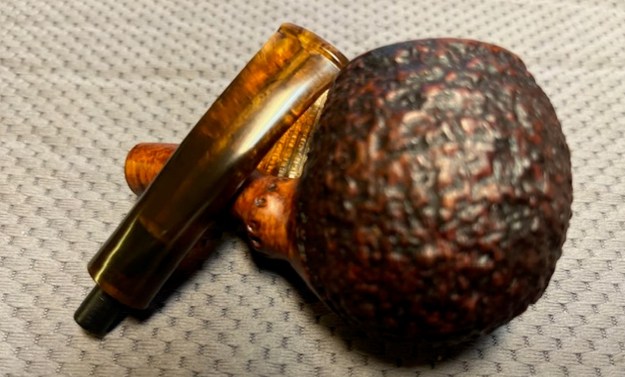
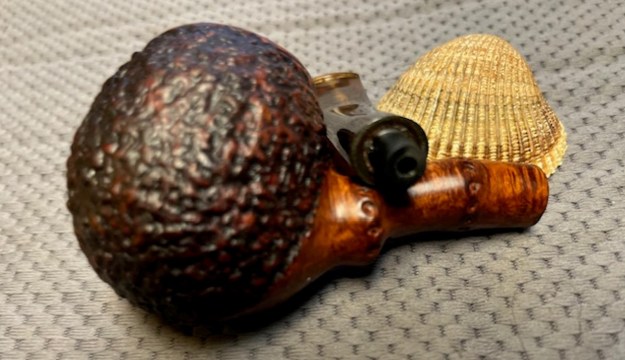
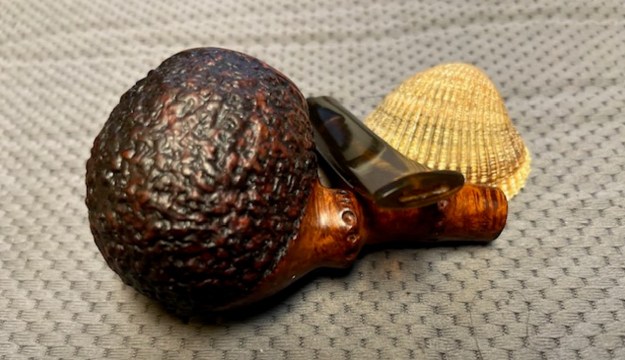
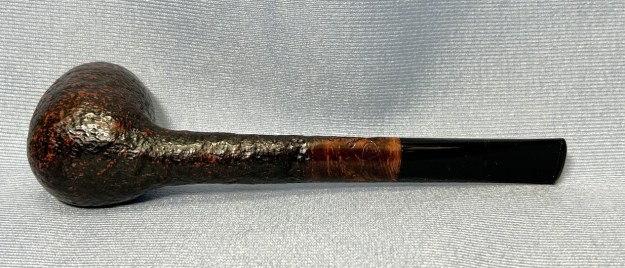
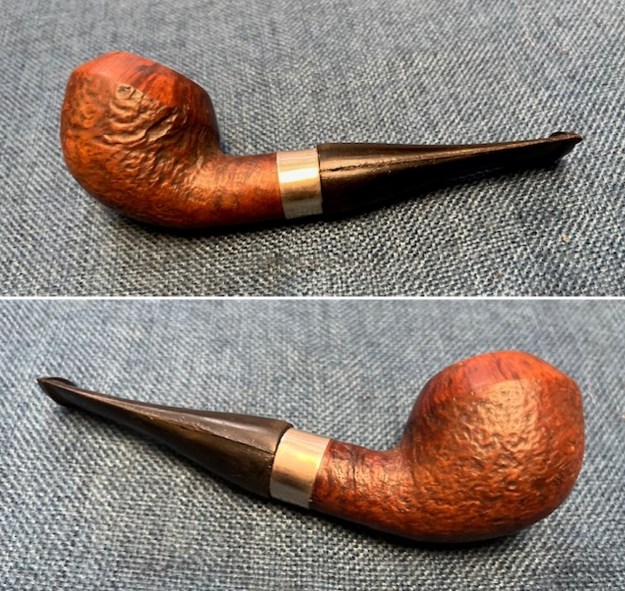
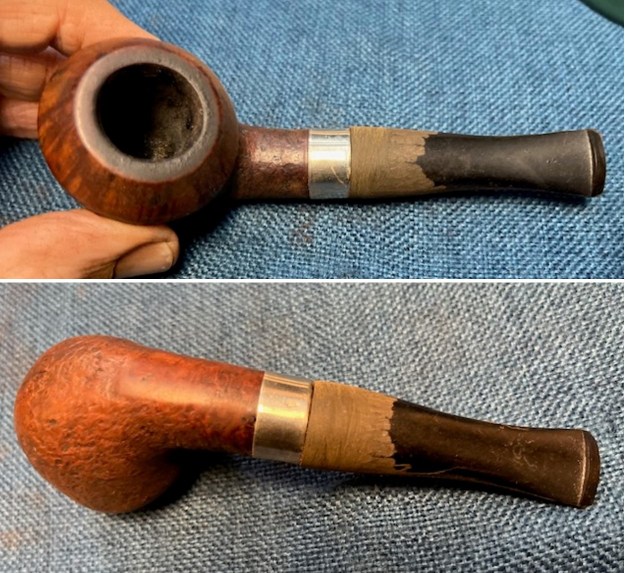
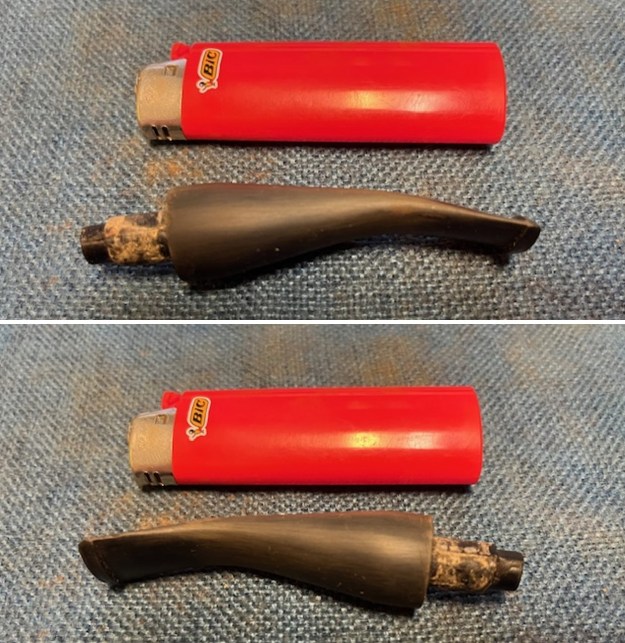
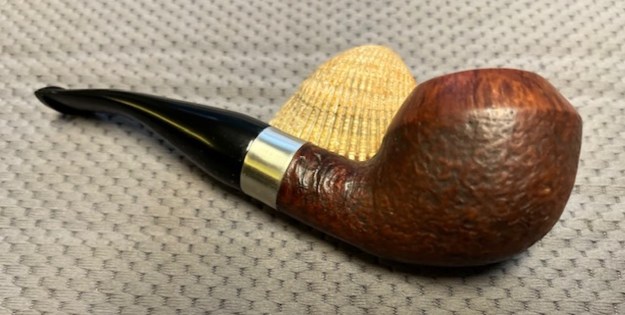
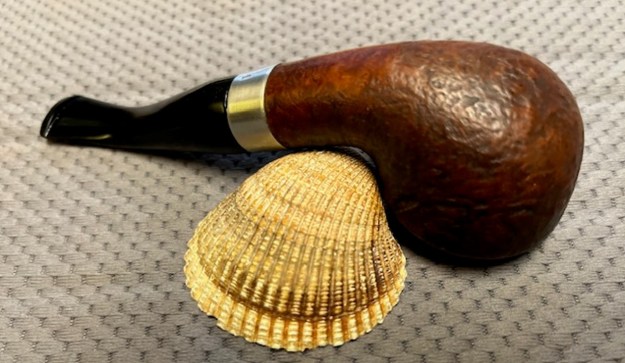
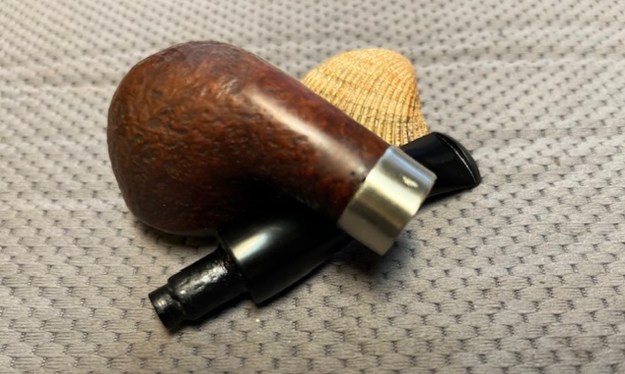
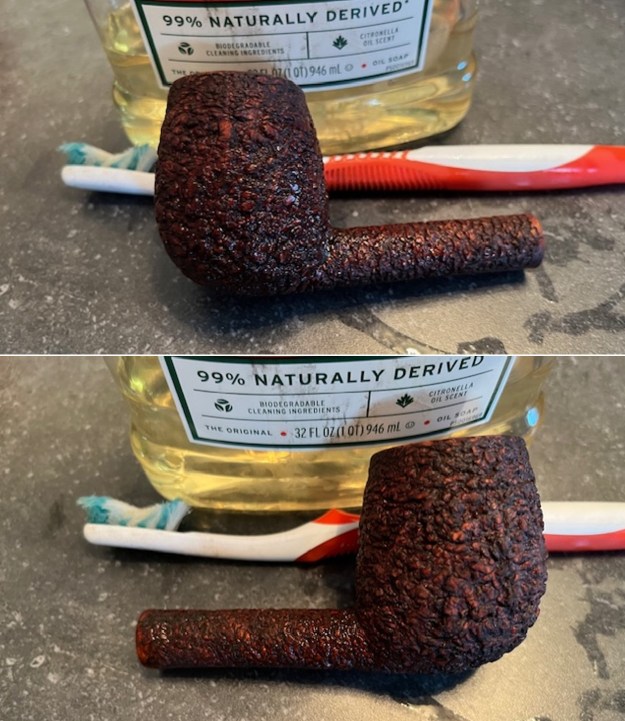
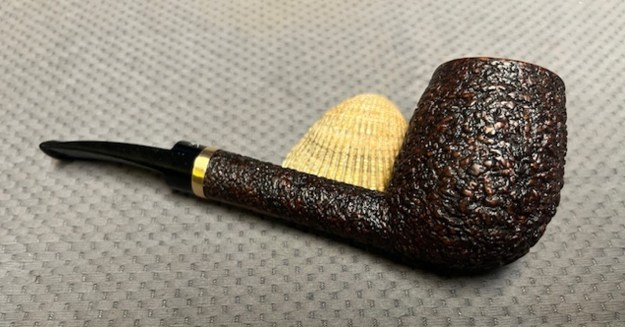
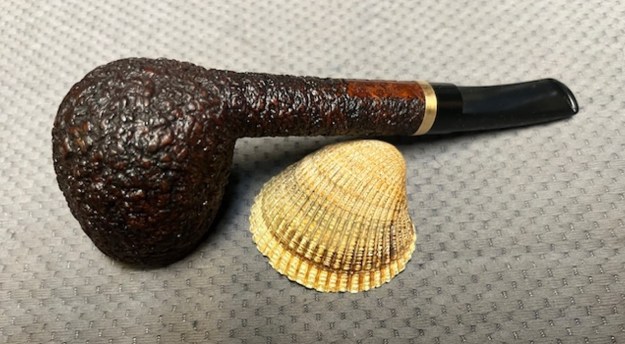
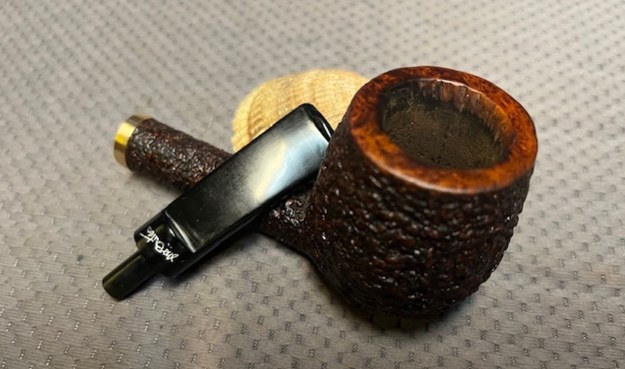
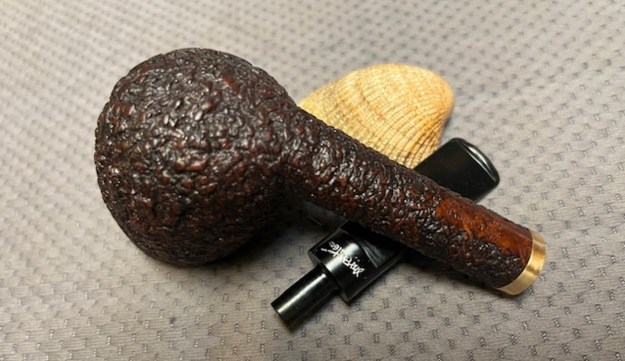
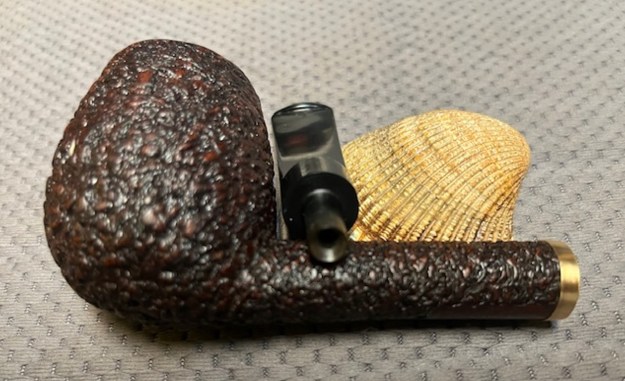
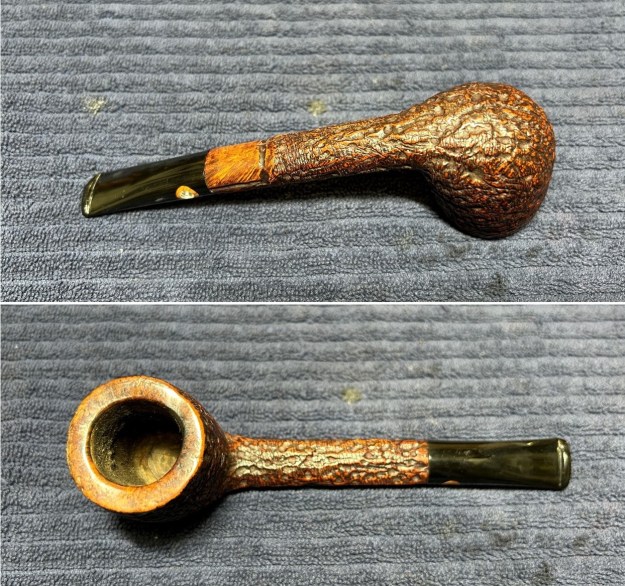
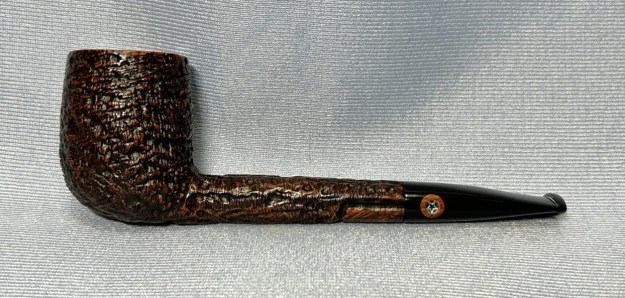
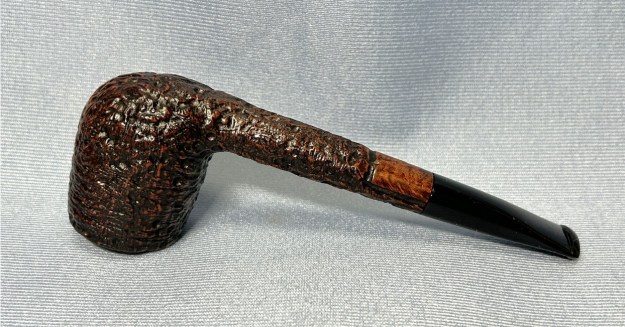
The next pipe is one I also worked on while I was at Jeff’s place in Idaho. I brought it home to finish it. We picked the pipe up from a seller in Macon, Georgia, USA on 03/08/2025. I would call the pipe a Bulldog shaped pipe with a vulcanite shank extension and a military style, vulcanite saddle stem. It is stamped on the left underside of the diamond shank and reads 33 (shape number) followed by Stanwell [over] Regd No. 969-48 [over] Bench Made. There is no other stamping on the shank. The bowl had a heavy cake and a thick coat of lava on the rim top. The finish was dirty and dusty with grime ground into the finish and in the twin rings around the cap. There were a few nicks in the finish from the journey the pipe had travelled since it was made. The vulcanite shank extension was oxidized and dirty. The military style vulcanite saddle stem sat well against the shank. It was dirty with oil and tar in the airway from the tenon to the button. There were deep tooth marks and chatter on both sides ahead of the button. There was a Crown S Stanwell logo on the topside of the stem. I took some photos of the pipe before I started my work on it.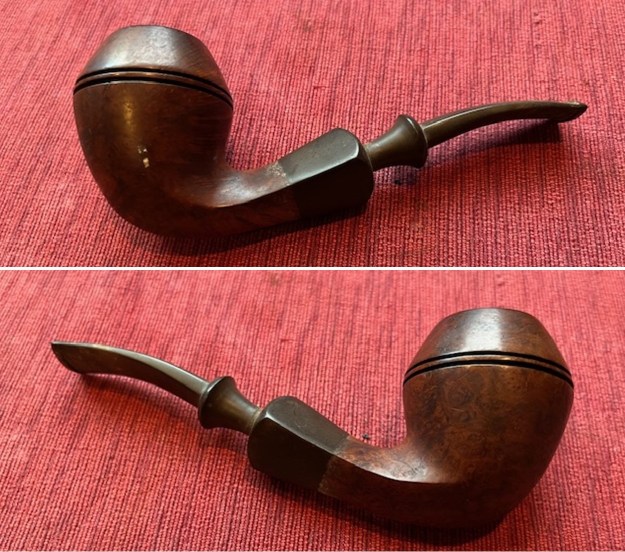
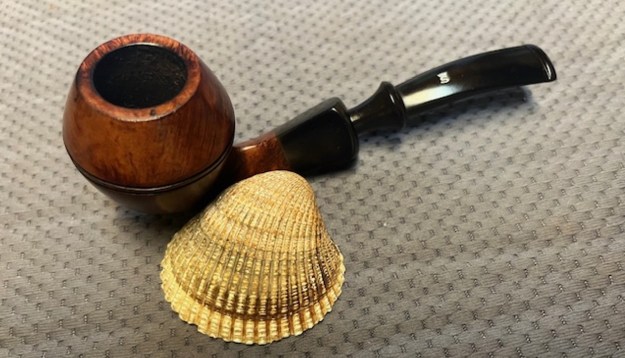
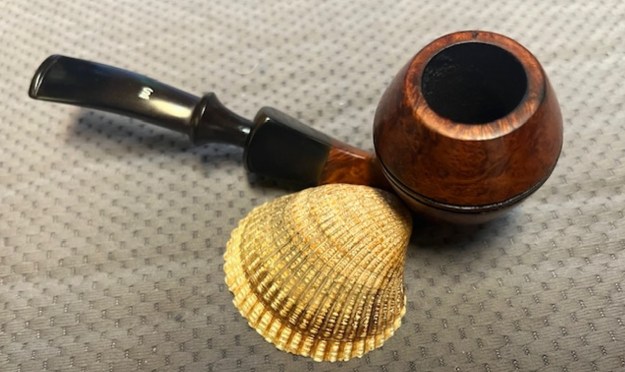
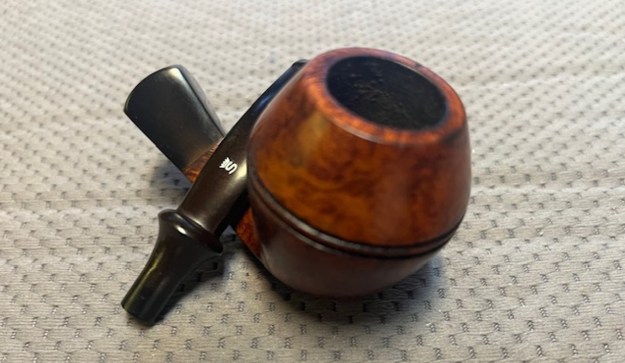
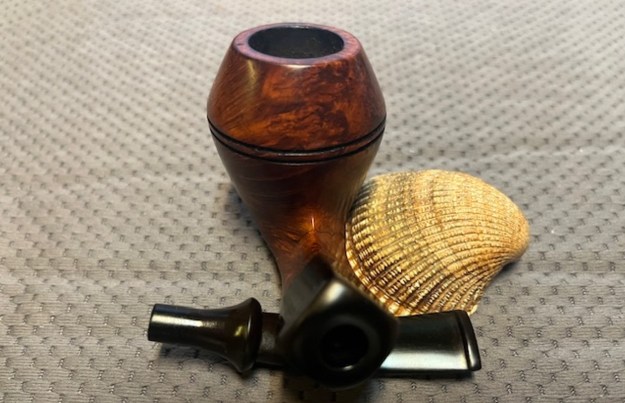
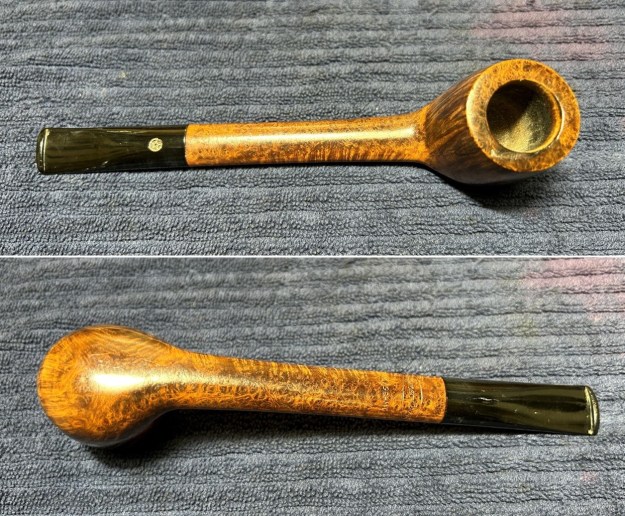
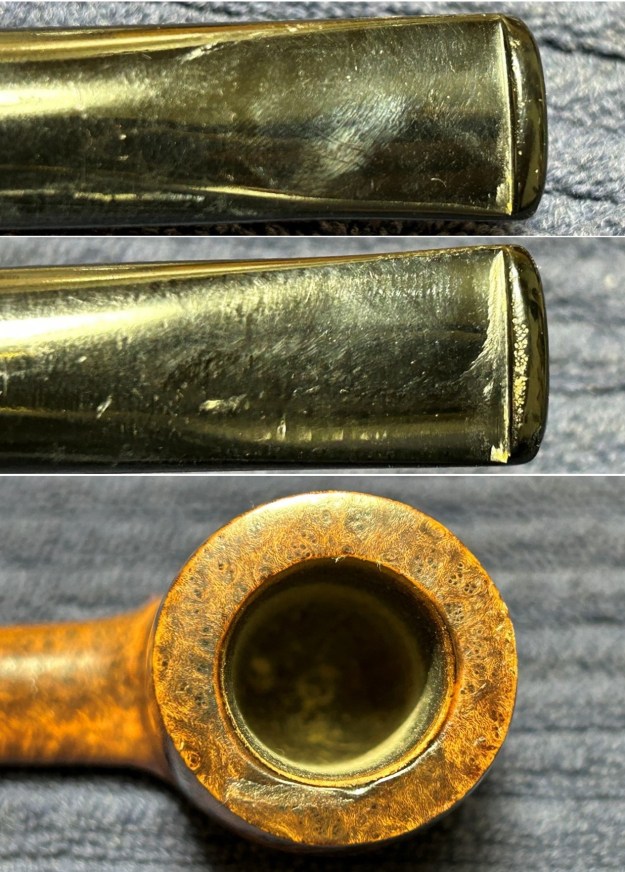
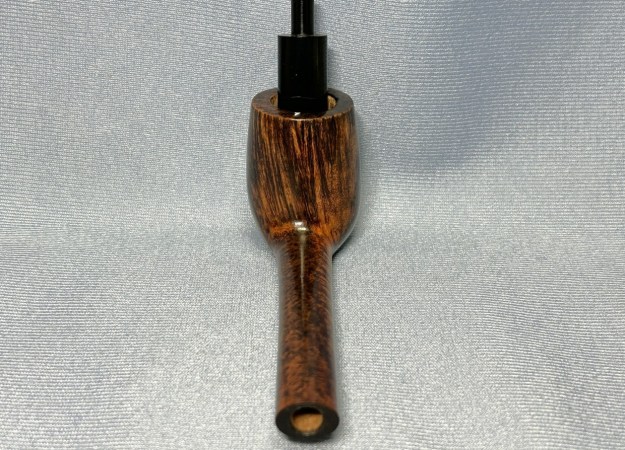
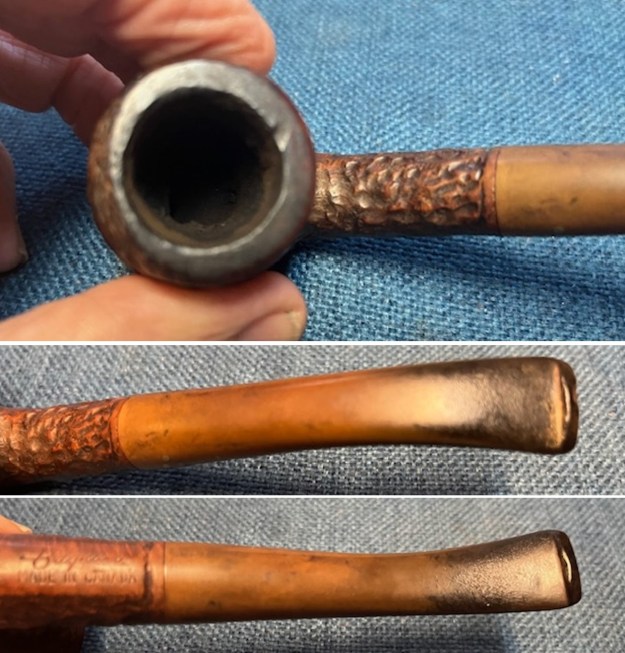
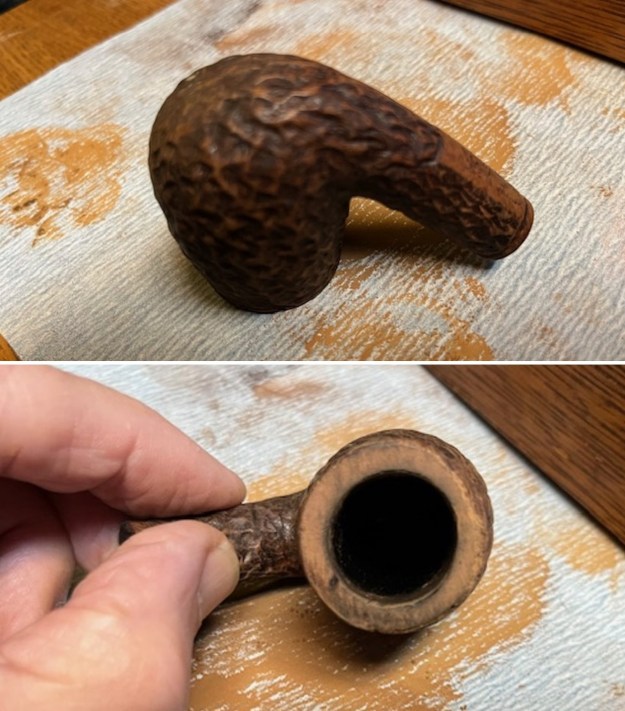
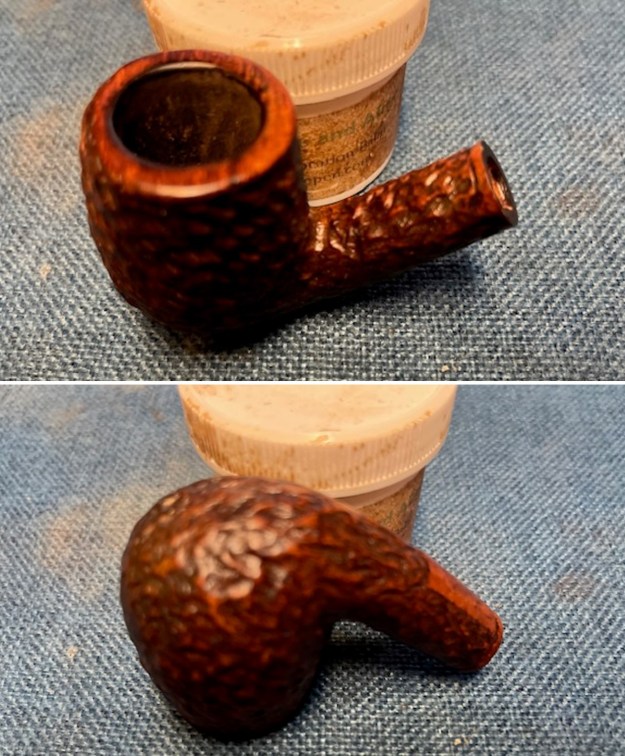
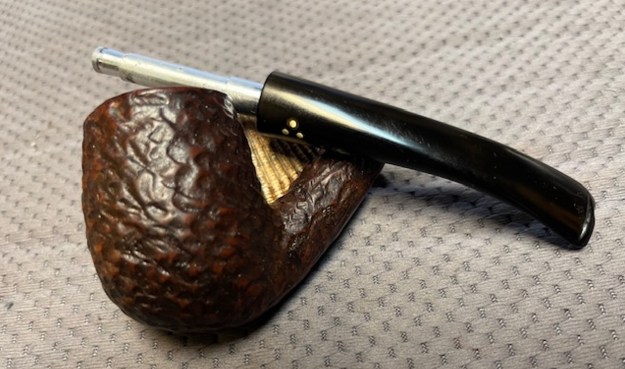
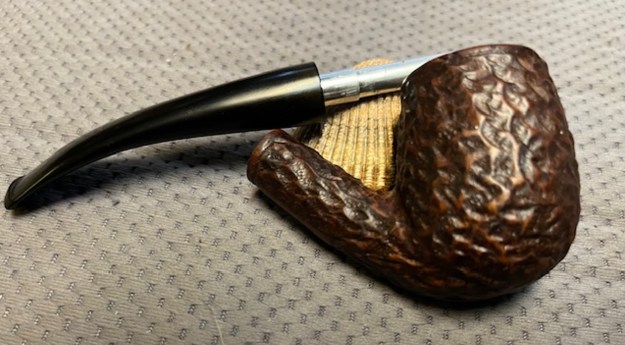
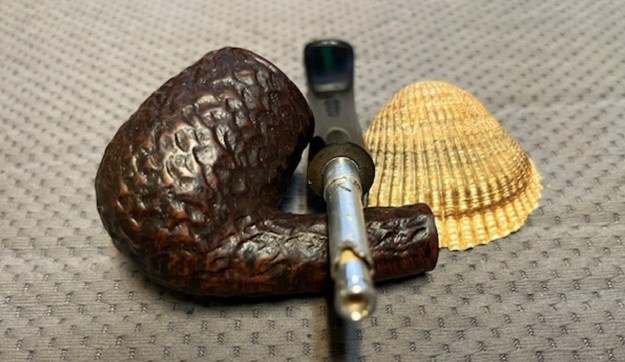
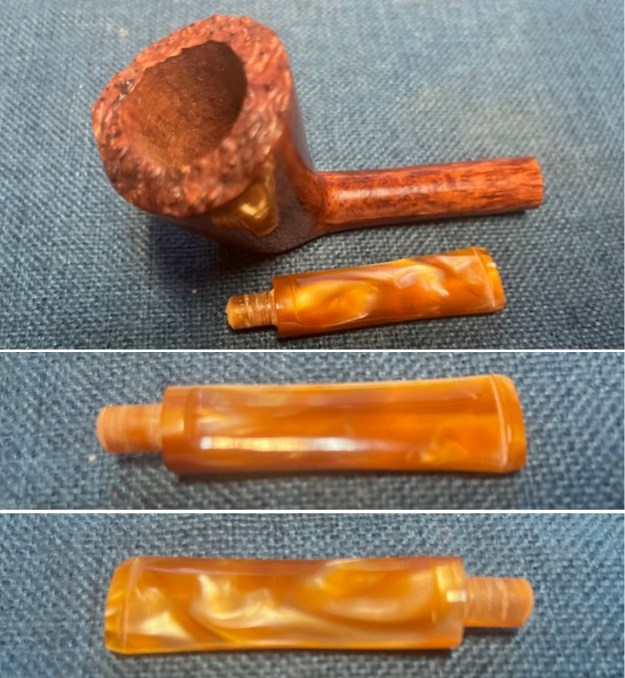
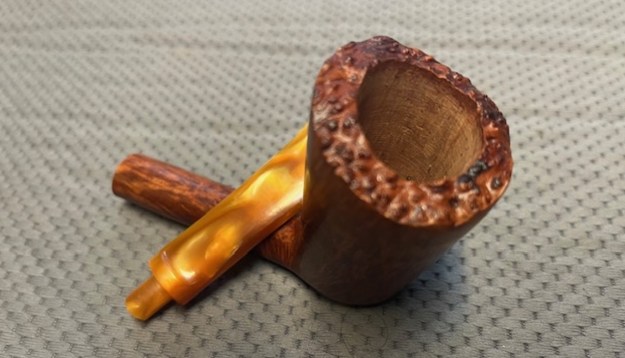
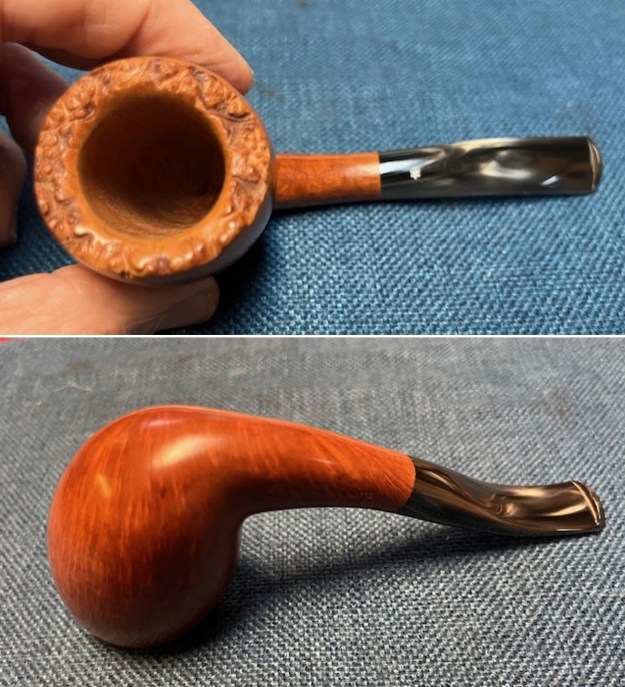
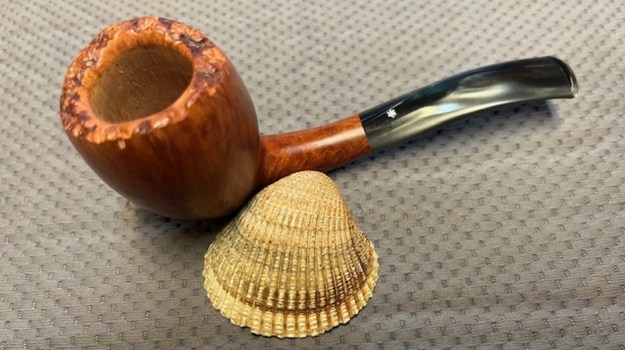
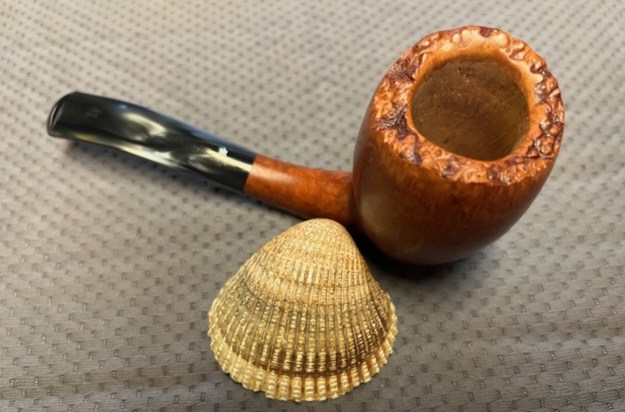
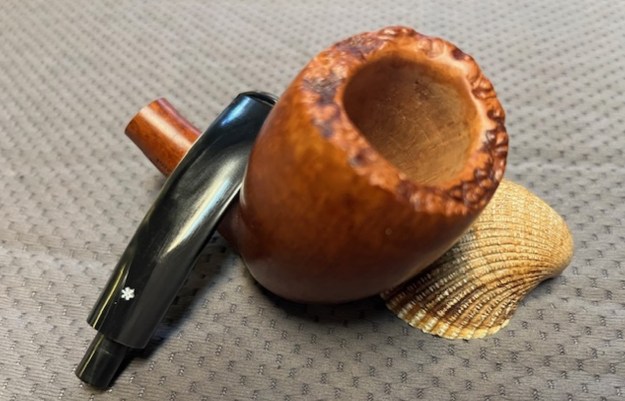
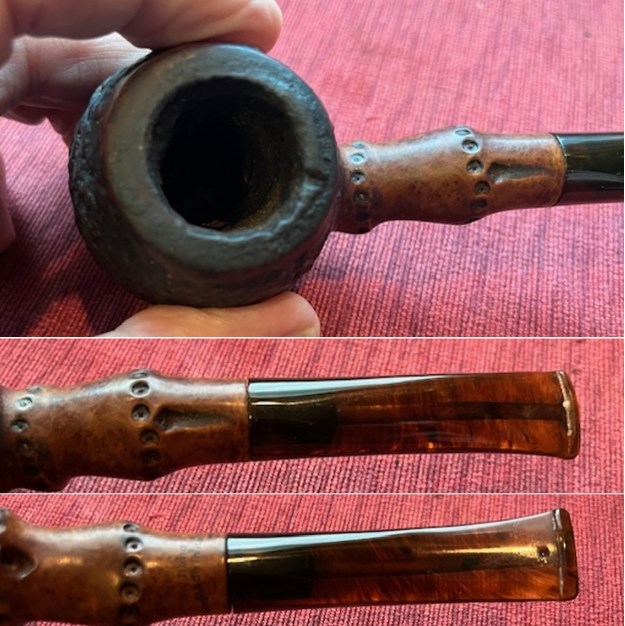
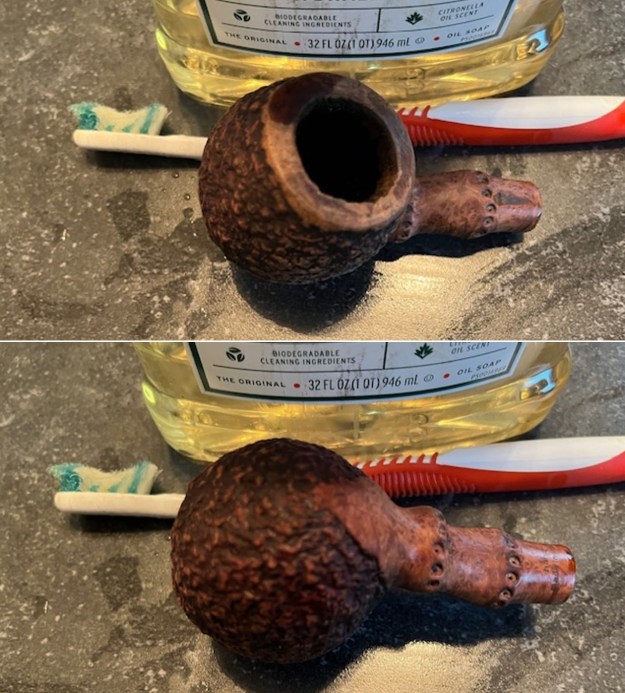
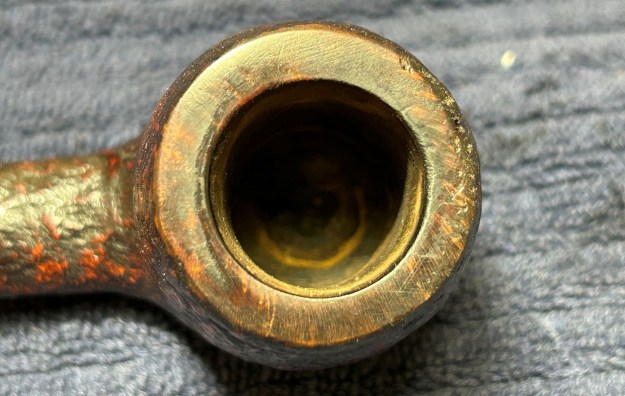
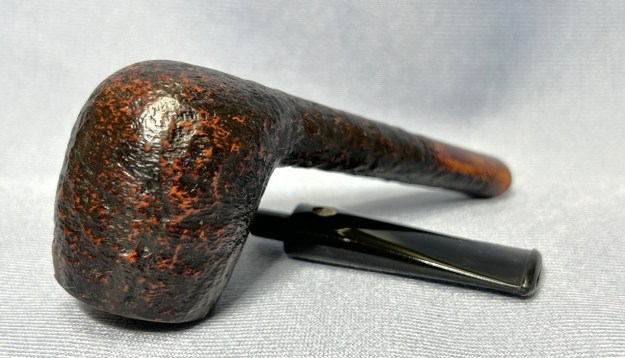
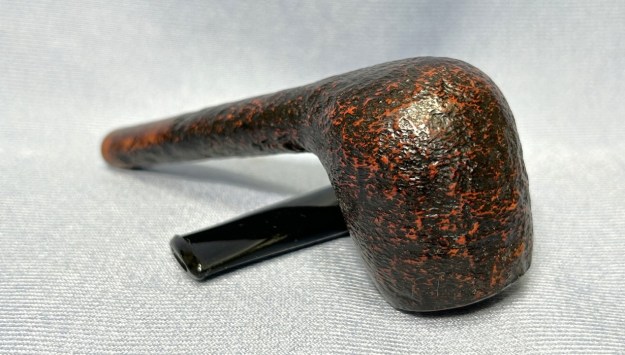
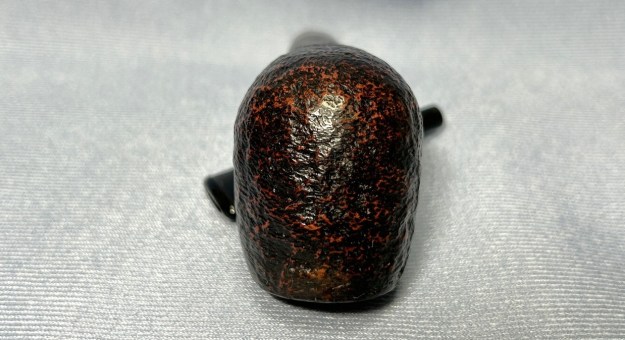
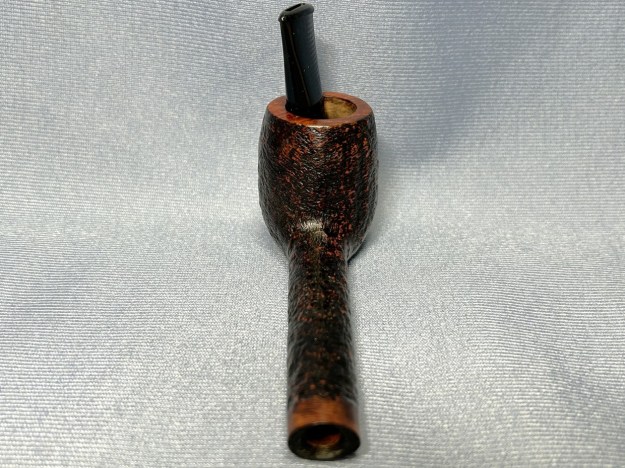
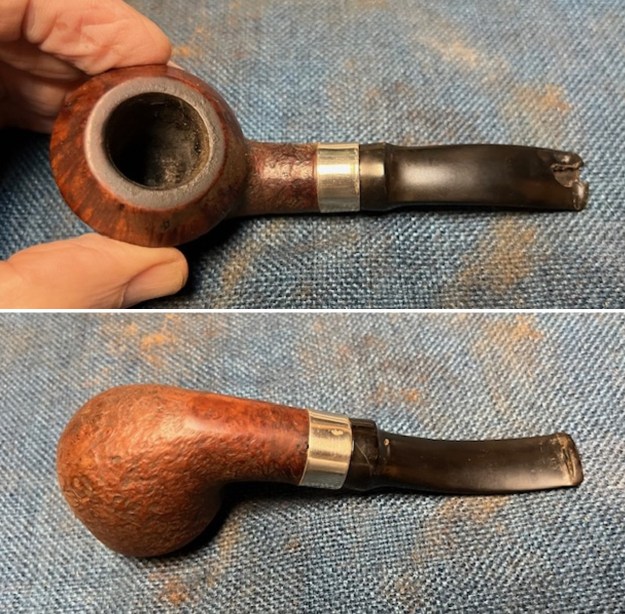
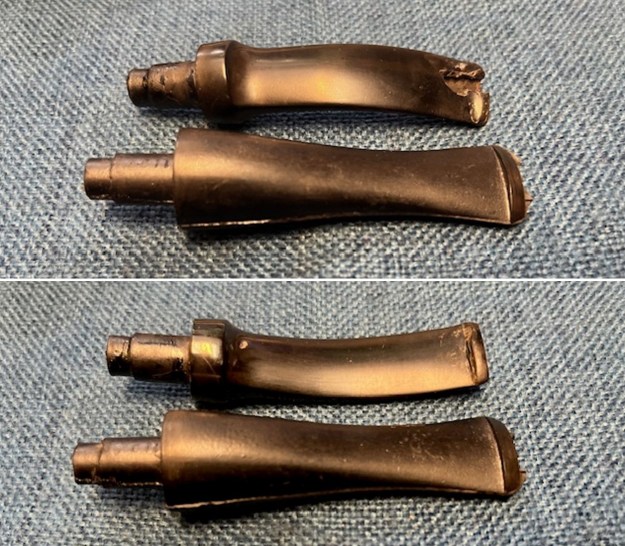
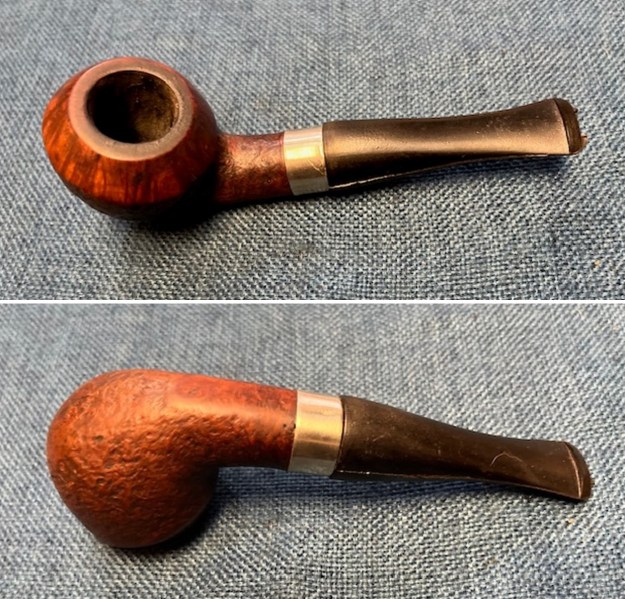
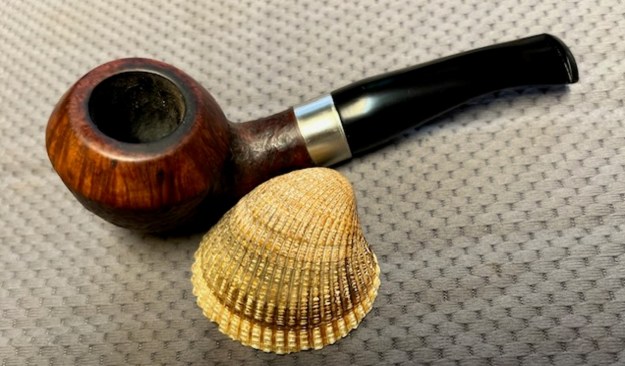
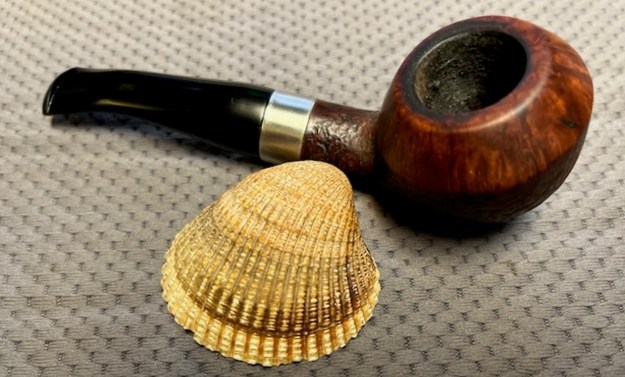
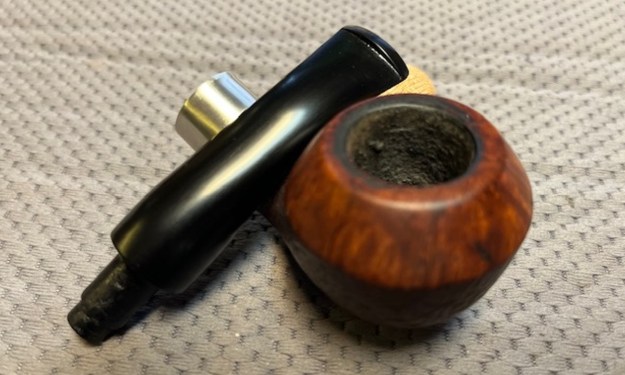
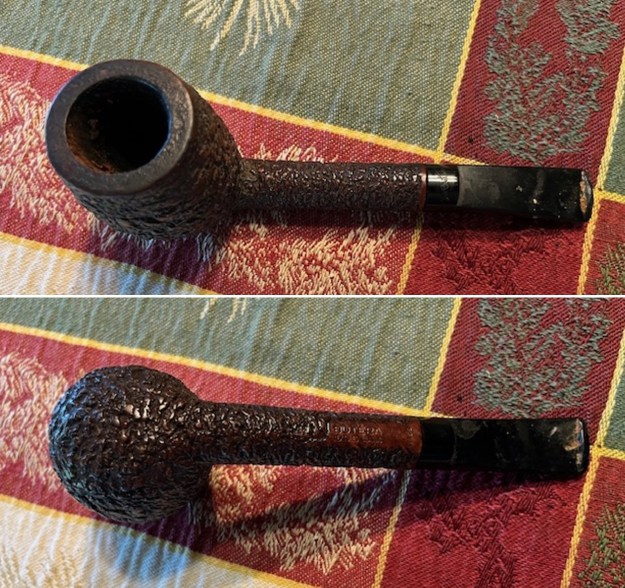
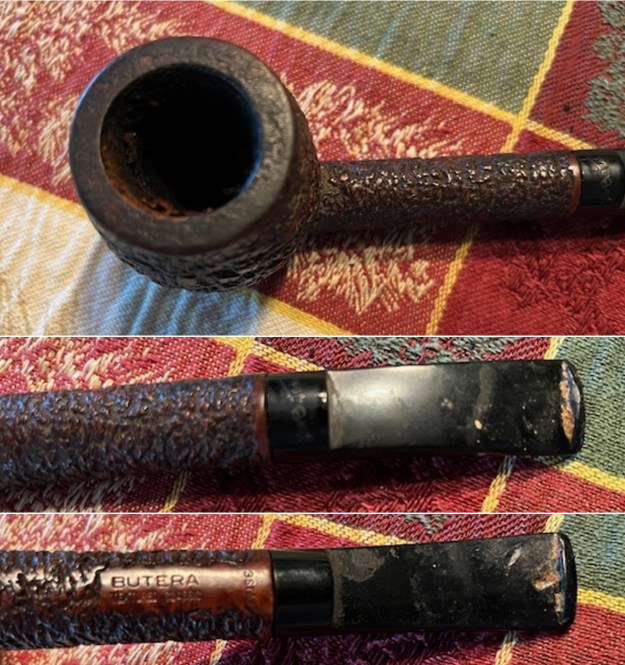
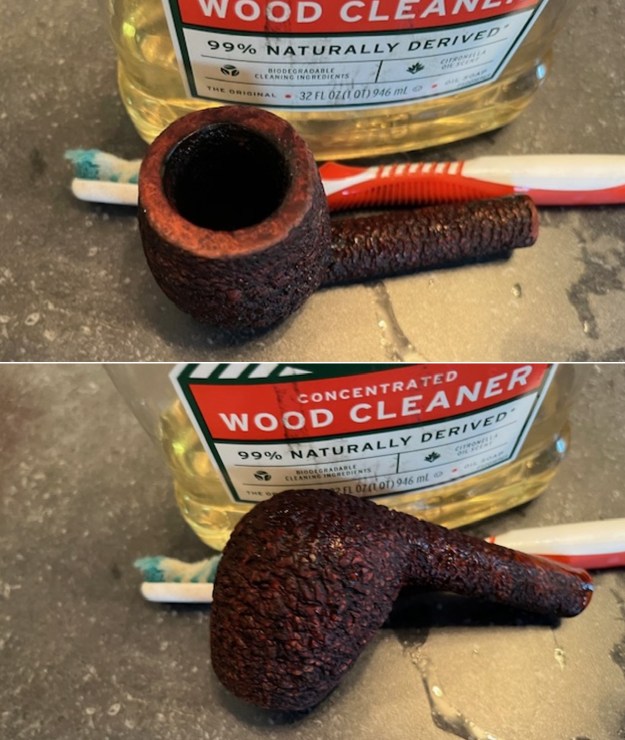
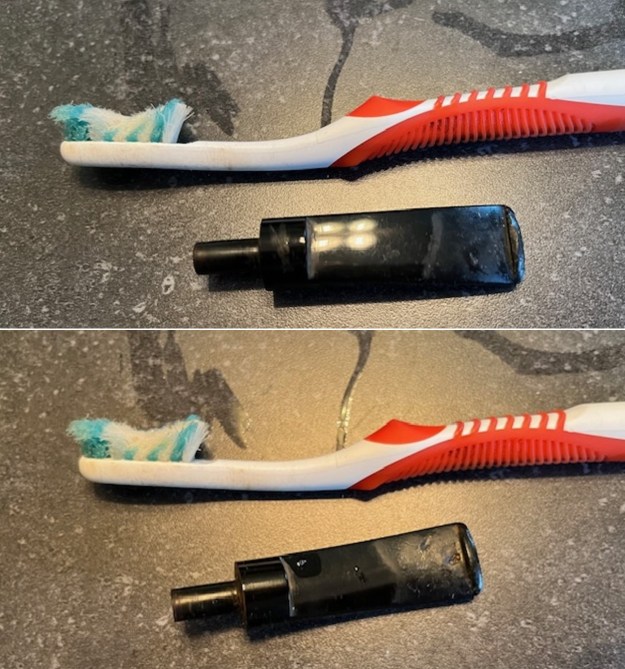
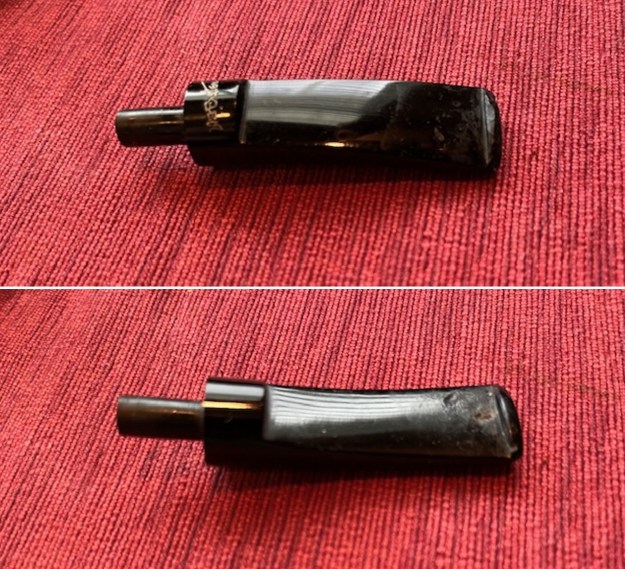
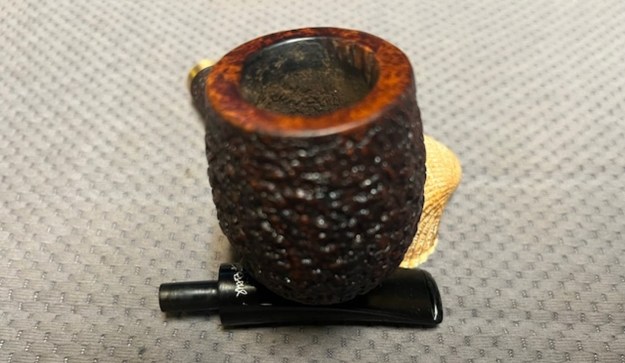
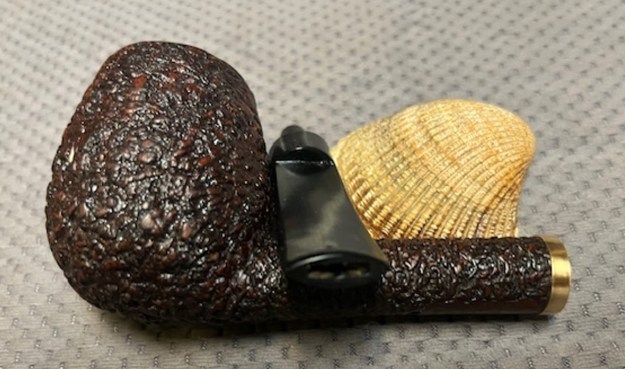
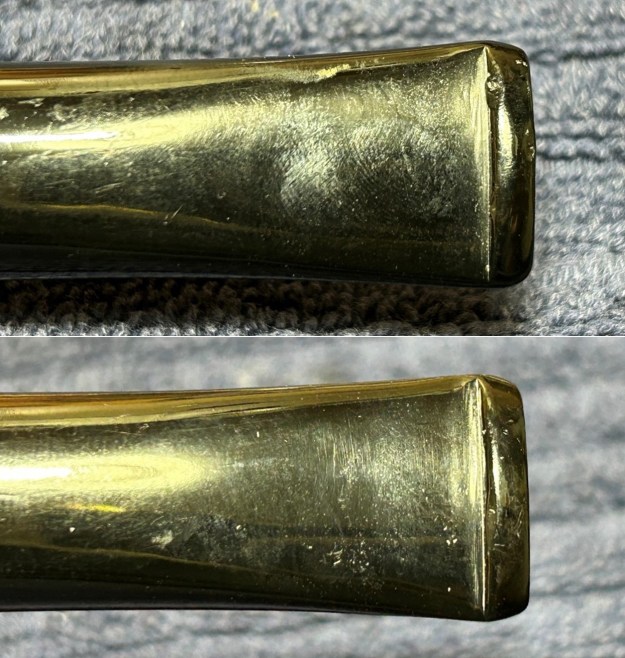
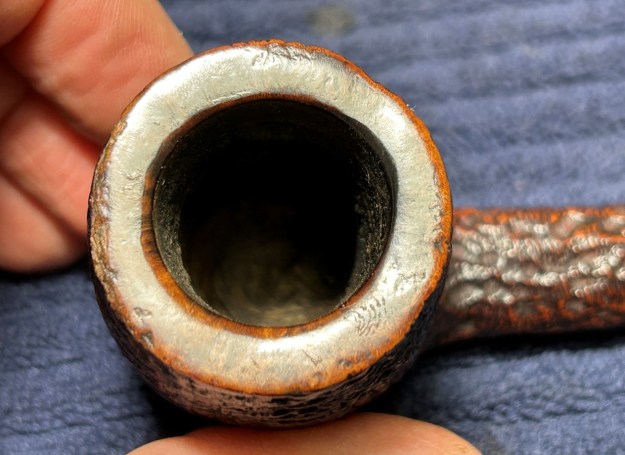
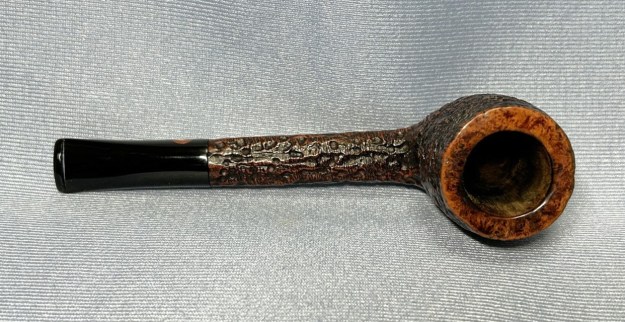
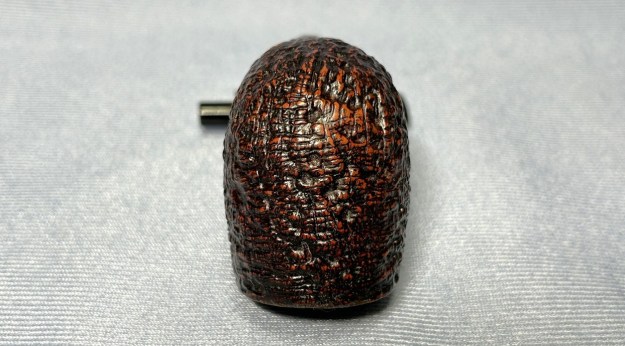
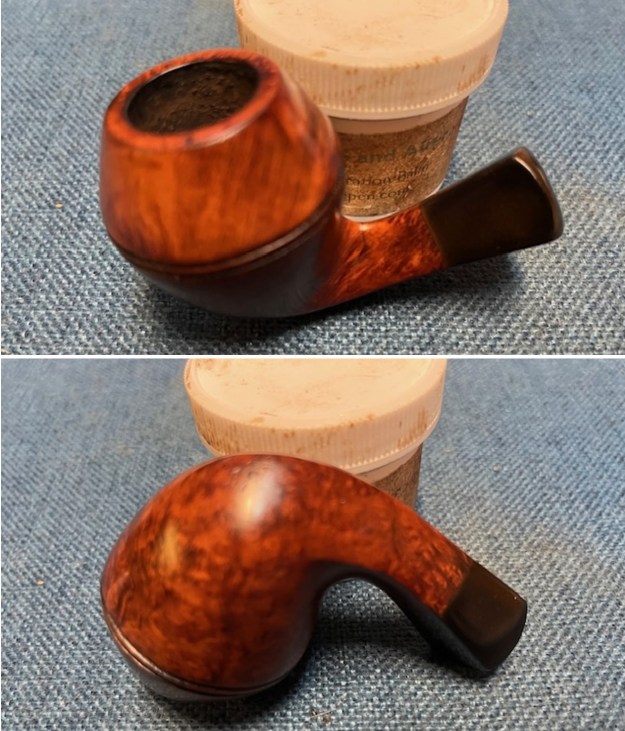
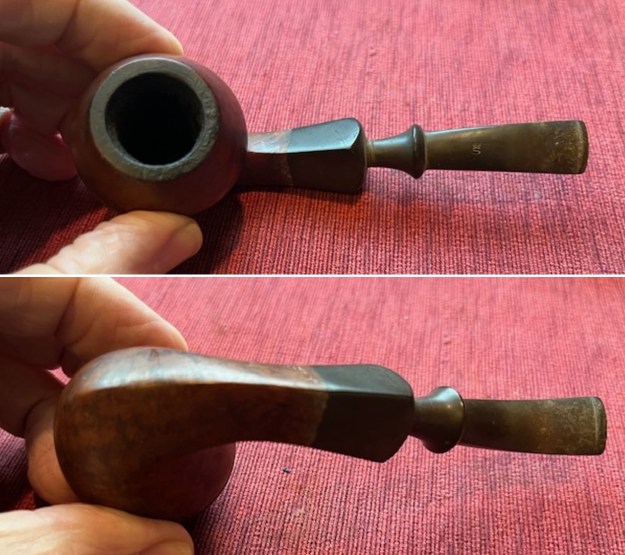 I took a photo of the bowl and rim top to show the cake in the bowl. The rim top had a thick coat of lava overflowing on top with some possible damage around the top and inner edge. I took photos of the top and underside of the stem showing the tooth marks and chatter on the vulcanite saddle stem surface as well as the heavy oxidation.
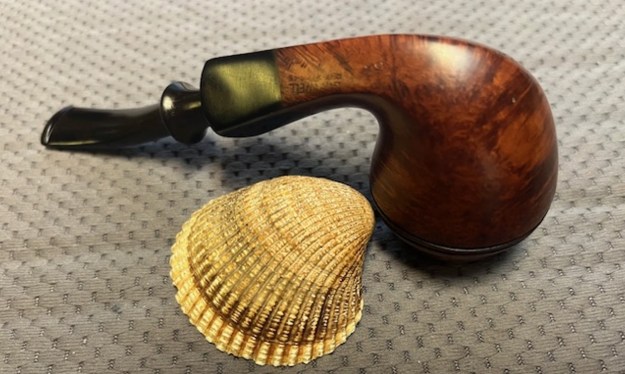
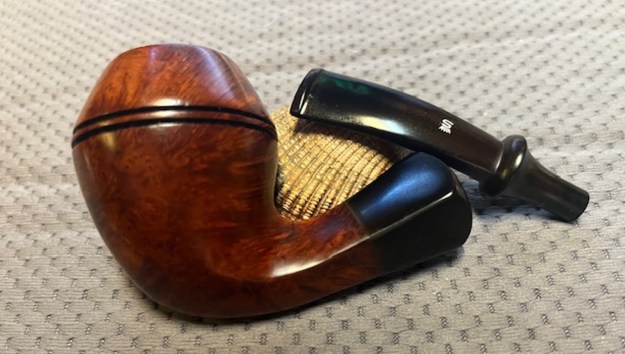
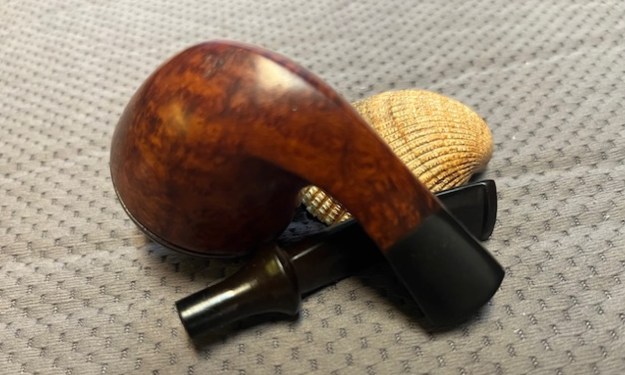
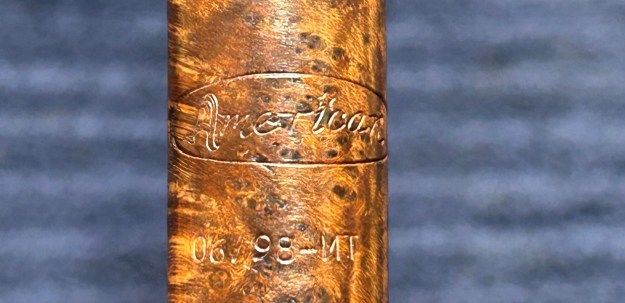
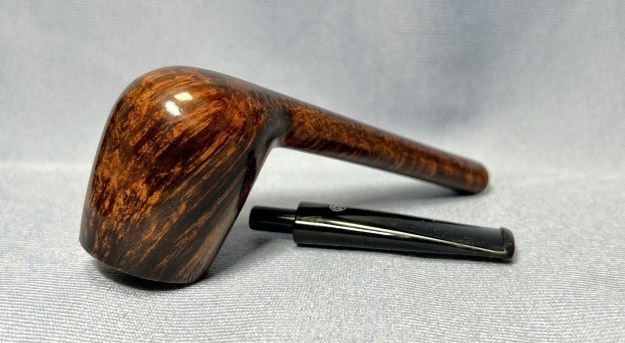
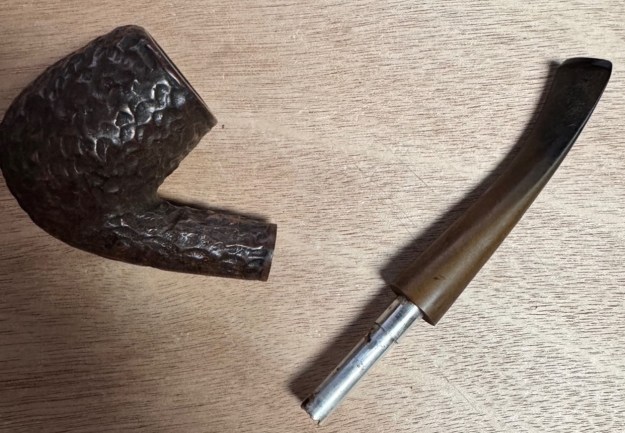
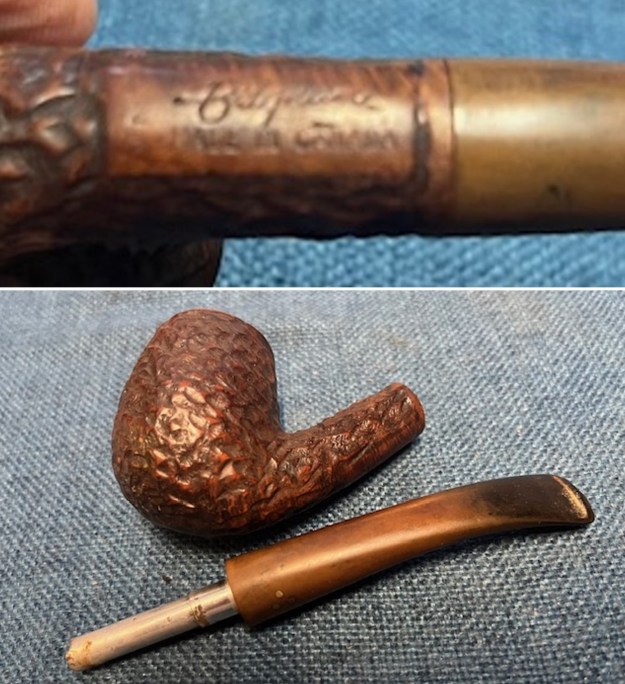
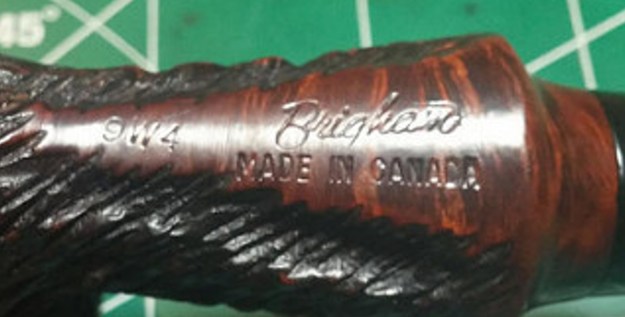
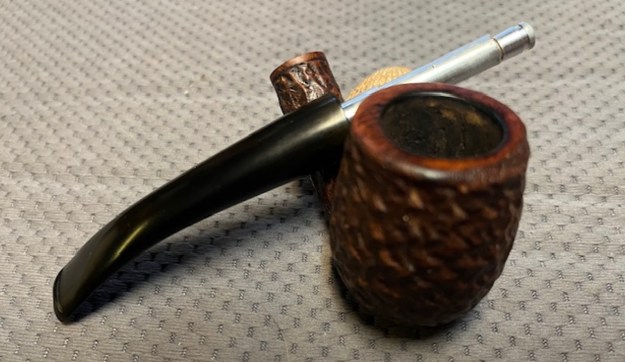
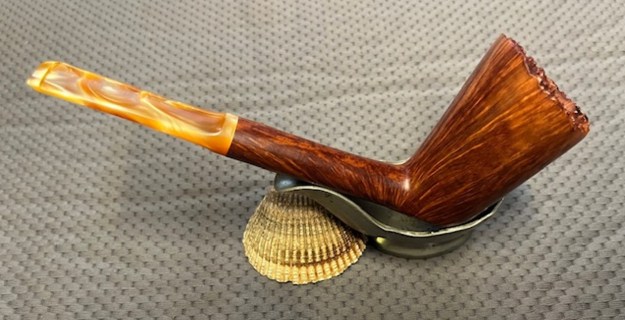
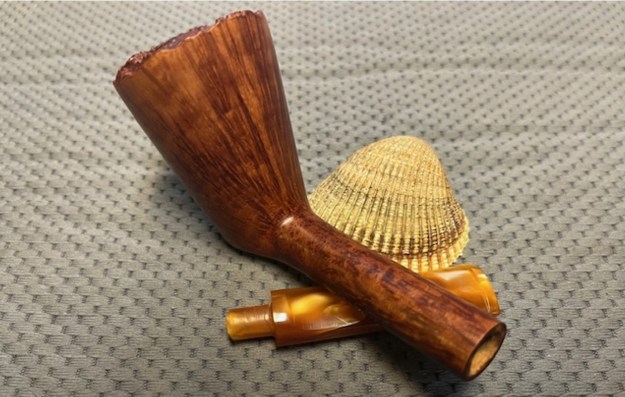
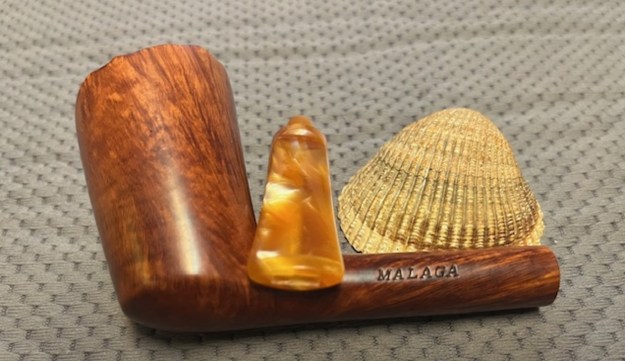
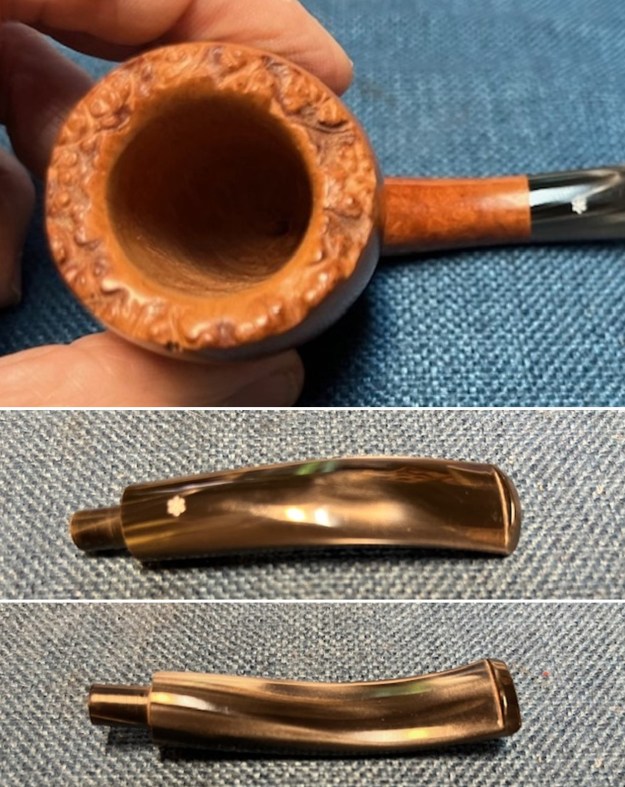
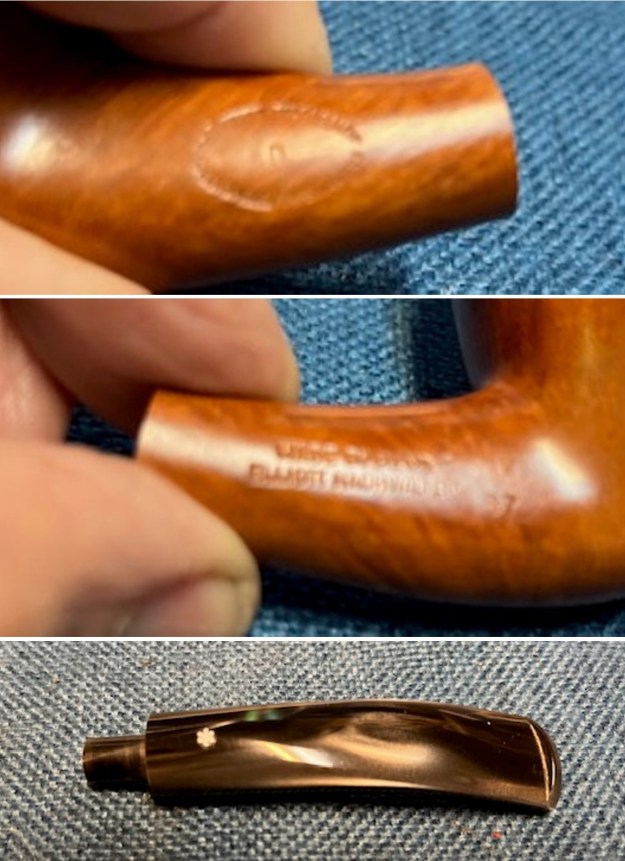
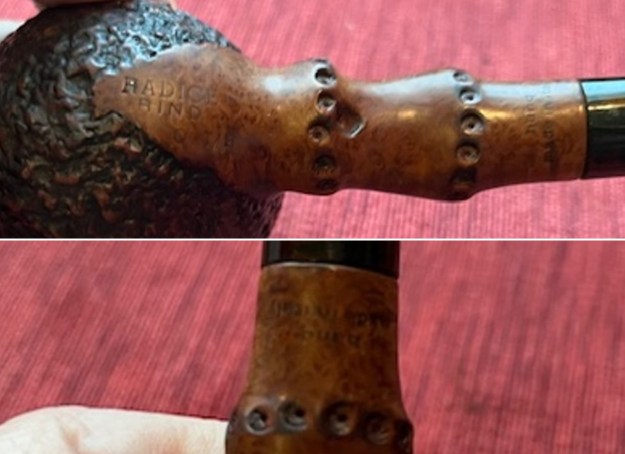
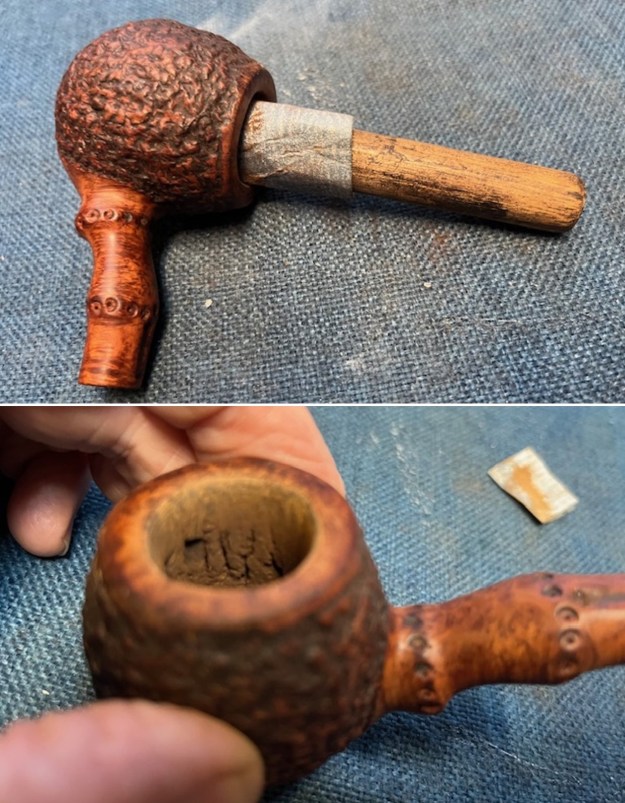
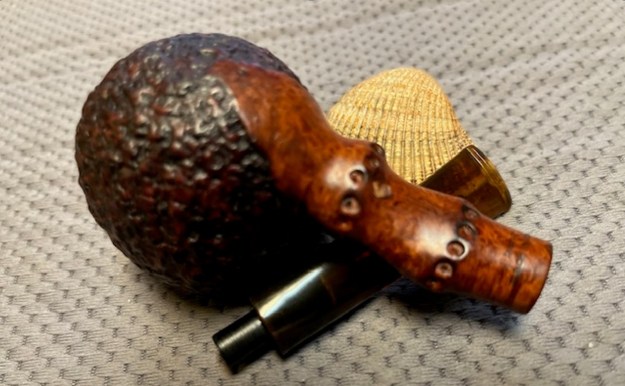
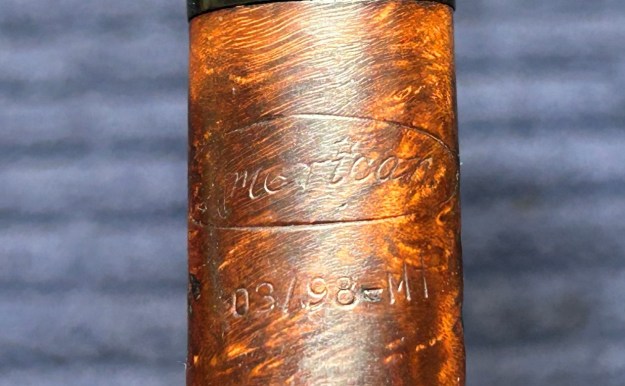
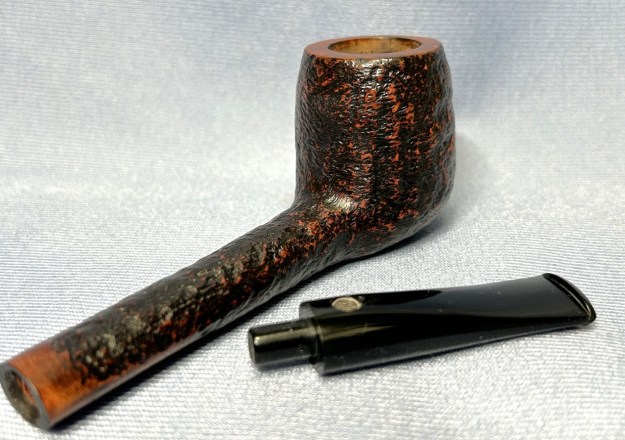
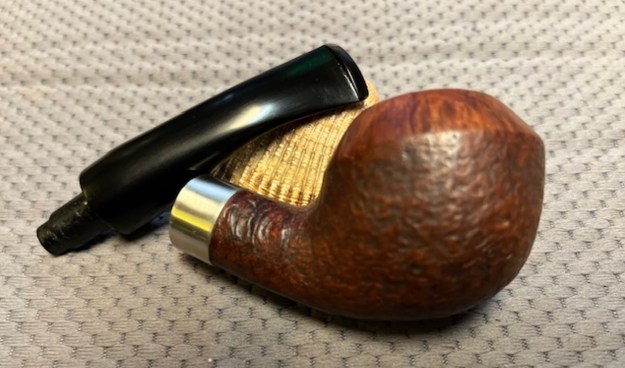
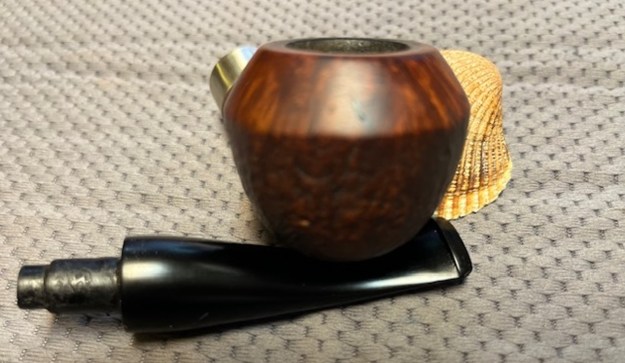
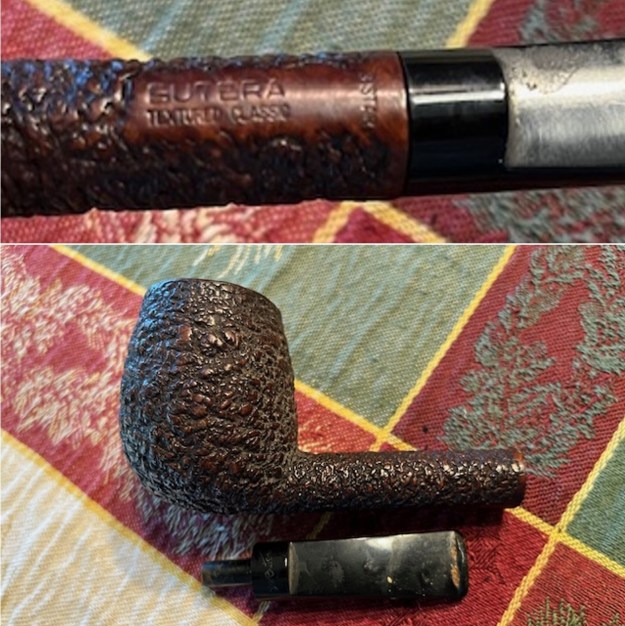
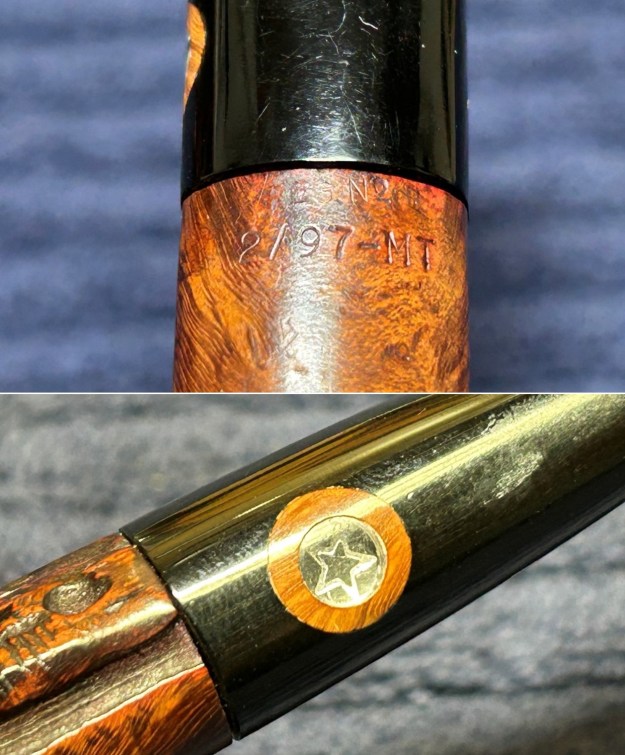
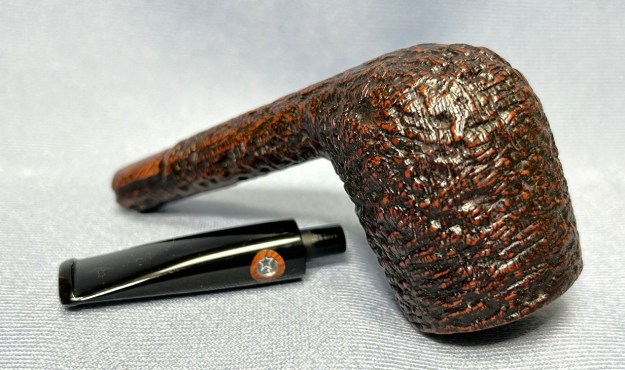
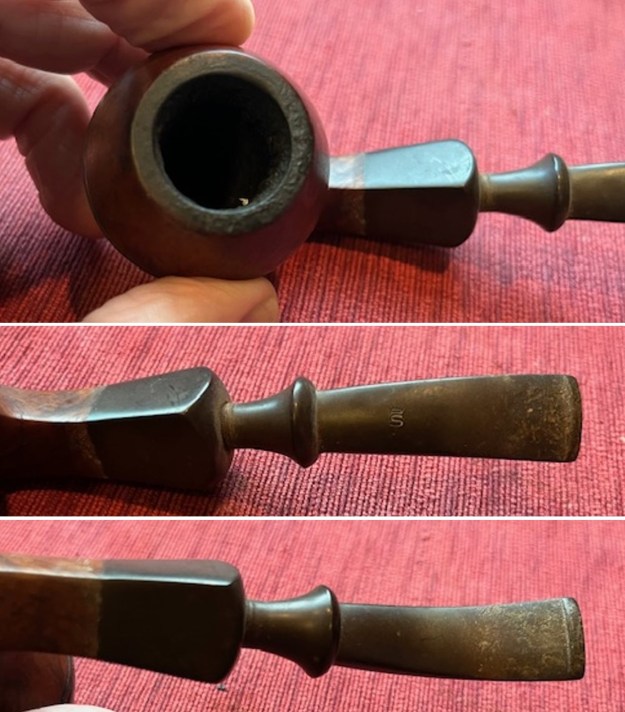 The stamping is faint in spots but is readable in the photo below. It reads as noted above. I removed the stem from the shank and took a photo of the parts to show the parts of the pipe. The finish on the pipe is very worn and tired looking.
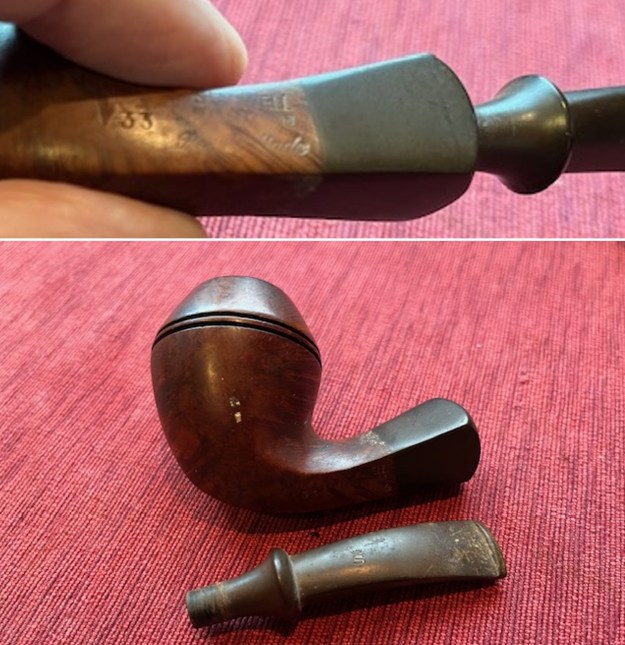 I turned to do a bit of research on the Stanwell Bench Made line first to Pipephil’s site but unfortunately though there as some great information there, the Bench Made line is not shown on the site (http://www.pipephil.eu/logos/en/logo-stanwell.html).
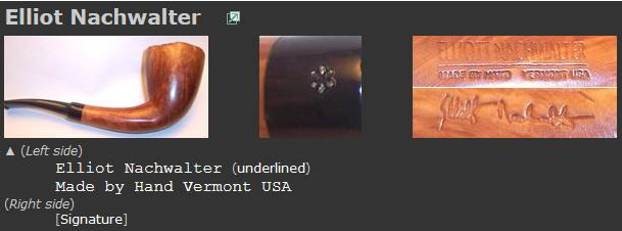
I know that Pipedia has some great history (https://pipedia.org/wiki/Stanwell) on the brand so I turned there hoping to see the Bench Made. There was nothing on the line itself and no mention of the Bench Made pipes.
I turned to the article on designers and shape numbers to see if I could find data on the 33 Shape (https://pipedia.org/wiki/Stanwell_Shape_Numbers_and_Designers). I found that the shape had two versions with this shape number: a) Bent bulldog with a tapered stem and b) Quarter-bent tall bulldog with a diamond shank and push flared stem. The one I have in hand is closest to the b shape.
I knew that with the Regd. No. on the shank, the pipe was made in the period between 1948 and 1960. But I wanted to know more. I can find many examples of the Bench Made line online but no one explains the meaning of the term. I can only surmise from going through the photos that the Bench Made was a higher end line of Stanwell made factory pipes. Perhaps the finishing is what distinguishes it from the rest of the brand offering. Do any of you readers have any information on this quandary? Post a response and let us in on the information.
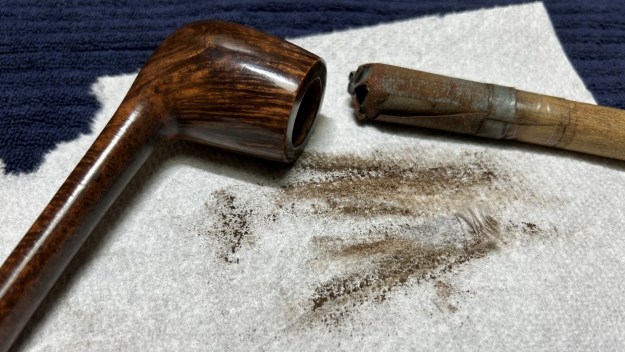
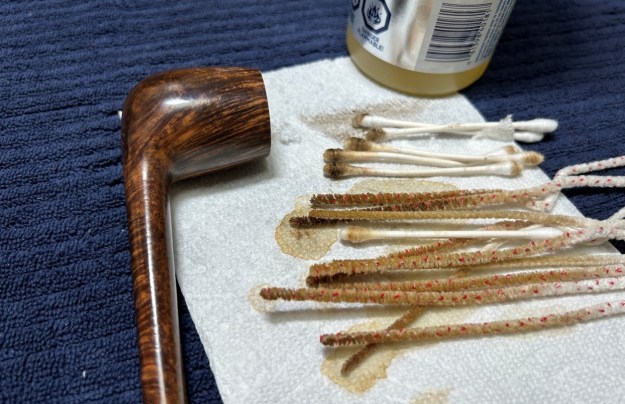
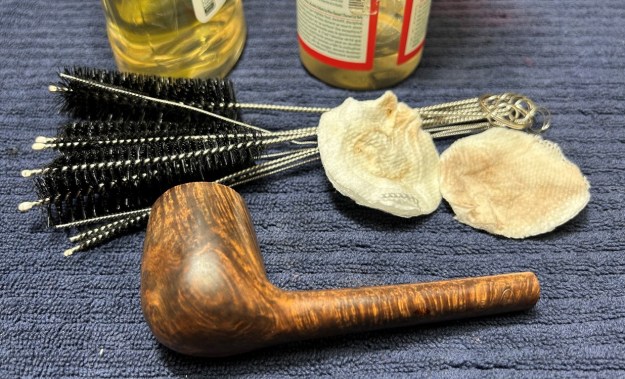
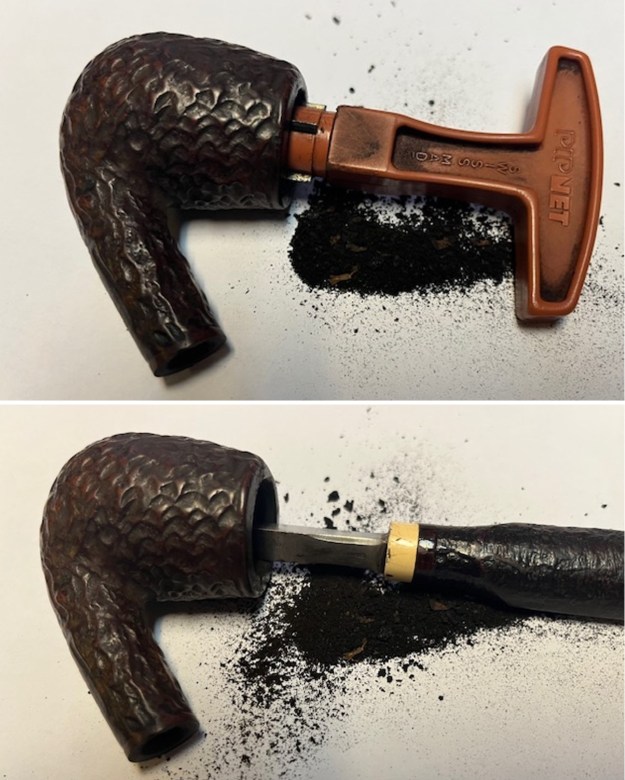
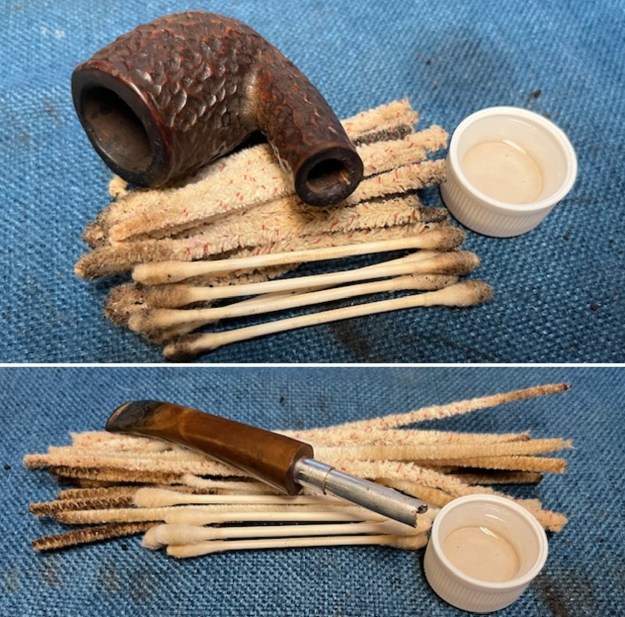
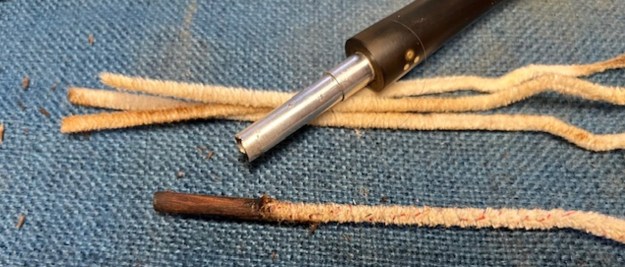
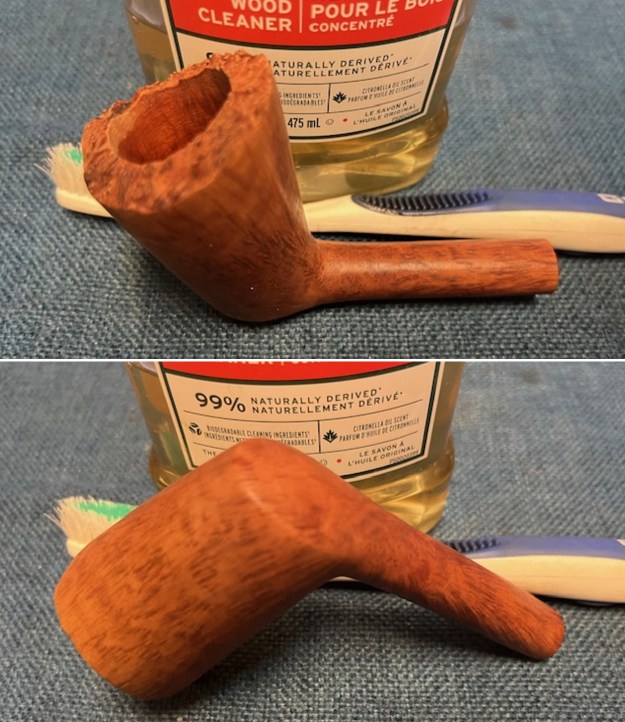
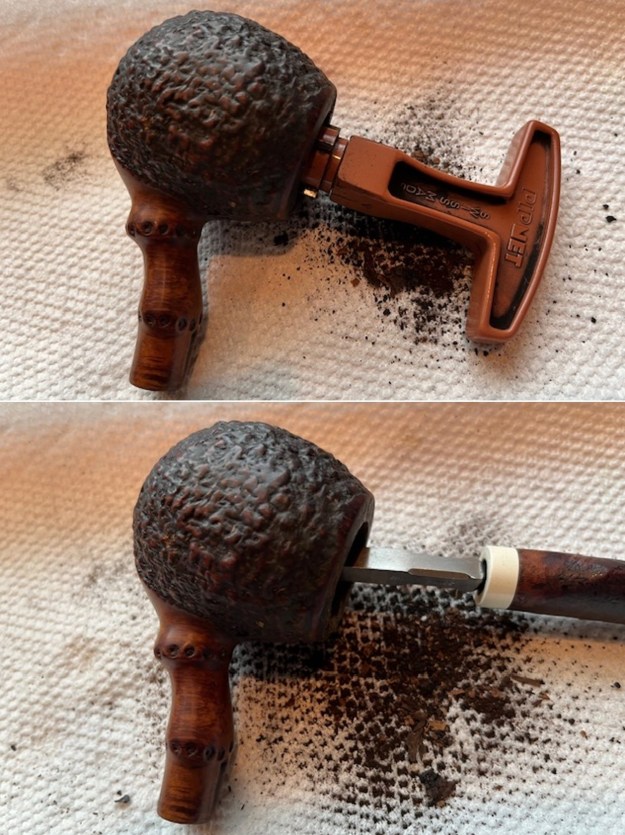
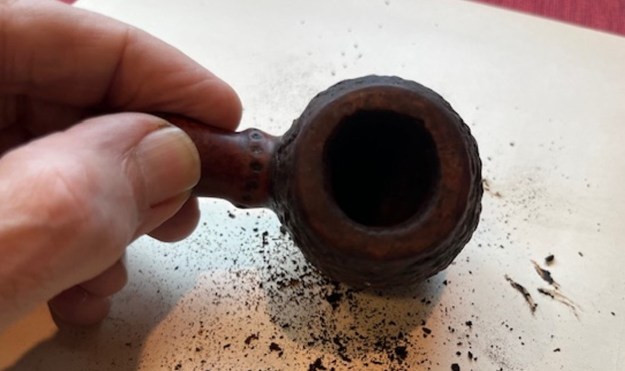
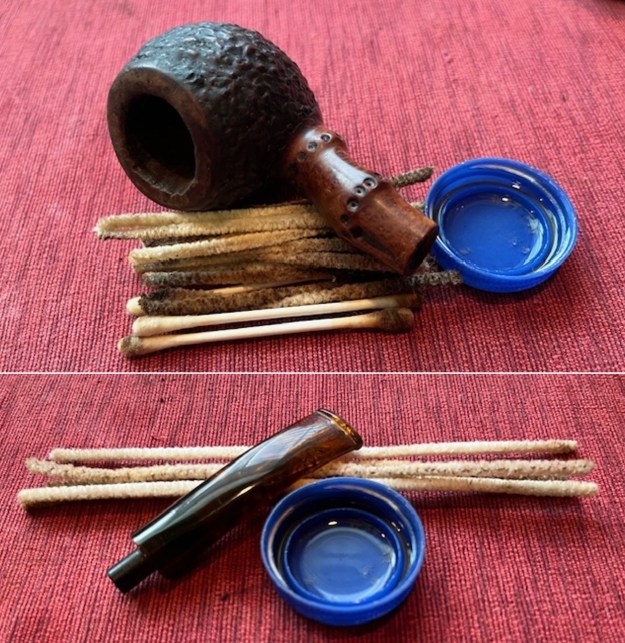
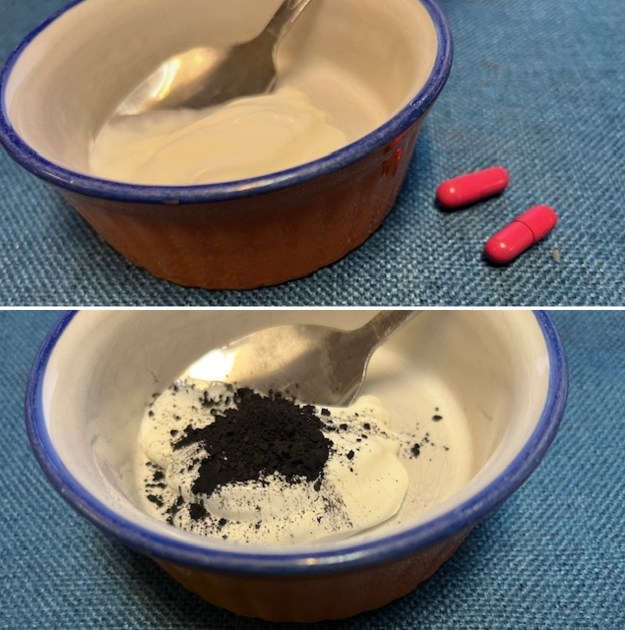
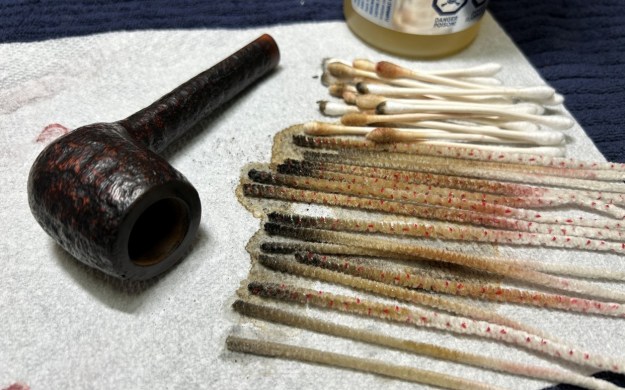
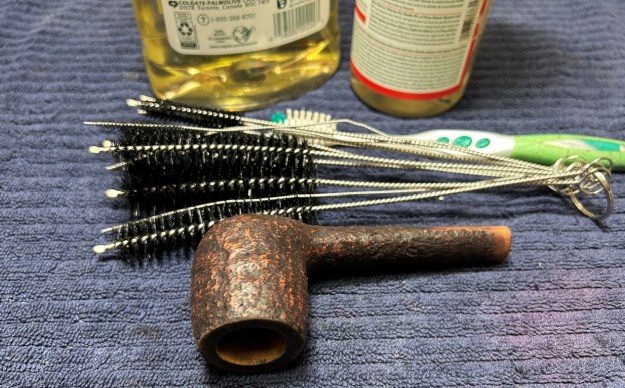
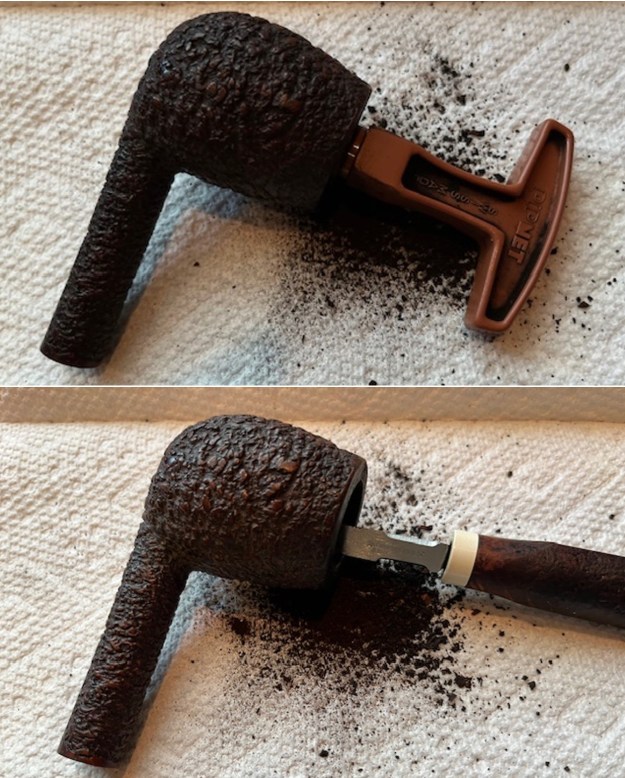
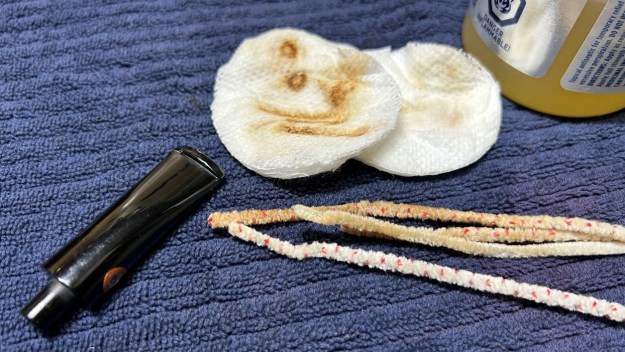
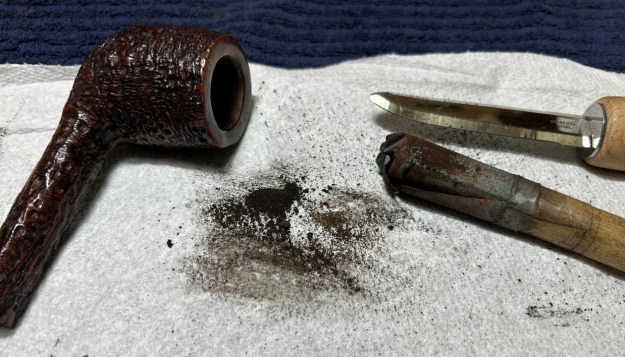
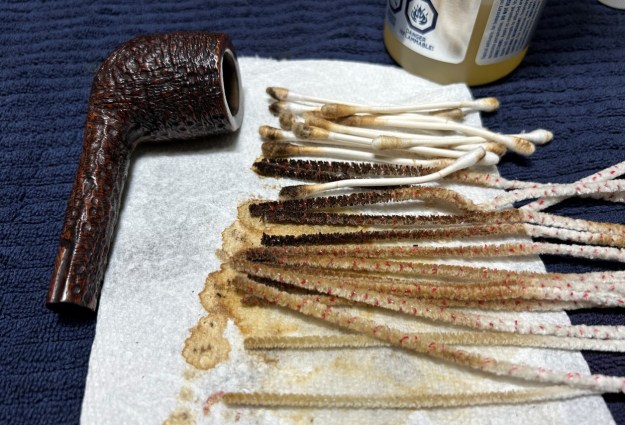
Now it was time to work on the pipe. I started my work on the pipe by reaming it with a PipNet pipe reamer and cleaning up the reaming with a Savinelli Fitsall Pipe Knife. I scraped the lava built up on the rim top with a small blade. It looked much better after the clean up. 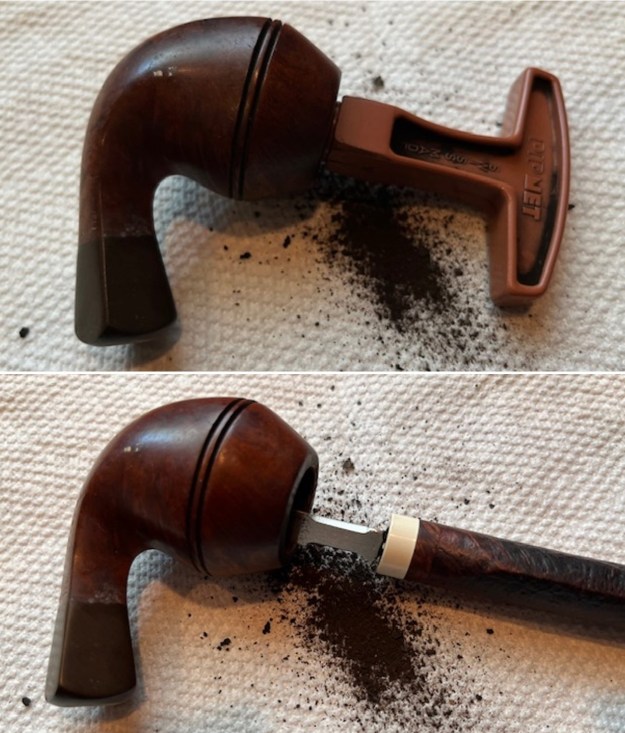 I cleaned out the inside of the shank and the airway in the stem with alcohol, pipe cleaners and cotton swabs. I removed the tars and oils with the cleaners and the alcohol. It was a dirty pipe!
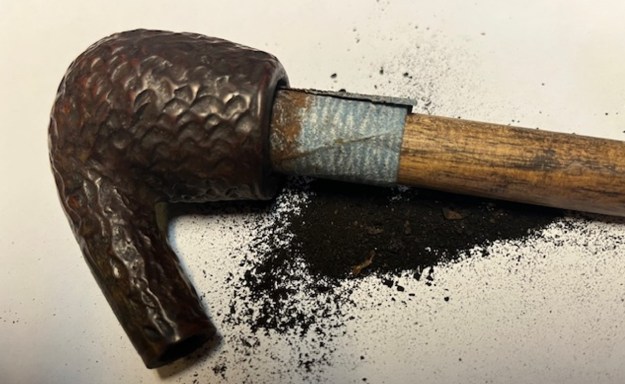
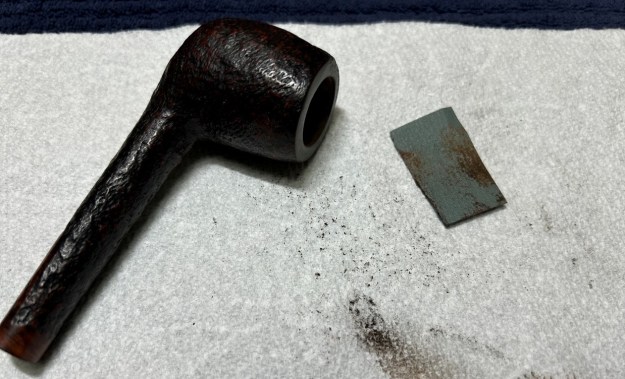
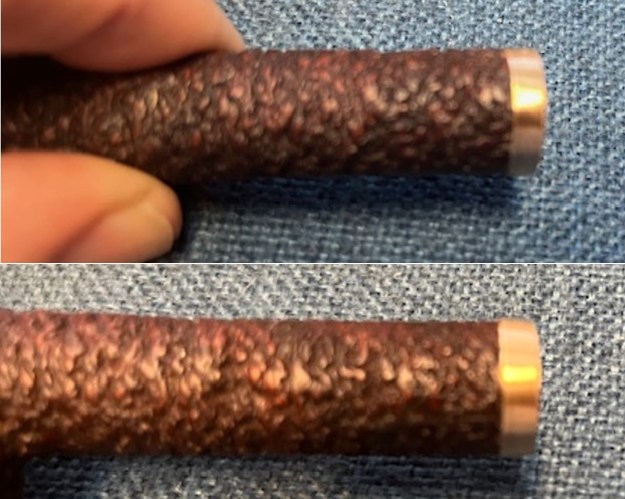
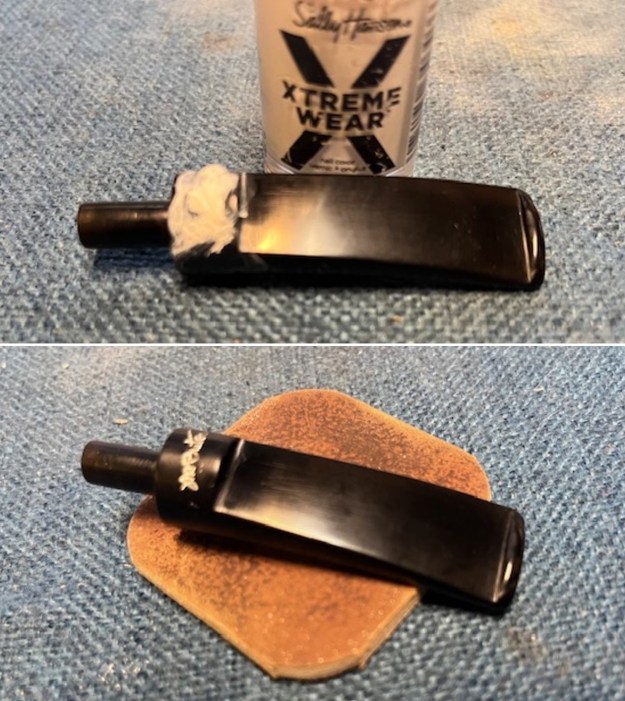
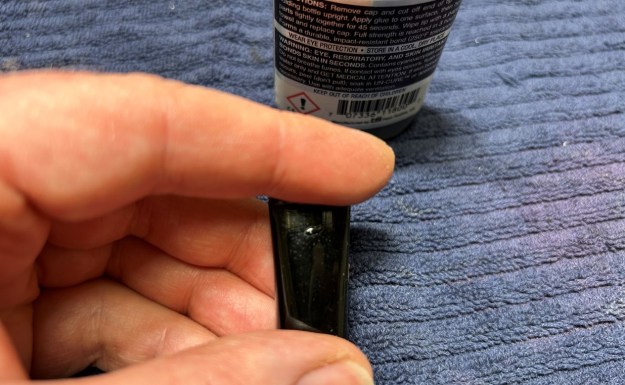
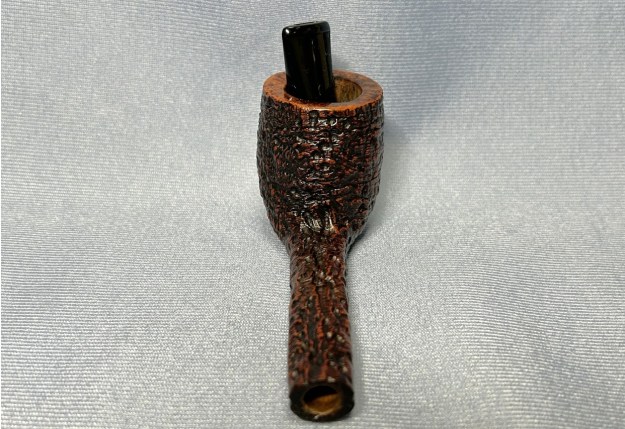
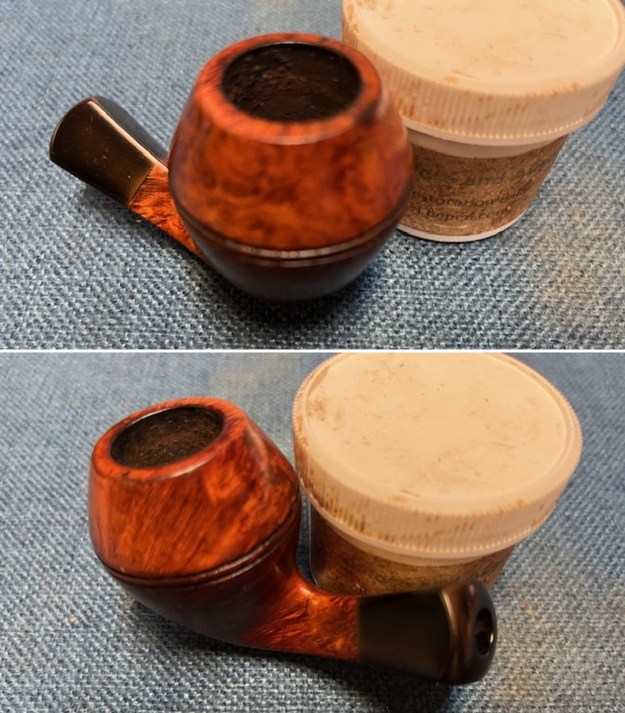
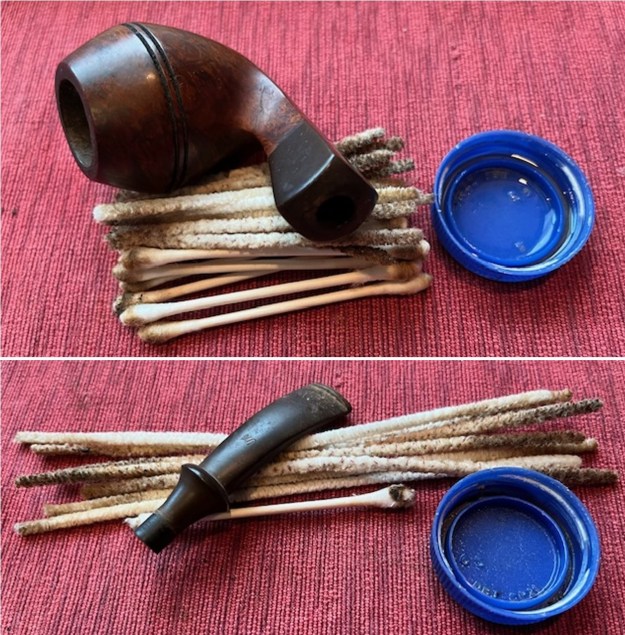 I scrubbed oxidation on the vulcanite shank extension with Soft Scrub All Purpose Cleanser. I have found that it does a remarkable job in softening and often removing the oxidation. Lot of elbow grease but it is effective. The photos show this step in the process.
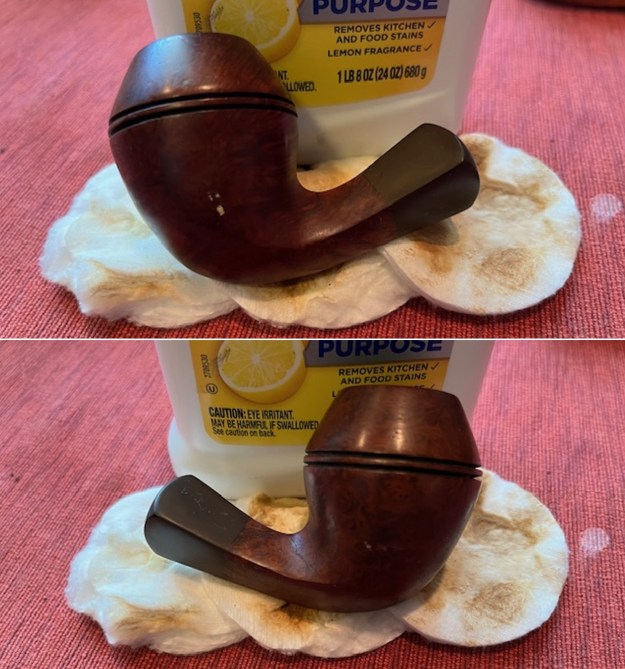
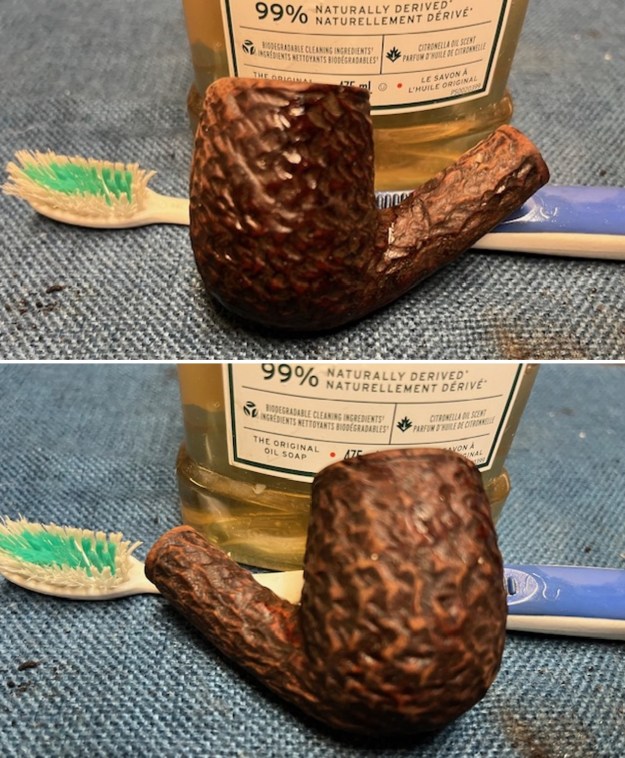
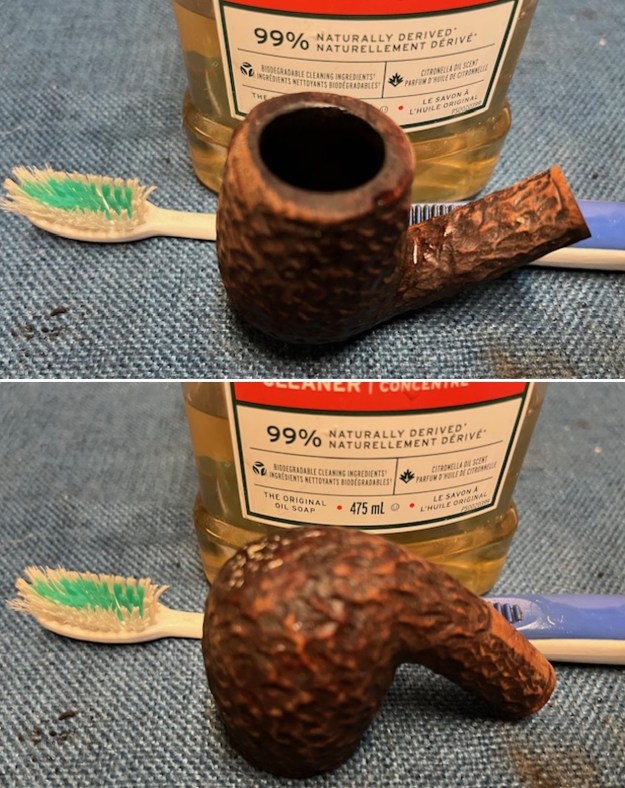
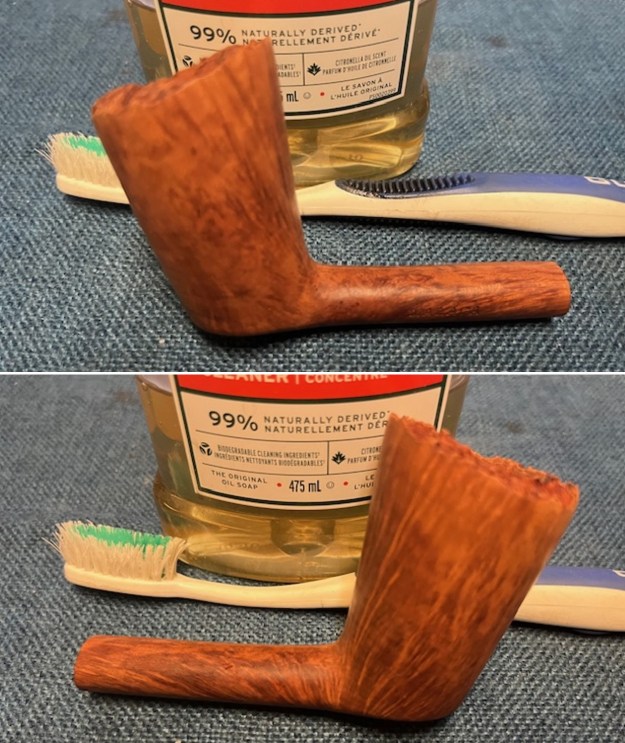
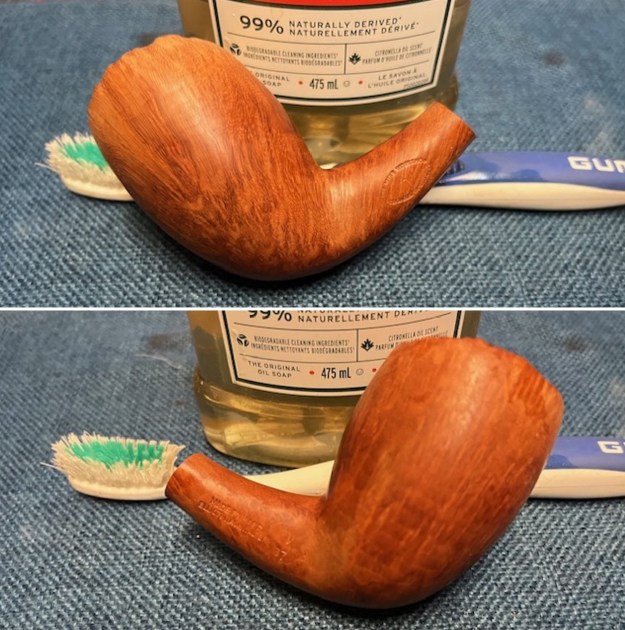
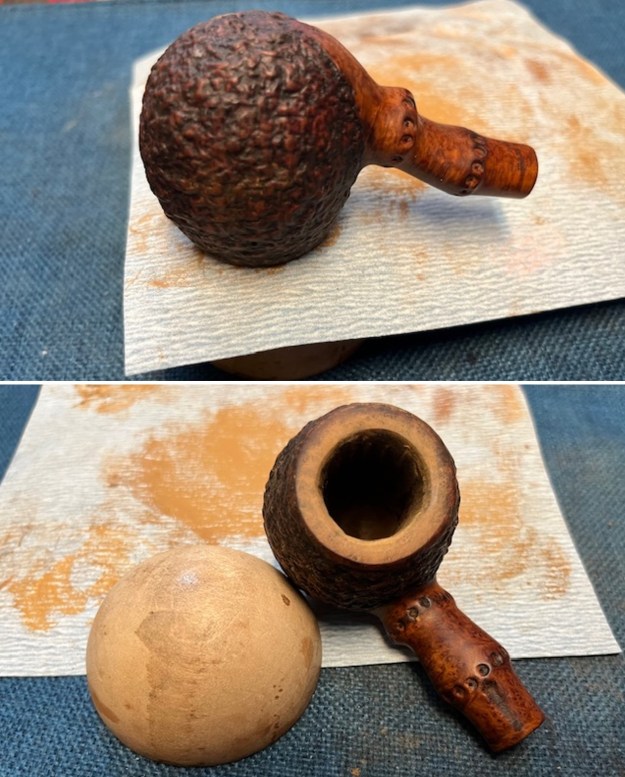
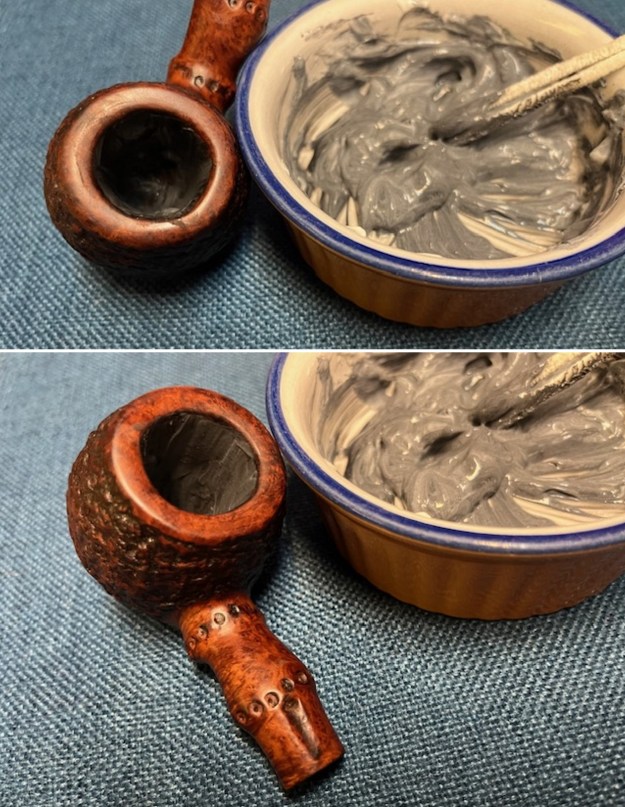
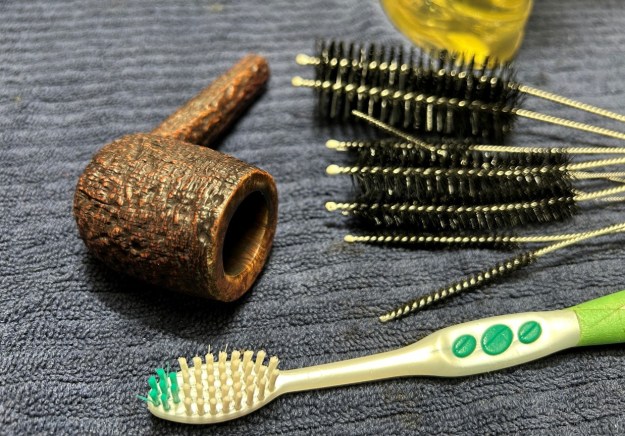
 I scrubbed the surface of the bowl and shank with a tooth brush and undiluted Murphy’s Oil Soap to remove the debris and dust in the depths of the rustication. I cleaned out the shank again with a shank brush and the soap. I rinsed it with warm water. I dried off the briar with a soft cloth. It looked very good at this point in the process. After doing this I wondered if I should not have done this before the Soft Scrub. But oh well – hindsight is 20/20.
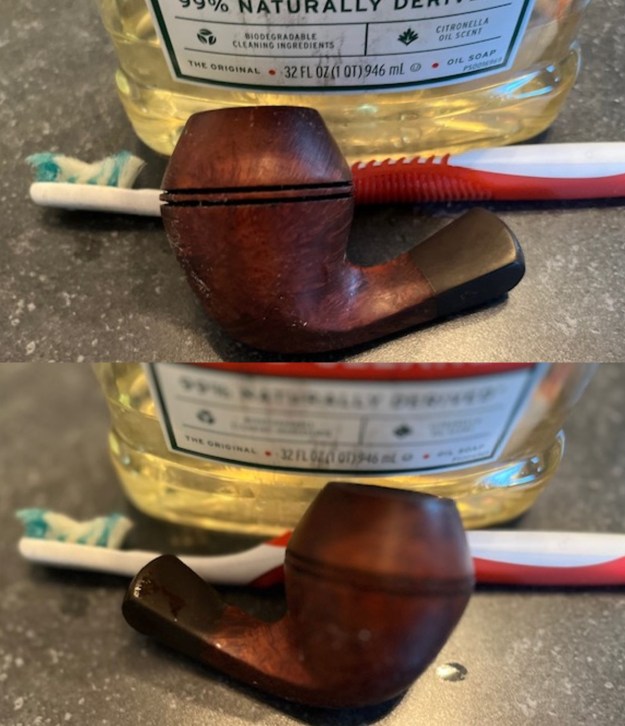
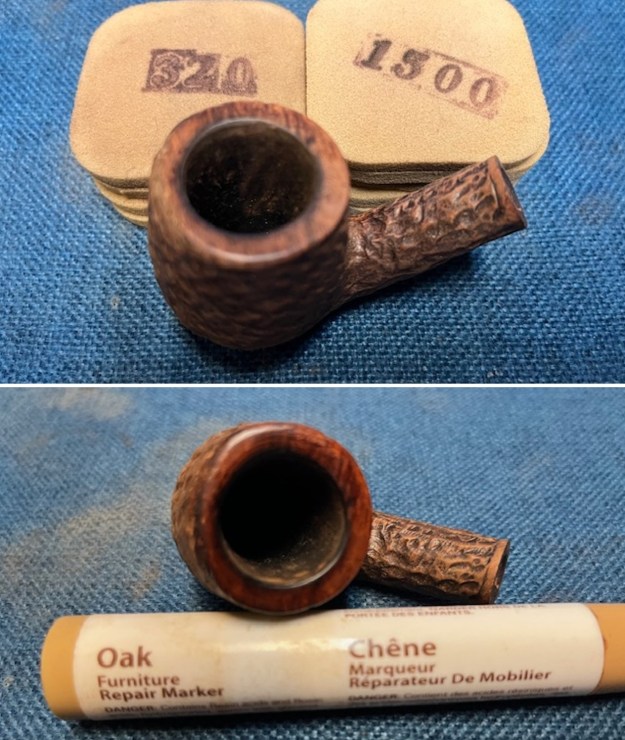
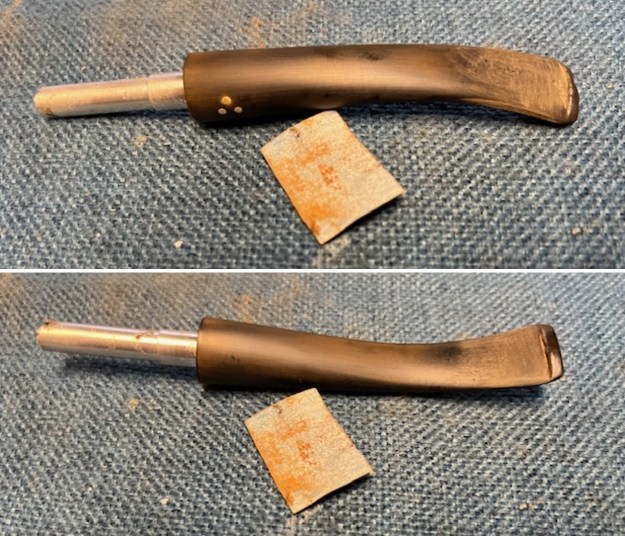
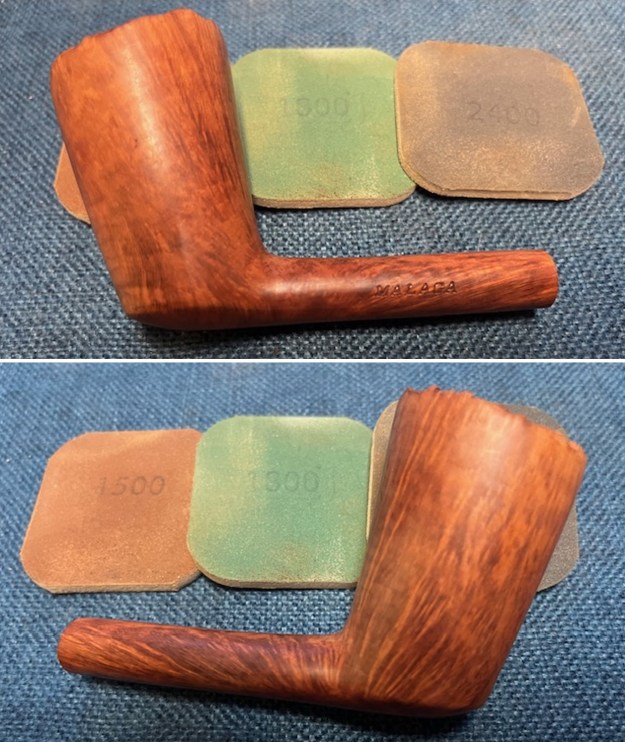
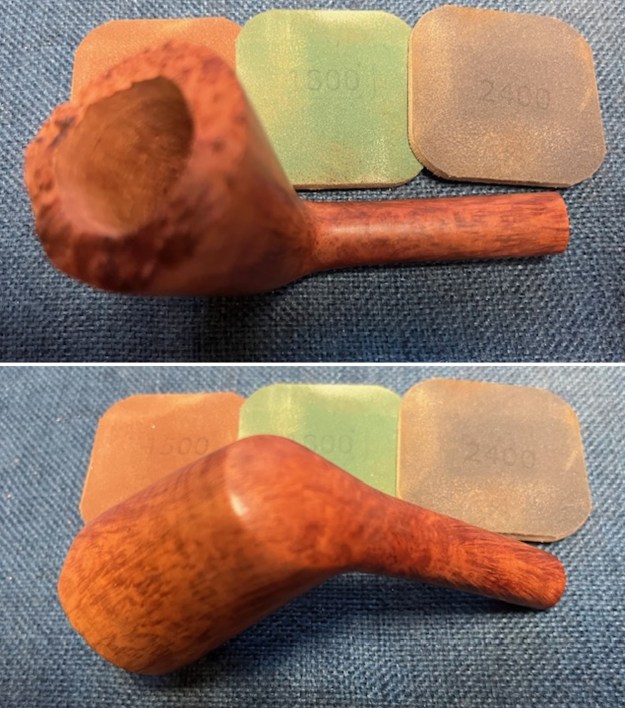
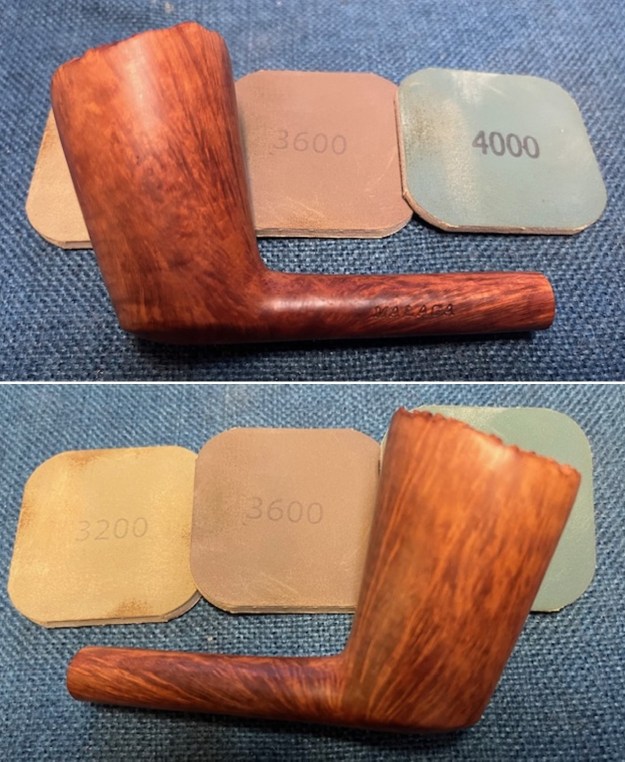
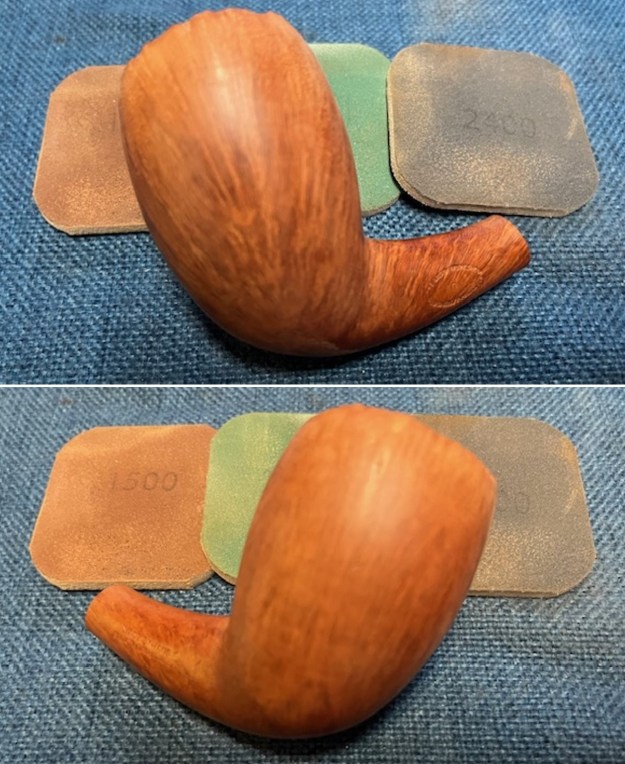
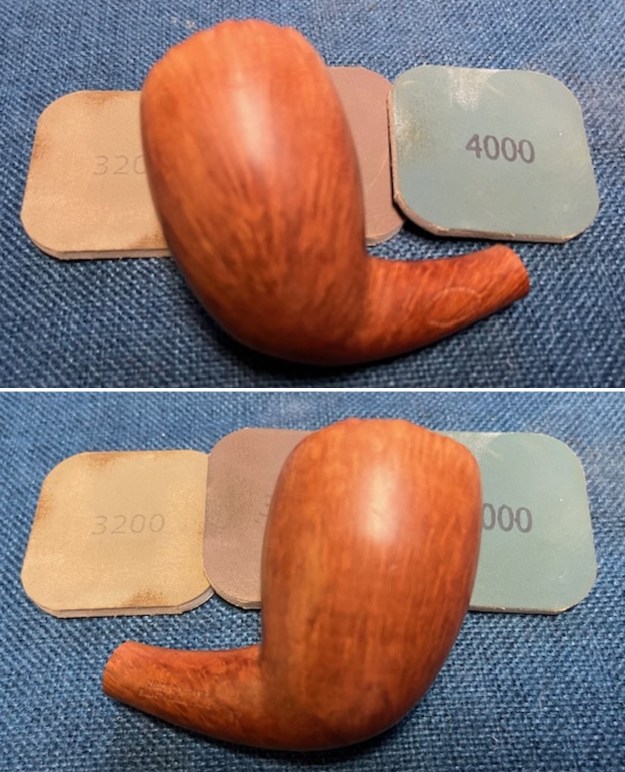
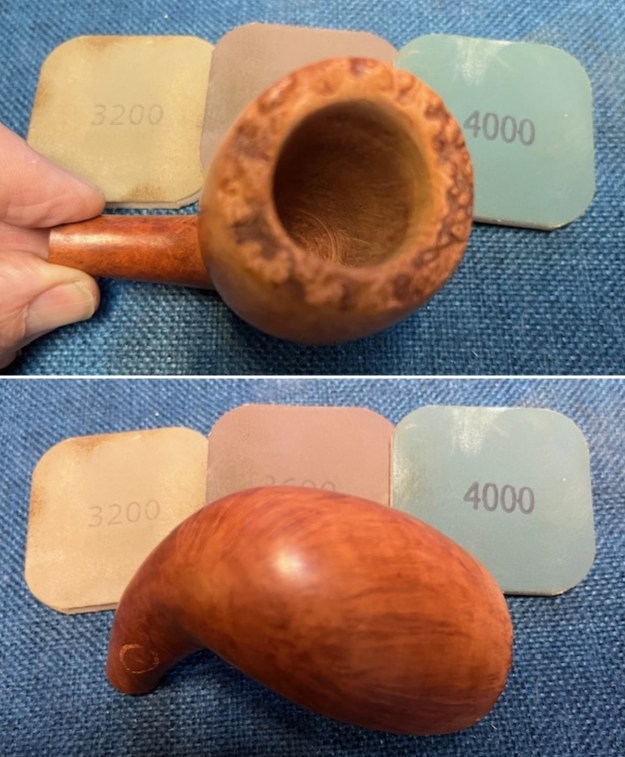
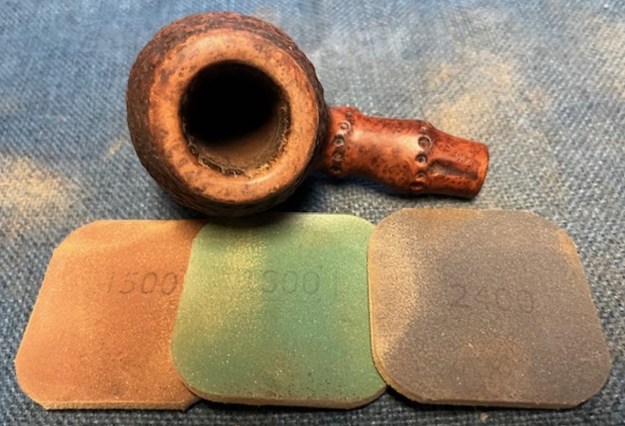
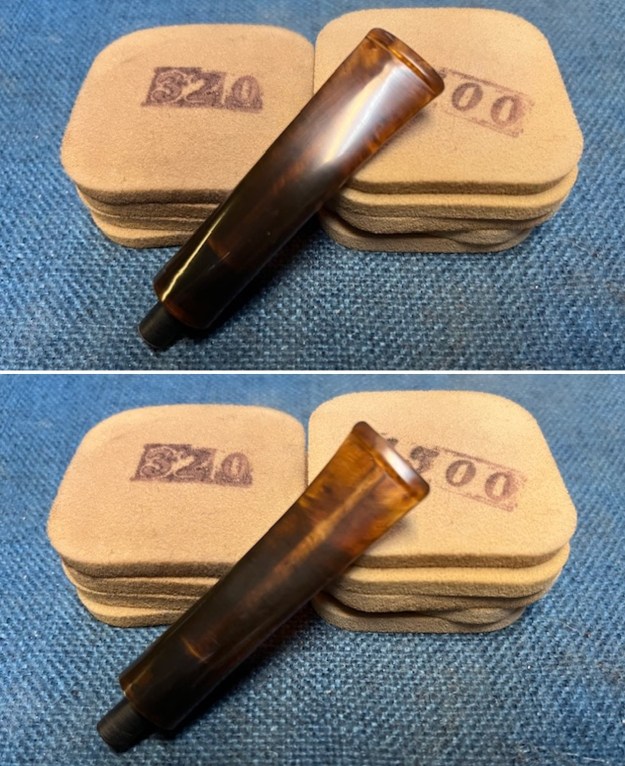
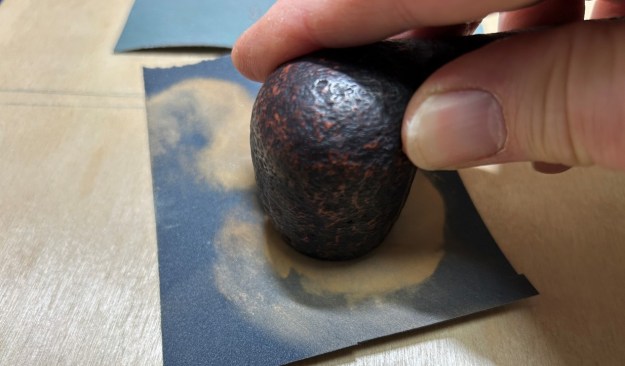
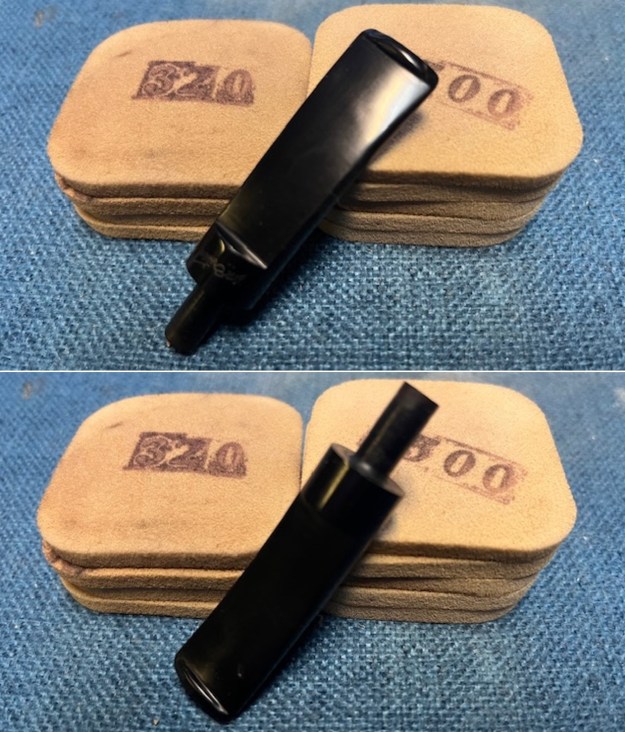
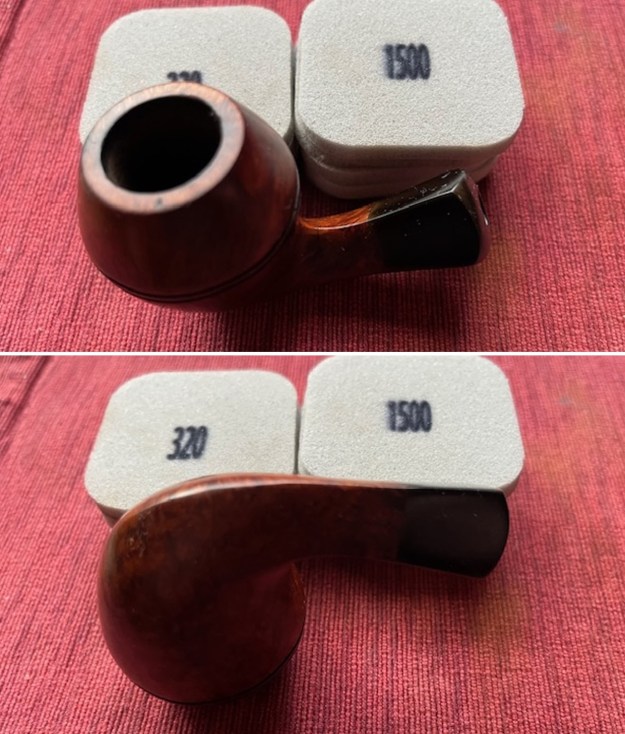
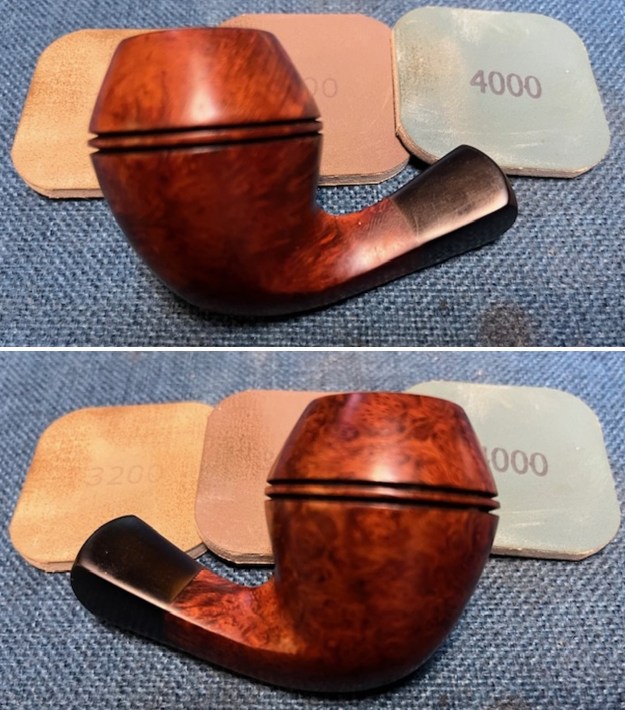
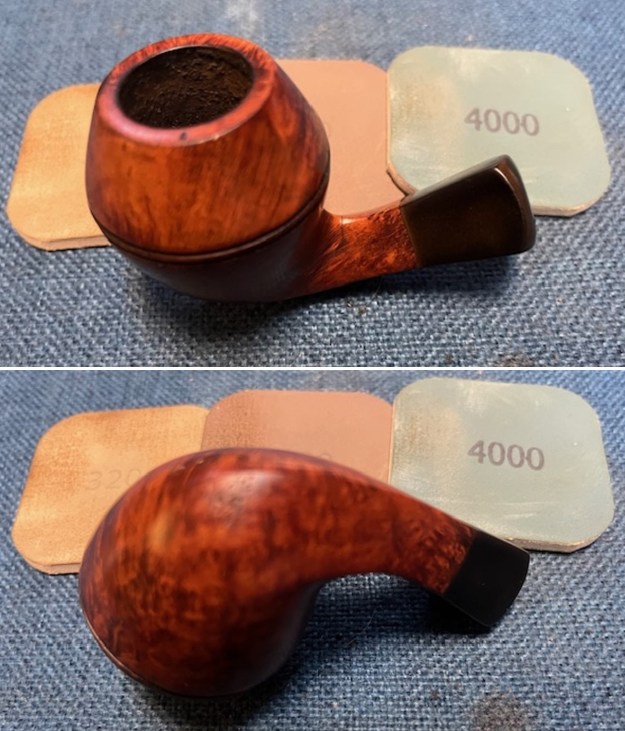
 I sanded the bowl, rim and shank extension with 320-3500 grit 2 x 2 inch sanding pads to minimise the scratches and marks in the surface of the briar and to further work on the oxidation on the vulcanite extension.
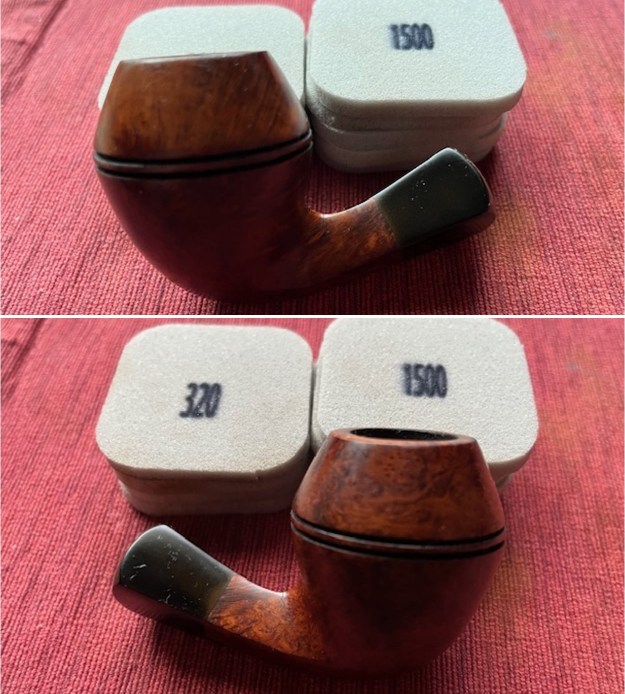
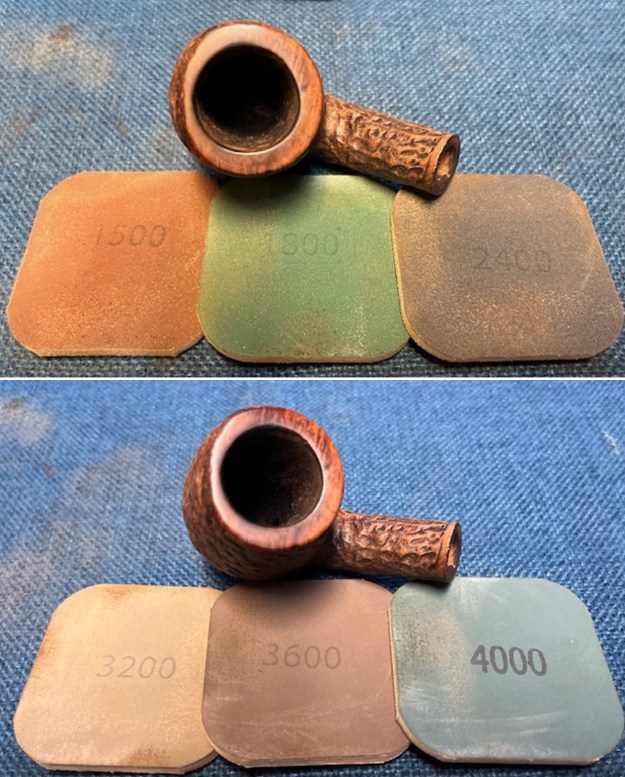
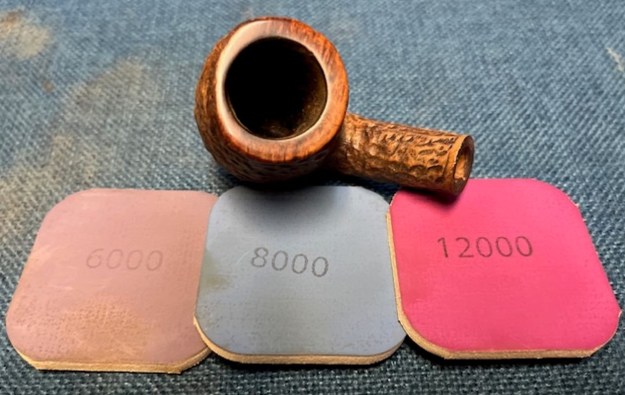
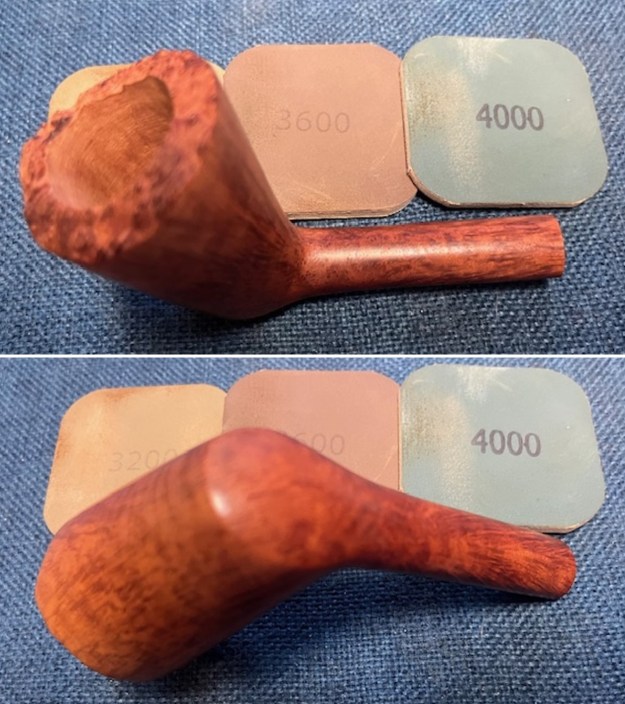
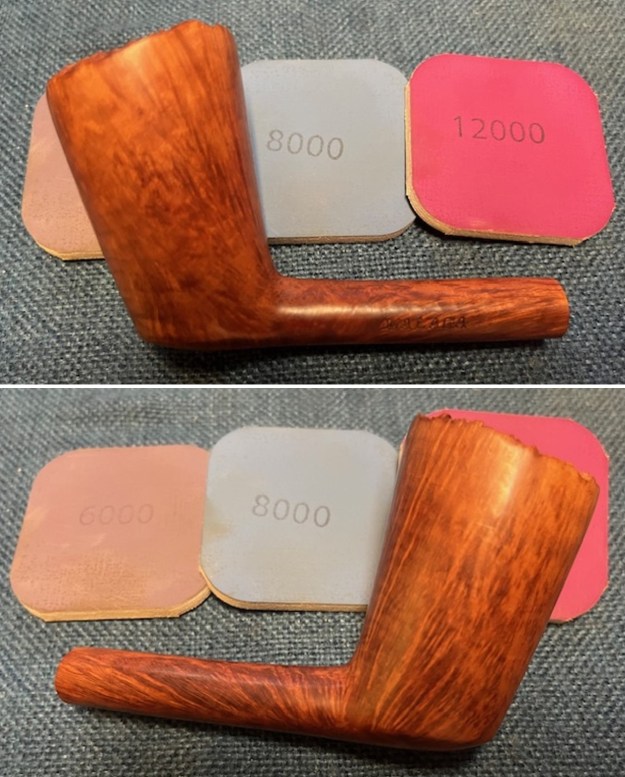
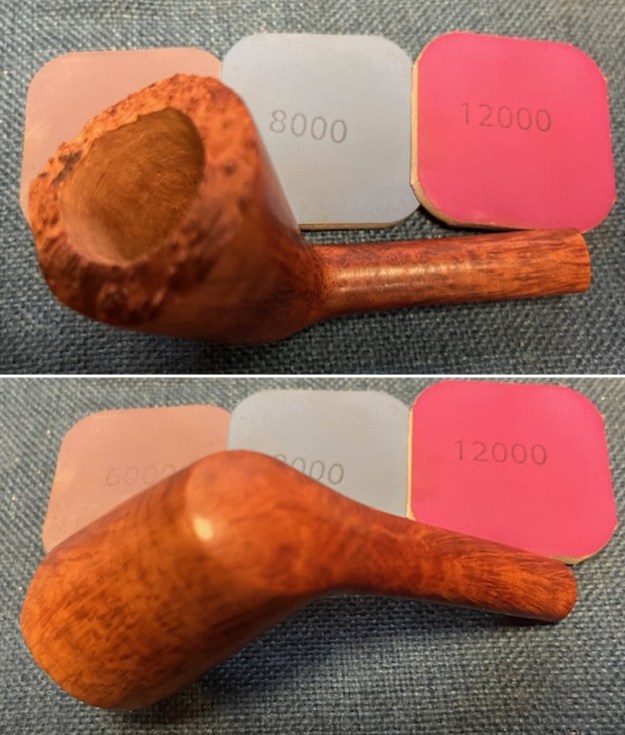
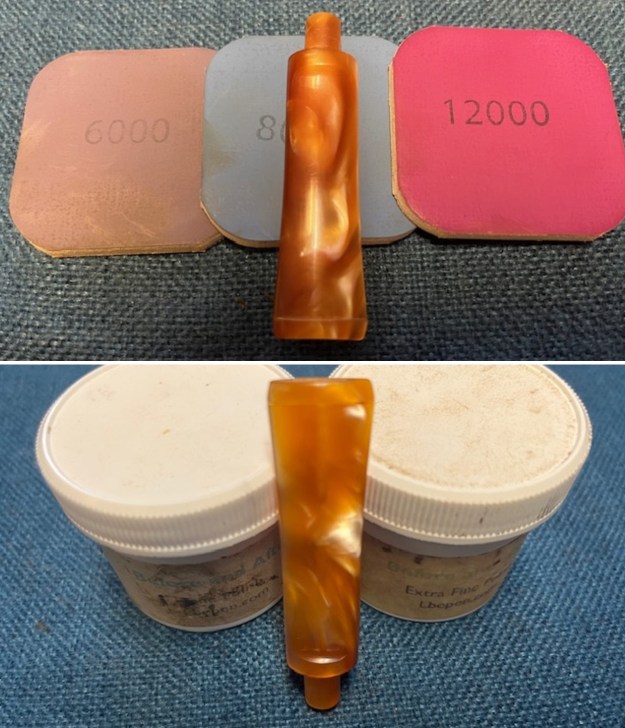
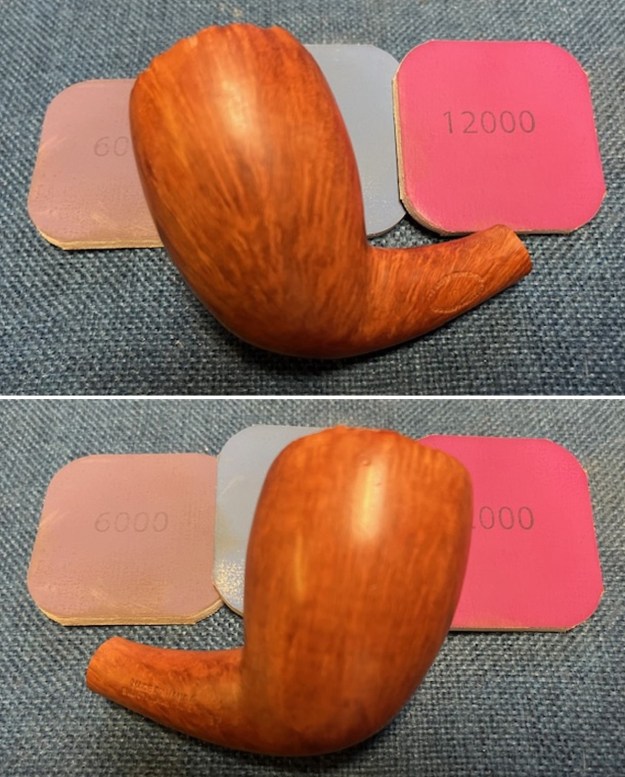
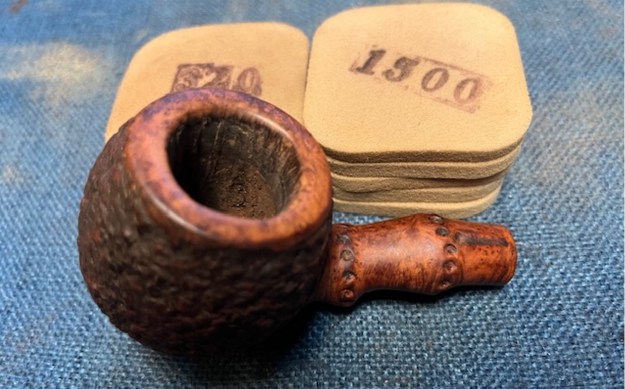
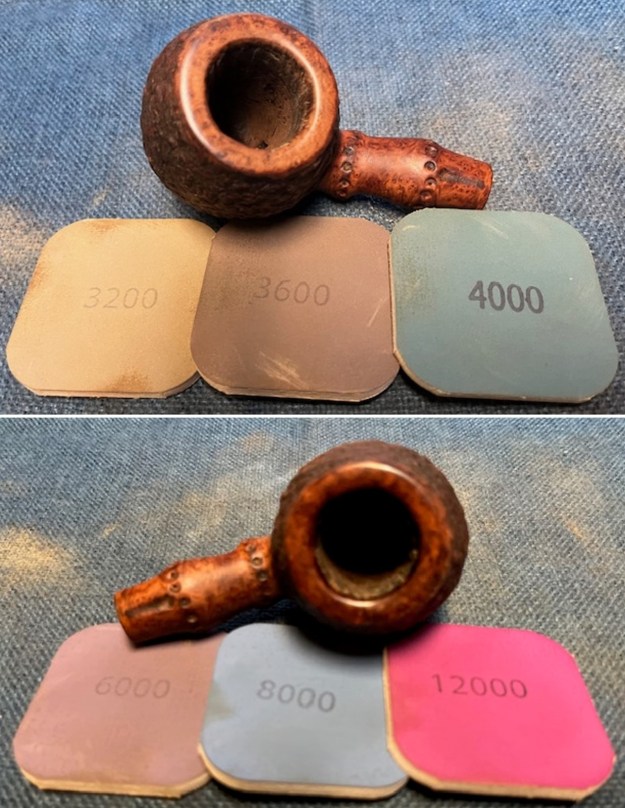
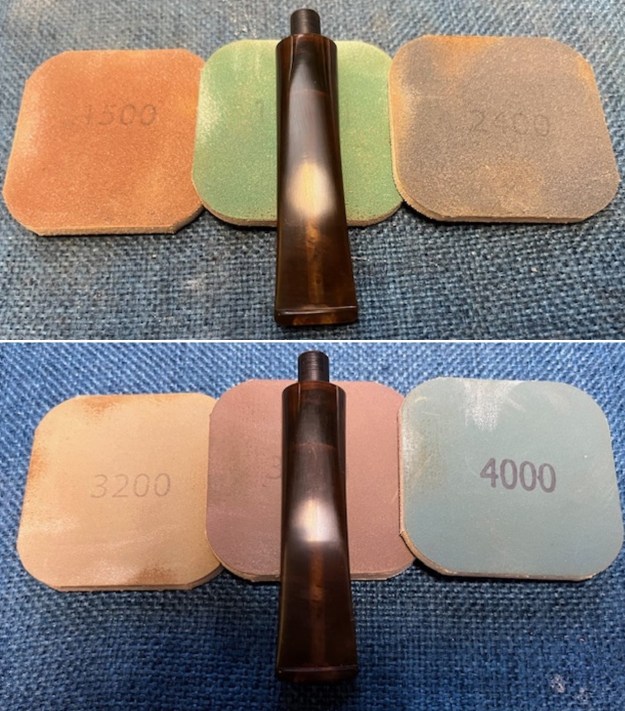
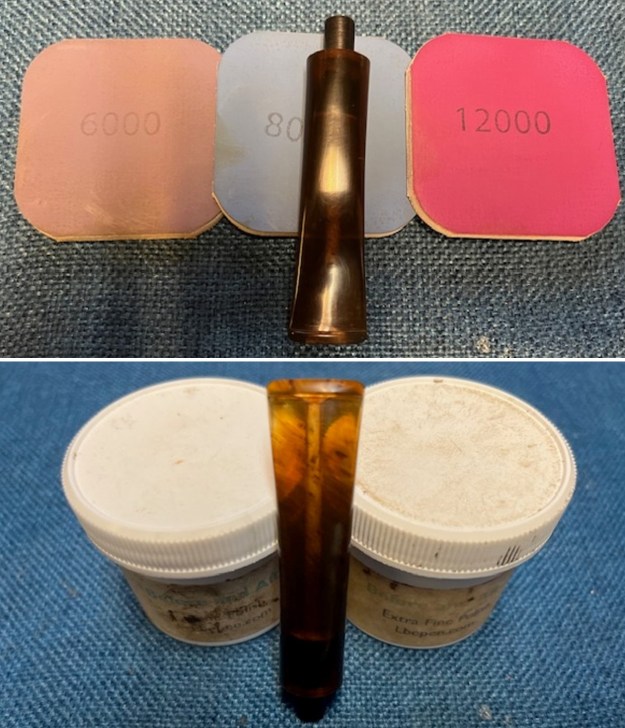
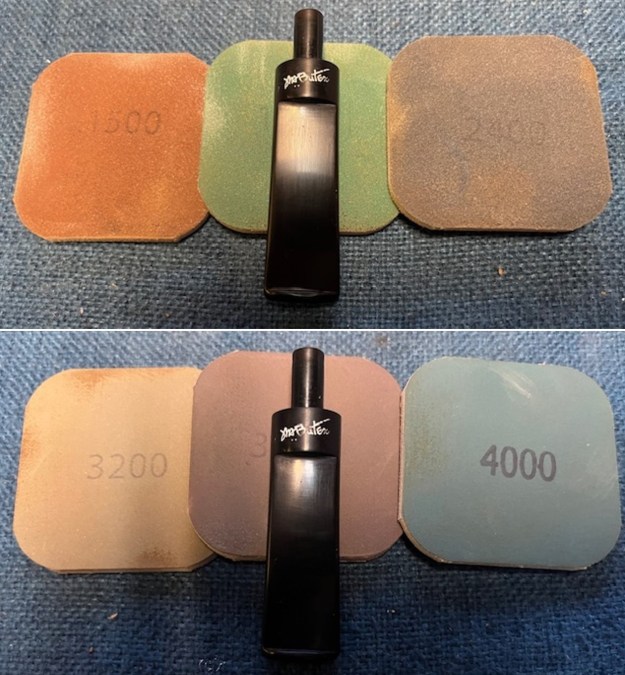
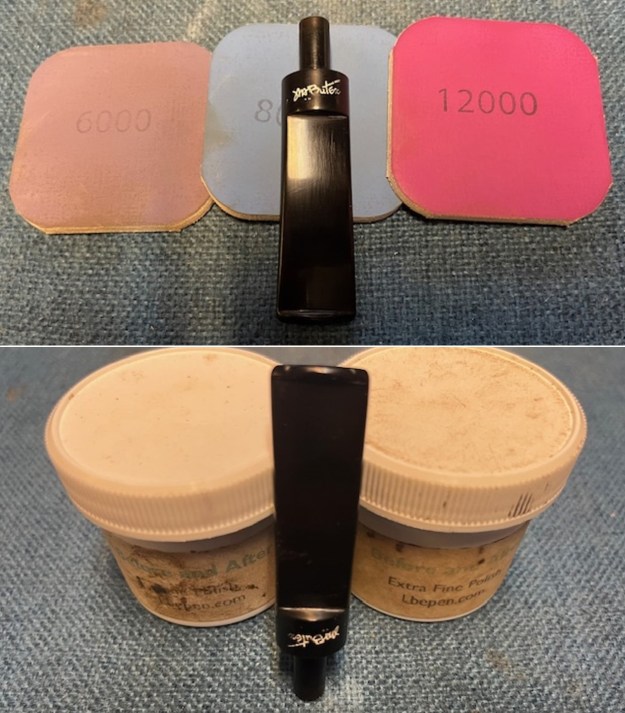
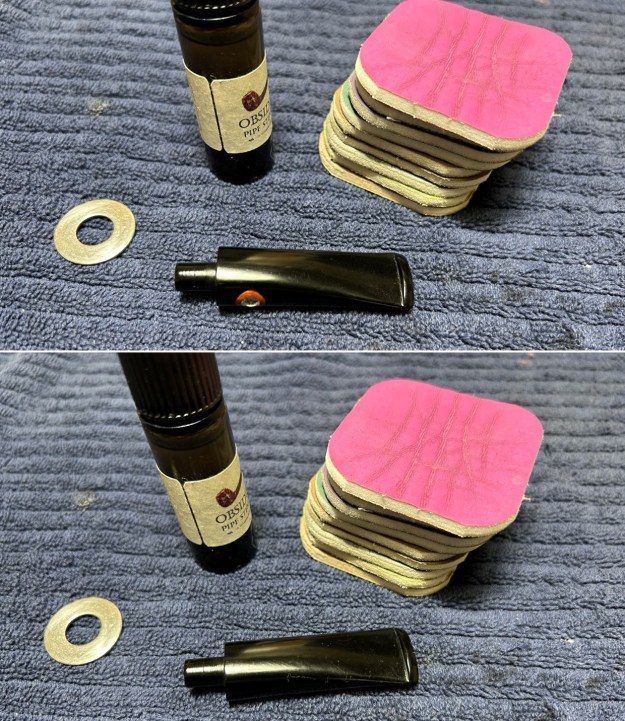
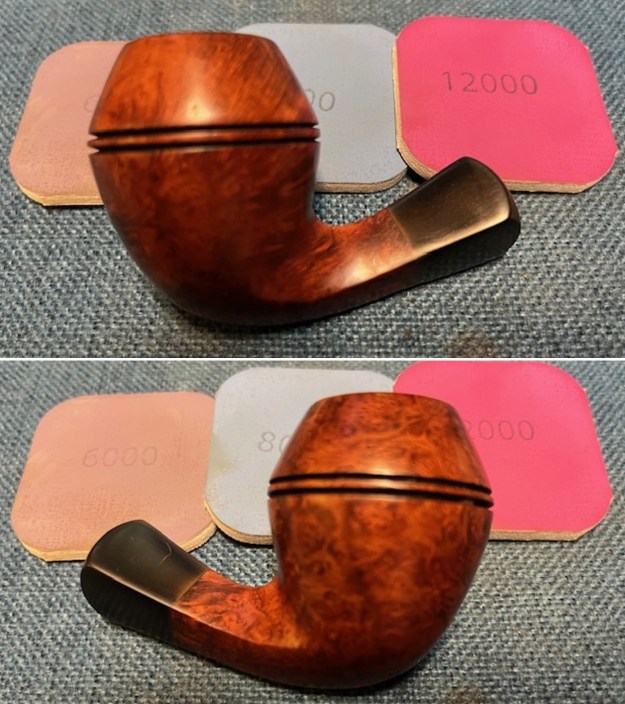
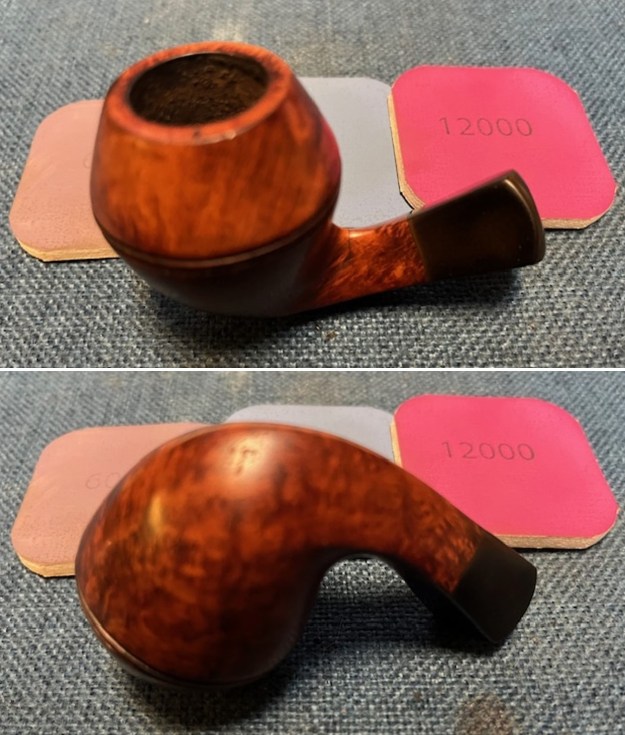
 I polished the bowl and the vulcanite shank end with 1500-12000 grit micromesh sanding pads to give it a deep shine. I wiped down the bowl and shank with an Obsidian Oil impregnated cloth after each pad. The briar and rubber began to shine!
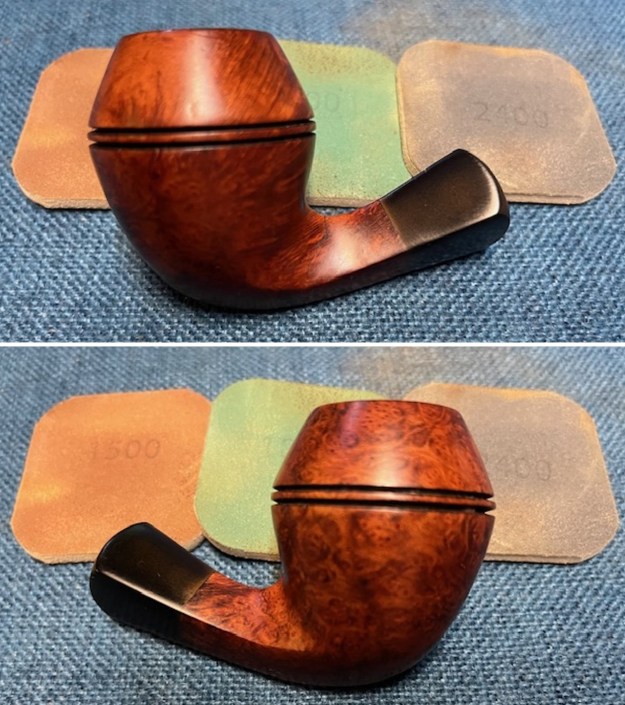
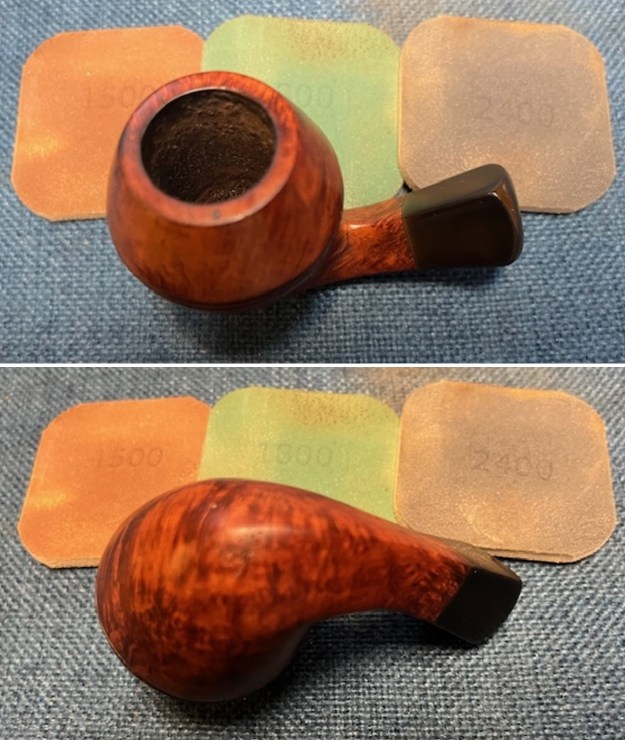
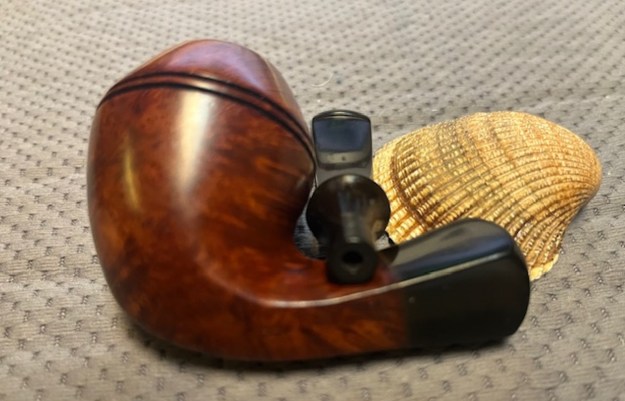
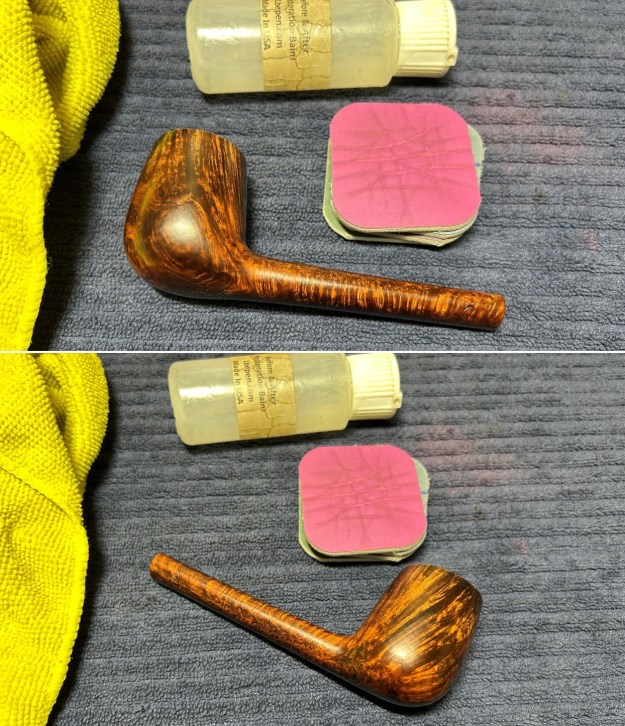
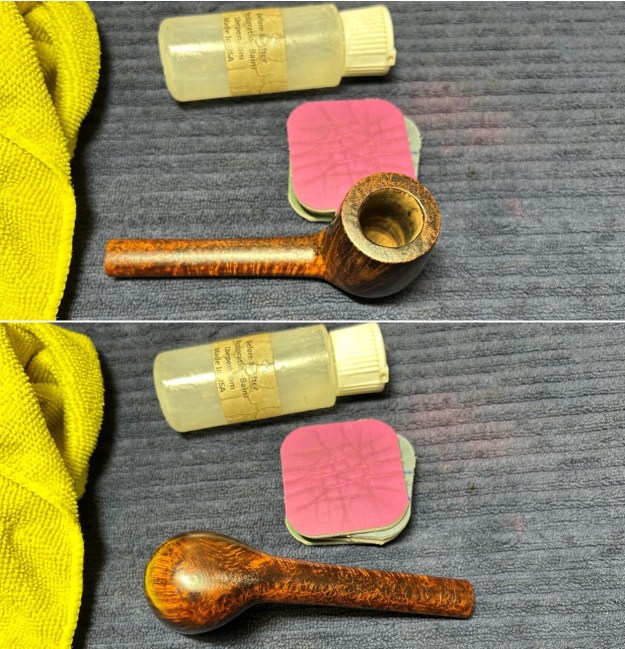
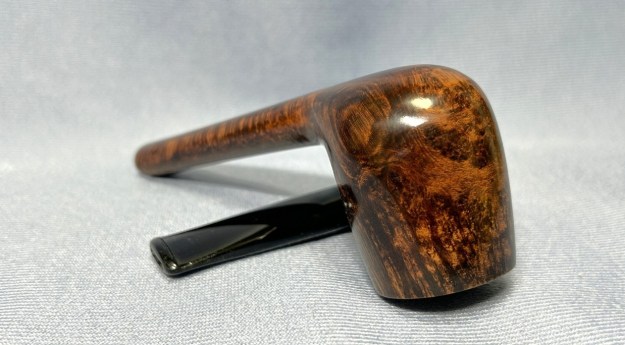
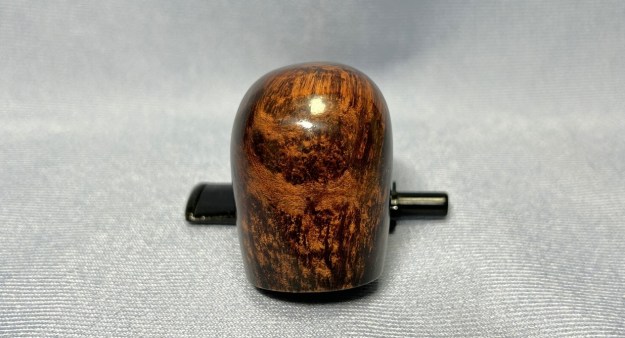
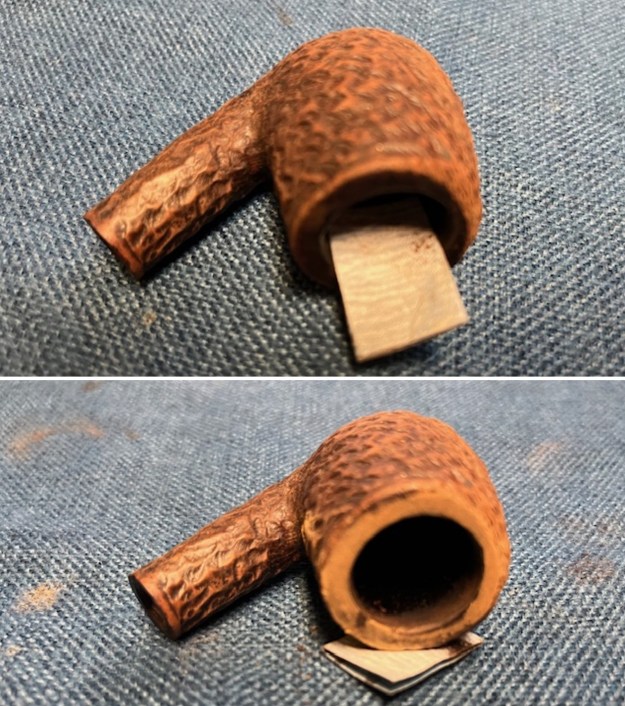
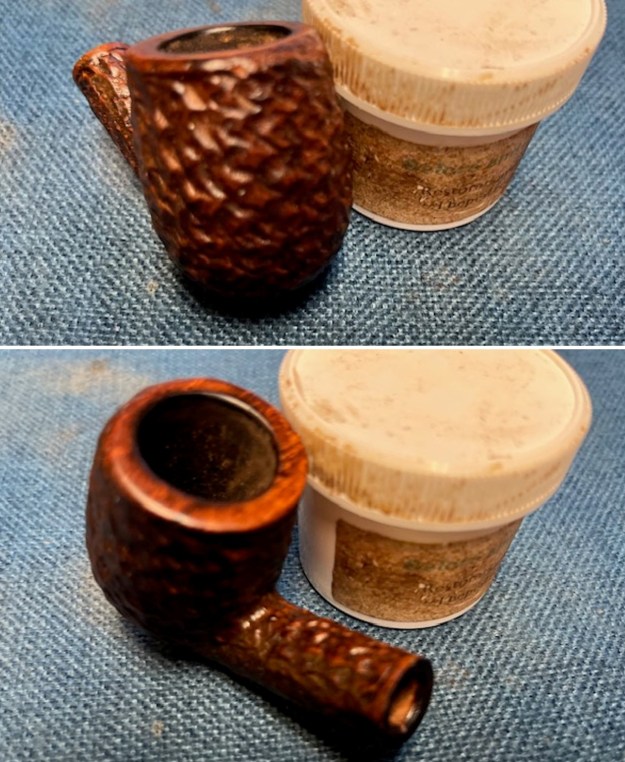
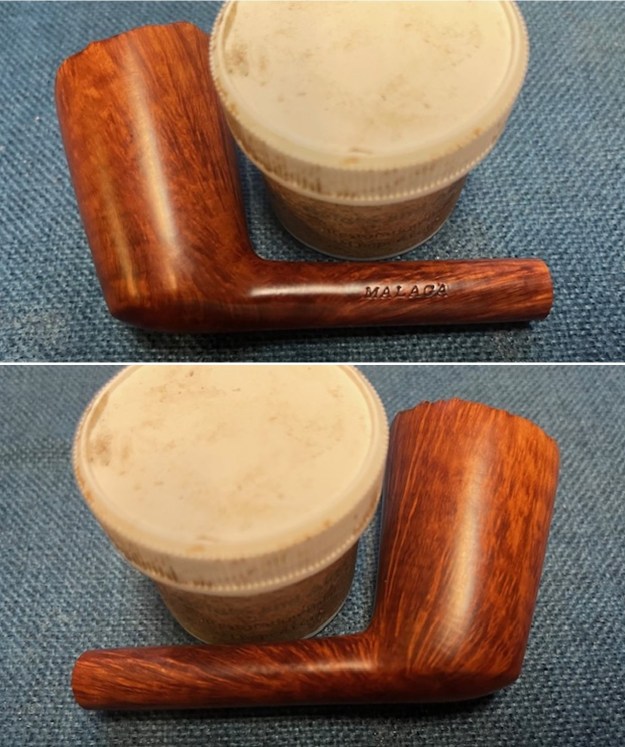
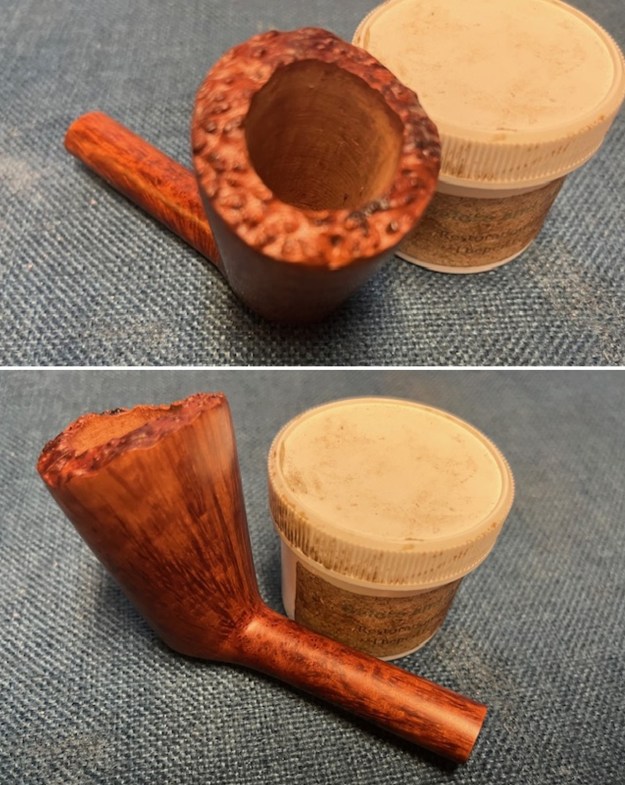
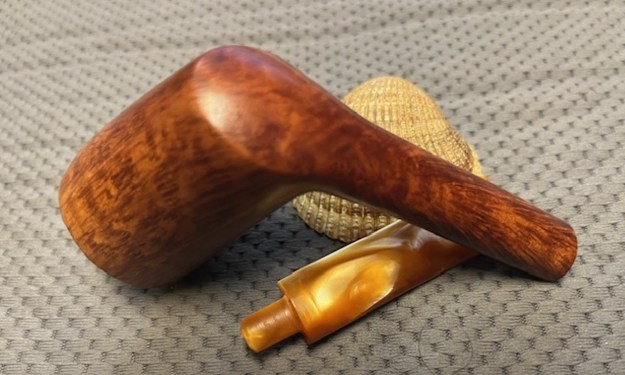
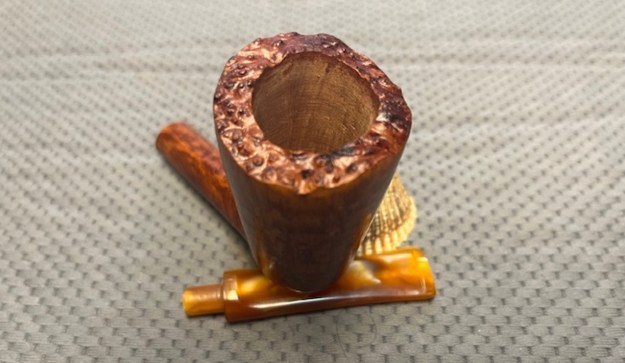
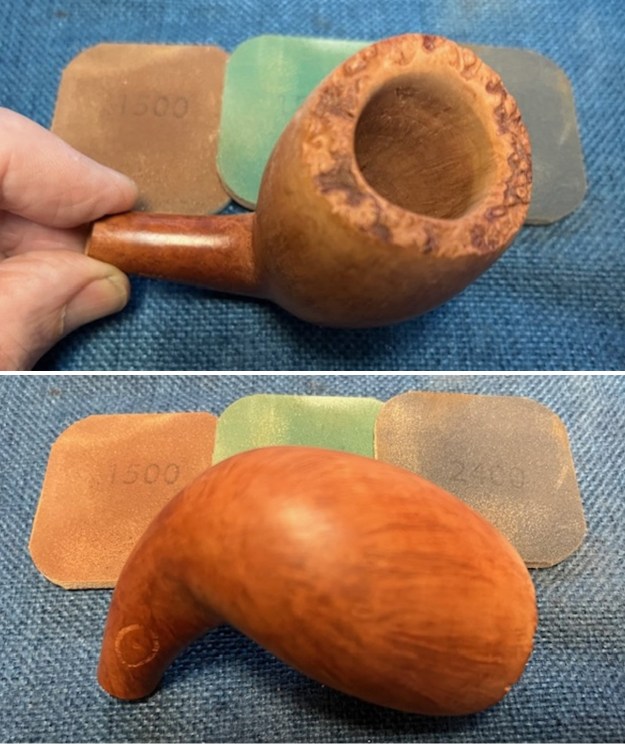
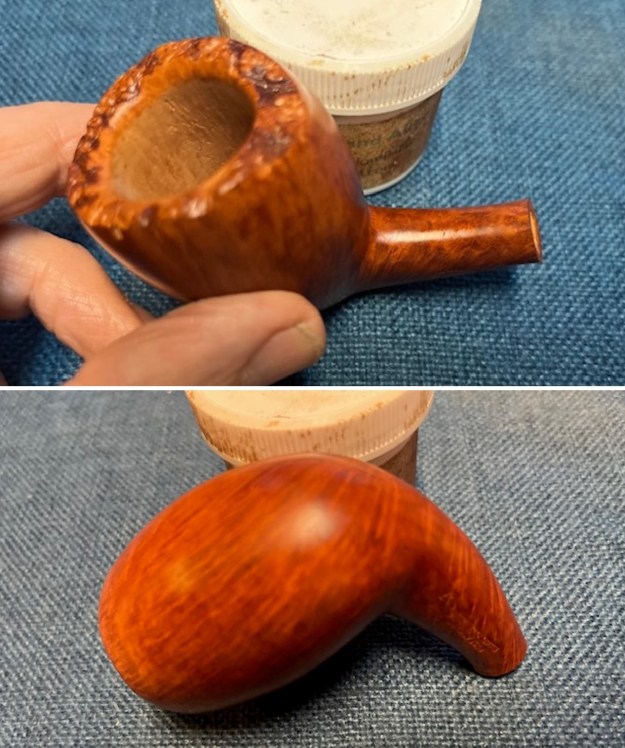
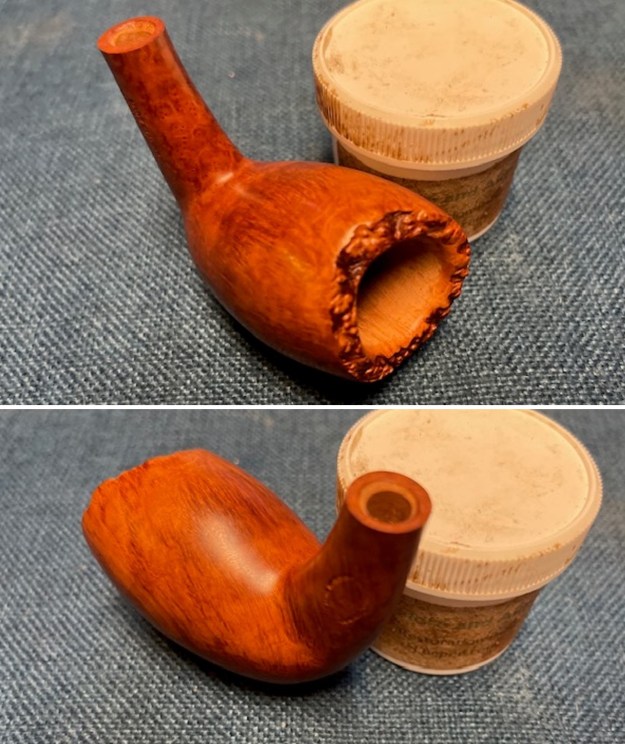
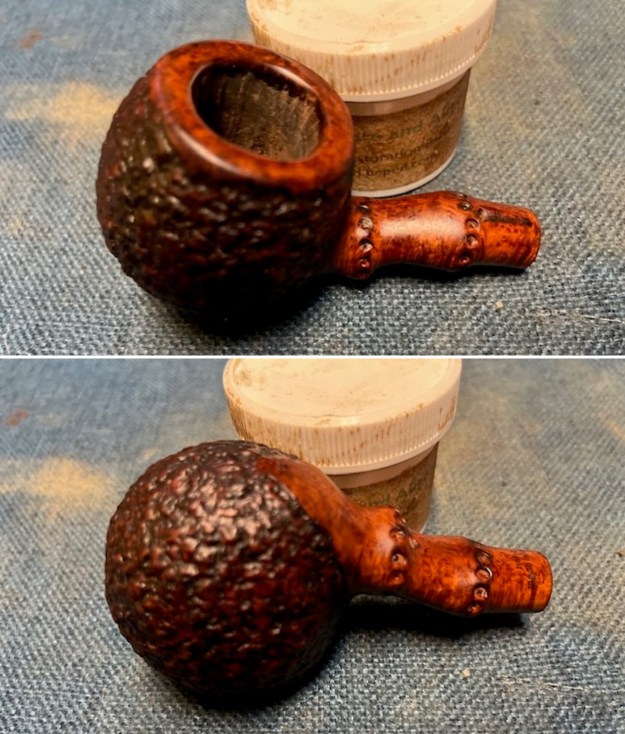
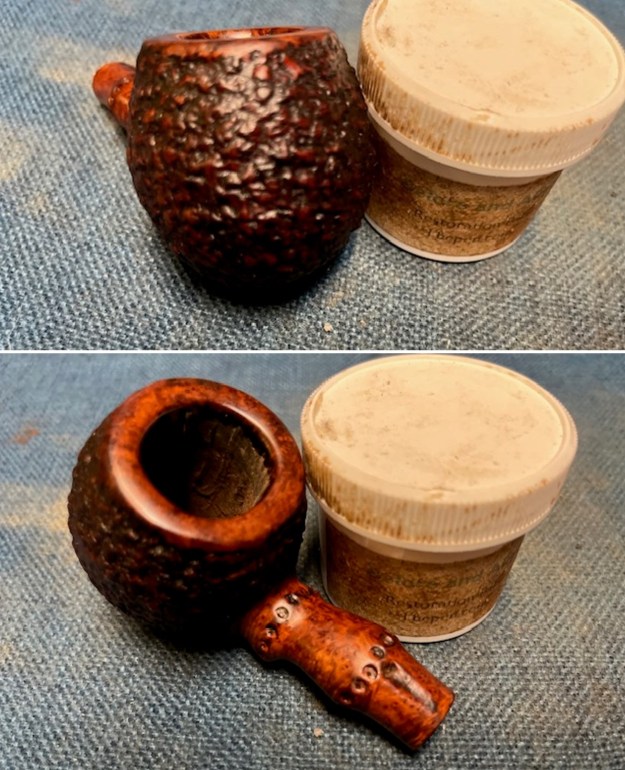
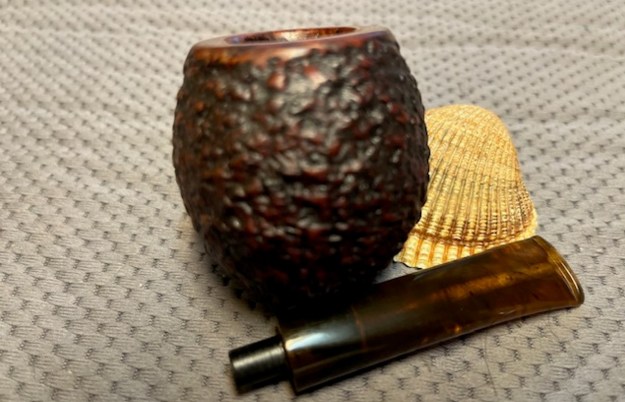
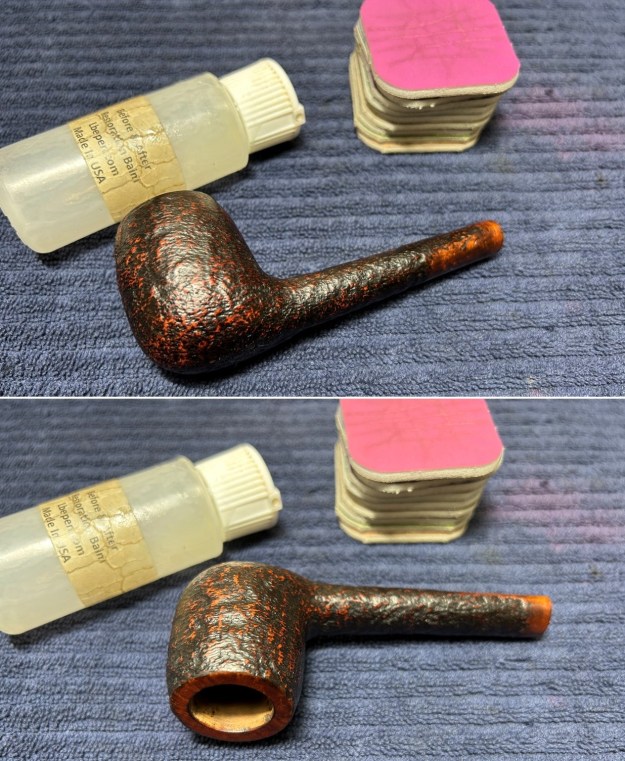
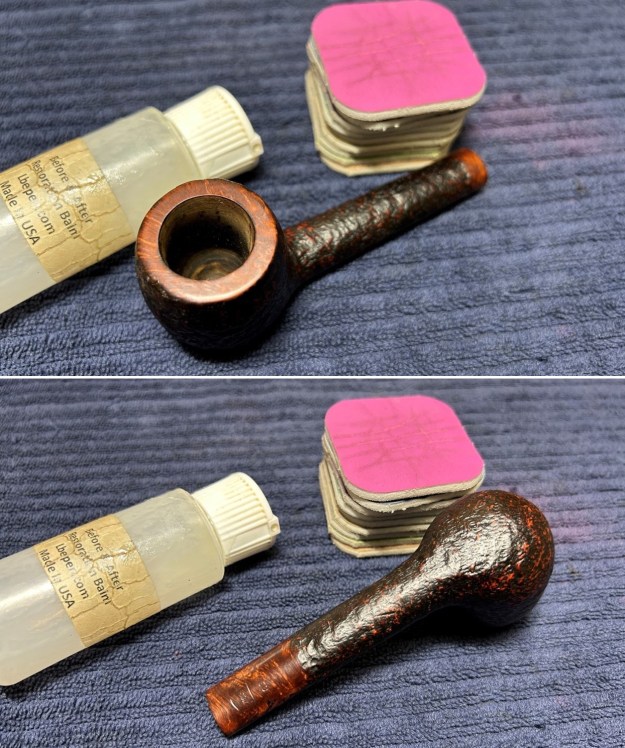
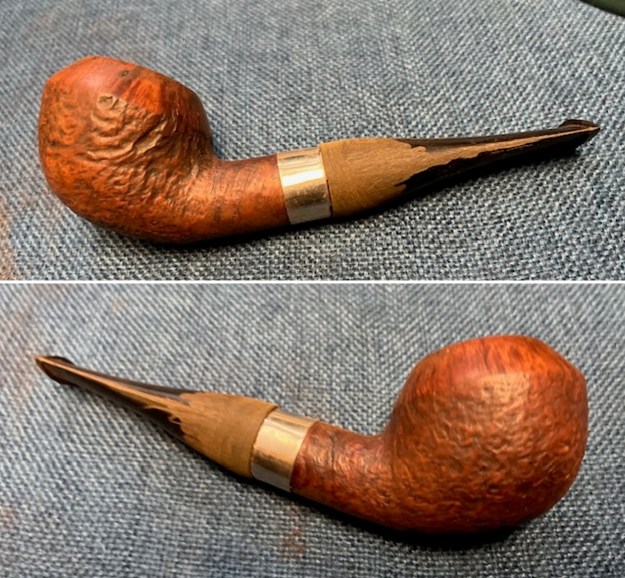
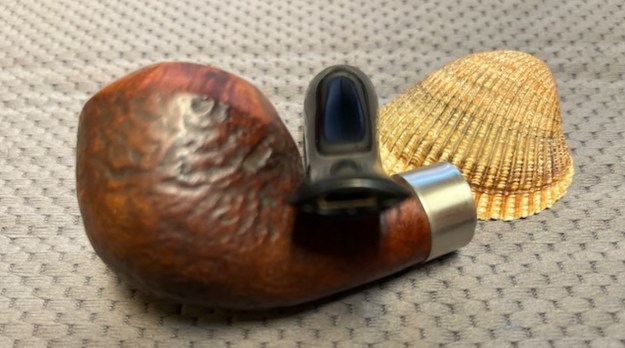
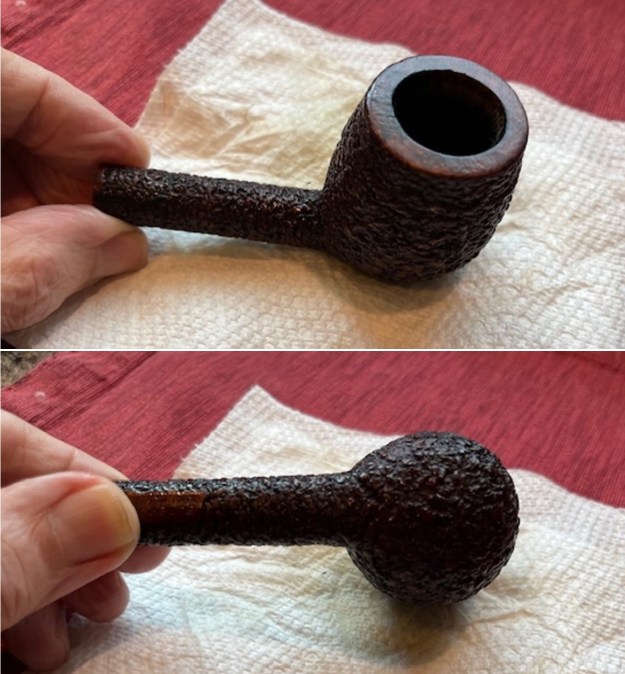
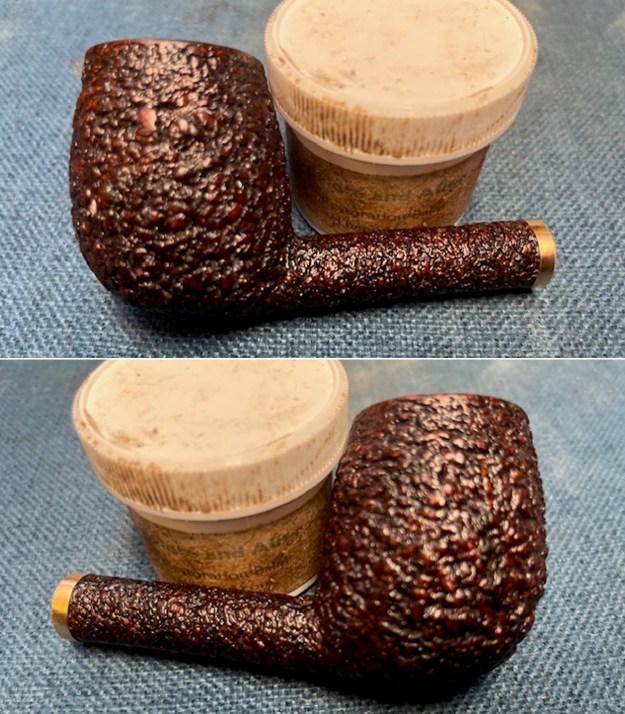
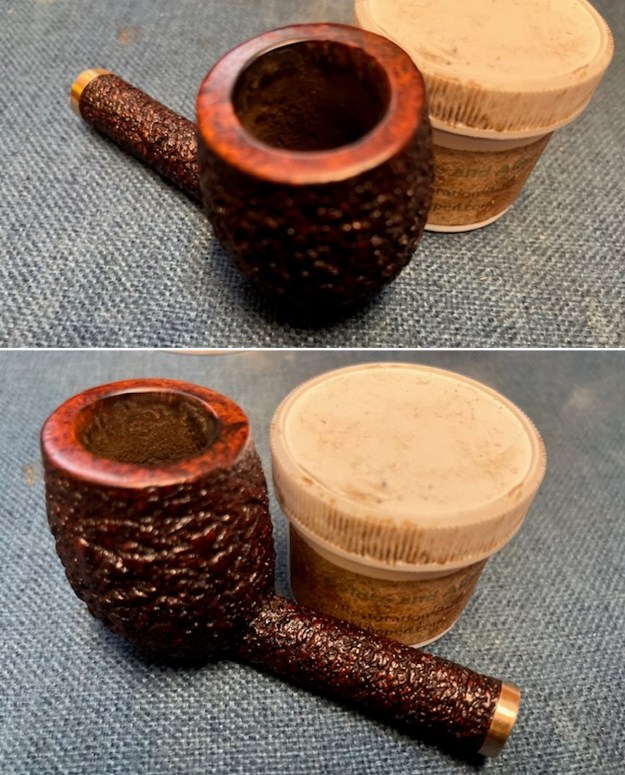
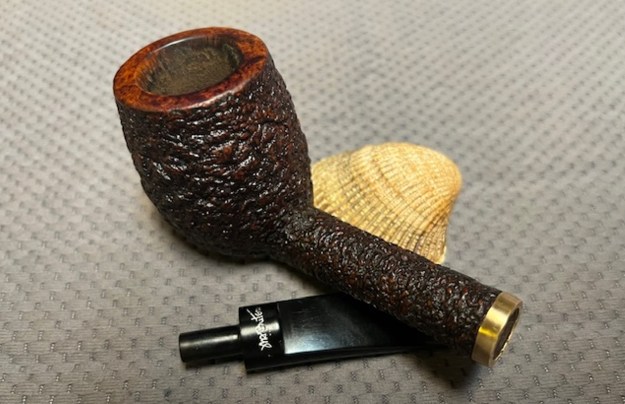
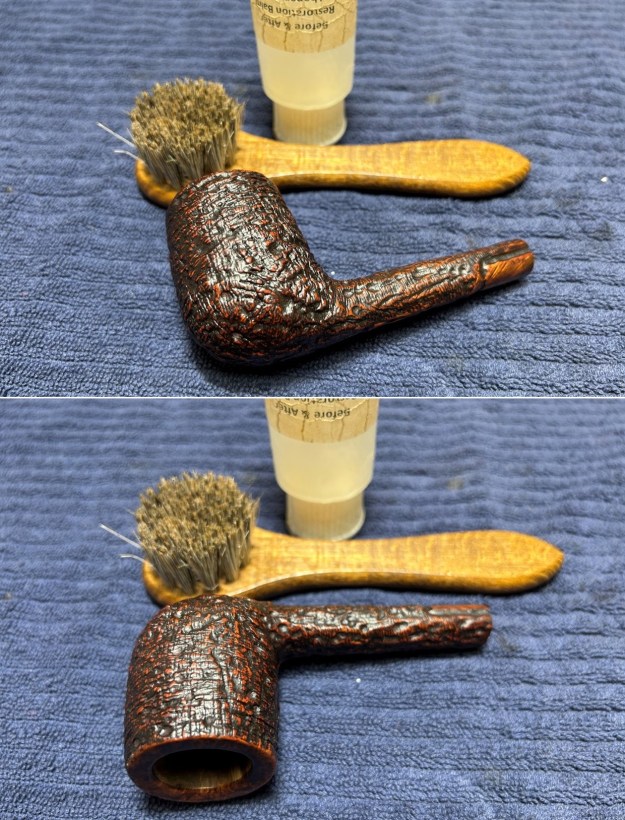
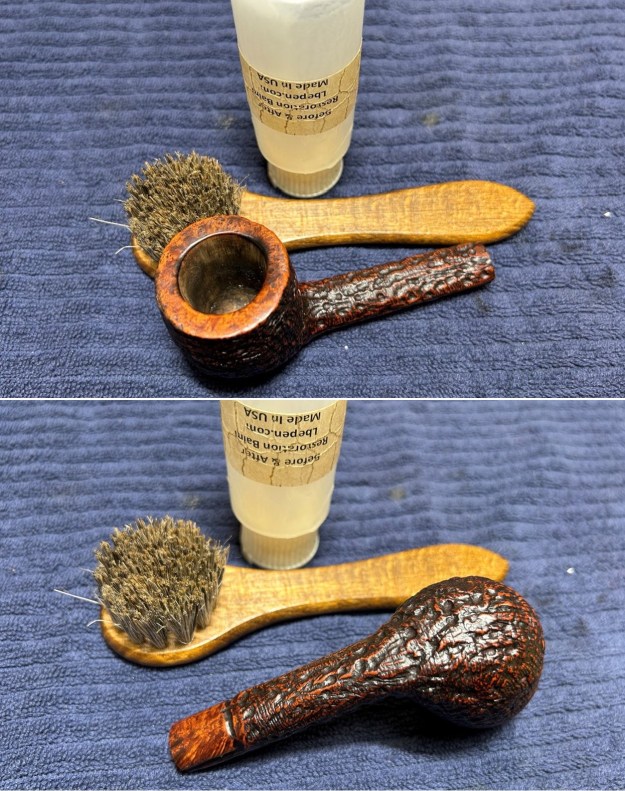
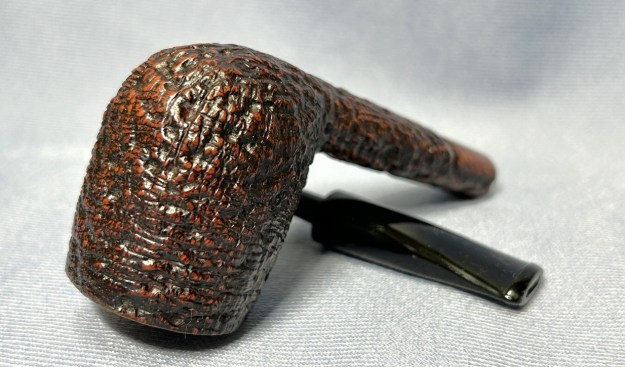
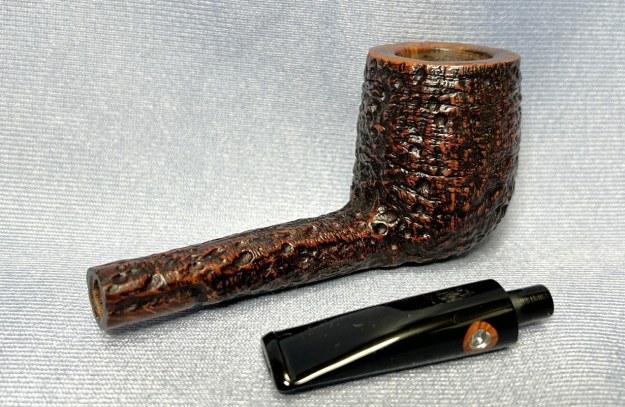
 I worked some Before & After Restoration Balm into the surface of the briar with my fingertips and a horsehair shoe brush to get in the twin rings around the cap. The product works to clean, enliven and protect the briar. I let the balm sit for a little while and then buffed with a cotton cloth to raise the shine. The photos show the bowl at this point in the restoration process.
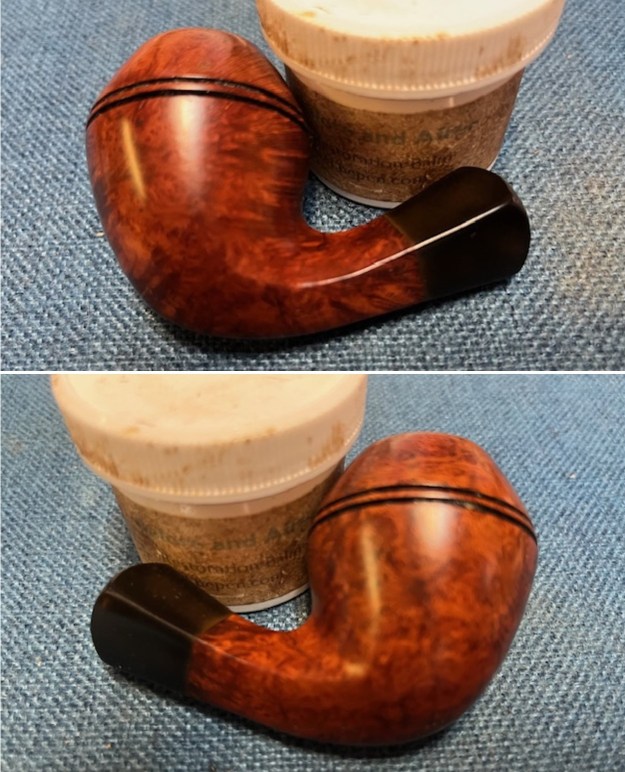
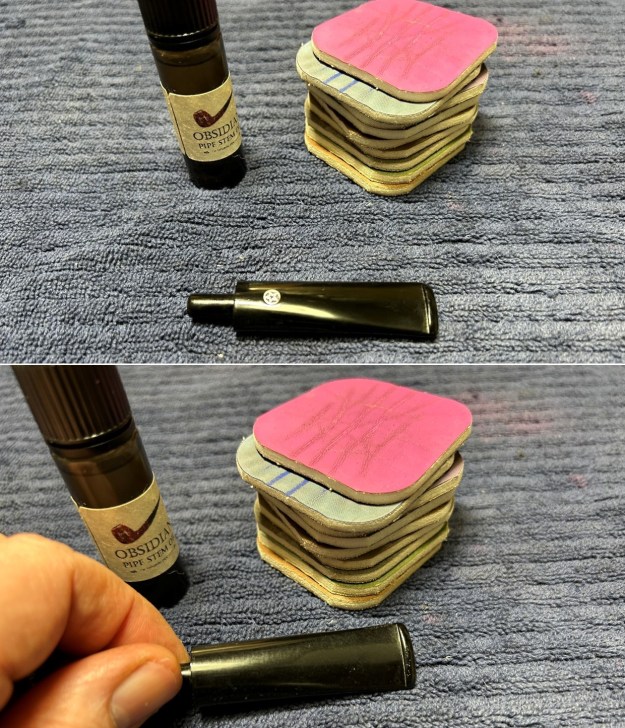
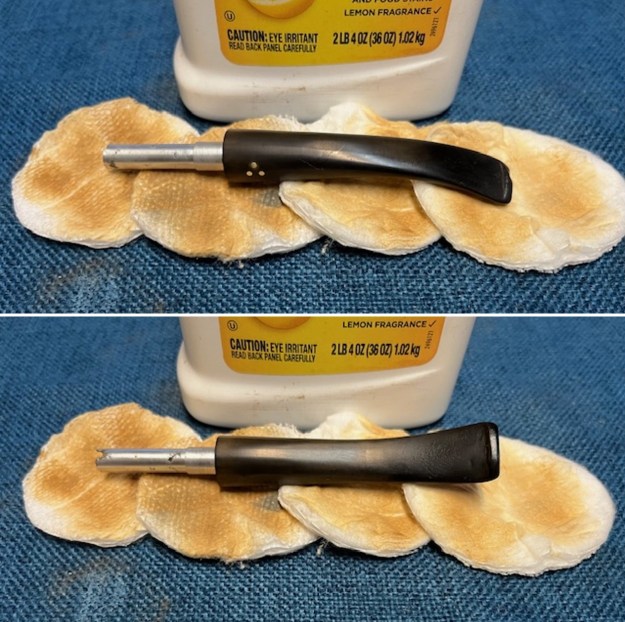
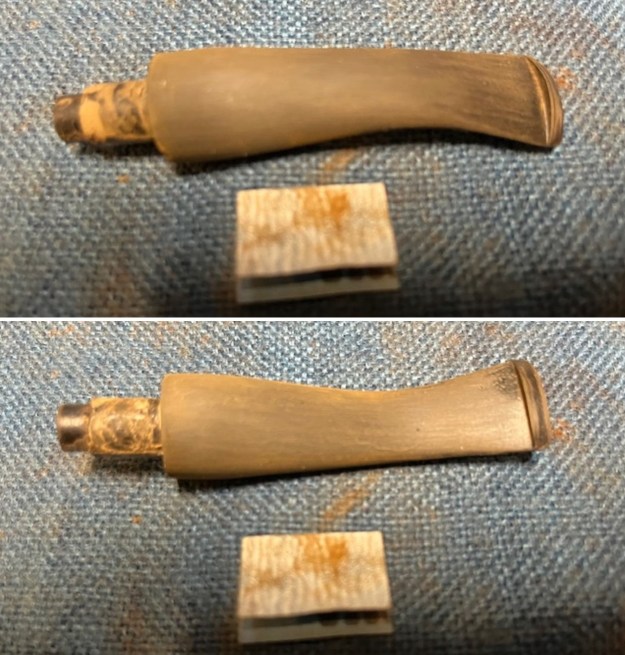
 I set the bowl aside and turned my attention to the stem. I scrubbed the surface with Soft Scrub Cleanser and cotton pads. I was able to remove much of the oxidation. The rest would come off using other tricks.
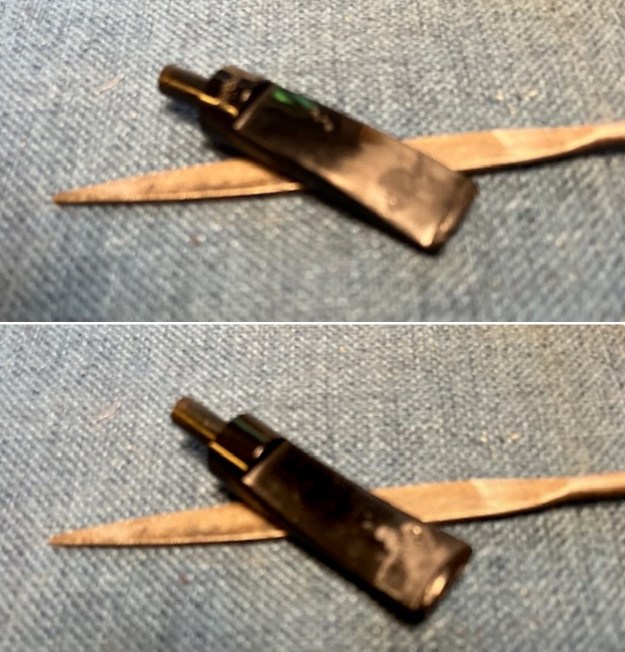
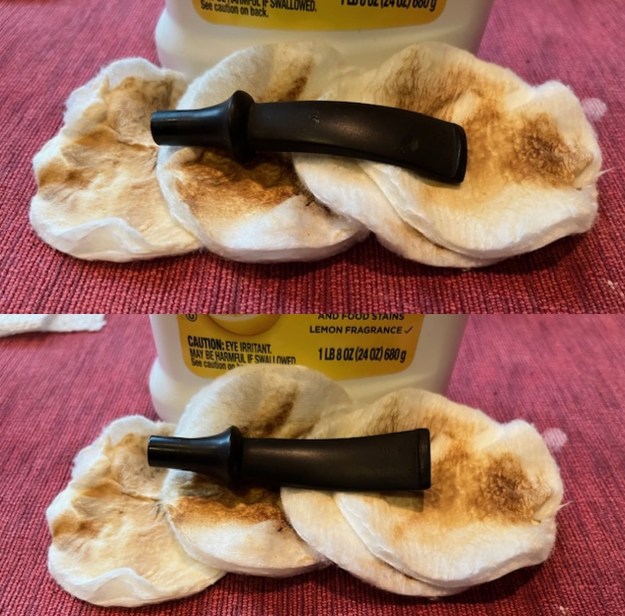 I “painted” the stem surface with the flame of lighter to lift the tooth marks on the top and underside ahead of the button. It worked fairly well but some of the larger ones though they had come up a bit were still an issue.
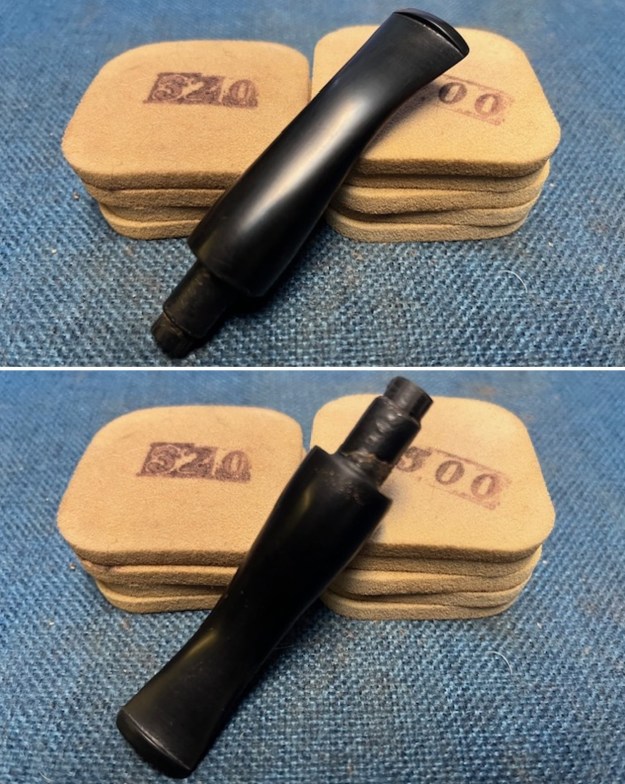
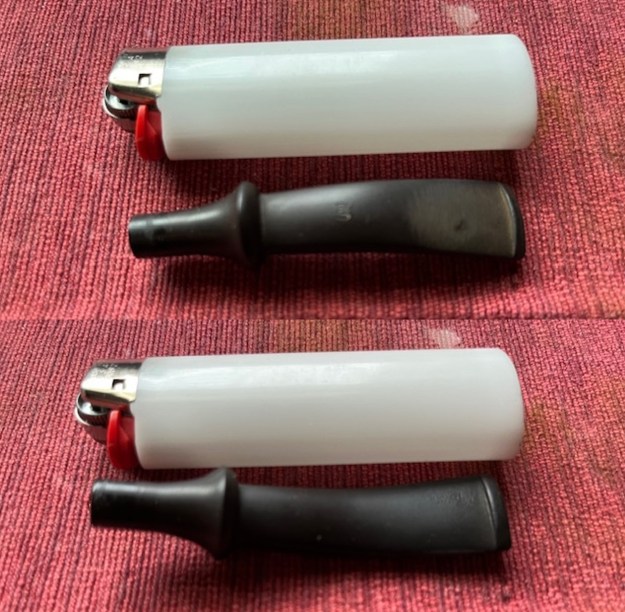 I filled in the deep tooth marks in the vulcanite with a rubberized black CA glue. Once the repairs cured I used a small file to flatten the against the surface and clean up the sharp edge of the button. I sanded the repaired areas with a folded piece of 220 grit sandpaper to further flatten and blend them into the surface.
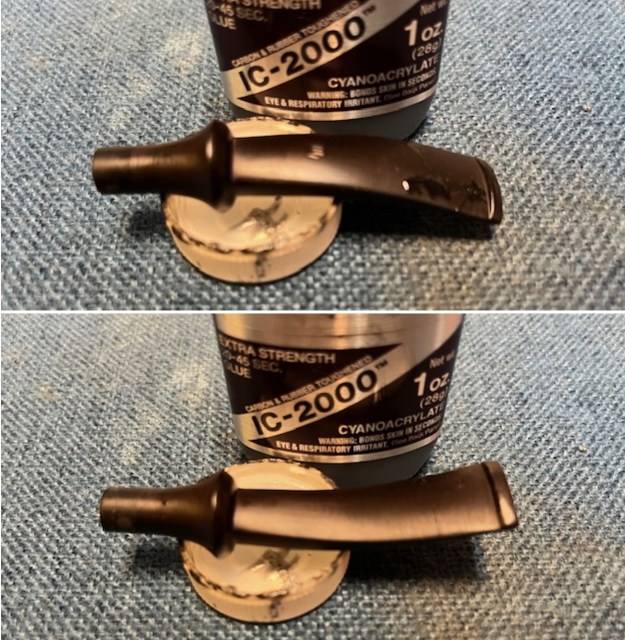

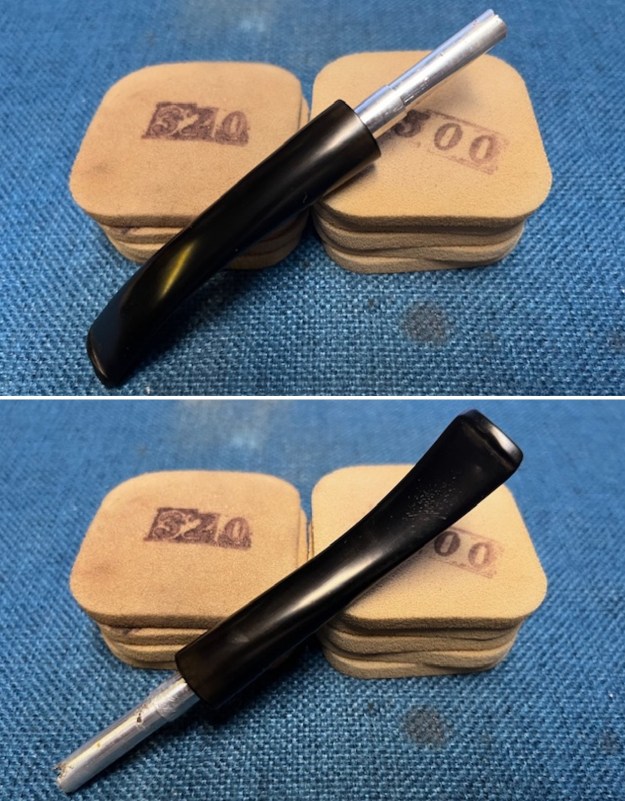
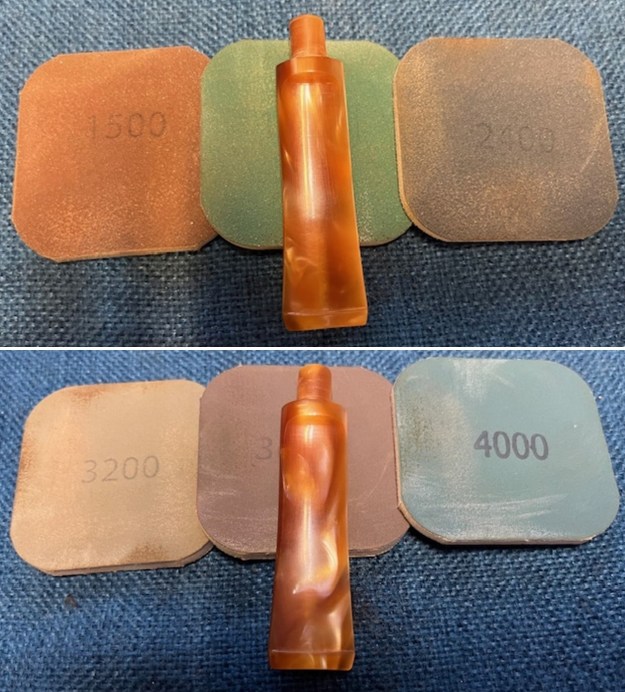
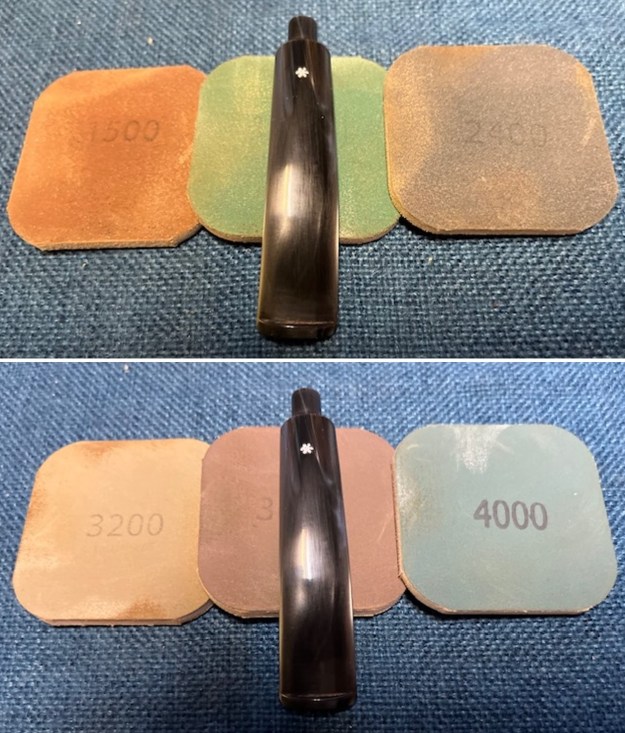
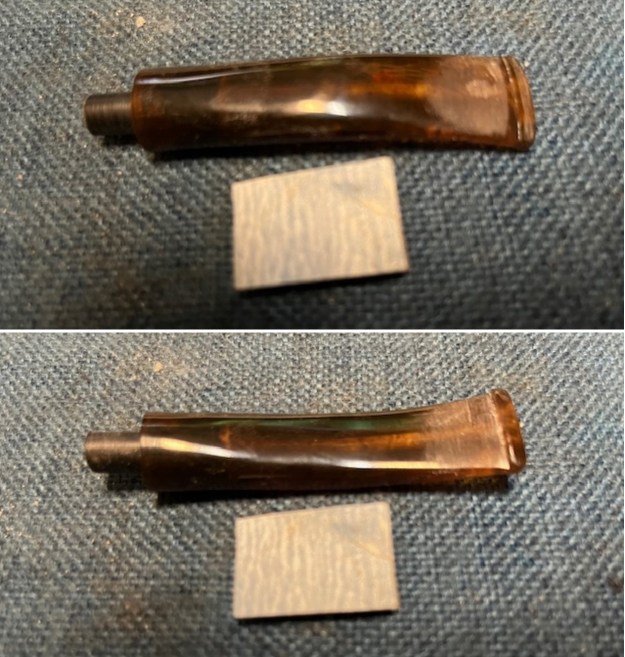
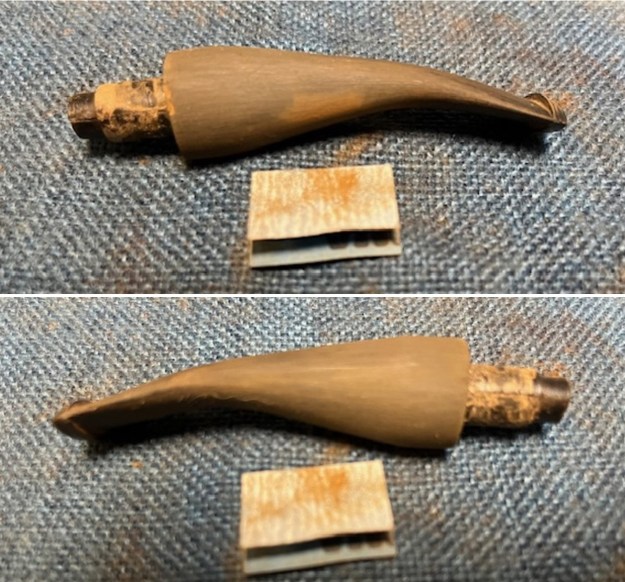
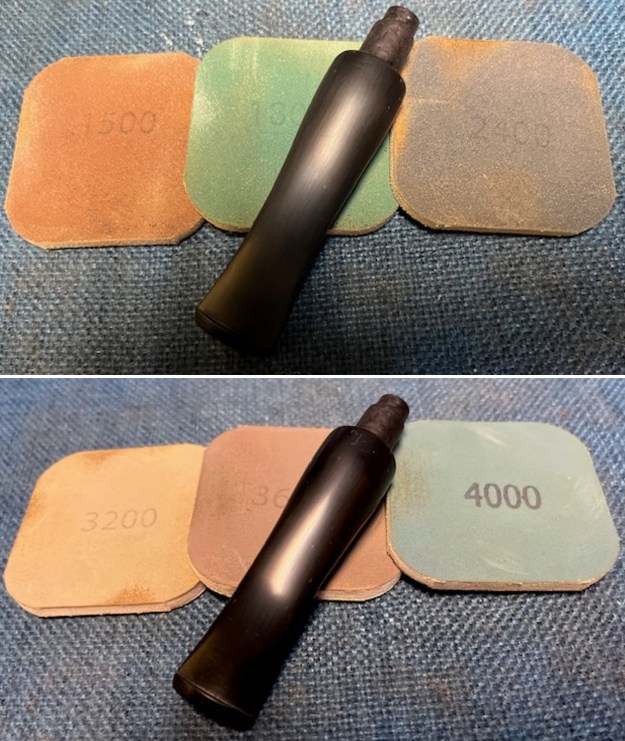
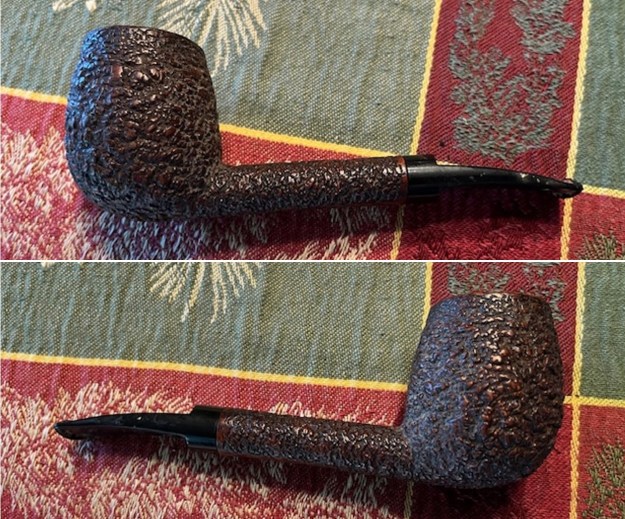
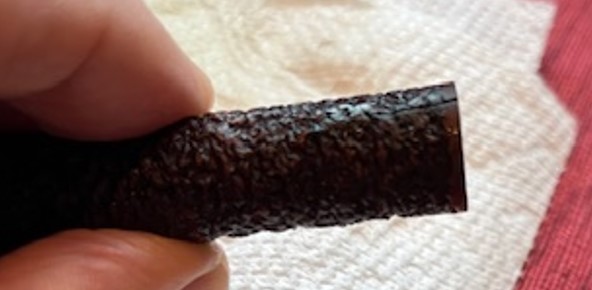
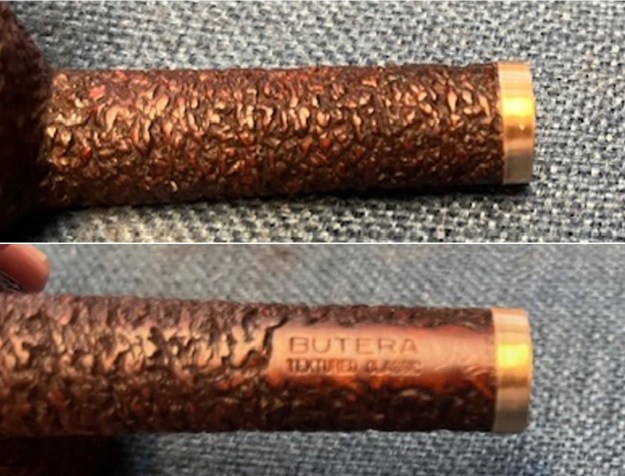
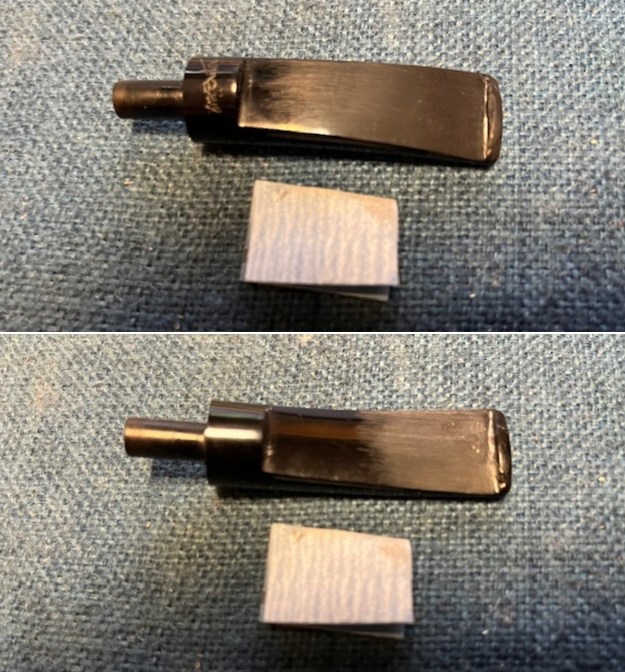
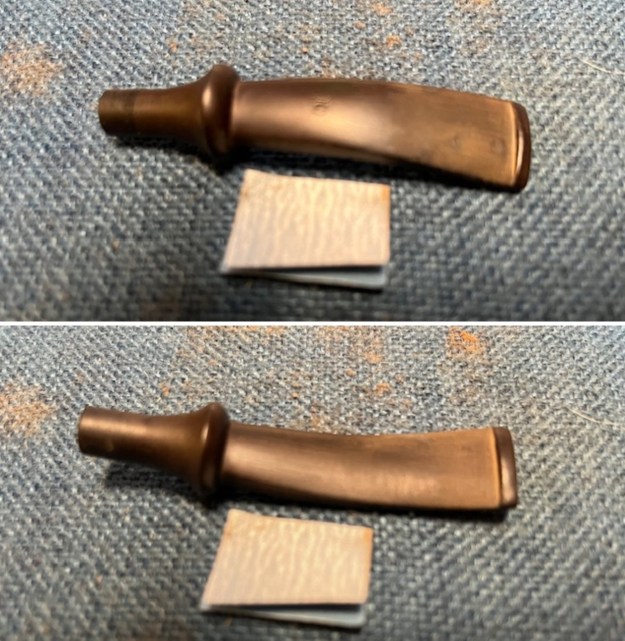 I sanded the stem further with 2×2 inch sanding pads to smooth out the stem surface. I wiped it down with a damp cloth after each sanding pad. I took photos of the stem after the sanding.
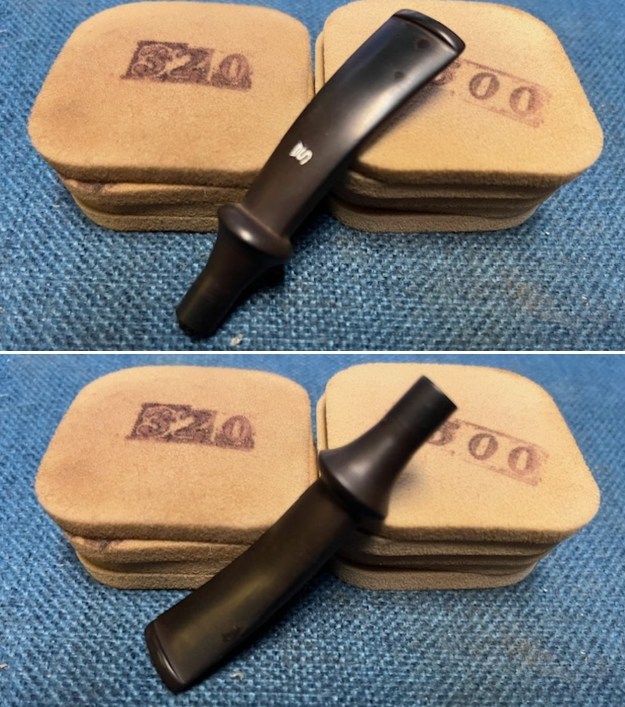 I touched up the stamping on the top of the stem with white acrylic fingernail polish. Once it dried I scraped off the excess and cleaned up the area around the stamp with a 1500 grit sanding pad. It looked very clean.
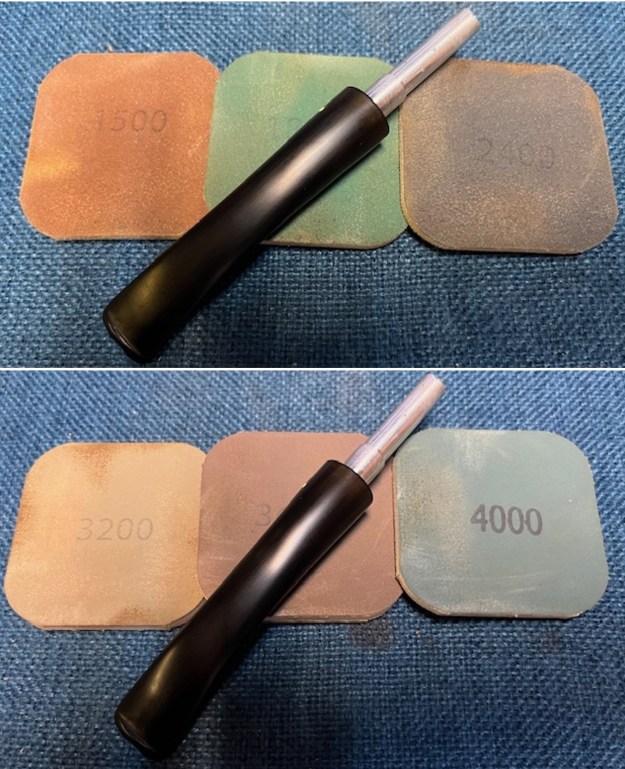
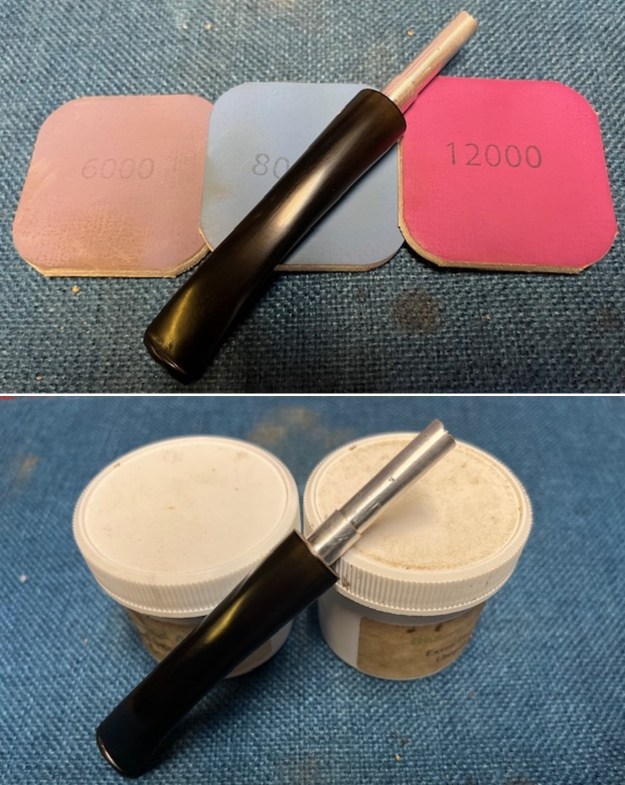
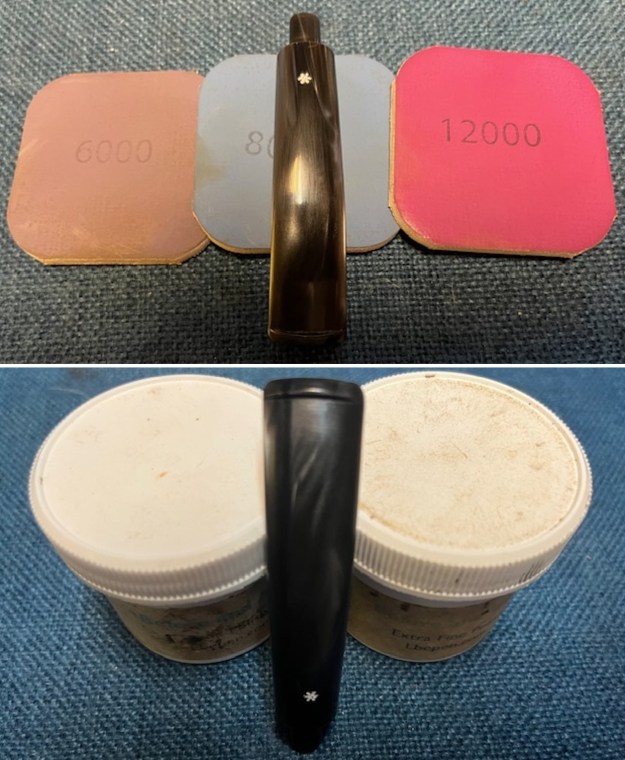
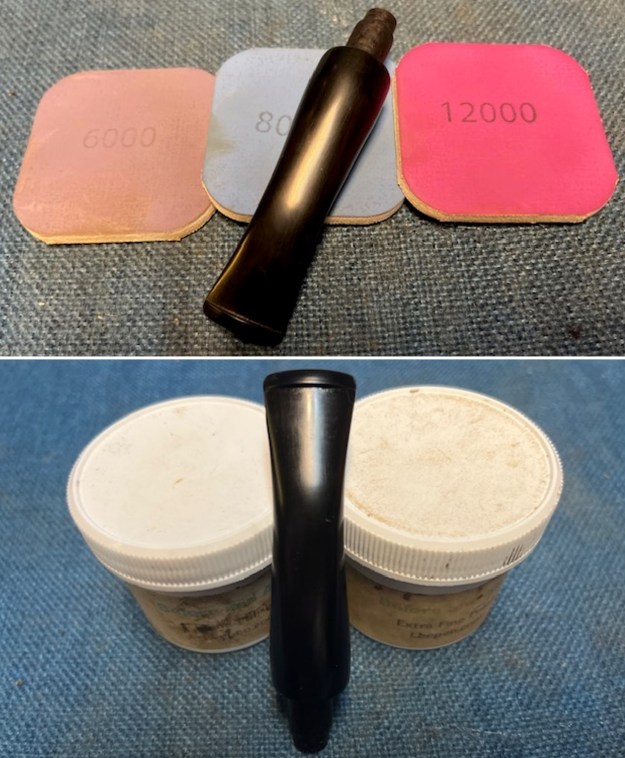
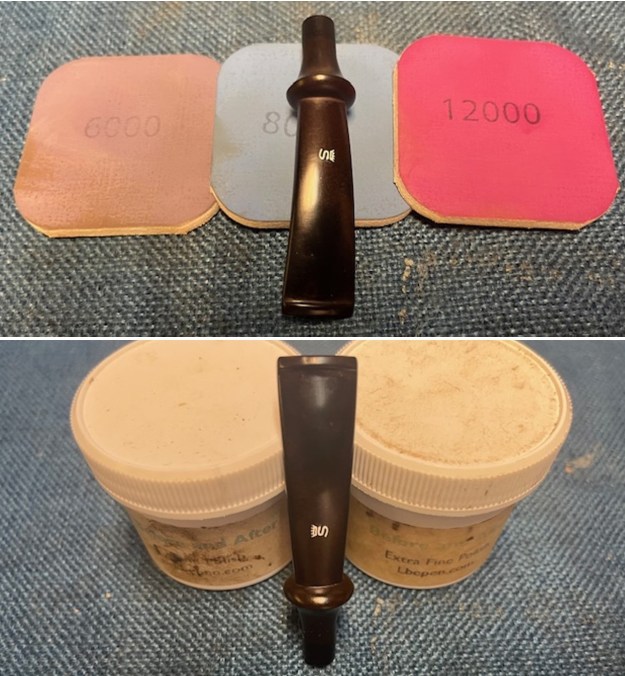
 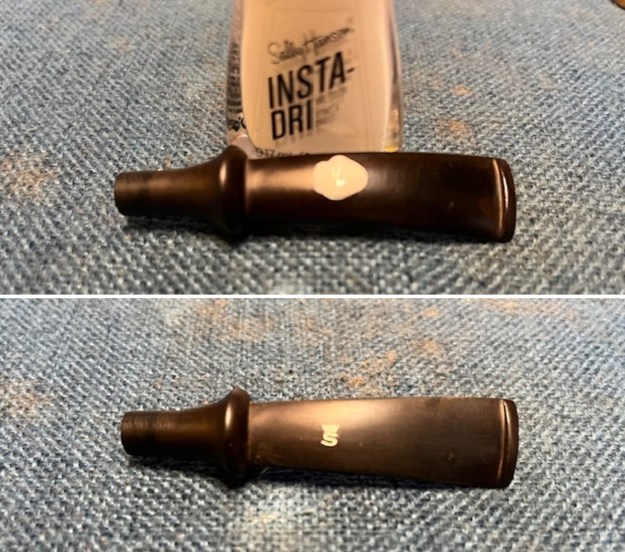 I polished the stem with micromesh sanding pads – wet sanding with 1500-12000 grit sanding pads. I wiped it down after each sanding pad with some Obsidian Oil. I finished polishing it with Before & After Pipe Stem Polish – both Fine and Extra Fine and buffed it off with a cotton cloth.
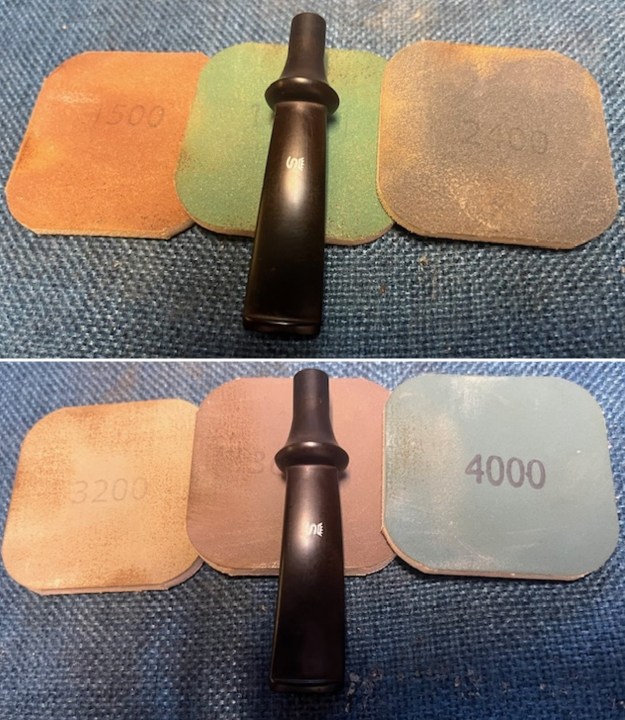
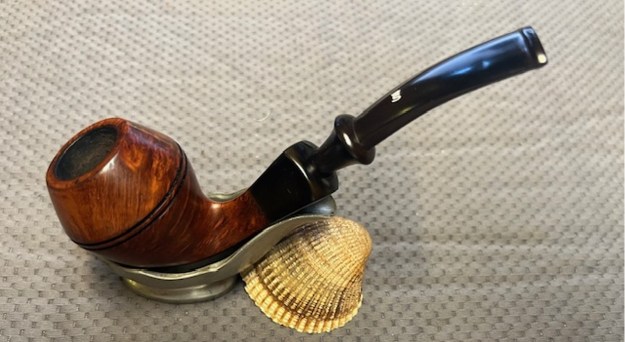
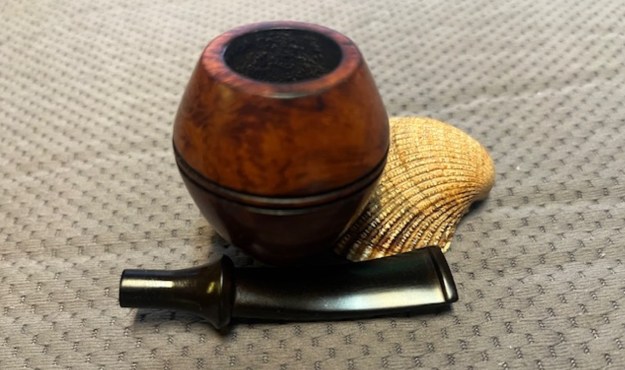
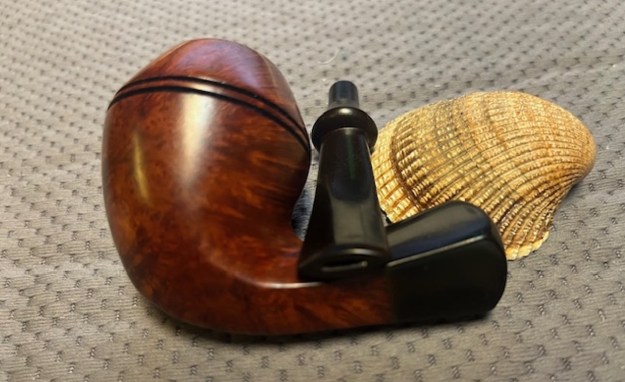
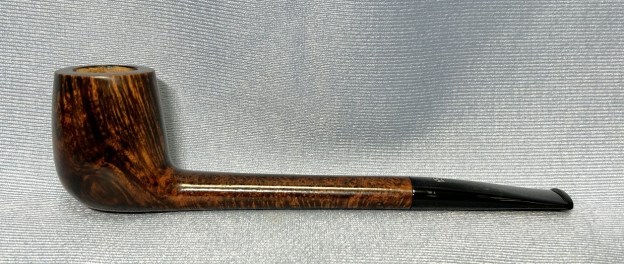
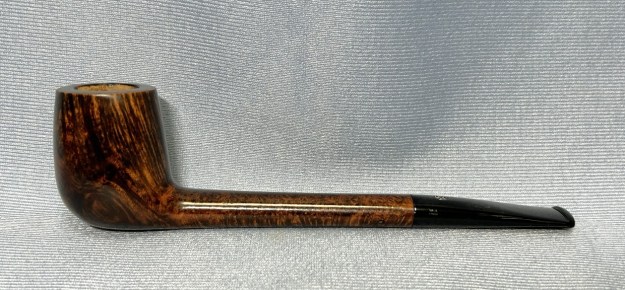
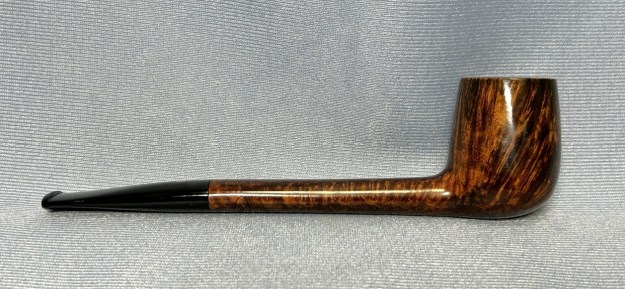
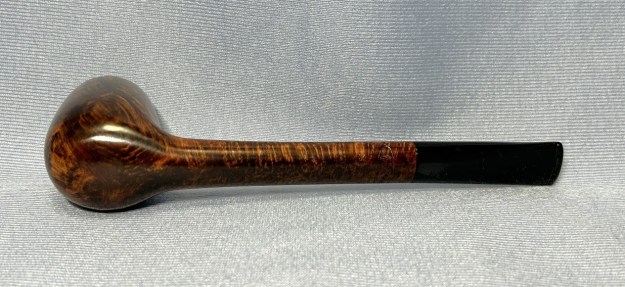
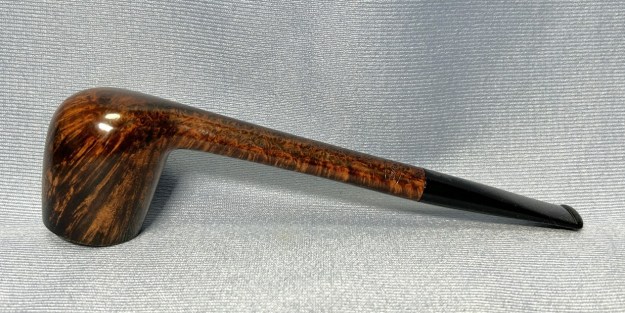
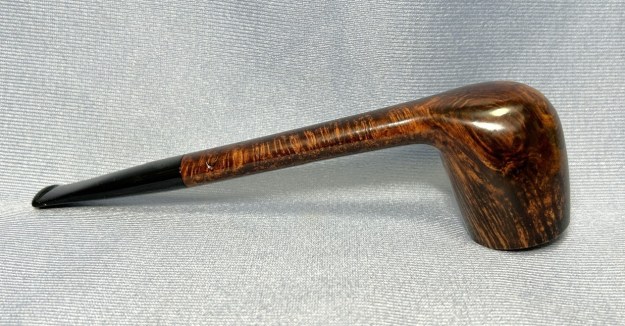
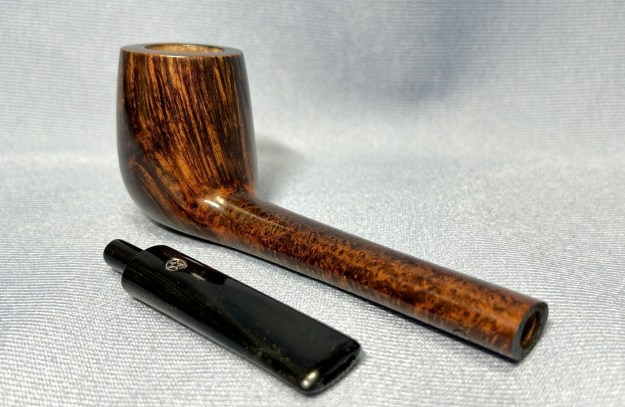
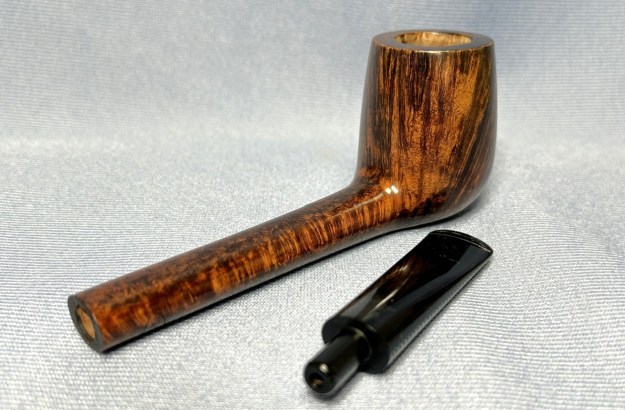
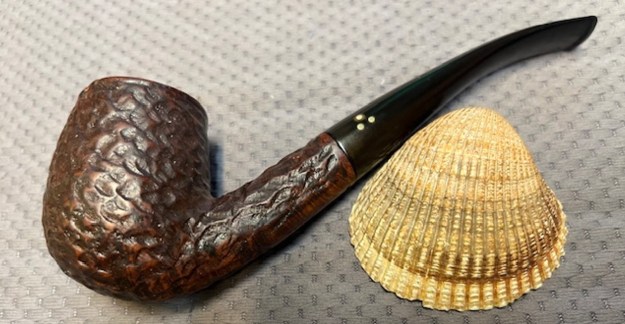
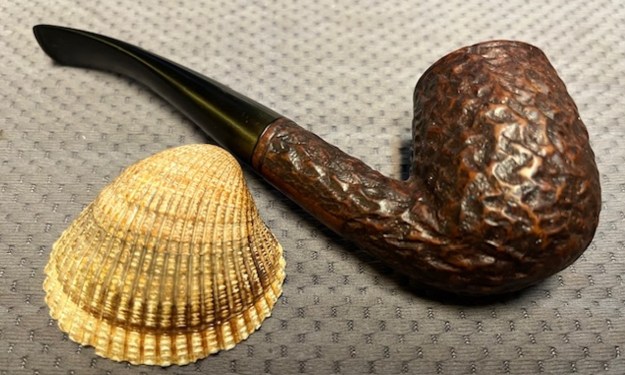
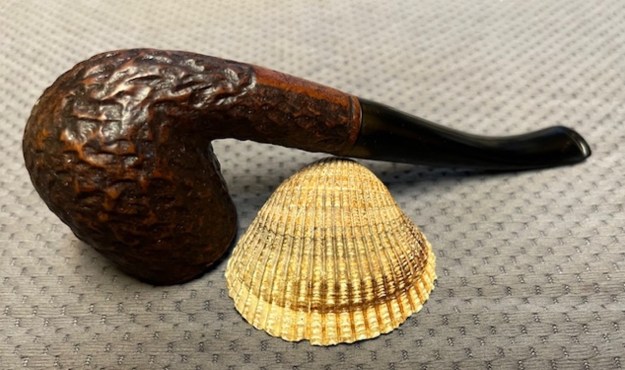
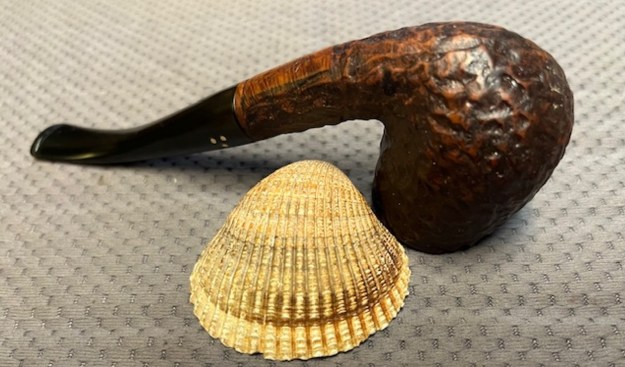
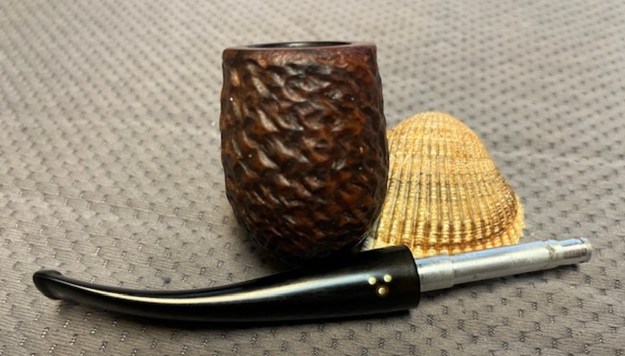
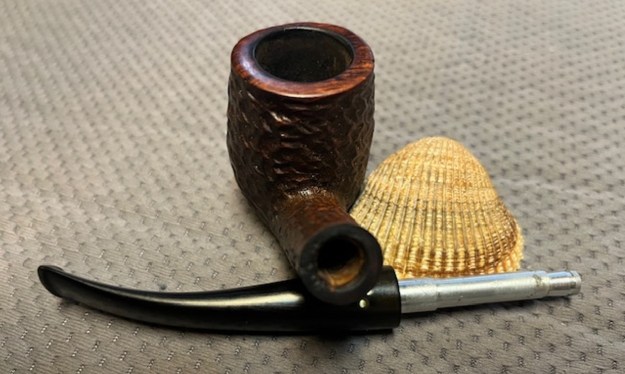
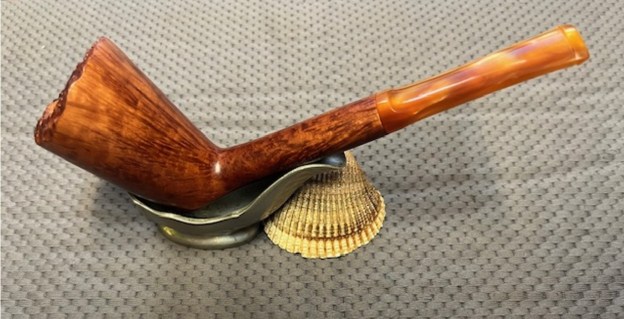
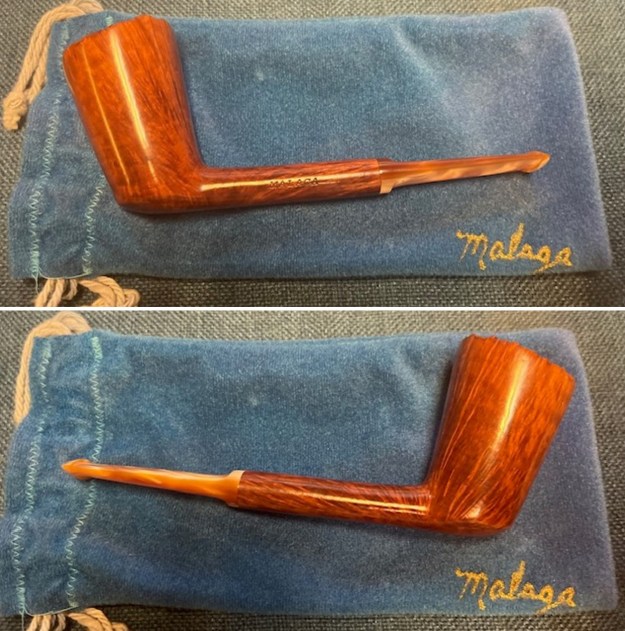
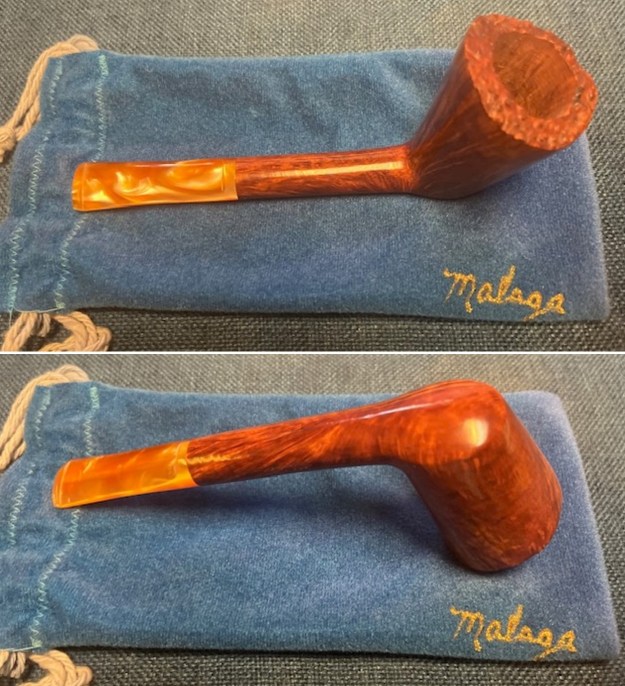
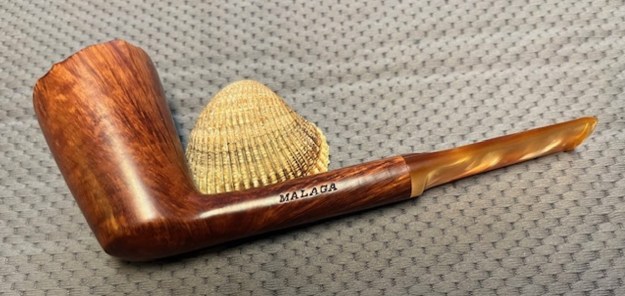
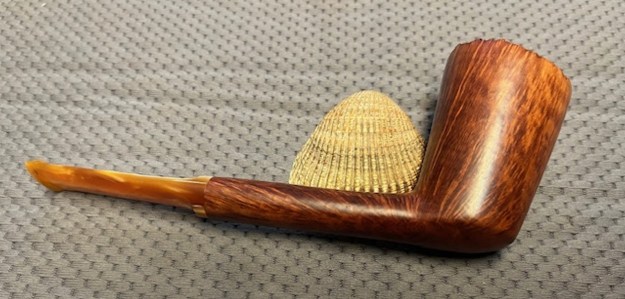
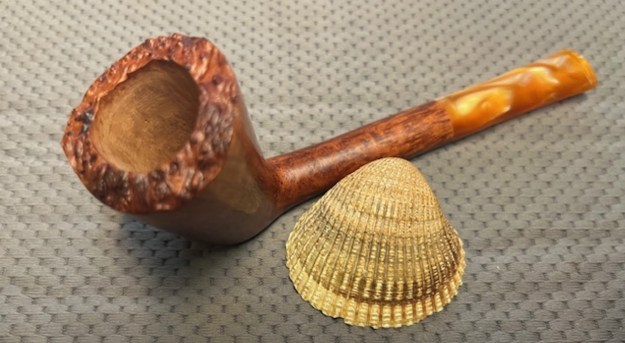
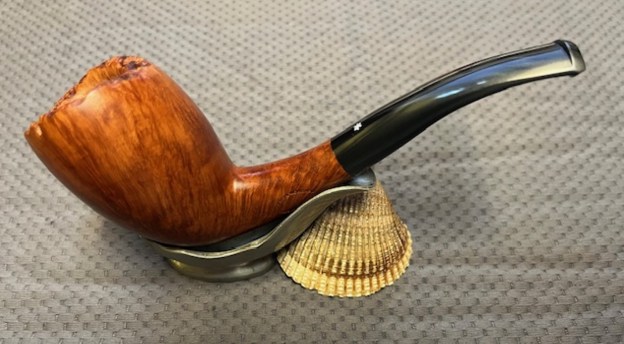
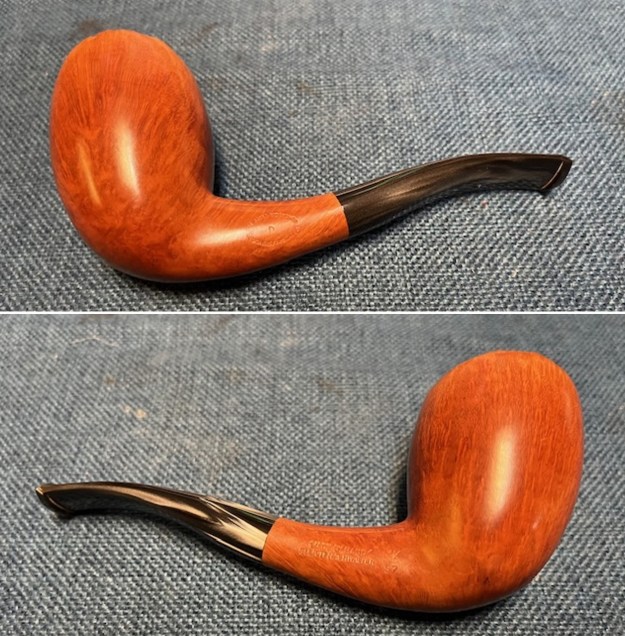
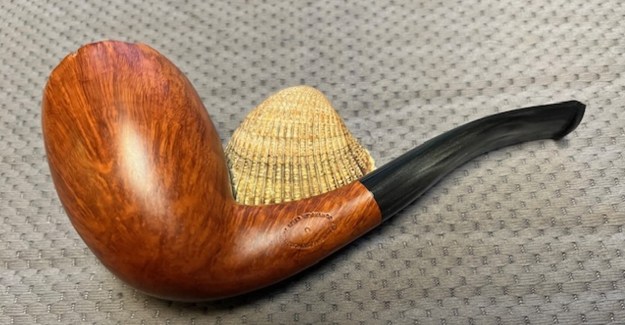
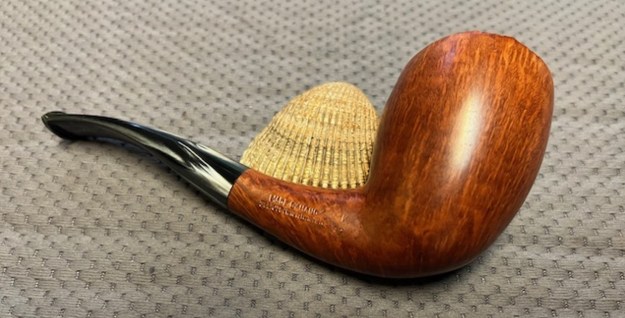
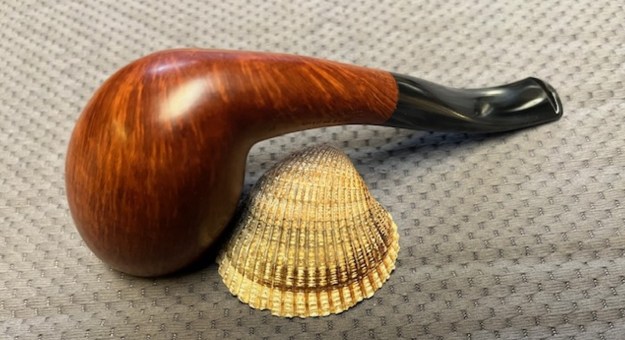
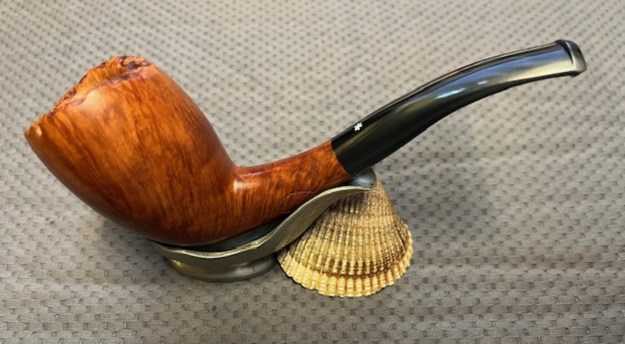
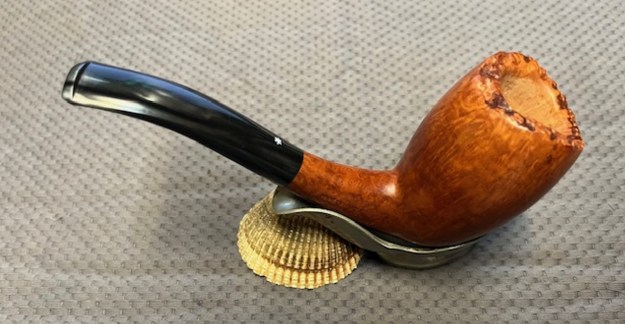
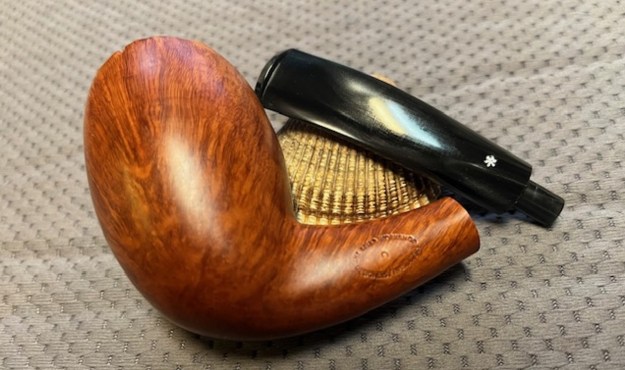
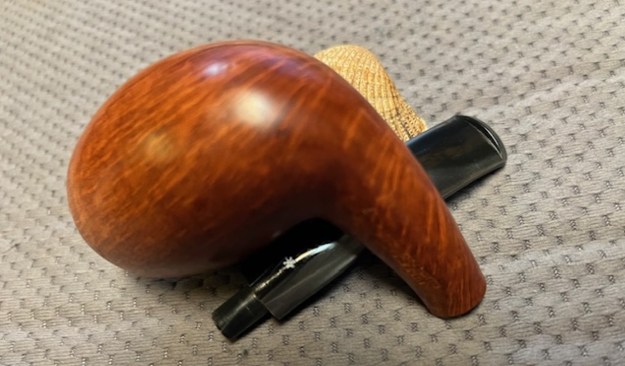
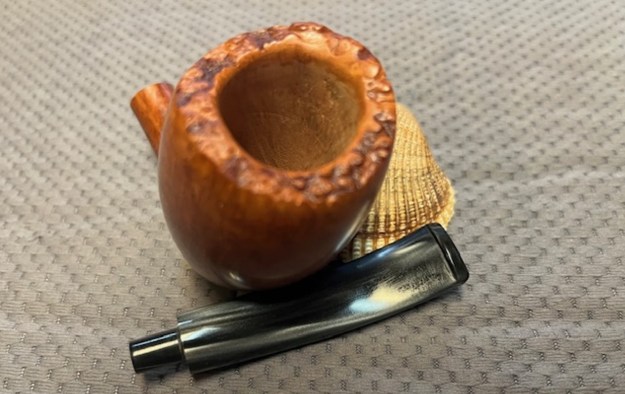
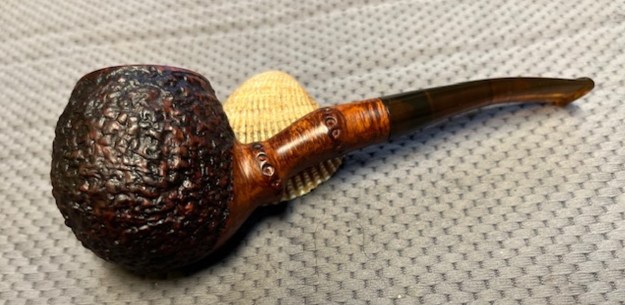
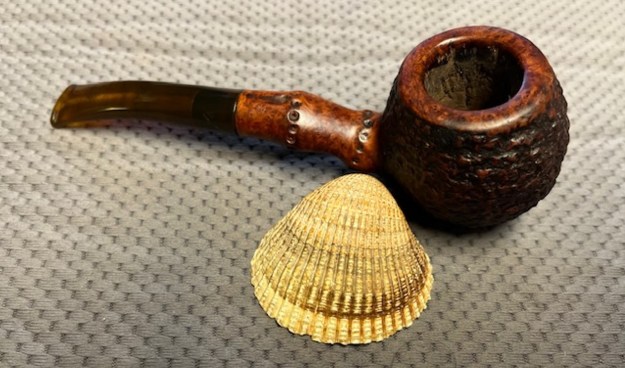
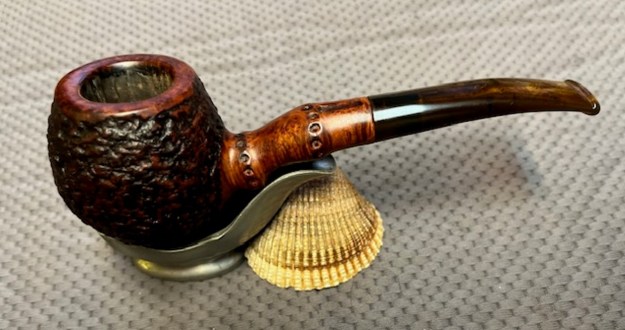
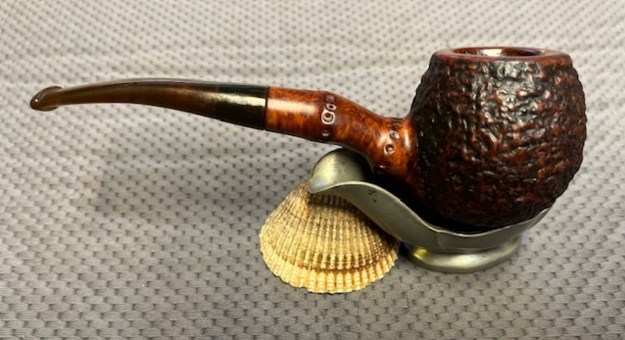
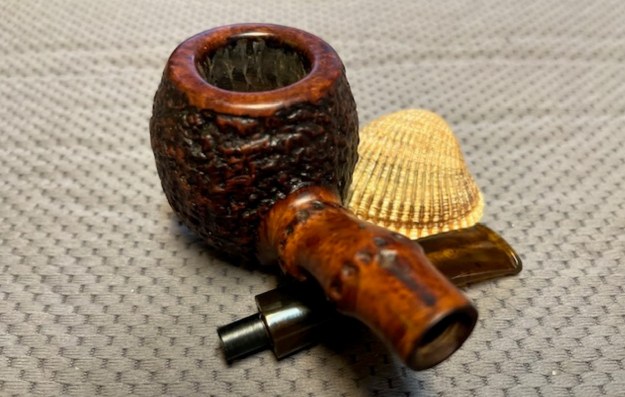
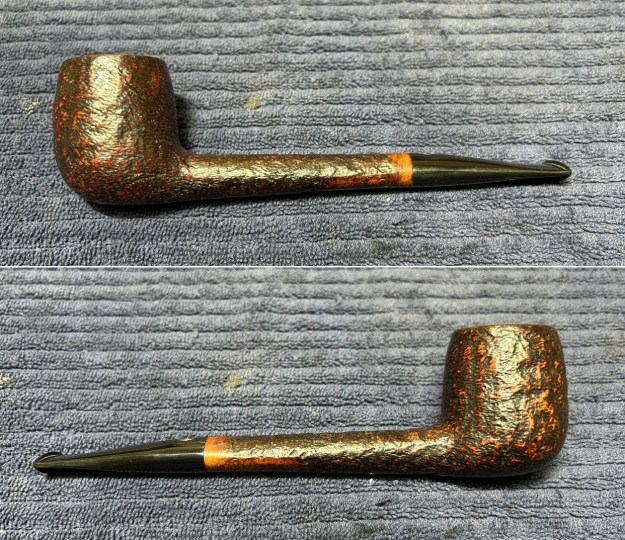
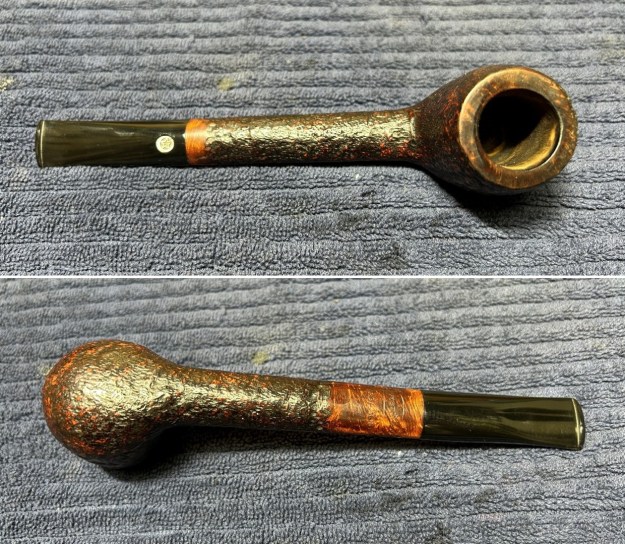
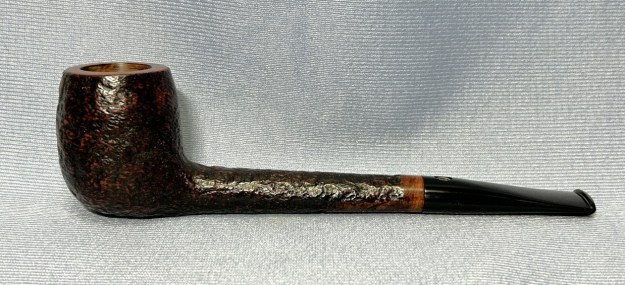
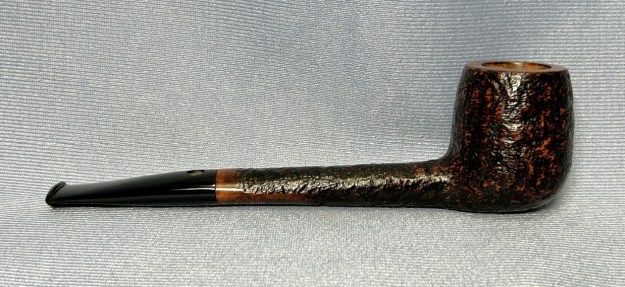
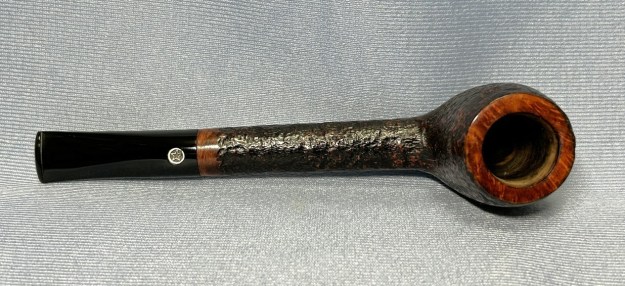
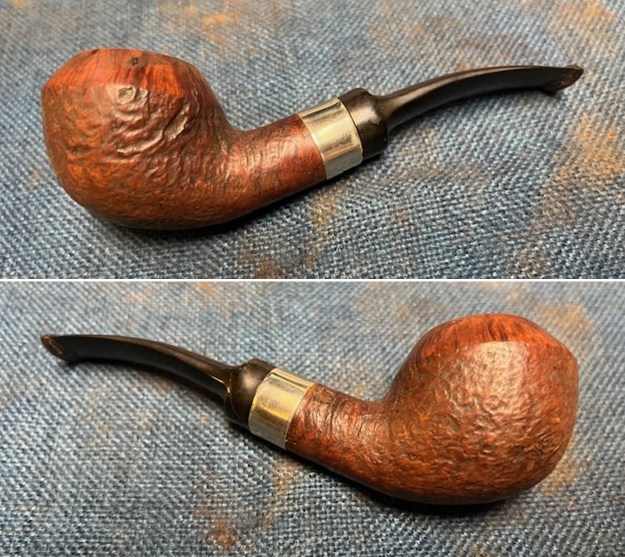
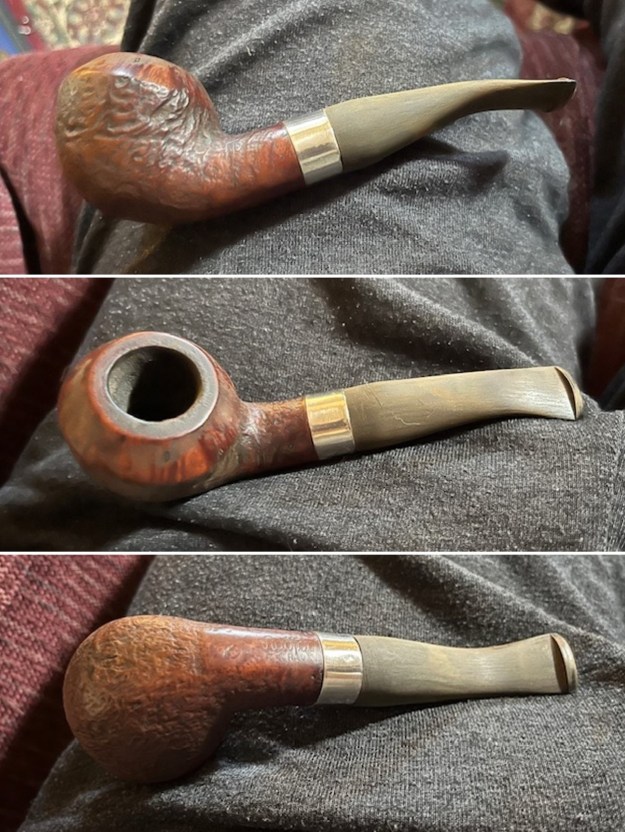
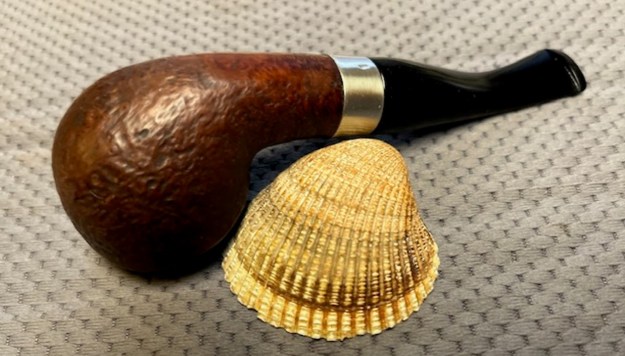
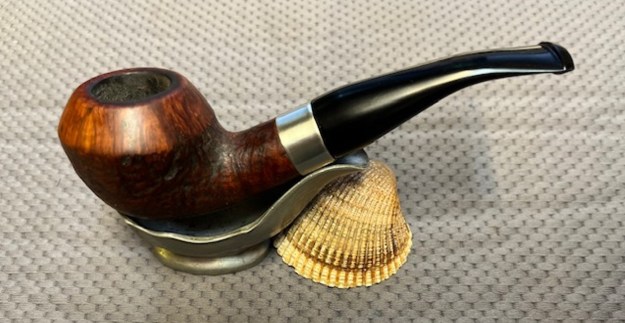
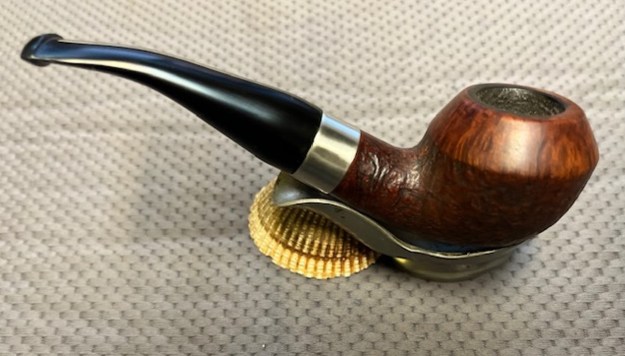
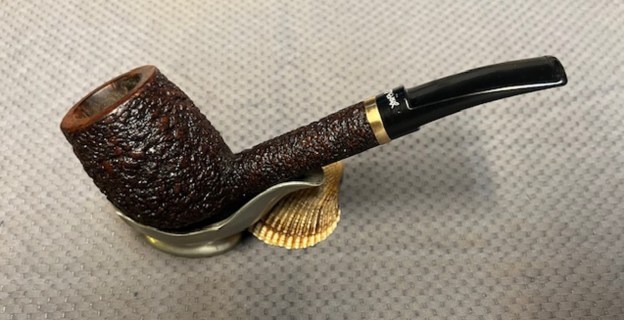
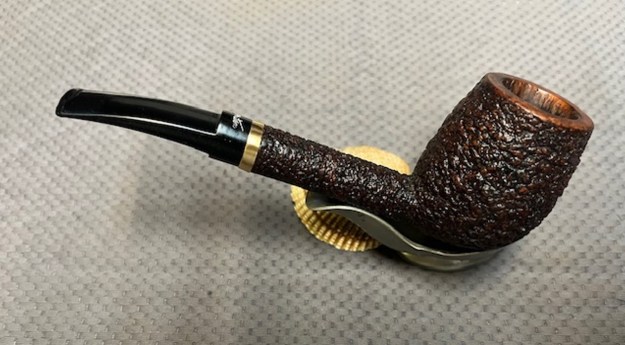
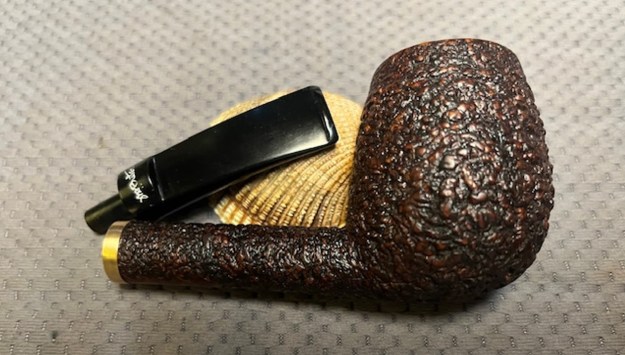
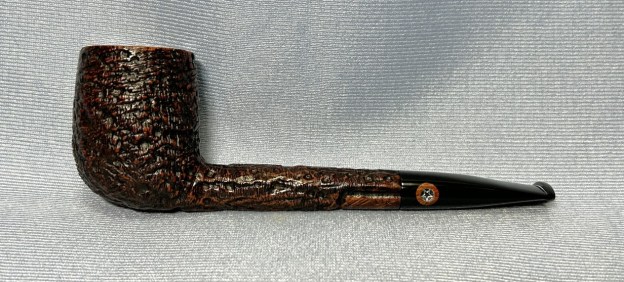
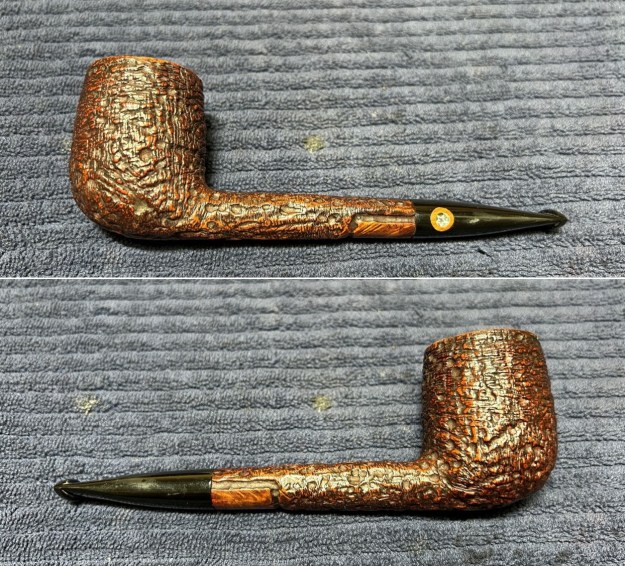
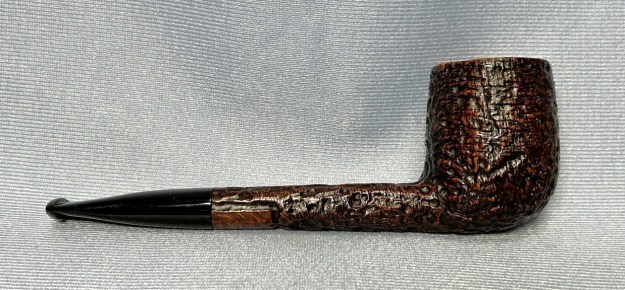
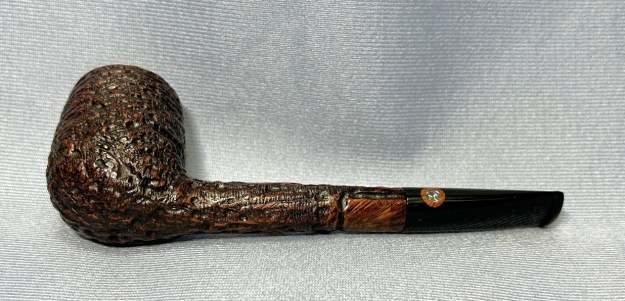
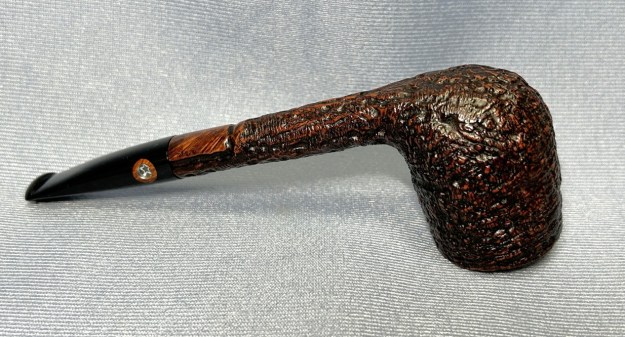
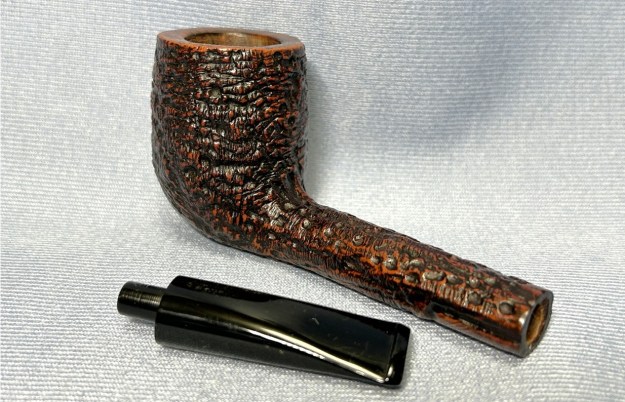
 I am excited to be finishing work this lovely Stanwell Bench Made 33 Bulldog pipe. This is the part of the restoration part I look forward to when it all comes back together, polished and waxed. I put the bowl and stem back together. I polished the bowl and stem with Blue Diamond to polish out the scratches in the briar and the vulcanite. I gave the bowl and the stem multiple coats of carnauba wax. I buffed the pipe with a clean buffing pad to raise the shine. I hand buffed it with a microfiber cloth to deepen the shine. The pipe polished up pretty nicely. The medium brown stained bowl looks really good with the polished black vulcanite. This Stanwell Regd. No Bench Made 33 Bulldog was another fun pipe to work on. It really has that classic Danish look that catches the eye. The brown stain really makes the pipe look attractive. It is another comfortable pipe to hold in the hand. The finished pipe is shown in the photos below. The dimensions of the pipe are Length: 5 ½ inches, Height: 2 inches, Outside diameter of the bowl: 1 ¼ inches, Chamber diameter: ¾ of an inch. The weight of the pipe is 1.55 ounces/46 grams. If you are interested in carrying on the previous pipeman’s legacy with this pipe send me a message or an email. Thanks for reading this blog and my reflections on the pipe while I worked on it. As always questions and comments are appreciated.