by Steve Laug
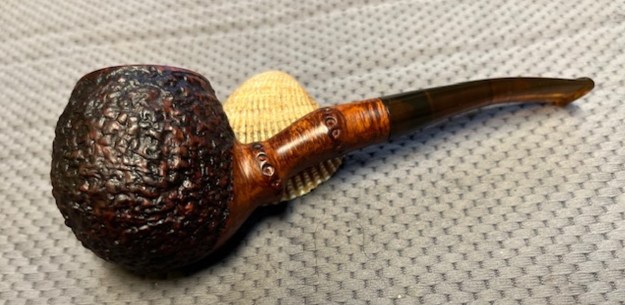
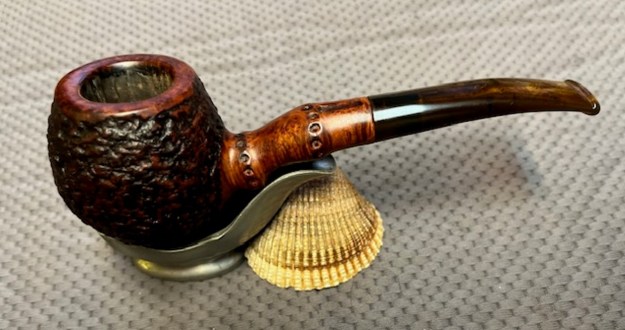
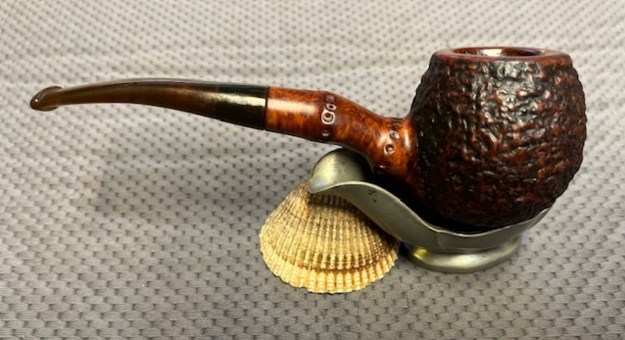
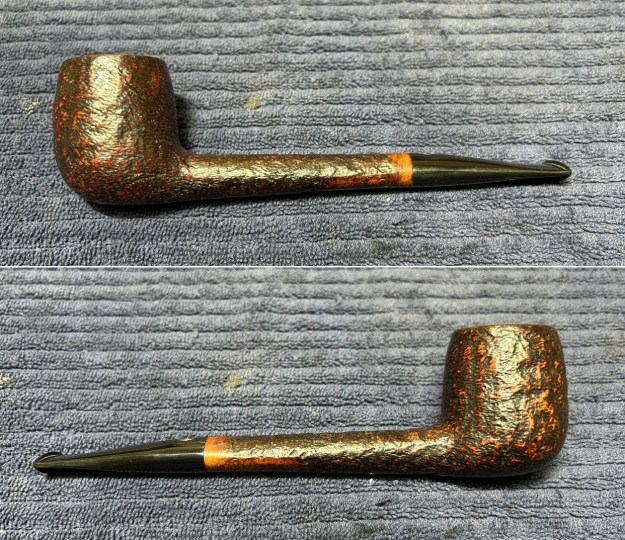
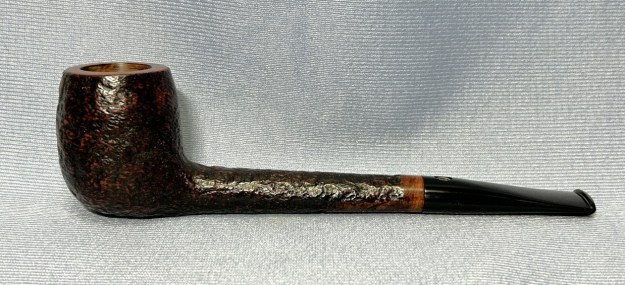
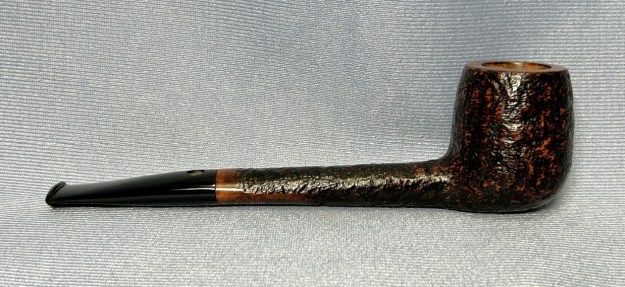
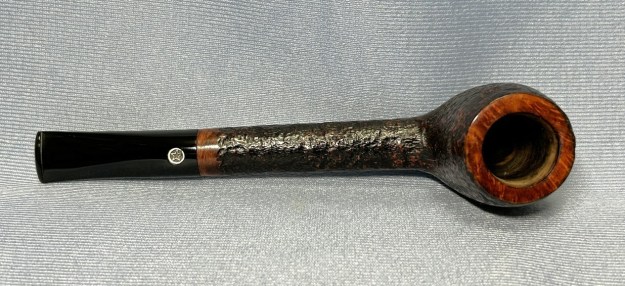
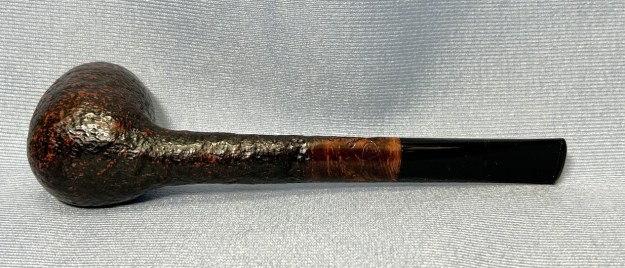
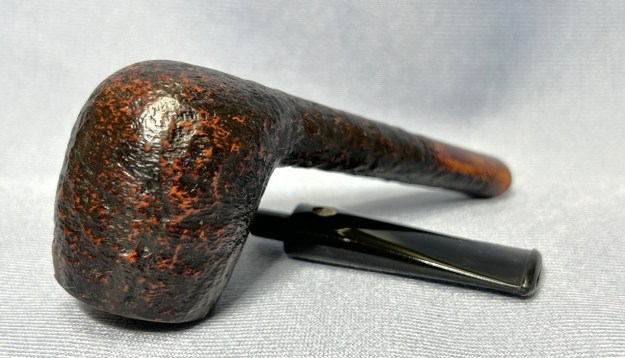
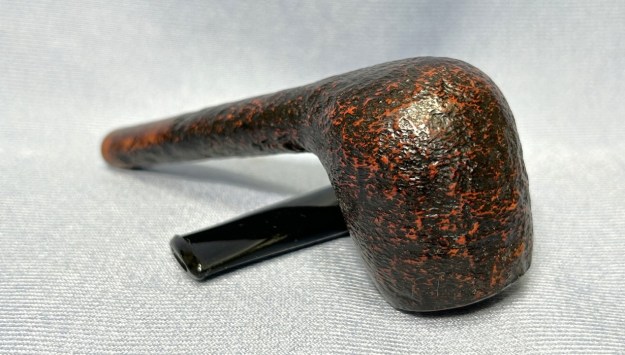
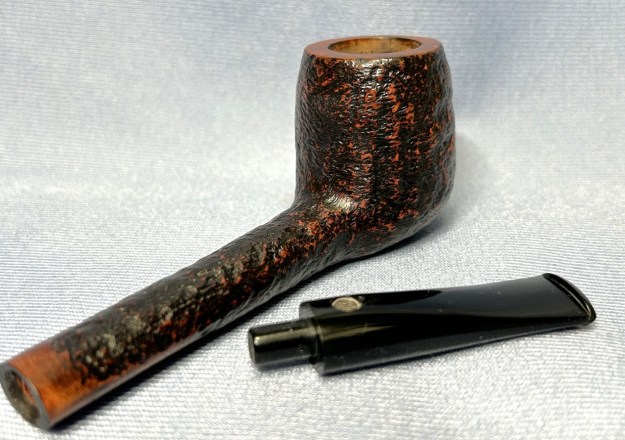
The next pipe is one I also worked on while I was at Jeff’s place in Idaho. I brought it home to finish it. We picked the pipe up from a seller in Macon, Georgia, USA on 03/08/2025. I would call the pipe a Hawkbill shaped pipe with a faux bamboo shank and amber acrylic taper stem. It is stamped on the heel of the bowl and reads Radice [over] Rind [over] 0 T/B. Against the shank end it is stamped hand [0ver] made in Italy. The “Bamboo” shank has the nodules and grooves well carved into the briar. The bowl had a heavy cake and a thick coat of lava on the rim top. The finish was dirty and dusty in the valleys of the rustication and the nodules of the “Bamboo” shank. The shank was black, tarry and oily. The acrylic amber stem sat well against the shank. It was dirty with oil and tar in the airway from the tenon to the button. There were deep tooth marks and chatter on both sides ahead of the button. There was no logo or identifying marks on the stem. I took some photos of the pipe before I started my work on it.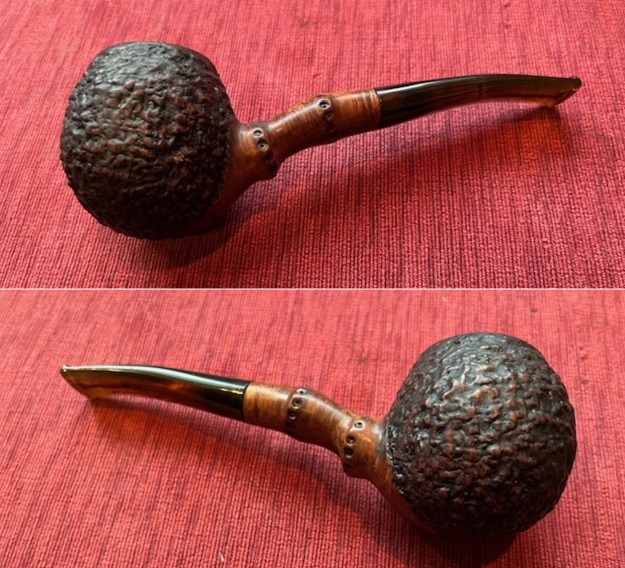
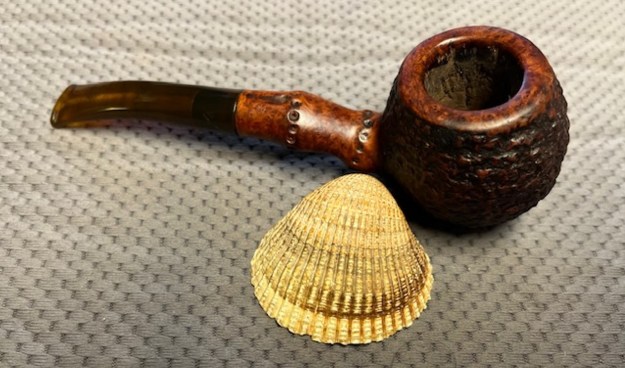
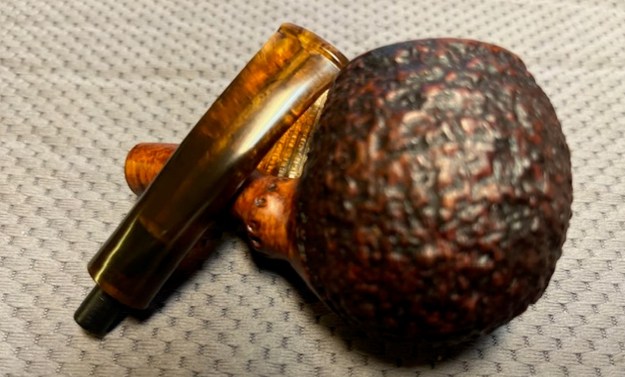
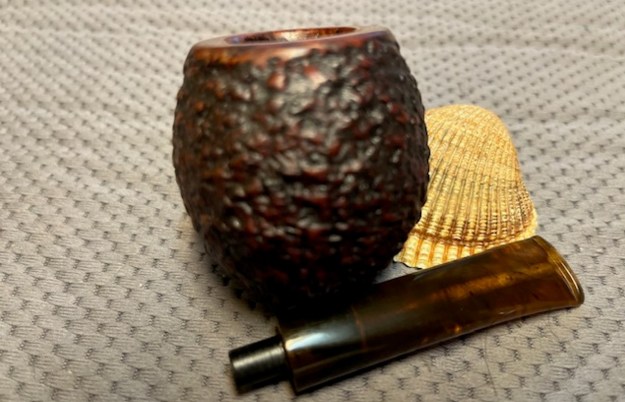
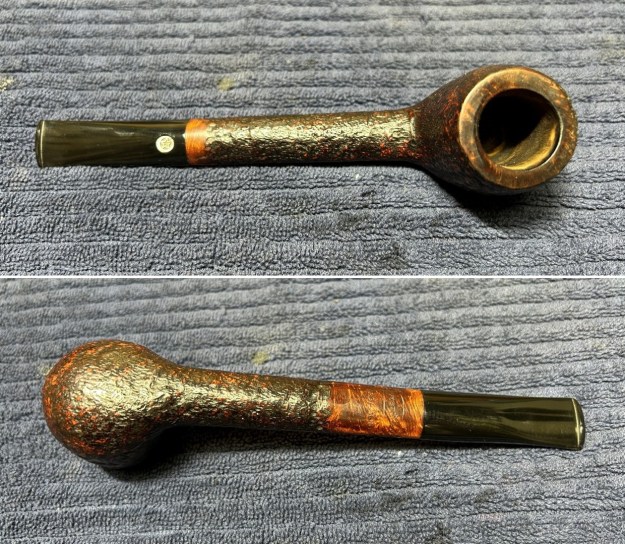
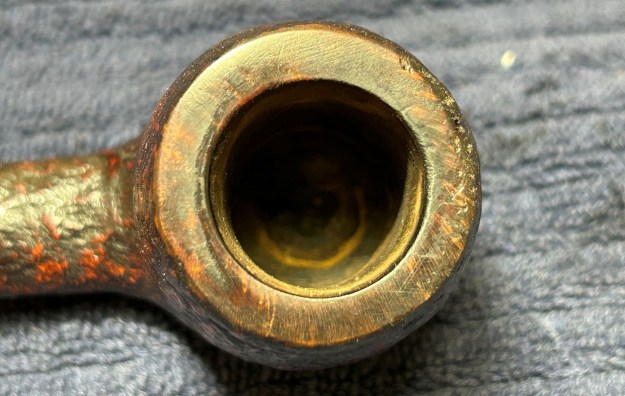
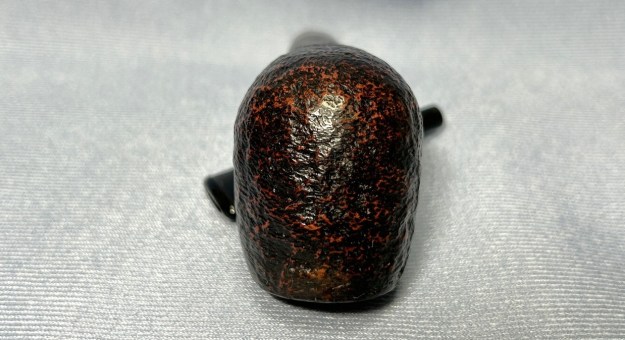
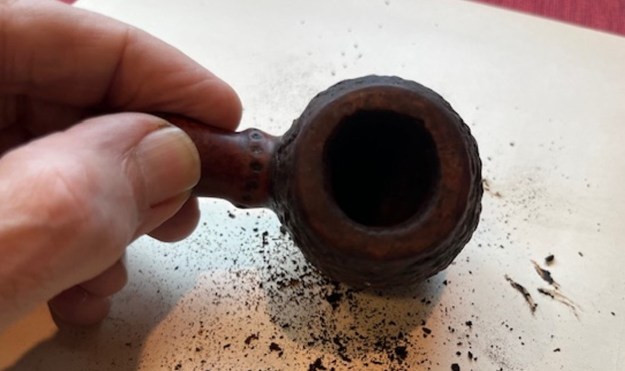
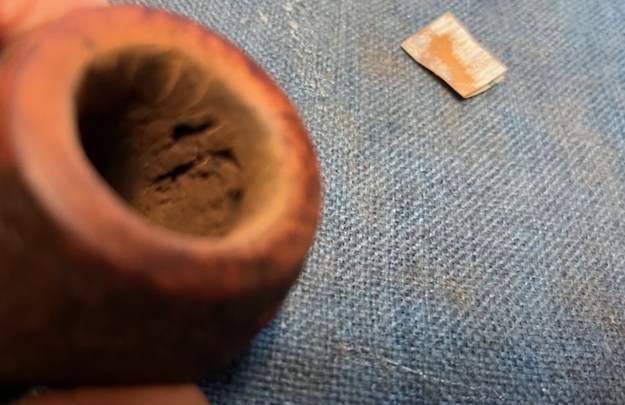
 I took a photo of the bowl and rim top to show the cake in the bowl. The rim top had a thick coat of lava overflowing on top with some possible damage around the top and inner edge. I took photos of the top and underside of the stem showing the tooth marks and chatter on the acrylic taper stem surface.
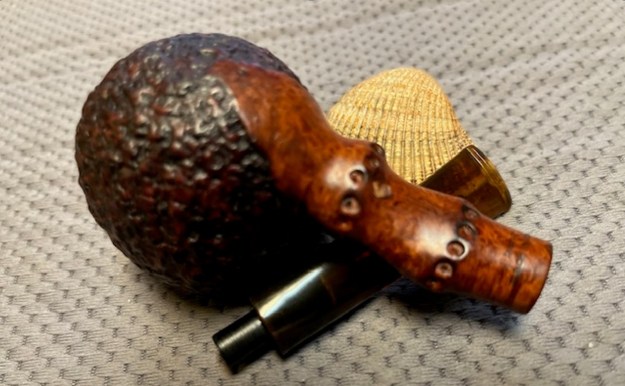
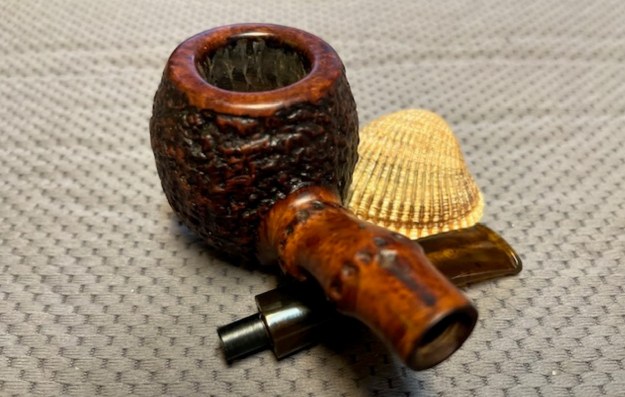
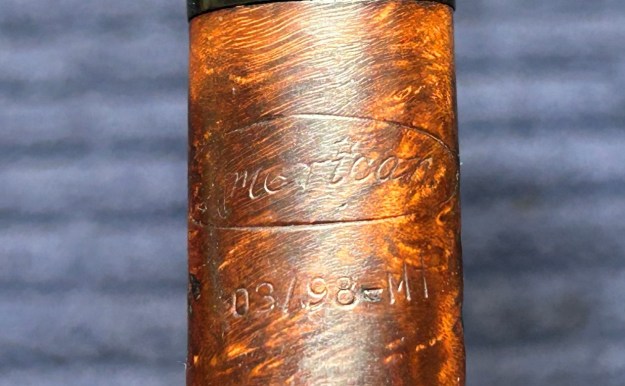
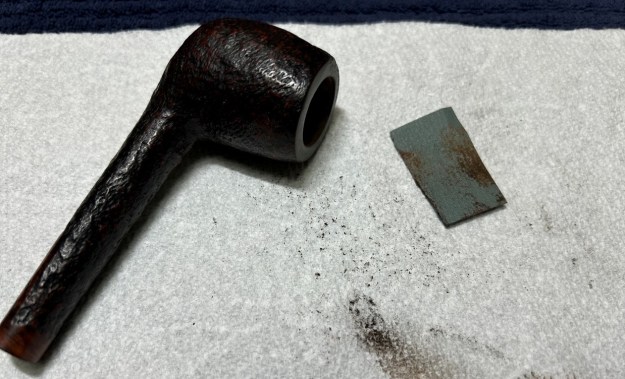
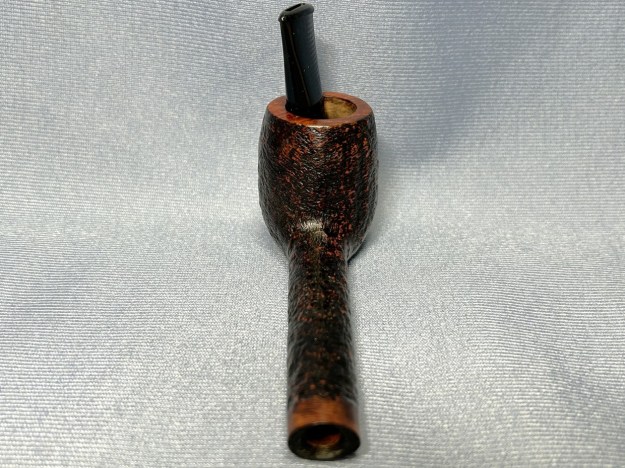
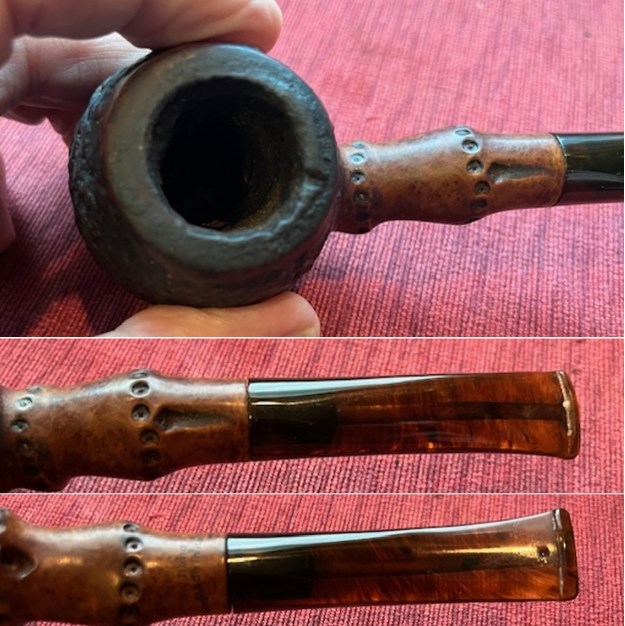 The stamping is very clear and readable in the photo below. It reads as noted above. I removed the stem from the shank and took a photo of the parts to show the parts of the pipe. The finish on the pipe is very worn and tired looking.
 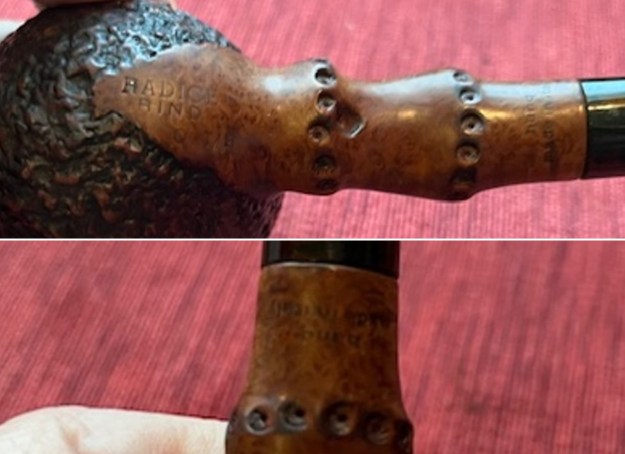 I started my search on the brand by looking on Pipephil’s site to see if there was any information on the Radice Rind line (http://www.pipephil.eu/logos/en/logo-r1.html). The line was not included there but there was some information in the side bar on the dating of the pipes. It was helpful as the pipe in hand is stamped Hand Made in Italy.
Dating: From 2009 and beside the stamp “Hand Made in Italy” a 2 digit number indicates the manufacture year since the brand’s foundation (1980). (32=2012). Production: ~ 1800 pipes/year. See also: Caminetto, Luciano
I turned to Pipedia to the article on Radice pipes and the birth and development of the brand (https://pipedia.org/wiki/Radice). I have included the information that I found there below.
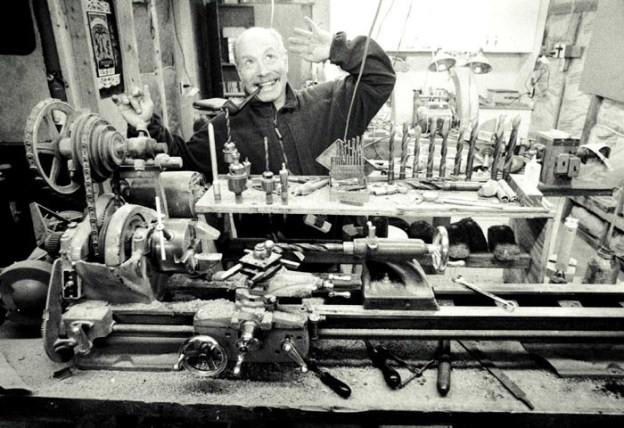
Luigi Radice, born 1939, took a piece of briar in his hands for the first time in 1961, when he was employed at Carlo Scotti’s Castello in nearby Cantu.
After lengthy experience, he founded, together with Peppino Ascorti, the famous “Pipa del Baffo”, the “Caminetto” which through 1974 and 1975 made wealth with the precious cooperation of Gianni Davoli, Milanese distributor.
In 1980 Luigi undertook a new adventure, founding his own brand: the Pipa Radice. From the beginning his son, Gianluca, joined the workshop, together with Luigi’s father, Paolo Radice, who helped in some basic steps of production.
Only later my brother and I started working together with our father, trying to learn the secrets and the mastery to be able to create a pipe which could join artisanal estrus(?) to functionality.
We have always trusted the professionalism of Italian briar cutters to obtain the raw material. We season the briar in our workshop for at least three years. We believe that it is enough to produce a perfect pipe.
Our shaping is pretty diversified. A distinguishing feature is the use of various options, like the faux-bamboo shank or silver band or save-rim, hand engraved by Luigi.
About pipes for completely dedicated collectors, we would like to mention the several variations of pieces made using buffalo, moufflon, deer or roe horn.
The creative idea and the study of the technical side, lead us to invent pipes with a twin bore mouthpiece, coupled with a special production of oil cured pipes, taking inspiration from old English skills.
We have recently introduced the use of ebonite(vulcanite) mouthpieces, to satisfy the requests of our fellow pipesmokers.
Radice is a pipe which is continually evolving, keeping alive the treasured experience of 50 years of pipemaking of our father Luigi.
Now it was time to work on the pipe. I started my work on the pipe by reaming it with a PipNet pipe reamer and cleaning up the reaming with a Savinelli Fitsall Pipe Knife. I scraped the lava built up on the rim top with a small blade. It looked much better after the clean up.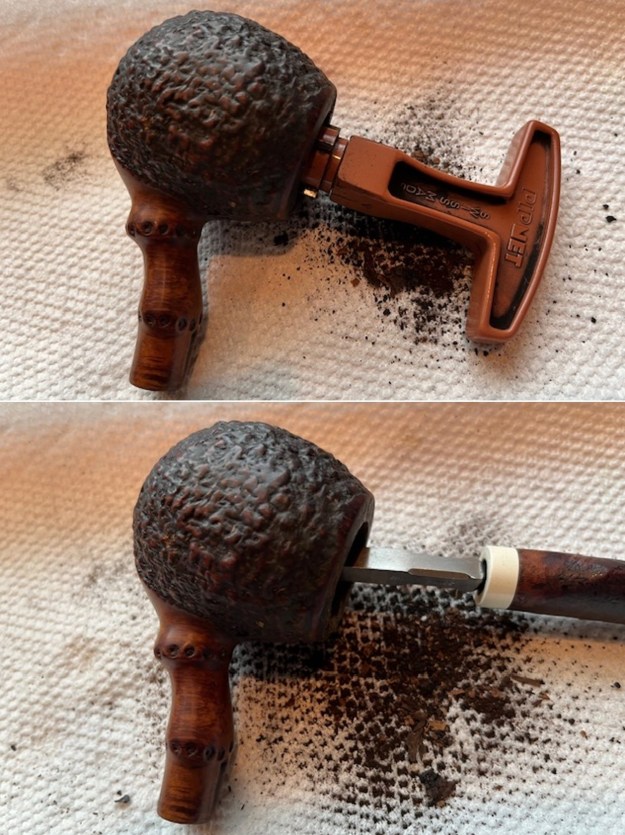
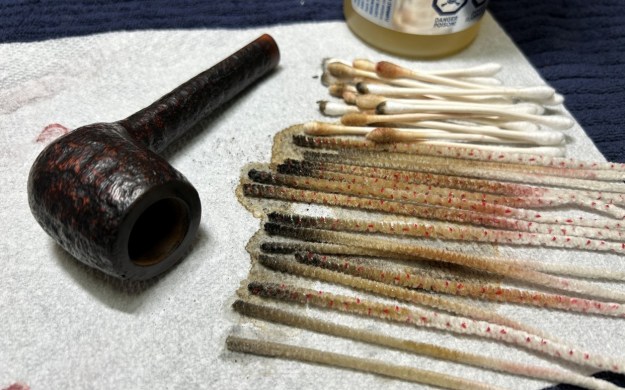
 I cleaned out the inside of the shank and the airway in the stem with alcohol, pipe cleaners and cotton swabs. I removed the tars and oils with the cleaners and the alcohol.
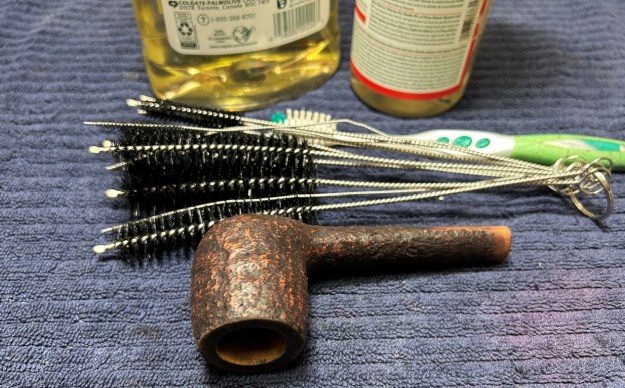
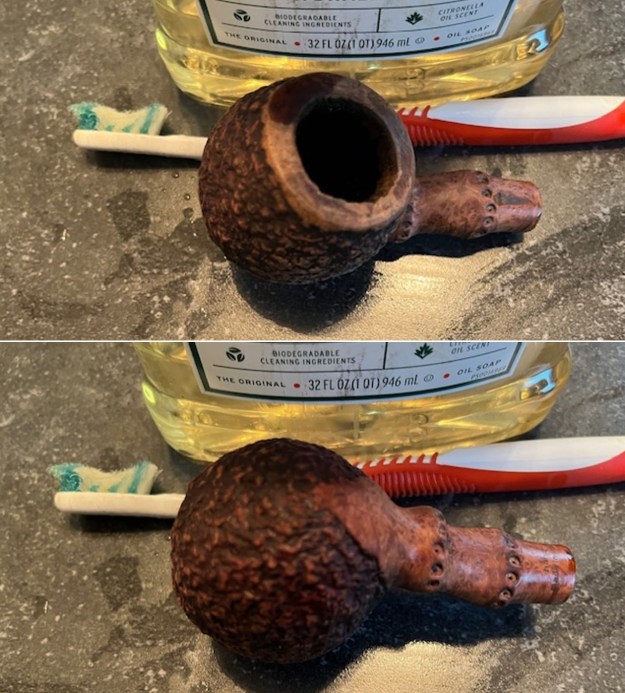
 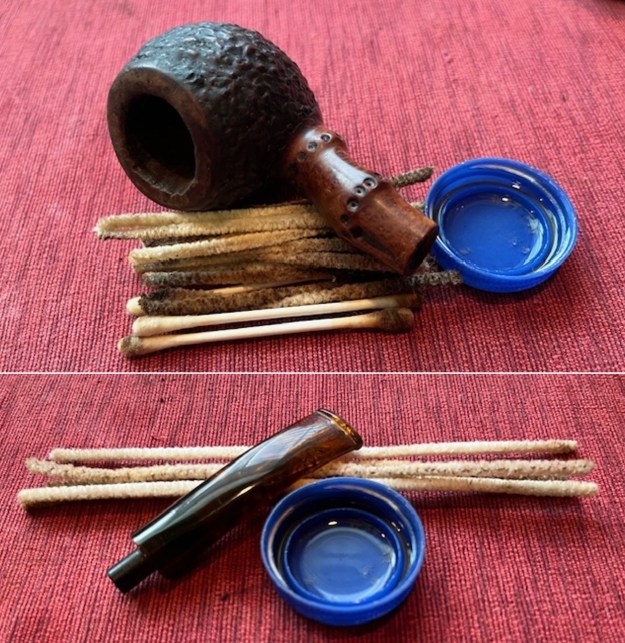 I scrubbed the rusticated surface of the bowl and shank with a tooth brush and undiluted Murphy’s Oil Soap to remove the debris and dust in the depths of the rustication. I rinsed it with warm water. I dried off the briar with a soft cloth. It looked very good at this point in the process.
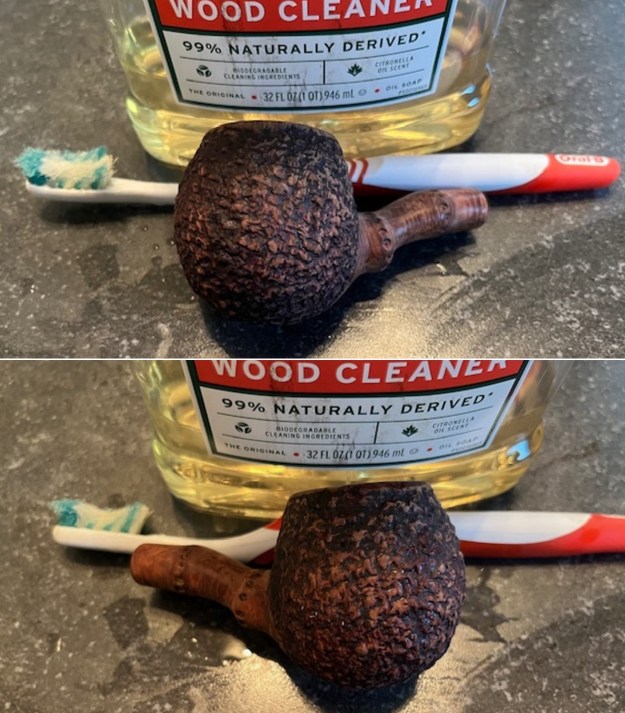
 I sanded the walls of the bowl with a piece of 220 grit sandpaper wrapped around a piece of dowel. I smoothed out the walls and noticed that there were some deep gouges in the walls of the bowl. They were no burn marks or damage just deep gouges.
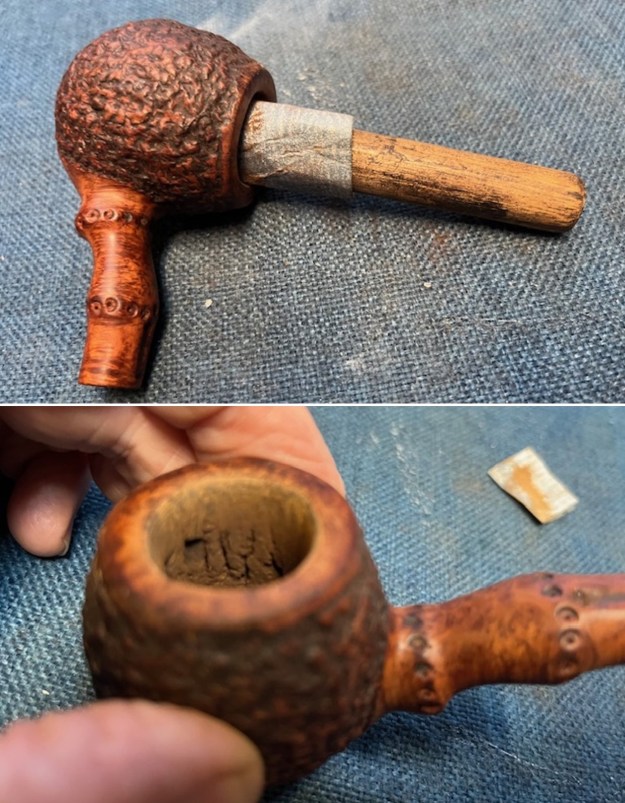
 I cleaned up the bowl walls and then mixed a batch of JB Weld and pressed it into the gouges in the walls of the bowl with a dental spatula. Once the repairs had cured I sanded the spots smooth again with the sandpaper and dowel. It looks much better. I would later coat it with a bowl coating after the repairs had cured several days.
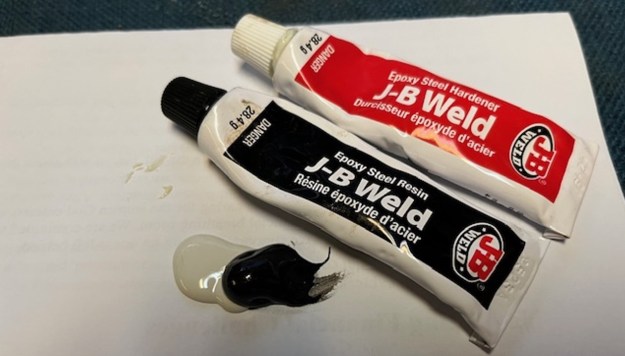
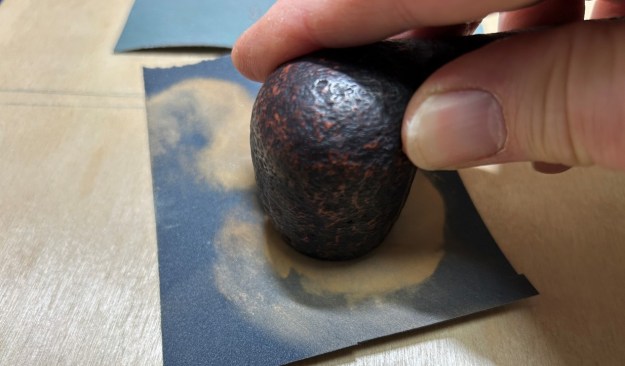
 I used a folded piece of 220 grit sandpaper to work on the rim top and the inner edge of the bowl. I also used a wooden sphere and piece of sandpaper to reshape the inside edge of the bowl and bring it back to round. Once finished I smoothed the edge some more with the sandpaper to give the rim top a slight bevel on the inner edge.
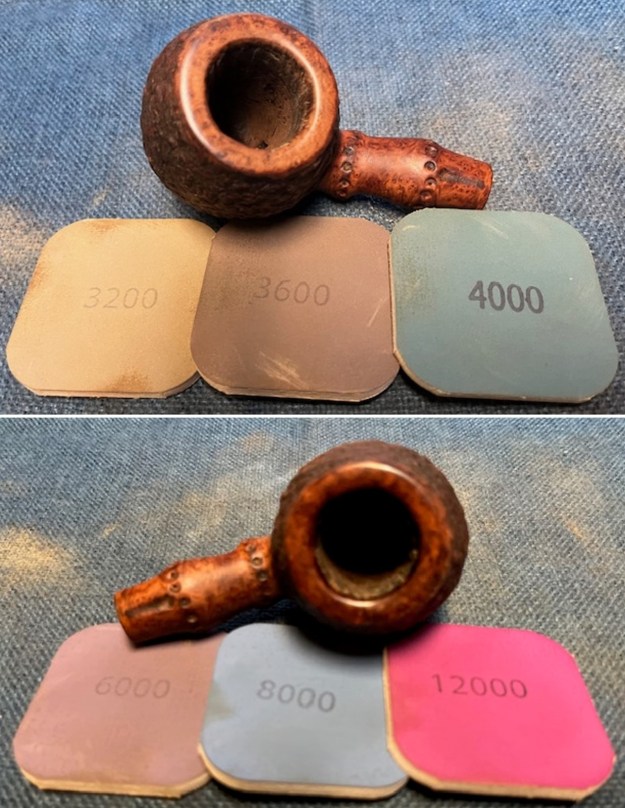
 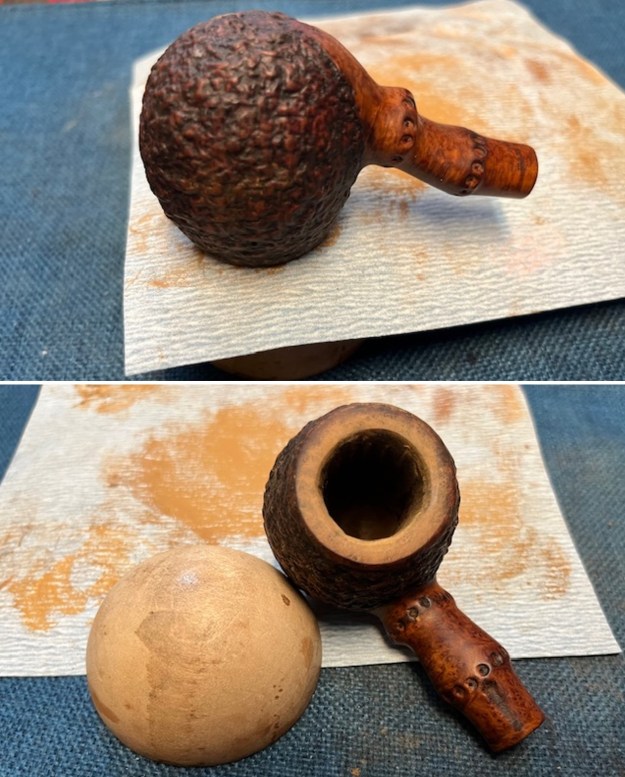 I sanded the rim top and edge with 320-3500 grit 2 x 2 inch sanding pads to remove the scratches and marks in the surface.
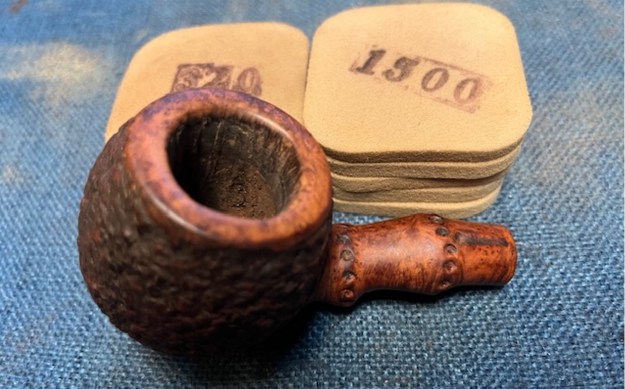 I polished the rim top with 1500-12000 grit micromesh sanding pads to give it a deep shine.I wiped it down after each sanding pad.
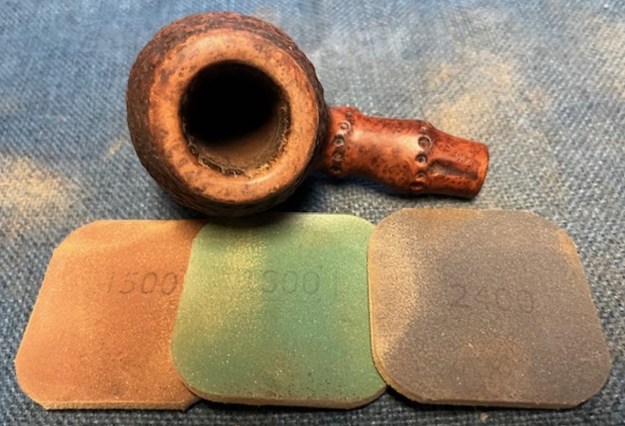
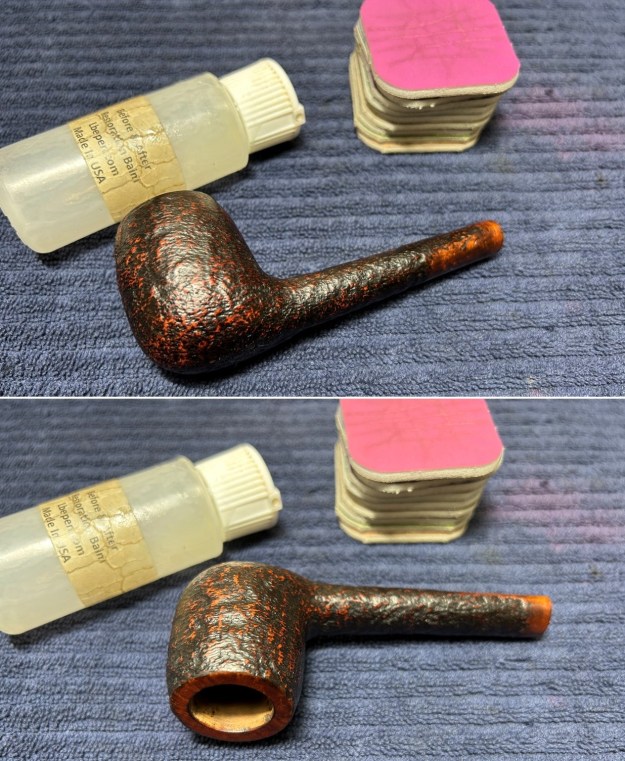
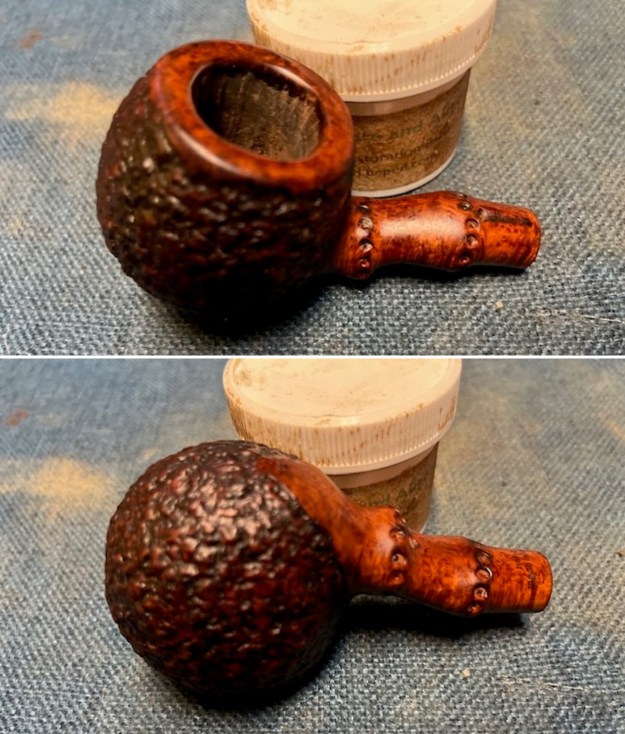
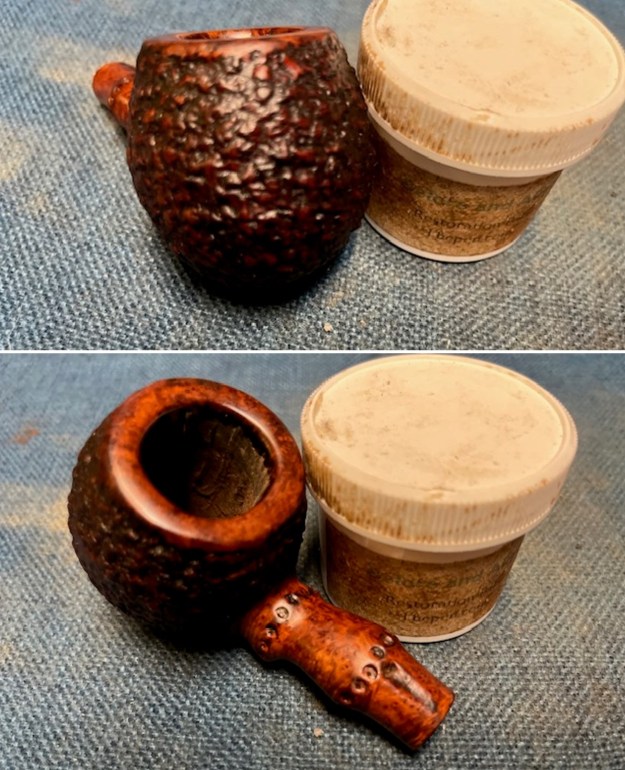
 I worked some Before & After Restoration Balm into the surface of the briar with my fingertips and a horsehair shoe brush to clean, enliven and protect it. I let the balm sit for a little while and then buffed with a cotton cloth to raise the shine. The photos show the bowl at this point in the restoration process.
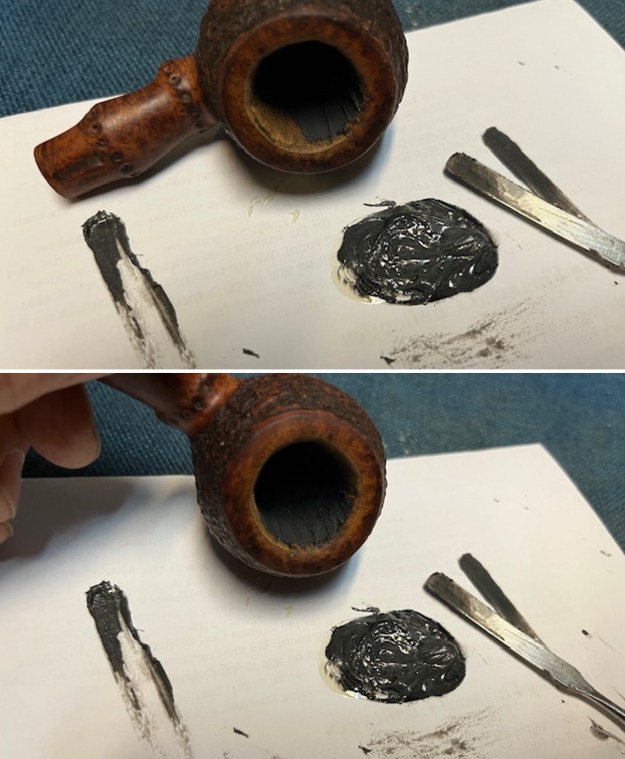
 After I finished polishing the pipe and rubbed it down with Before & After Balm. I checked to see that the repairs had cured. They were hard and I sanded the walls once again and wiped it down to clean it. I mixed a batch of bowl coating using charcoal powder and sour cream. I mixed it until the mixture was black/grey. It was a solid colour. I applied it to the repaired bowl walls with a folded pipe cleaner. I set it aside to cure.
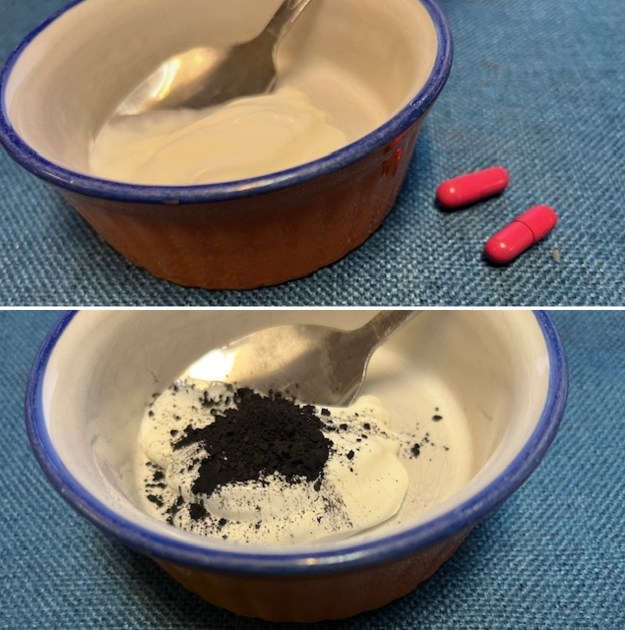
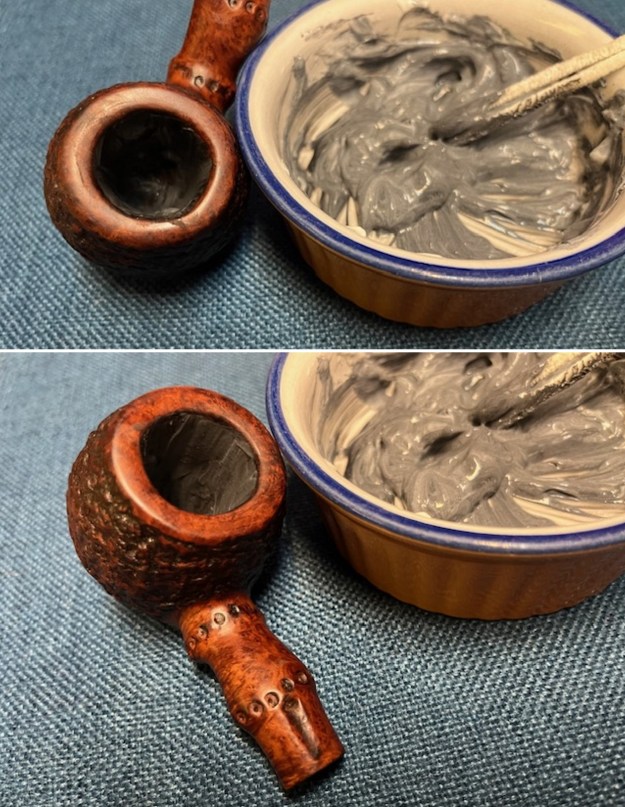 Now back to the stem. I filled in the deep tooth marks in the acrylic with a clear CA glue. Once the repairs cured I used a small file to flatten the against the surface and clean up the sharp edge of the button. I sanded the repaired areas with a folded piece of 220 grit sandpaper to further flatten and blend them into the surface.
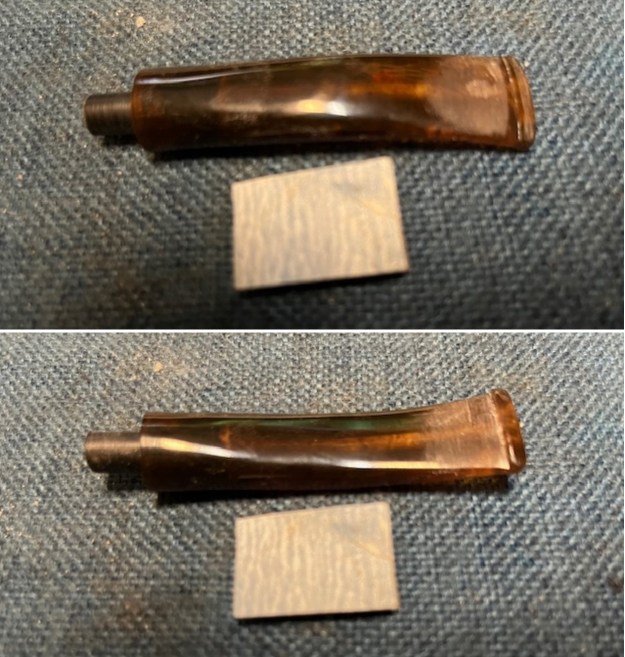 I sanded the stem further with 2×2 inch sanding pads to smooth out the stem surface. I wiped it down with a damp cloth after each sanding pad. I took photos of the stem after the sanding.
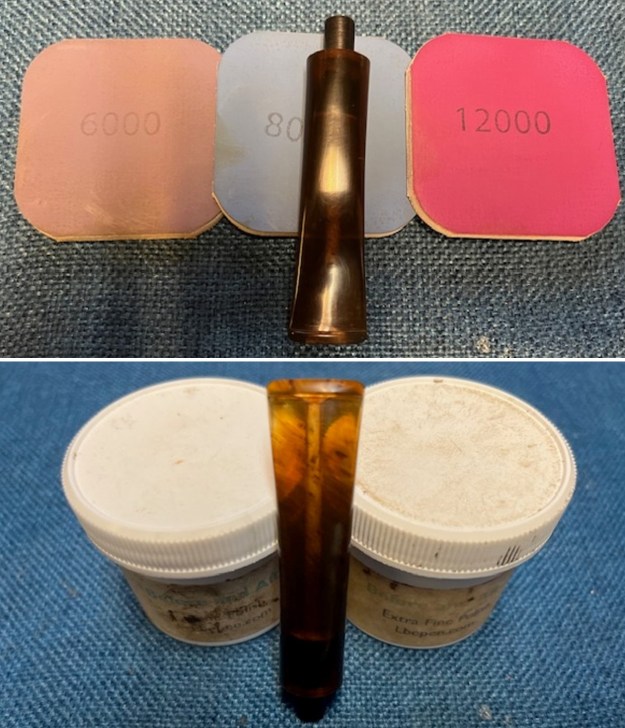
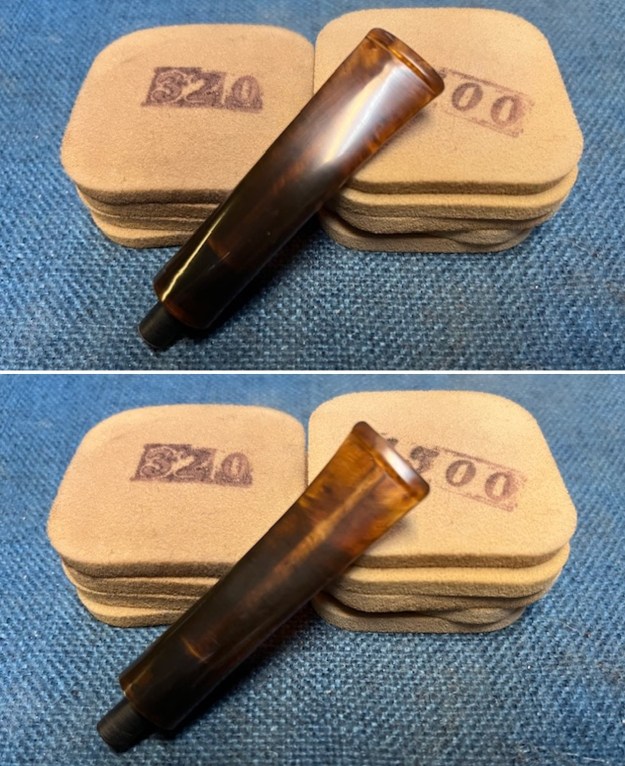 I polished the stem with micromesh sanding pads – wet sanding with 1500-12000 grit sanding pads. I wiped it down after each sanding pad with some Obsidian Oil. I finished polishing it with Before & After Pipe Stem Polish – both Fine and Extra Fine and buffed it off with a cotton cloth.
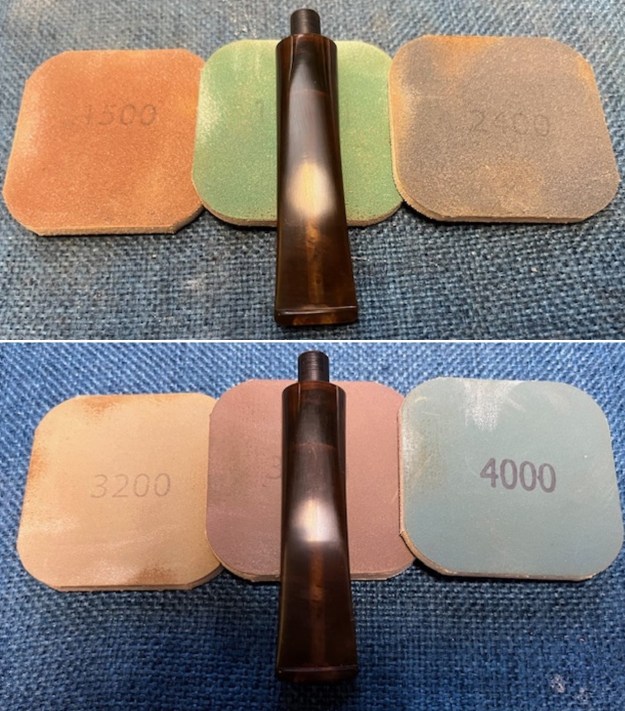
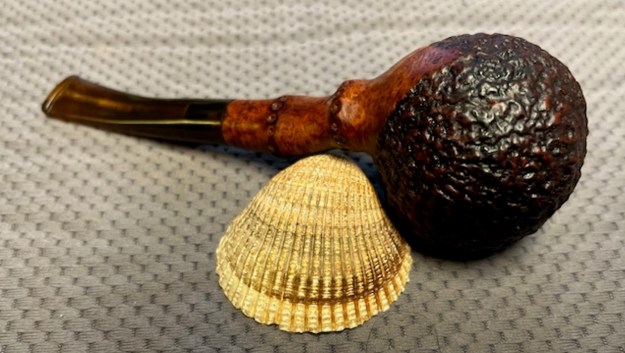
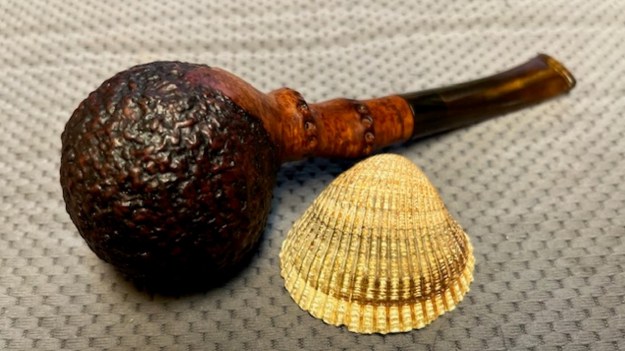
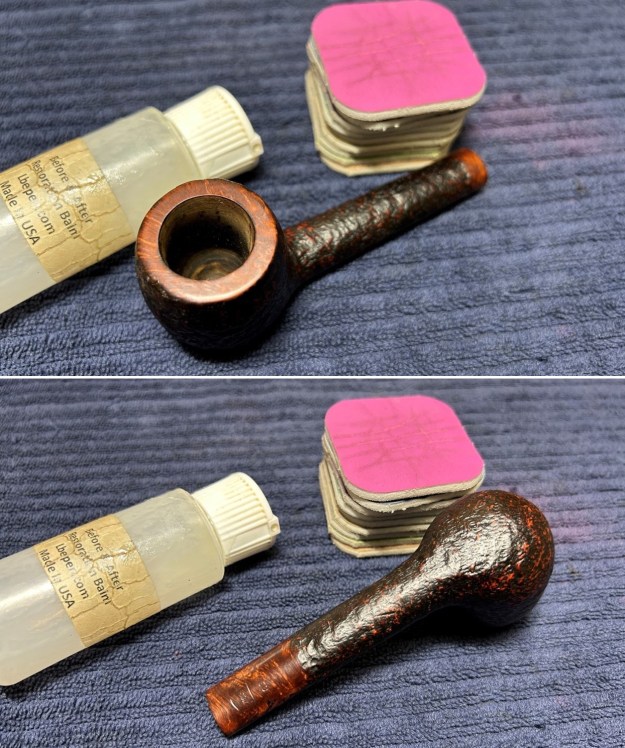
 This Radice Rind 0 T/B Hand Made in Italy Hawkbill with an amber acrylic taper stem is a great looking pipe now that it has been restored. The beautiful rusticated finish really works well with the shape and the polished finish is stunning. The carved bamboo style shank and smooth rim top work well with the pipes. I put the stem back on the bowl and carefully buffed the smooth portions of the bowl and the stem with Blue Diamond on the buffing wheel. I gave the bowl multiple coats of Conservator’s Wax and the stem multiple coats of carnauba wax on the buffing wheel and followed that by buffing the entire pipe with a clean buffing pad. I hand buffed the pipe with a microfiber cloth to deepen the shine. The finished Radice Rind Hawkbill fits nicely in the hand and feels great. Give the finished pipe a look in the photos below. The dimensions of the pipe are Length: 6 inches, Height: 2 inches, Outside diameter of the bowl: 1 ½ inches, Chamber diameter: 7/8 of an inch. The weight of the pipe is 74 grams /2.61 ounces. I will be adding this to the rebornpipes store in the Italian Pipemakers Section soon. If you would like to add it to your collection let me know by email or message. Thanks for reading this blog and my reflections on the pipe while I worked on it.
As always, I encourage your questions and comments as you read the blog. Thanks to each of you who are reading this blog. Remember we are not pipe owners; we are pipe men and women who hold our pipes in trust until they pass on into the trust of those who follow us.