Blog by Steve Laug
Sometimes there is benefit to being a pipe rescue location. Although I am not sure my wife and daughters would agree with that. But I have to say it does keep this old guy busy rejuvenating old pipes and giving them life. If you were to come into my basement office/workshop (but mind you few do) I think you would be surprised by two things – the number of books on the shelves and the number of pipes in the storage bins behind my desk! There are a lot of pipes that still need attention. Most have been reamed and cleaned so that part is finished. But many still need a lot of attention to make them smokable again. Ah well, enough of that. This post is about a pipe I received in the mail today. Several weeks ago I received an email from a friend, Dave in Nova Scotia regarding a pipe he had that he thought I might enjoy having. I have included a portion of his email as it sets the stage for this interesting old Peterson’s System Standard 314.
Hi Steve,
Dave in Nova Scotia. Hope you’re enjoying the spring!
If you’re interested and want to send postage for a Canada Post small box, I’ll send you this Peterson system standard, 314.
Was my brother-in-law’s. He bought it Ireland many years ago. Needs some TLC.
Yours is the home for wayward pipes!
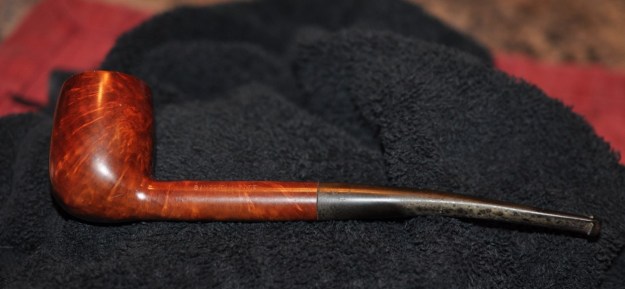
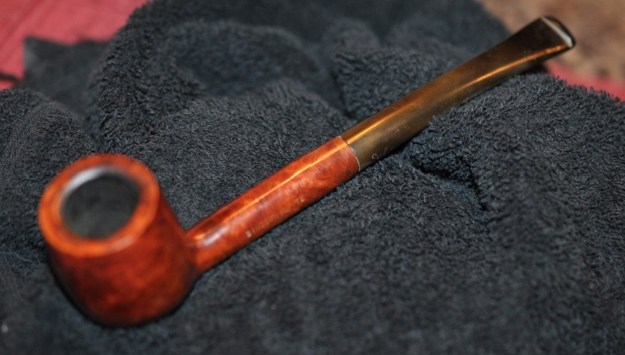
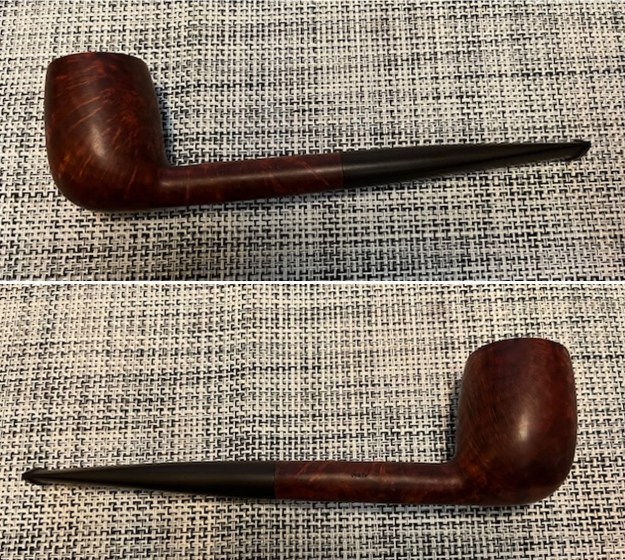
So, I knew that the pipe was a Peterson’s System Standard 314 that had originally belonged to his brother-in-law who had purchased it directly from Peterson’s in Ireland. He included two photos of the Peterson for me to have a look at. I have included them below. The pipe was in desperate need of a restoration that is for sure. But I have truly worked on pipes in worse condition than this one.
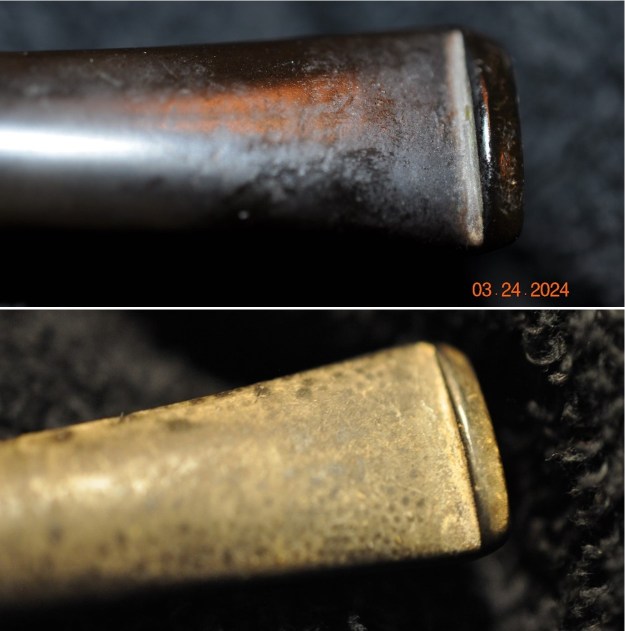
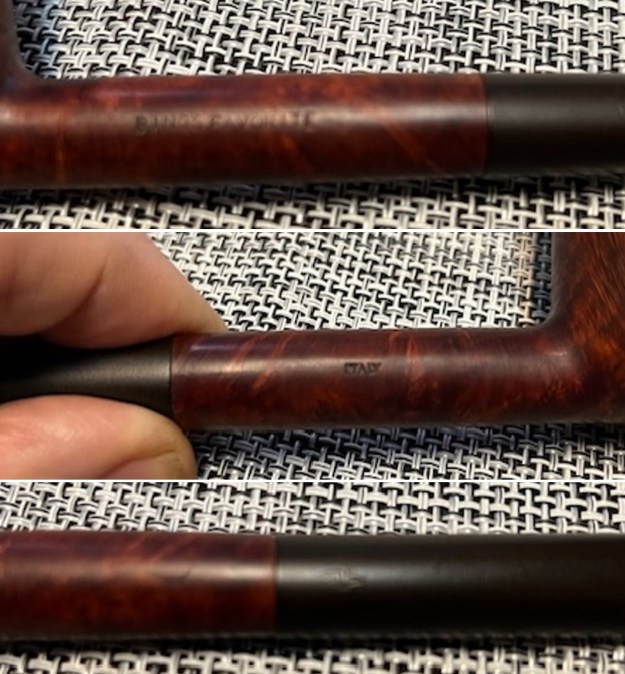
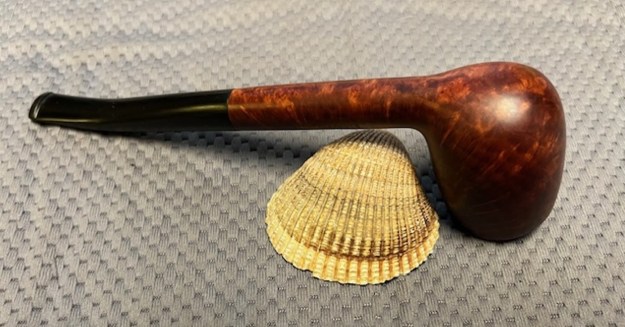
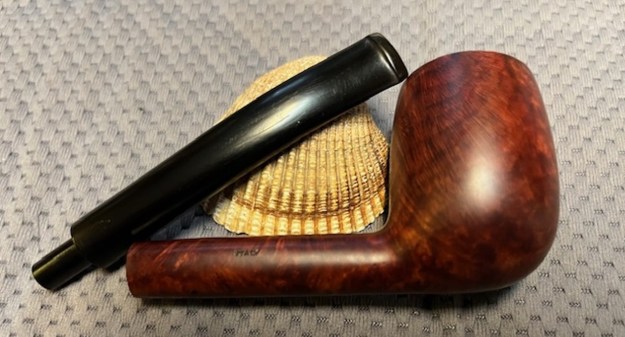
 The box arrived on Friday this past week and I unpacked it to examine it carefully. The pipe was very dirty and tired looking. The finish was dirty and the nickel ferrule on the shank end was very corroded in spots on the left and underside and covered in thick grime. There were some dark spots on the left and right side toward the bottom of the bowl. The rim top had a thick lava coat that flowed up from the thick cake in the bowl. It was stamped on the left side vertically under the ferrule and read Peterson’s with the forked leg on the P [arched over] System [over] Standard. On the right side of the shank the stamping is horizontal and reads Made in the Republic of Ireland [in three lines] with the 314 shape number underneath that. The nickel ferrule was stamped under the grime and read K&P over Peterson’s. The stem is covered in a thick build up of dirt and oils. There is some oxidation on the stem surface and surprisingly there are no tooth marks. I took photos of the pipe before I started my work on it.
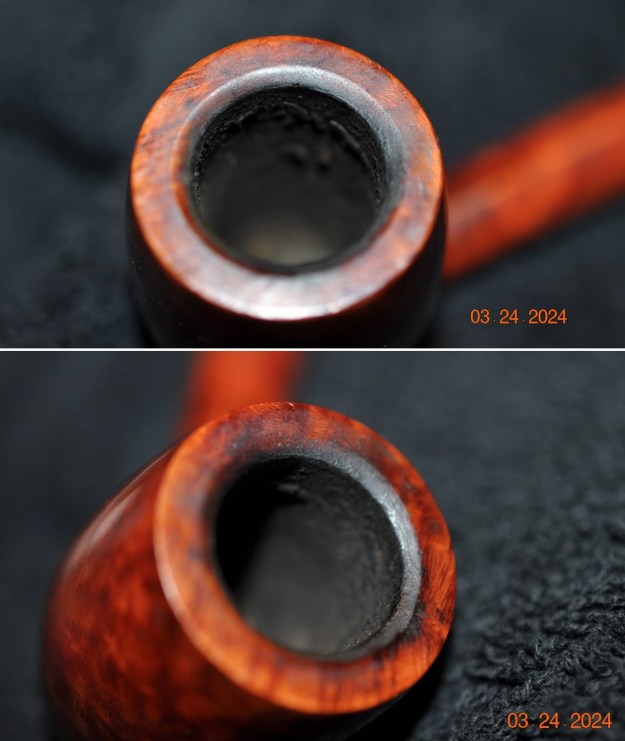
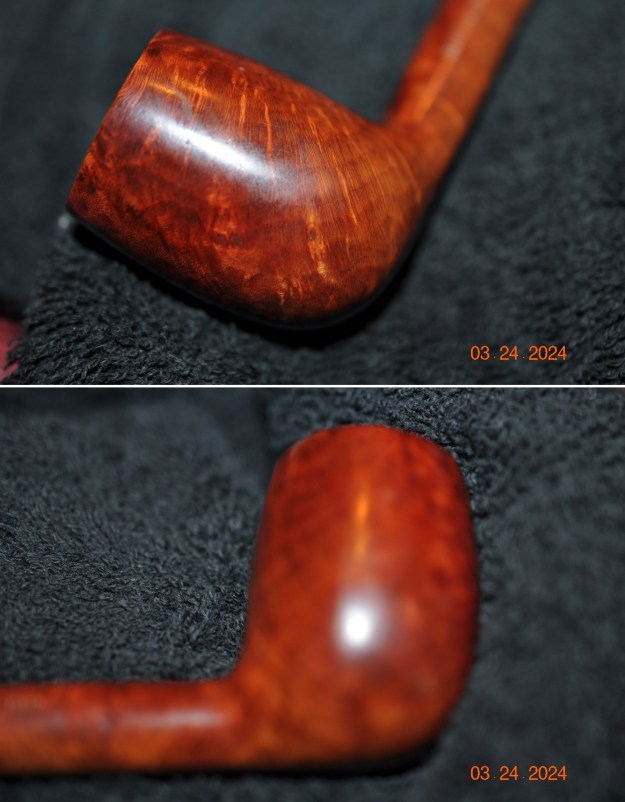
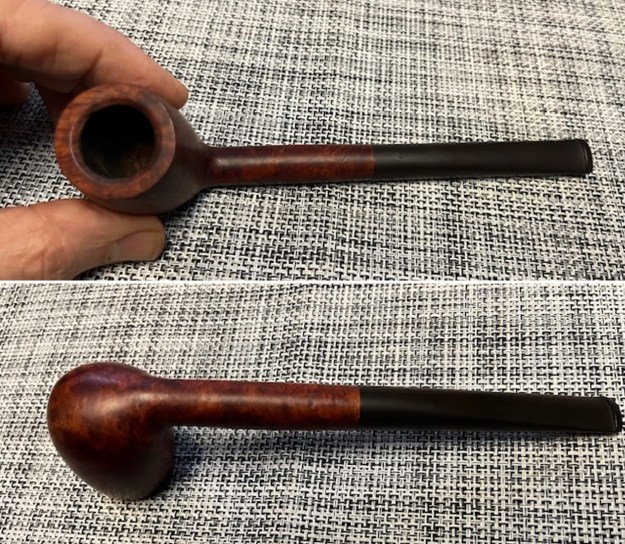
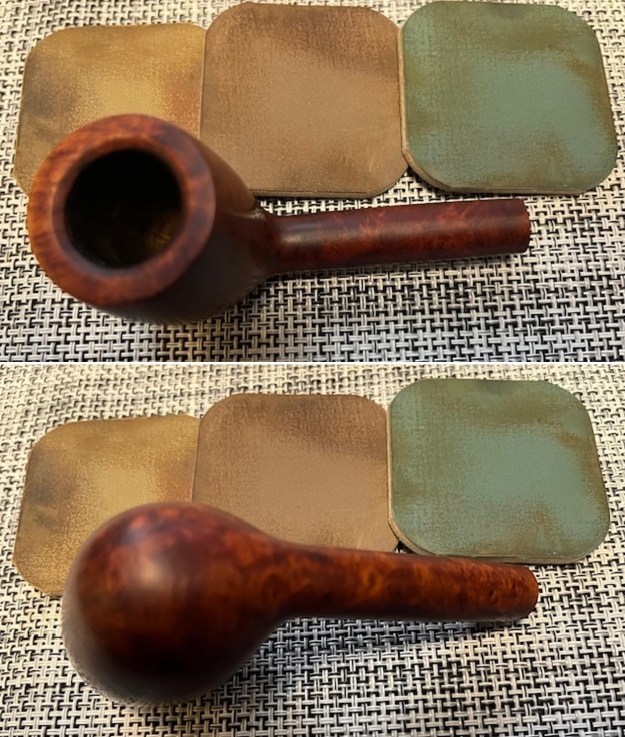
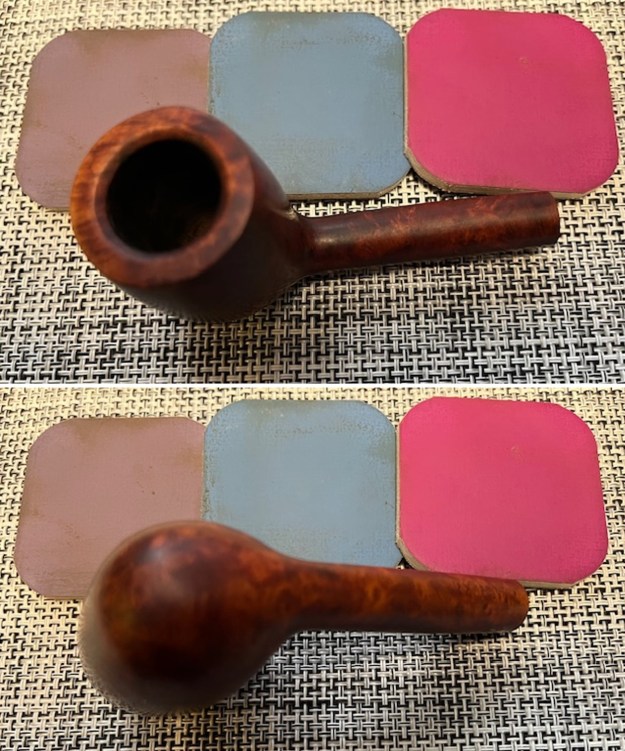
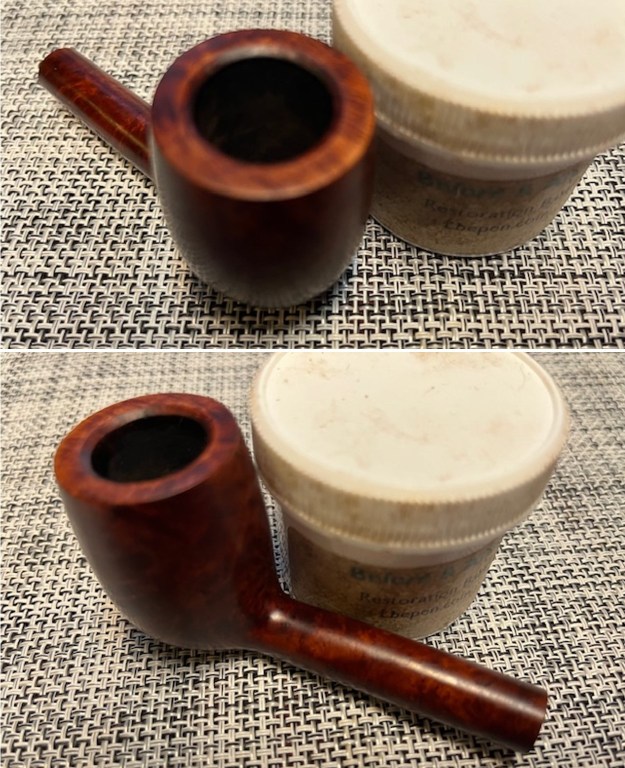
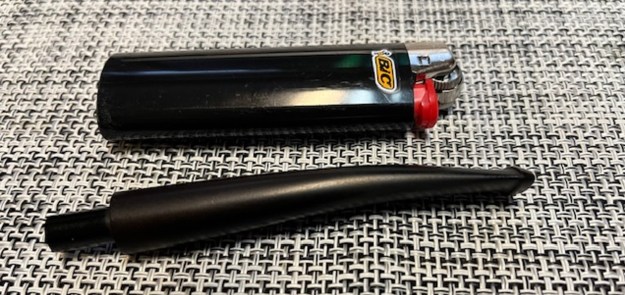
 I took photos of the bowl and rim top to show the condition of the bowl. You can also see the condition of the nickel ferrule with all of the corrosion and grime completely removing the shine of the nickel ferrule. The stem is dirty around the insert in the ferrule. It is lightly oxidized and is very dirty on the stem and the button. There are light tooth marks and chatter on the stem service on both sides ahead of the p-lip.
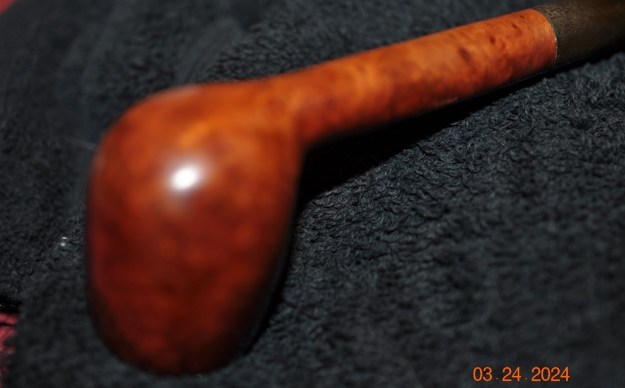
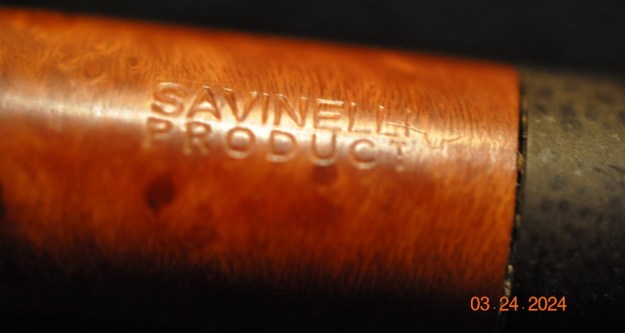
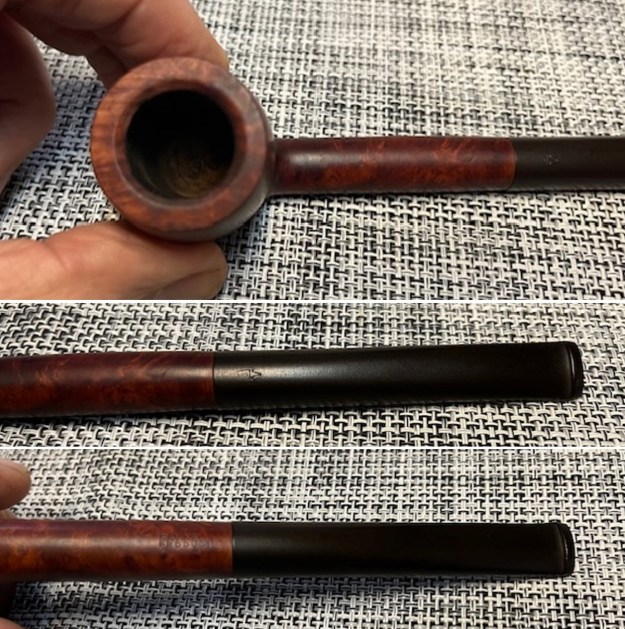
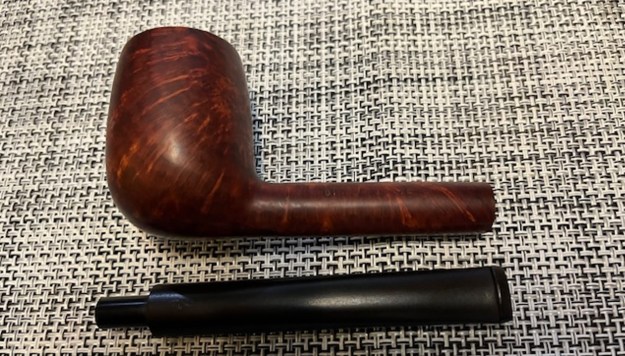
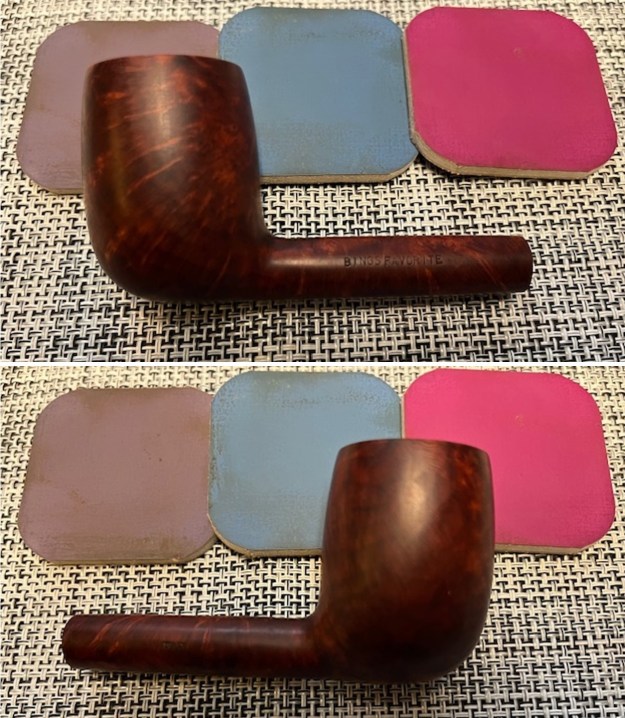
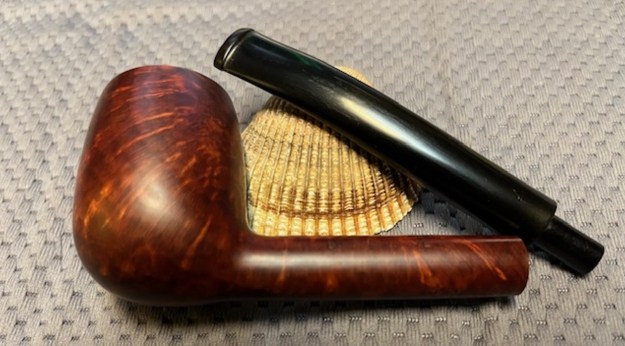
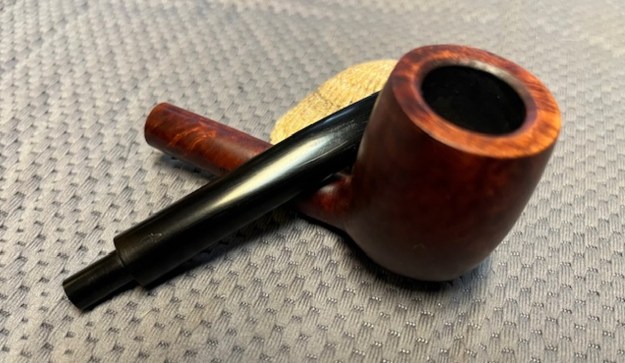
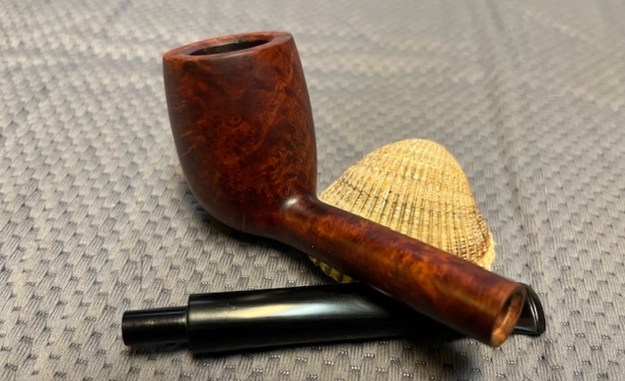
 I took photos of the stamping on the shank sides. It is faint but still very readable as noted above. I removed the stem from the shank and took a photo of the pipe parts to show what I was working with. You can also see the dark spot on the right side of the bowl ahead of the stamping.
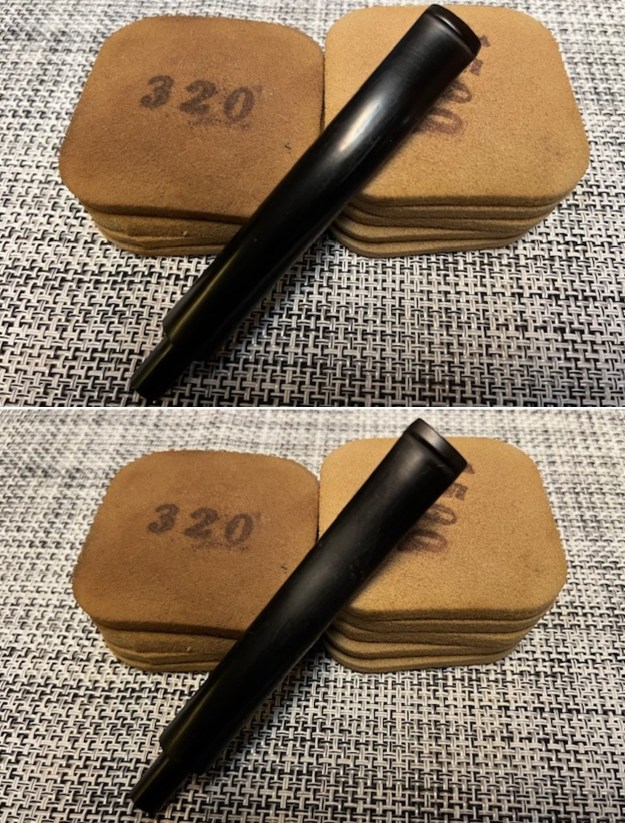
 I started my working on the pipe by addressing the corrosion and oxidation on the nickel ferrule. I sanded it with 320 grit sanding pads to remove the corrosion. I was utterly surprised that the nickel ferrule cleaned up and had a rich shine to it.
 I reamed the bowl with a PipNet pipe reamer and took the cake back to bare briar. I cleaned up the reaming with Savinelli Fitsall Pipe Knife to remove remnants of cake. I sanded the walls of the bowl with 220 grit sandpaper wrapped around a piece of dowel.
 I scrubbed the externals bowl and shank with Murphy’s Oil Soap and a tooth brush. I rinsed it off with warm water to remove the grime and debris from the scrubbing.
 I scrubbed out the internals with alcohol, cotton swabs and pipe cleaners to remove the grime in the shank and sump of the Pete. I also scrubbed the airway on the inside of the stem at the same time. The pipe was very dirty but it cleaned up well.
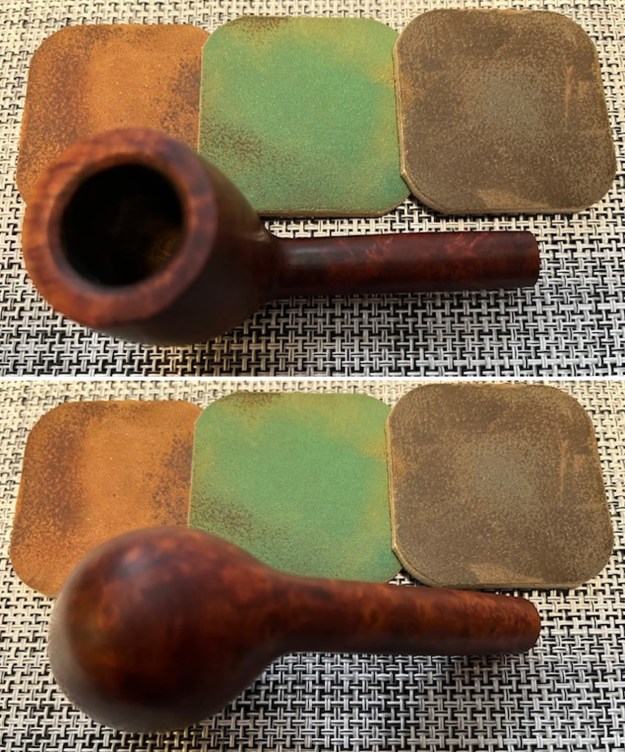
 I cleaned off the remaining darkening on the rim top with a folded piece of 220 grit sandpaper. It cleaned up very well and looked good. There was no damage to the inner or outer rim edges.
 I worked over the briar bowl sides and rim top with 320-3500 grit sanding pads. I sanded down the dark spots on the surface and was able to remove the damage. Thankfully they were not burn marks. I wiped the bowl down after each sanding pad with a damp cloth to remove the dust and sanding debris left behind.
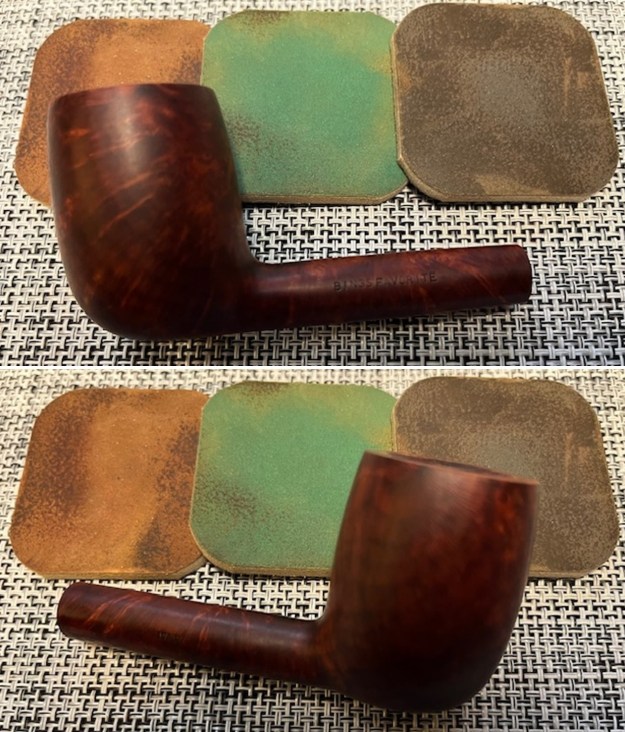
 The pipe had cleaned up so well that I turned to polish the briar with micromesh sanding pads. I dry sanded it with 1500-12000 grit sanding pads and wiped the bowl down after each pad with a damp cloth. By the final pads the briar really had a shine.


 I rubbed the briar down with Before & After Restoration Balm. I worked it into the briar with my fingertips. The product works to clean, enliven and preserve the briar. I let it sit for 10 minutes then I buffed it with a cotton cloth to deepen the shine. The briar really comes alive with the balm.

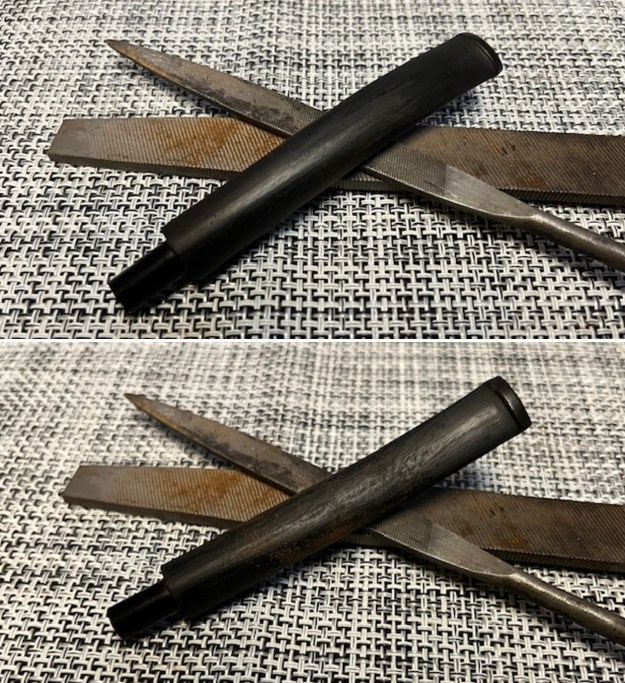
 I set aside the bowl and turned my attention to the stem. To help remove the oxidation I scrubbed the stem with Soft Scrub Cleanser and cotton pads. It took some elbow work but the stem definitely looked better and the sulphur smell of the oxidation is gone!
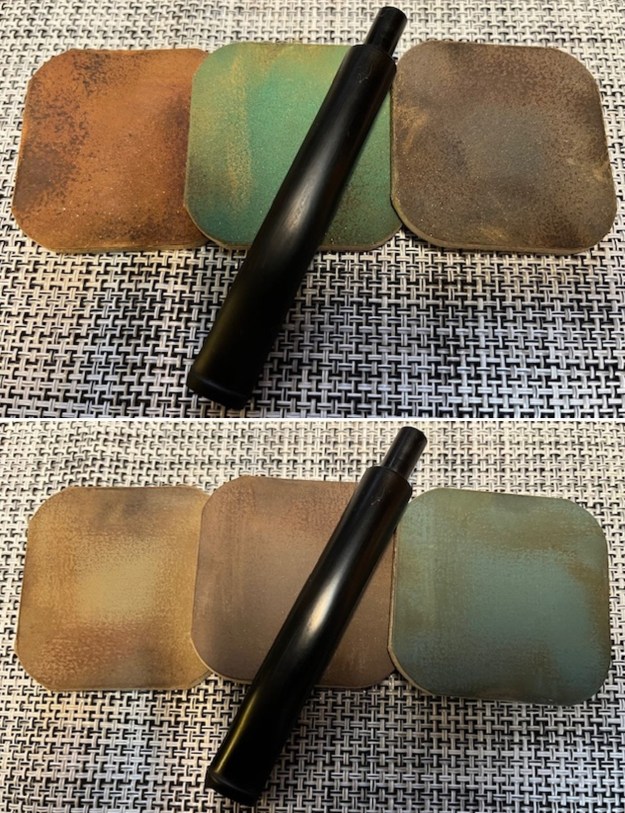
 I sanded the surface with 320-3500 grit sanding pads to further clean up the spots of oxidation on the surface of the stem. I wiped it down with a soft damp cloth following each sanding pad to remove the sanding debris.
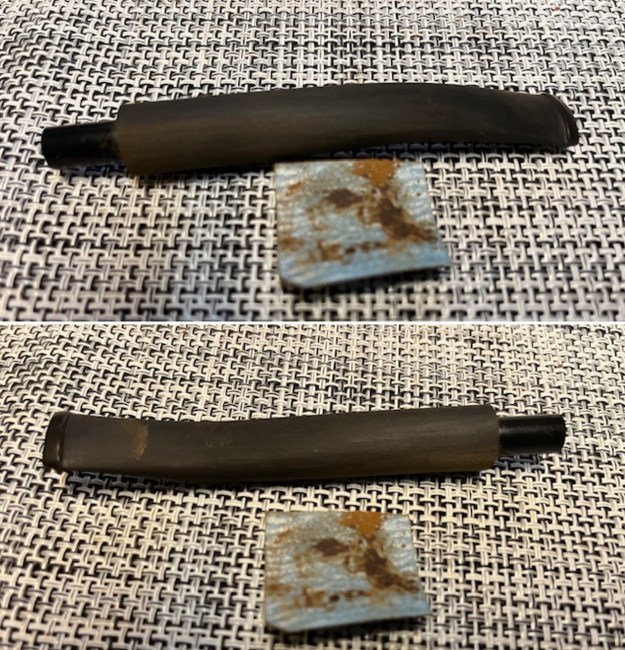
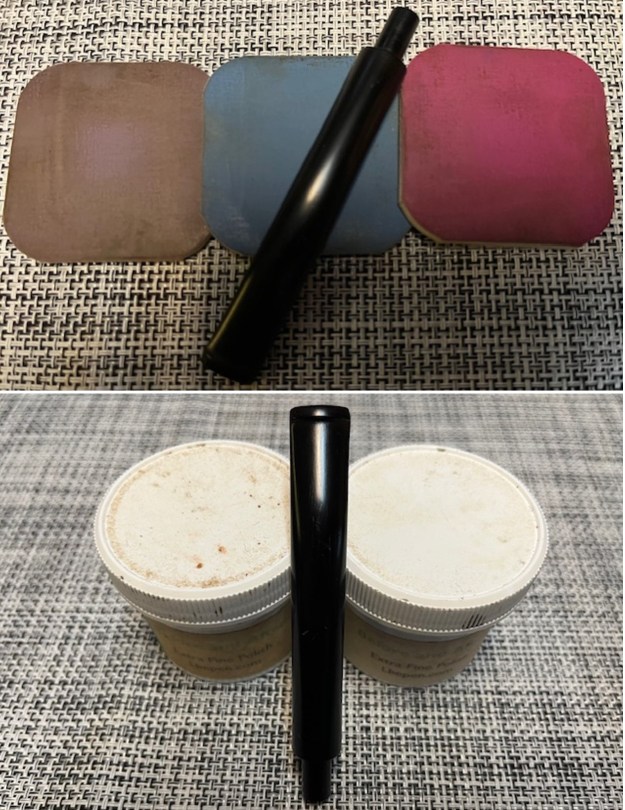
 I polished the vulcanite with micromesh sanding pads – 1500-12000 grit pads. I wiped it down with Obsidian Oil after each sanding pad. I used Before & After Pipe Polish – both Fine and Extra Fine to further polish the stem. It really took on a shine and I knew that once it was buffed it would look amazing.
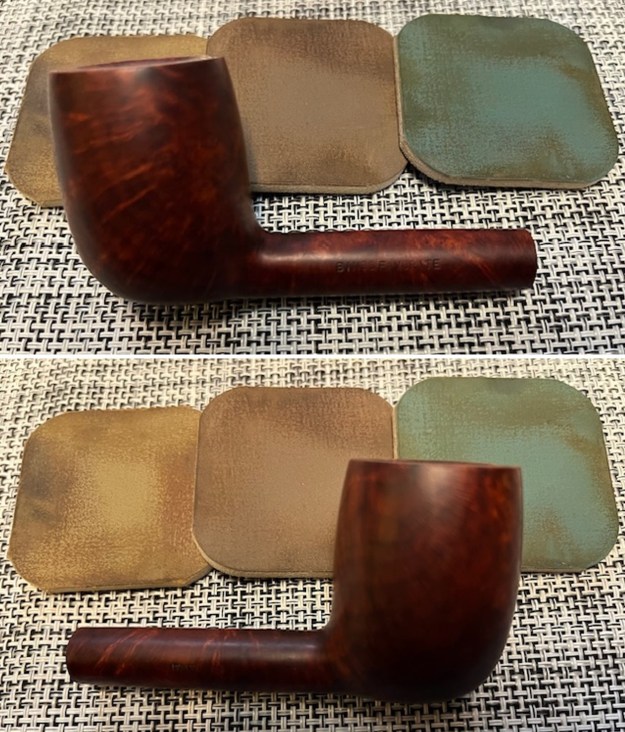
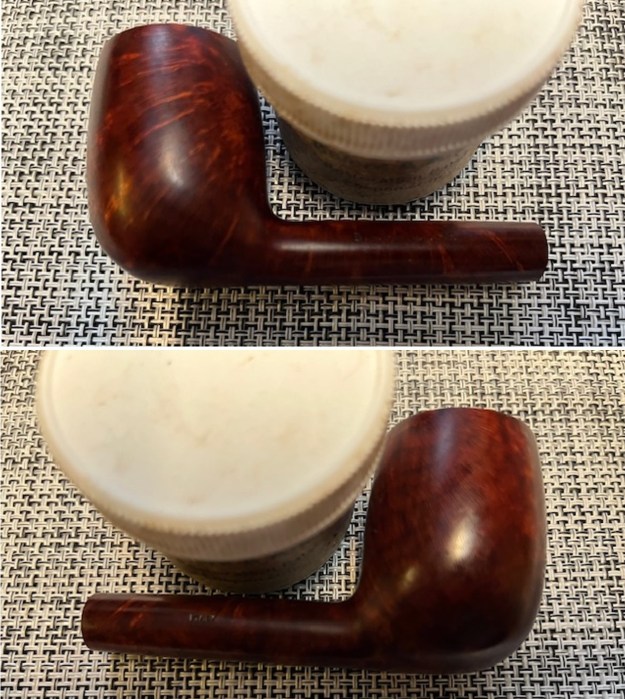
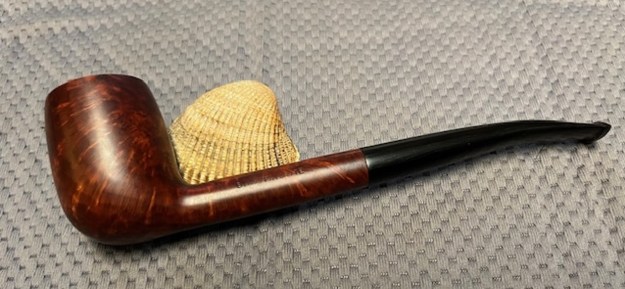
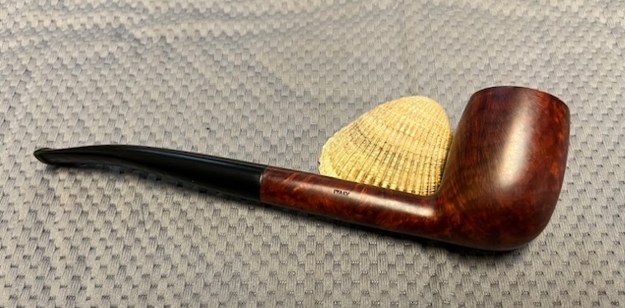
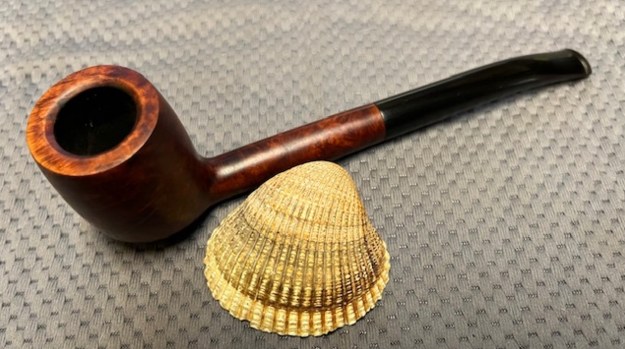
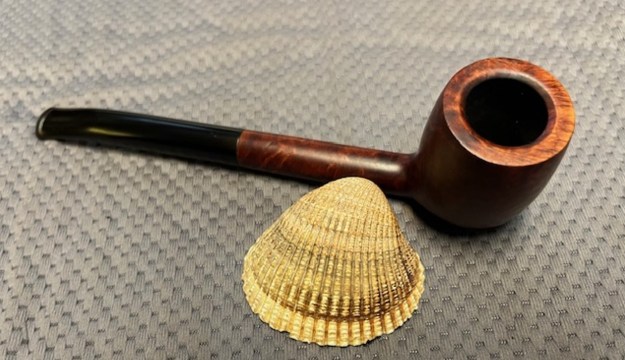
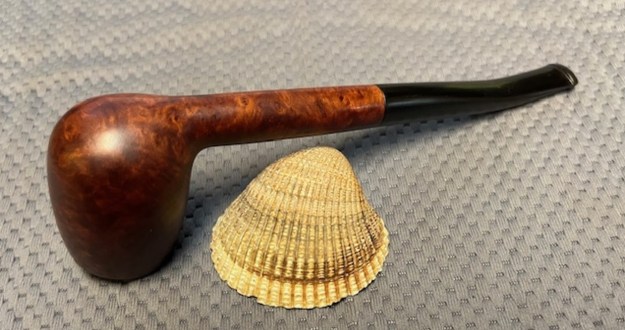
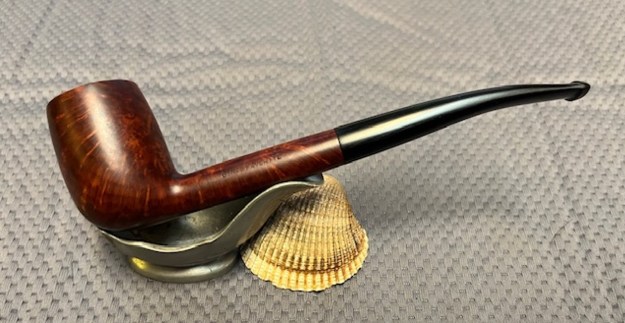
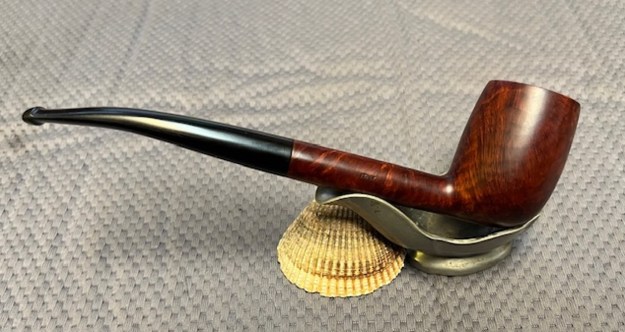
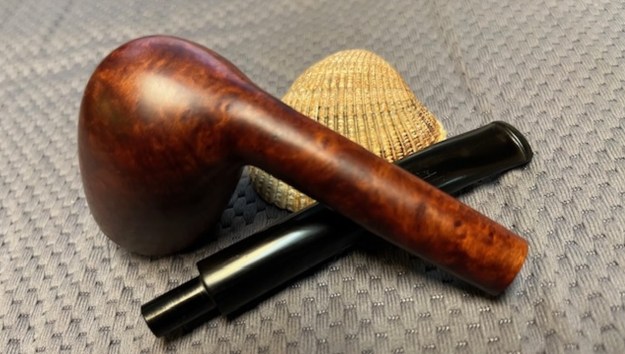
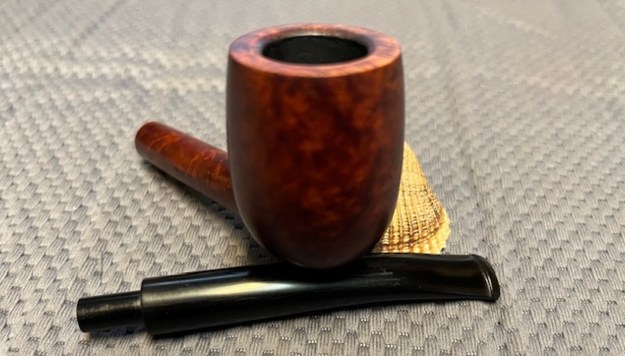
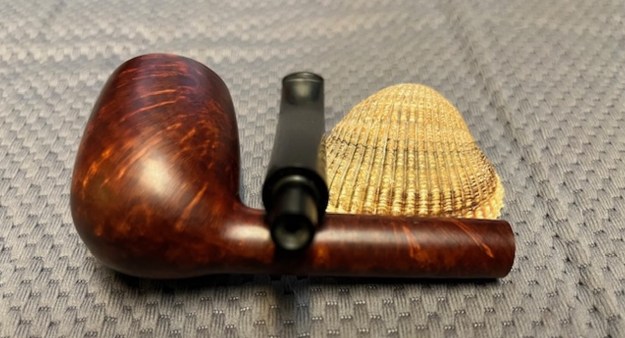
 This Republic Era Peterson’s System Standard 314 Bent Billiard with a vulcanite stem is a great looking pipe now that it has been restored. The beautiful grain around the bowl sides stands out very well with the contrast of the polished nickel ferrule. The polished finish is stunning. I put the stem back on the bowl and carefully buffed the pipe with Blue Diamond on the buffing wheel. I gave the bowl and the stem multiple coats of carnauba wax on the buffing wheel. I followed that by buffing the entire pipe with a clean buffing pad. I hand buffed the pipe with a microfiber cloth to deepen the shine. The finished Peterson’s System Standard 314 fits nicely in the hand and feels great. Give the finished pipe a look in the photos below. The dimensions of the pipe are Length: 5 inches, Height: 1 ¾ inches, Outside diameter of the bowl: 1 1/8 inches, Chamber diameter: ¾ of an inch. The weight of the pipe is 45grams/1.59oz. This one has been reserved for first refusal. If you are interested in being in the queue for this pipe send me a message or an email. Thanks for reading this blog and my reflections on the pipe while I worked on it. There are many more to come!