Blog by Steve Laug
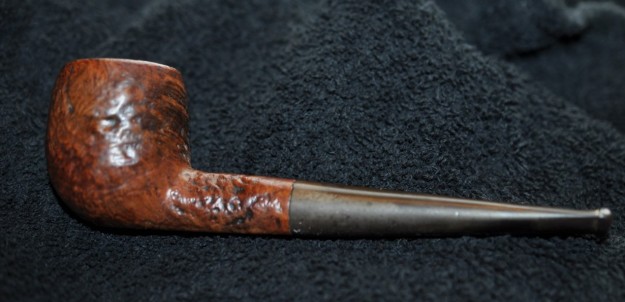
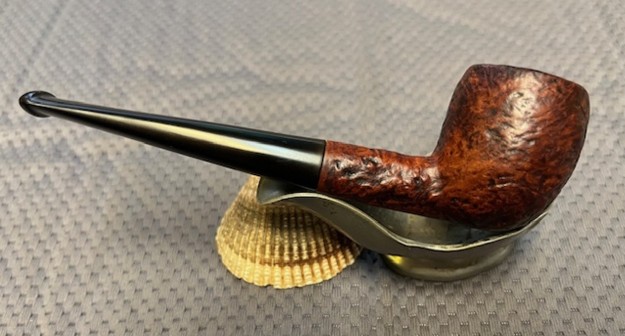
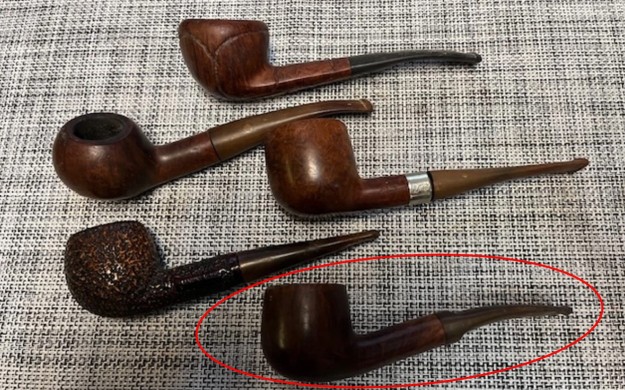
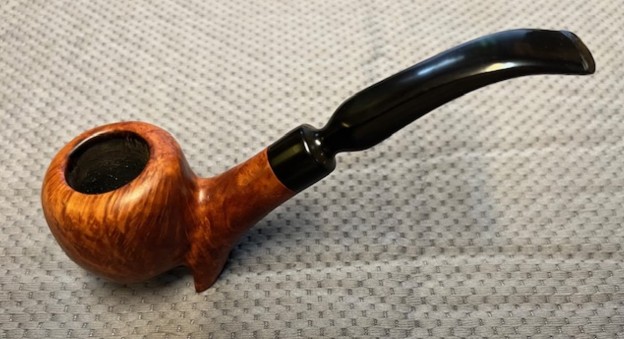
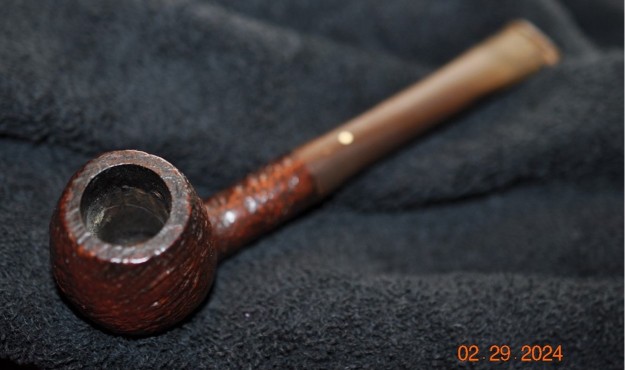
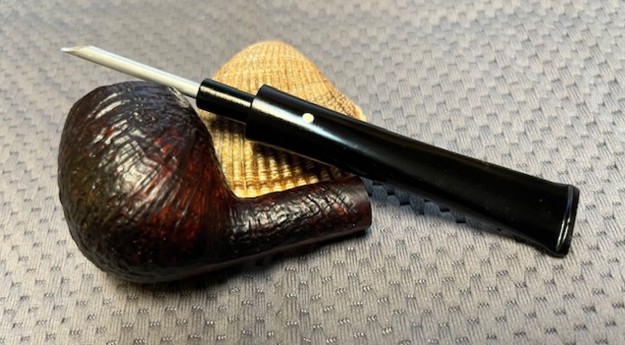
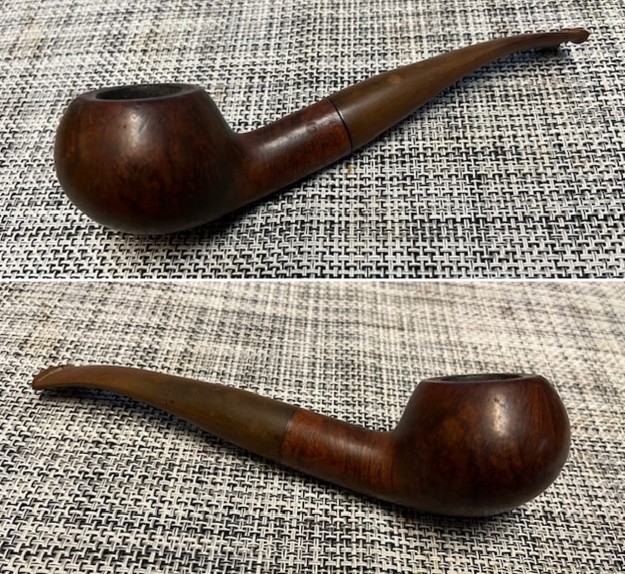
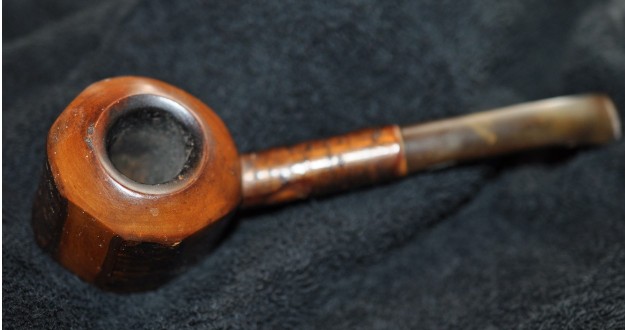
The next pipe on the work table is an interesting and classic looking Cherrywood pipe with smooth and bark covered panels. It is stamped on the heel of the bowl and reads Ropp in an oval [over] De Luxe [over] France [over] 804 the shape number. It came from a lot we purchased from a seller on eBay on 03/21/2024 from an estate in Oregon City, Oregon, USA. It is very well shaped octagonal bent poker with a vulcanite taper stem. The bowl has a thick cake and some lava overflow on the rim top and bevelled inner edge. The finish looked quite good in terms of no tears or worn spots in the bark portions of the finish. It is dirty with grime and hand oils in the finish. The stem had a silver Ropp oval inset on the left side of the taper. It is dirty and has tooth chatter and tooth marks on both sides ahead of the button. Jeff took photos of the pipe before he started his cleanup.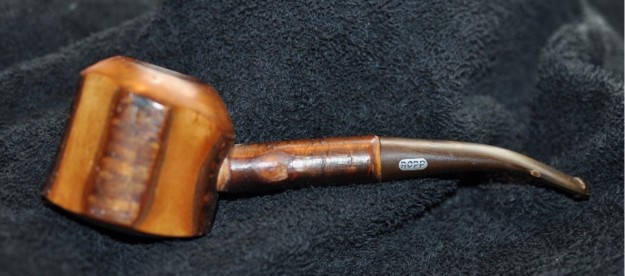
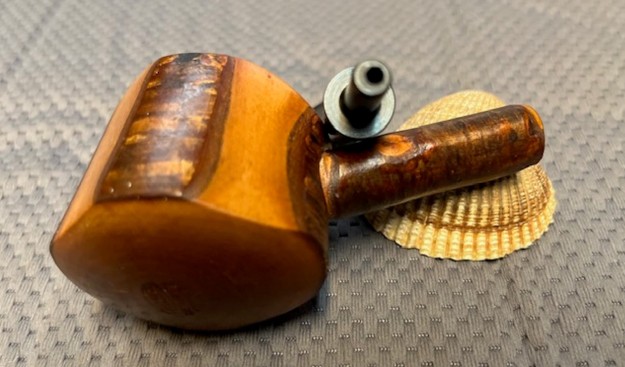
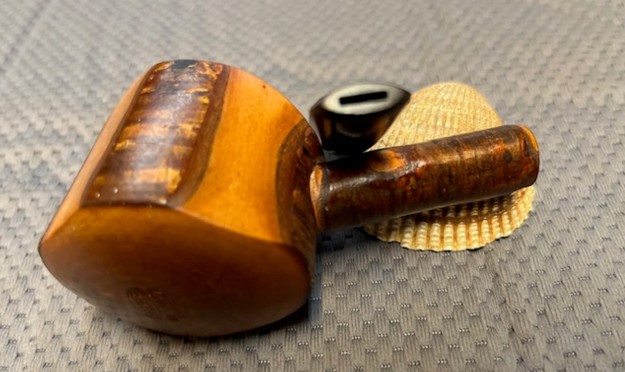
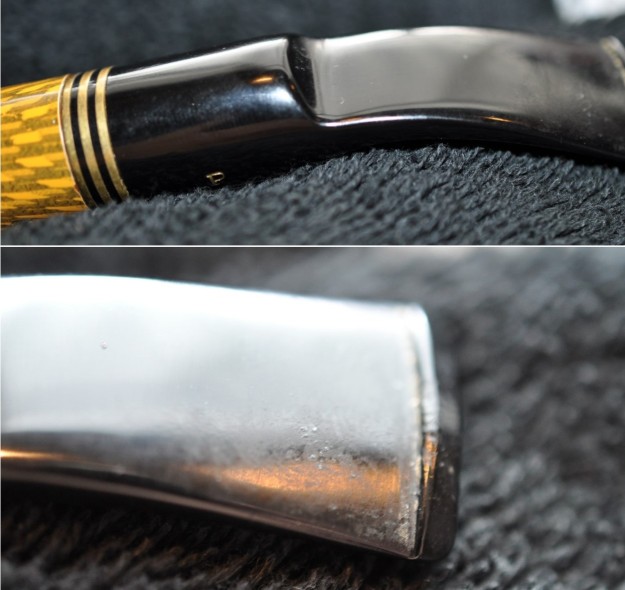
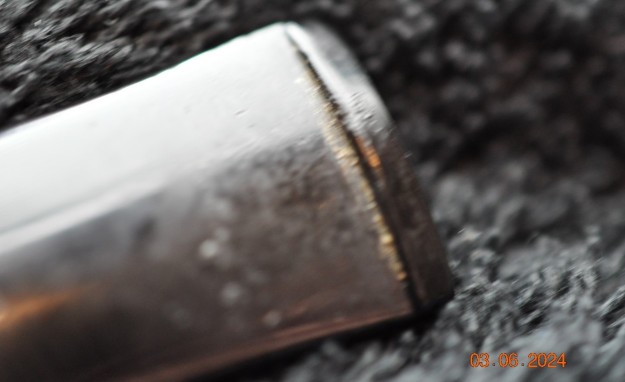
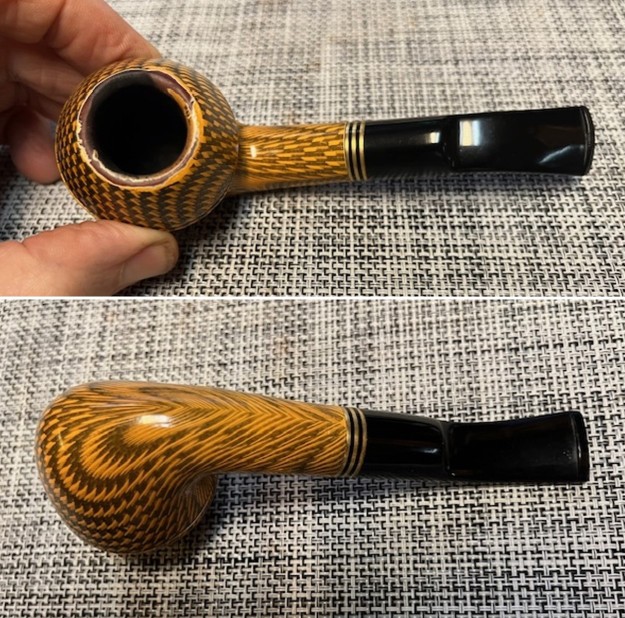
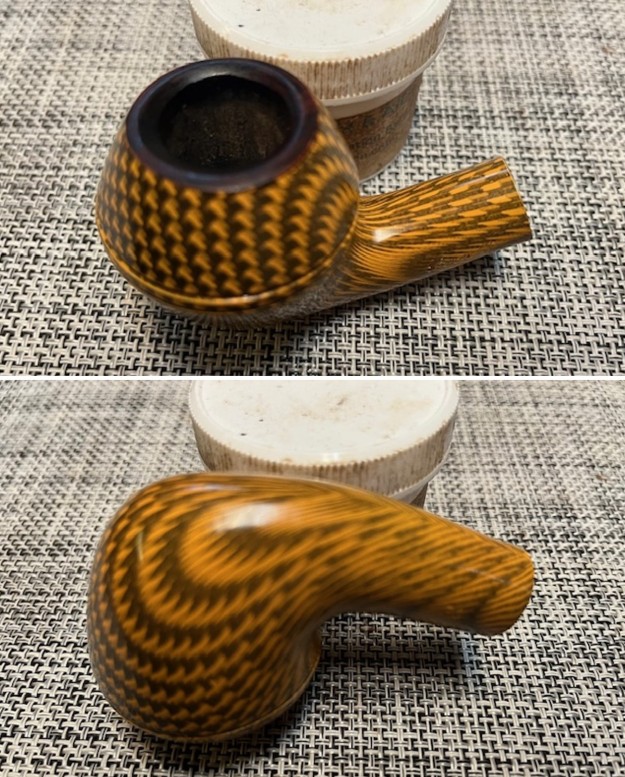
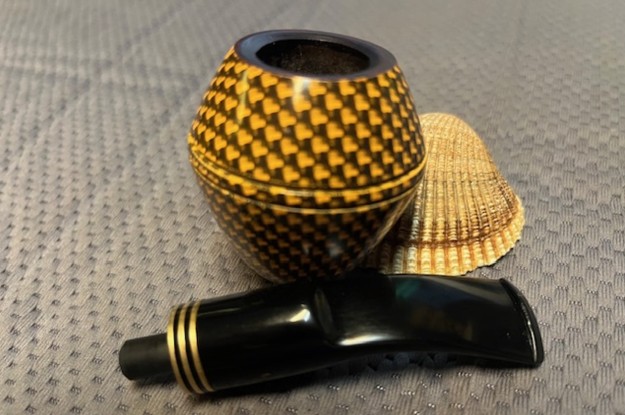
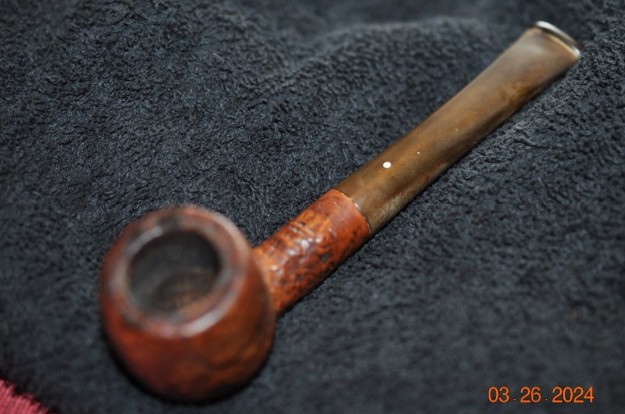
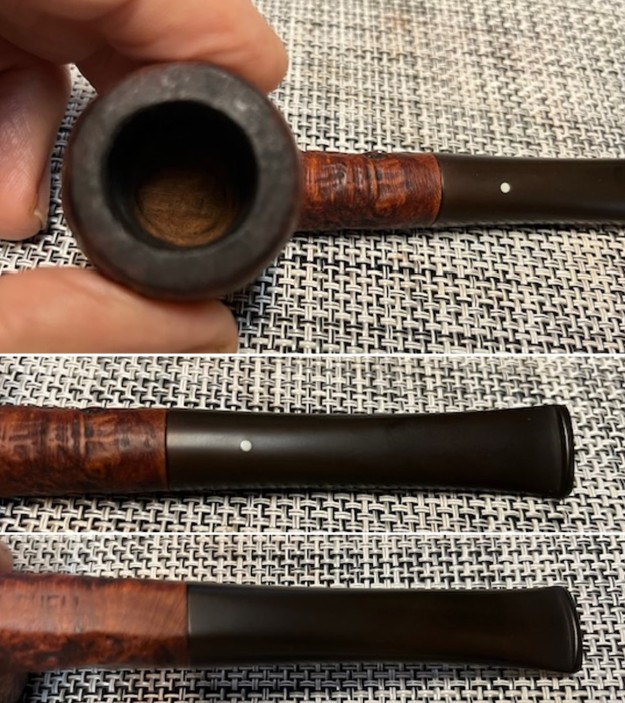
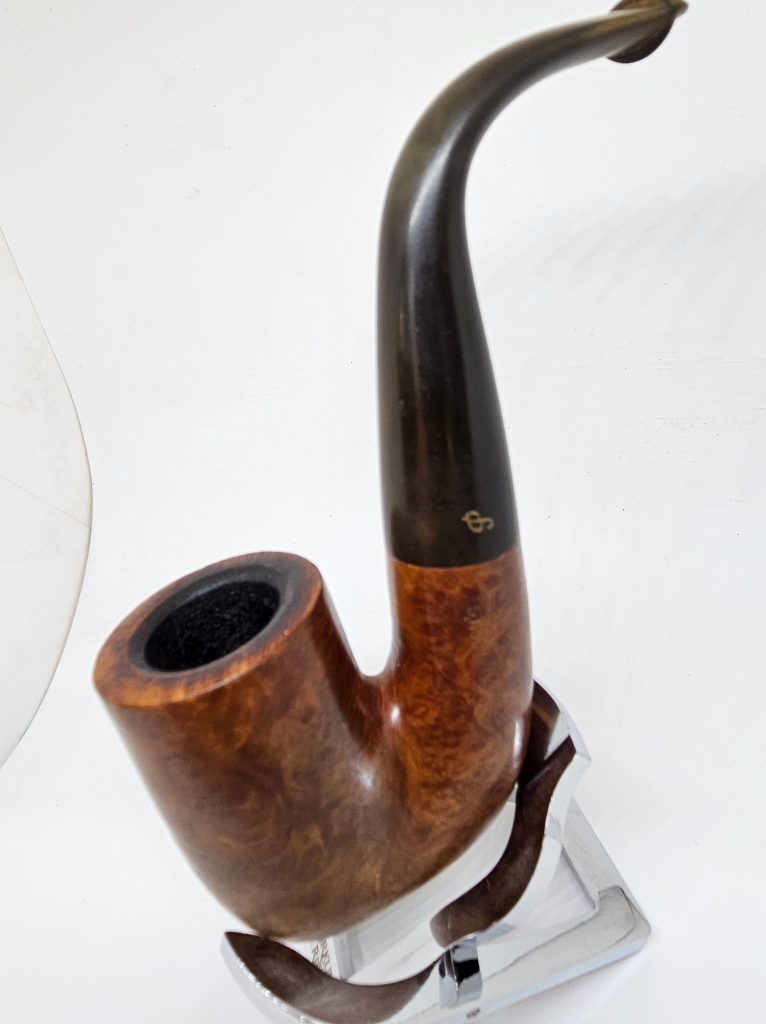
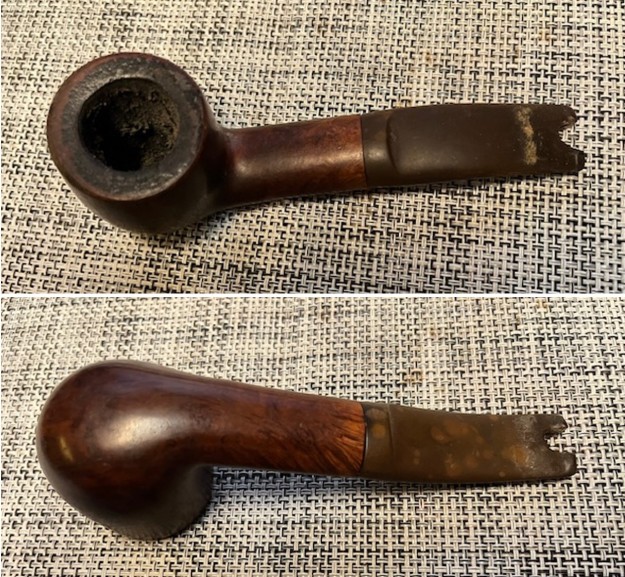
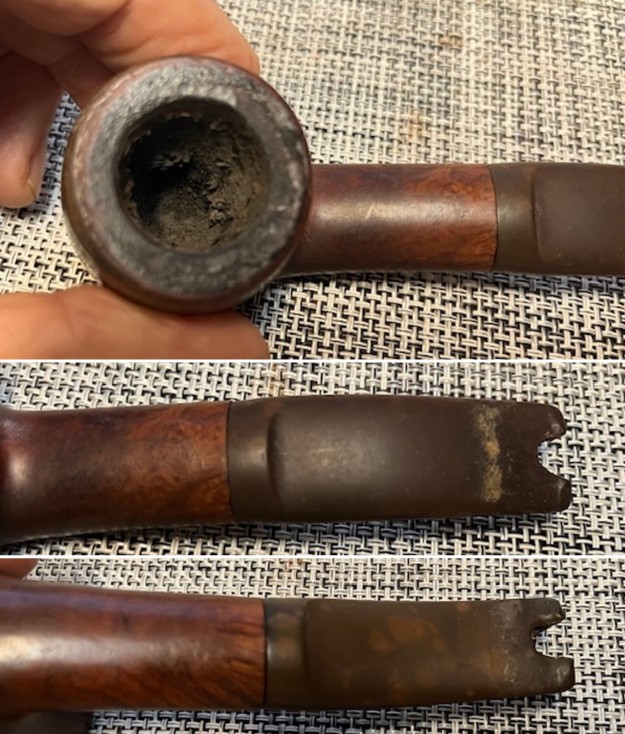
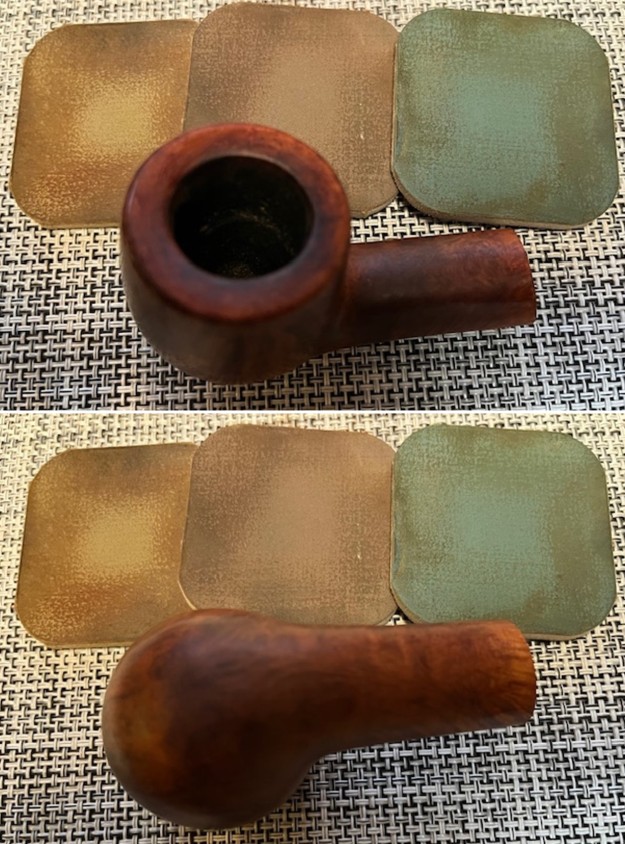
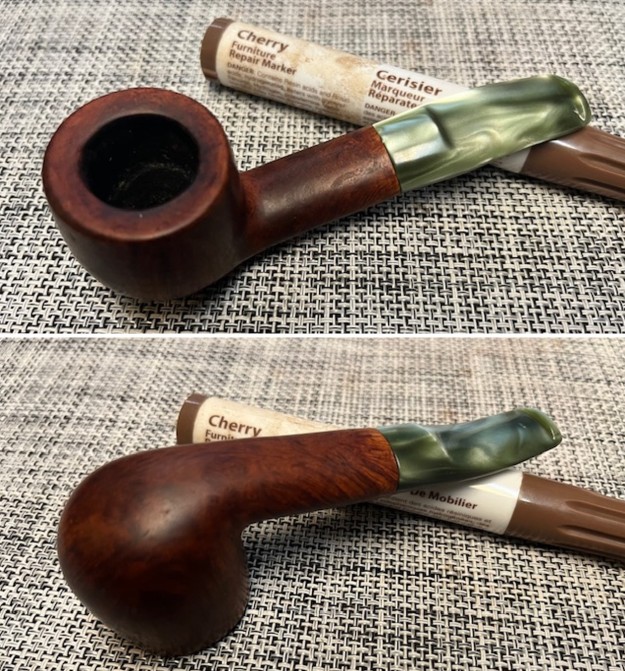
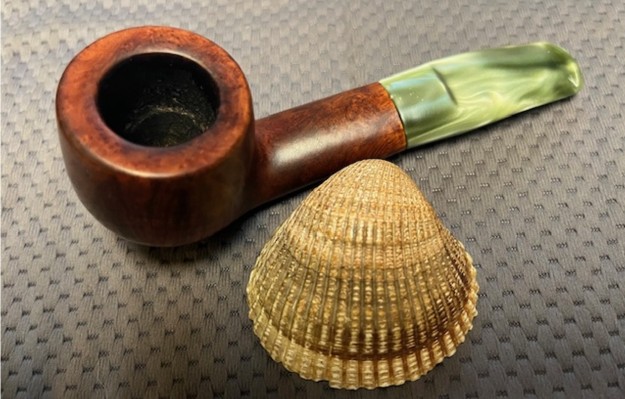
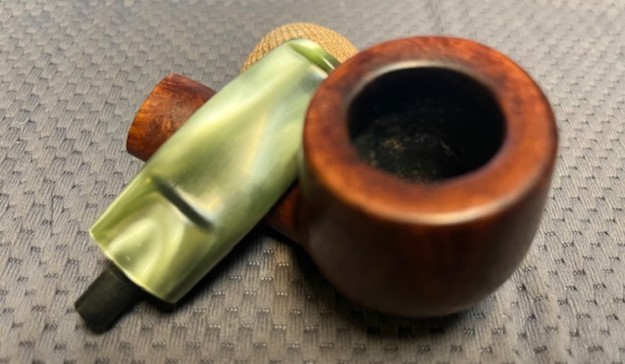
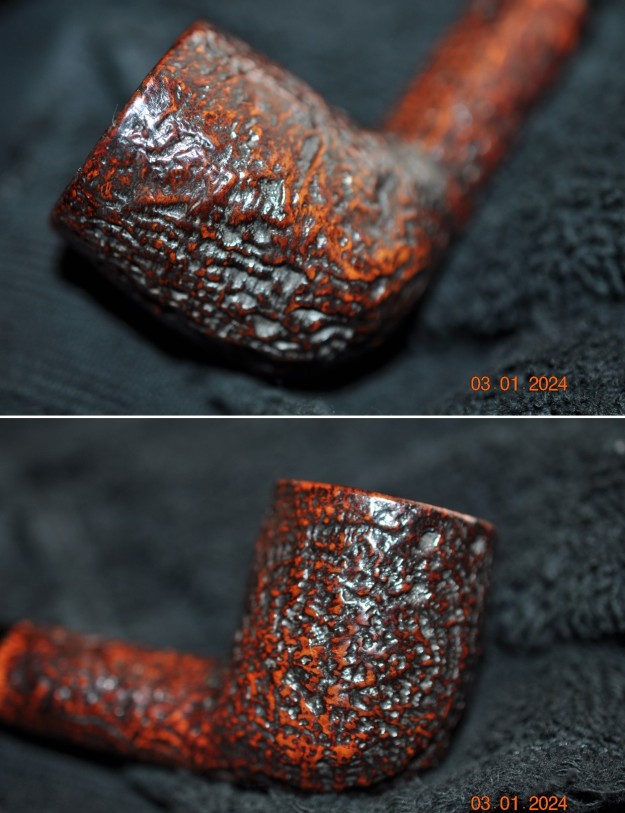
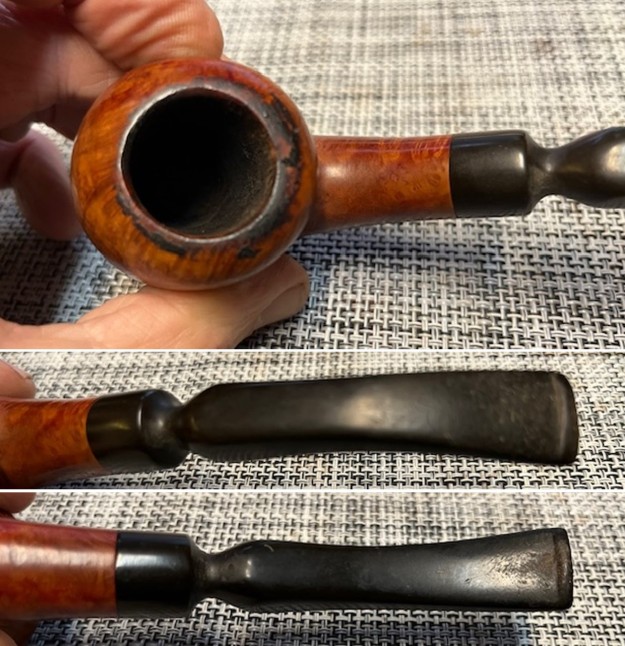
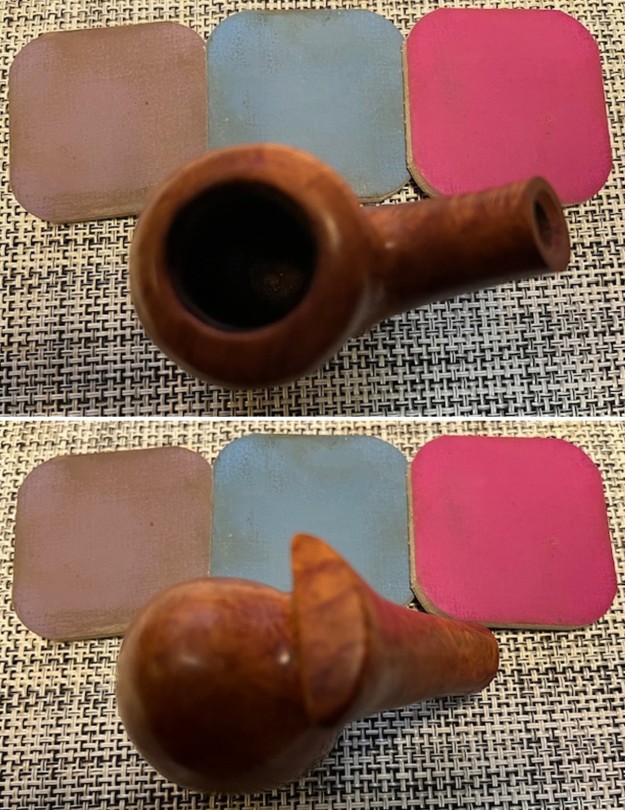
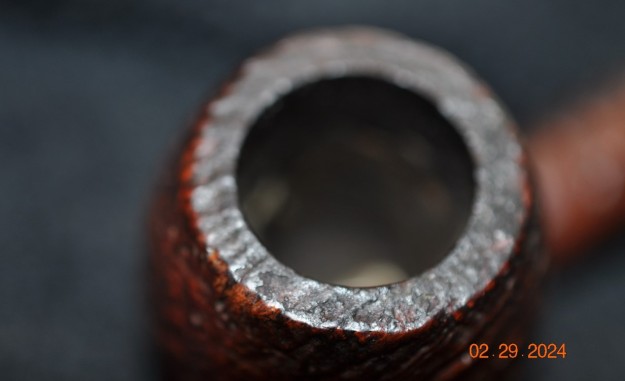
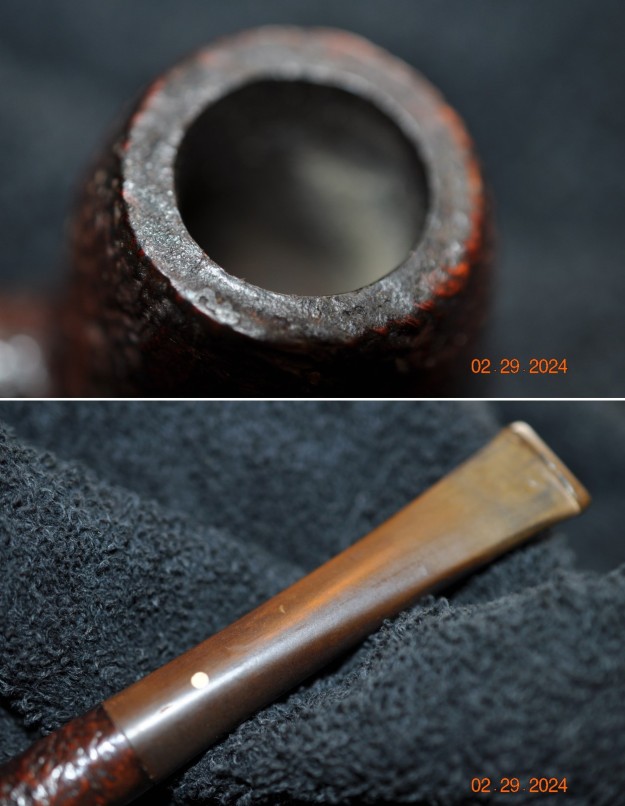
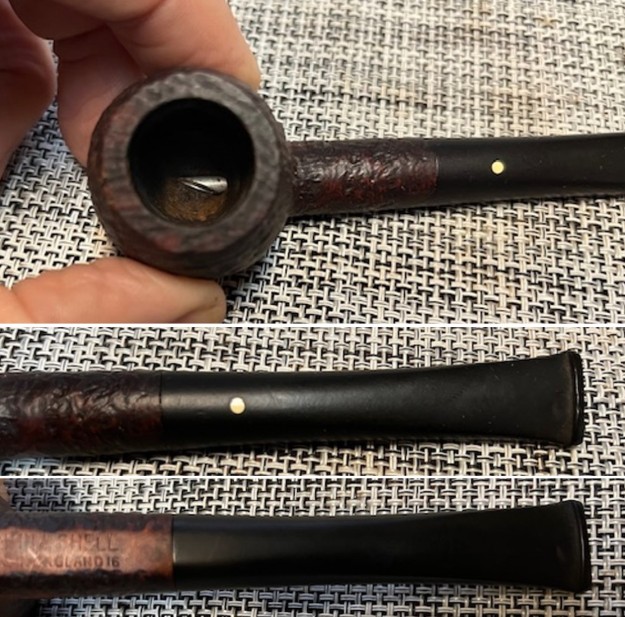
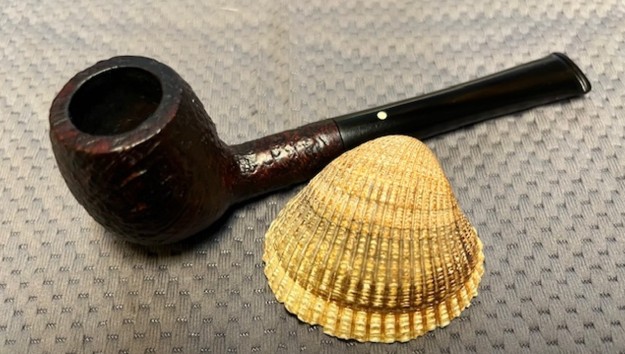
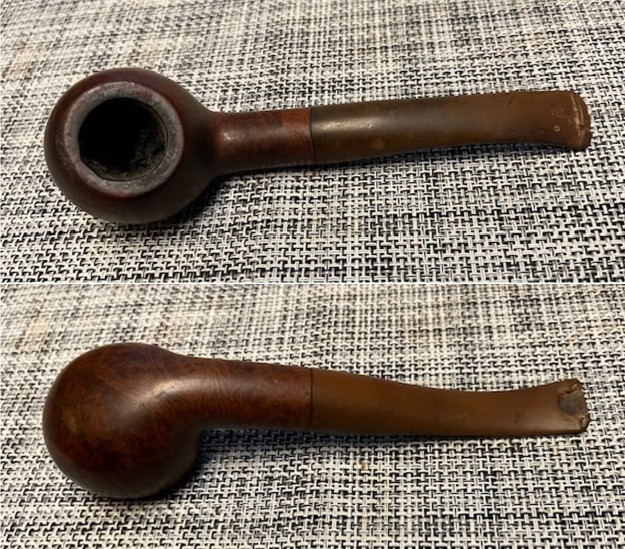
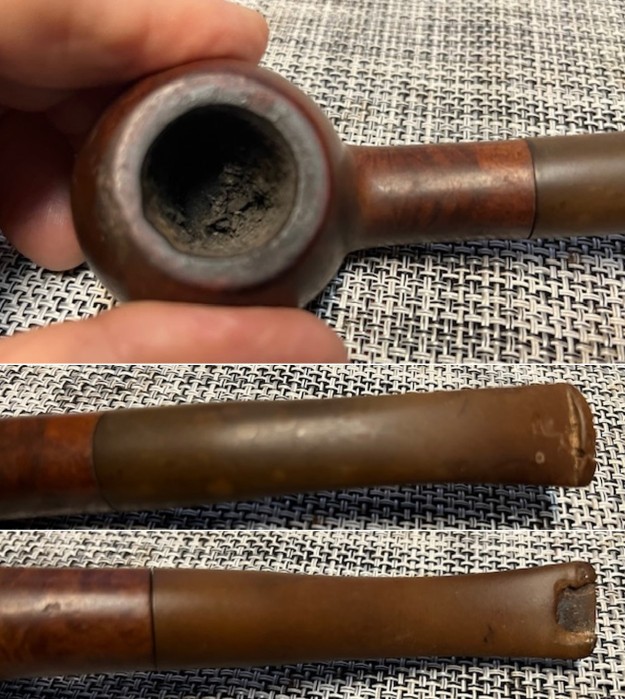
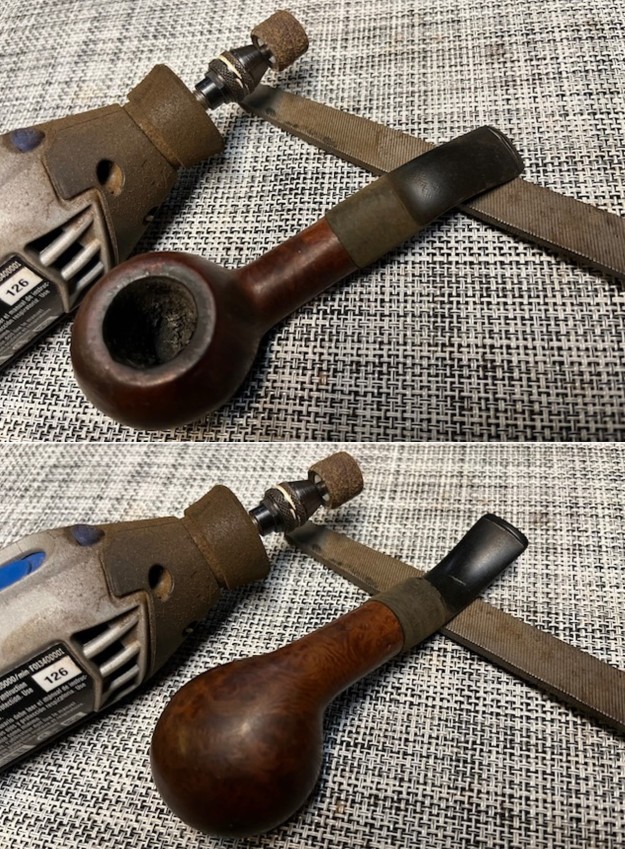
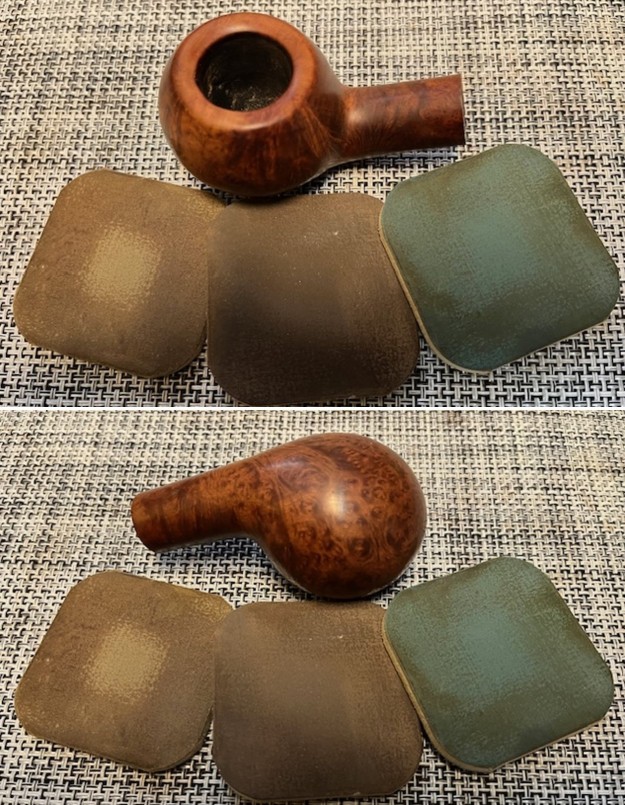
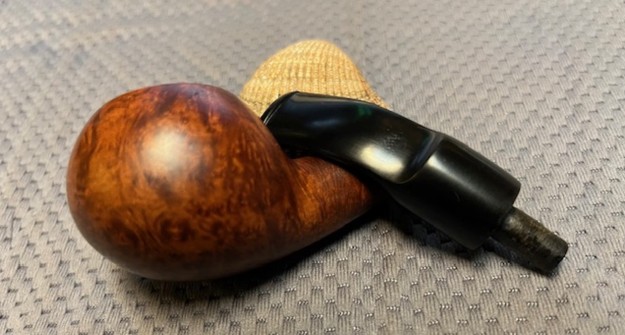
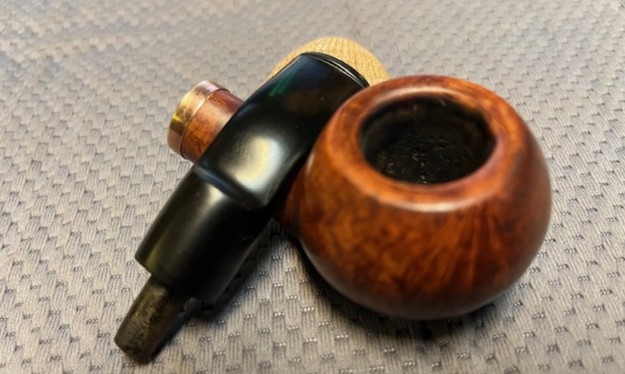
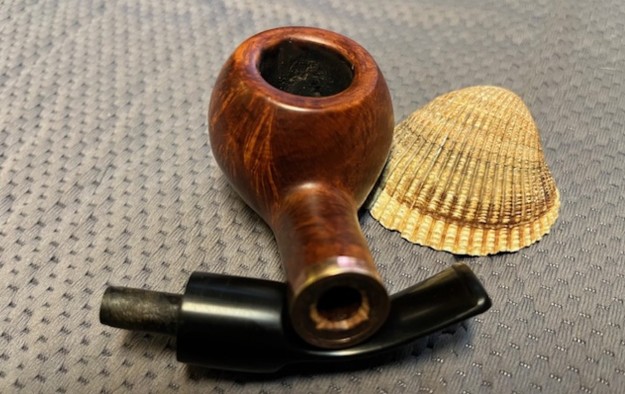
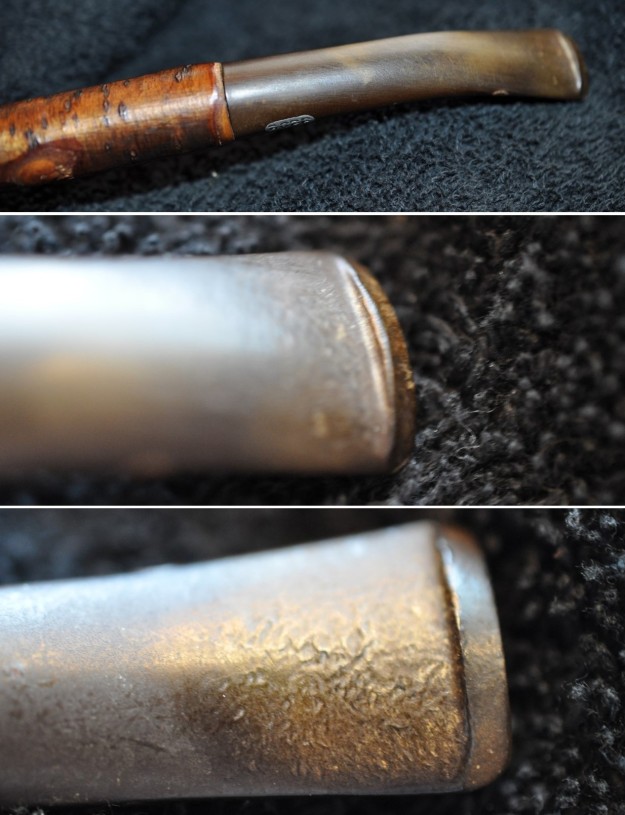
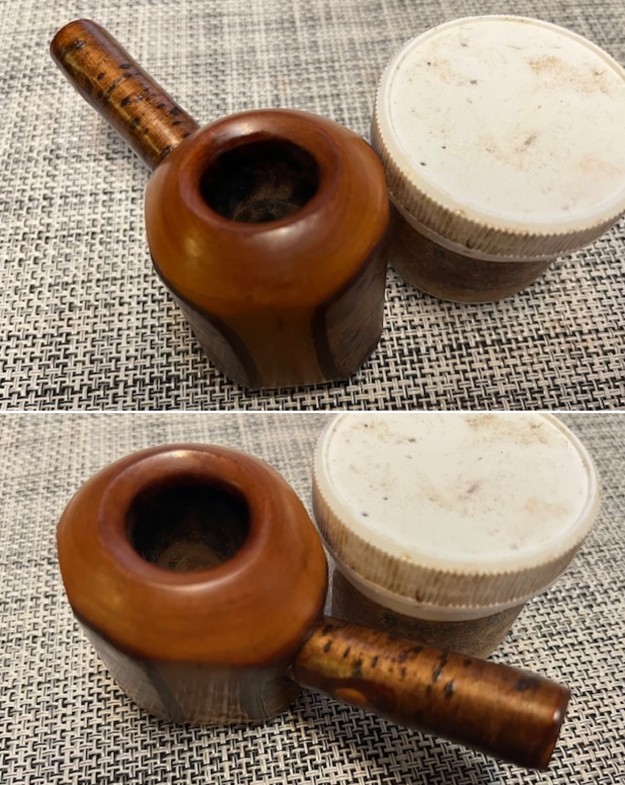
 He took photos of the pipe’s bowl and rim top to show the cake in the bowl and the lava coat overflowing onto the top. It is another dirty pipe. He also took photos to capture the tooth marks on the top and underside of the stem near the button.
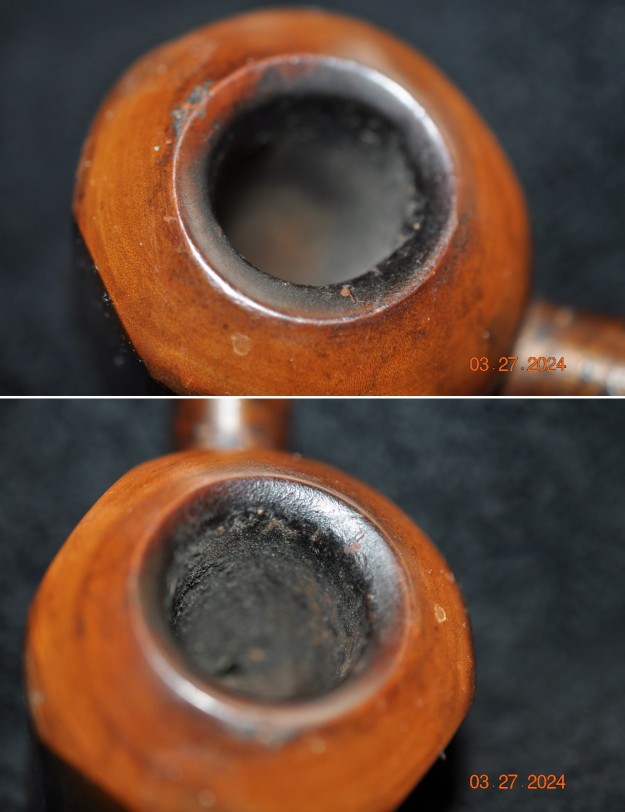
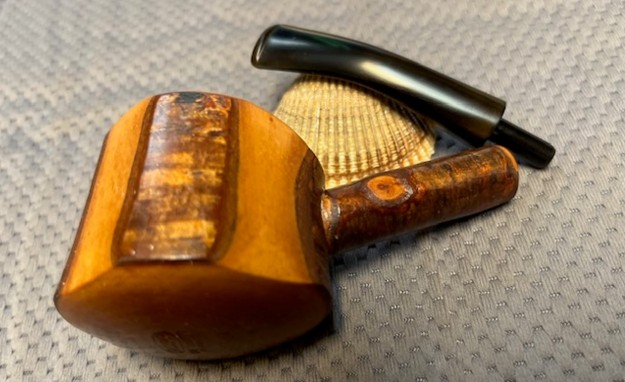
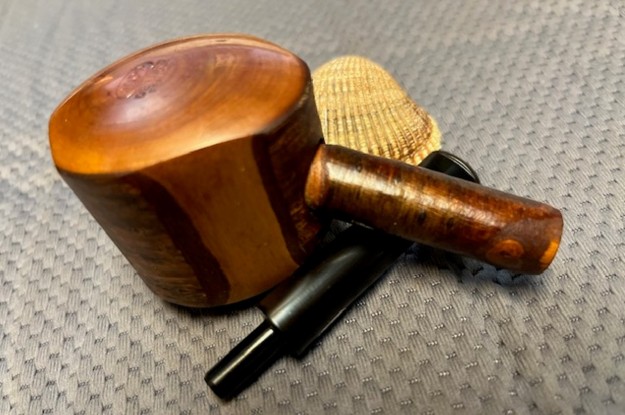
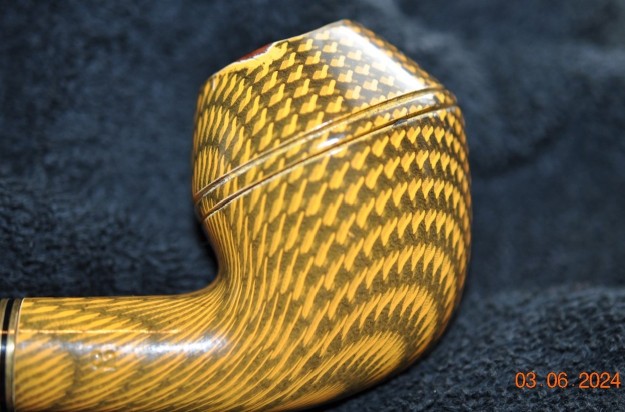
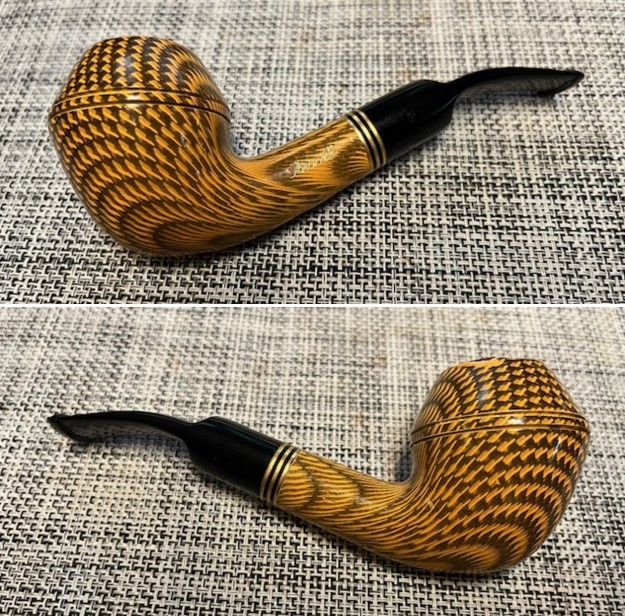
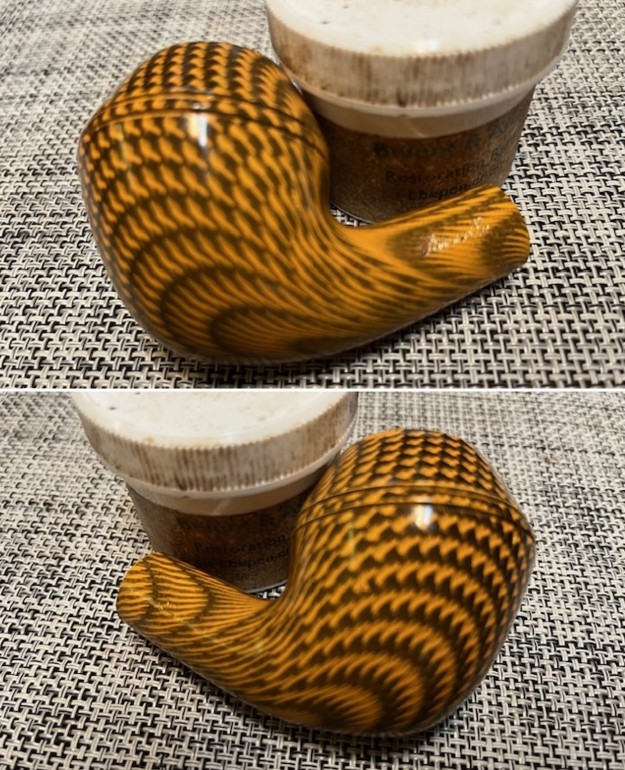
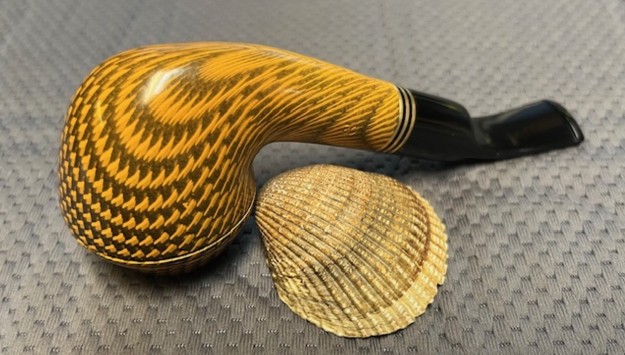
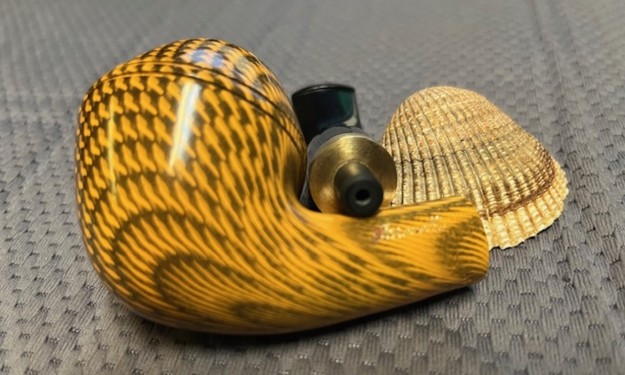
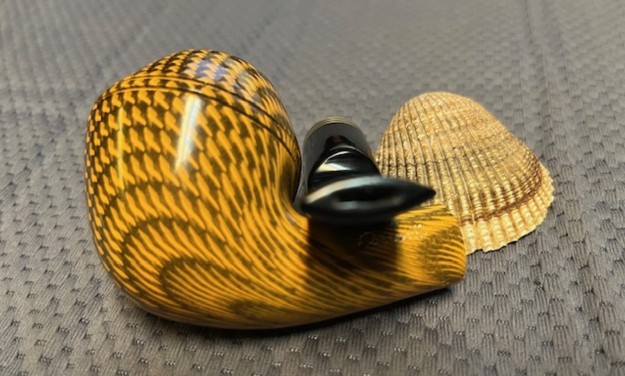
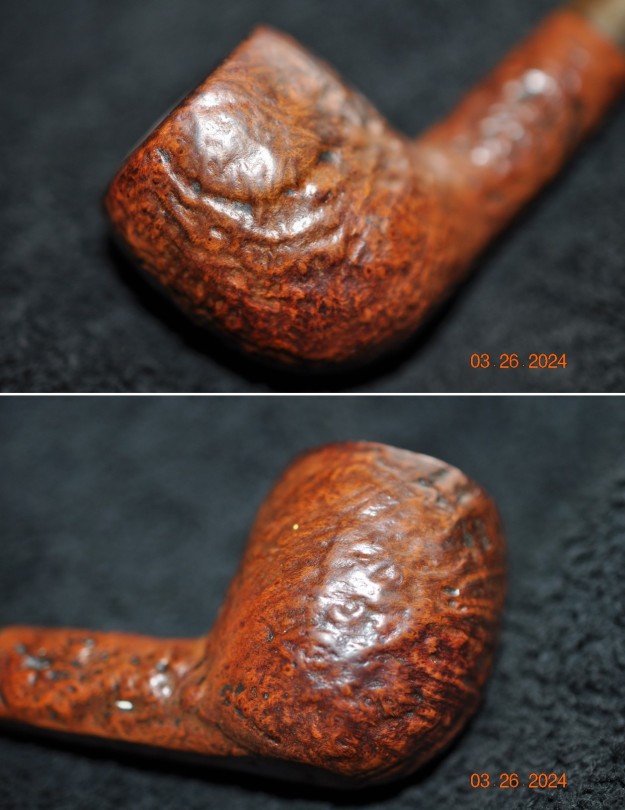
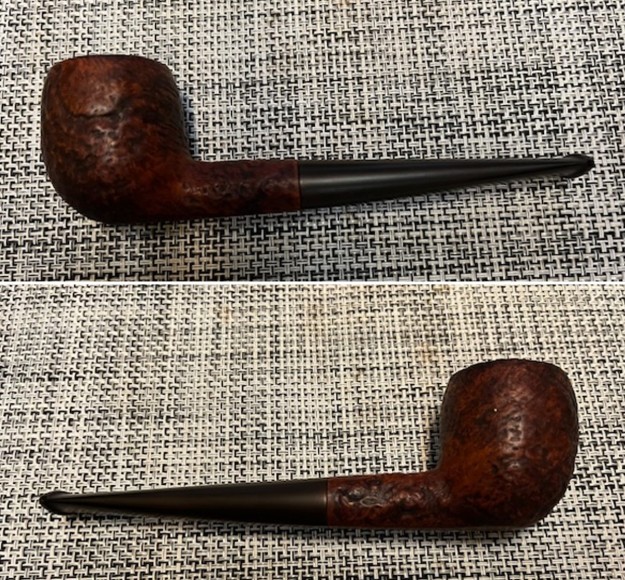
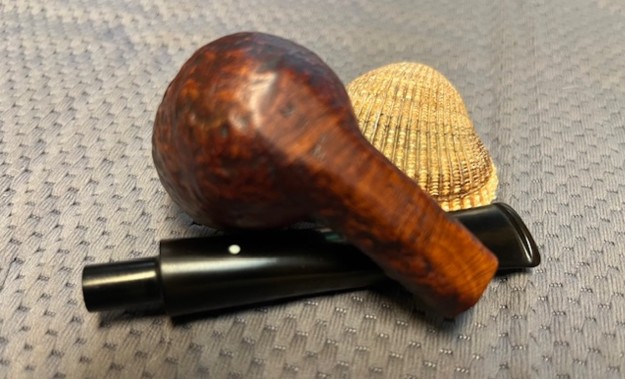
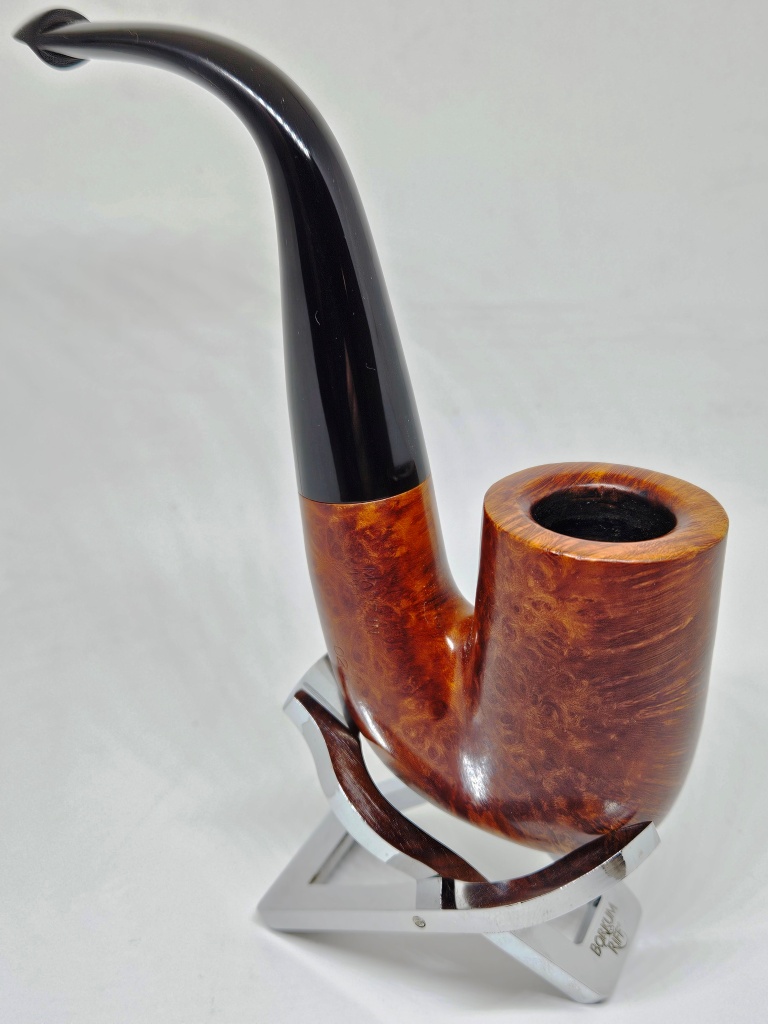
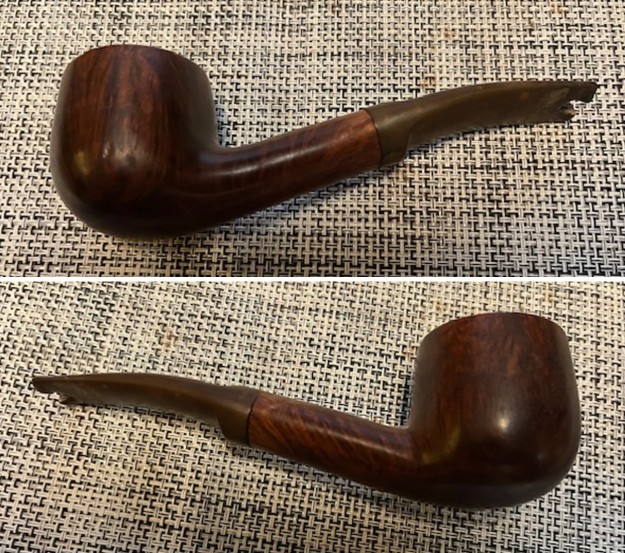
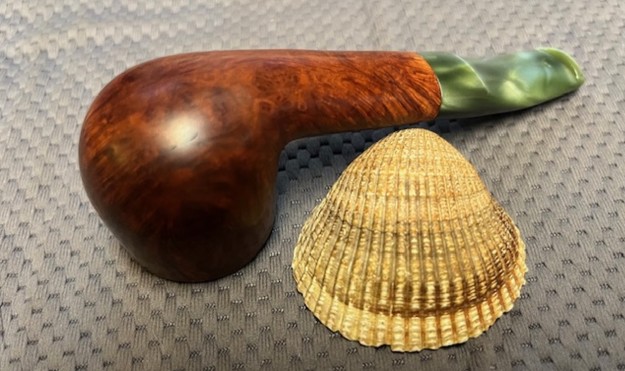
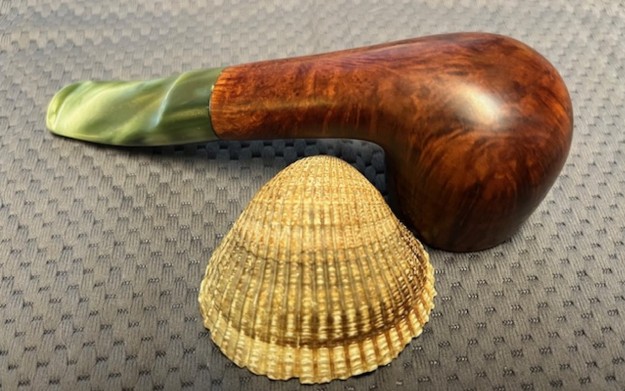
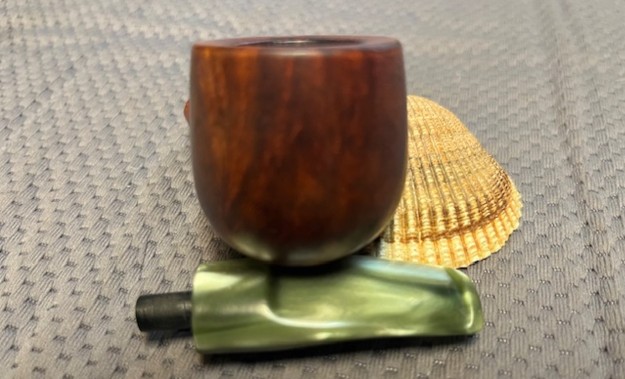
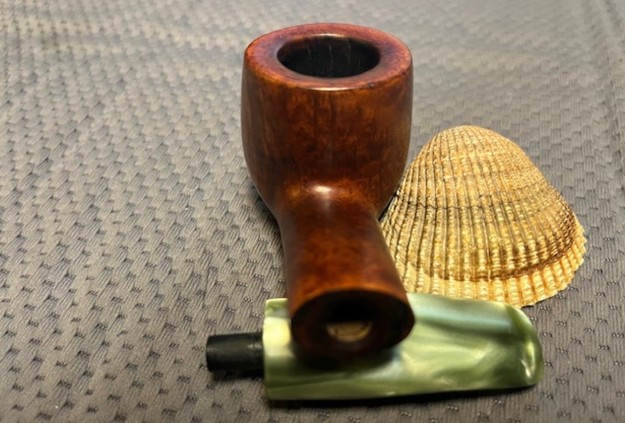
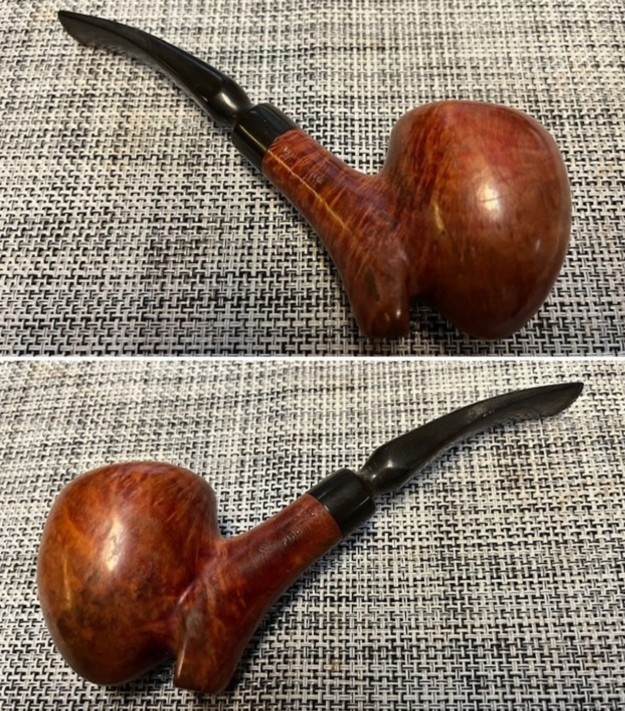
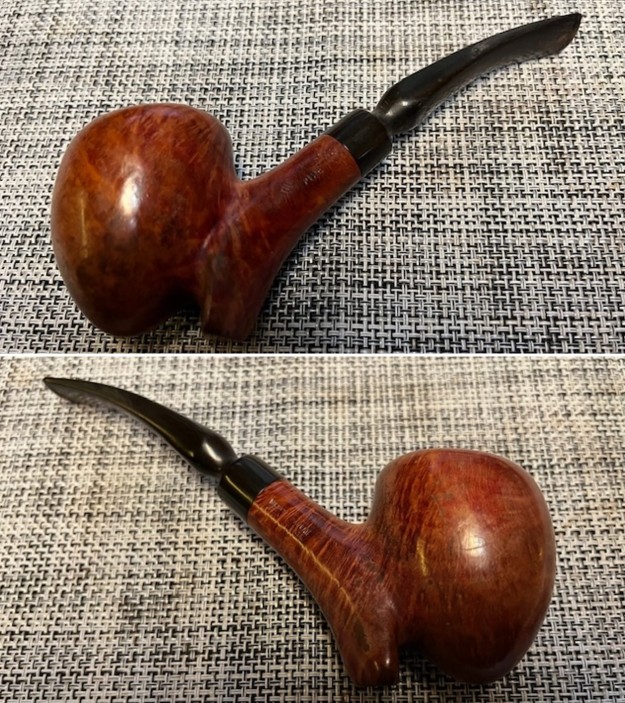
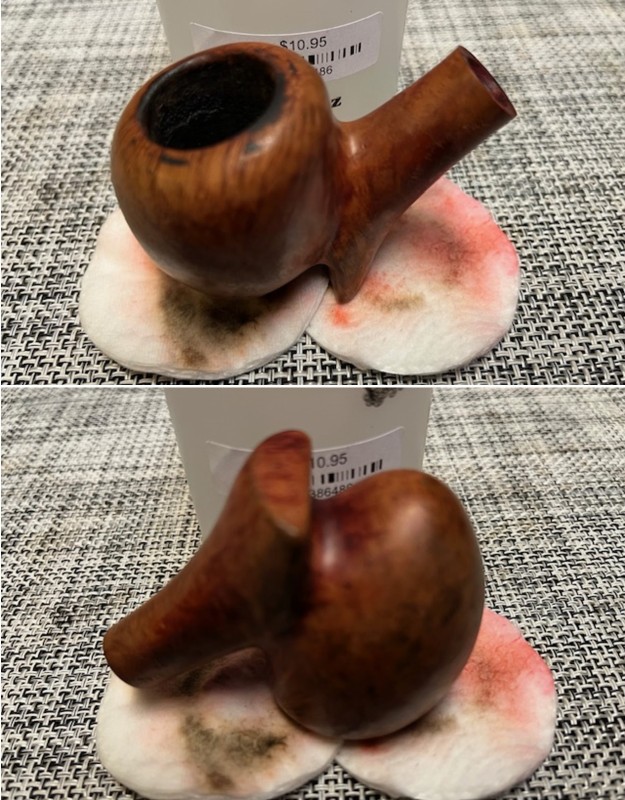
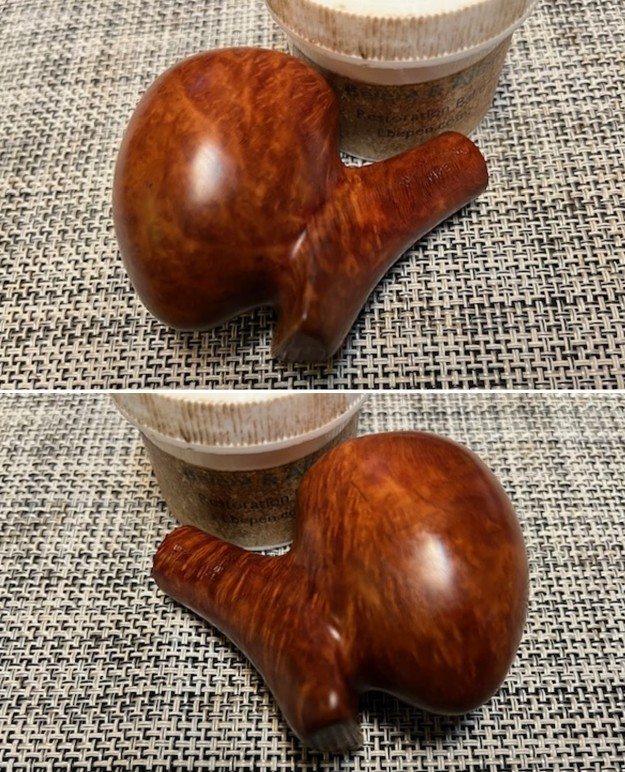
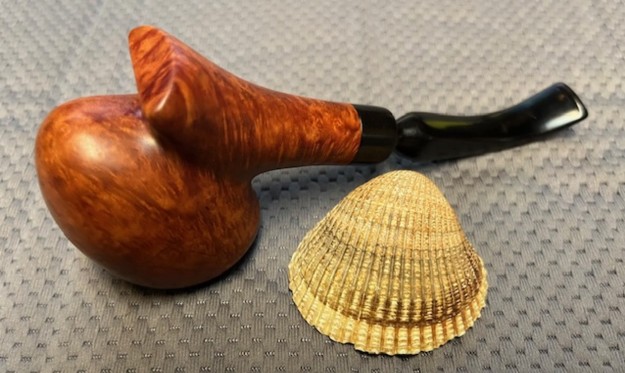
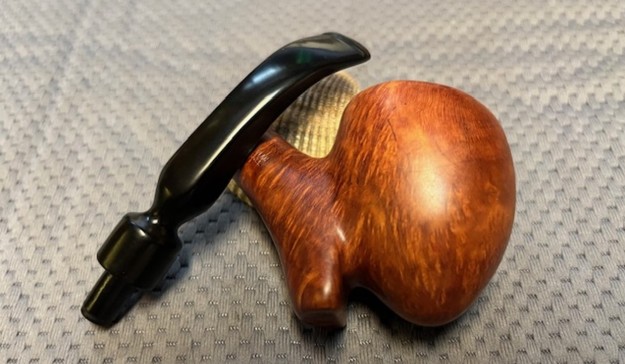
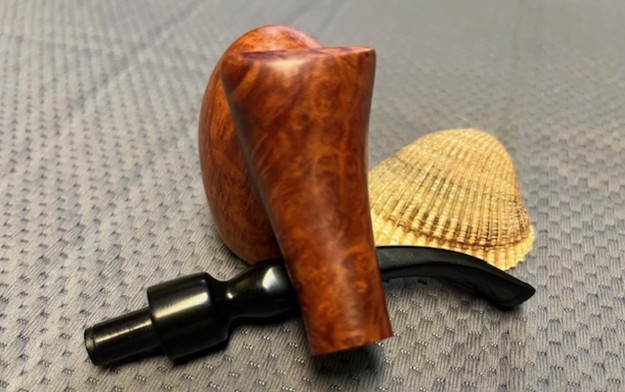
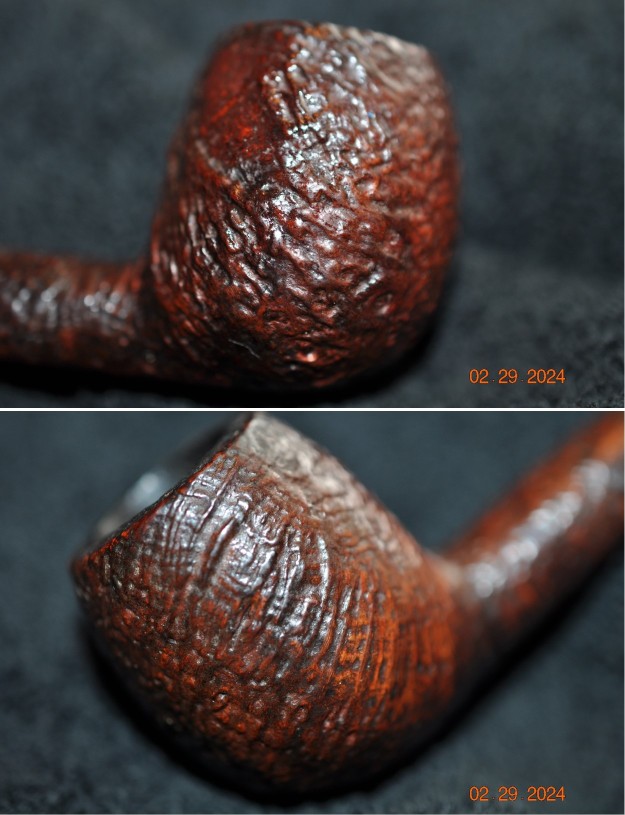
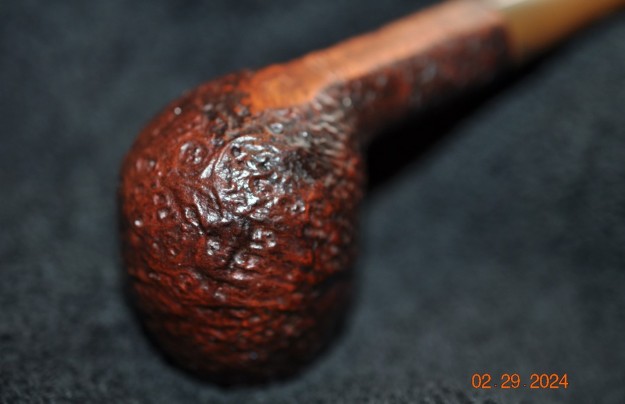
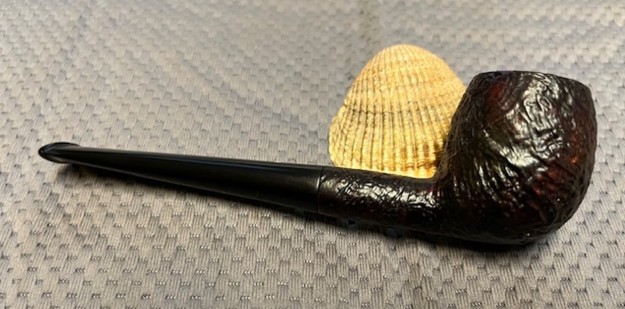
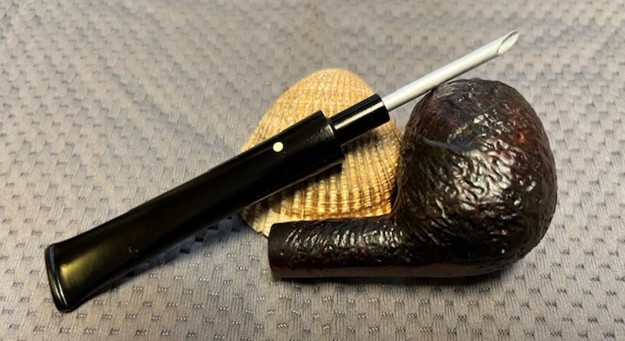
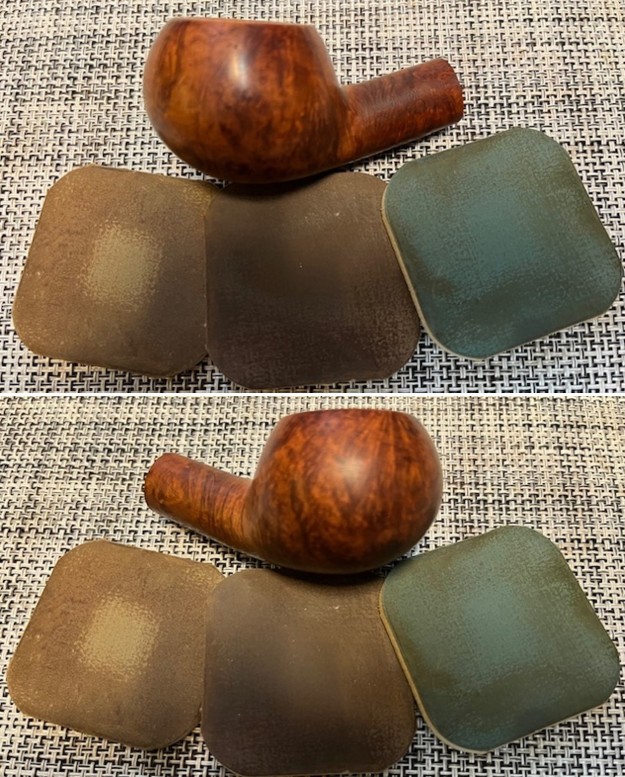
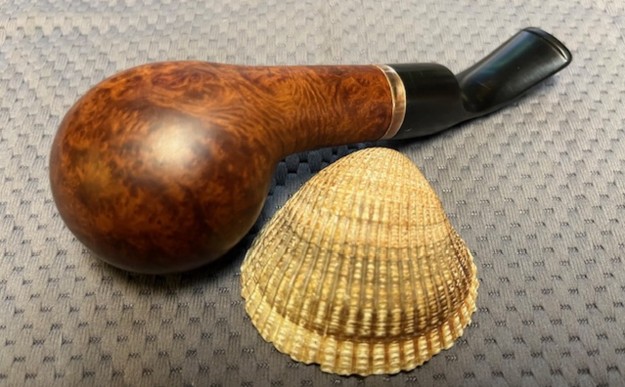
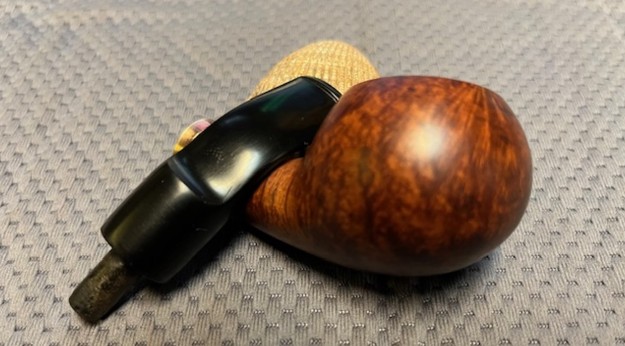
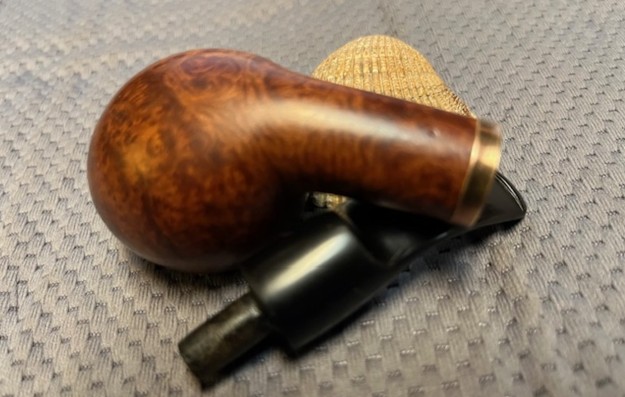
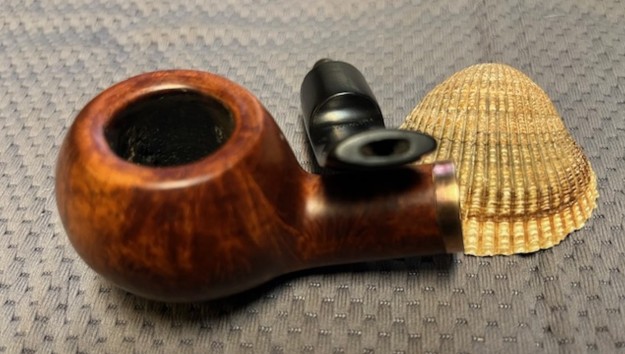
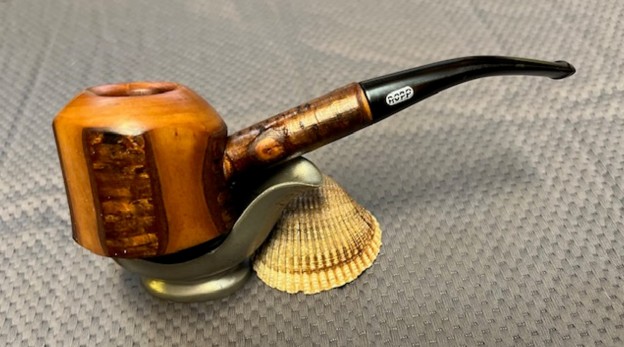
 He took photos of the sides and the heel of the bowl to give a sense of bark and smooth portions of the finish. There are some paint flecks on the finish but it still is a beauty!
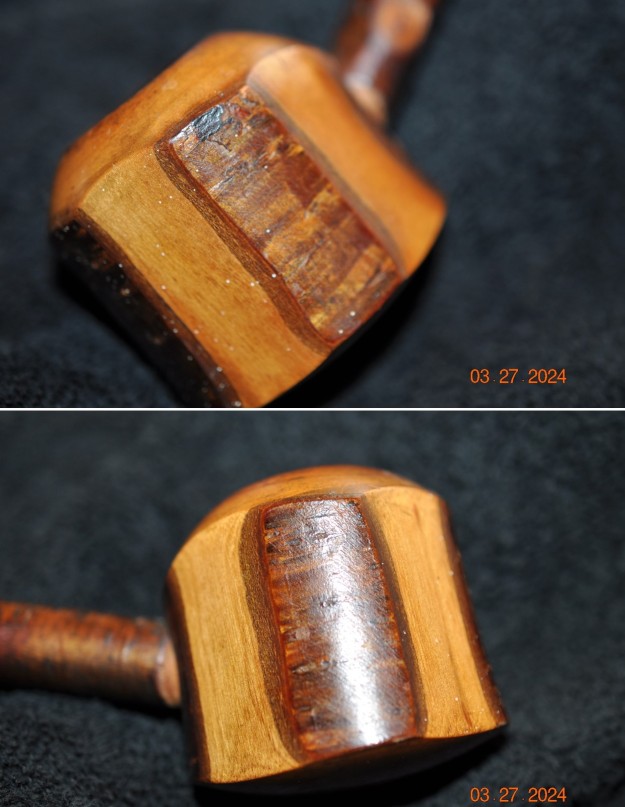
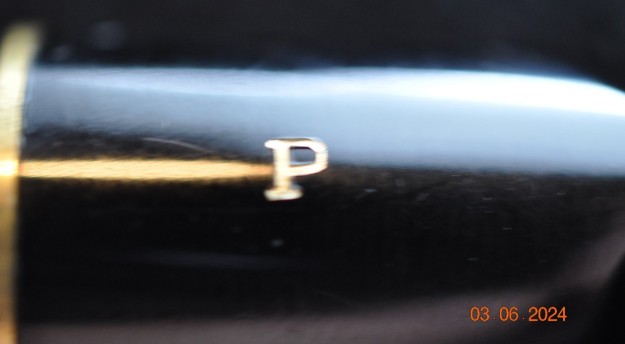
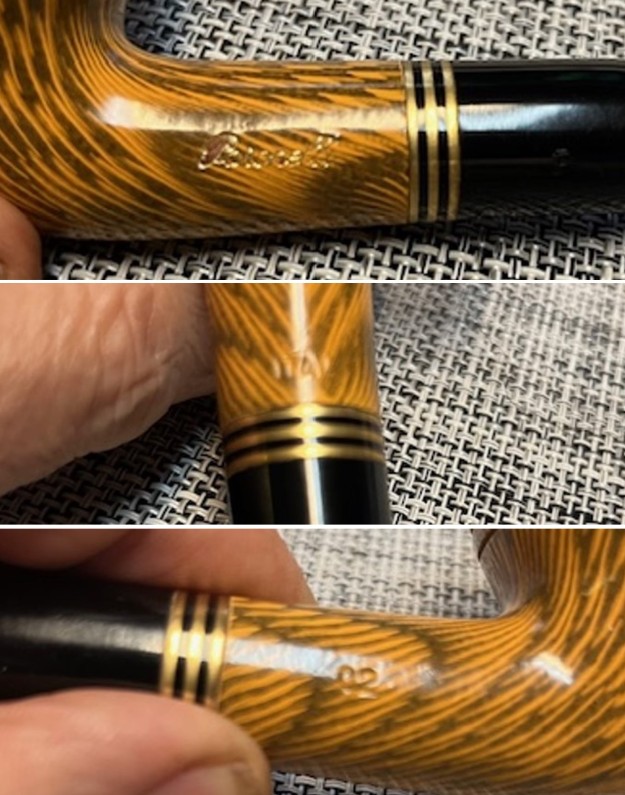
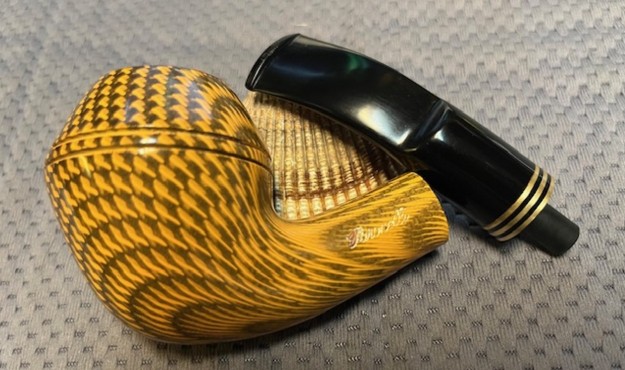
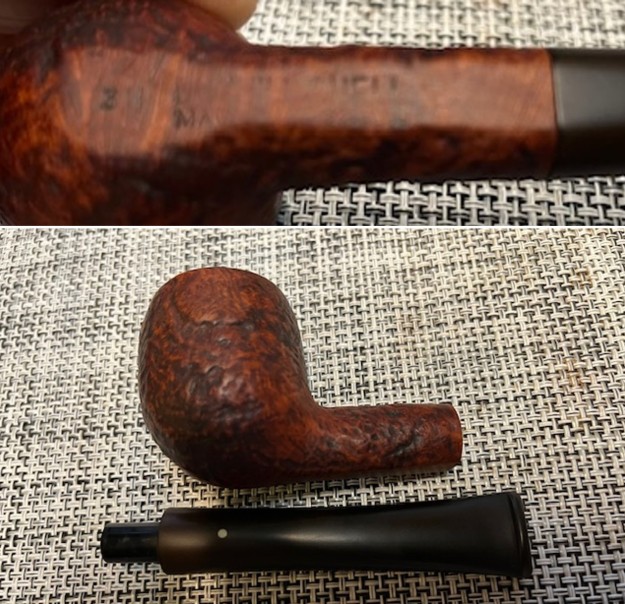
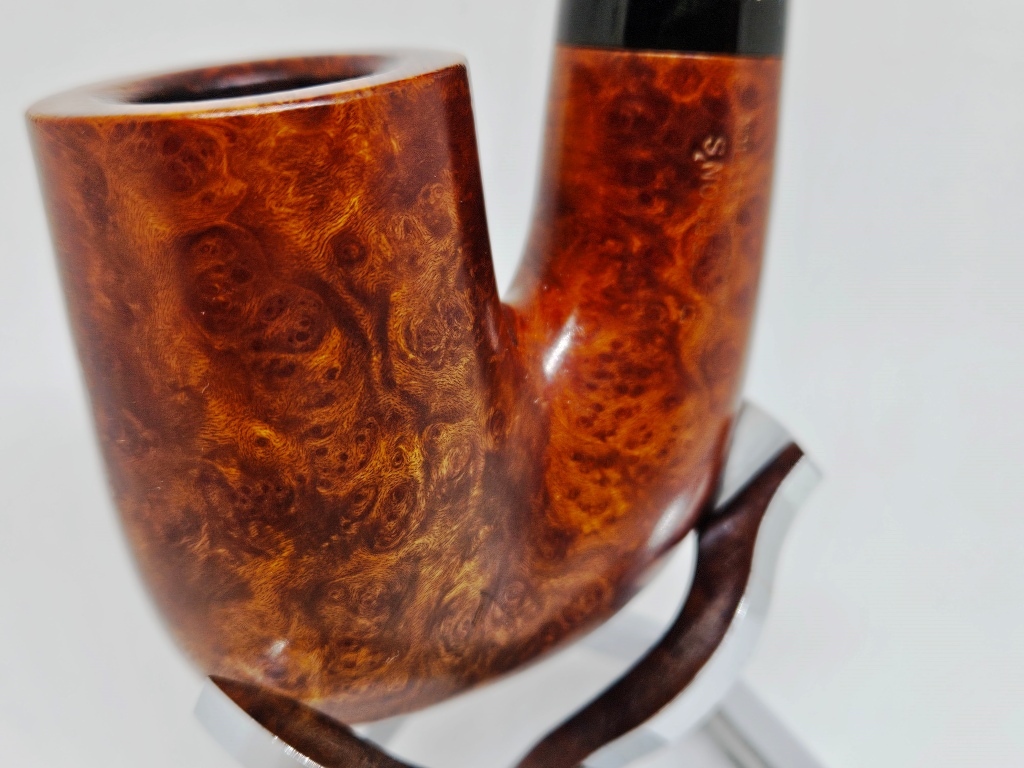
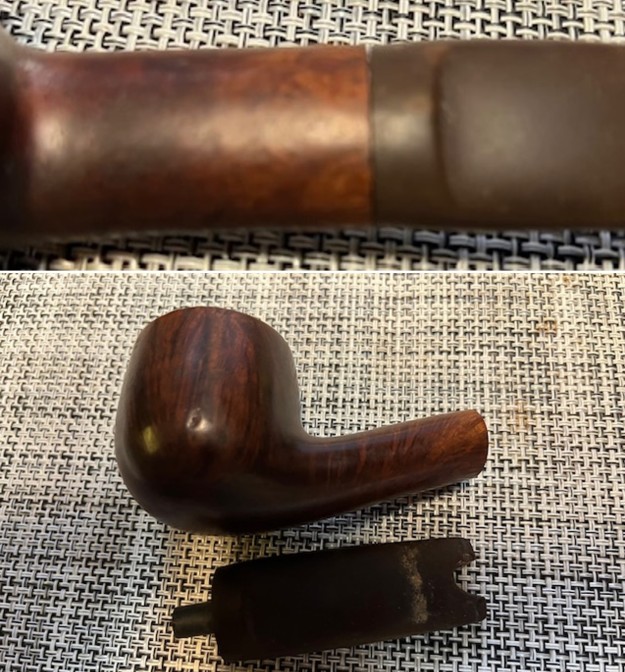
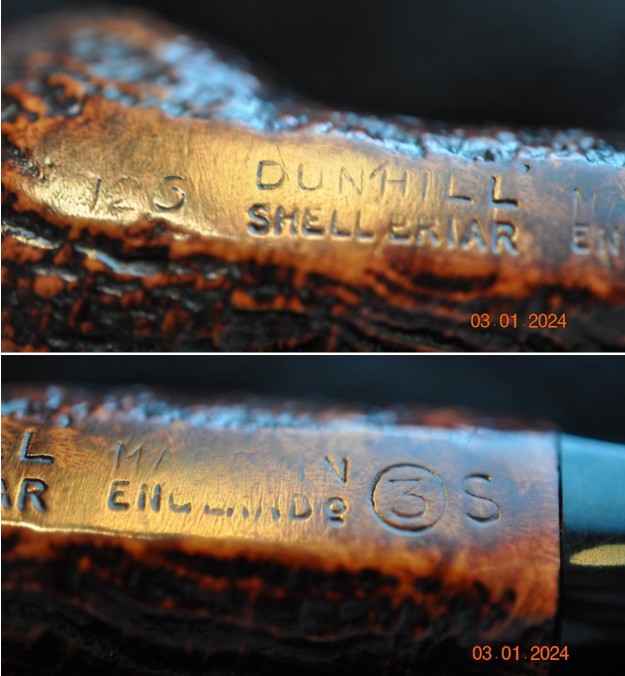
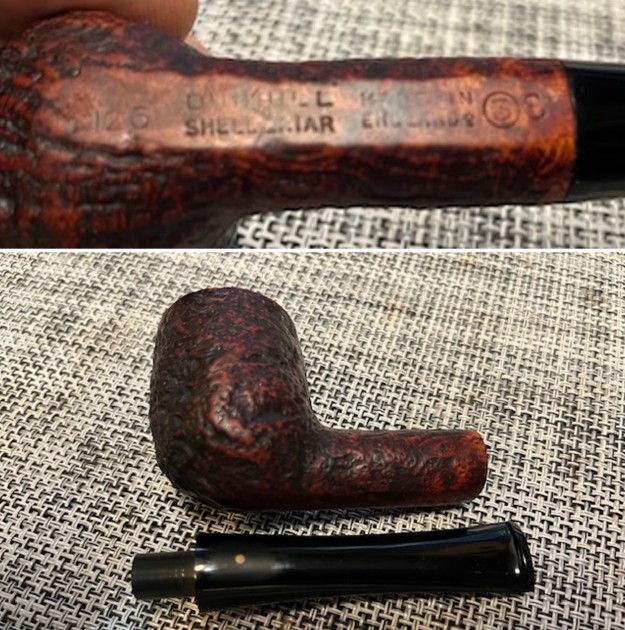
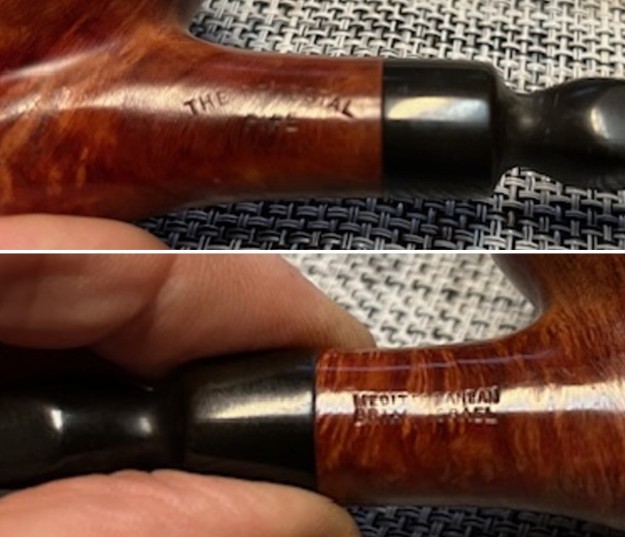
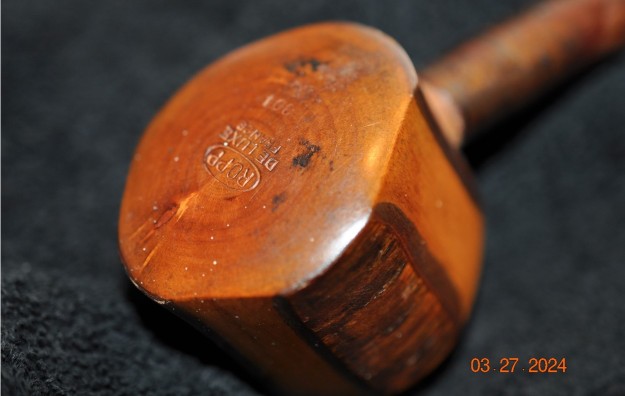 Jeff took photos of the stamping on the heel of the bowl and it is clear and readable as noted above. The metal inserted Ropp logo on the left side of the stem is in good condition.
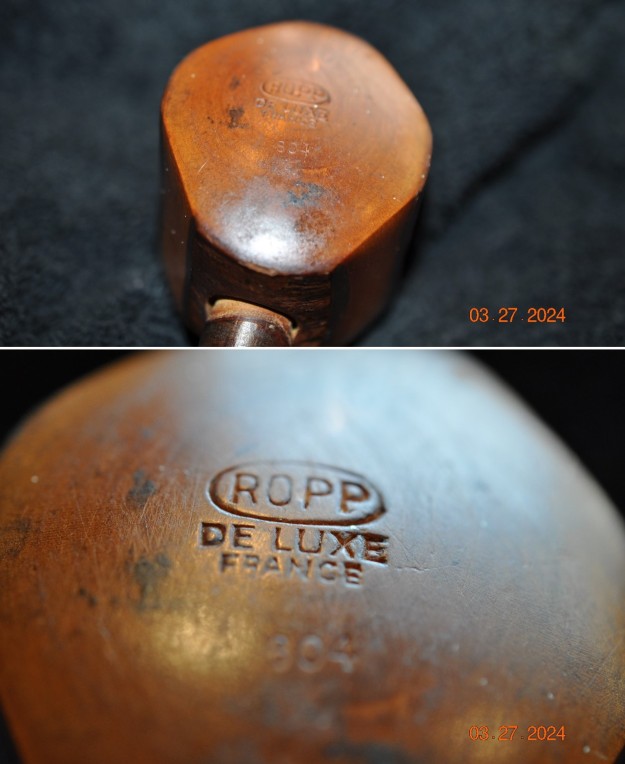
 I wanted to refresh my memory on the brand so I turned for a short, quick summary to Pipephil (http://www.pipephil.eu/logos/en/logo-ropp.html). I have included the pertinent information from that site below:
Brand created by Eugène-Léon Ropp (1830 – 1907) and continued throughout 3 generations. “GBA Synergie” run by Bernard Amiel (†2008) bought back Ropp in 1988 and owned it until 1991. The company was taken over by Cuty-Fort Entreprises (Chacom, Vuillard, Jean Lacroix…) in 1994.
I also turned to Pipedia to see if there was any additional information that would be helpful (https://pipedia.org/wiki/Ropp). I quote the portion of the article on the Cherrywood pipes.
Eugène-Léon Ropp (1830 – 1907) had acquired a patent for a cherrywood pipe (wild cherry, lat.: Prunus avium) in 1869. In 1870 he established a workshop to manufacture such pipes in Büssingen (Bussang, Vosges mountains). Around 1893 the business moved into the former mill of Sicard (part of the community of Baume-les-Dames – Département Doubs, Upper Burgundy – from 1895 on)… Even though cherrywood pipes were the mainstay of Ropp until the company finally closed down in September 1991. The company was taken over by Cuty-Fort Entreprises (Chacom, Jeantet, Vuillard, Jean Lacroix…) in 1994.
The pipe thus was made in France sometime prior to the closure in 1991. It is made from wild cherry and was a specialty of Ropp. I have worked on quite a few over the years but I had forgotten all the dates and information. Now it was time to work on the pipe.
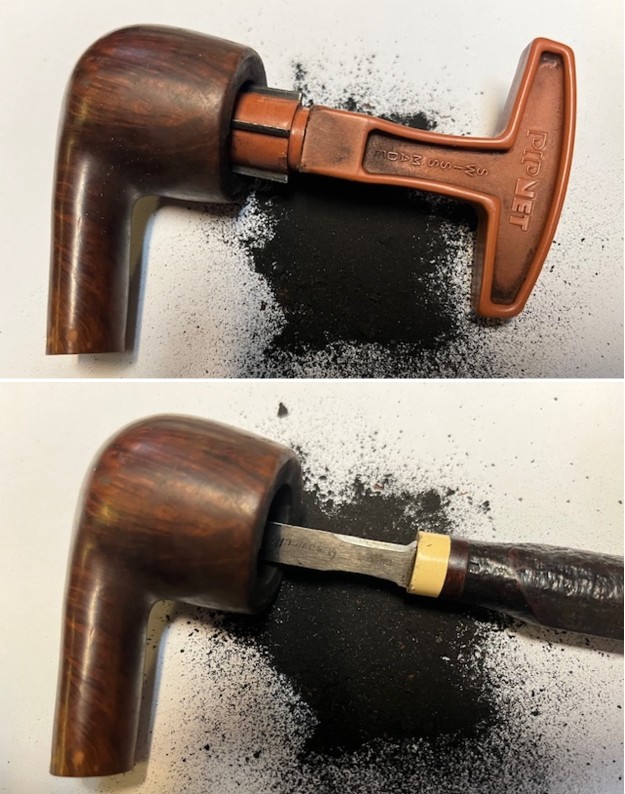
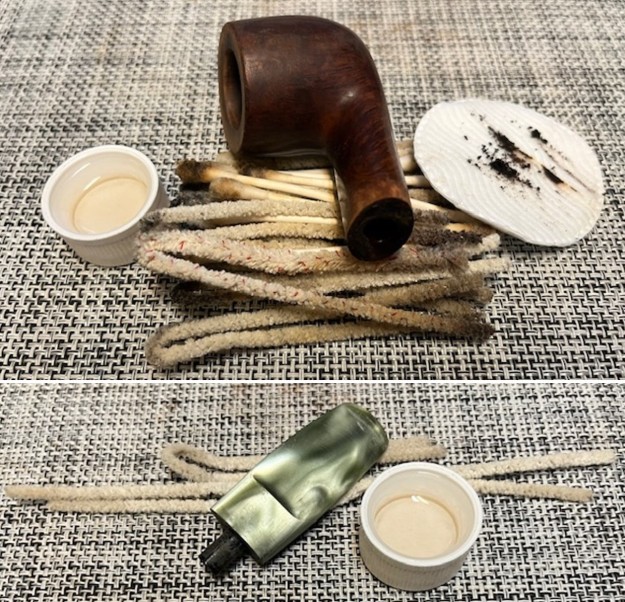
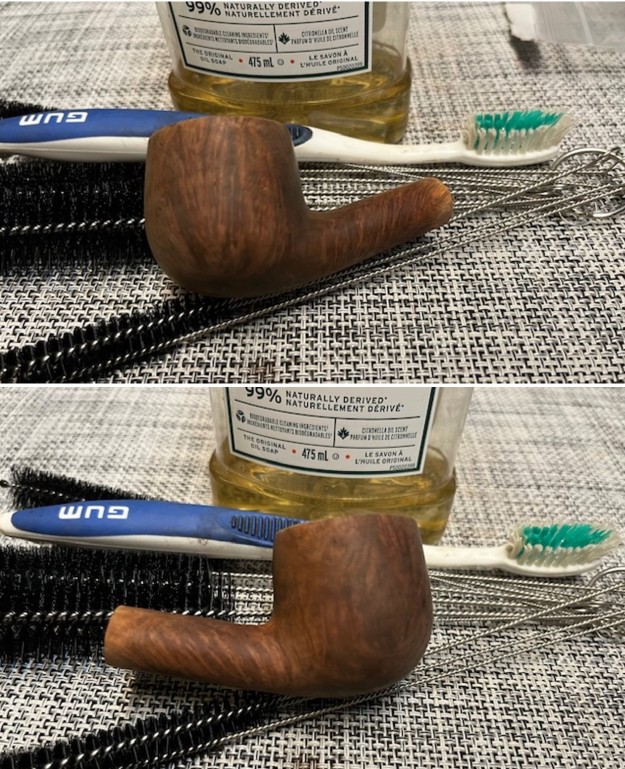
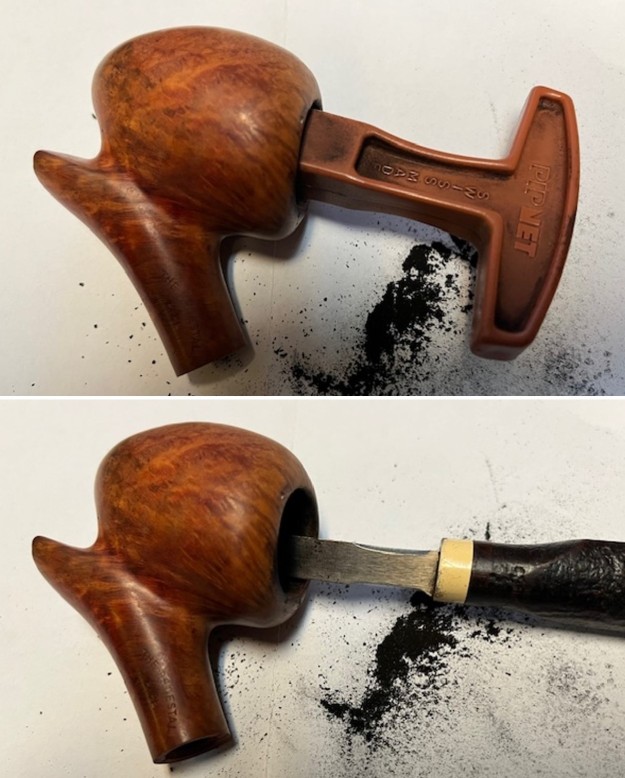
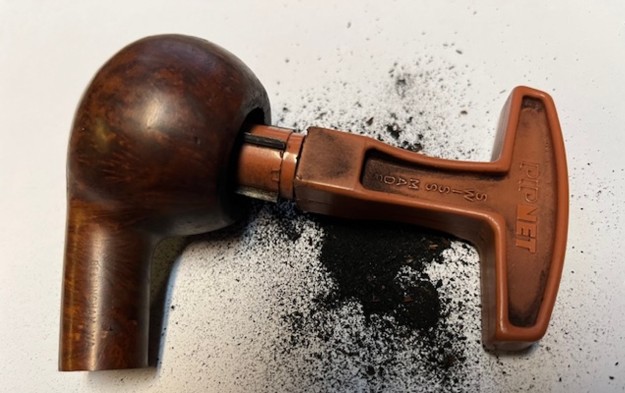
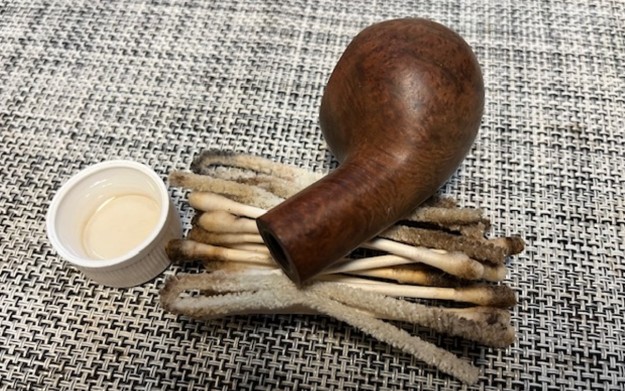
I turned to work on the pipe itself. Jeff had done an amazing cleanup of the pipe. He reamed the cake with a PipNet reamer and cleaned up that with a Savinelli Fitsall Pipe Knife. He scrubbed the internals of the bowl and stem with alcohol, cotton swabs, pipe cleaners and shank brushes. He scrubbed the externals with undiluted Murphy’s Oil Soap and rinsed the bowl off with running water. He soaked the stem in Briarville’s Pipe stem Deoxidizer and once it had soaked rinsed it off with warm water to remove the residual solution. He dried it off and rubbed it down to remove any oxidation that was still on the stem. The pipe looked better when I received it. 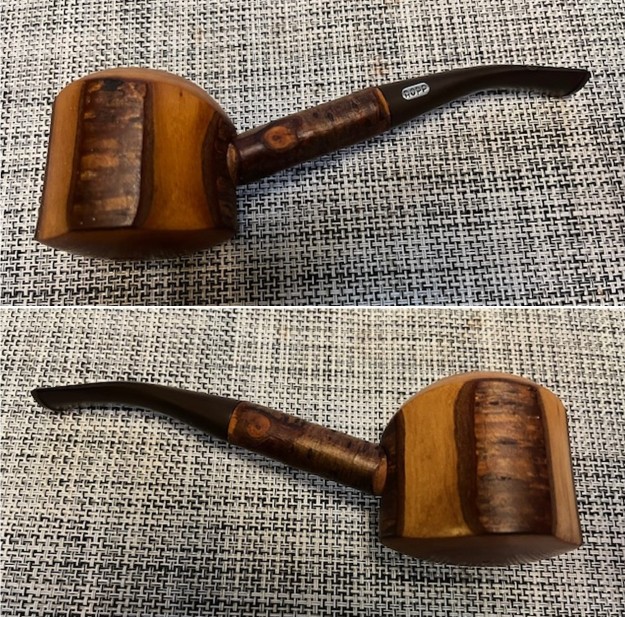
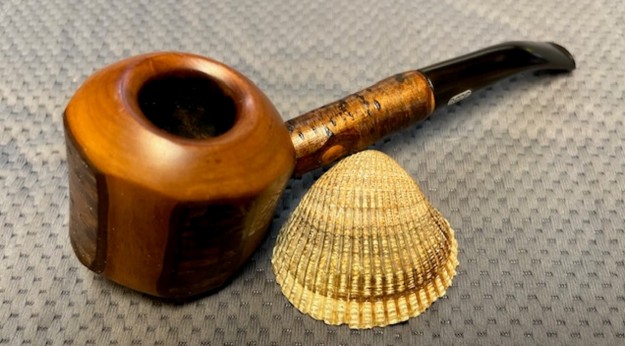
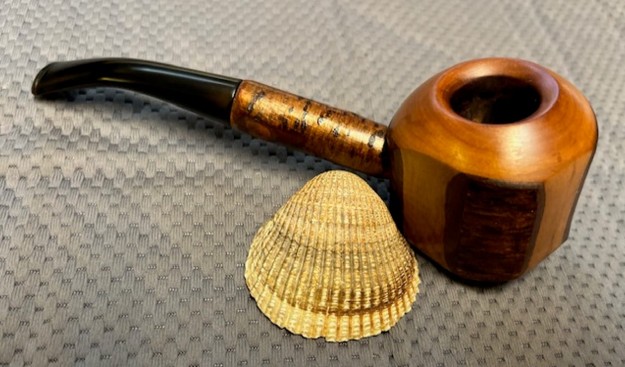
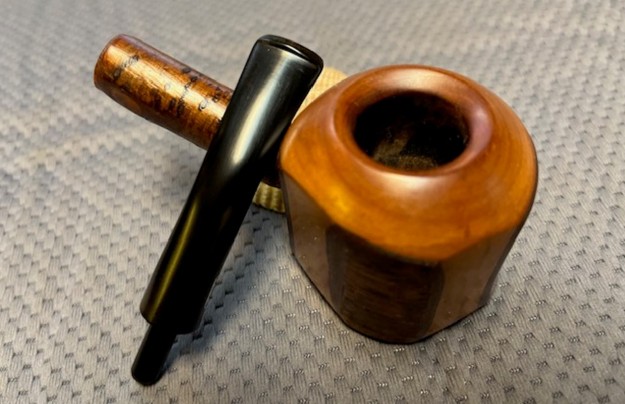
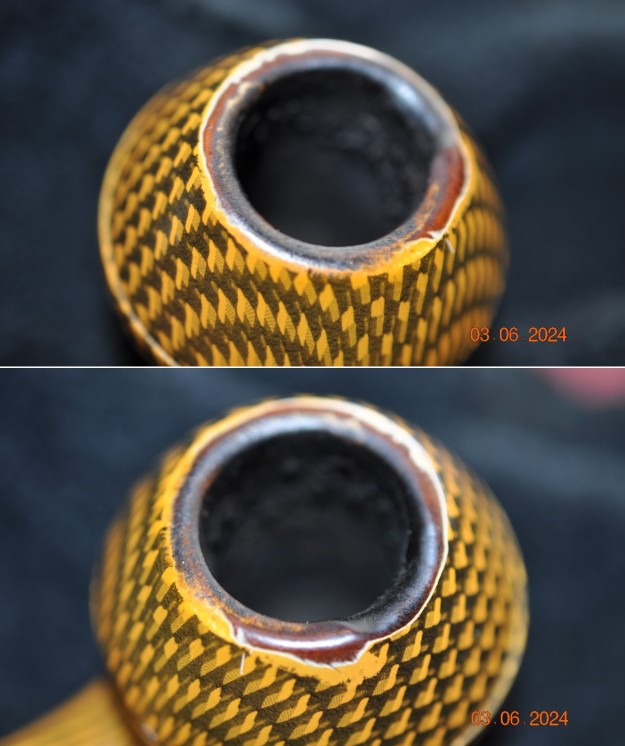
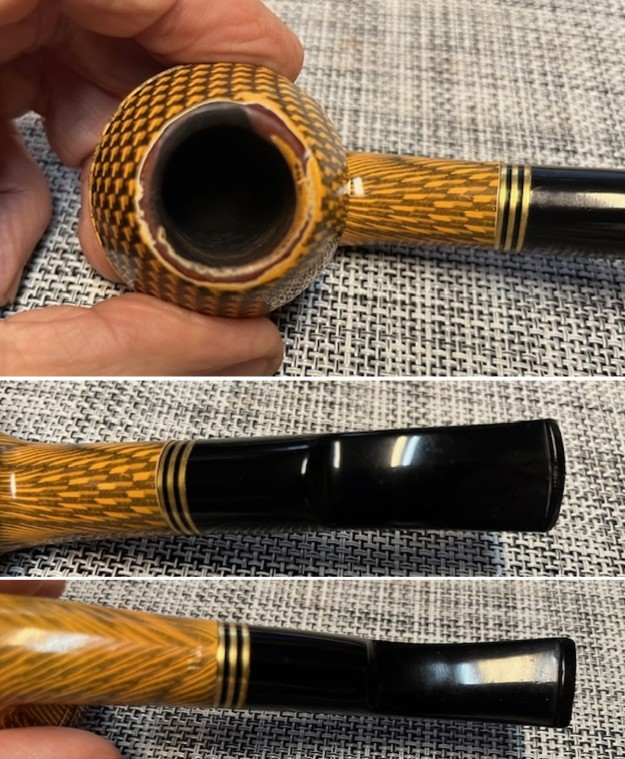
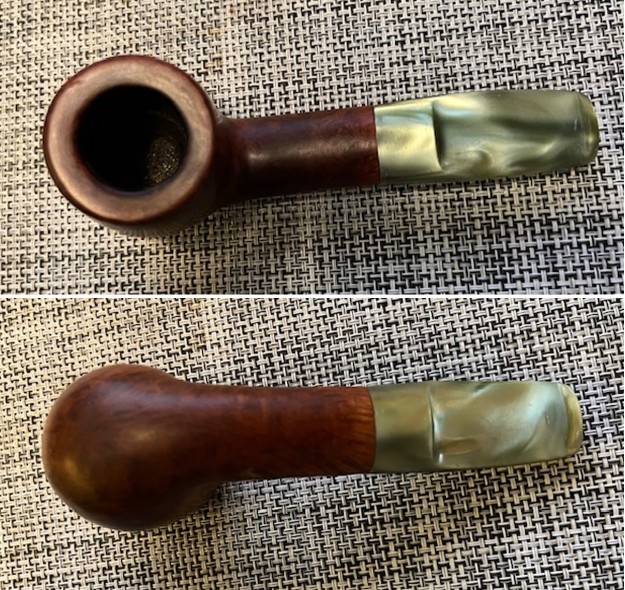
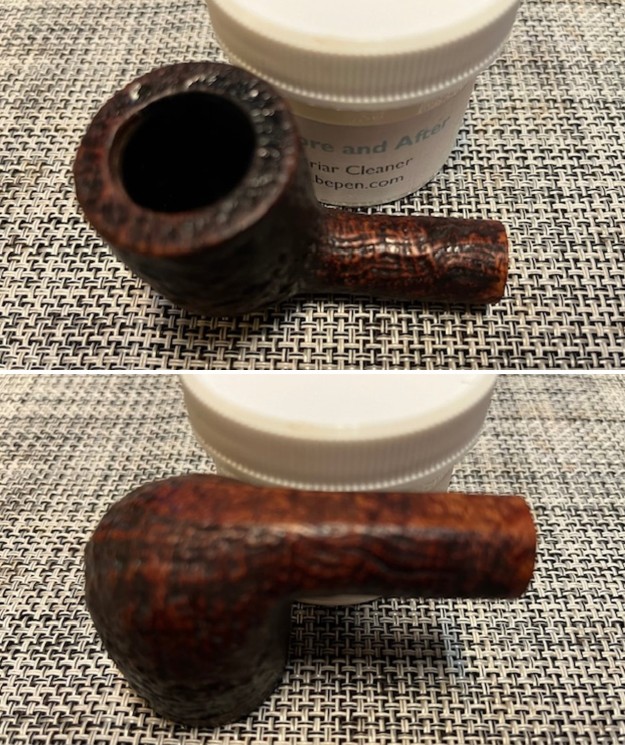
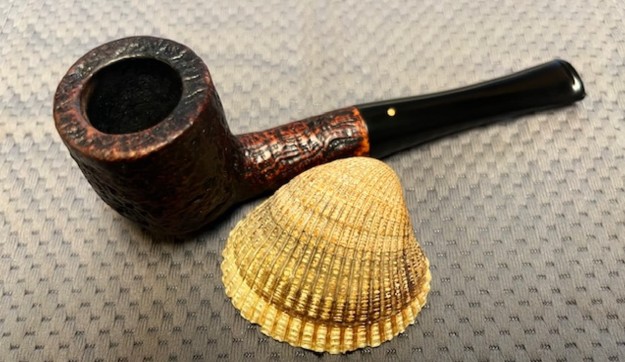
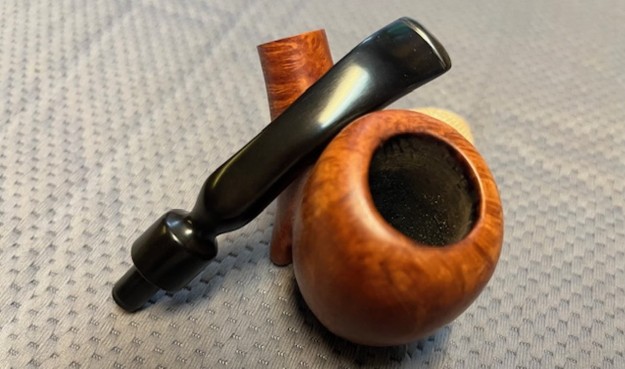
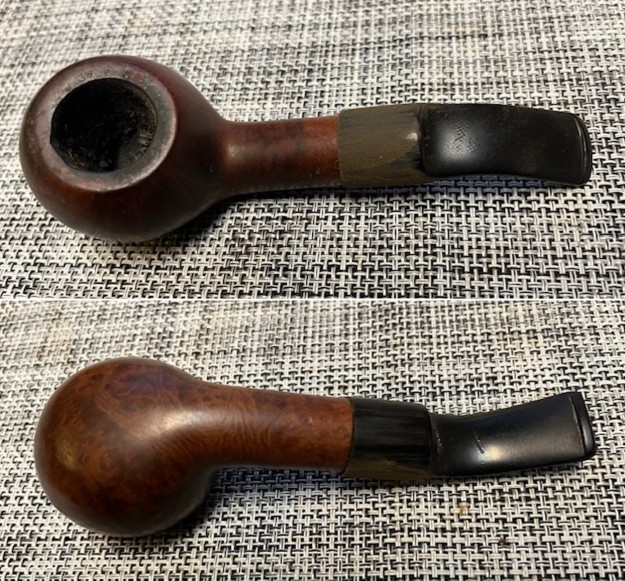
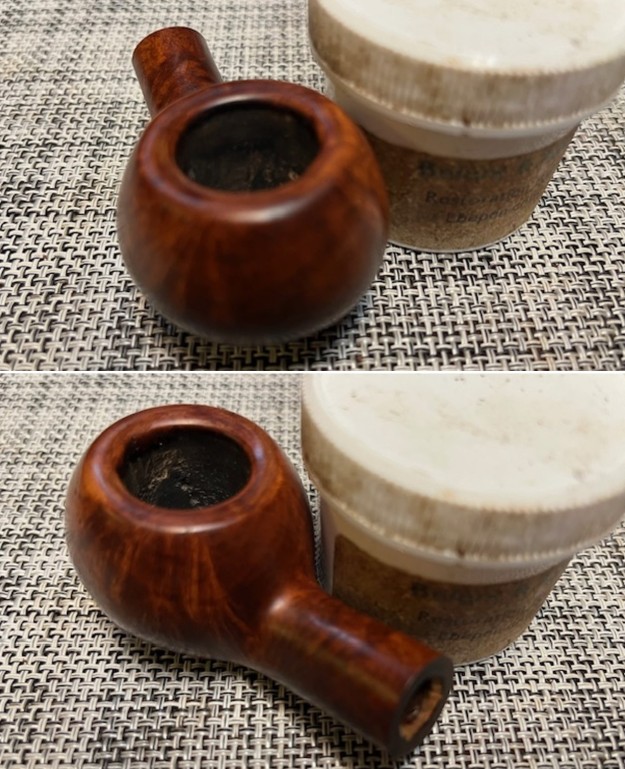
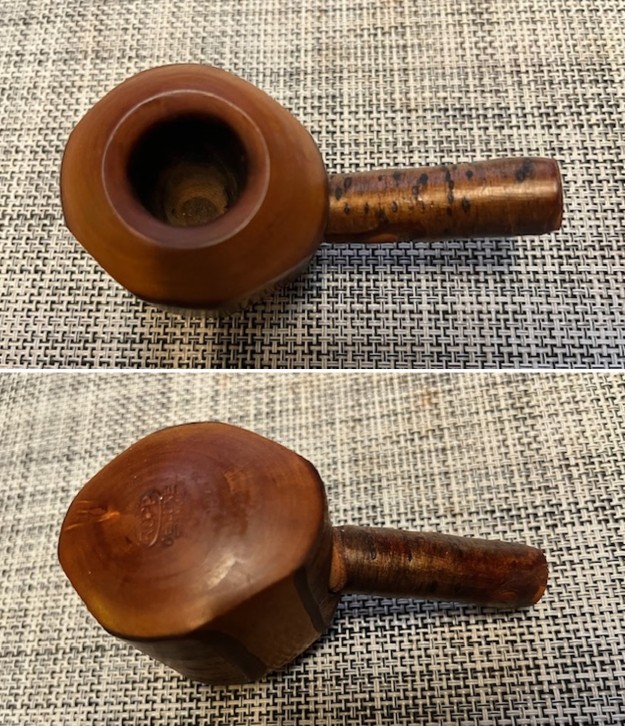
 I took a photo of the rim top to show the condition. It looks good with the tars and oils removed from the rim top. The condition of the bowl and rim top were very good. The stem came out looking quite good with some light tooth marks and chatter on both sides ahead of the button.
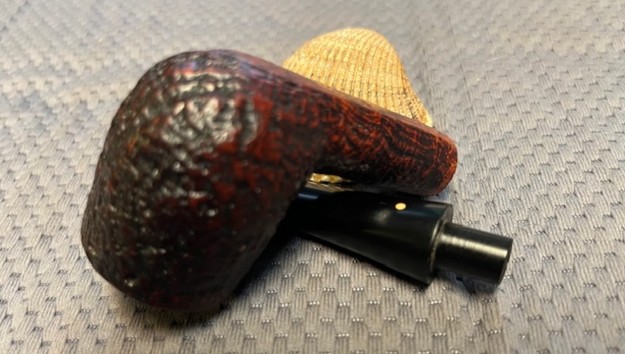
 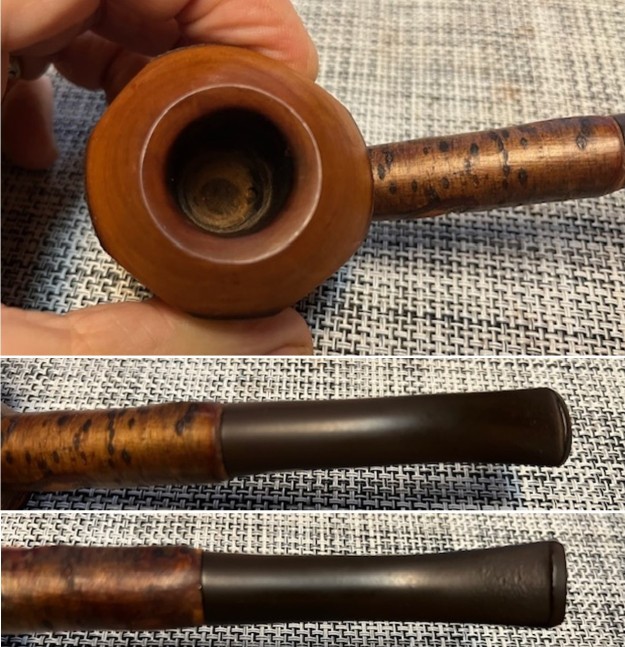 I took a photo of the heel of the bowl to show the stamping. The stamping is very clear and reads as noted above. I also took a photo of the logo insert on the left side of the taper stem.
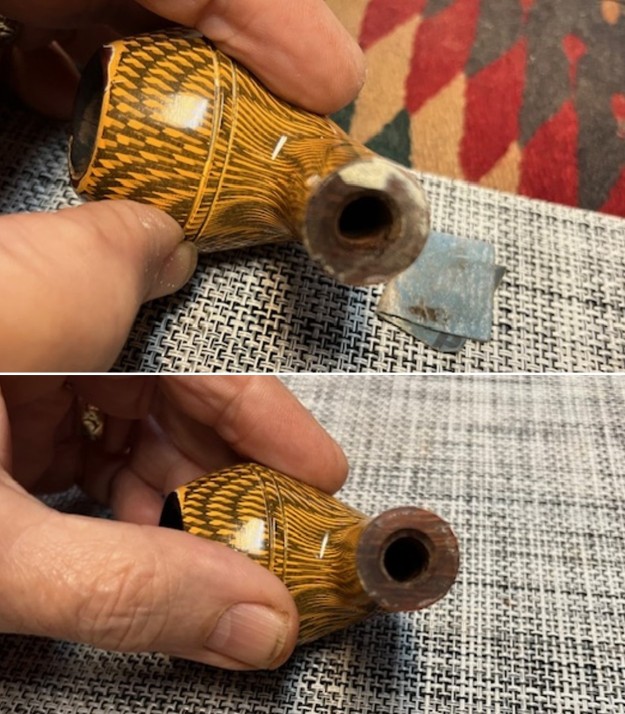
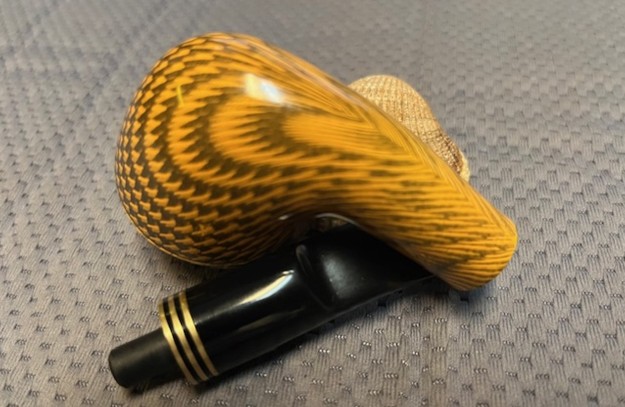
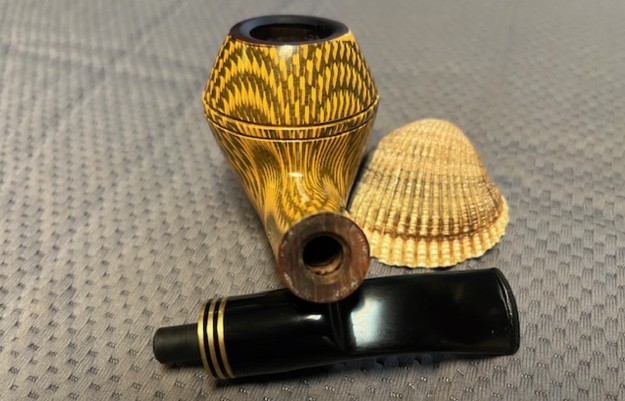
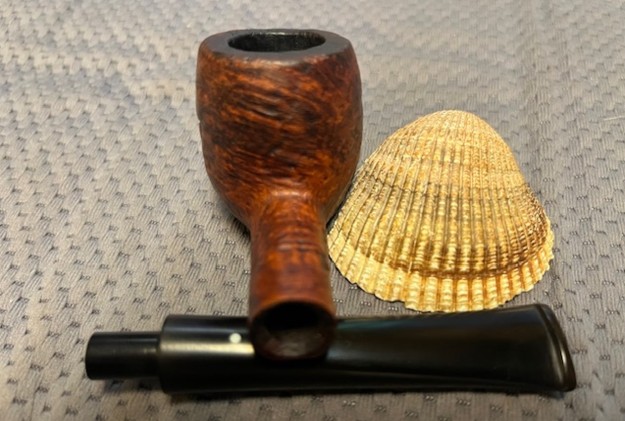
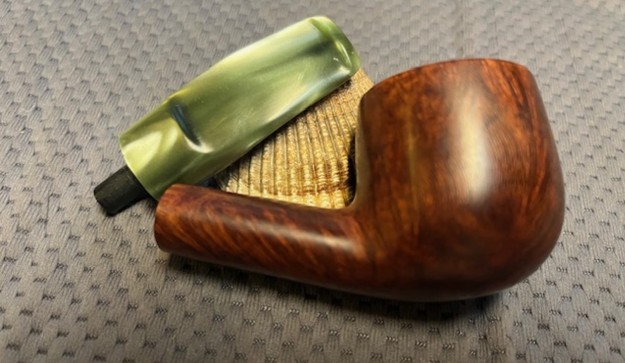
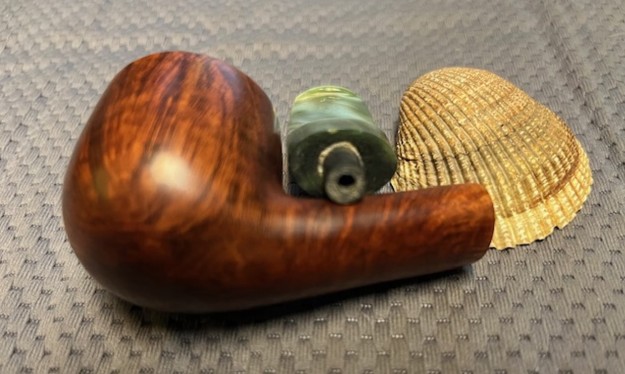
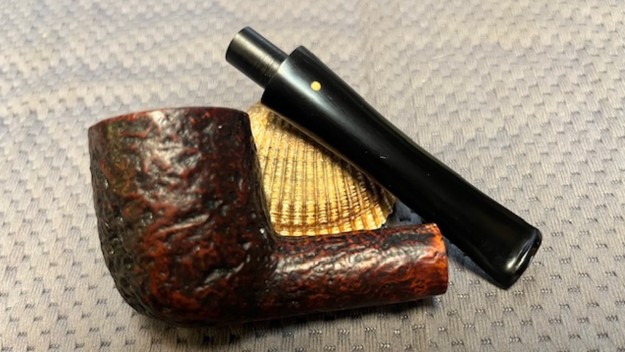
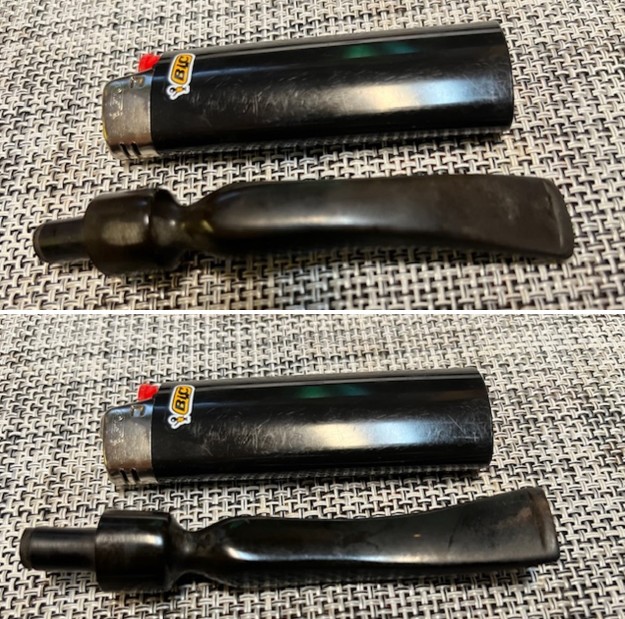
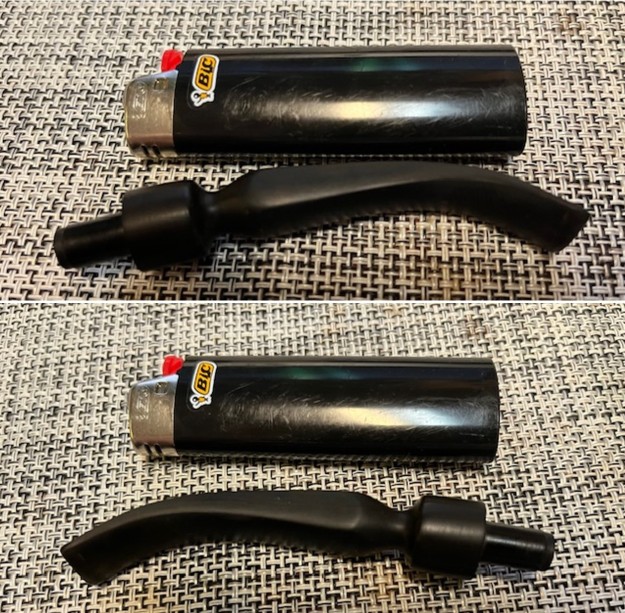
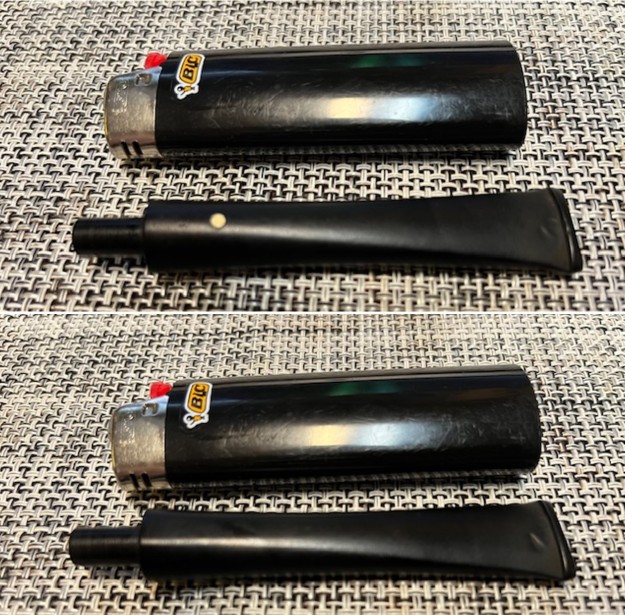
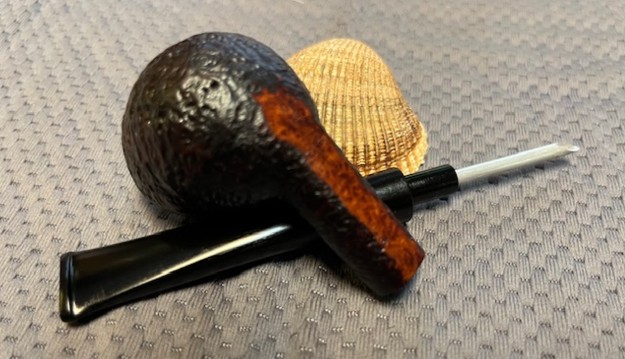
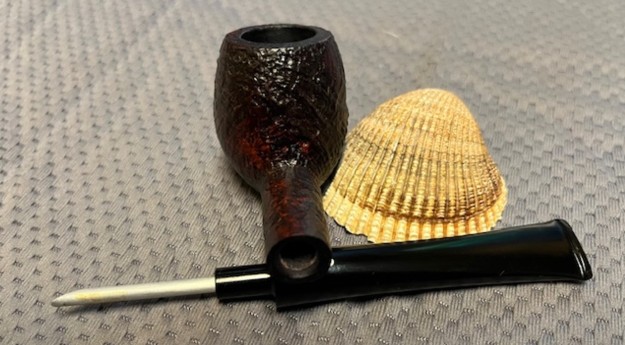
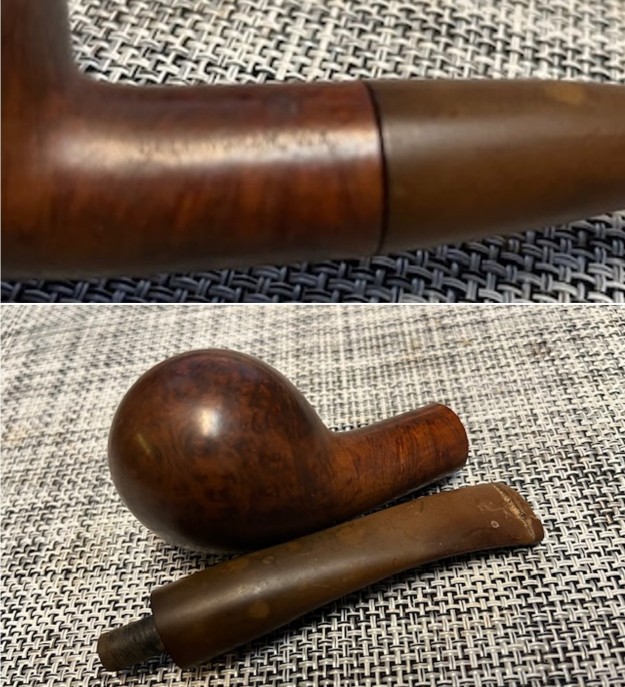
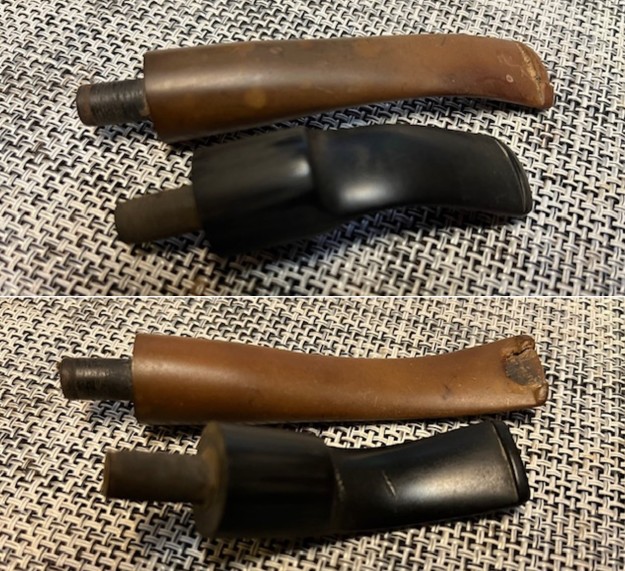
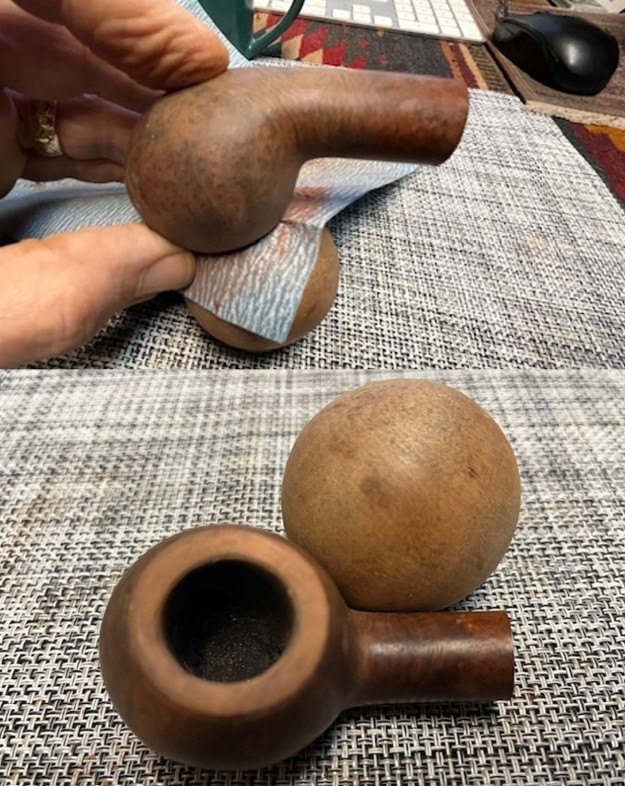
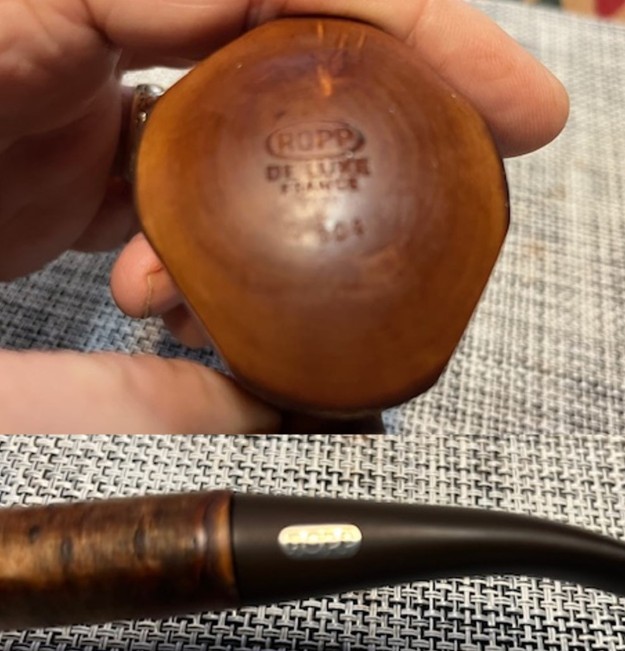 I carefully took the pipe apart. The shank and stem unscrewed as a single unit from the bowl. I checked the fit of the stem in the shank and from my memory of other Ropp pipes I was pretty certain it was a push stem. I removed the stem from the shank and took a photo of the pipe parts to show what I was working with. Everything looked good both inside the mortise and on the tenon. It is a well shaped and was a nice looking pipe.
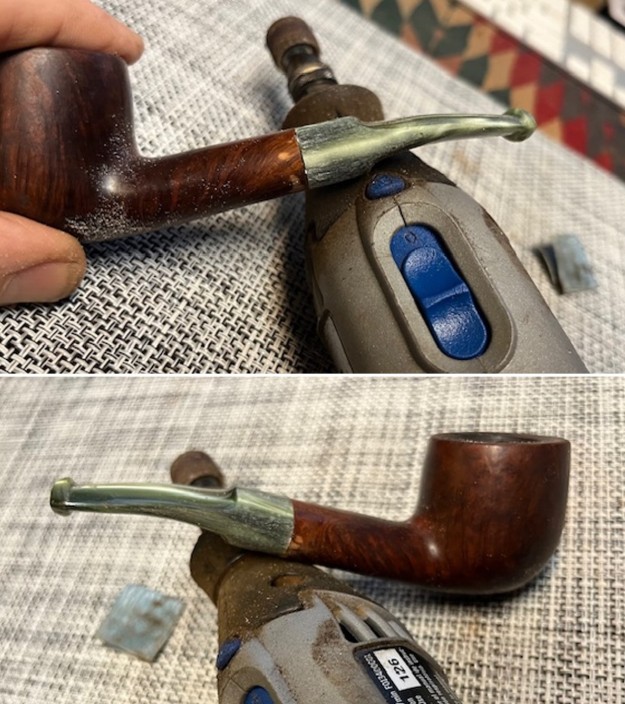
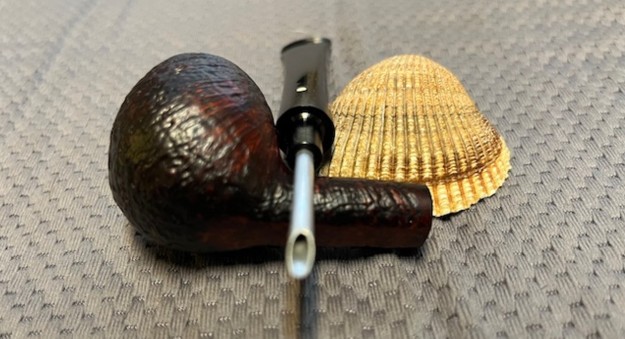
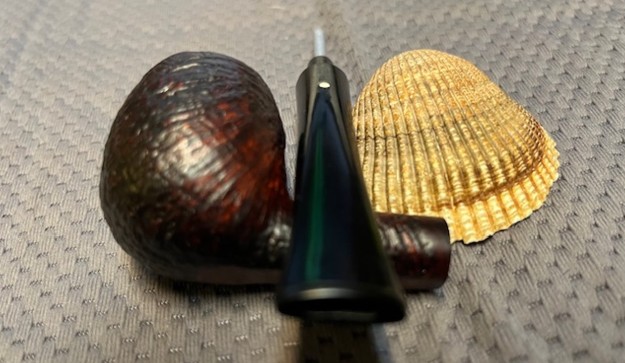
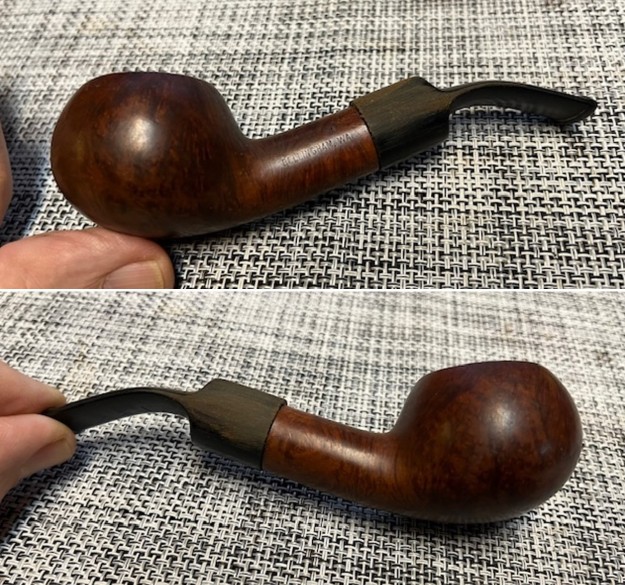
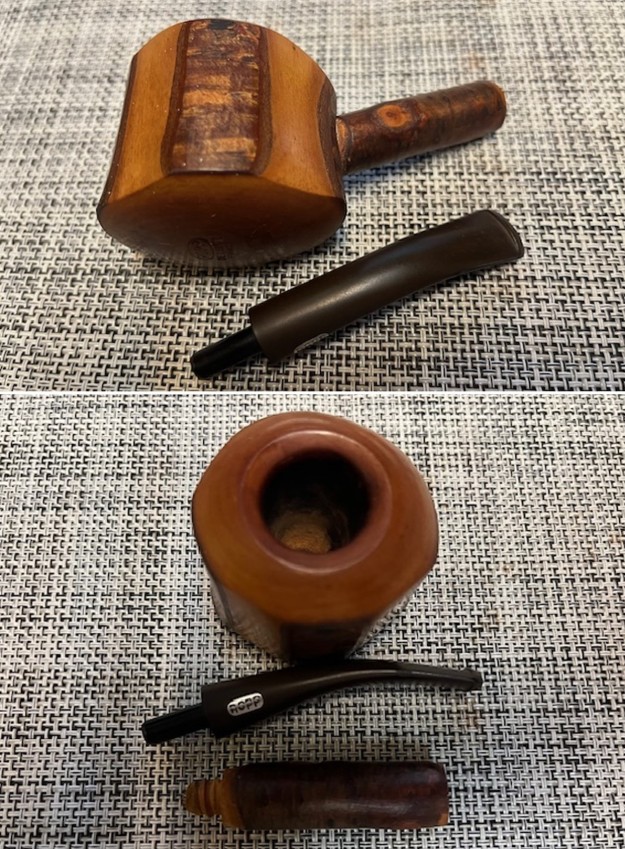 With the bowl and shank cleaned it was time to put those parts back together. I have learned that the threaded tenons on the Cherrywood work better when lubricated with some Vaseline Petroleum Jelly. It makes it easy to turn them together without damaging or cracking the shank or bowl. I screwed it into the bowl and took photos of the pipe at this point.
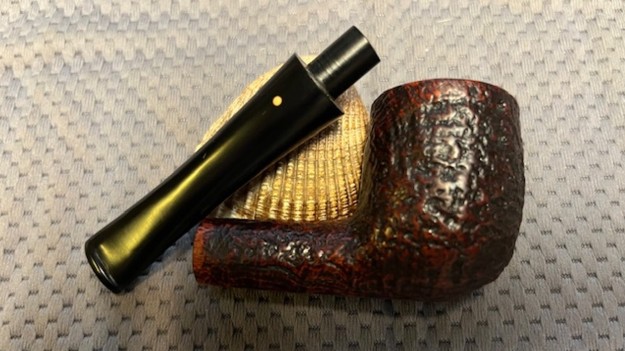
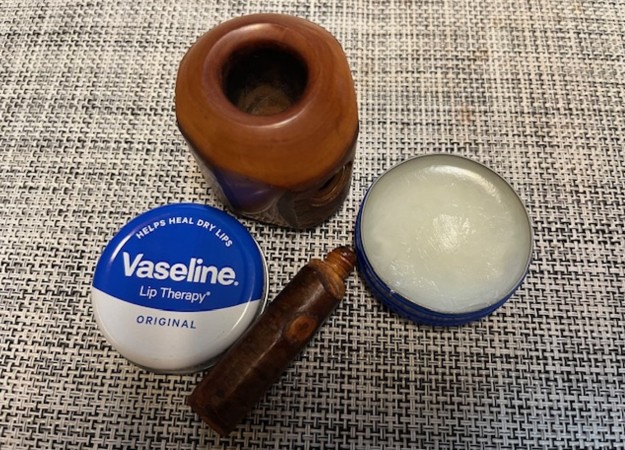

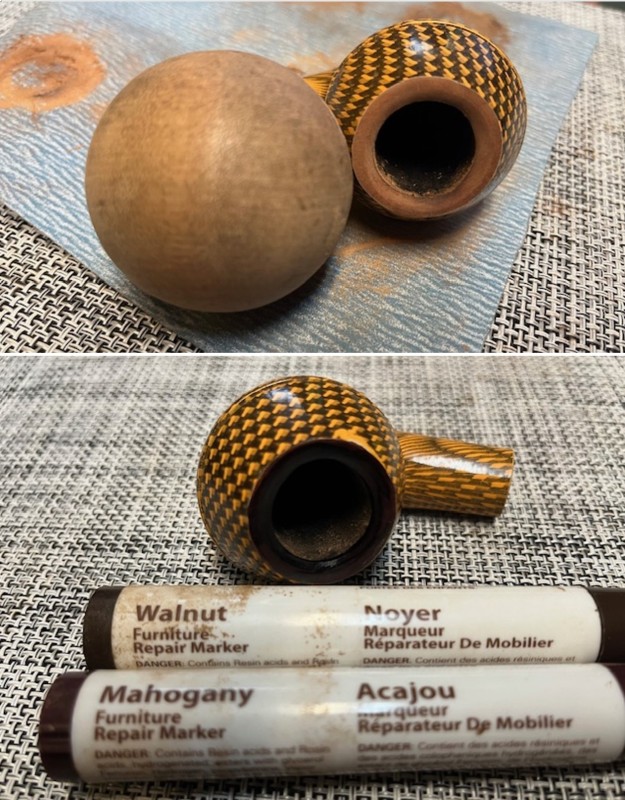
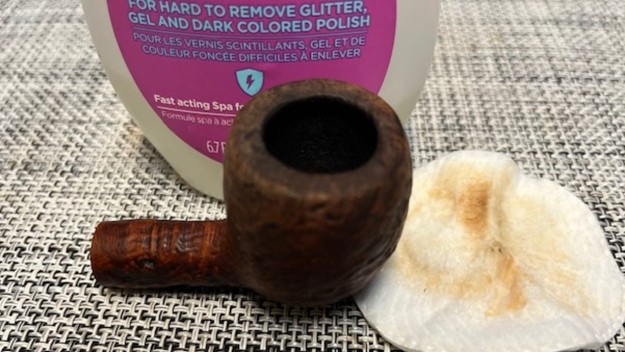
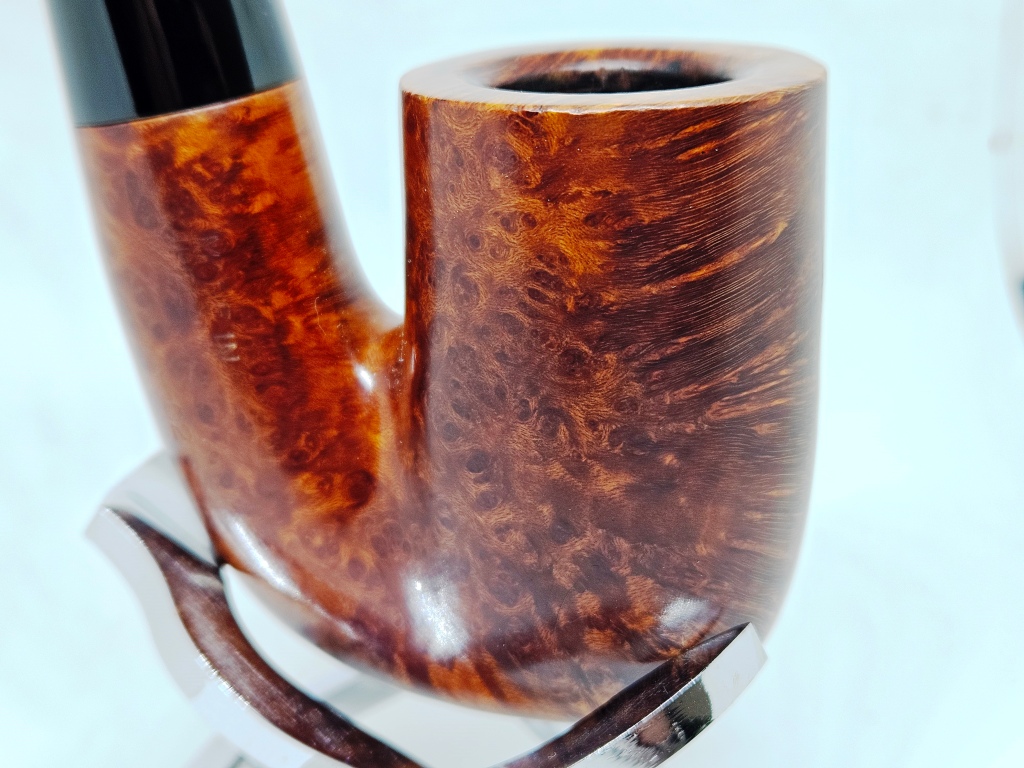
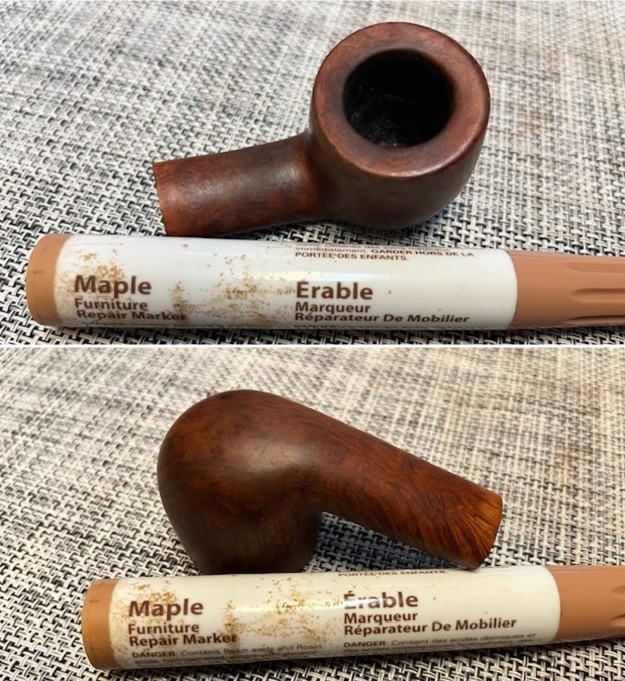
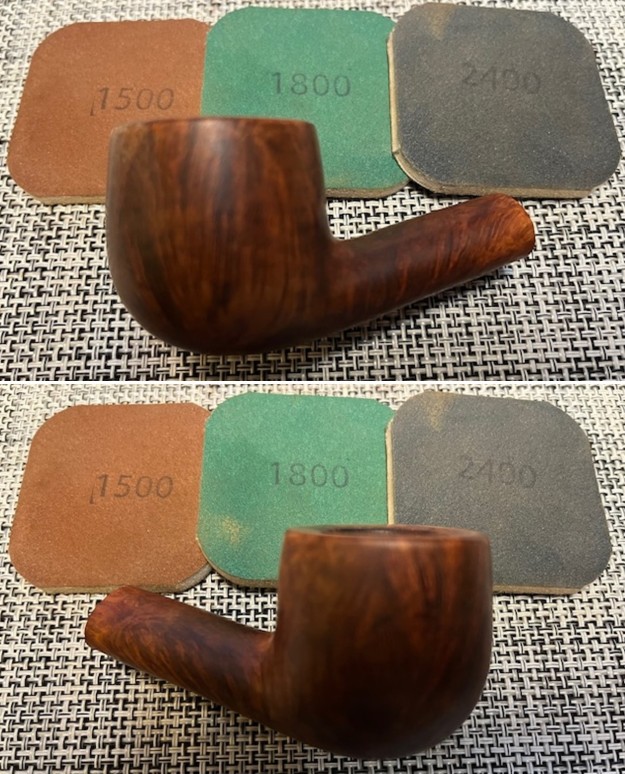
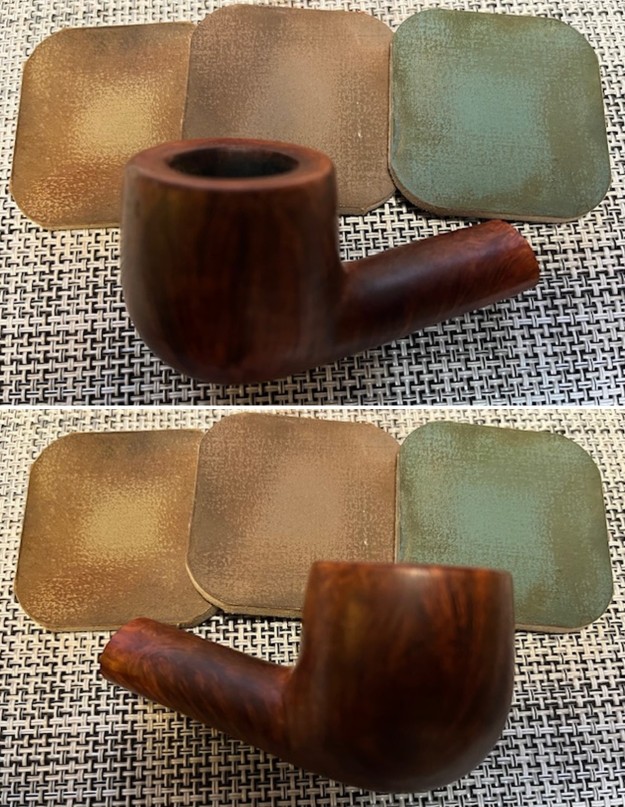
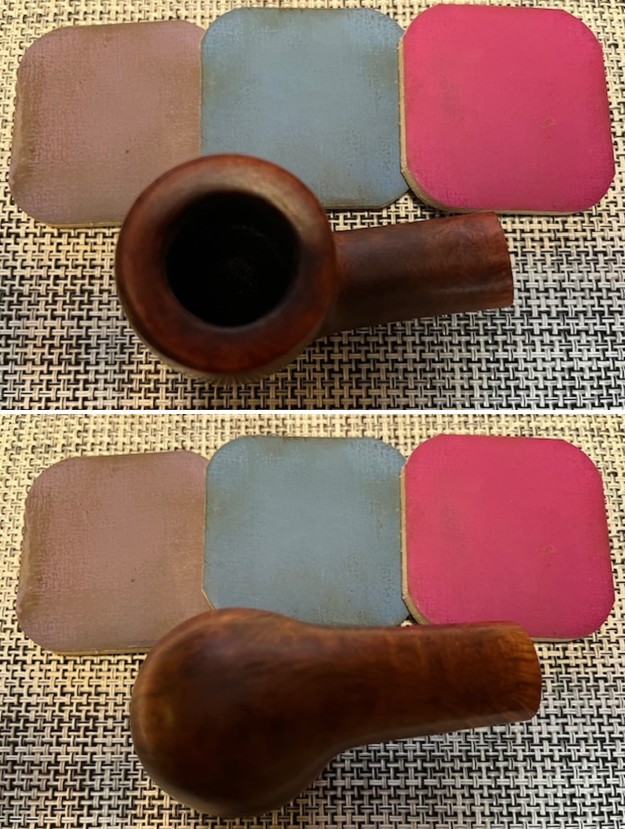
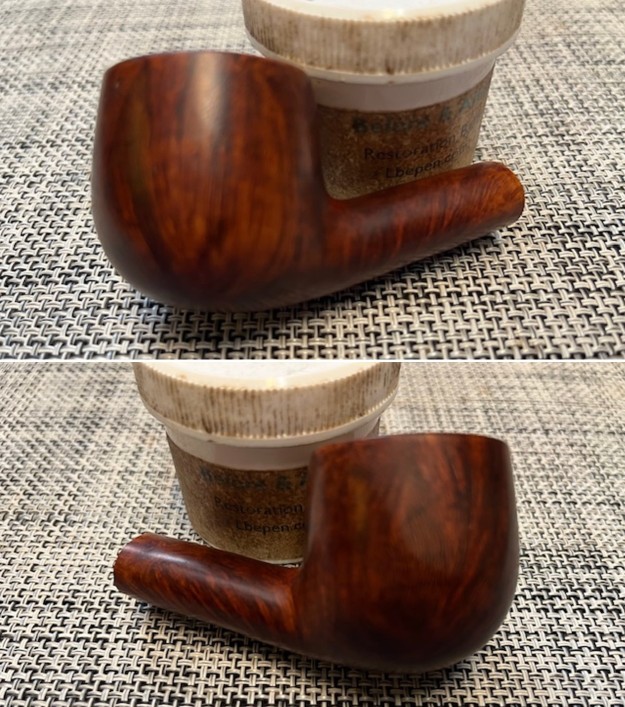
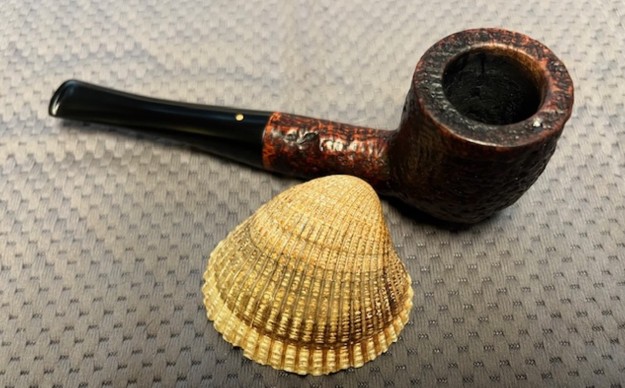
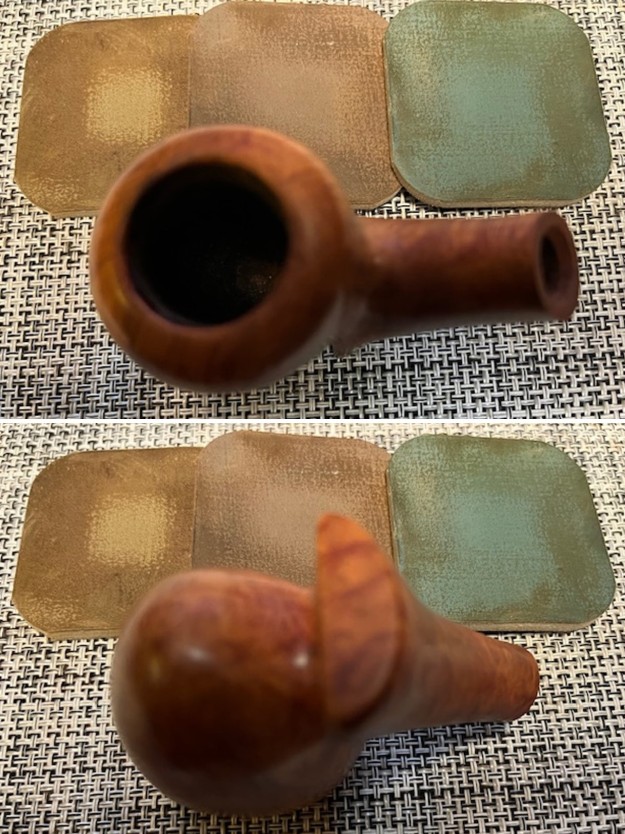
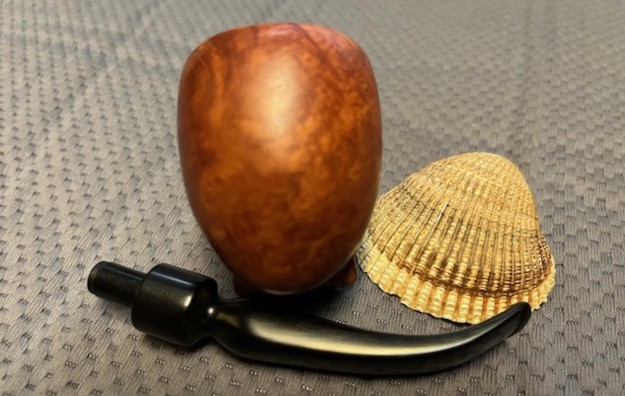
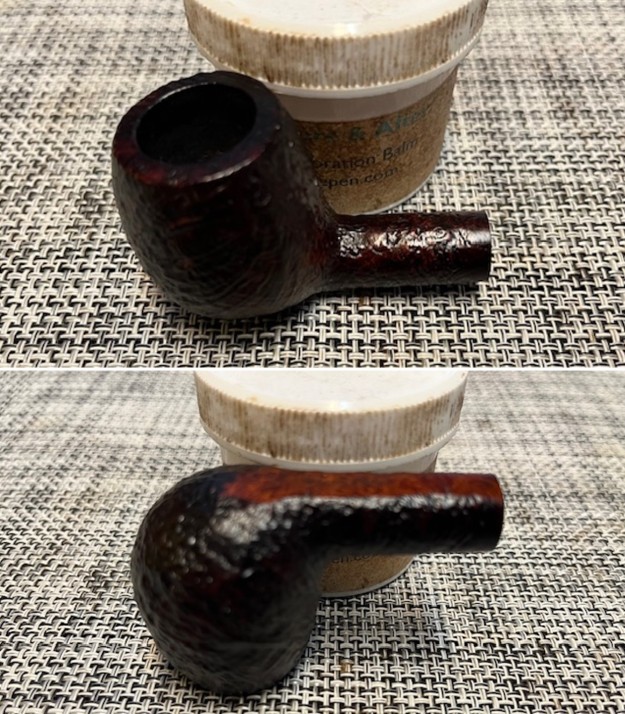
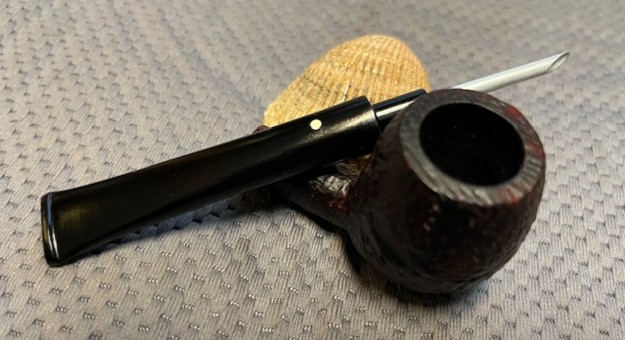
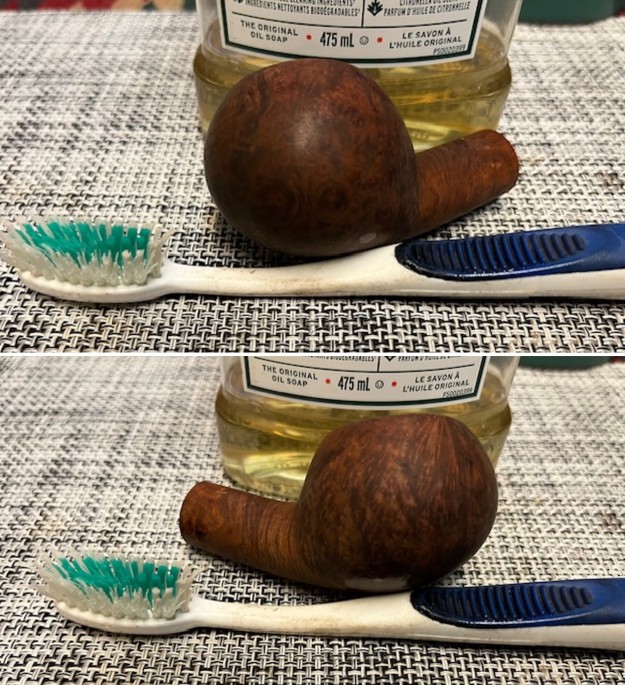
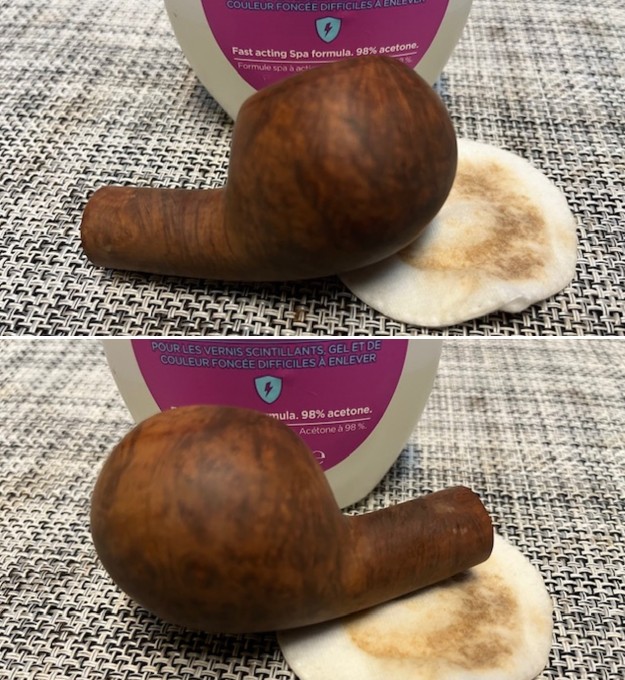
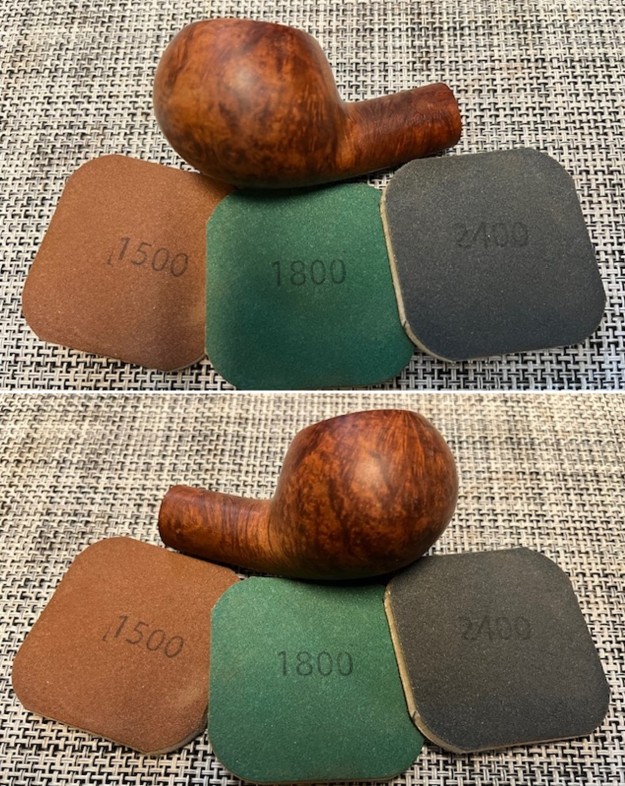
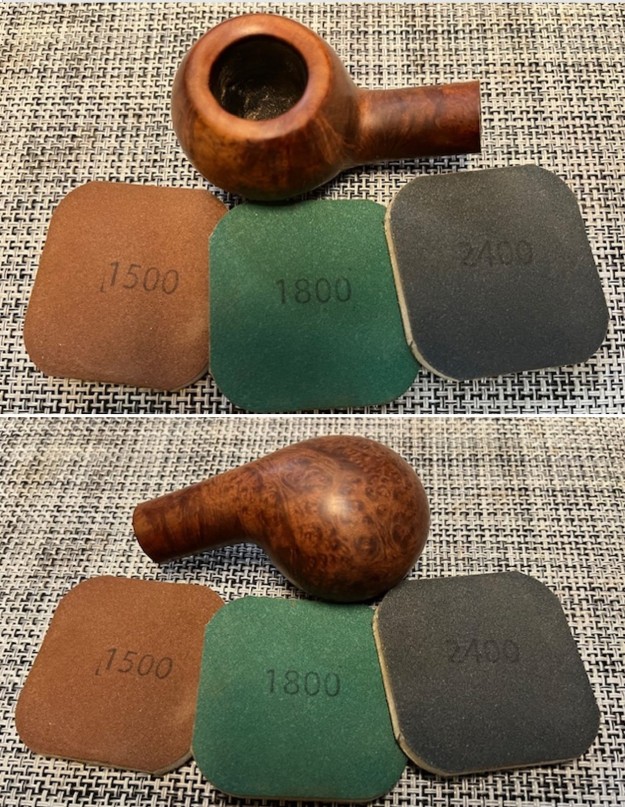
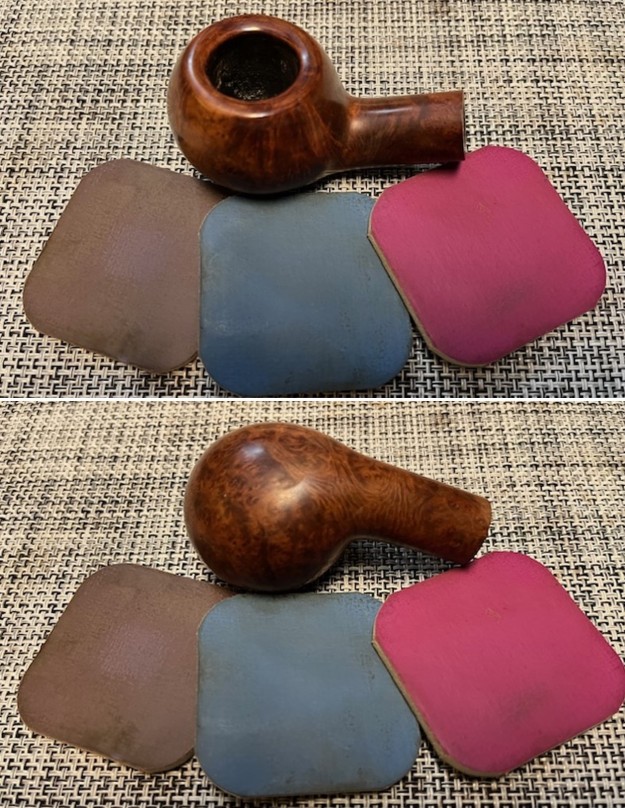
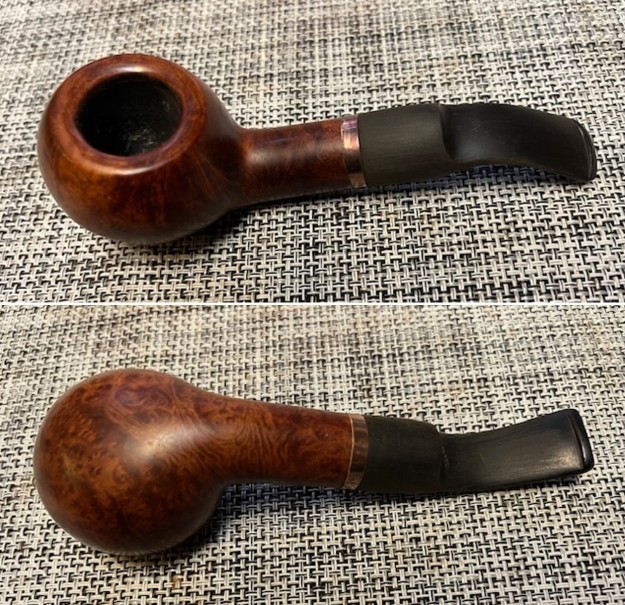
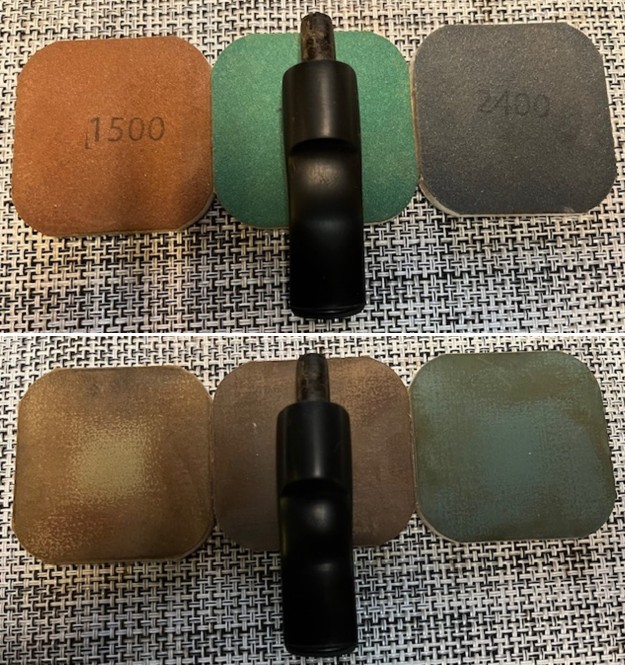
 I wet sanded the rim top and the smooth portions on the bowl sides with micromesh sanding pads – 1500-12000 grit sanding pads. I wiped the bowl surface down with a damp cloth after each sanding pad to remove the sanding dust. Once I finished the bowl looked good.
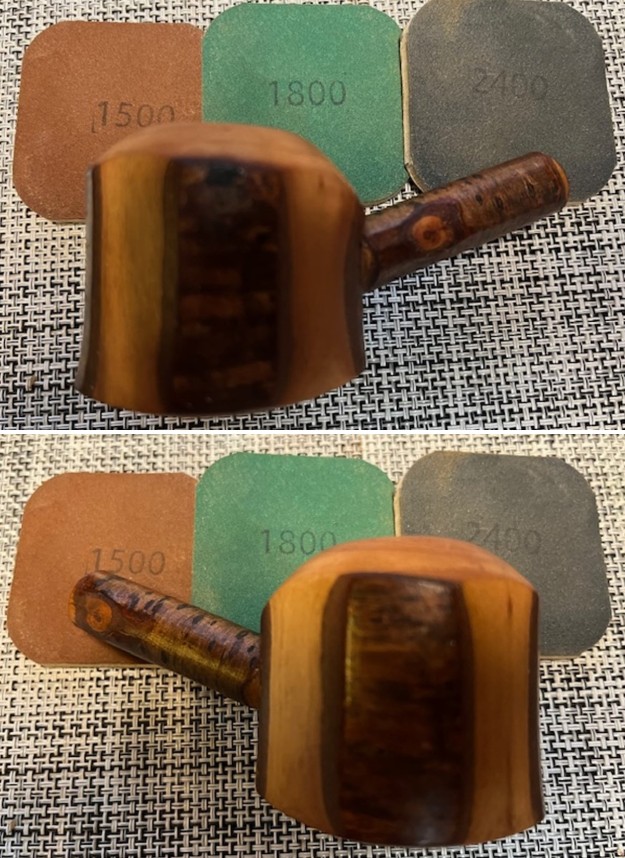

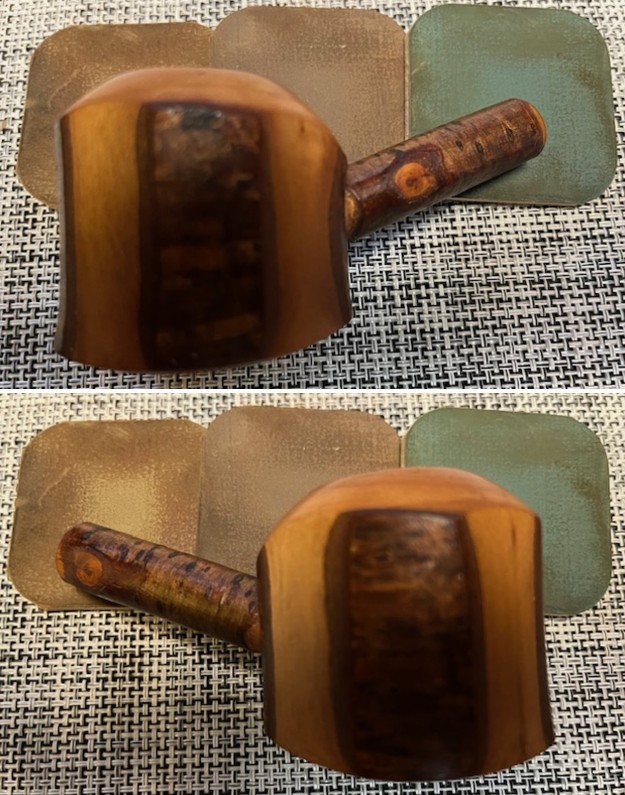


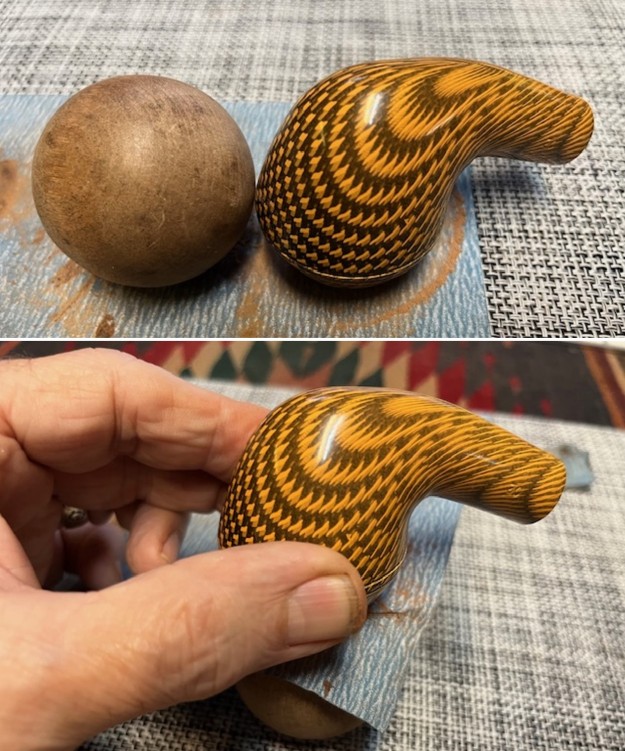
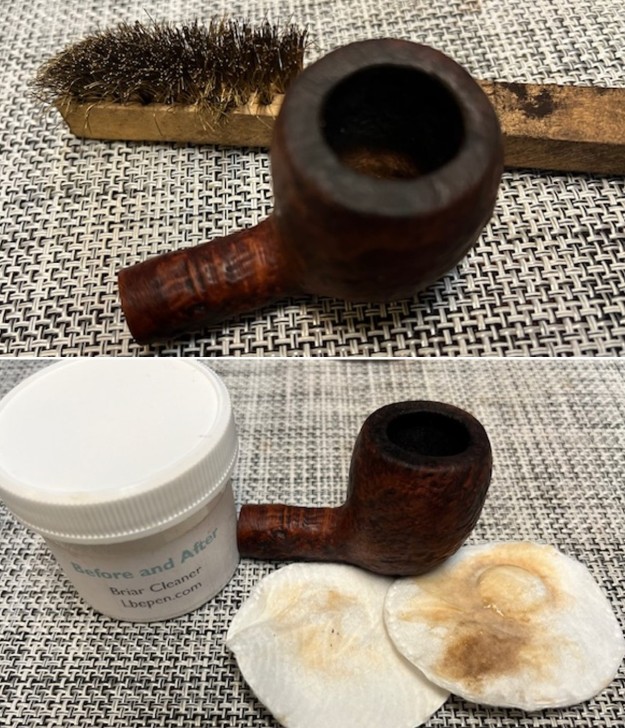
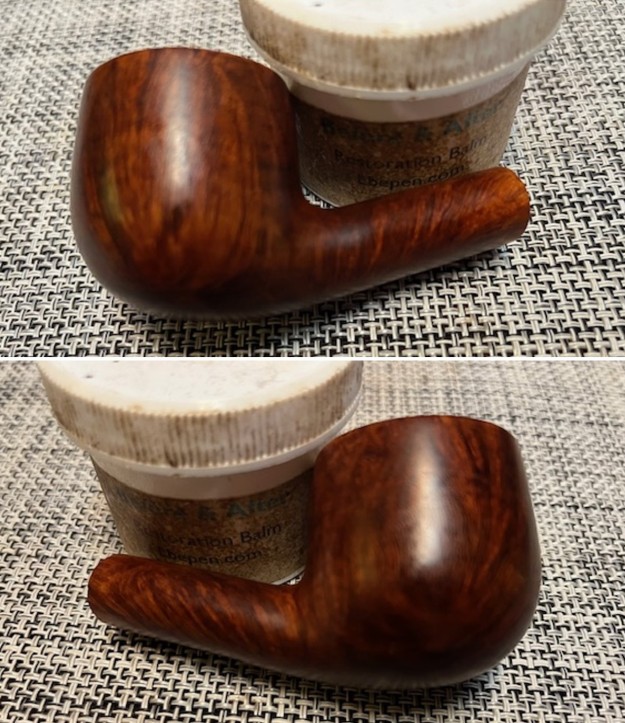
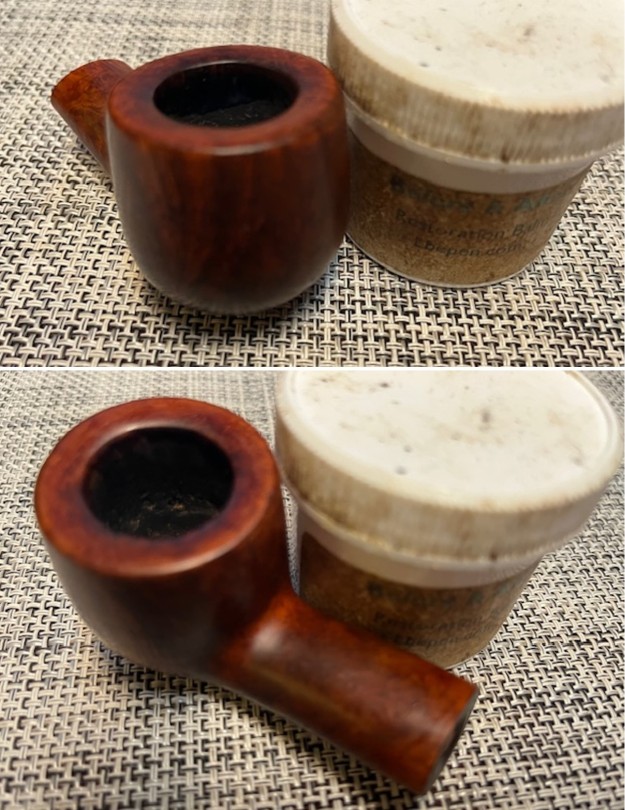
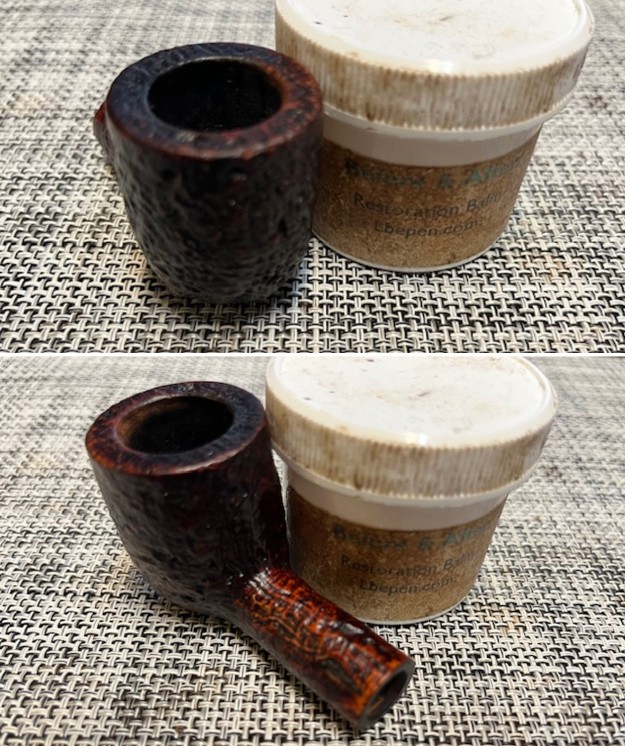
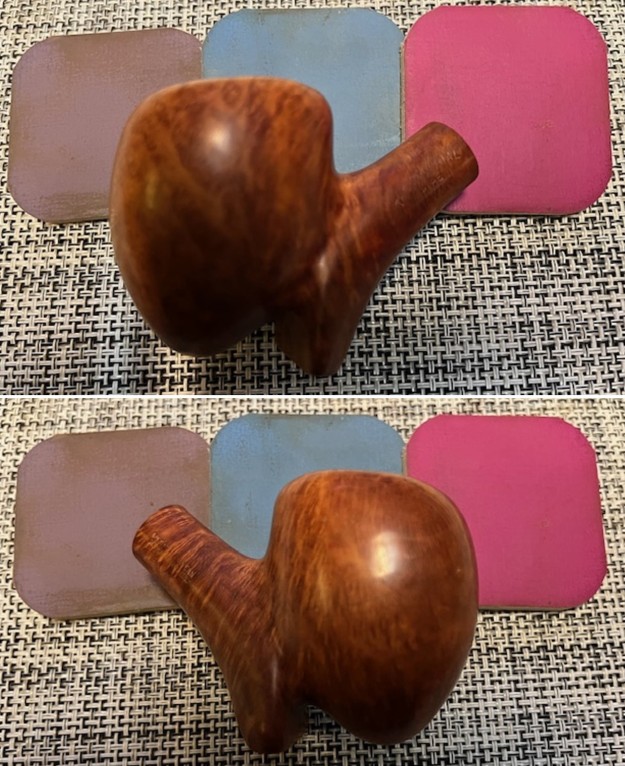
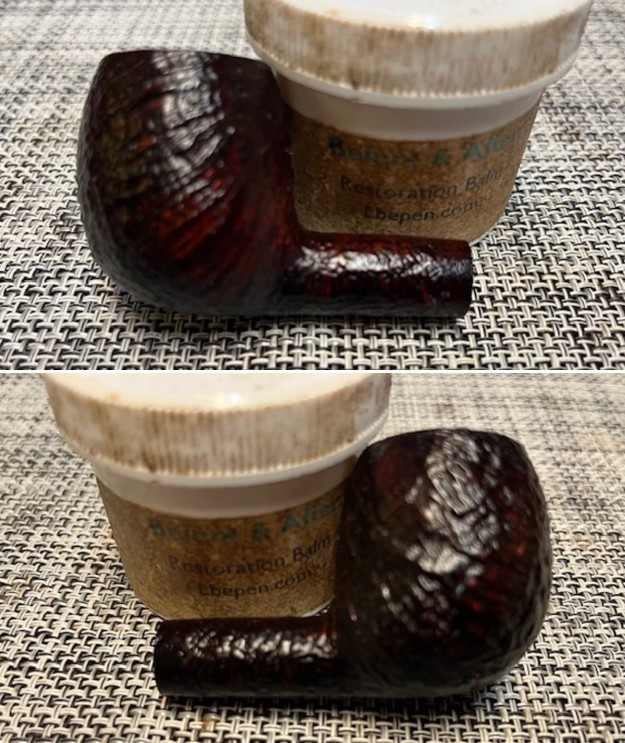
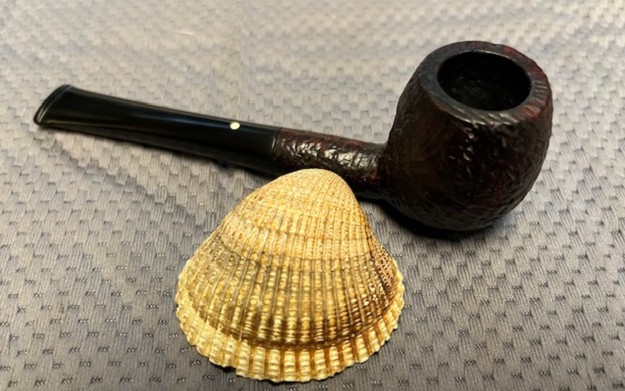
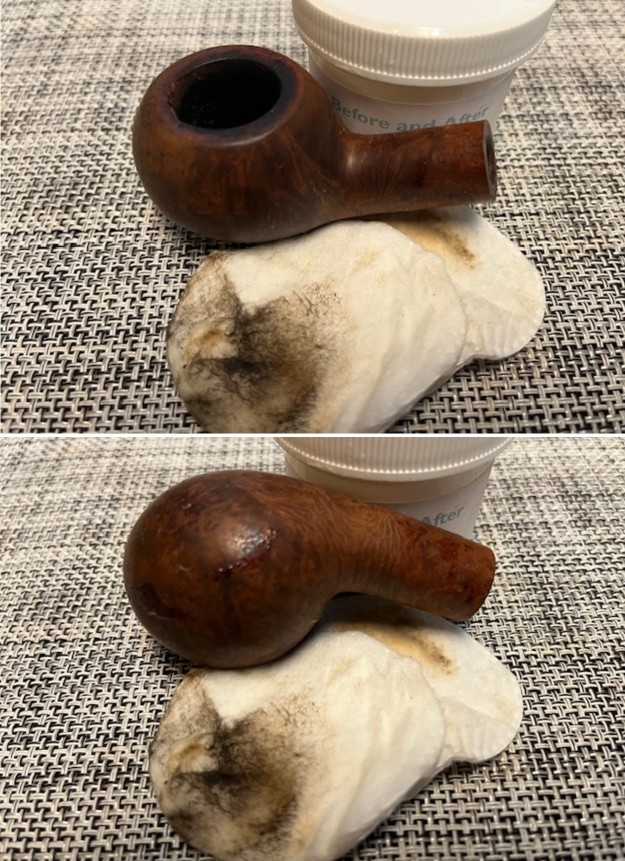
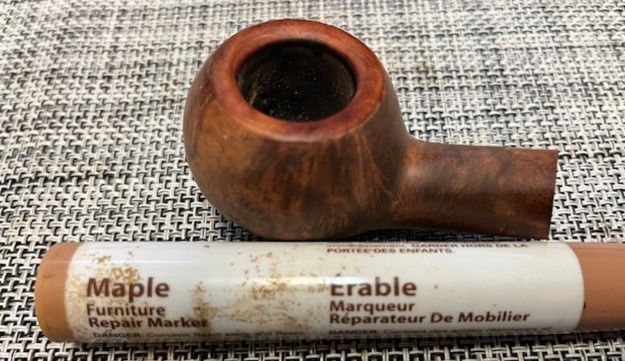
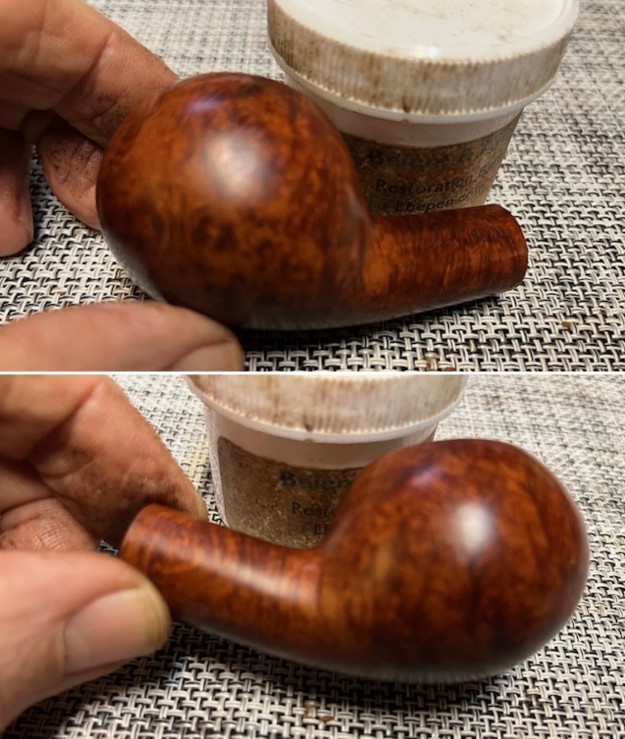
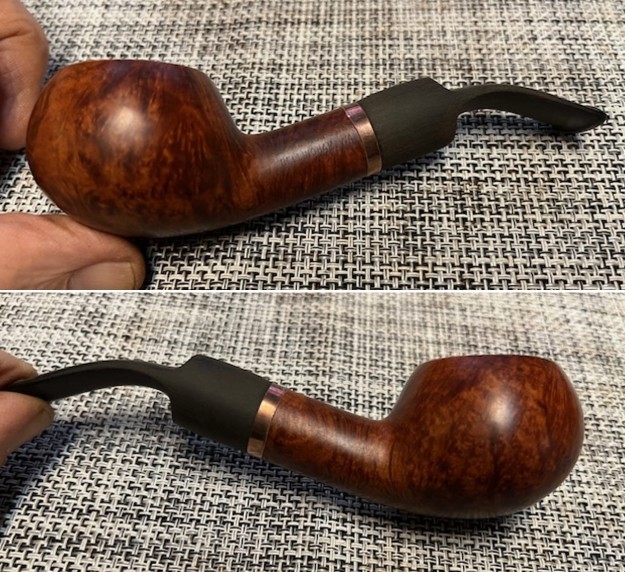
 I rubbed the Cherrywood bowl and shank down with Before & After Restoration Balm. I worked it into the surface of the Cherrywood with my fingertips to clean, enliven and protect it. I let the balm sit for a little while and then buffed with a cotton cloth to raise the shine. Mark Hoover’s Balm is a product that I have come to appreciate and one I use on every pipe I have been working on.
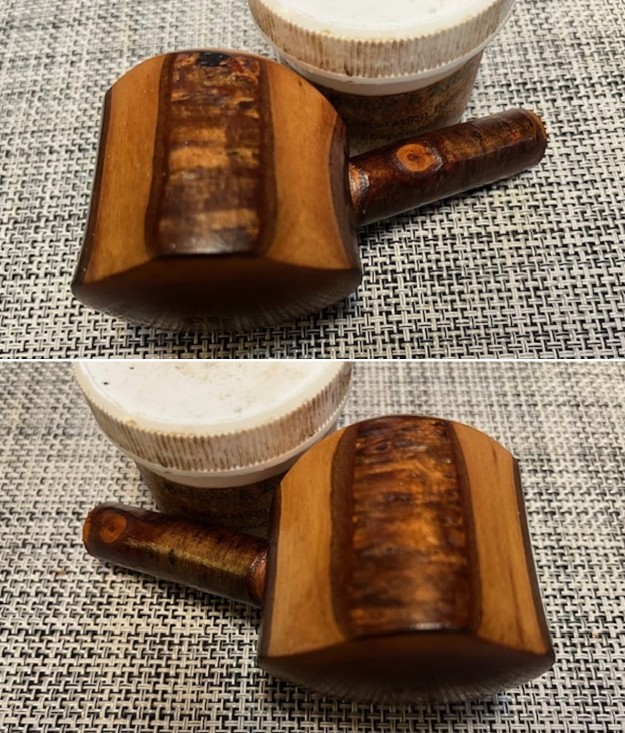

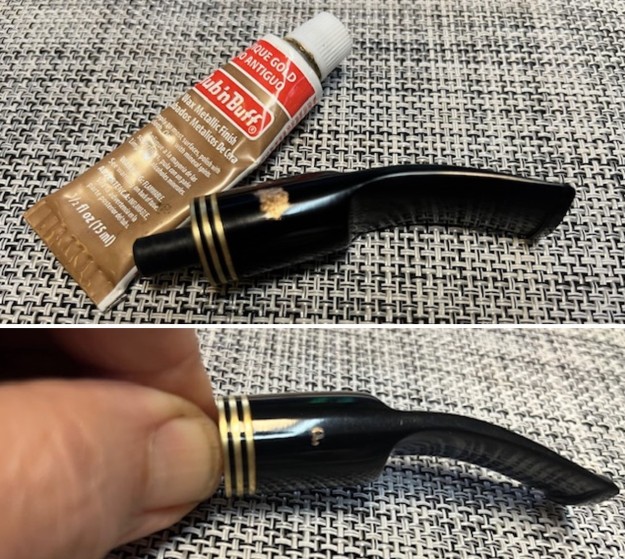
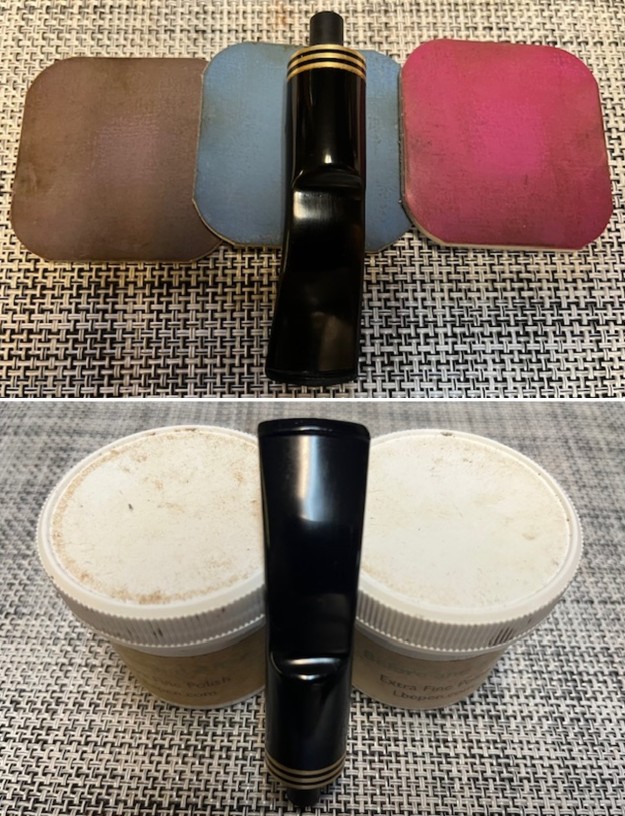
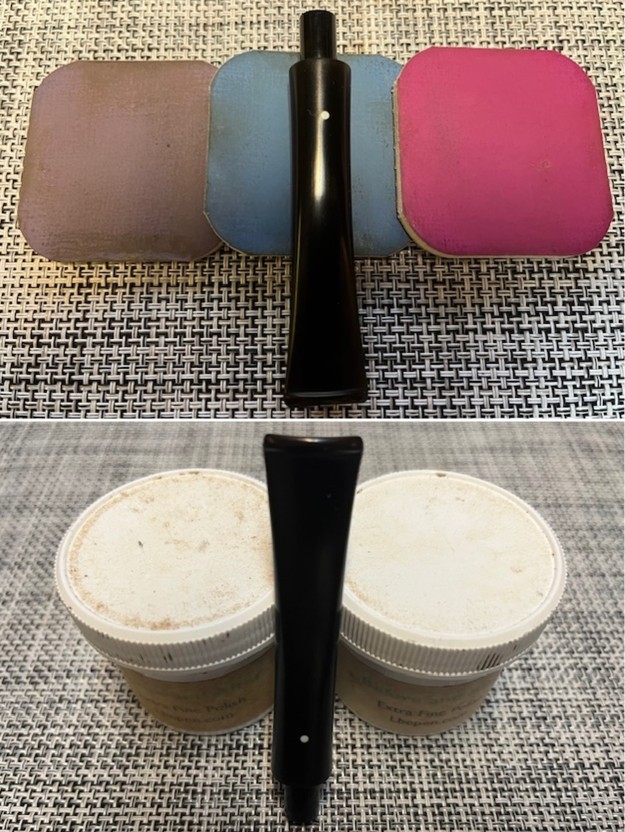
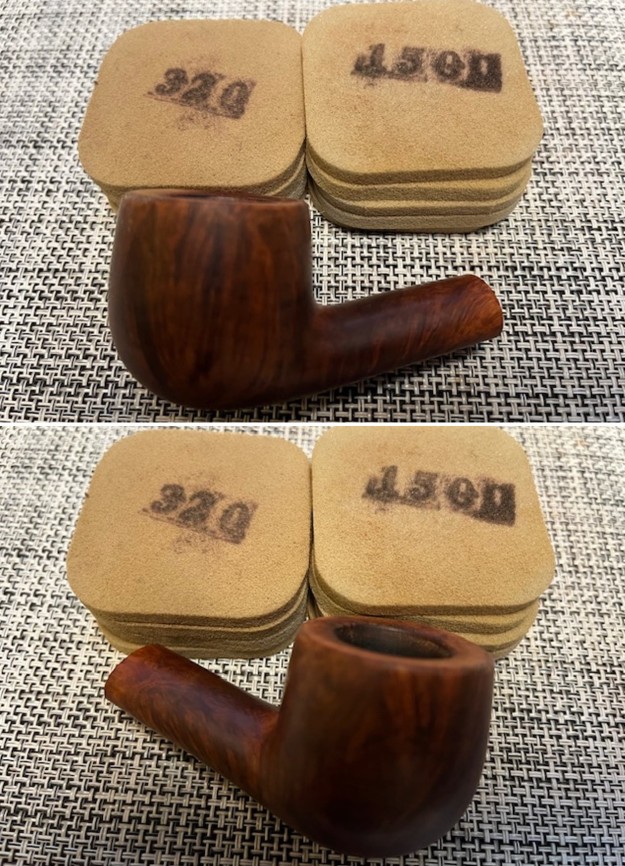
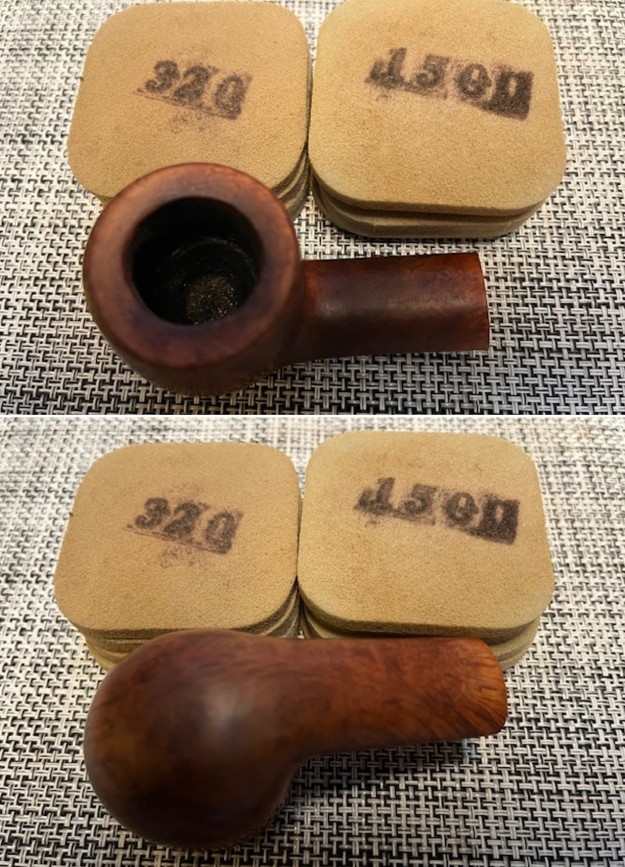
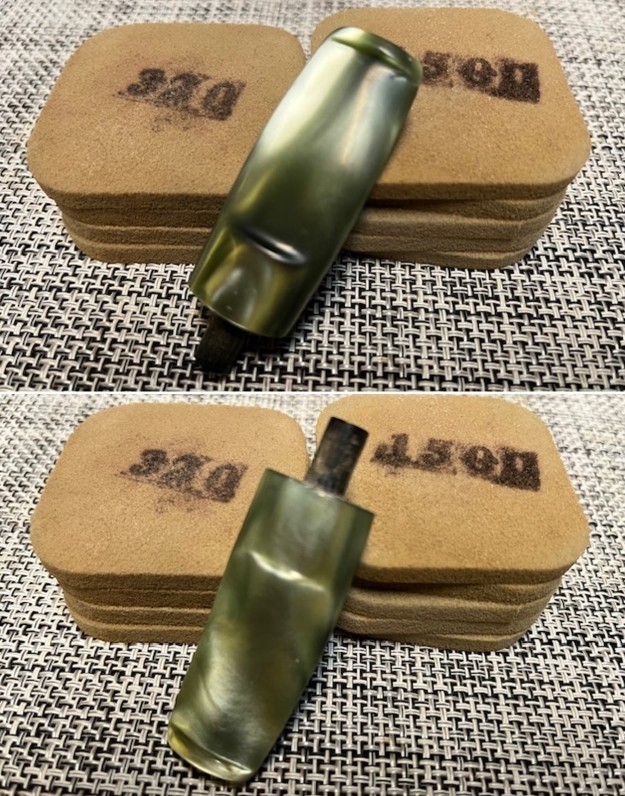
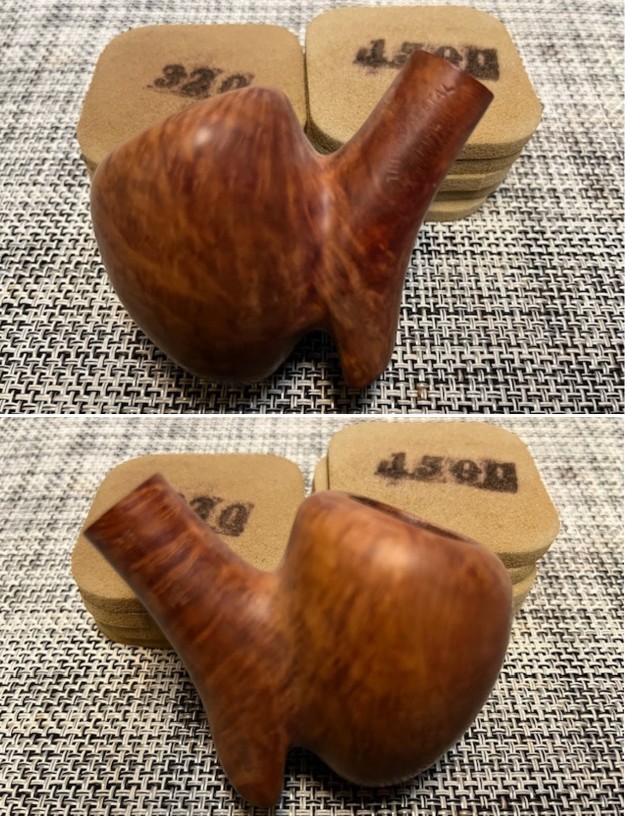
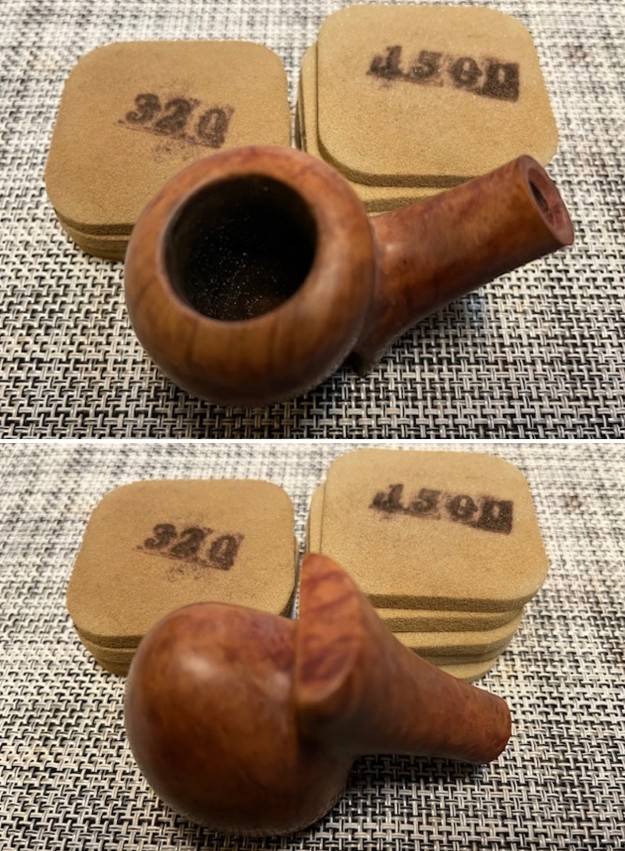
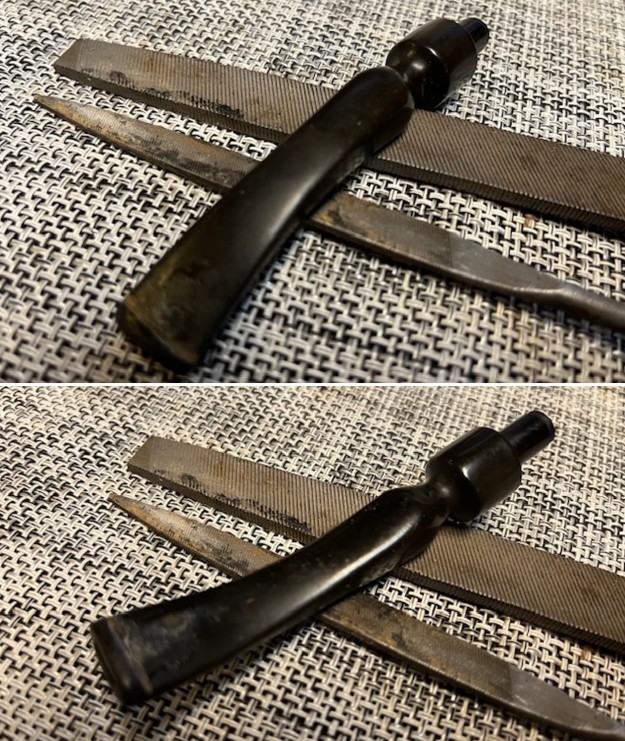
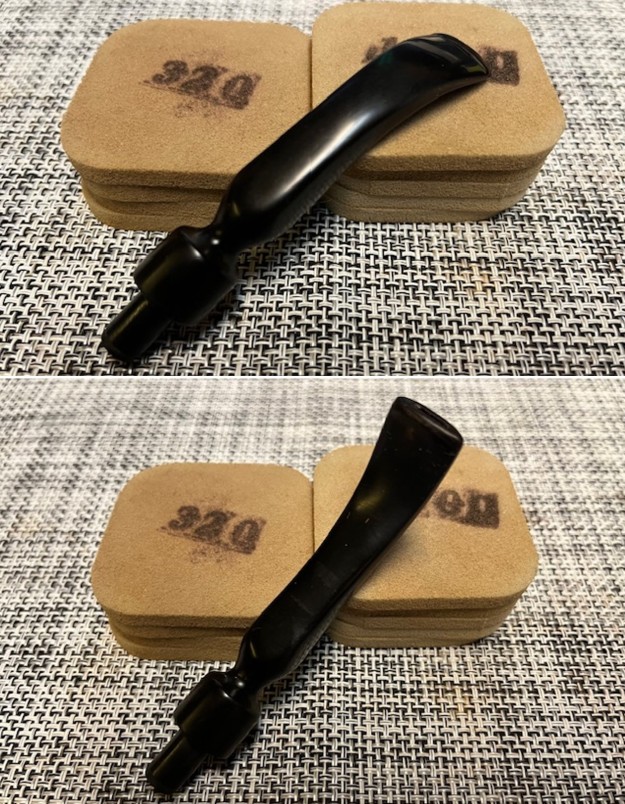
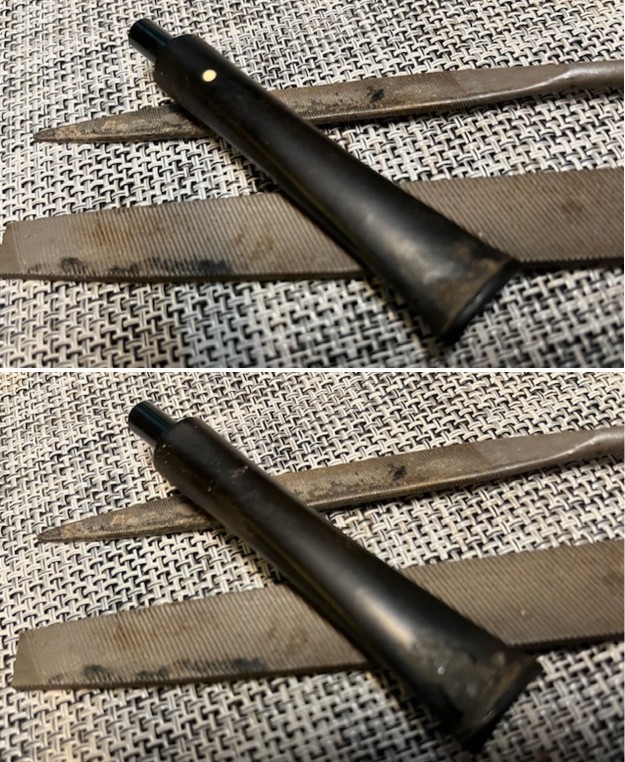
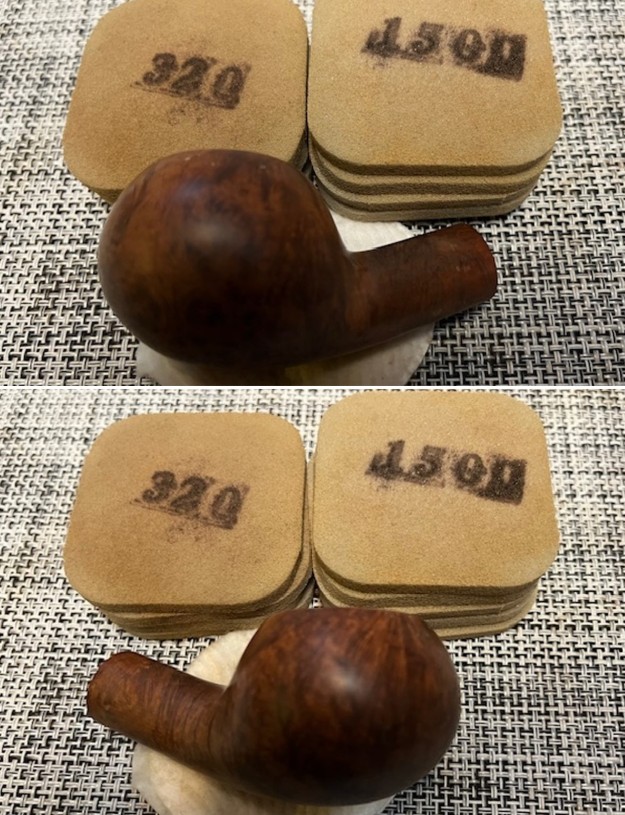
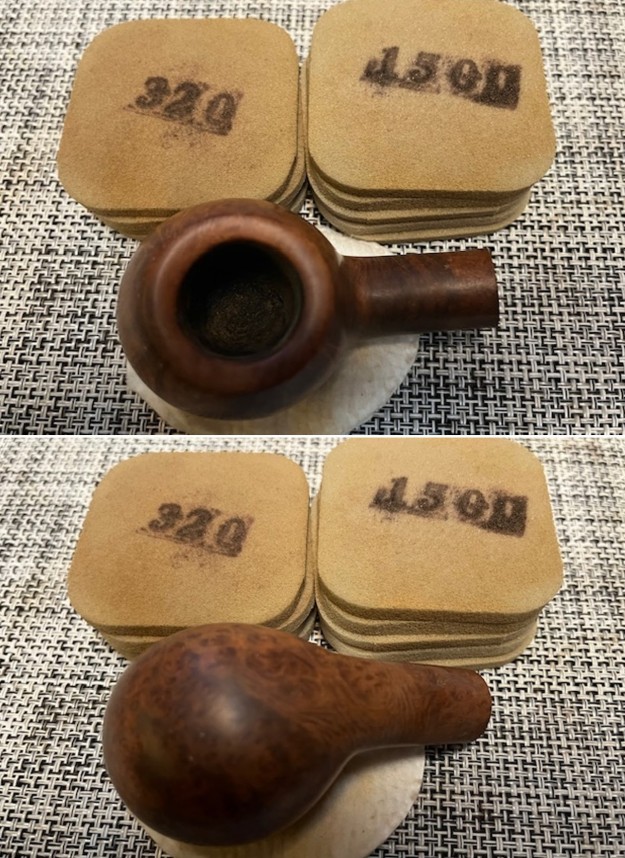
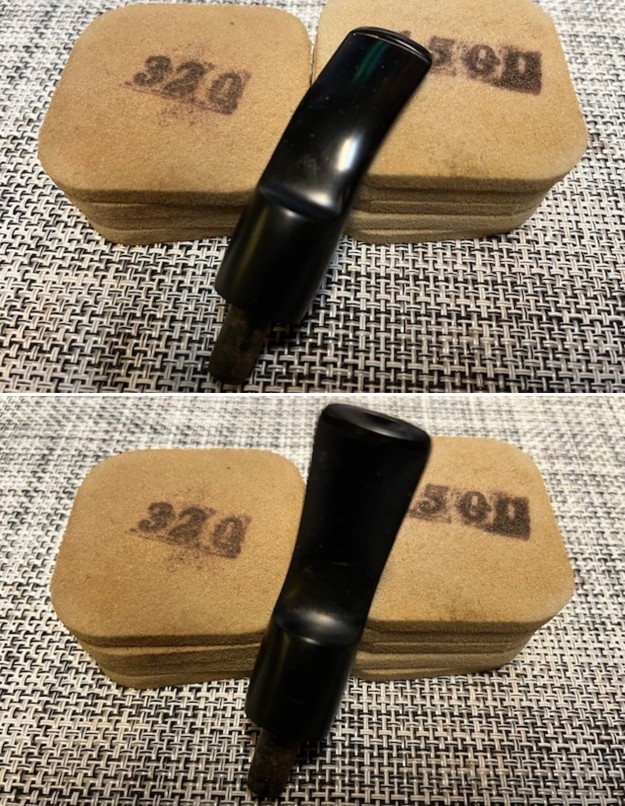
 I set the bowl aside and turned my attention to the stem. I sanded out the light tooth marks and the remaining oxidation with 320-3500 grit sanding pads. I wiped the stem down with a damp cloth after each sanding pad.
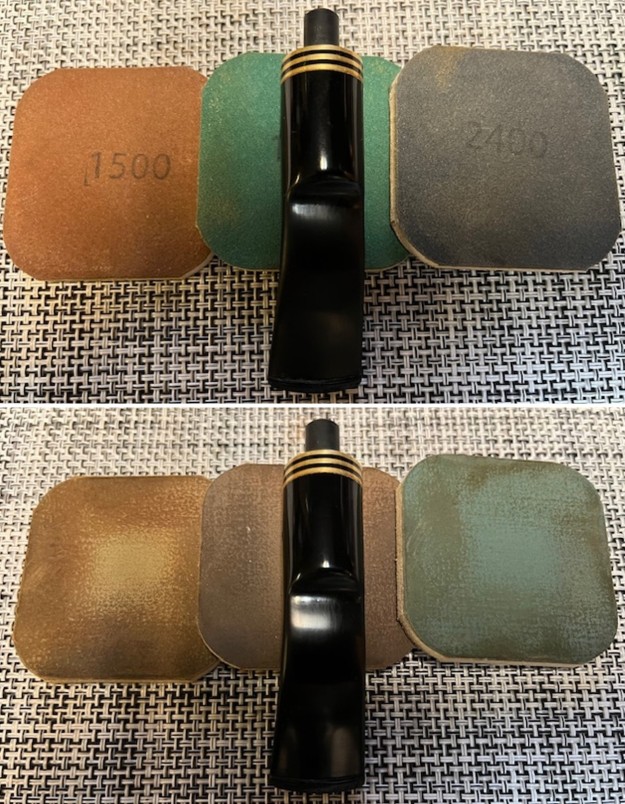
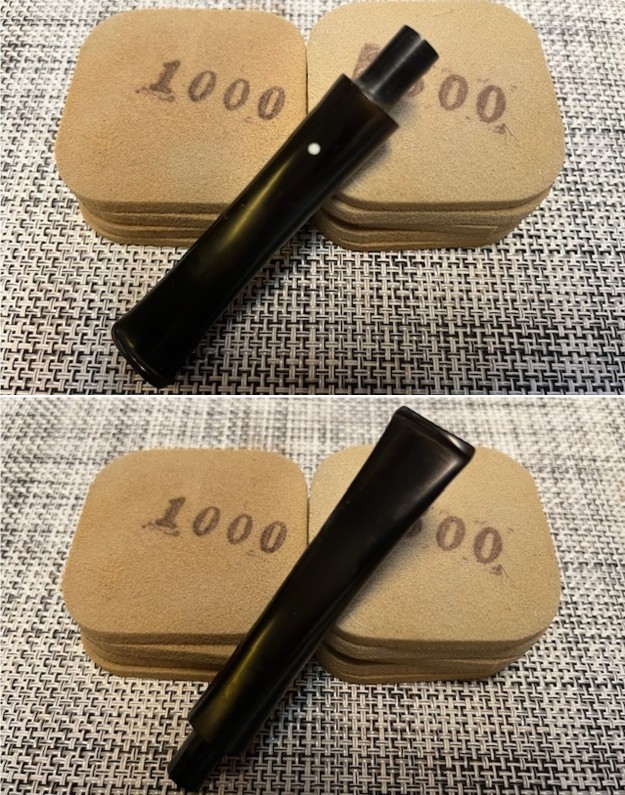
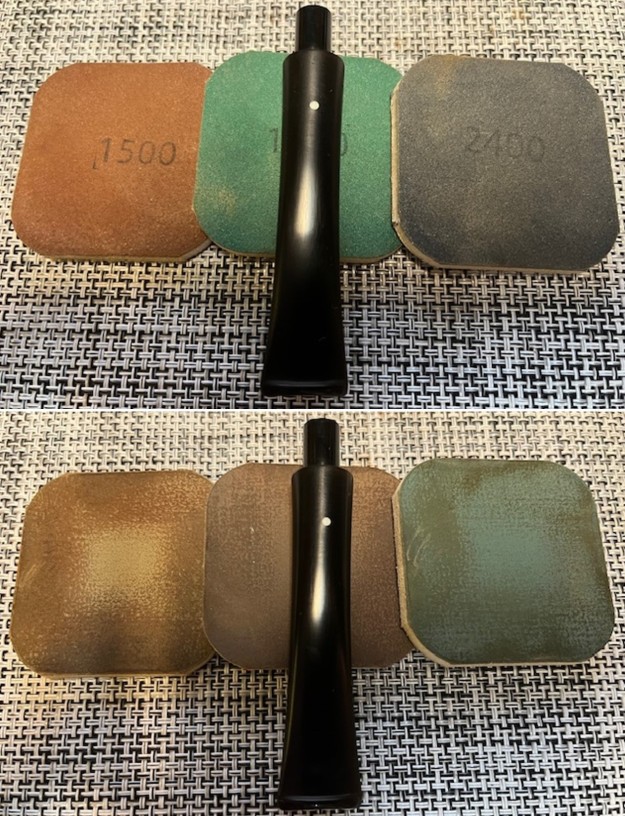
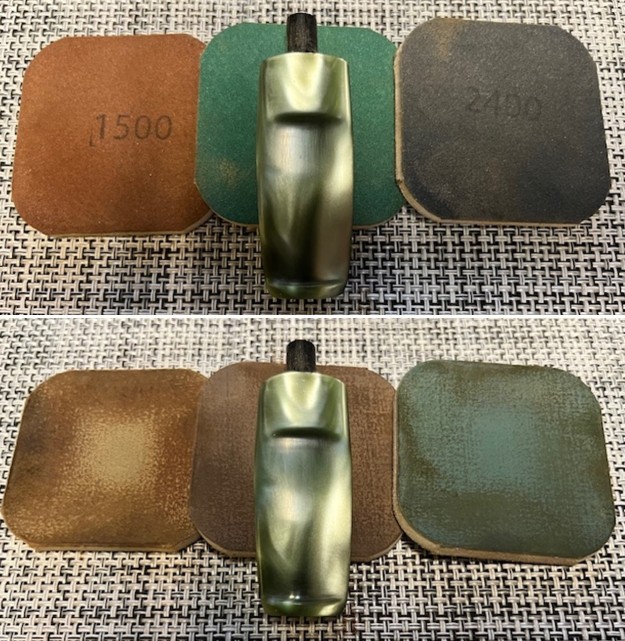
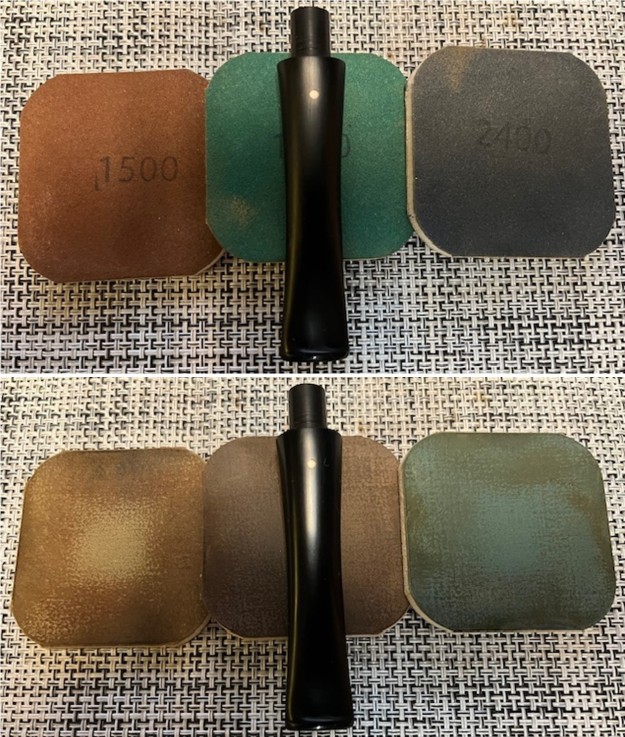
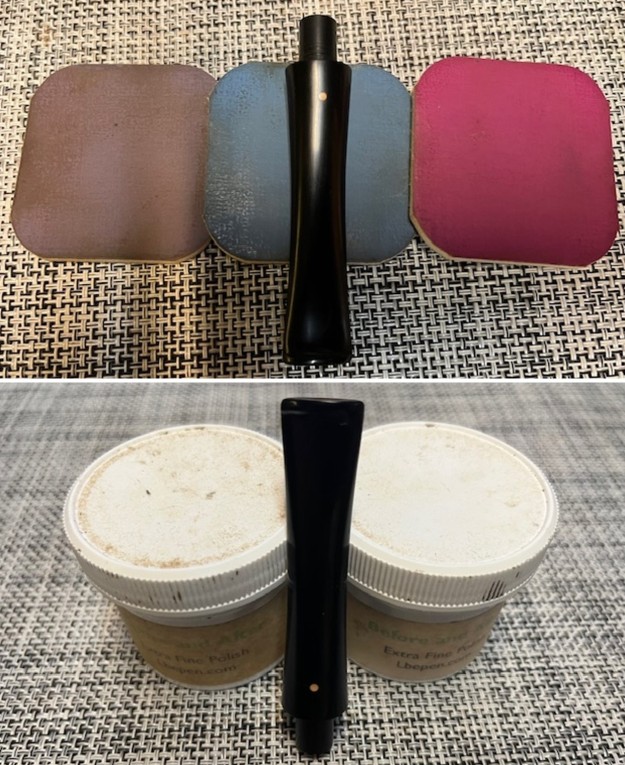
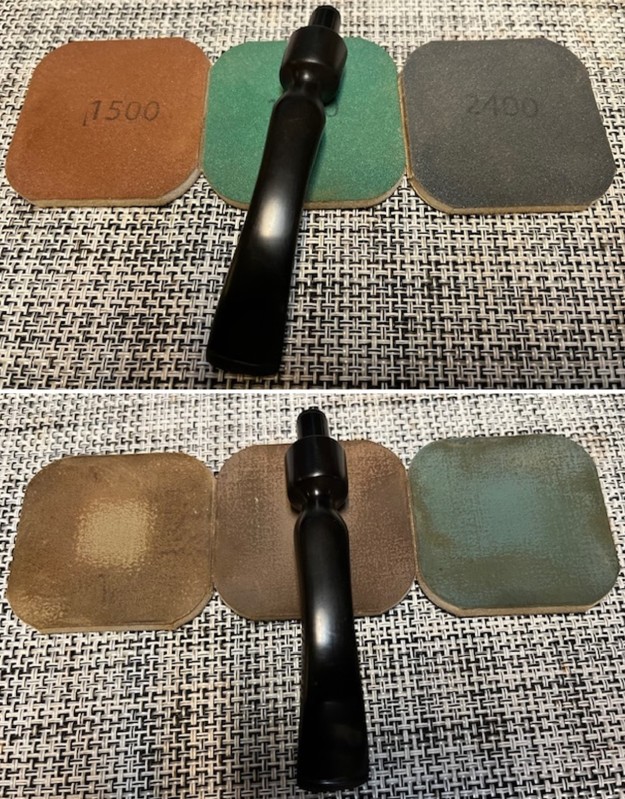
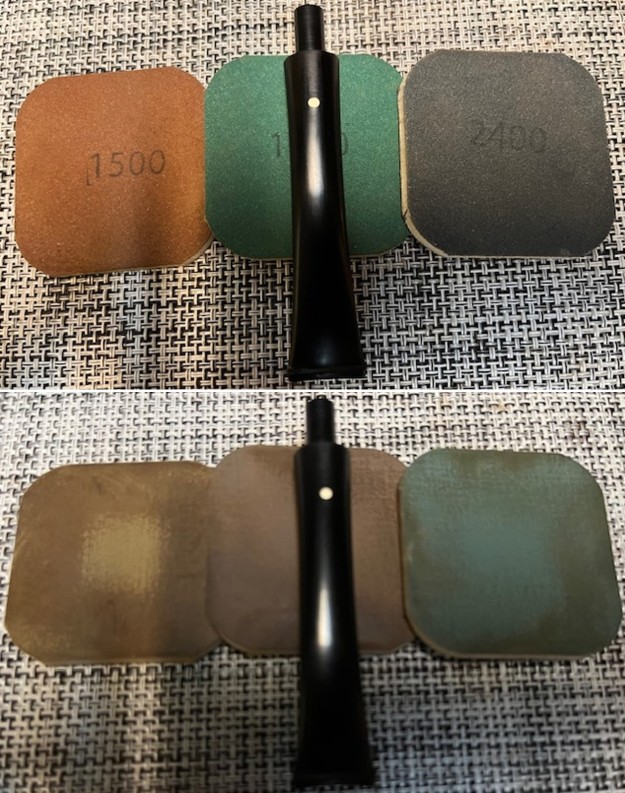
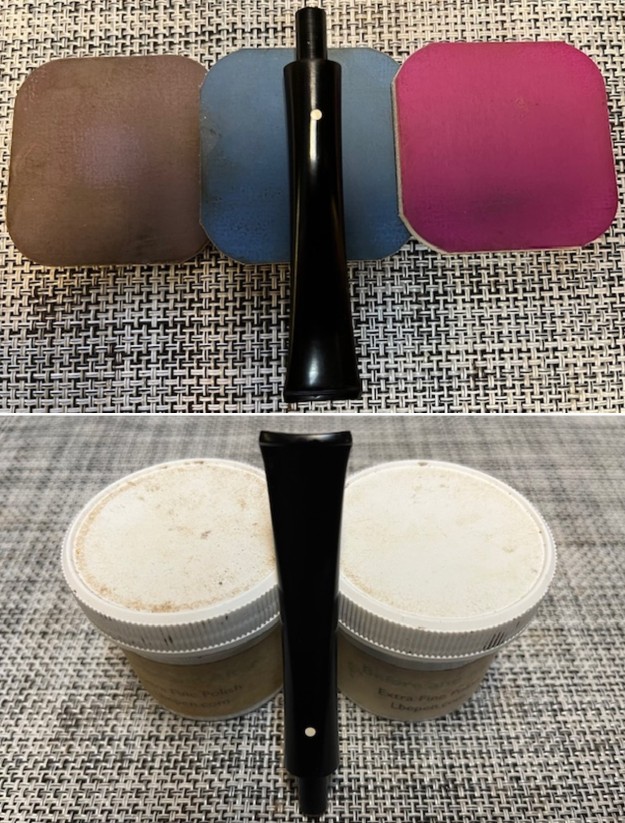
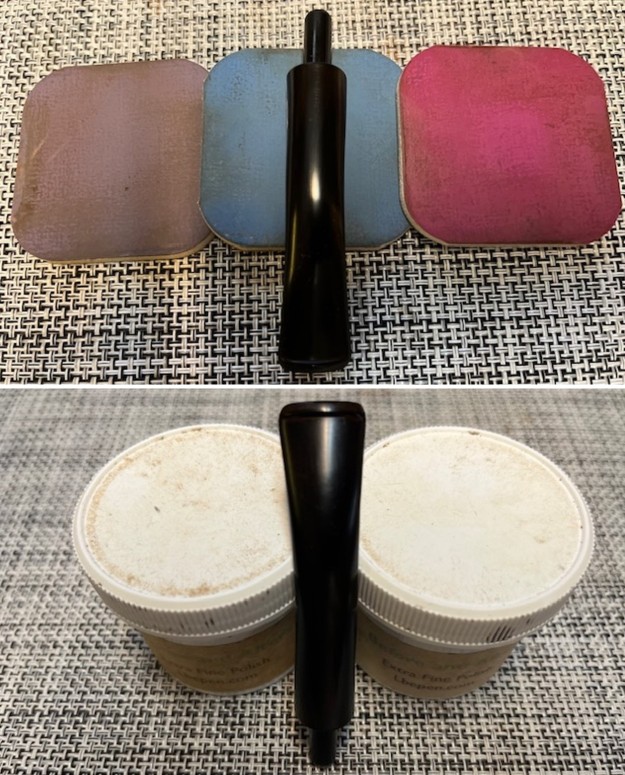
 I polished the stem with micromesh sanding pads – wet sanding it with 1500-12000 grit pads. I polished it further with Before & After Pipe Stem Polish – both fine and extra fine. I finished by wiping it down with Obsidian Oil and buffing it to a shine.
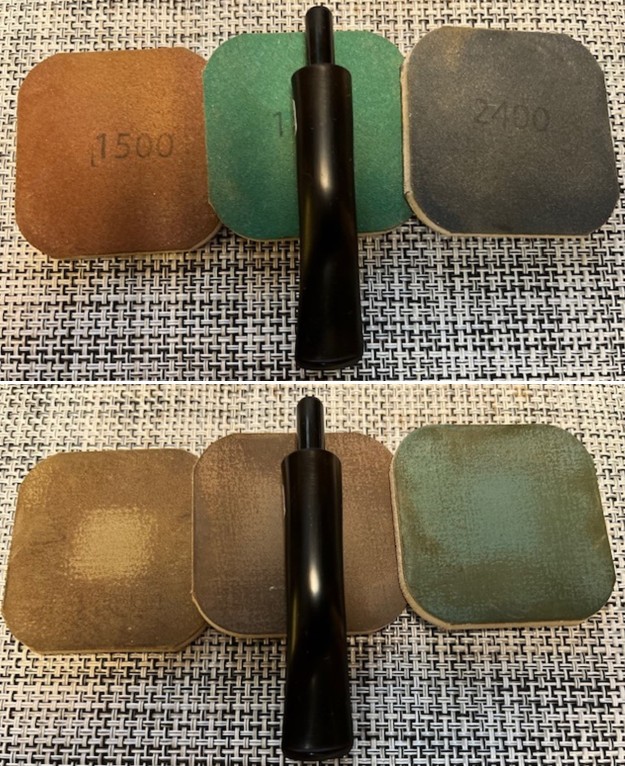
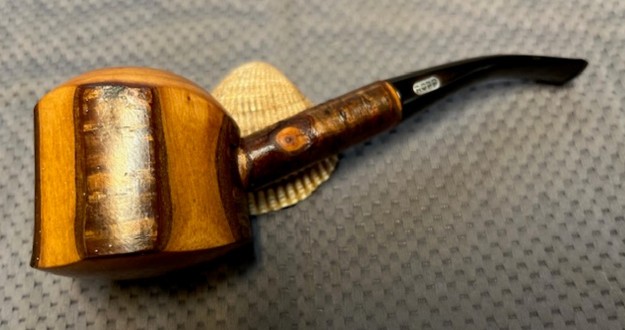
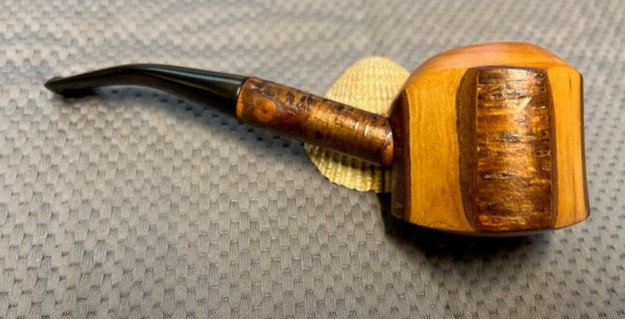
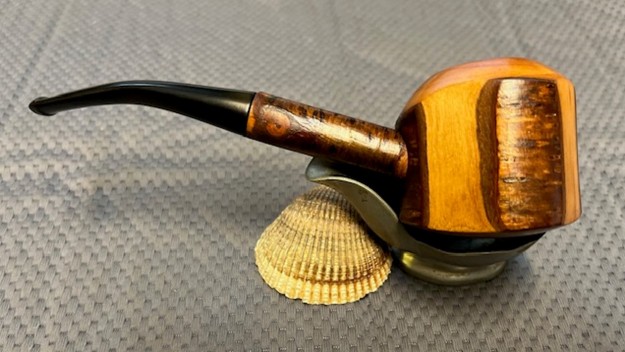
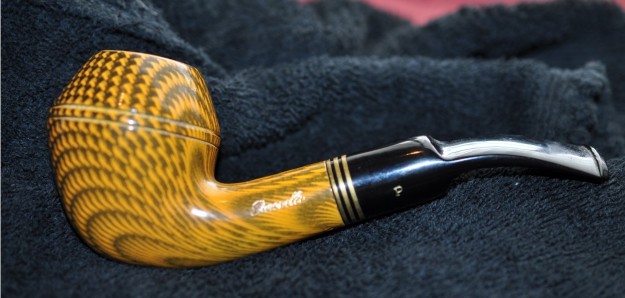
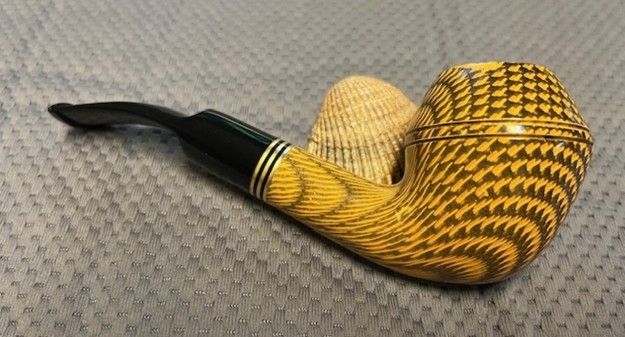
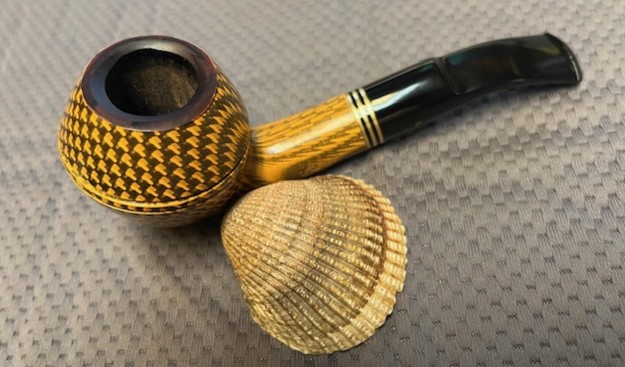
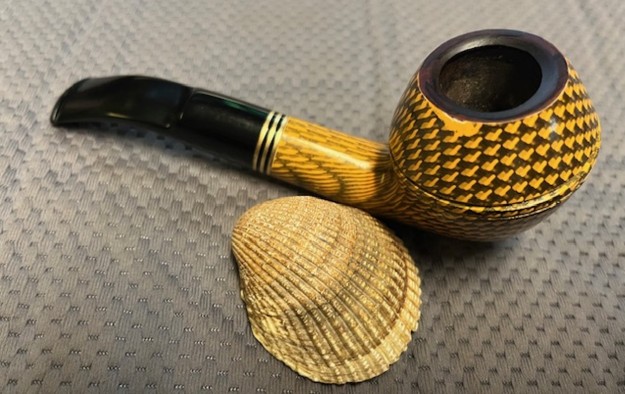
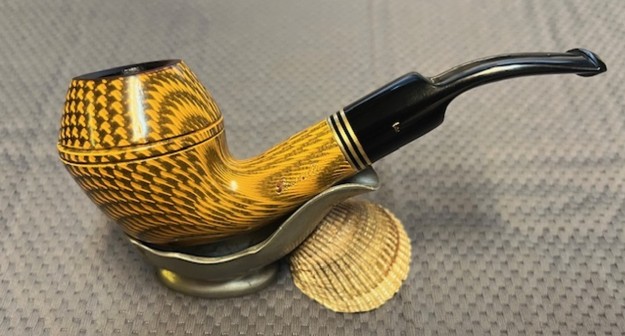
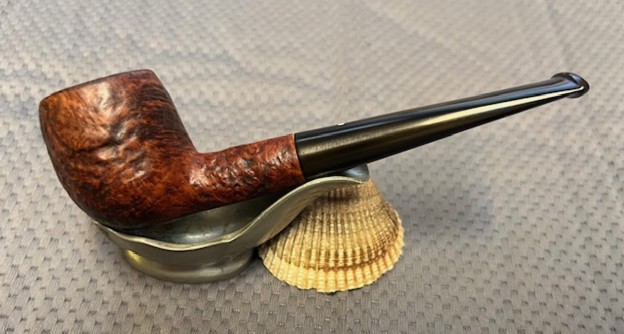
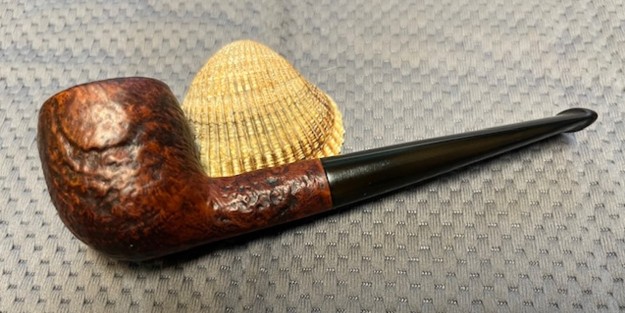
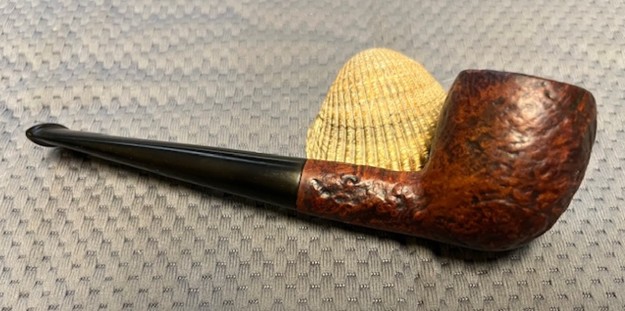
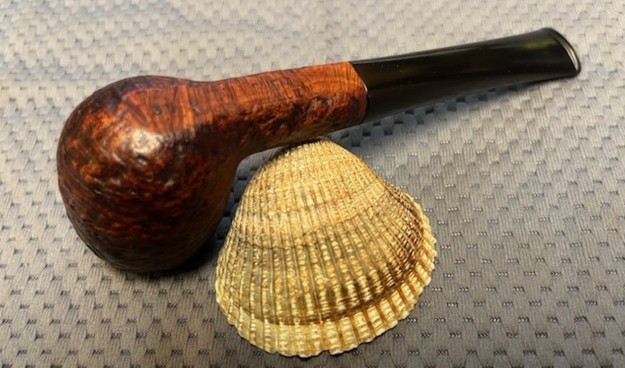
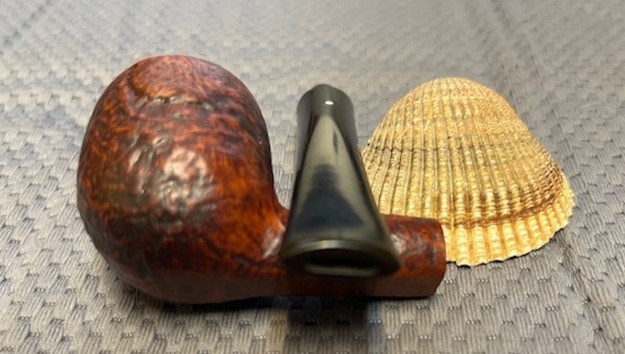
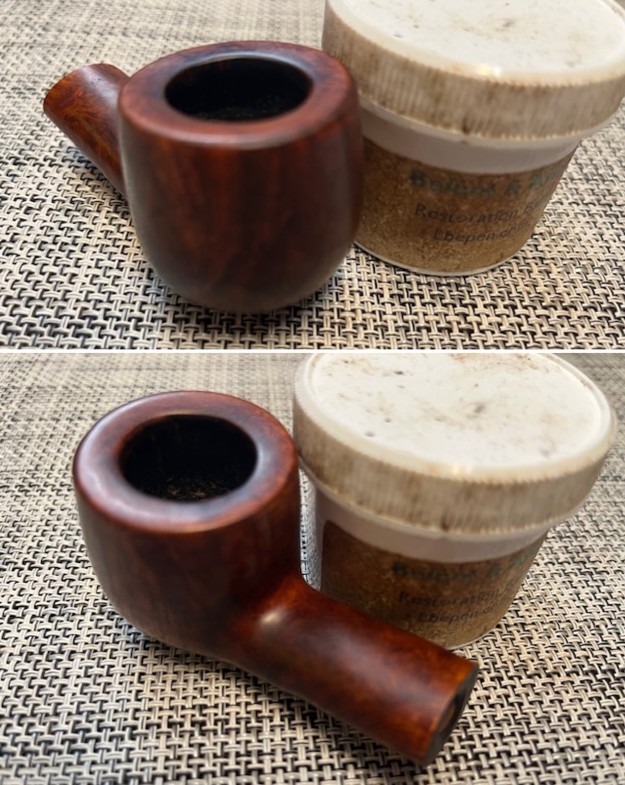
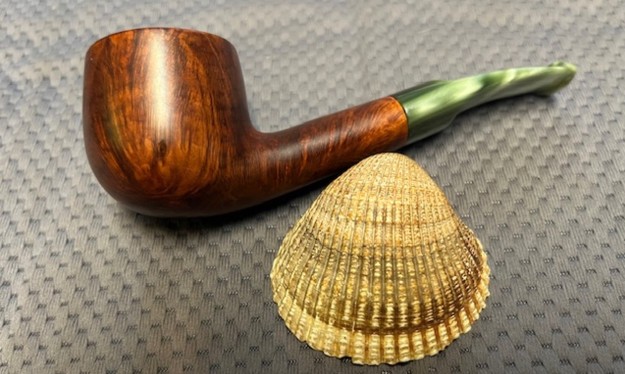
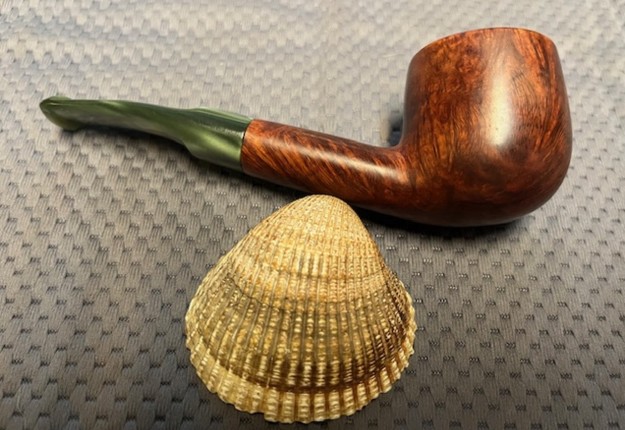
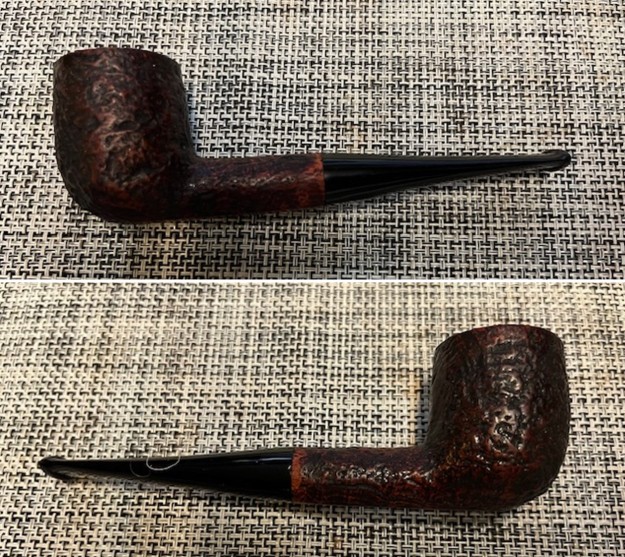
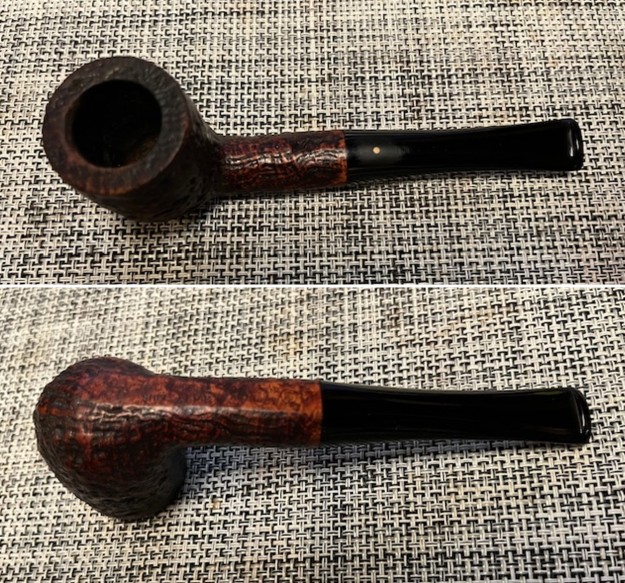
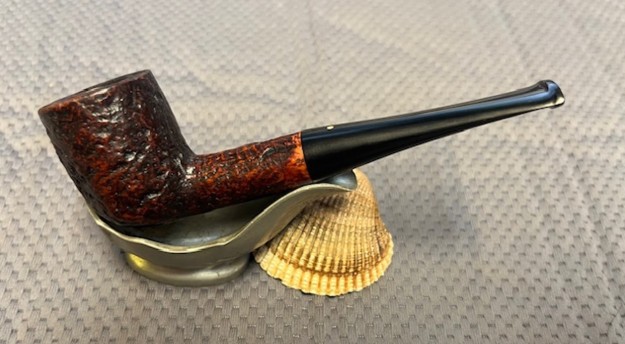
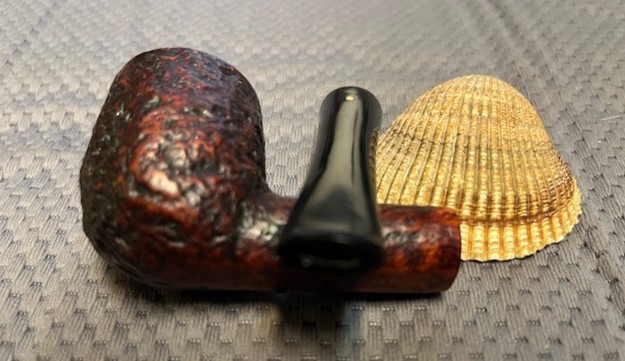
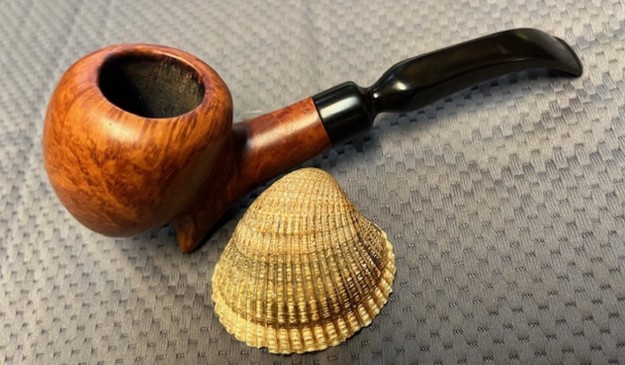
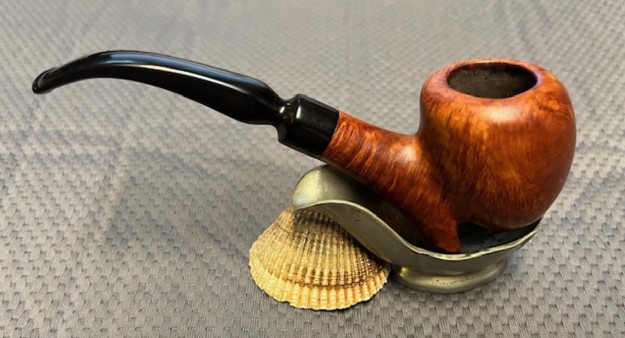
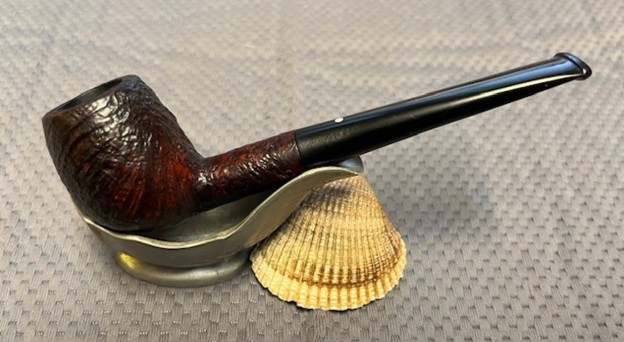
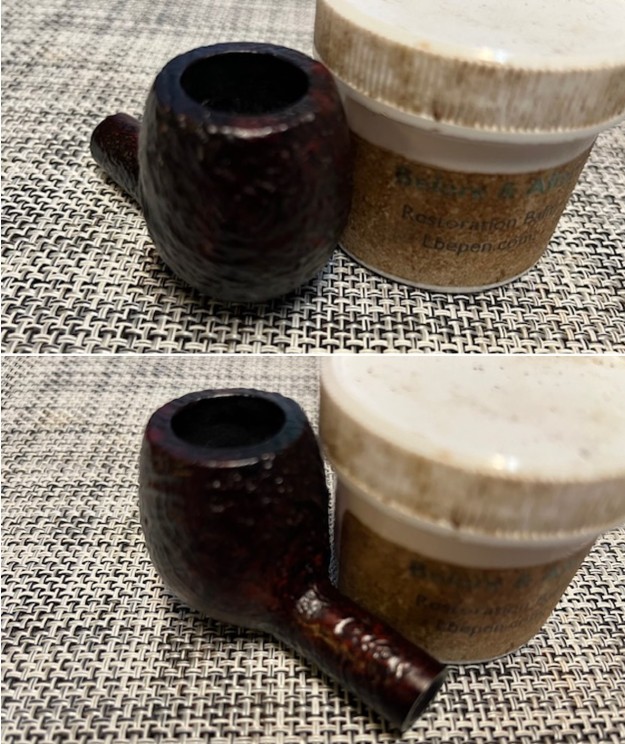
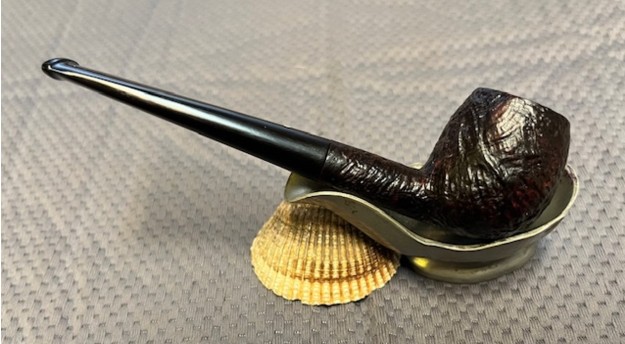
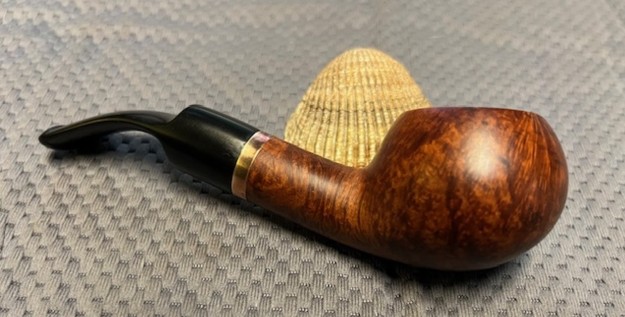
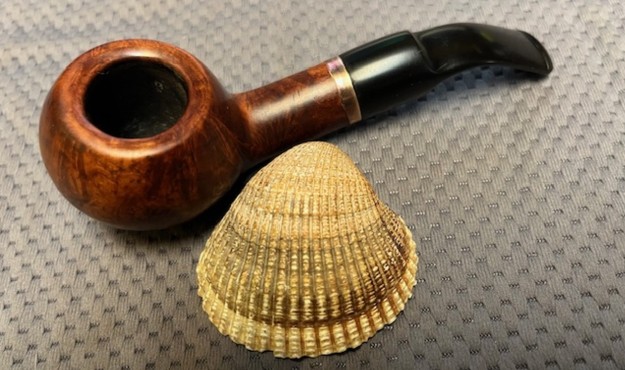
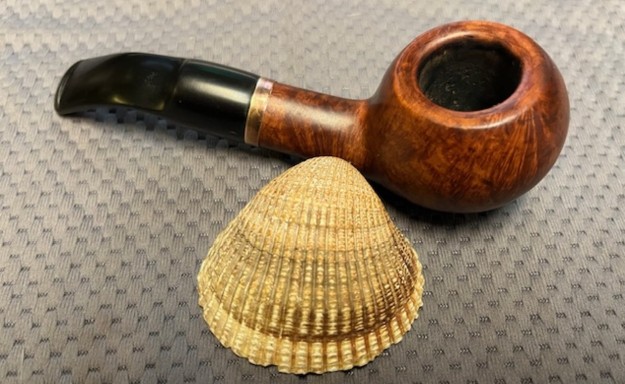
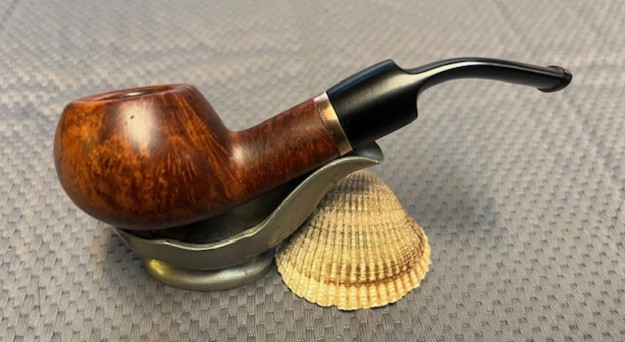
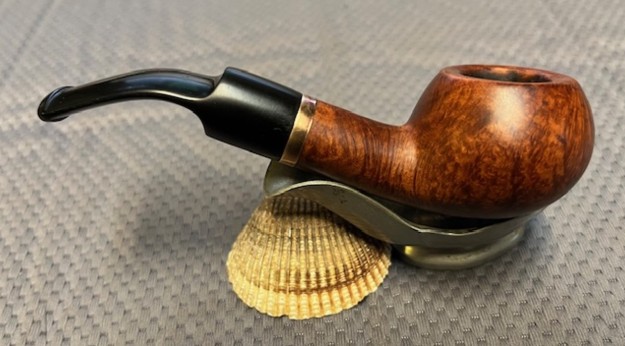
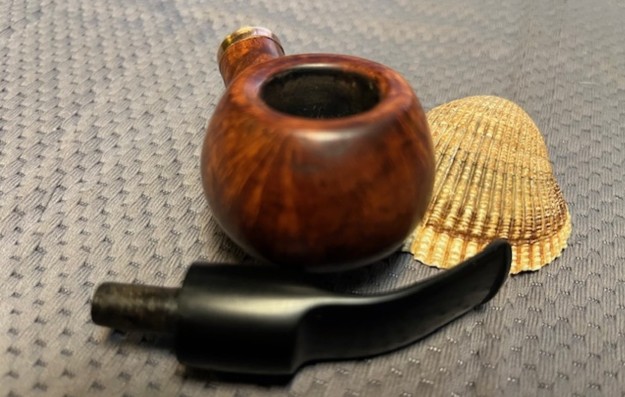
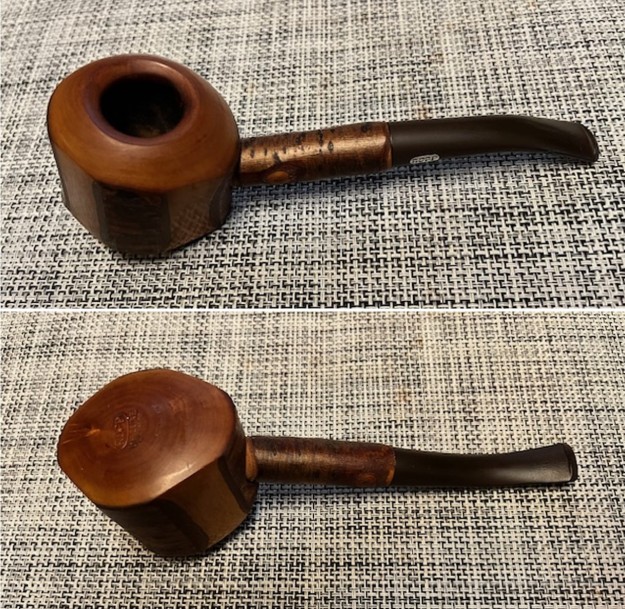
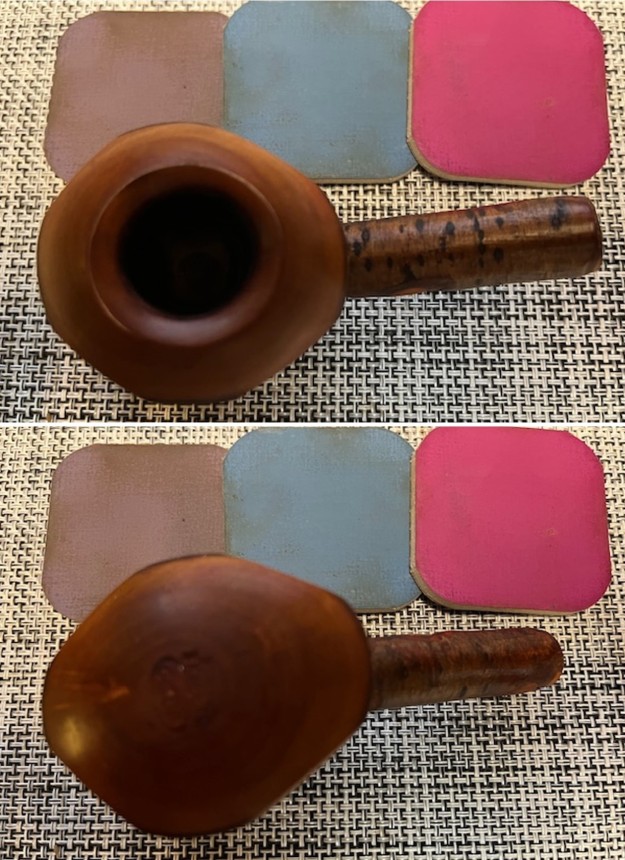
 I always look forward to this part of the restoration when all the pieces are put back together. I put the Ropp De Luxe Cherrywood 804 back together and carefully buffed the stem with Blue Diamond on the buffing wheel. I gave the bowl multiple coats of Conservators Wax and the stem multiple coats of carnauba wax. I hand buffed the pipe with a soft cloth to raise the shine. It is fun to see what the polished bowl looks like with the smooth Cherrywood set off by the strips of bark contrasting well with the black vulcanite stem almost glowing. This Ropp De Luxe 804 Cherrywood is nice looking and feels great in my hand. It is one that could be clenched and smoked while doing other things as it is very light weight and well balanced. It must have been a fine smoking pipe judging from the condition it was when I received it. Have a look at it in the photos below. The dimensions are Length: 6 inches, Height: 2 inches, Outside diameter of the bowl: 2 inches, Chamber diameter: ¾ of an inch. The weight of the pipe is 2.57 ounces/73 grams. I will be putting it in the French Pipemakers Section of the rebornpipes store soon. This will make a great addition to someone’s pipe collection. Thanks to each of you who are reading this blog. Remember we are not pipe owners; we are pipemen and women who hold our pipes in trust until they pass on into the trust of the next pipeman or woman.