Blog by Kenneth Lieblich
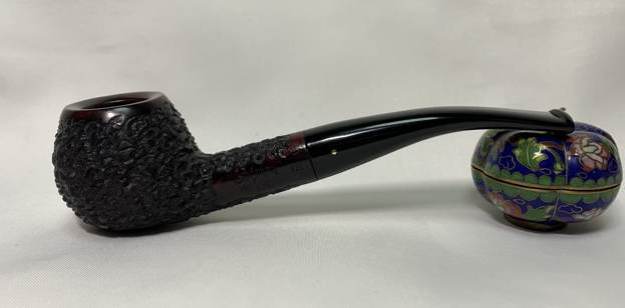
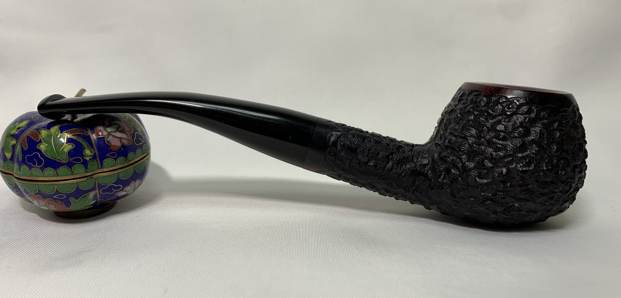
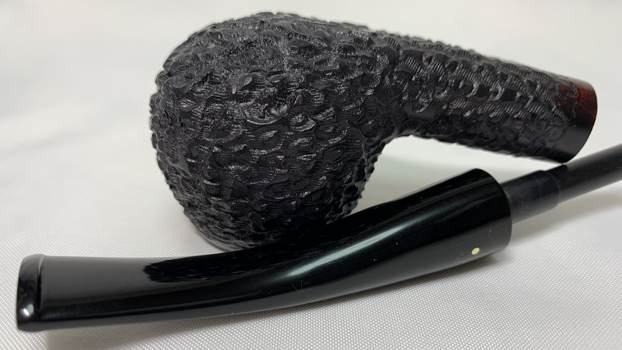
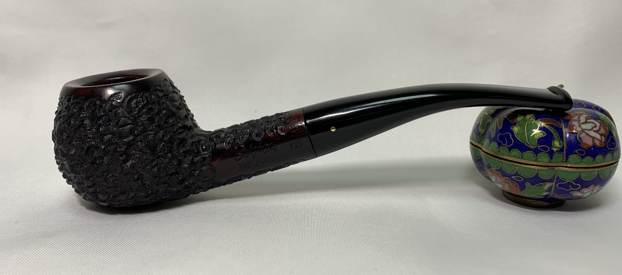
Next on the chopping block is a good-looking 1-dot Brigham Voyageur. I acquired it (with some other stuff) from a local gentleman and, subsequently, a friend of mine said he wanted me to clean it up for him. No problem – the pipe was in good shape to begin with.
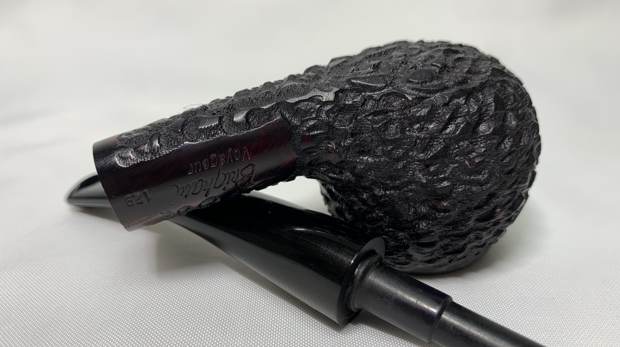
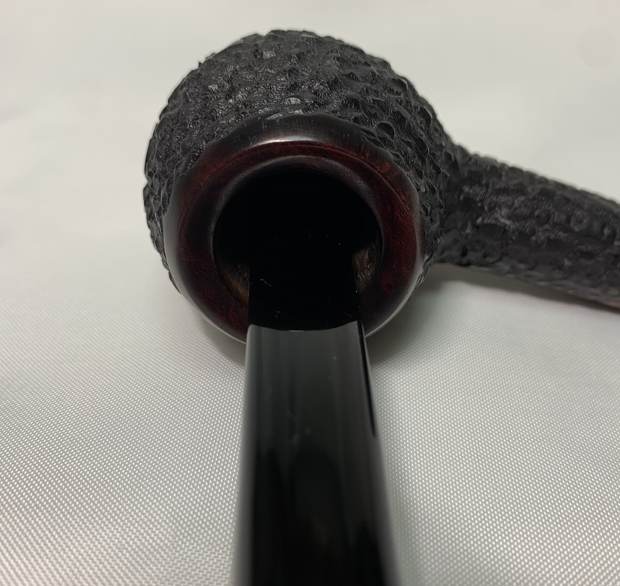
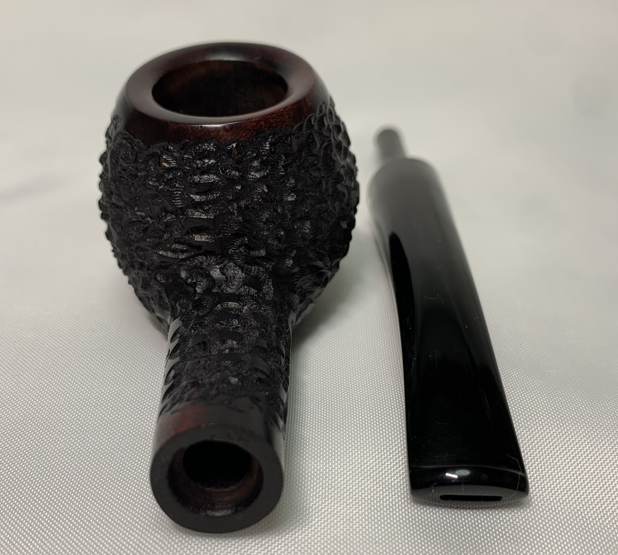
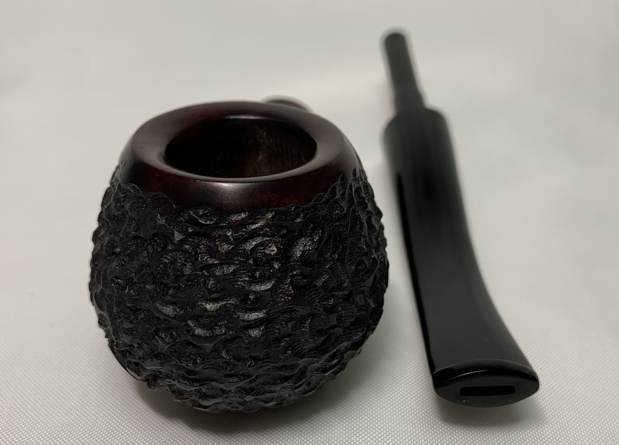
 This pipe really feels good in the hand. It has that look – no one could mistake it for anything but a Brigham. This is one of the newer Brigham system pipes – one can tell it’s newer because of the Delrin tenon (the old ones were aluminum). The markings on the pipe are as follows: on the left side of the shank are the words Brigham [over] Voyageur. Beside that is the shape number: 129. Also, on the left side of the stem is the classic dot of the Brigham company.
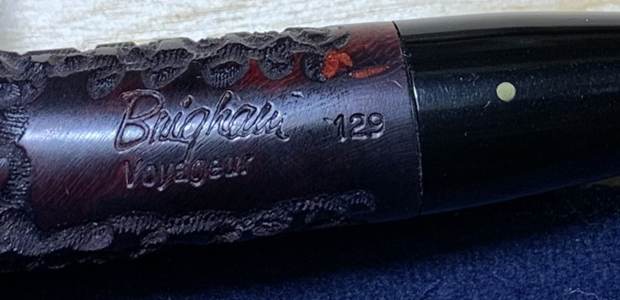 I read through the article on Pipedia on Brigham Pipes. You can read it here. It’s a good article and contains lots of helpful information. I have included the chart below from the site as it shows the Standard (1 Dot) pipes and includes the Voyageur and the shape number, 29. The one dot pipes identify the pipe as part of the 100 series and the series shape is #29. Therefore, the shape number stamping is 129.
 As Steve has done in his restorations of Brighams, I am including information below from Charles Lemon’s website on the dating etc. of Brigham pipes. Check it out here. I quote from both Charles’ article below:
The Transition Era (2001 – 2006). The biggest change to hit Brigham since the advent of the Rock Maple filter occurred in 2001 when Brigham moved production from Toronto to Italy. The product lineup was, not surprisingly, heavily impacted, with the most obvious change a sharp decrease in the number of pipe shapes available.
Daniel More, President of Brigham Enterprises Inc. explains the move to the EU: Admittedly the hardest decision we ever needed to make. With an aging skilled work force we were losing the skills required at an alarming rate. We made attempts to bring in new people but we were not effective in staving off the atrophy. We were fortunate though to be able to move by increments allowing us control and comfort throughout the process. For example, instead of turning our own bowls we began to purchase turned bowls; then we had stems added with sanding at 100-grit ; then sanding to finer degrees; then staining and so on. The last bit of control was grading.
I still visit the manufacturing facility in the EU at least once a year to discuss QC and pick shapes and designs. The shift [to the EU] resulted in fewer shapes. However, one of the biggest benefits was access to a wider variety of finishes. We had never been able to offer a sandblasted pipe and the access to accessories like rings and different colours, I think, allowed us to make the line more interesting
Coincidental with shifting production to the EU was the move from the original aluminum tenon/filter holder to one made of a composite material. Daniel More provides insight into the switch:
Principally there were two catalysts for the change. We were using a very specific OD for our Aluminum Tenons. In fact, we were one of only two companies in North America using this OD, the other being an aircraft manufacturer in California. When this aircraft company shifted to an alternative, it left us and us alone purchasing this specific size. To stay with Aluminum, our only alternative was to purchase an oversized OD and tool this down to our requirements results in significant expense due to the wasted material costs.
We had, for many years, experimented with a number of composite materials for both the tenons and Distillator Tips. The issue was always heat resistance. Technology having advanced as it did by the 1990’s presented us with a selection of alternatives. We tested 10 different compositions before landing on the formula we still use today.
Cost saving aside, the Composite Tenon virtually eliminated the breaking of shanks. That is, when a pipe shank would break due to leverage (think, in the pocket and sitting down), we could not repair this. The Composite Tenon would now break away rather than the shank allowing for an inexpensive repair versus having to throw out “an old friend”. Without a doubt, there were many cries about the inferior Composite Tenon breaking but with our offer to provide no cost tenon repairs we assuaged this concern. We still offer to this day no charge repairs for broken Composite Tenons – no questions asked.
During the Transition Era, the 100 – 300 series pipes looked very similar to Canadian-made pipes and continued to be recognized by their traditional brass pin patterns. These lower series pipes were offered in 9 shapes. The 400 series disappeared temporarily, while the 500 to 700 series pipes, available in only 8 shapes, lost their brass pins and were identified only by their 3-digit shape numbers. On the whole, the pipe was in very nice shape. It didn’t appear to have been smoked too much.
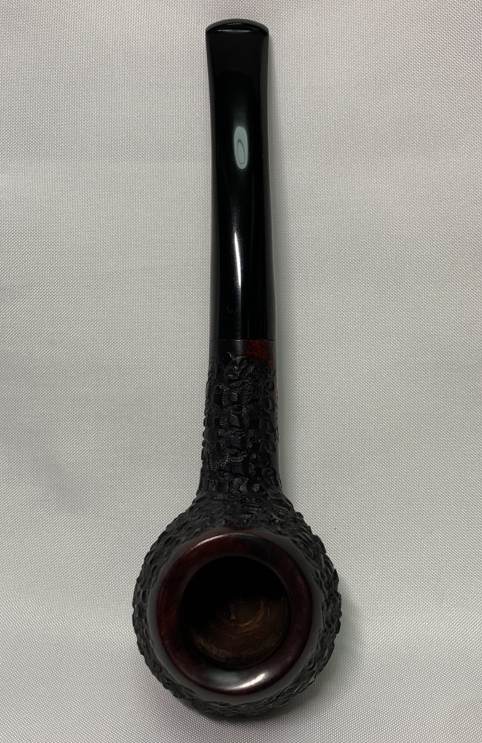
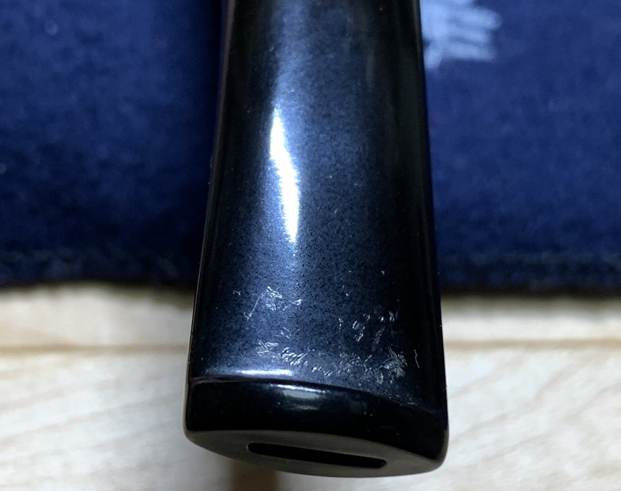
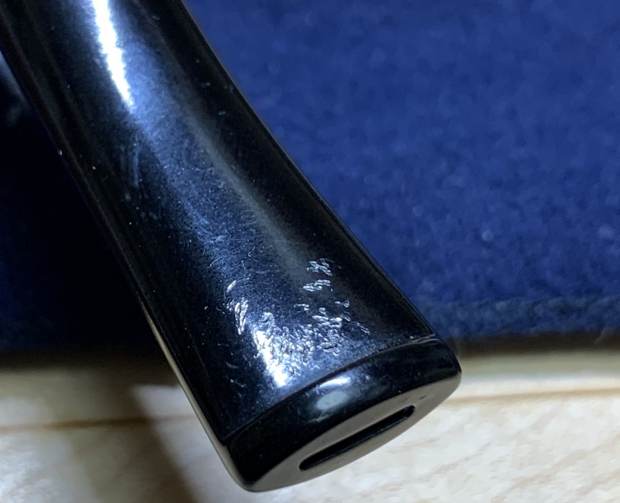
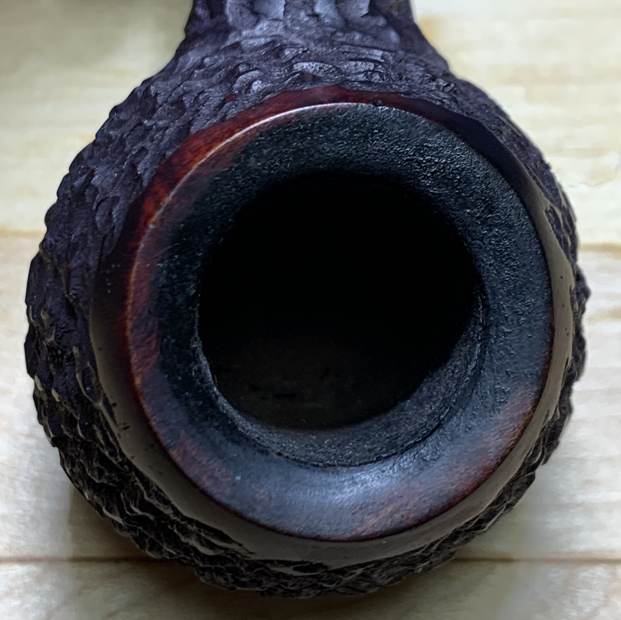
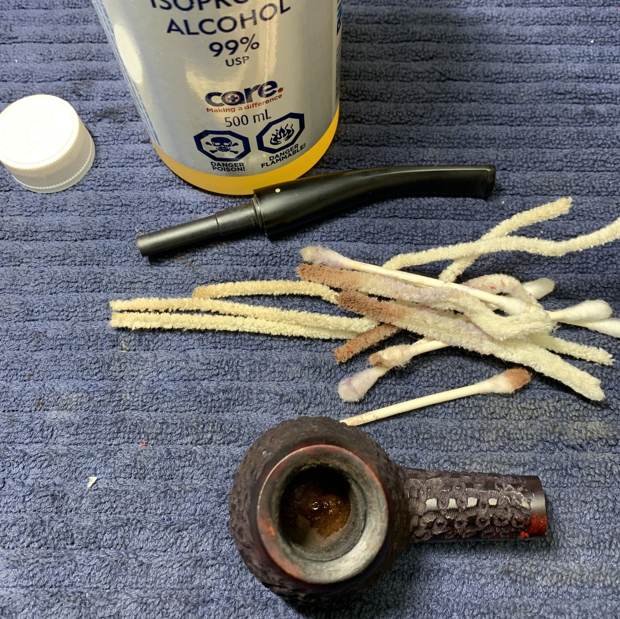
The stem had a few tooth marks/scratches – nothing too serious. The stummel had some lava on the rim, small marks on the rim, and some light caking in the bowl.
 I began by wiping the outside down with Murphy’s Oil Soap on some cotton pads. I then took some lemon-infused isopropyl alcohol and pipe cleaners, and cleaned out the internals. Fortunately, the pipe had been well-maintained, so this wasn’t too dirty.
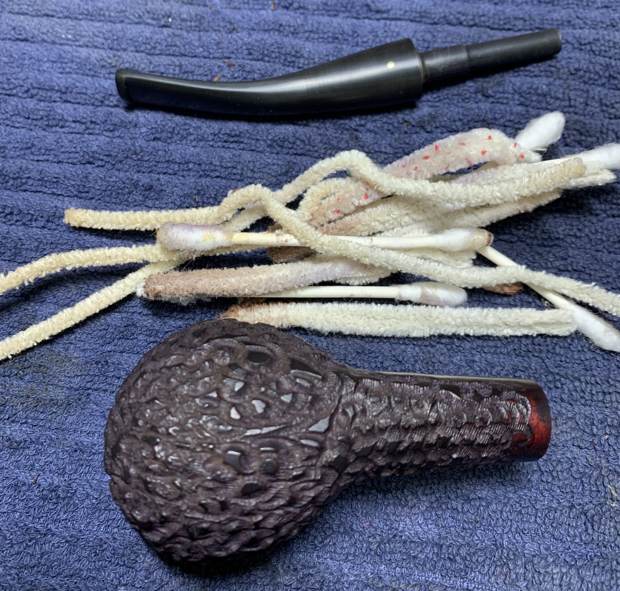 I managed to address the tooth scratches with some 220- and 400-grit sandpaper. I then used all nine Micromesh pads (1,500 through 12,000 grit) to bring out the lovely black lustre on the stem. I also used Obsidian Pipe Stem Oil in between each pad scrubbing.
 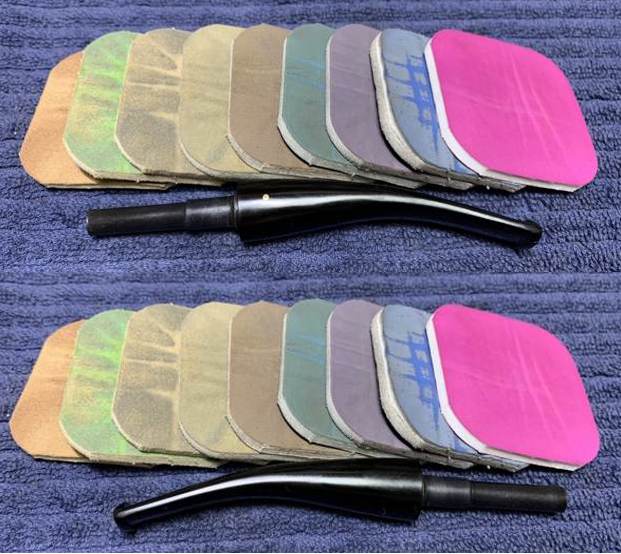 Then to the stummel. Firstly, I decided to ream out the bowl. I used the KleenReem to remove the built-up cake and followed that with 220-grit sandpaper taped to a dowel to eliminate as much as I could. I took the chamber down to bare briar, as I wanted to ensure there were no hidden flaws in the wall. Fortunately, there were none.
 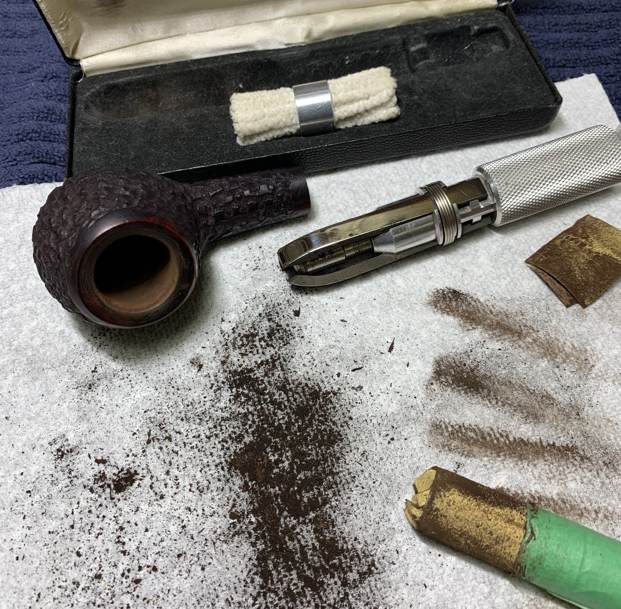 I then proceeded to clean out the insides of the shank with Q-tips, pipe cleaners, and lemon-infused isopropyl alcohol. There was a bit of filth inside this stummel and it took some cotton to get it clean. I followed that up by cleaning the insides with some dish soap and tube brushes.
I used cotton rounds and some Murphy’s Oil Soap to scrub the outside of the stummel and a toothbrush with Murphy’s for the lava on the rim of the pipe.
 I decided to de-ghost the pipe in order to remove any lingering smells of the past. I thrust cotton balls into the bowl and the shank and saturated them with 99% isopropyl alcohol. I let the stummel sit overnight. This caused any remaining oils, tars and smells to leach out into the cotton. The bowl was nice and clean after this.
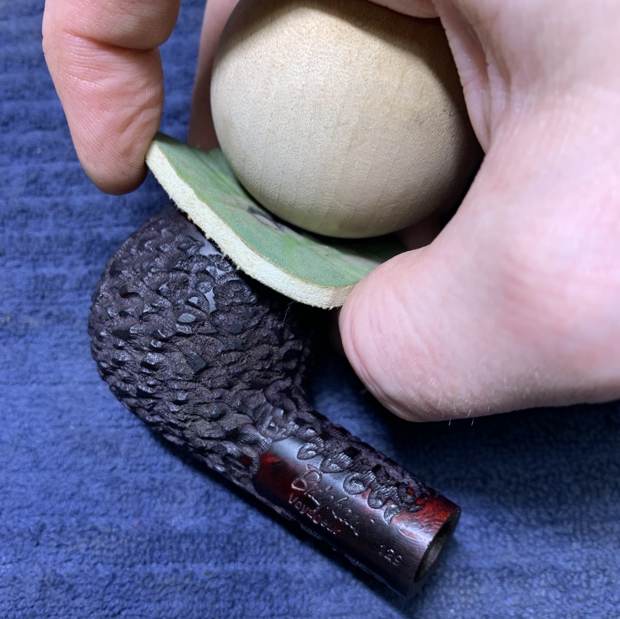
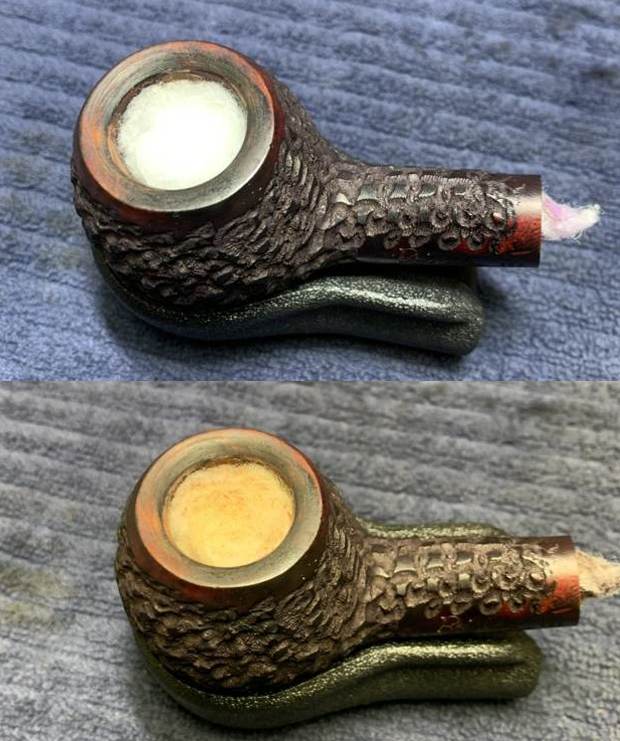 Having completed that, I was able to address the lava and small nicks on the rim and the bowl. I used a piece of tool steel to gently scrape away the burn residue. I then took a solid wooden sphere, wrapped a piece of 220-grit sandpaper around it, and sanded the inner side of the chamber. This removed the lava on the inner edge of the rim, smoothed out the nicks.
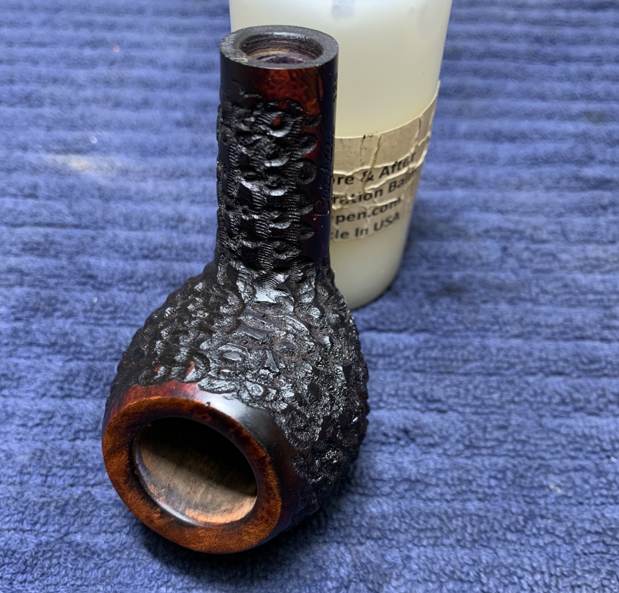
 I then sanded the smooth parts of the stummel with all nine Micromesh pads. Naturally, I added a light application of Before & After Restoration Balm. This made the wood shine beautifully. I let it sit for about fifteen minutes and then buffed it with a microfibre cloth.
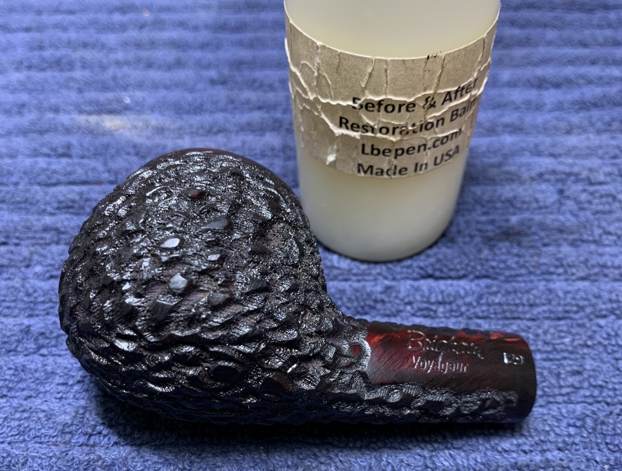

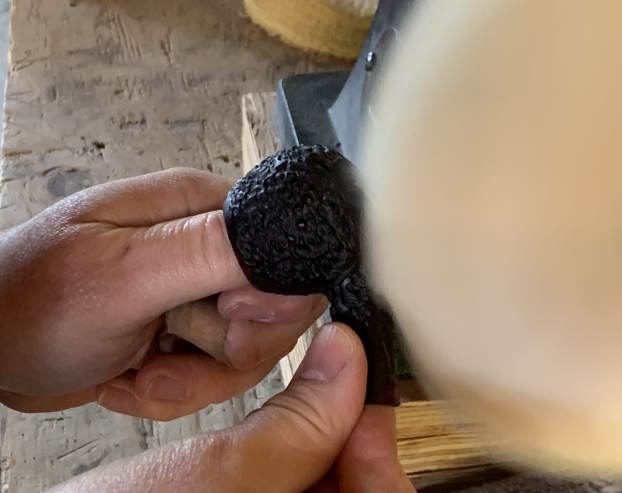
 In sanding the rim, some of the lovely burgundy colour was removed, so I next set about correcting that. I opted for two aniline dyes: Fiebing’s Black and Fiebing’s Oxblood. I had to approach this mix carefully, to ensure that it matched the pre-existing colour. As usual, I applied flame from a BIC lighter in order to set the colour. What a difference that made! It looked so much better with a fresh coat of stain.
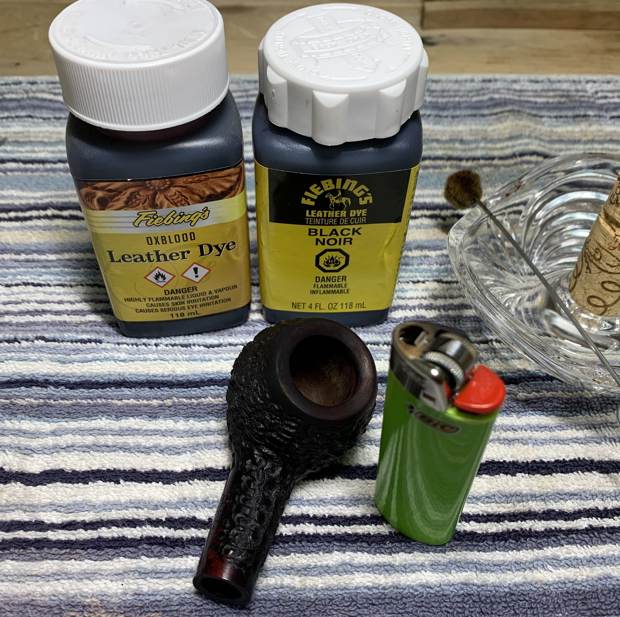
 I applied some more Before & After Restoration Balm and then it was off for a trip to the buffer. A very precise use of White Diamond and a few coats of Conservator’s Wax made all the difference. The lovely shine made the wood very attractive. This is a very handsome pipe and will provide many years of smoking pleasure for my friend. I hope you enjoyed reading the story of this pipe as much I as I did restoring it. If you are interested in more of my work, please follow me here on Steve’s website or email me directly at kenneth@knightsofthepipe.com. Thank you very much for reading and, as always, I welcome and encourage your comments.