Blog by Steve Laug
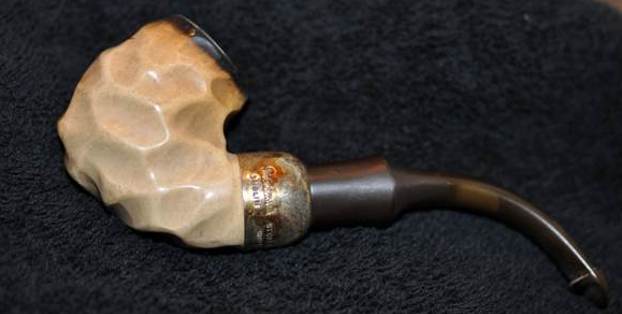
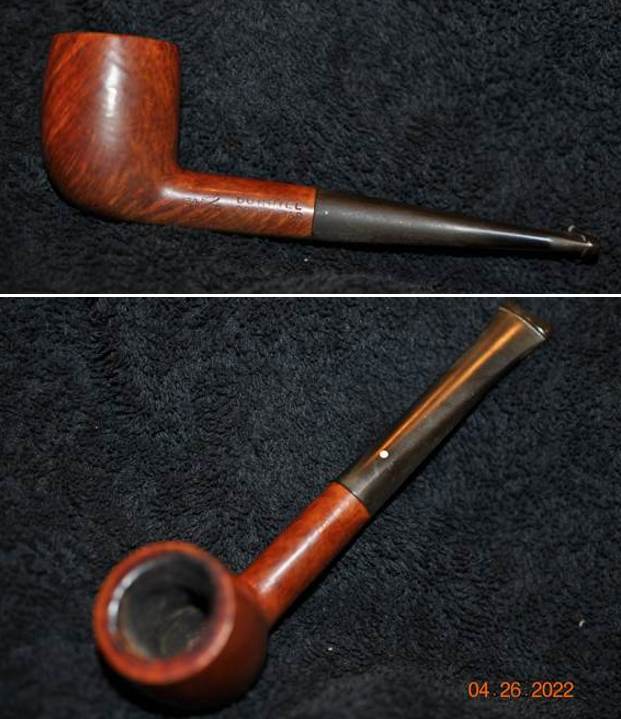
The next pipe on the table is another Dunhill group 2 sized Billiard. It is a small Root Briar Billiard that is proportionally well done. It has a two digit the shape number that I will define below. It is identical in stamping, shape, size and condition to the previous Root Briar 34F/T I worked on yesterday (https://rebornpipes.com/2022/05/27/168579/). Jeff and I purchased the pipes on 04/26/2022 from a woman who contacted us from Cleveland, Ohio, USA. We spent time chatting with her and arrived at a price and she sent the pipes to Jeff. It included 28+ pipes along with this one.
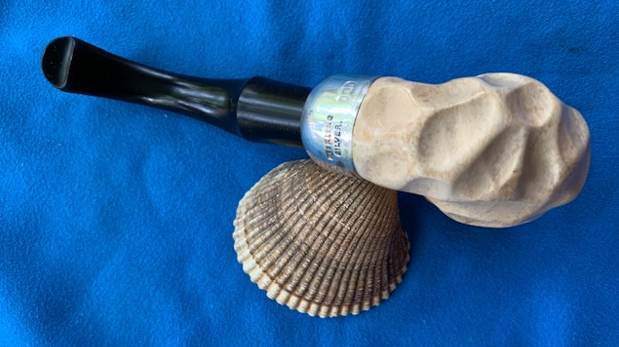
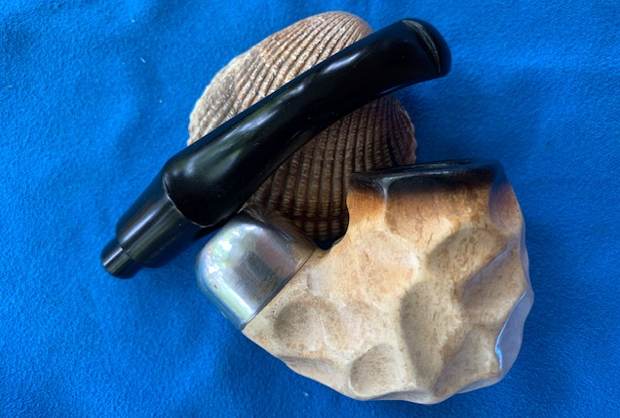
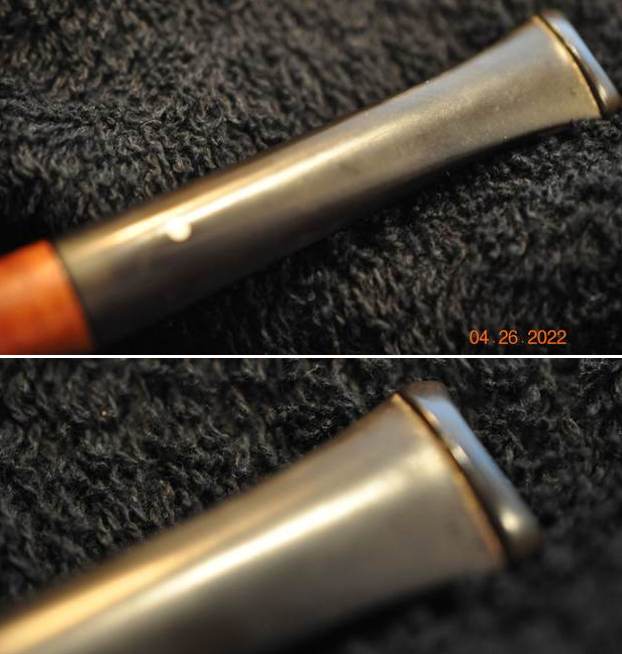
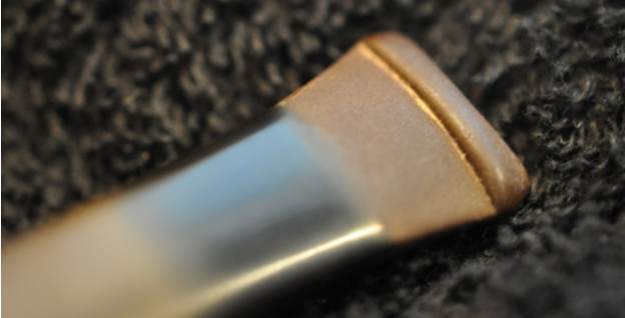
This Dunhill Billiard is stamped on the left side and reads 34 F/T followed by Dunhill over Root Briar and on the right side is stamped Made in England8 (two lines) followed by a circle 2 followed by R. The numbers and stamping tell me that the pipe is a Root Briar and the size is a Group 2. The F/T refers to the Fish Tail style stem. The finish was very dirty with spots of grime and debris stuck on it. The bowl had a thick cake in the bowl and heavy lava overflowing onto the rim top. The rim top had burned area on the left front top and inner and outer edges. There was darkening and burn damage on the inner edge all the way around. There were burn marks toward the back of the rim top. The stem had calcification, oxidation and tooth marks and chatter on both sides ahead of the button. The button itself appeared to be in good condition. The pipe came to us in a meerschaum pipe case (just like is twin). The case was not original. Jeff took photos of the pipe before he started his clean up work on it. 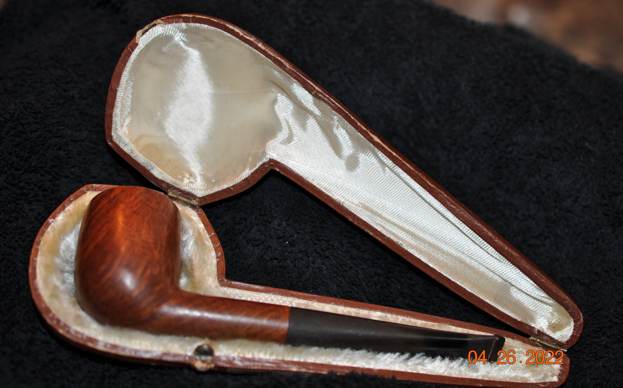
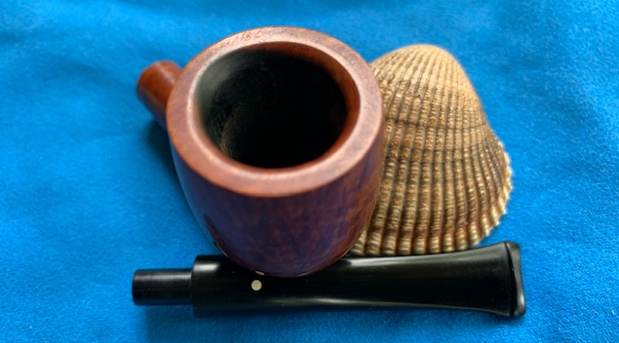
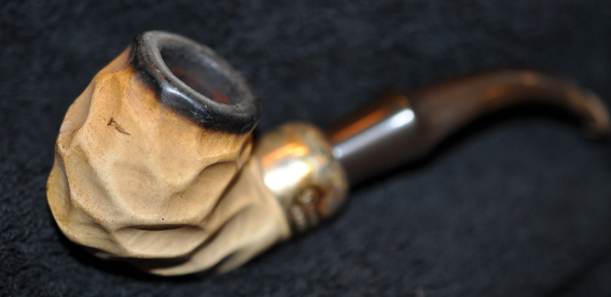
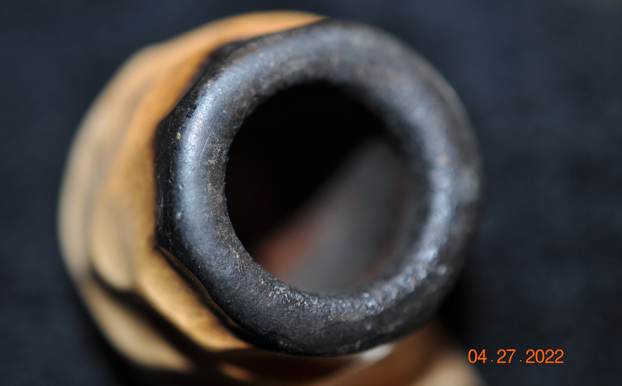
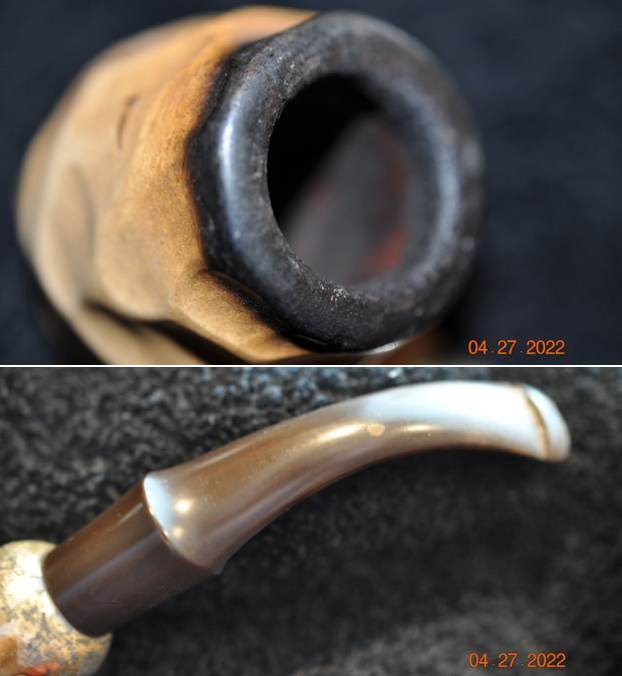
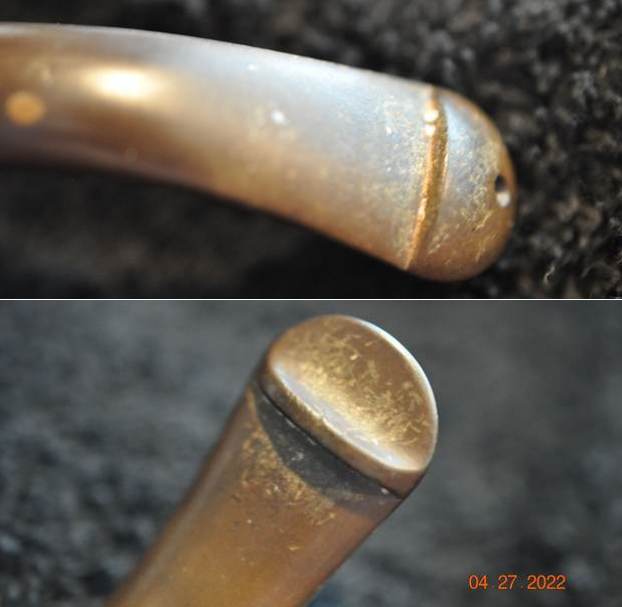
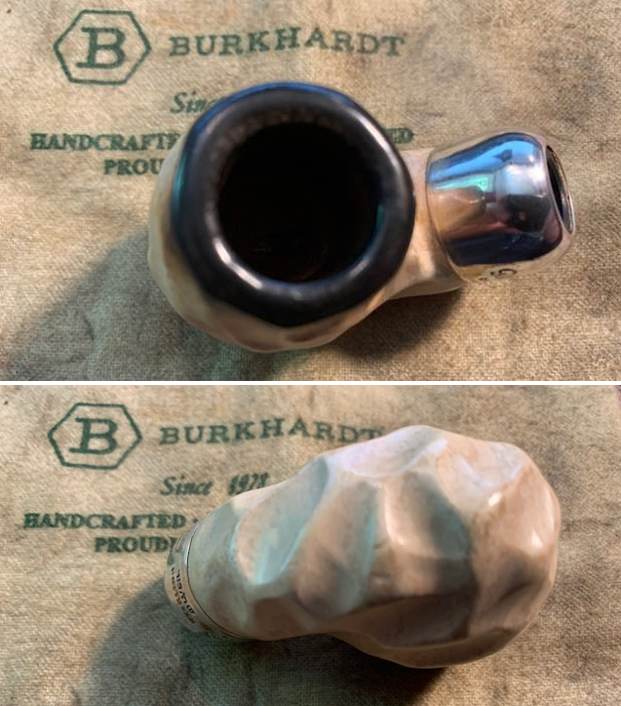
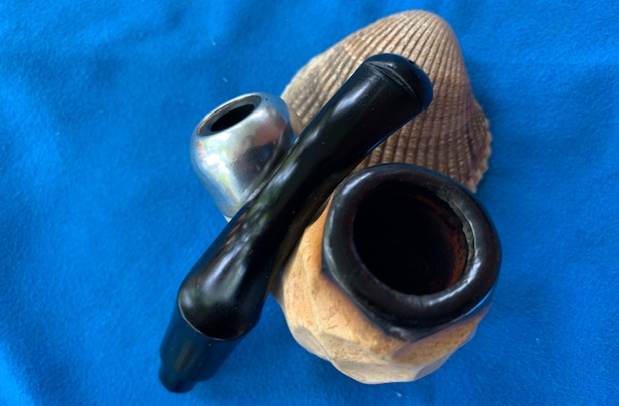
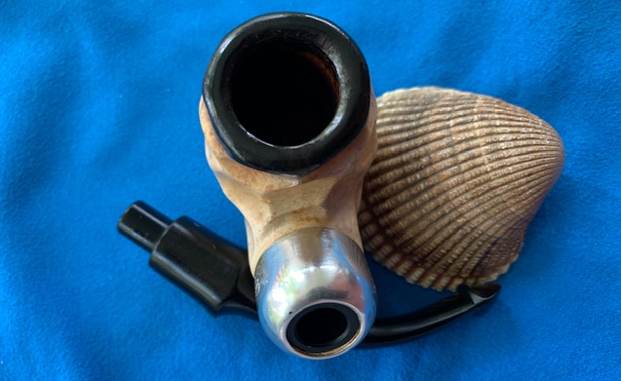
 He took photos of the bowl and rim top to show the condition. You can see the thick cake in the bowl and the burn damage on the rim top and edges of the bowl. It is the kind of damage that come from repeated lighting in the same place. The stem was heavily oxidized, calcified and has tooth marks and chatter on both sides ahead of the button. Overall the pipe is a real mess.
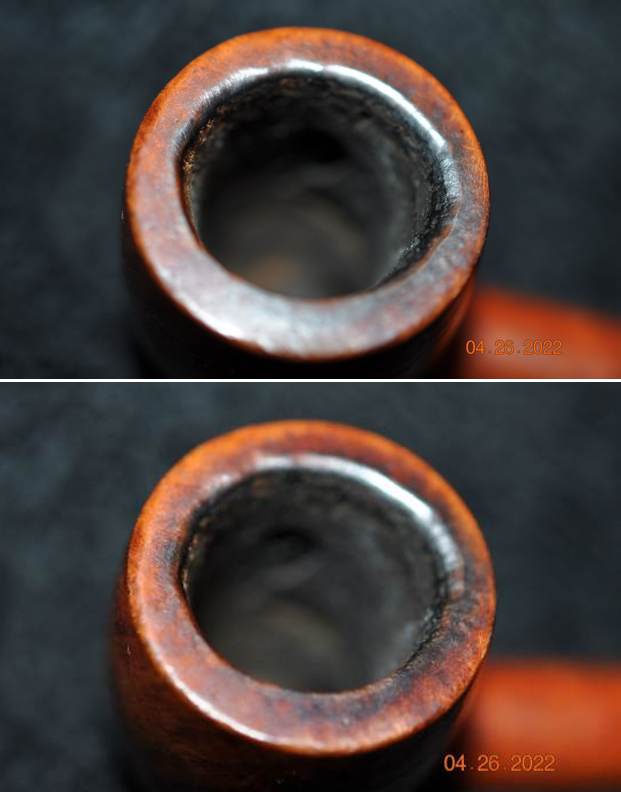
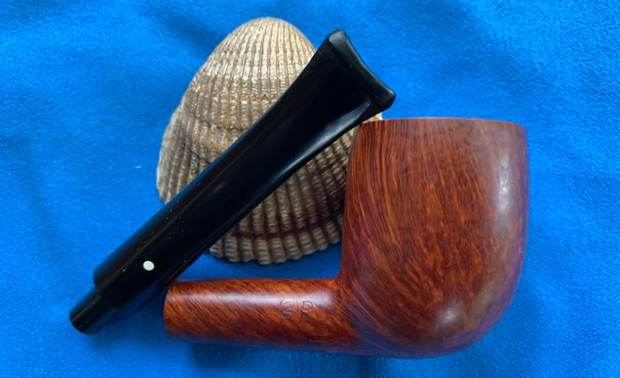
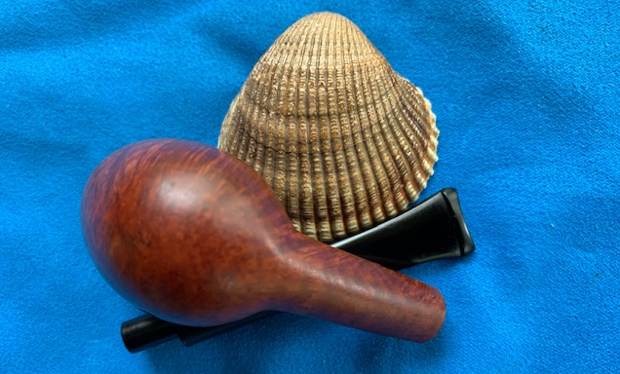
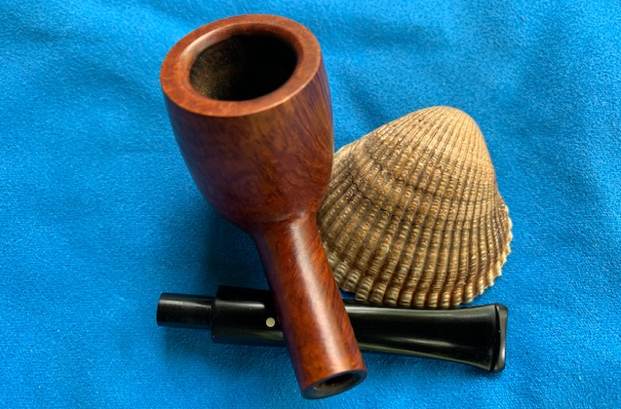
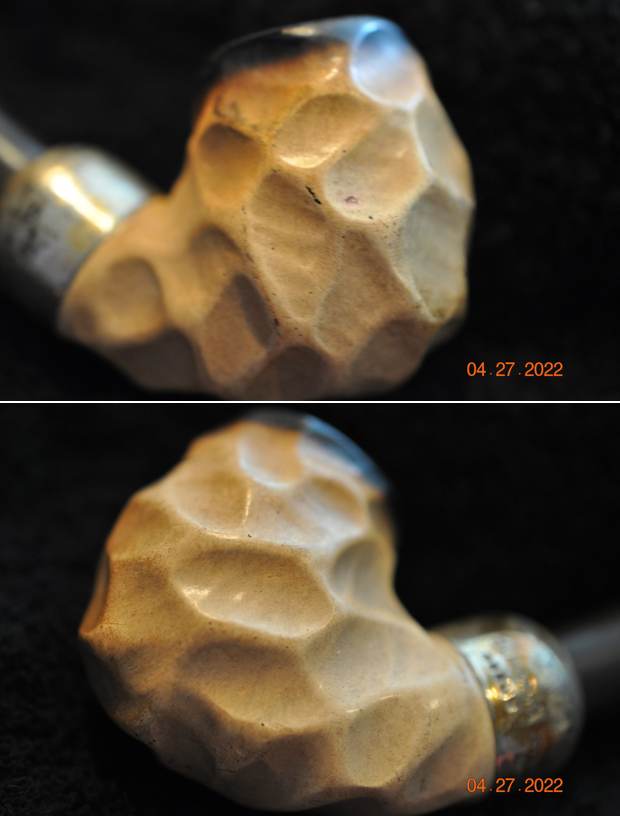
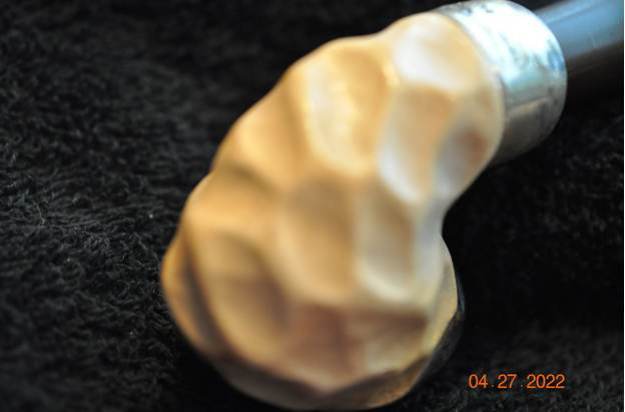
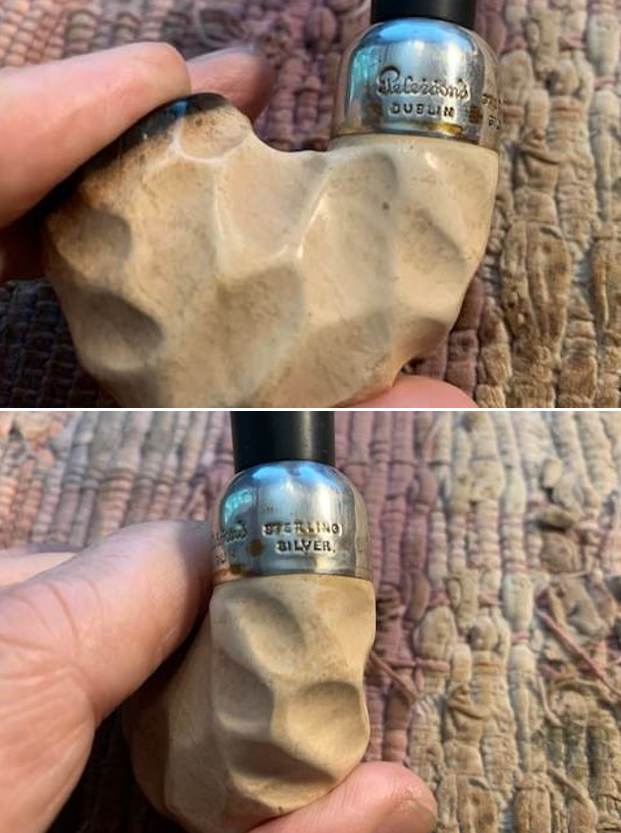
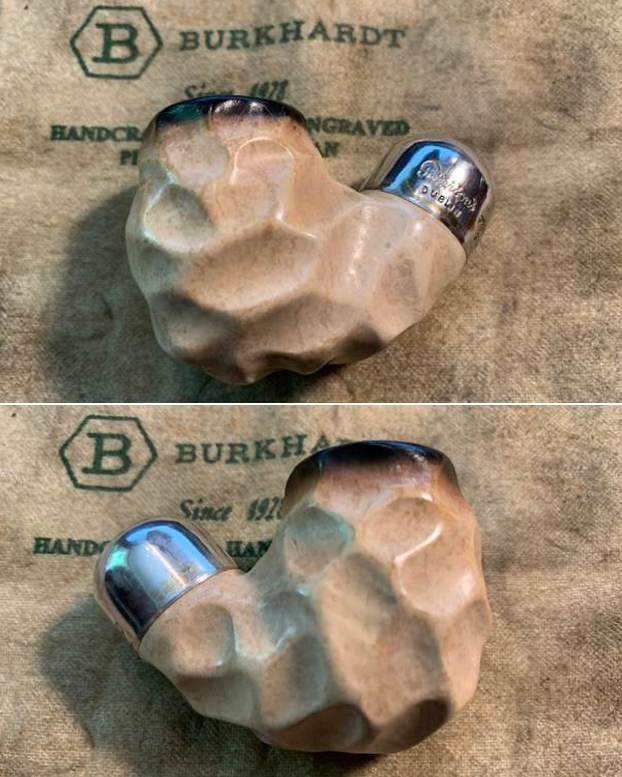
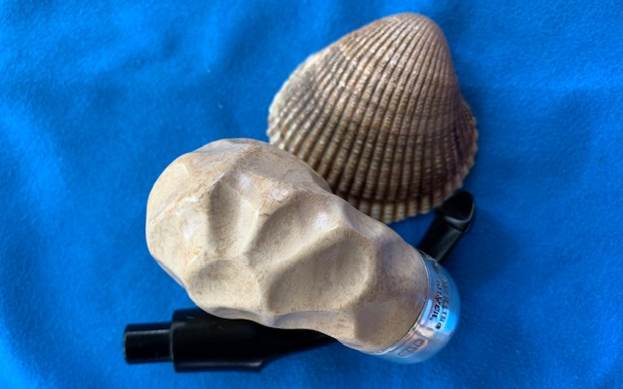
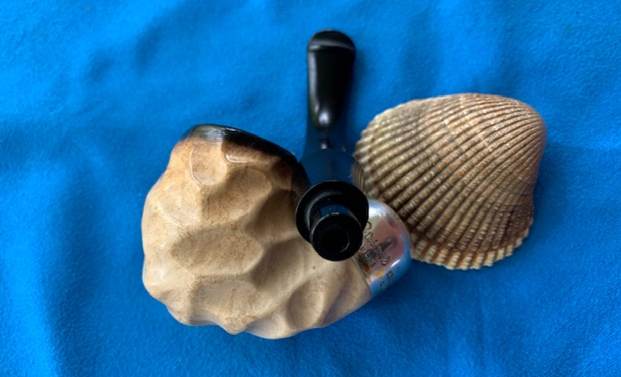
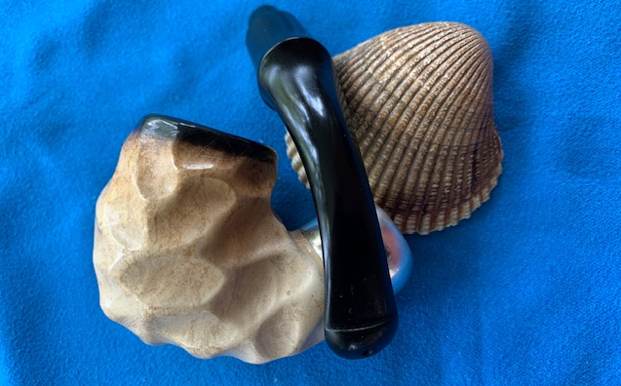
 Jeff took photos of the grain and finish around the bowl sides and heel. It was nice looking if you can see through the grime ground into the finish.
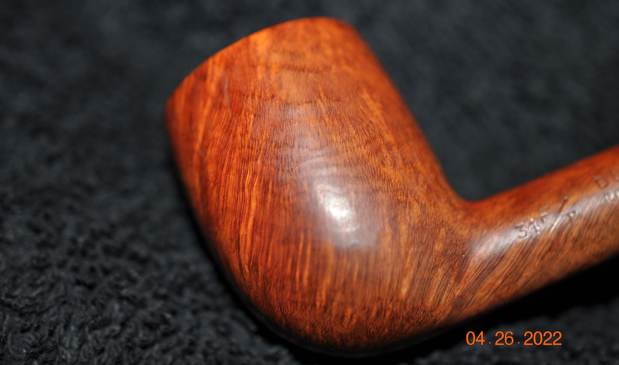
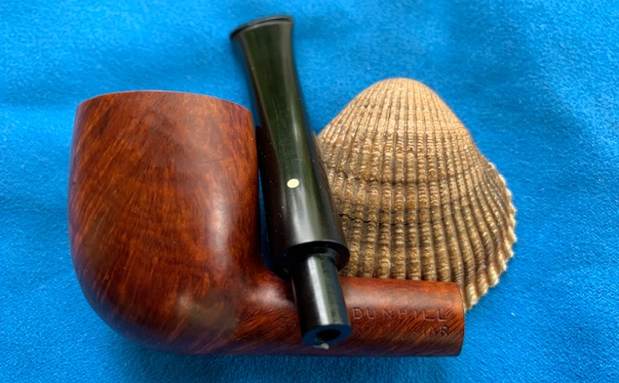
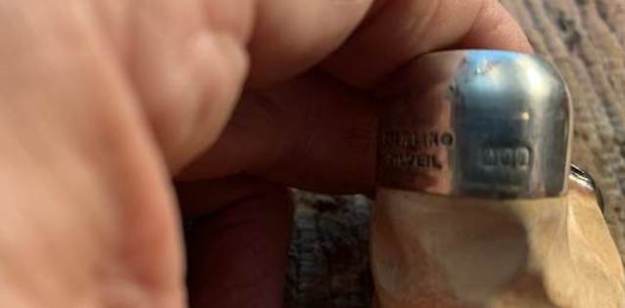
 He took a photo of the stamping on the left side of the shank. There is no photo of the right side stamping that gives the Made in England date code. The stamping is readable but filthy.
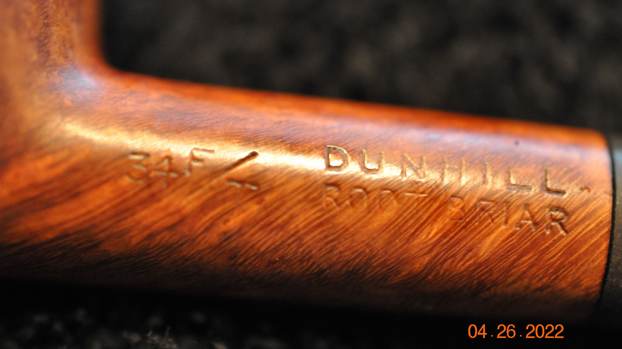 Now it was time to begin to work on the stamping on the pipe. Because I had just finished working on a twin to this pipe I used the information that I had dug up on that one. I quote below.
Pipedia had some great information on the Root Briar finish and dates and how the finish was made (https://pipedia.org/wiki/Dunhill#Bruyere). The first quote below give the short version of the finish. I quote from both below.
Root Briar – Introduced in 1931 and highly prized because the grain is more pronounced in this finish (usually made using Corsican briar – was made exclusively from that briar into the 60s). The Root Briar finish requires a perfectly clean bowl with excellent graining. Therefore, it is the most expensive of the Dunhill pipes. Corsican briar was most often used for the Root finish since it was generally more finely grained. This is a rare finish, due to the scarcity of briar suitable to achieve it. These pipes are normally only available at Company stores, or at Principle Pipe Dealers. Straight grained pipes were formerly graded A through H, but are now only “Dr’s” and graded with one to six stars, with the letters G and H still used for the very finest pieces.
“Dunhill introduced its third major finish, the Root finish, in 1931. Corsican mountain briar is characteristically beautifully grained and the Root was made exclusively from that briar into the 1960s. The pipe was finished with a light natural stain to allow the beauty of the graining to show through. Although always available with a traditional black vulcanite bit, the Root was introduced in either 1930 or more likely 1931 and fitted with a marble brown dark and light grained vulcanite bit that has since become known as the ‘bowling ball’ bit because of the similarity in appearance between the bit’s finish and that of some bowling balls of the time. With the war, however, the bowling ball bit was dropped from production. Through 1954 (and after) the Root pipe nomenclature (including shape numbers) was identical to that of the Bruyere except that instead of the “A” of the Bruyere, the Root was stamped with an “R”. In 1952 when the finish rather then LONDON was placed under DUNHILL, ROOT BRIAR rather then BRUYERE was used for the Root.” Loring, J. C., The Dunhill Briar Pipe, The Patent Years and After (self-published, Chicago, 1998).
With that information clear for me I wanted to identify the shape number and try to pin that down (https://pipedia.org/wiki/Dunhill_Shape_Chart). I turned to the section on the older 2 digit Shape Numbers and read it. I quote it below and added a chart on the numbers.
The original skus/model numbers from the 1920’s until the early 1970’s stood for very specific shapes and bowls. For example, the codes 31, 34, 59, 111, 113, 117, 196, LB, LBS… were all different types of Billiard shaped pipes and there were about 50(!), such codes for the Billiard shape alone.
There was a link there (https://pipedia.org/wiki/Dunhill_Shapes_List) to a shape list that Eric Boehm put together for Dunhills. It is amazing to see the sheer number of variations on the Billiard shape. I copied the first three in the list as it includes the shape 34 Billiard.
Billiards:
31 Billiard, tapered bit 1 4¾” 1928, 1950 3
32 Billiard, tapered bit 1 5″ 1928, 50, 60, 69 3
34 Billiard, tapered bit (Dental) 2 5½” 1928, 50, 60, 69 3. (This is the pipe I am working on. It is a tapered bit Billiard. It does not have a Dental bit as noted above. Rather than the Dental bit it has a F/T or Fish Tail bit.)
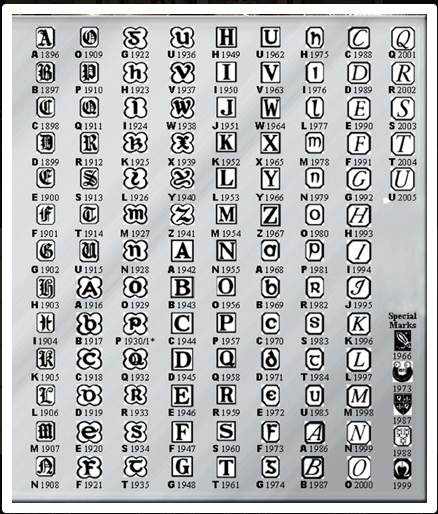
I turned next to dating the pipe. There is a superscript 8 following the D in ENGLAND on the right side of the shank. I turned to the dating chart on Pipephil to pin down the date on this twin (http://pipephil.eu/logos/en/dunhill/cledat-en1a.html). I did a screen capture of Part 2 of the Dunhill Dating Key and included it below. I drew a red box around the section dating this pipe. It is clear that the pipe was made after 1954 so that is why I went to Part 2. Once again, because the year suffix is 8 that tells me that the pipe was made in 1950+8 for a date of 1958.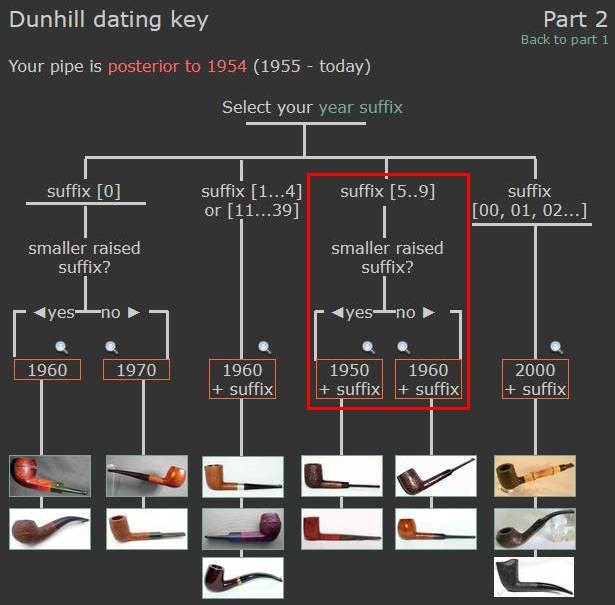 Armed with that information I turned to work on the pipe itself. Before he sent it to me, Jeff had done an amazing job cleaning the pipe. It almost looked like a different pipe after his work. He reamed the pipe with a PipNet pipe reamer and removed the rest of it with a Savinelli Fitsall Pipe Knife. He scrubbed the bowl with undiluted Murphy’s Oil Soap with a tooth brush. He rinsed it under running warm water to remove the soap and grime. He cleaned out the inside of the shank and the airway in the stem with isopropyl alcohol, cotton swabs and pipe cleaners. He soaked the stem in Briarville’s Pipe Stem Deoxidizer and then rinsed it off with warm water. He scrubbed the stem with Soft Scrub and a tooth brush and rinsed it off with warm water. It looked amazing when I took it out of the package of pipes he shipped me. I took photos of the pipe before I started my part of the restoration work.
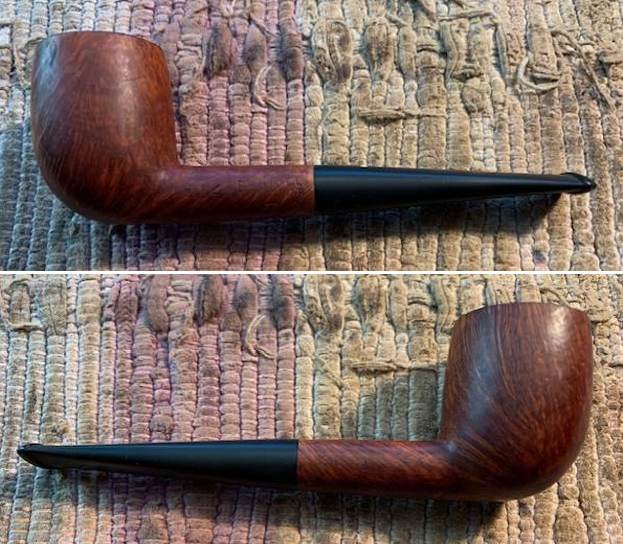
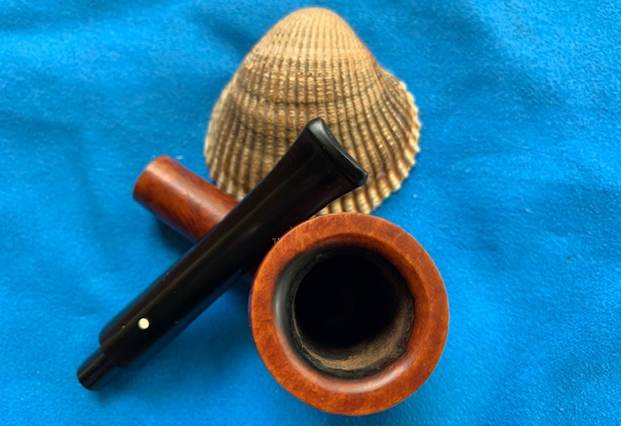
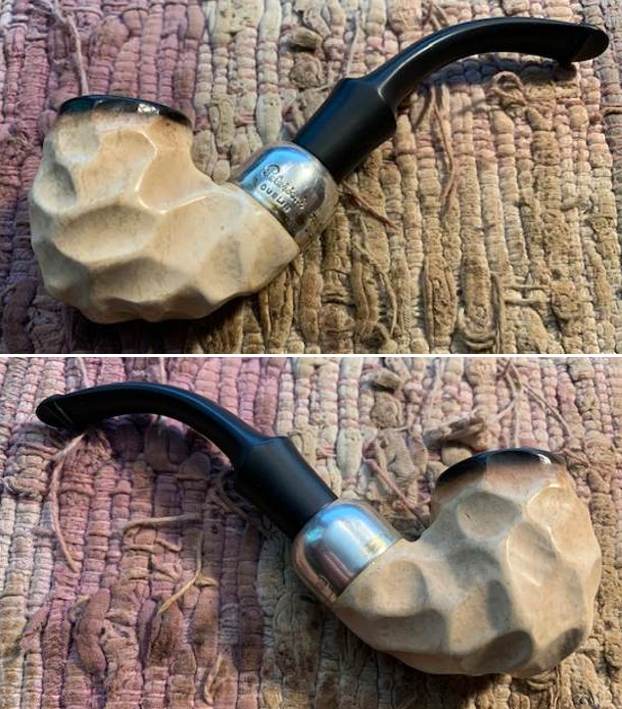
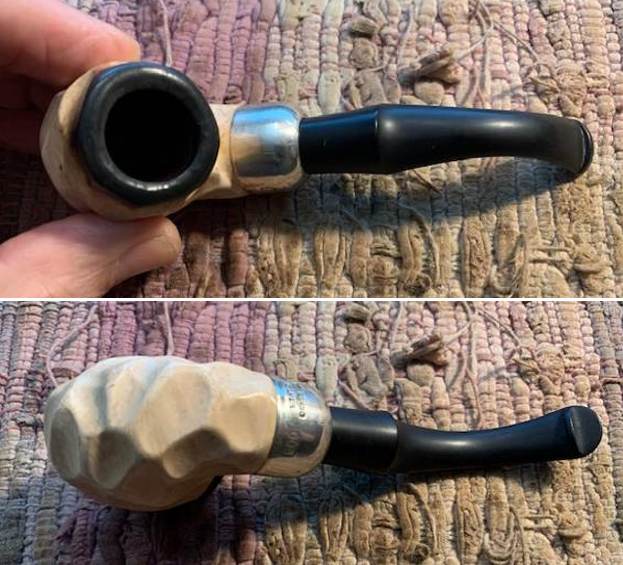
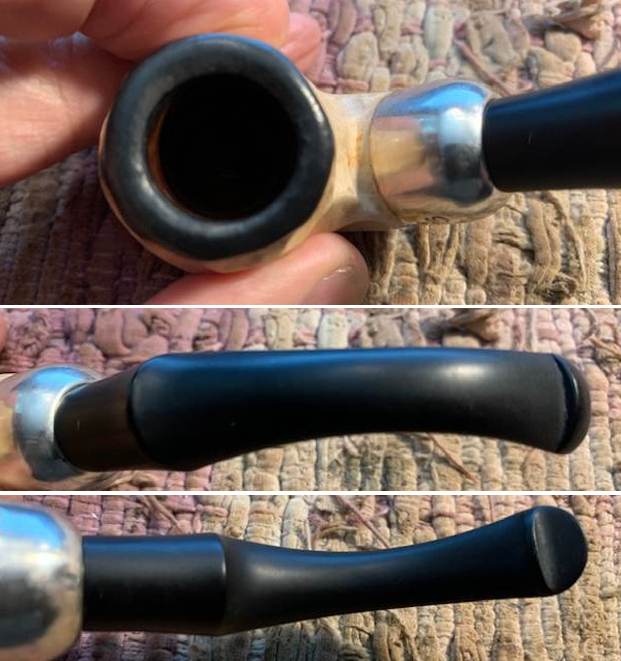
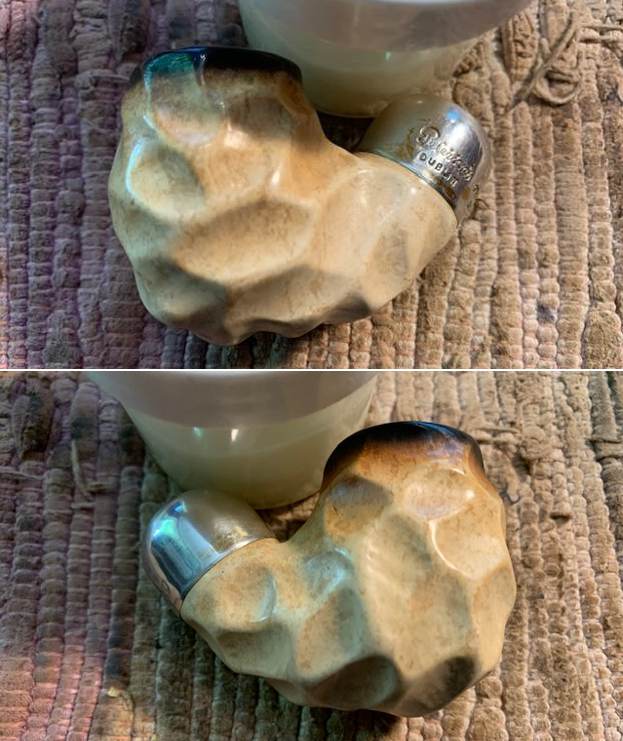
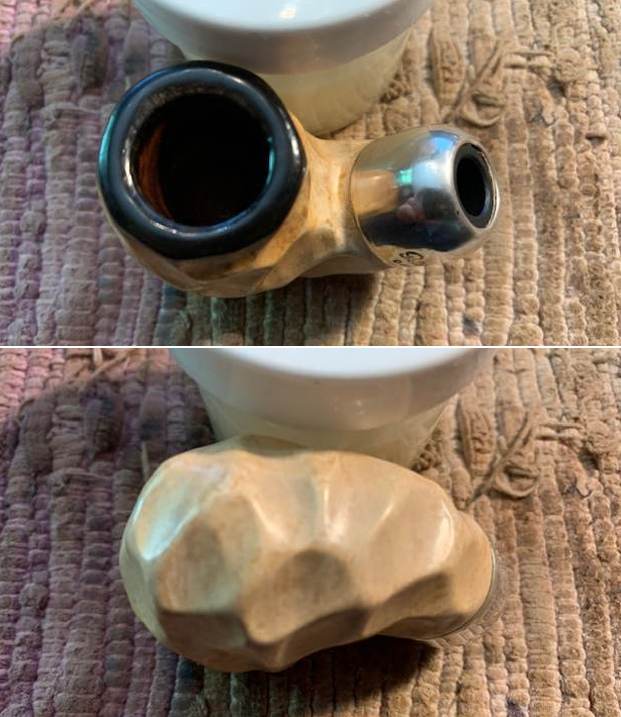
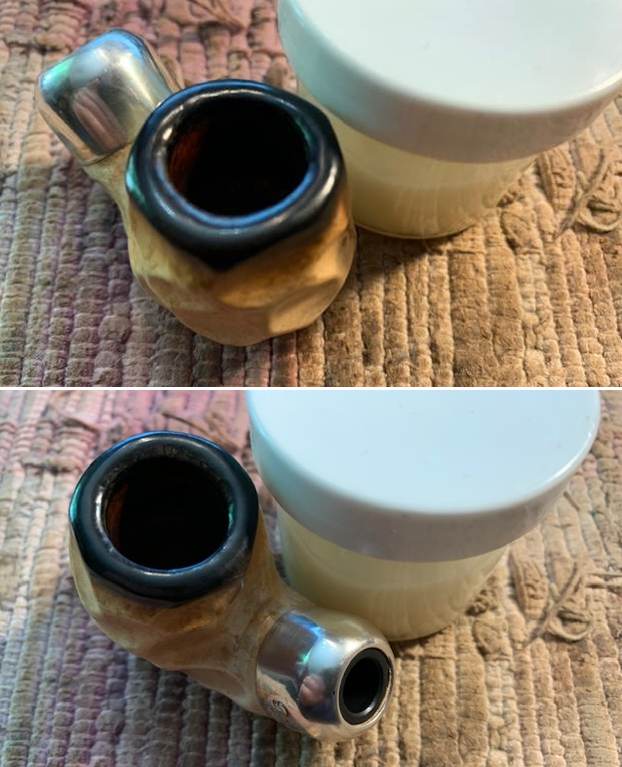
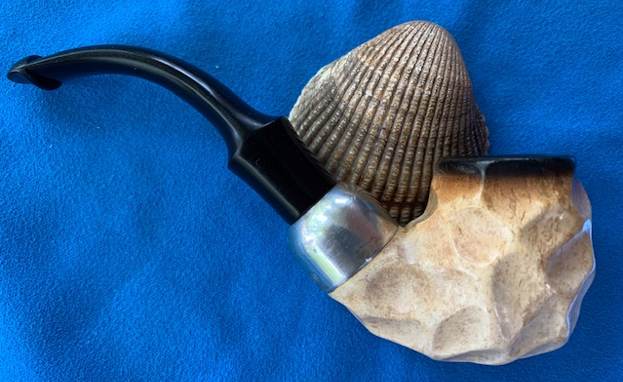
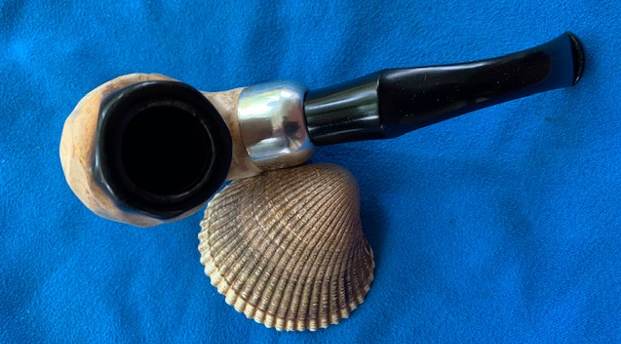
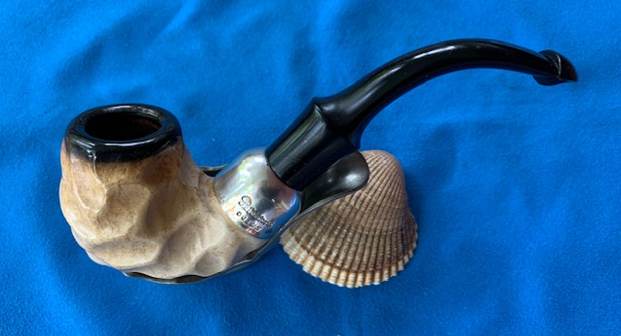
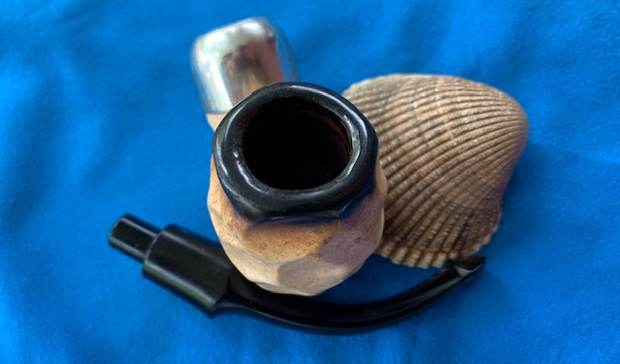
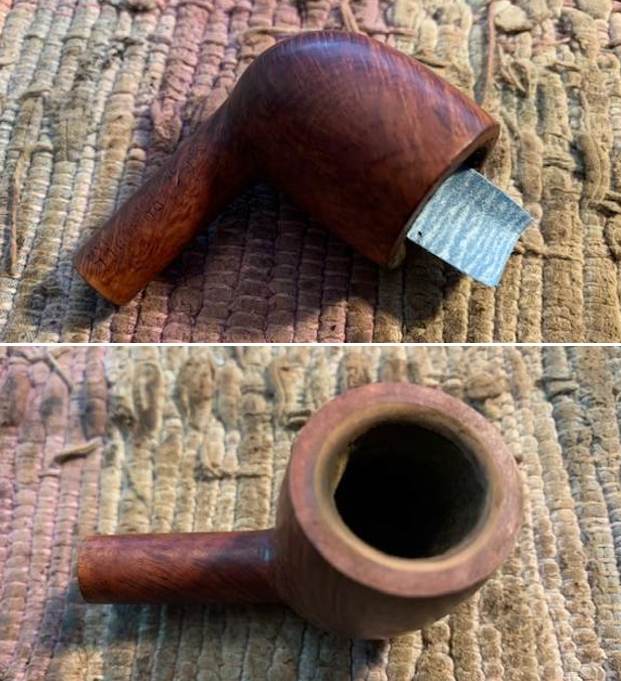
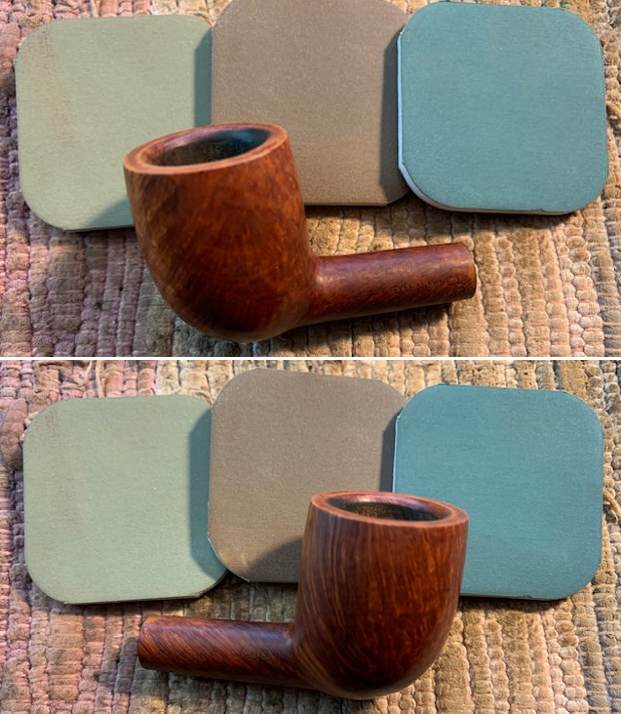
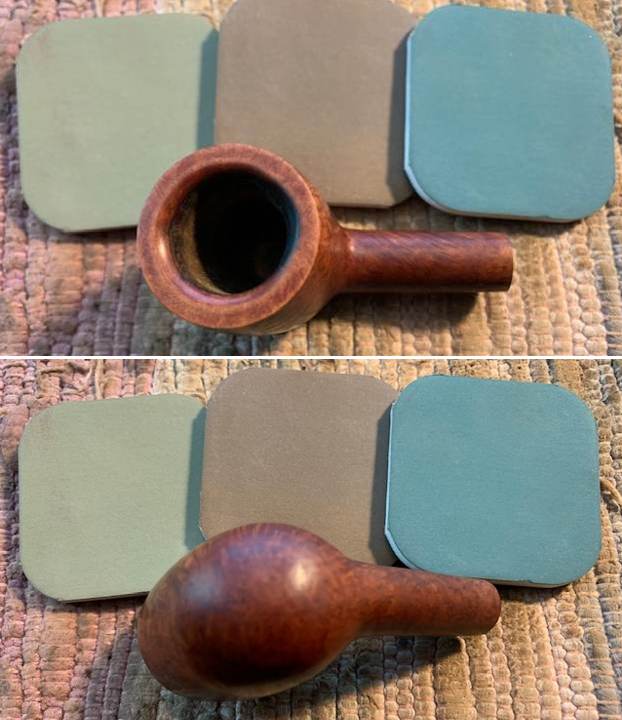
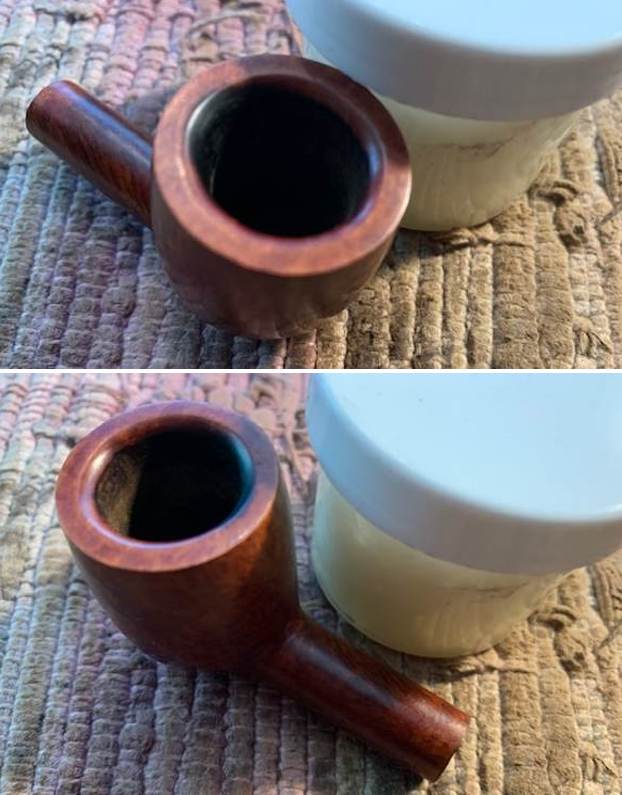
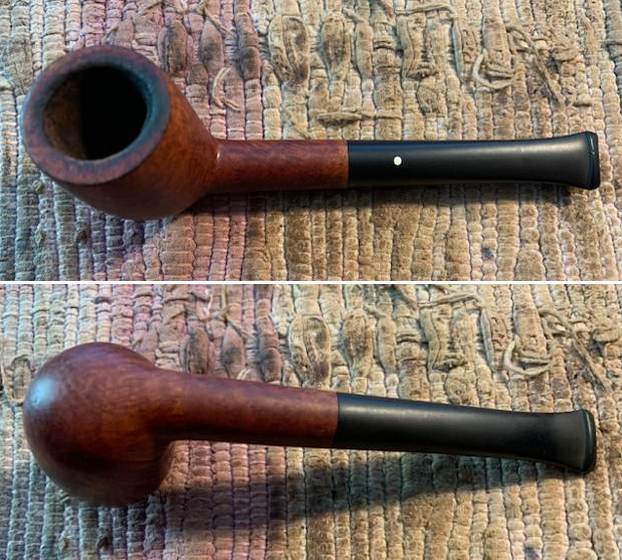 The rim top was cleaner and the inner edge of the bowl looked rough. There was burn damage all the way around but heavier on the front and the back of the bowl on the top and inner and outer edges. There was also darkening on the rim top. The stem surface looked good with the oxidation gone and light but visible tooth chatter on either side of the stem.
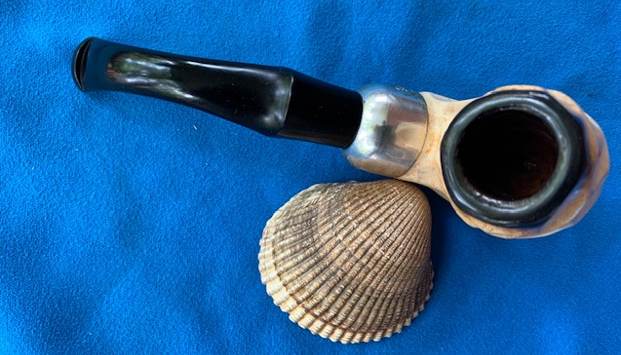
 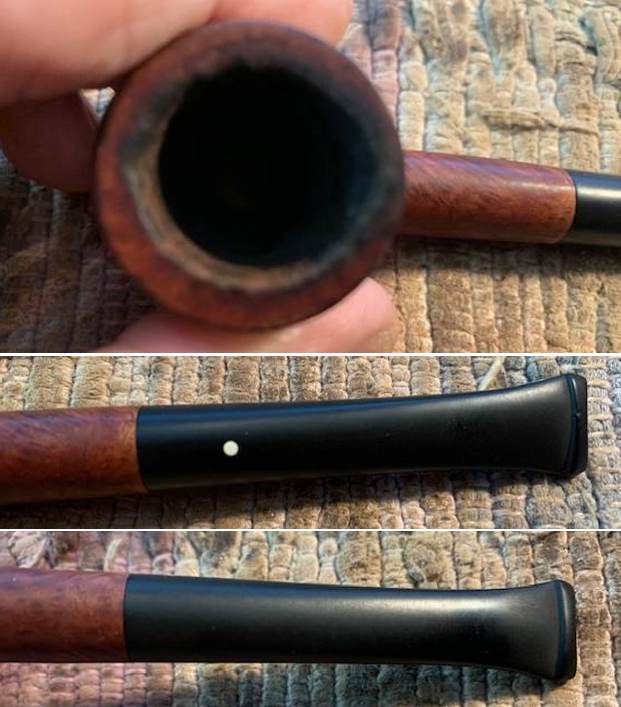 I took photos of the stamping on the sides of the shank. It is clear and readable as noted above.
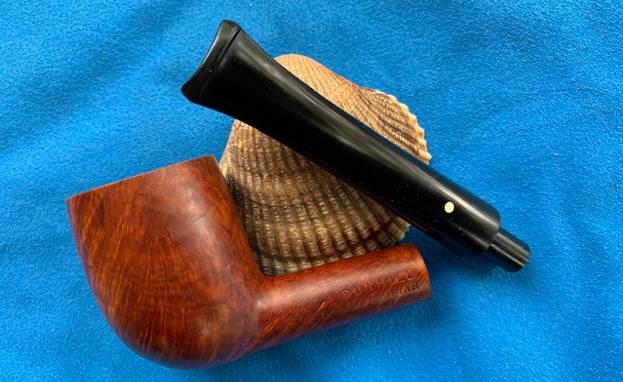
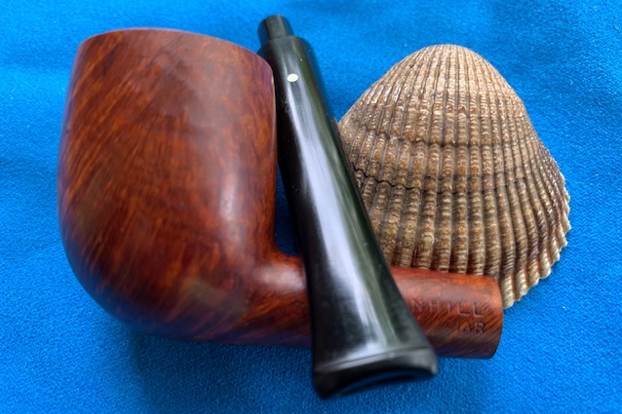
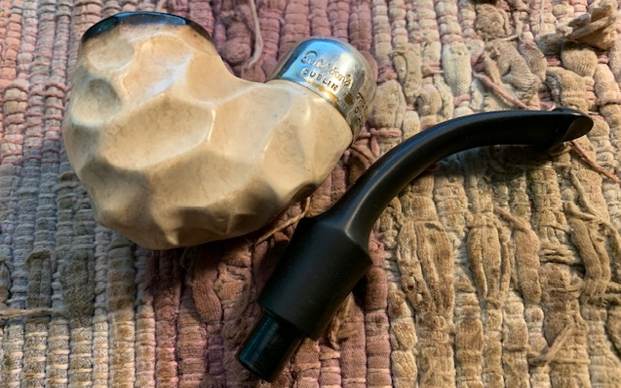
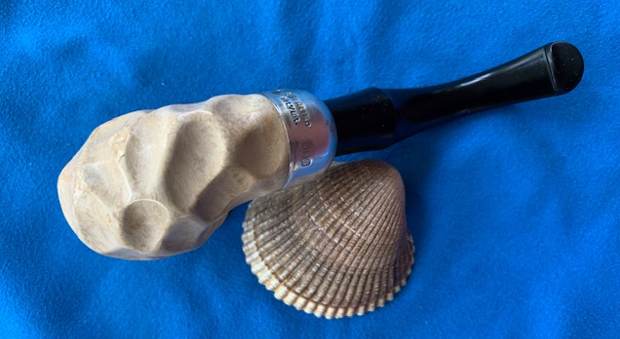
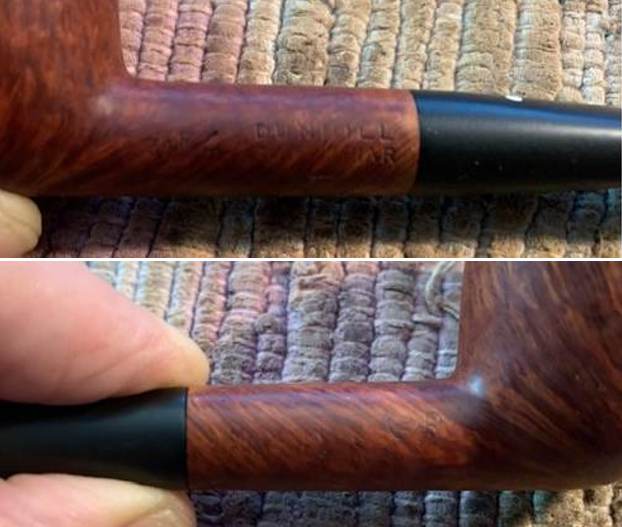 I took the stem off the shank and took a photo of the parts of the pipe. The overall look of the pipe is quite nice.
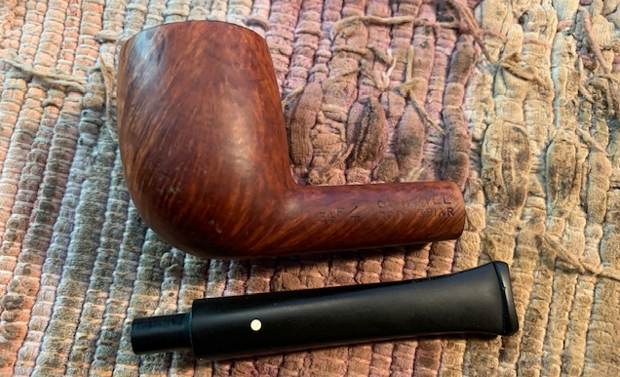 I started my portion of the work on this pipe by addressing the damage to the rim top and inner edge of the bowl. I topped the bowl on a board with 220 grit sandpaper to take down the damage on the top of the rim and outer edges. I used a folded piece of 220 grit sandpaper to smooth out the edge and give it a slight bevel to deal with the chipping and cutting on the inner edge. It cleaned up remarkably well. With polishing and buffing it would look even better.
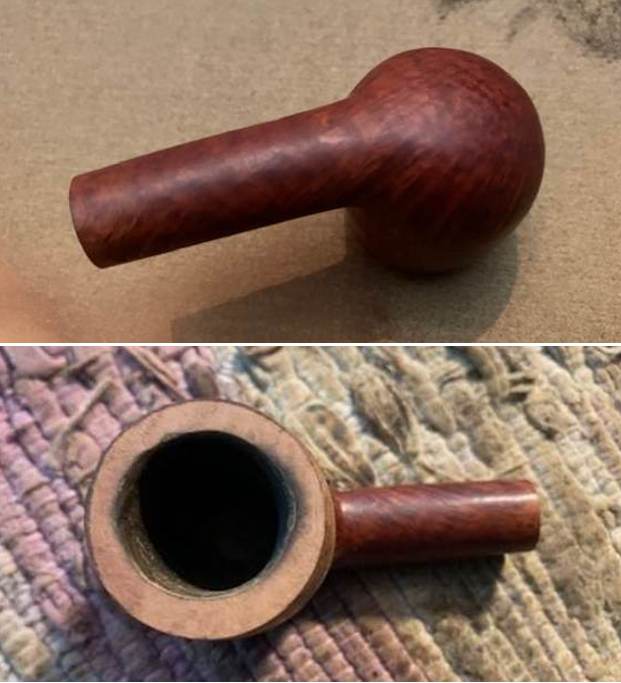
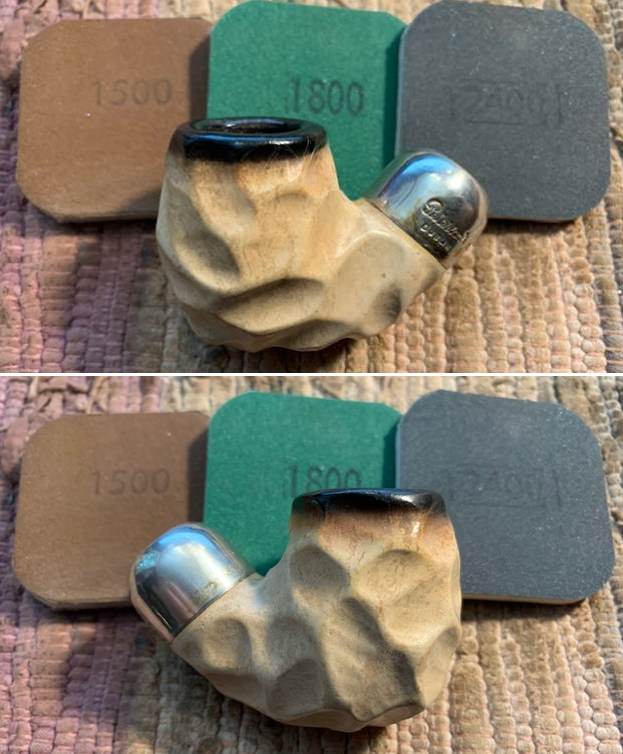
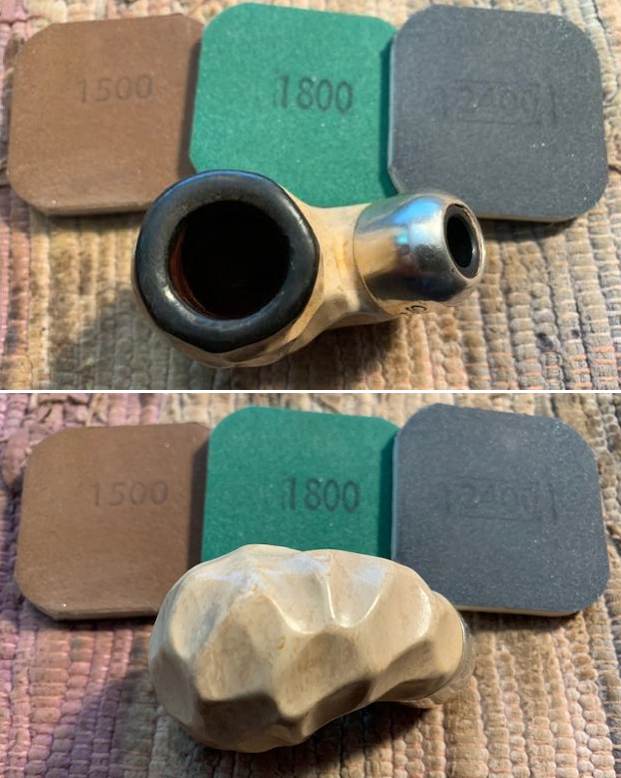
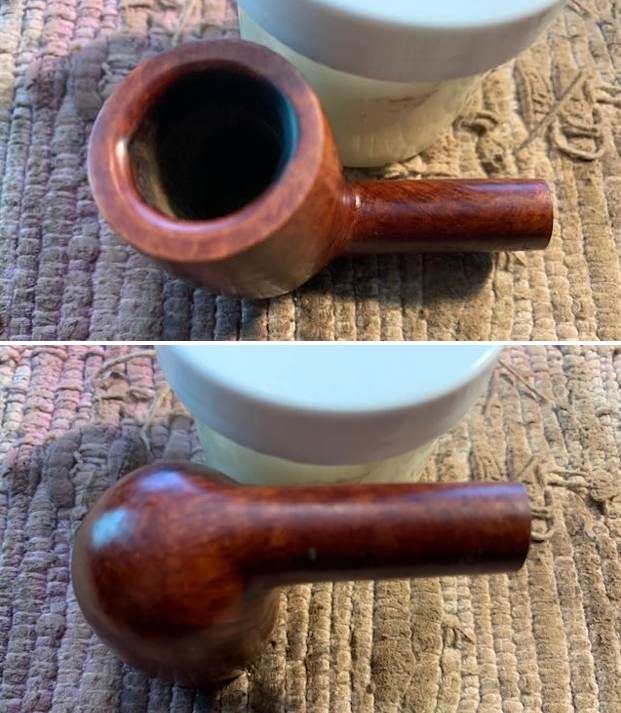
 I polished the briar with micromesh sanding pads – dry sanding with 1500-12000 grit pads. I wiped the bowl down with a damp cloth after each pad. The rim top looked very good and the bowl began to take on a rich glow.
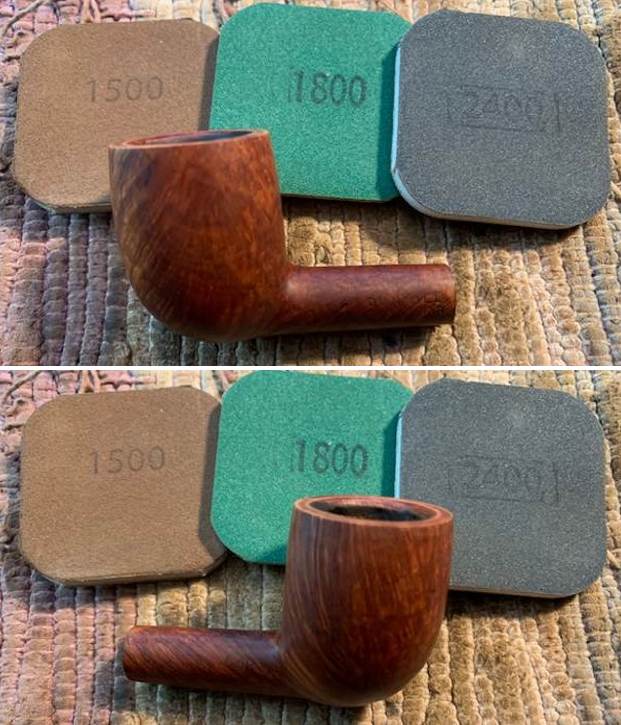
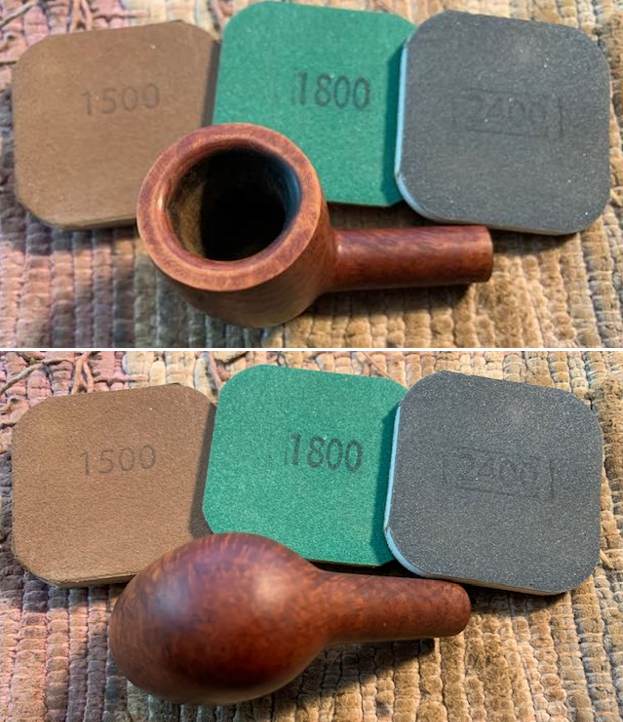
 I used an Oak Stain Pen to restain the rim top and the inner bevel of the rim edge. Once it dried I buffed it with a cotton cloth and the match was very good. There was some darkening on the back inner edge of the bowl but it is in far better condition.
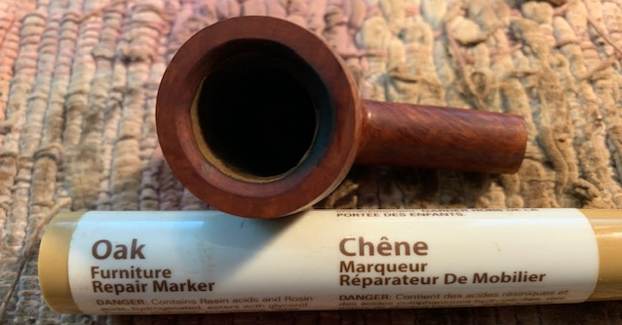 The bowl looked very good at this point so I rubbed it down with Before & After Restoration Balm. I worked it into the surface of the bowl and shank with my fingertips to clean, enliven and protect the briar. I let the balm sit for about 10-15 minutes and buffed with a cotton cloth to raise the shine.
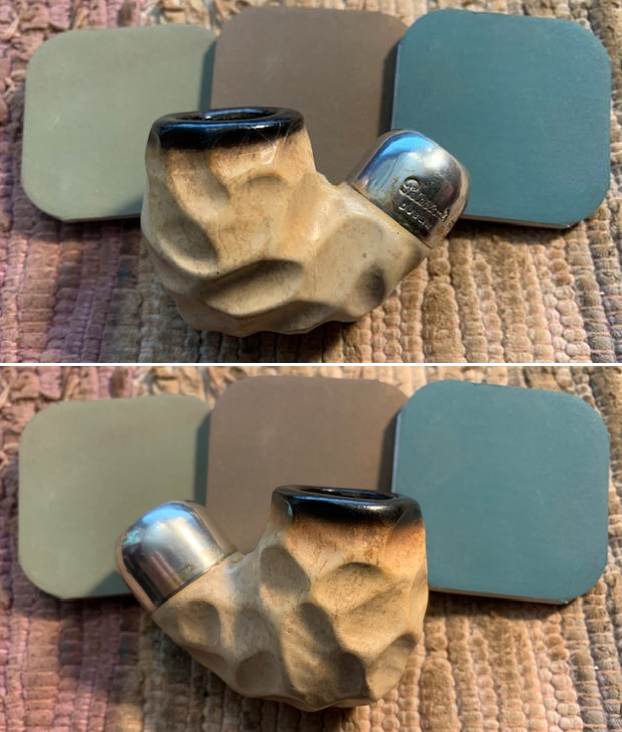
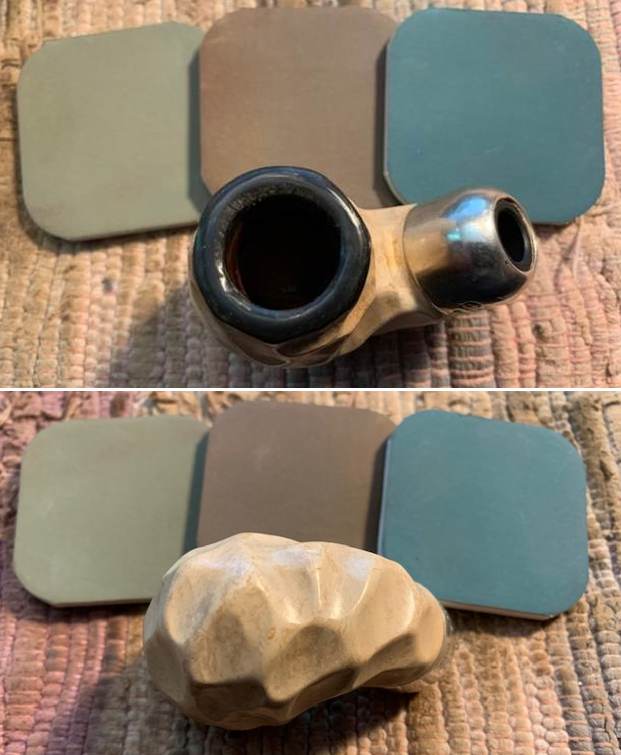
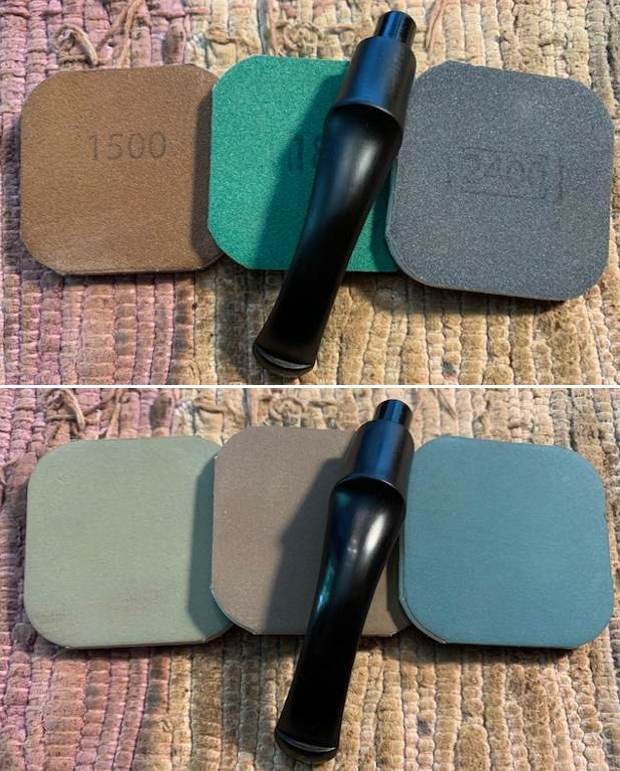
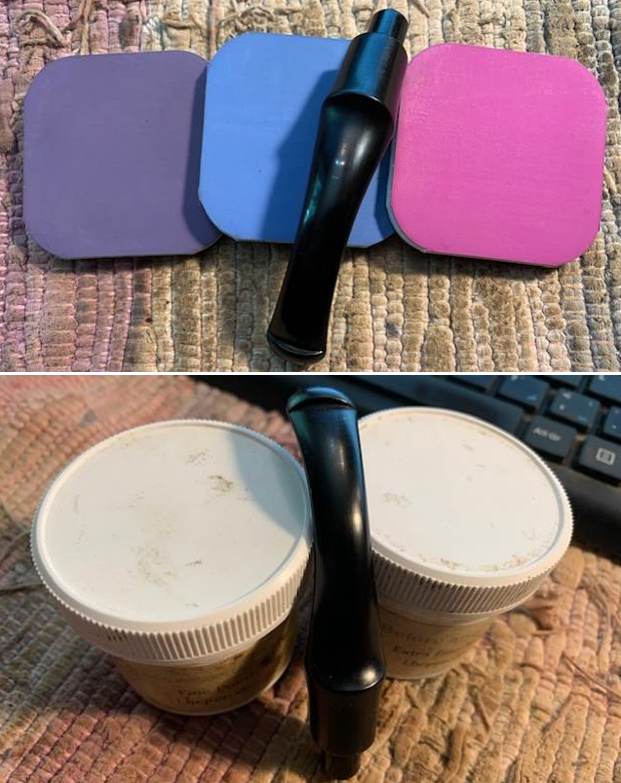
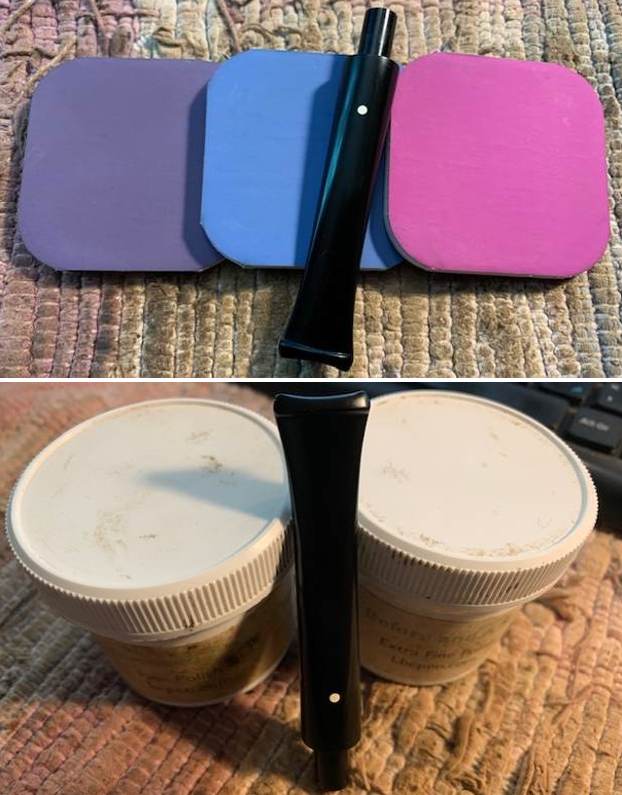
 I set the bowl aside and turned to work on the stem. I polished the vulcanite stem with micromesh sanding pads – 1500-12000 grit pads. I wiped it down with Obsidian Oil after each sanding pad. I used Before & After Pipe Polish – both Fine and Extra Fine to further polish the stem and gave it a final coat of Obsidian Oil to finish it.
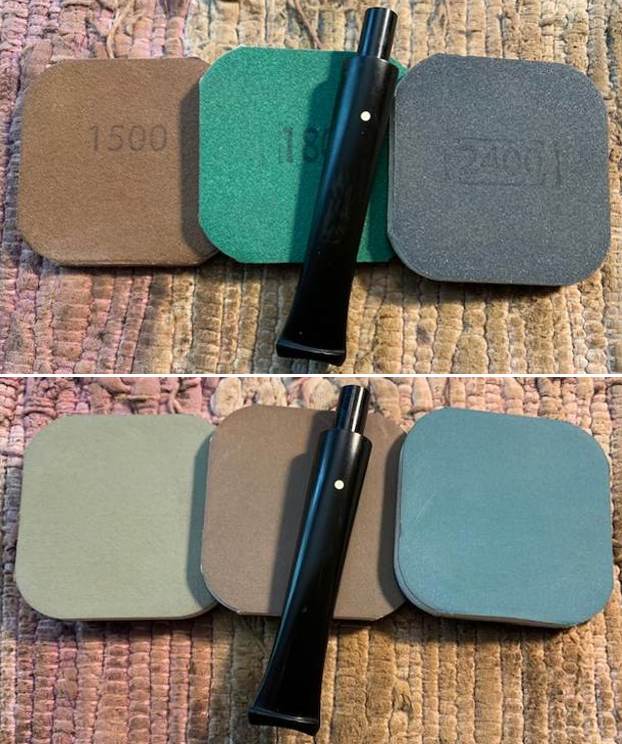
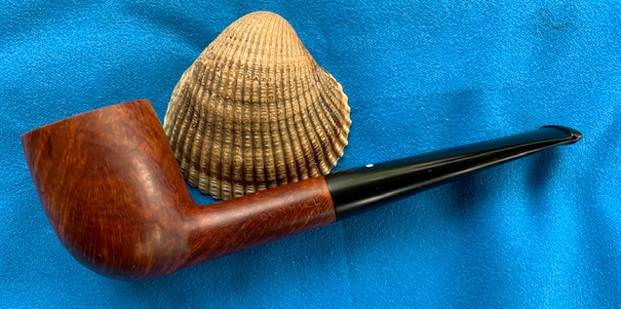
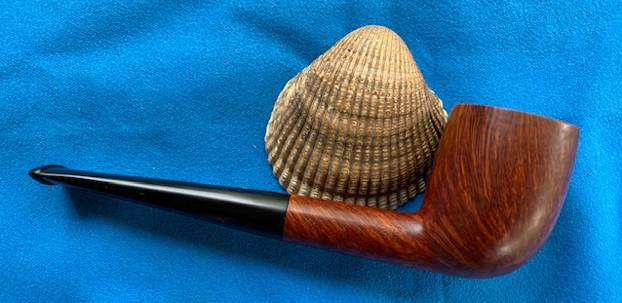
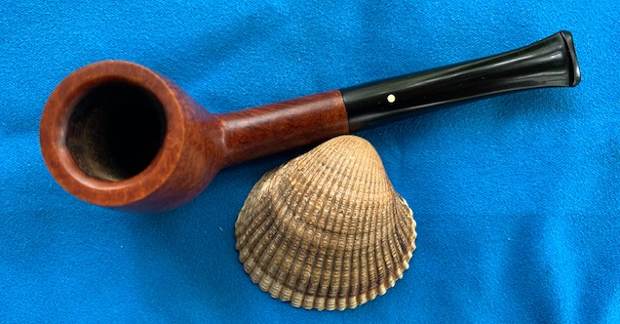
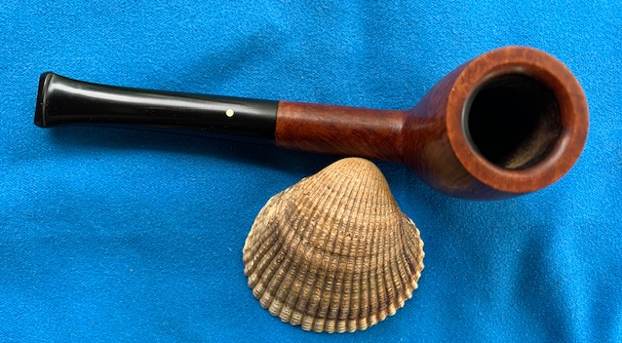
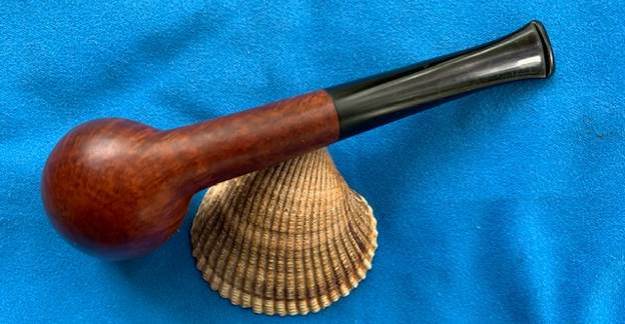
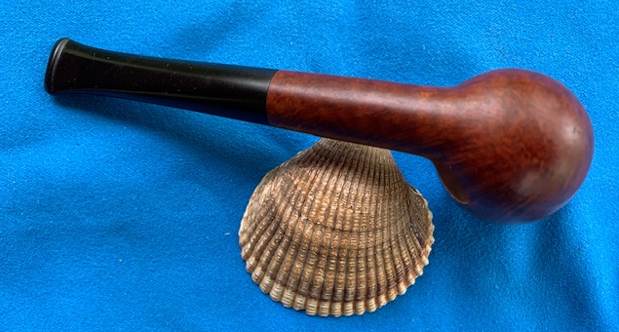
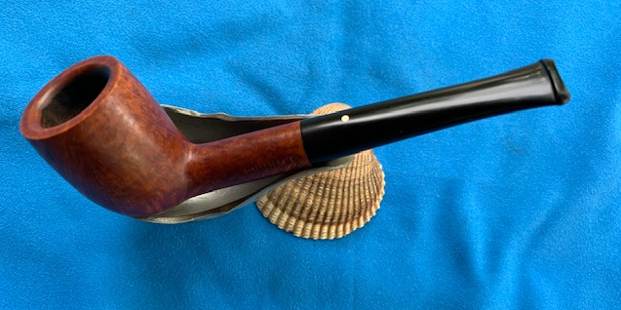
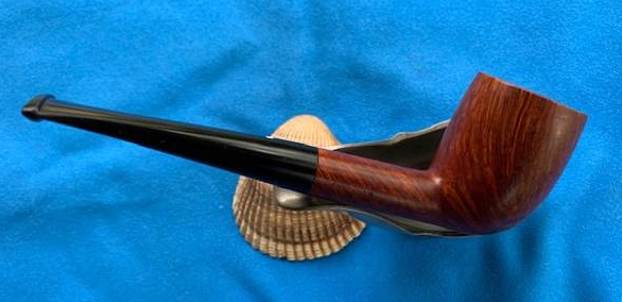
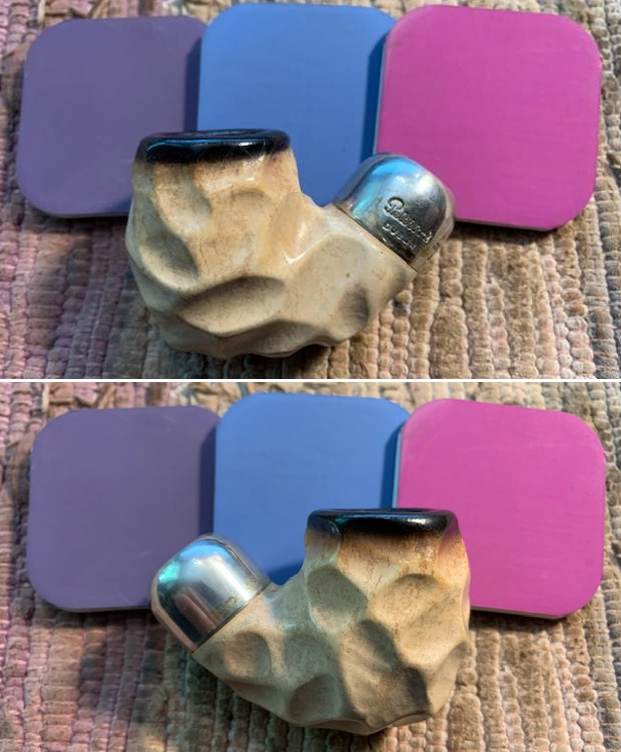
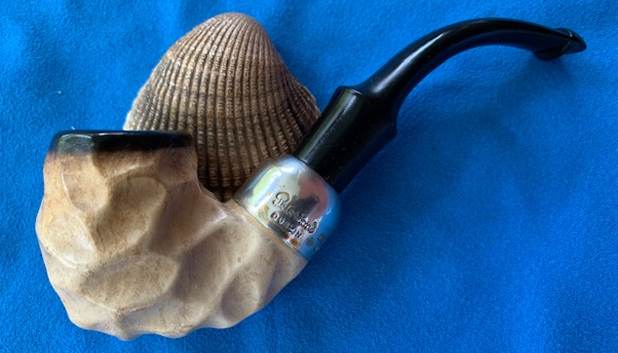
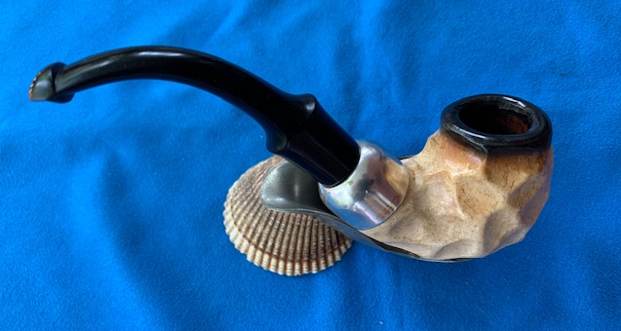
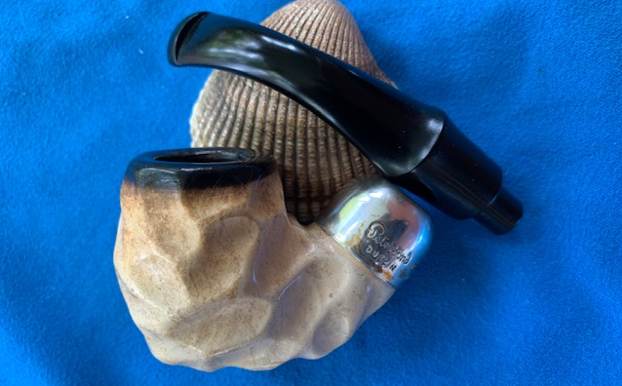
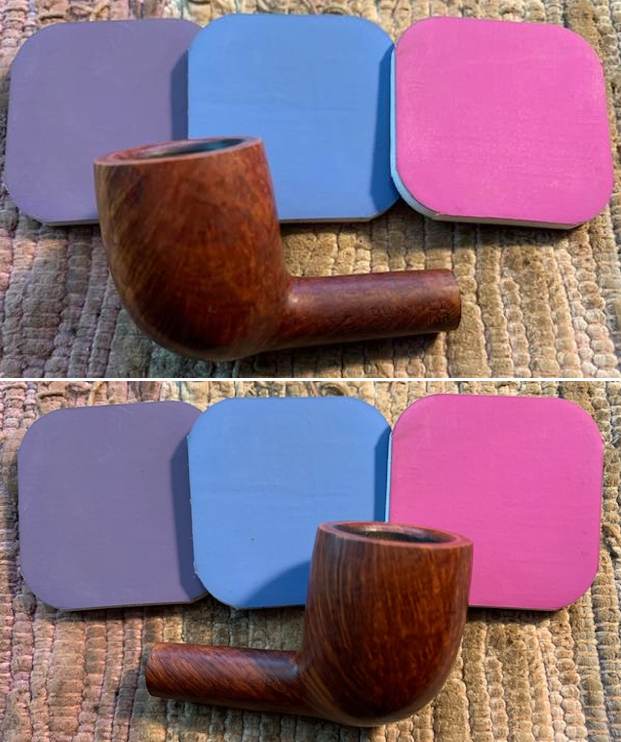
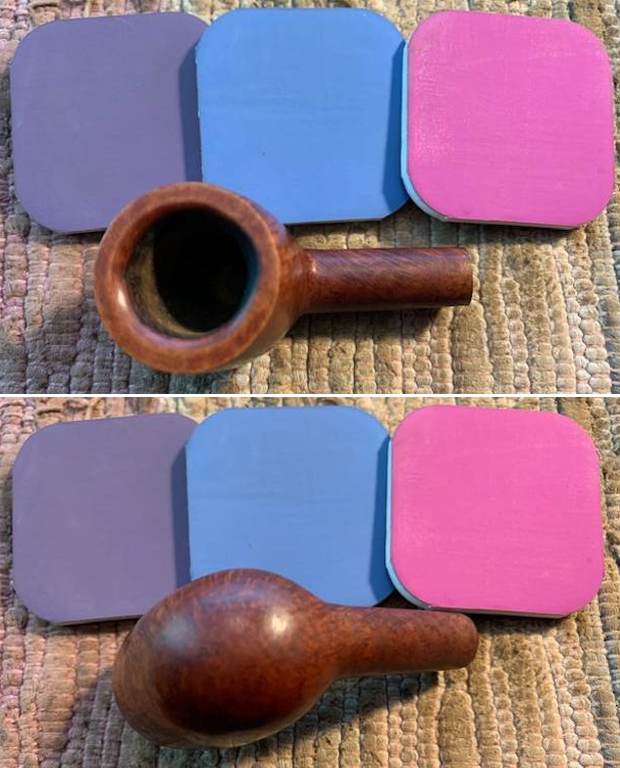
 This 2nd beautiful 1958 Dunhill Root Briar 34F/T 2R is a great looking pipe now that it has been restored. The rich Root Briar finish that highlights the grain and works well with the polished vulcanite stem. I put the stem back on the bowl and carefully buffed the pipe with Blue Diamond on the buffing wheel using a light touch on the briar. I gave the bowl and the stem multiple coats of carnauba wax on the buffing wheel and followed that by buffing the entire pipe with a clean buffing pad. I hand buffed the pipe with a microfiber cloth to deepen the shine. The finished Dunhill Root Briar Billiard is a small pipe that will be great for sitting and reading. Give the finished pipe a look in the photos below. The dimensions of the pipe are Length: 5 inches, Height: 1 ¾ inches, Outside diameter of the bowl: 1 ¼ inches, Chamber diameter: ¾ of an inch. The weight of the pipe is 27 grams/.95 ounces. I will be adding the pipe to the British Pipemakers Section of the rebornpipes store shortly. If you are interested in adding it to your collection be sure to let me know. I take a moment to remind myself and each of us that we are trustees of pipes that will outlive us and the lives of many other pipe men and women who carry on the trust of their care and use. Thanks for reading this blog and my reflections on the pipe while I worked on it.