Blog by Steve Laug
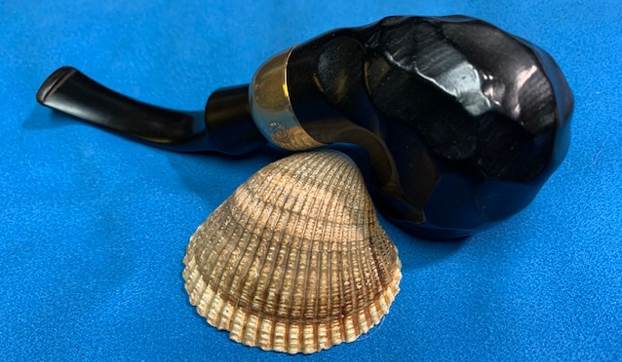
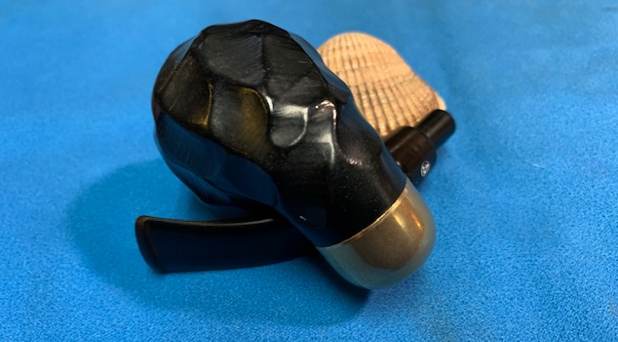
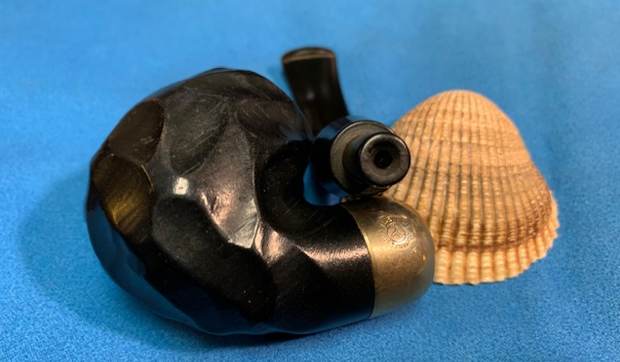
The next pipe I have chosen to work on is an interesting faceted Black coloured Meerschaum Bent Billiard. It is a pipe that we found somewhere along the journey but have no record of when or where we picked it up. It is a classic Manx style African Meerschaum pipe. It was stamped on the ferrule on the shank end had had the Manx running legs logo and read Millennium [arched over] Of Tynwald in a circle around the . It was in great condition when I brought it to the table. There was a heavy cake in the bowl and some lava on the rim top and edges of the bowl. The brass coloured ferrule was in good shape but had scratches that would need to be polished. The stem had the same running legs logo on the top of the saddle. There was some oxidation and calcification on the stem surfaces as well as light chatter and tooth marks near the button on both sides. I took photos of the pipe before I started my work. 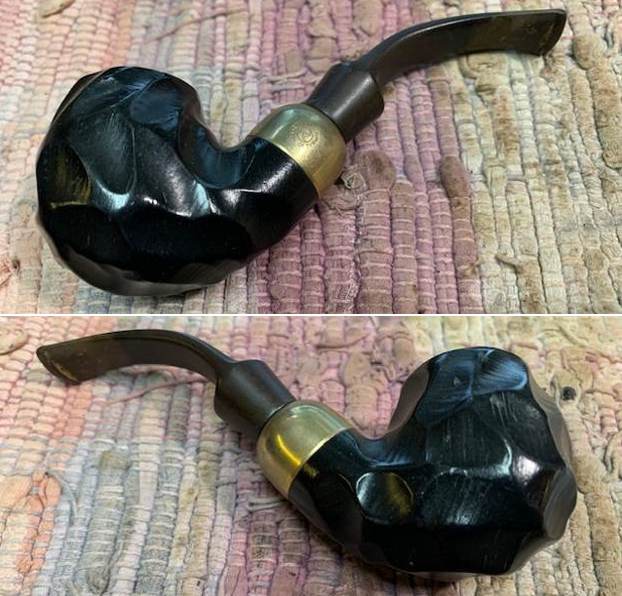
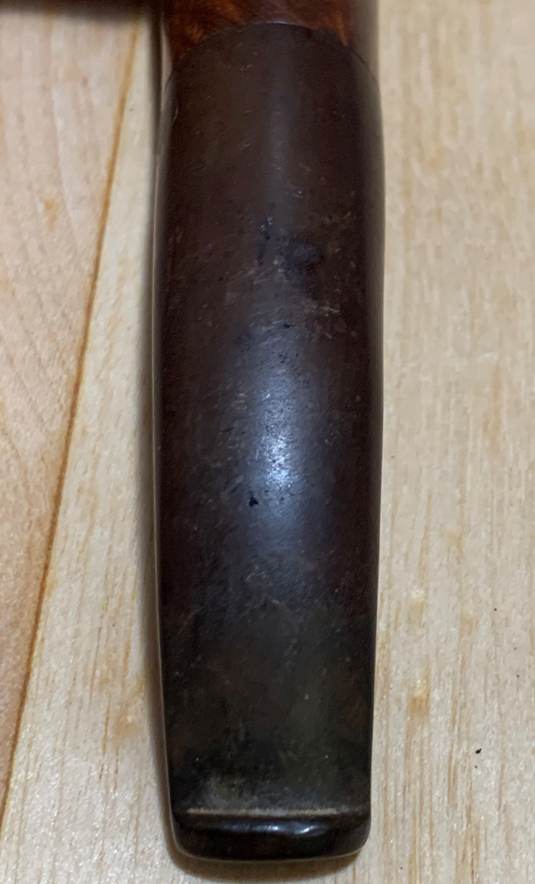
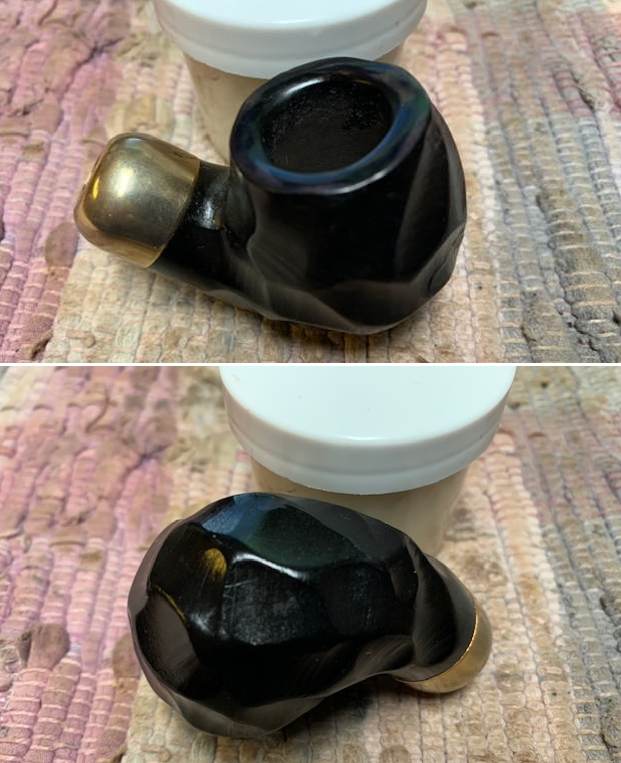
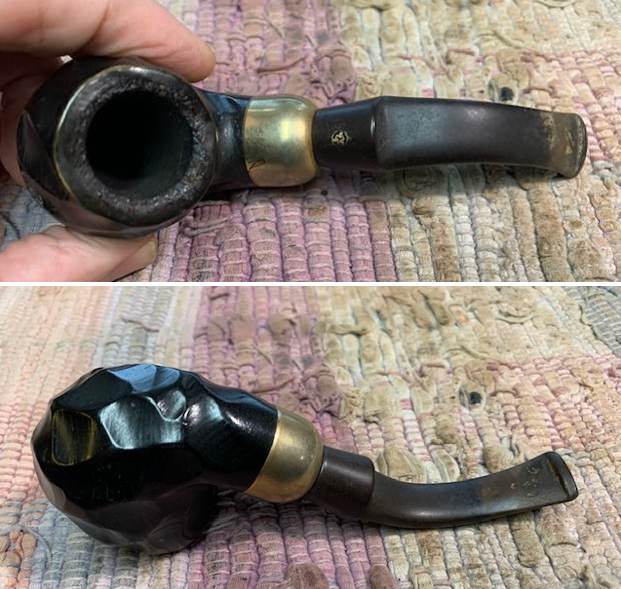 I took photos of the rim top and stem to show the general condition of the pipe. The bowl is heavily caked and the rim top and edges have a thick lava overflow. The stem is oxidized, calcified and has tooth marks on the top and underside near the button.
 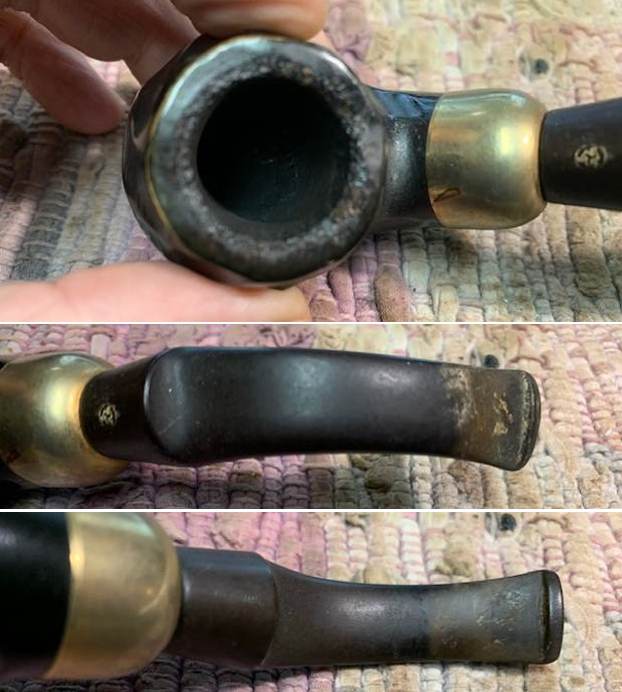 I took photos of the stamping on the left side of the brass ferrule. It reads as noted above. I also captured the stamping on the stem to show the running legs logo there as well.
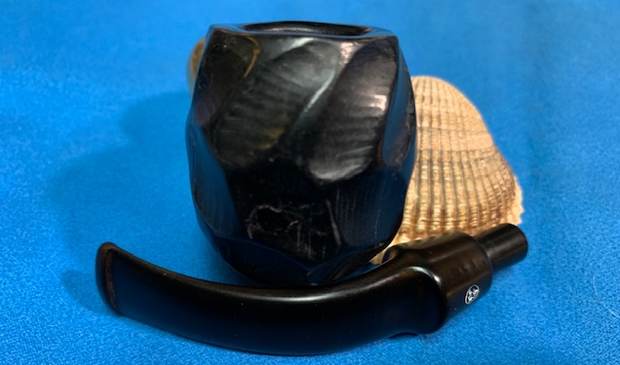
 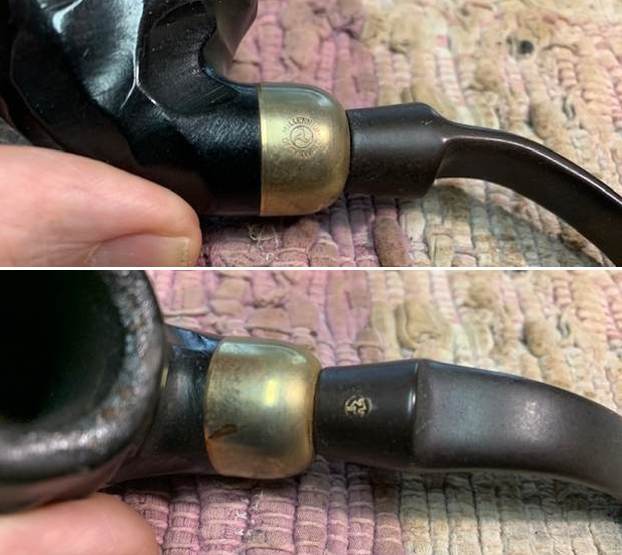 I removed the stem and took a photo of the pipe to have a look at the parts and overall look.
  I did a quick search on Google to see what I could learn about the Millennium Of Tynwald brand. The first link I found was for one that was on Worthpoint that had a fascinating description of the brand (https://www.worthpoint.com/worthopedia/meerschaum-pipe-manx-millennium-1979-464084331). I include a portion of that quote below.
Manx Tynwald Millennium Meerschaums Pipe. The pipe will probably date from 1979 the year of the Millennium. Made in the Isle of Man by J Laxey & Co. Meerschaum production ceased in 2002. From the 1960’s they produced bowls for Barlings and Petersons among others.
I am not sure how the year 1979 is linked to the Millennium but somehow the write above associates that and dates his pipe. I am not clear about the dates of the pipe. I know that it was made prior to 2002 when the Laxey Factory closed.
I turned then to Pipephil and did a quick search there for information linking the Millennium brand stamp with Manx (http://www.pipephil.eu/logos/en/nonbriar/meer.html). Sure enough the link was there. I have included a screen capture of a pipe with the same ferrule and stem stamp as the one that I am working on. I also included a note from the sidebar.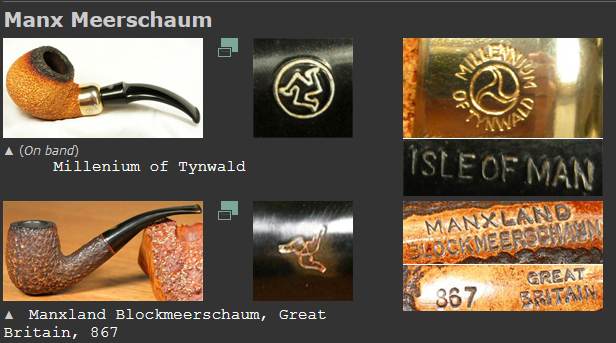 Laxey Pipe Factory (closed in 2002). Other brands from the factory: “Manxpipe”, “Manxman”, “Manxland”. See also: Man Pipes
I turned to Pipedia to have a read about the history of the Laxey Pipe Company on the Isle of Man (https://pipedia.org/wiki/Laxey_Pipes_Ltd.). There was a short history of the brand that I included below.
Laxey Pipes Ltd. resided in a historical 19th century four-storey Man stone building at The Quay, Old Laxey, Isle of Man, which thankfully has been preserved.
The company specialised in the production of meerschaum pipes using the Meerschaum mined by the Tanganyika Meerschaum Corporation in the Amboseli basin in Tanganyika (since 1964 part of the United Republic of Tanzania).
Please note: you may often find names like “Manx Pipes Ltd.”, “Man Pipe Co.” and others more, but there is no indication of another Isle of Man pipe producer other than Laxey Pipe Ltd. at any time!
Laxey Pipes Ltd. marketed own brands like “Manxpipe”, “Manxman”, “Manxland” e.c. Names like “John Bull”, “White Knight” (unwaxed), “Domino” (black, or lined) indicated some shapes / colours of Laxey’s own series. The stems either showed the astronomical sign for “male” or “man” (circle + arrow), or the crest of the Isle of Man, the 3-legged X in a circle. Manxpipes and Laxey’s other brands were available through pipe retailers in general, but also were sold (mainly) to tourists through their own shop in Laxey.
Furthermore Laxey Pipes Ltd. manufactured the meer bowls for Peterson, Barling, Nørding and others from the later 1960’s until 2001. Man Pipe e.g. was a brand distributed by Comoy’s. The bowls usually showed no nomenclature indicating the orderer. “Genuine Block Meerschaum” was engraved frequently. Often, just the stems were different, while bowls were the same.
Supply of meerschaum from East Africa ran out (Kenya / Tanzania exhausted, Somalia inaccessible), and thus the last Laxey meers were supplied to trade in May, 2001. Laxey Pipes Ltd. tried to survive continuing with briar pipes – mainly in the Danish style -, but to no success. It closed down business in July, 2002.
ADDENDUM
After publishing this blog I received a response on Facebook about the stamp on the ferrule and more information about the brand and logo. I quote from Adrian Sacco
The millennium referred to is the 1000th anniversary of Tynwald, the Isle of Man parliament. It’s the oldest/longest continuous government in the western world. The Isle of Man is a self-governing British crown dependency located between Great Britain and Ireland. It is not part of the UK… Just to add, the famous “three legs” is the symbol of the Isle of Man. It’s called a triskelion. The Manx motto is “quocumque jeceris stabit “ which translates “whichever way you throw me I stand”. This reflects the resilience often found in small island nations.
Armed with that information, I started my clean up of the pipe by reaming it with a PipNet reamer and cut back the cake back to the bowl walls. I further cleaned up the walls with a Savinelli Fitsall Pipe Knife. I finished the cleaning of the bowl with a piece of dowel wrapped in 220 grit sandpaper. I smoothed out the bowl walls and checked for cracks and flaws. All looked very good. 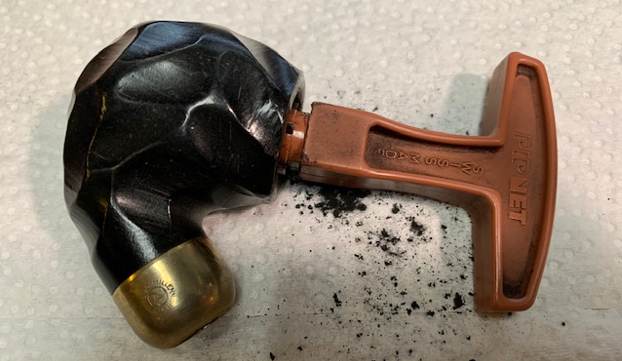
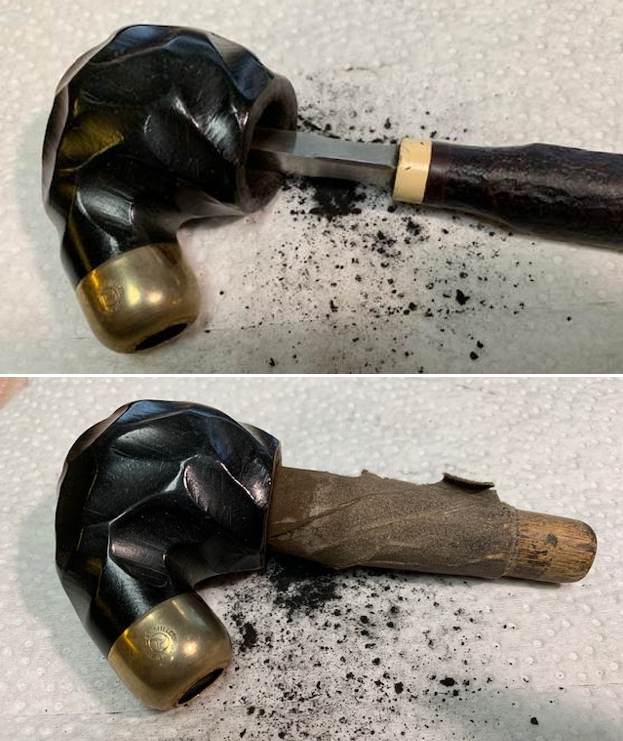 I cleaned off the build up in the rim top with the edge of the Savinelli Fitsall knife and scrubbed it with cotton pads to remove the residual grime. I looked better but there was more work to do.
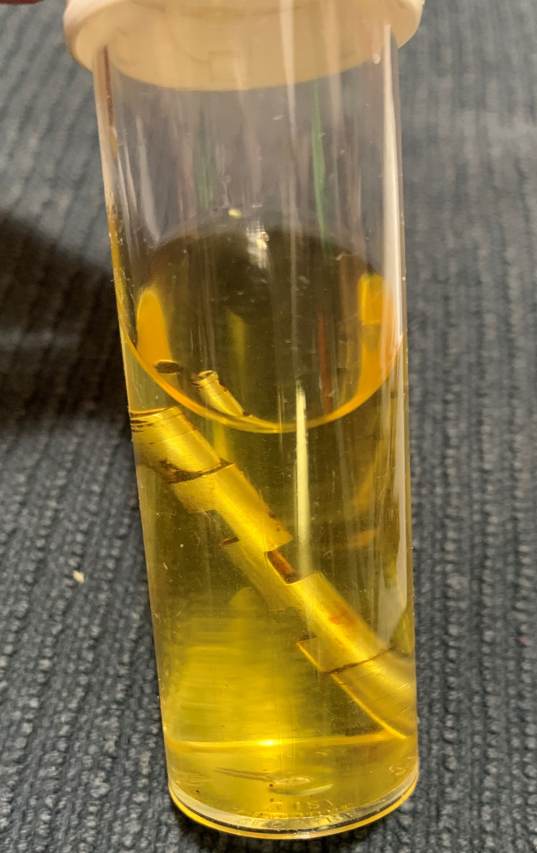
  I scrubbed the interior of the bowl, shank and stem with pipe cleaners, cotton swabs and alcohol to remove the tars and oils. It was full of tars and oils that with a bit of work came clean.
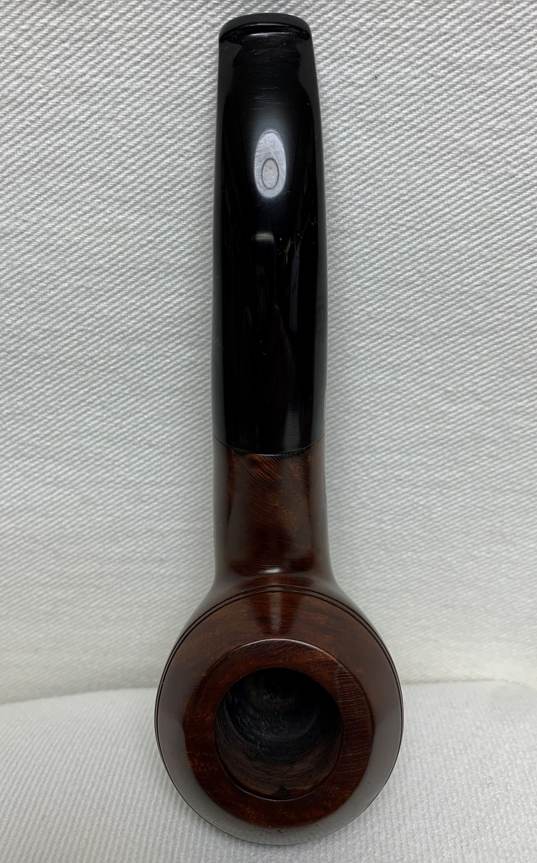
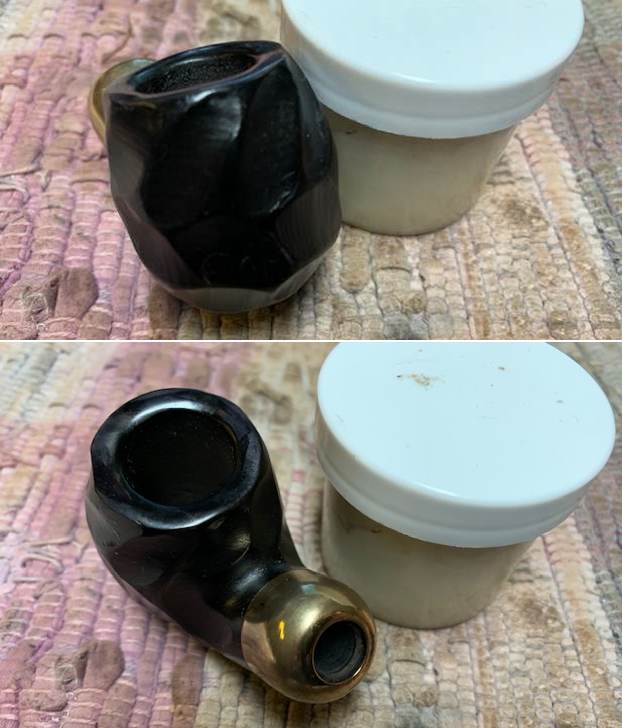
 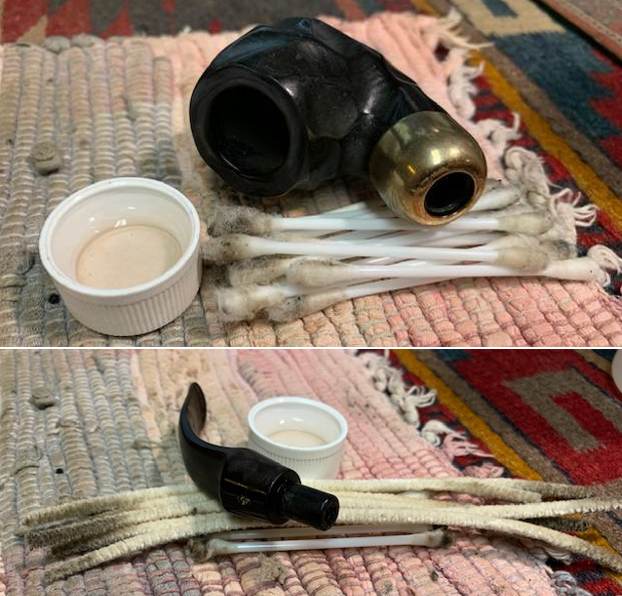 I worked some Before & After Restoration Balm into the surface of the bowl with my fingertips to clean, enliven and protect the finish. I let the balm sit for 15 minutes and then buffed with a cotton cloth to raise the shine. The photos show the bowl at this point in the restoration process. You can see the interesting carved lines on each of the facets of the bowl. It adds an almost primitive touch to the bowl.
 I polished the nickel ferrule with micromesh sanding pads with a jewelers cloth to remove the oxidation and give it a shine.
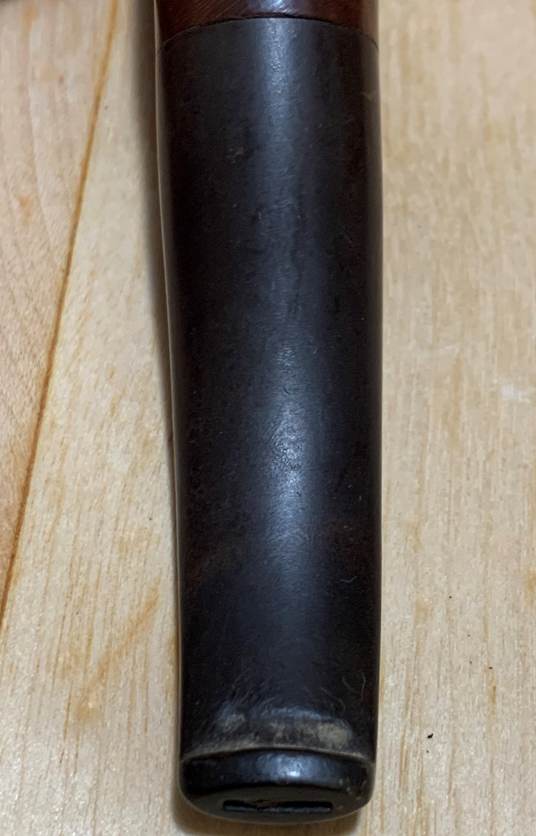
 I set the bowl aside and turned my attention to the stem. I scrubbed it with Soft Scrub cleanser to remove the oxidation and light calcification. It took a lot of oxidation off the stem as can be seen in the photos.
 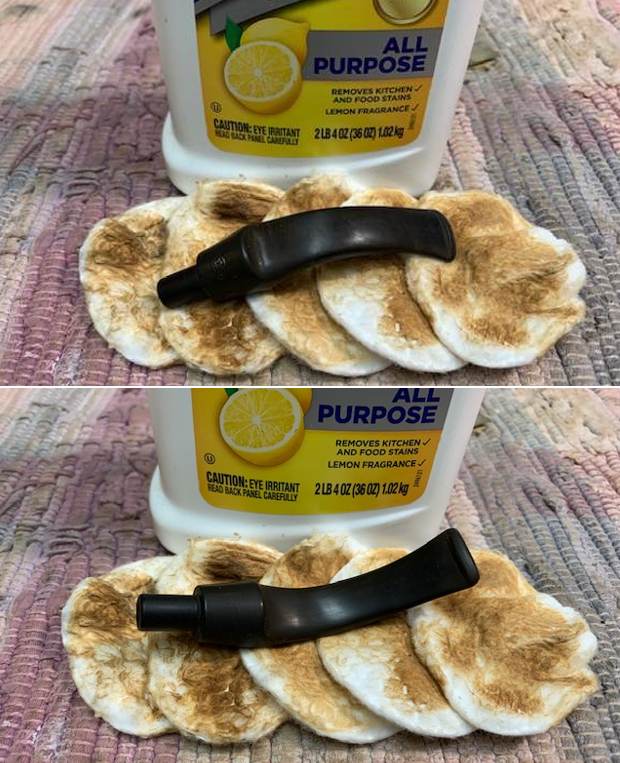 I sanded the light tooth marks and chatter out of the surface and removed the remaining oxidation with 220 grit sandpaper. I started the polishing of the stem with 400 grit wet dry sandpaper.
 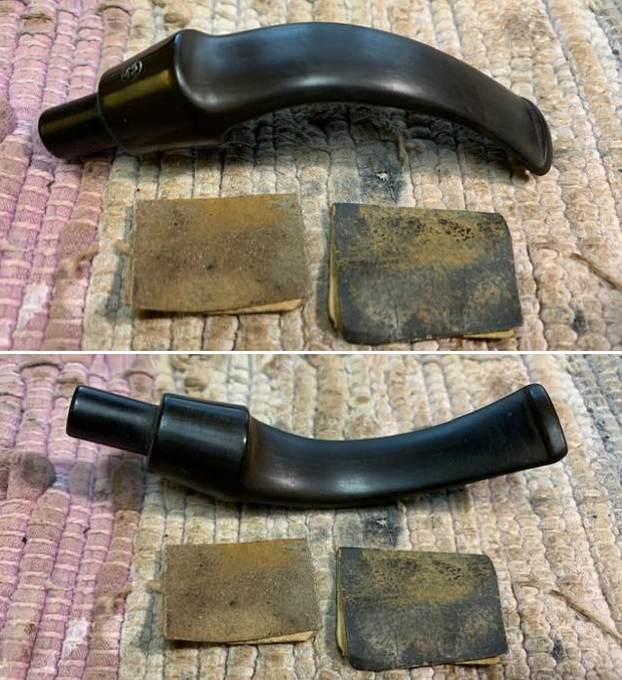 I touched up the running legs logo with white acrylic fingernail polish. Once it cured I scraped it off and polished it with a worn 1500 grit micromesh pad.
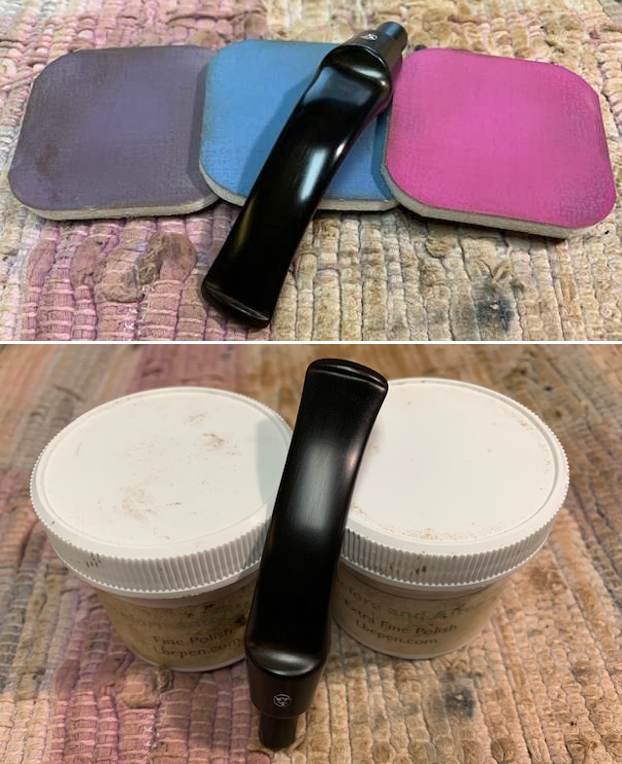
 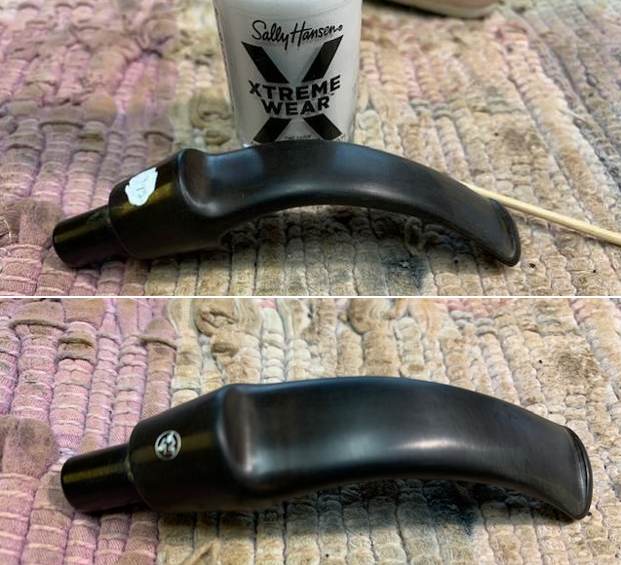 I polished the stem with micromesh sanding pads – wet sanding with 1500-12000 grit sanding pads. I wiped it down after each sanding pad with Obsidian Oil.
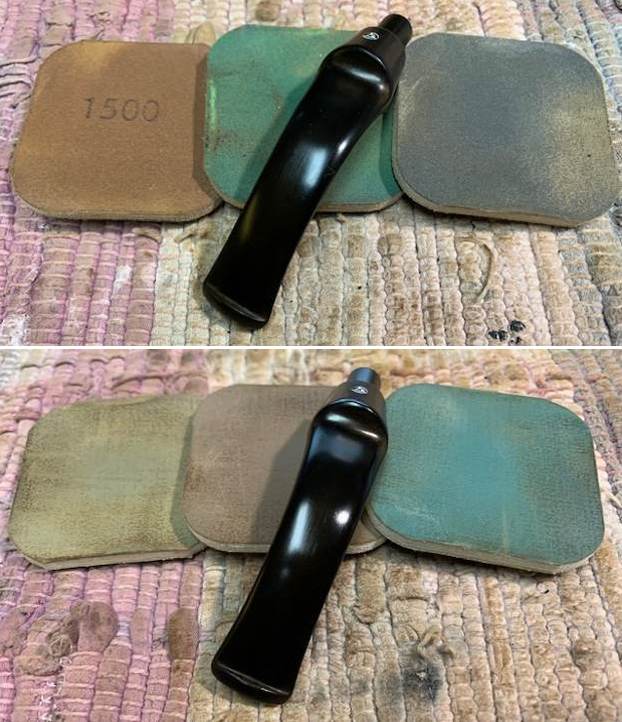
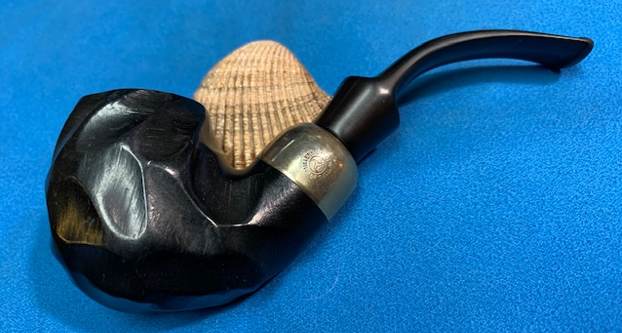
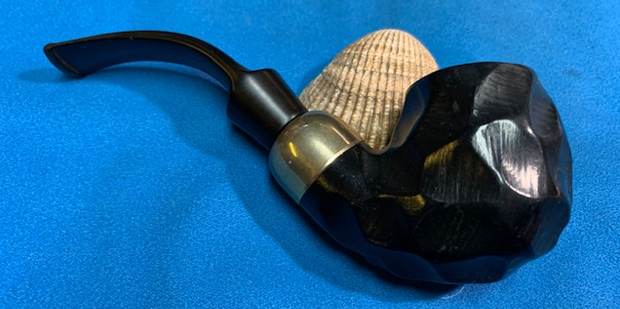
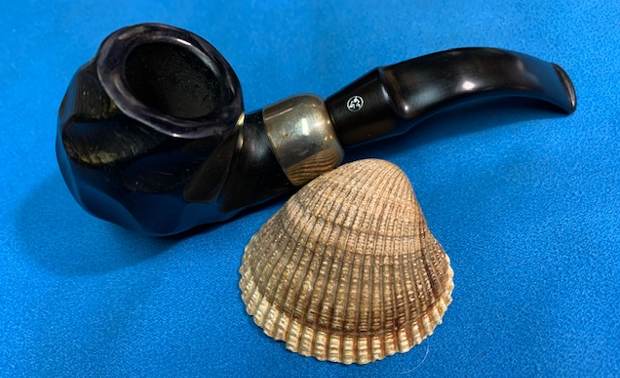
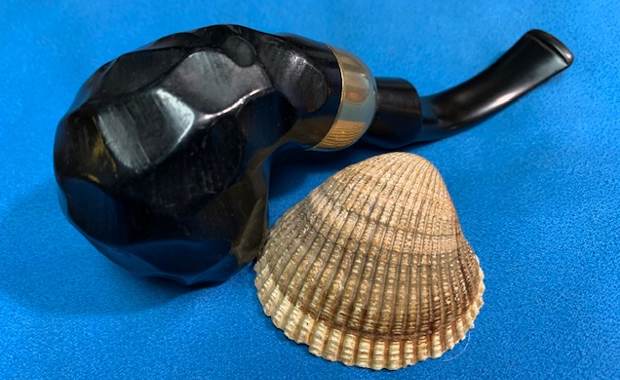
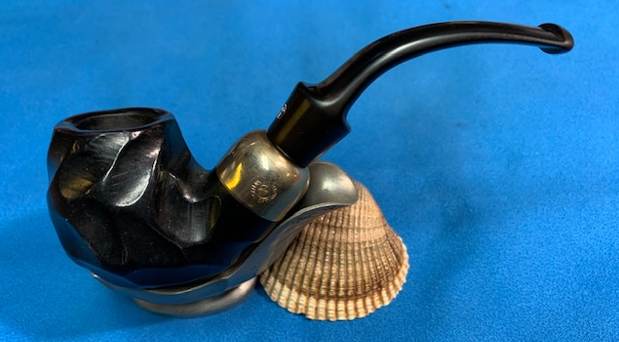
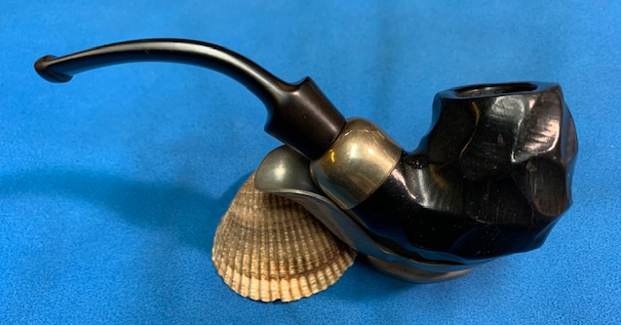
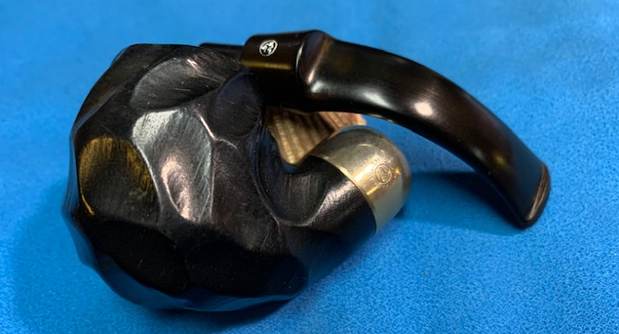
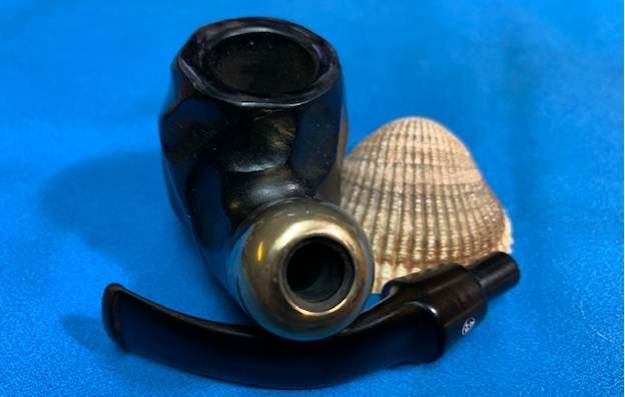
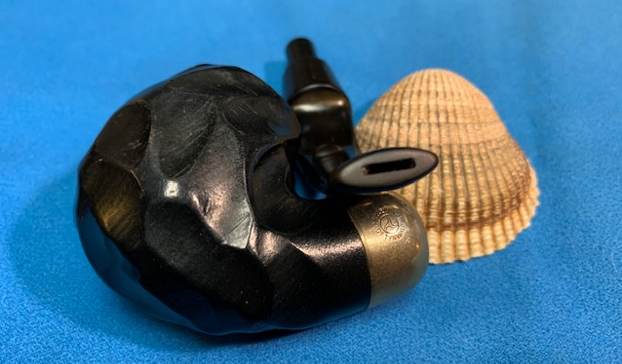
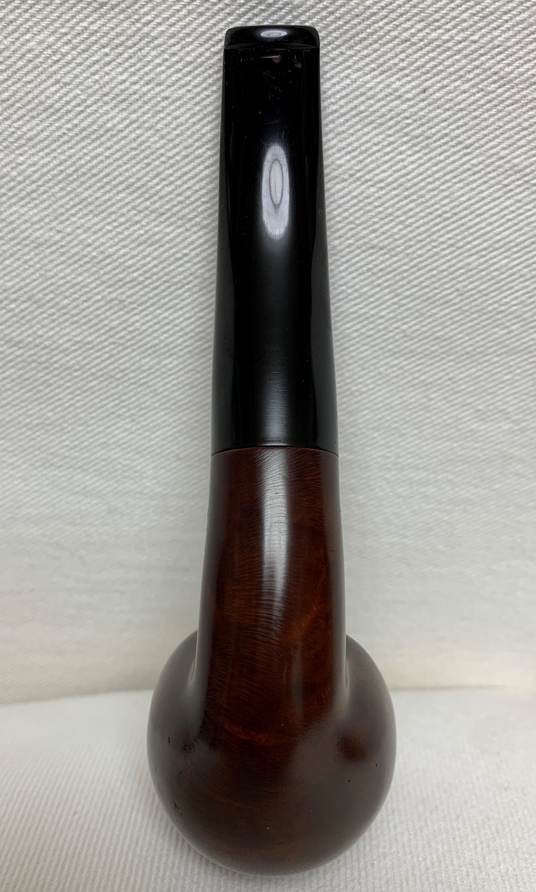
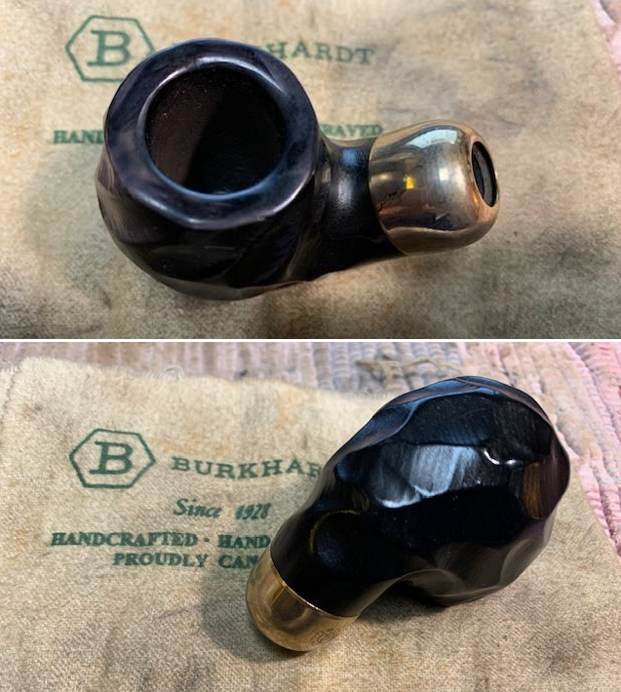
 I am excited to finish this Laxey Pipes Millennium Of Tynwald Black Faceted Meerschaum. I put the pipe back together and buffed it lightly with Blue Diamond on the buffing wheel. I gave the bowl multiple coats of Conservator’s Wax and the stem multiple coats of carnauba wax. I buffed the pipe with a clean buffing pad to deepen the shine. I hand buffed the pipe with a microfiber cloth to further raise the shine. It is fun to see what the polished bowl looks like with etched facets all around it. Added to that the brass coloured ferrule and the polished black vulcanite stem and you have a beautiful pipe. This Millenium Of Tynwald Meerschaum is great looking and the pipe feels great in my hand. It is light and well balanced. Have a look at it with the photos below. The dimensions are Length: 5 inches, Height: 1 ¾ inches, Outside diameter of the bowl: 1 ¼ inches, Chamber diameter: ¾ of an inch. The weight of the pipe is 51 grams/1.80 oz. It is a beautiful pipe and one that I will be adding the British Pipe Makers section of the rebornpipes store. I you are interested in adding it to your collection please let me know. Thanks for walking through the restoration with me as I worked over this pipe and for reading this blog.