Blog by Steve Laug
The next pipe on the work table came to us from an online auction from Schulenburg, Texas, USA. It is classic Billiard with mixed grain around the bowl and shank. It is stamped on the left side of the shank and reads Sterncrest [over] LHS in a Diamond [over] Imported Briar. There is a Sterling Silver band on the shank that has the image of a hunting dog (pointer) [over] Sterling on the top side. I have worked on and restored quite a few American made LHS (LH Stern) pipes over the years and quite a few have been Sterncrest. However, this is the first one I have done with the hunting dog etched in the Sterling Silver band. The finish was very dirty with dust and grime ground into the bowl sides and obscuring the grain. There were some putty fills and deep nicks in the finish around the bowl sides. There was a very thick cake in the bowl and lava overflow on the beveled rim top. The silver band was oxidized and dirty. The vulcanite stem was oxidized, calcified and had deep tooth marks and chatter ahead of the button on both sides. Jeff took photos of the pipe to show its general condition before he did his cleanup. 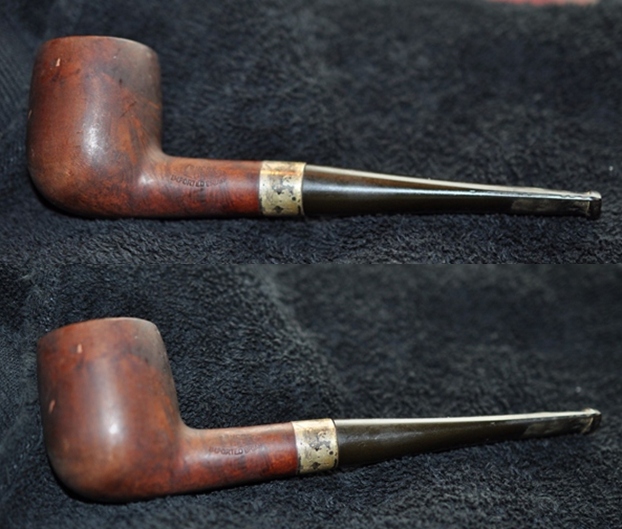
 As I mentioned above the exterior of the pipe was very dirty – grime and grit ground in from years of use and sitting. I have to say that this was obviously someone’s favourite pipe judging from the buildup in the bowl. The rim top was covered with a coat of thick lava that overflowed from the extremely thick cake in the bowl. It was hard to know what the rim edges looked like because of the lava. The stem was dirty and oxidized with tooth chatter and marks on the top and underside of the stem at the button.
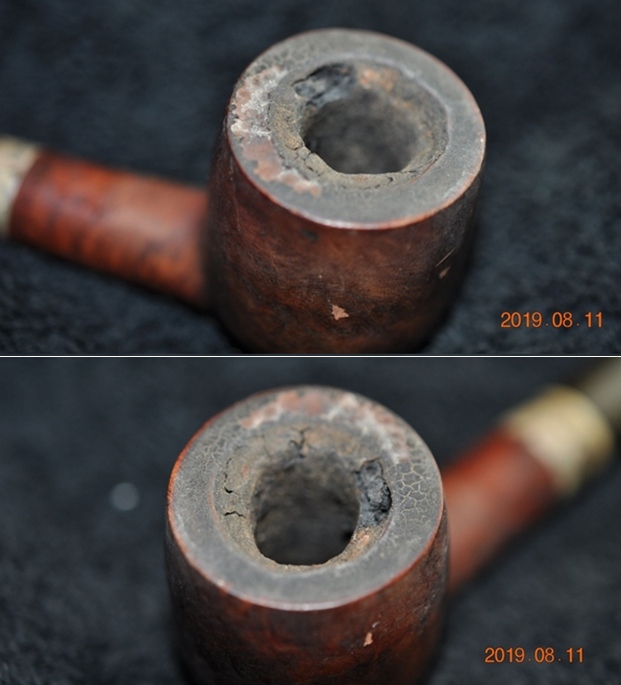
 Jeff took photos of the sides and the heel of the bowl to give a better feel for the condition of the briar around the bowl. The pink fills are visible all around the bowl sides.
 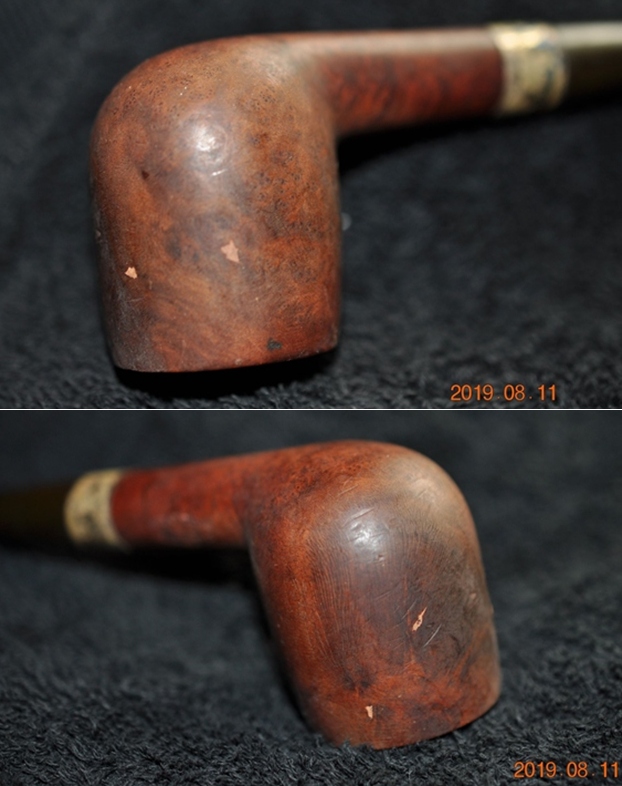 The next photos show the stamping on the side of the shank and the etched hunting dog on the band. The stamping is very readable. It reads as noted above. The stamped dog comes through in the tarnished silver in the pictures.
  Jeff took a photo of the stem removed from the shank to show the pressure fit stinger in the tenon.
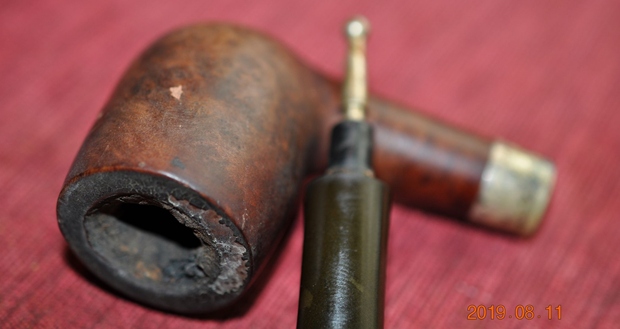 Jeff cleaned the pipes with his usual penchant for thoroughness that I really appreciate. The pipe was a real mess when he got it and I did not know what to expect when I unwrapped it from his box. I was surprised to see how well it turned out. He reamed it with a PipNet pipe reamer and cleaned up the reaming with a Savinelli Fitsall Pipe Knife. He scrubbed out the internals with alcohol, pipe cleaners and cotton swabs until the pipe was clean. He scrubbed the exterior of the bowl with Murphy’s Oil Soap and a tooth brush to remove the grime and grit on the briar and the lava on the rim top. The finish looks very good with good looking grain around the bowl and shank. The putty fills had all fallen out on the sides and front of the bowl and left pits. Jeff scrubbed it with Soft Scrub and soaked it in Before & After Deoxidizer to remove the oxidation on the rubber. When the pipe arrived here in Vancouver for the second stop of its restoration tour it looked a lot better. I took photos before I started my part of the work.
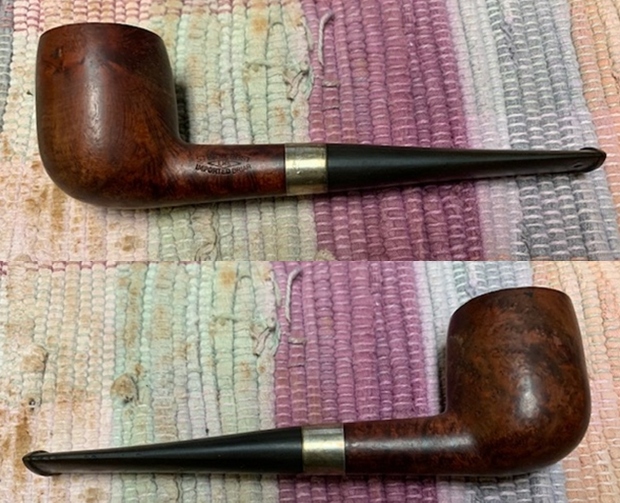
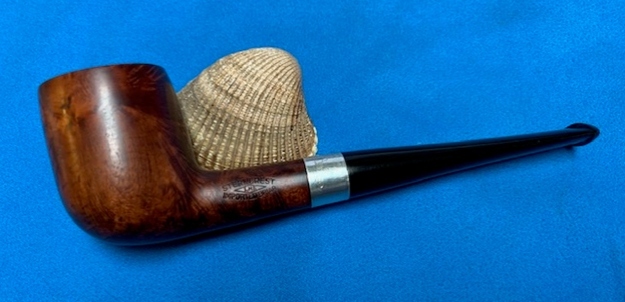
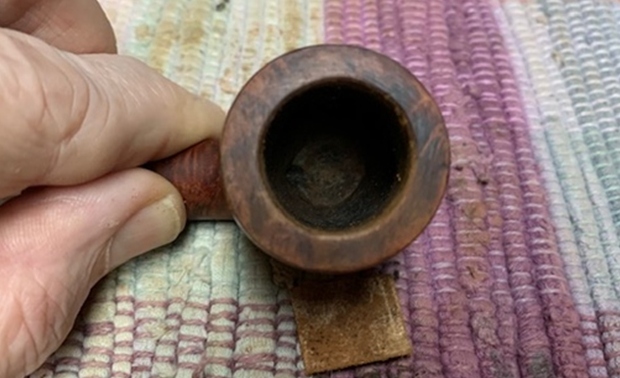
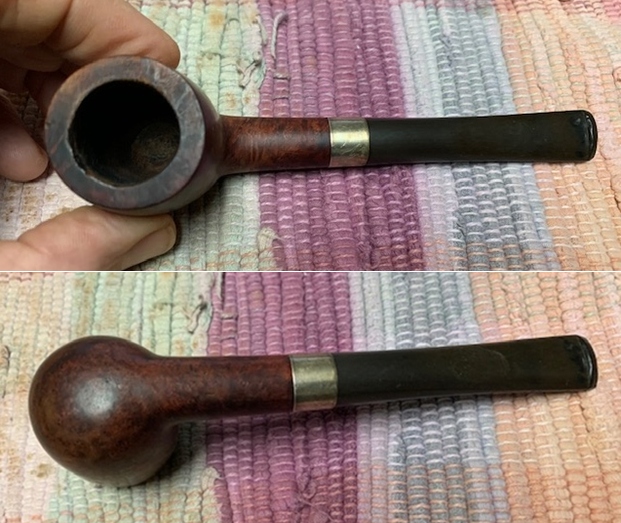 I took some close up photos of the rim top and the stem surface. I wanted to show what cleaned bowl and rim top looked like. The rim top shows some darkening and some damage to the inner edge of the rim on the front. I also took close up photos of the stem to show the tooth chatter and marks on the stem surface.
  I took a photo of the stamping on the side of the shank and it is clear and readable. It is stamped as noted above.
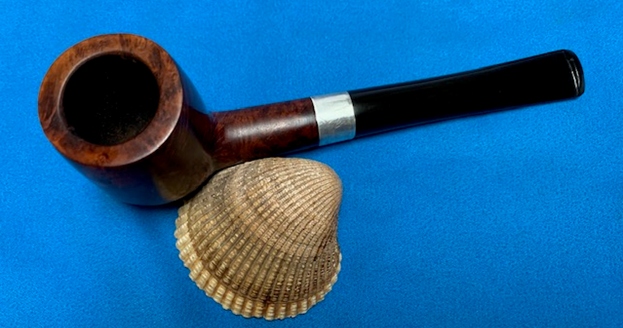
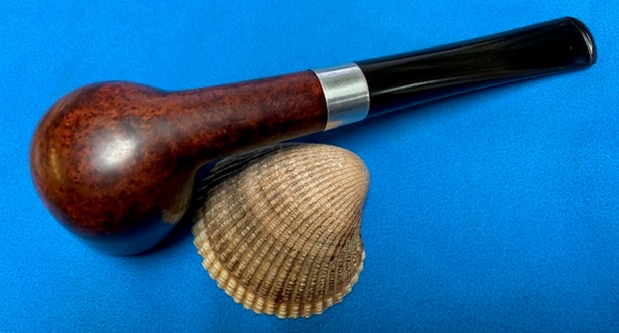
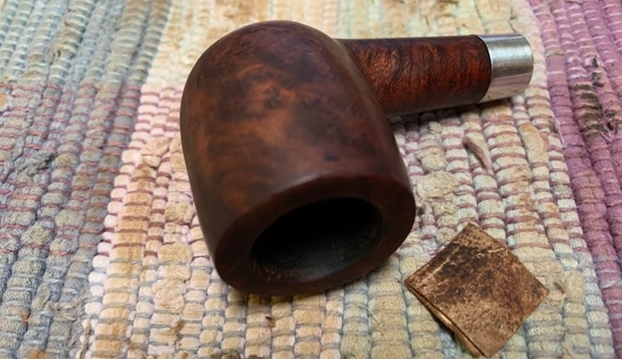
  I removed the stem for the shank and took a photo of the bowl and stem to give a picture of what it looked like. It is a classically shaped Billiard. To me the stinger needs to go!
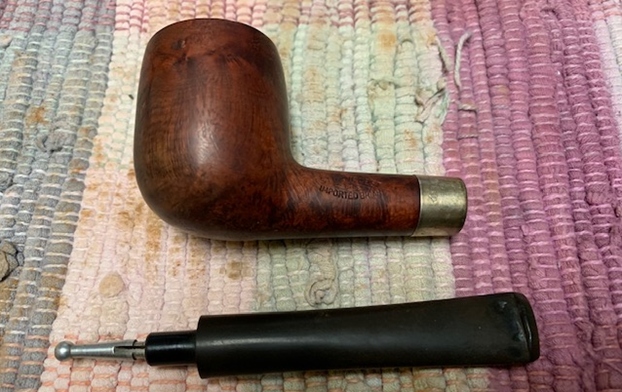 Now, on to my part of the restoration of this Sterncrest Billiard. I decided to clean up the damaged rim top and inner edge of the bowl. I cleaned up the inside of the bowl edges with a folded piece of 220 grit sandpaper. I sanded the darkening on the rim top with a folded piece of 220 grit sandpaper. Once I was finished the top and edge looked a lot better.
 I was glad to see that all of the pink putty fills had come out during the cleanup process. I decided to replace them with briar dust and clear super glue. There were actually quite a few of them. I did the repairs to the fills and took photos of the “freckles” around the mid-bowl on the left, front and right sides. Once the repairs cured I sanded them smooth with 220 grit sandpaper.
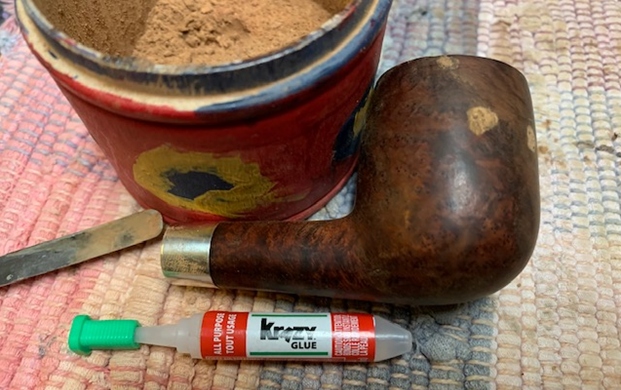


 I wiped the bowl down with isopropyl alcohol to remove the debris and the heavier stained areas and even out the coverage on the bowl. I wanted to make the stain more transparent so the grain would show through the finish.
 I polished the top of the bowl, the repaired areas and the entirety of the bowl with micromesh sanding pads – wet sanding with 1500-12000 grit pads and wiping the briar down with a damp cloth after each sanding pad.
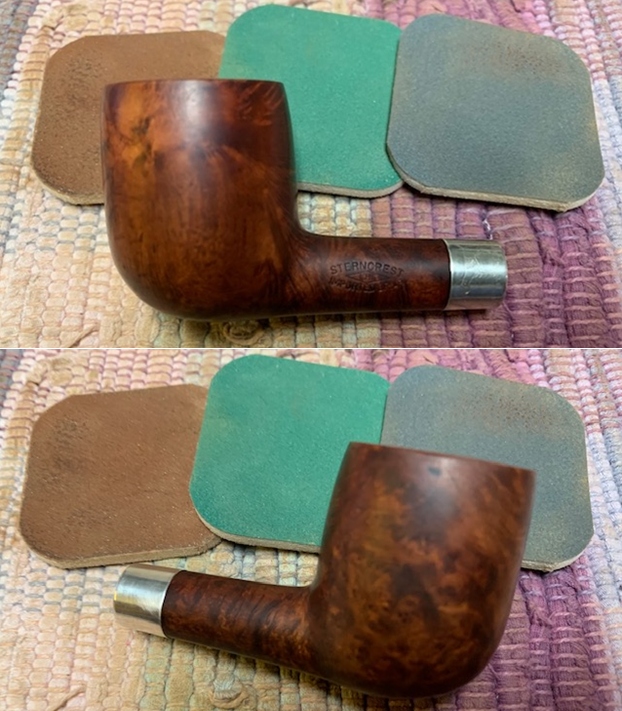

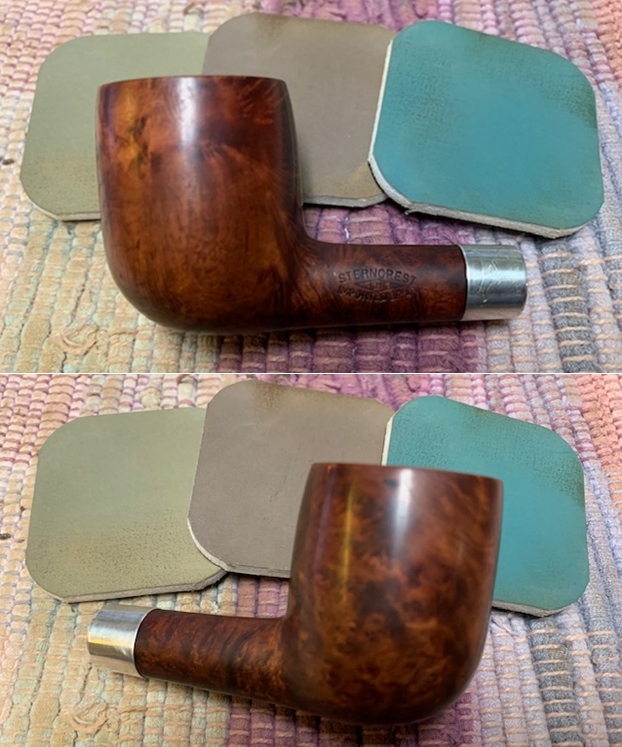


 I rubbed the bowl down with Before & After Restoration Balm. I worked it into the surface of the briar with my fingertips to clean, enliven and protect it. I let the balm sit for 10-15 minutes and then buffed with a cotton cloth to raise the shine.

 I set the bowl aside and turned my attention to the stem. I heated the stinger and wiggled it free from the tenon with a pair of pliers. I dropped the stem in Briarville’s Pipe Stem Oxidation Remover to clean up the remaining oxidation. I let it sit in the bath for 2 hours and then removed it and dried it off. I forgot to take a photo of the stem when I removed it from the bath. I dried it off and then filled in the deep tooth marks with black super glue. I set the stem aside to let the repairs cure.

 Once the repair had cured I used a flat rasp and a file to clean up the button edge and flatten out the repairs. I sanded it with 220 grit sandpaper to further blend the repairs into the vulcanite. I started polishing the stem with 400 grit wet dry sandpaper.
 I polished the vulcanite with micromesh sanding pads – 1500-12000 grit pads. I wiped it down with a damp cloth after each sanding pad. I used Before & After Pipe Polish – both Fine and Extra Fine to further polish the stem. I left a little oxidation around the stamp so as not to damage it more.
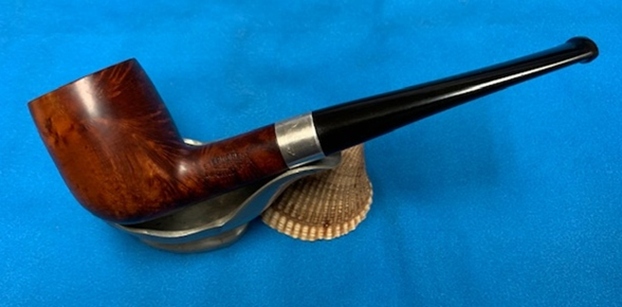
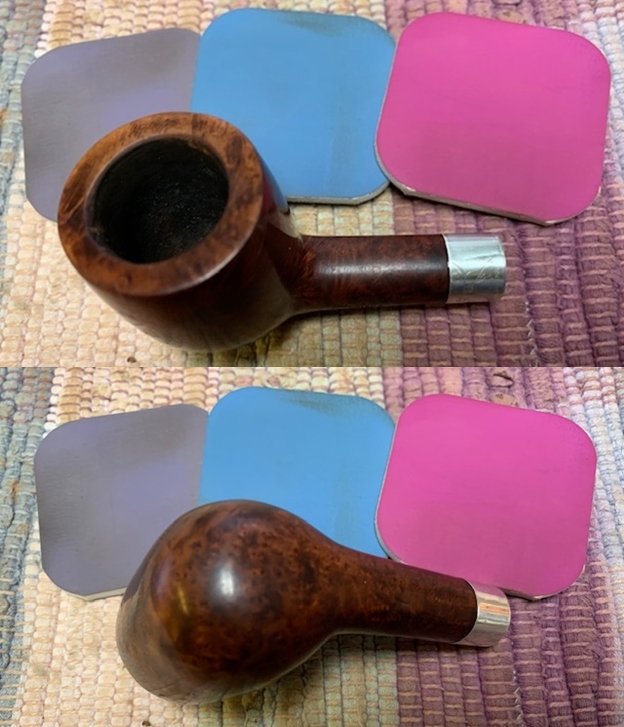
 This LHS Sterncrest Hunter’s Billiard turned out to be a great looking pipe. The brown stained brown mixed finish (smooth/rusticated) on the pipe is in great condition and works well with the polished vulcanite taper stem. I put the stem back on the bowl and carefully buffed the pipe with Blue Diamond on the buffing wheel. I gave the bowl and stem multiple coats of carnauba wax on the buffing wheel and followed that by buffing the entire pipe with a clean buffing pad. I hand buffed the pipe with a microfiber cloth to deepen the shine. The finished LHS Sterncrest Billiard fits nicely in the hand and feels great. Give the finished pipe a look in the photos below. The dimensions of the pipe are Length: 5 ¾ inches, Height: 1 ¾ inches, Outside diameter of the bowl: 1 ¼ inches, Chamber diameter: ¾ of an inch. The weight of the pipe is 36g/1.27oz. If you are interested in carrying on the pipe man’s legacy with this pipe send me a message or an email. I have more to work on of various brands. Perhaps one of those will catch your attention. Thanks for reading this blog and my reflections on the pipe while I worked on it.