Blog by Steve Laug
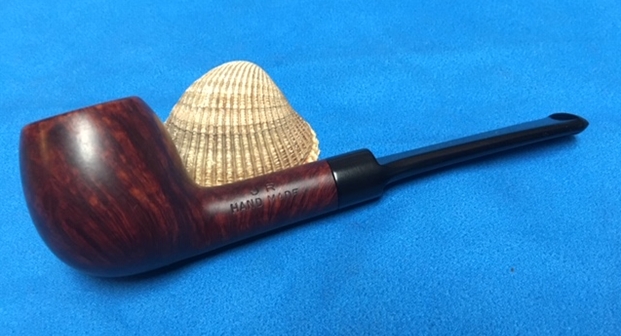
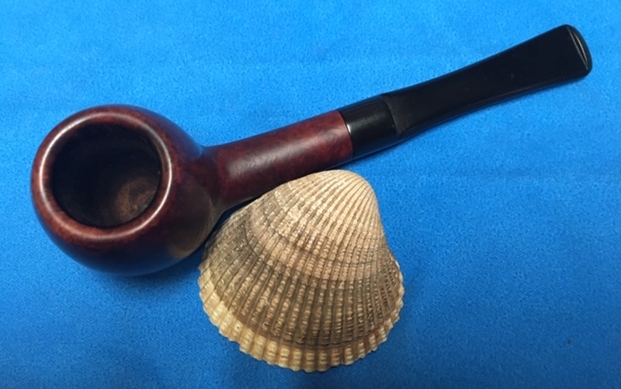
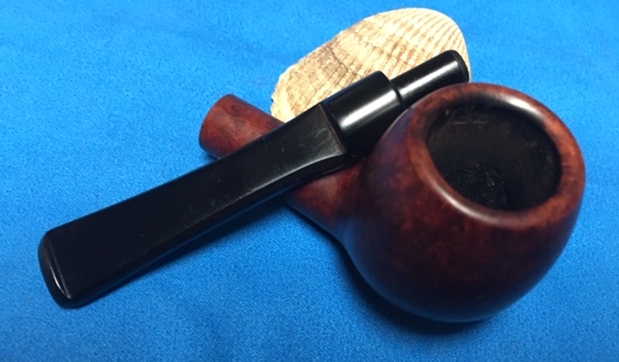
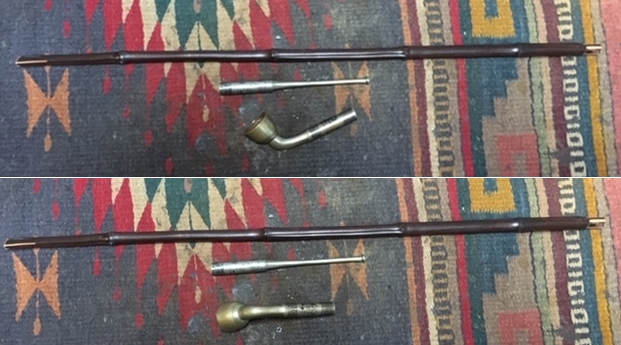
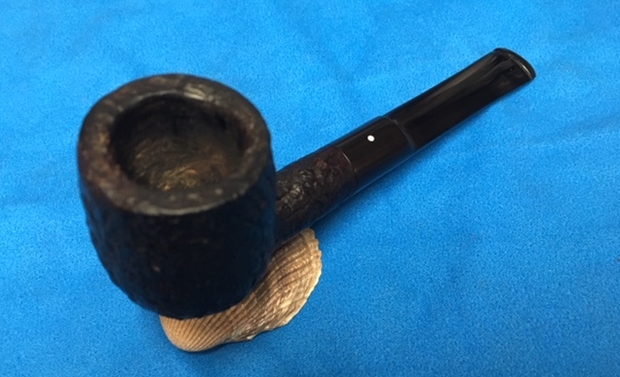
My brother Jeff picked up four pipes in classic shapes at an auction in Nampa, Idaho. All four pipes are stamped JR Handmade. Beside the Bulldog there were two Canadians and an Apple. All were stamped the same on the shank JR over Handmade and the opposite side Algerian Briar. I have been researching the brand on the web. I came across a potential pipemaker with the JR initials on Pipedia named J. Rinaldi but from what I can see he did not make classic shaped pipes. He pipes are very well made and have more of a freehand/freeform shape with shank adornments so it makes me wonder if these are his. I enlarged each photo on the Pipedia article but I was unable to see the stamping on his pipes for comparison sake. This leaves me with a lot of questions about the brand. The foursome came from the Boise, Idaho area like the House of Robertson pipes that I worked on last year. Those came from a pipe shop in Boise, Idaho and I wonder if it is not possible that the JR Handmade brand was also a pipe shop brand from a small shop in that area or even somehow connected with the House of Robertson brand. I heard back from a House of Robertson Collector in Boise about a possibility on the JR brand. Thayne Robertson, the carver of the House of Robertson brand and the shop owner had a son named John. He said John also carved pipes. Perhaps these are some of John’s pipes. But I will probably never know for certain… if any of you readers have any idea about the brand your help would be greatly appreciated.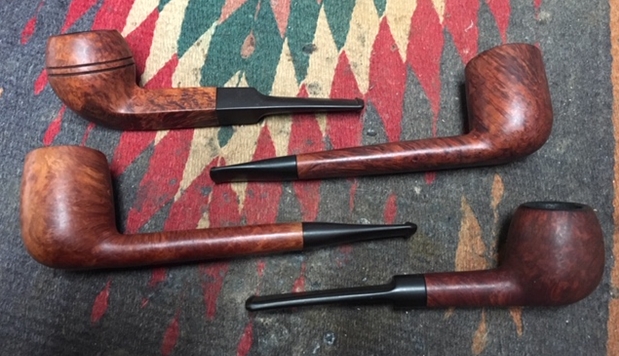 The above photo shows the foursome after Jeff had cleaned them. But before he cleaned each of them he took photos of the pipes as they came to him. I already wrote about the restoration of the Bulldog (https://rebornpipes.com/2019/01/28/the-first-of-a-foursome-a-jr-handmade-bulldog/) and the first Canadian (https://rebornpipes.com/2019/01/30/the-second-of-a-foursome-a-jr-handmade-canadian/) and the second Canadian (https://rebornpipes.com/2019/02/01/the-third-pipe-of-a-foursome-a-2nd-jr-handmade-canadian/). The next pipe is the second pipe down on the right side of the above photo – a classic Apple shaped with a saddle stem. I have included the photos of the Apple before cleanup. The pipe is very well made and follows the classic shape of an Apple perfectly. The bowl was stained with a medium brown top coat over a black undercoat. It is a well-shaped pipe that captures the mixture of flame and straight and birdseye grain around the bowl sides and shank. The top of the bowl had some damage and burn marks on the top and inner edge. The bowl had a very thick cake in the bowl. There was a light overflow of lava onto the rim top. The stamping on the top side of the oval shank read JR over HAND MADE. The black vulcanite stem had light tooth dents and chatter on the top and the underside of the stem. Otherwise it was in very good condition. It was lightly oxidized.
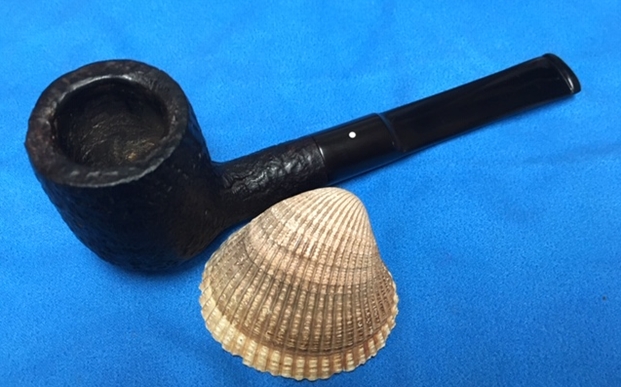
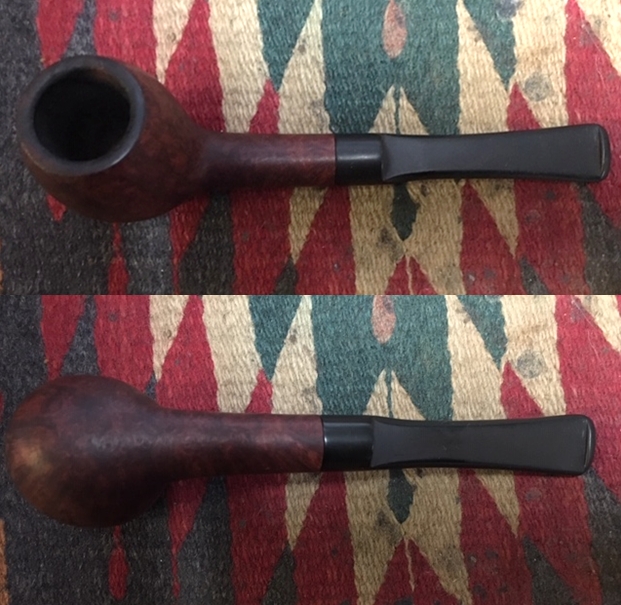
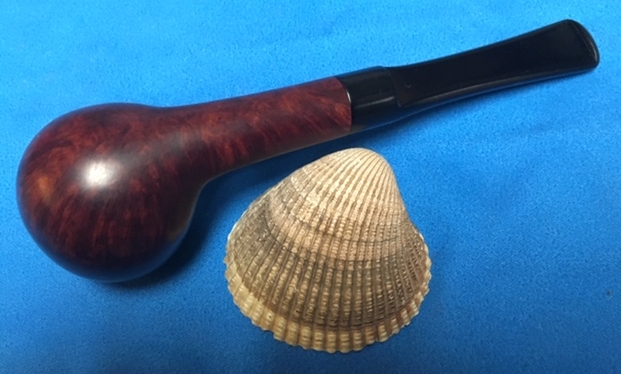
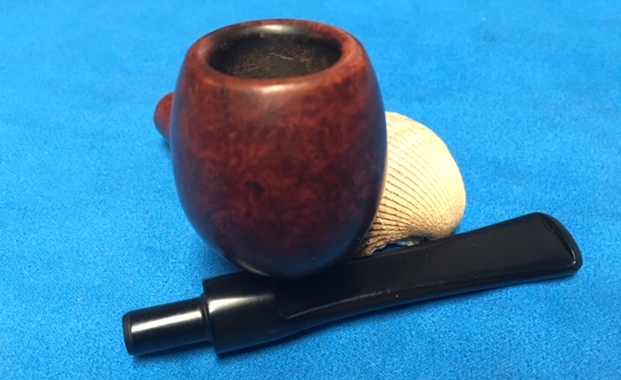
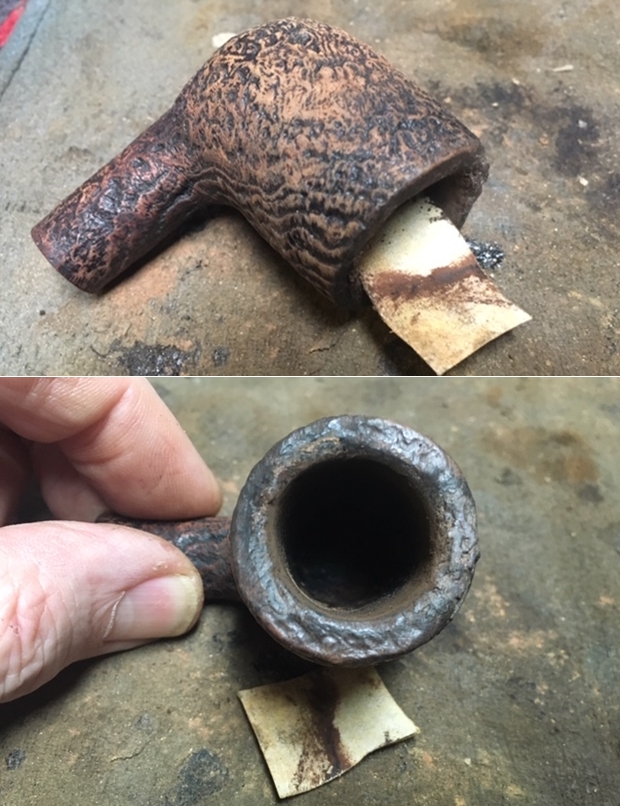
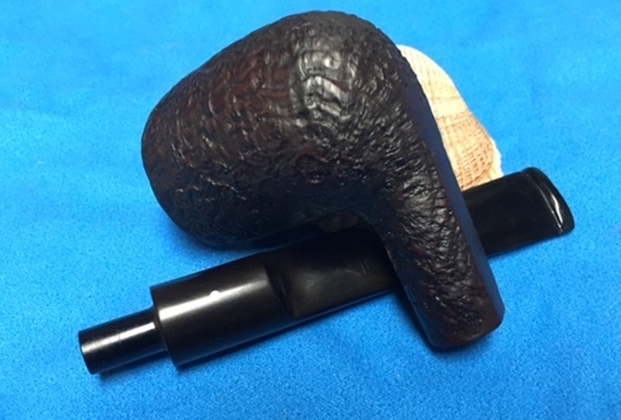
 He also took a photo of the bottom of the bowl and shank to show the various grains on the pipe. The photo shows the finish of the bowl and though it is very dirty but this is another beautiful pipe.
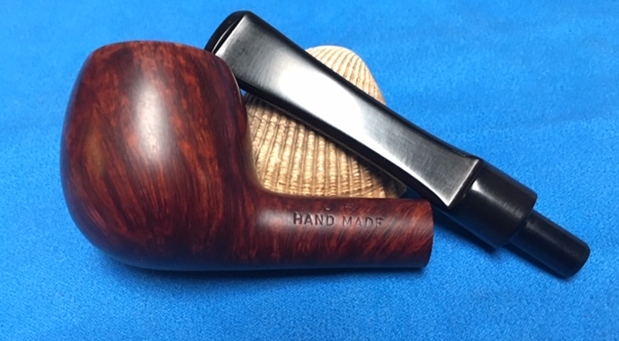
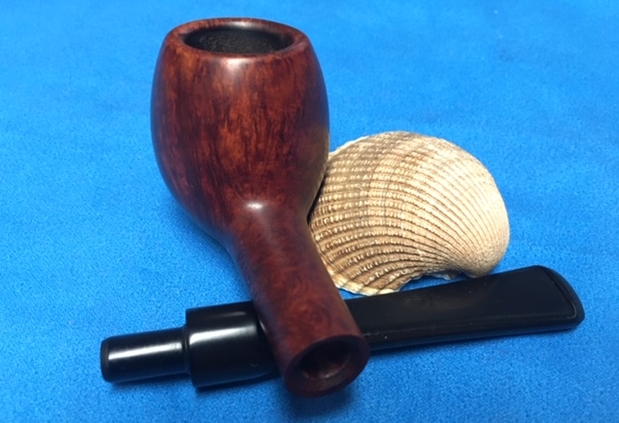
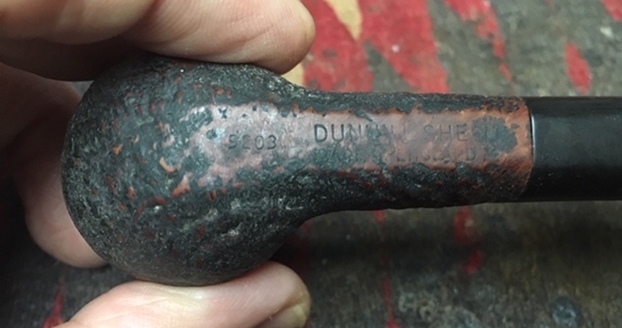
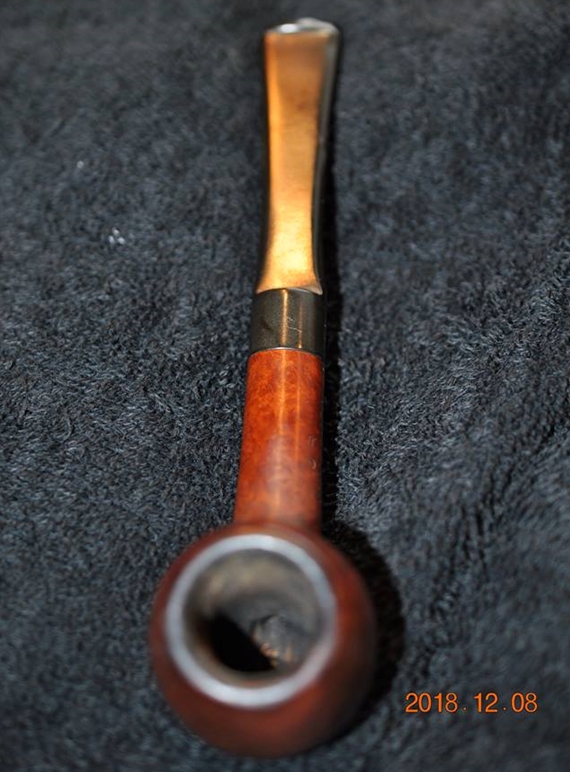
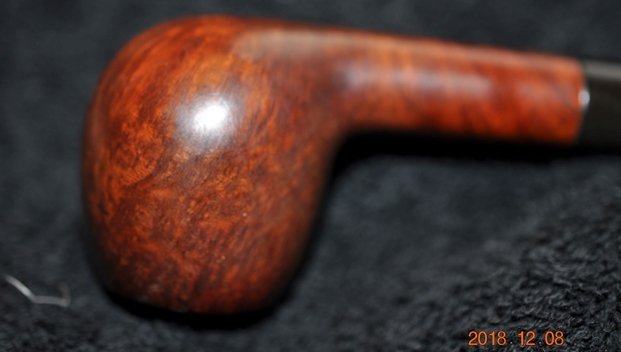 Jeff took a photo to capture the stamping on the topside of the oval shank. The photo shows stamping JR over HAND MADE.
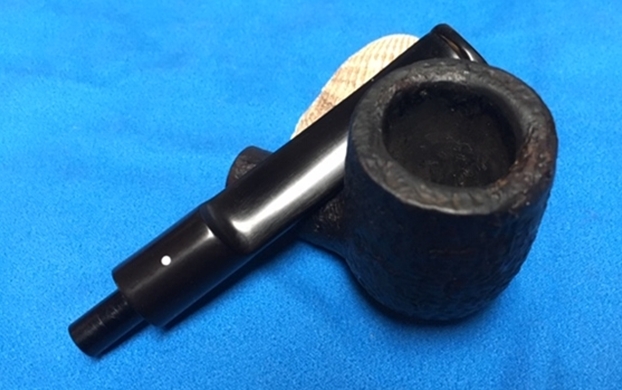
  The next two photos show the stem surface. There was tooth chatter on both sides near the button. There is also some wear on the sharp edge and top of the button. There is a thick oxidation and coat of calcification.
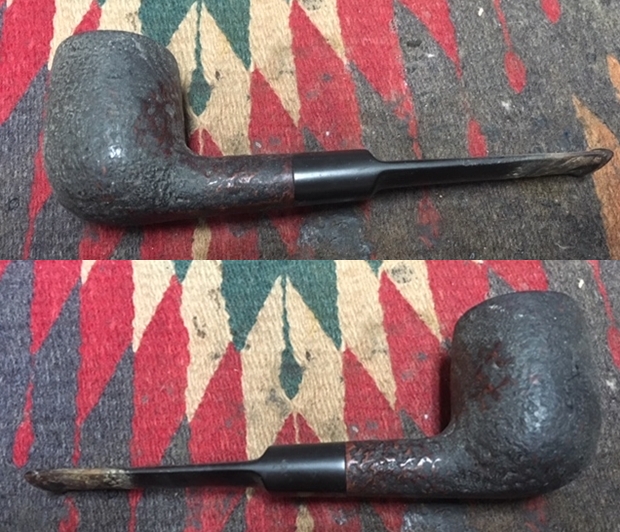
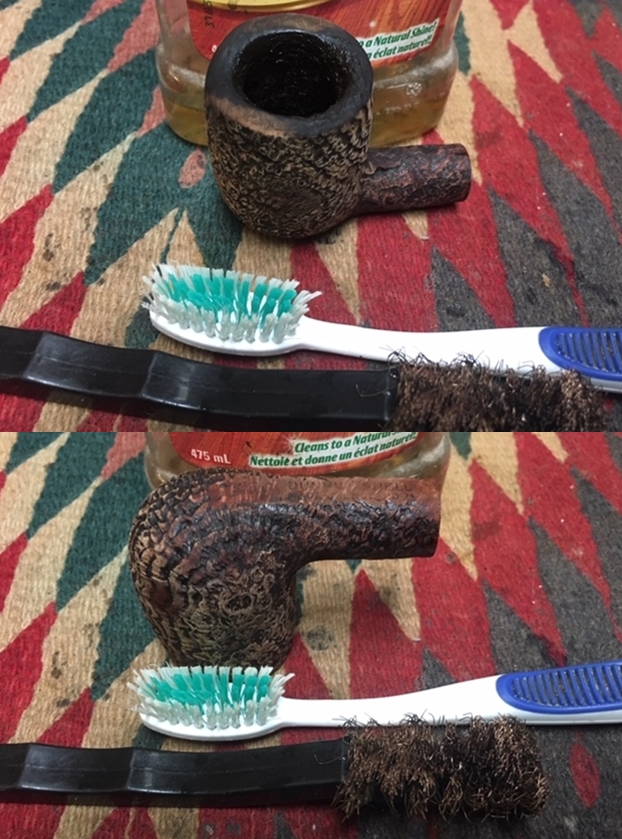
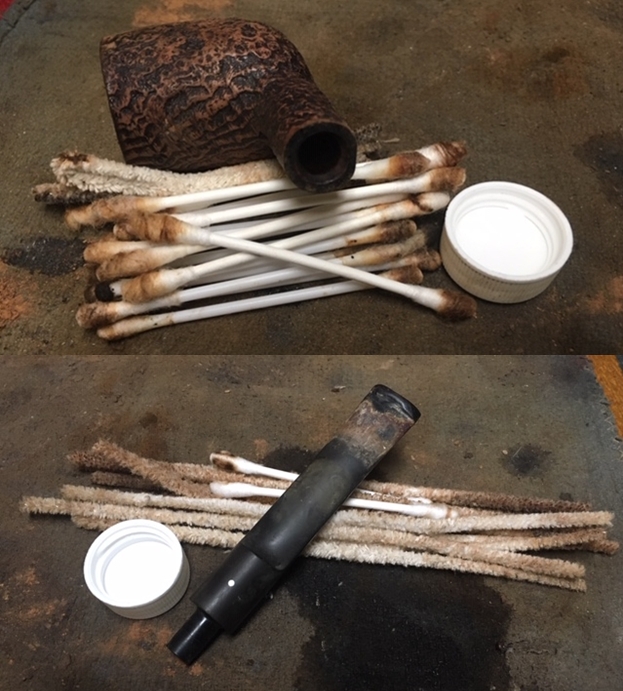
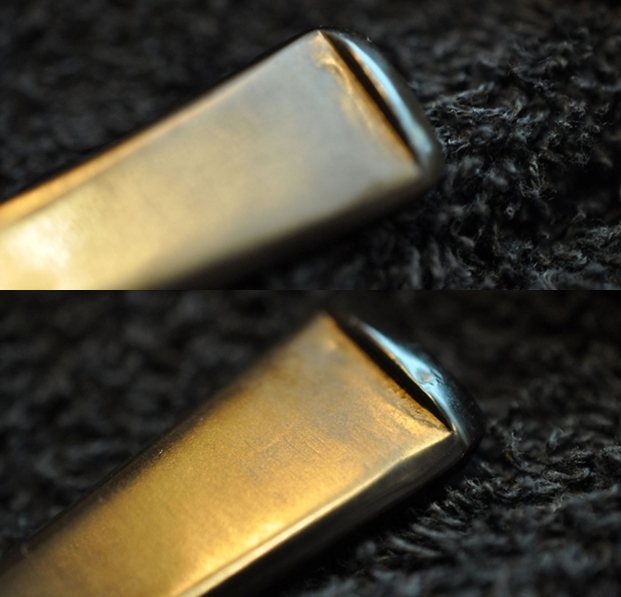 As mentioned before, Jeff and I have developed a pattern of working on the pipes that has become habit to both Jeff and me. I include it here so you have a sense of that pattern. Jeff reamed the bowl with a PipNet pipe reamer and followed up with a Savinelli Fitsall pipe knife to remove the cake. He scrubbed out the mortise and the airway in the shank and the stem with alcohol, cotton swabs and pipe cleaners. He scrubbed the exterior of the bowl, rim, shank and stem with a tooth brush and Murphy’s Oil Soap to remove the oils and tars on the rim and the grime on the finish of the bowl. He rinsed it under running water. He dried it off with a soft cloth. He was able to remove the lava build up on the rim top and the rim top damage and the damage around the edges – both inner and outer is quite extensive. I took photos of the pipe to show its condition before I started my work on it.
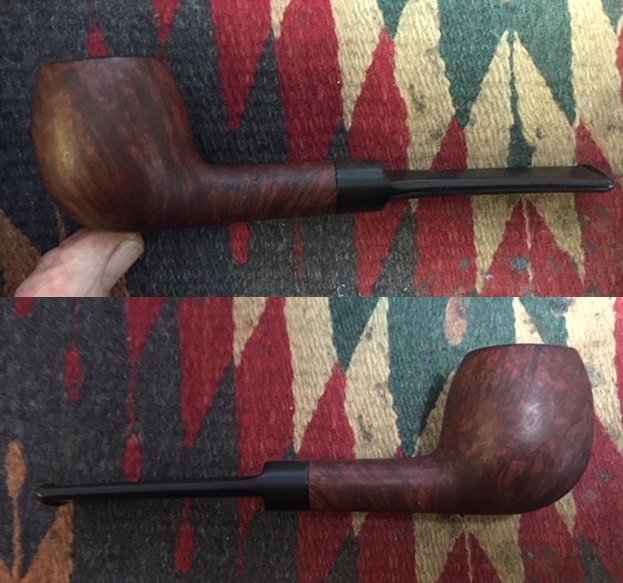
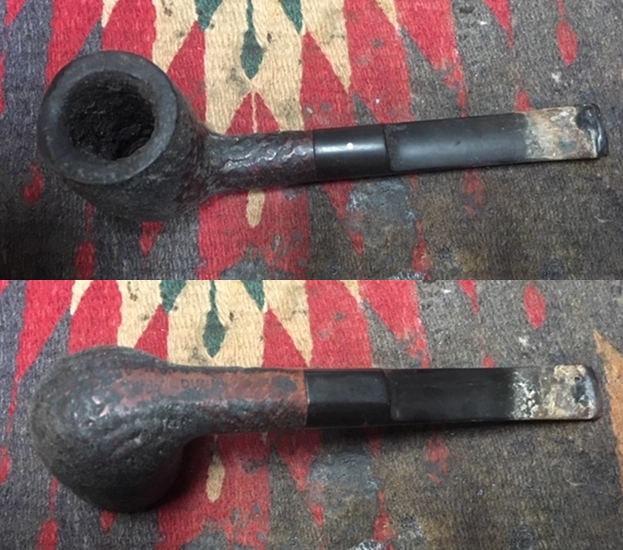
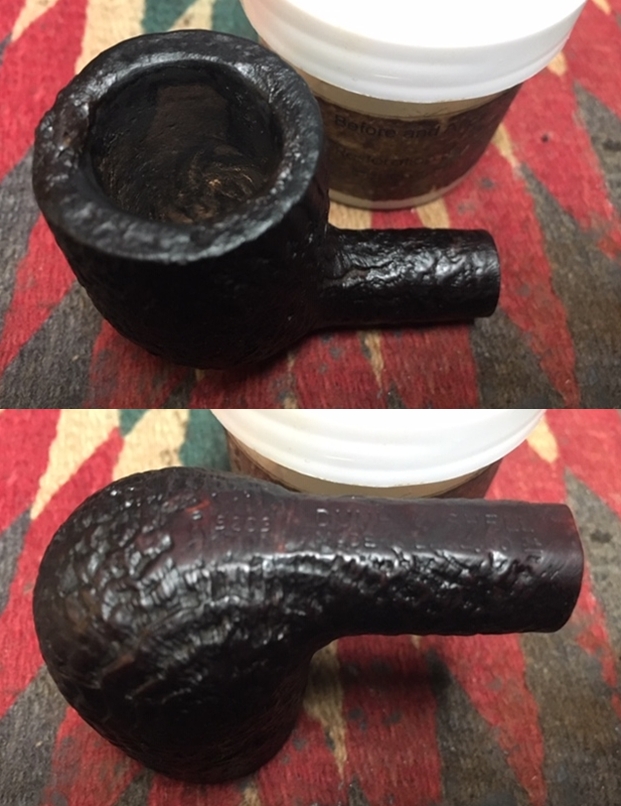
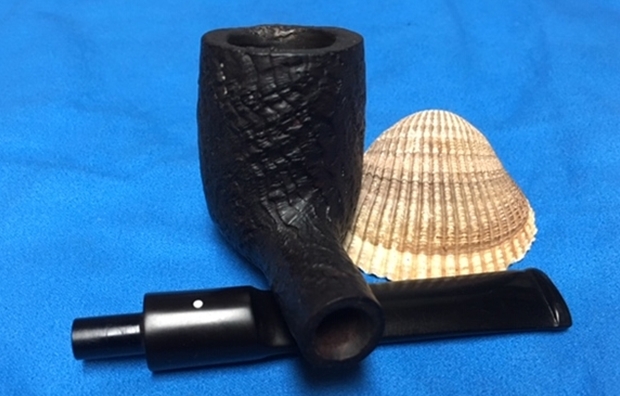
 I took close up photos of the bowl and rim top as well as the stem. You can see the condition of the rim top and bowl in the first photo. Though the photo is a bit dark you can see that Jeff was able to remove all of the tar and oils. You can see the burn damage to the front inner edge of the bowl and some general darkening of the rim top. The vulcanite stem had light tooth chatter and some tooth marks on the top and underside of the stem near and on the button surface.
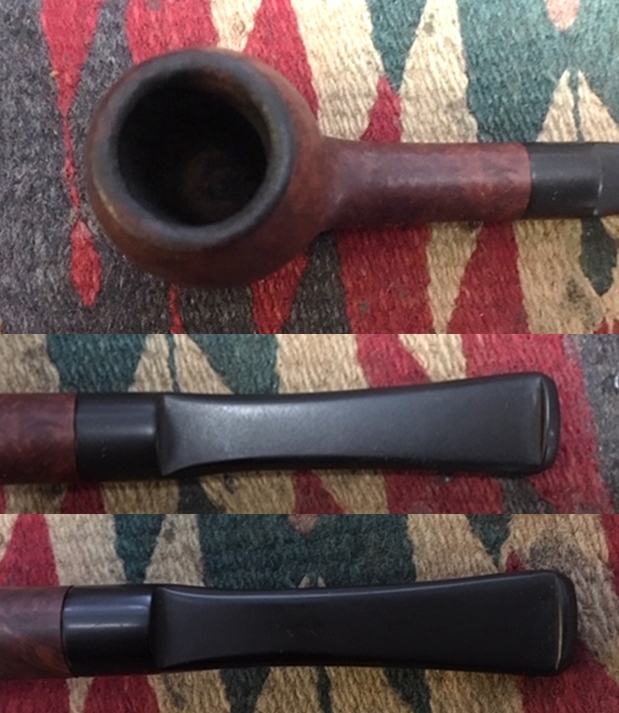 I took a photo of the stamping on the left side of the shank. You can see that the stamping was clear and readable.
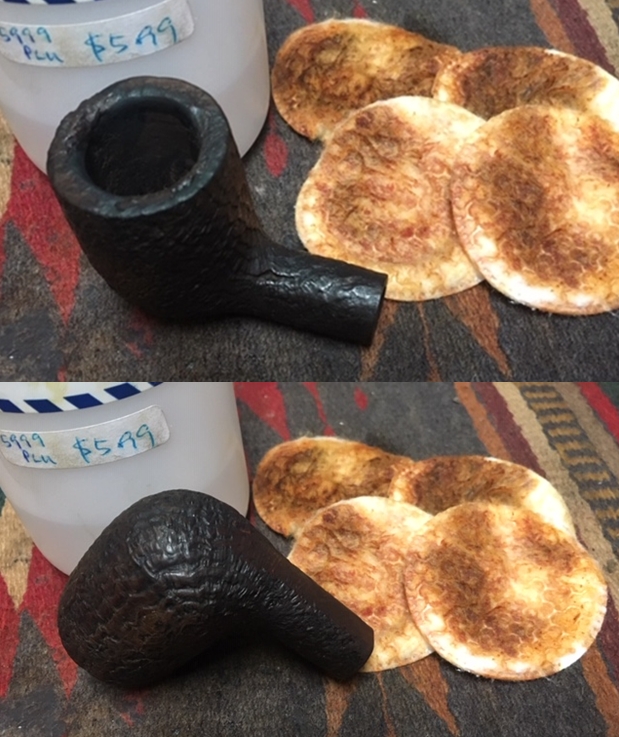
  I wiped down the bowl with a damp cotton pad to clean off the debris; then addressed the damage to the rim top and inner edge. I removed the damage to the top and the edges of the rim top. I was also able to reduce the burn damage to the front inner edge of the rim. I wiped down the rim after sanding with a dampened cloth and I am pleased with the results.
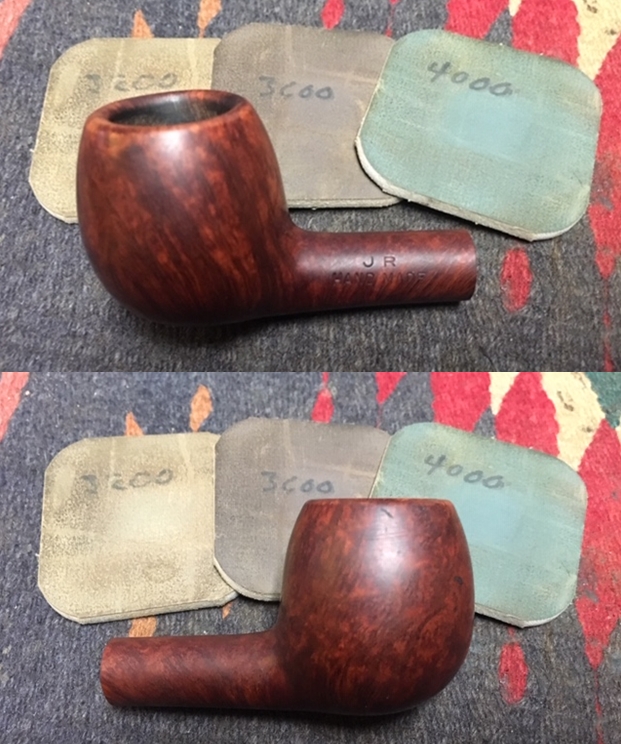
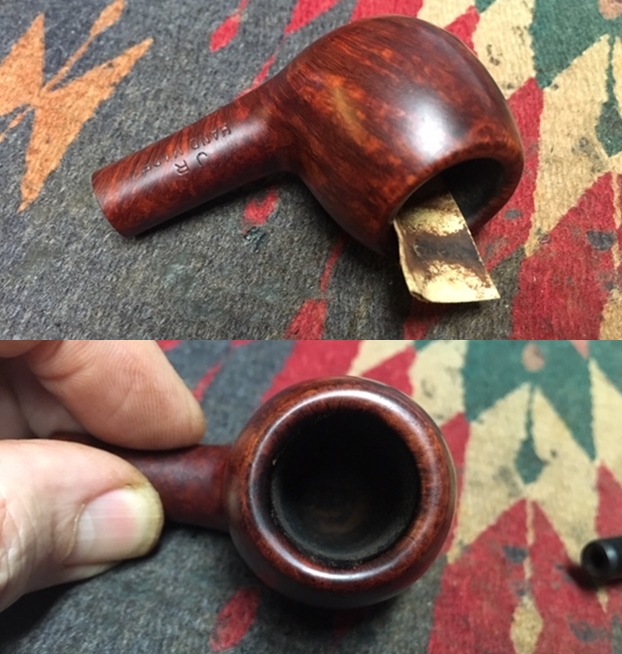 I polished the rim top, the edge and exterior of the bowl and shank with micromesh sanding pads – wet sanding with 1500-2400 grit pads and dry sanding with 3200-12000 grit pads. I wiped the rim off after each sanding pad to remove the dust. The damage on the rim edges was virtually gone and the top looked really good after polishing.
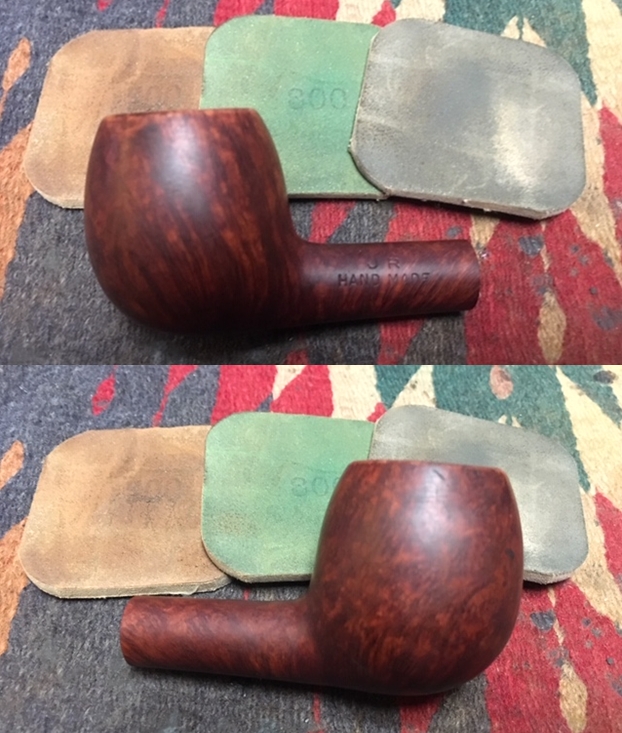


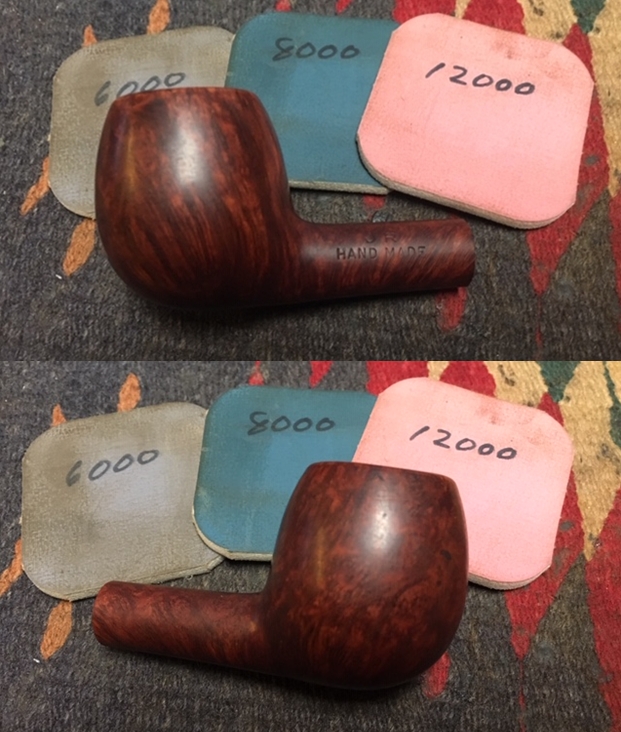
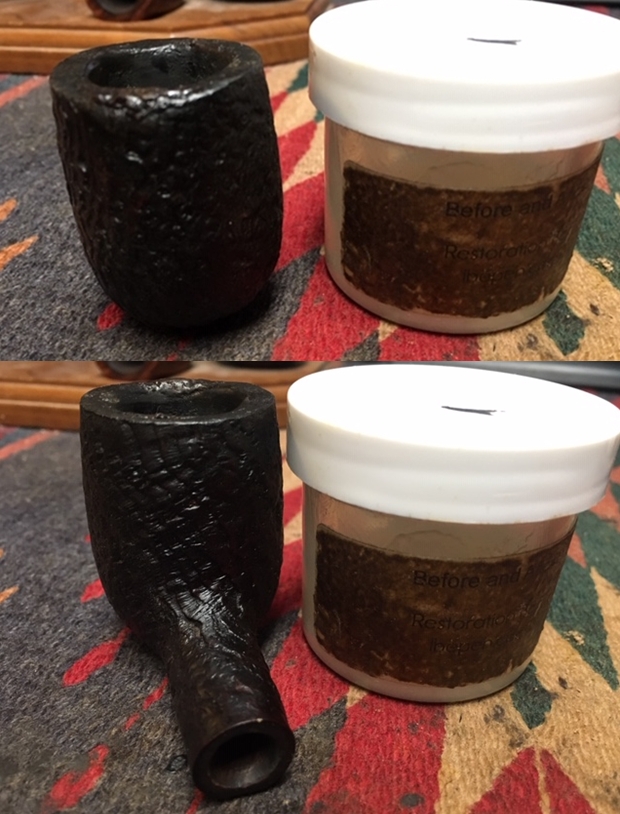
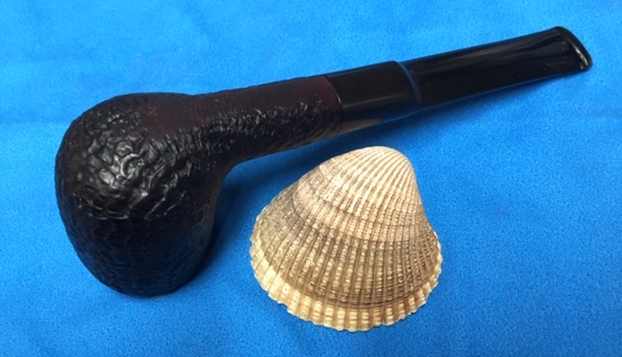
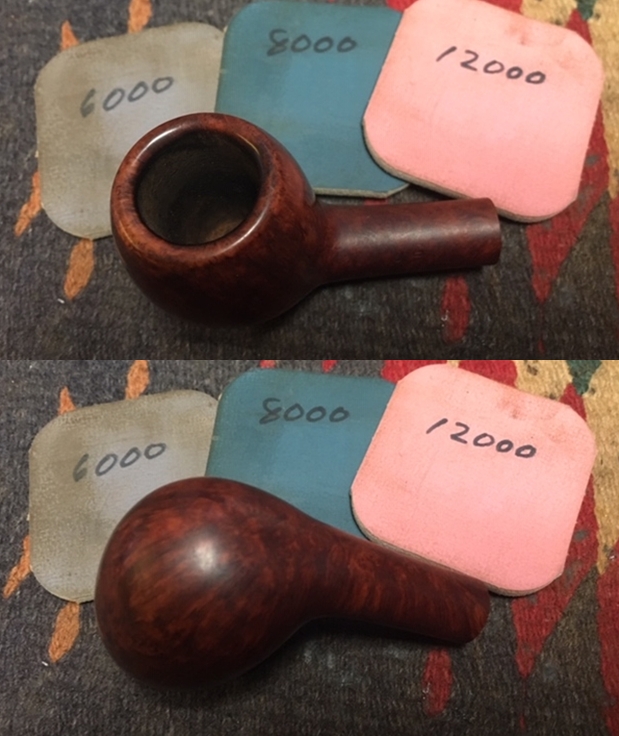 I worked some Before & After Restoration Balm into the smooth surface of the briar with my fingertips to clean, enliven and protect it. I let the balm sit for a little wall and then buffed with a cotton cloth to raise the shine. The following photos show the bowl at this point in the restoration process. The reworked rim top looks really good and matches the colour of the rest of the pipe.
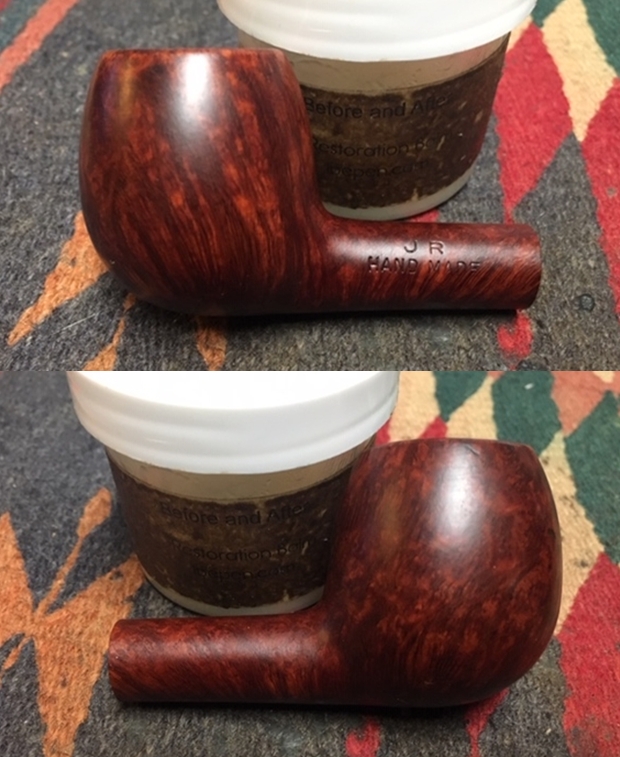

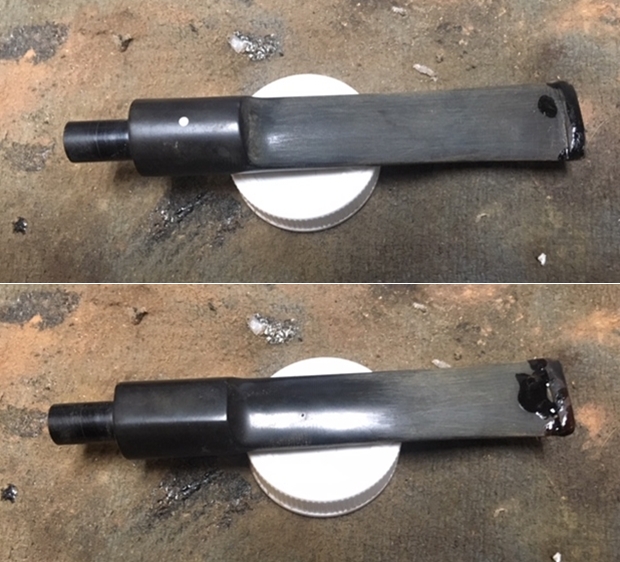
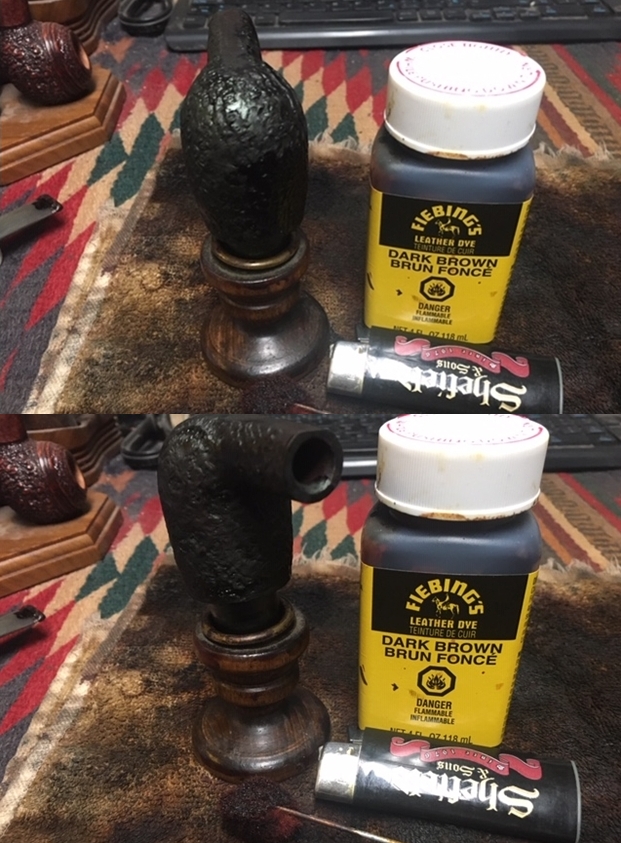
 I set the bowl aside and worked on the stem. There were some tooth marks on the top and underside at the button that needed to be addressed. I also needed to do some work on the surface of the button on both sides. I also sanded away some of the surface oxidation.
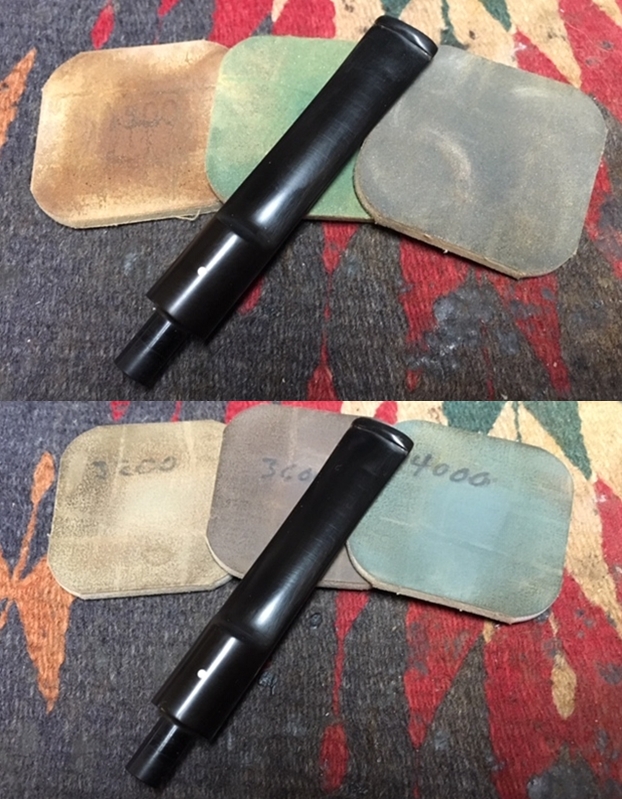
 I polished the stem with Denicare Mouthpiece Polish to remove the hard to get spots on the saddle and the button edges. I scrubbed it into the surface with a soft cotton pad and then buffed it off with another pad.
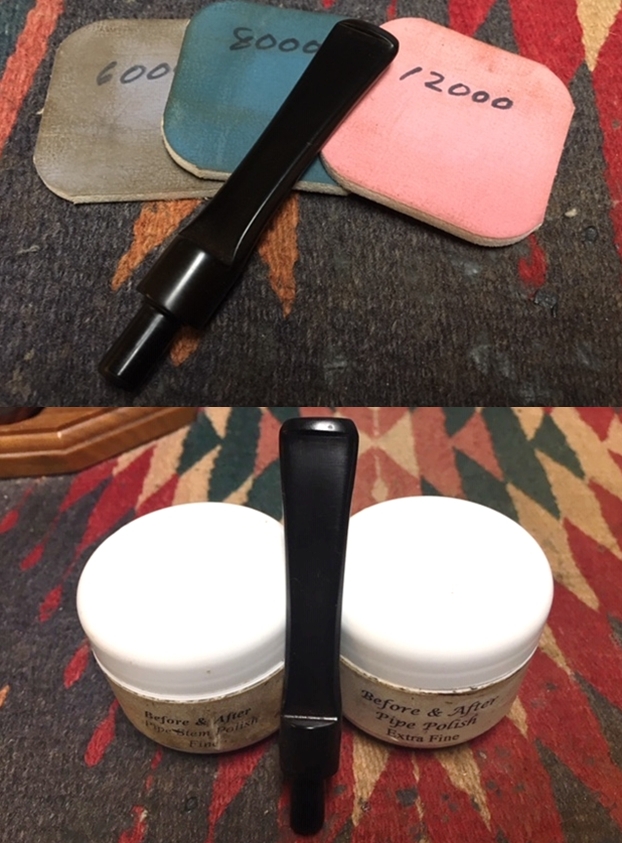
 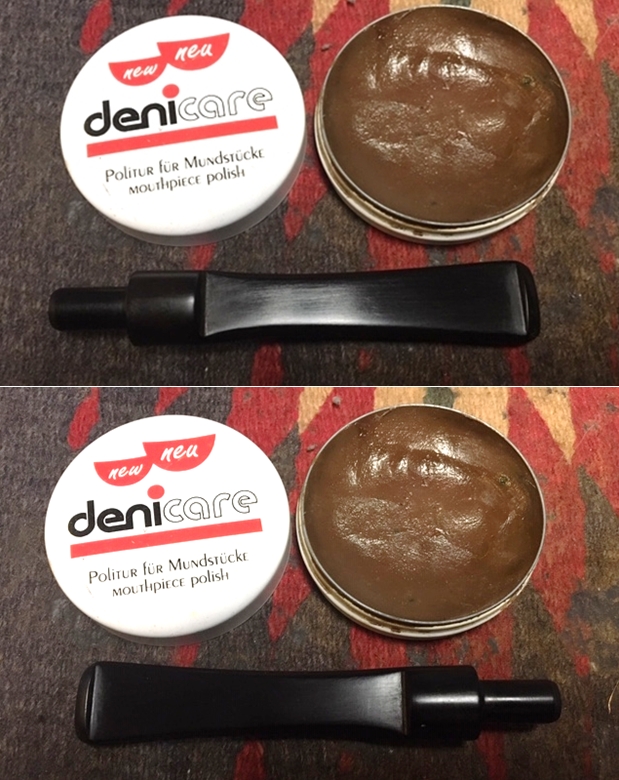 I polished the stem with micromesh sanding pads – wet sanding with 1500-2400 grit sanding pads and dry sanding it with 3200-12000 grit sanding pads. I wiped it down after each sanding pad with Obsidian Oil. I polished it with Before & After Pipe Stem Polish and wiped it down with a last coat of Obsidian Oil.
 With this fourth JR Hand Made pipes from the Nampa, Idaho auction I am even more certain that there is some connection to the House of Robertson Pipe Shop in Boise, Idaho. Since the completion of the third pipe I received an email from a House of Robertson (HOR) collector who lives in Boise, Idaho area. He used to frequent the House of Robertson Pipe Shop in Boise and knew the owner and carver of the HOR pipes, Thayne Robertson. He thought that there may well be a connection. He wondered if the JR Hand Made pipes could possibly been carved by the son of the House of Robertson pipe carver and shop owner. His name was John so it could well be John Robertson pipes. I may not be able to get definitive proof of this but even the hint of it is quite exciting.
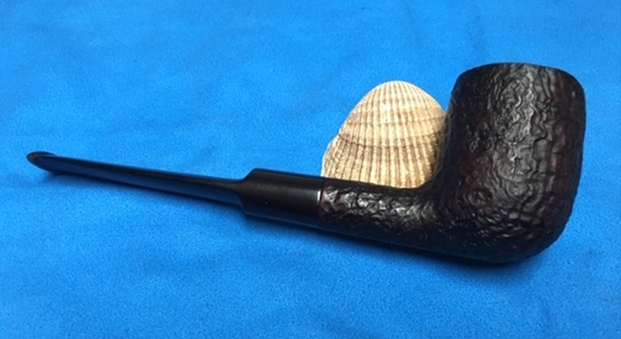
The four JR Hand Made pipes that I have restored are really well made and shaped. The stain job was done to highlight the mix of grain on the bowl. I polished stem and the bowl with Blue Diamond polish on the buffing wheel. I gave the bowl and the stem multiple coats of carnauba wax. I buffed the pipe with a clean buffing pad to raise the shine. I hand buffed it with a microfiber cloth to deepen the shine. The pipe polished up pretty nicely. The contrasting grain really began to stand out; it seemed to take on life with the buffing. The rich contrasting brown and black colour works well with the polished black vulcanite stem. This finished pipe has a rich look just like the Bulldog and the two Canadians and it is also quite catching. Have a look at it in the photos below. It is a well-shaped apple. The shape, finish and flow of the pipe and stem are very well done. The dimensions are Length: 5 3/4 inches, Height: 1 3/4 inches, Outside diameter of the bowl: 1 1/4 inches, Chamber diameter: 3/4 of an inch. I will be putting this newly finished JR Hand Made Canadian on the rebornpipes store shortly if you are interested in adding it to your collection. Thanks for walking through the restoration with me as I worked over the final pipe of the foursome from JR Hand Made pipes.