Blog by Steve Laug
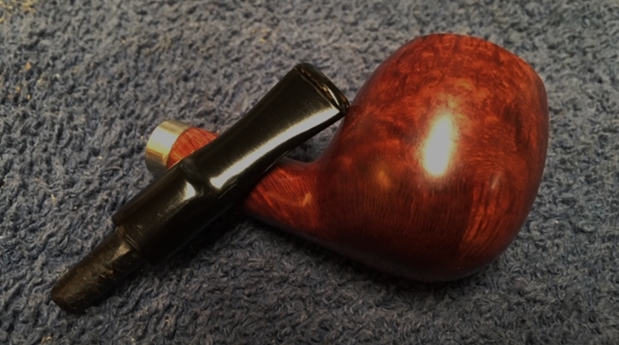
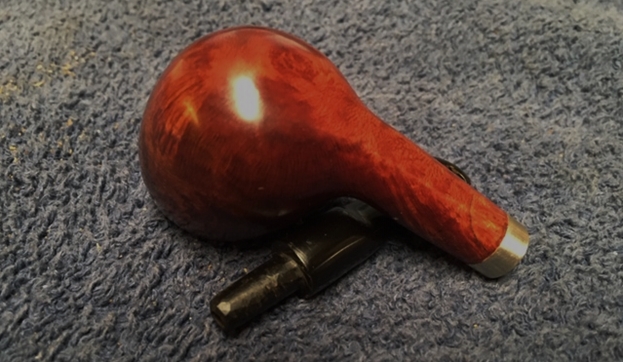
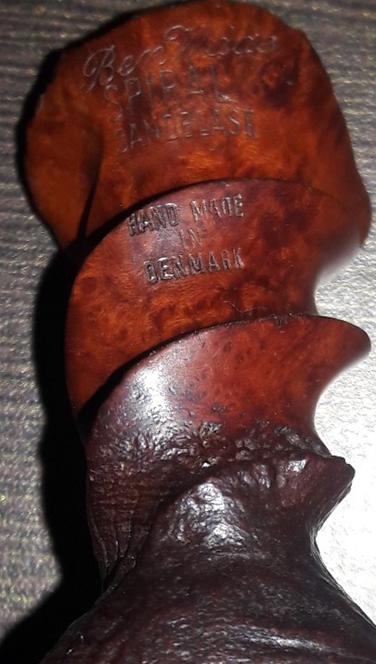
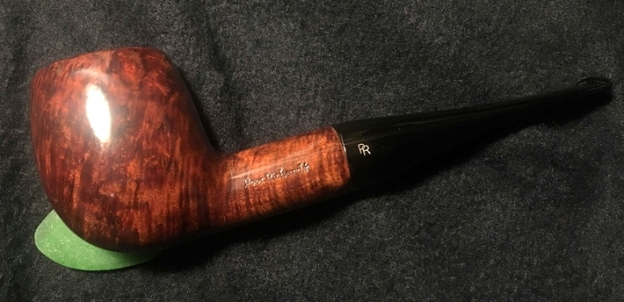
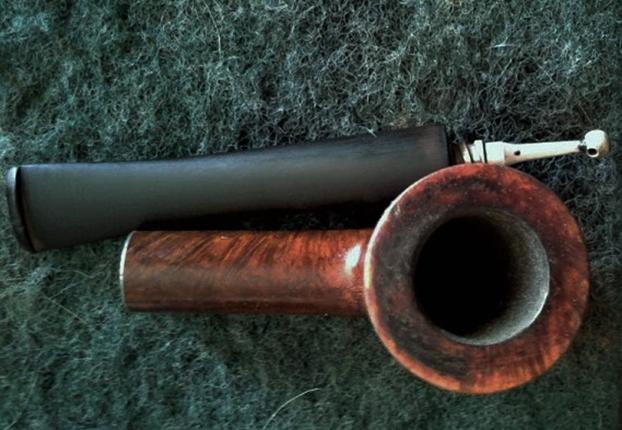
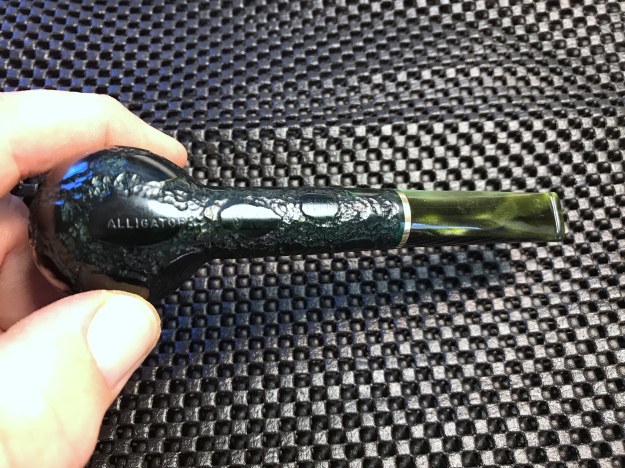
When I spoke with a fellow here in Vancouver who had a pipe that he wanted me to fix it sounded like a simple repair. He said that it had a very loosely fitting stem. He asked if he could drop by to show it to me and see if I could fix it. From past experience I have learned to never jump to conclusions about what sounded like an easy repair. When he arrived he showed me his GBD Faux Spigot. It turned out to need far more work than just tightening a loose stem. I wrote about that restoration in a previous blog (https://rebornpipes.com/2018/11/03/redoing-a-poorly-restored-ebay-gbd-super-q-9436/). We talked about his GBD for a bit and he made the decision to have me do a restoration on it. Then he reached into his pocket and pulled out a small plastic bag with a little BBB 2 Star apple of globe shaped pipe. It was stamped BBB in a diamond on the left side of the shank with two ** – one on either side of the diamond. ON the right side it was stamped Made in England over the shape number 8881. He said that he had found it at his parents’ house and really no one there knew where it came from.
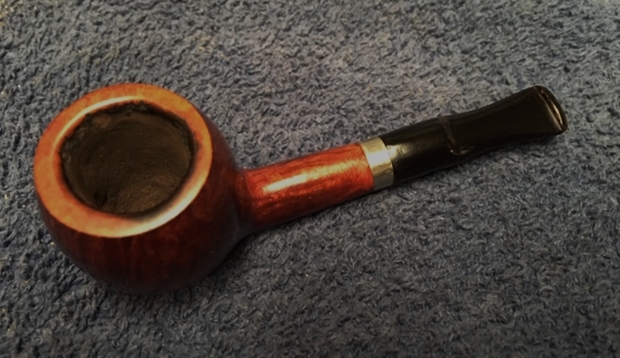
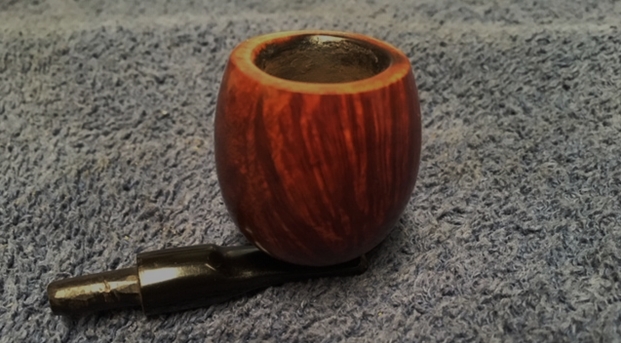
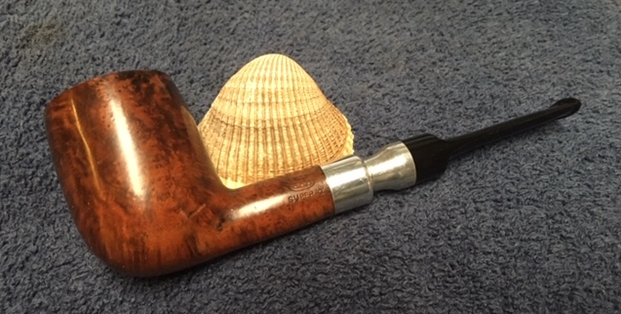
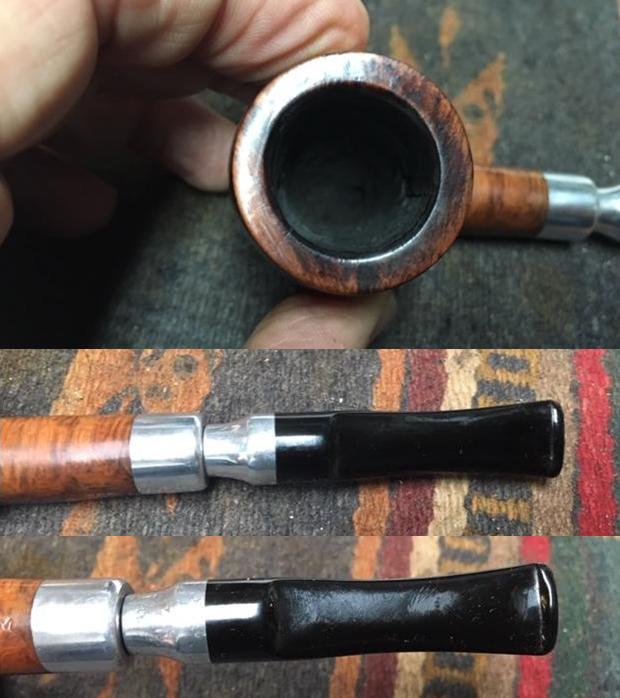
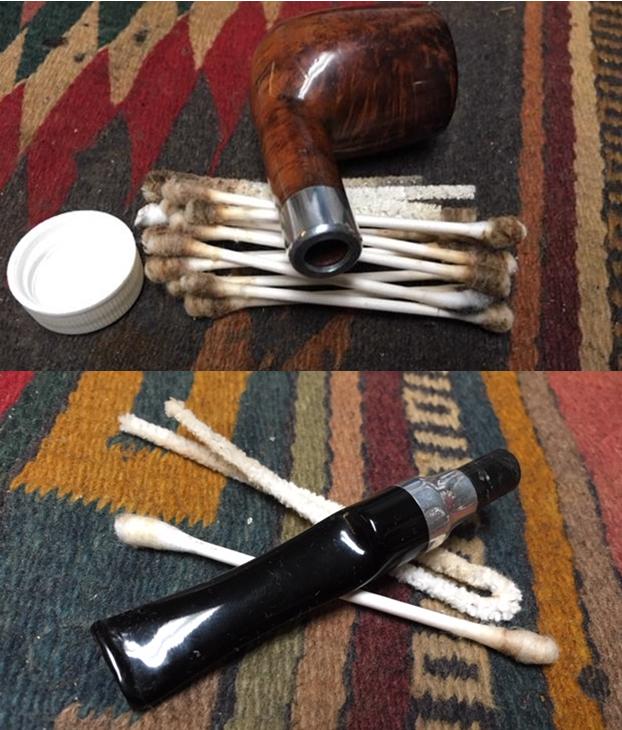
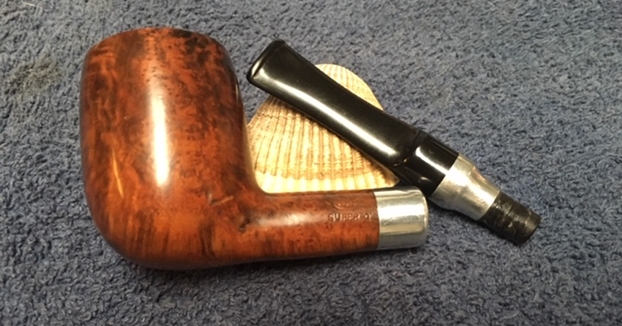
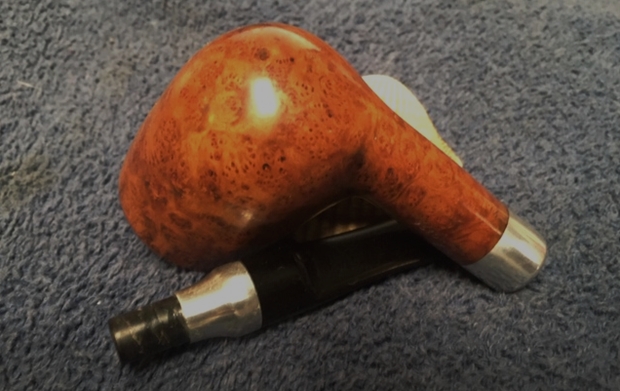
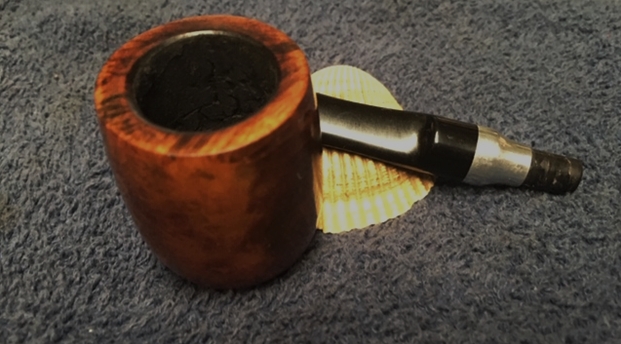
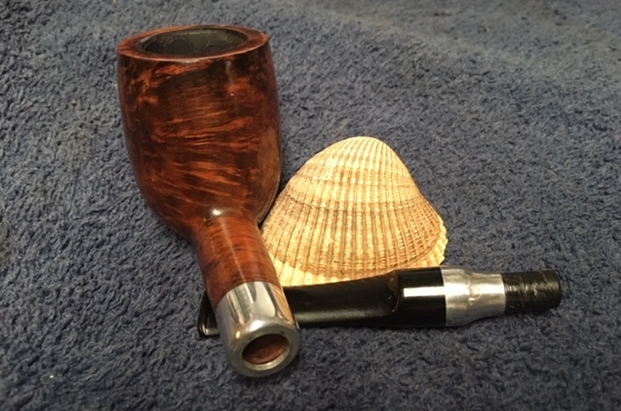
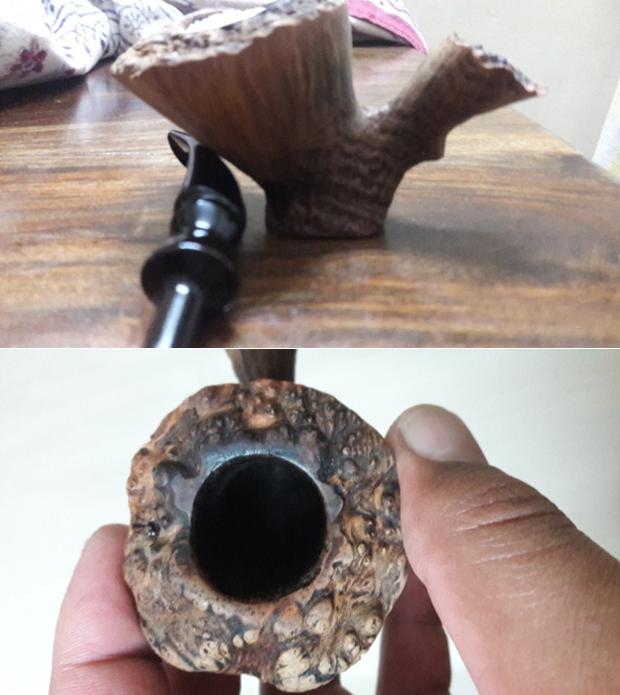
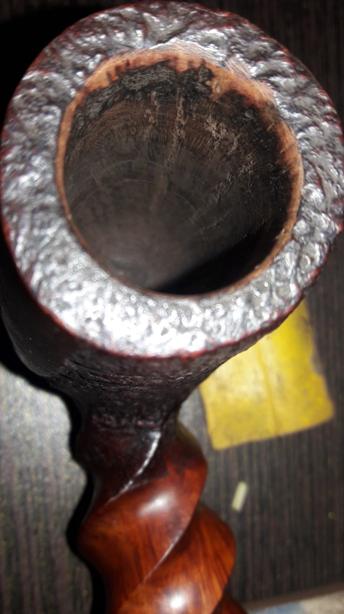
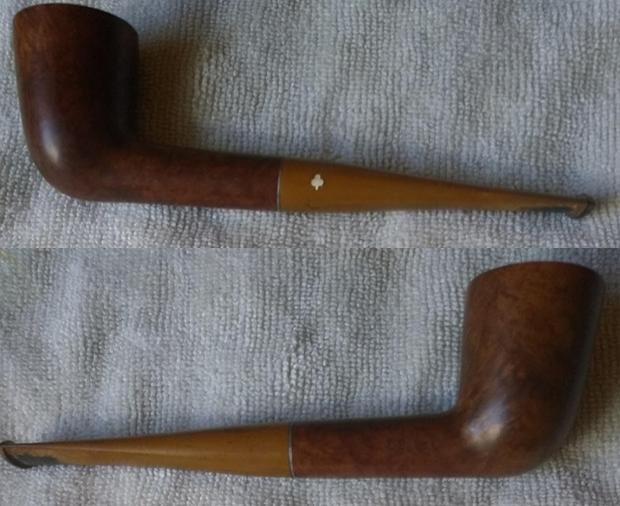
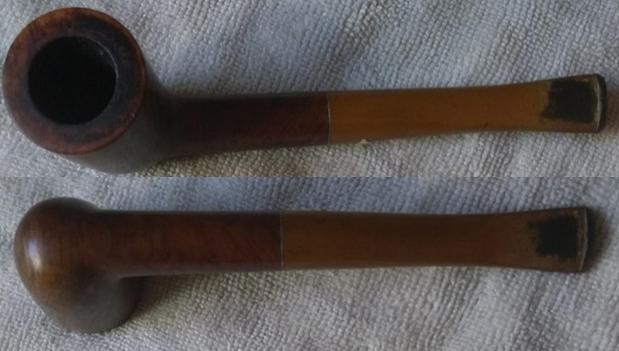
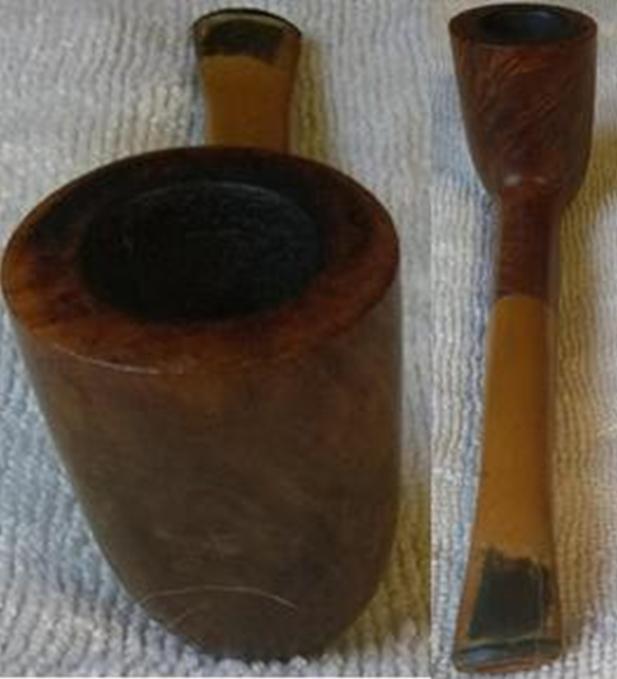
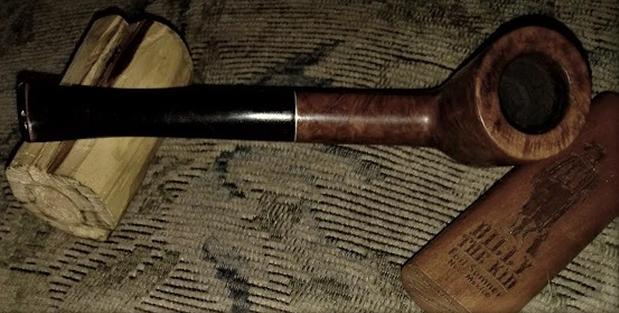
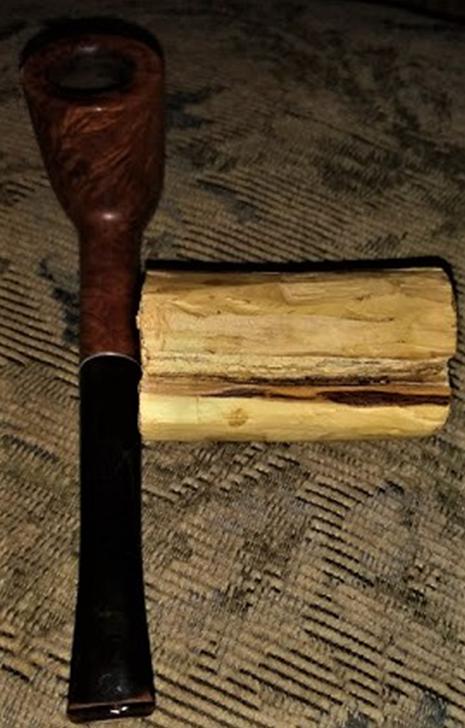
Here is what I saw. Starting with externals. The pipe was small – kind of a pocket pipe. The grain on the bowl was quite stunning – a mix of flame and birdseye all around the bowl and shank. The rim top was coated with a thick lava coat and it went into the bowl. The inner edge of the bowl was in rough shape having been hacked clean with a knife. There was a crack on the right side of the shank curving to the underside. It looked to me it was made by the poorly made stem being shoved into the shank. The stem was larger in diameter than the shank and had been rounded over with a file. There were deep bite marks on the surface ahead of the button on both sides. Moving to the internals. The end of the tenon was carved with a knife to make it fit the mortise in the small shank. The inside of the shank was dirty but less so than I expected. The inside of the bowl had a light cake but most of that was gone from the knife job that had left a wounded inner edge on the rim. Looking at the pipe I explained what I would have to do to bring it back to life and restore it to use. It would need, cleaning, reshaping on the rim, a band on the cracked shank that would leave the stamping readable, and a reworking of the stem to make it a fitting addition to the lovely briar of the bowl. The pipe was going to be a fun challenge. I took these photos to give you an idea of what I saw.
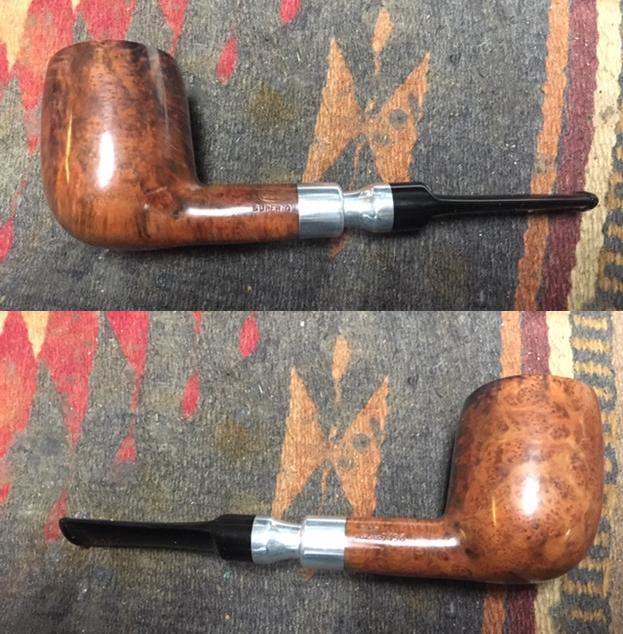
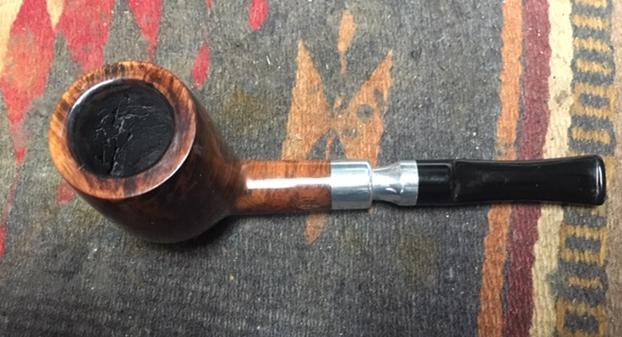
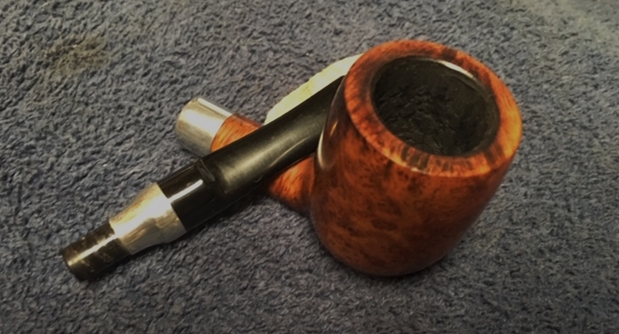
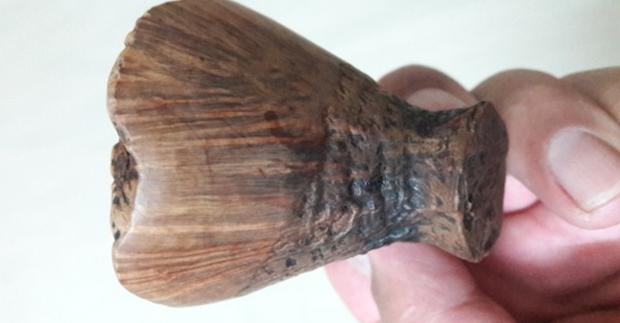
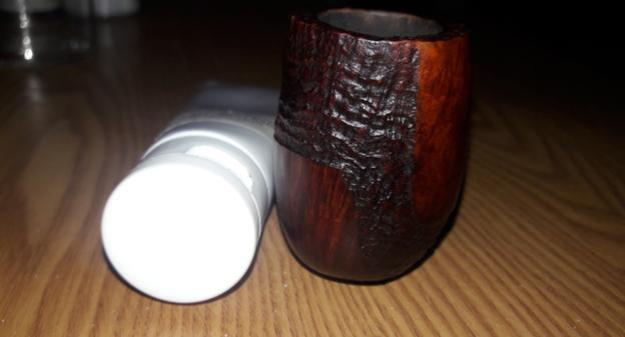
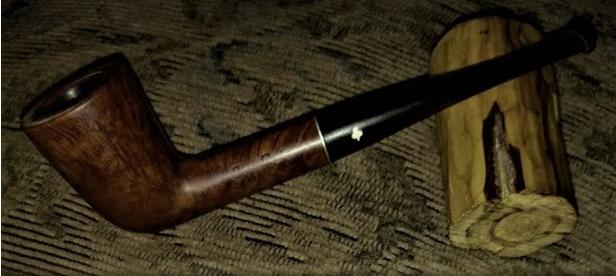
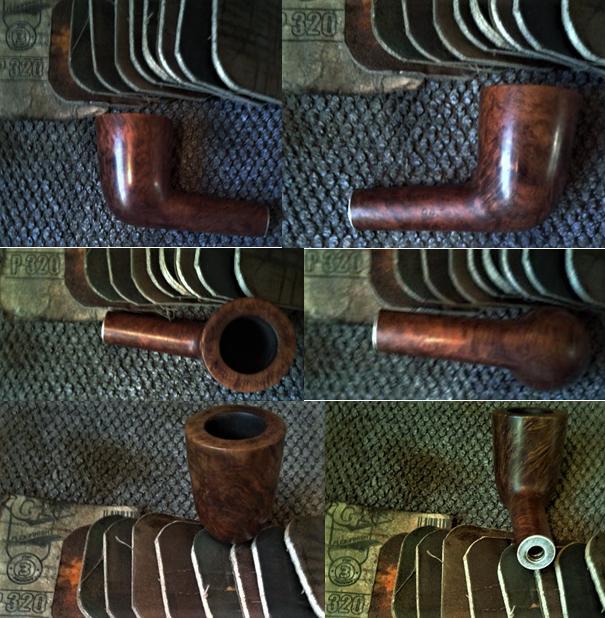
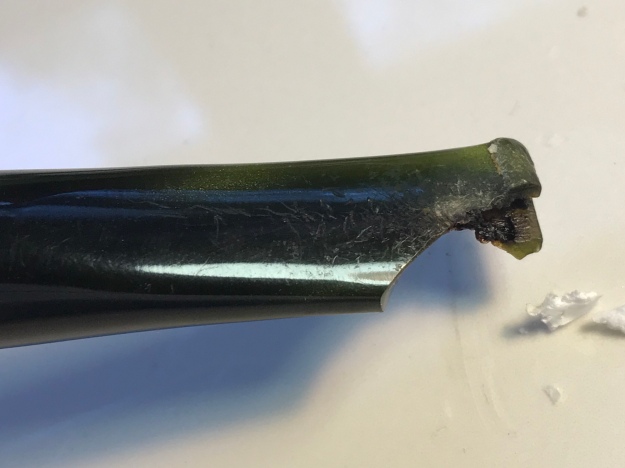
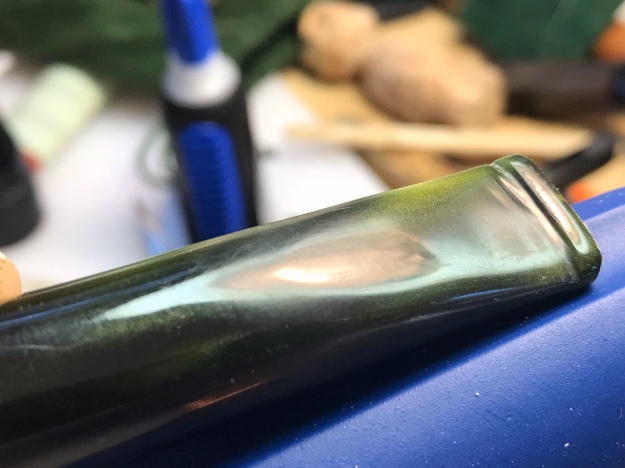
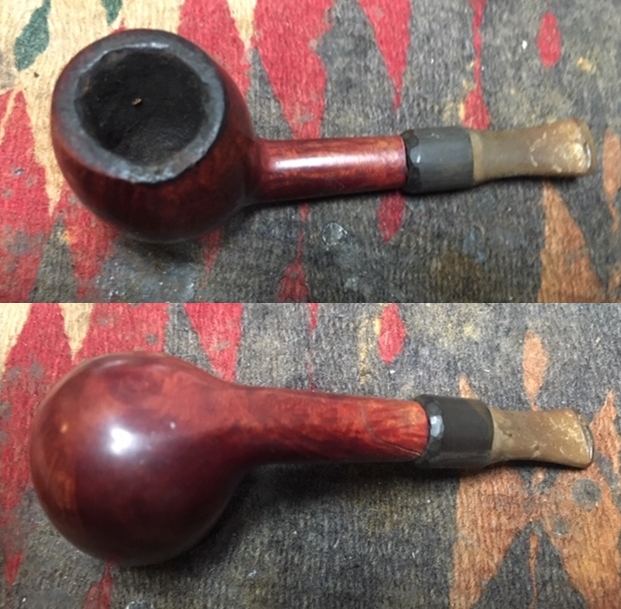 The previous pipeman who had fit a new stem to an old favourite pipe had done a functional job but it looked rough. It was pretty clean on the inside so it was cared for. It must have been a great smoking pipe for him to fit a new stem and not give up on it when the previous one broke or was lost. It was smokable. I took a close up photo of the rim top to show the condition. It is hard to see but the rim top was not smooth. The lava build up was pretty thick and there were some deep nicks and chips in the flat top. The close up photos of the stem reveal the scratches in the vulcanite, the tooth marks and the worn and ill-defined button. The oversized diameter – prettified to look nice is clear in the photos.
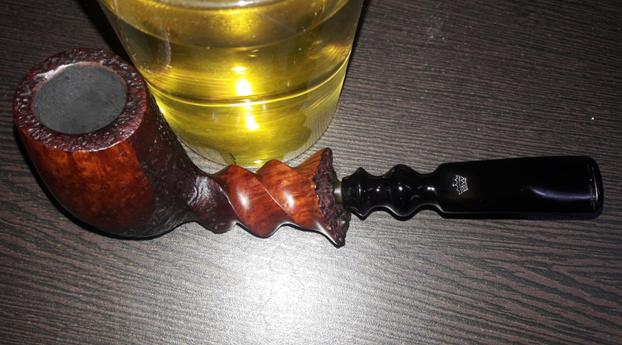
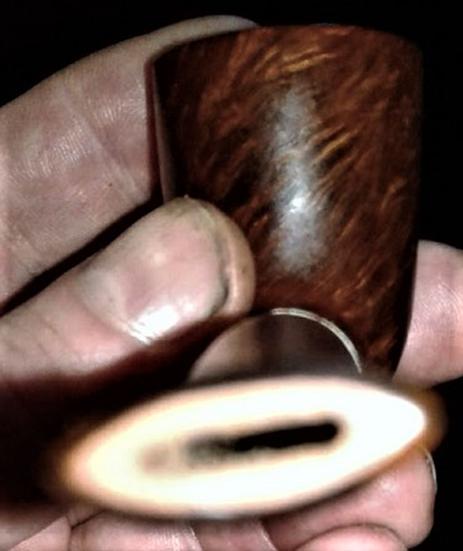
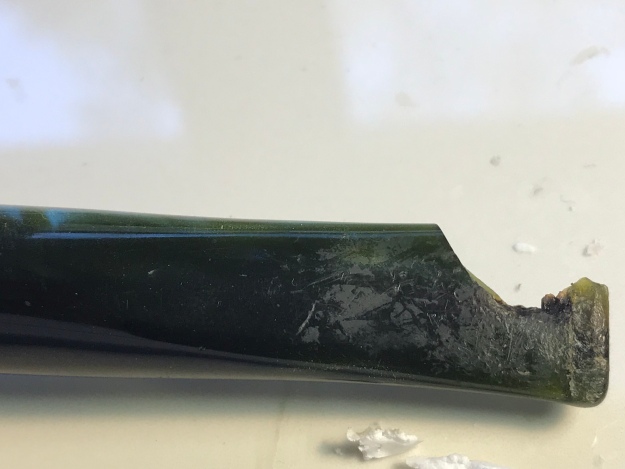
 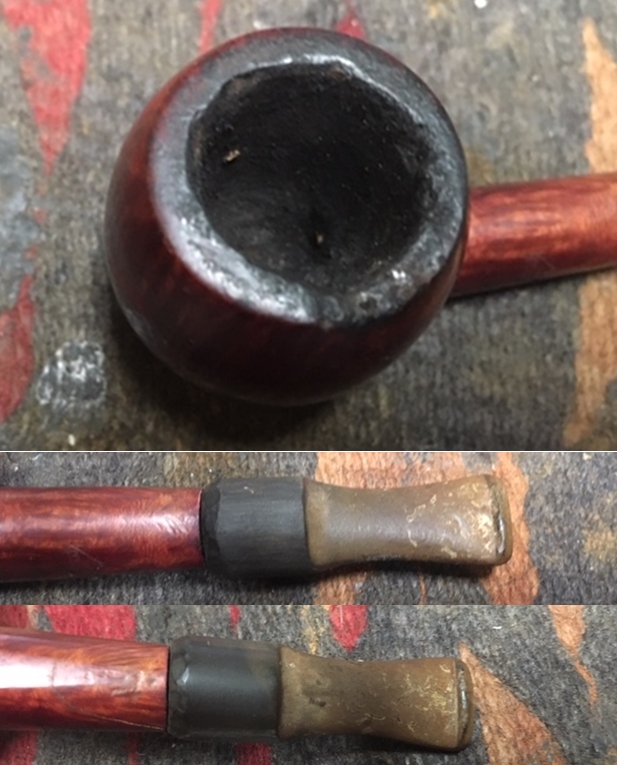 I took photos from the side of the pipe to show the stamping on the shank and the prettified stem. In the second photo you can see the crack in the shank curving downward to the underside.
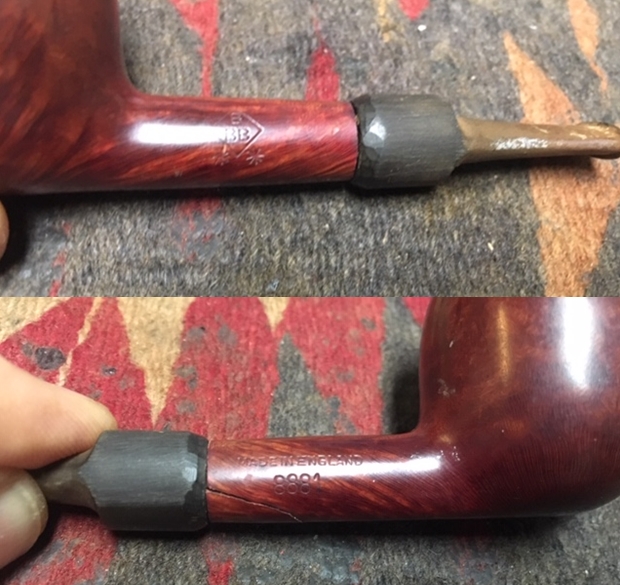 I decided to address the cracked shank first. With the crack as large as it was and movable I did not want to further damage it when I worked on the stem and fit of the tenon. I knew that it needed to be banded but that would cover the stamping on the shank so adjustments would have to be made. I used a Dremel and sanding drum to reduce the size of the shank to fit the band I had chosen. I did not take of too much briar and I only damaged the M in Made In England as part of it would end up being covered by the band.
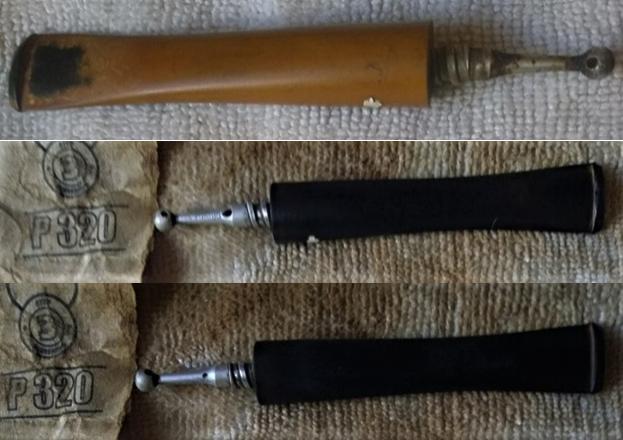
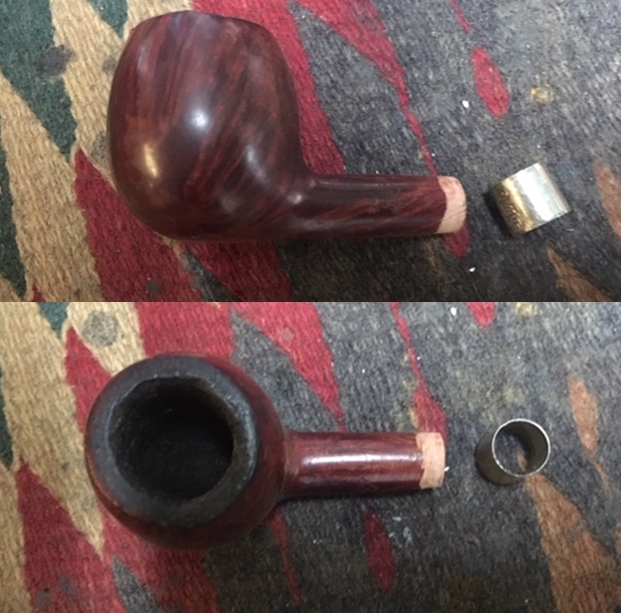 I repaired the crack in the shank with super glue and pressure fit the band onto the shank to the point of the end of the sanded portion. I used a Dremel and sanding drum to cut back the band to the width that I wanted. Compare the photos above with the one below to see how much I took off of the band. I topped the band on a topping board with 220 grit sandpaper and smooth out the sharp edge with 1500 grit micromesh. I decided that since I was already working with the Dremel and sanding drum that I would take down the excess diameter on the stem as well. I reduced it to sit snugly against the band giving the pipe a classy look.
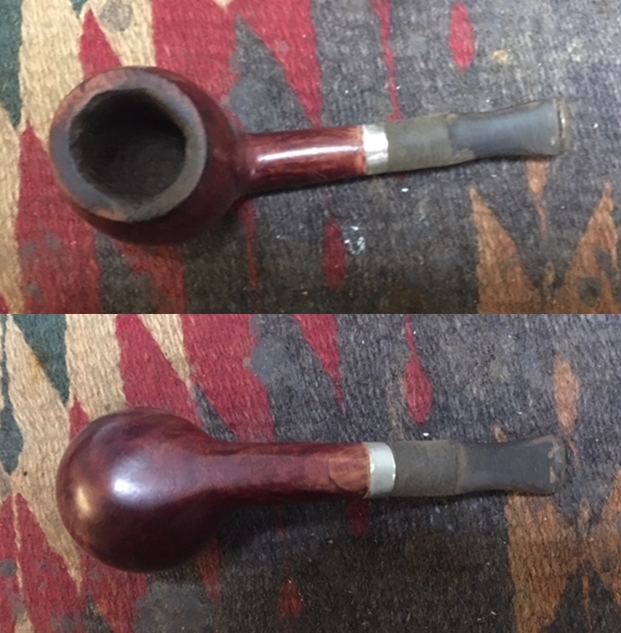
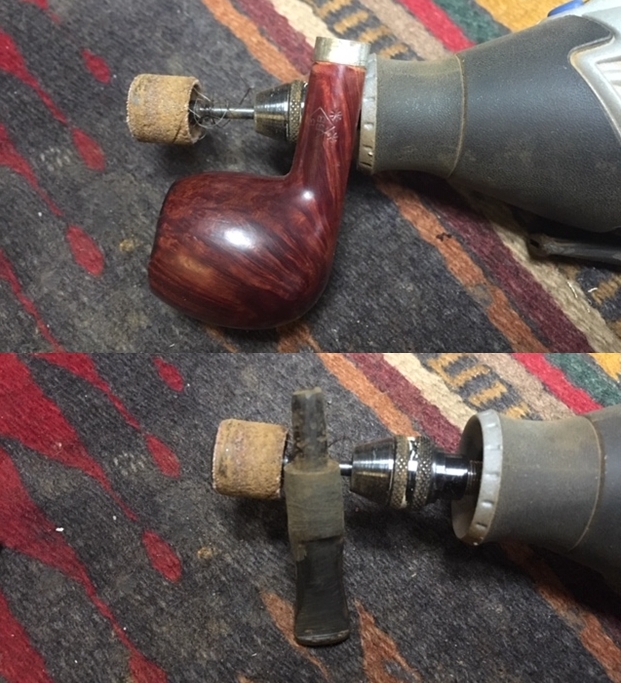 I cleaned up around the inside edge of the band and edge on the shank with a folded piece of 2220 grit sandpaper to smooth things out and make the fit and transition smooth. I lightly sanded the blade portion of the stem and the area of the tooth marks next to the button with 220 grit sandpaper to remove the oxidation and clean it up. I fit the stem in the shank and took a photo of the pipe at this point in the process. It was beginning to look like a classic BBB to my eye.
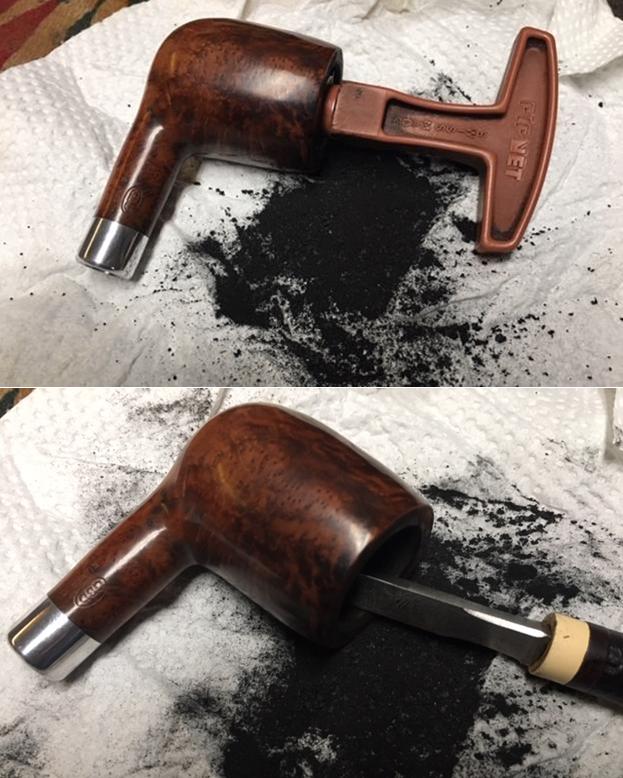
 With the stem roughly fit to the shank it was time to address the bowl top. I topped it on a topping board with 220 grit sandpaper. At that point I called it a night. I had to catch a train down to the southern part of Washington from Vancouver in the morning so I thought I would bag up a couple of pipes I was working on and take them with me.
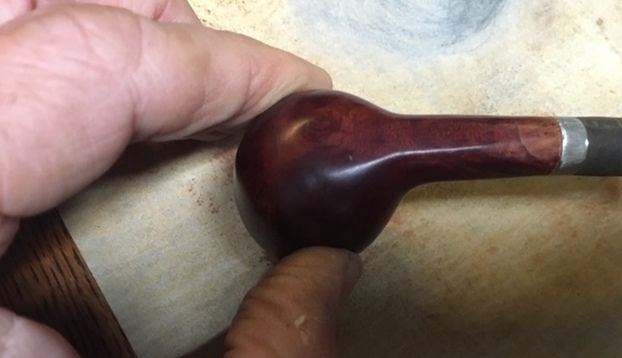 I caught the train south from Vancouver, BC at 6:30am. Once we had our seats we were in for an 8 hour train ride. I figure it would be a good opportunity to work on these two pipes. You can see my work table in the photo below. I used the fold down table. It had a lip around it so I spread out a couple of napkins for the dust and went to work on the pipes.
 I started working on the BBB by addressing the damage to the inner edge of the rim. It was significant with cuts and burns. My topping worked had helped with the top damage and smoothed that out but I need to work on the rim edge. I used a folded piece of 220 grit sandpaper to smooth out the sharp edges and bring the bowl back to round.
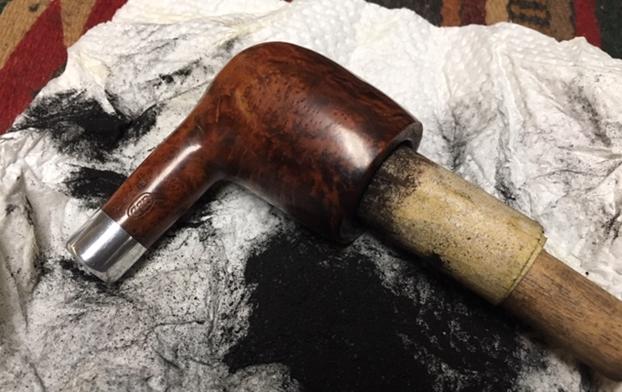
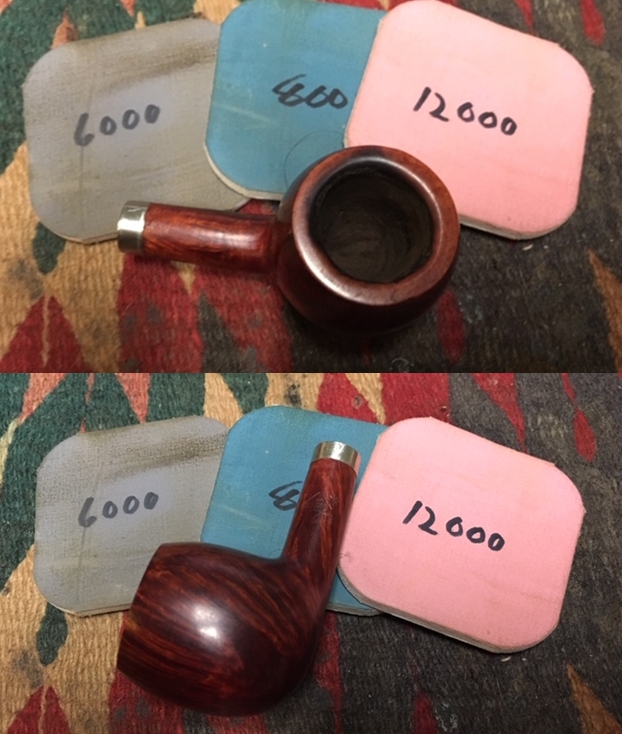
 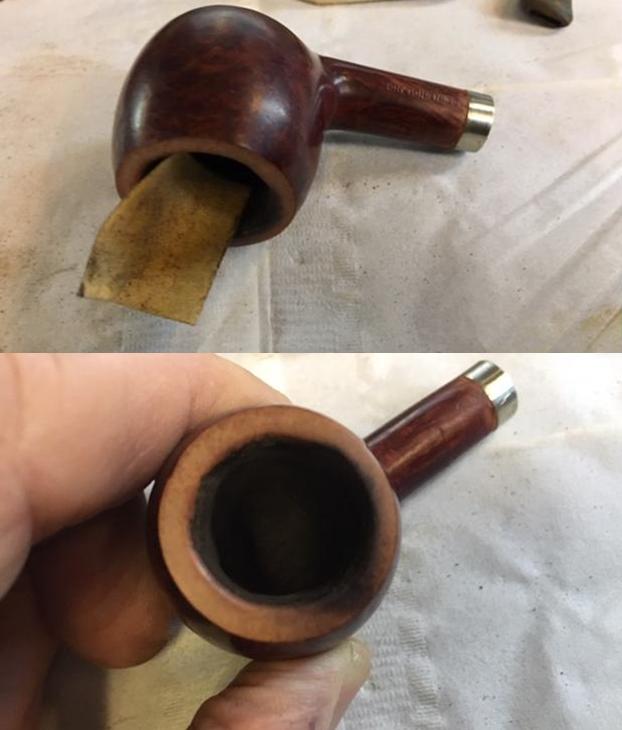 Once I had the rim as round as I could get it and smoothed out the damaged edge I polished it with micromesh sanding pads. I polished the bowl and the rim at the same time. I wet sanded with 1500-2400 grit micromesh sanding pads and dry sanded with 3200-12000 grit pads. I wiped the bowl down with a damp napkin after each pad.
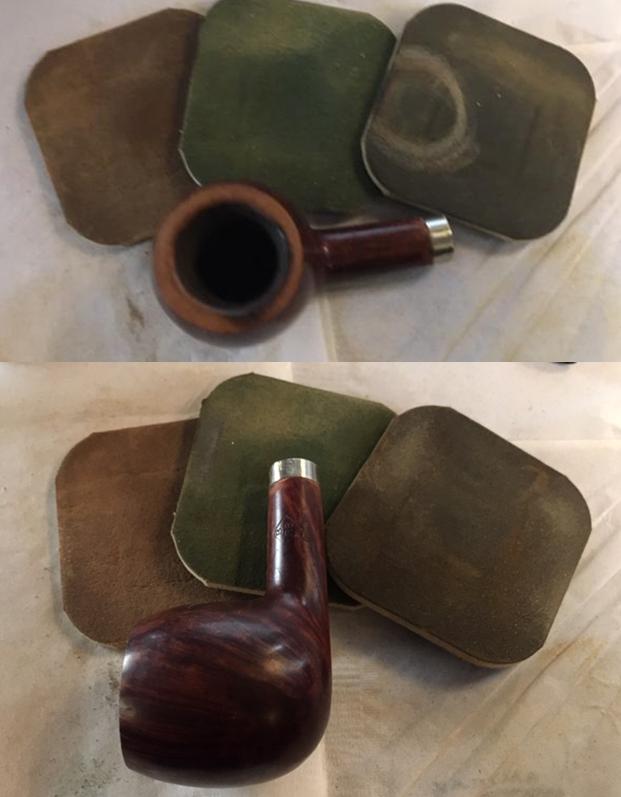

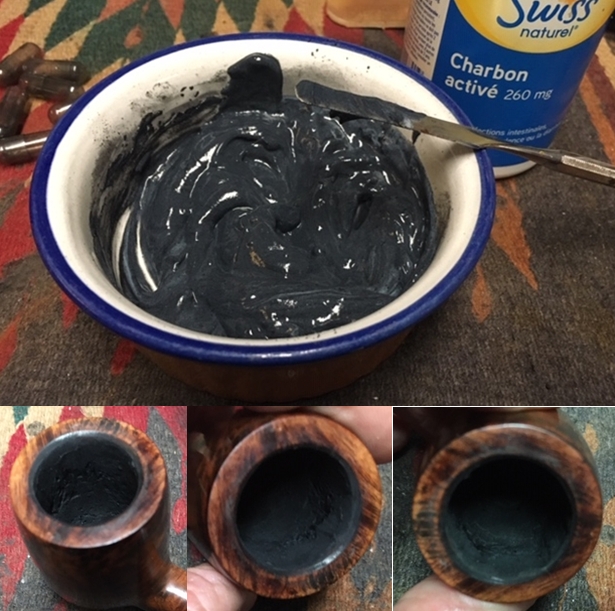
 I touched up the stain around the front of the band and stained the rim top and inner edge with Maple and Cherry stain pens. Together the two stains matched the rest of the bowl.
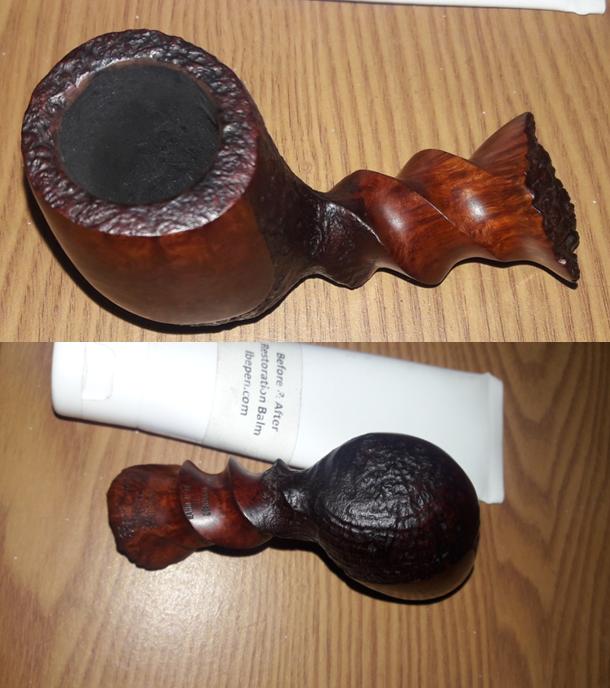
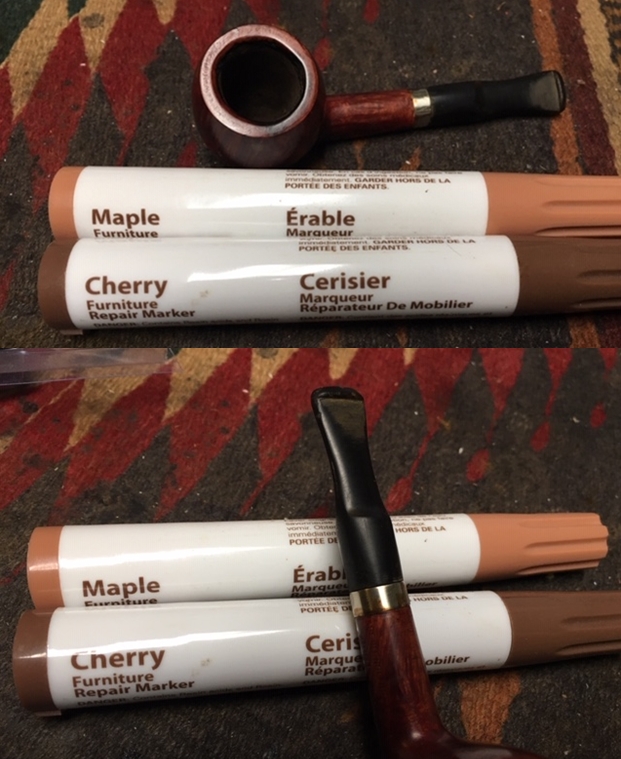 I rubbed down the briar with Before & After Restoration Balm. I worked it into the smooth surface of the briar with my fingertips to clean, enliven and protect it. I let the balm sit for a little wall and then buffed with a cotton cloth to raise the shine. The following photos show the bowl at this point in the restoration process. The rim matches well but still needs to be polished and buffed to raise a shine on it.
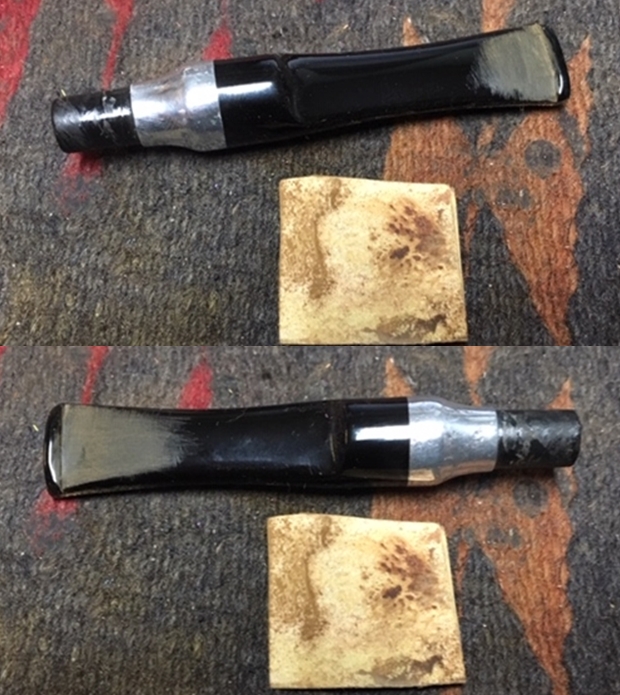
 I used a folded piece of 220 grit sandpaper to reshape the button and also to smooth out the marks left by the Dremel when reducing the diameter of the stem. I sanded the tooth marks near the button on each side of the stem to smooth them out.
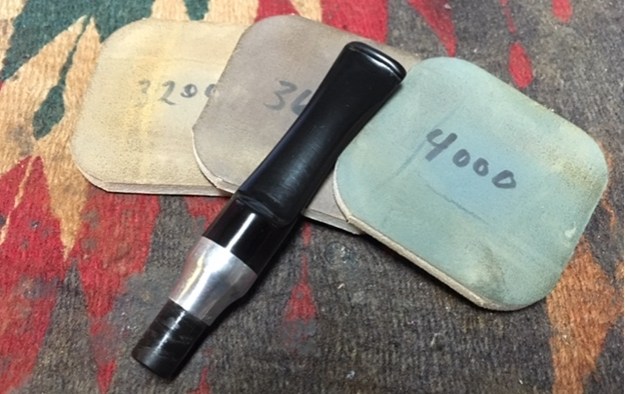
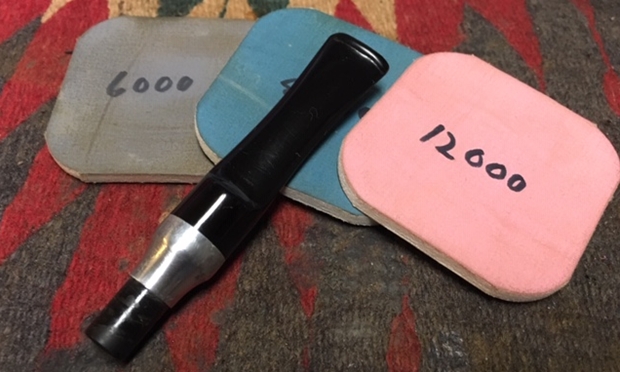
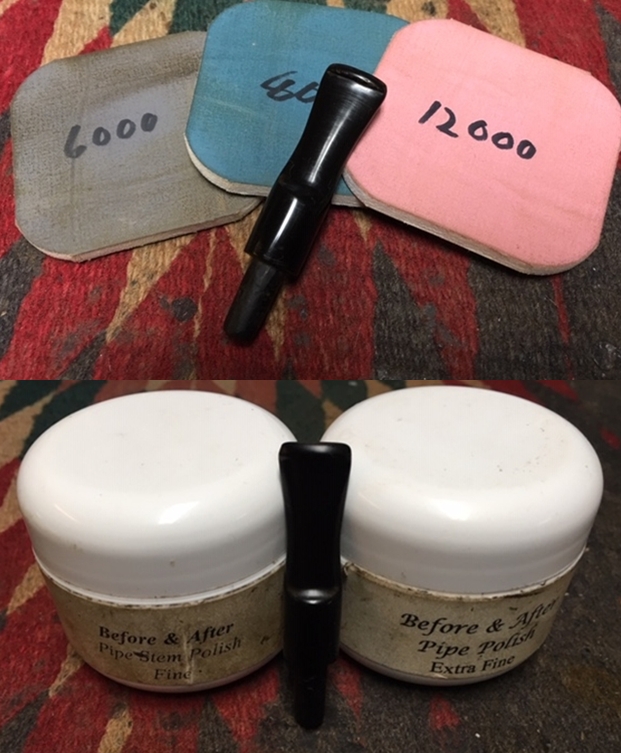
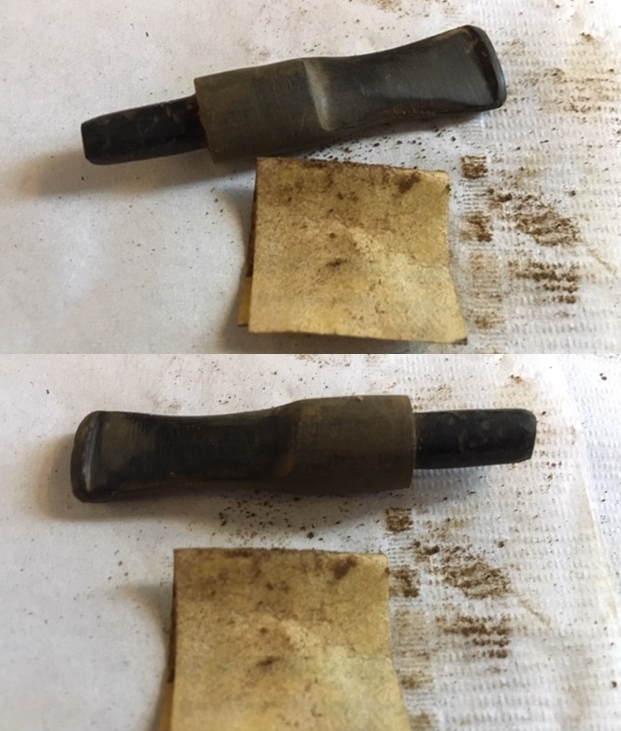 I polished the stem, tenon and metal work with micromesh sanding pads – wet sanding with 1500-2400 and dry sanding with 3200-12000 grit pads. I wiped the stem down with Obsidian Oil after each sanding pad. I was able to remove the damage on the tenon and polish out the dripping varnish on the metal adornment. The stem looked much better at this point in the process.
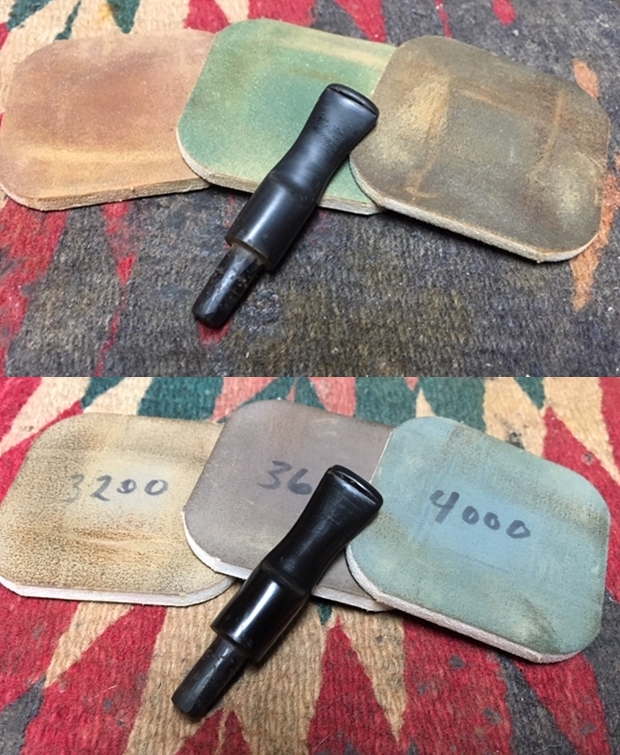
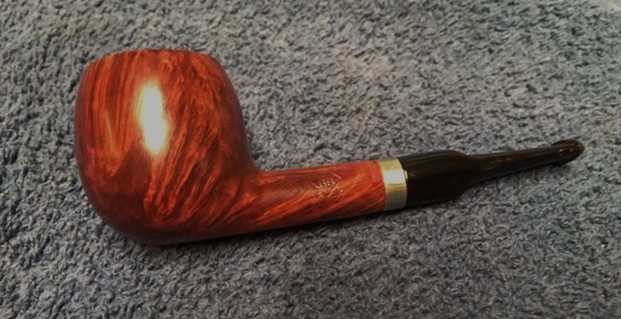
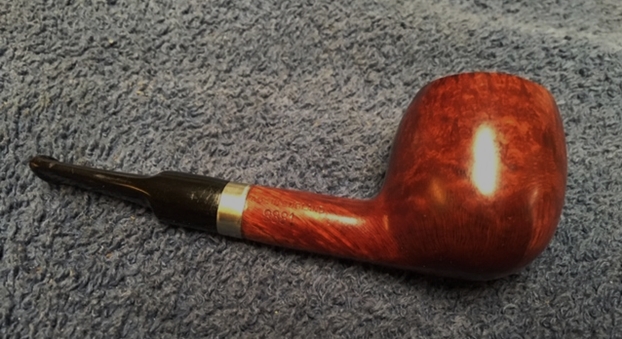
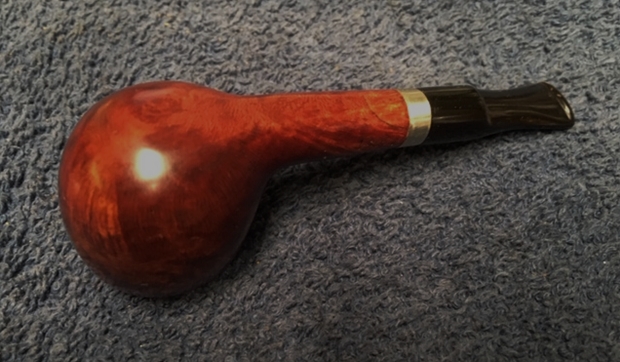
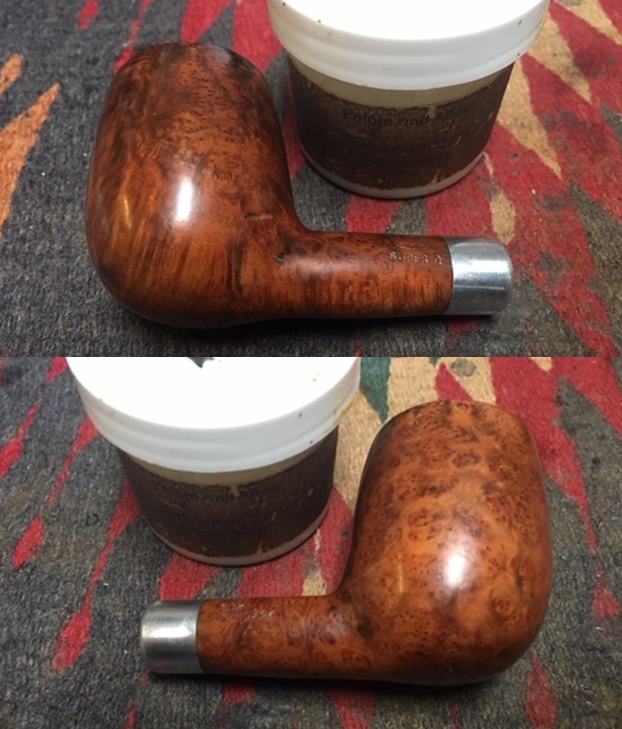
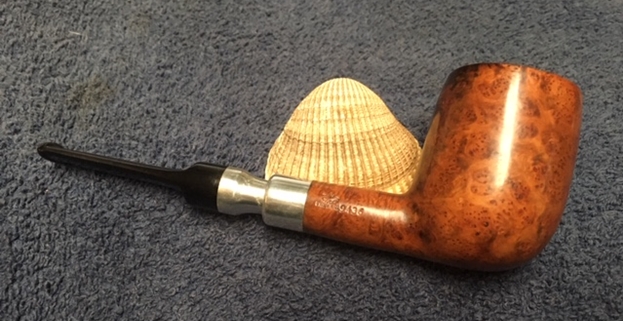
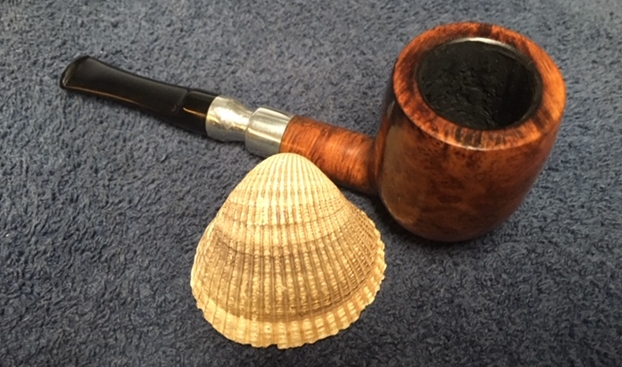
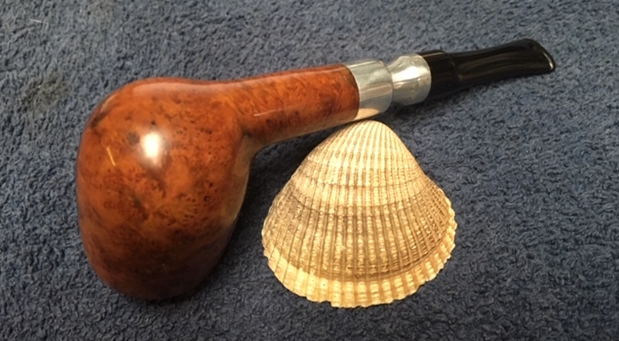
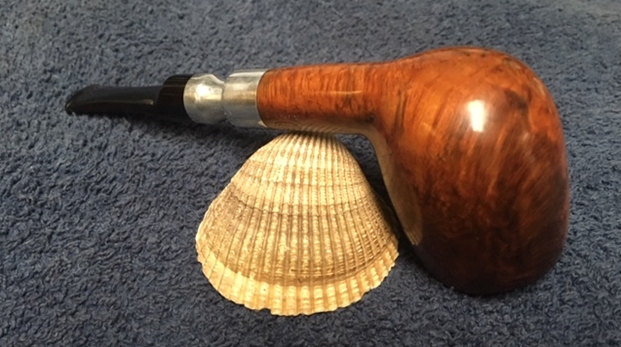
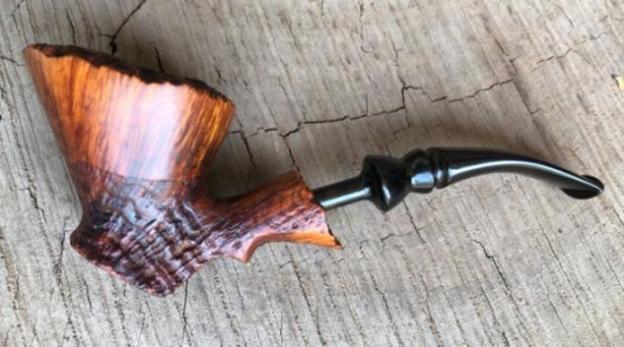
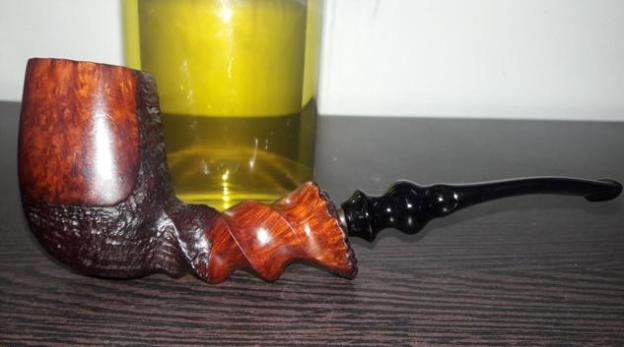
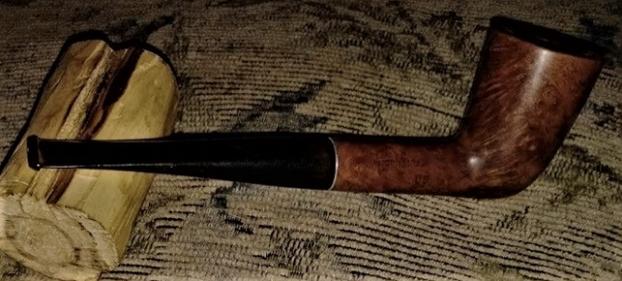
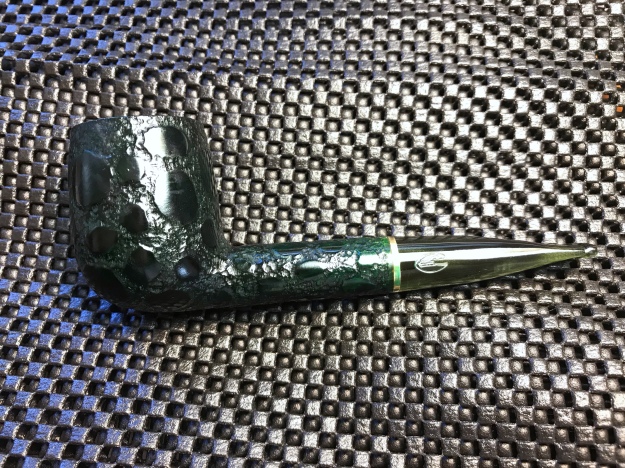
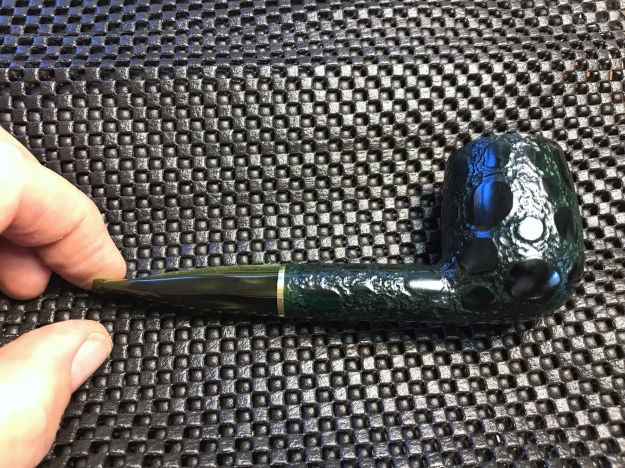
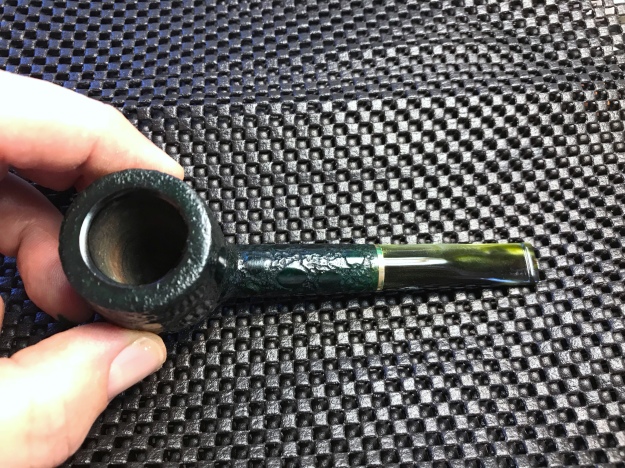
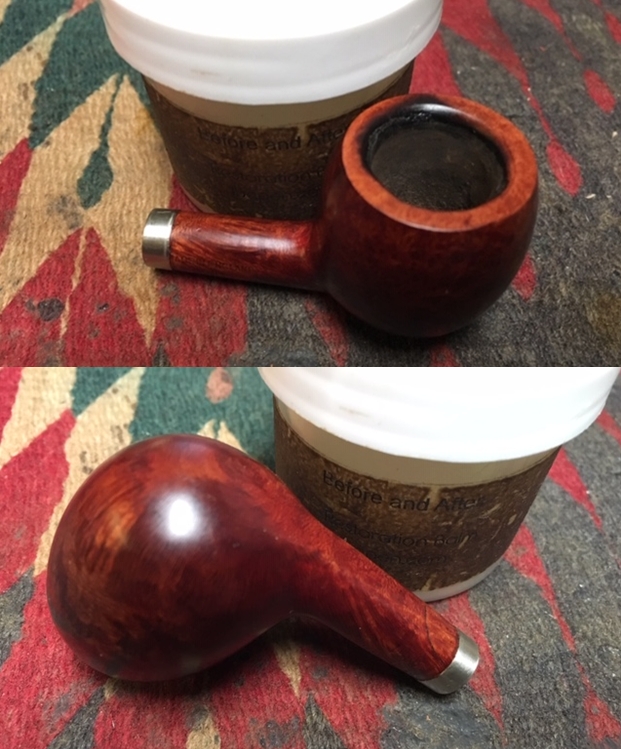
 I the polished stem and bowl with Blue Diamond to polish out the remaining small scratches and raise the shine. I gave the bowl and the stem several coats of carnauba wax and buffed the pipe with a clean buffing pad to raise the shine. I hand buffed it with a microfiber cloth to deepen the shine. The pipe polished up pretty nicely. This turned out to be a beautiful little pocket pipe in terms of shape and finish. The new nickel band adds a touch of class in my opinion and gives the pipe a new elegance. I look forward to hearing what the fellow who dropped it off for repair thinks of it once he has it in hand and is smoking it. The finished pipe is shown in the photos below. The dimensions are Length: 4 inches, Height: 1 3/8 inches, Outside diameter of the bowl: 1 inch, Chamber diameter: 3/4 of an inch. Thanks for walking through the restoration with me.