Monthly Archives: November 2015

Peterson University Flake: a lesson in subjectivity


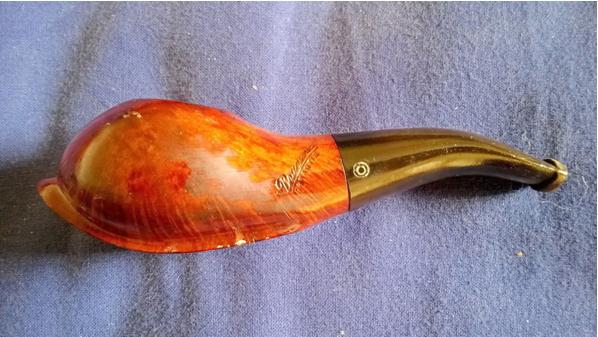
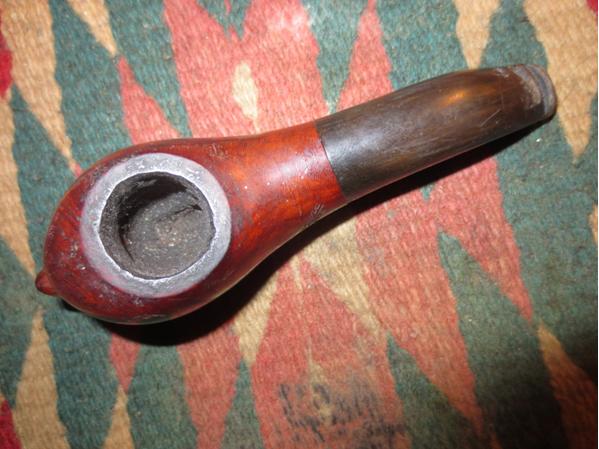
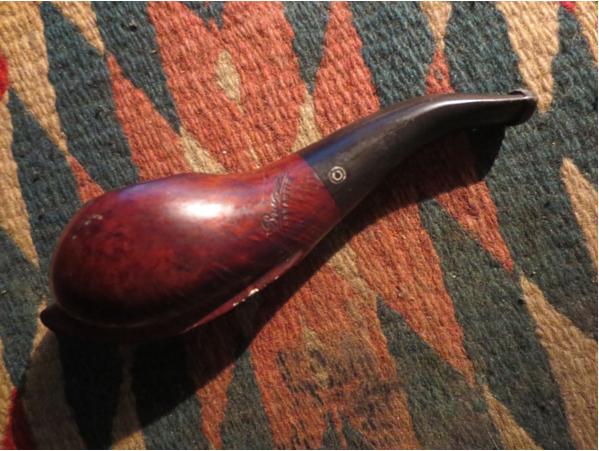
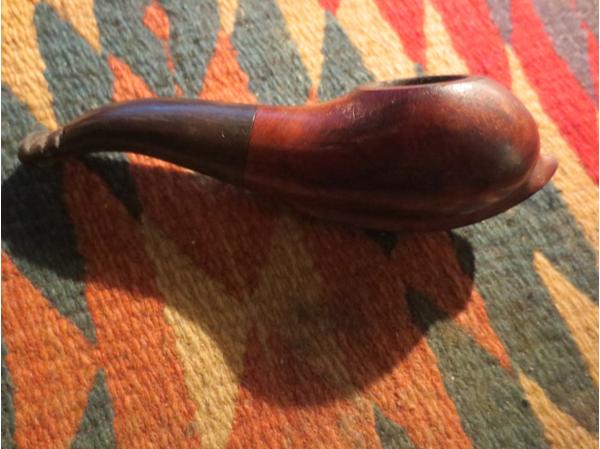
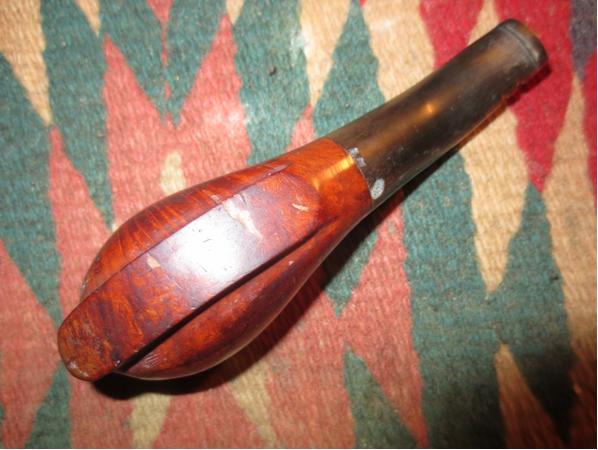
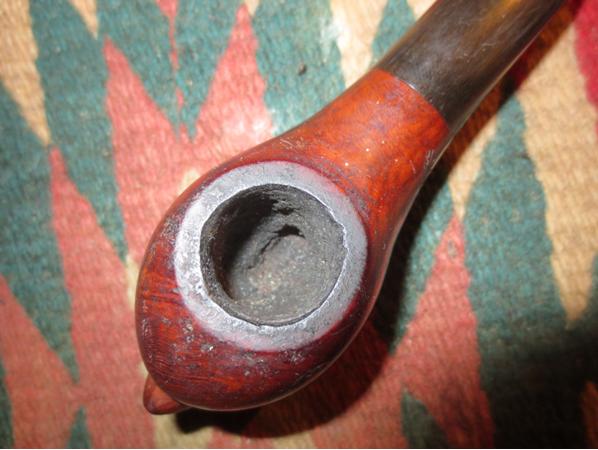
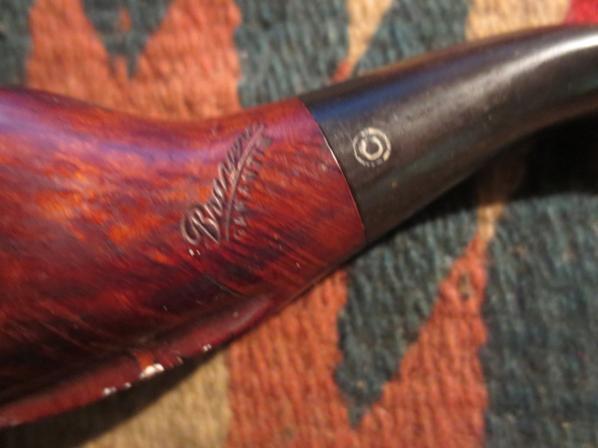
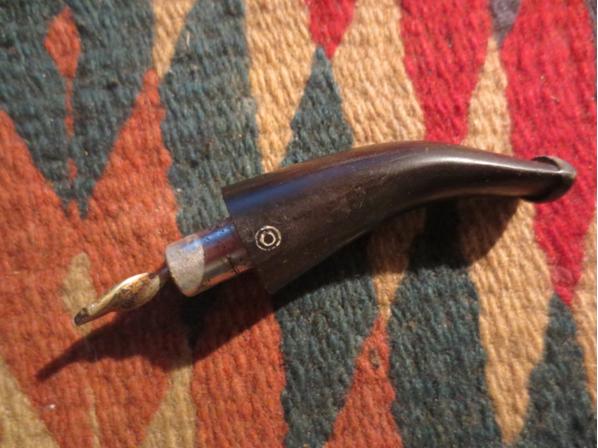
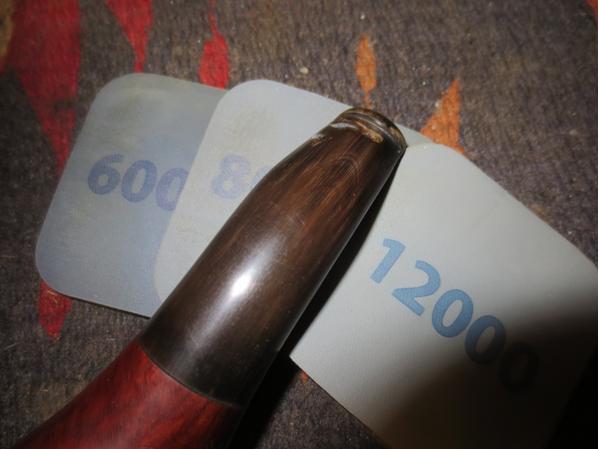
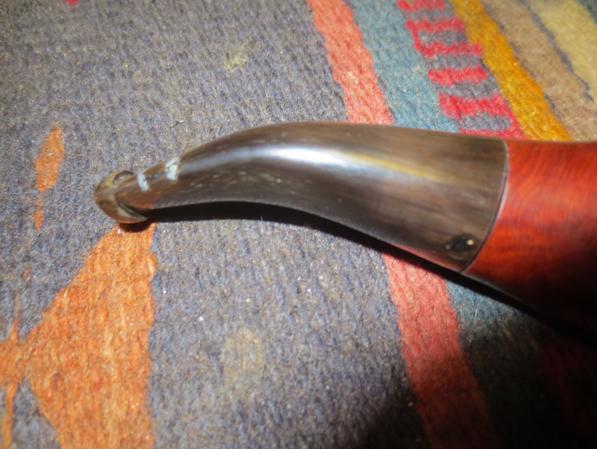
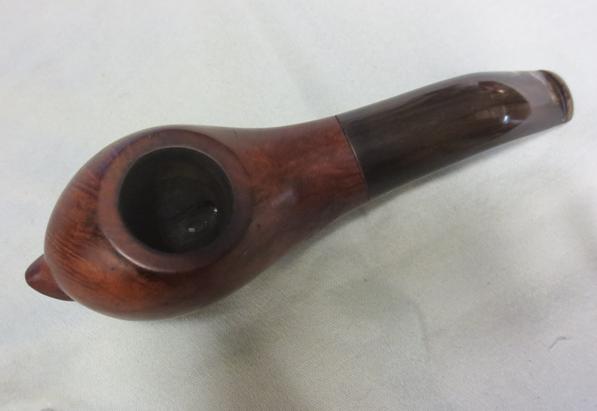
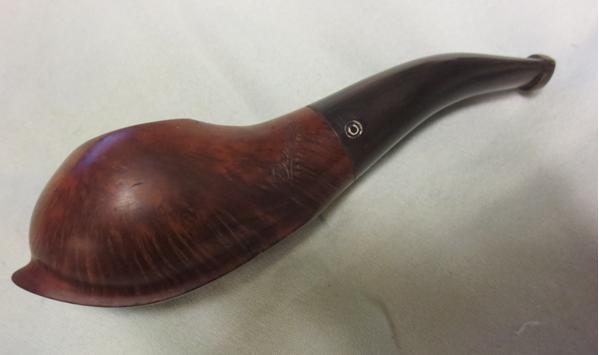
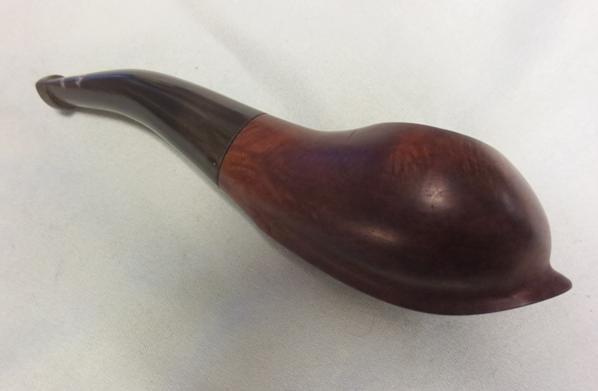
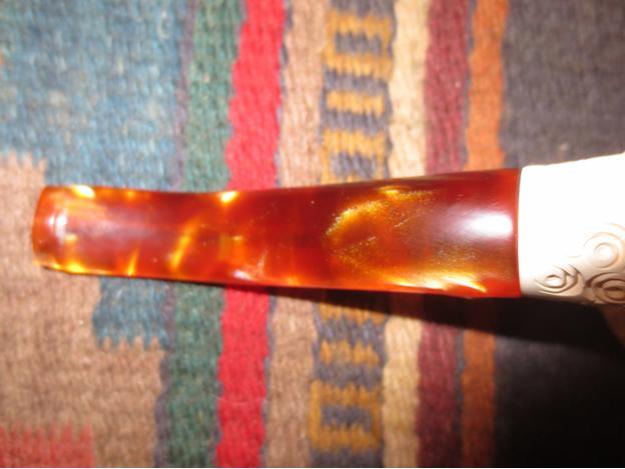
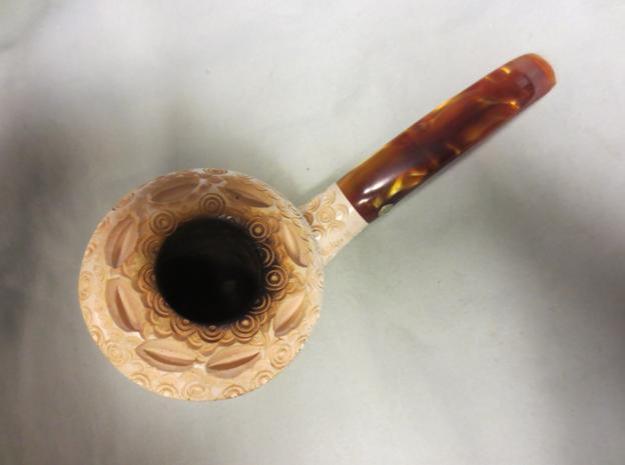
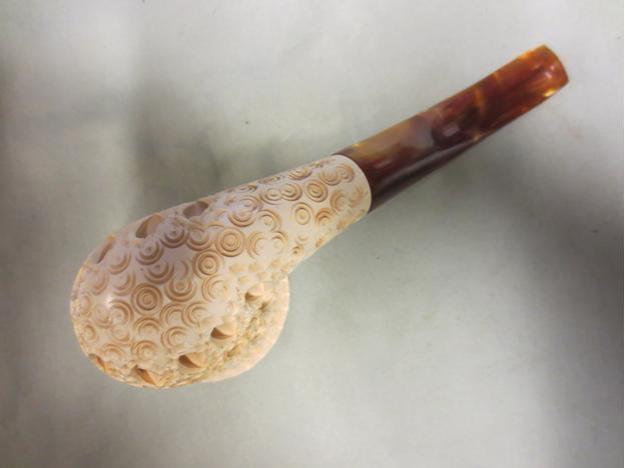
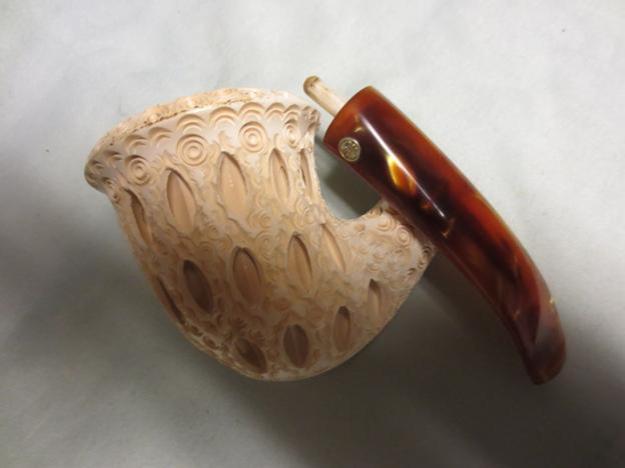
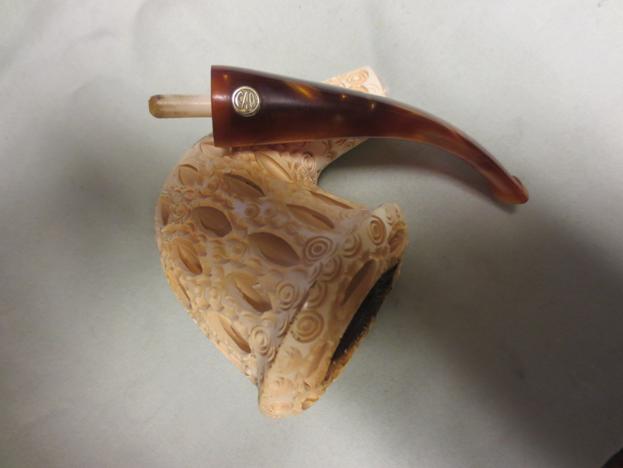
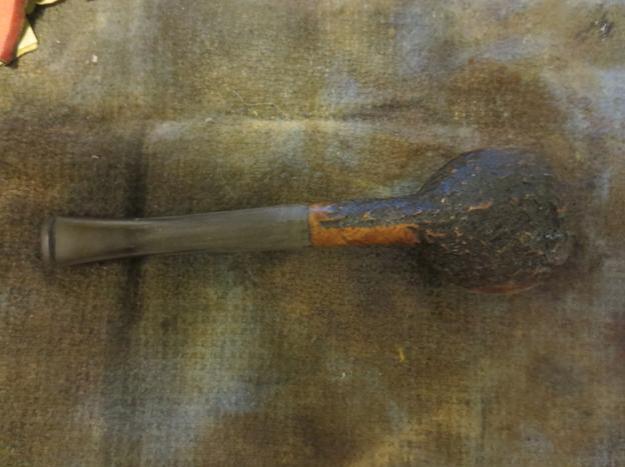
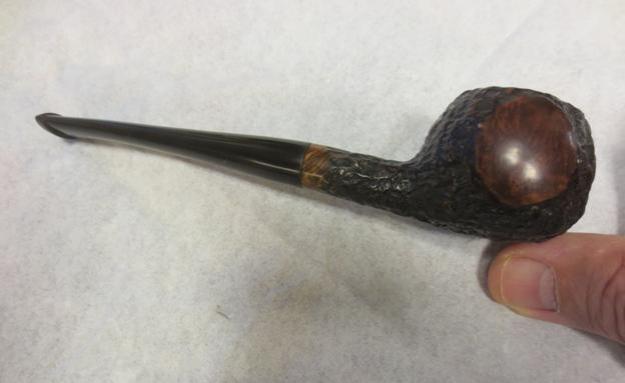
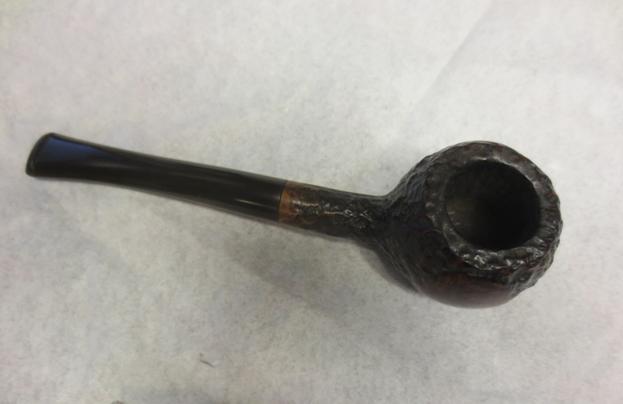
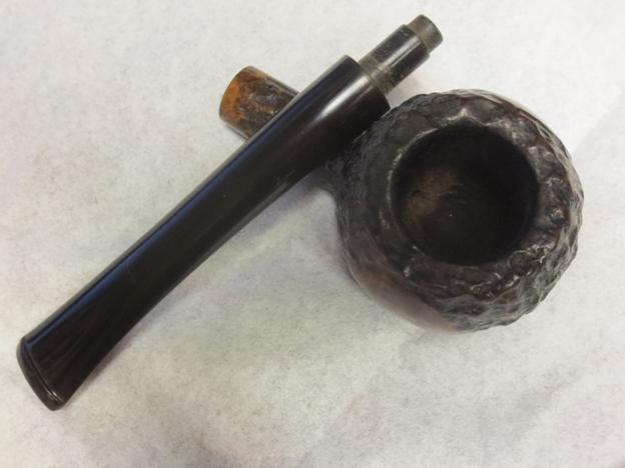
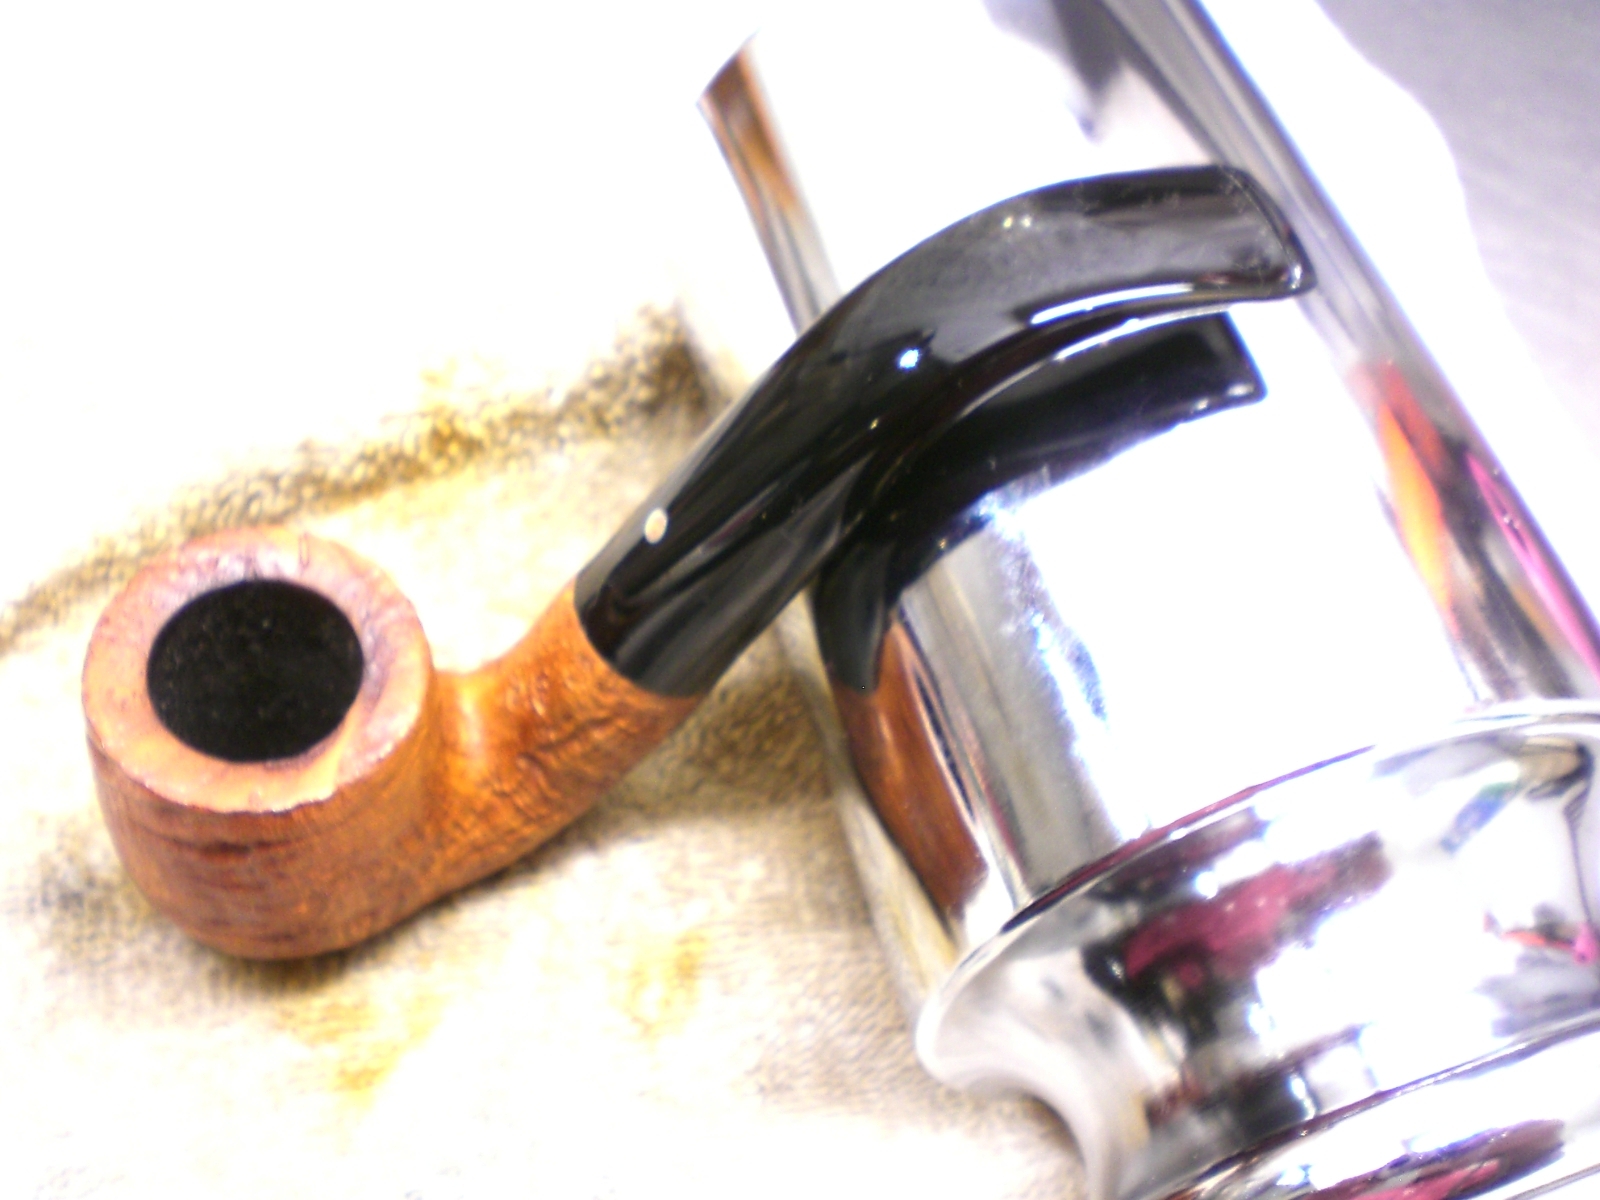
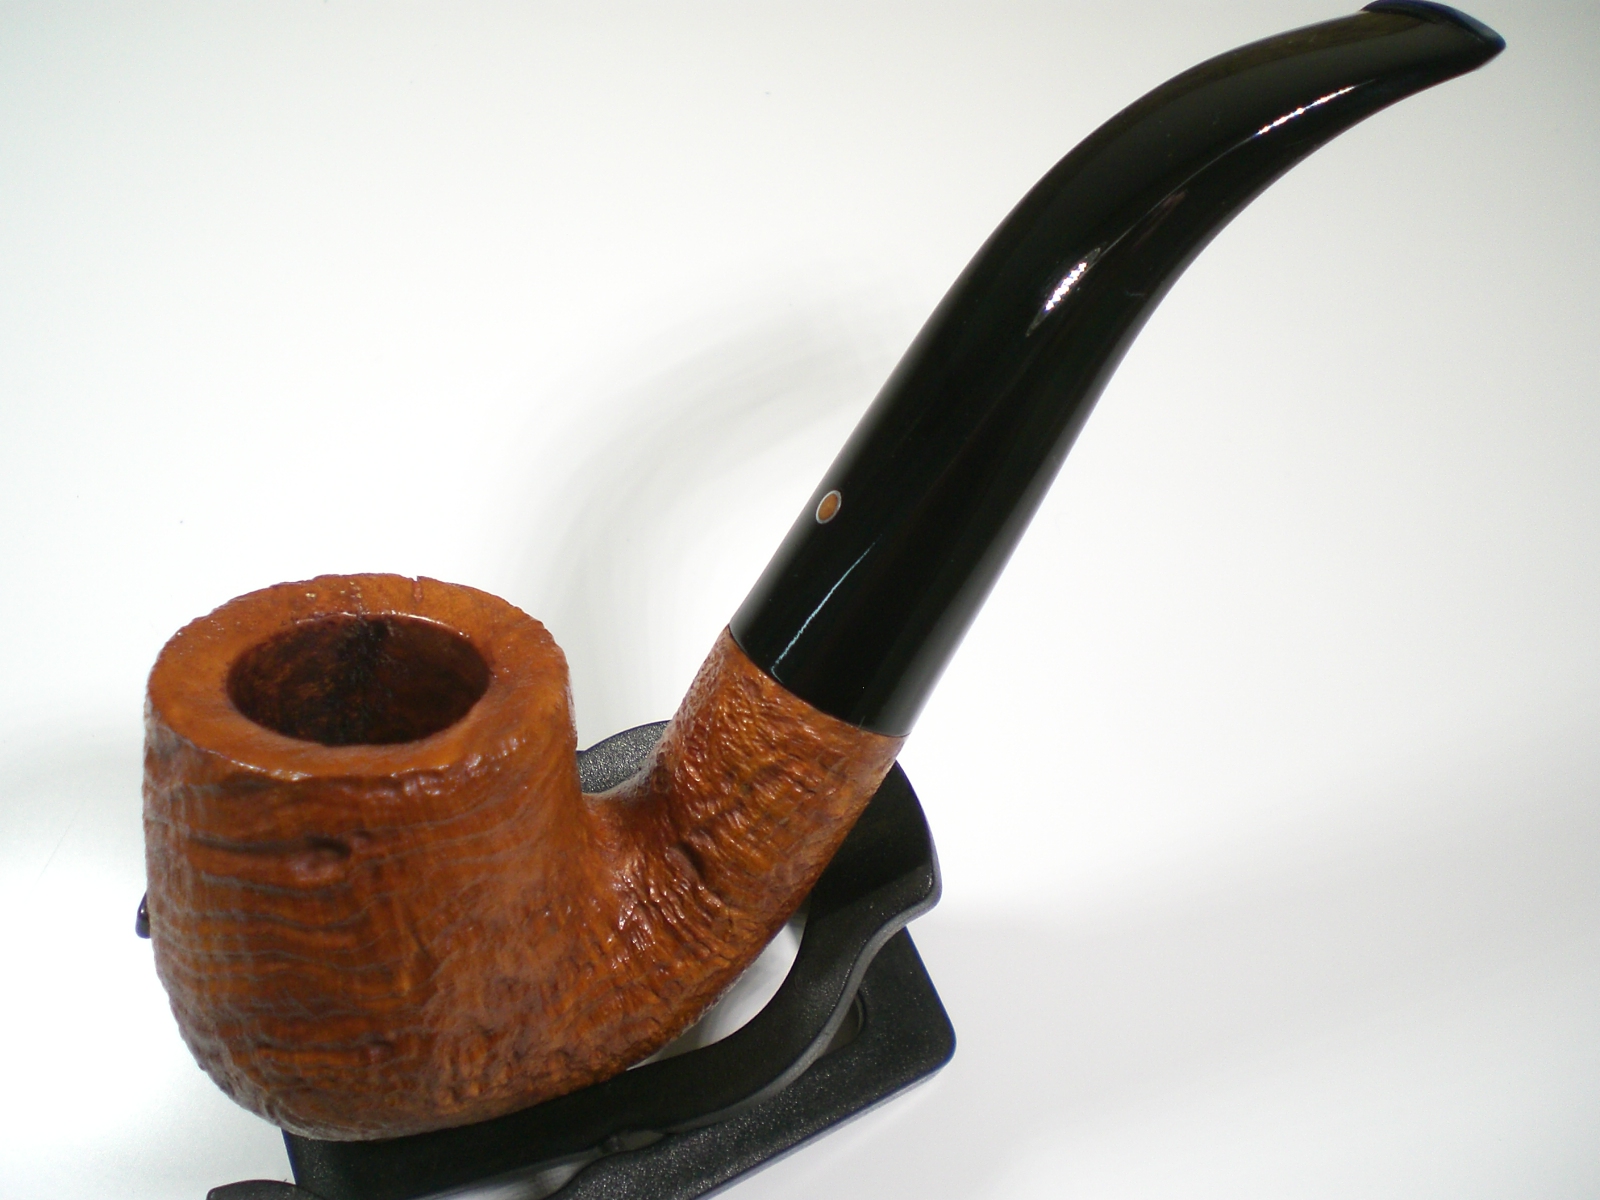
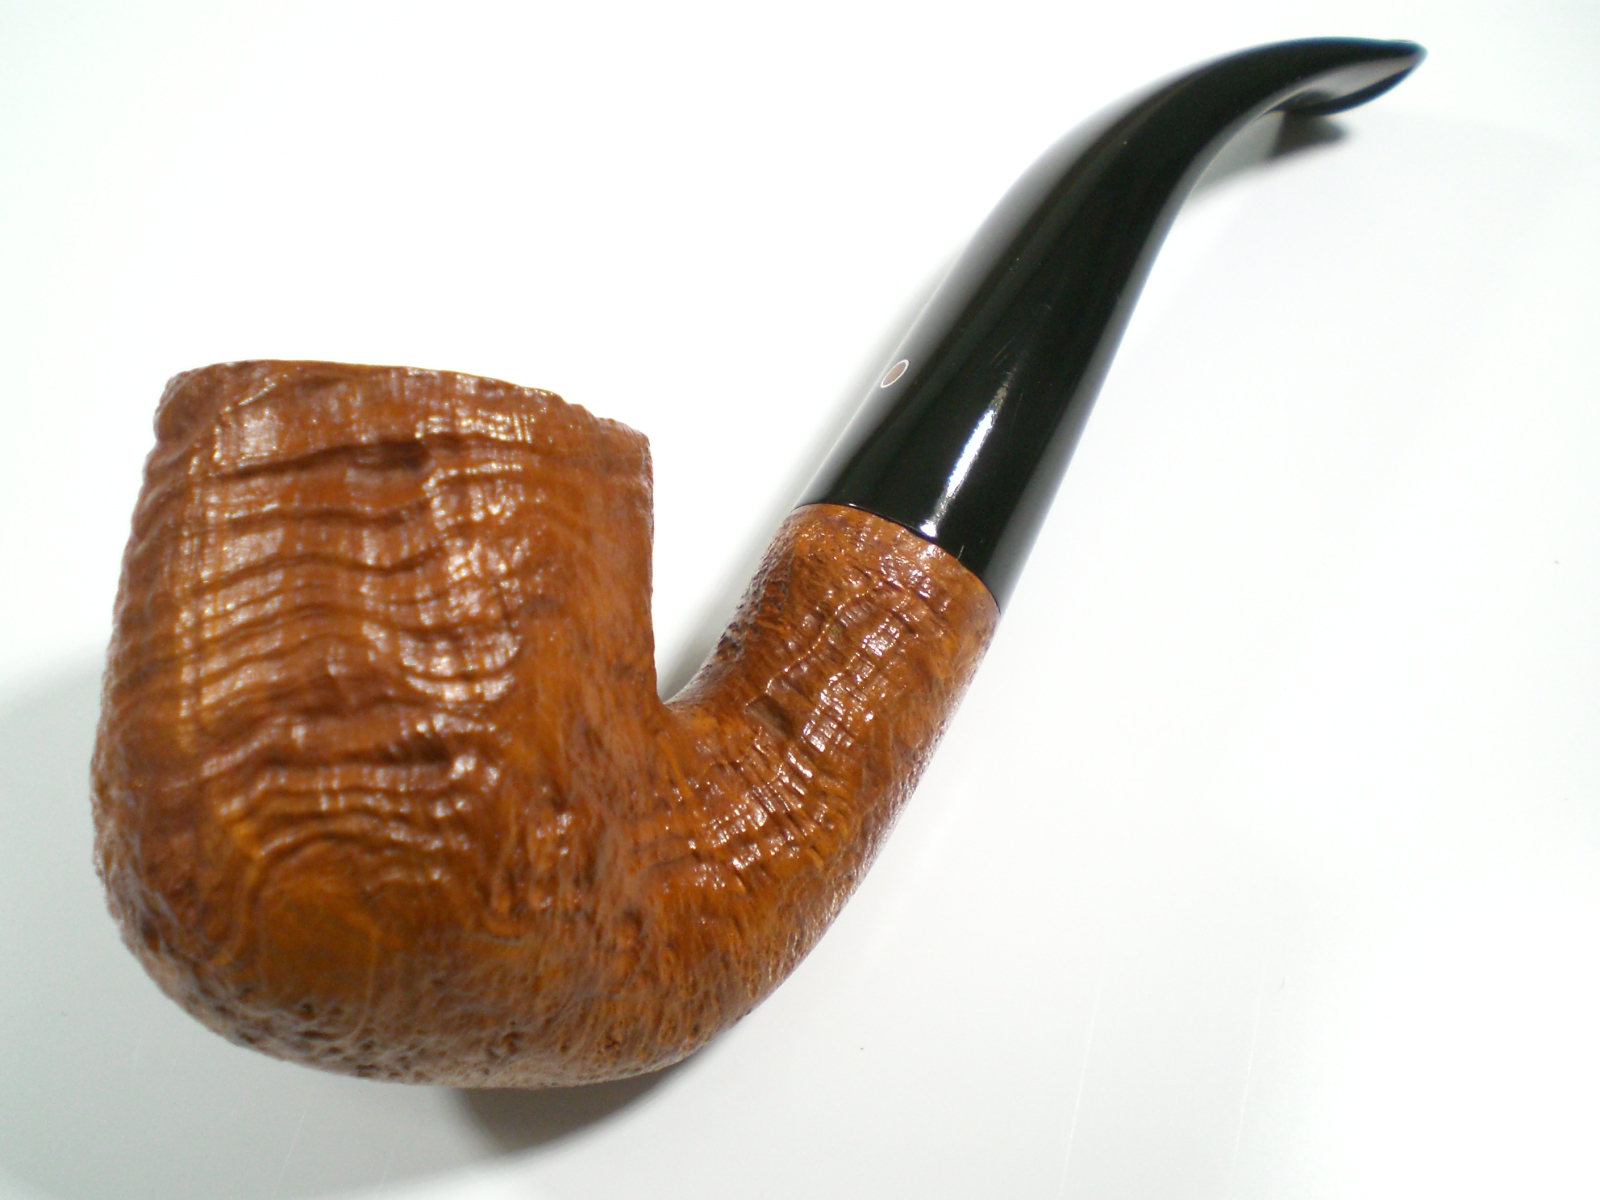
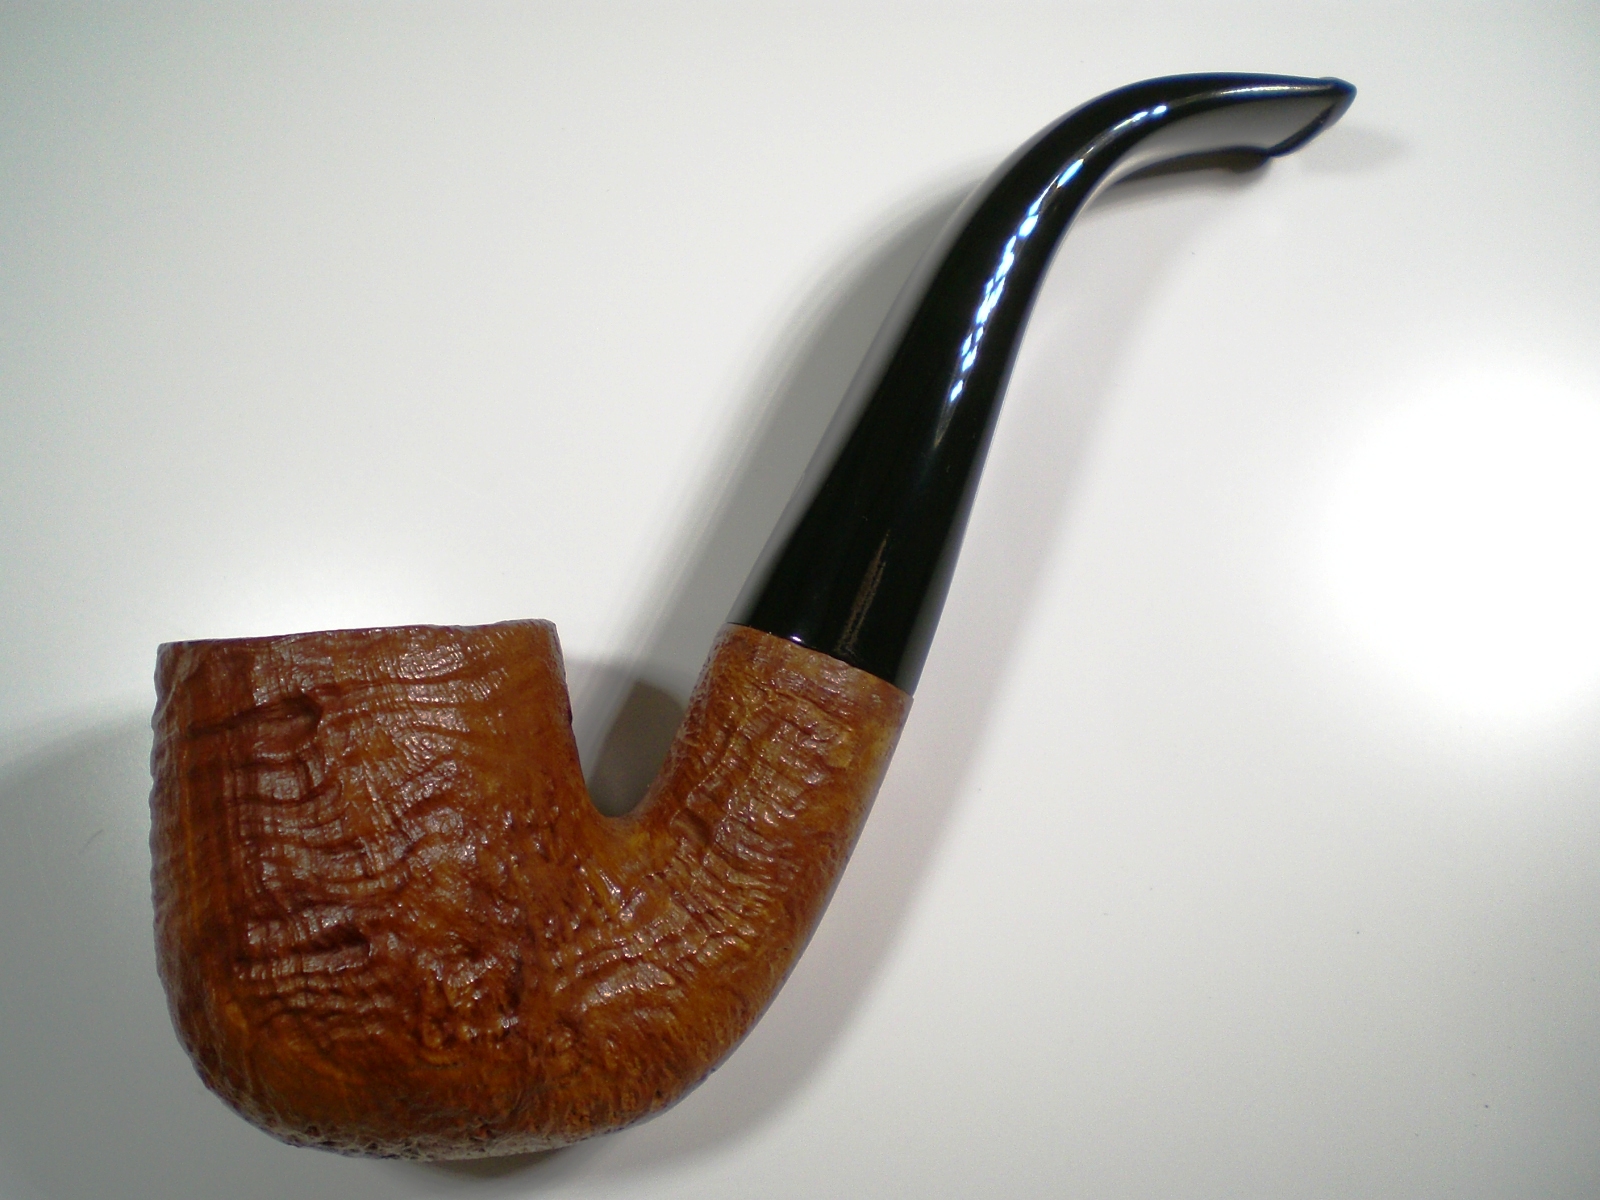
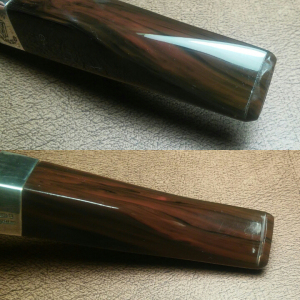
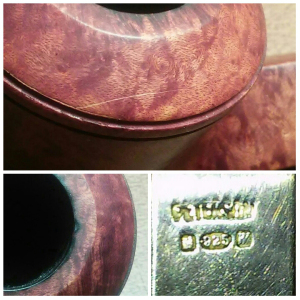
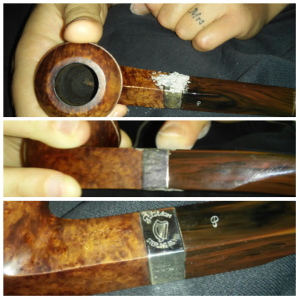
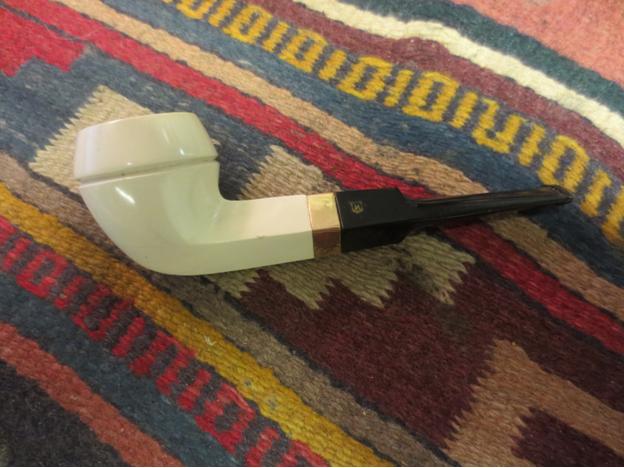
Just after the first of the year a new tobacconist opened in my area. Though they are primarily a cigar store, the last few months they’ve started really delving into pipes and pipe tobacco, giving me a new choice to shop locally; they are about 20 minutes away so it’s not very often I get […]

http://smokingjacketmagazine.com/2015/11/11/peterson-university-flake-a-lesson-in-subjectivity/

Reworking a Burned Rim on a Savinelli Oscar Lucite Prince


Blog by Steve Laug

My brother bought me a beautiful little Savinelli Prince when I was visiting. It is stamped Oscar Lucite on the left side of the shank and has the Savinelli shield and shape 313 over Italy on the right side of the shank. On the underside it is stamped Savinelli Product. The stem bears the embossed shooting star logo that is a familiar mark on the Oscar line. We had looked at it several hours earlier and I had passed on it because of the rim damage. I just did not feel like dealing with that as I looked at it and I felt the seller was asking too much for the condition it was in. But throughout the day it nagged at me and I kept thinking I should take another look at it and make an offer just to see if I could get the price down.Prince1

Prince2 So we went back late in the afternoon and I picked up a few other pipes there and my brother got the shopkeeper to take the pipe out of the case so we could look at it again. I examined it and could see that not only the top of the rim was damaged but the inner edge had significant damage from the burn. It seemed that the previous owner had not smoked the pipe much as it was in great shape other than that damage. The bowl was not even caked or darkened from mid bowl to the bottom. I removed the stem and checked out the mortise to see what it looked like. It was actually very clean. I examined the airway and slot in the stem to see what they looked like in terms of use. The stem was in great shape with no tooth marks or damage. All those things made me wonder if he used a torch lighter, fired it up once or twice – just enough to char the rim and damage it and then decided that either this particular pipe or pipes in general were not his cup of tea. Either way the pipe was in decent shape except for the burn on the back right side of the rim.Prince3

Prince4 I put it back but my brother said he would buy it for me so it came back to Canada with me. I have been home for over a week now and have cleaned up several of the pipes that came back with me. I picked the Savinelli up several times over the weeks and always put it back as I just did not feel any push to work on it. On Sunday I talked with my brother on Face Time and he asked if I had worked on it yet. I said no but it would be next on the agenda so last evening I took it from the box of refurbs to deal with it. I sat at the work table for a while examining it and looking at how deep the burn mark went into the briar. It was deep but I knew that topping it could remove much of the rim damage on the surface. I was concerned about the inner edge of the rim and wondering how I could bring that edge back into round with the rest of the bowl. I scraped out the bowl with a pen knife to remove the tobacco debris from the surface and then removed the stem to prepare it for topping.Prince5 To begin with I used a worn piece of 220 grit sandpaper to work on the rim. I faced it into the sandpaper and turned it until I removed a lot of the surface damage. I continued to work it until the sandpaper did not remove any more. I then changed the topping paper for a new piece of 220 grit sandpaper to finish the process. I sanded it until the surface was smooth and the slope of the burn from the surface to the inside of the bowl was minimized. I should have measured how much material I removed from the surface but I just kept sanding until most of the burn mark was gone. I am still surprised that it did not change the shape dramatically – such is the mercy that the burned rim was on a prince.Prince6 I sanded the rim with a medium and a fine grit sanding sponge and then with micromesh sanding pads using 1500-4000 grit pads to remove the scratch marks left behind by the sandpaper. Once the rim was smooth I stained the rim with a light brown stain touch up pen and blended it to match the colour of the rest of the bowl. I buffed it with red Tripoli and then White Diamond to smooth it out.Prince7 I then folded a piece of 220 grit sandpaper and worked on the inner edge of the rim. I wanted to bevel like it had been originally. A gentle slope on the rim toward the bowl would work to hide the burned edge and bring the rim into round once again. I sanded it with the sand paper at the same angle the entire way around the bowl edge. I repeated the circuit around the bowl repeatedly to keep the angle consistent the entire circumference of the inner edge. I sanded it until it was canted to the angle that had originally been present on the bowl.Prince8 Once the sanding was done I used a dark brown stain touch up pen to darken the bevel on the rim. I figured that by darkening the entire bevel I could mask the effect of the burn mark. I cleaned out the shank and the inside of the bowl with alcohol and cotton swabs to remove the debris and to blend the darkening of the bowl with the dark brown stain of the rim. I wanted the transition between the rim edge and the dark of the bowl to flow together.Prince9

Prince10

Prince11 I restained the rim with a light brown stain and then buffed the bowl. I gave it a light coat of olive oil and then buffed it with carnauba wax. The repaired rim is shown after all of the polishing and buffing in the next photos. The darkening of the bevel on the rim does a pretty decent job hiding the burn mark.Prince12

Prince13

Prince14 I cleaned up the stem with cotton swabs, pipe cleaners and alcohol to sanitize and refresh it. I used the micromesh sanding pads – wet sanding with 1500-2400 grit and dry sanding with 3200-12000 grit pads. I buffed the stem with Blue Diamond on the wheel to raise a final shine. I gave the bowl and stem several coats of carnauba wax and buffed them with a clean flannel buff. I finished by hand buffing the pipe with a microfibre cloth. The finished pipe is shown in the photos below. I was able to minimize the burn mark and its effects on the rim top and edge. The pipe looks great and is ready for a real pipeman to take care of it and enjoy it.Prince15

Prince16

Prince17

Prince18

Cleaning up a Bruyere Garantie Pocket Pipe with a Horn Stem


Blog by Steve Laug

This pipe reminds me of the Mokin Pocket Pipe that Anthony restored and wrote about in an earlier blog. When I saw it on eBay I put a bid in and actually won it. The pipe needed a lot of work. From the photo it looked as if it had a thick coat of varnish or some shiny topping. That would need to go. The finish was spotty and appeared to have some flecks of paint on the top and on the skate at the bottom of the bowl. The rim was darkened and hard to tell whether it was burned or just tarry. The bowl was slightly out of round but it also had a cake that would need to be reamed out before addressing the out of round inner wall of the rim.The stamping was clear and distinct and read Bruyere Garantie on the left side of the shank. The stem had a double circle on the left side. The stem also appeared to be horn. There were two deep cuts on the right side of the stem near the button that would need work and with those marks I was sure there were other issues. The first two photos are the ones included in the seller’s description of the pipe on eBay. I had no idea what the other side or bottom of the bowl or stem looked like or if there would be more issues that would need to be addressed.Bruyere1

Bruyere2 When the pipe arrived I was both encouraged by what I saw and concerned by several other issues that had not been shown in the photos above. The encouraging thing was that there was no shiny coat of varnish or lacquer on the bowl. All that was present was a very dirty, grimy natural finish that seemed to have a reddish-brown colouring to it. The concerns involved the fills on the underside of the bowl. What had appeared to be paint flecks on the skate at the bottom turned out to be part of the fill on the bottom and a missing piece of briar. The bowl was indeed caked and the cake was crumbling and uneven. Looking at it initially I wondered if there would not be burned spots in the walls of the bowl once the cake was removed. The inner edge of the rim was also more damaged than I had expected from the seller’s photo. The cuts in the stem were dangerously close to the airway but fortunately had not broken through. The fact that the airway was unharmed was a small miracle given the depth of the cuts. The fact that they angled probably save the airway from damage. On the underside of the stem there were also large chips missing from the stem at the shank stem union. It appeared that someone had tried to pry the stem away from the shank rather than twisting it off. There was also tooth chatter on the top and underside of the stem near the button. The button however was clean and sharp as was the slot in the in the end of the button. The stem had some beautiful striations of colour that I had not seen in the photos and I looked forward to seeing if I could bring them out.Bruyere3

Bruyere4

Bruyere5

Bruyere6 I took some close up photos of the damage to the rim and the stem. The first photo below shows the damage to the inner edge of the rim and the crumbling cake in the bowl. Looking closely at the top of the photo and the bottom of the bowl you can see the cause for my concern regarding the potential burn out damage. The second and third photos below show the cuts in the stem and the missing chips. You can see how close the cut closest to the button came to the airway in that photo.Bruyere7

Bruyere8

Bruyere9 The next photo shows the stamping on the side of the shank and the logo on the stem. It is hard to see but much of the depth of the stamping on the stem is gone so restoring that with new white colouring will not be possible.Bruyere10 When I removed the stem the tenon was inset aluminum and there was a stinger apparatus in place. It was a twisted piece that had a slot in the top for the airflow that followed the twist to the airway. It was stuck in the tenon and would need to be loosened before I could properly clean out the airway in the stem. I included some extra photos of the stem to show the cuts and chips from a different angle.Bruyere11

Bruyere12

Bruyere13 I reamed the bowl with a PipNet reamer. I started with the smallest cutting head and cleaned things up with it first. I then used the second cutting head which was pretty close to the diameter of the bowl. I cut the cake back to nothing so that I could examine the interior walls of the bowl. I was pleasantly surprised to find that once the cake was gone the interior walls of the bowl were solid and there was no burning.Bruyere14

Bruyere15 I worked on the out of round bowl with a folded piece of sandpaper to smooth out the damaged areas and bring it back to as close to round as I could get it. I then topped the bowl on my topping board to smooth out the rim and clean up the damage on the surface. I will often do this just to bring the damage on the inner edge of the rim closer to the top so that I can smooth it out further with sandpaper.Bruyere16

Bruyere17

Bruyere18 I wiped down the bowl with acetone on a cotton pad to remove the grime and the remnants of the finish. There appeared to be some damage to the front of the bowl that I wanted to have a closer look at once the bowl was cleaned up.Bruyere19 I wiped down the horn stem with cotton pads and some alcohol to clean up the surface so that I could begin the repairs. I debated on whether to use black super glue or clear super glue for the repairs to the chipped areas but decided to go with the clear hoping that once it dried the colour would come through the repair and blend it into the horn better. I layered the repair to the chipped areas on the underside and the cuts on top side of the stem. I wanted each layer to dry before I added another layer of glue.Bruyere20

Bruyere21

Bruyere22 After many layers of glue I was disappointed that glue did not cure clear but rather had a cloudy white appearance. The fills on the cut areas dried hard but looked like two white slashes. I was hoping that as I polished the stem these would blend in a bit more. The fills in the chips were a mixed bag. The smaller ones dried perfectly and blended in well. The larger divot was also white. I cleaned that area once again and added a drop of black superglue to the top of the repair to see if I could hide it better.Bruyere23

Bruyere24 I sanded the bowl and stem with 220 grit sandpaper and then medium and fine grit sanding sponges to clean up the repairs and the scratches in the briar. I carefully avoided the area of the stamping and the logo so as not to harm them. I also cleaned up the stinger and was able to remove it from the tenon. It was threaded and after cleaning up the joint I was able to unscrew it and clean it and airway of the stem. I wet sanded the bowl and stem with a 1500 grit micromesh sanding pad. The striations of colour are beginning to show on the stem and the bowl is looking far better than when I started.Bruyere25

Bruyere26

Bruyere27 I wiped the stem down with a light wipe of alcohol to remove the sanding dust and then continued to wet sand it with 1500-2400 grit micromesh pads. I rubbed it down with Obsidian Oil and then dry sanded with 3200-4000 grit pads. I rubbed it down again with the oil and then finished sanding it with 6000-12000 grit pads. I gave it a final coat of Obsidian Oil and let it dry.Bruyere28

Bruyere29

Bruyere30 I buffed the bowl and stem with White Diamond and Blue Diamond on the wheel. I then cave the bowl and stem multiple coats of carnauba wax and buffed it with a clean buffing pad. I hand buffed the stem and the bowl with a microfibre cloth. The first photos below are of the polished stem. You can see the repairs from the cuts. For some reason the glue dried white – even though it is clear. I did a patch on the chip on the underside with black super glue and it does not quite match… ah the frustrations of repairs. This one is staying with me so I will not mind as the stem is now smooth and polished. The cuts and the chips are repaired and are smooth to the touch. The fit of the stem to the shank is good with no missing stem parts.Bruyere32

Bruyere33

Bruyere34

Bruyere35 The final four photos show the finished pipe. The bowl polished up very nicely with just carnauba wax. The polished stem shows the striations that are one of my favourite parts of horn as a stem material. The deep shine is a bonus.Bruyere36

Bruyere37

Bruyere38

Bruyere39

Breathing new life into a Republic Era Peterson’s Kildare 999


Blog by Steve Laug

My brother picked this pipe up for me when he was in Austin, Texas. It is actually one of my favourite Peterson shapes – the 999. This one is stamped Peterson’s over “Kildare” on the left side of the shank and Made in the Republic of Ireland 999 on the right side of the shank. It actually is in really decent shape. The bowl had grime on the finish but no real dings or gouges. The rim was tarred and dirty but otherwise in good condition. The outer and the inner edge of the rim were smooth and the bowl was round. The double ring under the cap of the bowl was also in great shape with no chips or missing parts. There were a few small fills on the underside of the bowl among the cross grain that covered that and the top and bottom of the shank. The birdseye grain on the bowl and shank sides is quite stunning. The stem had straightened out during the time the pipe had been sitting and would need to be rebent somewhere along the line. The stem was oxidized, but otherwise clean with no tooth dents or bite marks. The fit against the shank was not tight but that would probably change once the pipe had been cleaned. There was a stinger in the end of the tenon once I removed the stem from the shank. The next three photos are ones that my brother sent me when he found the pipe. The first is a side view of the pipe and the second and third show the stamping on the shank.Pete1

Pete2

Pete3 When I was visiting with my brother in Idaho Falls I decided to rebend the stem on this one. I used a cup of water that I boiled in the microwave and then put the stem in to heat and soften the rubber. Once it had softened I bent it to match the curve of the bowl. When I heated the stem in the water the oxidation rose to the surface of the stem and turned it an unsightly brown. That is what I expected and why at home I use a heat gun rather than water. But as the stem was oxidized already the water would bring the rest of it to the surface for an easier clean up.Pete4

Pete5

Pete6

Pete7 I took the next three photos – close-up pictures of the rim and the stem – to show the state of those areas. Both the rim and the stem were in very good shape under the tars and the oxidation.Pete8

Pete9

Pete10 I reamed the bowl with a PipNet reamer to take the cake back to bare briar. I used the first two cutting heads to clean out the cake.Pete11

Pete12 I scrubbed out the bowl and shank with cotton swabs, pipe cleaners and alcohol to remove the build up and oils. It did not take too long for the shank to be clean.Pete13 The next photo shows the small stinger that was in the tenon when I removed the stem. It has a slot on the top of apparatus behind the ball and collects the moisture from the smoke. The shank is drilled deeper than my other 999 pipes to accommodate the stinger. I removed the stinger and cleaned out the stem with pipe cleaners and alcohol. I cleaned the stinger with the same and then polished it with 0000 steel wool.Pete14

Pete15 I scrubbed the top of the rim with alcohol and a cotton pad and then used a 1500 grit micromesh sanding pad to sand the surface of the rim. I used the pad like a topping board and worked the rim around the pad in a clockwise motion. Why clockwise? I honestly don’t know other than I am right handed.Pete16

Pete17 I wiped down the bowl with alcohol and a cotton pad to remove the wax and grime from the surface of the briar. The pipe was unstained or stained with a light stain so the alcohol did not remove any of the colour.Pete18 I sanded the stem with 220 grit sandpaper to remove the oxidation that sat on the surface of the stem. I worked hard on the angles of the button to remove the oxidation there. I then sanded the stem with a medium and a fine grit sanding sponge to remove the scratches left behind by the sandpaper.Pete19

Pete20

Pete21

Pete22

Pete23 I wet sanded the stem with 1500-2400 grit micromesh sanding pads and rubbed the stem down with Obsidian Oil. I dry sanded it with 3200-4000 grit pads and rubbed it down with Oil once again. I finished by dry sanding with 6000-12000 grit pads and giving it a final coat of Obsidian Oil. I let the oil absorb into the rubber of the stem.Pete24

Pete25

Pete26 I buffed the stem and bowl with White Diamond and then Blue Diamond on the buffing wheel. I gave it multiple coats of carnauba wax and then buffed it with a clean flannel buff on the wheel. I finished by hand buffing the pipe and stem with a microfibre cloth to give it a deep shine. The finished pipe is shown in the photos below. Thanks for looking.Pete27

Pete28

Pete29

Pete30

Pete31

Pete32

Pete33

Pete34

My First Spare Parts Pipe and a Rustication Experiment


I am reblogging this one because Charles writes about something I am doing all the time – recreating a pipe from the parts from others. Well done Charles.

Charles Lemon's avatar

My estate pipe collecting must have hit critical mass this past month. Most of what I get in an average estate lot are complete pipes; of these, about 90% or more are able to be restored to close to factory condition. The other 5-10%, however, are too far gone and I end up salvaging what I can. This is why I have a box of stems and a box of bowls. I figured eventually I’d find stems to fit the bowls or vice versa, and last week I found the parts to assemble my first pipe from these spare parts.

The bowl was in relatively good shape, but with some obvious fills that would need some work to disguise. It was stamped “LVG” over “Select” on the left shank, and, barely visible, a round “Made in England” stamp on the top right shank. The stem I chose to fit to…

View original post 976 more words

Cleaning up and reworking the stem on a CAO Meerschaum Lace Calabash


Blog by Steve Laug

One of the pipes that my brother in Idaho found was this lace carved Meerschaum Calabash that he bought for me from an auction house near his home. The pipe came in a well made case that was lined with yellow gold velvet. It bore a decal that read CAO in the centre of the circle and around the edges it read Handcrafted of the Finest Block Meeerschaum by CAO. The exterior of the case is covered in black leather with a brass hinge at the top and latch on the bottom edge. The case itself is in good shape with some scuffs on the top and bottom surfaces of the sides. The photo below is the one taken from the advertisement for the auction.CAO3 The pipe is a very well carved meerschaum. The lattice or lace work is very well done. The rim of the bowl had some darkening and tars that would need to be cleaned off. There was a light build up of cake in the bowl. The meer itself was beginning to colour and show some depth of golden brown on the sides of the bowl and the shank. The stem was Lucite but was poorly fit to the shank. It was larger in diameter than the shank and still had sanding and file marks on the stem. The CAO emblem had been pressed into the side of the stem and the Lucite had bubbled around the circular logo. The button was not well cut in the stem and the slot in the end was rough and still had sanding marks and file marks in it as well.CAO4

CAO5

CAO6

CAO7 I took some close up photos of the stem to show some of the scratching and dullness of the stem material, the poorly cut button and the bulging of the stem material around the shank. The shoulders of the stem were rounded rather than flat and the transition to the shank was not smooth to the touch.CAO8

CAO9

CAO10

CAO11 I removed the stem from the shank and sanded it with 220 grit sandpaper to smooth out the rounded shoulders and reduce the diameter of the stem to match the shank. I sanded carefully to keep from rounding the shoulders even more. My goal was to smooth that out and flatten the transition area. I also sanded around the CAO logo to remove the wrinkles or bubbling of the stem under the inset emblem. I also sanded the inside of the slot and the Y shaped flow into the airway in the stem. I sanded the entire stem to remove some of the scratches and to even out the flow of the stem. I also worked on thinning down the edges of the stem and giving it sharper edge.CAO12 I used a blade shaped needle file with a flat face and edge to square up the button angles on the stem surface.CAO13

CAO14 I carefully reamed the cake from the bowl with a pen knife taking it back to the smooth surface of the meerschaum bowl.CAO15 I continued to shape and refit the stem to the shank with the 220 grit sandpaper and a medium and fine grit sanding sponge.CAO16

CAO17

CAO18

CAO19 I cleaned off the tars on the rim with a cotton swab and saliva until all of them were gone. I removed them to reveal a darkening amber colour around the inside of the rim cap.CAO20 I wet sanded the stem with 1500-2400 grit micromesh sanding pads and wiped it down with oil to give it a bit of bite before continuing to dry sand with 3200-4000 grit pads. I finished by sanding with 6000-12000 grit pads.CAO21

CAO22

CAO23 I lightly buffed the stem with Blue Diamond on the wheel to polish it before giving it several coats of carnauba wax. I hand buffed it with a microfibre cloth and hand buffed the bowl with the same cloth. The CAO emblem is very clear and the wrinkled surface around the emblem is smooth. The rounded shoulders of the stem have been smoothed out and flattened. The cleaned up button edges gave the end of the stem a very sharp look. The slot was smoothed out and broadened. The finished pipe is shown below.CAO24

CAO25

CAO26

CAO27

CAO28

CAO29

CAO30 The final photo is of the pipe in its case. It is picking up the yellow colour of the velvet lining of the case. The photos above show the current colour of the pipe more accurately.CAO31

Refitting an existing stem on a Royal Windsor Prince


Blog by Steve Laug

When I was in Idaho my brother showed me the pipes he had picked up in auctions and from antique shops. He had found three meerschaum pipes and two briars. One of the briar pipes that he picked up in an auction was a Royal Windsor Imported Briar Prince. It was included as part of a sculpture that he bought that he really liked. It was an old man with a cap, glasses and a pipe. The old boy in the sculpture looks lost without his pipe in the photo below. It is finished now and it will go out in the mail tomorrow so he should have it back very soon.Statue1
My daughter took the following photo of the sculpture with the pipe. In her photo the table top looks like a sweater.
12204991_10156170659610654_1169179242_nThe pipe itself is a clean and quite beautiful little pipe with a rusticated finish and some smooth parts similar to the Stanwell Vario line. In looking at it when I was visiting it was obvious the pipe had been restemmed at some point along the way and the stem shank union was poorly executed. There was a bulge to the stem at that point and it also was not round. The right side and bottom of the stem diameter were wider than the shank of the pipe. The taper of the stem on the underside did not work with the flow of the shank. He wanted to keep it for the sculpture but the fit of the stem bugged me enough that I offered to bring it home and reshape the stem for a better fit. It was also badly oxidized so that would also need to be cleaned up. The bowl itself was quite clean and virtually unsmoked. The first photos below were taken after I had started cleaning up the stem. I began reworking the stem without taking photos and caught myself before I had gone too far.cap1

cap2

cap3

cap4 I put a plastic washer on the tenon to protect the shoulders of the stem from rounding while I worked on the shape of the stem. I sanded it with 220 grit sandpaper to shape and fit the stem to the shank. To me the taper on the underside of the stem did not flow into the shank correctly. I sanded it and removed a lot of material and changed the taper to flow better. I checked the fit often by removing the washer and looking at the stem in place.cap5

cap6 I refined the shape some more and then sanded the entire stem to remove the surface oxidation. I finished this part of the process by sanding the stem with a medium and a fine grit sanding sponge to remove the scratches left behind by the 220 grit paper.cap7 With the shape and fit greatly improved (at least to my eye ;)) I wet sanded the stem with 1500-2400 grit micromesh sanding pads. I rubbed the stem down with Obsidian Oil and then dry sanded with 3200-4000 grit pads. Another coat of Oil was rubbed into the stem and then I sanded it with the final 6000-12000 grit pads. I gave it a final coat of Obsidian Oil and let it dry.cap8

cap9

cap10 I buffed the pipe with White Diamond and then Blue Diamond on the wheel. I gave the bowl and stem multiple coats of carnauba wax to protect and shine. I buffed it with a clean flannel buff and then with a microfibre cloth by hand. The finished pipe is shown in the photos below.cap11

cap12

cap13

cap14

cap15

cap16

New Tool For Bending a Stem


By Al Jones

To this point, I’ve never had a proper tool for bending a stem. Previously, I used a propane torch, which was pretty risky and completely unnecessary. Someone on a forum mentioned that Hobby Lobby sold heat guns. I found this item and it was priced at $24. At the checkout counter, the clerk said a coupon for 40% was on their website, so that reduced it to $16. The gun didn’t look very formidable, but the spec sheet said it had a maximum heat range of 604 degrees, which sounded more than adequate. It has a flip down wire stand. Unfortunately, it only comes in the pink color, but I’ll never misplace it.

CIMG2648

I practiced on an old beater pipe with a Vulcanite stem. I inserted a fat pipe cleaner in the stem to keep the airway open. The gun made the stem pliable in about 25-30 seconds, held about 1″ away from the nozzle. I used a big, metal weight to set the bend, but any jar, etc. would work fine. Just match the arc of the stand to the bend you desire. After making the bend, I immerse the stem in cold water to set the bend.

CIMG2649

I have a very nice, full-bent, 1999 Ashton Pebble Grain (in rare tan stain) in my collection. The angle of that stem never looked right to me and by my taste, was too shallow. I like the final bent portion of the stem to match the top of the bowl. I was curious as to how the Ashtonite stem would bend compared to the vulcanite. It took a bit longer to get pliable but bent nicely. After immersing in cool water, I noticed there was a slight wrinkle in the material on the underside. I removed that with some 1500 wet paper and polished up that area. The pipe still passes a stem cleaner, but now is at a more attractive angle.

The original stem angle:

Ashton_Pebble_Grain_XX_1999 (1)

Ashton_Pebble_Grain_XX_1999_Gallery

The new bend below. The pipe smokes as well, but hangs more naturally.

Ashton_Pebble_Grain_XX-1999 (2)

Ashton_Pebble_Grain_XX-1999_Gallery

Peterson Irish Harp B.5


I really love the looks of this one. Well done on the refurbish. It is one beautiful pipe.

pipesrevival's avatarPipesRevival

20150904_110911_zpsotamwek9-1

The pipes my wife picked up with the exception of the Savinelli, were in great shape. The Peterson’s- two were lightly smoked and one un-smoked. The Harp B.5 is the next to my desktop.

(The pipe as received)

PhotoGrid_1445654191596PhotoGrid_1445654133375PhotoGrid_1445653989042PhotoGrid_1445906195492

2007 Peterson Irish Harp B.5

From what I could find via web/collector sites I believe this Pete is from 2007. ( please correct me if this info is wrong) With the addition of three more Peterson’s it has brought my collection to seven. The B.5 is one of many I’ve had my eye on, the smooth bulldog shape and fishtail stem made this comfortable not only in hand but also clenched in jaw.  Lightly smoked and in decent condition just a few problem areas. A couple of tooth impressions, a scratch on the bowl and a burn on the rim that was deeper then first thought. 

PhotoGrid_1445908287603

When I first received the pipe the silver band was…

View original post 722 more words

A Surprising Antique Mall Find – A Medico 14K Gold Band Meerschaum Bulldog


Blog by Steve Laug

On my recent Idaho trip my brother and I went on a pipe hunt through quite a few antique malls. One of them in particular yielded some great finds. The first of these I worked on was the bent diamond shank cob pipe that I wrote about earlier. The next one I worked on was a small Medico Meerschaum Straight Bulldog. I honestly had no idea that Medico made meerschaum pipes so it was a surprise to me. It was in pretty decent shape with a little buildup on the rim and a light cake in the bowl. The meer was clean except for a few small nicks in the sharp edges of the diamond shaped shank and some small scratches on the top surface of the rim. The single ring around the bowl below the cap is in perfect shape with no nicks or dings. It had dust and some grit in the bottom of the ring but otherwise the edges were sharp. The stem has a reverse tenon set up with the tenon permanently inserted in the shank and a permanently inset stinger/filter apparatus that sits in the bottom of the bowl like a grate in a fireplace. The 14K gold band had light scratches and is stamped MEDICO over 1/30 14K RGP. There are no other marking on the pipe or shank. The stem is in decent shape with light tooth chatter on the top and underside near the button and is stamped with an M in a shield. From my research the Medico Meerschaum pipes were carved in Austria by Strambach. This one is stellar.Bulldog1

Bulldog2

Bulldog3

Bulldog4 The next three photos show close up views of the rim and the top and bottom sides of the stem. The top of the rim was dirty and had a slight buildup of tars on the back side and some scratches on the rim top. The stinger apparatus in the bottom of the bowl was darkened and caked as well. The bowl had a light cake buildup that would need to be reamed. The stem had tooth chatter on the top and underside.Bulldog5

Bulldog6

Bulldog7 The next photo shows the stem removed from the shank and the Medico paper filter that was in the shank. It also shows the reverse tenon that is inserted in the shank.Bulldog8 I scrubbed the rim with a cotton pad and saliva to clean off the tars on the surface. I also sanded it with a micromesh sanding pad. I also sanded the sharp edges of the diamond shank to smooth out the nicks and scratches.Bulldog9

Bulldog10 I reamed the bowl with a PipNet pipe reamer to remove the cake from the bowl. I used a cotton swab to clean off the stinger extension in the bottom of the bowl.Bulldog11

Bulldog12 I cleaned out the airway in the stem with pipe cleaners, cotton swabs and alcohol.Bulldog13 I worked on the stem to remove the tooth chatter on the surface of the top and bottom near the button. I sanded it with 220 grit sandpaper to remove the chatter and then sanded it with a medium and a fine grit sanding sponge. I moved on to use micromesh sanding pads – wet sanding it with 1500-2400 grit pads and then rubbing it down with Obsidian Oil. I dry sanded with 3200-4000 grit pads and rubbed it down again. I finished sanding it with 6000-12000 grit pads and gave it a final coat of Obsidian Oil. I let it dry before taking it to the buffer.Bulldog14

Bulldog15

Bulldog16

Bulldog17

Bulldog18 I buffed the stem and bowl lightly with Blue Diamond Plastic polish on the wheel. A light touch is essential when buffing these nylon stems. It is very easy to melt them and make a mess. The finished pipe is shown in the photos below. It is a beautiful pipe.Bulldog19

Bulldog20

Bulldog21

Bulldog22

Bulldog23

Bulldog24