Blog by Aaron Henson
I was at work the other morning and got caught looking at something on the internet that should not have been. It was not as terrible as it sounds. My job requires that take annual training (given online) each year, and after almost ten years of the same information I take some liberties. While the training was running in one window I was browsing the latest estate pipe auctions on eBay in another. At 6:30 am there are not many other people about the office so I didn’t think much about it until a friend happened by and asked about my interest in pipes. We talked for a bit and at the end of the conversation he said that he had his father’s Sherlock Holmes pipe that was collecting dust and would I be interested in it. Of course I said “Yes!”
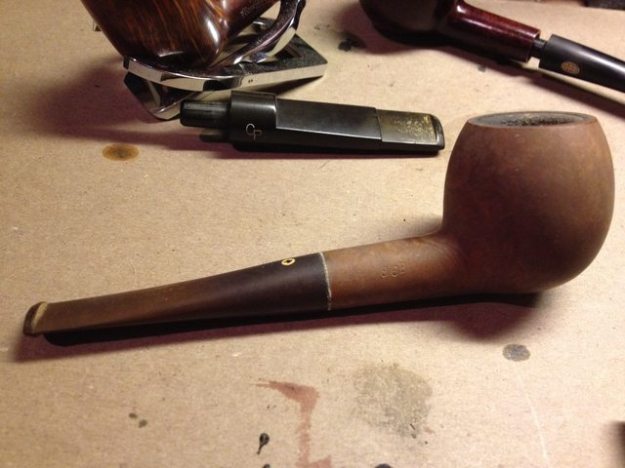
The very next morning my friend brought over a beautiful calabash gourd pipe. He also sent me home with nice Grabow Savoy bent billiard – his own pipe that he had not smoked in over ten years. The calabash, he said, was a pipe that he had bought as a gift for his father sometime in the late ‘70’s or early ‘80’s. After his father had passed away it had come back him. He had had it on display in his rec-room for a while but in recent years it was pushed to the back of the shelf.
Upon getting home that night, I put my other restoration projects on hold (a 1929 Peterson Irish Free State with a broken shank and an Oom-Paul with a bit through stem) to make room on the work bench. I did not jump right into the restoration that night however. All of my restorations up to this point have been with briar pipes. I have always been interested in meerschaum and calabash pipes but never actively pursued acquiring one. But now, with this amazing gift, I dove into study about the making, care and restoration of calabash gourd pipes.
What I found was that there is not nearly as much information about restoring gourd pipes as there is about restoring briar. I believe this to be in part because gourd pipes just don’t hold up as well over time as briar does.
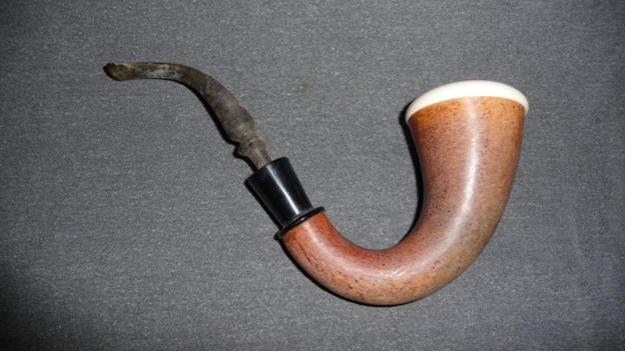
I began with a thorough inspection of the pipe. The stem had a lot of dried crust of some sort on it but not much oxidation but there was very little tooth chatter around the button. Upon reflection I realized that this was not too surprising considering that a pipe of this size would be very difficult to clench. The stem was also slightly misaligned. Nothing very noticeable and may even have been intentional so as to provide a more comfortable smoke. The stem inserted into a plastic ferrule that was in very good condition but it was only with great difficulty that I remove the stem. I was worried that would break it before it came free. A drop of alcohol at the base of the stem eventually helped it break free.
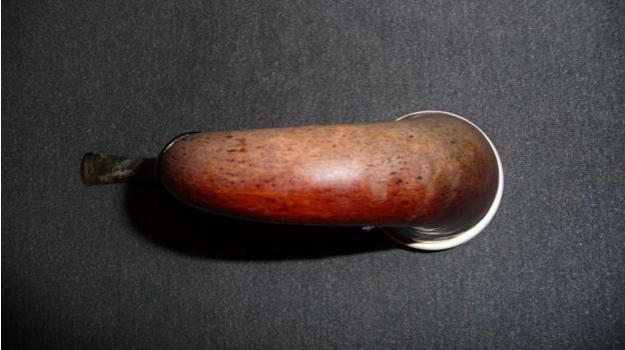
The gourd was a little dirty but the most noticeable thing was that one side appeared faded compared to the other, probably a symptom of being placed on display. I confirmed with my friend that the meerschaum bowl was a replacement. The outer rim of the bowl sits almost flush with the edge of the gourd, there not being much overhang. I tried to remove the bowl for inspection and cleaning but it seems that the new bowl was glued in place. There we no markings of any kind on the pipe, so the manufacturer will remain a mystery.

 I began by cleaning the stem by setting it to soak in an Oxyclean bath. After 10 minutes I removed the stem and scrubbed it with a magic eraser pad. This was a new technique for me and I was so focused on what I was doing I forgot to take pictures. The outside of the stem cleaned up very well the crusties coming off in the soak. The interior of the stem also cleaned up easily; the third alcohol soaked pipe cleaner came out as clean as it went it in. Below is the cleaned stem. My apologies for the background – the green is a little hard on the eyes.
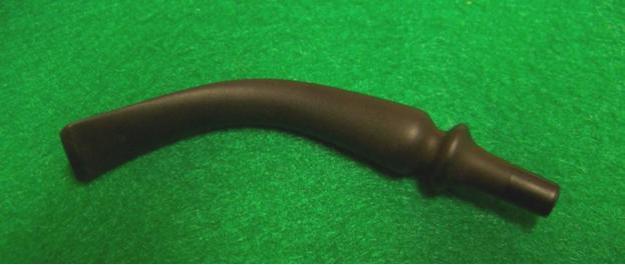 Next I addressed the tooth chatter; one large dent on the top of the stem and three smaller on the bottom. I tried to raise the dents with some heat from lighter. While the stem was still warm I realigned the bit with the curve of the stem. The heat helped raise the dents but didn’t remove them completely and the larger one still required a drop of black super glue filler. The other dents were easily removed with 220 grit sandpaper. The pictures below are after the heat was applied and before the sanding.
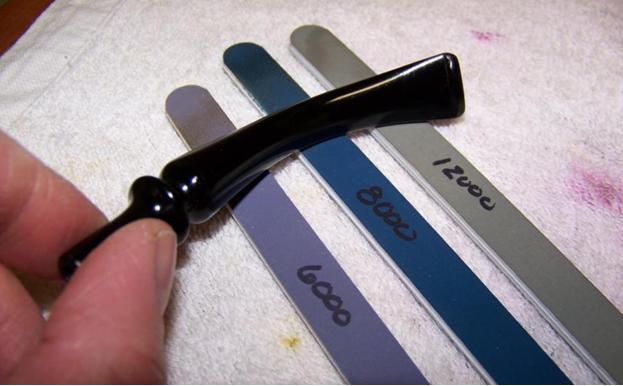
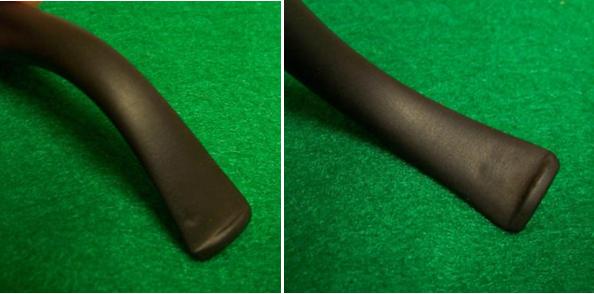 I follow the same regimen that many of the others on this blog do for polishing vulcanite stems: 1500-12000 micro-mesh pads, wet sanding the first six pads and stopping every 3 pads to coat the stem in mineral oil. I found a set of ½-inch wide micro-mesh sticks at my local Wood Works store and these worked very well around the bead detail on the stem.
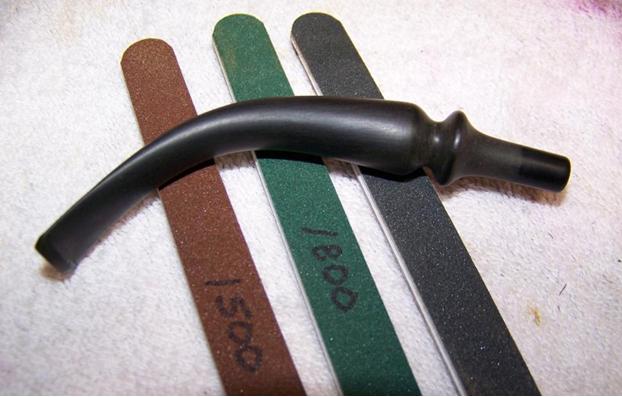

 Since I could not remove the meerschaum bowl, I opted not to use any alcohol based cleaners on the gourd. Instead I scrubbed it down with Murphy’s Oil Soap on a cotton pad. After cleaning, I made several passes with a wet paper towel to wipe off the soap residue.
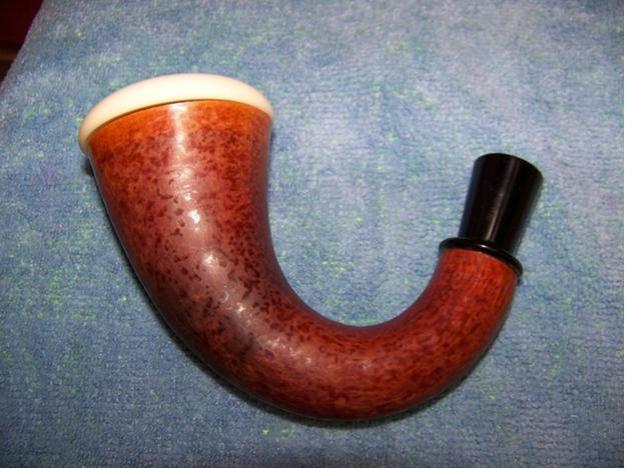 The sun bleached side of the pipe had kind of a rough feel so I lightly sanded the entire gourd with 600 grit paper. This evened out the texture and removed any surface damaged of the gourd.
 The ferrule was plastic and I had very difficult time removing the stem the first time. Some of the sticky residue I had cleaned from the stem must have gotten into the mortise. I used a pipe cleaner bent in half and dipped in alcohol to swab the mortise clean. Even with my initial troubles, three passes was all that was required to clean the mortise. I wiped the outside of the ferrule down with alcohol and then buffed using the 4000 – 8000 micro mesh pads to remove any light scratches.
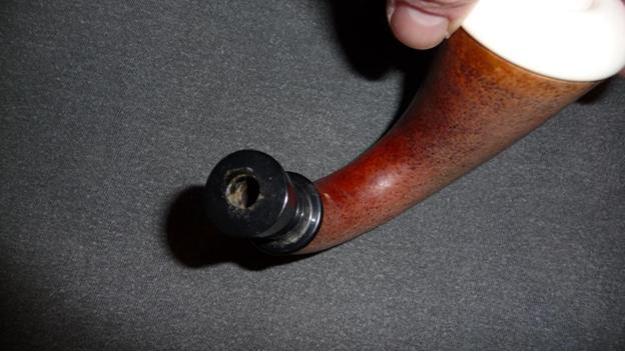
 I debated with myself a long time about what to do with the discolored gourd. I finally decided to try to blend the discoloration with a light stain. Mixing one part Fiebing’s Light Brown with three parts isopropyl alcohol, I used a cotton swab to apply the stain. Starting at the edge of the discoloration, I worked my way around the pipe, layering the stain to get the variation and depth of color. To my surprise this worked well and I was very pleased with the results. After multiple coats and looking at the pipe under various types of lighting I was finally satisfied with the results. When the stain had dried completely, I applied a light coat of mineral oil wiping off the excess.

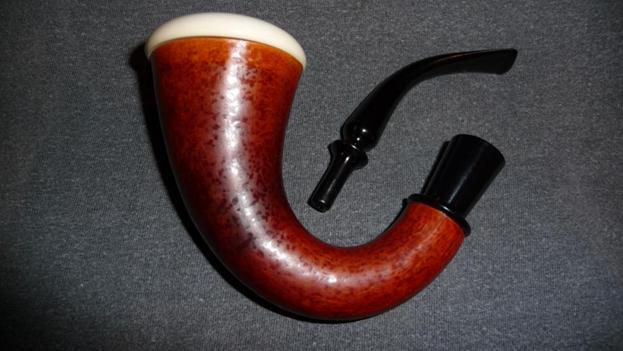
 Taking the stem to the buffing wheel, I put on three coats of carnauba wax and called the restoration complete. My next project is to build a stand for the pipe. I will start on it as soon as I can settle on a design that I think will complement the shape of the pipe. And maybe someday, I will replace the bowl with one that gives the pipe a more traditional calabash look. But right now, I am looking forward to burning bowl of Burley Virginia.
Thanks for looking.