Blog by Steve Laug
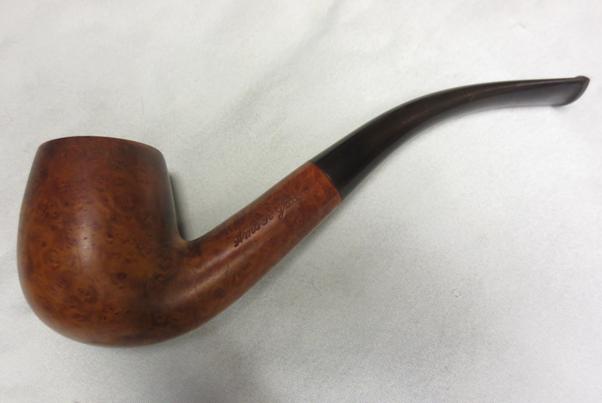
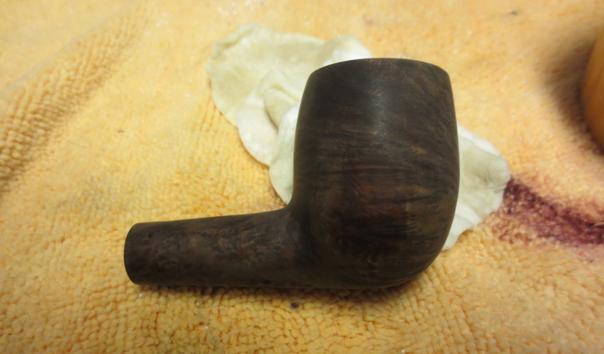
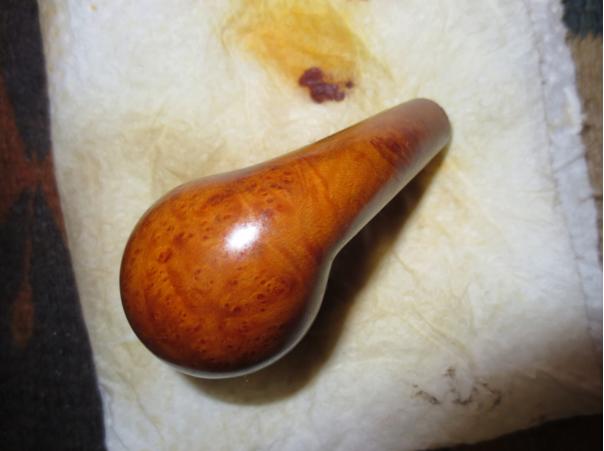
The last pipe that came to me in the Smokers Forum Donation Sale was a beautifully shaped little Sunrise Amber Grain Bent Billiard. The shape and the feel of this little pipe are very delicate. It is almost a bent pencil shank – in fact I am not sure how much thinner it would have to be to actually be called a pencil shank. The pipe is 5.5 inches long, 1.75 inches tall with a small bowl with a chamber diameter of .75 inches. It is stamped Sunrise over Amber Grain on the left side of the shank. On the right it is stamped Vintage Briar and shaped number 13. On the underside of the shank next to the stem junction it is stamped France. The Sunrise line was made by Comoy’s as is identified also by the shape number. As it was made in France it does not have the familiar Com stamp that appears on British made Comoy’s.
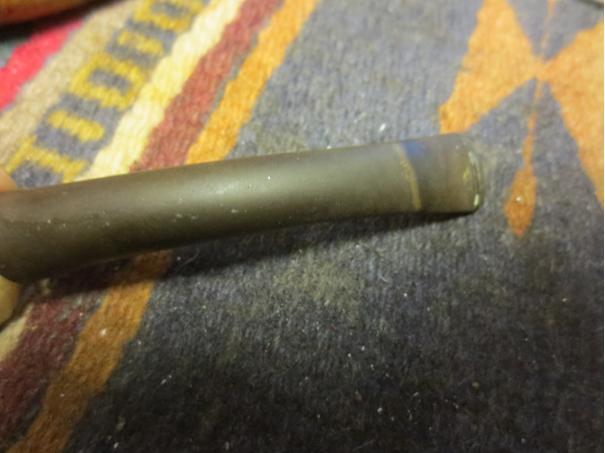
This pipe was in decent shape in terms of the exterior finish. There were no dents or dings in the surface of the bowl or shank. The stamping was light on the right side of the shank and the Sunrise stamp was lighter than the Amber Grain stamp. I would have to be careful in the clean up not to damage these already light stamps. The stem was oxidized and there was a small bite through with a crack going toward the button on the underside of the stem.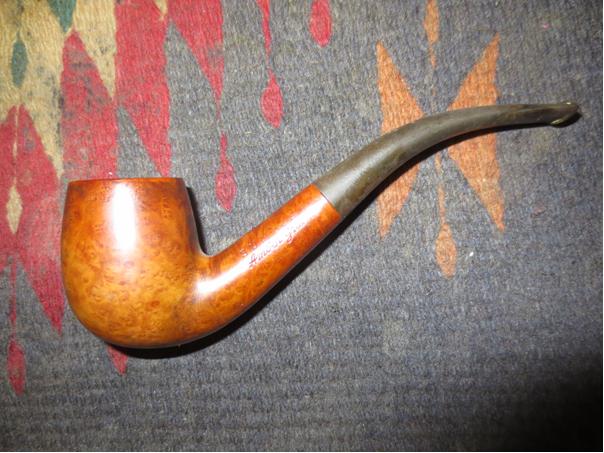

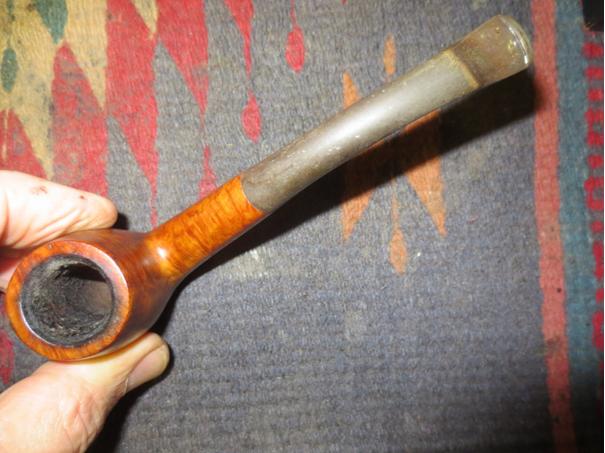
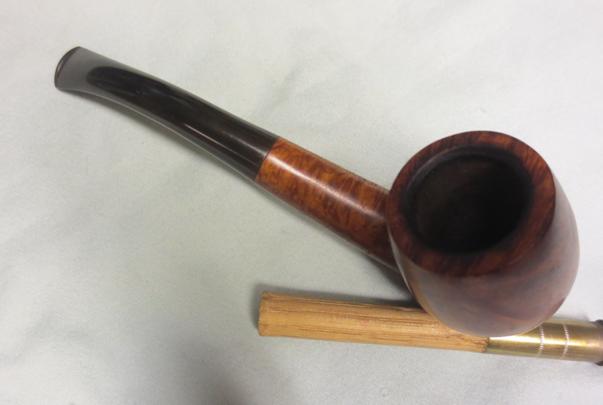
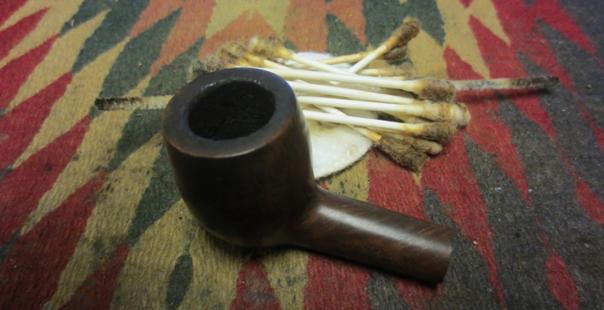
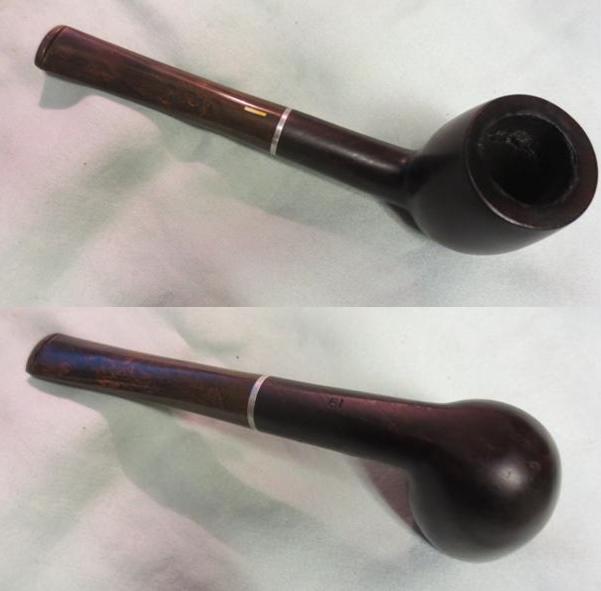
 The rim was in great shape with some light scratching. The inner bevel was still present and darkened but there was no damage to it. The bowl was still in round. There was a rough cake in the bowl that was uneven and would need to be removed.
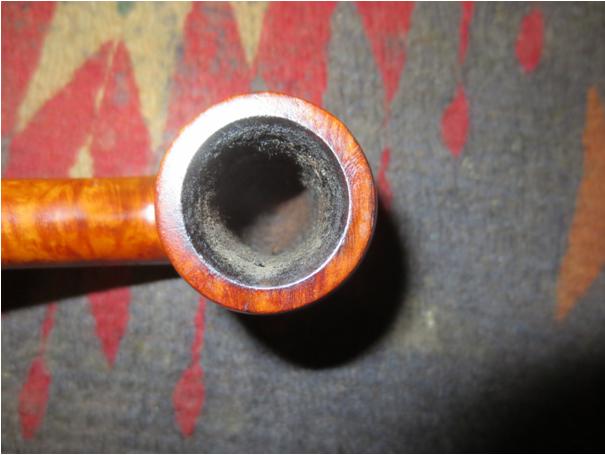 I reamed the bowl with the PipNet reamer to take the cake back to the bare wood.

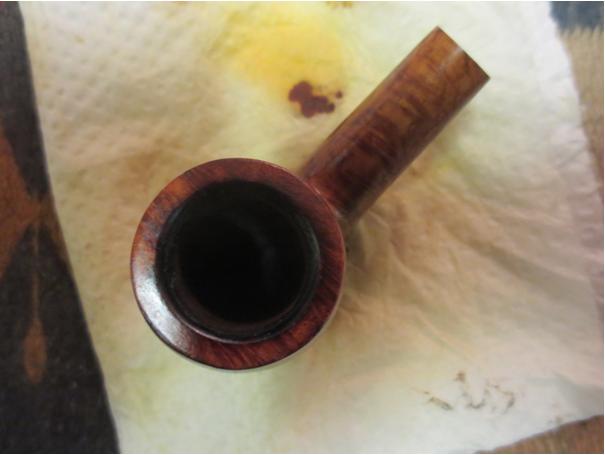
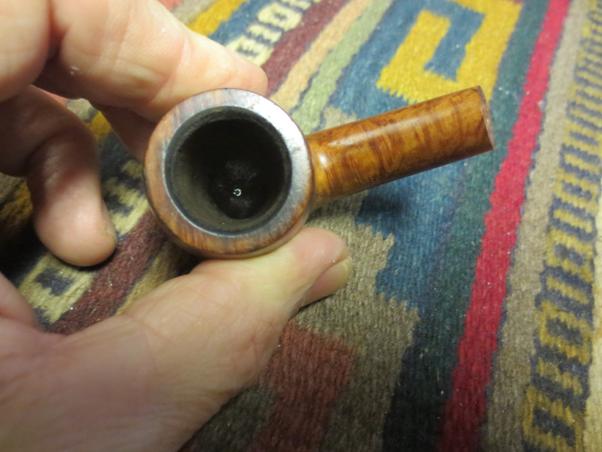 I cleaned out the shank with pipe cleaners, cotton swabs and alcohol. It was amazingly clean. I am guessing that the previous owner cleaned this one up before setting it aside.
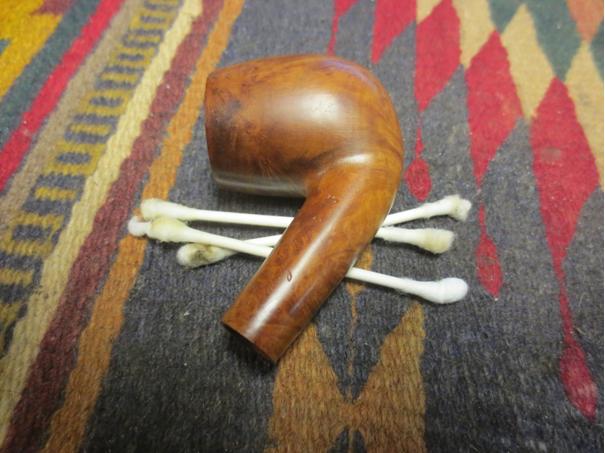 I cleaned out the bowl and lightly sanded the bevel on the inner edge of the rim to remove the light build-up that was present there.
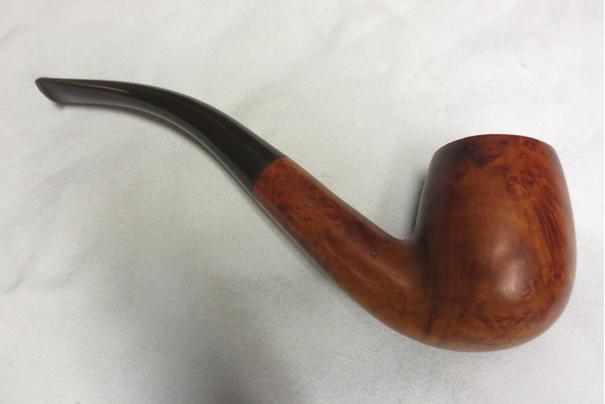
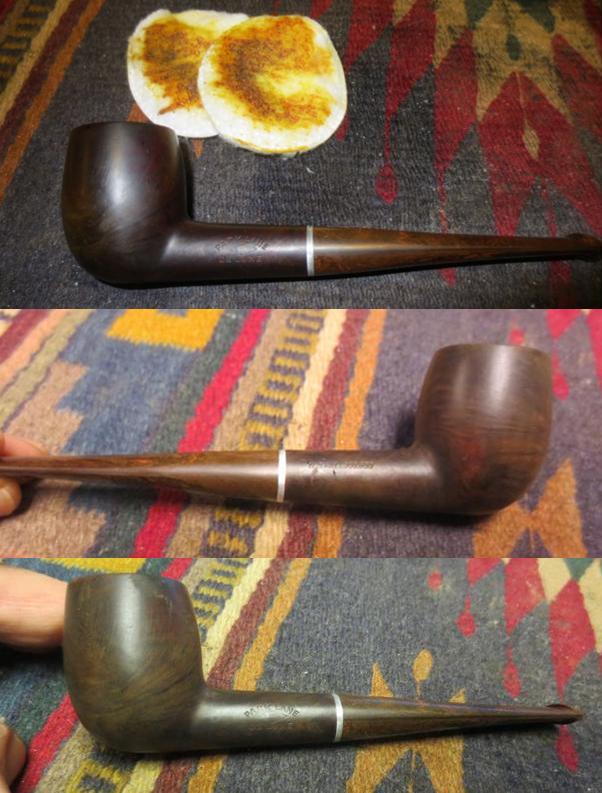
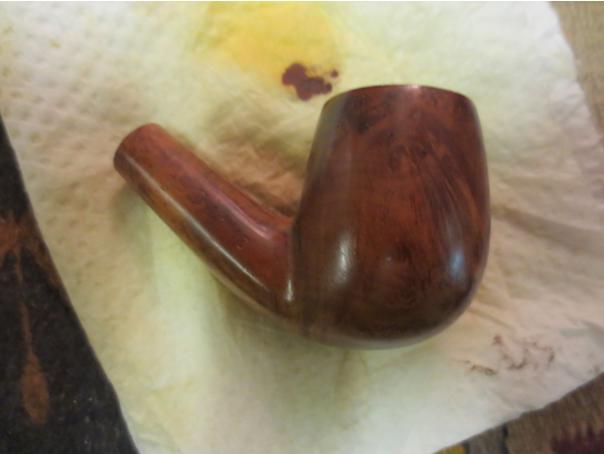
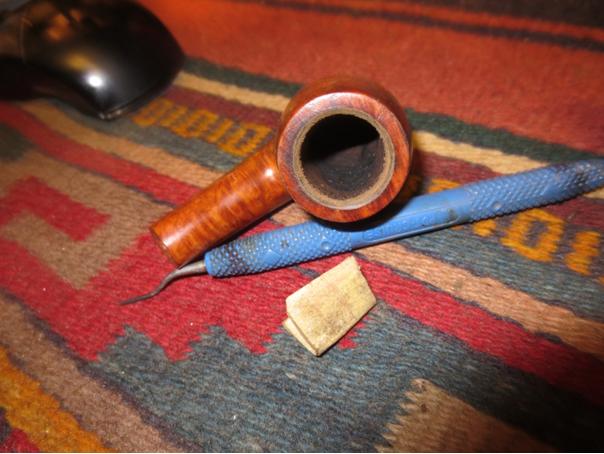 I wiped the bowl down with a cotton pad and some alcohol and then gave it a light coat of olive oil. I buffed it on the buffer to give it a shine. It has some great grain on the bottom of the bowl and the left side. The grain on the front of the bowl and the right side is mixed with a few bald areas. The sides of the shank are full of birdseye grain and the top and bottom are cross grained.
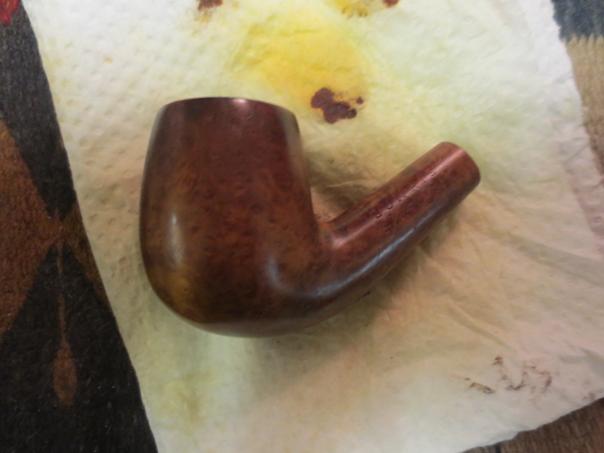
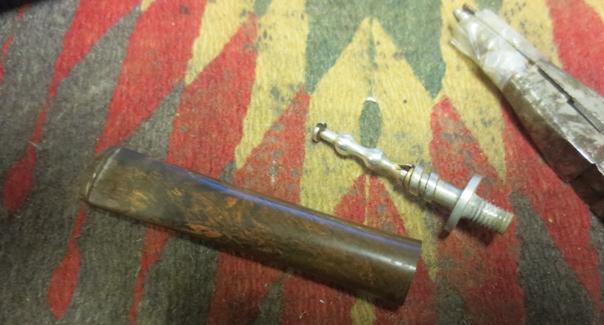
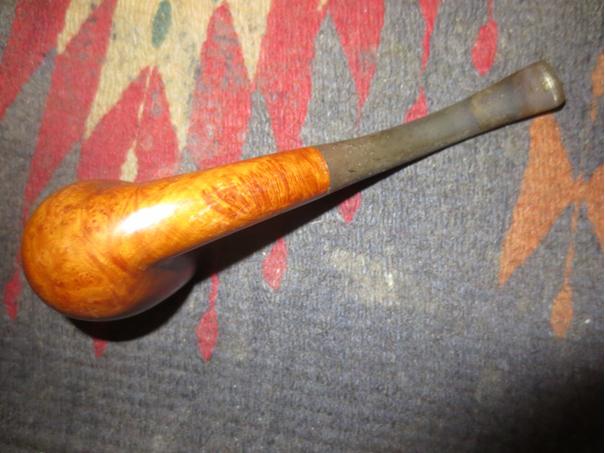
 The stem was oxidized and the underside bite through and small crack needed to be addressed.
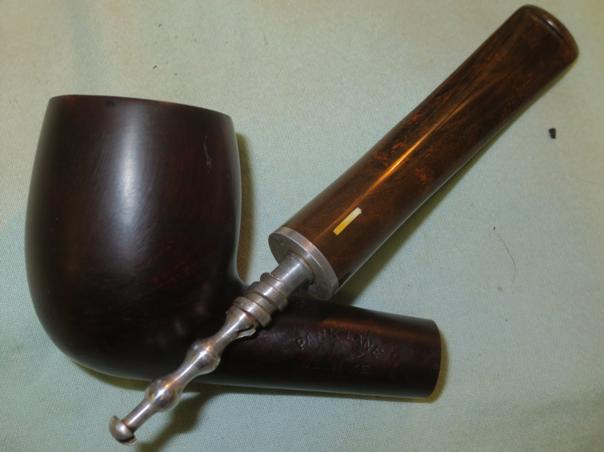
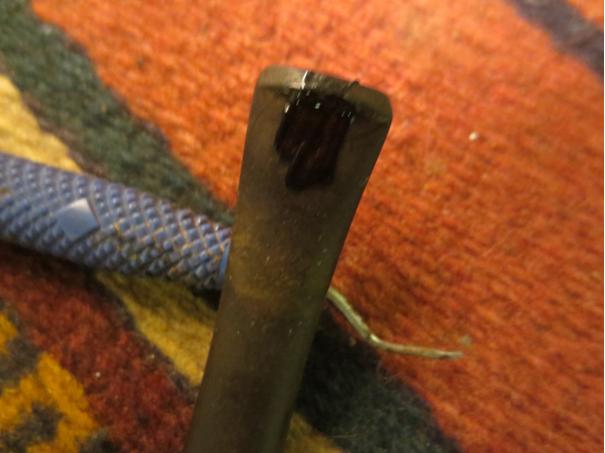
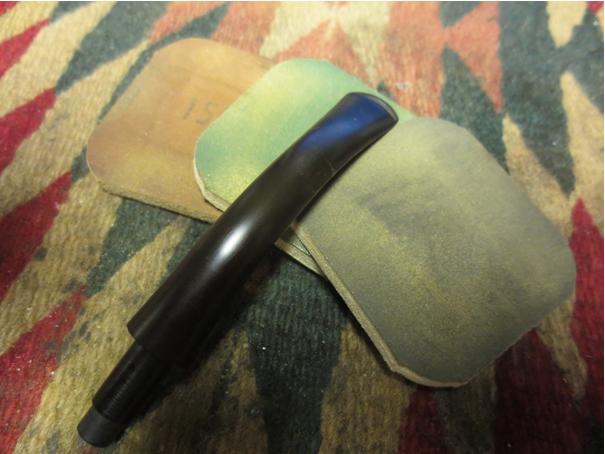
 I picked the debris out of the crack and bite through and examined it with a lens. It was clear that the bite through was very small and that the crack ended at the bite through and went back to the button. The bite through effectively stopped the crack from spreading forward along the stem. I wiped the stem down with acetone on a cotton pad to clean it up. I then spread some black super glue on the crack and bite through with the tip of a dental pick. I set the stem aside to cure for about an hour.
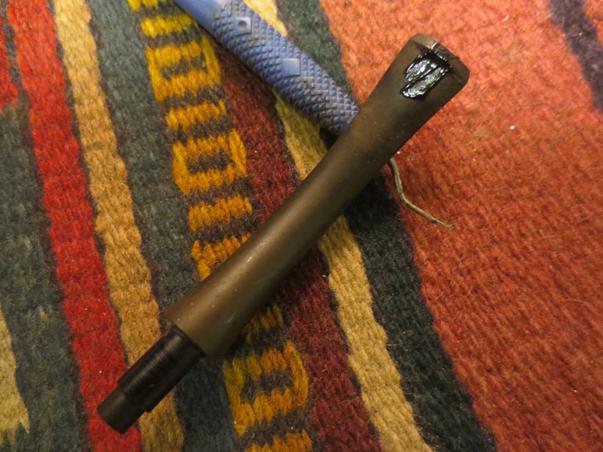
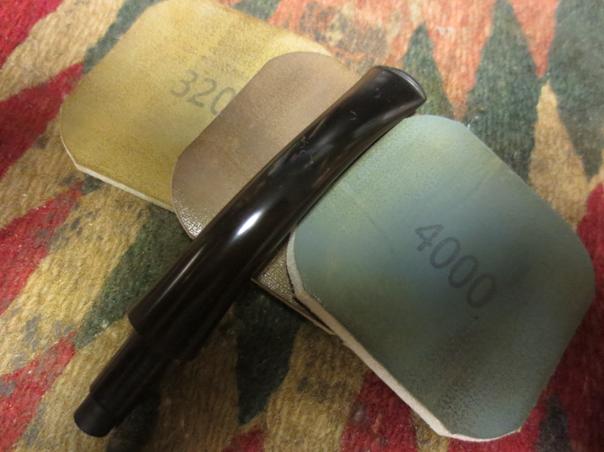
 Once the super glue had cured I sanded the repair and the rest of the stem with 220 grit sandpaper to both remove the oxidation and to blend the patch into the surface of the stem. I sanded with a medium and fine grit sanding sponge to further remove the scratches and oxidation.
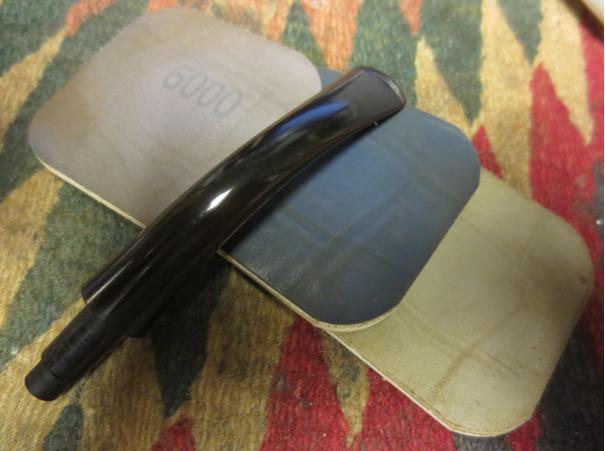
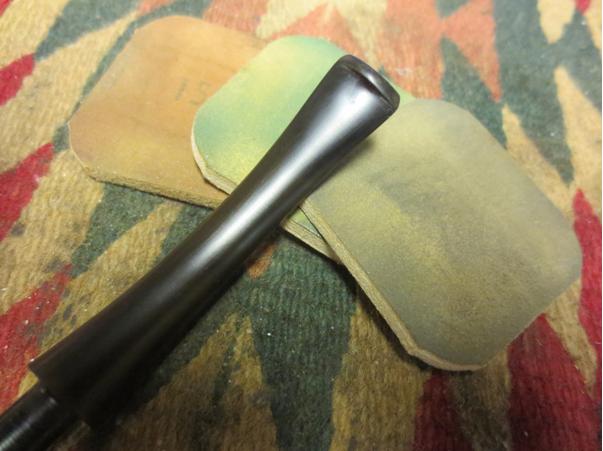 I wet sanded the stem with 1500-2400 grit micromesh pads and rubbed stem down with Obsidian Oil. I dry sanded with 3200-4000 grit pads and then buffed it with White Diamond on the buffing wheel. I gave it another coat of oil and then sanded with 6000-12000 grit pads. I gave it a final coat of Obsidian Oil and let it dry.
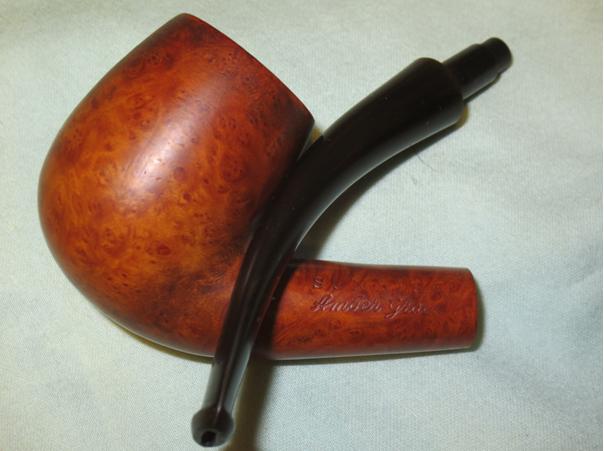
 I buffed the pipe with Blue Diamond polish on the wheel and then gave the bowl and stem multiple coats of carnauba wax. I polished it with a clean flannel buff and then hand buffed it with a microfibre cloth. The finished pipe is shown in the photos below. Thanks for looking.