Blog by Steve Laug
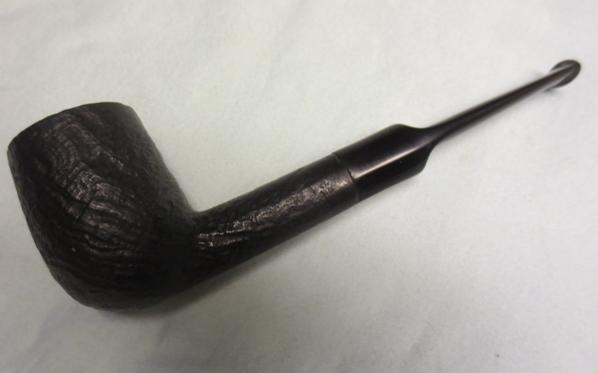
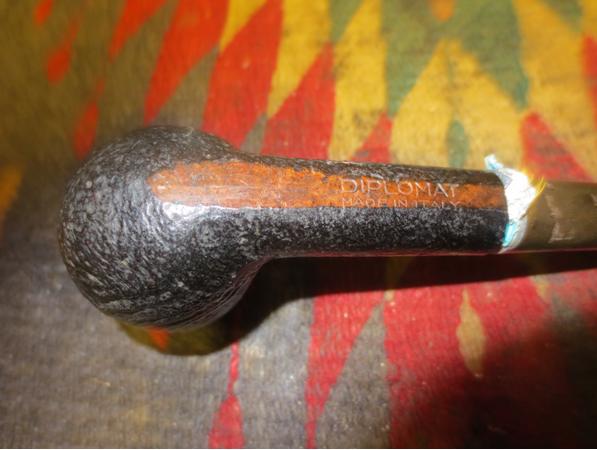
On my recent Lethbridge trip I found the Diplomat pipe at an Antique Fair. It is a nice sandblast billiard with a dark undercoat and a brown over stain. The bowl was in decent shape. The sandblast was deep and quite beautiful to look at. The nooks and crannies caused in the process made for an interesting feel in the hand as well. The stain had worn off in spots on the sides of the bowl and along the outer edges of the rim. The finish was also generally dull and lifeless. The surface of the rim was dirty with tars and oils. The inner edge was slightly damaged and would need to be worked on. There was a thick cake around the middle of the bowl and light at bottom and on top. The stem was one that somebody had Gerry-rigged to fit. It was smaller in diameter and the tenon was too small. The previous owner had wrapped the tenon with thread and then with aluminum foil and pressed it into the shank. The stem had also been hacked up to repair a damaged button and grooves had been carved on the top and bottom sides of the stem to make it a dental bit.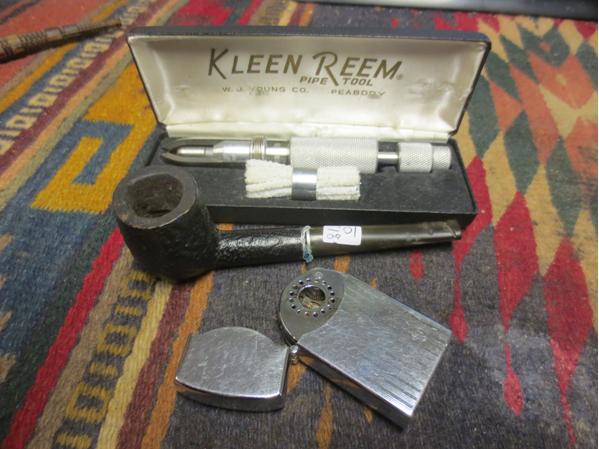
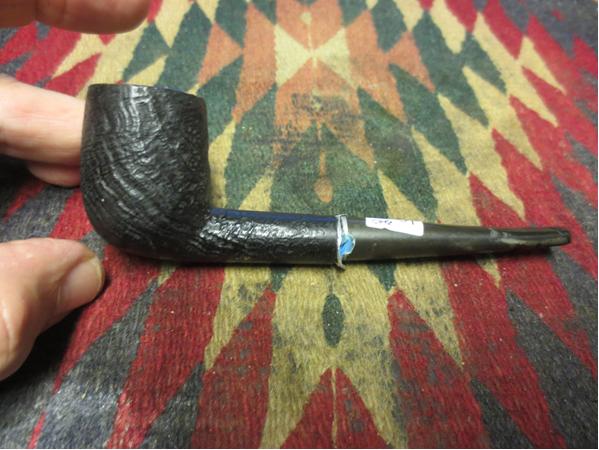

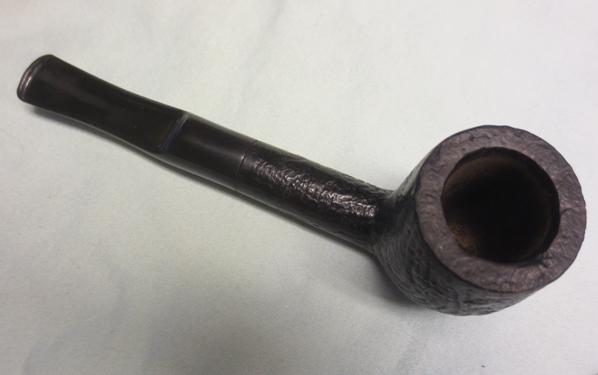
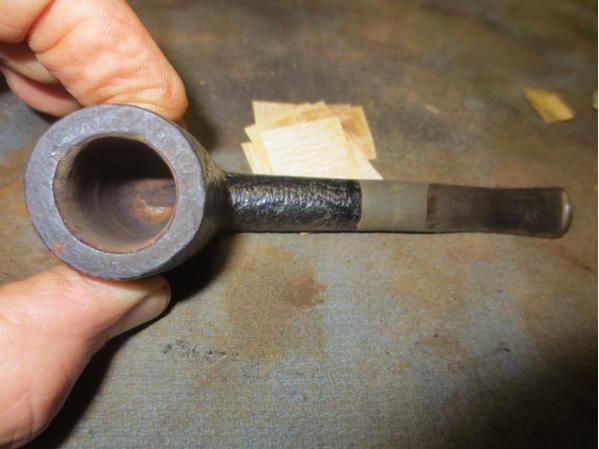
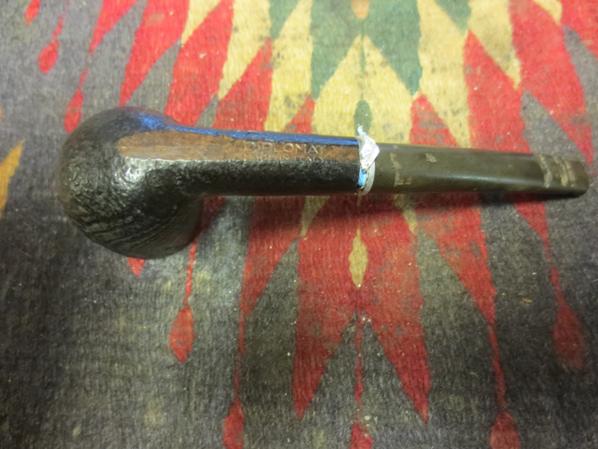 I took close-up photos of the top of the bowl and the underside of the shank to give a clear picture of the state of the inner edge of the rim and the stamping on the pipe.
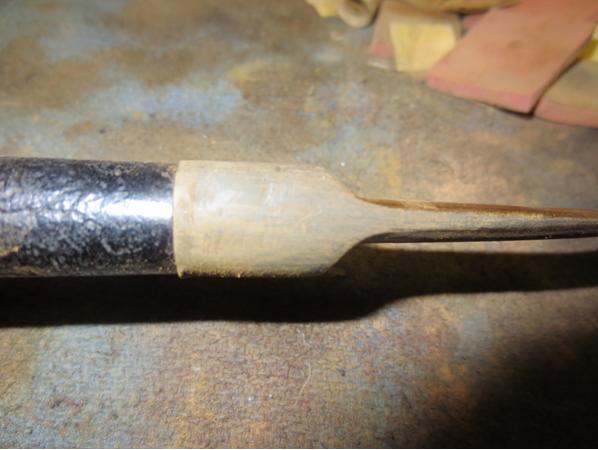
 The next two photos show the stem that came with the pipe and the “fancy” work that had been down to make it fit the shank and create grooves on the top and underside that would allow the pipe to be held in the mouth behind dentures.
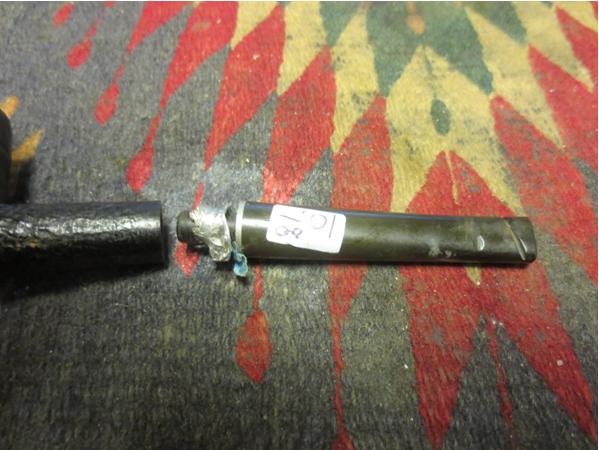
 My first task was to go through my stem can and see if I could find a better stem for this pipe. I did not have a tapered stem that would readily fit but I did have a saddle stem that would look good after shaping and fitting it to the shank.
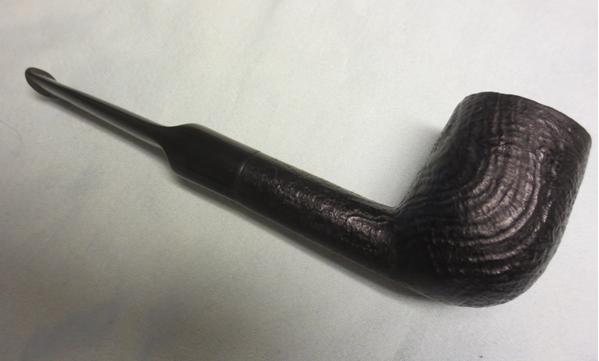
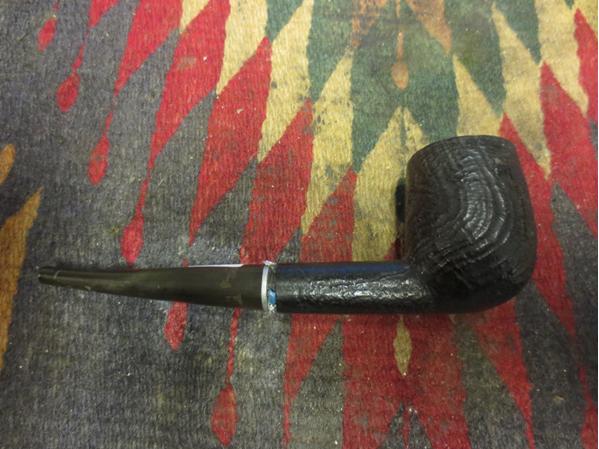
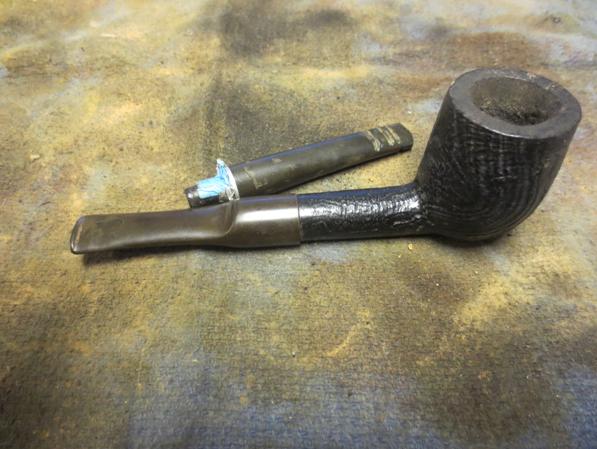
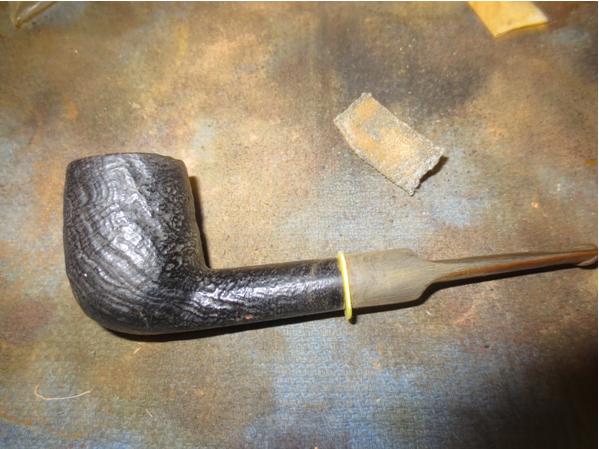
 I lightly sanded the tenon to get a snug fit in the shank and pushed the new stem home to have a look at the fit. The stem would need to be sanded to bring the diameter at the stem/shank union down to match the shank. I took a few photos to see what the pipe looked like with this new stem.
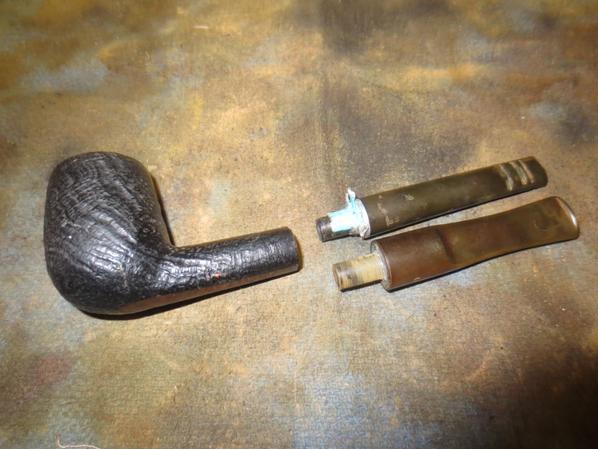


 I used a Dremel with a sanding drum to carefully reduce the diameter of the saddle portion of the stem. I have found that I can roughly shape the stem to fit better and then finish by hand sanding it (photo 1). Once I had the rough shape I sanded it with a coarse emery paper to remove the gouges and scratches left behind by the sanding drum (photo 2). I slipped a plastic washer on the tenon and put the stem back in place. I sanded it with 180 and 220 grit sandpaper to further shape it and remove the scratches (photo 3).
 With the basic fit correct and only needing to fine tune it and polish the stem I decided to ream the bowl. I used a PipNet reamer and took the cake back to bare wood.
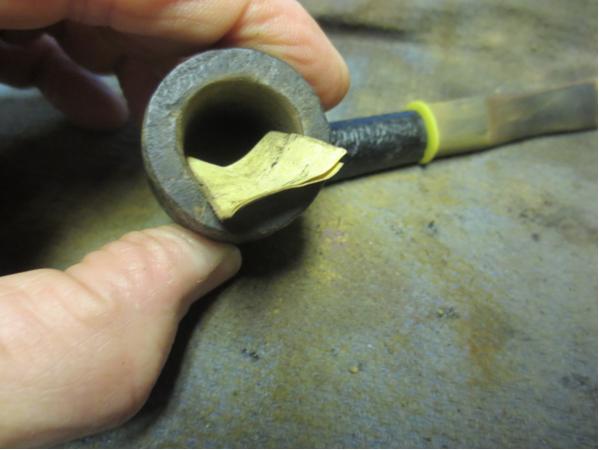
 I cleaned out the inside of the shank and stem with pipe cleaners, cotton swabs and alcohol. Once it was clean I worked on the inner edge of the rim. I sanded it and reshaped it to make it smooth and round once again using a folded piece of 220 grit sandpaper.
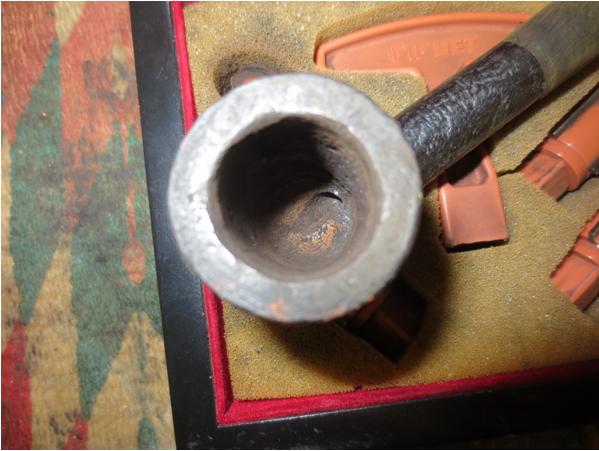
 I sanded the stem some more with 220 grit sandpaper and flattened the bottom side to match the flat bottom of the shank. The next set of three photos show the fit and shape of the stem at this point.
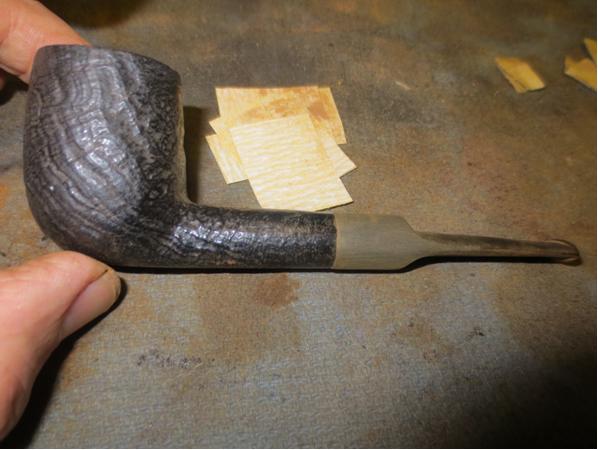

 The button was quite thin and I decided to build it up with black superglue. I also could see a repair that had been done on the stem before I used it so I worked on that to further blend it into the stem surface.
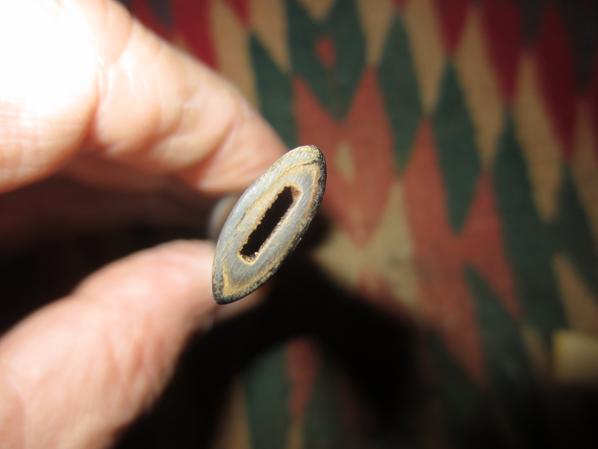
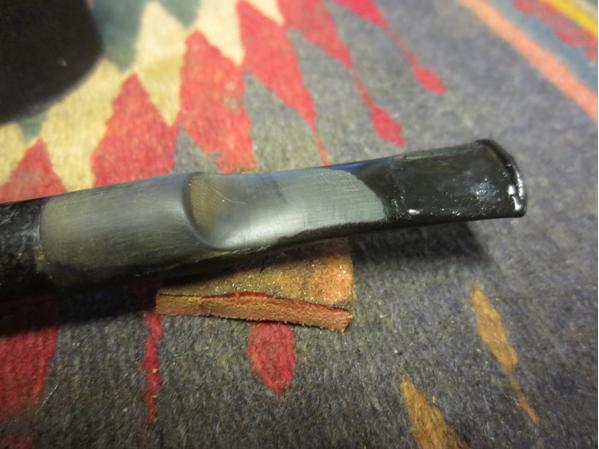 When the glue dried I sanded it with 220 grit sandpaper to feather it into the surface of the rest of the stem and also worked on shaping the button. In the second photo below you can see the end view of the built-up and reshaped button.
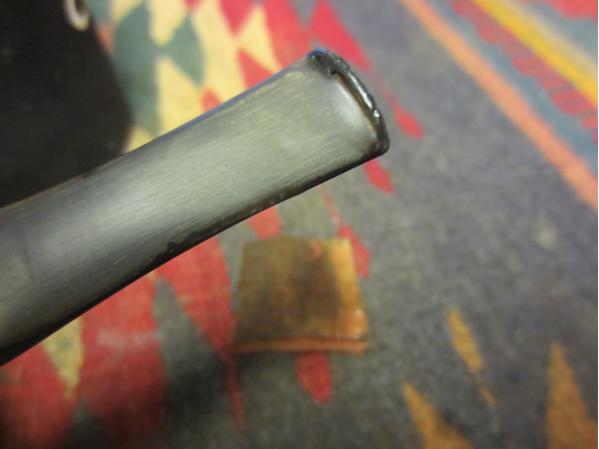
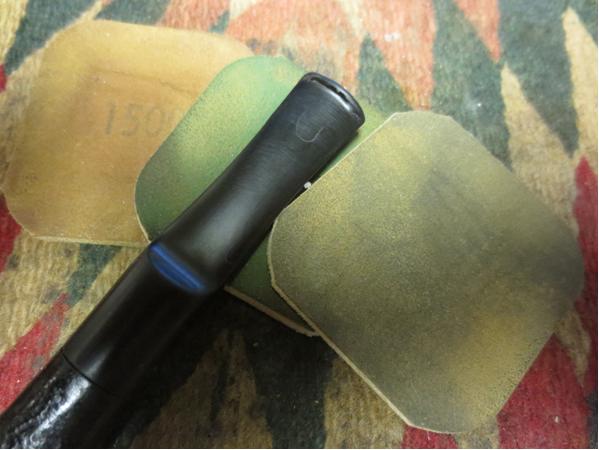
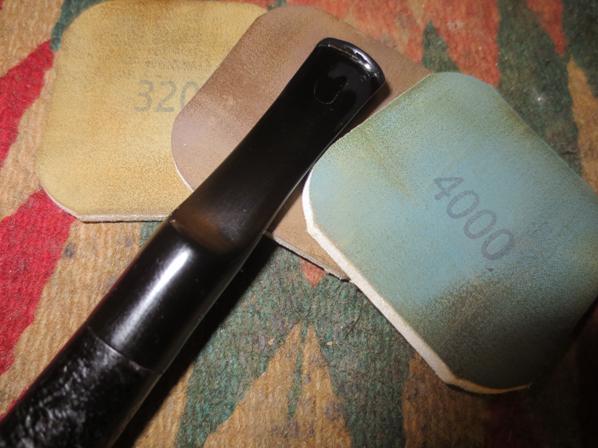
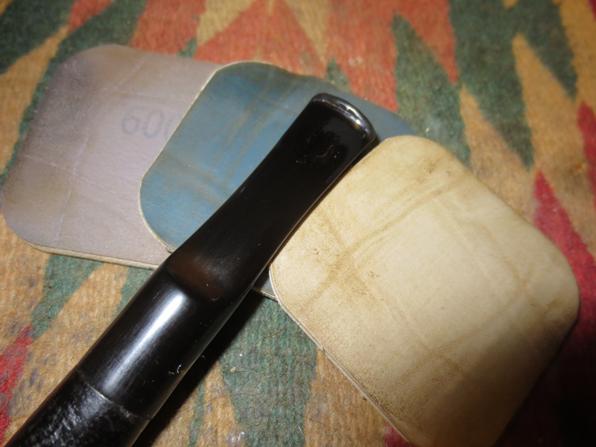
 I sanded the stem and button with a medium and a fine grit sanding sponge to remove the scratches and blend in the patches. I then wet sanded the stem with 1500-2400 grit micromesh sanding pads and then rubbed the stem down with Obsidian Oil. I dry sanded with 3200-4000 grit pads and rubbed it down again with oil. I finished by sanding it with 6000-12000 grit pads and gave the stem a final coat of Obsidian Oil. I set it aside until the oil was dry.
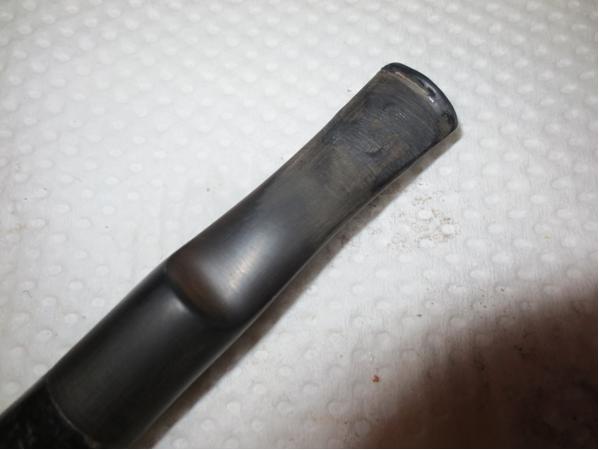
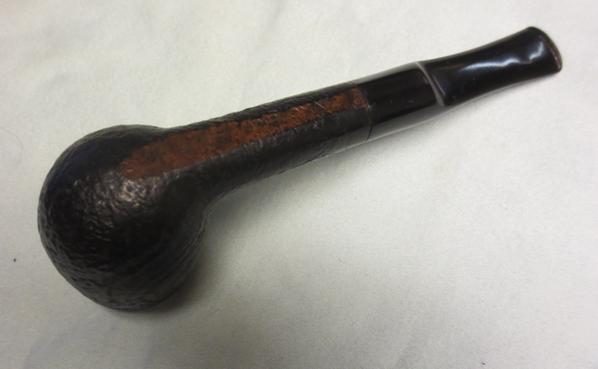
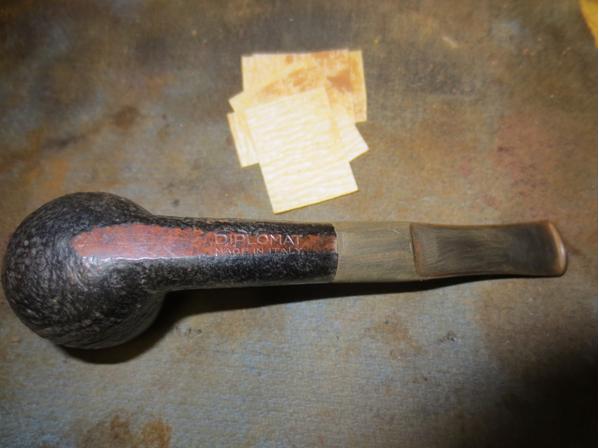
 I touched up the worn spots on the finish of the bowl with a dark brown stain pen and a black permanent marker and then buffed the bowl and stem with White Diamond on the wheel. I buffed it again with Blue Diamond and then gave the pipe multiple coats of carnauba wax. I polished it with a clean flannel buff and then hand buff with a microfibre cloth. The finished pipe is shown in the photos below. I like the looks of the saddle stem and the deep sandblast finish. The pipe has an understated elegance about it that I like.
Thanks for looking.