Blog by Steve Laug
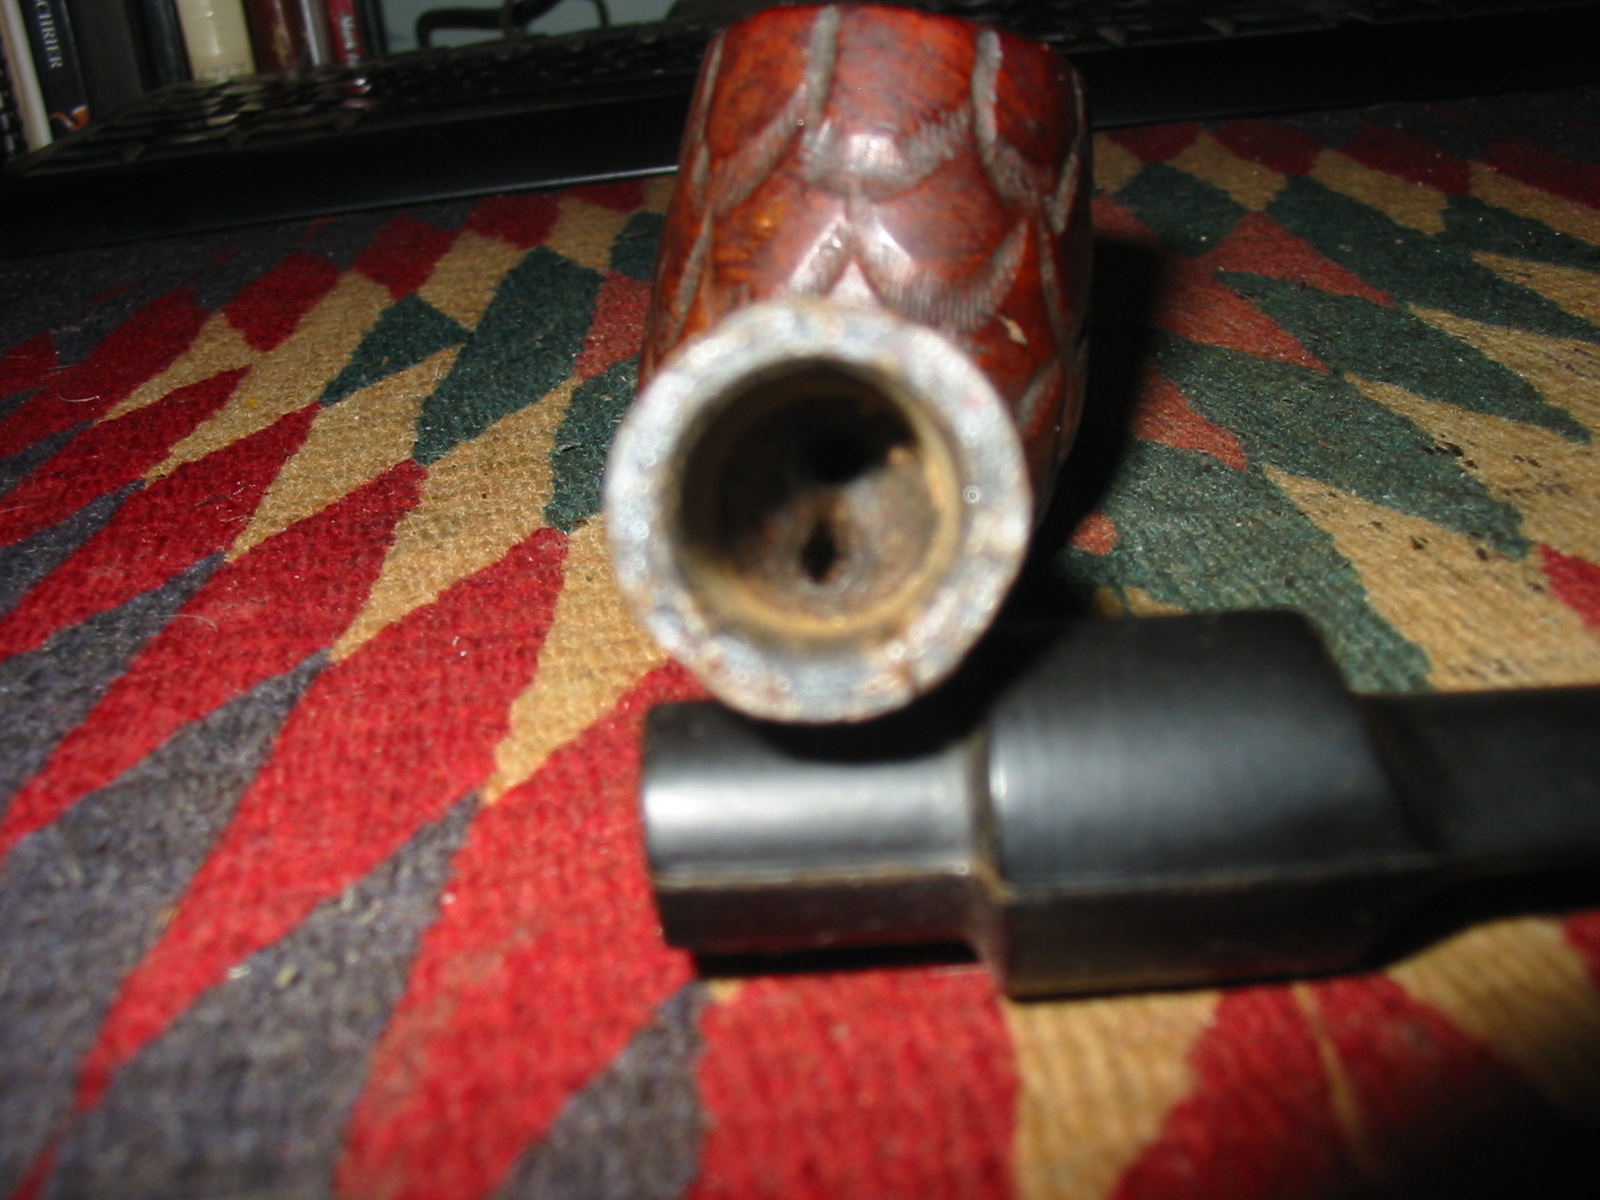
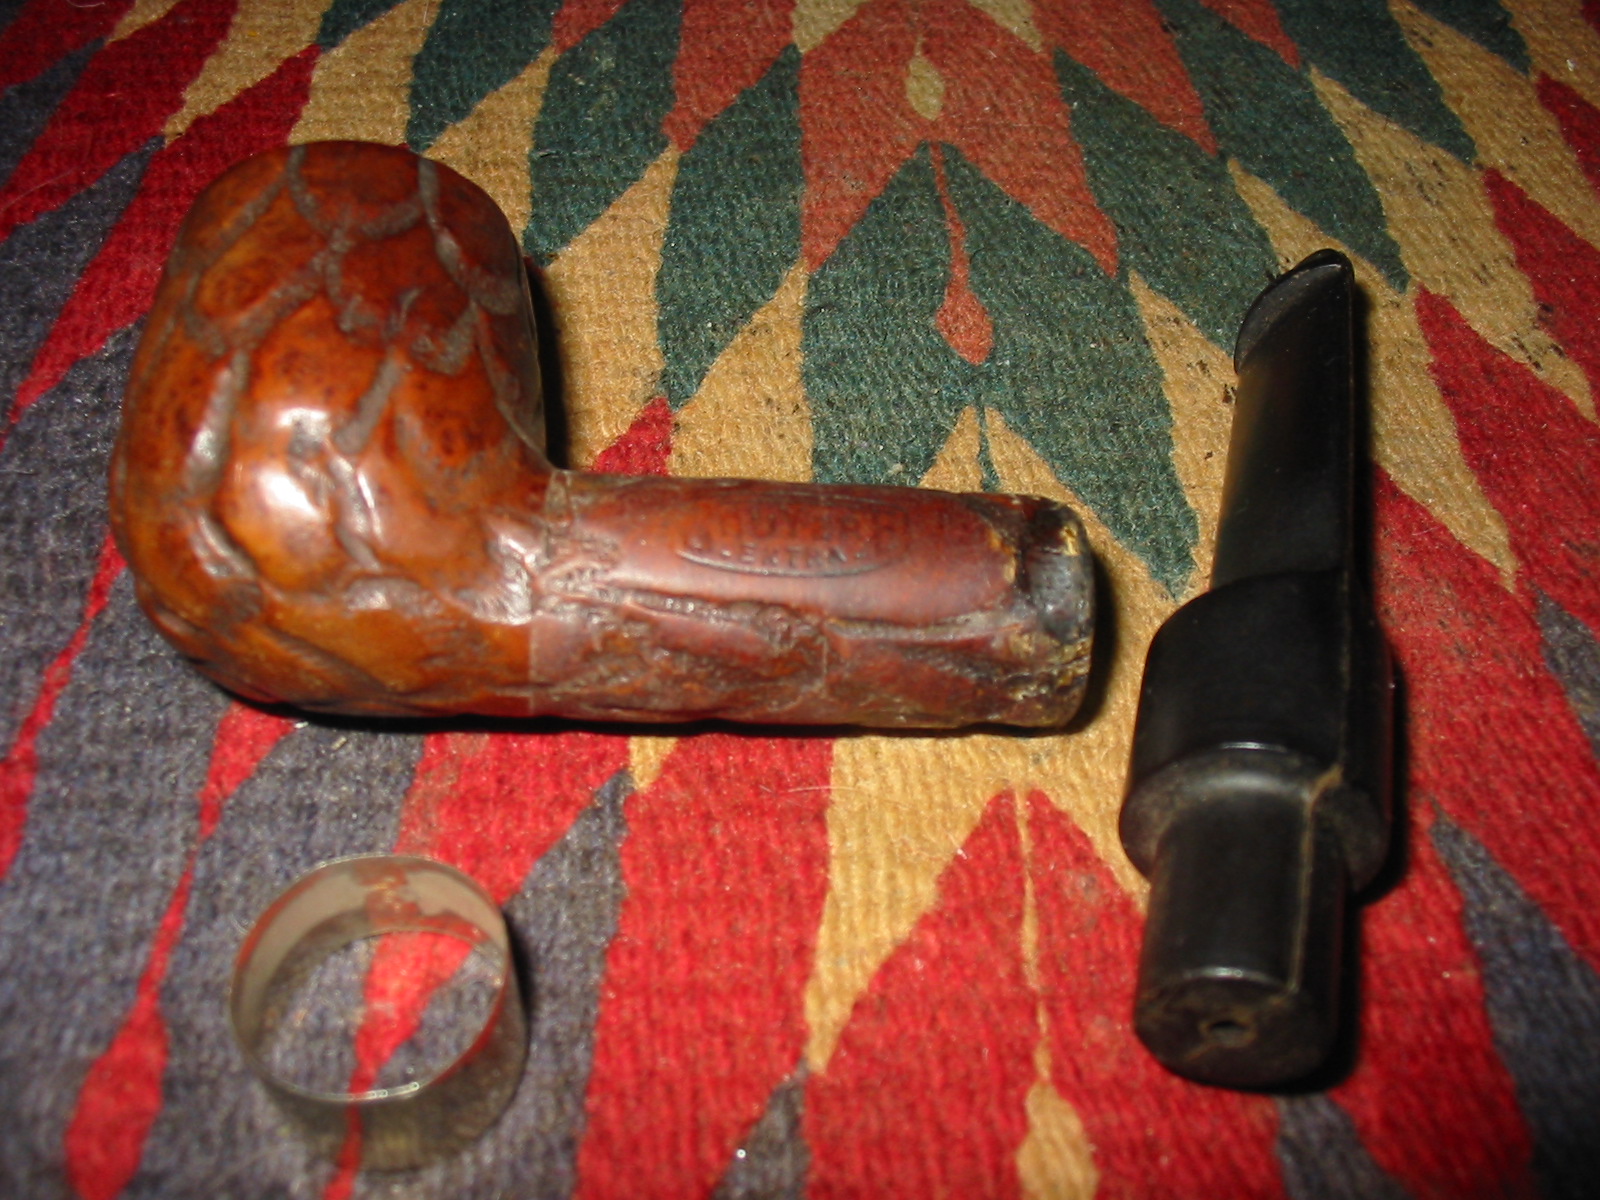
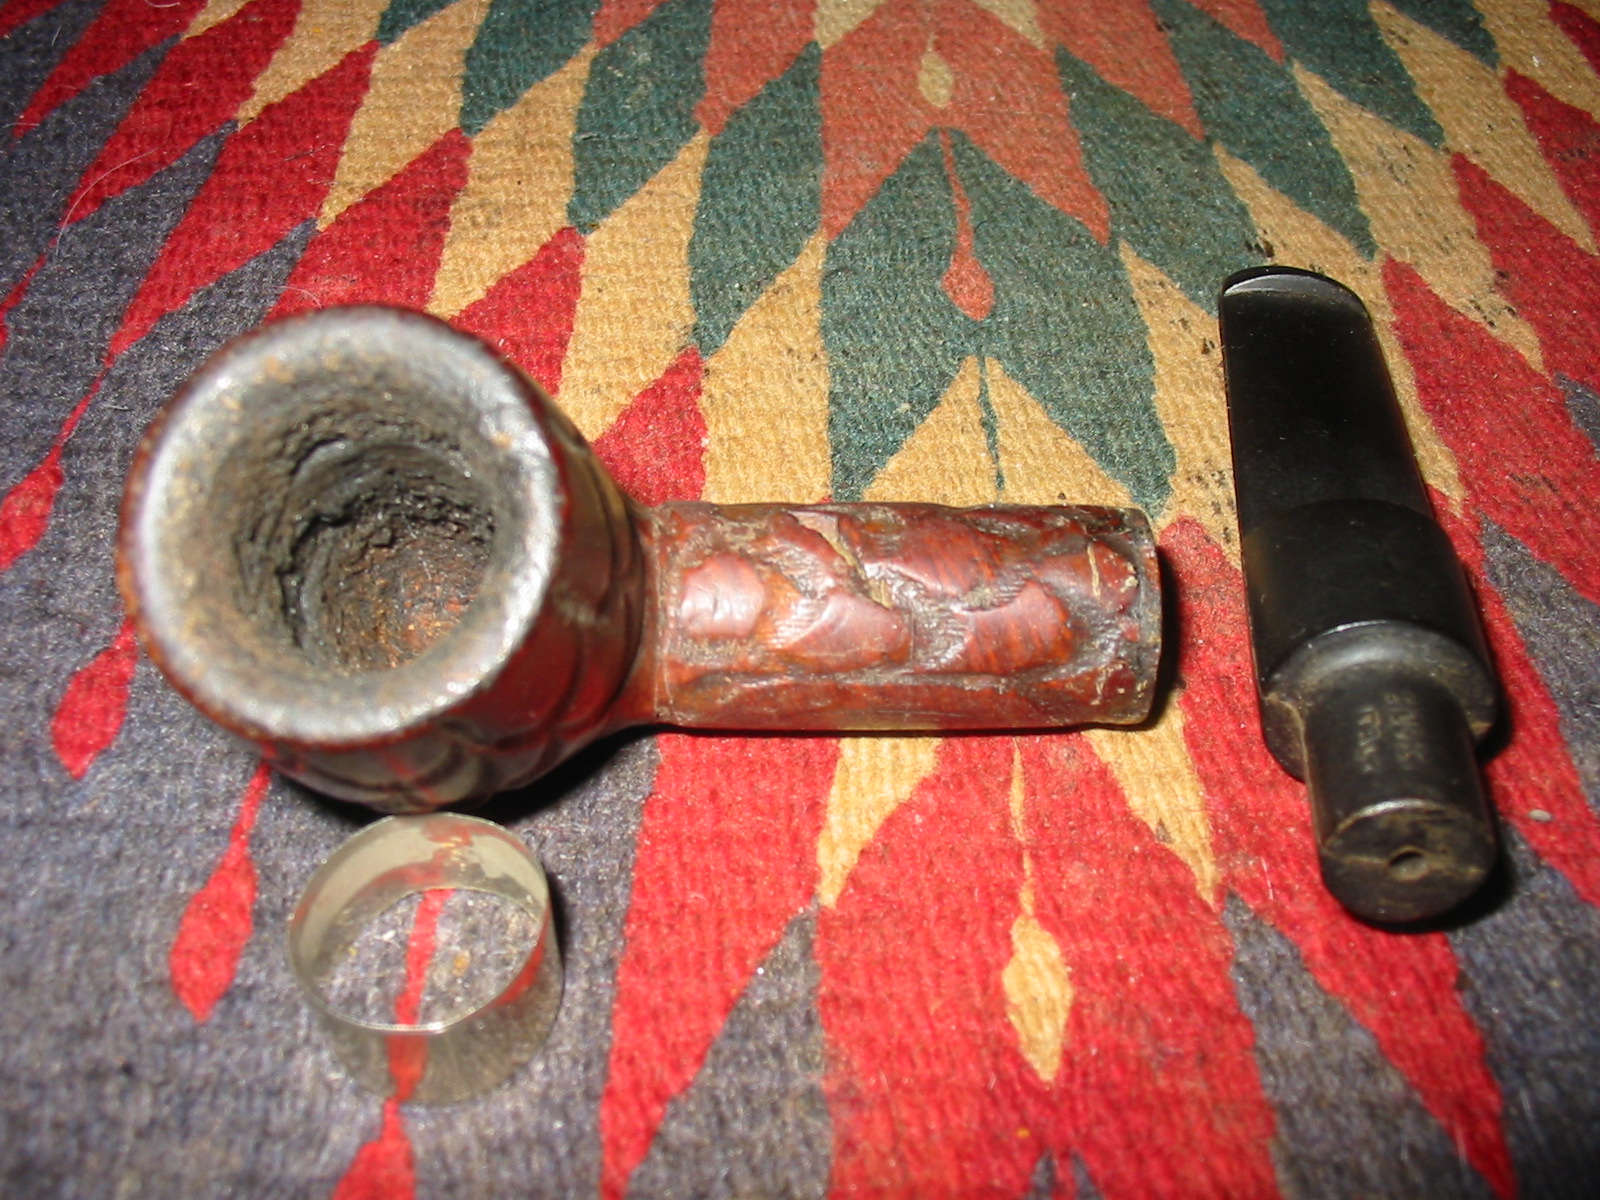
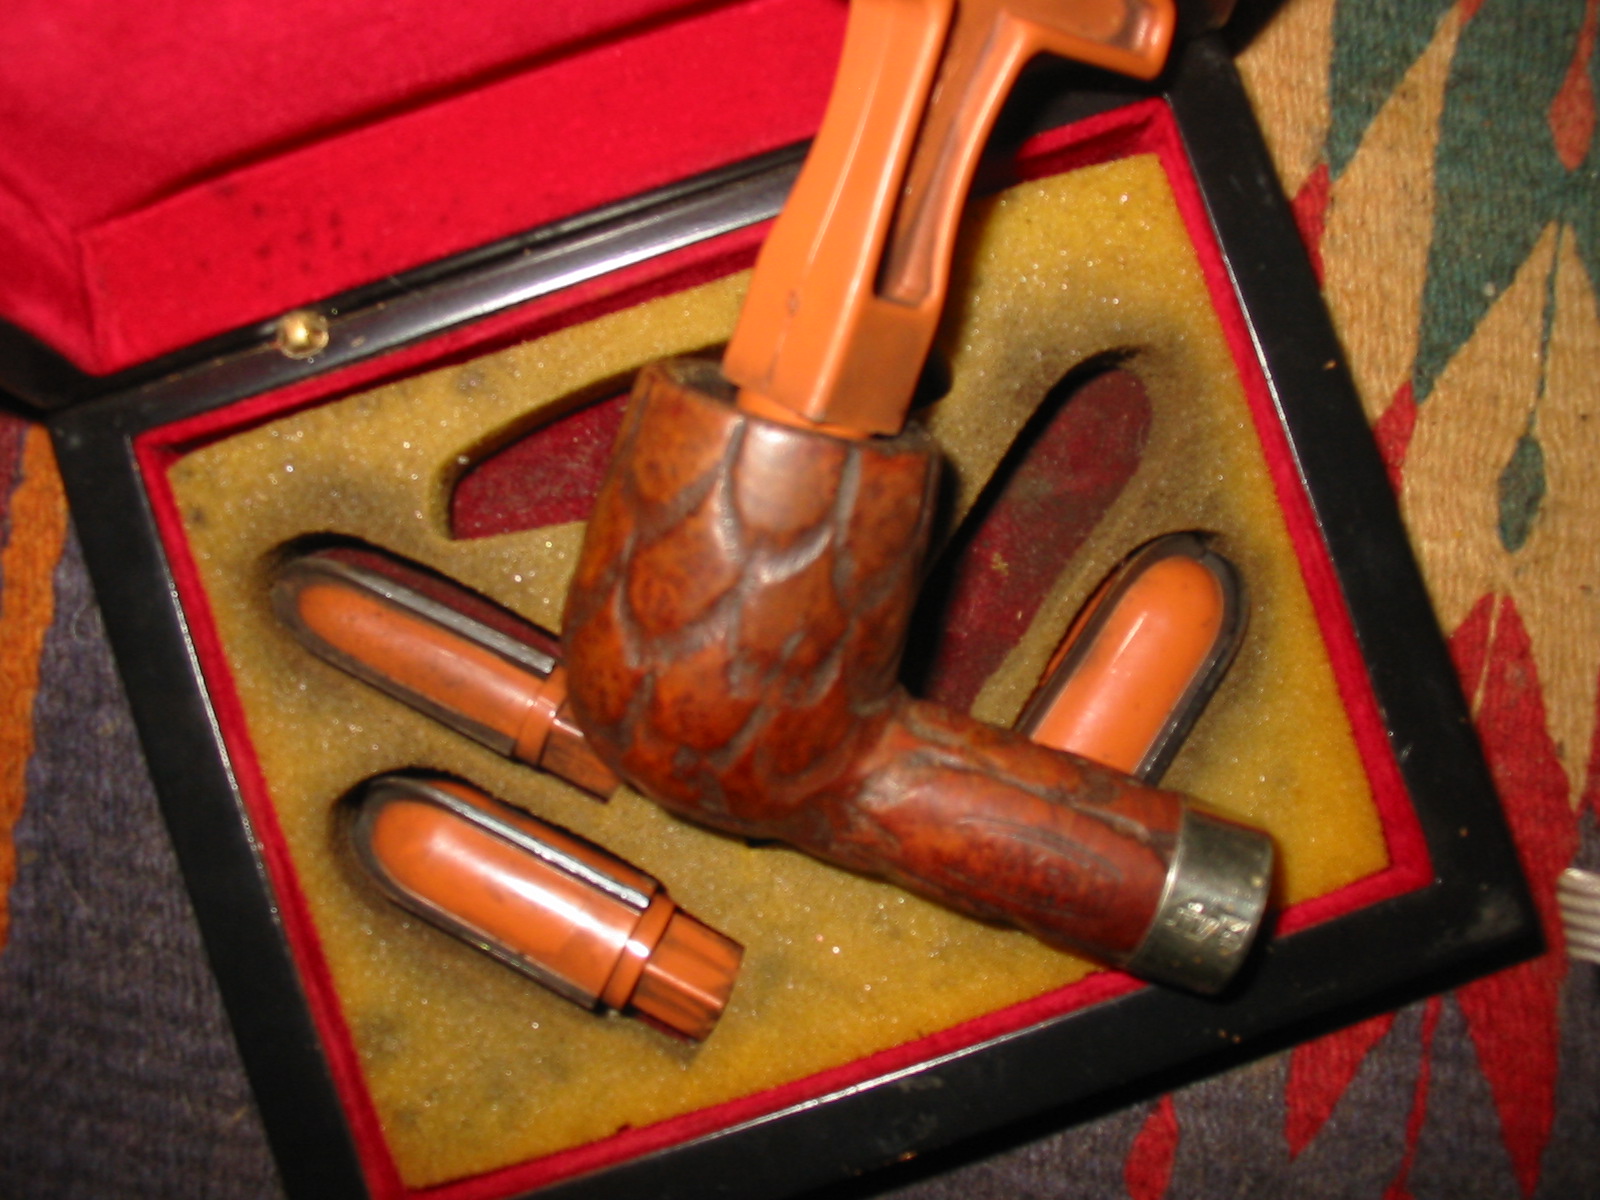
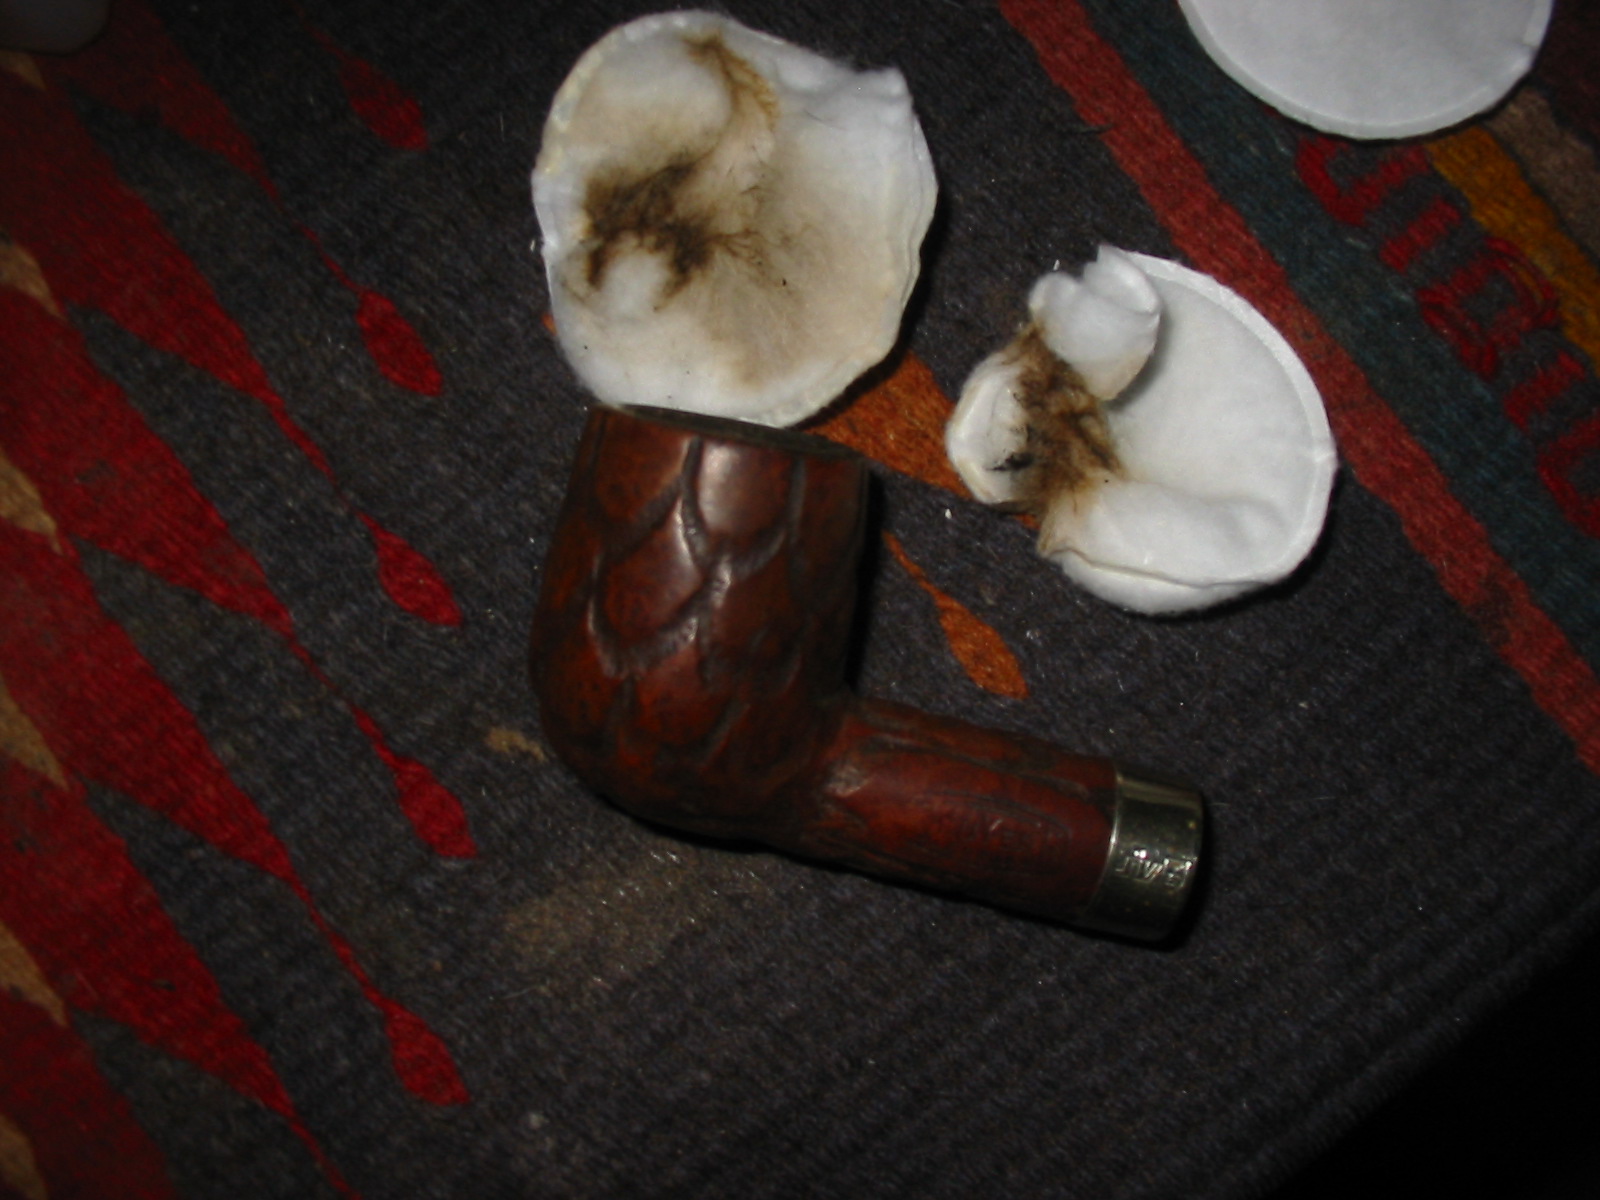
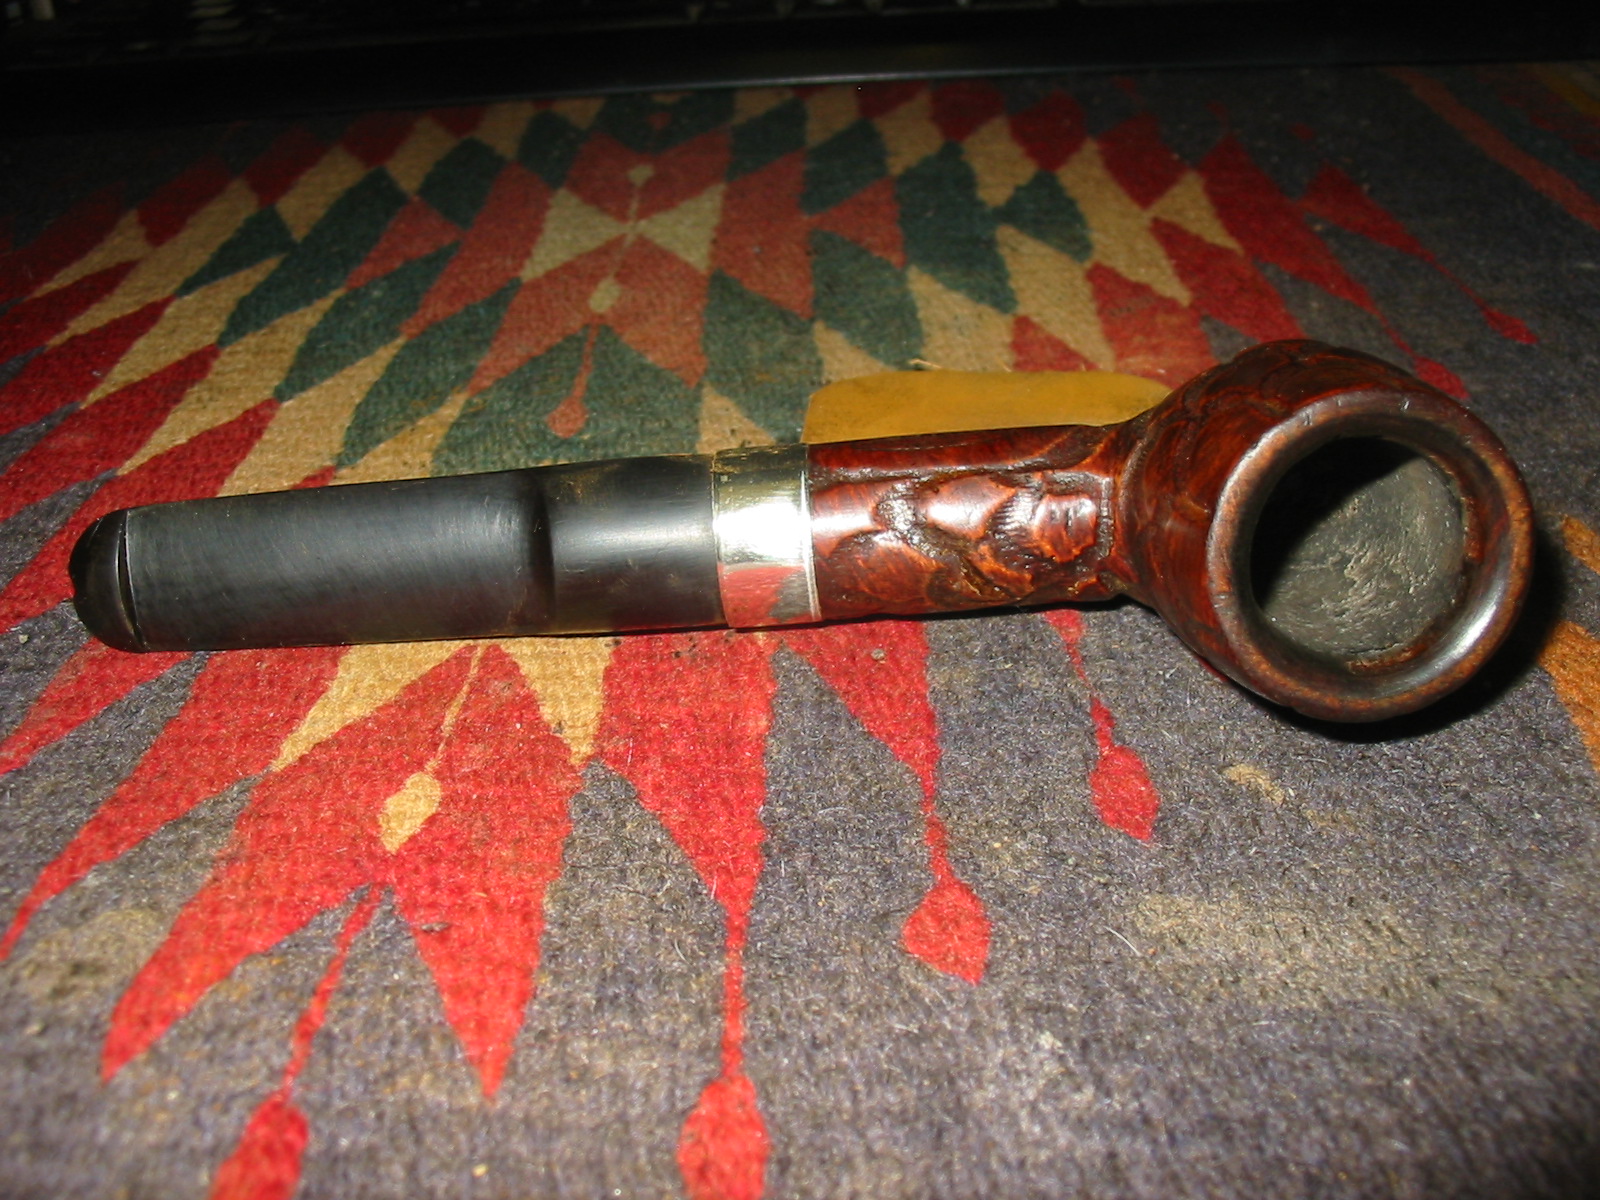
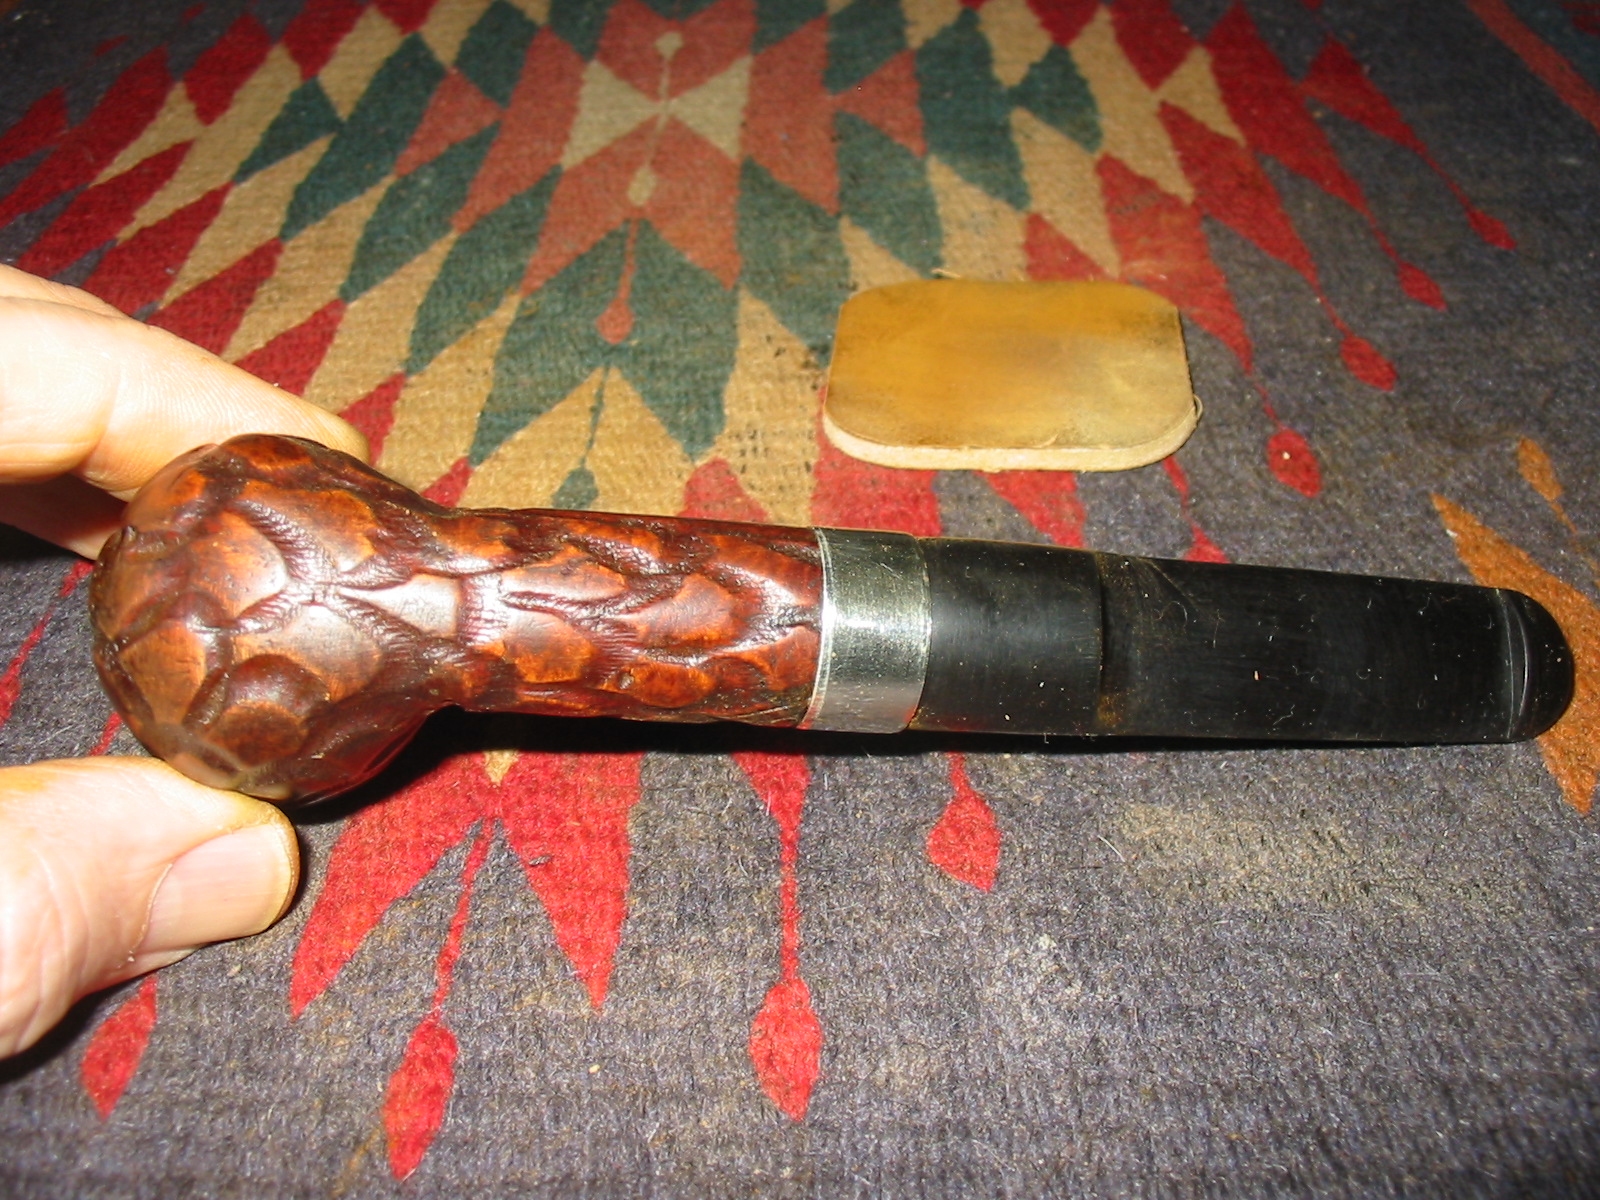
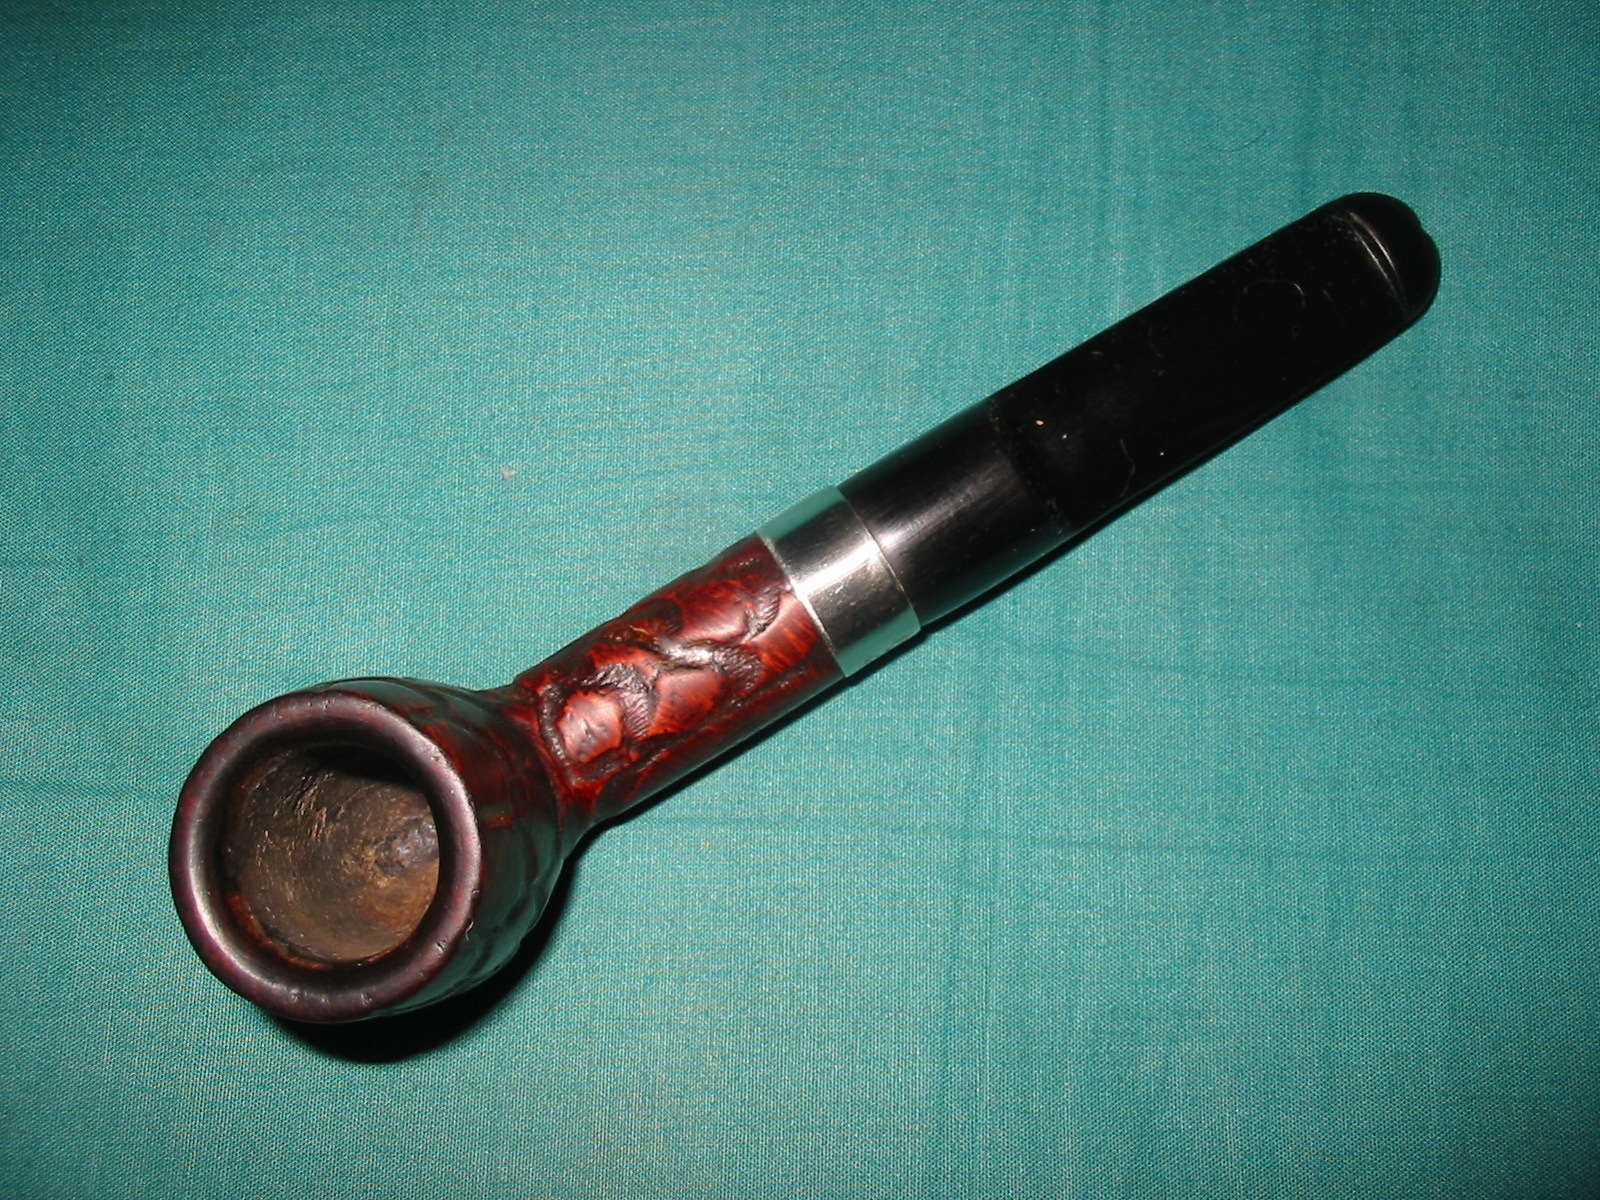
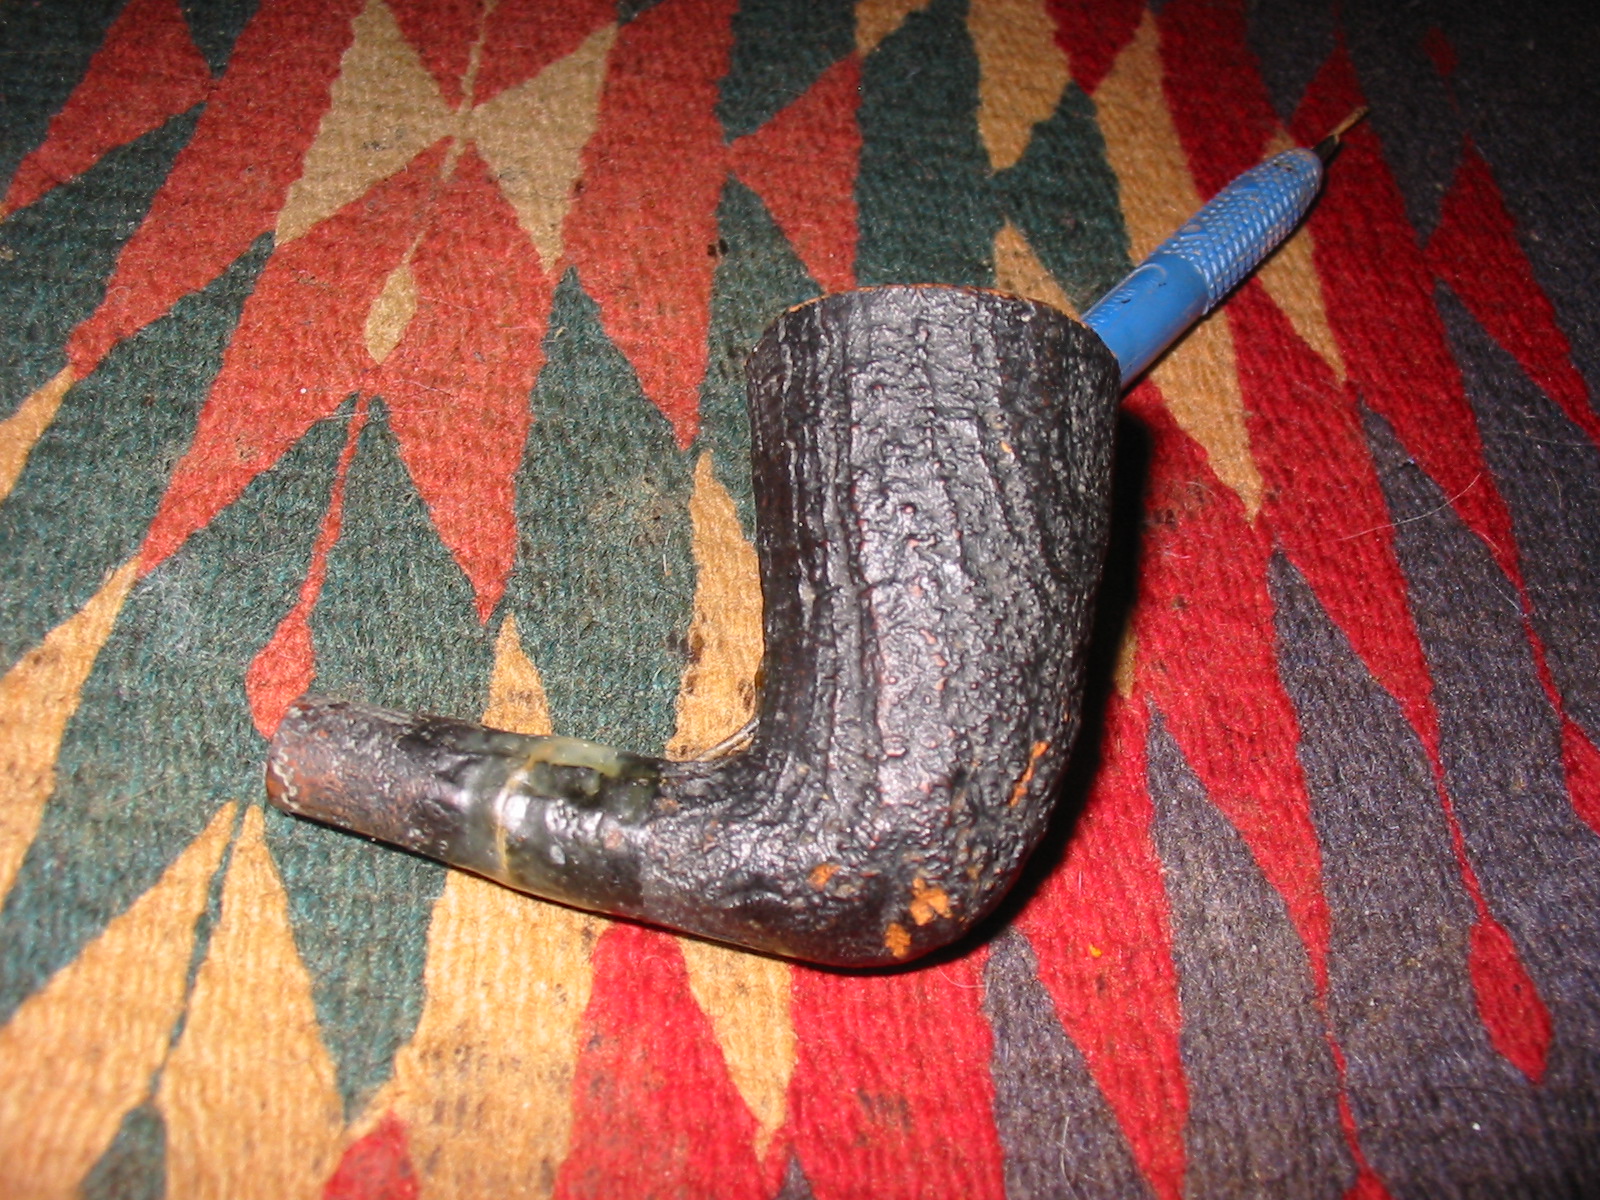
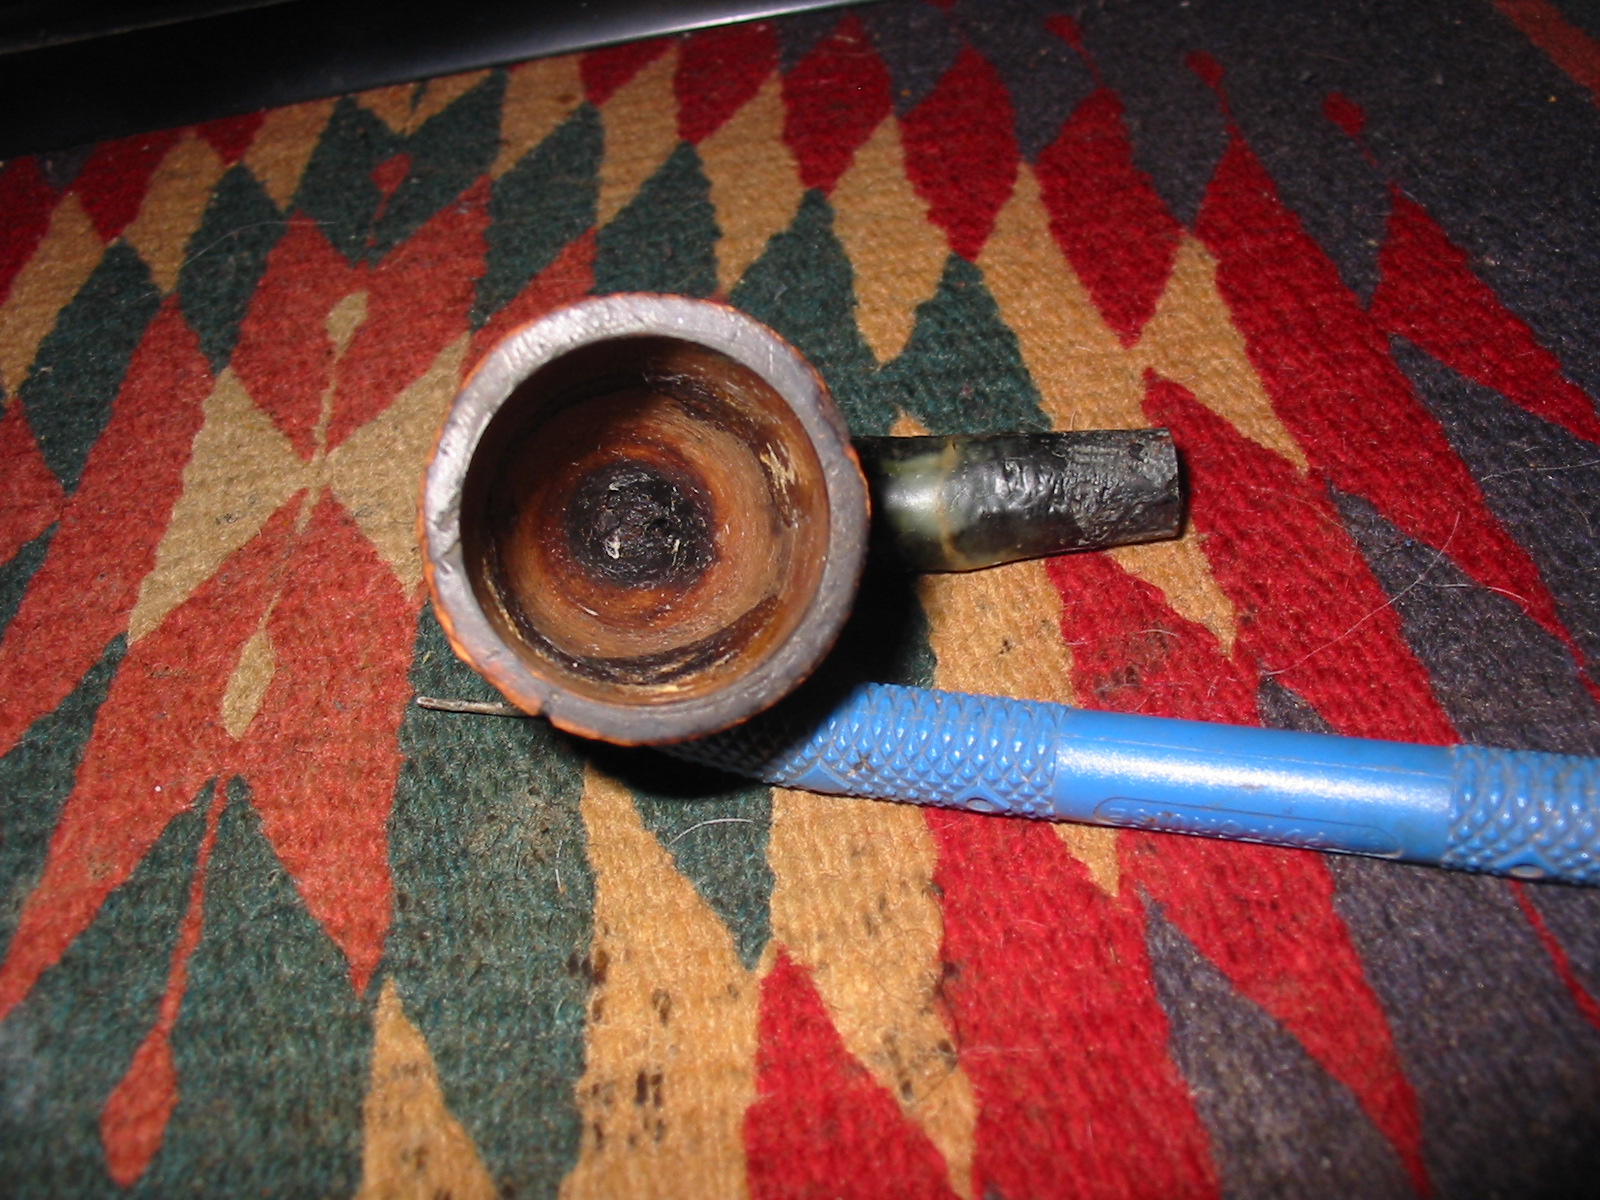
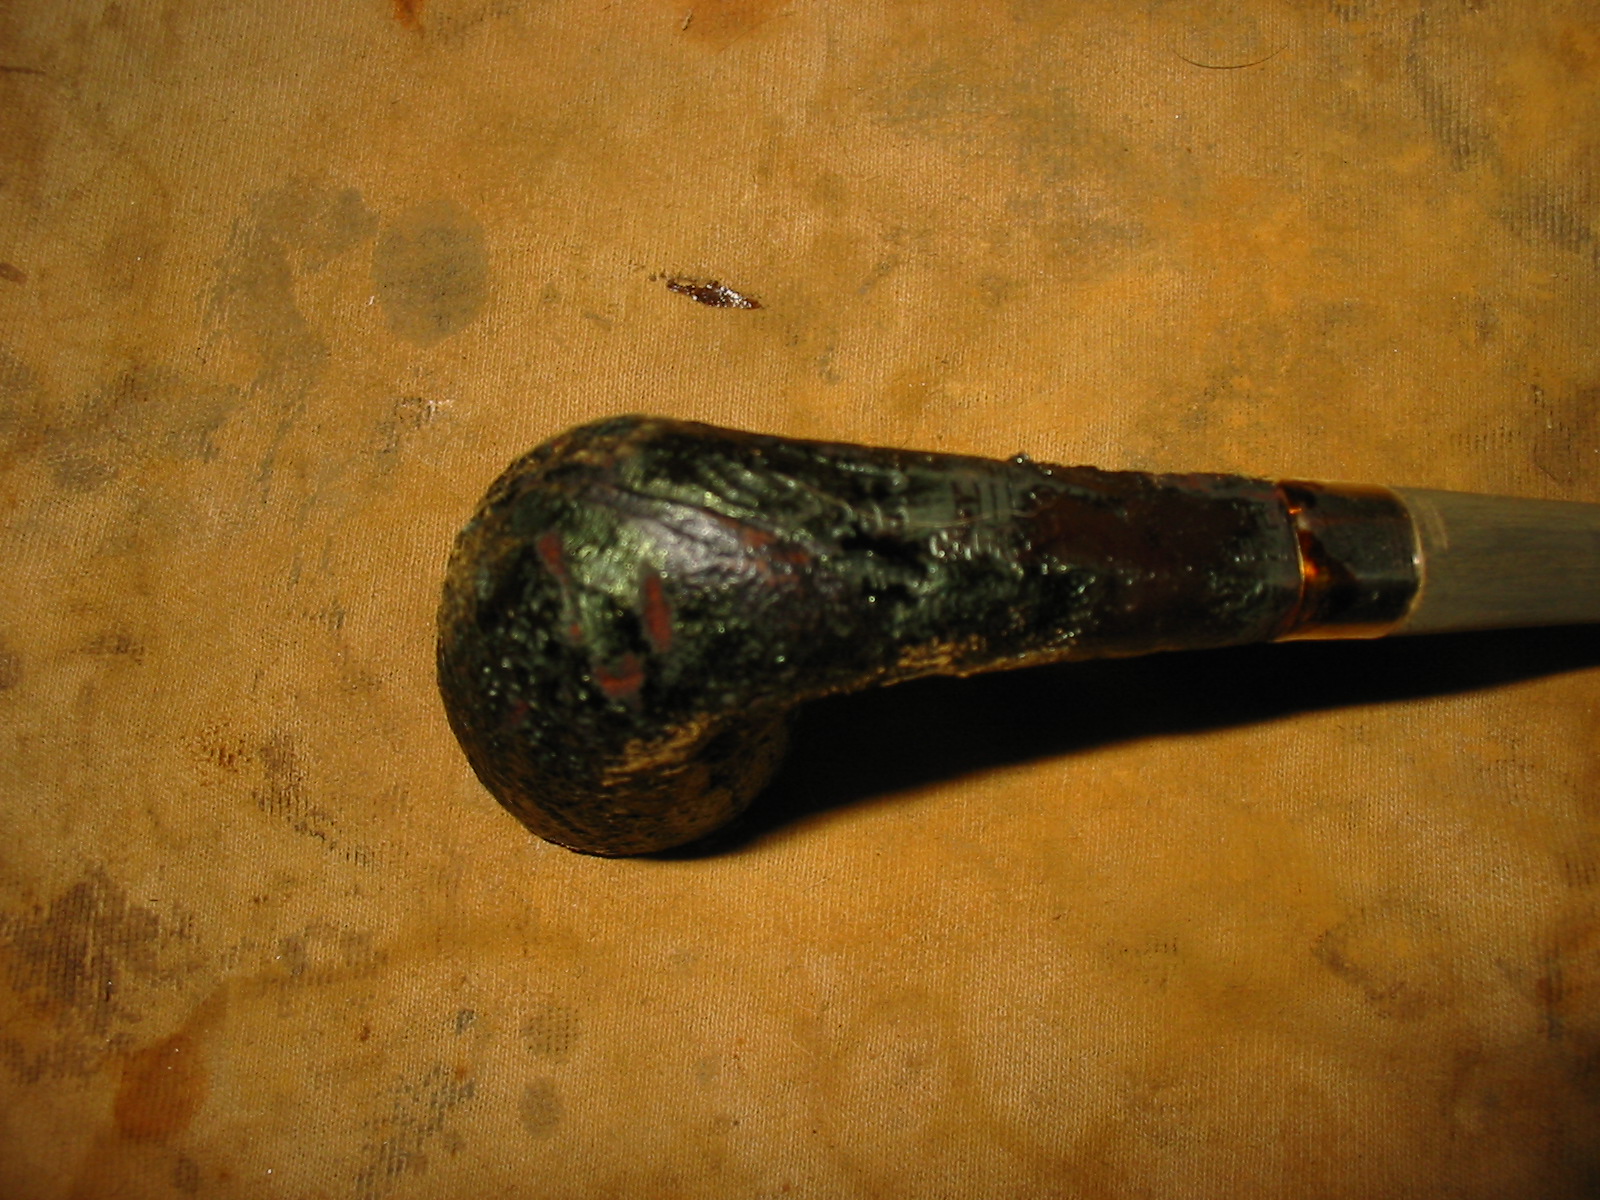
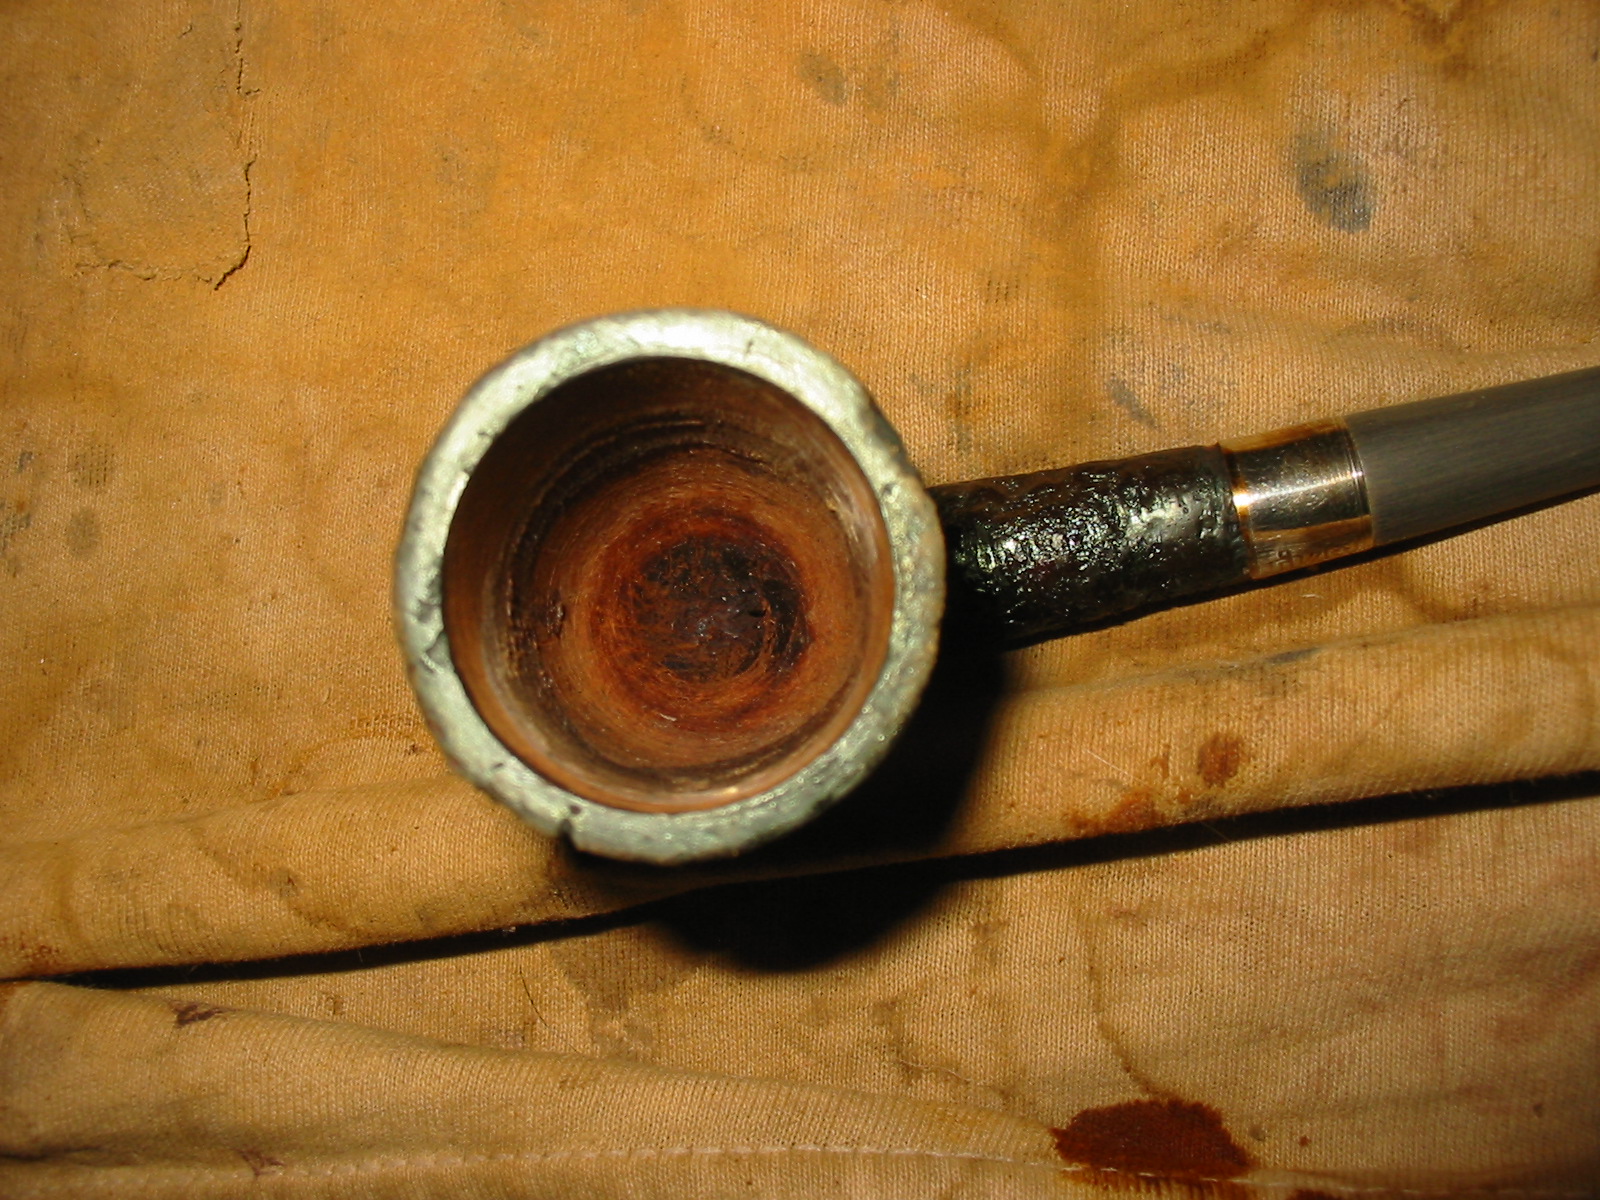
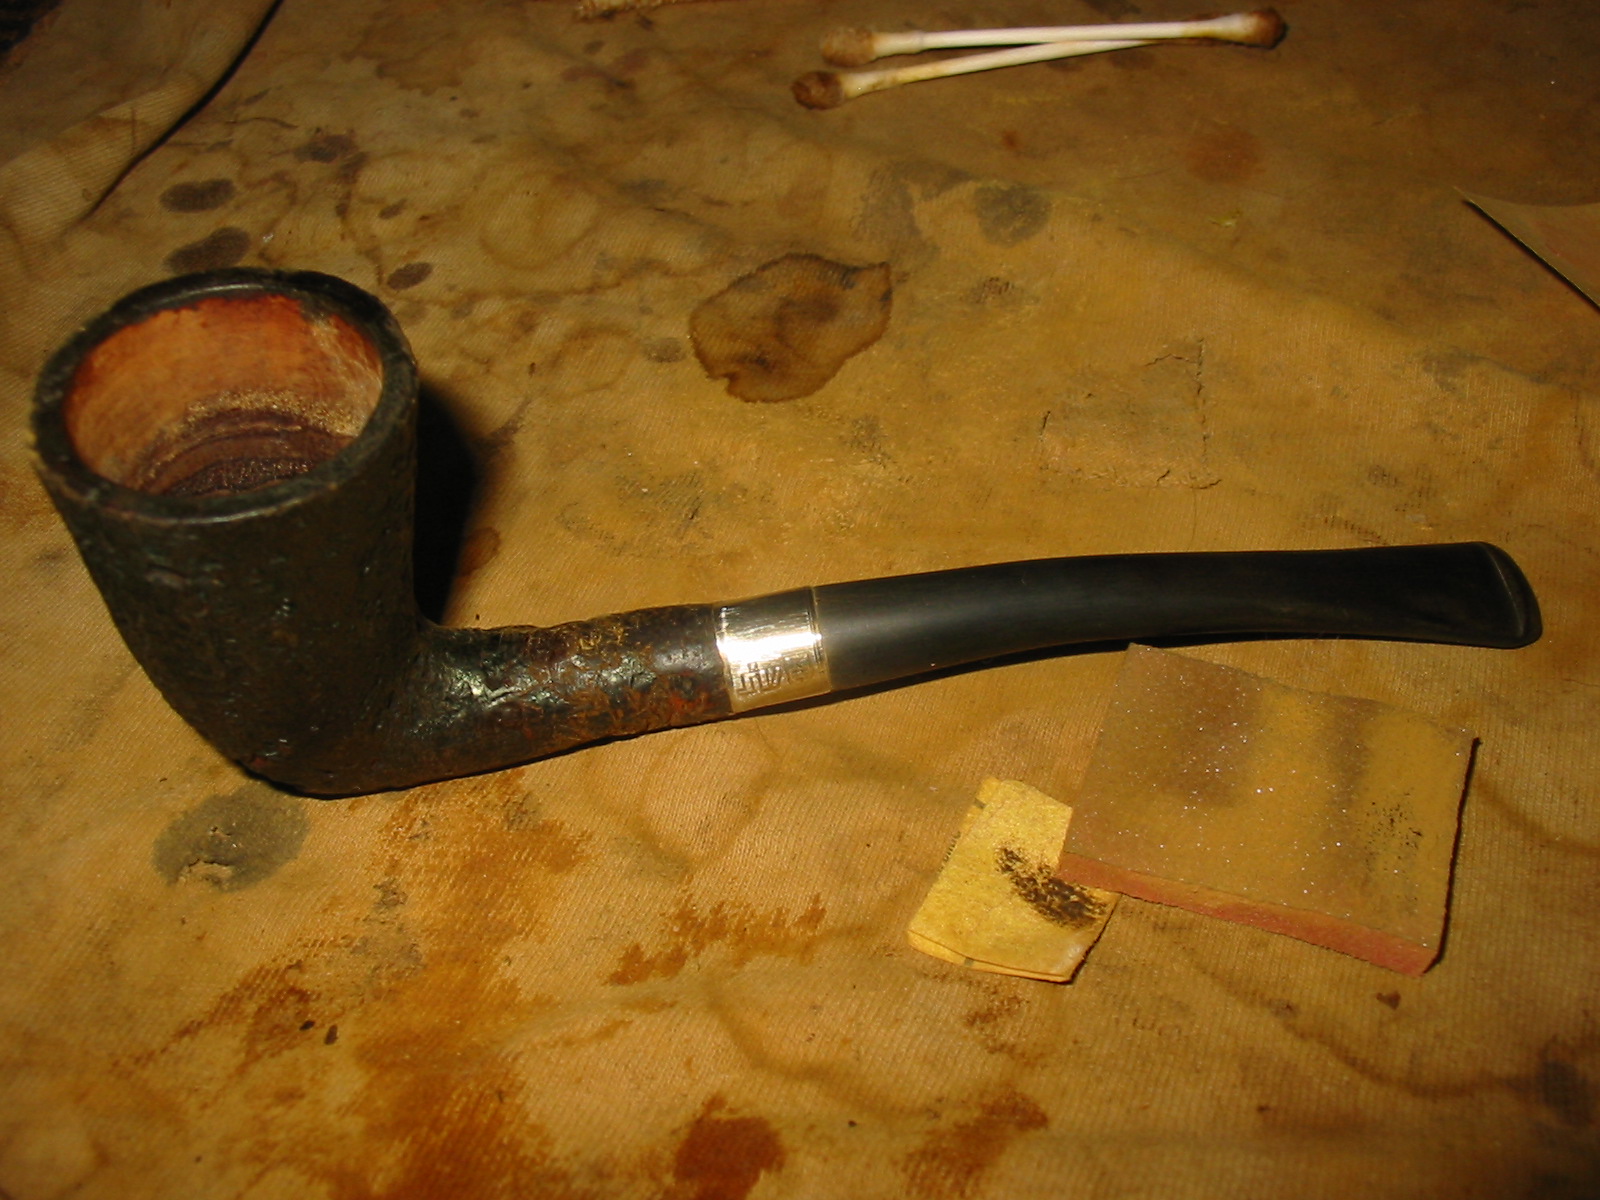
I received this old briar bowl from a friend and decided to see what I could do with it. It was in pretty rough shape. The shank had been damaged and repaired with some kind of epoxy as the gel surface of the crack was hard as rock. The repair was actual the most substantial part of the bowl. The bowl had an amazing deep and craggy blast to it but the finish itself was worn. Fortunately the wear was not deep and the cragginess was not too badly affected. The rim was smooth but the edges were slightly worn. The bottom of the exterior of the bowl showed the most nicks and damage to the finish. There were marks from looked to be a band on the shank. The inside of the bowl was quite clean. Originally it looked as if it had a meerschaum lining and the glue that had held that bowl in place was gone and just a small remnant of the glue was on the interior walls of the bowl. The bottom of the bowl was stained with tobacco so evidently the meerschaum lining must have crack and seepage darkened the bottom of the bowl.


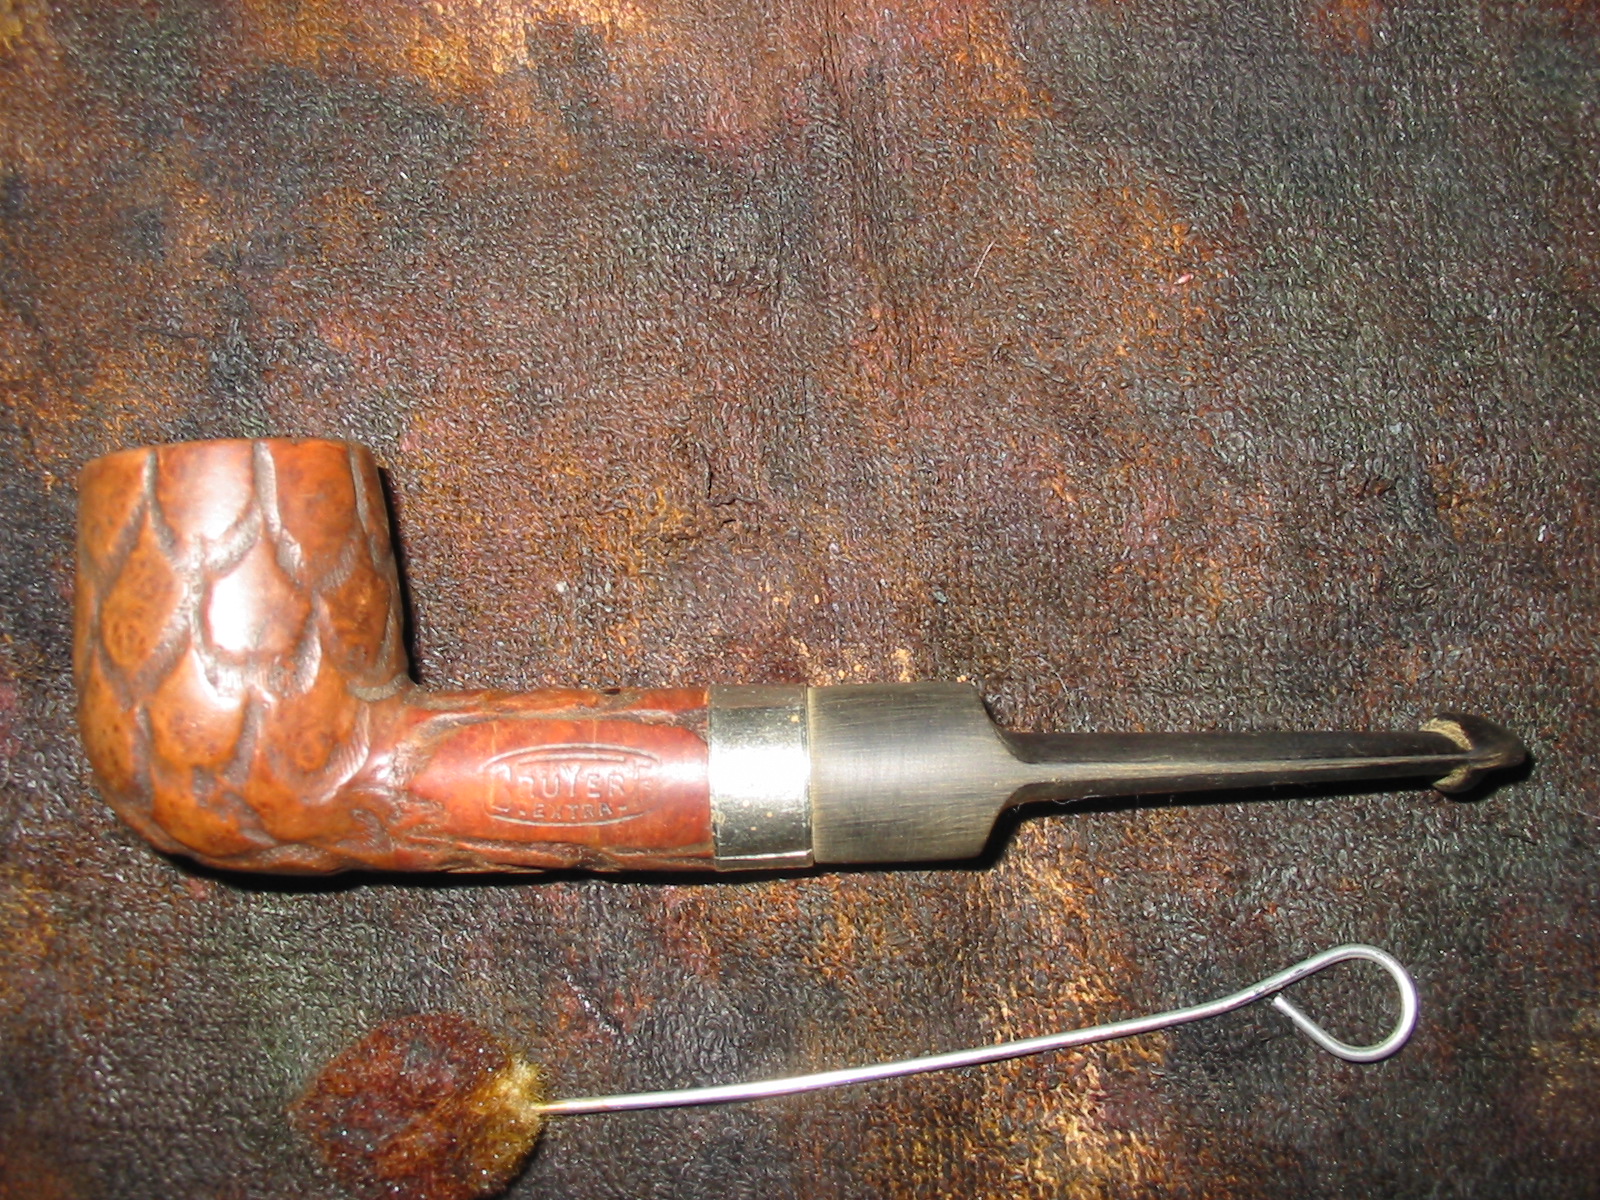
I cleaned out the inside of the bowl with cotton swabs and isopropyl alcohol. Once I had it clean I worked on the resin on the shank repair. I sanded it until it was flush with the surface of the rest of the shank so that it did not bulge. I continually checked to see if I was weakening the repair but the shank was solid. I used the dental pick and my modified Philips screwdriver rusticator to rusticate the area around the resin repair. I also found a band in my box that fit the shank perfectly and pressed it into place. The band was more for bling than as the shank was not cracked or damaged. I also went through my stem can and found a stem that fit the diameter of the shank, turned it with the PIMO tenon turning tool and fit is in place. It would need to be reduced slightly in diameter to fit well with the band. I wiped down the bowl and shank with isopropyl alcohol on a cotton pad. I did not want to chance acetone as I was worried about it dissolving the resin on the shank repair. As I did not know what was used in the repair I did not want to chance further damage.
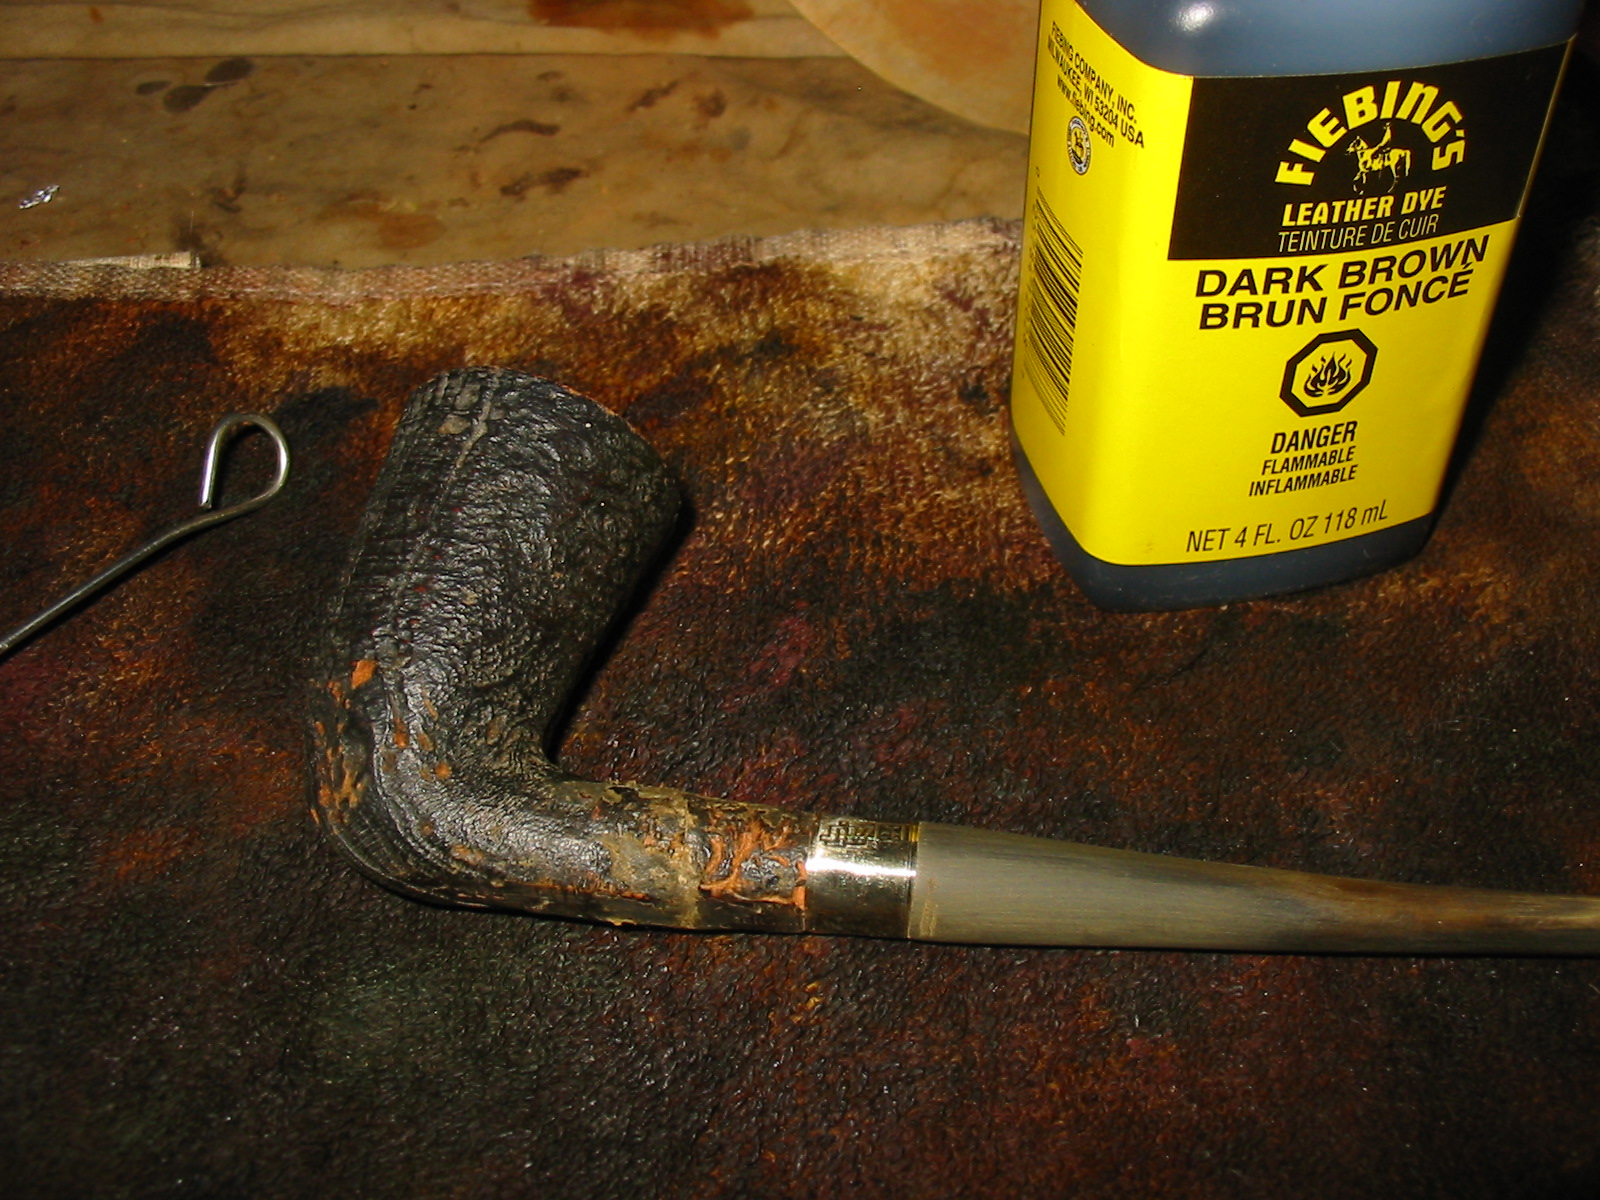
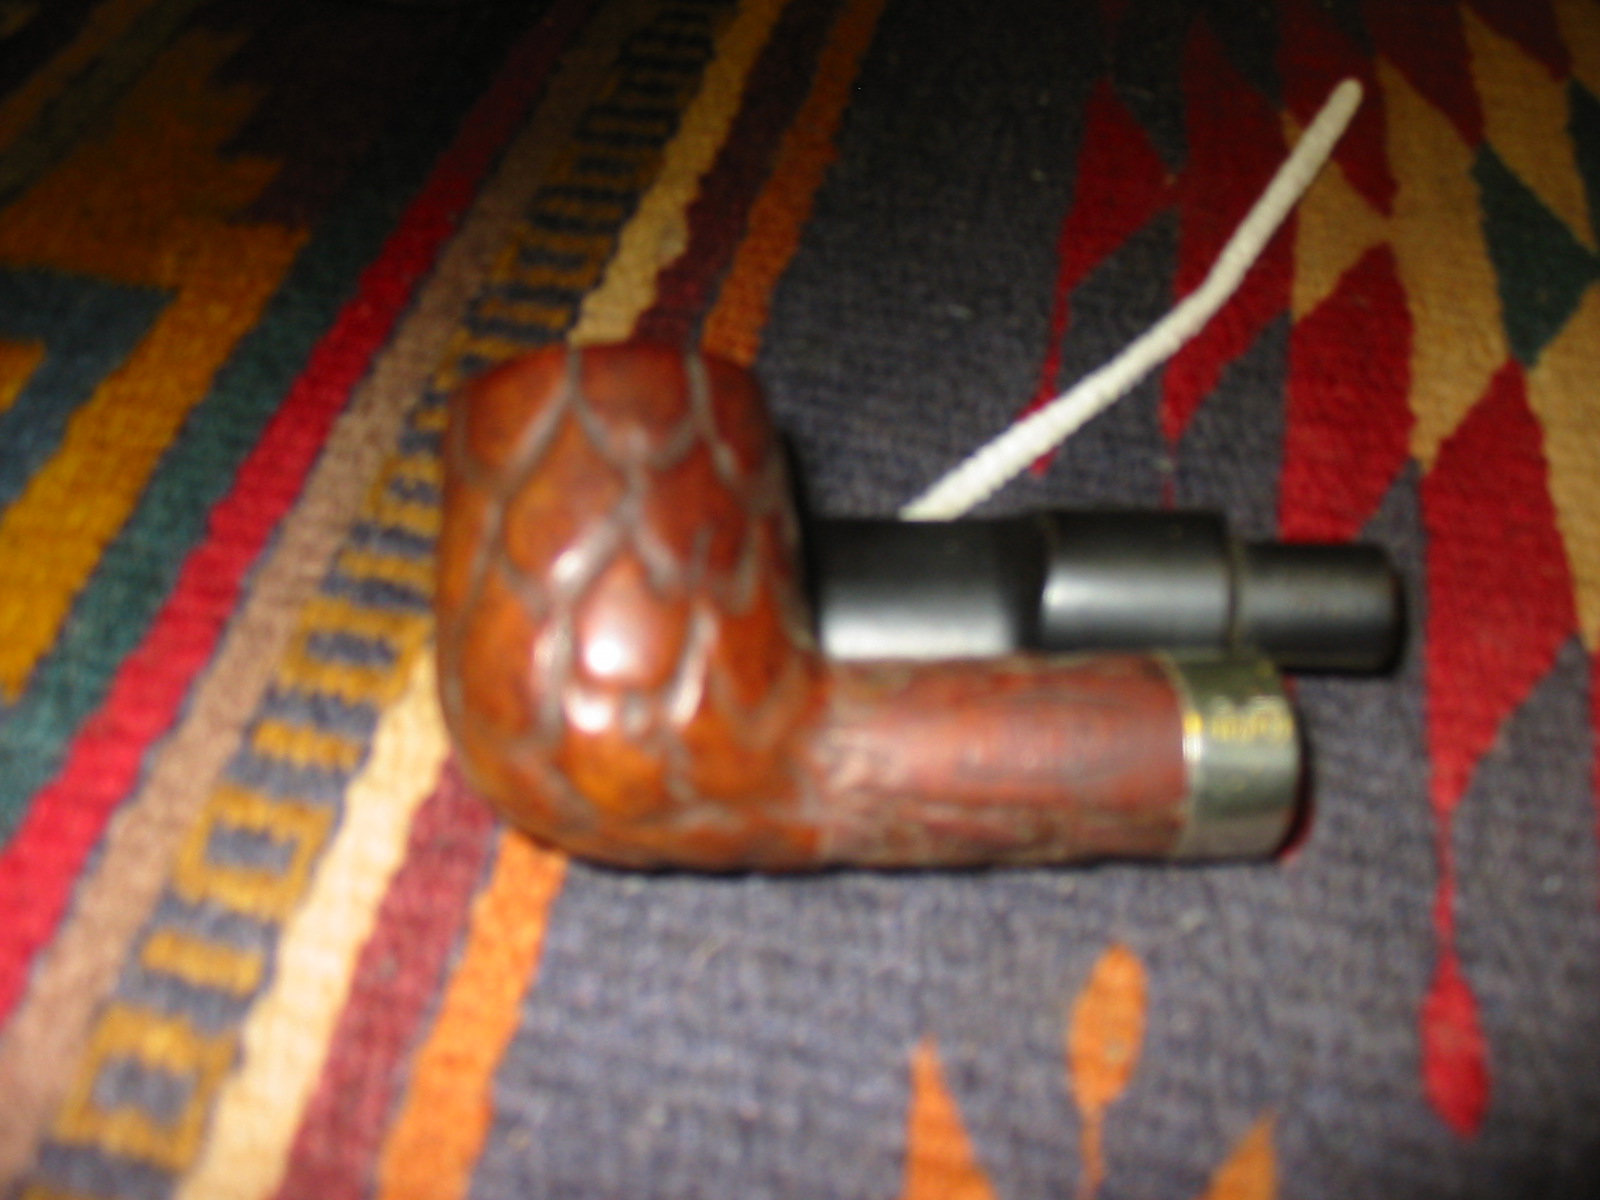
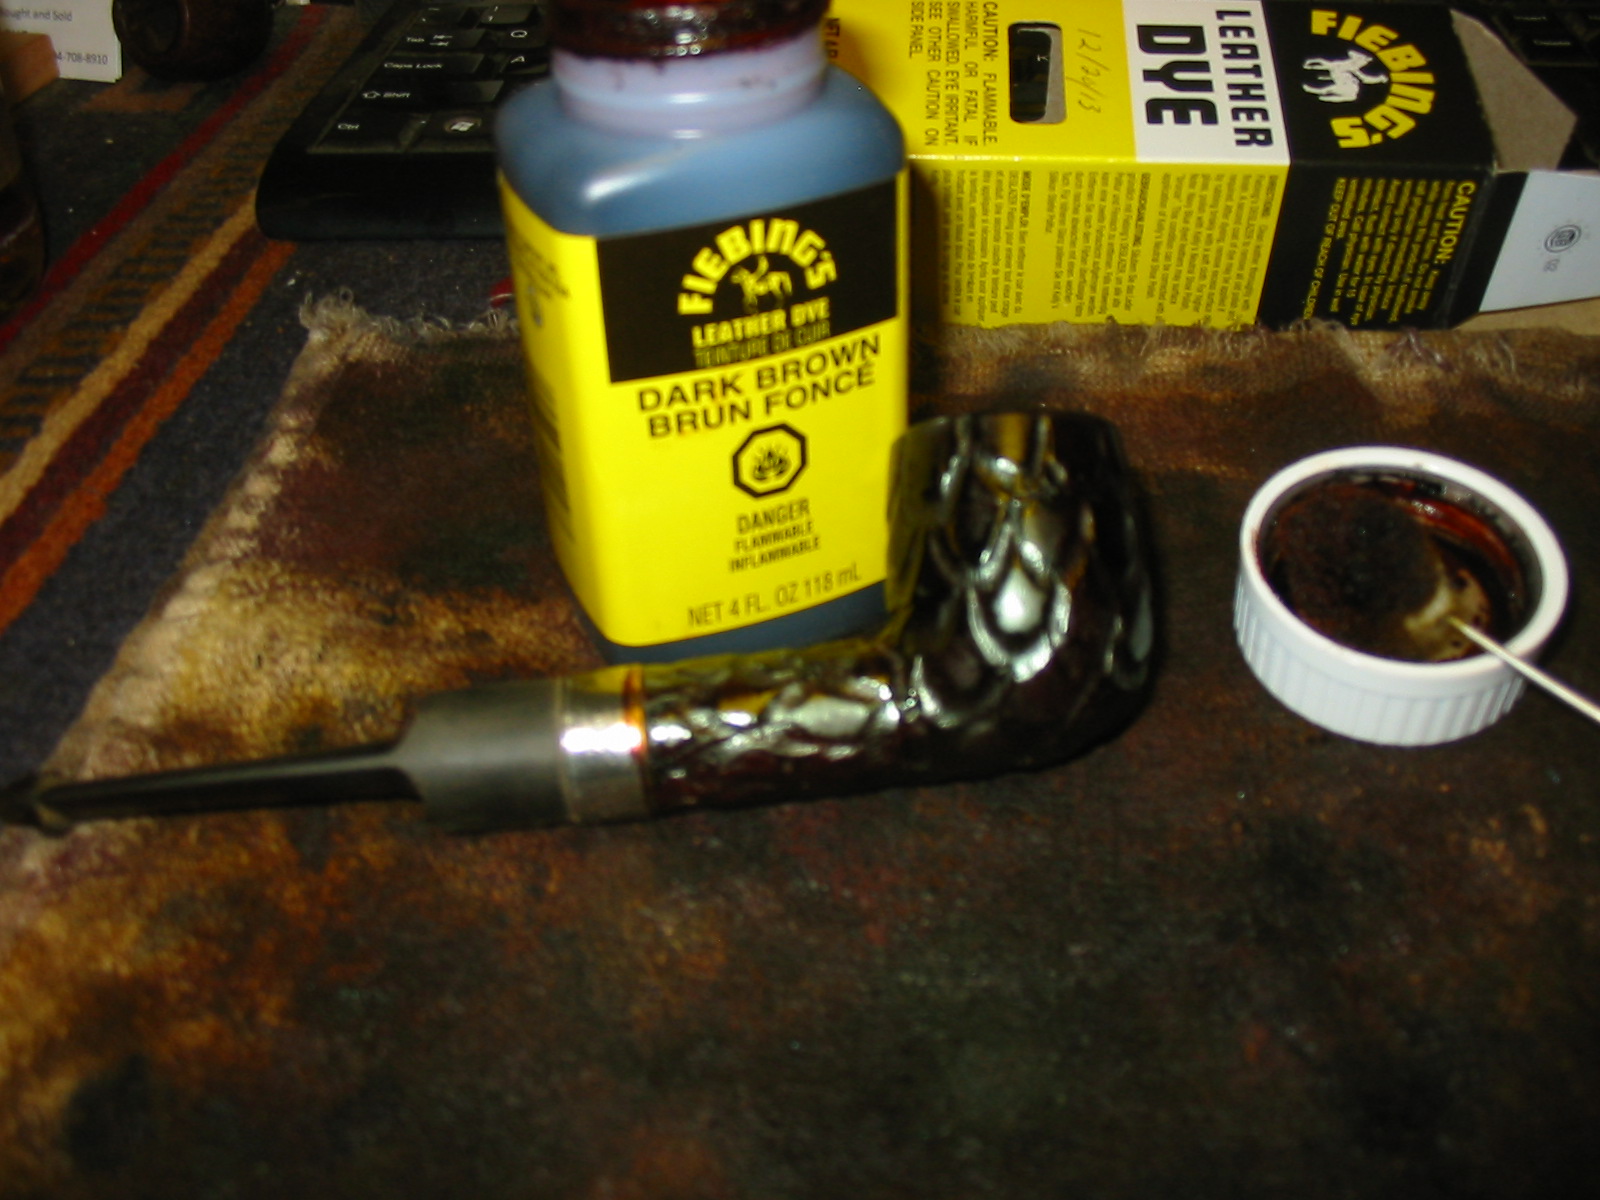
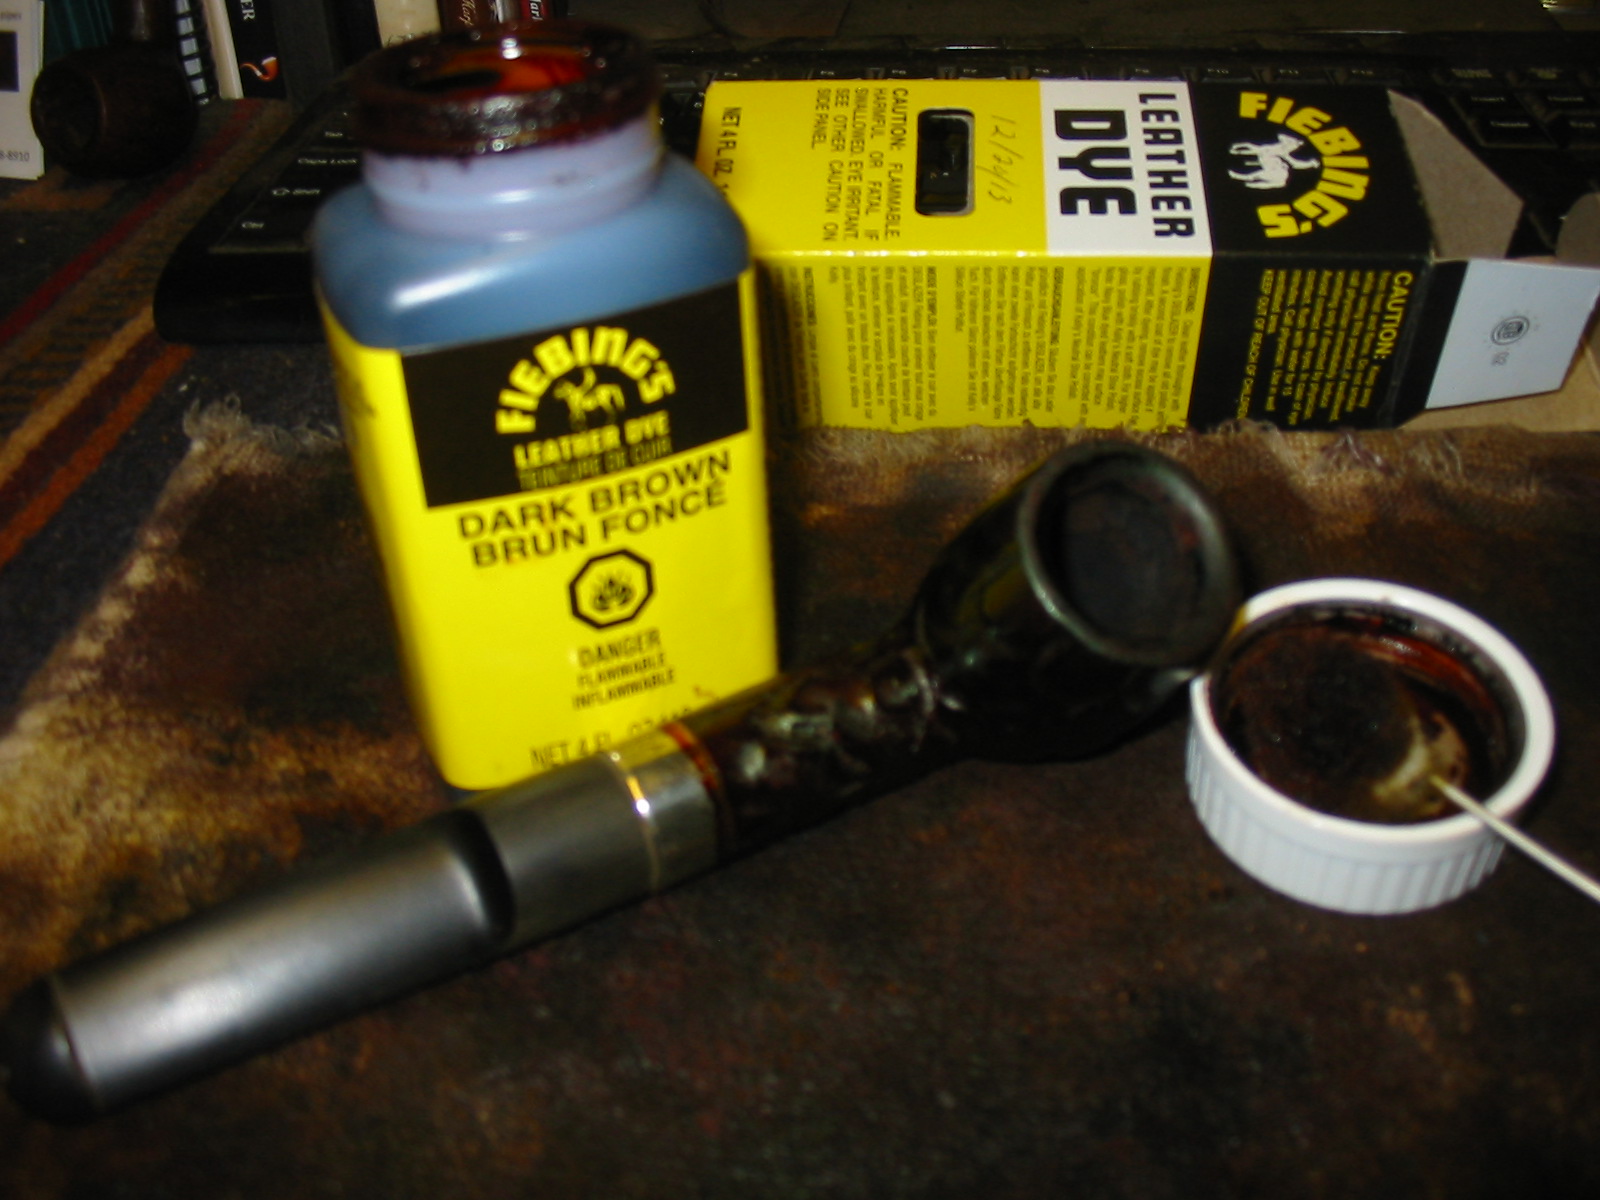
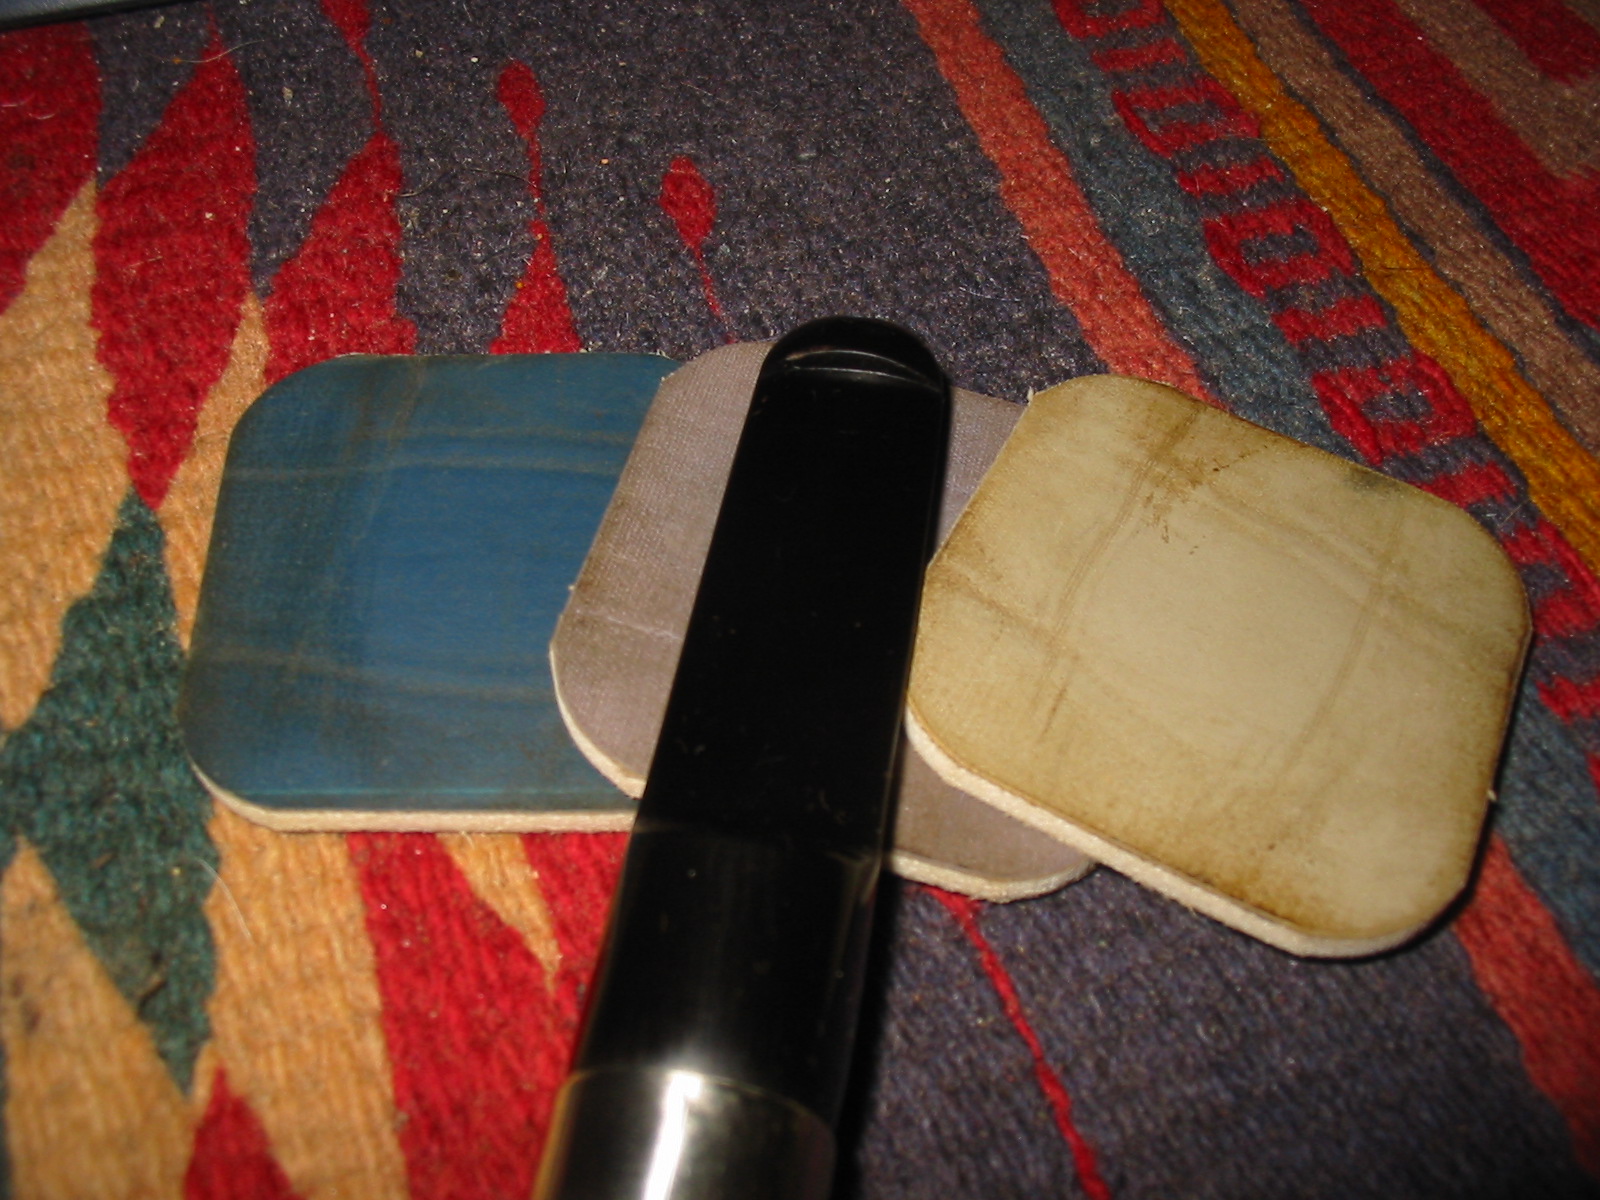
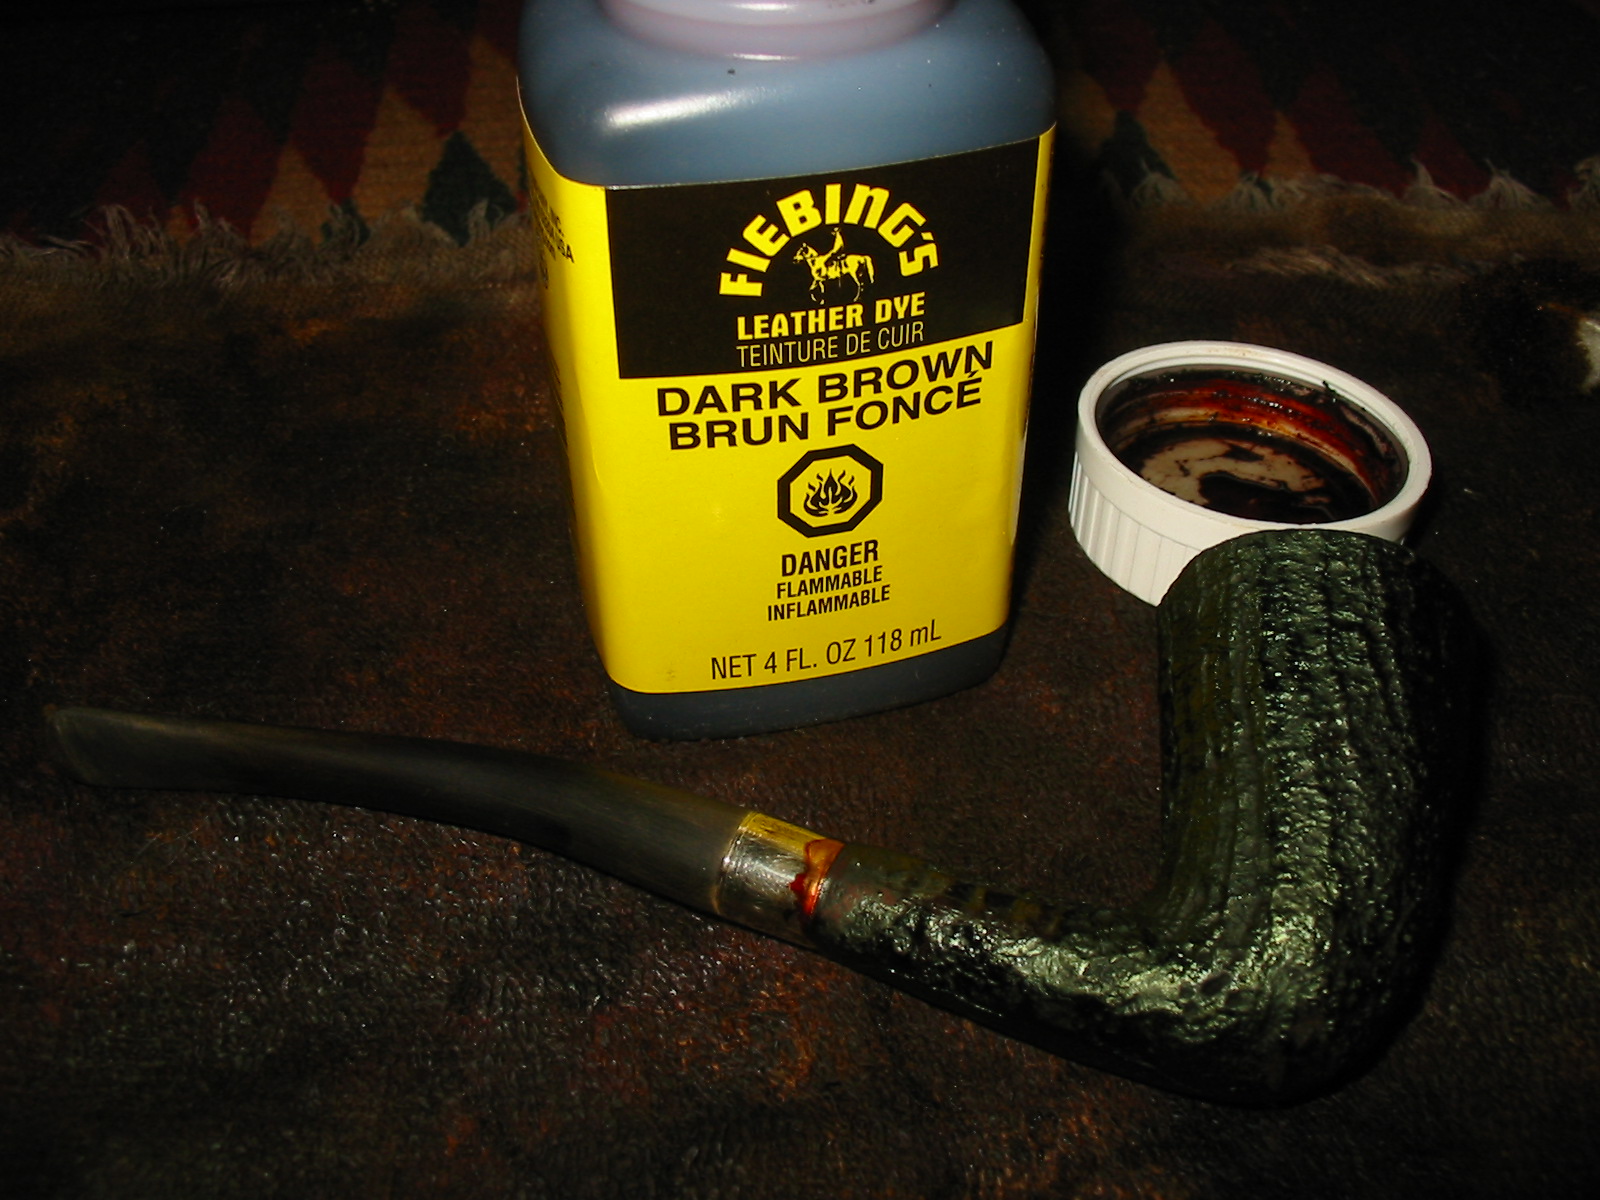
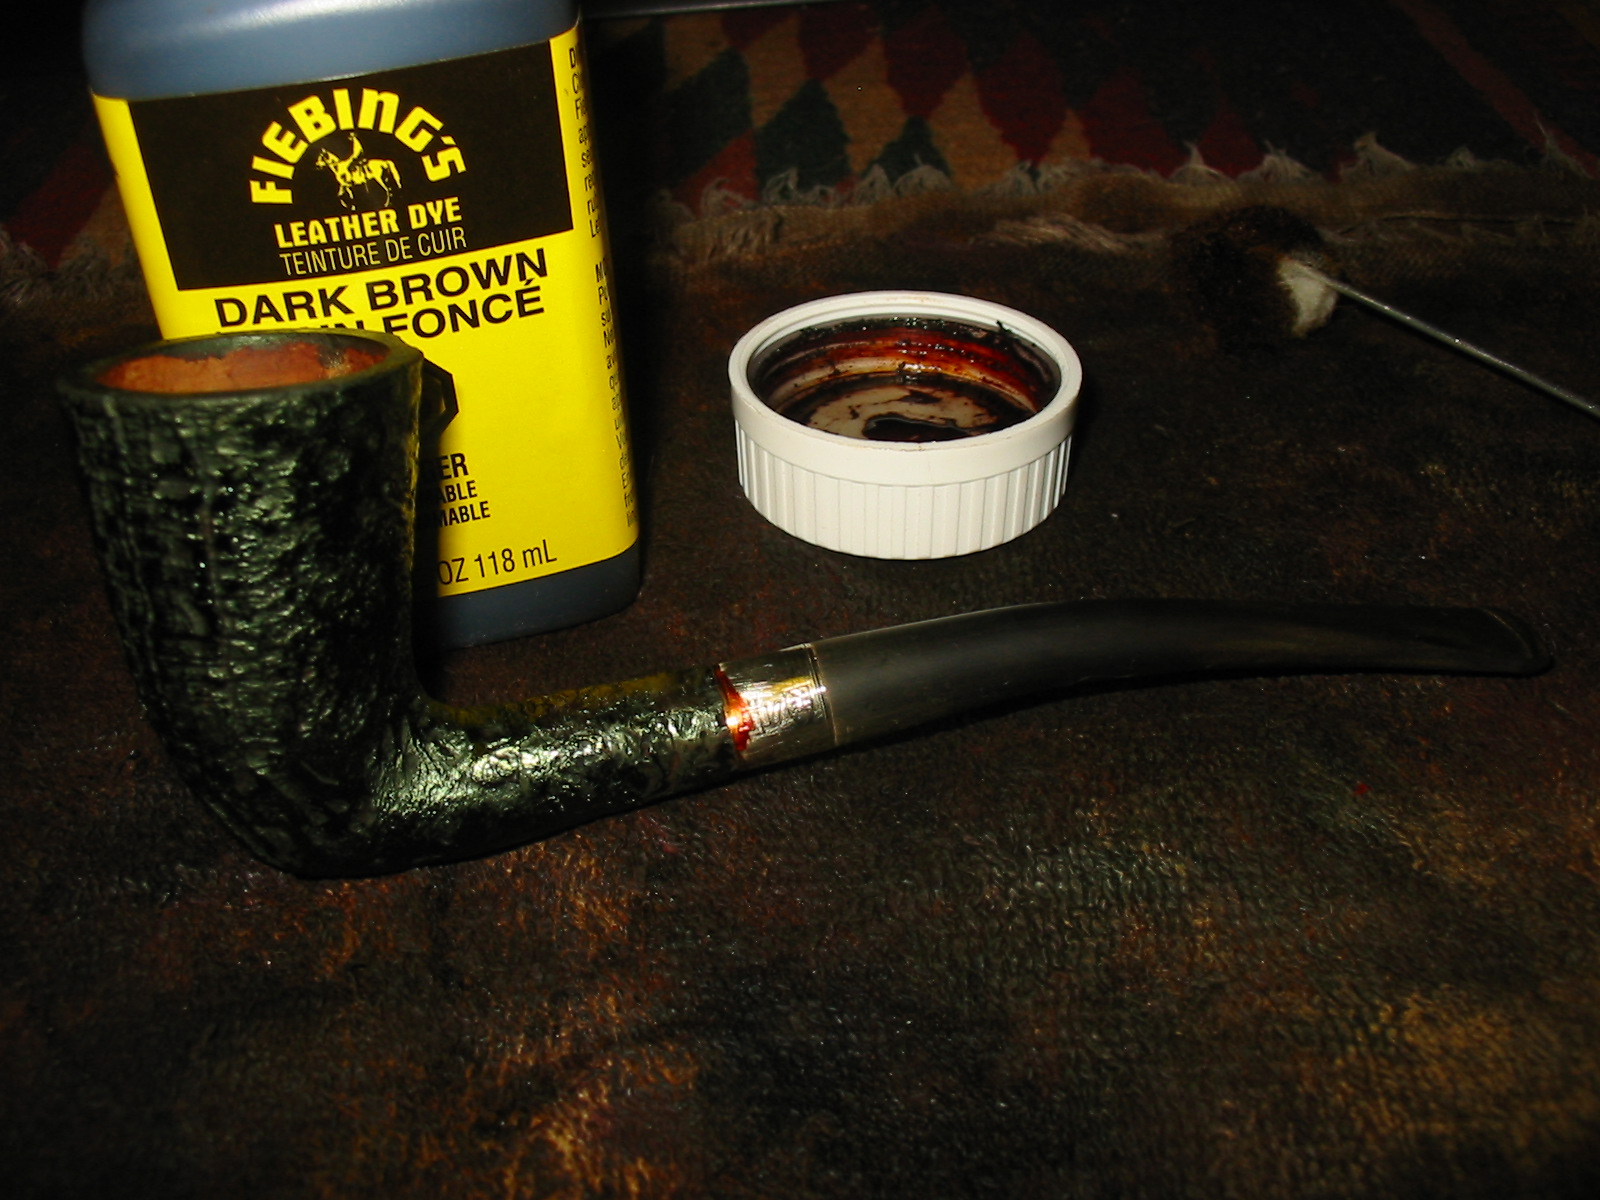
I stained the bowl with a dark brown aniline stain. I applied it, flamed it, applied it again and flamed it again. To get an even coverage on the sandblast finish it would take more than three applications and flamings to make the stain even. The photos below show the bowl after three coats of the stain. It would need to be repeated later in the process to get the rough places stained.

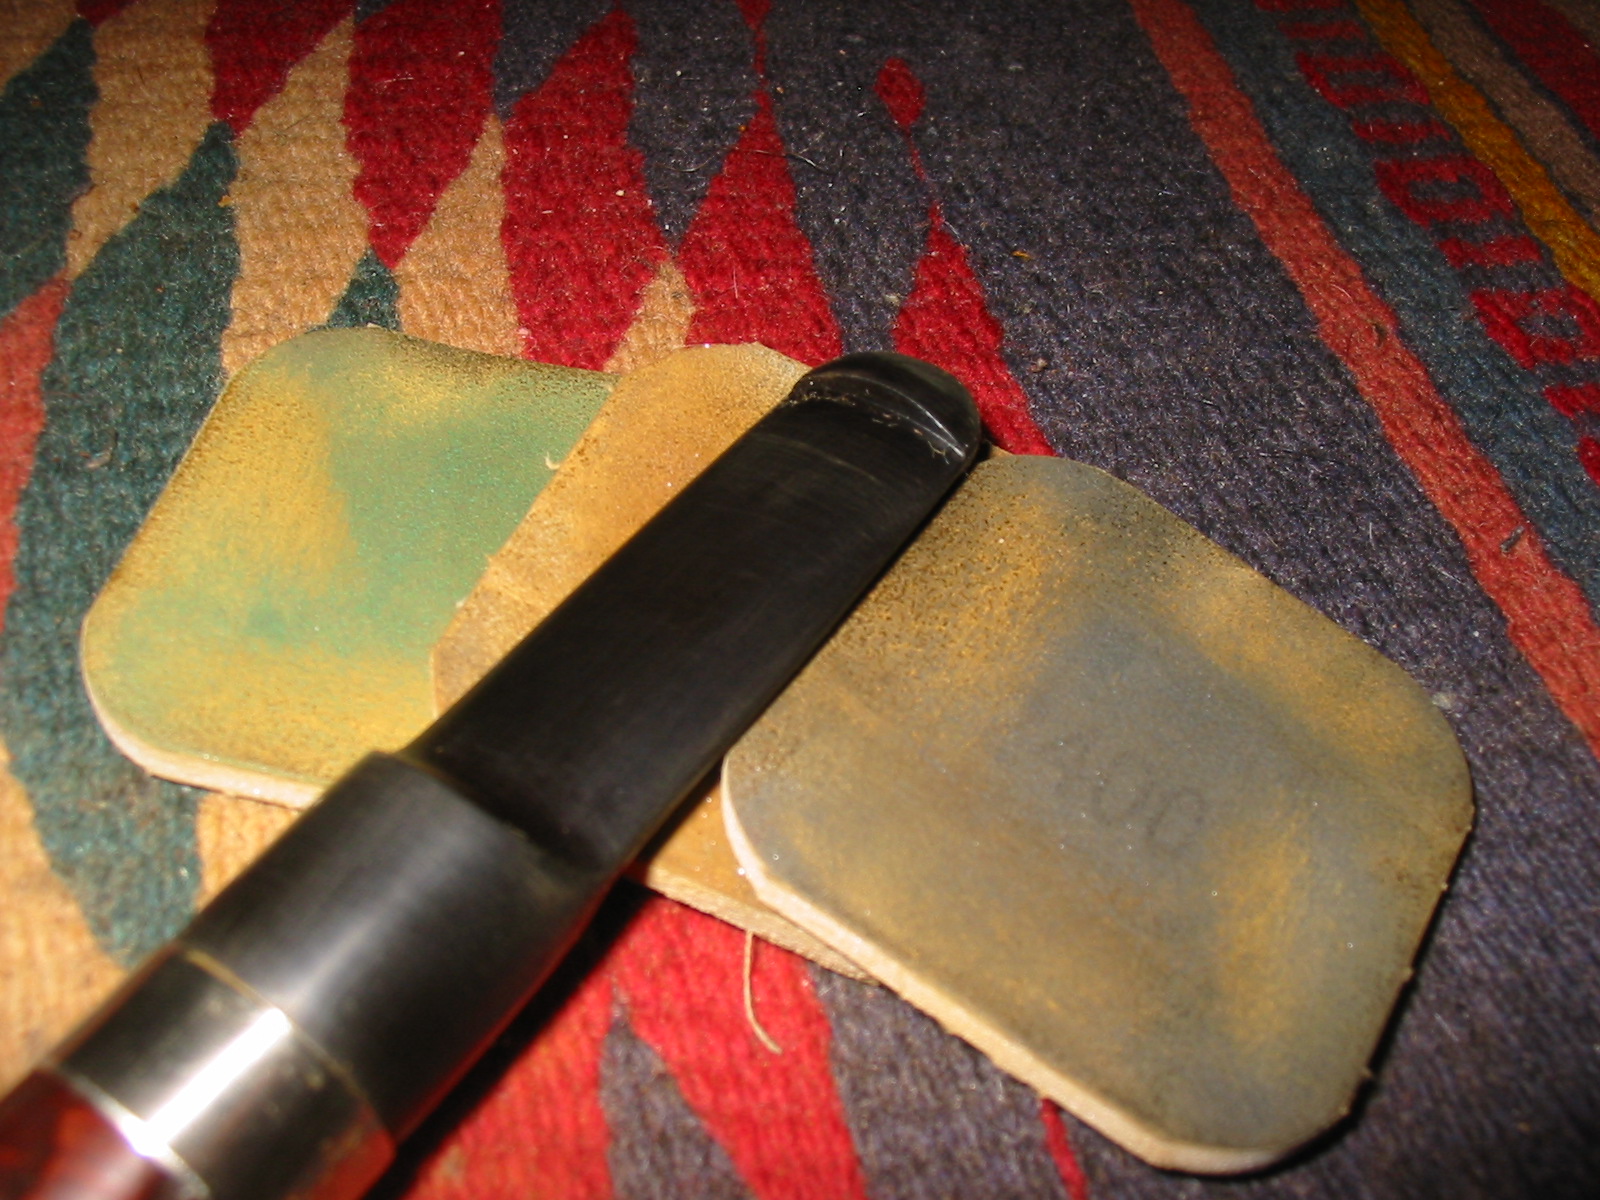
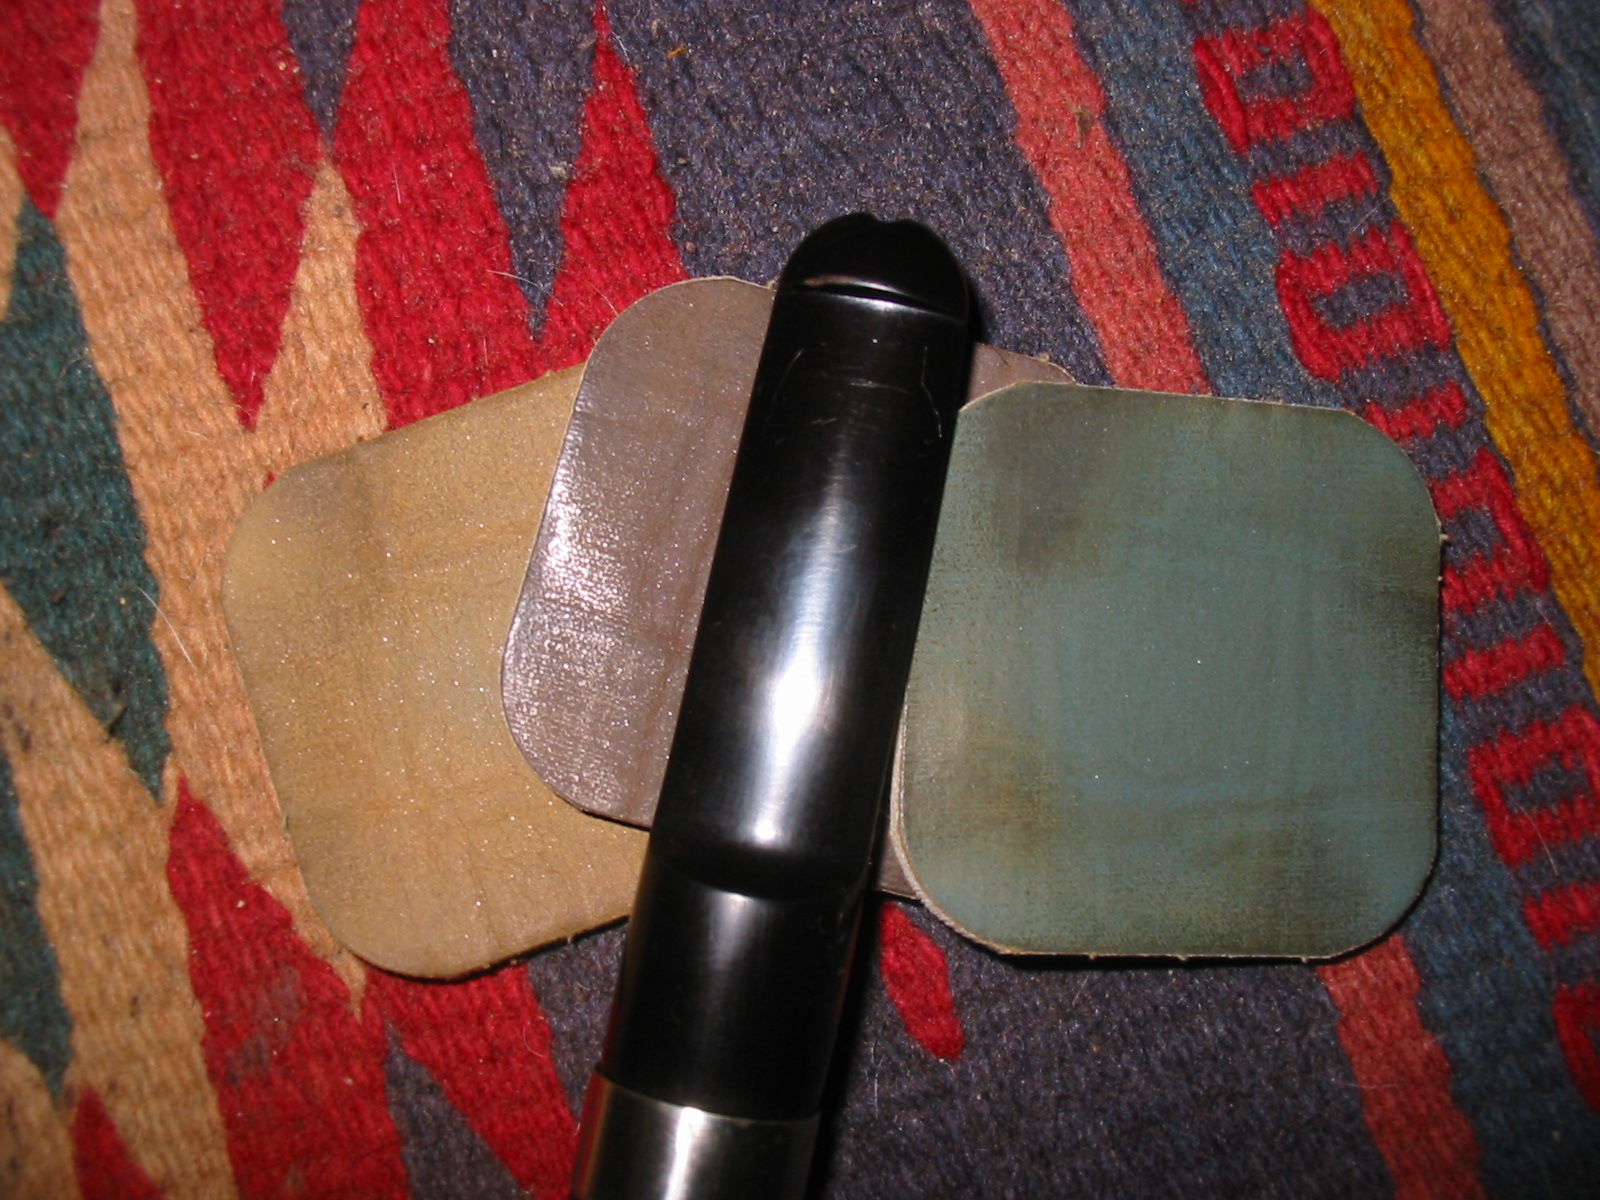
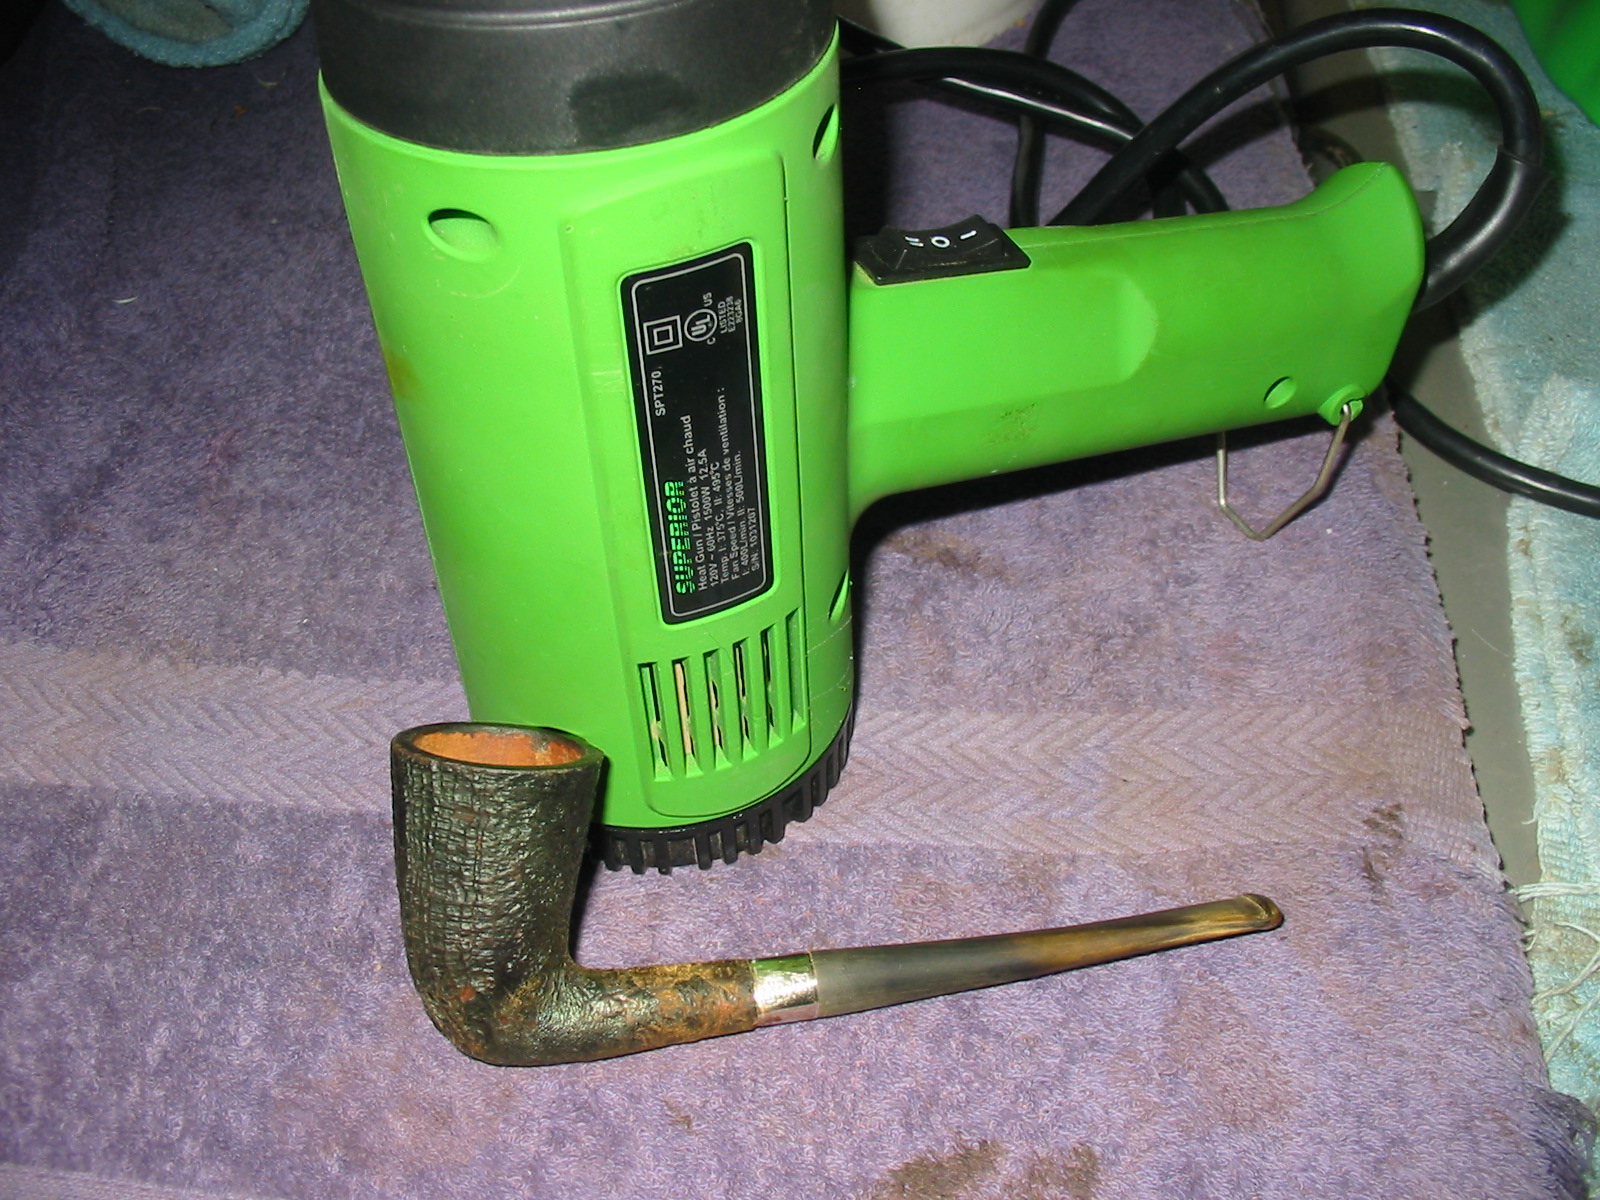
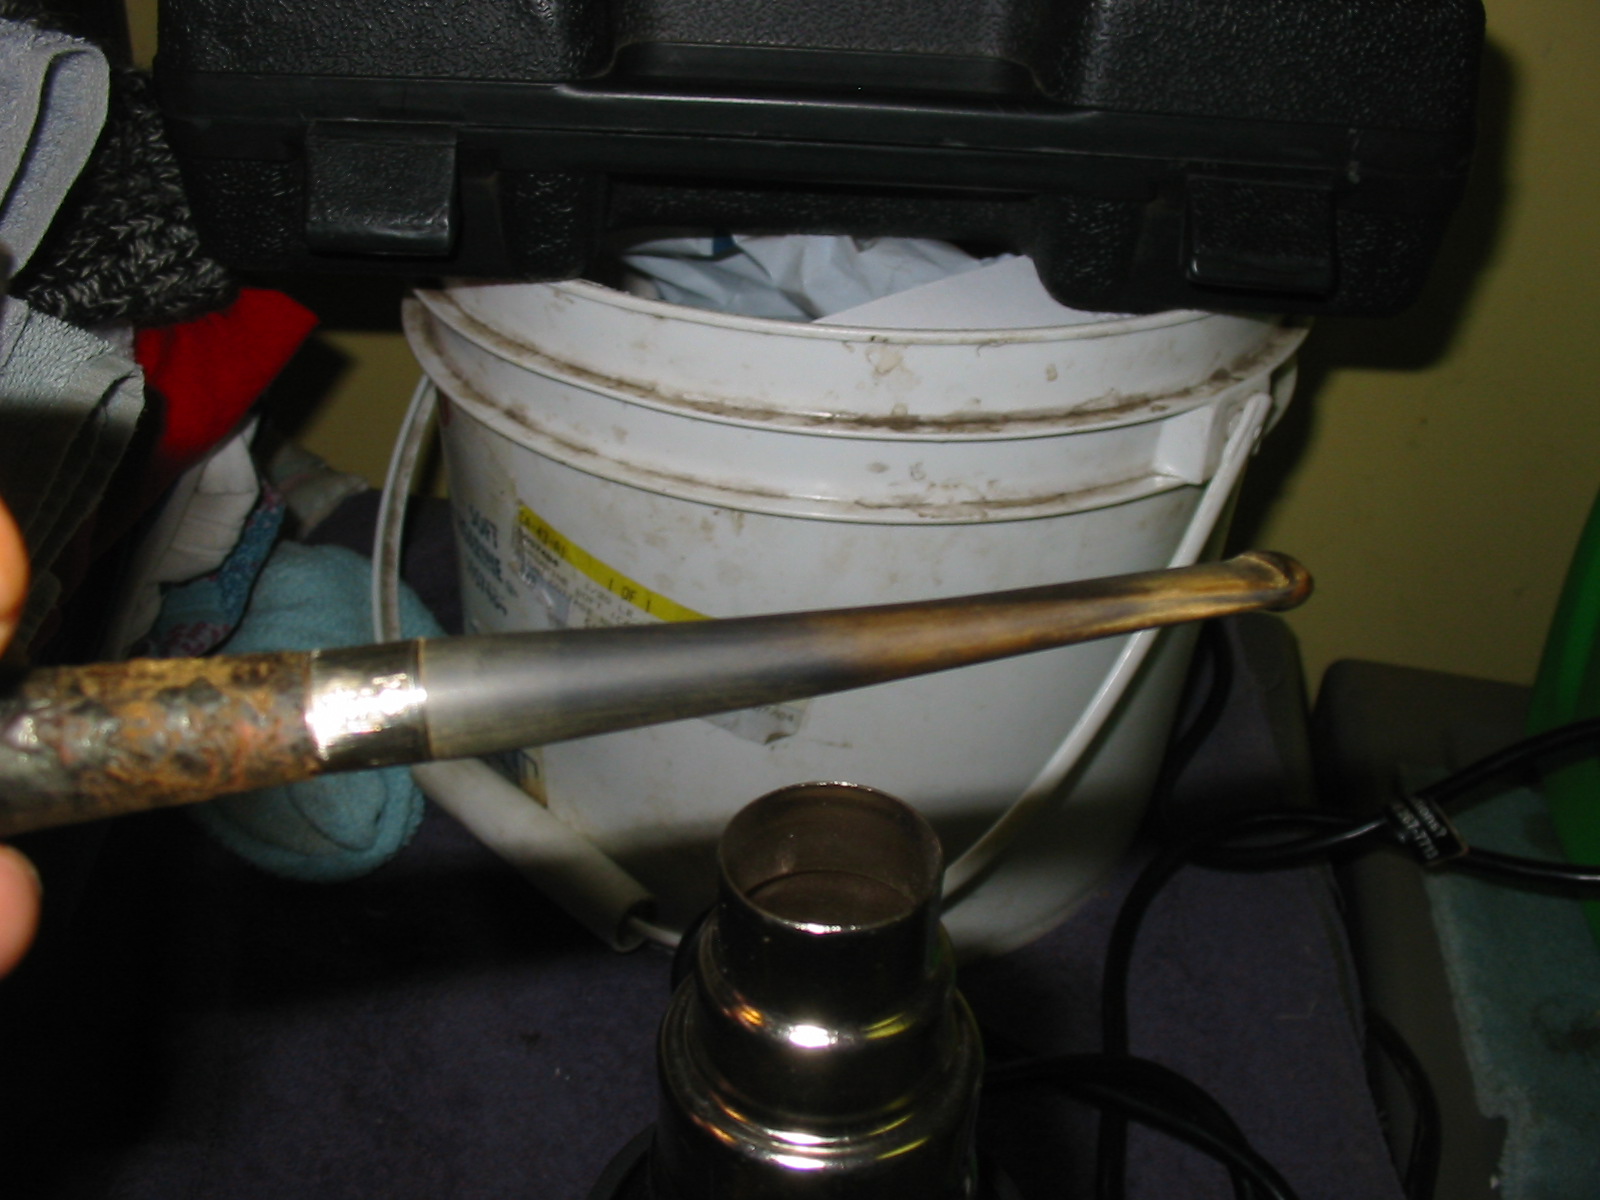
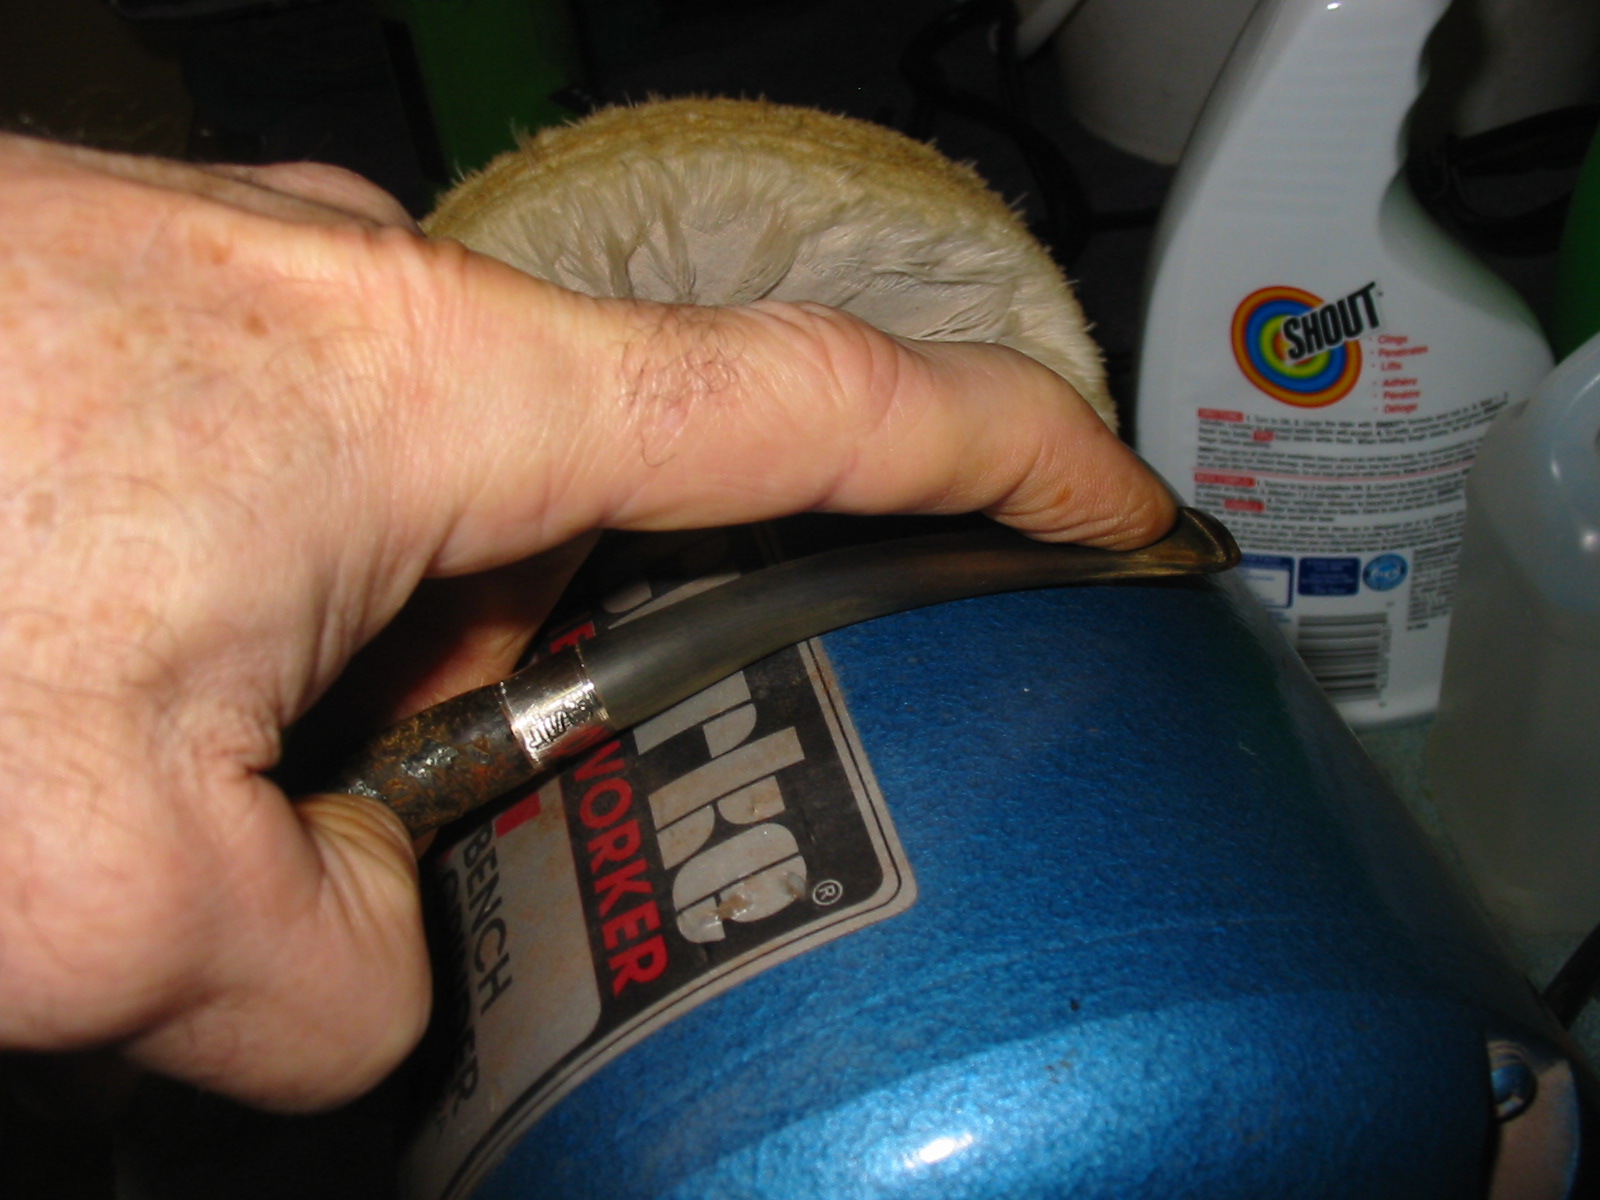
I sanded the stem with 220 grit sandpaper and with a medium and fine grit sanding sponge to make the fit against the band work well. Once the shape and the fit of the stem were correct I used a heat gun to bend the stem to an angle that worked well with the look of this pipe. For the angle I used the curve of my buffer to press the softened stem over. When I had it bent I held it as it cooled and then set the bend with cool water.


After bending I resanded the stem with the sandpaper and sanding sponges. Once the majority of the scratches were gone it would need to be sanded with the micromesh sanding pads but I wanted to do some more work on the bowl and shank before finishing the stem.


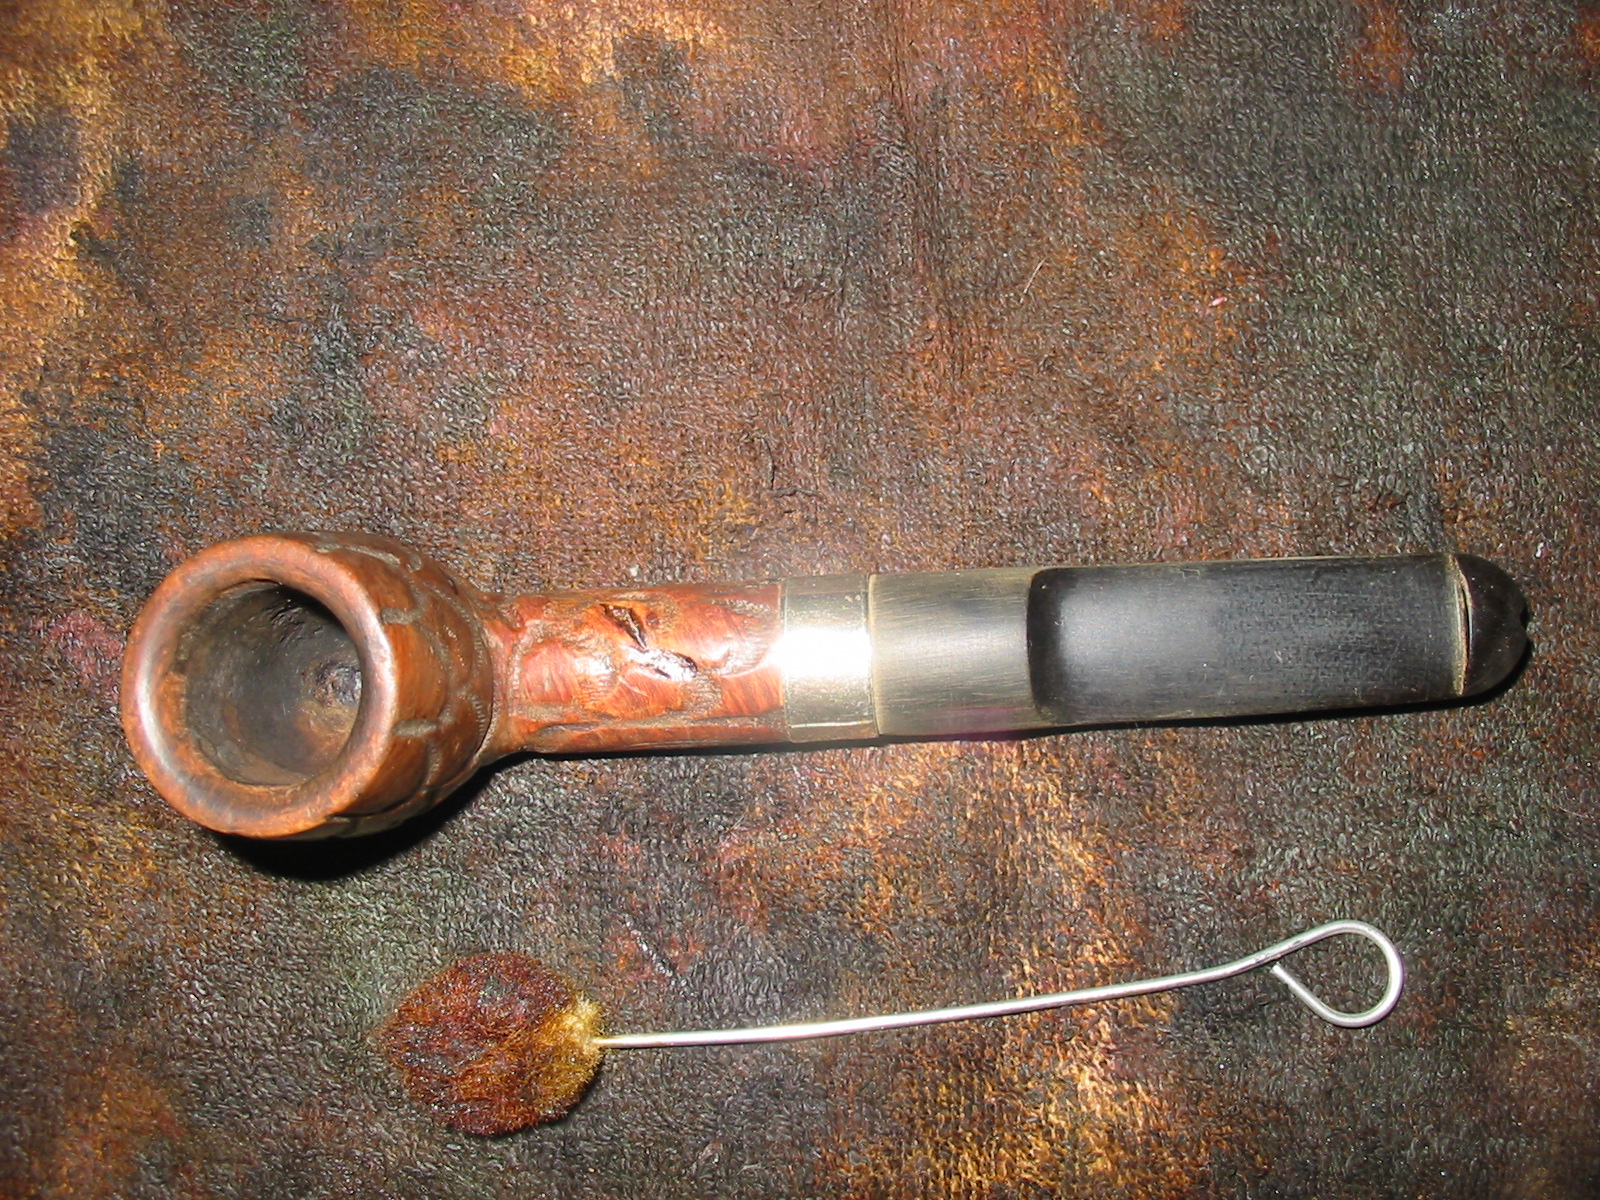
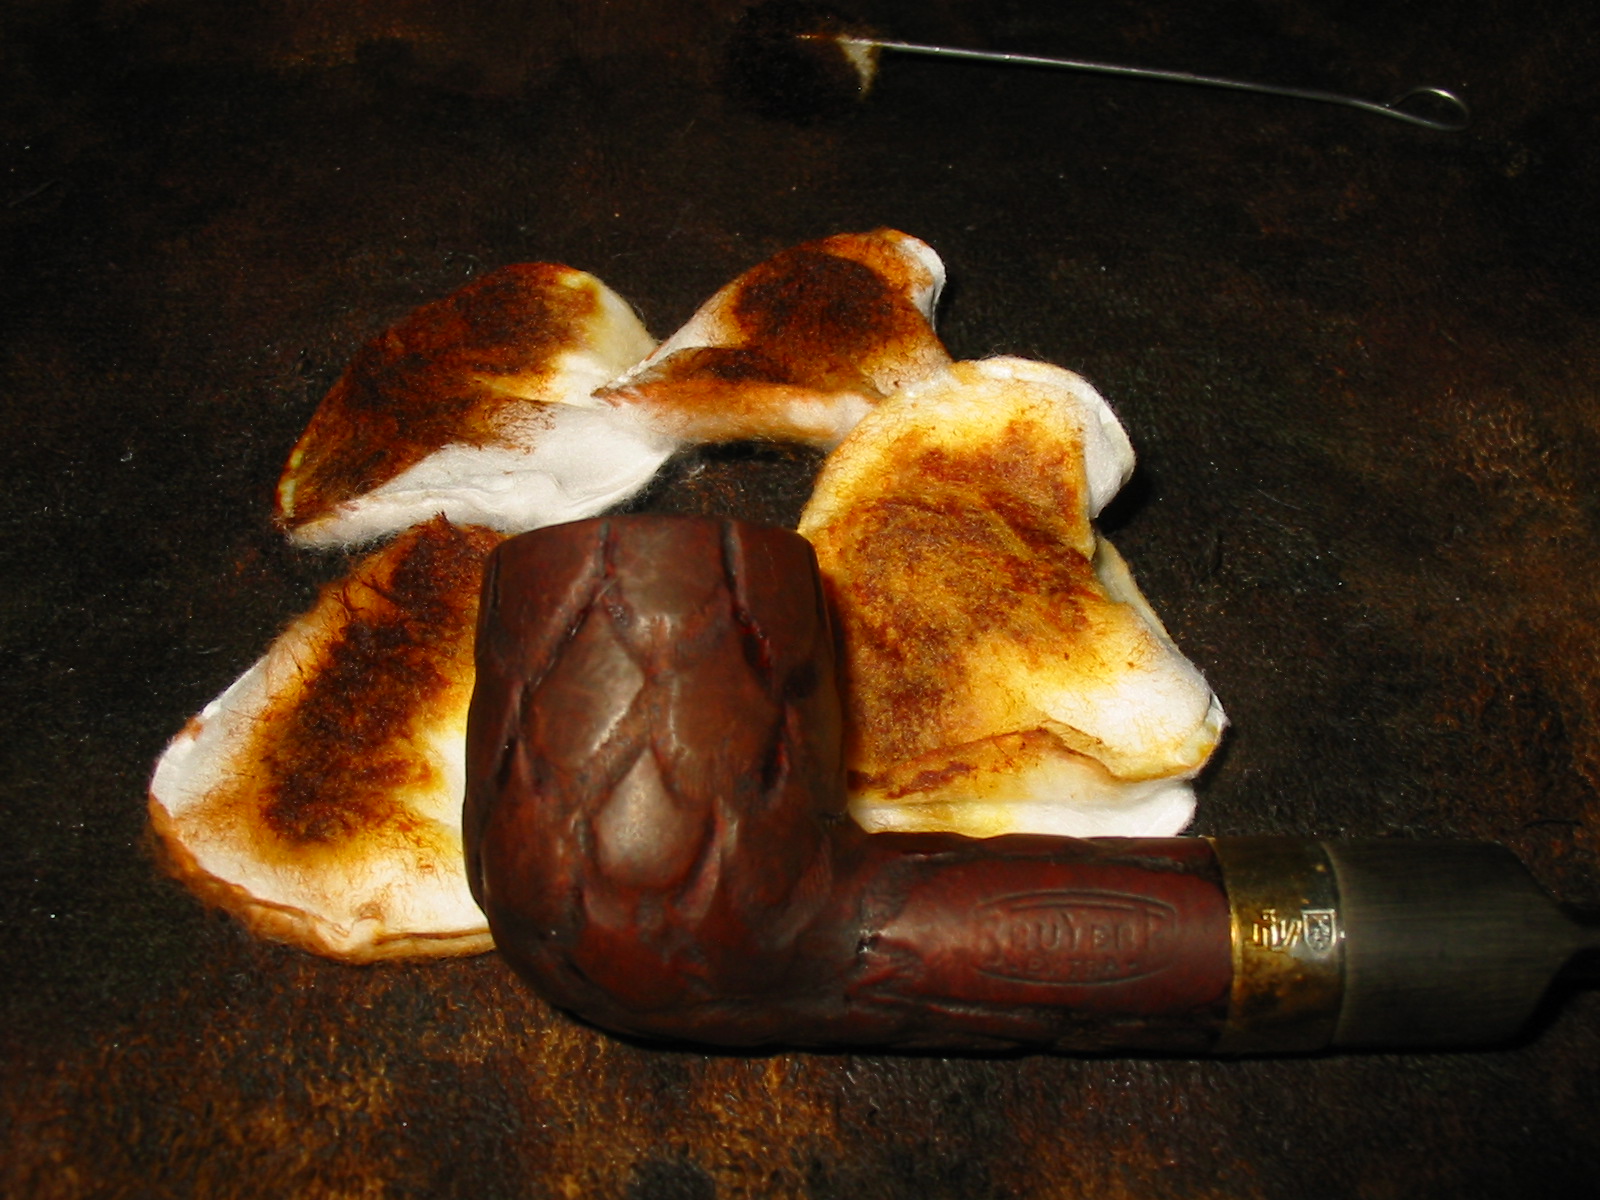
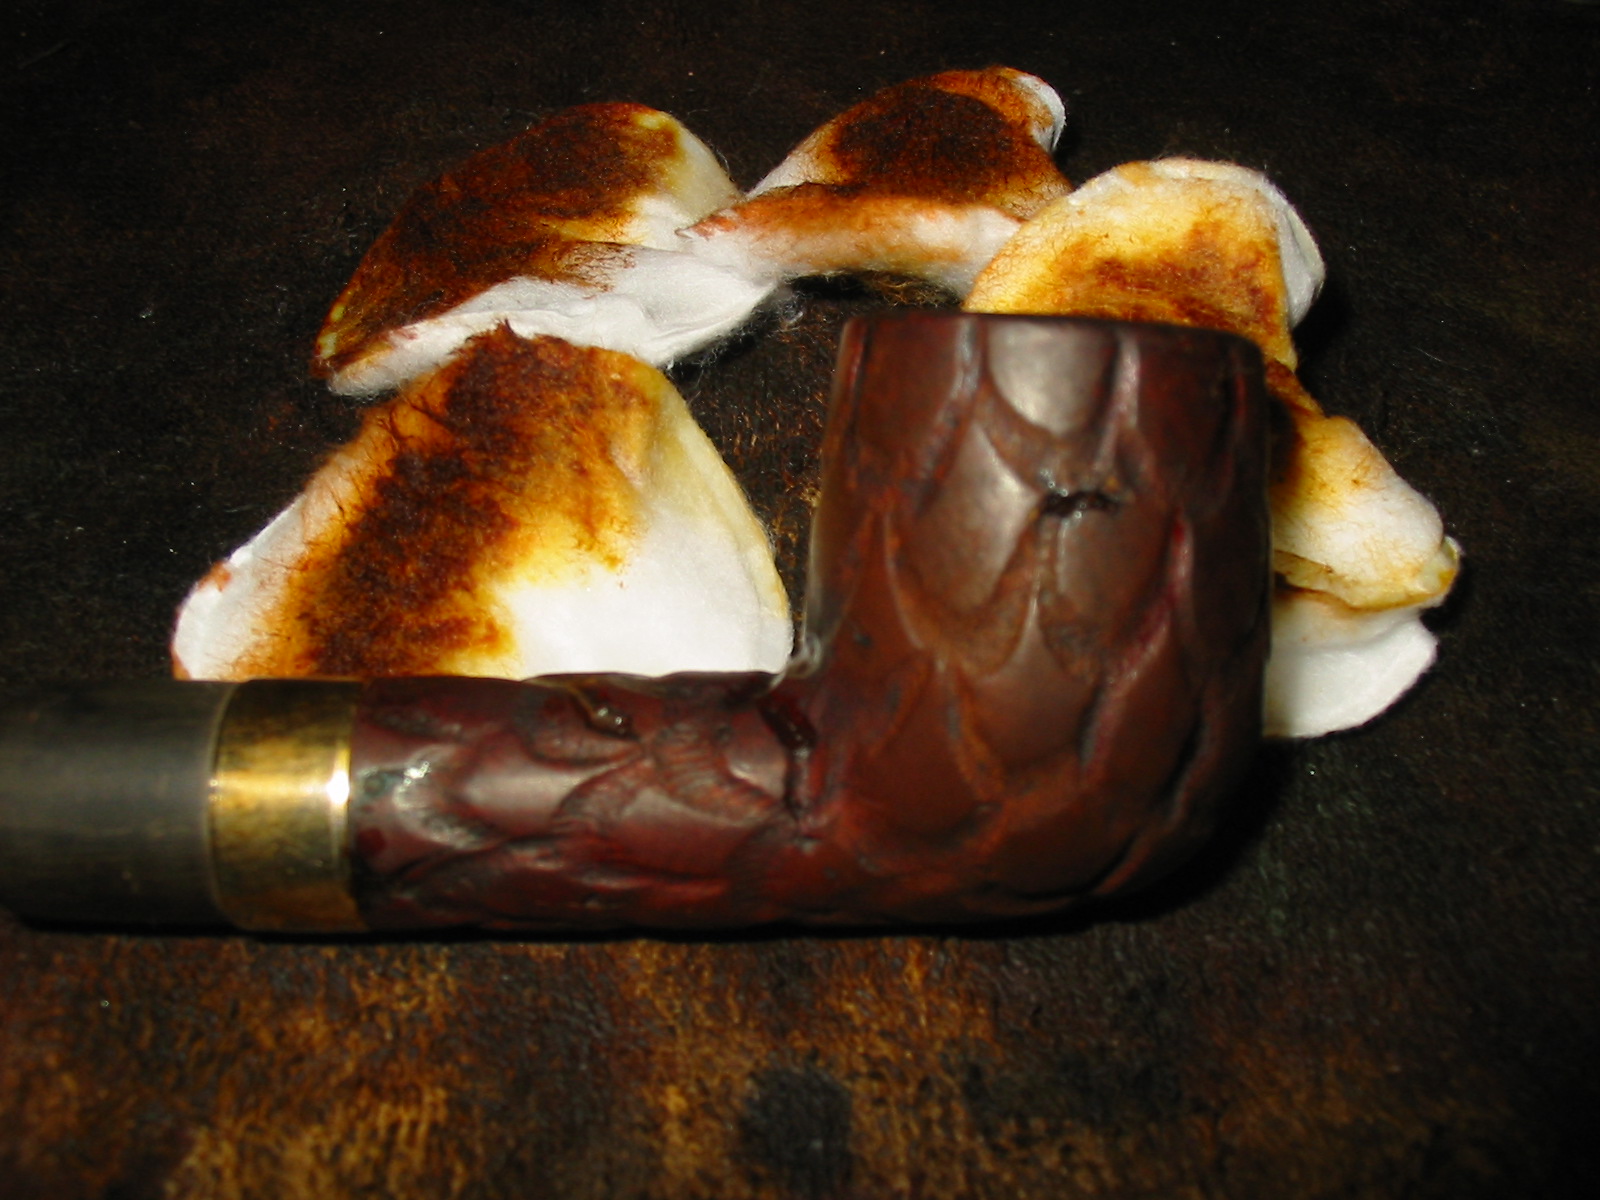
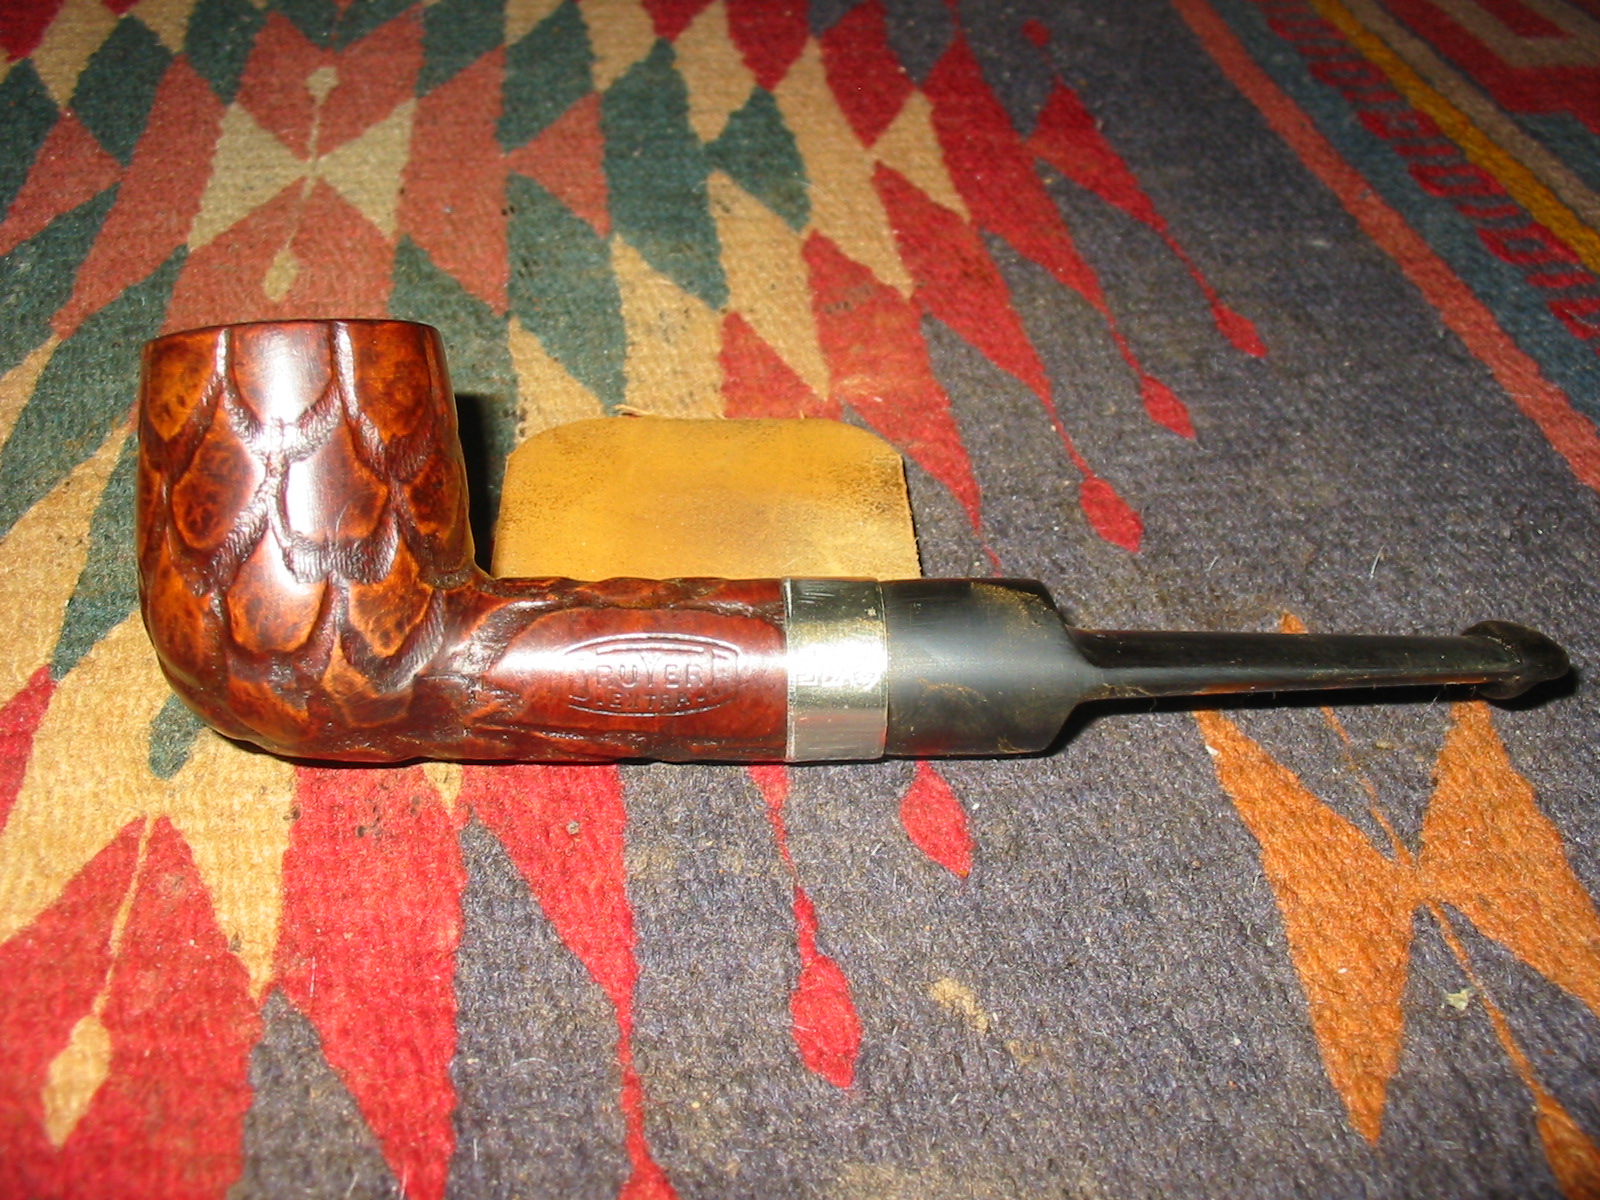
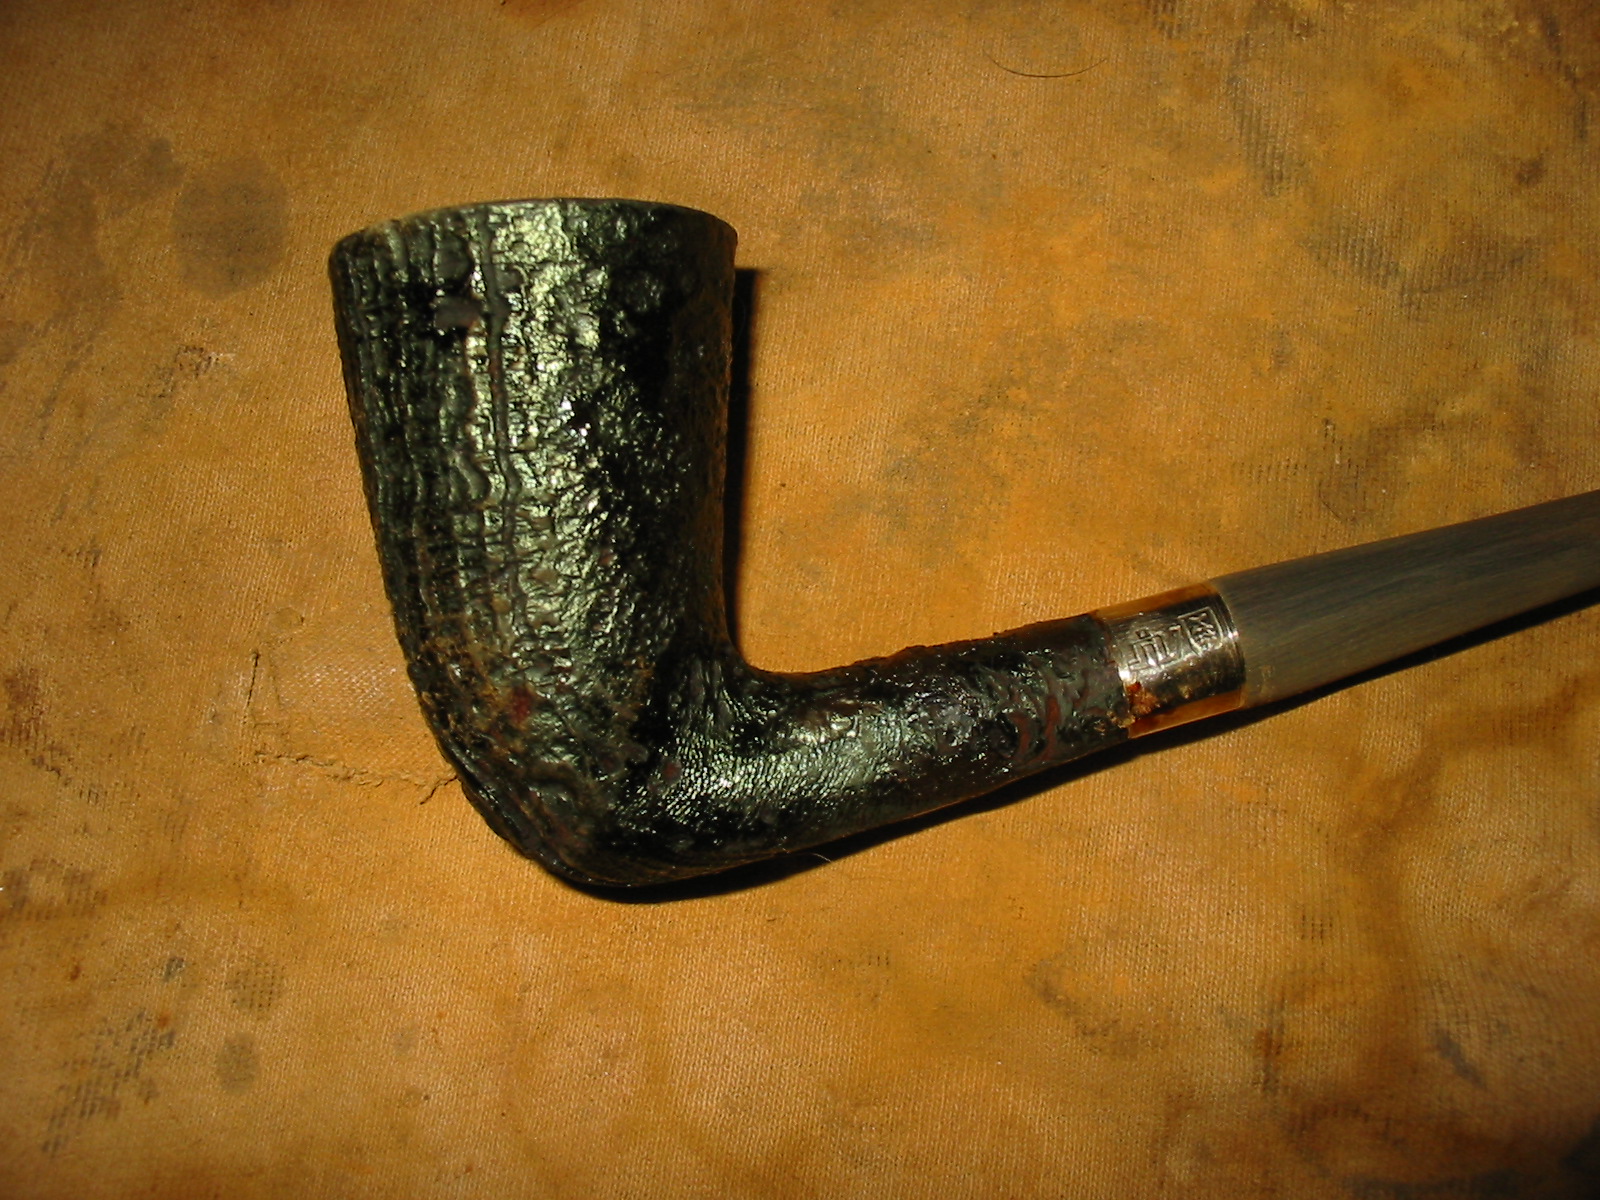
I roughened the shank some more to give it a closer look to the sandblast of the bowl. I heated the bowl with the heat gun to warm up the briar before giving the bowl and shank yet another coat of the aniline stain. I gave it the fourth coat of the stain, flamed it and the coverage was finally what I was looking for on the pipe. The shank and the bowl bottom took the stain this time and matched the rest of the bowl.
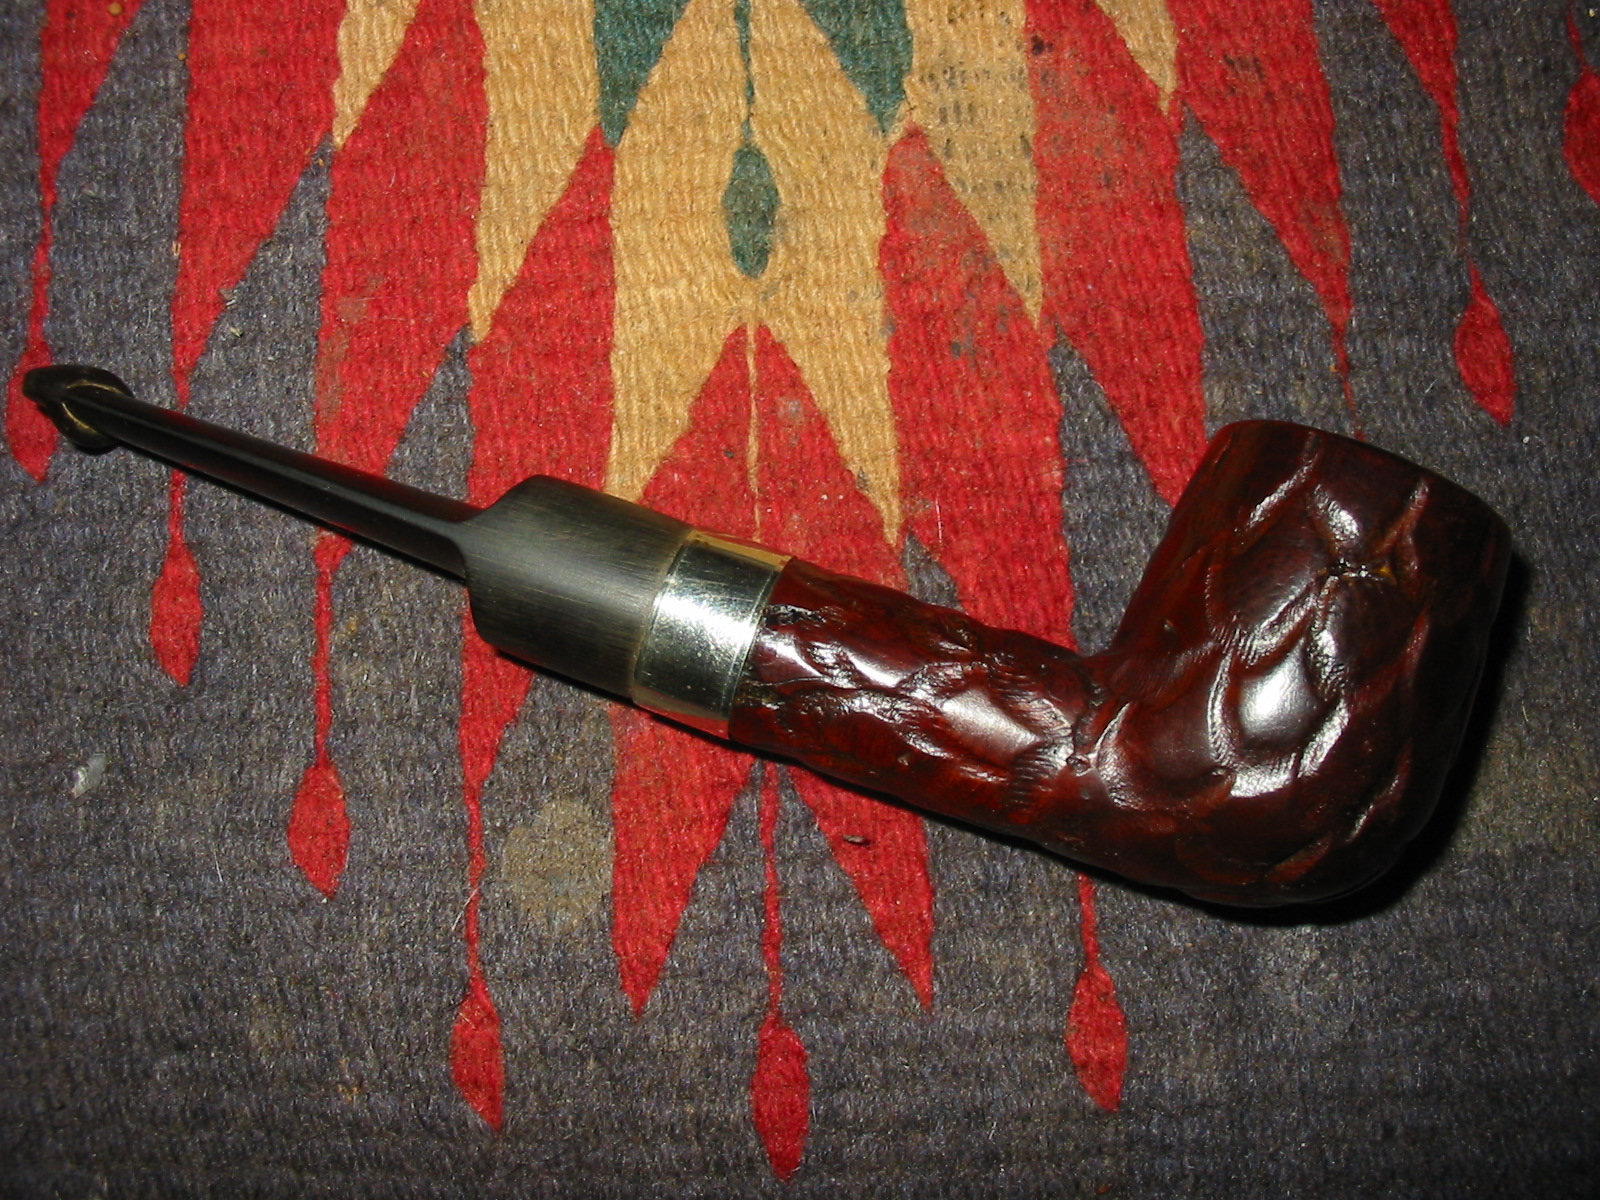
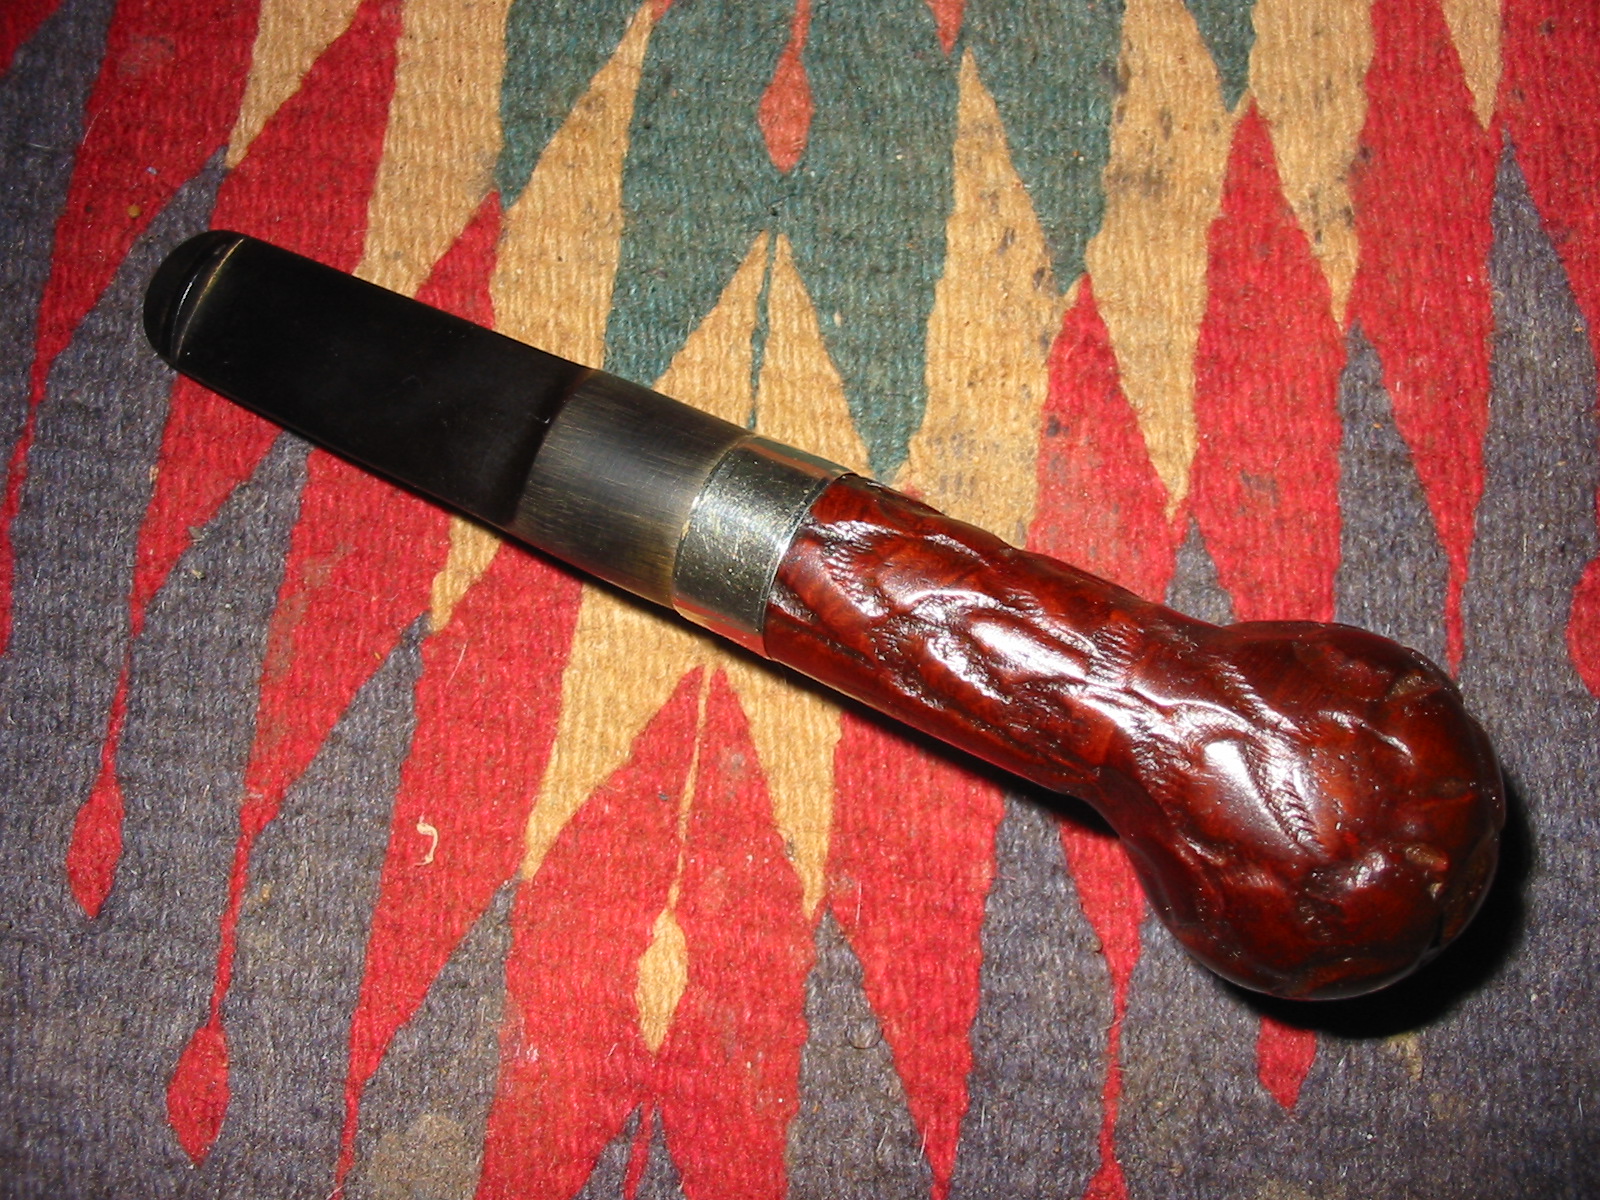
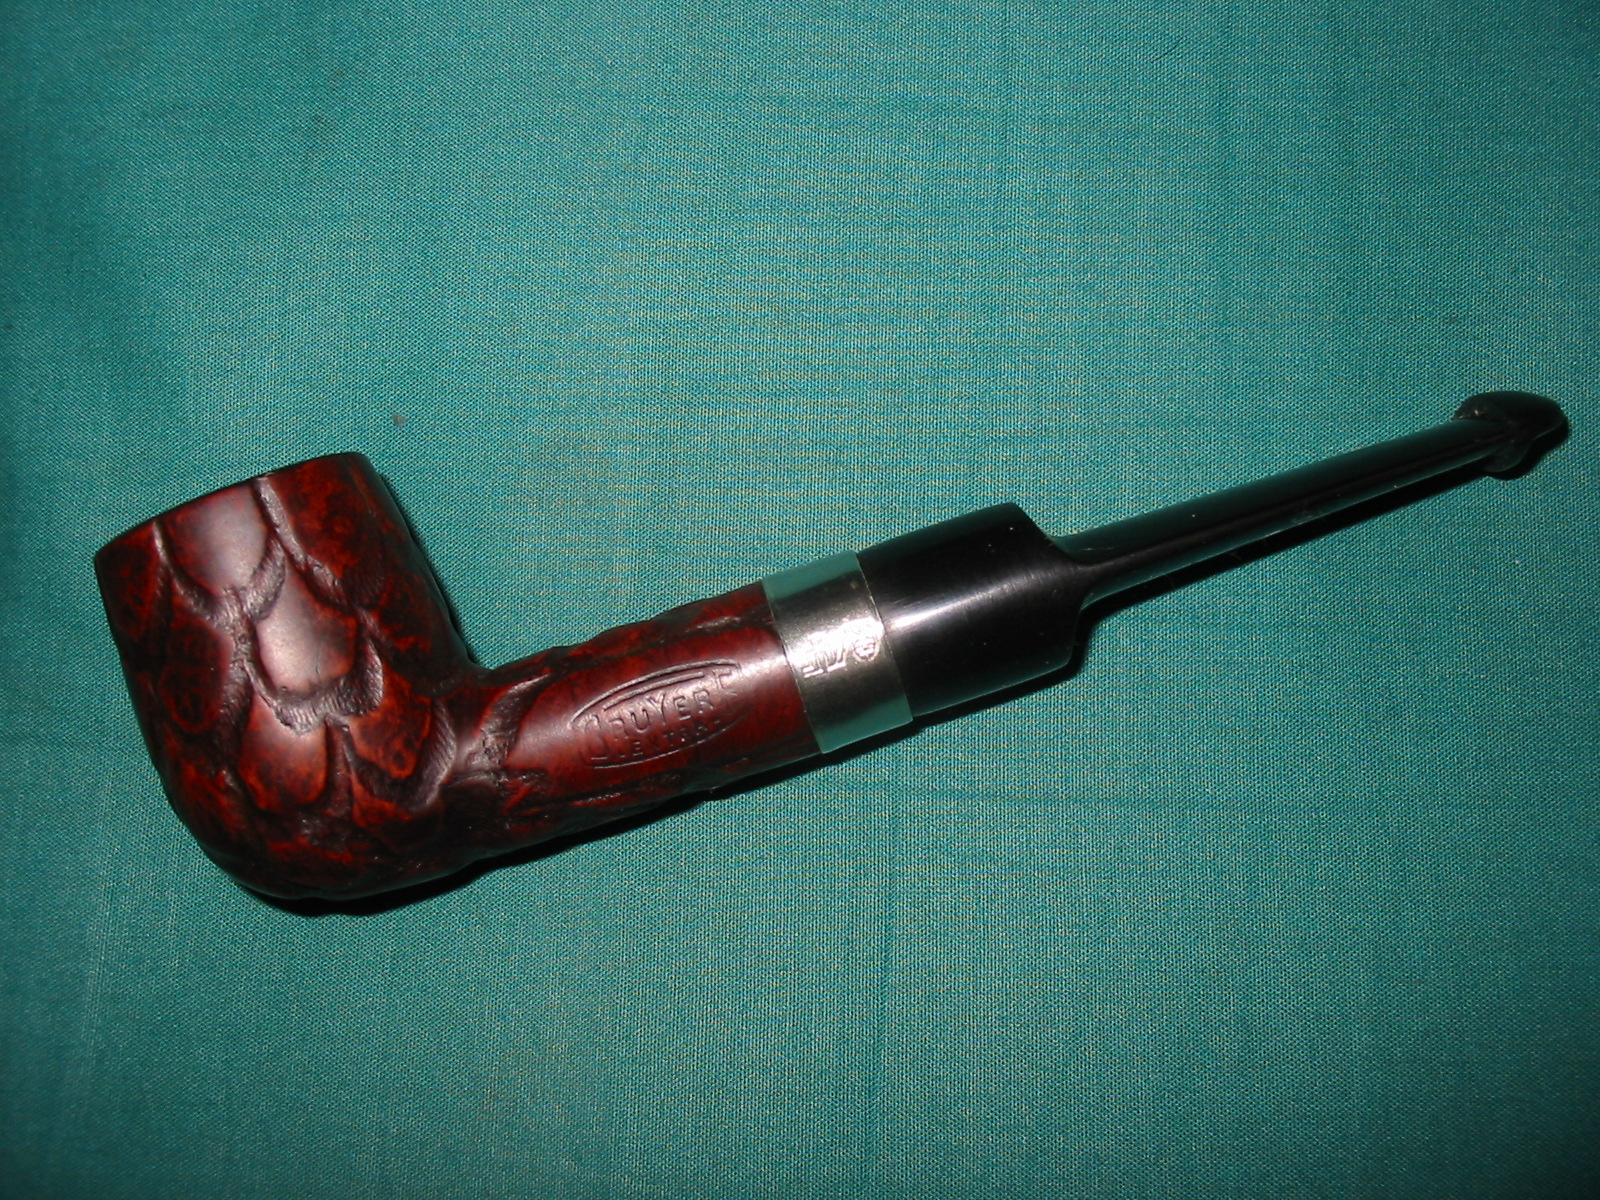
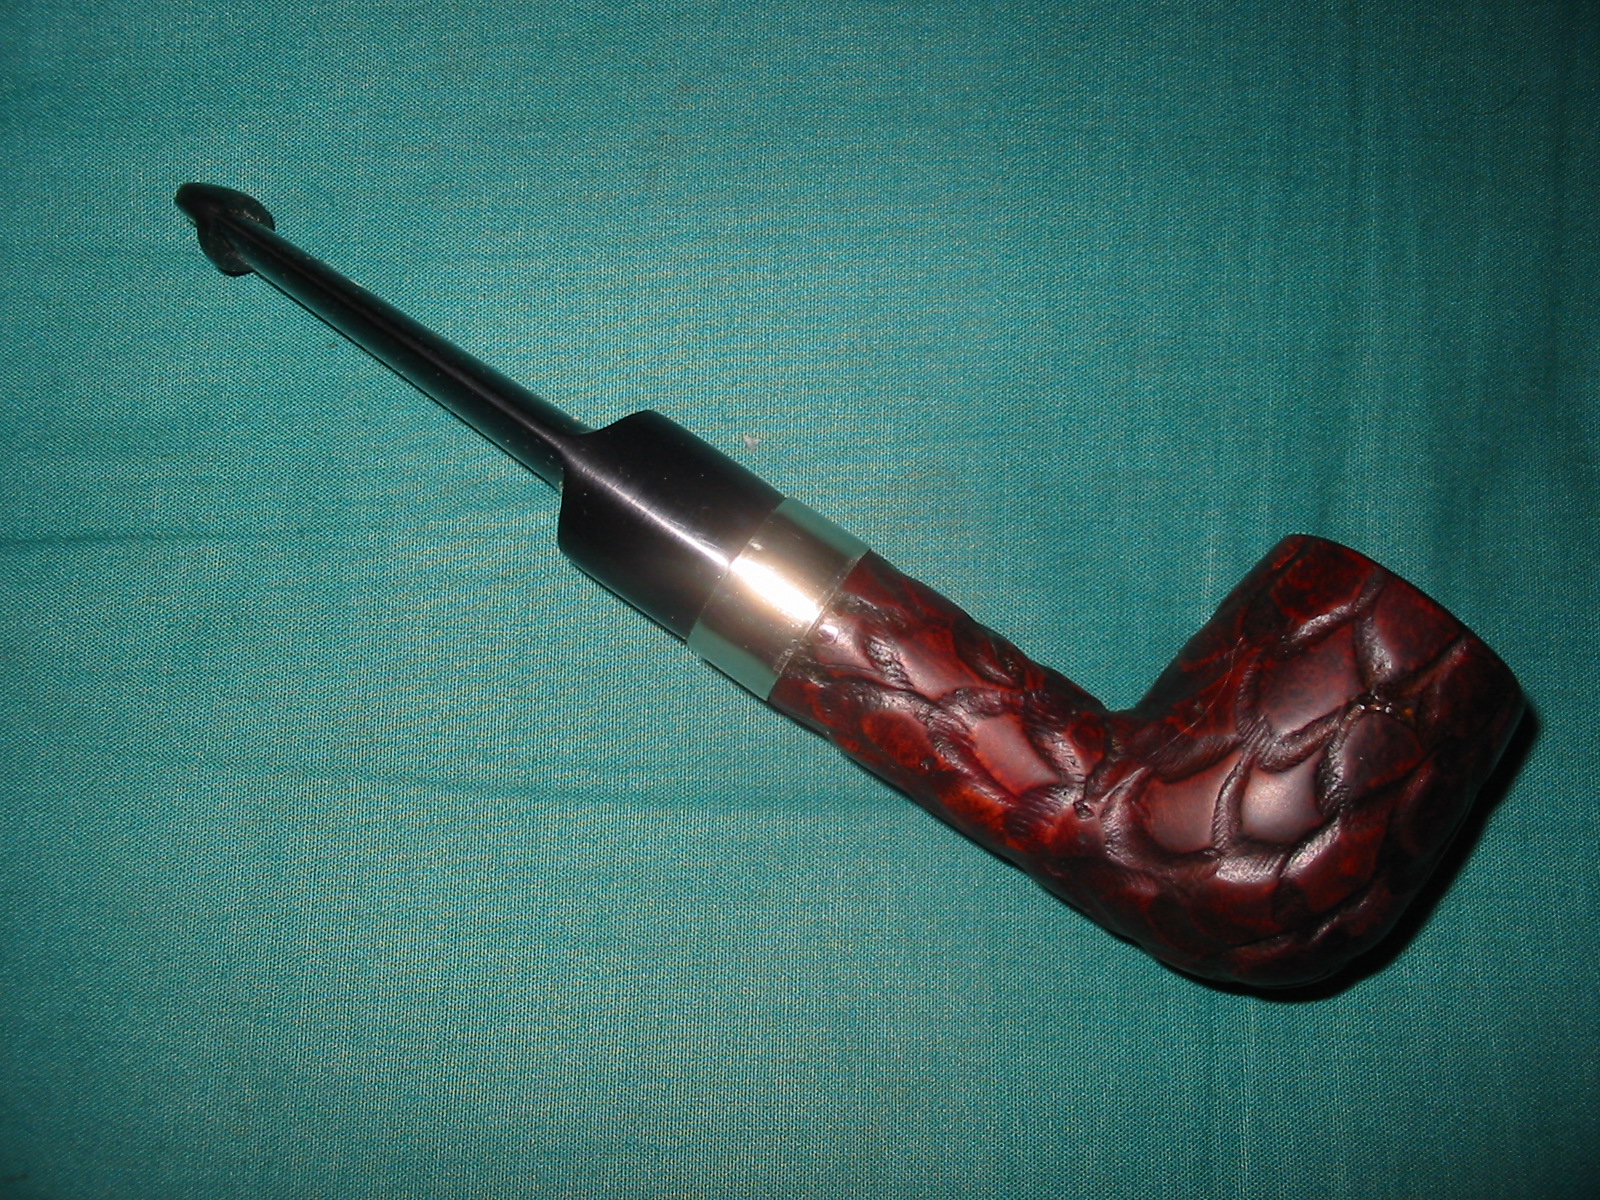
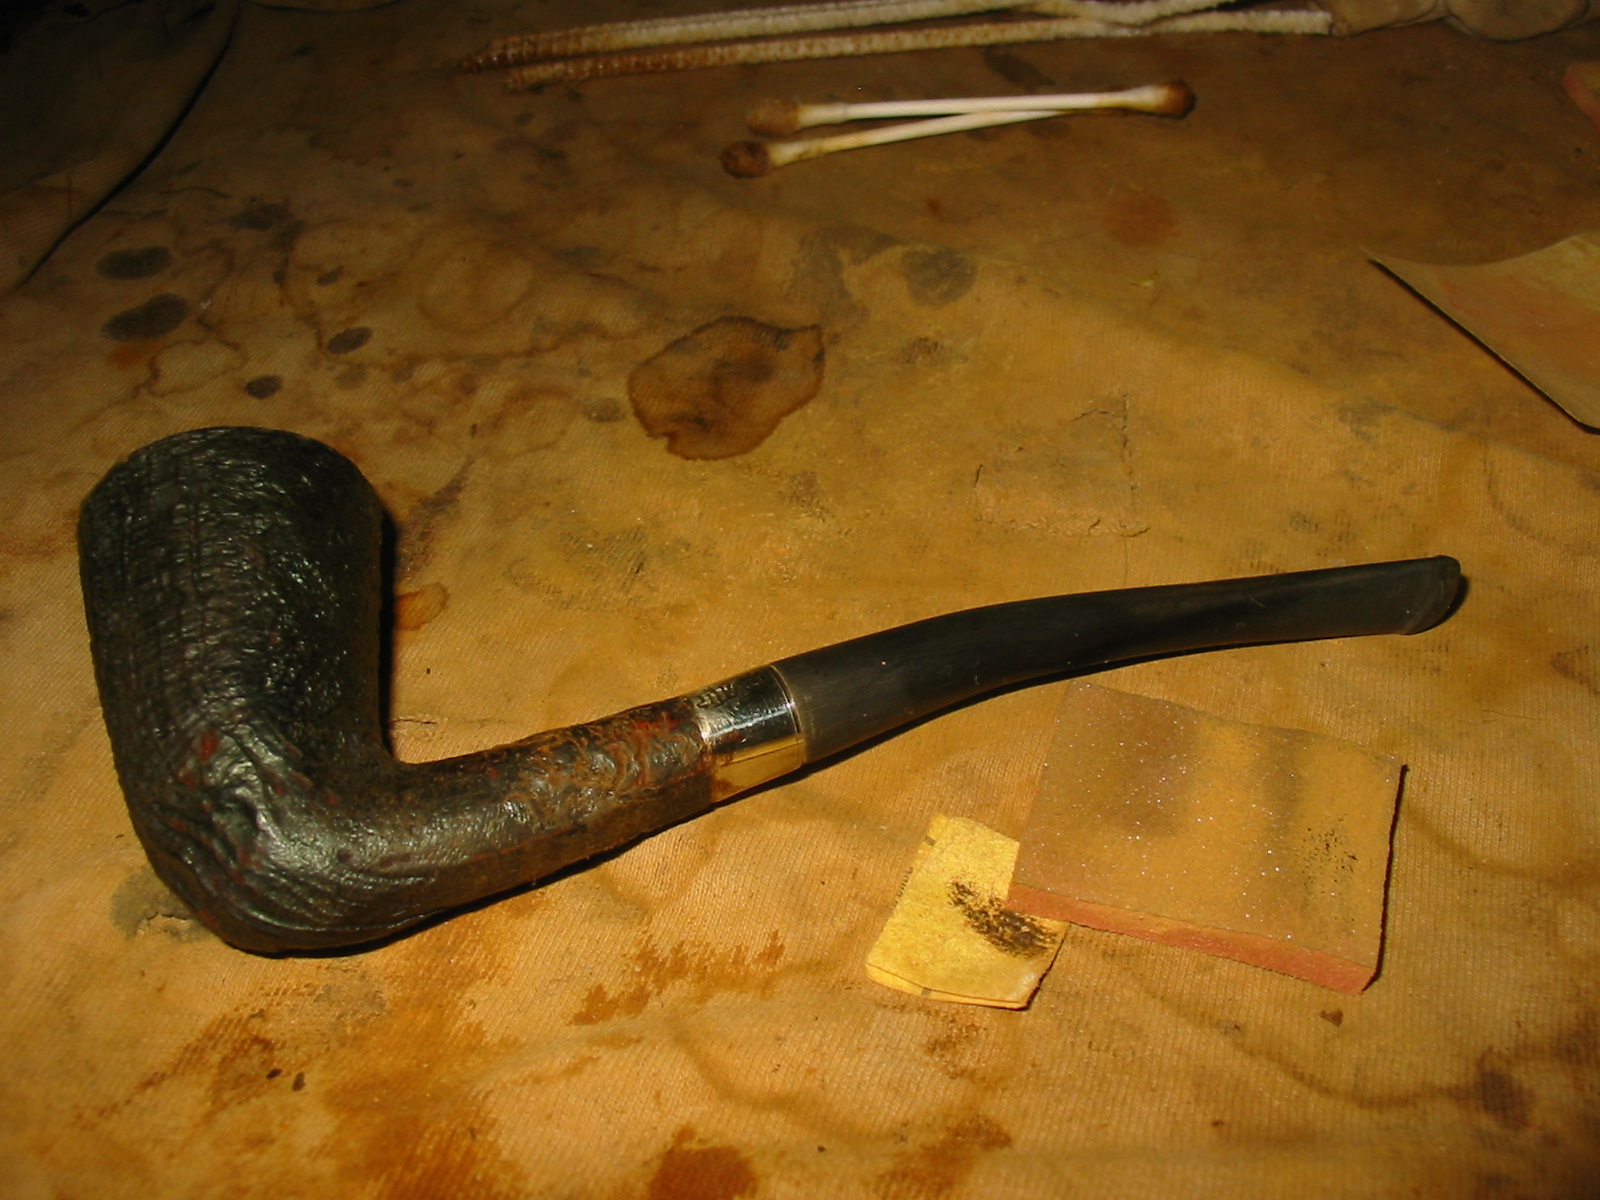
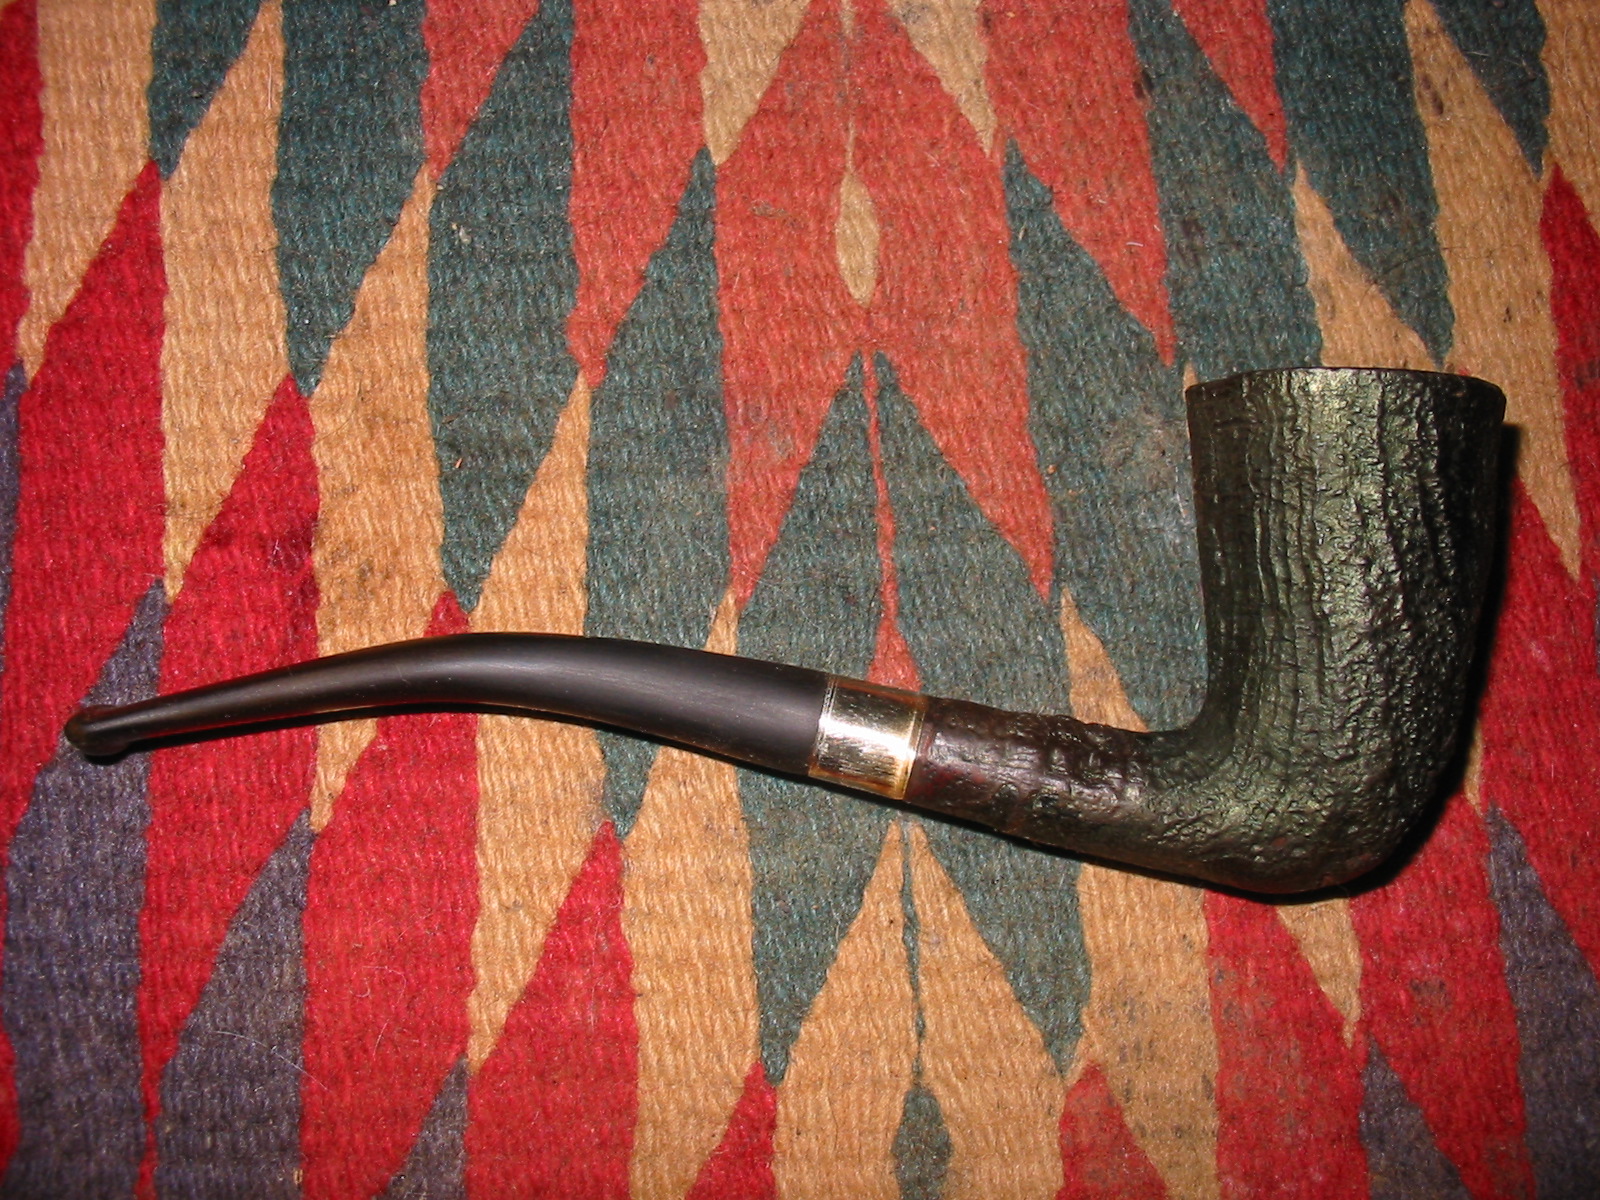
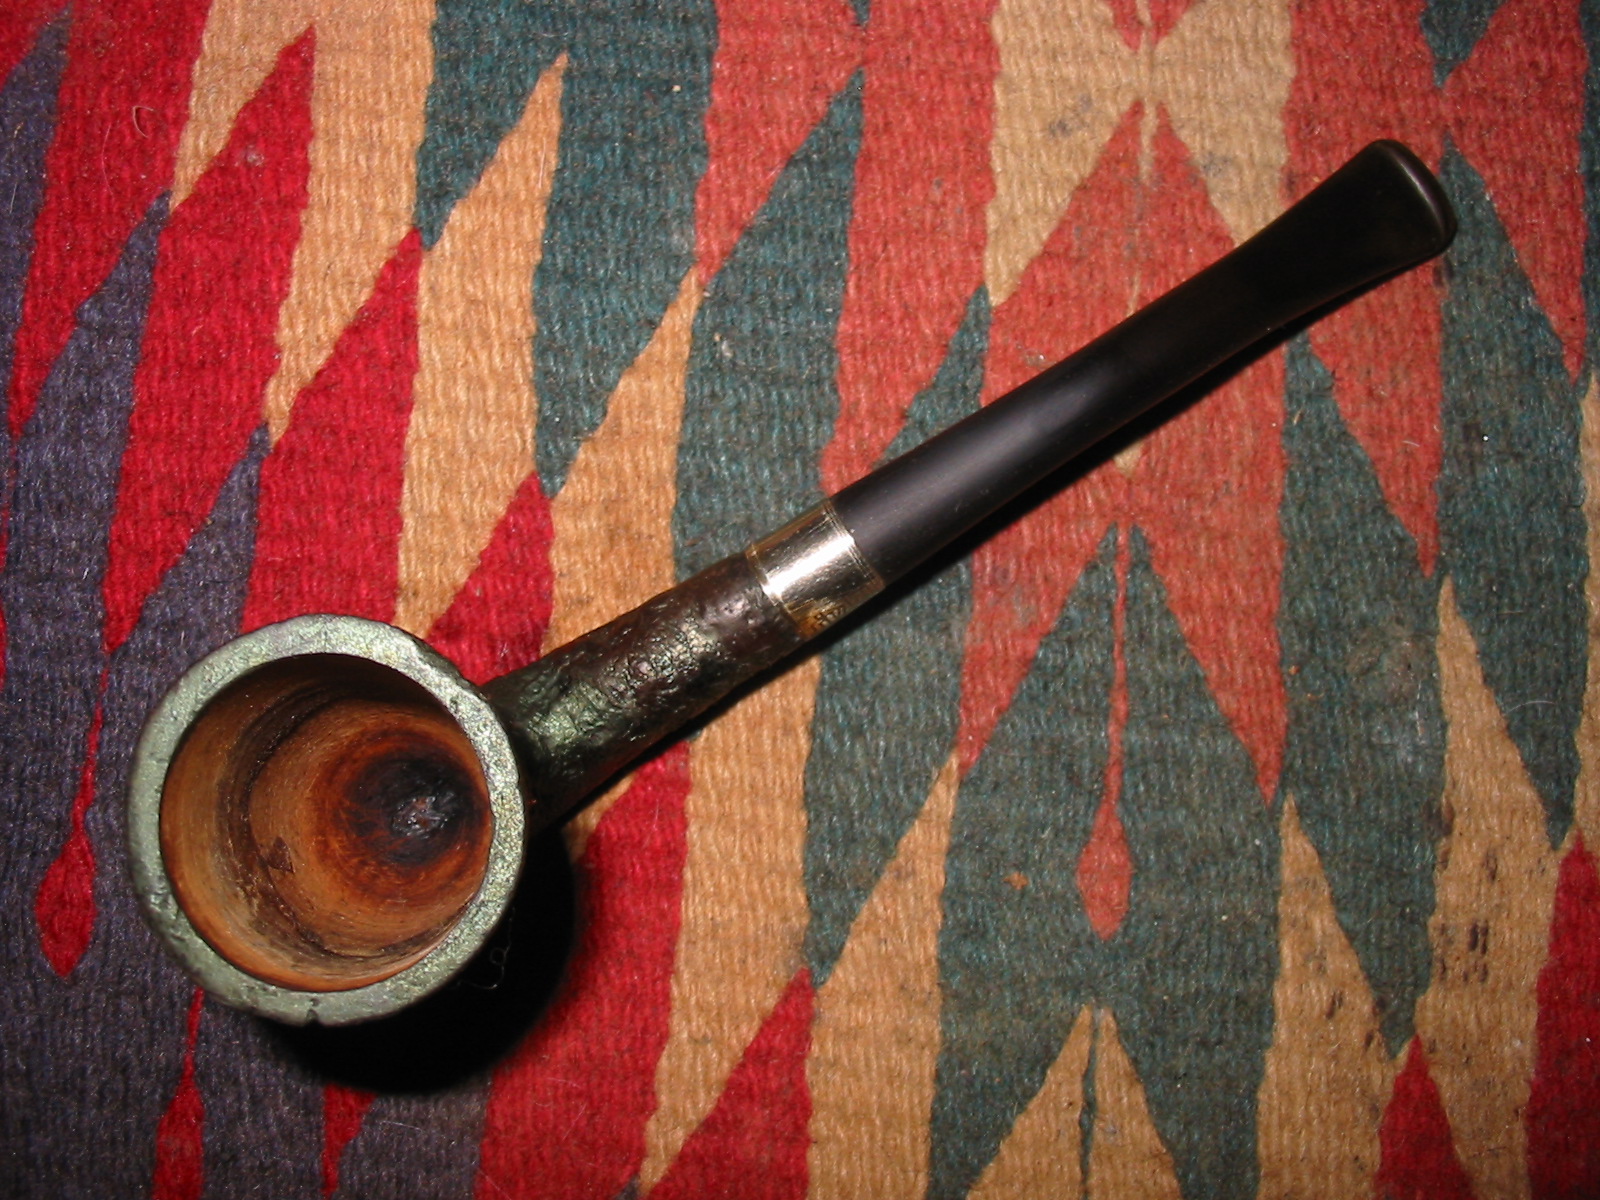
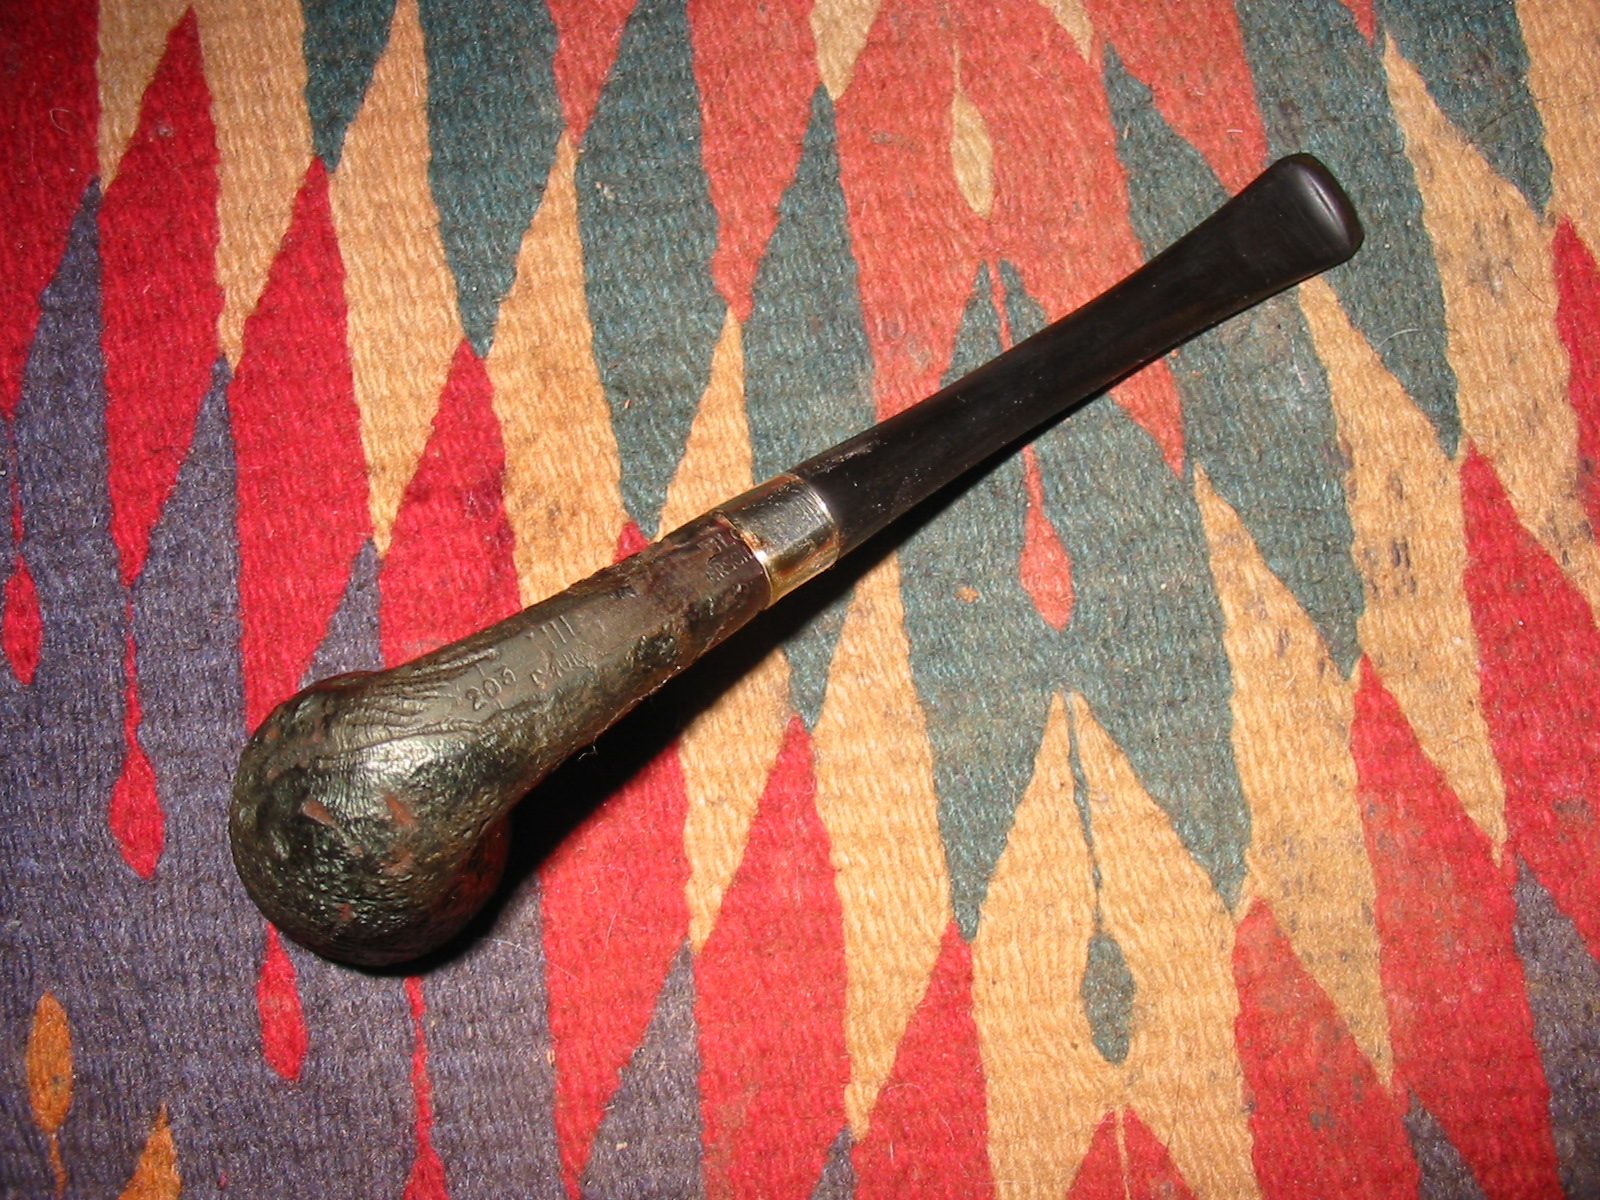
I hand buffed the bowl with a shoe brush and then gave it a light buff with White Diamond on the buffing wheel. I took it back to the work table and gave it several coats of Halcyon II wax which works well on sandblast and rusticated finishes. I buffed it with the shoe brush to bring up the shine. The next three photos below show the bowl after the final stain and light buff.
At this point in the process I used a cotton swab dipped in stain to touch stain the places on the shank the underside of the bowl that were lighter than the rest of the bowl. I let it dry completely over night and then hand buffed the bowl.
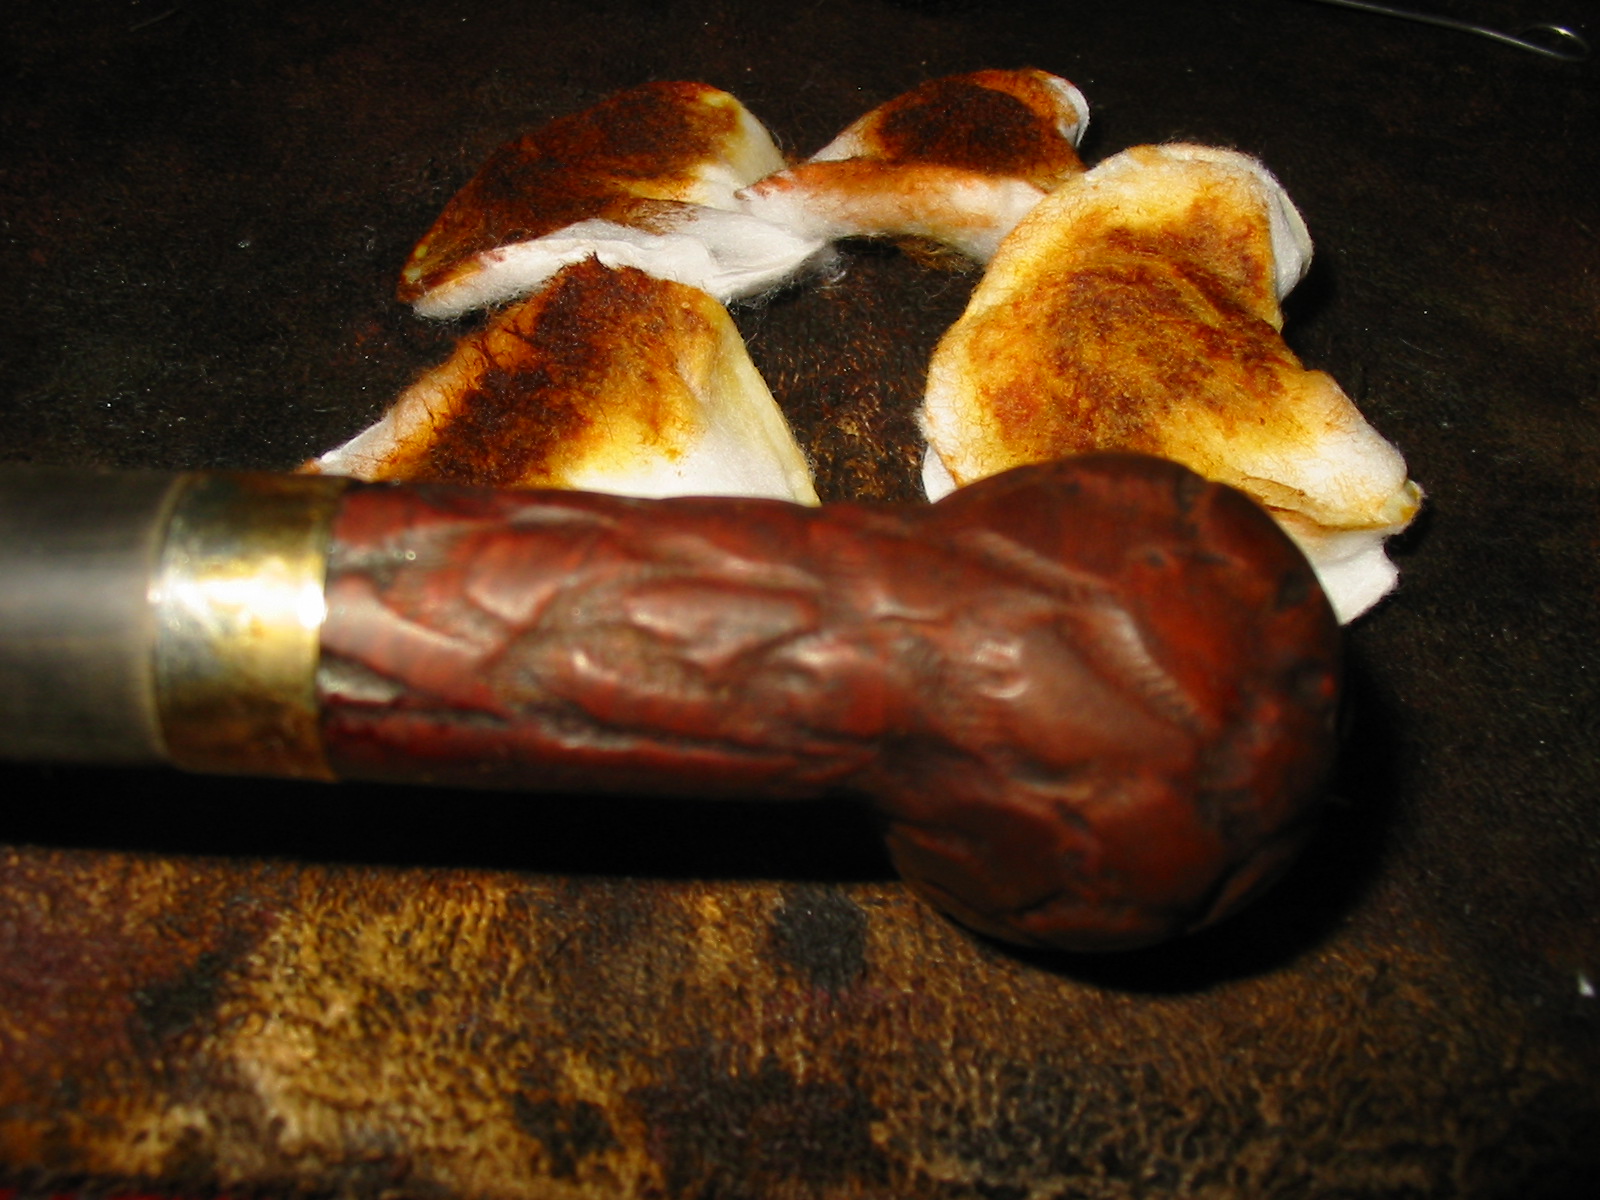
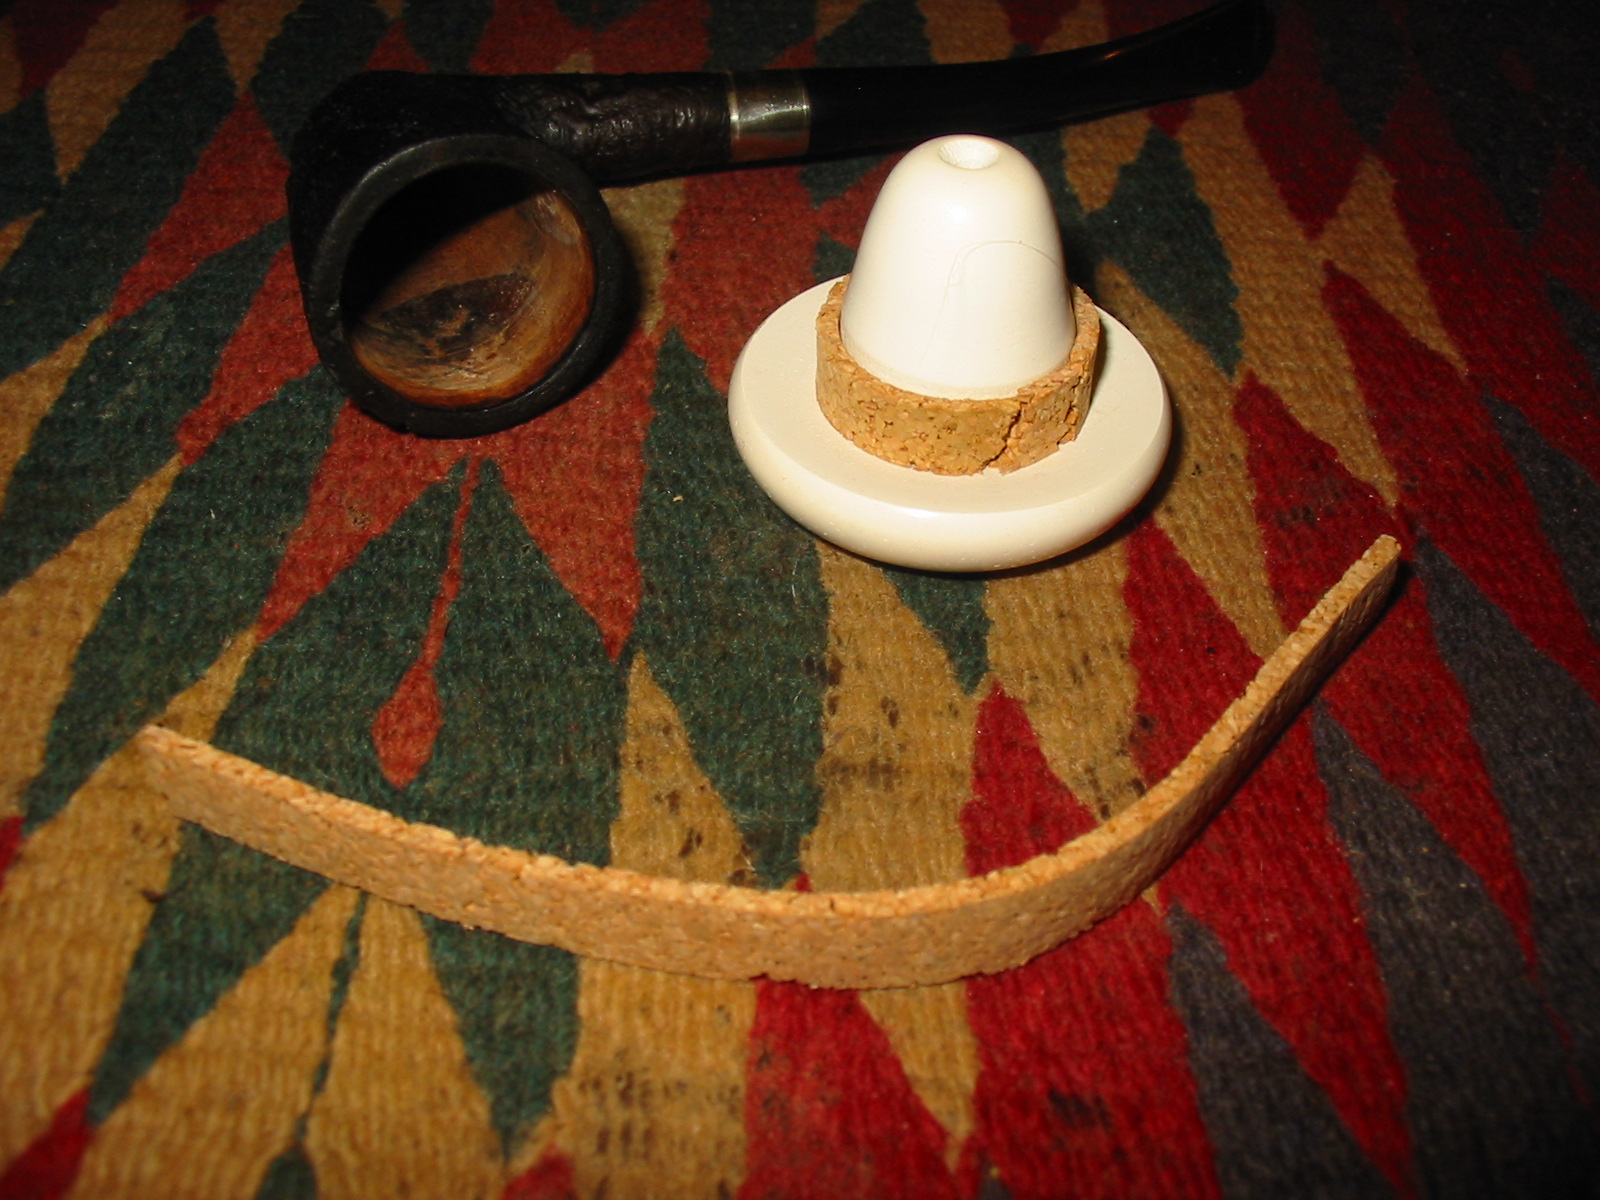
In a phone call with Tim West of J.H. Lowe Pipe Repairs I discussed the possibility of making this pipe a Briar Calabash. I gave Tim the dimensions of the bowl and he happened to have a bowl that was originally made for Pioneer Calabash pipes that was the correct dimensions. He sent along several strips of cork that would be used for making a gasket to give the meerschaum cup a snug fit in the briar bowl.

I cut a strip of cork and glued it to the bowl with super glue. I used a small piece of the cork to fill the gap between the ends of the strip. Once the glue dried I sanded the cork gasket until it was the proper diameter for the briar bowl.
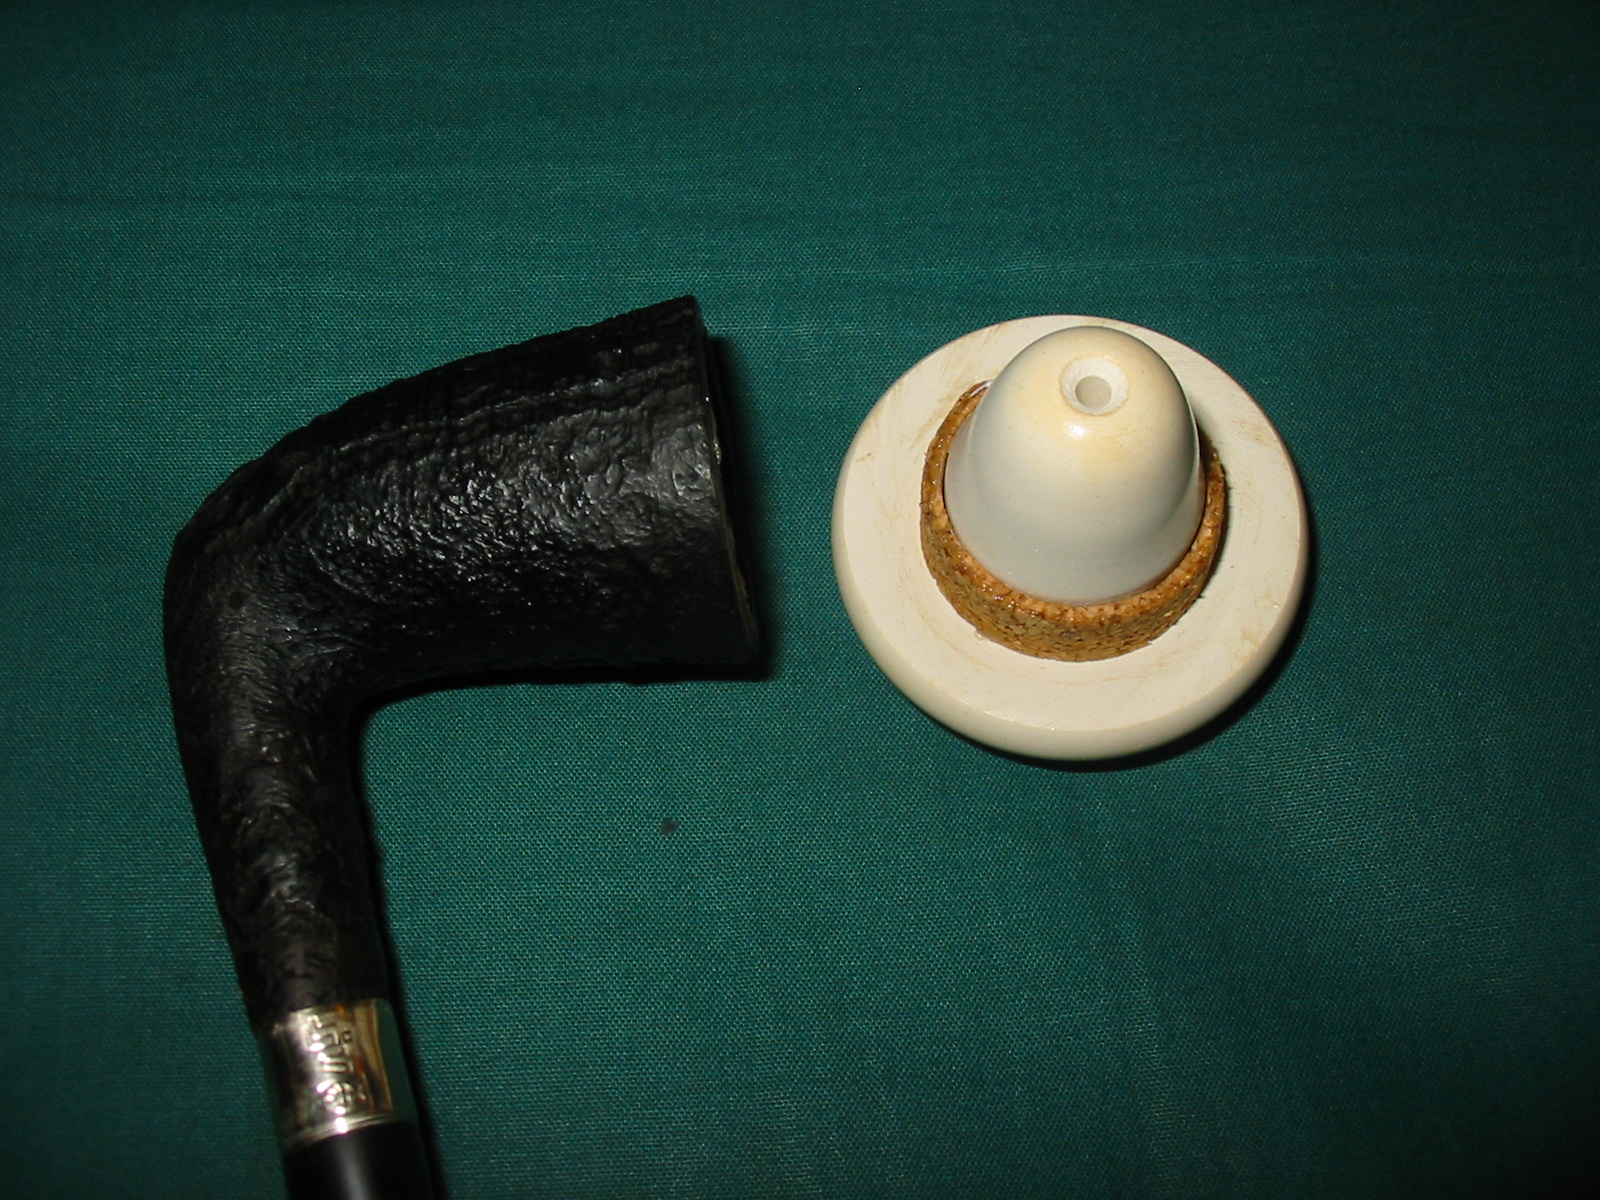
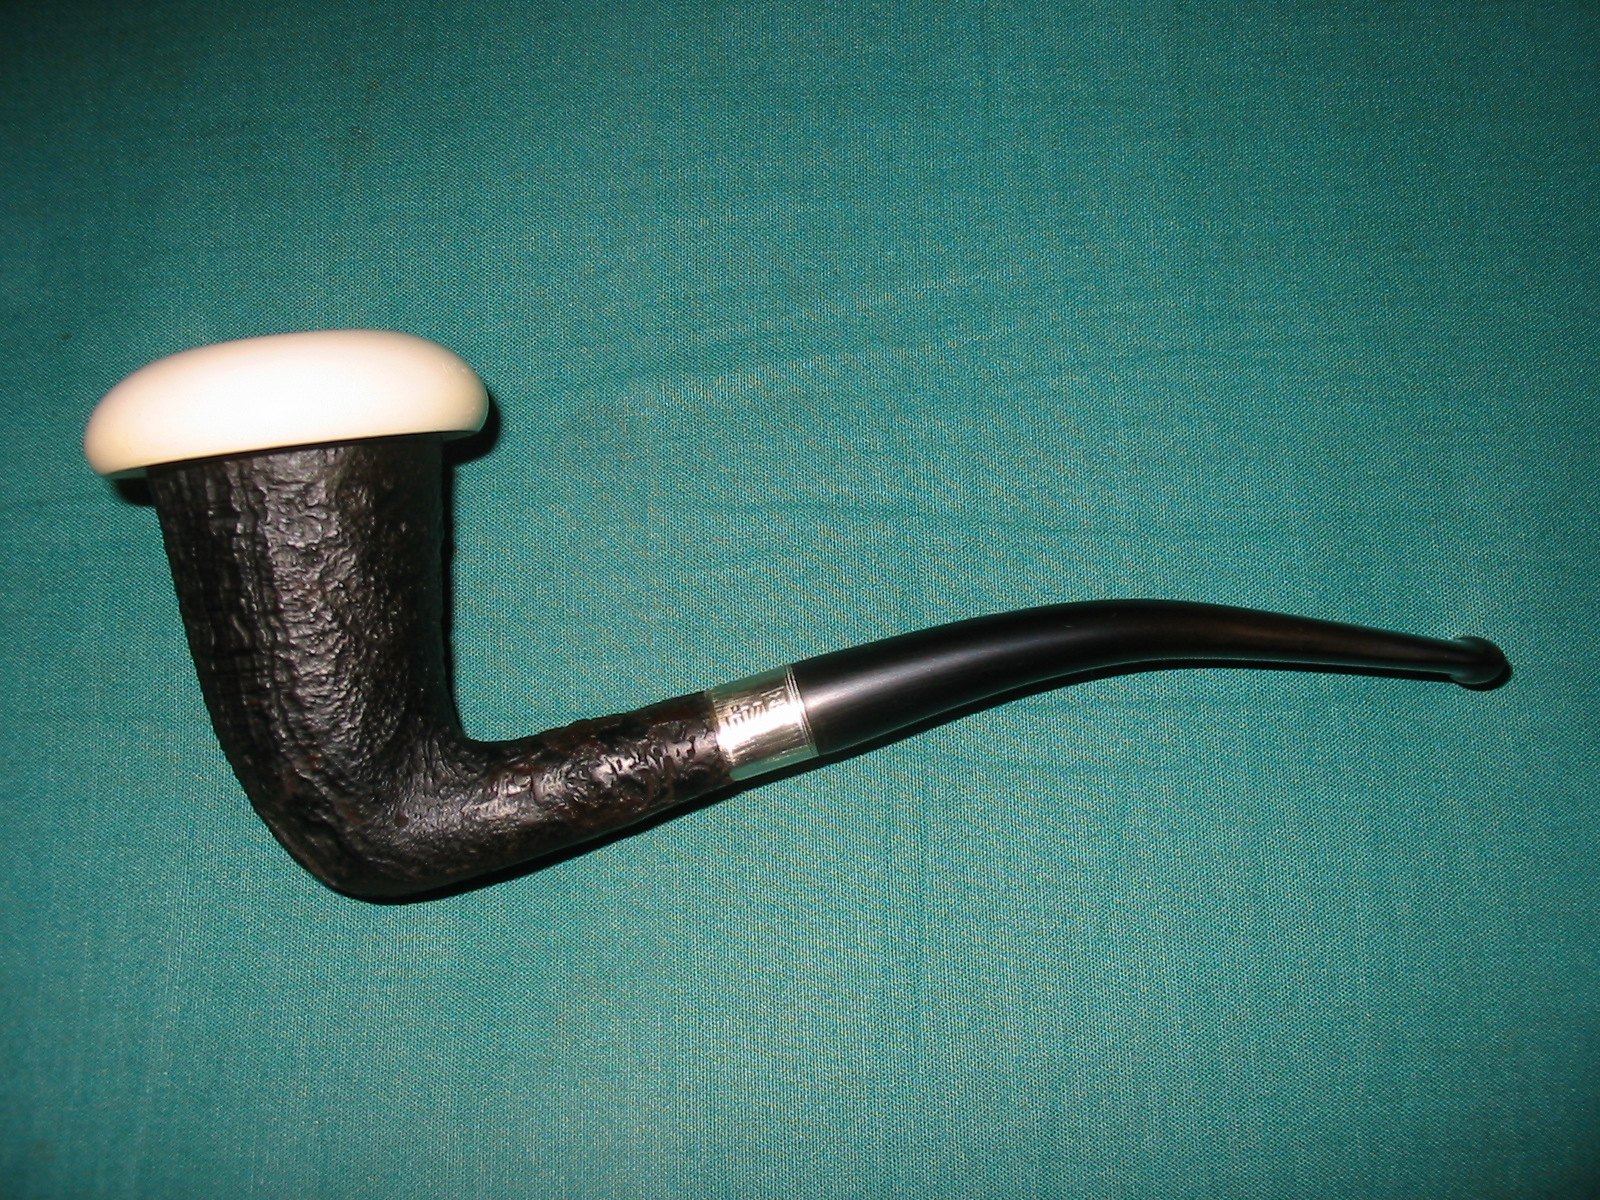
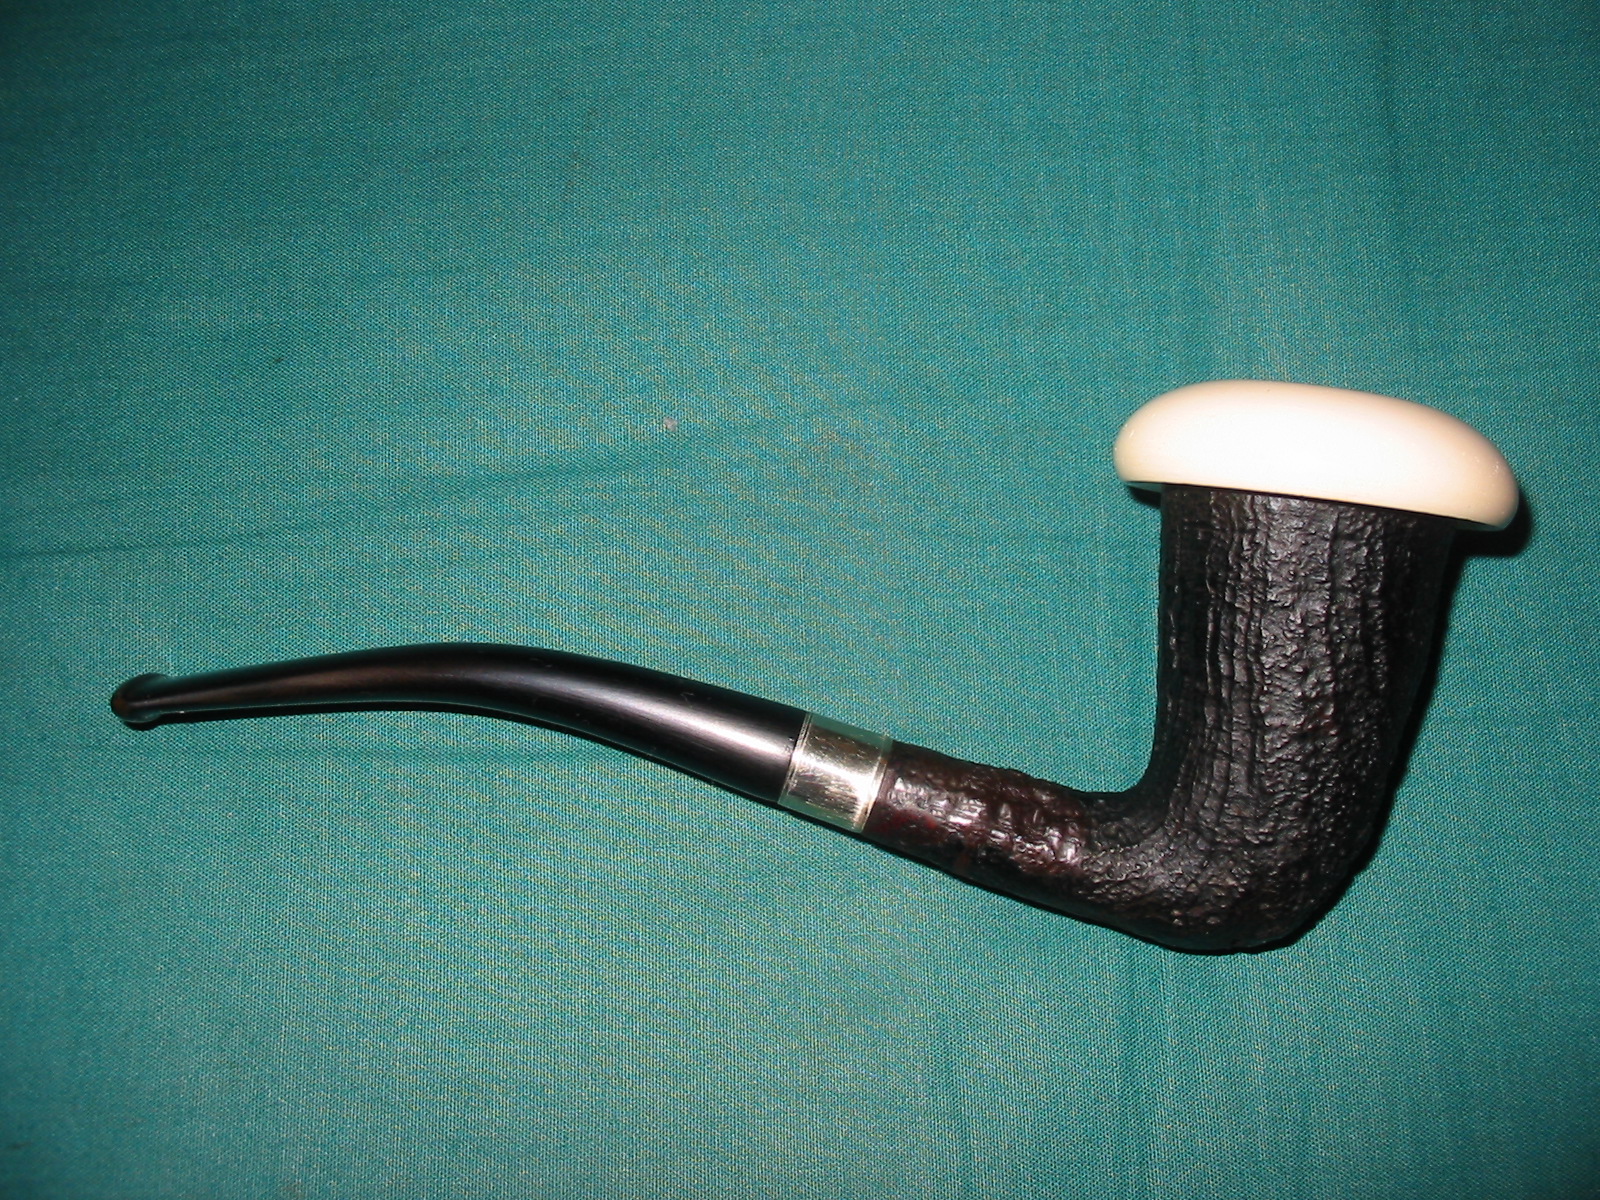
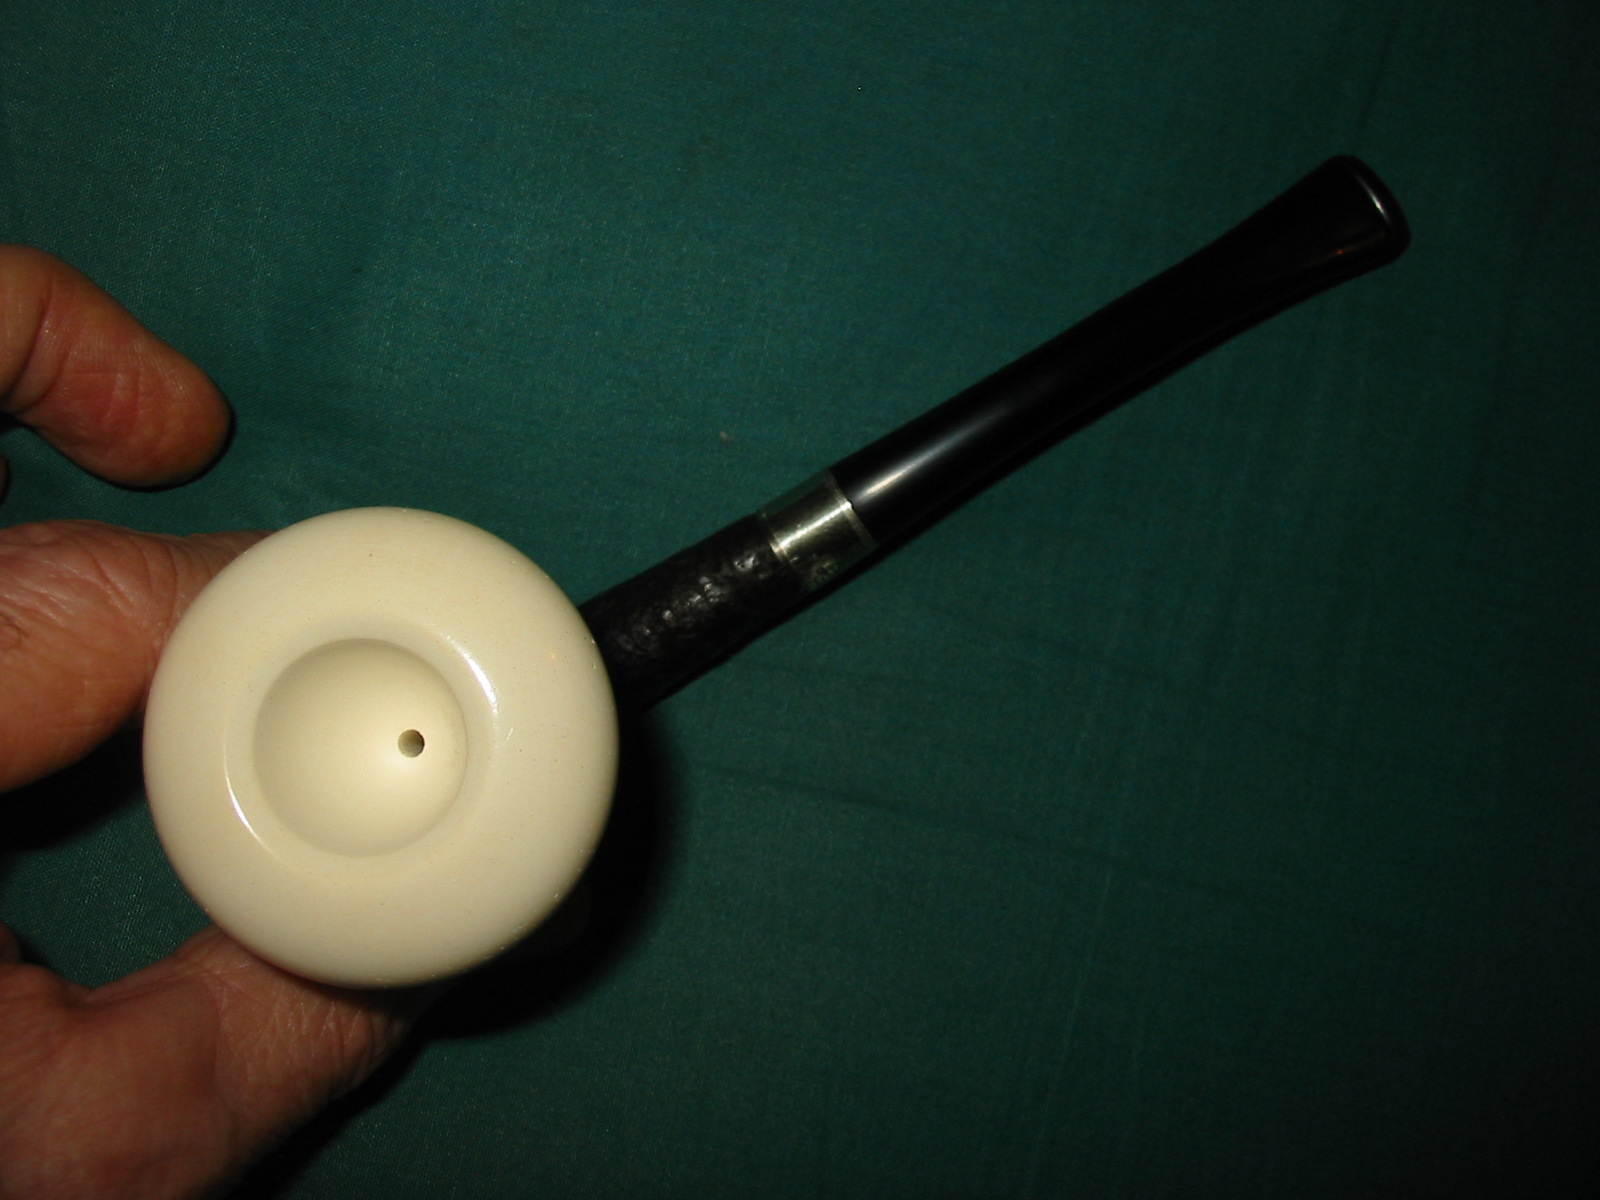
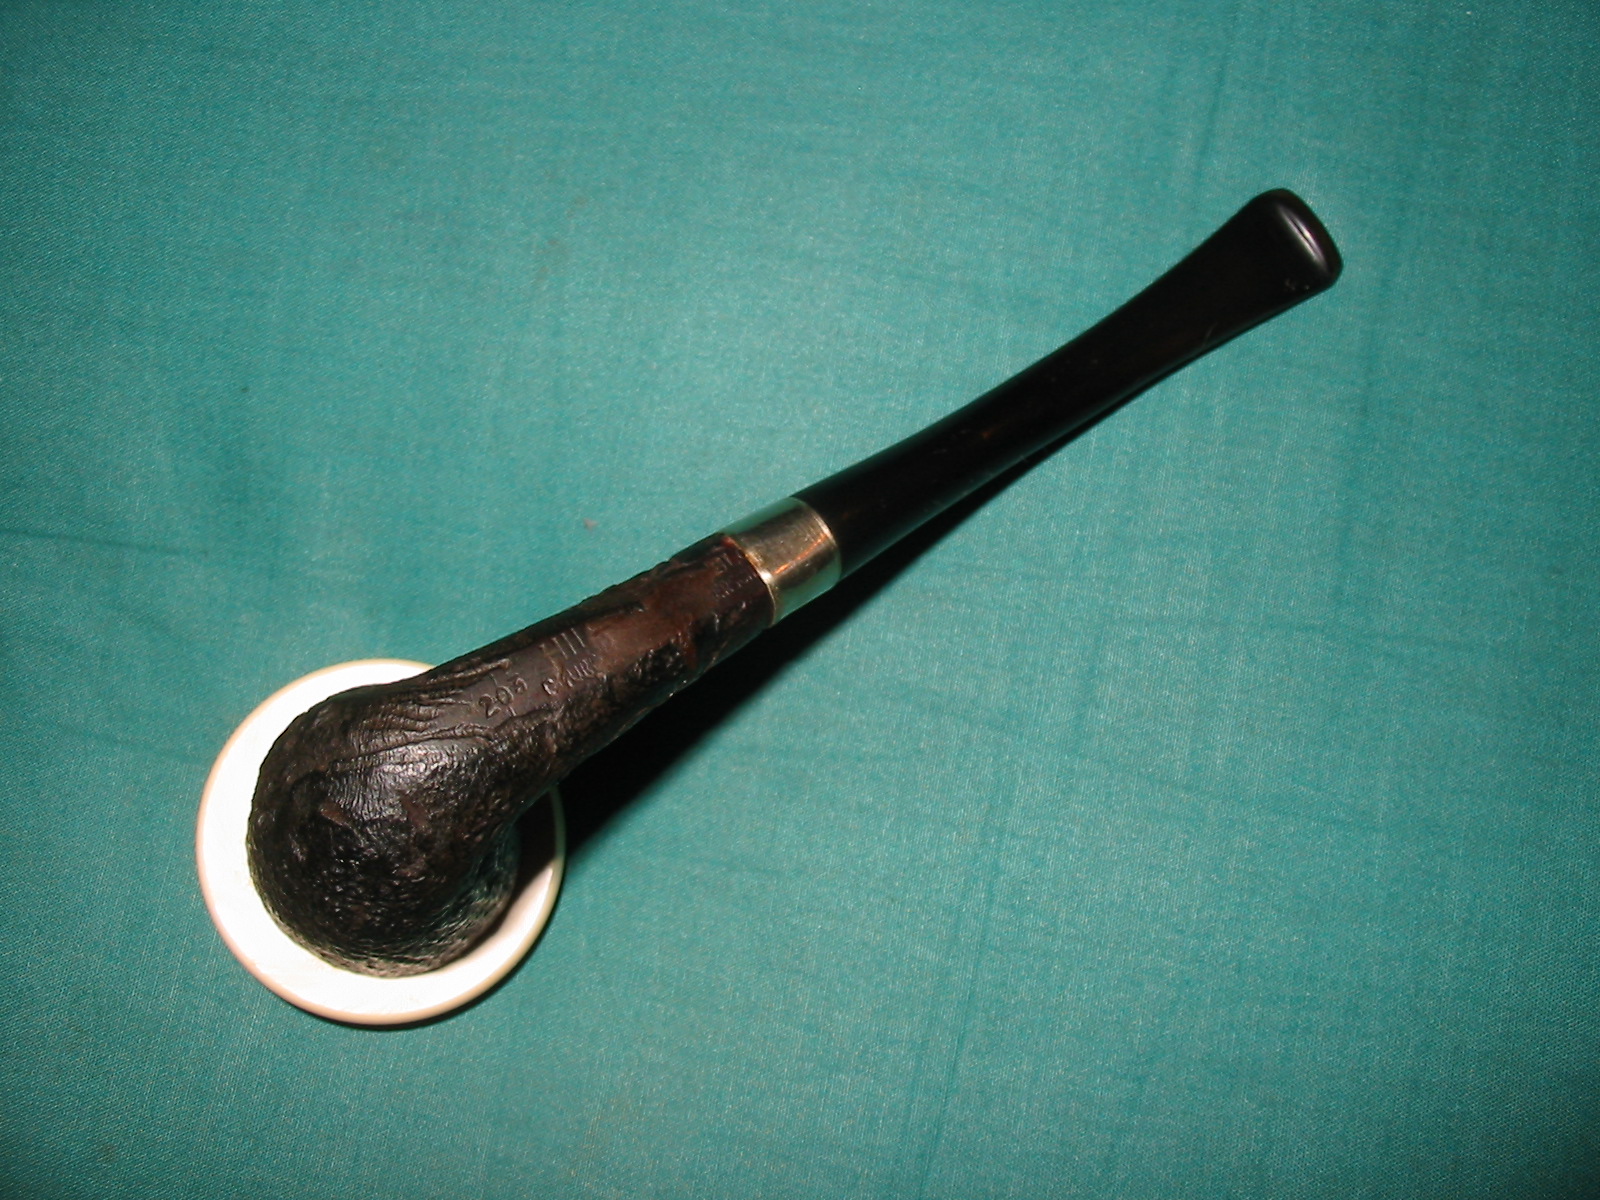
I used some Vaseline and lubricated the cork gasket and then used my finger to coat the inside edge of the briar bowl where the cork would sit. I then pressed the meerschaum cup into place in the briar bowl. The finished Briar Calabash pipe is shown in the photos below. The polished gloss of the white meerschaum bowl looks great against the sandblast dark brown briar bowl. The silver band gives a bit of contrast to the pipe. The draught on the pipe is perfect and the feel of the new Calabash in the hand is great. The pipe is still light in weight and the thin pencil shank and stem work well. Now all that remains is to load it up and have the inaugural smoke.