by Steve Laug
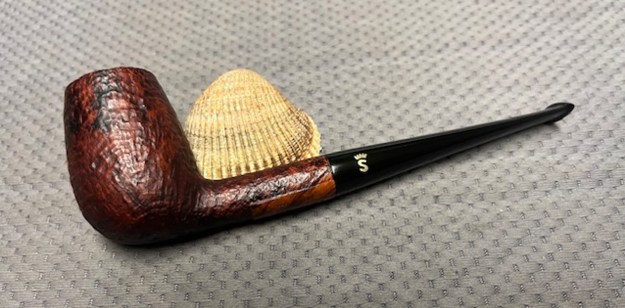
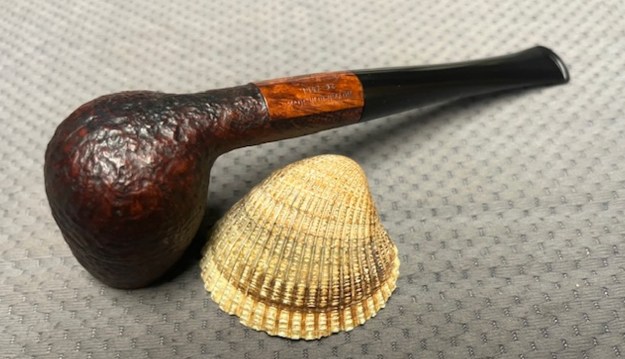
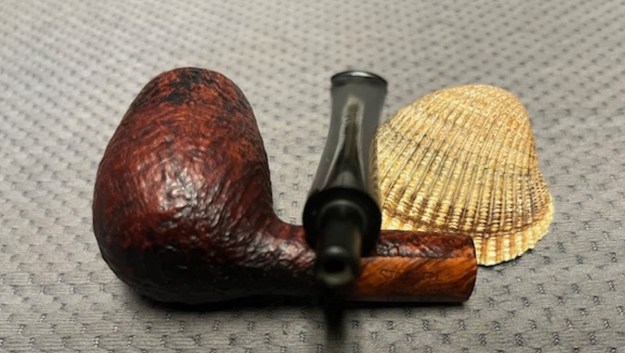
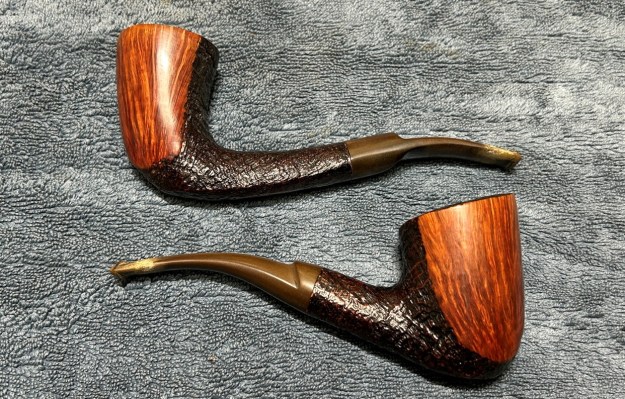
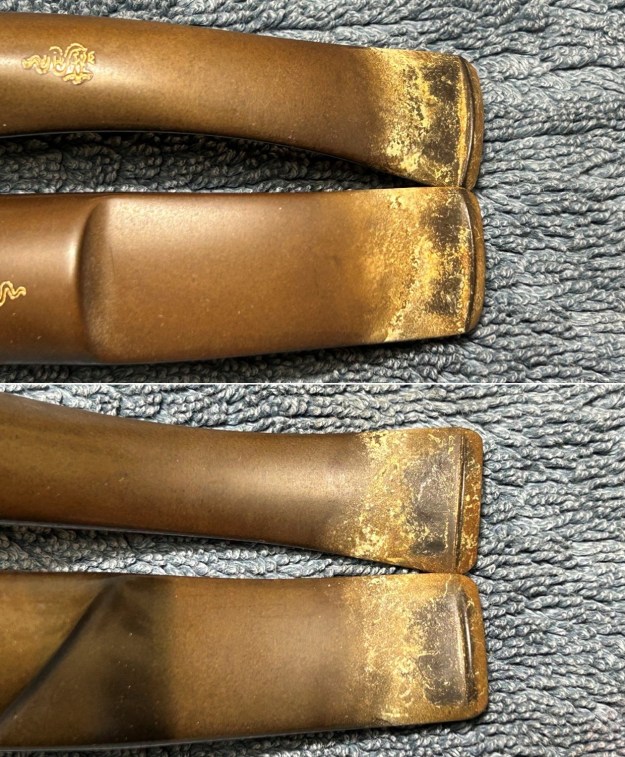
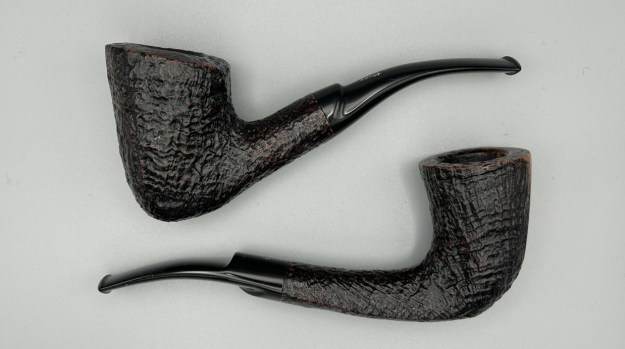
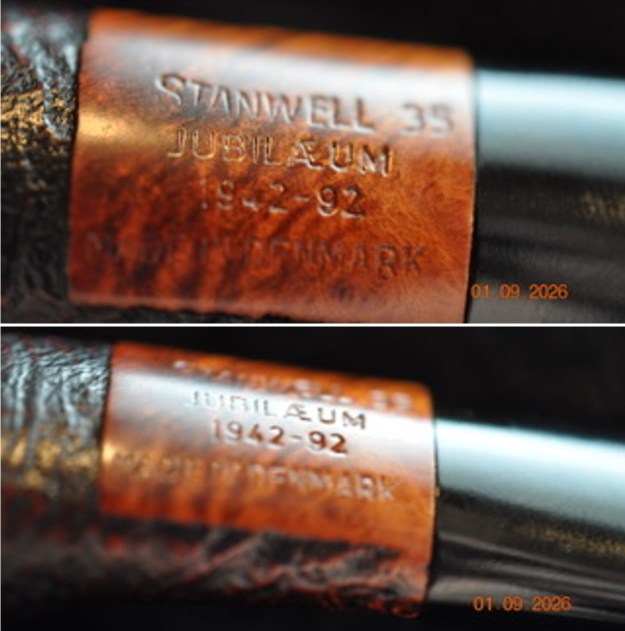
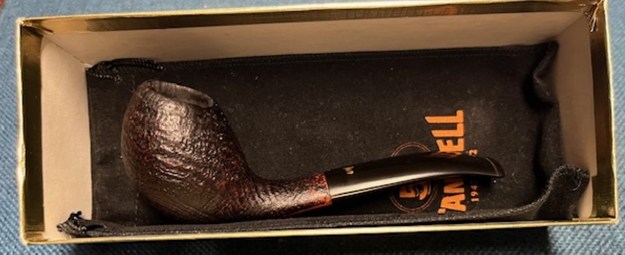
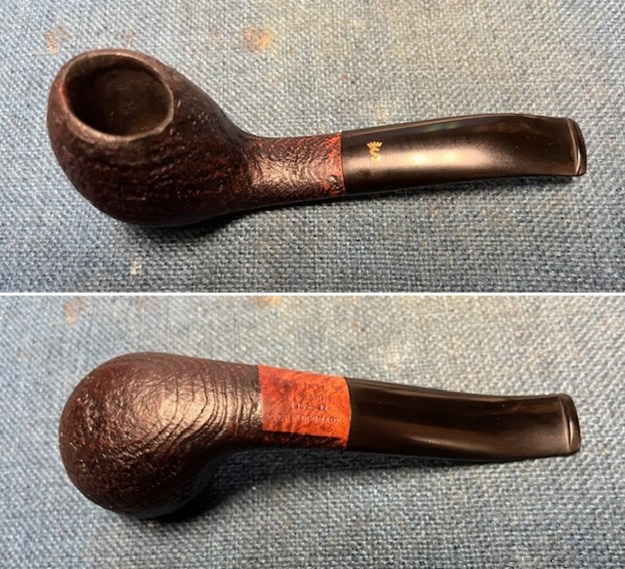
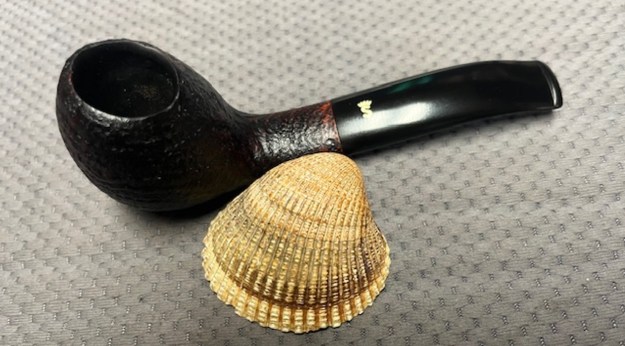
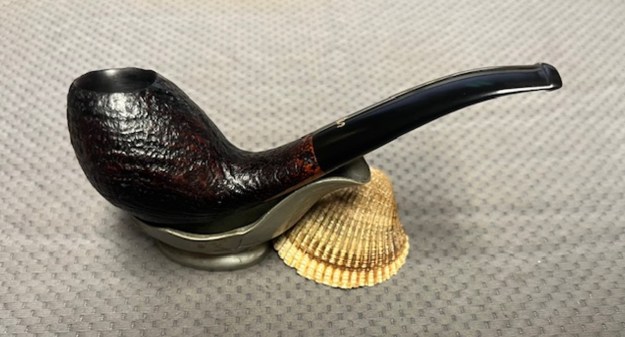
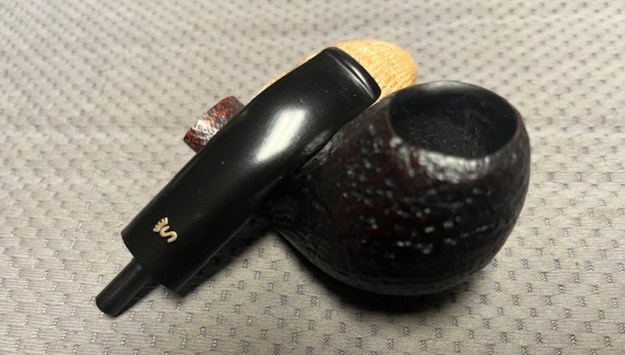
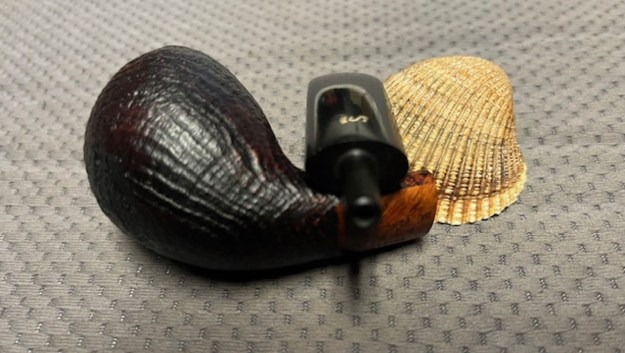
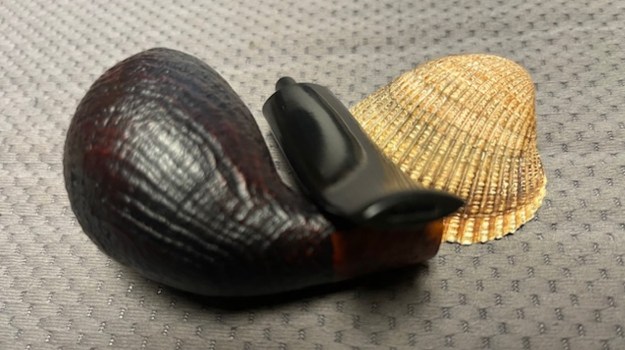
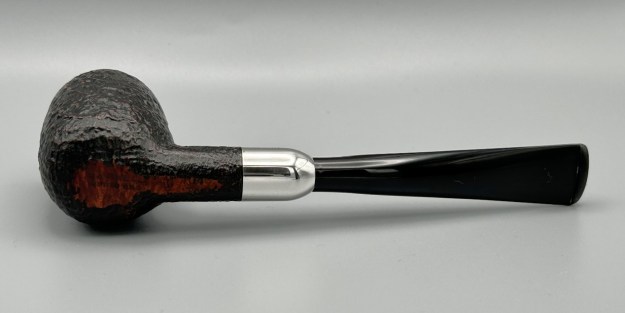
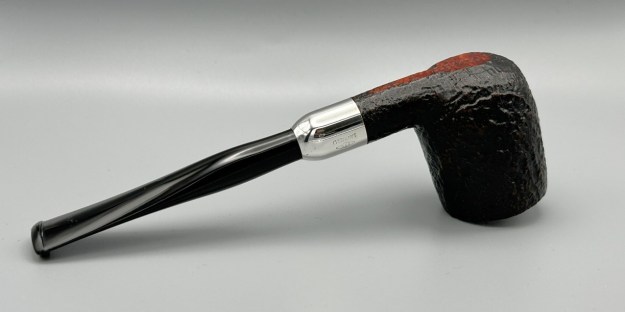
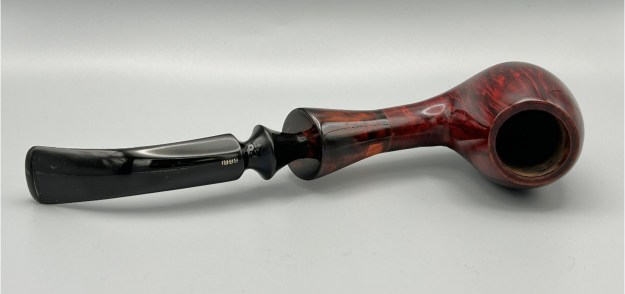
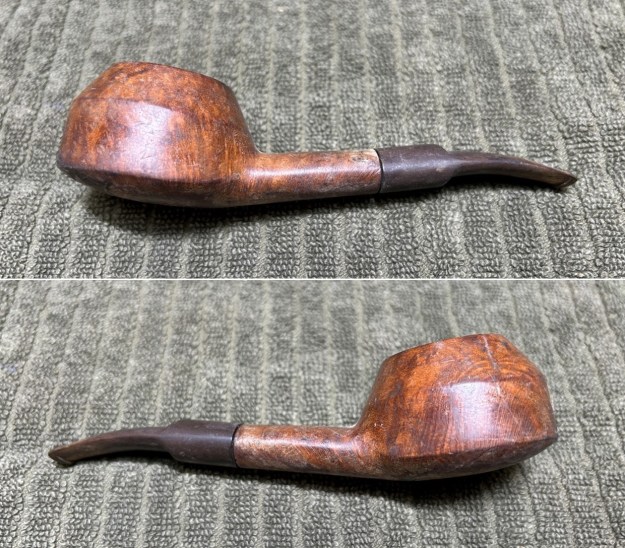
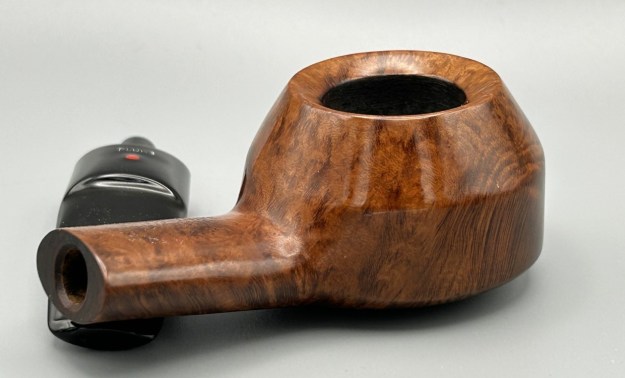
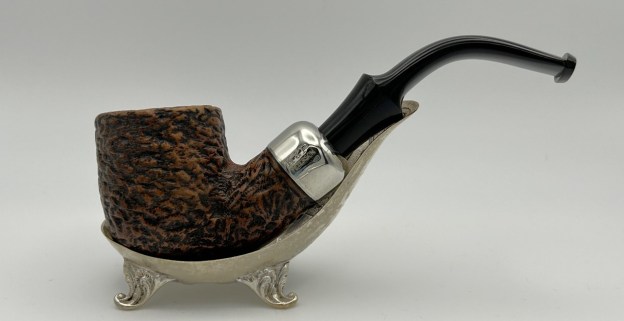
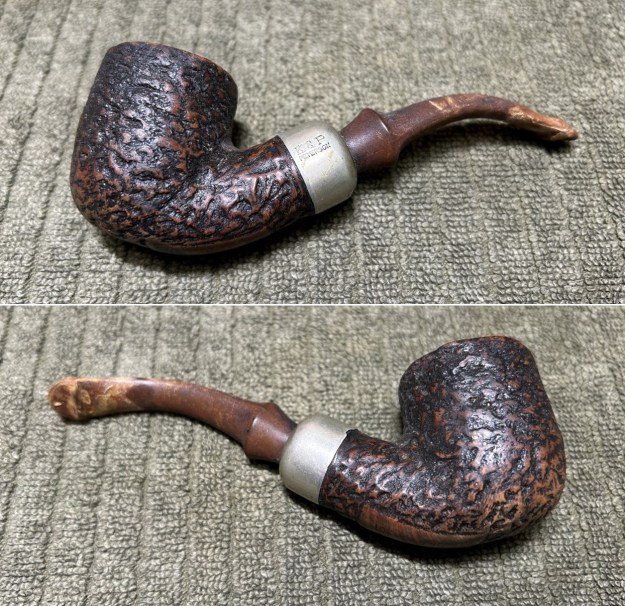
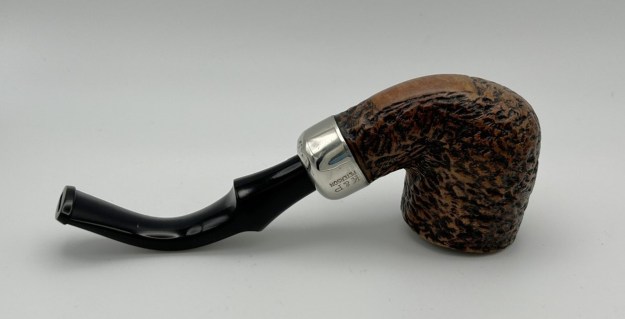
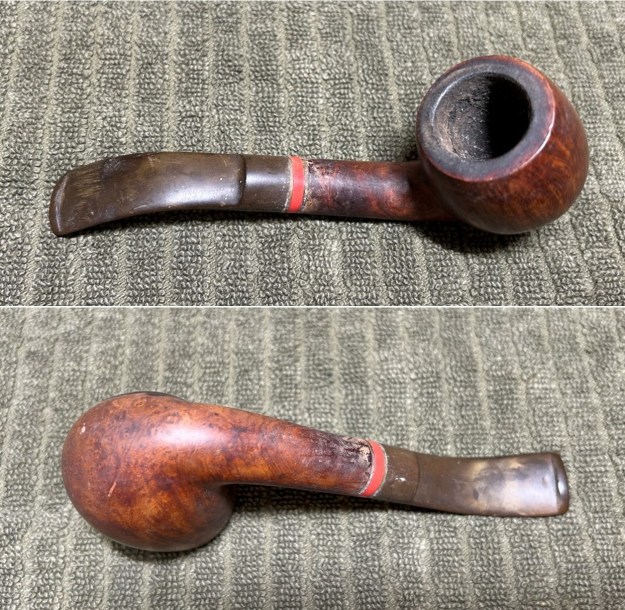
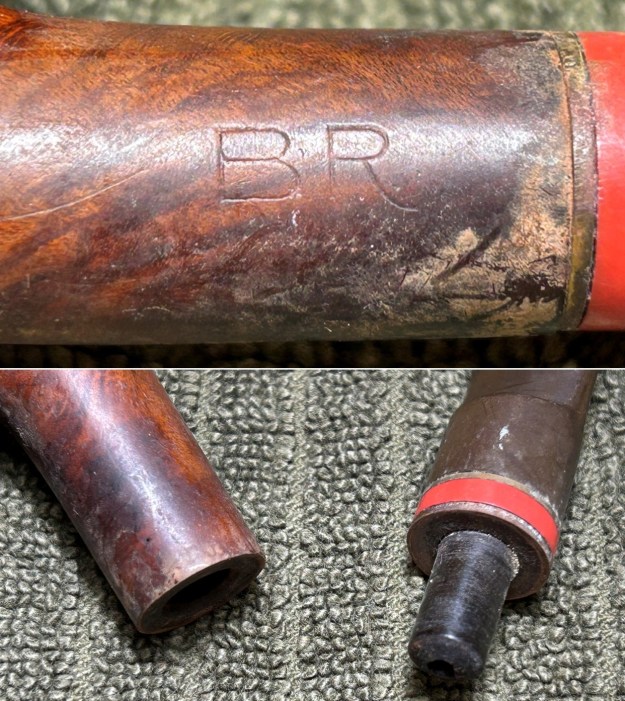
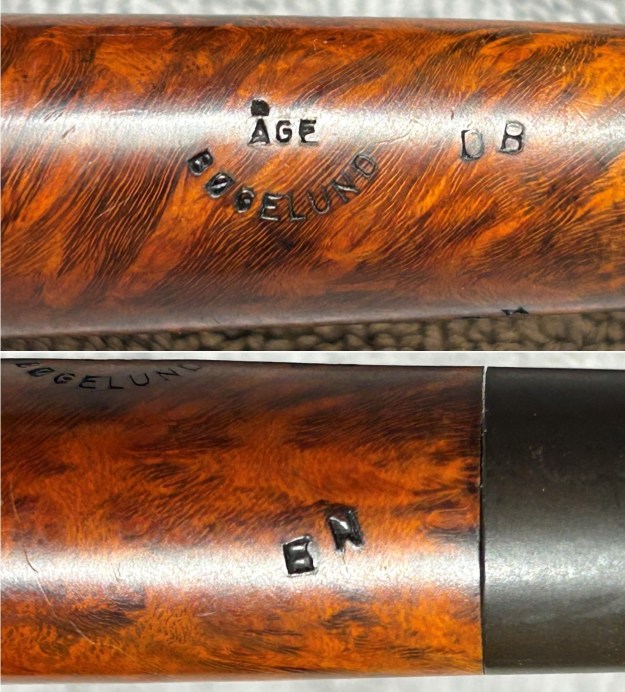
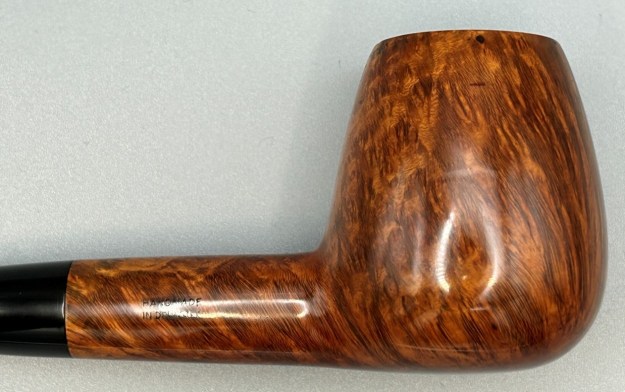
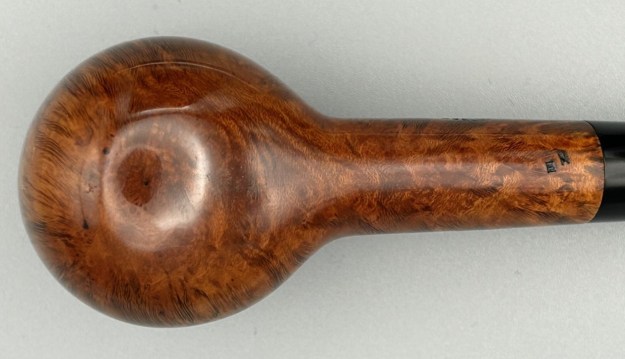
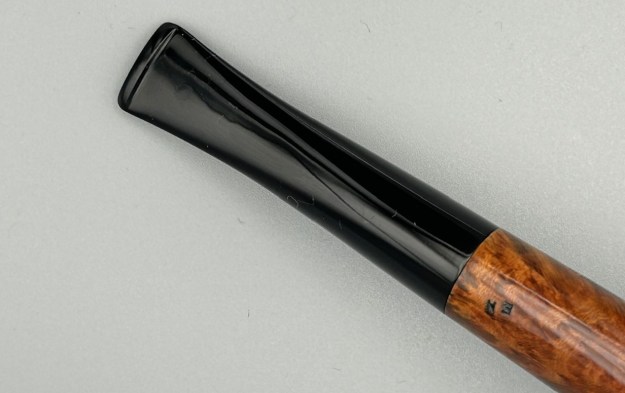
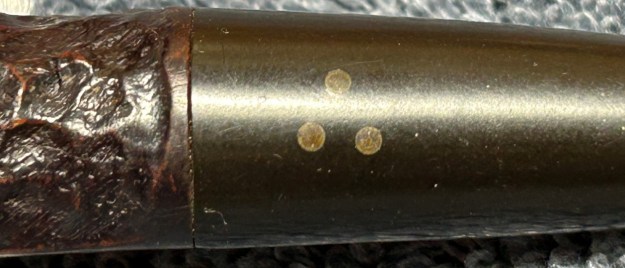
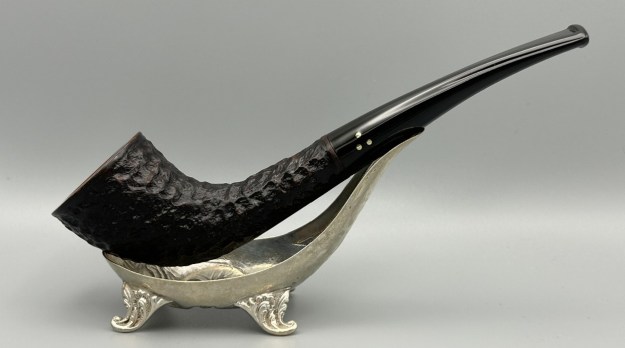
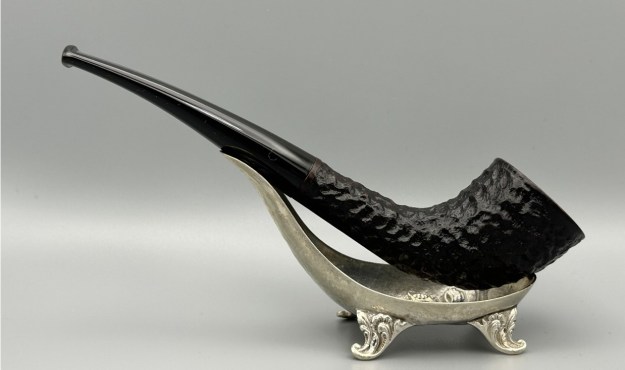
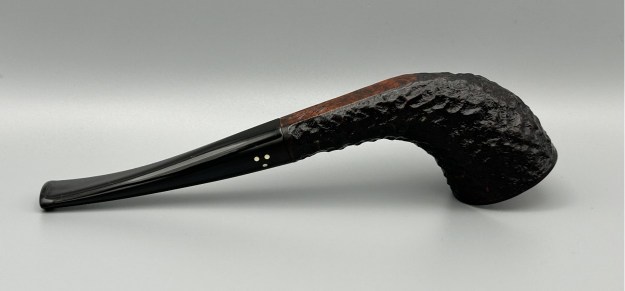
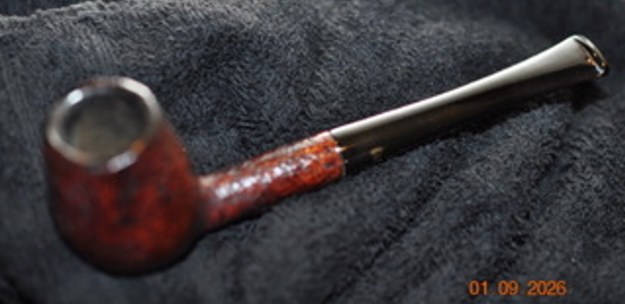
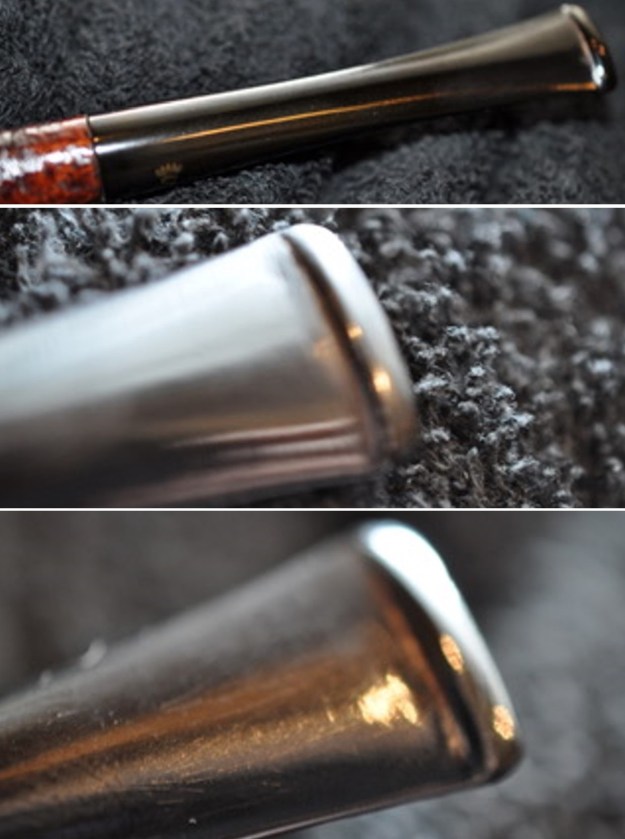
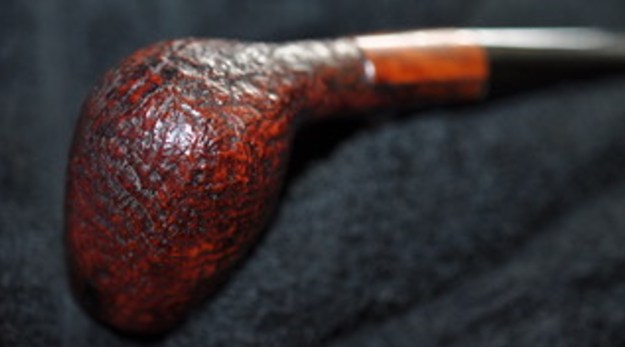
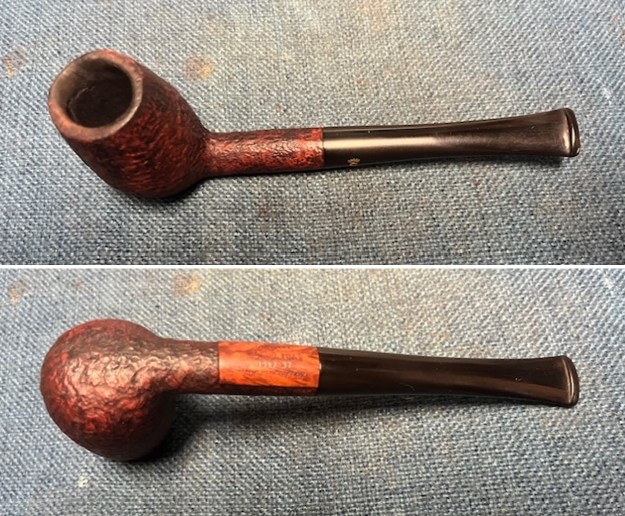
I moved on to work on another pipe. The next one I chose was another Stanwell. We purchased this from our contact in Copenhagen, Denmark on 02/16/2023. The stamping on the pipe was very clear and readable. On a smooth panel on the underside of the shank it reads Stanwell [over] Jubilaeum followed by 69 the shape number [over] 1942-92 [over] Made in Denmark. The stem had a gold inlaid Crowned “S” Stanwell logo on the topside of the taper stem. The Jubilaeum series was the 50th Anniversary line. The shape is a classic 69 Sandblast Straight Brandy/Tulip Design by Jess Chonowitsch and is easily recognizable as such. The bowl had a moderate cake but there was lava and burn damage on the rim top. The finish was in dirty condition and was dull. The taper stem was vulcanite and had light tooth chatter on both sides ahead of the button. It showed a lot of promise through the grime. It came with a gold 50th Anniversary box and pipe sock. I took photos of the pipe before I started my clean up work.
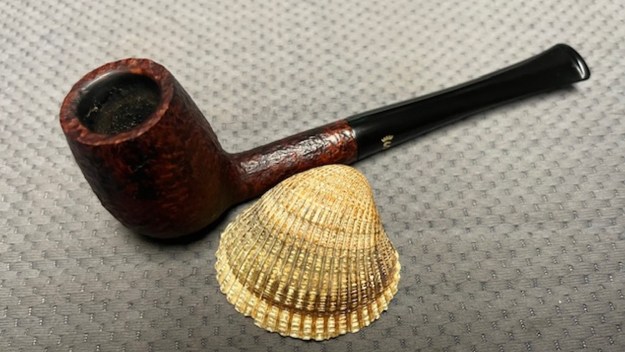
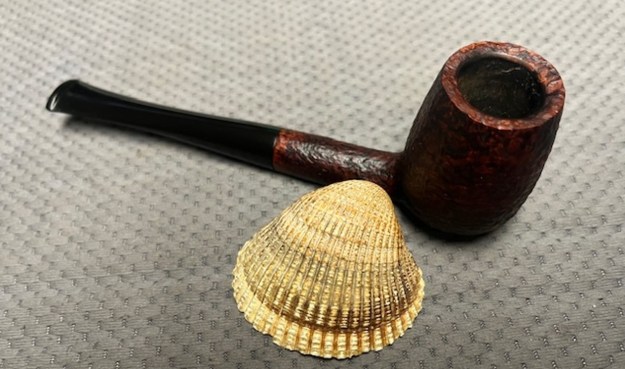
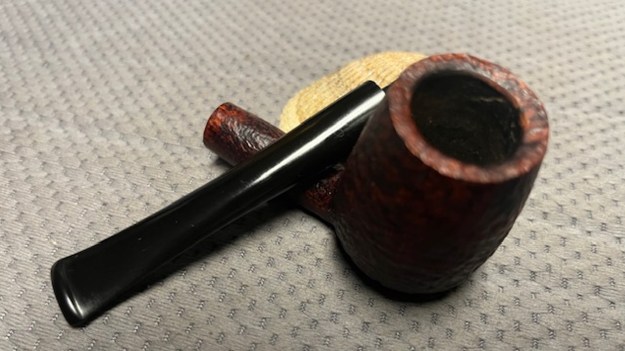
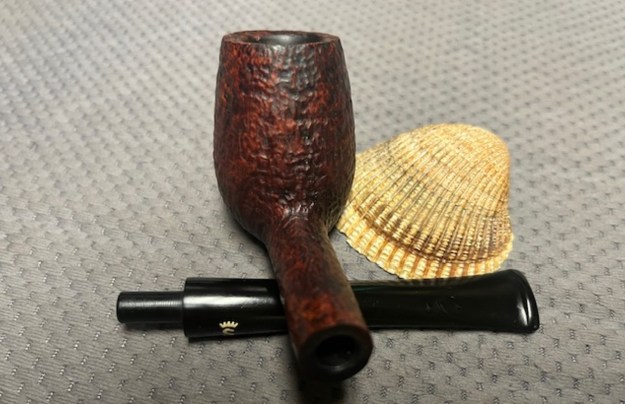
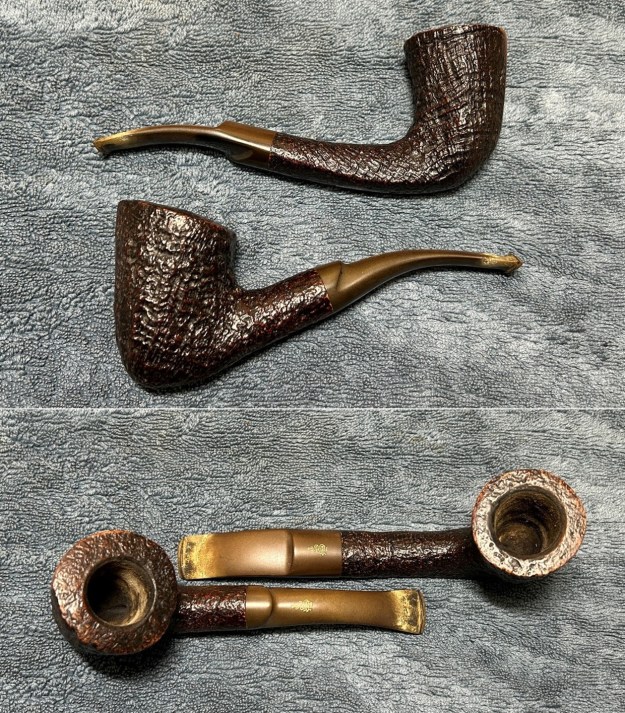
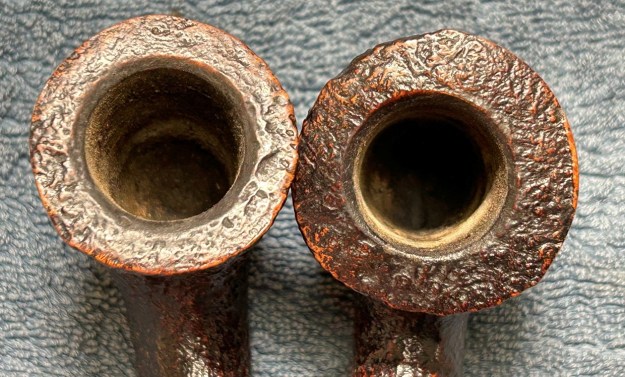
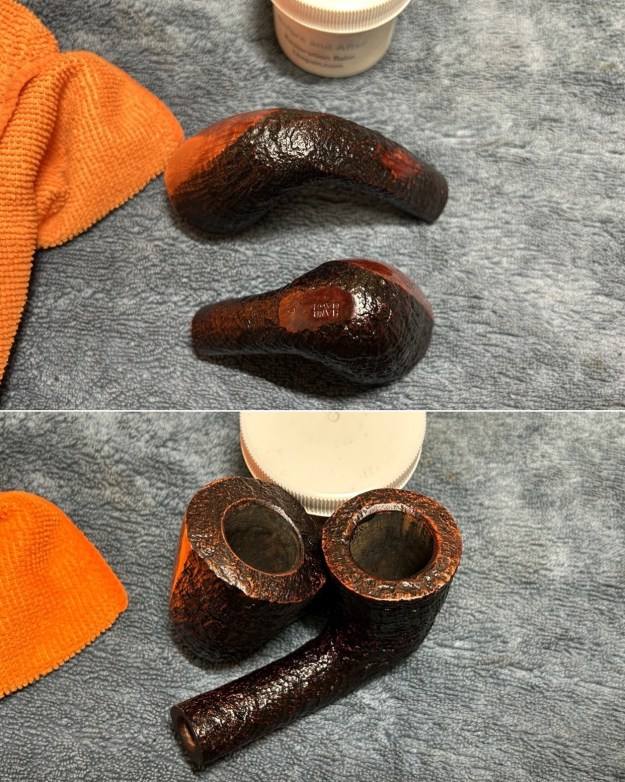
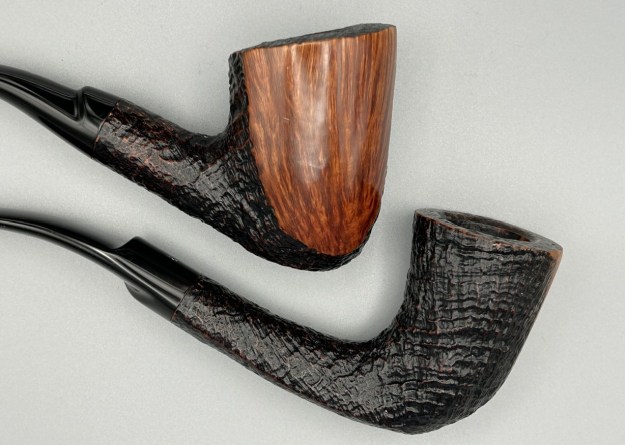
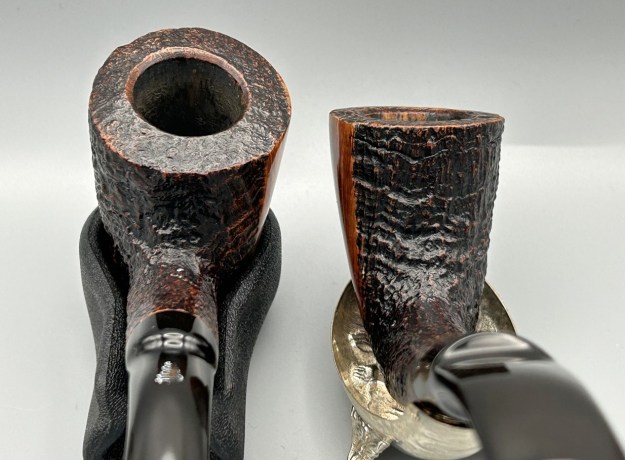
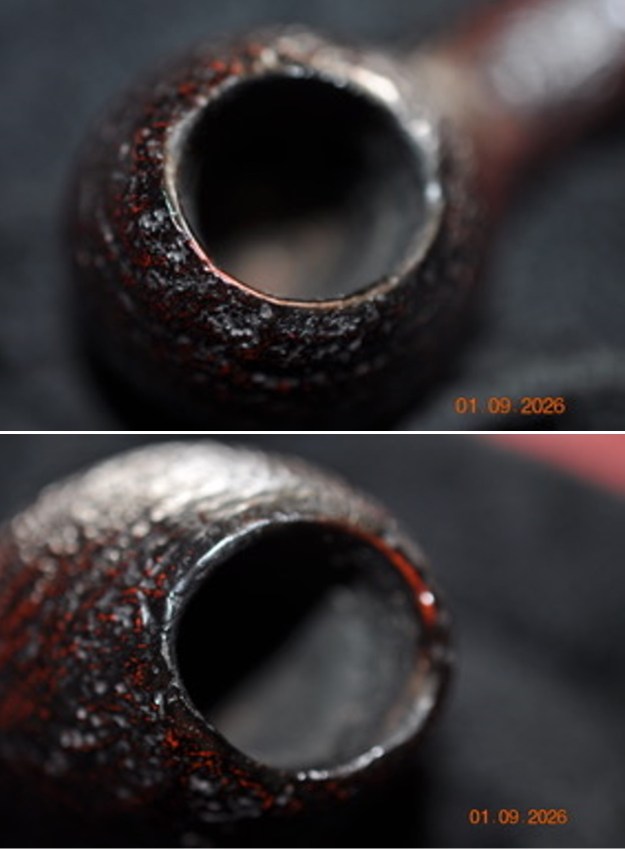
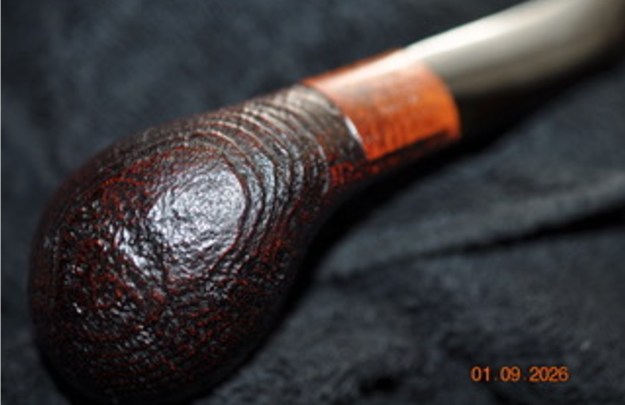
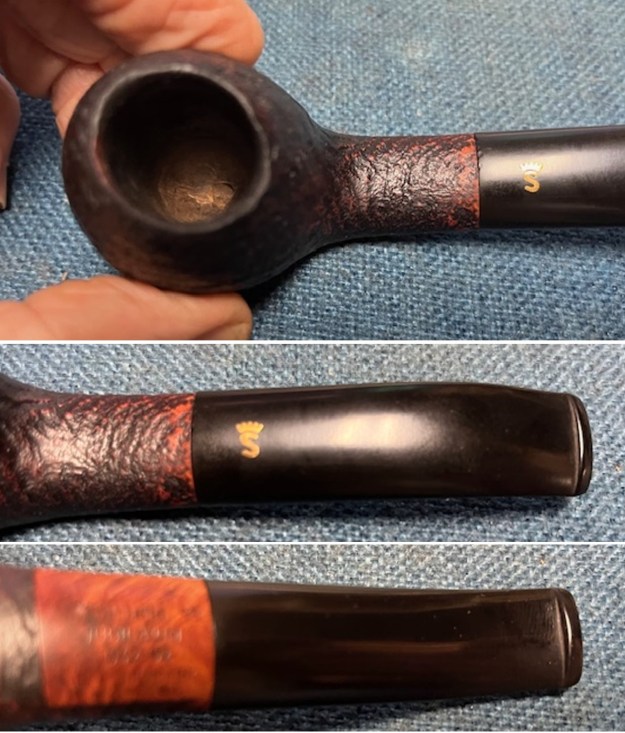
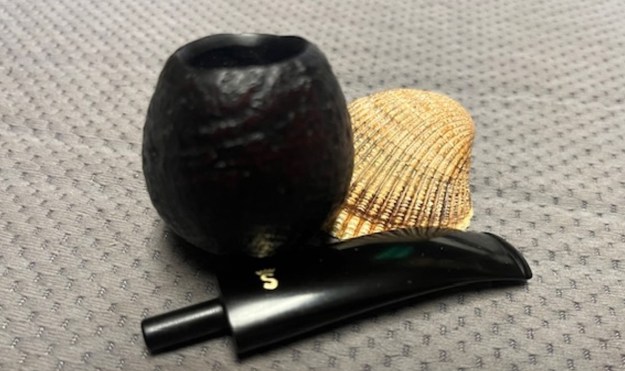
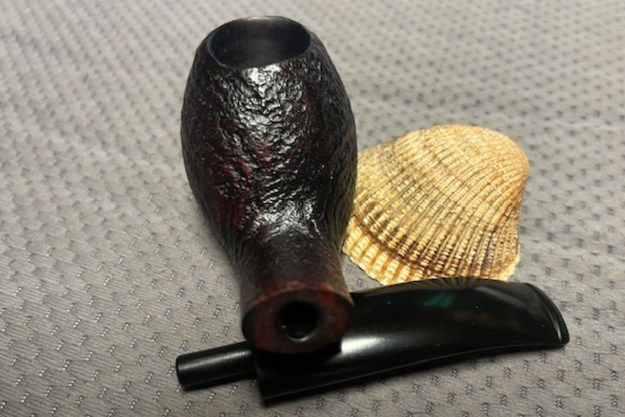
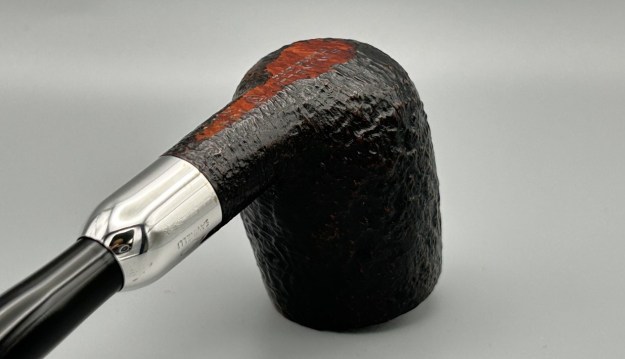
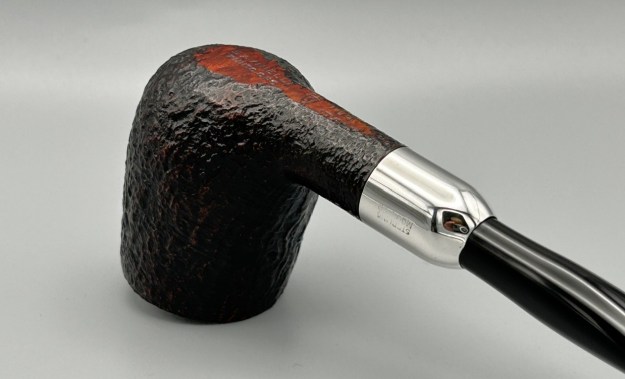
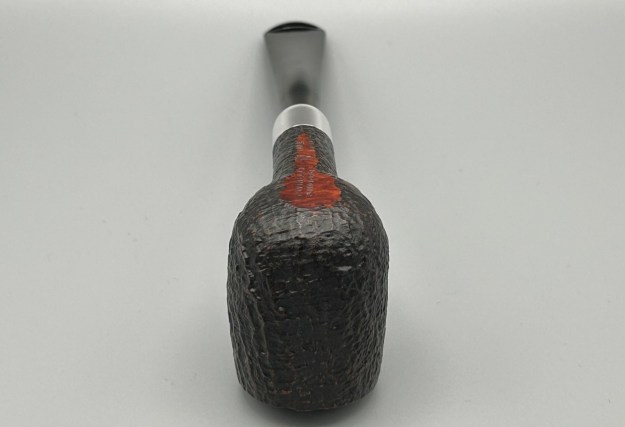
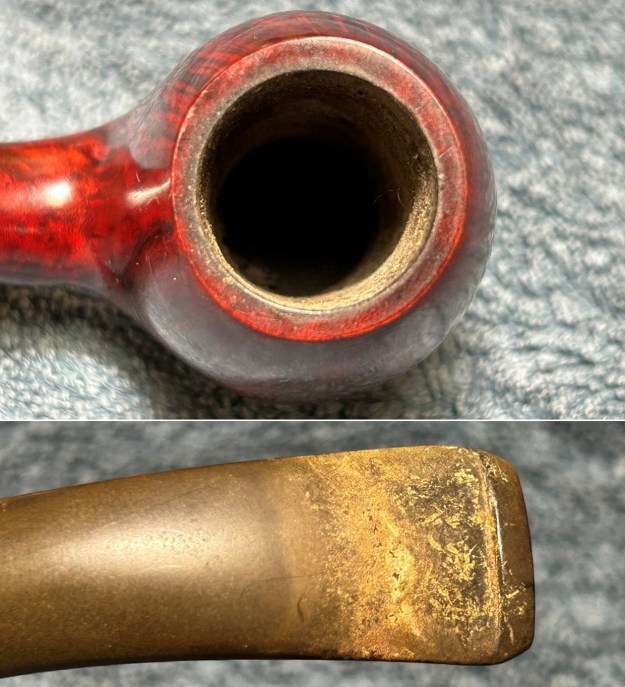
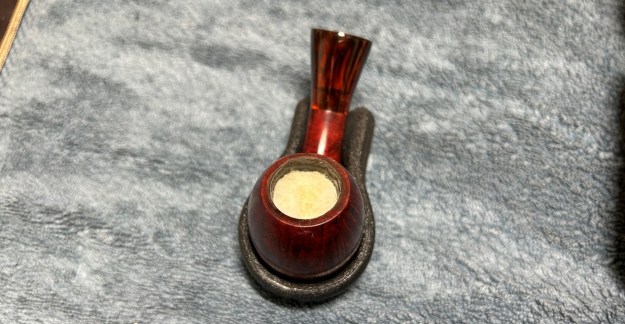
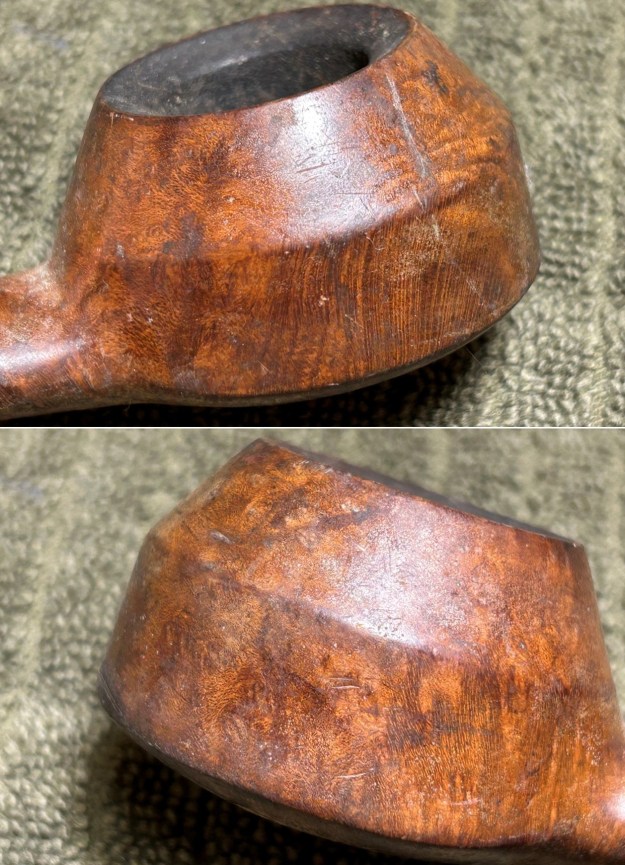
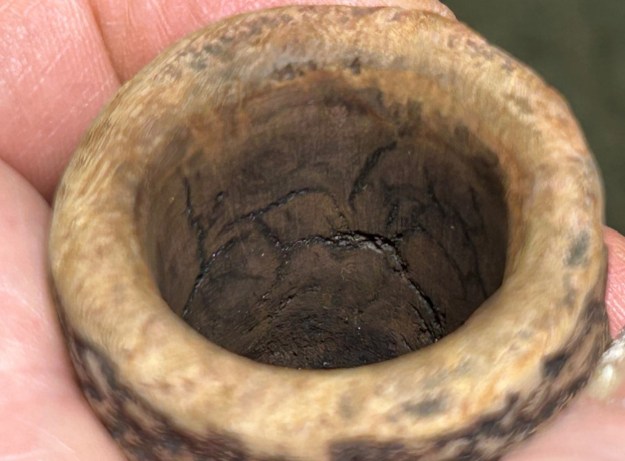
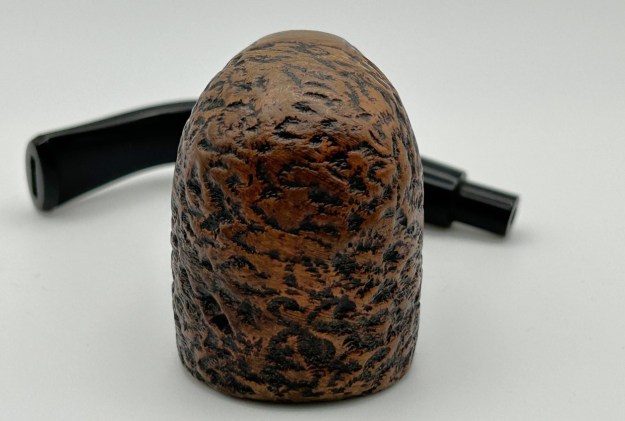
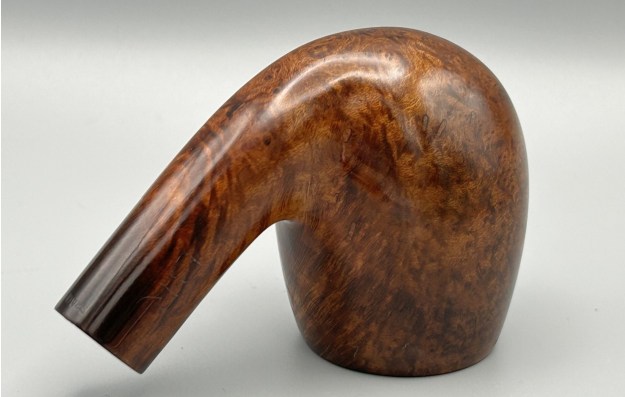
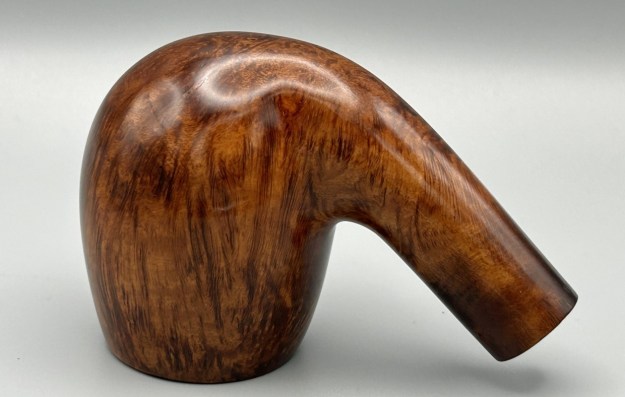
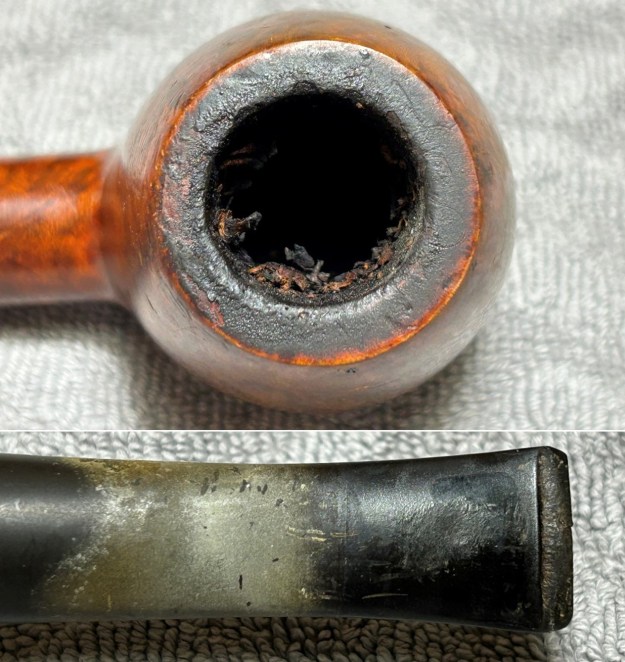
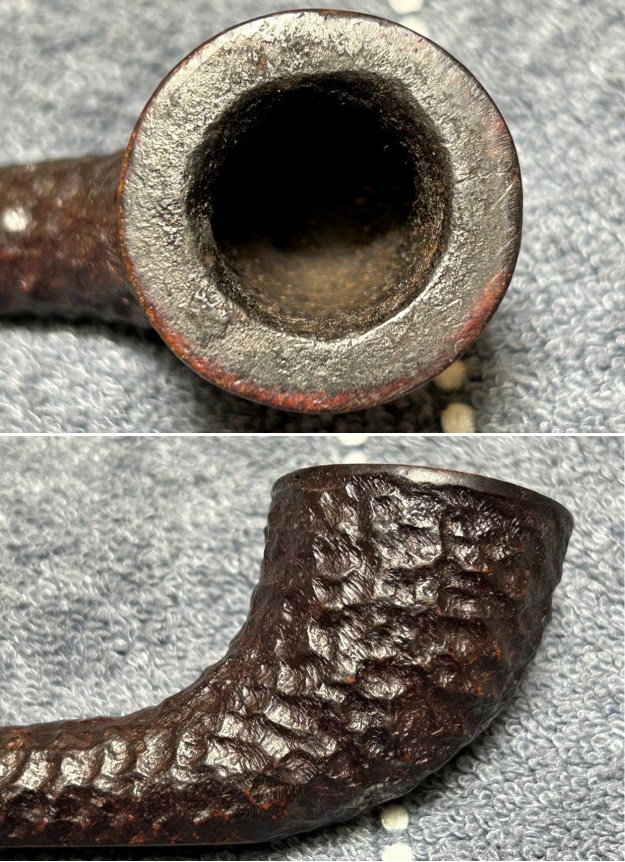
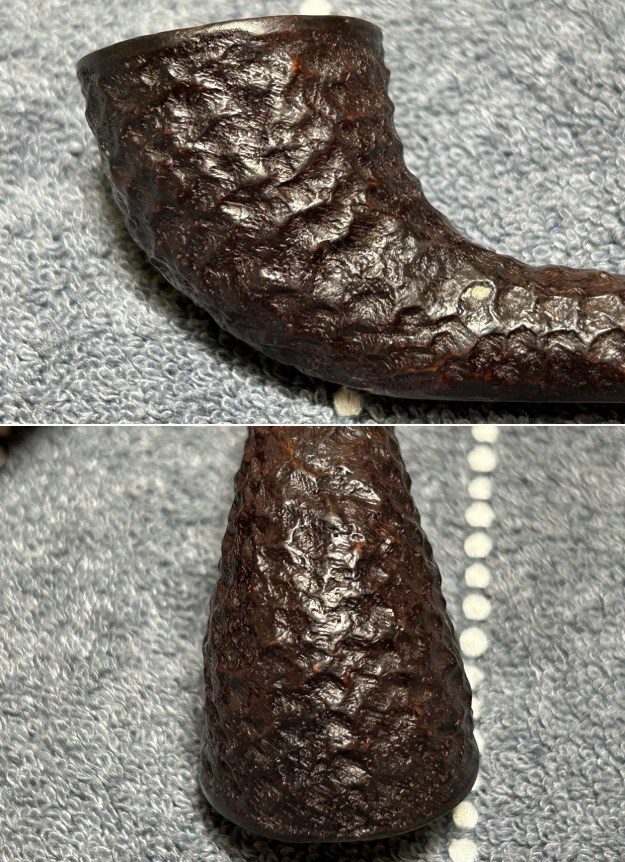
 Jeff took photos of the bowl and rim top to show what they looked like before the clean up. You can see the cake in the bowl and the darkening and light lava on the inner edge and top of the rim.
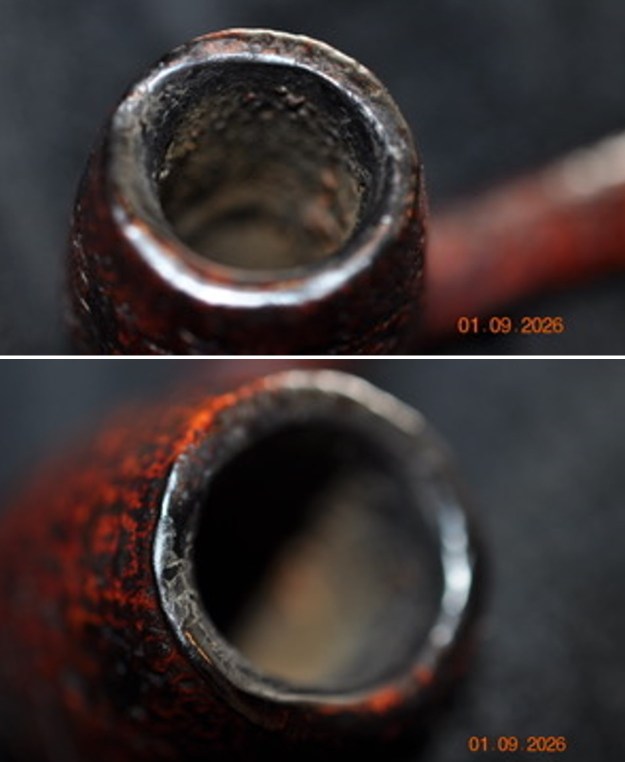
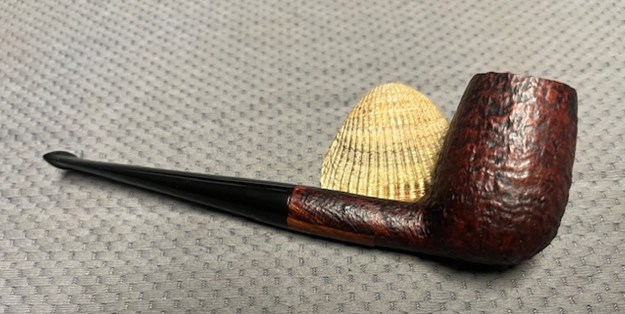
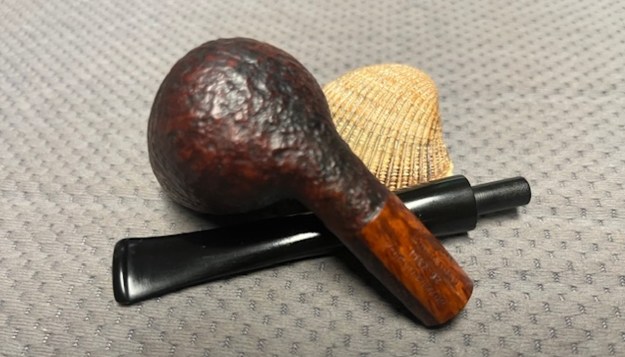
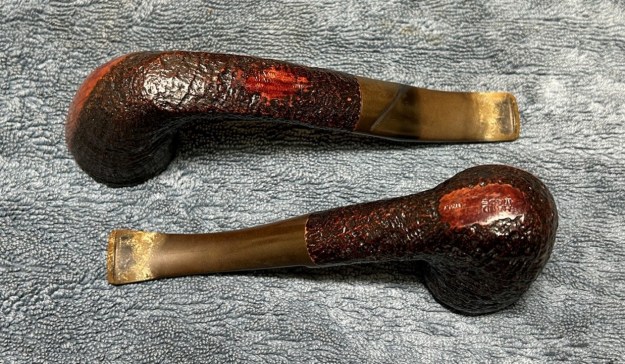
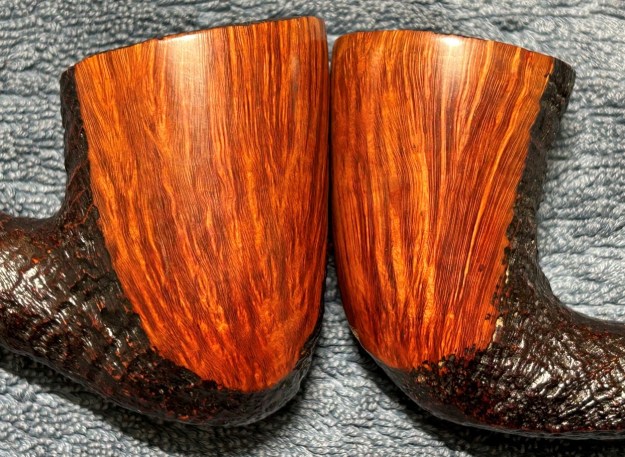
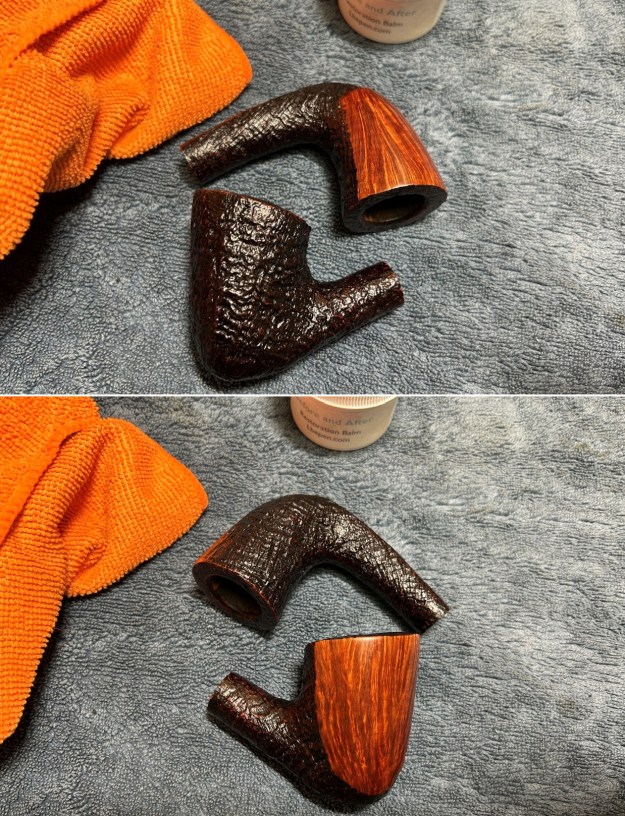
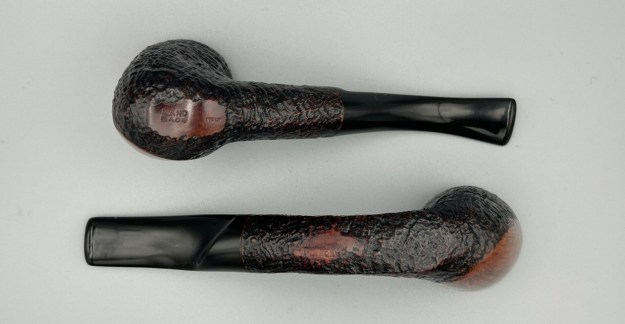
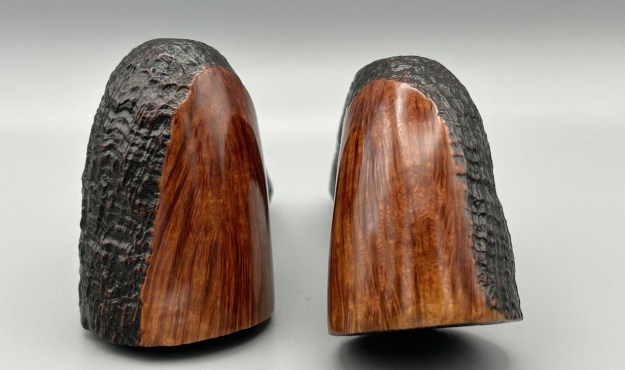
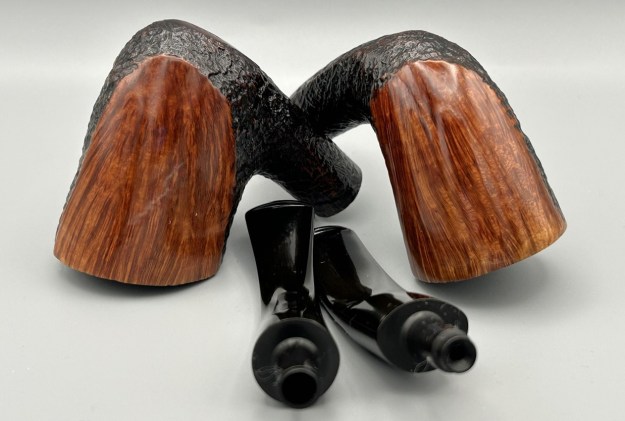
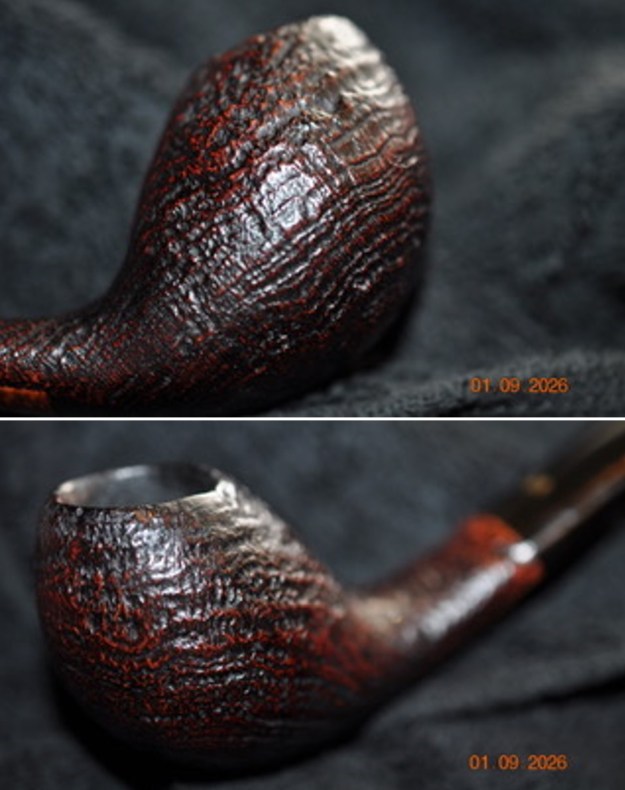
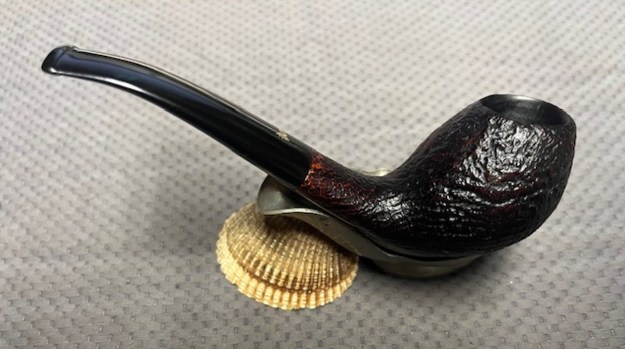
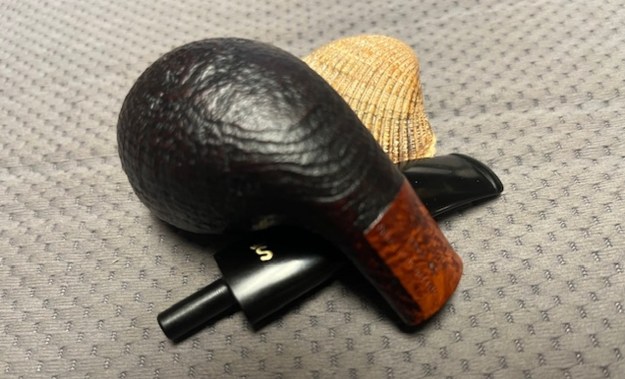
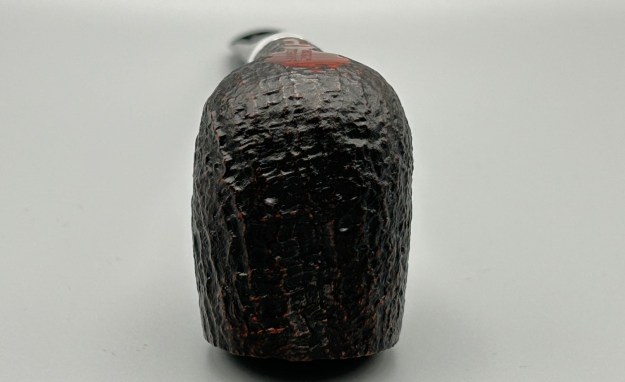
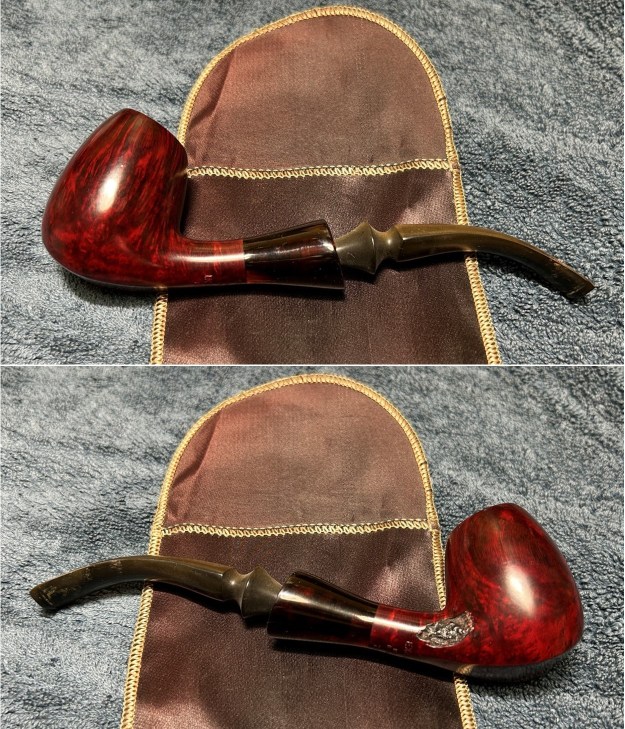
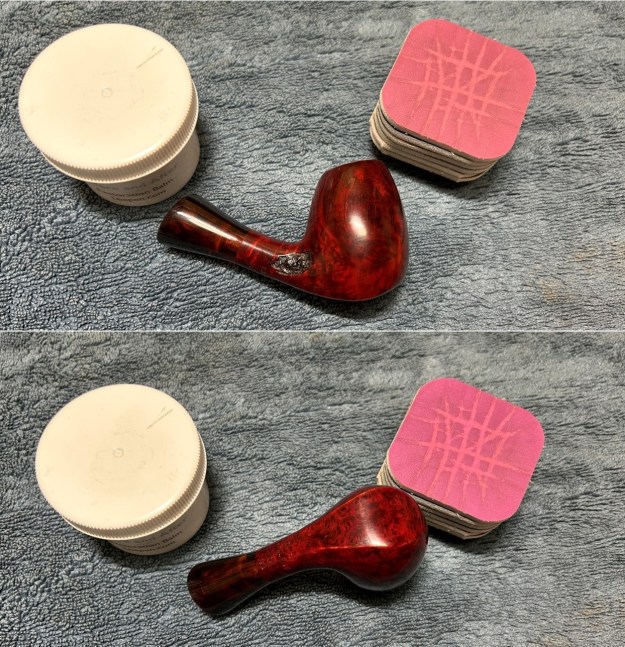
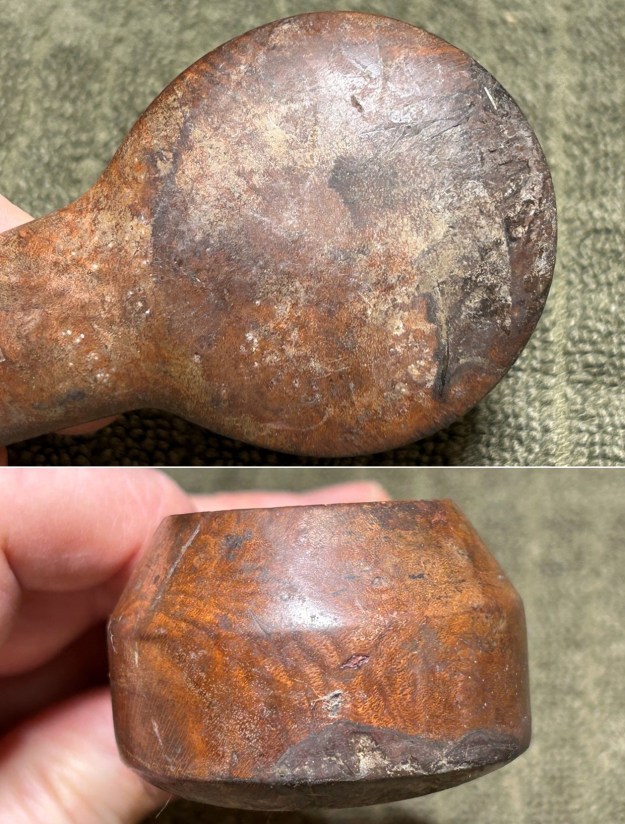
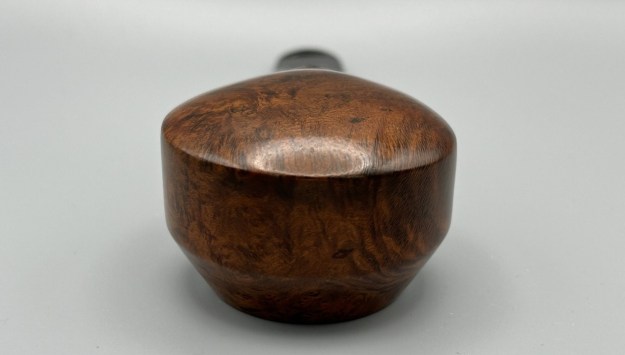
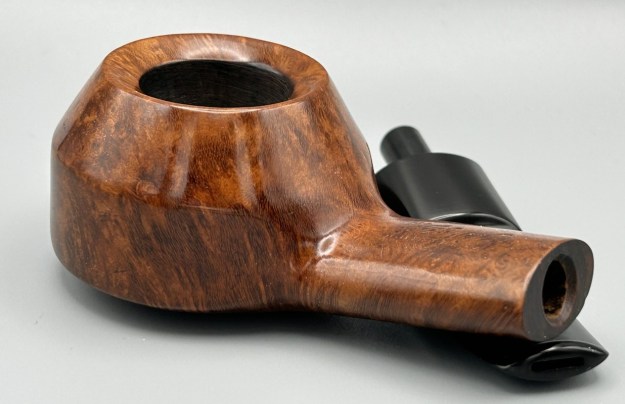
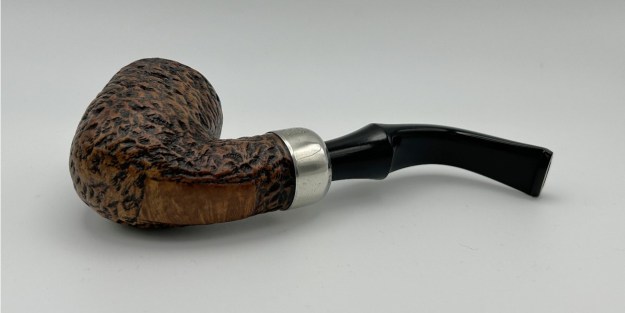
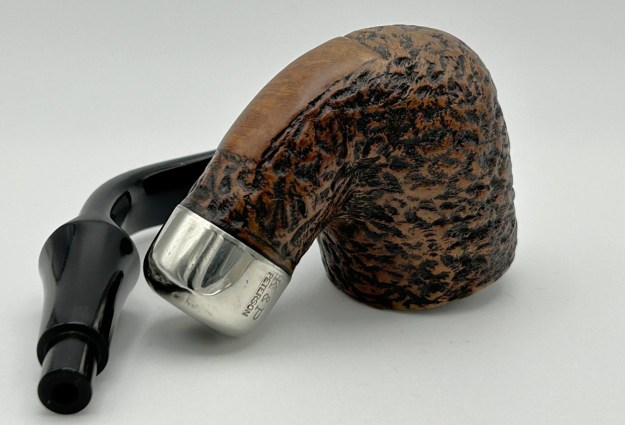
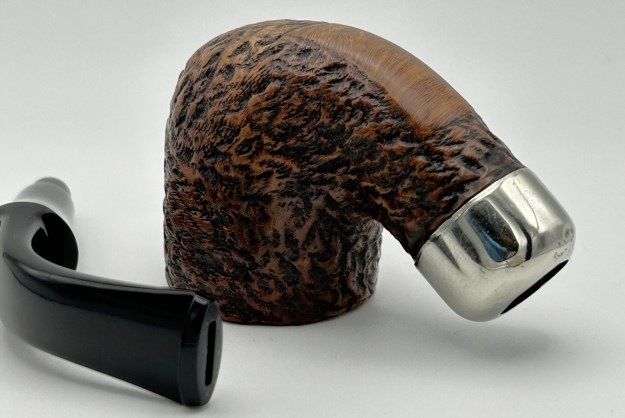
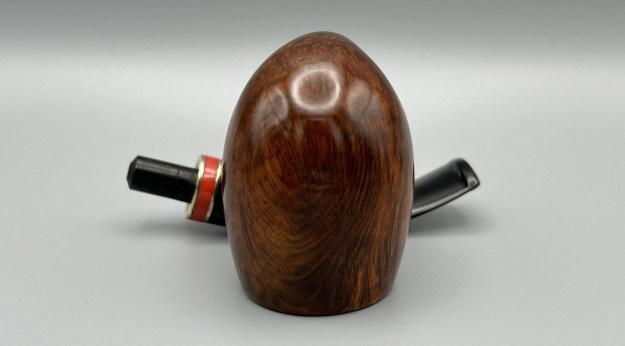
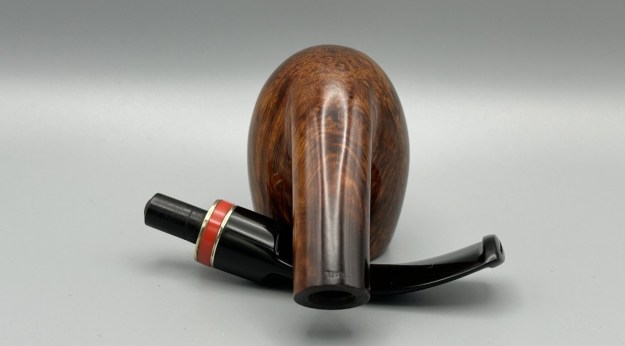
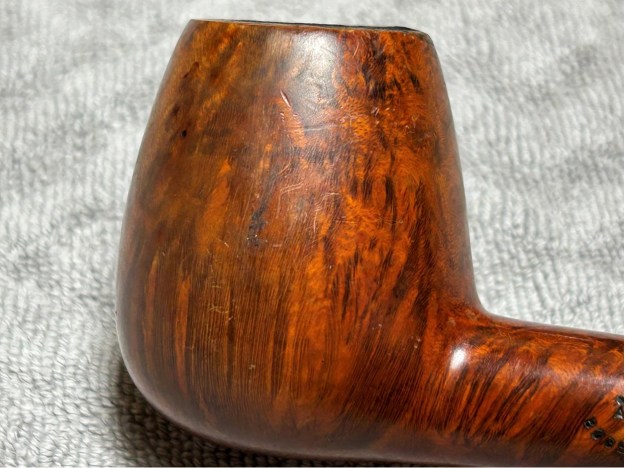
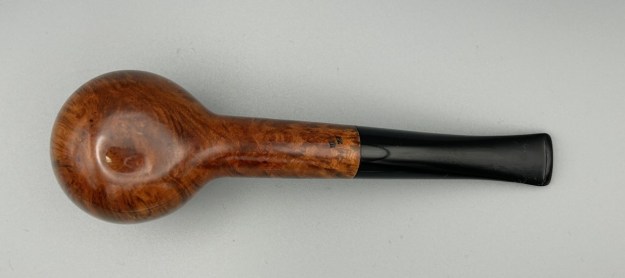
 The photos of the sides and heel of the bowl show the grain through the sandblast around the bowl and shank. The stain adds depth finish on the pipe. Even under the grime it is a real beauty.
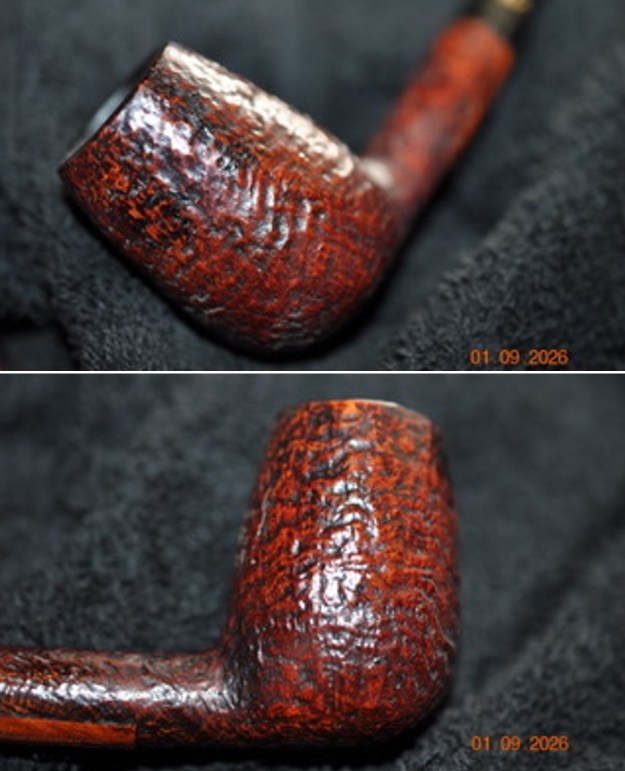
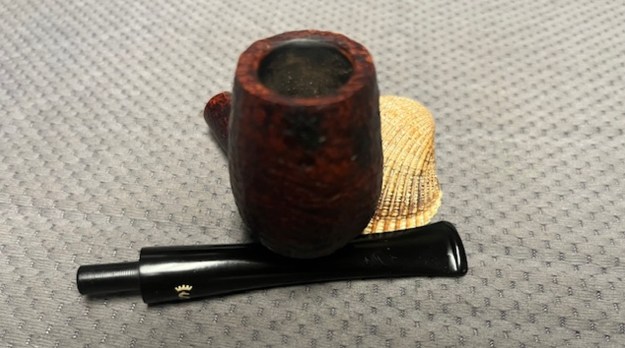
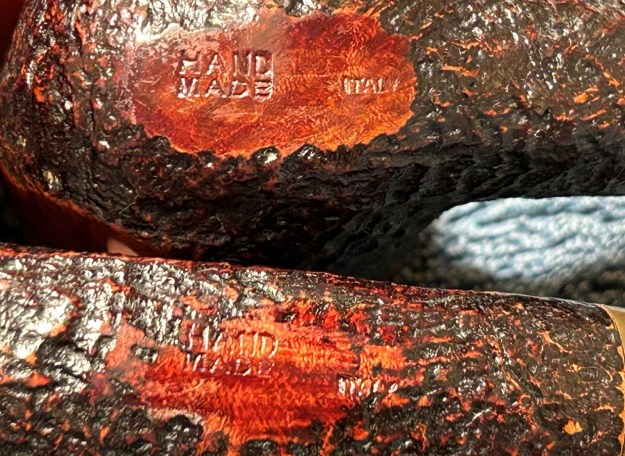
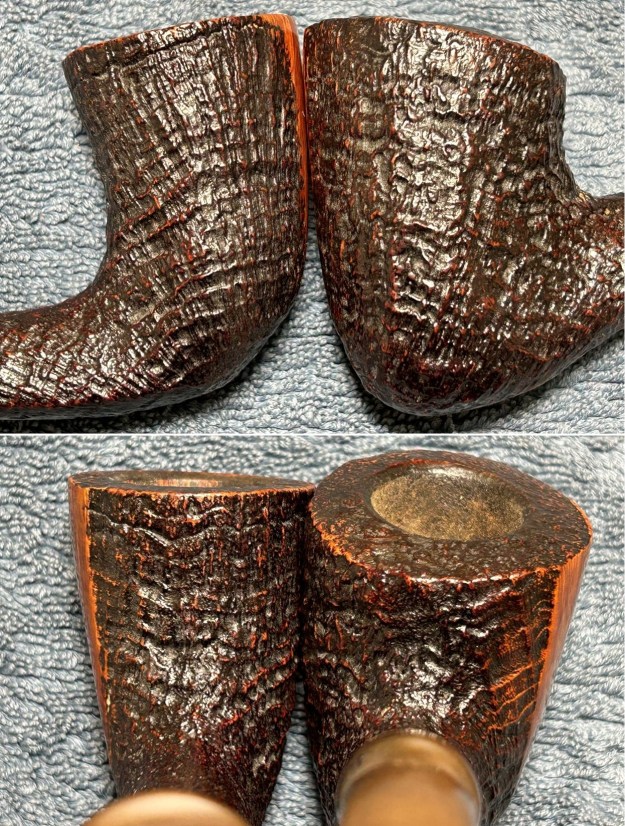
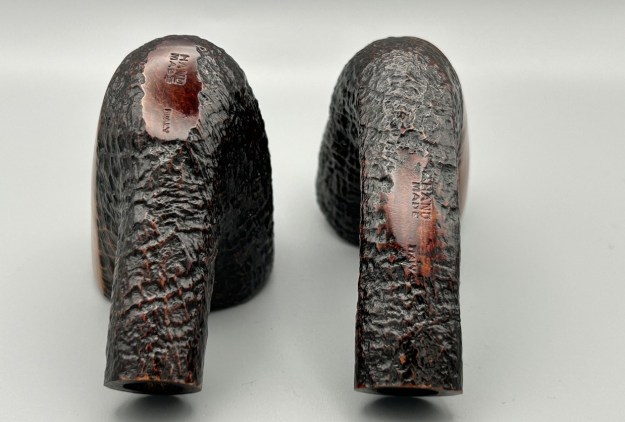
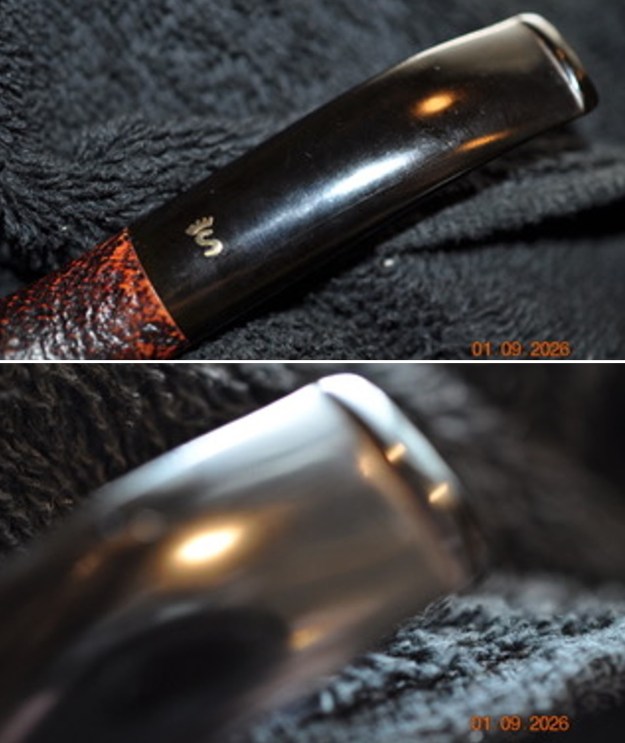
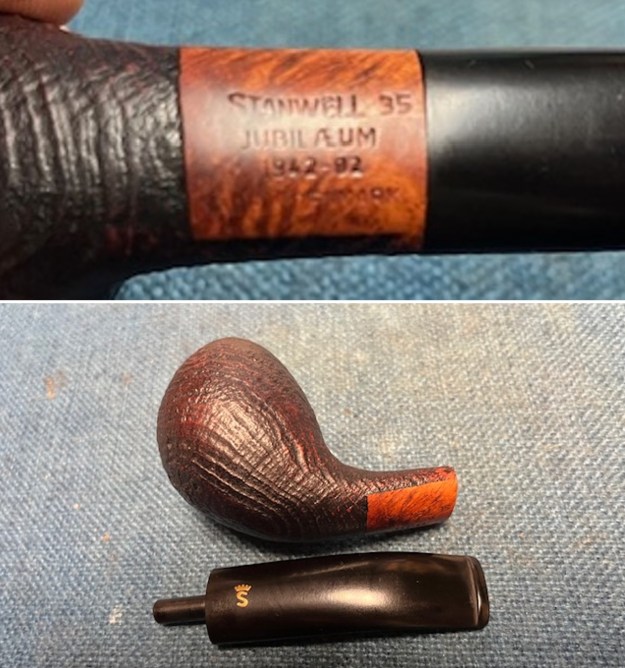
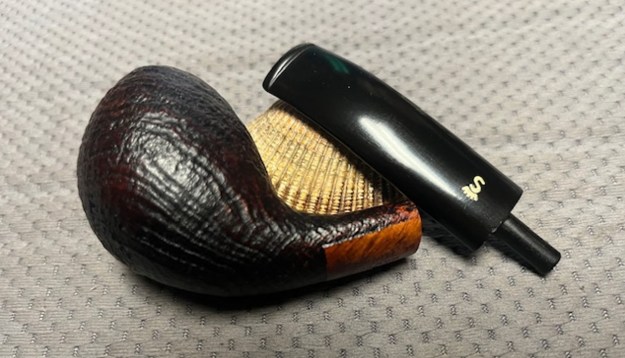
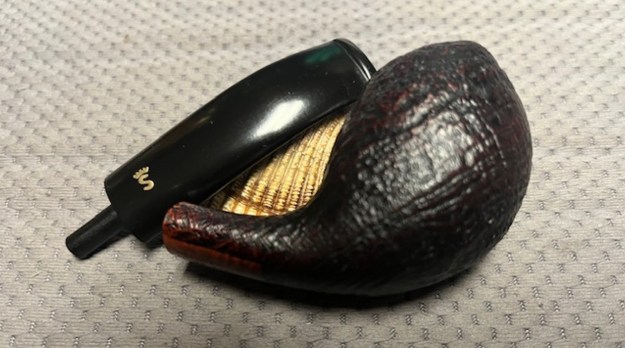
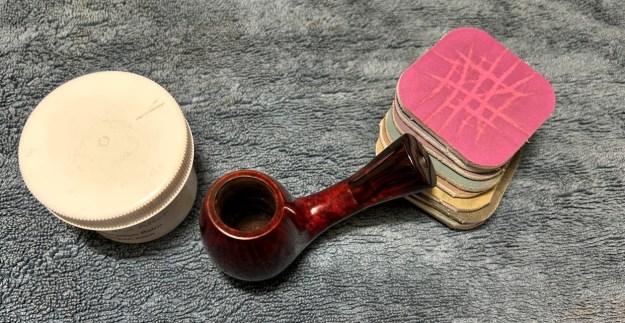
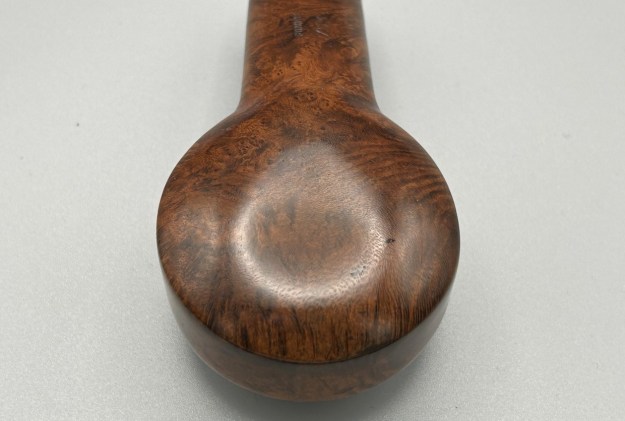
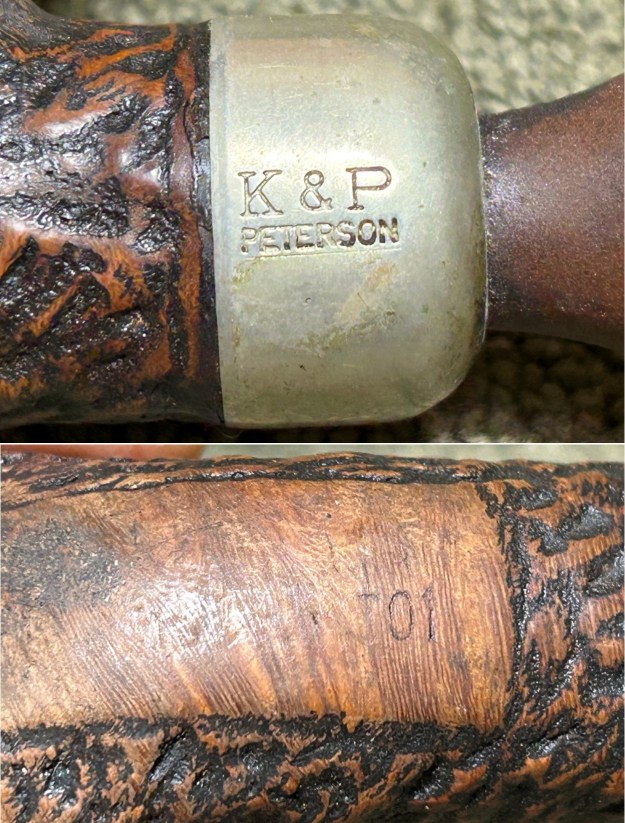
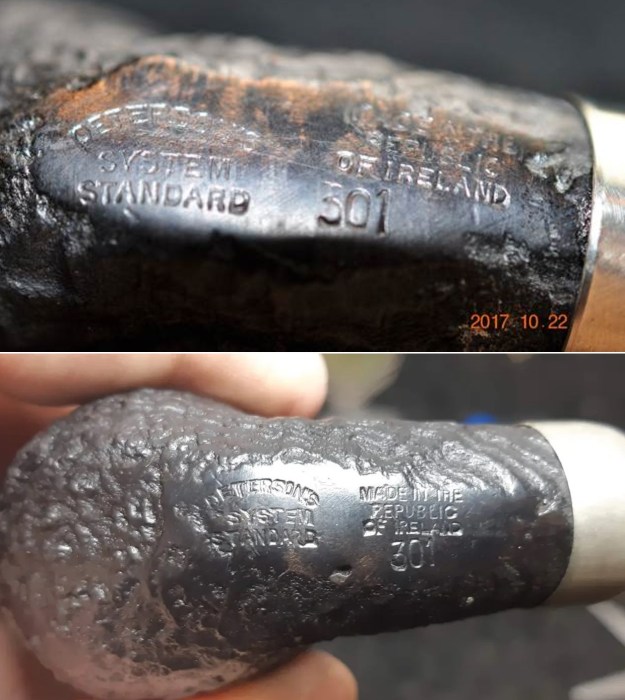
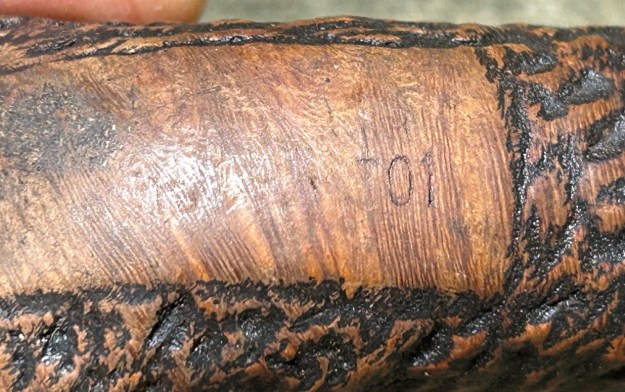
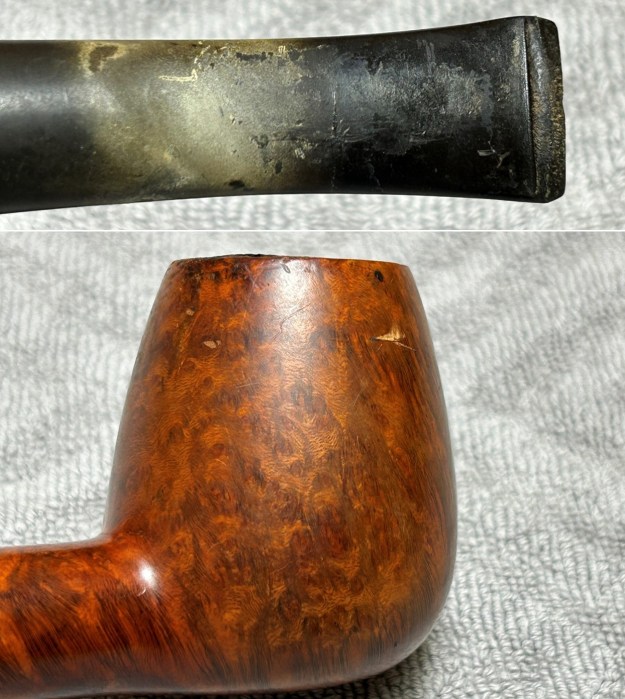
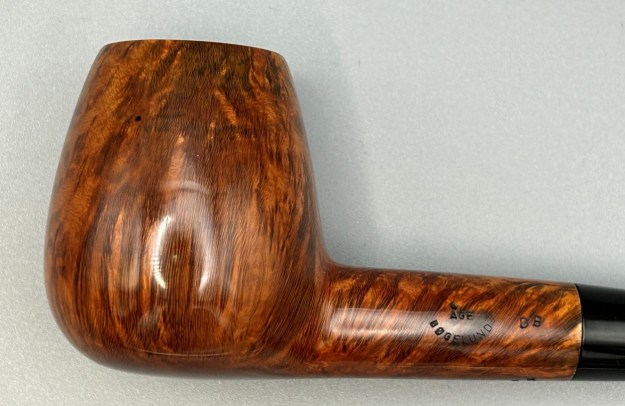
 The stamping on the underside of the shank are shown in the photos below. It is clear and readable as noted above.
 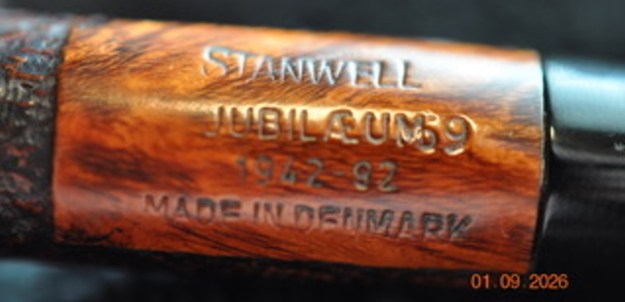 I turned to Pipephil’s site to see if I could find any information on the Jubilaeum line of Stanwell pipes (http://www.pipephil.eu/logos/en/logo-stanwell.html). There was nothing specific on the line but the summary of Stanwell History is quite helpful. I quote it below.
Brand & factory were established in 1942 by Poul Nielsen. The company has been owned since 2000 by Nordisk Tobaks Kompagni A/S.
The factory in Borup crafted all Stanwell pipes from 1965 until 2009. From 2010 on the pipes are crafted by Barontini (Italy) exept for the limited editions.
Production (2007): 115,000 Pipes/year – Denmark
I turned to Pipedia to an article that originally was posted here on rebornpipes and written by my late friend Bas Stevens (https://pipedia.org/wiki/Stanwell_Shape_Numbers_and_Designers). There was a section in the article was a piece on the Jubilaeum pipes. I have included it and the list of shapes.
‘Jubilee’ (Danish: Jubilaeum) pipes
On occasion, Stanwell released special ‘Jubilee’ pipes, most notably in 1982 (40th), 1992 (50th), and 2002 (60th), though ‘Jubilee’ pipes do exist from Stanwell’s ‘registration era.’
For the 40th and 50th Jubilee, a number of iconic shapes were chosen from Stanwell’s back catalog (including shapes no longer produced). Pipes could be purchased individually, or as a full set. Different shapes featured in the Jubilee ranges. In the 1982 range, pipes were offered in natural, red, and golden contrast stains. In the 1992 Jubilee range, stems could be either standard black vulcanite, or cumberland ebonite.
For the 40th (1942-1982) Jubilee, these shapes were:
- 32: Poul Stanwell’s 32(a), the first shape designed for Stanwell, a classical straight bulldog, released in 1942.
- 71. Sixten Ivarsson’s 71, a straight pear-billiard with a saddle stem.
- 118. Sixten Ivarsson’s 118, a slightly bent volcano with a flush flared stem.
- 119. A quarter-bent Dublin, with an oval rim, and a saddle stem.
- 64. Sixten Ivarson’s 64(a), a quarter-bent Dublin with a plateau rim and a flush flared stem.
- 64M. Sixten Ivarsson’s 64M, a version of the 64(a) shape, but with a vulcanite ferrule and a push flared stem.
- 07. A quarter-bent apple with a diamond shank and a saddle stem.
- 53. A straight billiard of medium size, with a saddle stem.
- 108. Tom Eltang’s quarter-bent horn/scoop hybrid with a flared flush stem.
- 113. A Canadian with a wide, short bowl.
- 156. Jess Chonowitsch’s 156, a quarter-bent bulldog with a forward cant.
- 12. A large billiard with a tapered stem (12b).
- 57. A medium billiard with a tapered stem.
For the 50th (1942-1992) Jubilee, these shapes were:
- 32: Poul Stanwell’s 32(a), the first shape designed for Stanwell, a classical straight bulldog, released in 1942.
- 06: Sixten Ivarsson’s 06(a) bent Dublin, released in 1951.
- 70: Sixten Ivarsson’s 70(a) bent volcano, released in 1967.
- 35. Anne Julie’s 35(b) bent egg, released in 1975.
- Jess Chonowitsch’s 169 straight brandy/tulip, released in 1986
- Tom Eltang’s 190 hexagonal-shank billiard, as featured in the ‘Sixtus’ range, released in 1992.
A six-day set of Stanwell’s 1992 Jubilee pipes in their original case. Image courtesy Nicholas Gutierrez of NG Pipes.
The Straight Brandy, shape 69 is a Jess Chonowitsch Design which was a Brandy/Tulip originally released in 1986. Now it was time to work on the pipe.
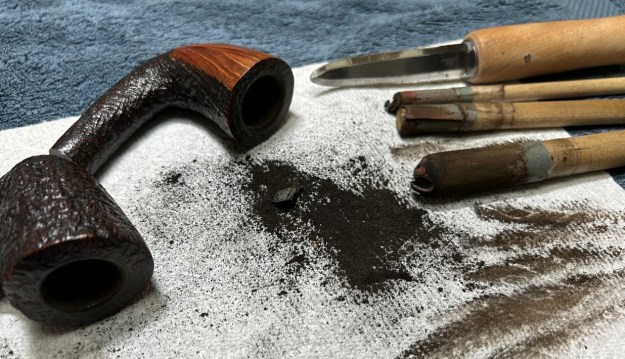
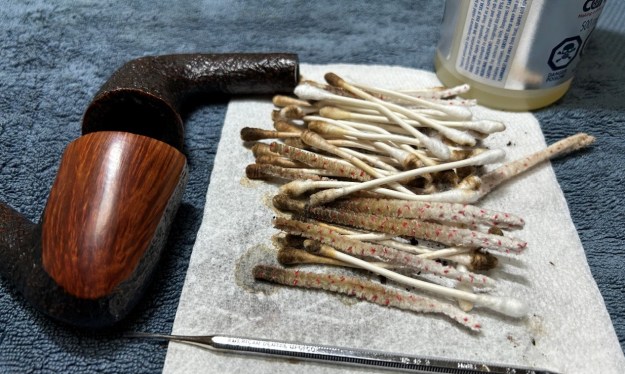
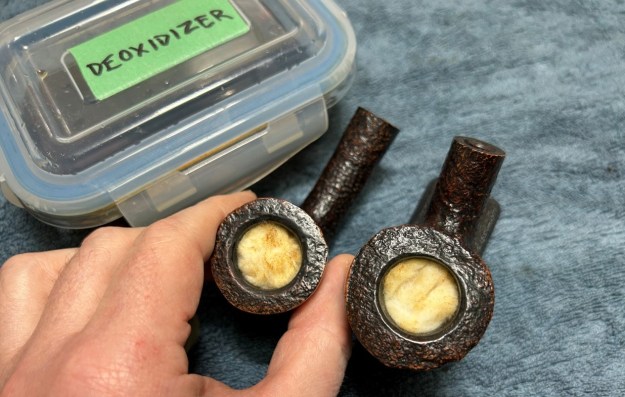
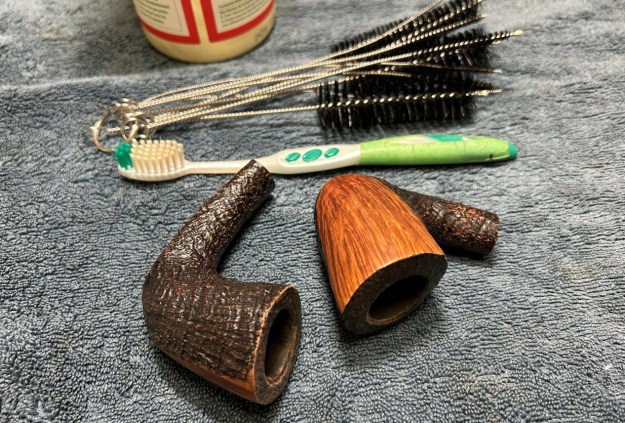
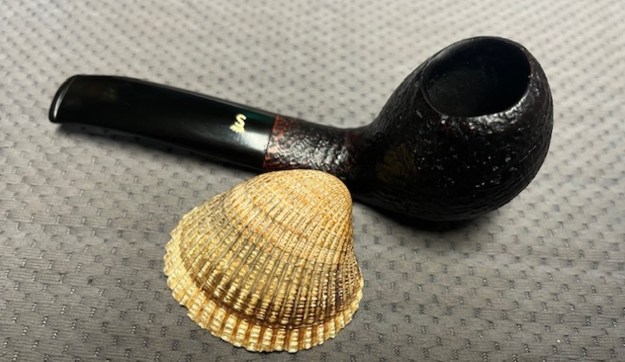
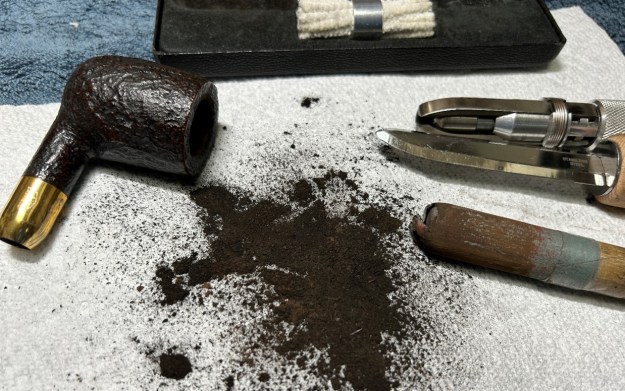
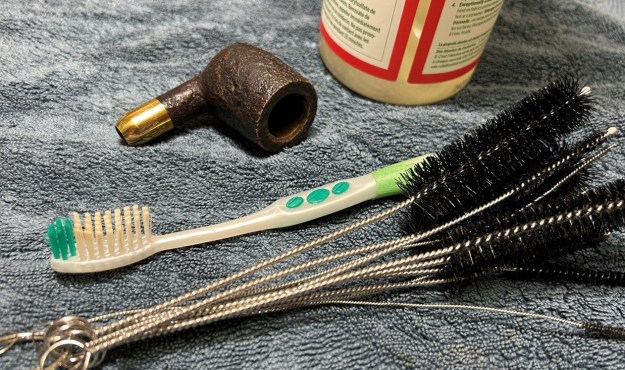
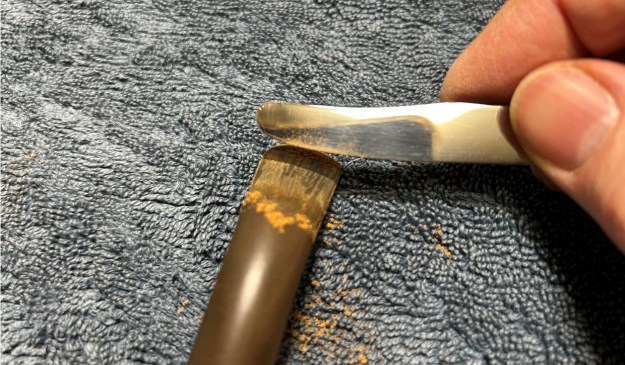
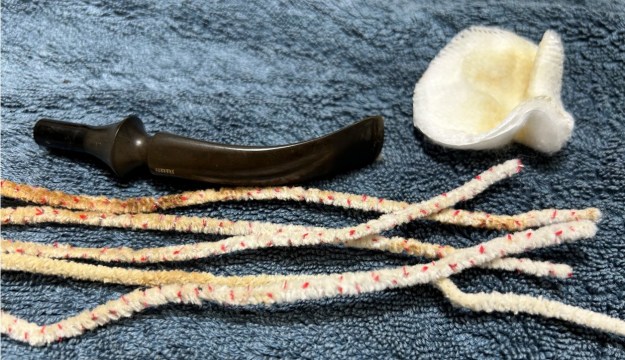
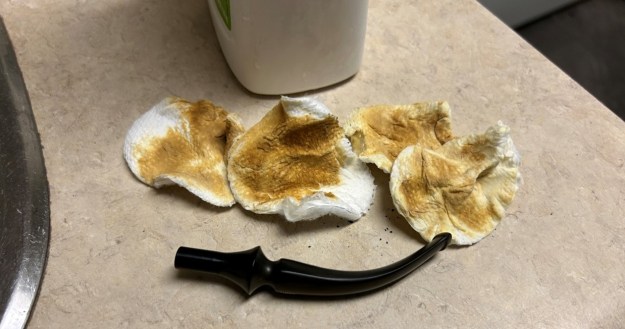
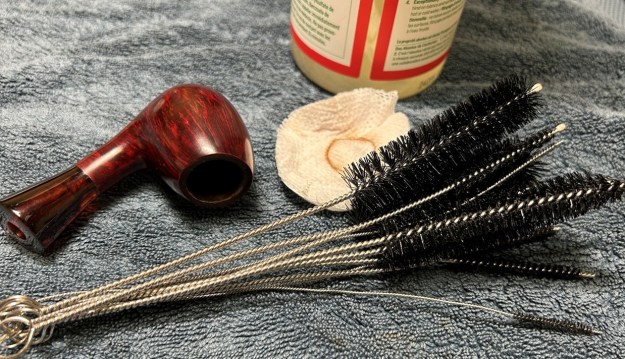
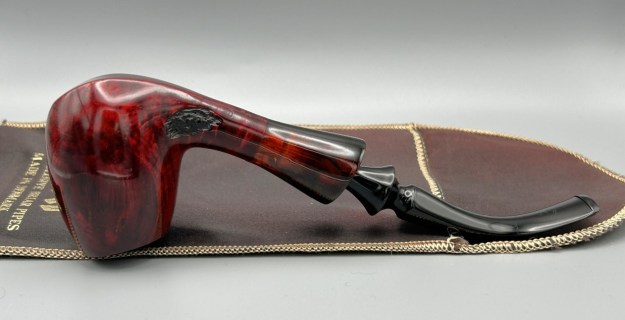
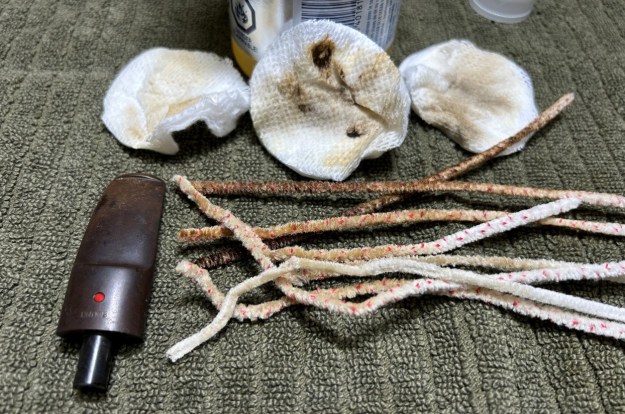
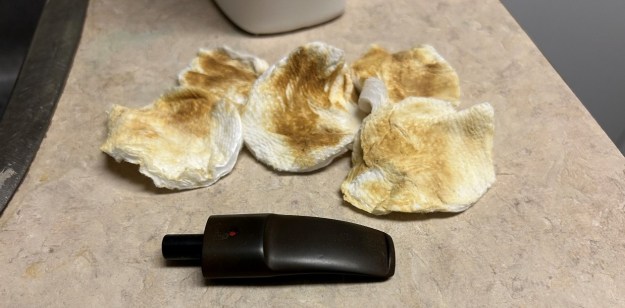
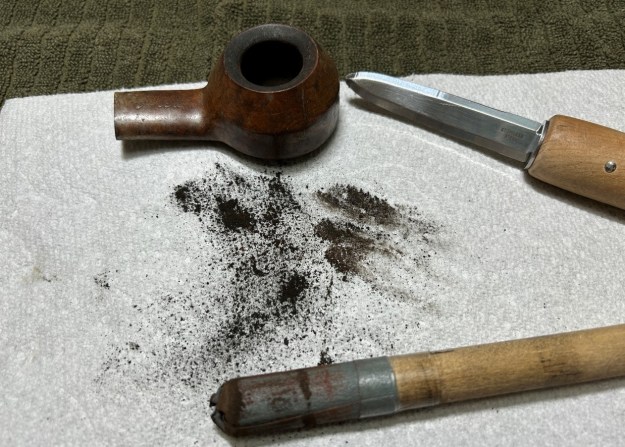
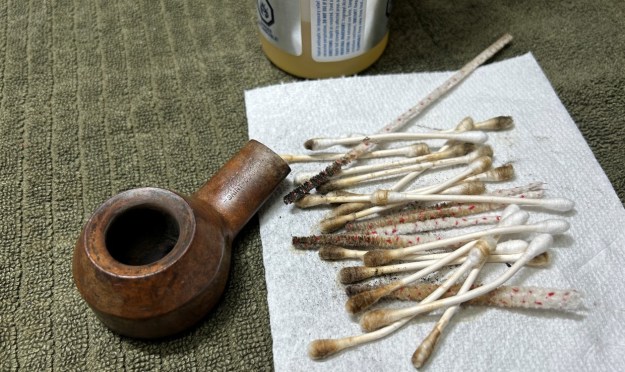
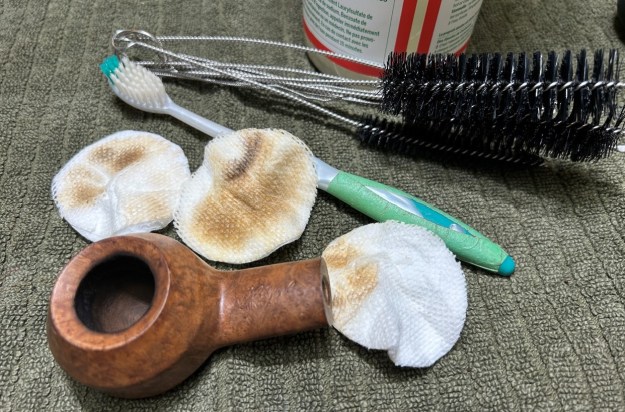
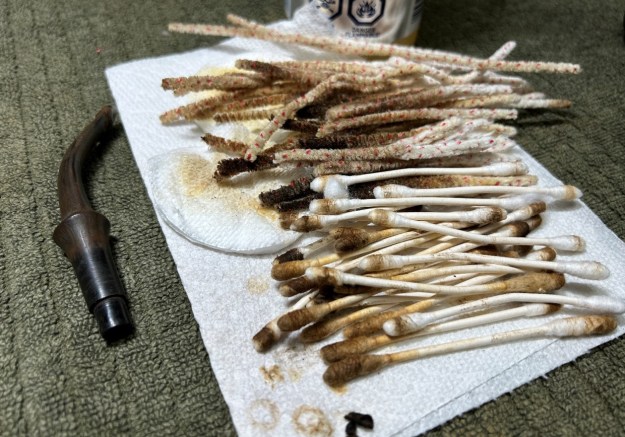
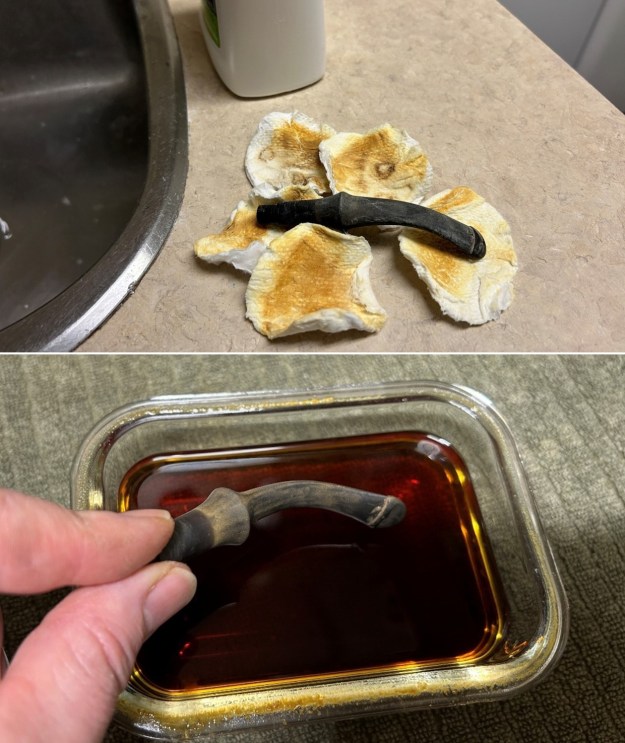
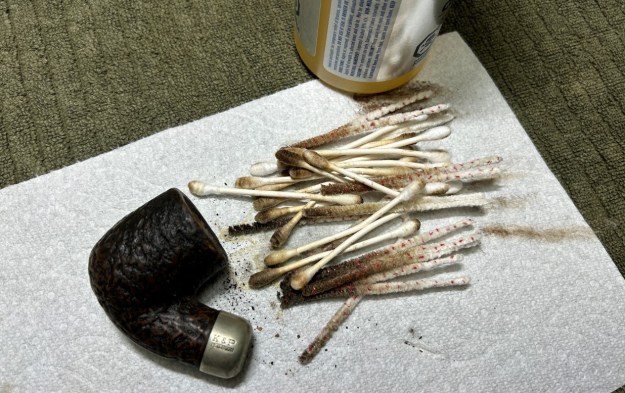
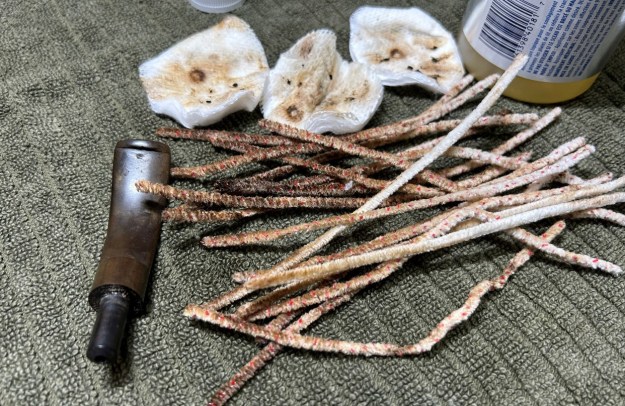
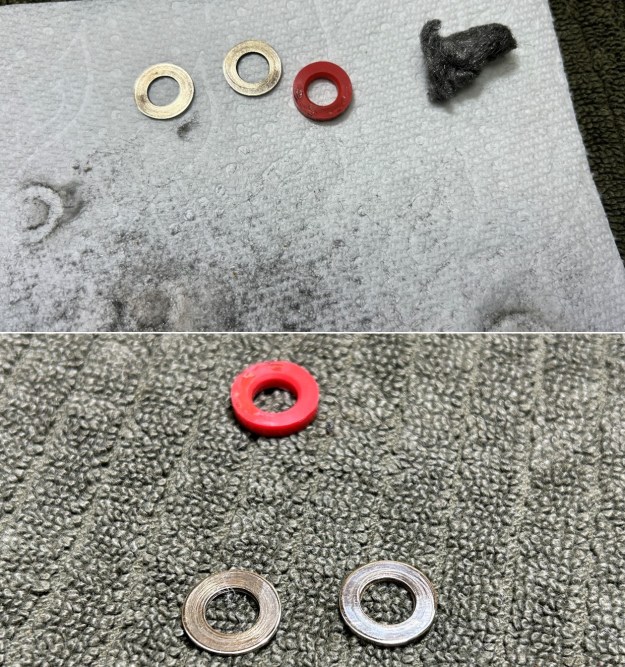
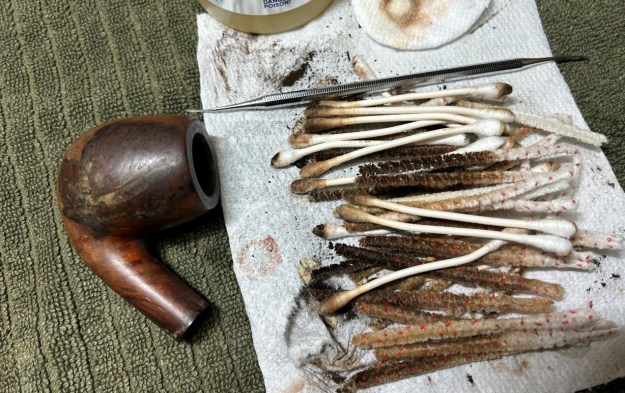
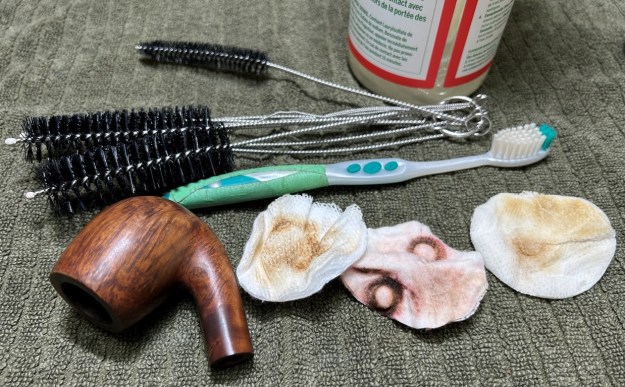
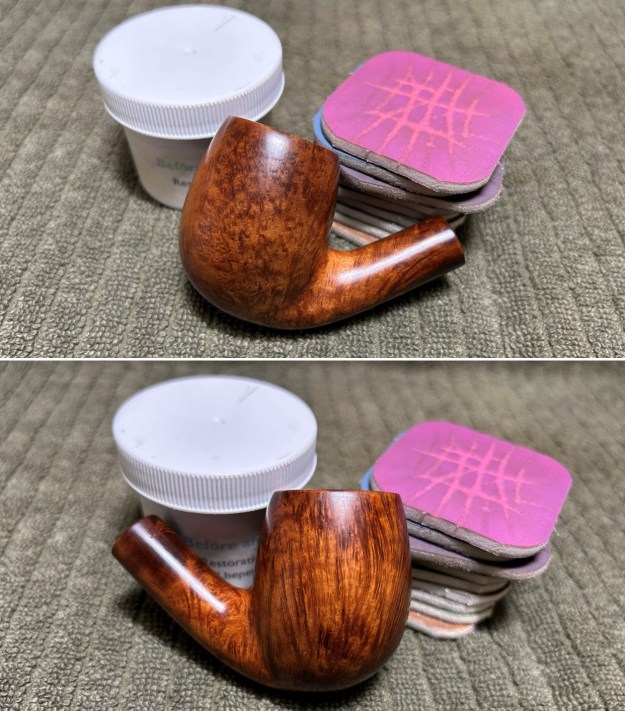
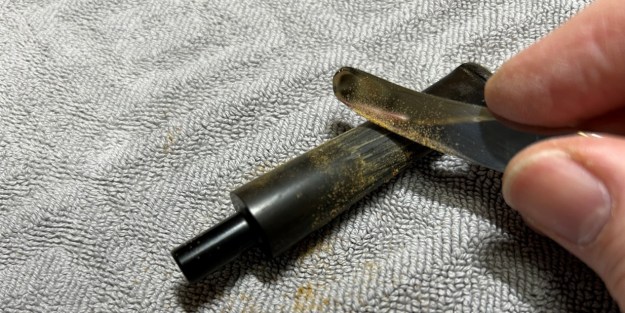
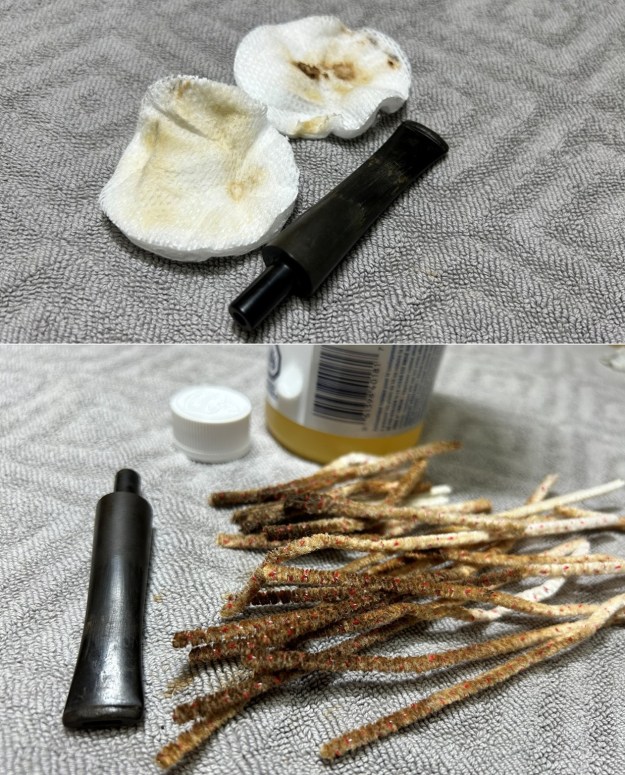
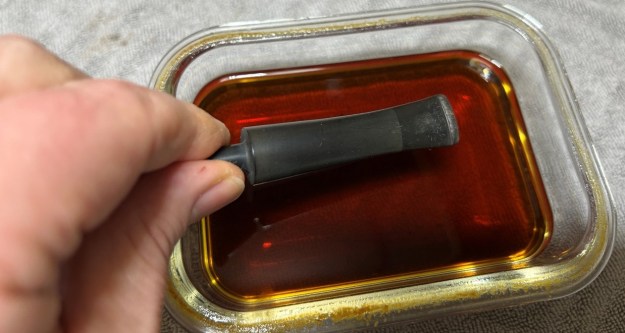
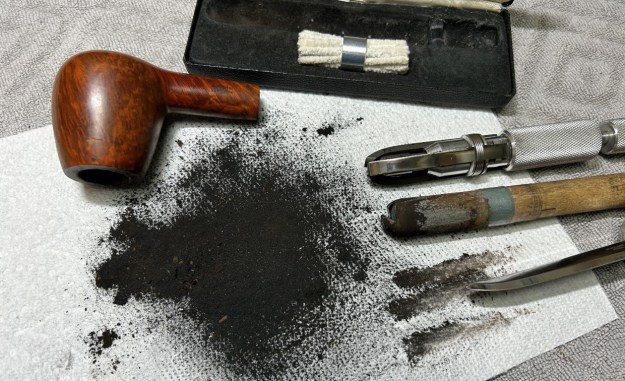
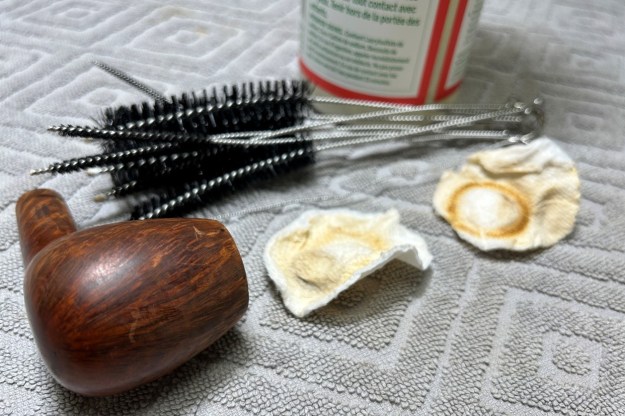
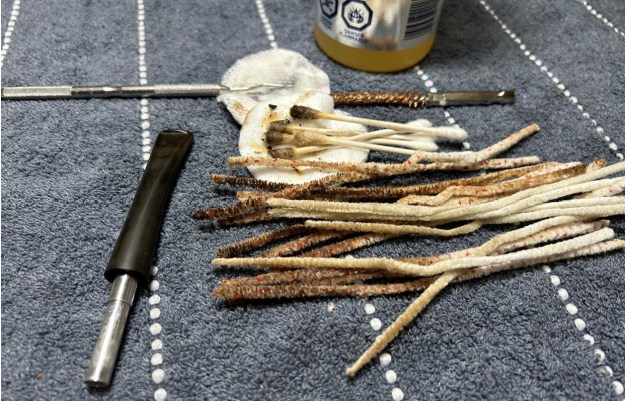
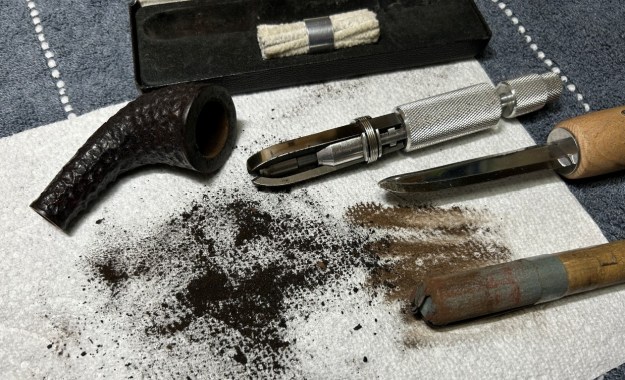
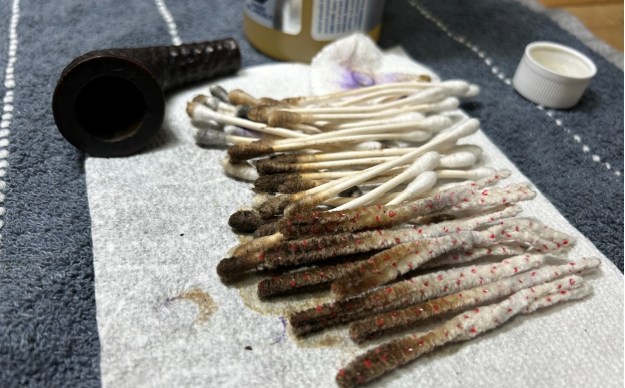
Jeff had cleaned up the pipe with his usual penchant for thoroughness. He reamed the pipe with a PipNet Pipe Reamer and cleaned up the remnants with a Savinelli Fitsall Pipe Knife. He scrubbed the bowl with undiluted Murphy’s Oil Soap with a tooth brush. He rinsed it under running warm water to remove the soap and grime. He cleaned out the inside of the shank and the airway in the stem with alcohol, cotton swabs and pipe cleaners. He soaked the stem in Before & After Deoxidizer and rinsed it off with warm water. It came in Stanwell Box with Pipe Sock. I removed it from the sock and took photos of the pipe once I received it. 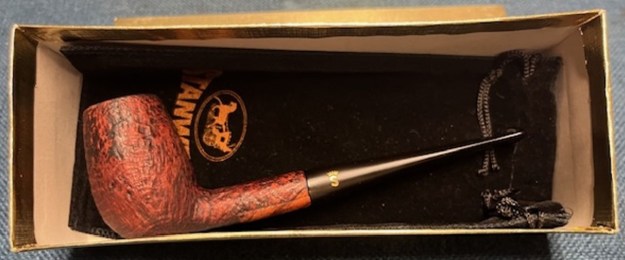
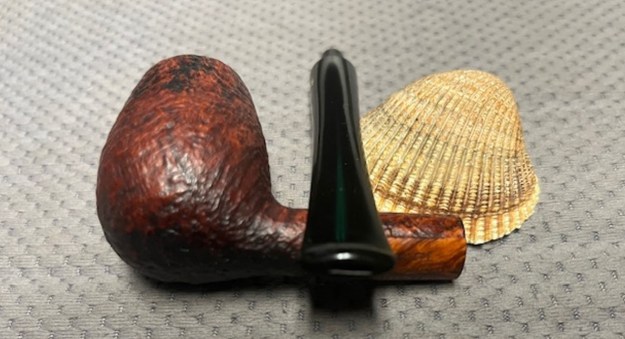
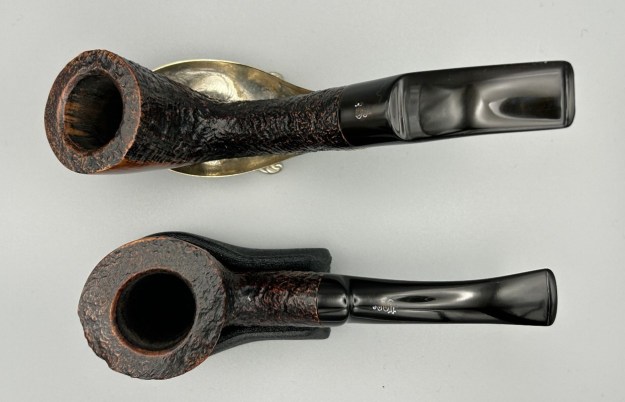
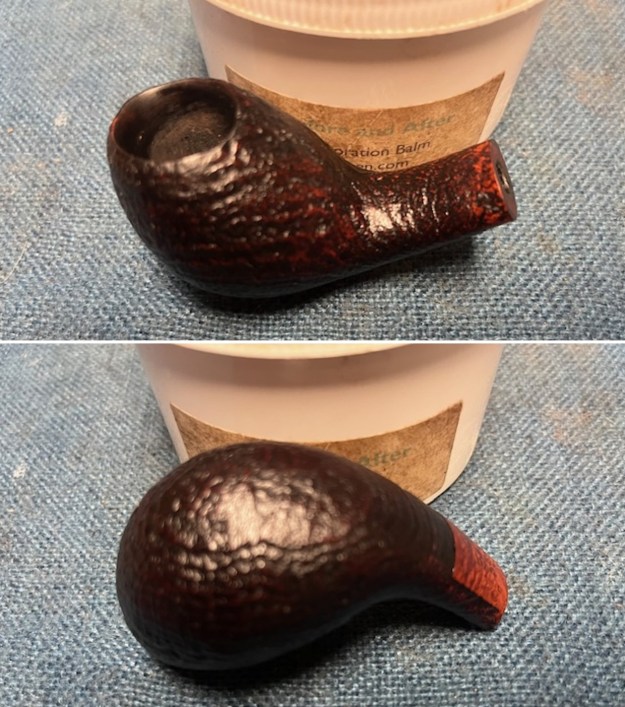
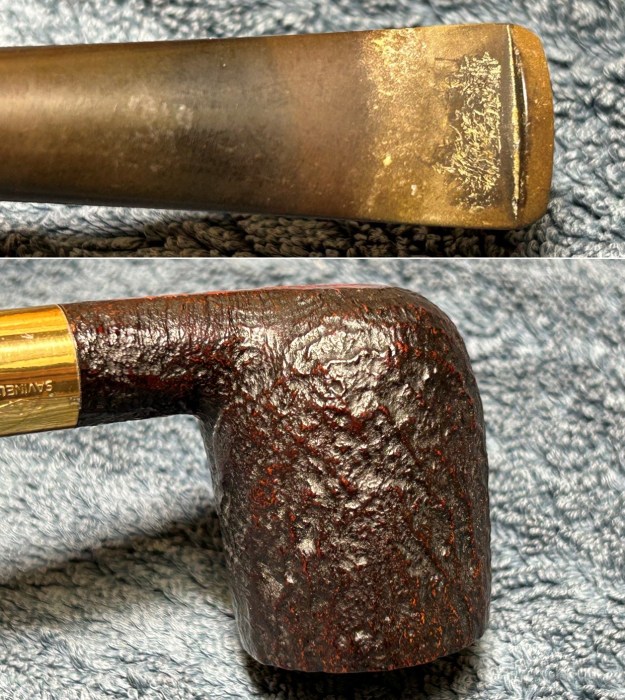
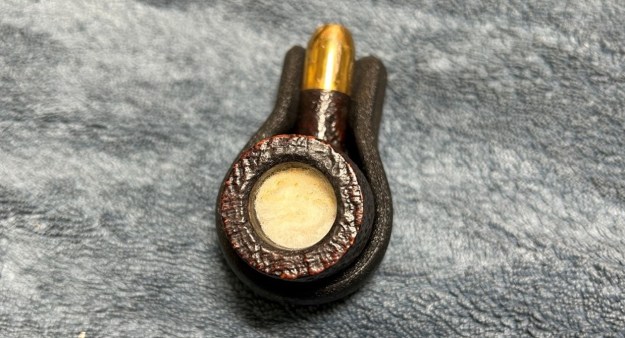
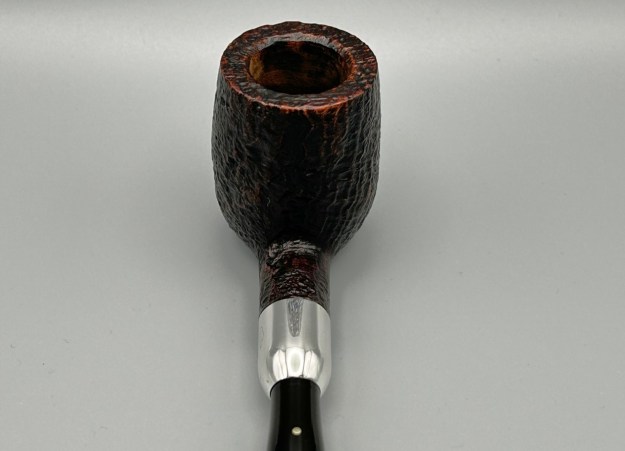
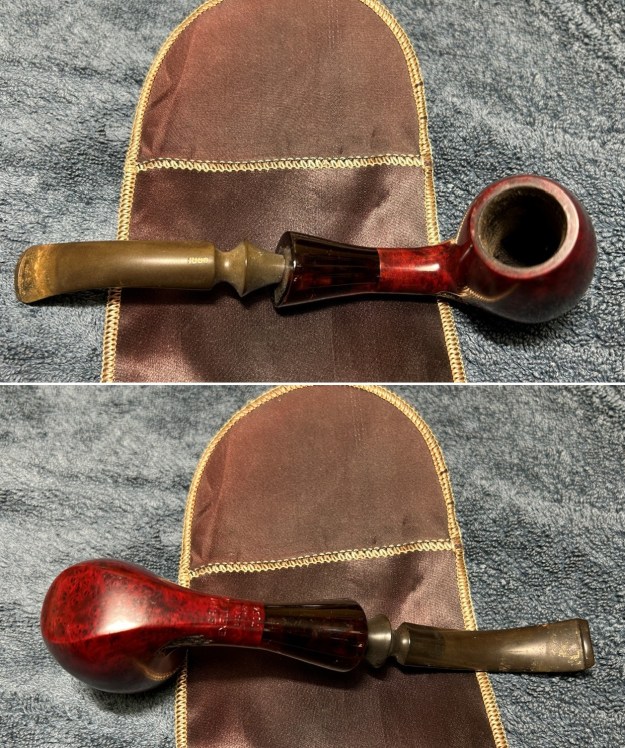
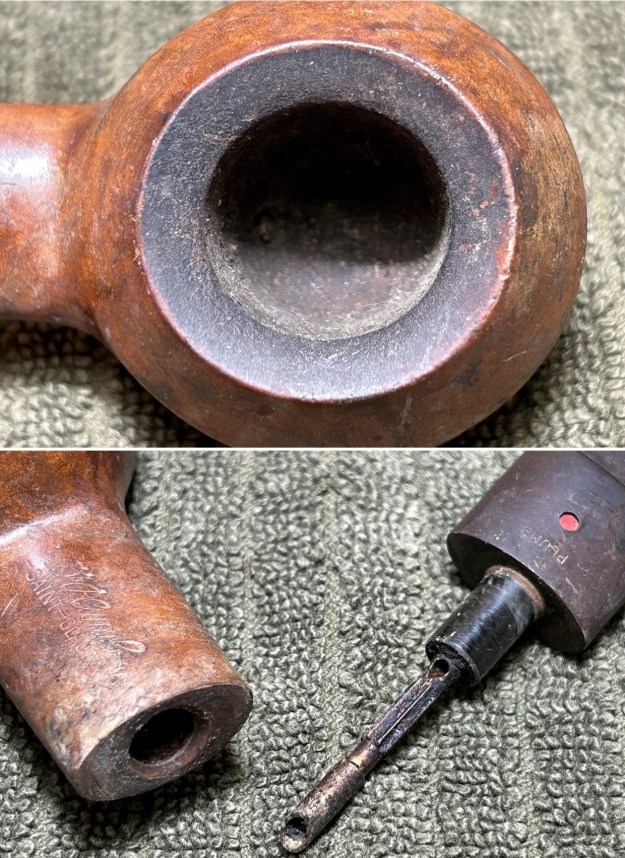
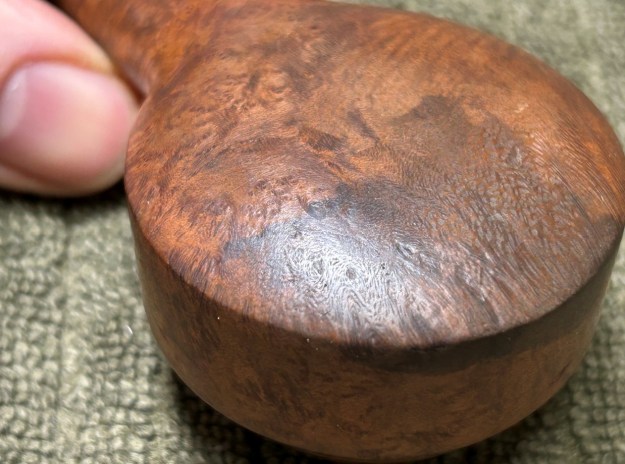
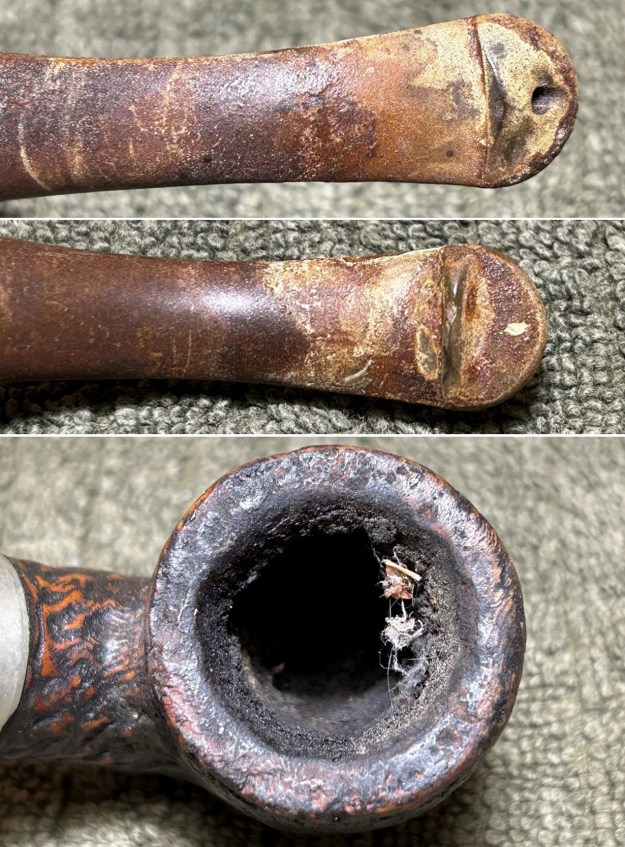
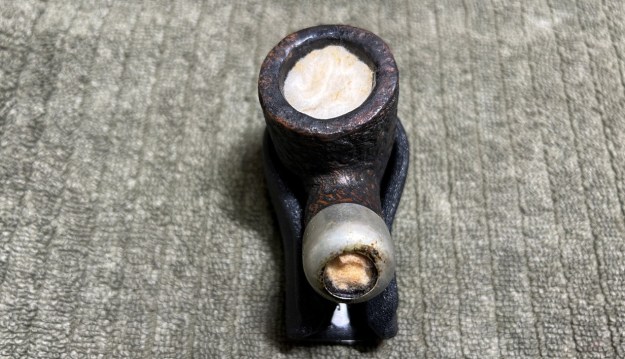
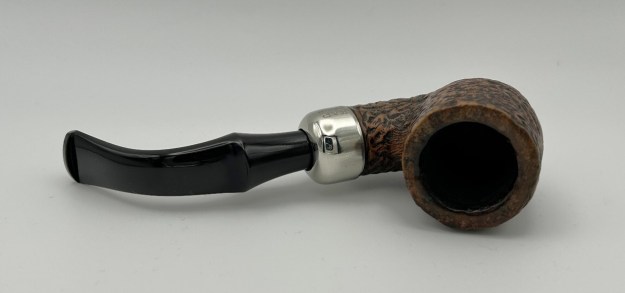
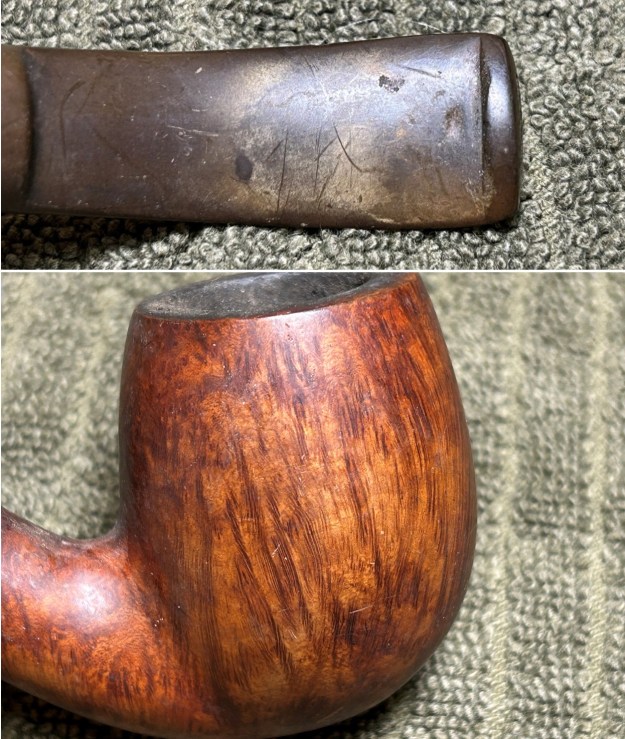
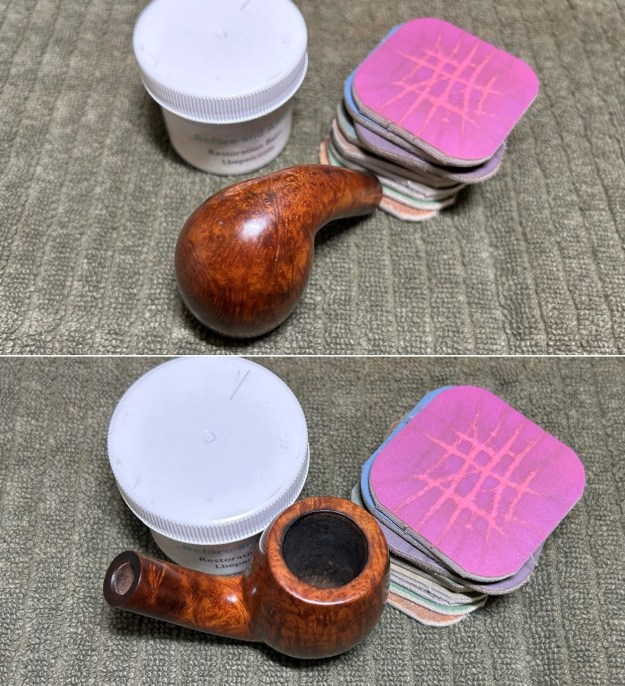
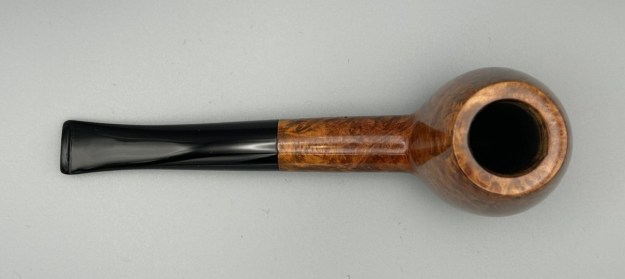
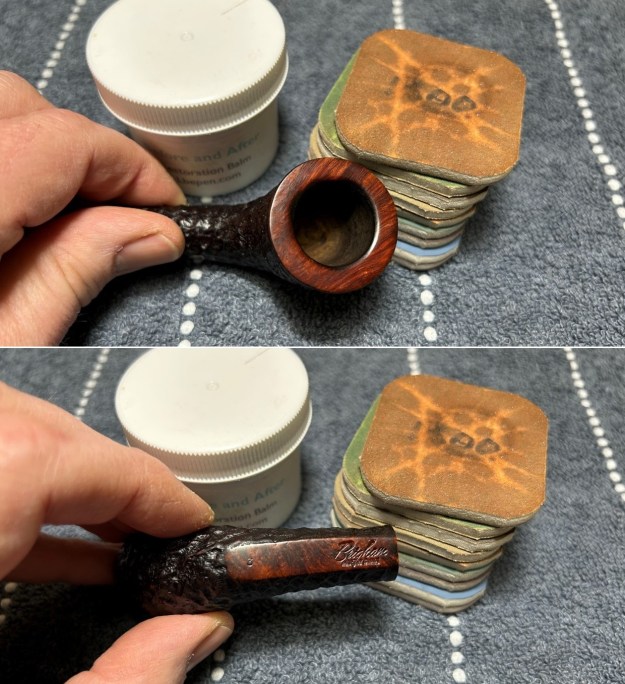
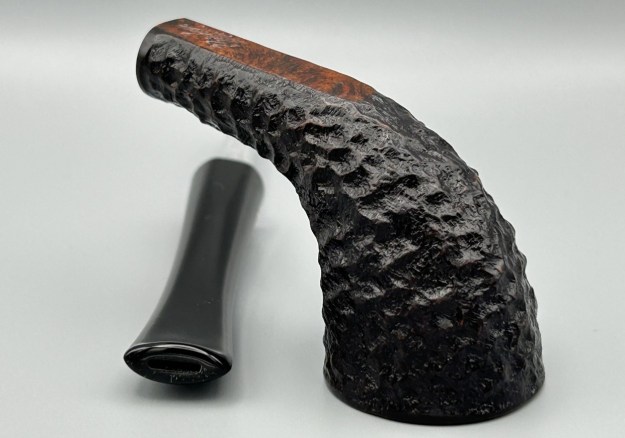
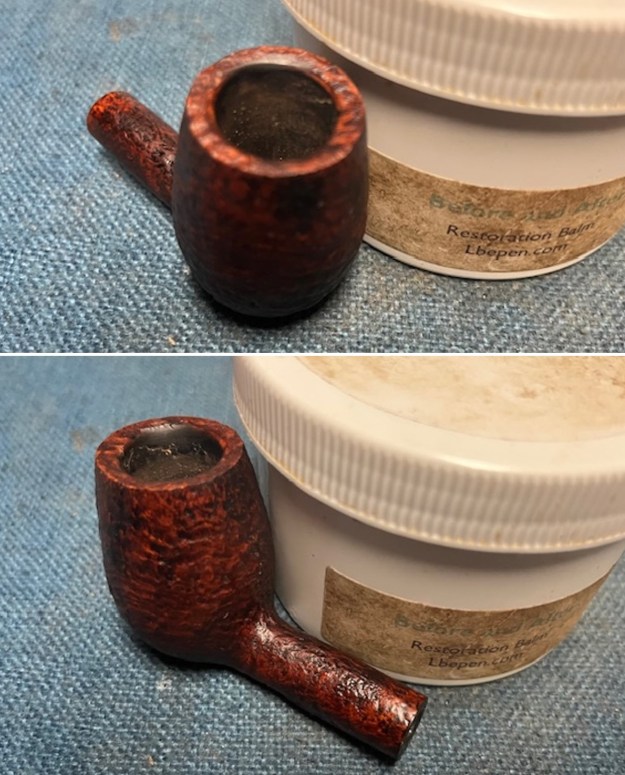
 I took close up photos of both the rim top and the stem. Jeff had been able to get the grime and lava off of the rim top and the damage to the rim top was very visible. Even the darkening and marks on the rim top on the right side and the back of the bowl look much better. The stem looked very clean. The tooth marks and chatter were minimal and should be easy to remove.
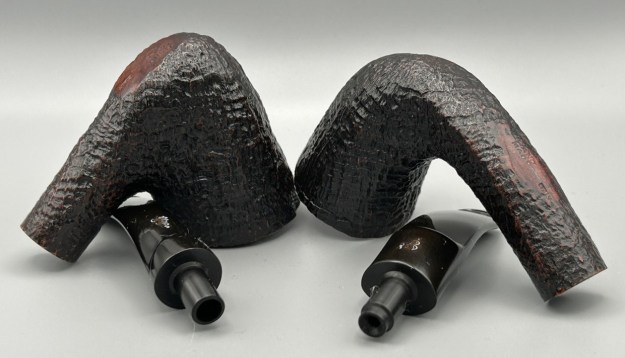
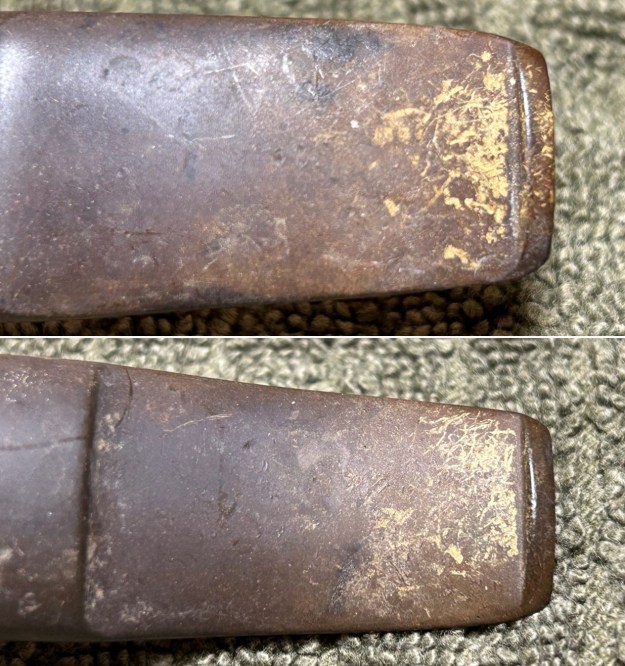
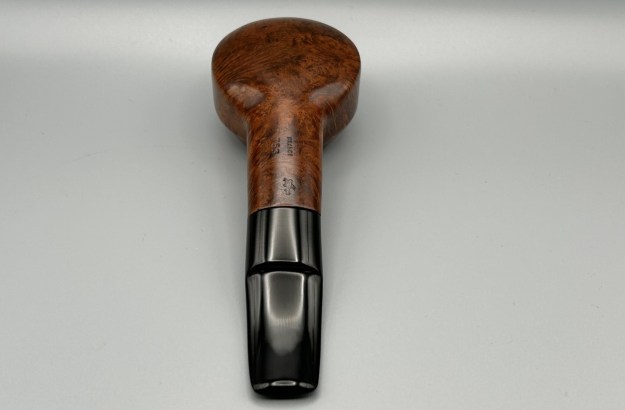
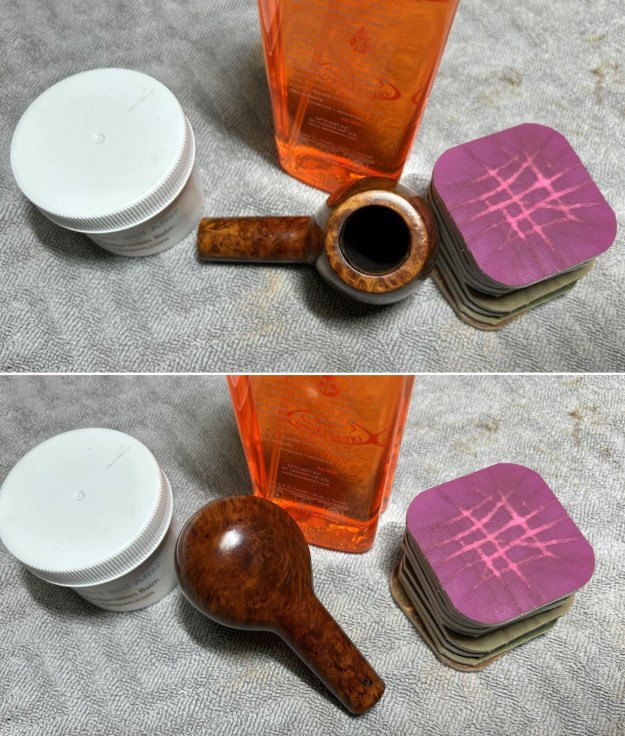
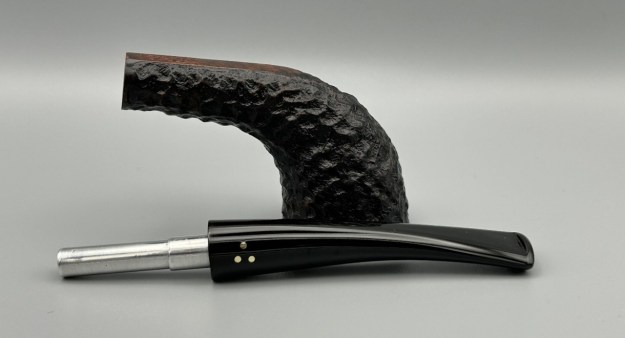
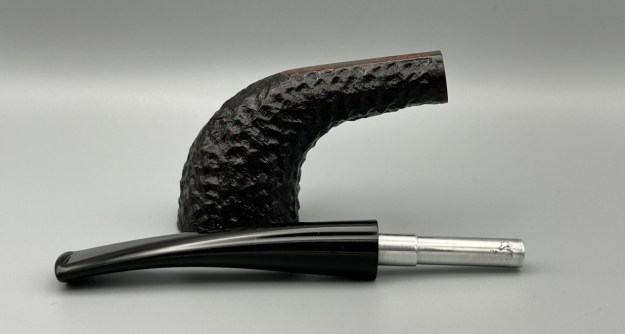
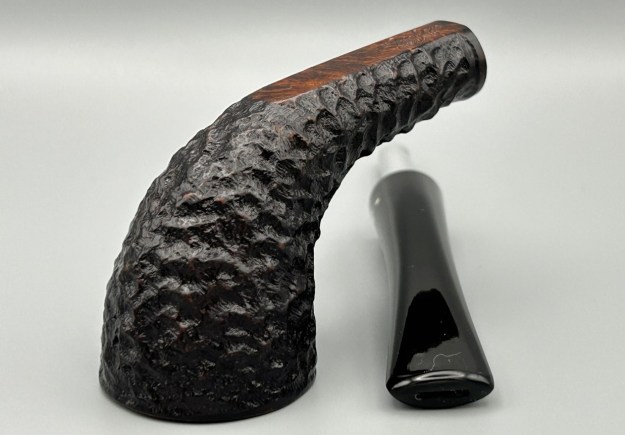
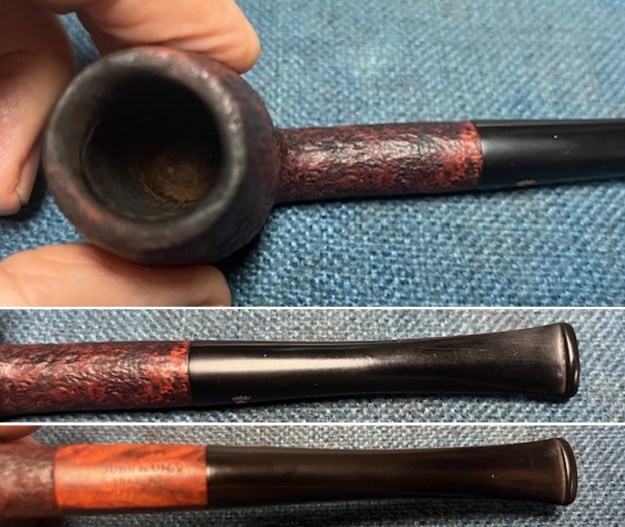 The stamping on the underside of the shank was readable as noted above. I also took a photo with the stem removed to give an idea of the perspective and design of the pipe.
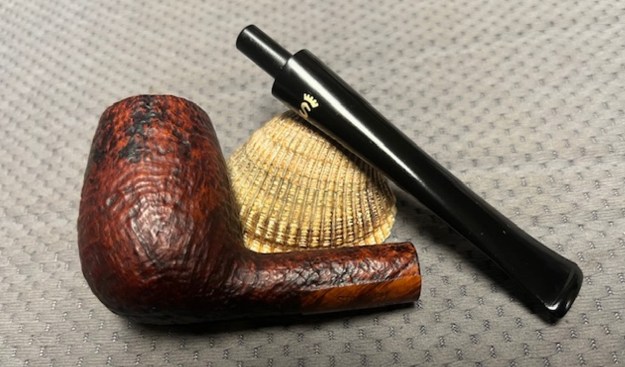
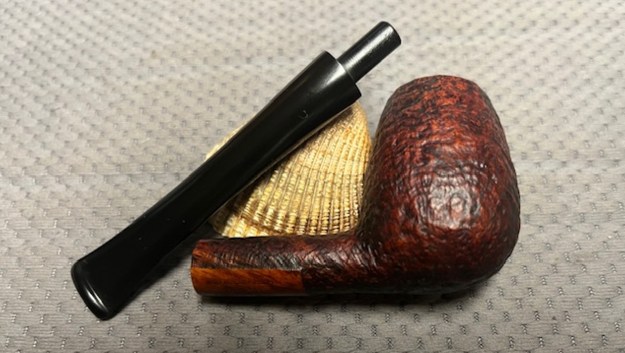
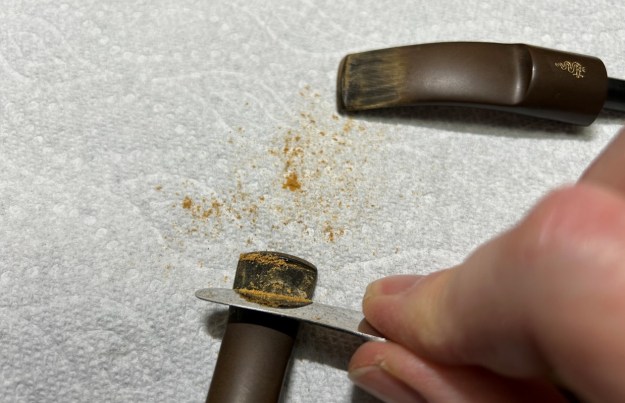
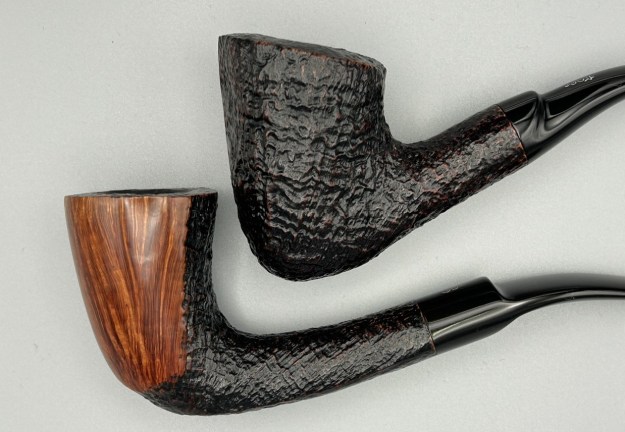
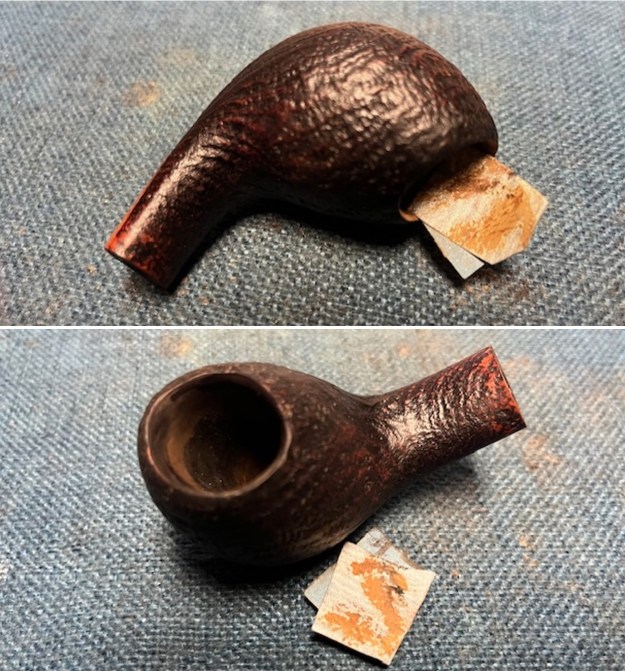
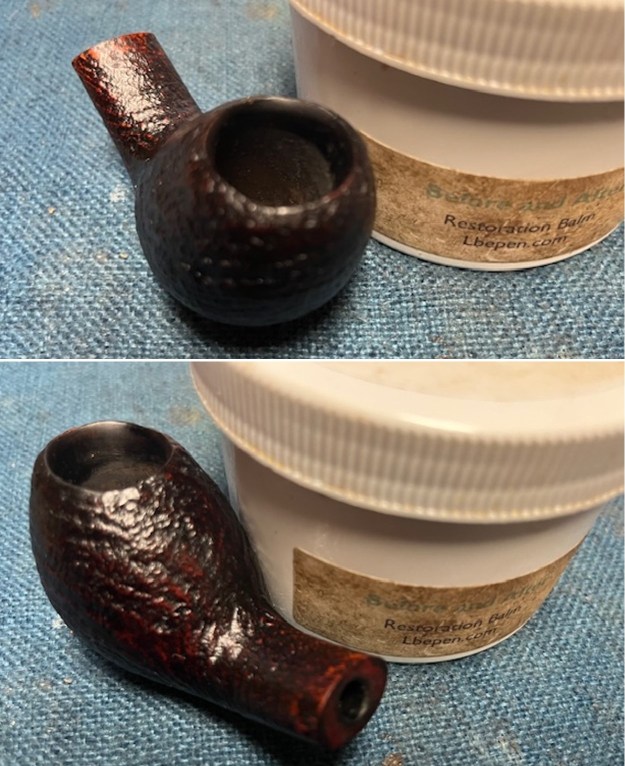
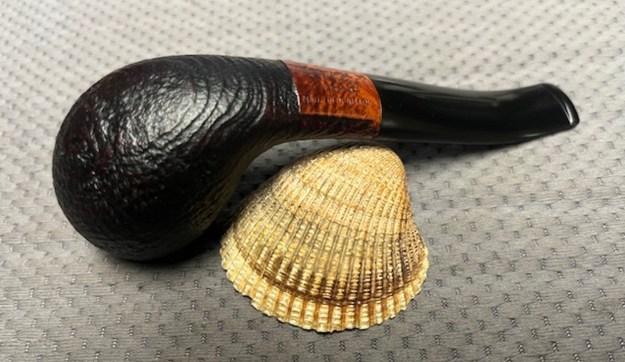
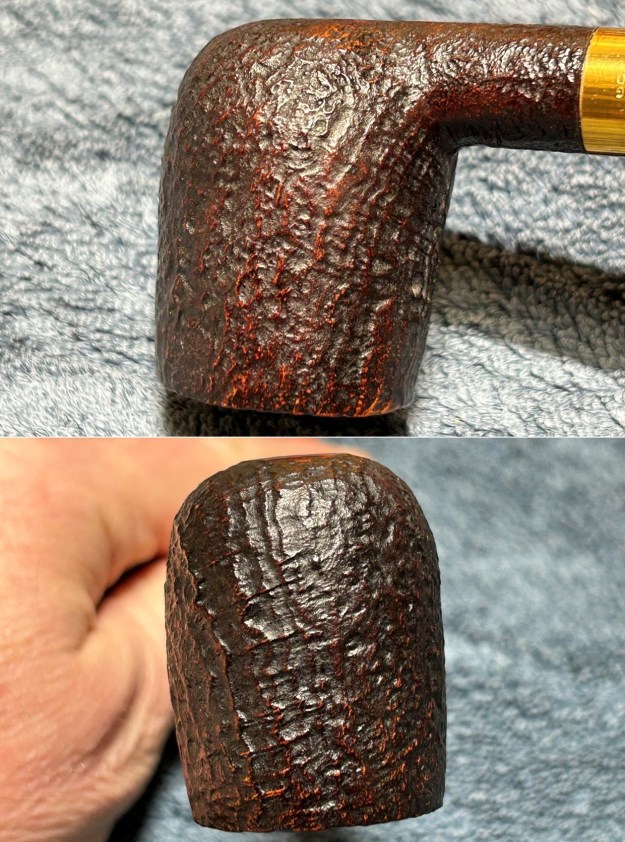
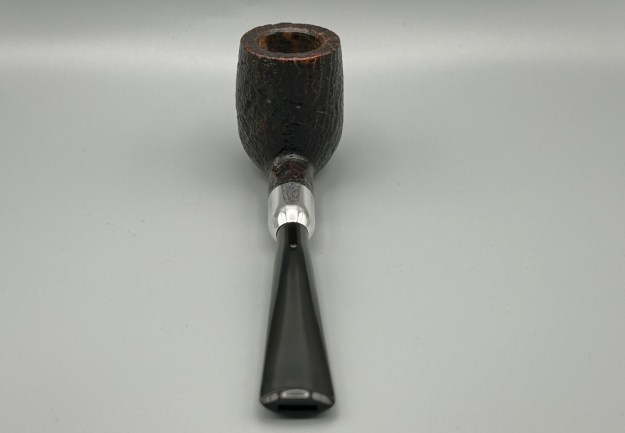
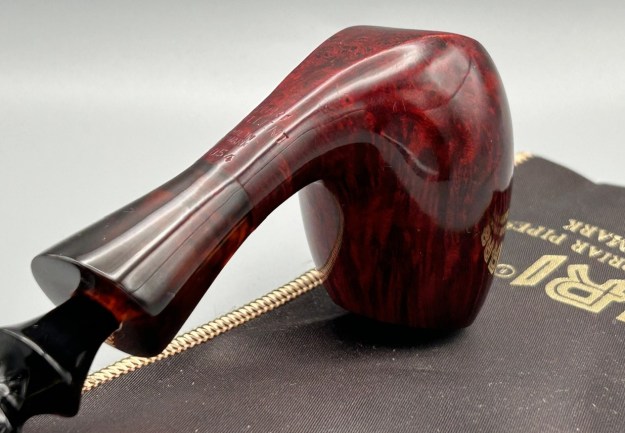
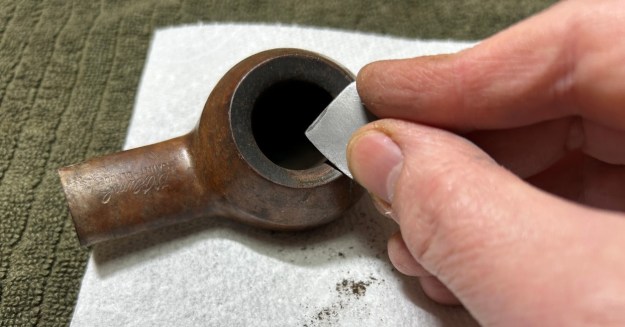
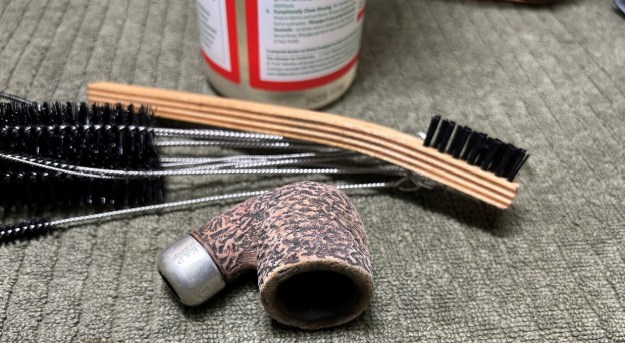
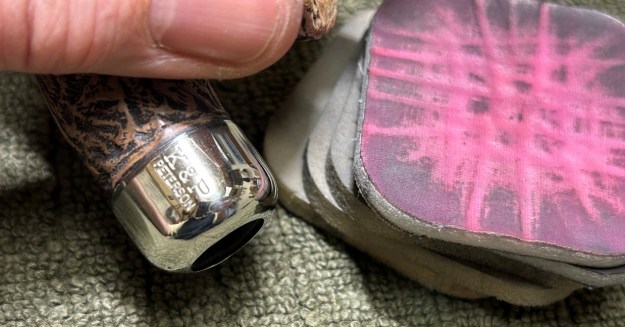
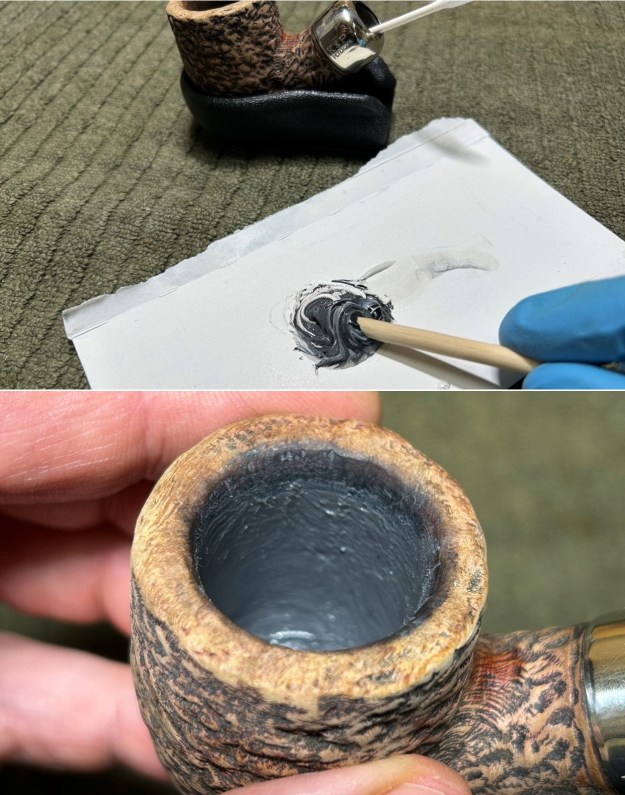
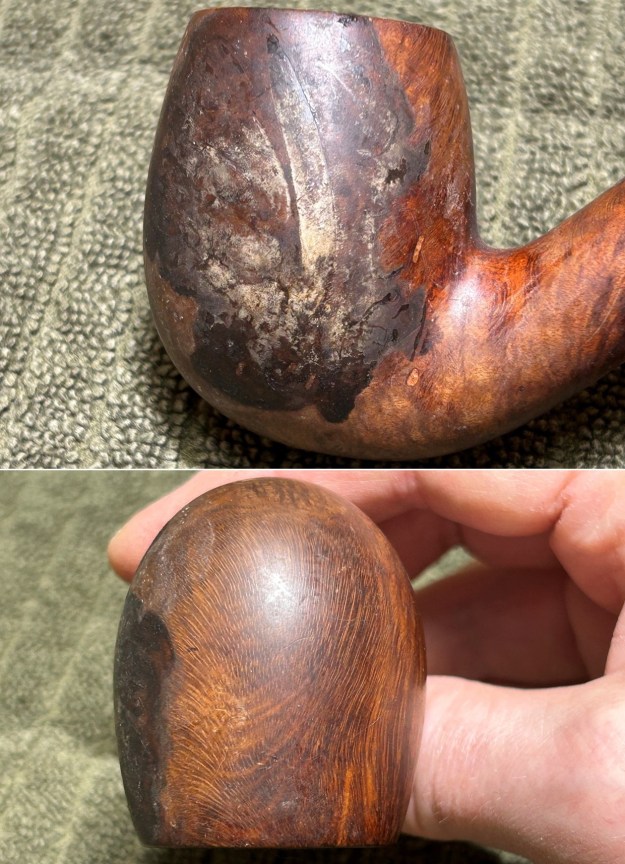
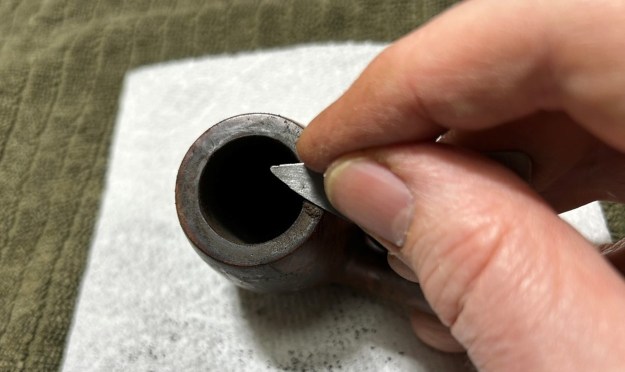
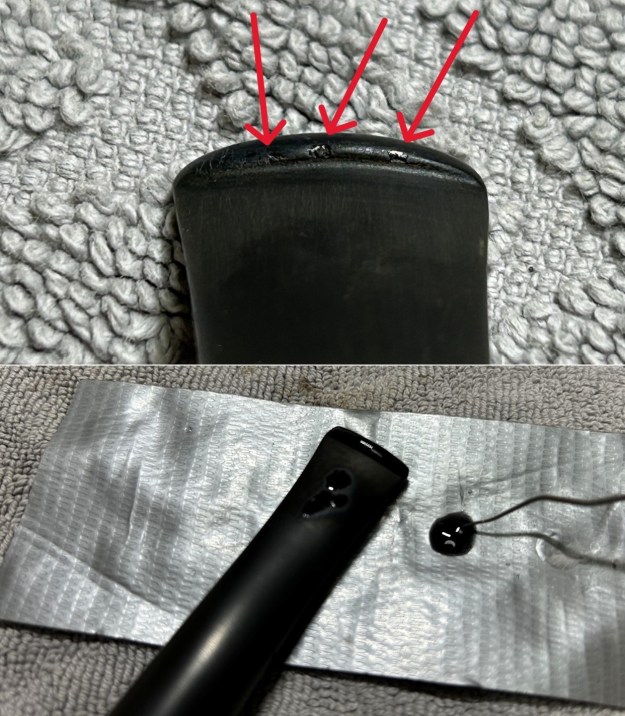
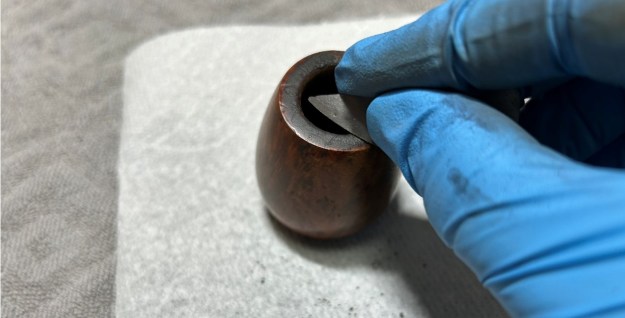
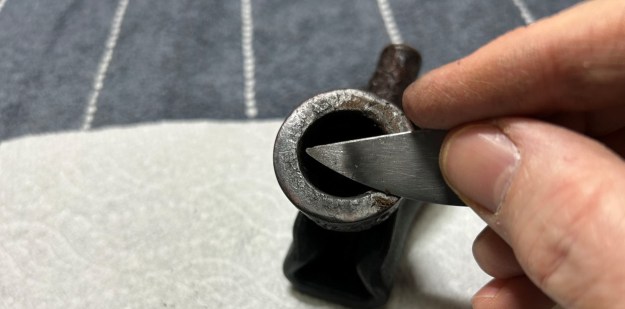
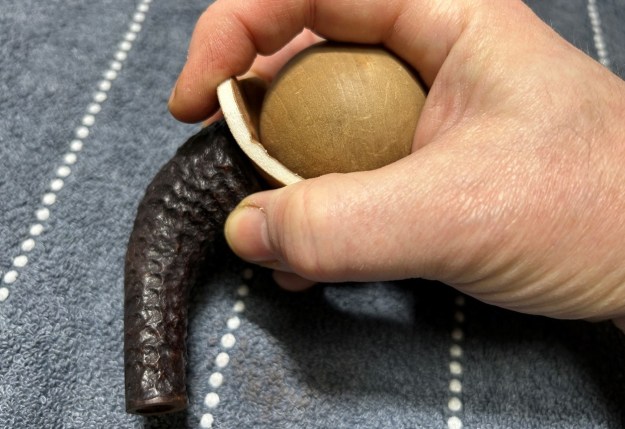
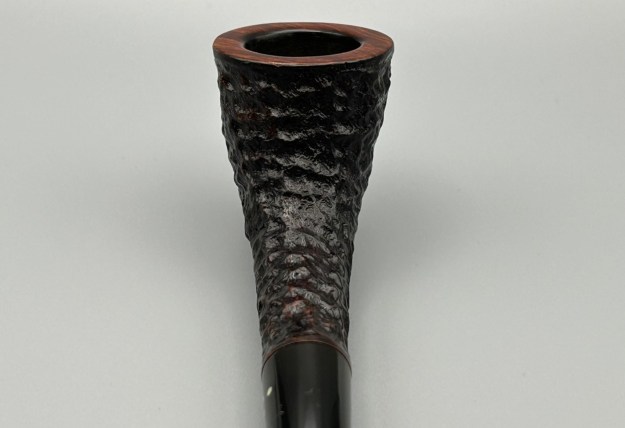
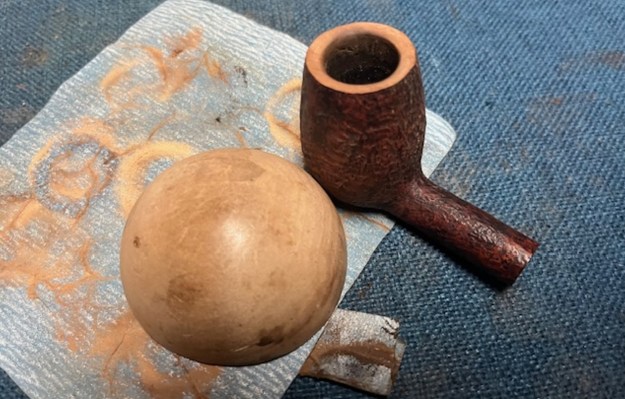
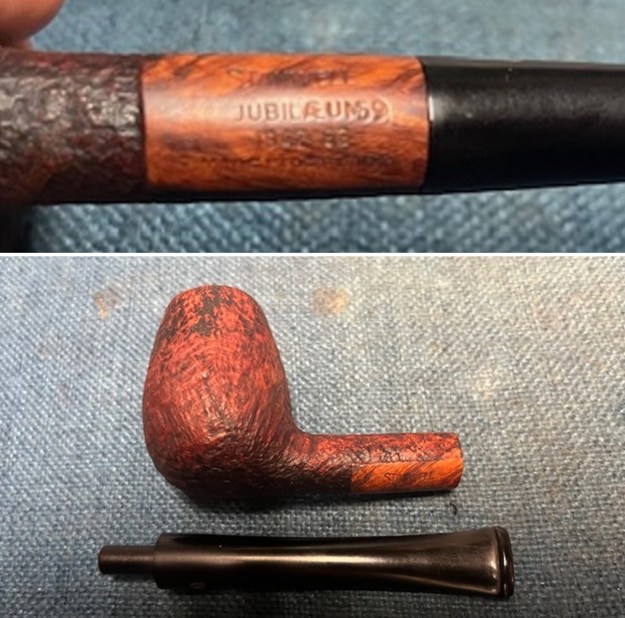 The top and inner edge of the bowl were burned and damaged. I used a wooden sphere and some 220 grit sandpaper to smooth out the rim top and the inner edge and bring it back to life. It looked much better after the smooth and shaping. Now the question is whether to leave it smooth or to use a very simple rustication to match the sandblast.
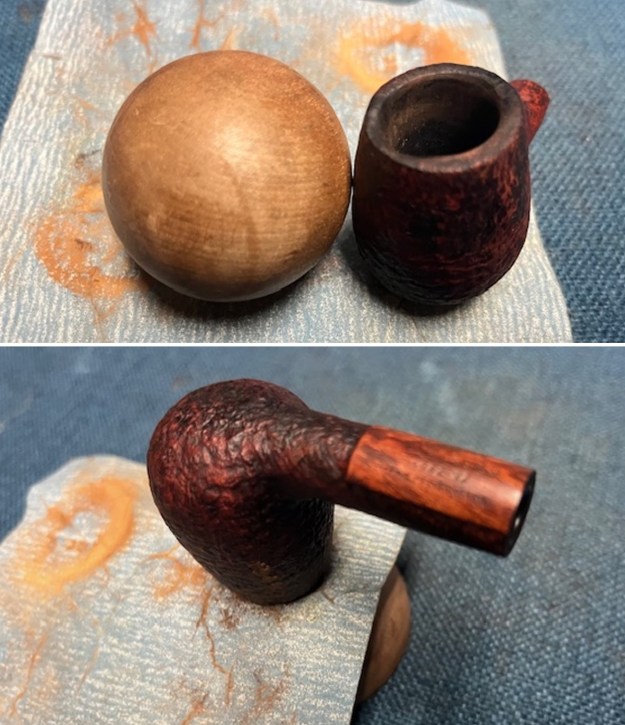
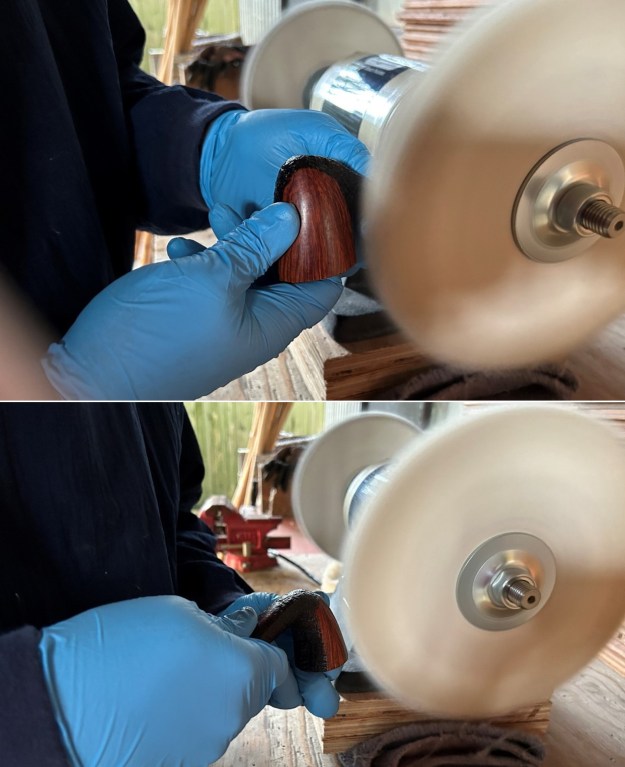
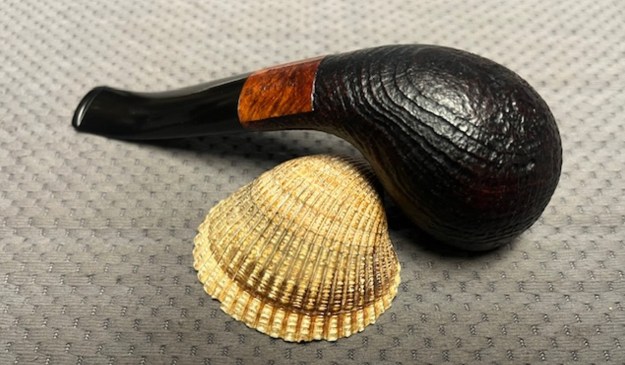
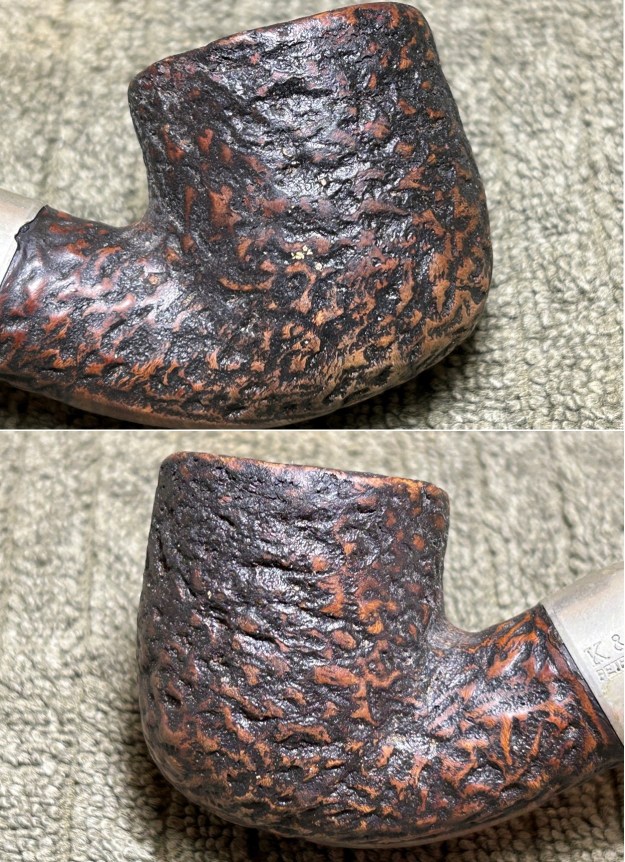
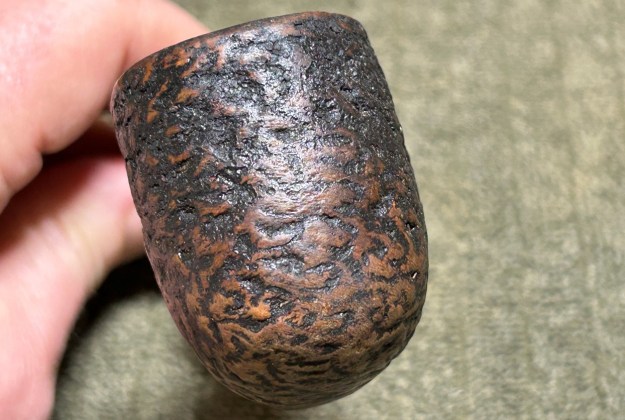
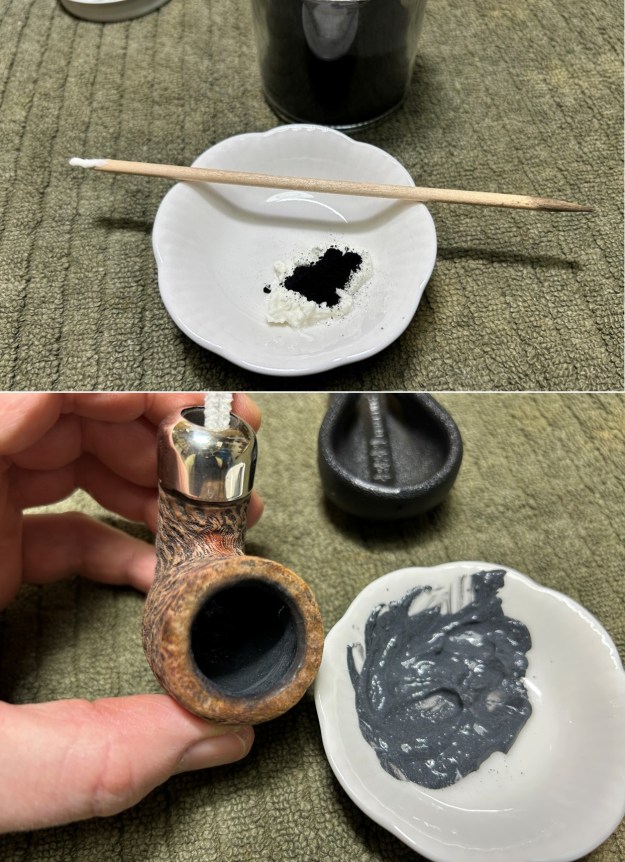
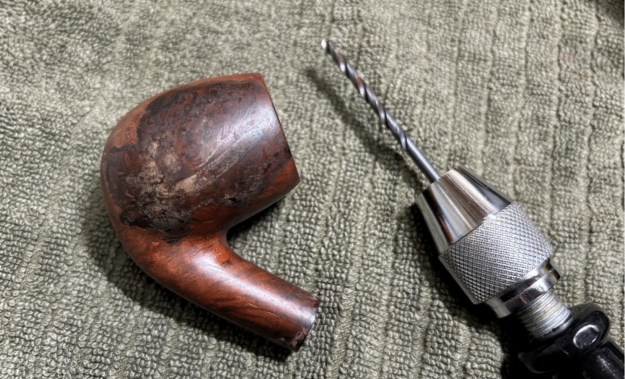
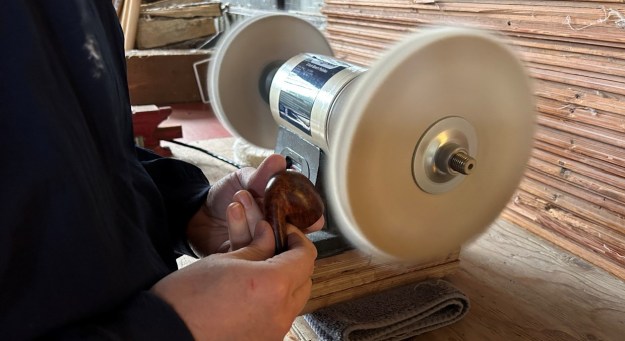
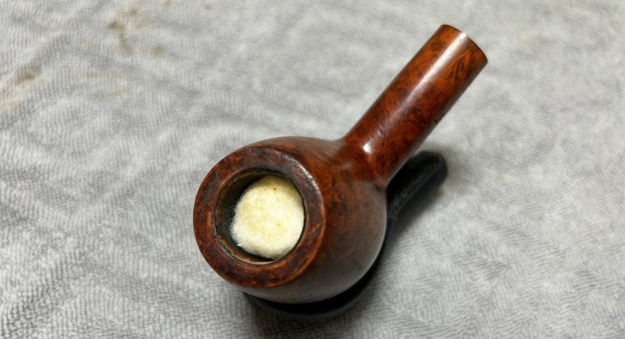
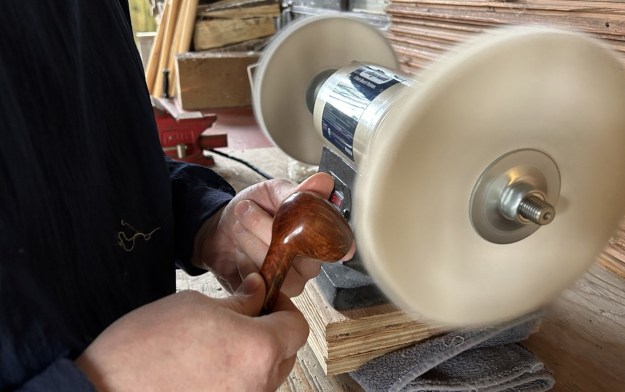
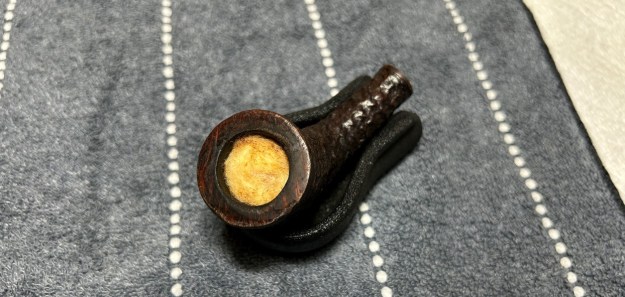
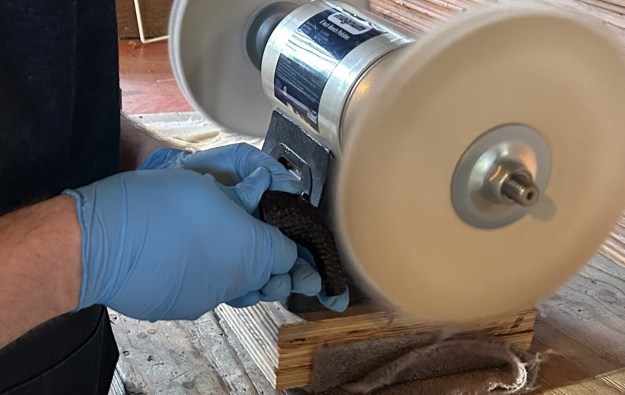
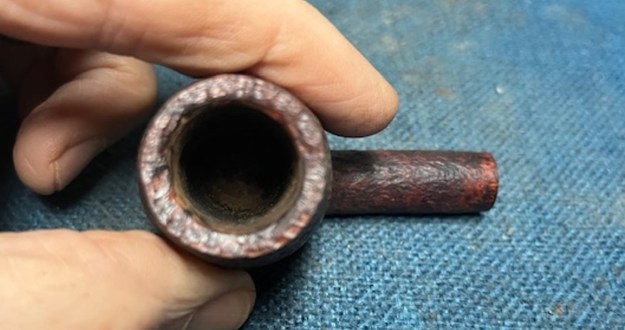
 I decided to use burr on my Dremel to rusticate the rim top to match the sandblast around the bowl and sides of the shank. I worked it over and used a wire brush to clean off the rustication. Once it was finished I stained it with Cherry/Mahogany/Maple stain pens to match the colour of the stain around the bowl.
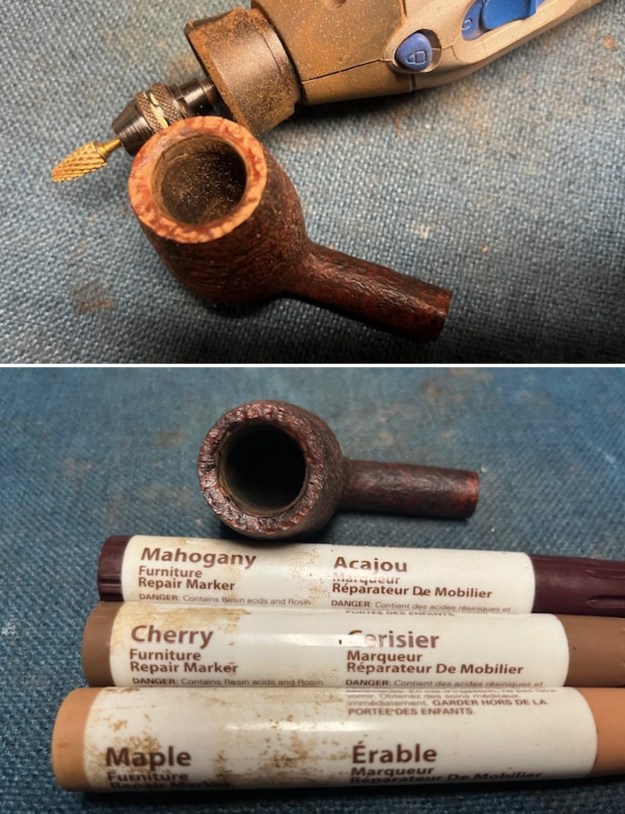
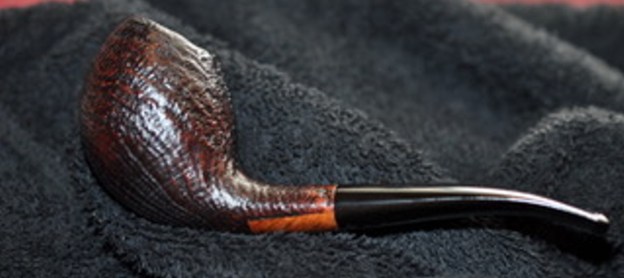
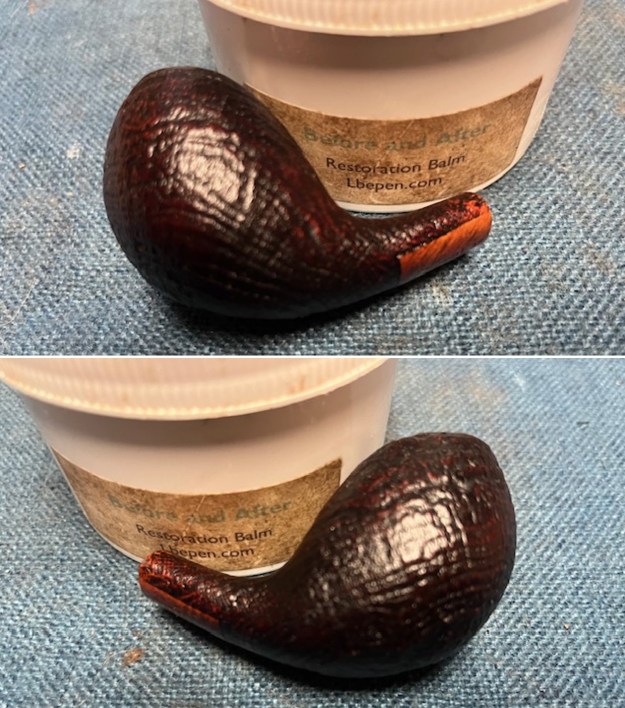
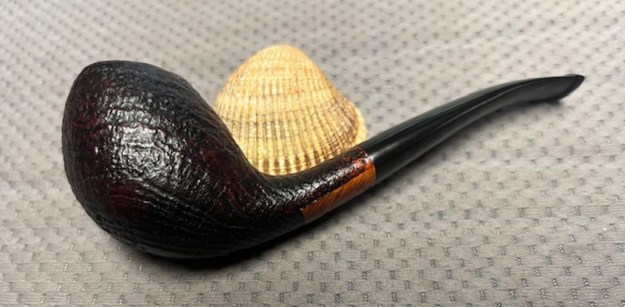
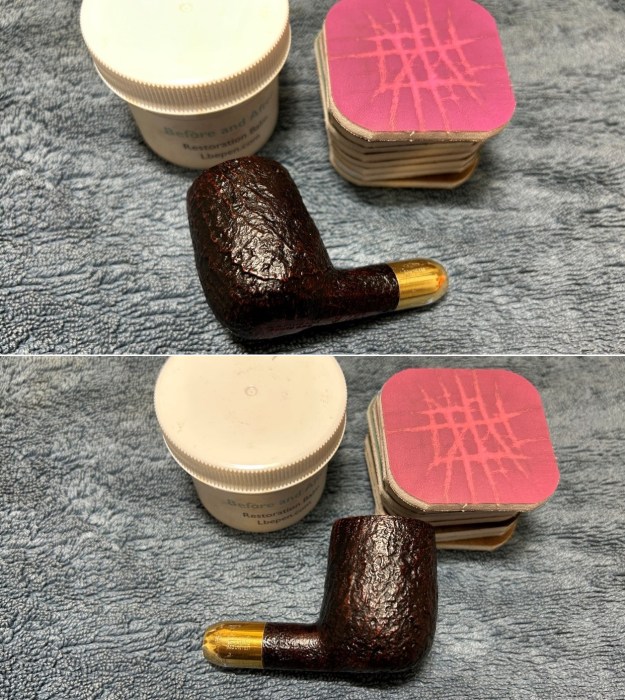
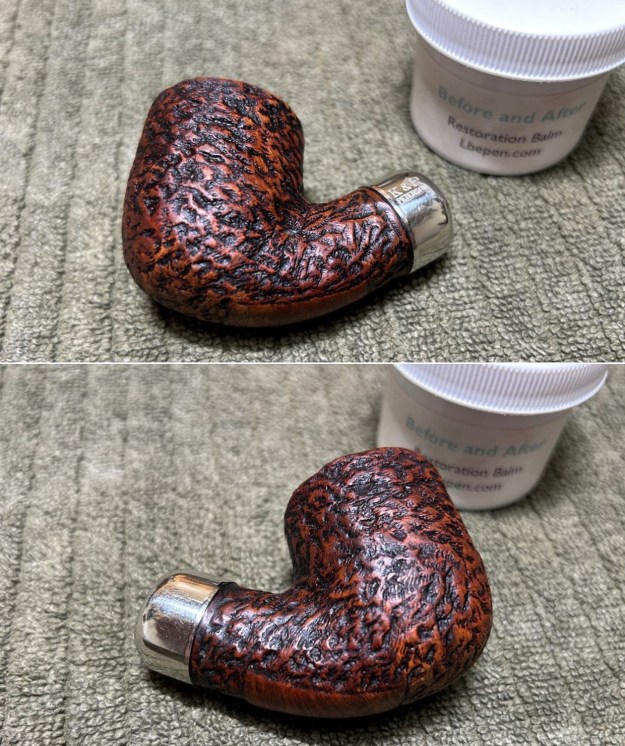
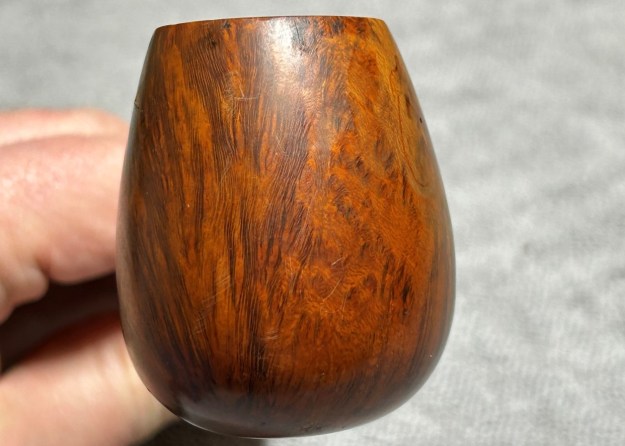
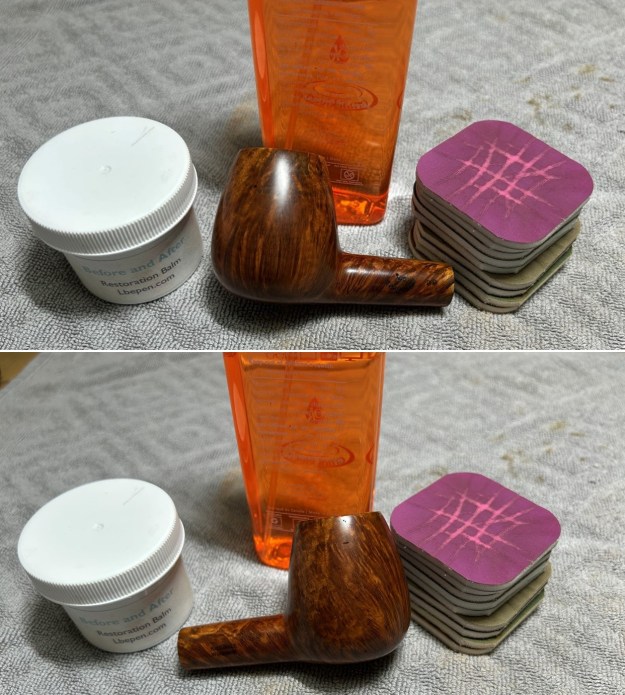
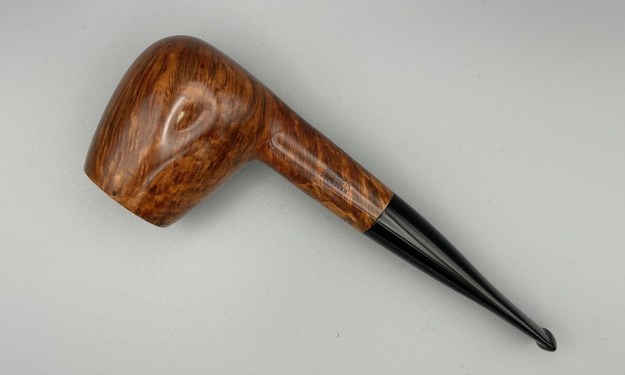
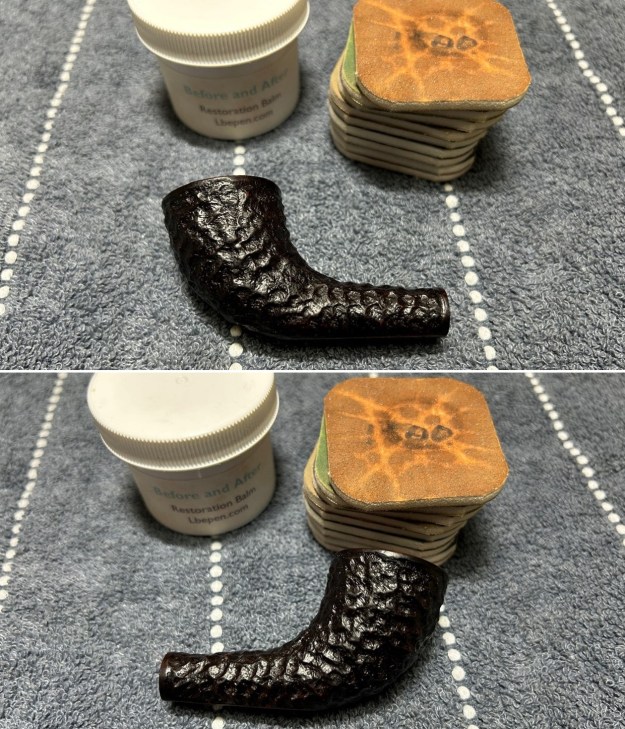
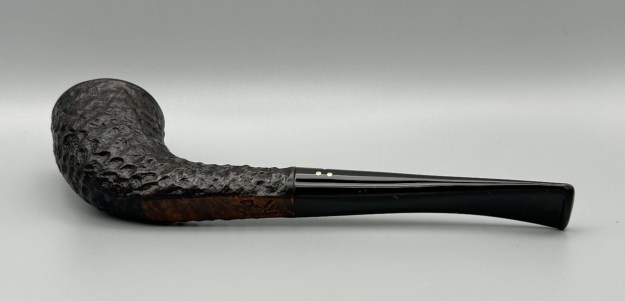
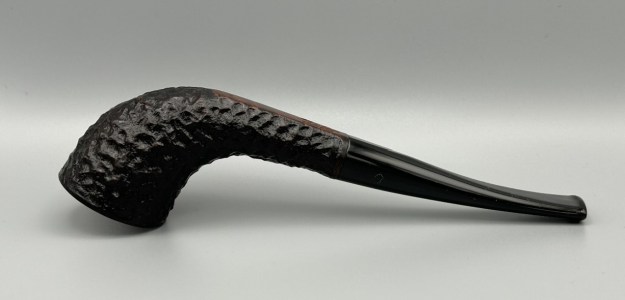
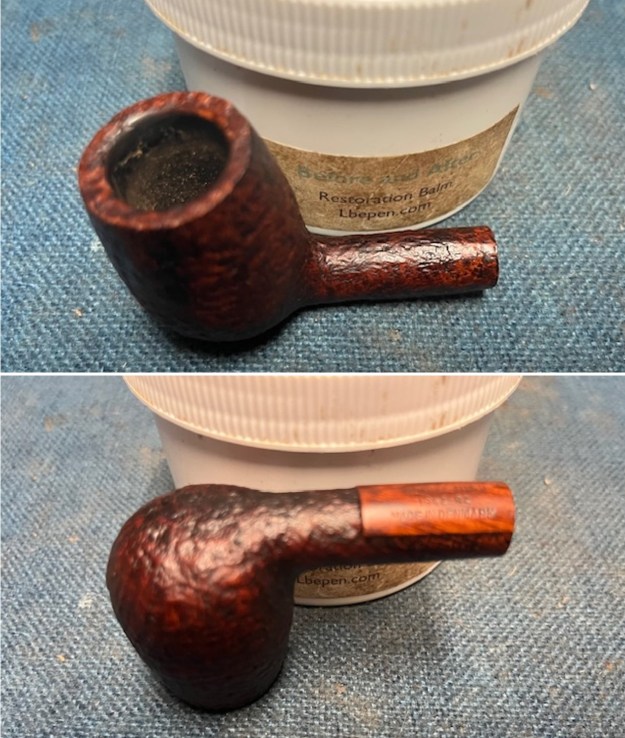
 I worked some Before & After Restoration Balm into the finish of the bowl and shank with my fingers. I want the product to go deep into the finish because it works to clean, enliven and protect the briar. Once I was confident that it was deeply worked into the finish I wiped it off and buffed it with a soft cloth to polish it. The pipe really began to have a rich shine. I took some photos of the bowl at this point to mark the progress in the restoration. The grain really stands out on the pipe in the photos below.
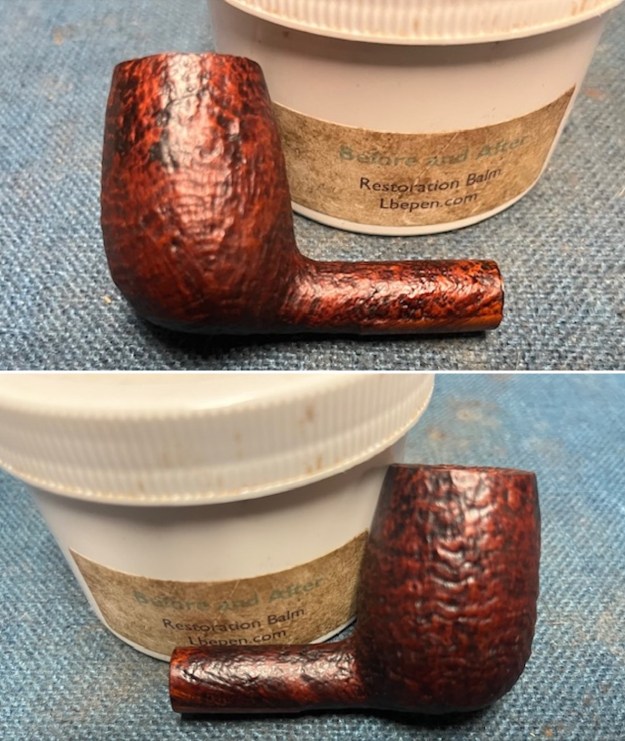
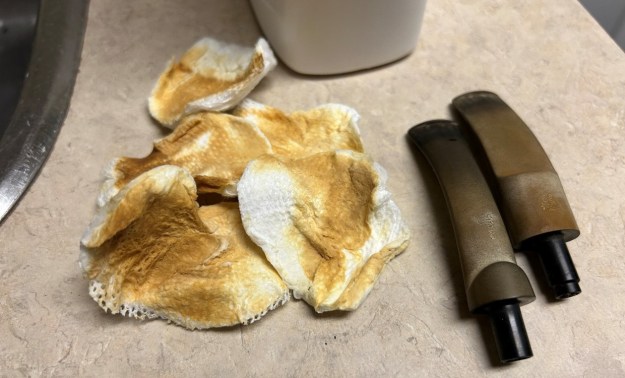
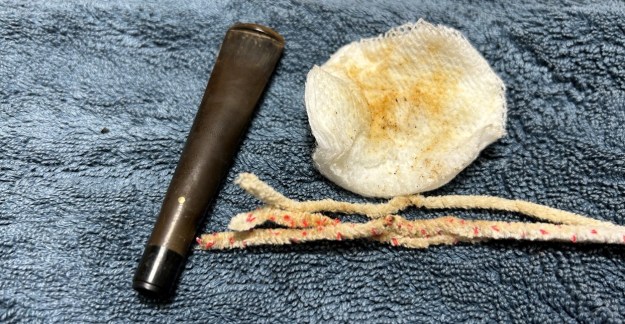
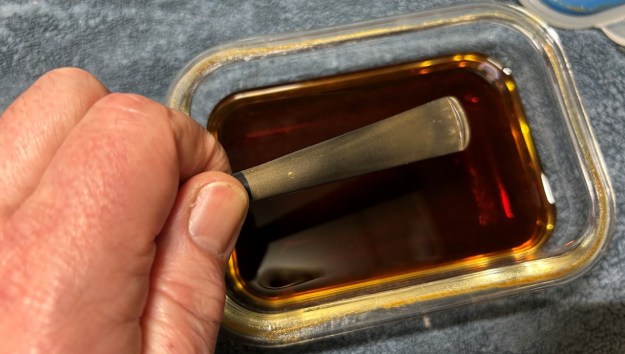
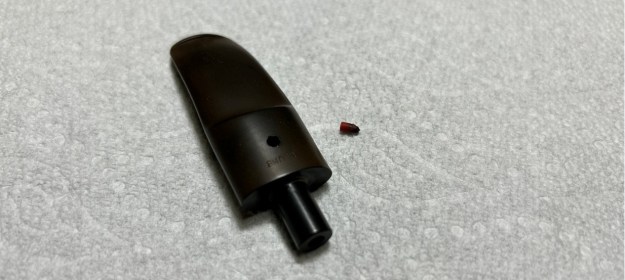
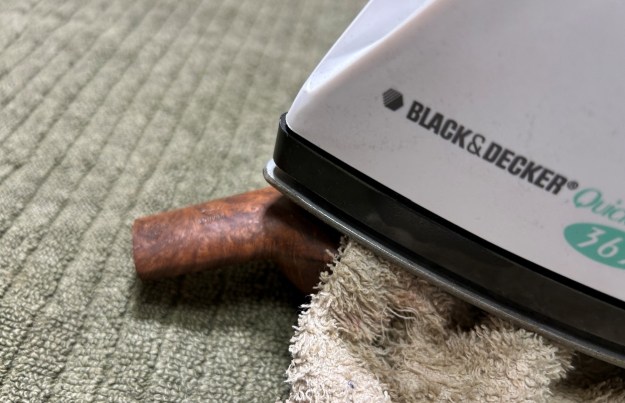
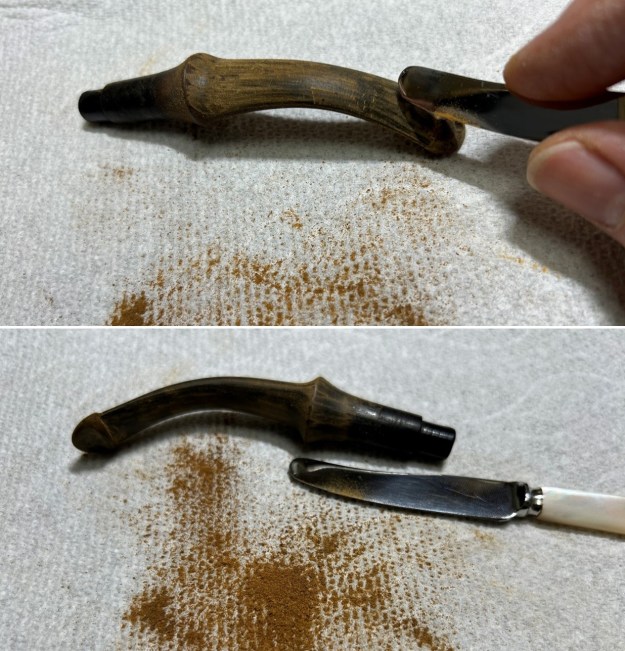
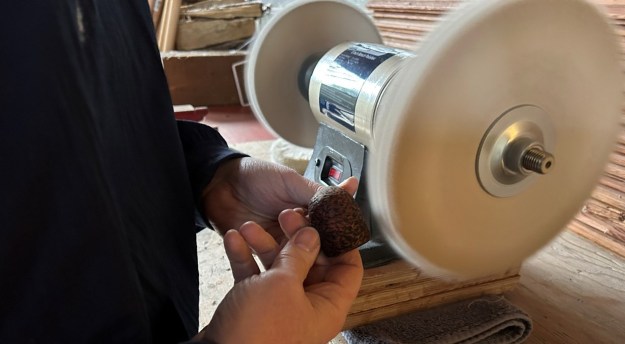
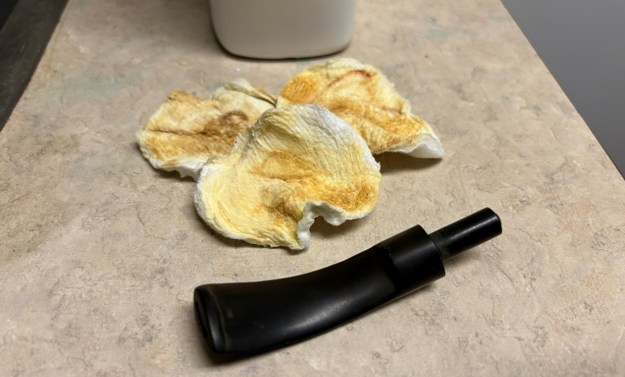
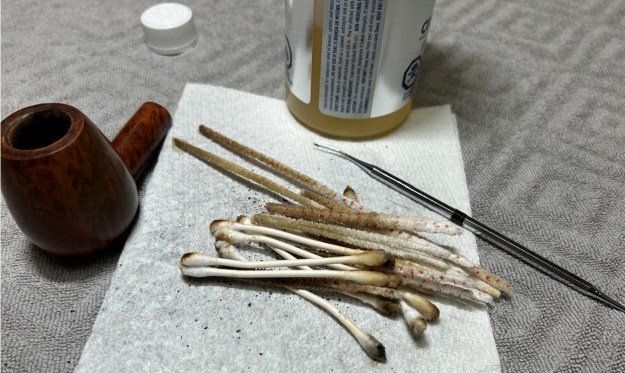
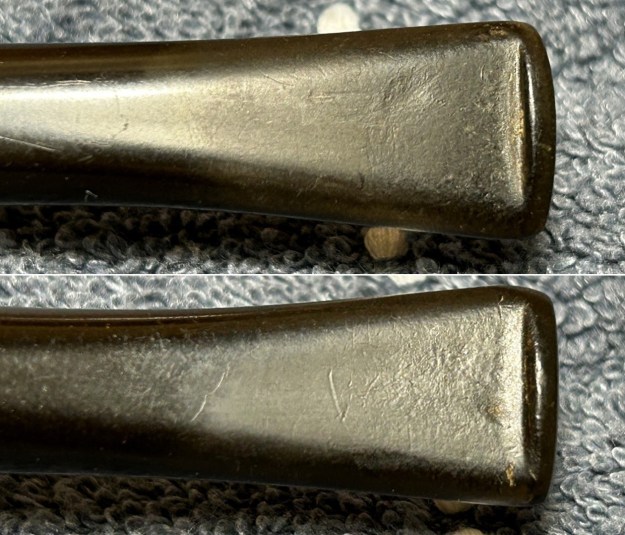
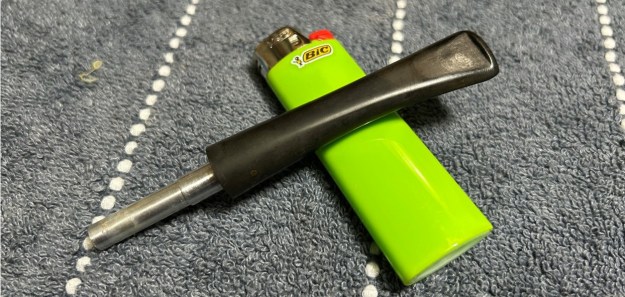
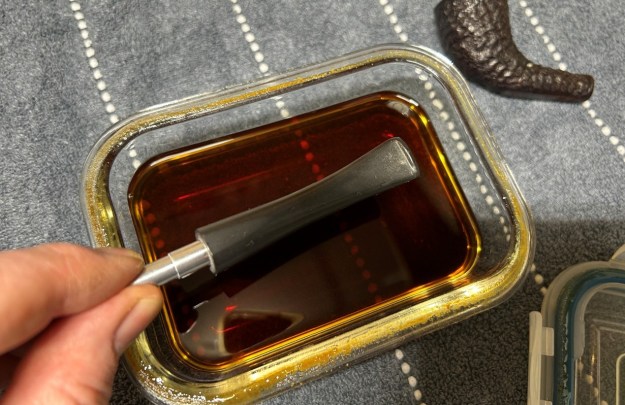
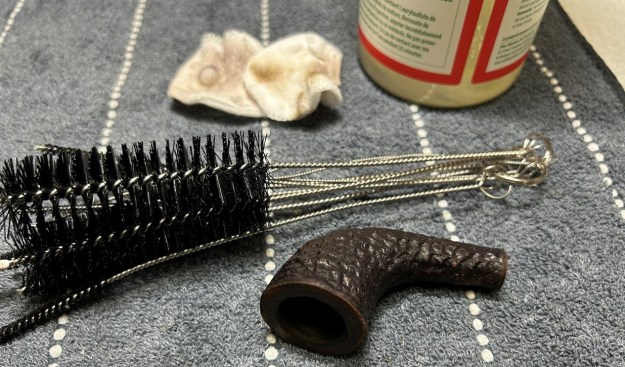
 I set the bowl aside and turned my attention to the stem. I “painted” the surface of the stem with the flame of a Bic lighter to lift the tooth marks. I was able to lift them all. I sanded the stem surface with a folded piece of 220 grit sandpaper. It looked much better.
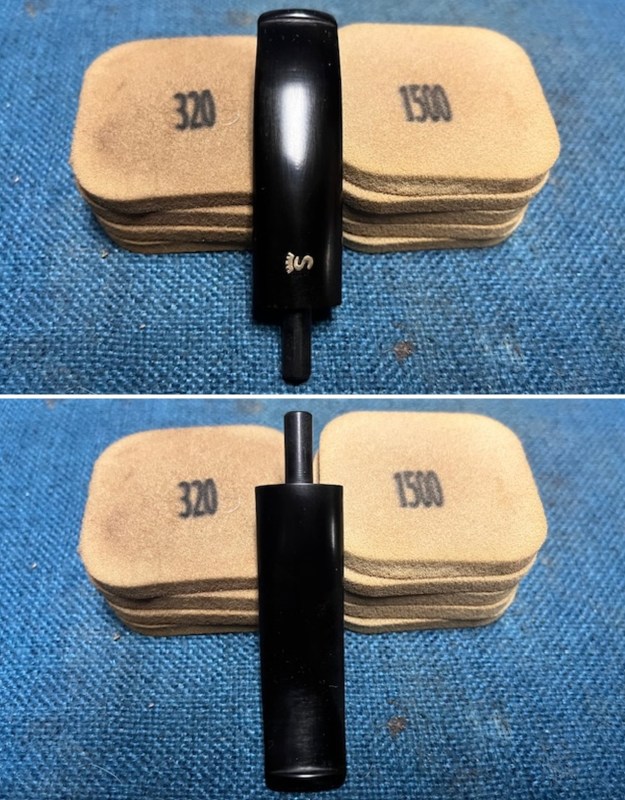
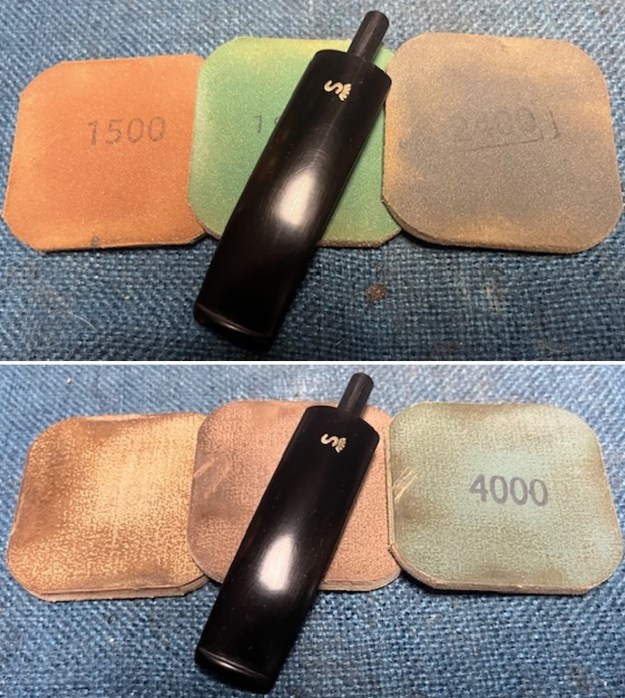
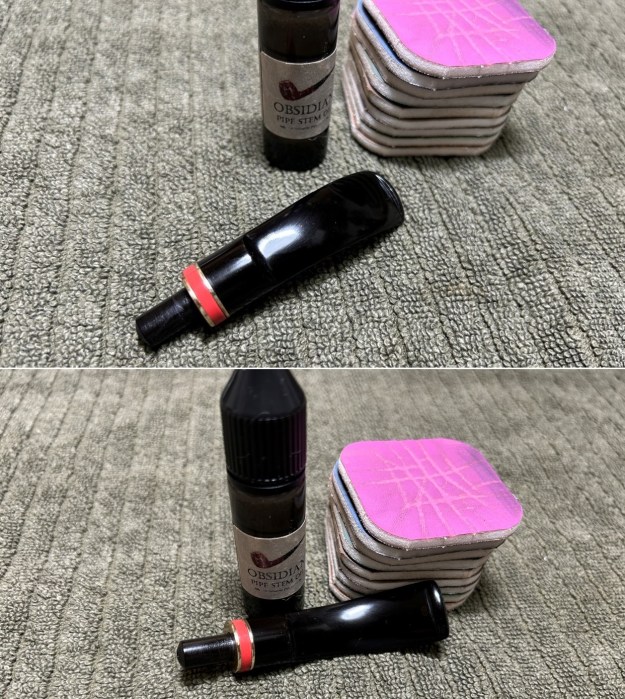
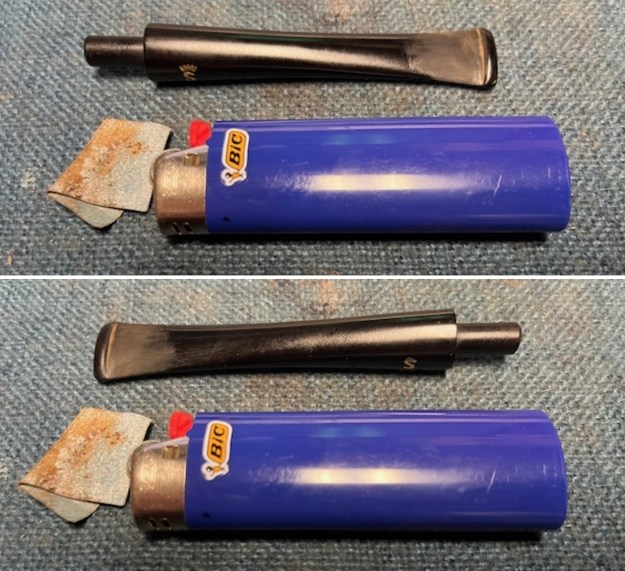 I sanded the stem with 320-1500 grit sanding pads to further blend the sanding marks into the surface of the vulcanite. I wiped the stem down after each sanding pad with an Obsidian cloth to remove the debris from the sanding.
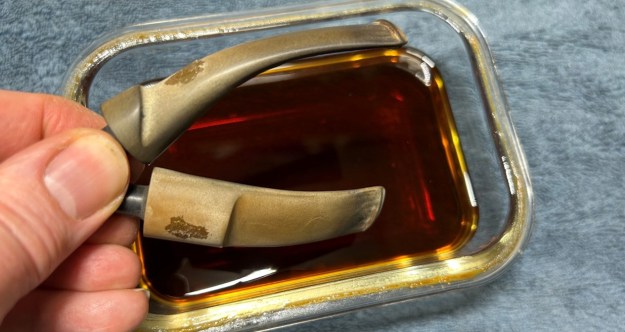
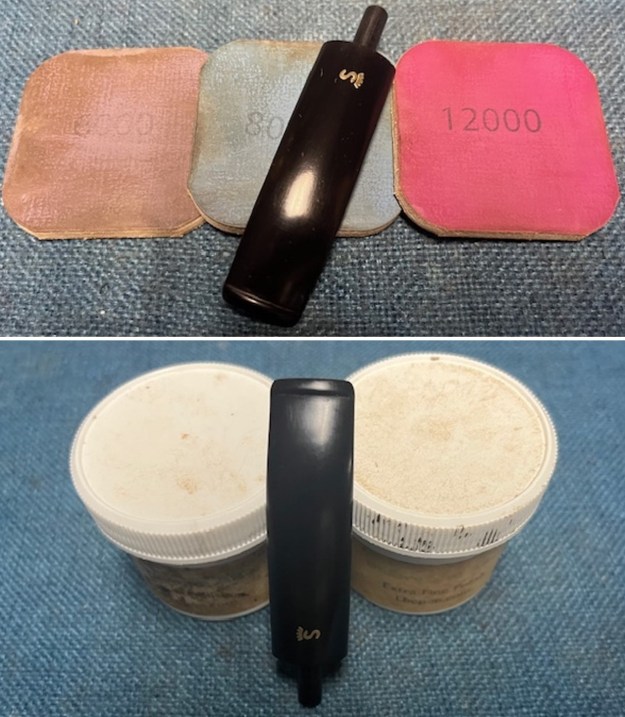
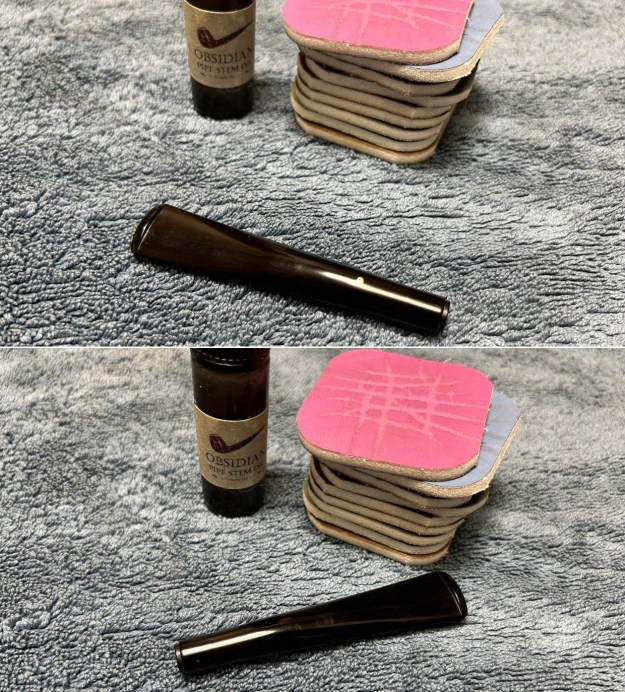
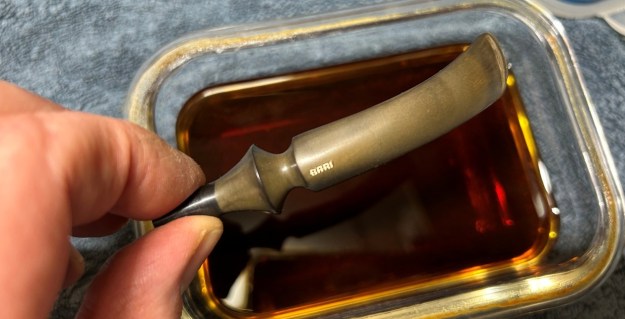
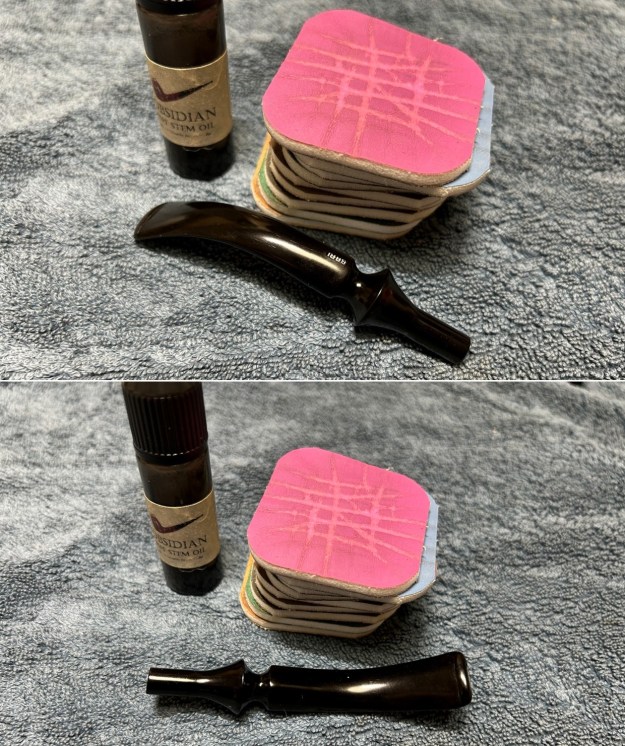
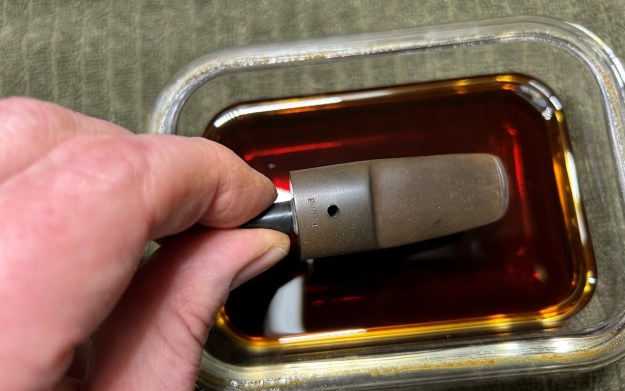
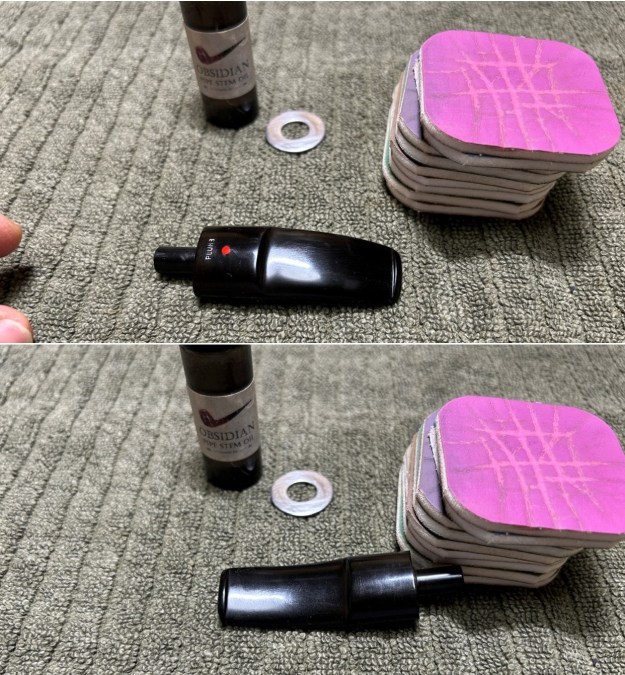
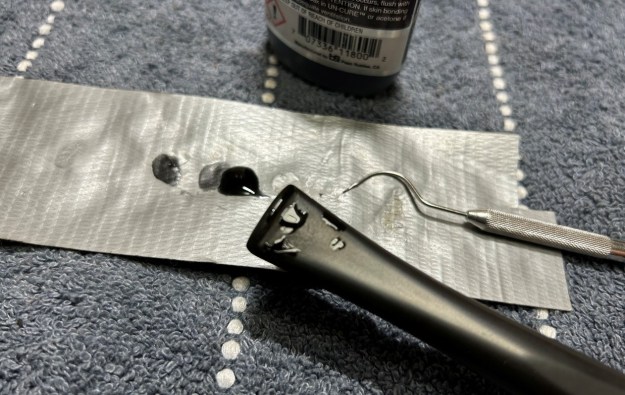
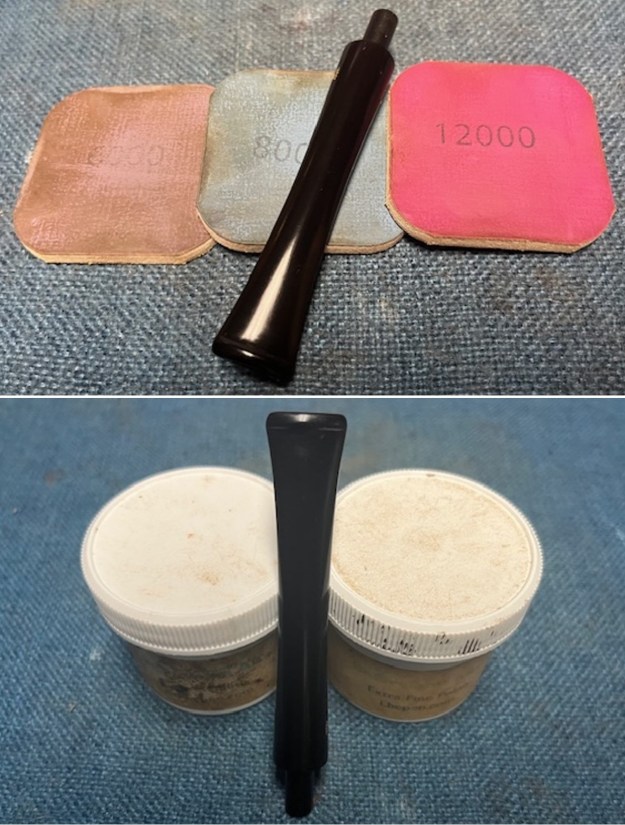
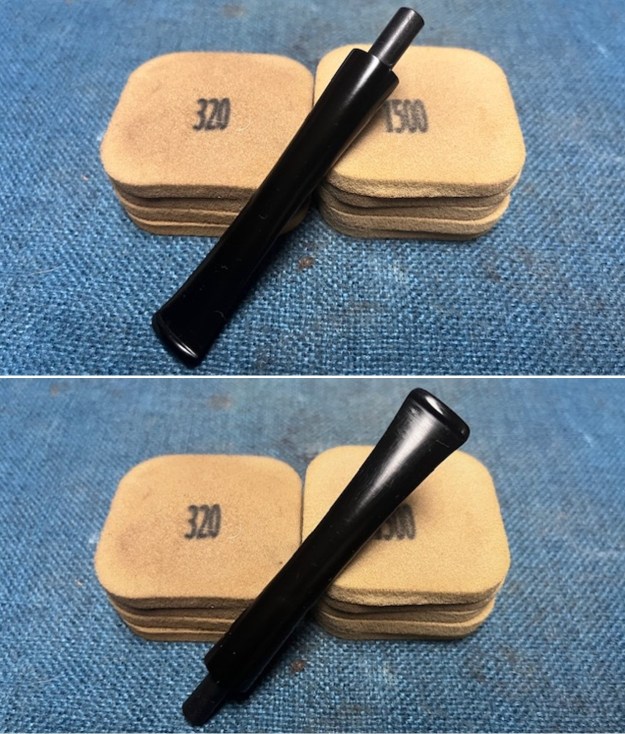 I polished the vulcanite stem with micromesh sanding pads – wet sanding it with 1500-12000 grit pads. I wiped it down with Obsidian Oil after each sanding pad. I polished it with Before & After Pipe Polish – both the Fine and Extra Fine polishes. I gave it a final coat of oil and set it aside to dry.
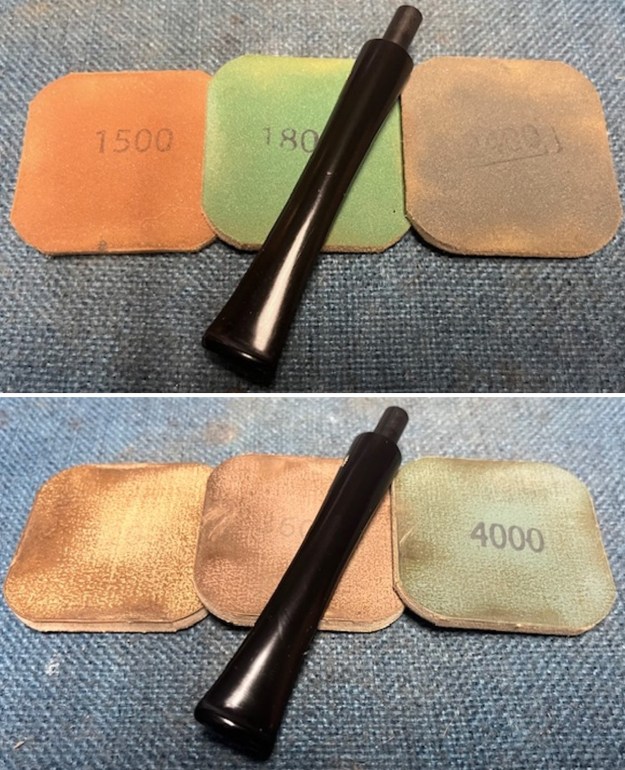
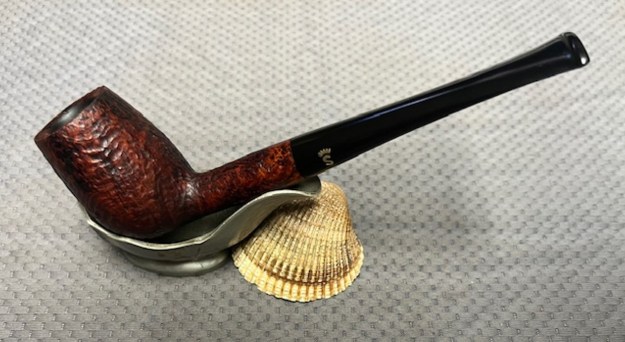
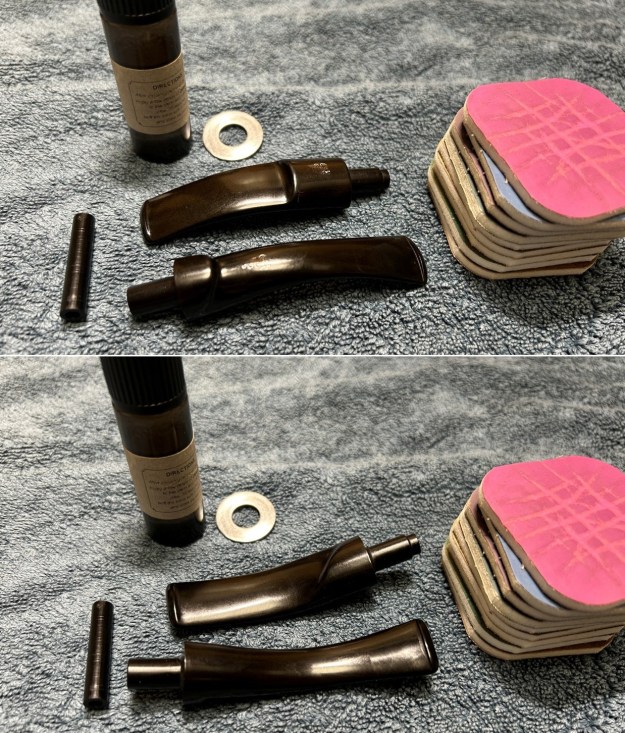
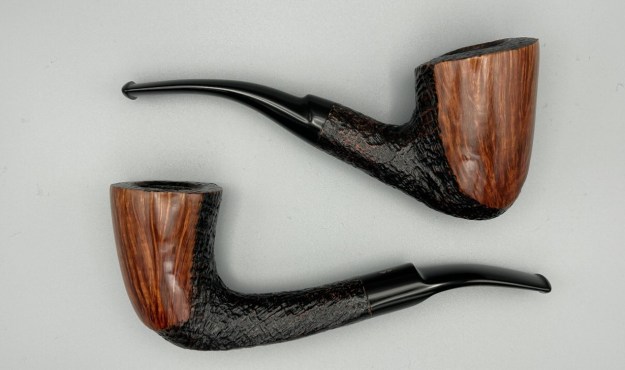
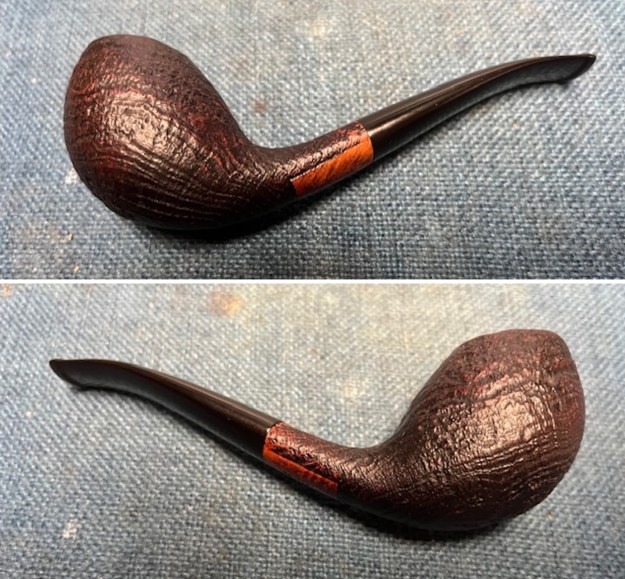
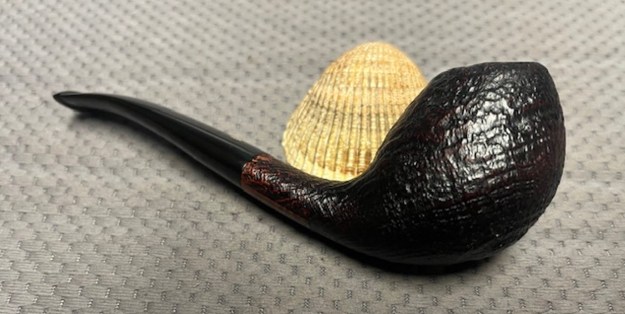
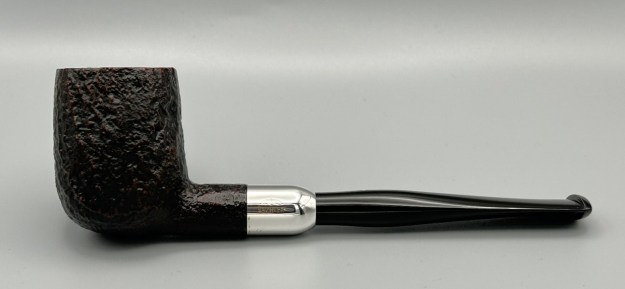
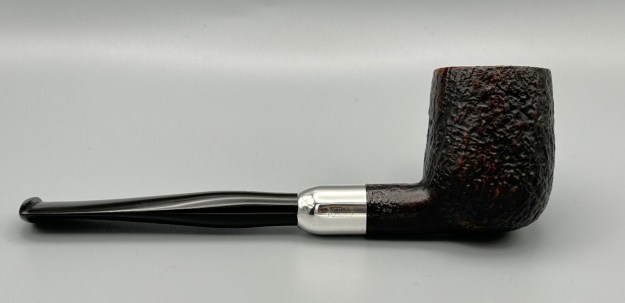
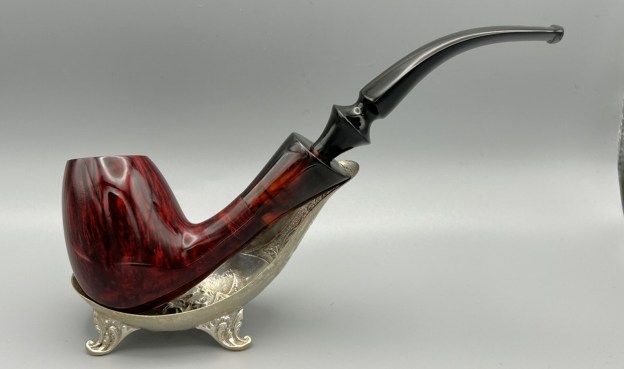
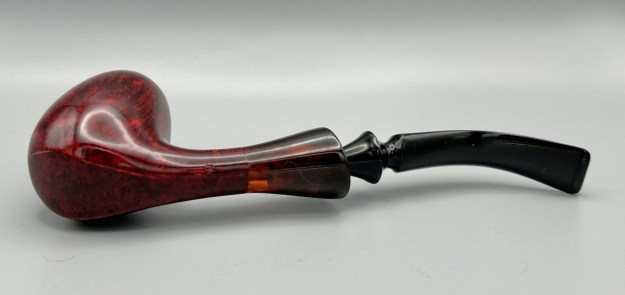
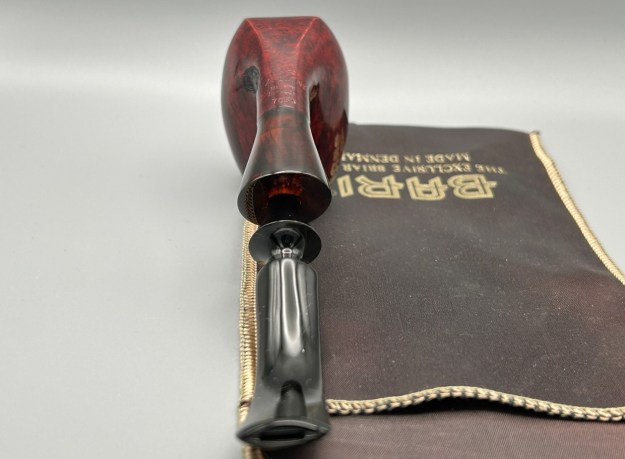
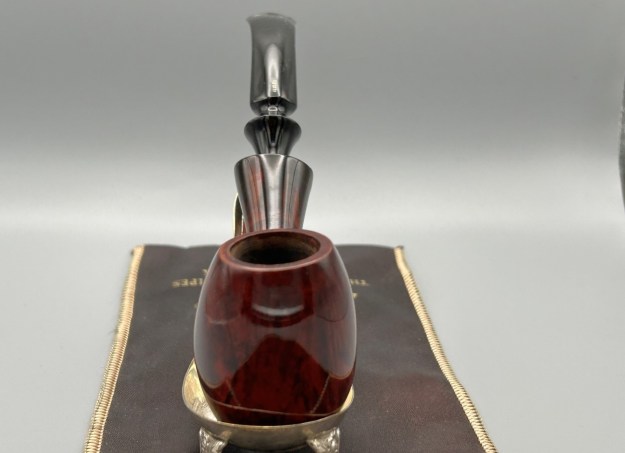
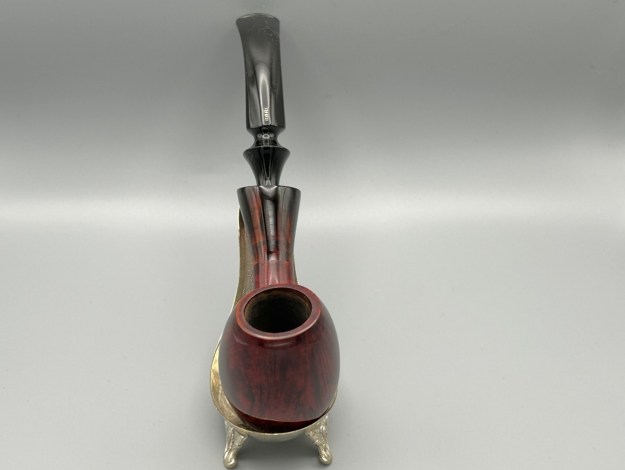
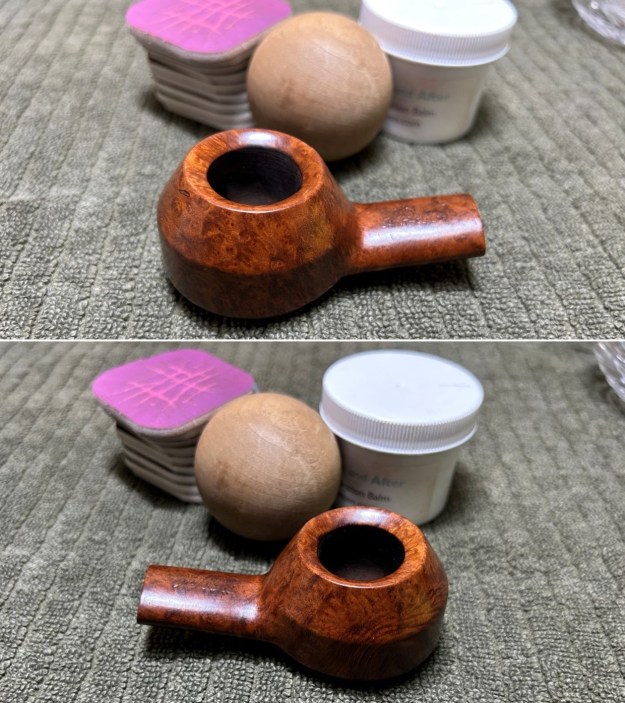
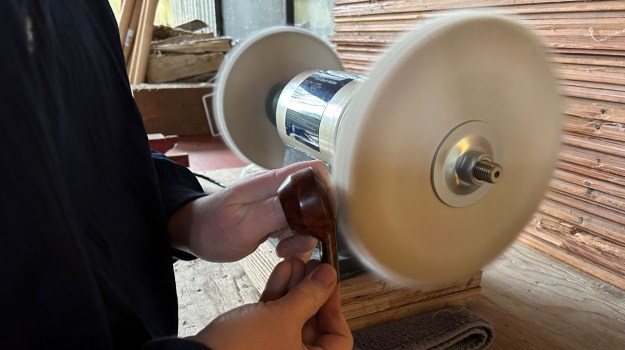
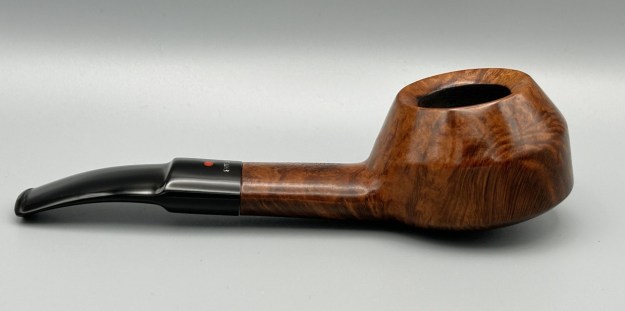
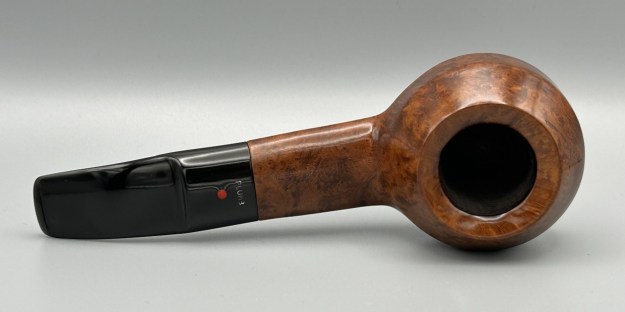
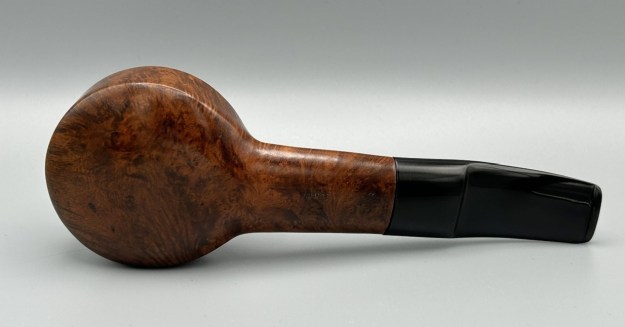
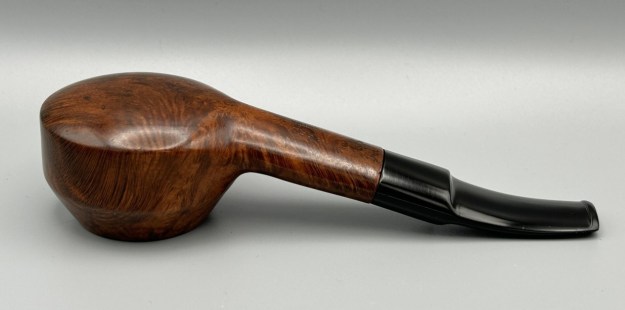
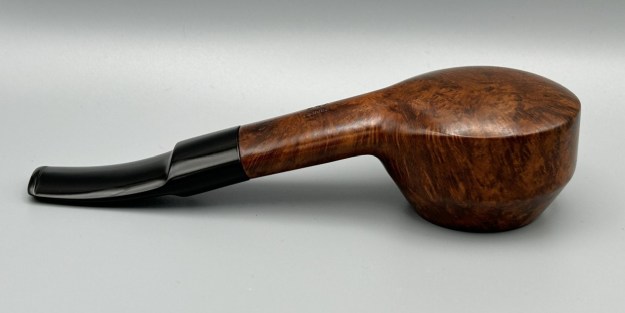
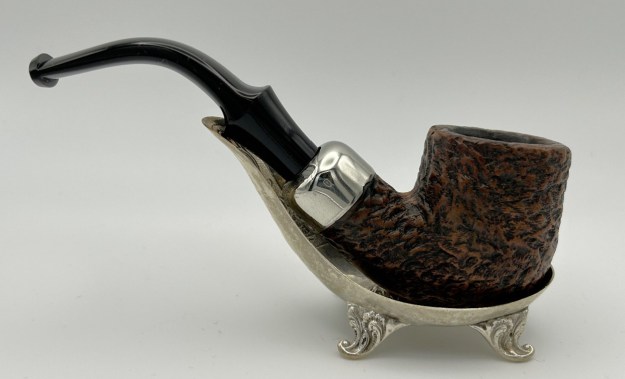
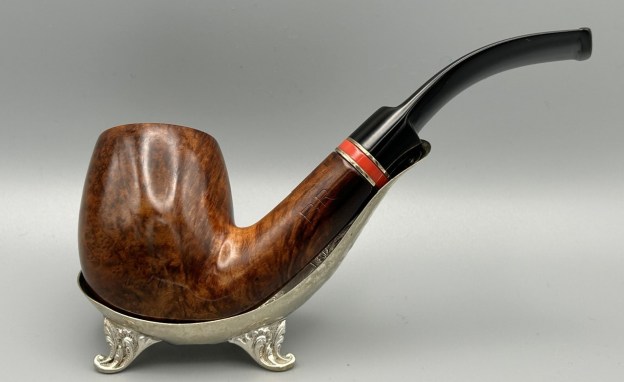
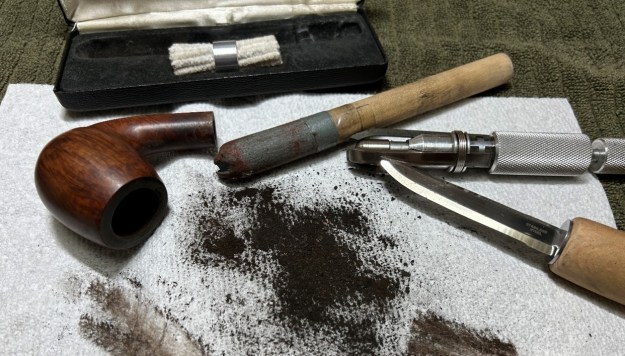
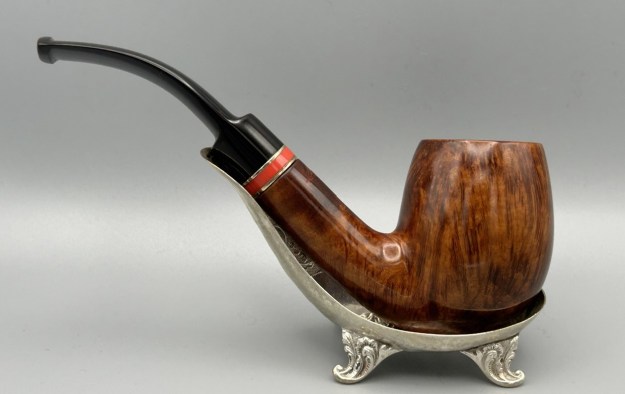
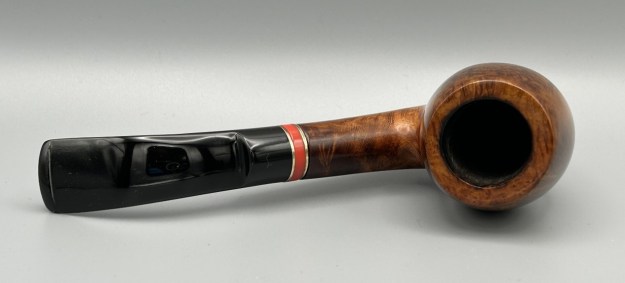
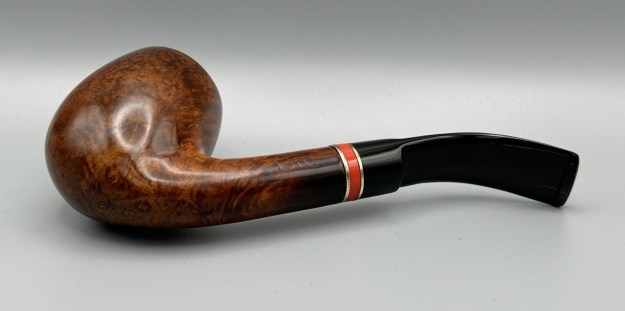
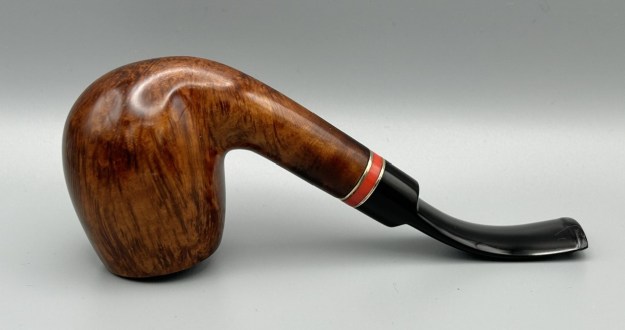
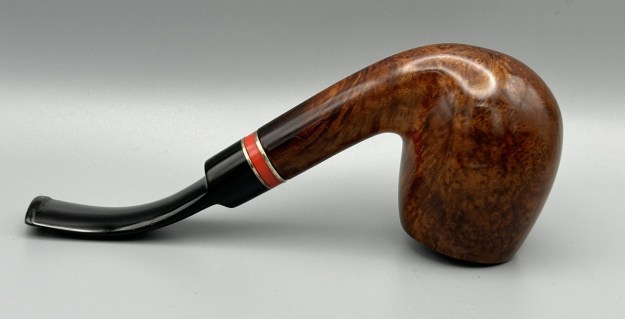
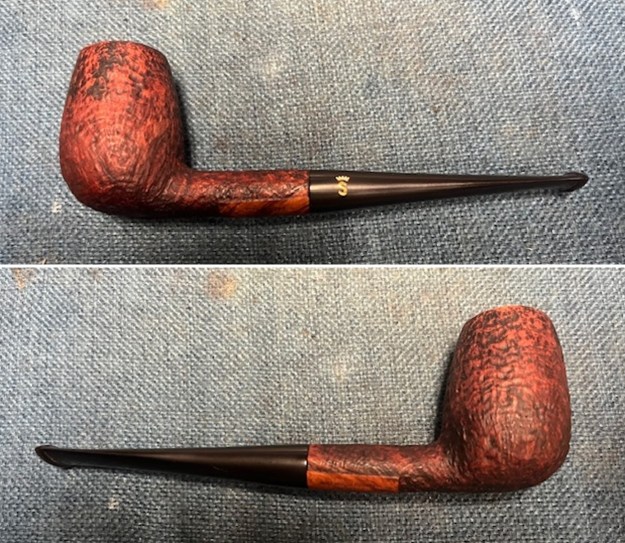
 I am excited to put the finishing touches on this Jesse Chonowitsch Design Stanwell Jubilaeum 1942-92 Brandy 69 (169). I put the pipe back together and buffed it with Blue Diamond on the buffing wheel. I gave the bowl and the stem multiple coats of carnauba wax. I buffed the pipe with a clean buffing pad to raise the shine and hand buffed it with microfiber cloth to deepen the shine. It is fun to see what the polished bowl looks like with the polished black, fancy turned vulcanite stem was beautiful. This Jesse Chonwitsch Design Stanwell Jubilaeum 1942-92 Straight Brandy 69 is nice looking and the pipe feels great in my hand. It is light and well balanced. Have a look at it with the photos below. The dimensions are Length: 6 inches, Height: 1 ¾ inches, Outside diameter of the bowl: 1 inch, Chamber diameter: ¾ of an inch. The weight of the pipe is 1.34 ounces/38 grams. It is a beautiful pipe and one that I will be putting in the Danish Pipemakers Section on the rebornpipes store. Thanks for walking through the cleanup with me as I worked over this pipe.
As always, I encourage your questions and comments as you read the blog. Thanks to each of you who are reading this blog. Remember we are not pipe owners; we are pipe men and women who hold our pipes in trust until they pass on into the trust of those who follow us.