Blog by Steve Laug
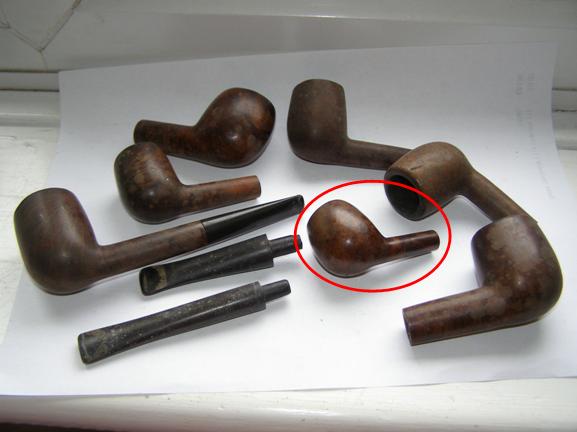
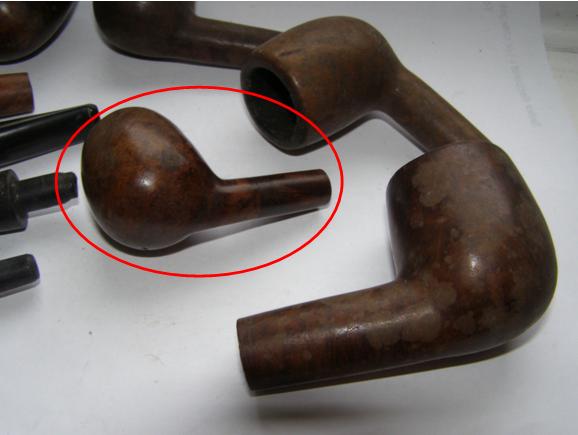
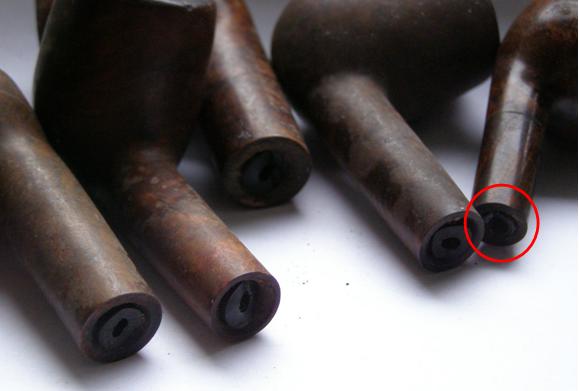
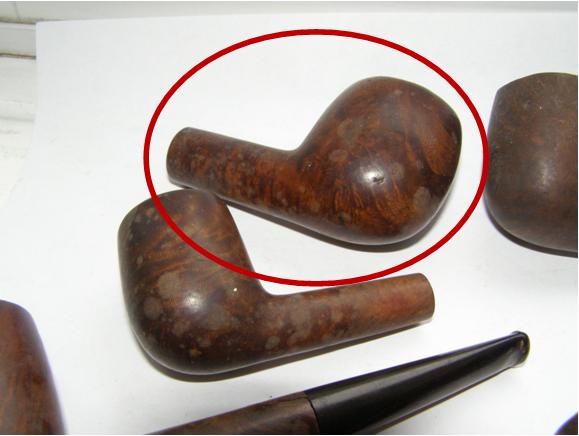
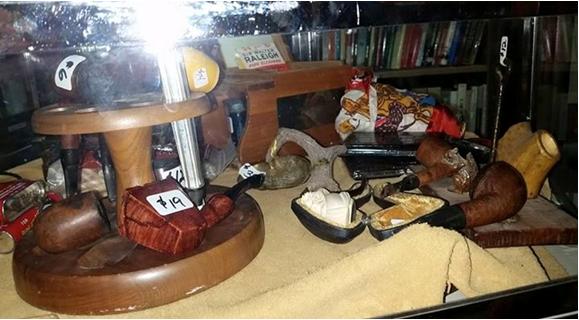
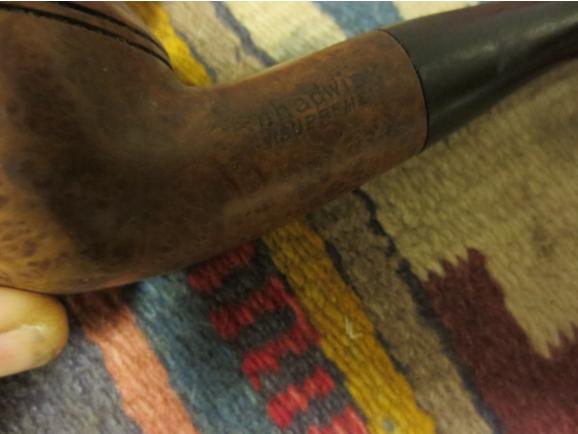
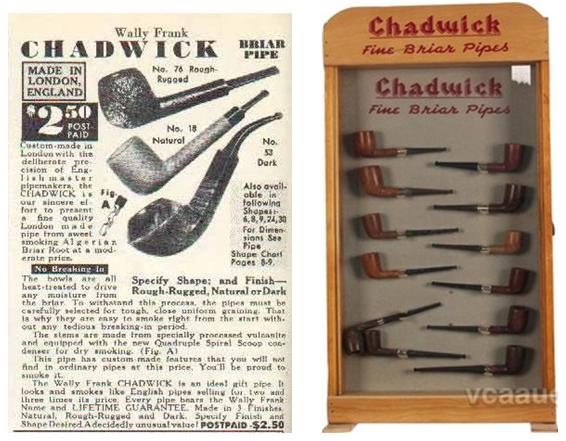
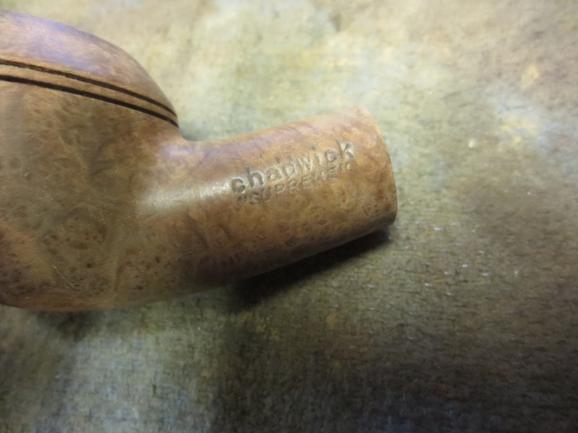
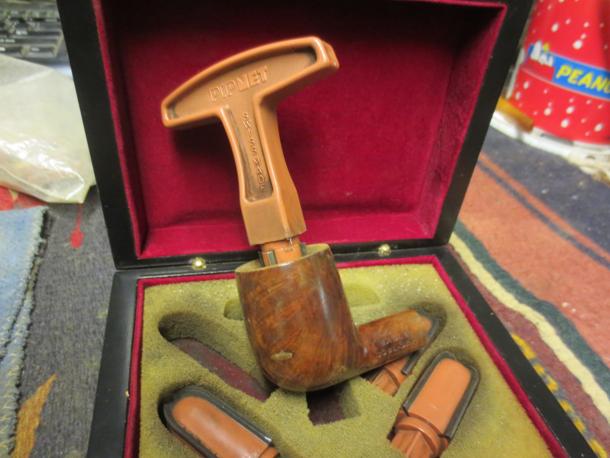
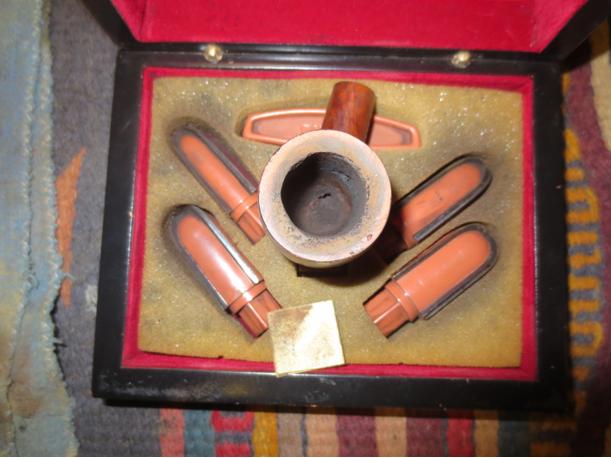
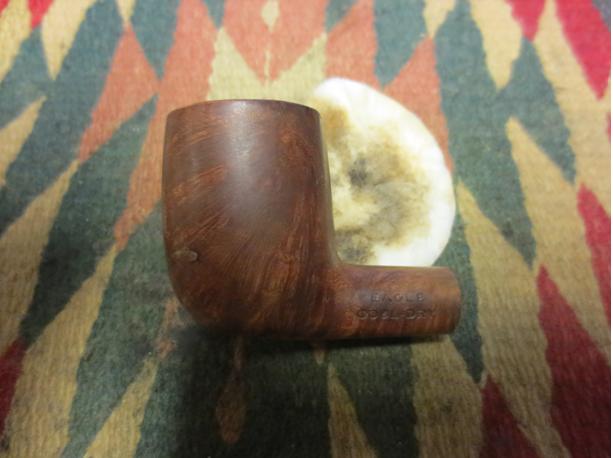
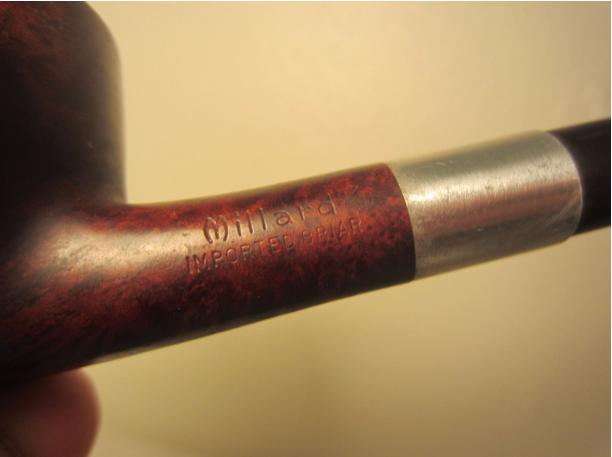
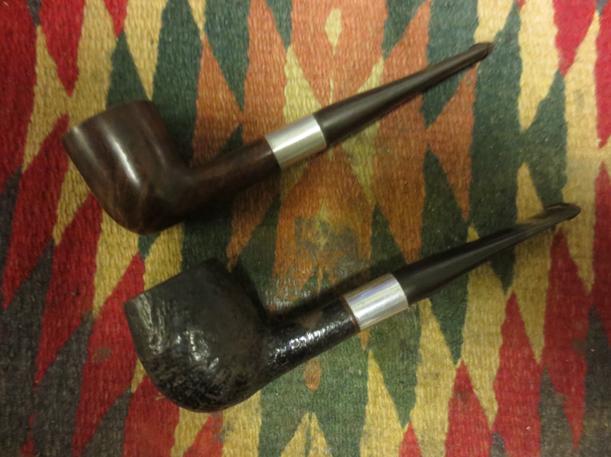
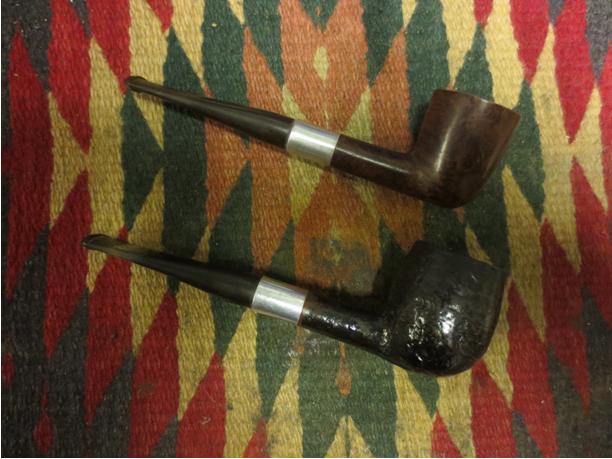
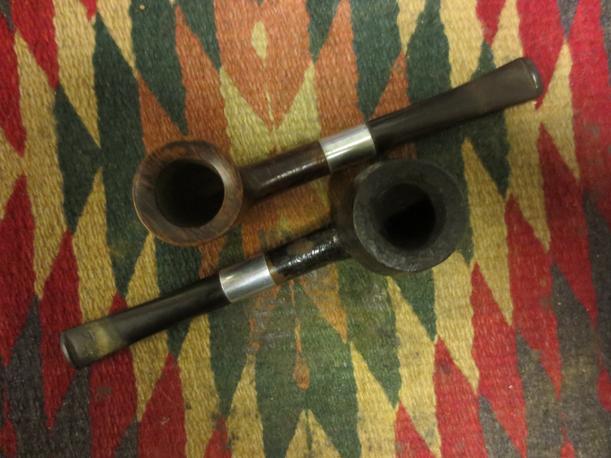
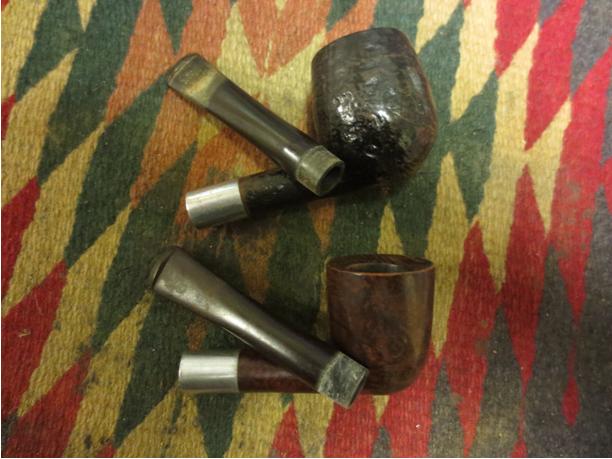
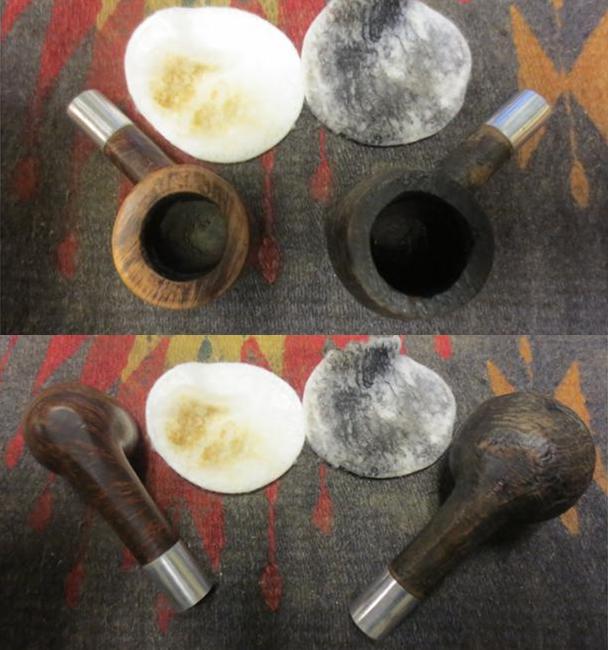
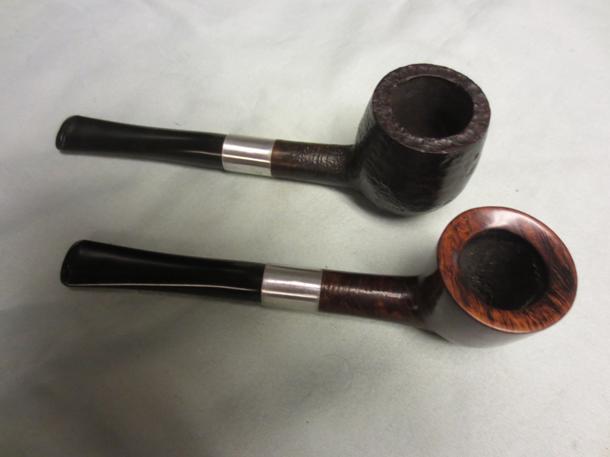
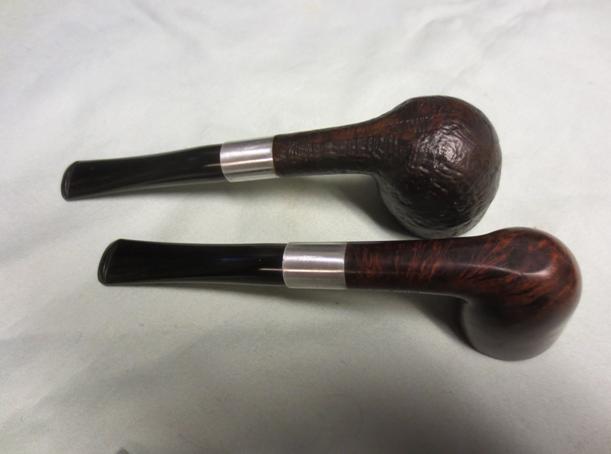
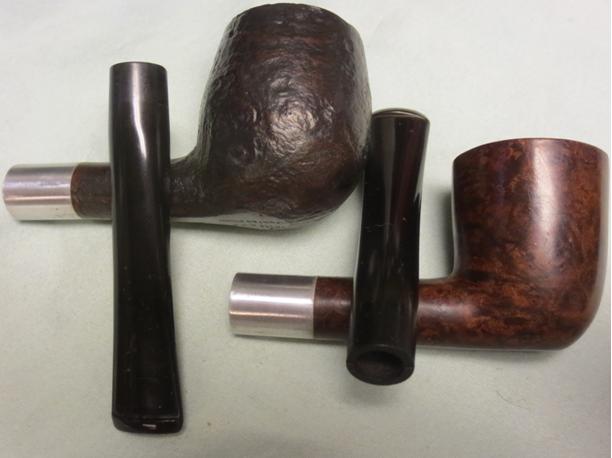
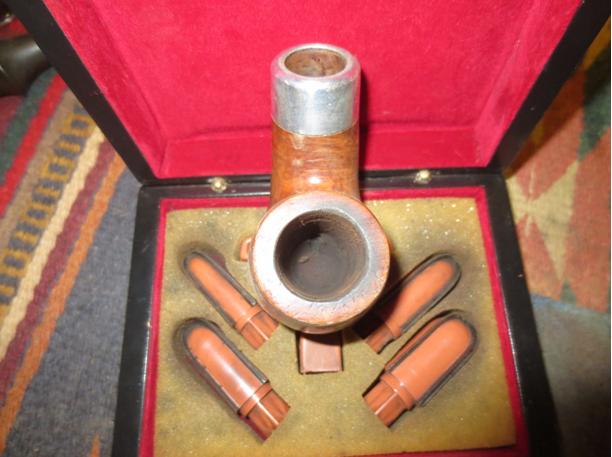
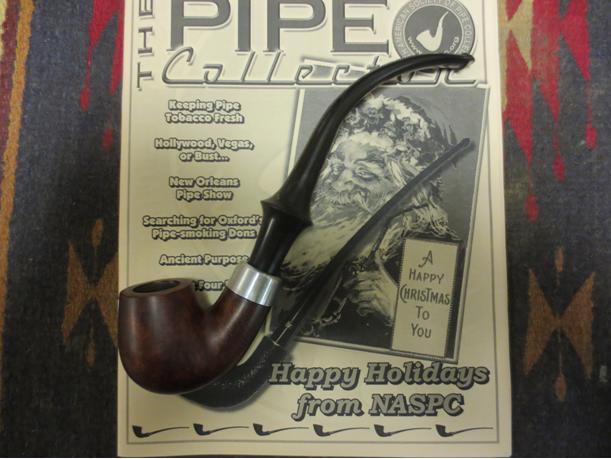
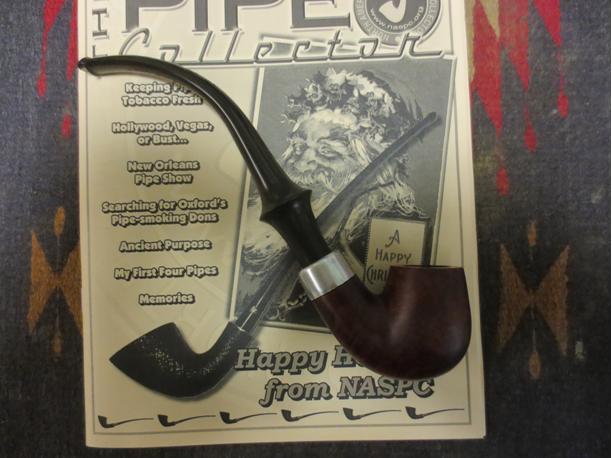
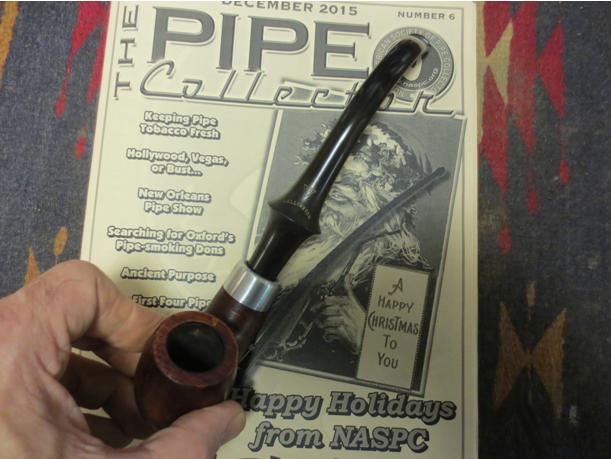
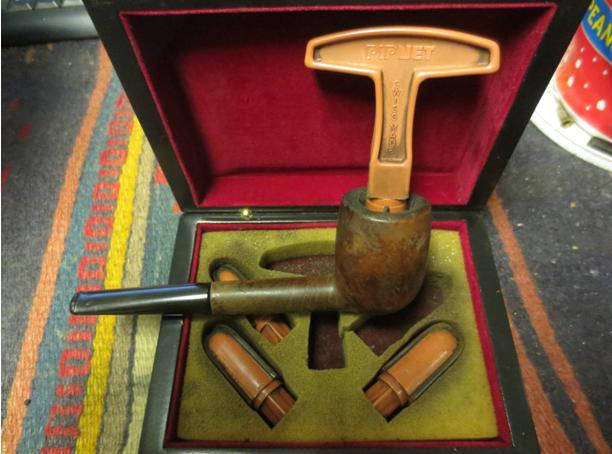
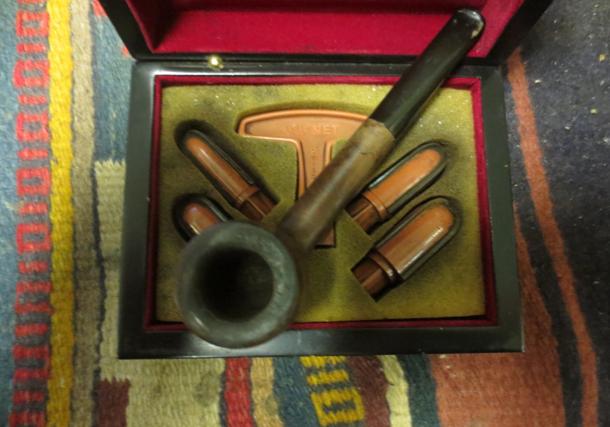
I picked up this bowl in a purchase of bowls on EBay recently. All of them had a broken tenon in the shank and this one was no different. All of the bowls had stamping that was pretty unreadable or not present at all. This one had very faint stamping. When I first looked at it I put it aside and was in no rush to restem another bowl. Yesterday I took it out of the box and had a look at it through a lens with a bright light. I was pretty surprised to see that there was a faint GBD in an oval and underneath that it was stamped PREMIER and under that London Made. The shape number on the other side of the shank and any other stamping was gone. In the next three photos below it is circled in red – in the first it is the second bowl down in the left hand column. In the second it is the second one down and in the third it is at the top of the photo in the middle.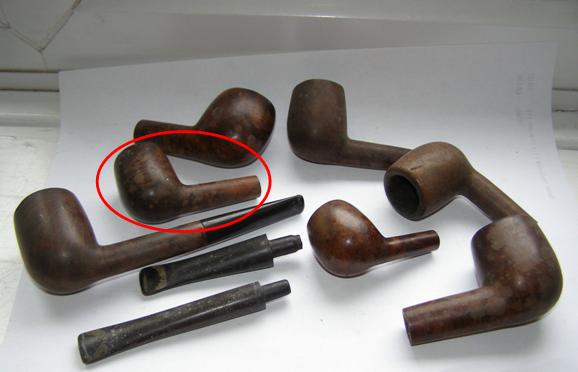

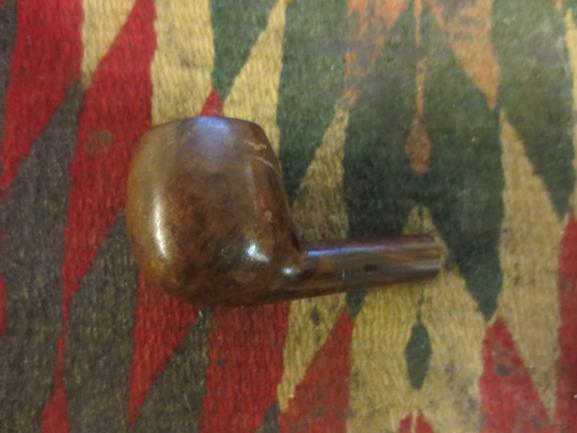
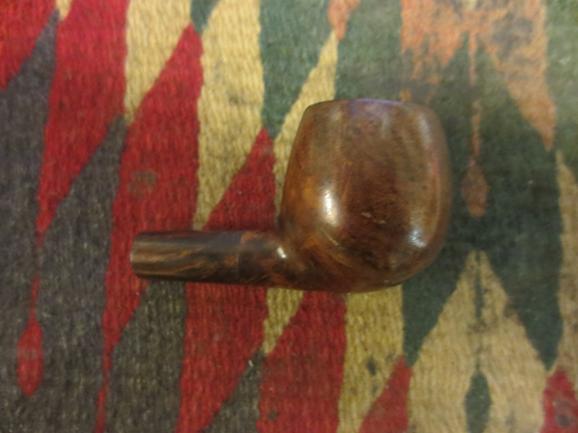
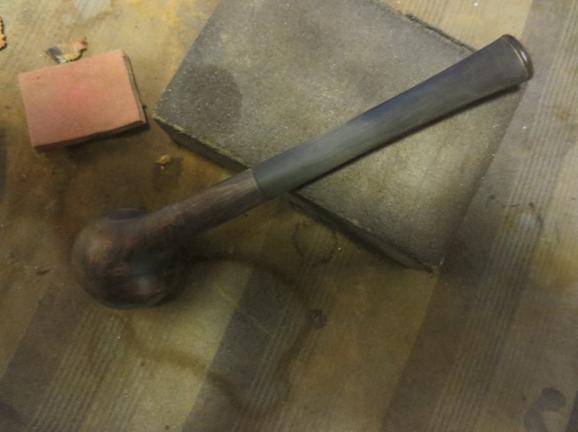
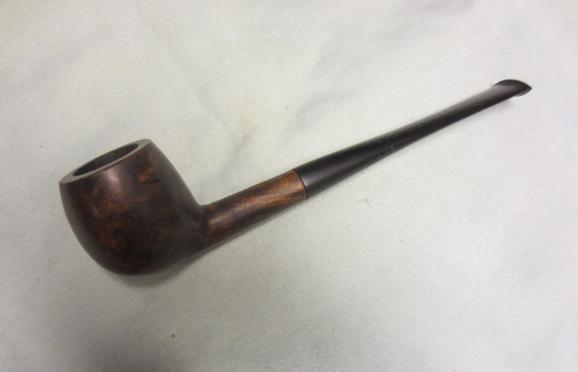
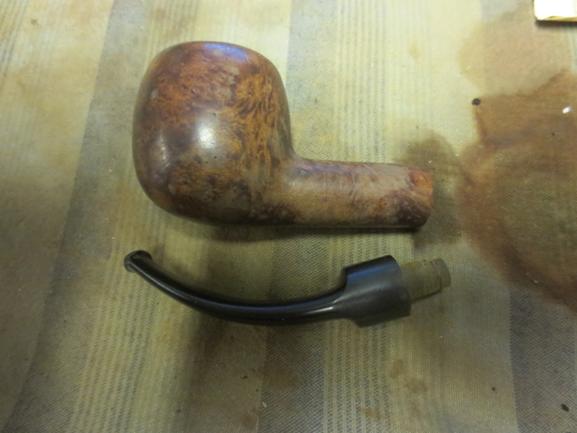
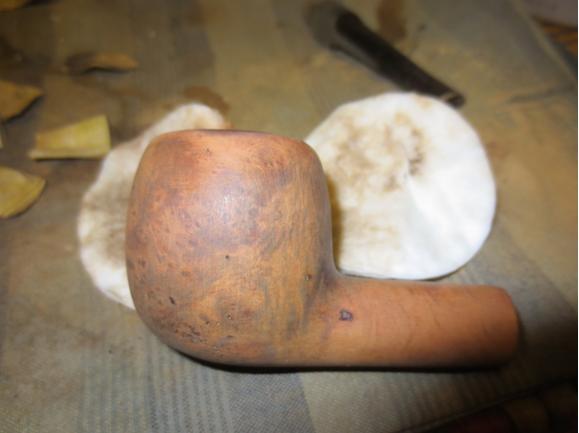
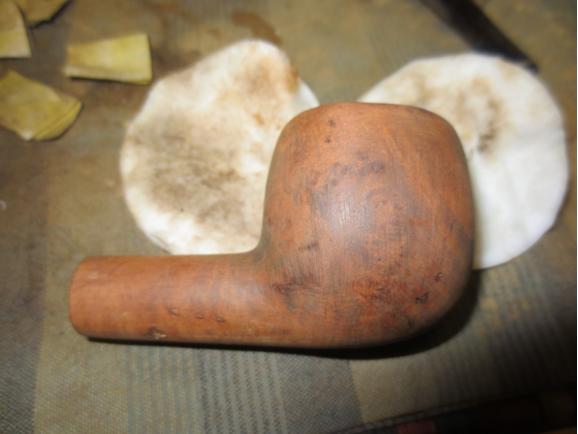
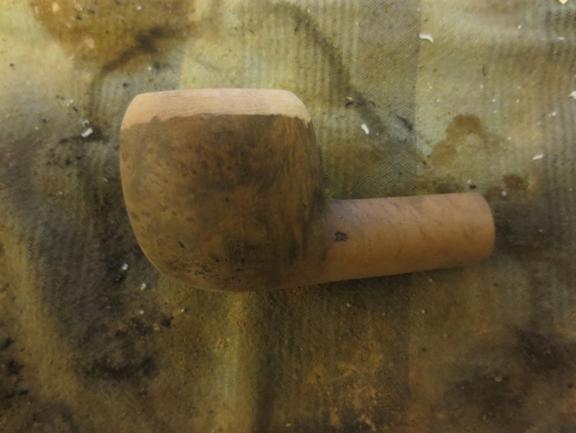
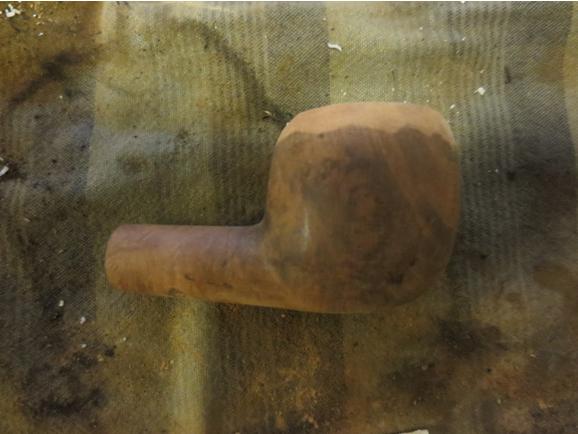
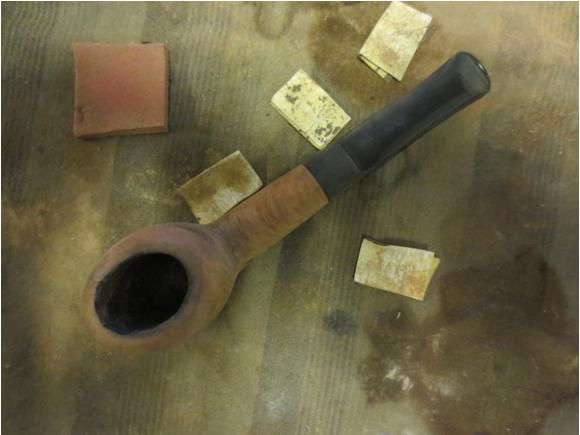
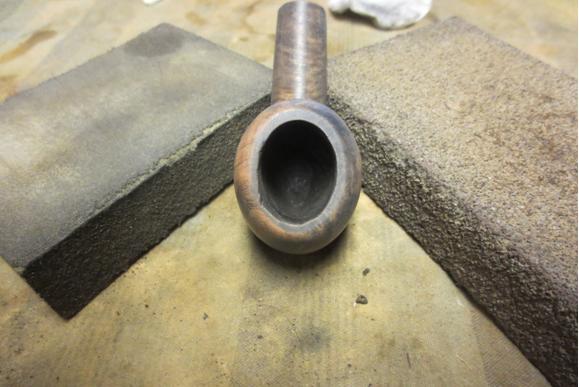
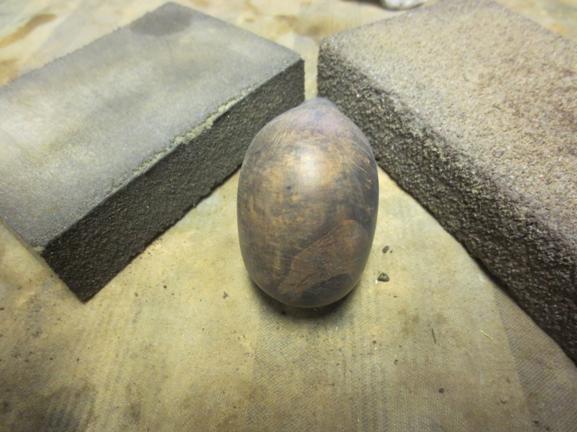
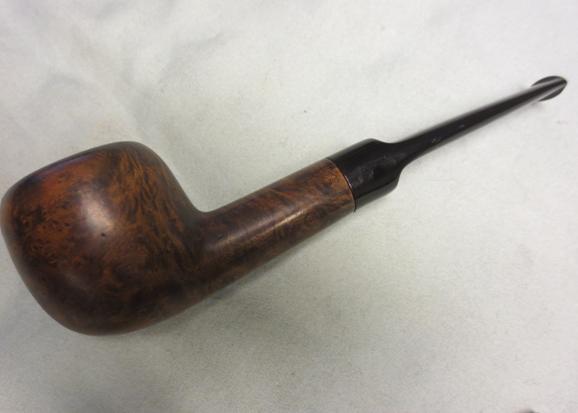
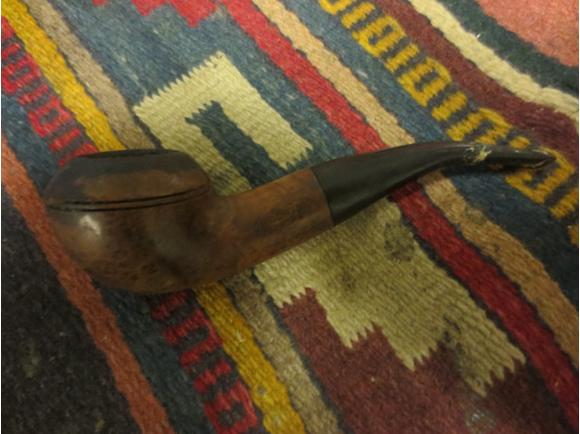
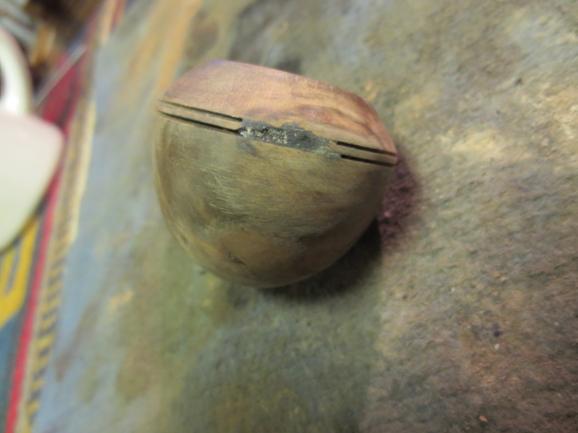
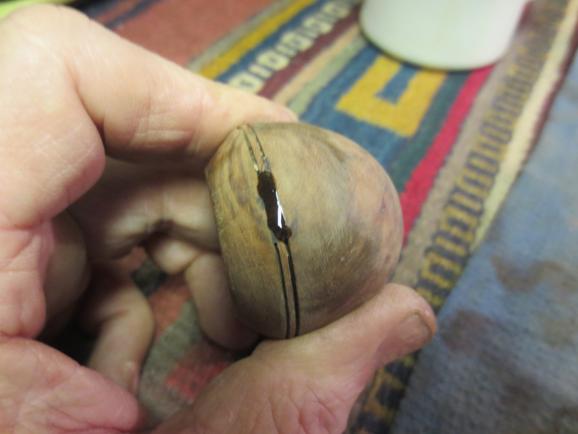
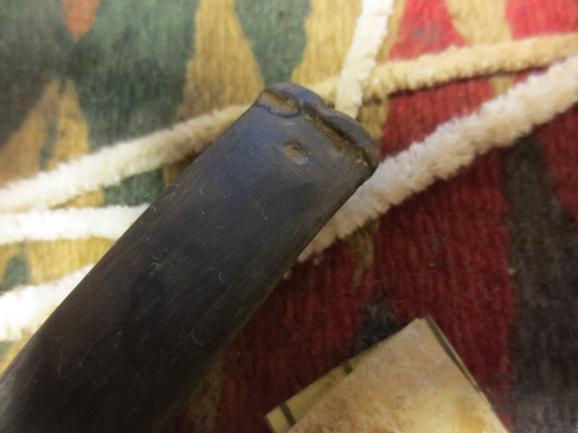
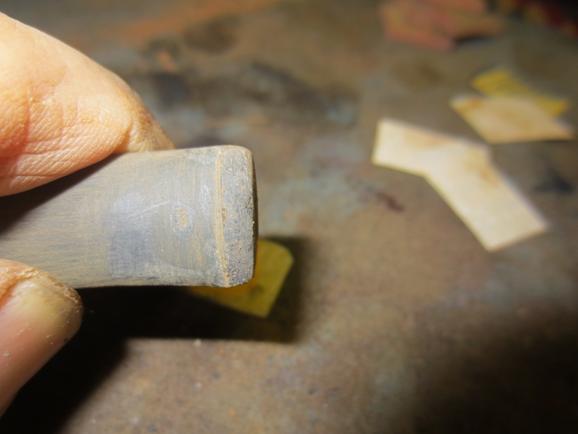
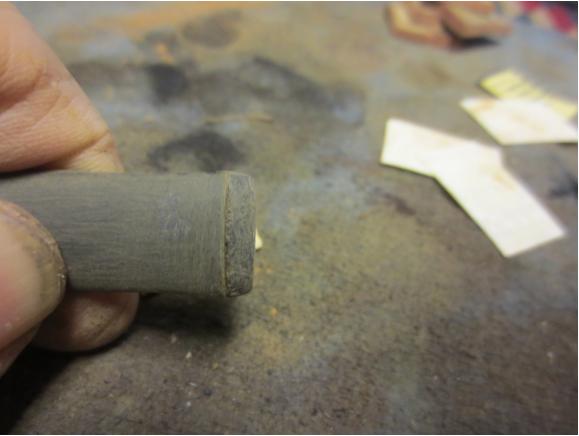
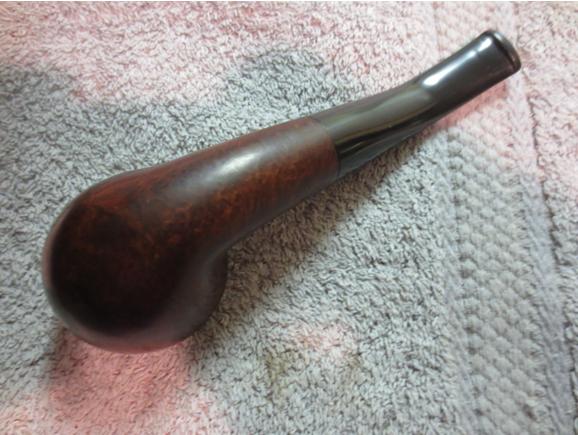
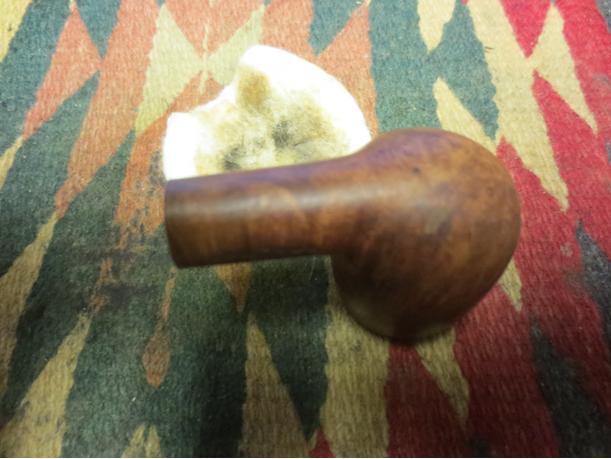
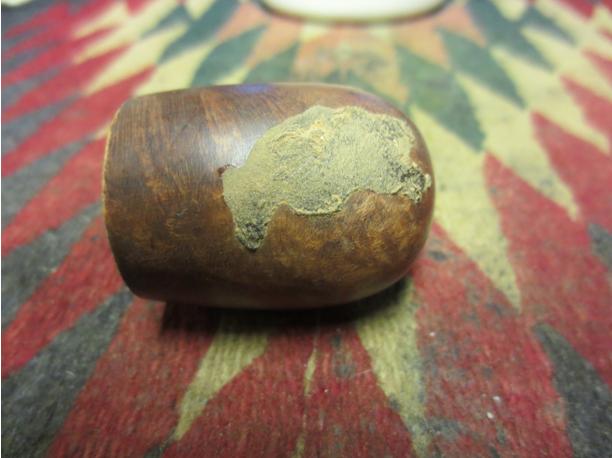
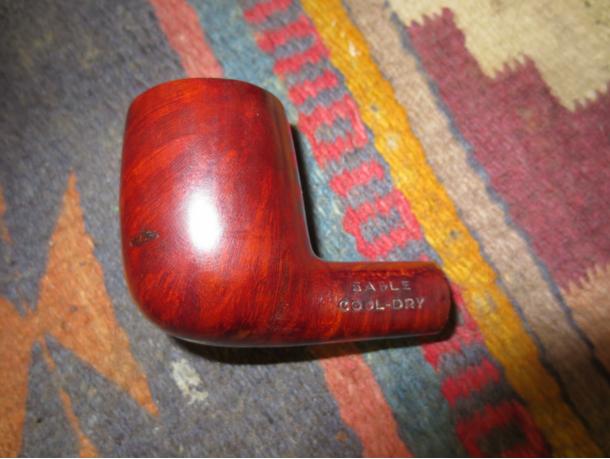
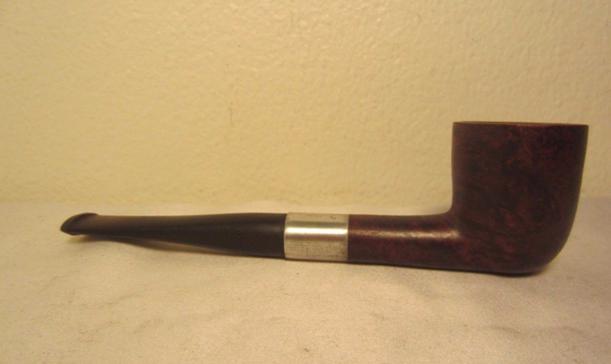
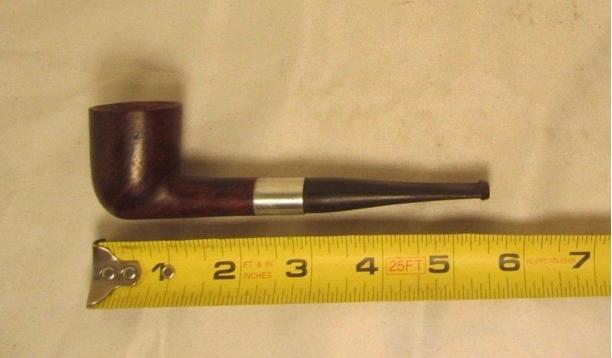
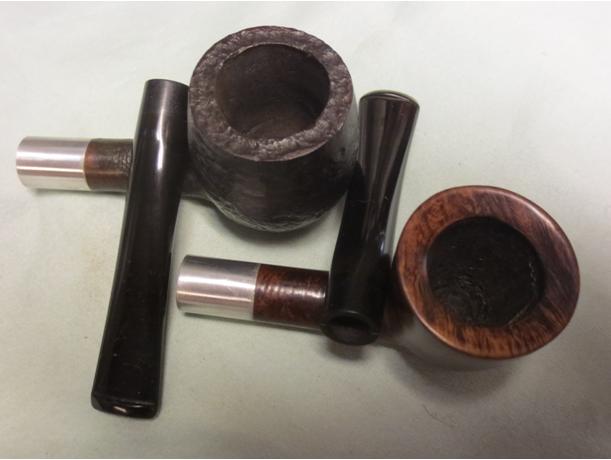
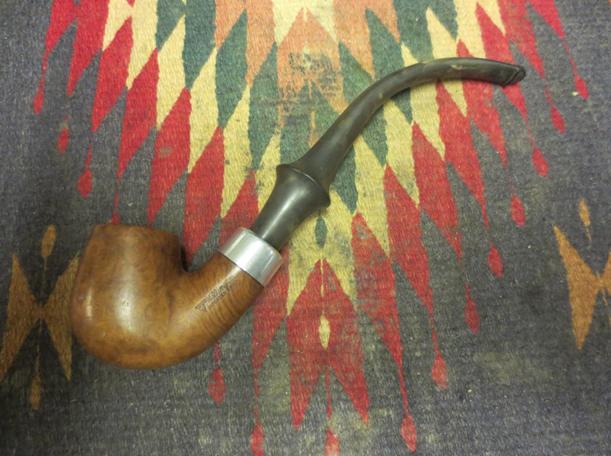
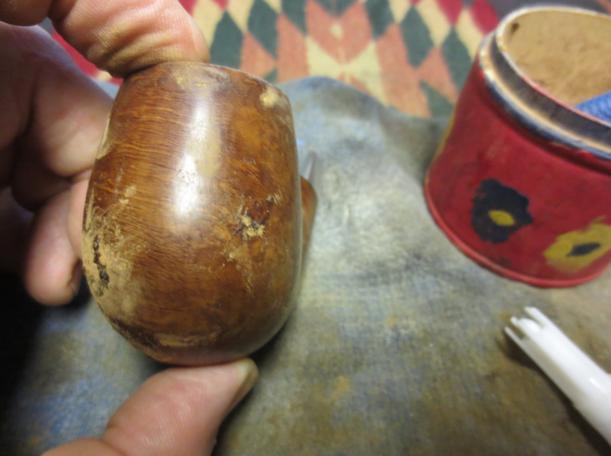
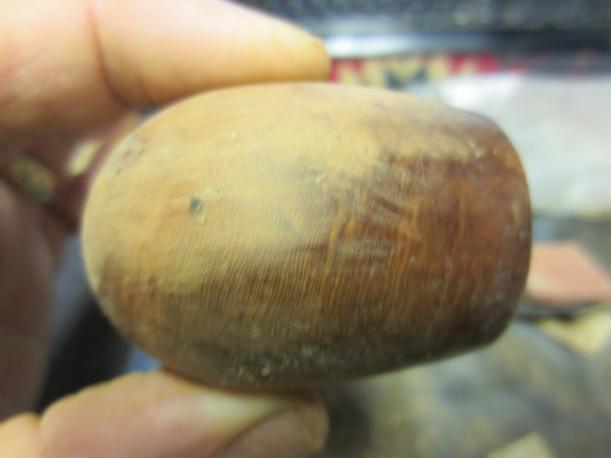
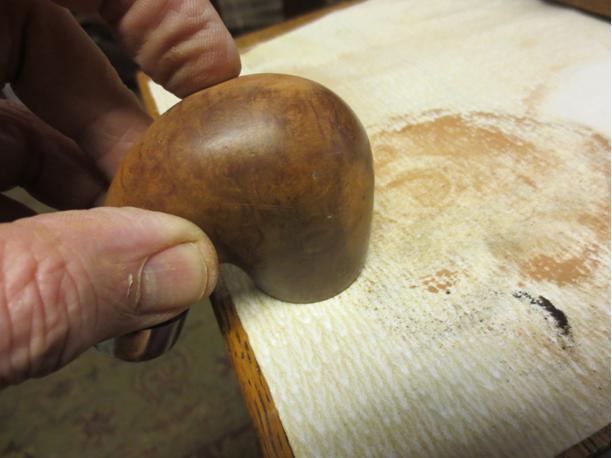
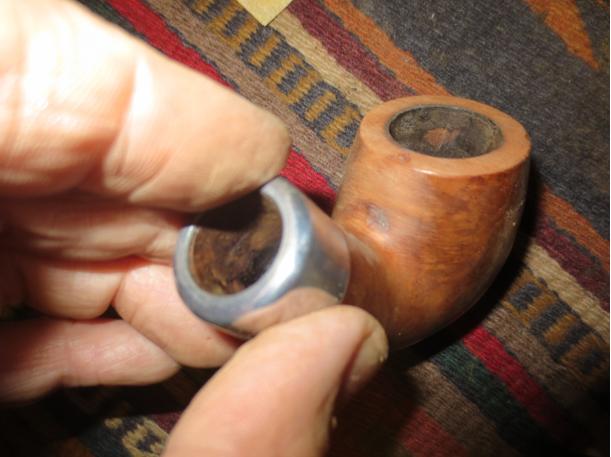
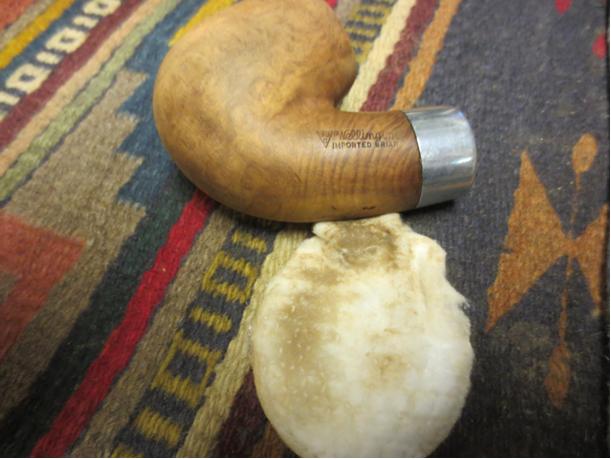
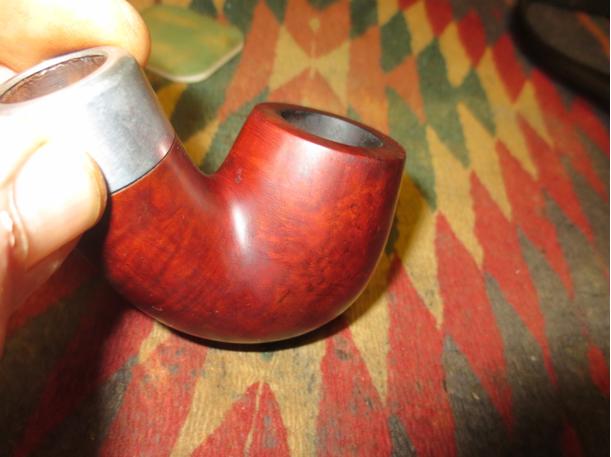
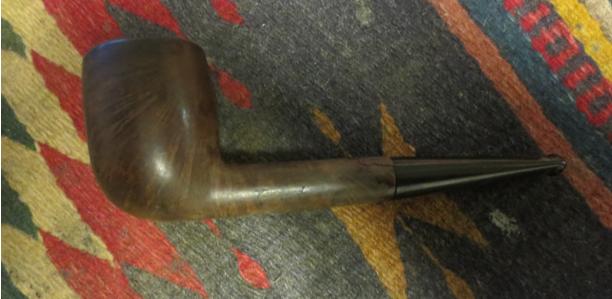
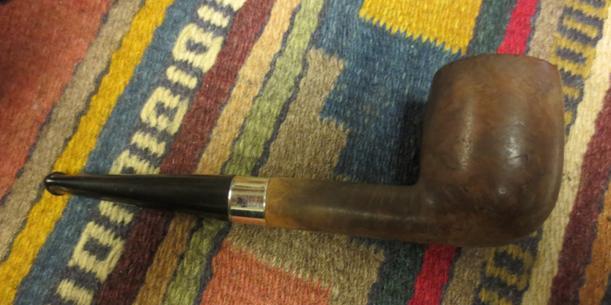
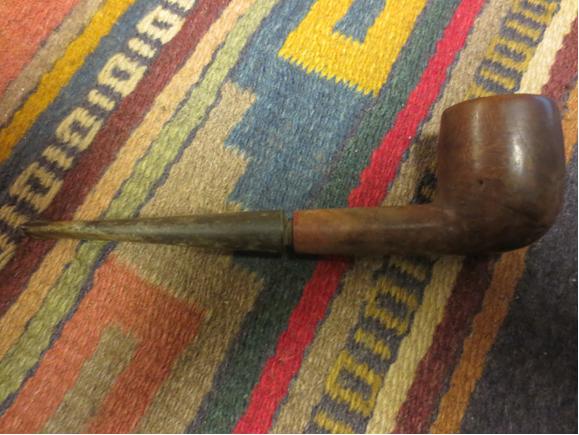
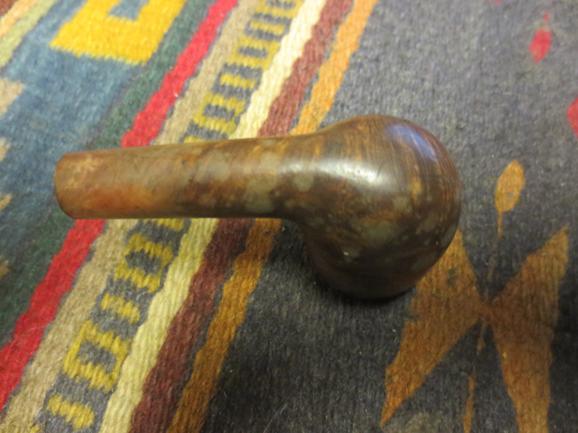
 It was in pretty rough shape but underneath the grime there was a classic shaped billiard that was just waiting to be reborn. The finish on the bowl was worn, tired and water spotted. The rim was very rough from tapping out and was rounded on the edges. The bowl was caked but it also had about a half bowl of unsmoked tobacco. It also had the tenon broken off in the shank of the pipe. It almost looked as if the owner had dropped it mid smoke and the stem broke off and he just laid it aside. There were some serious deep gouges in the bottom right side of the bowl. It looked as if it was part of the fallout when the pipe was dropped. The photos below show what the pipe looked like when I received it. You can also see why I missed the stamping on the side of the shank.
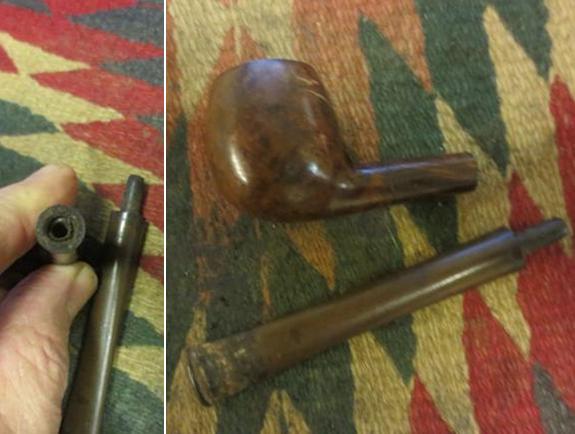
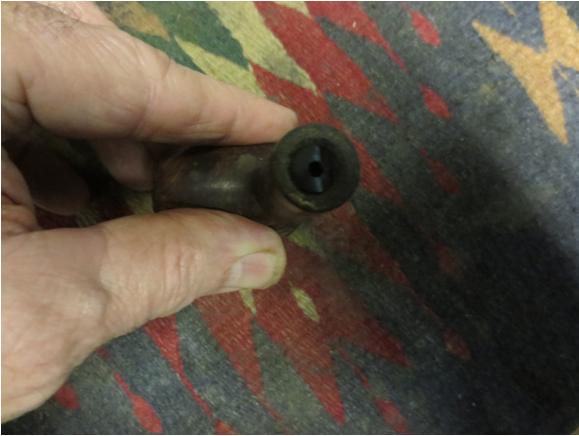
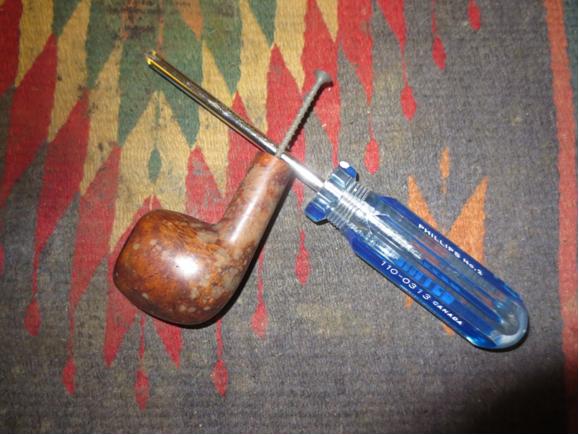
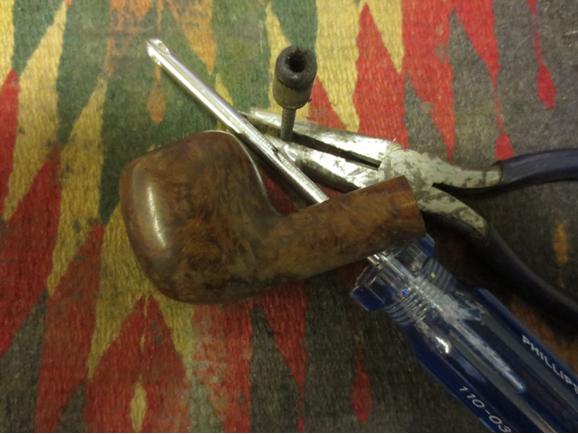
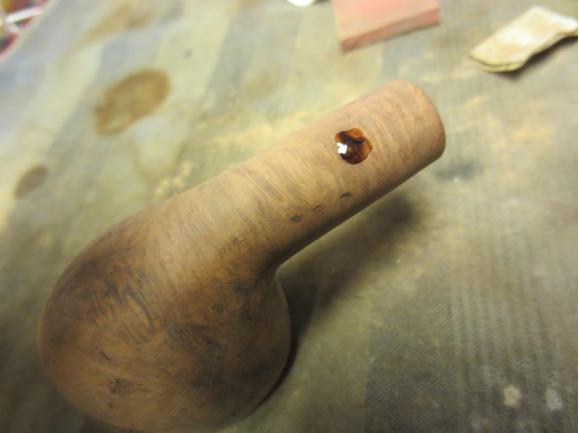
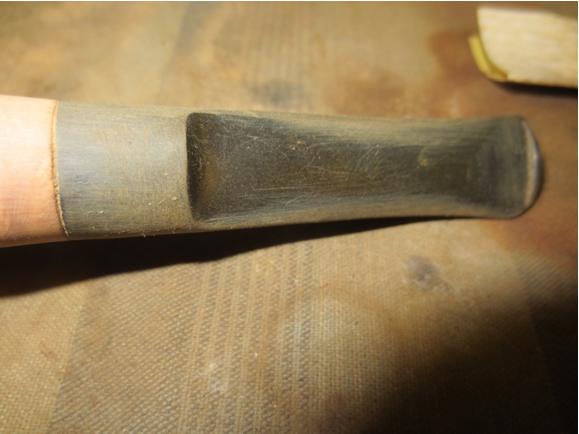
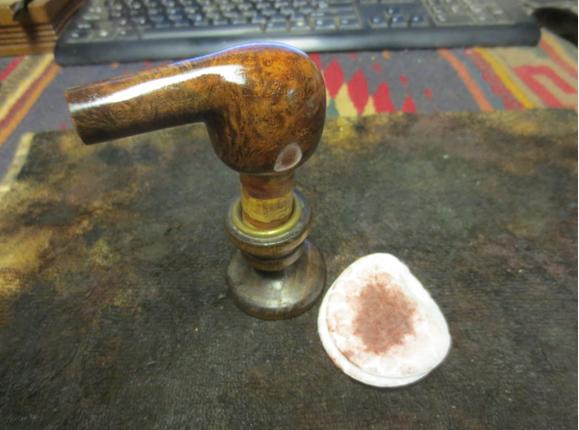
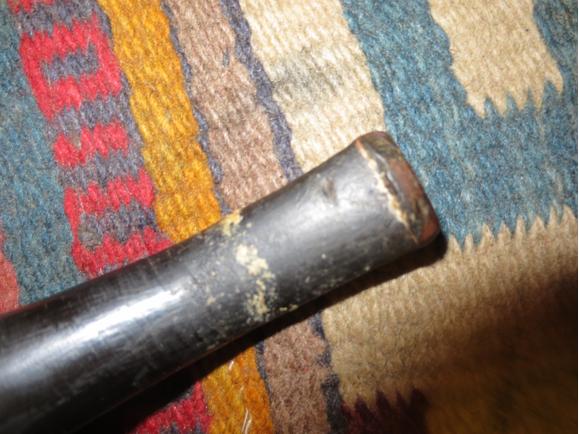
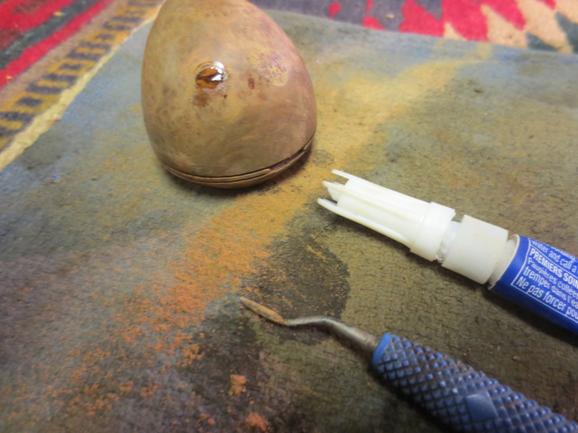
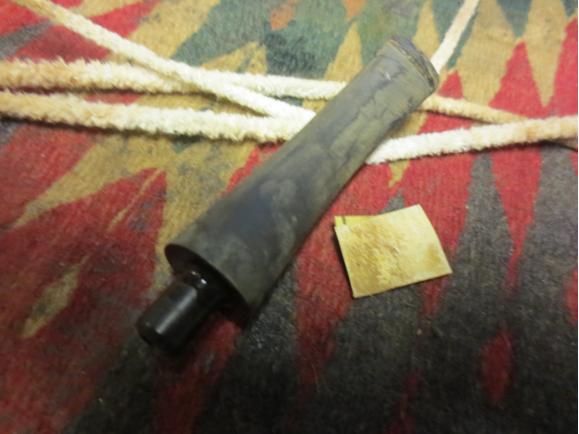
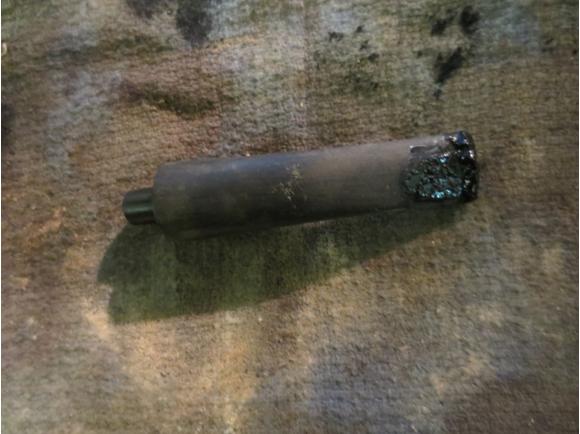
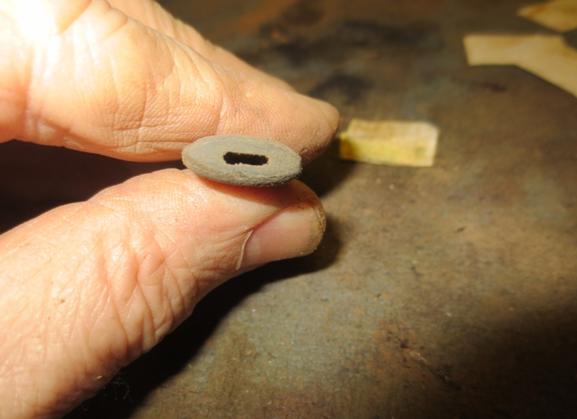
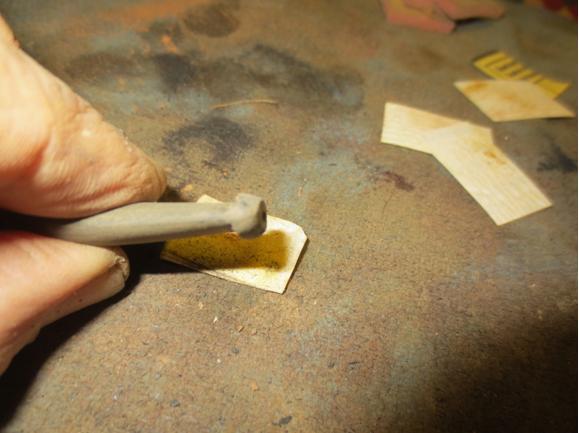
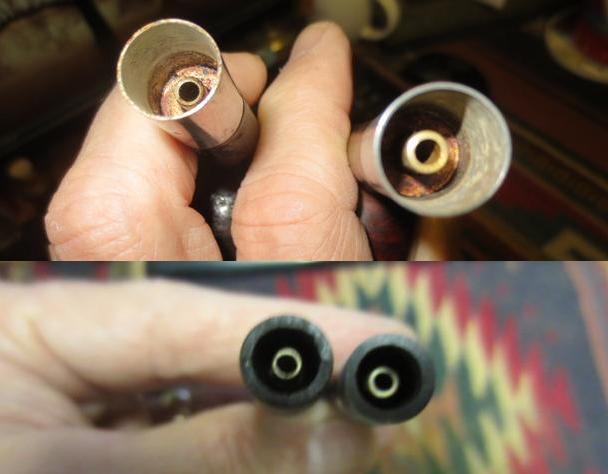
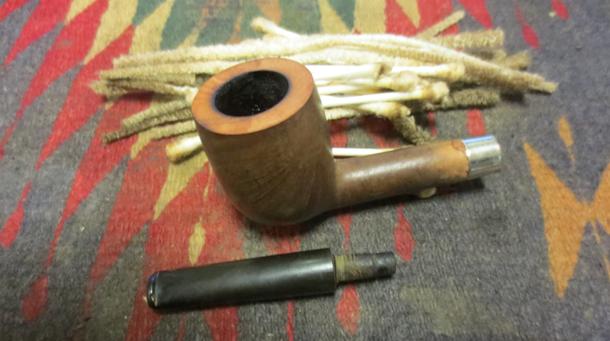
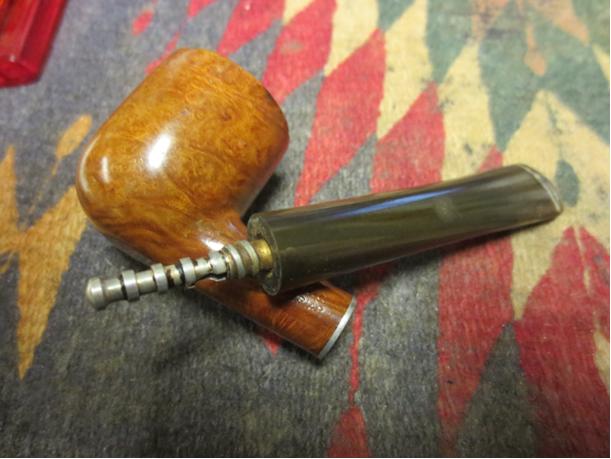
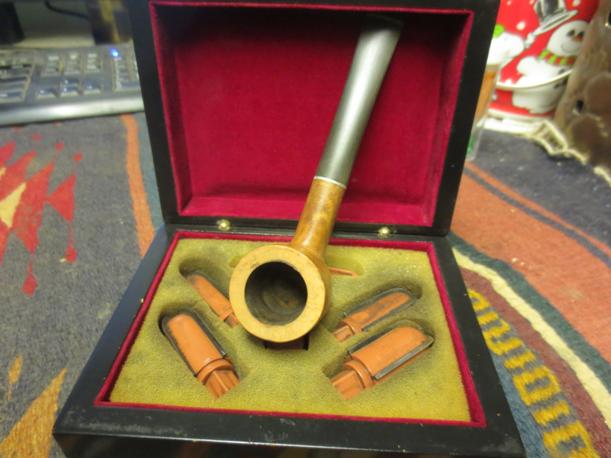
 When it arrived I used my usual process and pulled the broken tenons from all of the shanks. I used a screwdriver, pliers and a drywall screw. I thread the screw into the airway on the broken tenon and then use the pliers to wiggle it free. You can see how it works in the photos below. I removed five broken tenons in a matter of moments.
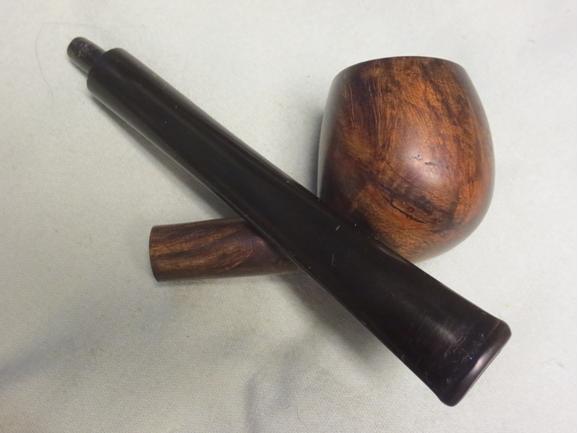
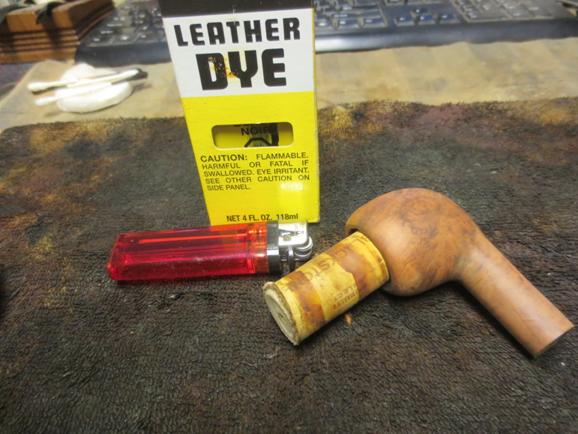
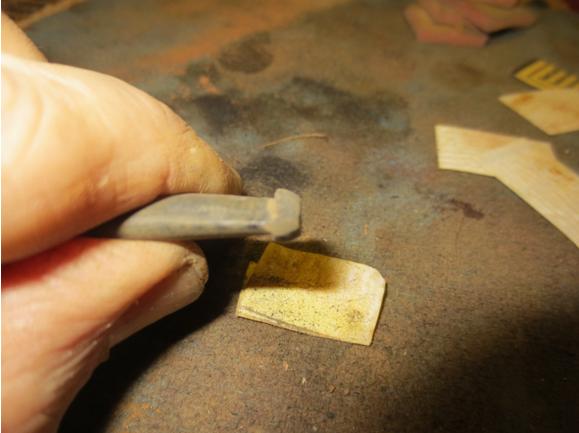
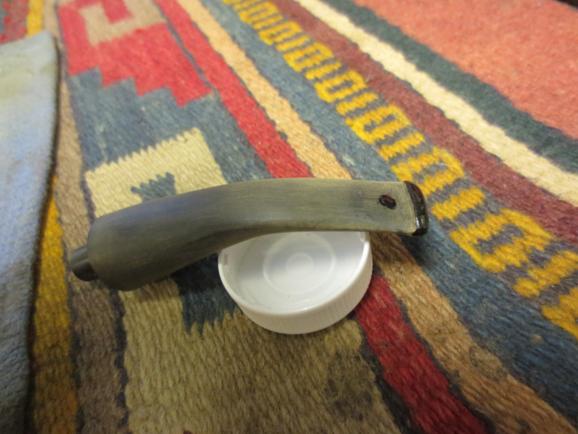
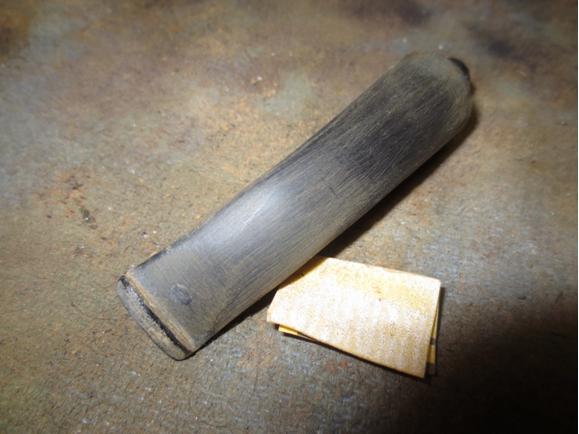
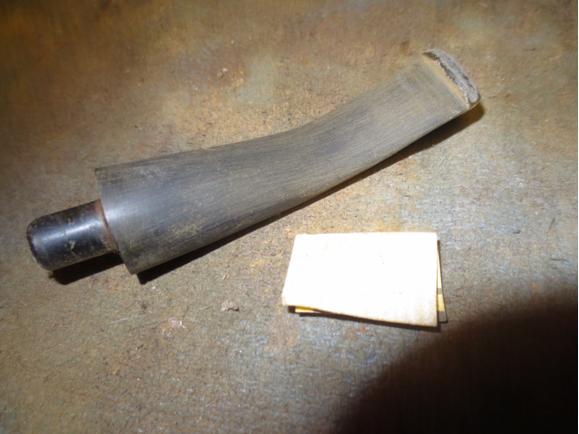
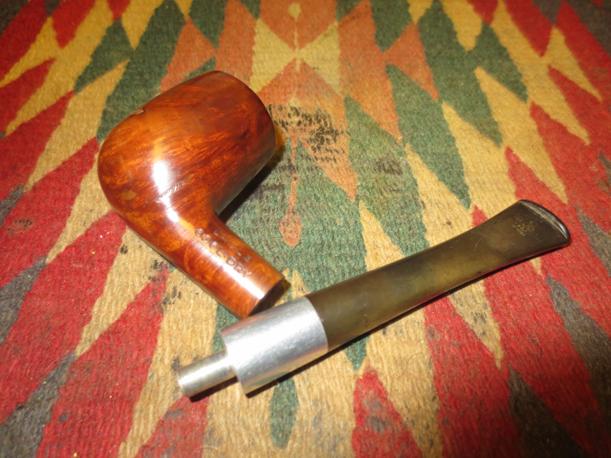
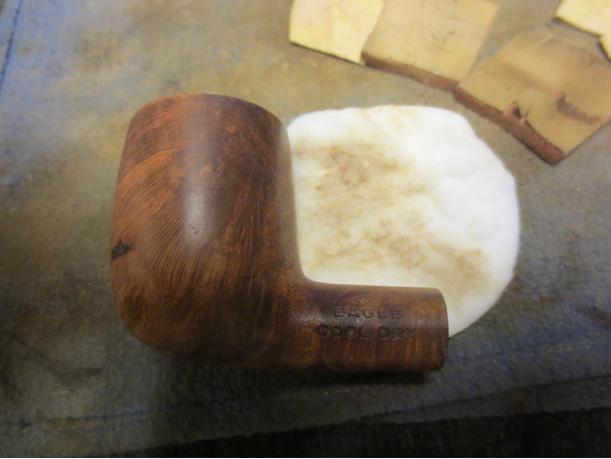
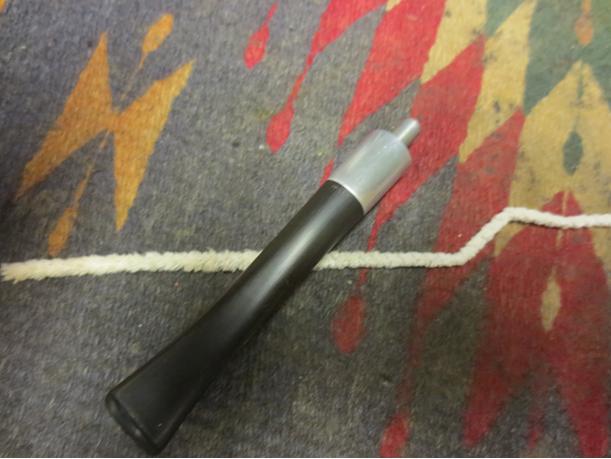
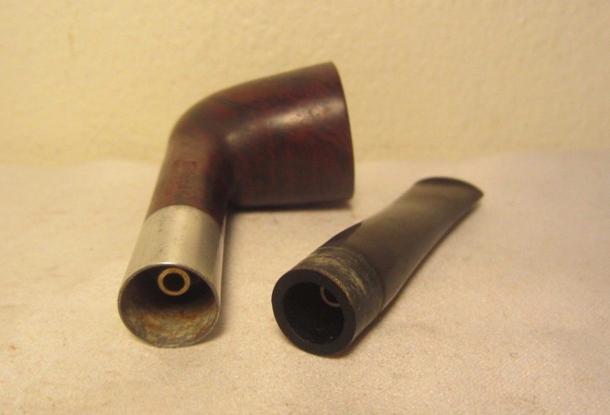
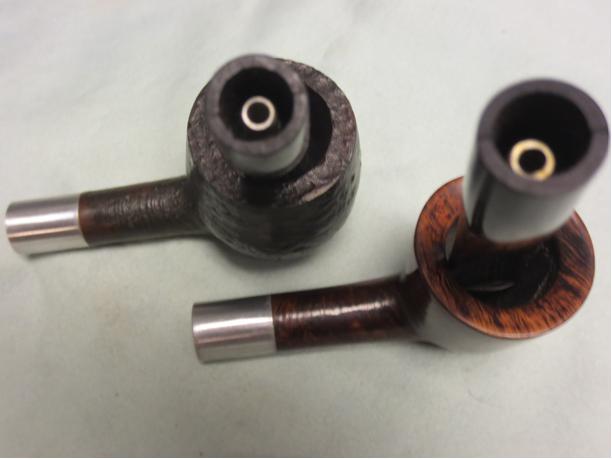
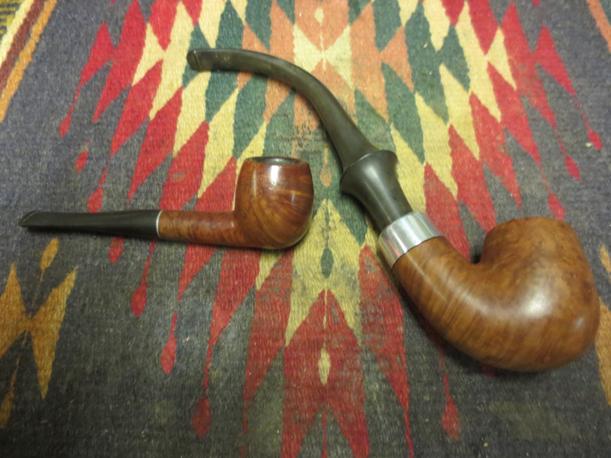
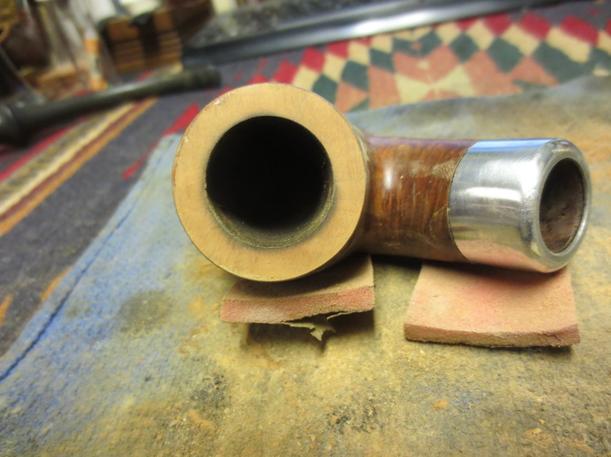
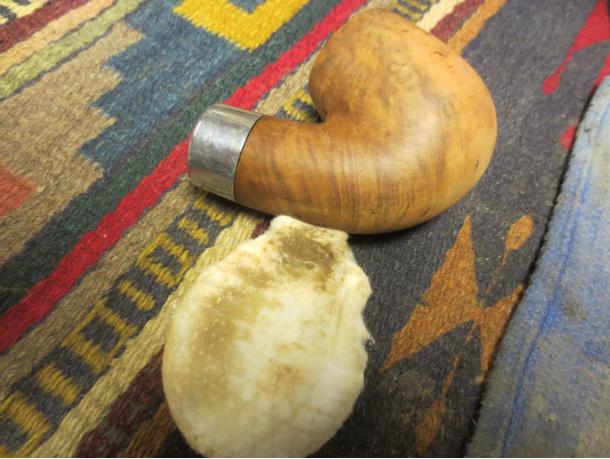
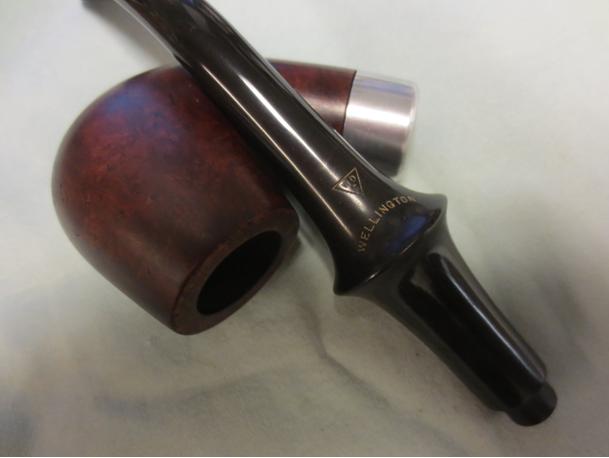
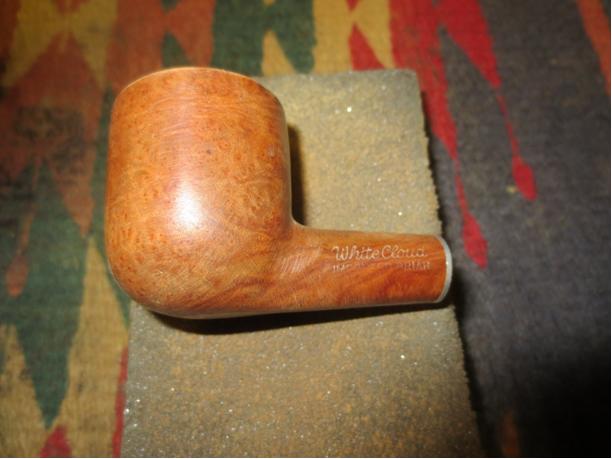
 At this point I put all five bowls away and did not look at them for almost a month. The past two days I have been through them and already restemmed the tiny apple. This one came out next from the box. I wet the stem and looked at it through a lens with a bright light. That is when I discovered that the mystery pipe was a GBD. There was no shape number but it was a petite billiard. I had a stem in my stem can that was nearly perfect for the pipe. It did not have a GBD logo but it fit really well. I only needed to shorten the length of the tenon and the left side of the stem to get a perfect fit.
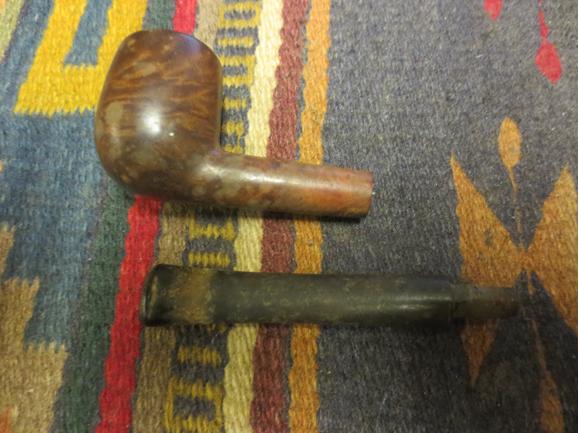
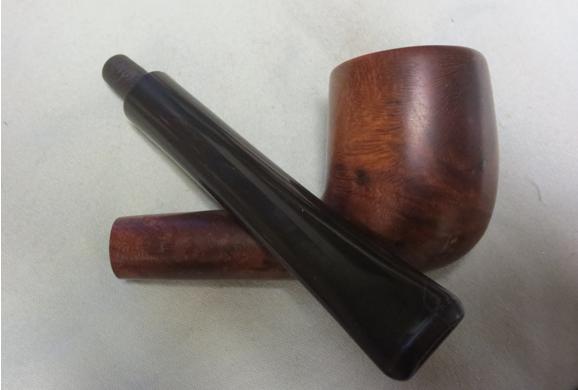
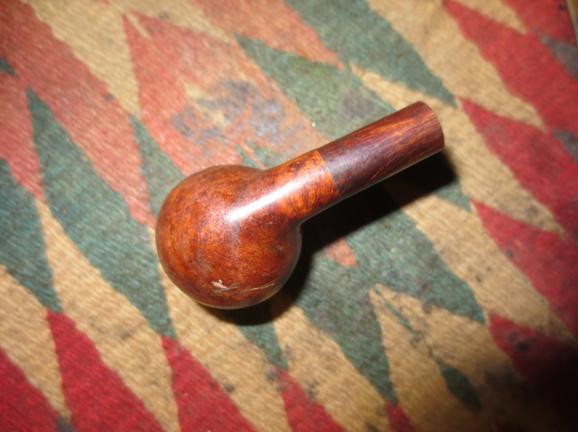
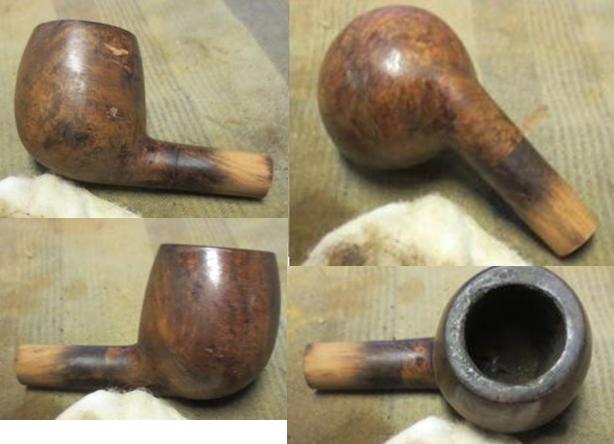
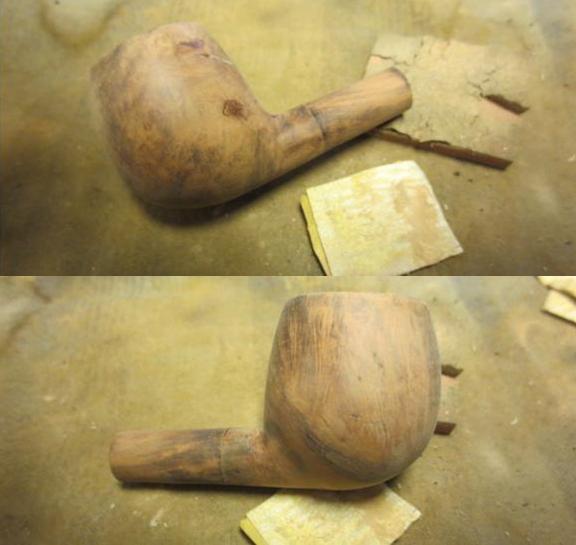
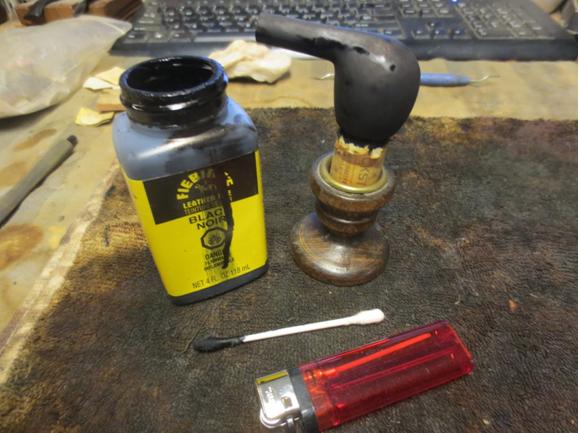
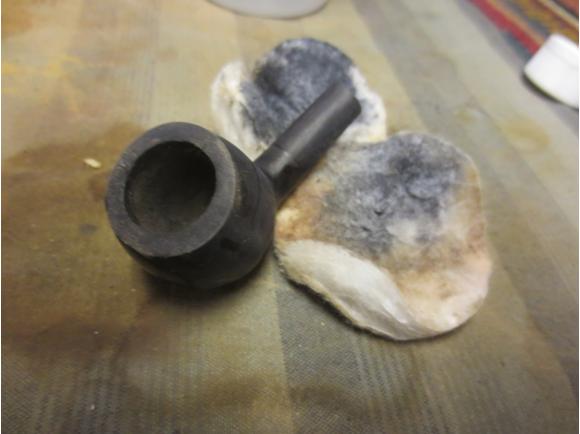
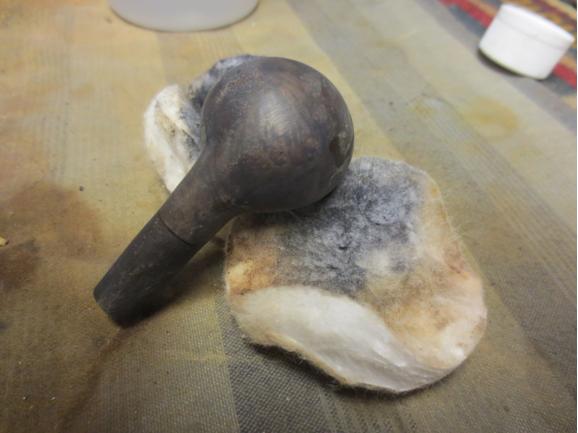
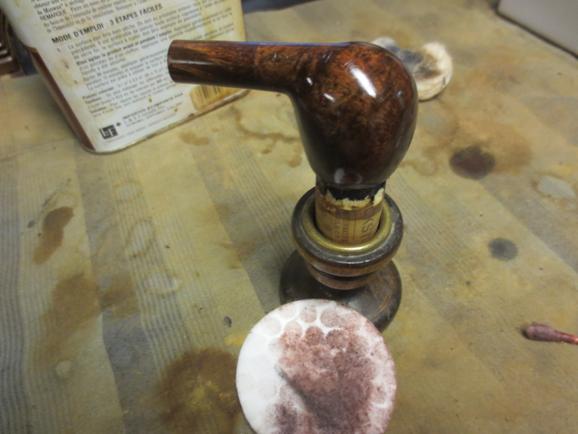
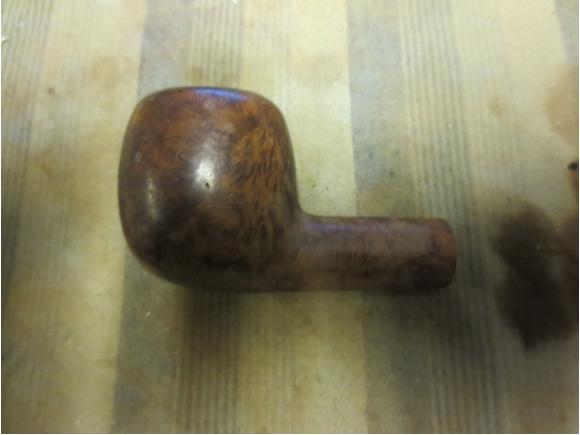
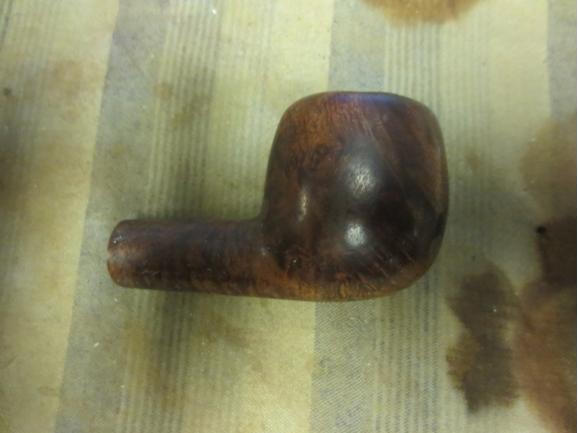
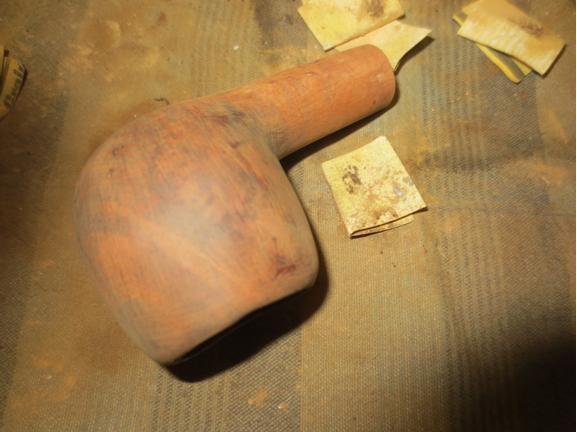
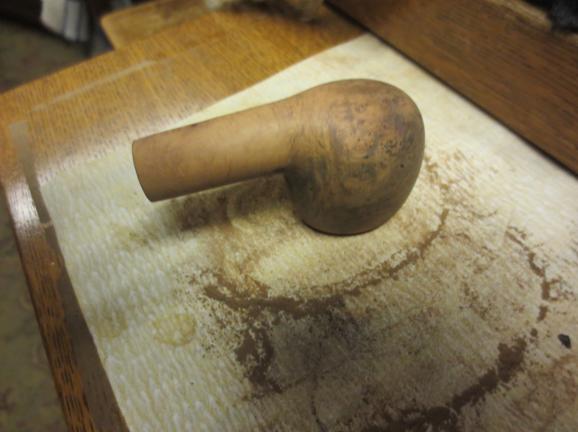
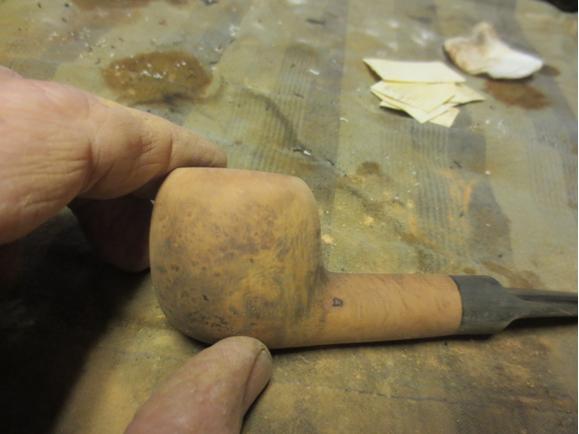
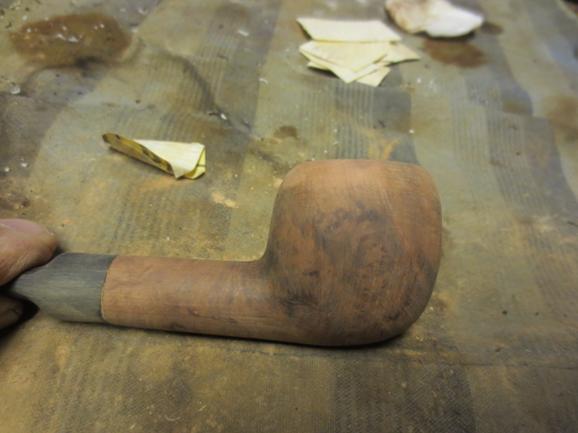
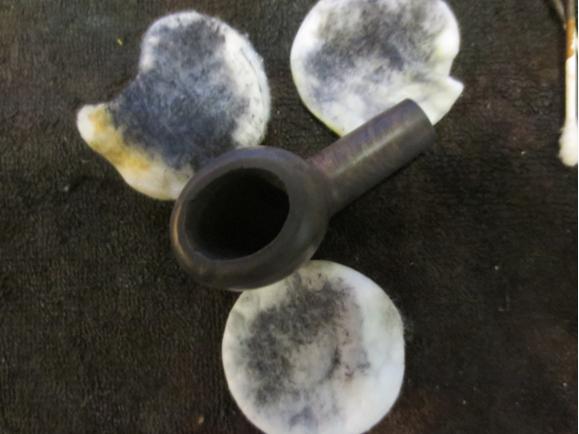
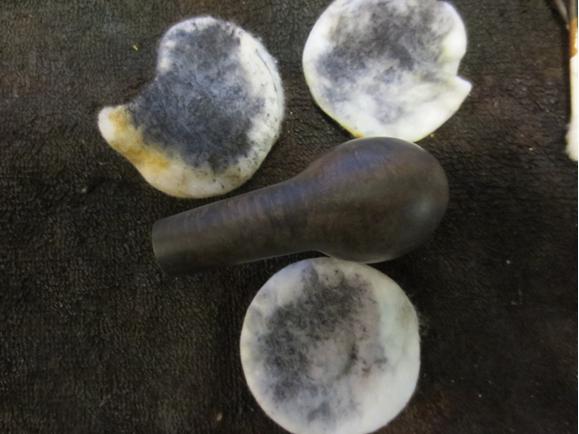
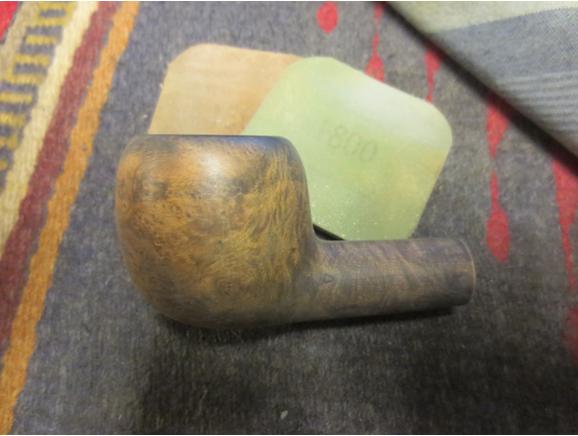
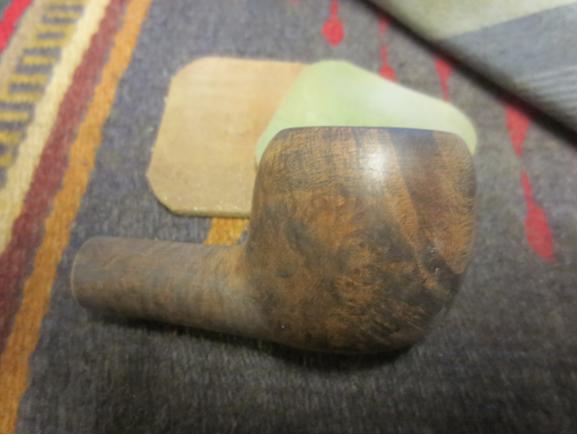
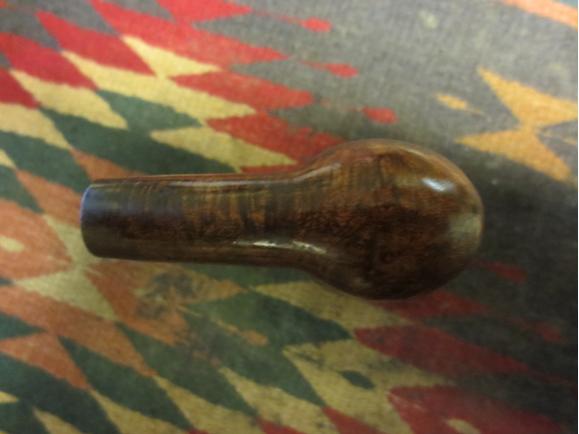
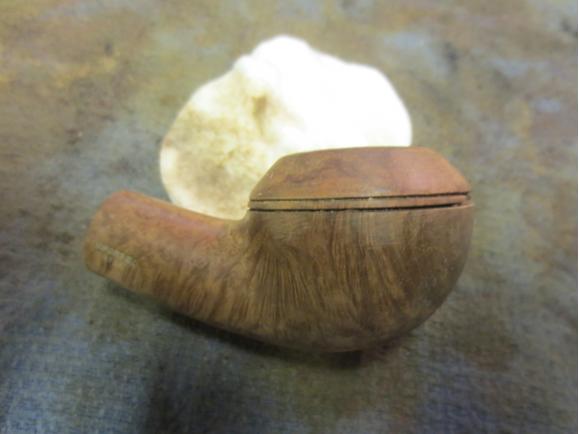
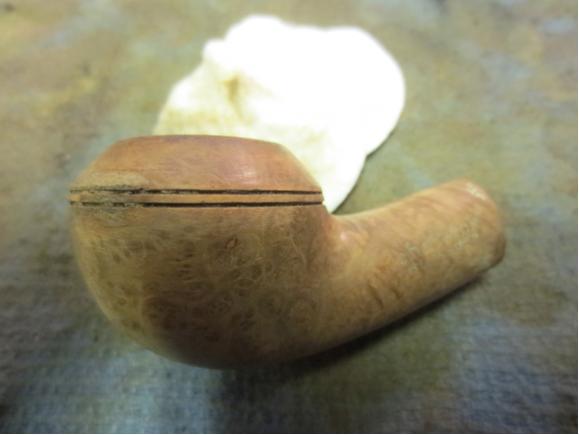
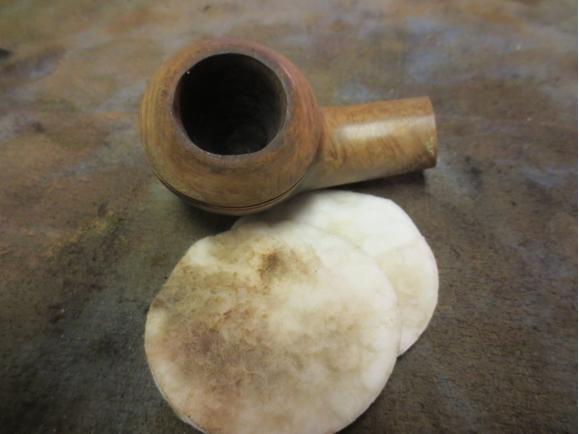
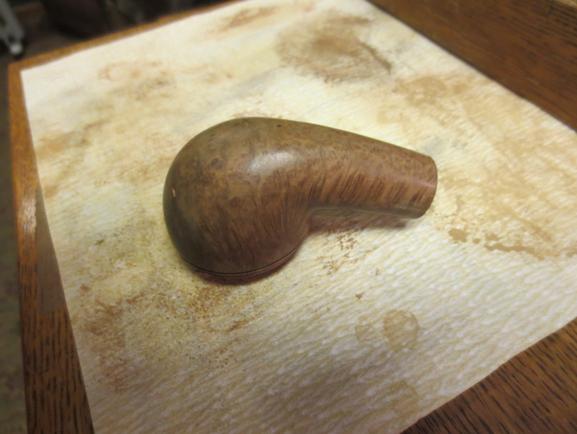
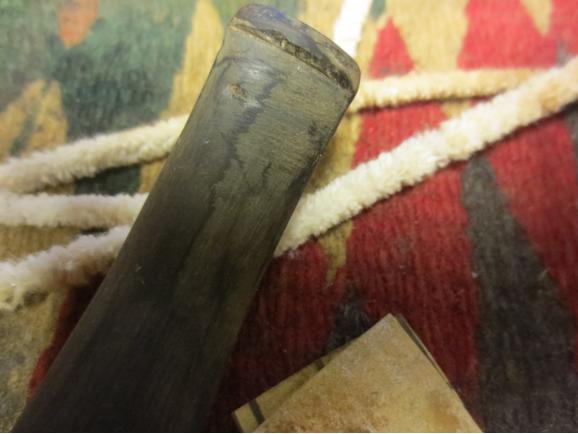
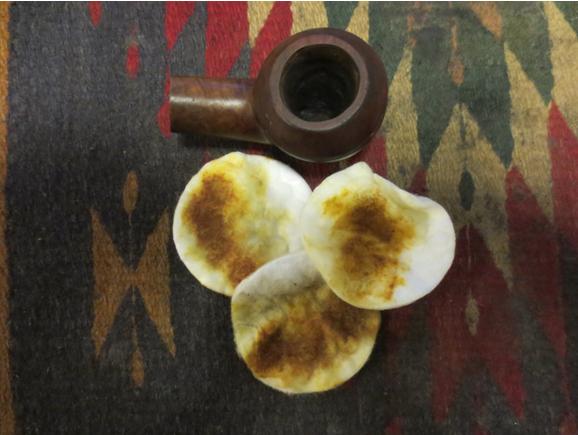
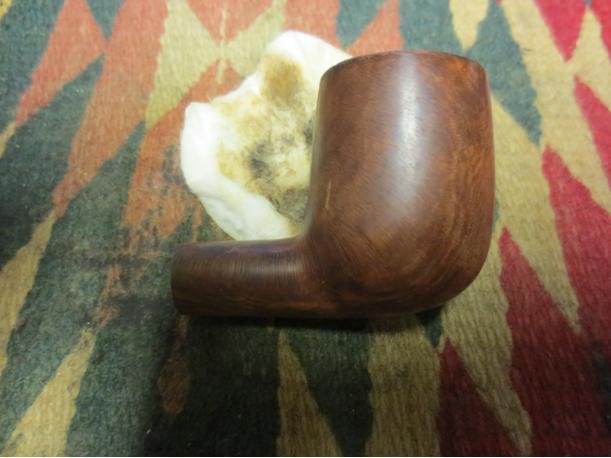
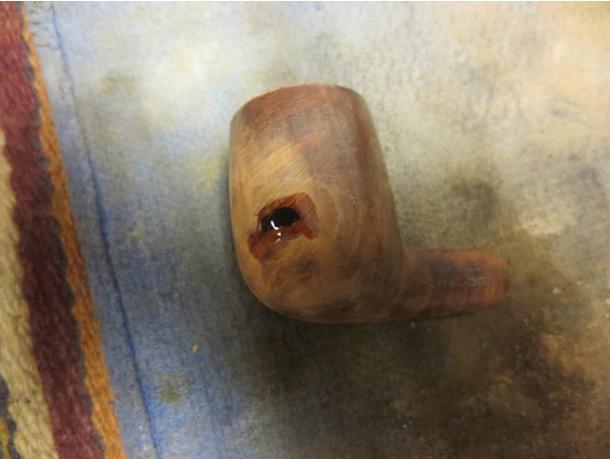
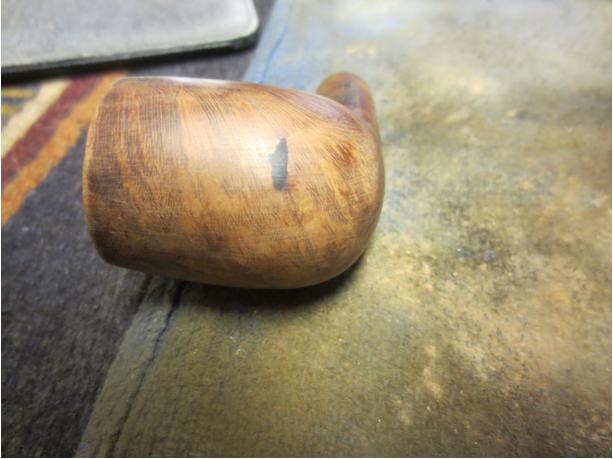
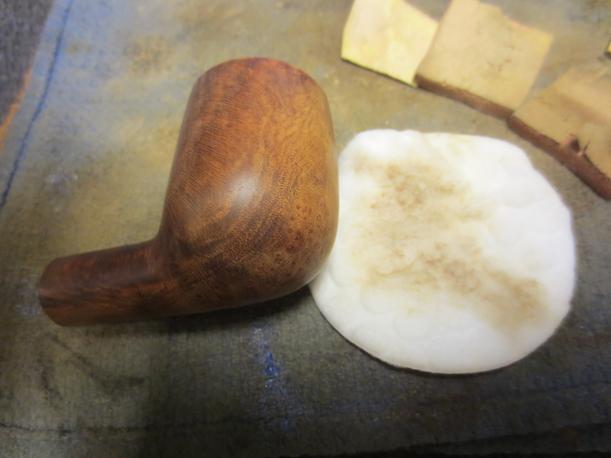
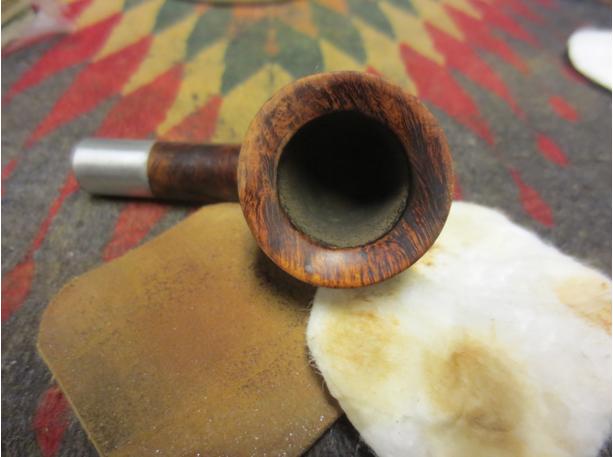
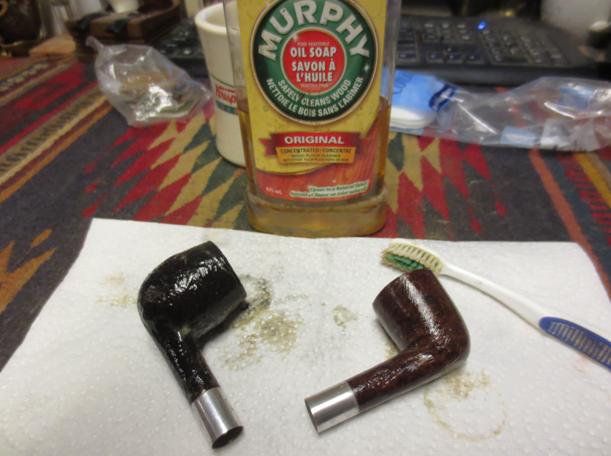
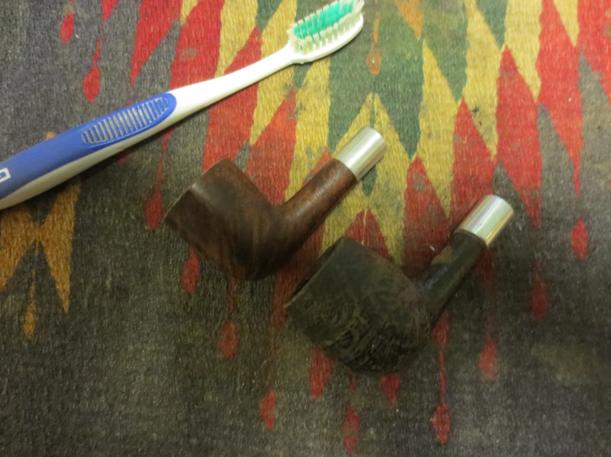
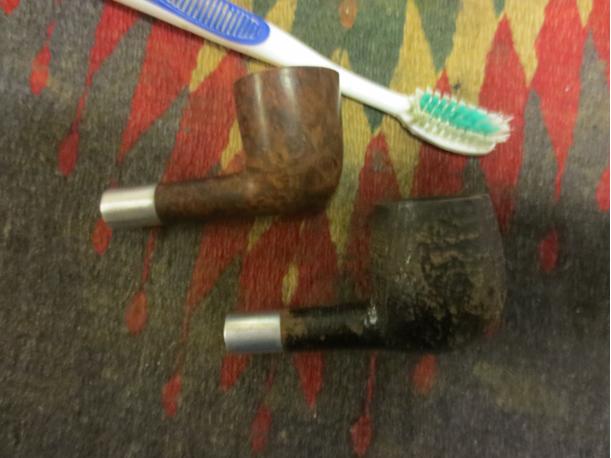
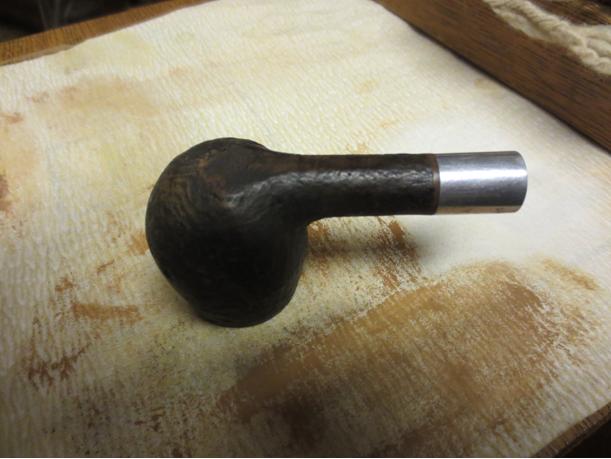
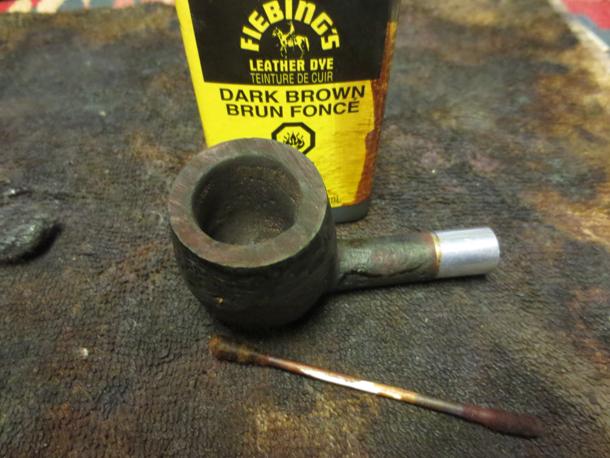
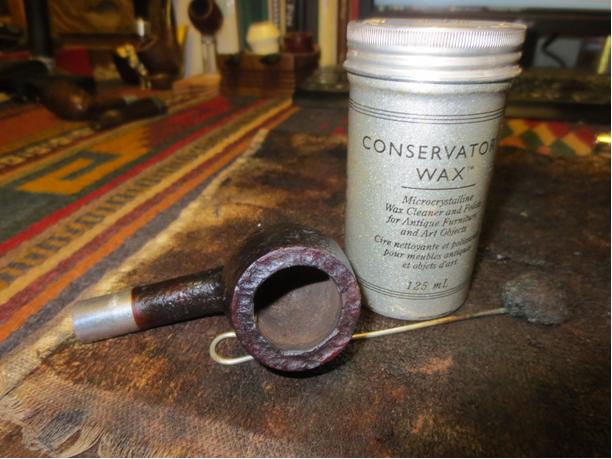
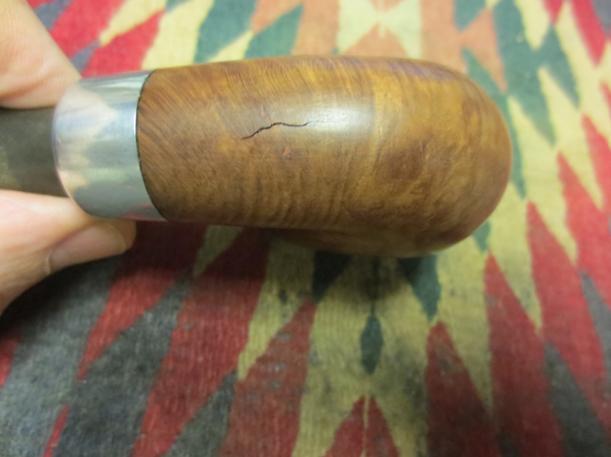
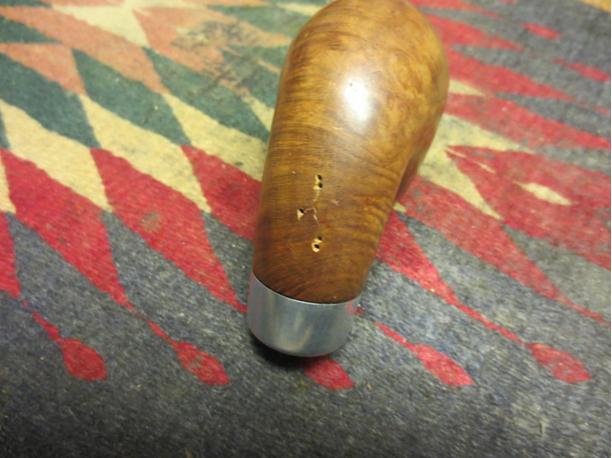
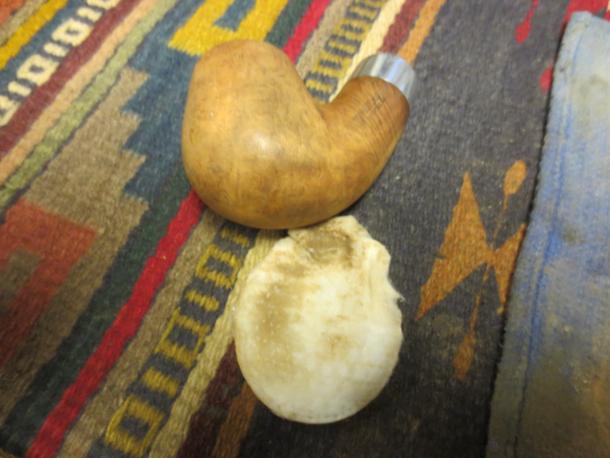
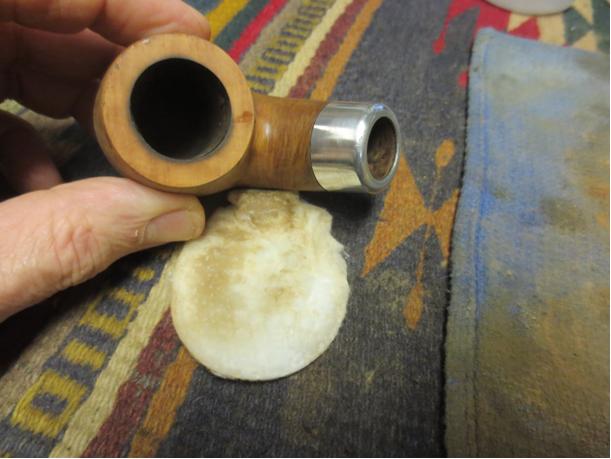
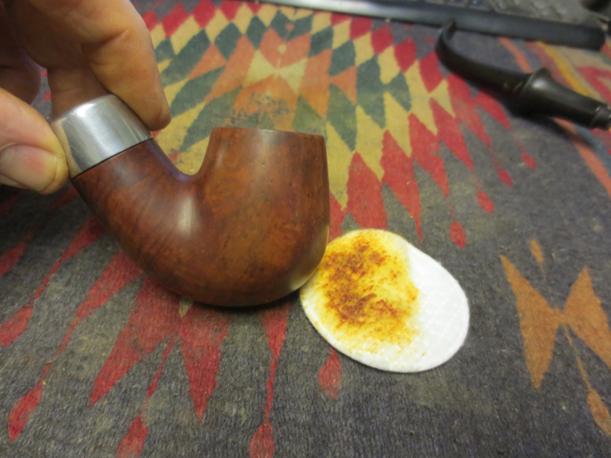
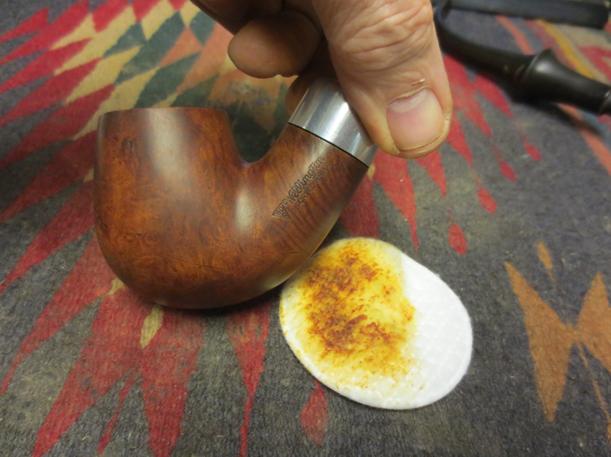
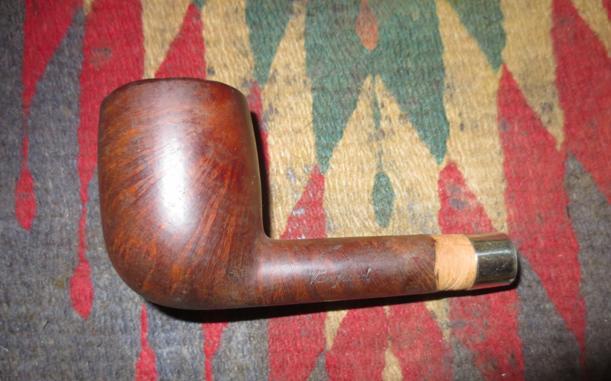
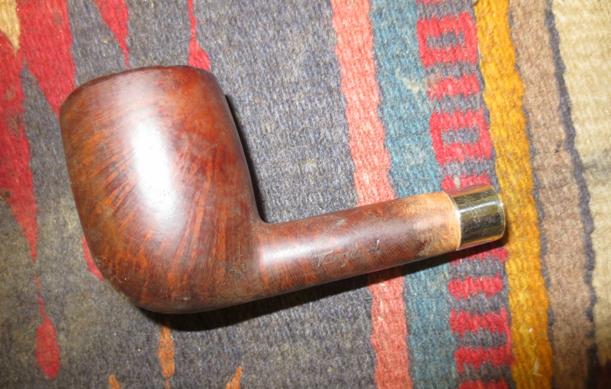
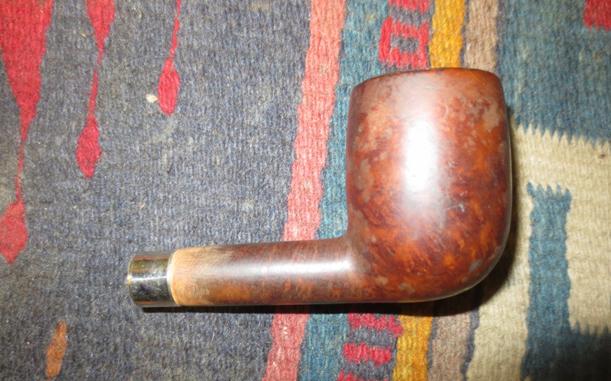
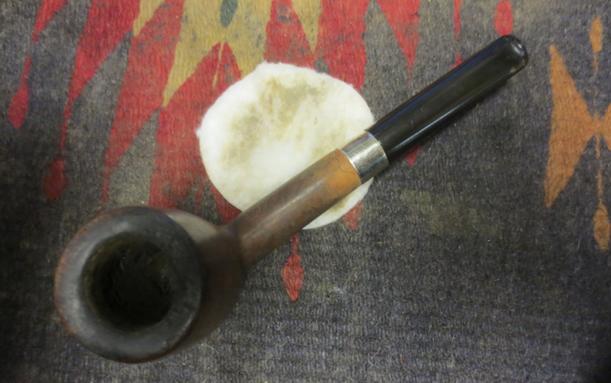
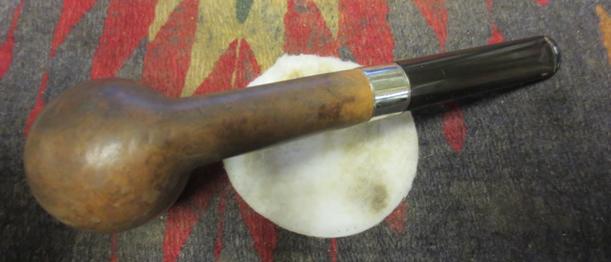
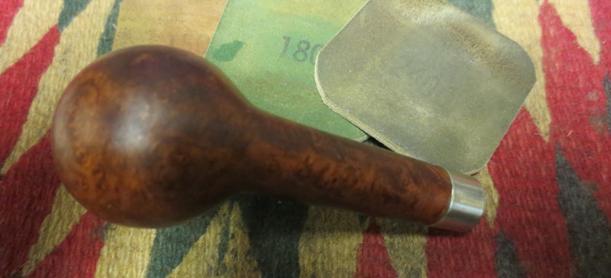
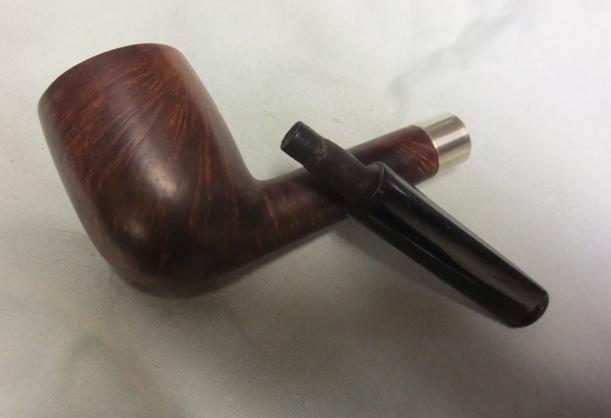
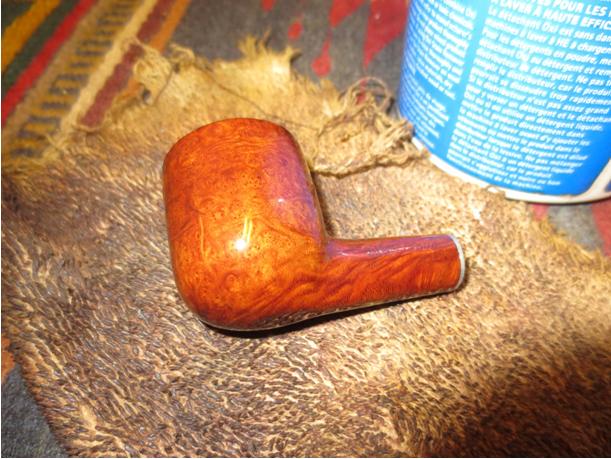
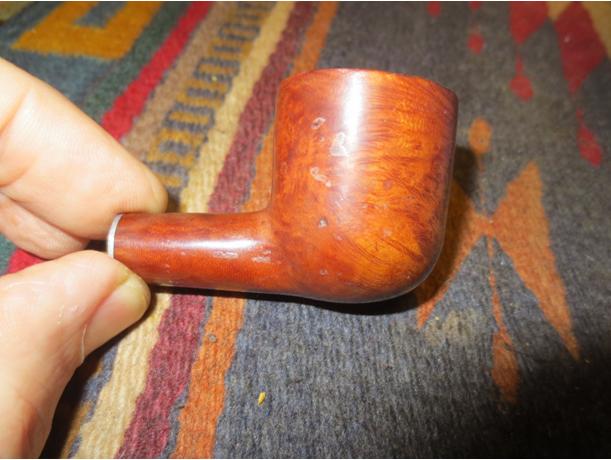
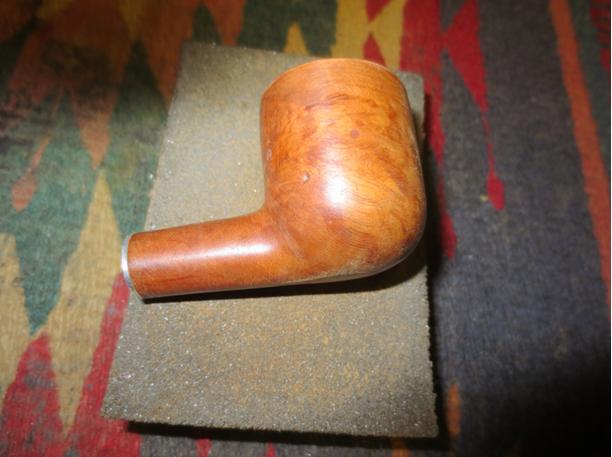
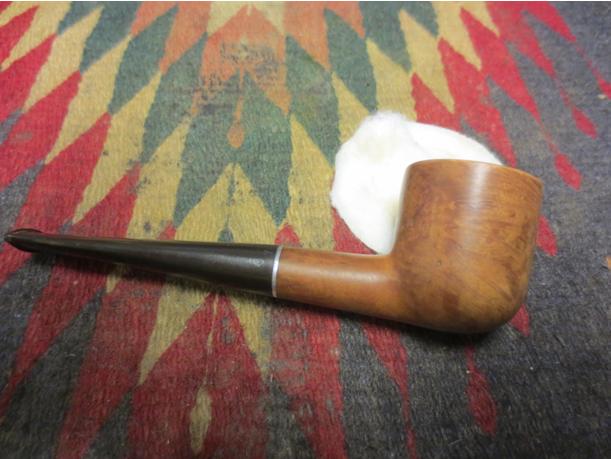
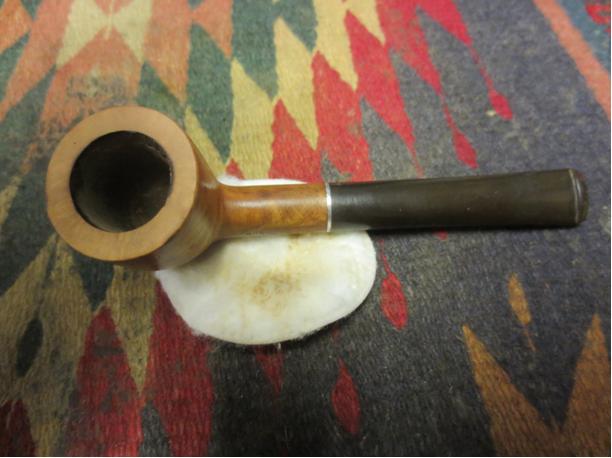
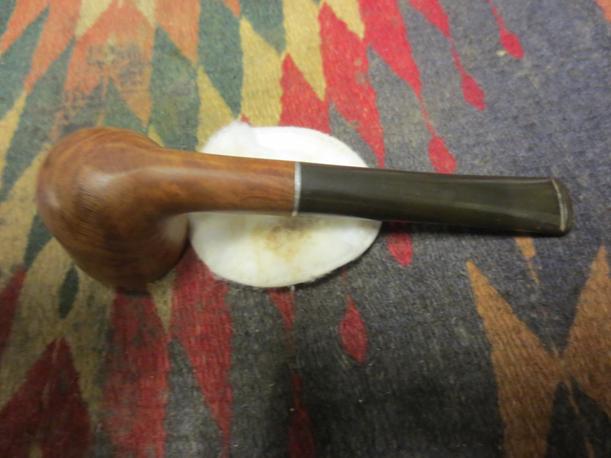
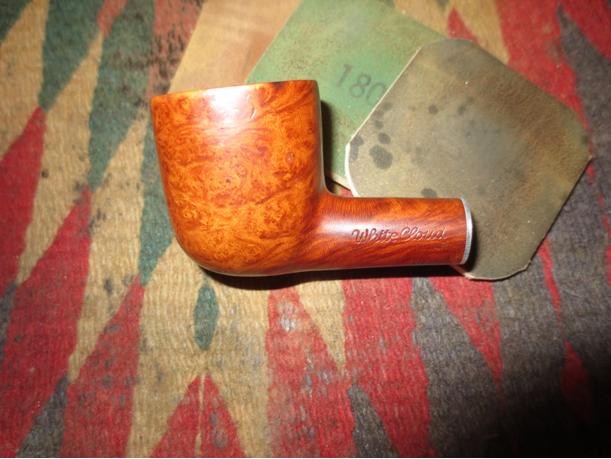
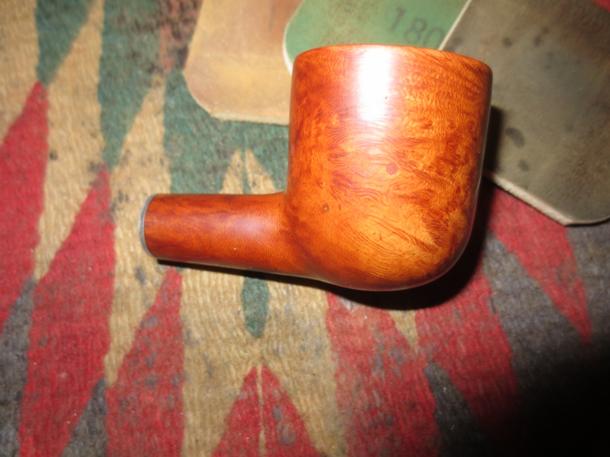
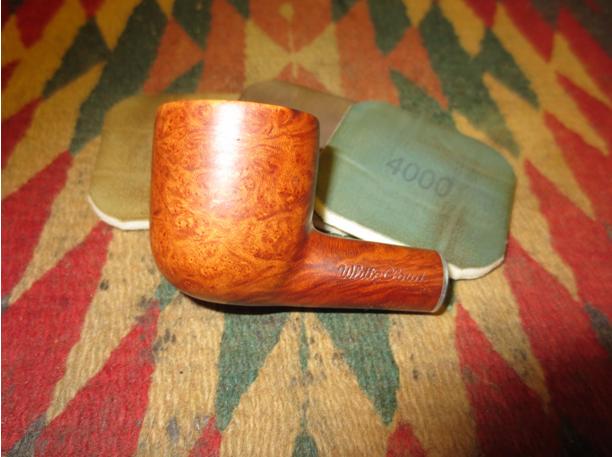
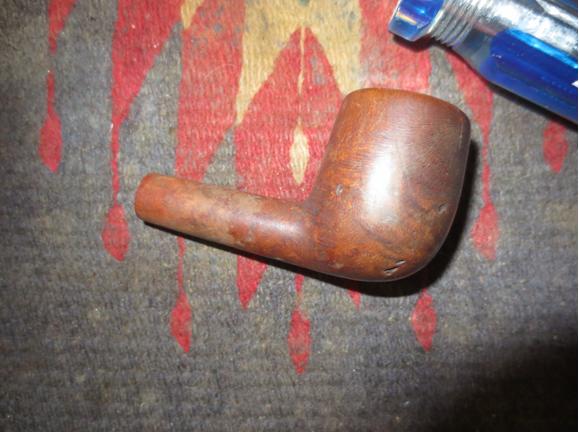
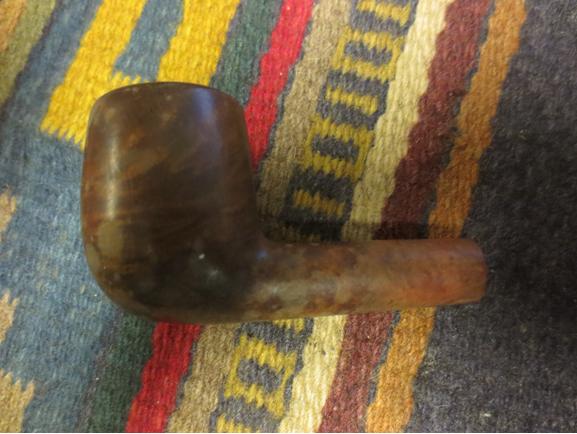
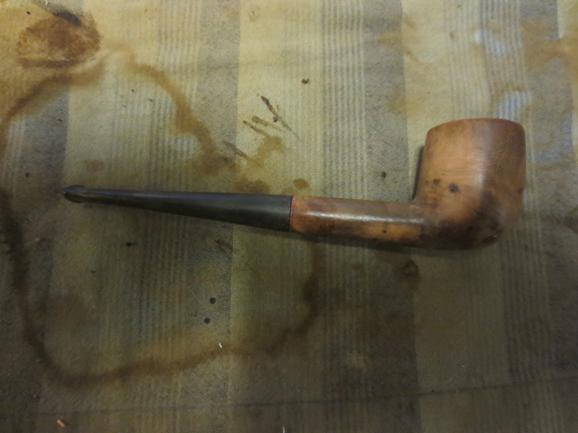
 I wiped down the bowl with acetone to see what I was working with under the grime. I took a few photos of the bowl to show what it looked like.
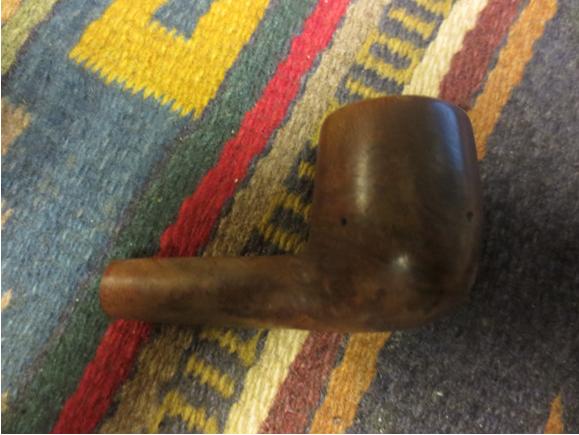
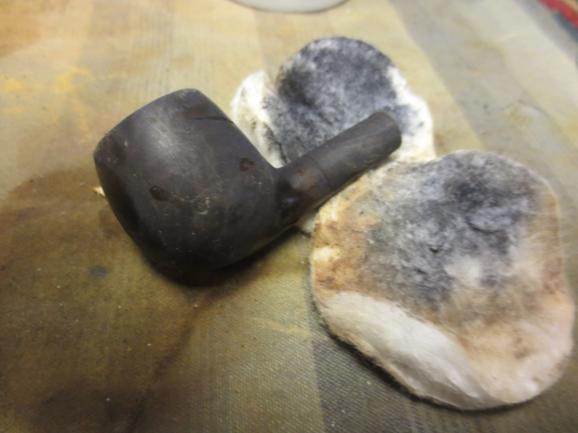
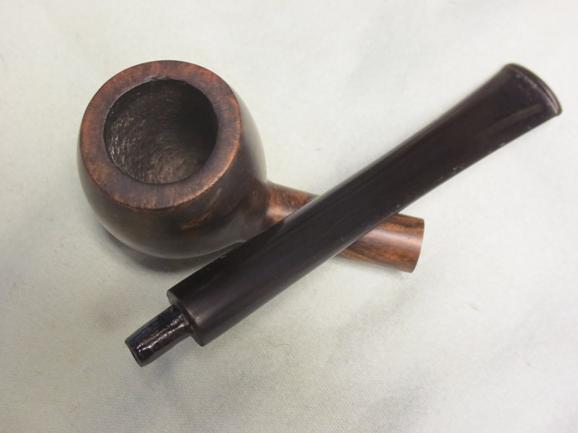
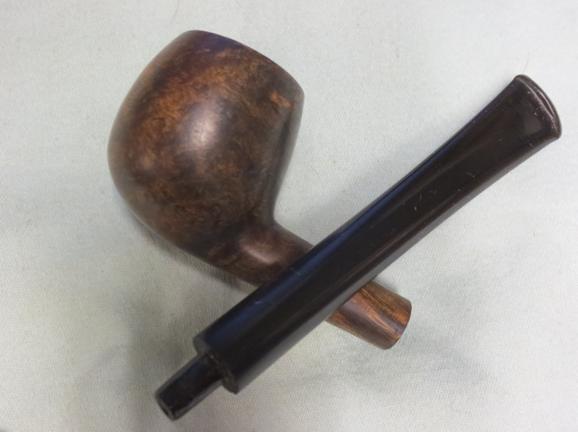
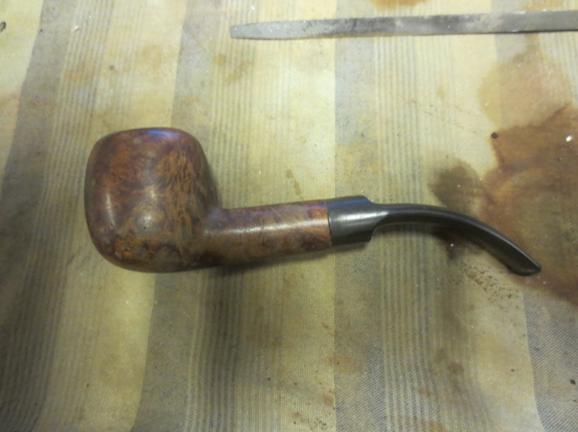
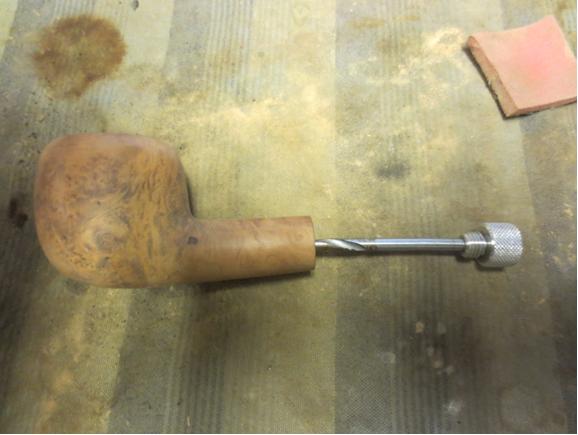
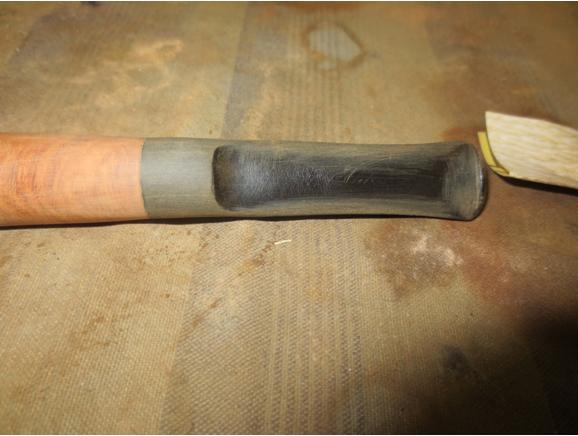
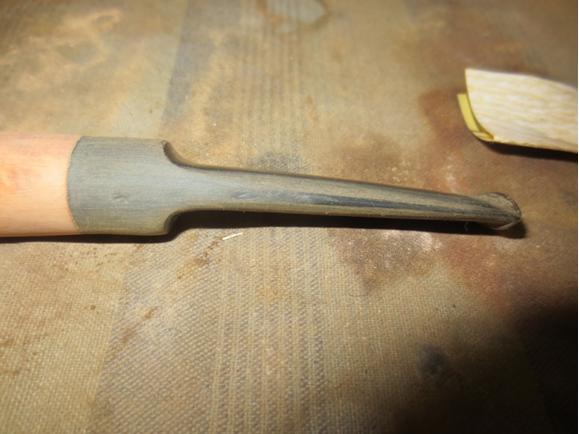
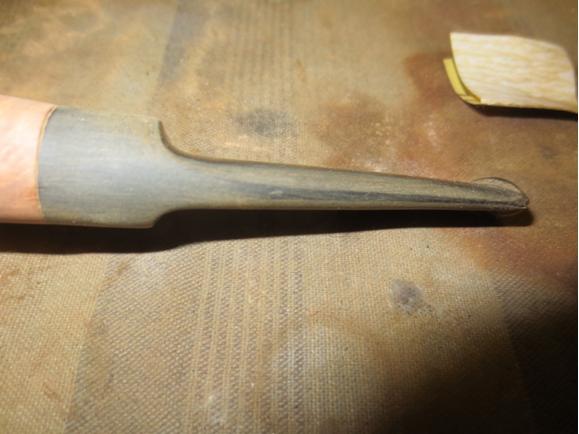
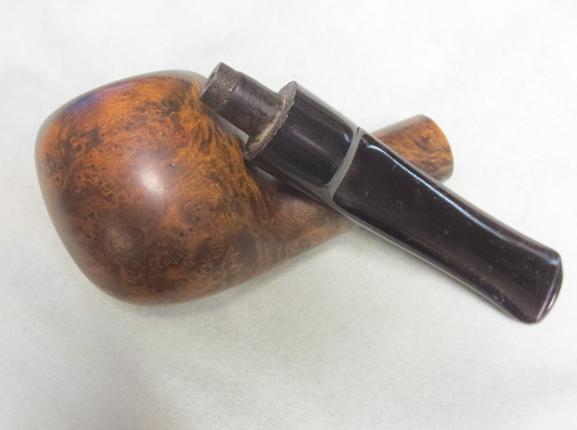
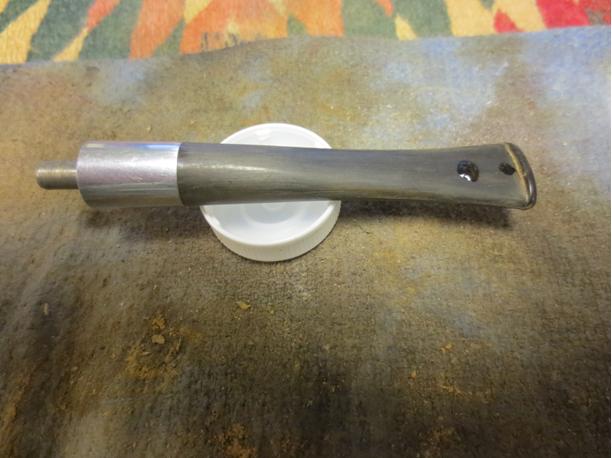
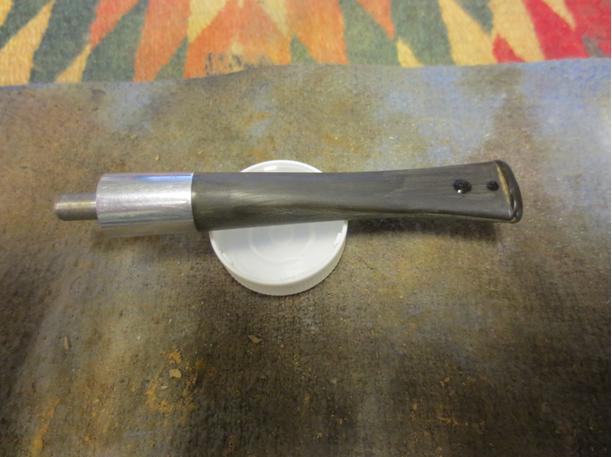
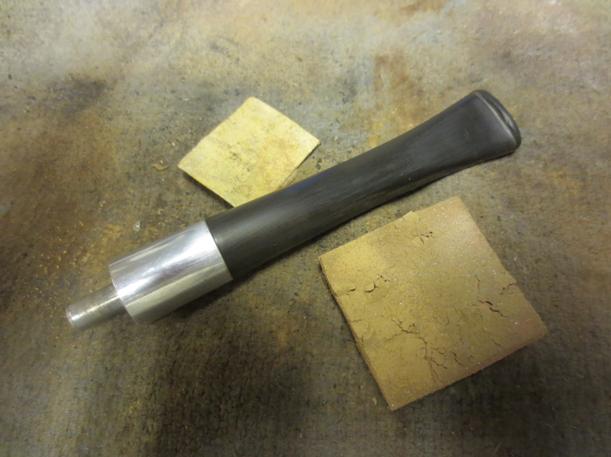
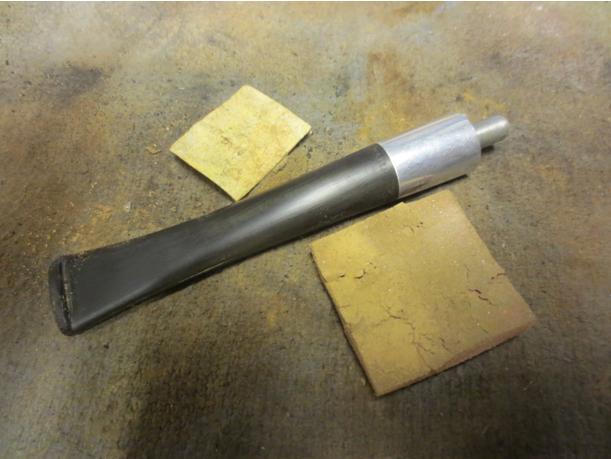
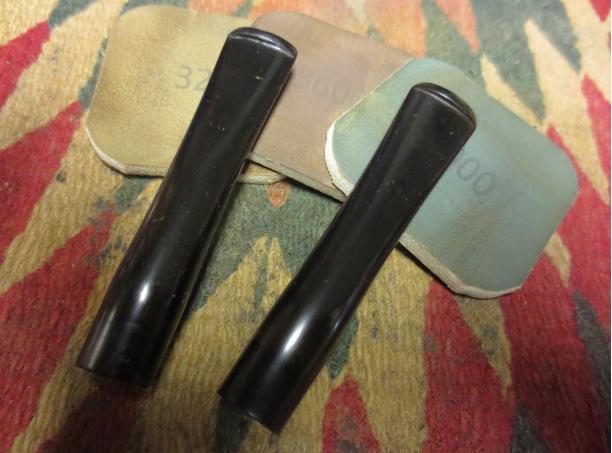
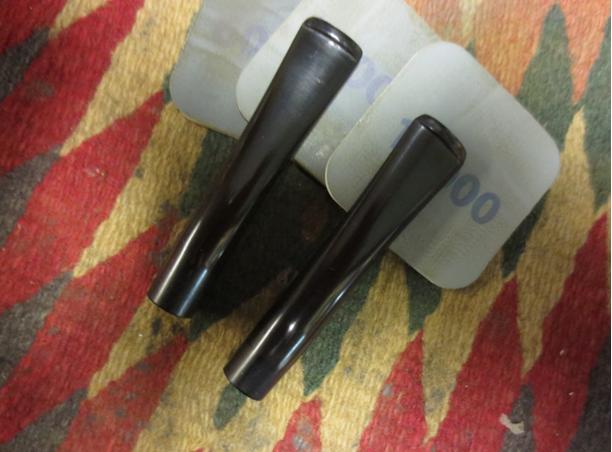
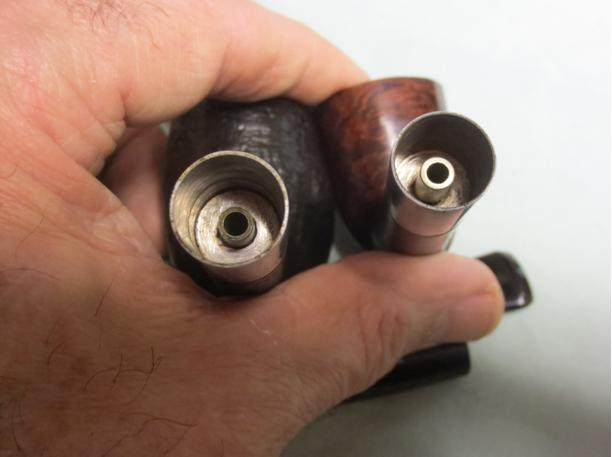
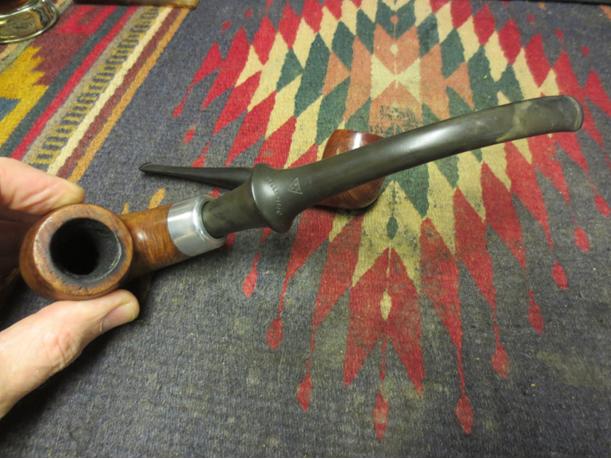
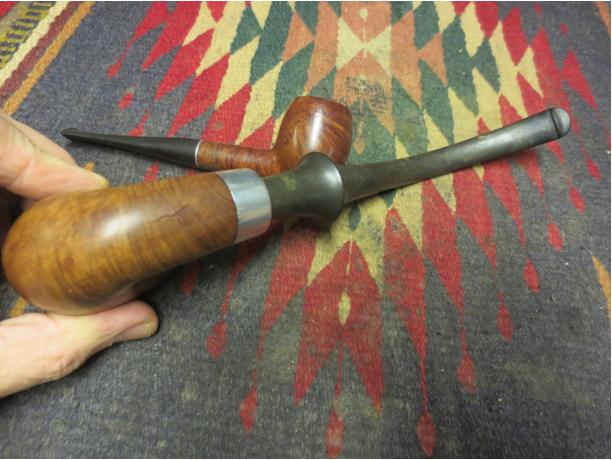
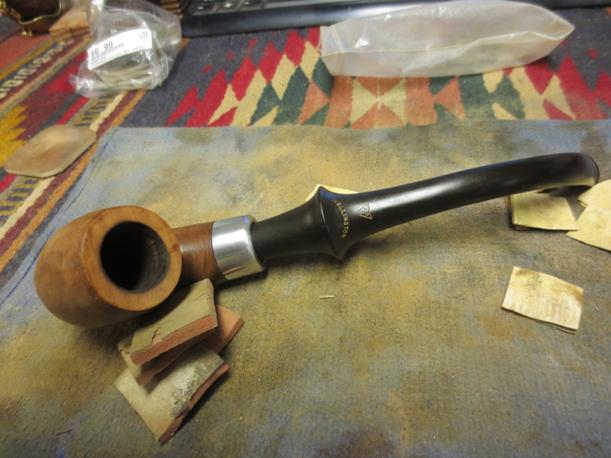
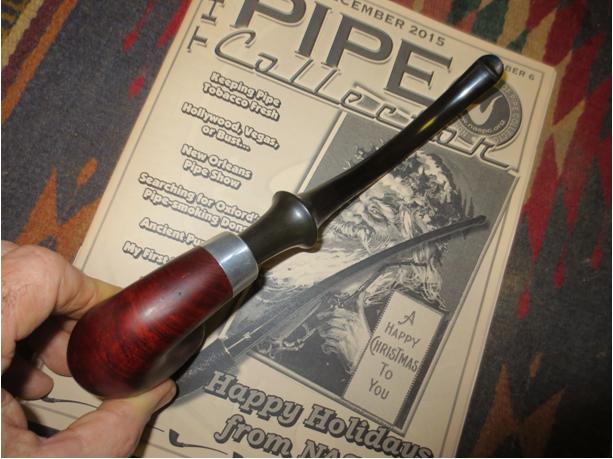
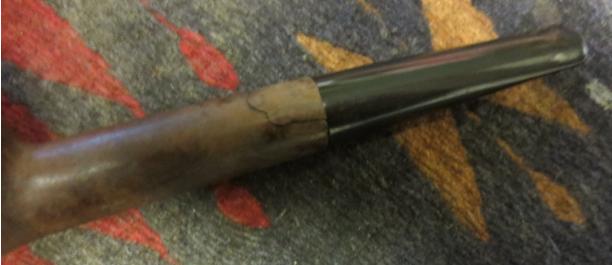
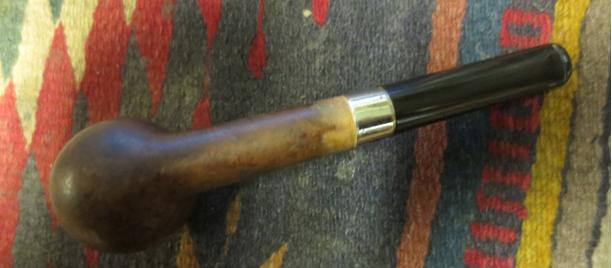
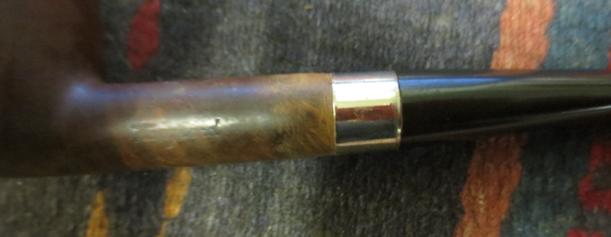
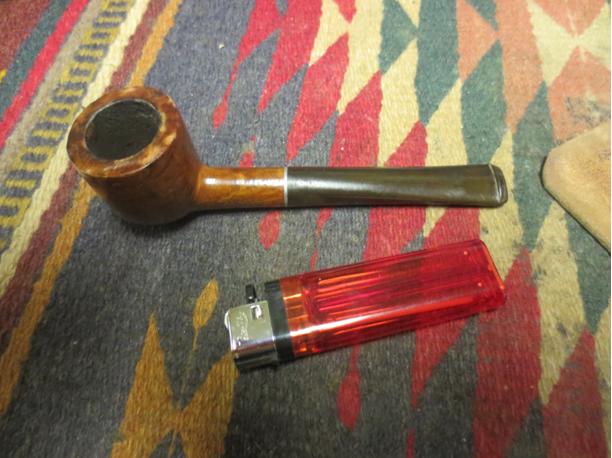
 I shortened the tenon and the fit was great against the shank. Now all that remained was to sand and clean the stem.
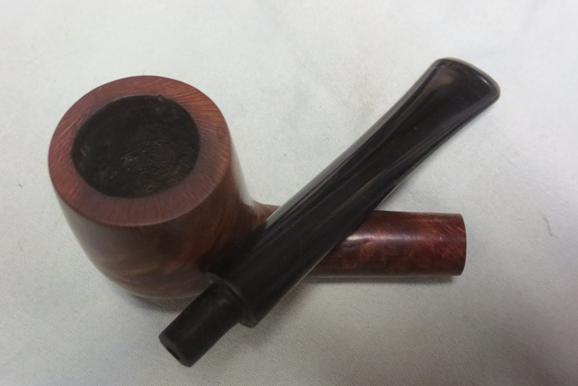
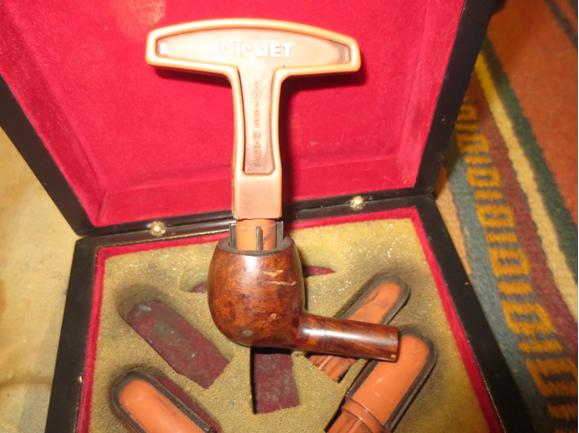
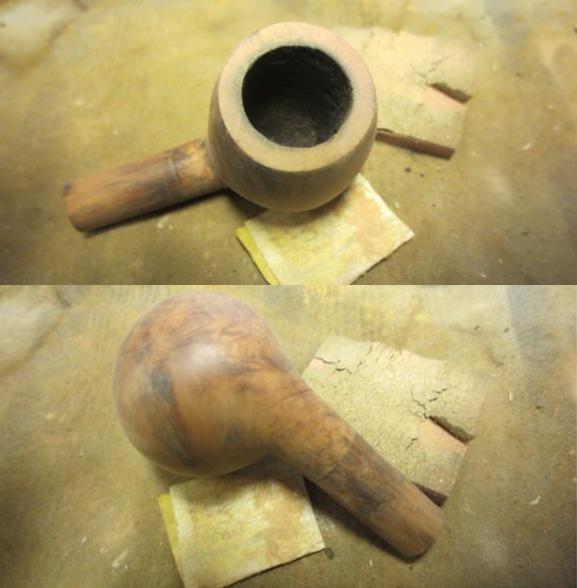
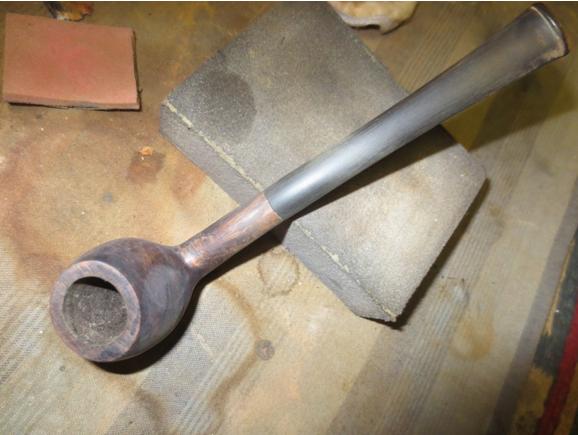
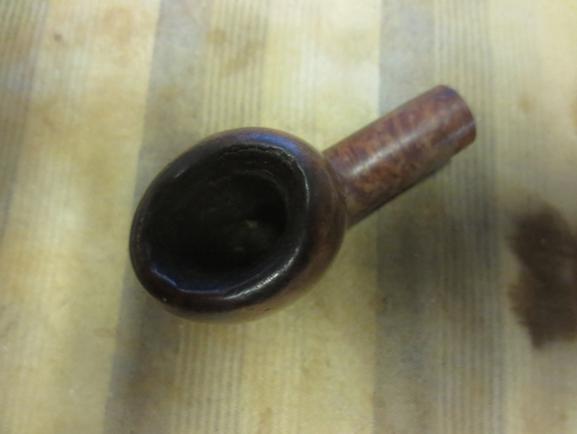
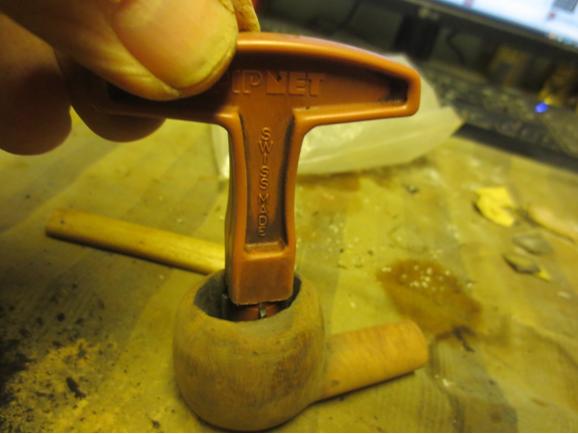
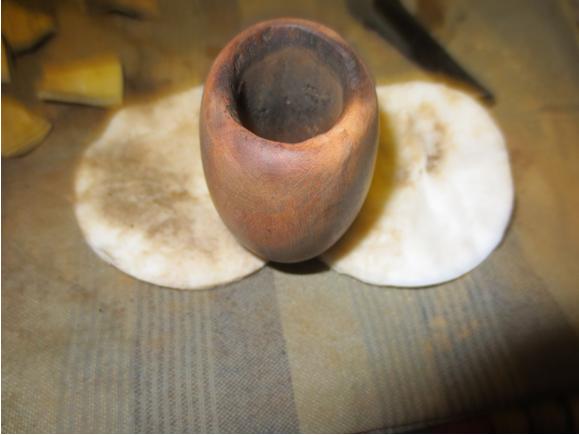
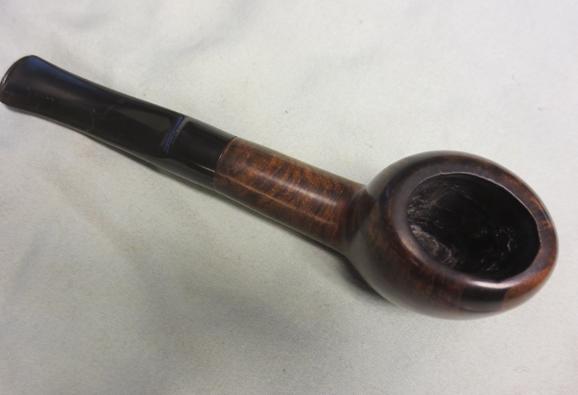
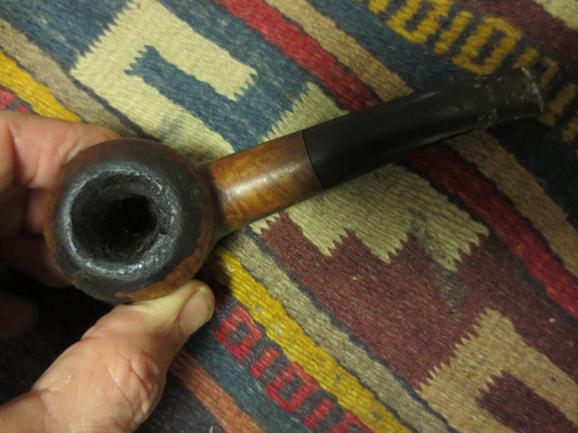
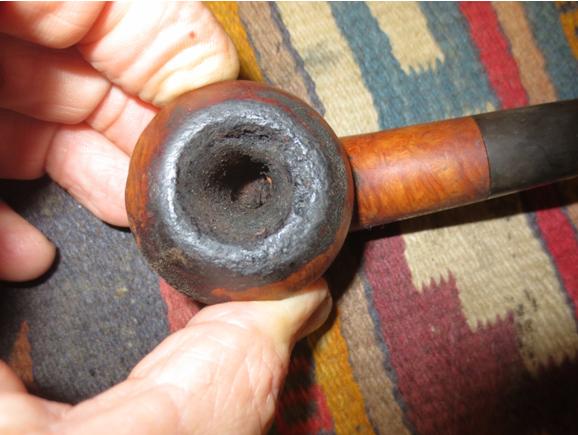
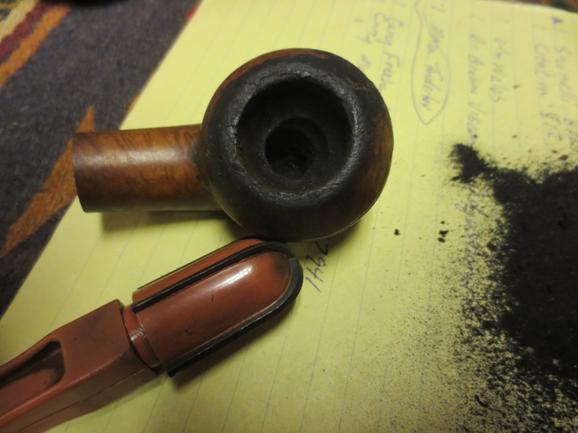
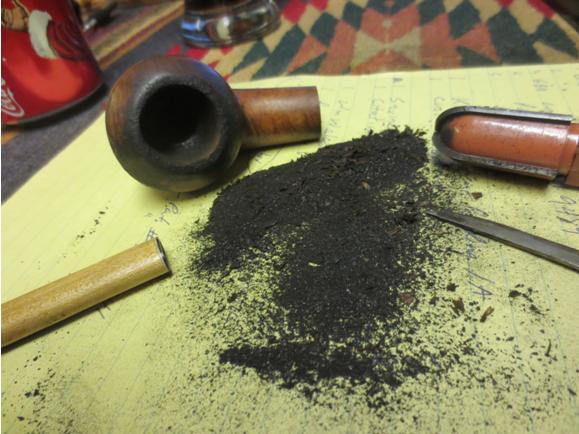
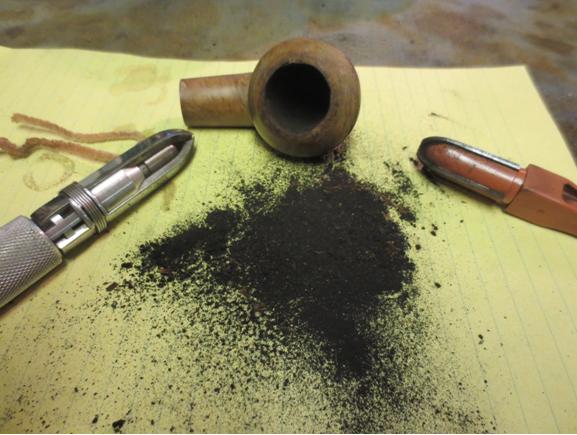
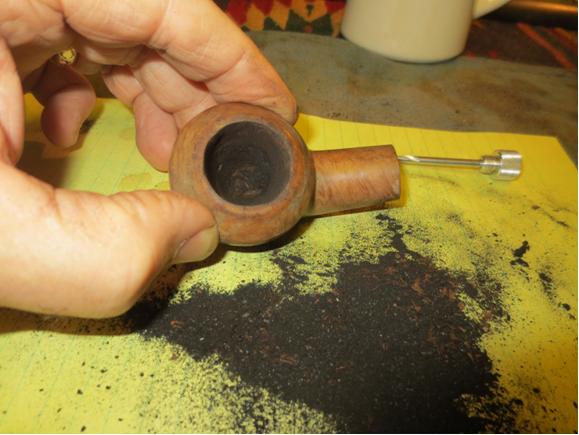
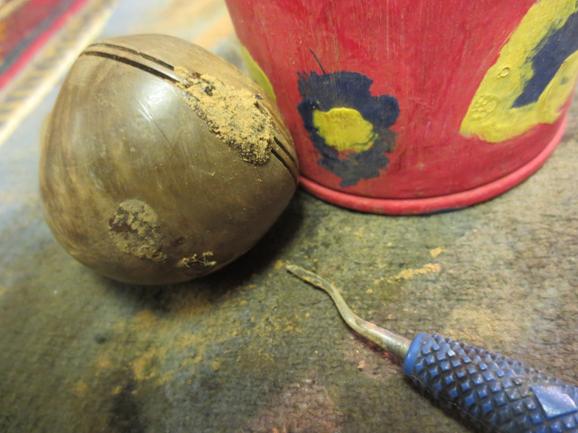
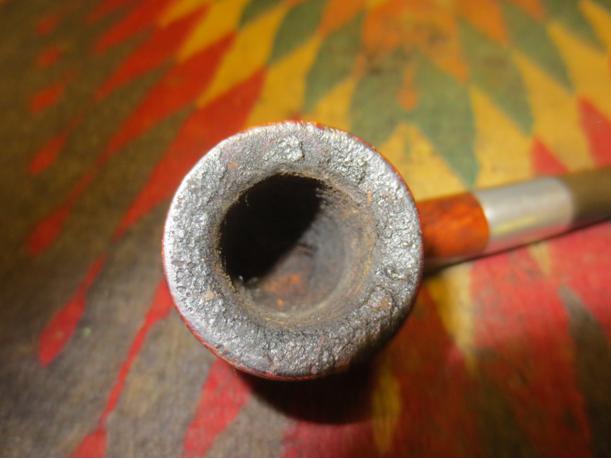
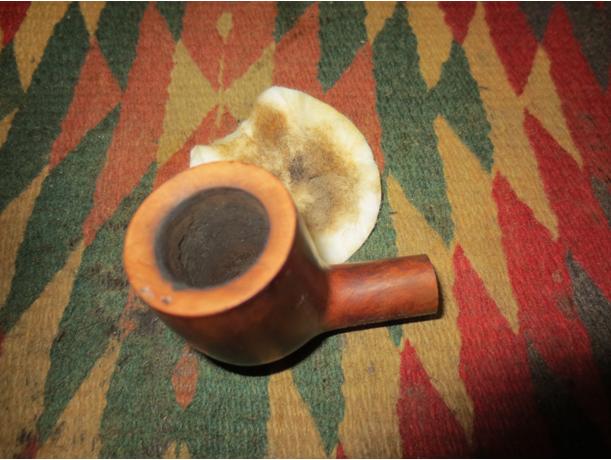
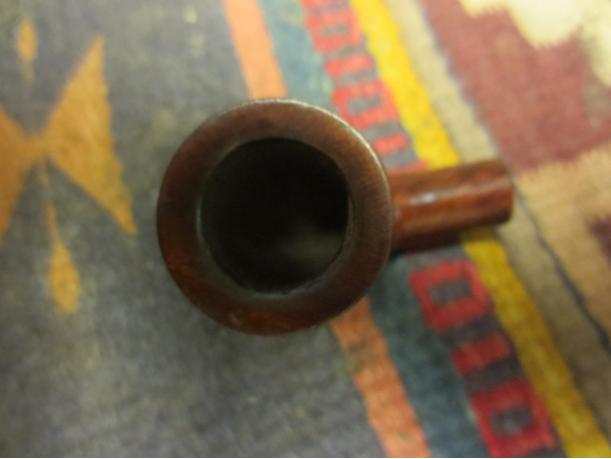
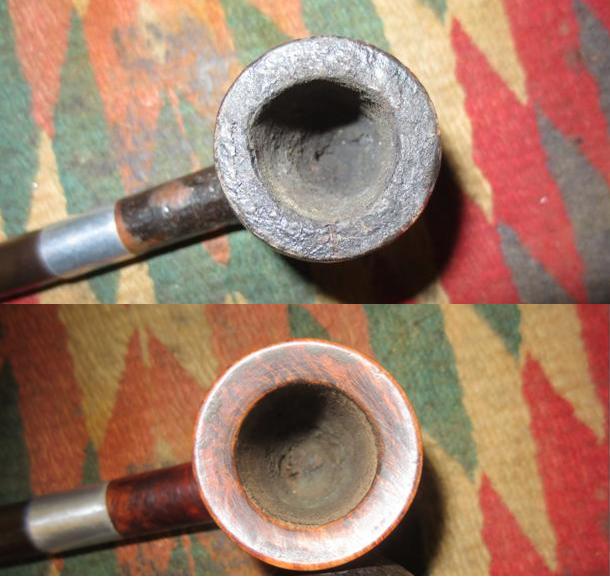
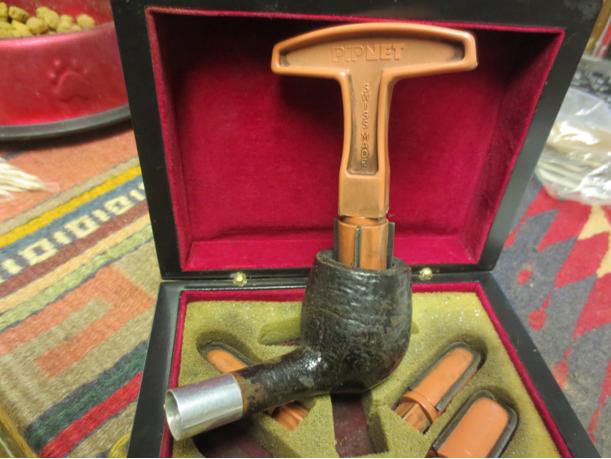
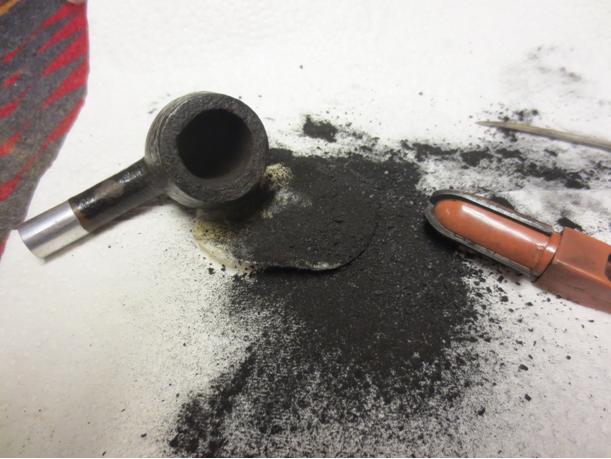
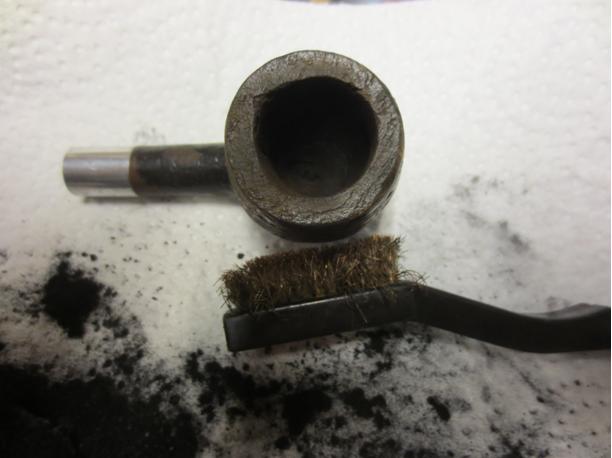
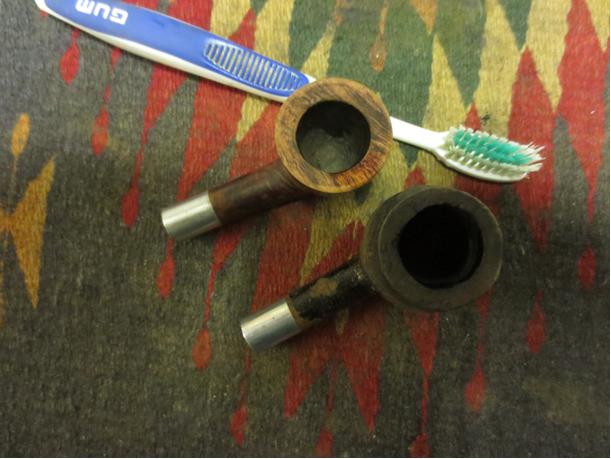
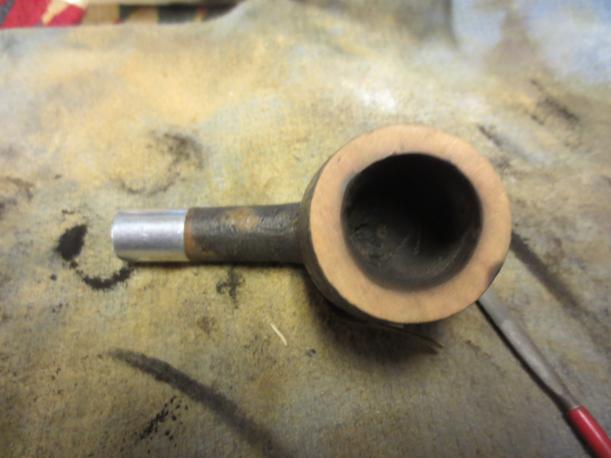
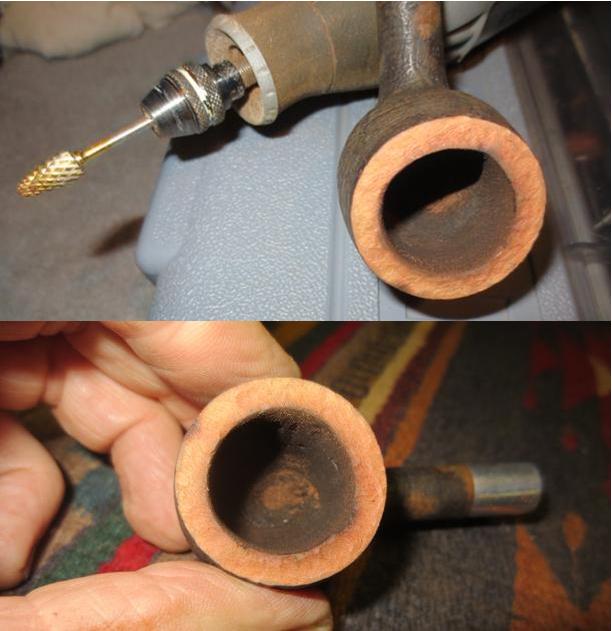
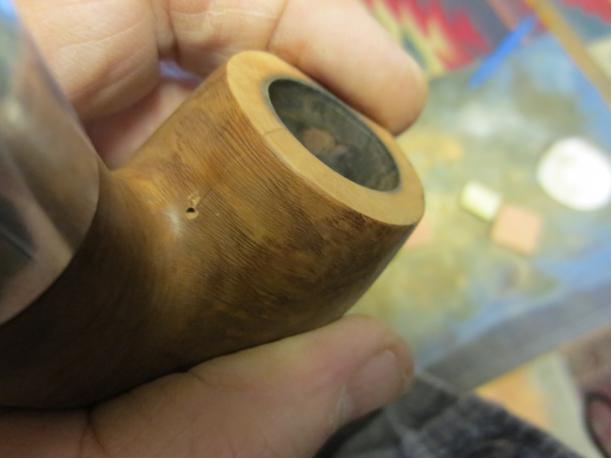
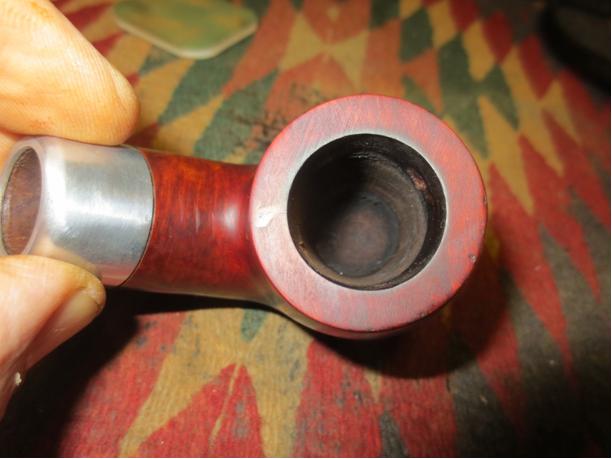
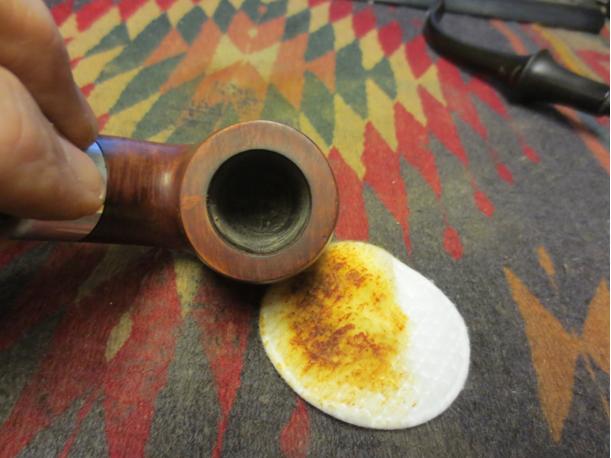
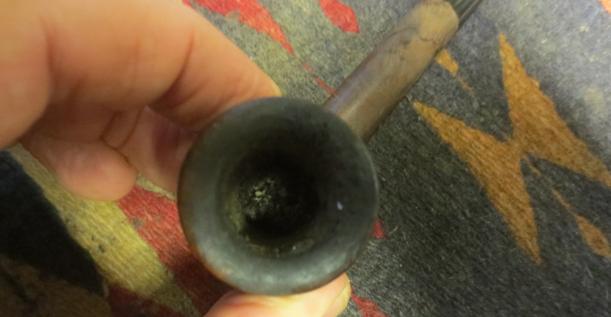
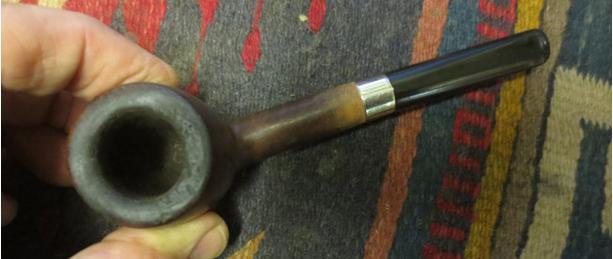
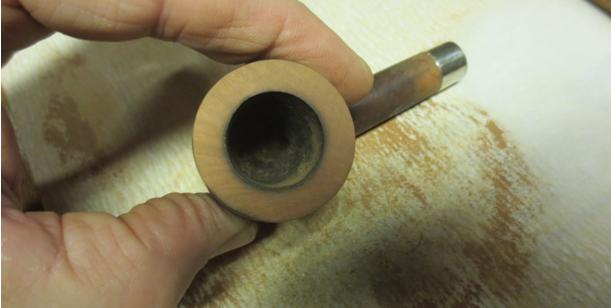
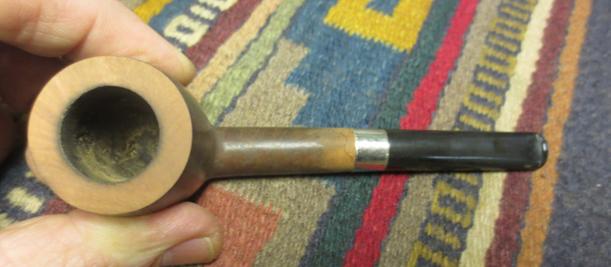
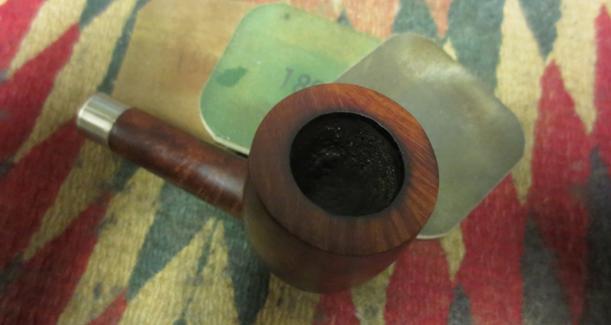
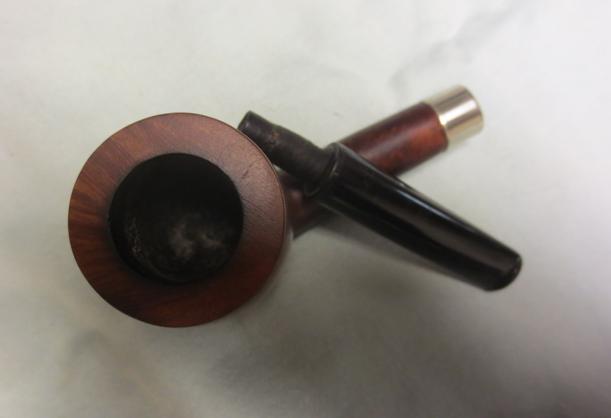
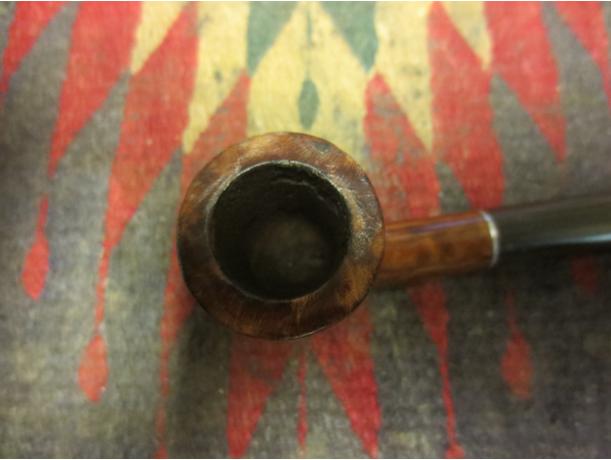
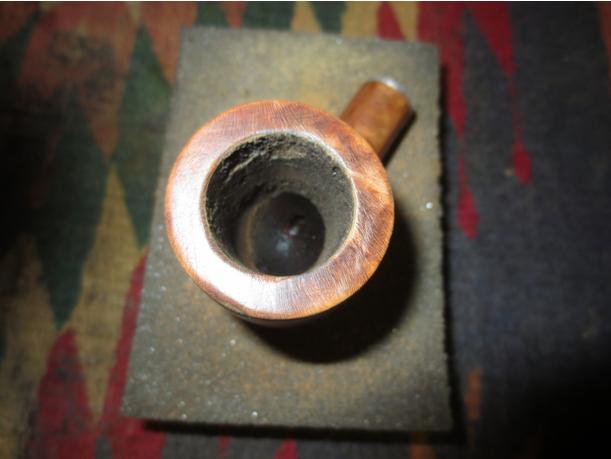
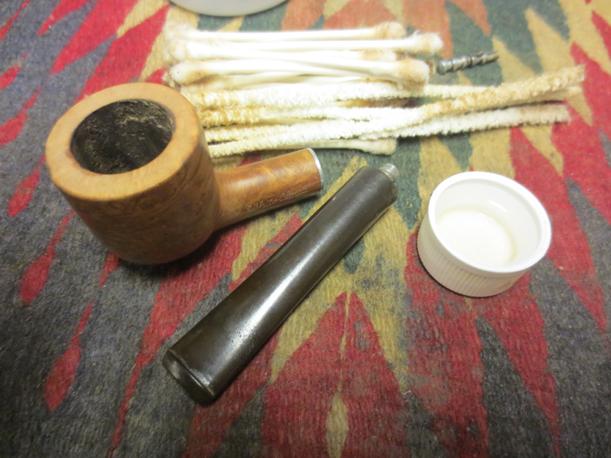
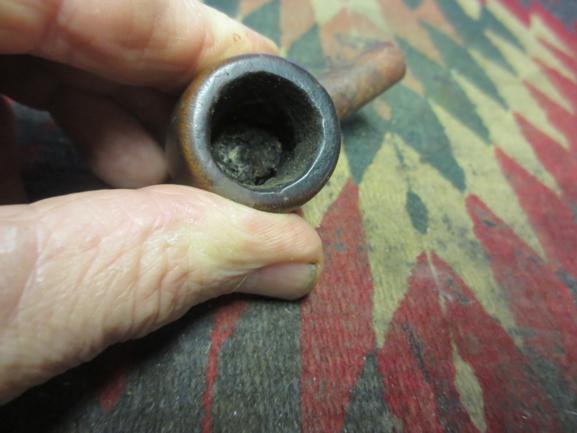
 I used a dental pick to remove the dottle from the bowl. You can see the amount of unburned tobacco that remained in the bowl. I think my theory of being dropped mid smoke was pretty accurate. I reamed the bowl with a PipNet reamer and took the cake back to bare briar. The bowl was between the smallest sized cutting head and the second one so I could only do a part of the job with the reamer. The round bowl made it not feasible to work with the KLEENREEM reamer. I cleaned up what remained with a pen knife to smooth out the walls of the pipe.
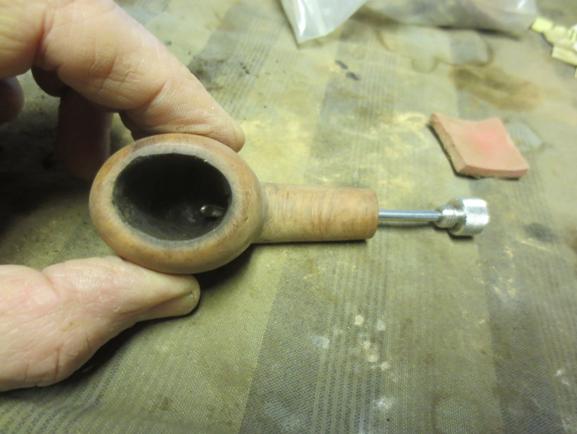

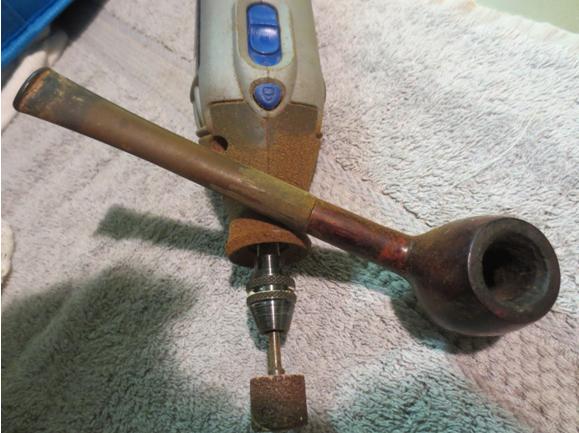
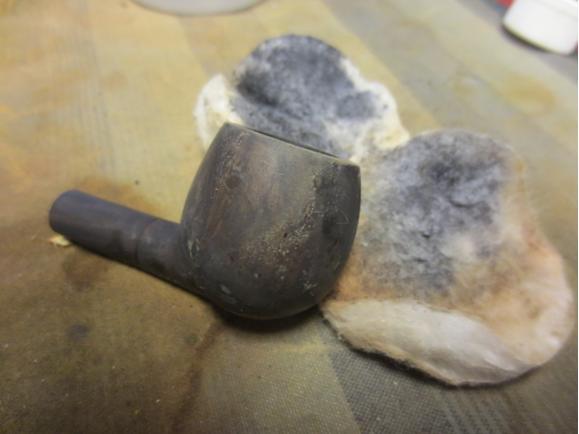
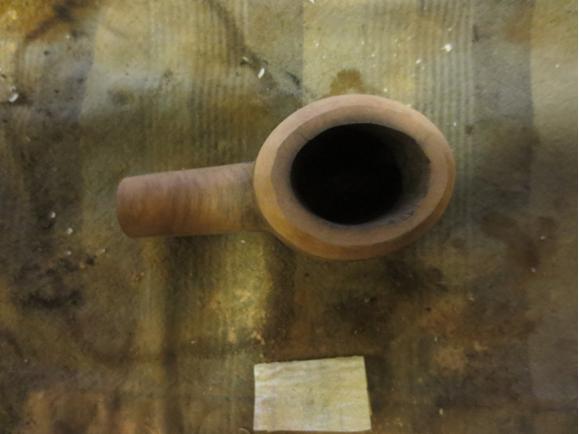
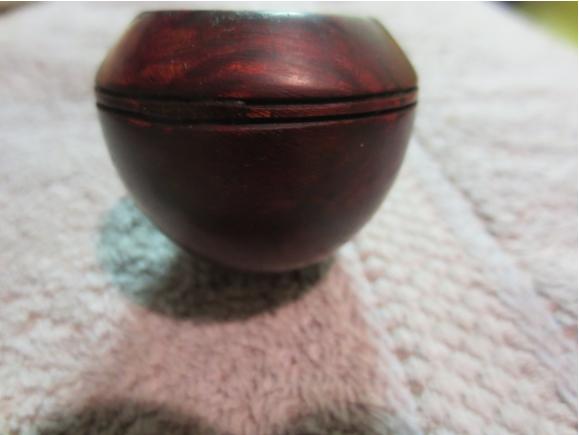
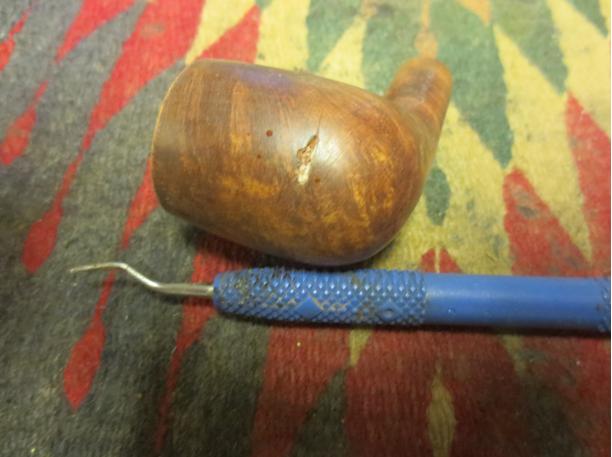
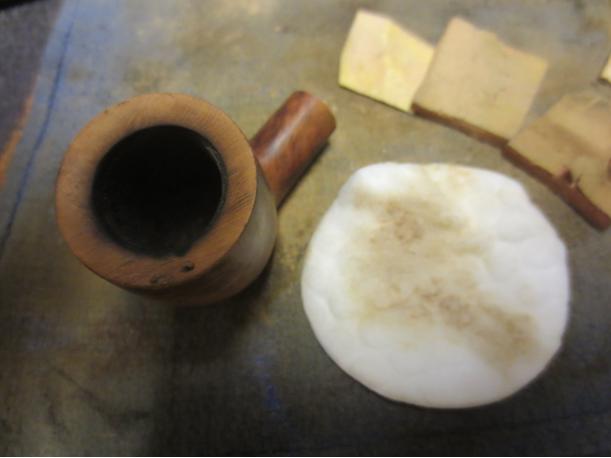
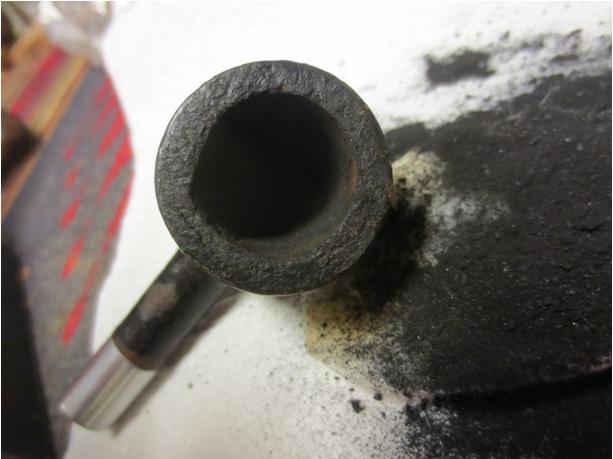
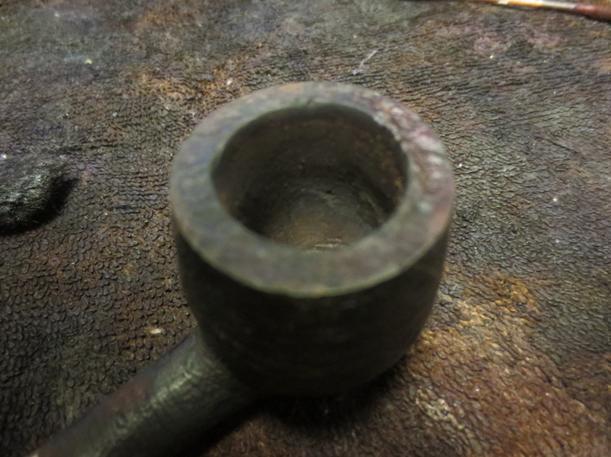
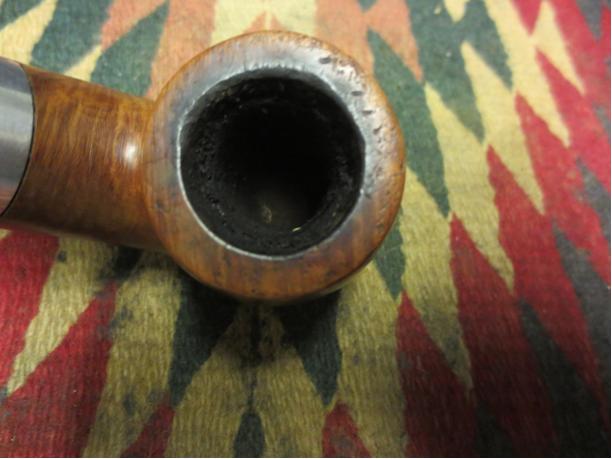
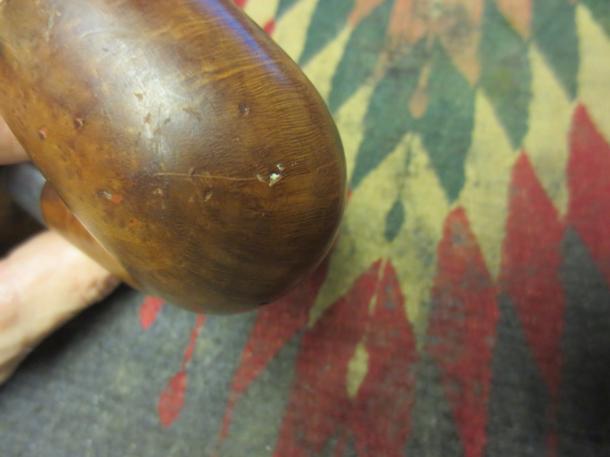
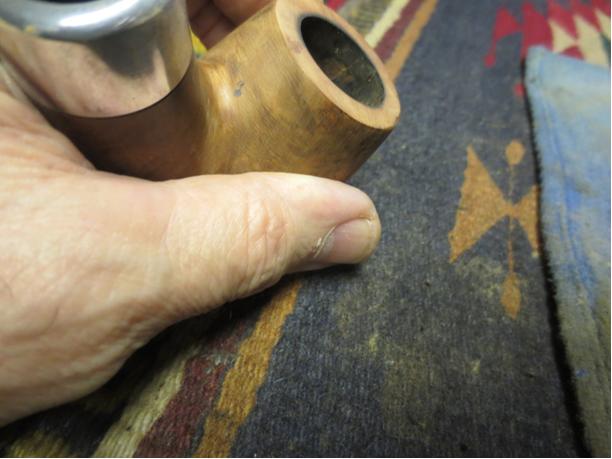
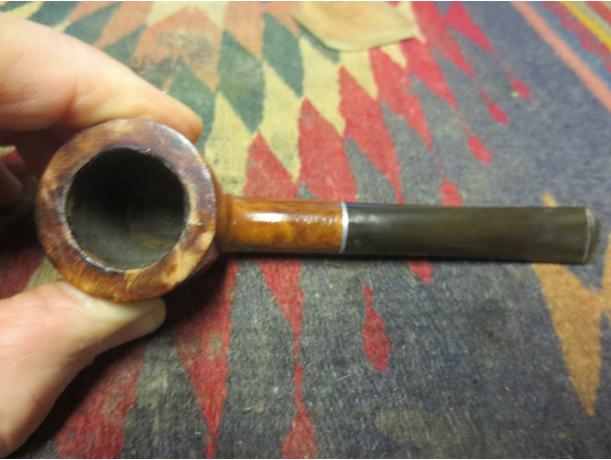
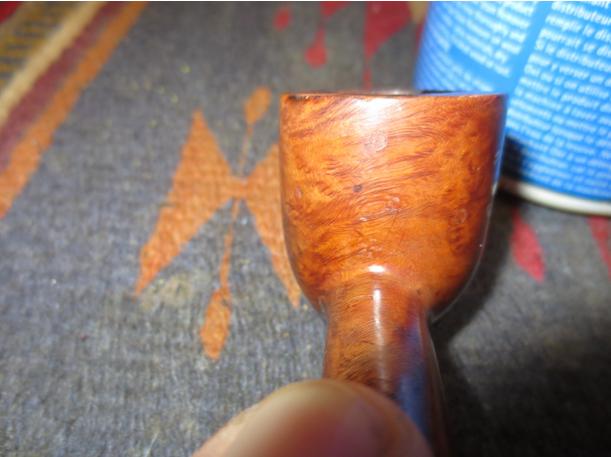
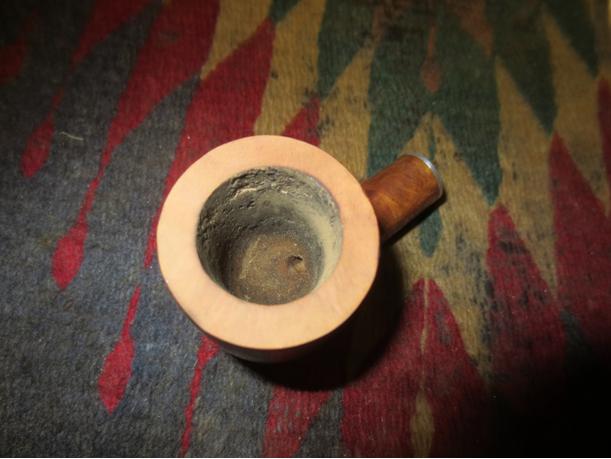
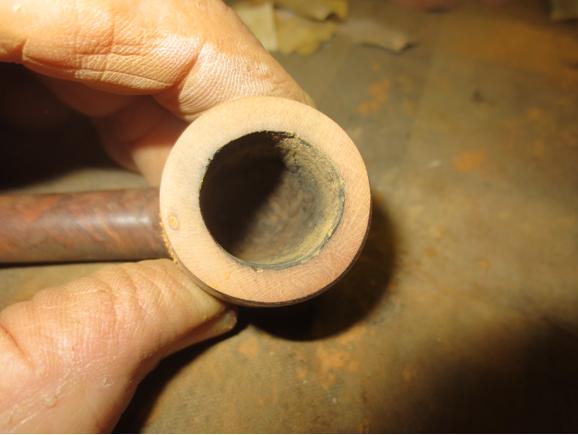
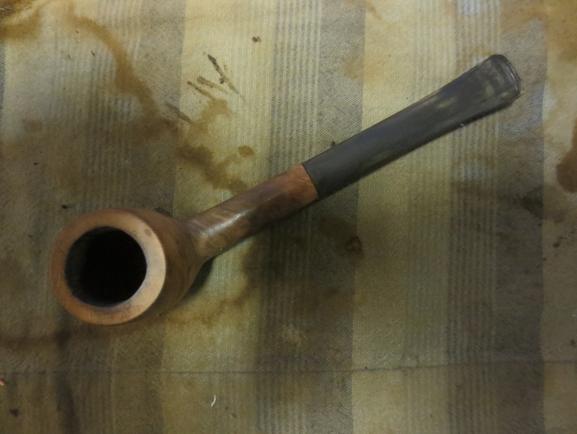
 In the photo above shows the damage to rim top and the inner and outer edge of the rim. I decided to top the bowl to clean up as much as possible of the rim damage.
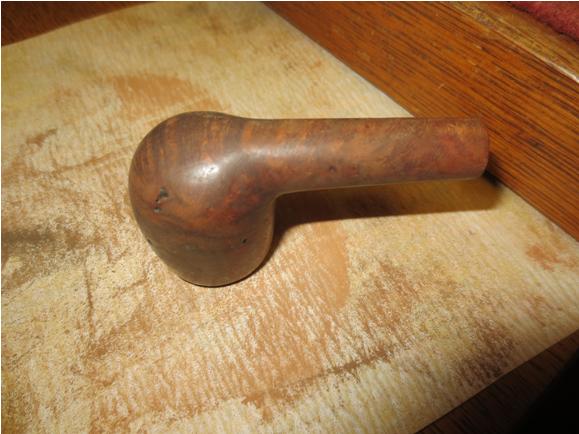
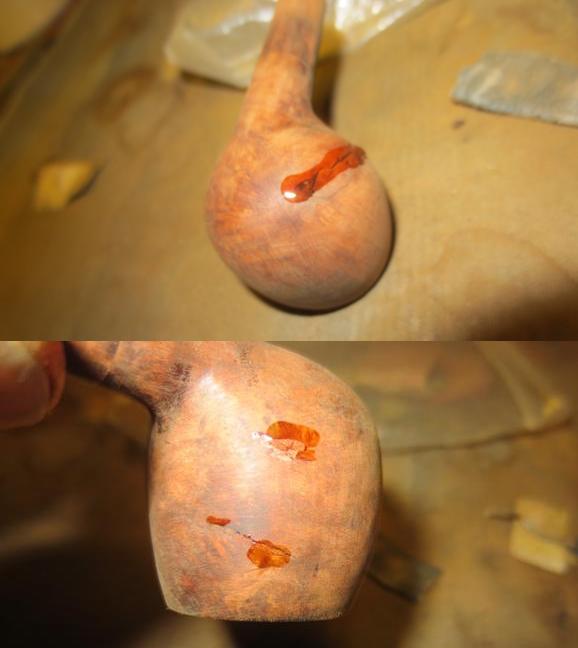
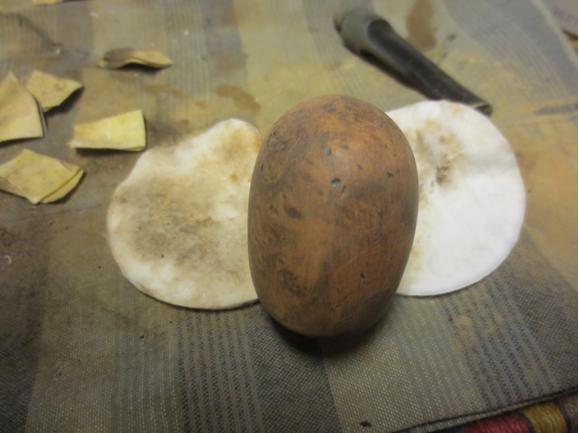
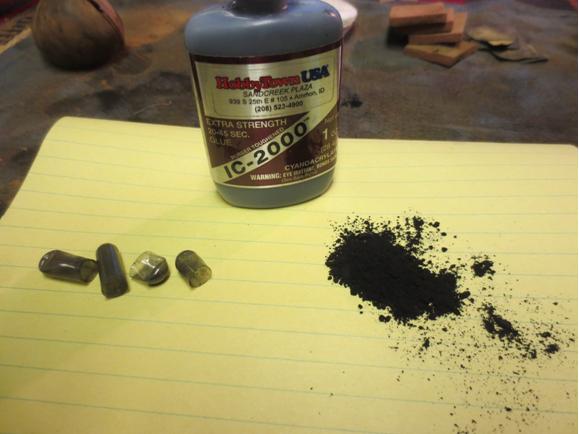
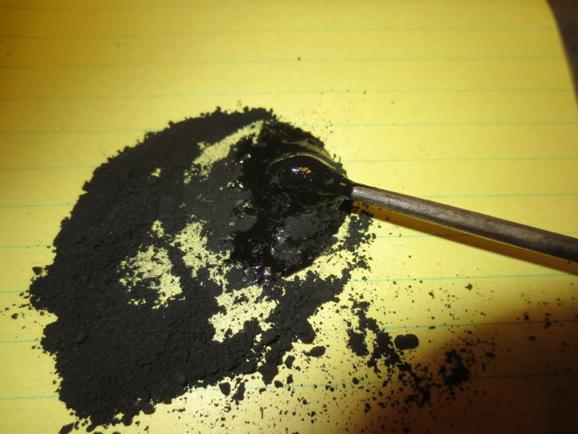
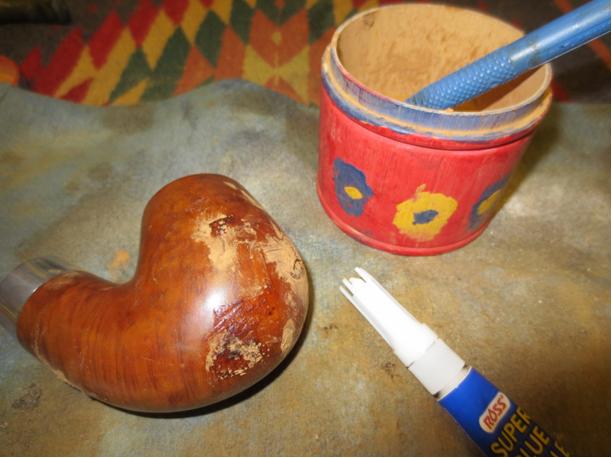
 I repaired the deep gouges on the right side of the bowl with superglue and briar dust. I would have tried to steam them out but they had sharp edges on all of the marks and steaming would not have raised them. I sanded the dried repairs with 220 grit sandpaper to blend them into the surface of the briar. You will see in later picture what that looked like.
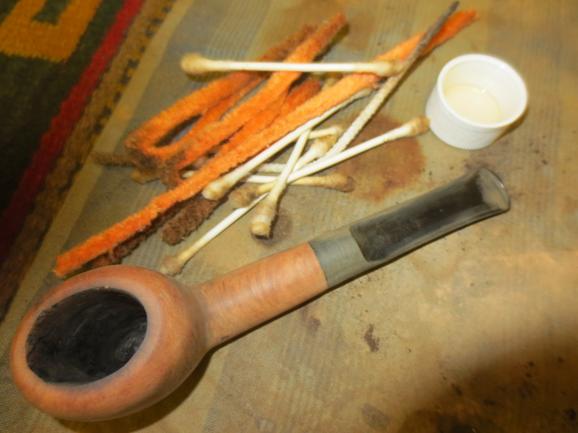
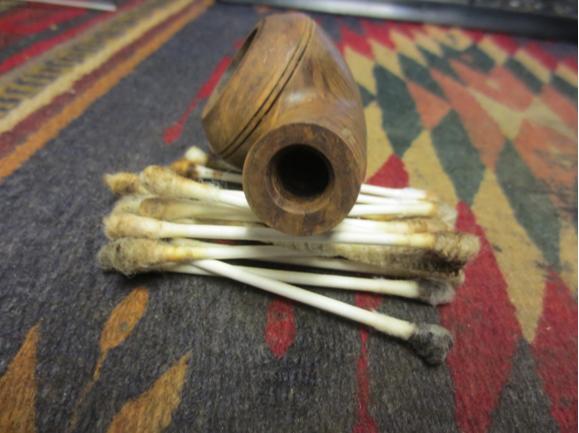
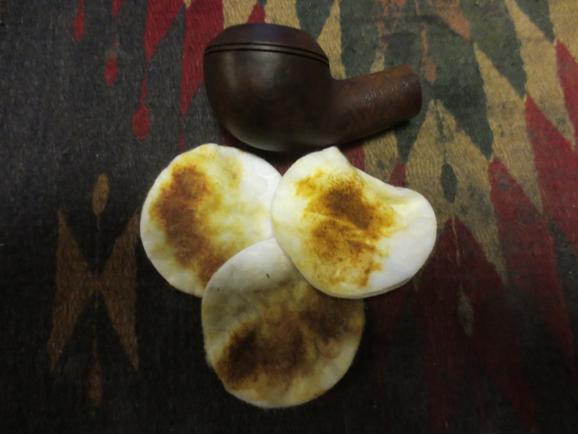
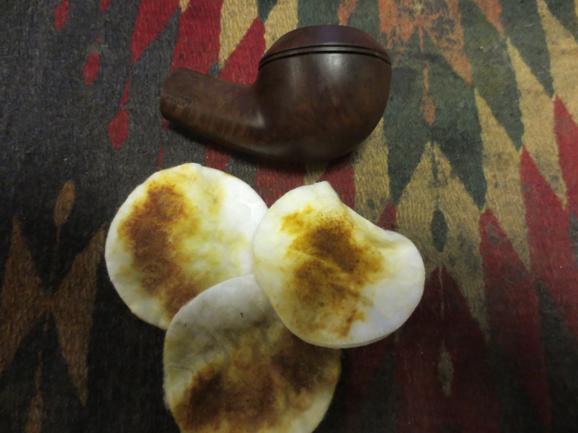
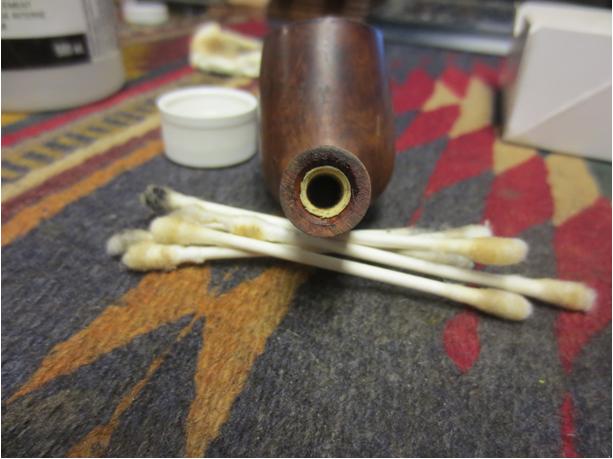
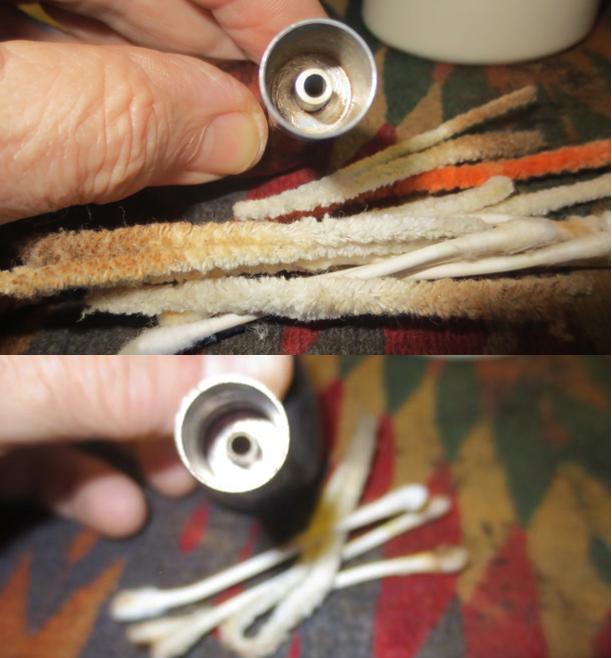
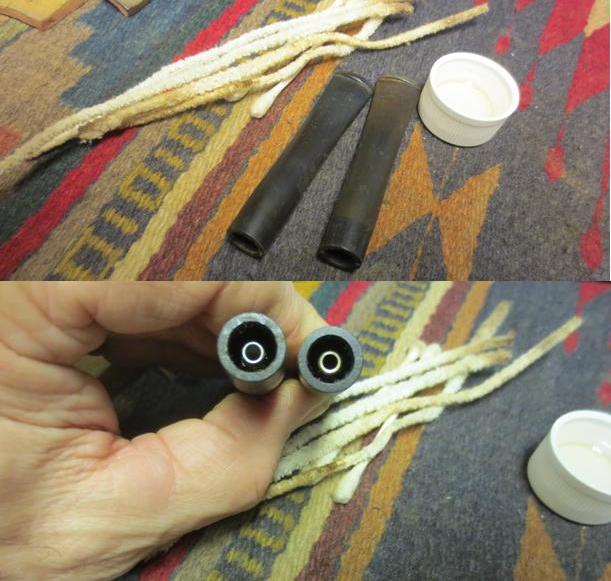
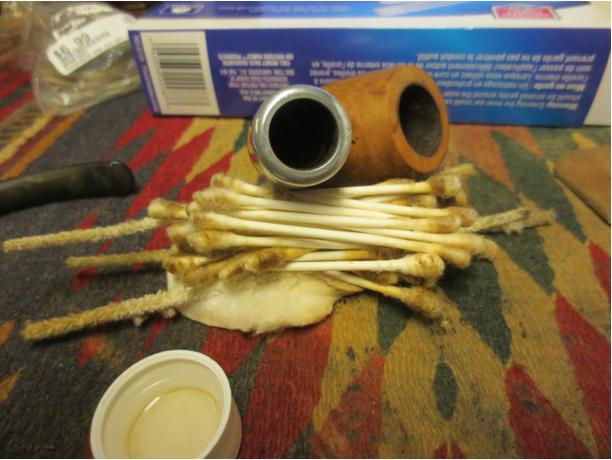
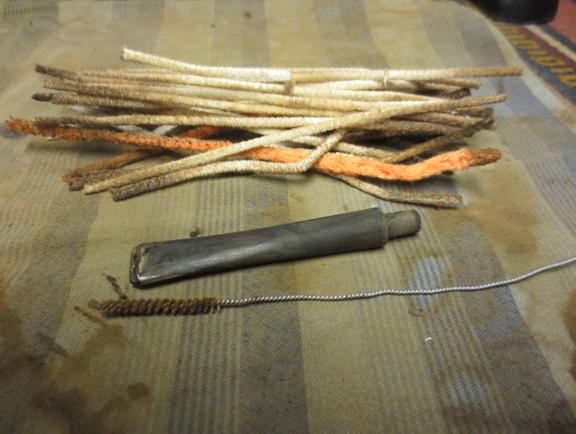
 I started to clean out the shank and stem with pipe cleaners, cotton swabs and alcohol and soon began to realize that it was far dirtier than I initially expected.
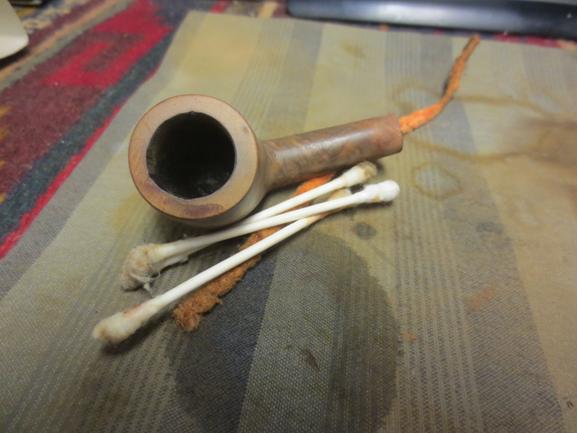
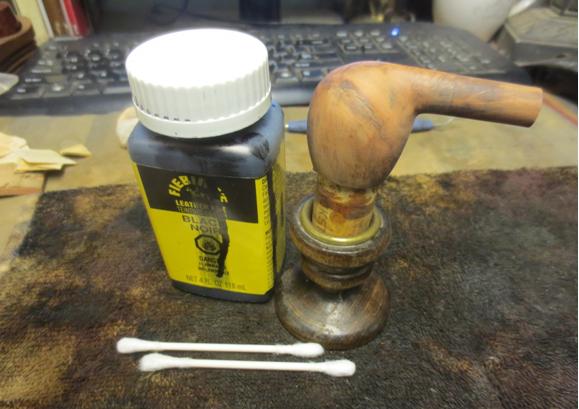
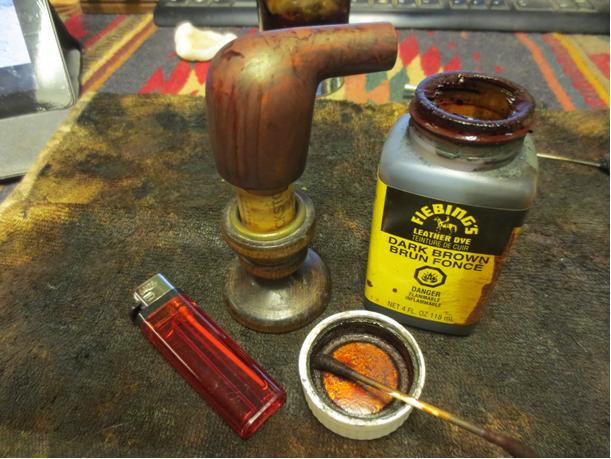
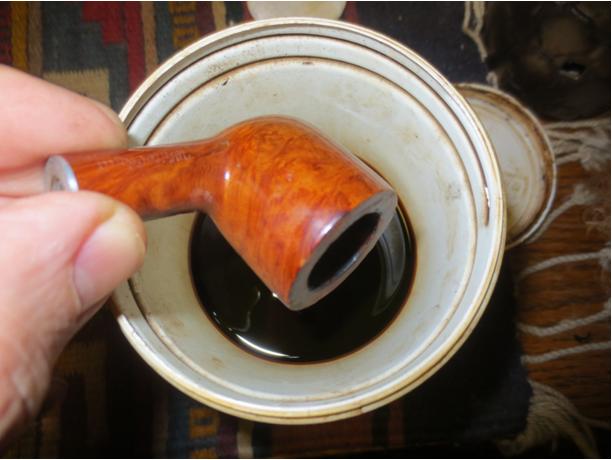
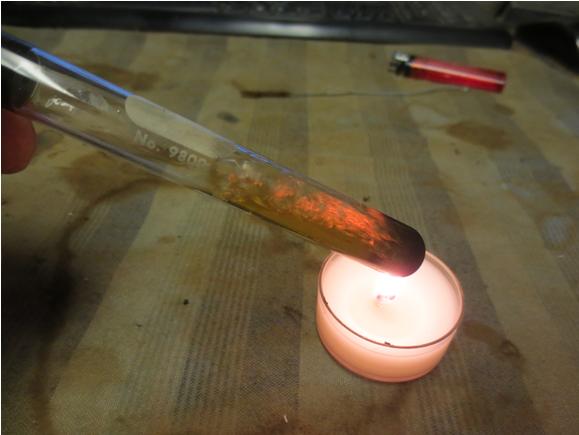
 I put the stem on the shank and set up the pipe retort. I boiled three test tubes of alcohol through the bowl and stem until it finally came out clear. The second photo is a cool picture of the boiling alcohol. I had to include it!
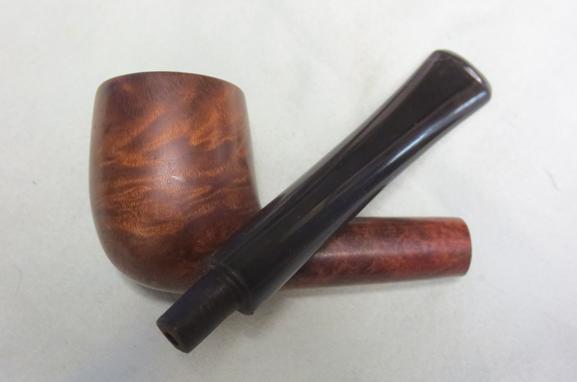
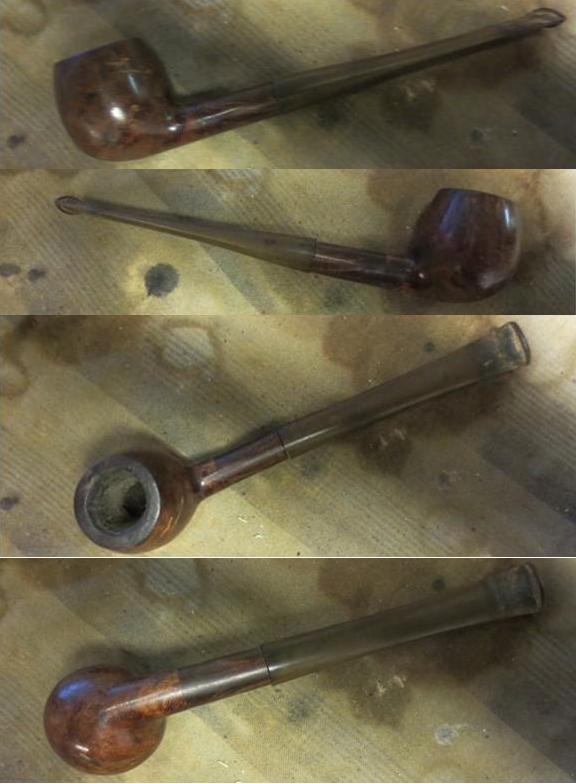
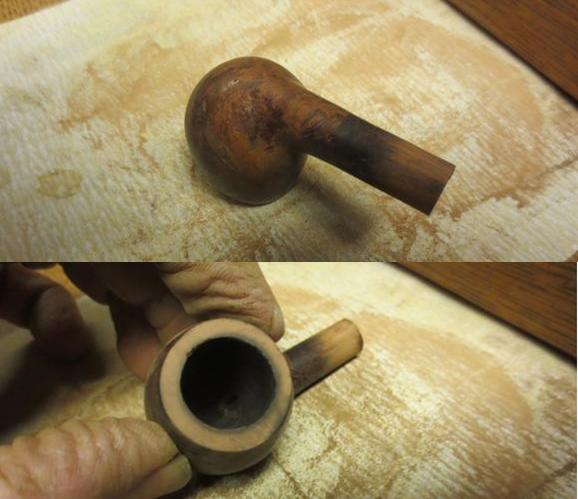
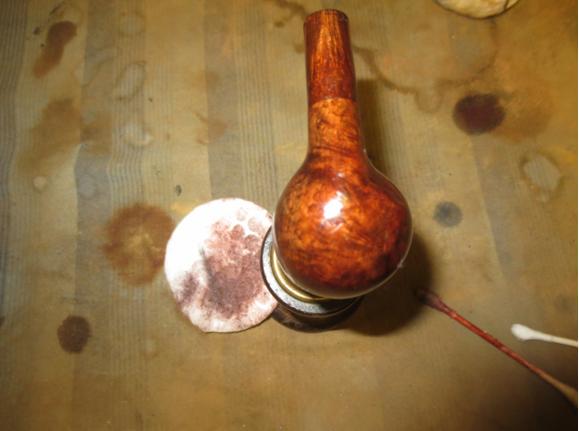
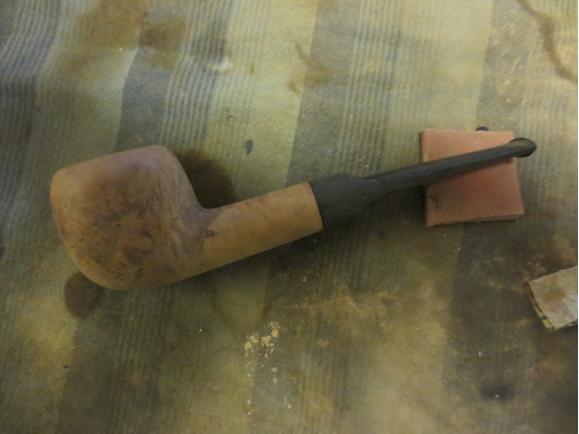
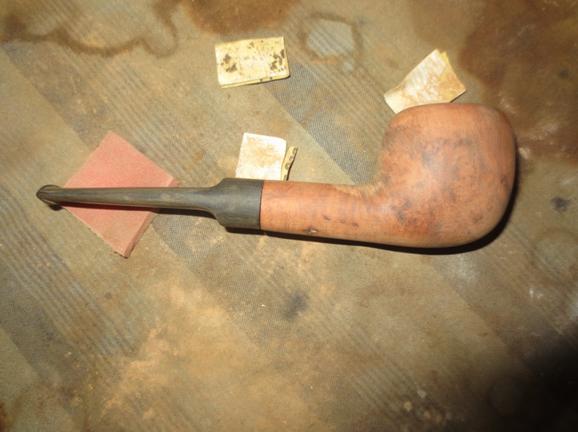
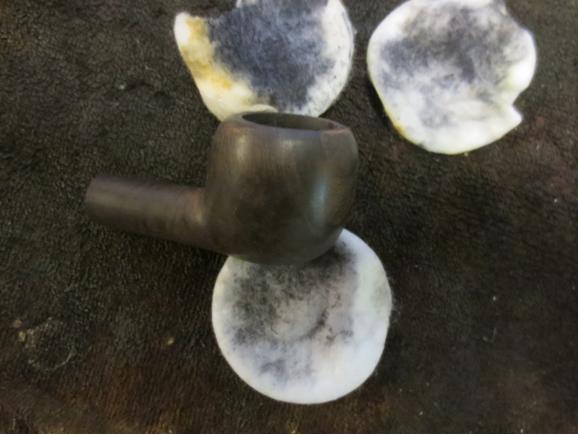
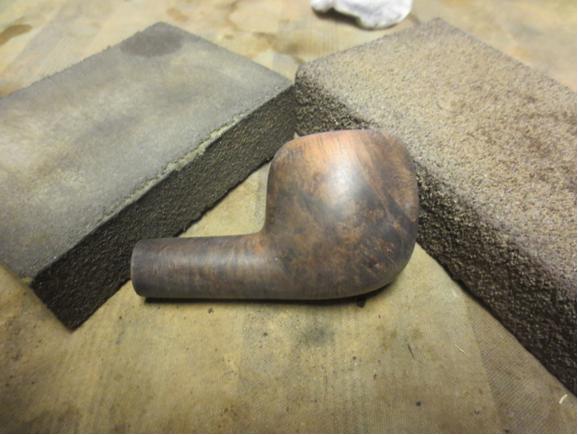
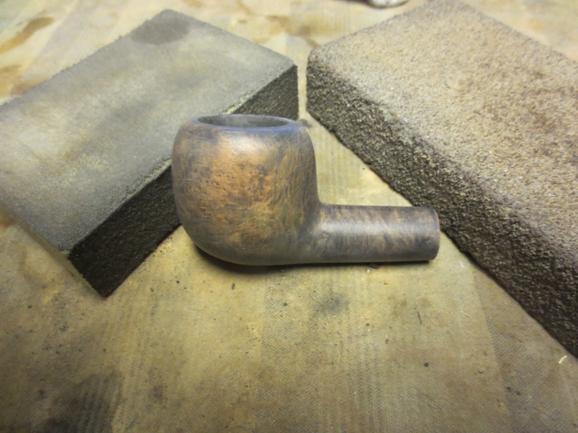
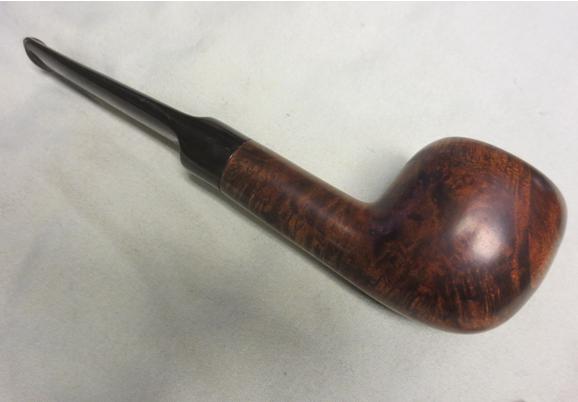
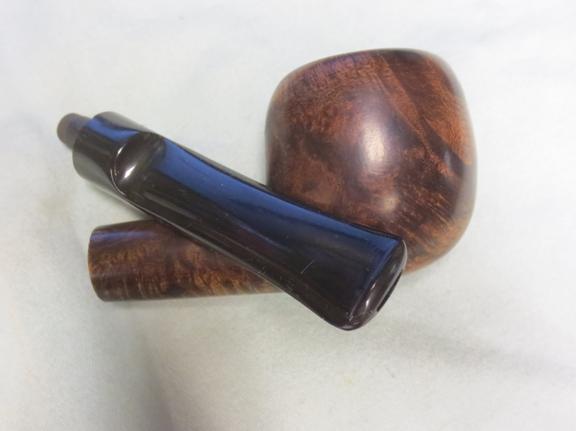
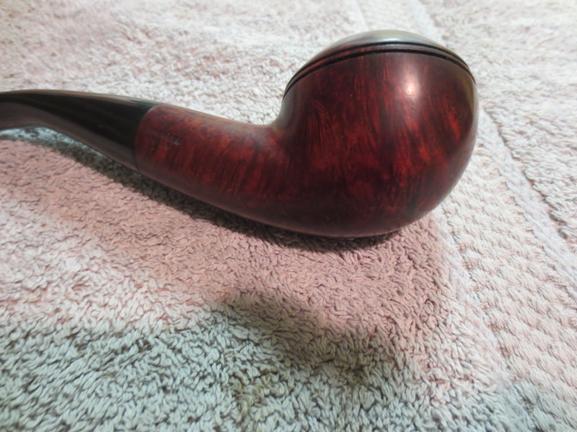
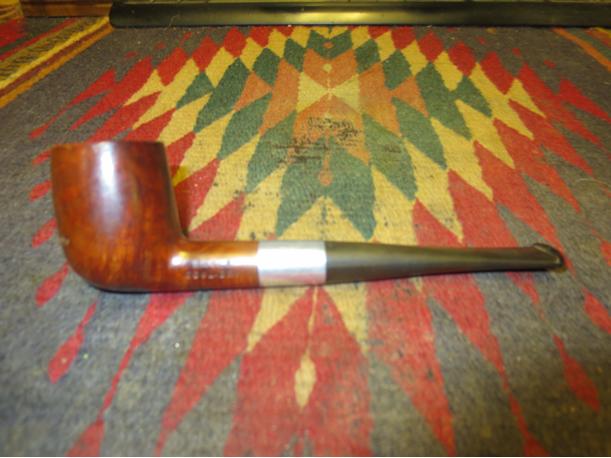
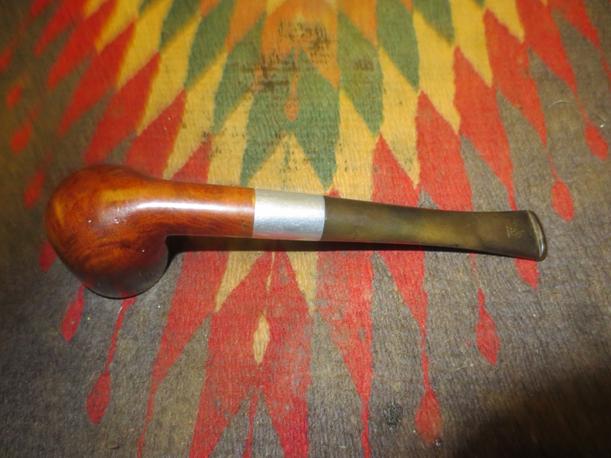
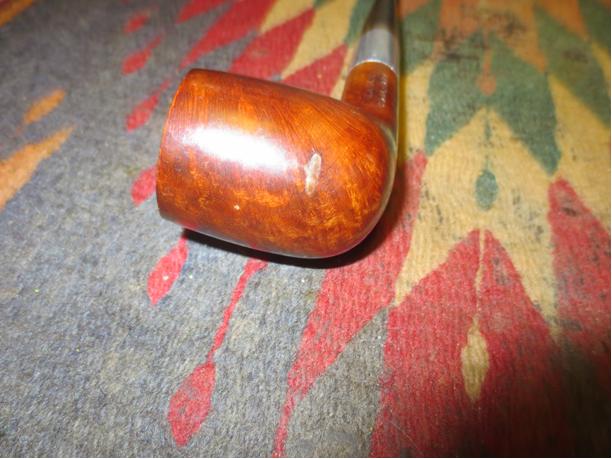
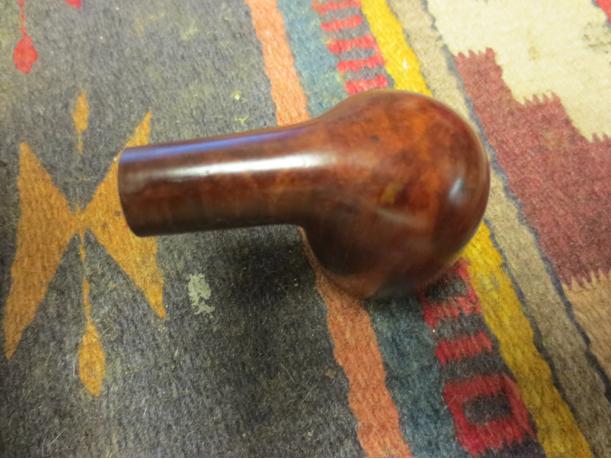
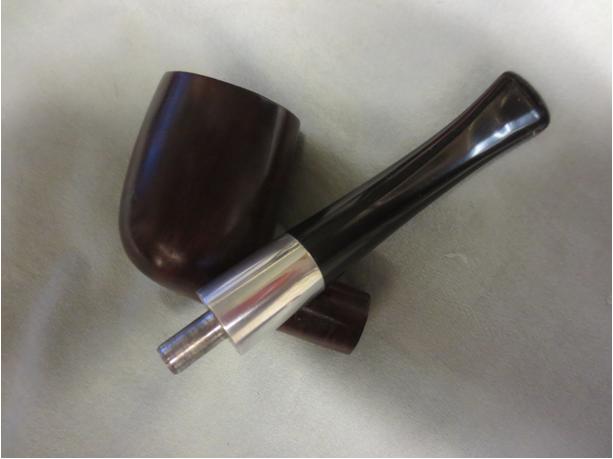
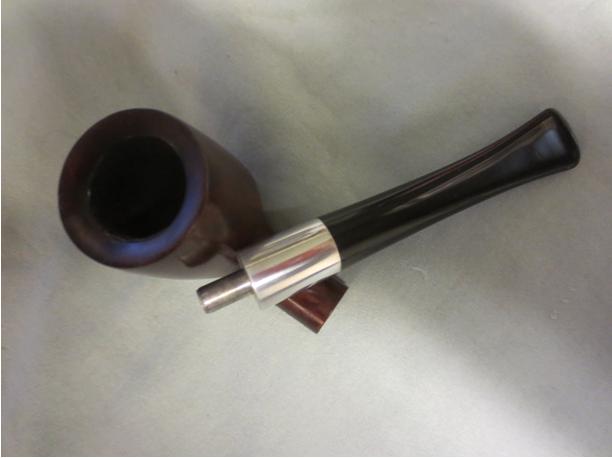
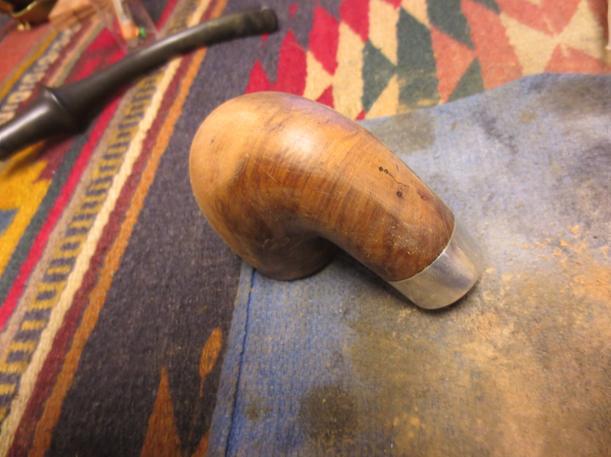
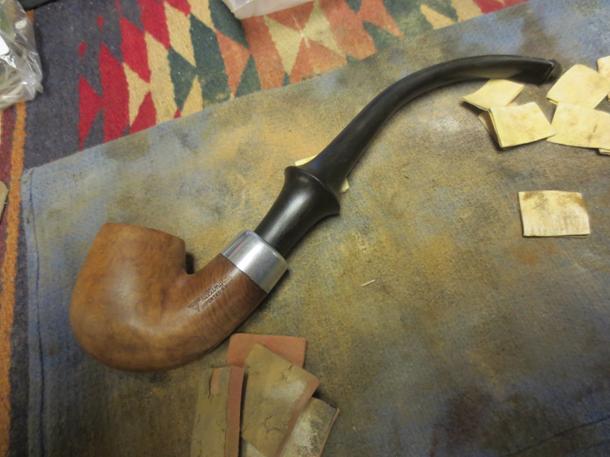
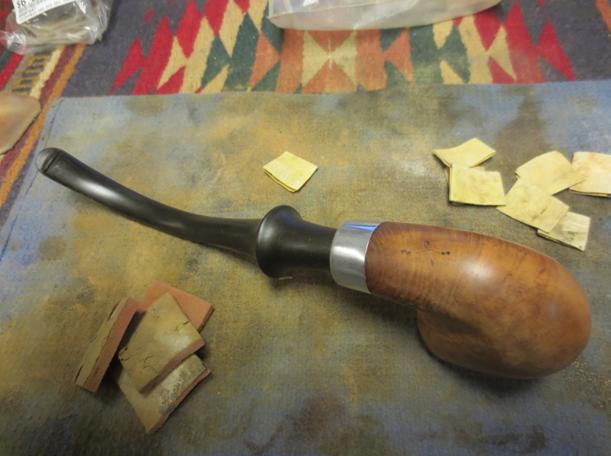
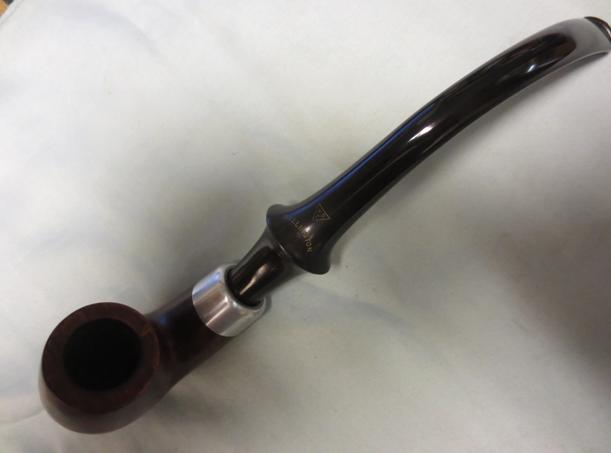
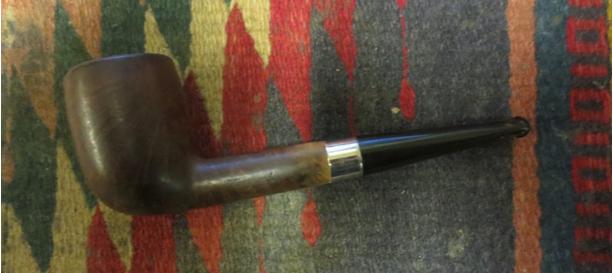
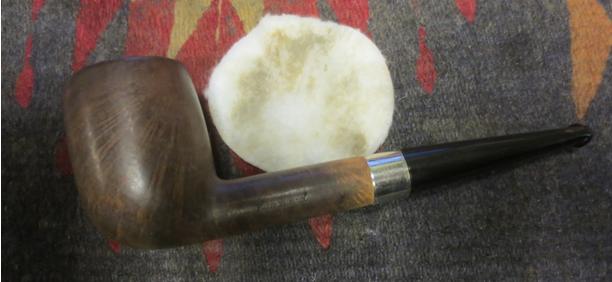
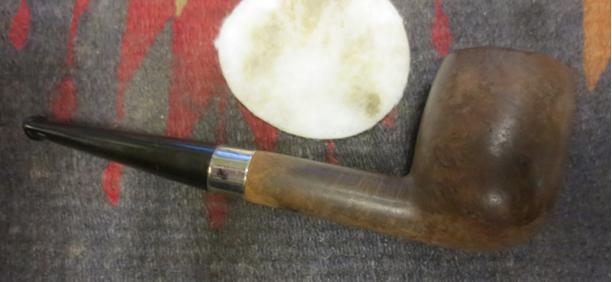
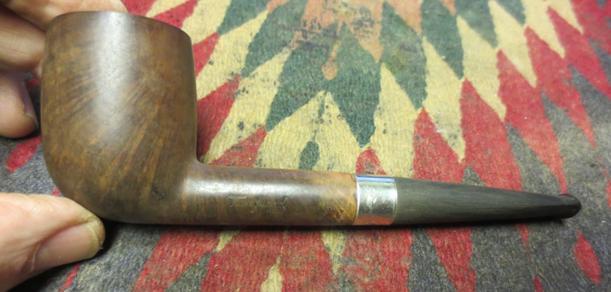
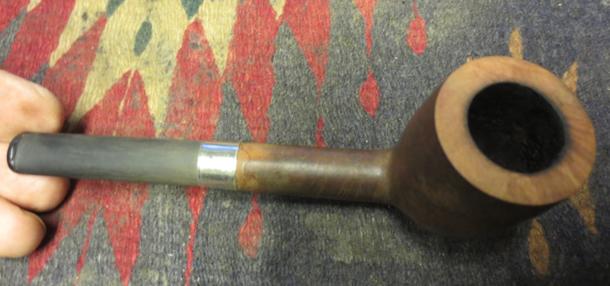
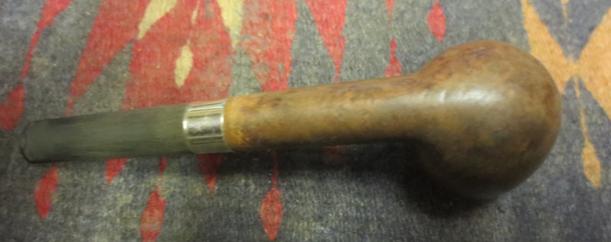
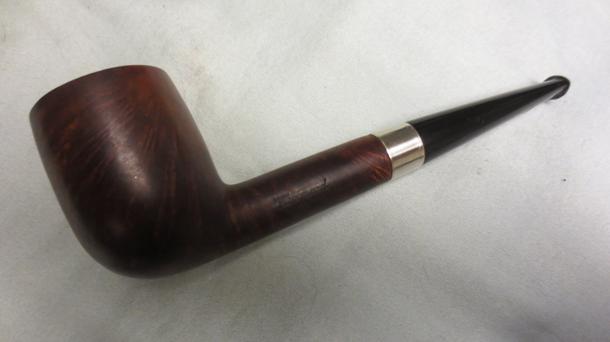
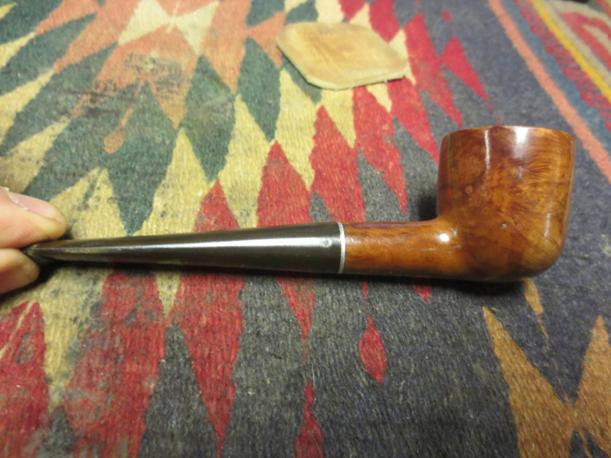
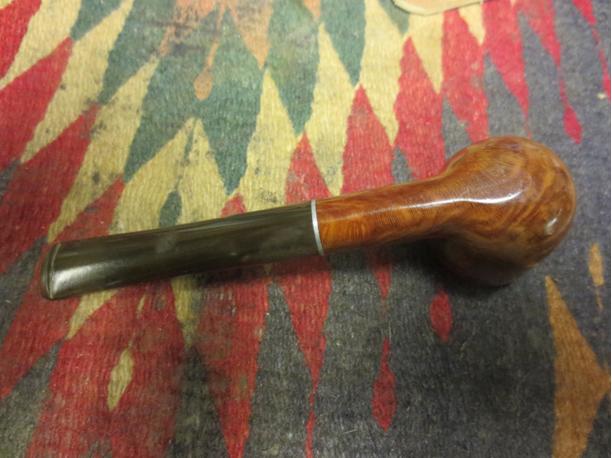
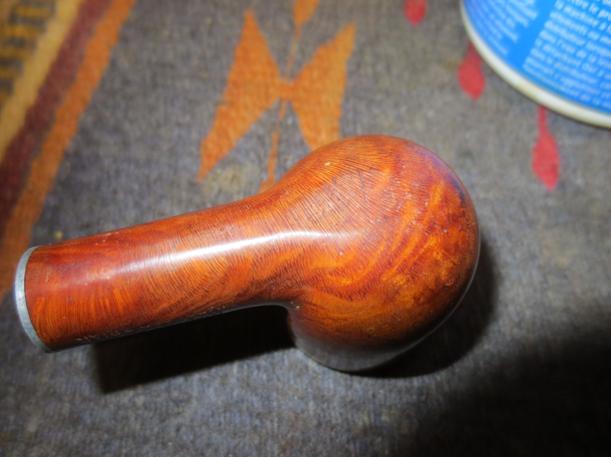
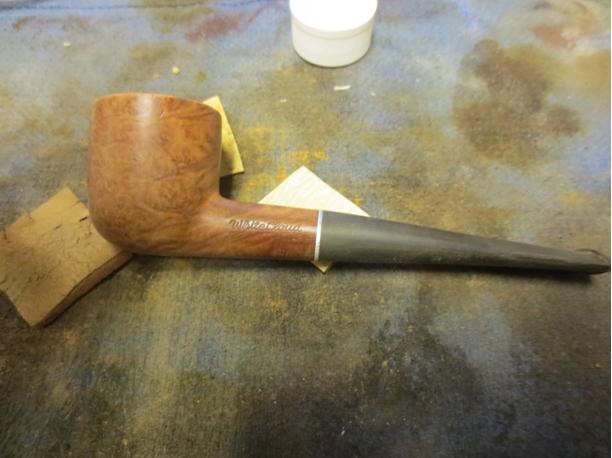
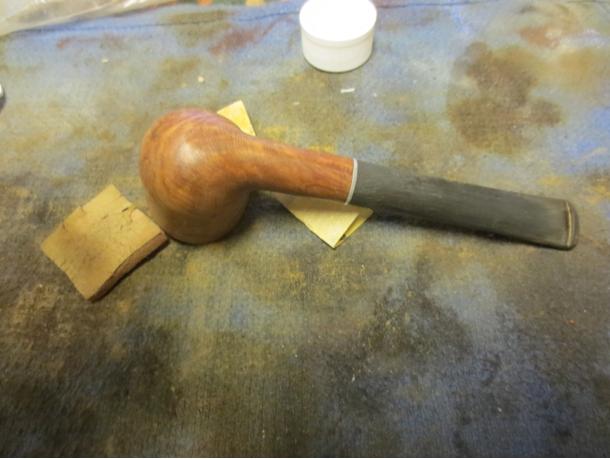
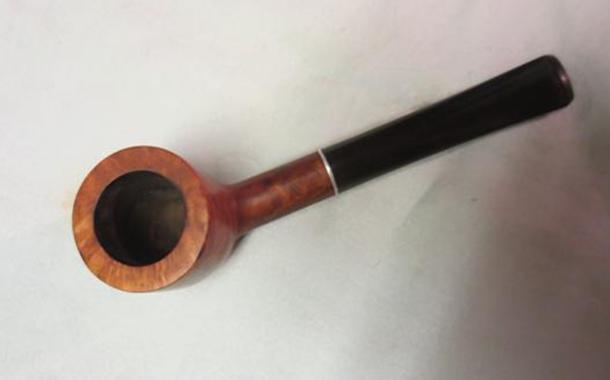
 I ran pipe cleaners, a shank brush, cotton swabs and alcohol through the stem and shank to remove what was left behind by the retort and was pleased to see how clean it was. One surprise to me was the red stain that came out of the shank. Evidently the pipe had originally been stained with a oxblood stain. You would never have guessed that looking at what I started with. Now that the internals were clean I took a series of photos of the pipe to show where it stood at this point. In these photos you can see the repairs on the right side of the bowl.
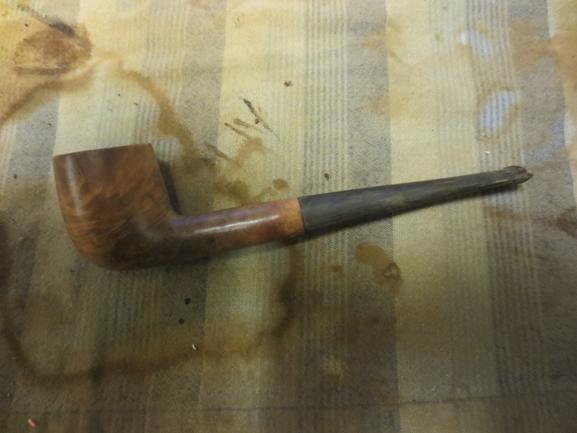
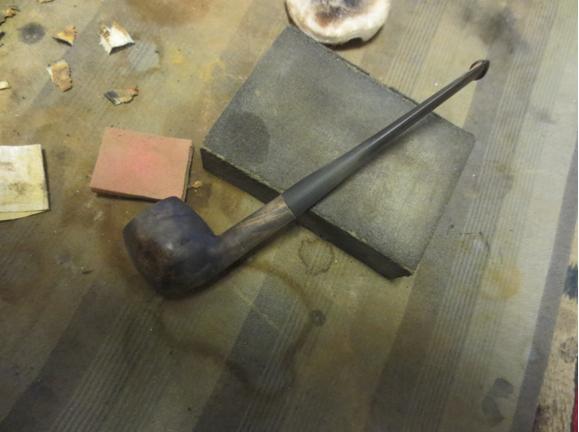
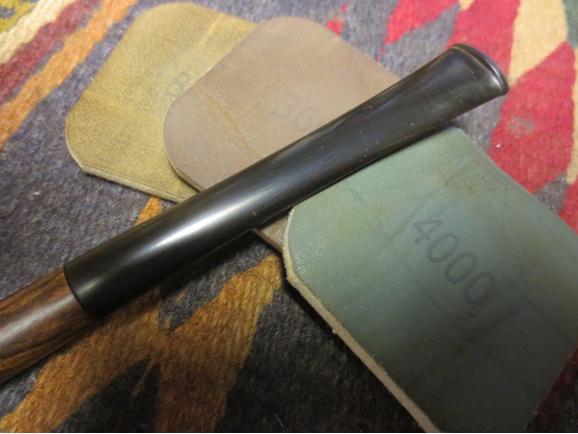
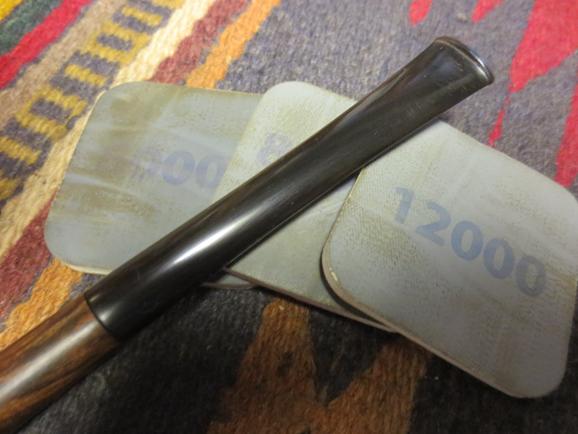
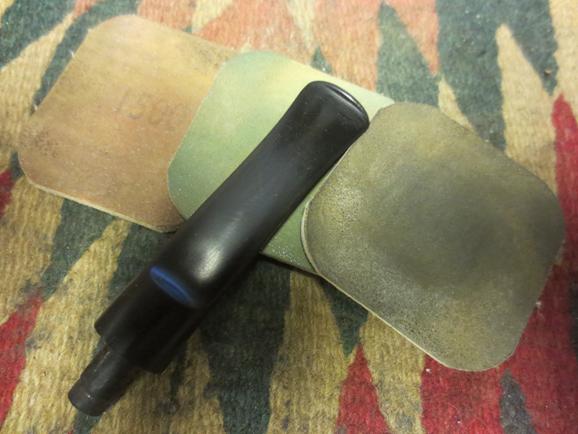
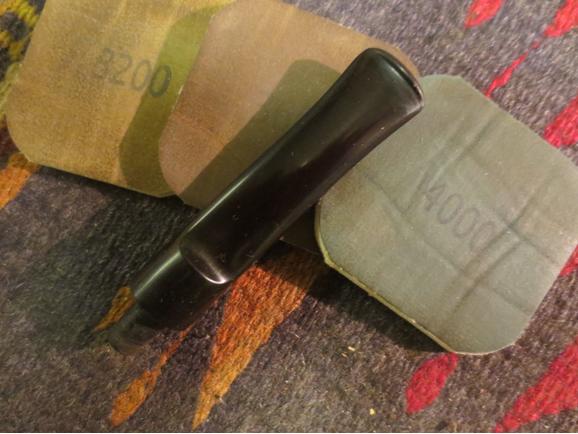
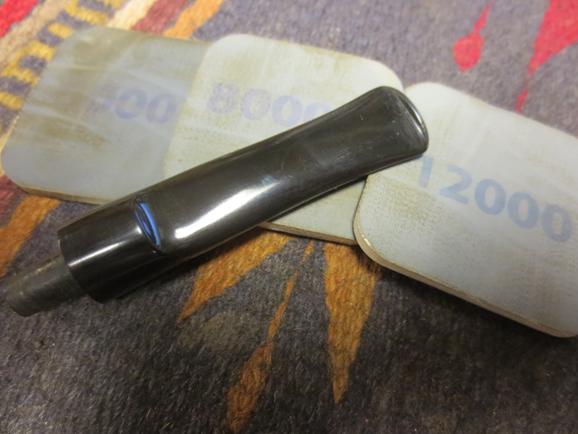
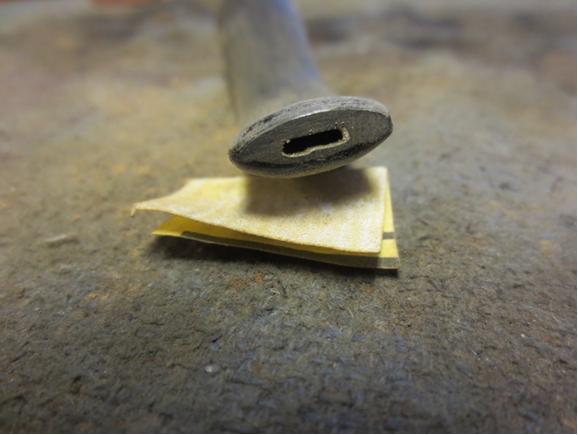
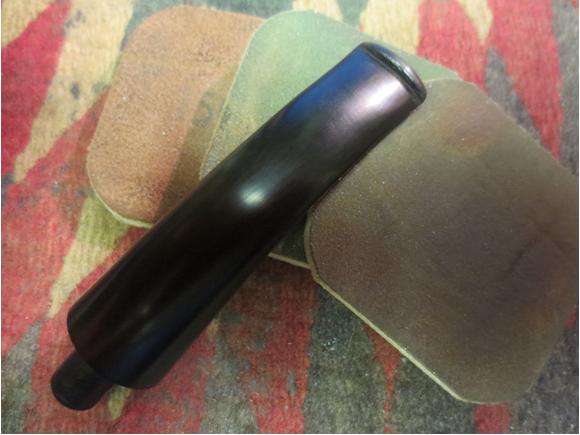
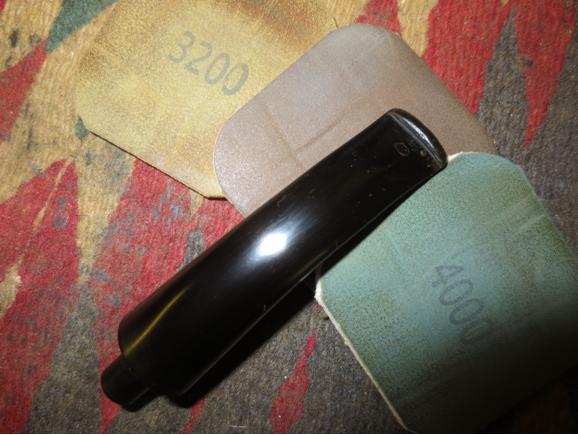
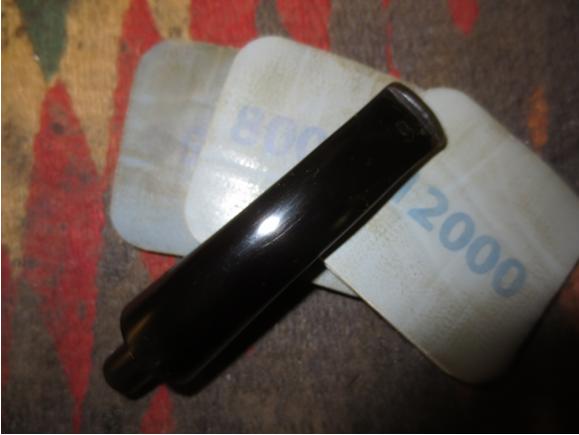
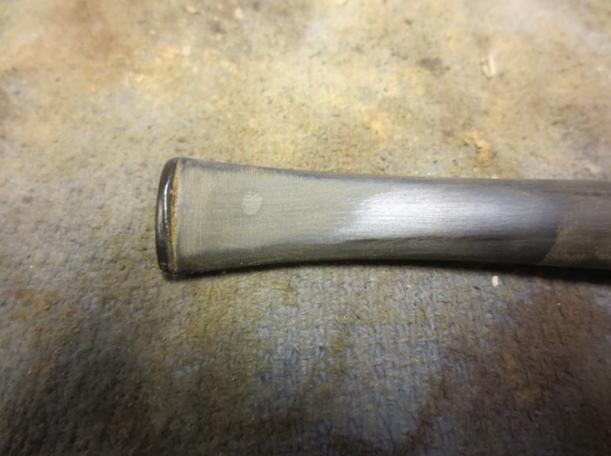
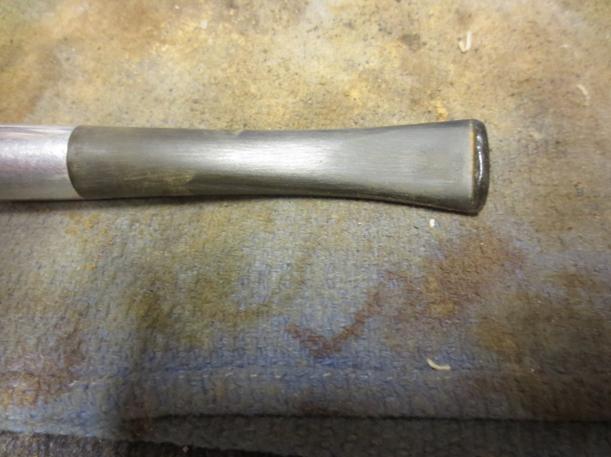
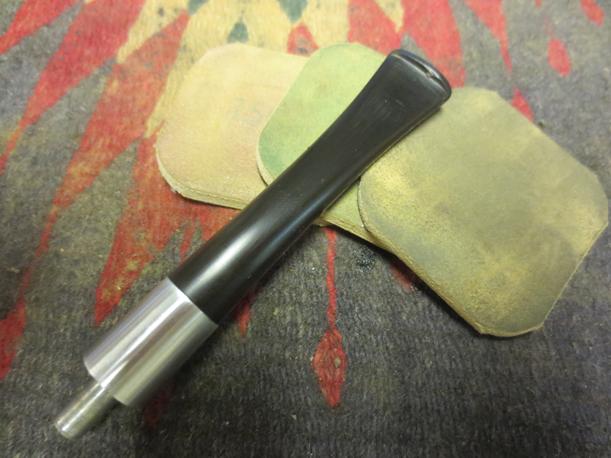
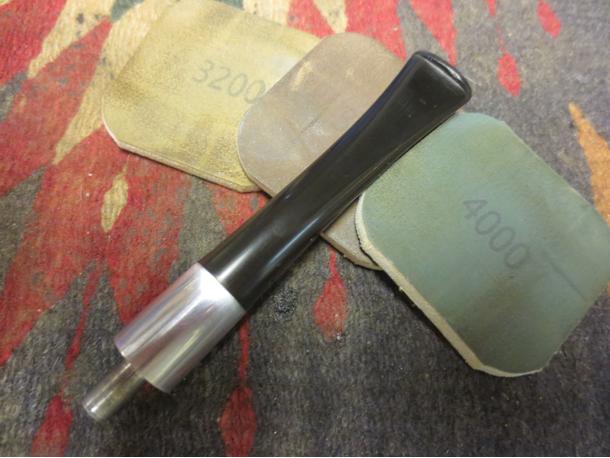
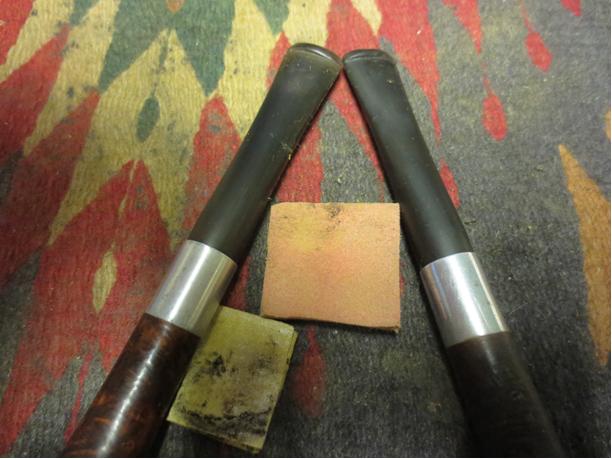
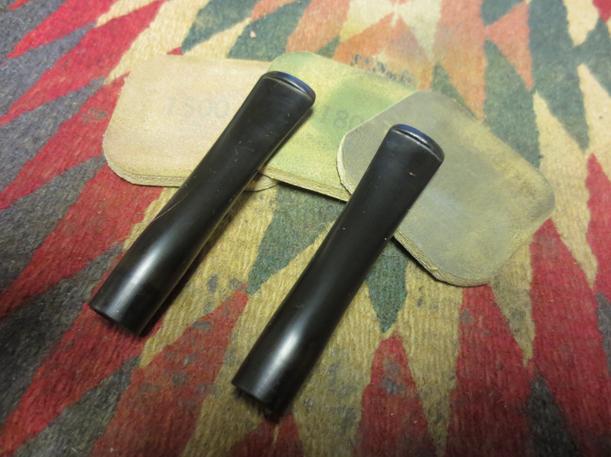
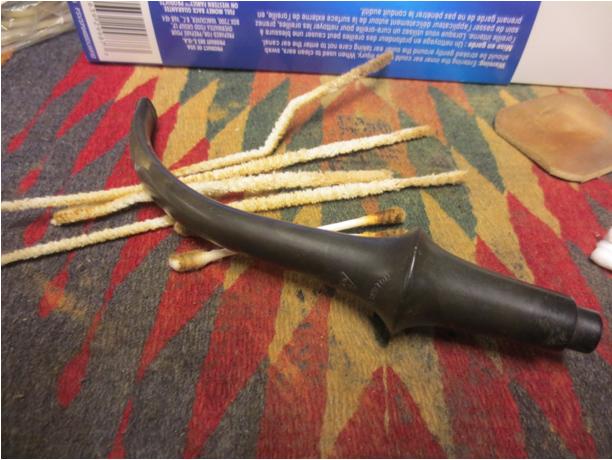
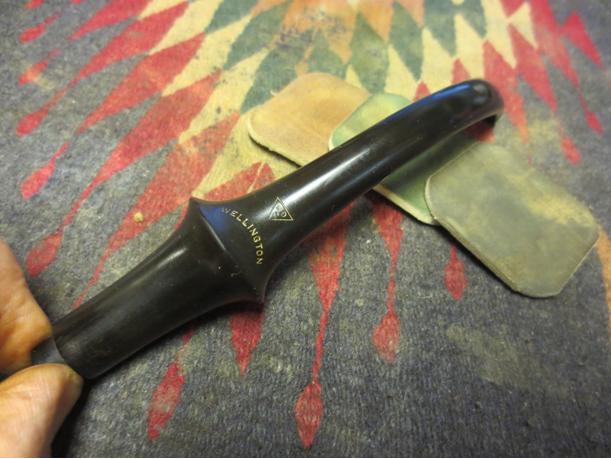
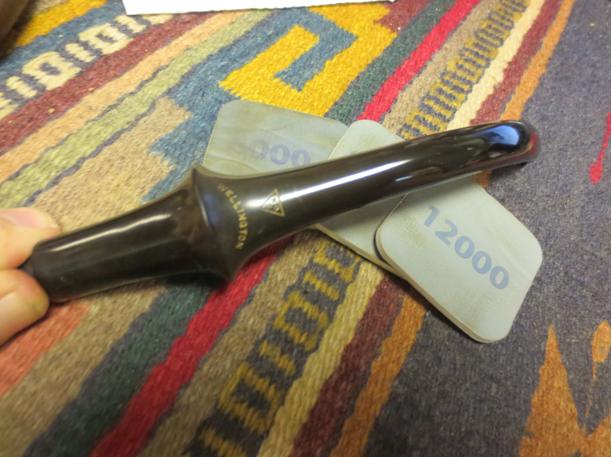
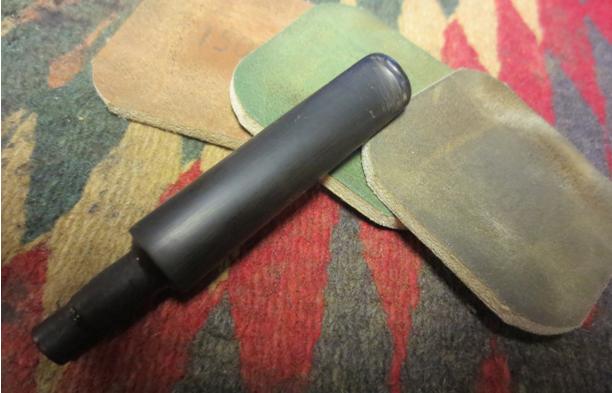
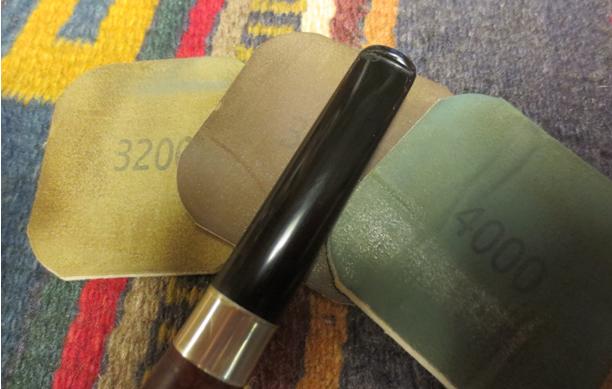
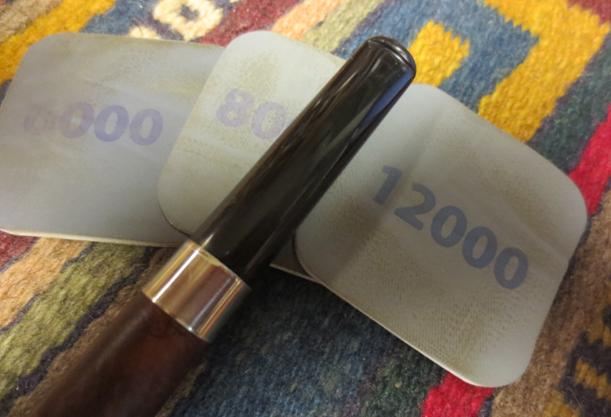
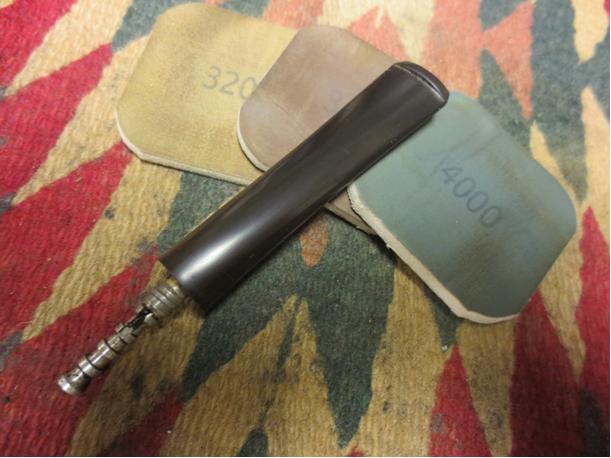
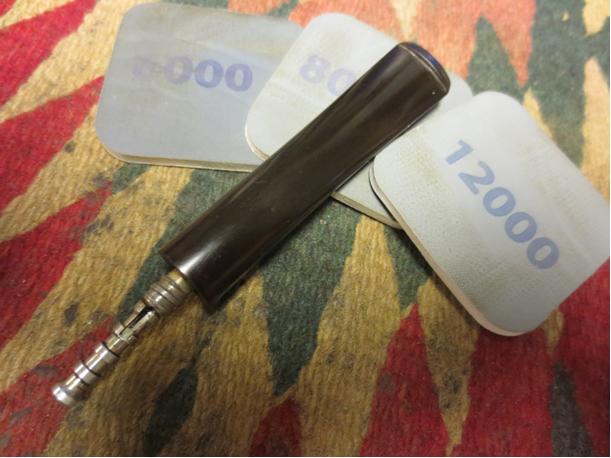
 Now it was time to polish the stem and work on the finish of the pipe. I worked on the stem with 220 grit sandpaper and a medium and fine grit sanding sponge to remove the grime and the oxidation on the stem. I don’t know what was on this stem but it was tacky, gummed up the sandpaper and was hard to clean. I wiped it down with alcohol and then repeated the sanding. I was able to remove the oxidation and the tooth chatter at the button. I sanded the stem with micromesh sanding pads – wet sanding with 1500-2400 grit pads and then giving the stem a coat of Obsidian Oil. I dry sanded with 3200-4000 grit pads and gave it another coat of oil. I finished with 6000-12000 grit pads and gave it a final coat of the oil. I let that dry.
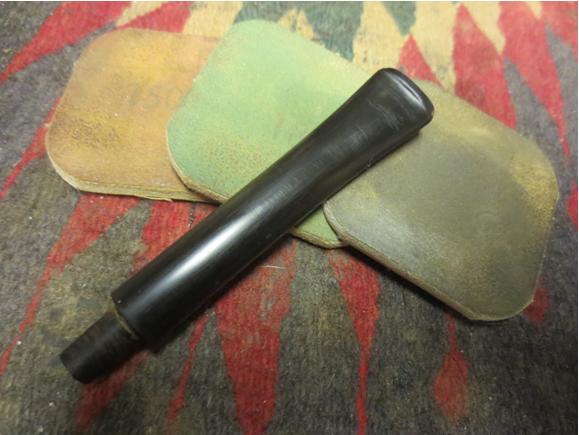

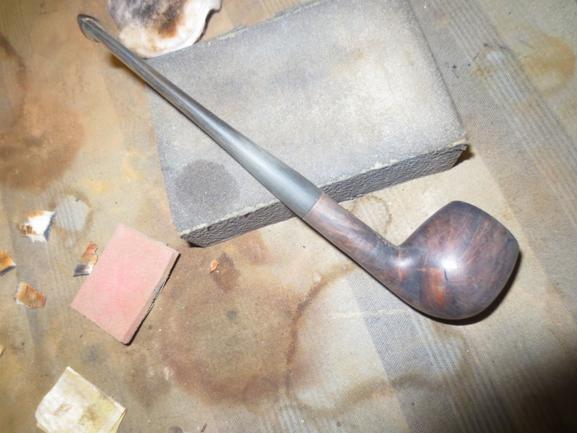
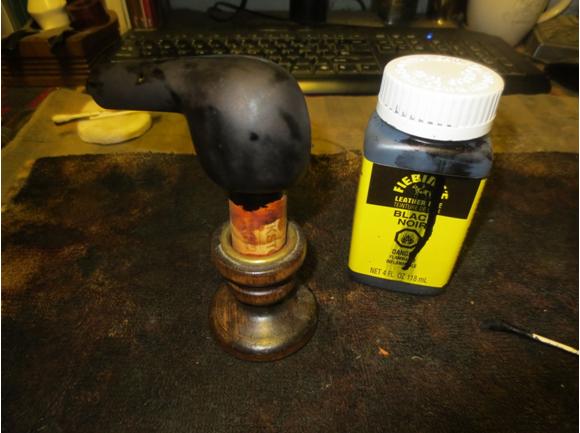
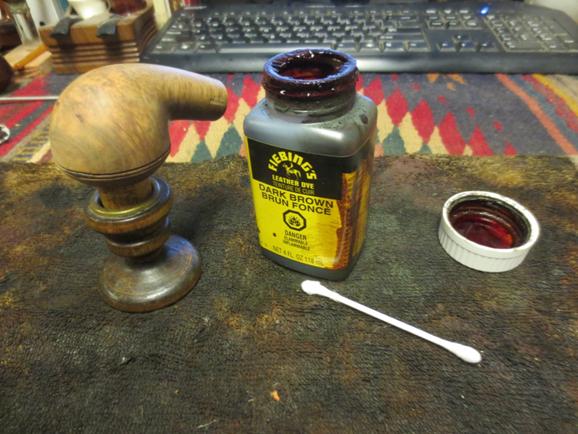
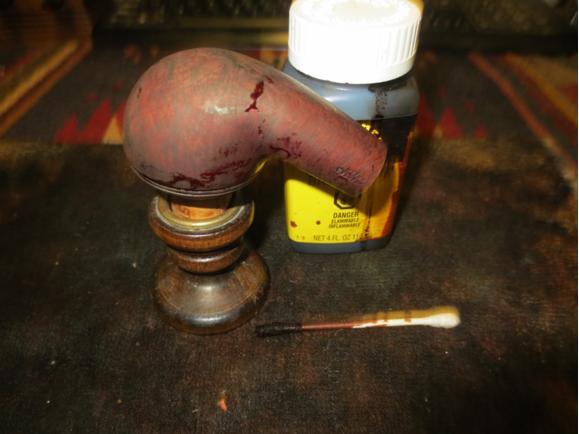
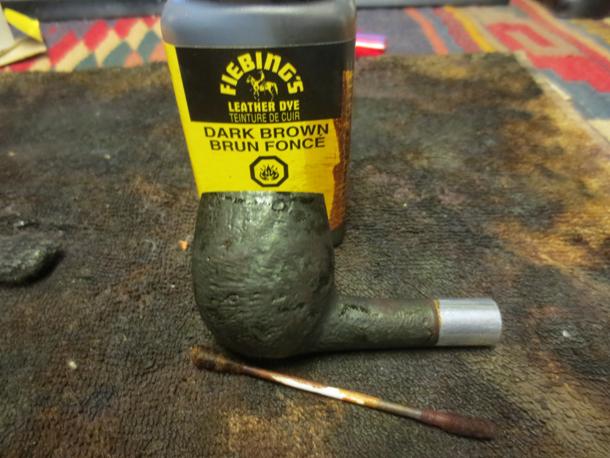
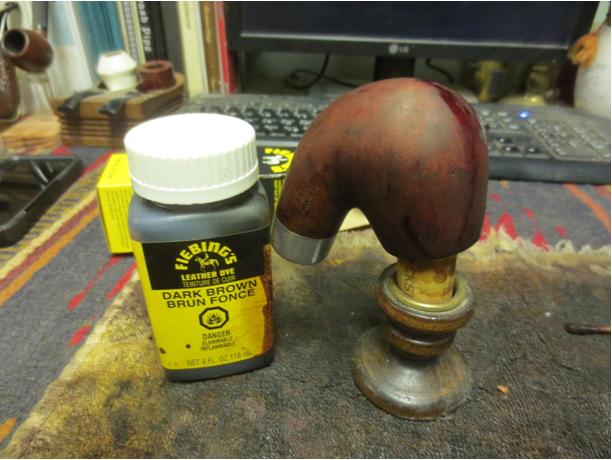
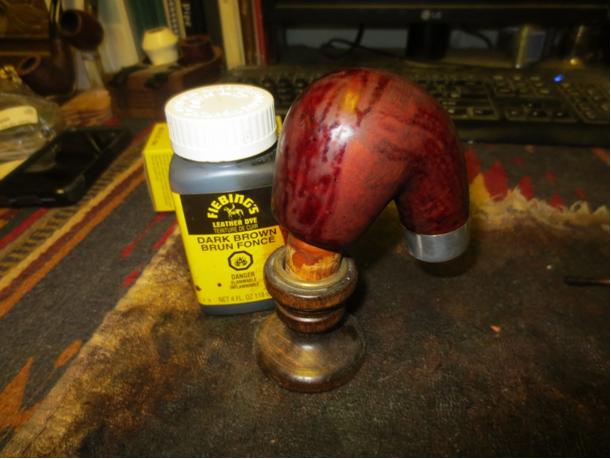
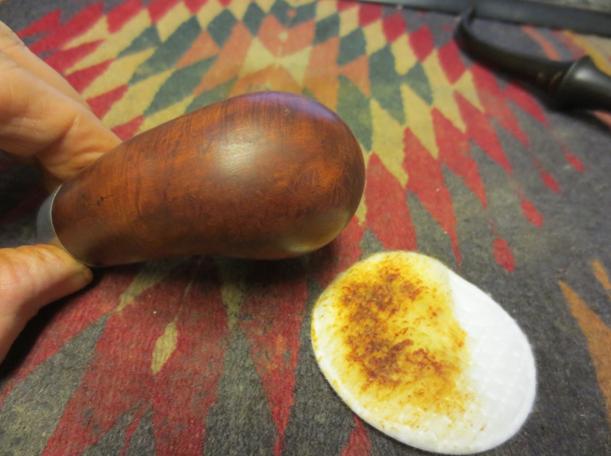
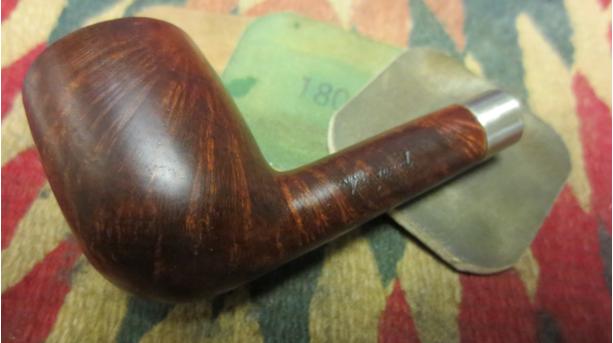
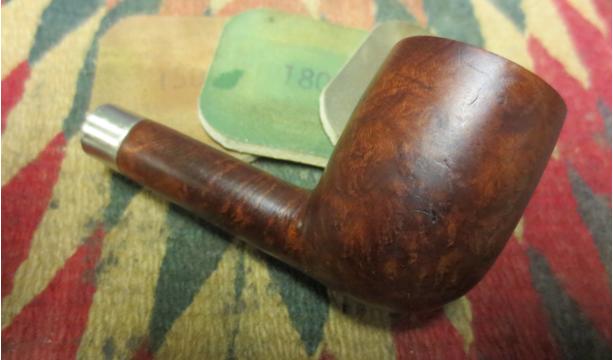
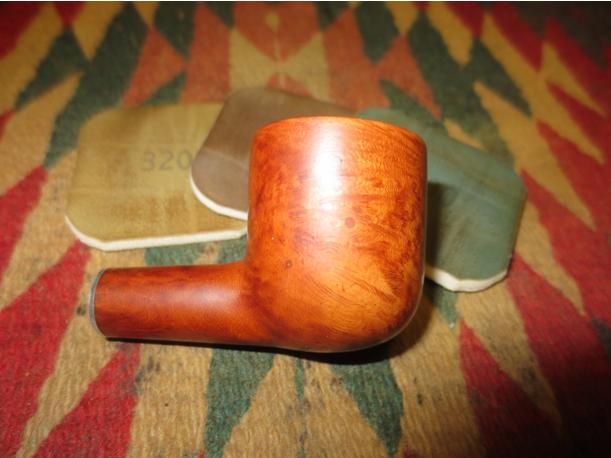
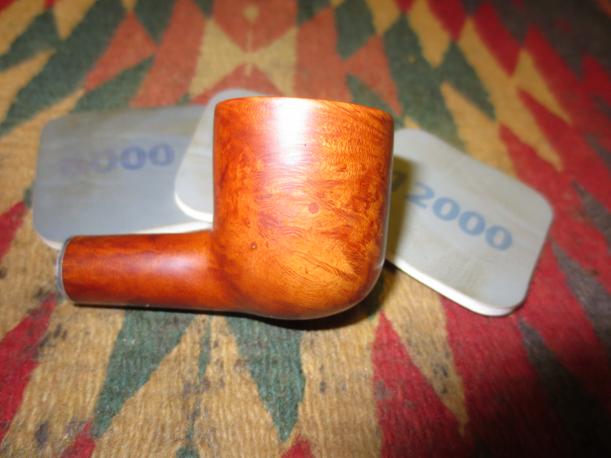
 I sanded the bowl with 1500-4000 grit micromesh to smooth out the sanding marks. I wiped the bowl down with a tack cloth and then gave it a coat of Cherry stain mixed with Danish Oil. I buffed it by hand and gave it a second coat. I set it aside to dry. Once it was dry I buffed it by hand with a soft microfibre cloth.
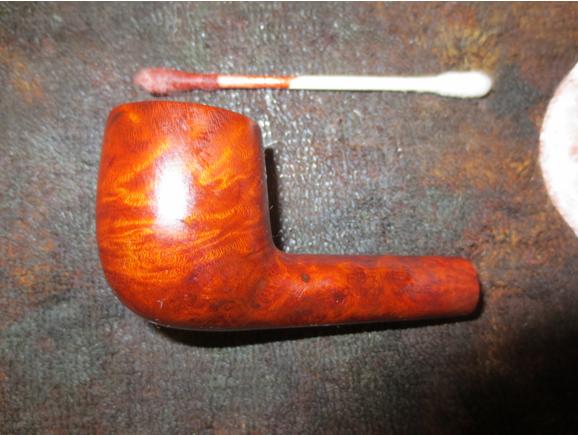

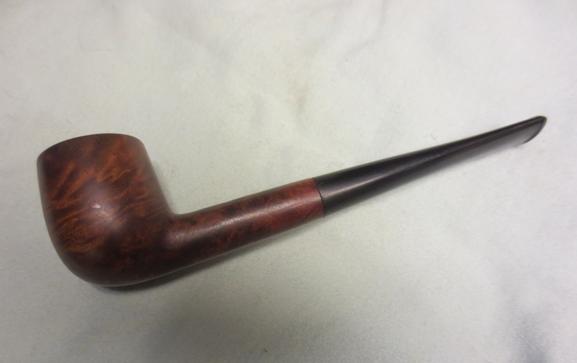
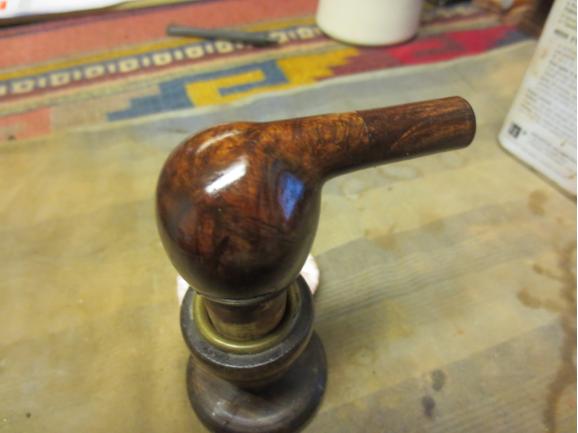
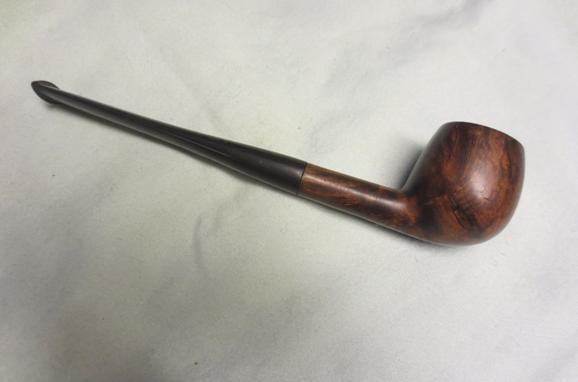
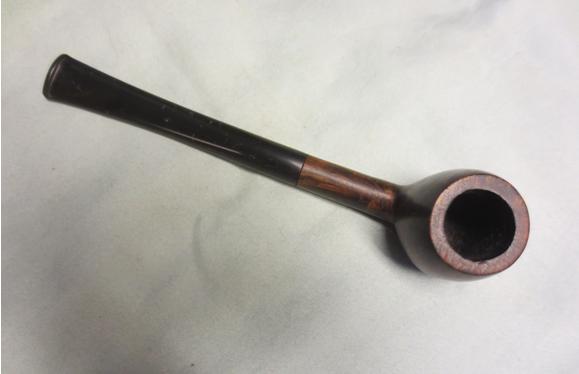
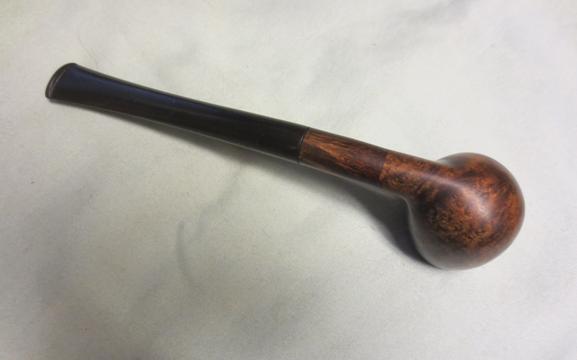
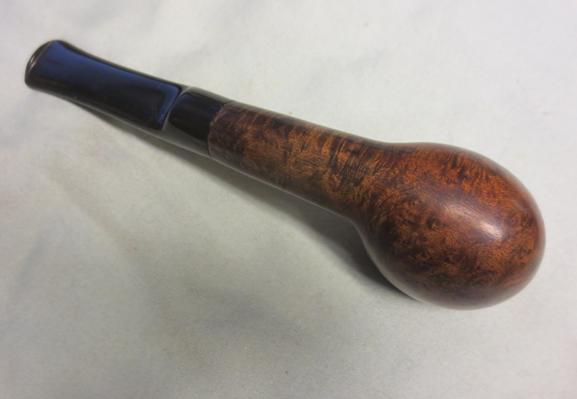
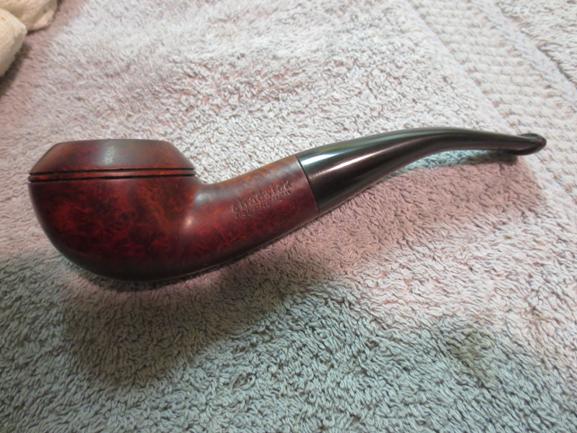
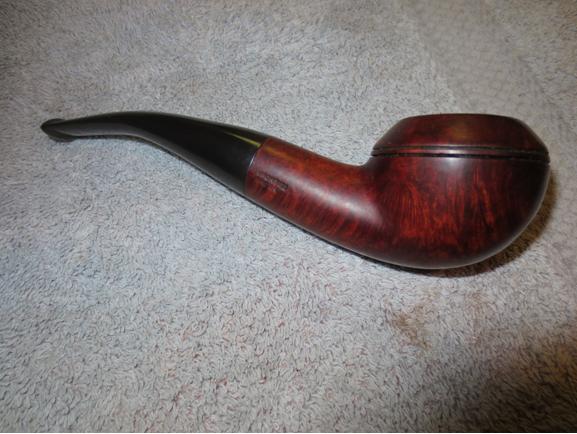
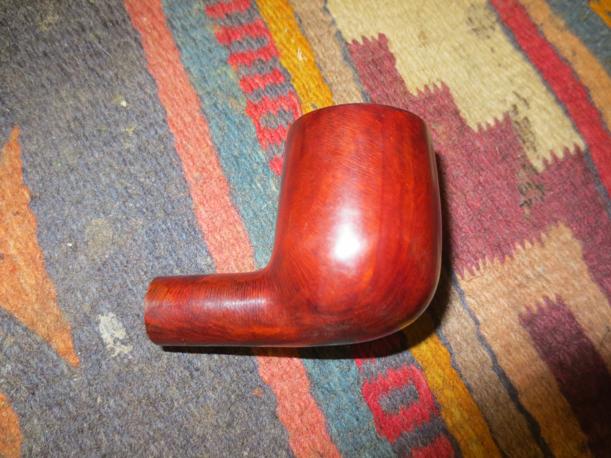
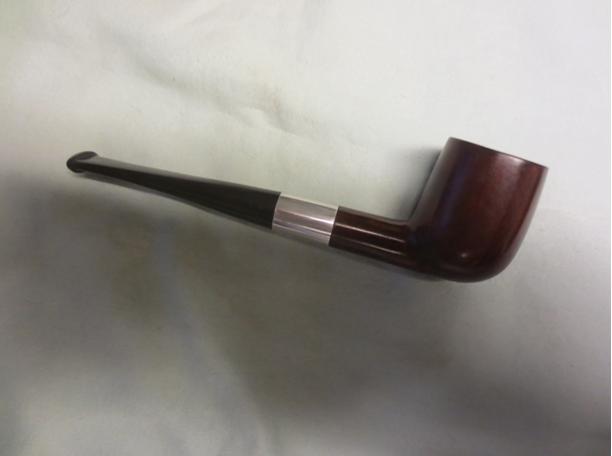
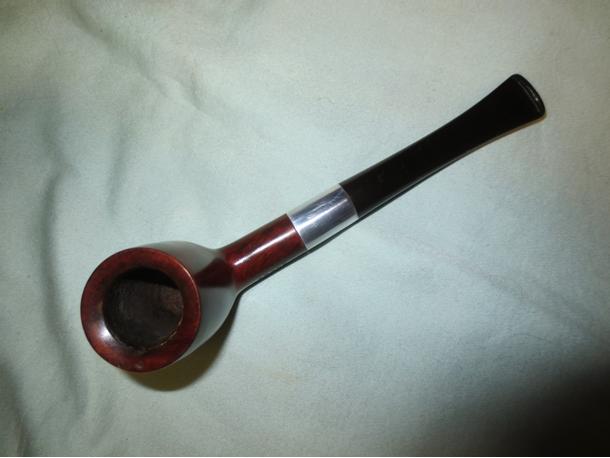
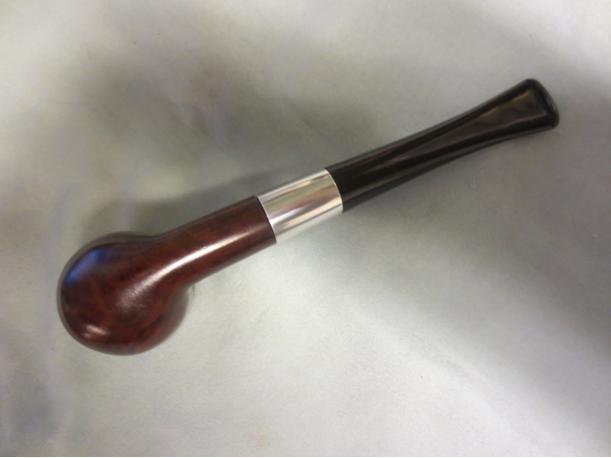
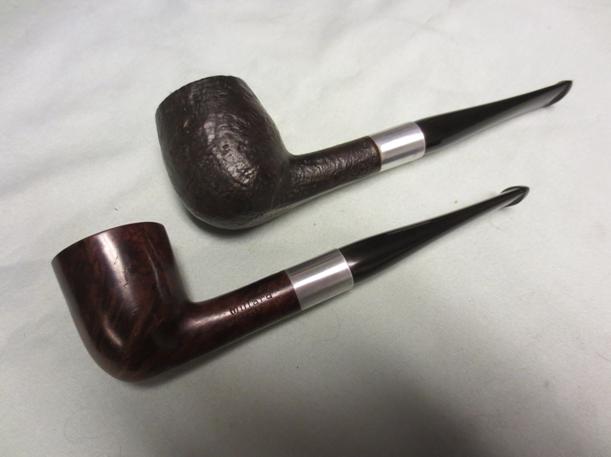
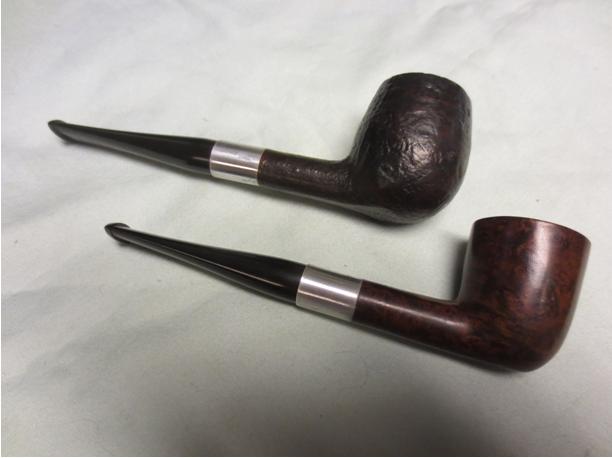
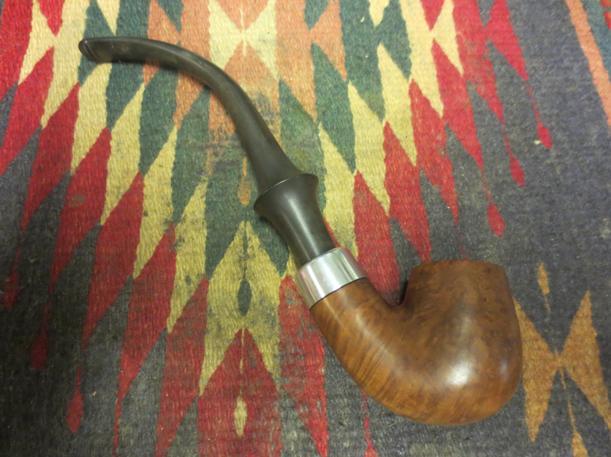
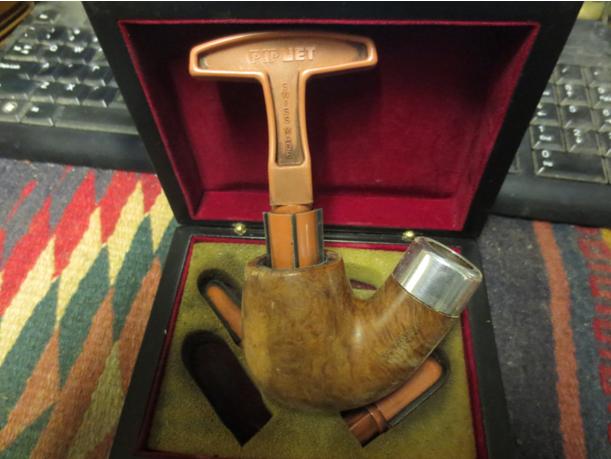
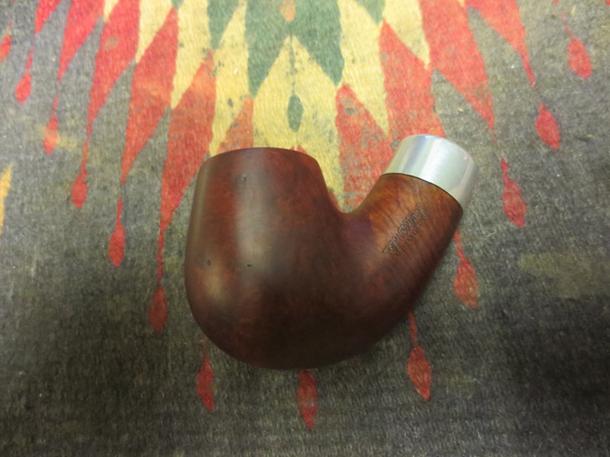
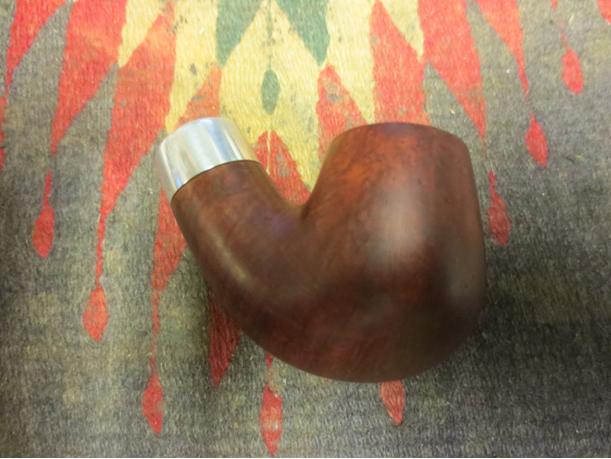
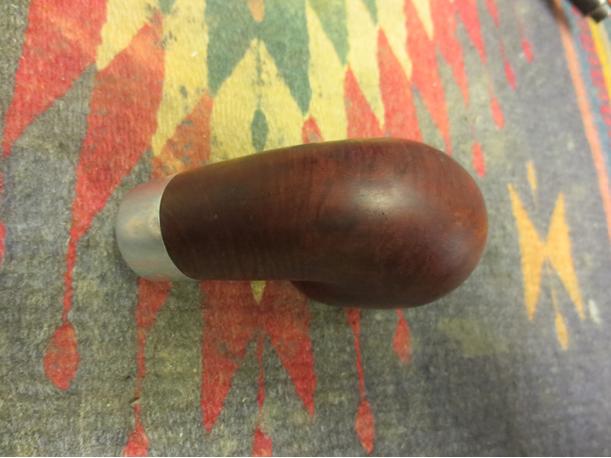
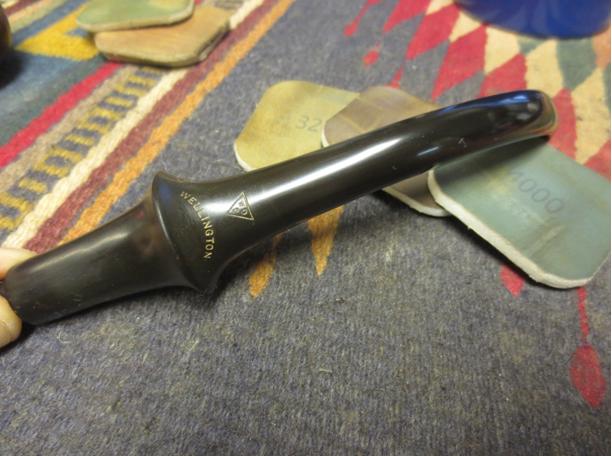
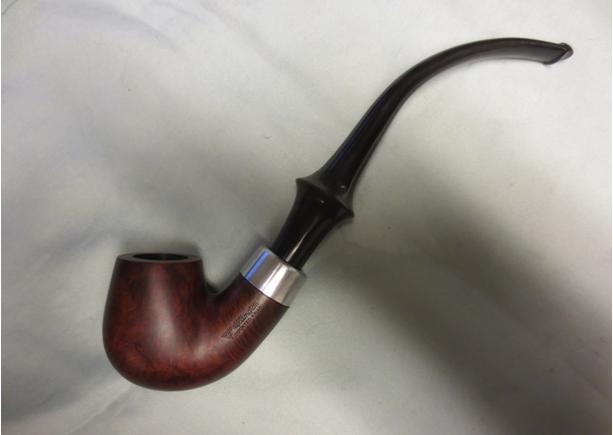
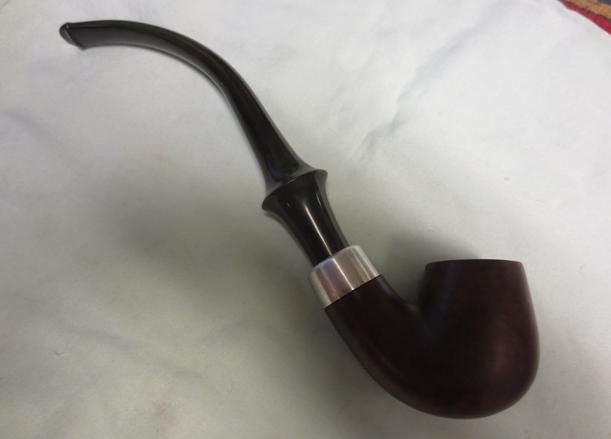
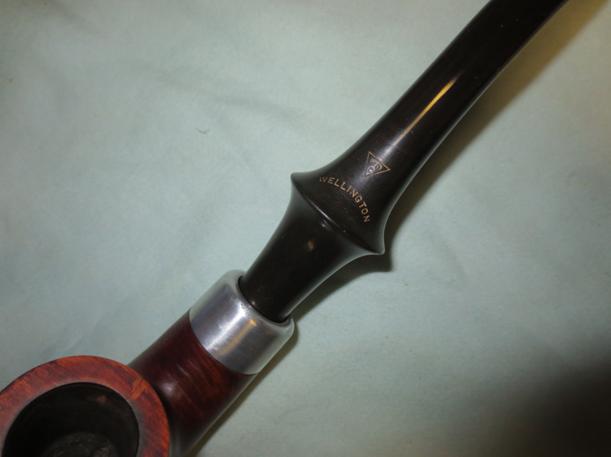
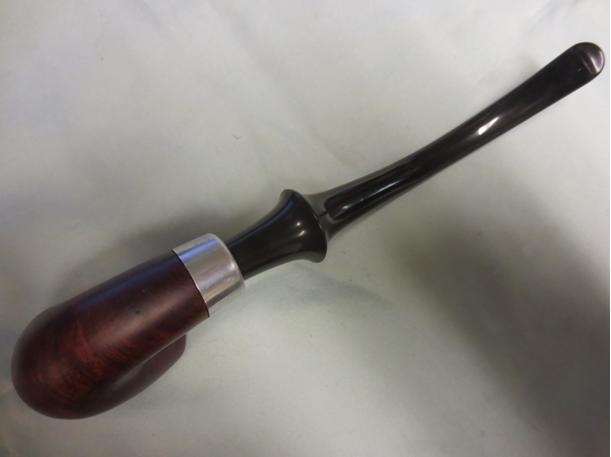
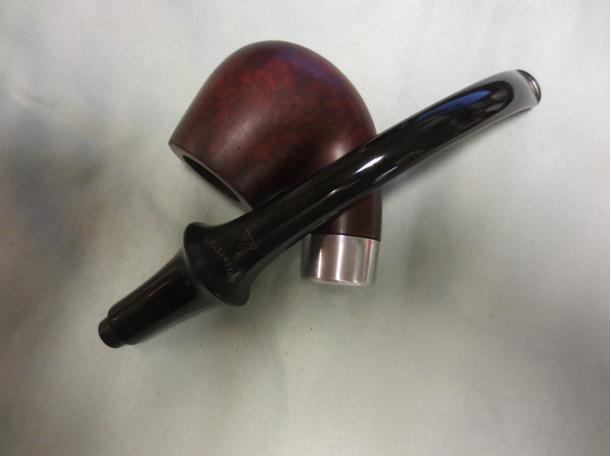
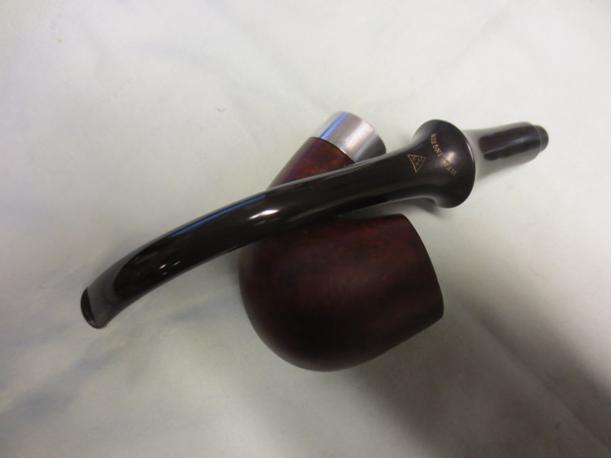
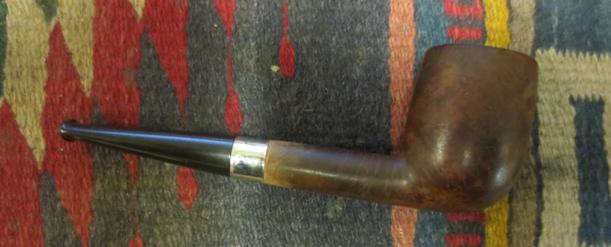
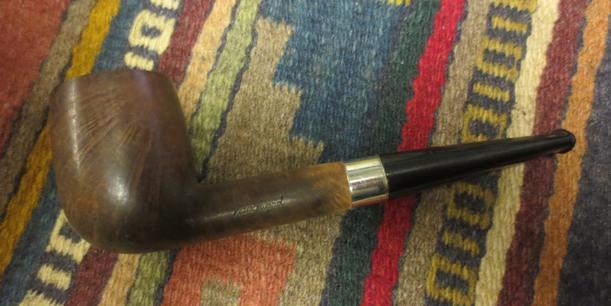
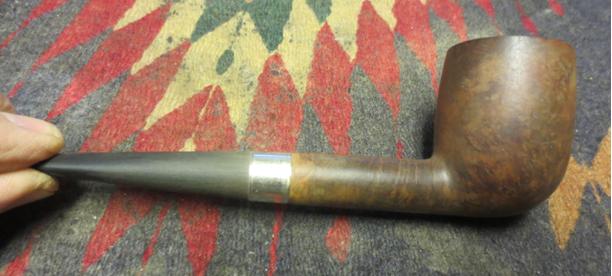
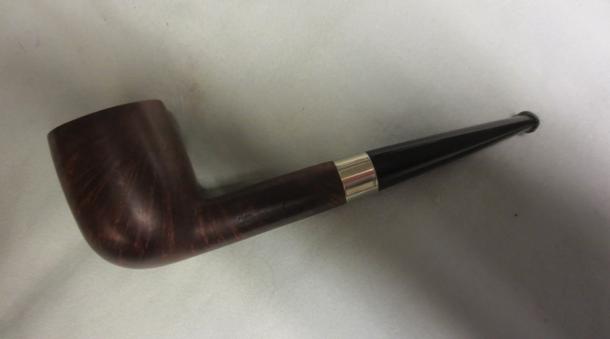
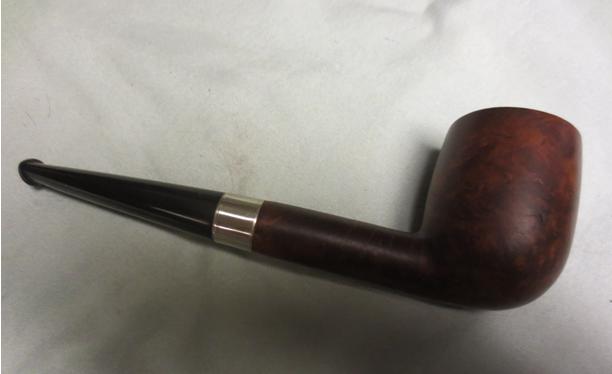
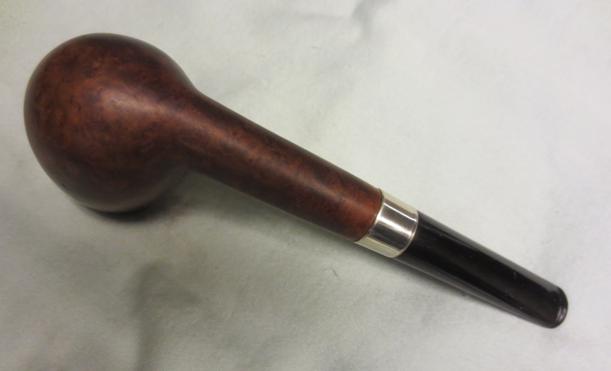
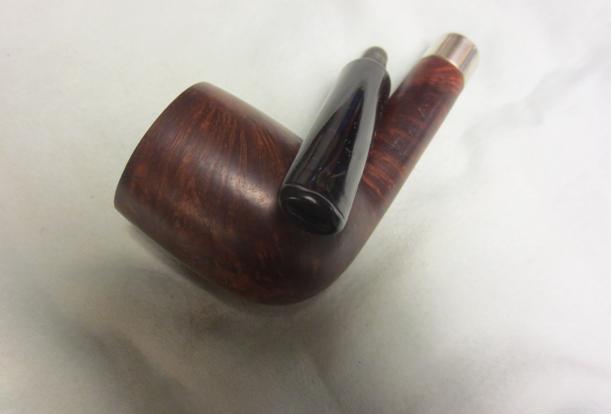
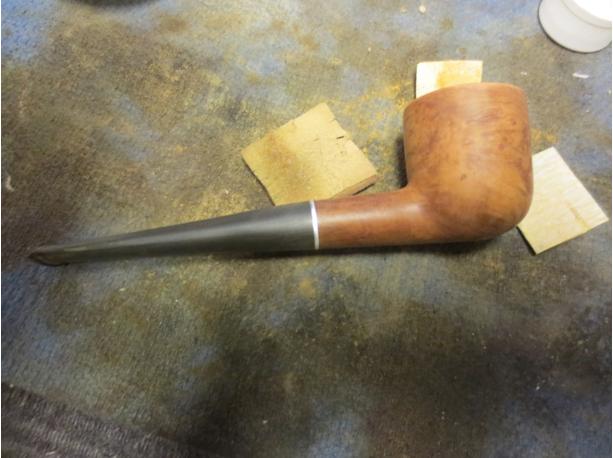
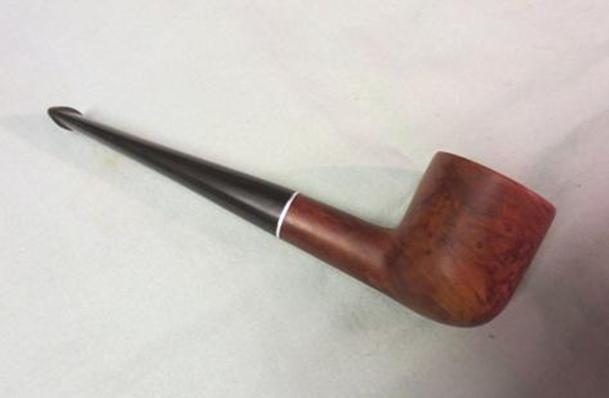
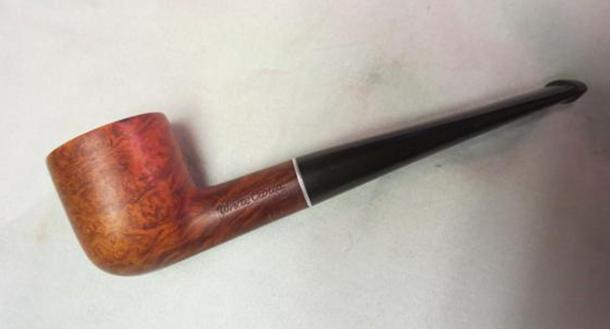
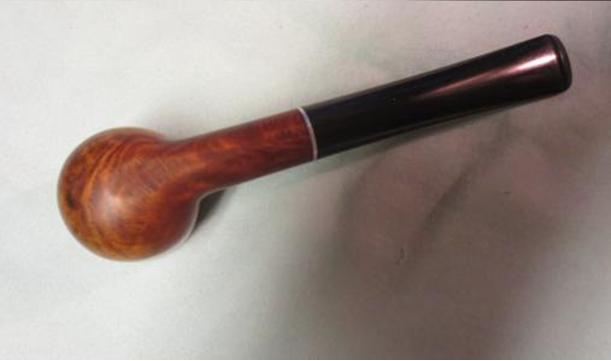
 I put the stem on the pipe and then buffed the stem and bowl with Blue Diamond on the wheel and then gave the bowl and stem several coats of carnauba wax. I buffed it with a clean flannel buff to raise the shine. I hand buffed it with a microfibre cloth to give a deeper shine to the pipe. The finished pipe is shown in the photos below.The cherry stain brings out the grain and at the same time hides the repairs. While the pipe will never win any contests for beauty or perfection that must have once accompanied the PREMIER it is nonetheless fully functional and should deliver the next pipe man who owns a decent smoke at a decent price. Thanks for looking.