by Steve Laug
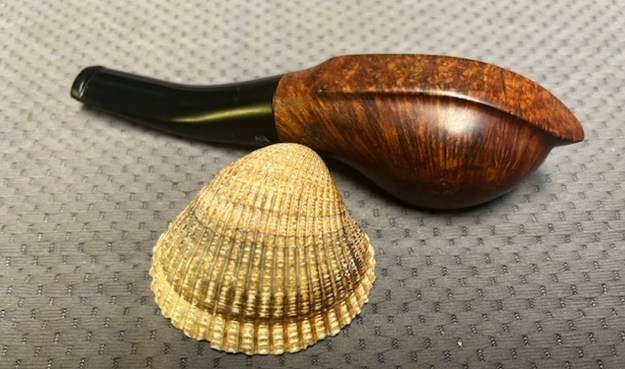
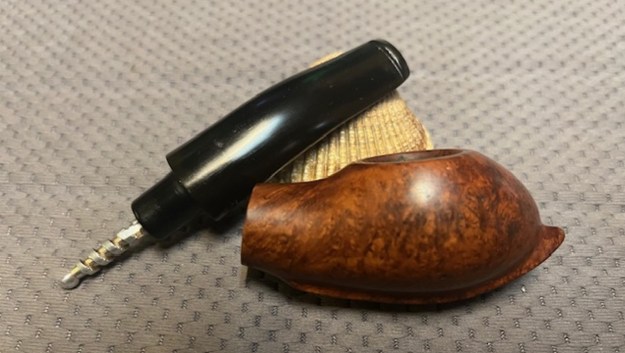
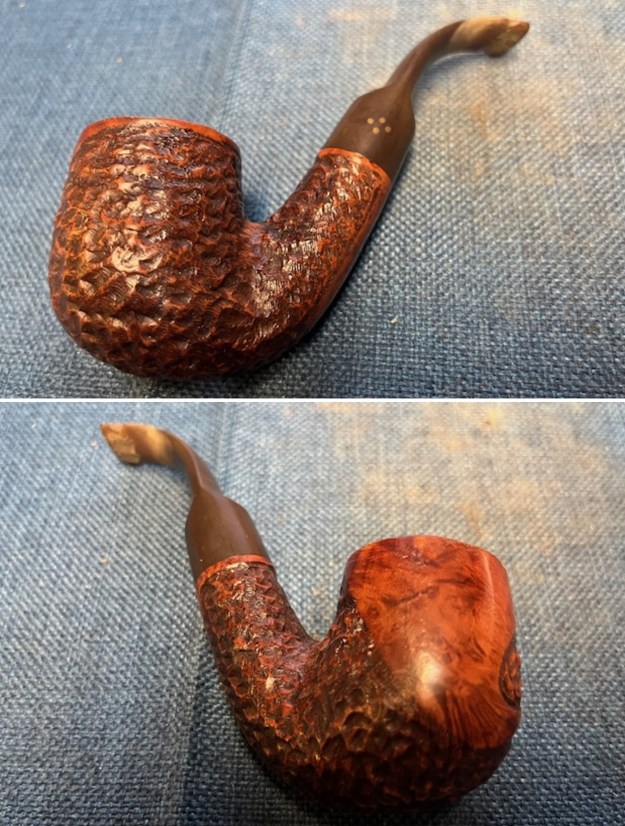
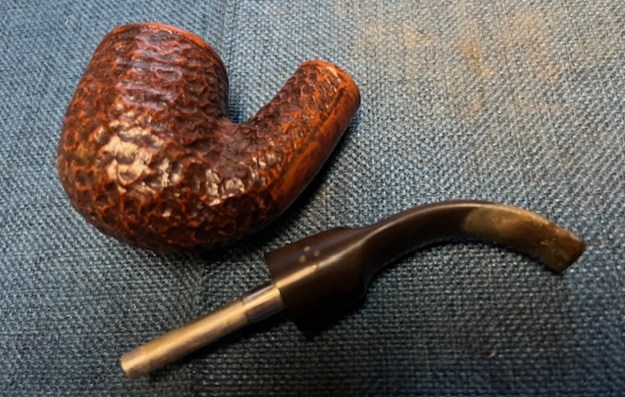
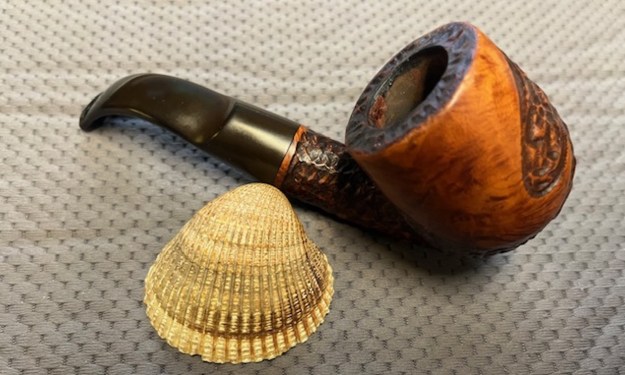
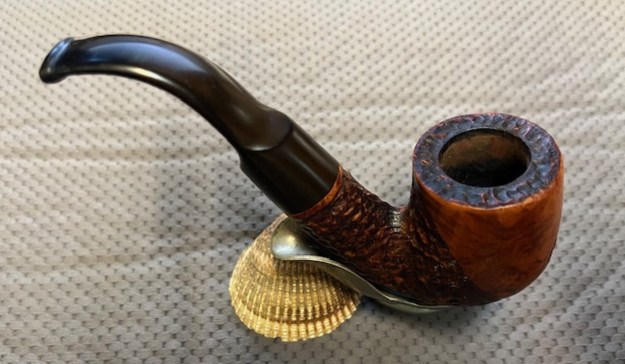
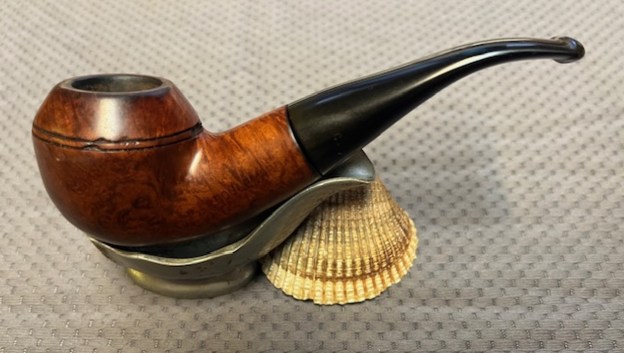
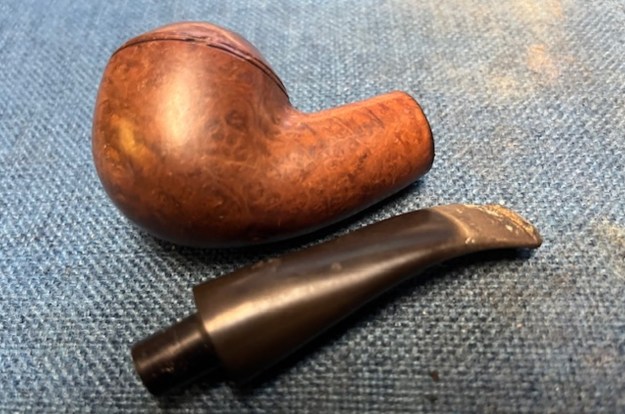
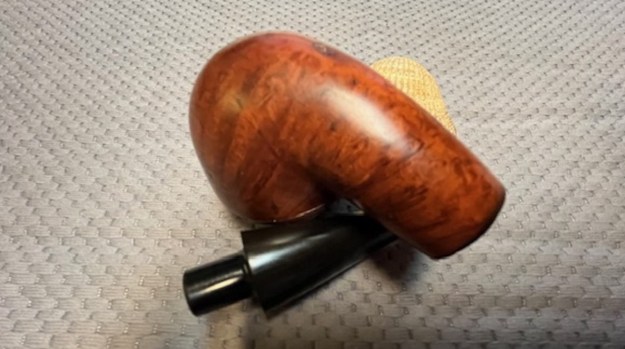
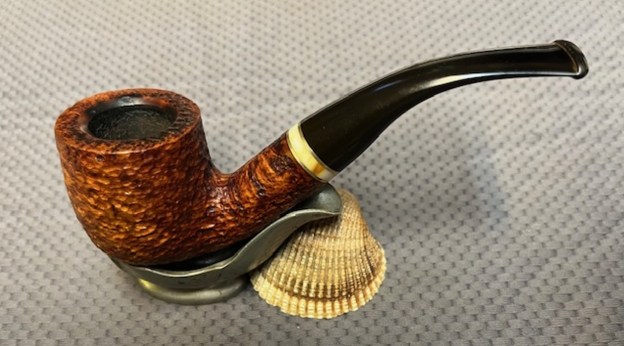
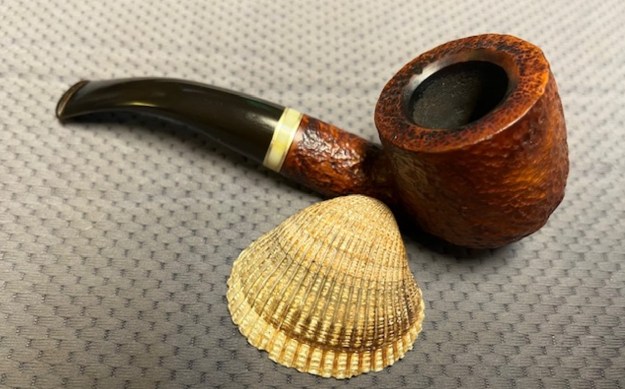
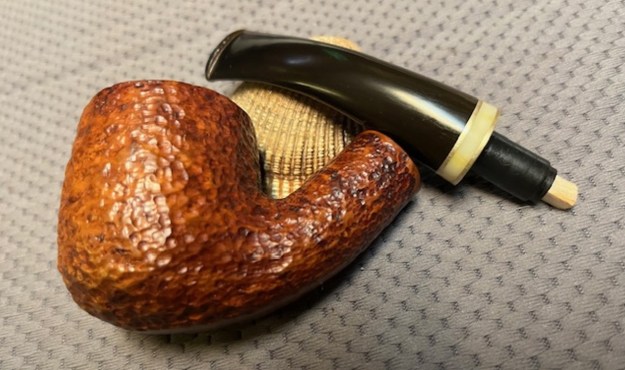
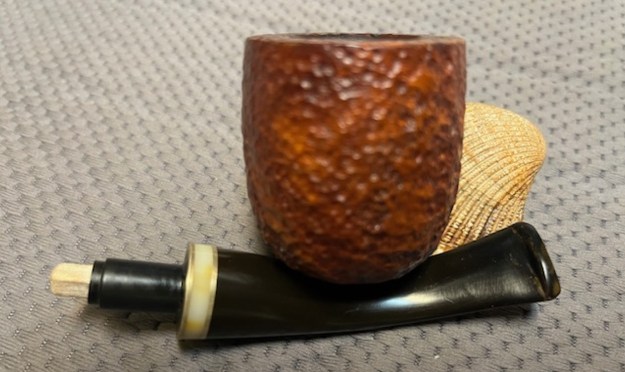
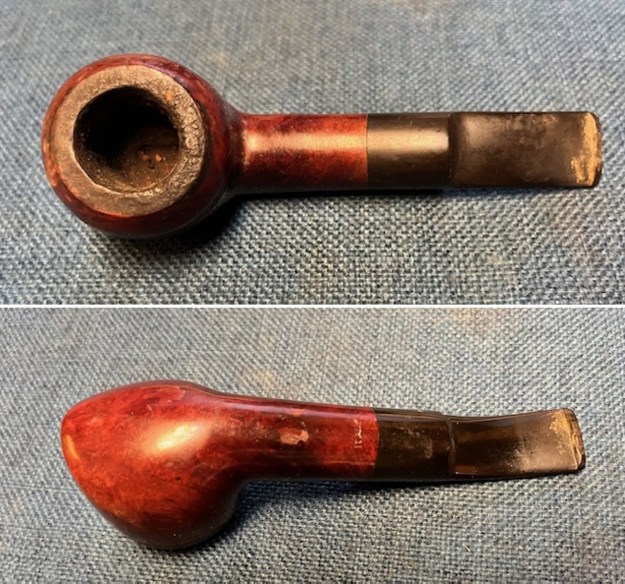
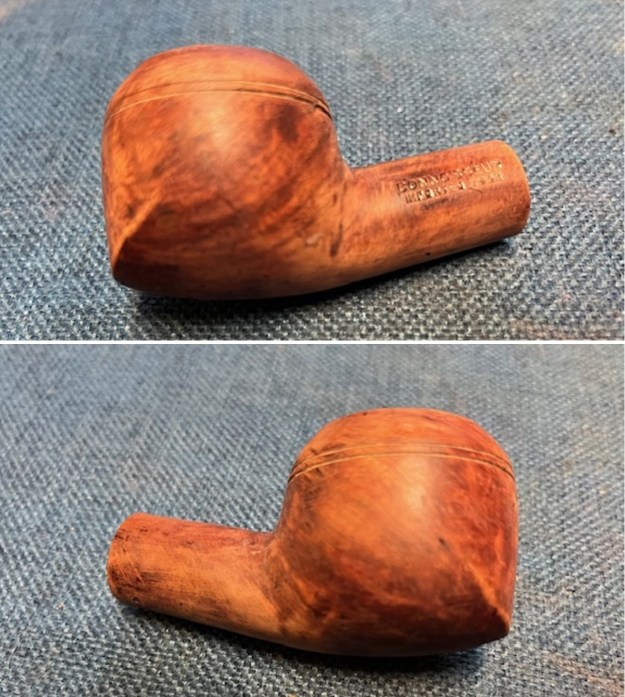
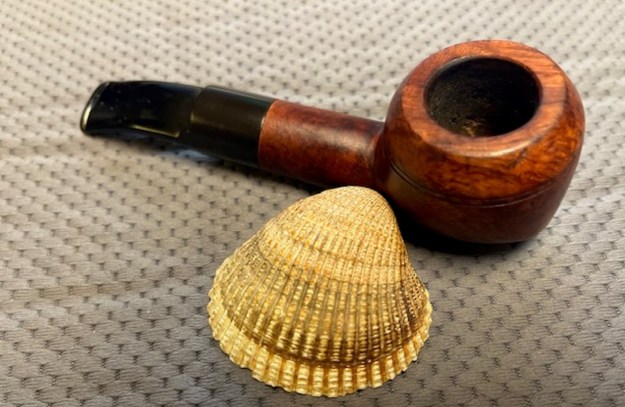
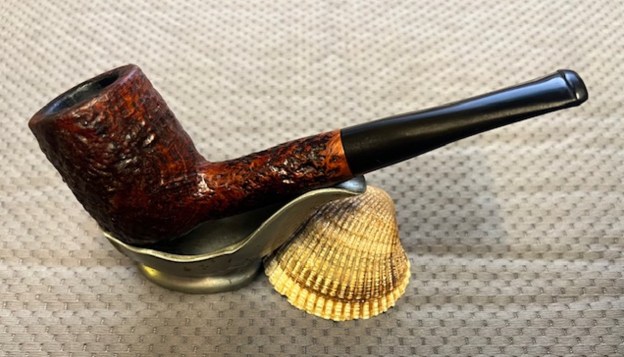
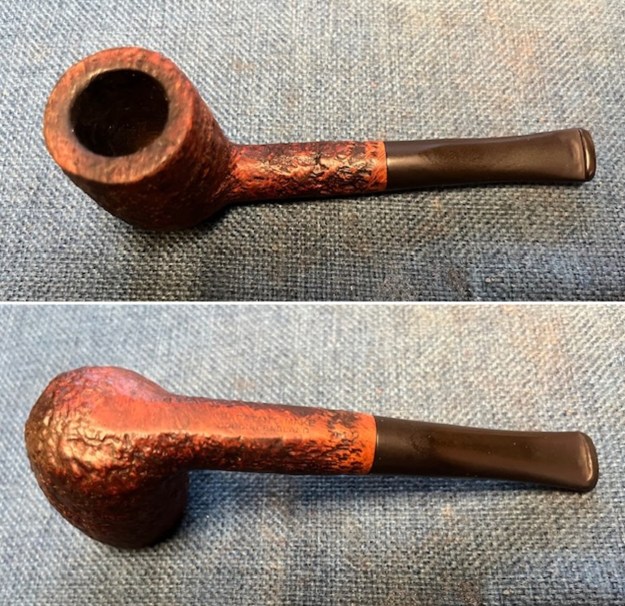
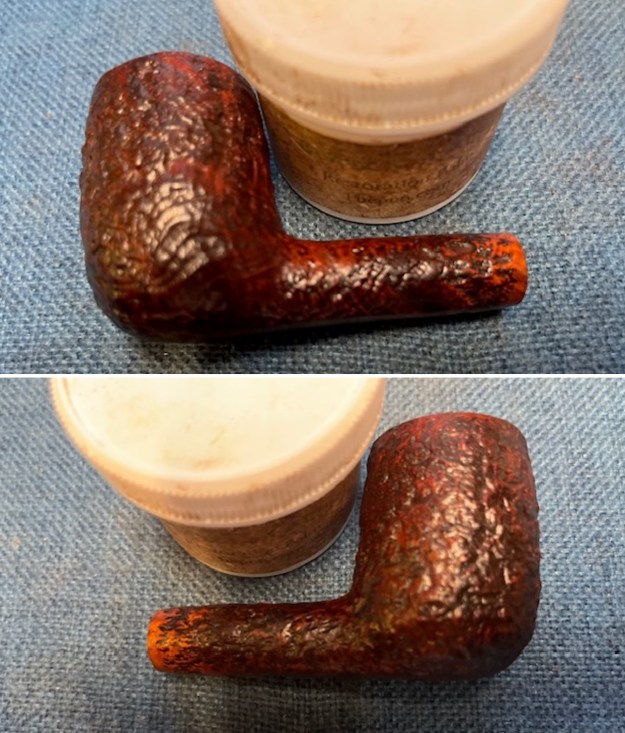
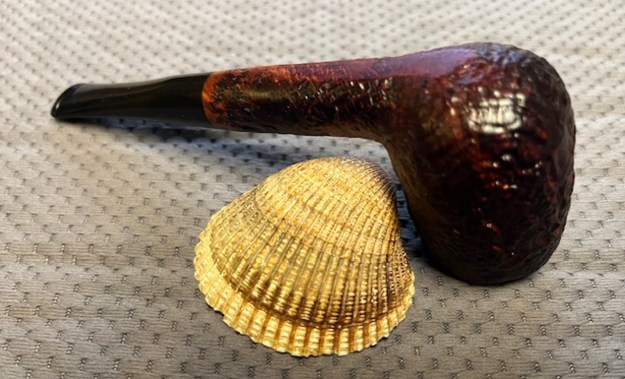
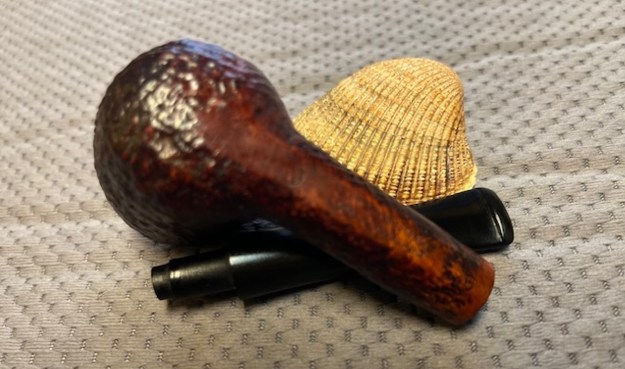
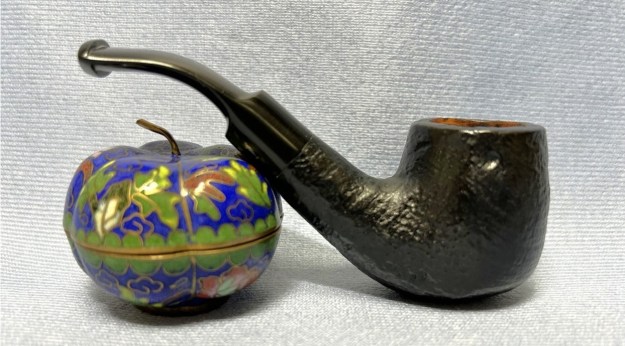
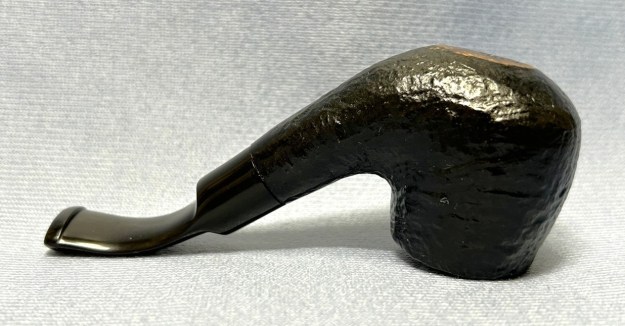
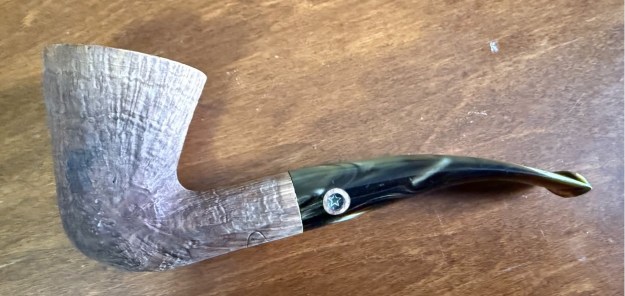
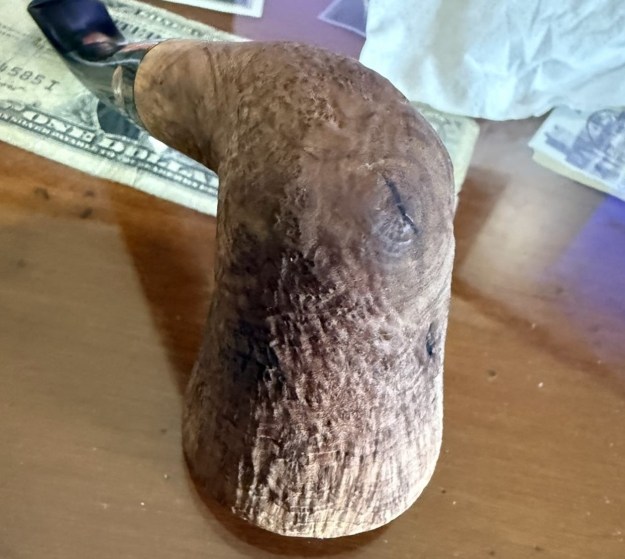
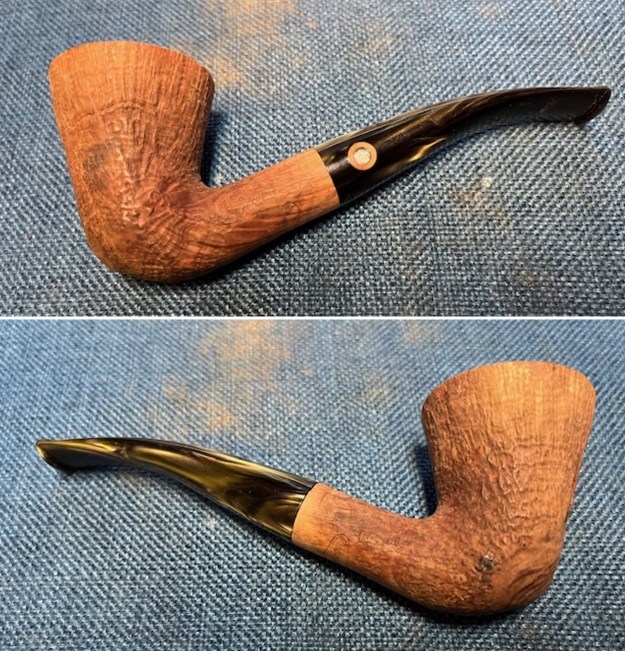
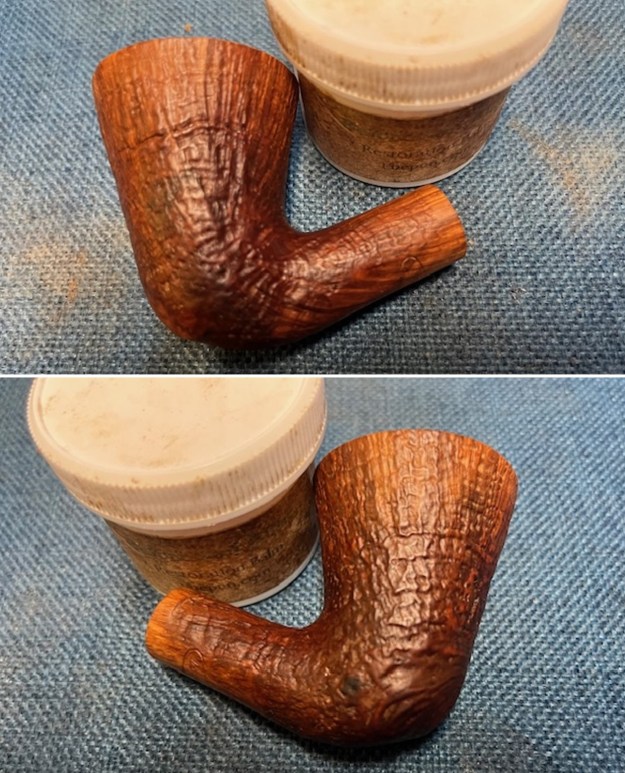
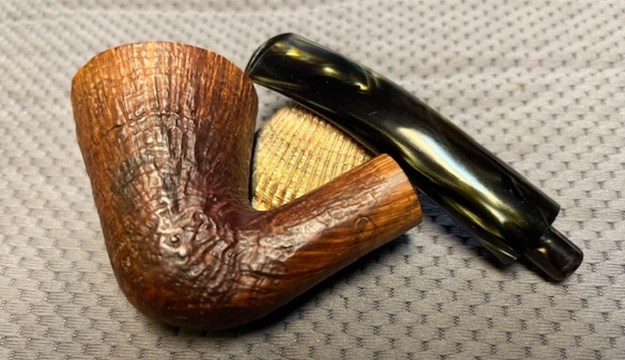
The next pipe on the table is one that has always interested me. Jeff called it a Slug and we purchased it on 07/27/2019 from a seller in Wilkes Barre, Pennsylvania, USA. The stamping on the left side of the pipe reads Genuine French Briar at an angle on the short shank. On the underside at the stem shank union it is stamped Made in France. It is clear and readable. The hard rubber stem has a crown stamped on the left side of the taper. The finish on the pipe did not have a shiny varnish coat but it was very dirty and had oils ground into the bowl sides. There were a lot of nicks and scratches in the briar. The rim was darkened and hard to tell whether it was burned or just tarry. The bowl was nicked and out of round but it also had a cake that would need to be reamed out before addressing the out of round inner wall of the rim. The hard rubber stem had nicks and gouges on both side that looked liked someone had used pliers to try to remove it. There was light tooth chatter on the top and underside ahead of the button, however, it was clean and sharp as was the slot in the in the end of the button. Jeff took some photos of the pipe before he started his clean up work on it. You can see what I have pointed out above in the photos.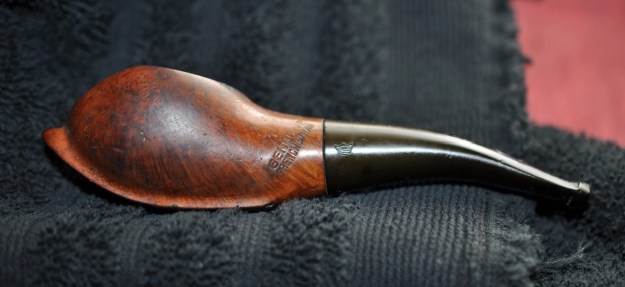
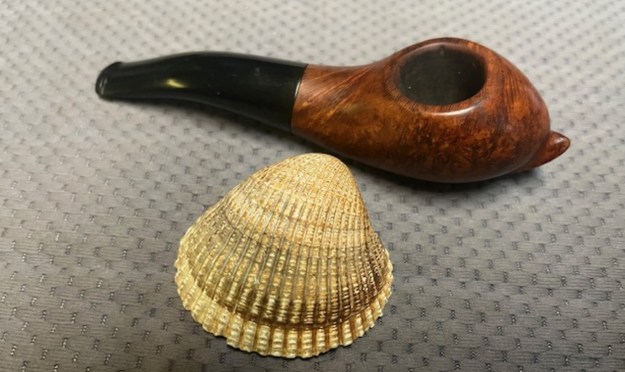
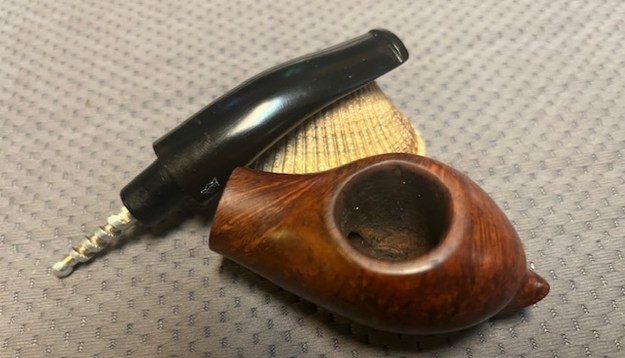
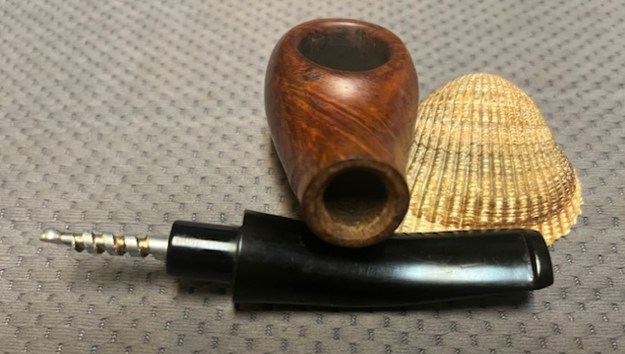
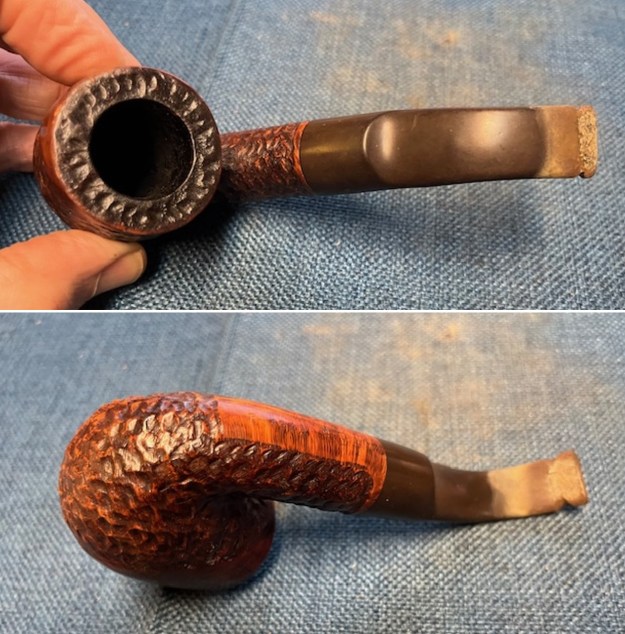
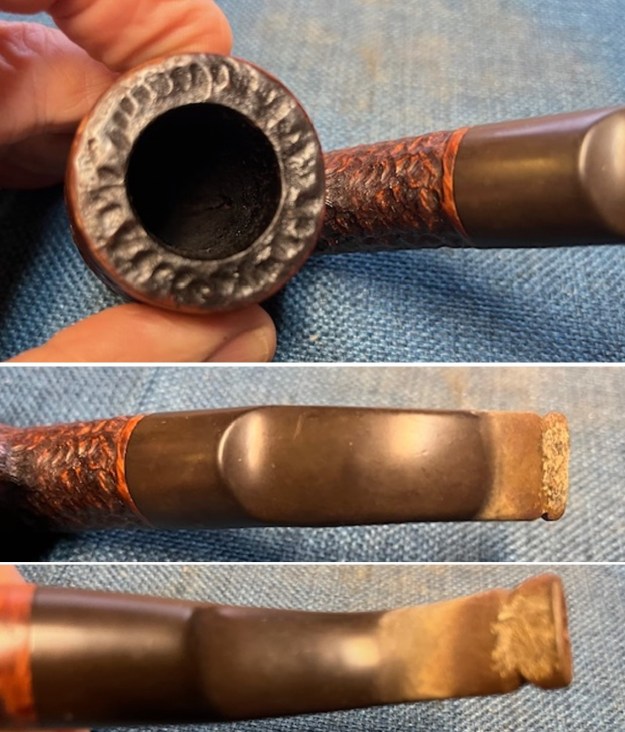
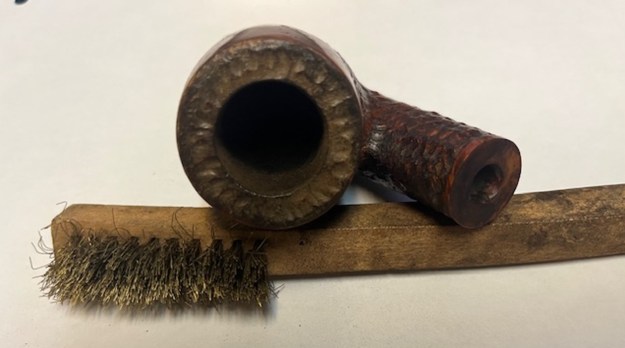
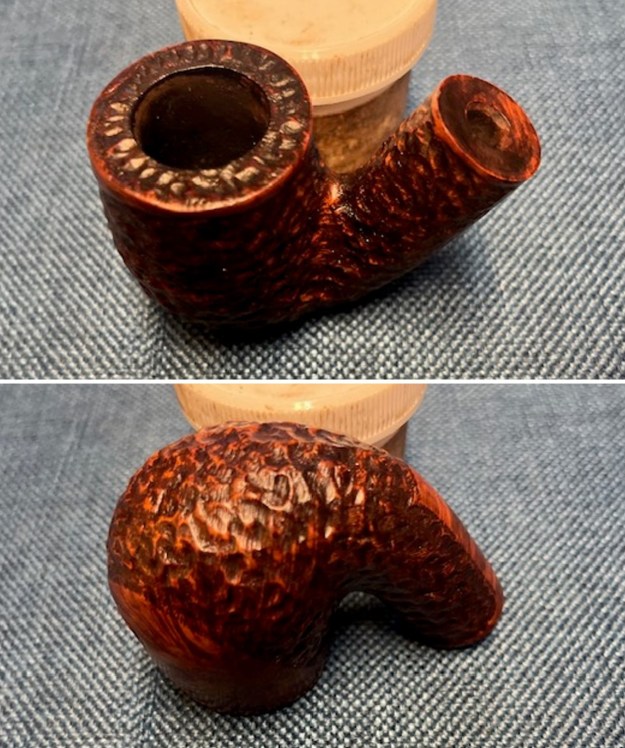
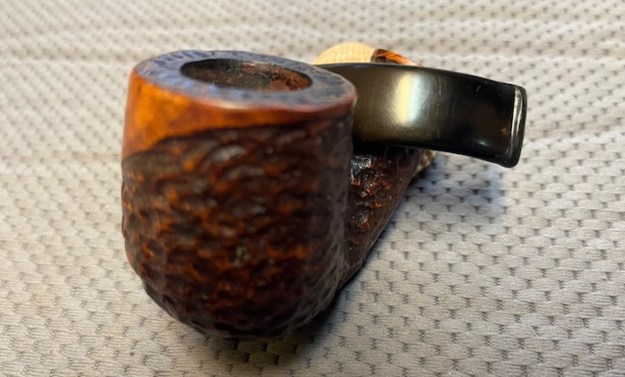
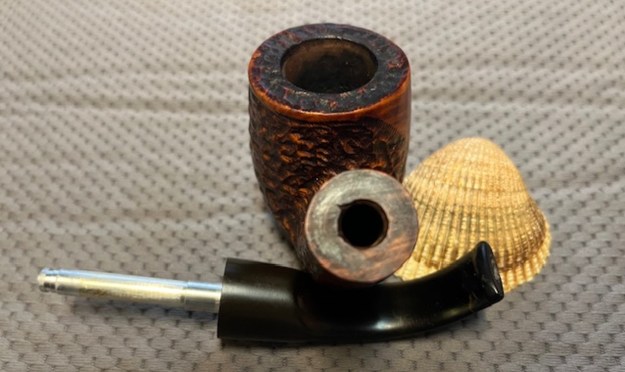
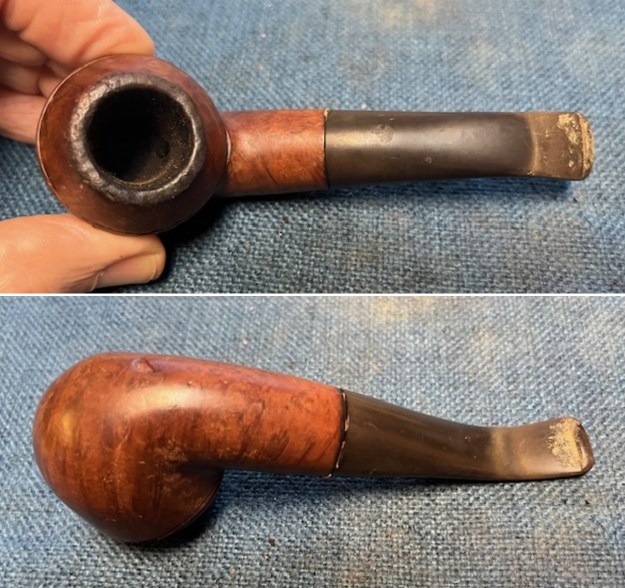
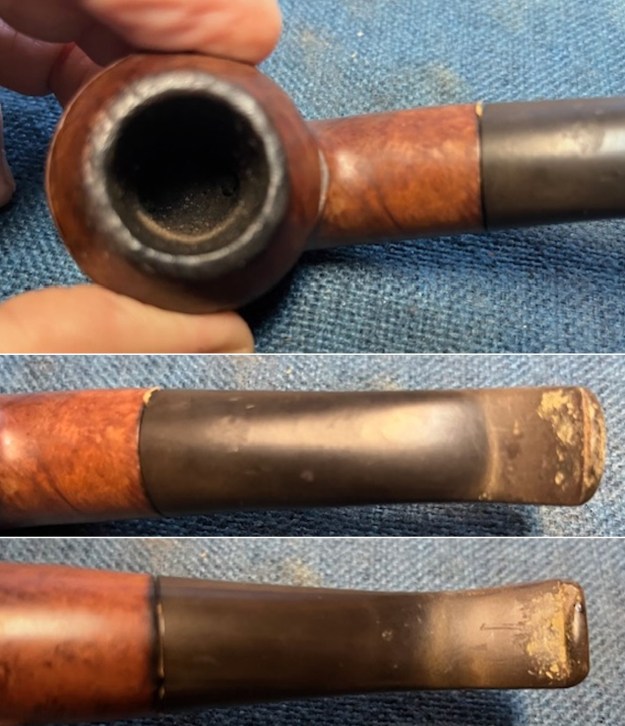
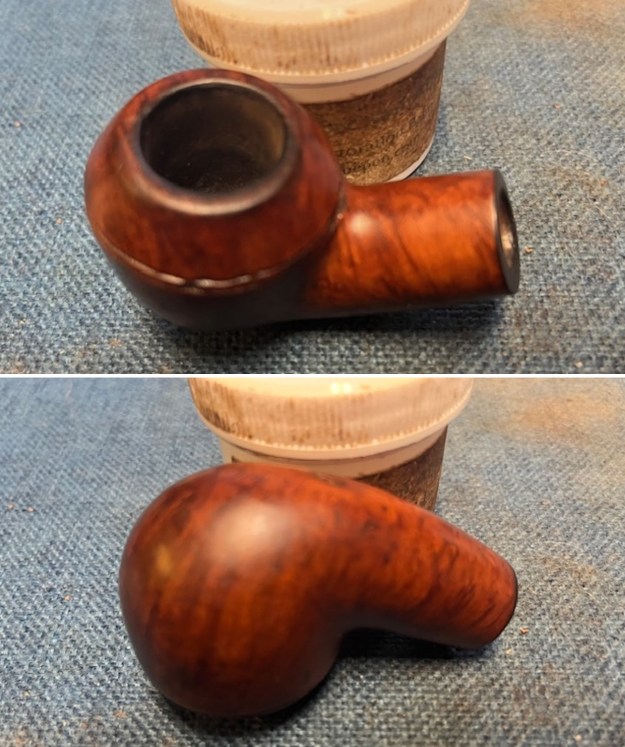
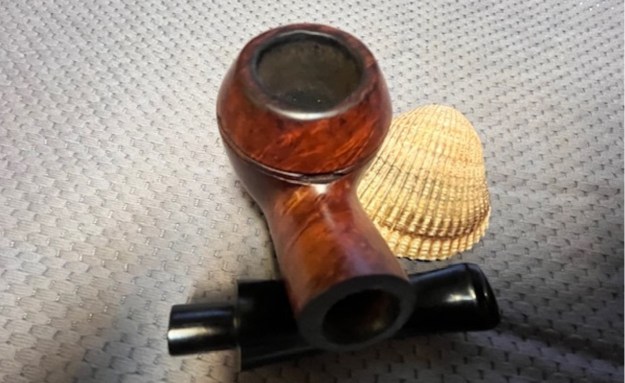
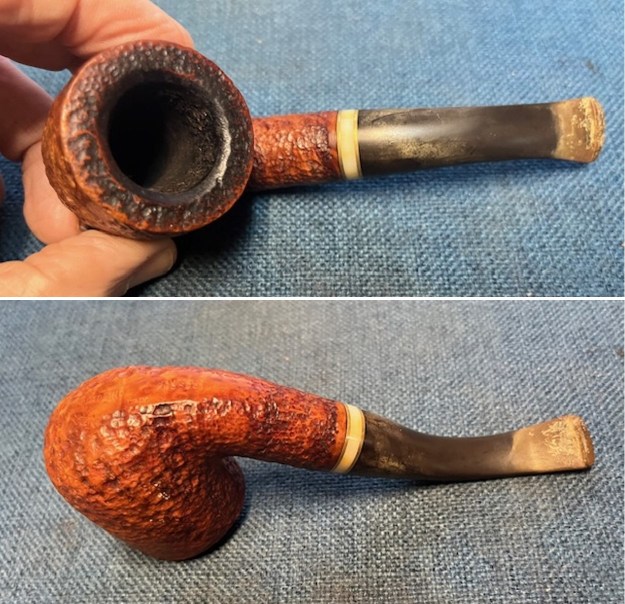
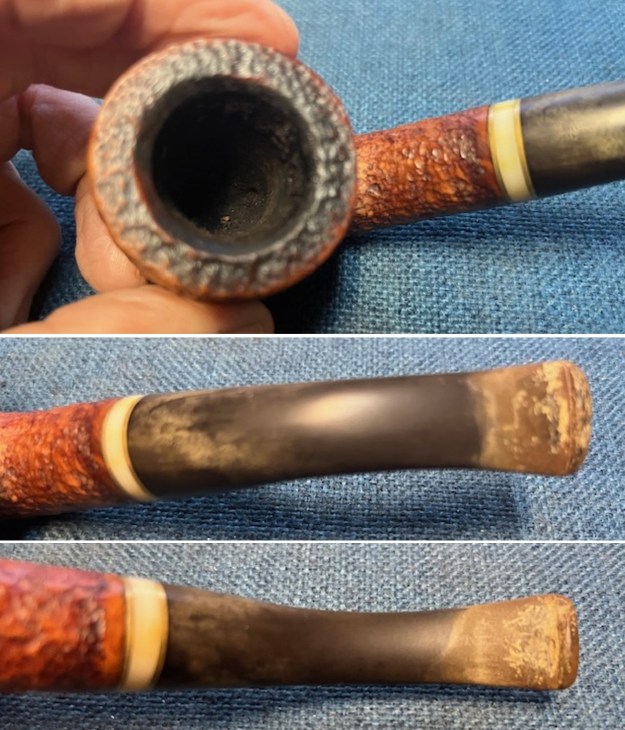
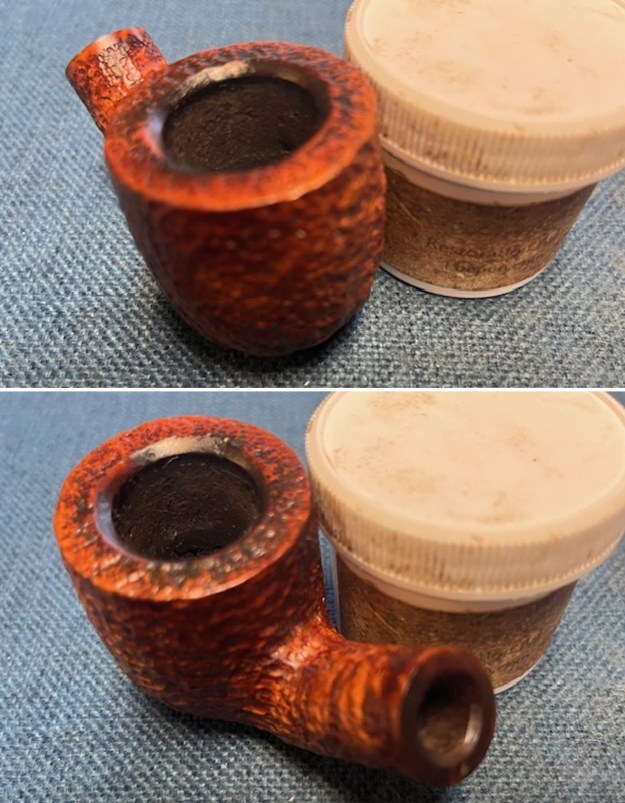
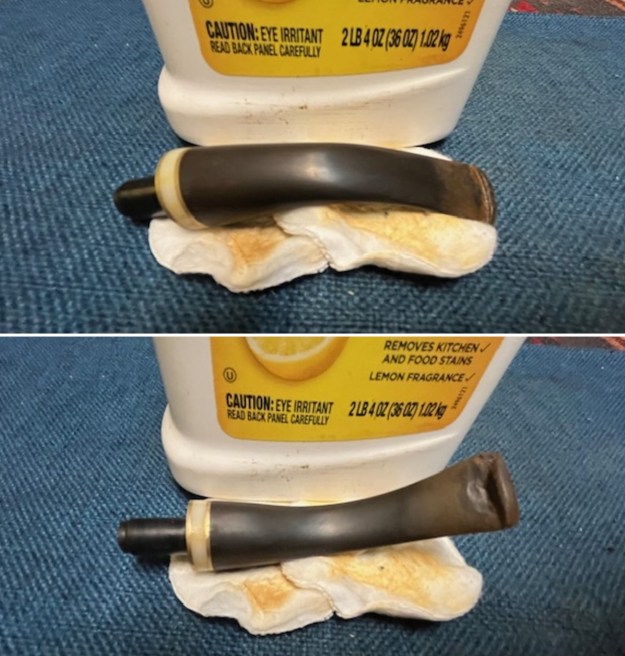
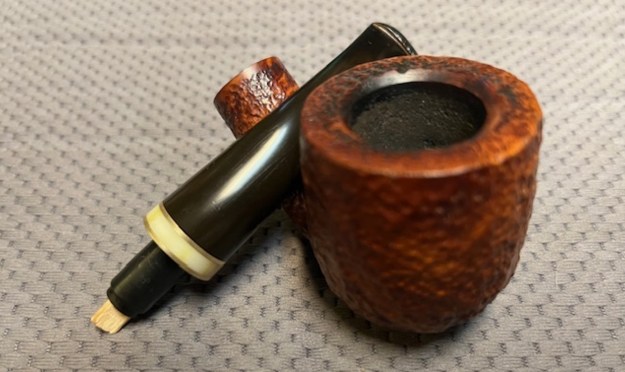
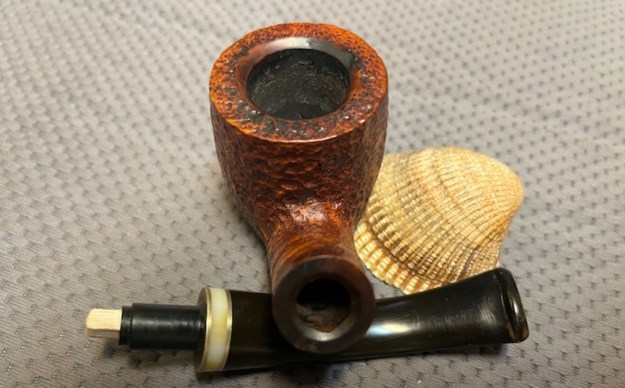
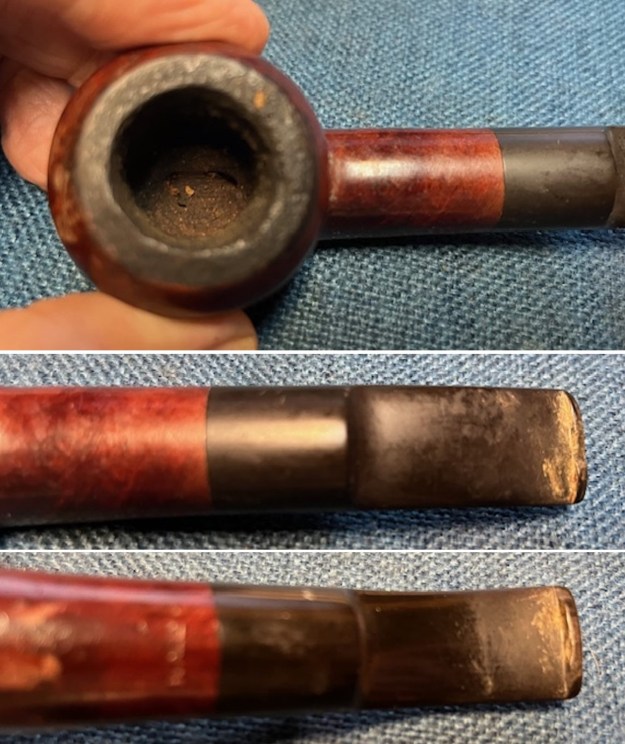
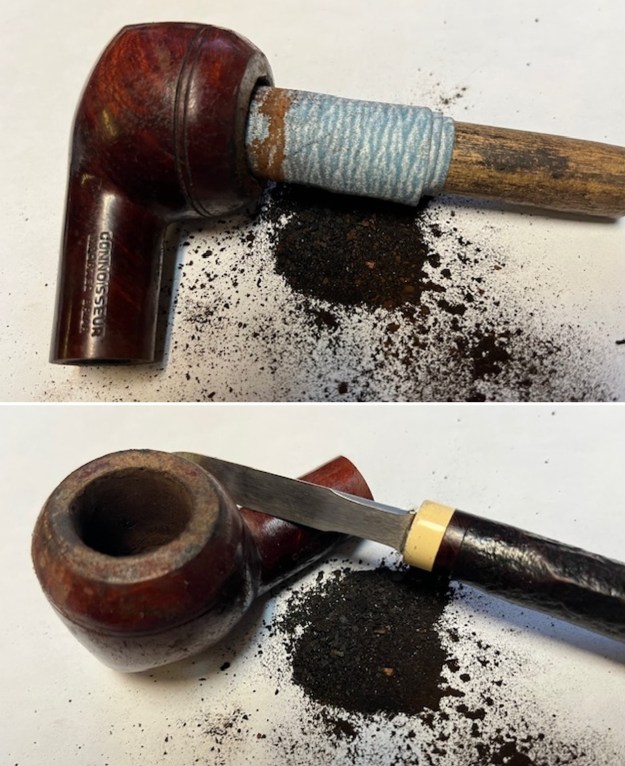
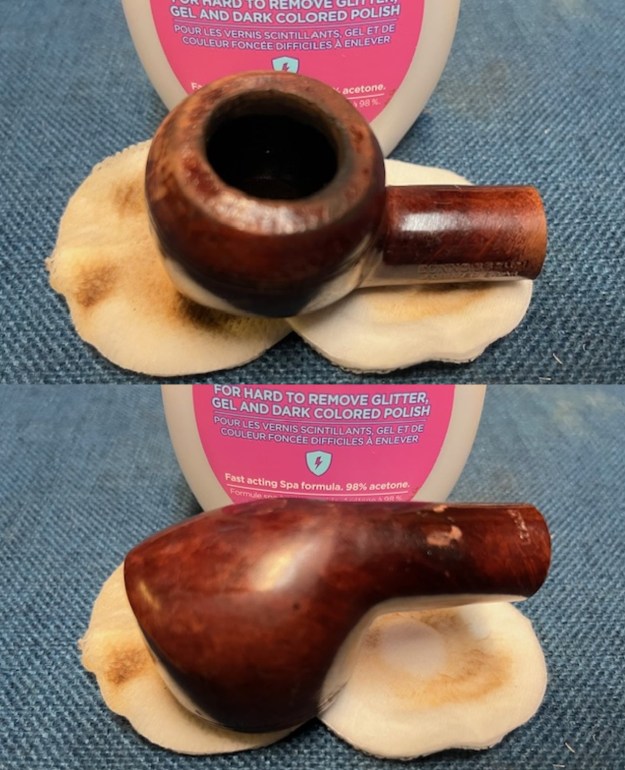
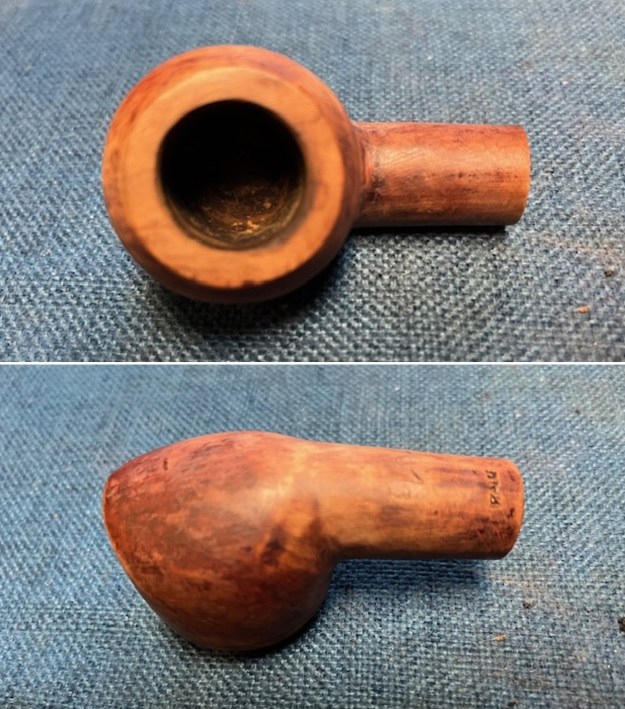
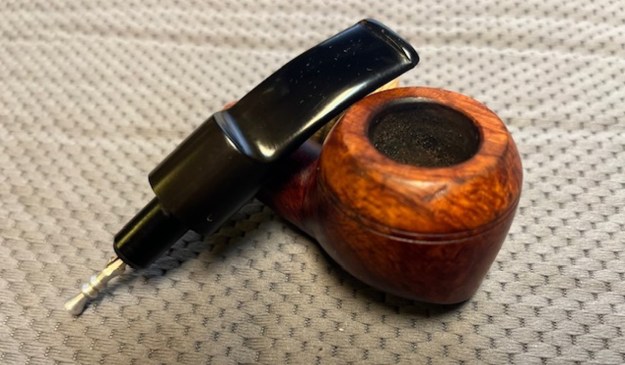
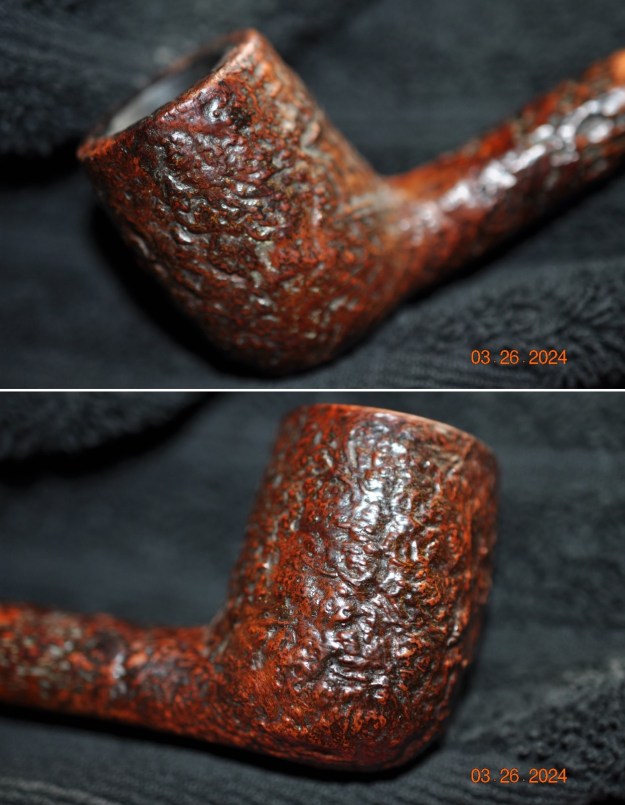
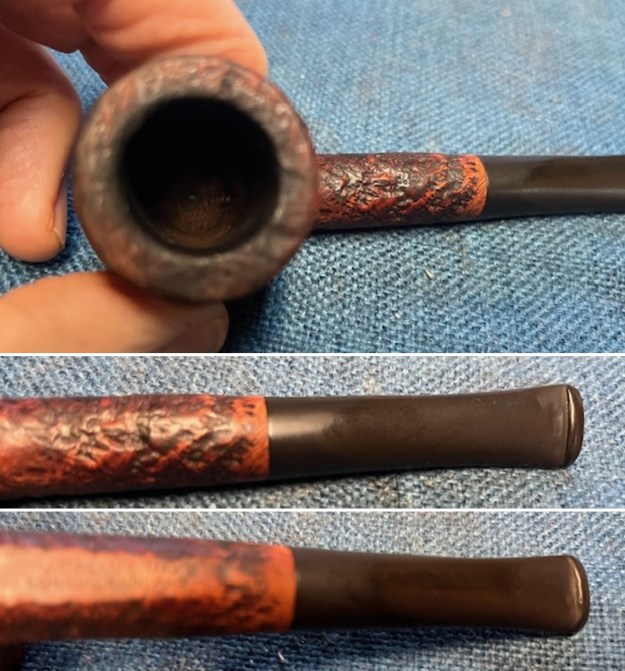
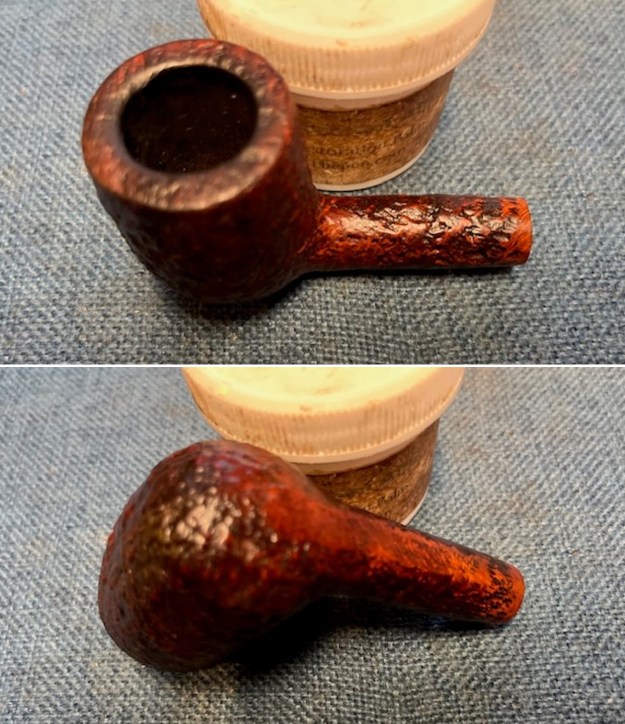
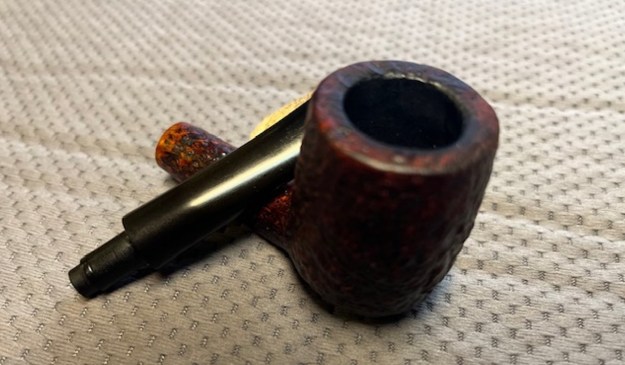
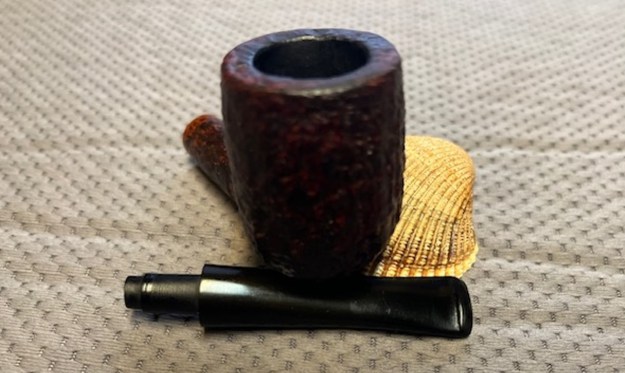
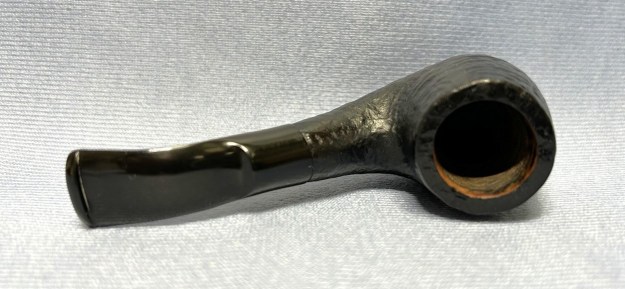
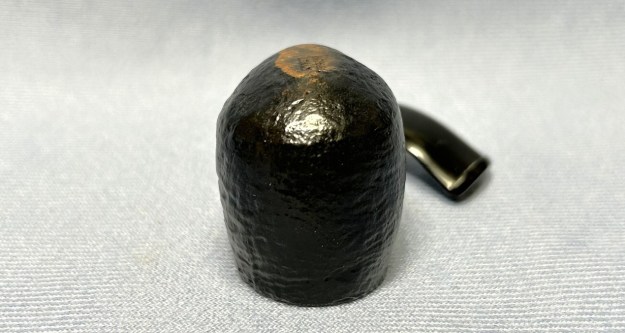
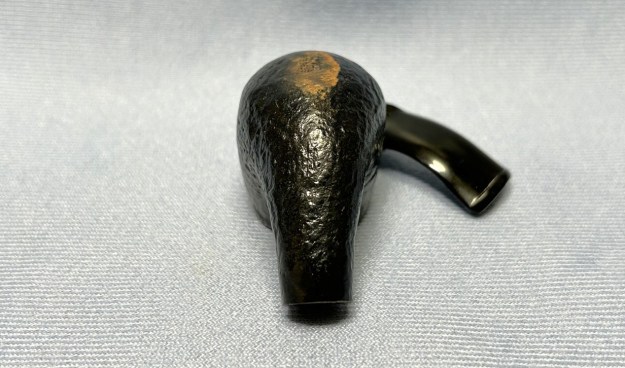
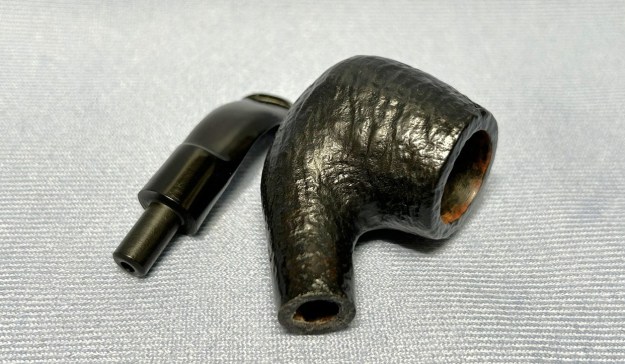
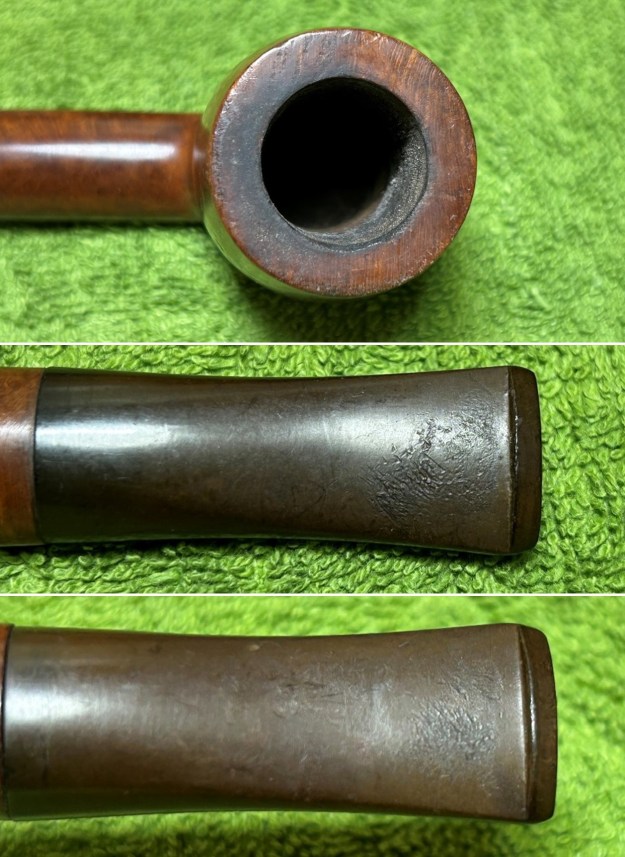
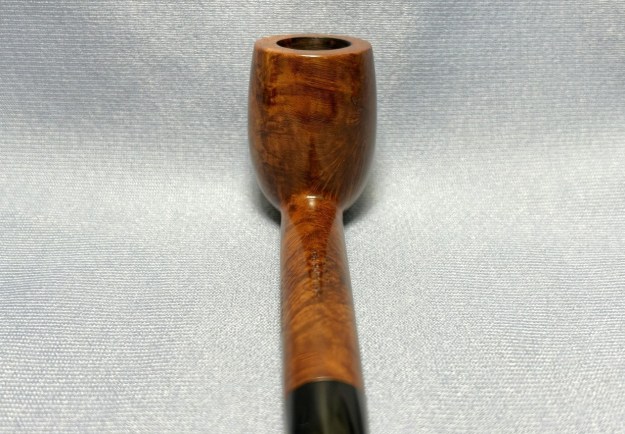
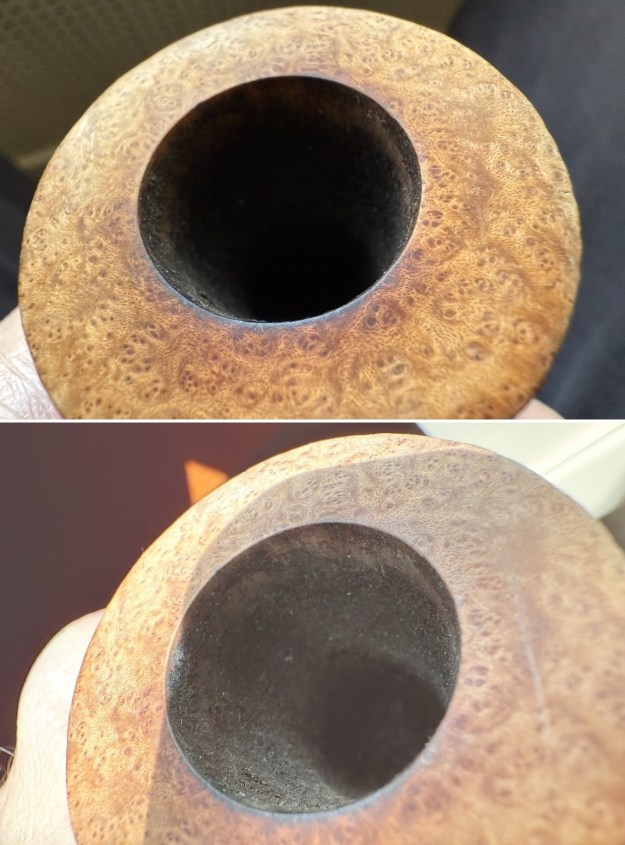
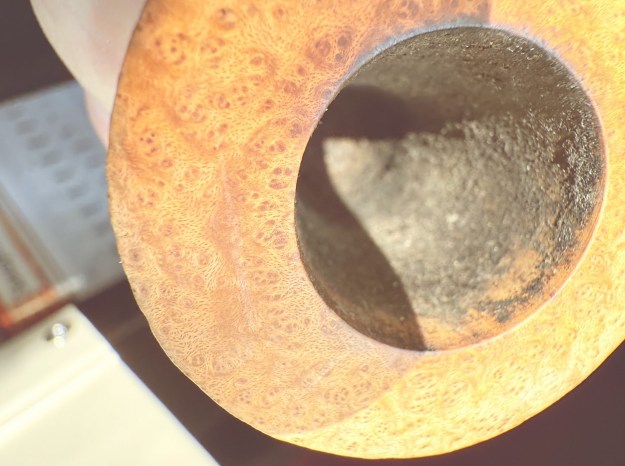
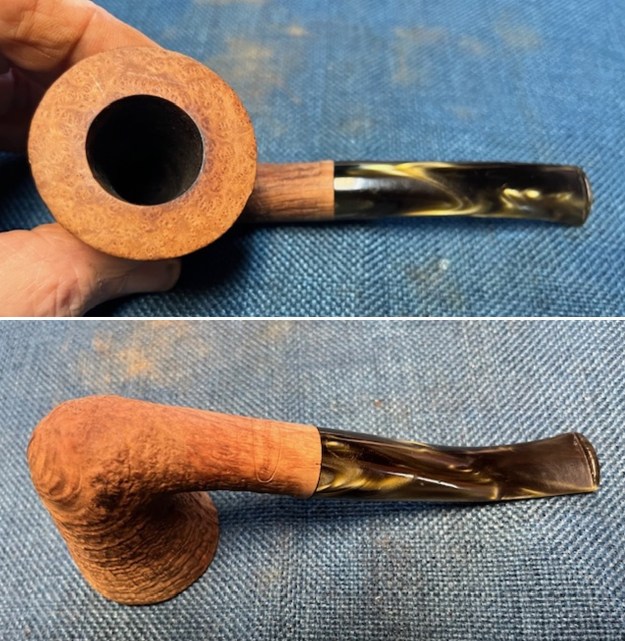
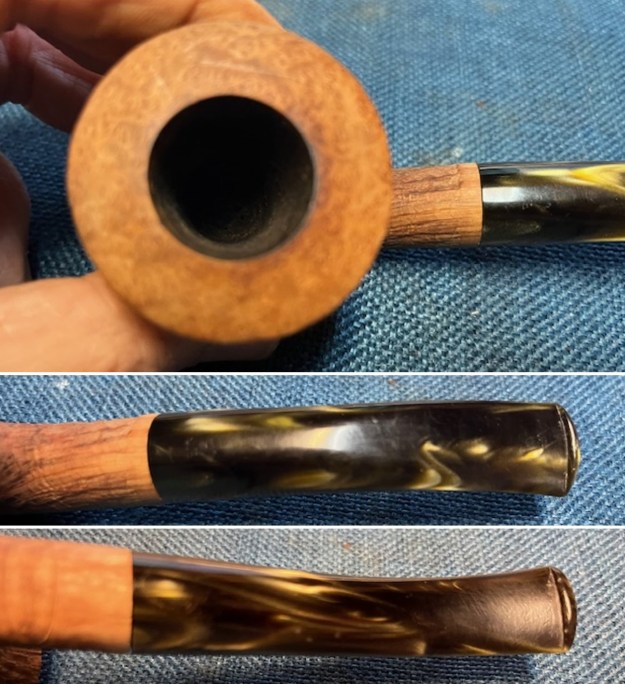
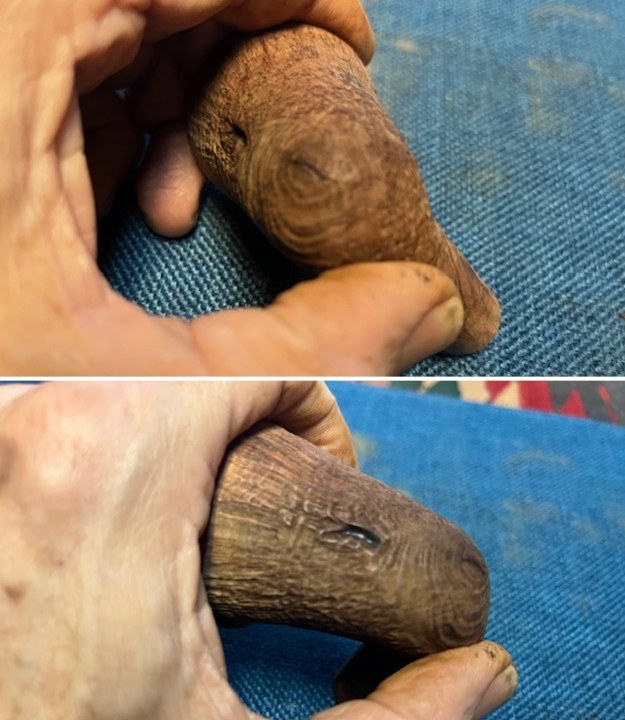
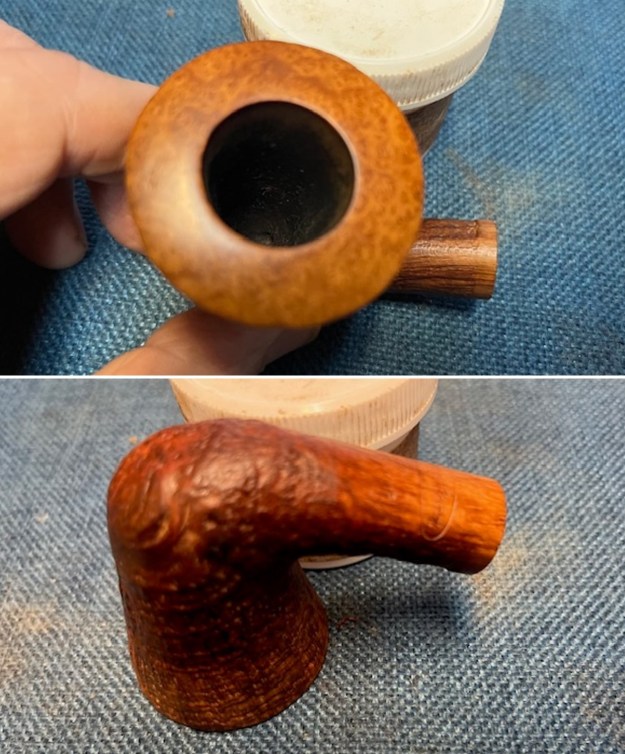
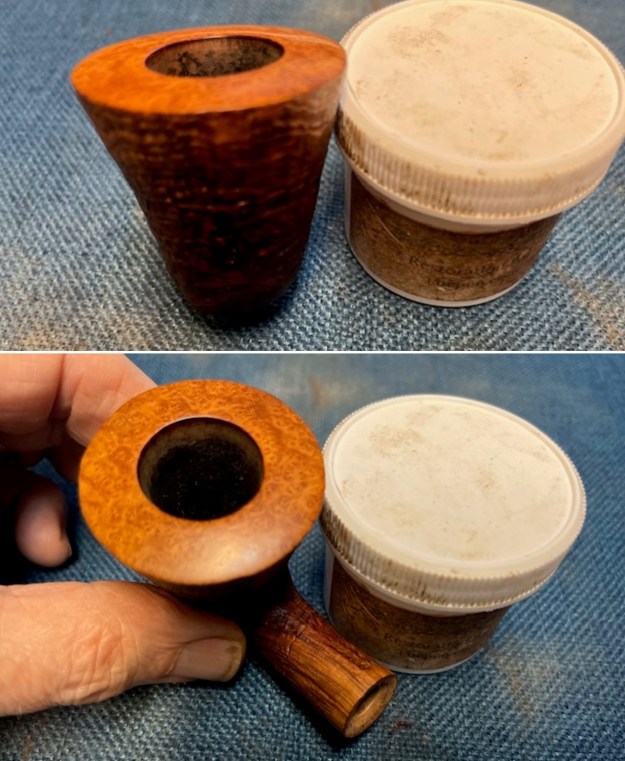
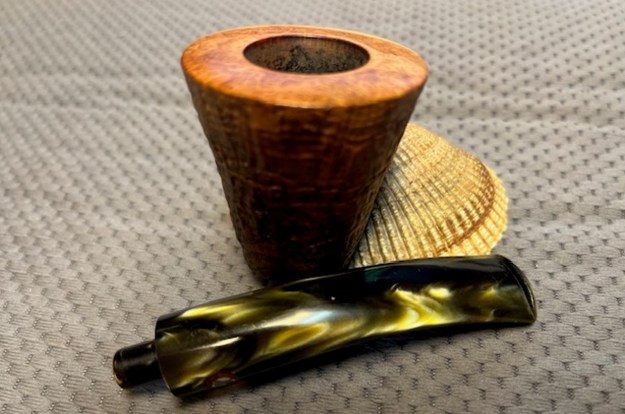
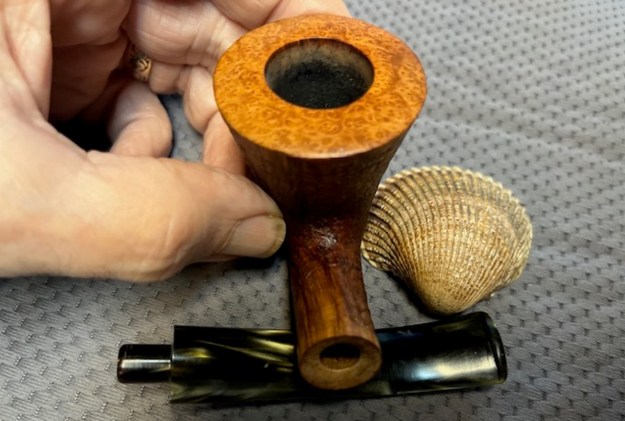
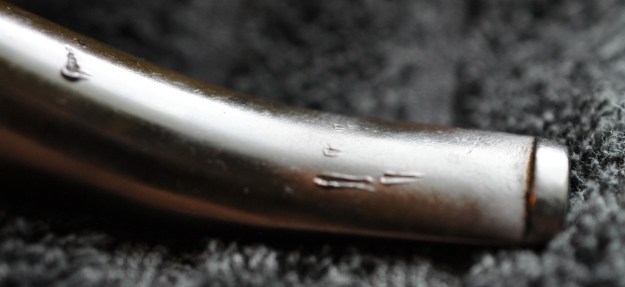
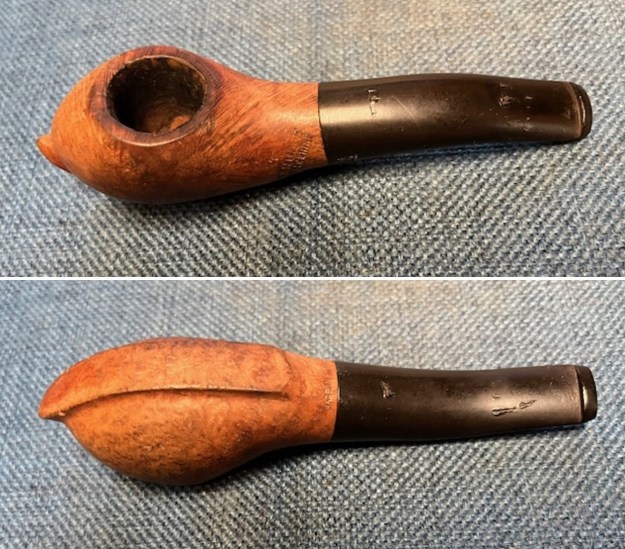
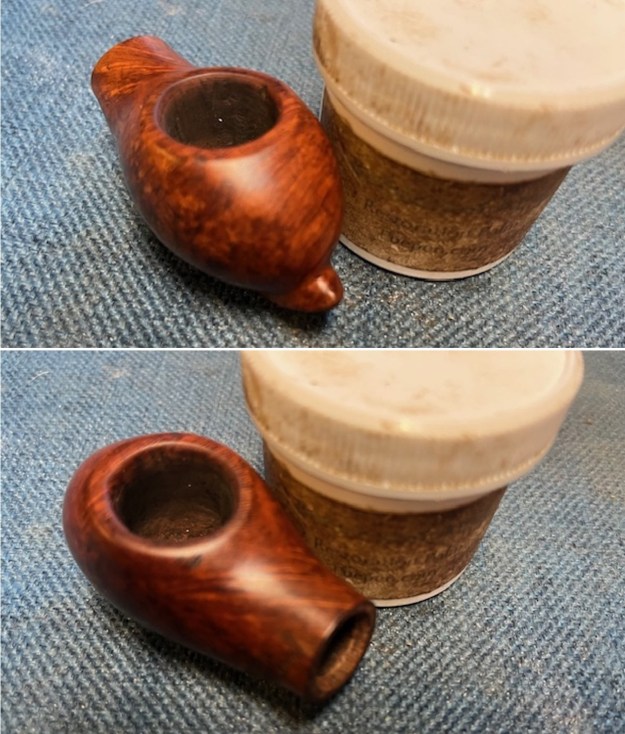
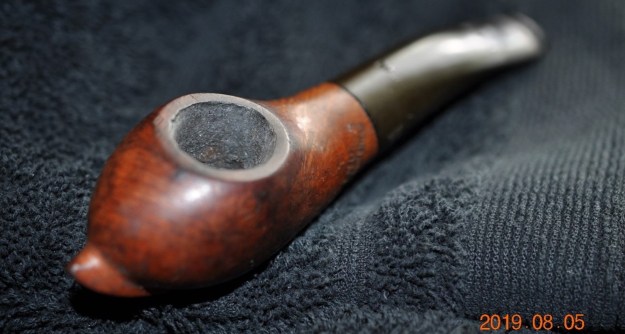 Jeff took some close-up photos of the damage to the rim and the stem. Looking closely at the photos of the rim top of the photo you can see the damage to the rim itself and the scratches in the top. The bowl also has a thick cake with some lava on the top and edges. The photo of the underside of the stem shows the nicks and gouges in the rubber. The top side also mirrors that though there is no photo of it.
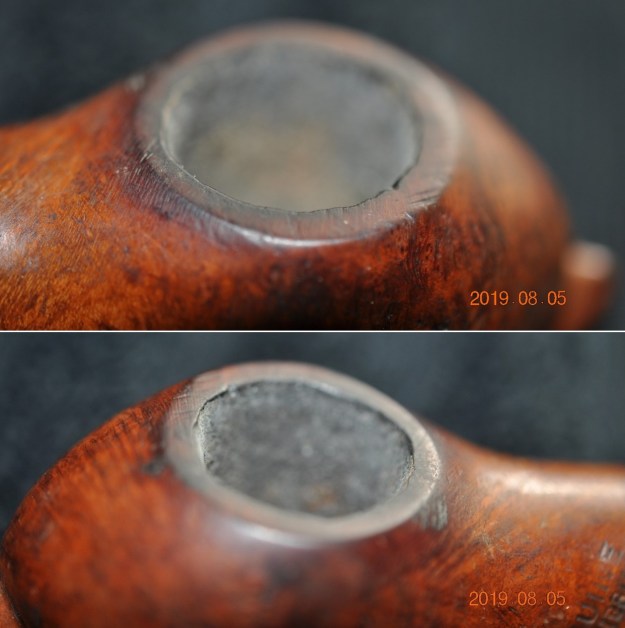
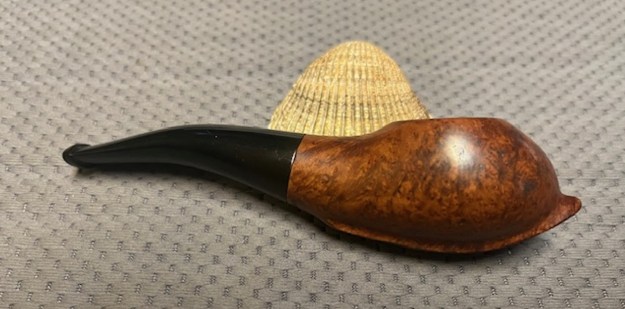
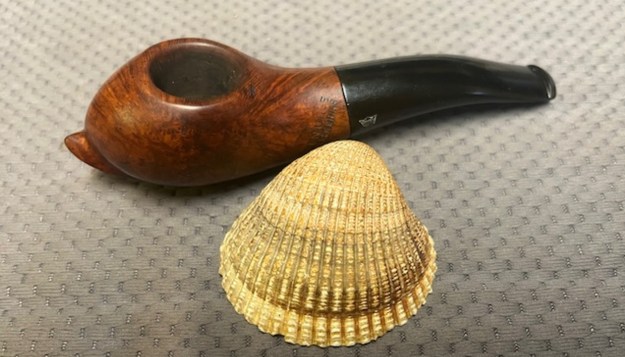
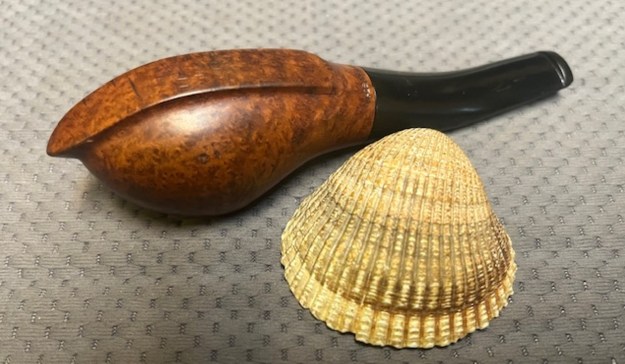
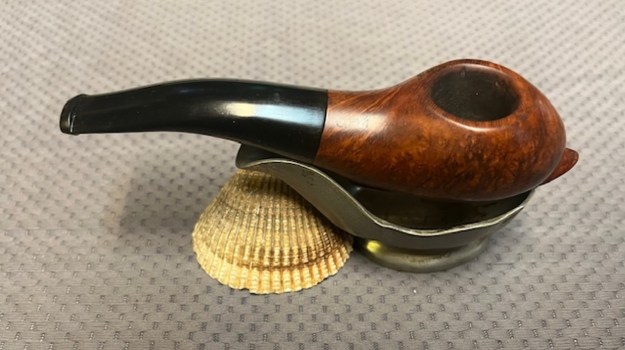
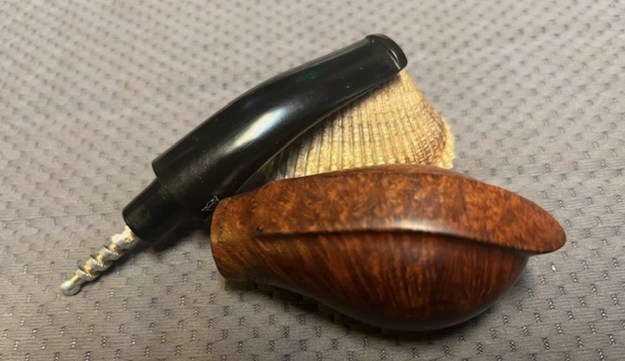
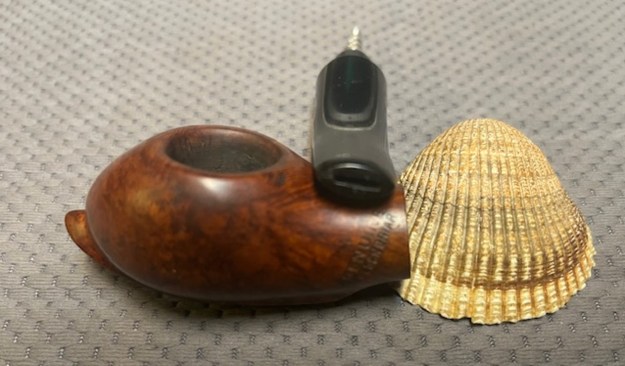
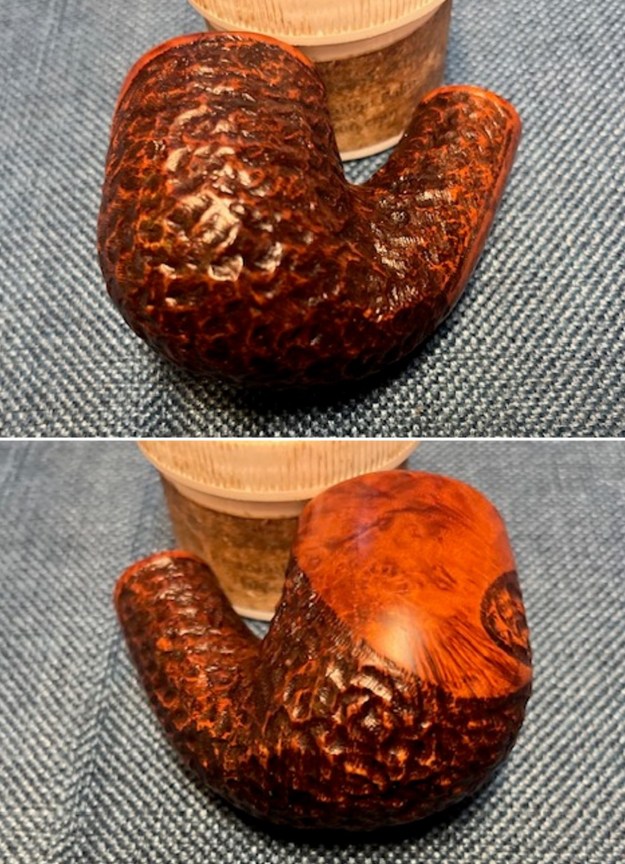
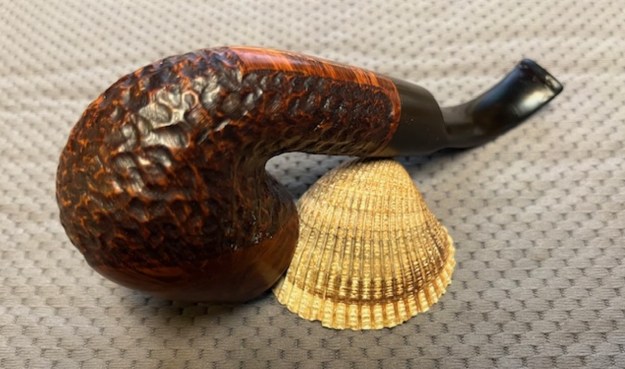
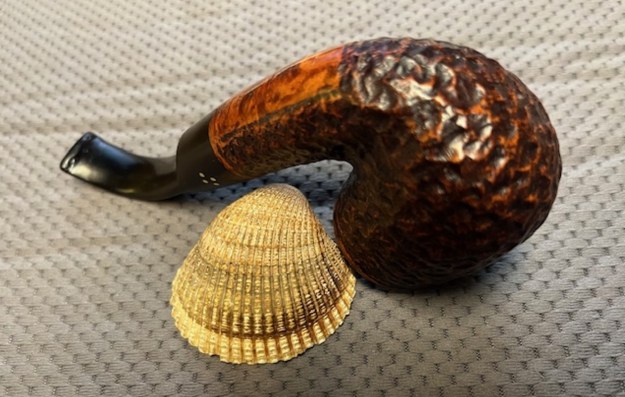
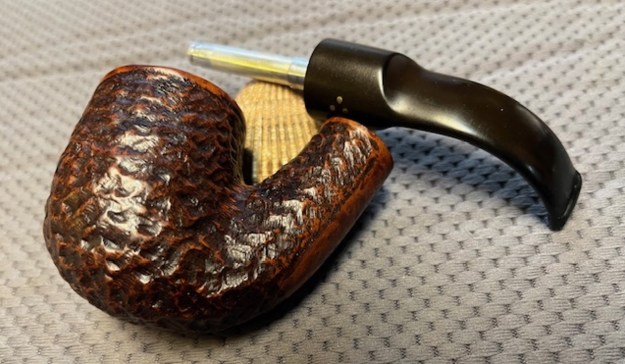
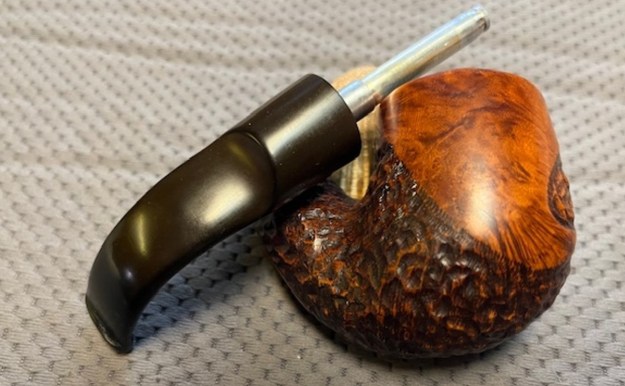
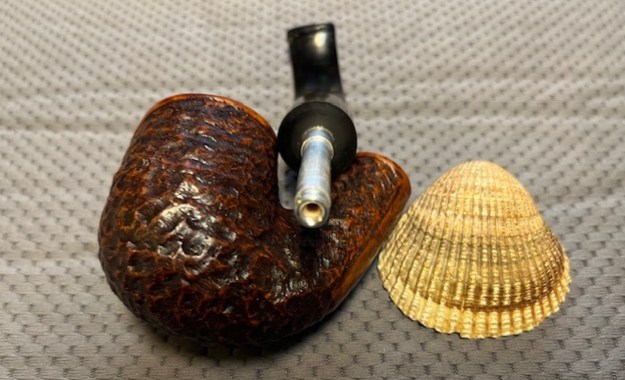
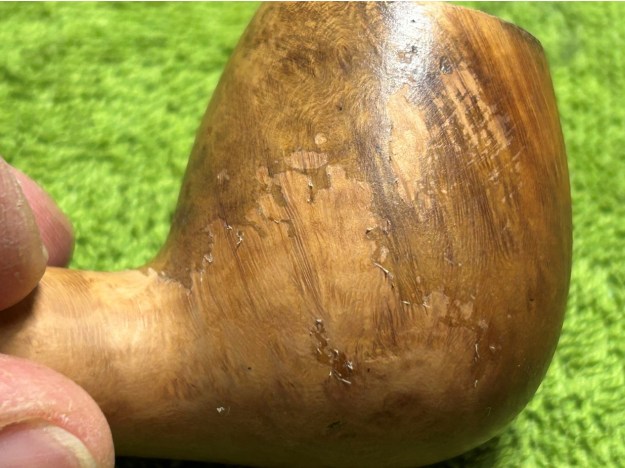
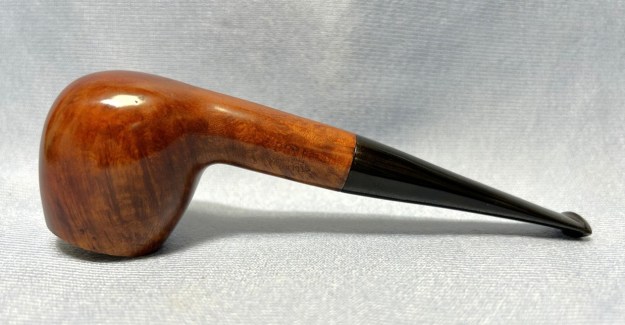
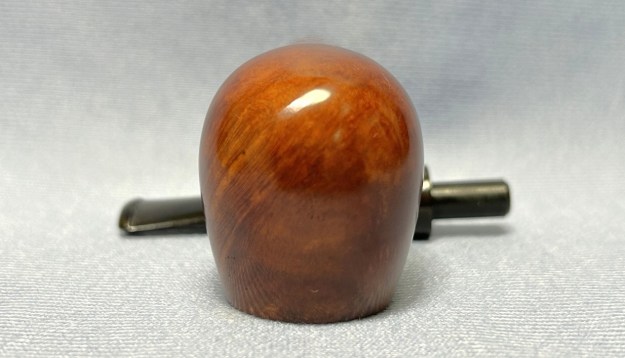
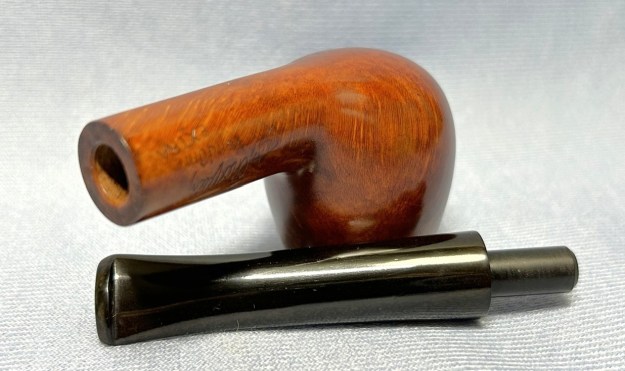
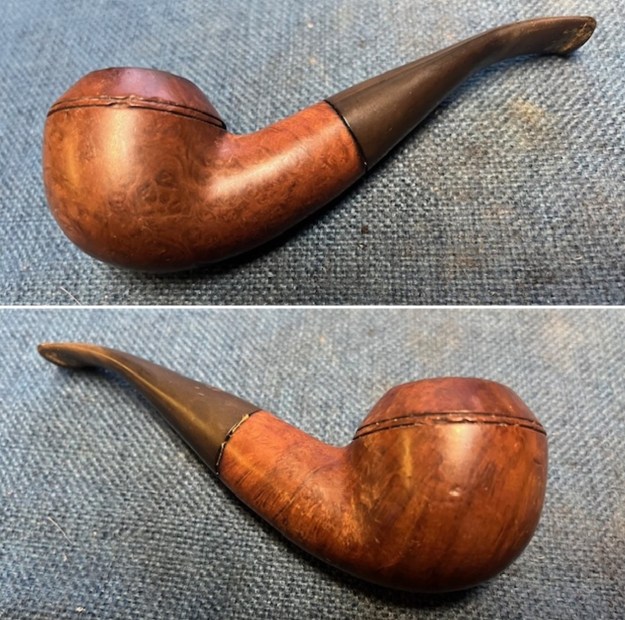
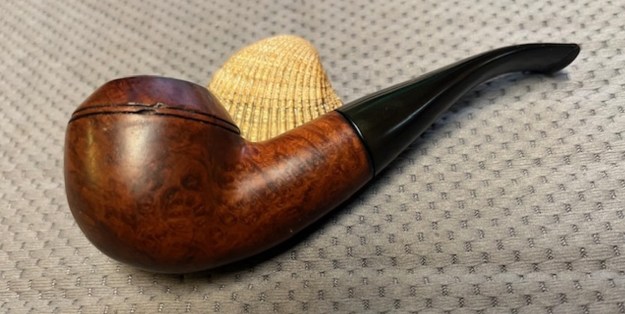
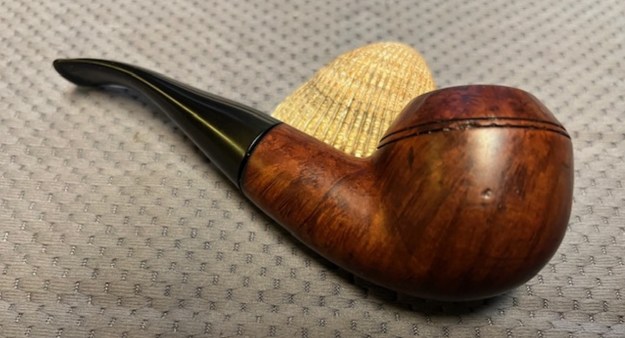
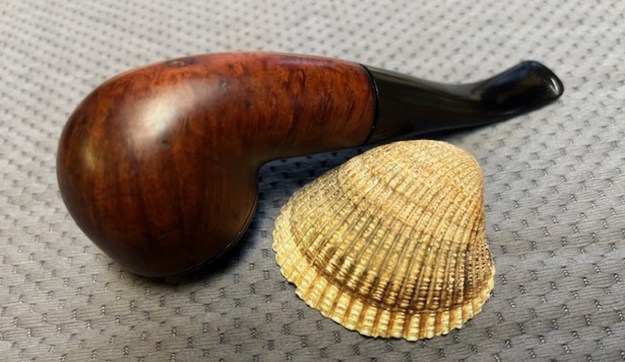
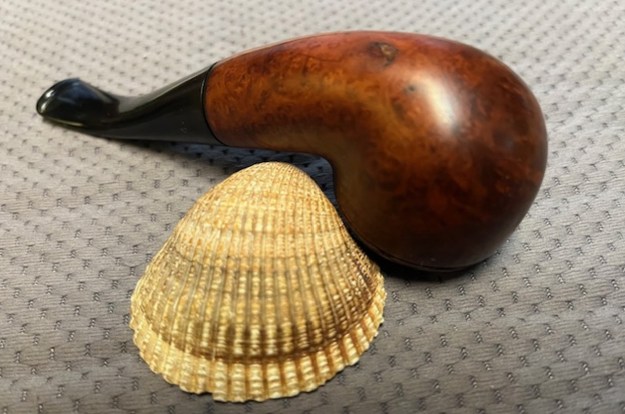
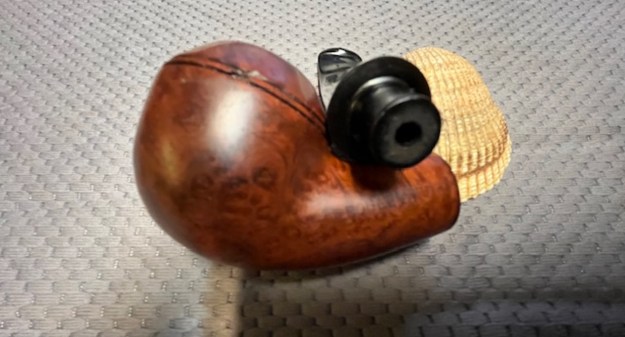
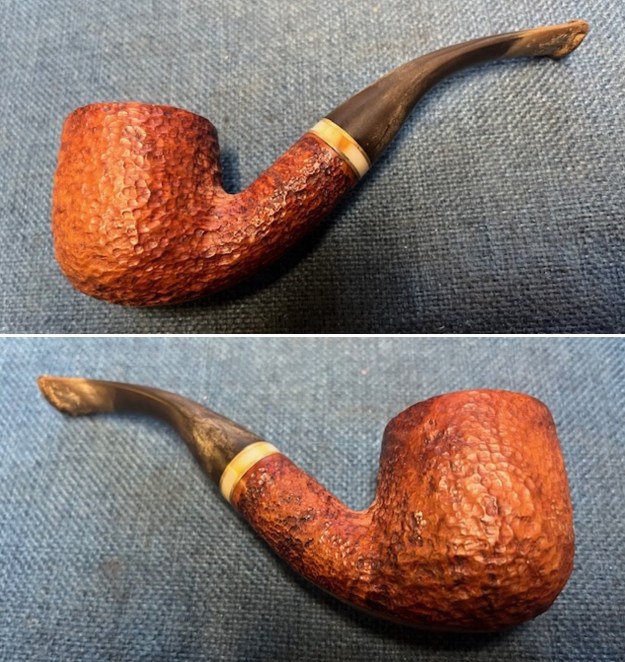
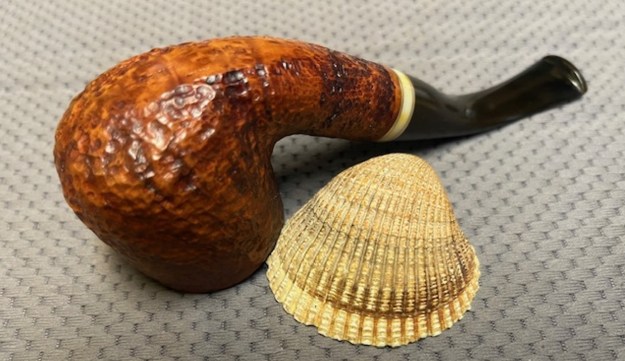
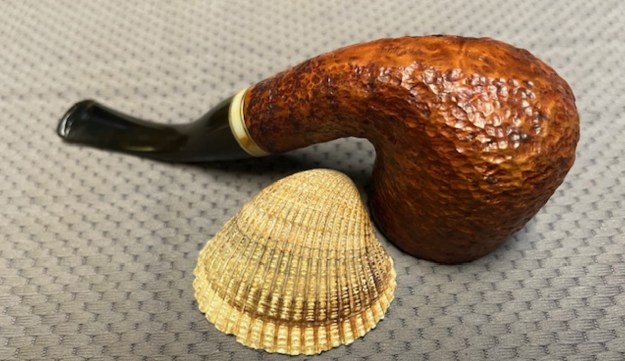
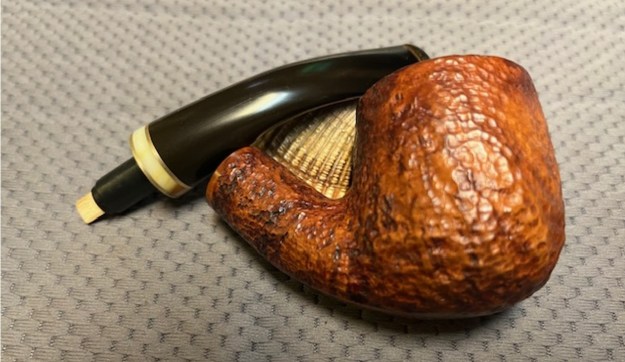
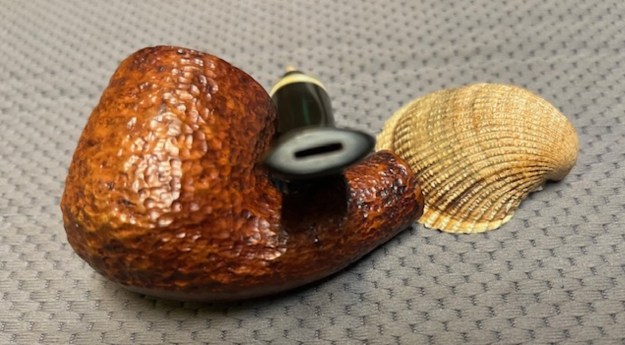
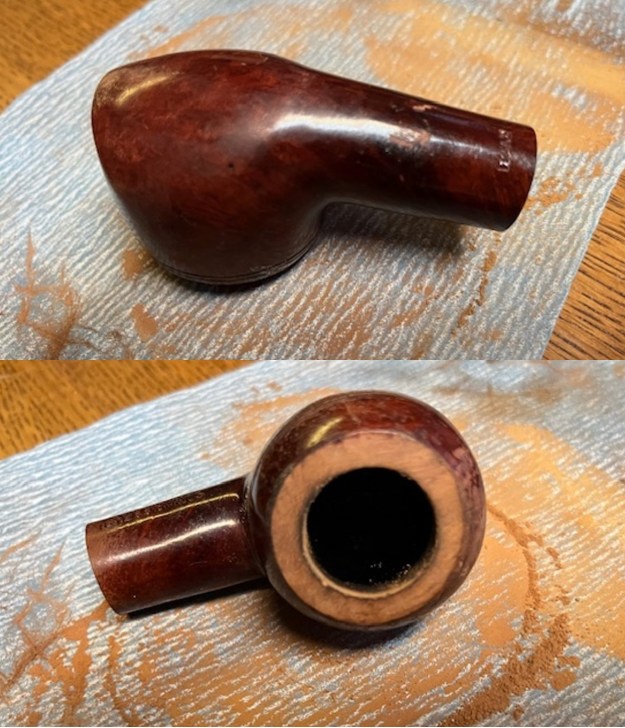
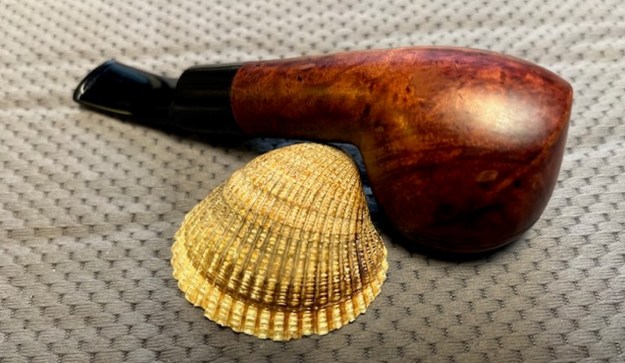
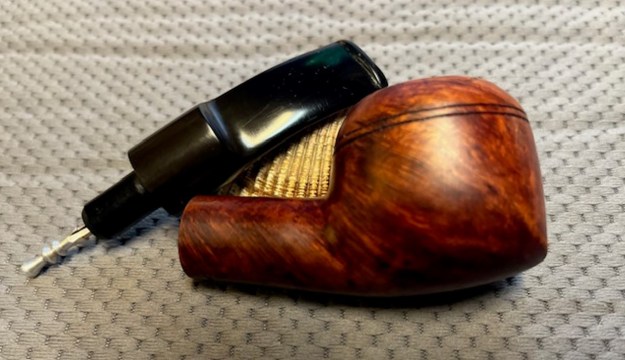
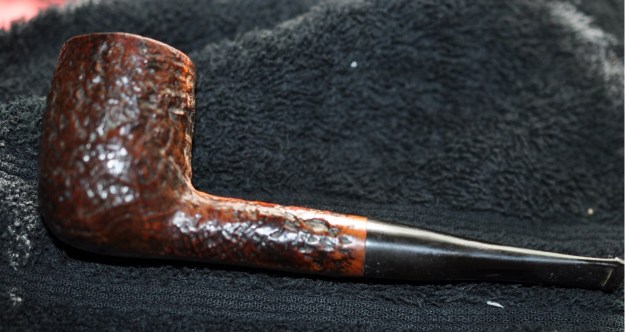
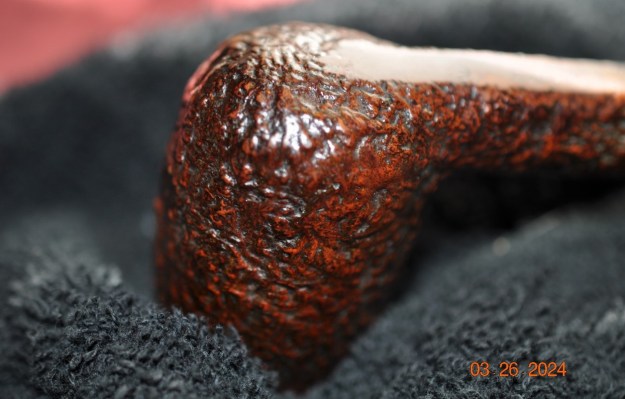
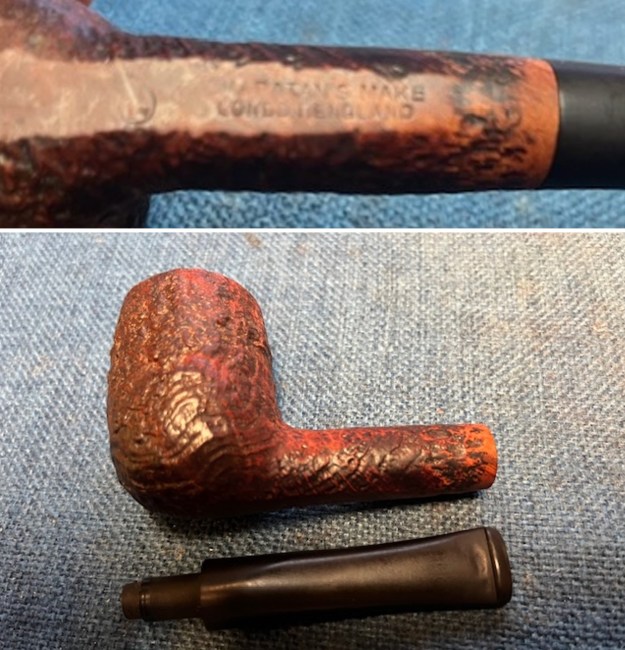
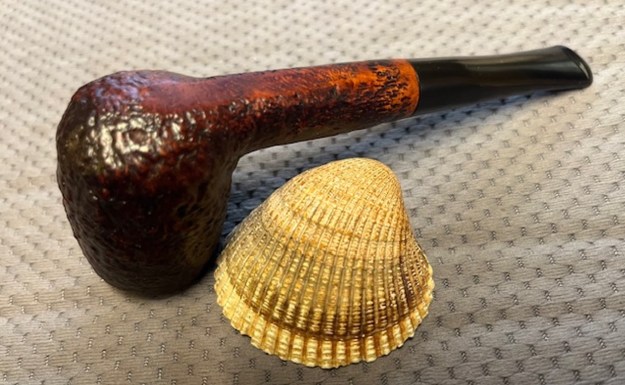
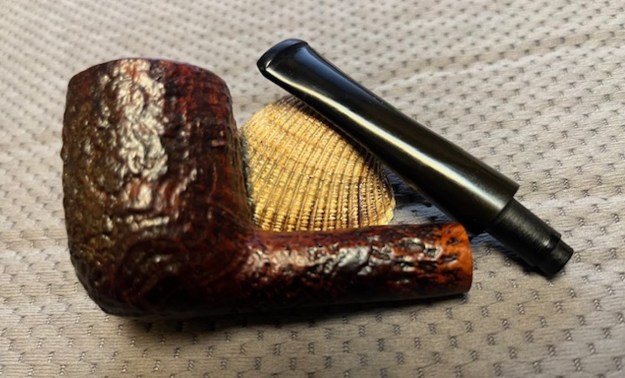
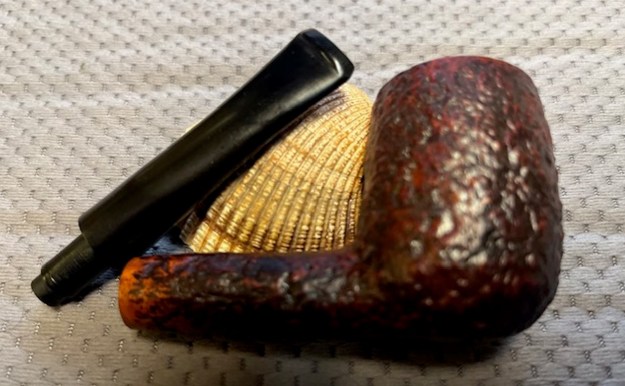
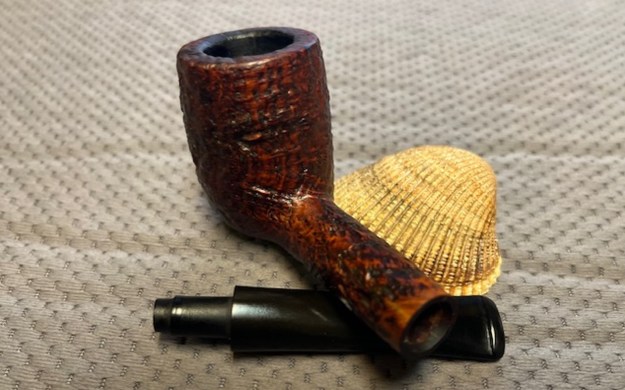
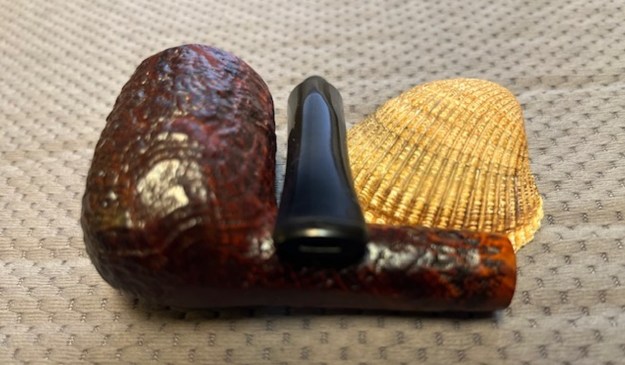
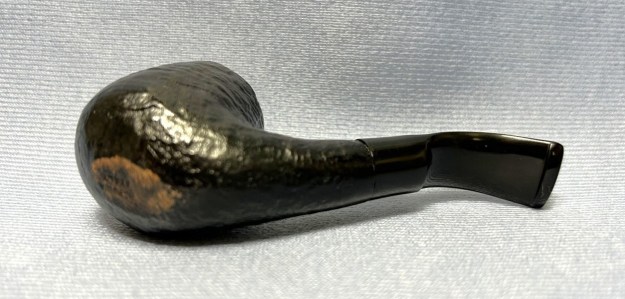
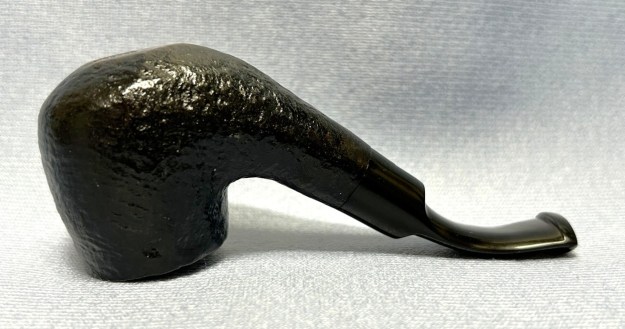
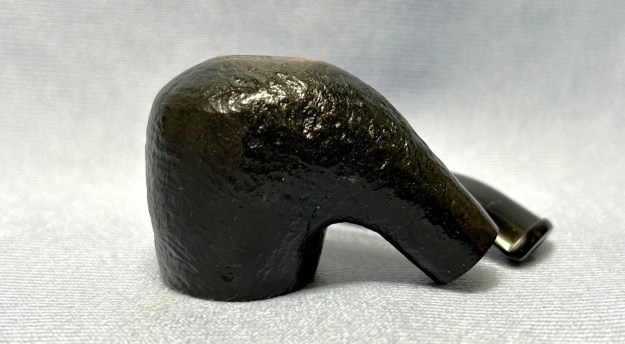
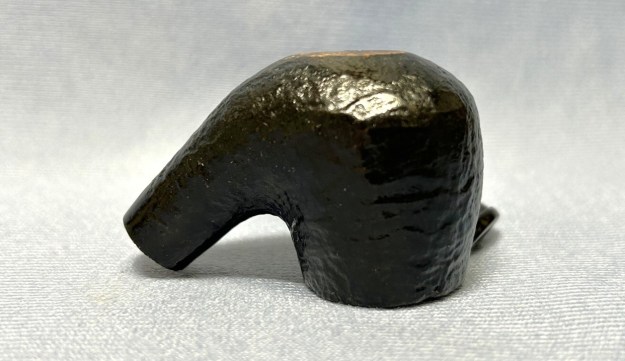
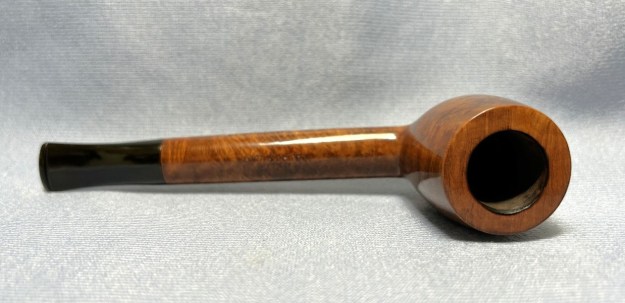
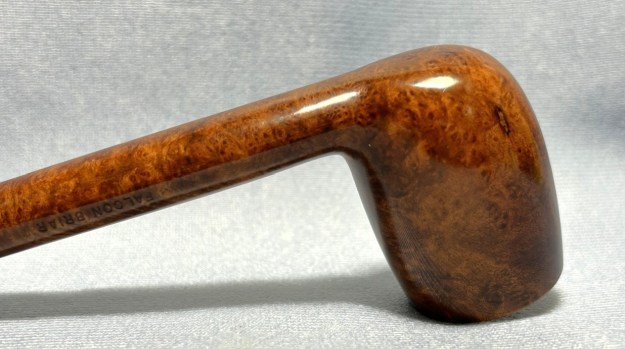
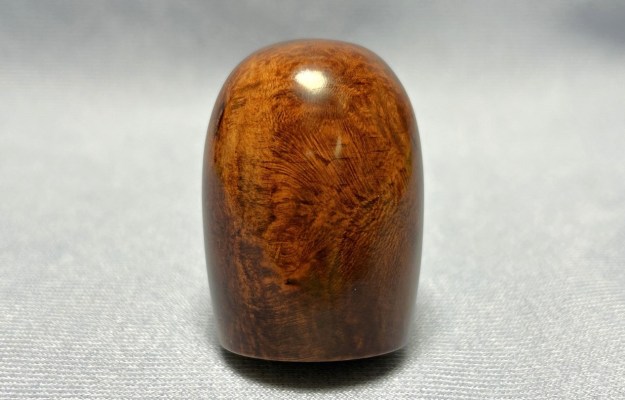
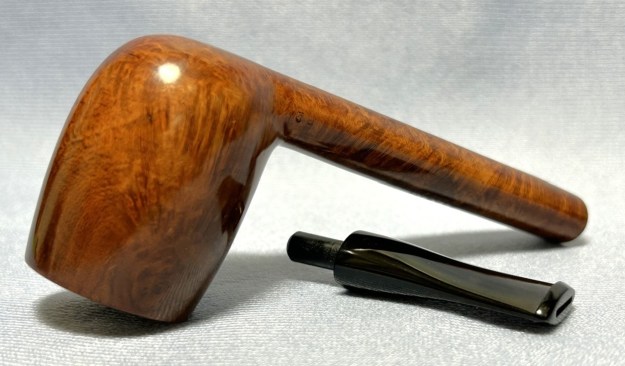
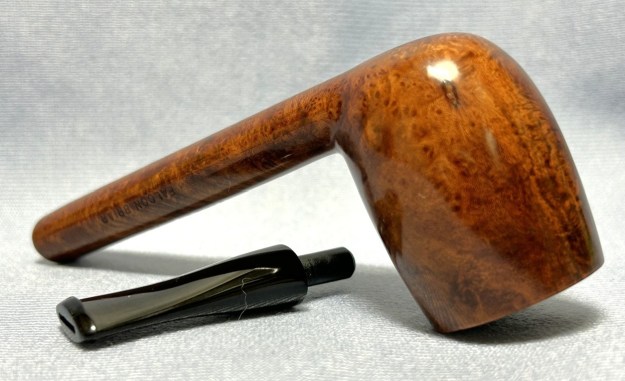
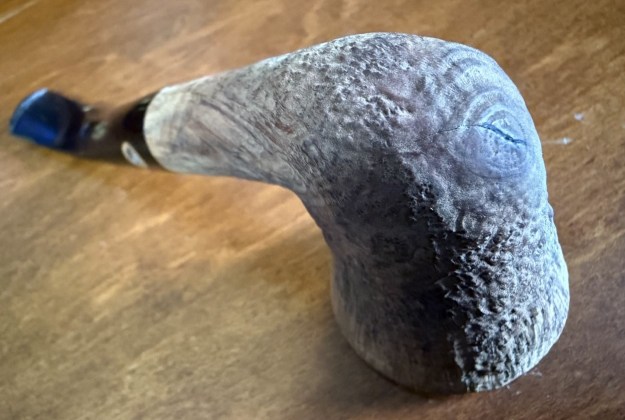
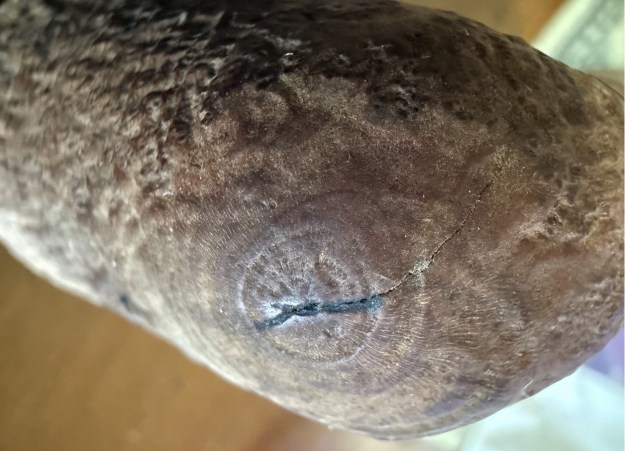
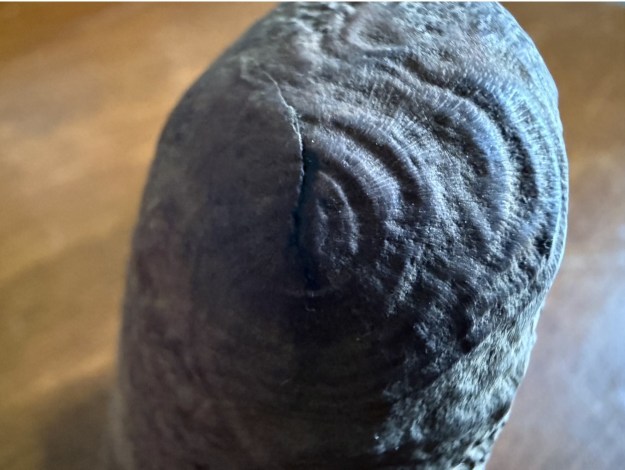
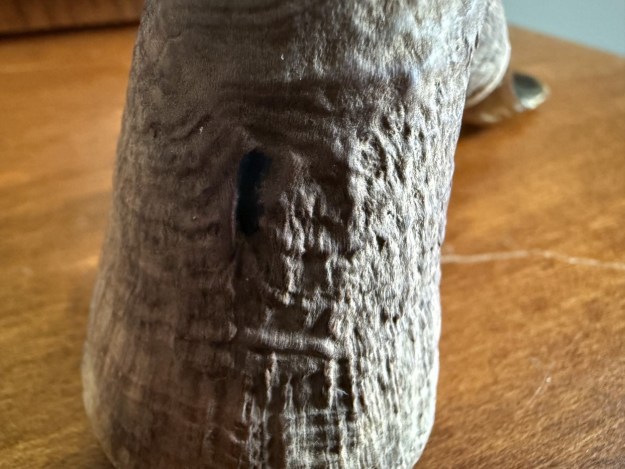
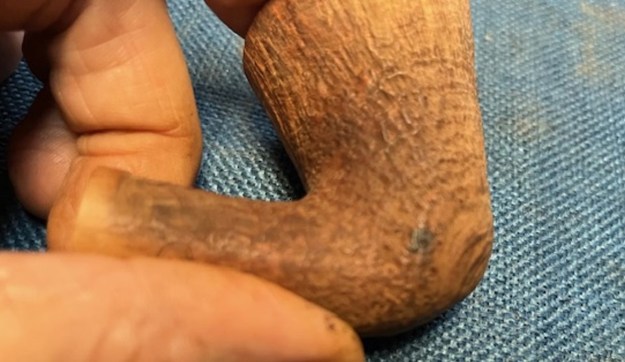
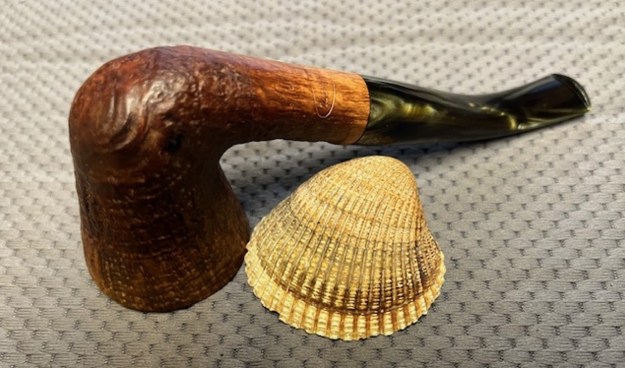
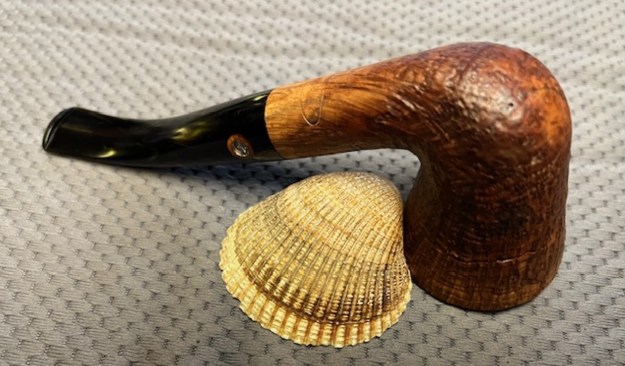
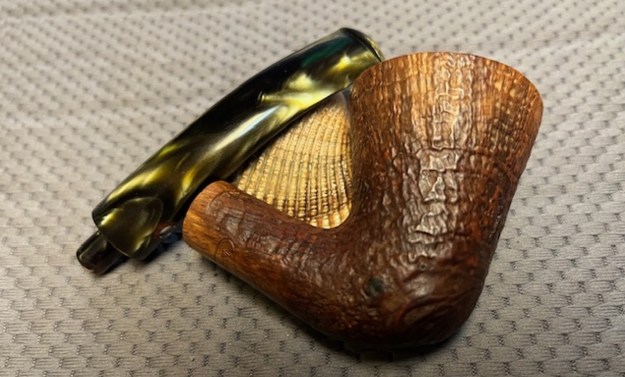
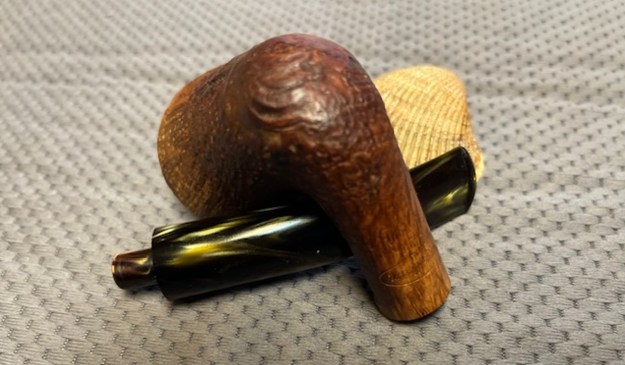
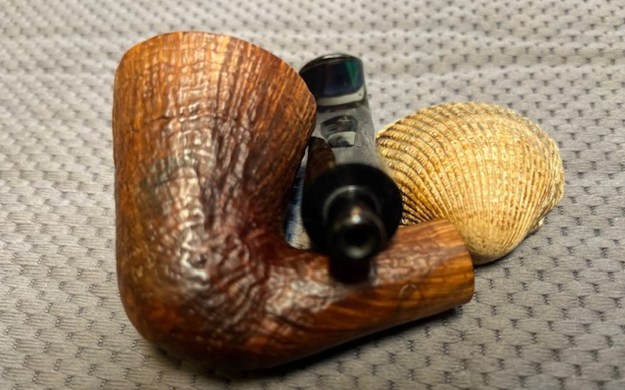
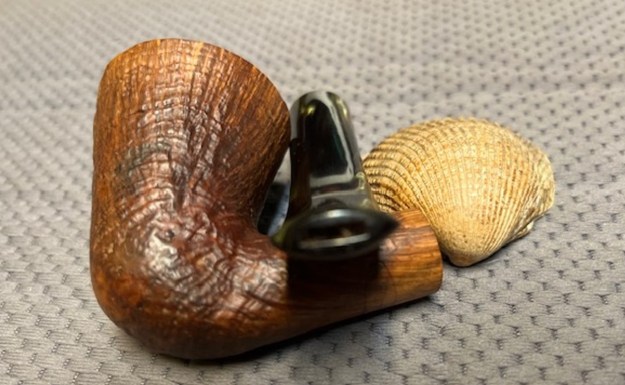
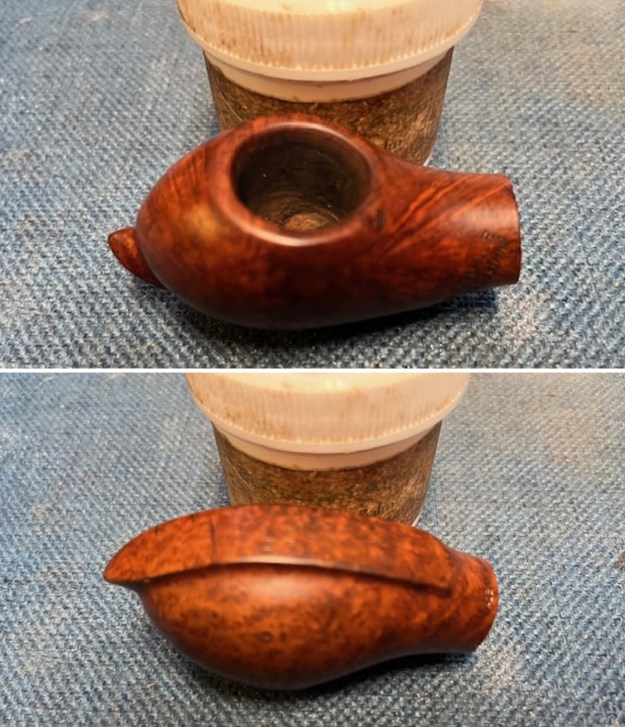
 Jeff took photos of the grain around the bowl sides and the heel. It is interesting to note the also foot like bottom of the bowl which looks like the tread of a slug. The bowl is very dirty and oily on the outside and there are many nicks and scratches in the finish.
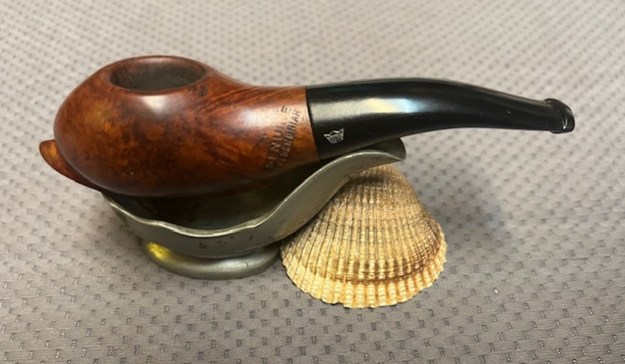
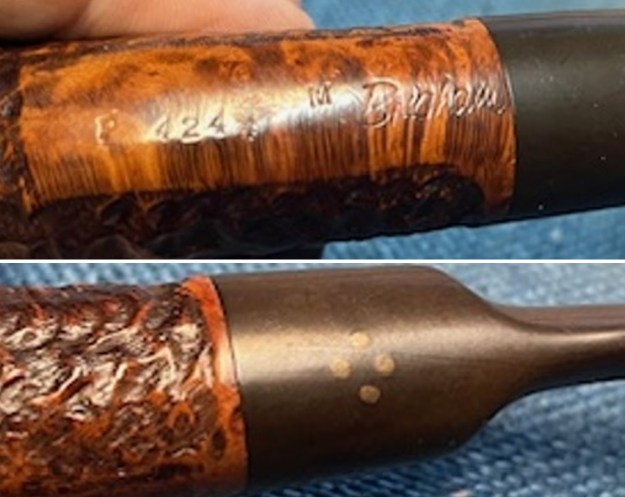
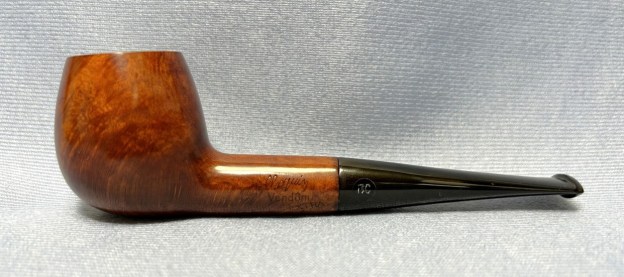
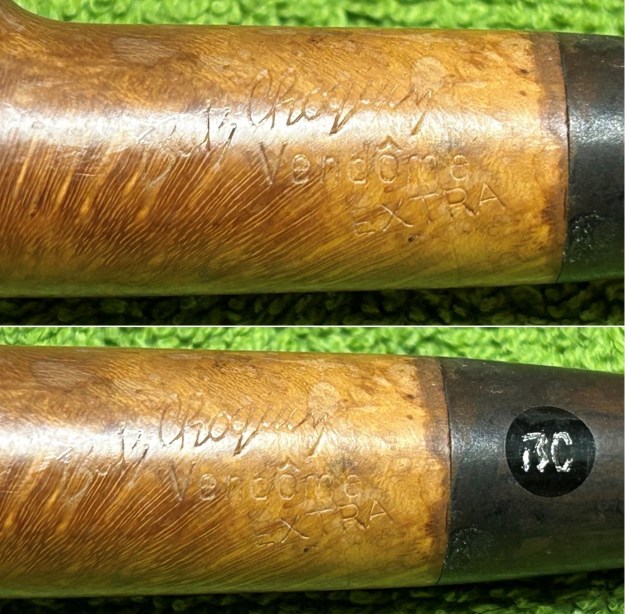
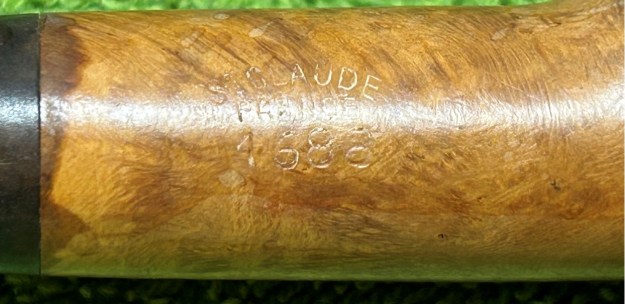
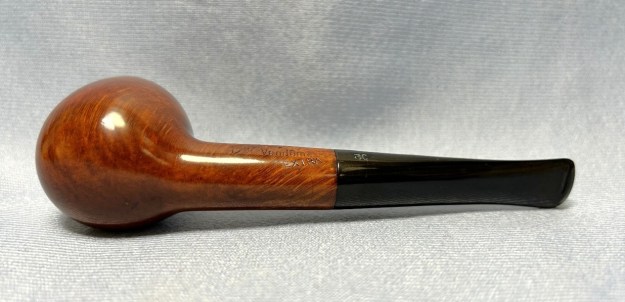
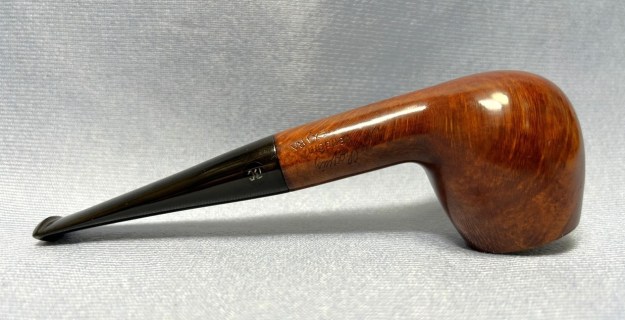
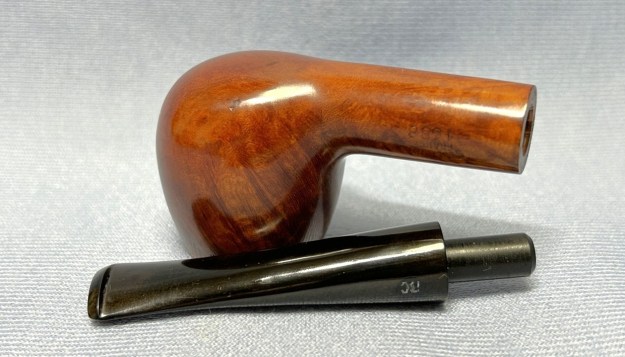
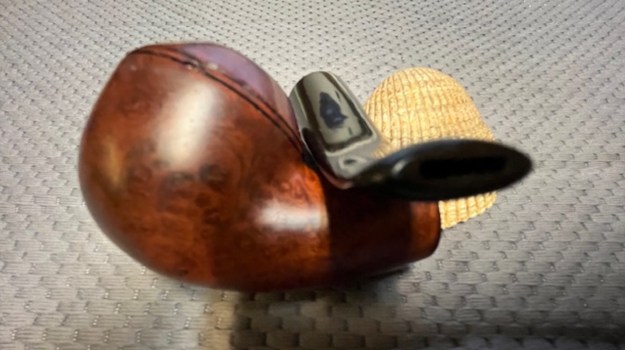
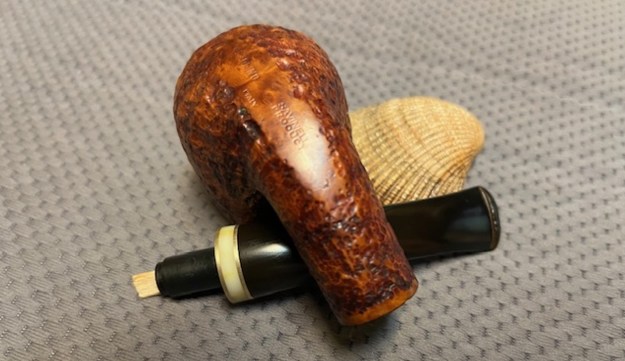
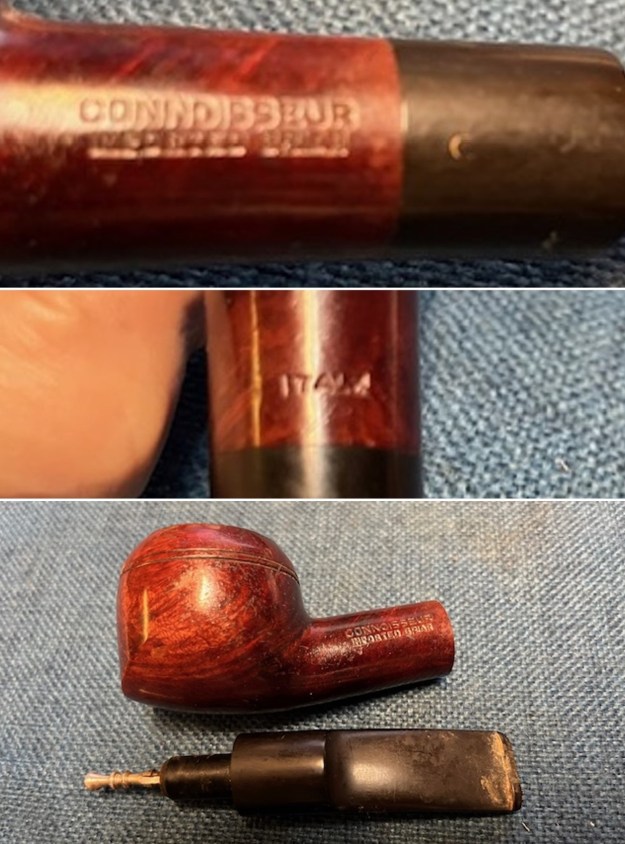
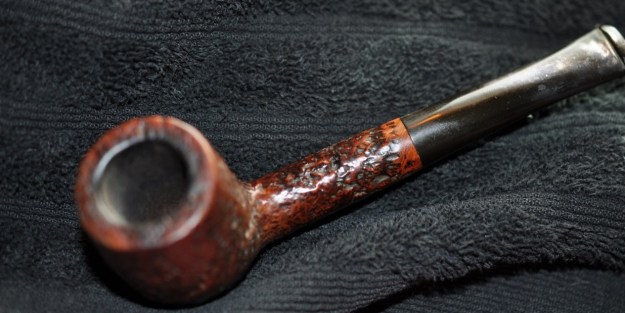
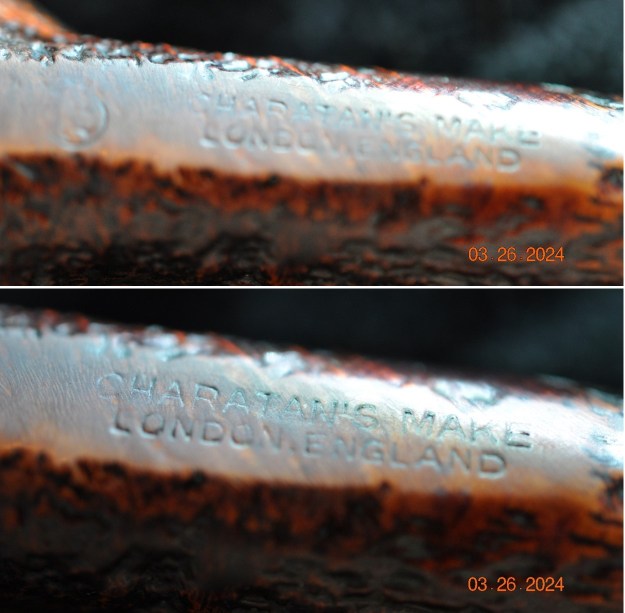
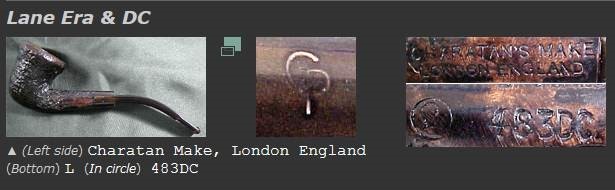
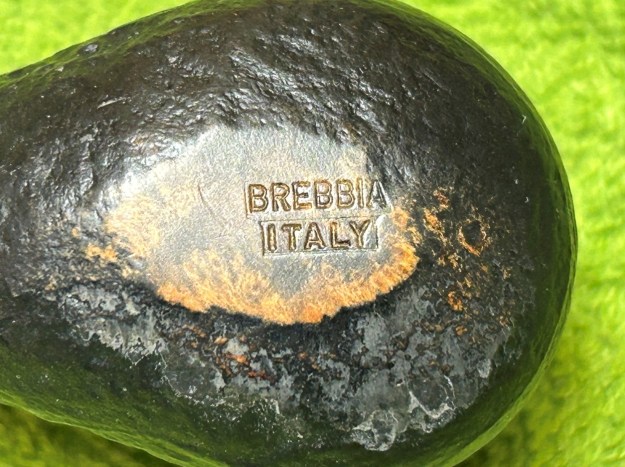
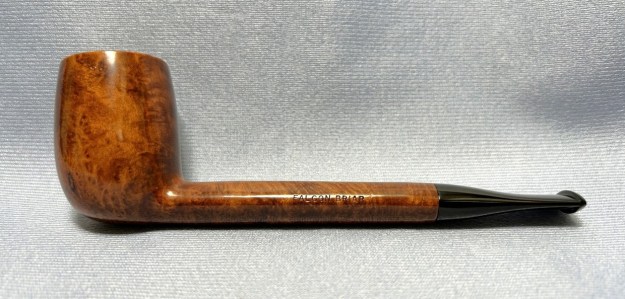
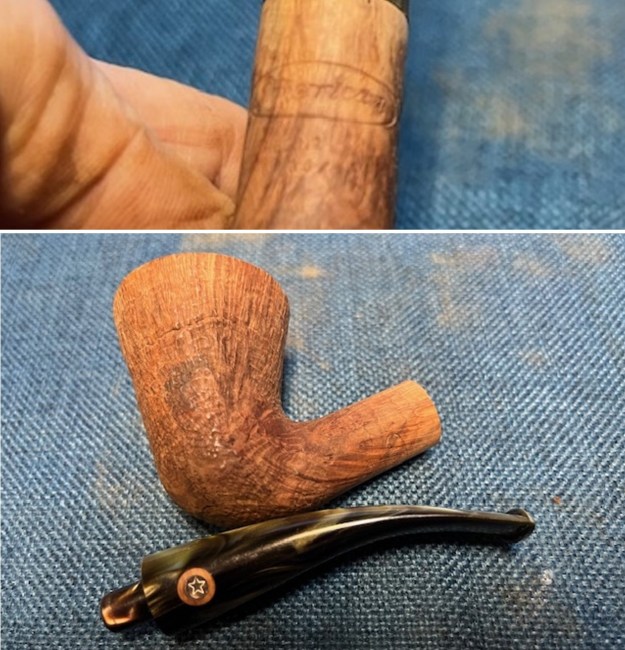
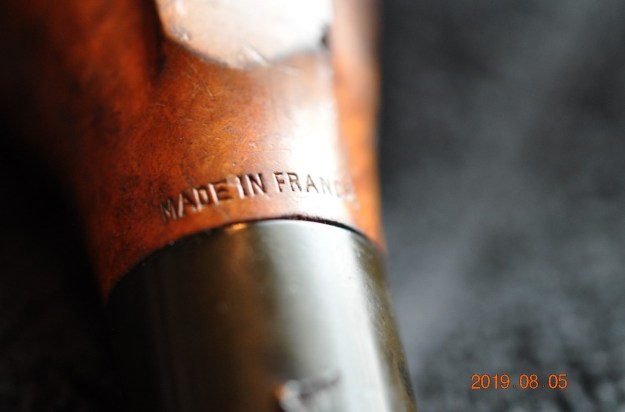
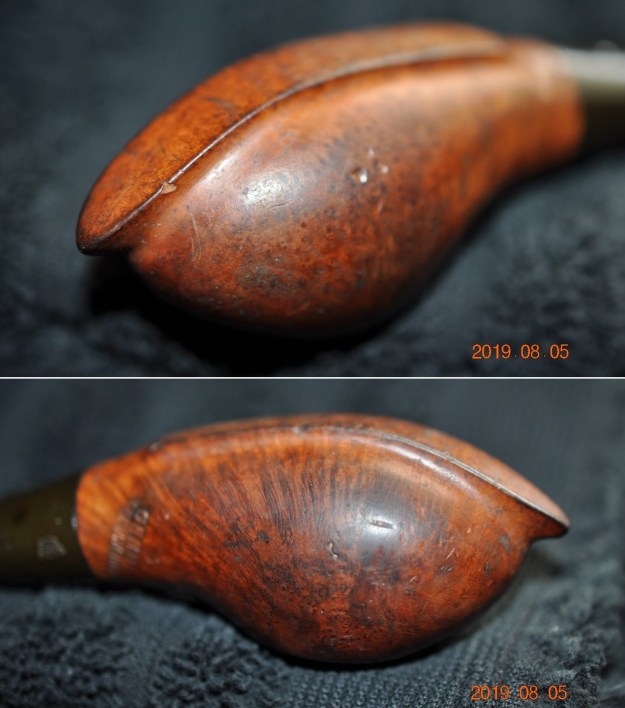 The next photos show the stamping on the sides of the shank and the logo on the stem. It is clear and readable as noted above.
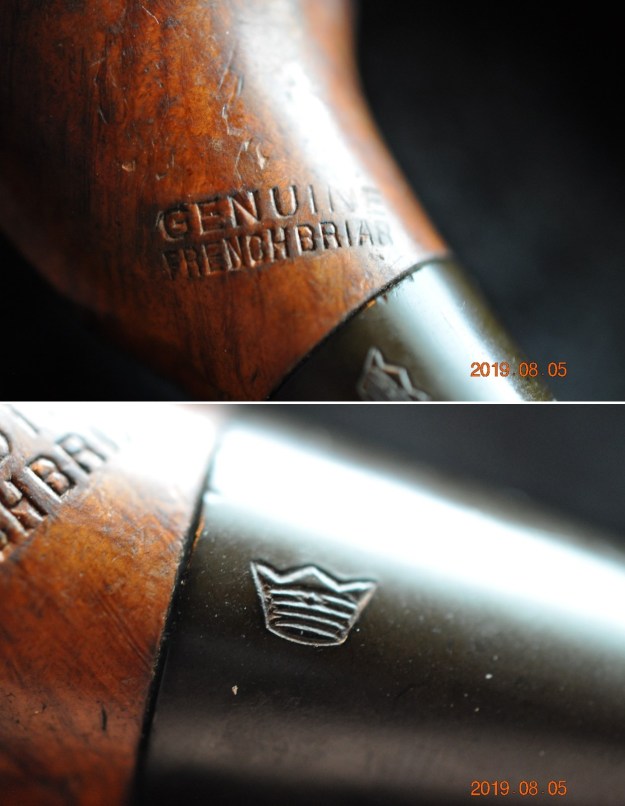
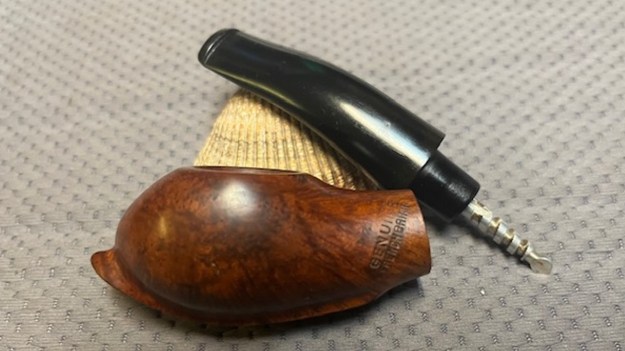
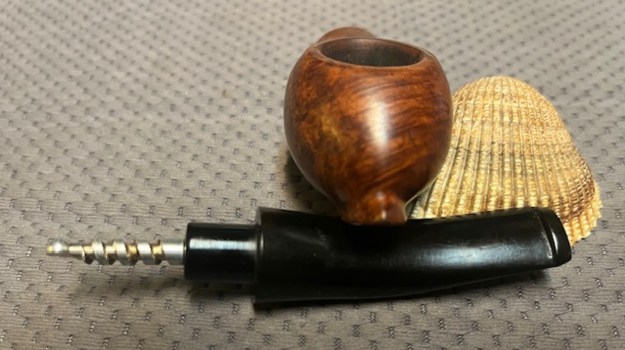
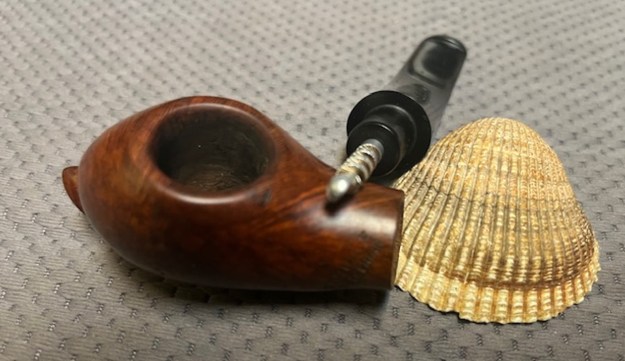
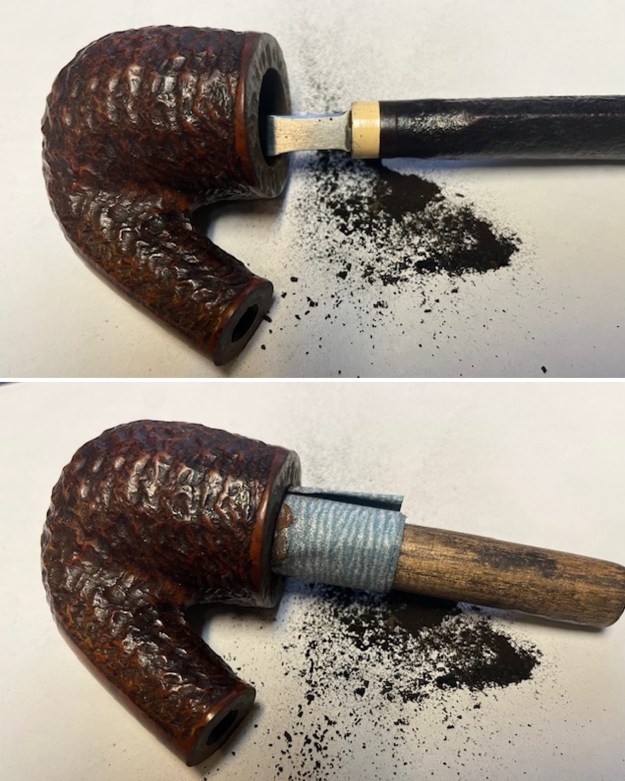
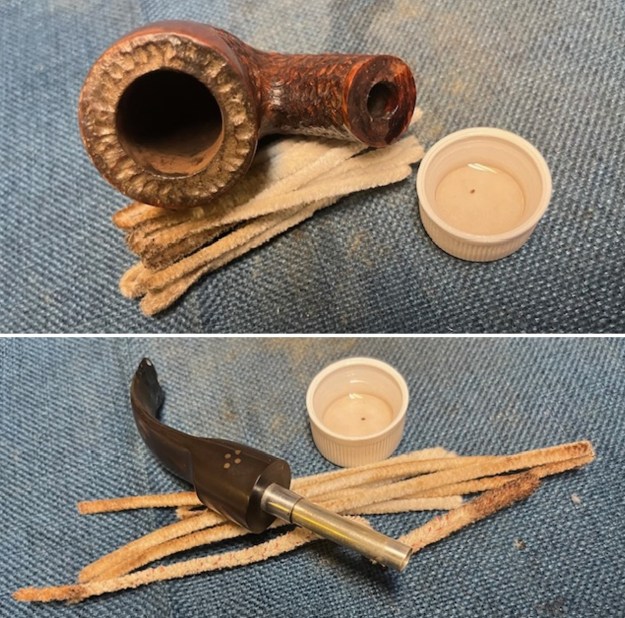
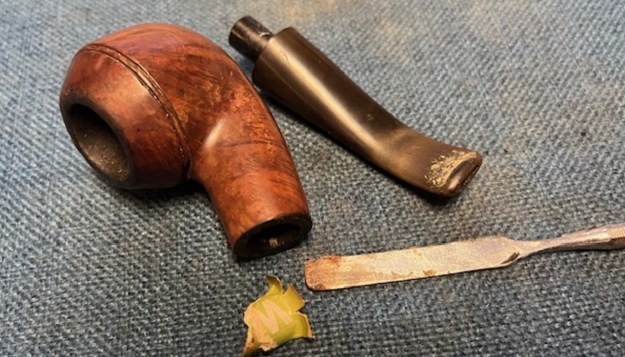
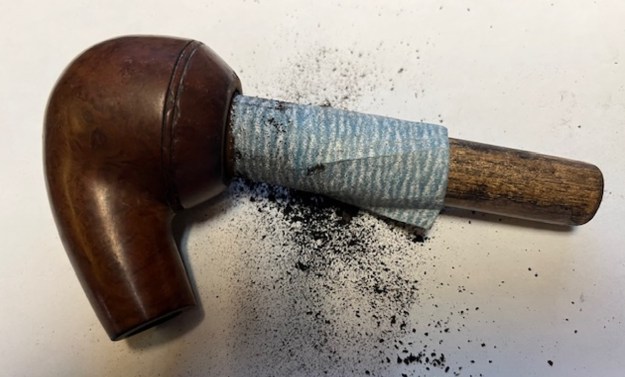
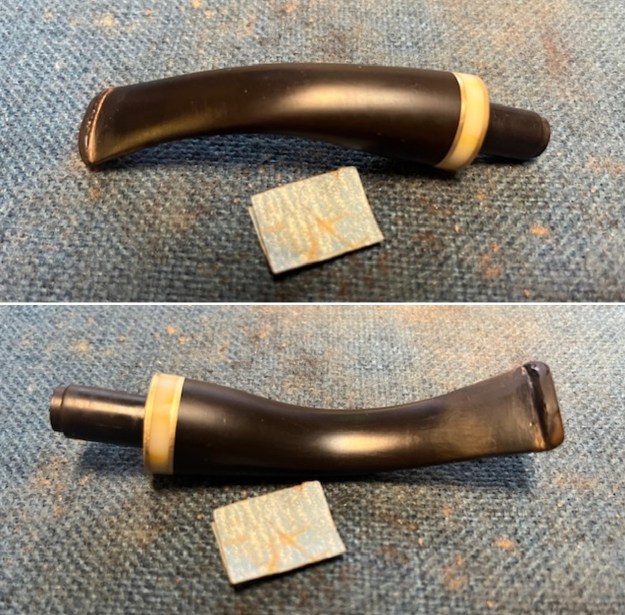
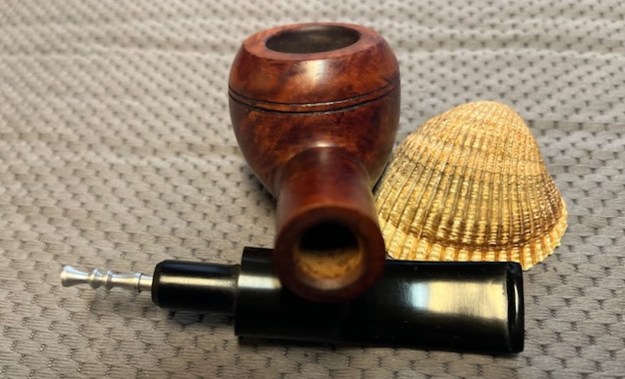
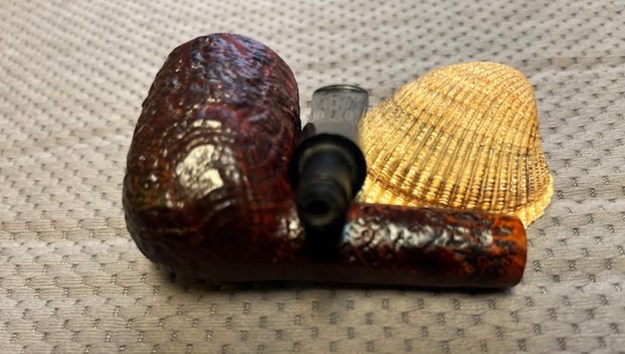
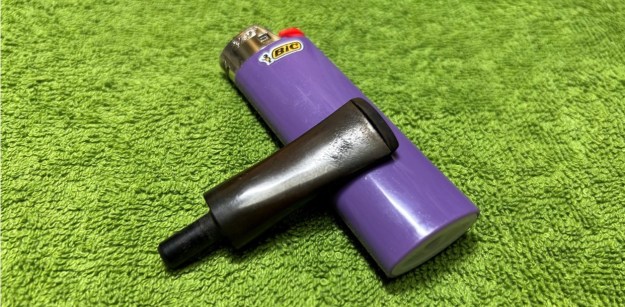
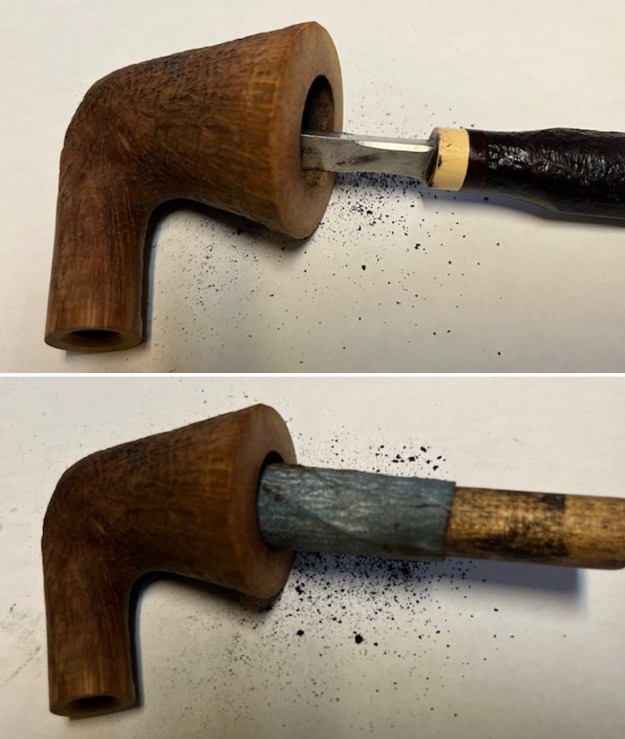
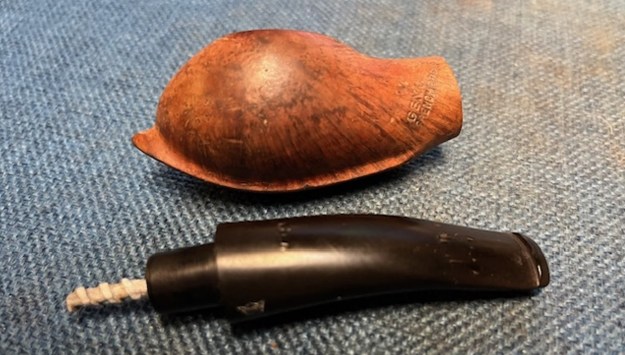
 Jeff removed the stem to show the damaged and corroded stinger that was in the shank. It appeared to me to have corroded a portion off the end as the bottom of the bowl showed a trough where it extended into the bowl.
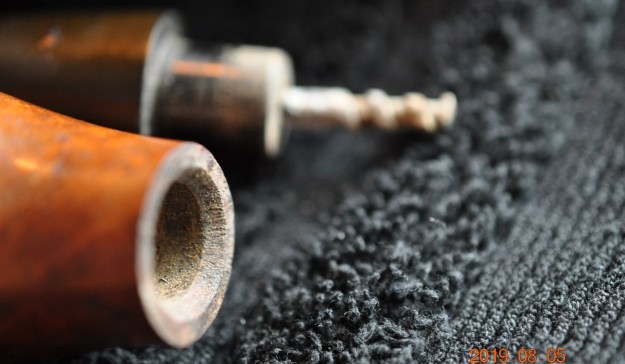 I knew that there were several blogs on rebornpipes about this style of pipe and in the middle of the night it hit me that they had horn stems so I did a quick search on the blog for horn stems and found two articles. The Mokin is an article on a restoration by Anthony Cook and is very helpful. The second is one I did on a Bruyere Garantie Pocket pipe and it is also a help in solidifying what I knew about the shape and the pipe. Here are the links:
https://rebornpipes.com/2015/10/20/ship-shape-refurbishing-a-mokin-corsaire-7087/
https://rebornpipes.com/2015/11/09/cleaning-up-a-bruyere-garantie-pocket-pipe-with-a-horn-stem/
Since this pipe is stamped Genuine French Briar I did a quick search on the blog for both Genuine French Briar and GFB pipes. I have restored a few of those over the years so I have included those links as well to try to pin down the history of the brand.
I went back and reread the posts on the GFB pipes I had refurbished to remind myself of their history. There I described the process of hunting down information on the brand. I summarize that here for those may not have read the posts. I quote below from the articles the pertinent information on the brand.
(https://rebornpipes.wordpress.com/2013/06/07/restemming-and-reclaiming-an-older-unsmoked-gfb-briar-calabash/ , https://rebornpipes.wordpress.com/2013/04/01/restoring-a-gfb-bent-billiard-another-reclamation-project/, https://rebornpipes.com/2013/11/21/restoring-an-older-gfb-three-star-horn-stem-bent-bulldog/#)
The first thing I found was information that the GFB brand was an older French Trademark and that it came from Saint Claude, France. A more focused search for GFB French Briar Pipes led to information that the stamping GFB stood for Great French Briar – something about that did not seem right to me so I continued to look and finally came across the following advertisement from a Sears Catalogue that I have included below. It shows a full page of GFB pipes and the header says GENUINE FRENCH BRIAR. That made much more sense to me, and all three of the GFB pipes I had worked on match the pipes in the catalogue. It was good to be reminded of the old brand. I am pretty sure that all three of my GFB pipes come from either the late 1890’s or the early 1900’s.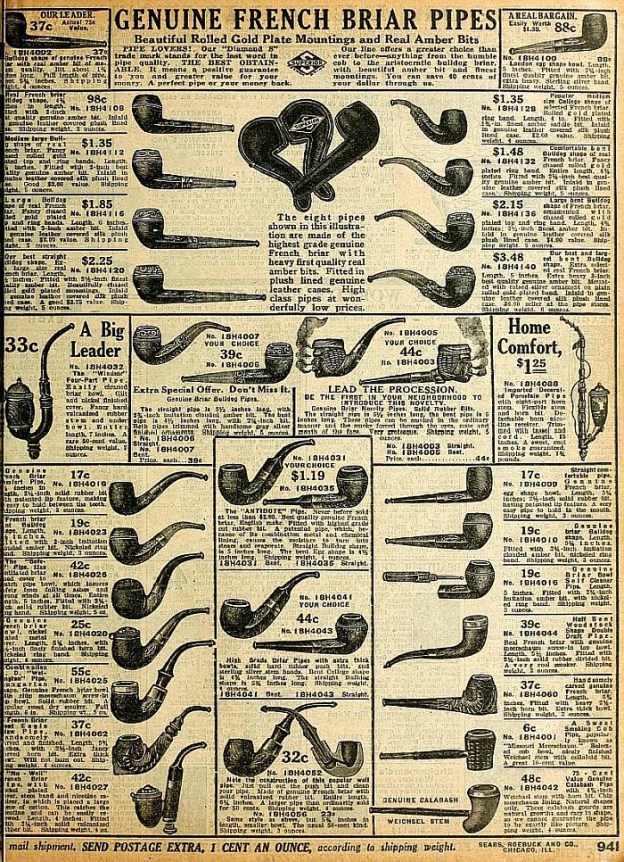 Judging from the description above, the pipe I am working on is an older French Made pipe by the GFB company – Genuine French Briar. The best I can tell the pipe was made in the early 1900s. I have worked on horn stem examples of this but this is one of the first with a hard rubber stem. Now it was time to work on the pipe itself.
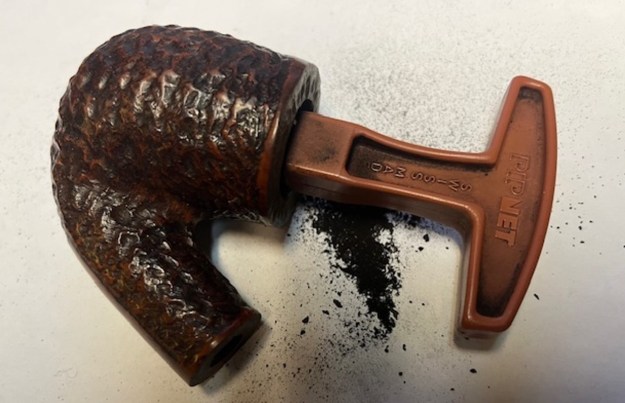
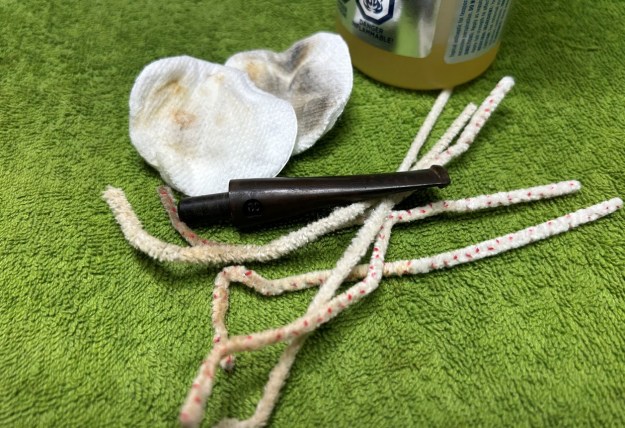
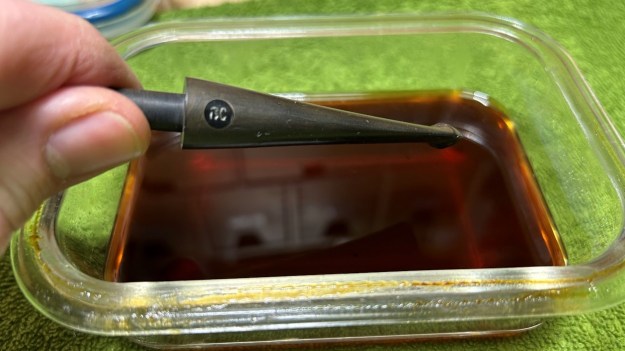
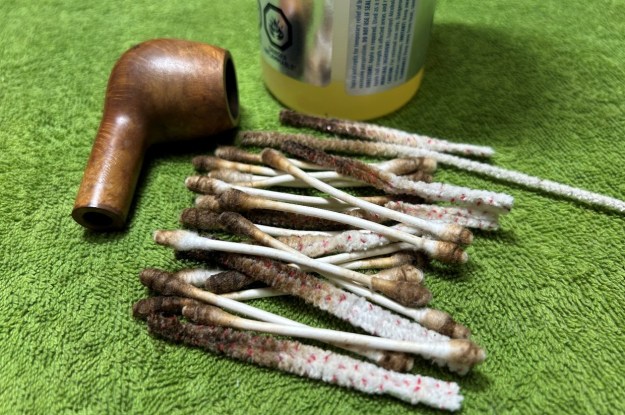
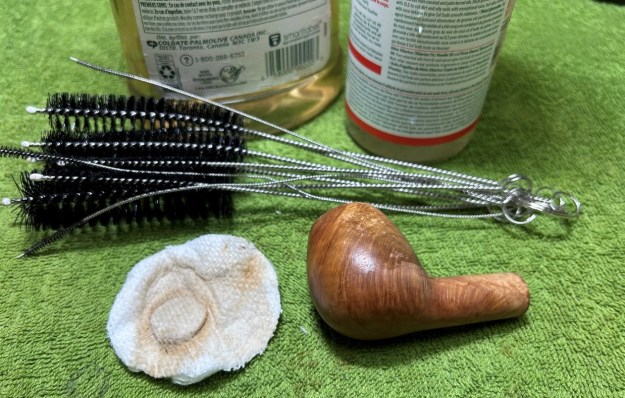
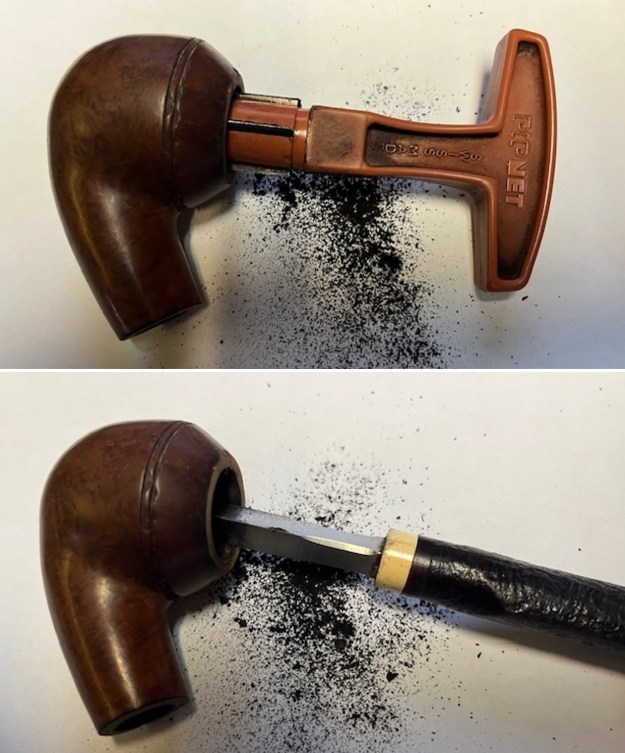
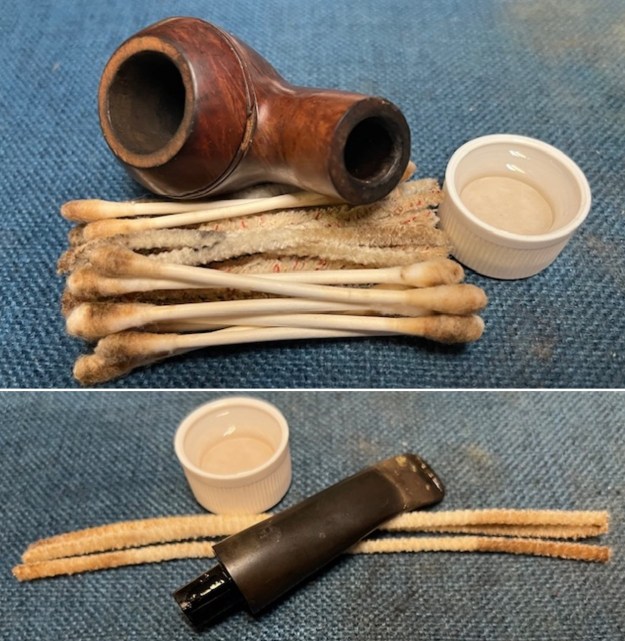
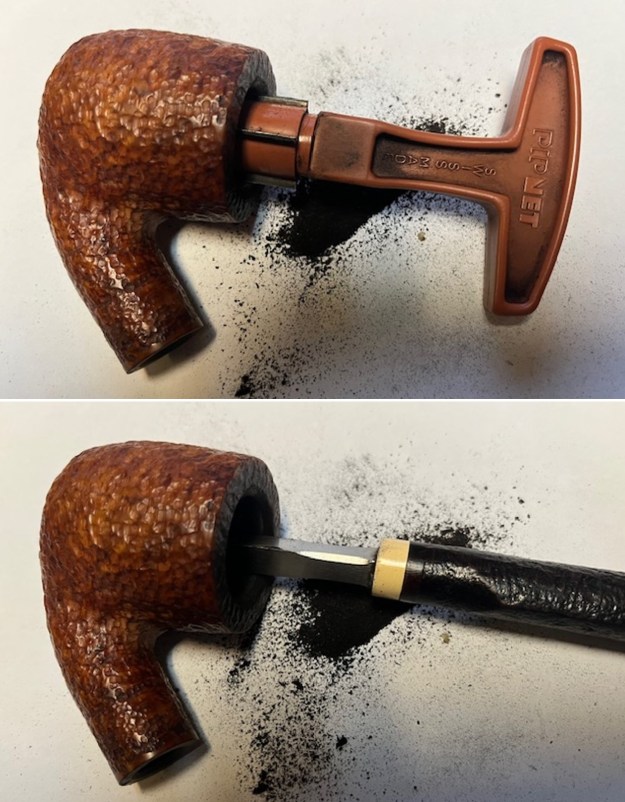
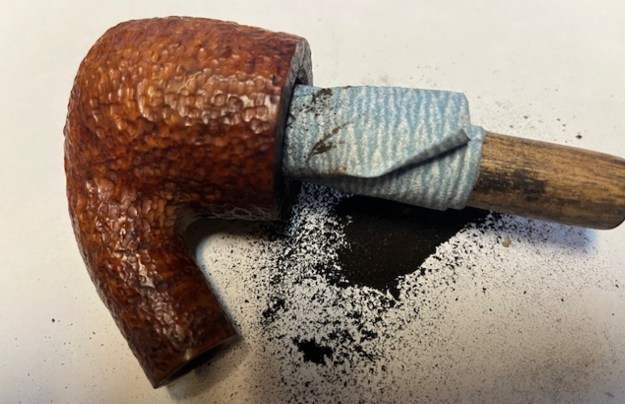
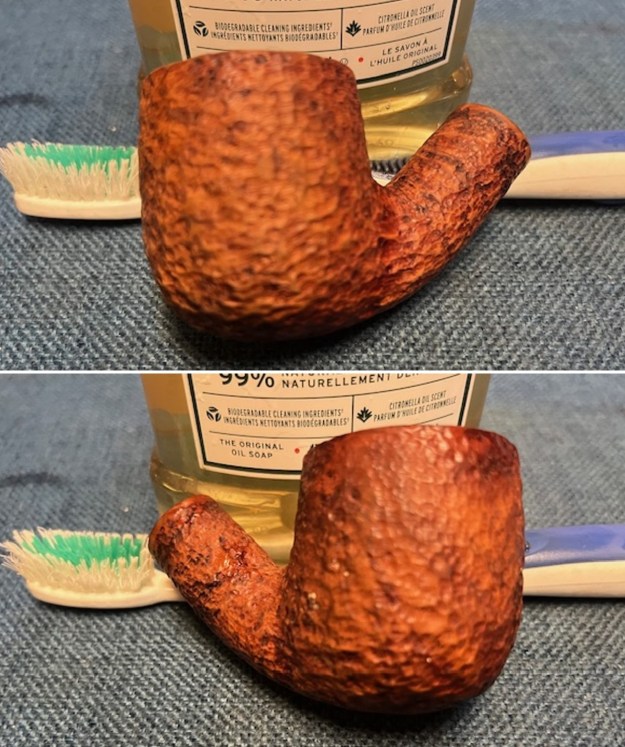
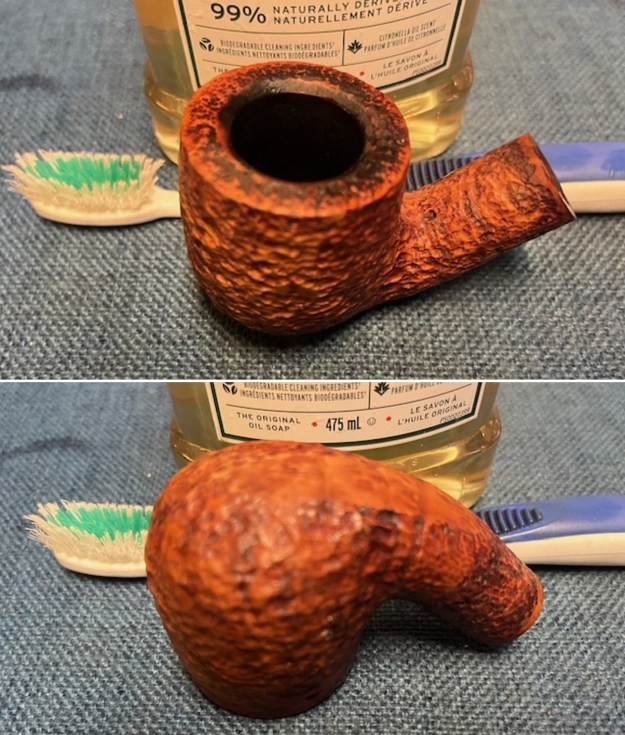
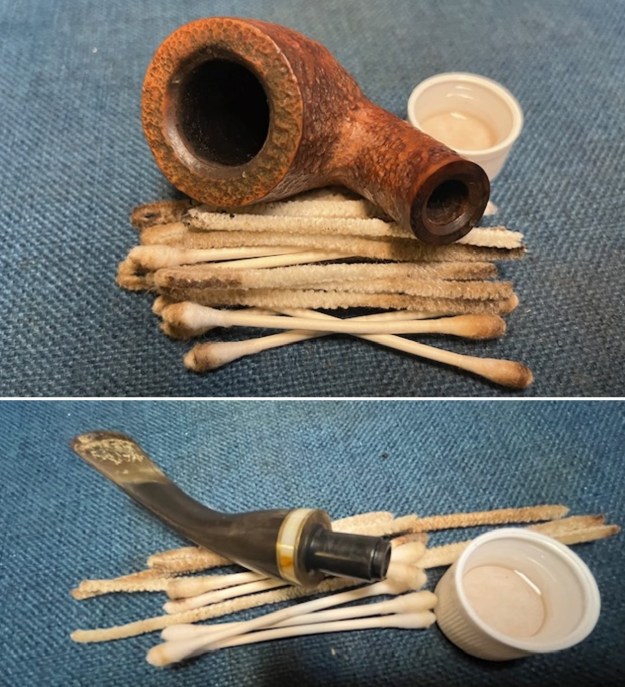
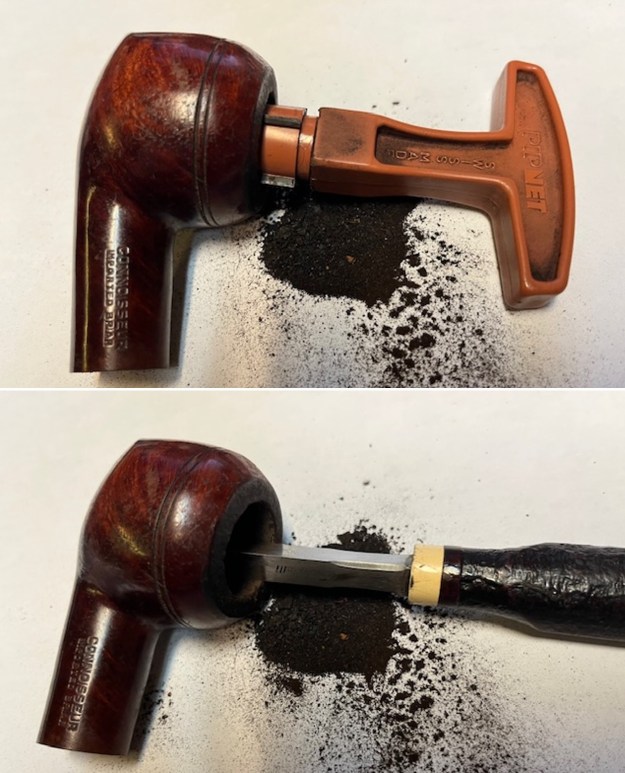
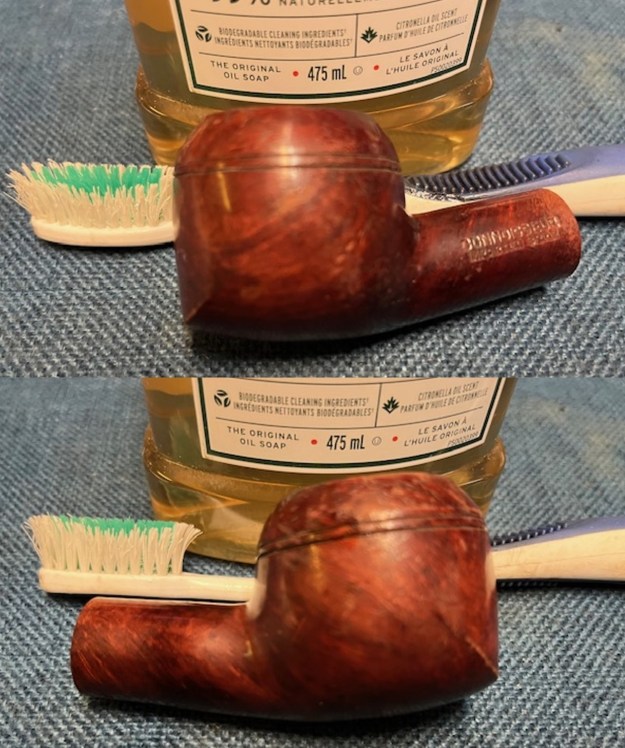
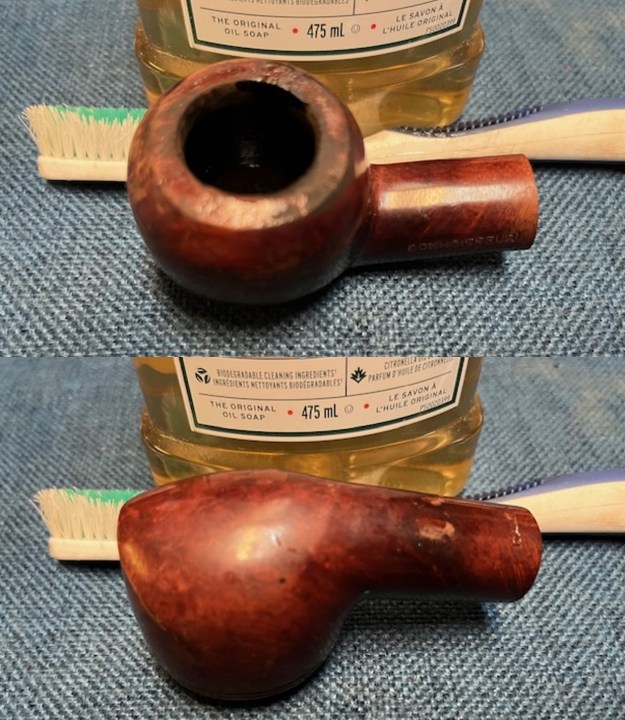
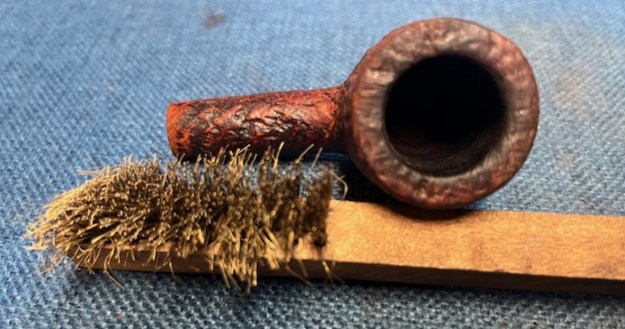
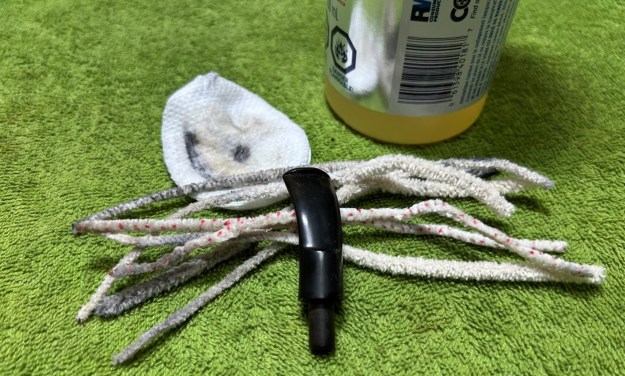
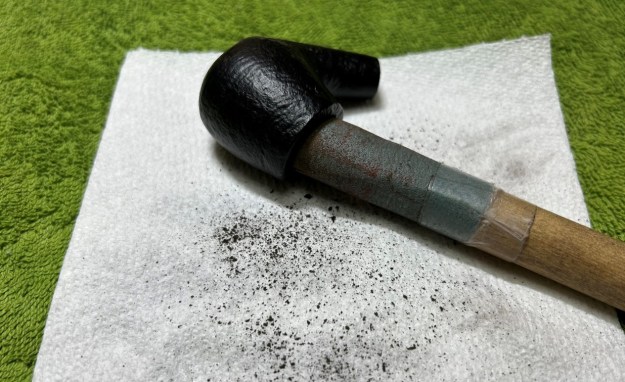
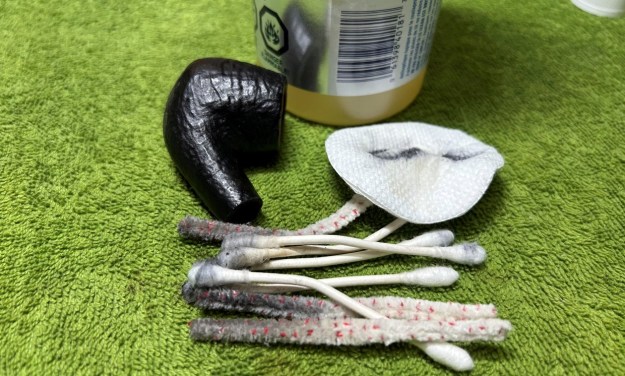
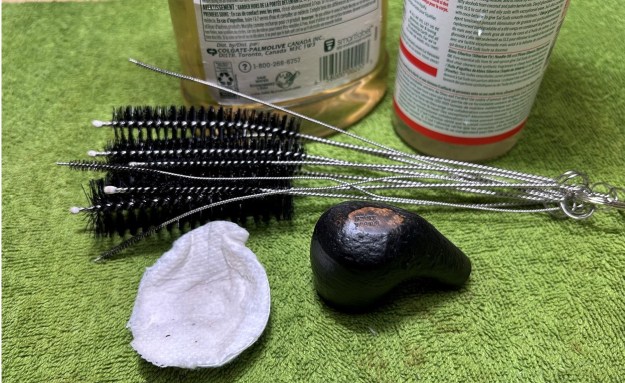
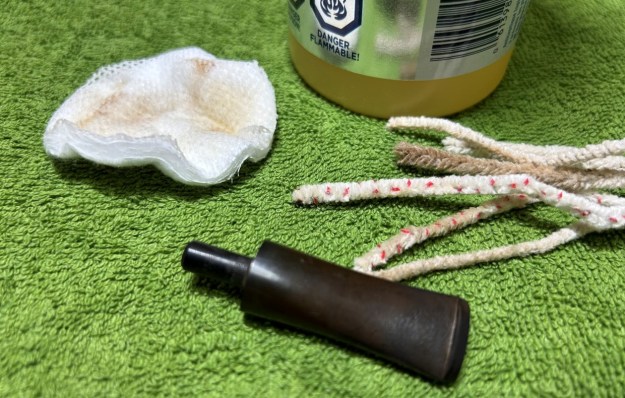
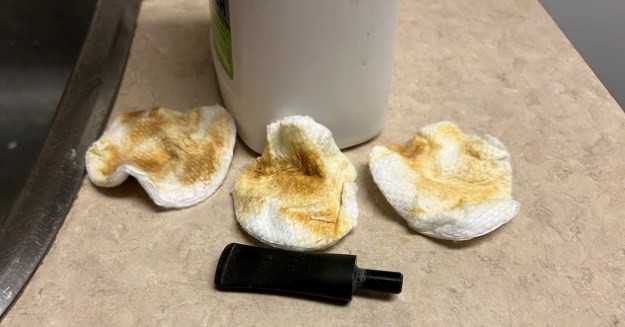
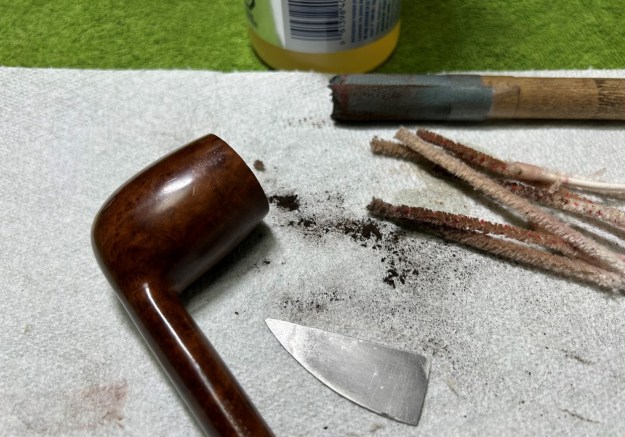
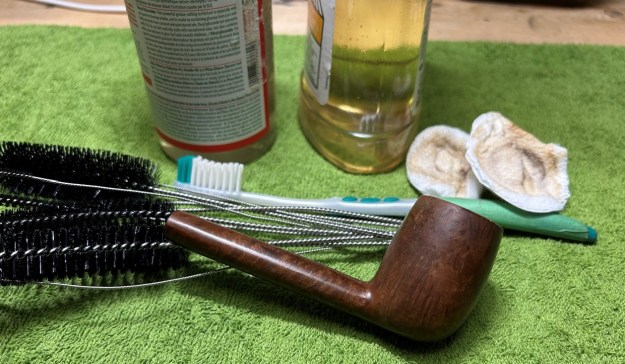
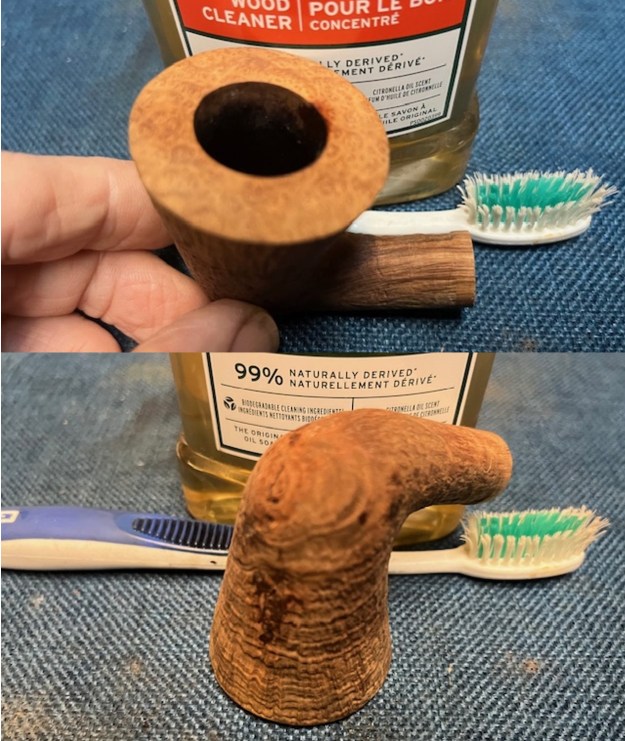
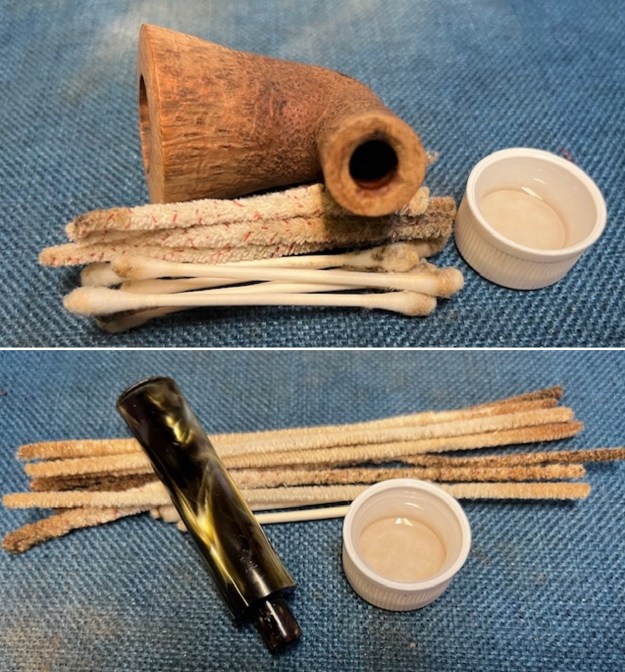
Jeff had done a great job cleaning up the pipe as usual. He reamed the pipe with a PipNet reamer and cut back the cake back to the bare briar. He cleaned up the walls with a Savinelli Fitsall Pipe Knife. Surprisingly the walls looked unscathed from the heavy cake. He scrubbed the interior of the bowl and shank with pipe cleaners, cotton swabs and alcohol to remove the tars and oils. He scrubbed the exterior of the pipe with Murphy’s Oil Soap and a tooth brush to remove the grime from the finish. He scrubbed the inside of the stem with alcohol and pipe cleaners. He scrubbed the exterior of the stem with Soft Scrub and then soaked it in Briarville’s Pipe Stem Deoxidizer. He washed it off with warm water to remove the Deoxidizer. When I examined the stem, it looked very good. The pipe looked far better when it arrived.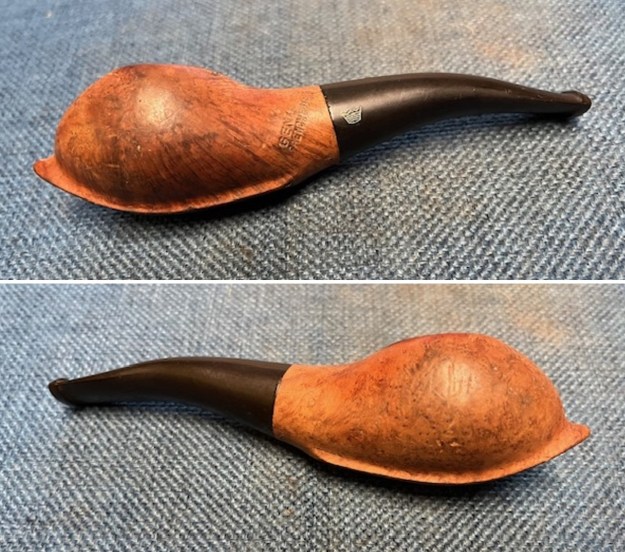
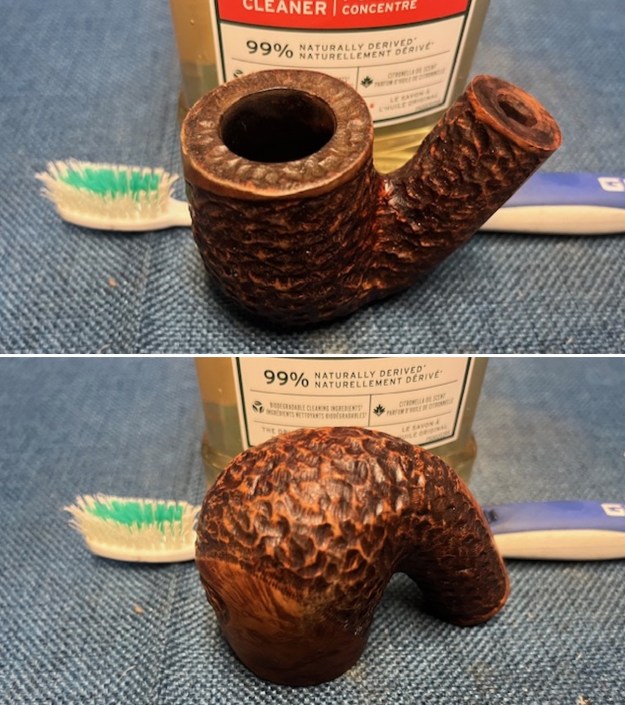
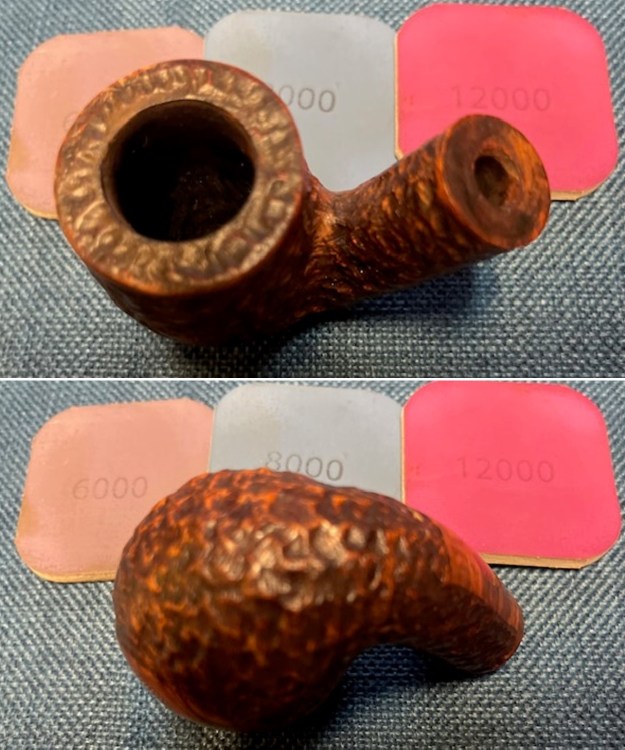
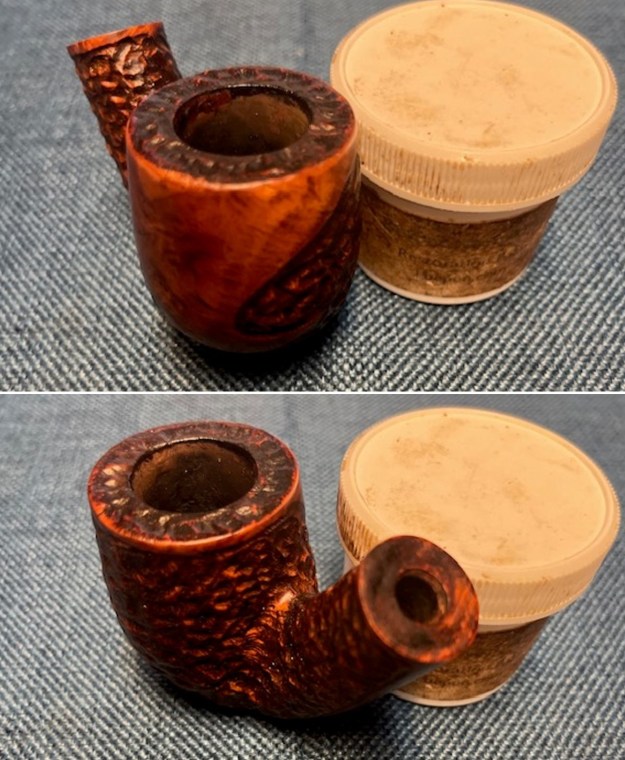
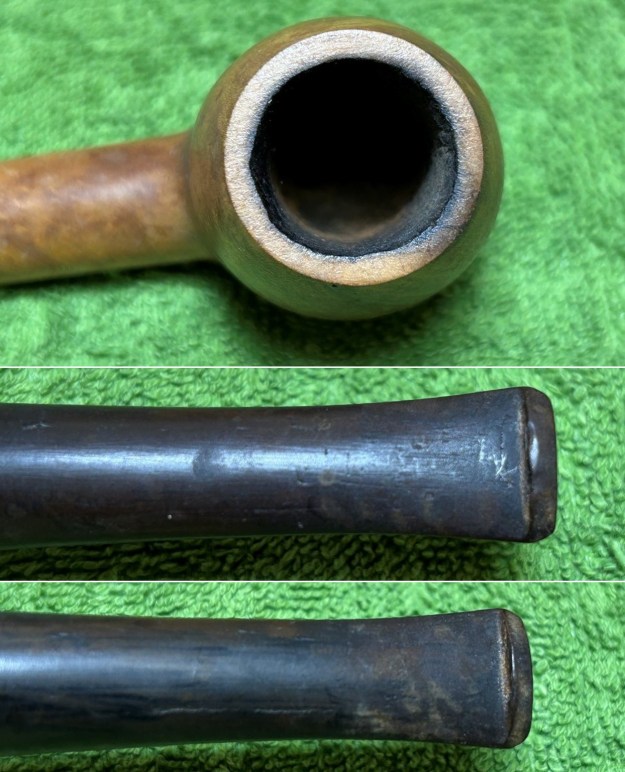
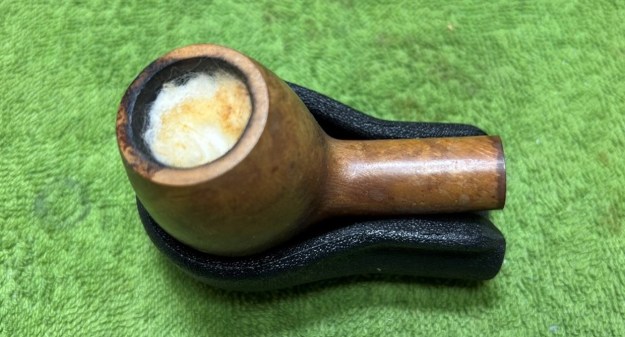
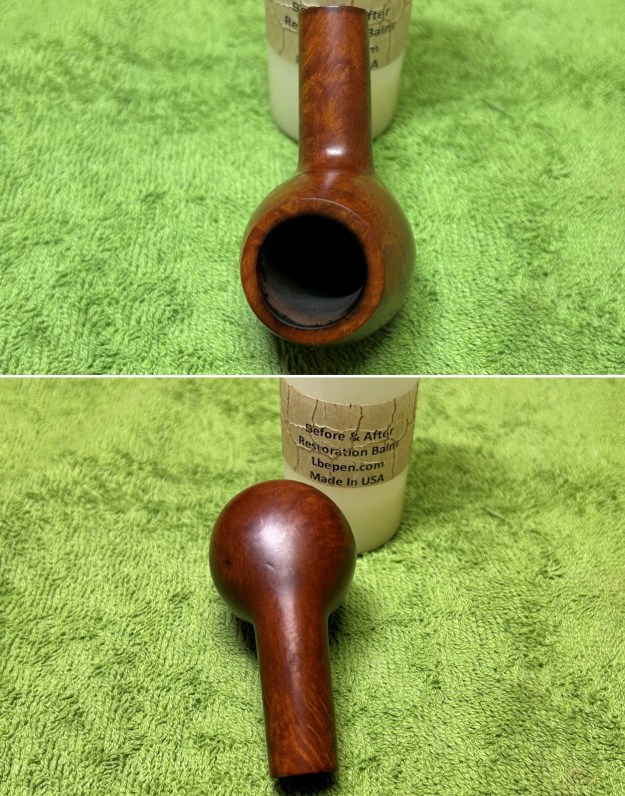
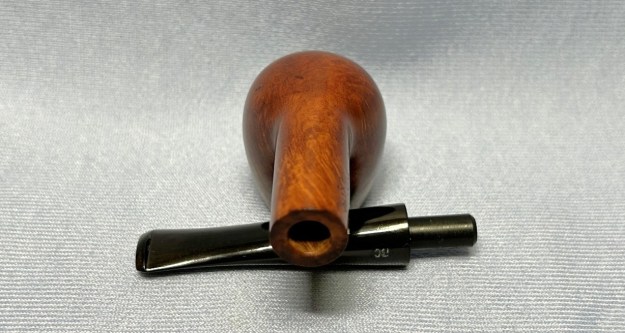
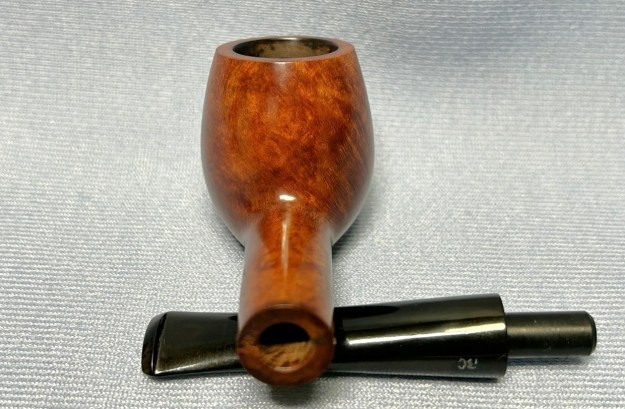
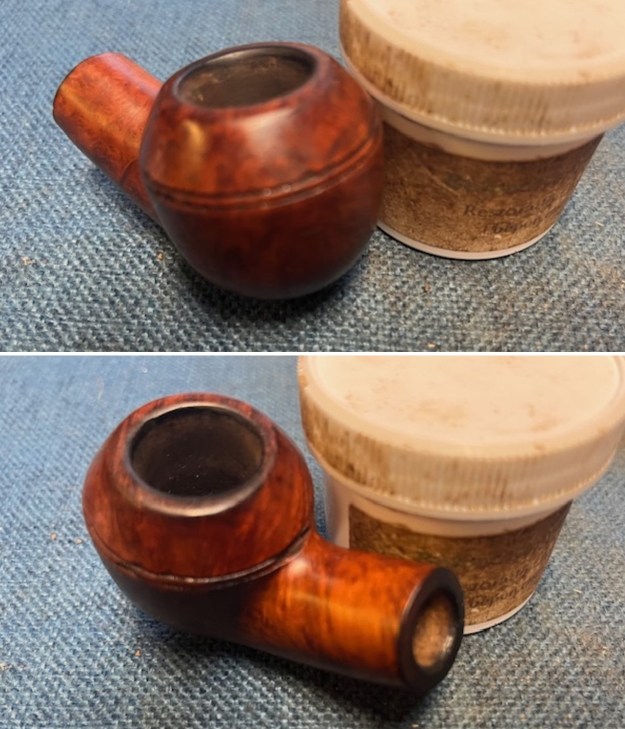
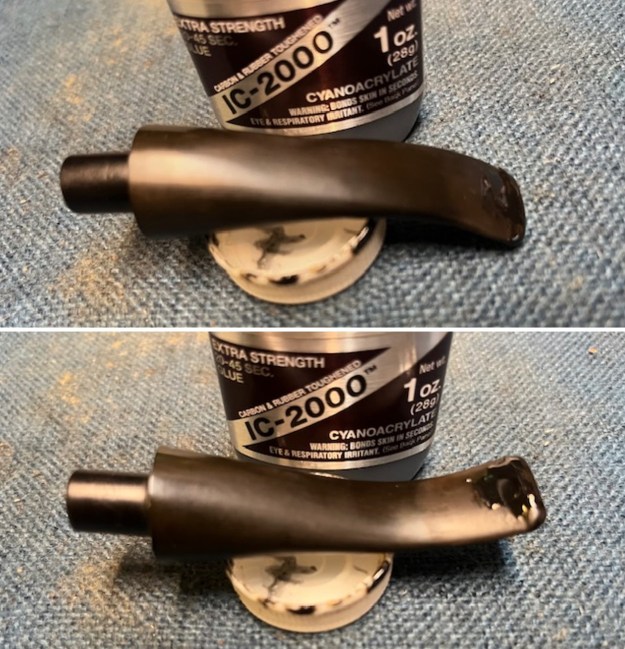
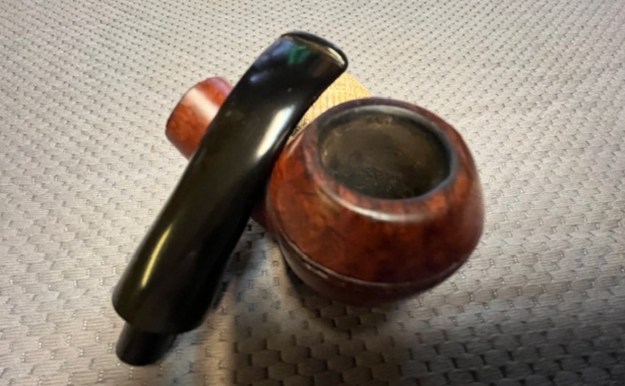
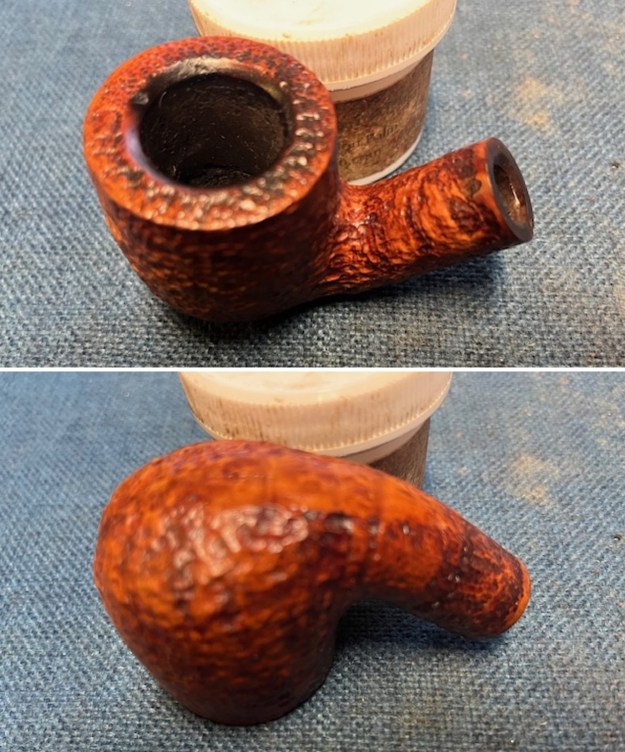
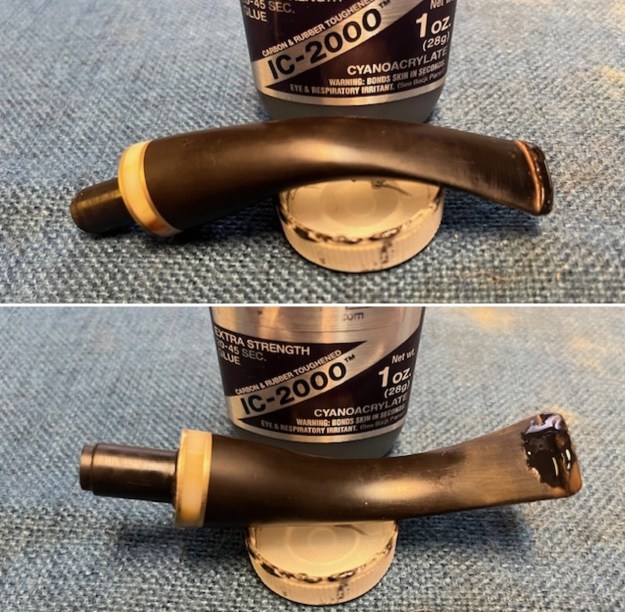
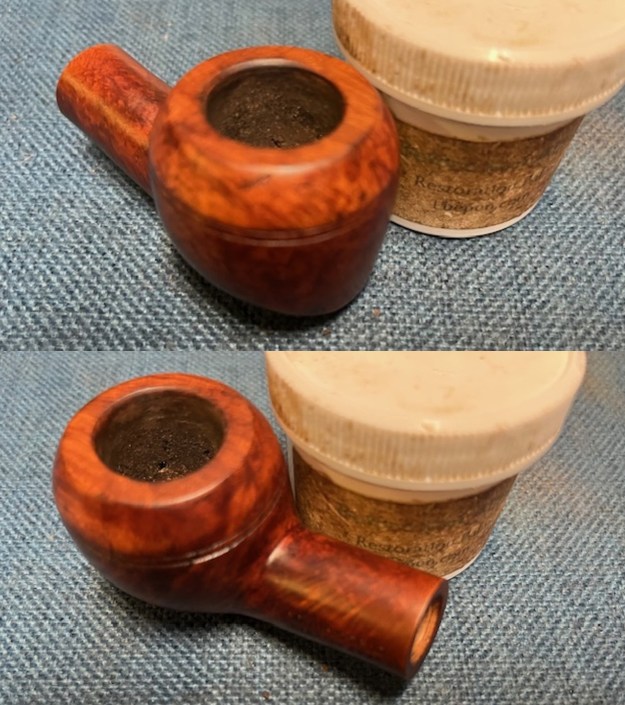
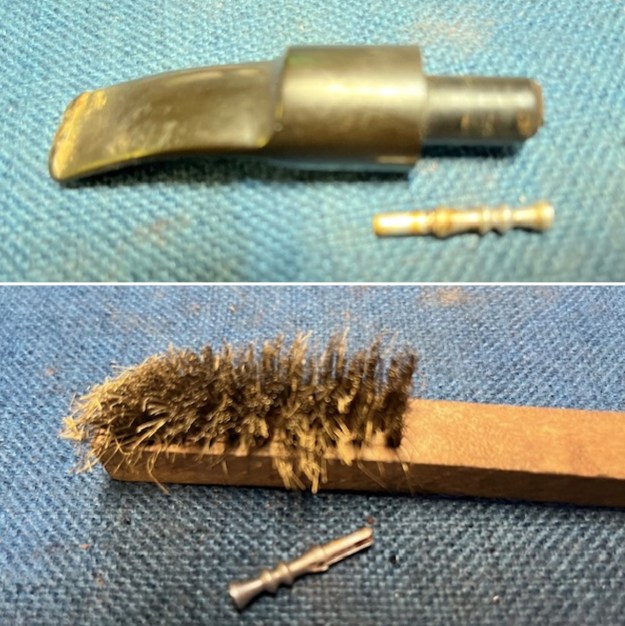
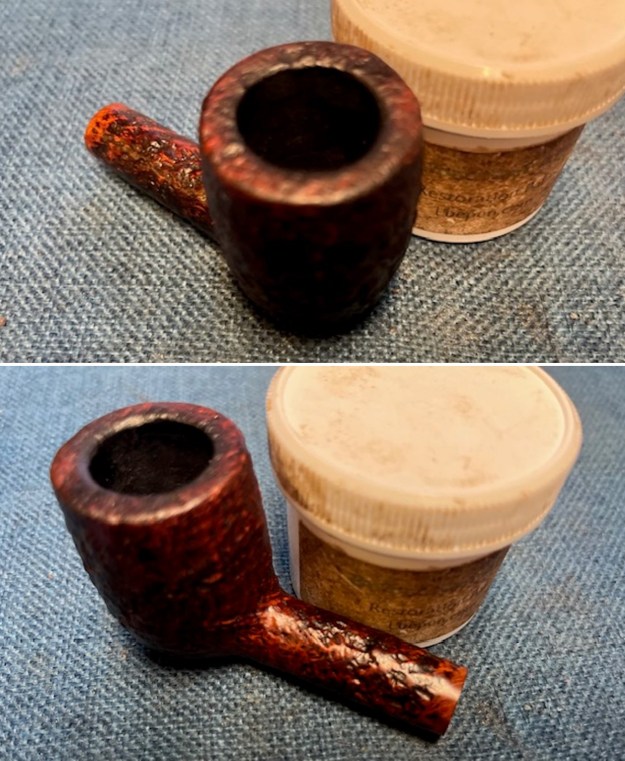
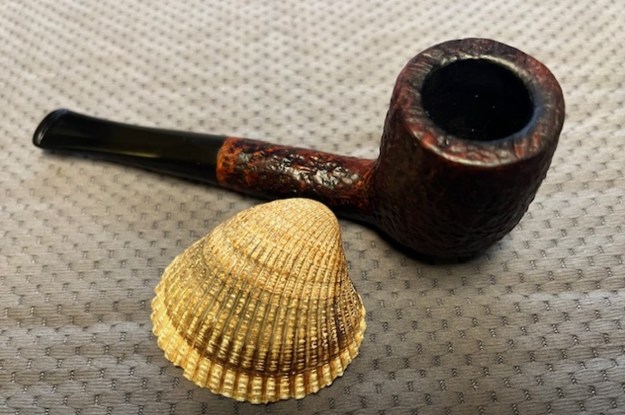
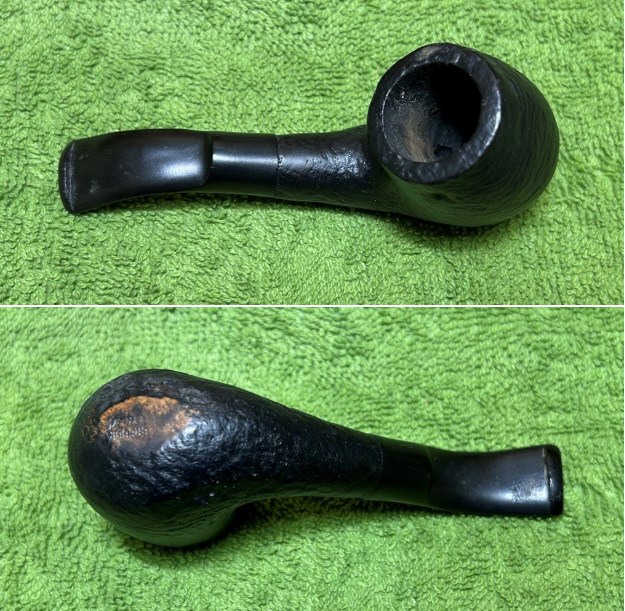
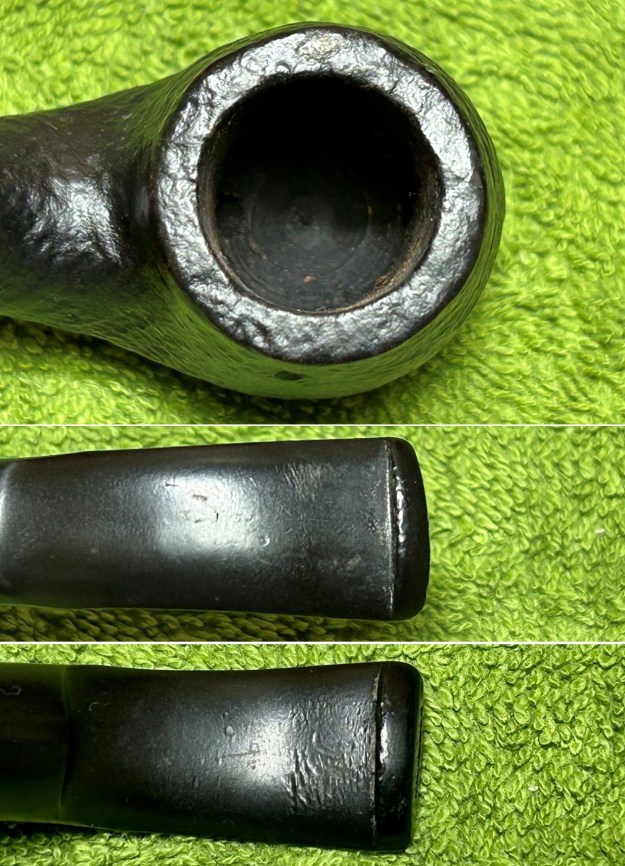
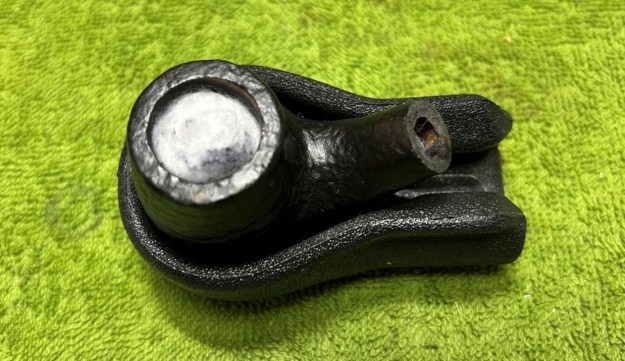
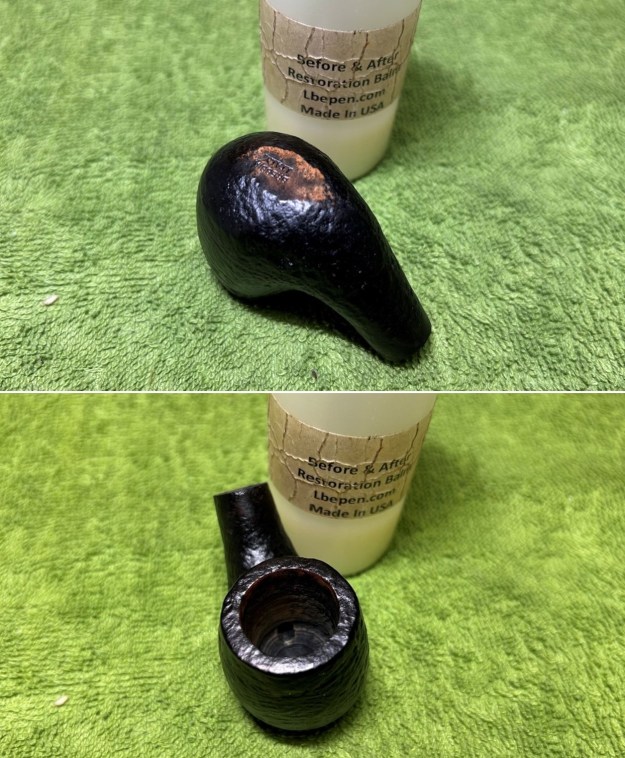
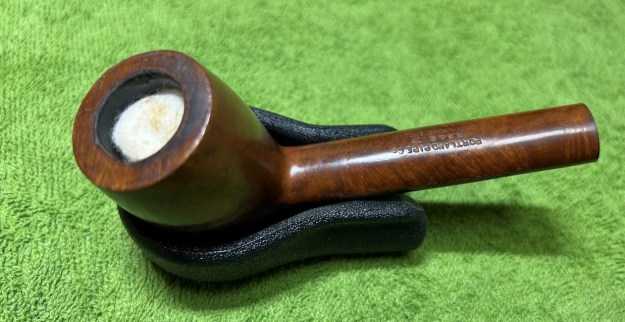
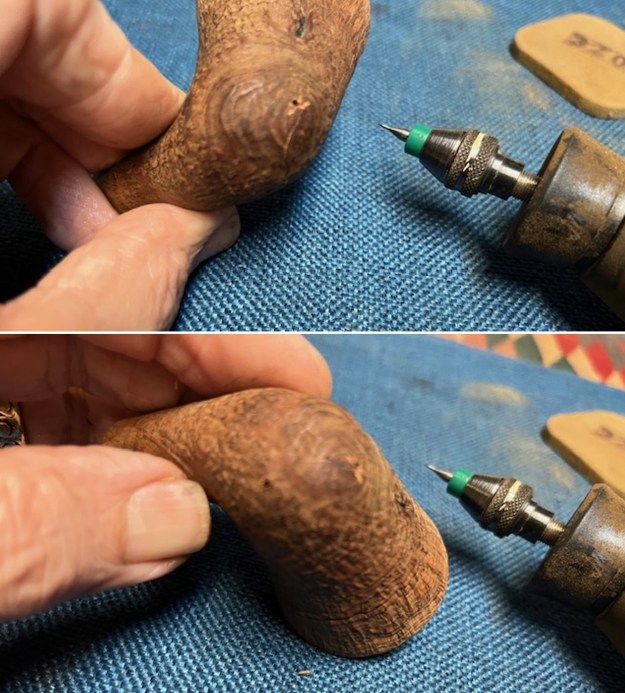
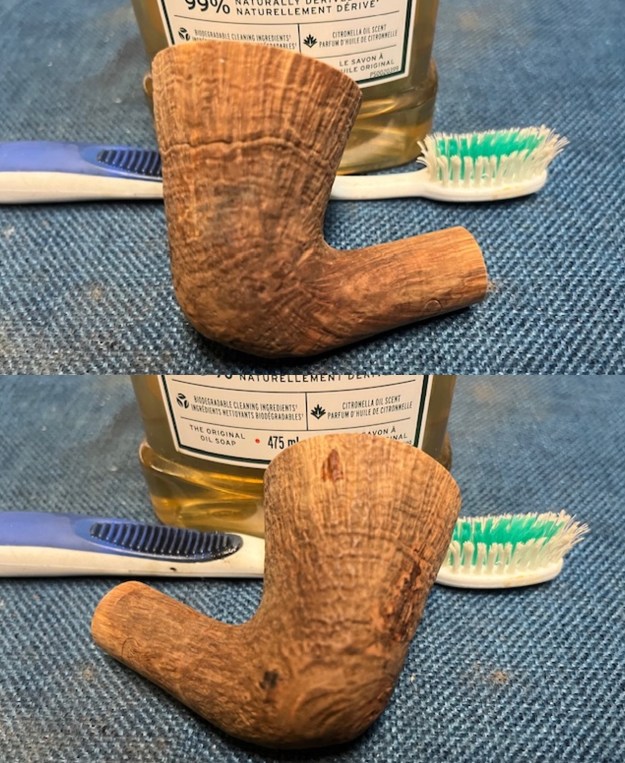
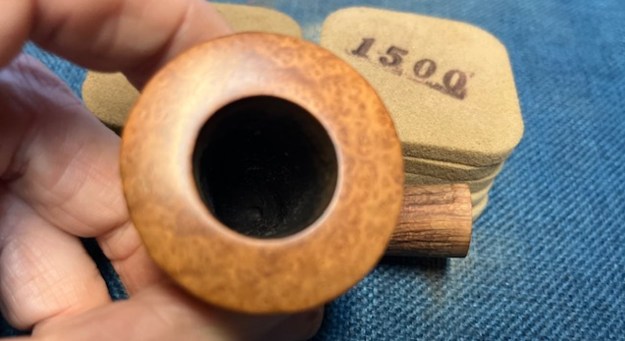
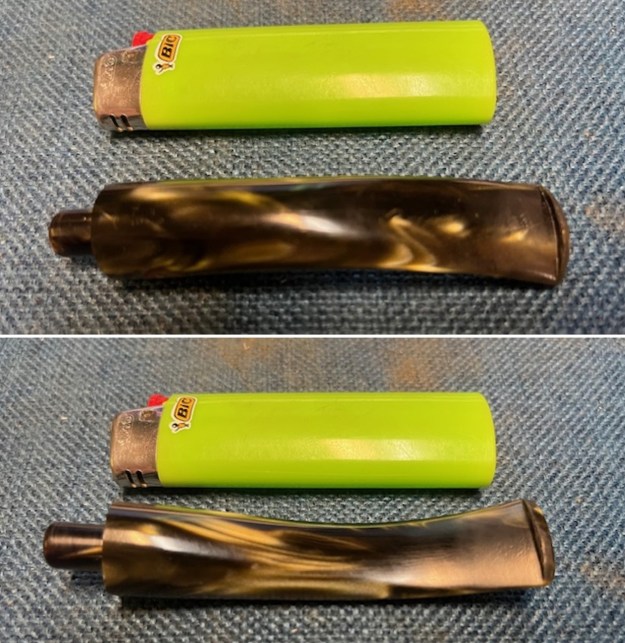
 I took some close up photos of the rim top and edges to show how well it had cleaned up and the edges around the bowl. I also took close up photos of the stem to show the gouges, scratches and light tooth chatter on the surface ahead of the button on both sides.
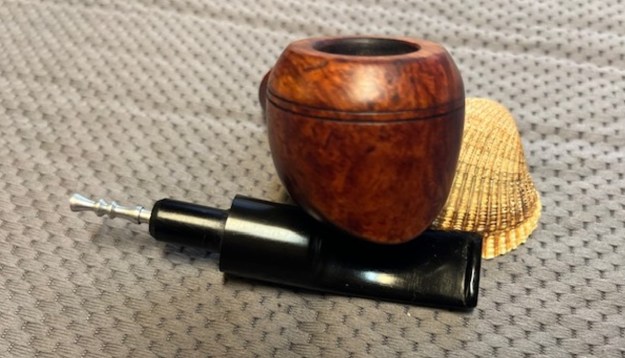
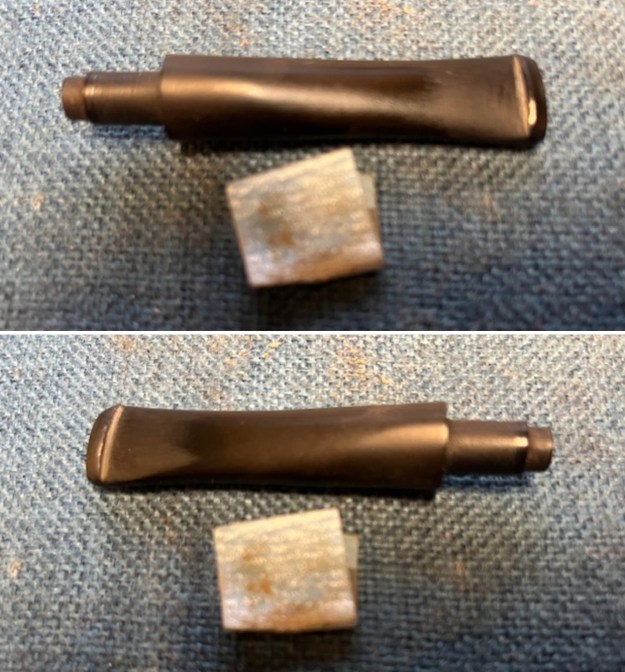
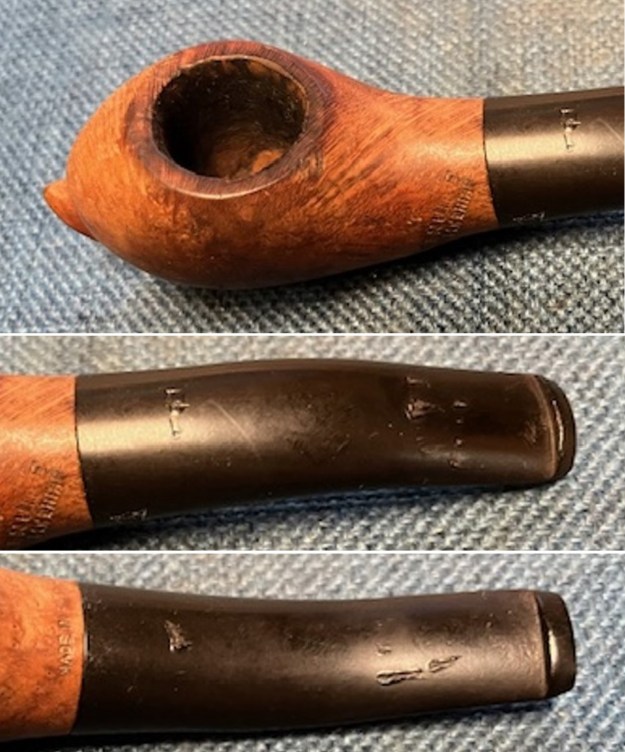 I took photos of the stamping on the sides of the shank. It is clear and readable as noted above. I removed the stem and took a photo of the pipe to have a look at the parts and overall look.
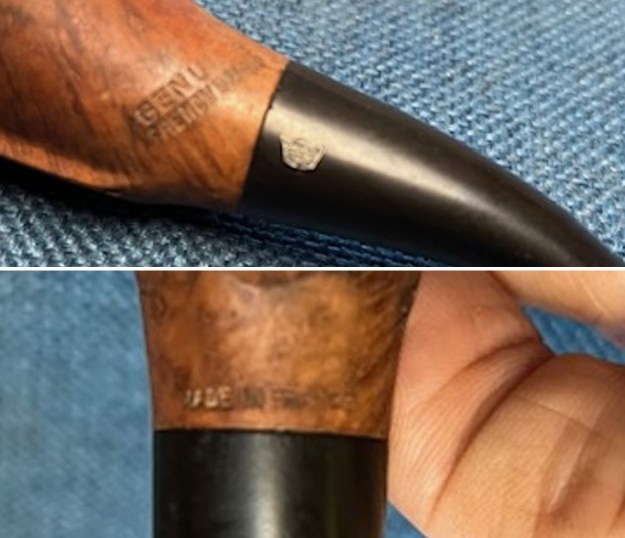
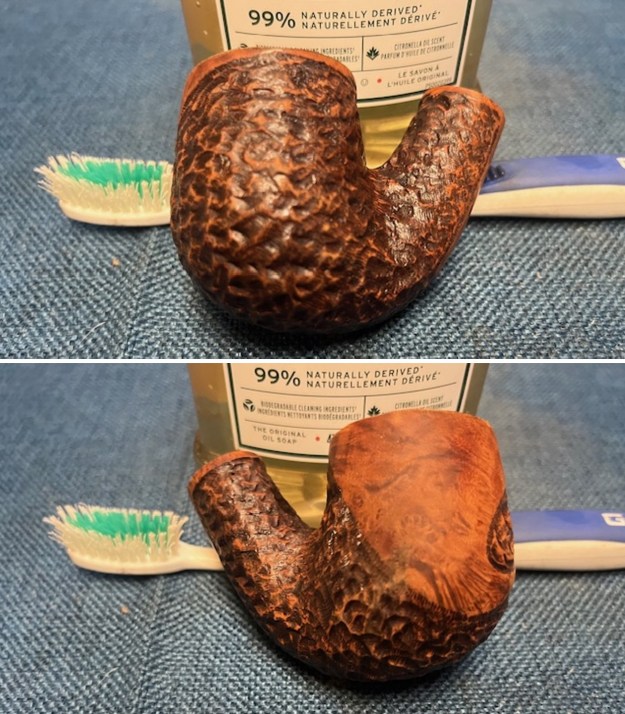
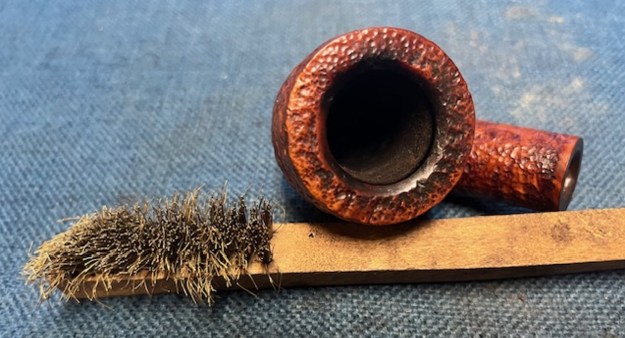
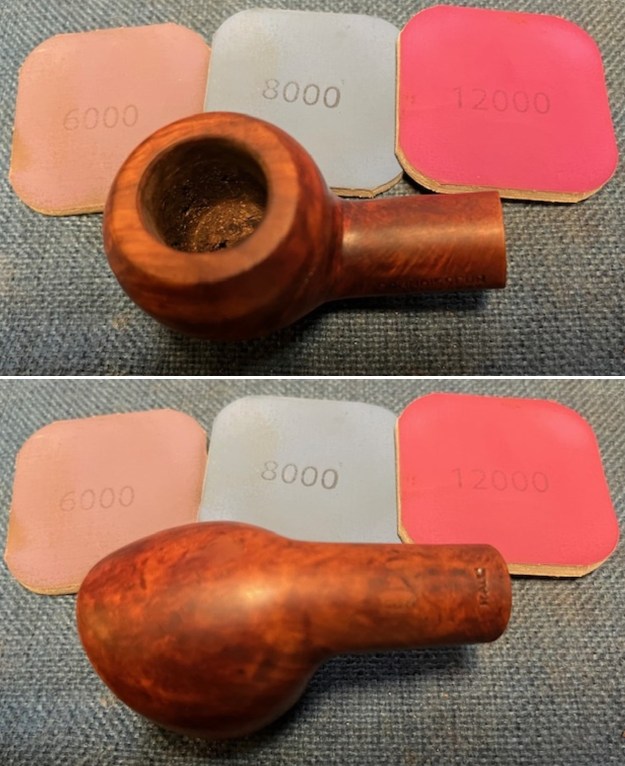
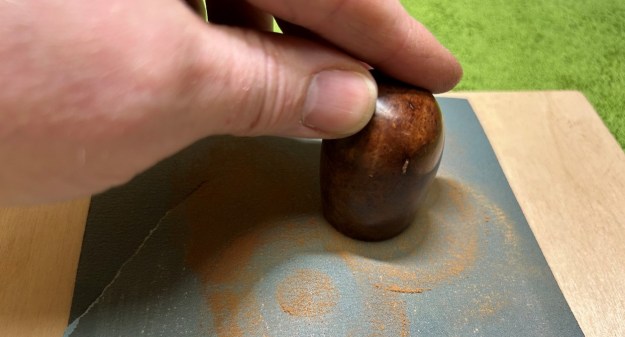
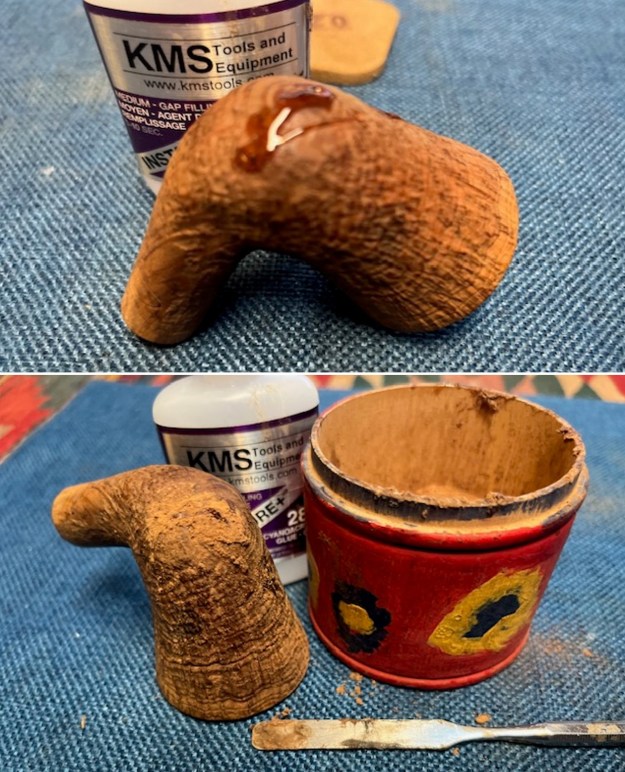
 I worked on the out of round bowl with a folded piece of sandpaper to smooth out the damaged areas and bring it back to as close to round as I could get it. I smoothed out the rim top at the same time to remove damage on the surface.
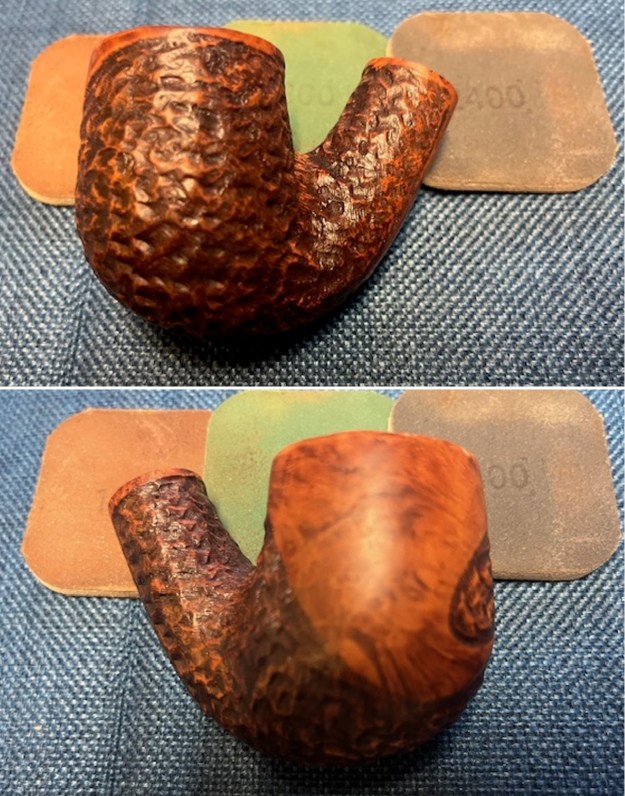
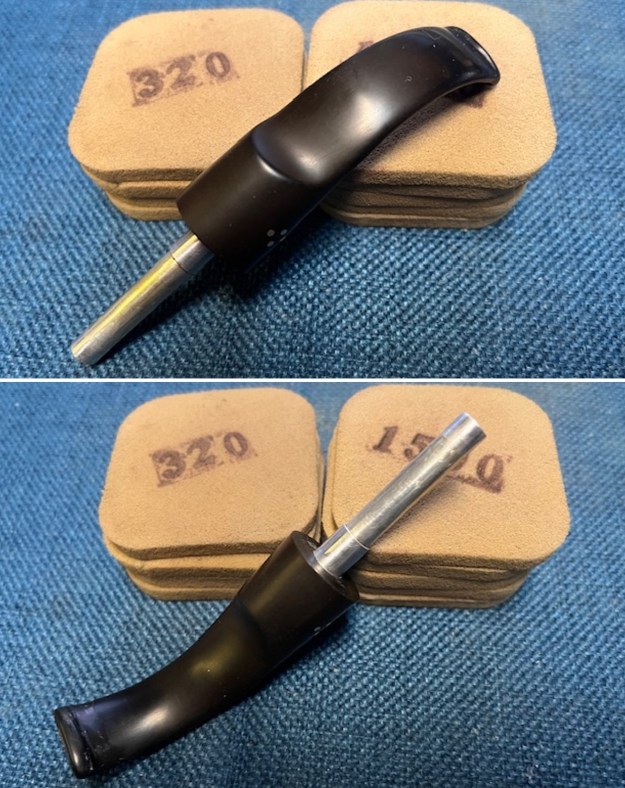
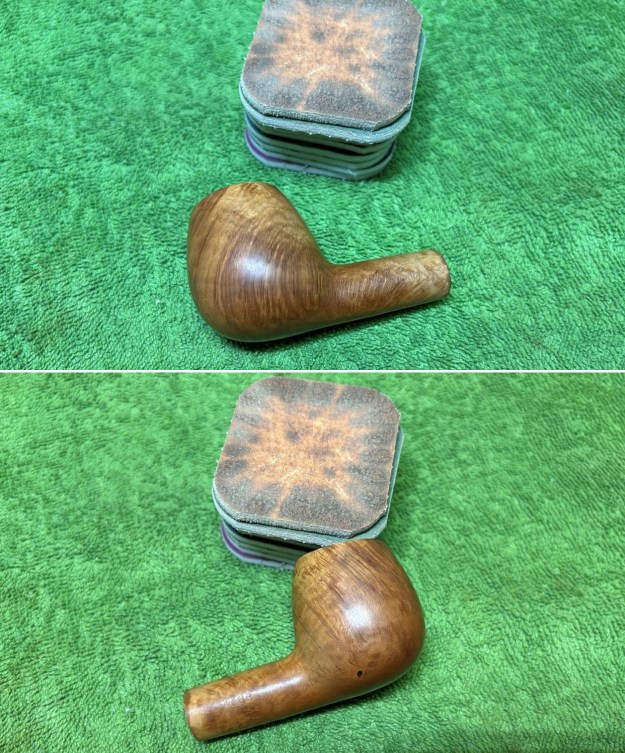
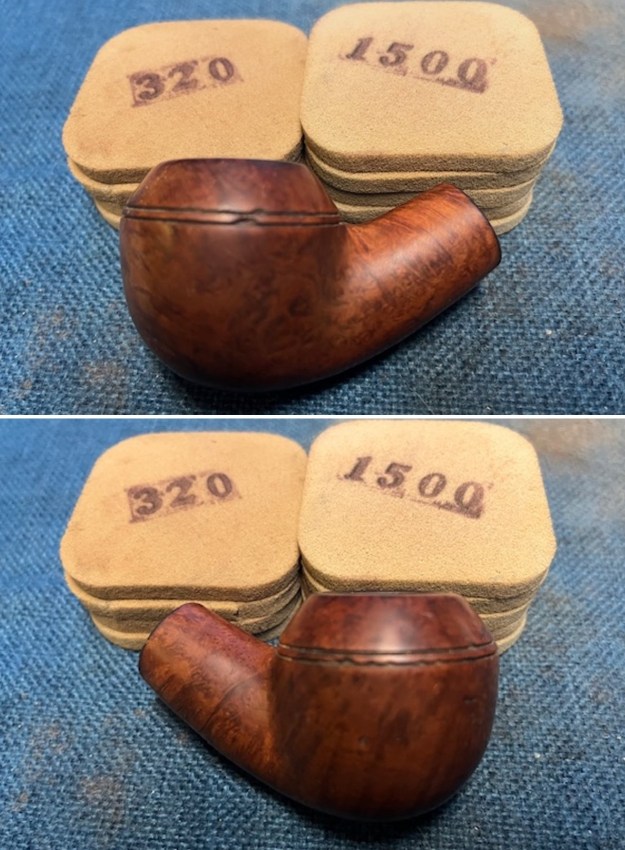
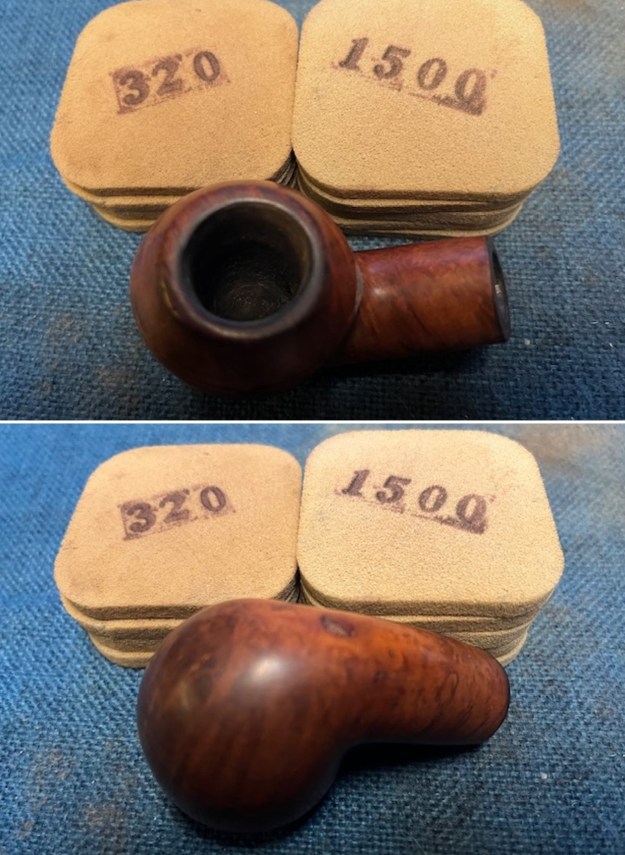
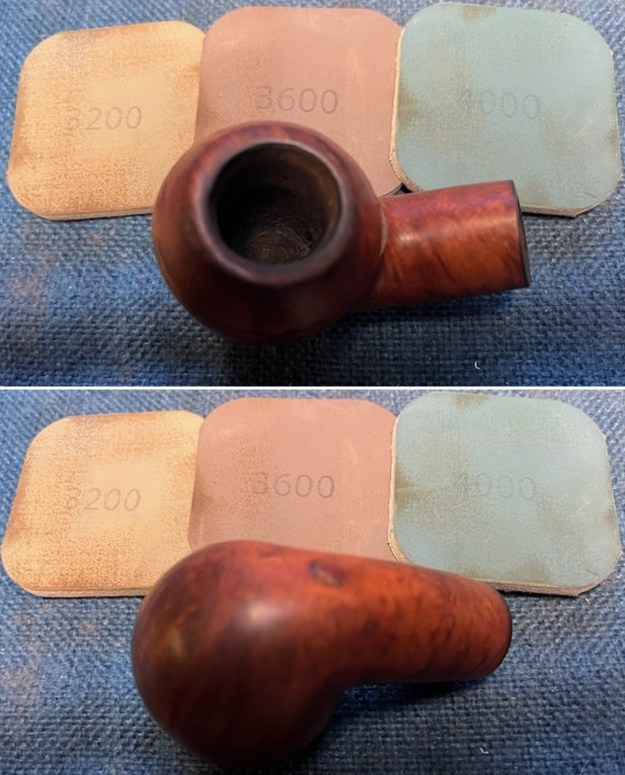
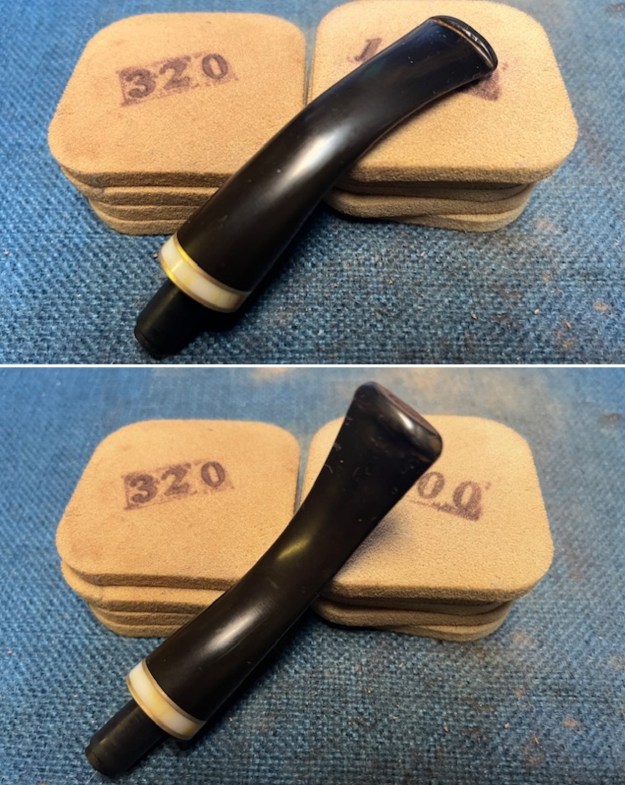
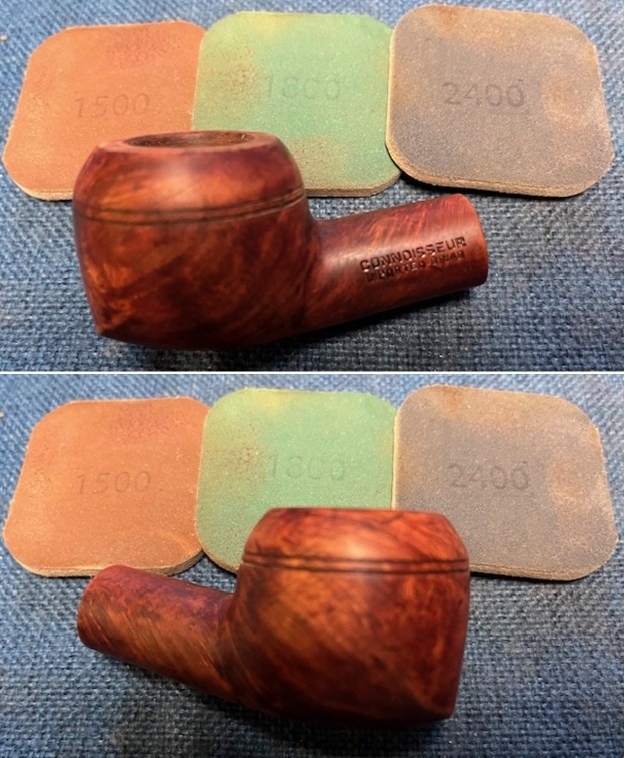
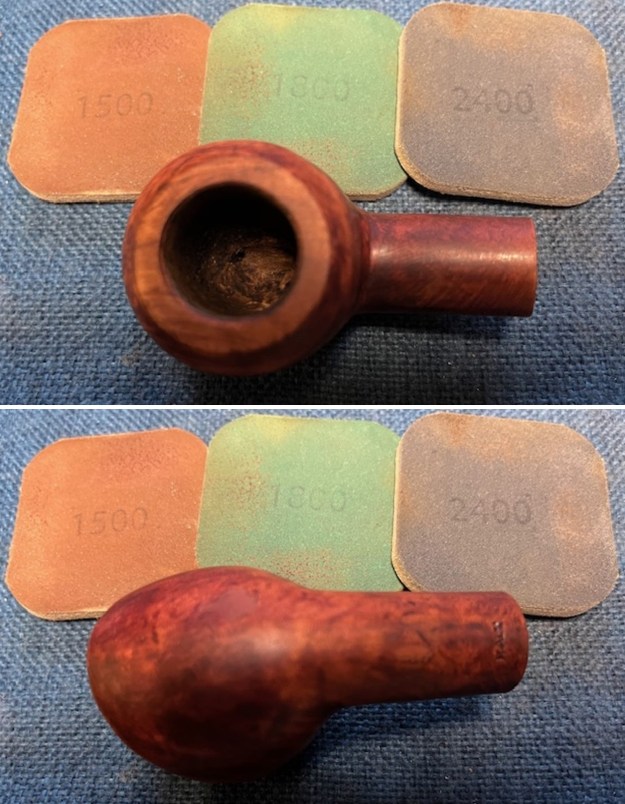
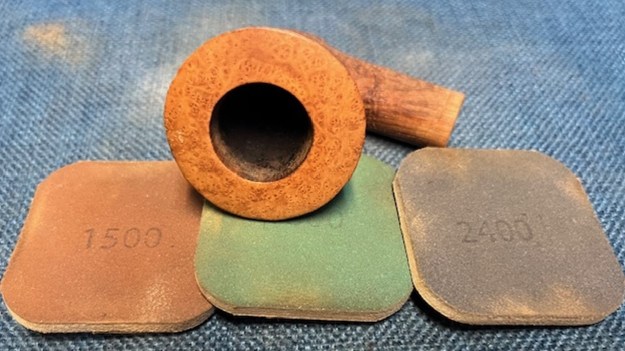
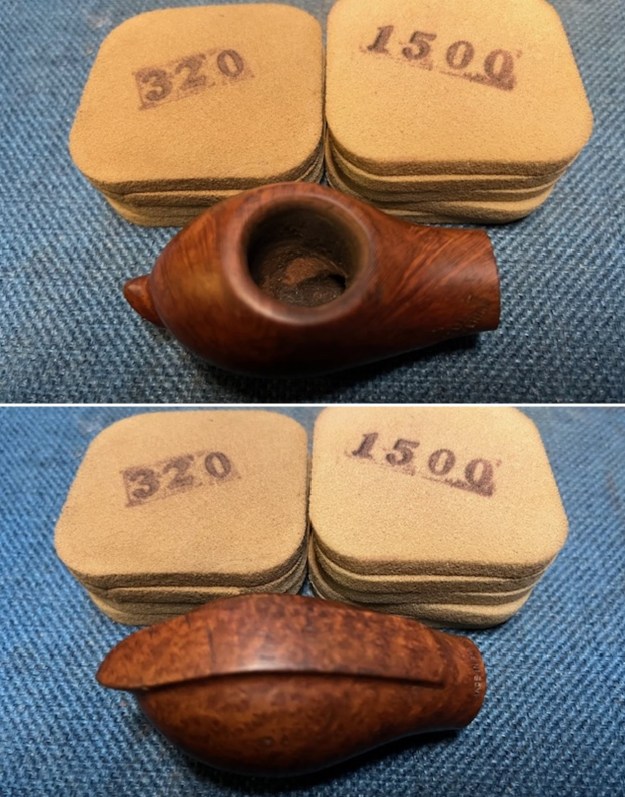
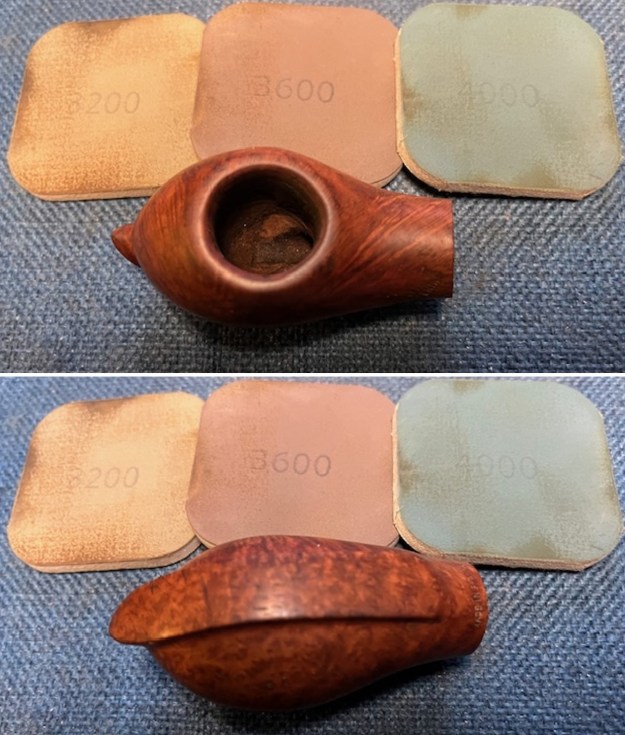
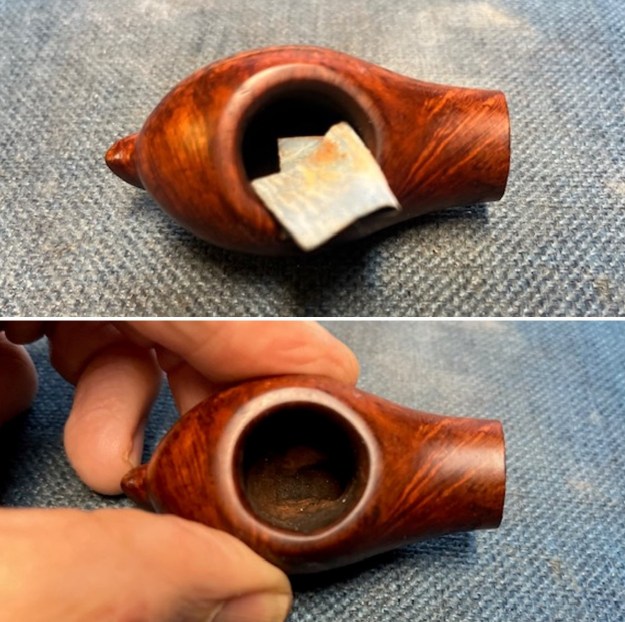 I sanded the scratching and marks around the bowl sides with 320-3500 grit sanding pads. I wiped the briar down after each sanding pad. I was able to smooth out most of the marks and the bowl looked much better.
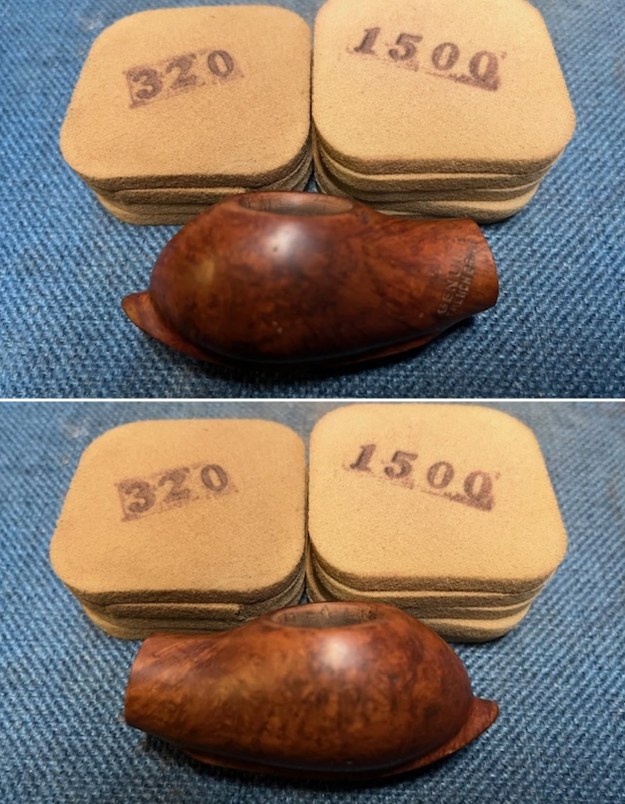
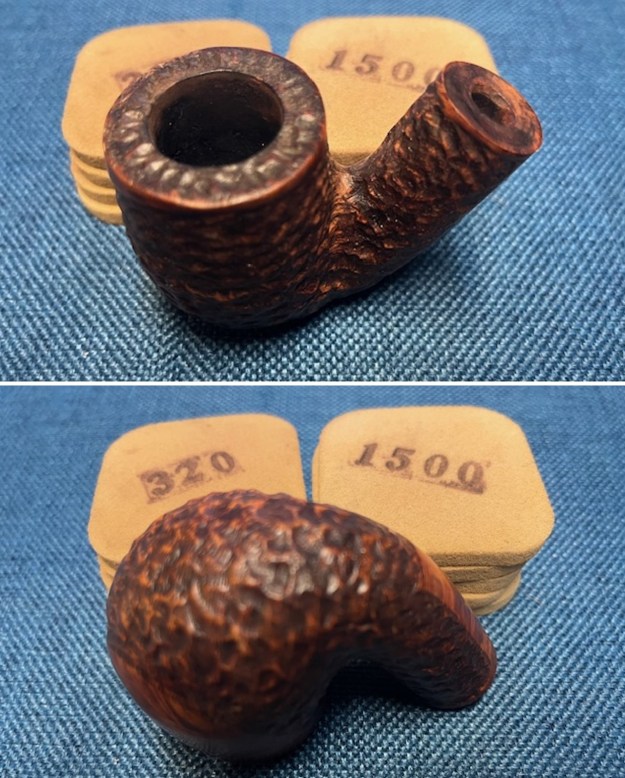
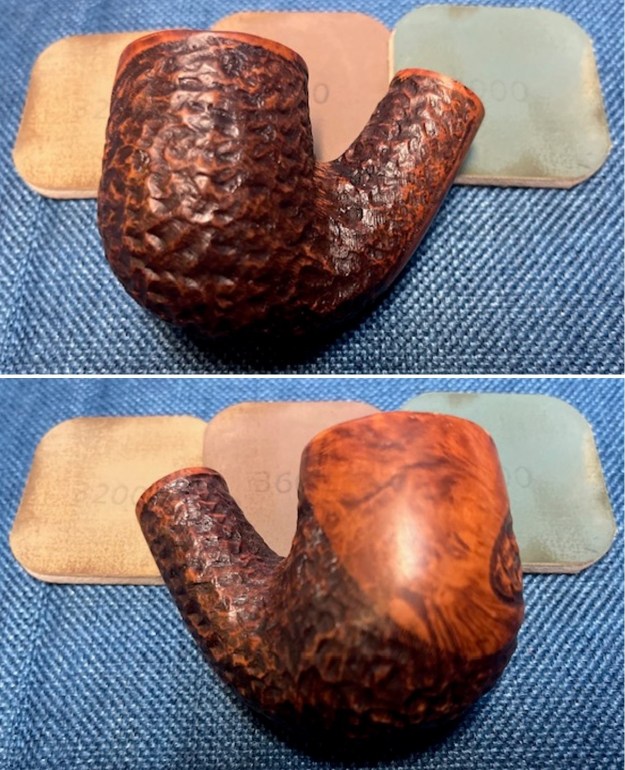
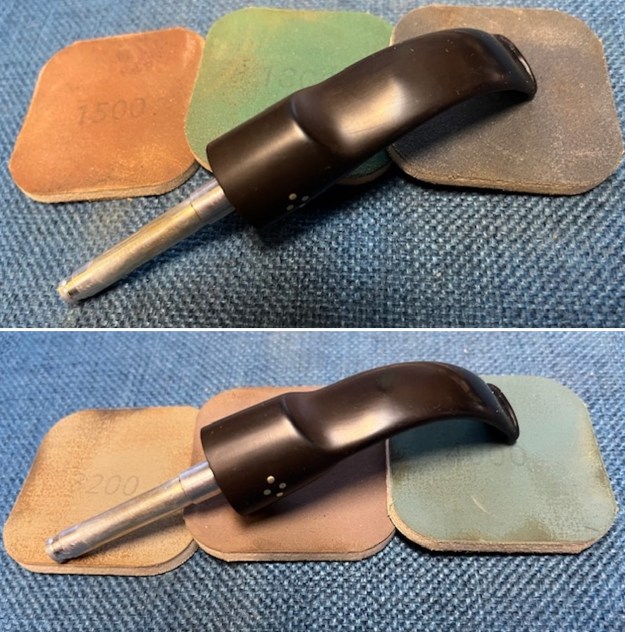
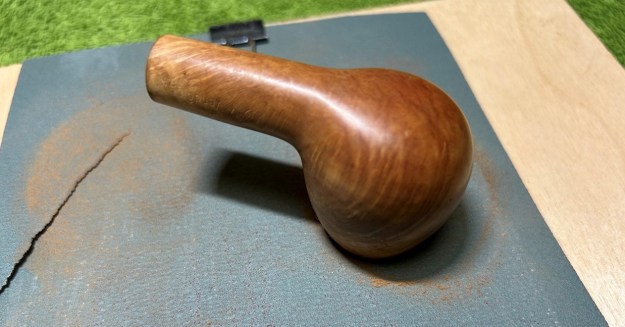
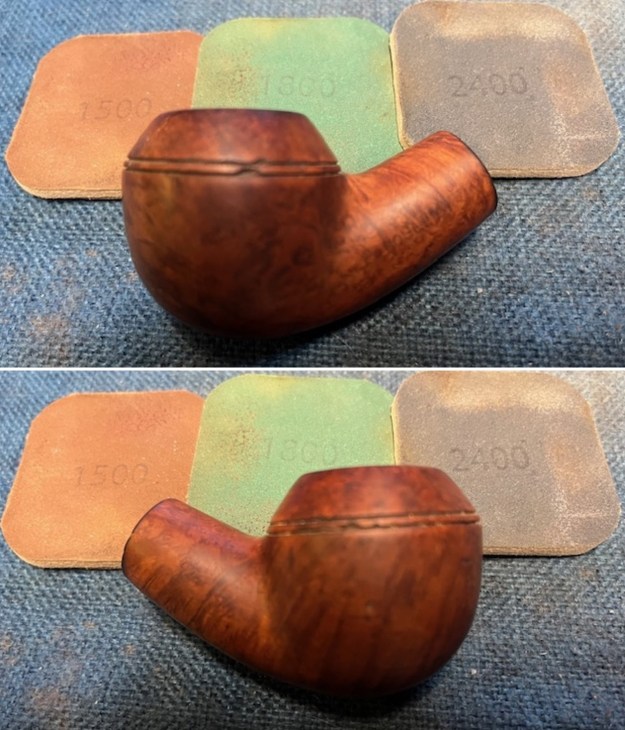
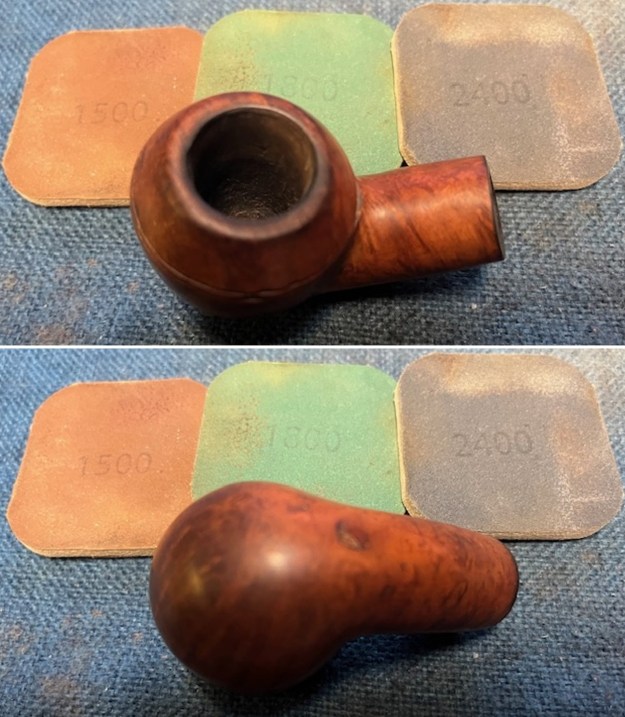
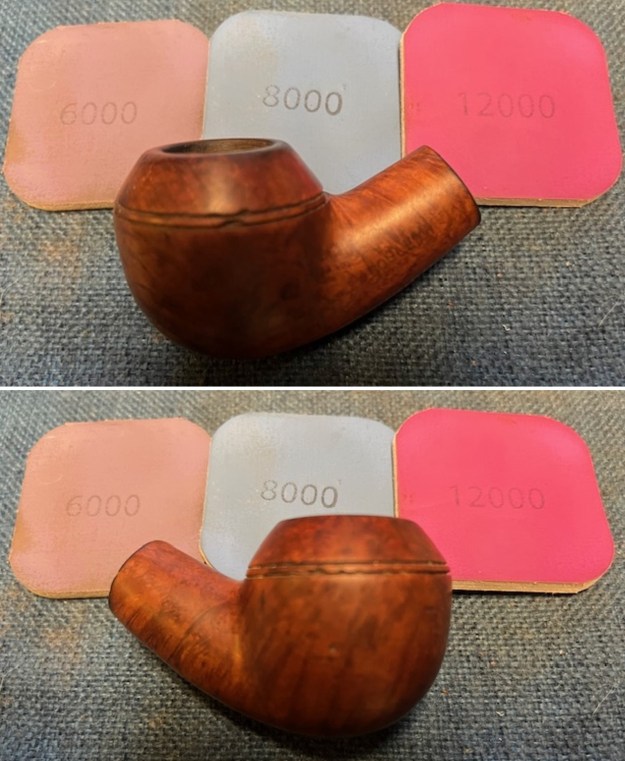
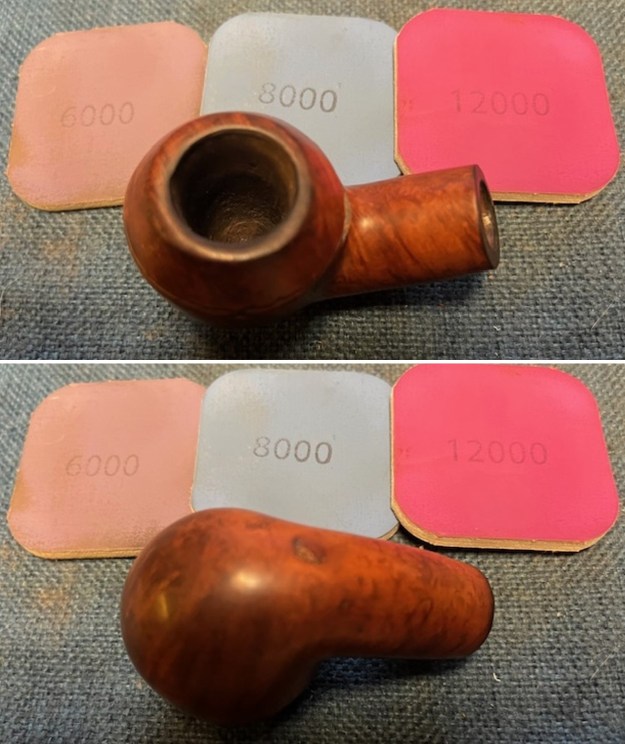
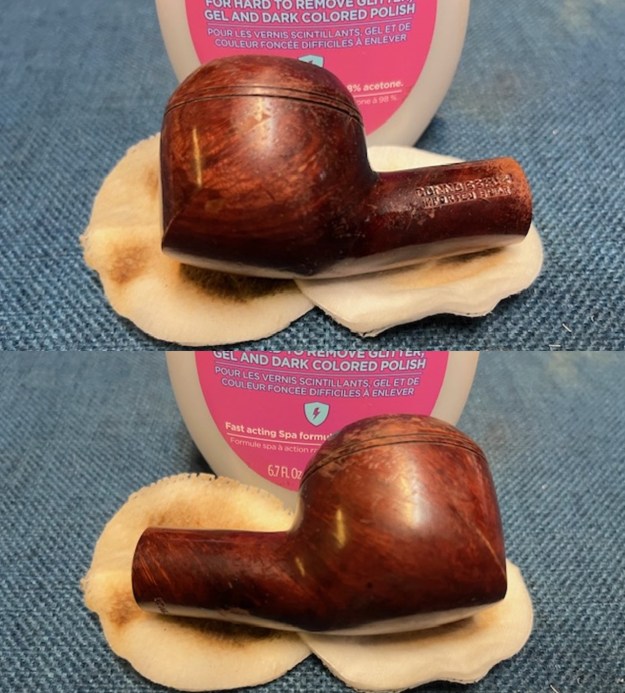
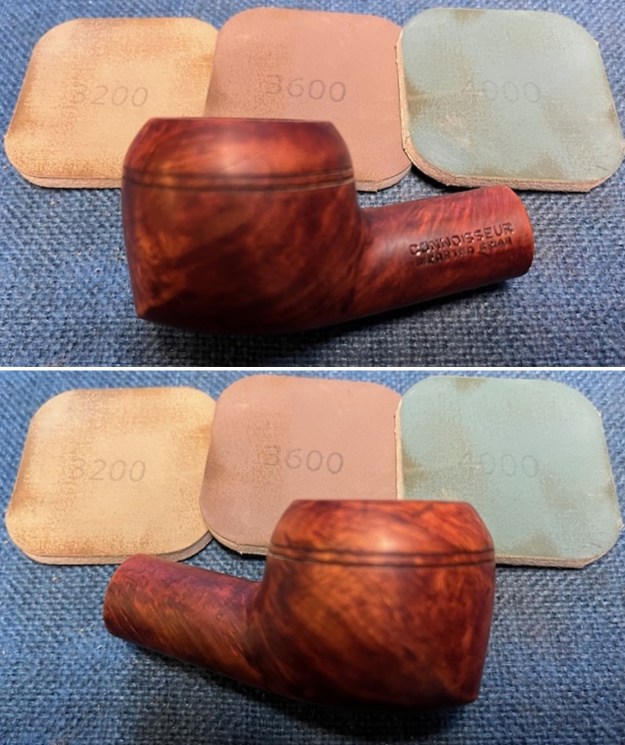
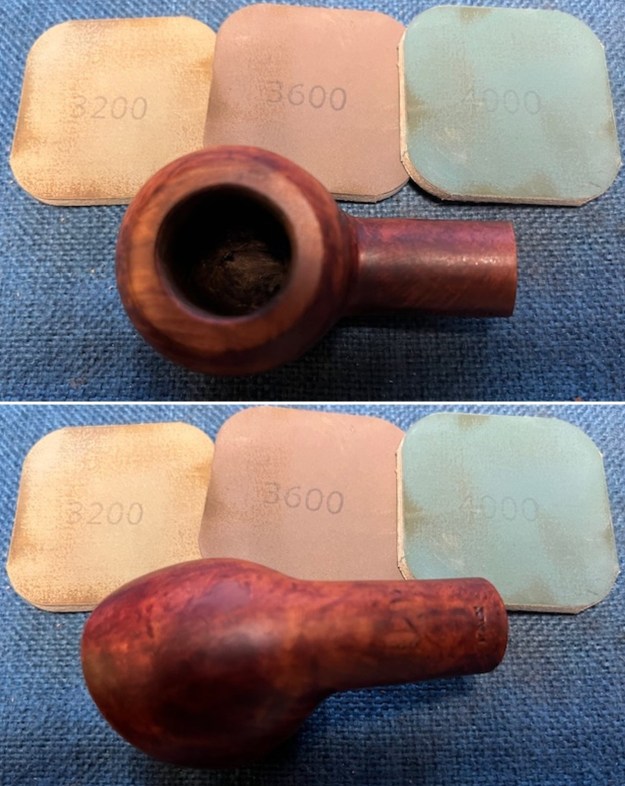
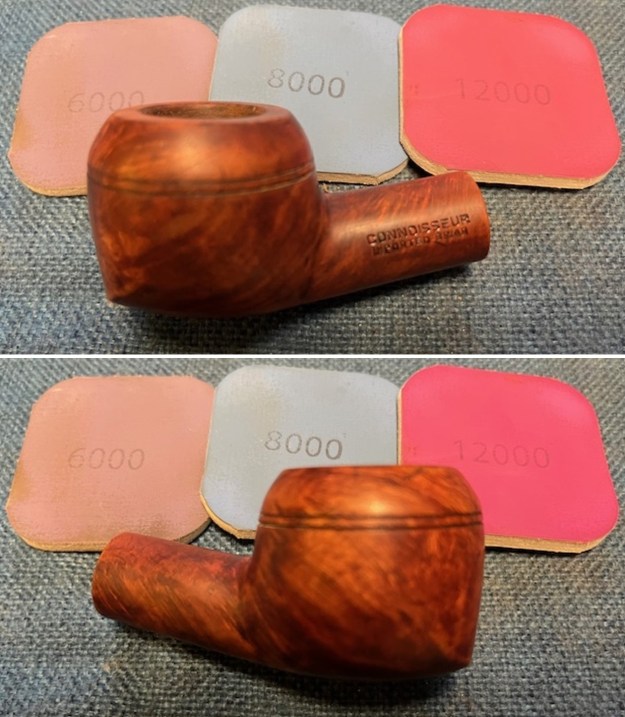
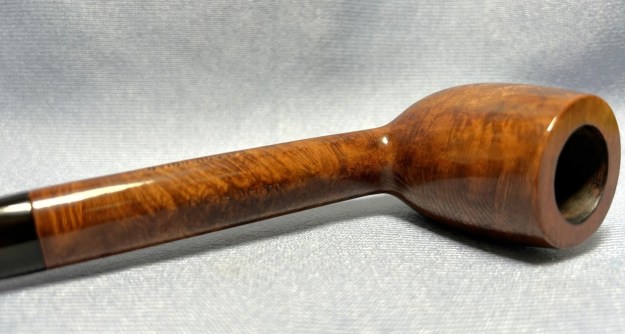
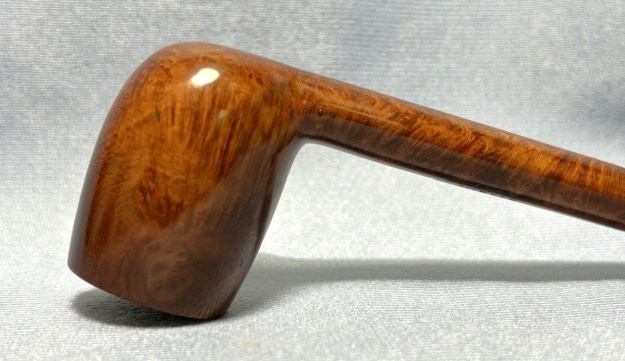
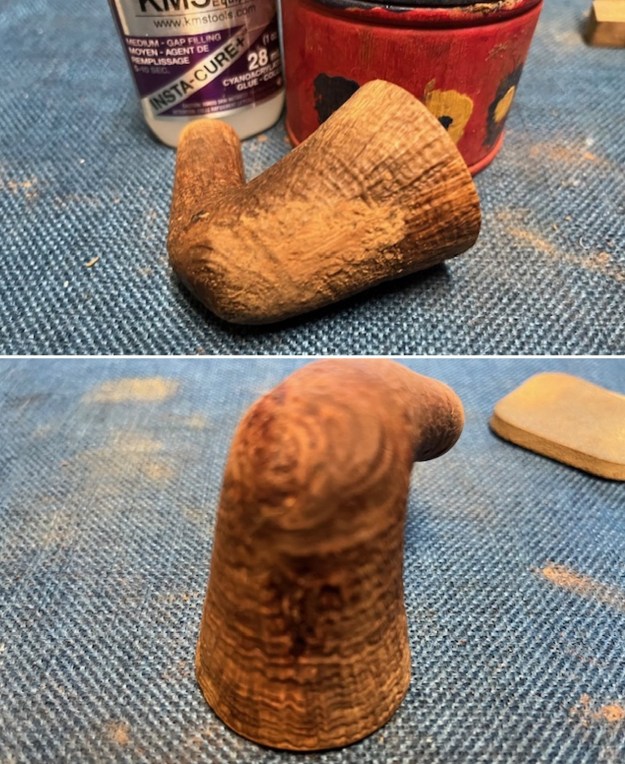
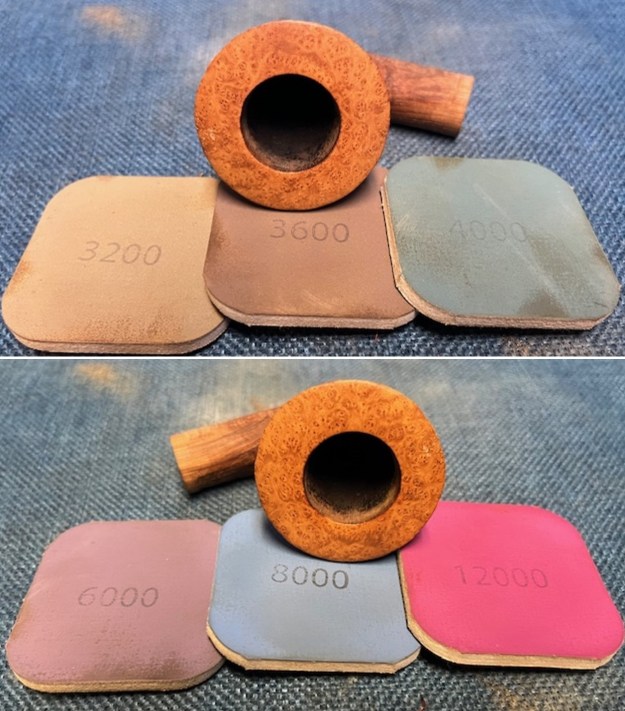
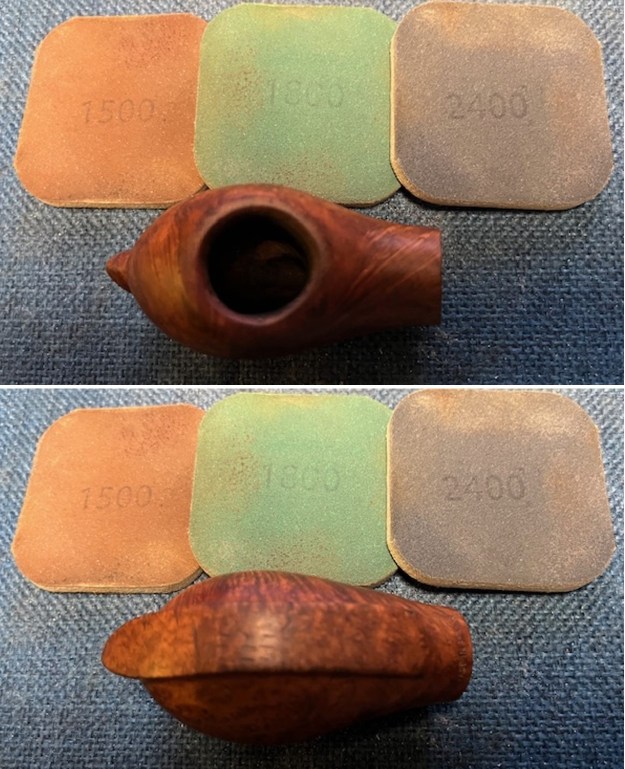
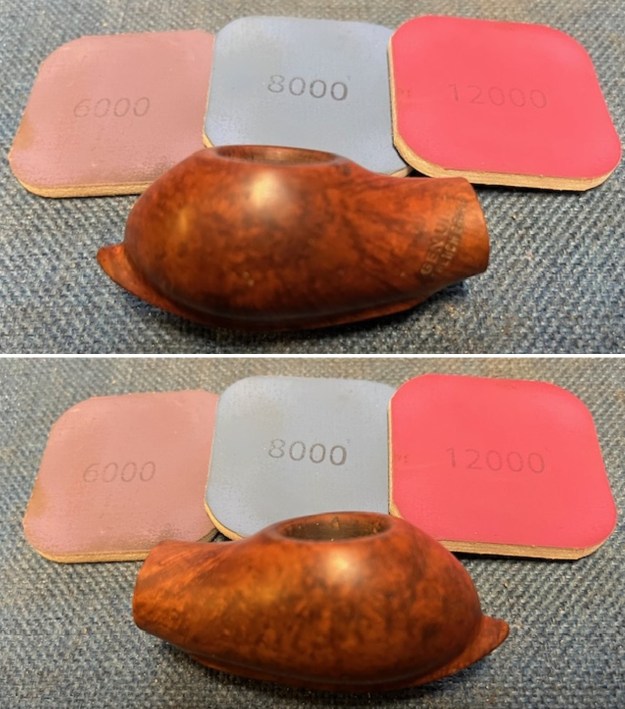
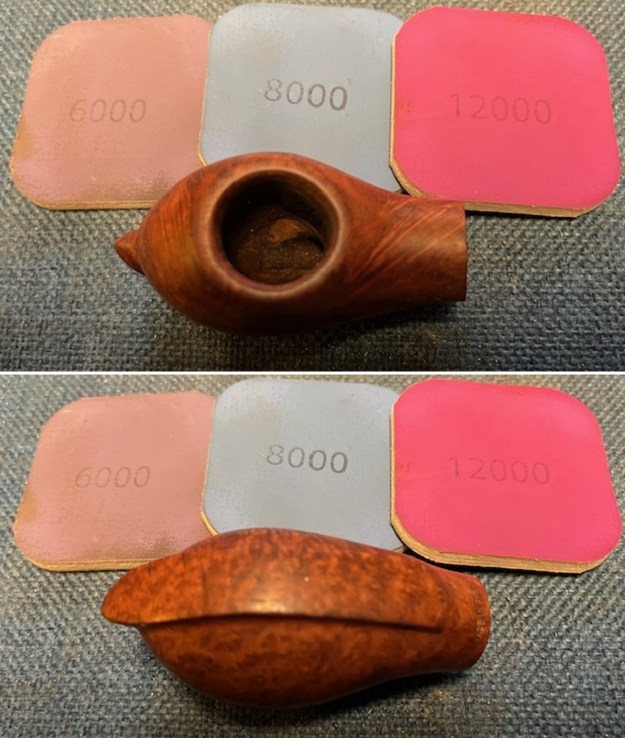
 I polished the briar with micromesh sanding pads – dry sanding with 1500-12000 grit sanding pads. I wiped the bowl down with a damp cloth after each sanding pad. The grain really began to sing.
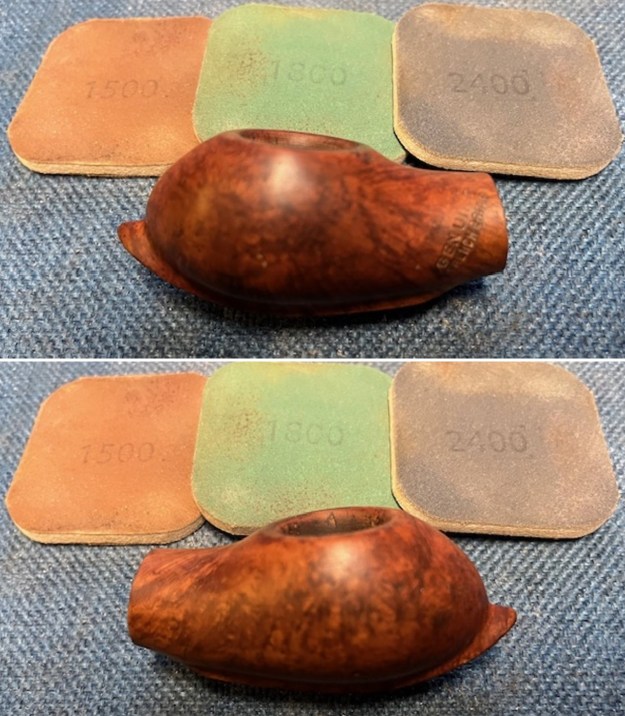
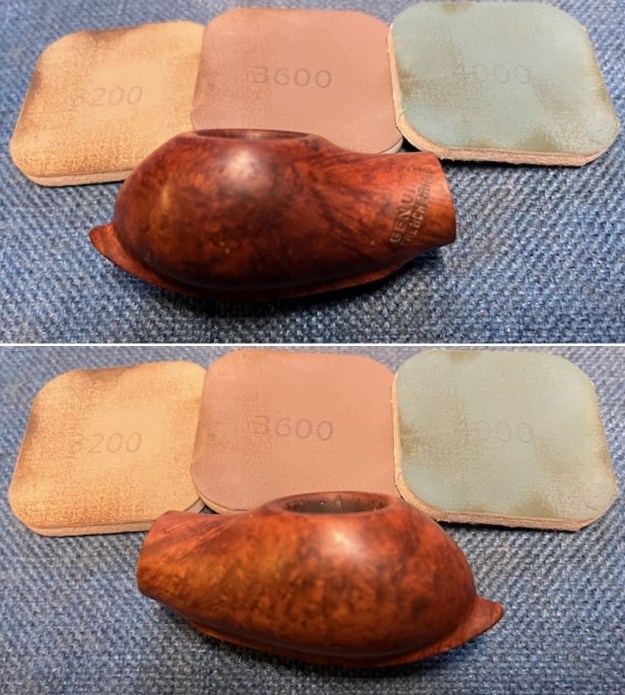
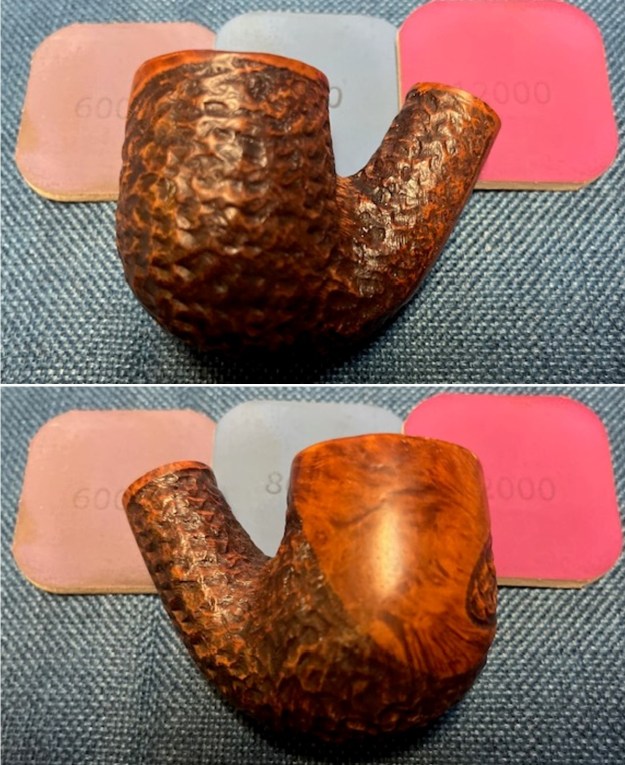
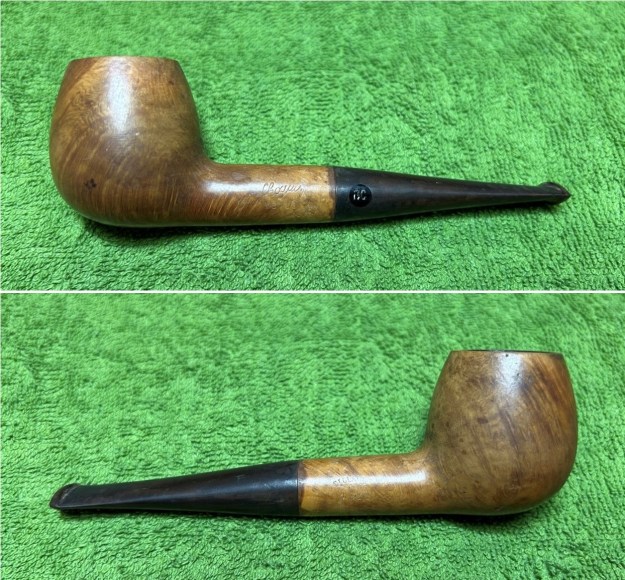
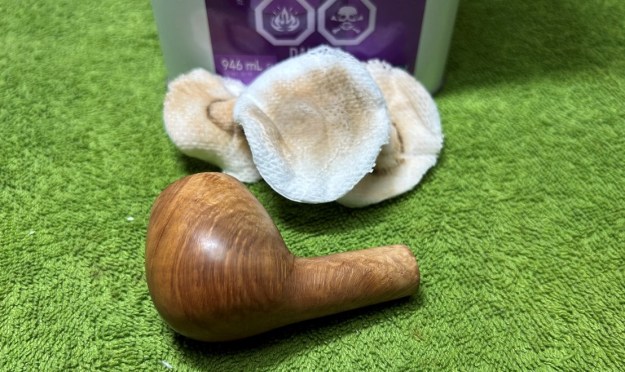
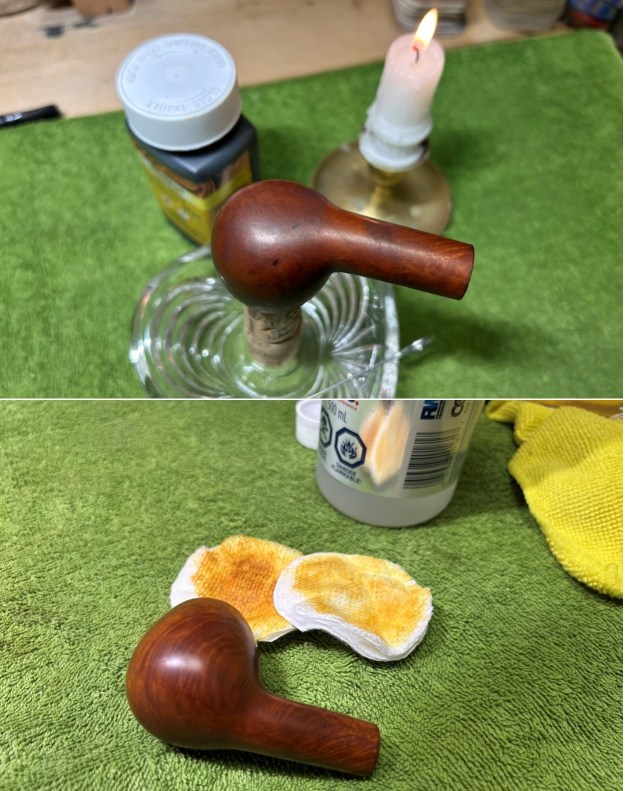
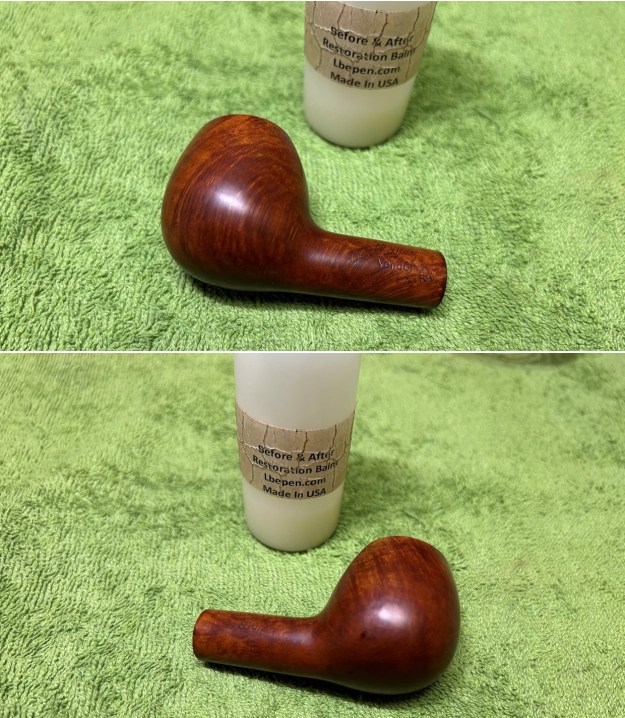
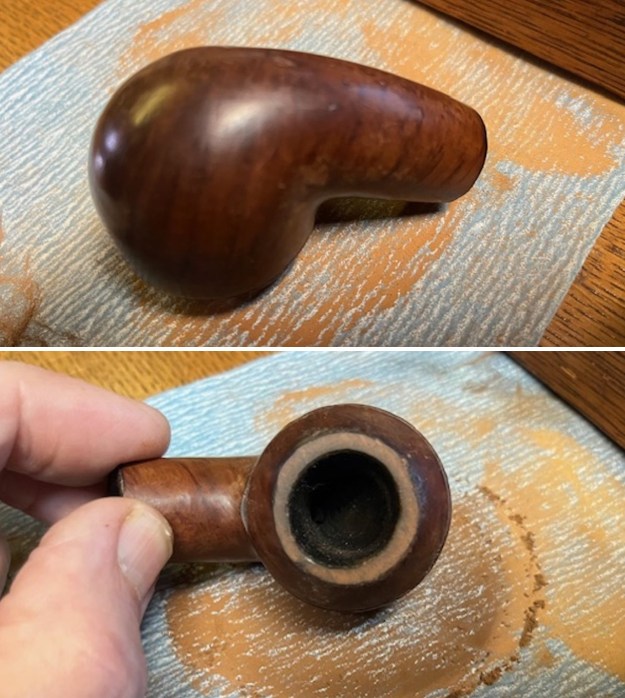
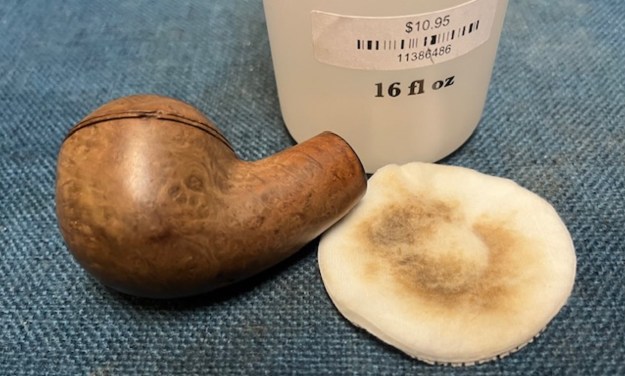
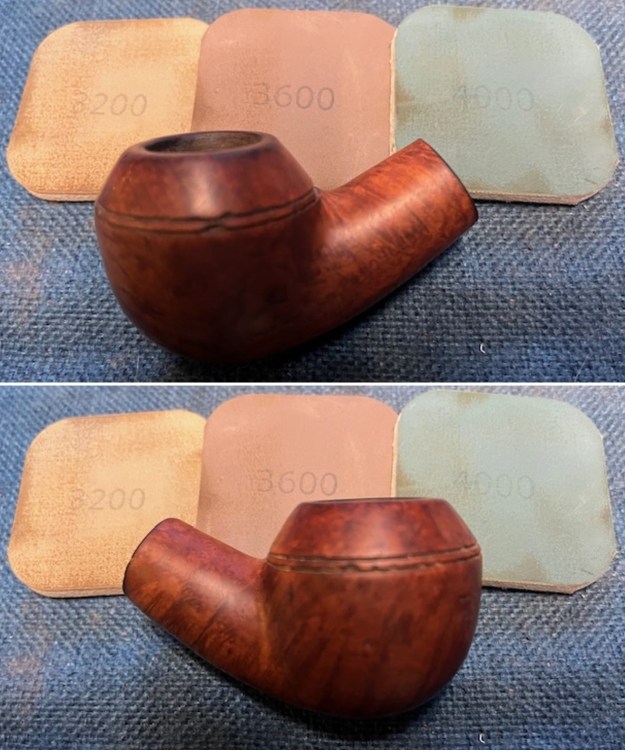
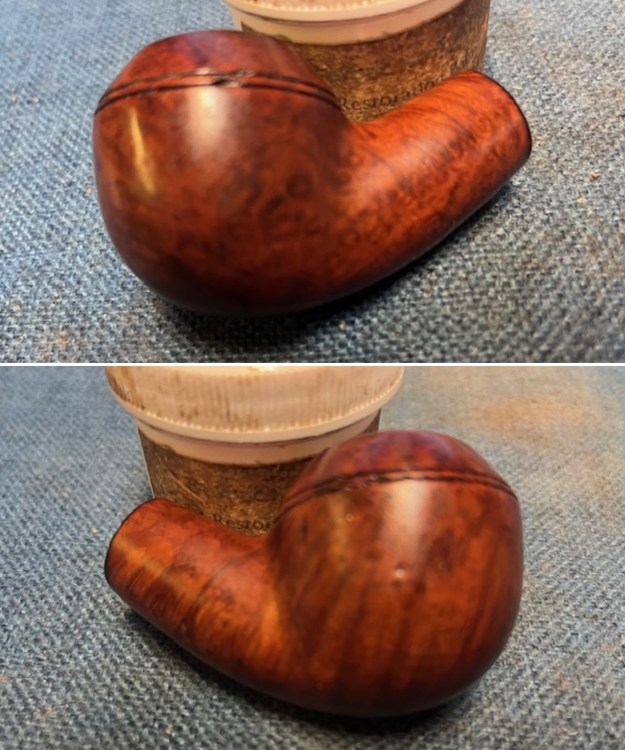
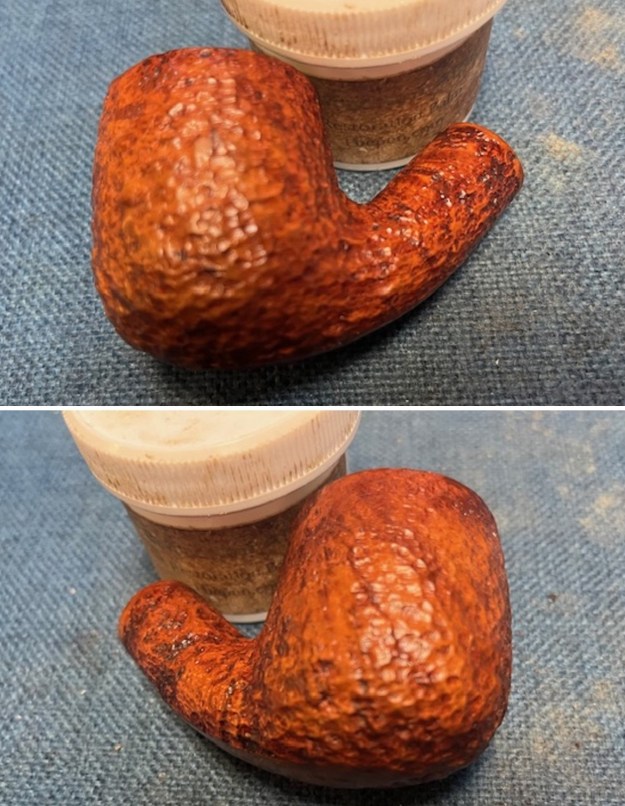
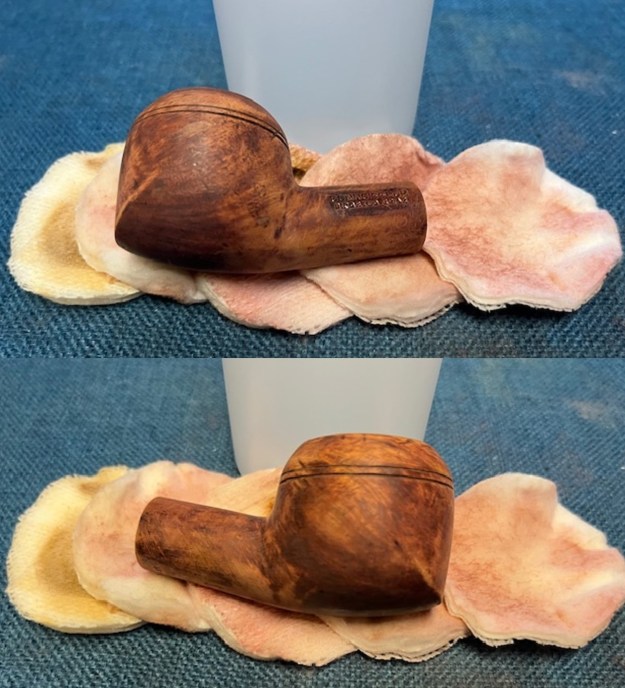
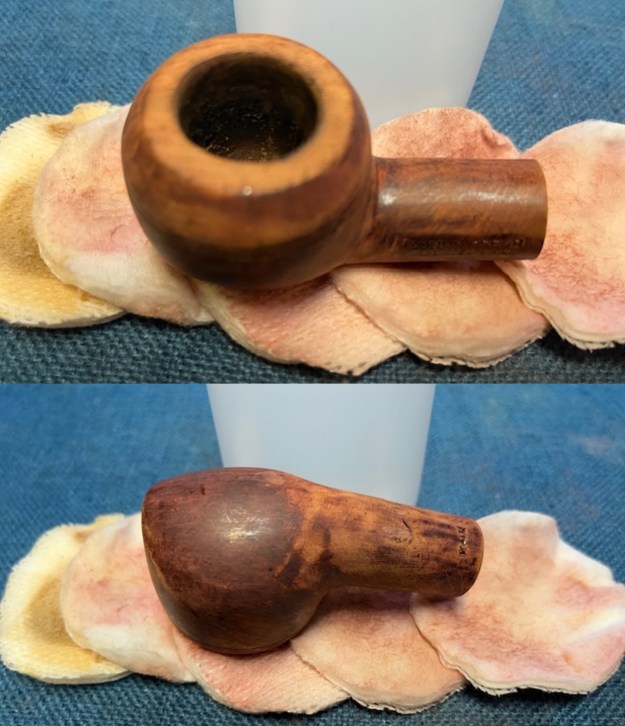
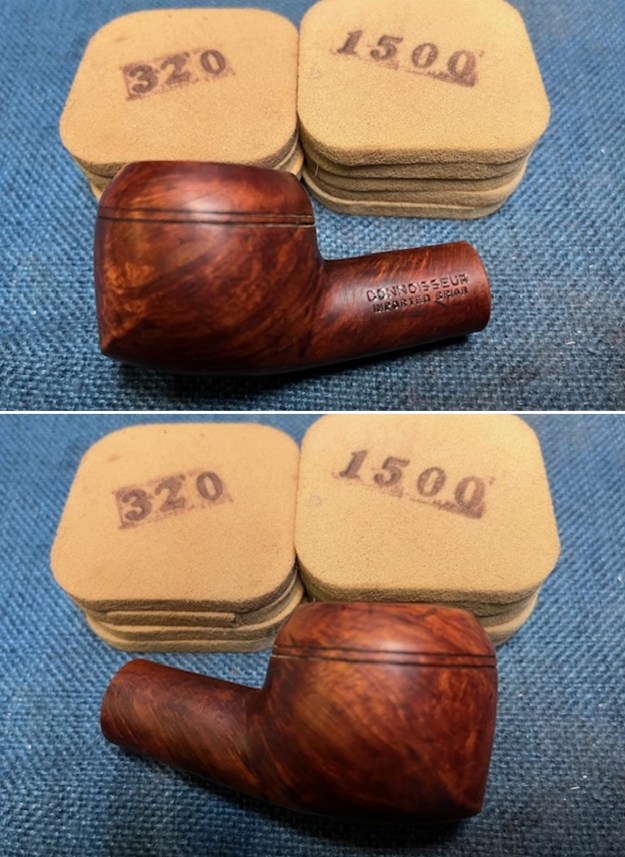
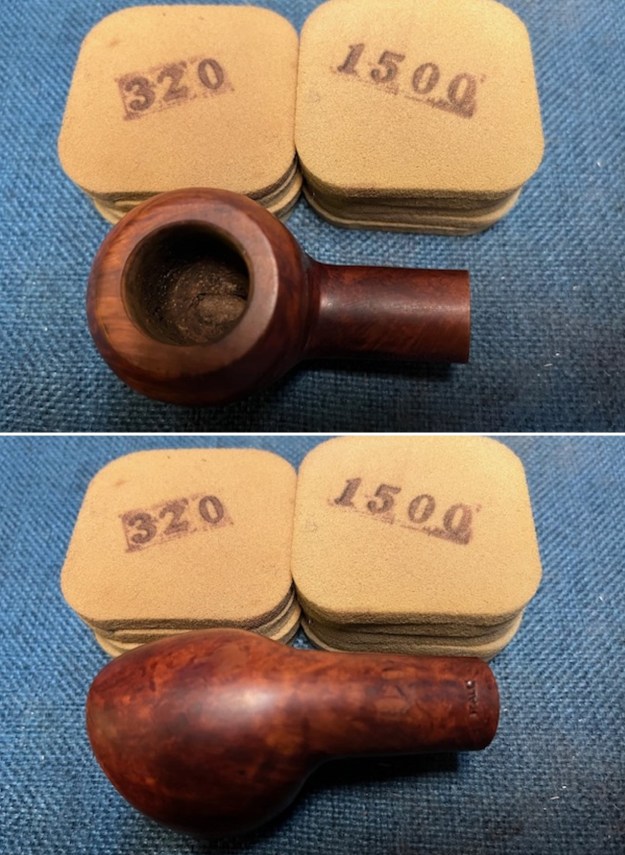
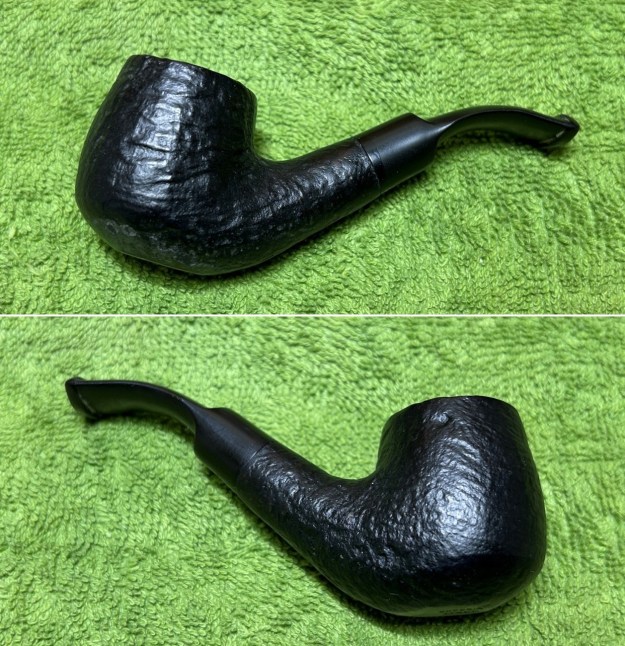
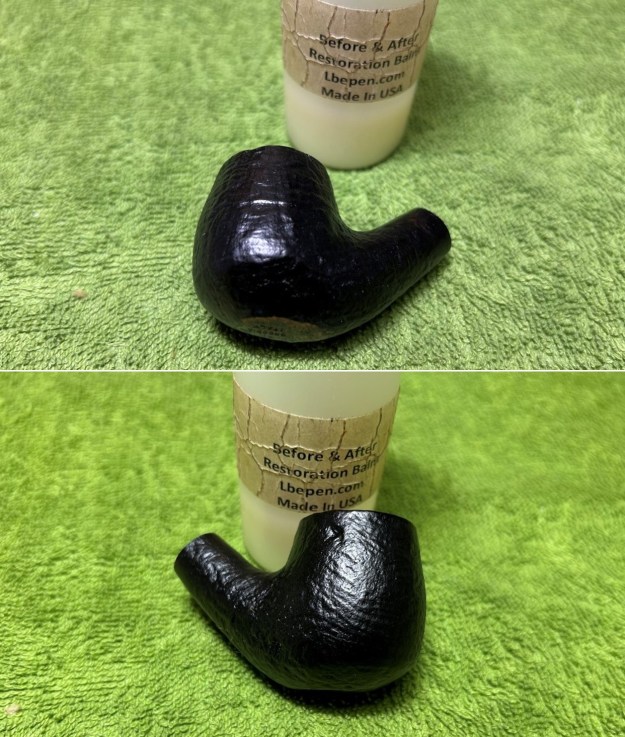
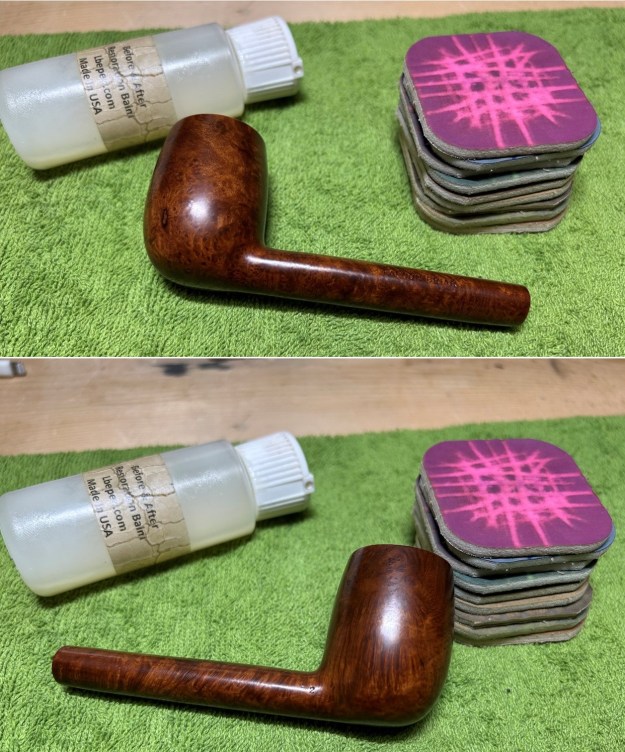
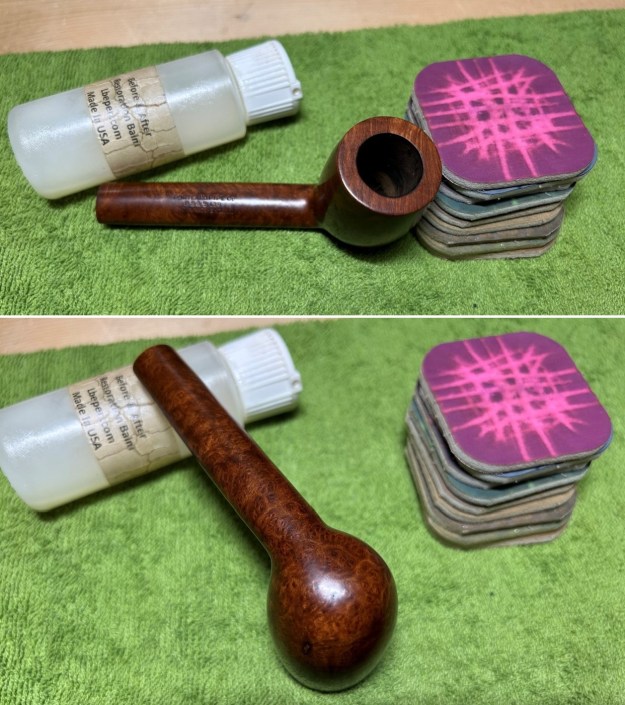
 I worked some Before & After Restoration Balm into the surface of the briar with my fingertips to clean, enliven and protect the briar. I let the balm sit for 15 minutes and then buffed with a cotton cloth to raise the shine. The photos show the bowl at this point in the restoration process.
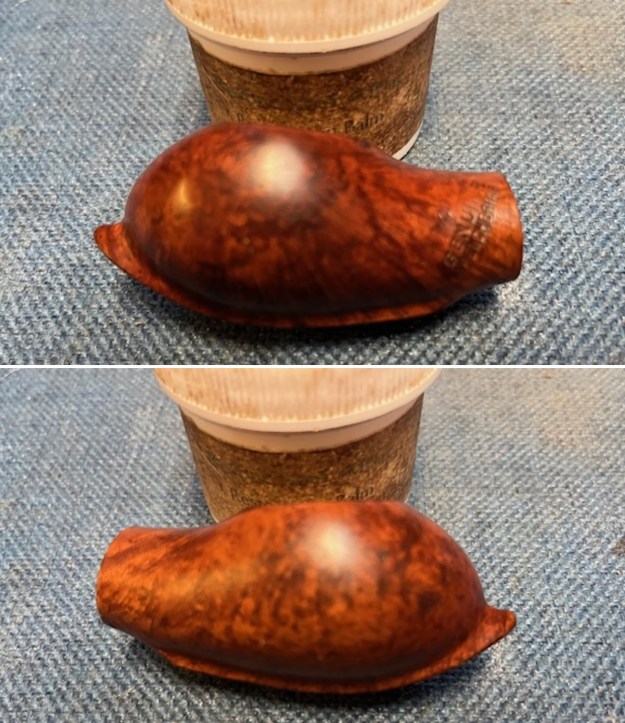
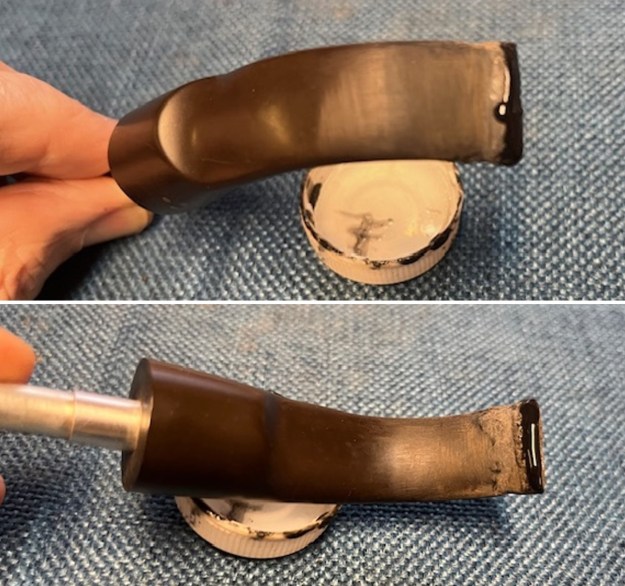
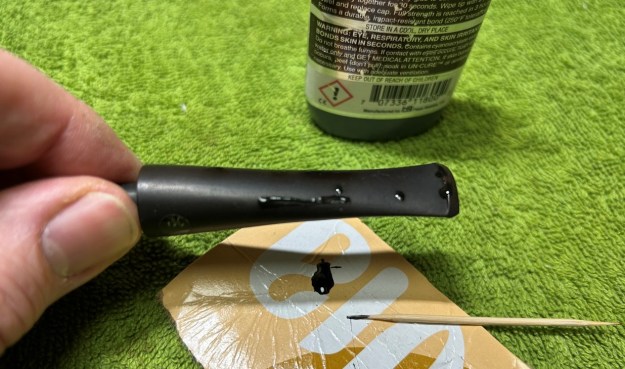
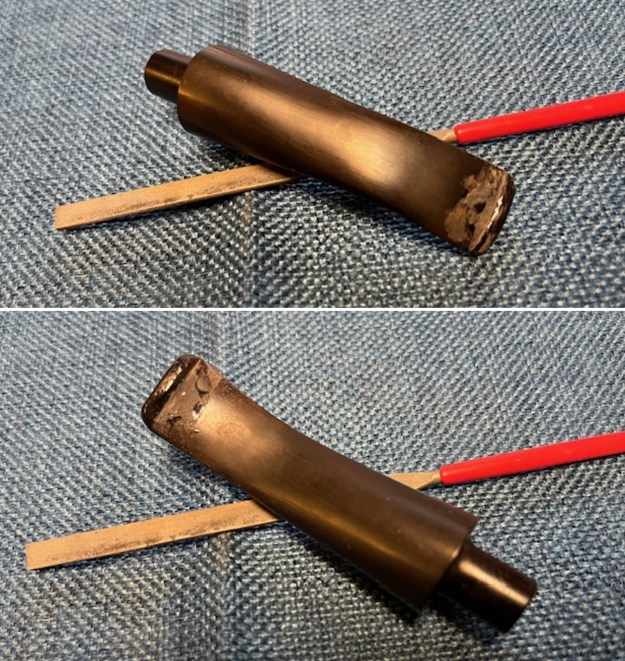
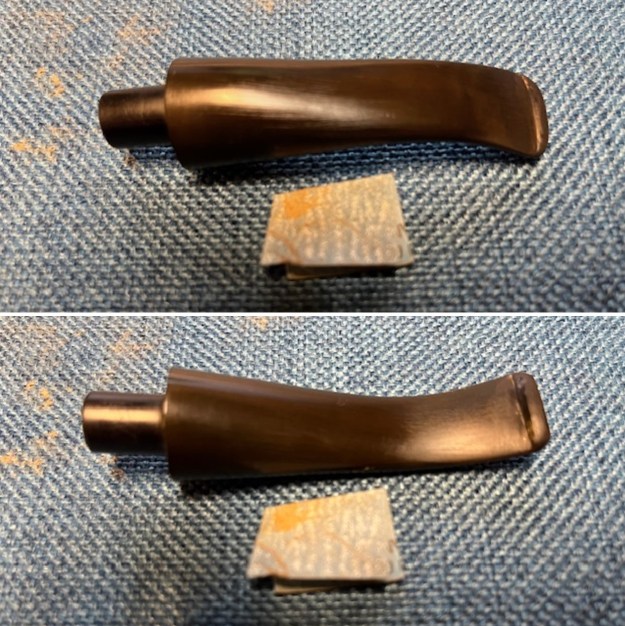
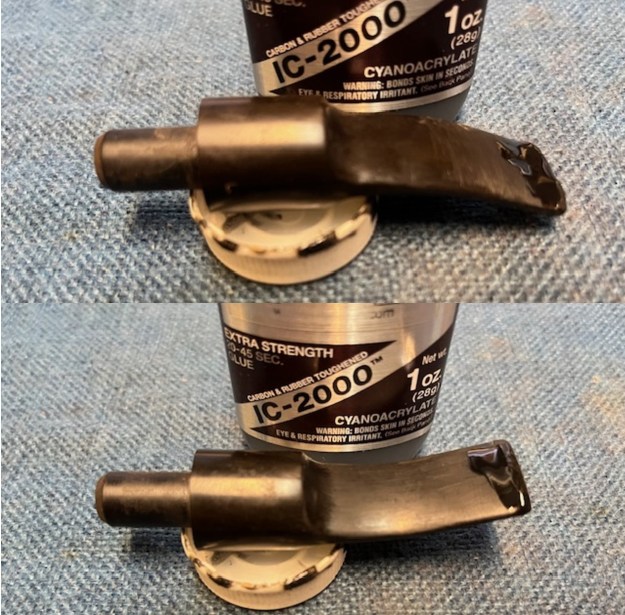
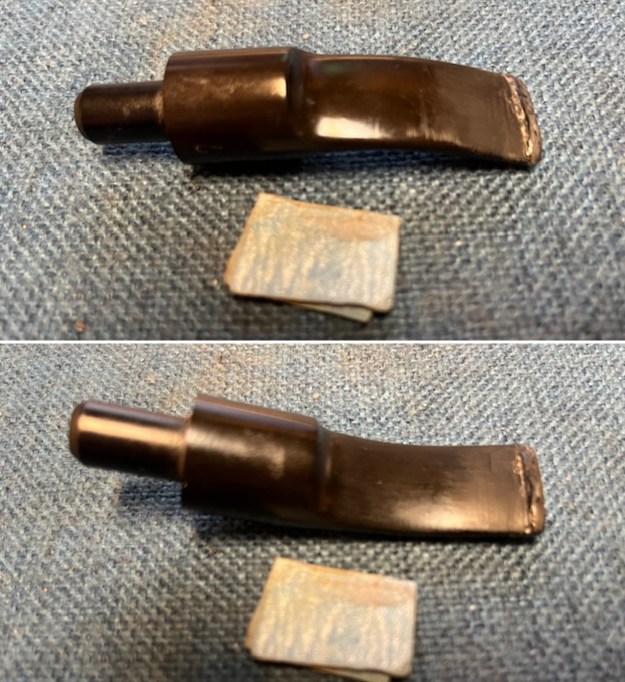
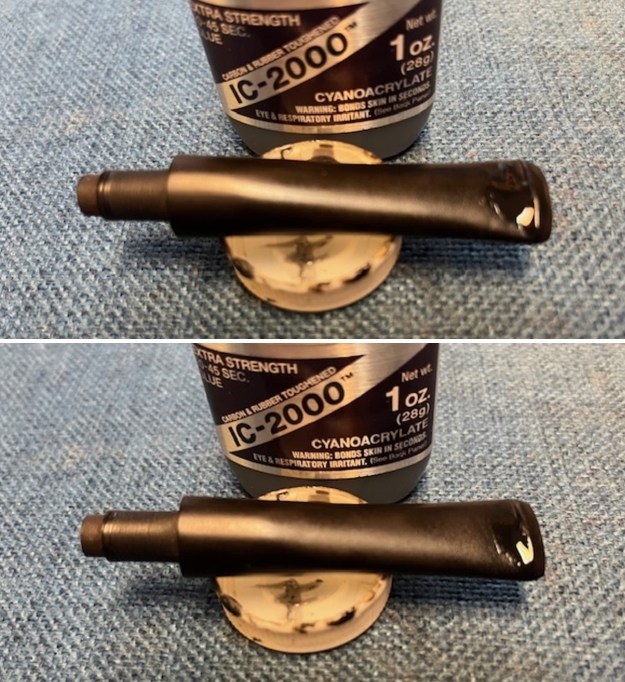
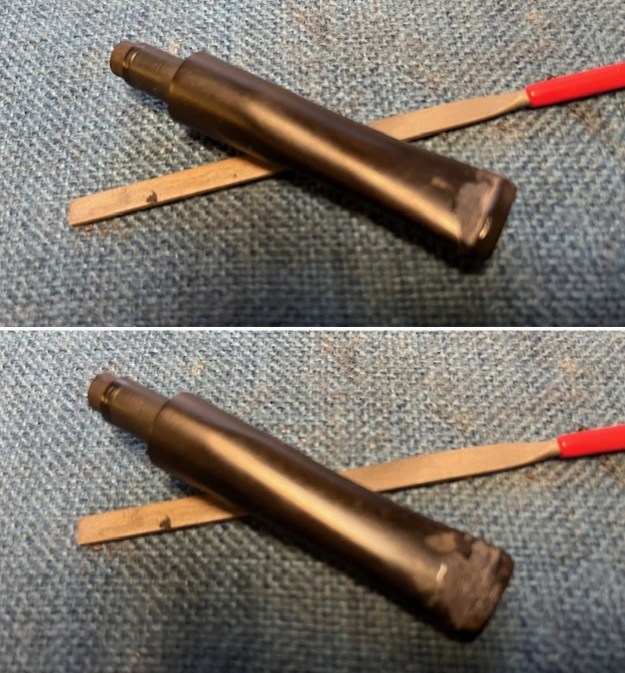
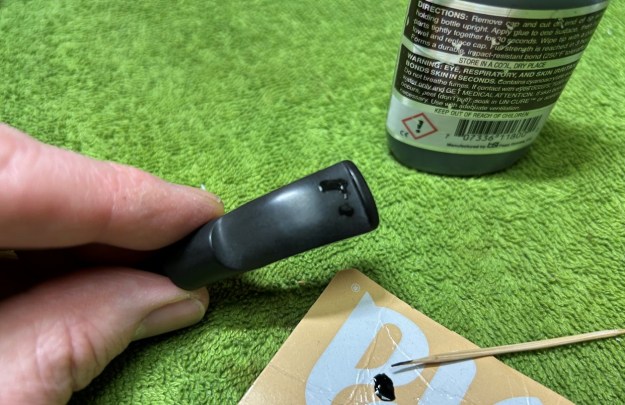
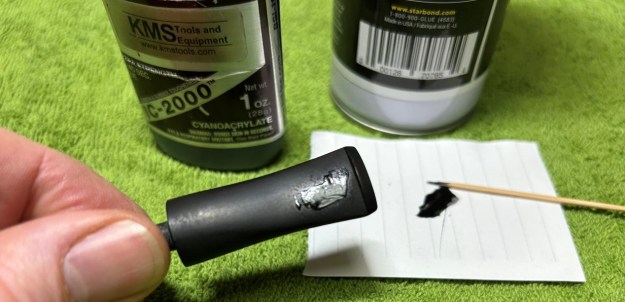
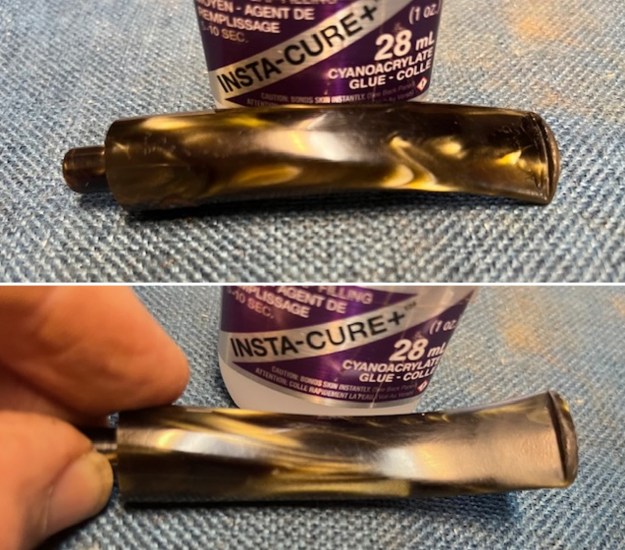
 I set the bowl aside and filled in the deep nicks and gouges with black CA glue. Once it cured I sanded out the chatter on both sides of the stem ahead of the button with 220 grit sandpaper.
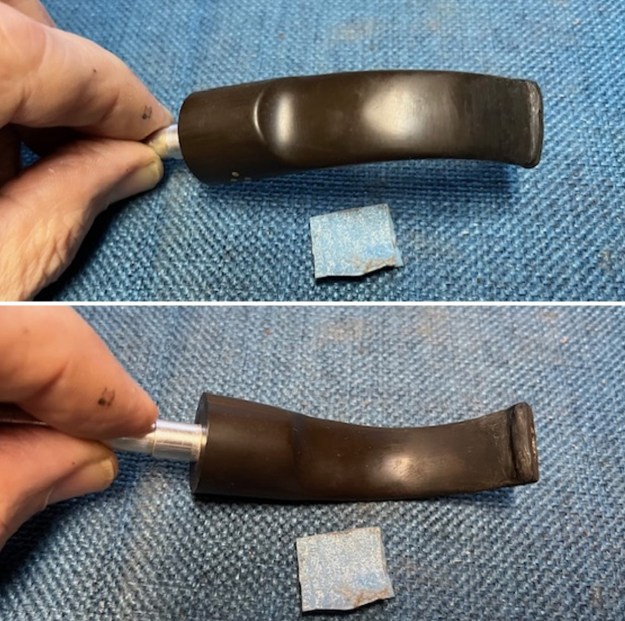
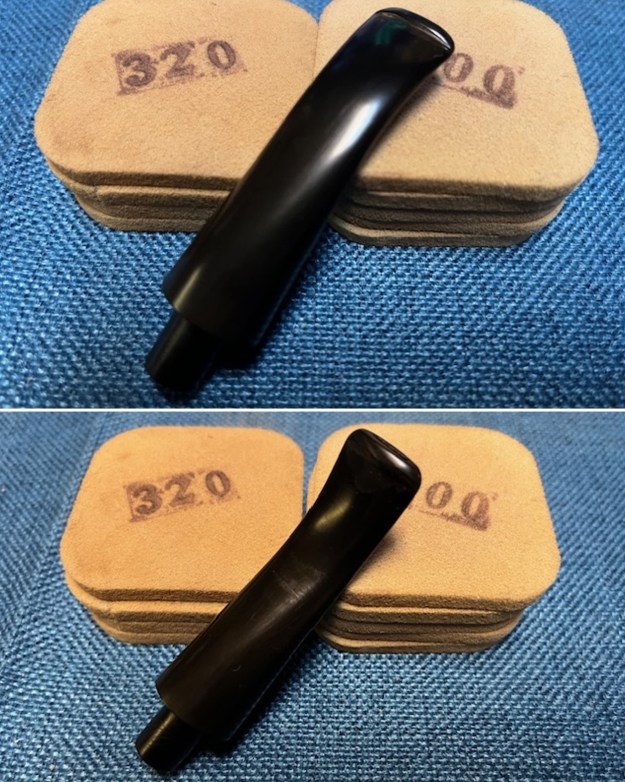
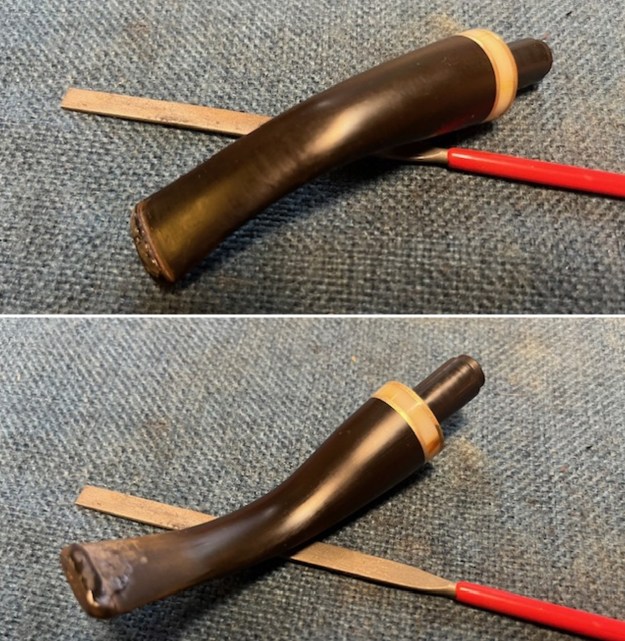
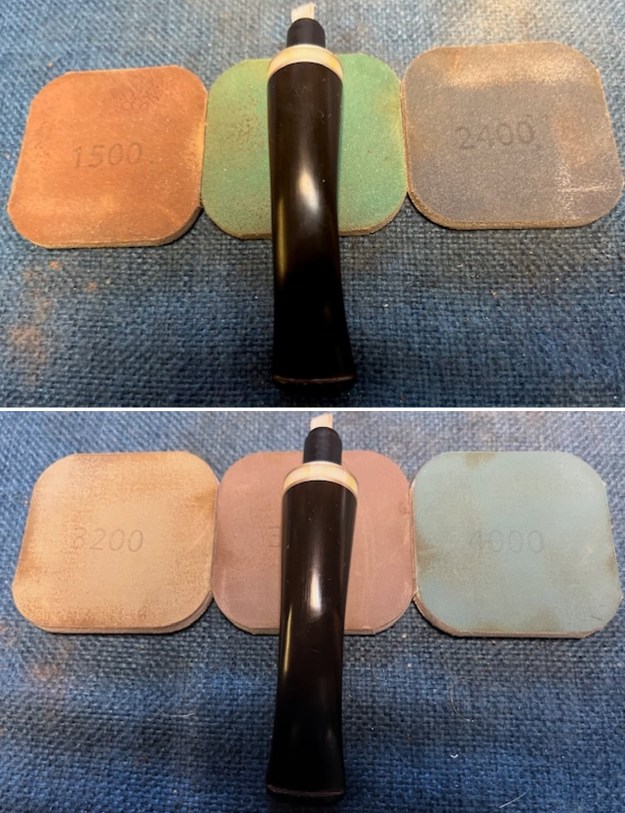
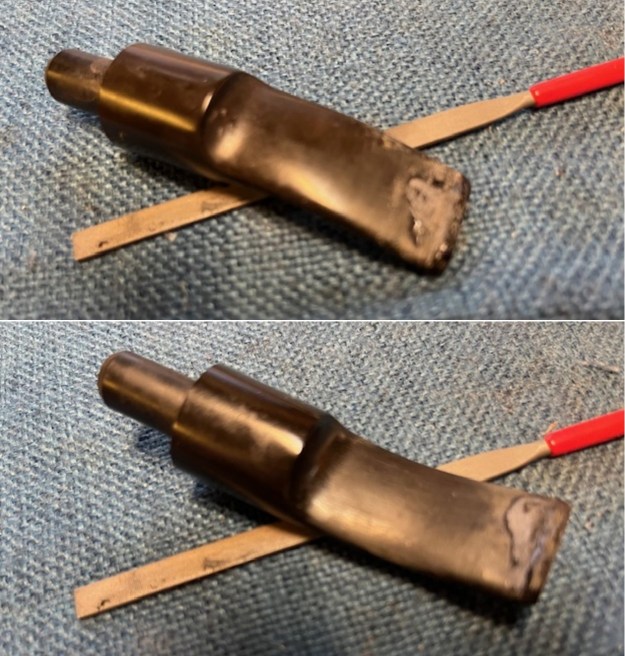
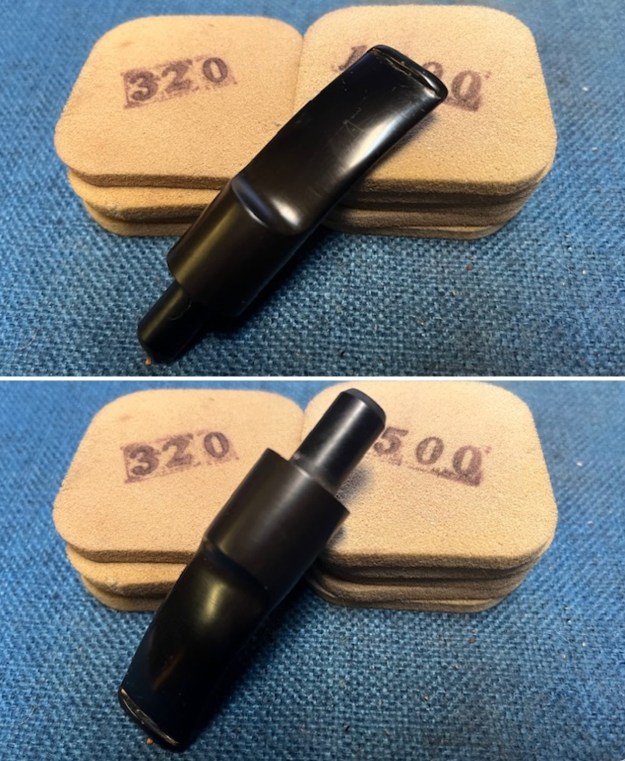
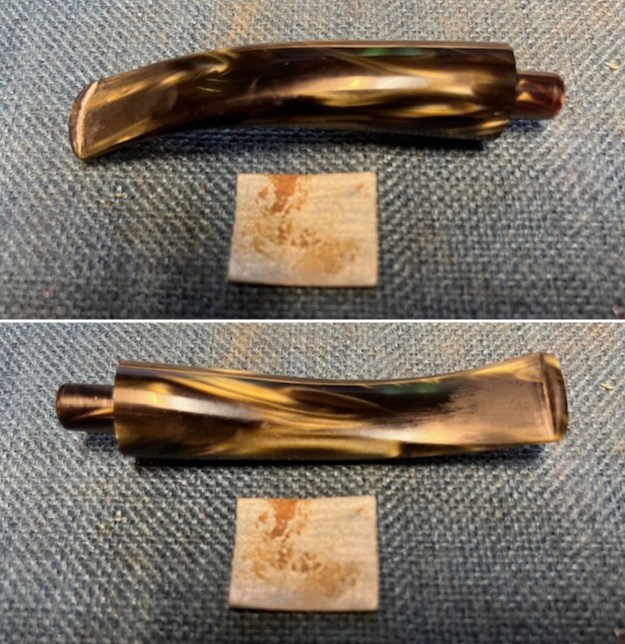
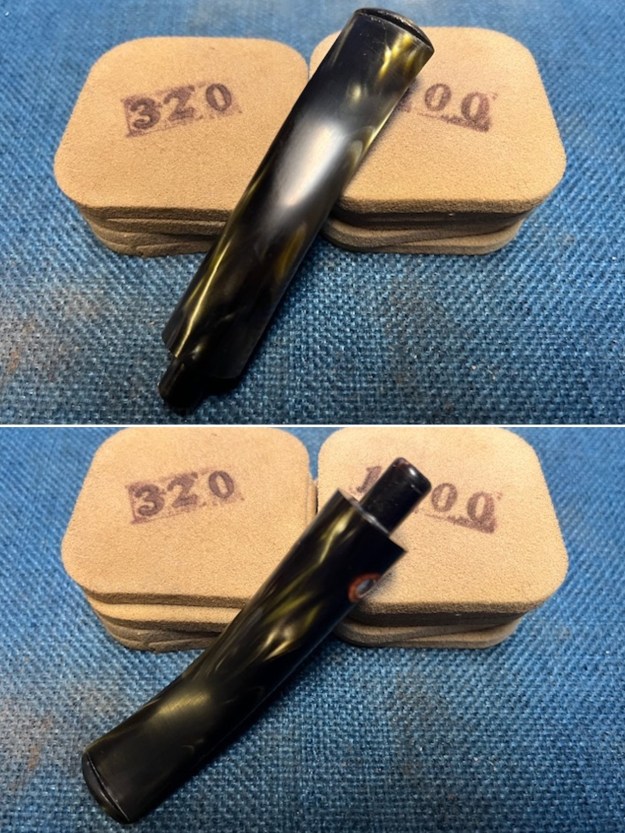
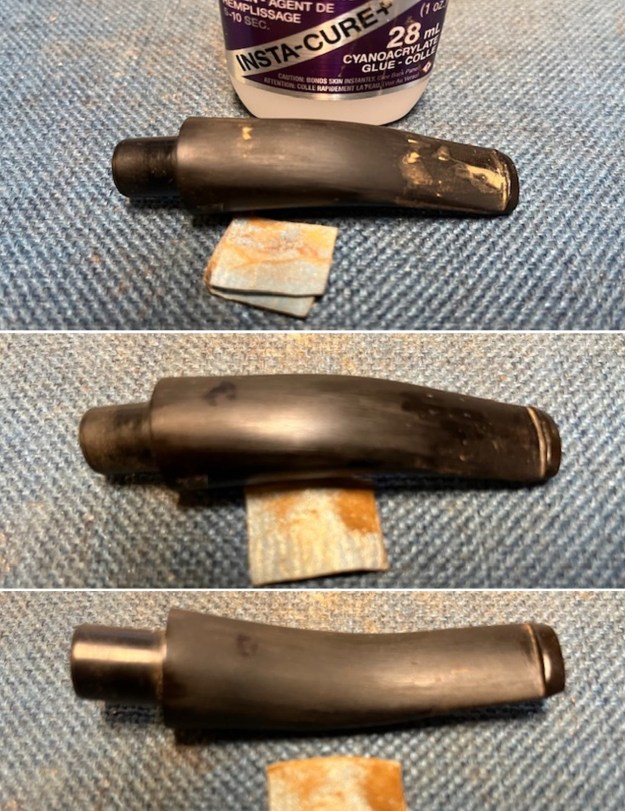 I sanded the stem surface with 320-3500 grit sanding pads. The repairs were blended in and the chatter was gone on both sides ahead of the button looked very good. The stem began to shine.
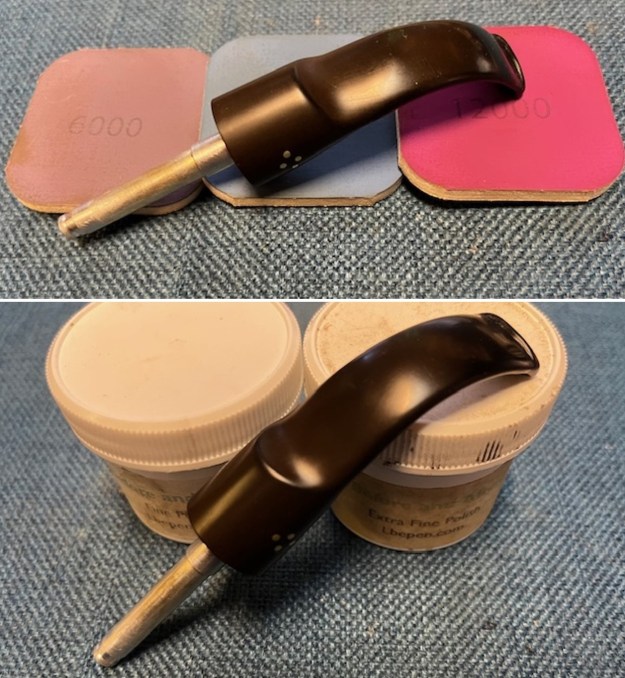
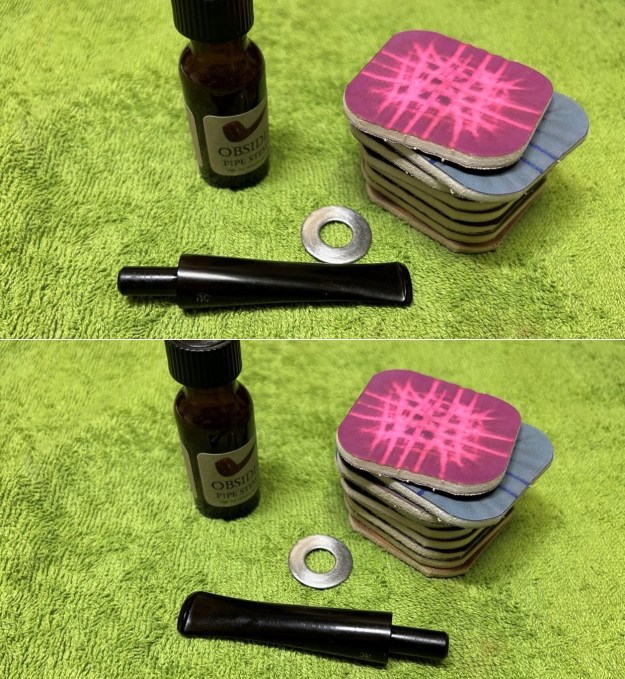
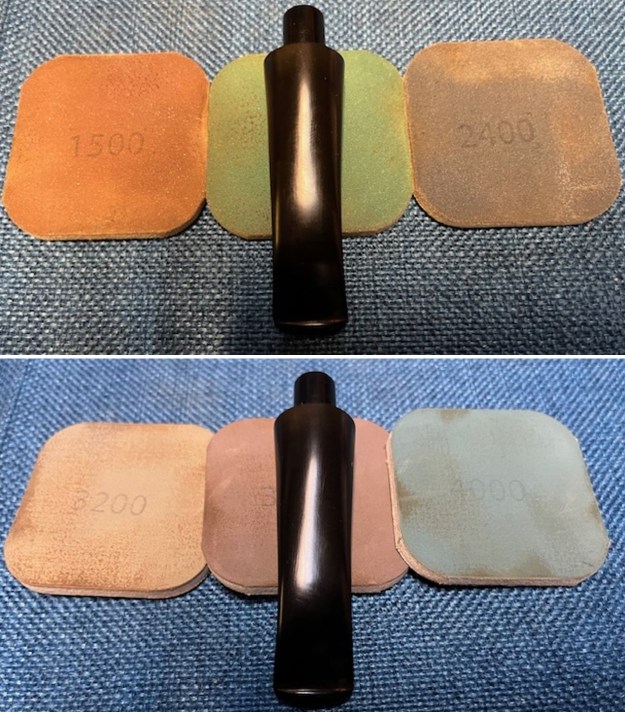
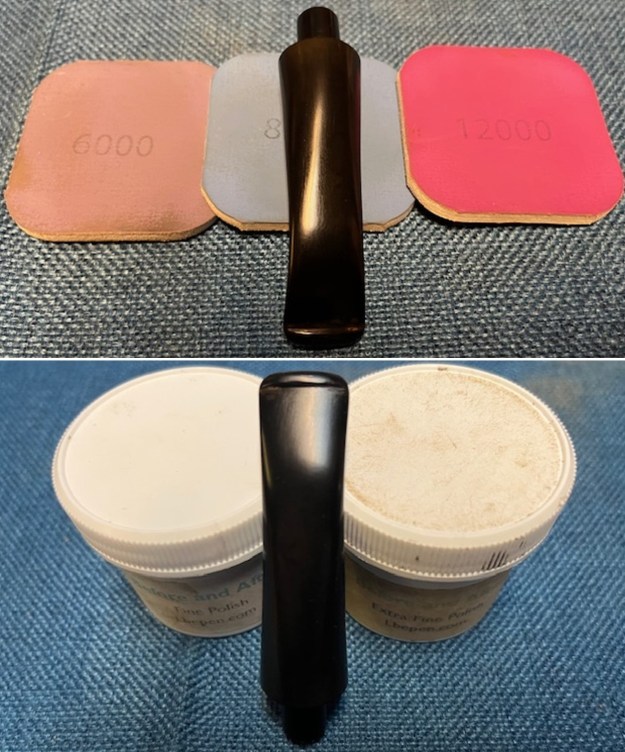
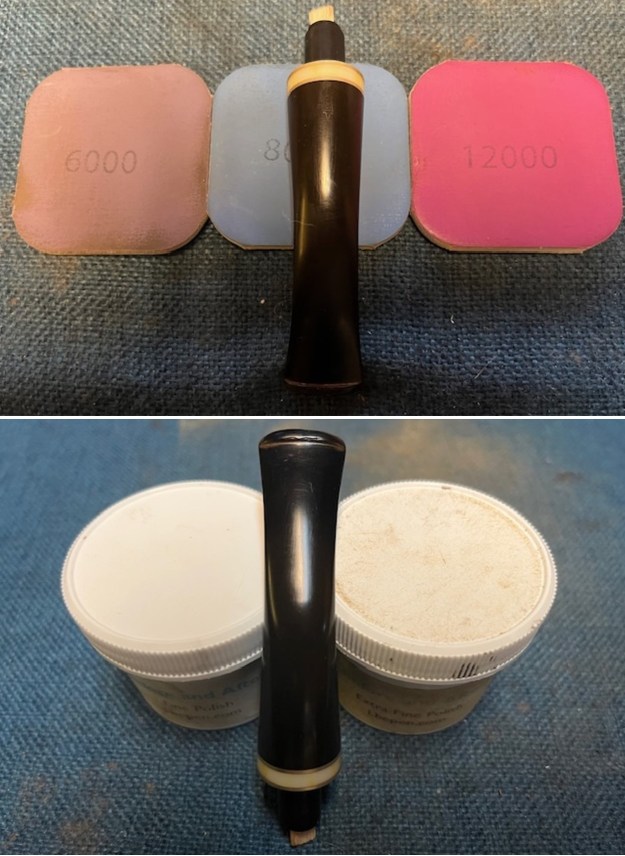
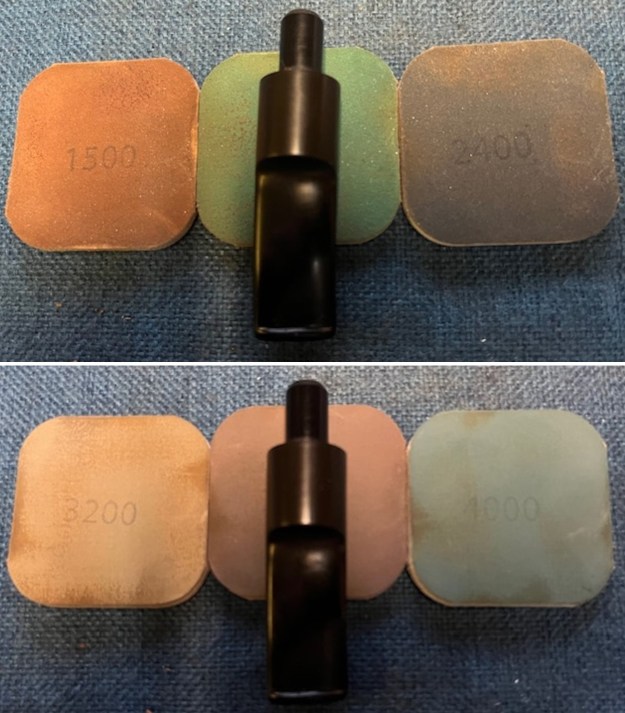
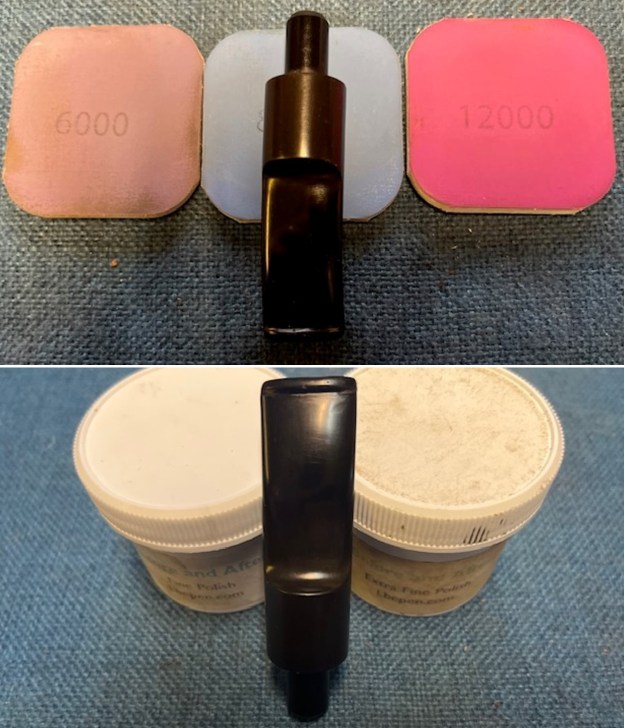
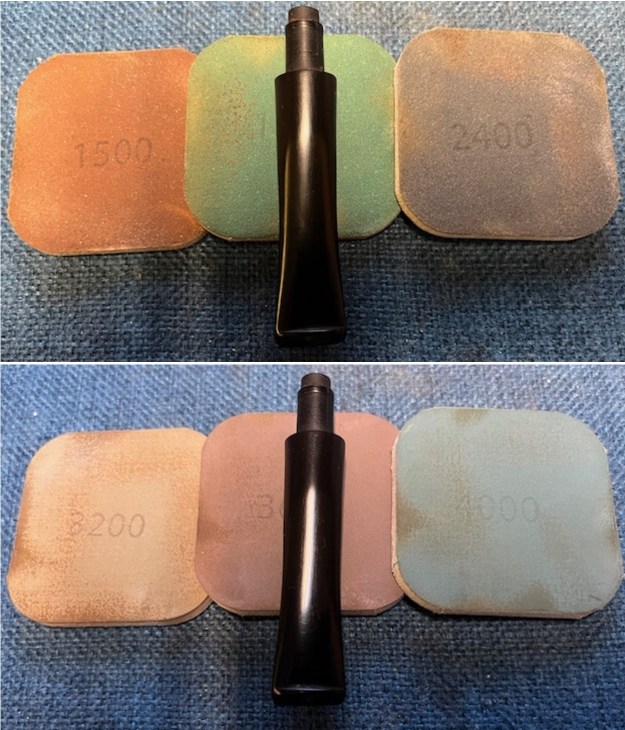
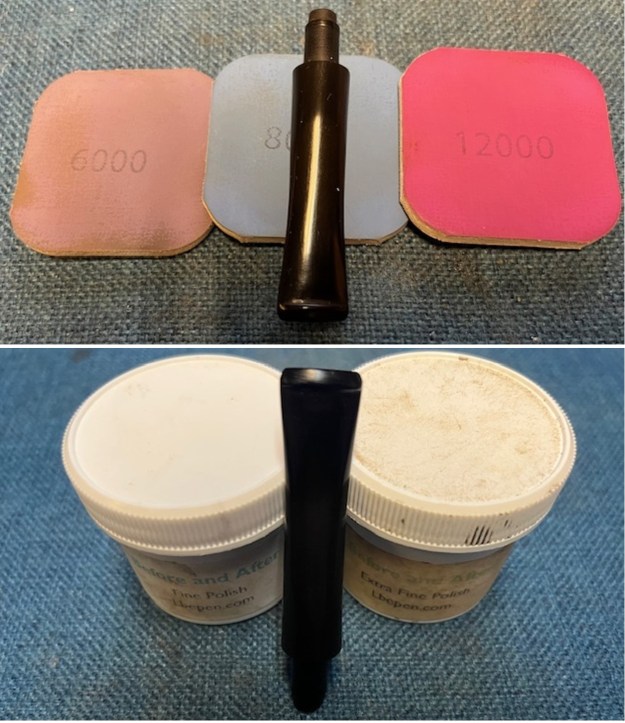
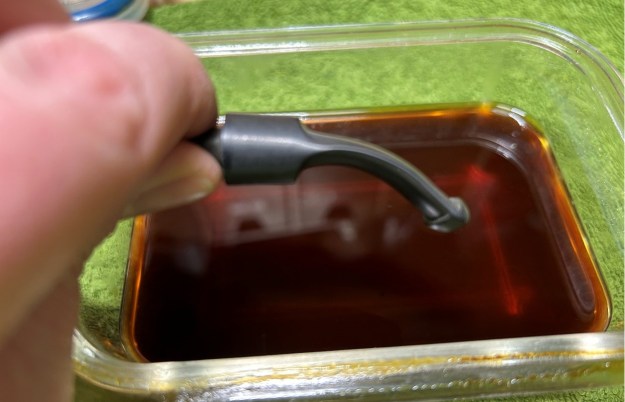
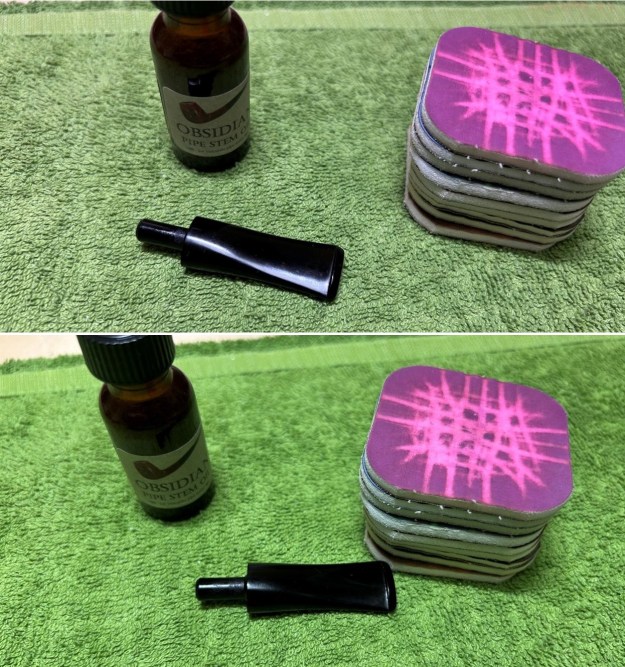
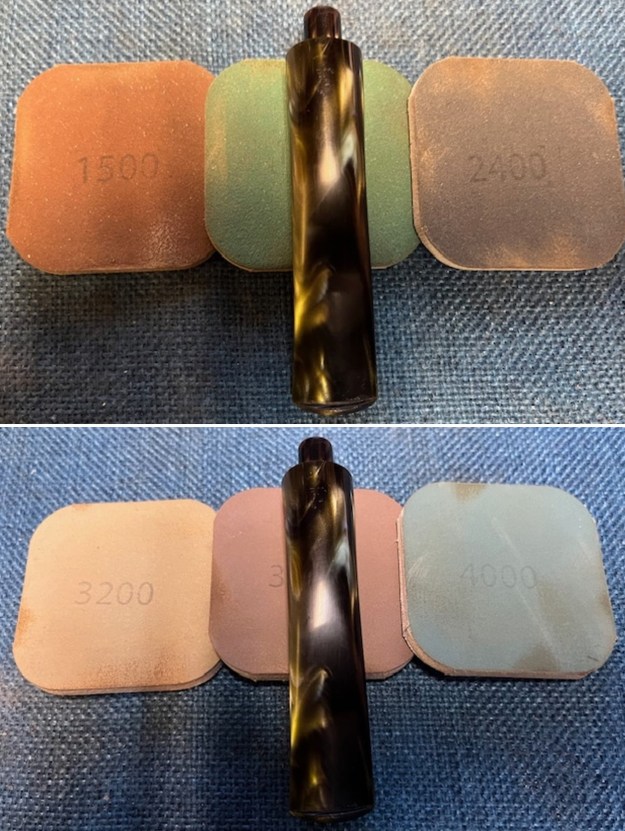
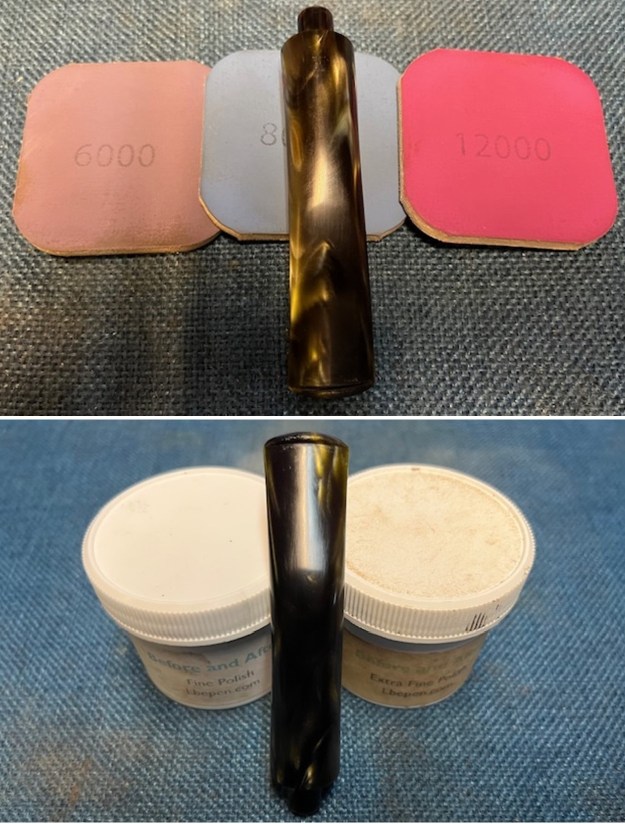
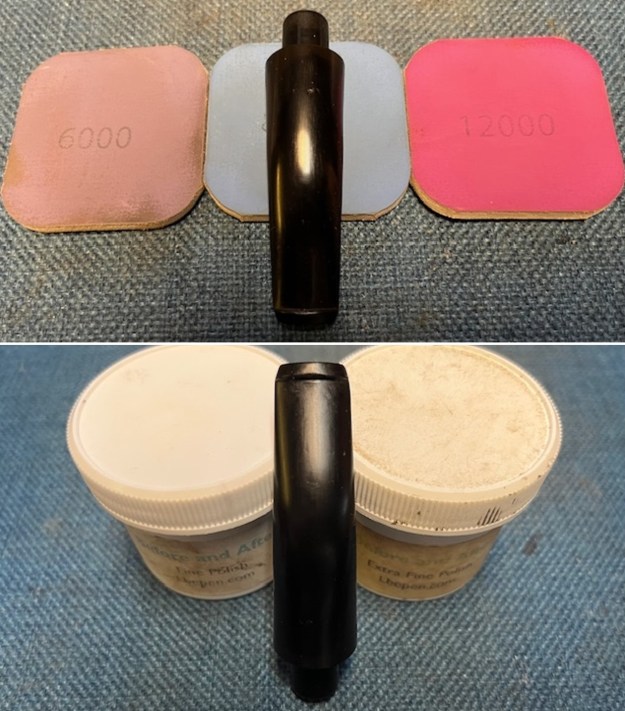
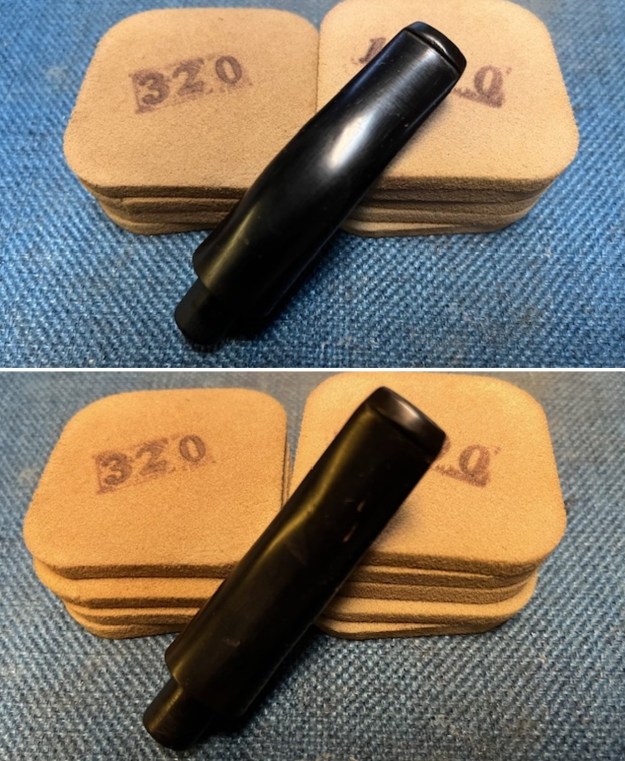 I polished the stem with micromesh sanding pads – dry sanding with 1500-12000 grit sanding pads. I wiped it down after each sanding pad with Obsidian Oil. I polished it with Before & After Pipe Stem Polish – both Fine and Extra Fine.
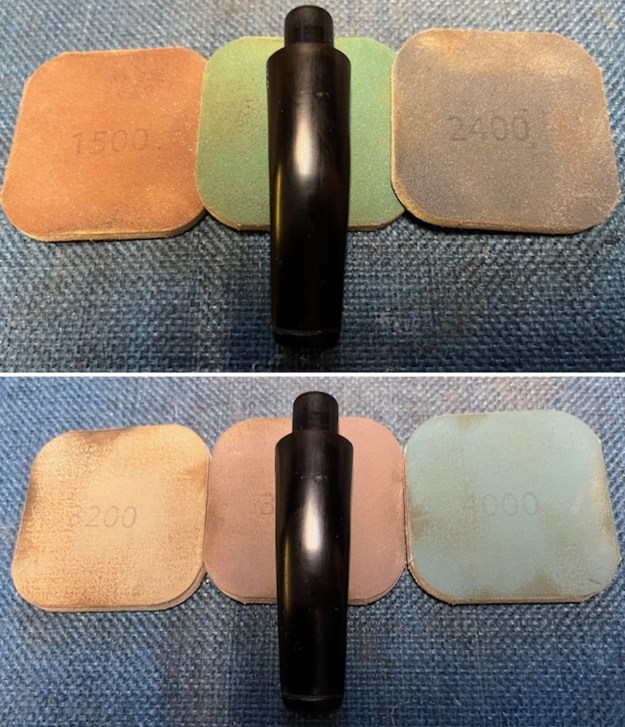
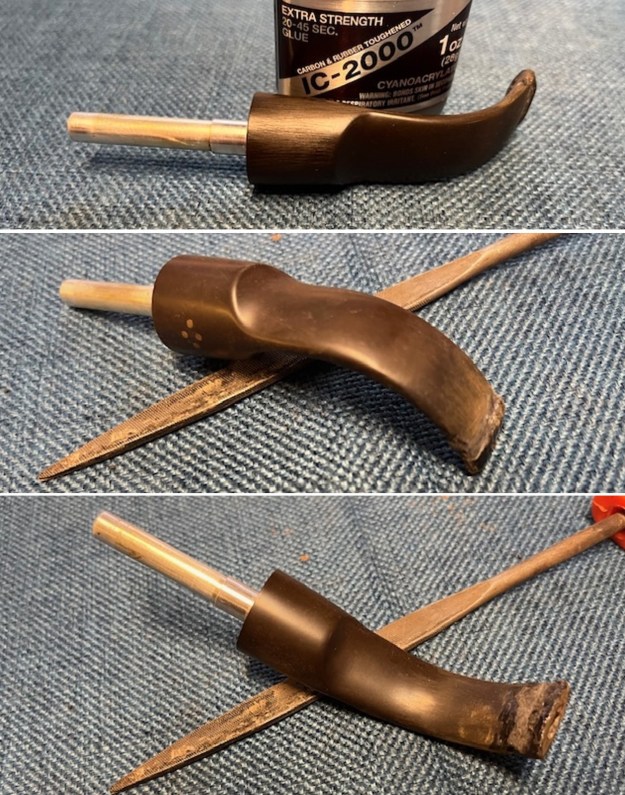
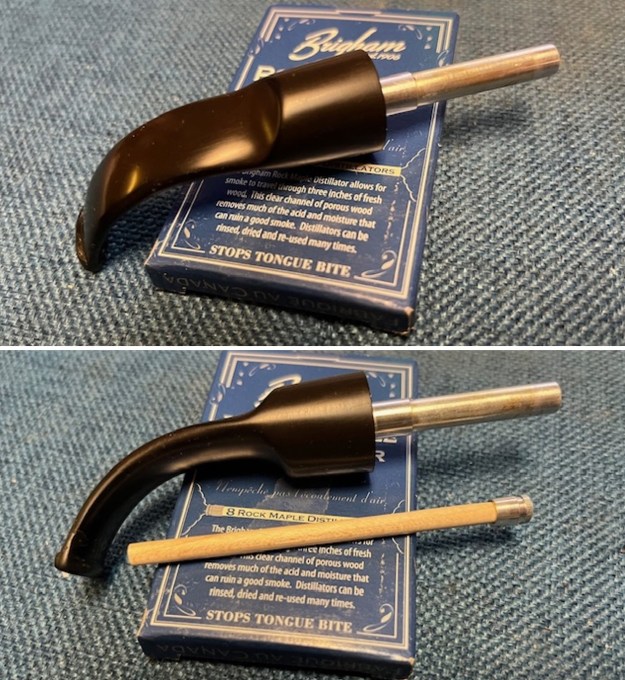
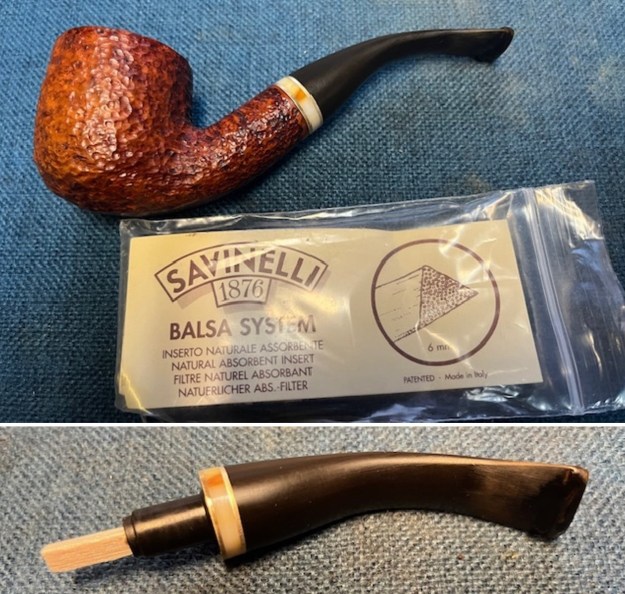
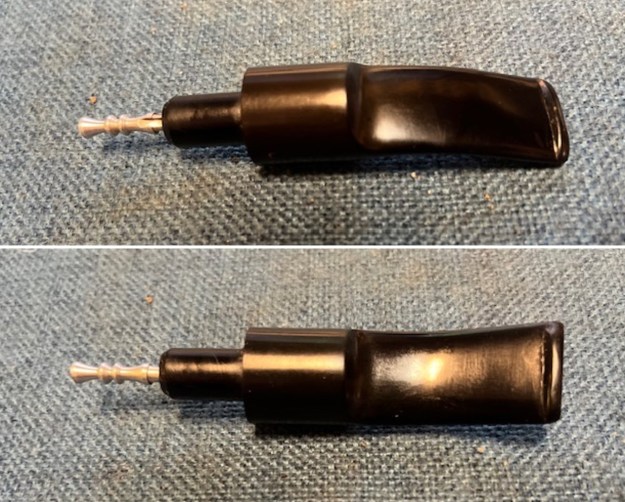
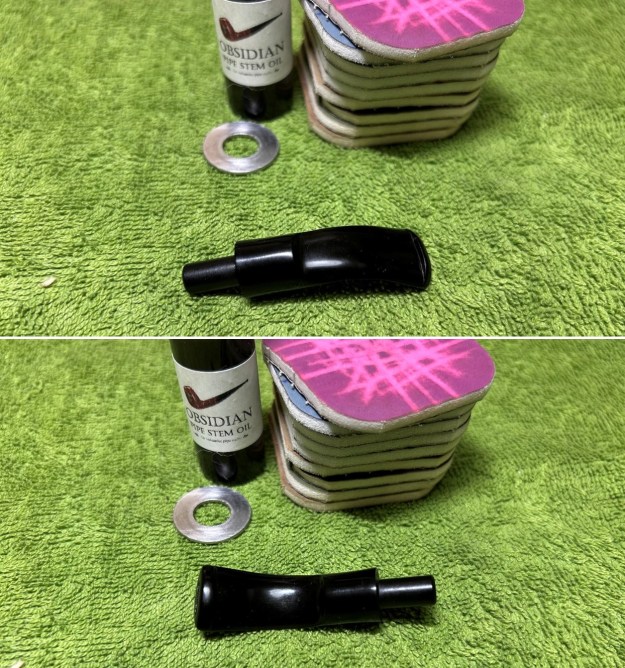
 I went through my collection of stingers and found one that was probably much like the broken one that was in this tenon. It extended into the bowl the correct distance judging by the bowl bottom. It would work well. I fit it in the stem after polishing it.
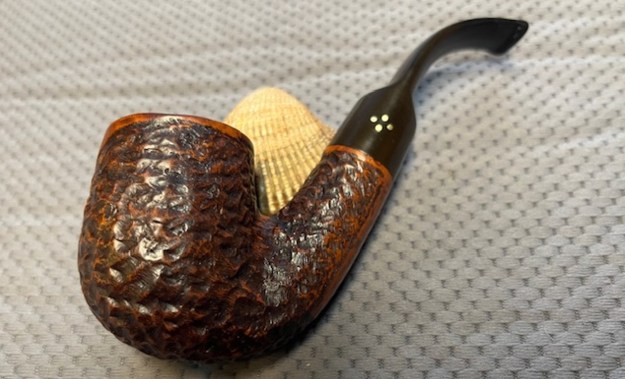
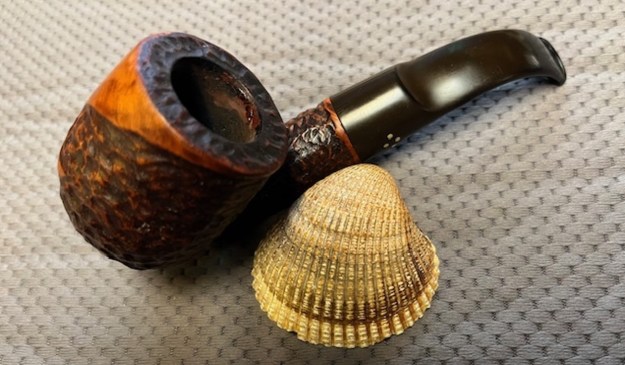
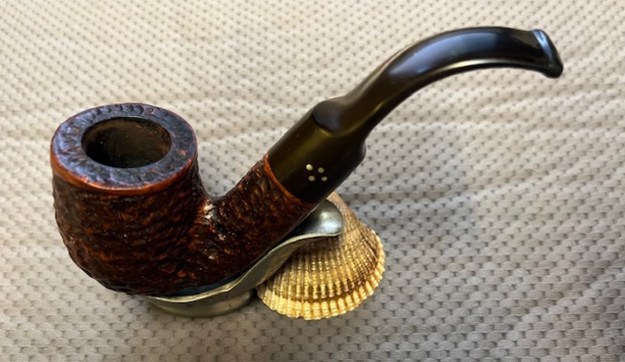
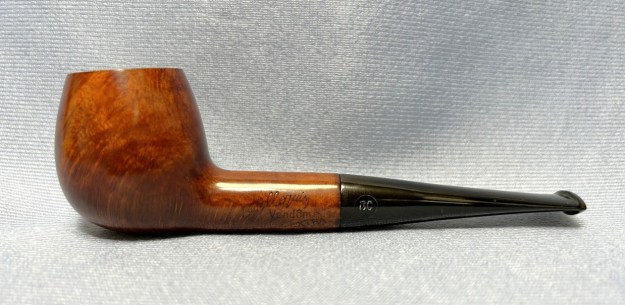
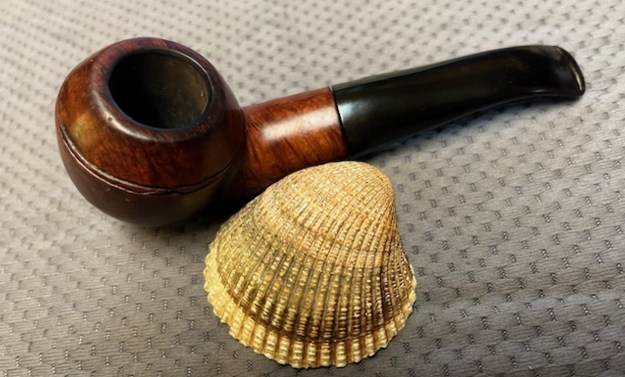
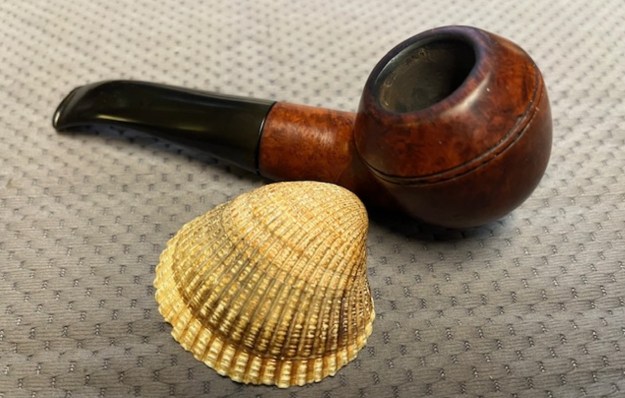
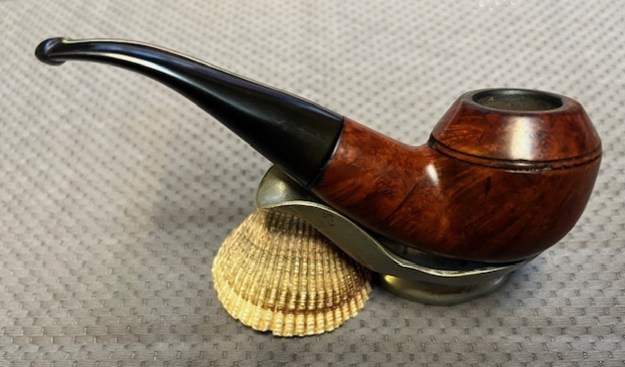
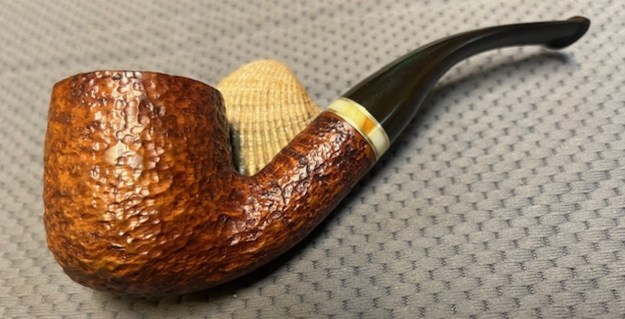
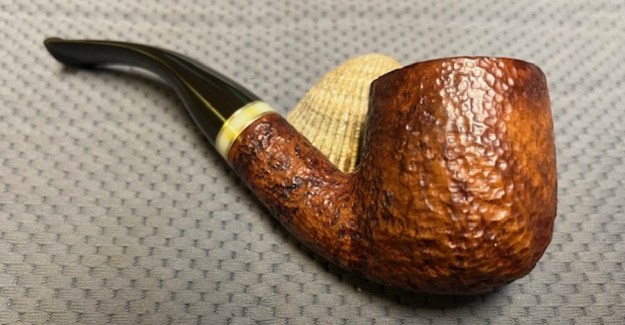
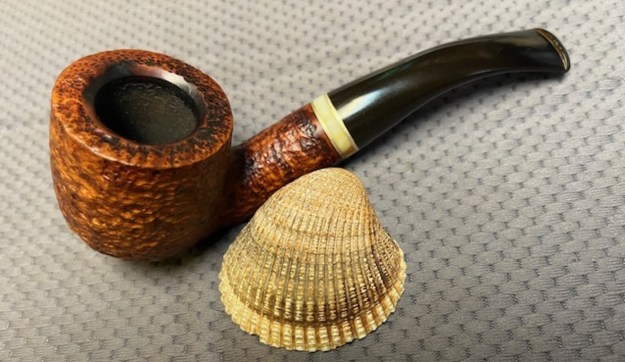
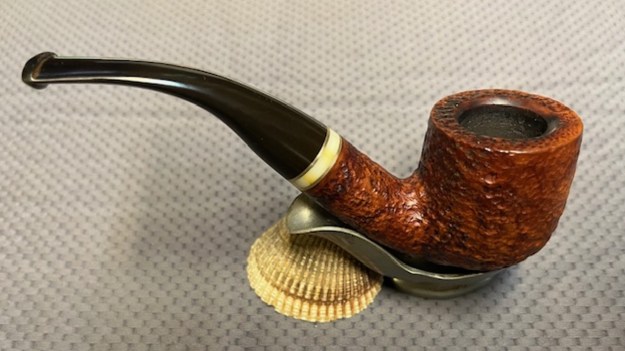
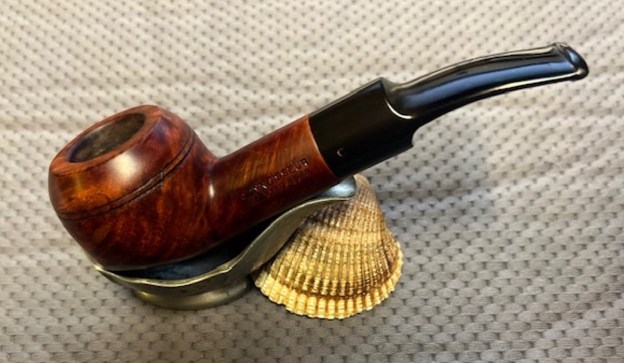
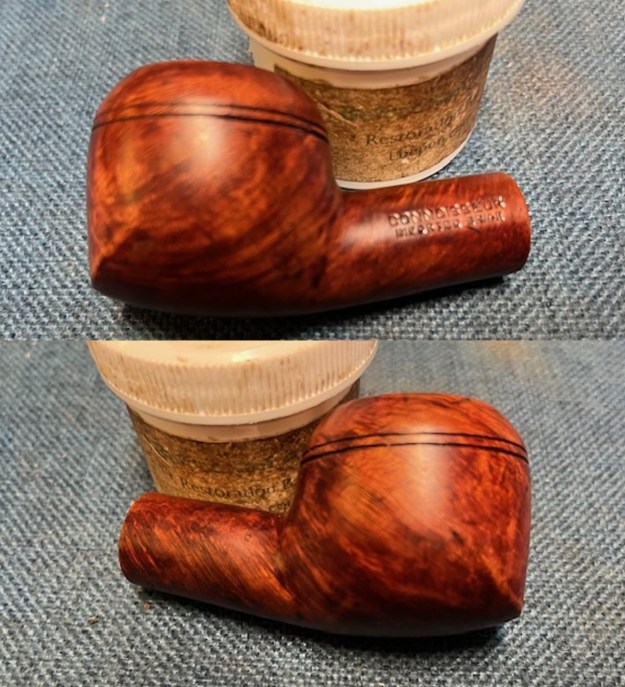
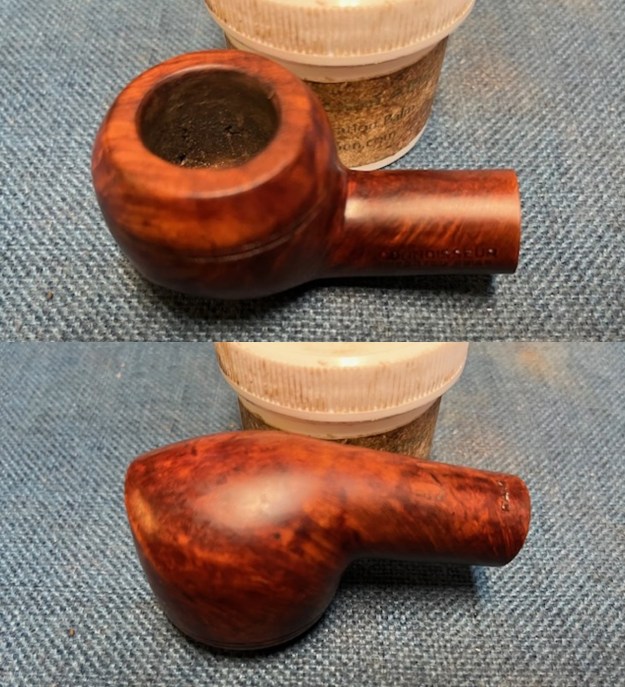
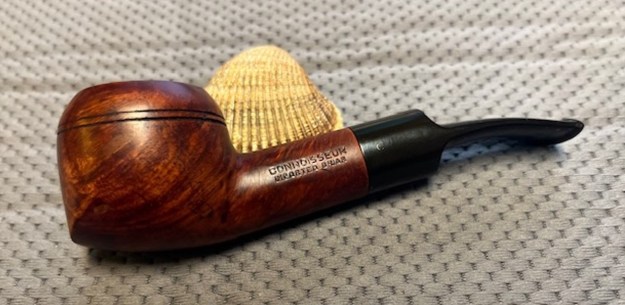
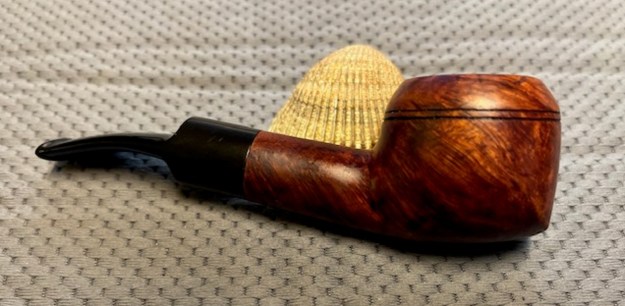
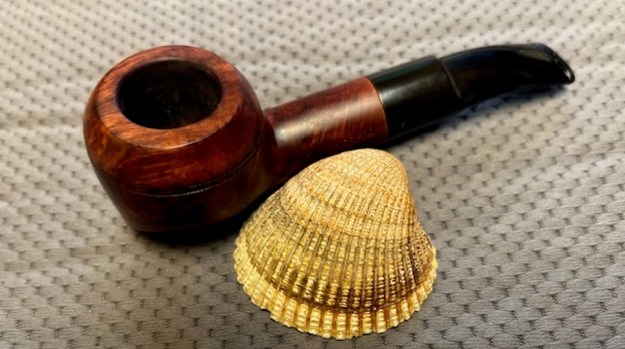
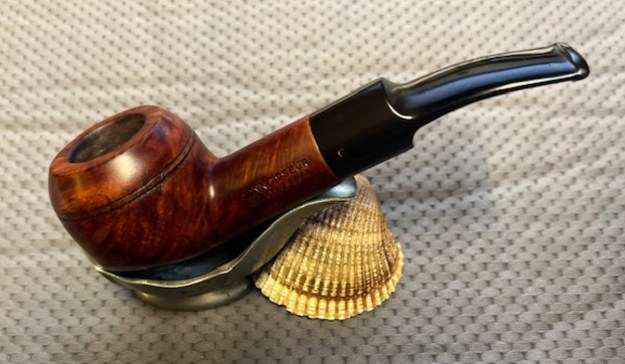
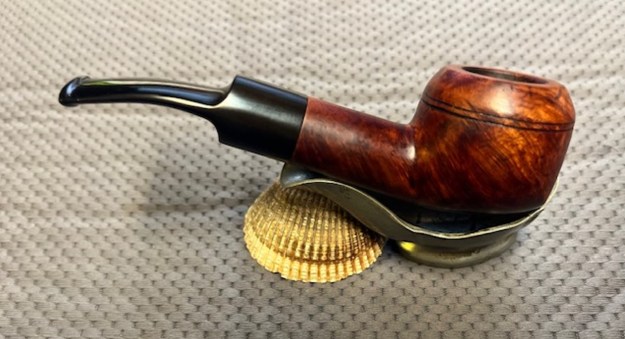
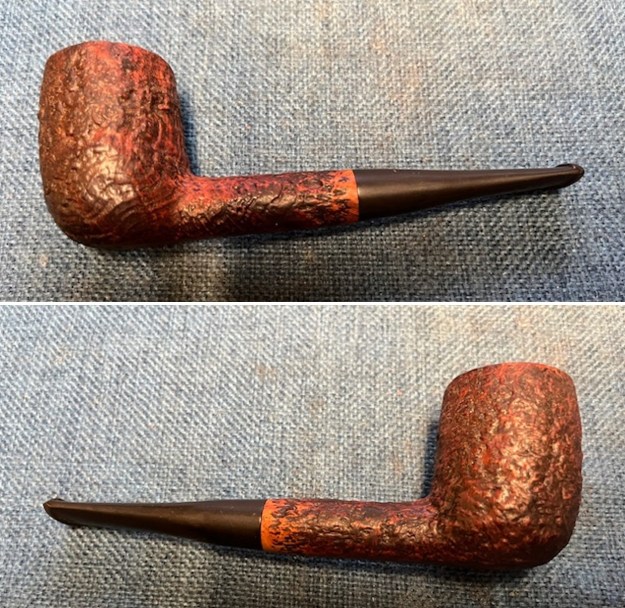
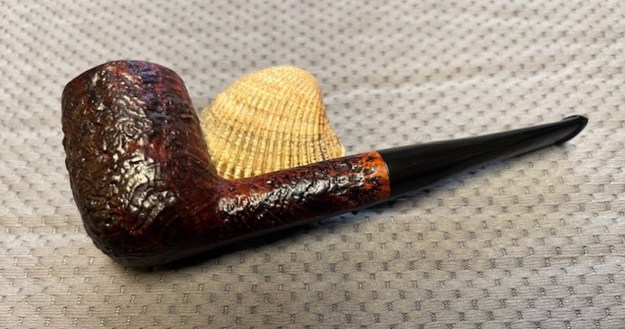
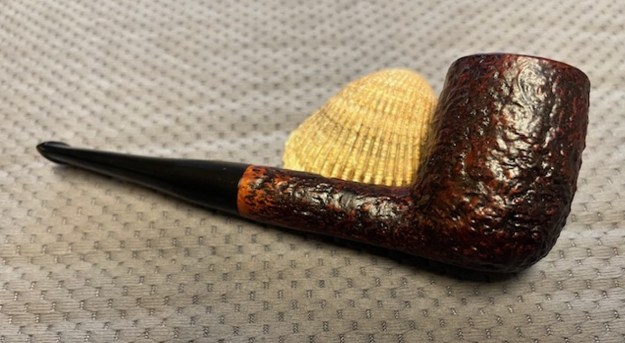
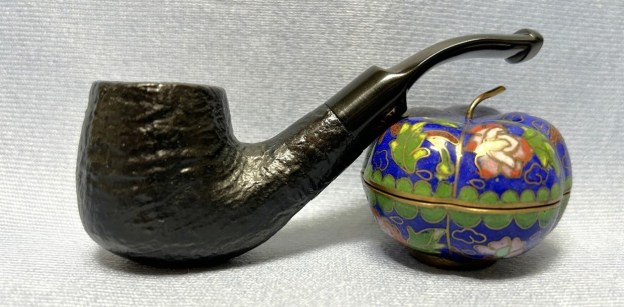
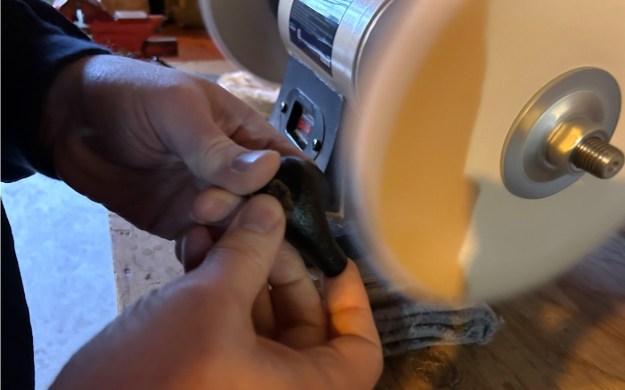
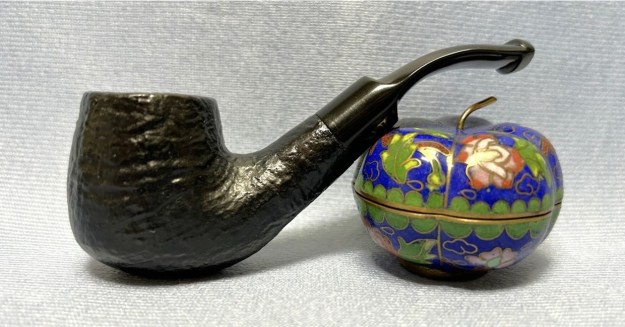
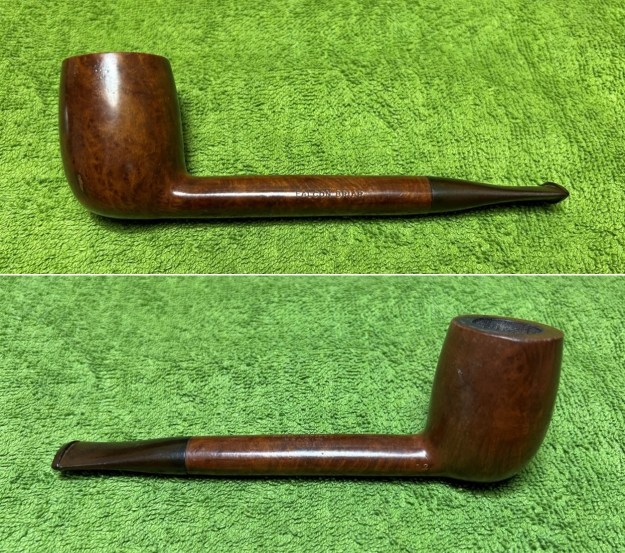
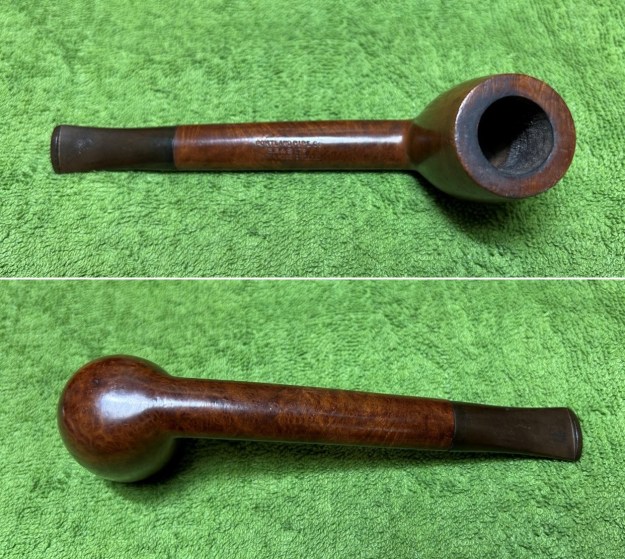
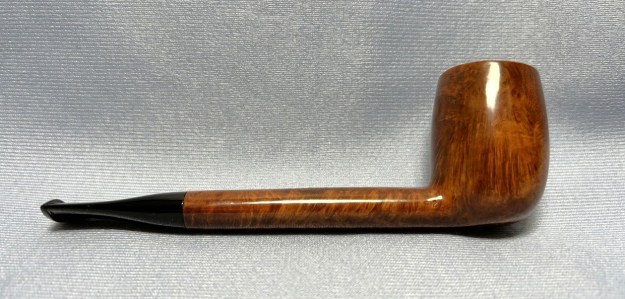
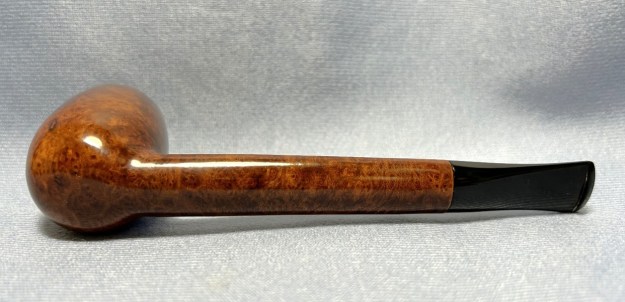
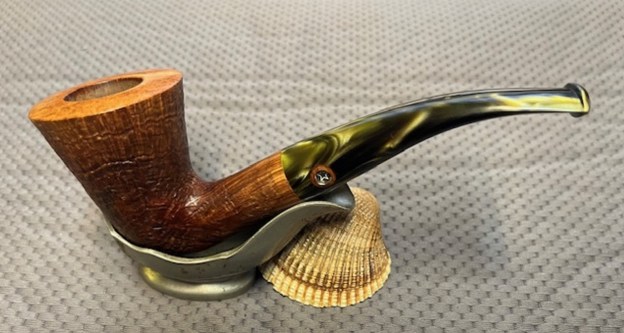
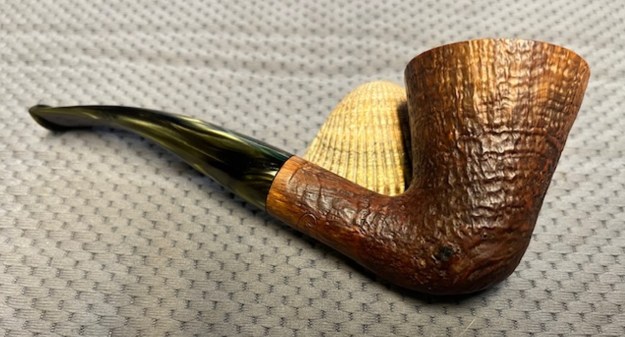
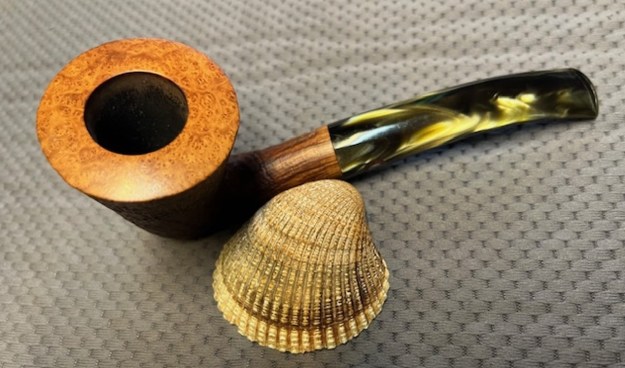
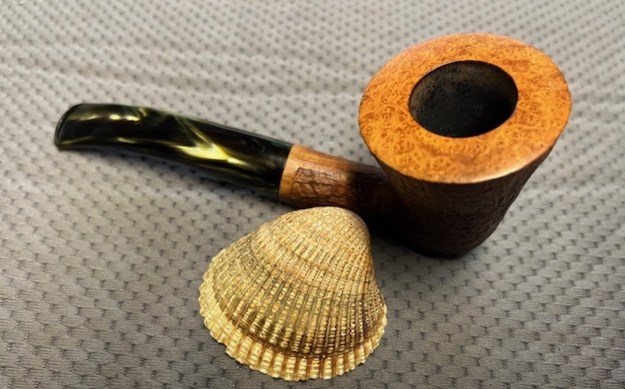
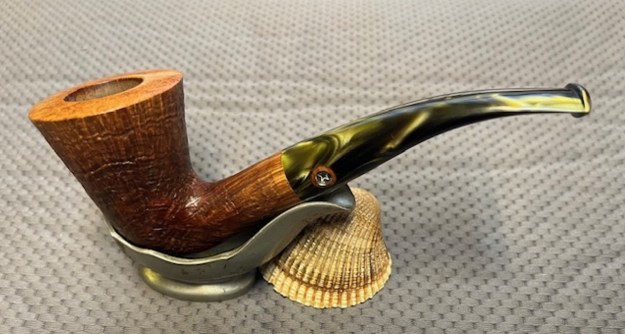
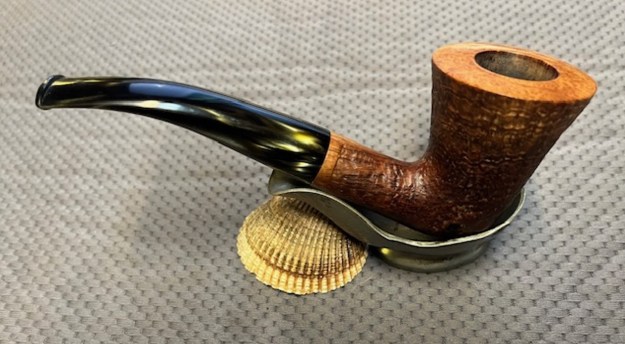
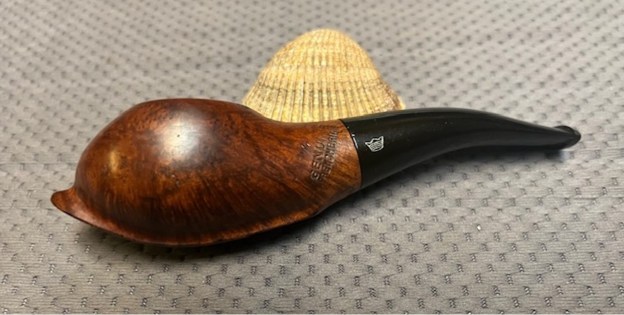
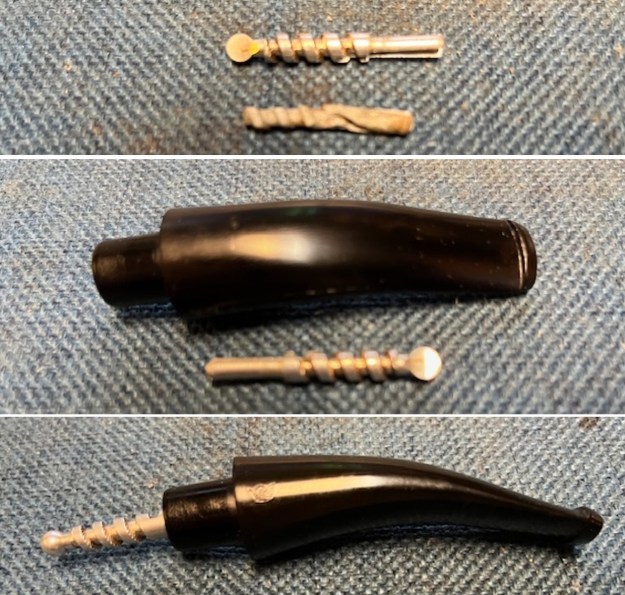 I am excited to finish this GFB Genuine French Briar Pocket Pipe. Jeff called it a slug and that certainly fits the shape. I put the pipe back together and buffed it with Blue Diamond on the buffing wheel. I gave the bowl and the stem multiple coats of carnauba wax. I hand buffed the pipe with a clean buffing pad to raise the shine. It is fun to see what the polished bowl looks like with beautiful mixed grain all around it, looks great with the polished black hard rubber stem. This smooth Old GFB Pocket Pipe is both ugly and great looking at the same time. The pipe feels great in my hand. It is light and well balanced. Have a look at it with the photos below. The dimensions are Length: 5 inches, Height: 1 ¼ inches, Outside diameter of the bowl: 1 inch, Chamber diameter: ¾ of an inch. The weight of the pipe is 35 grams/1.23 ounces. It turned out to be a beautiful pipe. I am not sure what I am going to do with it at the moment. I have it on my desk and keep picking it up and looking at it. Thanks for your time as I walked through the restoration.