Blog by Steve Laug
Lately I am not taking on more work for repairs from email or online requests as I am just too busy. I still get the odd referral from the local cigar and pipe shop that I feel obligated to repair or restore. They tend to be spread out a bit so I can fit them in among the other work that I am doing for estates. Earlier this week I received a phone call from a fellow who had been referred to me by the shop. In our conversation he said that he had some pipes that the stems were all loose on and he wanted to know if I would be able to help him. I have learned to not make any arrangements until I have the pipes in hand and have examined them. He came over Friday afternoon to let me have a look at the pipes. He handed me a bag and inside there were four or five extra stems that he had brought for my use. There were also three old and tired pipes. They were in very rough shape. Two were apple shaped pipes stamped VB and one was a Croydon billiard. The stems were indeed loose on two of the pipes and stuck on the third pipe. The bowls were clogged with a thick cake to the degree that I could not even get my little finger in them. The stems had a thick layer of calcification and some tooth marks. They needed a lot of work.
We talked about the pipes and that he had held them for a long time hoping for a repair. He had spoken with the cigar and pipe shop and they had led him to me. Now he could actually have a hope of smoking them again. In the course of the 30 minute or so conversation he asked me what I do for work. I told him I was a Presbyterian minister working with an NGO dealing with the sexual exploitation and trafficking of women and children in 7 countries and 12 cities around the world. We talked about that a bit then he laughed and told me he was a United Church Minister who had taught in a variety of schools as well as pastored various parishes. We had a great conversation and I took the pipes and told him we would connect again once I had them finished.
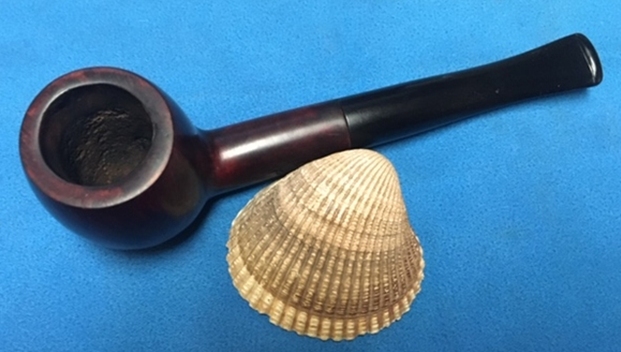
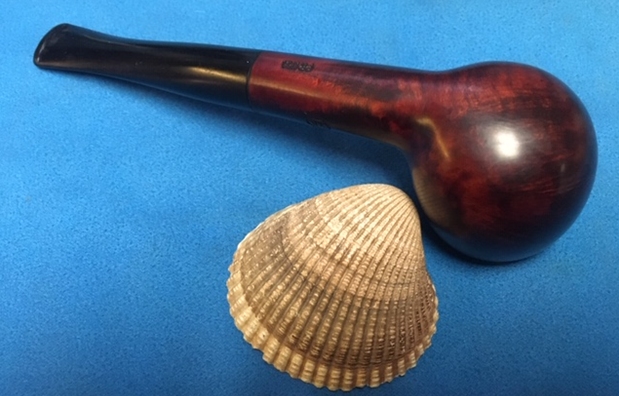
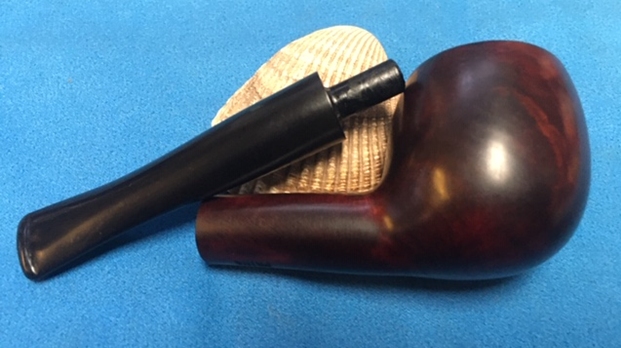
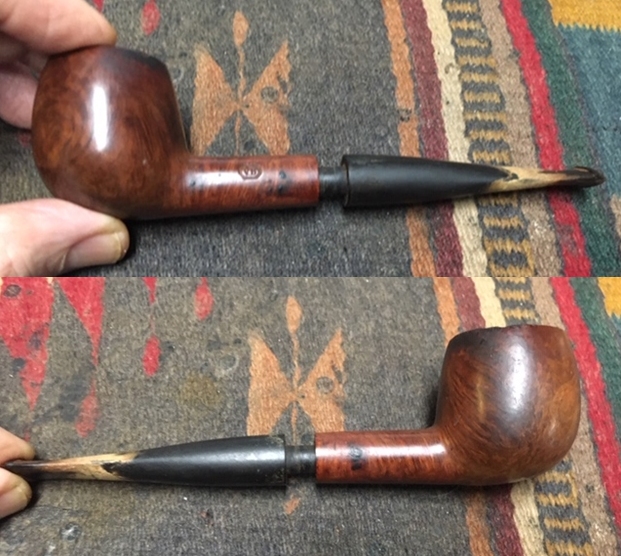
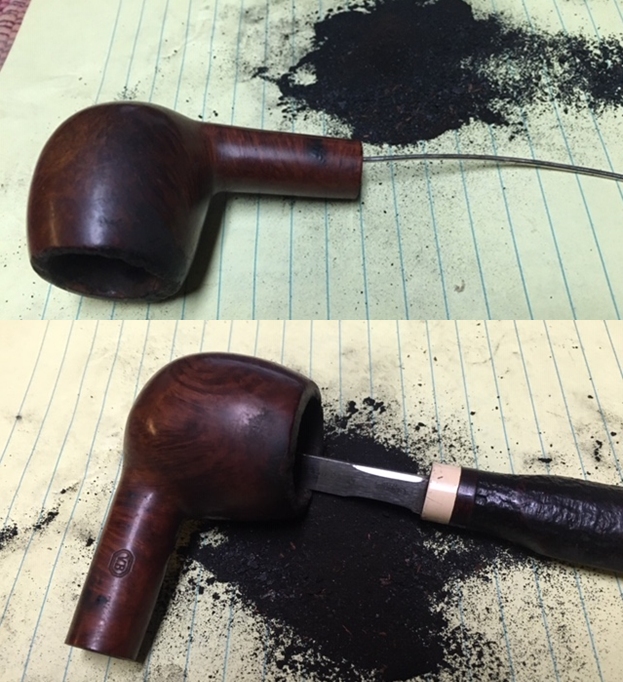
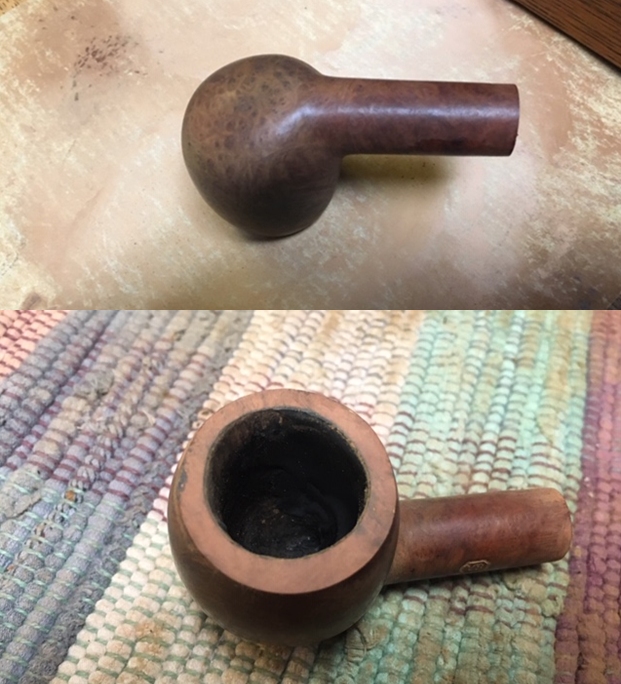
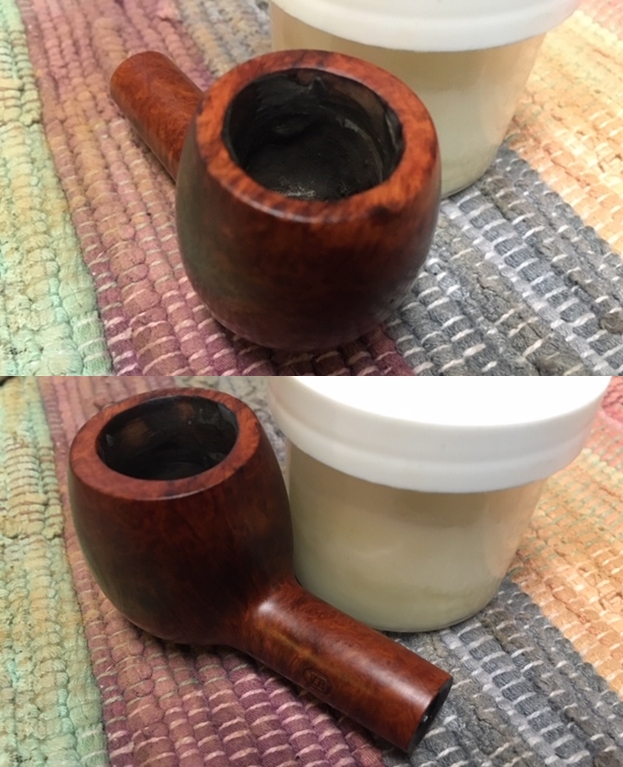
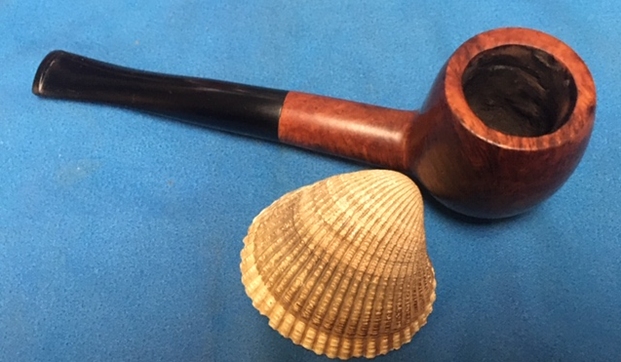
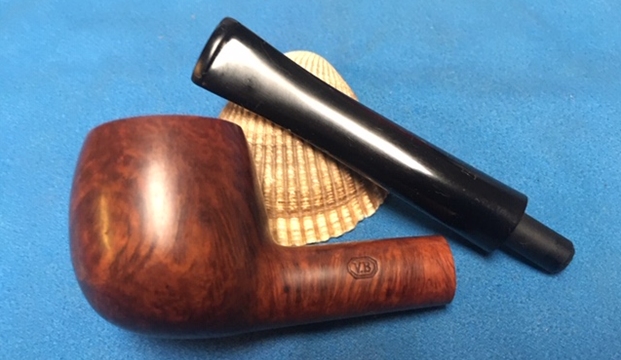
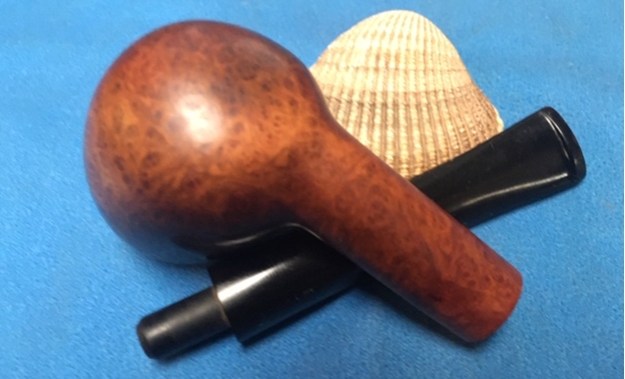
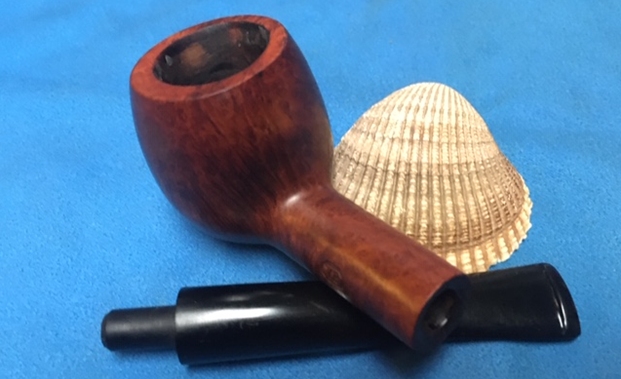
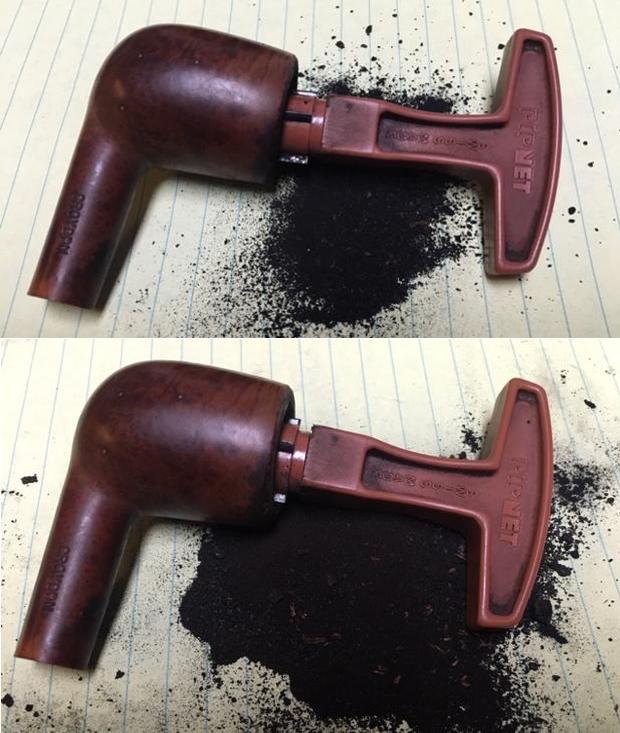
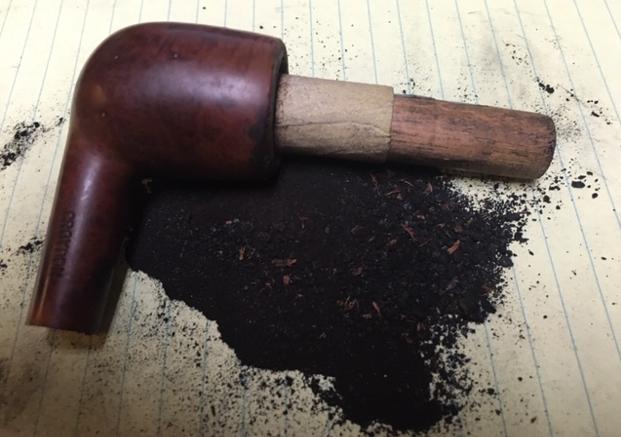
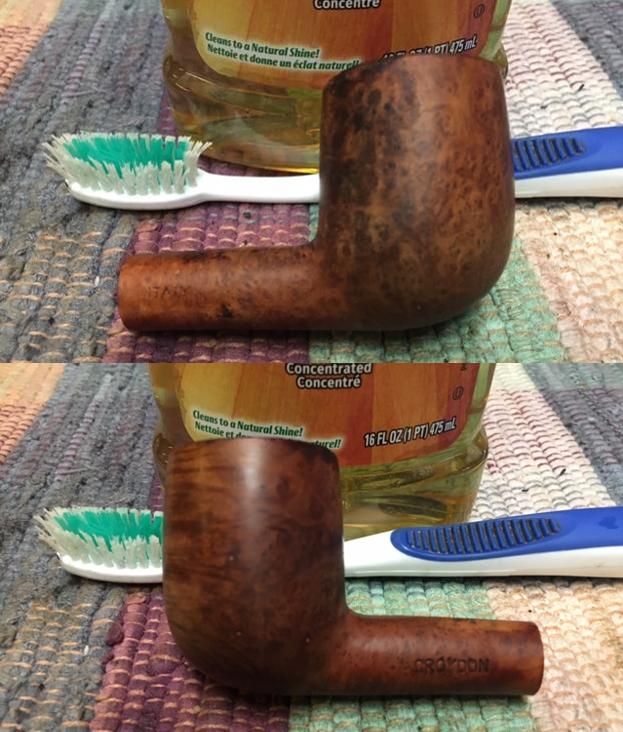
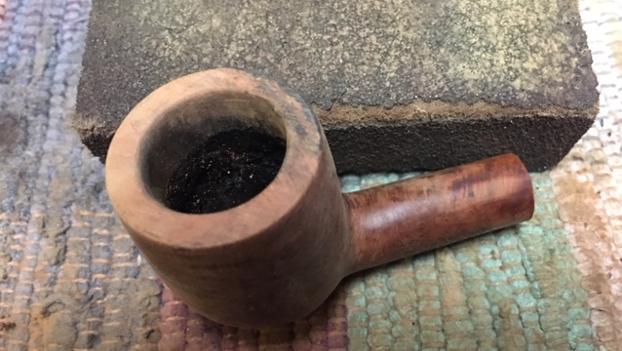
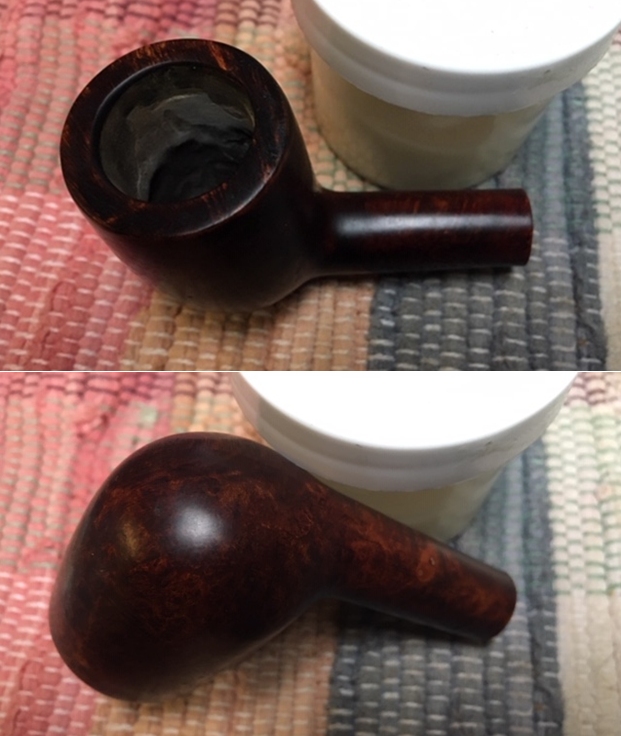
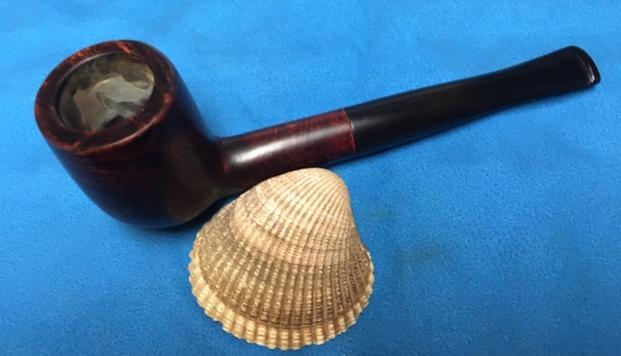
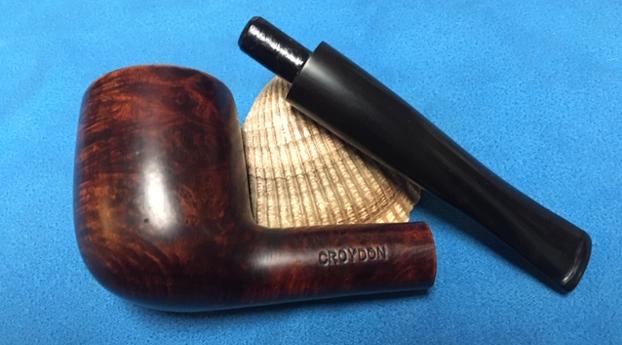
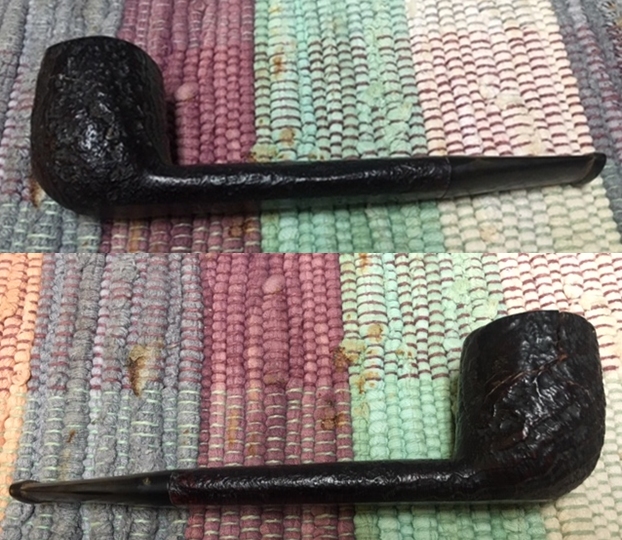
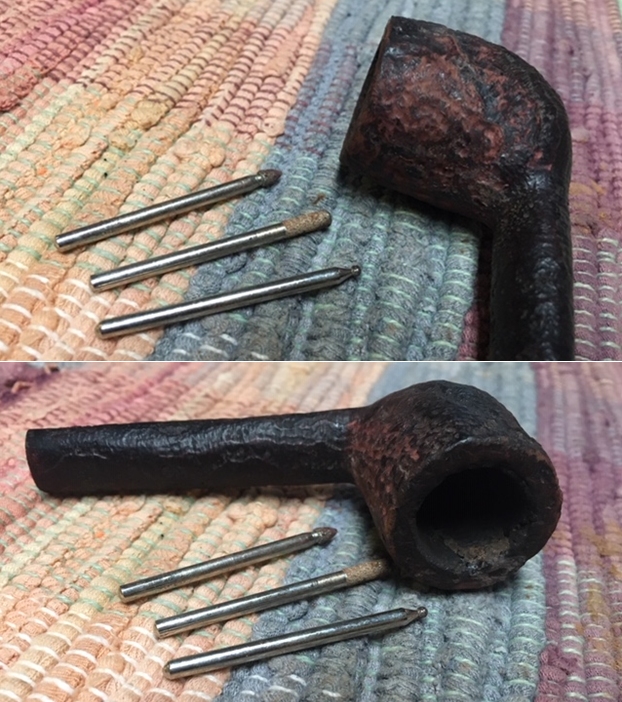
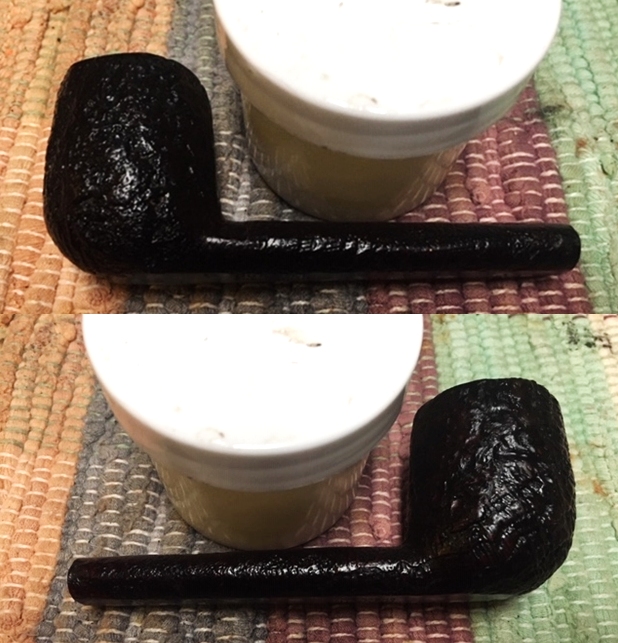
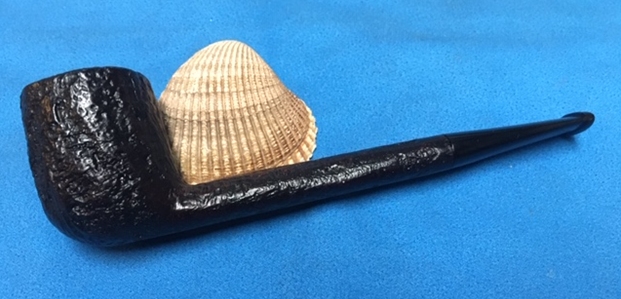
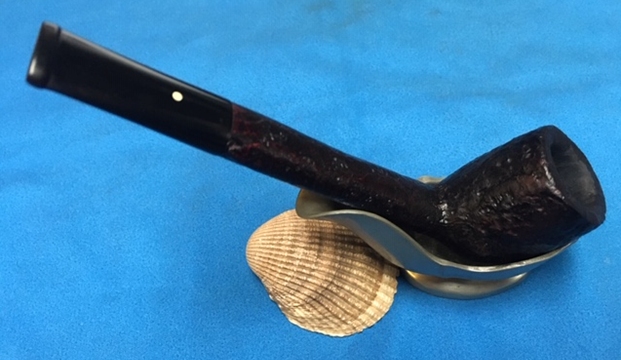
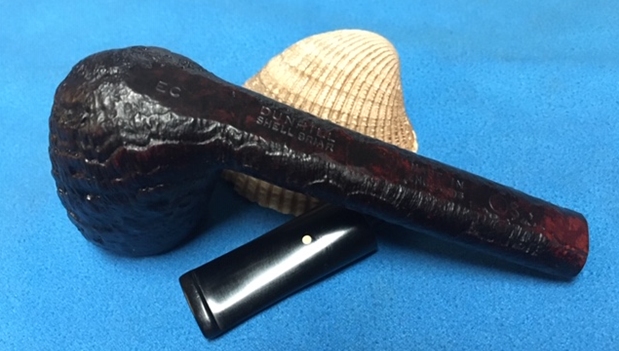
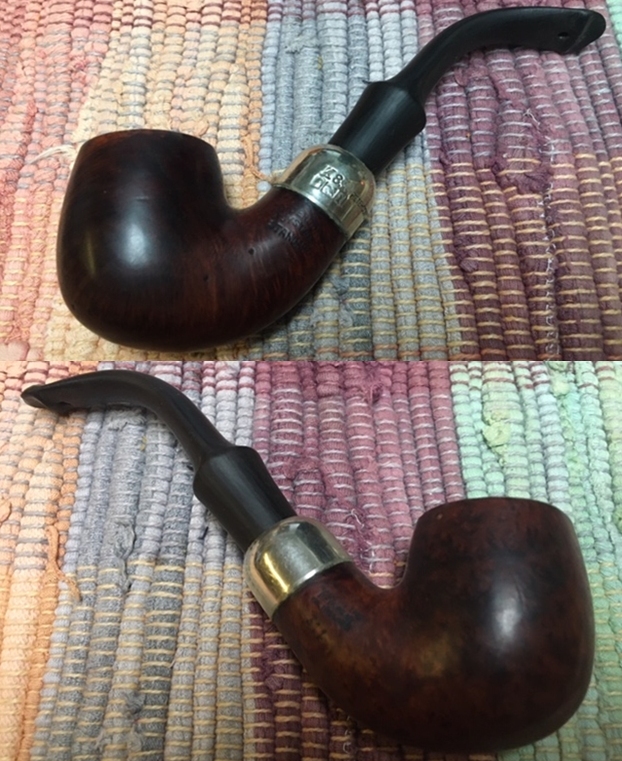
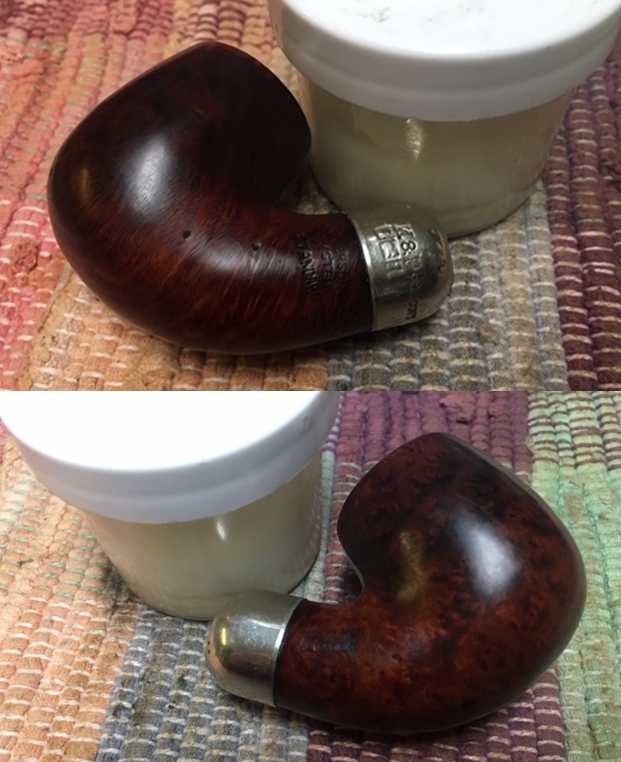
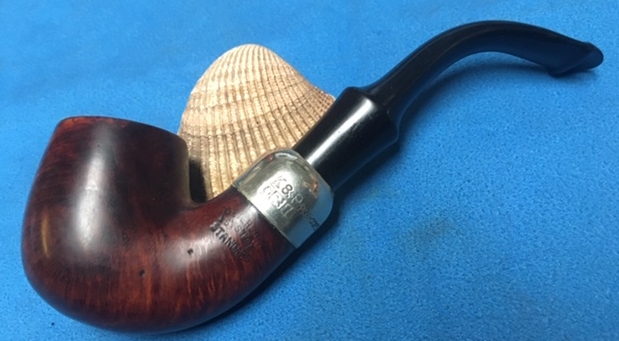
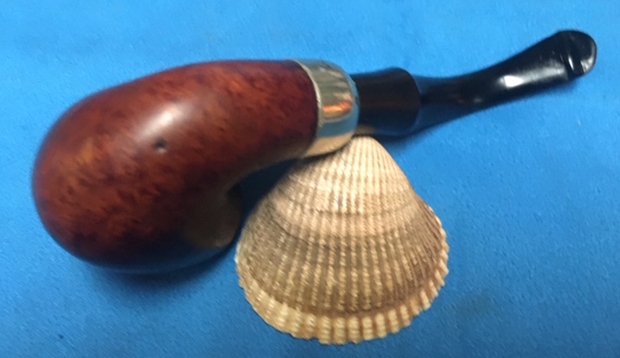
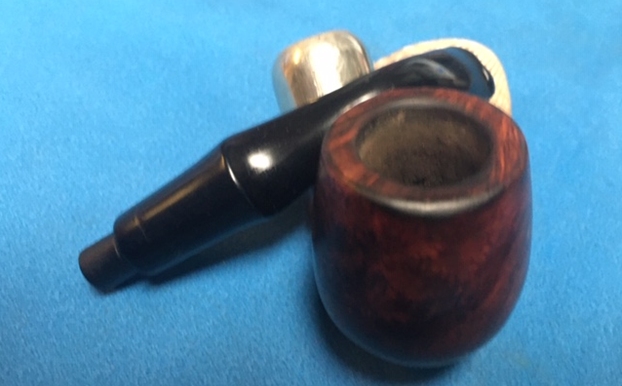
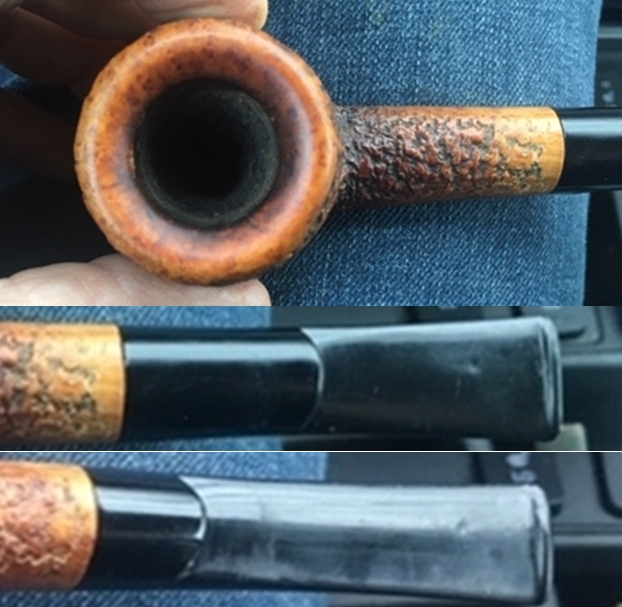
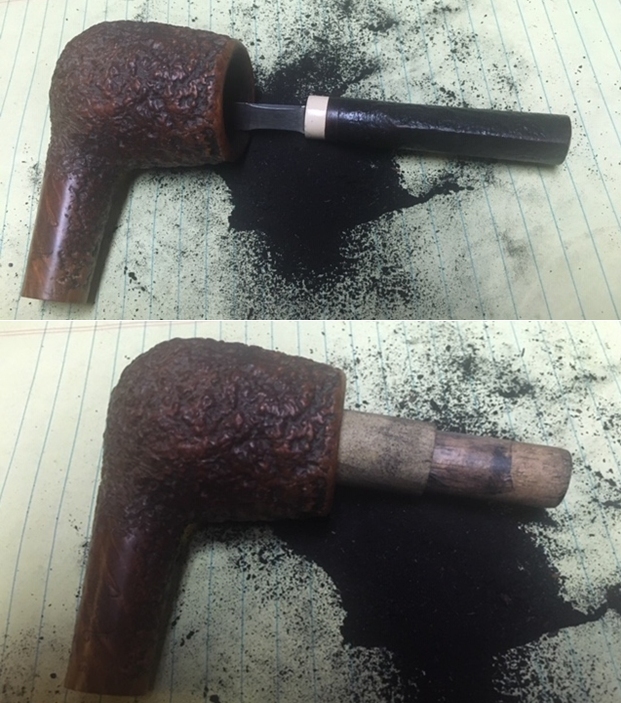
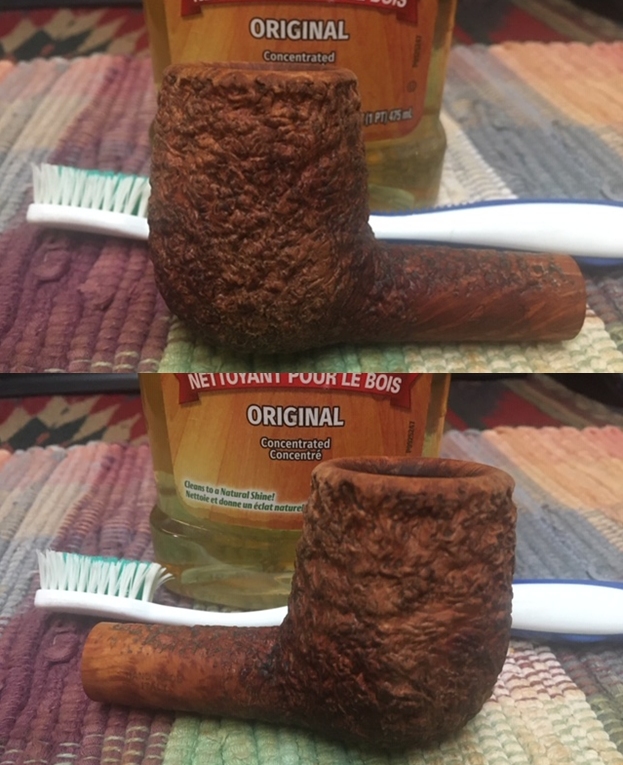
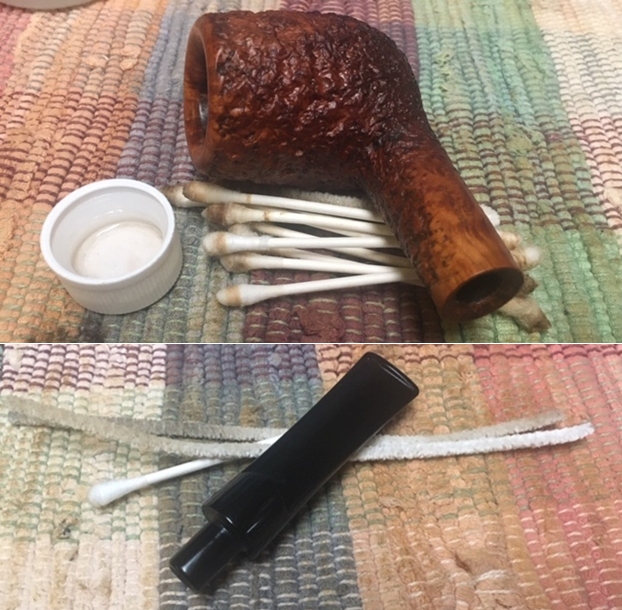
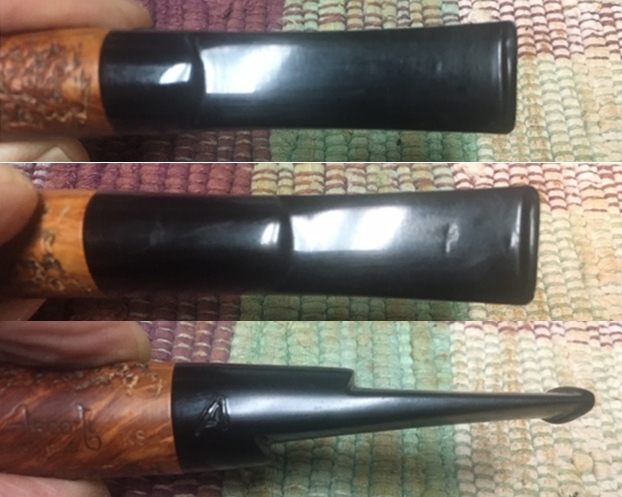
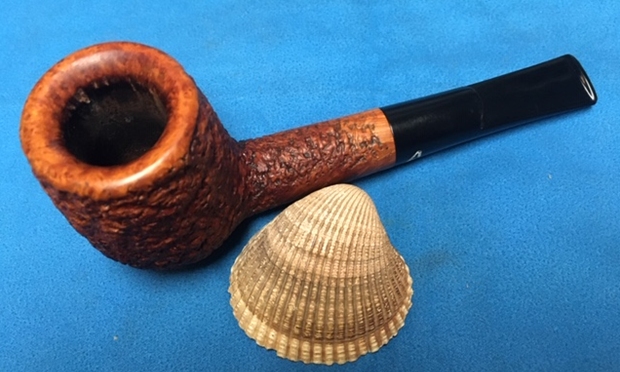
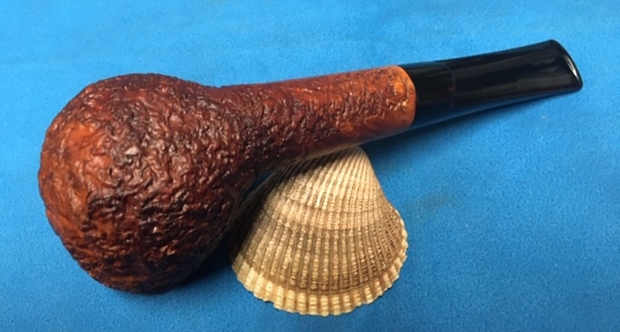
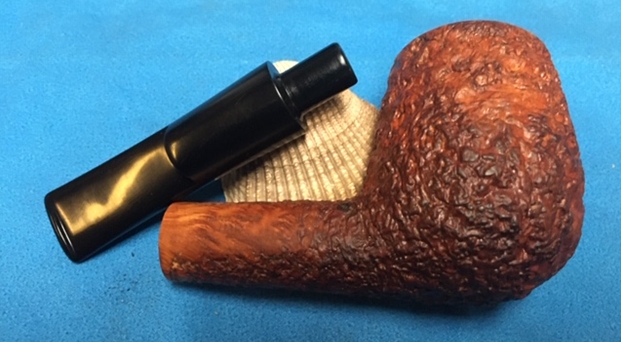
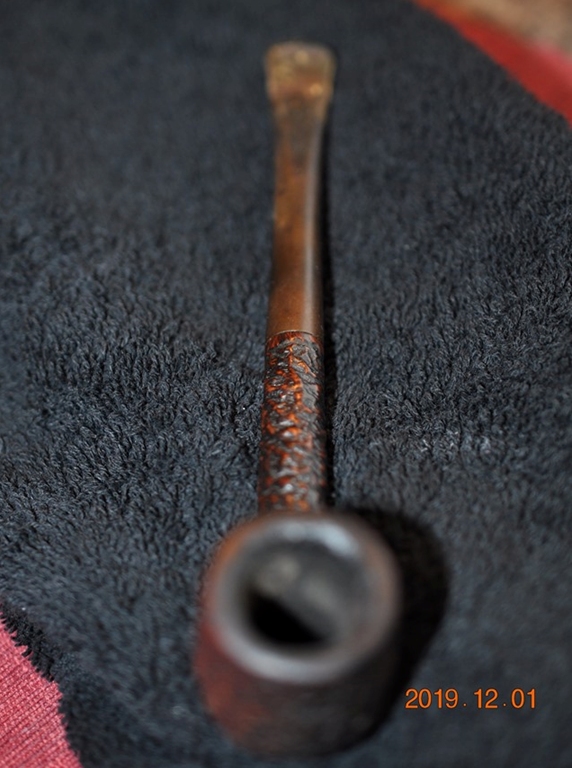
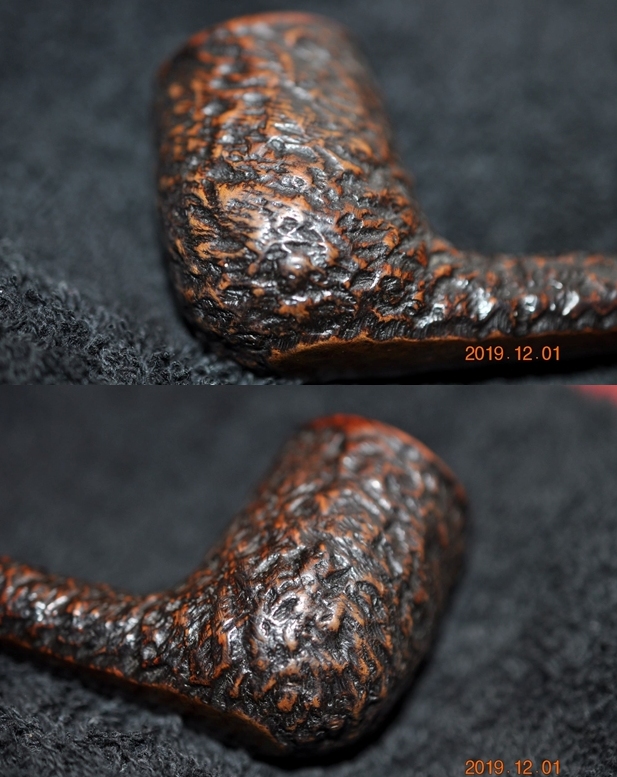
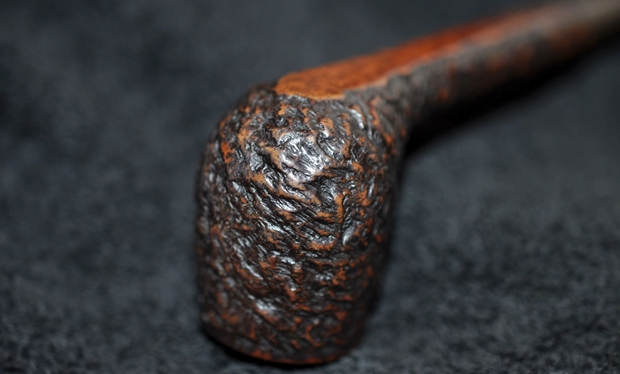
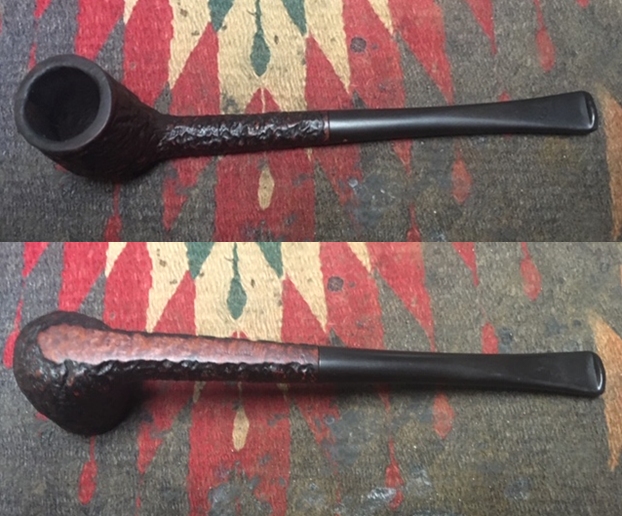
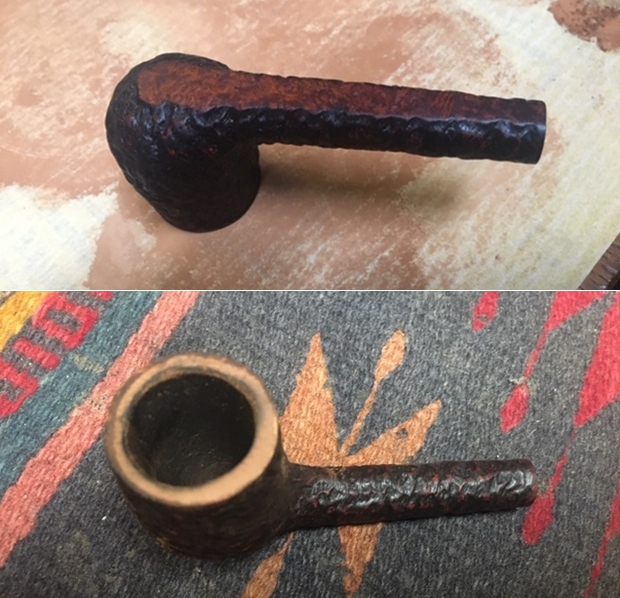
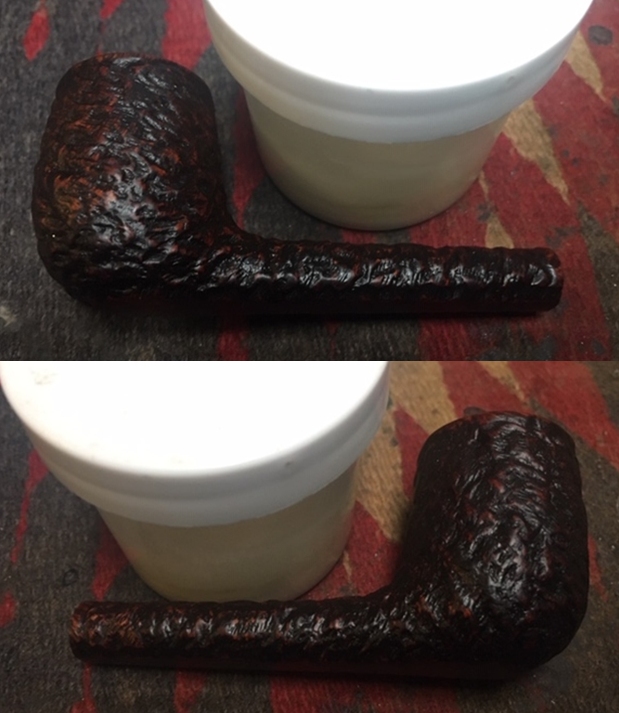
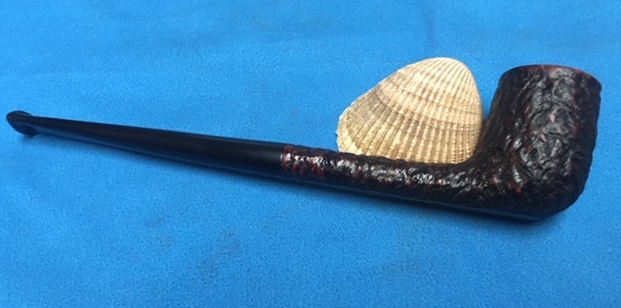
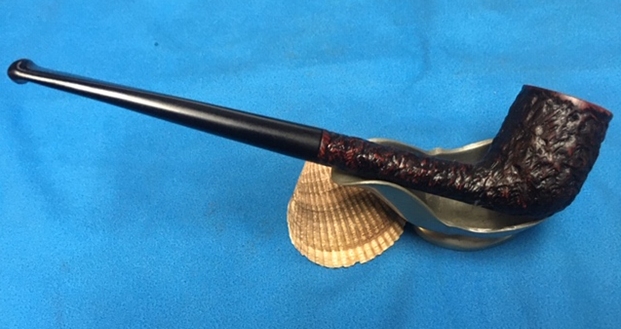
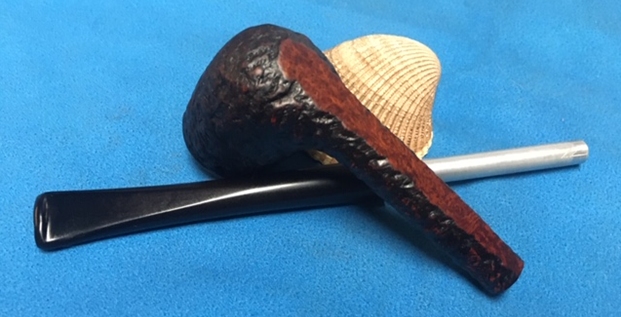
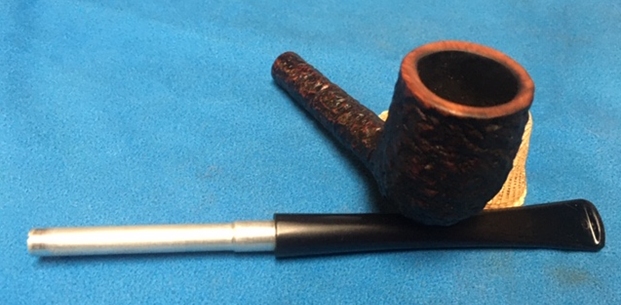
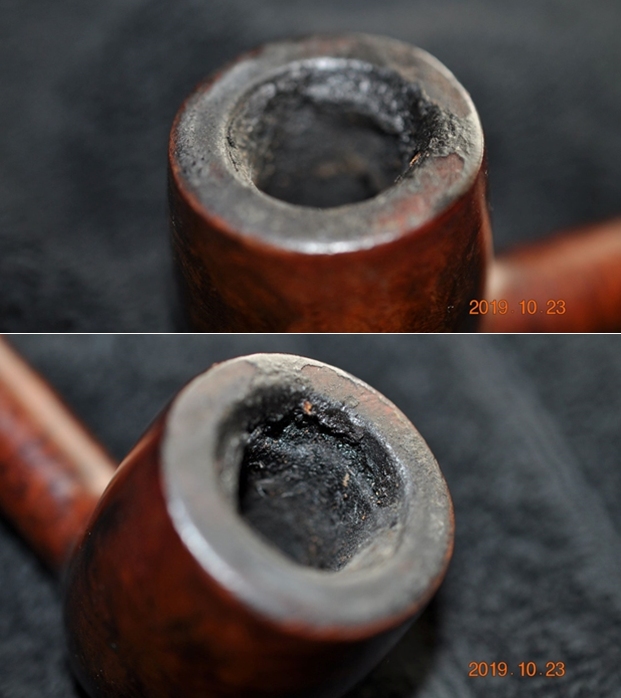
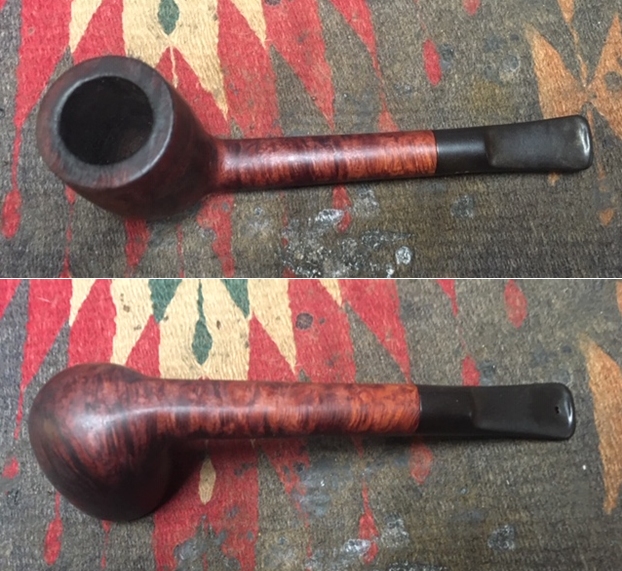
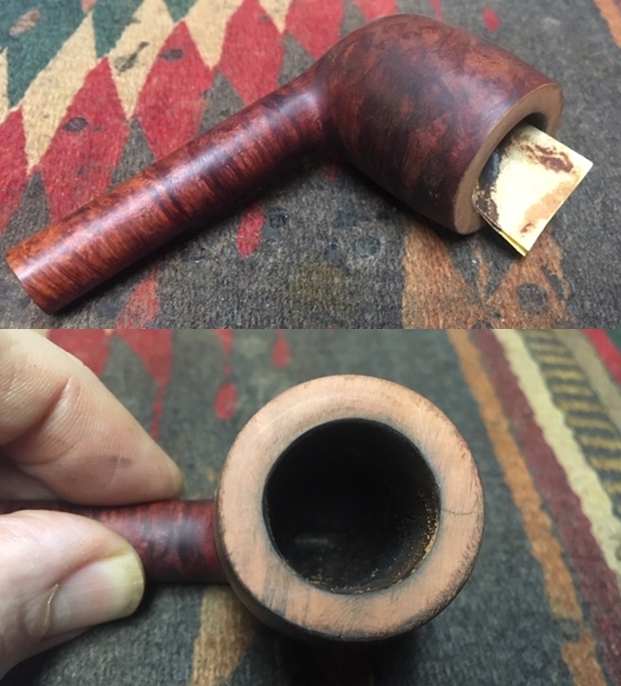
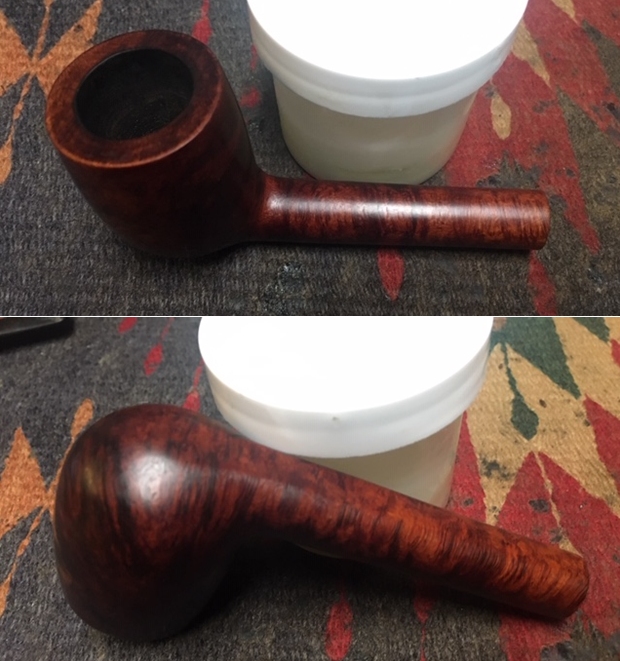
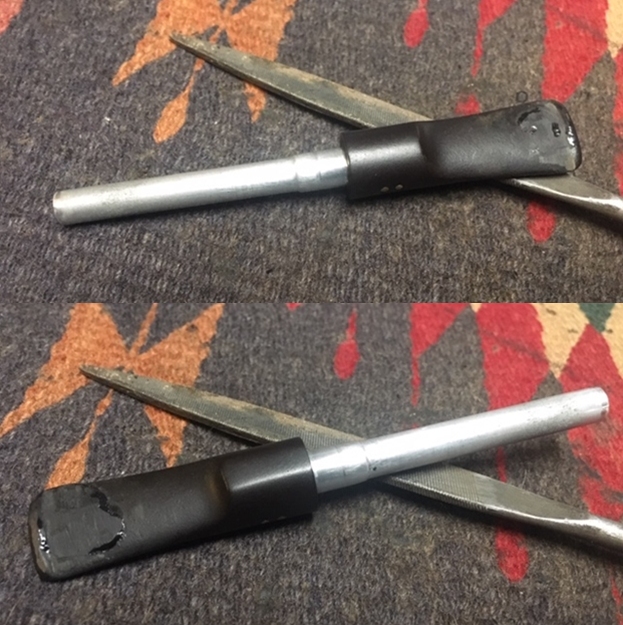
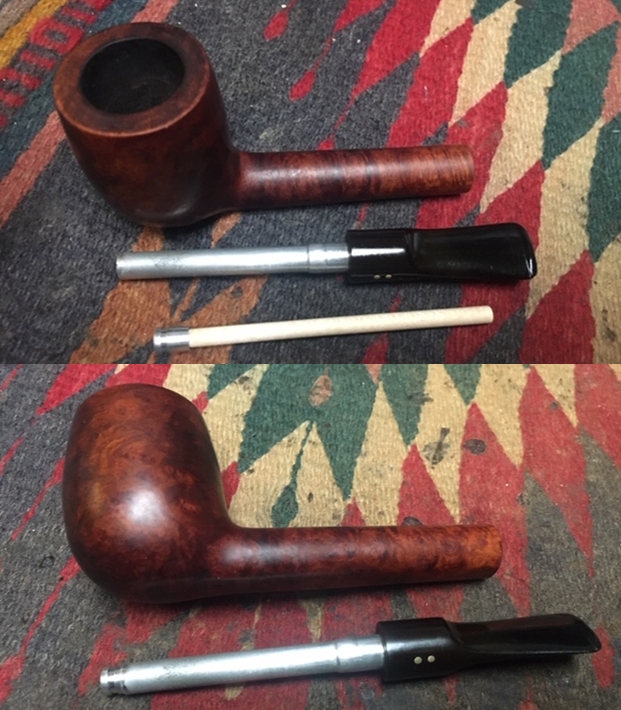
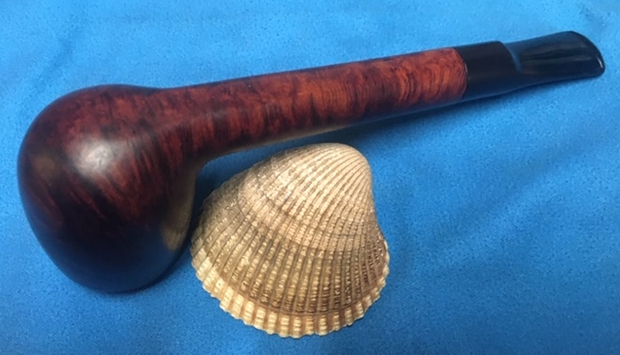
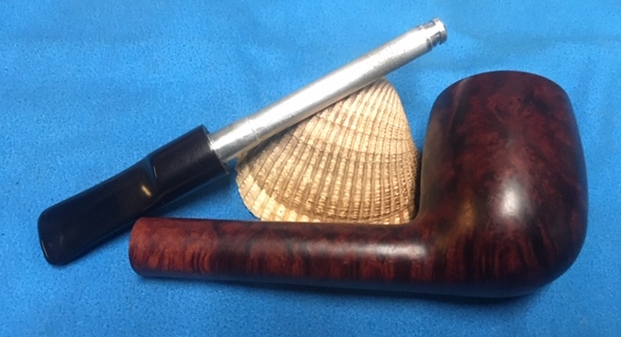
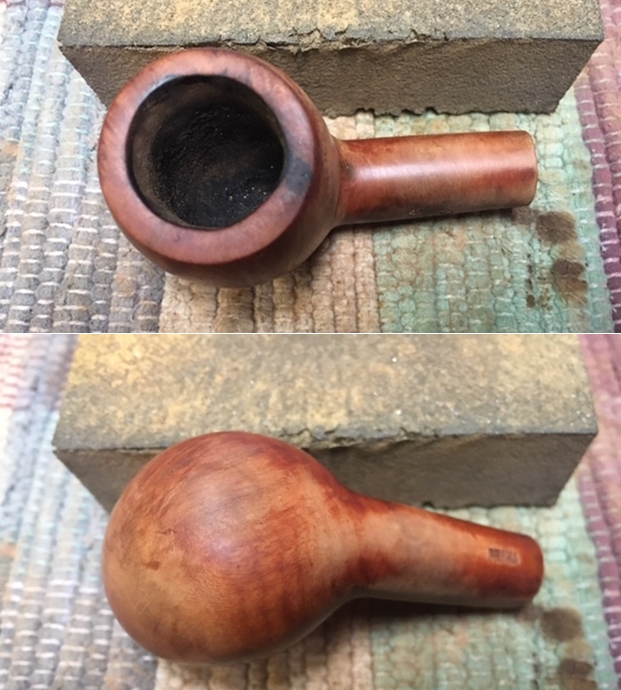
The last pipe from the threesome is on the table now. It was probably in the best shape of the three pipes. It was in rough condition but not as bad as the previous two pipes. The bowl was clogged in precisely the same manner – a thick hard cake and no air would pass through the shank. The finish was shiny with varnish and worn and spotty with blackening on the right side of the bowl and both sides of the shank. It appeared to be an oily black not a burn. The rim top was a real mess with thick hard lava overflowing all around the bowl onto the rim. The stem was loose in the shank and was oxidized with calcification extending for about an inch up the stem from the button. In the midst of the calcification were the same deep tooth marks that appeared to be rounded rather than sharp so I may well be able to lift them out with a lighter flame. The slot in the button was plugged with a pin hole sized airway going through it. This third pipe is exactly like the others and I honestly do not know how this pipe was smoked the last time it was used. This was another of those pipes that I really dreaded working on because I just sensed that one thing would lead to another and the restoration would be almost endless. I took photos of the pipe before I started to record this anxious moment!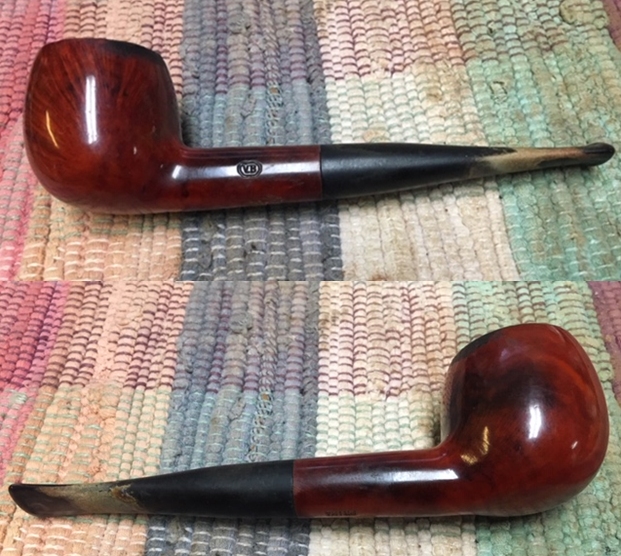
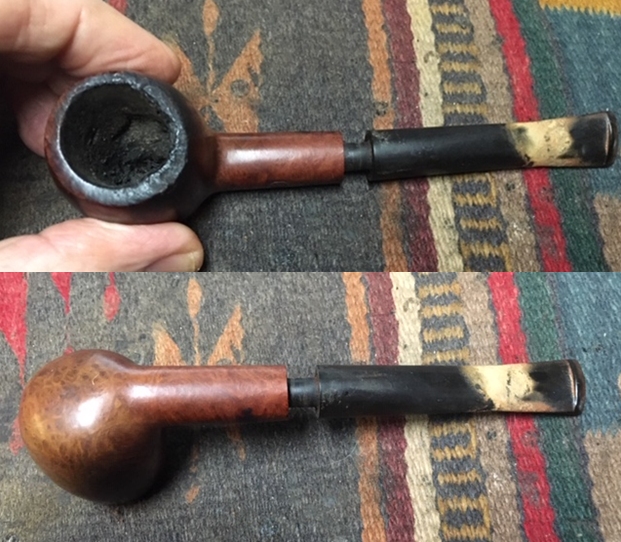
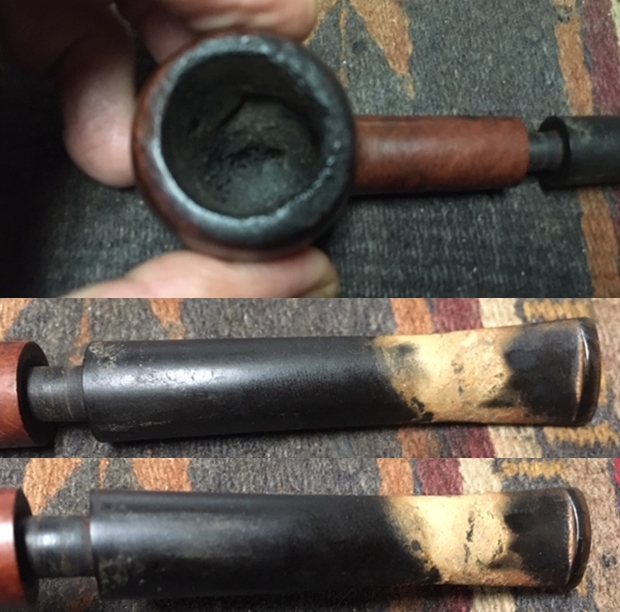
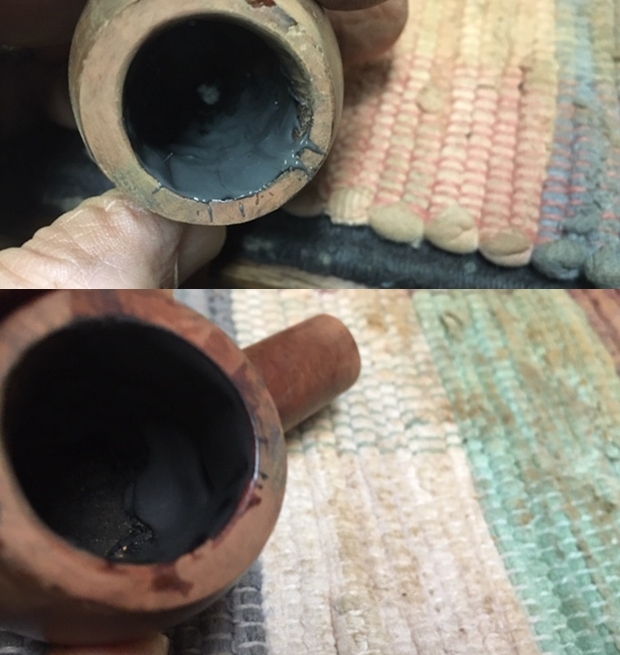
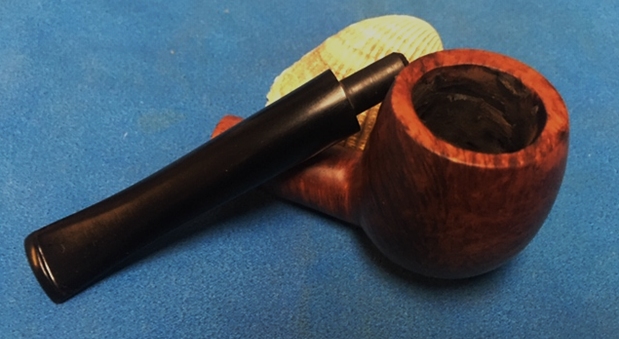
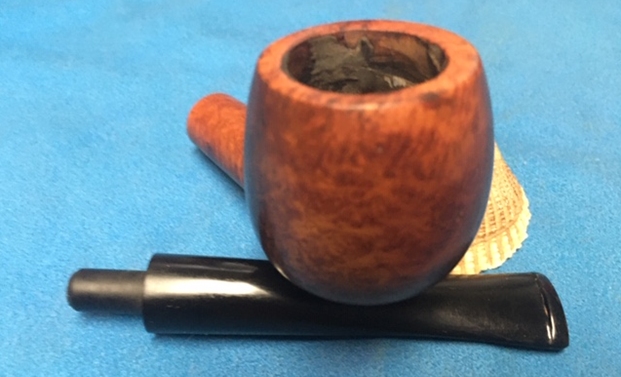
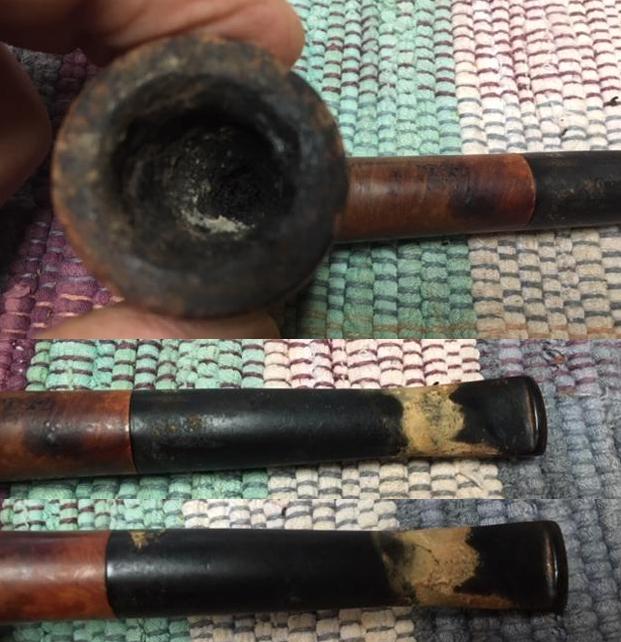
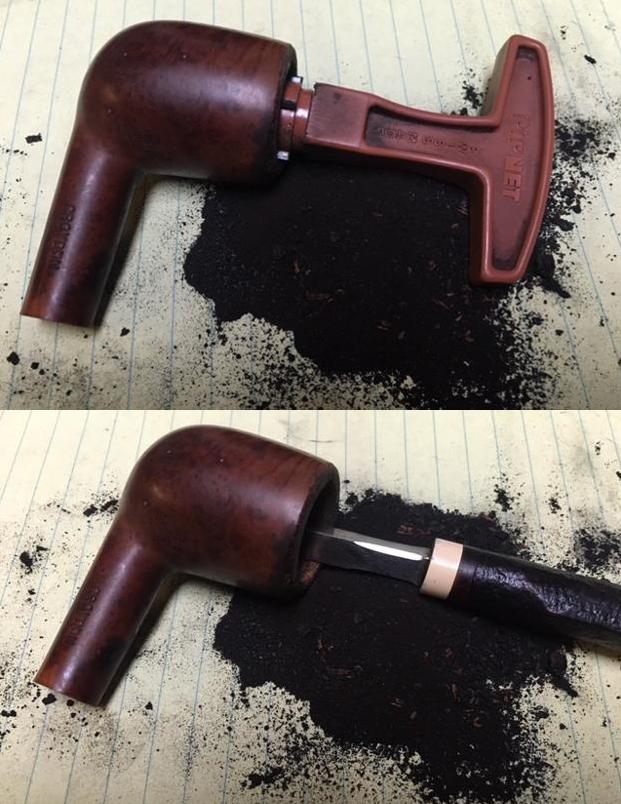
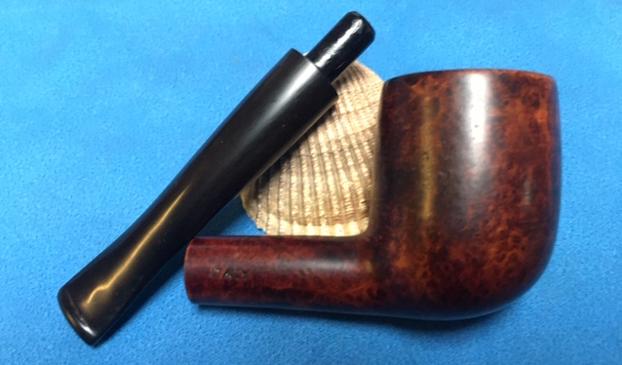
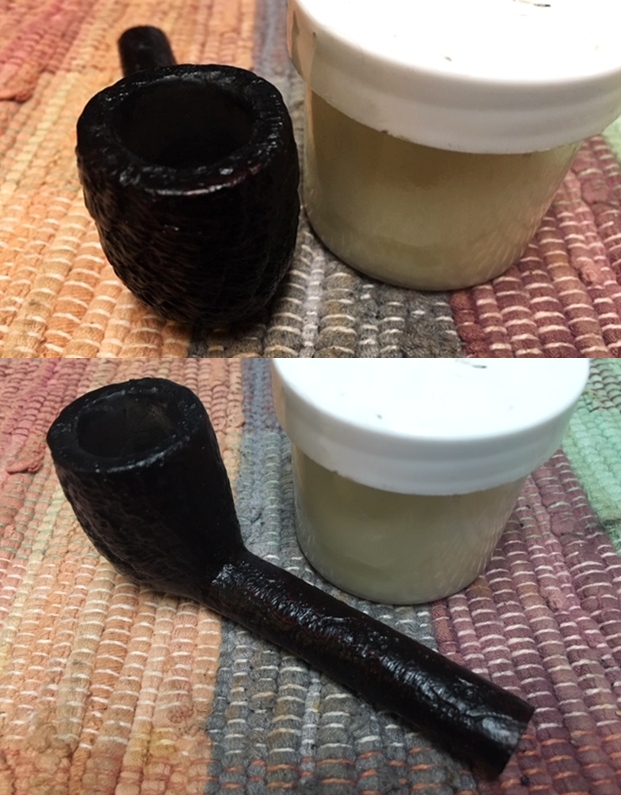
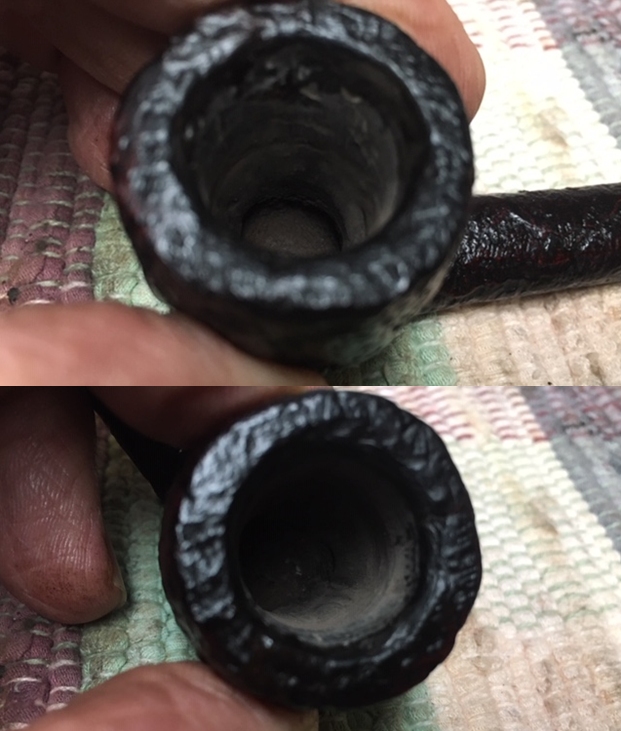
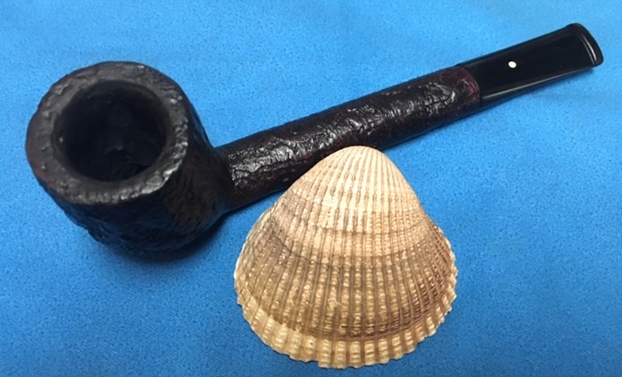
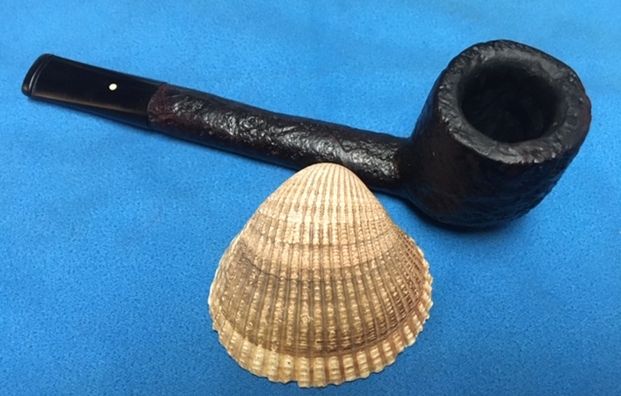
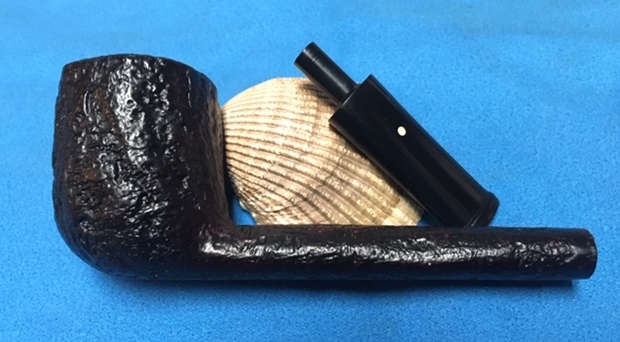
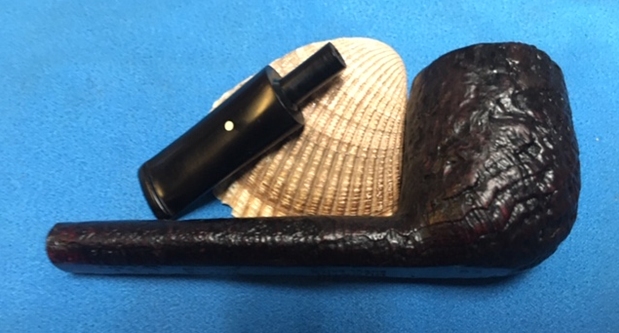
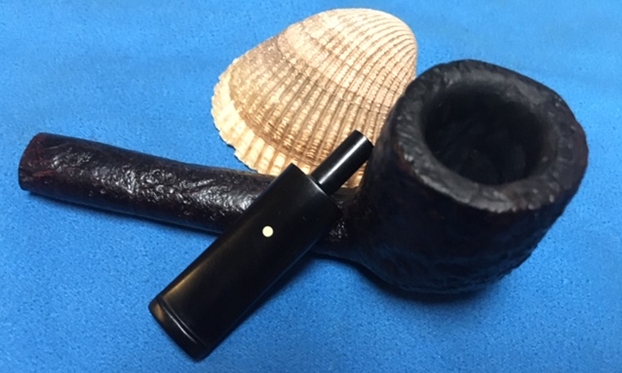
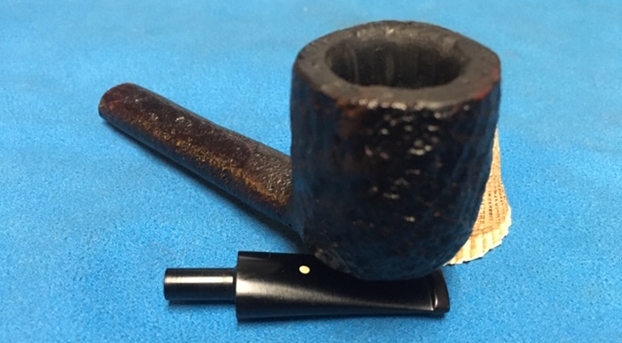
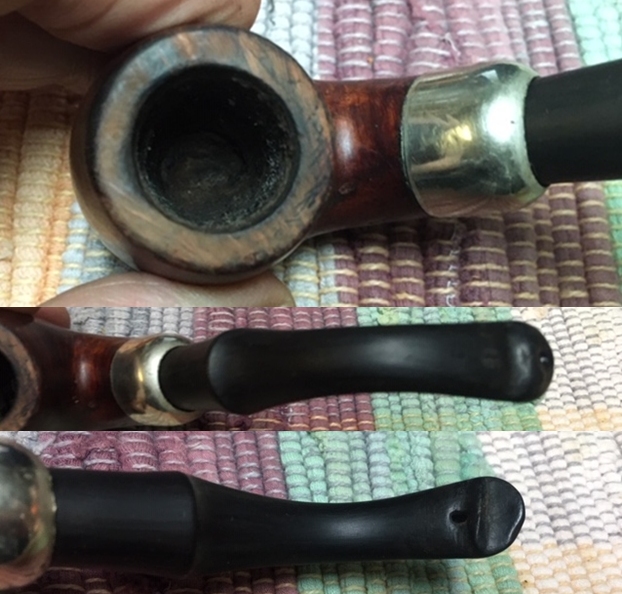
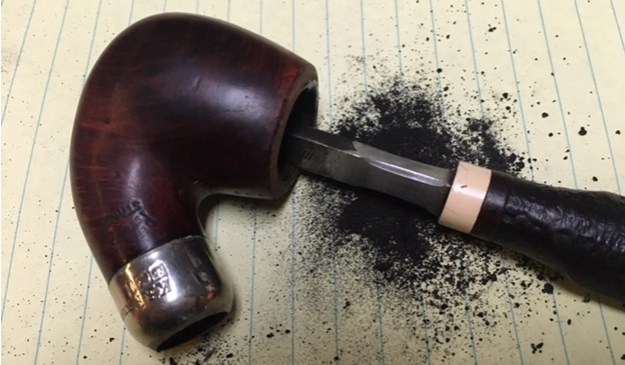
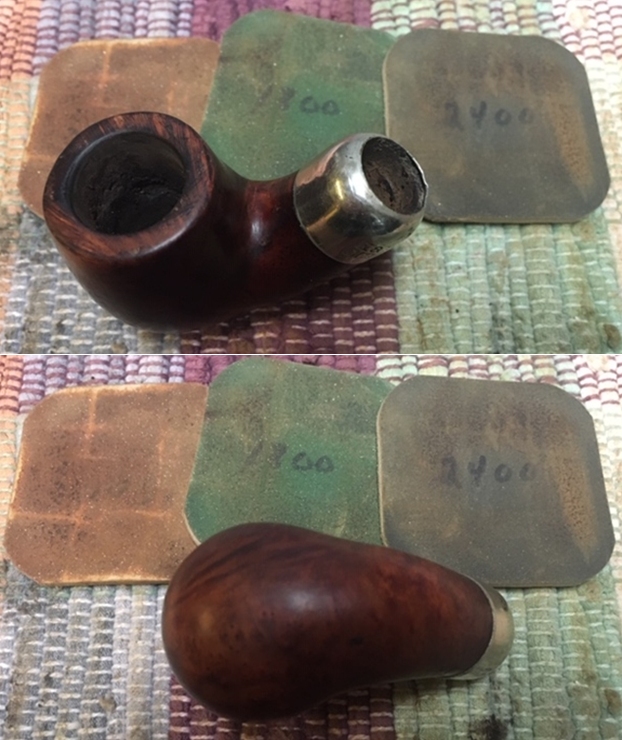
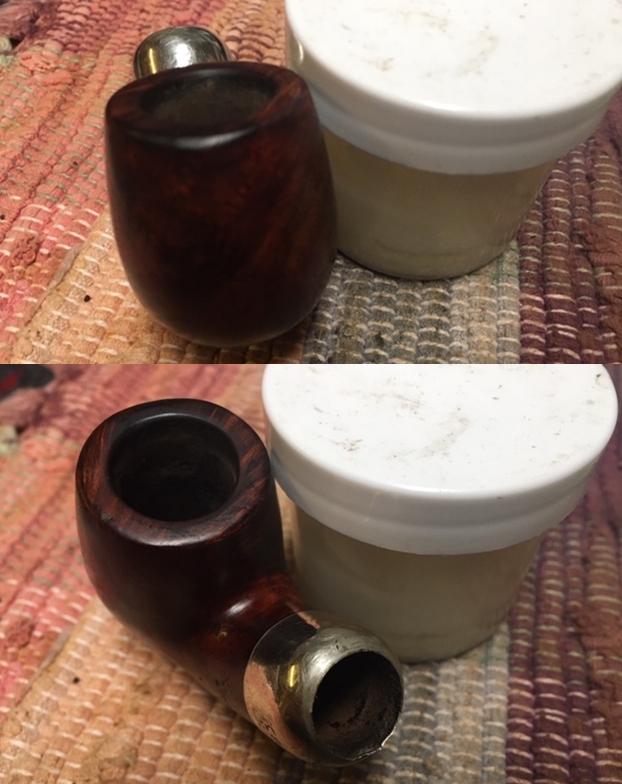
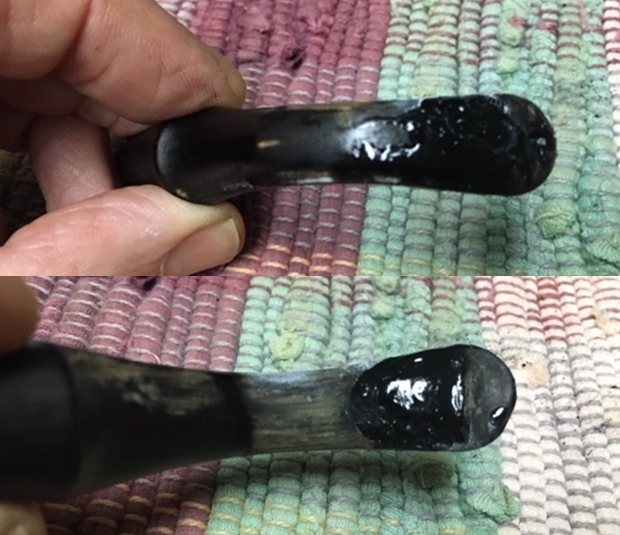
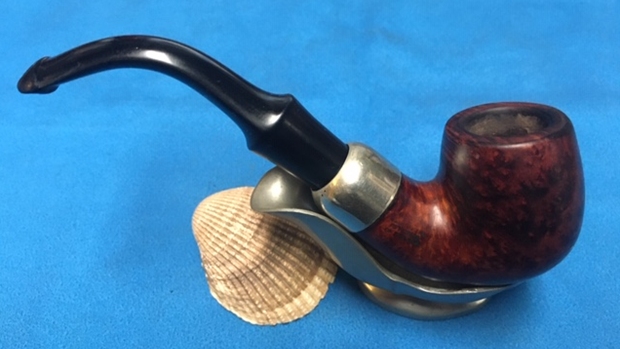
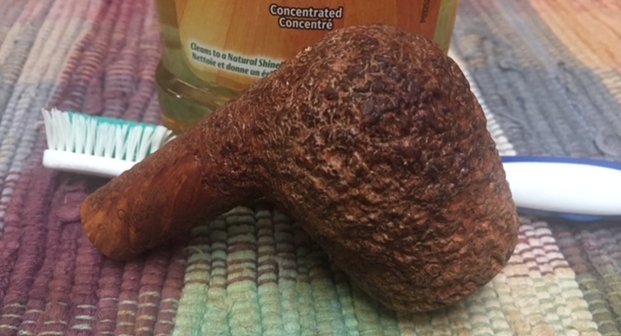
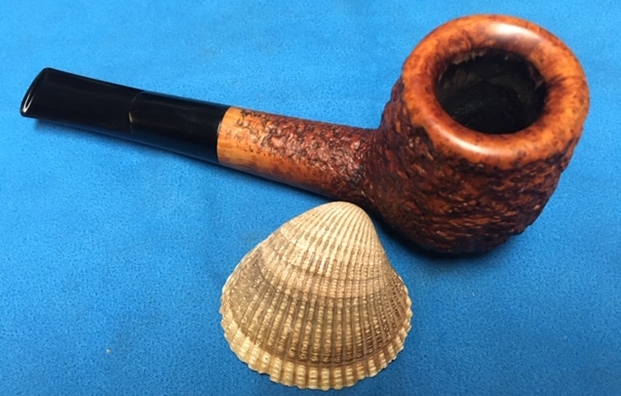
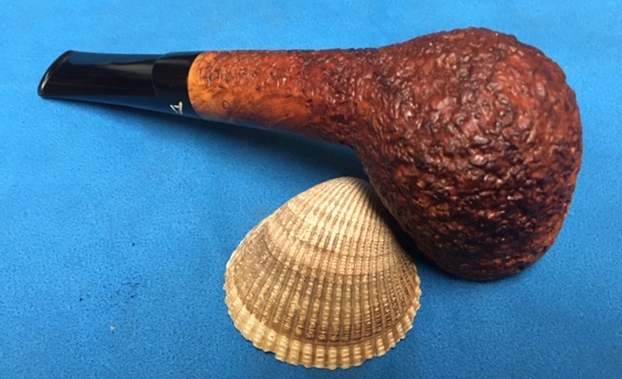
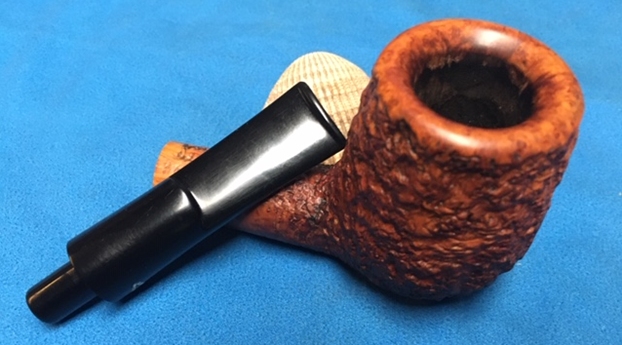
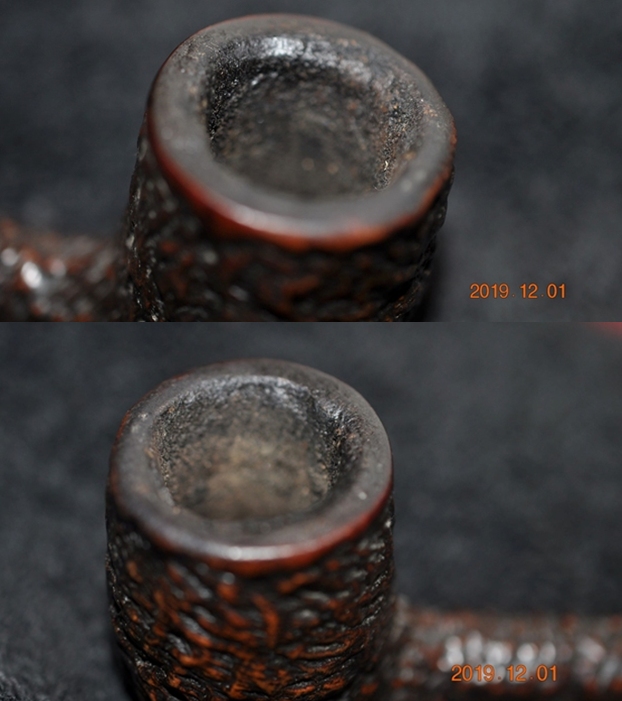
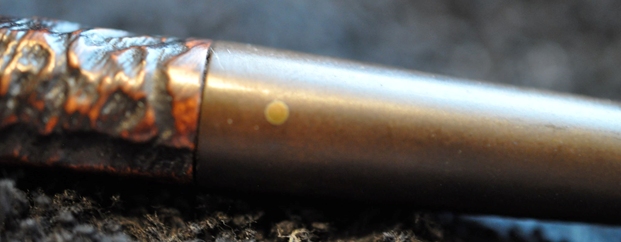
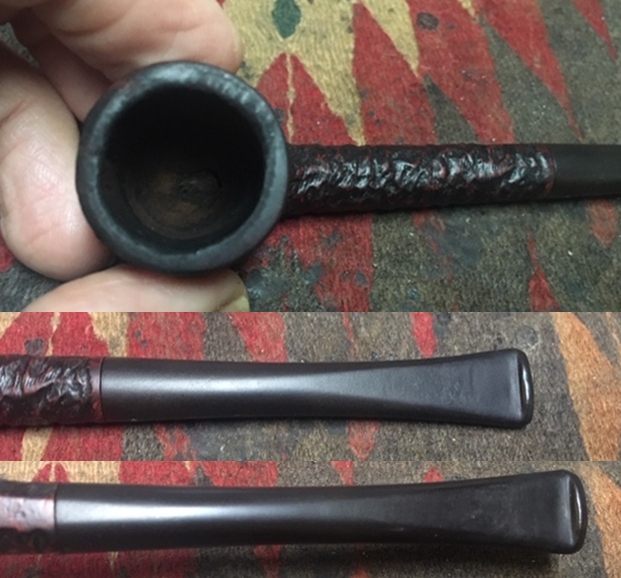
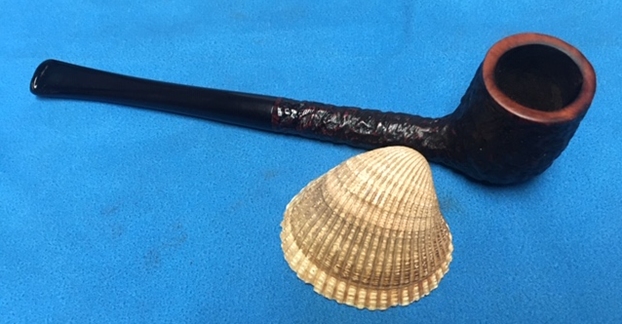
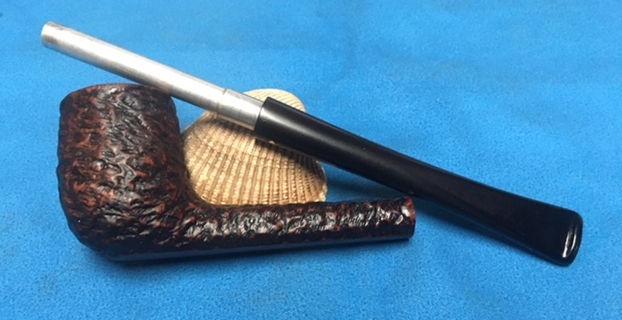
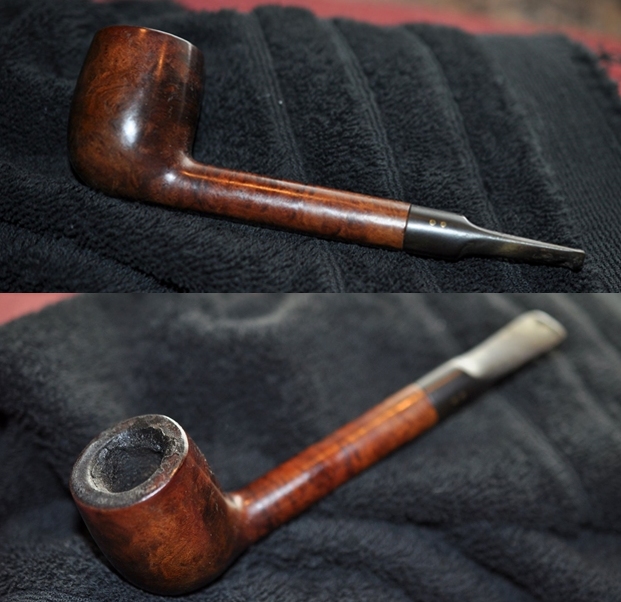
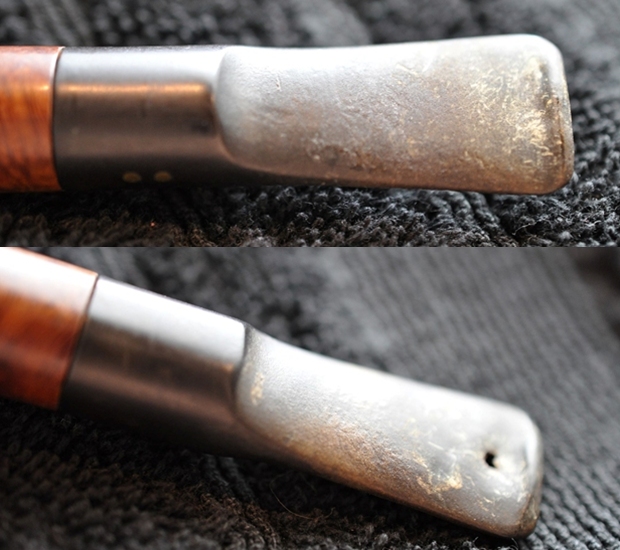
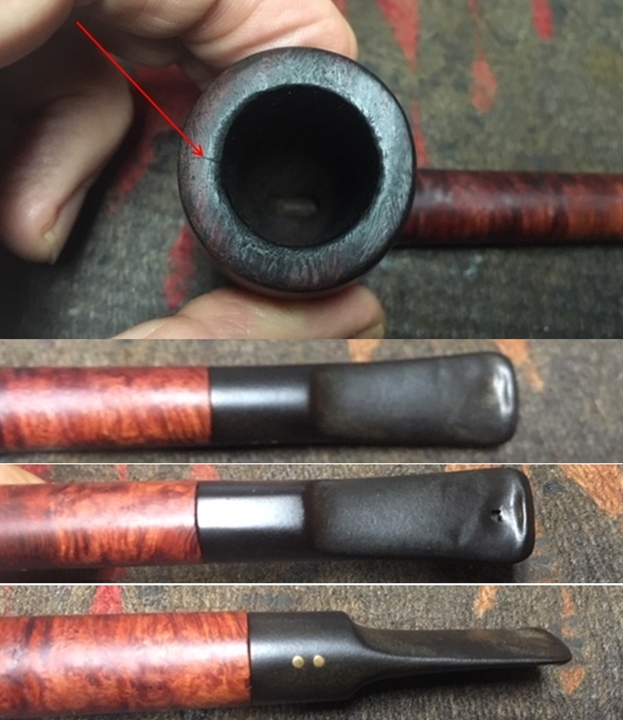
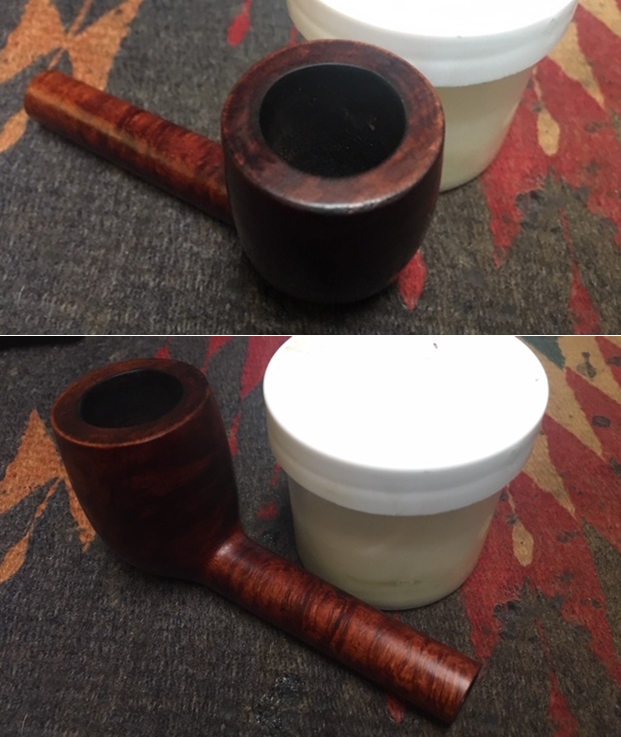
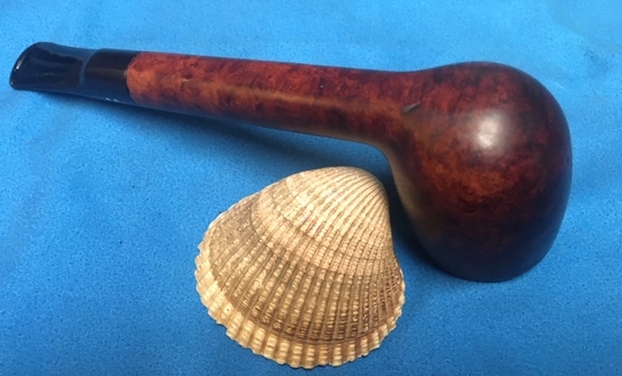
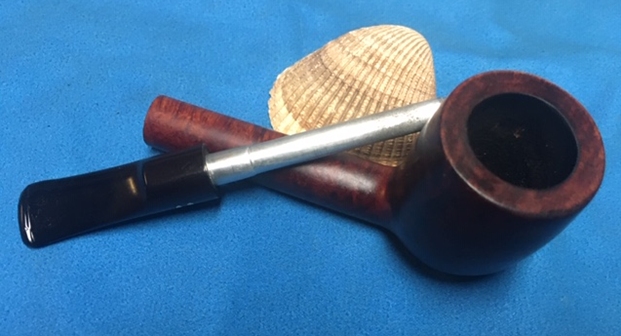
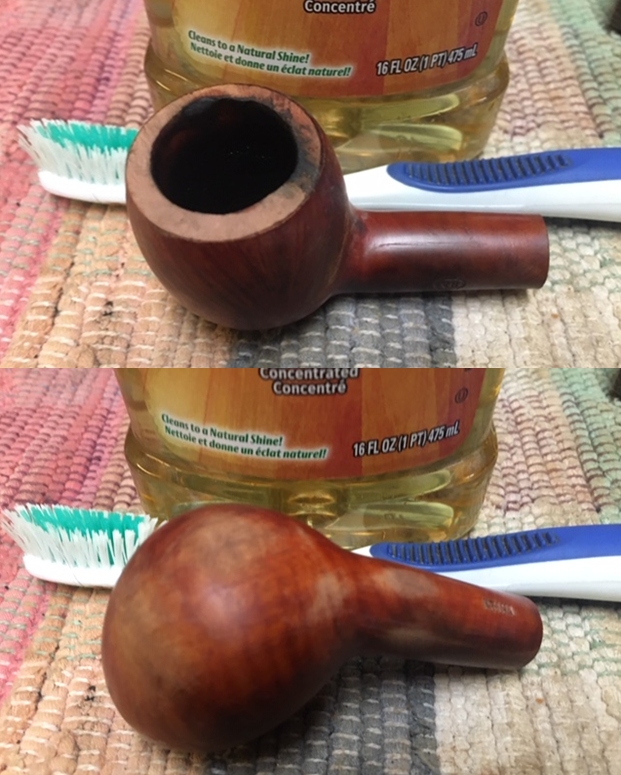
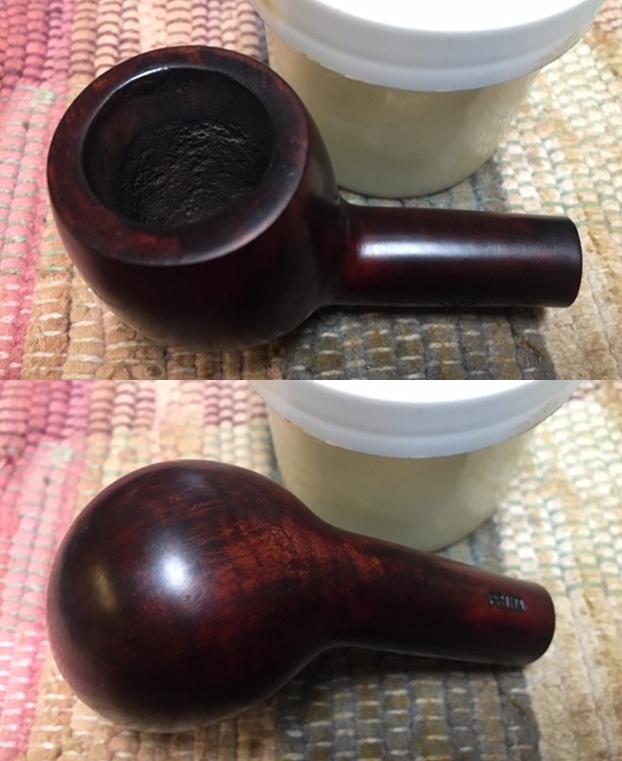
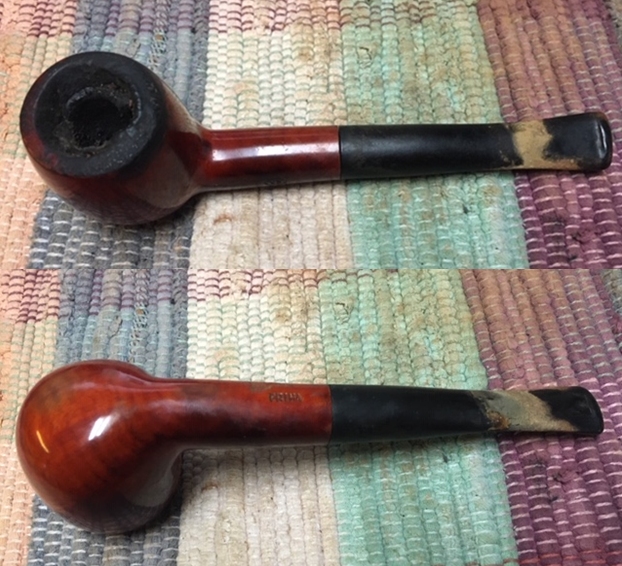 I took some close up photos of the bowl and stem to show what I was dealing with on this pipe. You can see the density of the cake. It is not totally clear in the photo but the bowl is filled on the second half of the bowl and packed solid. This bowl appeared to be the only one that he had not reamed with a knife. The bowl was not slanted and the cake was evenly heavy all the way around the bowl. The rim top is rough as noted above and looking at the photos it too appears to have been used as a hammer. It is very rough to touch. The stem is a mess as can be seen. There is some oxidation and a thick coat of calcification from the button forward. That too is rock hard. Both the stem and the shank are plugged with no air passing through them.
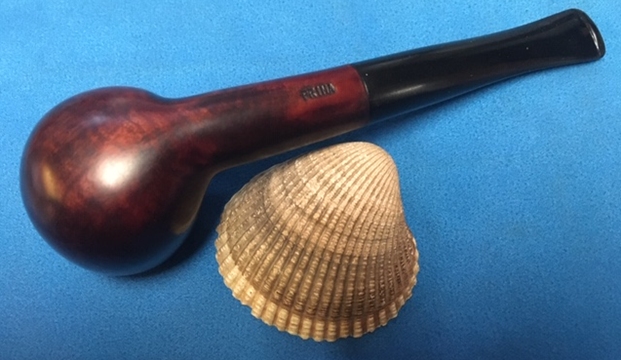
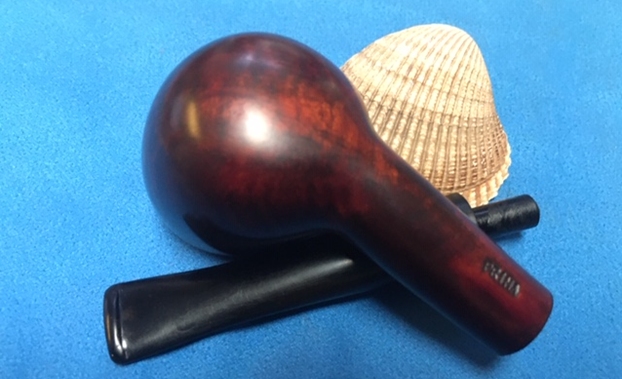
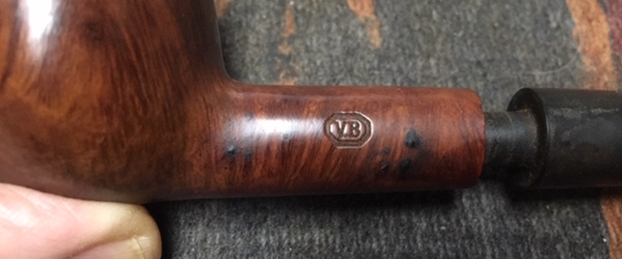
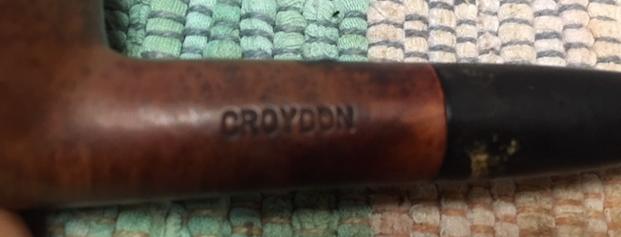
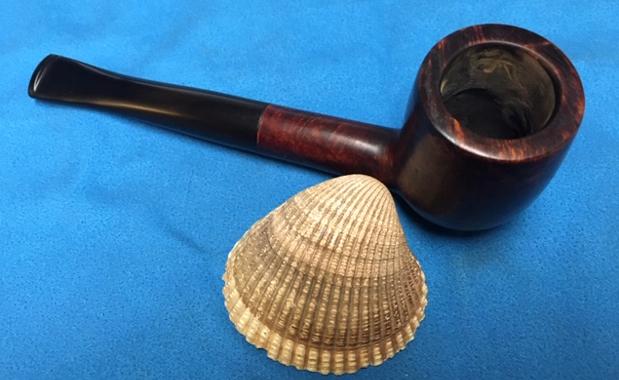
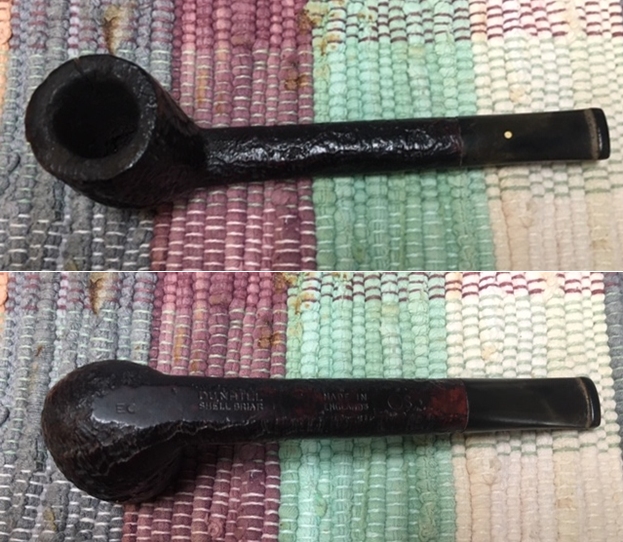
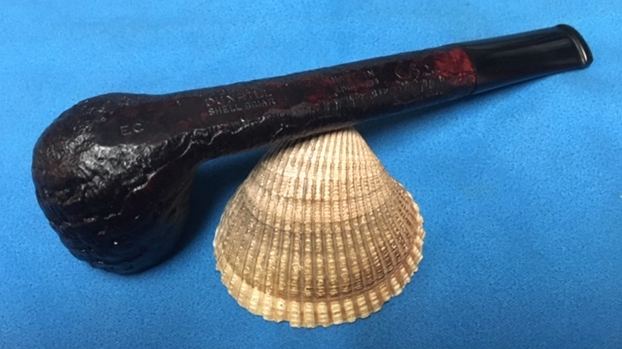
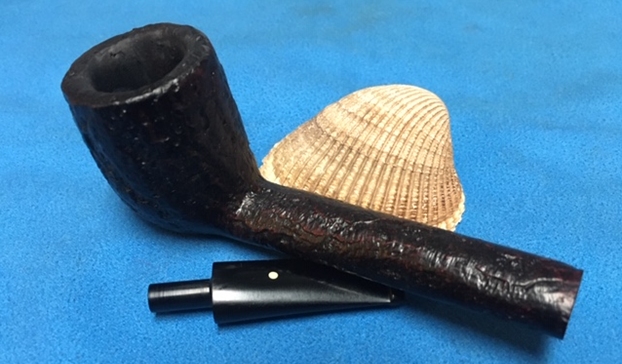
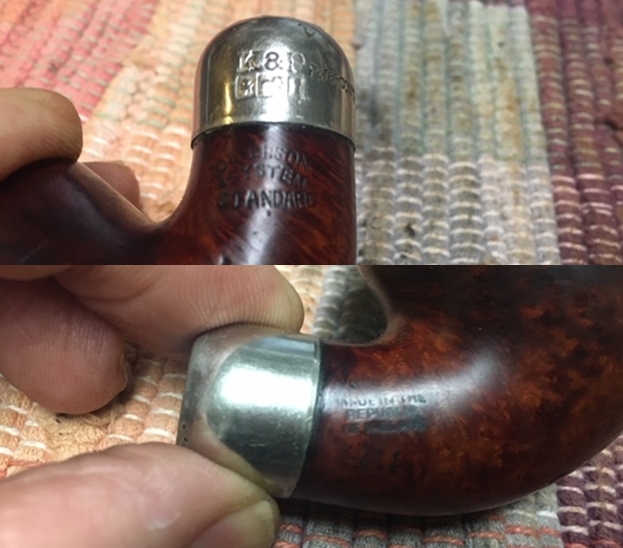
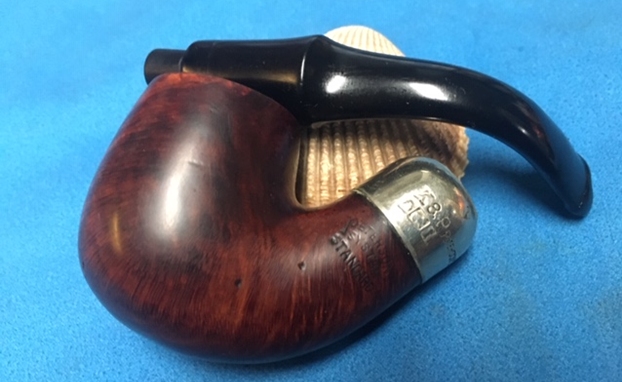
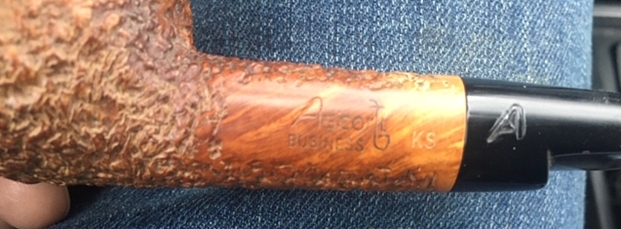
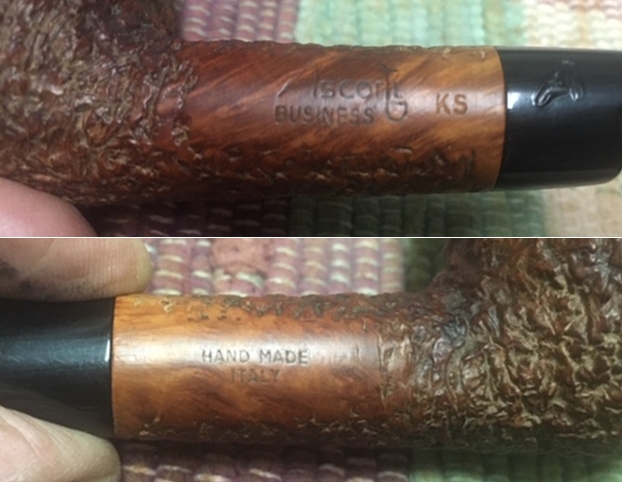
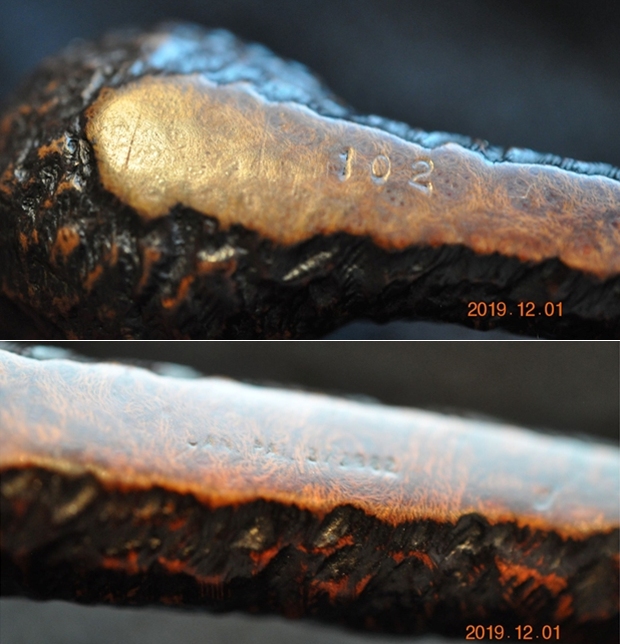
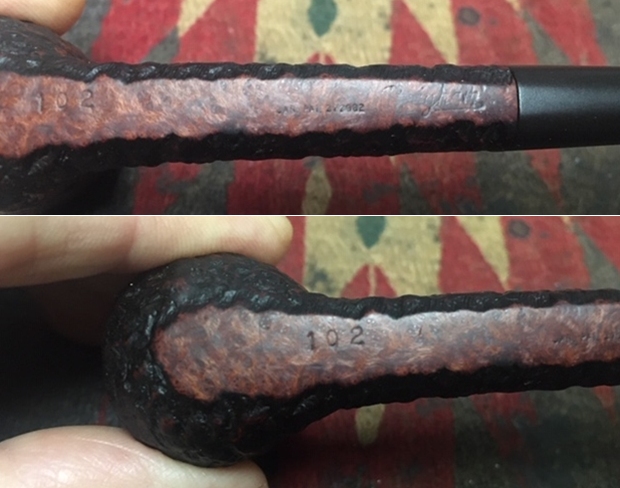
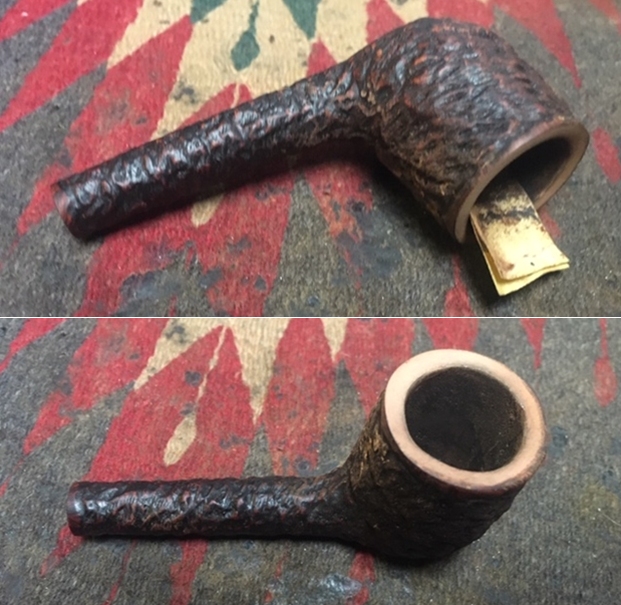
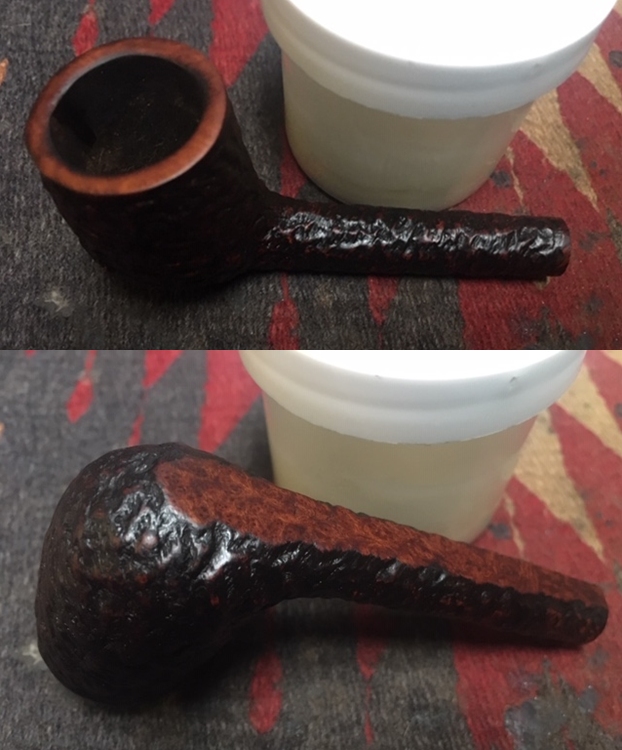
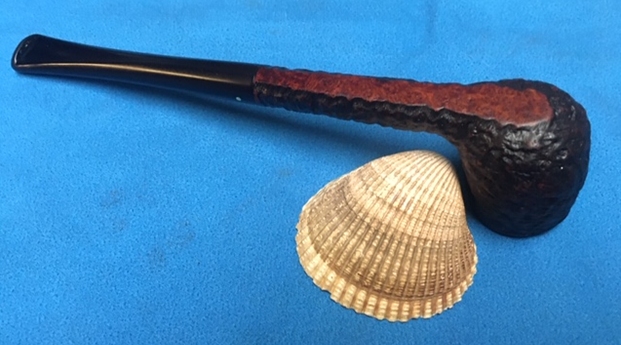
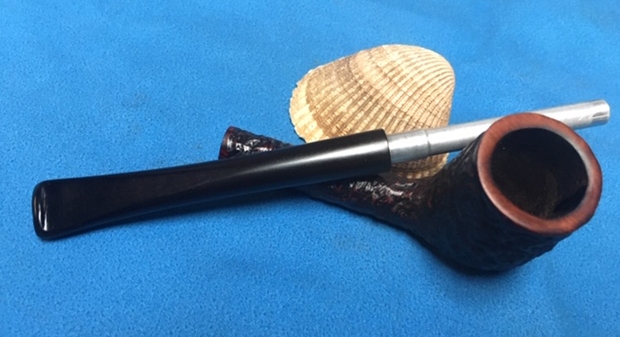
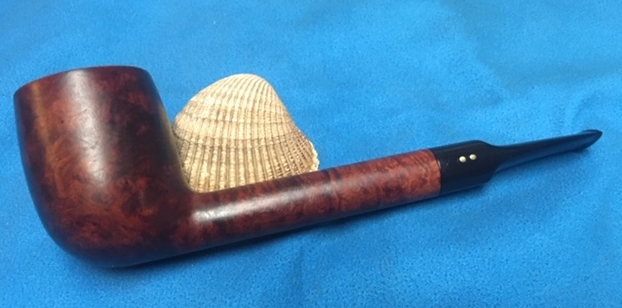
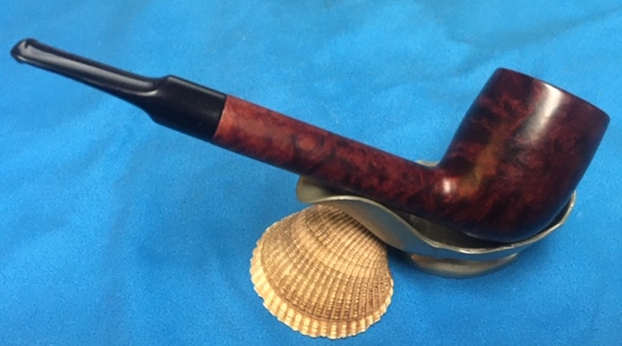
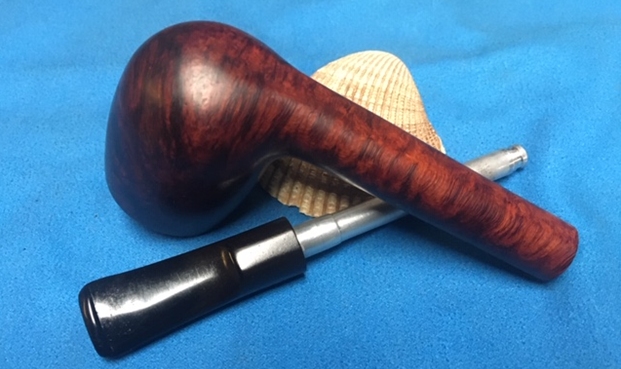
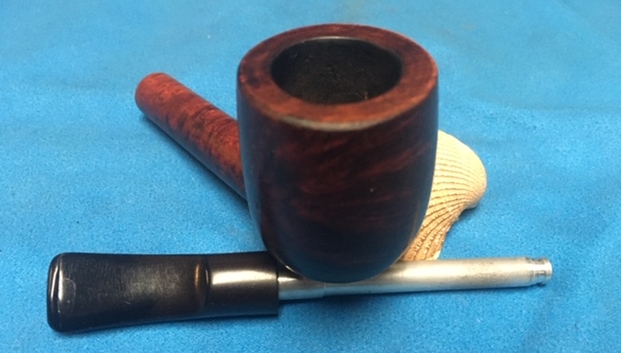
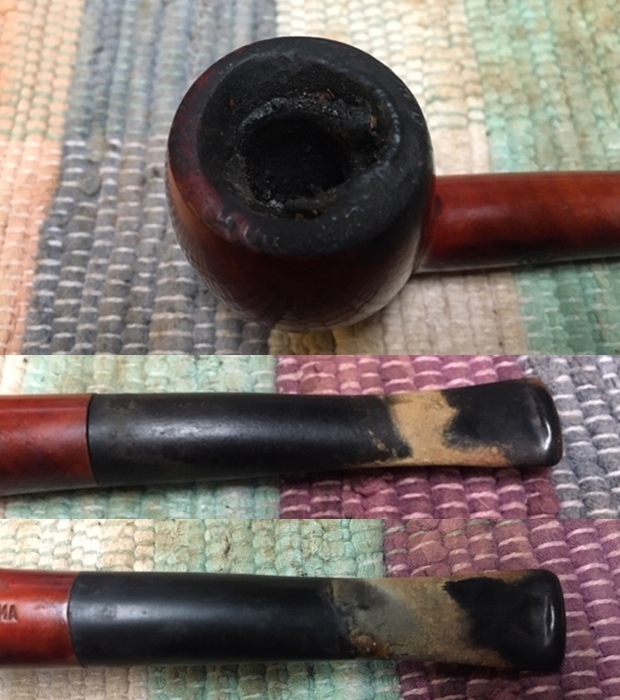 I took a photo of the stamping to show the brand on the pipe. It is a brand I have never heard of or worked on. There is little information available on it. It is stamped VB on the left side of the shank and Prima on the underside.
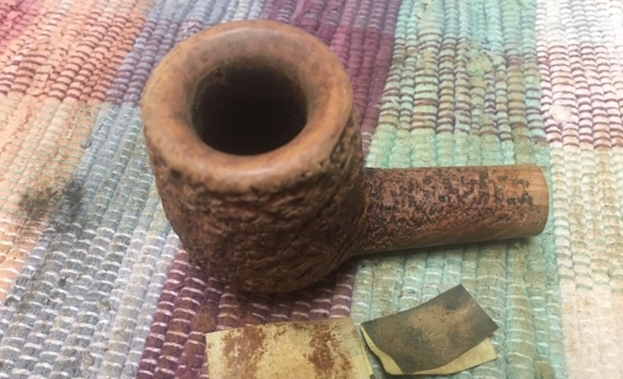
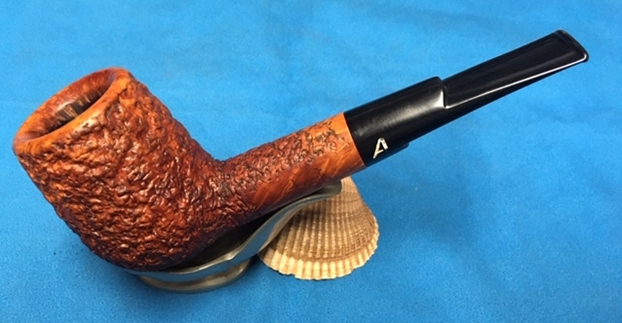
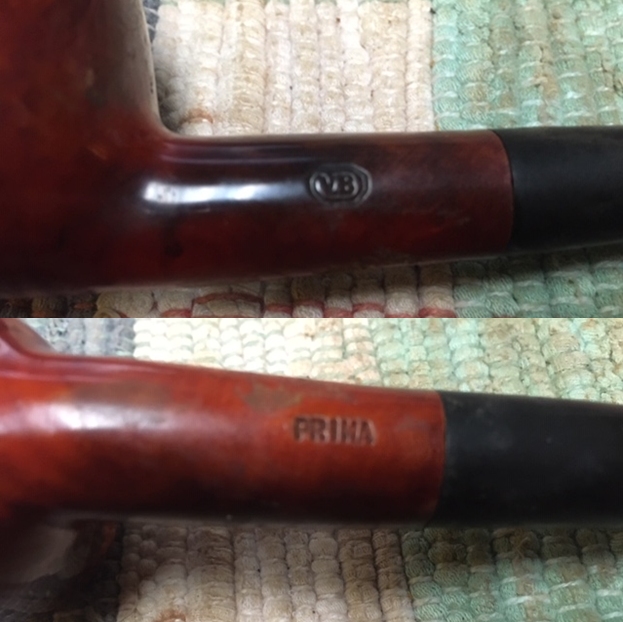 Fortunately it was the same brand as the second pipe that I worked on. The only difference was the stain and the PRIMA stamping on the underside of the shank. I did some digging on the brand to see what I could find out with this additional information and there was nothing more to be found. I am including what I found on the previous VB pipe on Pipephil’s index page (http://www.pipephil.eu/logos/en/index-en.html) I found my first and only clue. Under the section called logos with two letters I found the VB listed. It took me to a listing under Holiday pipes. There was no further information on the country of origin or on the maker other than Holiday. I checked on pipedia as well and there was nothing. I have included a copy of the screen capture of the listing on Pipedia (http://www.pipephil.eu/logos/en/logo-h3.html#holiday).
 After posting the first VB pipe I received two comments on the blog regarding the stamping. I really appreciate getting information like this so if you ever have info please do not hesitate to send it. Here is what the first commenter, Liebaart sent me:
The VB logo is from the Vinche Company, a Belgian distributor. See their page: https://www.v-k.be/documents/catalog.xml?lang=en&open=NAV%5CPIJPEN%5CVINCHE&from=0
The second commenter, Joris D. Sutter (may be the same gentleman) sent the same information. The V.B logo refers to the company Vinche, a Belgia distributor. Have a look at their website here : https://www.v-k.be/documents/catalog.xml?lang=en&open=NAV%5CPIJPEN%5CVINCHE&from=0
This was very definitive information for me. I now knew that the pipe was from the Vinche Company a Belgian distributor. I am still wondering though if the pipe was made in Holland as suggested previously… the new information does not negate that possibility!
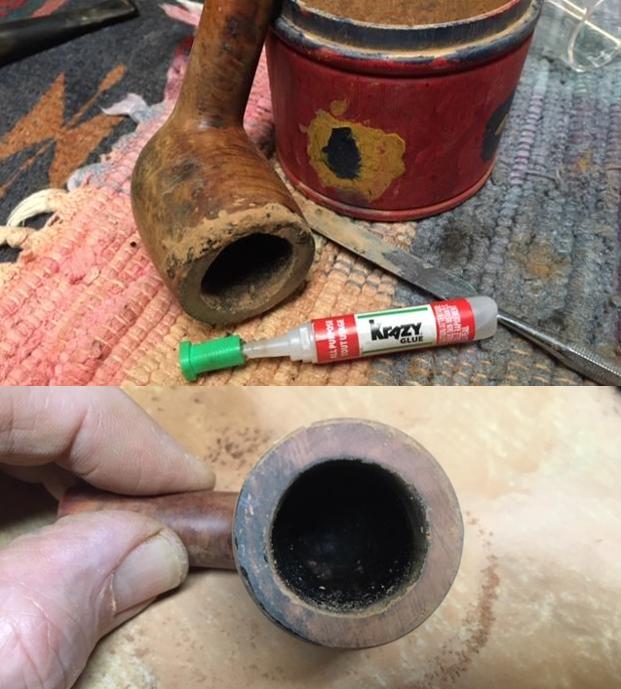
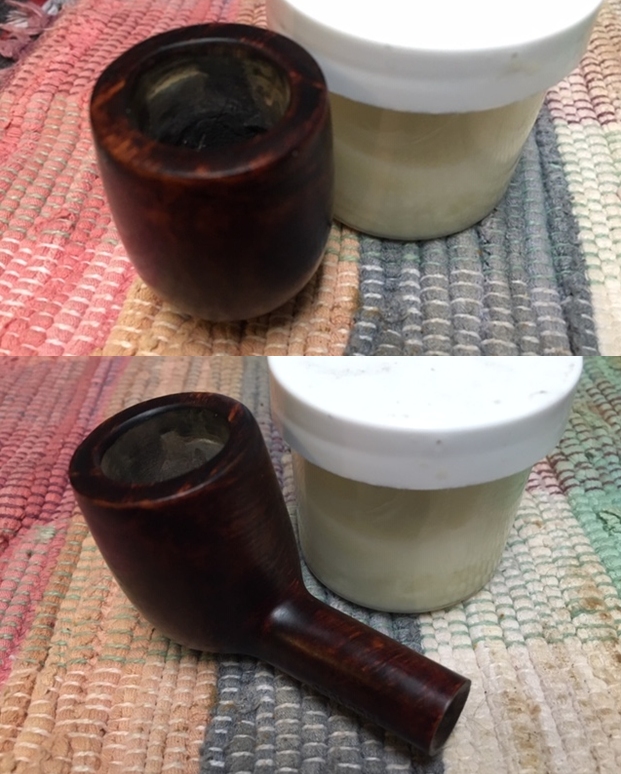
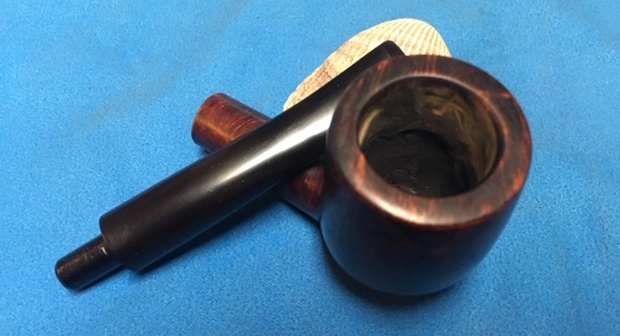
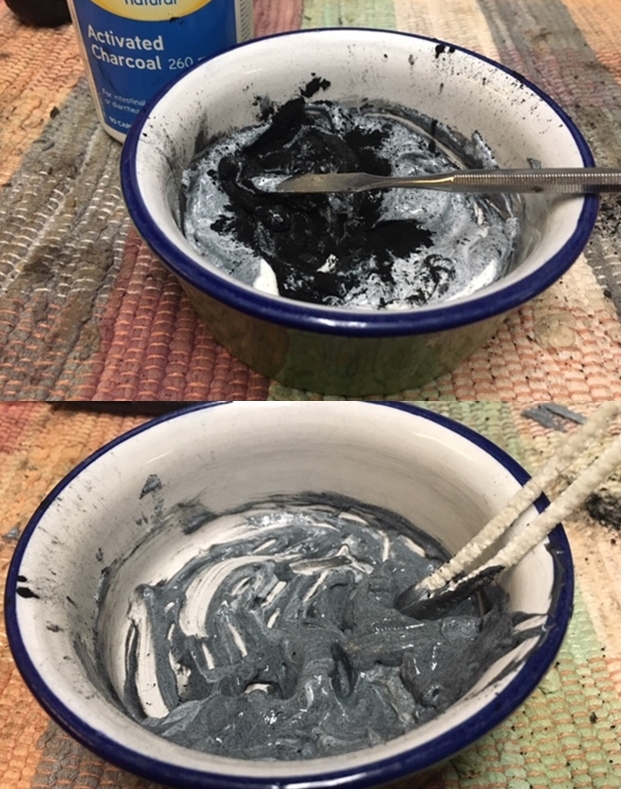
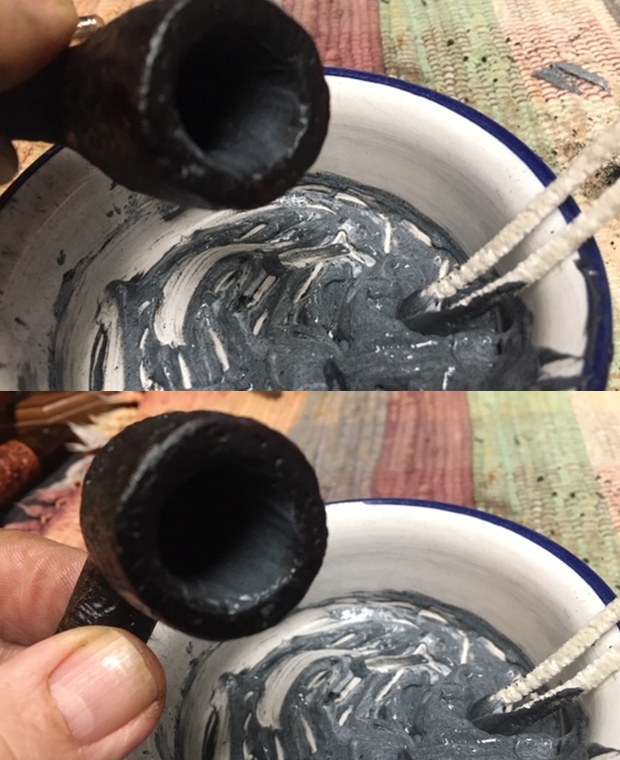
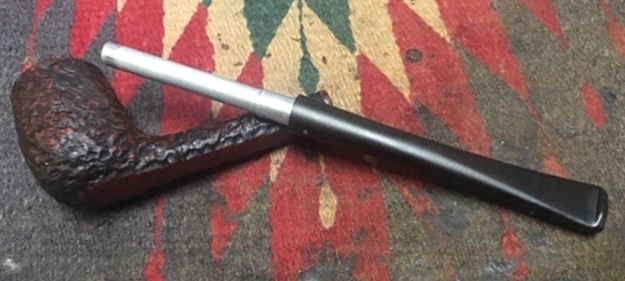
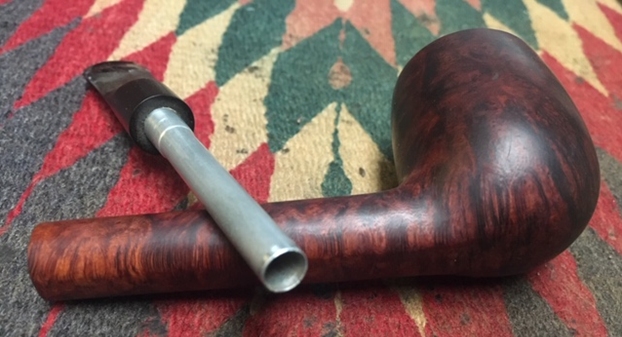
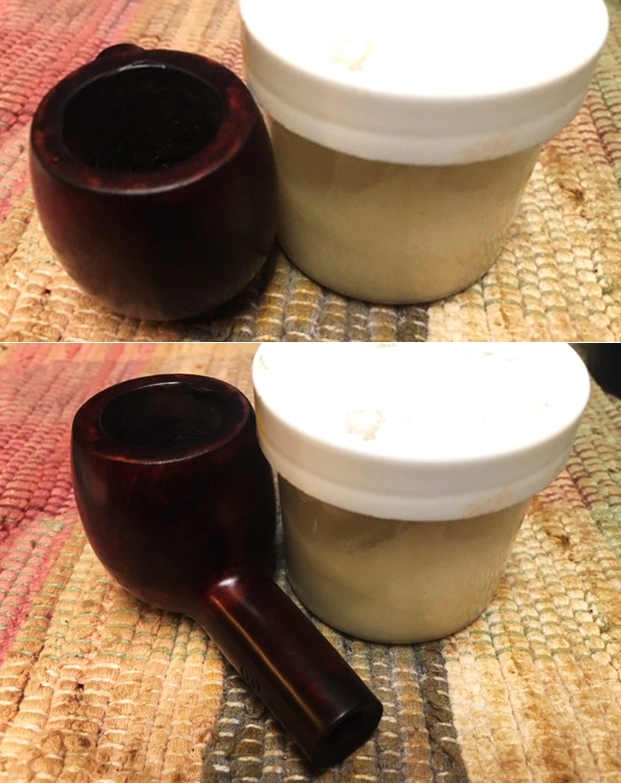
Once again I could no longer postpone starting the work on this old pipe. It was the last of threesome and I could return them to the old pastor. And besides that this is what I do – I am a pipe refurbisher. It was time to get started on this beast. I learned from the previous two pipes in the lot that the cake and calcification were very hard. I dropped the stem in a Oxyclean bath and the bowl in an alcohol bath. I figured while I worked on other pipes the cake and calcification would begin to soften a bit. When the pipe and stem had been soaking for about 4 hours I pulled them out of the respective baths. The bowl looked better externally. The alcohol had cut the shiny finish and removed some of the grime on the bowl. The cake in the bowl was definitely softer so I think it would be easier to remove. The stem came out and the bath had removed much of the oxidation and calcification. It had also softened what remained. The photos below show what I saw.
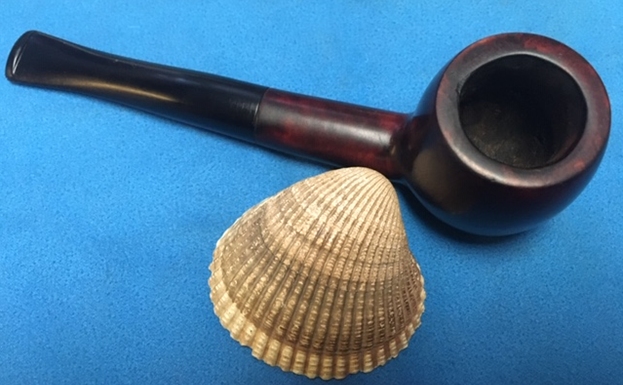
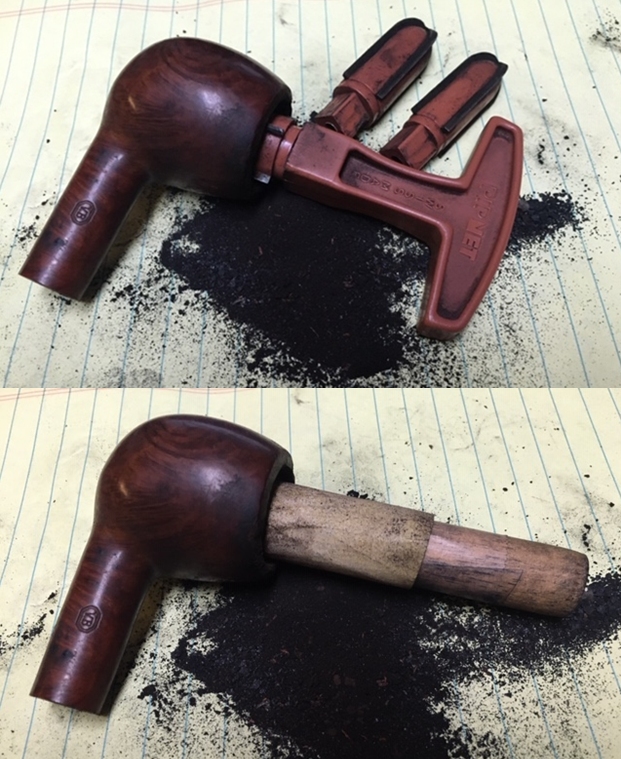
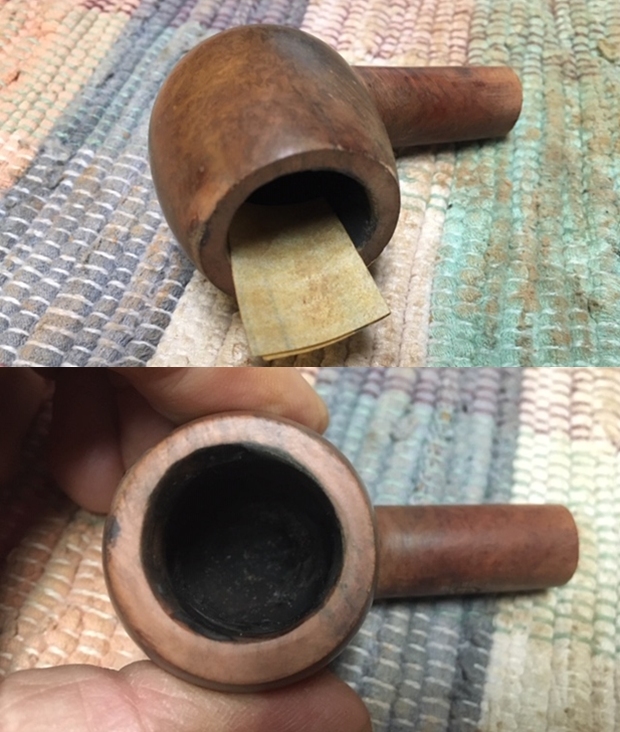
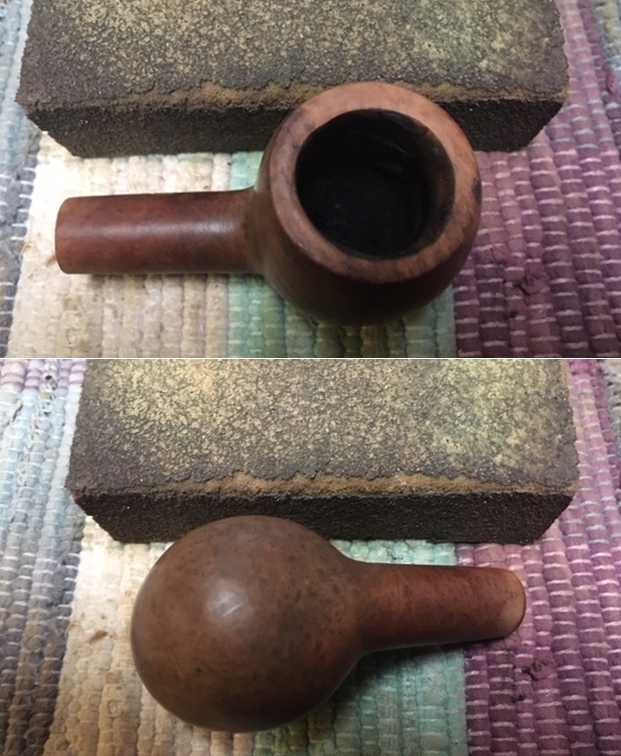
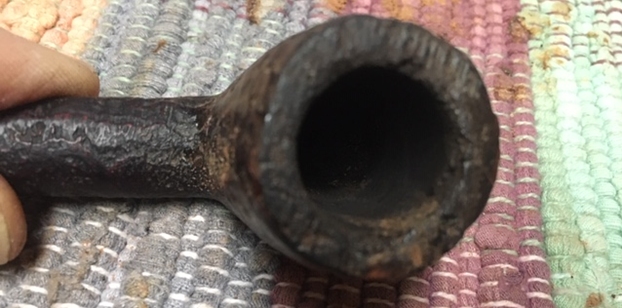
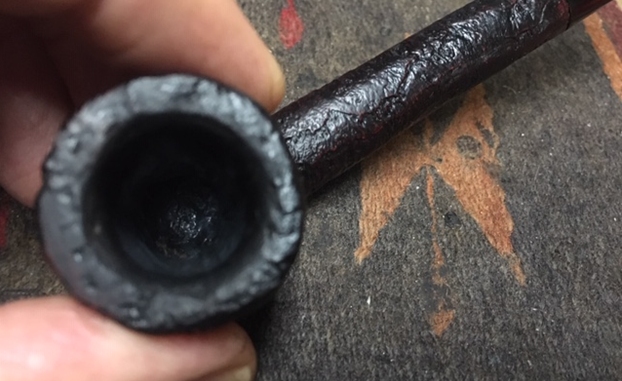
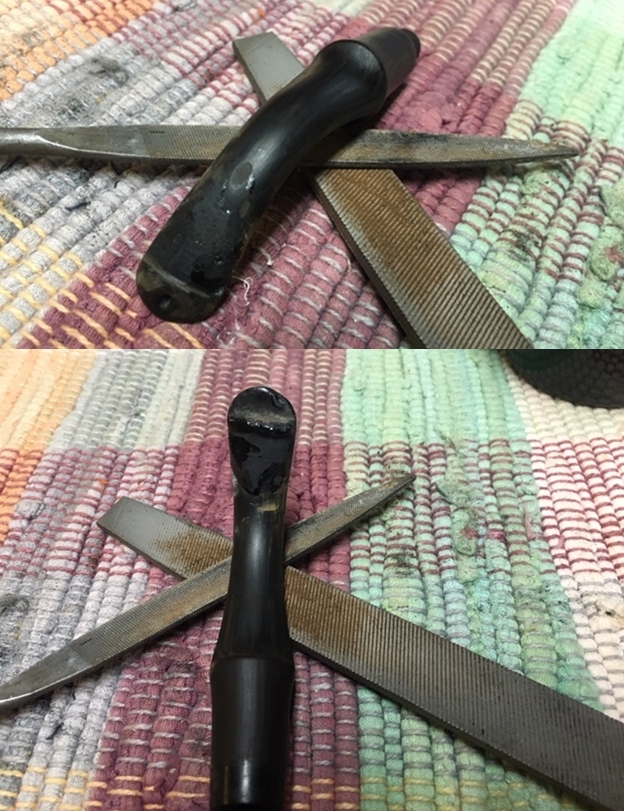
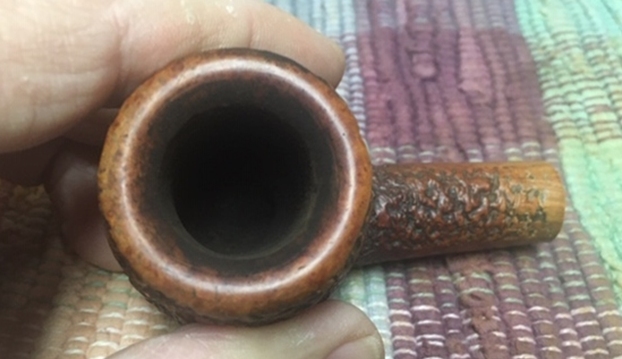
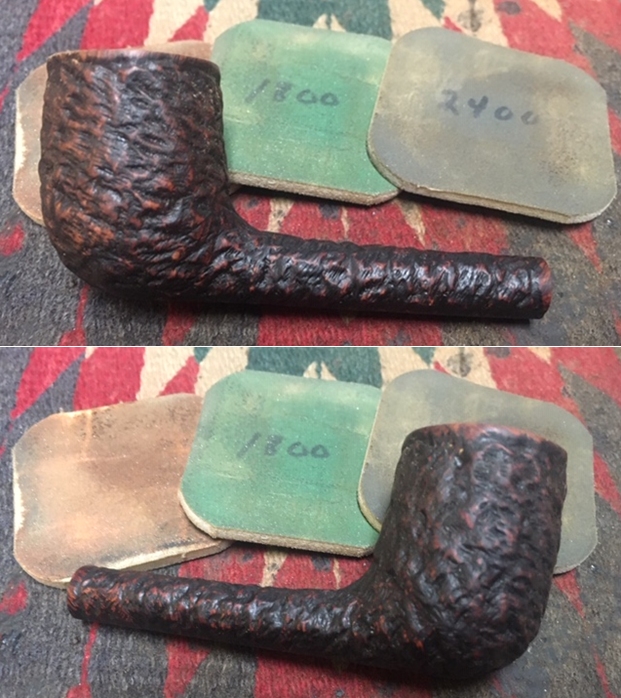
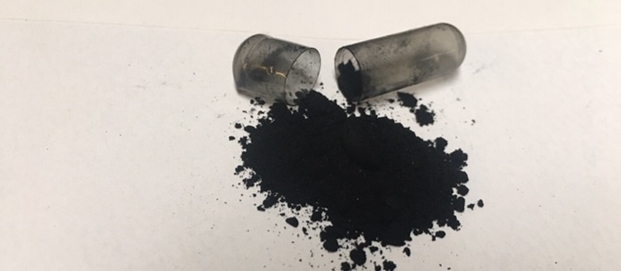
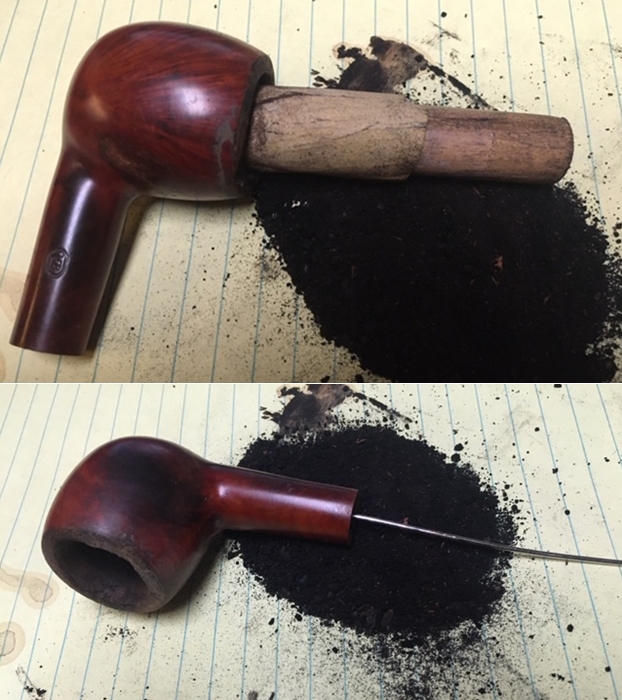
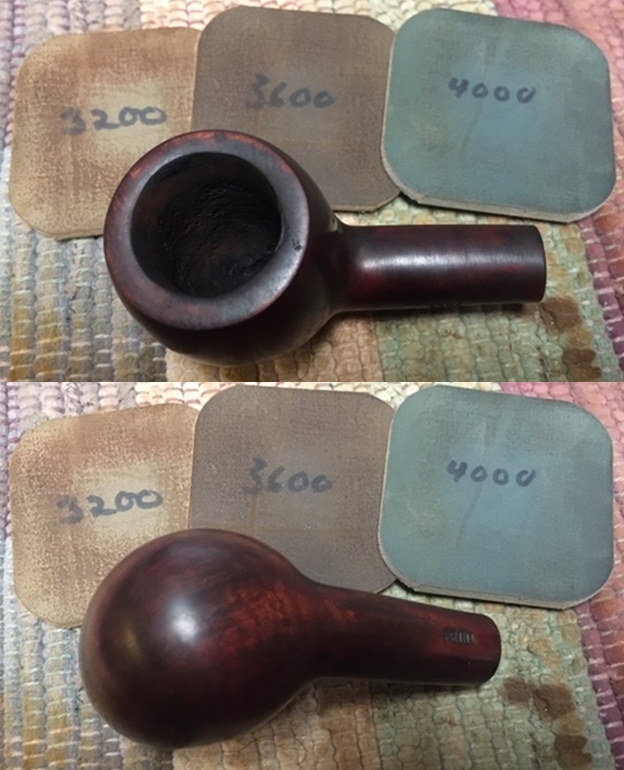
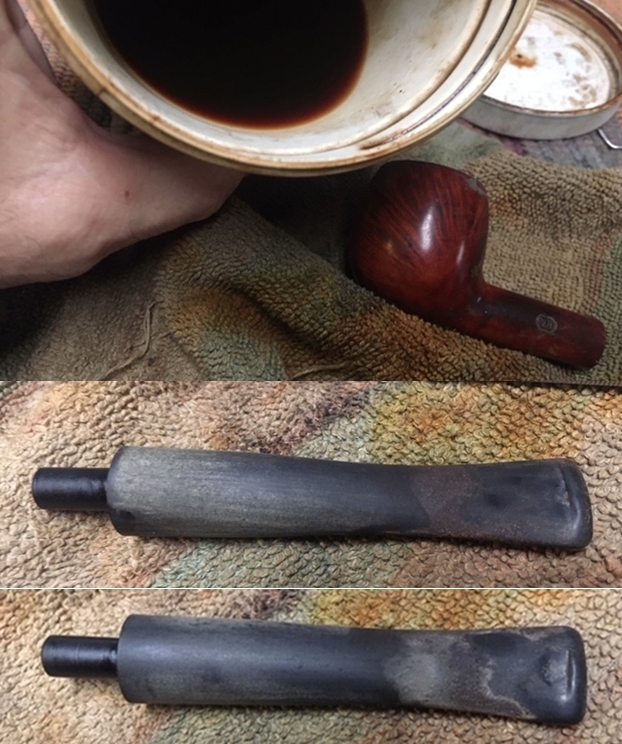 The alcohol bath had softened the hard cake enough that I could directly ream it with the PipNet pipe reamer using the third cutting head. It easily worked through the cake and I was able to take it back to the bare walls of the bowl. I wanted to check and see if there was damage like there had been on the other two pipes. The good news was it was free of damage. I cleaned up the edges and bottom of the bowl with a Savinelli Fitsall Pipe Knife. I sanded the inside of the bowl with 220 grit sandpaper wrapped around a piece of dowel to further smooth out the bowl. I broke through the clogged airway in the shank with a piece of stiff wire.
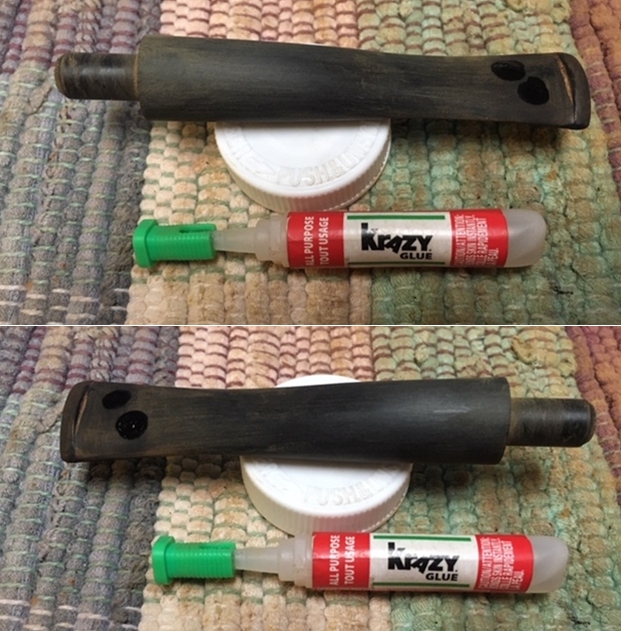
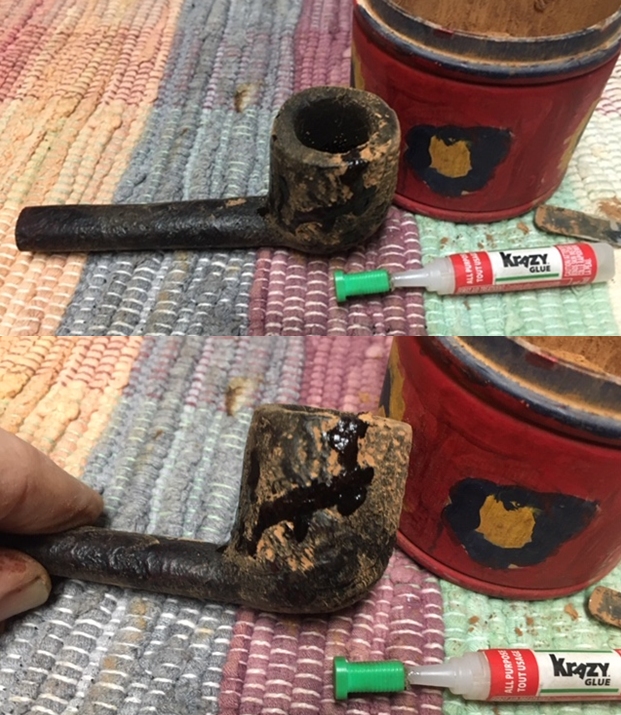
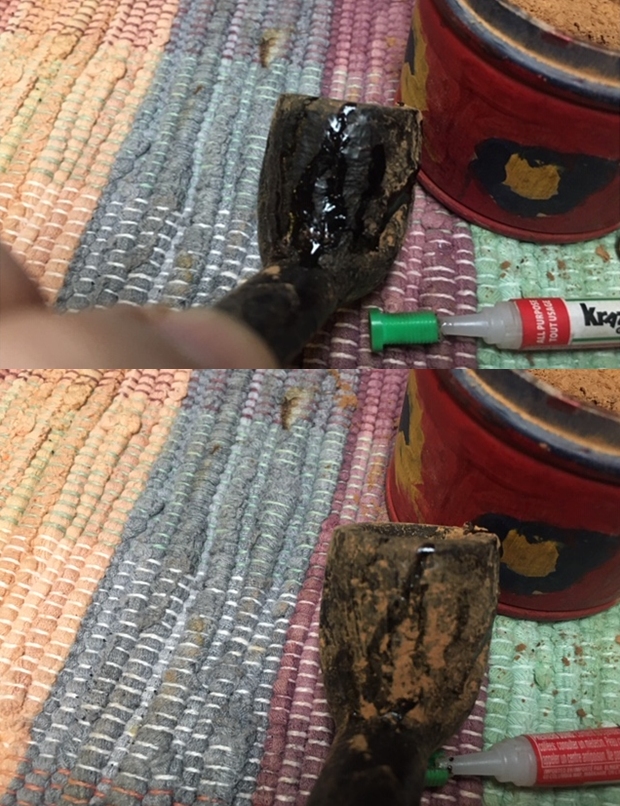
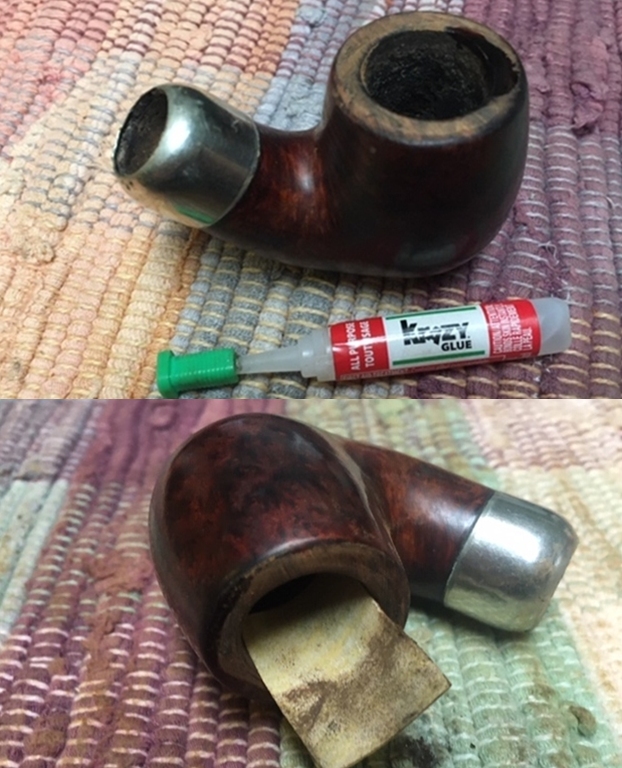
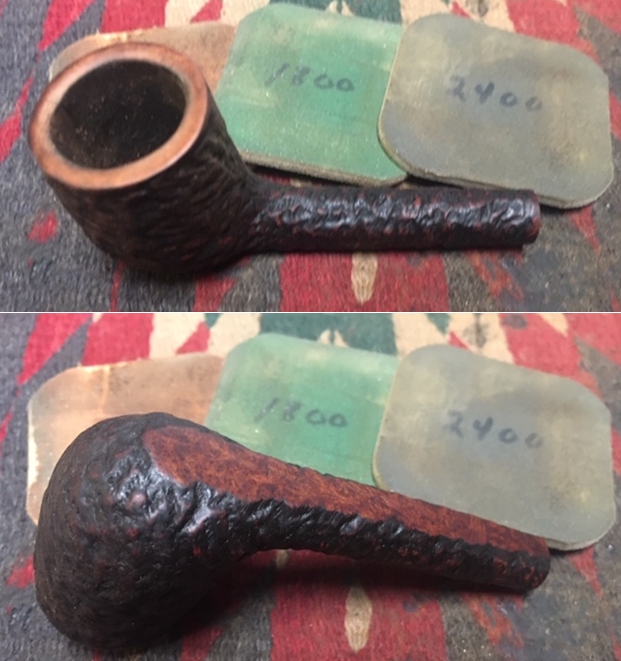
 I topped the bowl on a topping board with 220 grit sandpaper and removed the damaged areas on the surface. Once I had finished the rim top was flat now I could deal with the edges of the bowl. I filled in the damage on the edges of the bowl with clear Krazy Glue and Briar dust. Once it dried I cleaned up the topping once again and then used a folded piece of 220 grit sandpaper to smooth out the inner and outer edge of the bowl.
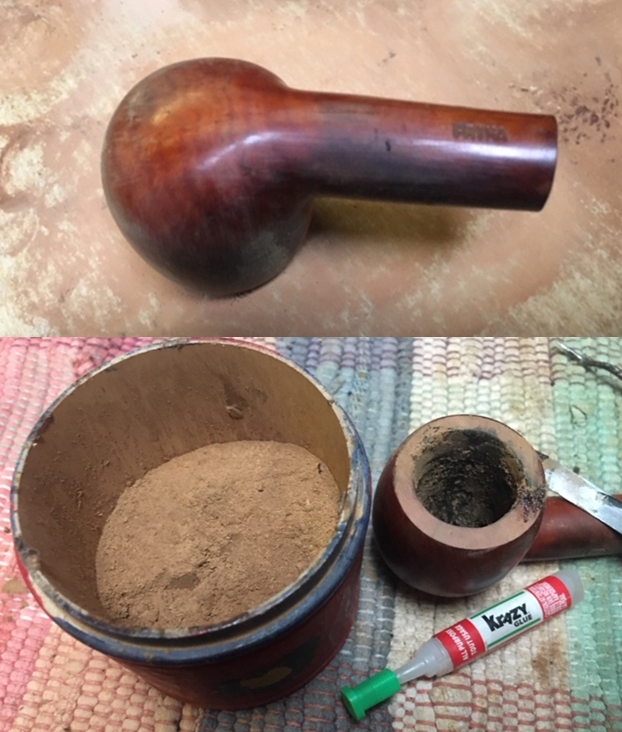
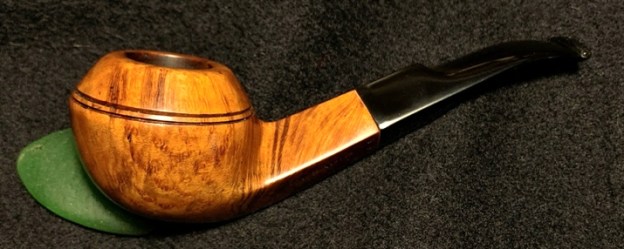
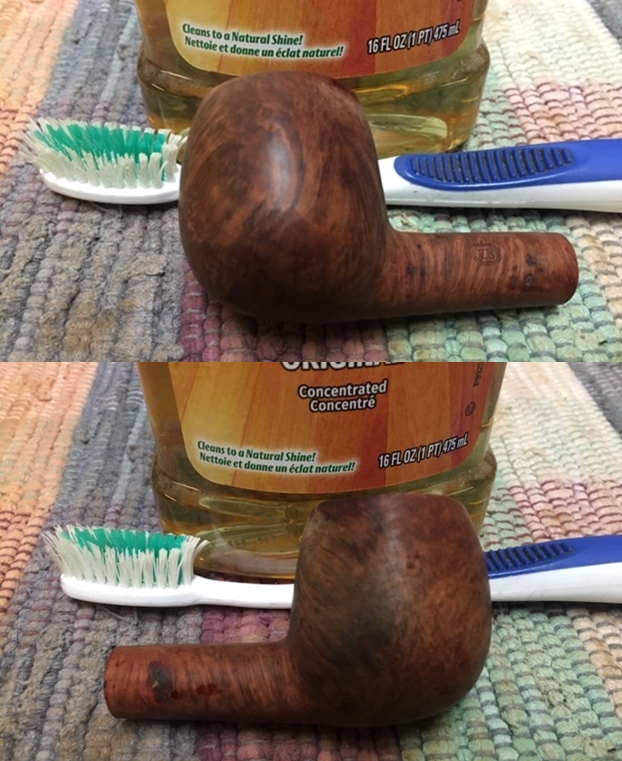
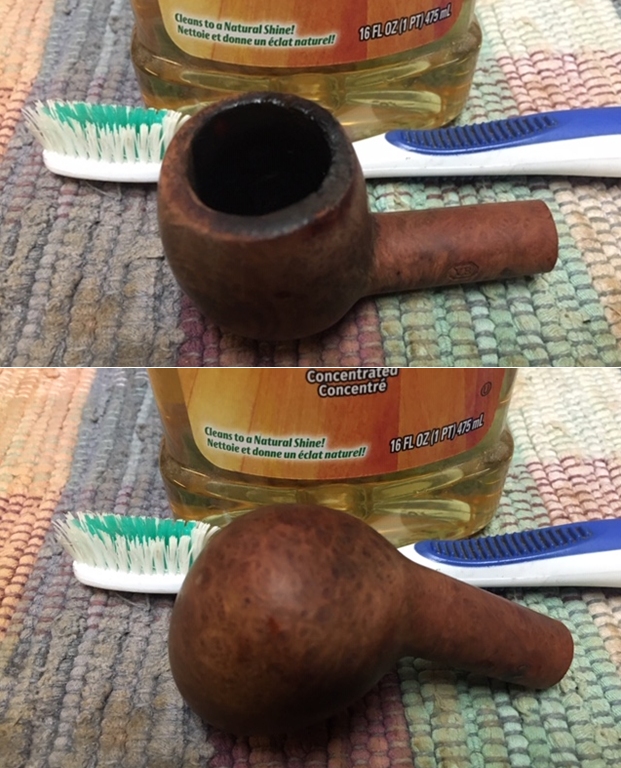
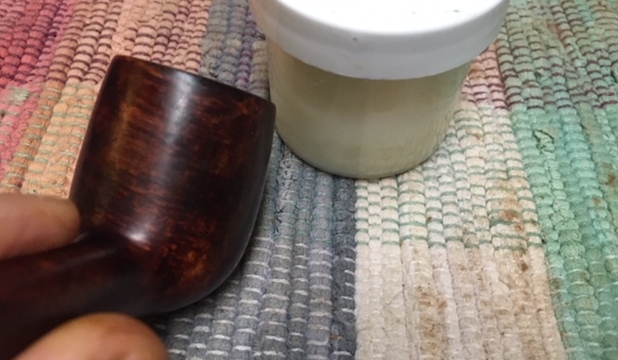
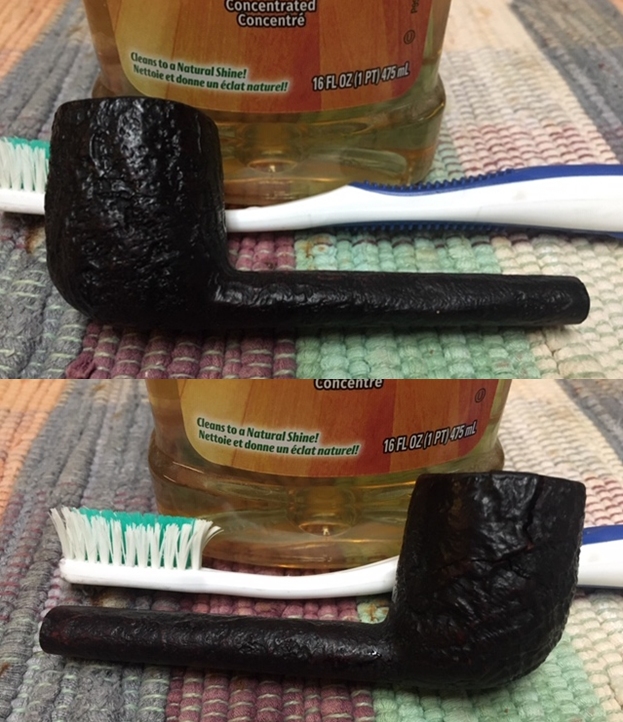
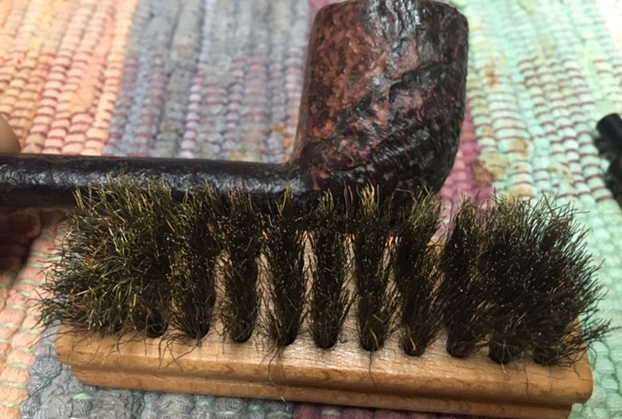
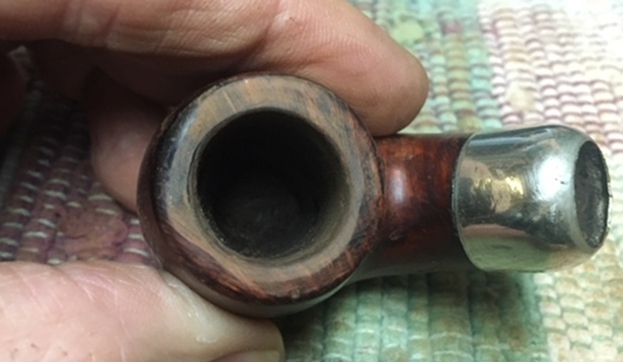
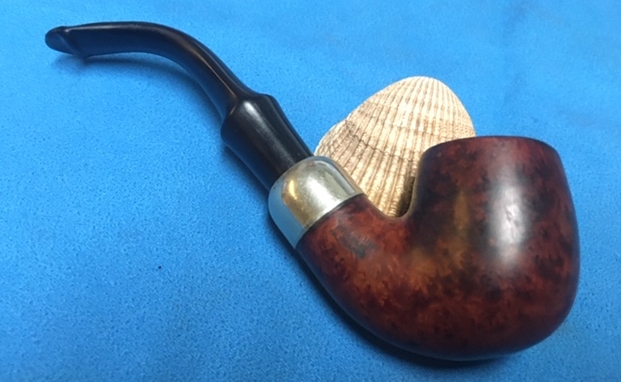
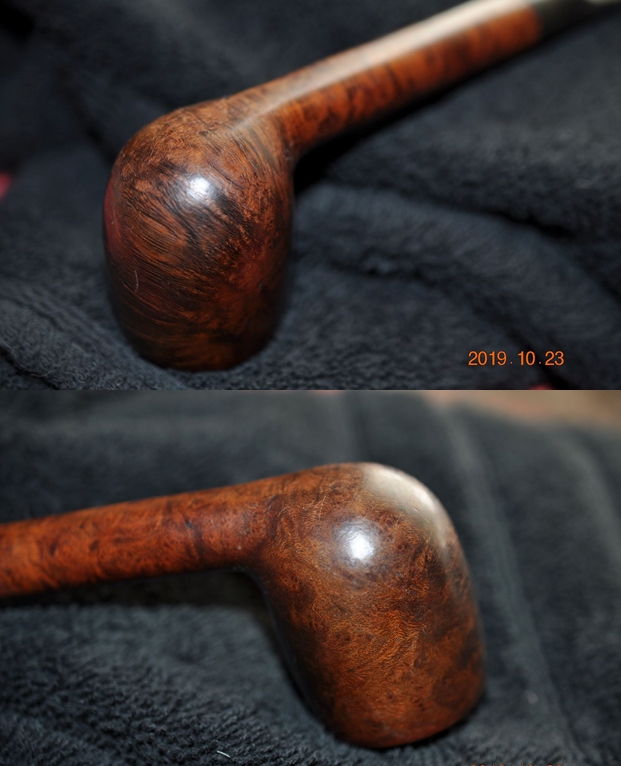
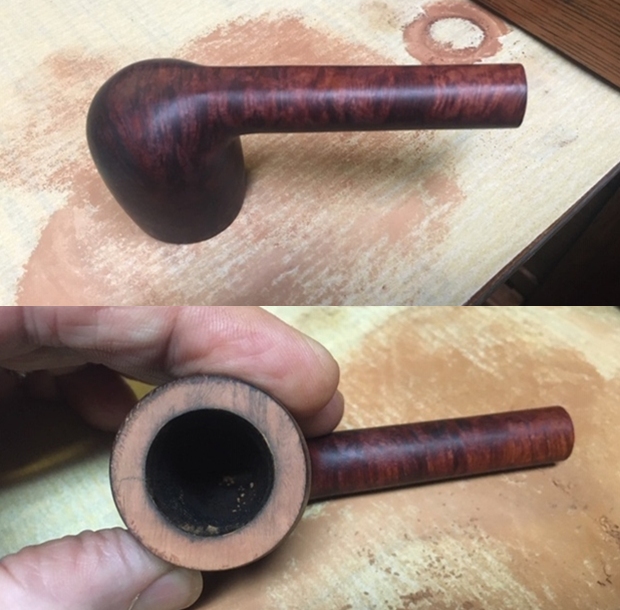
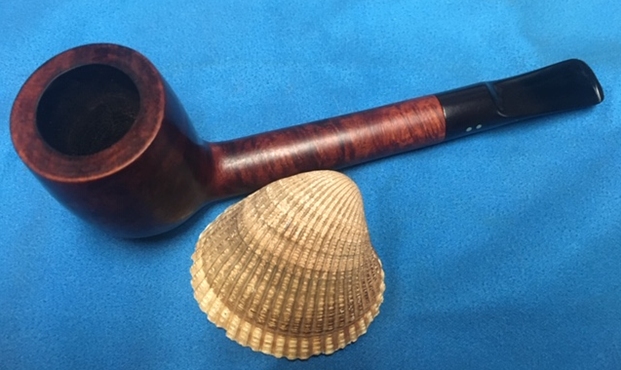
 With the bowl reamed and the rim top repaired and clean I decided to work on the exterior of the bowl. It was unbelievably grimy and sticky. I scrubbed it with a tooth brush and undiluted Murphy’s Oil Soap. I rinsed it under warm running water to wash away the soap and debris. I repeated the process until the exterior was as clean as I was going to get it at this point. I dried it off with a cotton cloth and took photos to show the result.
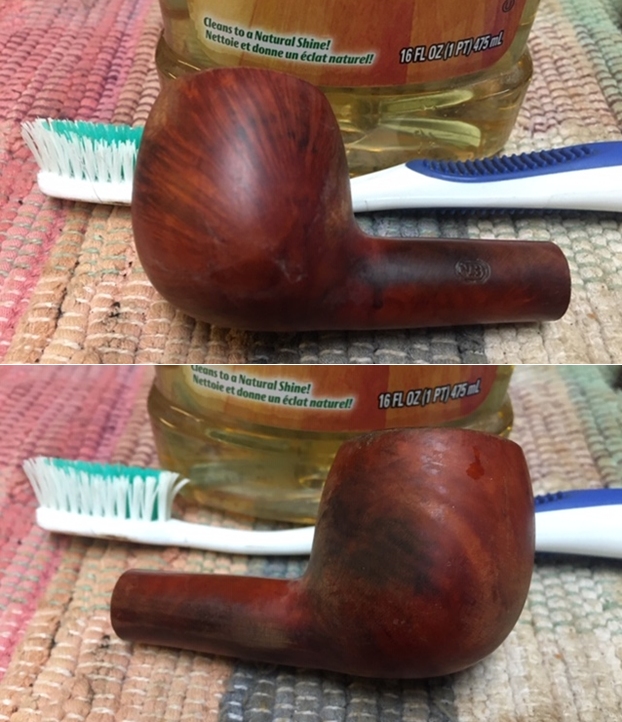
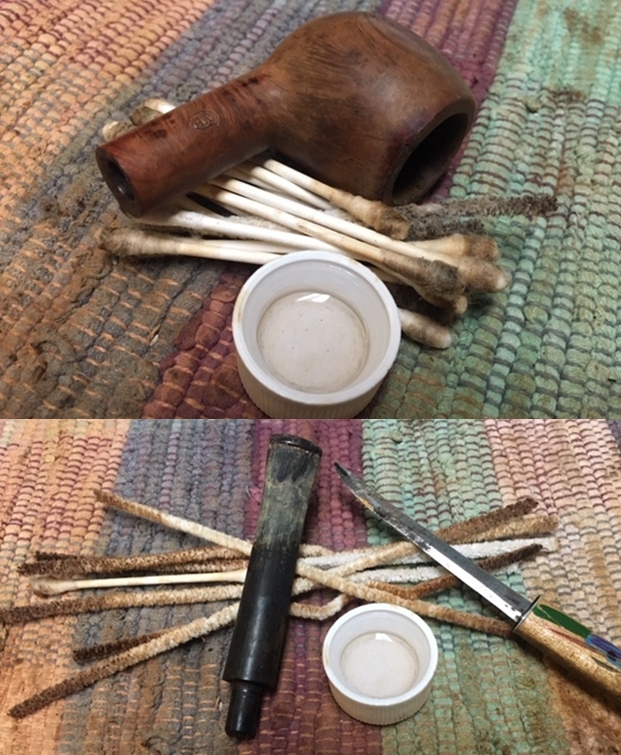
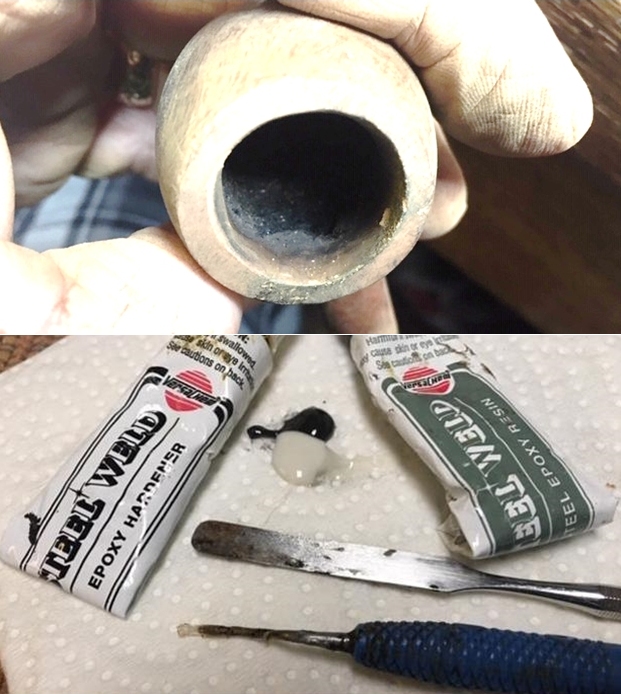
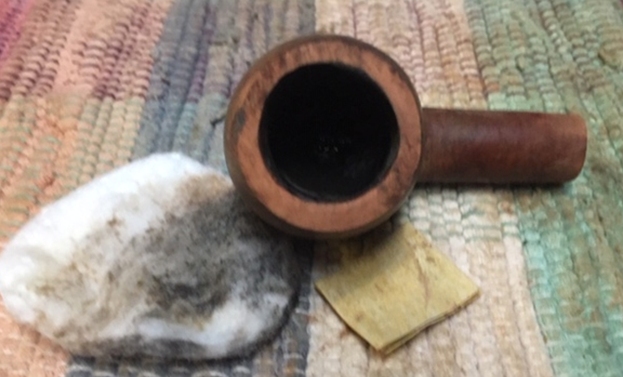
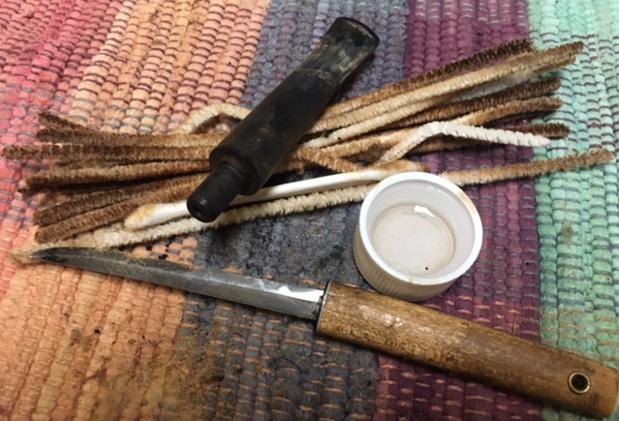
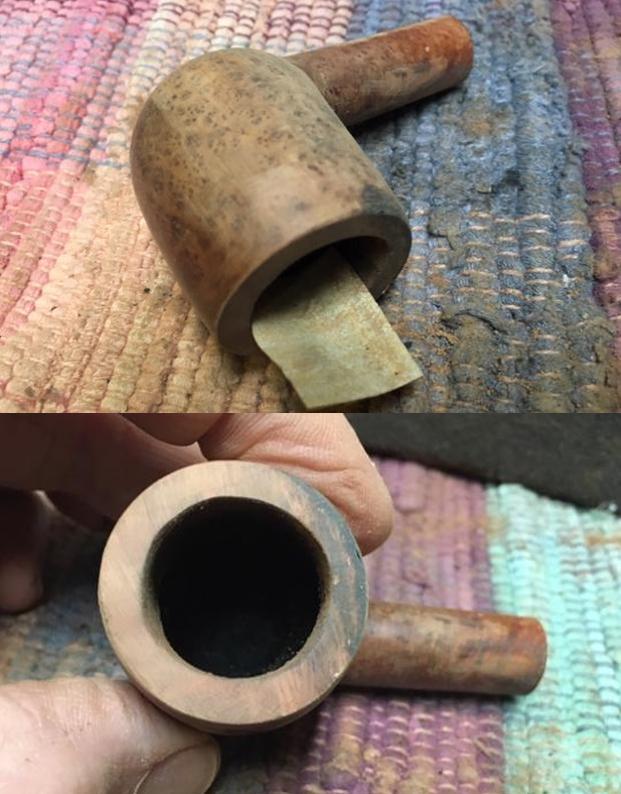
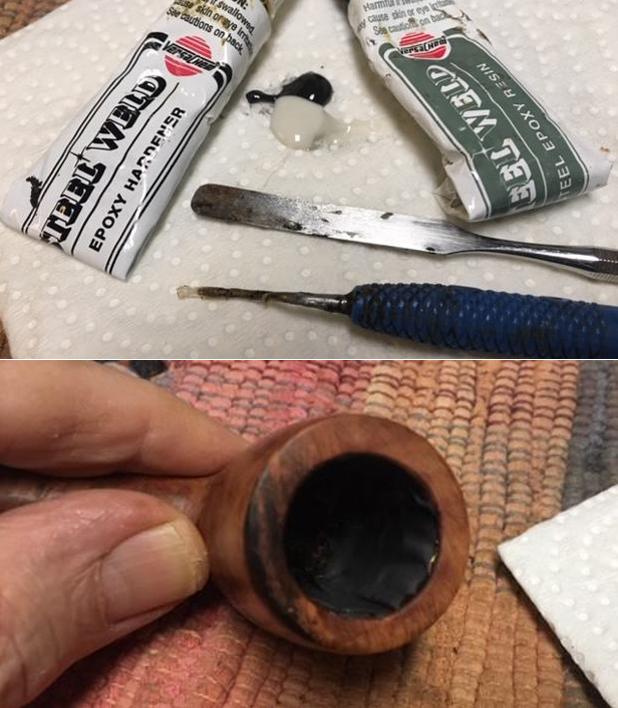
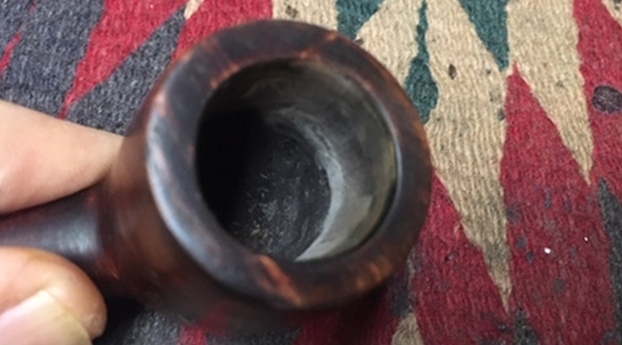
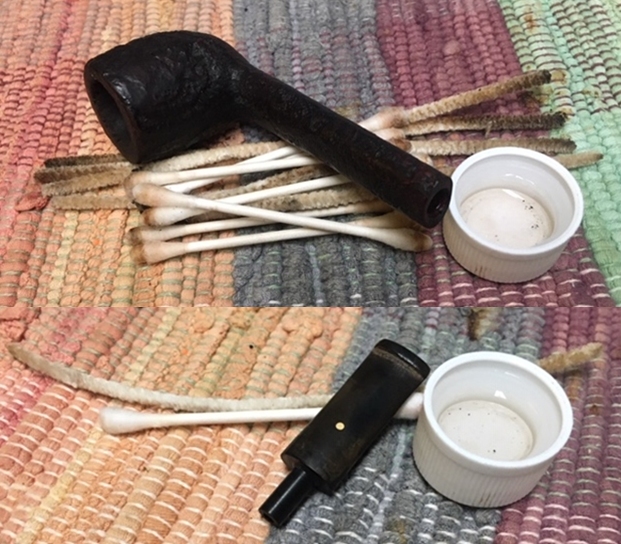
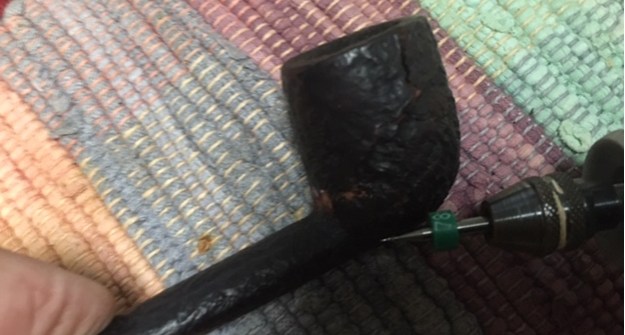
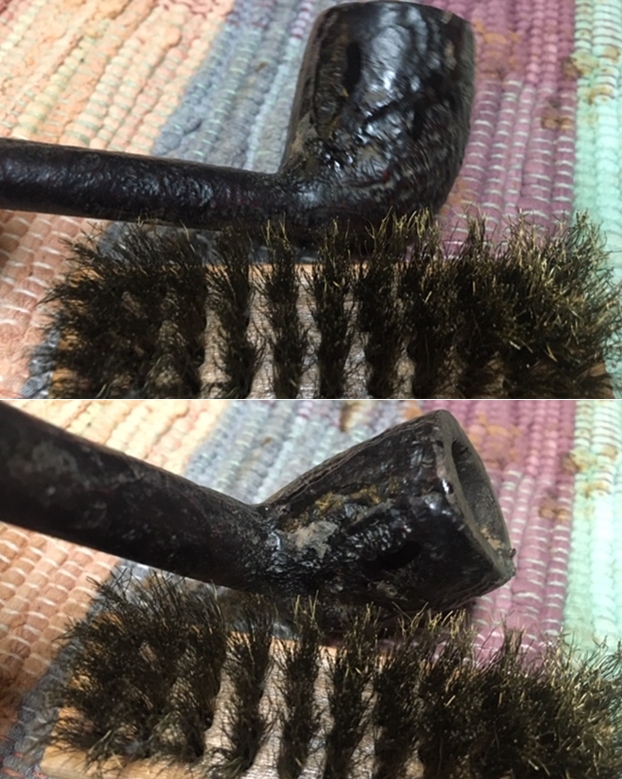
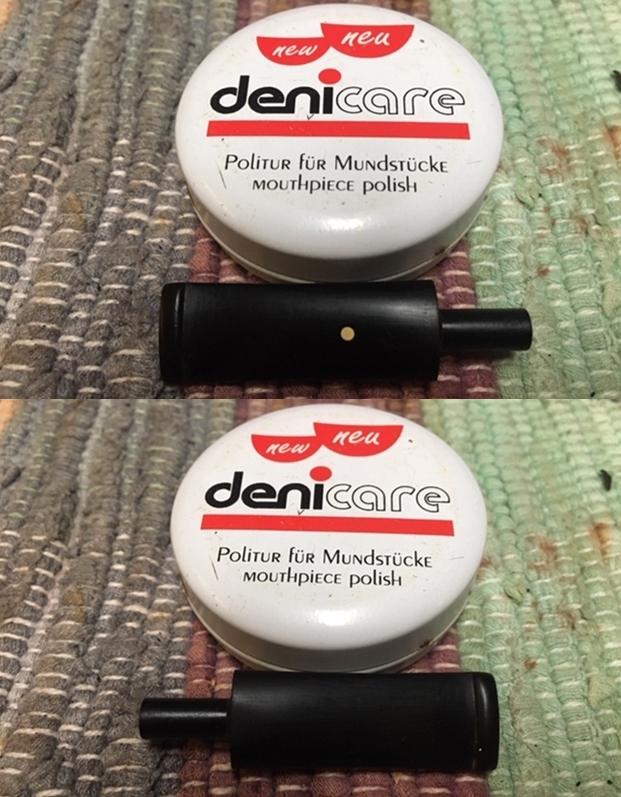
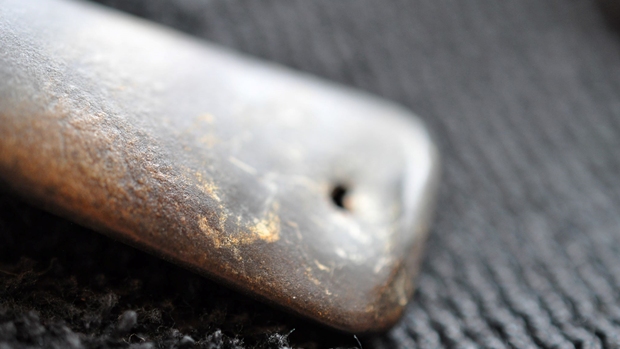
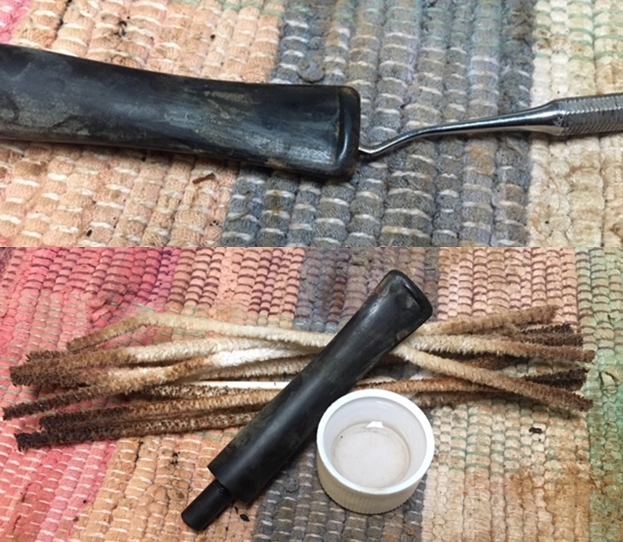
 I cleaned the mortise and the airway in the shank and stem with pipe cleaners, cotton swabs and alcohol. I used the drill bit on a KleenReem tool to clean out the “crud” (hardened tars and oils) in the airway in the shank. I scraped the inside of the mortise with a pen knife. I opened the slot in the button with a dental pick and pushed pipe cleaners through the debris in the stem. I scraped away the majority of the calcification with the pen knife while I was cleaning the stem. Once I had finished – many pipe cleaners and cotton swabs later the airway was unobstructed to the bowl and the pipe had begun to smell clean.
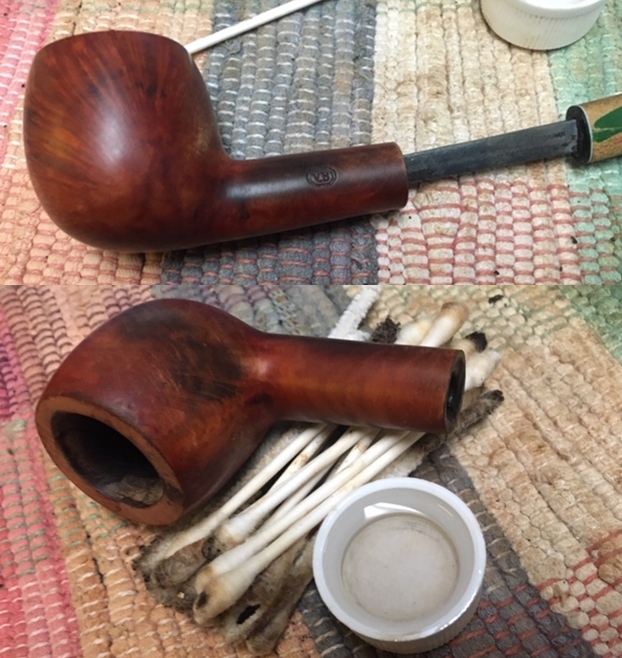
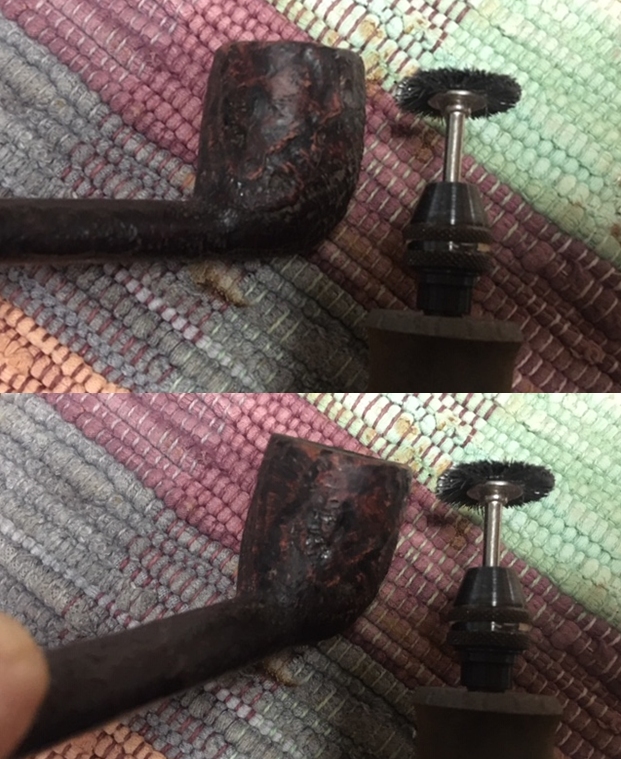
 I sanded the exterior of the bowl and rim with a medium grit sanding sponge to remove the nicks, scratches and remnants of the original finish. I sanded the strange dark stains on the right side of the bowl and both sides of the shank at the same time. While I w not able to remove them I reduced them enough that I was hoping the stain I was going to use would cover them.
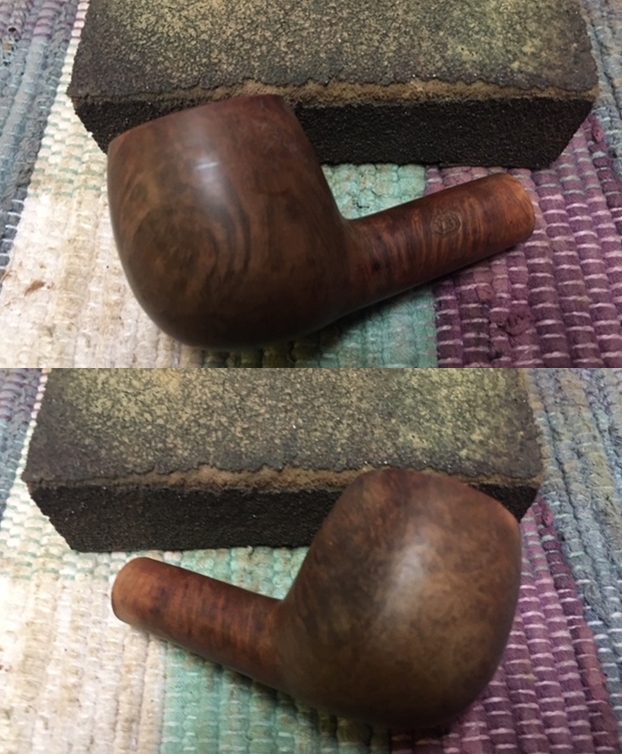
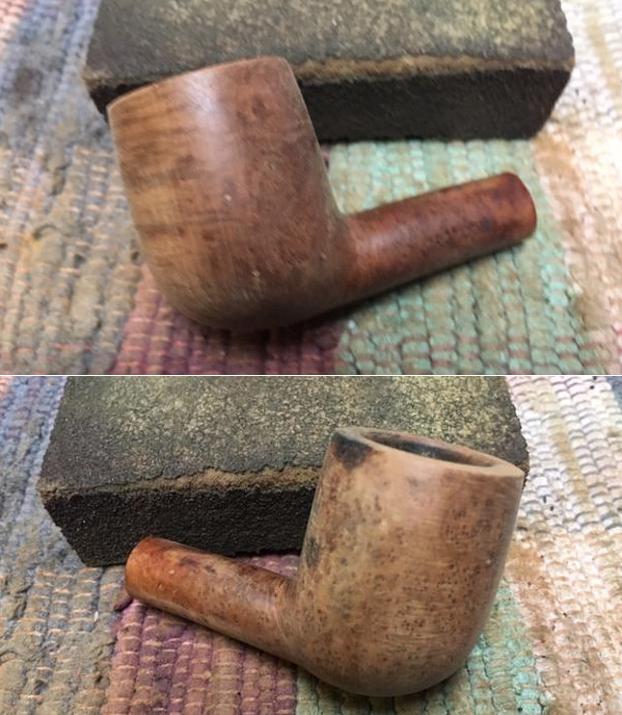
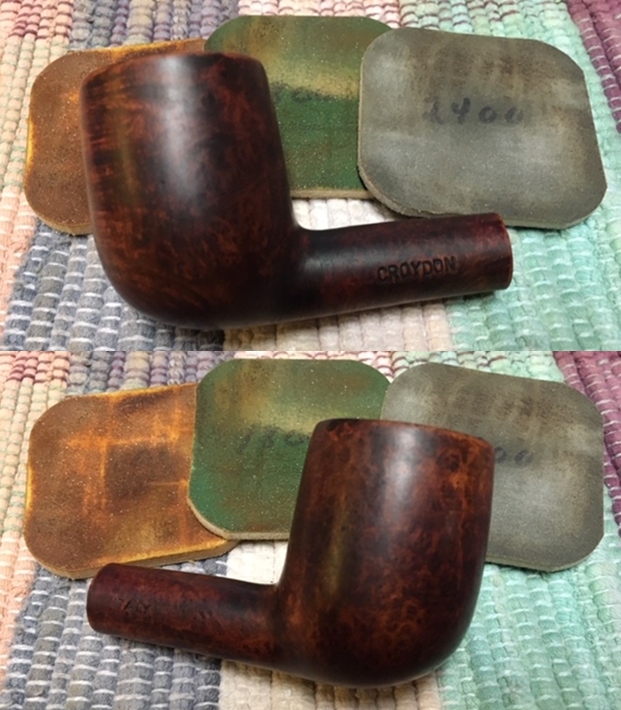
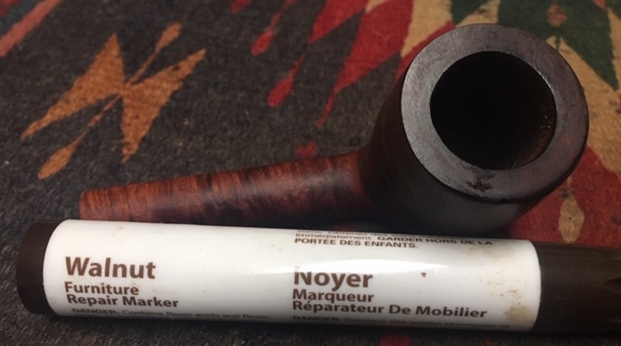
 I stained the bowl and shank with a Fiebing’s Tan Stain. It has a nice reddish tint to it that shows up once I have buffed and sanded it. I applied the stain, flamed it with a lighter and repeated the process until I was happy with the coverage. I would carry on with the bowl in the morning. The stain would dry overnight.
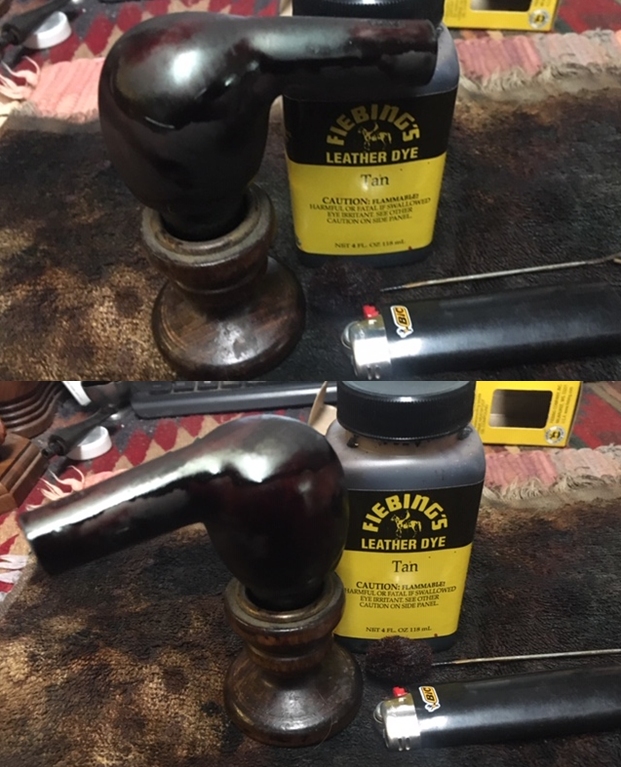 In the morning when I got up I took photos of what the bowl looked like after the stain had cured all night. There are wet looking patches but they are not wet…just shiny!
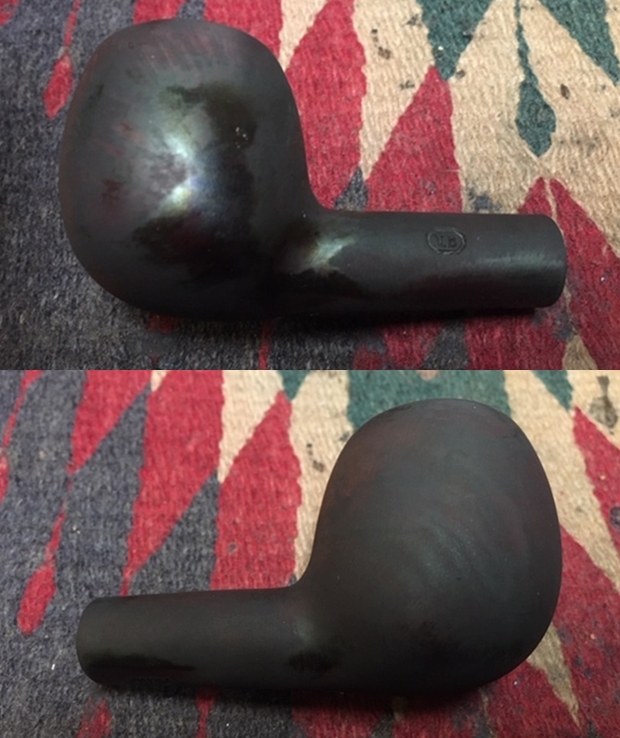
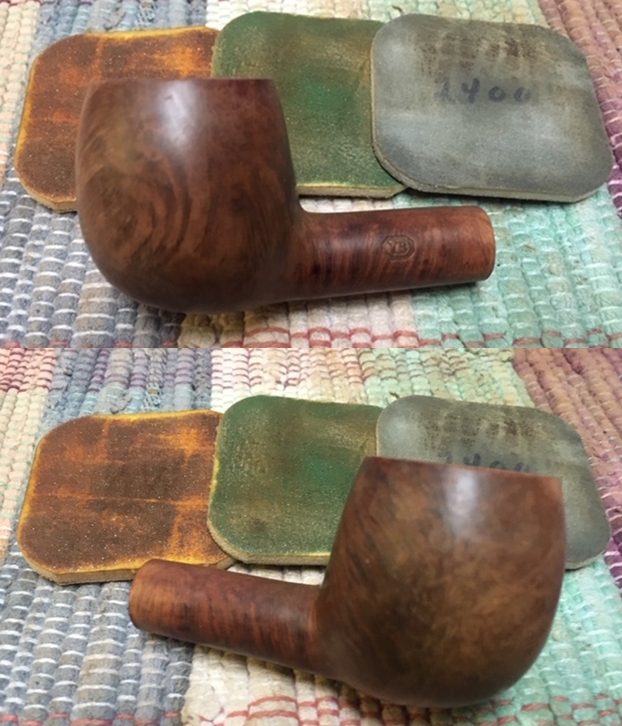
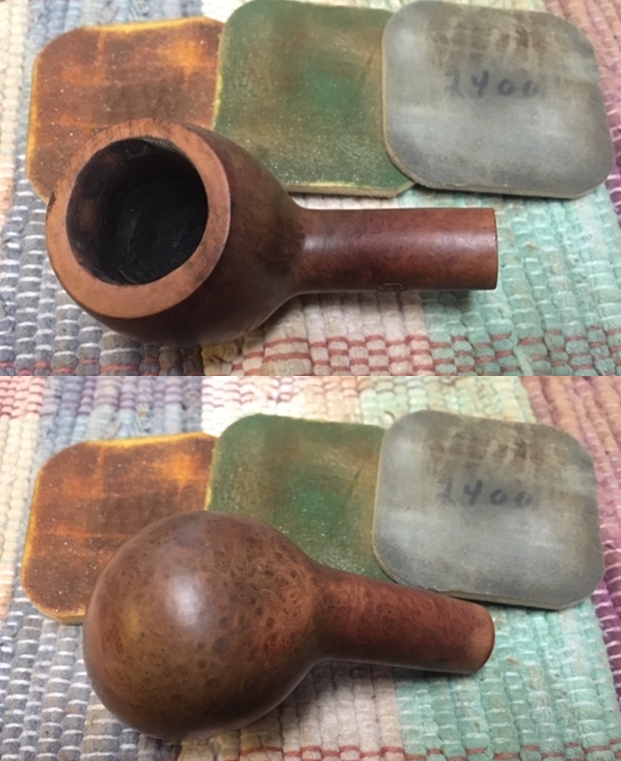
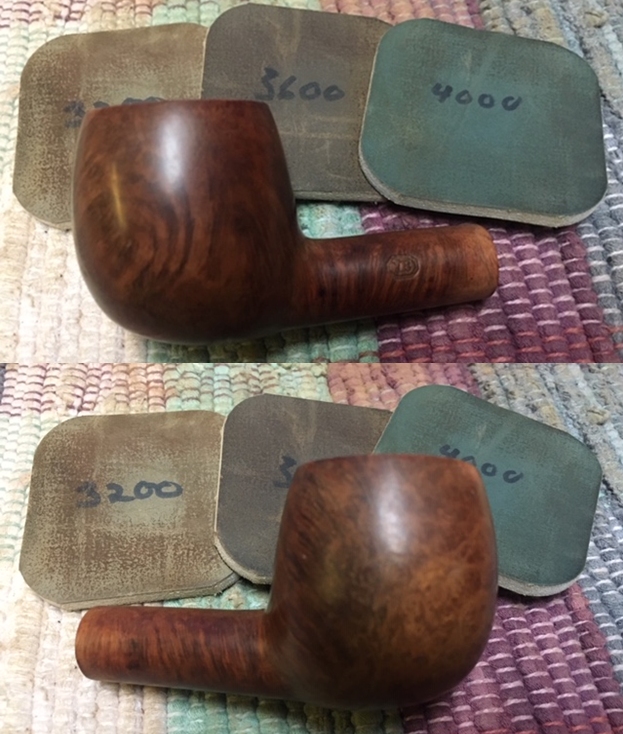
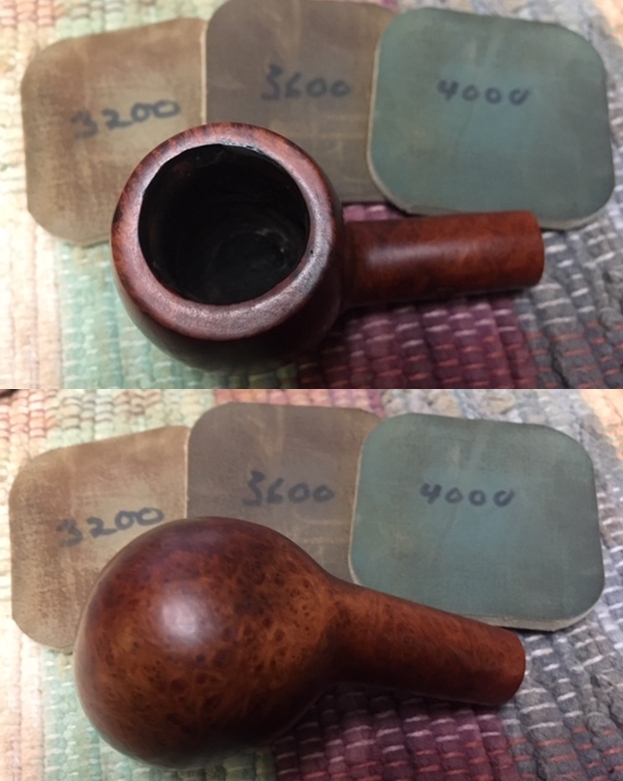
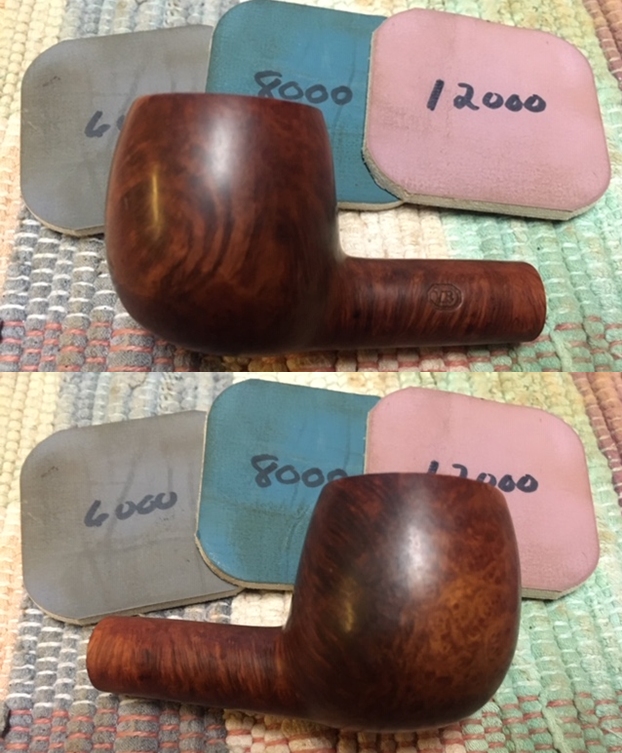
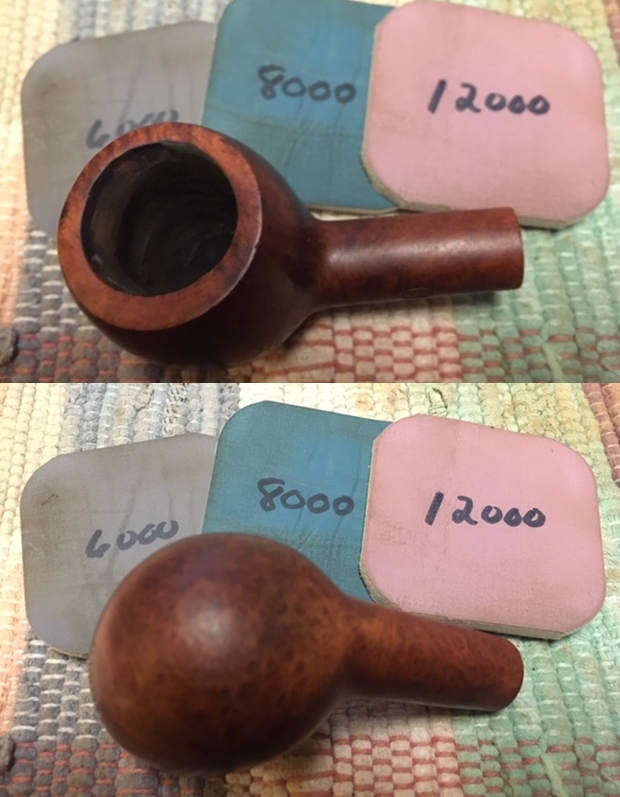
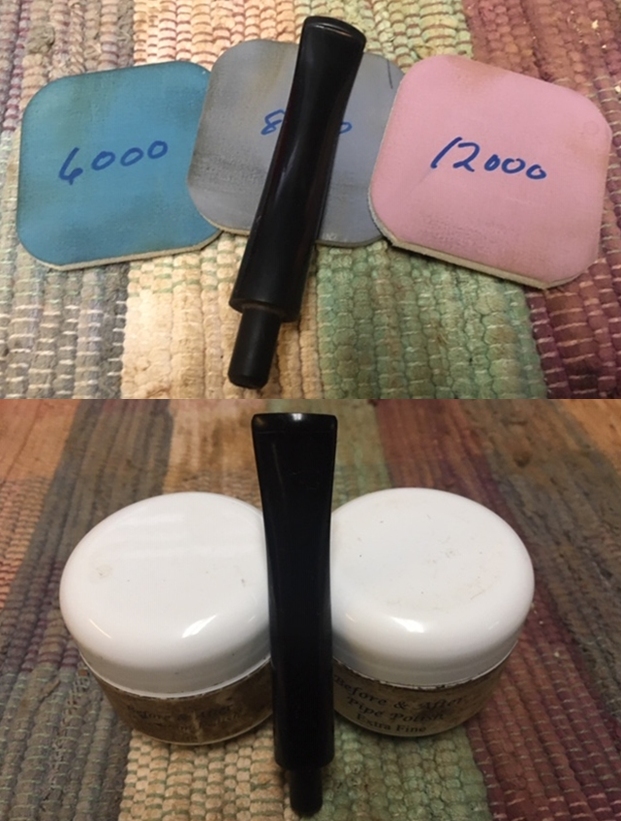
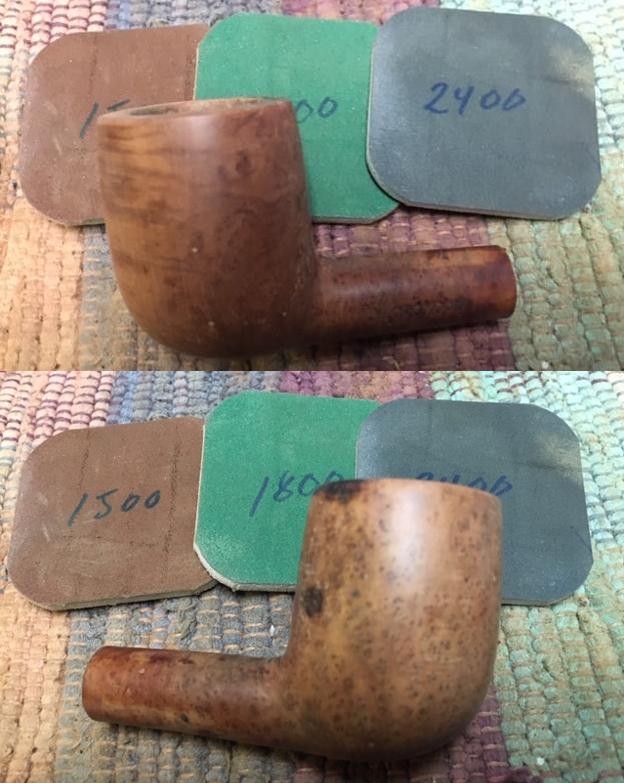
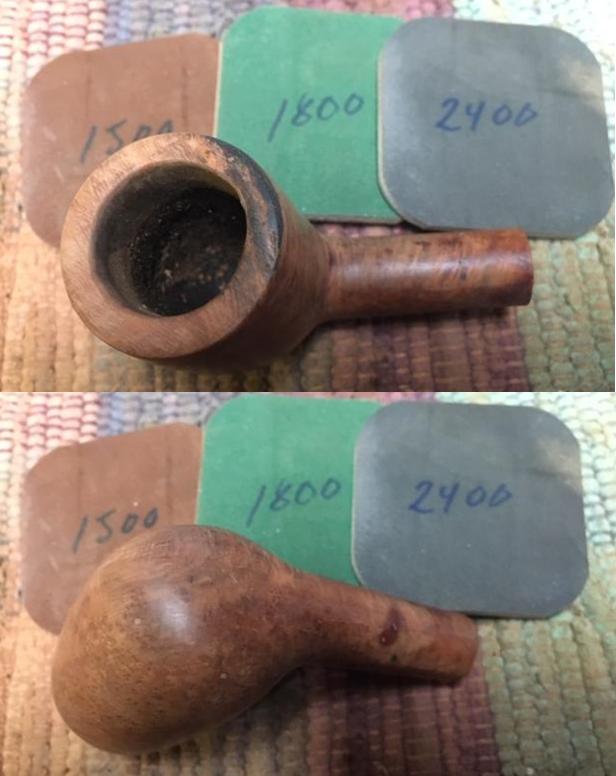
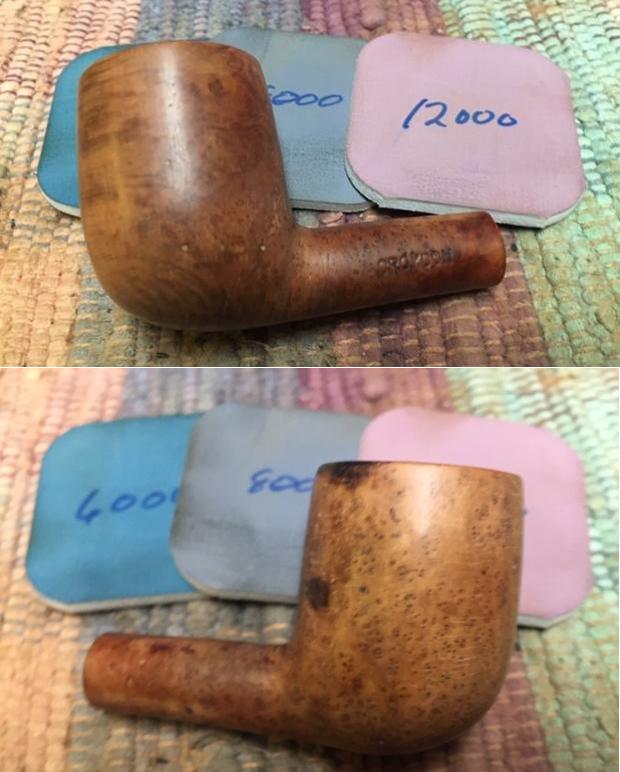
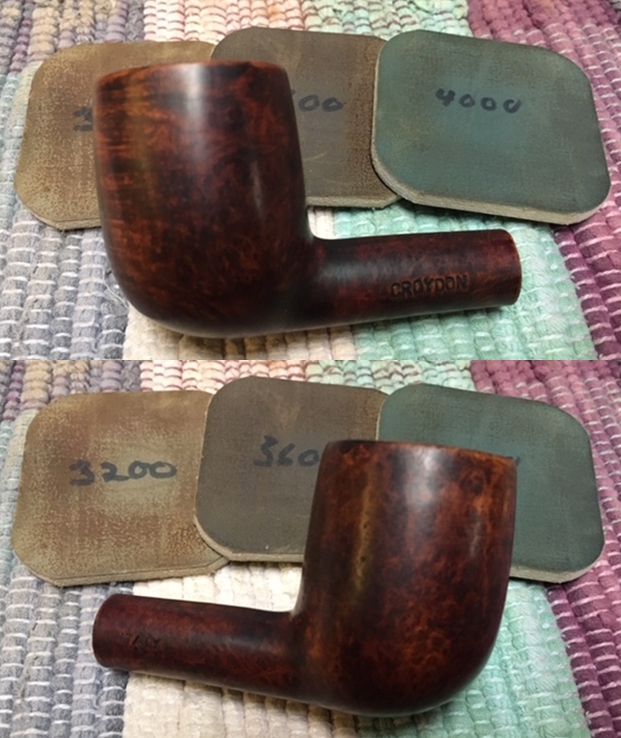
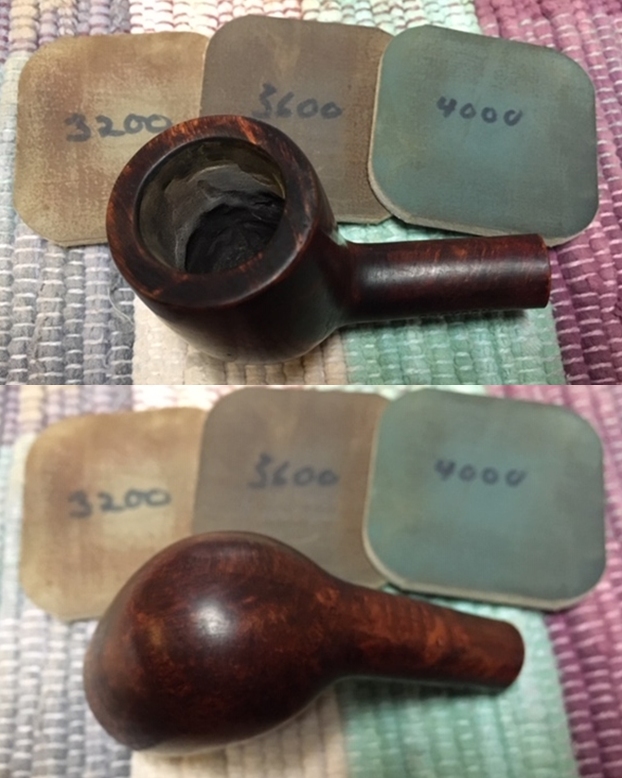
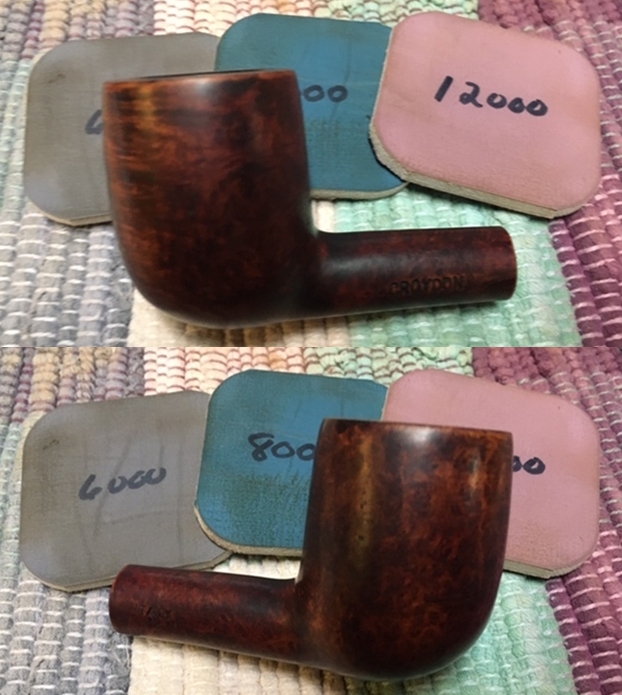
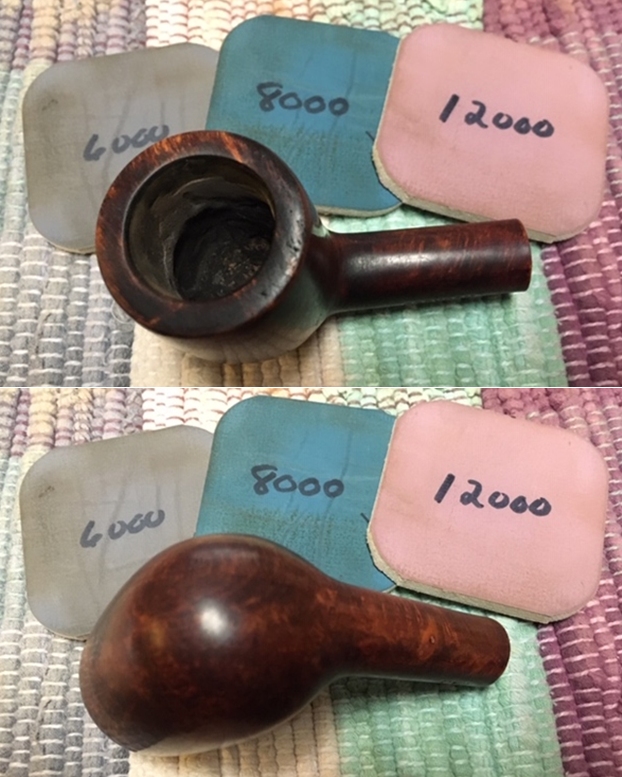
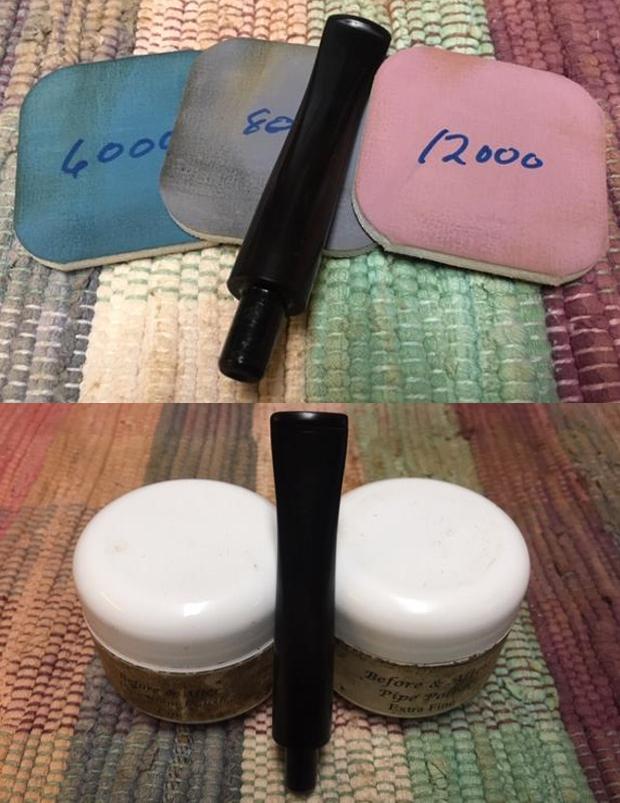
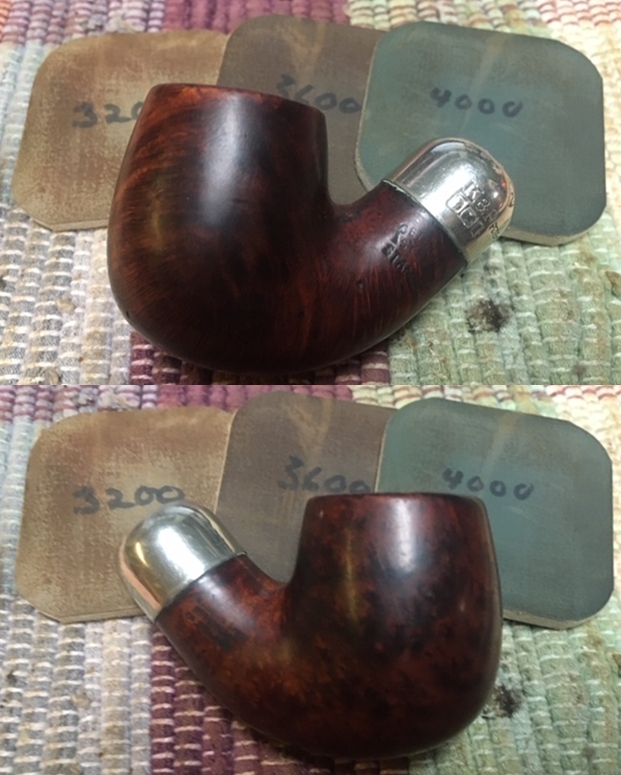
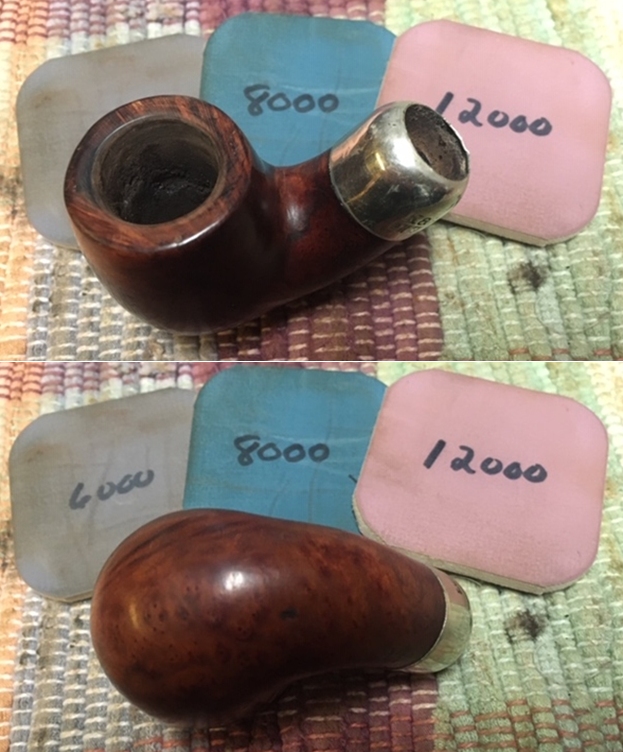
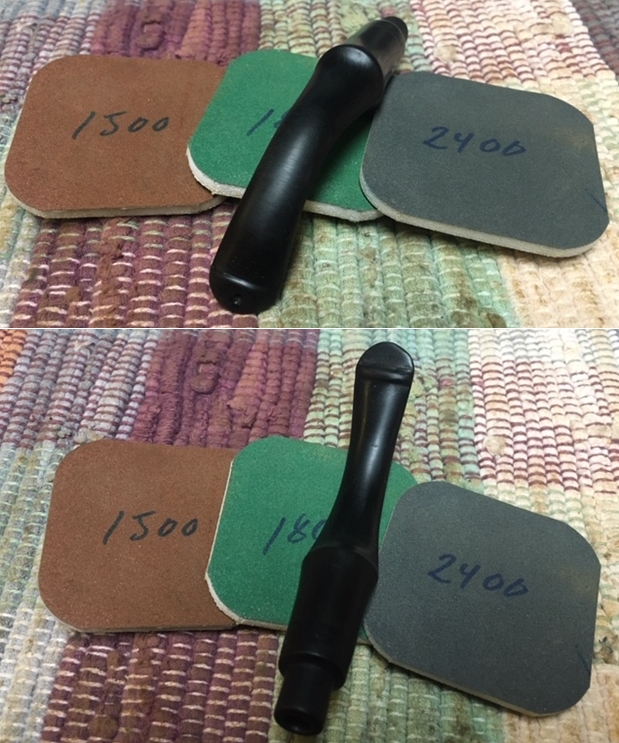
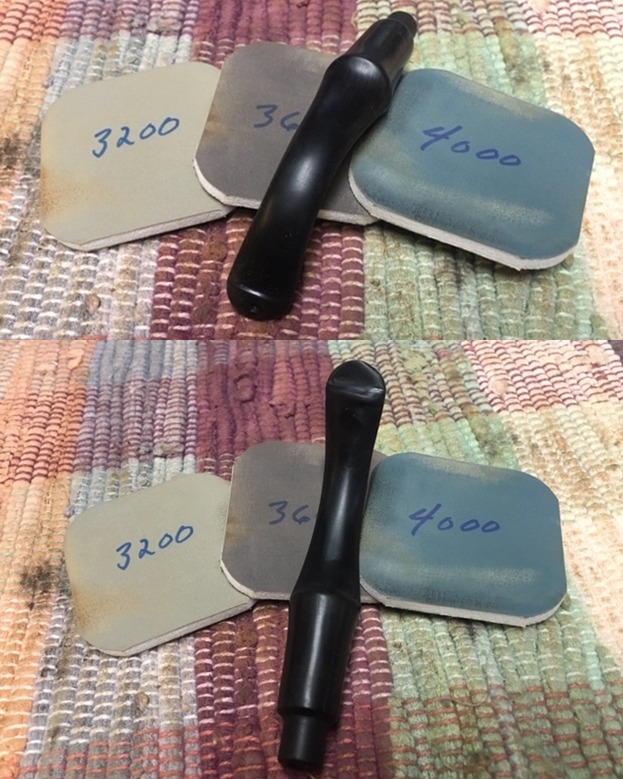
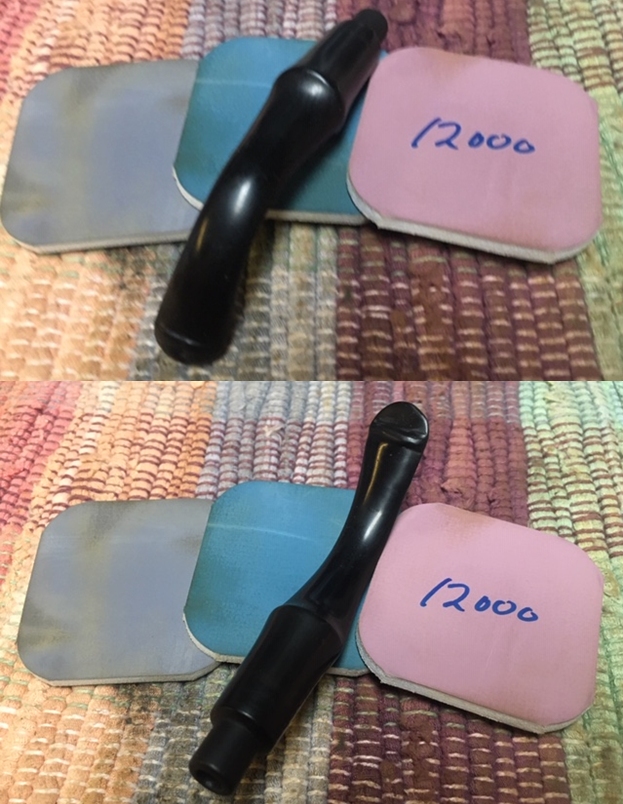
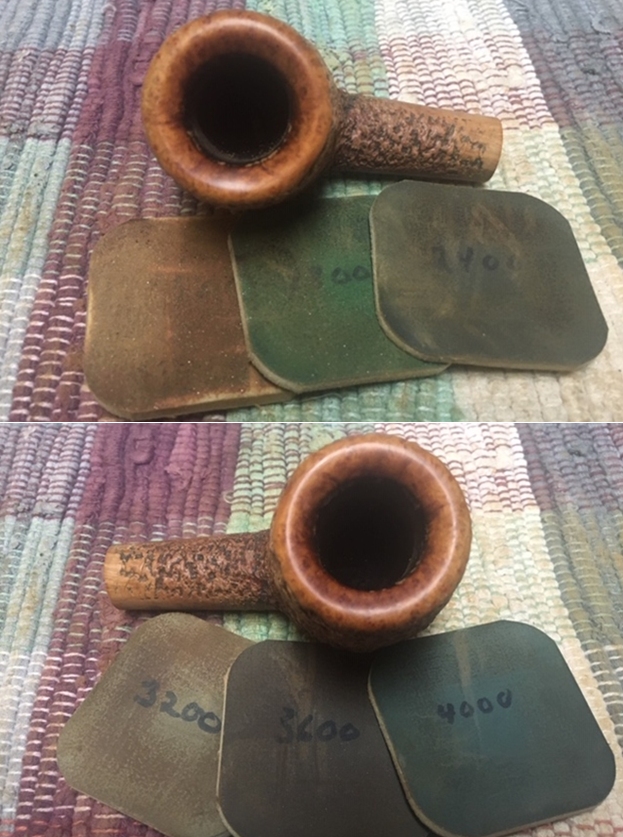
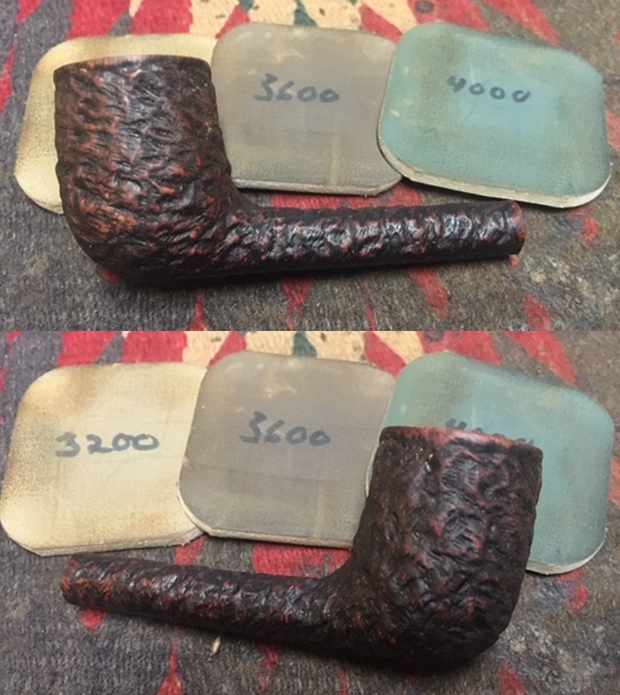
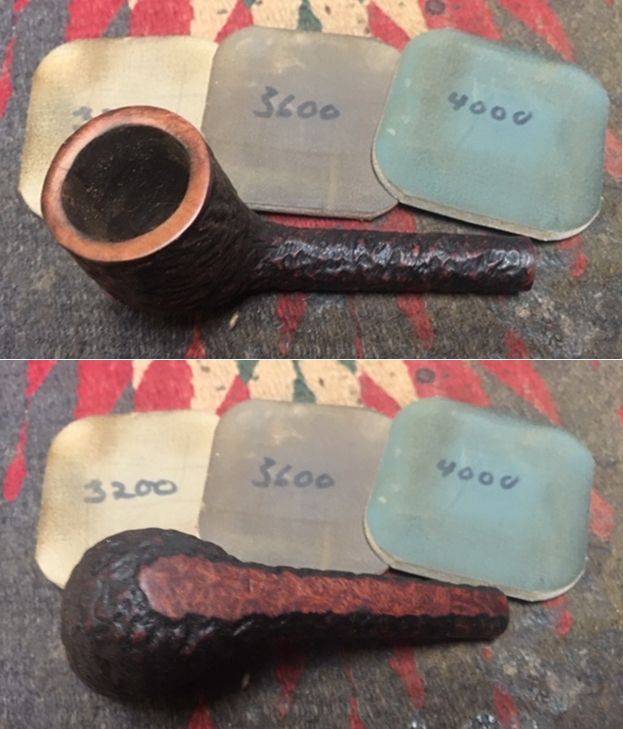
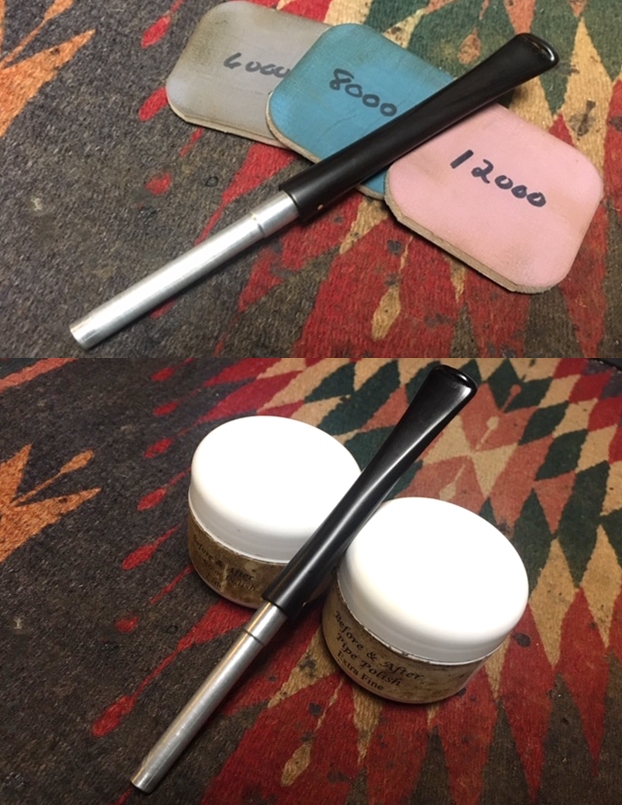
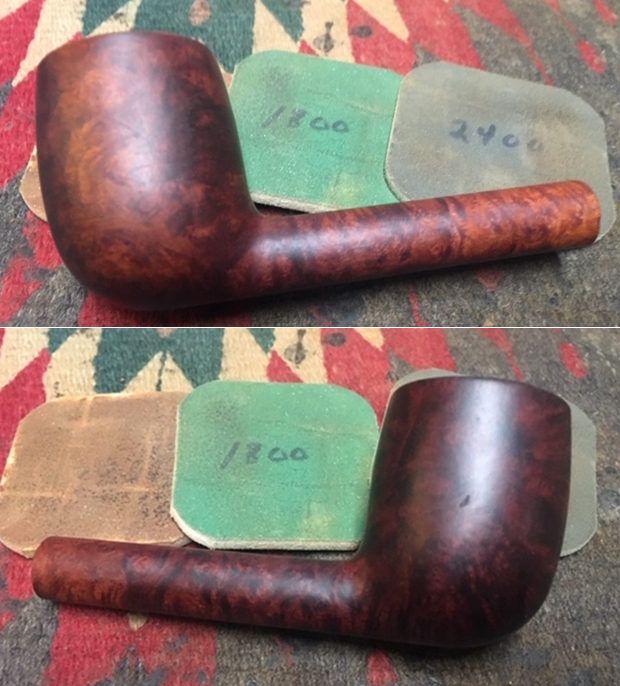
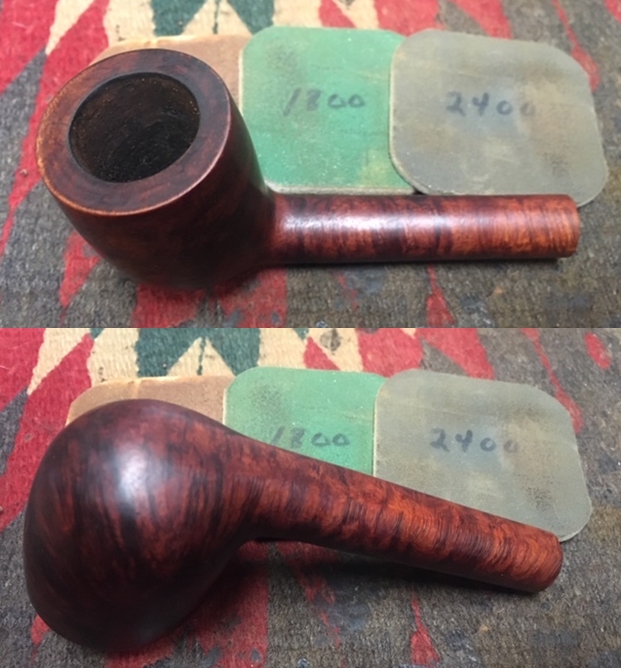
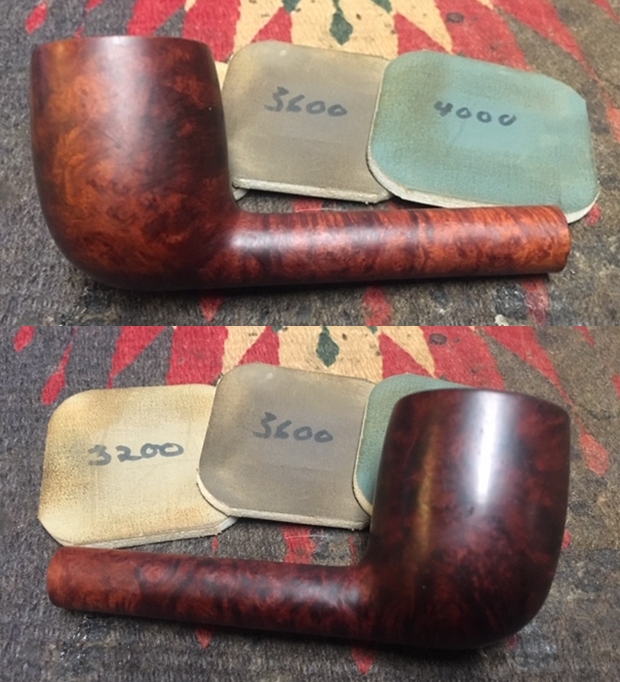
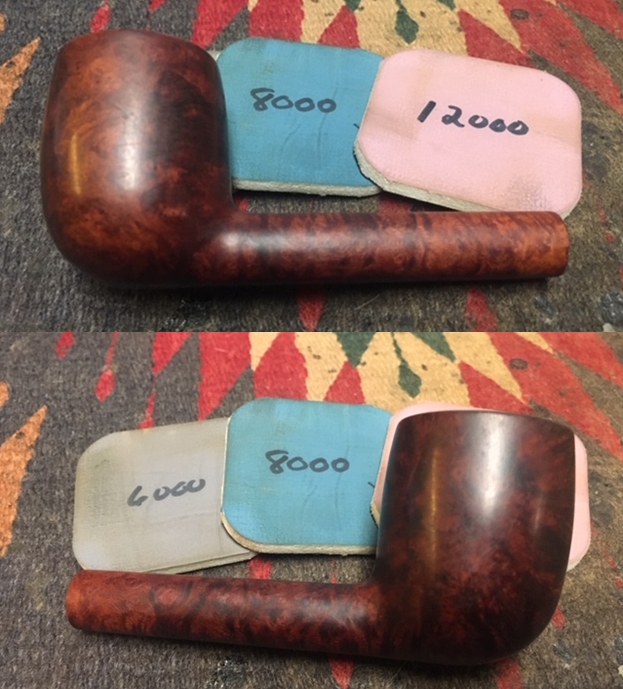
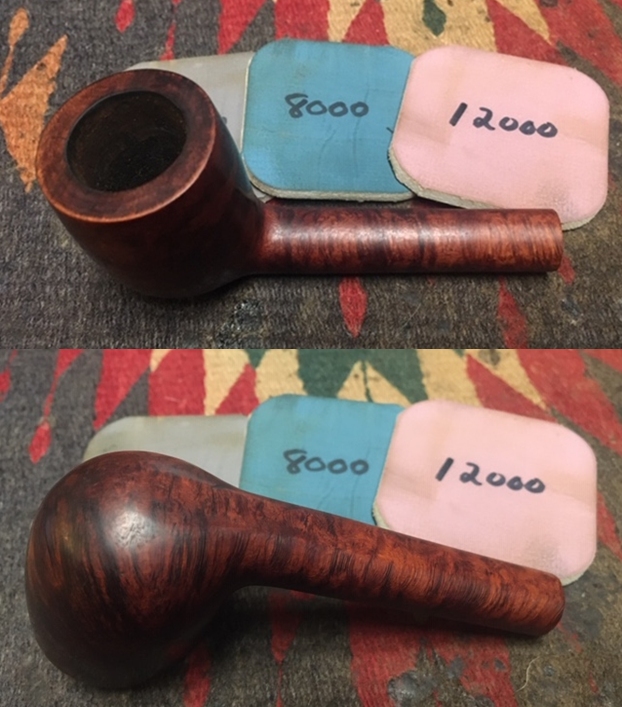
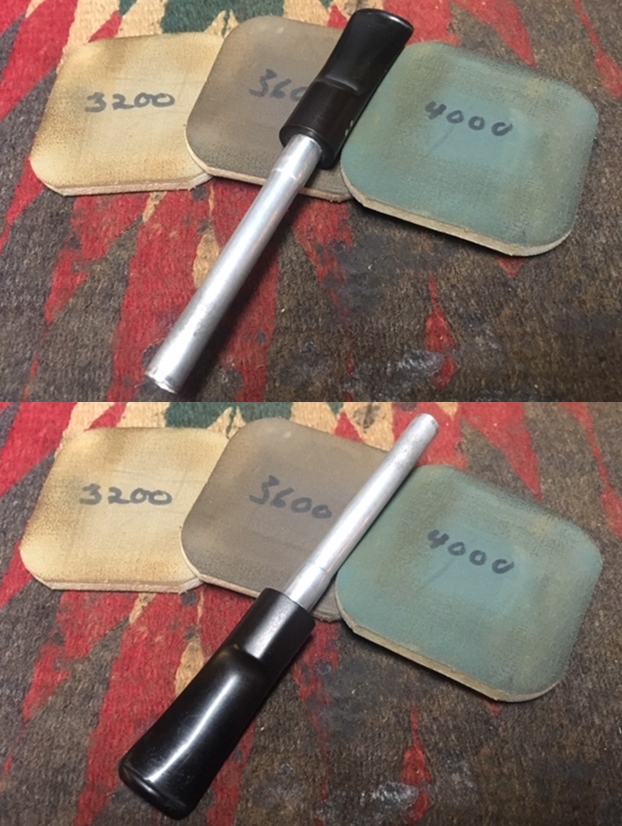
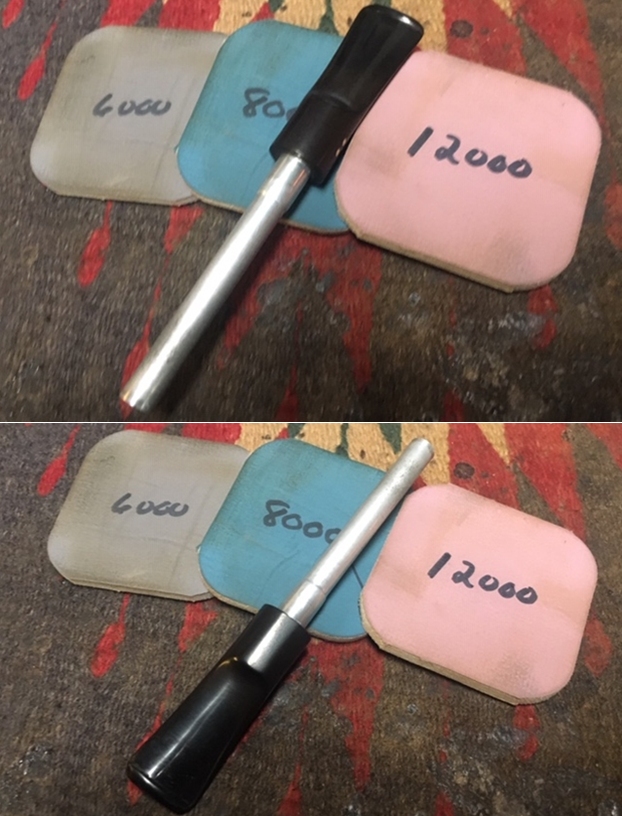
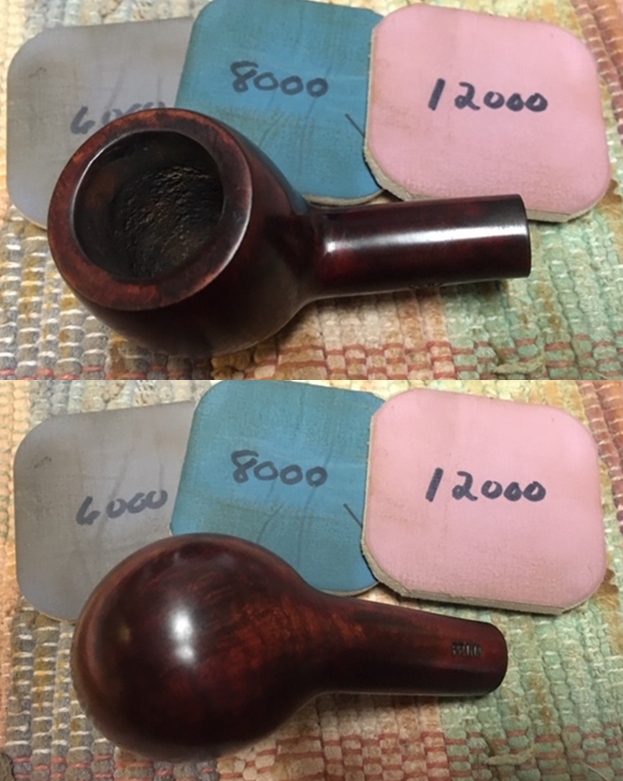
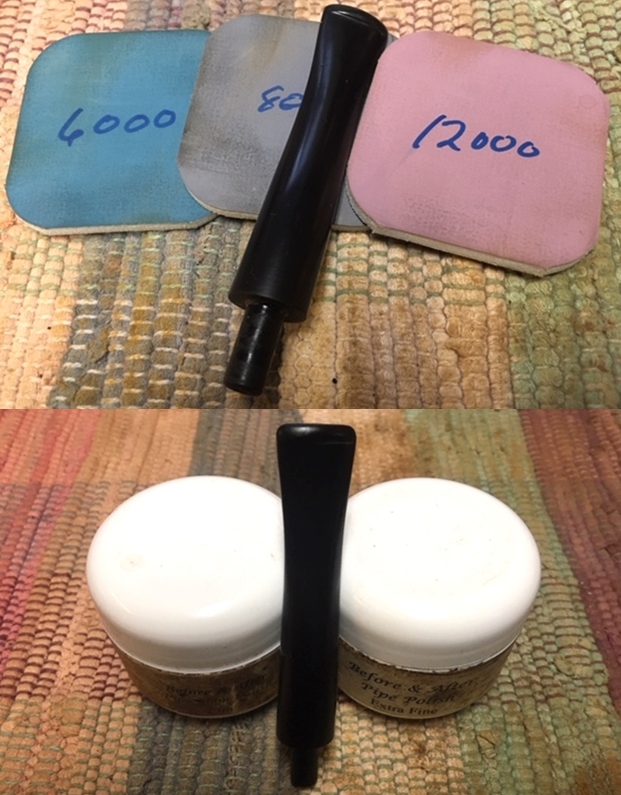
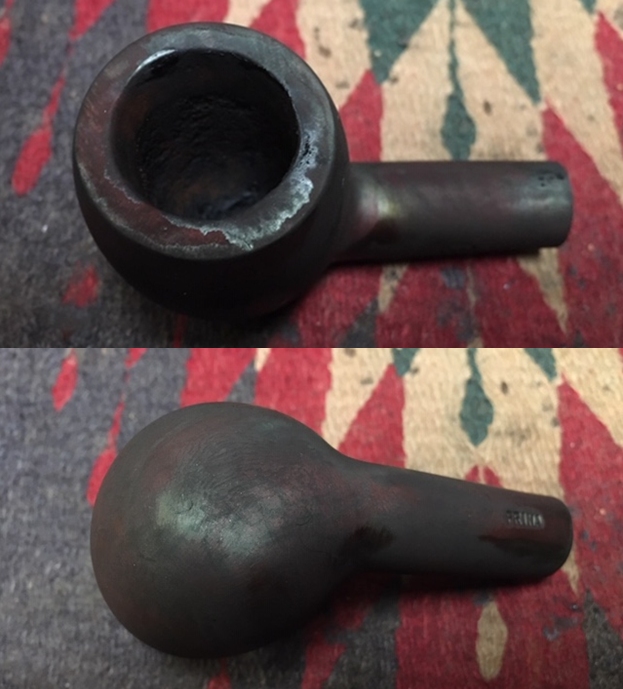 I wet sanded with 1500-12000 grit sanding pads to smooth out the finish on the bowl and prepare it for staining. I wiped the bowl down after each pad with a damp cloth to remove the dust and debris from sanding.
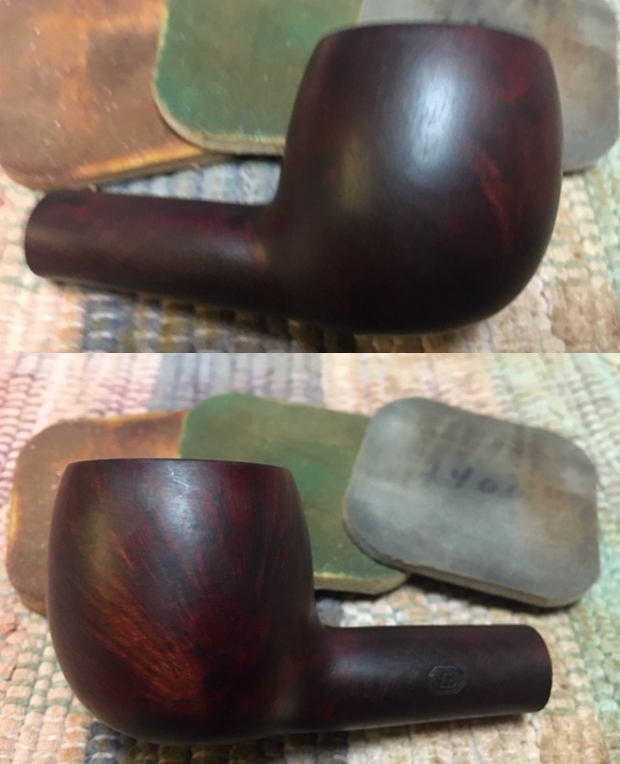

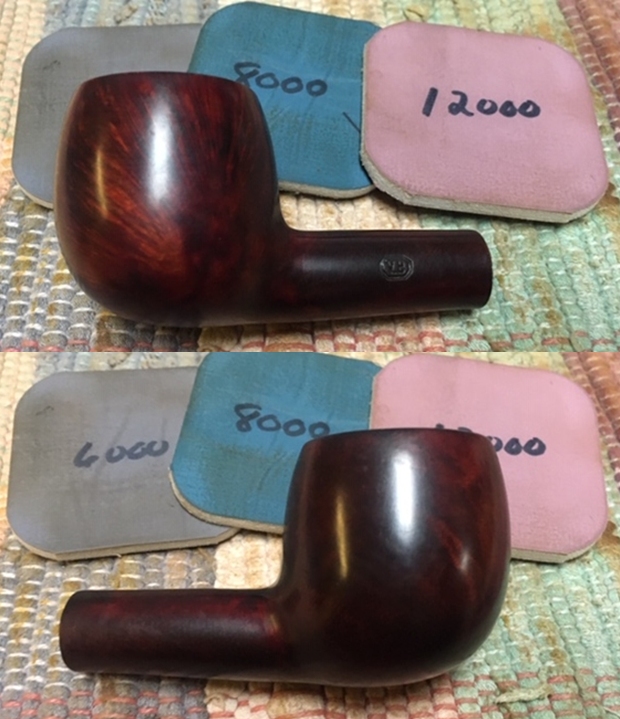
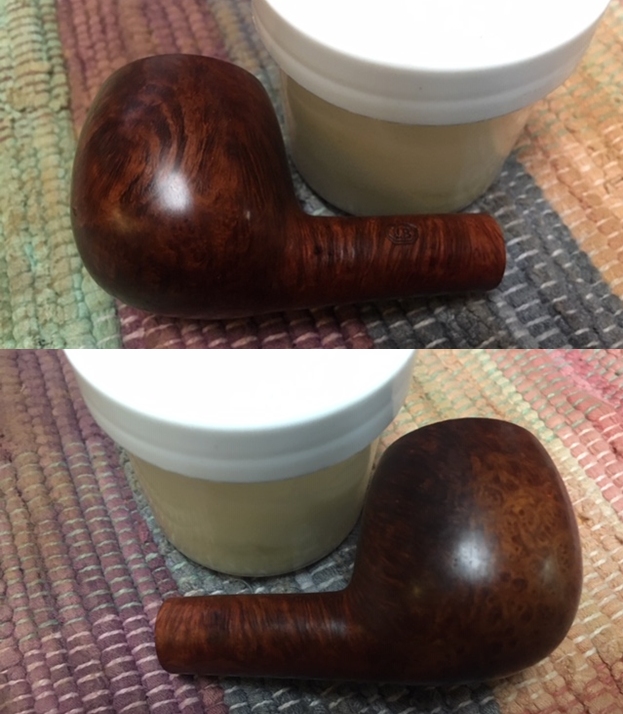
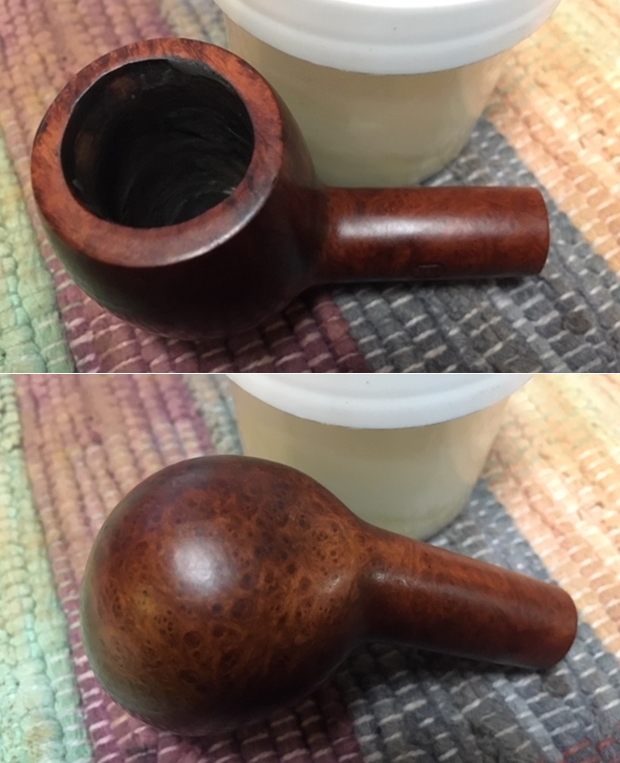
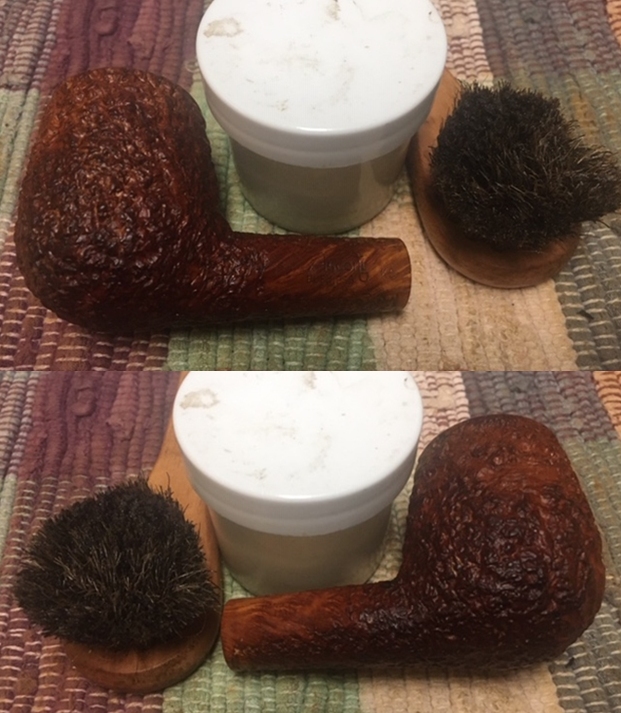
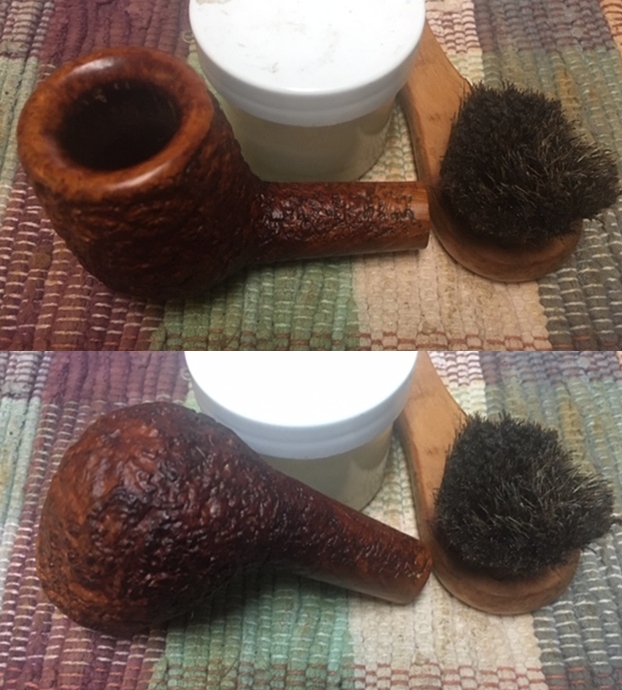
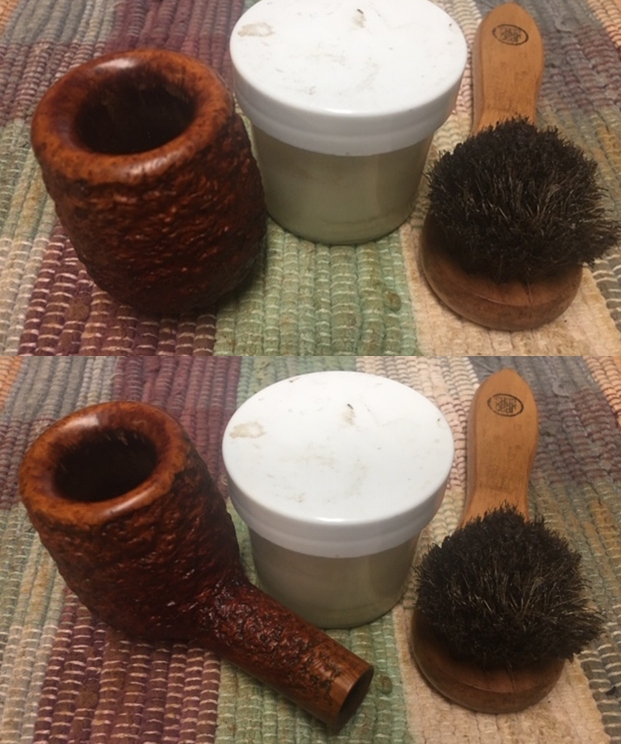
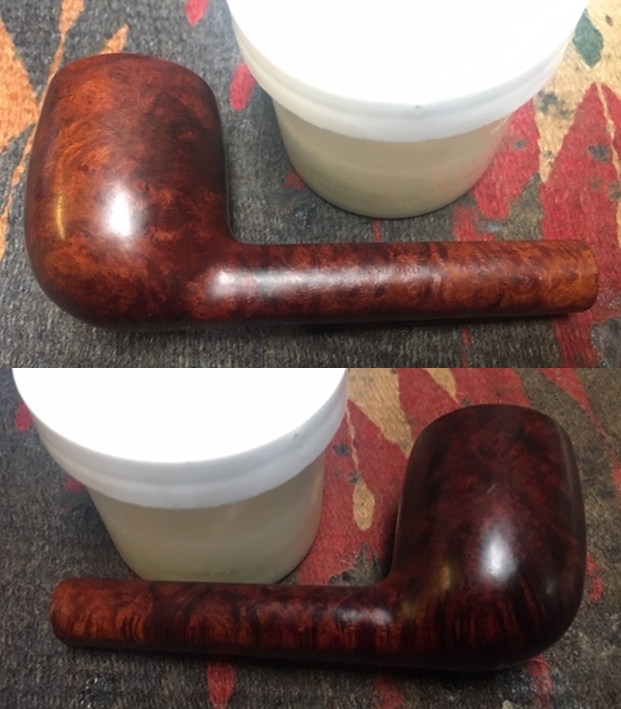
 I worked some Before & After Restoration Balm into the finish of the bowl, the rim top and shank with my fingertips to clean, enliven and protect it. I find that the balm really makes the briar come alive again. I let the balm sit for a little while and then buffed it with a cotton cloth to raise the shine. The pipe really looks good at this point. It looks much better than when I took it out of the bag.
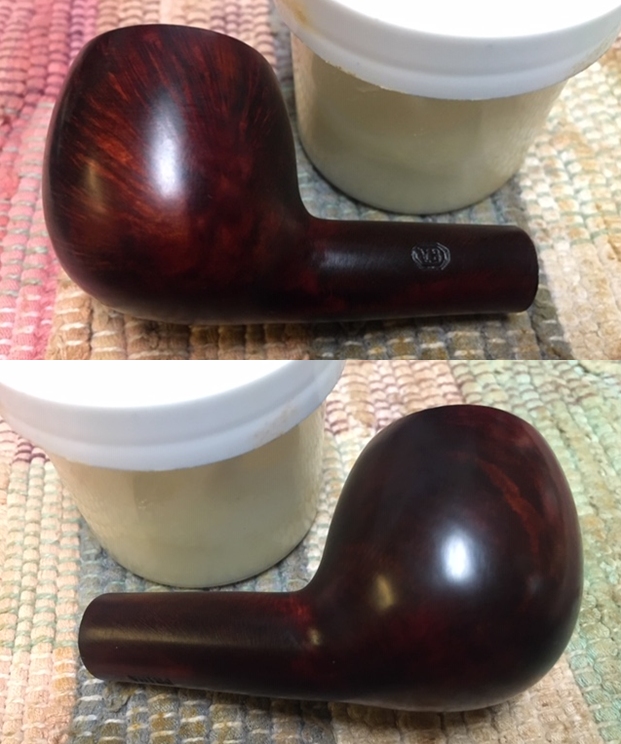
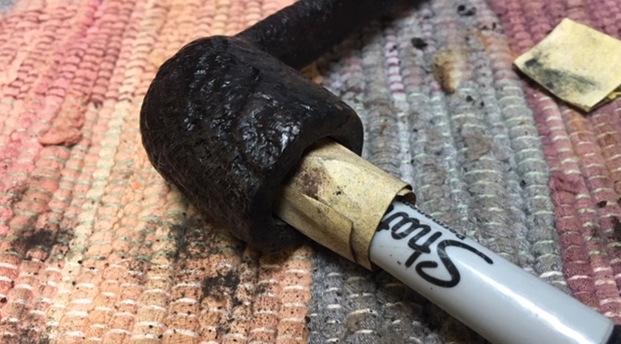
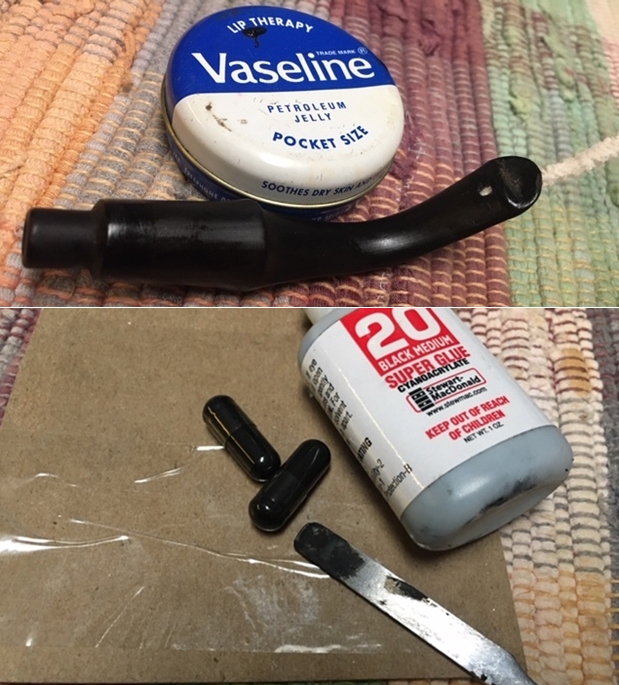
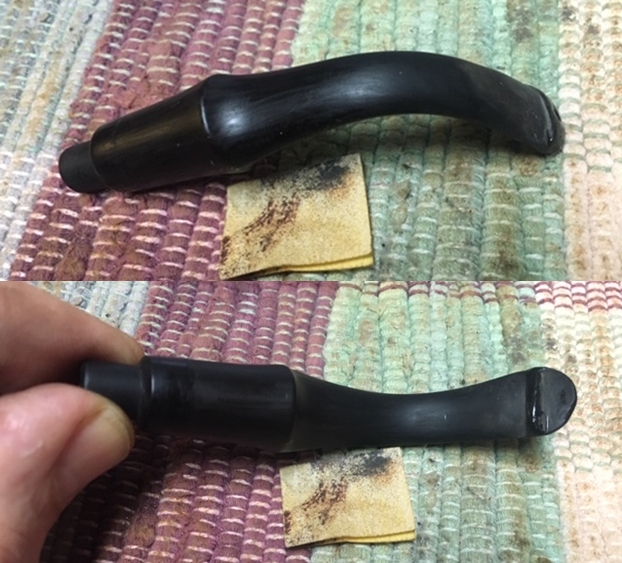
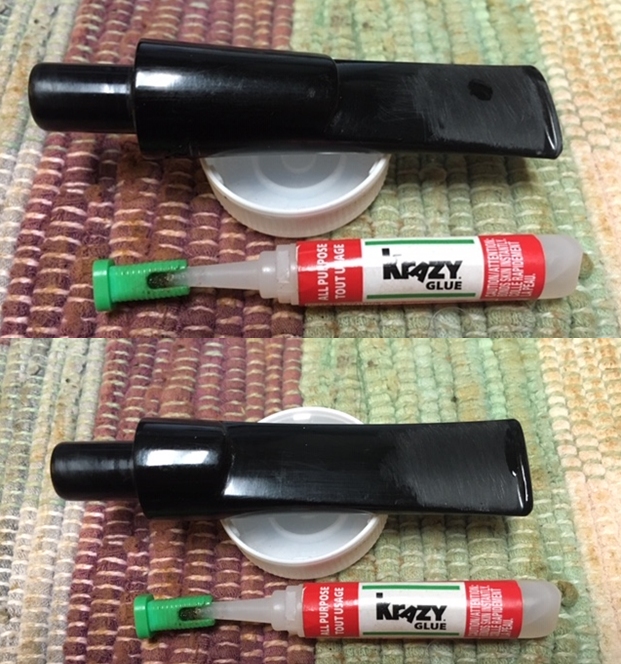
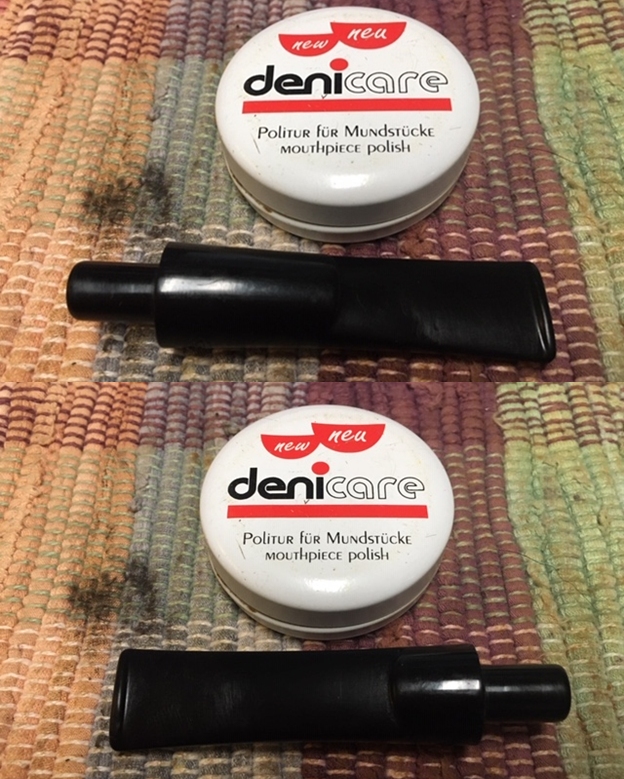
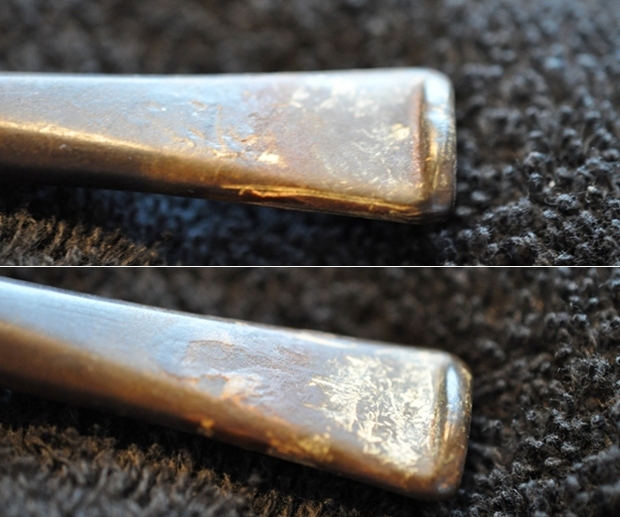
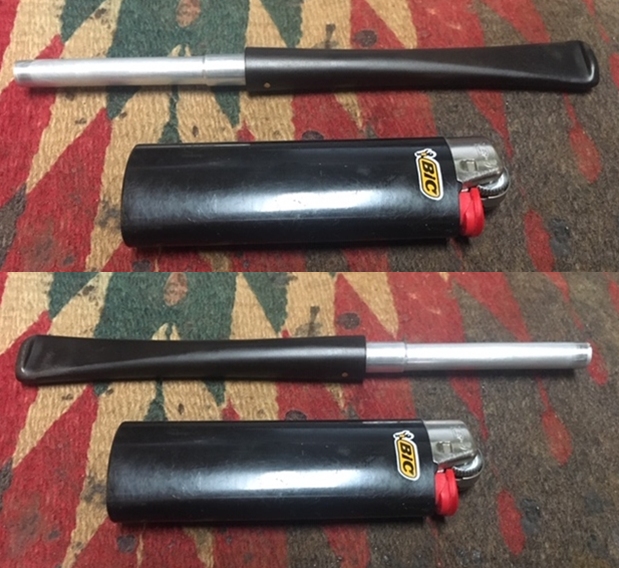
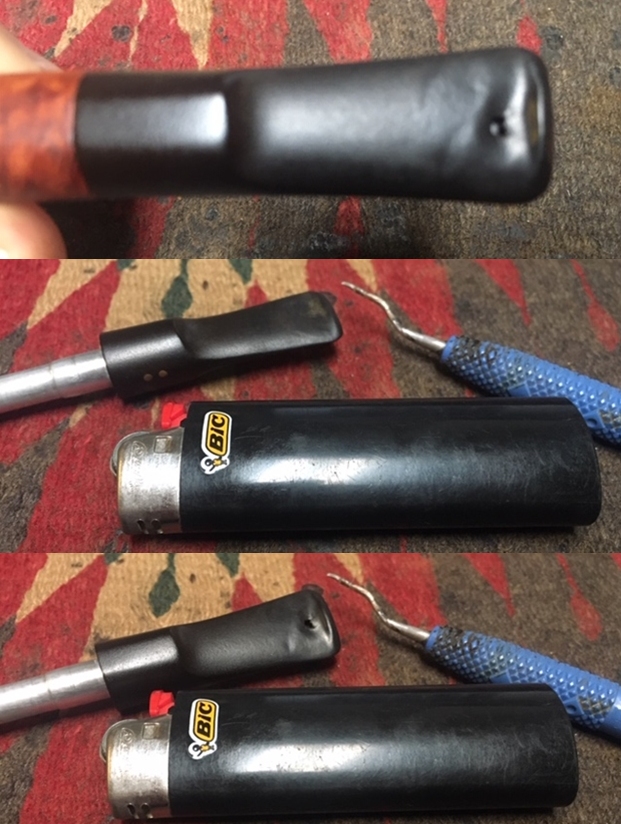
 I set the bowl aside and turned my attention to the stem. I “painted” the surface of the stem with the flame of a Bic light to raise the tooth marks. It raised them all some but two small dents remained on both sides of the stem.
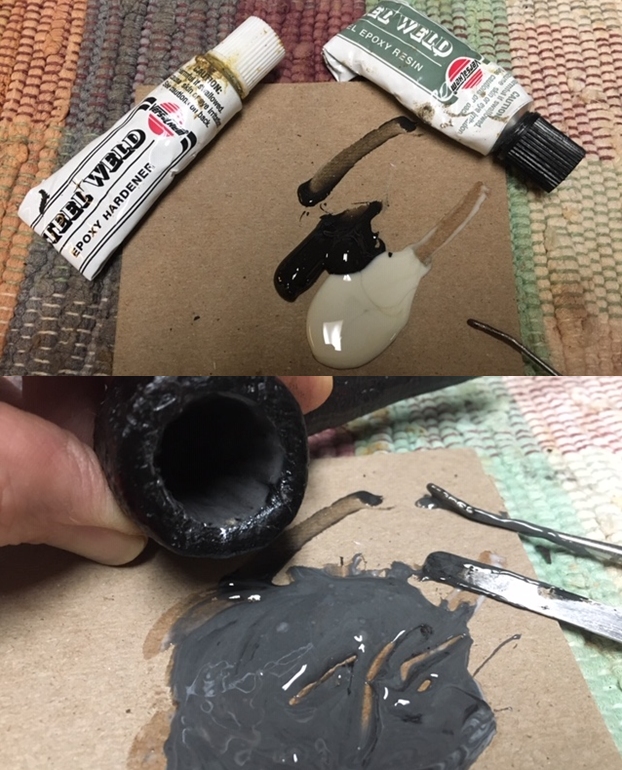
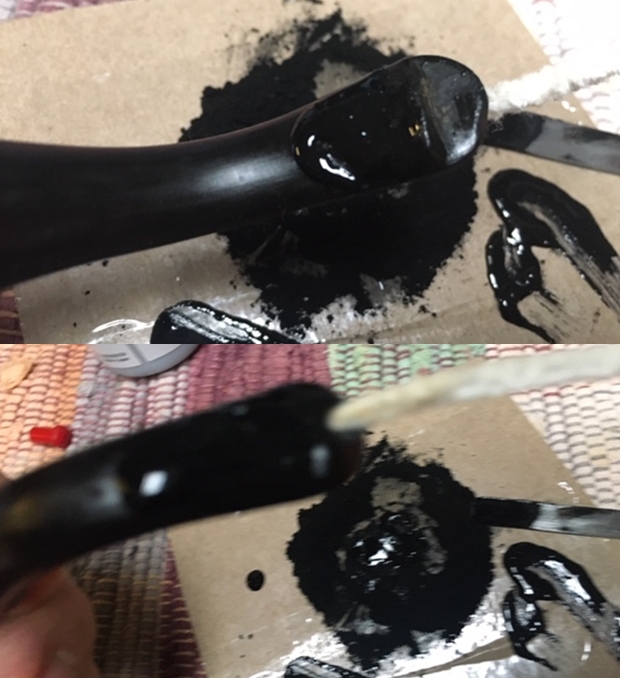
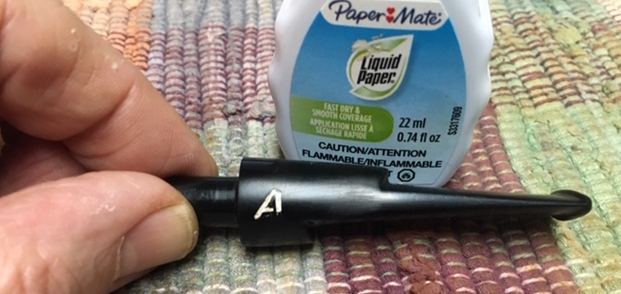
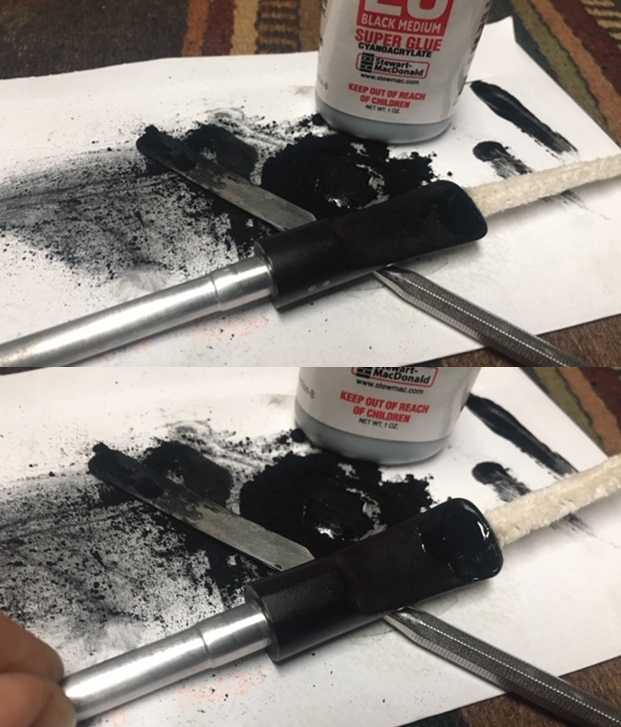
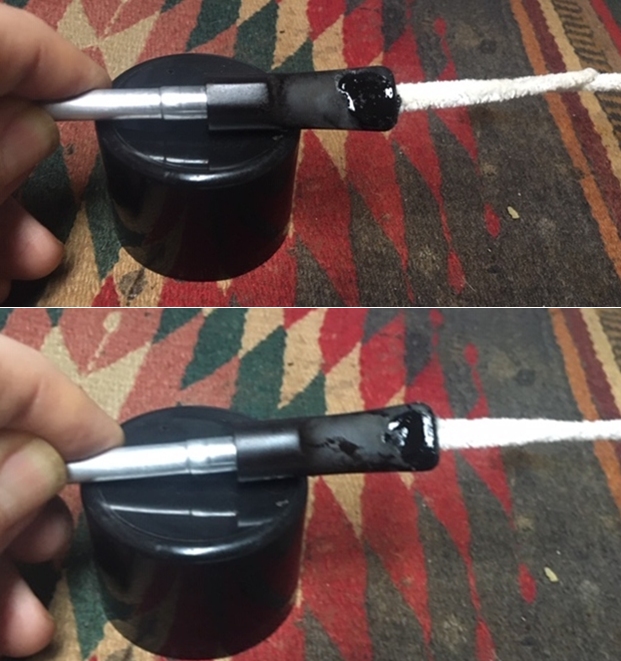
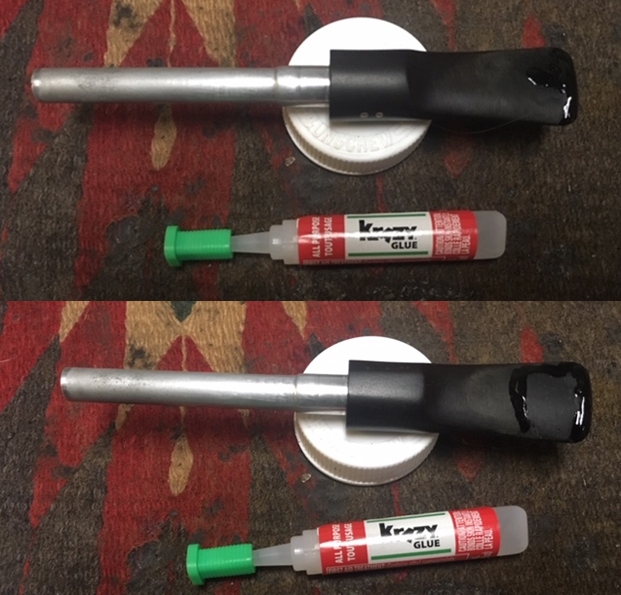
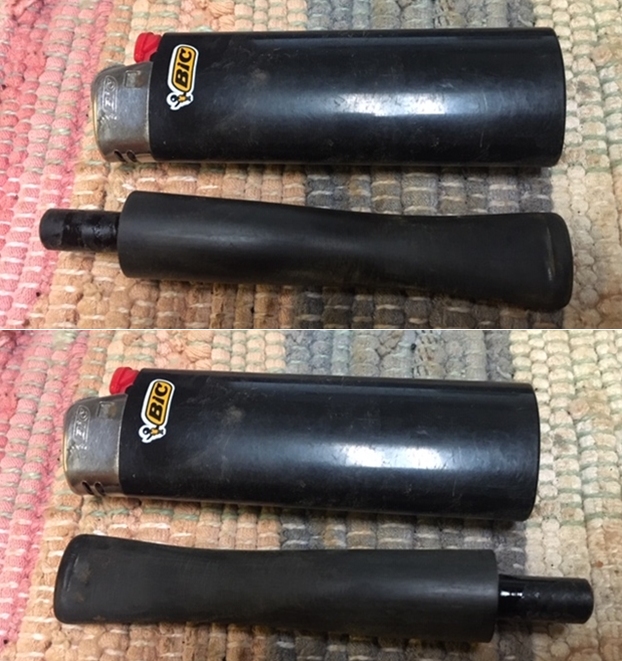 I filled in the remaining tooth marks with clear Krazy Glue and let it cure. I like the clear glue on this kind of stem as it dries clear and the black of the stem shows through making for a very good blend with the existing material.
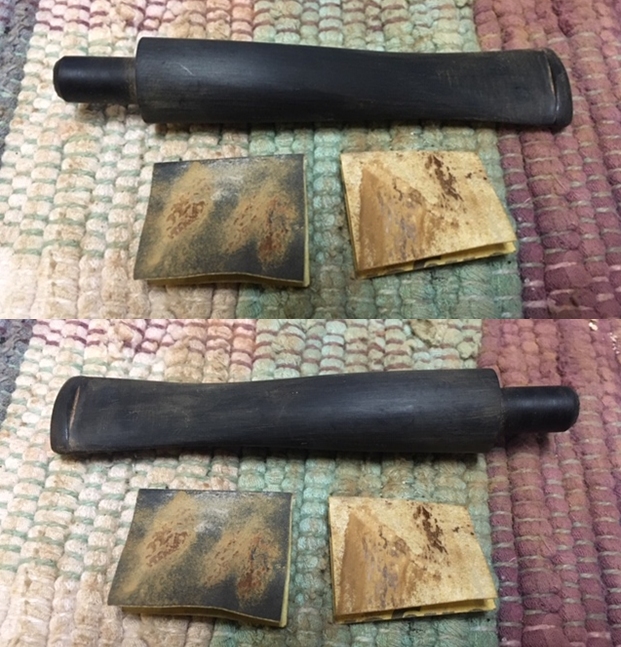
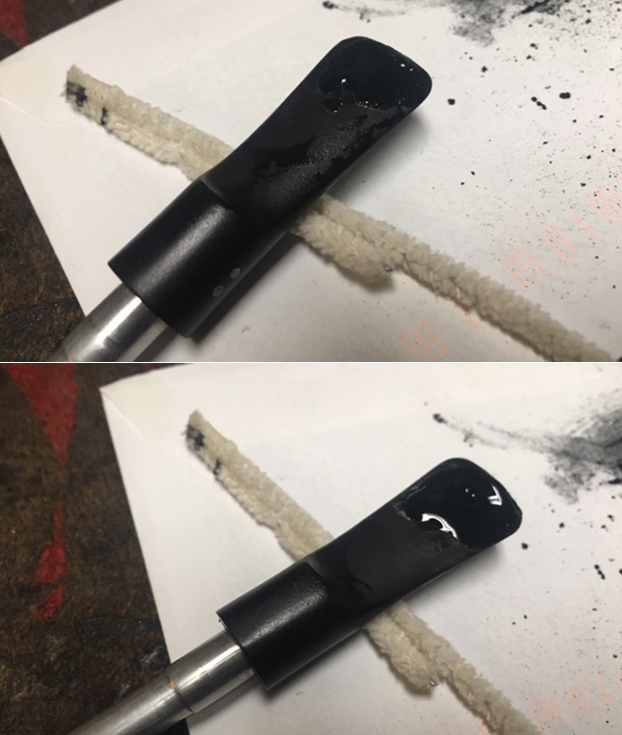
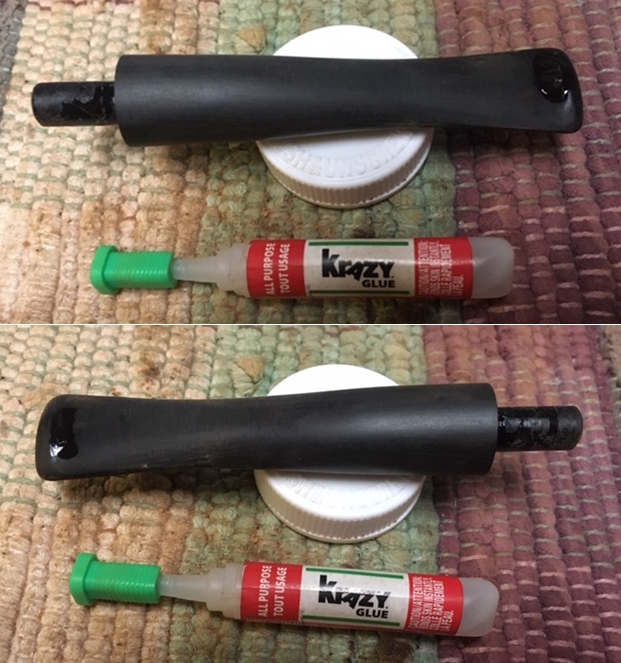 Once the repairs cured I reshaped the button edge with a needle file. I flattened out the repaired spots at the same time. The stem was beginning to take shape.
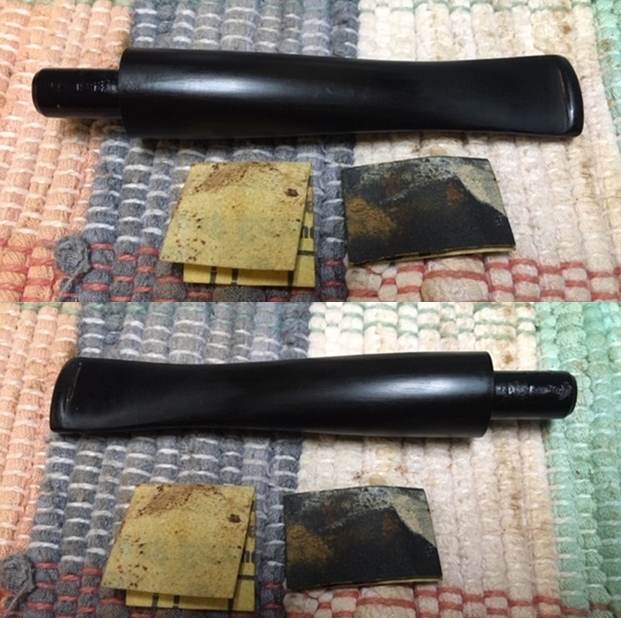
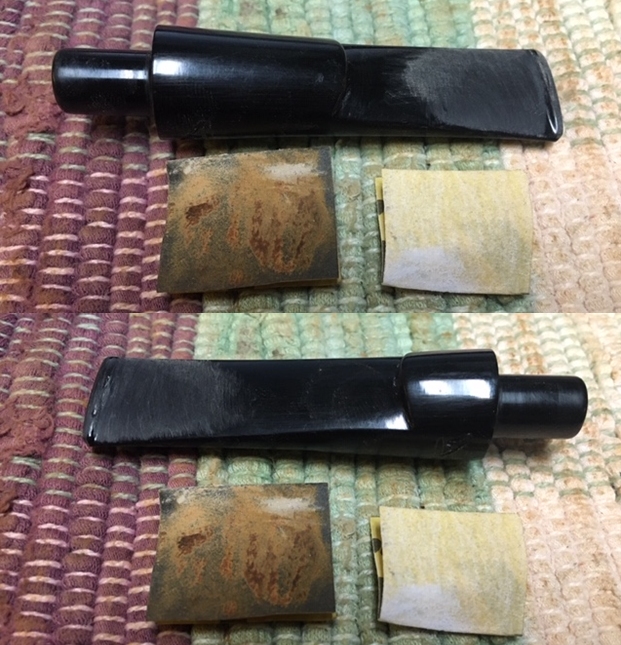
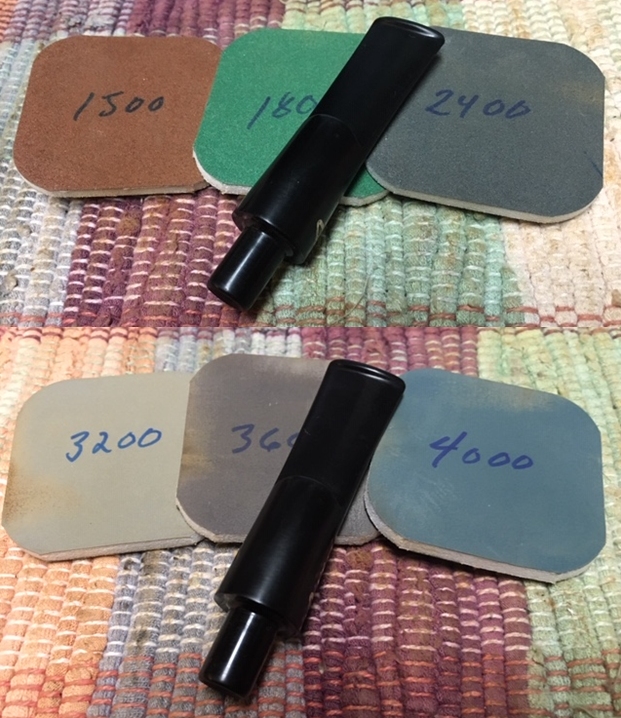
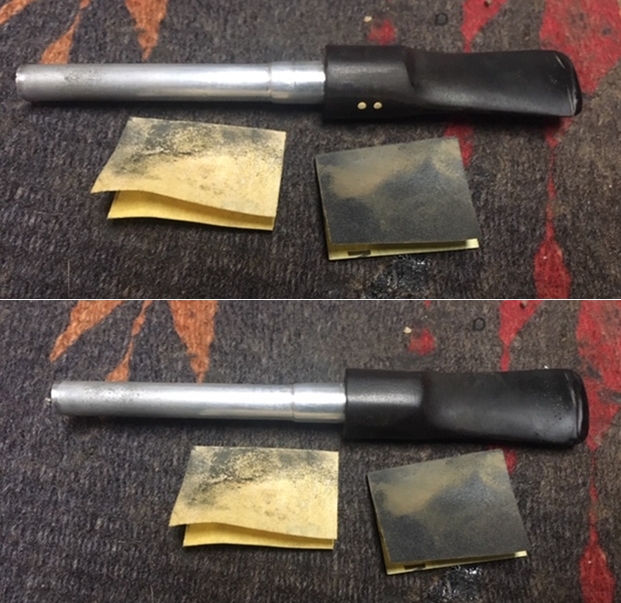
 I sanded the repaired areas on both sides of the stem with 220 grit sandpaper to blend them into the surface of the stem. I followed that by sanding them with a folded piece of 400 grit wet dry sandpaper to begin the polishing.
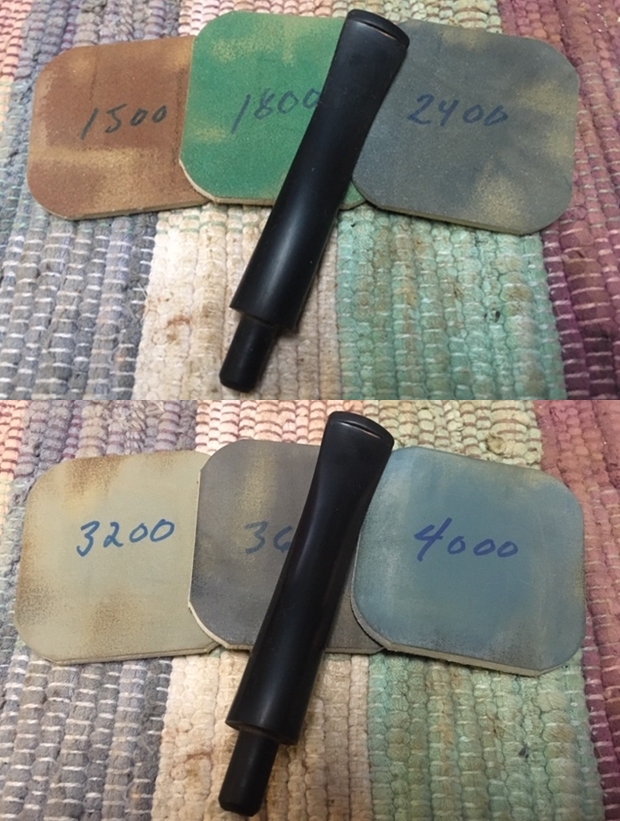
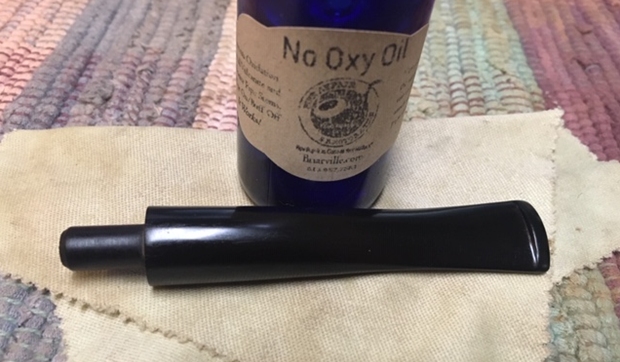
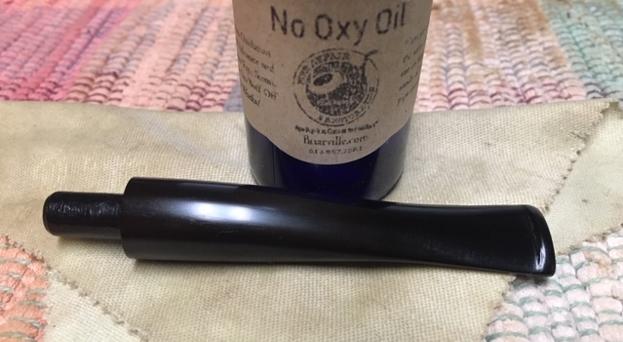
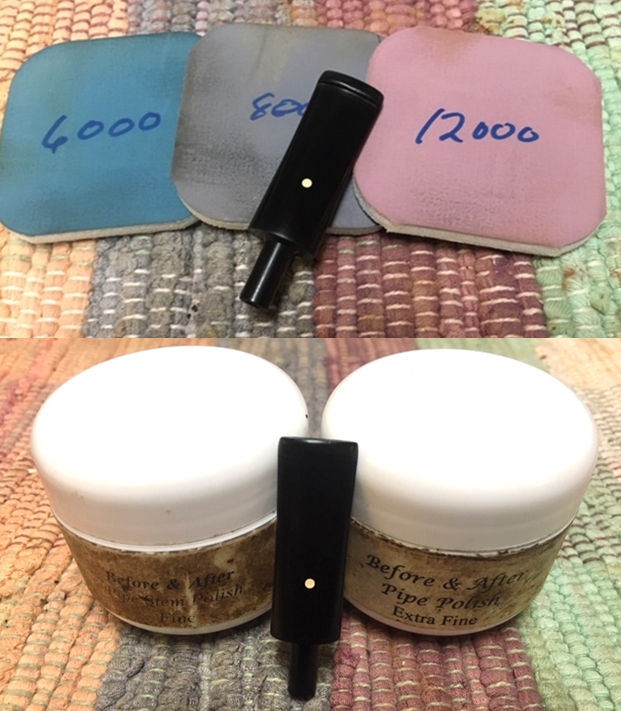
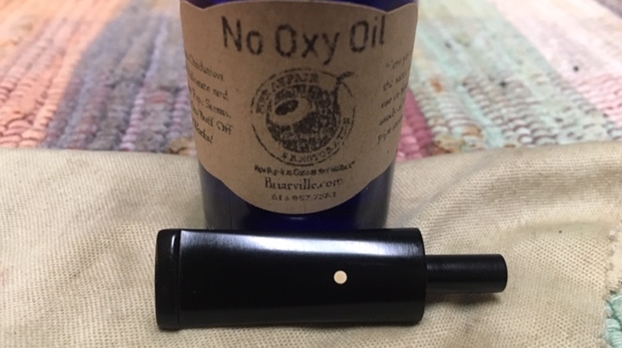
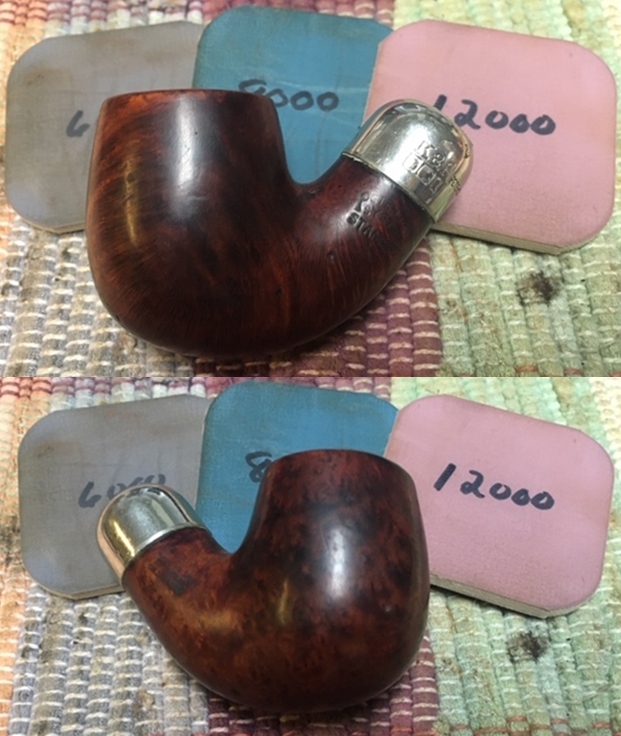
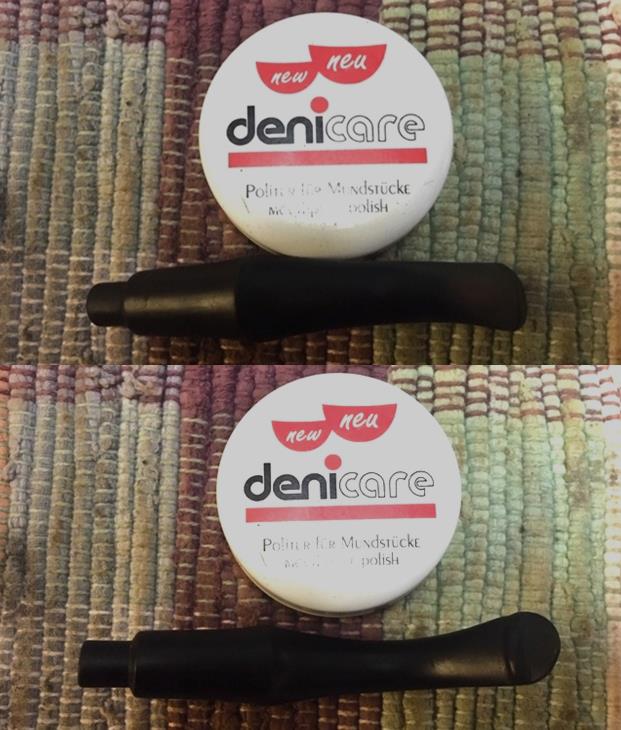
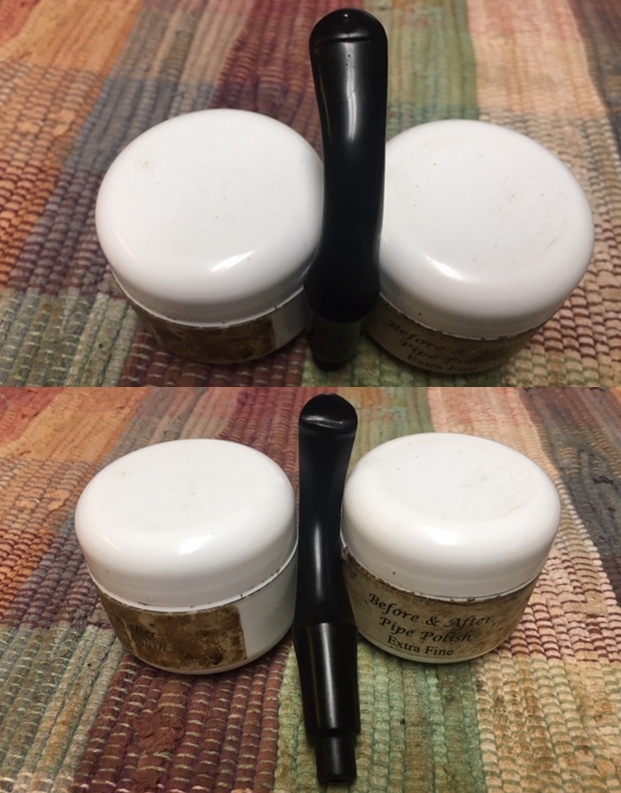
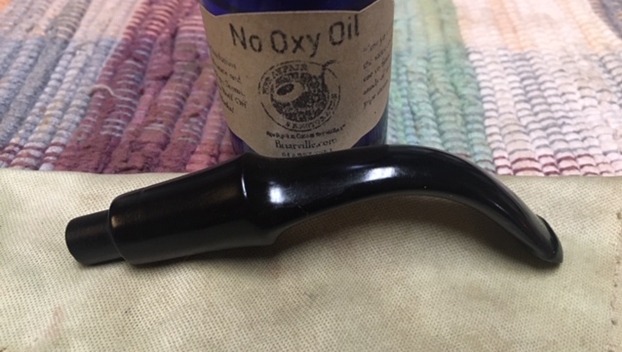
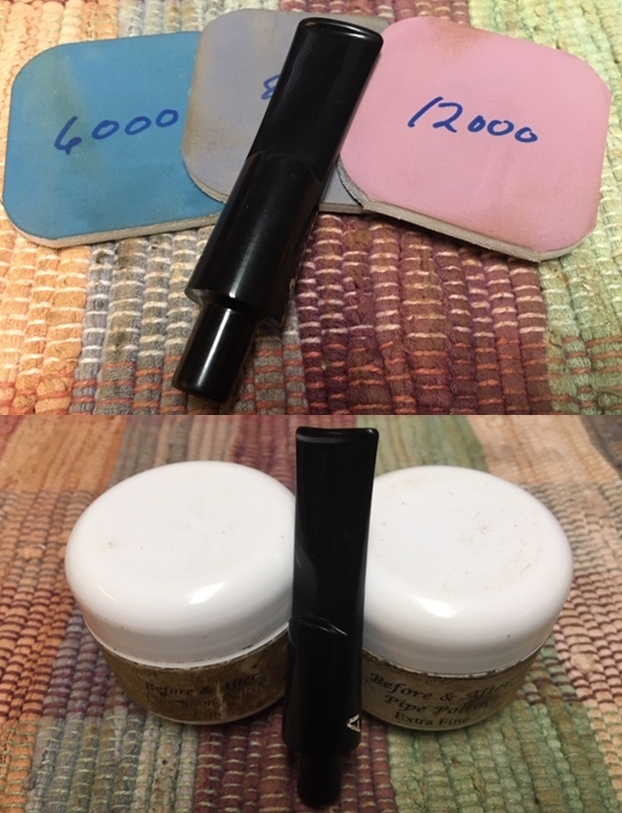
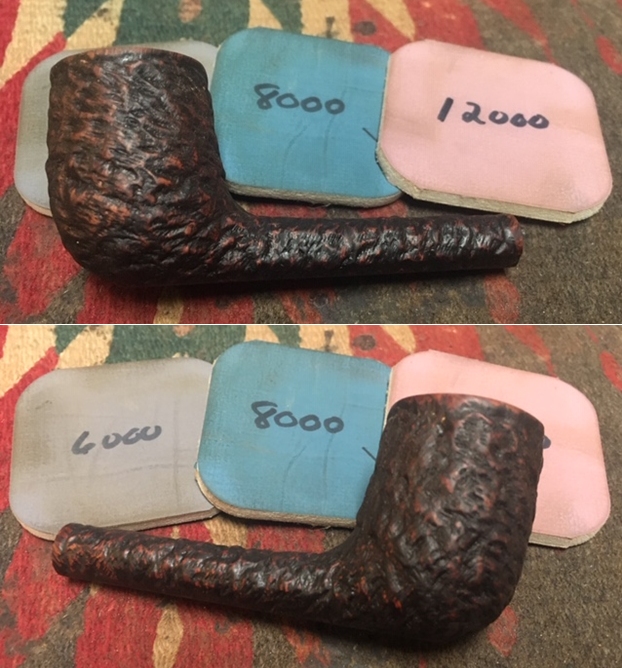
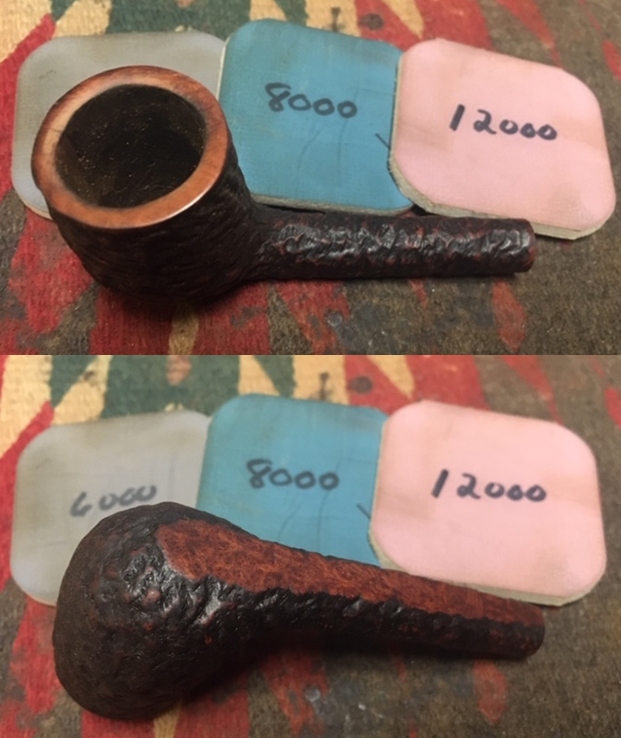
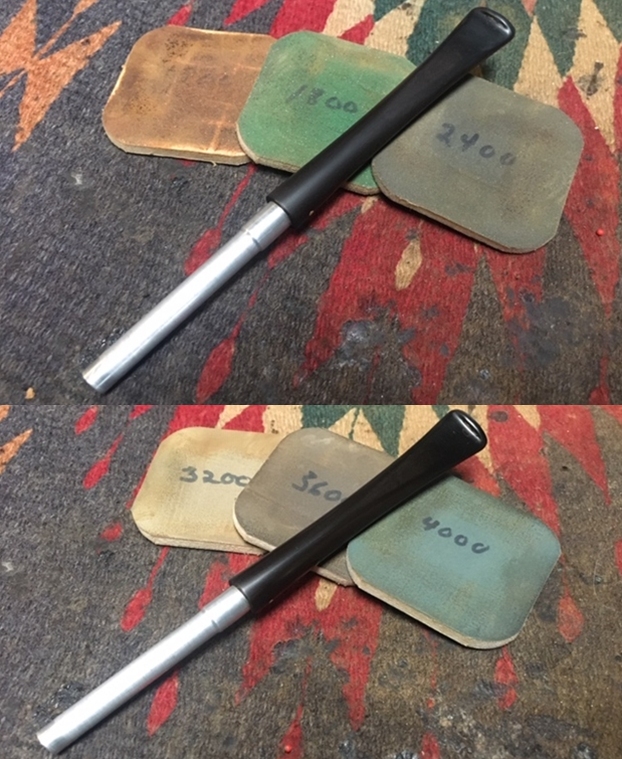
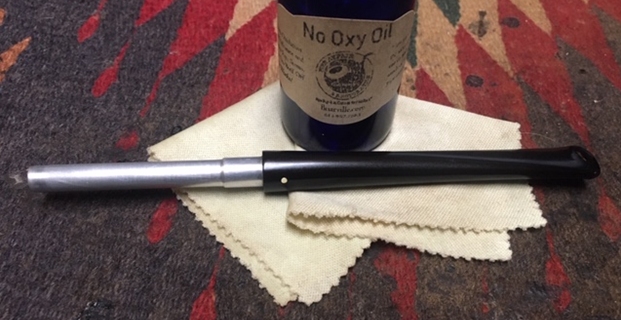
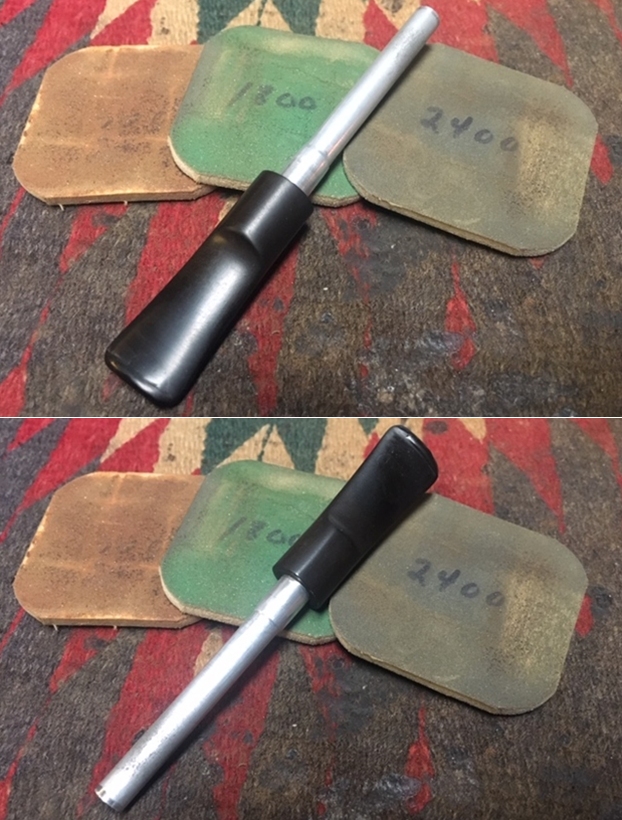
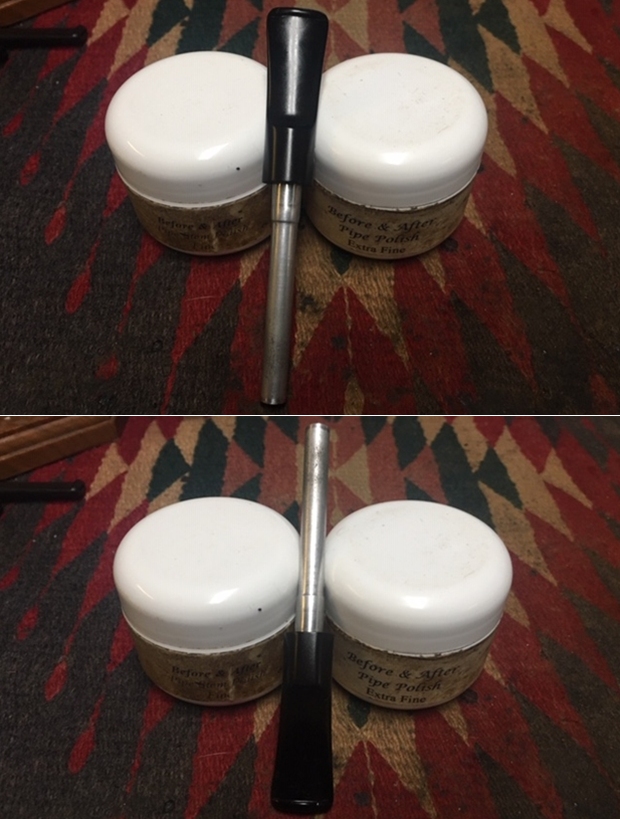
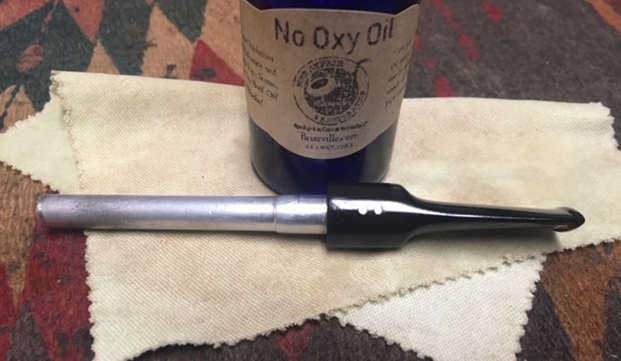
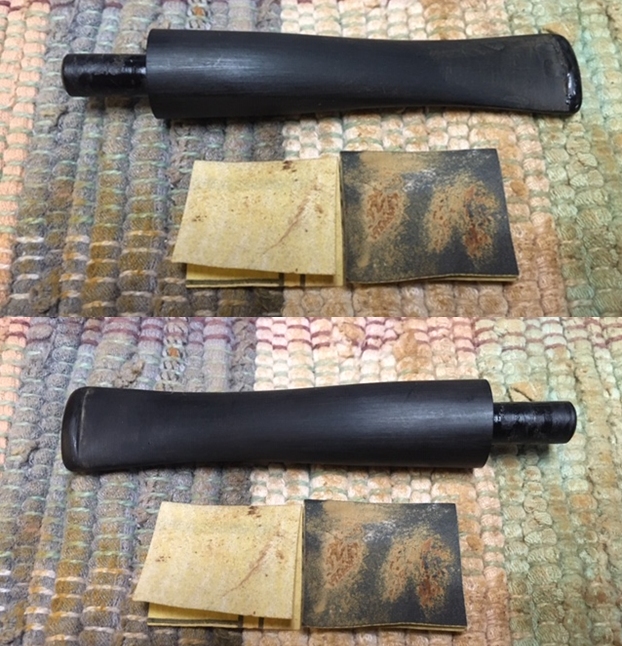 I polished the stem with micromesh sanding pads – wet sanding it with 1500-12000 grit pads. I polished it further with Before & After Pipe Stem Polish – both fine and extra fine. I wiped the stem down with Briarville’s No Oxy Oil to preserve and protect the stem.
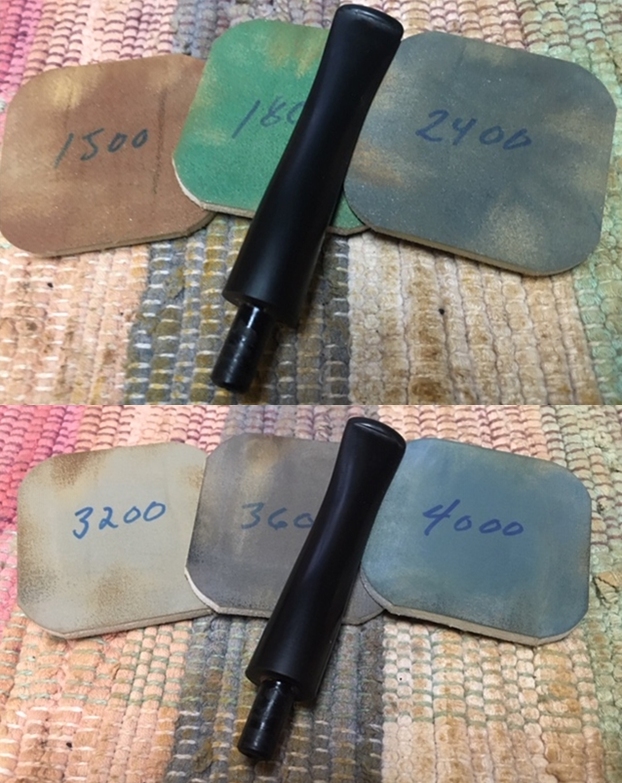
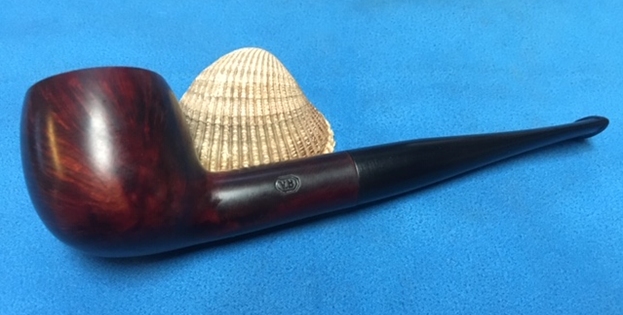
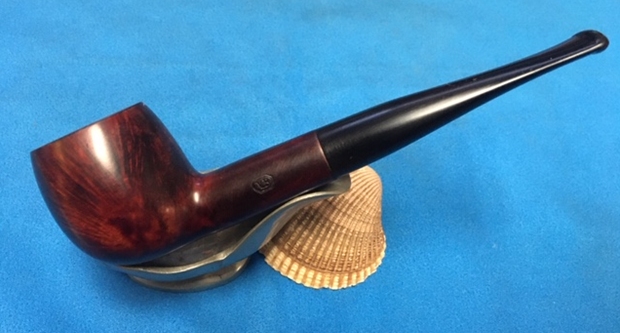
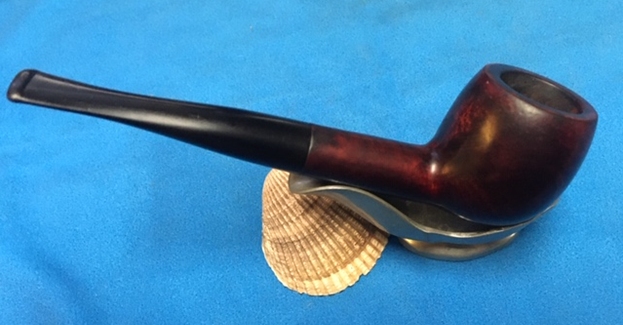
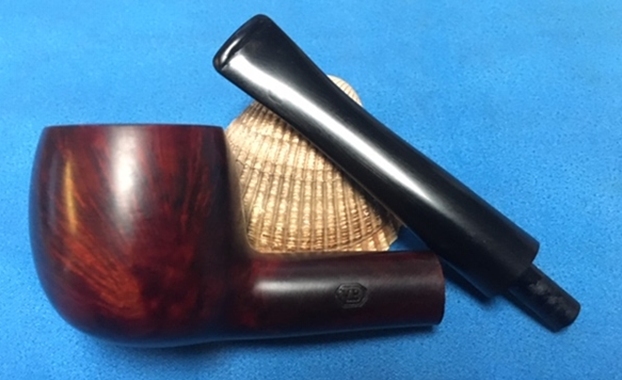
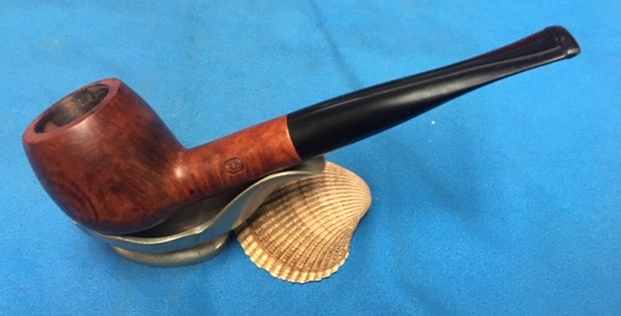
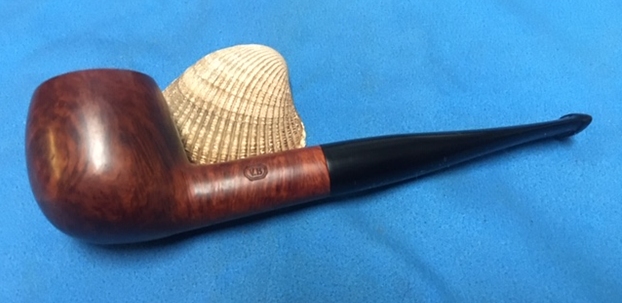
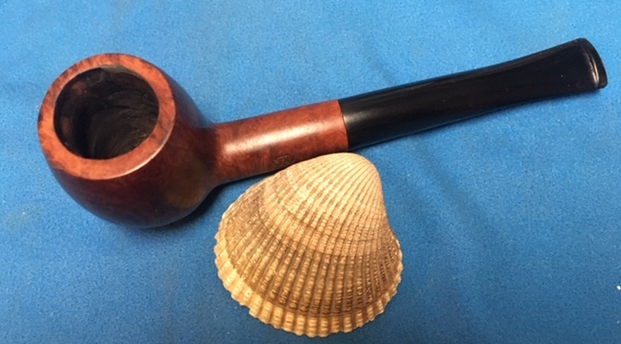
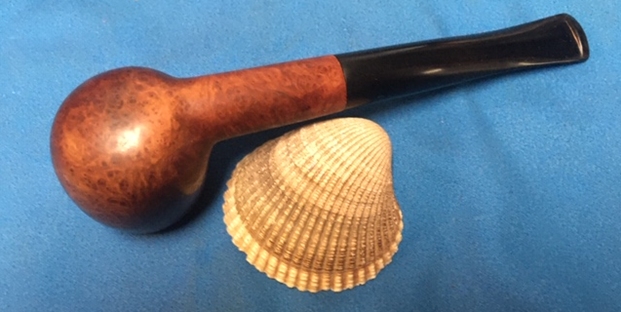
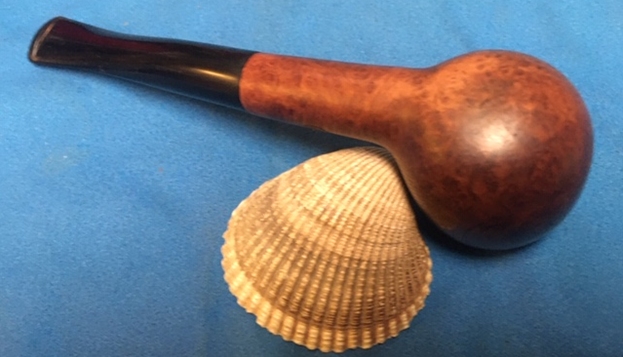
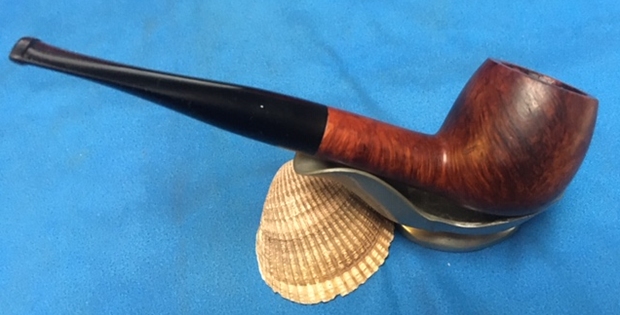
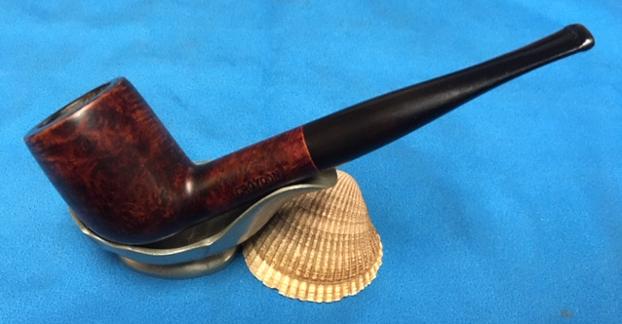
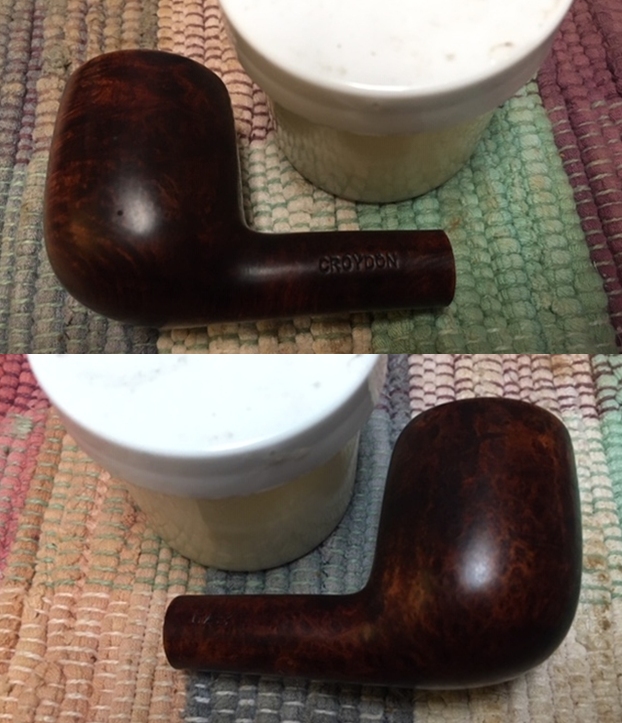
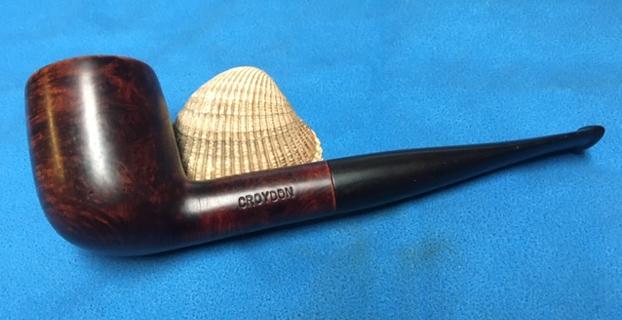
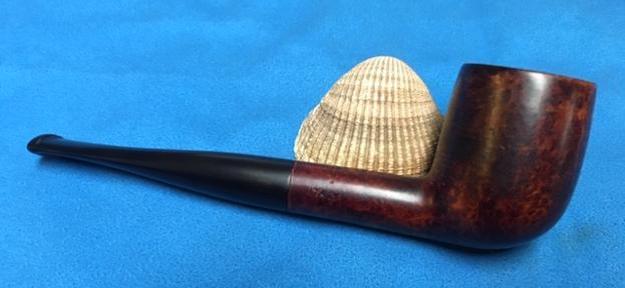
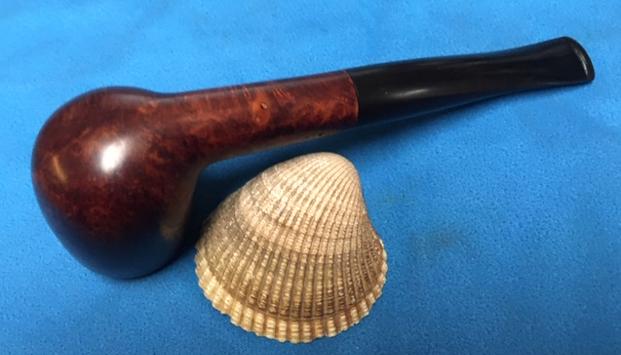
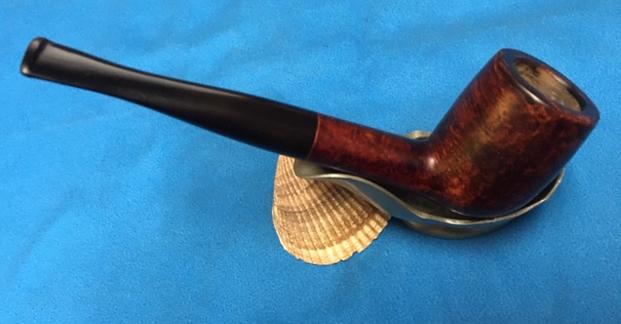
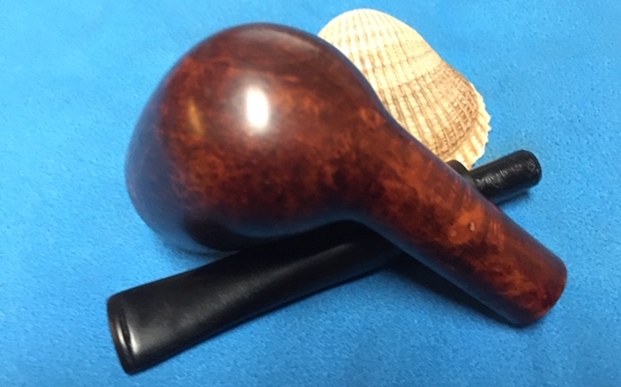
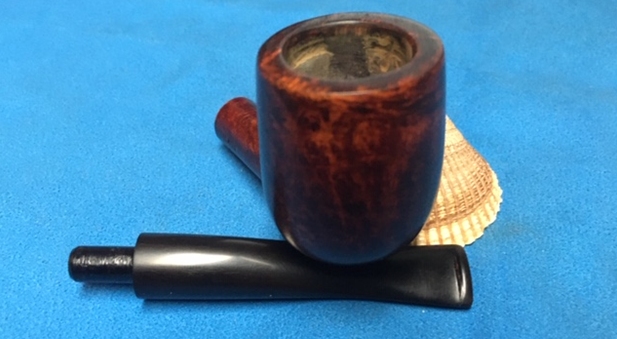
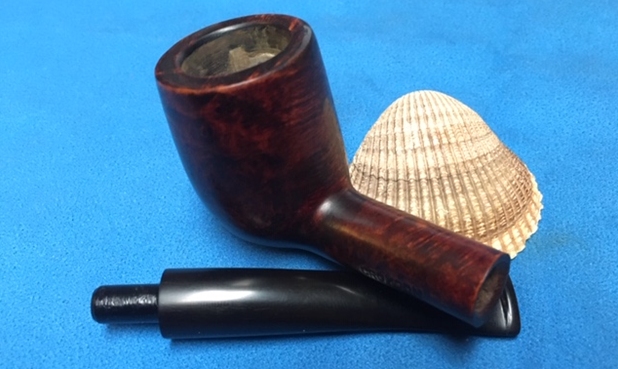
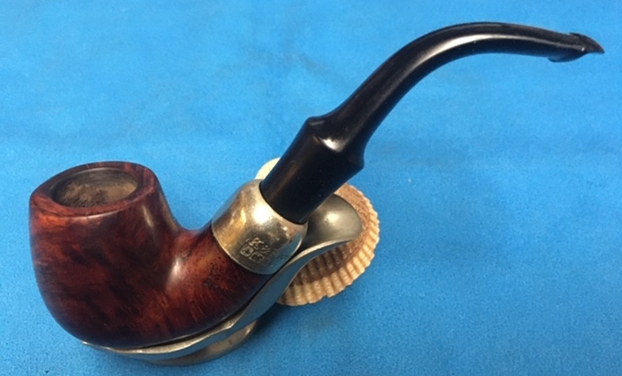
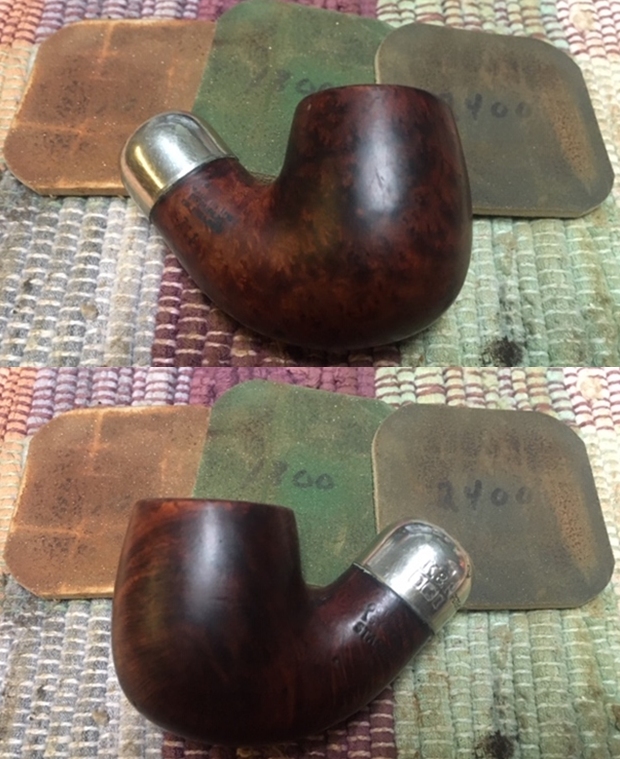
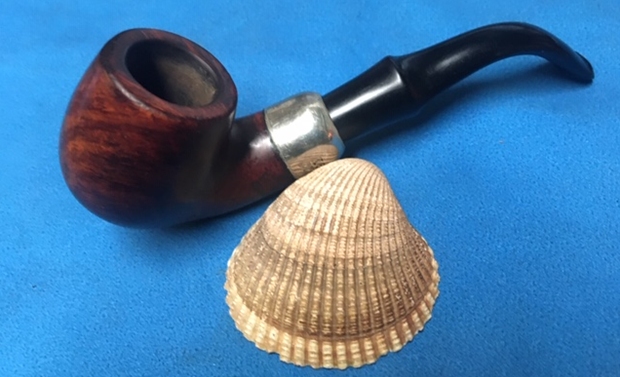
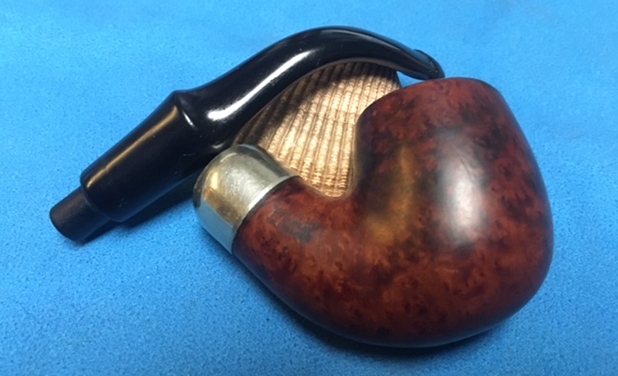
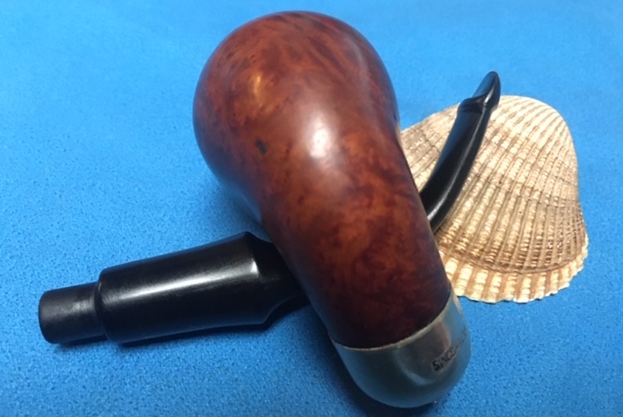
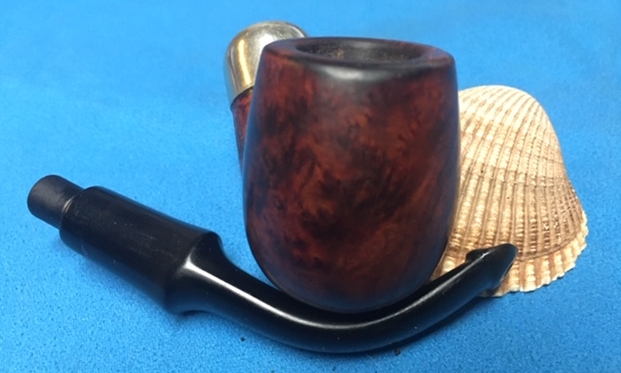
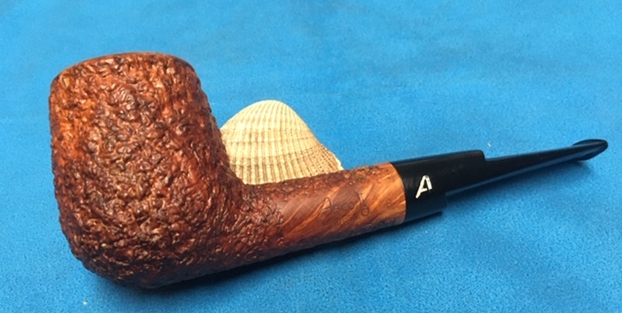
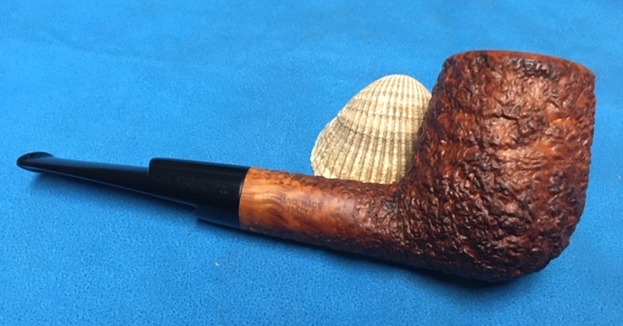
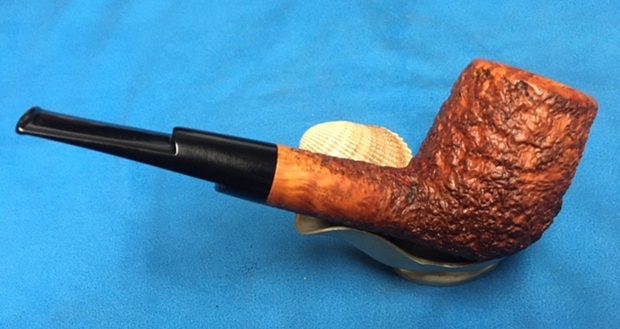
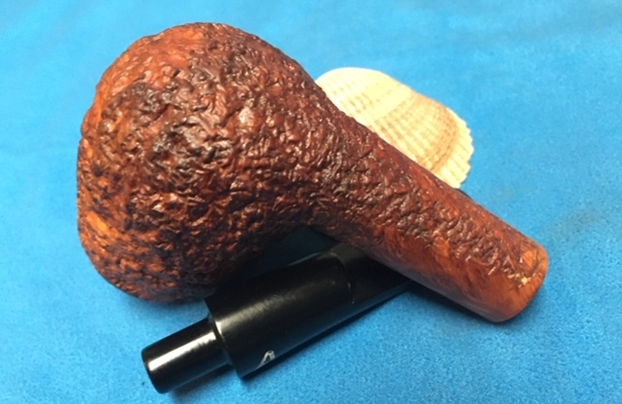
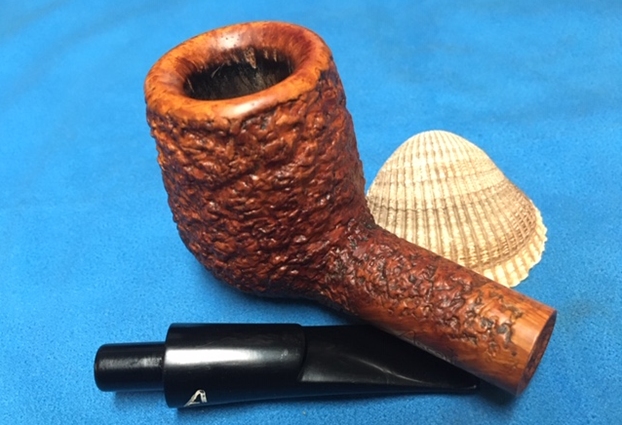
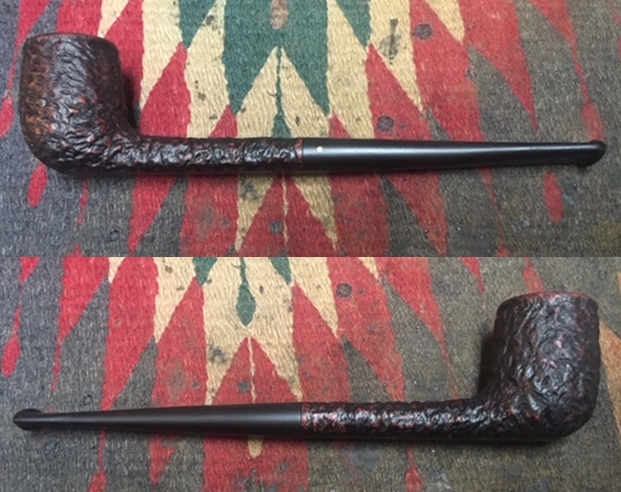
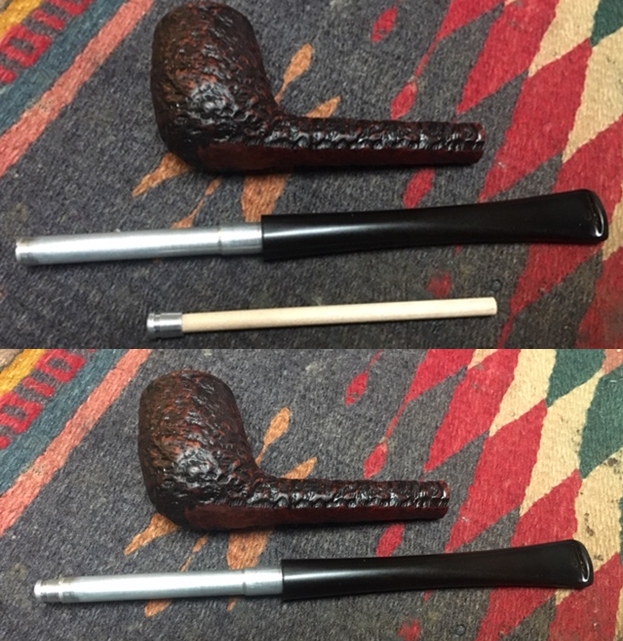
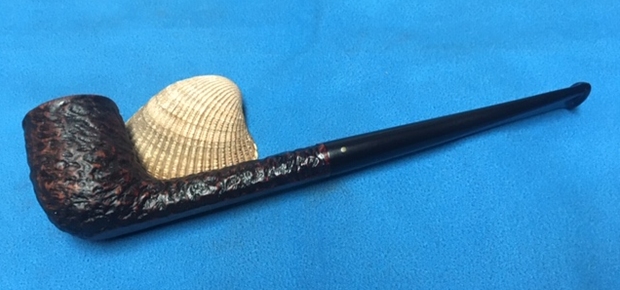
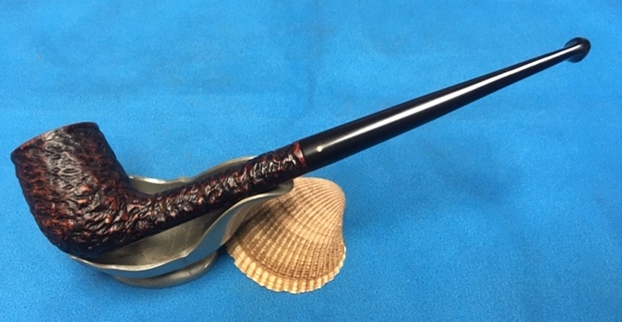
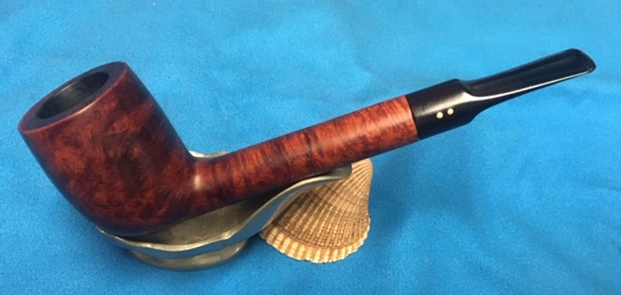
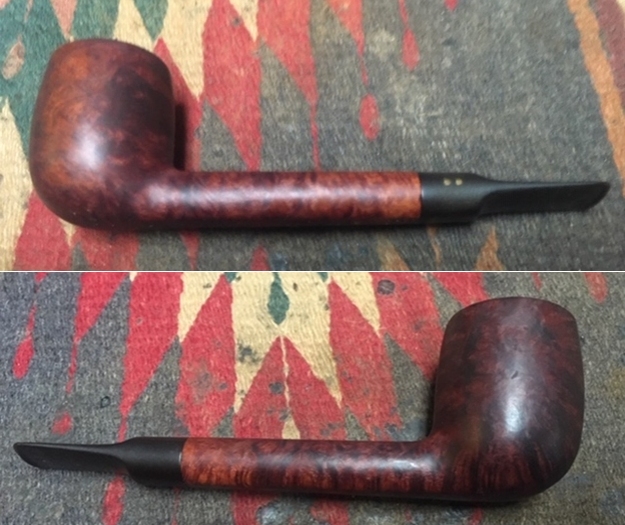
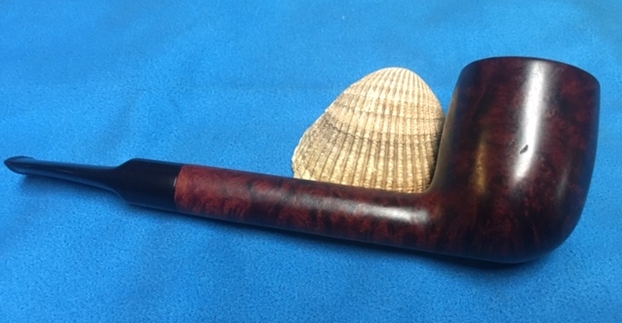
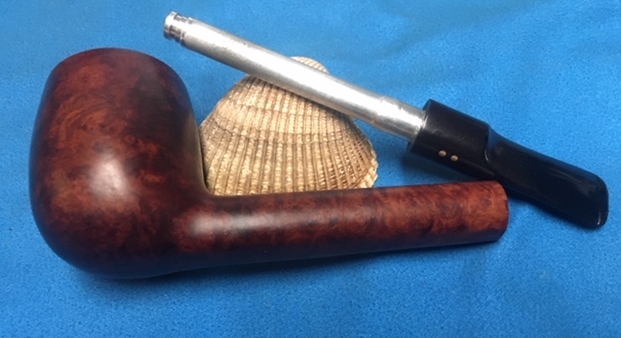
 This was another challenging pipe to work on and I did the heavy work without Jeff. I put the stem back on the bowl and polished the bowl and stem with Blue Diamond polish on the buffing wheel. I gave the bowl and the stem multiple coats of carnauba wax. I buffed the pipe with a clean buffing pad to raise the shine. I hand buffed it with a microfiber cloth to deepen the shine. The grain pops through enough to let us know it is there and my repairs to the rim of the bowl blend in really well. I am pleased with the look of the pipe. It really has exceeded my expectations for it when I first took it out of the bag it was in when dropped off. The contrast between the reddish, tan stain of the briar and the polished black vulcanite stem look very good together. The pipe feels great in my hand and I am sure that it will feel even better radiating the heat of a good smoke. It must have been a fine smoking pipe judging from the condition it was when I received it from the pipeman who dropped it off. Have a look at it with the photos below. The dimensions are Length: 5 ¾ inches, Height: 1 ¾ inches, Outside diameter of the bowl: 1 ¼ inches, Chamber diameter: ¾ of an inch. I am looking forward to what the old clergyman thinks of his second “new” pipe. I think he will enjoy it for many years to come and perhaps it will pass to the next pipeman who will hold it in trust. Thanks to each of you who are reading this blog.