Blog by Steve Laug
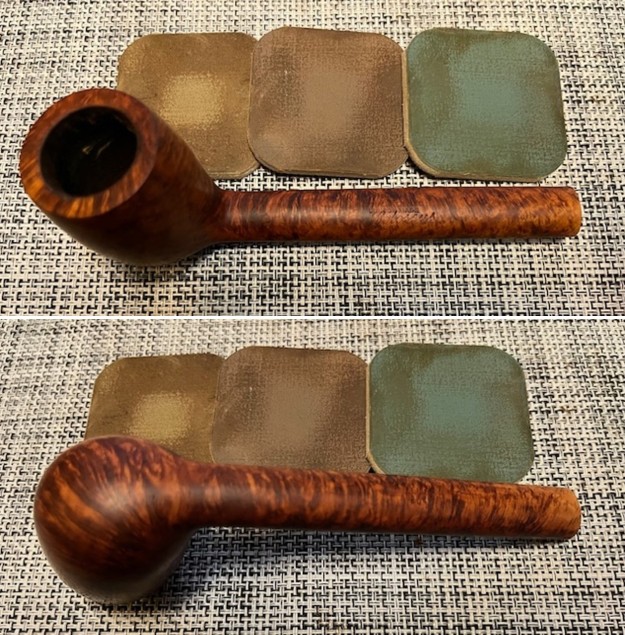
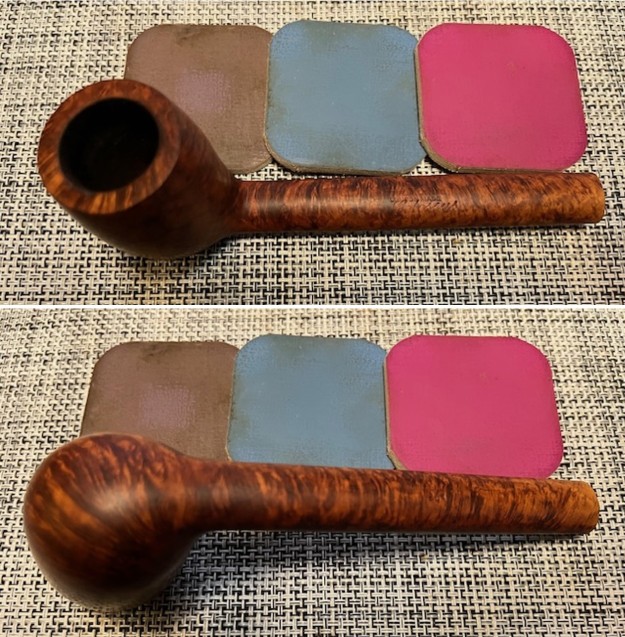
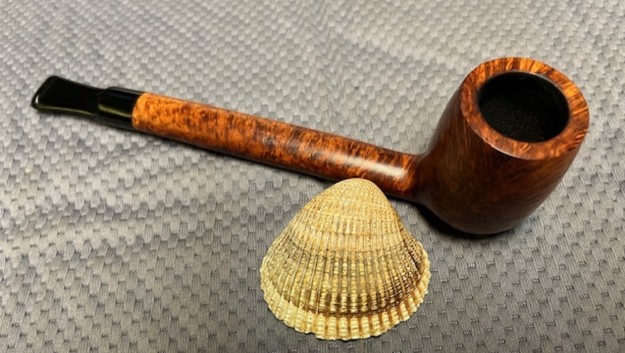
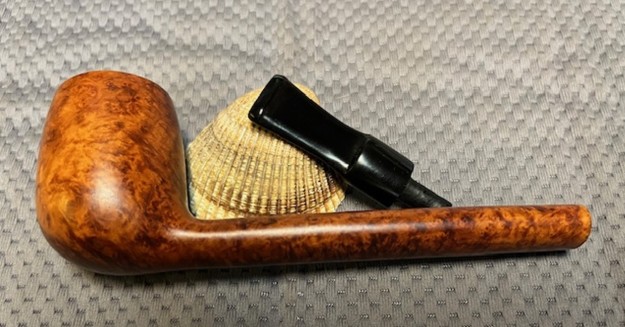
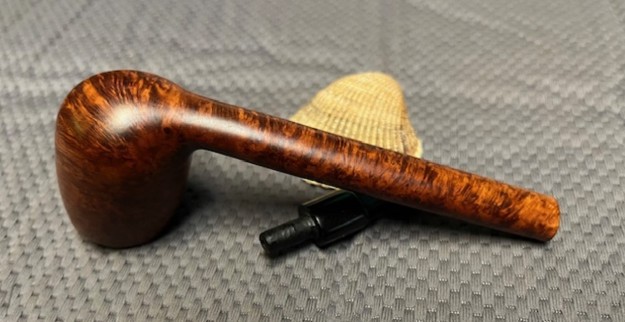
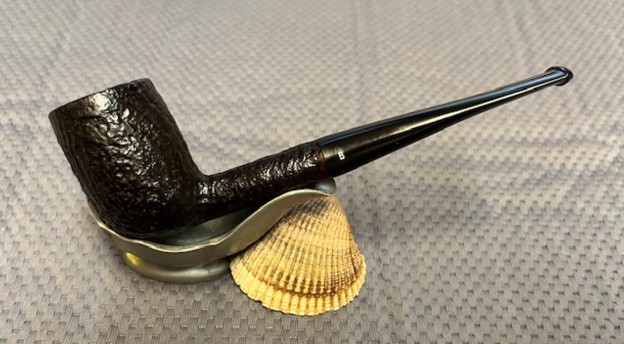
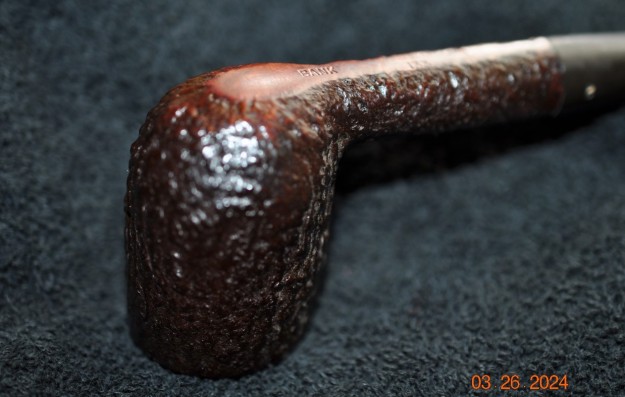
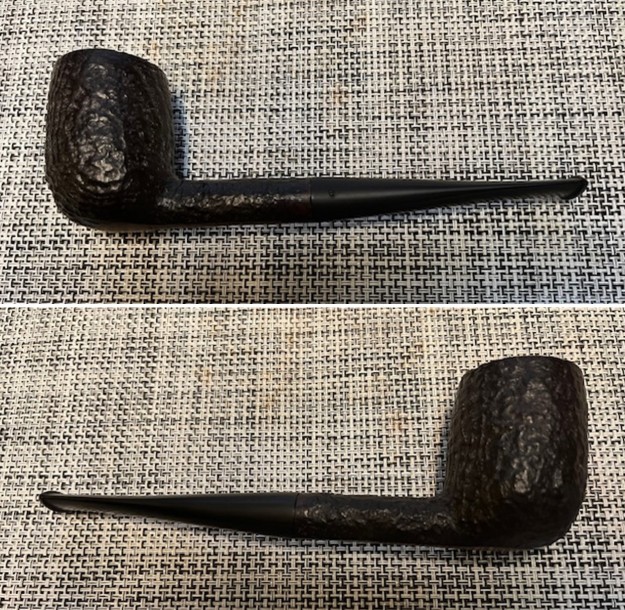
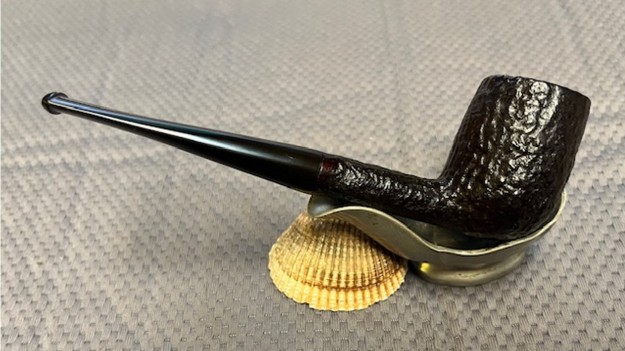
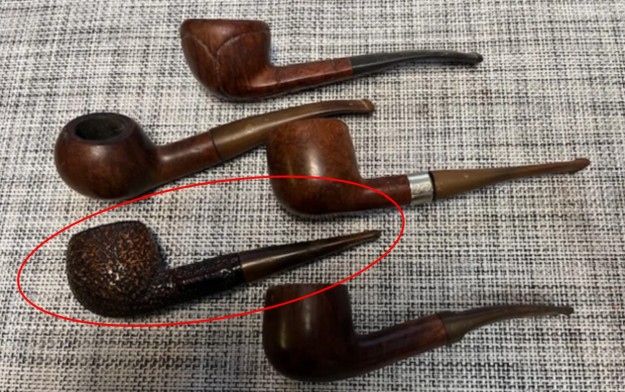
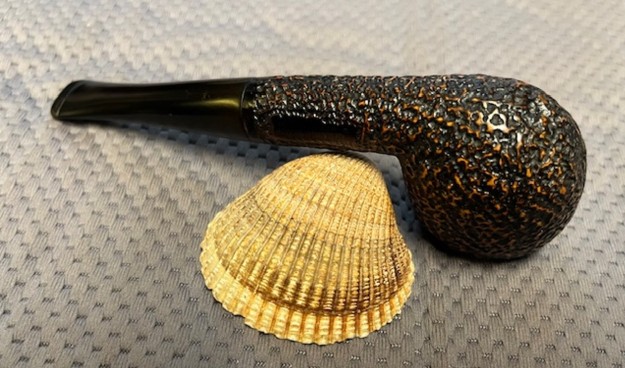
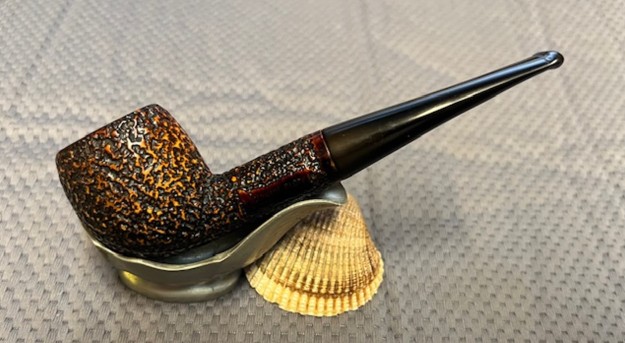
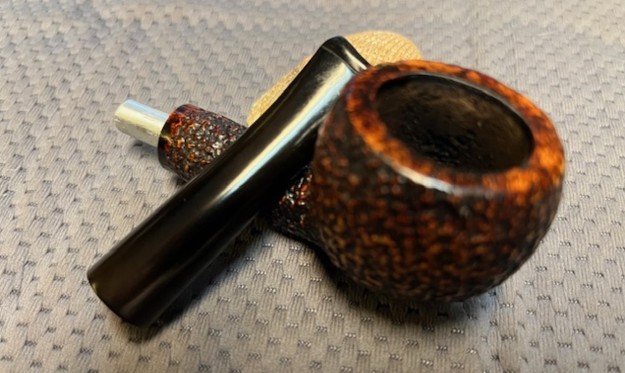
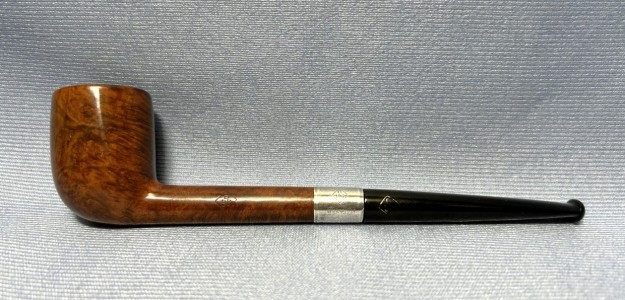
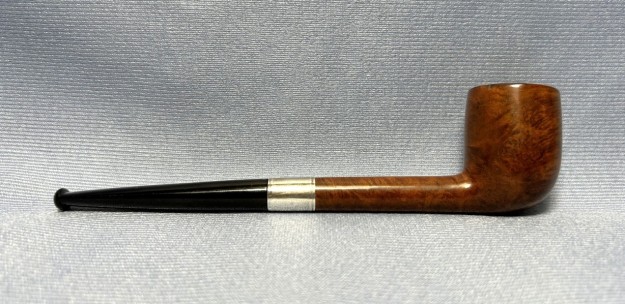
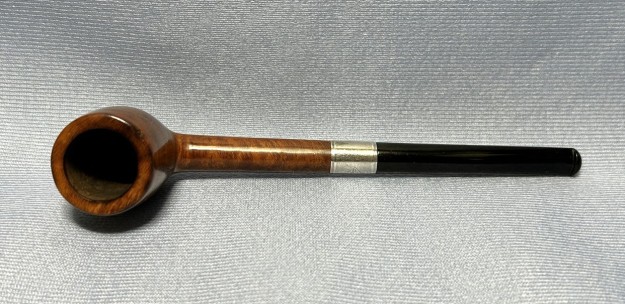
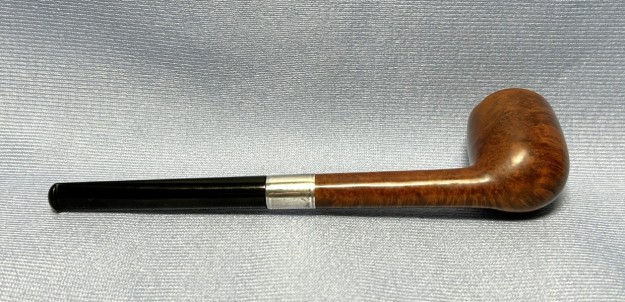
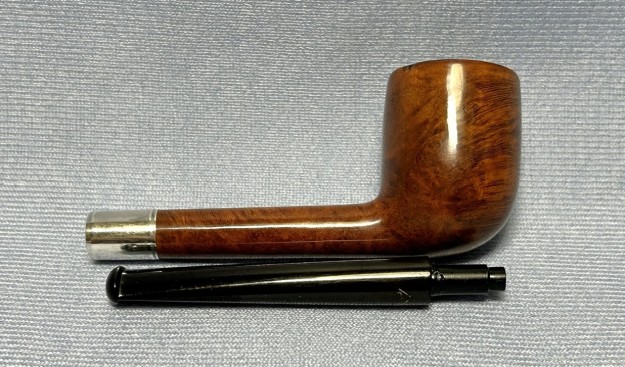
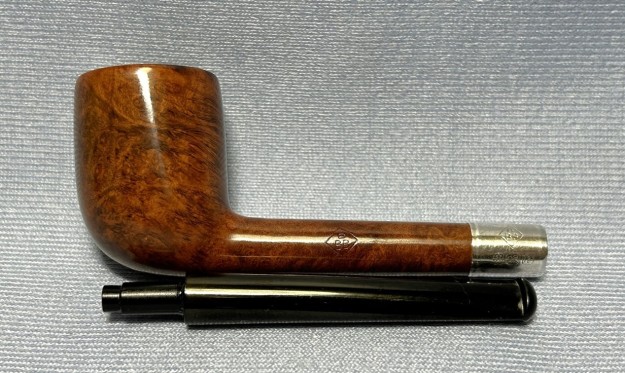
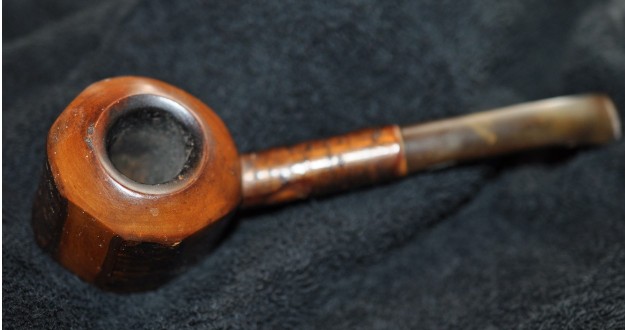
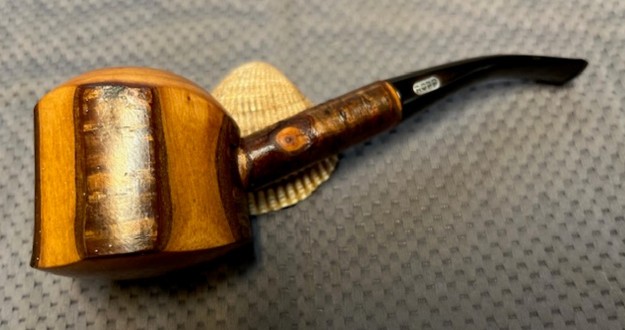
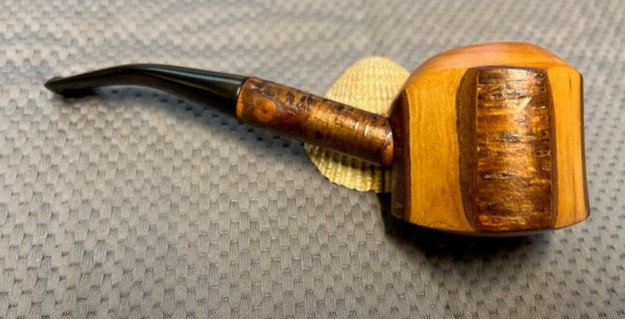
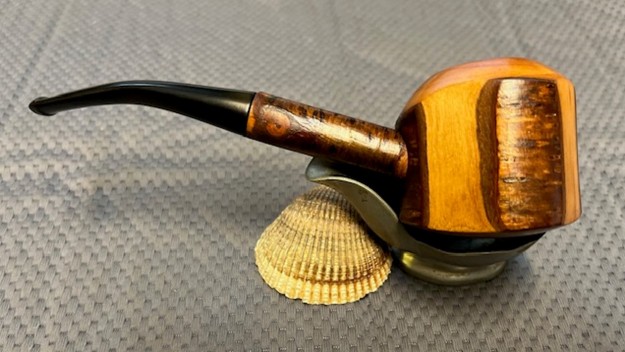
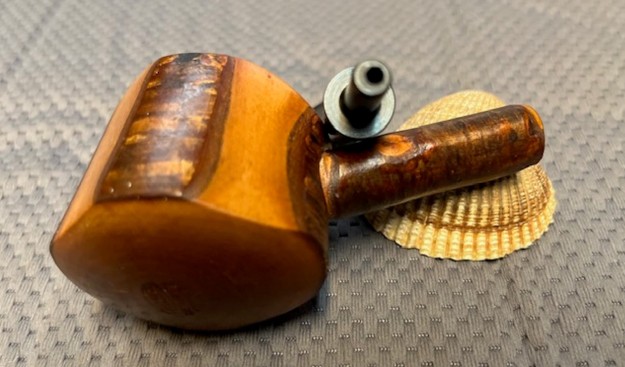
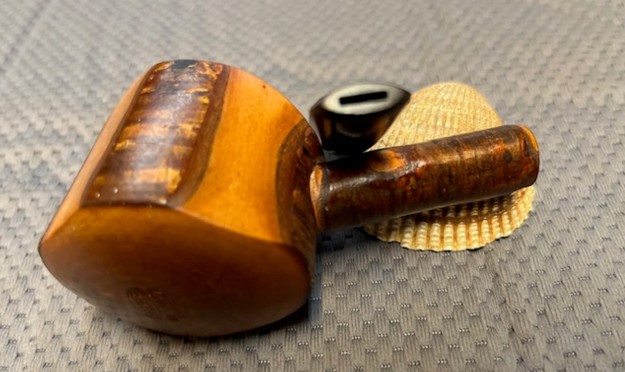
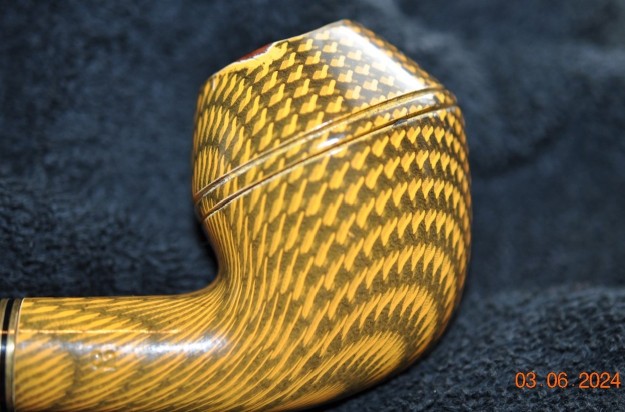
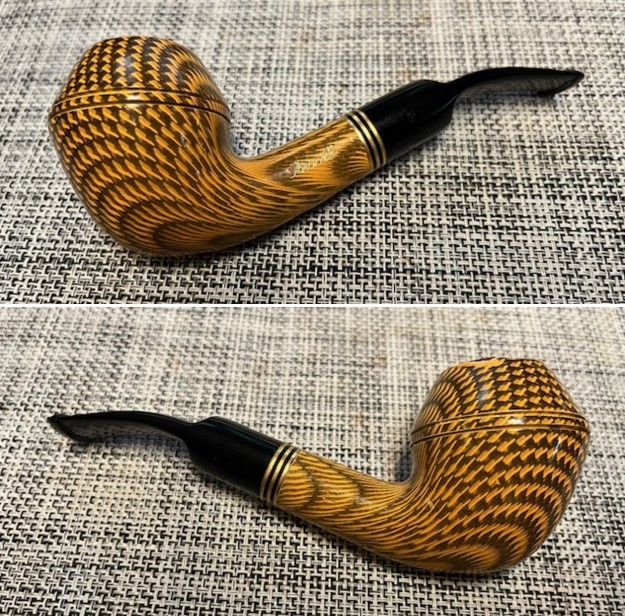
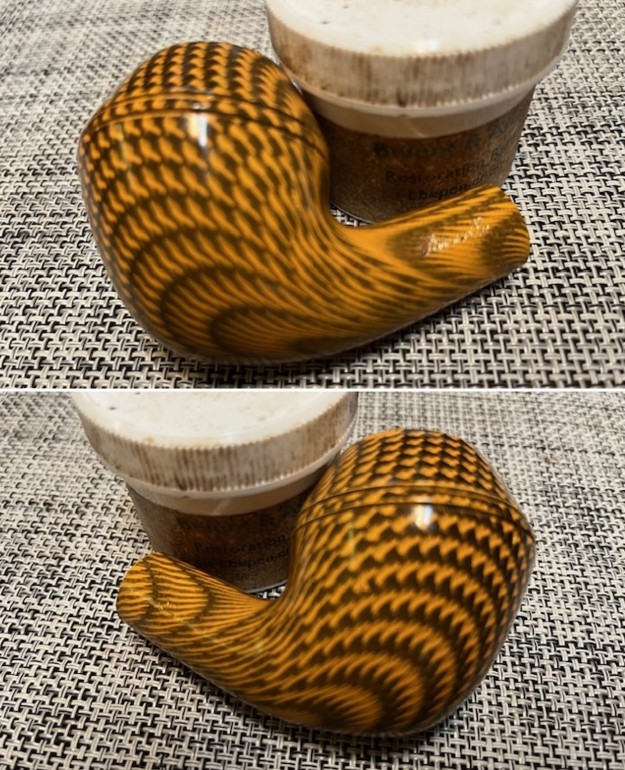
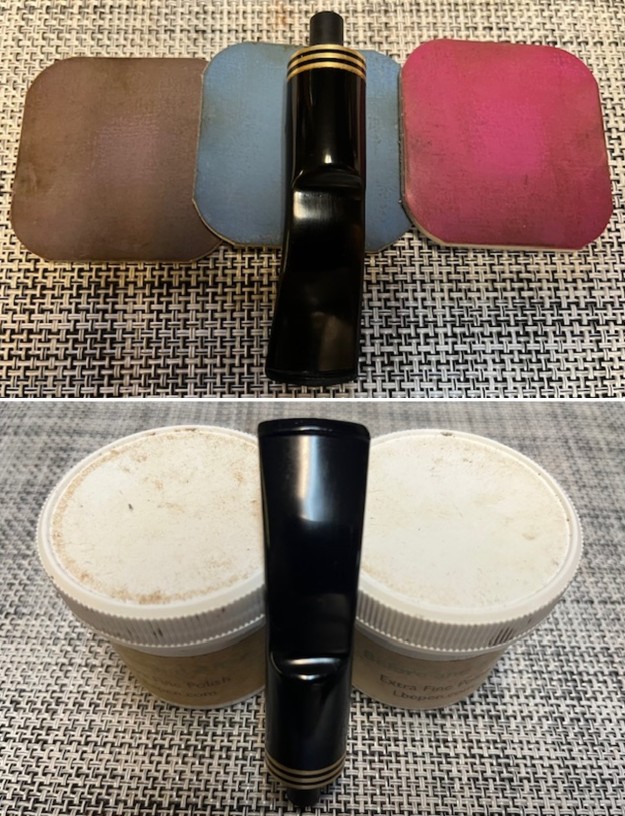
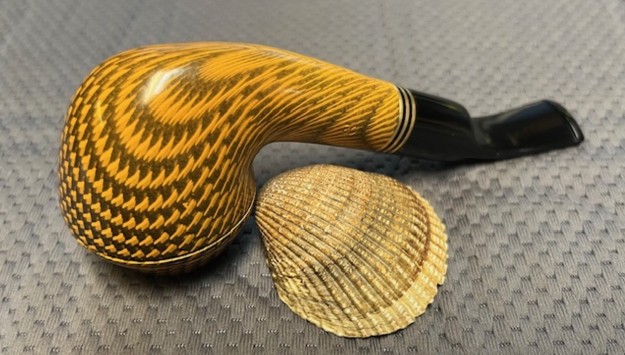
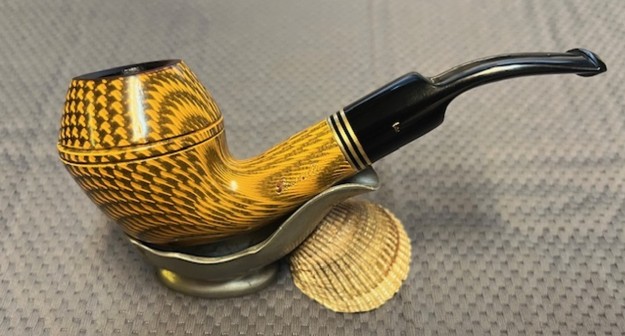
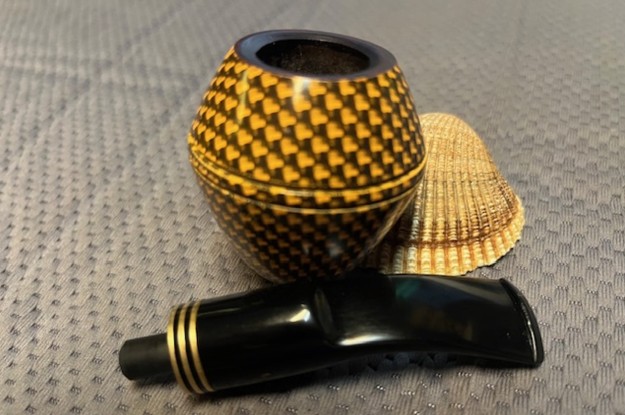
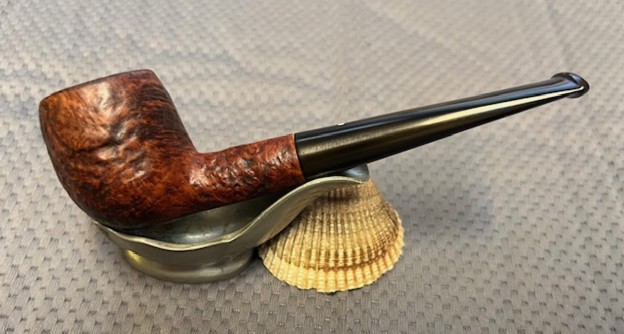
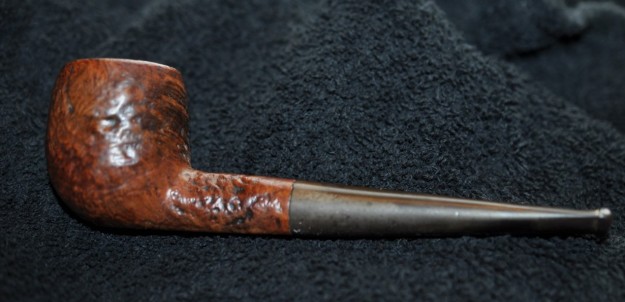
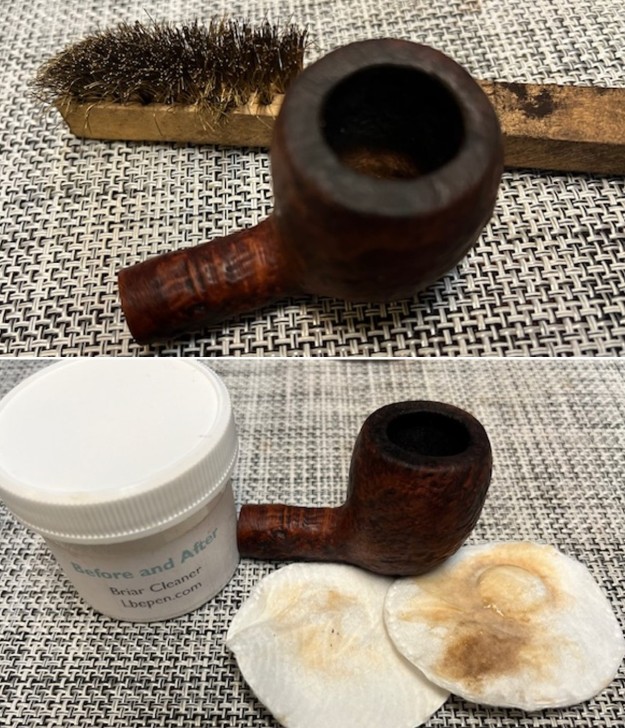
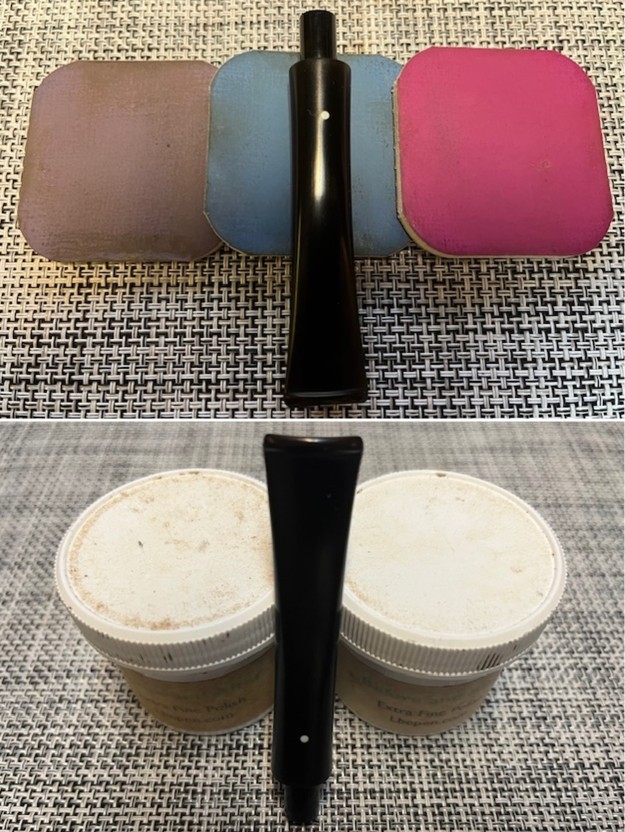
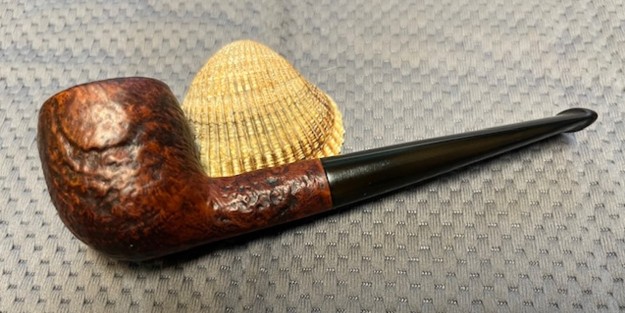
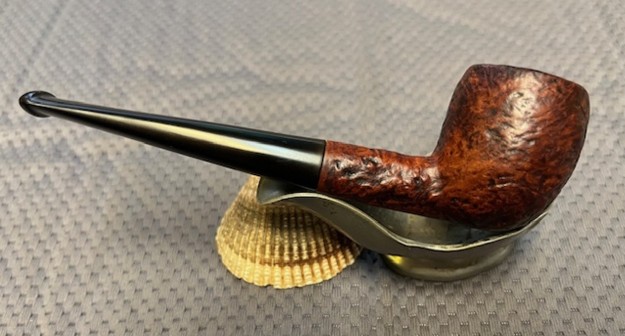
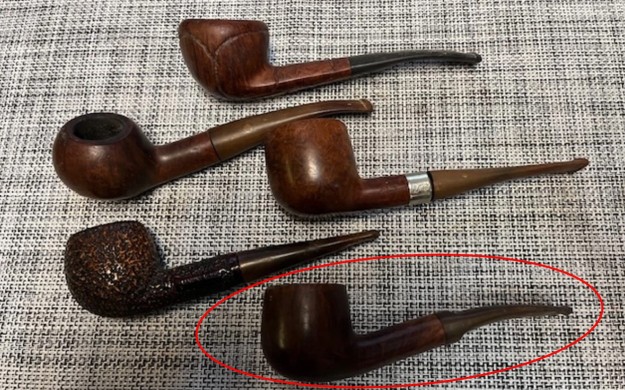
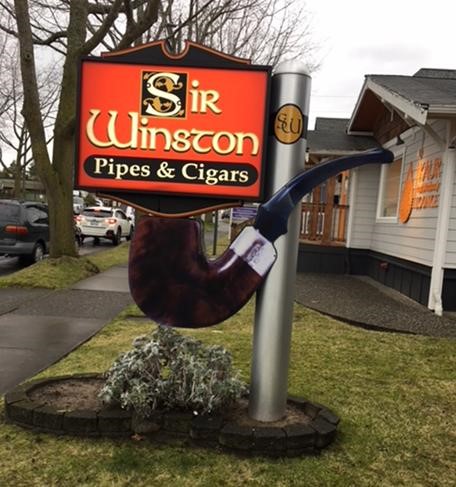
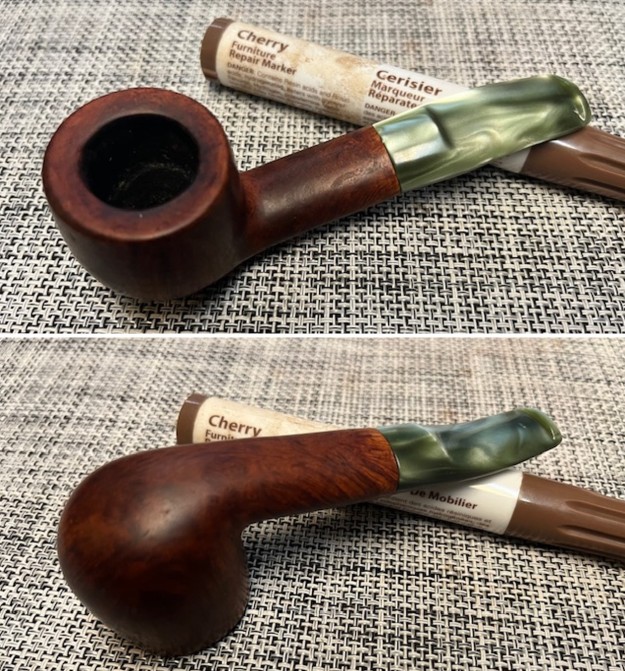
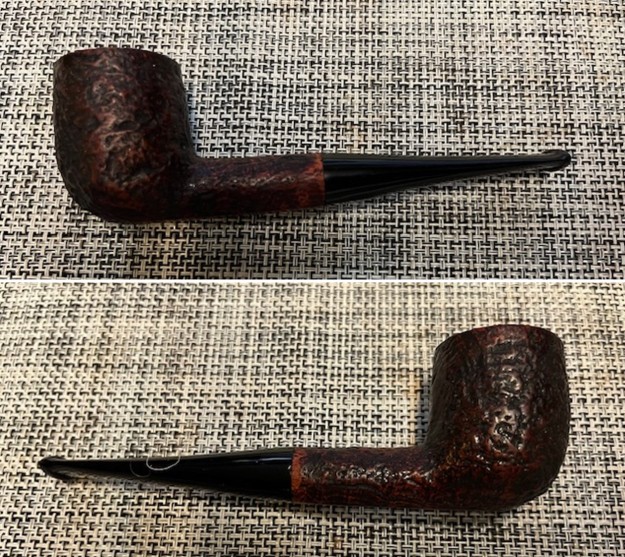
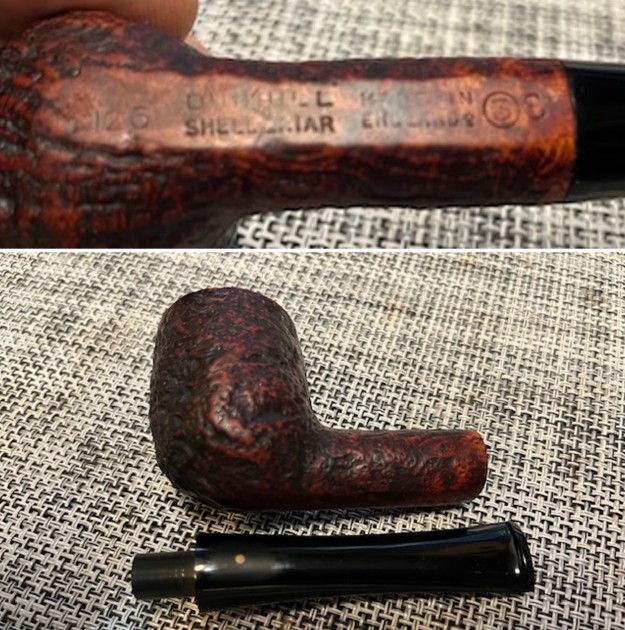
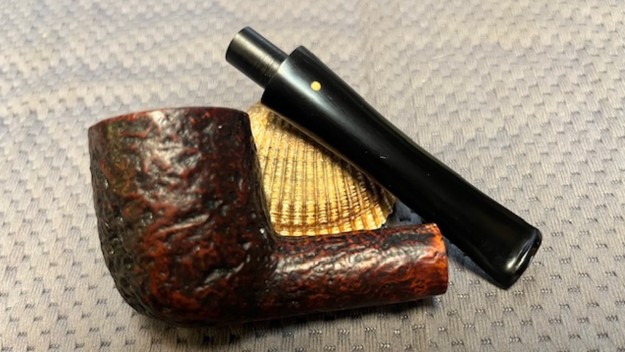
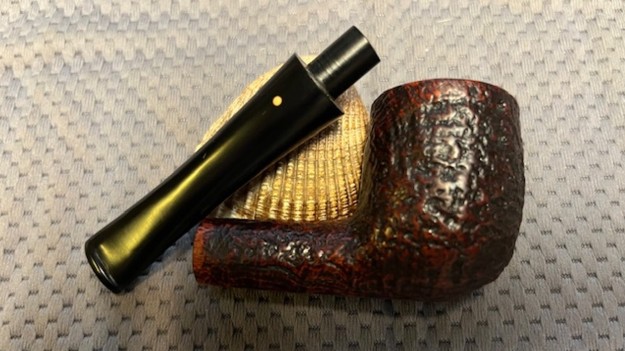
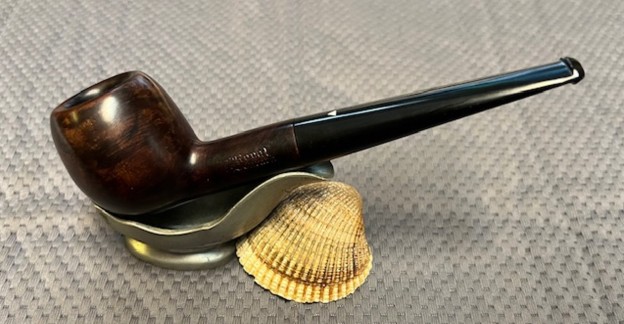
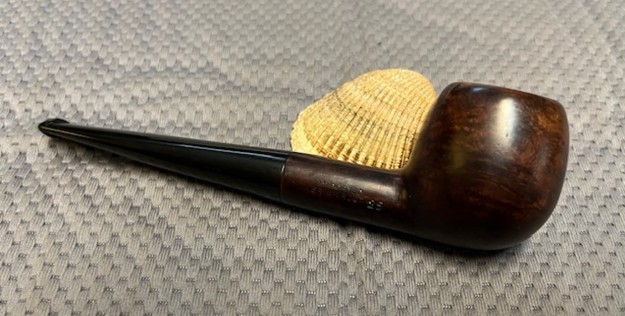
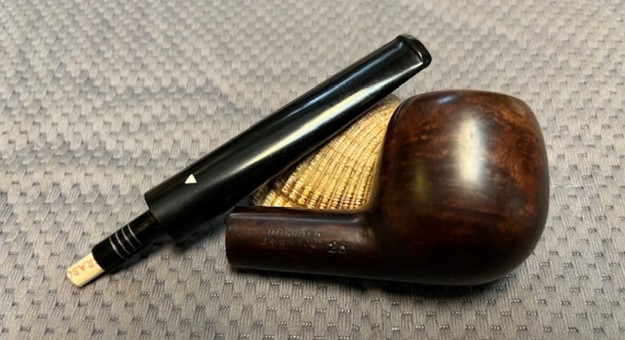
On our recent Victoria Day Weekend (5/18/24) my family met Jeff and his wife in Bellingham for breakfast, a visit and a bit of pipe hunting. We visited three of my favourite antique malls and worked out way through the aisles of wares for sale. Jeff and I tend to divide and conquer, each walking through the aisles of the shop looking for pipes. The rest of the family moves through looking for their own treasures. We left the second shop and using Google maps worked our way to a new shop that I had not visited before. We walked into a nicely laid out shop and I asked the clerk if there were any pipes available. He walked us back to a display case and took out a circular pipe rack. There in the rack were two pipes remaining in it. The first was a square shank Irwin’s (GBD made) London Made London England 9487 shape and the second was an older WDC Royal Demuth Imported Briar Root 25. Both were great and were added to the hunt bag. Here is the link to the blog on the hunt and a photo of the pipes we added (https://rebornpipes.com/tag/bellingham-pipe-hunt/).  I decided to take a break from the pipes in my queue of pipes to work on and deal with the Royal Demuth 25 Apple. It is the bottom pipe in the two photos above. It was an interesting shape that has some great grain under the grime on the bowl and shank. It is stamped on the left side of the shank and reads WDC in a triangle [followed by] Royal [over] Demuth. On the right side it is stamped Imported Briar [over] Briar Root [followed by] the shape number 25. On the underside of the shank it is stamped FILTER PAT’D [over] 1934. The stem has the WDC white triangle on the left side of the taper. The stem was an older style vulcanite with a narrow taper from shank to button. It was lightly oxidized and has some tooth marks on the top and underside of the stem near the button. The bowl had a thick cake in it and some bits and bobs of tobacco stuck to the walls. There was a thick lava coat on the rim top and edges. The finish had been varnished sometime in its life and it was peeling and there was a lot tars ground into the surface of the bowl. I took some photos of the pipe before I started working on it.
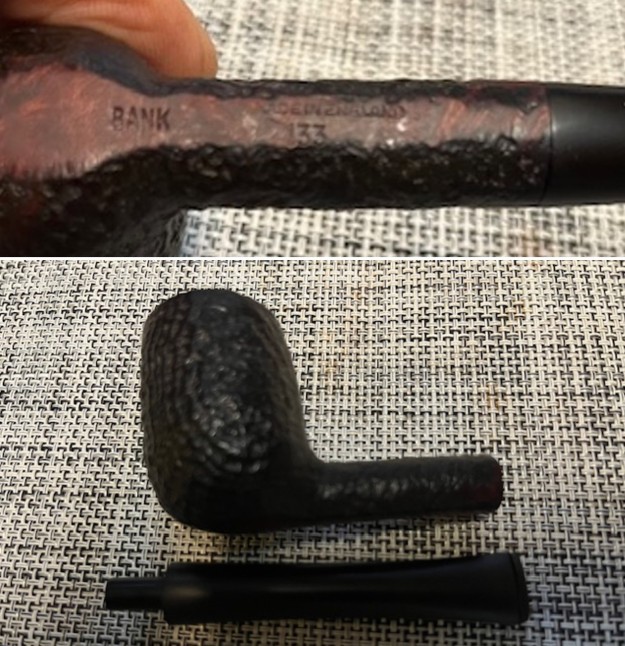
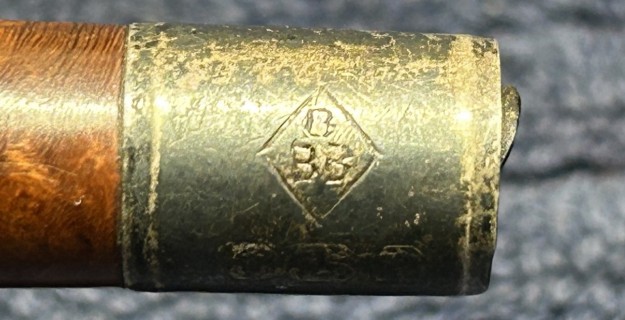
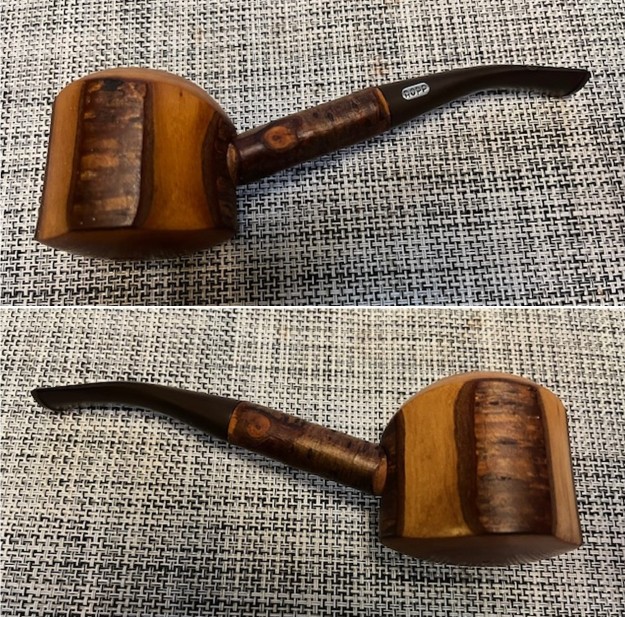
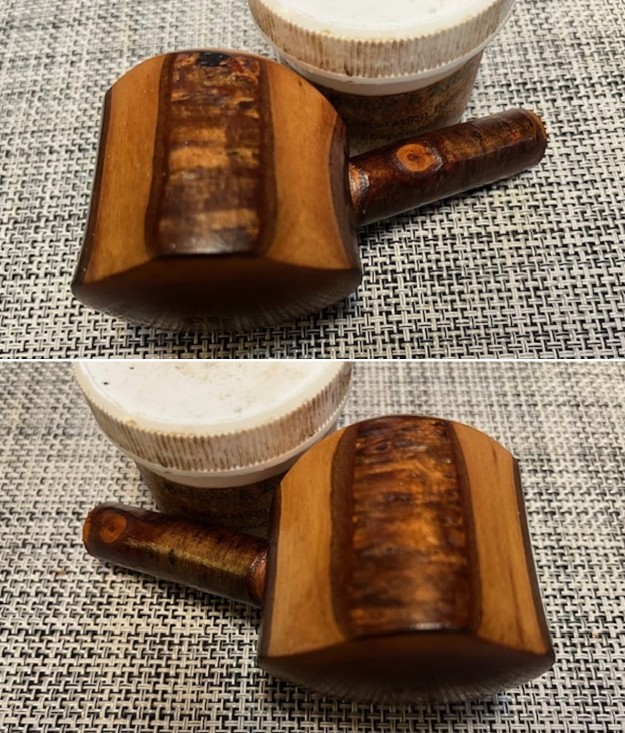
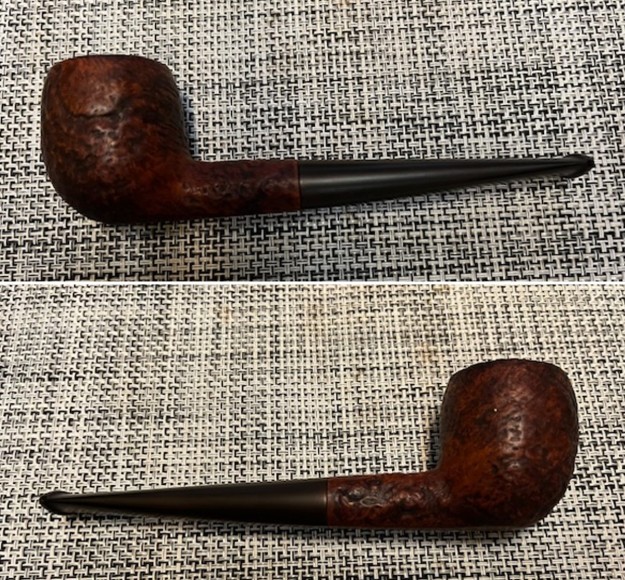
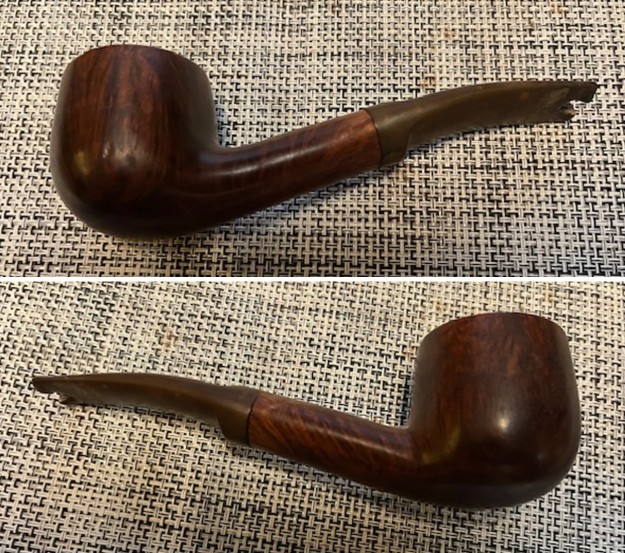
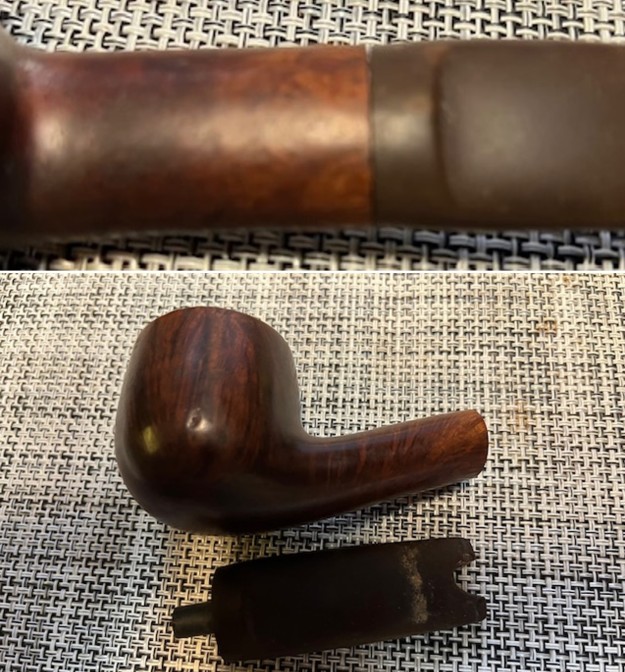
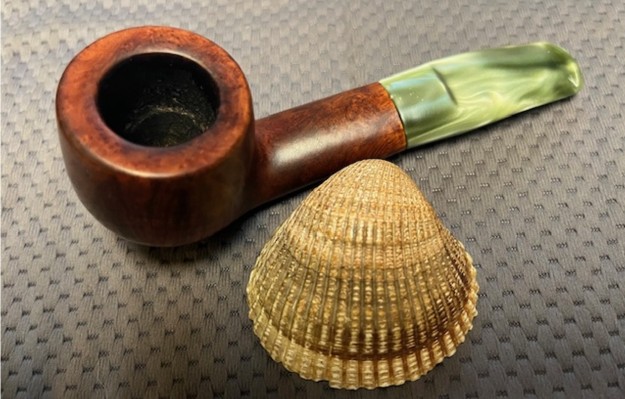
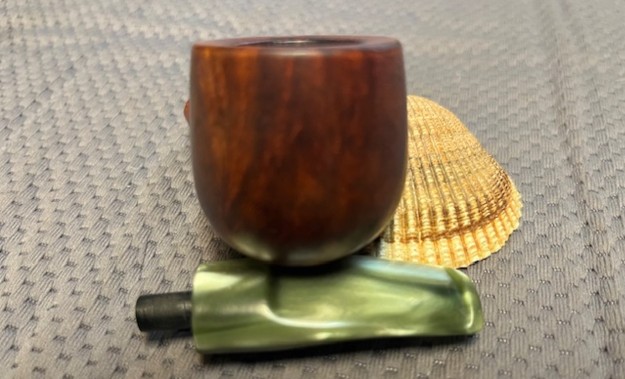
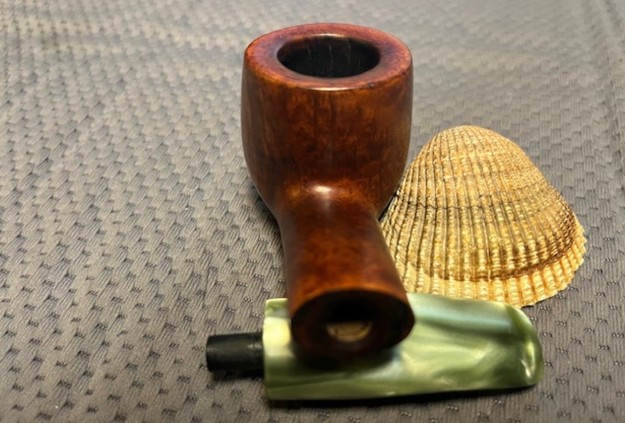
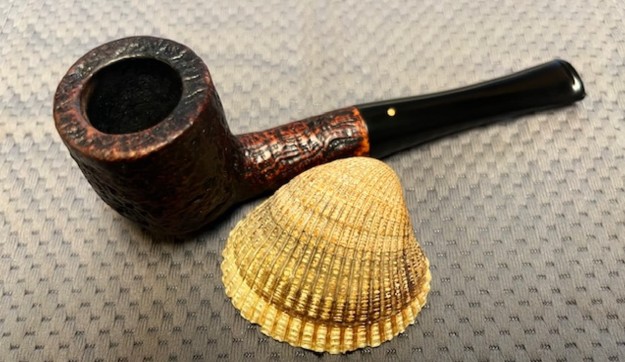
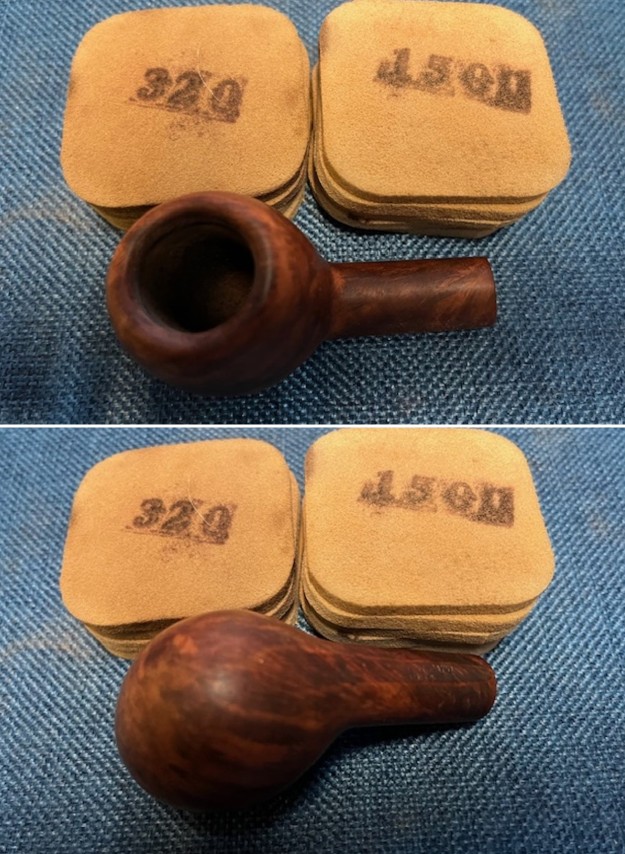
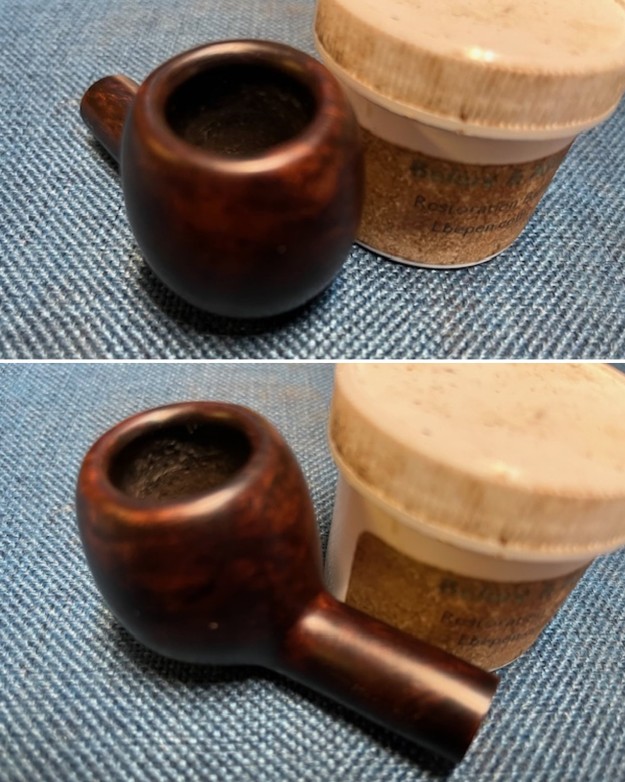
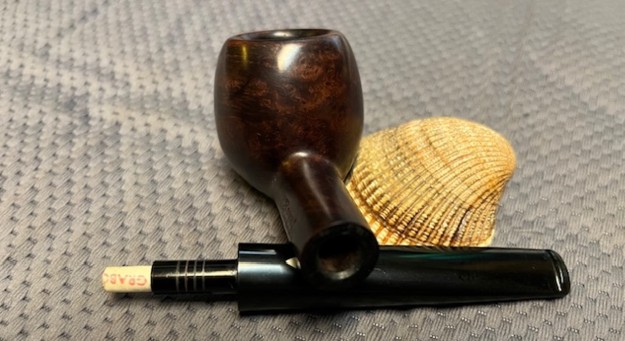
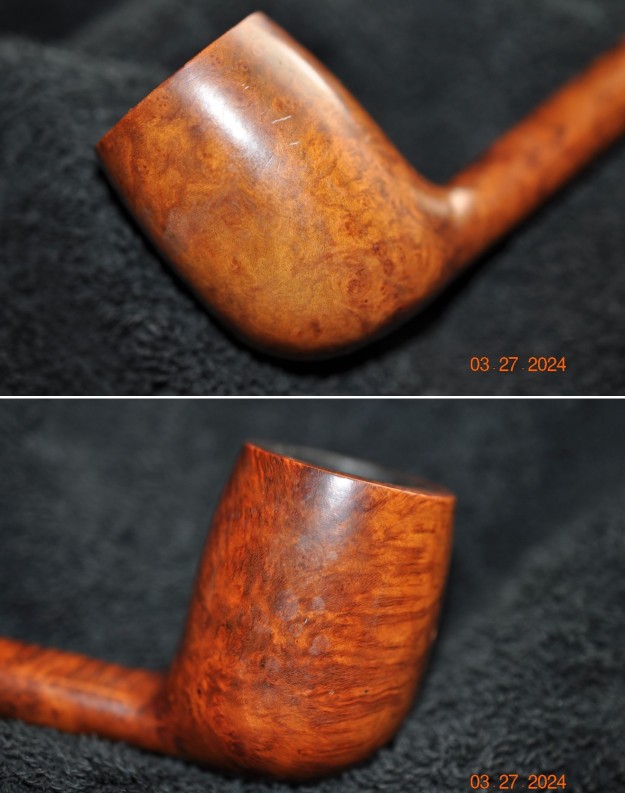
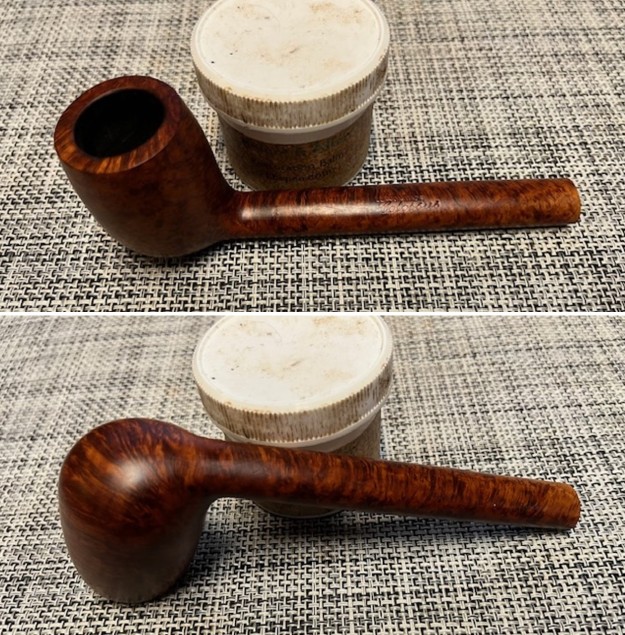
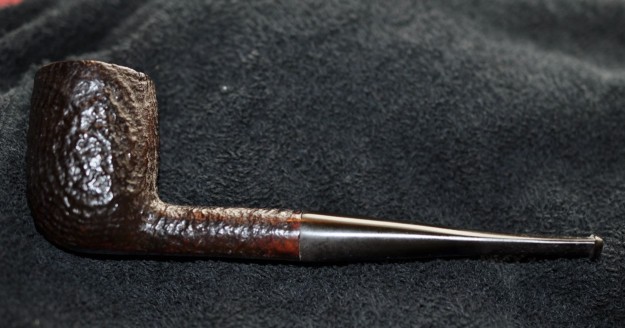
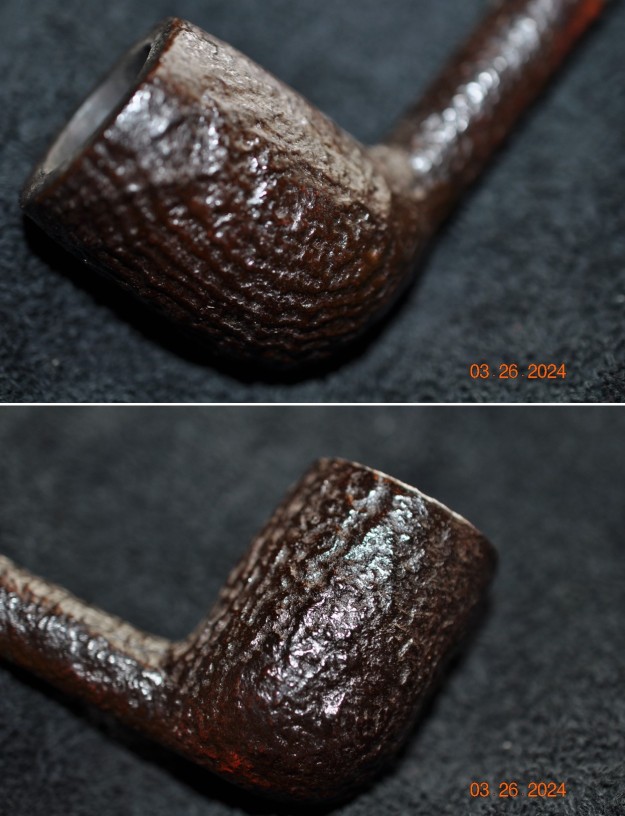
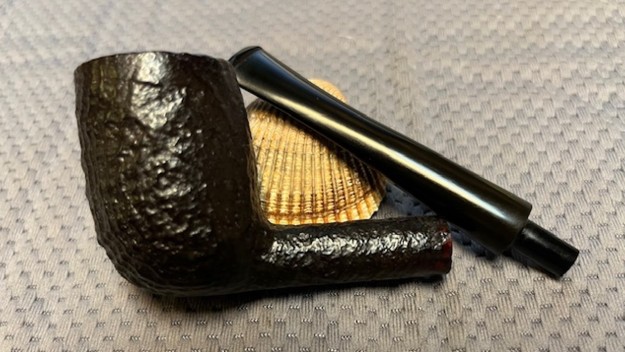
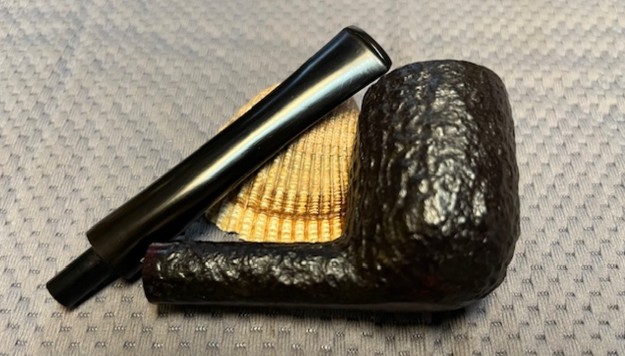
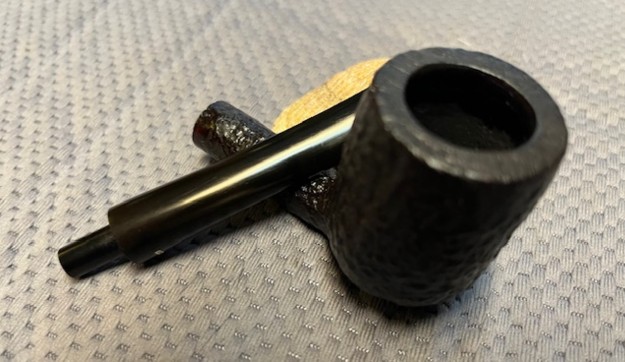
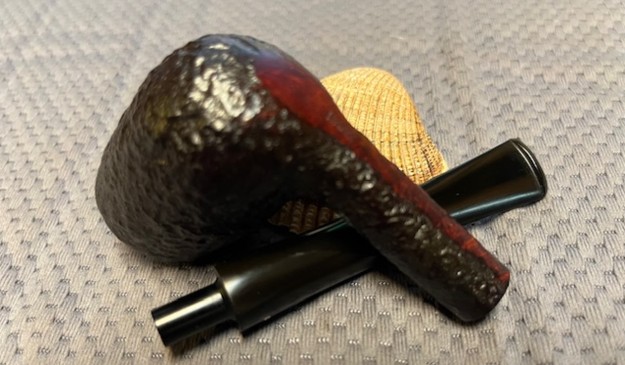
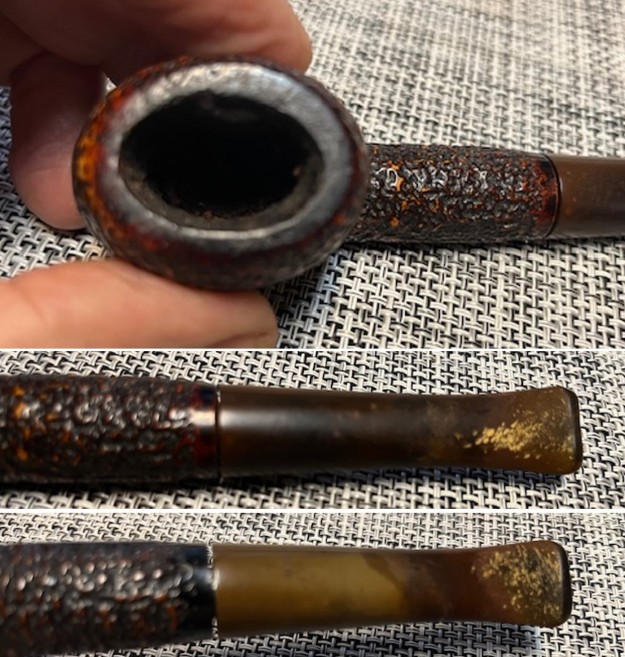
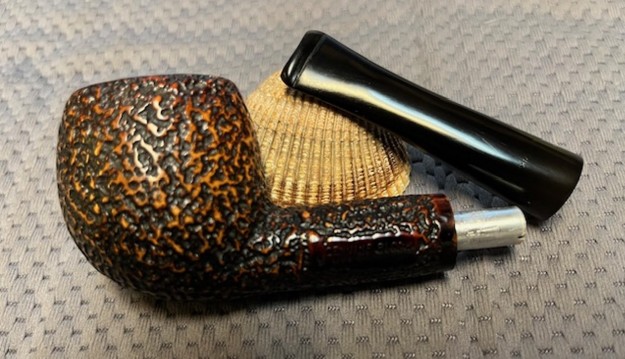
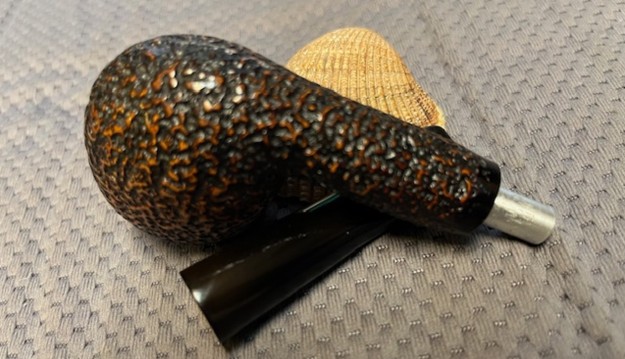
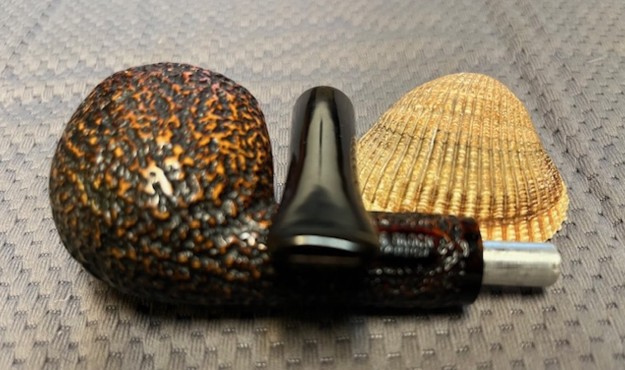
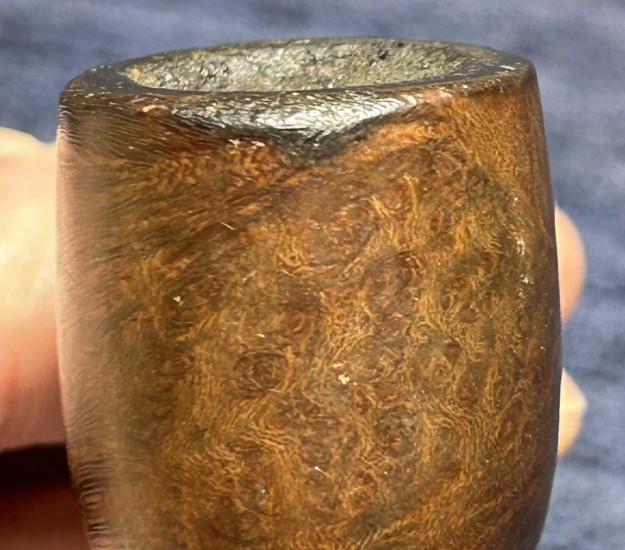
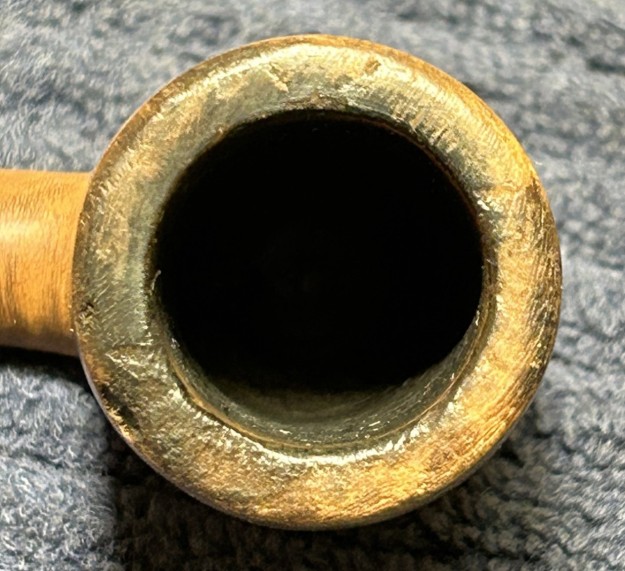
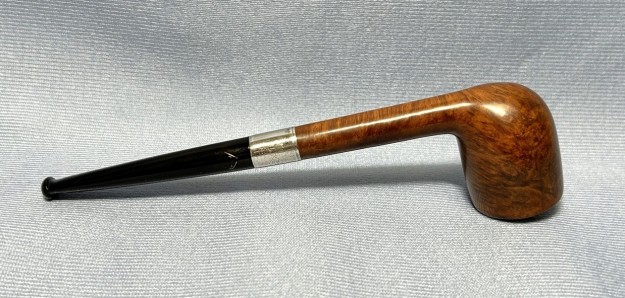
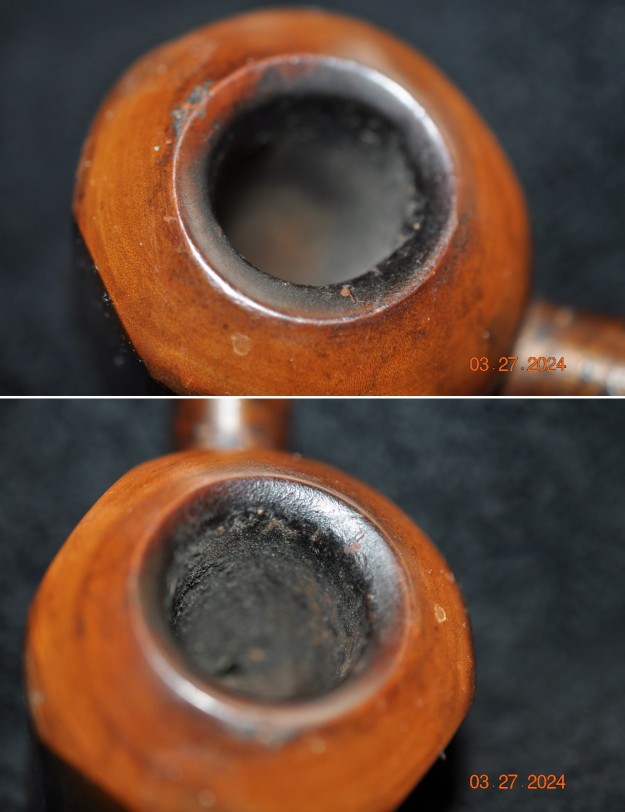
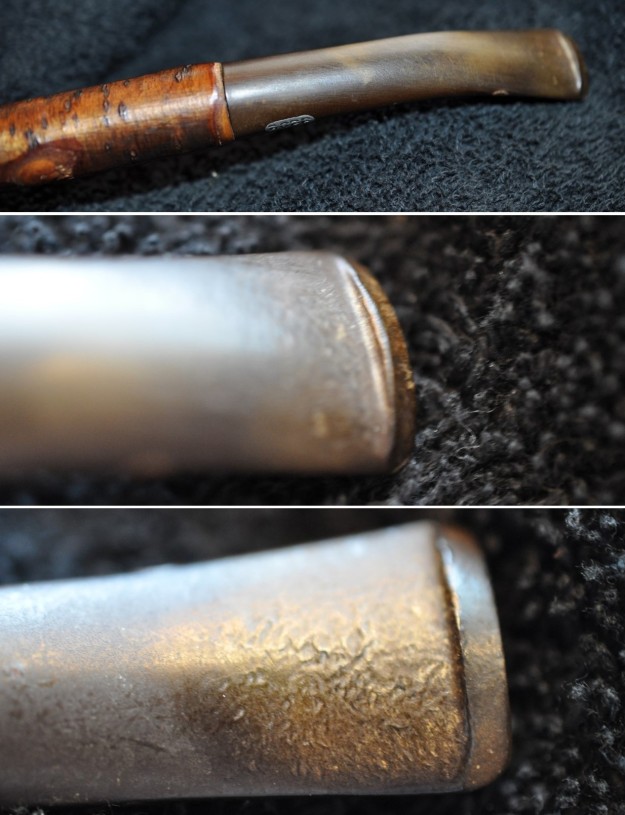
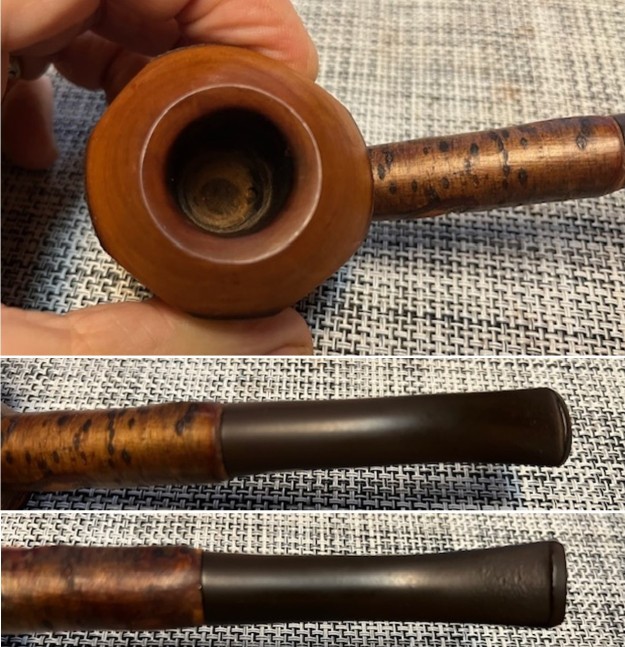
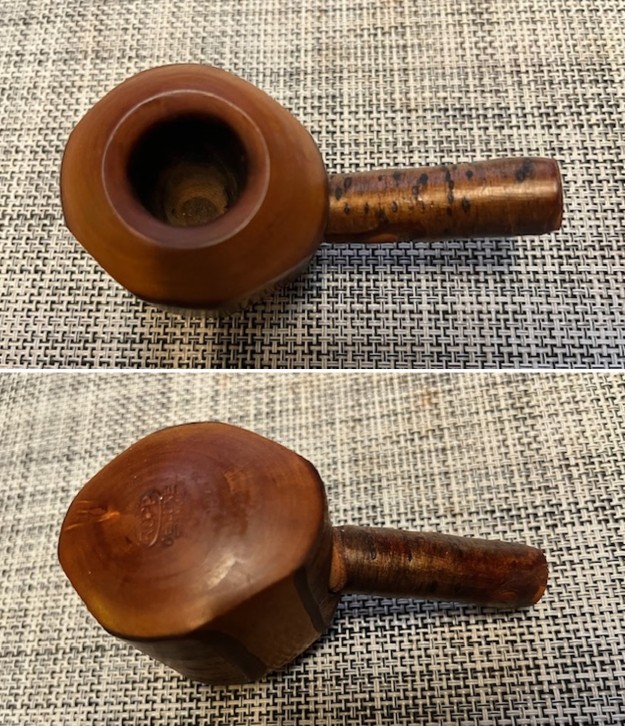
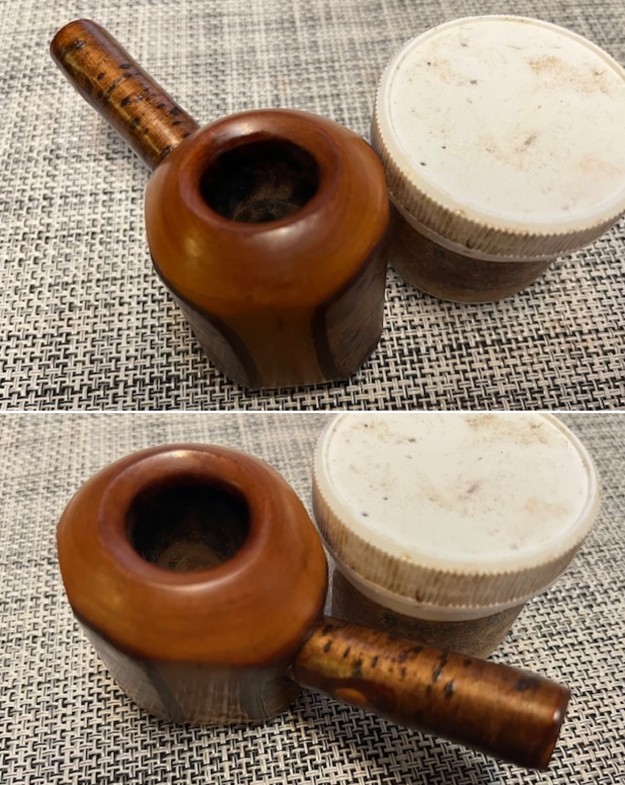
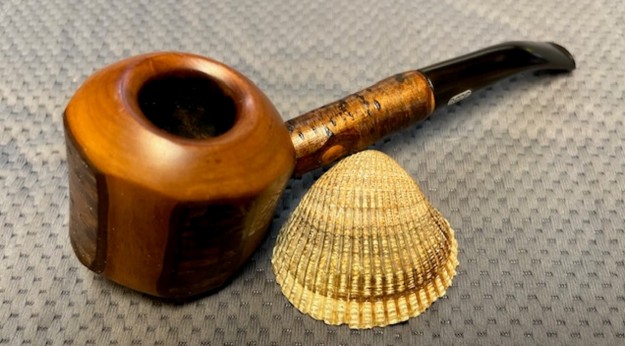
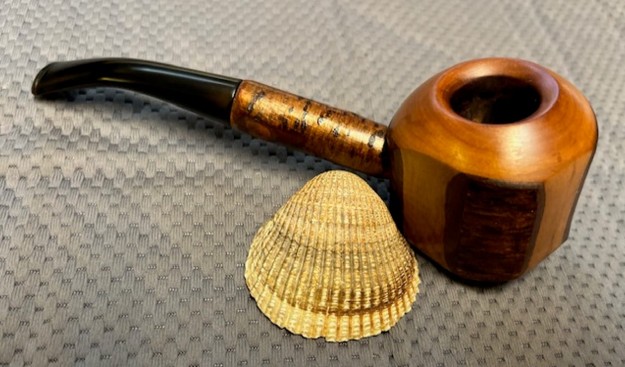
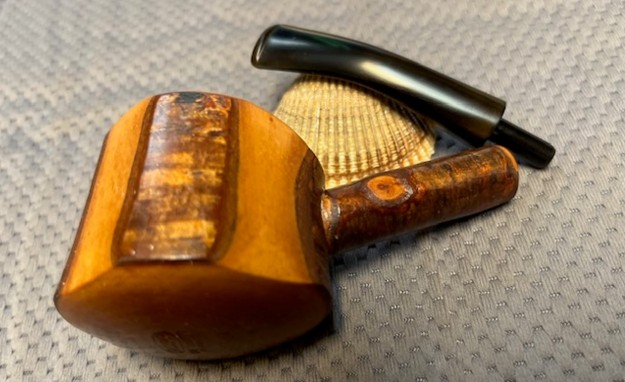
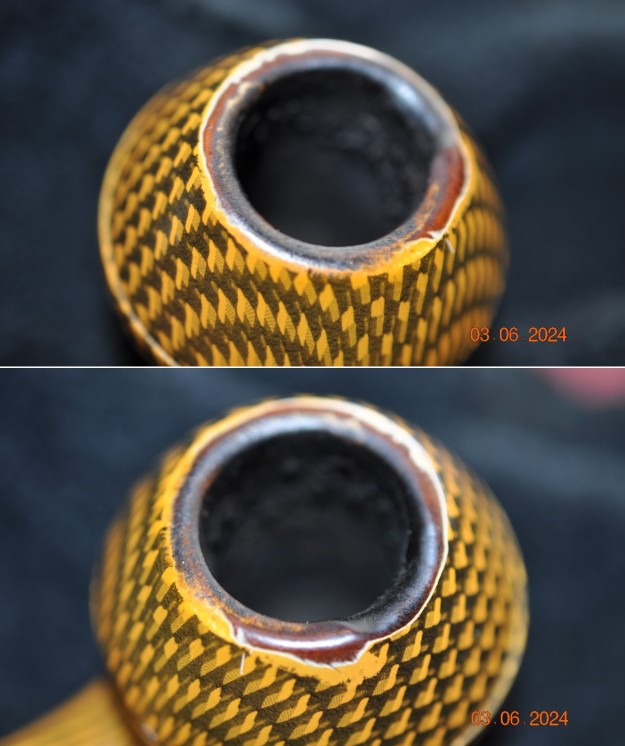
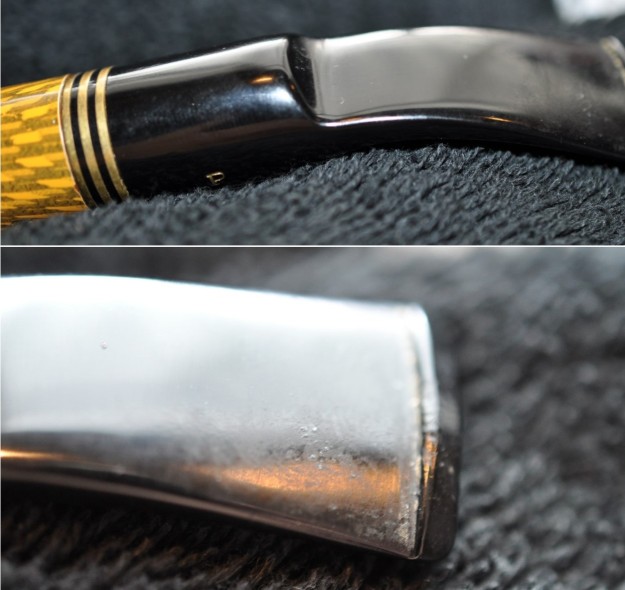
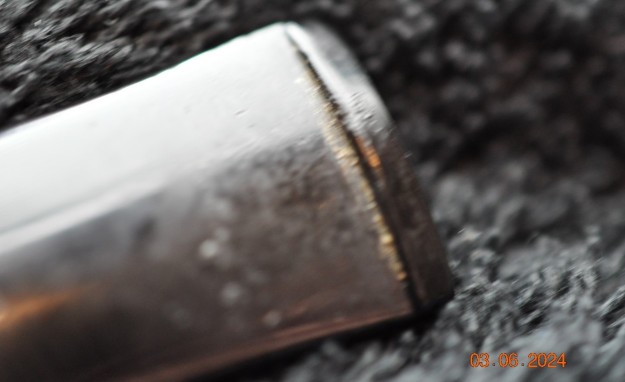
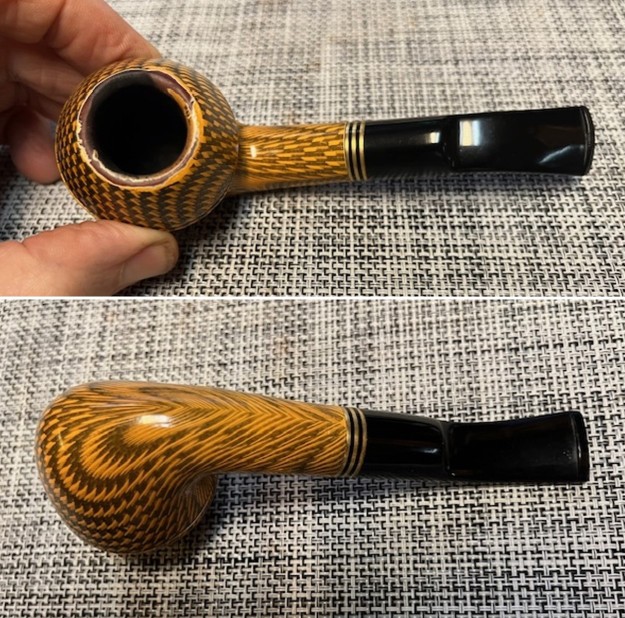
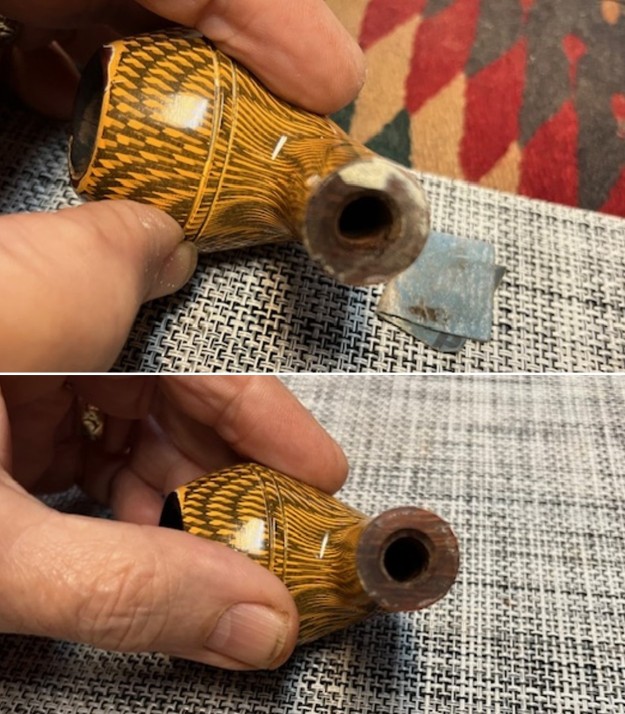
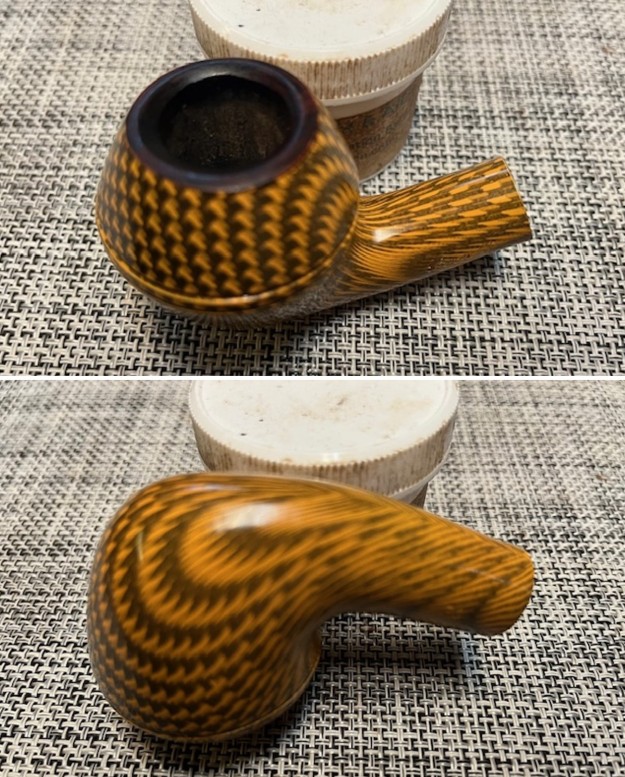
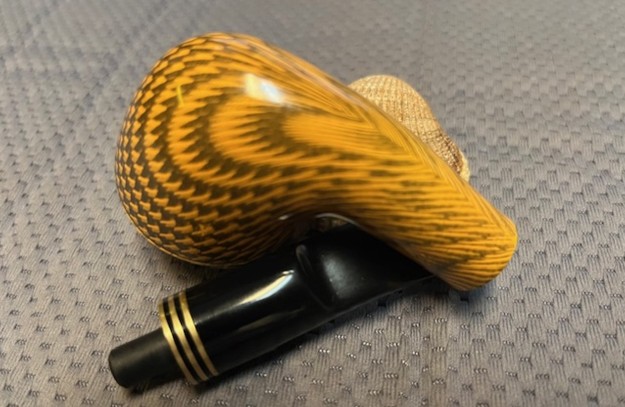
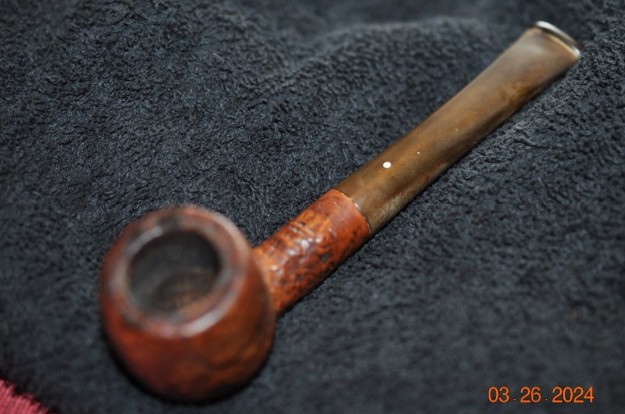
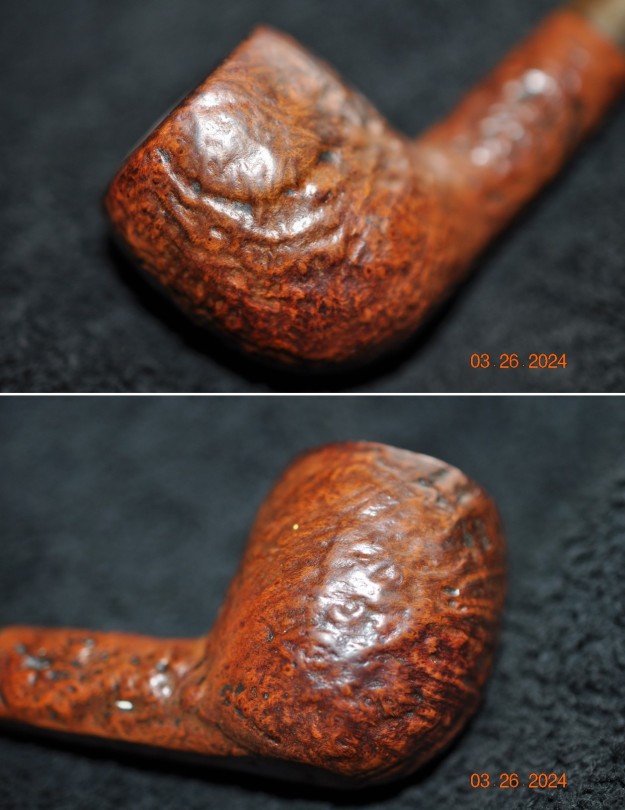
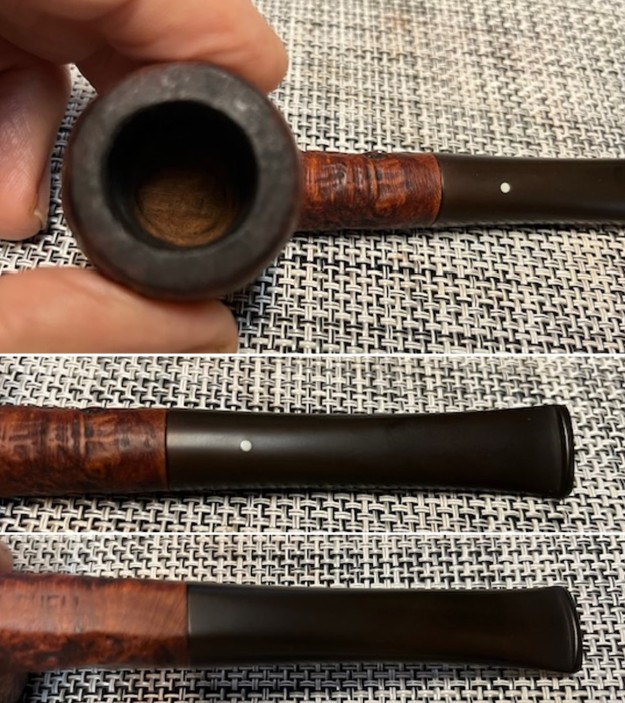
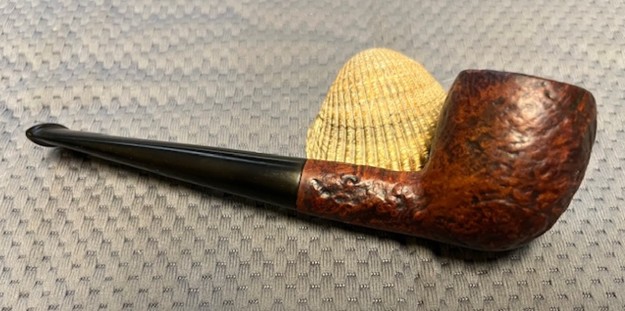
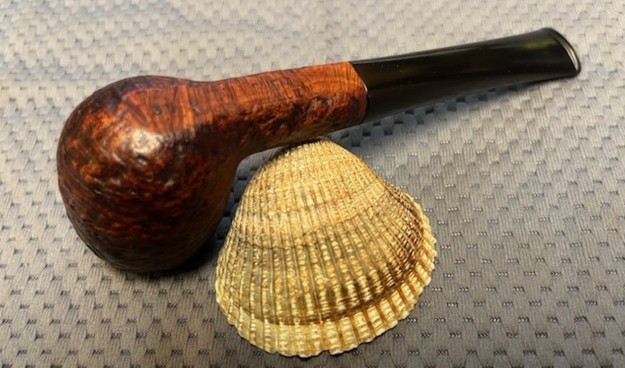
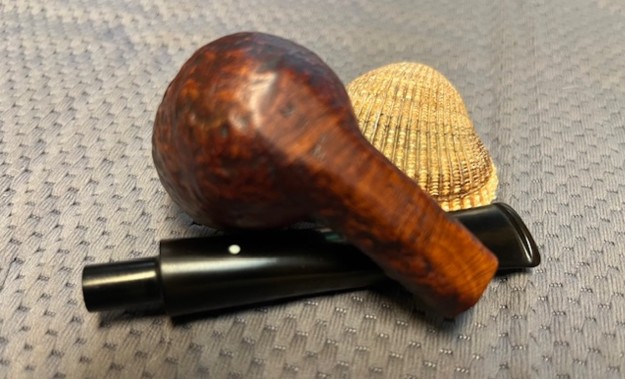
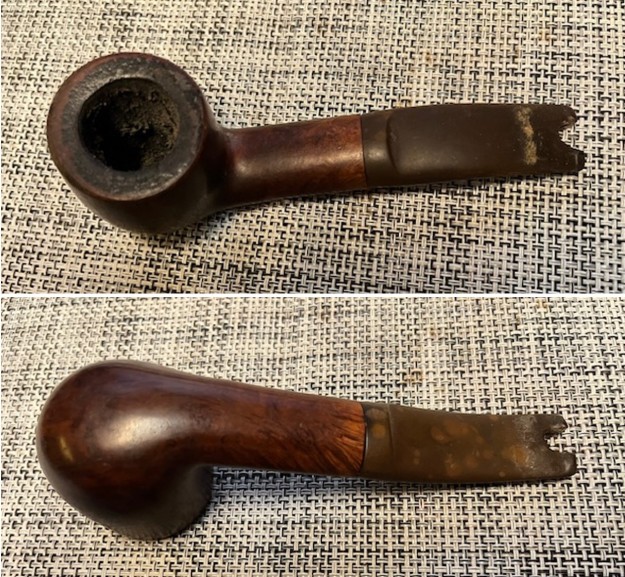
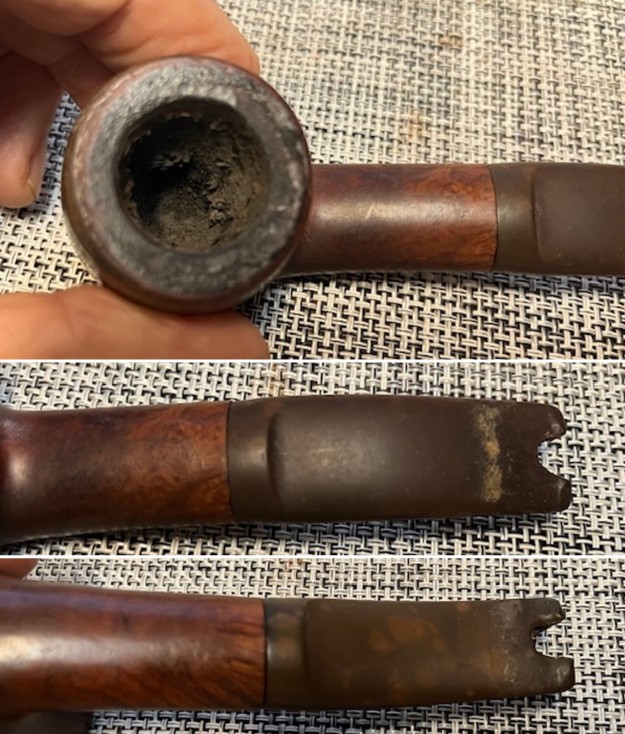
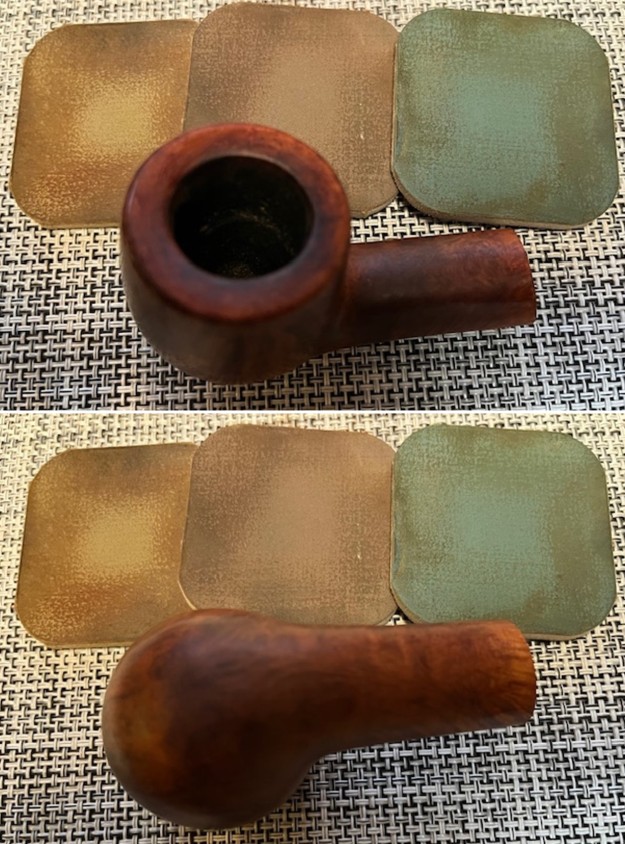
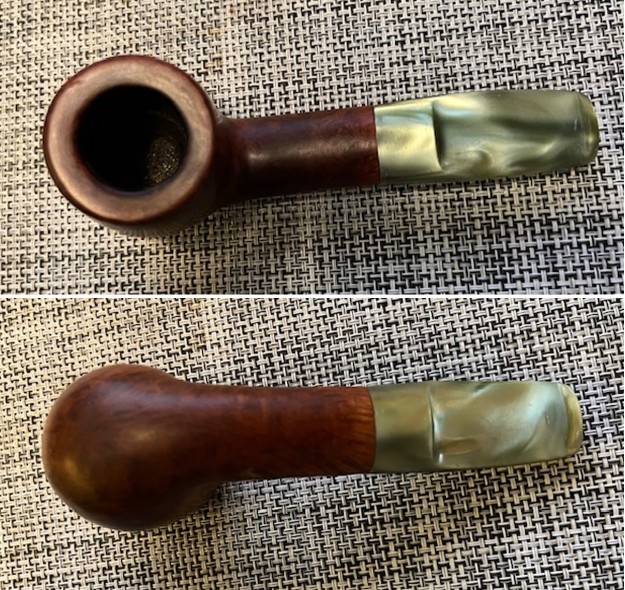
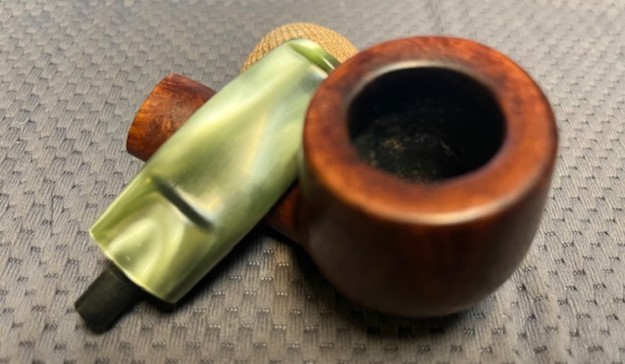
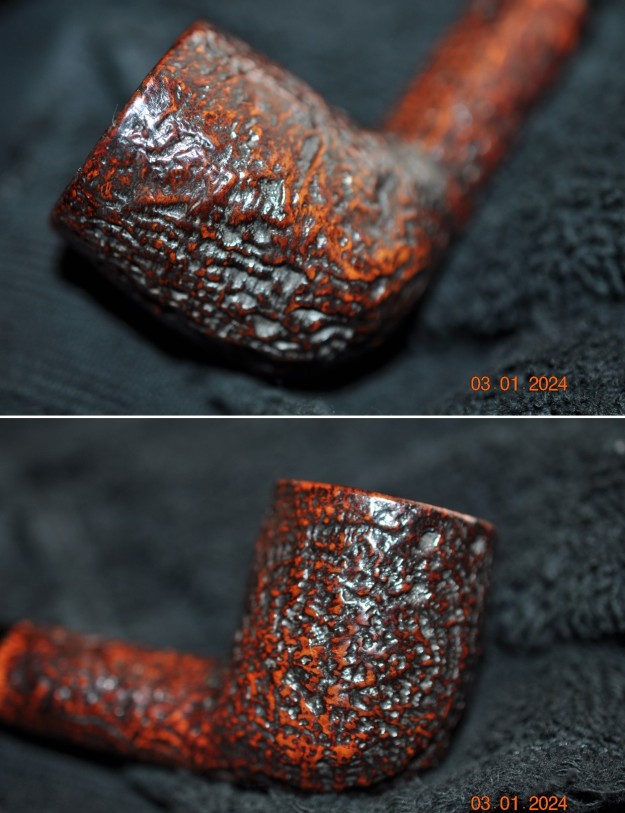
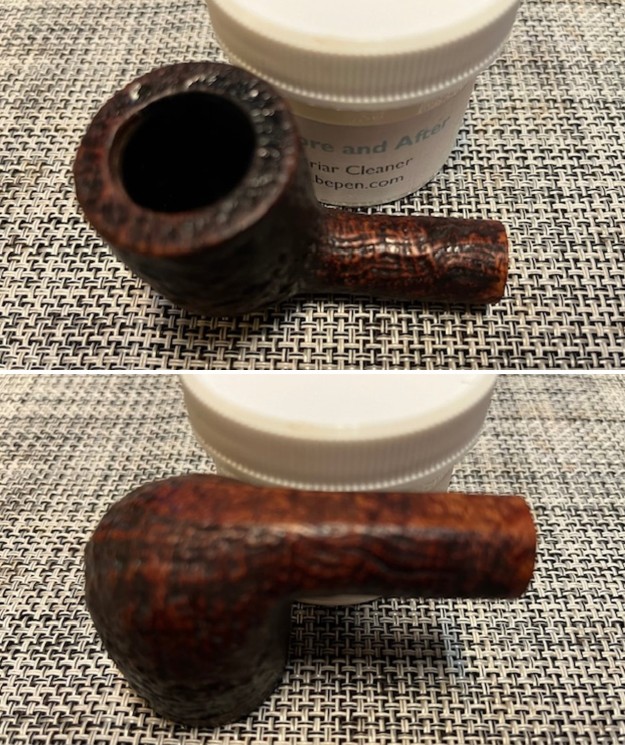
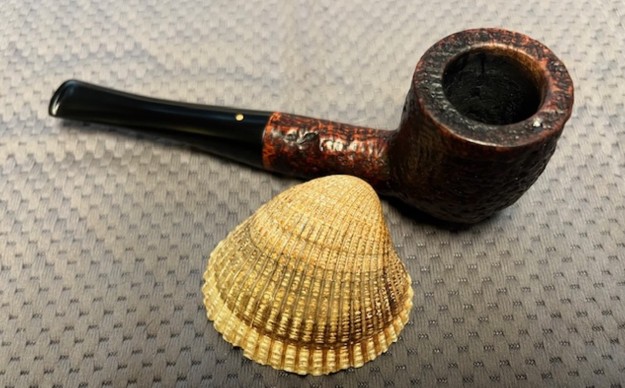
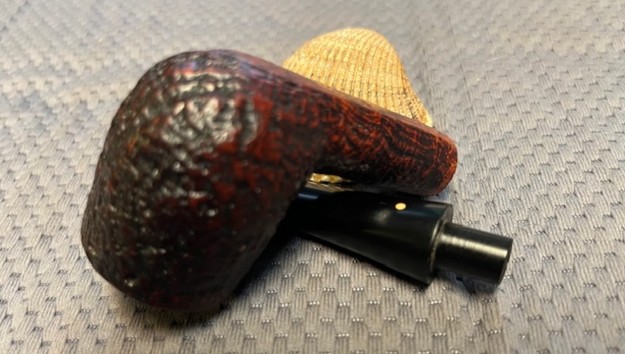
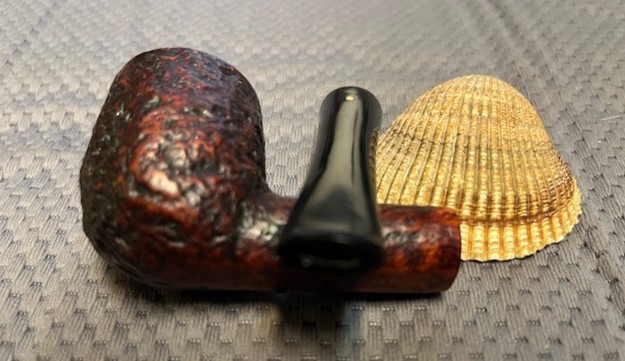
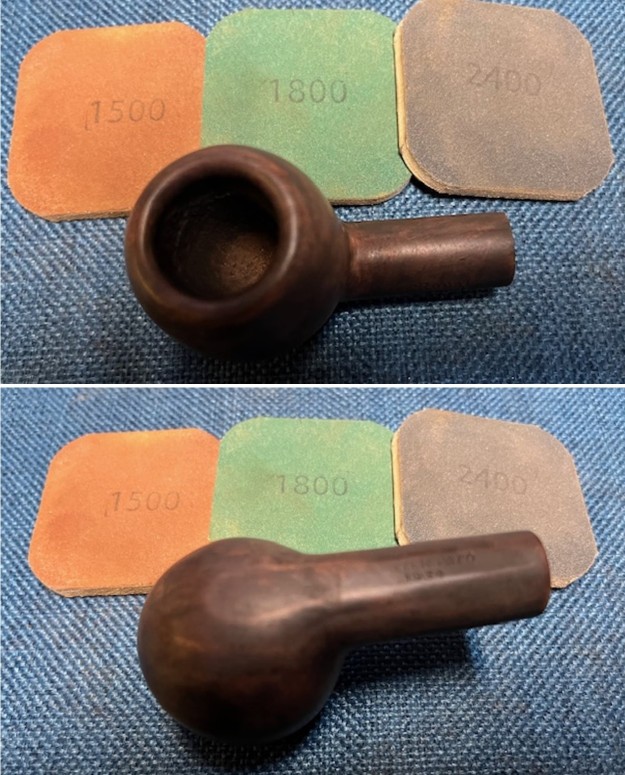
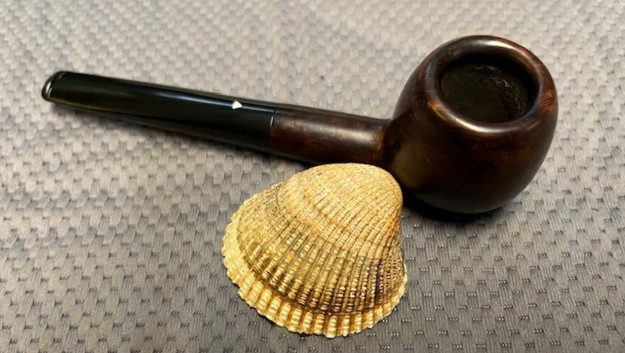
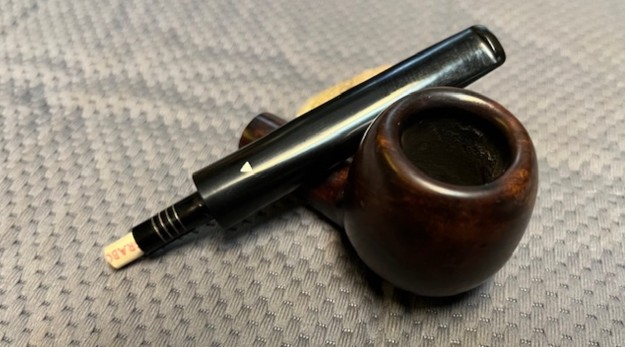
 I took photos of the rim top and stem to show the general condition of the pipe. The bowl is heavily caked and the rim top and edges have a heavy coat of lava overflowing on to them. It is hard to know with certainty the condition of the bowl at this point but clean up will reveal all. The stem is lightly oxidized and has light tooth chatter and marks on both sides ahead of the button end.
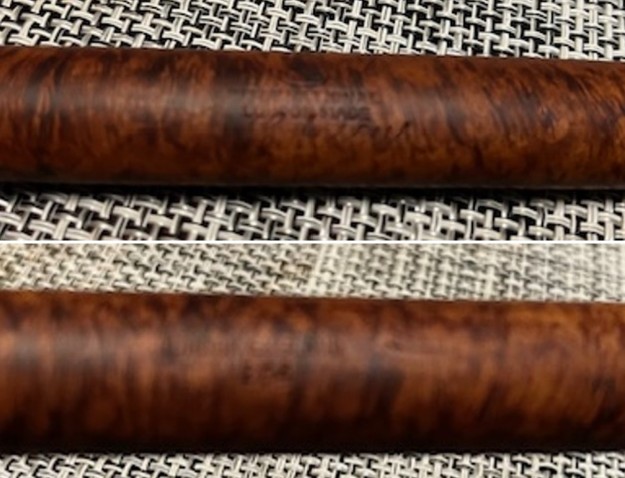
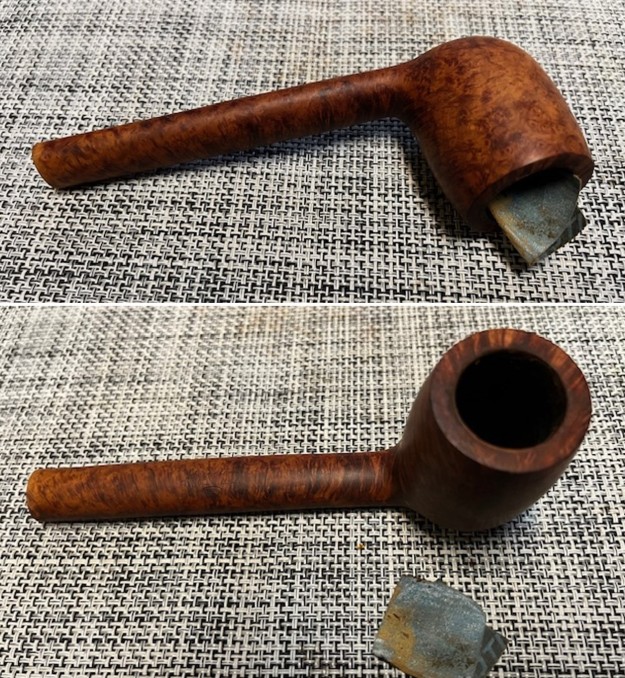
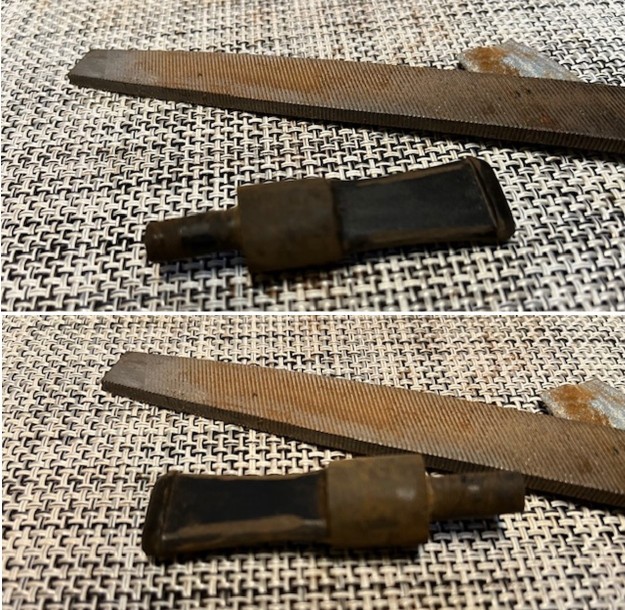
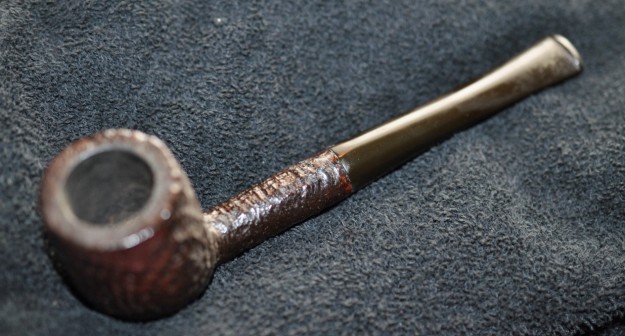
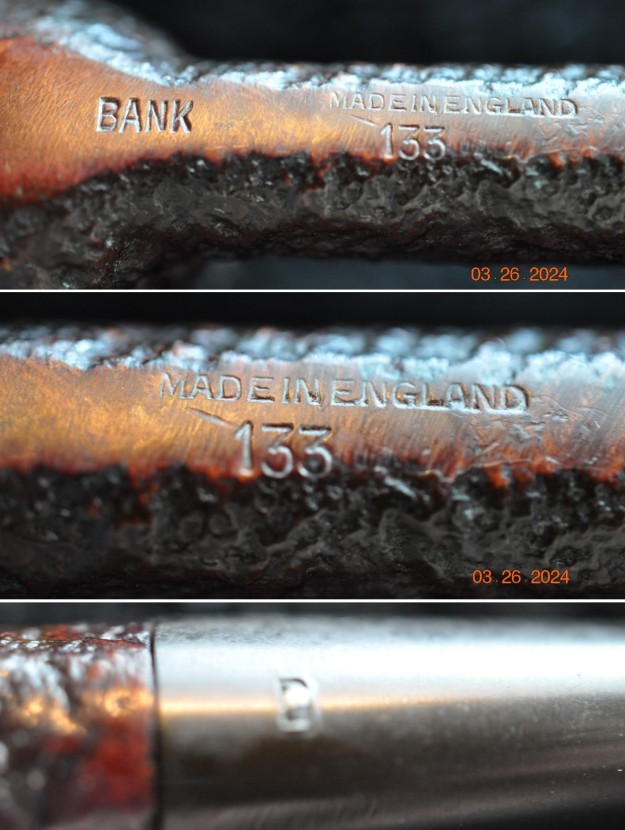
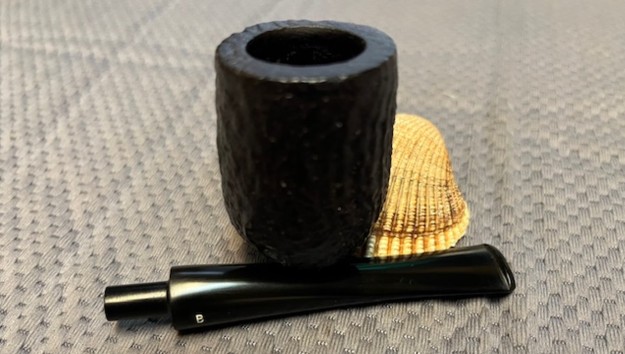
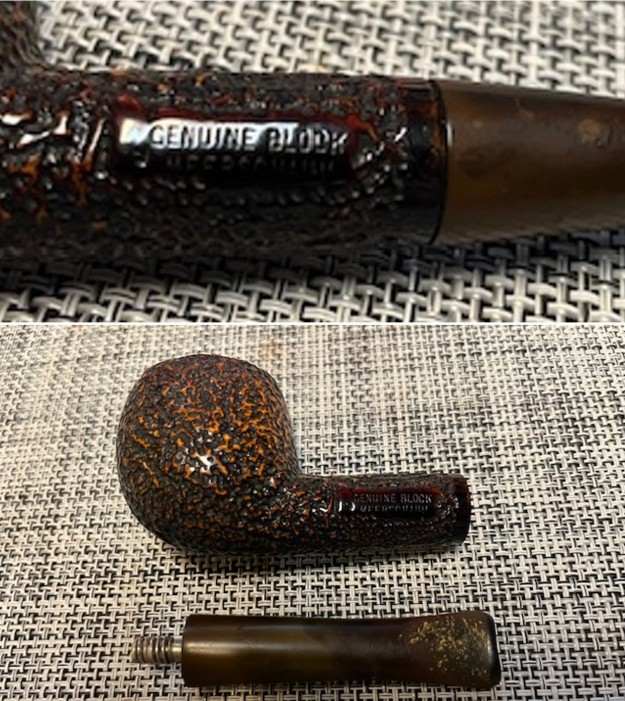
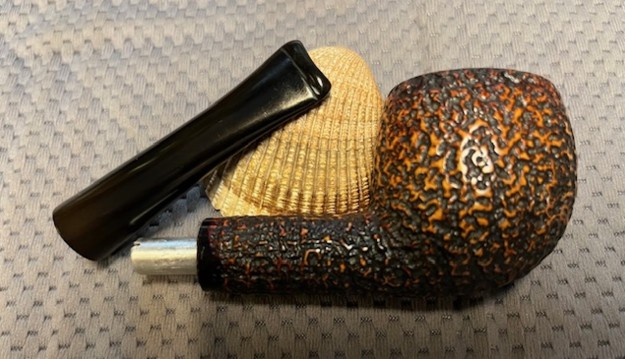
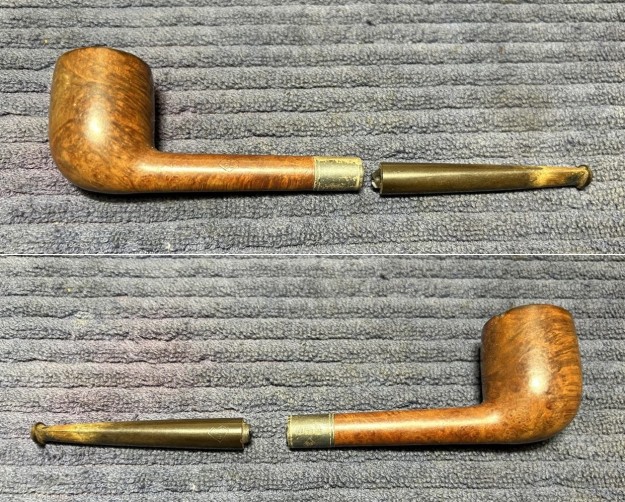
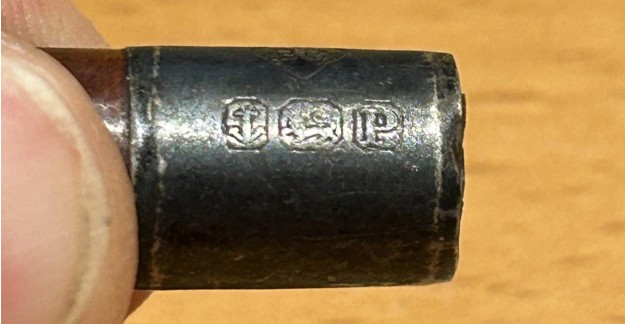
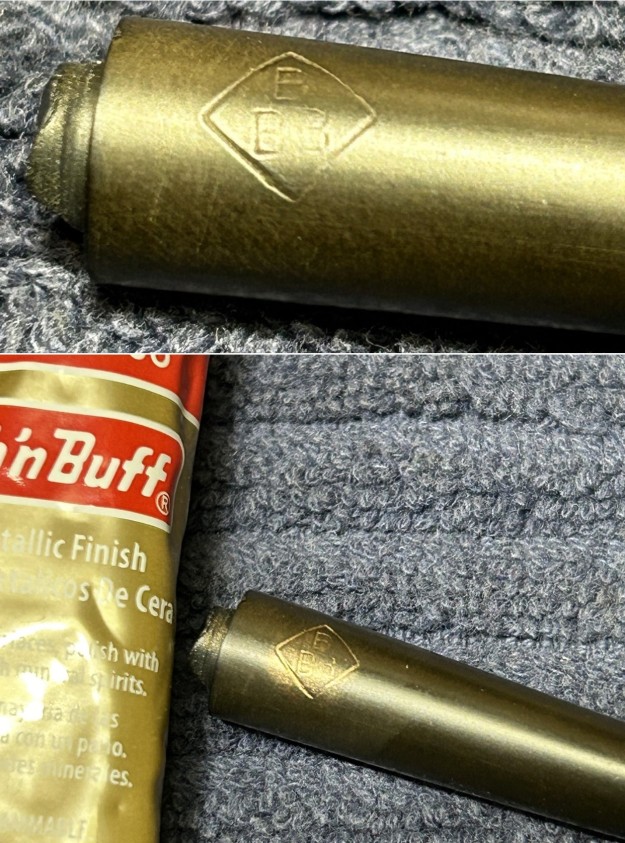
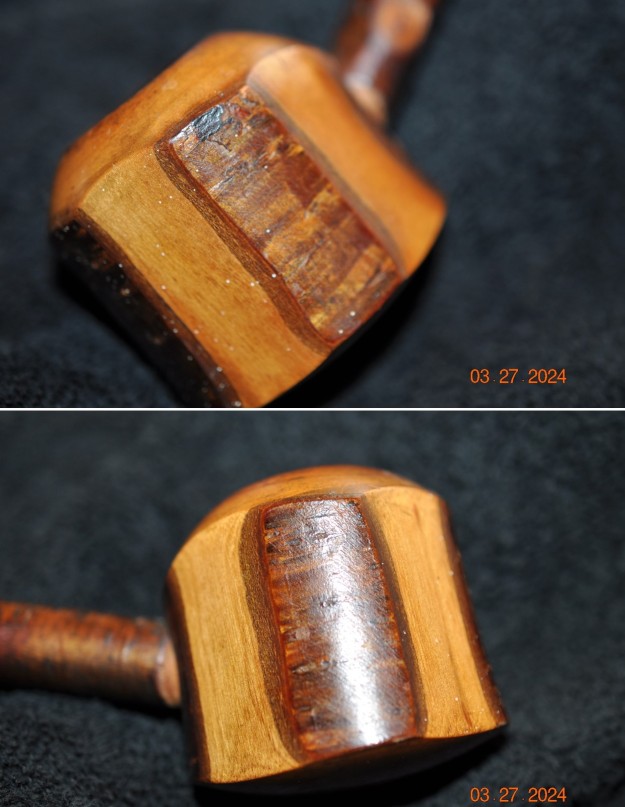
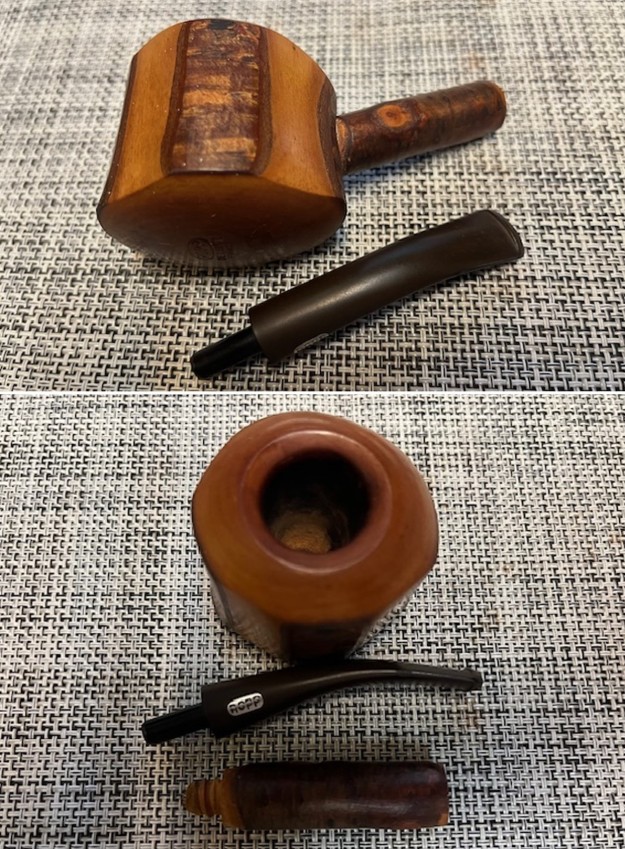
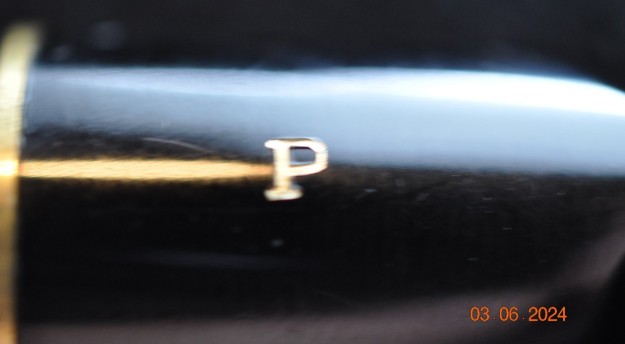
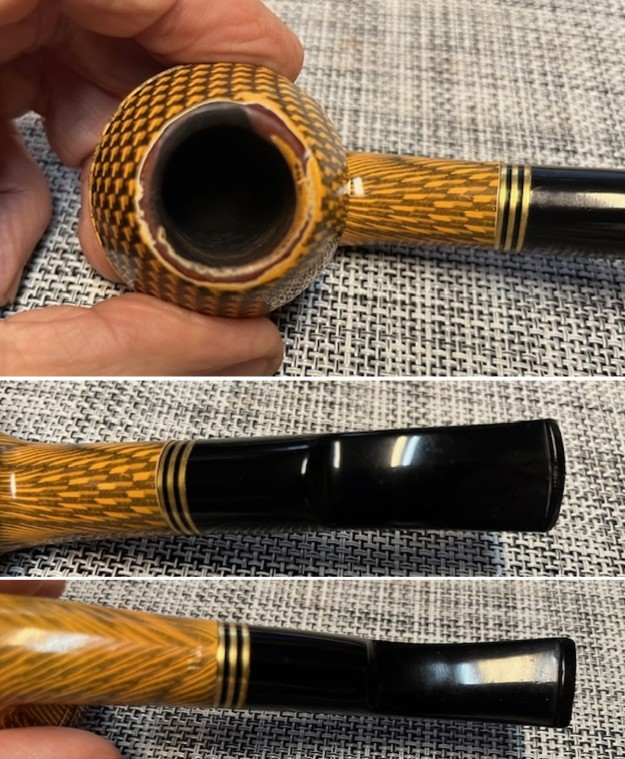
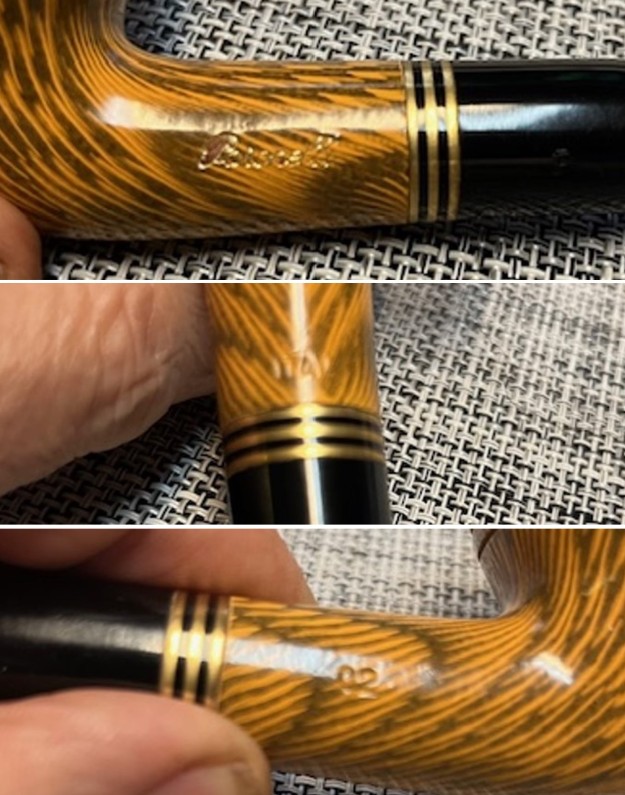
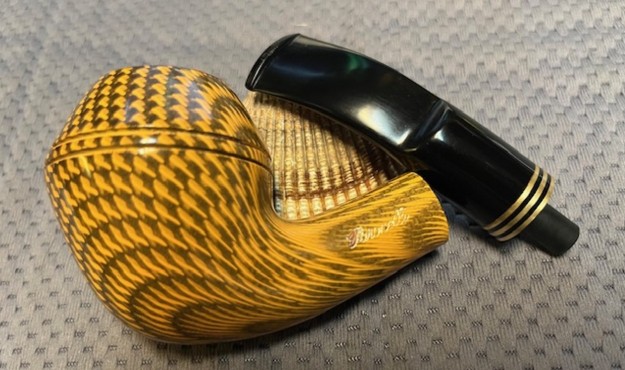
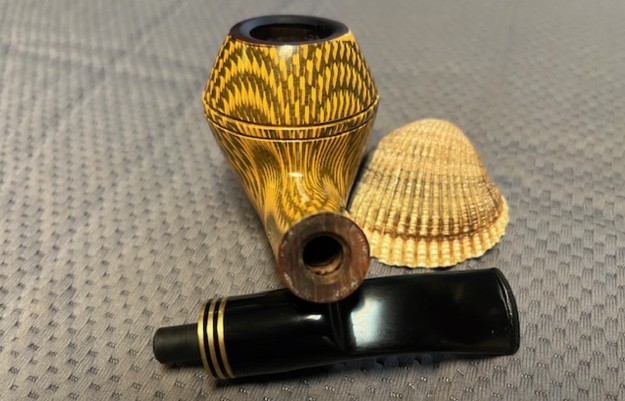
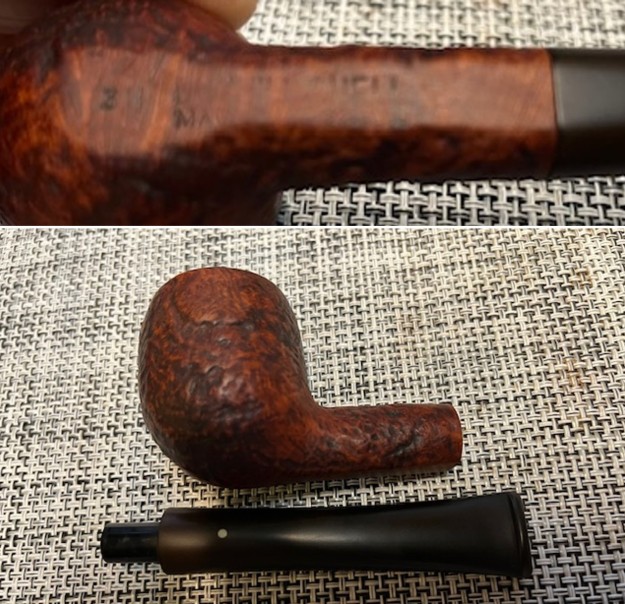
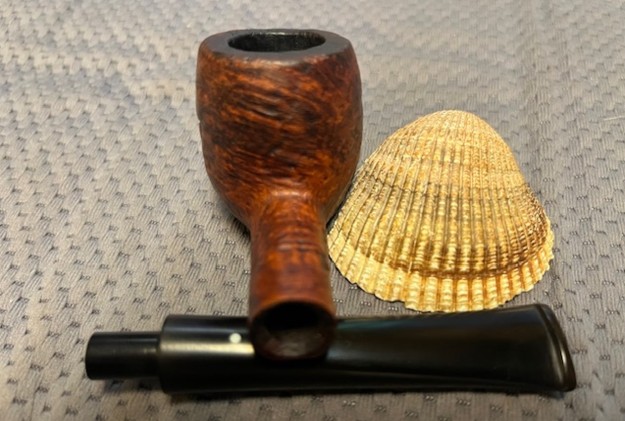
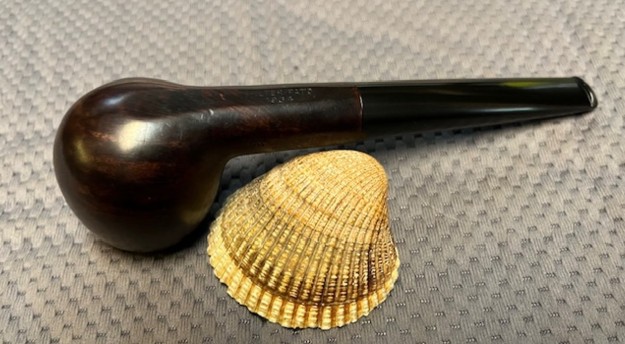
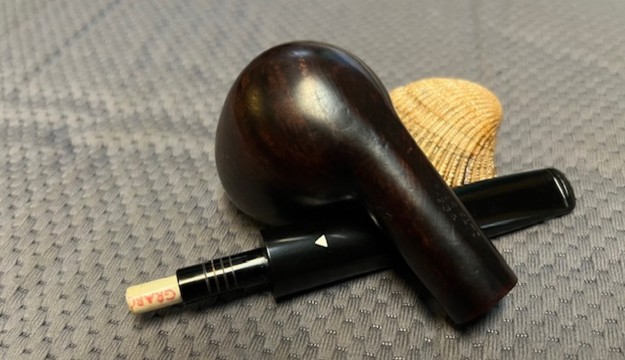
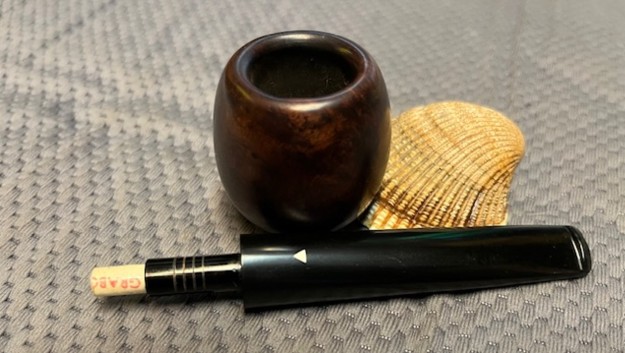
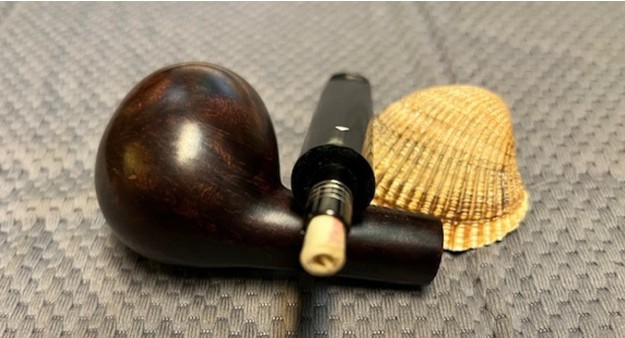
  I took photos of the stamping on the sides of the shank. You can see that it is faint in spots but it is still very readable. It reads as noted above. I removed the stem from the shank and took a photo of the parts to show how the pipe looks.
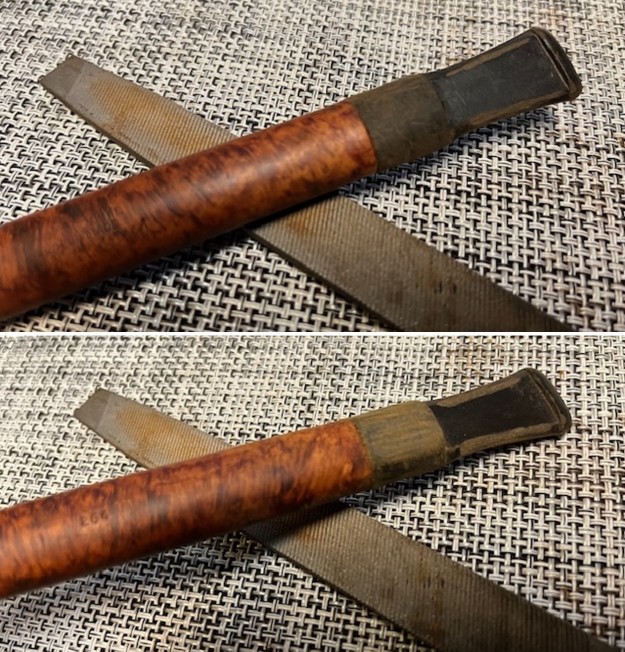
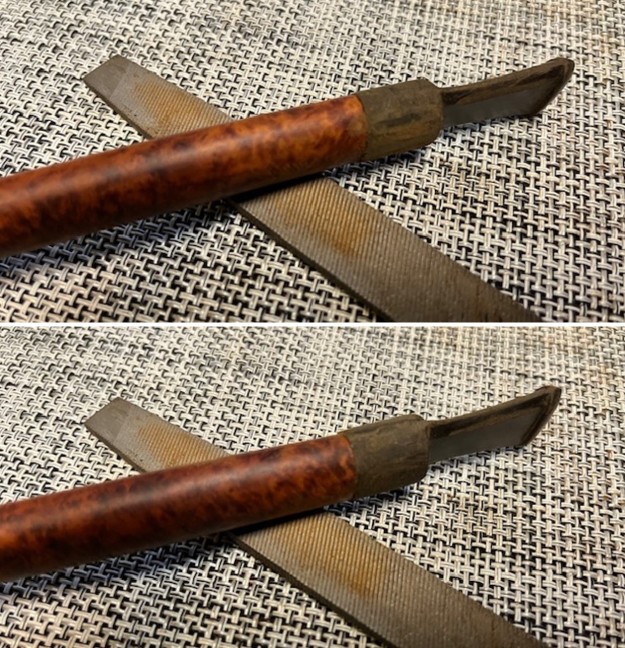
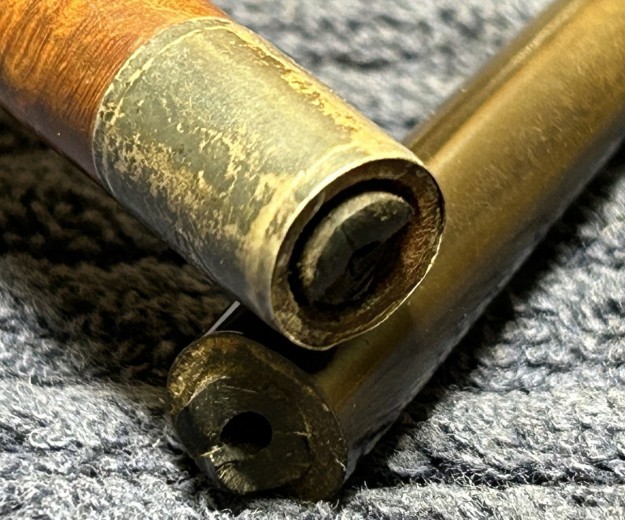
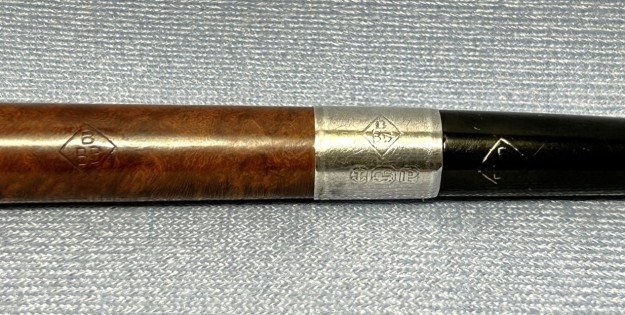
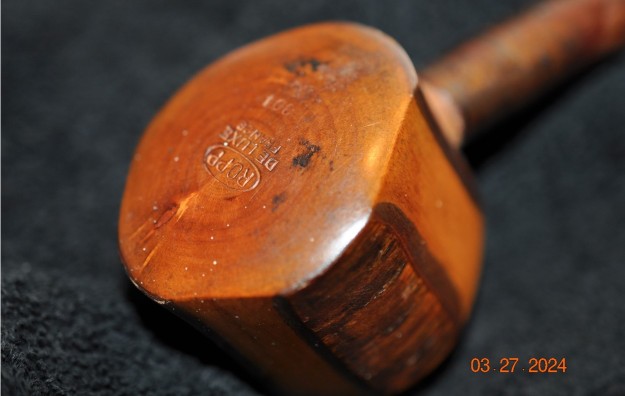
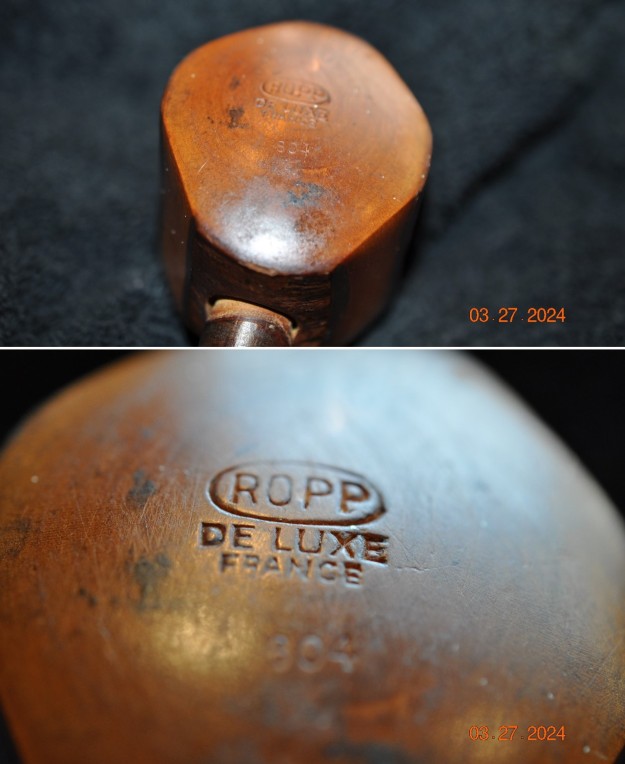
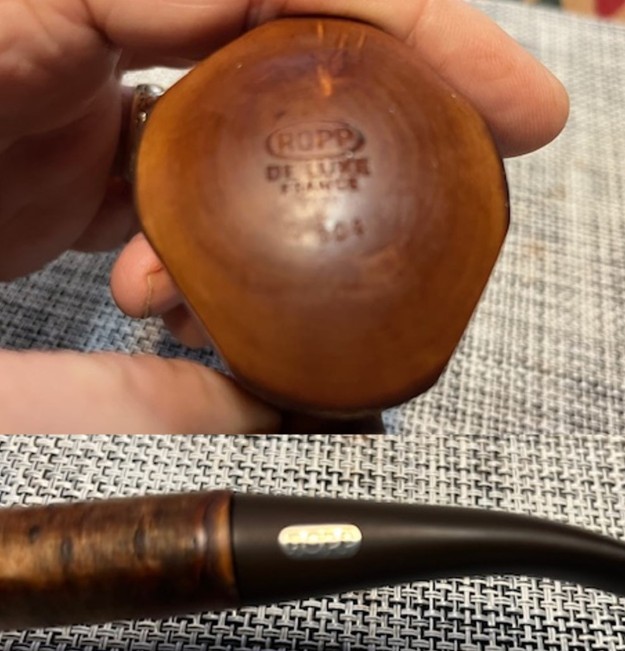
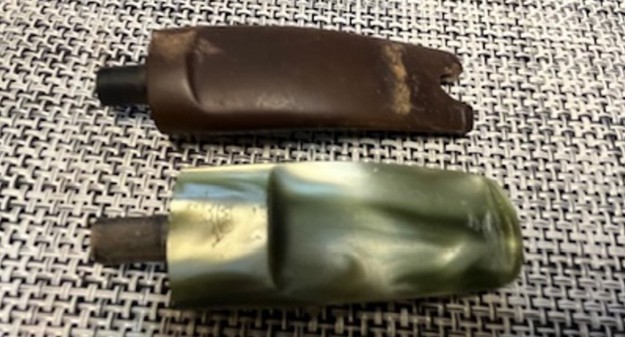
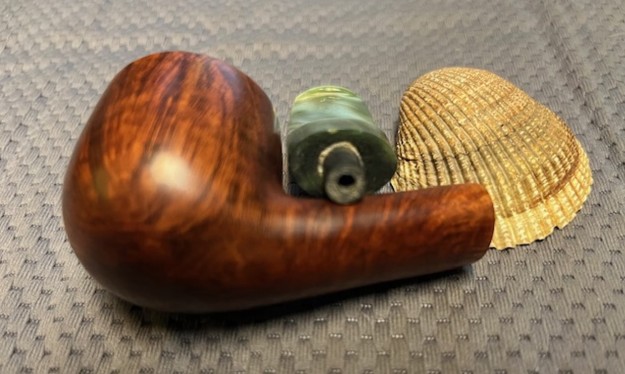
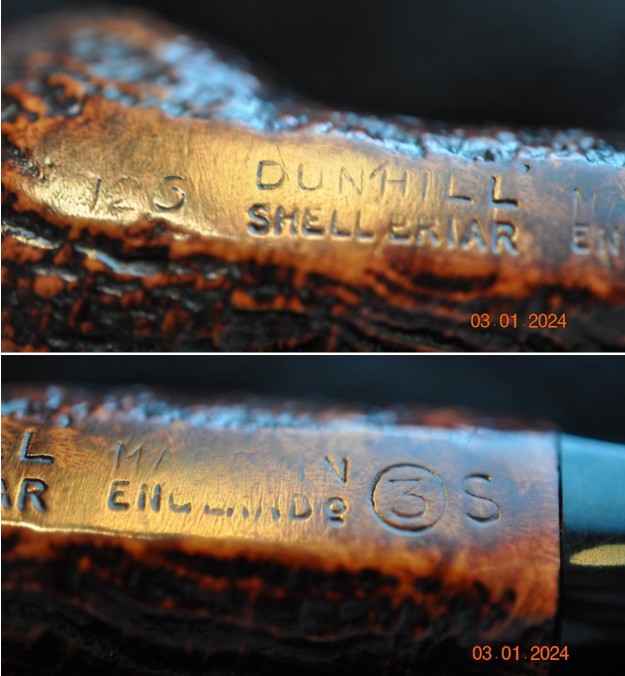
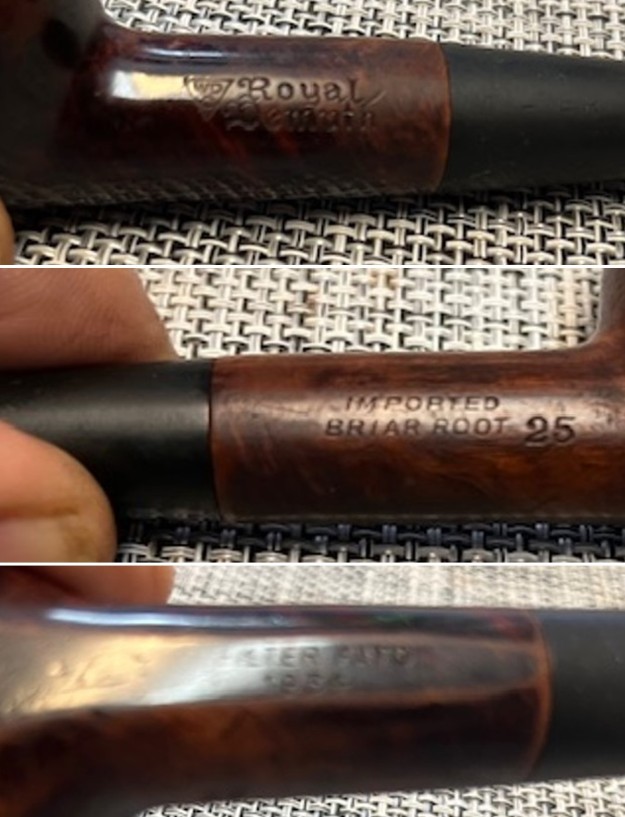
 I looked on Pipephil’s site and though there were many WDC pipes there was nothing stamped Royal Demuth and nothing with any of the other stamping on the shank sides of this pipe. I turned then to Pipedia (https://pipedia.org/wiki/William_Demuth_Company). As always there is a great history of this American brand. If you are interested be sure to turn there and take time to read about it.
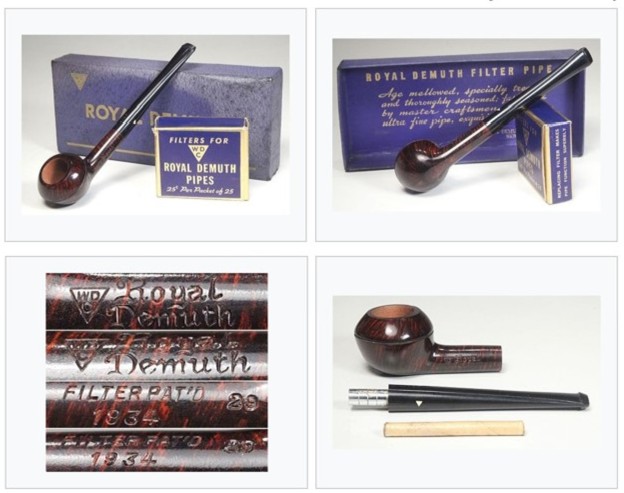
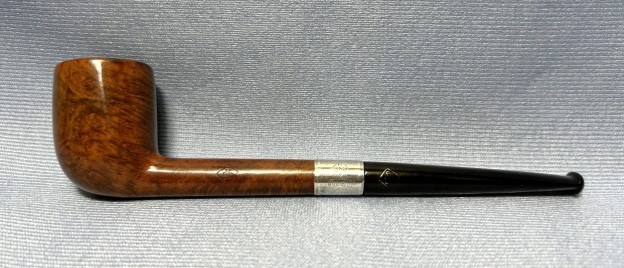
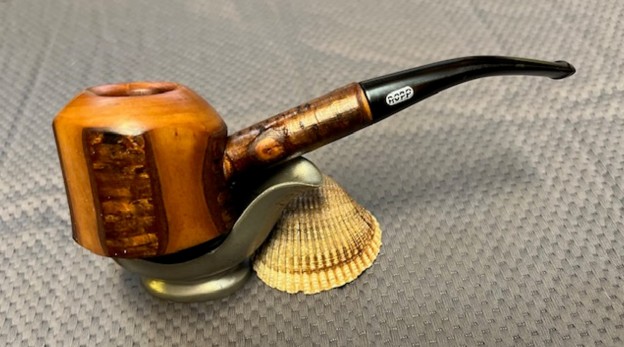
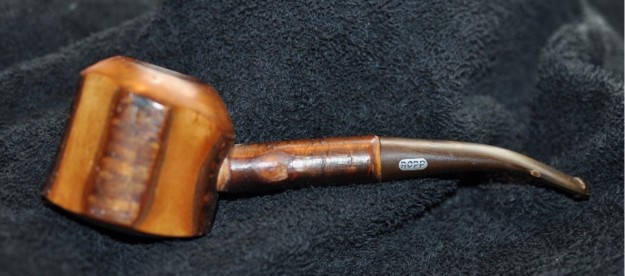
Royal Demuth example with box and filters, courtesy of Doug Valitchka
There was an interesting example of the Royal Demuth provided by Doug Valitchka that has identical stamping to the one that I am working on. It is a different shape but it identical in terms of the stamping. It also looks like it takes a filter that is similar to the Medico filter but I will doulbe check that once it is thoroughly cleaned.There was also an advertisement for the WDC Changeable Filter Pipes that included the Royal Demuth. I have included that below. There is also a great article by Ben Rappaport on the Demuth – Dunhill Connection that is an enjoyable read (https://pipedia.org/wiki/A_Demuth%E2%80%94Dunhill_Connection%3F).
I now knew that the pipe was part of a line of Filter Pipes that WDC put out and that the filter system was patented in 1934. The stamping that the Filter was Pat’d 1934 tells that it came out after the patent was granted. However, I could not fine tune the date more than that. I also knew that the pipe I was working on was an older one because of the style of the stem – straight taper and smaller profile at the button ends.
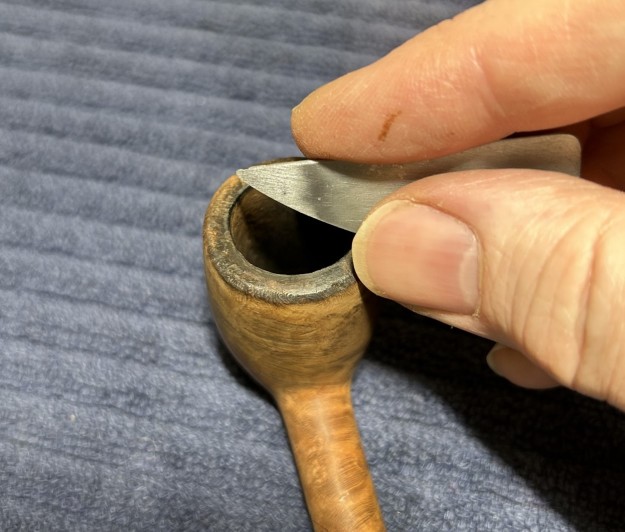
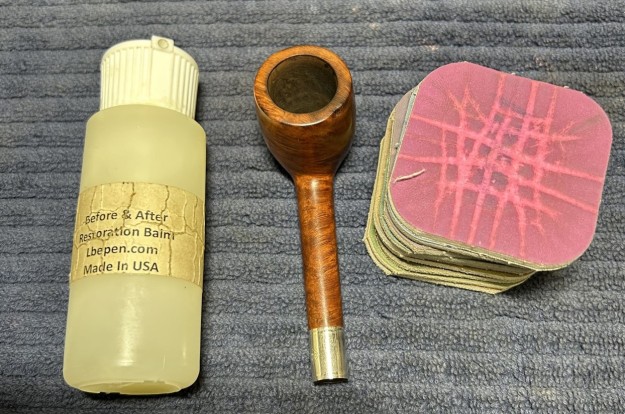
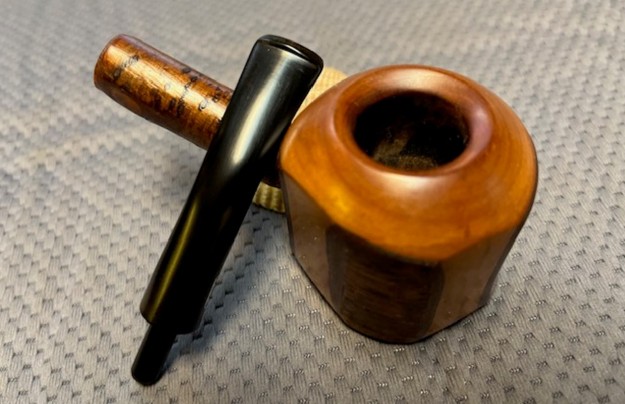
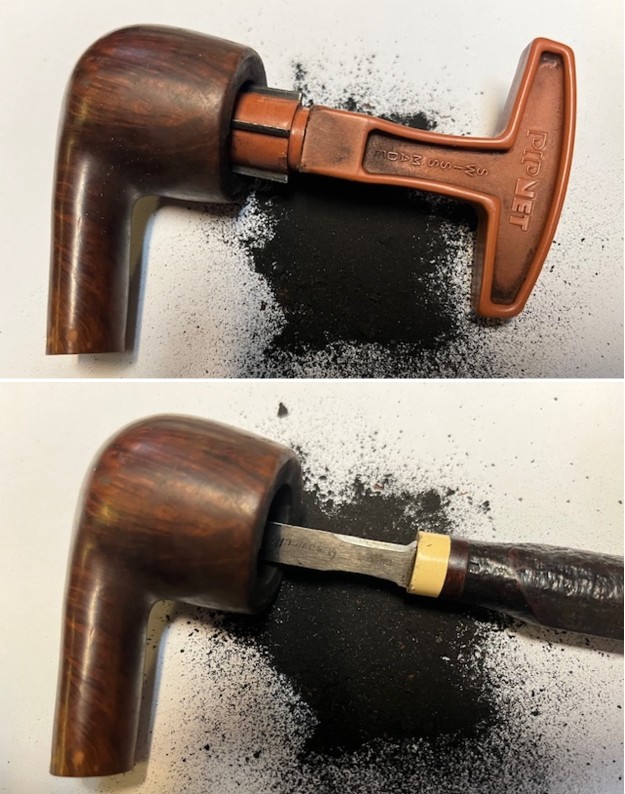
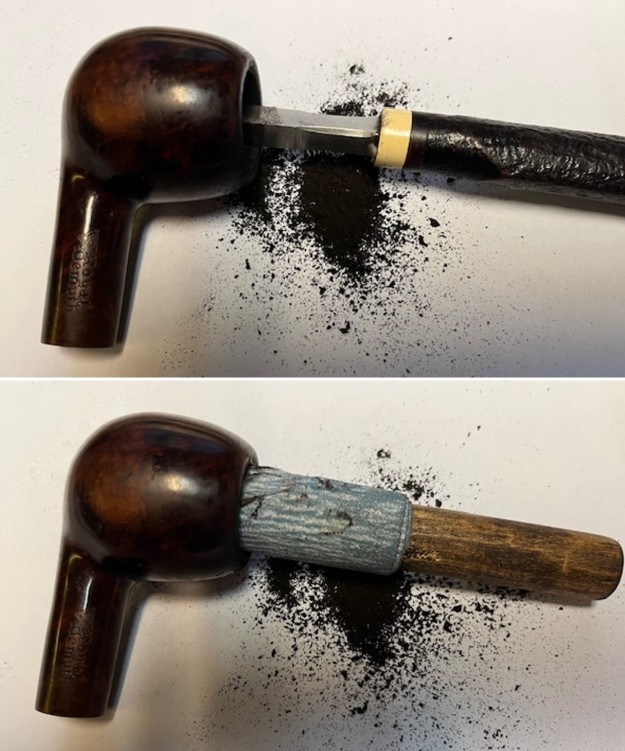
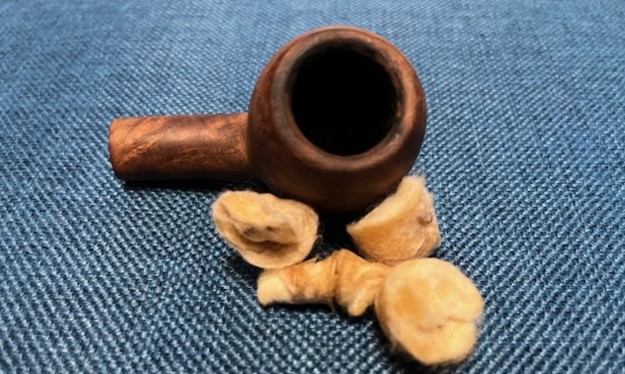
I started my work on the pipe cleaning up the bowl and the shank. I reamed the bowl with a PipNet pipe reamer to take the cake back to bare briar. I cleaned up the remnants of the cake with a Savinelli Fitsall Pipe Knife. I sanded the bowl walls with sandpaper wrapped around a piece of briar to smooth them out. The inside walls were clean and there was no sign of burning or checking on them. Note the spotty varnish coat peeling on the bowl sides that would need to be removed.
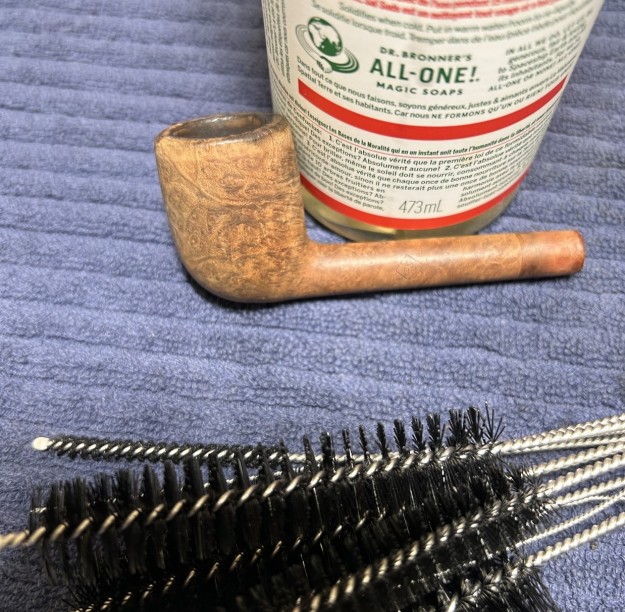
 I decided to clean the internals before scrubbing the externals. I scrubbed the shank and the airway in the shank and the stem with pipe cleaners, cotton swabs and isopropyl alcohol. Once it was clean it smelled much better.
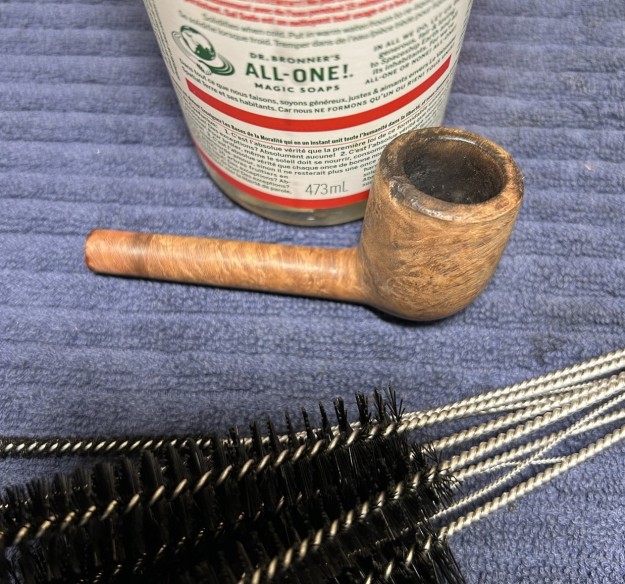
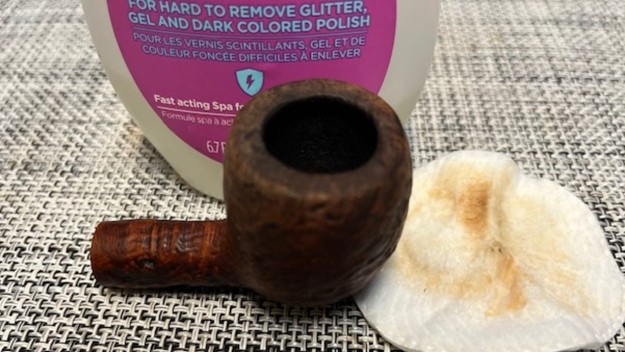
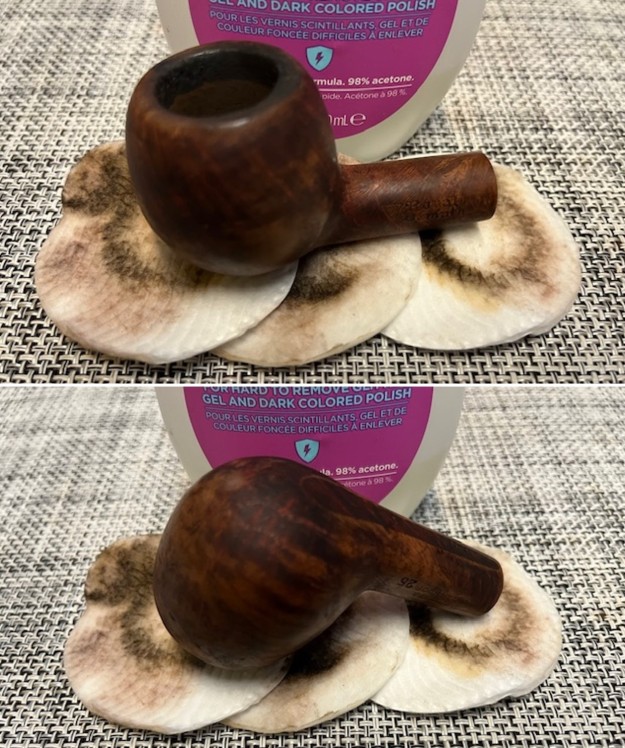
 To get rid of the peeling and spotty varnish coat on the bowl I wiped it down with some acetone (fingernail polish remover) on cotton pads until the shine was gone and the finish was quite smooth and clean.
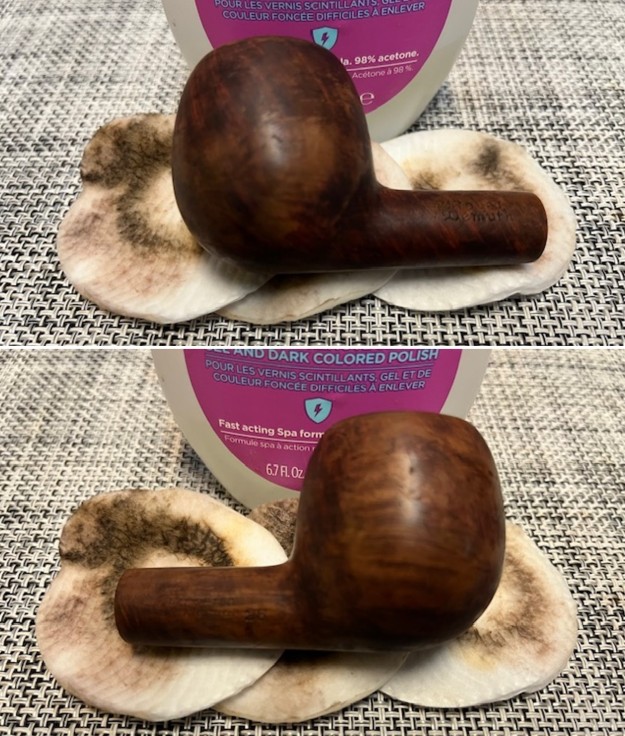
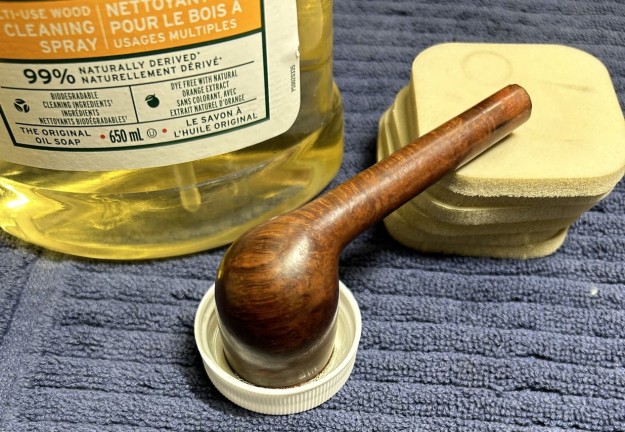
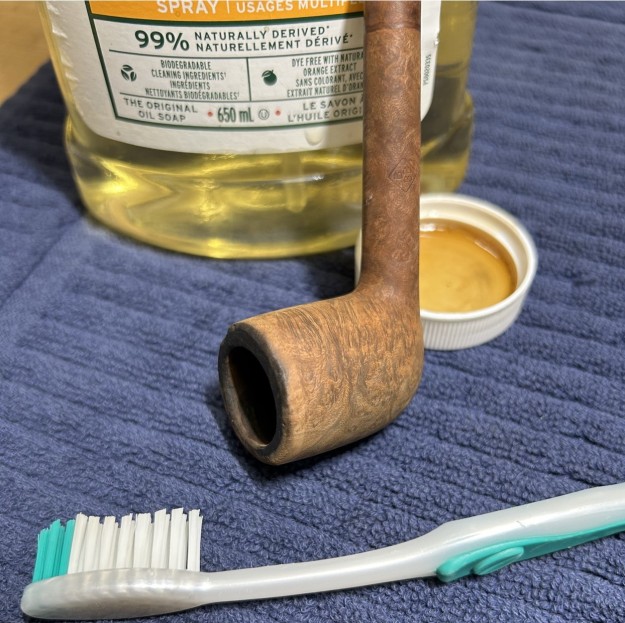
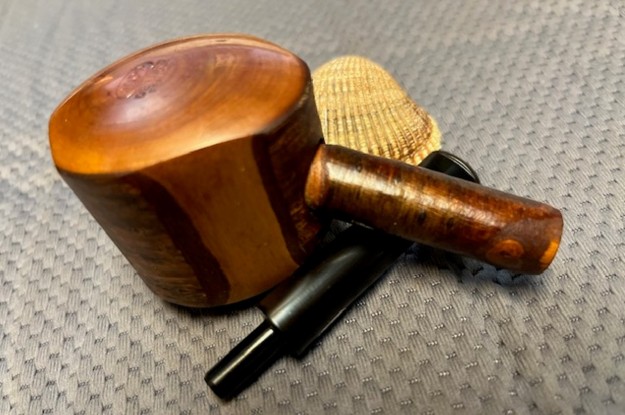
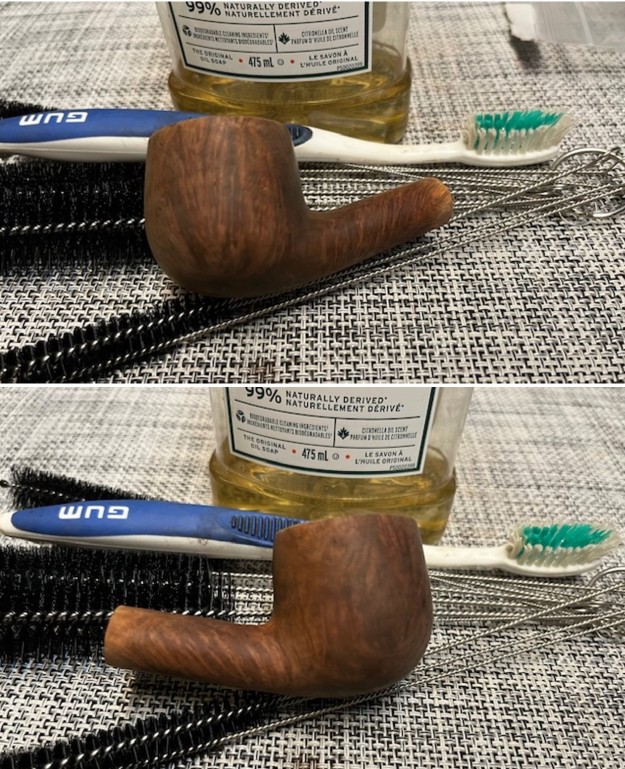
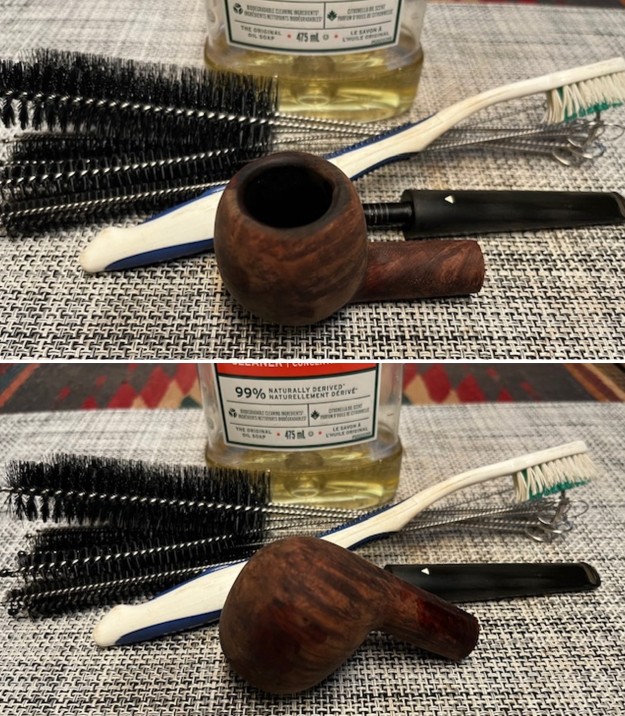
 I scrubbed the externals of the bowl and shank with undiluted Murphy’s Oil Soap and a tooth brush to remove the grime in the finish. I rinsed the bowl off with warm water. I scrubbed the internals with a shank brush and soap to remove the remaining tars and oils inside both the stem and the shank. I was able to remove a lot of the lava on the rim top as well. The bowl was beginning to look much better at this point.
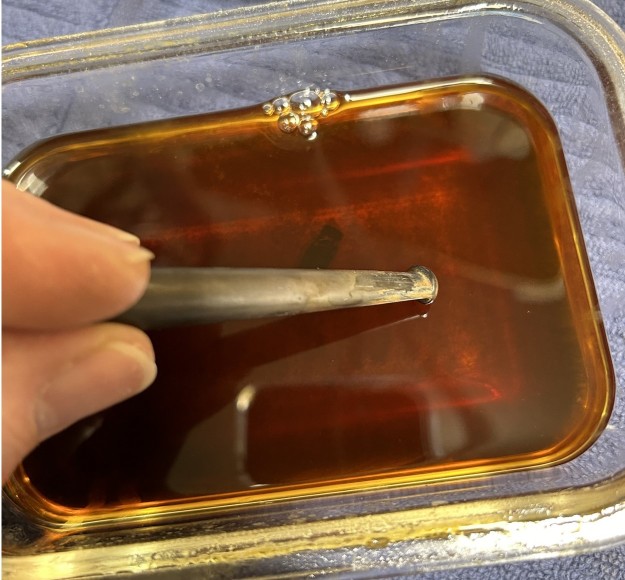
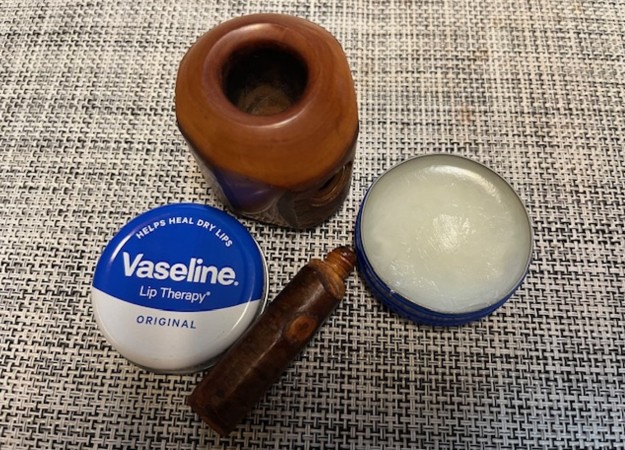
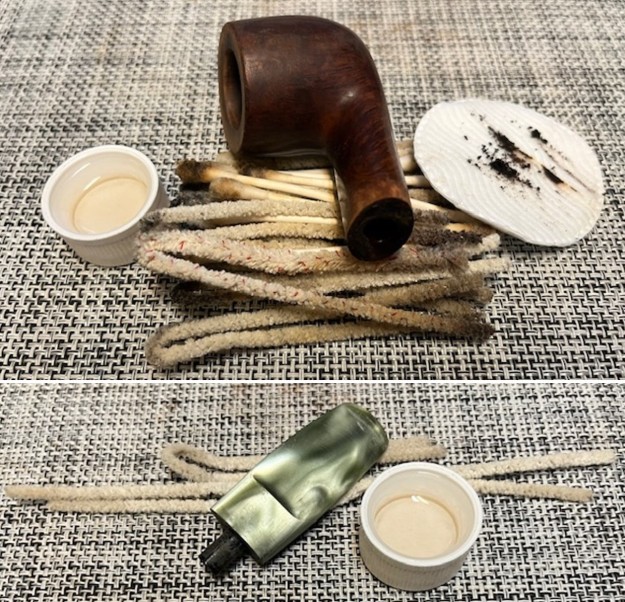
 The pipe really smelled strongly of the aromatic tobacco (perhaps Half & Half) that had been smoked in it before so it needed some work. I deghosted the bowl with 99% isopropyl alcohol and cotton bolls. I stuffed it and twisted a plug for the shank. I used an ear syringe to load it with alcohol and set it in a pipe rest to let it do its job. I would let it sit for several hours while I was at work today. In the evening I removed it and it was dark with tars and oils. I recleaned the bowl and shank afterwards and the pipe is smelling better!
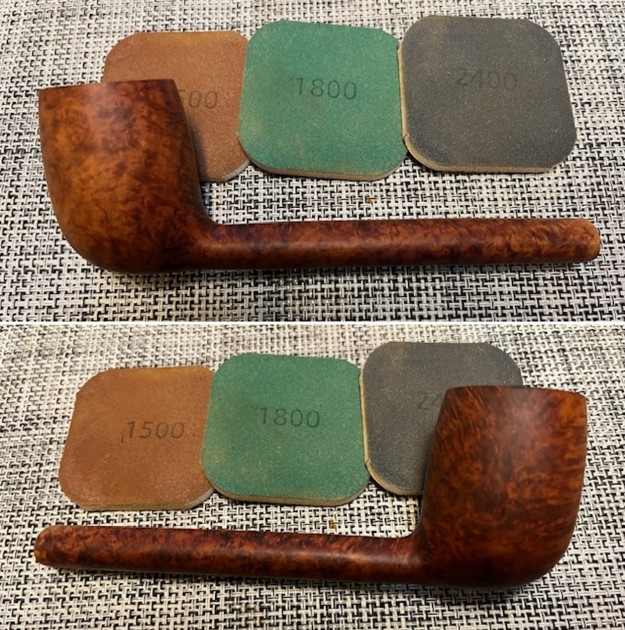
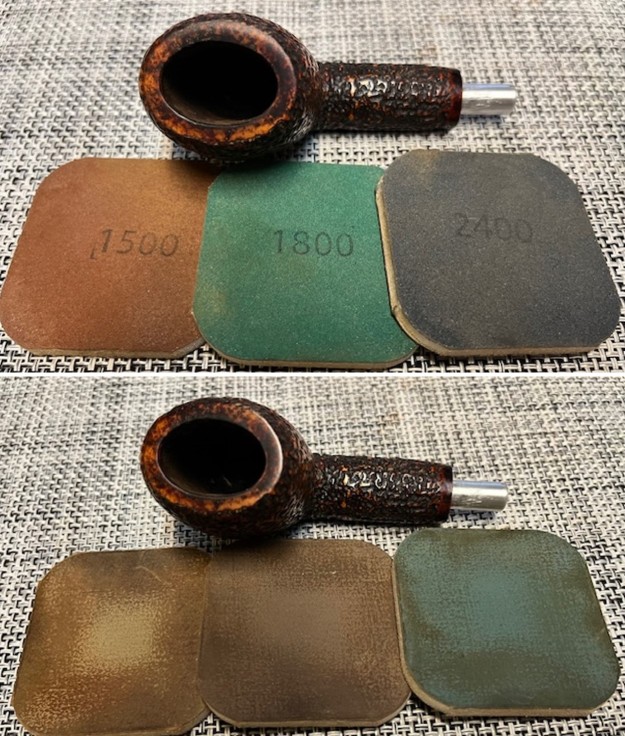
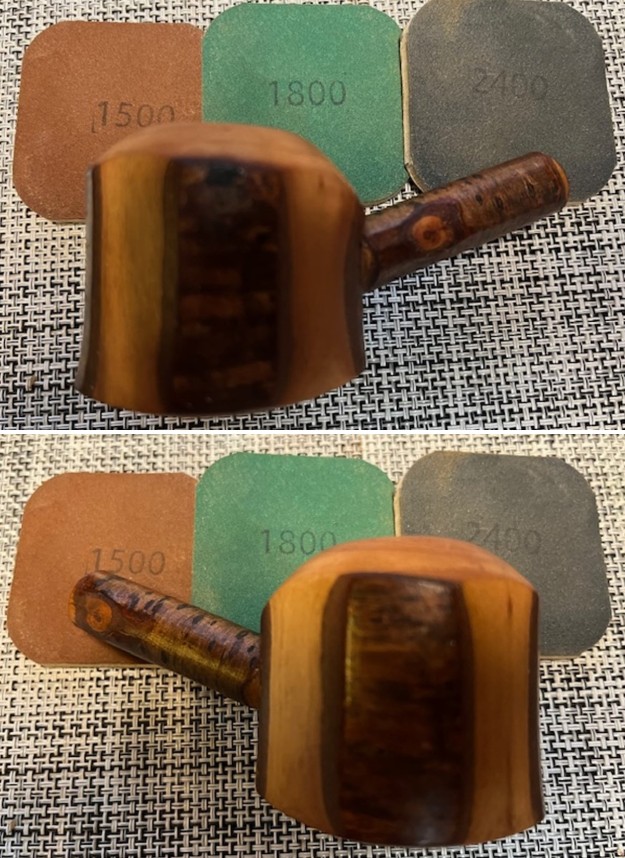
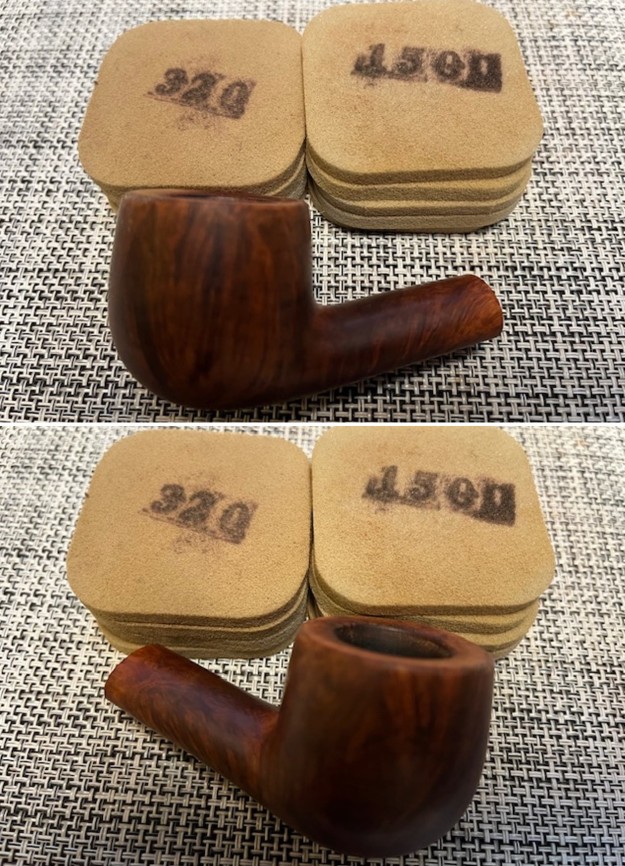
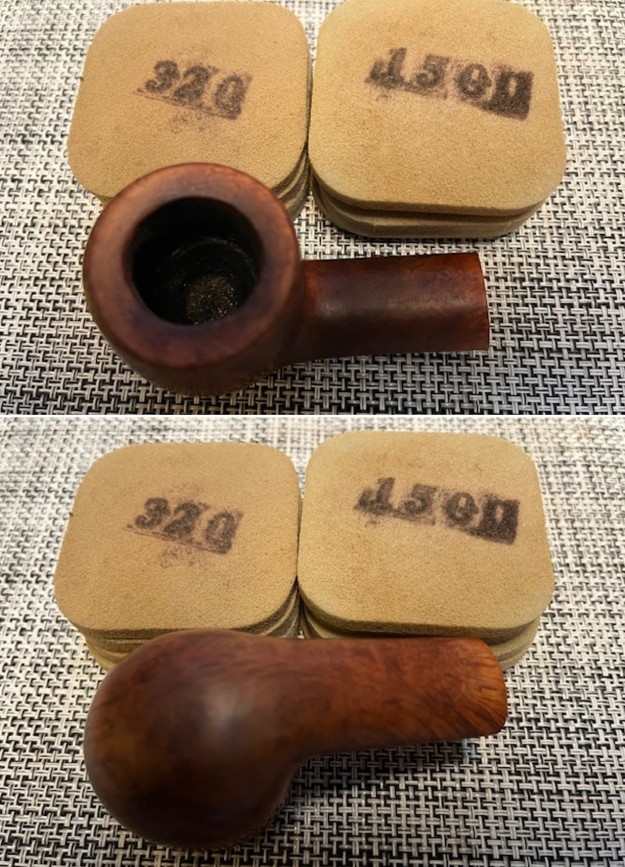
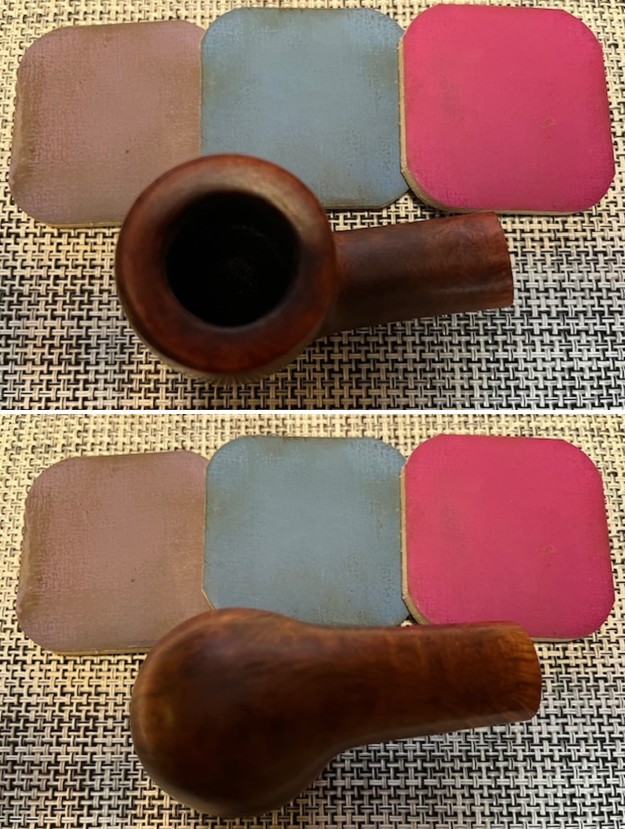
 I sanded the bowl (rim top and shank) with sanding pads – sanding with 320-3500 grit pads and wiped down with a damp cloth after each sanding pad. The bowl began to take on a real shine. It was going to be a beautiful pipe.
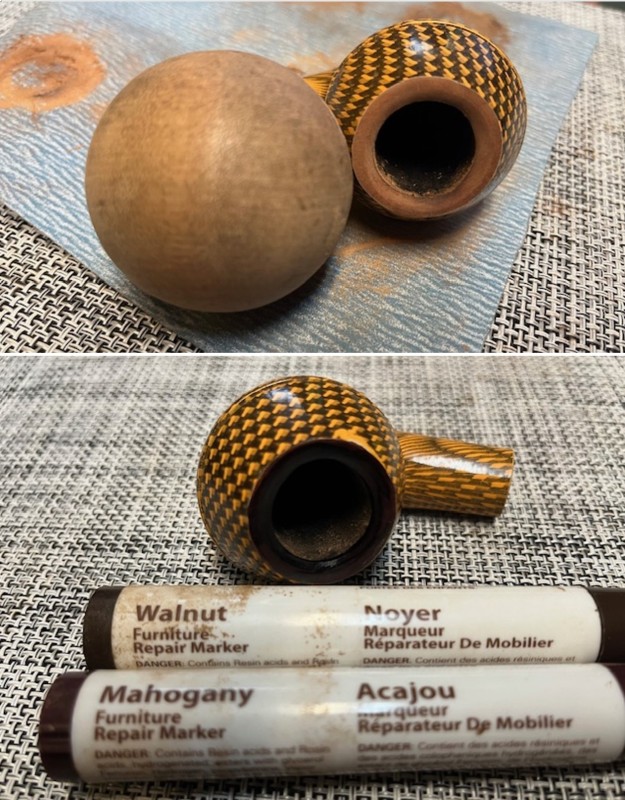
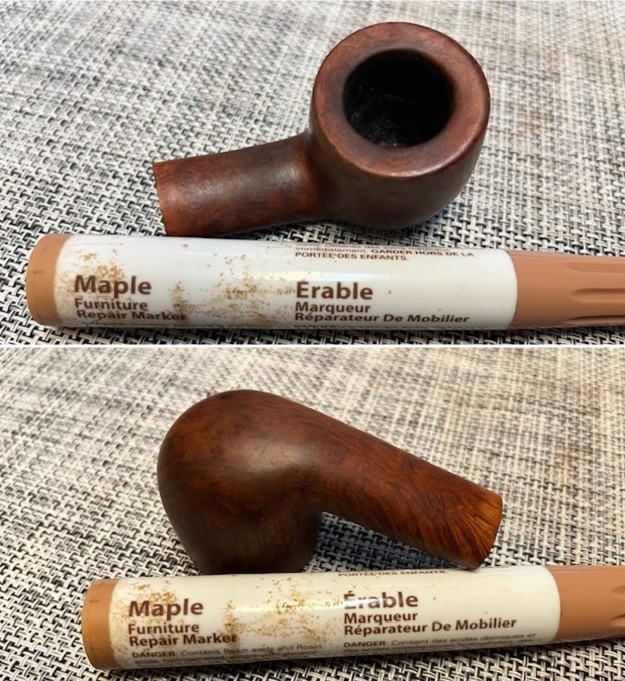
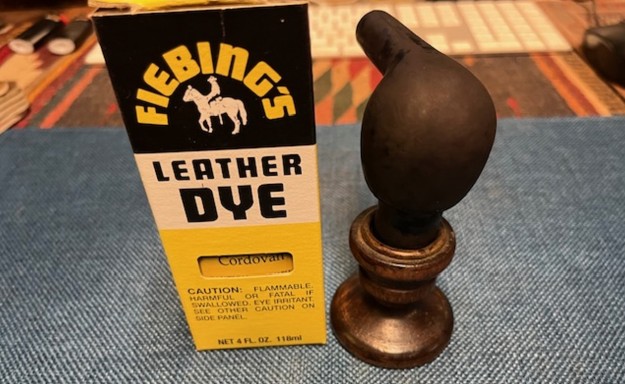
 I wiped down the sanding dust with a damp cloth and restained the pipe with some Fiebing’s Cordovan alcohol based stain. I applied the stain and flamed it with a lighter to set the stain deep in the grain. It was a rich colour that I knew would look better with a little more work and buffing.
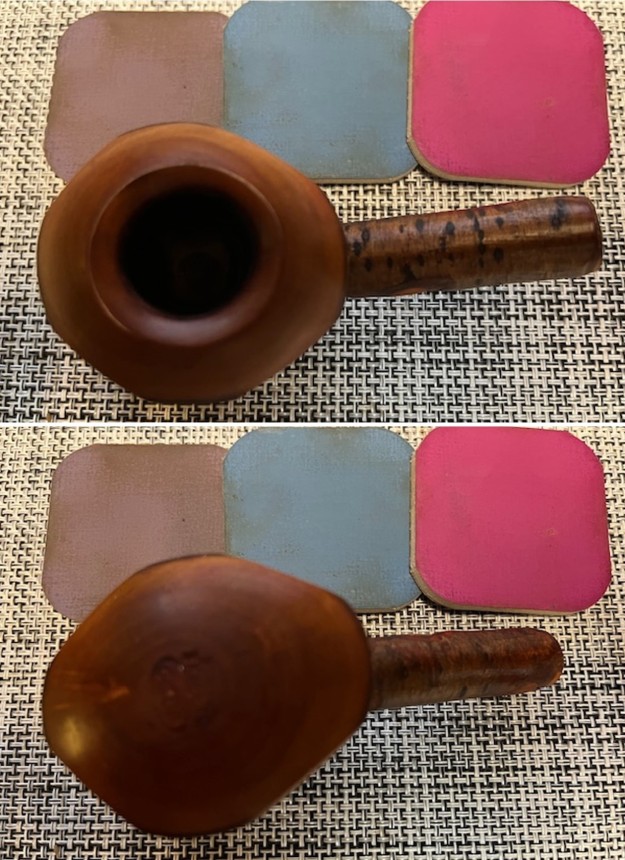
 I wiped the bowl down with alcohol on cotton pads to make the stain more transparent. I wanted to be able to see the grain.
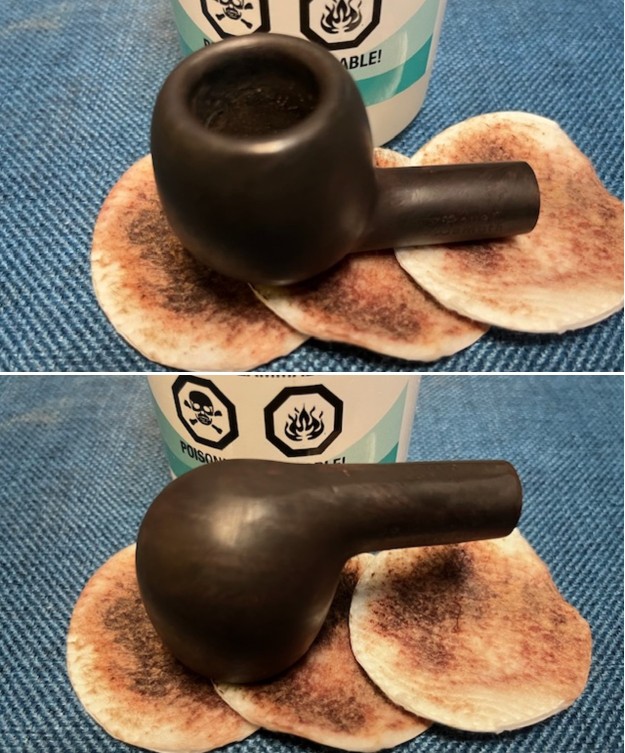 I wiped it down further with some 100% acetone to get even more transparency. It is beginning to look very good at this point.
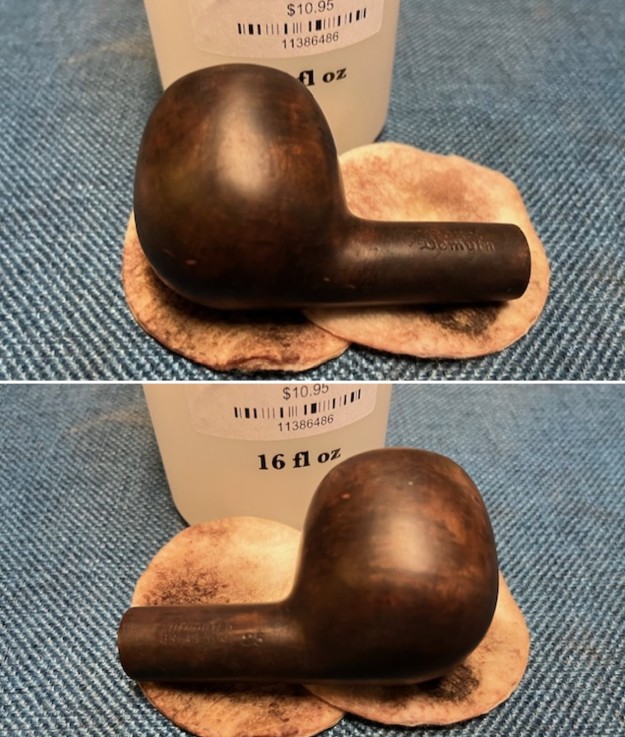
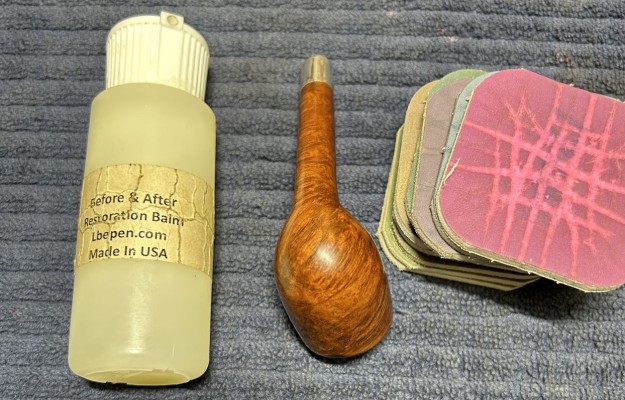
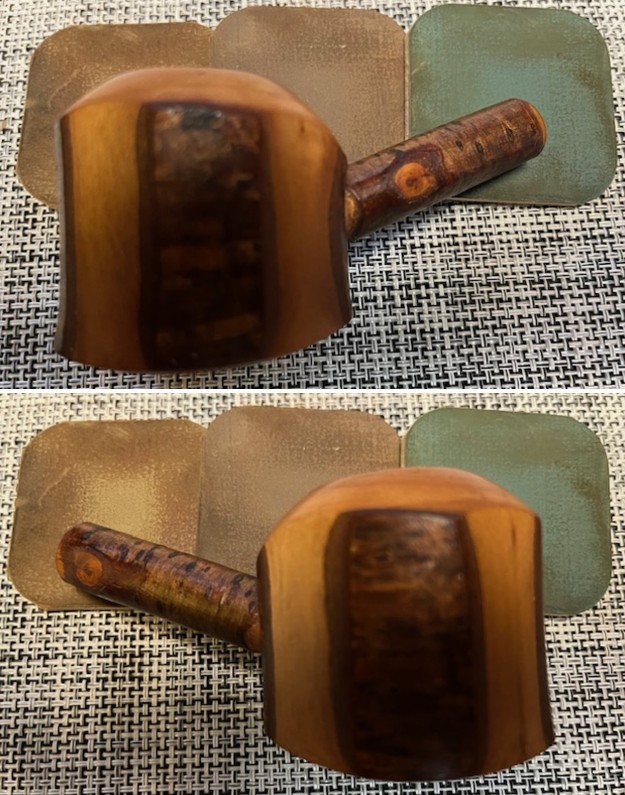
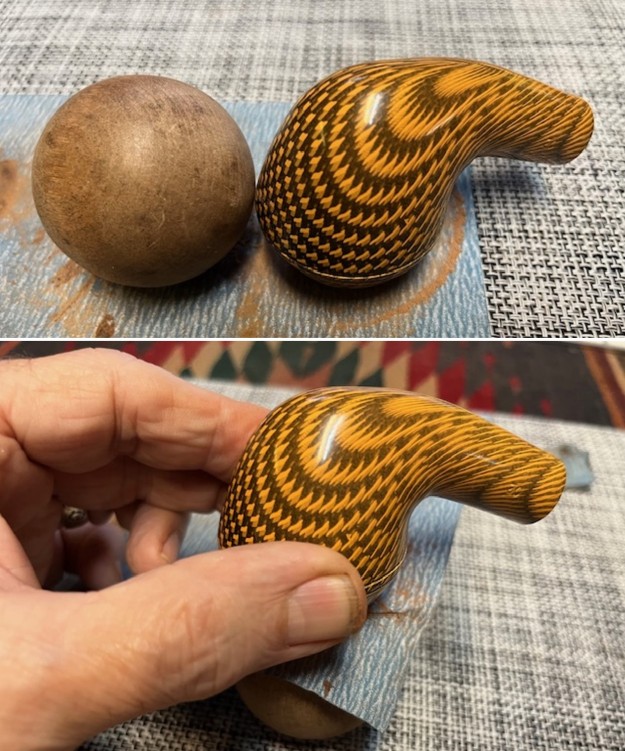
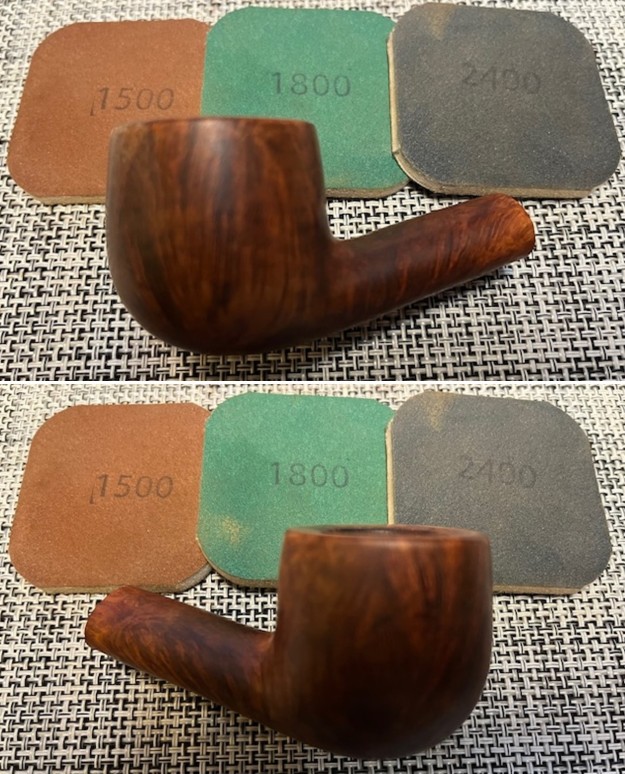
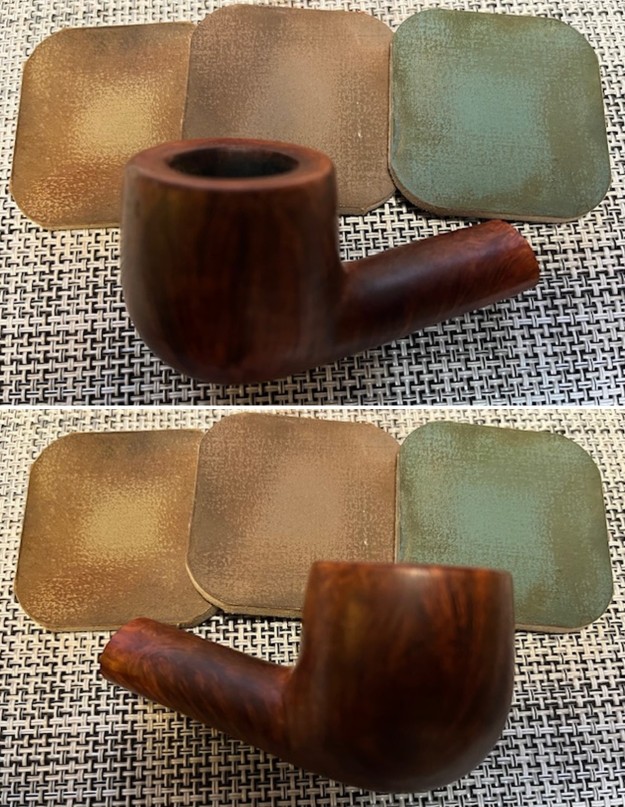
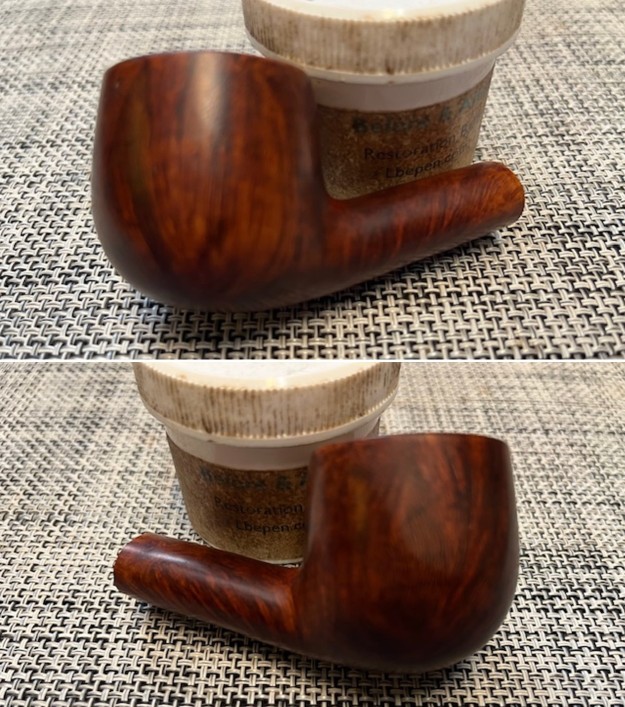
 I followed that by polishing the briar with micromesh sanding pads – dry sanding with 1500-12000 grit pads and wiping the bowl down after each sanding pad. The grain really began to shine through. It is a beautiful pipe.
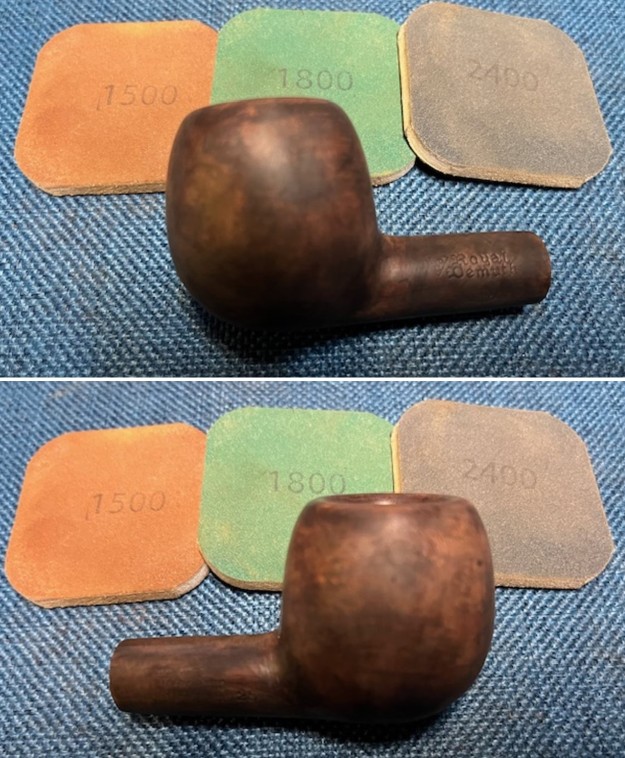

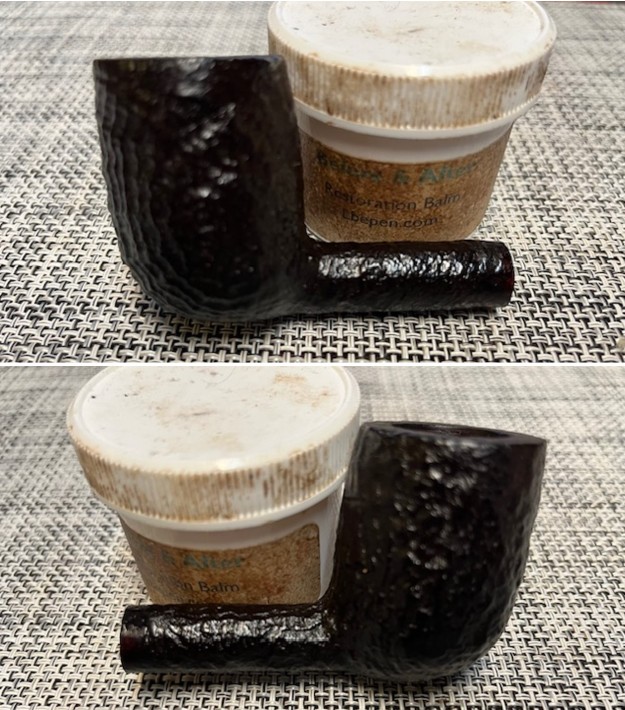
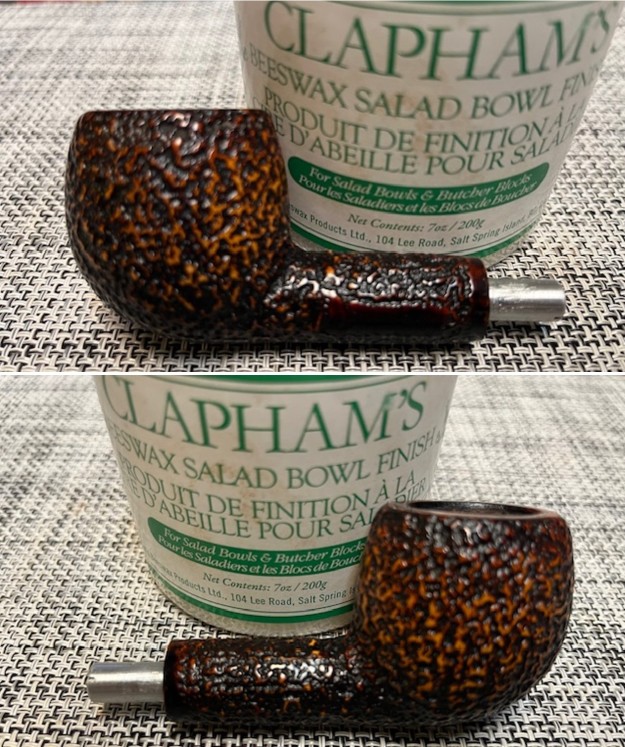
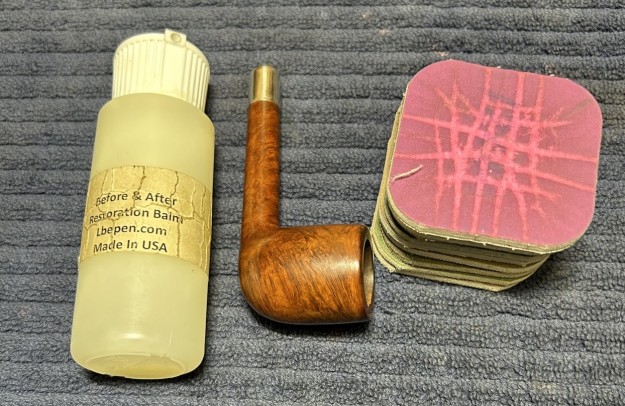
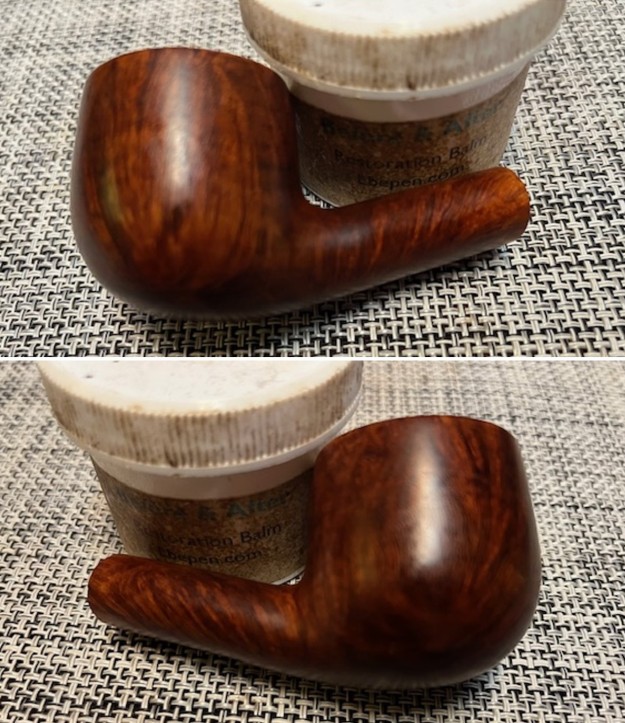
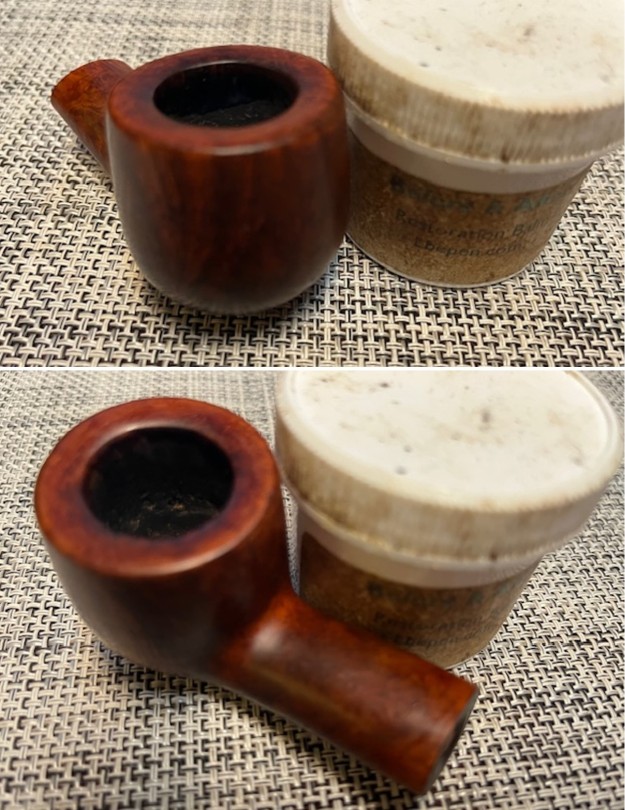
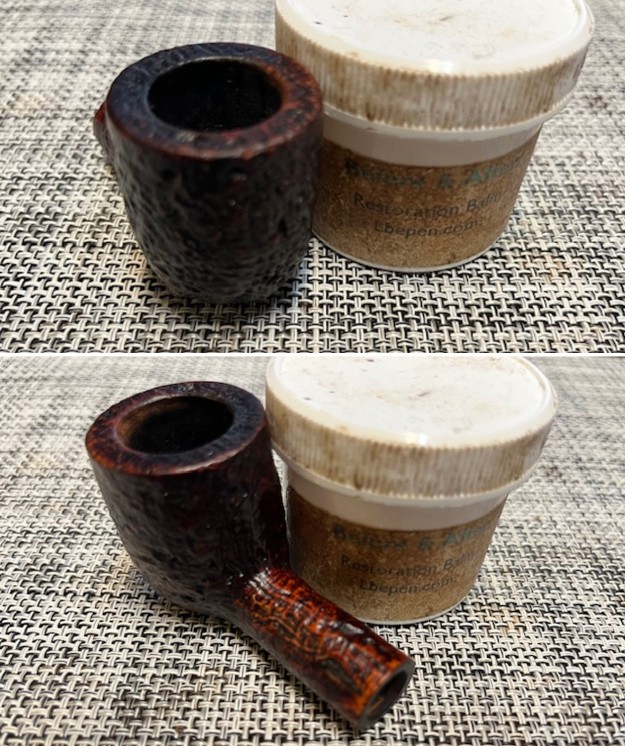
 I rubbed the bowl down with Before & After Restoration Balm. I worked it into the surface of the briar to clean, preserve and polish the wood. The product works to really give new life to the briar and in this case the briar looked much better.

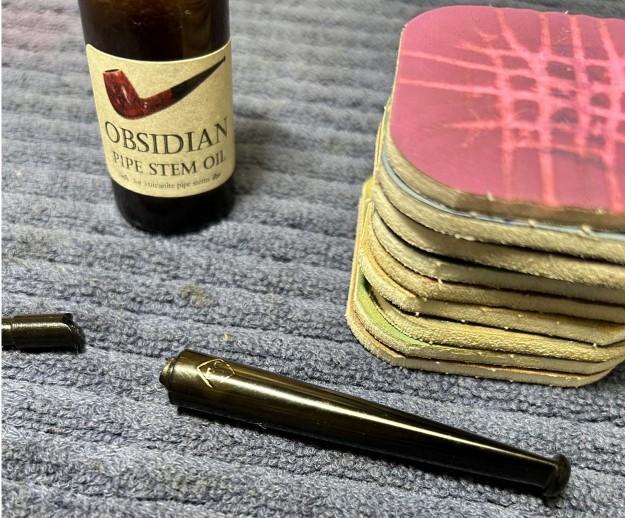
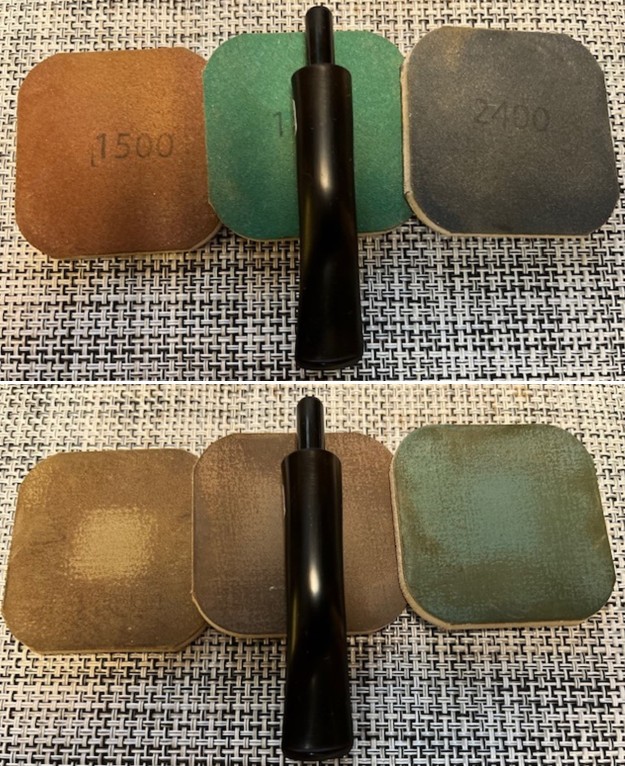
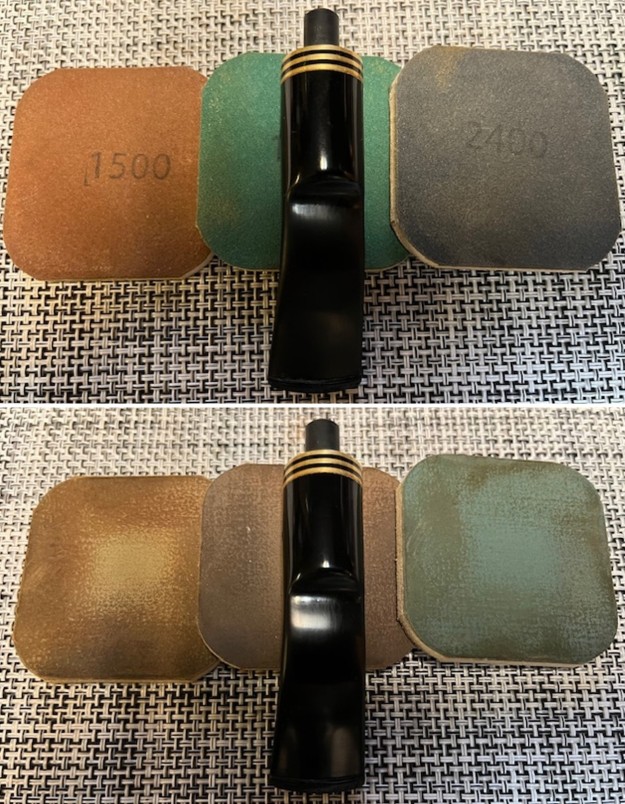
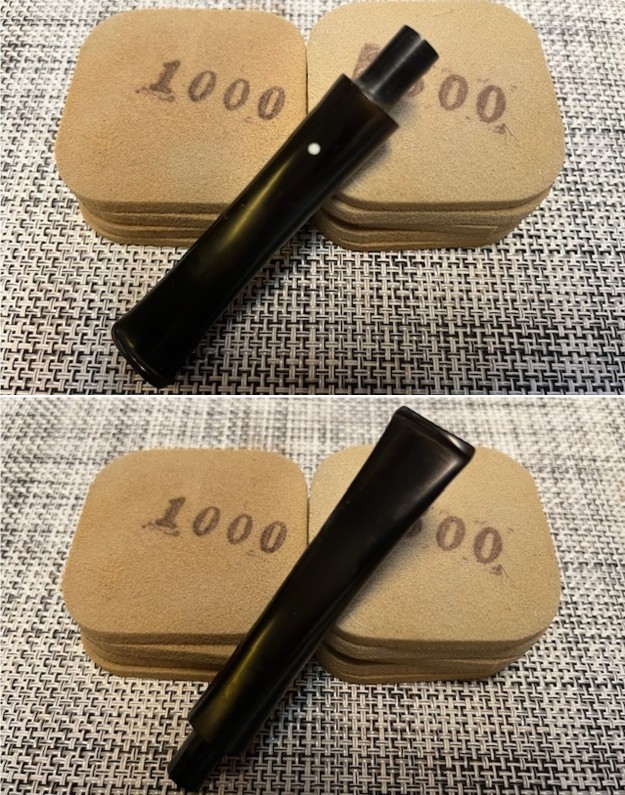
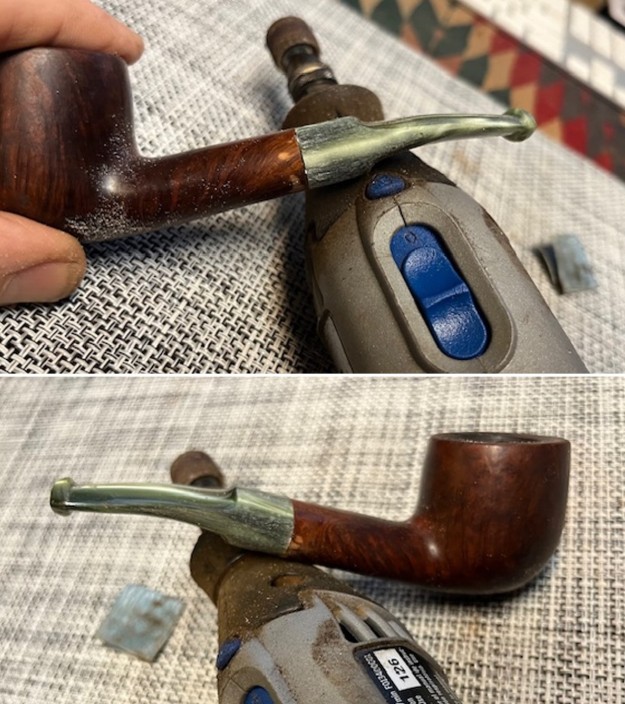
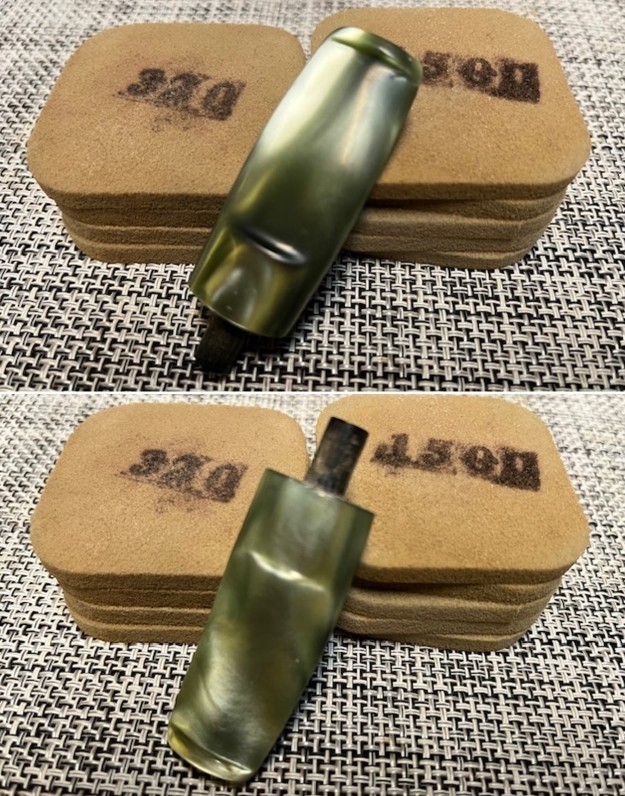
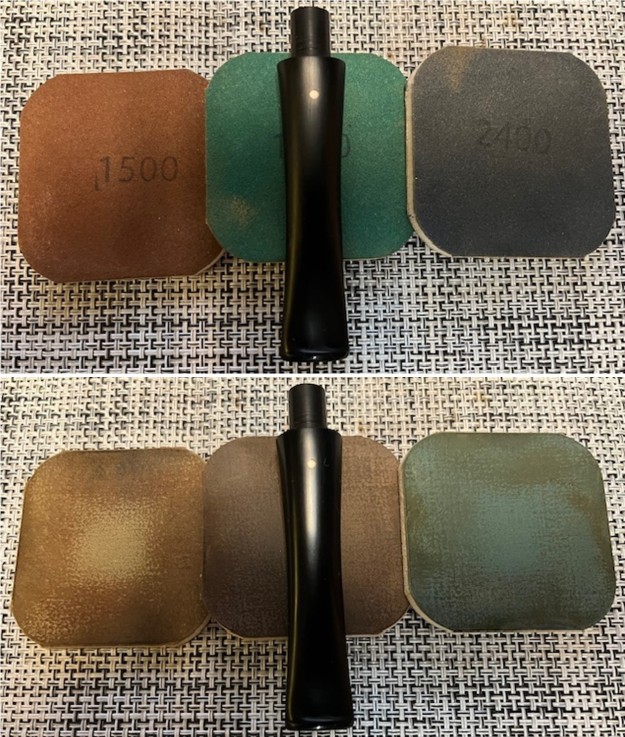
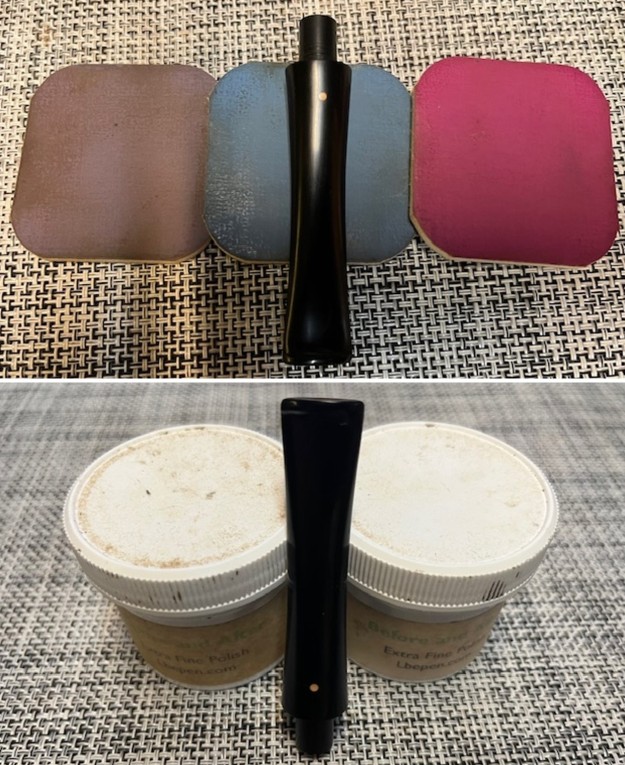
 I sanded out the scratches and marks in the stem surface with 320-3500 grit sanding pads. I wiped the stem down with a damp cloth after each sanding pad. It looked much better and really started to take on a shine.
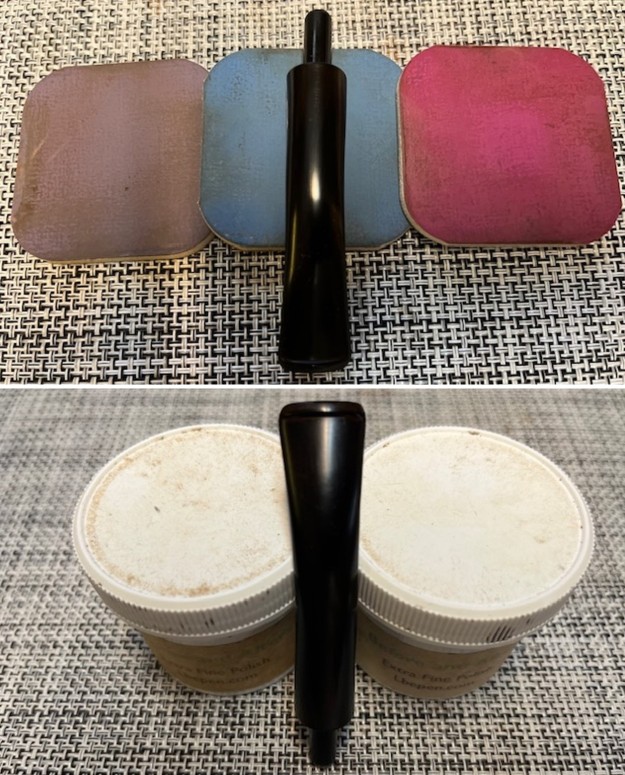
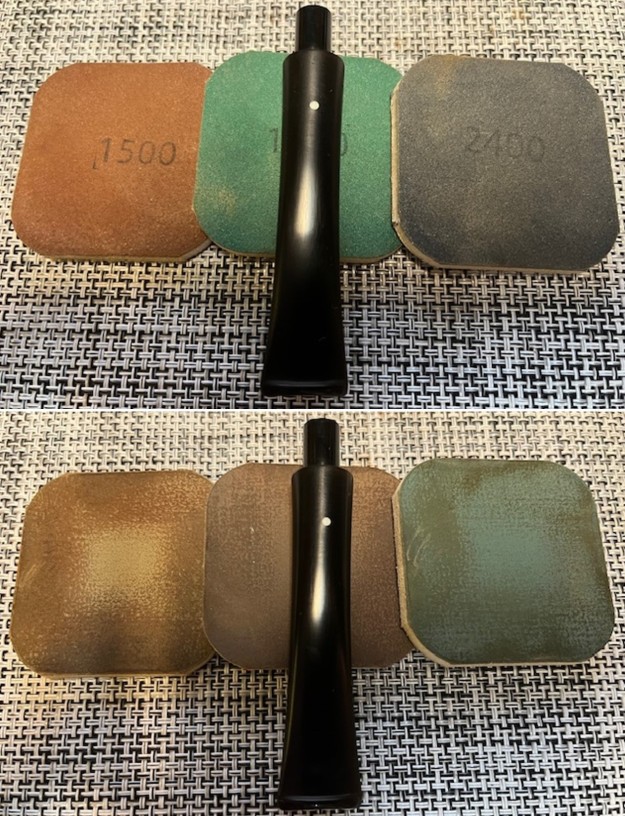
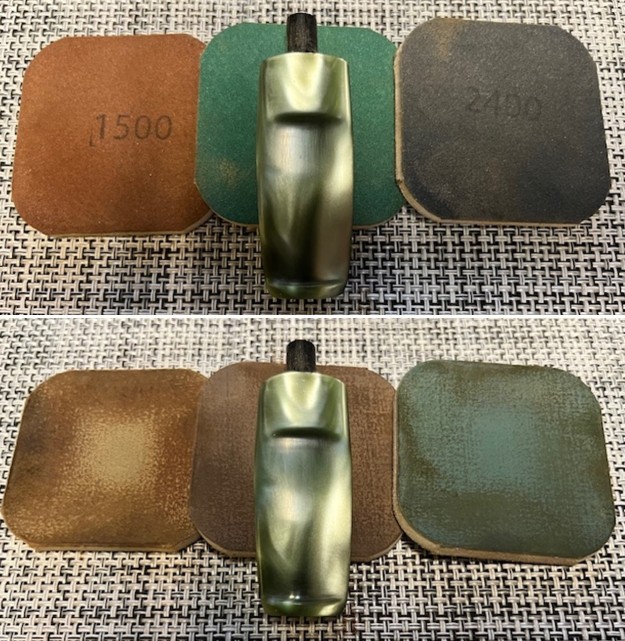
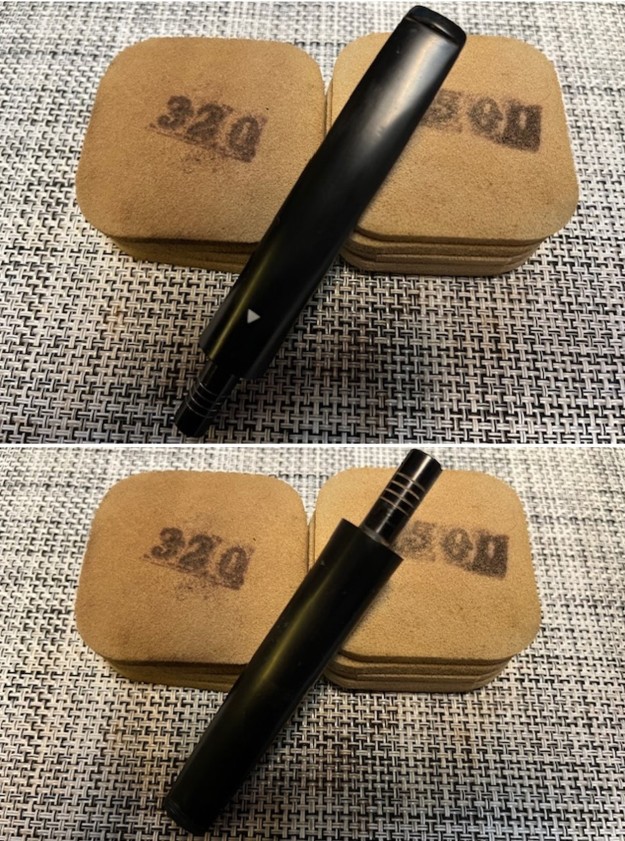 I polished the stem with micromesh sanding pads – wet sanding with 1500-12000 grit sanding pads. I wiped it down after each sanding pad with Obsidian Oil. I polished it with Before & After Pipe Stem Polish – both Fine and Extra Fine.
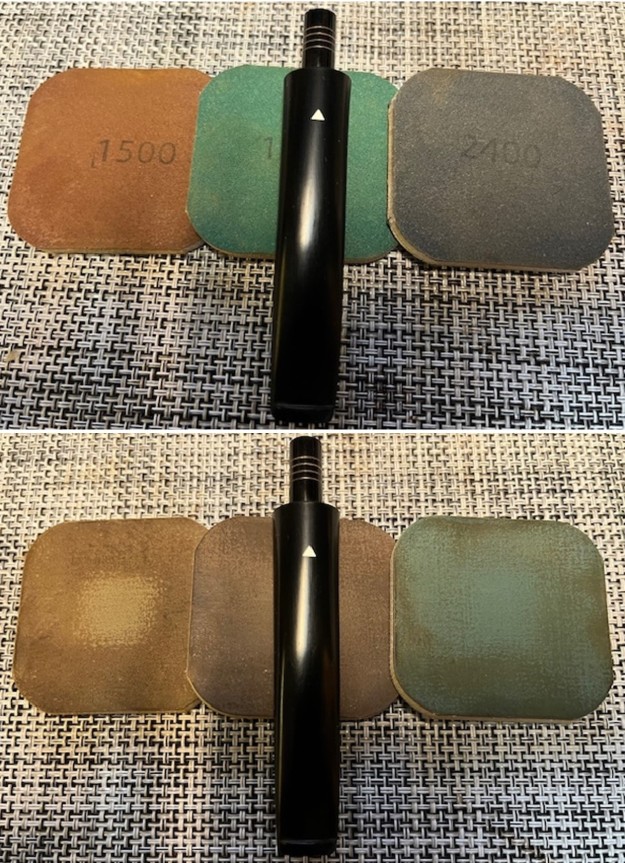
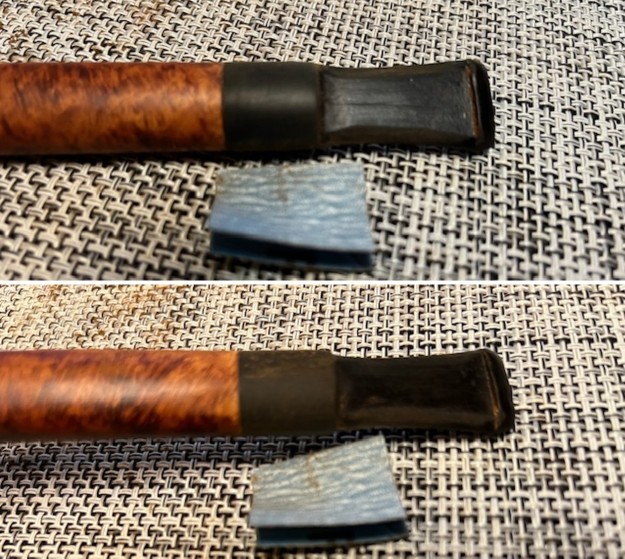
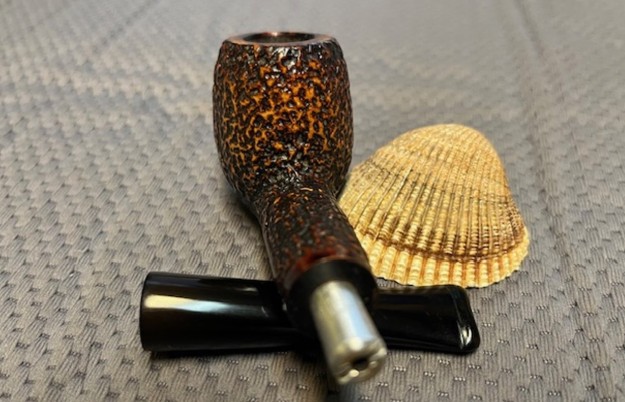
 With the pipe cleaned up and ready to go I fitted the filter stem with a Medico Paper Filter and it fit precisely like the original WDC paper filters.
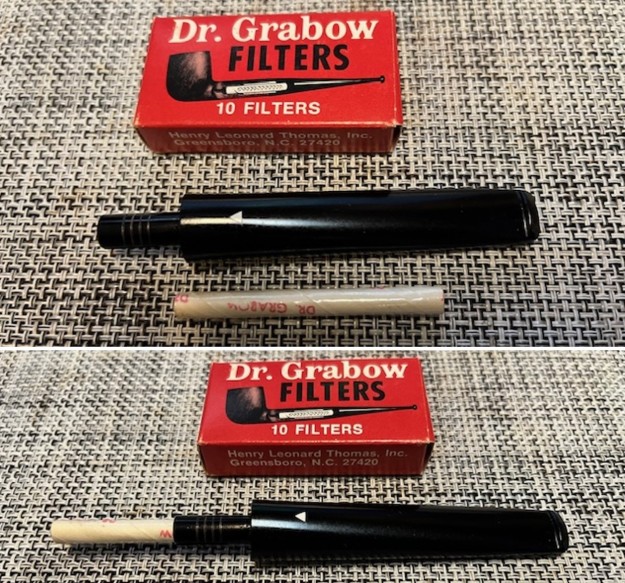
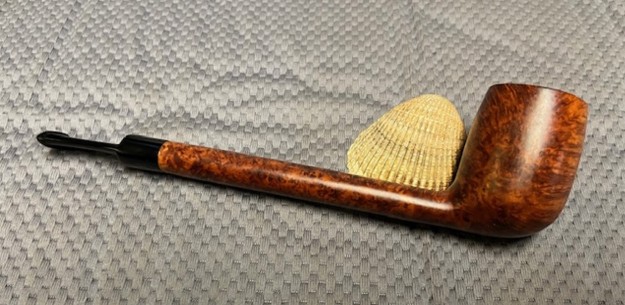
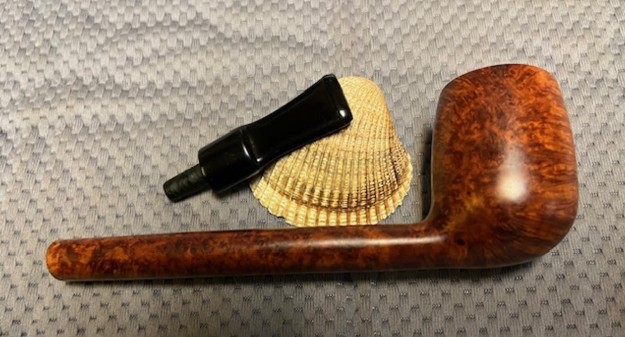
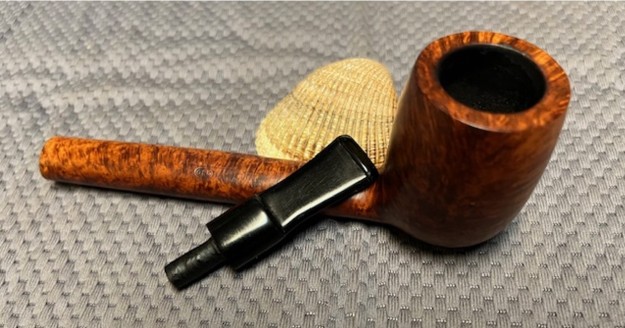
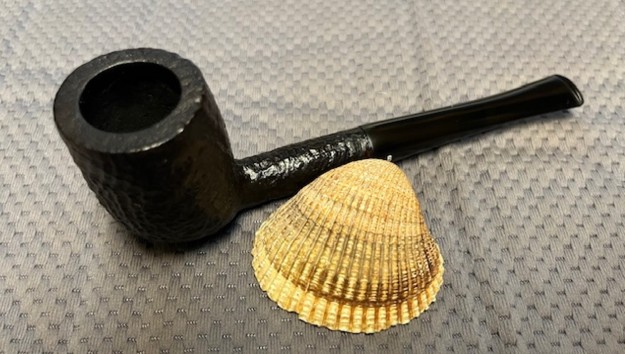
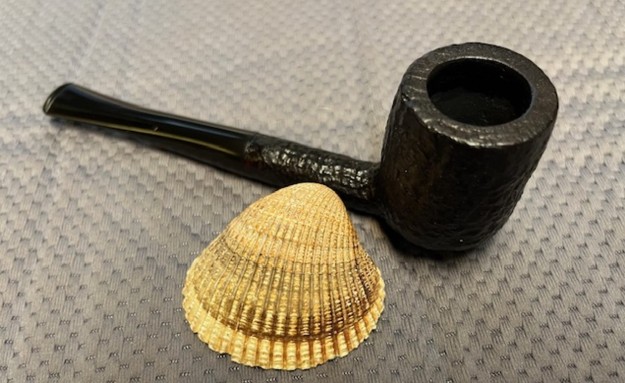
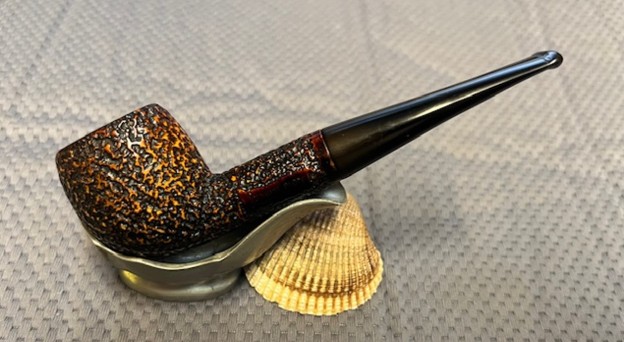
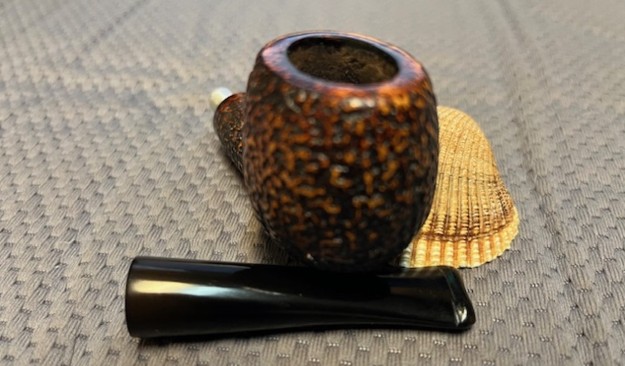
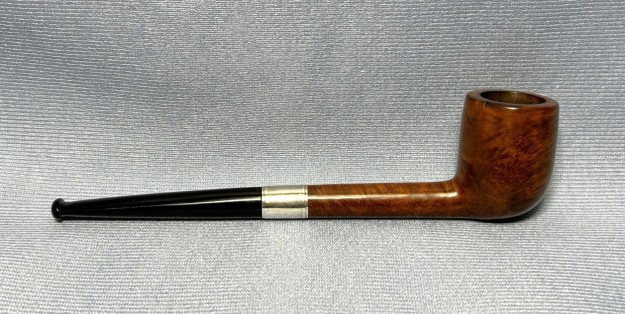
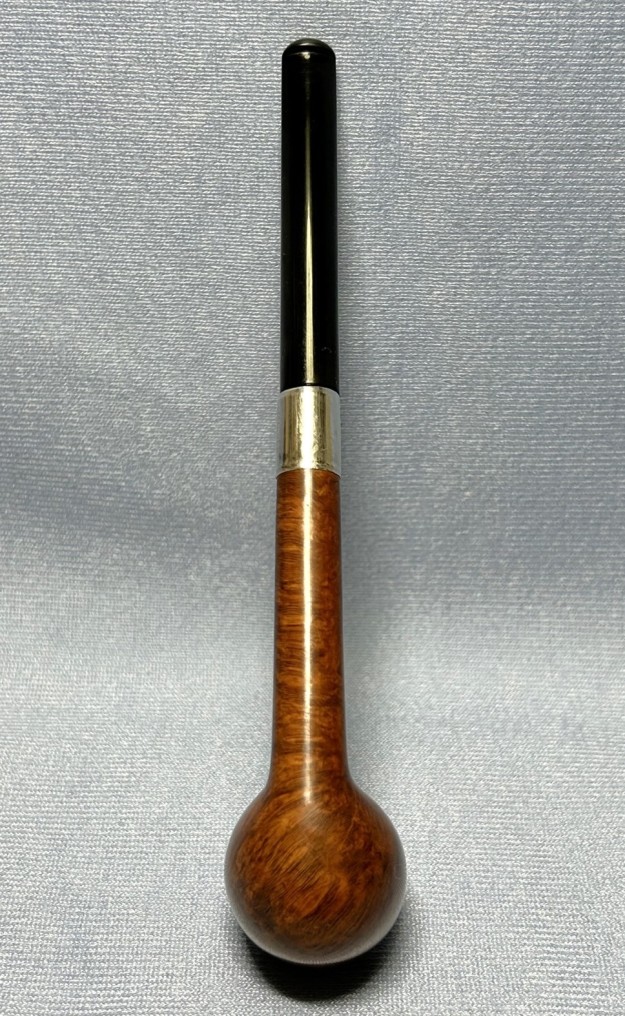
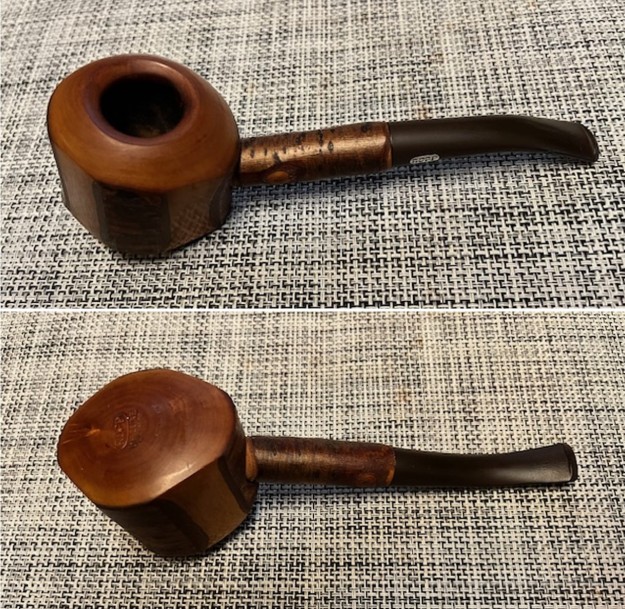
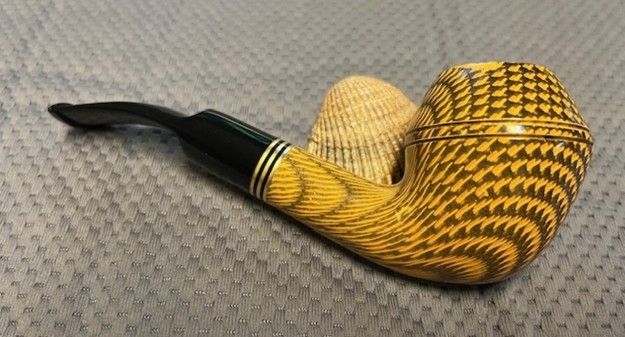
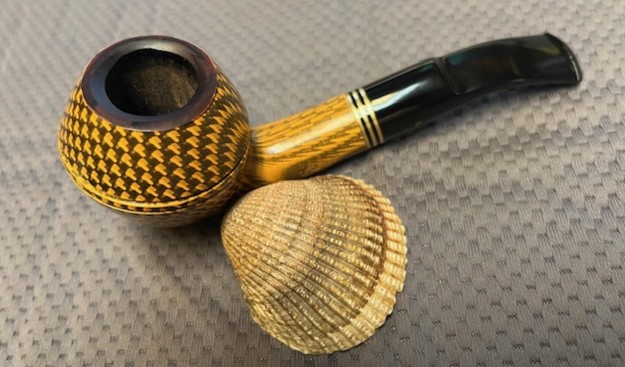
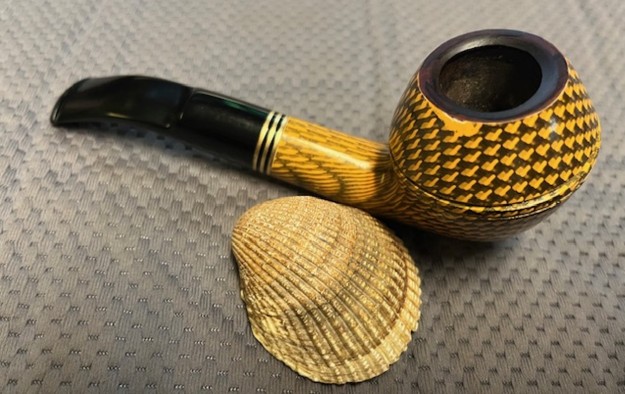
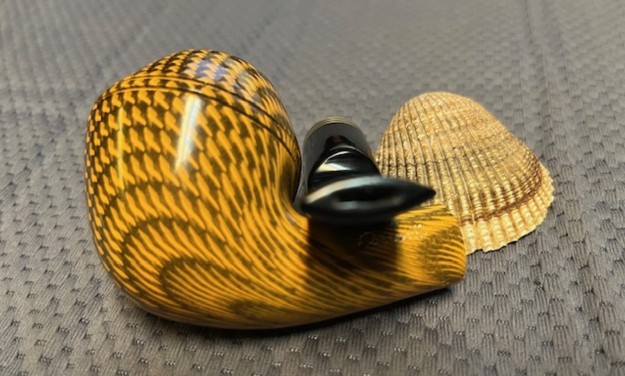
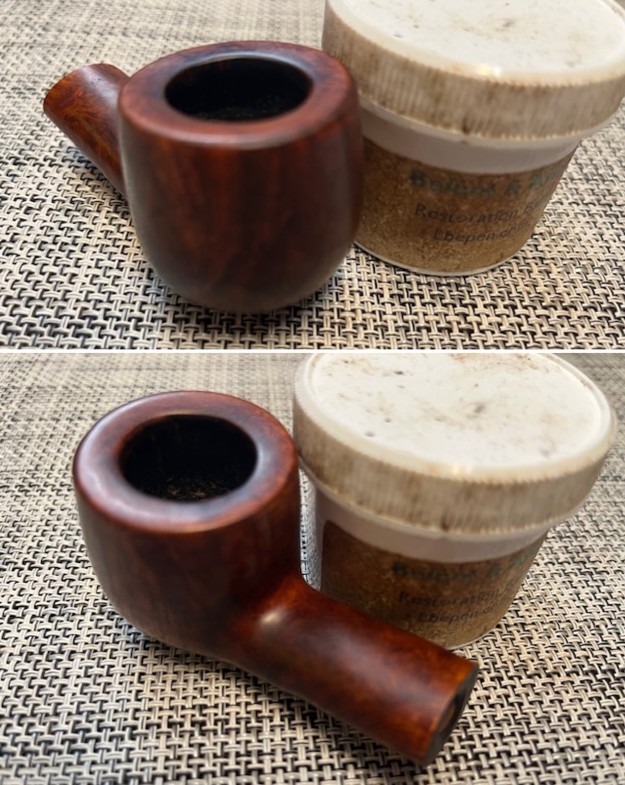
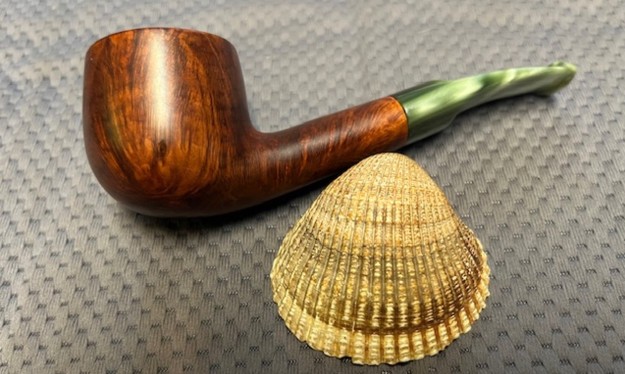
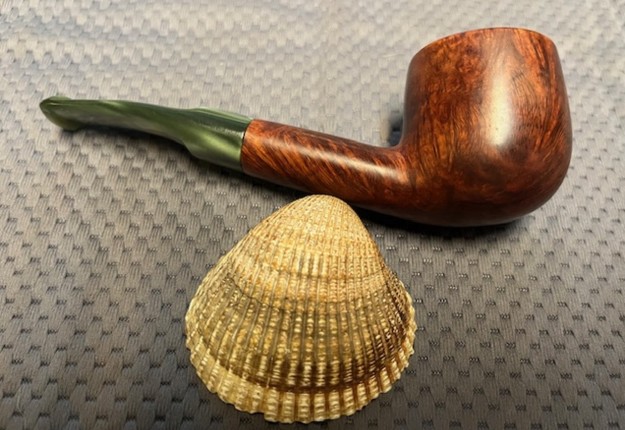
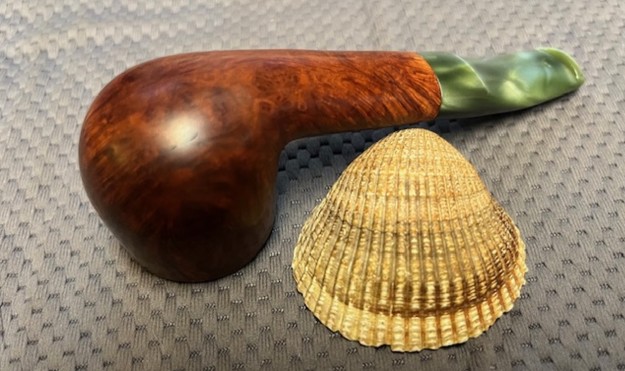
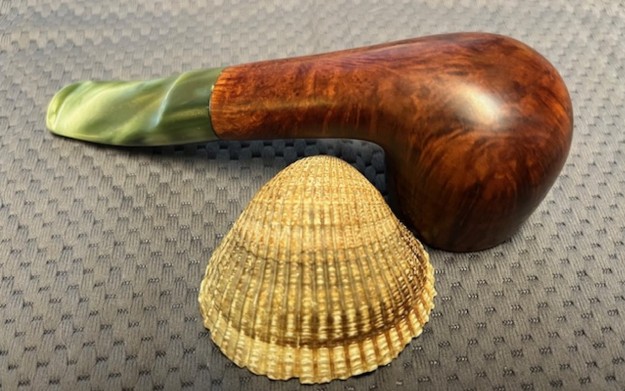
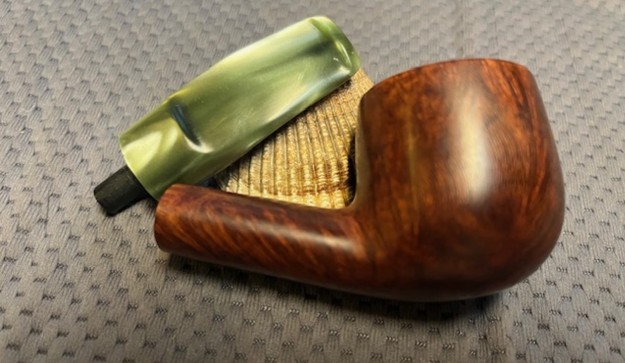
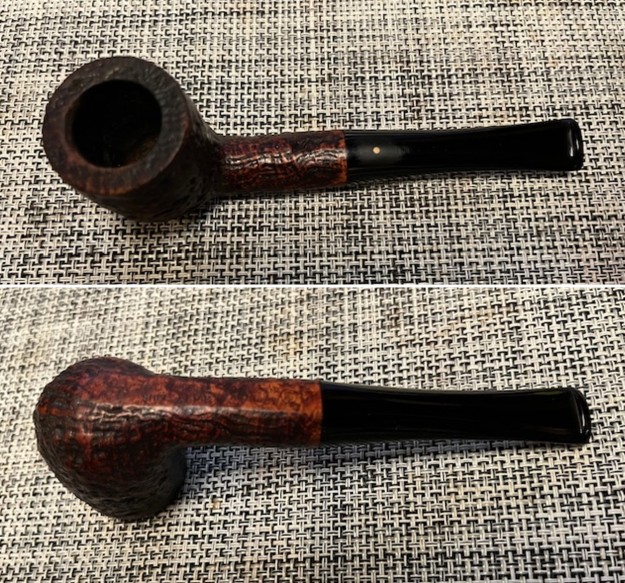
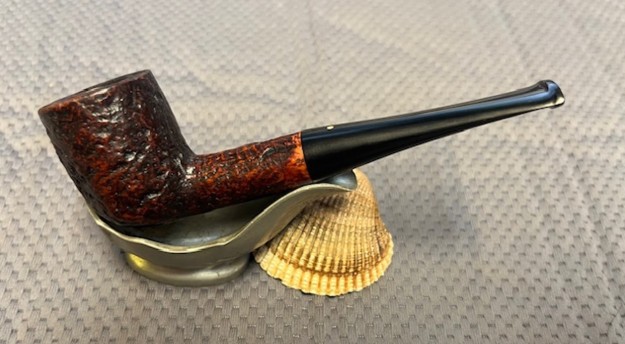
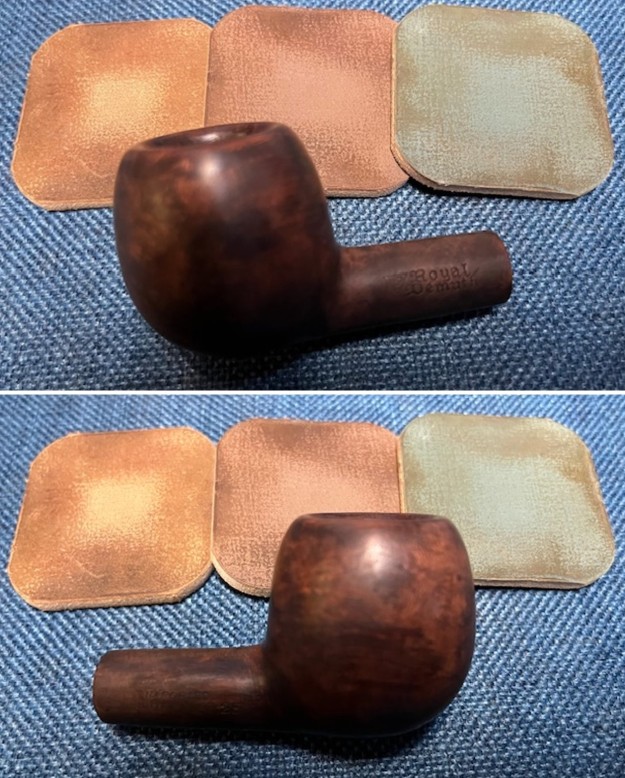
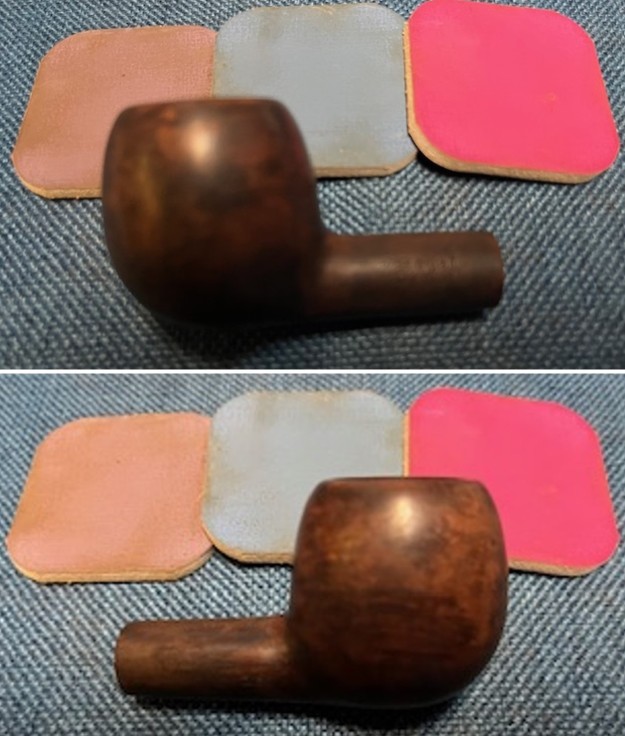
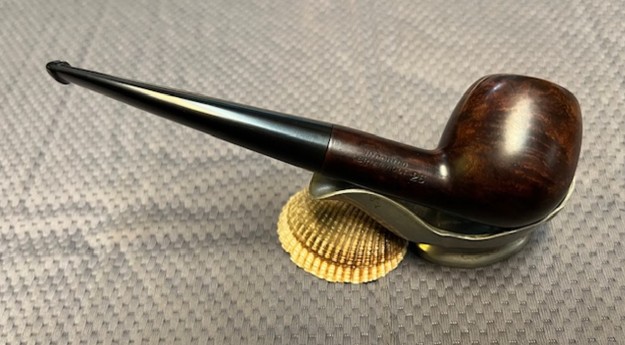
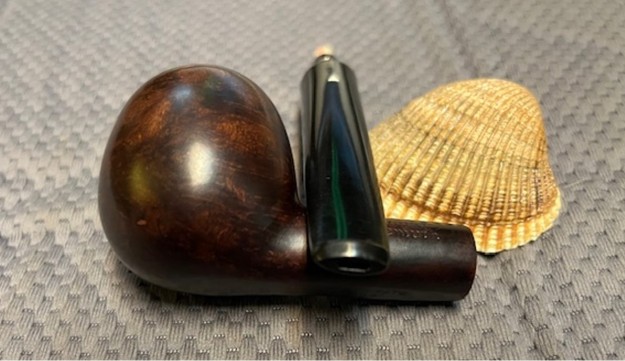
 I am excited to put the final touches on this interesting piece of American Pipe History found in Bellingham, Washington. It is a beautiful WDC Royal Demuth Filter Pat’d 1934 Shape 25 Apple shaped pipe. I put the pipe back together and buffed it with Blue Diamond on the buffing wheel. I gave the bowl and the stem multiple coats of carnauba wax. I hand buffed the pipe with a clean buffing pad to raise the shine. It is fun to see what the polished bowl looks like with beautiful grain on the bowl sides, top and bottom. The polished black vulcanite stem combined with the bowl to make a stunning pipe. This older WDC Royal Demuth Filter Pipe is great looking and the pipe feels great in my hand. It is light and well balanced. Have a look at it with the photos below. The dimensions are Length: 5 ¾ inches, Height: 1 ½ inches, Outside diameter of the bowl: 1 ¼ inches, Chamber diameter: ¾ of an inch. The weight of the pipe is 40 grams/1.41 ounces. I will be adding it to the American Pipemakers Section of the rebornpipes store shortly. If you want to add it to your collection let me know. Thanks for walking through the restoration with me as I worked over this pipe. Thanks to each of you who are reading this blog.


 Bowl – finishing, Bowl – refinishing, bowl topping, Bowls – refinishing, buffing, finishing, fitting a new stem, micromesh sanding pads, WDC Pipes, WDC Royal Demuth apple 25, Royal Demuth Filter Apple 25 Pipe, pipe refurbishing, polishing, polishing a stem, polishing stems, refinishing, refurbishing, stem work, vulcanite, waxing, waxing a stem, removing tooth marks, repairing bite marks, sanding a stem, stem work, polish a vulcanite stem, waxing, waxing a stem