Blog by Paresh Deshpande
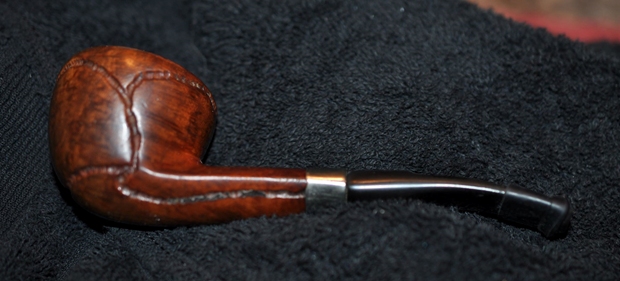
Being on leave that has been compulsorily extended by 40 days due to the virus pandemic being rampant and the country under a lock down was a blessing in disguise. I have enough time to spend with my daughters, catch up on some reading and most importantly, get working on some pipes!! The only downside to the last activity was that I have left behind at my place of work, most of my tools and paraphernalia that I use for restoring pipes. This greatly restricts the types of repairs that I can undertake at the moment. With these limitations, I rummaged through the pile and chose this inherited Stanwell as my next project on the premise that it would be a simple ‘refurbishing only’ task.
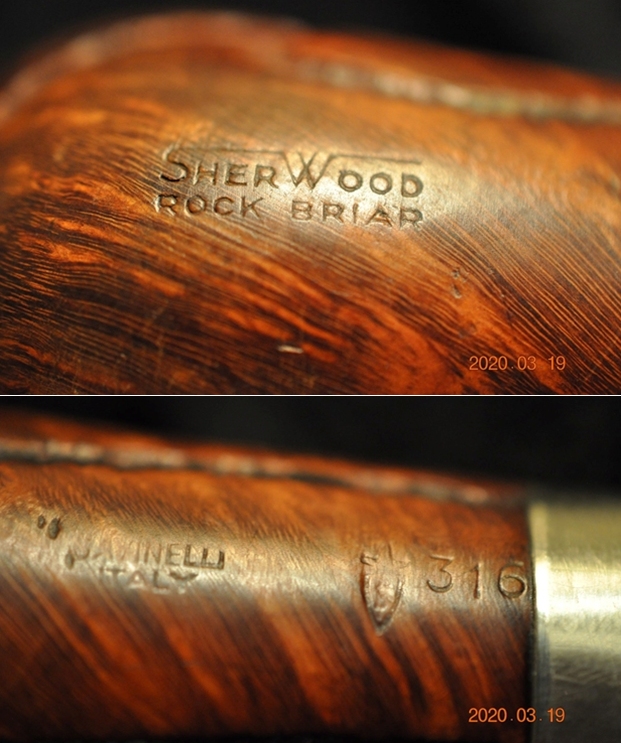
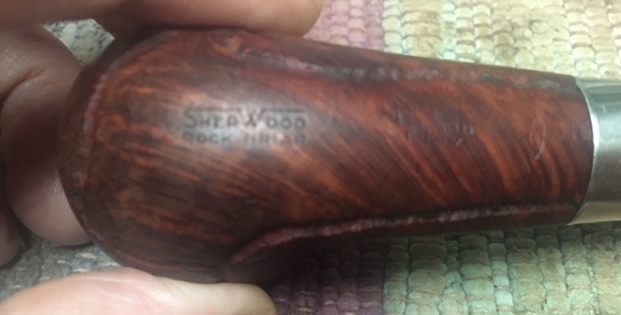
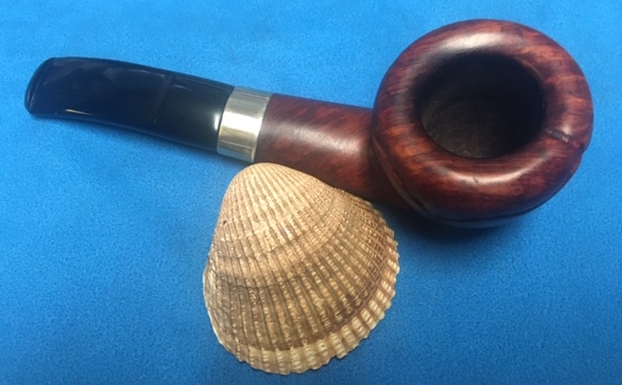
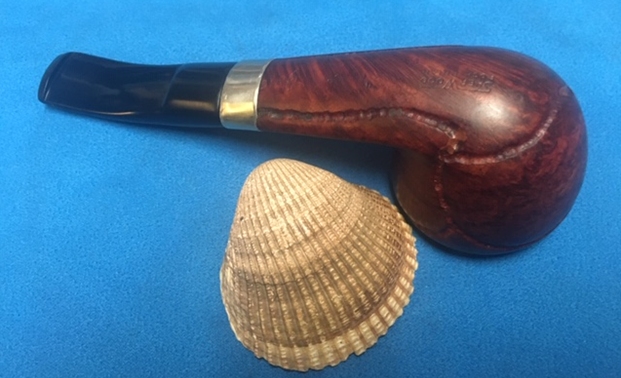
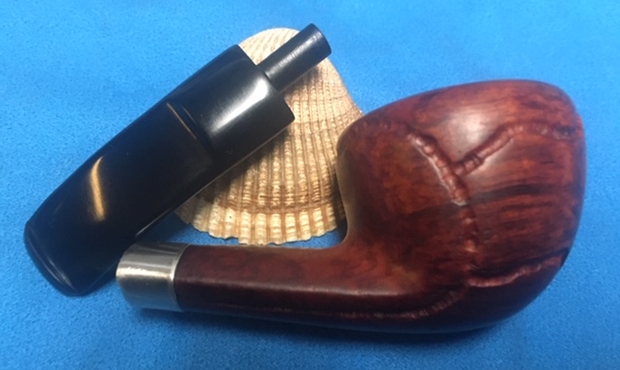
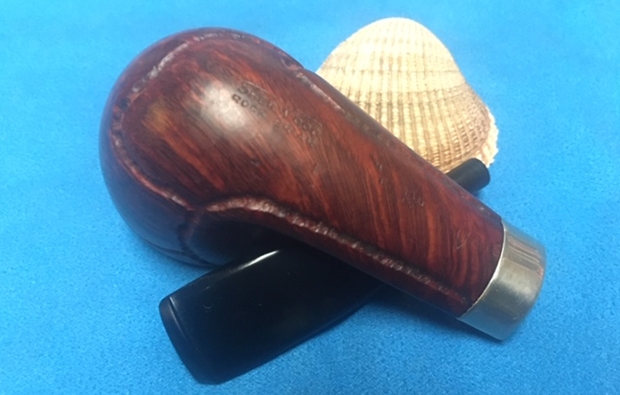
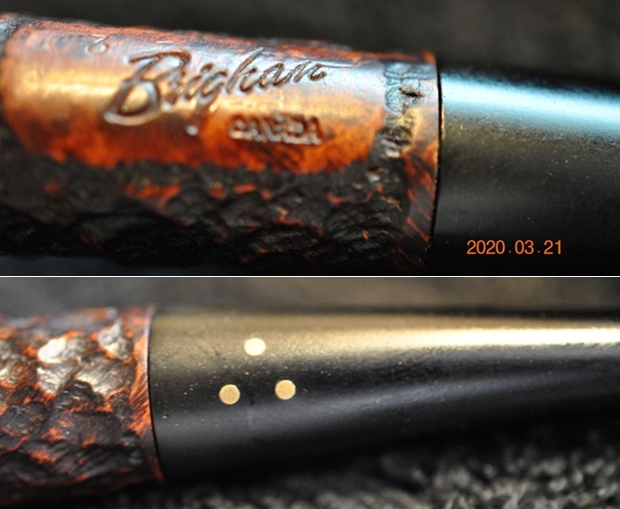
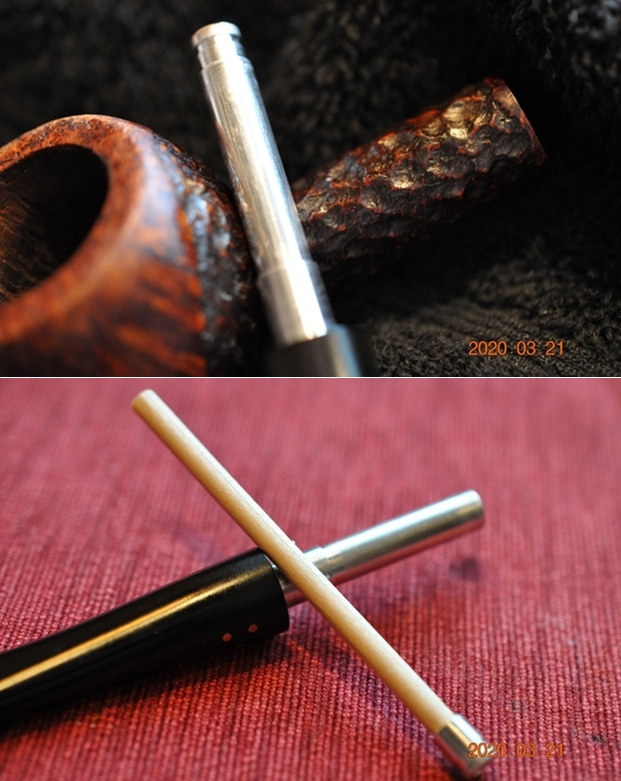
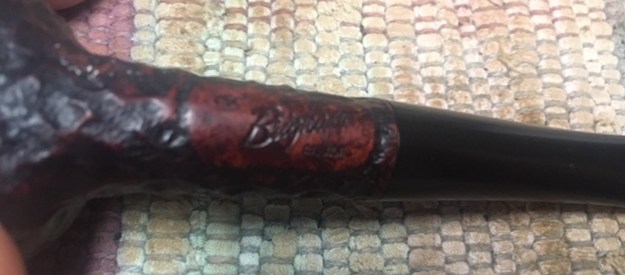
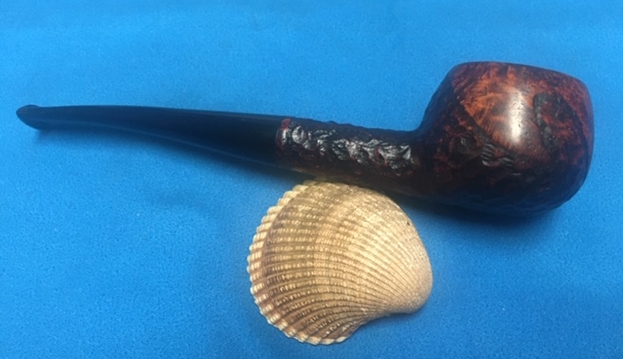
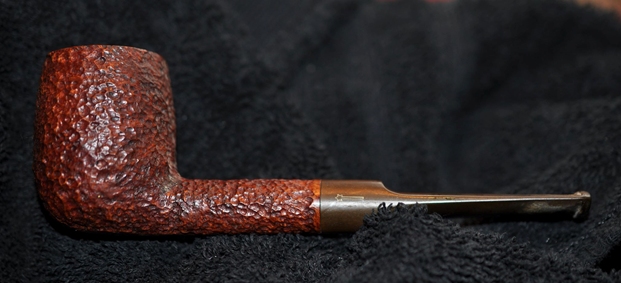
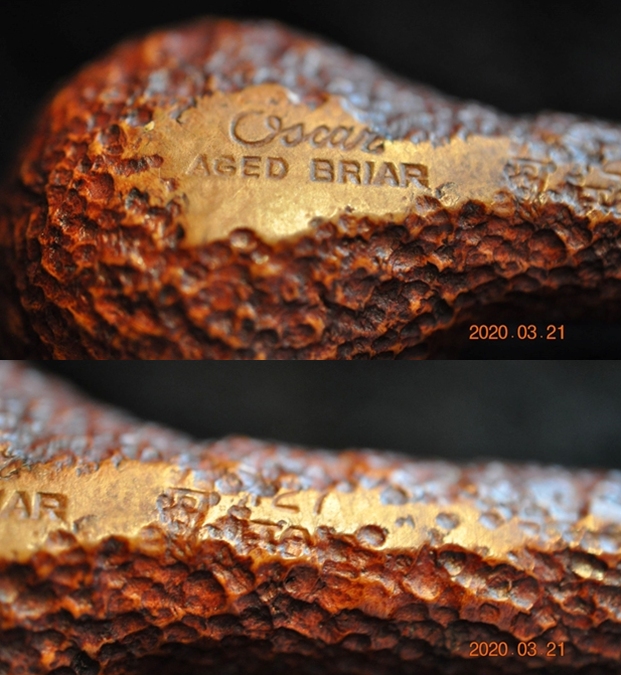
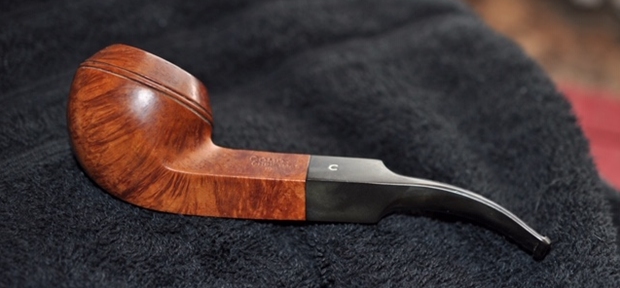
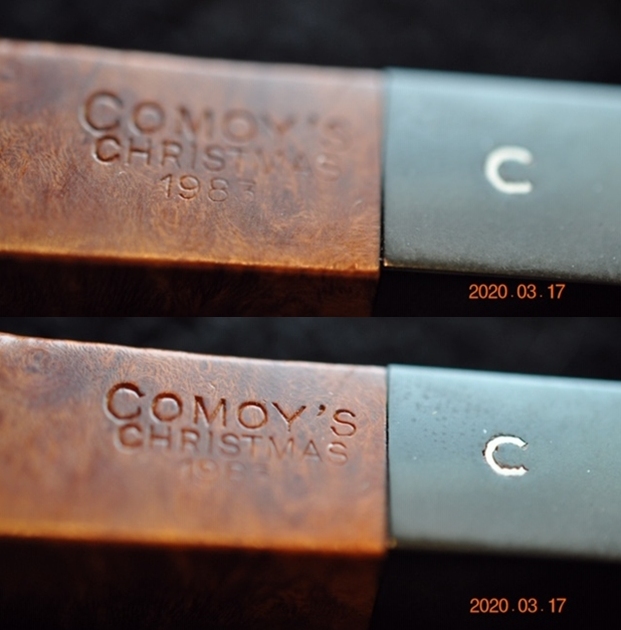
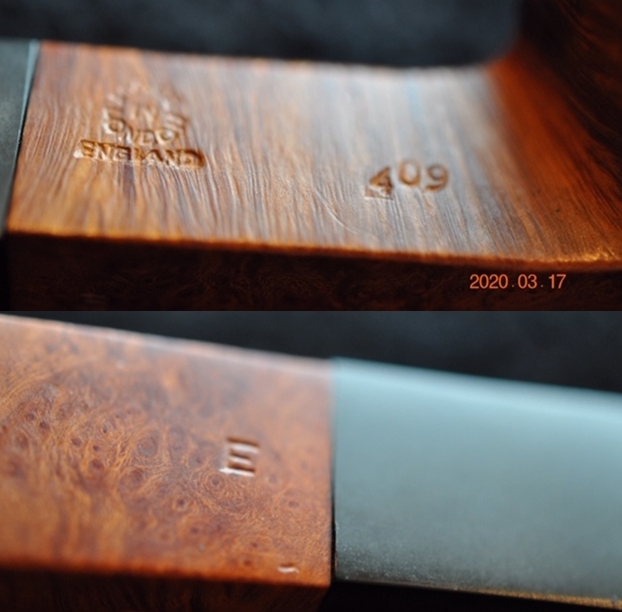
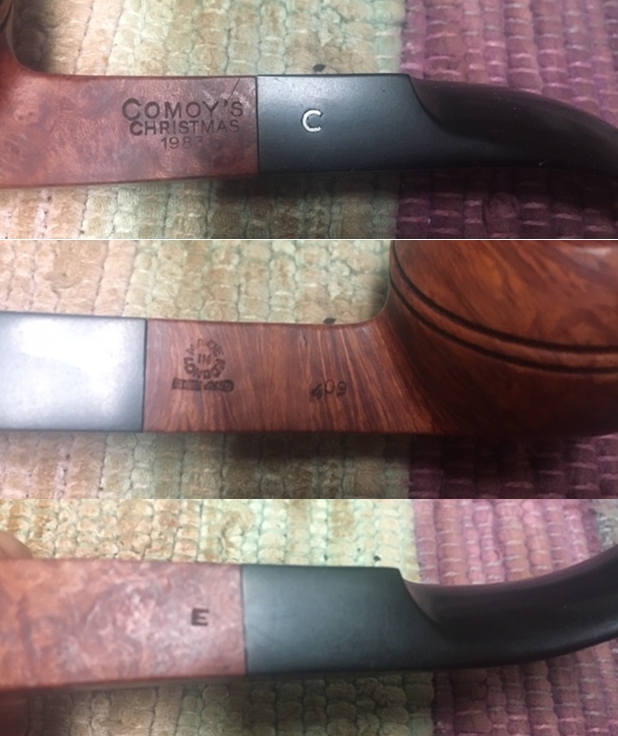
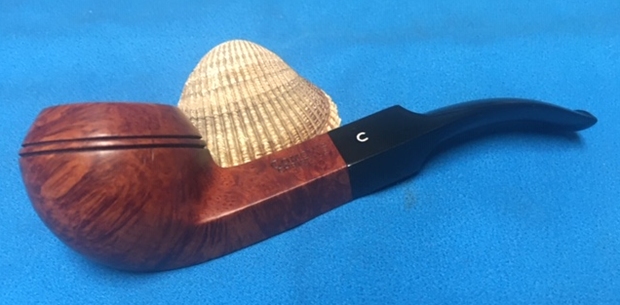
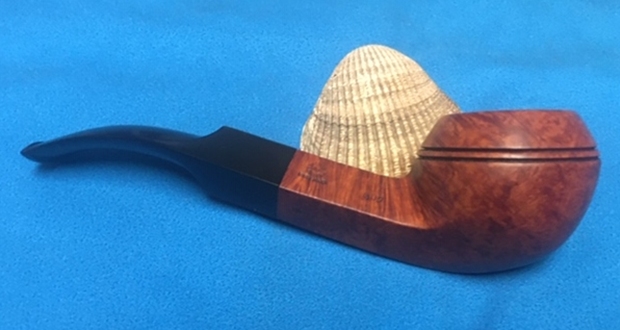
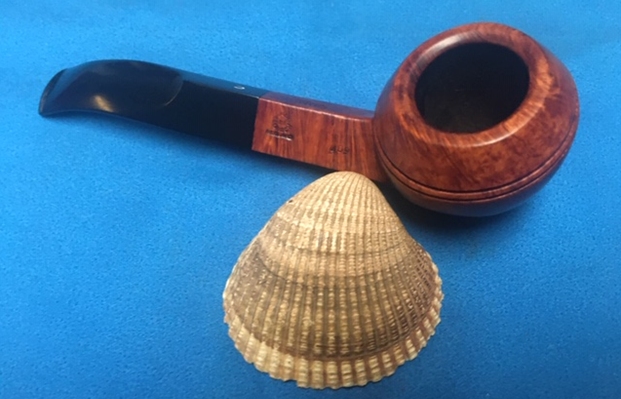
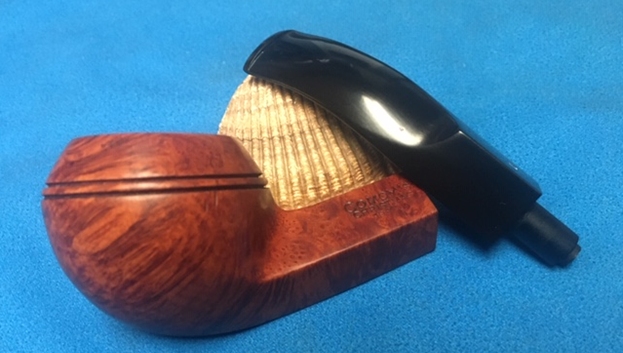
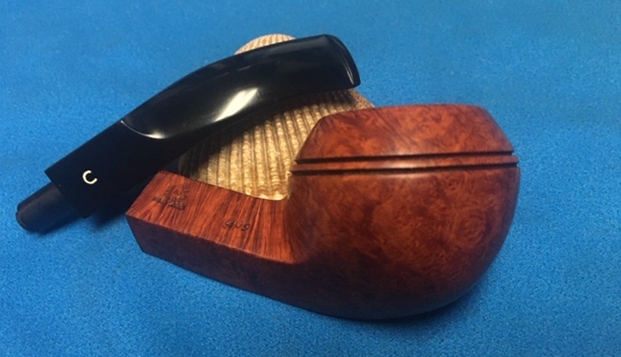
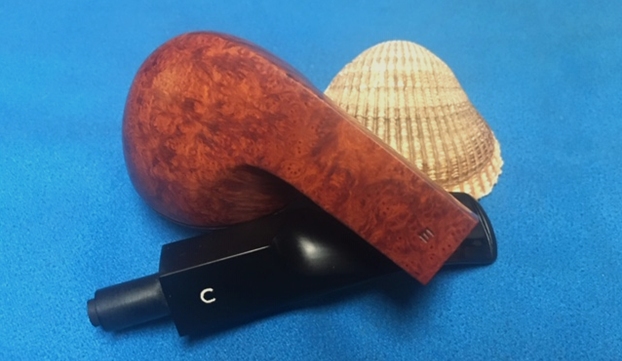
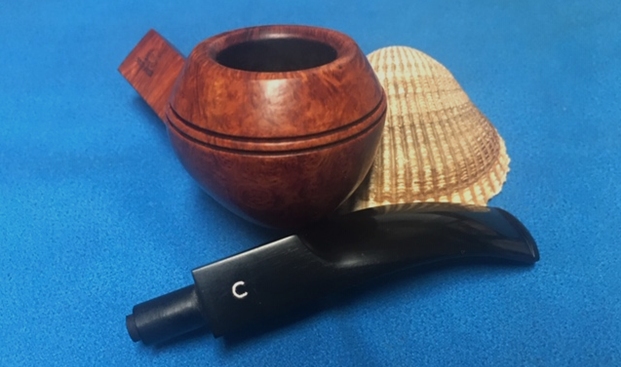
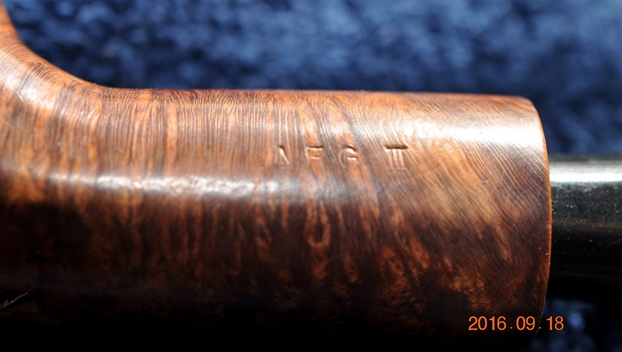
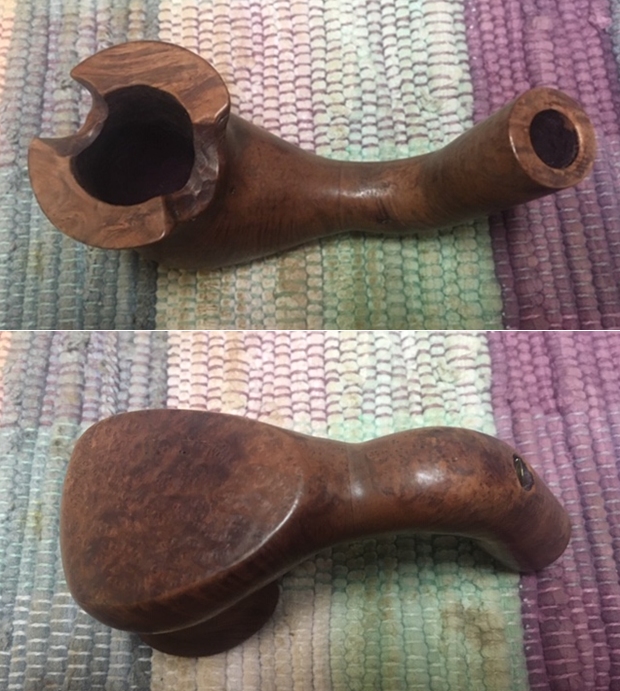
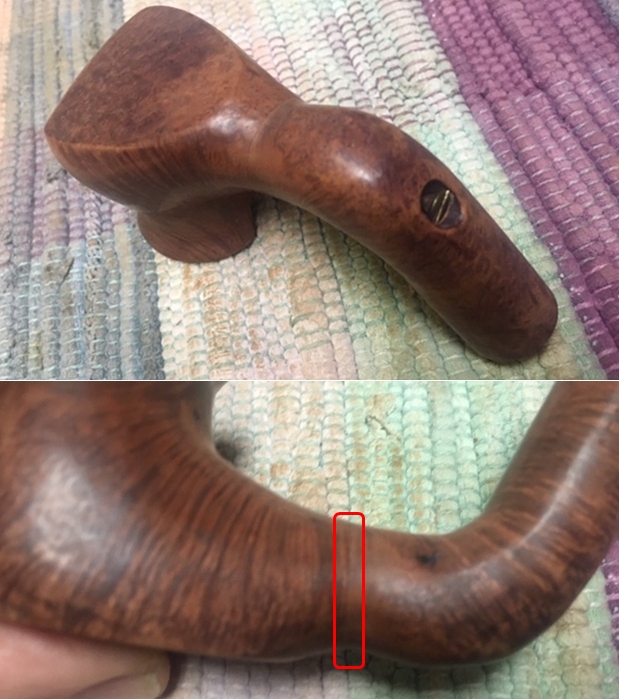
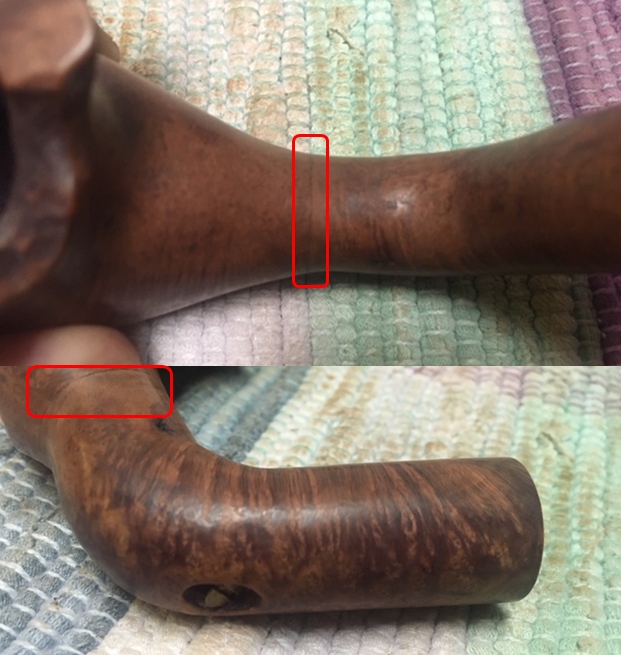
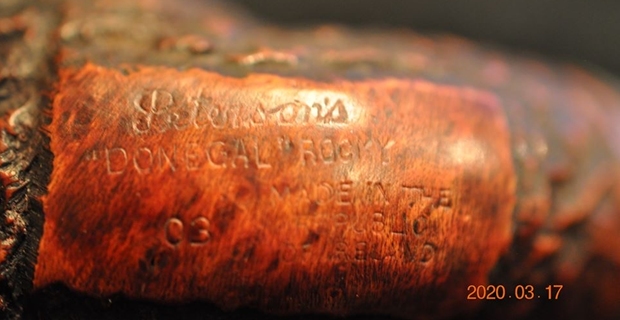
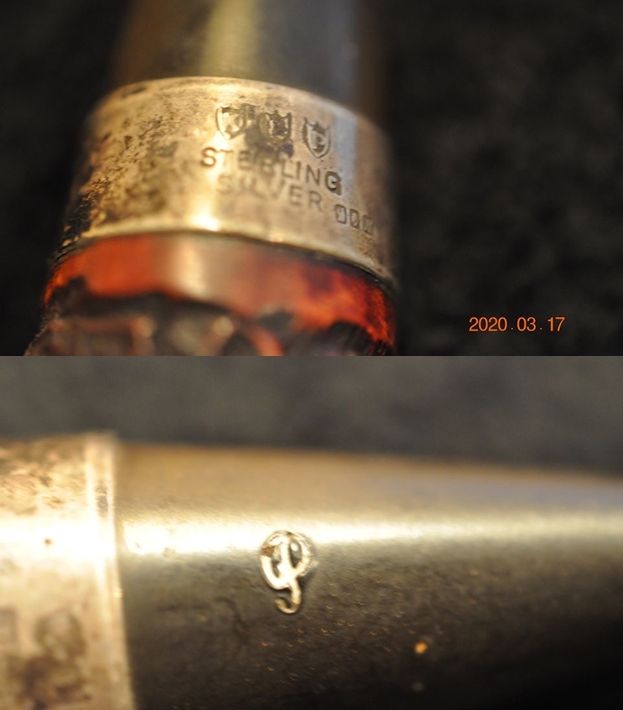
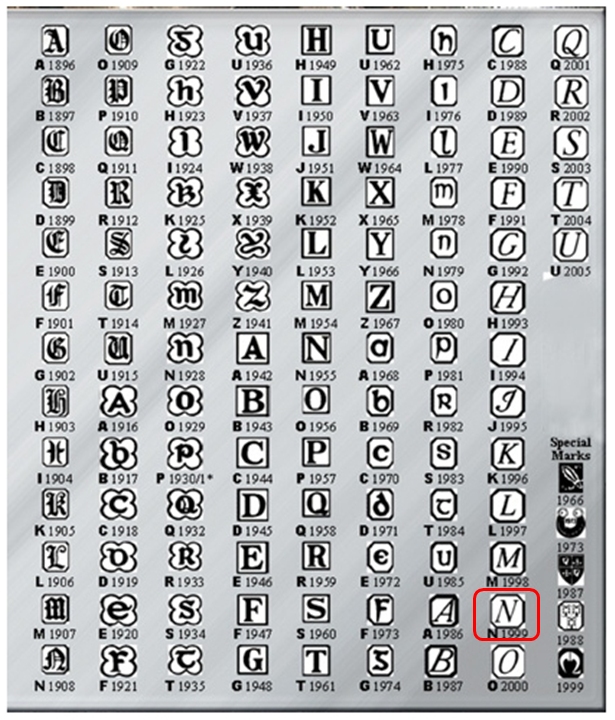
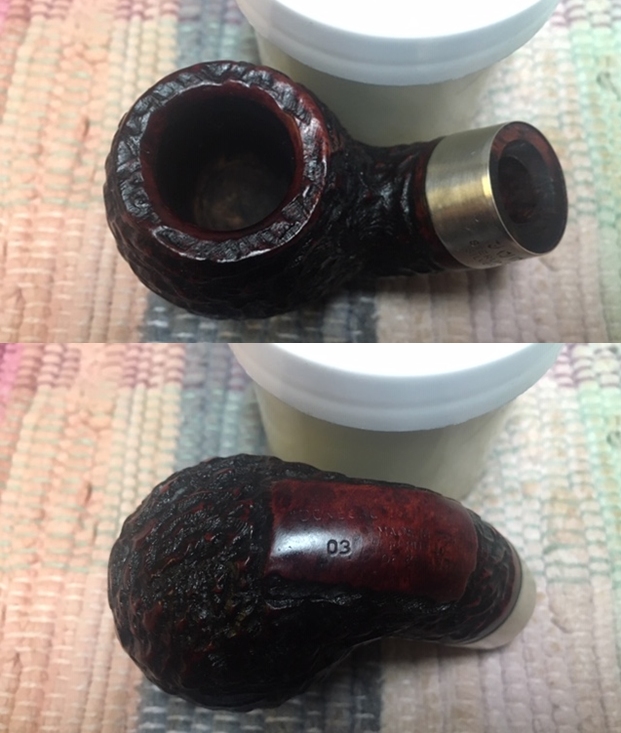
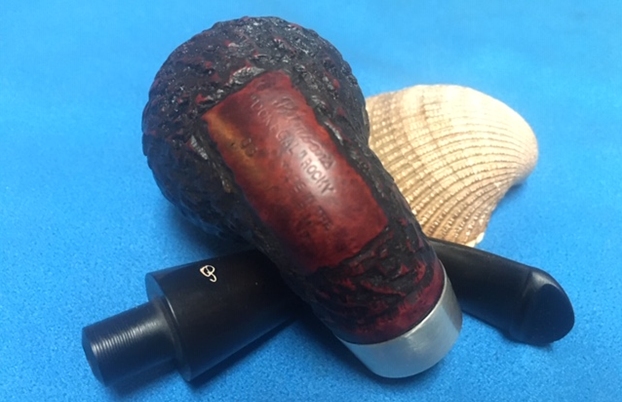
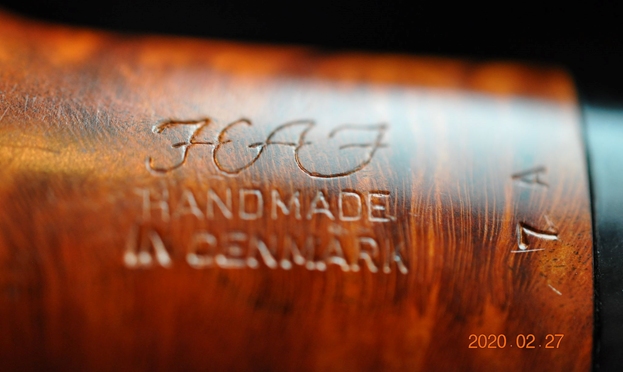
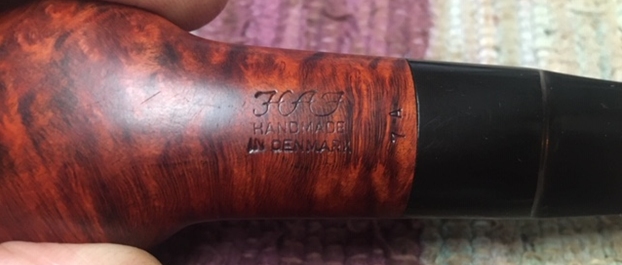
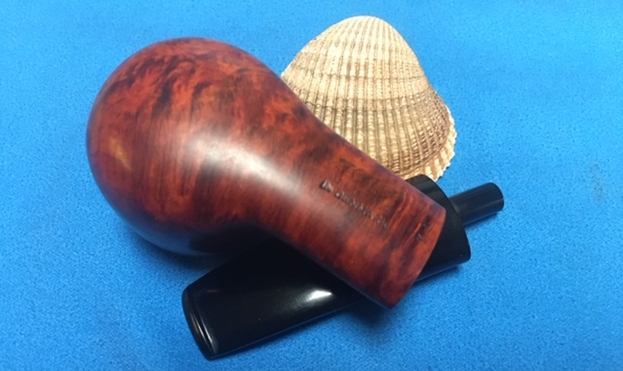
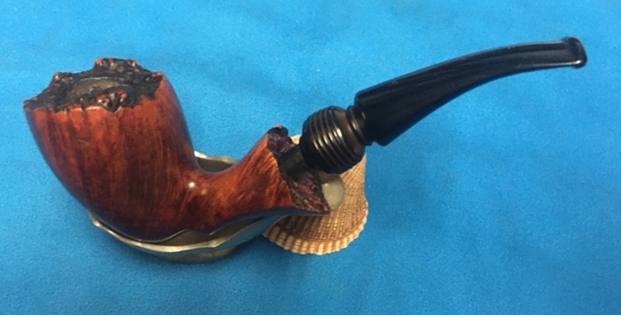
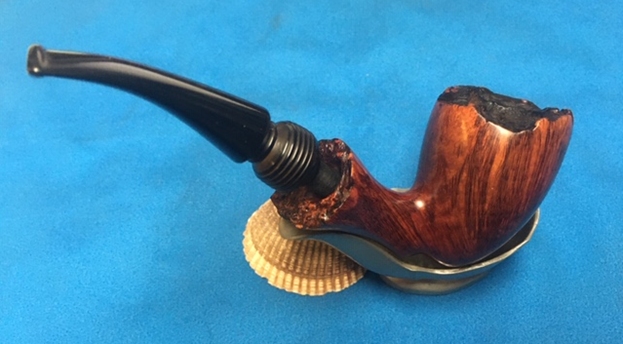
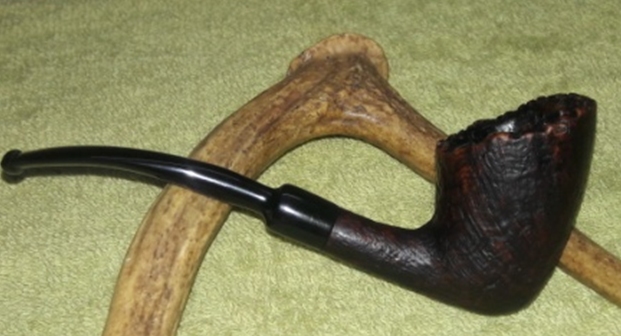
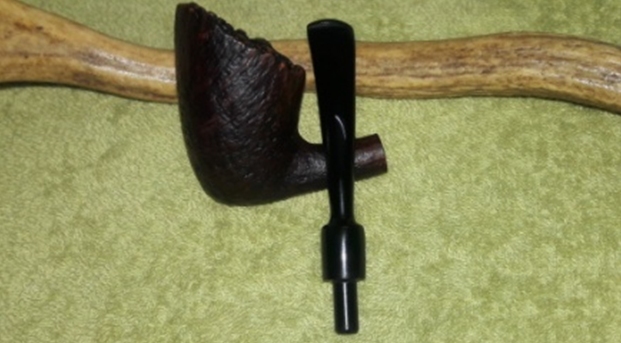
This large sandblasted freehand pipe with plateau rim top is stamped on the smooth underside of the shank from the foot towards the shank end as “HAND MADE” over “MADE IN DENMARK” in block capital letters followed by “STANWELL” in an inverted arch. Towards the shank end is the shape code/ model number “62”. The silver “Crowned S” adorns the left side of the vulcanite stem. The stampings on the stummel have worn off in the first half from the foot towards the shank end and can be seen in bright light and under magnification. There is adequately detailed and informative material available on both pipedia.org and pipephil.eu on the brand; however, I was keener to know the exact dating and correlate the pipe details with the shape code. Basil Stevens is considered an authority on all things Stanwell and on surfing the net, I came across this site which gives out pointers to dating a Stanwell pipe; here is the link https://www.scribd.com/document/45022903/Stanwell-Dating-Pricing-Information-by-Basil-D-Stevens.
I reproduce the relevant pointers which help in dating the Stanwell on my work table:-
Dating Information:
- Block letter stamp “Silver S” used until late 1960s and then changed to script.
- Up until the early 1960s only the top pipes, e.g. “Hand Cut” had the stem/mouth pieces stamped with the Stanwell logo of a crown over “S”.
The last bit of curiosity in my mind was to link the model number on my Stanwell to the description of the shape and designer, if possible. Again pipedia.org has a section on “Stanwell Shape Numbers and Designers” and sure enough, 62 finds a mention, here is the link
(https://pipedia.org/wiki/Stanwell_Shape_Numbers_and_Designers).
I quote and reproduce the relevant information:-
- Two versions of this shape number
- a) Liverpool, medium size.
- b) Freehand, Plateau top, saddle mouthpiece, by Sixten Ivarsson.
Thus from the above, it is amply evident that the pipe now on my work table is a Freehand pipe from the late 1960s designed by Sixten Ivarsson!!
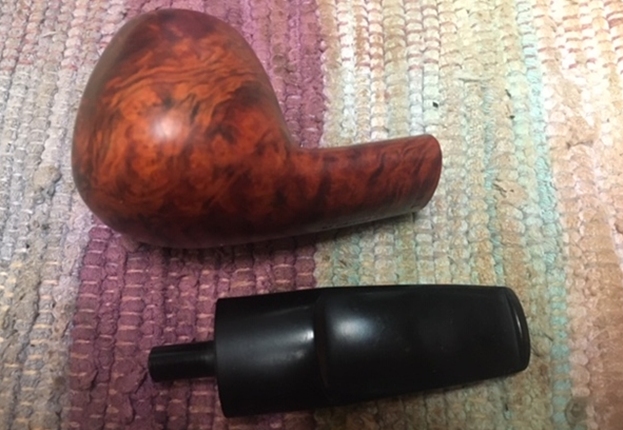
Now on to restoring this Stanwell Freehand pipe with a delicate vulcanite saddle stem……..
Initial Visual Inspection
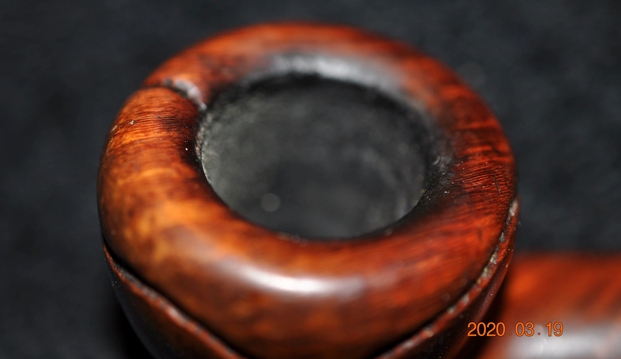
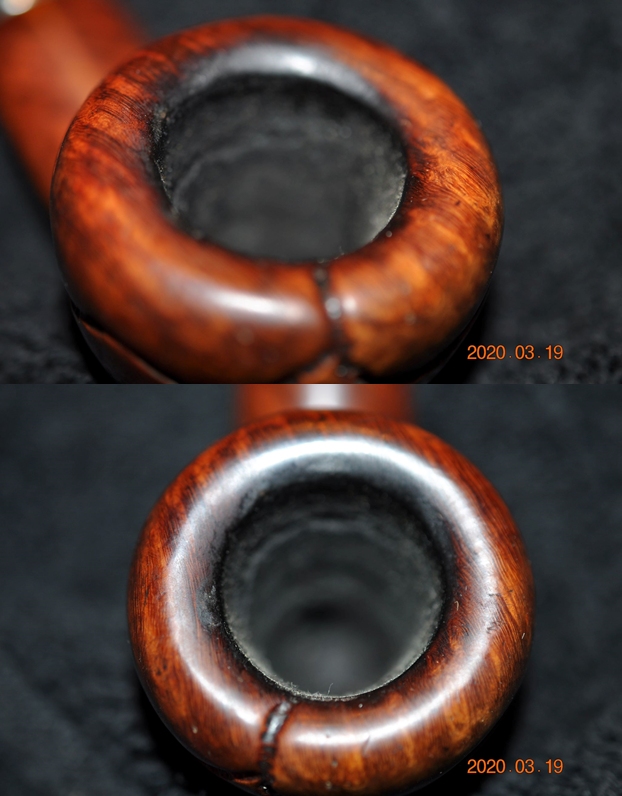
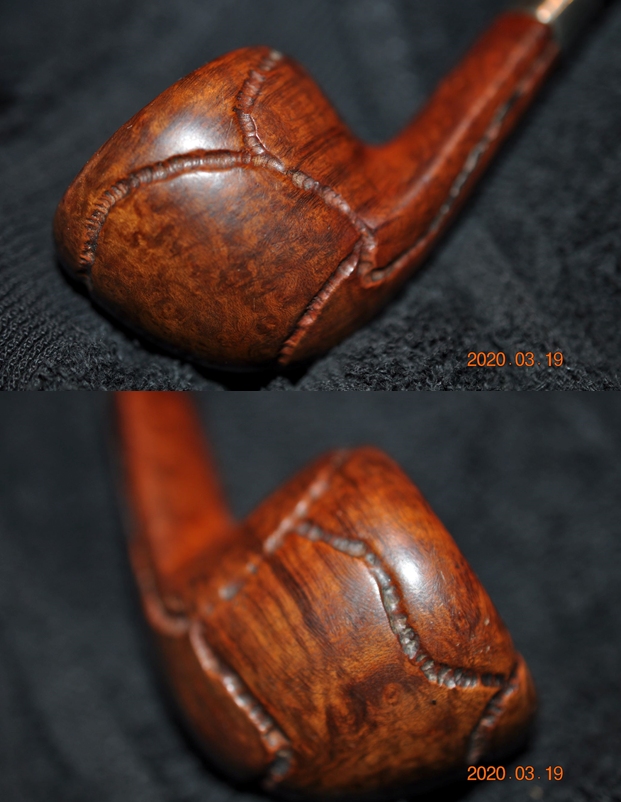
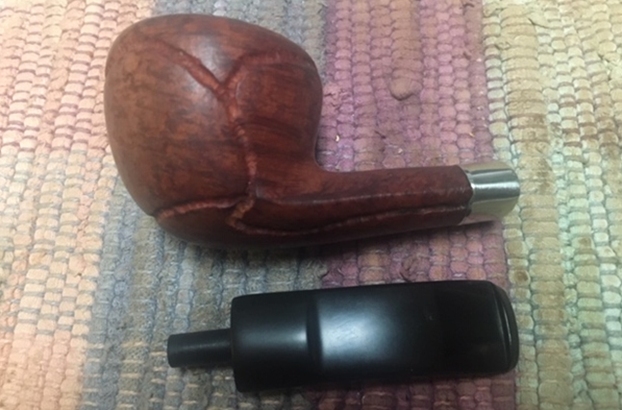
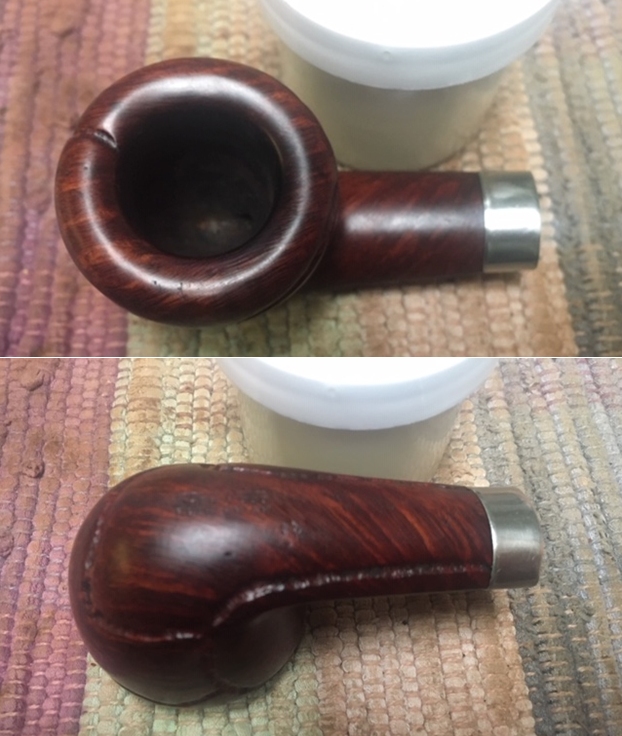
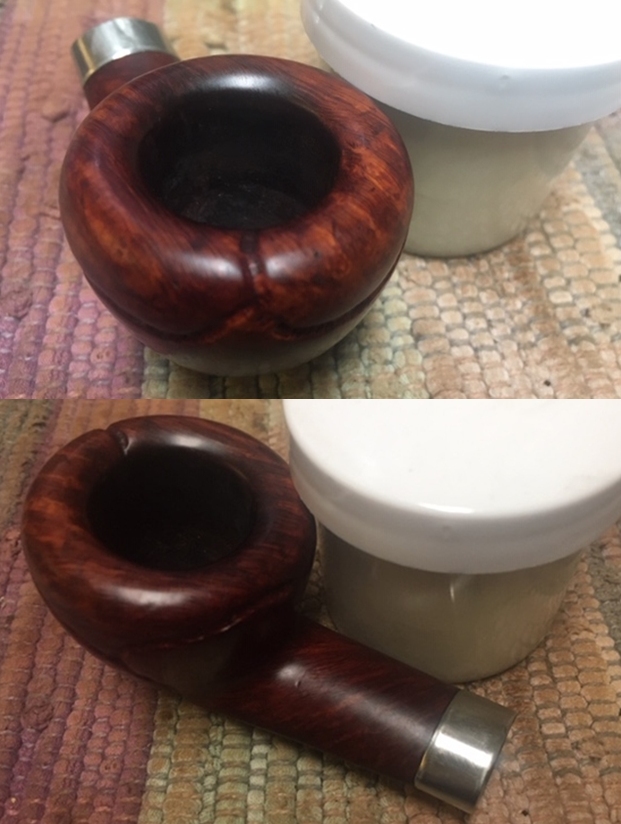
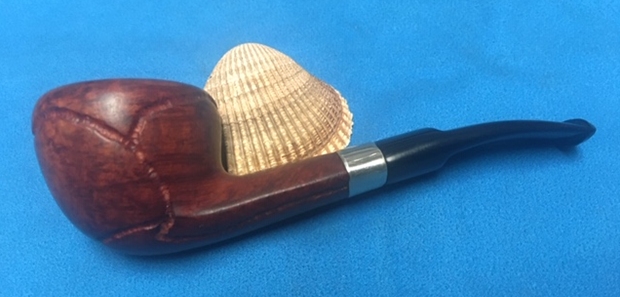
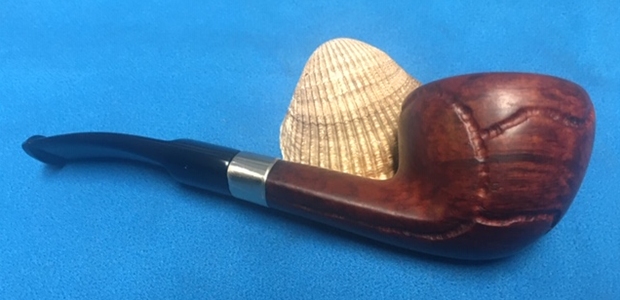
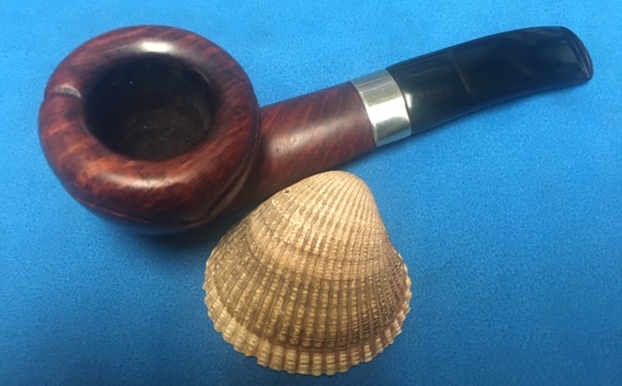
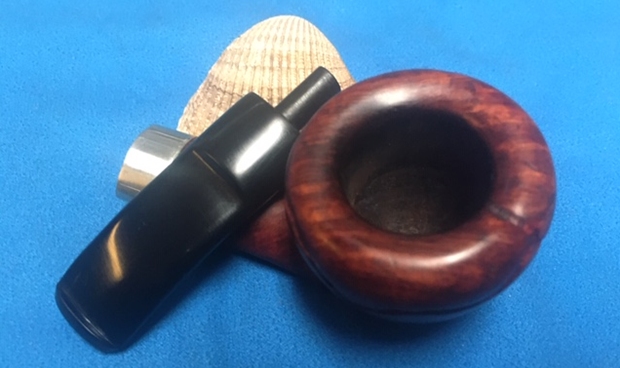
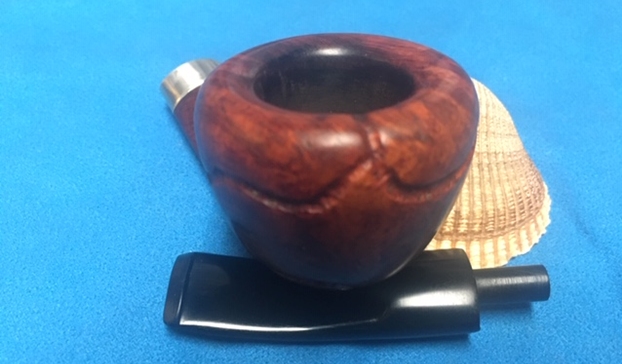
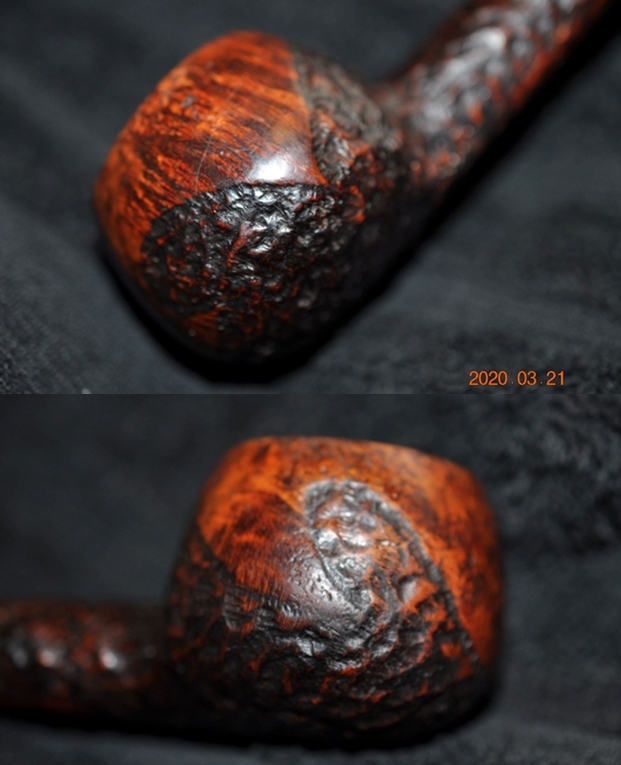
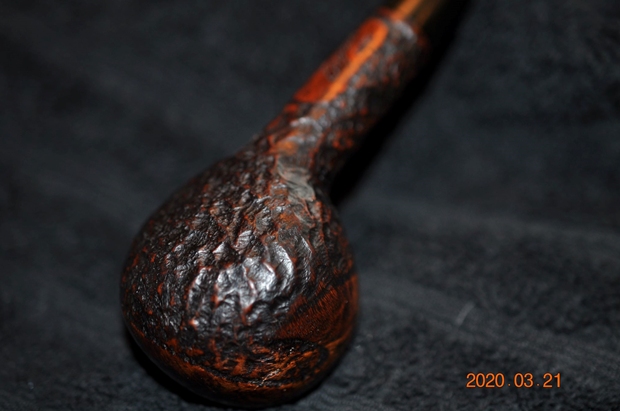
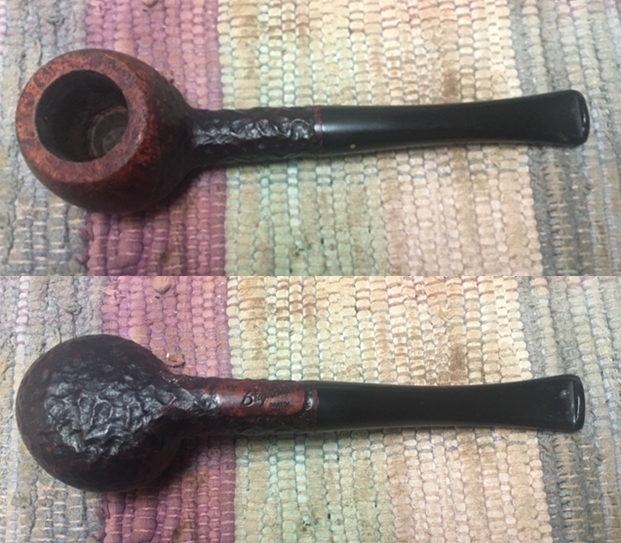
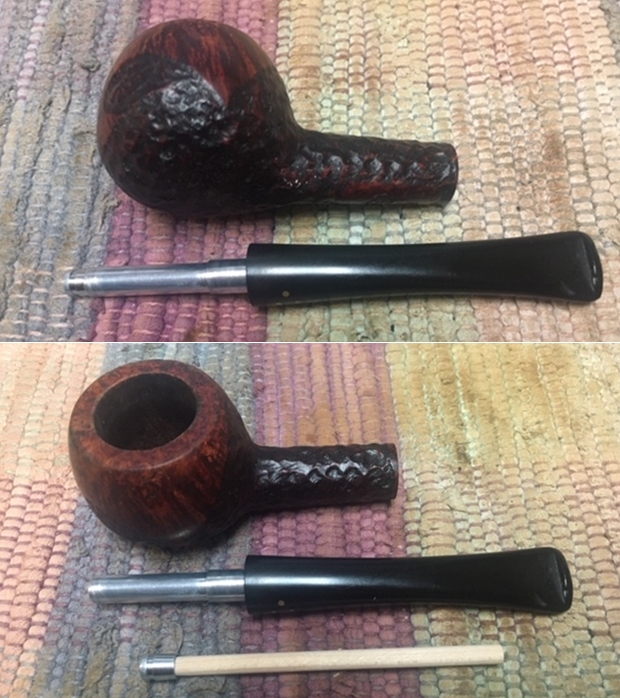
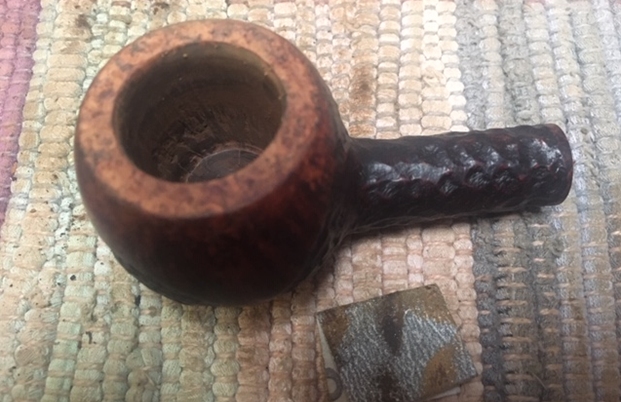
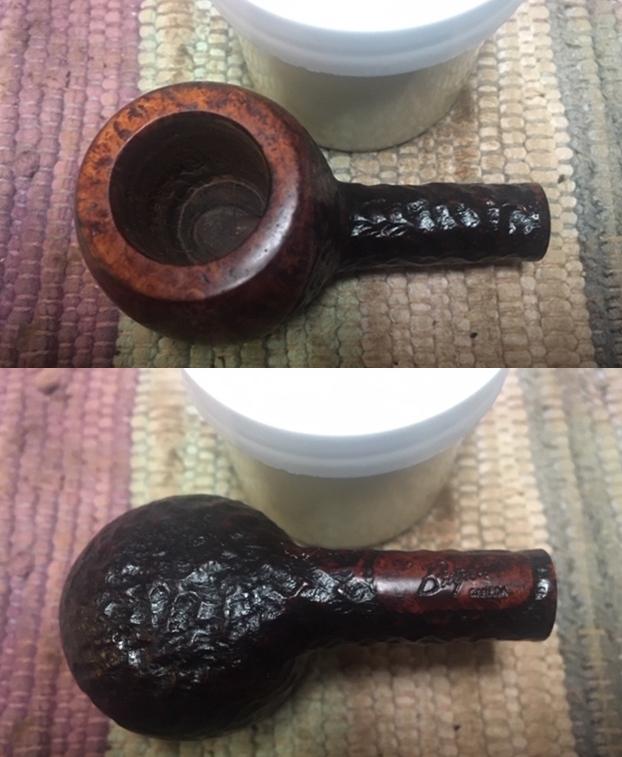
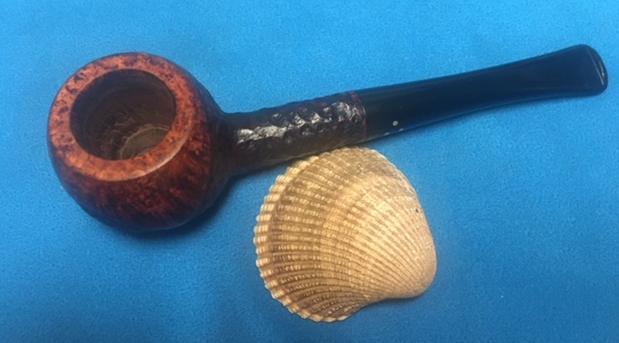
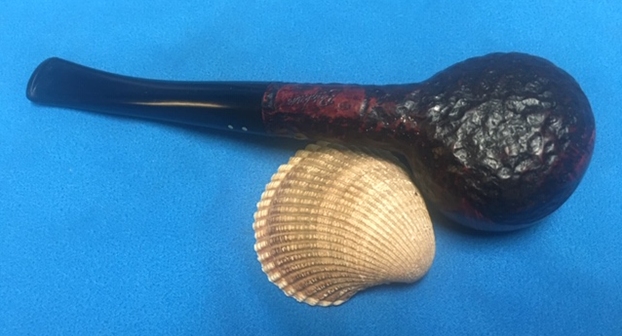
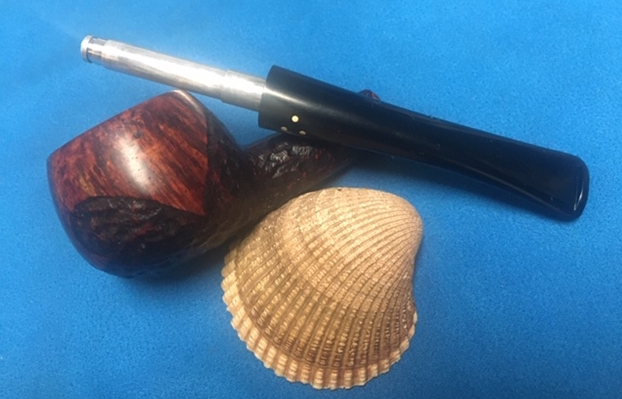
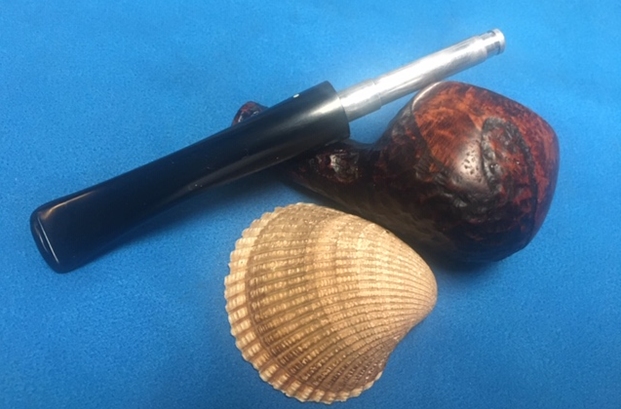
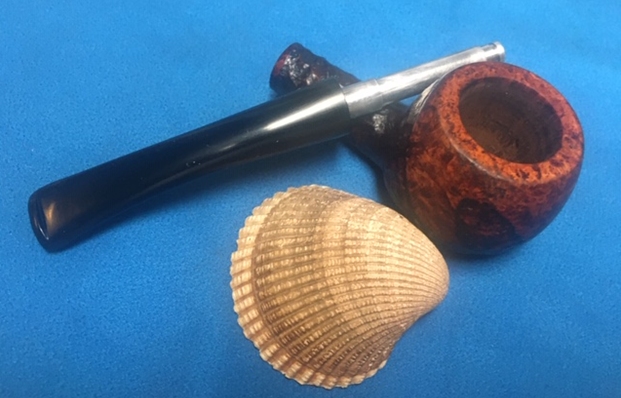
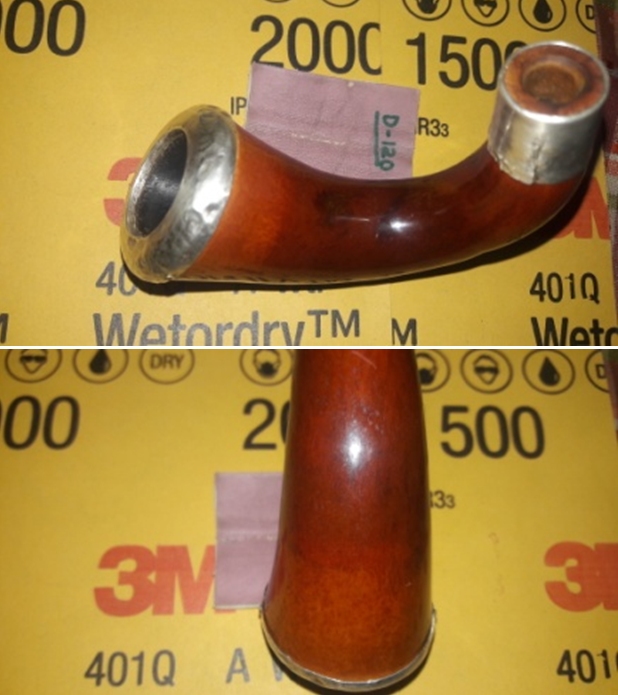
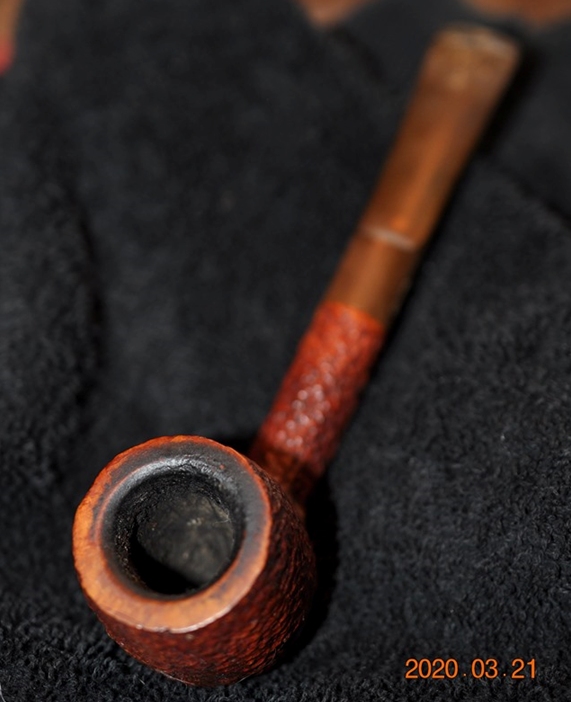
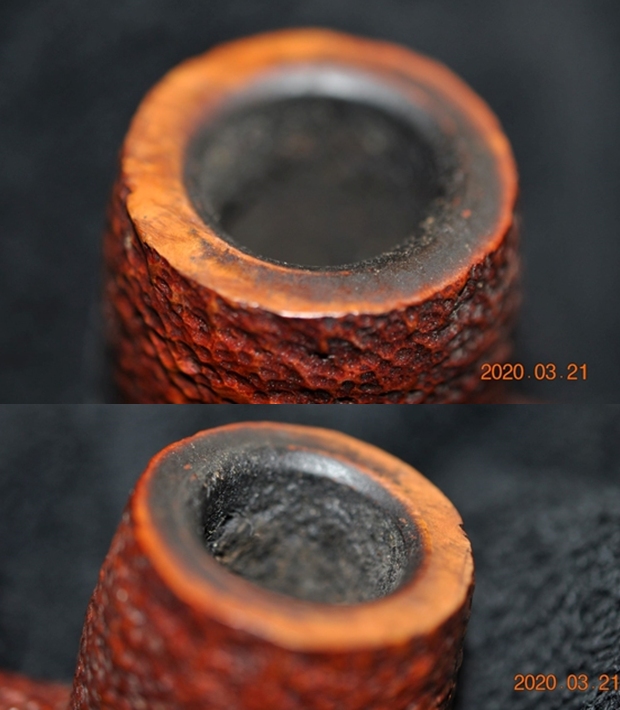
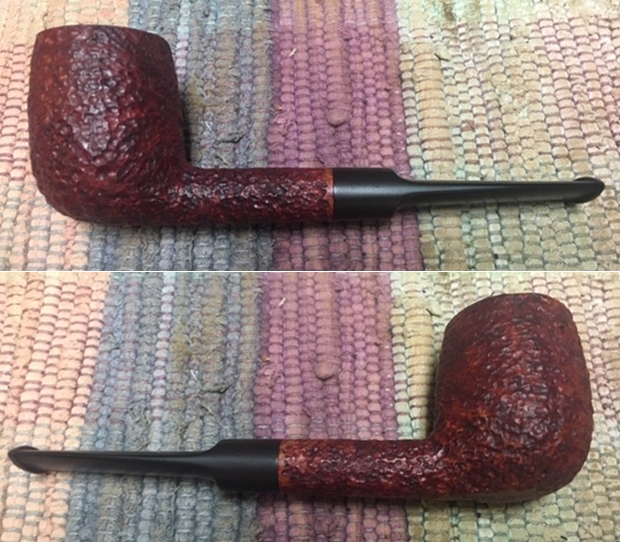
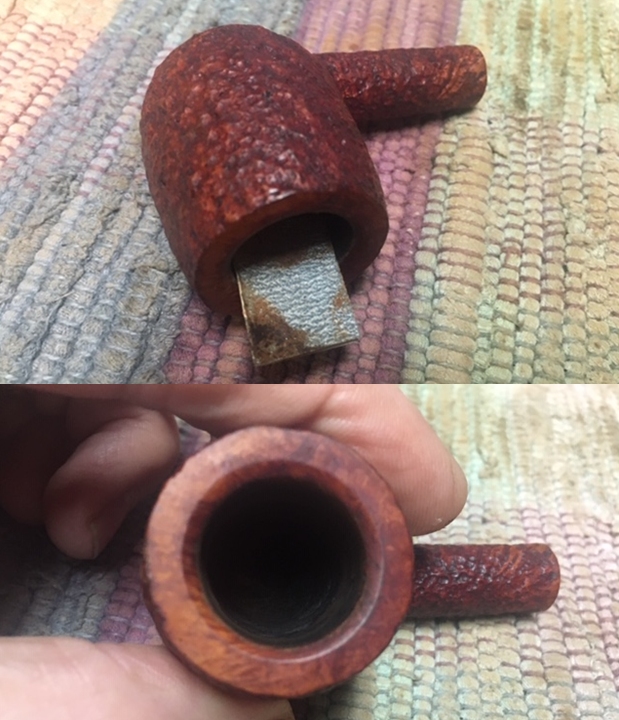
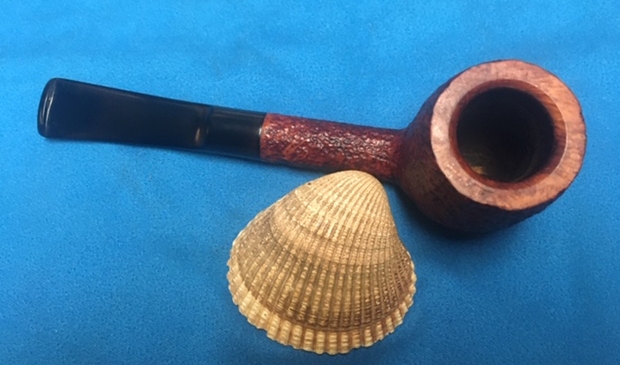
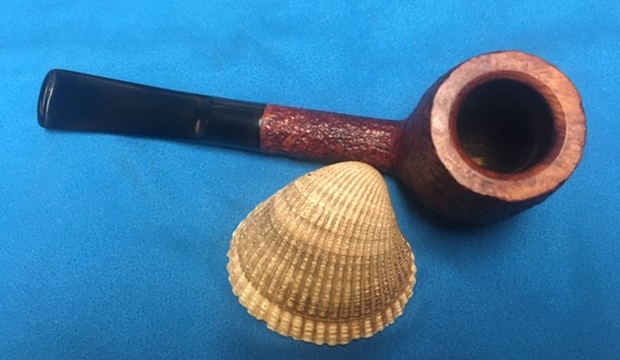
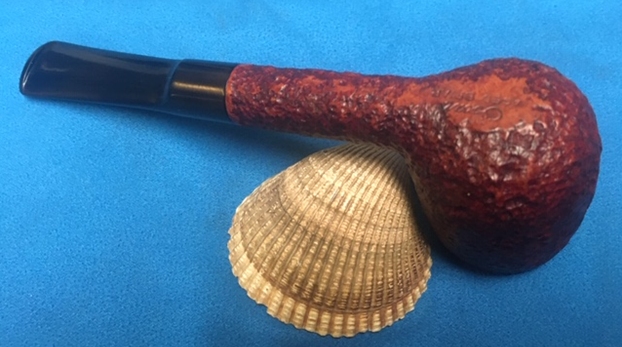
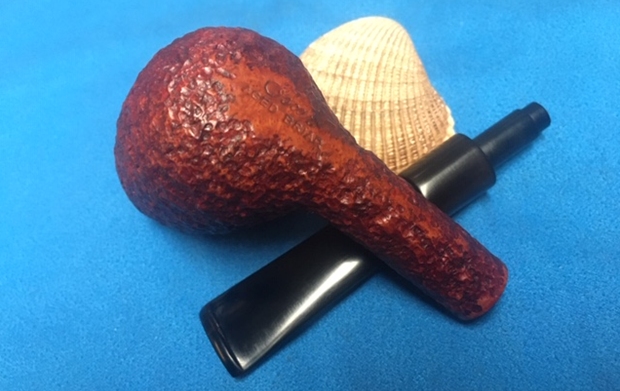
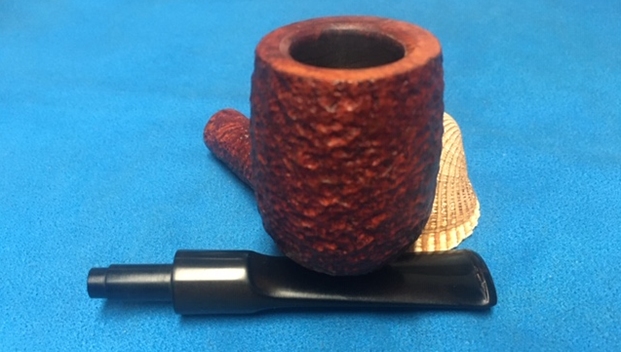
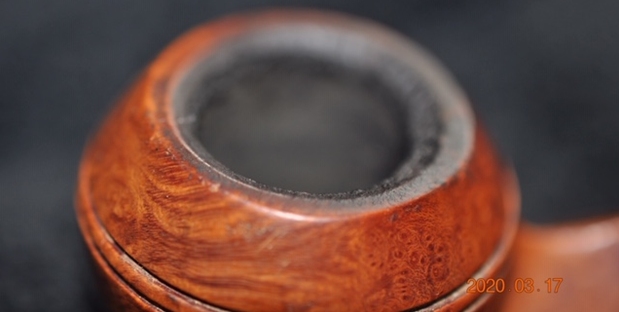
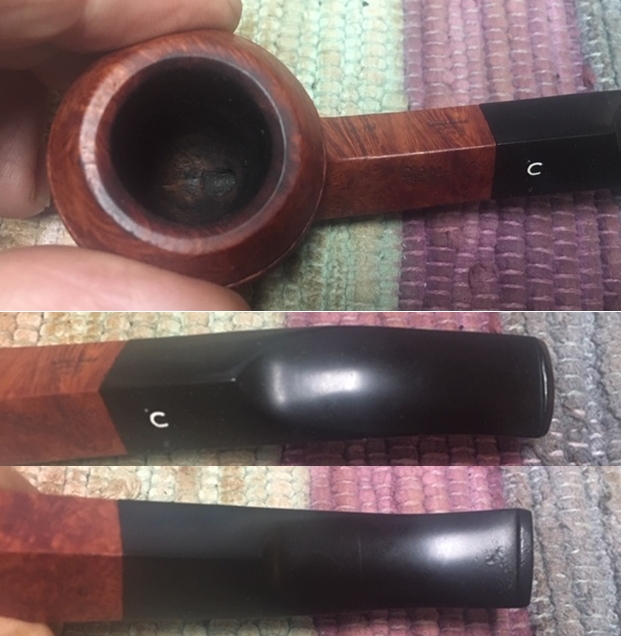
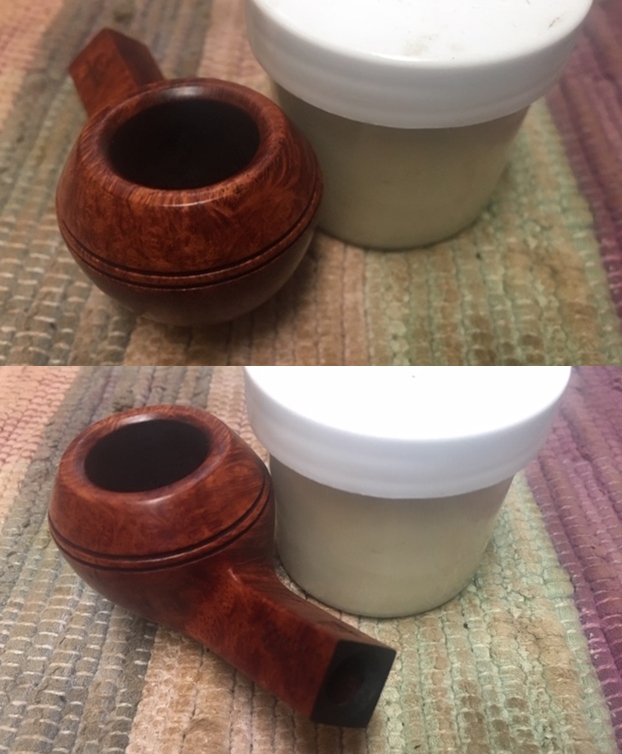
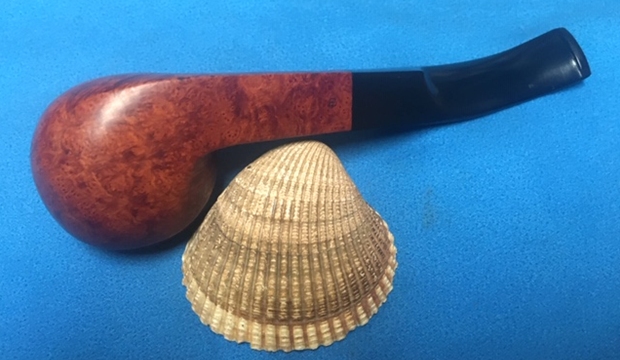
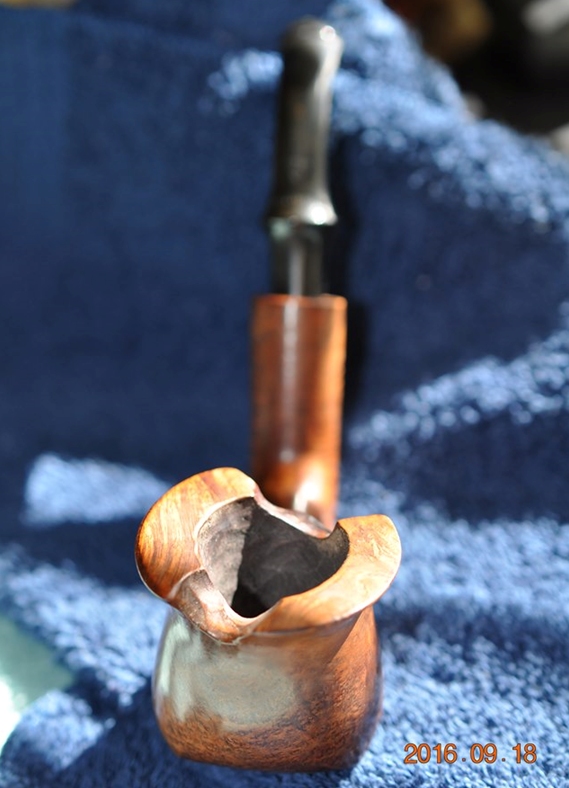
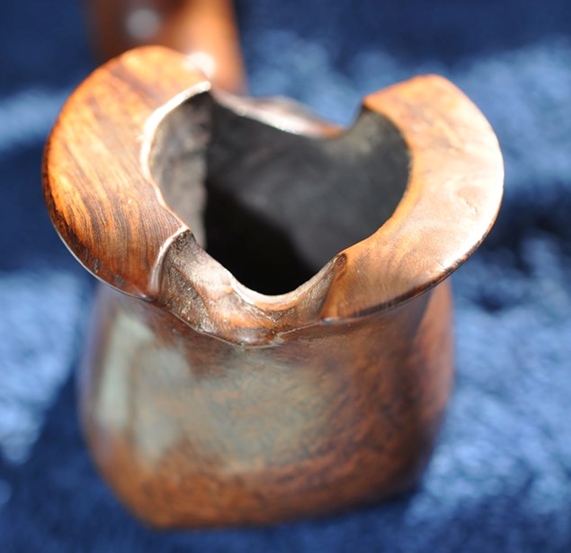
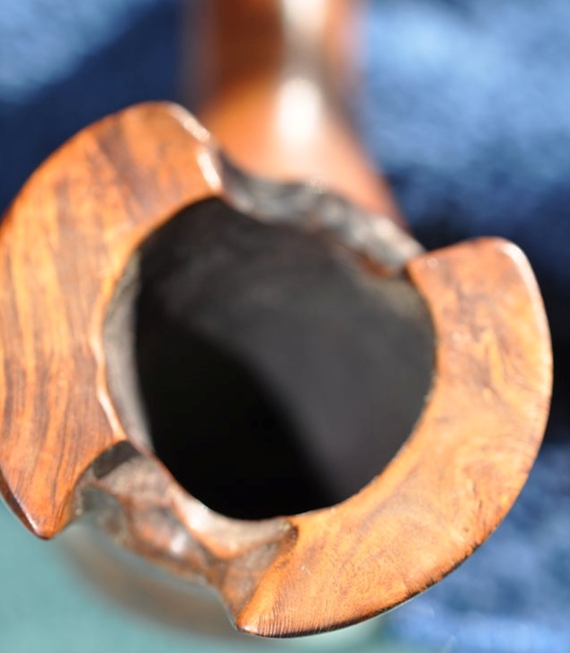
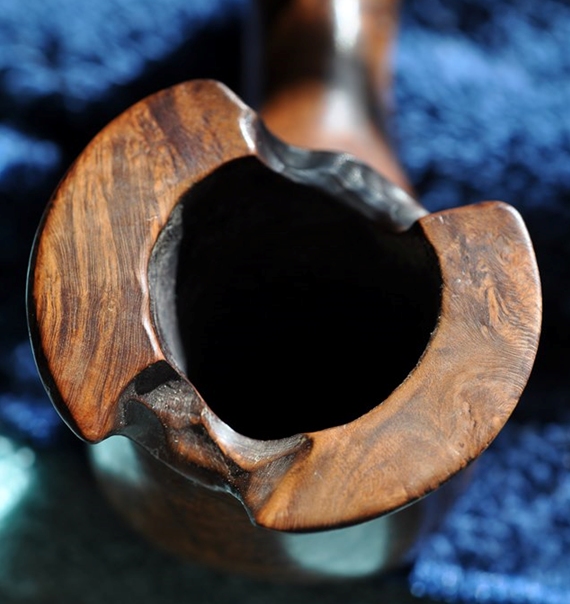
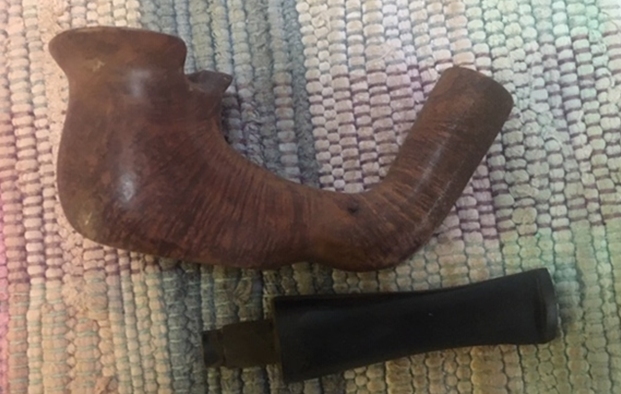
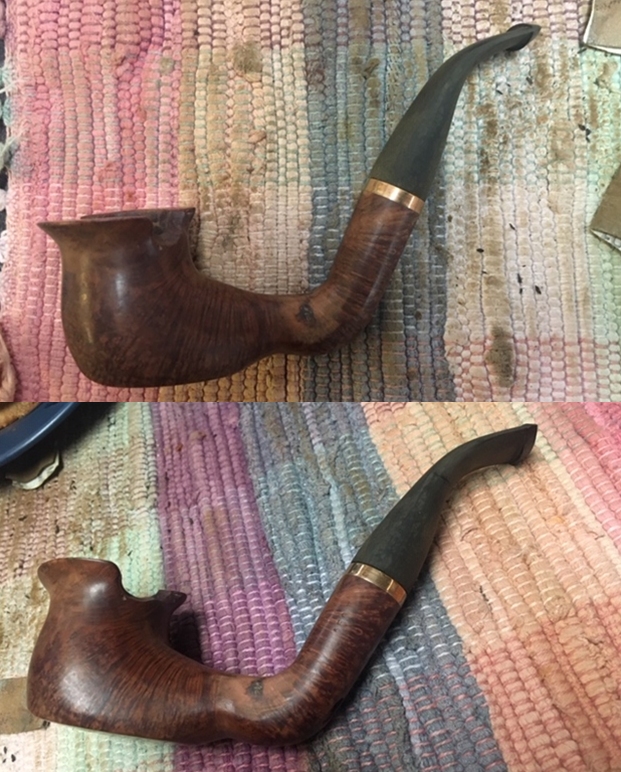
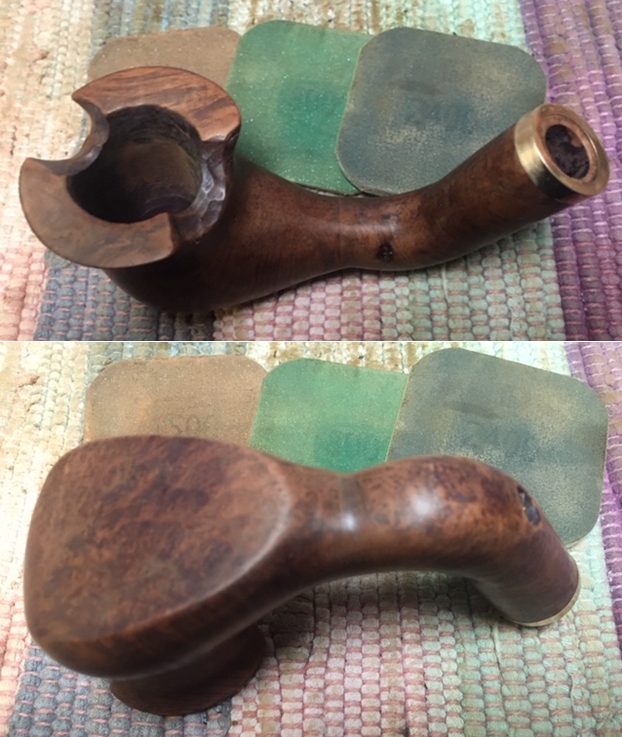
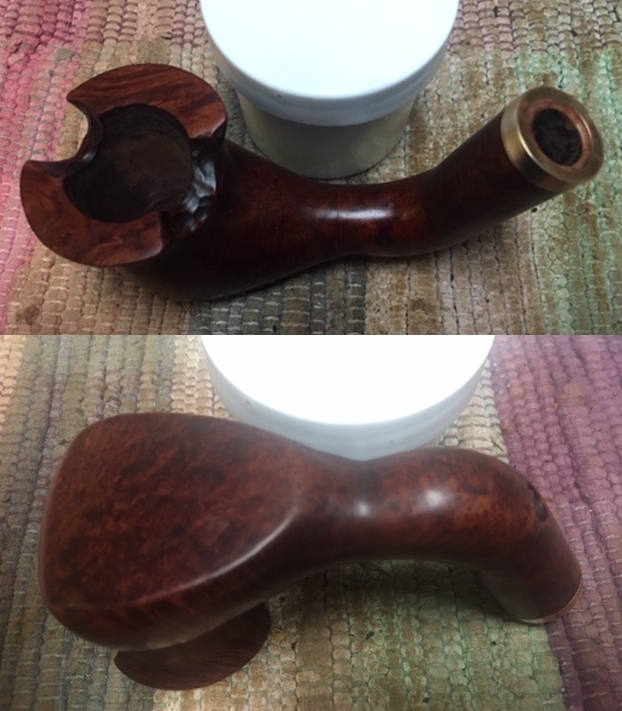
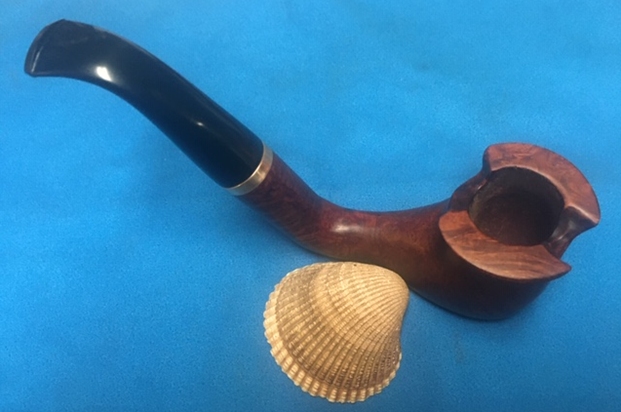
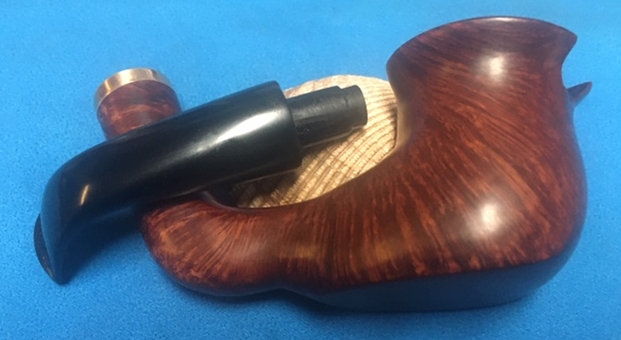
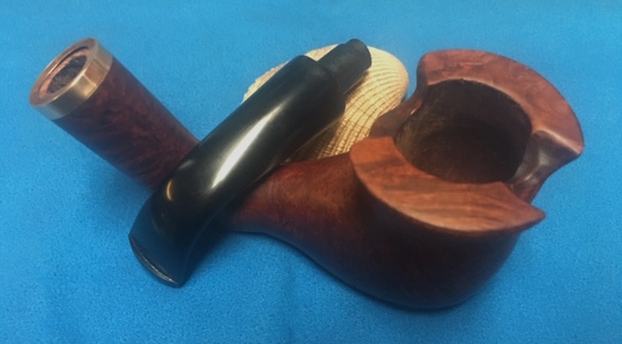
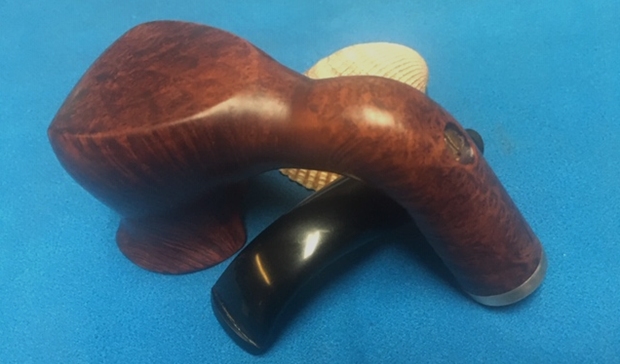
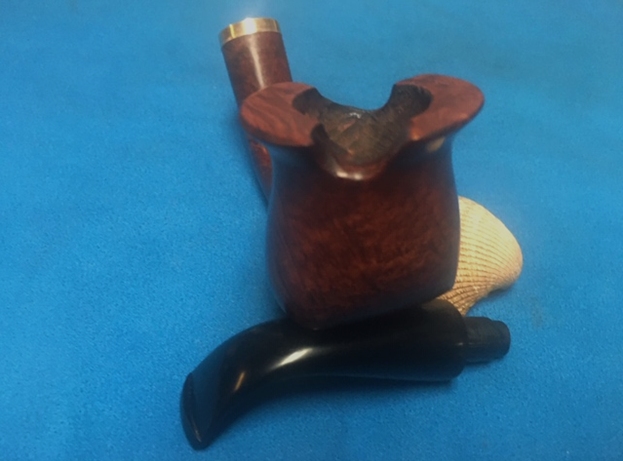
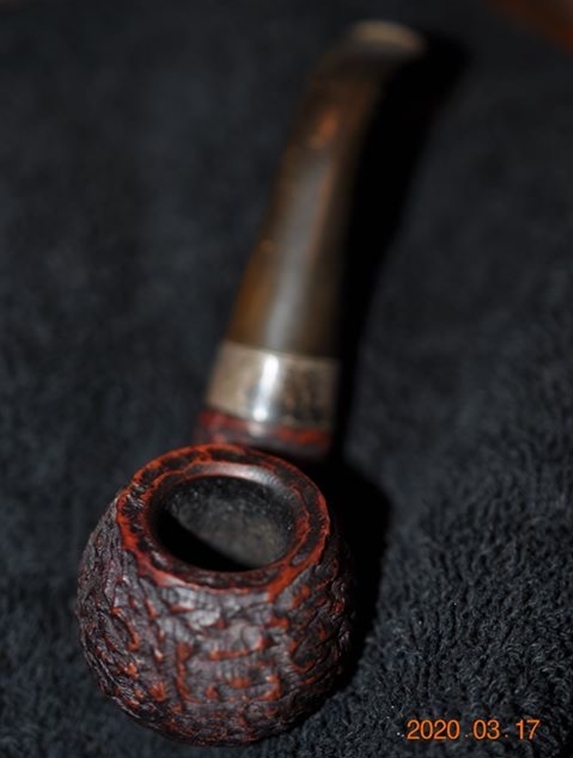
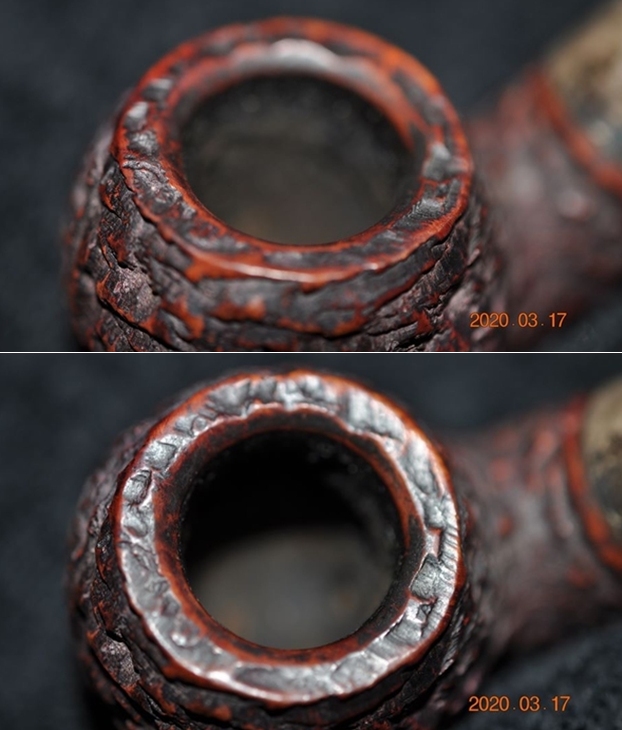
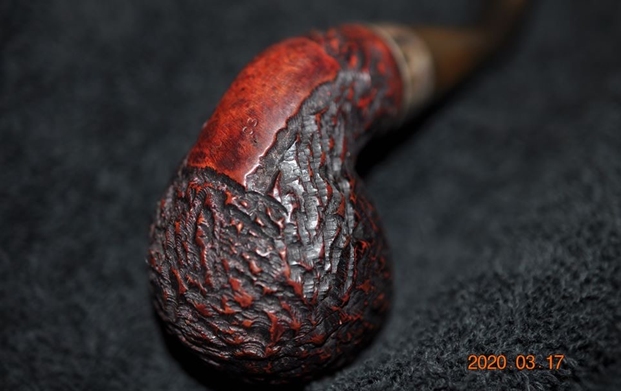
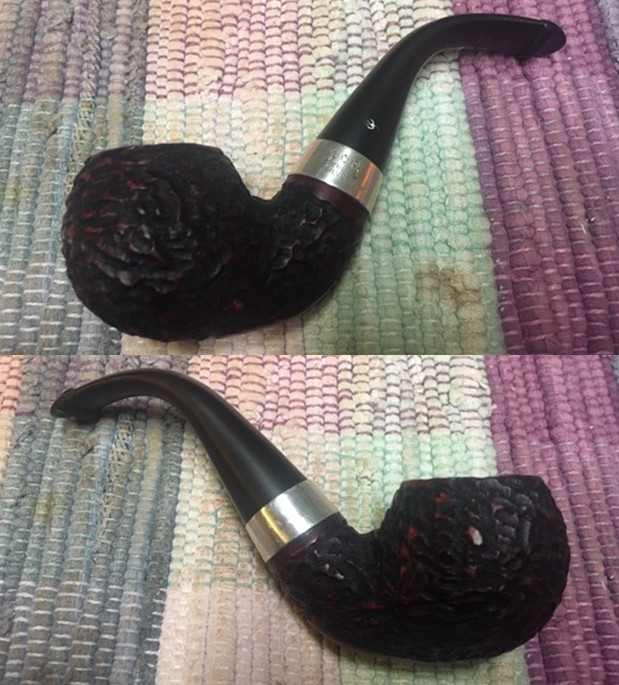
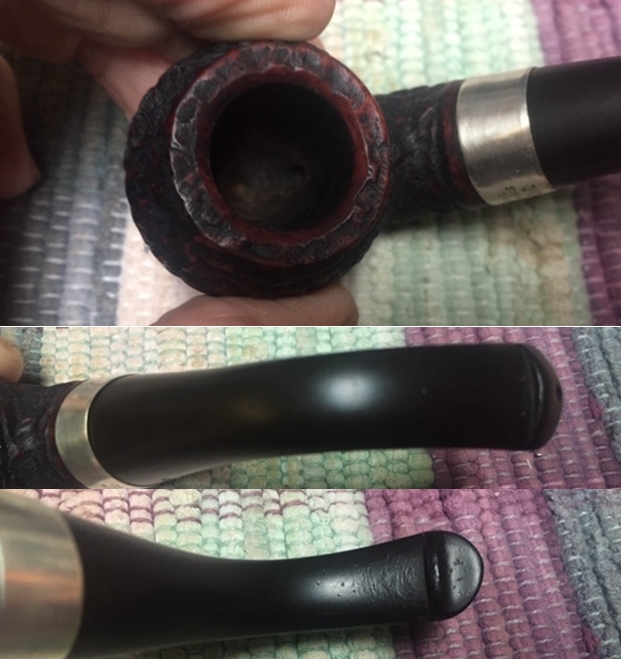
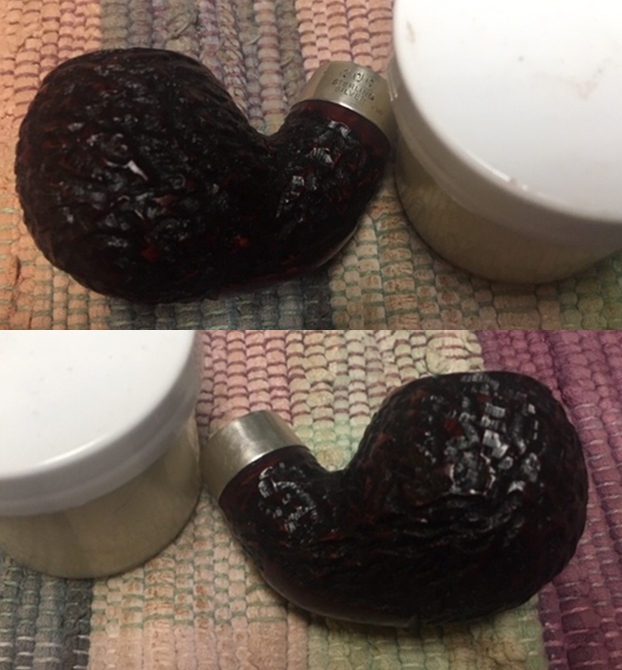
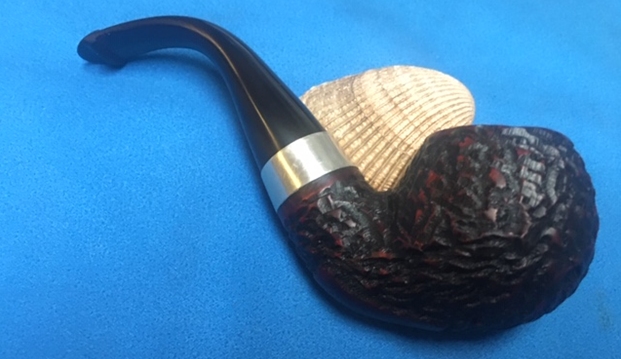
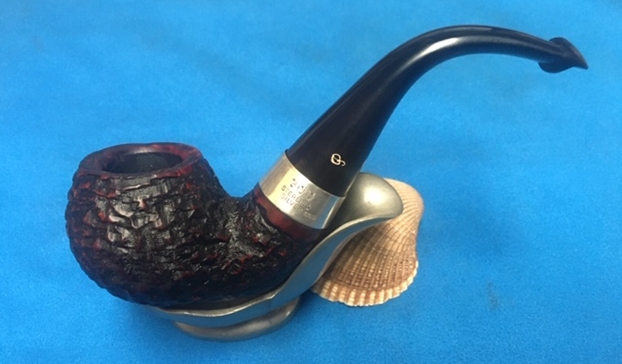
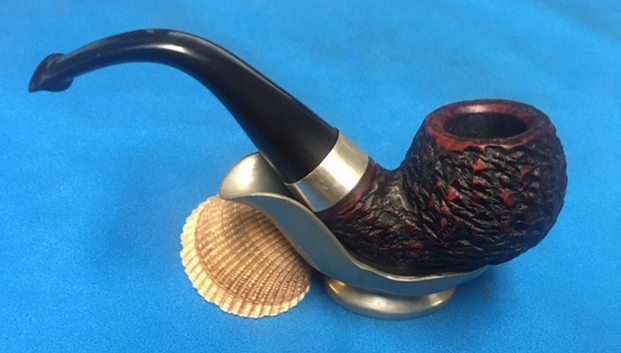
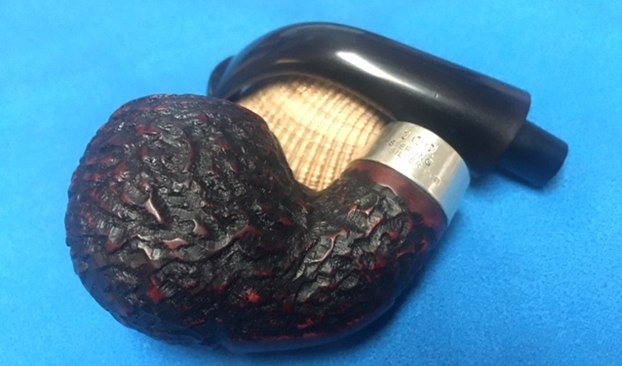
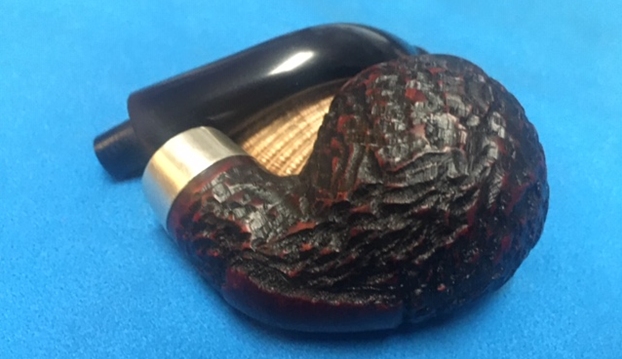
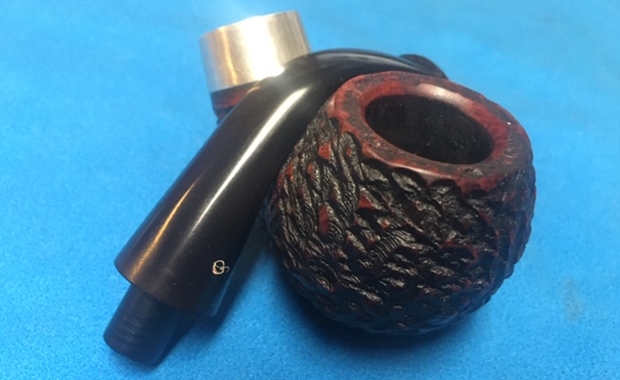
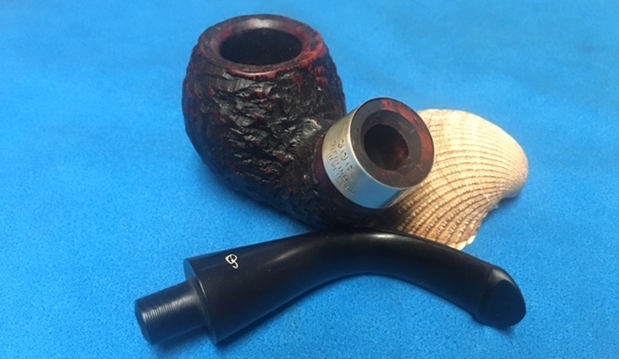
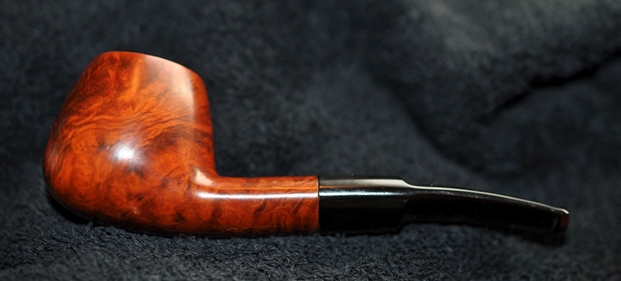
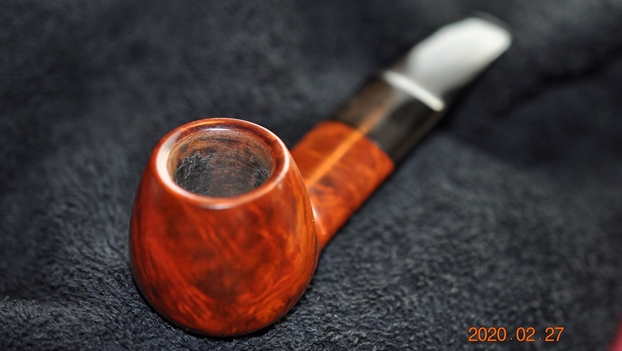
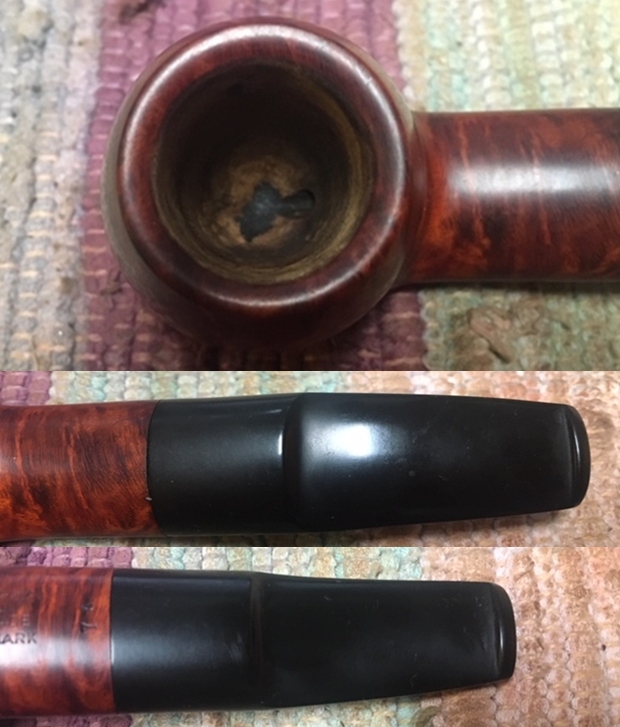
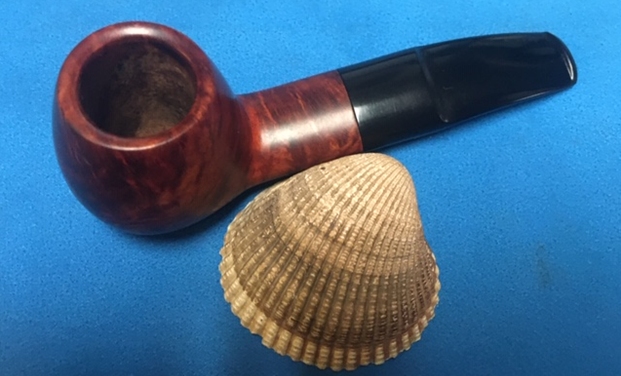
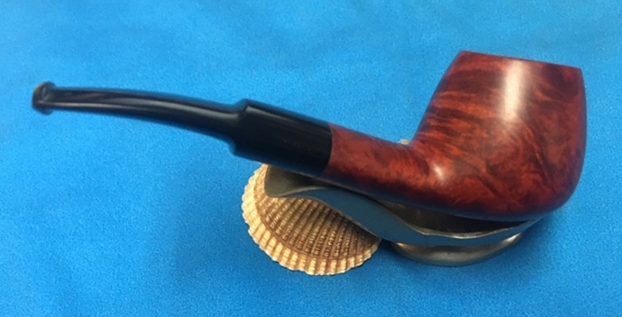
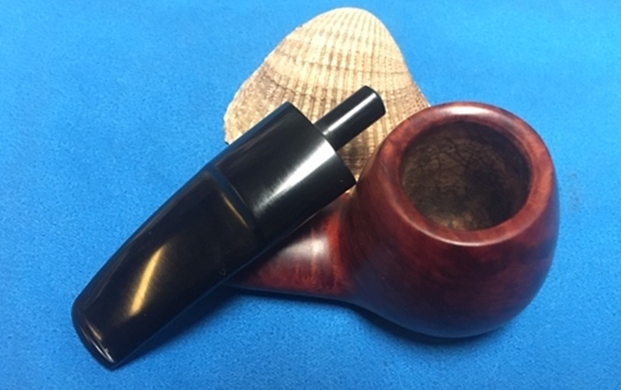
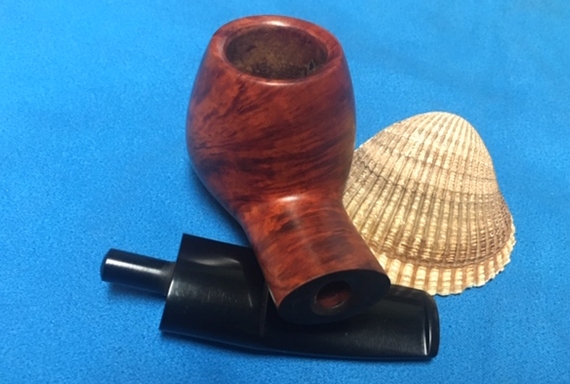
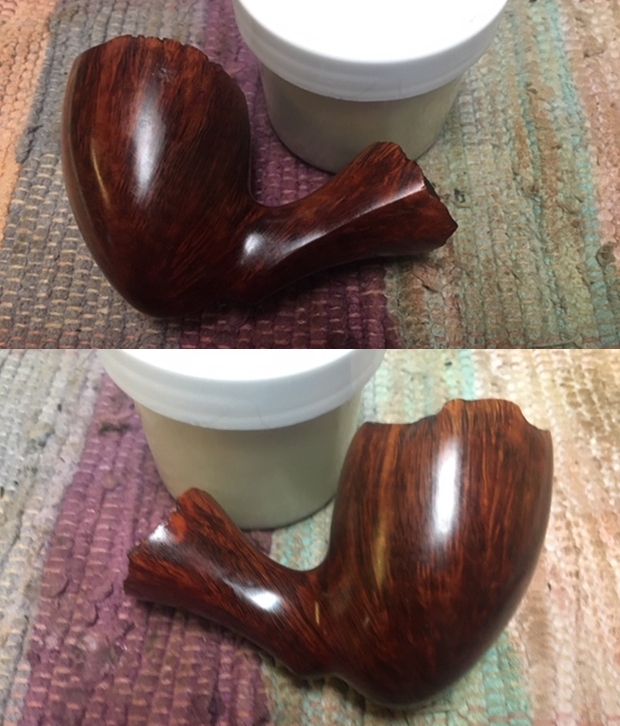
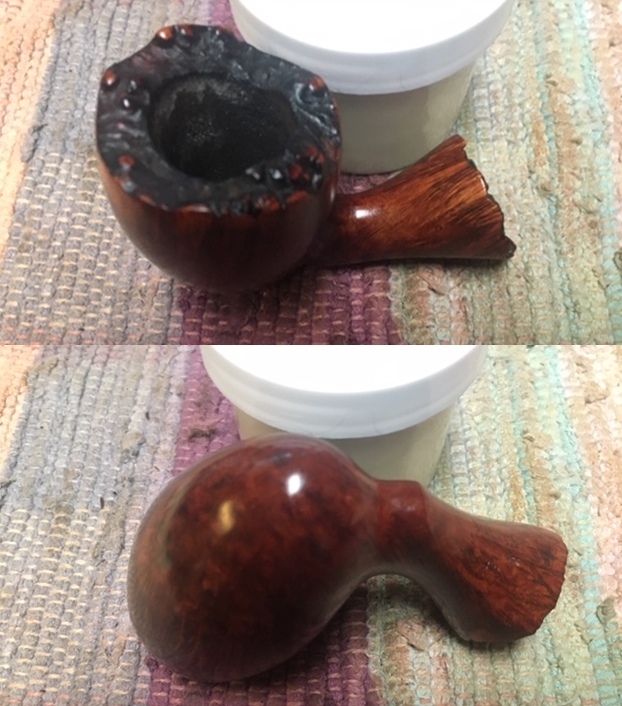
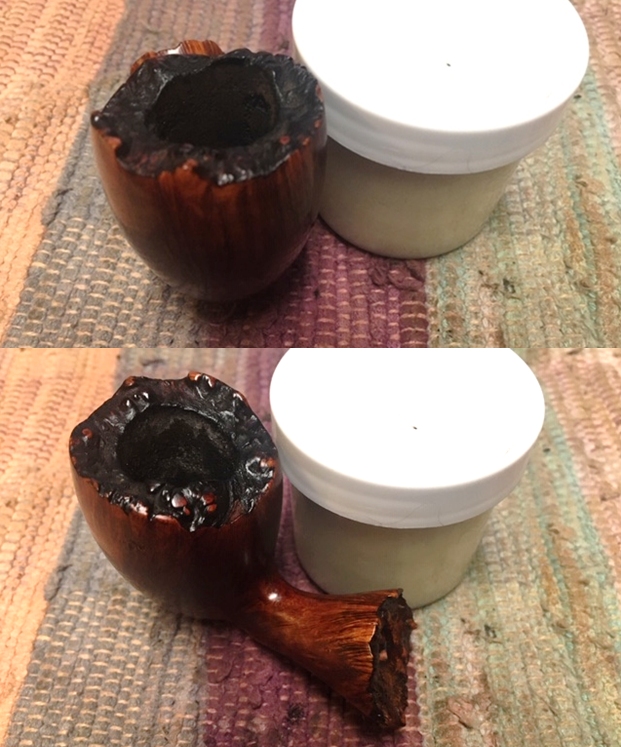
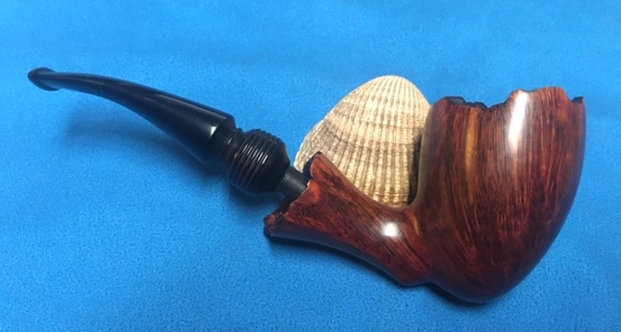
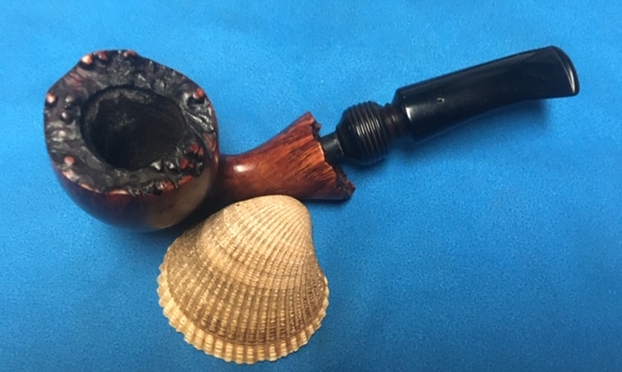
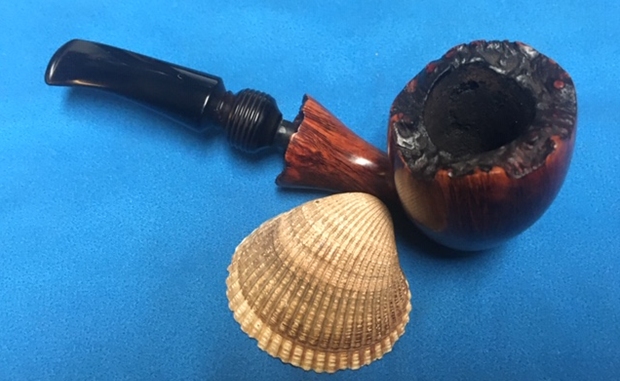
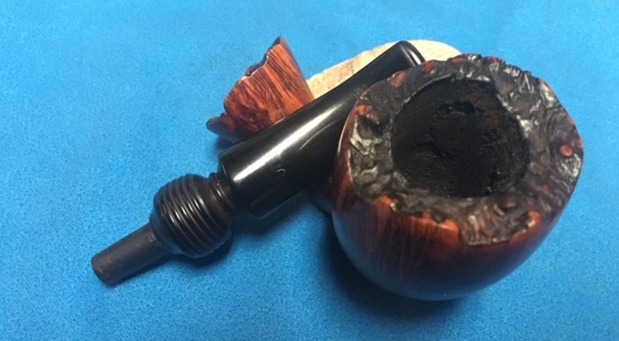
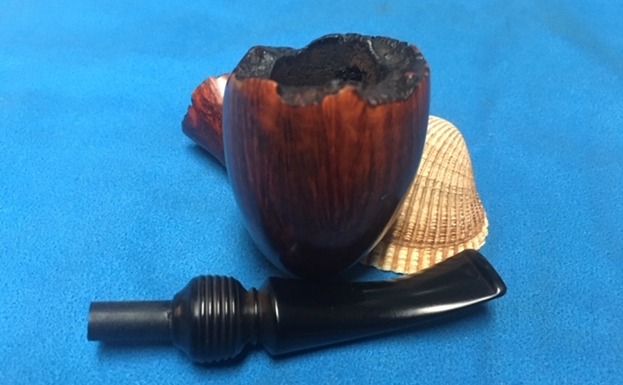
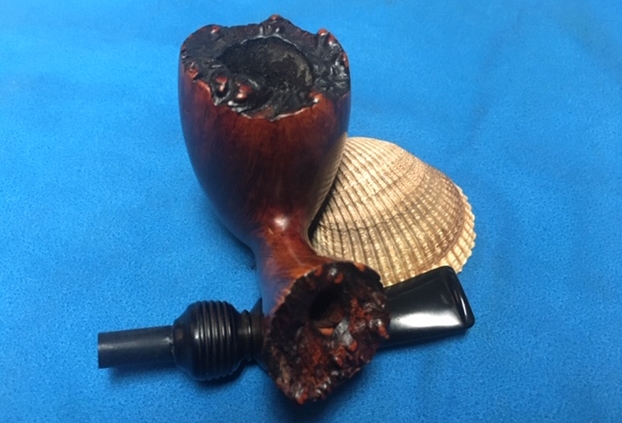
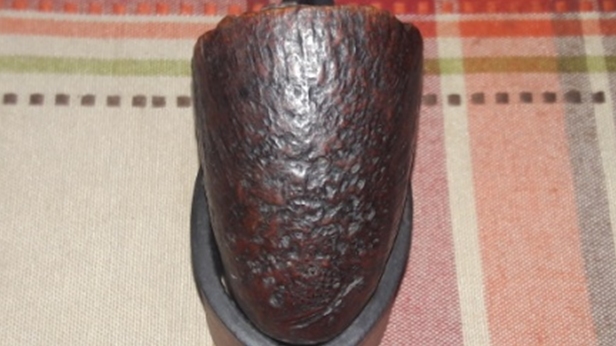
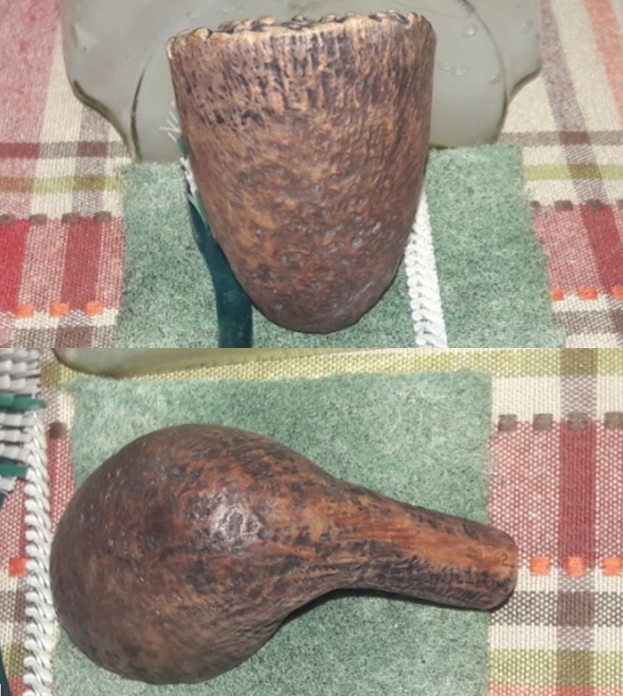
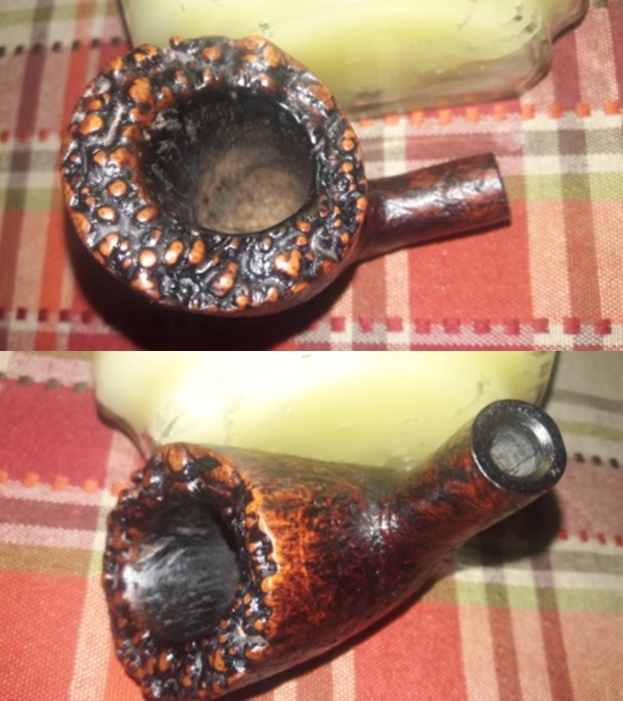
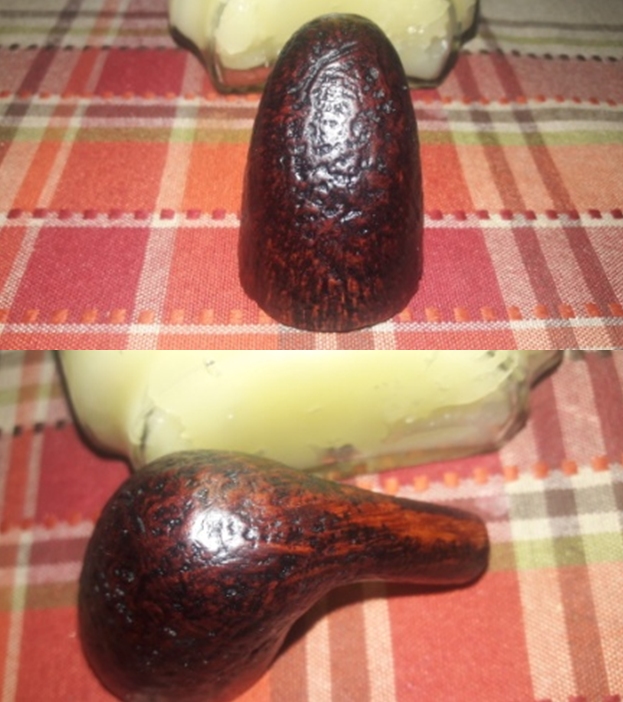
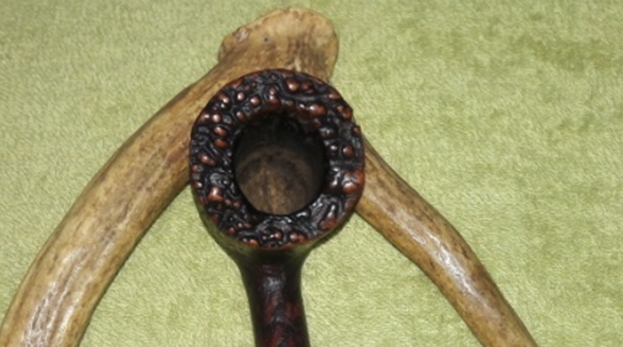
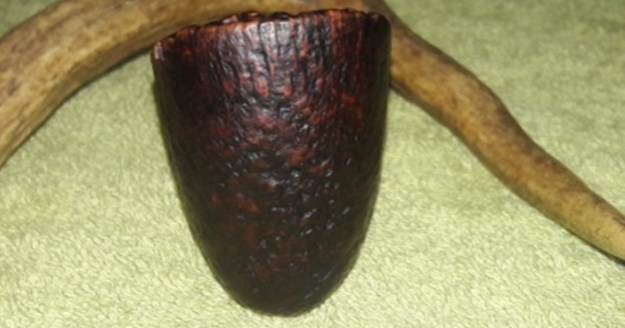
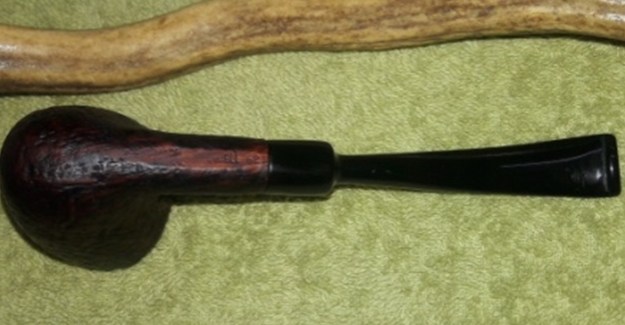
This medium sized sandblasted freehand pipe has a good heft and nicely fills the hand. Like most of the pipes from my inheritance; this too has a thick layer of cake in the chamber with overflow of lava on the plateau rim top. The cake is dry and hard. The inner rim edge appears sans any damage and this would only be confirmed once the chamber has been reamed. The condition of the walls of the chamber can be commented upon once the cake has been taken down to the bare briar. However, the external surface of the stummel feels and looks solid and hence I do not foresee any major issues surprising me later in the course of restoration. The ghost smells are very strong in the chamber.
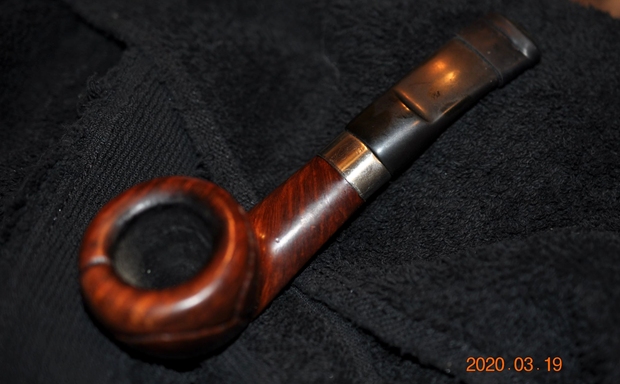
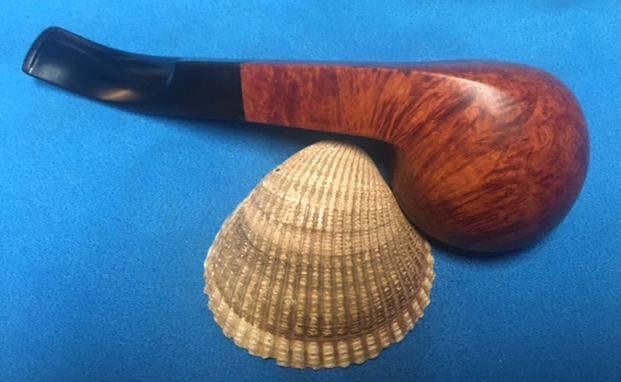
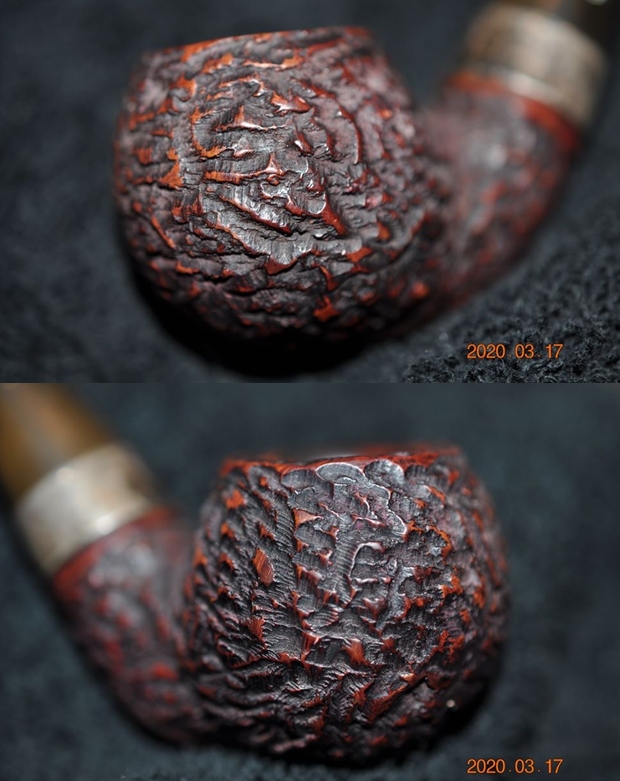
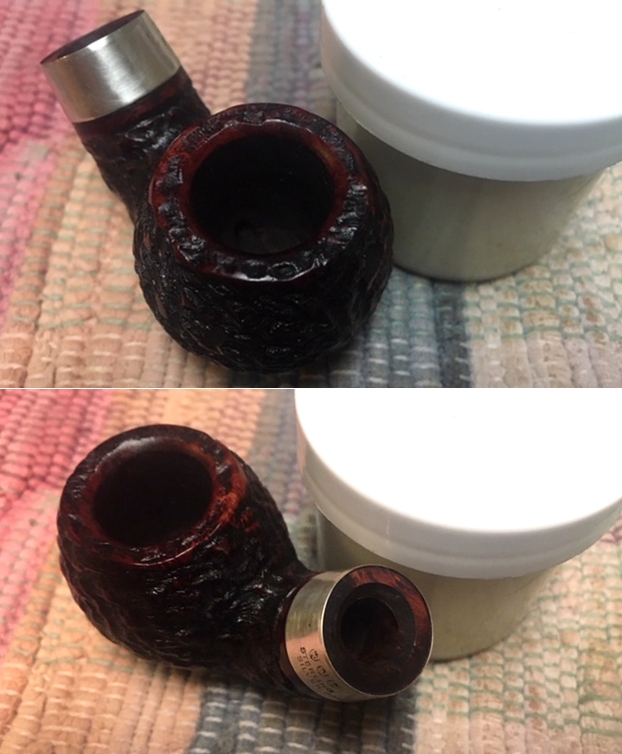
 As is commonly seen on sandblasted pipes with some age on them, the crevices are always filled with dust, dirt, oils, tars and grime from all the years of smoking and storage. This one is no exception to this observation. The grooves of the sandblast are filled with dust and grime. The fact that the textured patterns of the rustications are dusty and filled with dirt is accentuated more due to the contrast of dark and medium brown stains on the stummel and the shank. The briar looks lifeless and bone dry and has taken on black dull hues. The mortise is full of oils, tars and gunk and the air flow is restricted. Through all the dirt, dust and grime, beautiful sandblast patterns can be seen and appreciated.
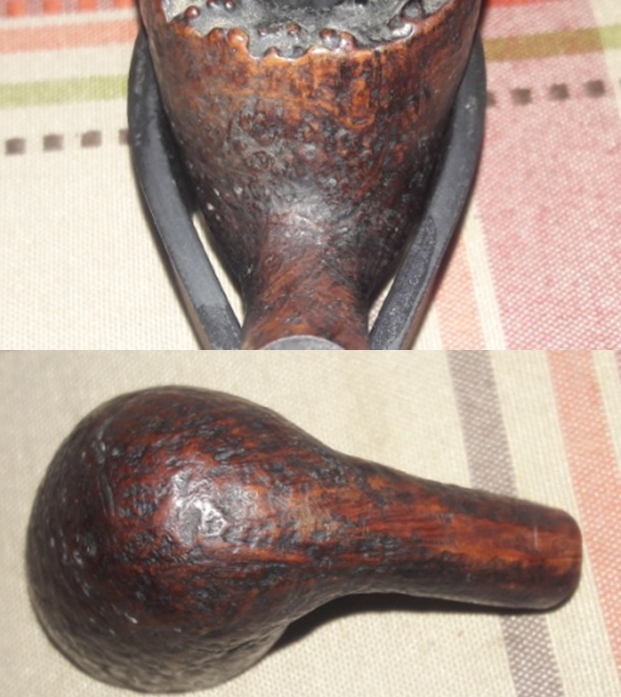
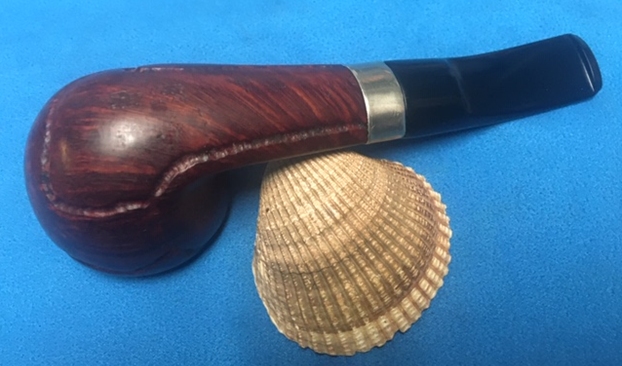
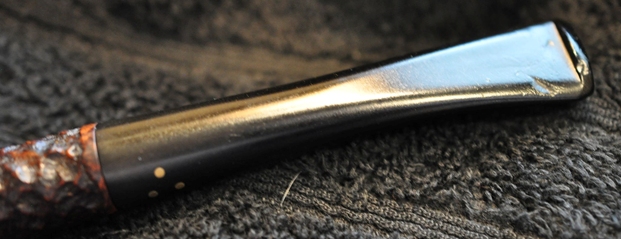
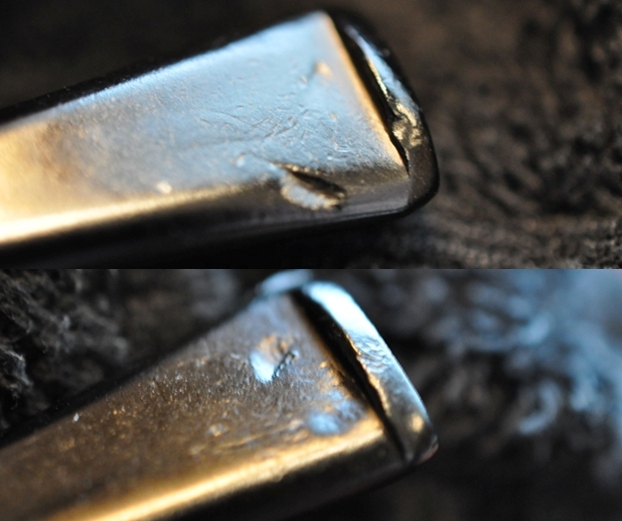
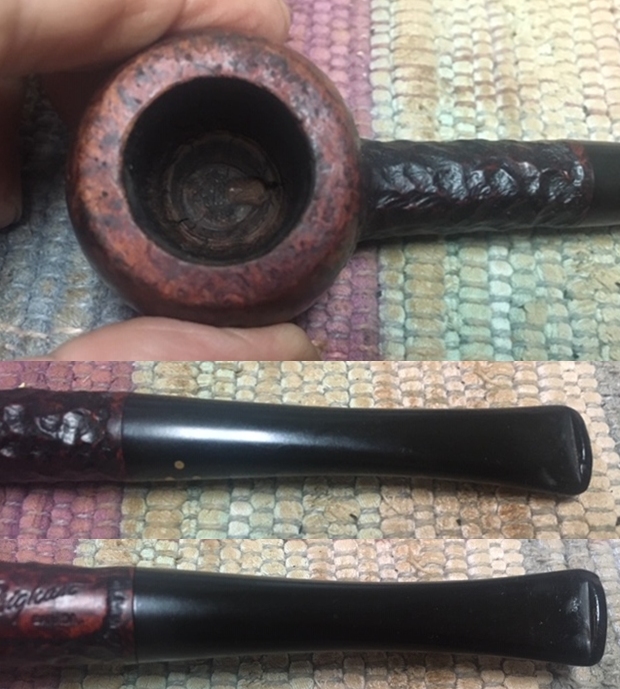
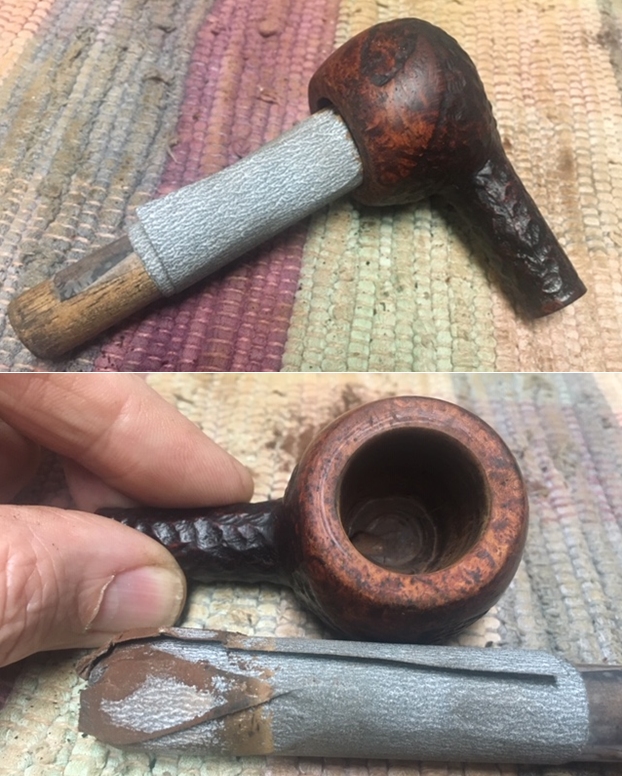
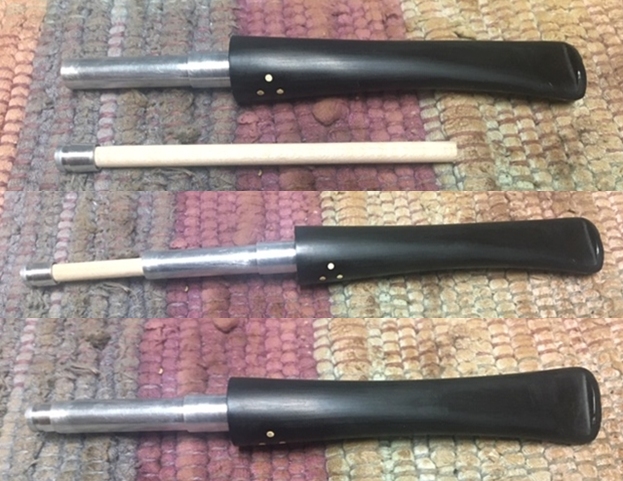
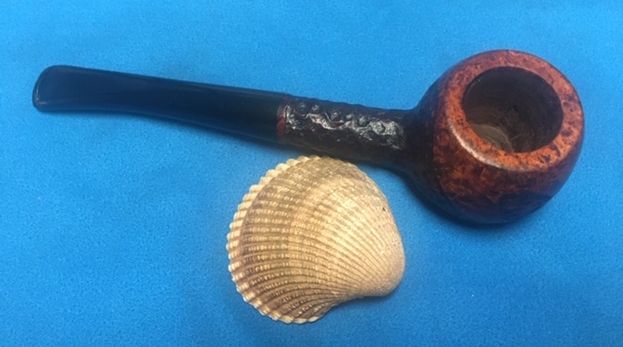
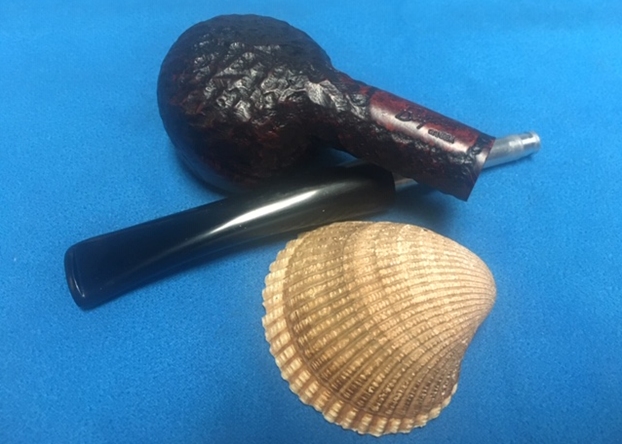
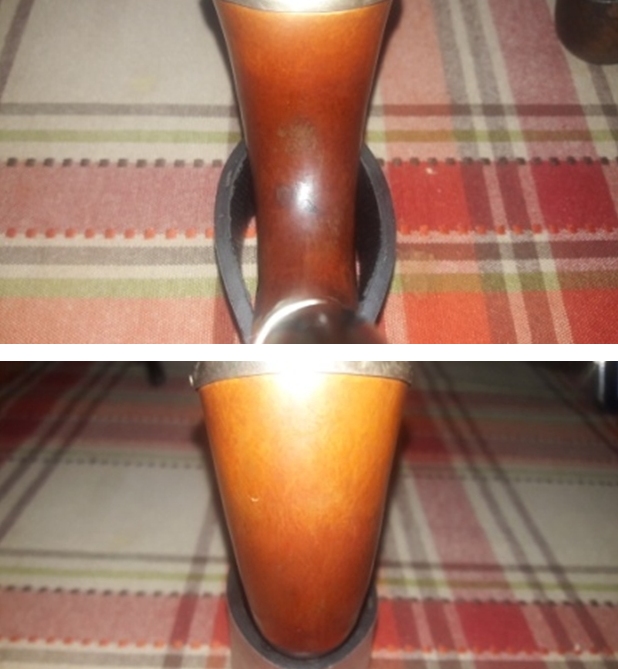
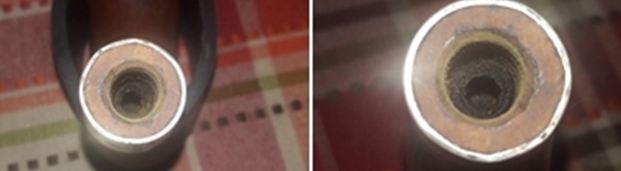
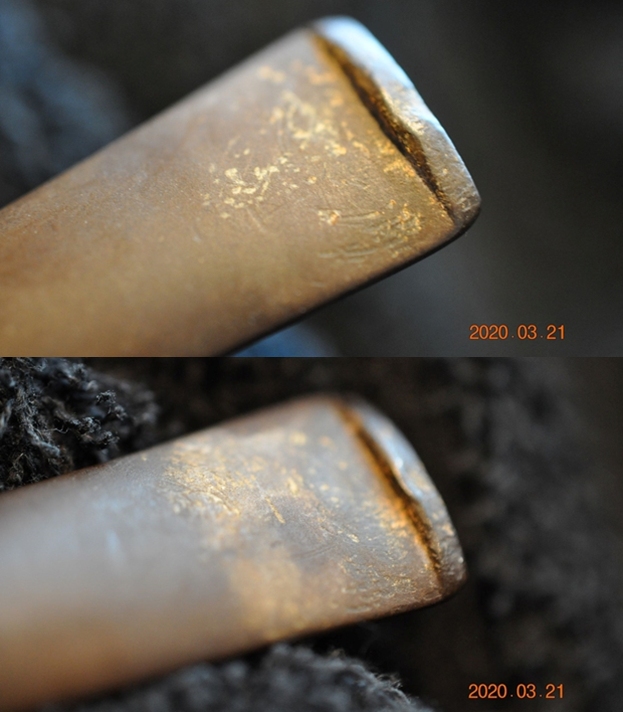
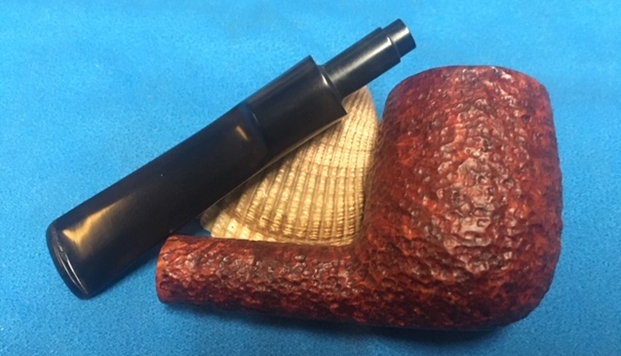
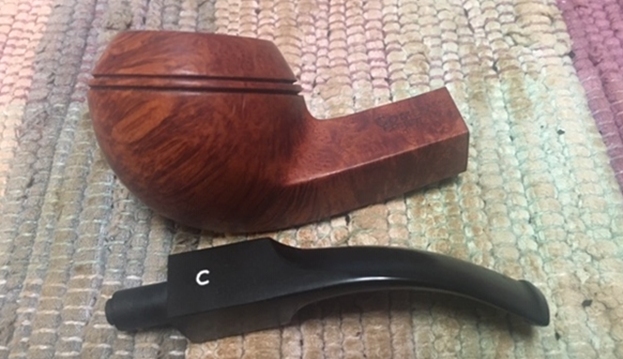
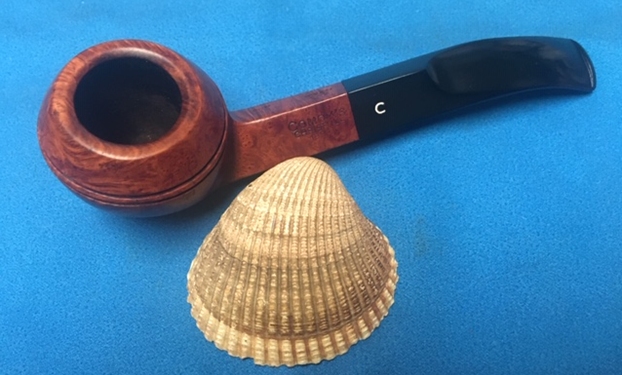
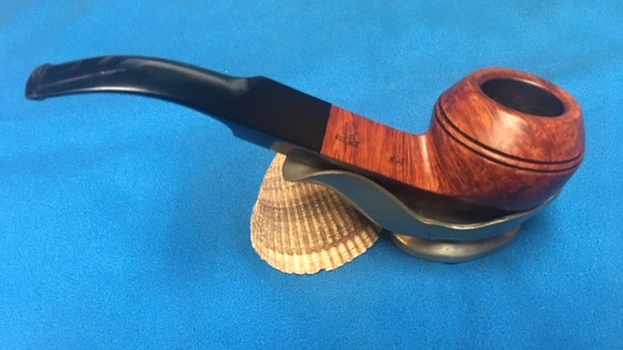
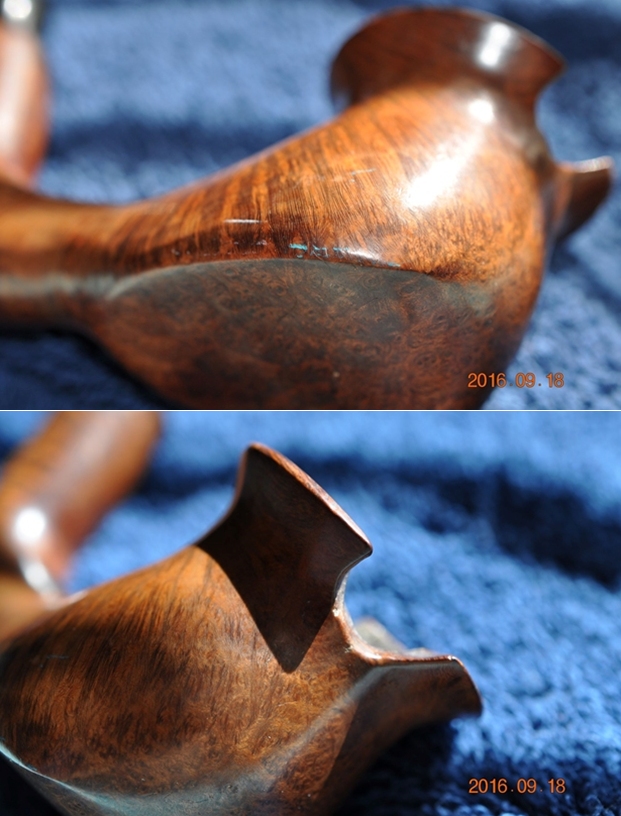
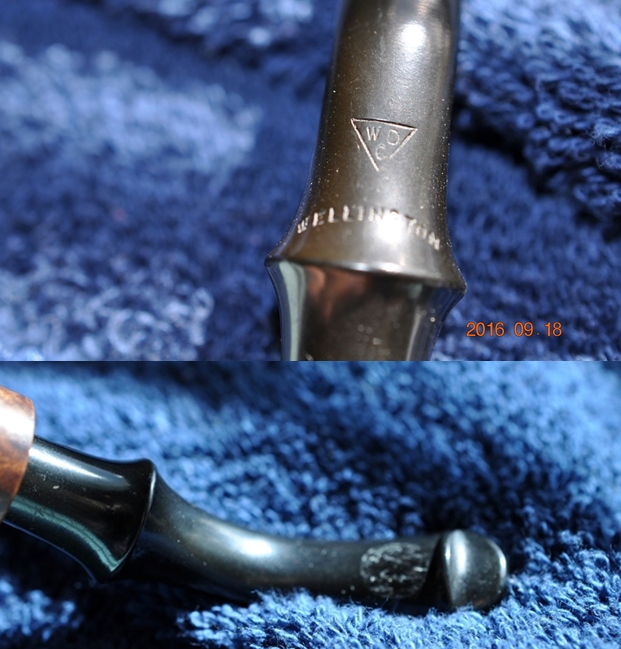
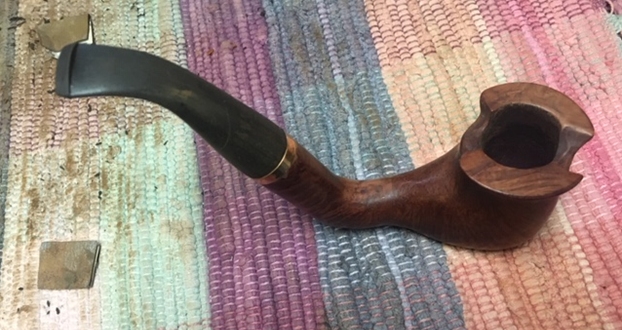
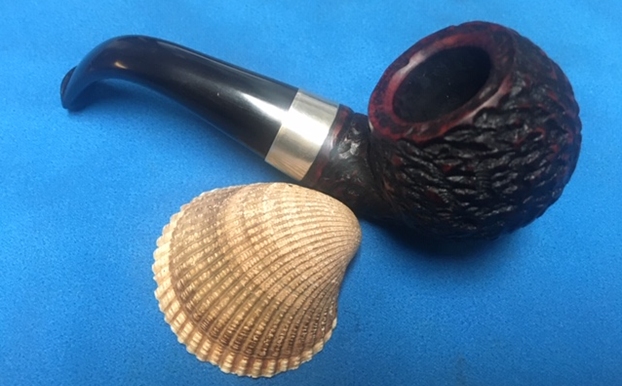
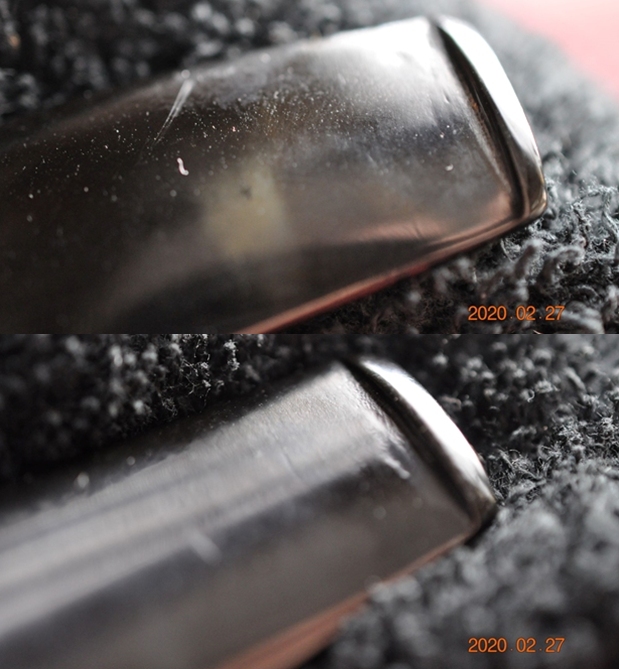
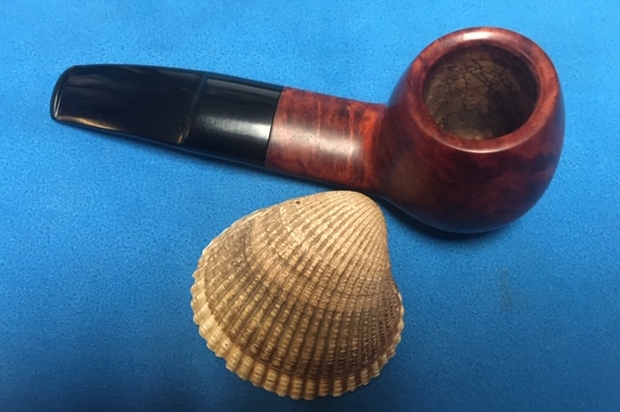
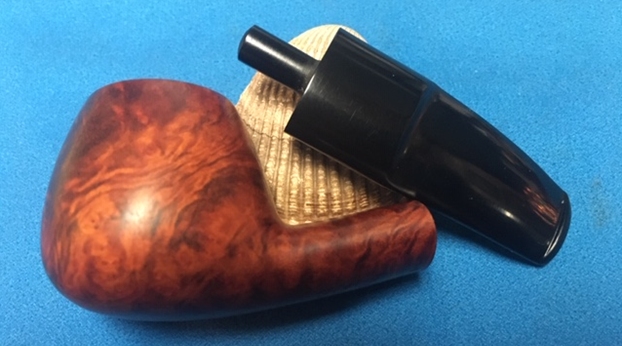
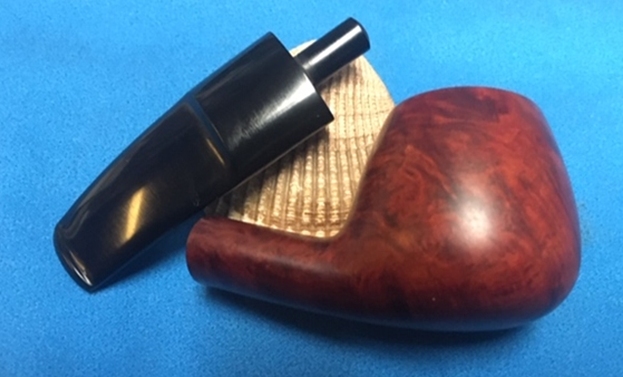
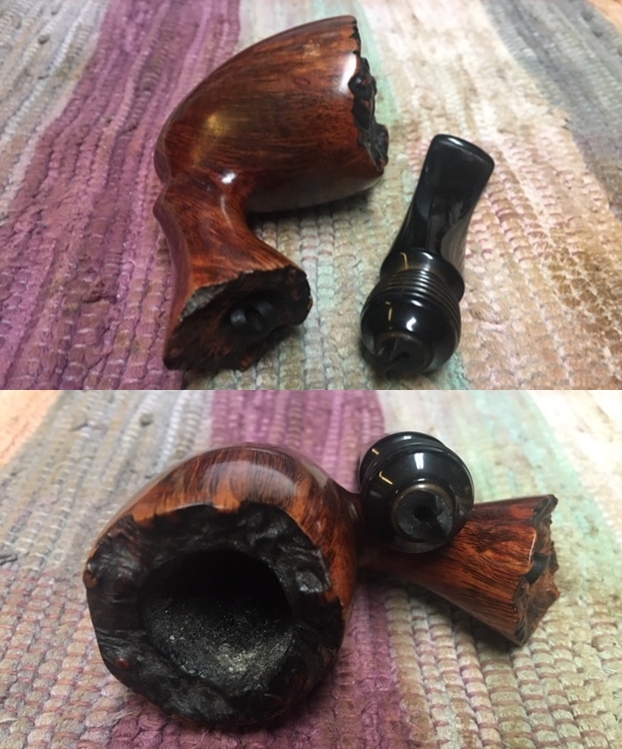
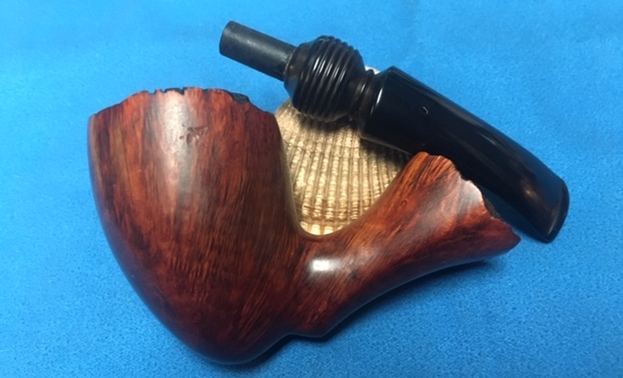
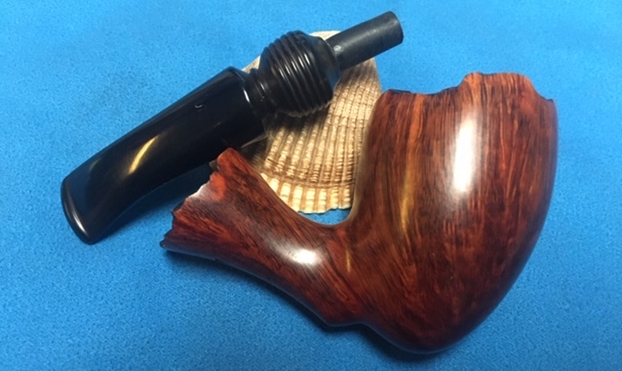
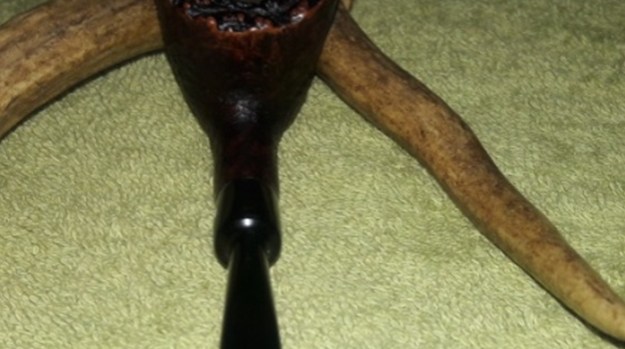
 The delicate vulcanite saddle stem is beautifully contoured to match the flow of the pipe with a smooth surface at the bottom of the saddle contiguous with that of the shank. The stem is heavily oxidized with a couple of deep tooth indentations on both the upper and lower stem surface in the bite zone. The lip edge on either surface has bite marks. These repairs should be easy. The tenon and horizontal slot is covered in dried oils, tars and gunk. The stem air way too appears to be clogged as the air flow through the stem is laborious to say the least. The stem logo of the letter ‘S’ with a crown on top is crisp and deep.
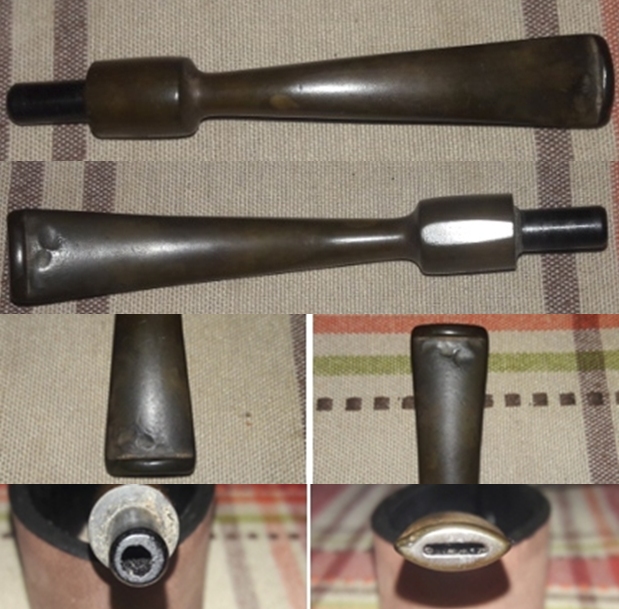 The Process
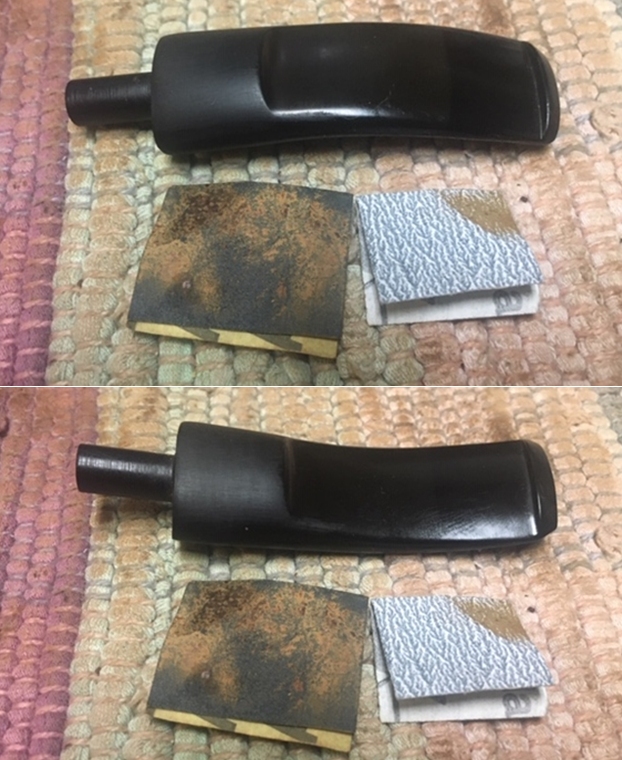
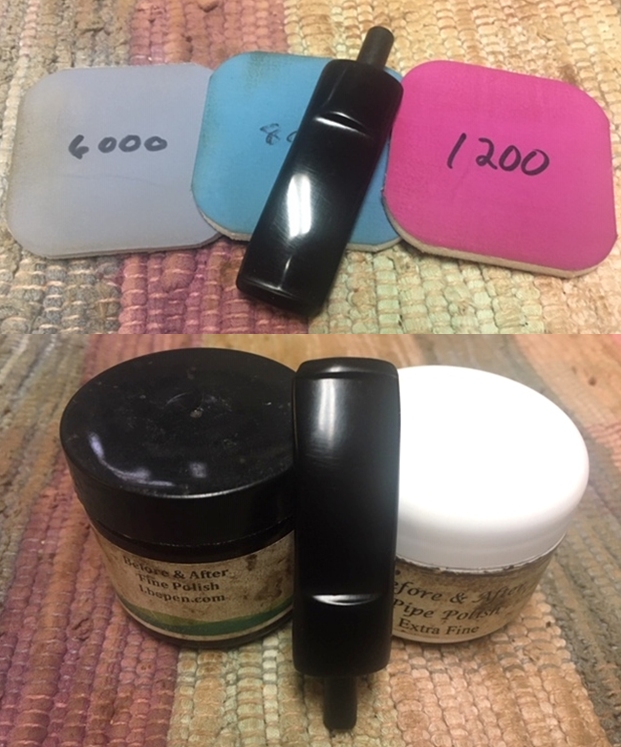
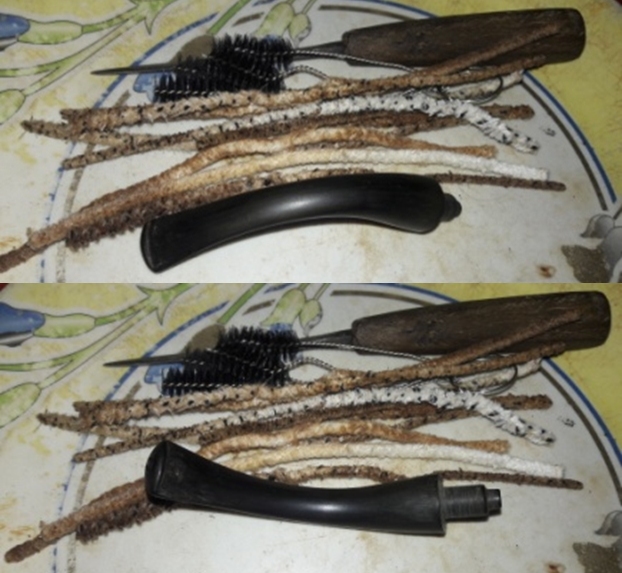
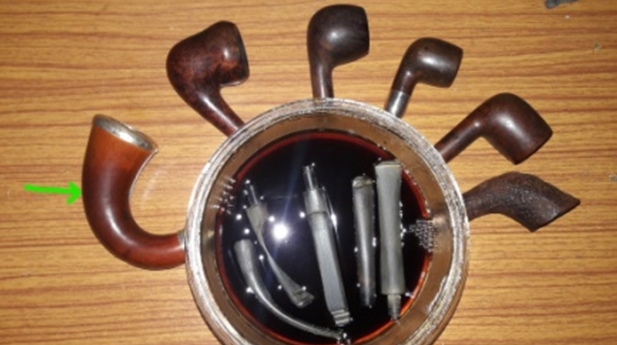
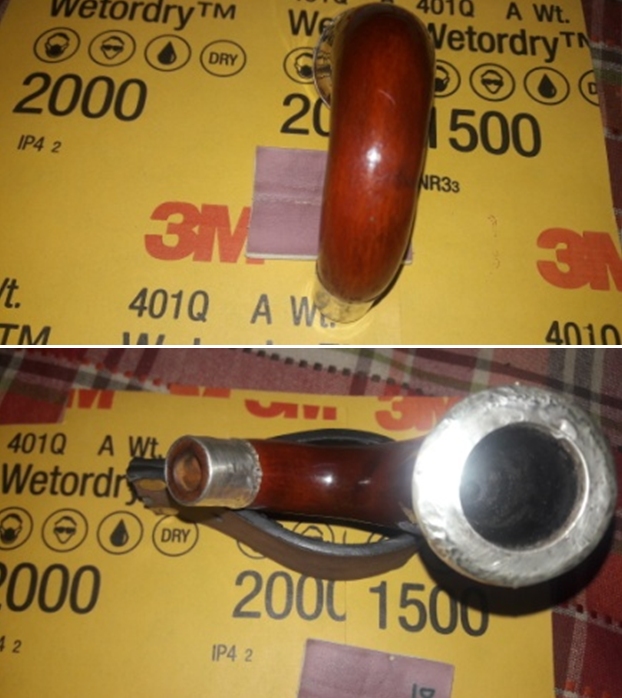
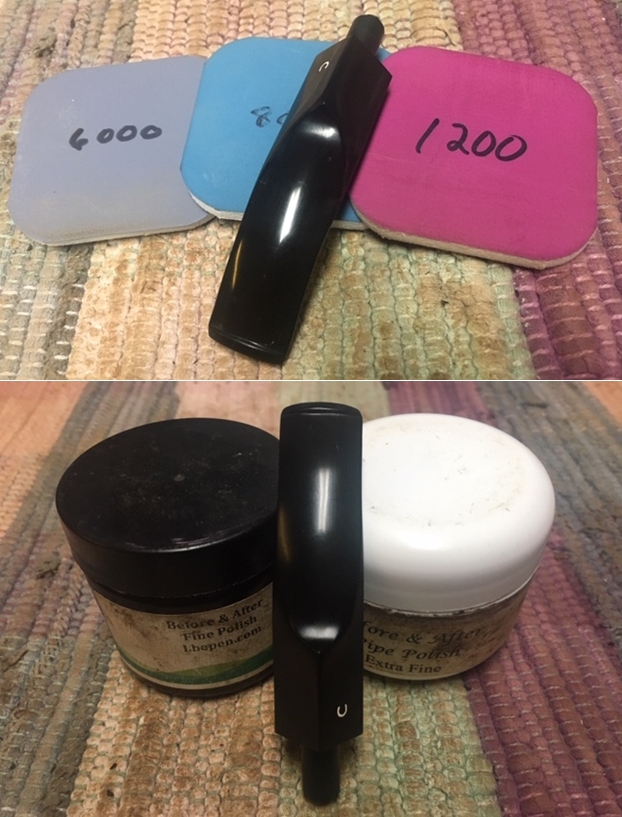
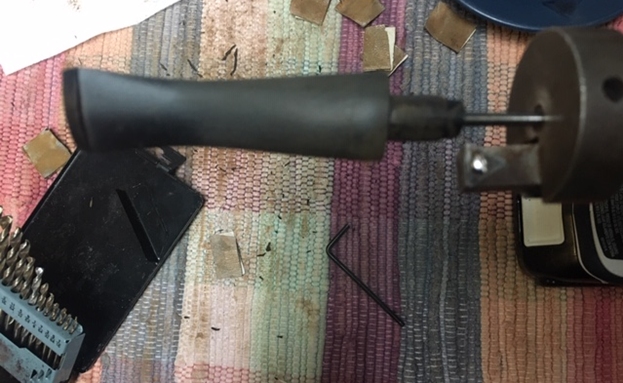
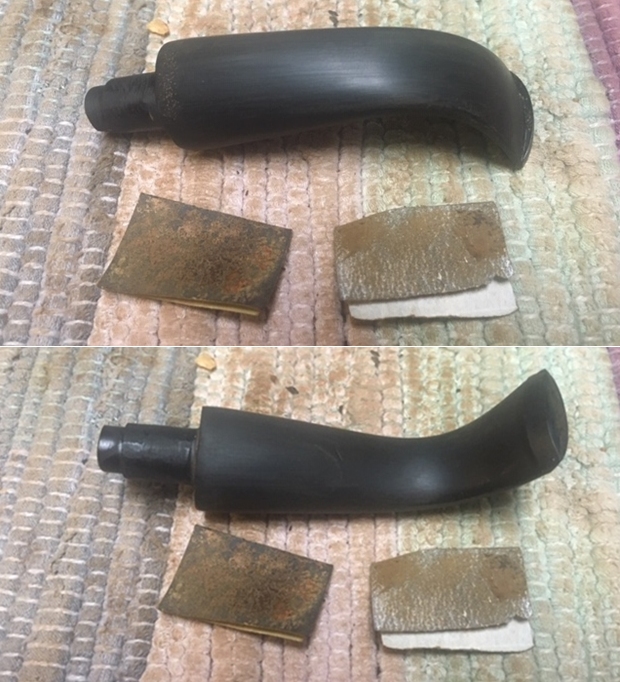
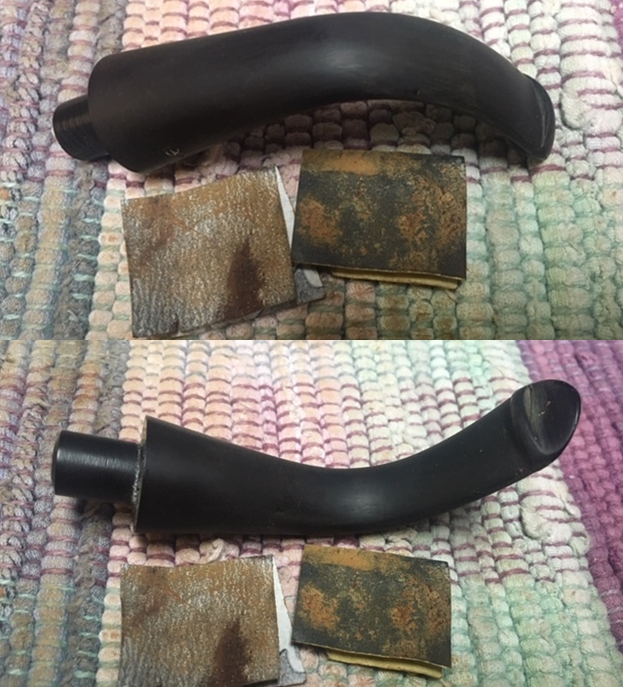
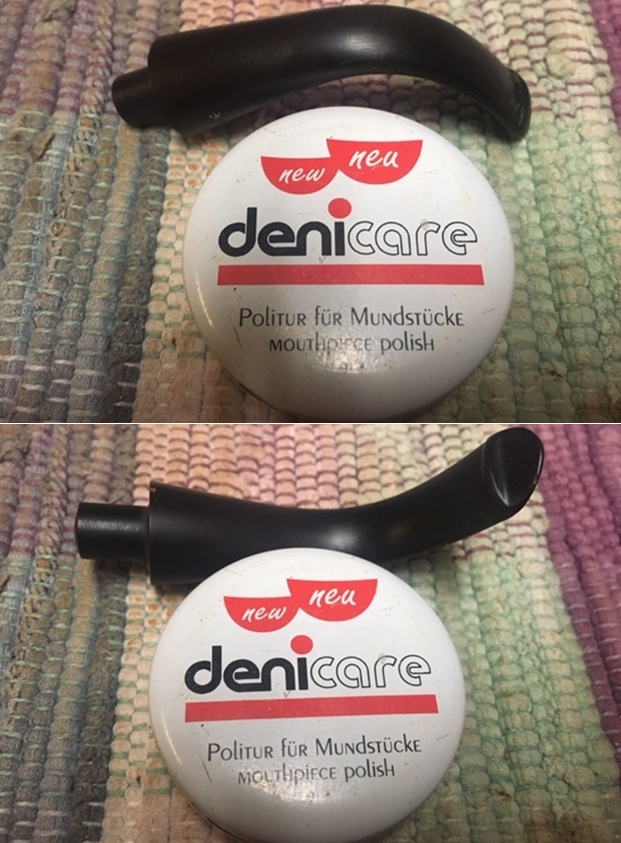
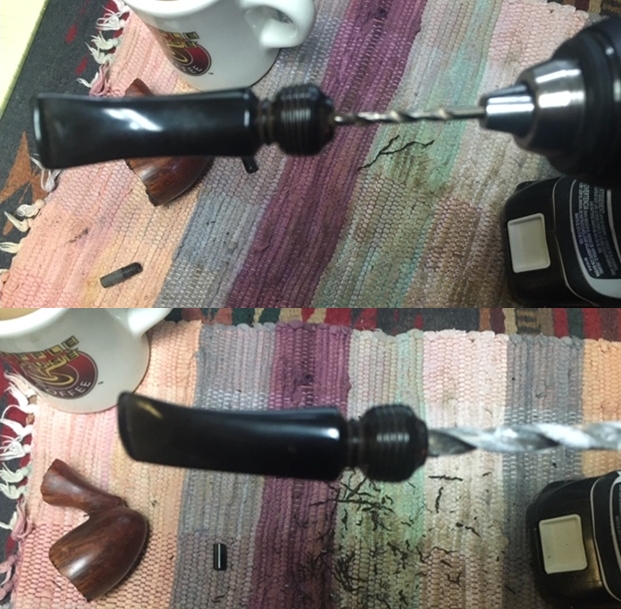
The process of refurbishing this pipe started with the cleaning of the stem. Abha, my wife, cleaned the stem air way with regular and bristled pipe cleaners dipped in 99.9% pure isopropyl alcohol. She further cleaned the stem internals with thin shank brushes and dish soap to remove the stubborn and thick gunk from within the airway. The heap of pipe cleaners and their appearance tells a sordid story. With my sharp fabricated knife, she scraped off all the dried tars and gunk from the tenon end.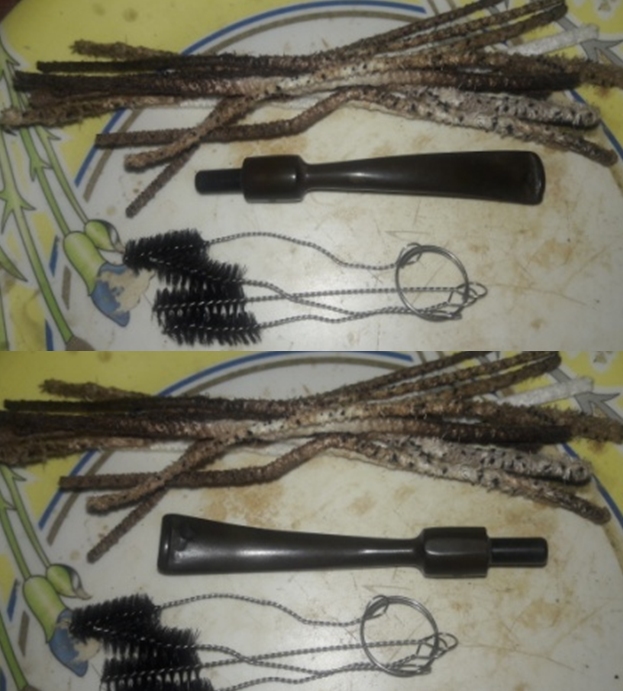 Once the stem internals had been cleaned, I gently sand the stem surface with a used piece of 220 grit sand paper and immersed it in “Before and After Deoxidizer” solution along with the stem of other pipes in line for restoration. This solution has been developed by Mark Hoover and works to draw out all the deep seated oxidation from the surface making it’s subsequent cleaning and polishing a breeze. I would definitely recommend this product as it saves on to time and efforts. It has been our experience that before immersing the stem in to the stem deoxidizer, light sanding of the stem with a folded piece of 220 grits sand paper loosens the oxidation a bit and helps get fantastic end results. The pipe has been marked with a green arrow for easy identification.
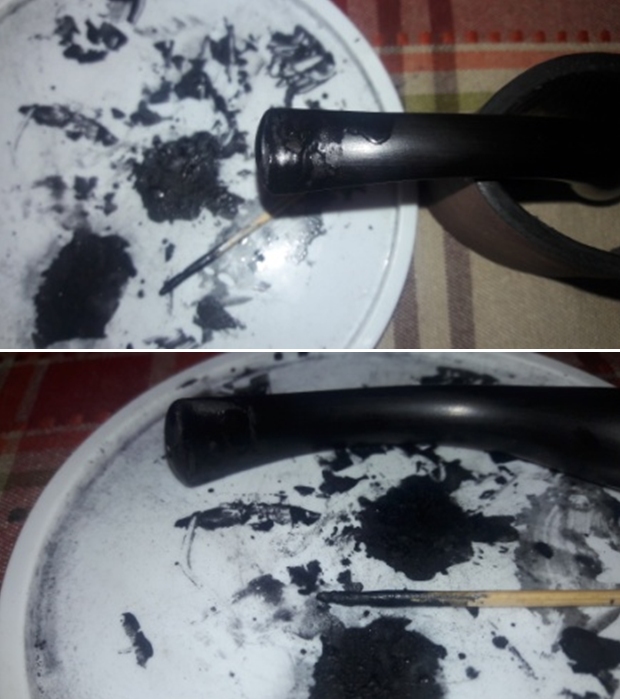
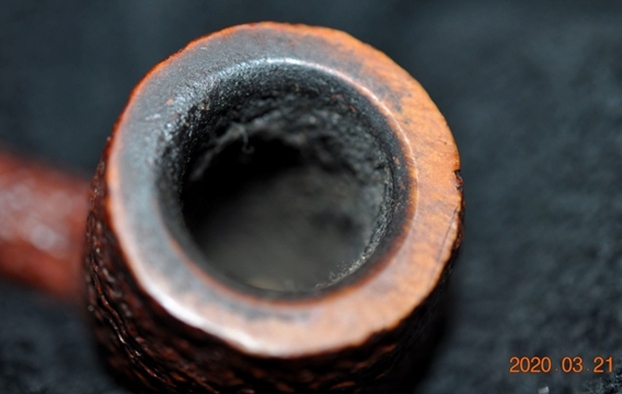
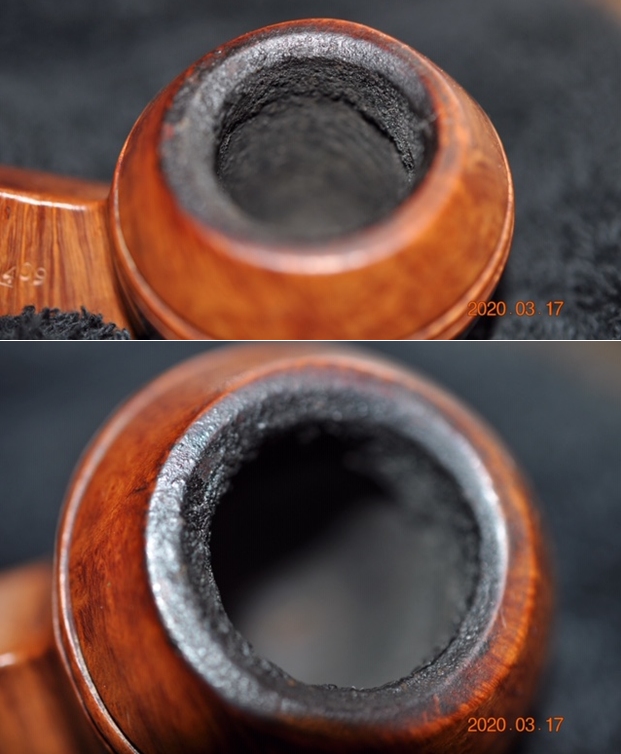
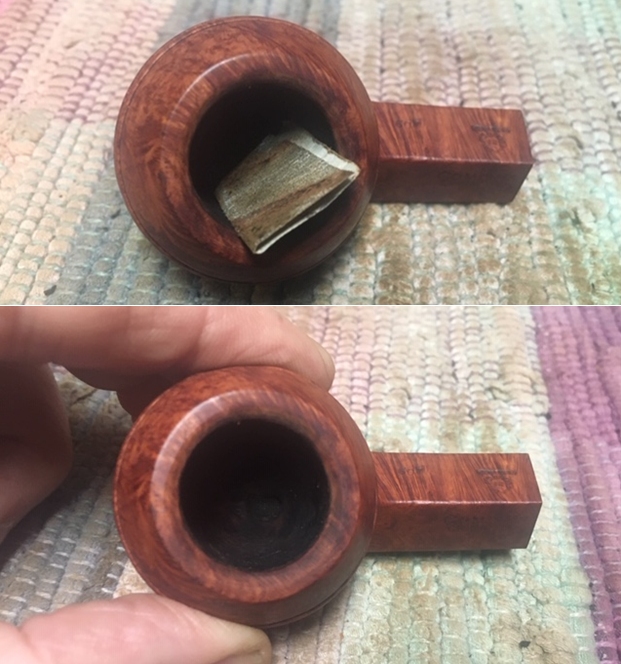
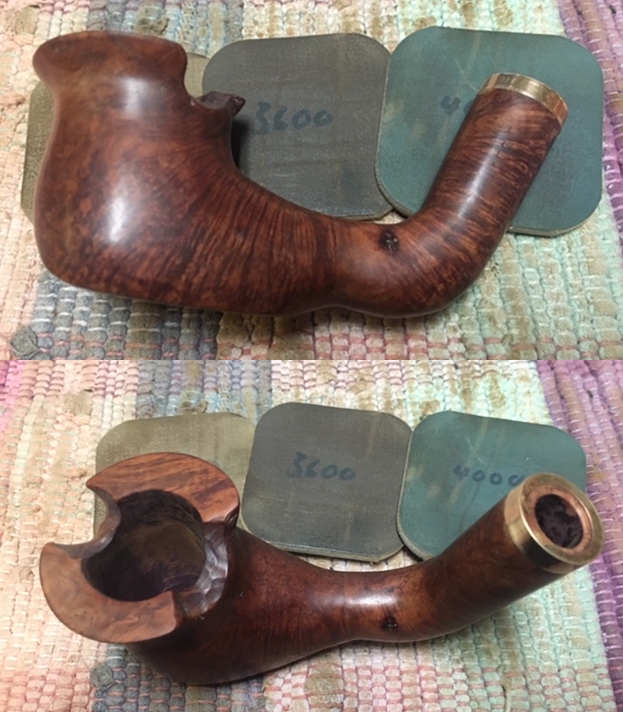
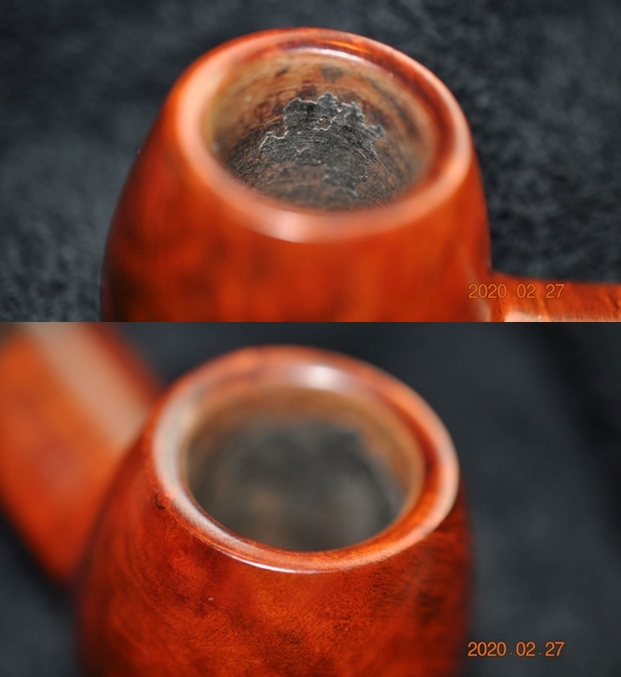
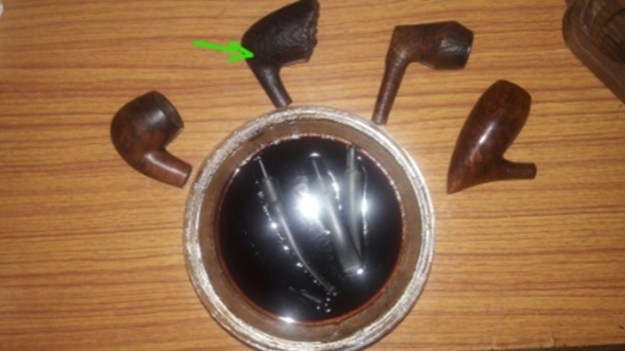 Simultaneously, while Abha was working on the stem, I reamed the bowl with a Castleford pipe reamer using the first three head sizes. Using my fabricated knife, I cleaned the cake from areas which could not be reached by the reamer heads. I used a 220 grit sand paper, pinched between my thumb and forefinger, to sand the inner walls of the chamber. Once I had reached the bare walls, I wiped the chamber with a cotton pad dipped in isopropyl alcohol. This removed all the residual carbon dust and also allowed a clear inspection of the walls. The walls of the chamber are nice and solid with no signs of heat fissures or cracks. The inner rim edge shows no charring or chipping. The ghost smells are still strong and all pervading. Hopefully these smells will be exorcised once the shank and mortise are thoroughly cleaned!
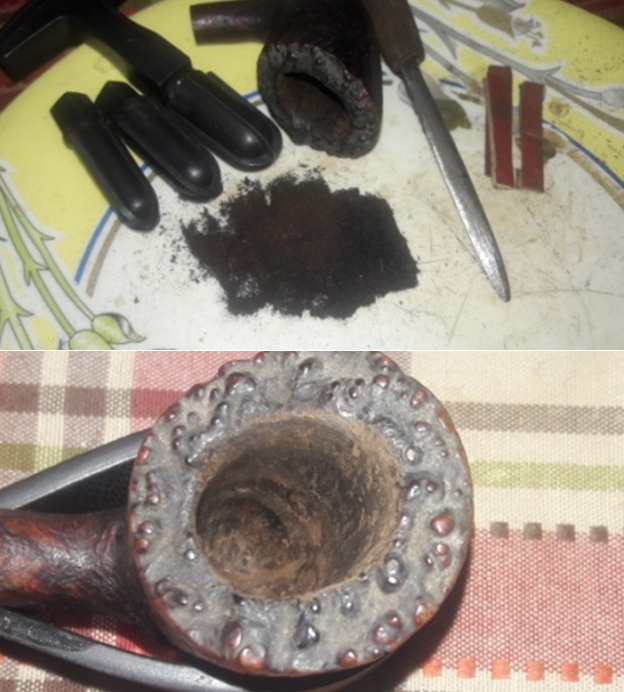
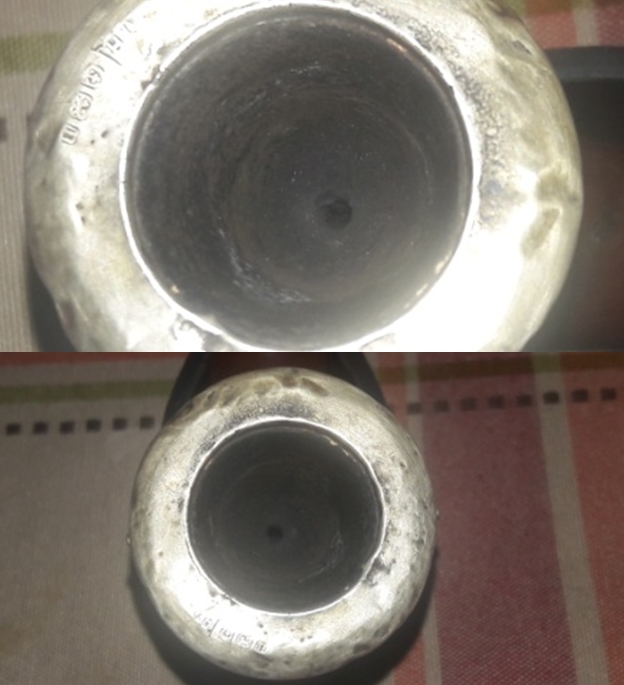
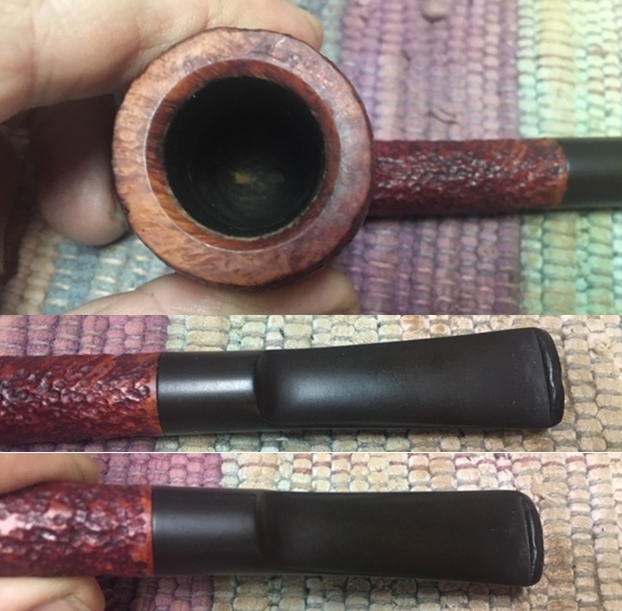
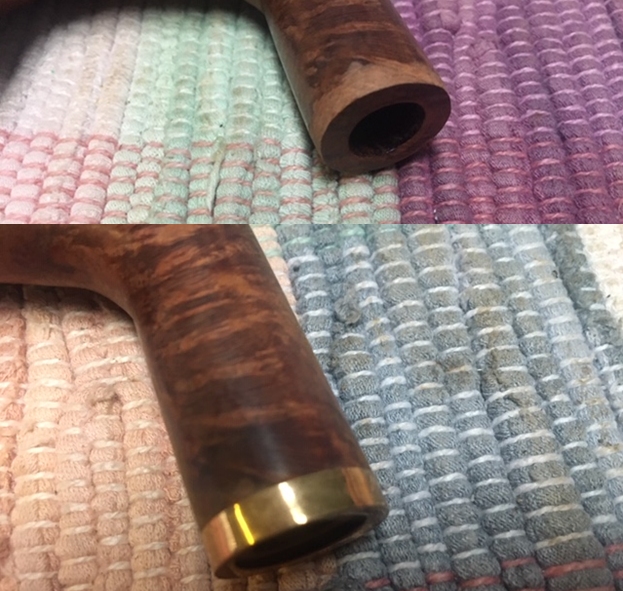
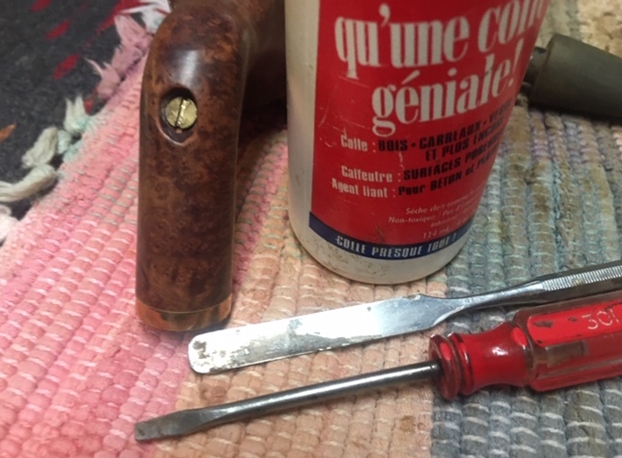
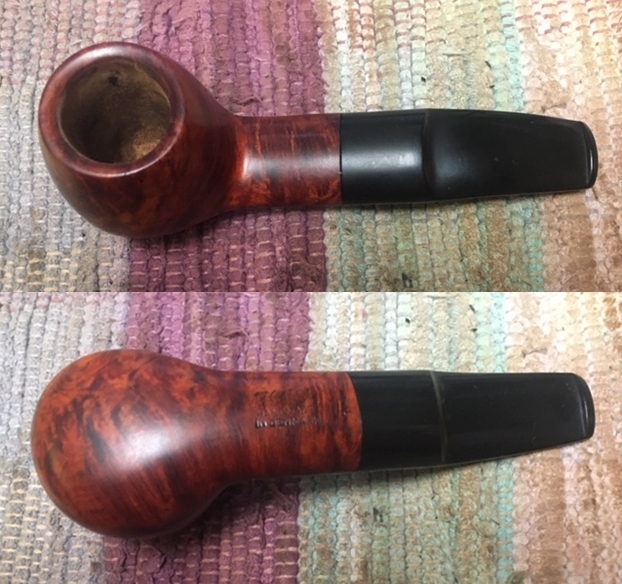
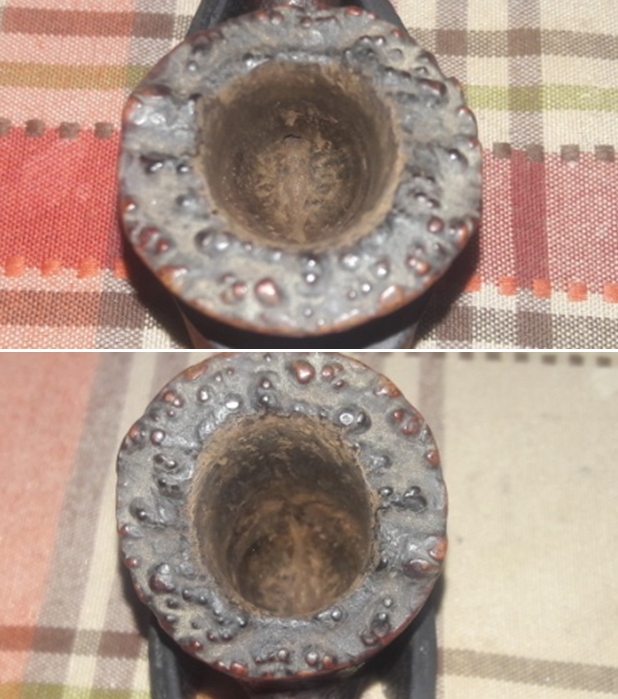 I cleaned the mortise and shank walls using q-tips, shank brush, regular and hard bristled pipe cleaners dipped in isopropyl alcohol. I scraped the walls with a dental tool and removed the entire accumulated gunk. I shall further clean it with a shank brush and liquid dish soap once I clean the stummel surface. The strong smells still persist though the mortise is nice and clean as can be seen in pictures.
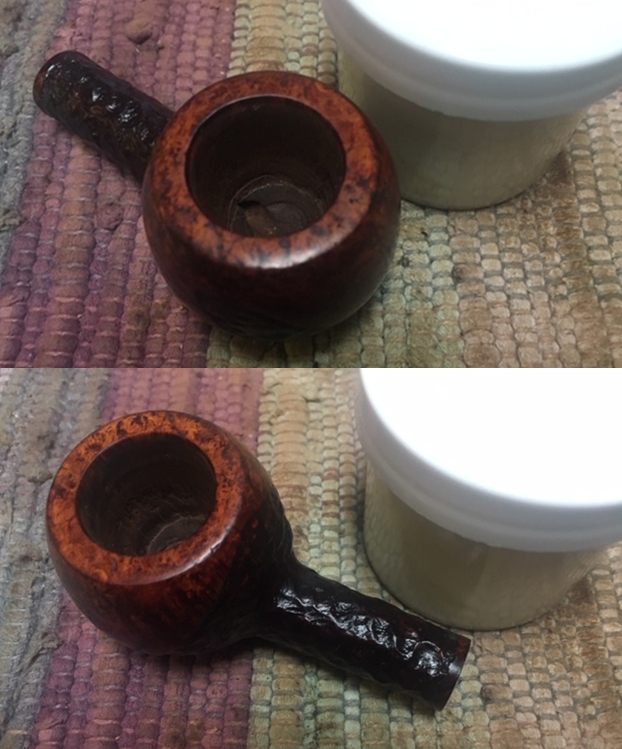
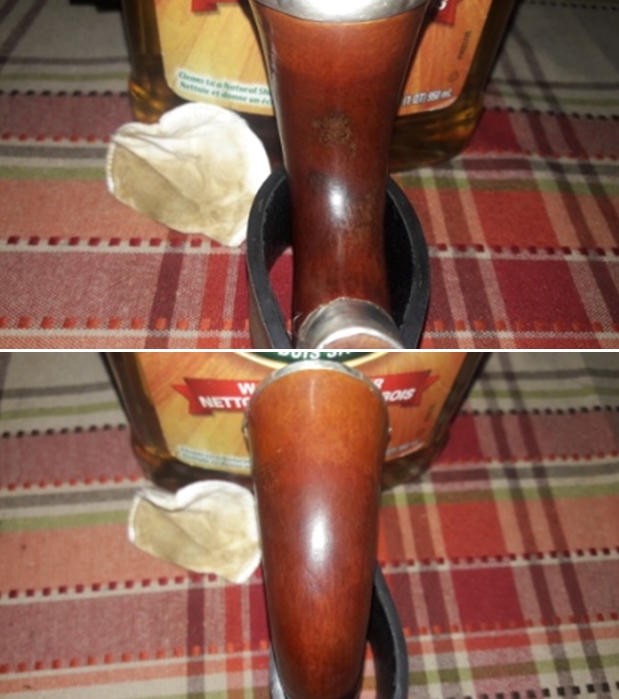
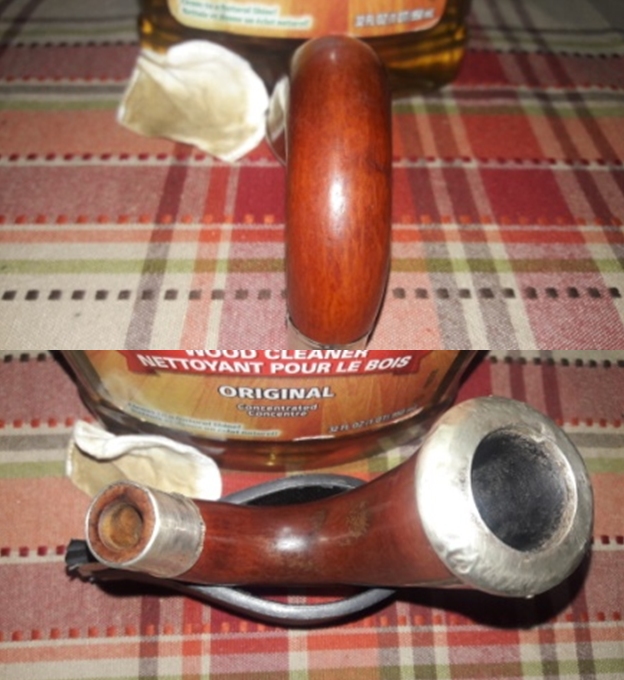
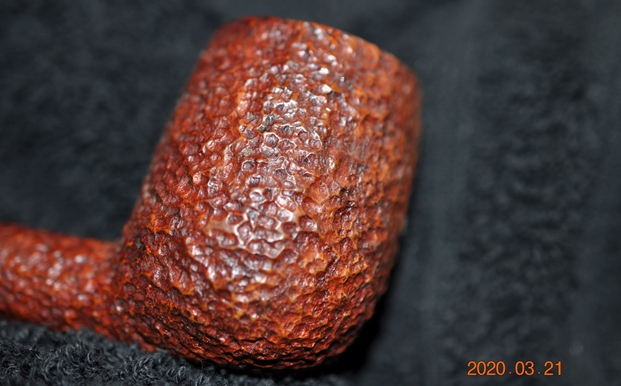
 With the bowl internals clean, I move to clean the exterior of the stummel. I generously applied “Briar Cleaner”, a product that has been developed by my friend Mark Hoover, to the external surface of the bowl and the plateau rim top surface. It works similar to Murphy’s oil soap and needs to be applied to the stummel surface and set aside for 5- 10 minutes. The product pulls out all the dirt and grime to the surface making further cleaning easy. I am quite happy with this product. I used a hard bristled tooth brush to scrub the stummel and rim top with the solution. After the scrub with Briar cleaner solution, I washed the stummel under running warm water with anti oil dish washing detergent till clean and dried it using paper towels and soft cotton cloth. I deliberately cleaned the plateau rim top with Scotch Brite pad and set the stummel aside to dry out naturally. I simultaneously cleaned the shank internals with the detergent and hard bristled shank brush. The stummel surface has cleaned up nicely with the intricate sandblast patterns on full display.
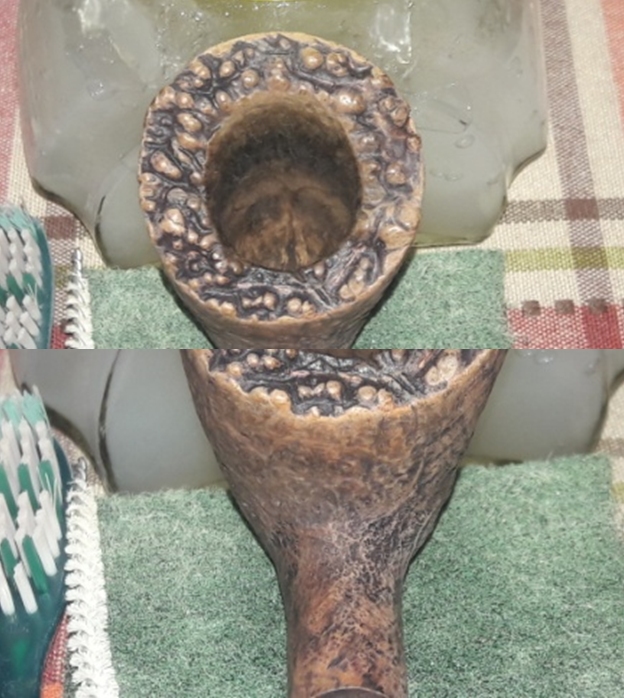
 The ghost smells in the chamber were still quite strong and hence I decided to address this issue. To eliminate the ghost smells from the pipe, I decided to treat it with salt and alcohol. I do not use Kosher salt as it is not readily available here and if available, it’s very expensive. I use a cotton ball which is an at par substitute as I have realized over the last year or so. I draw out a wick from the cotton and along with a folded regular pipe cleaner; insert it into the mortise and through the draught hole into the chamber. Thereafter, I pack the chamber with cotton balls to about quarter of an inch below the rim’s inner edge. I soak the cotton balls with isopropyl alcohol up to the brim. About half an hour later, the level of alcohol goes down, having been absorbed by the cotton. I top it up once again and set it aside overnight. By next morning, the cotton and alcohol has drawn out all the remaining oils and tars from the chamber and mortise, fulfilling its intended task. I removed the cotton ball and ran pipe cleaners through the mortise to clean out all the loosened tars and gunk. The chamber now smells clean and fresh. I set the stummel to dry out naturally.
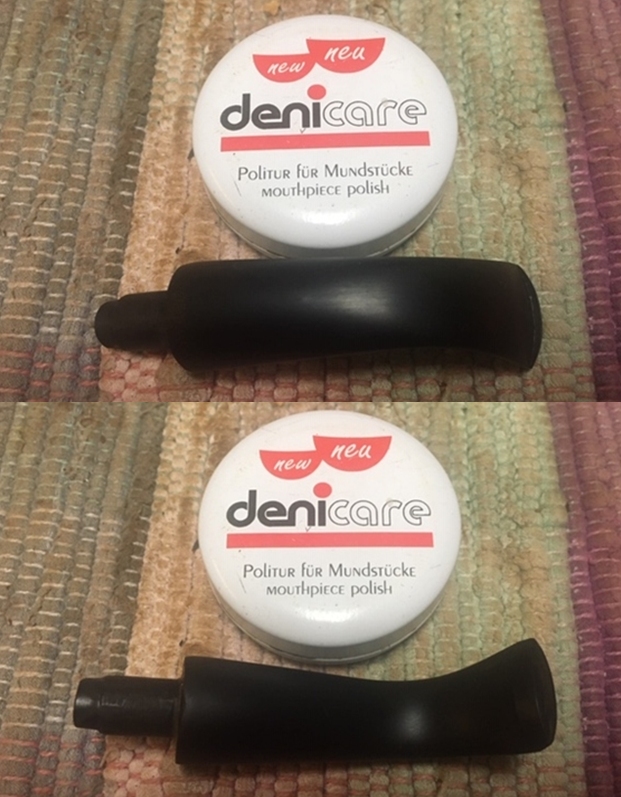
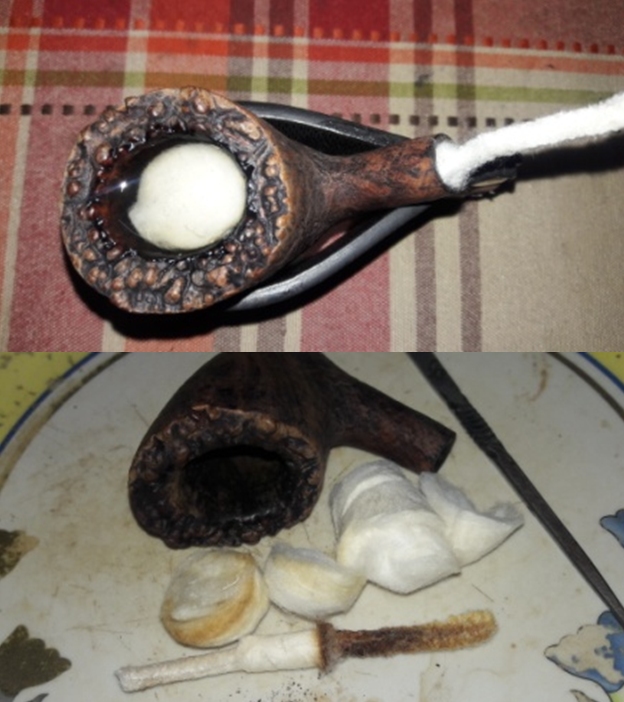 The next morning, Abha removed the stems that had been soaking in the deoxidizer solution overnight. She cleaned the stem and the stem airway under running warm water and scrubbed the raised oxidation from the stem surface using a Scotch Brite pad and the airway with thin shank brush. She further removed the oxidation by scrubbing the stem with 0000 grade steel wool and applied a little olive oil to rehydrate the stem.
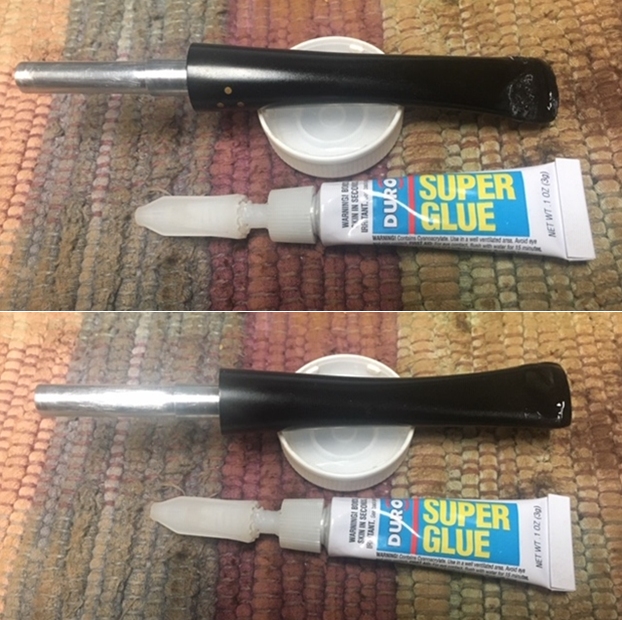
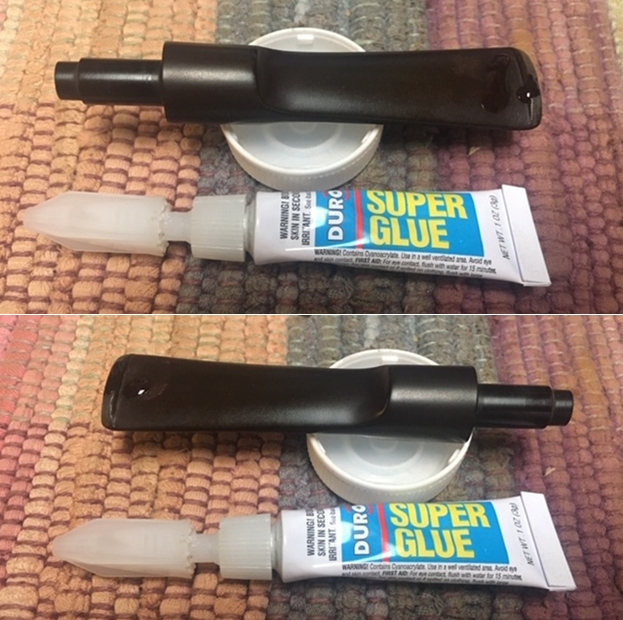
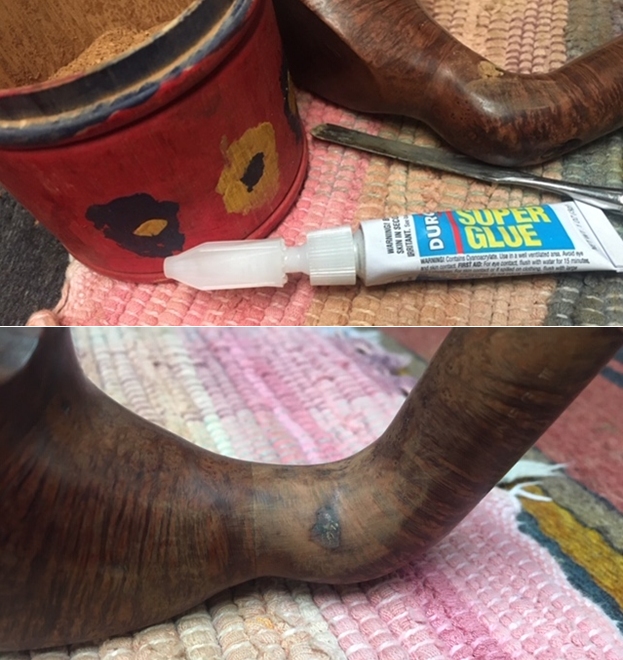
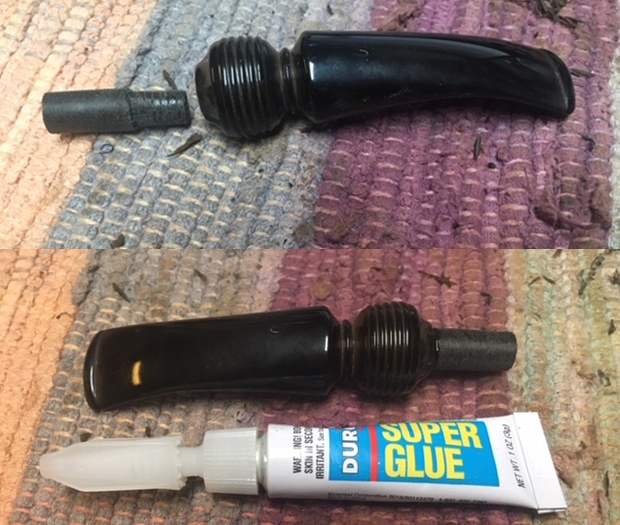
 The deep tooth indentations are now clearly visible. Since I did not have a lighter to heat and raise these indentations to the surface (my preference to use it for this purpose), I used a lit match stick instead. I have experimented with a lit candle also and the results of both these alternatives are equally good; however, one has to be doubly careful as the heat from a candle flame is more intense as compared to a match stick or a lighter. These tooth indentations were raised to the surface to some extent due to the heating; however, it would require a fill to complete the repairs.
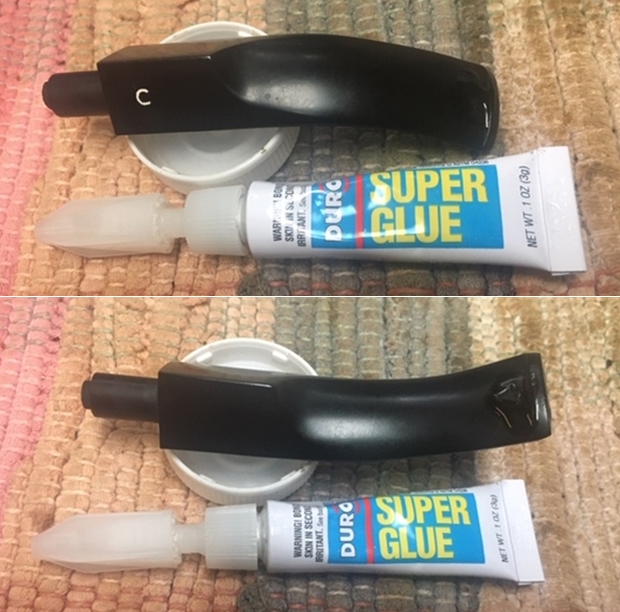
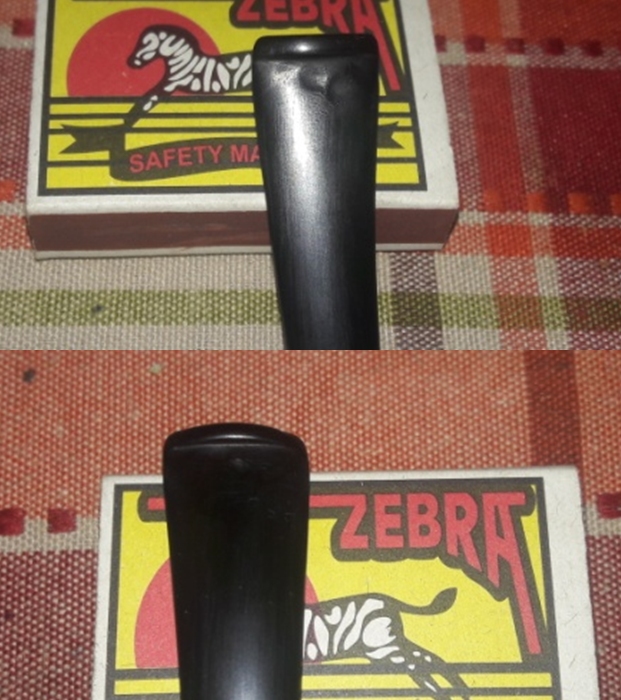 I prepared a mix of CA superglue and activated charcoal and carefully applied it over the damaged bite zone on both surfaces and lip and set it aside for curing overnight. I had applied this mix in sufficient thickness which would help during the filing and sanding to match the fills with the stem surface.
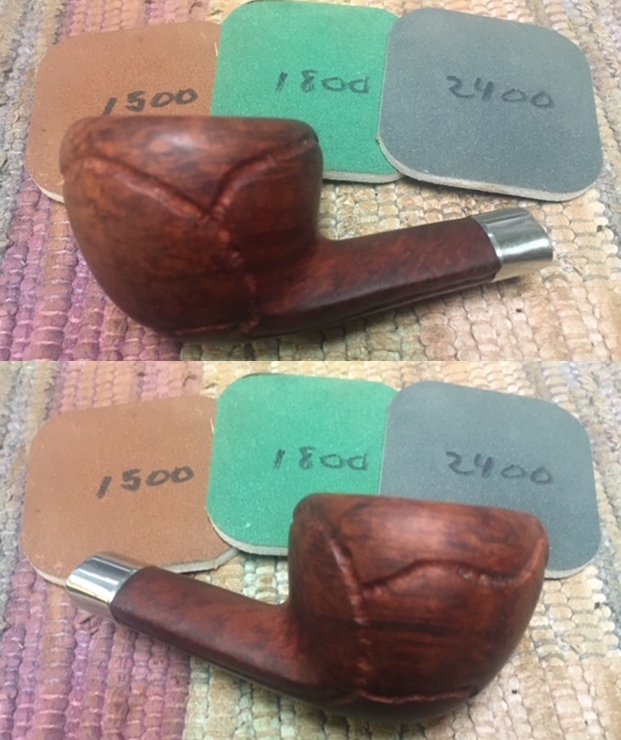
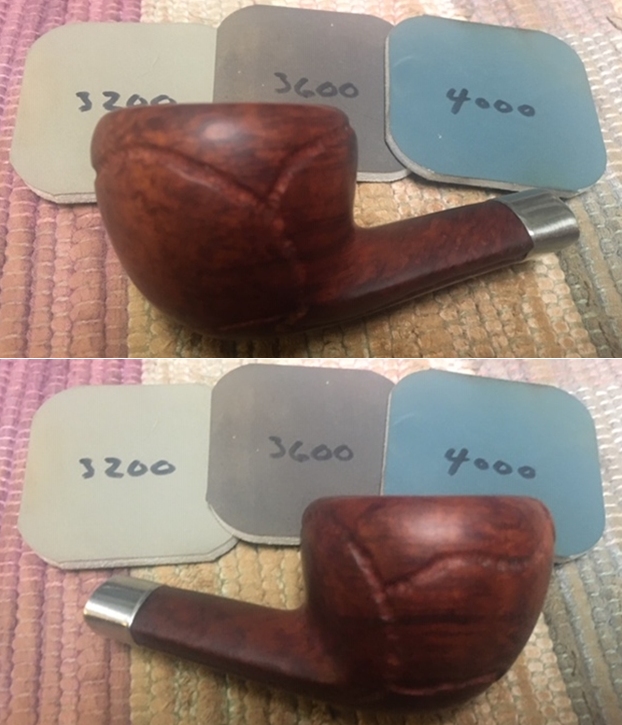
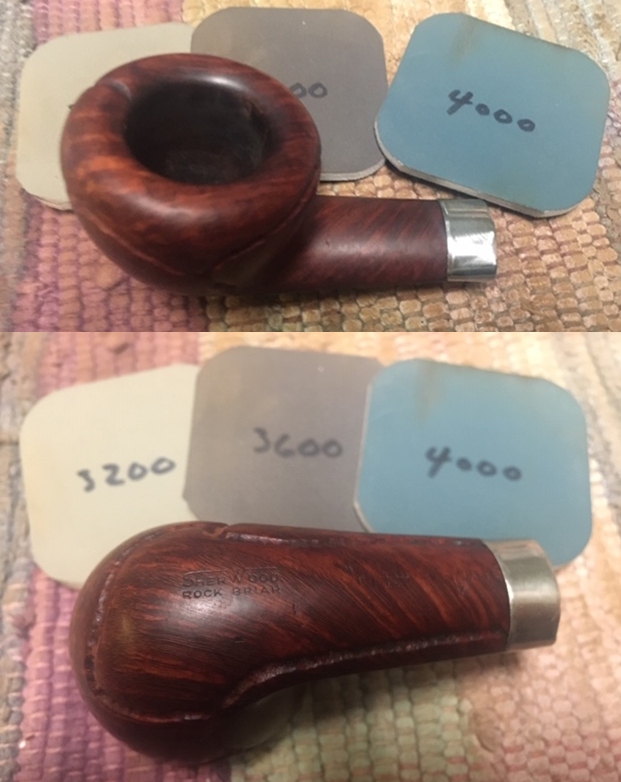
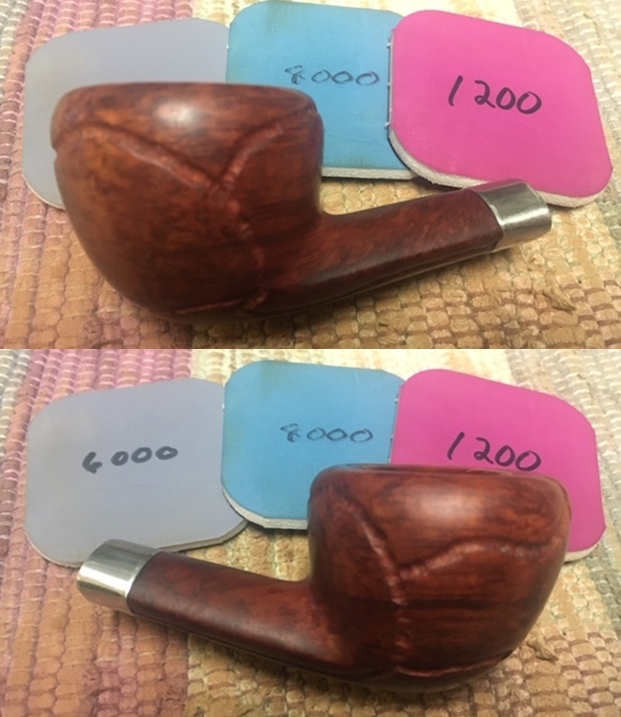
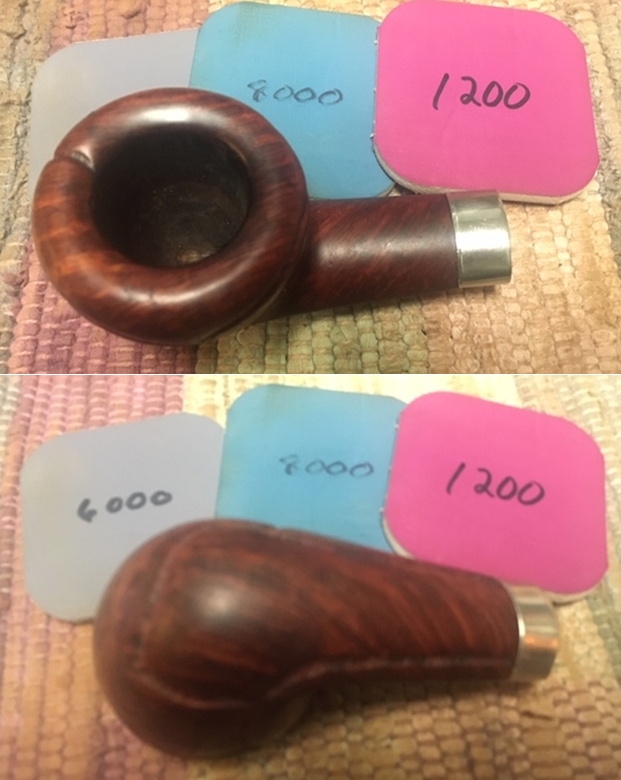
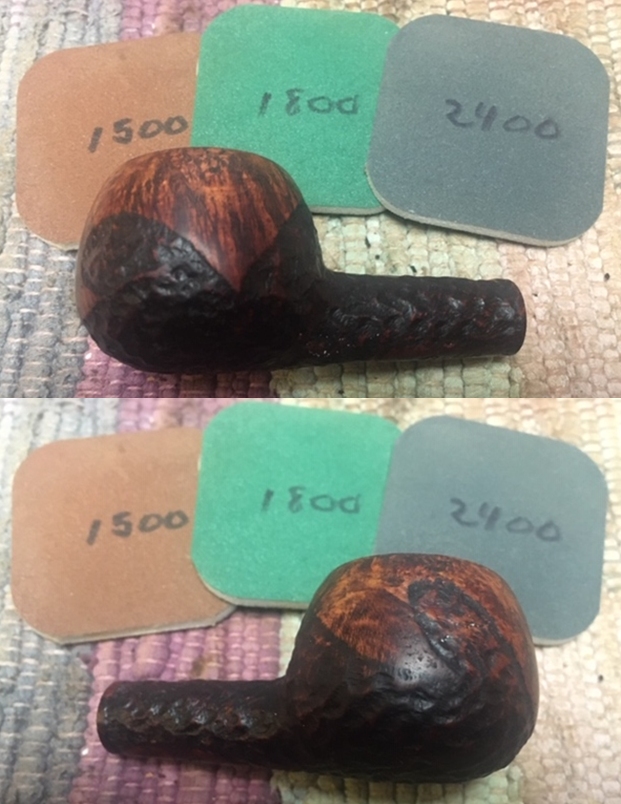
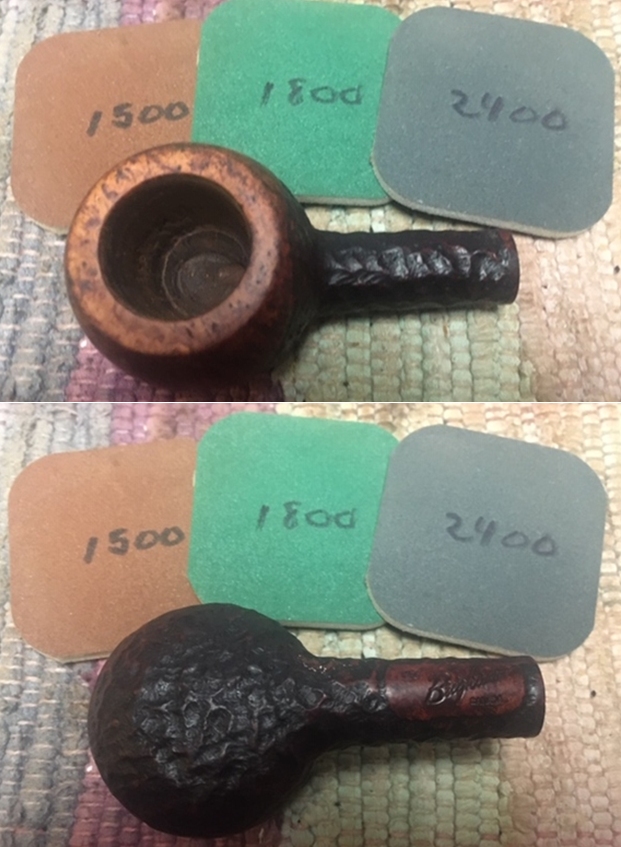
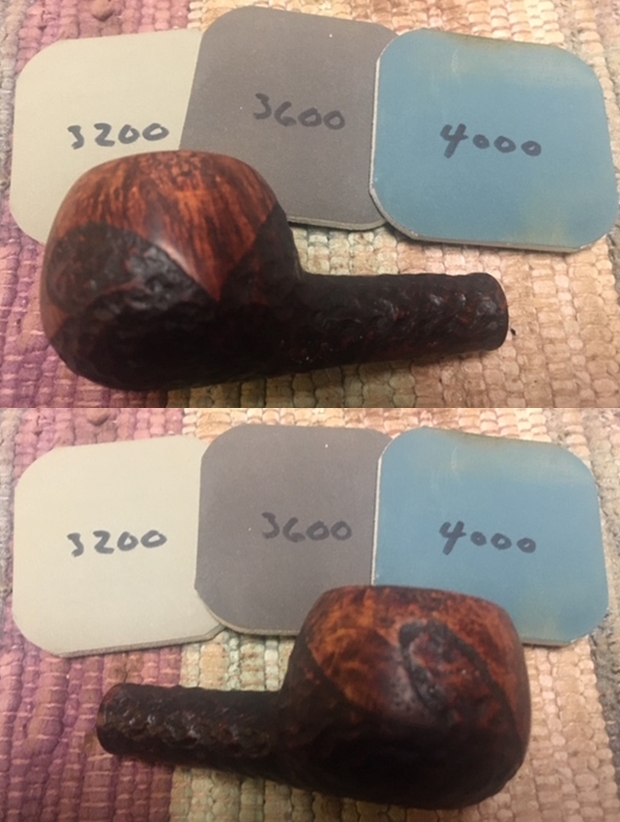
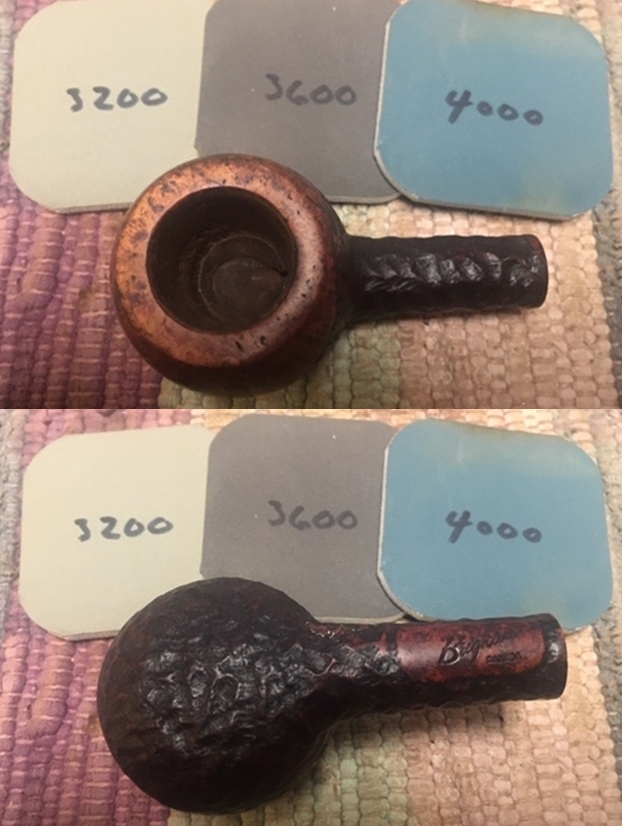
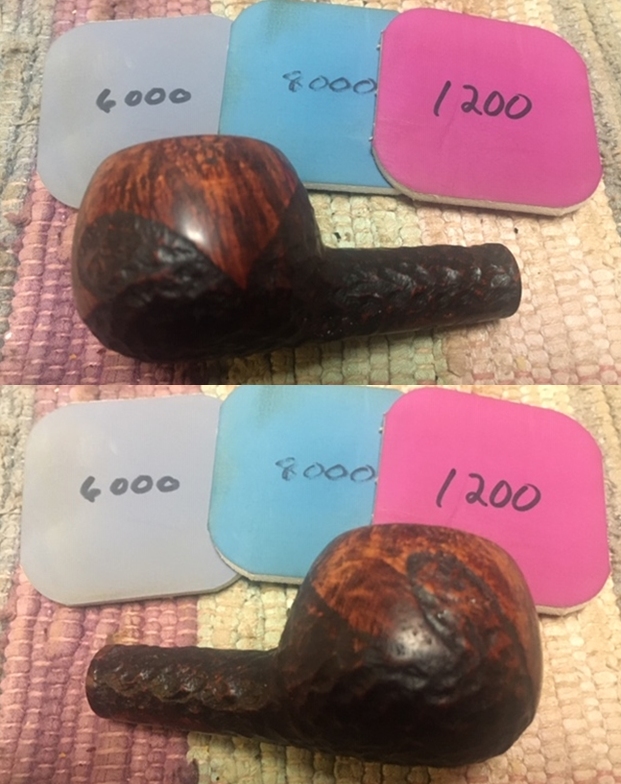
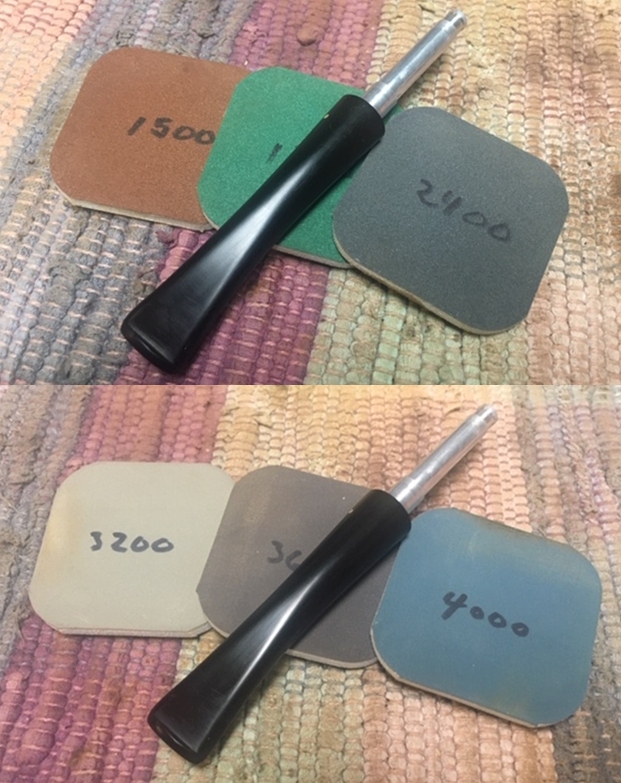
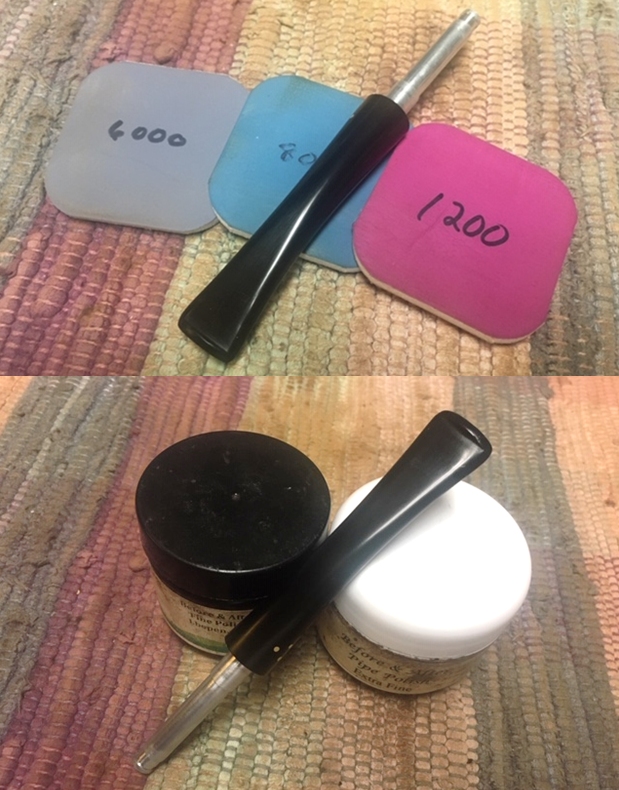
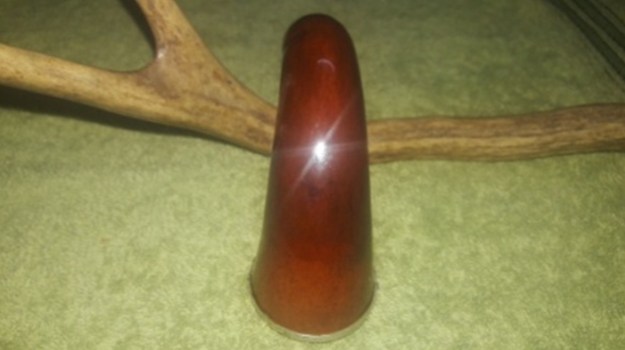
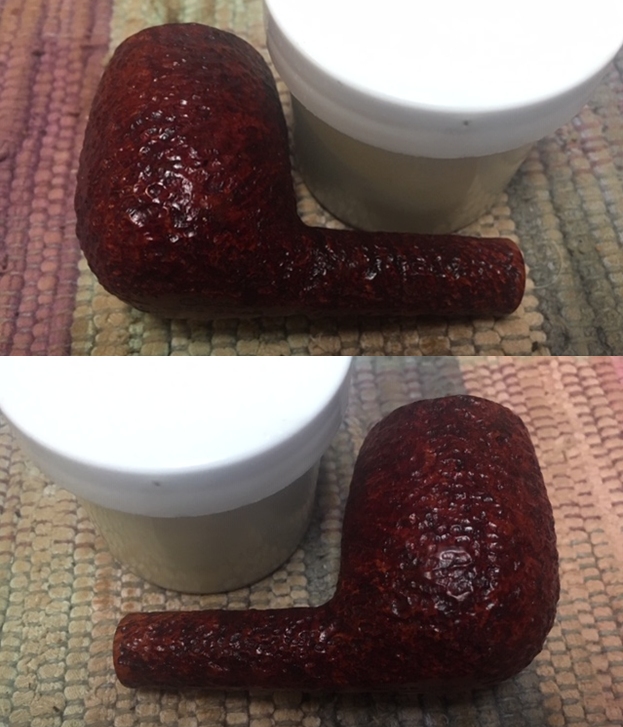
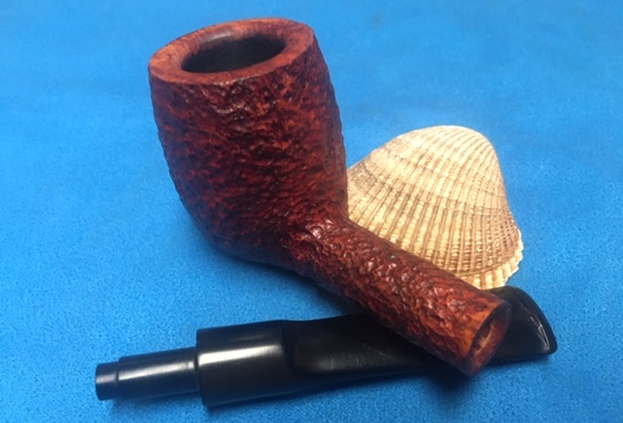
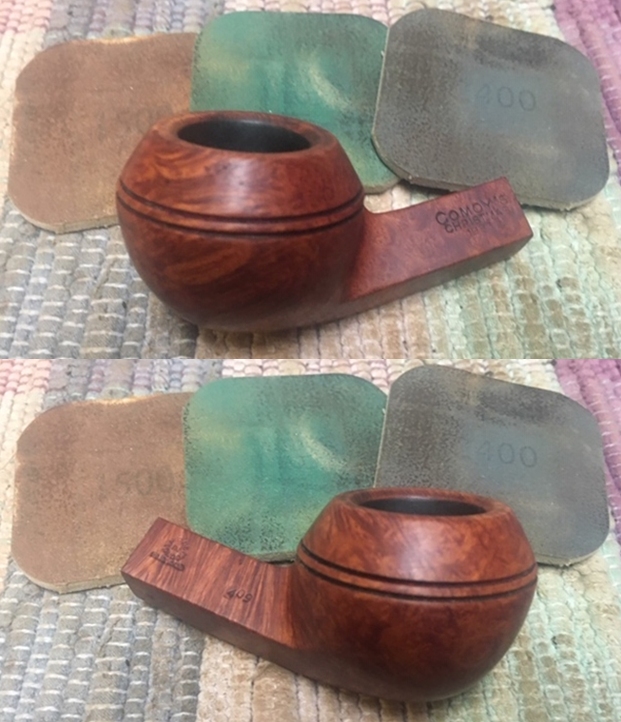
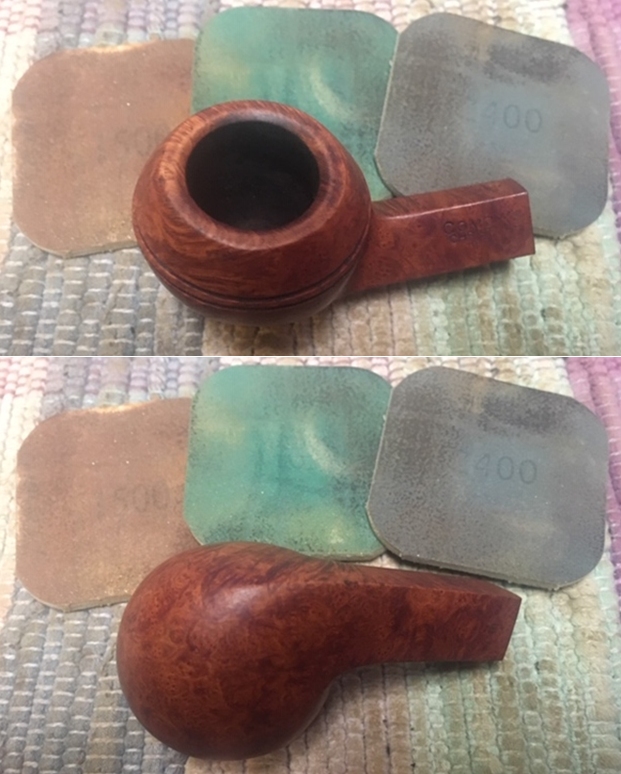
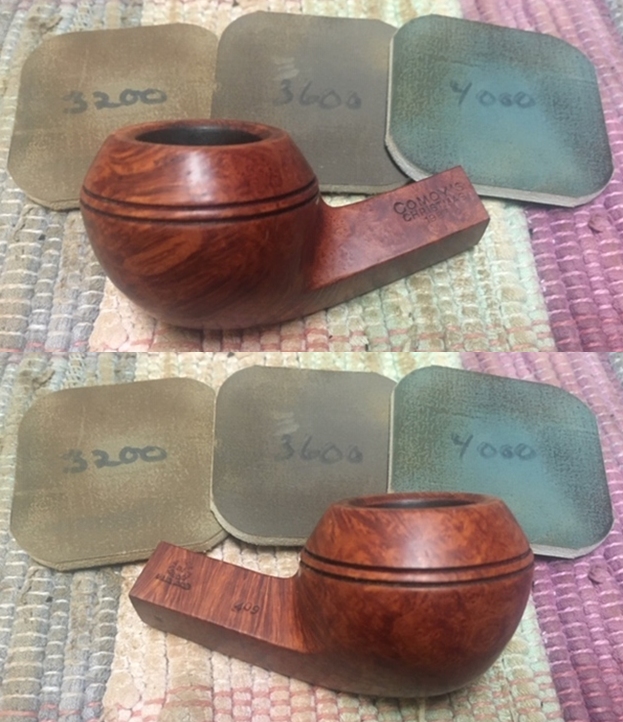
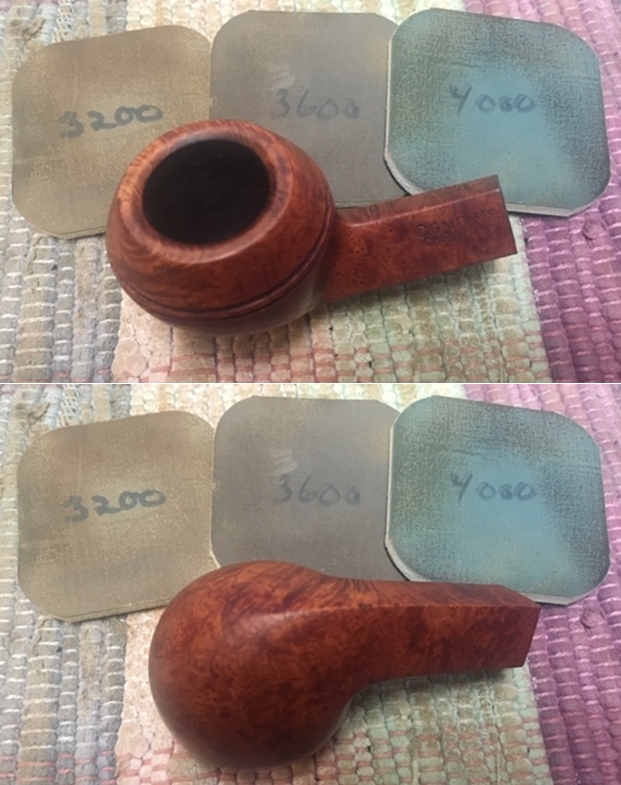
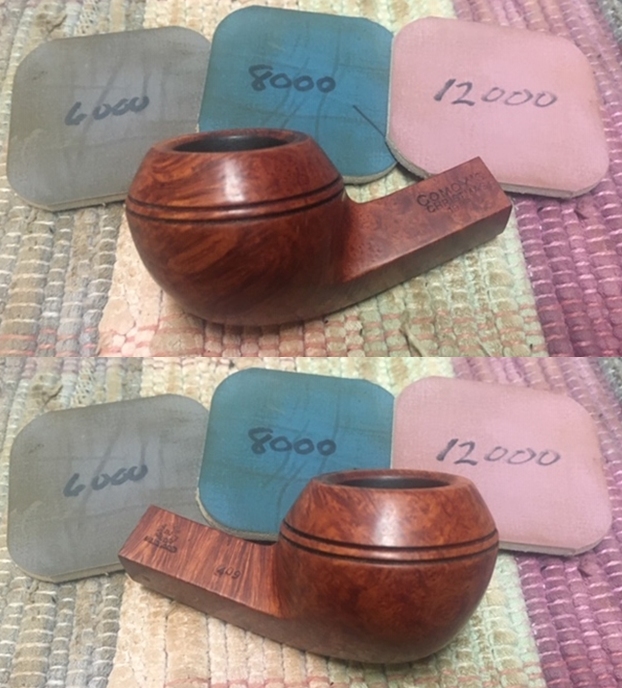
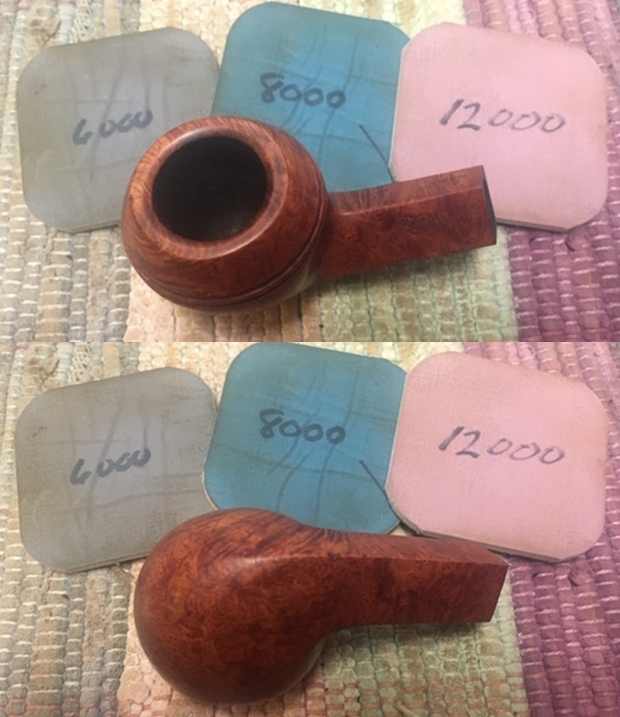
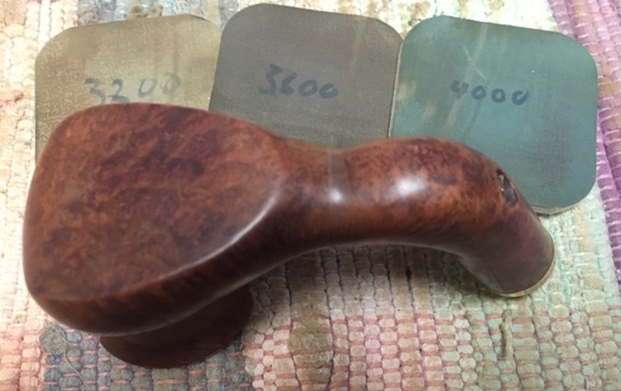
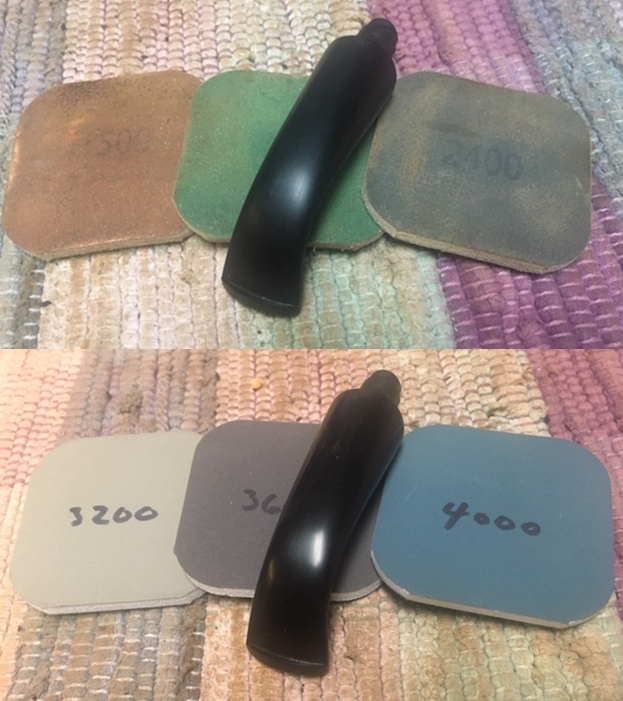
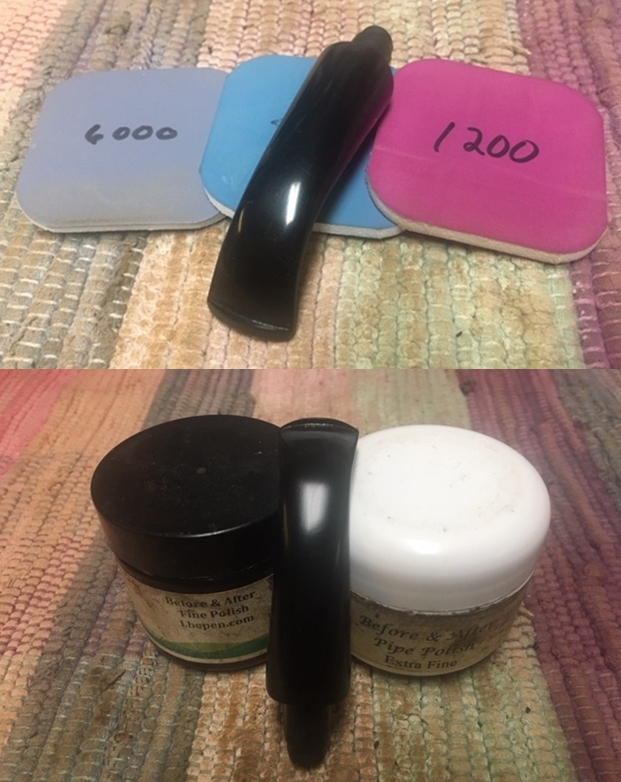
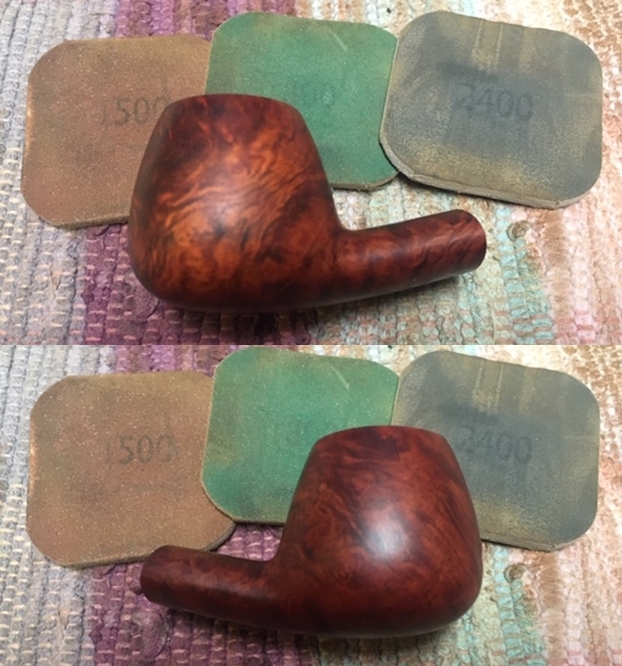
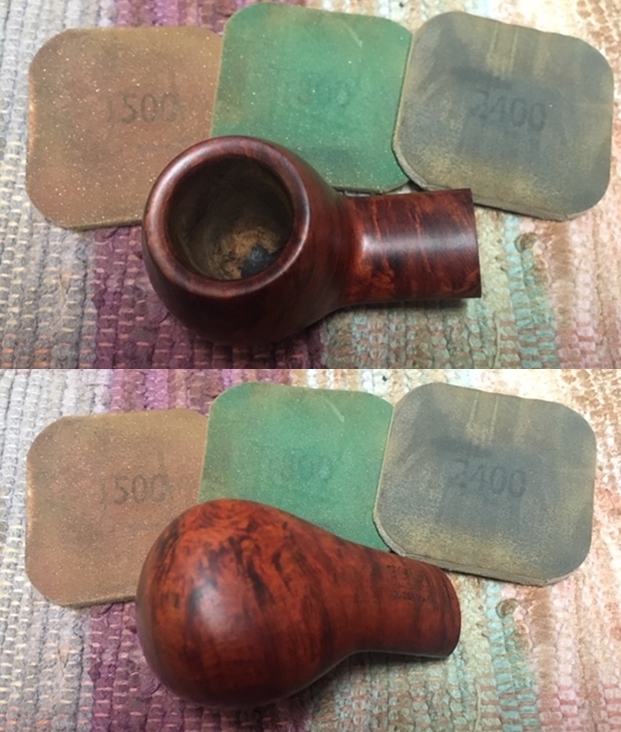
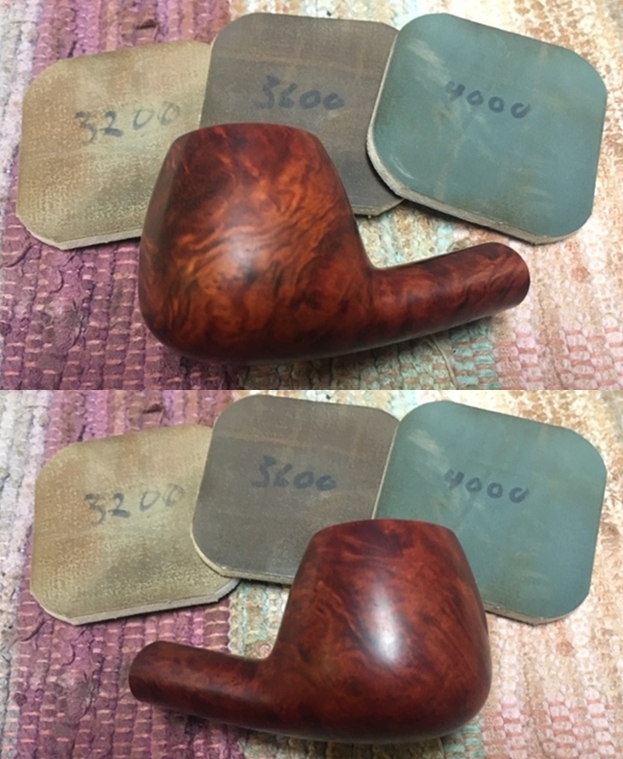
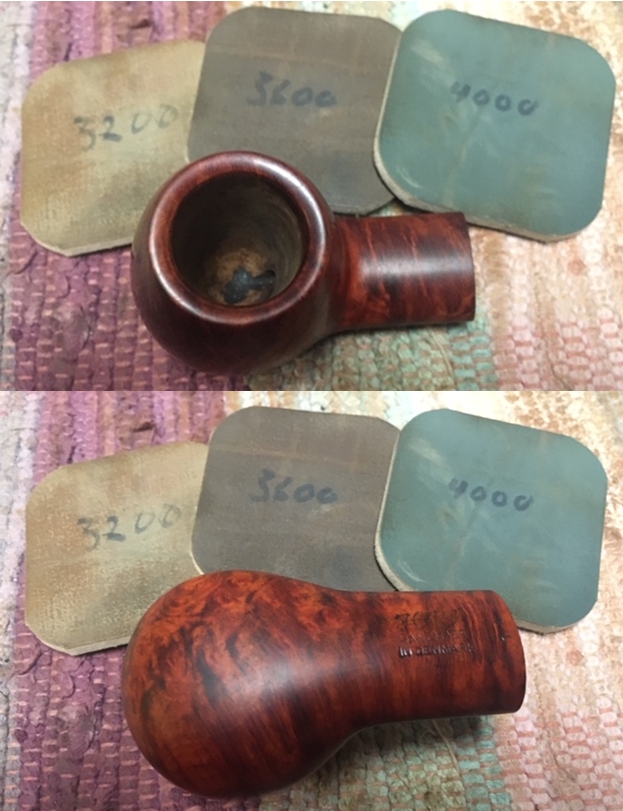
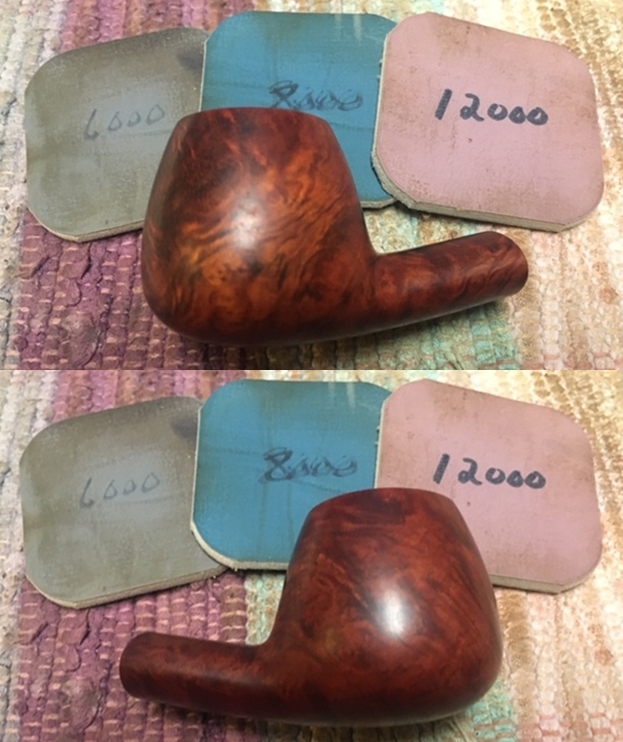
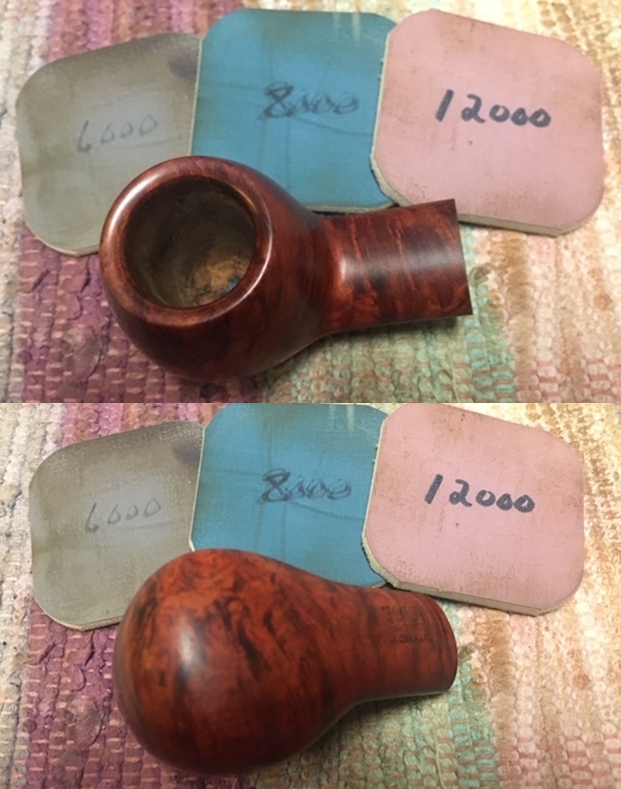
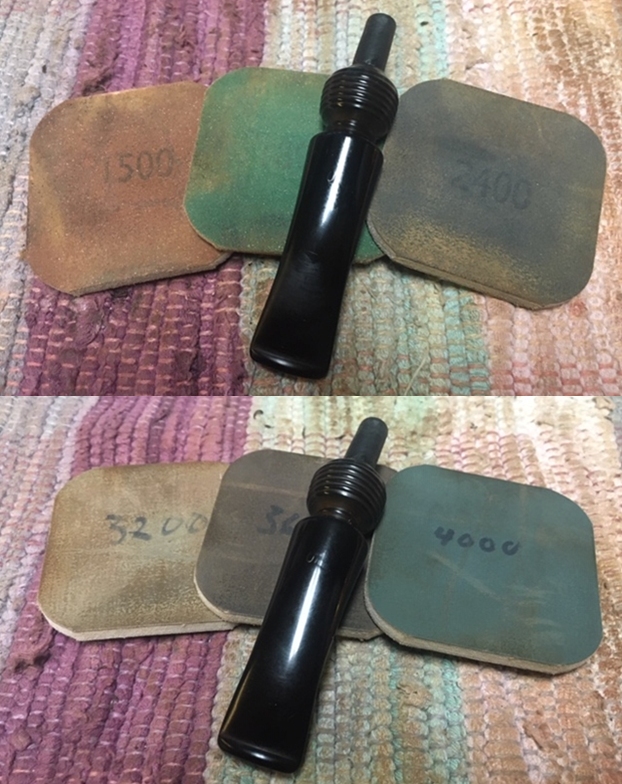
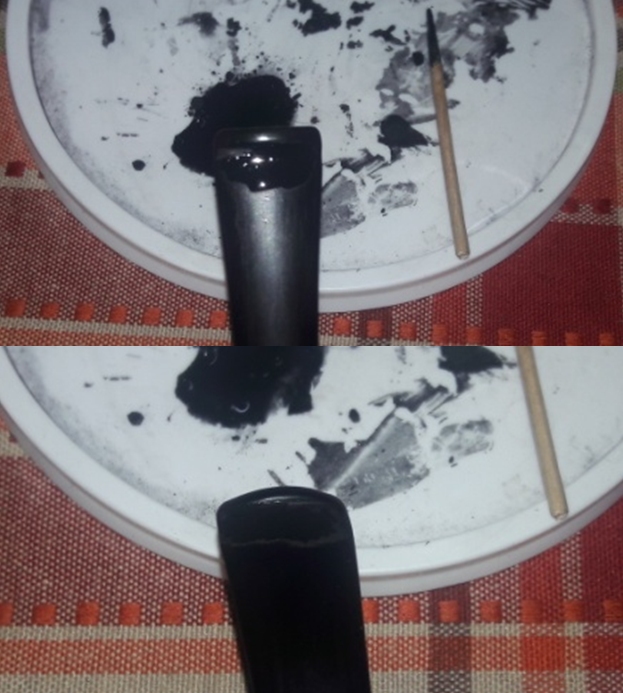 While the stem was set aside for the fills to cure, I decided to polish the raised portions of the plateau rim top surface. The polished lightened and shining raised portion should be a nice contrast to the surrounding rim surface. I dry sand the raised portions with 1500 and 2000 grit sand papers (1500 to 2400 grit pads have worn out) followed by dry polishing with 3200 to 12000 grit micromesh pads. I like the appearance of the rim top at this stage.
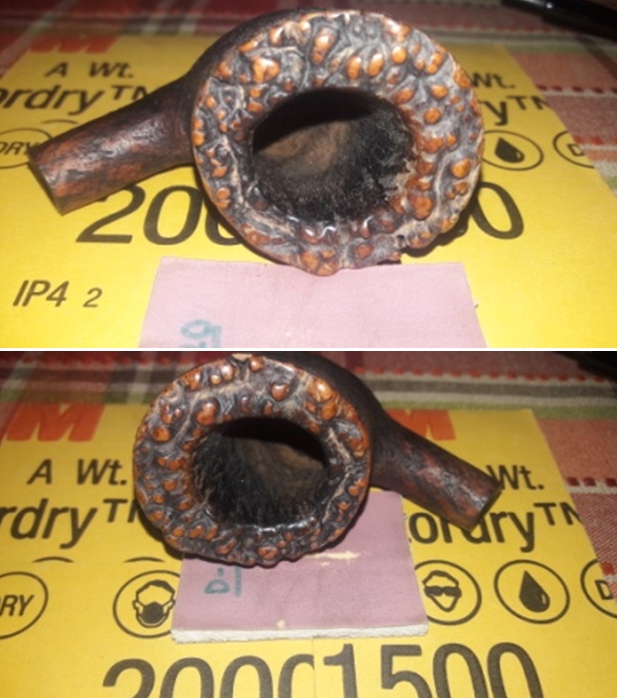
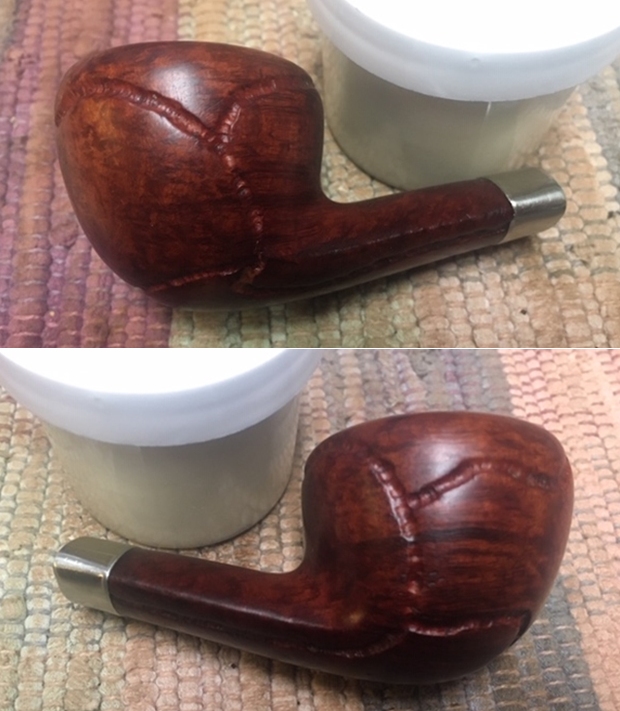
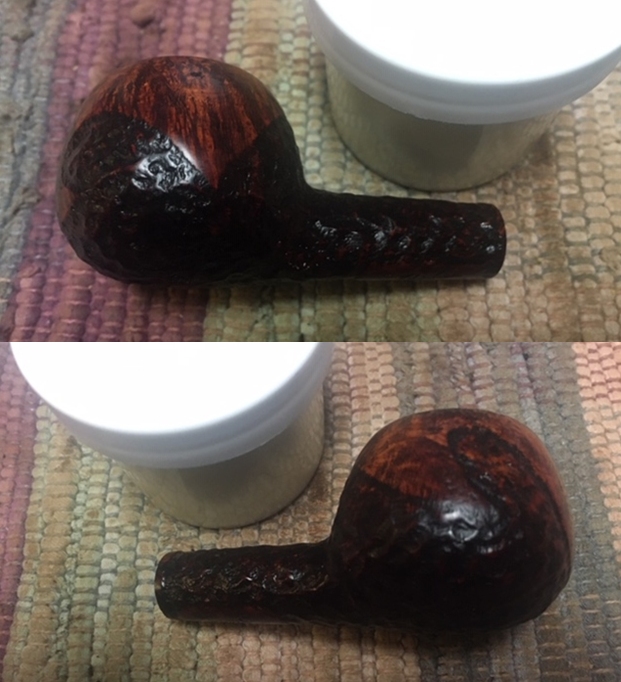
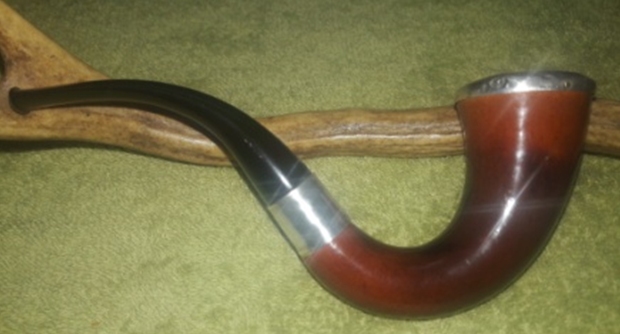
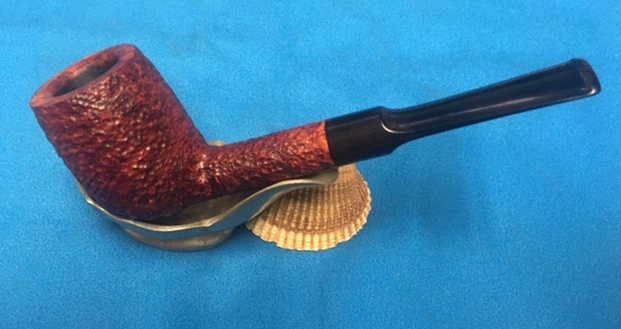
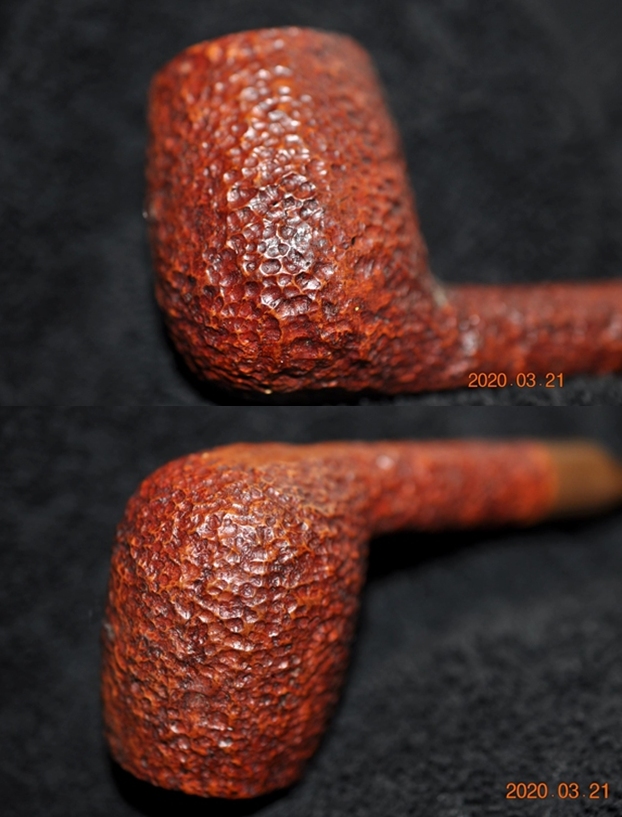
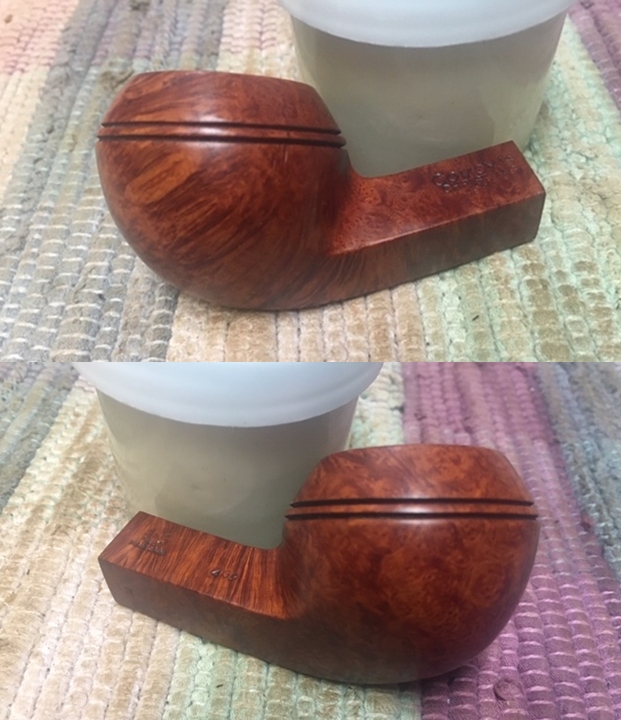
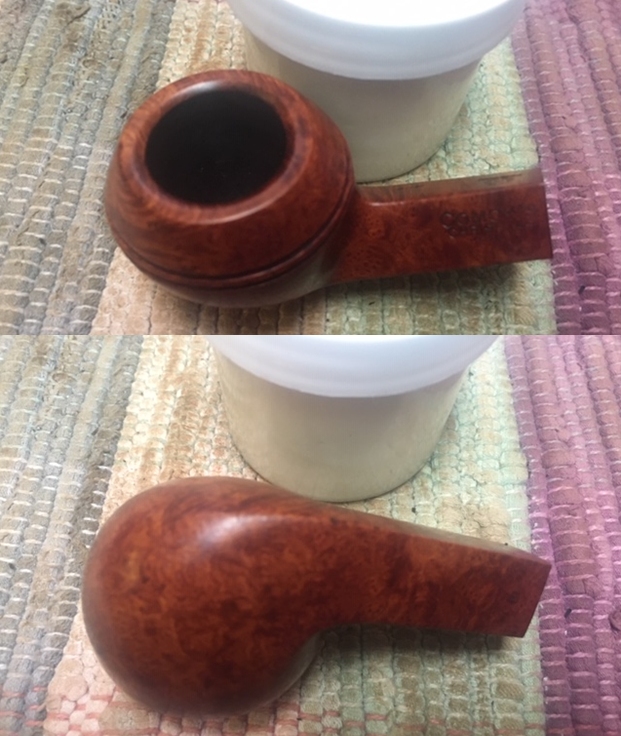
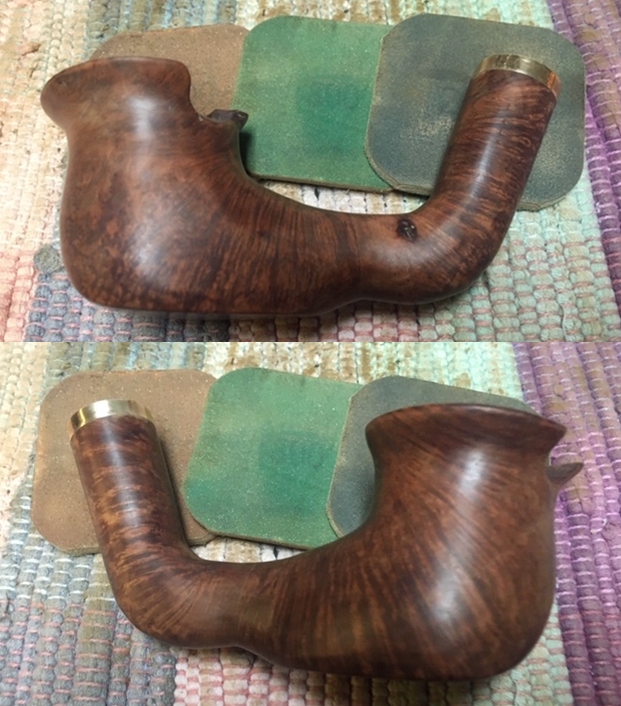
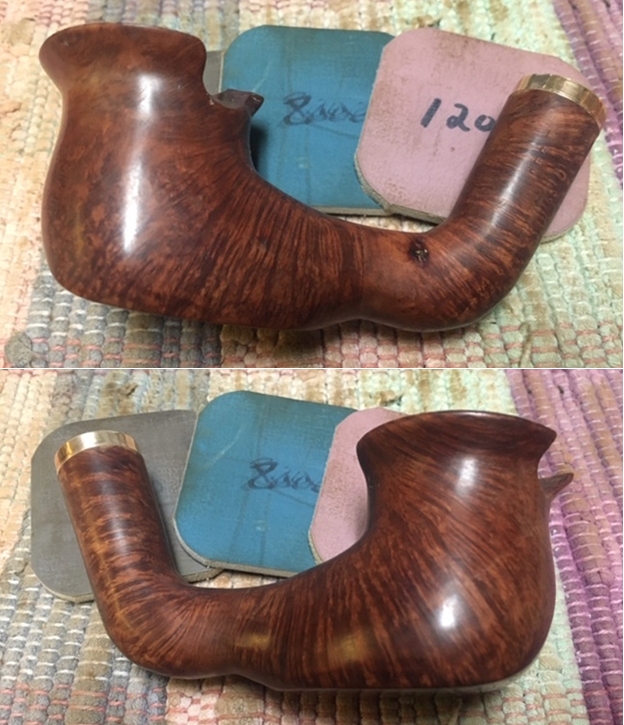
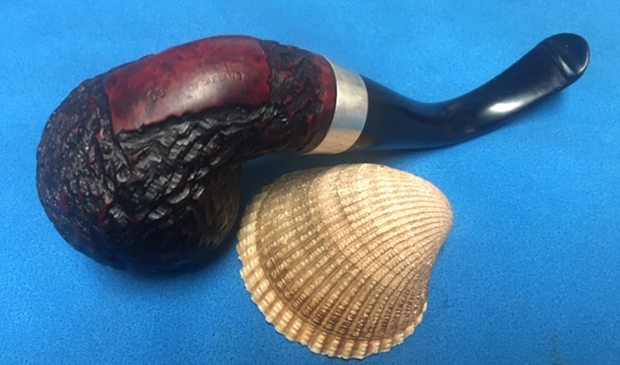
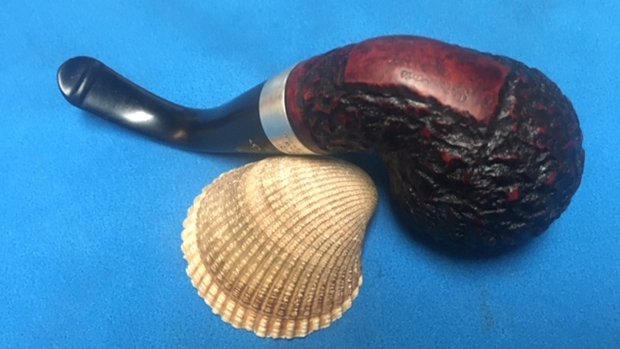
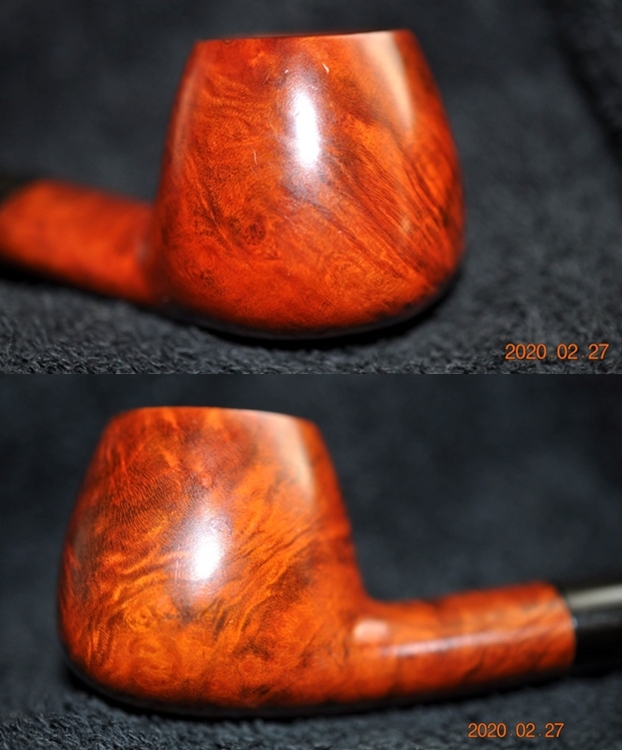
 Next, I rubbed a small quantity of “Before and After Restoration Balm” in to the briar with my fingertips, working it deep in to the sandblasts and let it rest for a few minutes. I generously rubbed the balm in to the plateau rim top surface. The balm almost immediately works it’s magic and the briar now has a nice vibrant appearance with the beautiful sandblast patterns displayed in their complete splendor. The contrast of the dark browns of the raised sandblast with the dark black of the rest of the stummel added an interesting dimension to the appearance of the stummel. The most interesting aspect was the appearance of the plateau rim top which may be insufficiently described in words and be rather seen in person. I further buffed it with a horse hair brush.
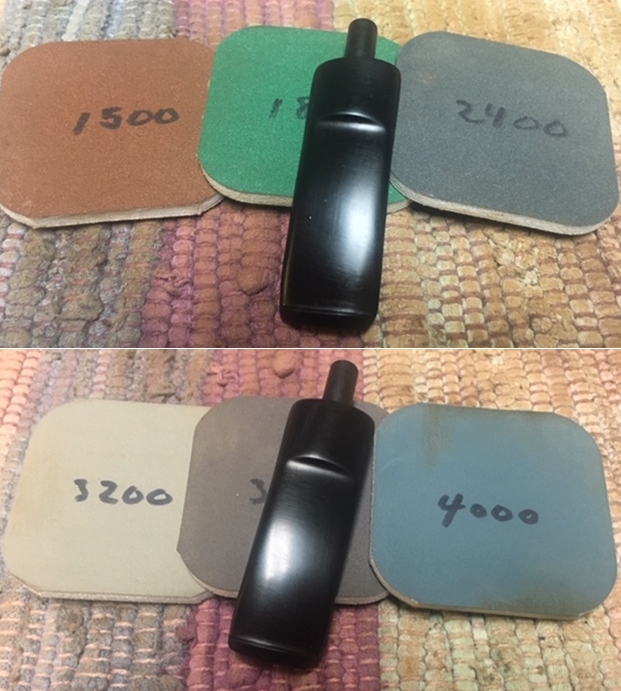
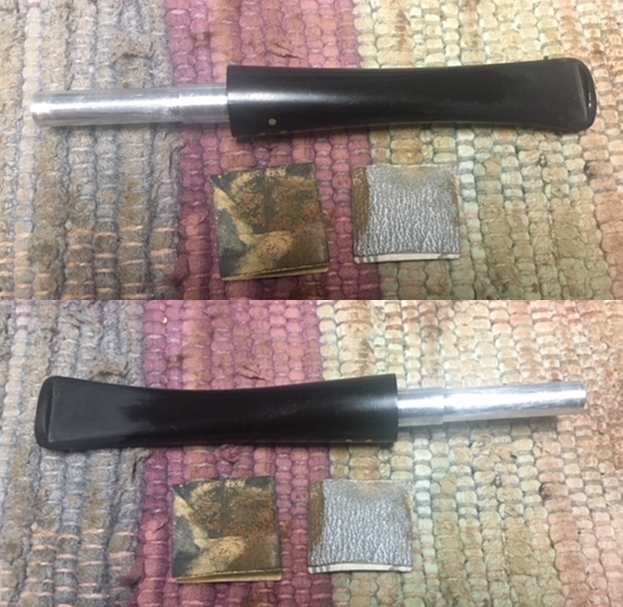
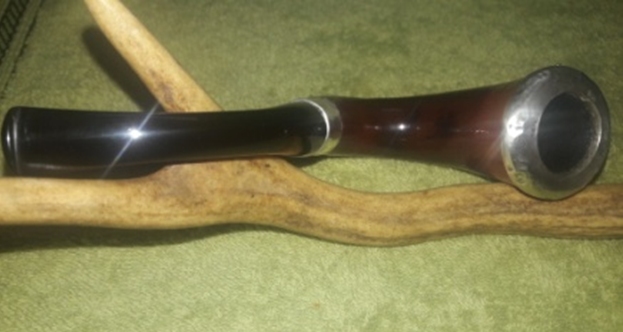
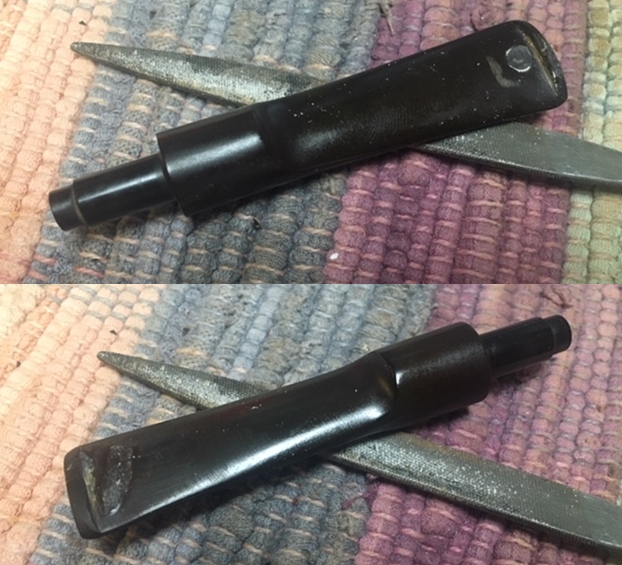
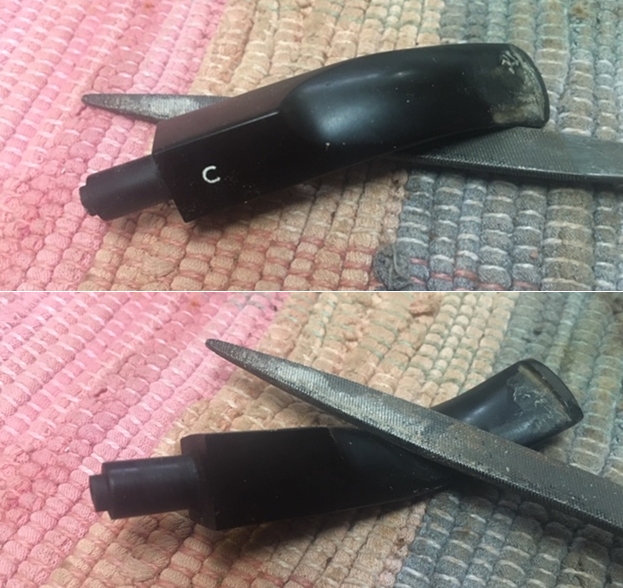
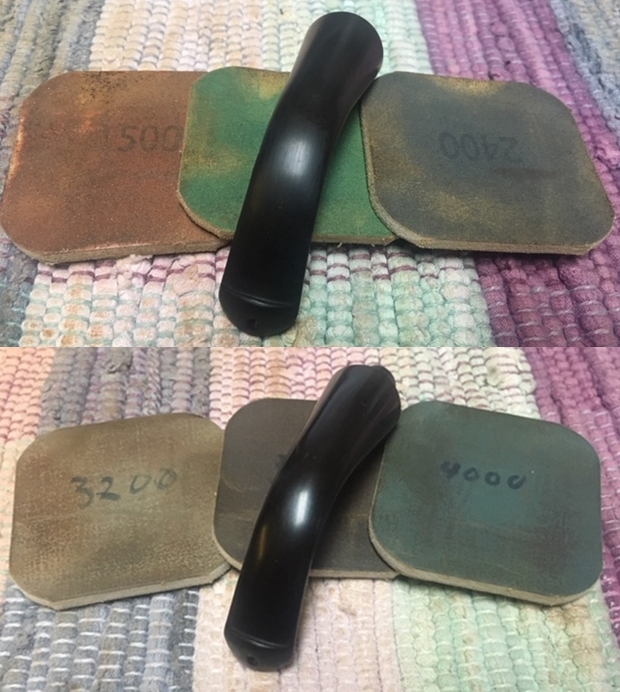
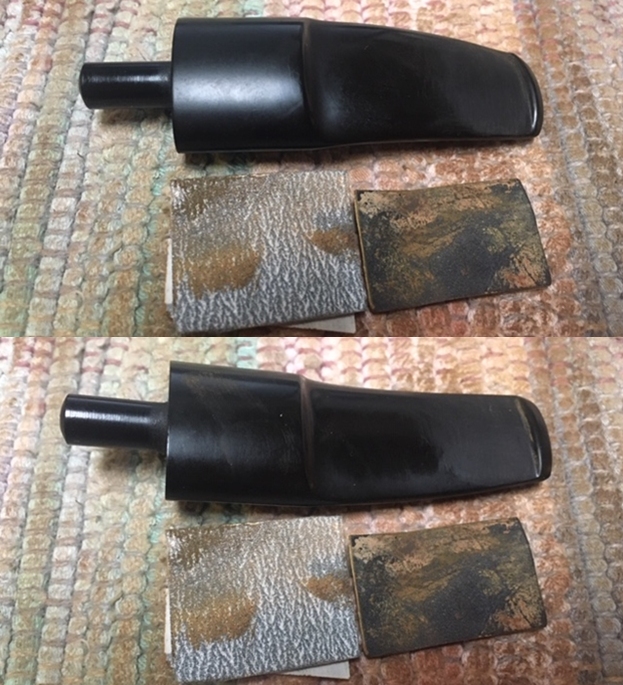
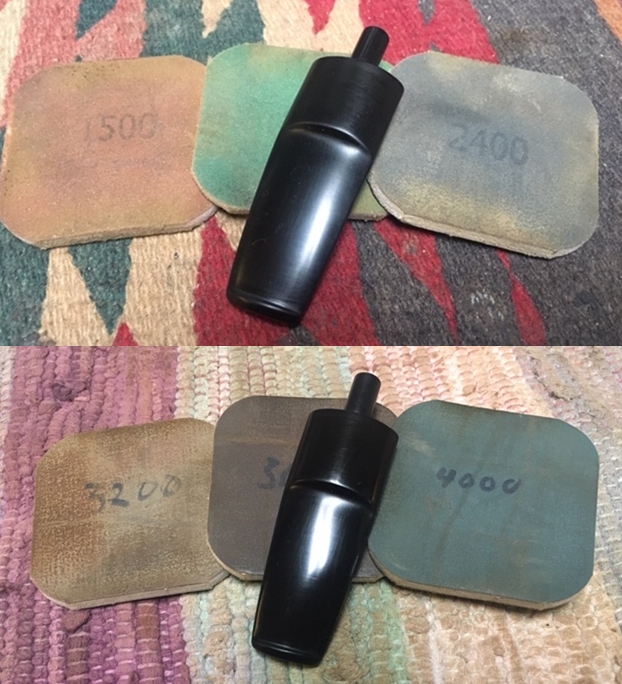
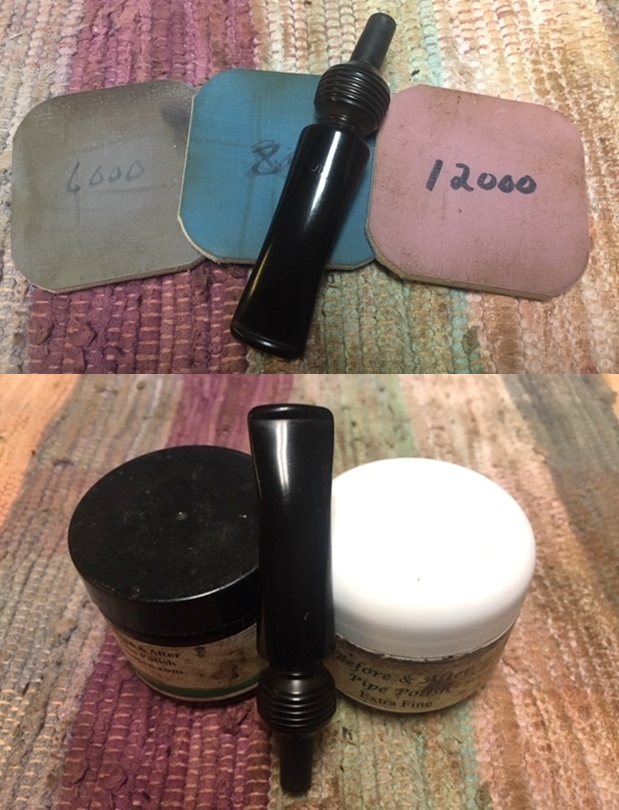
 I set the stummel aside and worked on the stem. The stem fills had cured nicely and using a flat head needle file, I sanded the fill to achieve a rough match with the surrounding stem surface. I further sanded the stem surface with a folded piece of 220 and 320 grit sand papers to further blend in the repairs and followed it with wet sanding the entire stem with 1500 to 12000 grade micromesh pads. I wiped the stem with a moist cloth to remove the dust and monitored the progress being made after every three grit pads. The stem polished up nicely and had a rich deep black shine to it. I applied a little Extra Virgin Olive oil to rehydrate the vulcanite and set the stem aside.
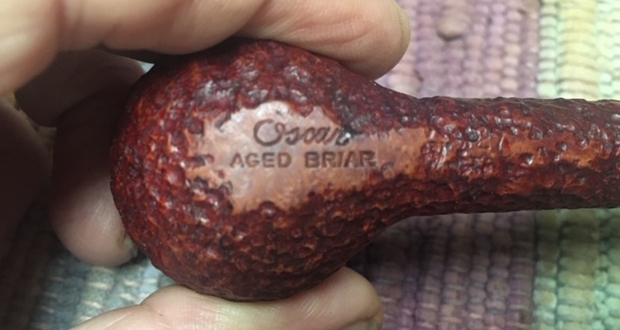
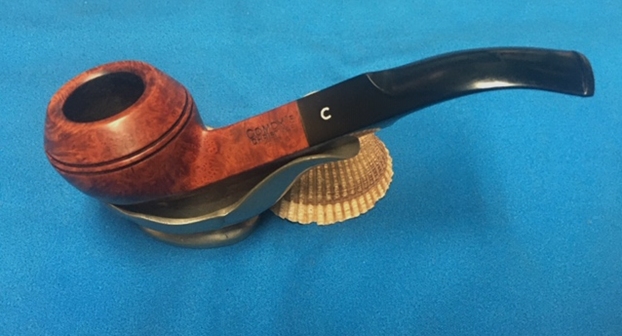
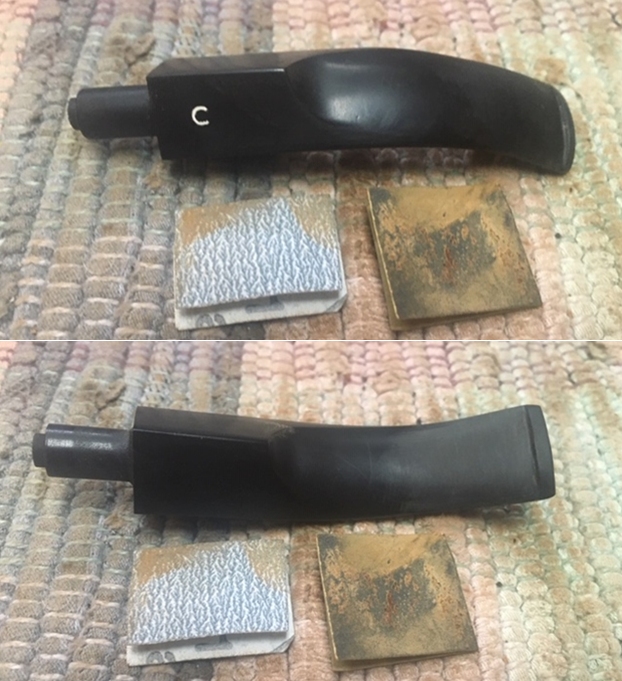
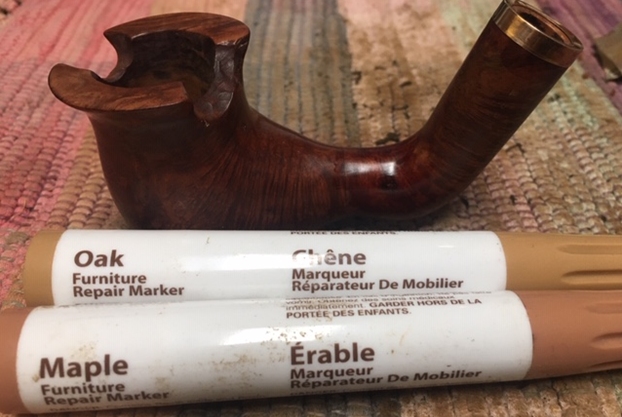
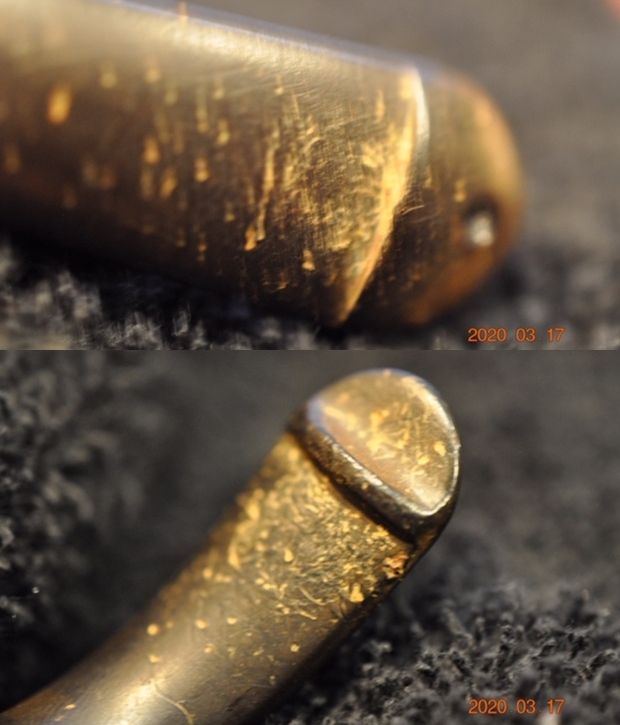
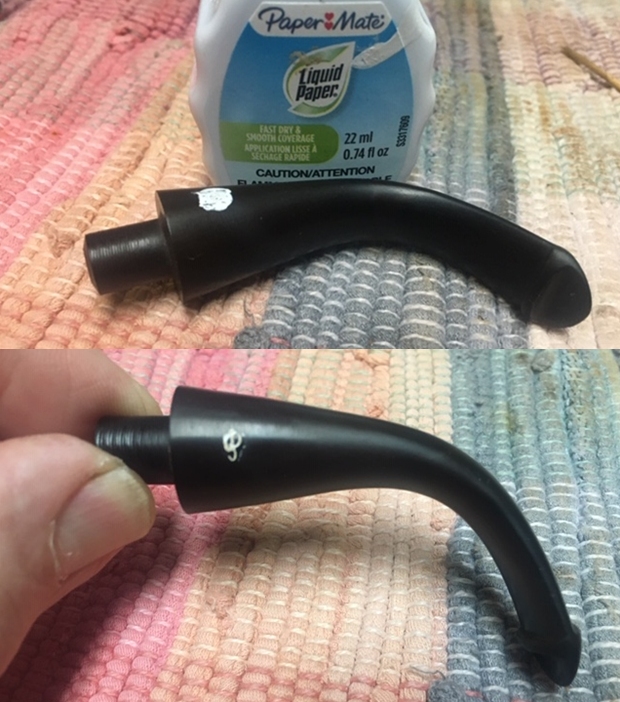
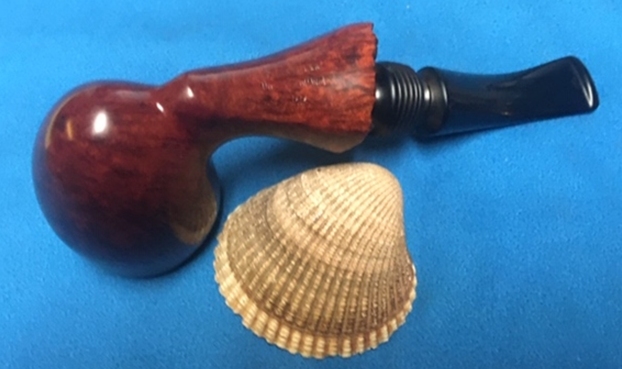
 I refreshed the stem stamping with a white correction pen. The end result shows a perfectly refreshed stem logo.
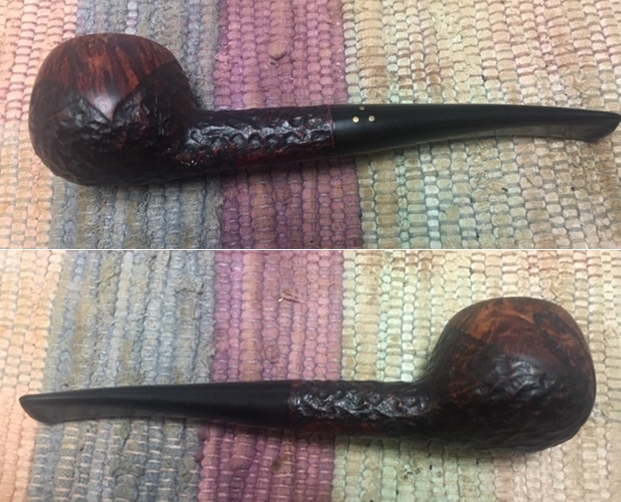
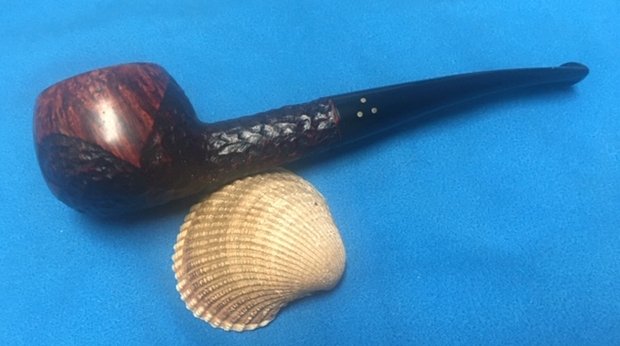
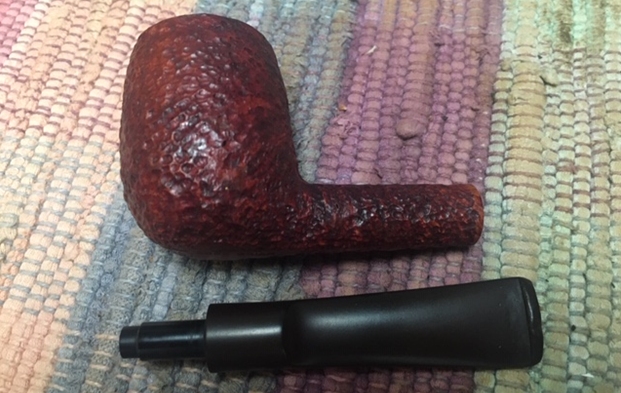
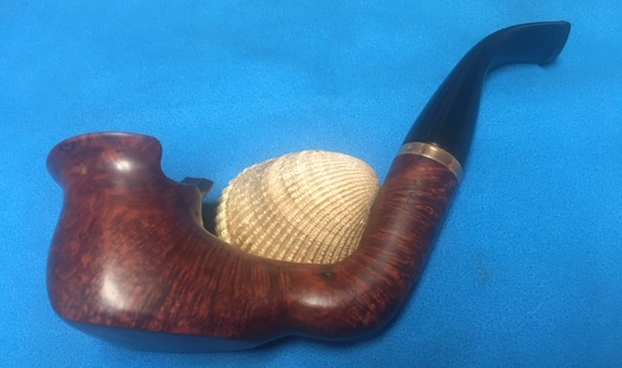
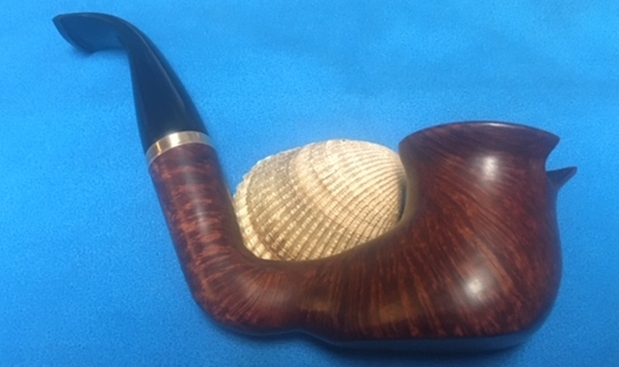
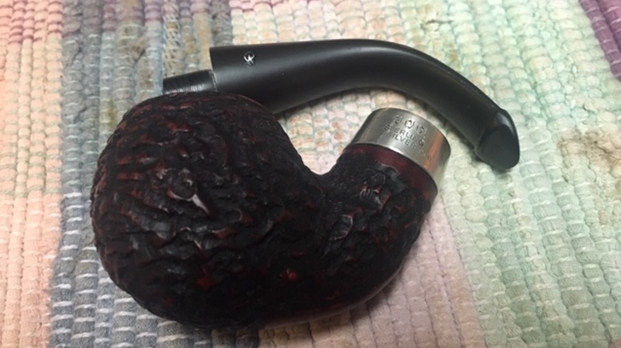
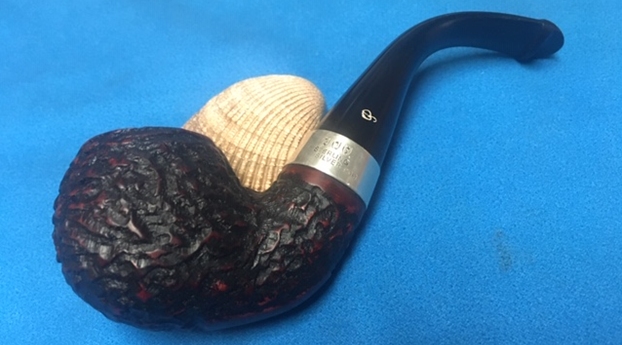
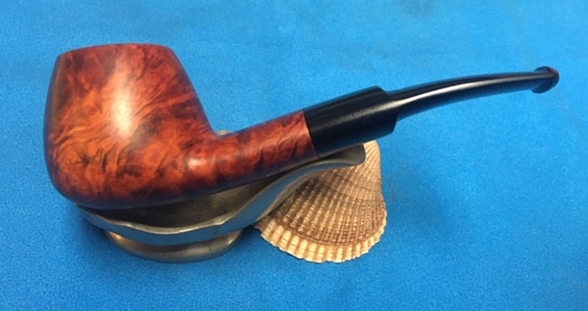
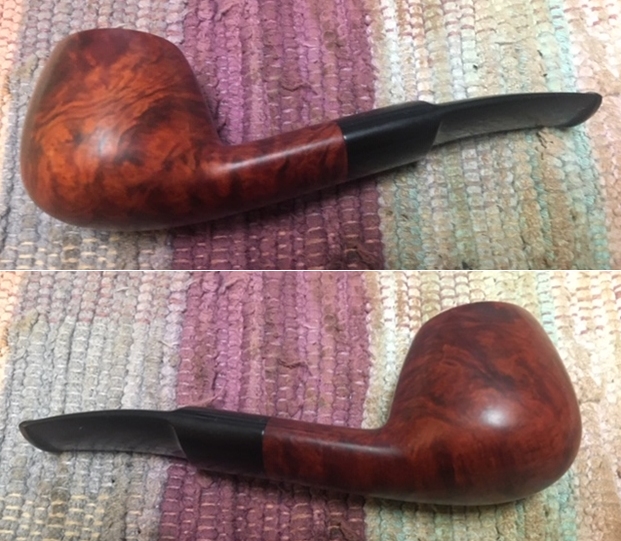
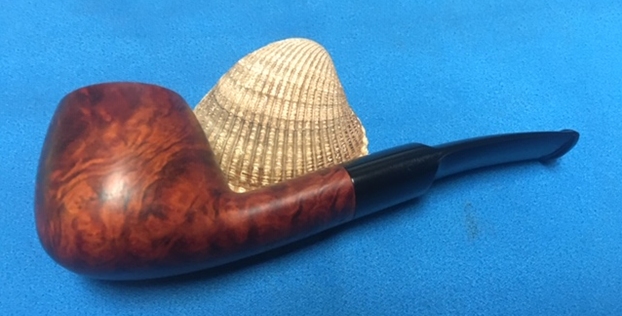
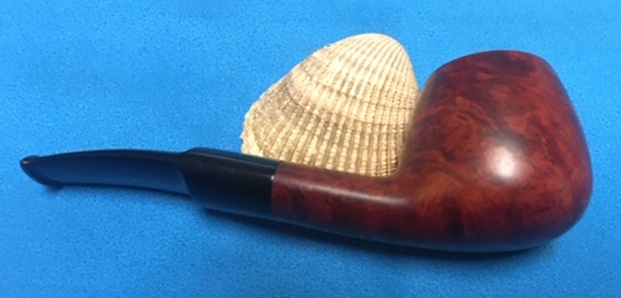
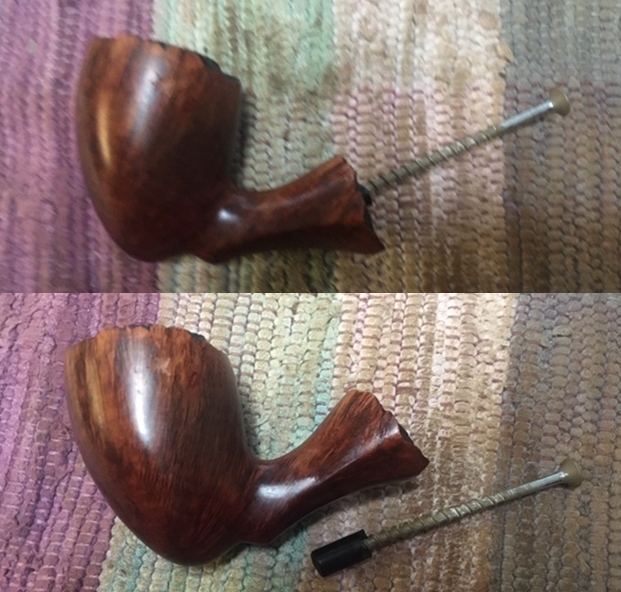
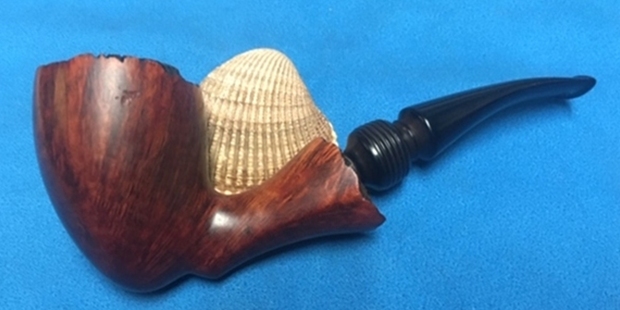
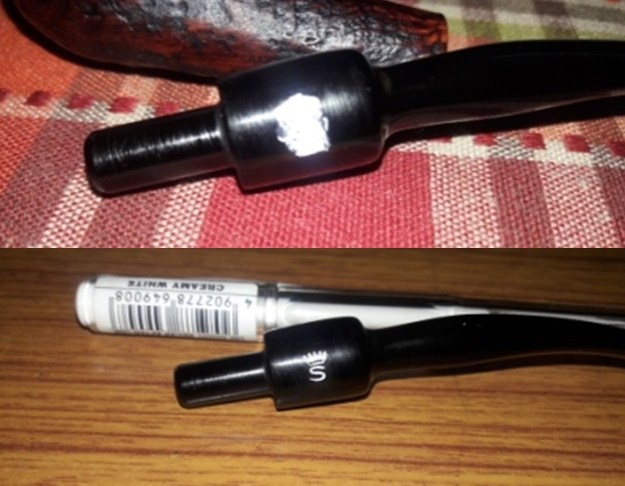 To complete the restoration, I mounted a cotton cloth buffing wheel on to my hand held rotary tool and applied several coats of carnauba wax. I finished the restoration by giving the entire pipe a rigorous hand buffing using a microfiber cloth to raise the shine further and remove any residual wax from in between the sandblasts. The finished pipe looks amazingly beautiful and is now ready for its long second innings with me. I only wish it could share with me it’s life story of the past years while I enjoy smoking my favorite Virginia blend in it or maybe an English blend or maybe just keep admiring it!!
 P.S. This and the subsequent restoration that I have lined up are all simple and straight forward projects, however, I would assure the readers that each one is unique and each project is interesting.
In these troubled times when at one point in time the world wide call was for mankind to come closer, it is now necessary to maintain and observe social distancing. I wish that we maintain physical distance to prevent the spread of the virus but let’s bond together mentally, emotionally and spiritually.
I wish to thank each one for sparing their valuable time to read through this write up and praying for the health and safety of entire mankind. Stay home…stay safe!!