Blog by Steve Laug
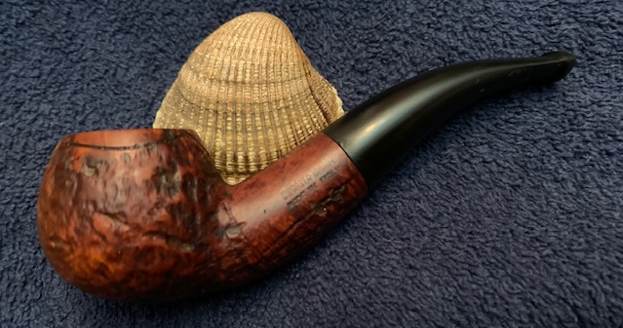
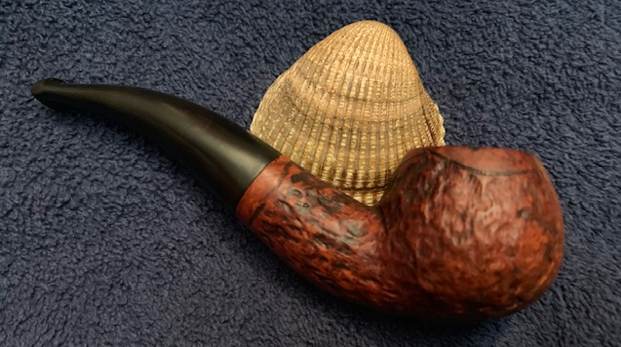
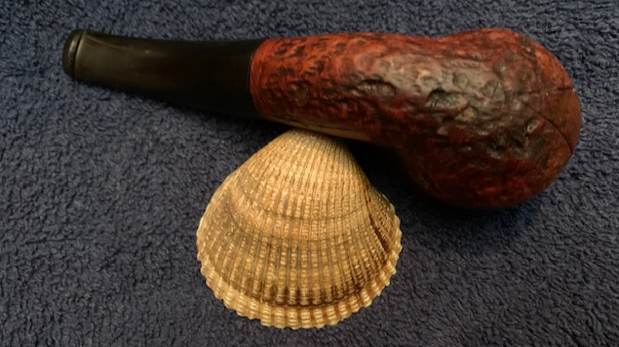
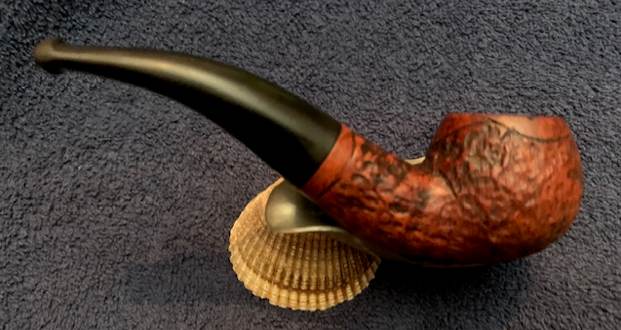
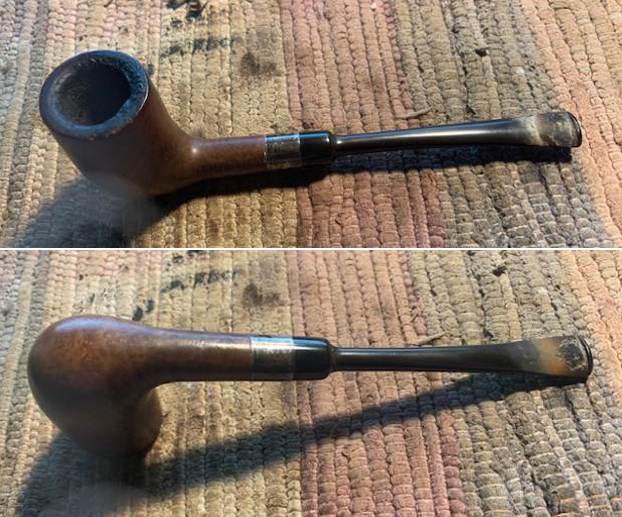
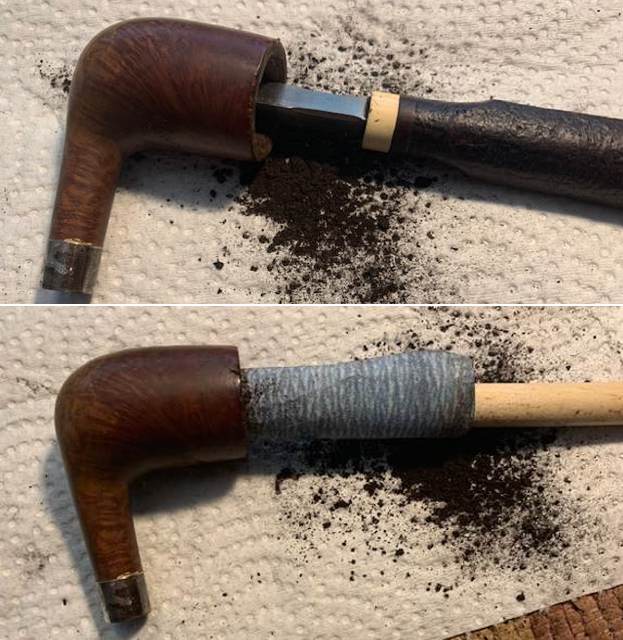
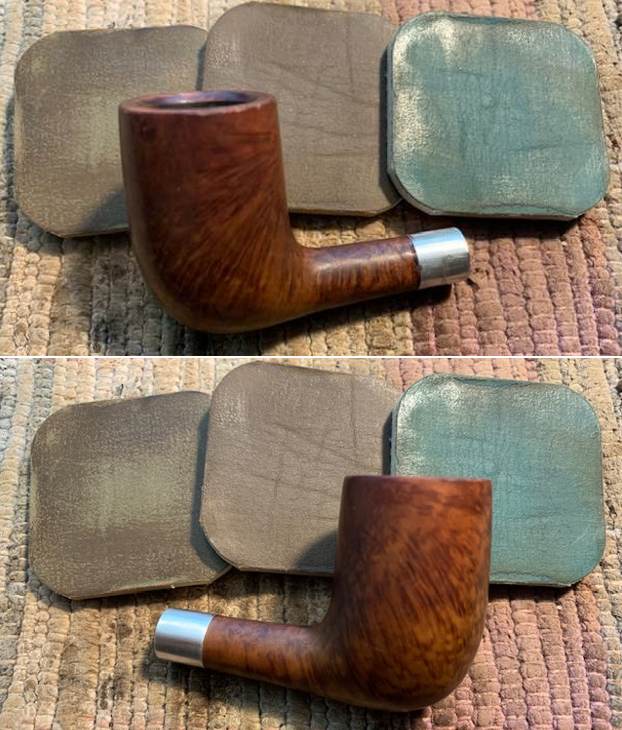
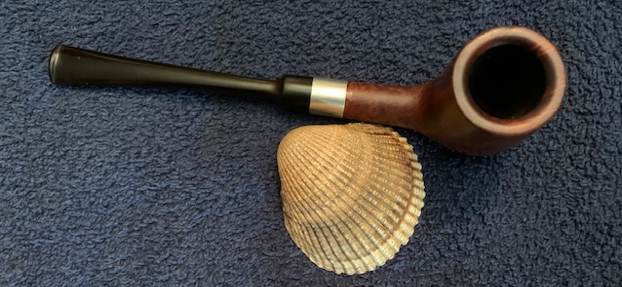
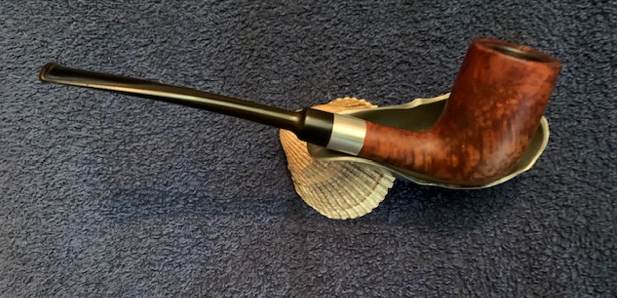
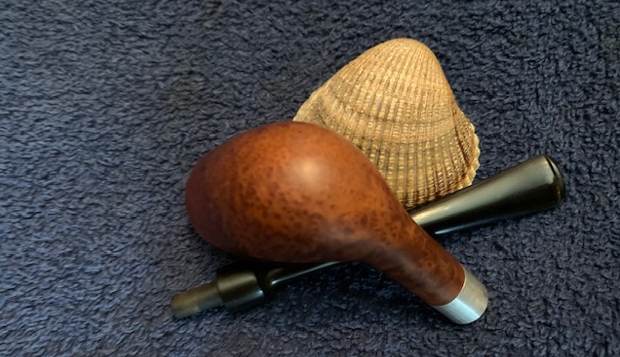
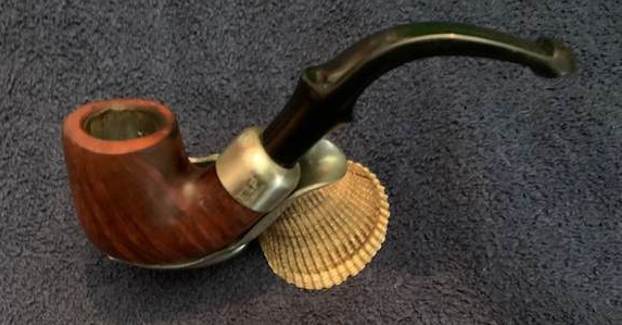
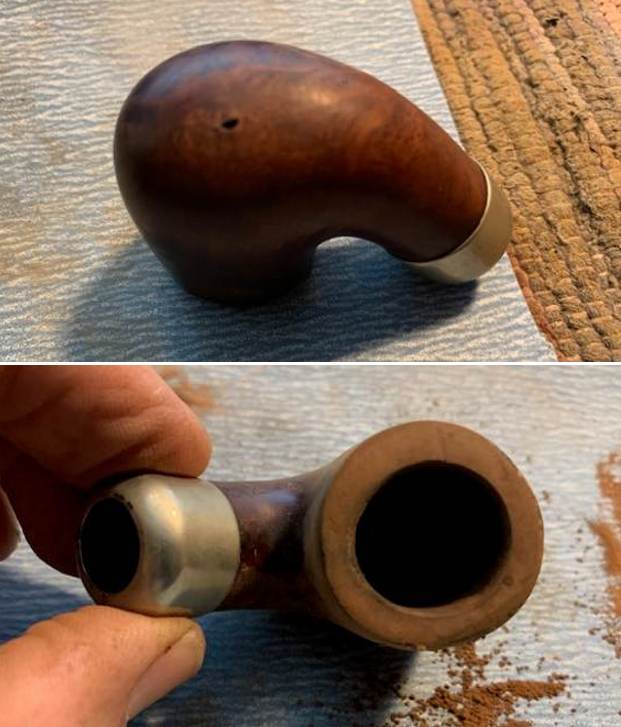
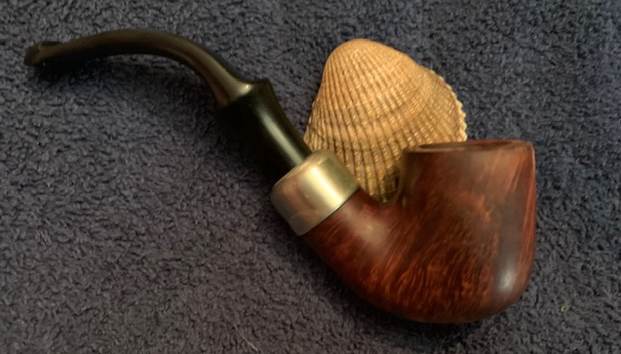
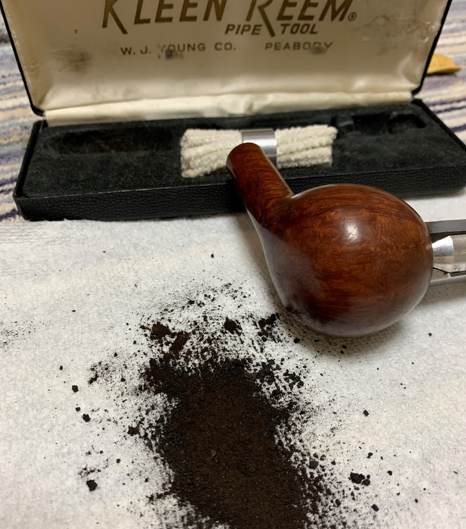
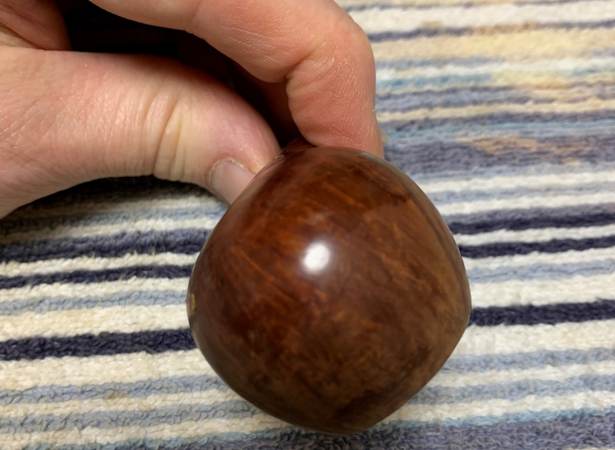
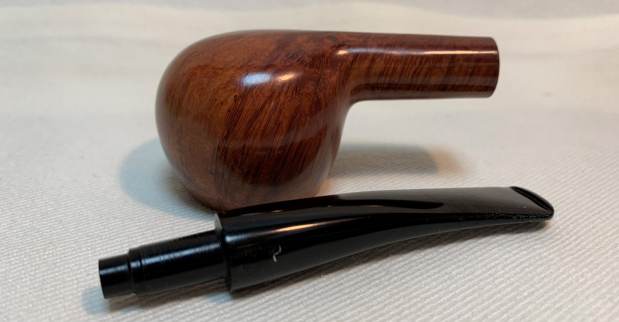
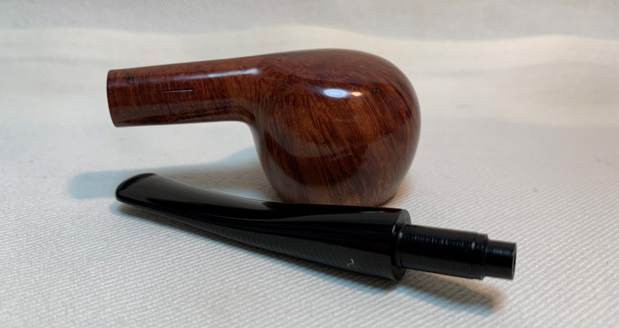
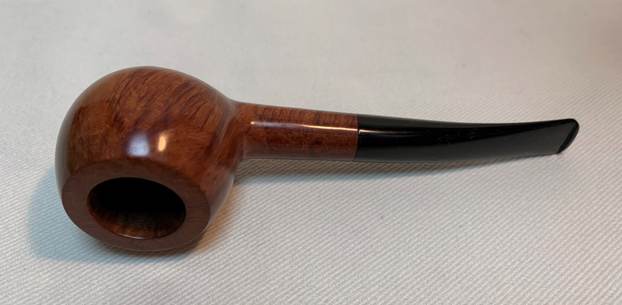
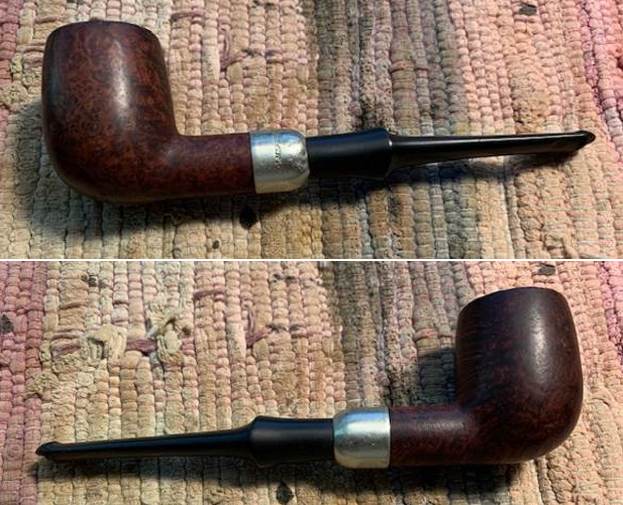
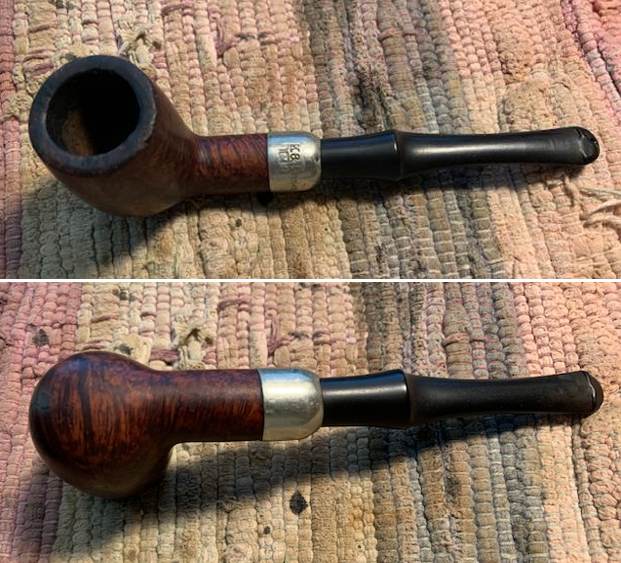
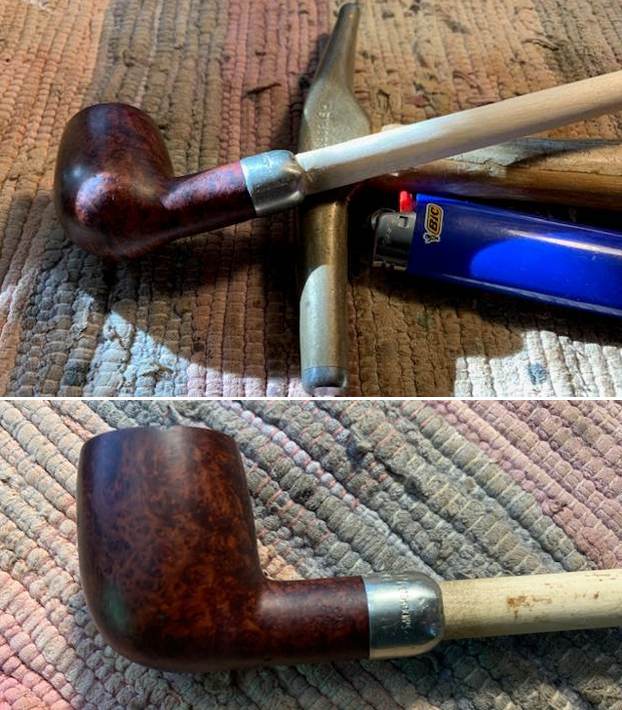
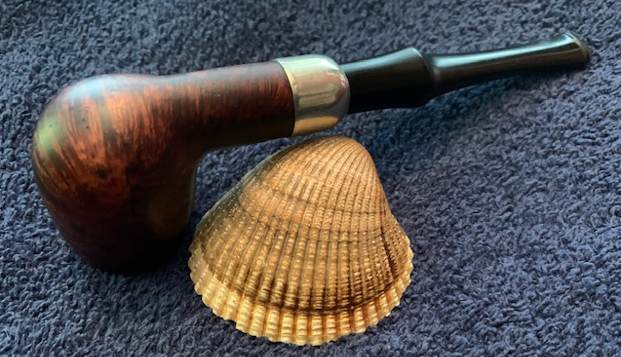
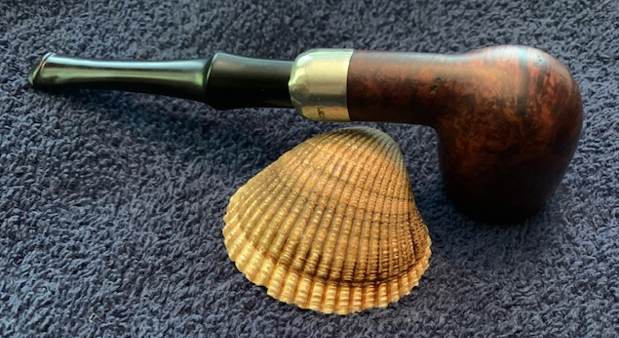
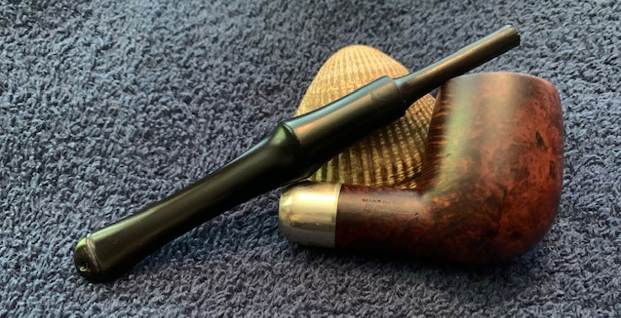
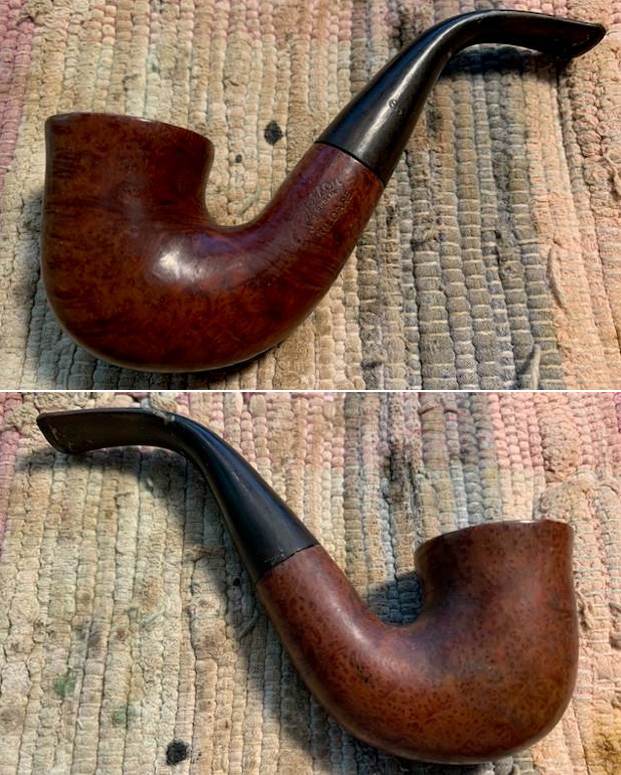
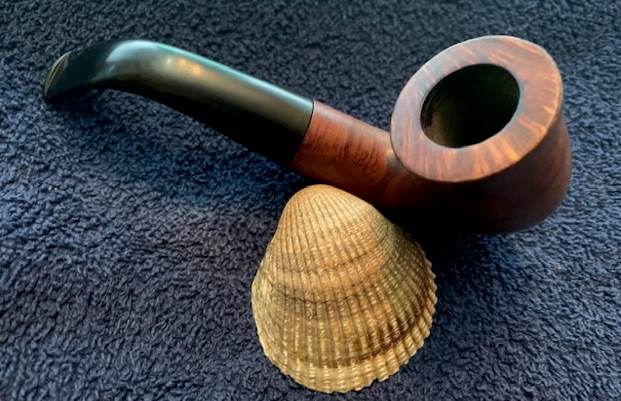
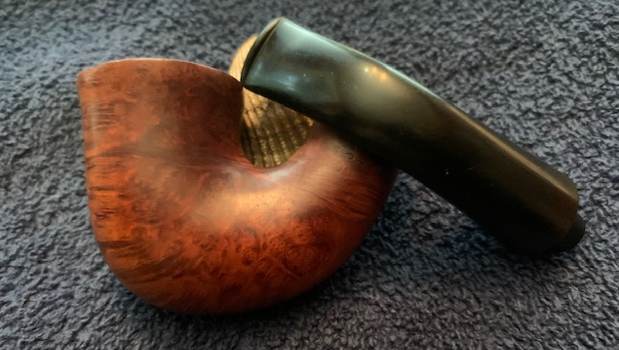
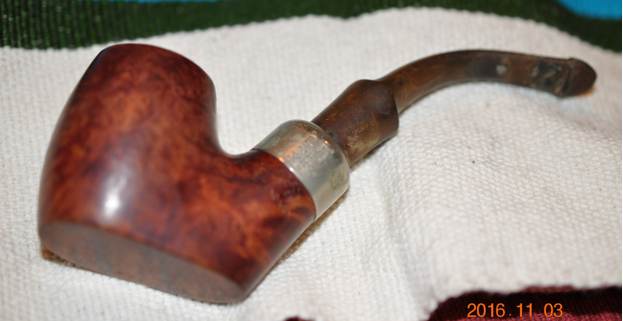
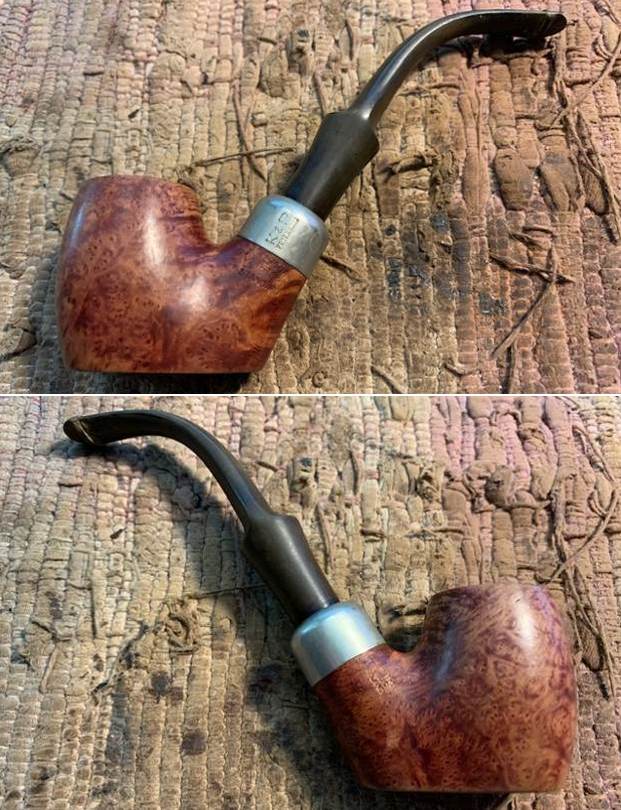
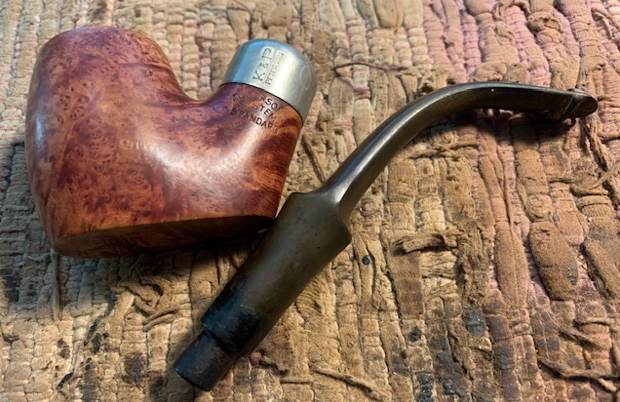
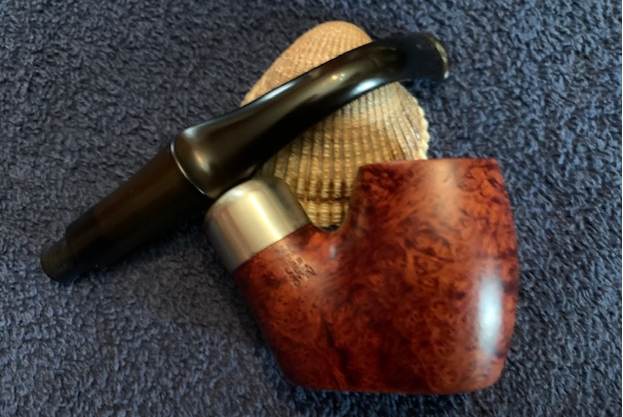
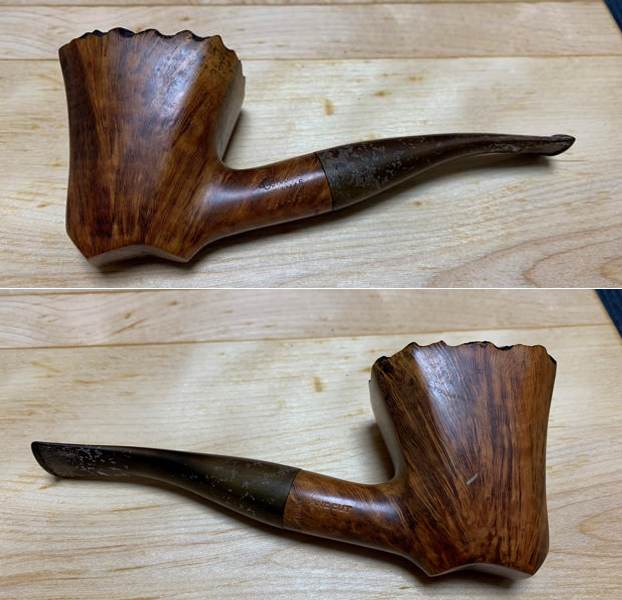
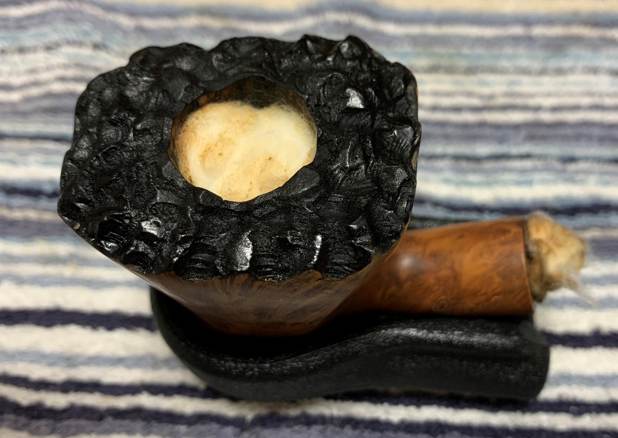
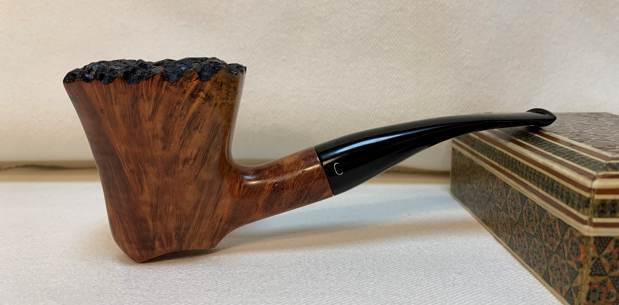
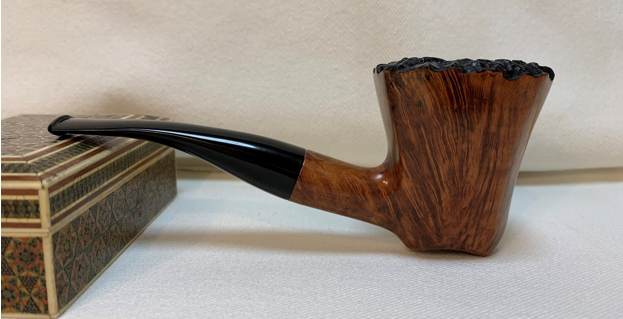
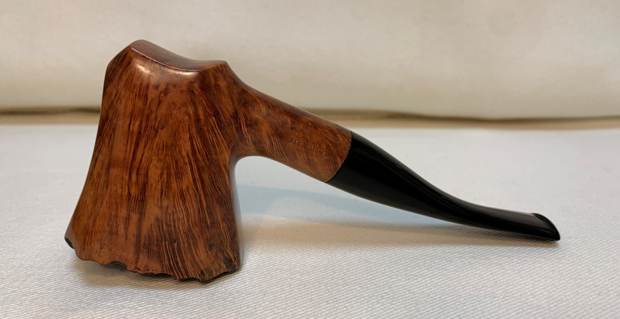
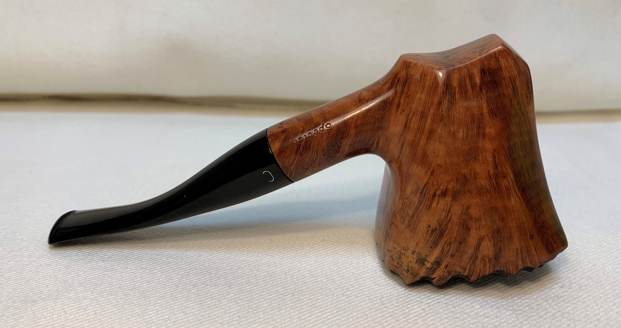
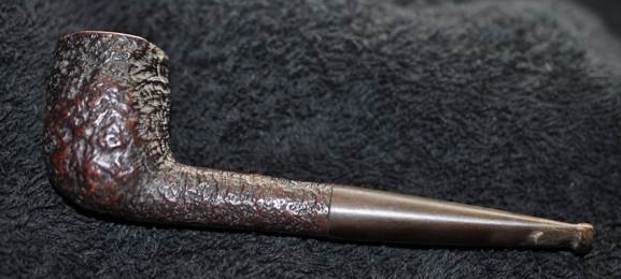
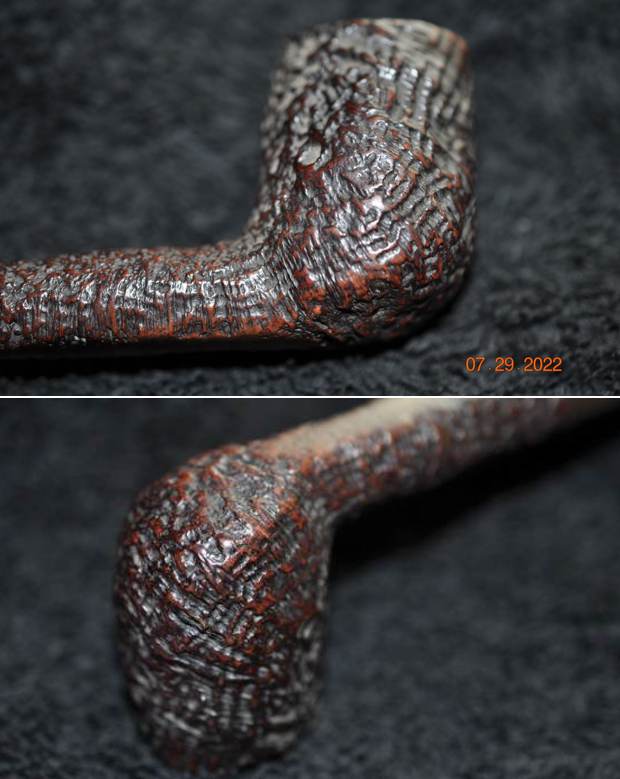
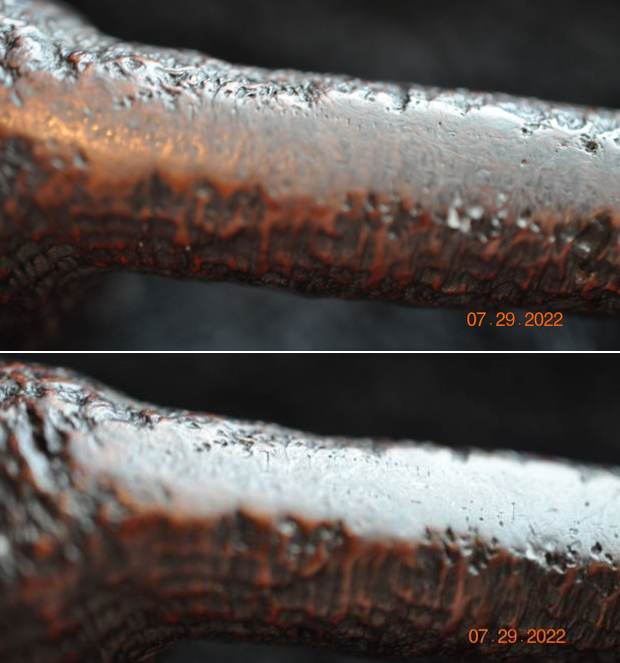
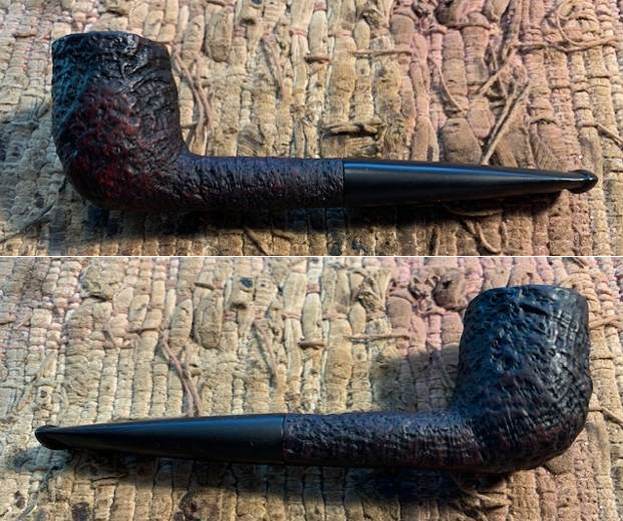
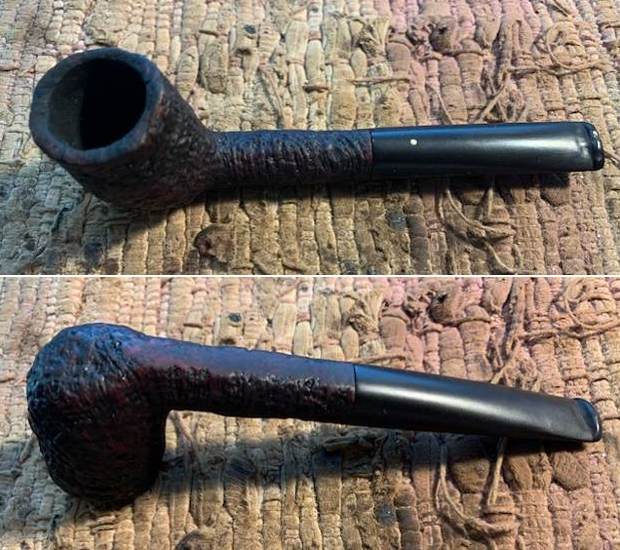
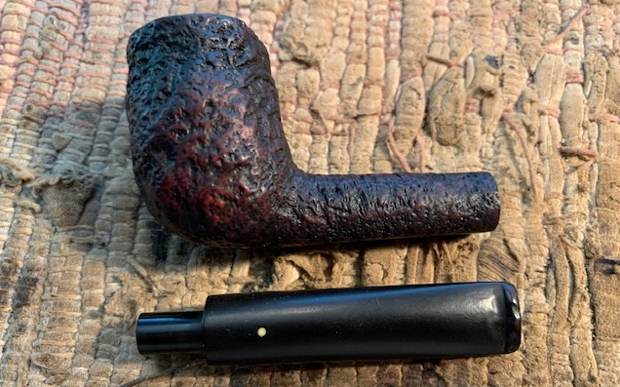
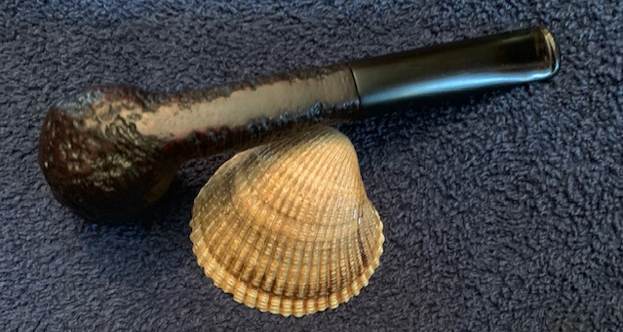
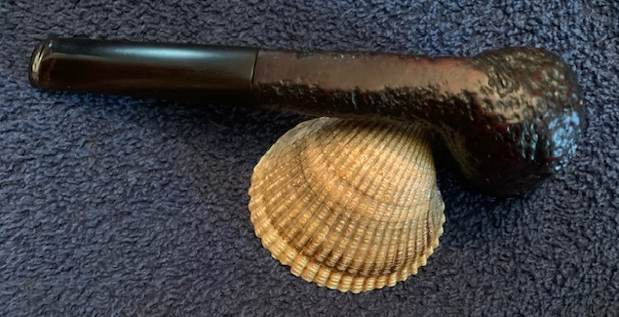
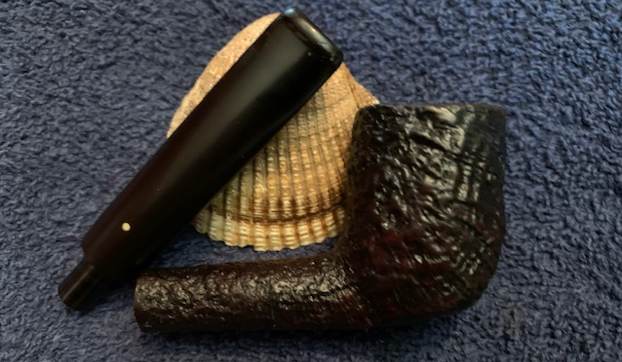
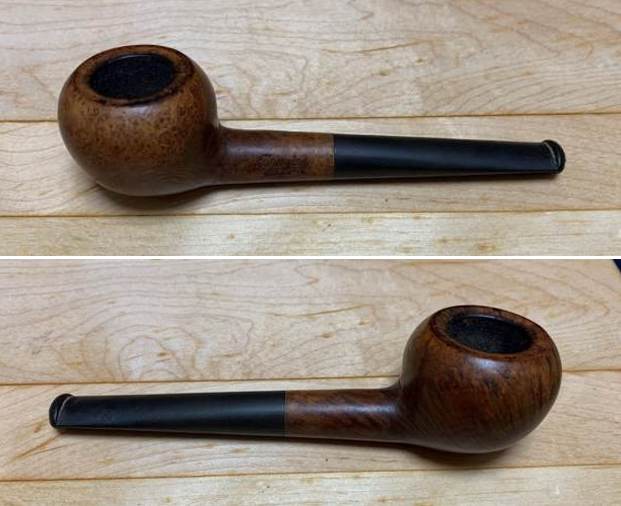
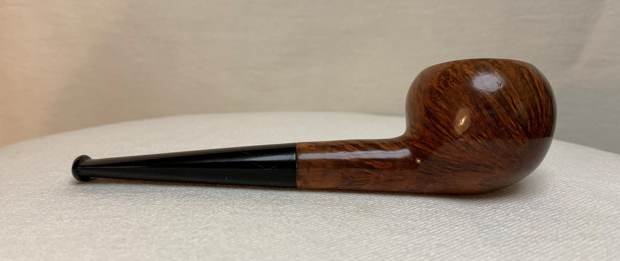
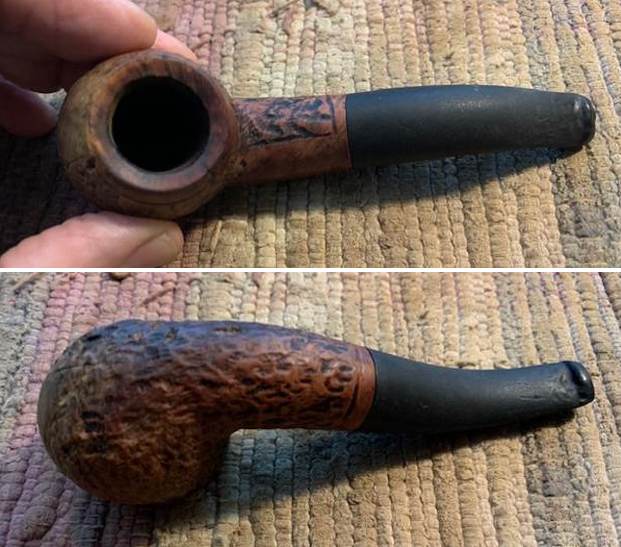
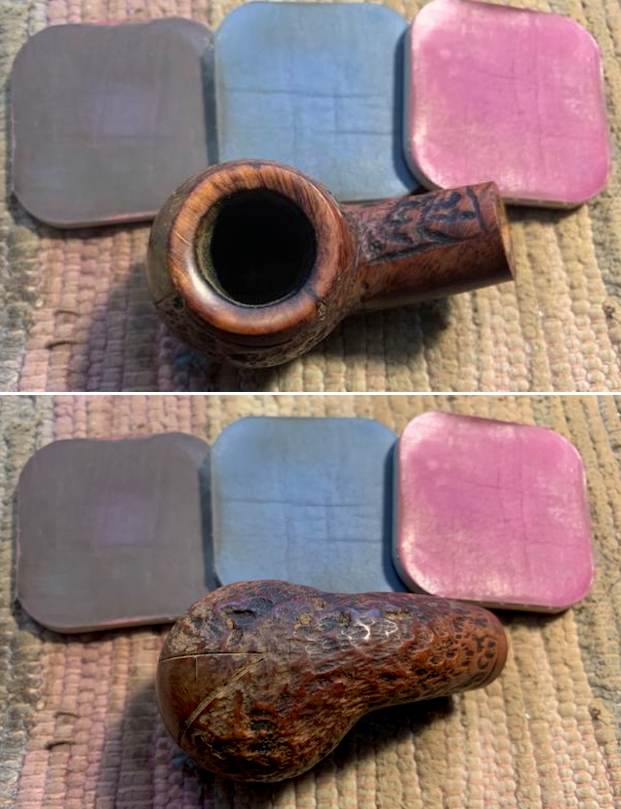
The next pipe on my work table is a nicely rusticated Bent Apple shaped one. It is stamped on the left side of the shank and reads Imported Briar [over] Made in Italy. The stamping is clear and readable on a smooth patch on the shank side. While it does not tell me who made it, it does tell me that is was made for the American market. This is yet another one that Jeff and I have no recollection of where we picked this one up but I know it has been here for a long time. The bowl had been reamed and cleaned and the shank and airways were very clean. The rim top showed darkening on the rim top and around the inner edge most of the way around the bowl. The outer edges were clean. There were a few small nicks in the briar but otherwise it was in good condition. The hard rubber older style stem had some light oxidation and some deep tooth marks on the top and underside near the button. There were gouges in the left side of the stem at the middle. There was not identifying logo or stamp on the sides of the stem. I took photos of the pipe before I started the next portion of the work on the pipe. It is truly interesting looking pipe.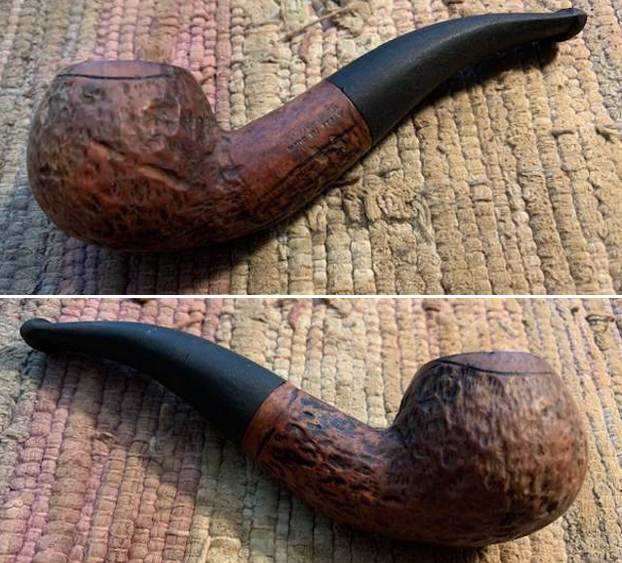
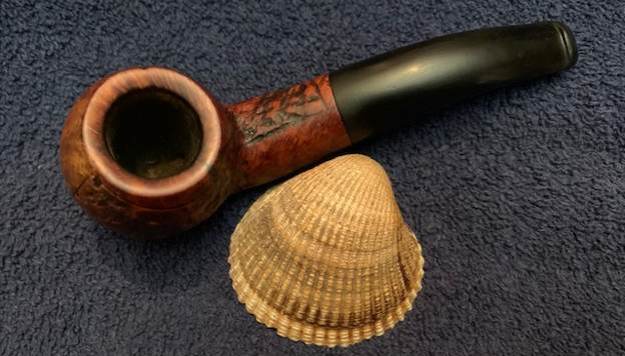
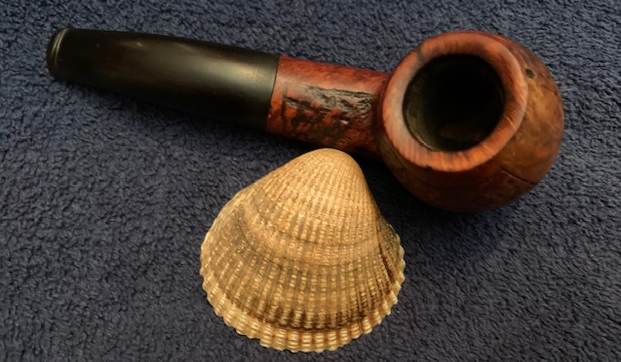
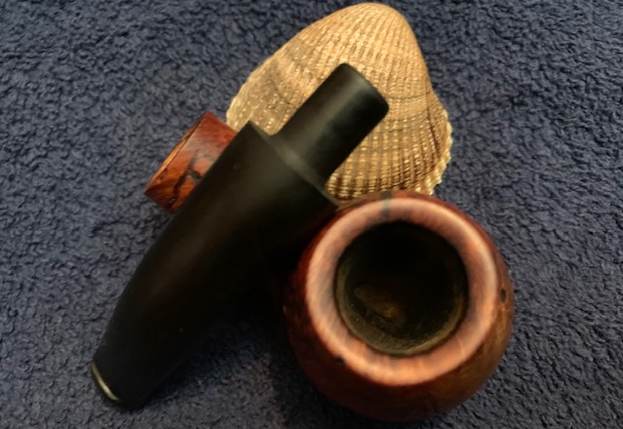
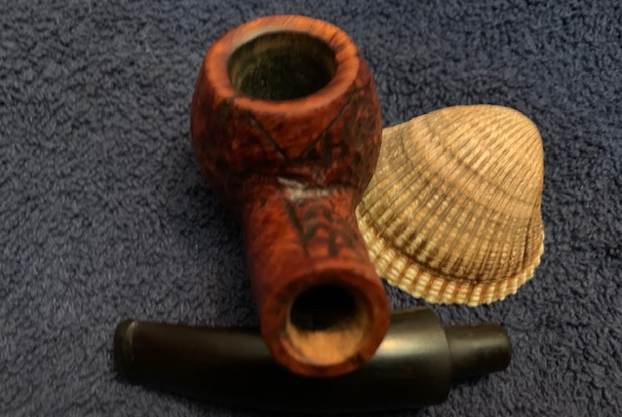
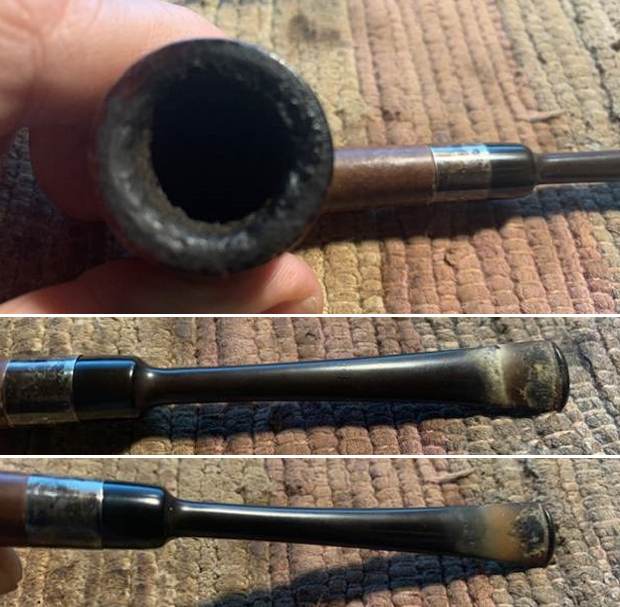
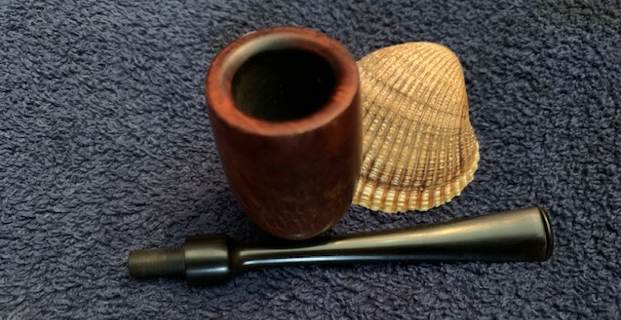
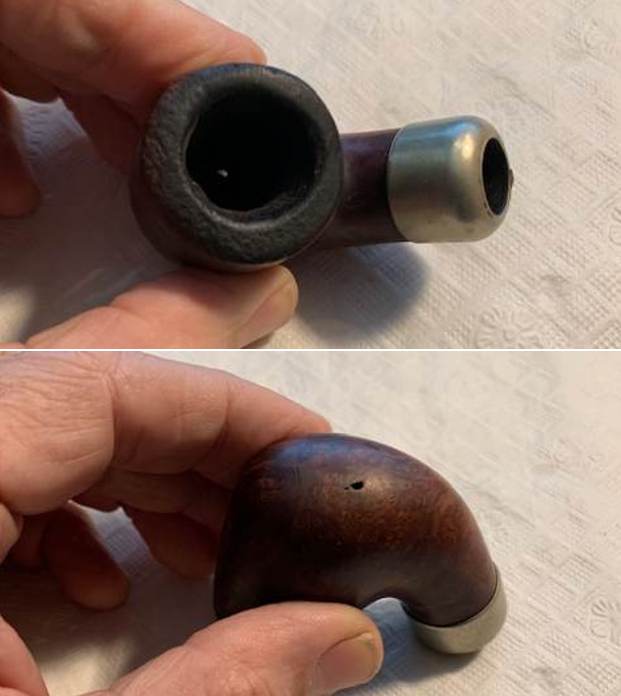
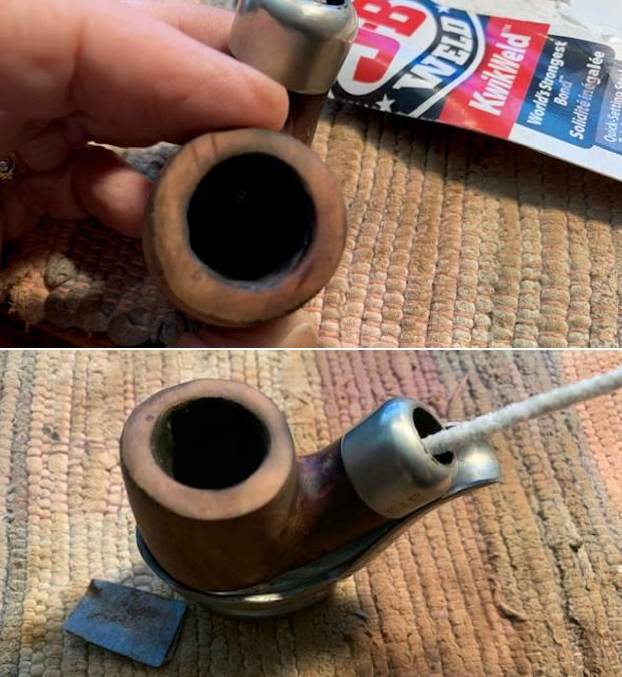
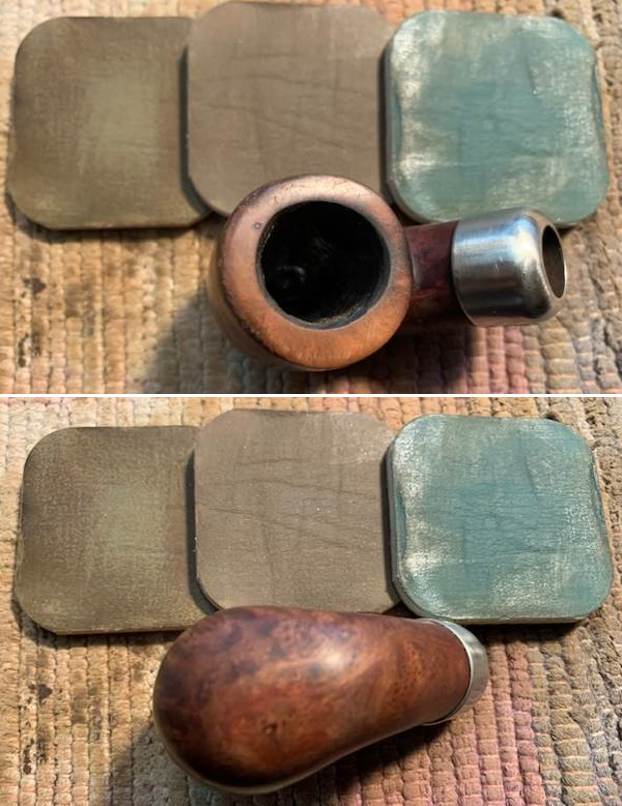
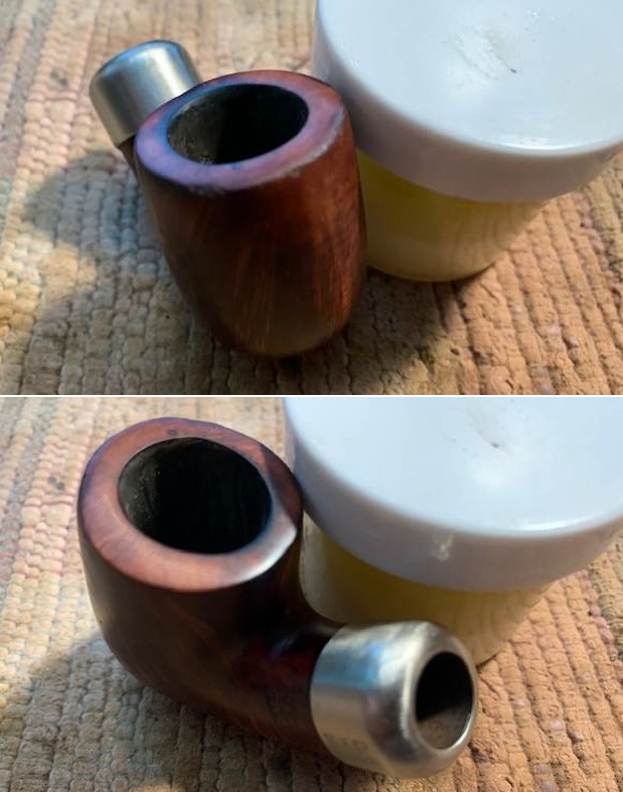
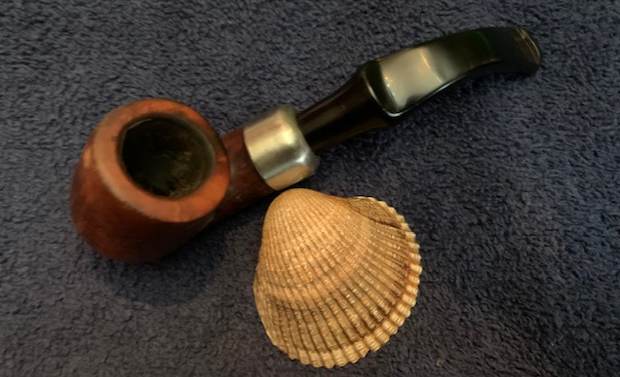
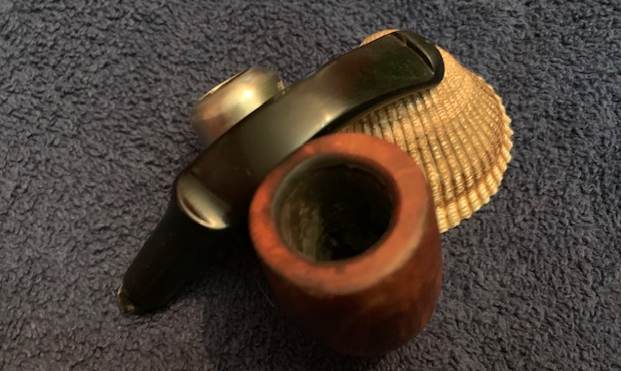
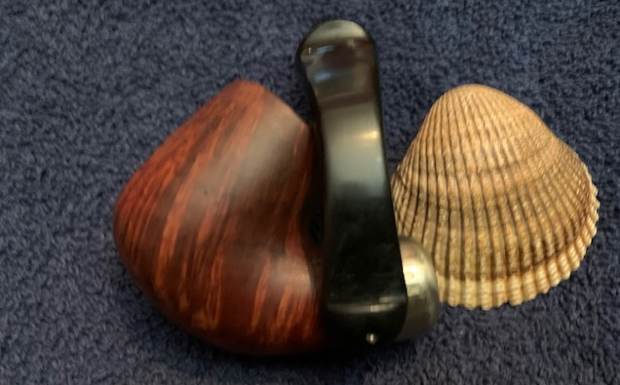
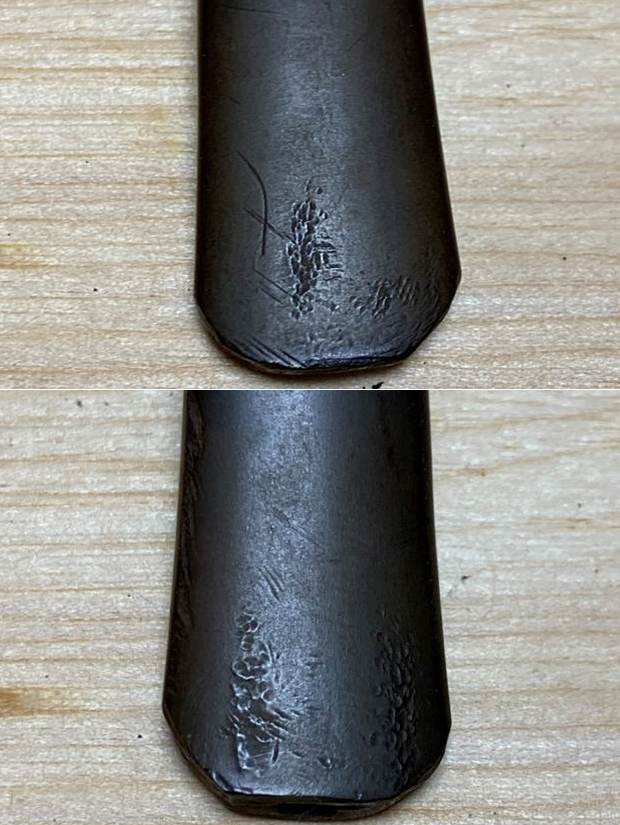
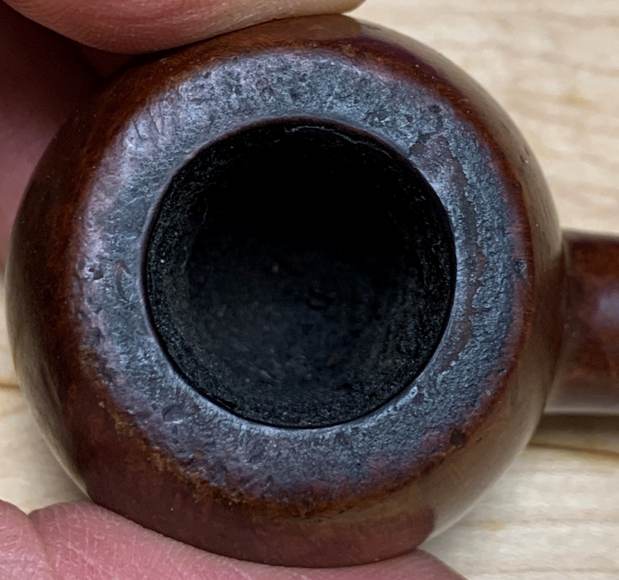
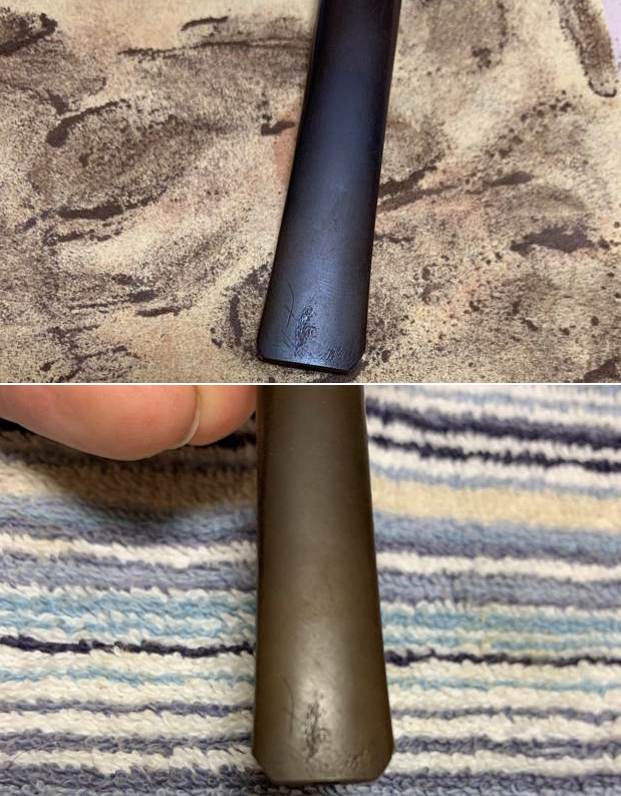
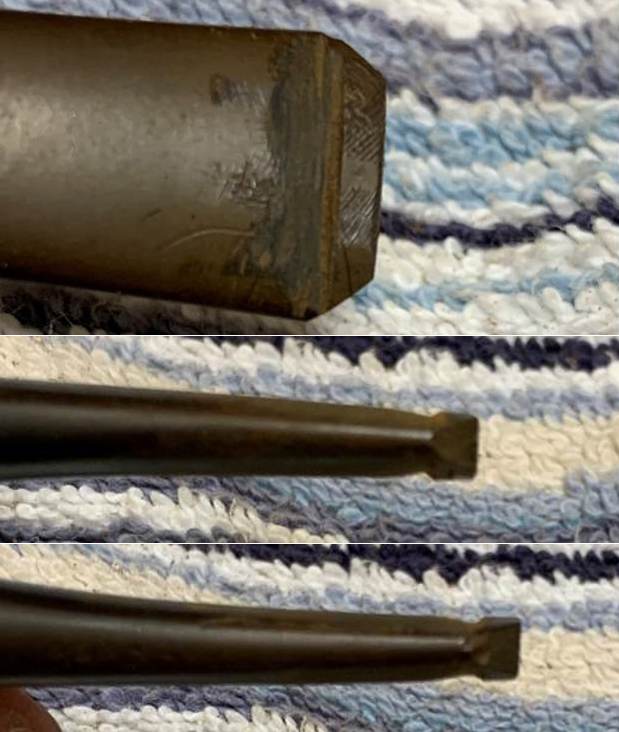
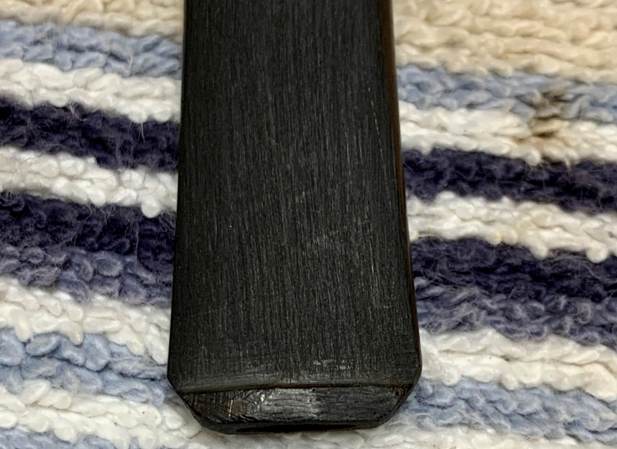
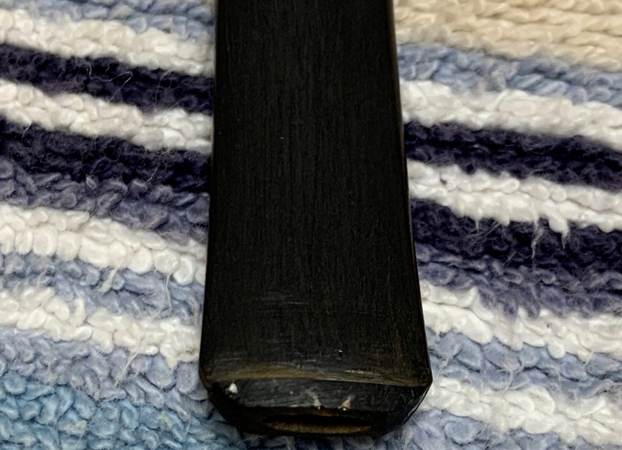
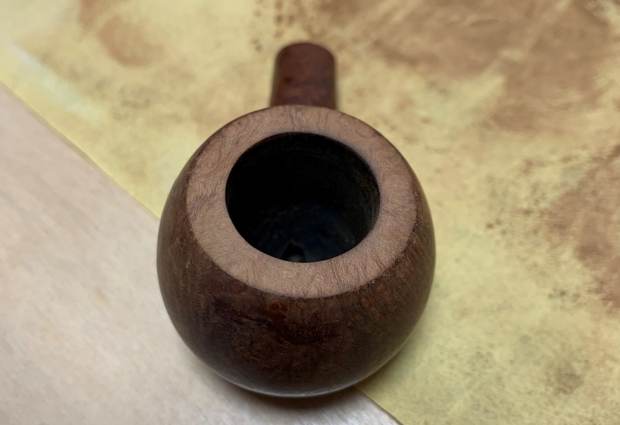
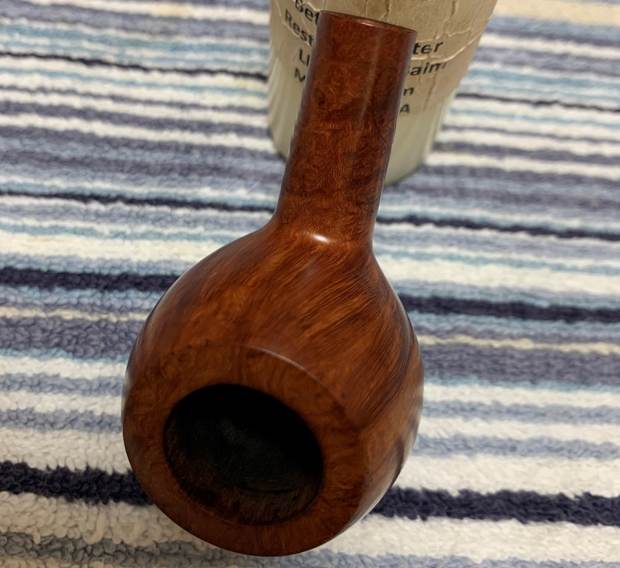
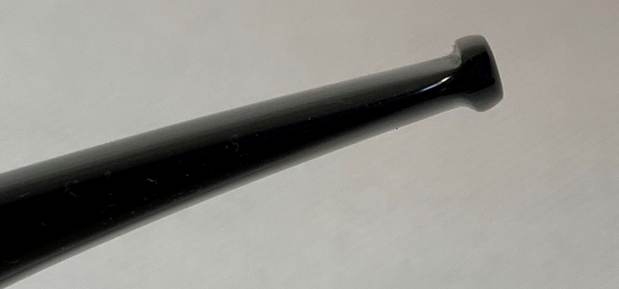
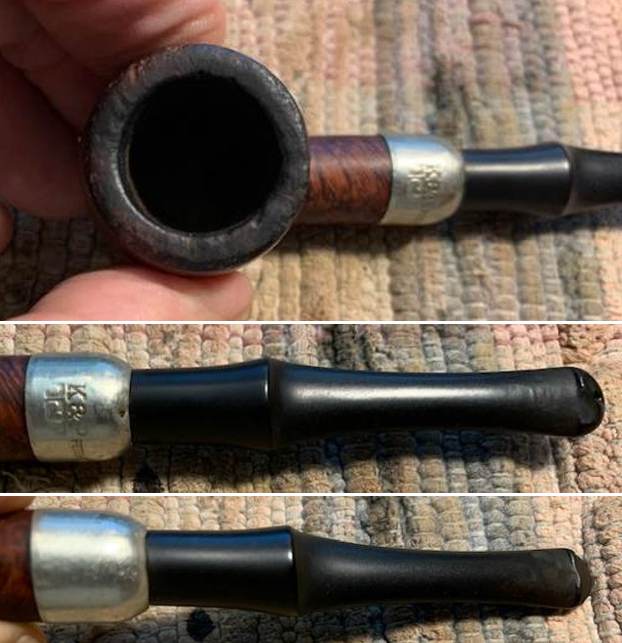
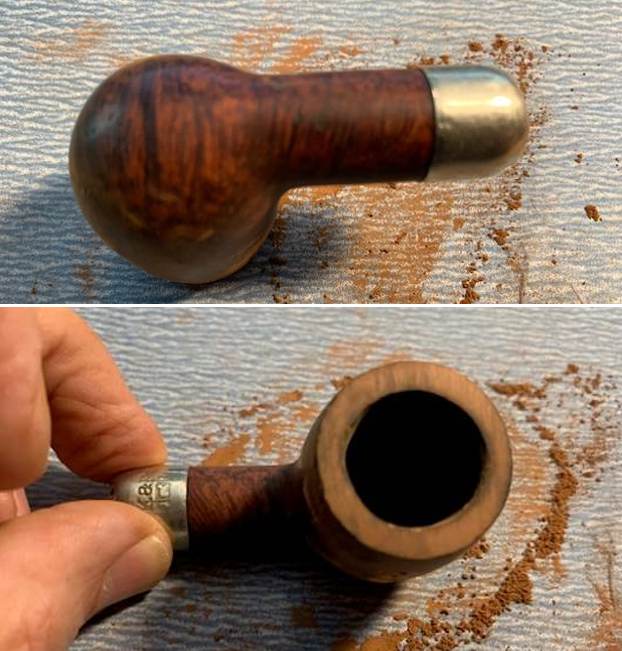
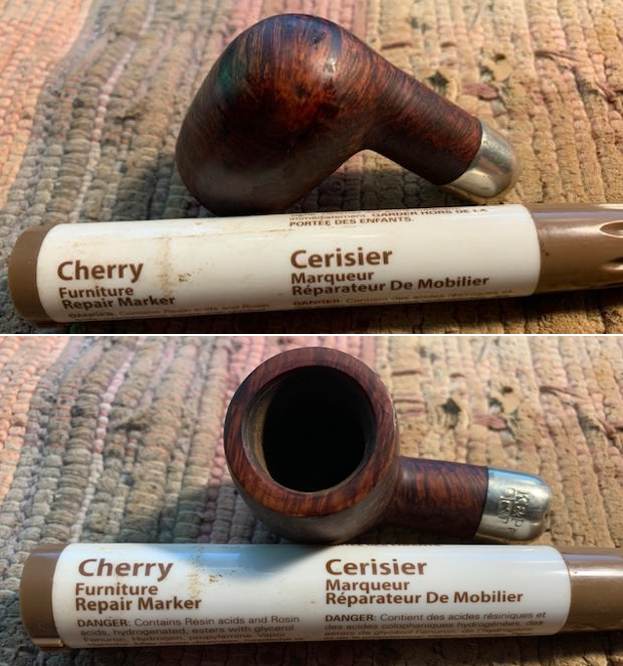
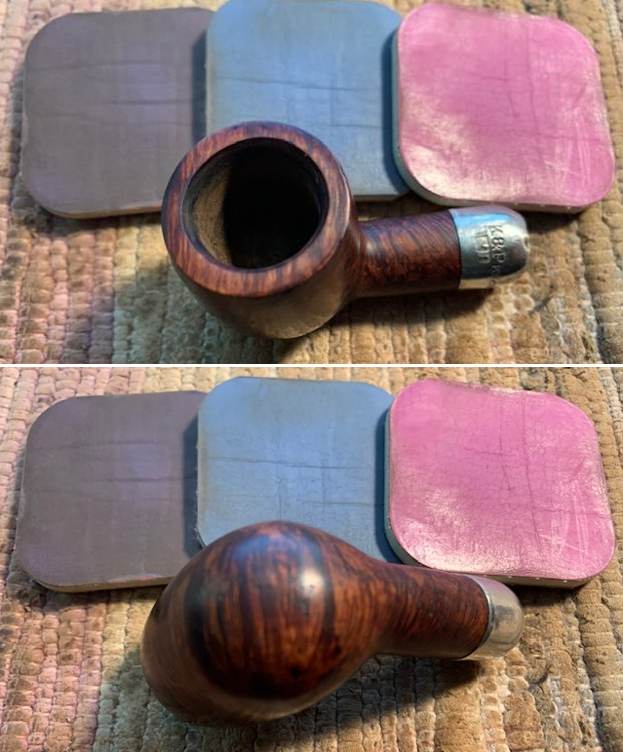
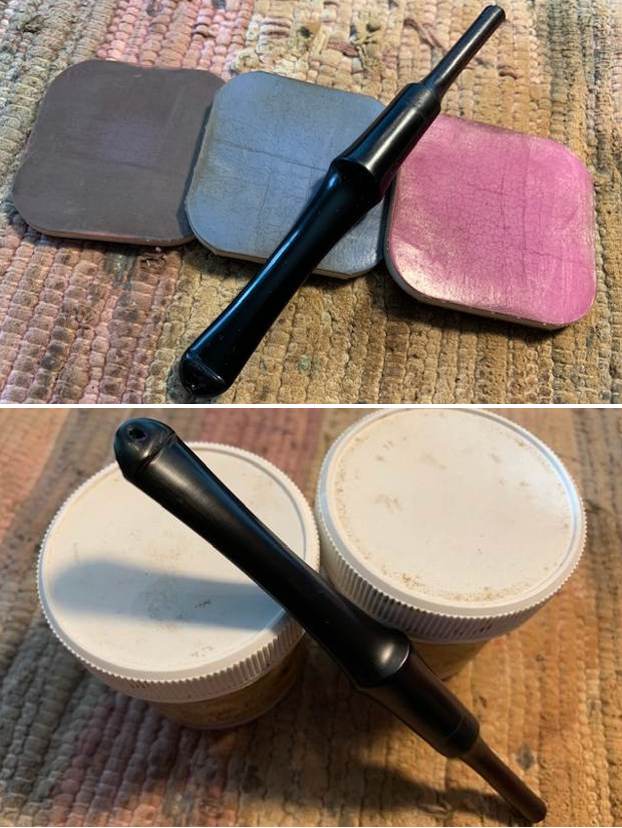
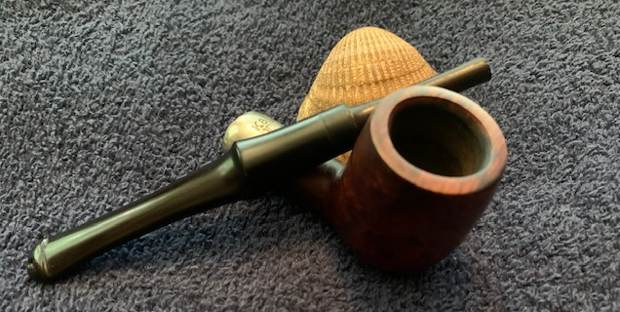
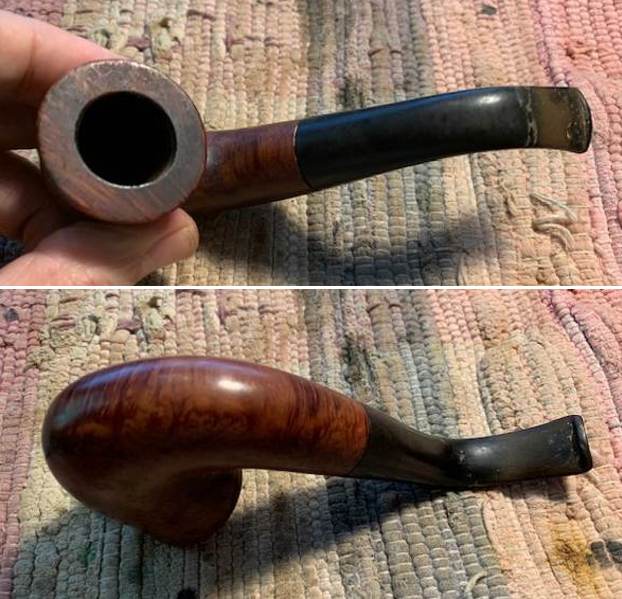
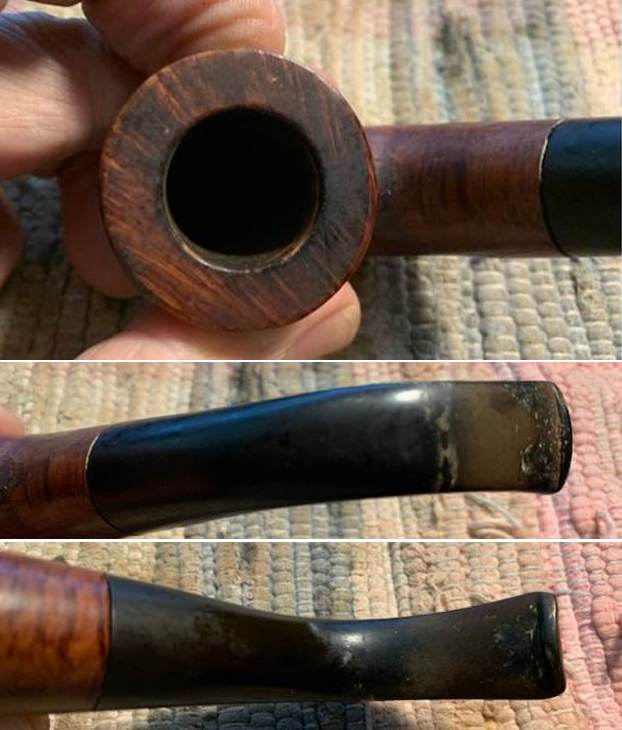
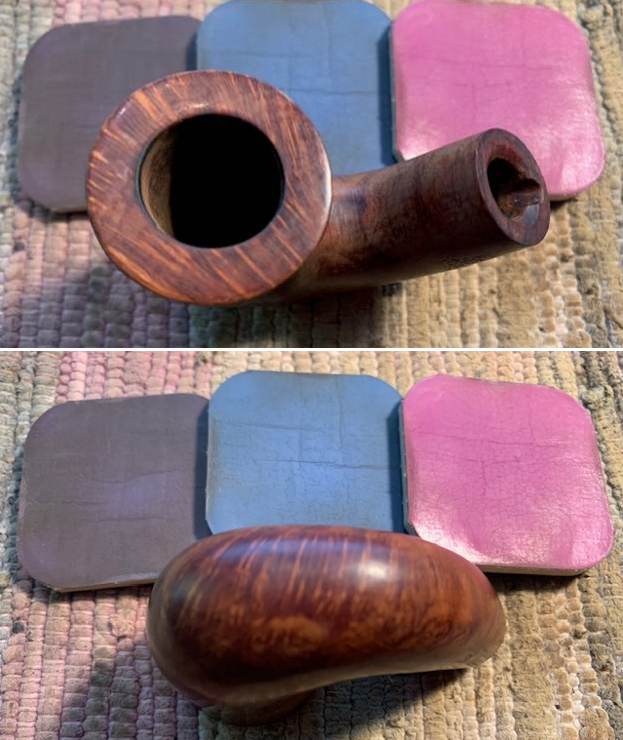
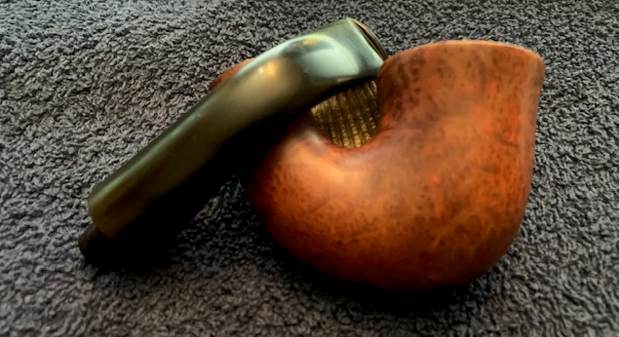
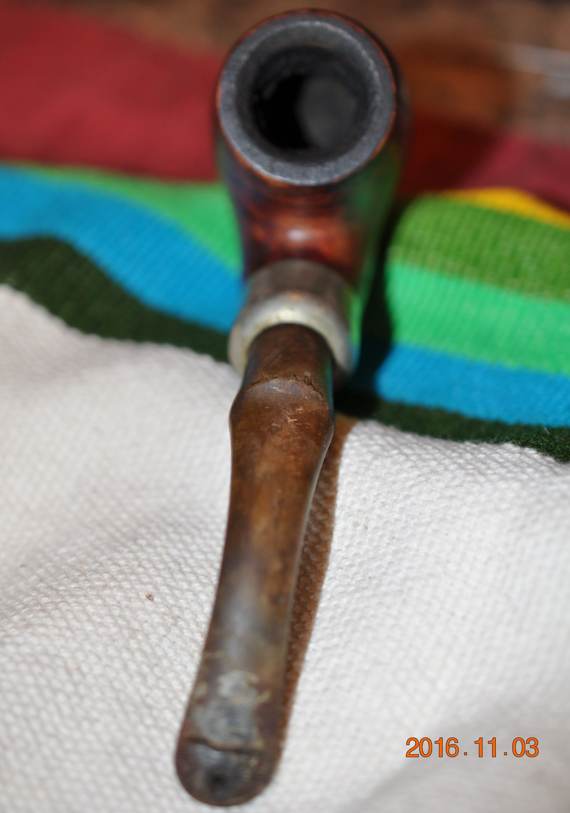
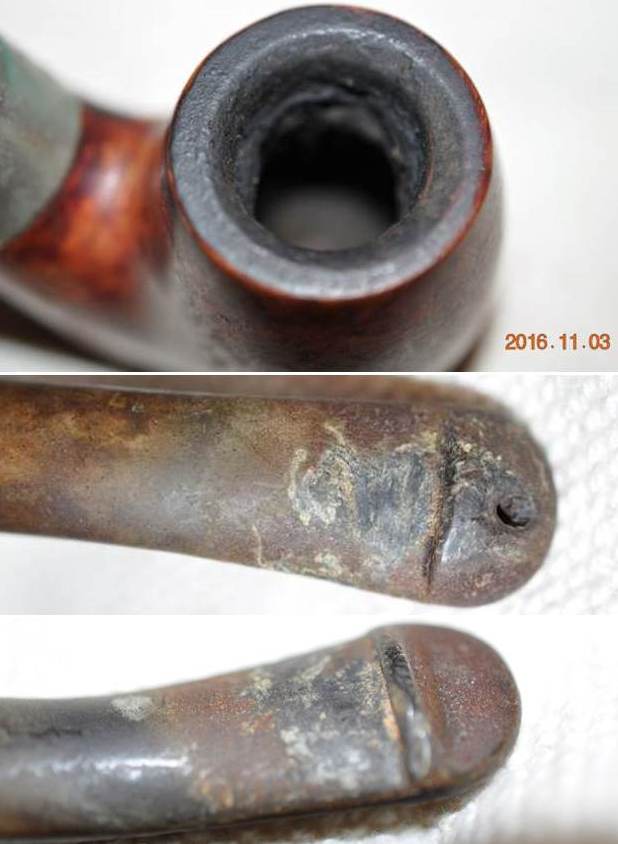
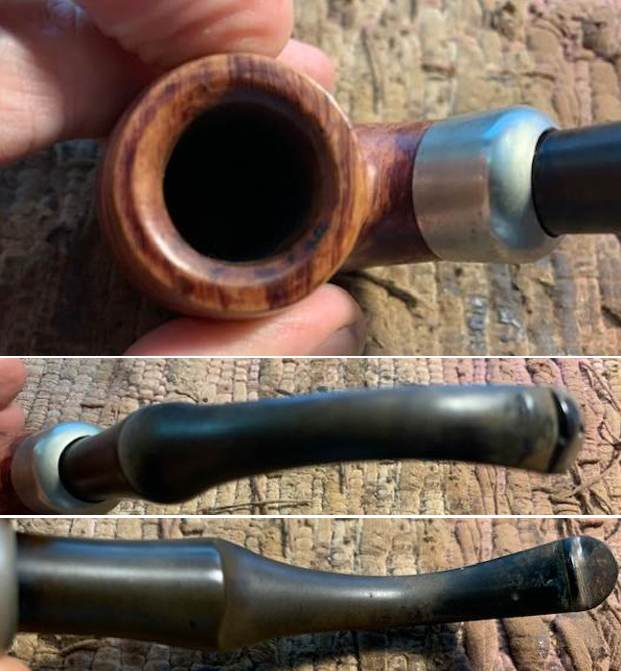
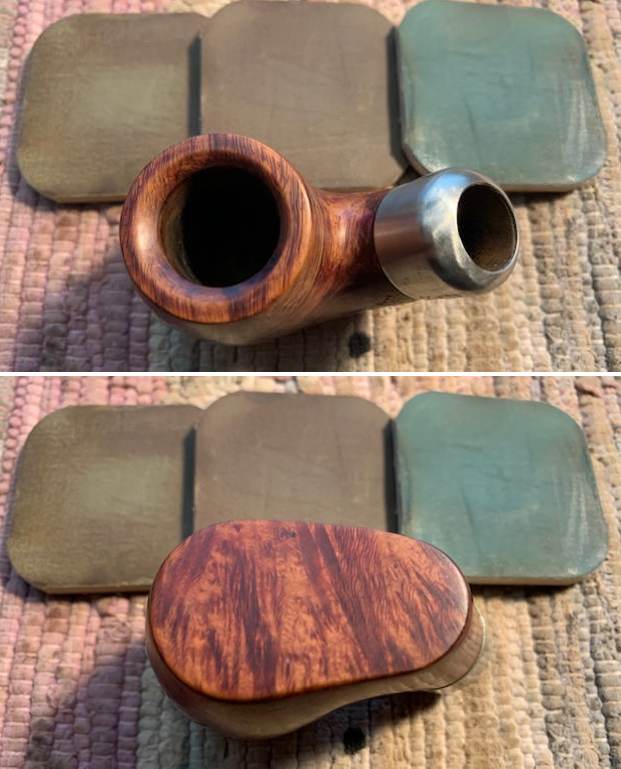
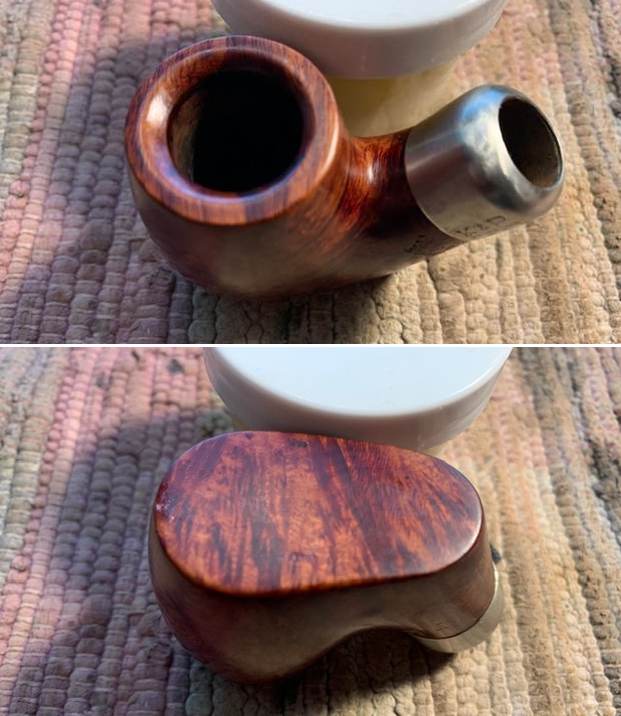
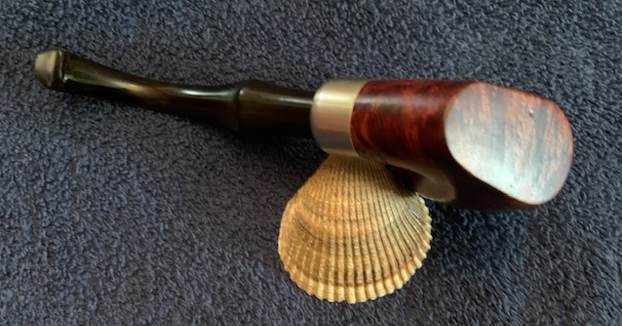
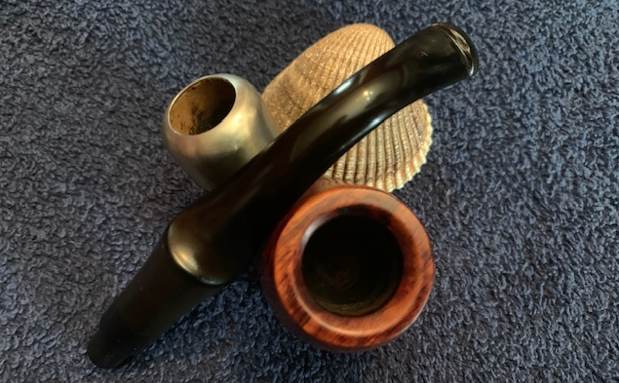
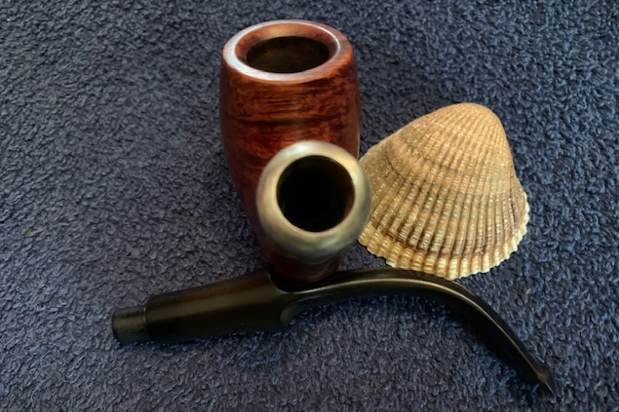
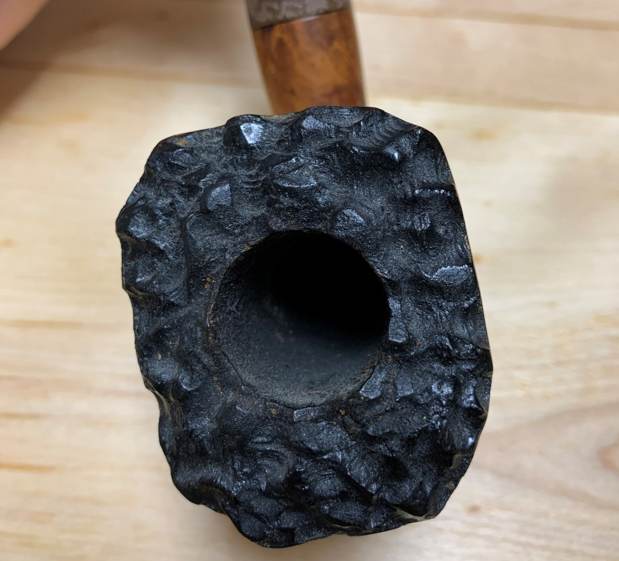
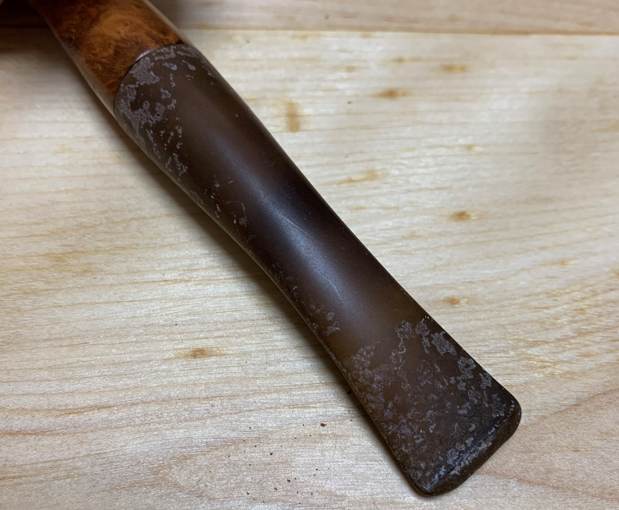
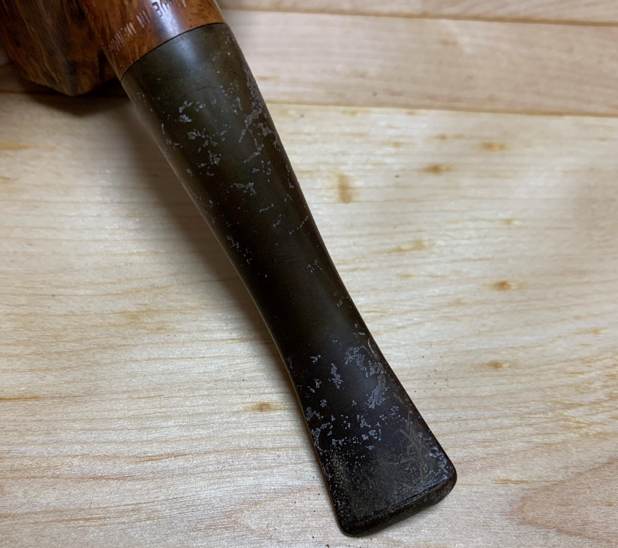
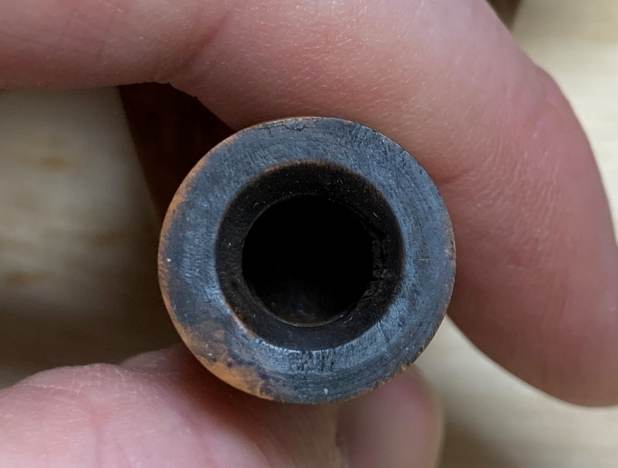
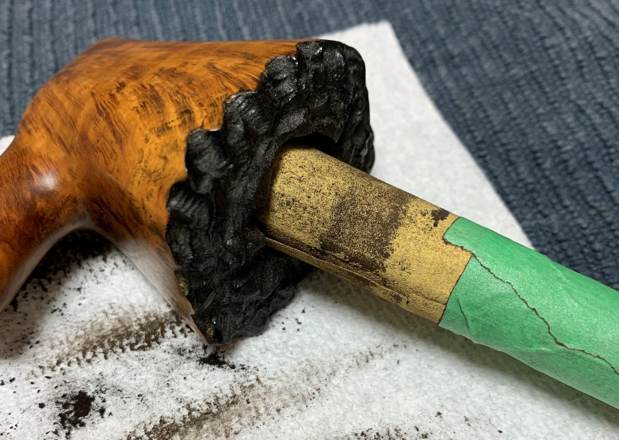
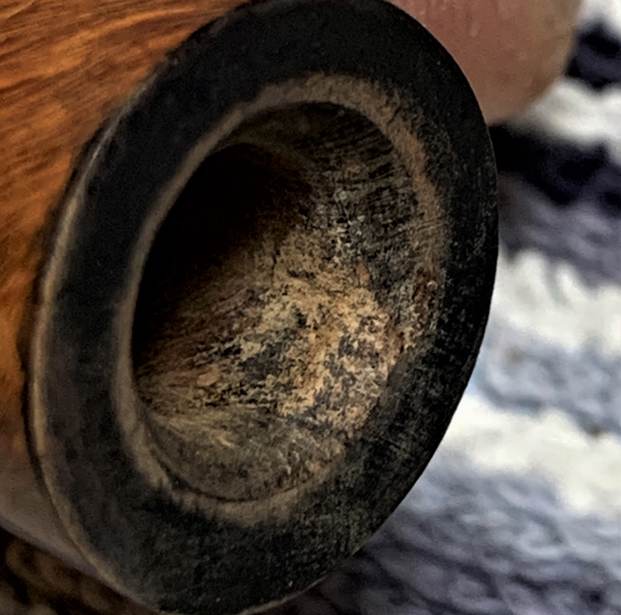
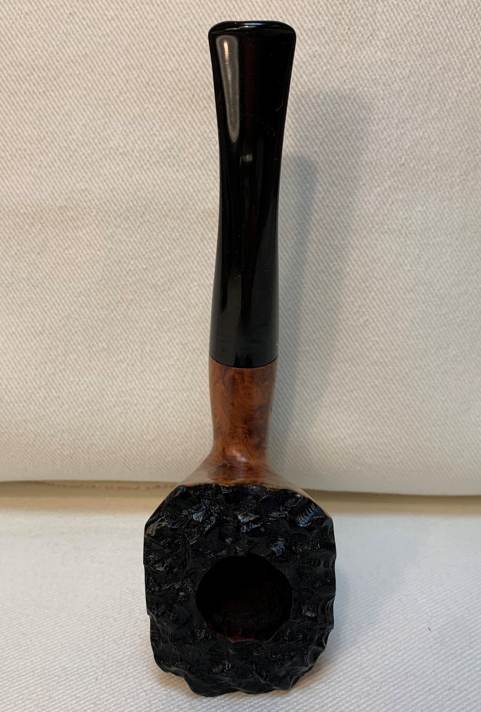
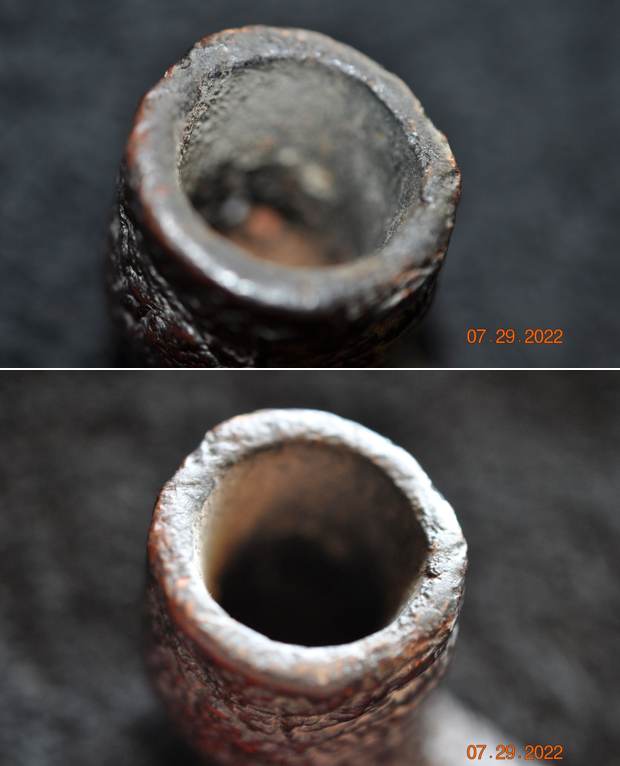
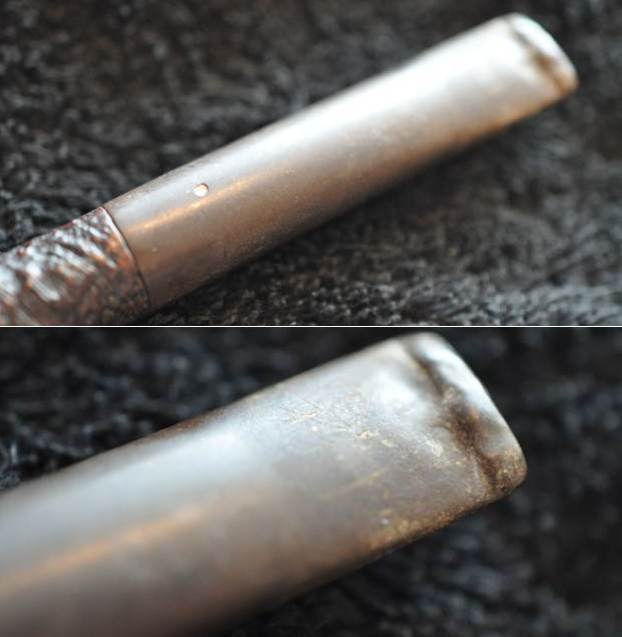
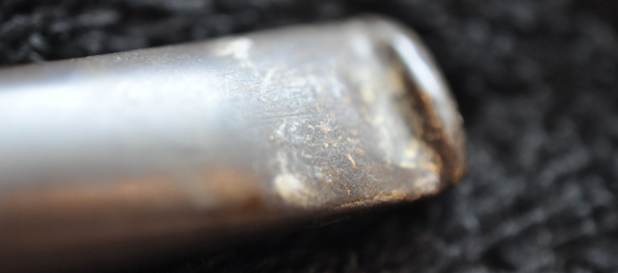
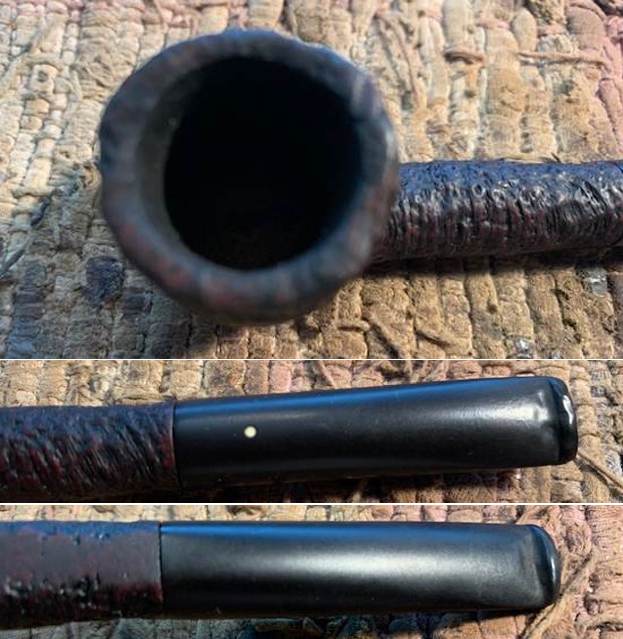
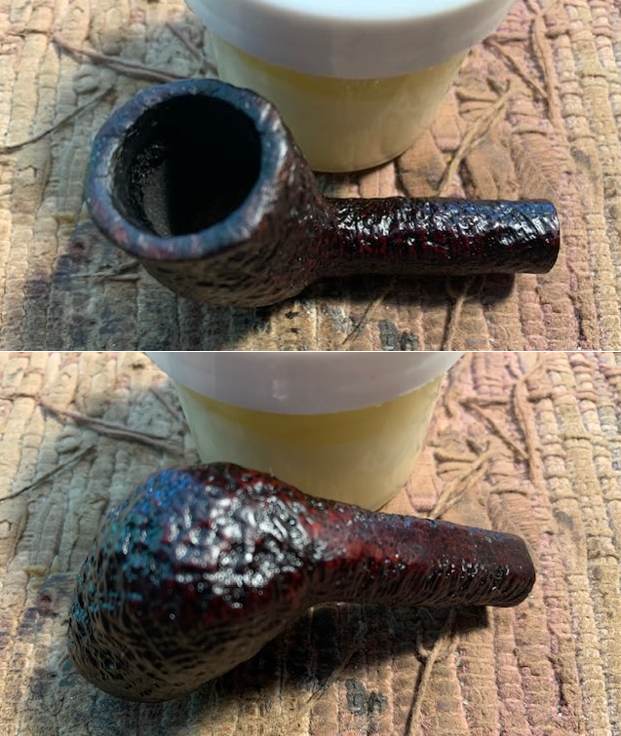
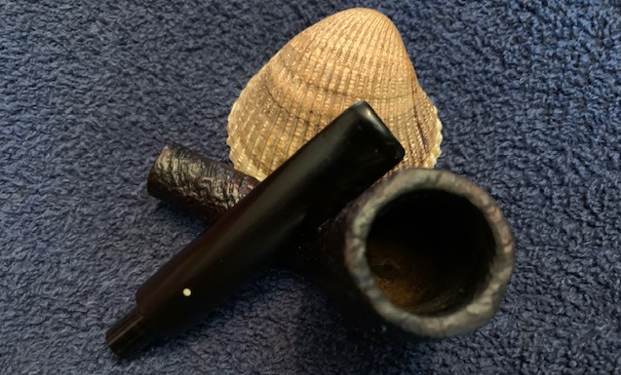
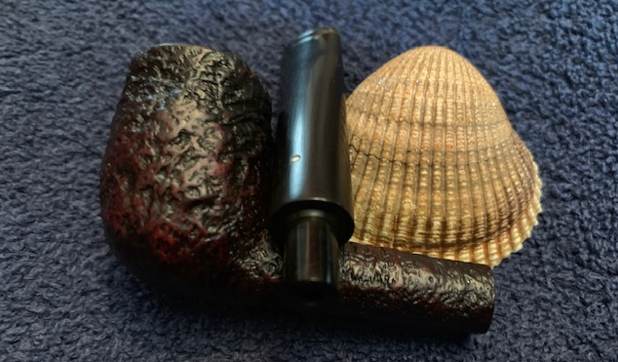
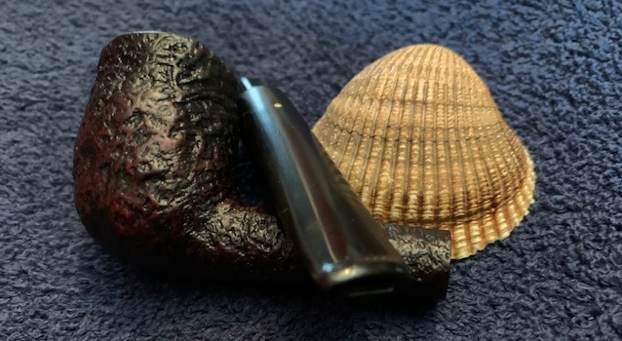
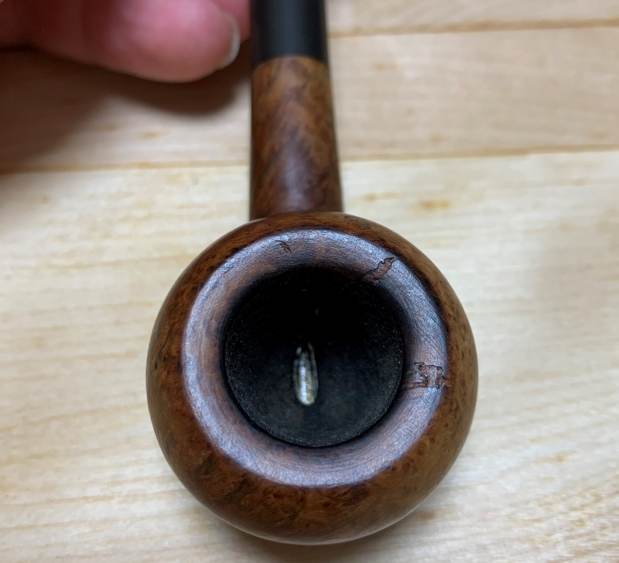
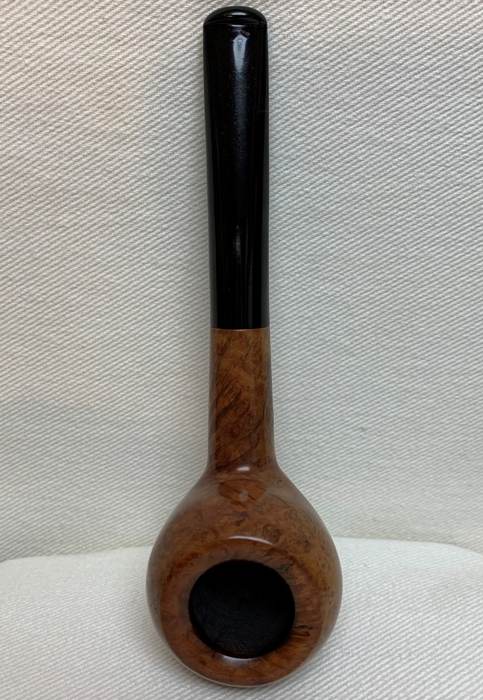
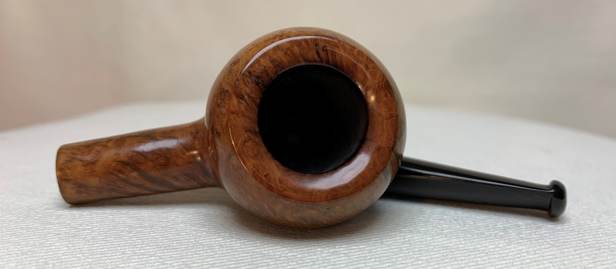
 I took a close up photo of the rim top, edges and the top and underside of the stem. The inner edges and the rim top of the bowl showed wear and darkening. It would take a bit of work to bring it back and clean it up. The stem surfaces showed light tooth marks on both sides ahead of the button.
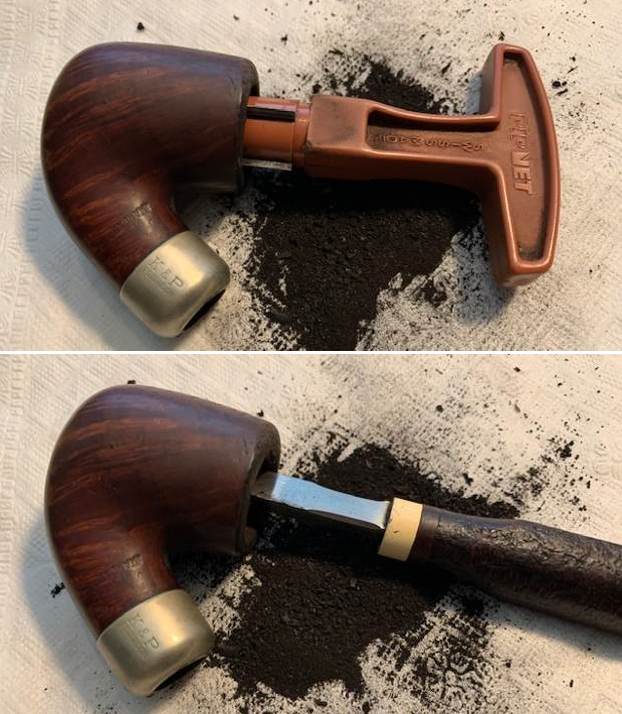
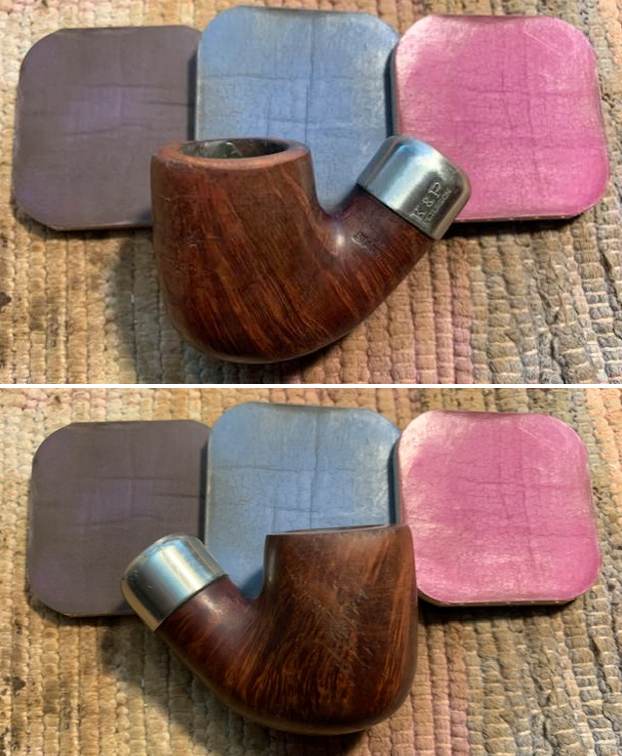
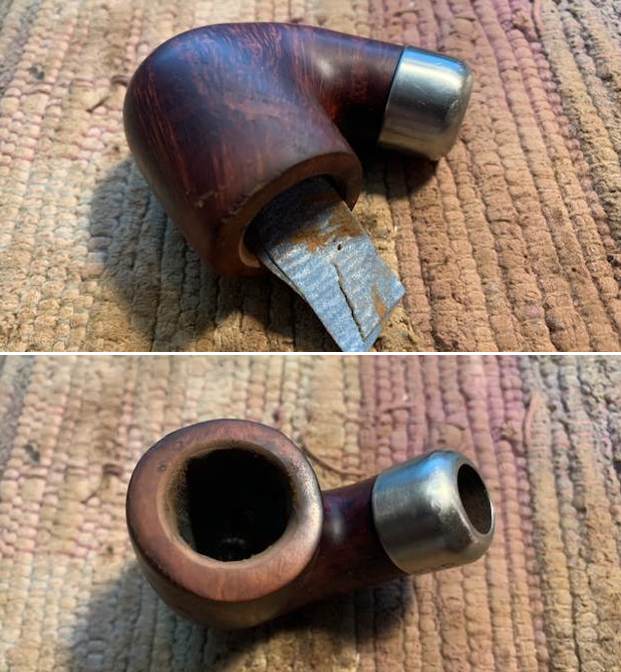
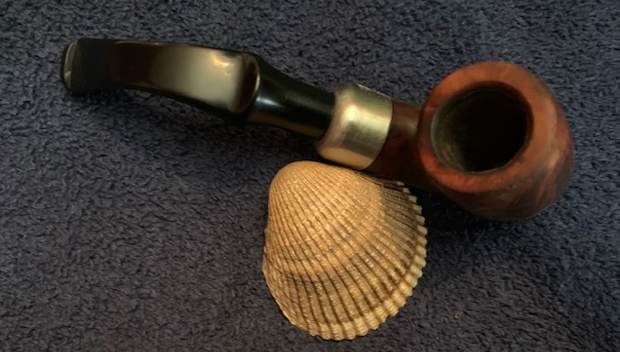
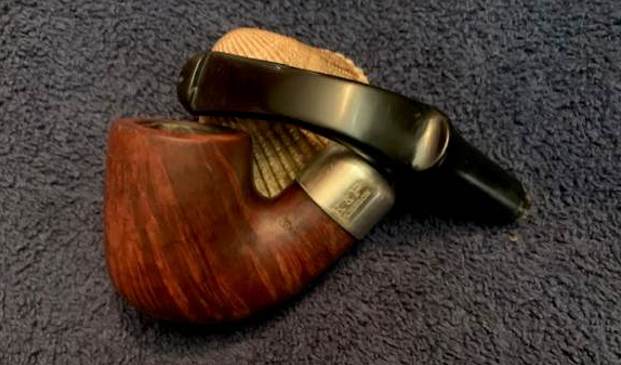
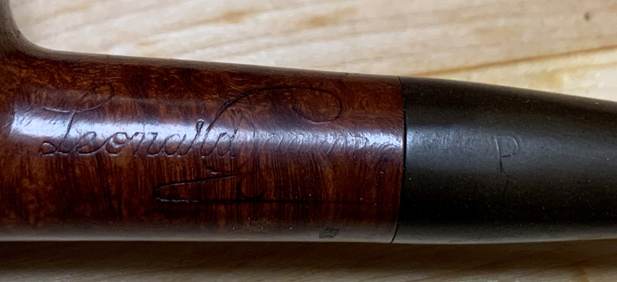
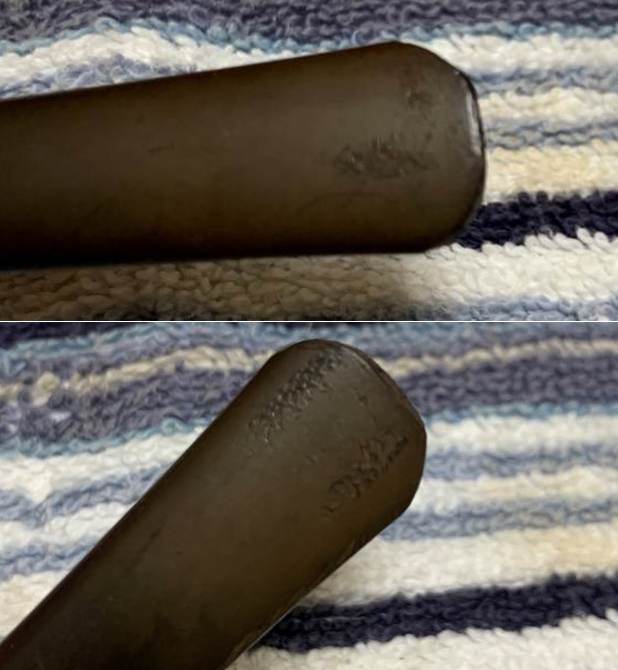
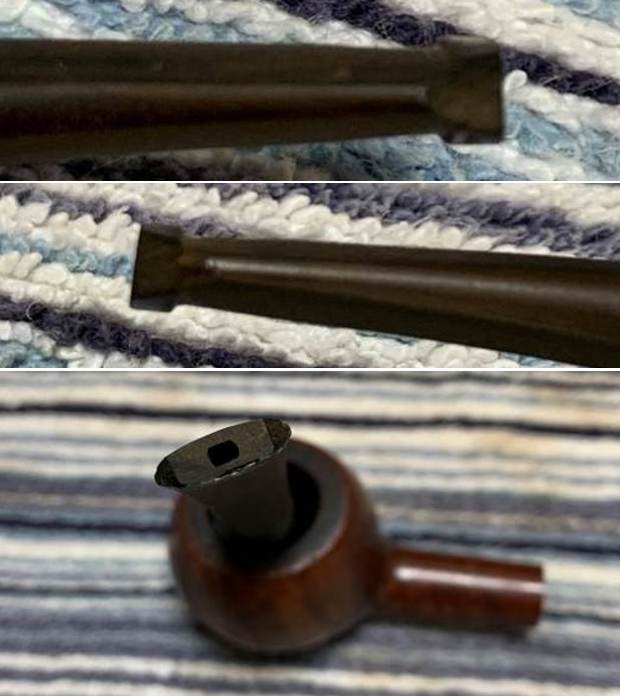
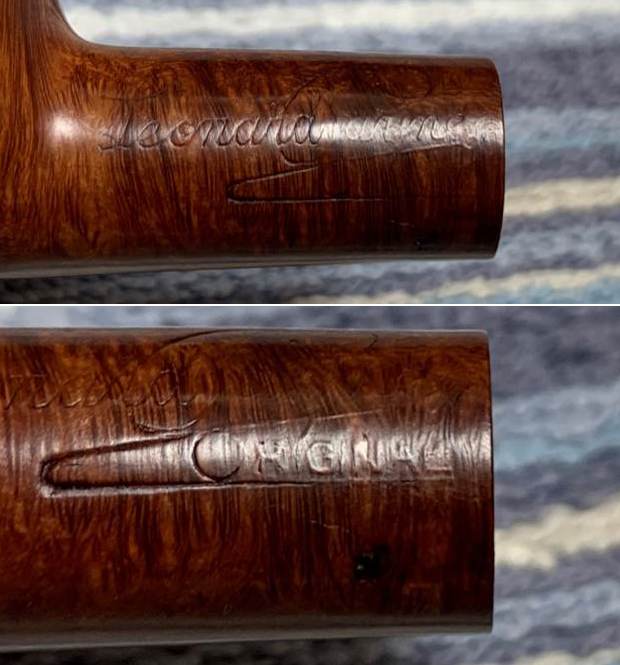
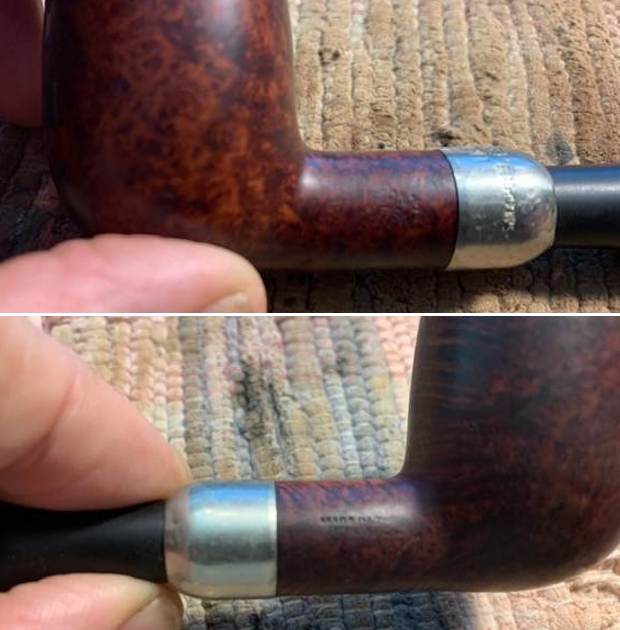
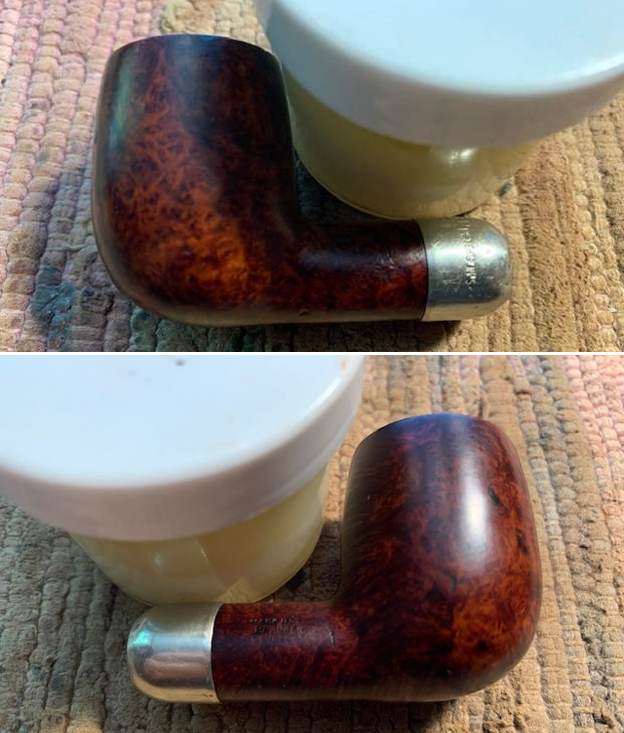
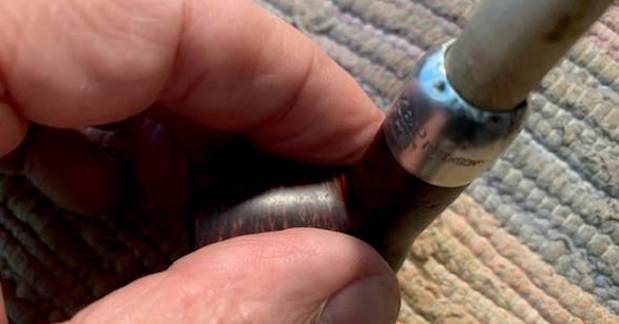
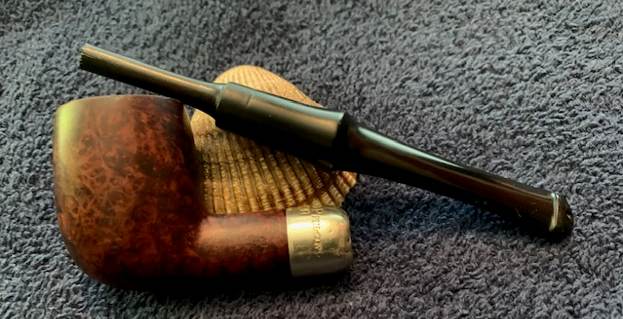
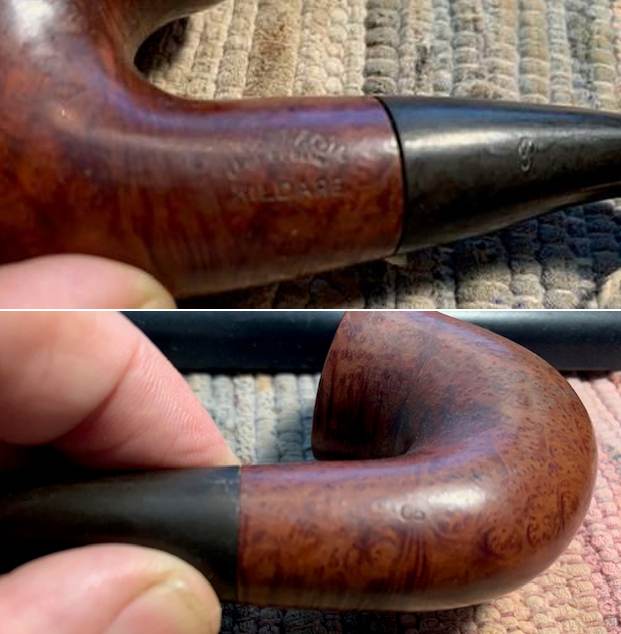
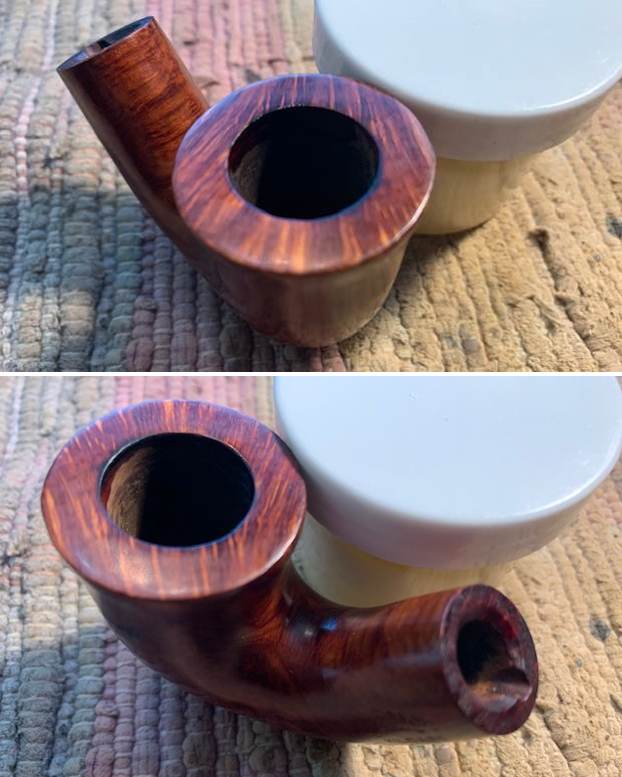
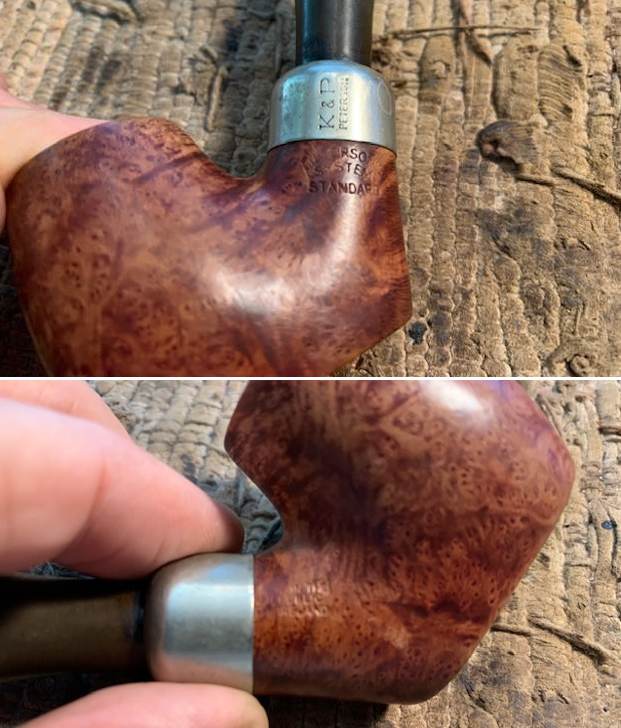
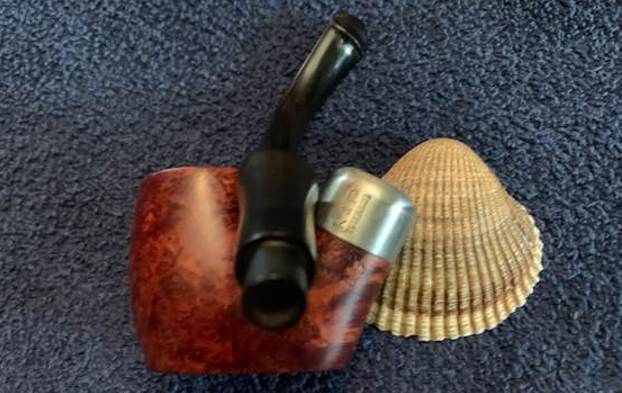
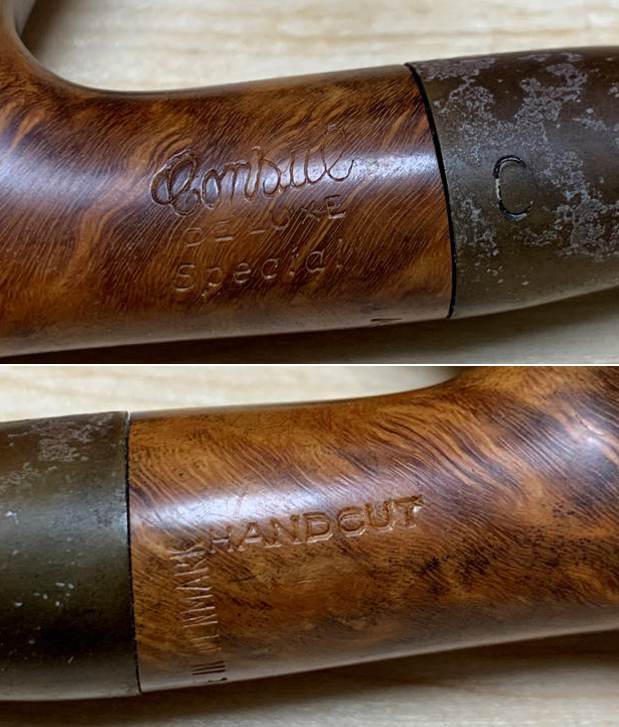
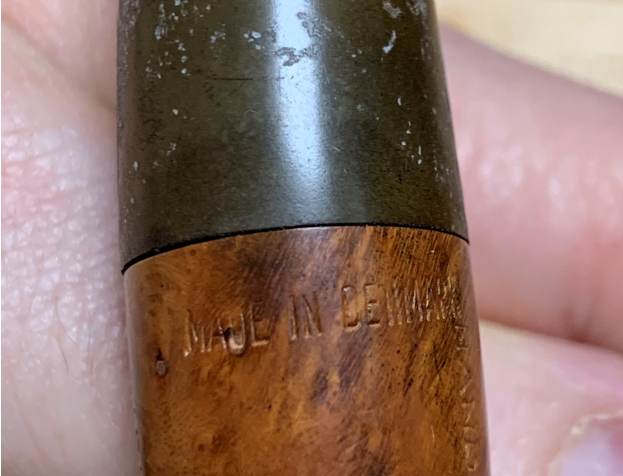
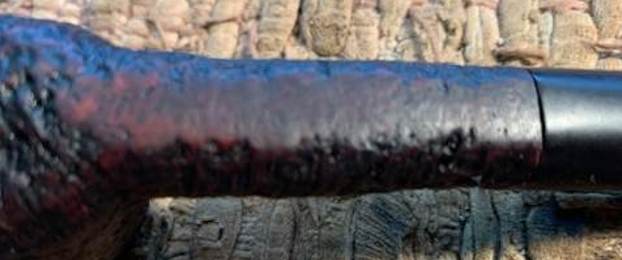
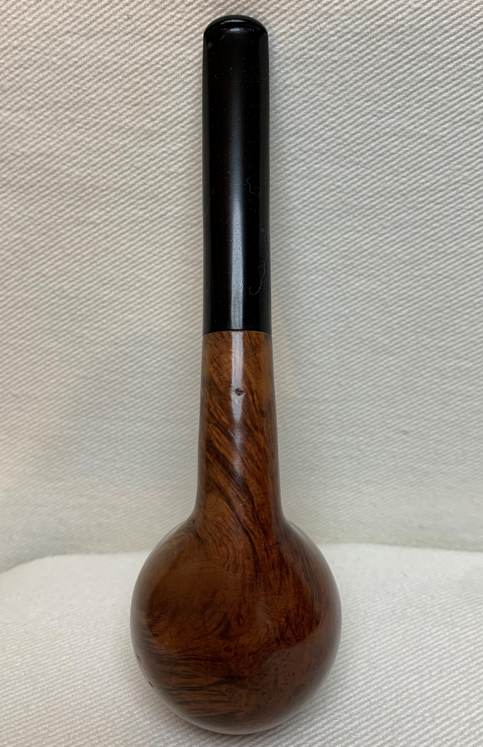
 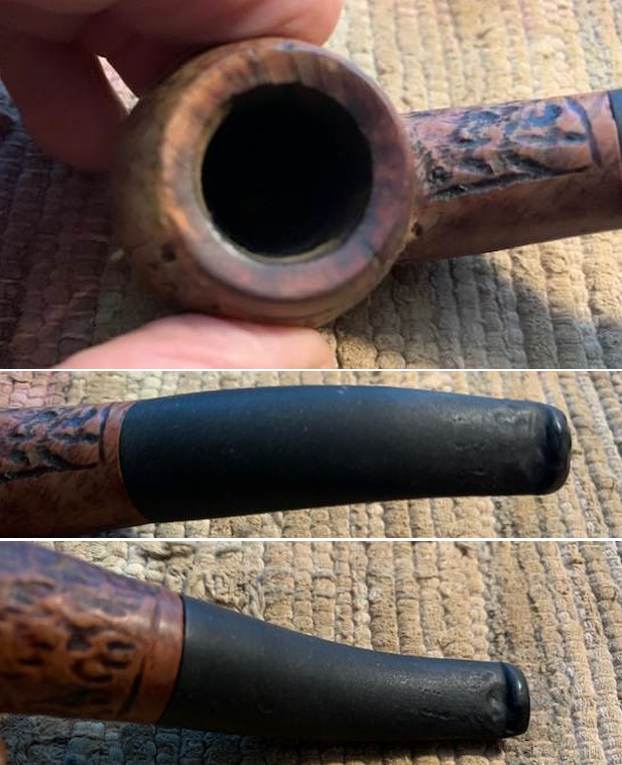 I took photos of the stamping on both sides of the shank. They are clear and readable as noted above.
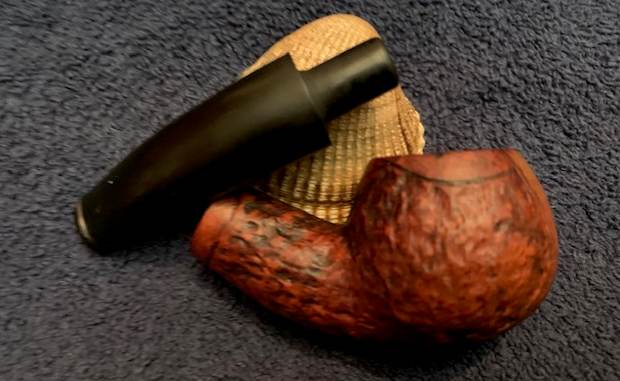
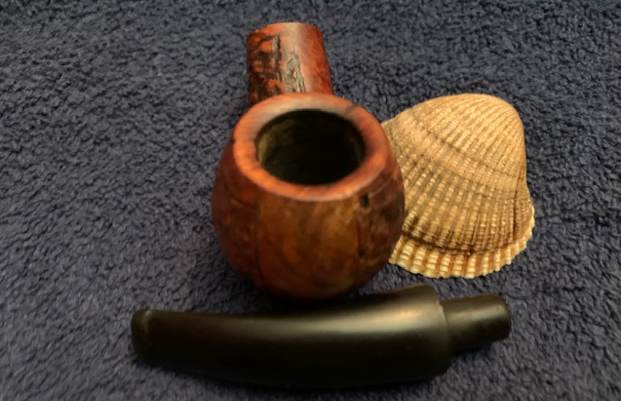
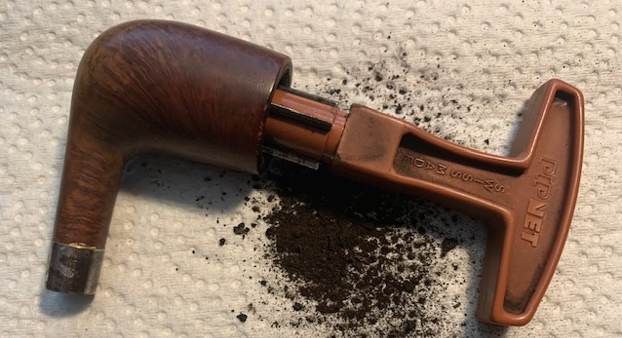
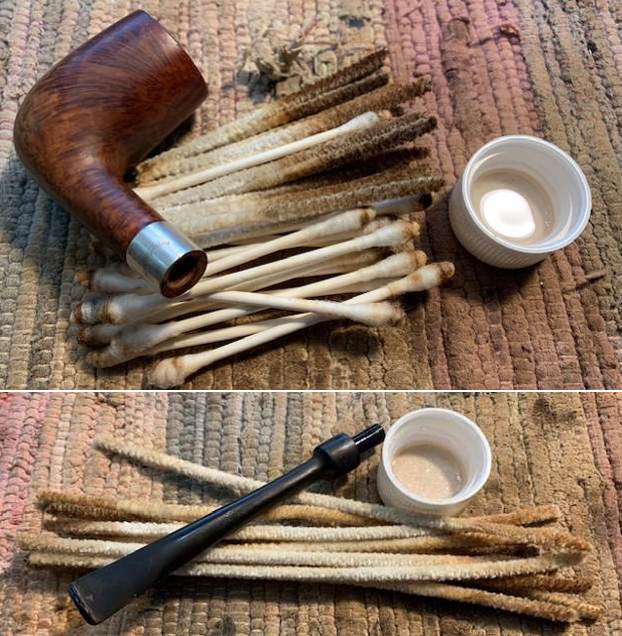
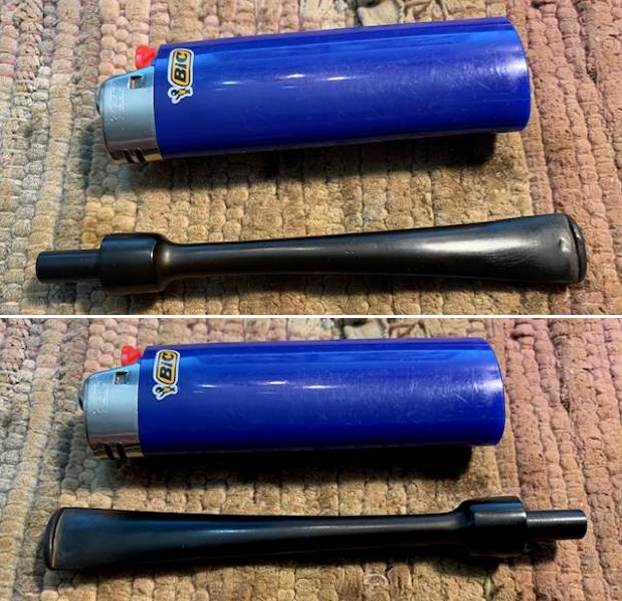
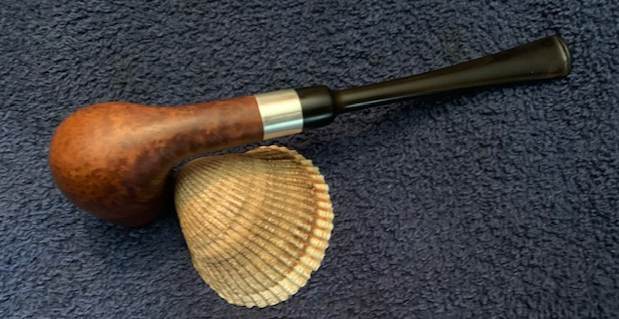
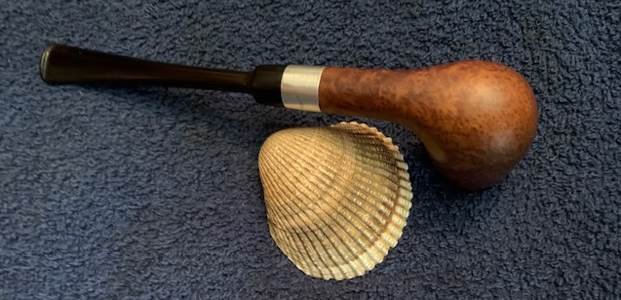
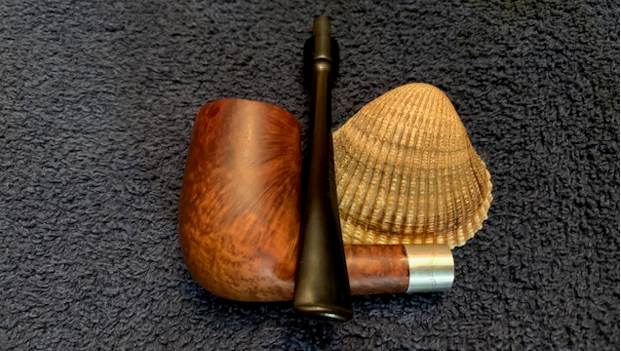
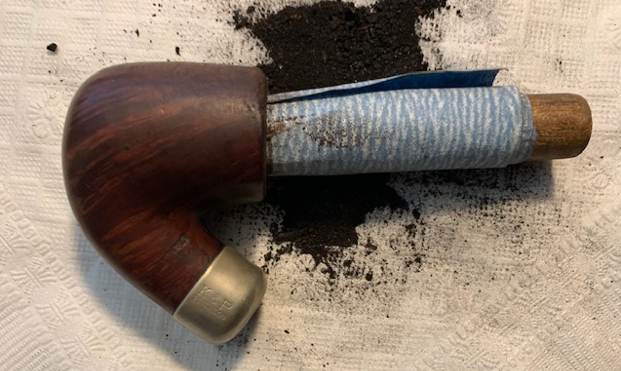
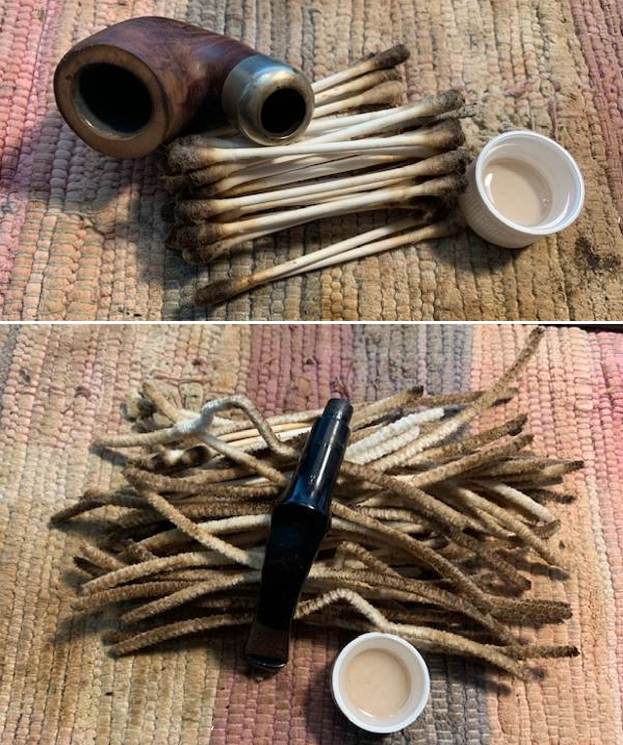
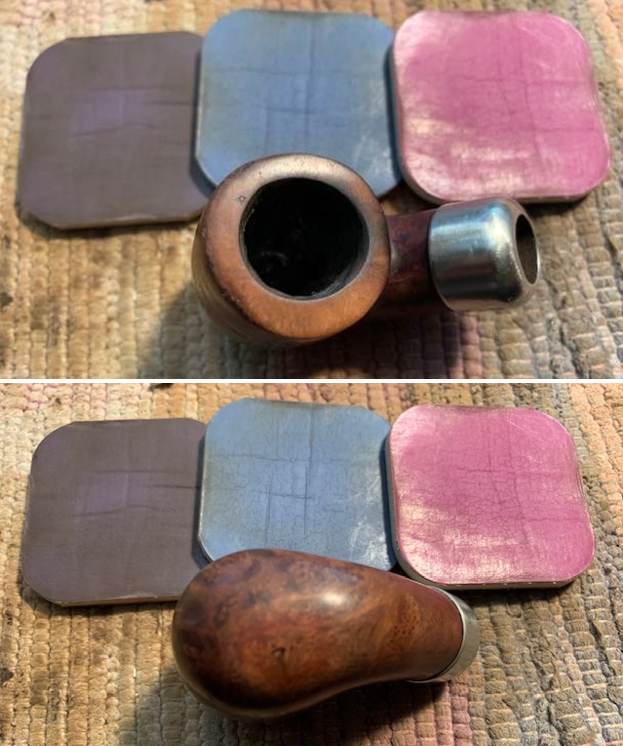
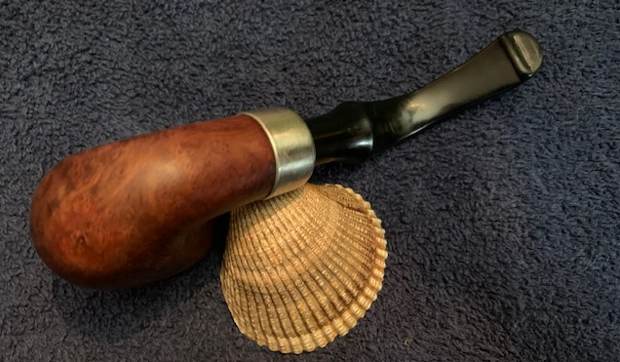
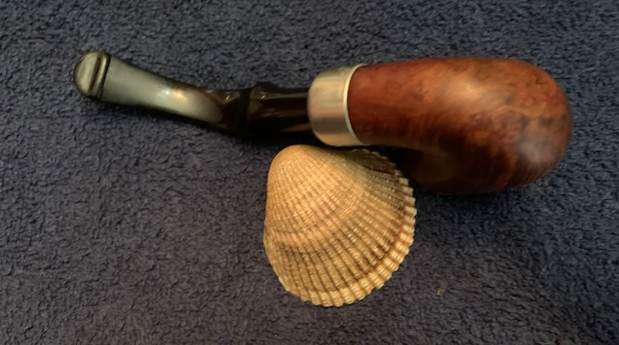
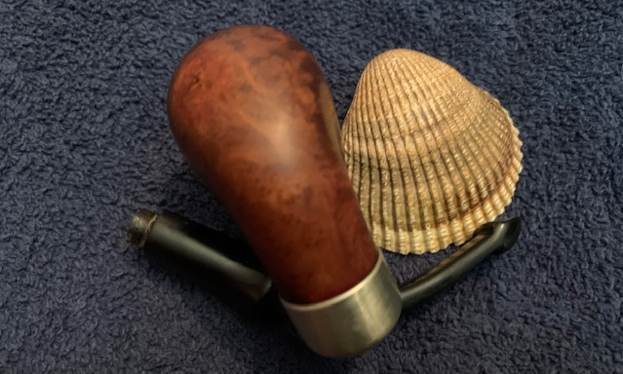
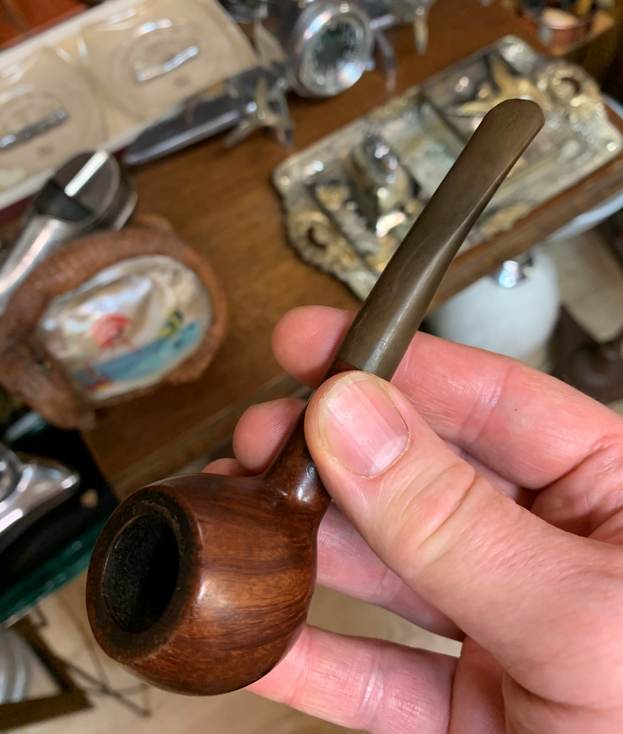
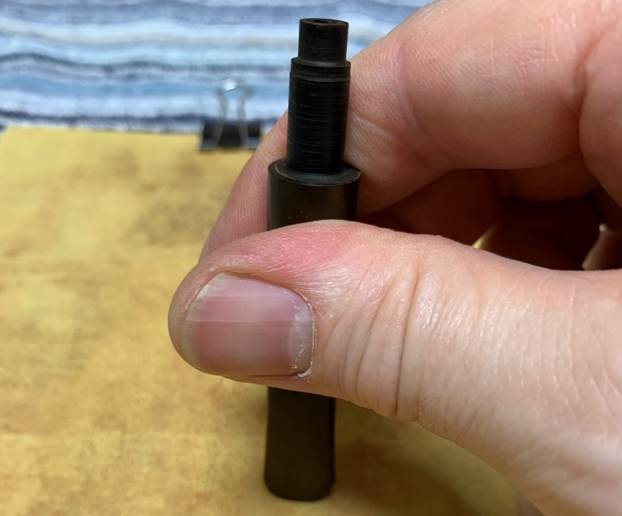
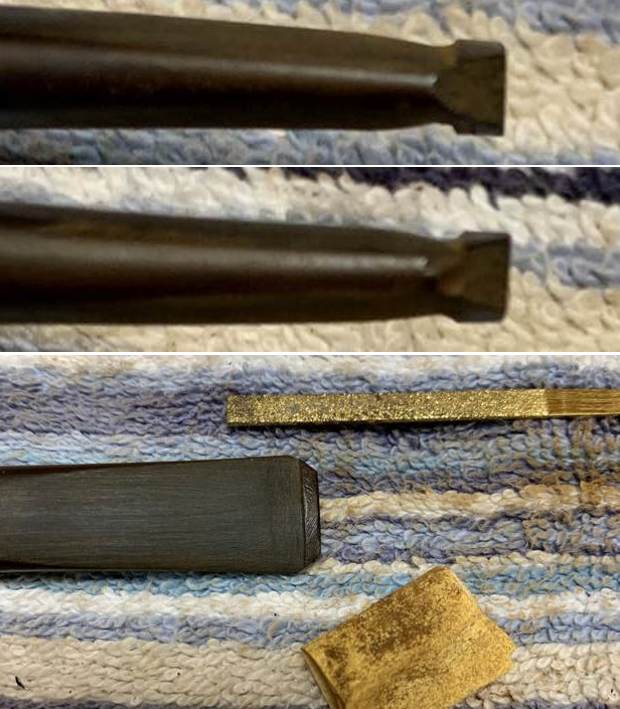
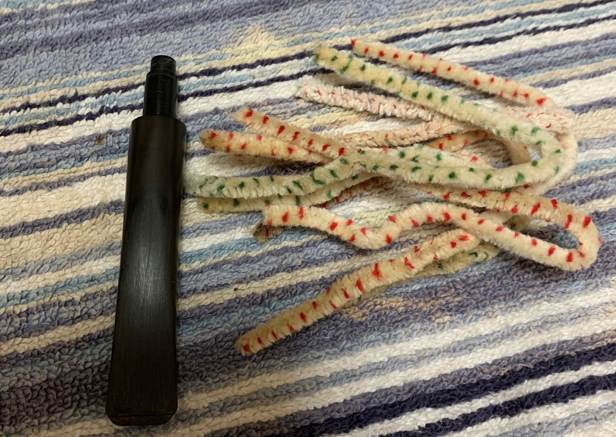
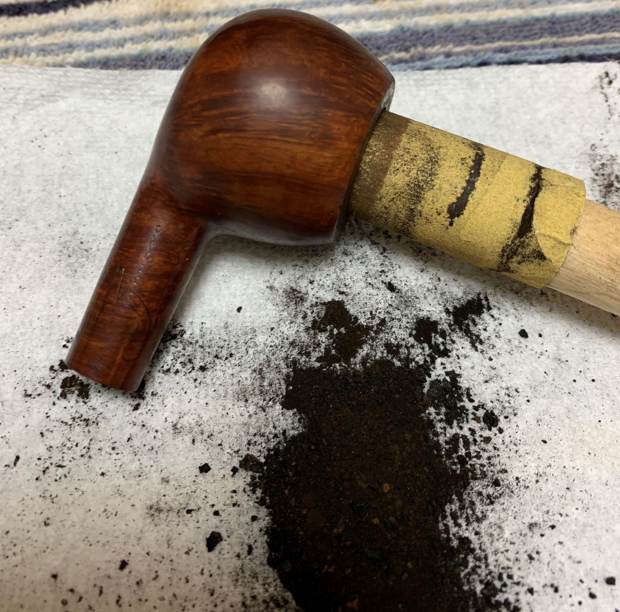
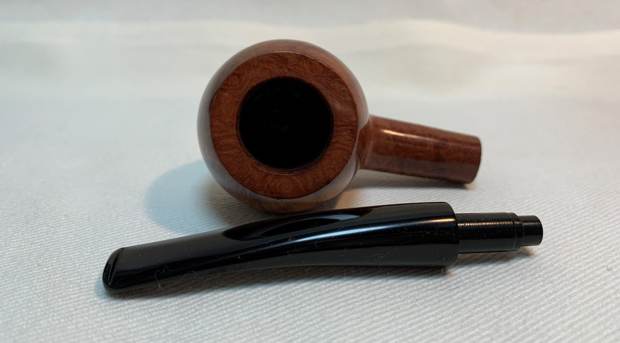
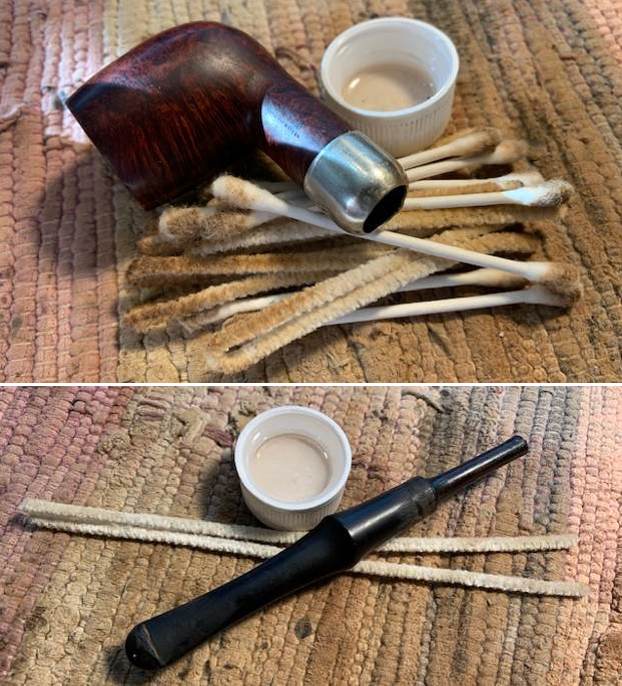
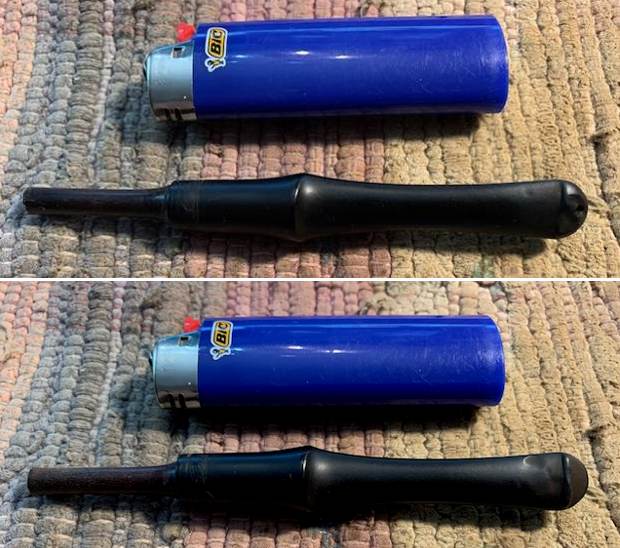
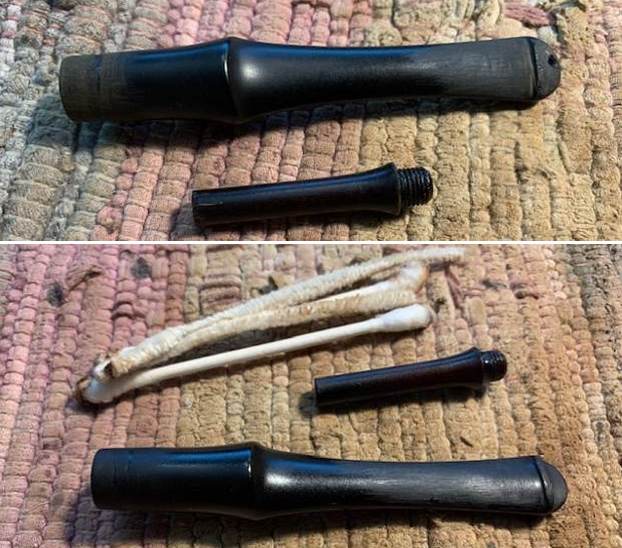
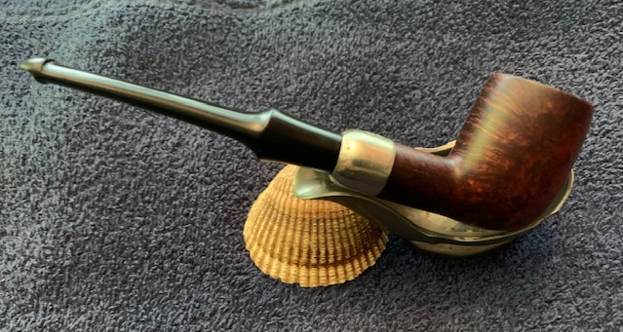
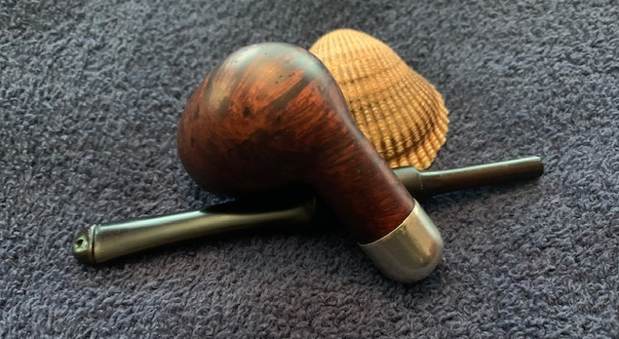
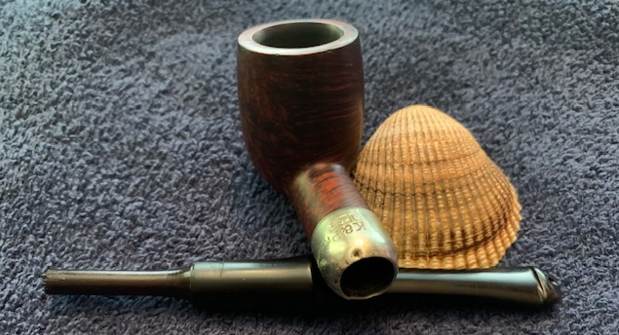
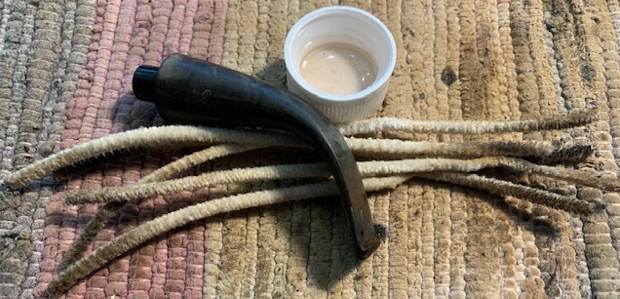
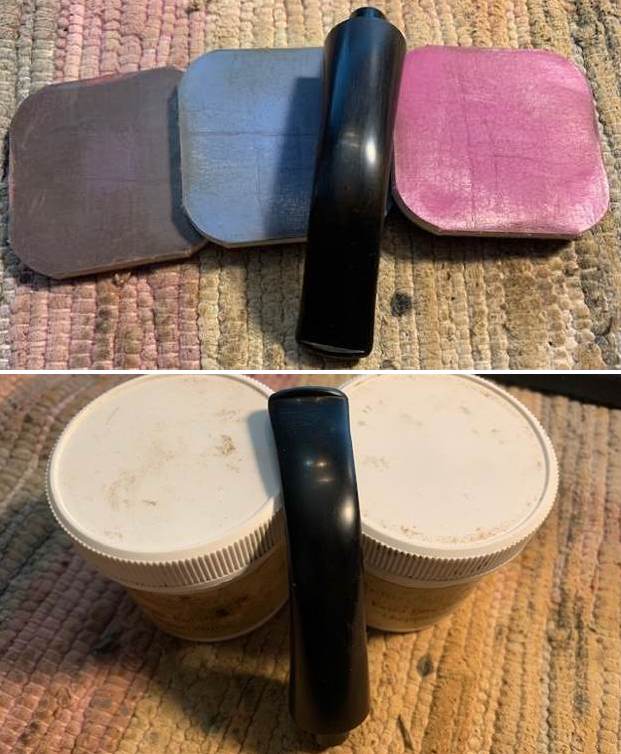
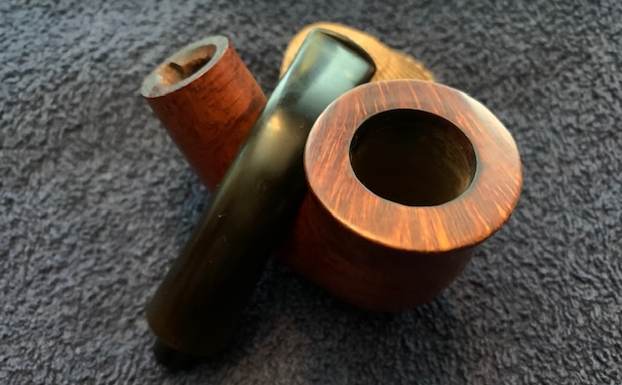
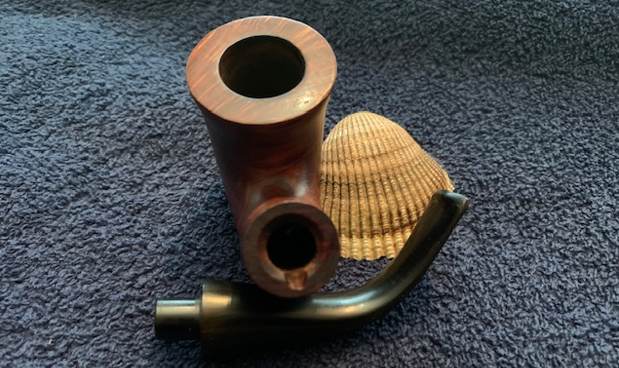
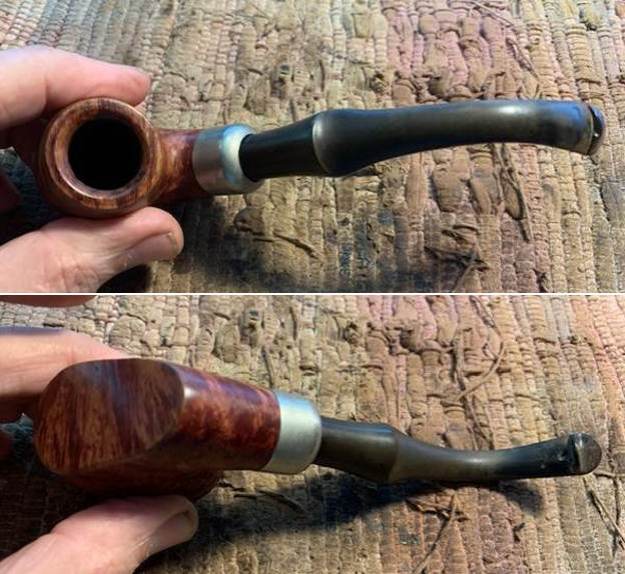
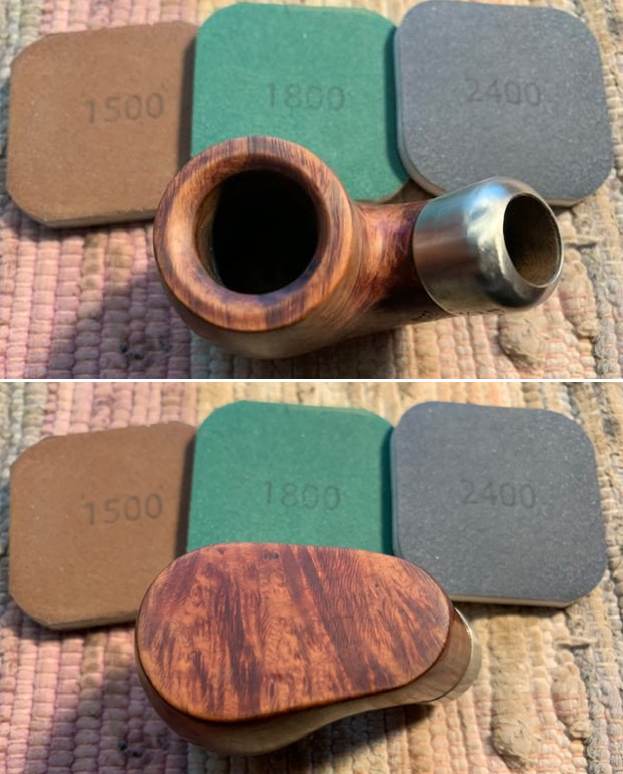
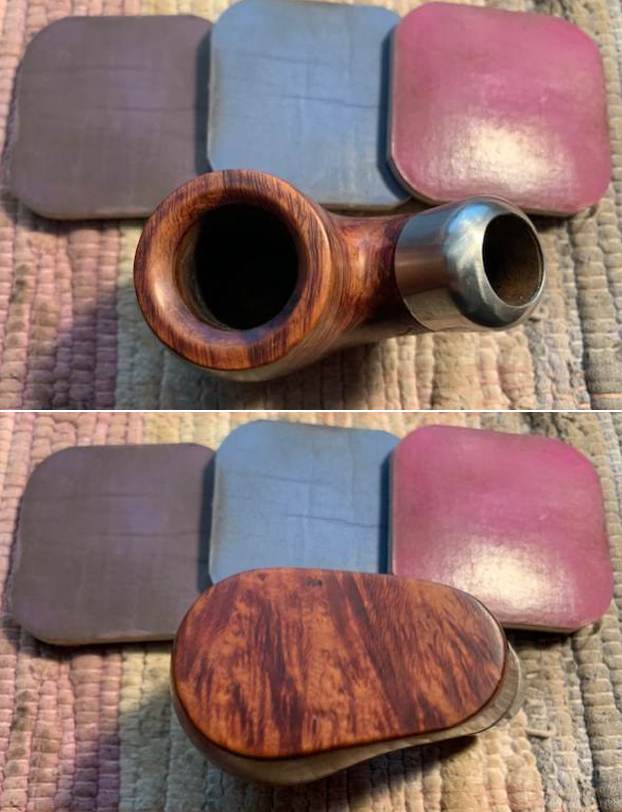
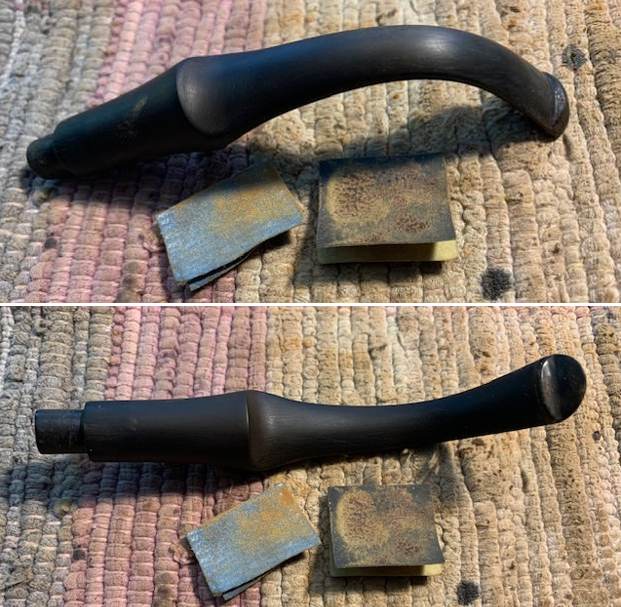
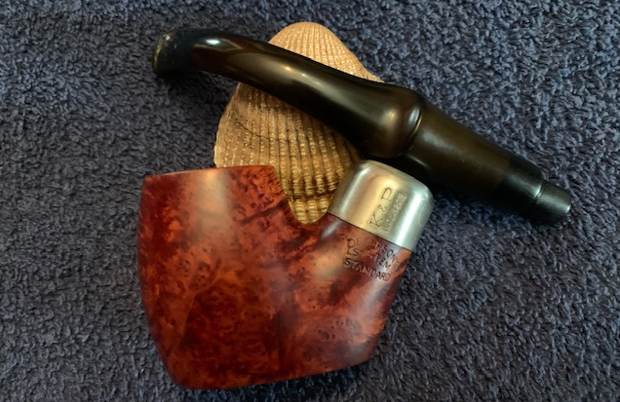
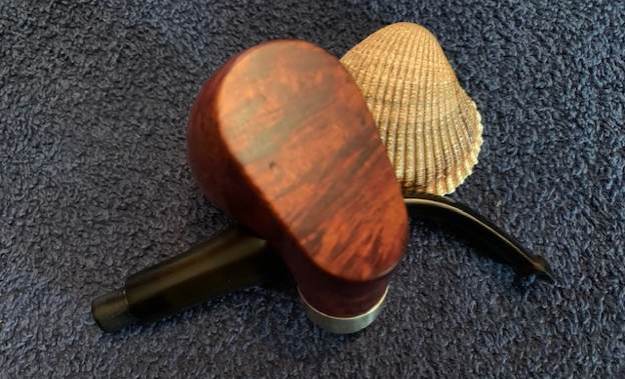
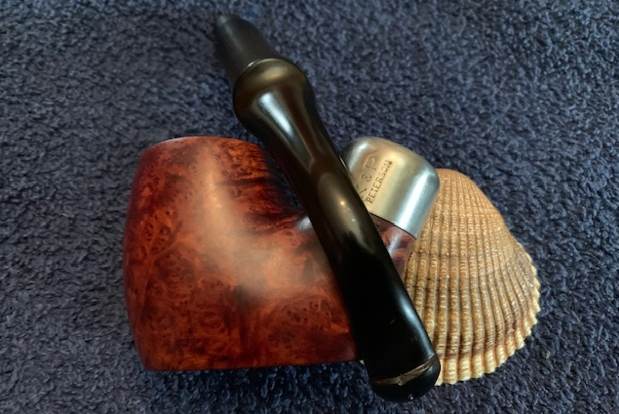
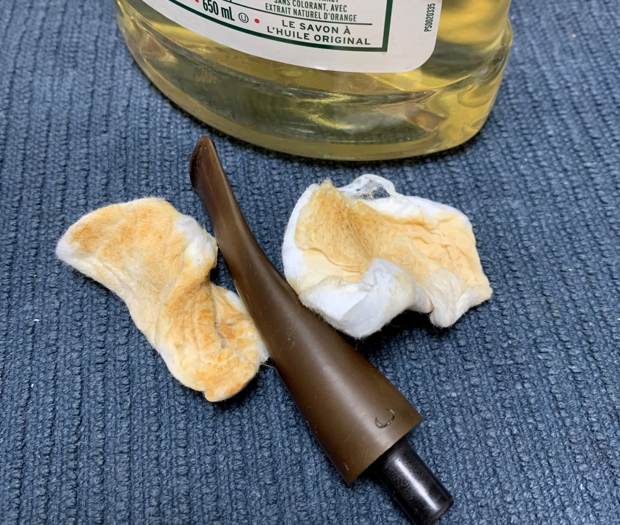
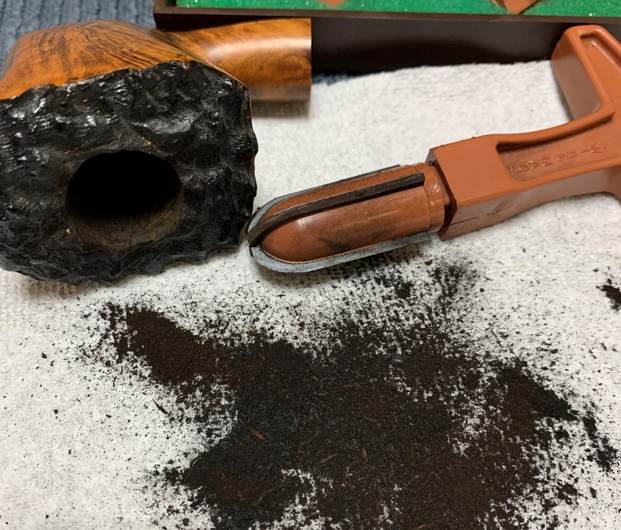
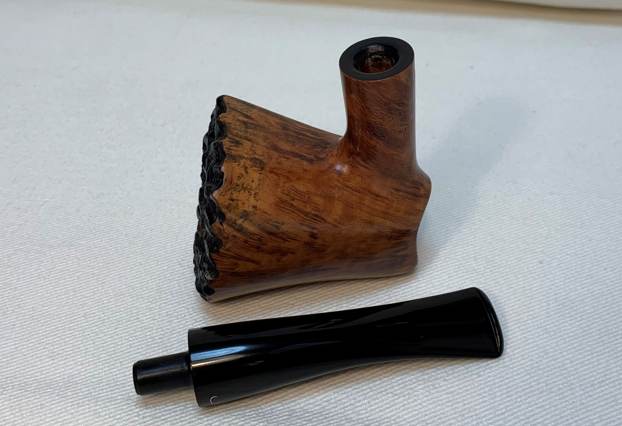
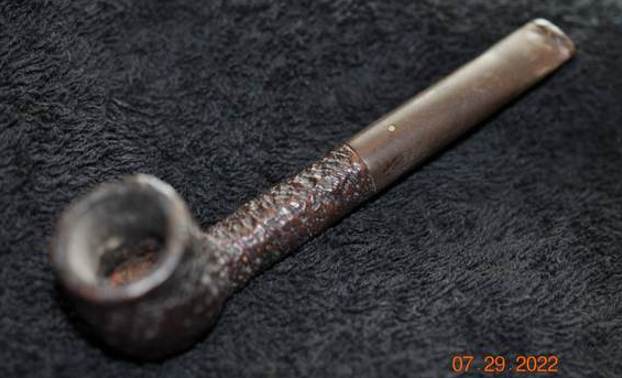
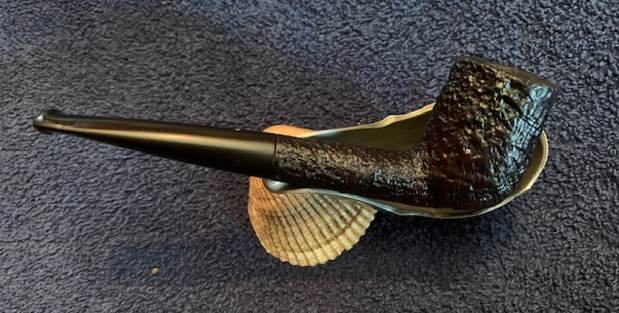
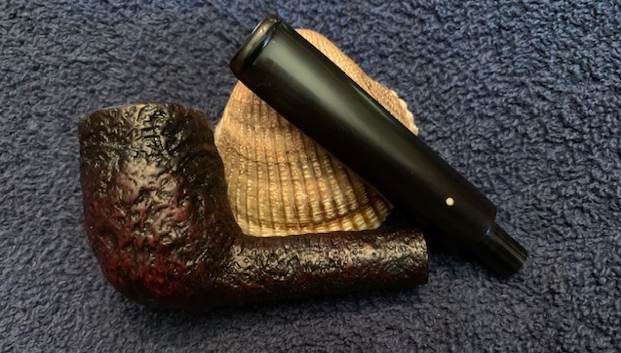
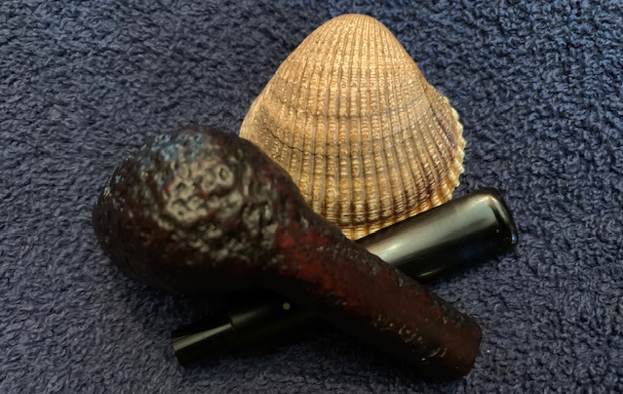
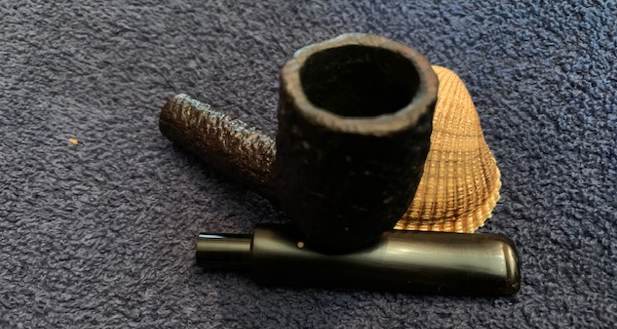
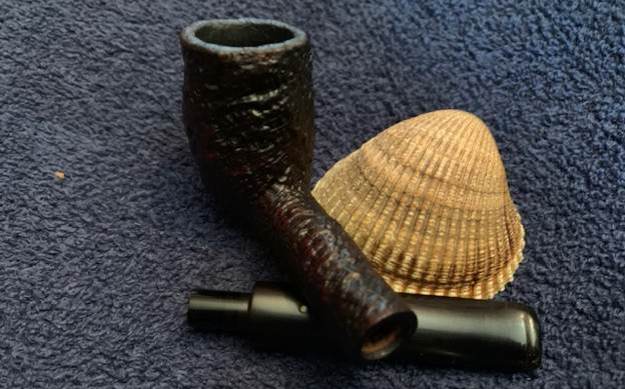
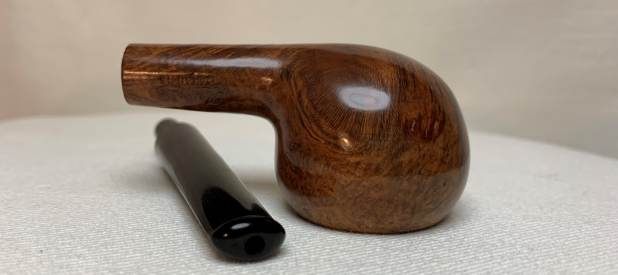
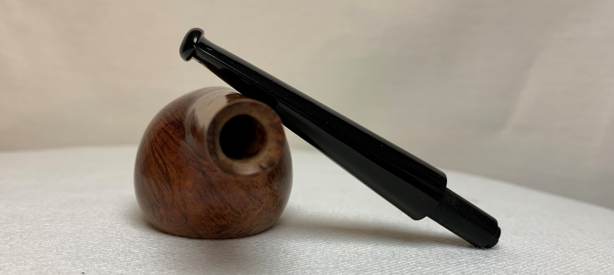
  I took the pipe apart and took a photo of the parts to show the proportions of the pipe. It is a beauty.
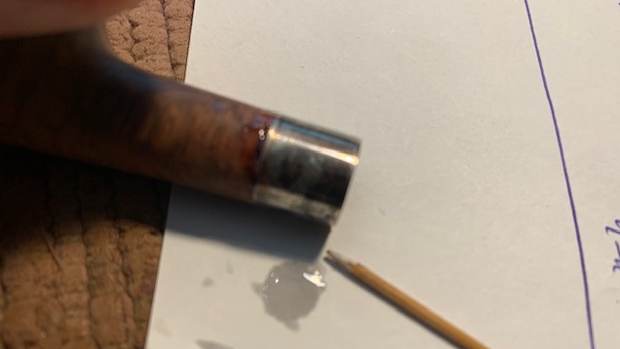
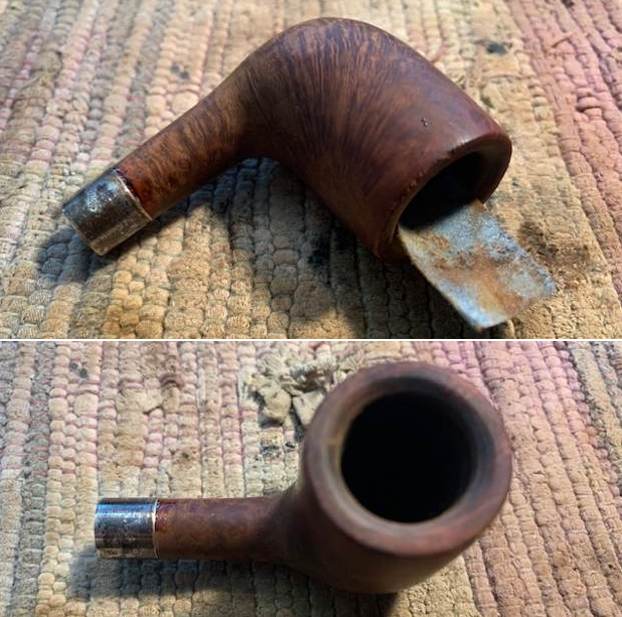
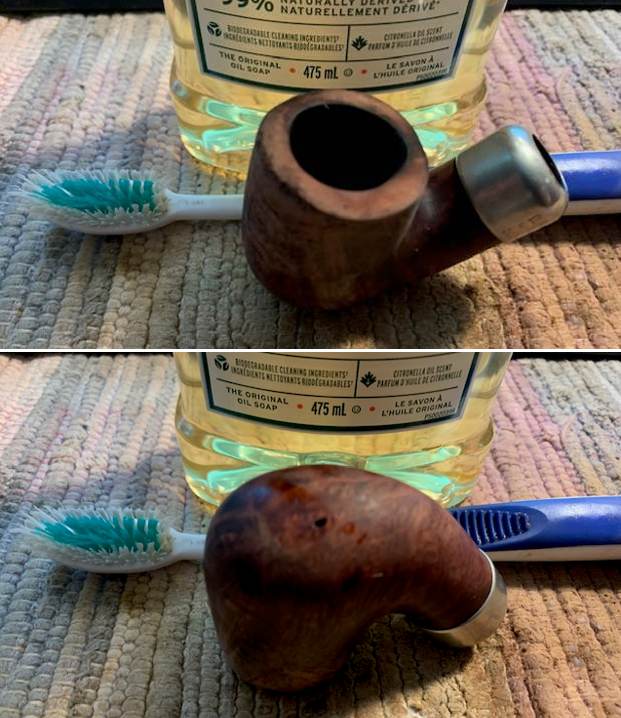
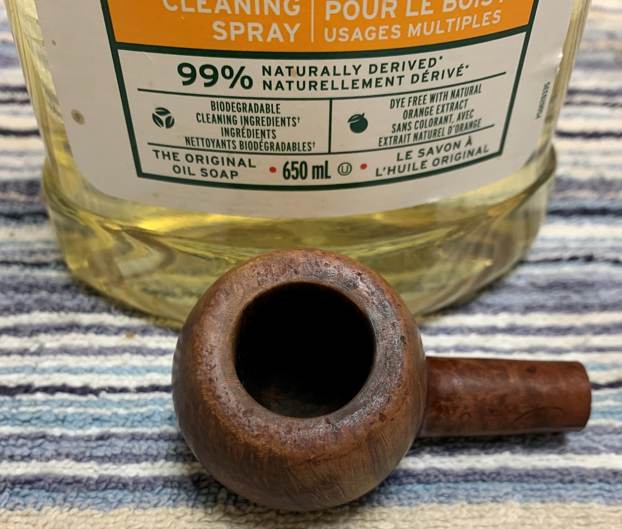
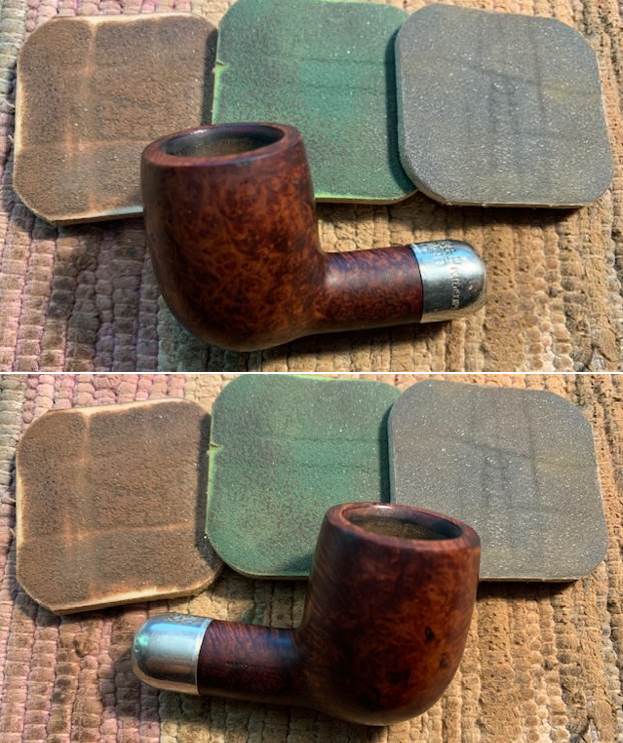
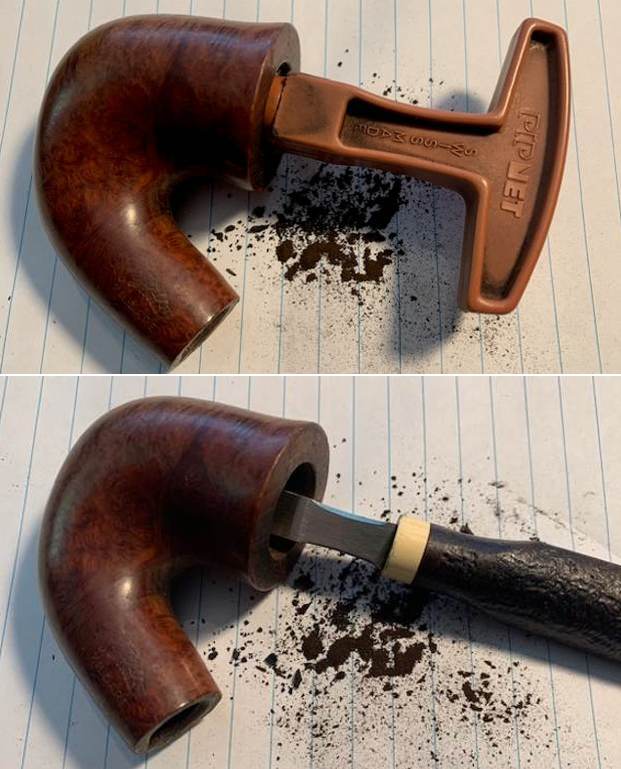
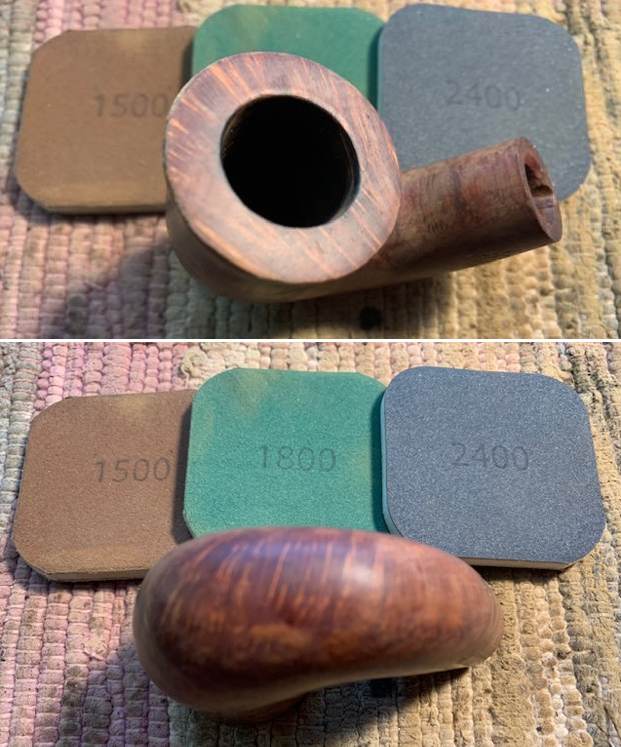
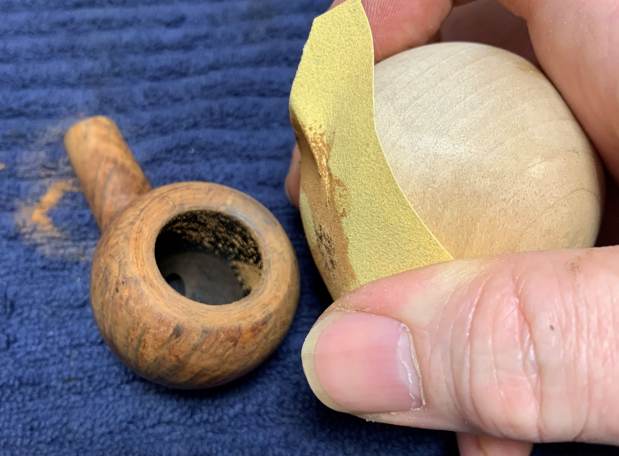
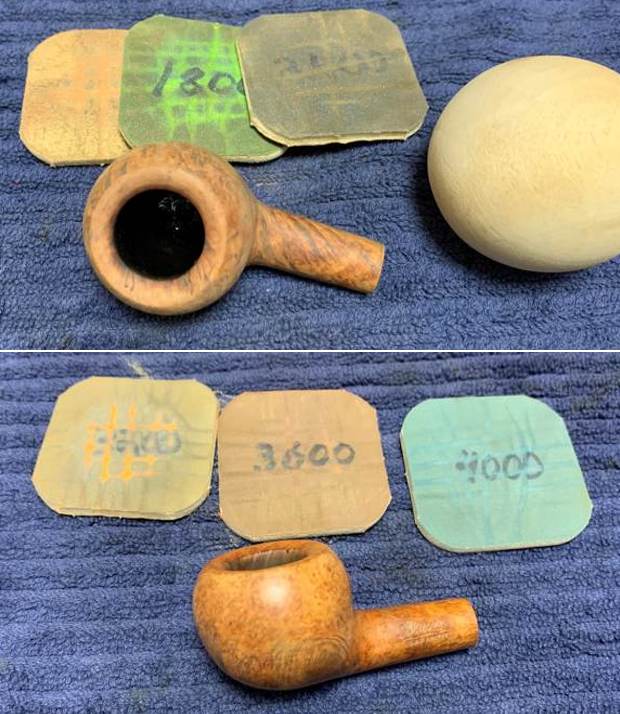
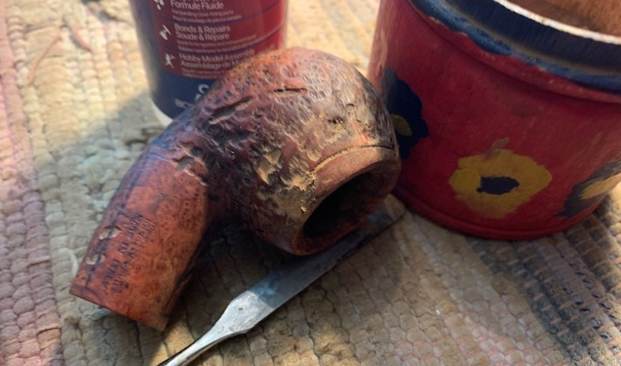
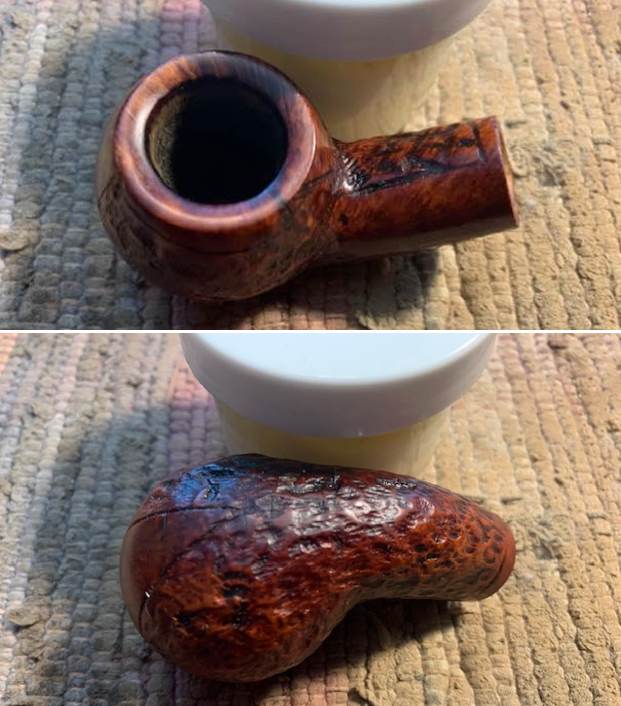
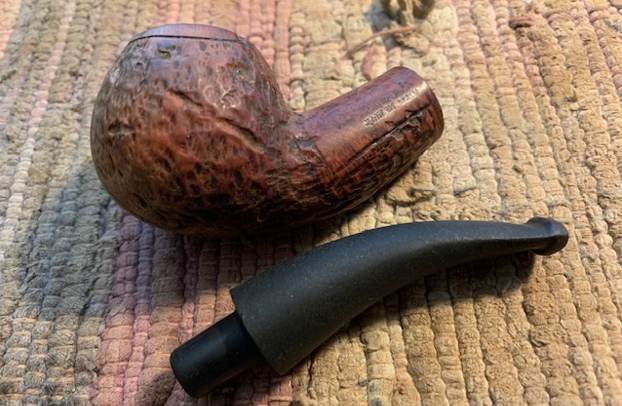 I worked on the rim top and beveled inner edges of the rim with a folded piece of 220 grit sandpaper. I also smoothed the top of the rim to remove the rest of the darkening. It looked much better than when I started. I filled in a deep chipped area on the back left side of the outer rim with CA glue and briar dust. I smoothed out the repair with a brass bristle wire brush and smoothed out the repairs with 220 grit sandpaper.
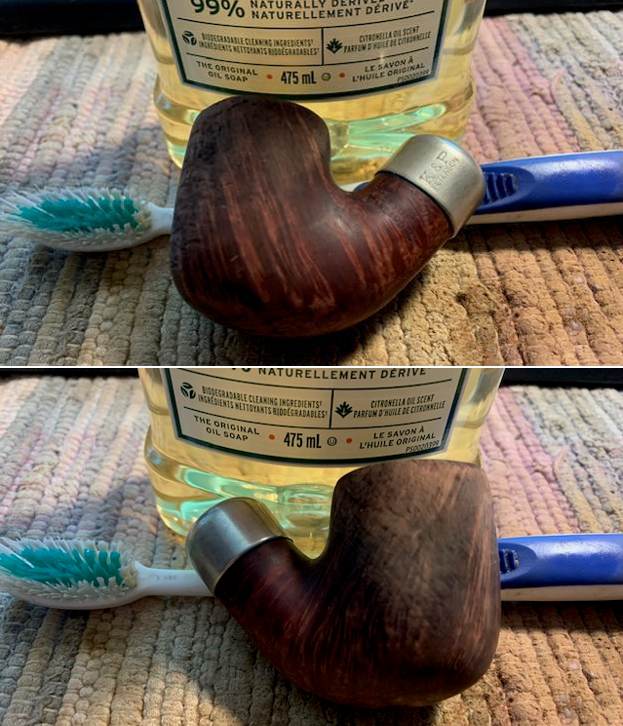
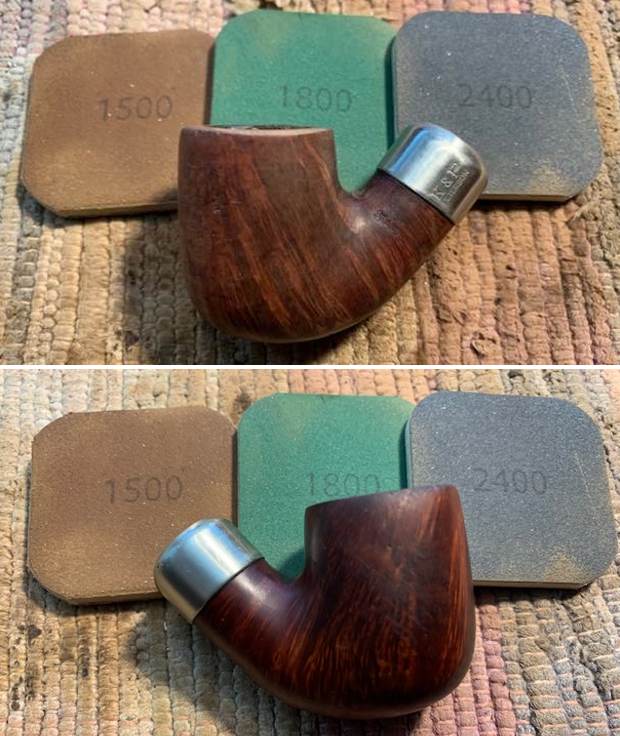
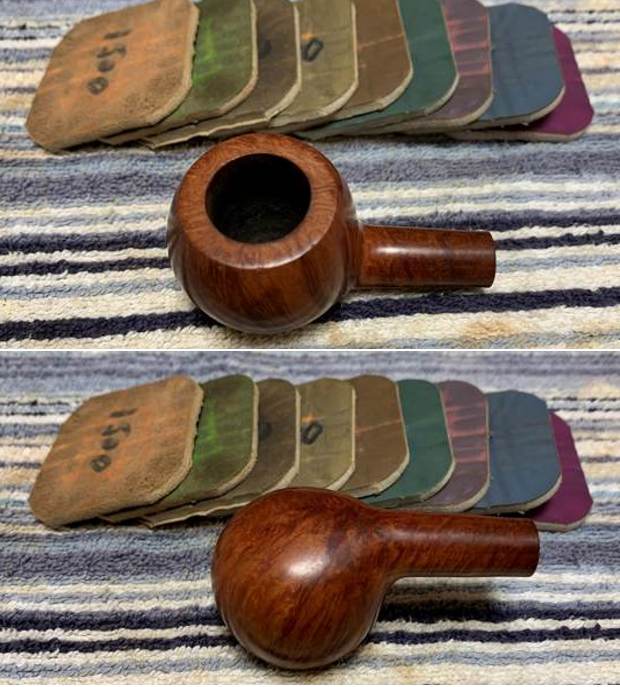
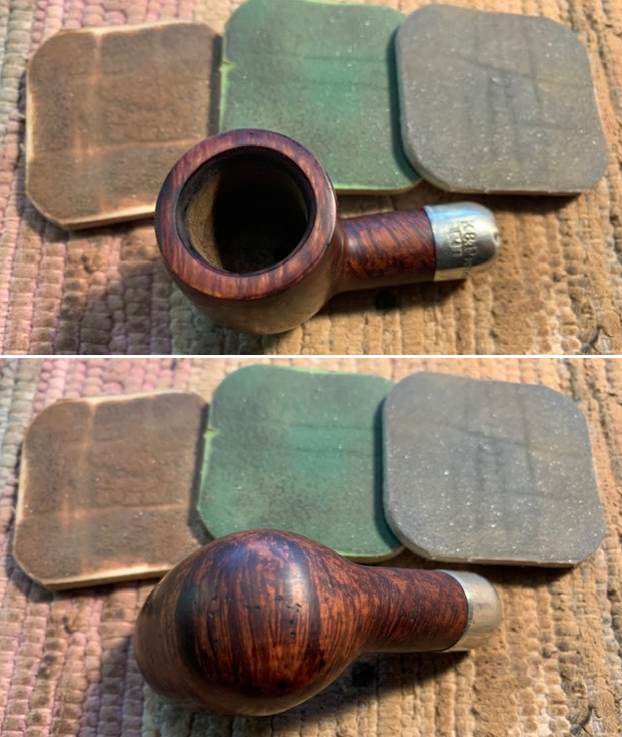
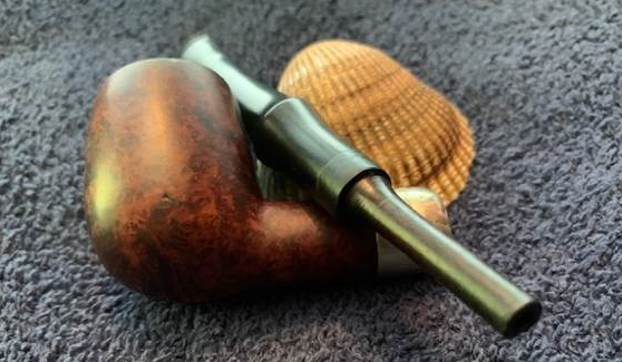
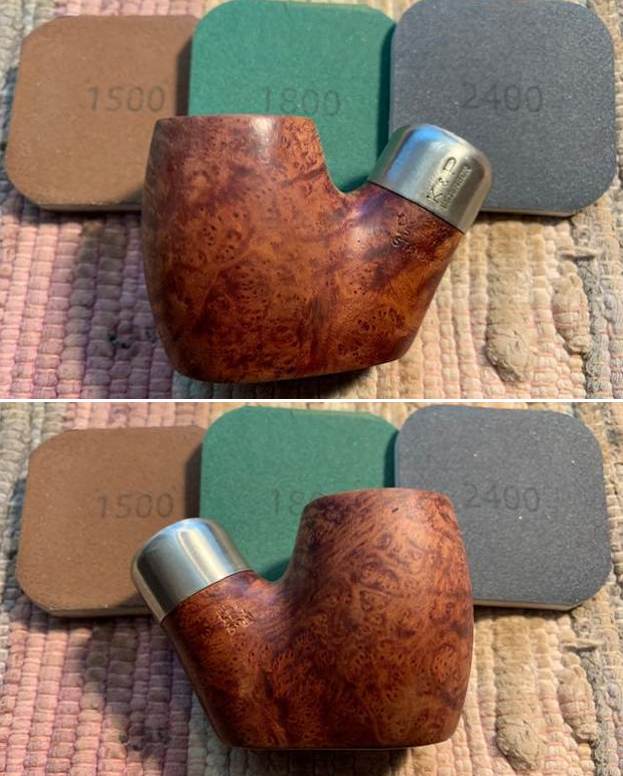
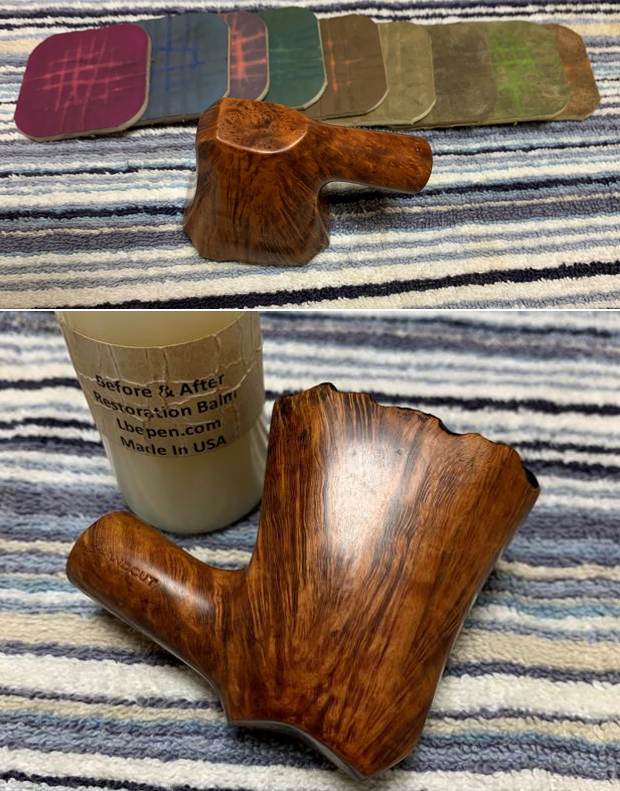
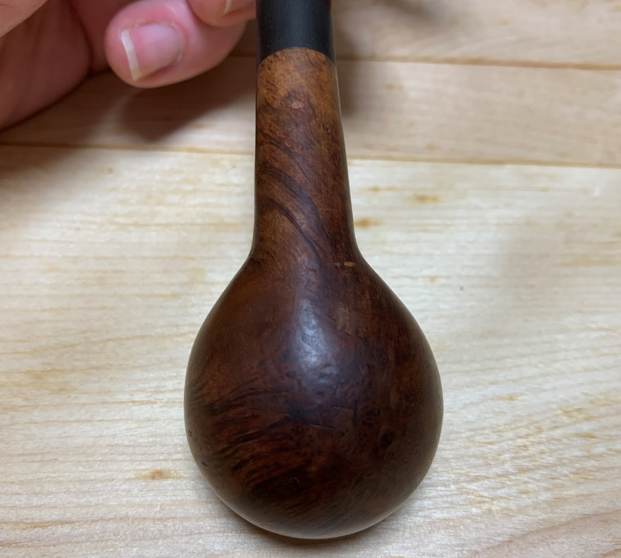
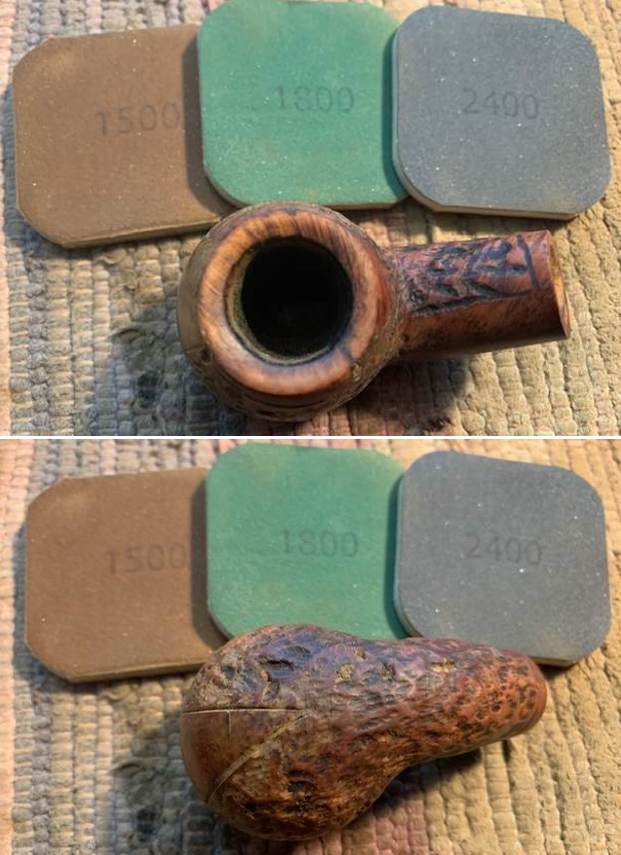
 I polished the briar with micromesh sanding pads – polishing it with 1500-12000 grit pads. By the time I was finished the briar had a great shine. The grain on the pipe is quite beautiful.
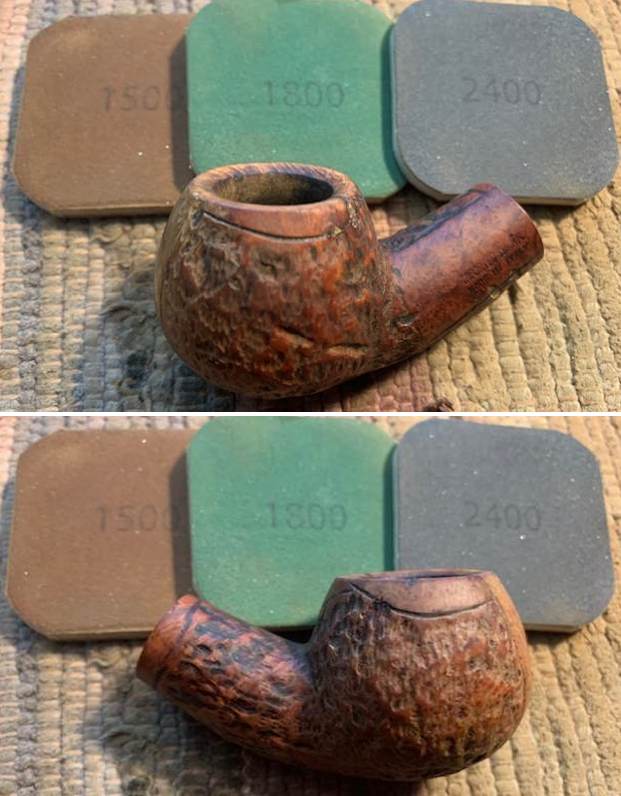
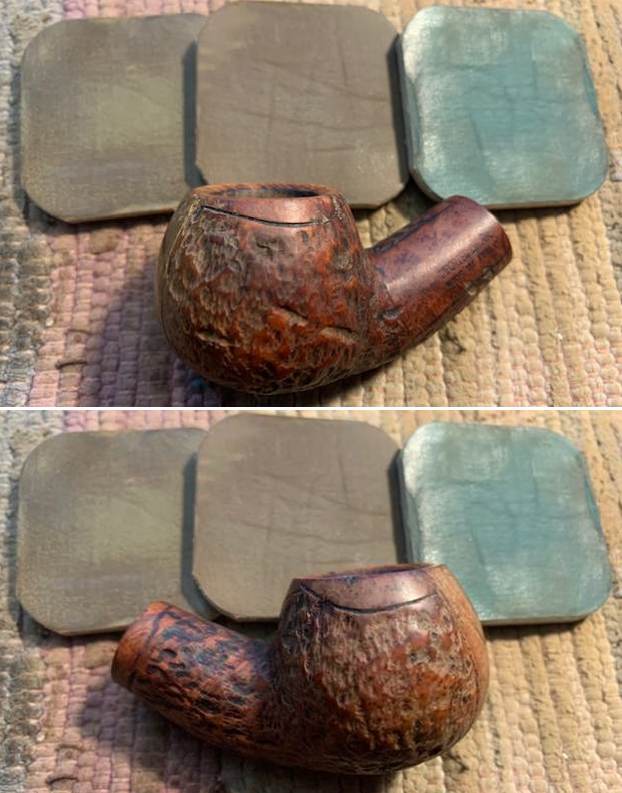
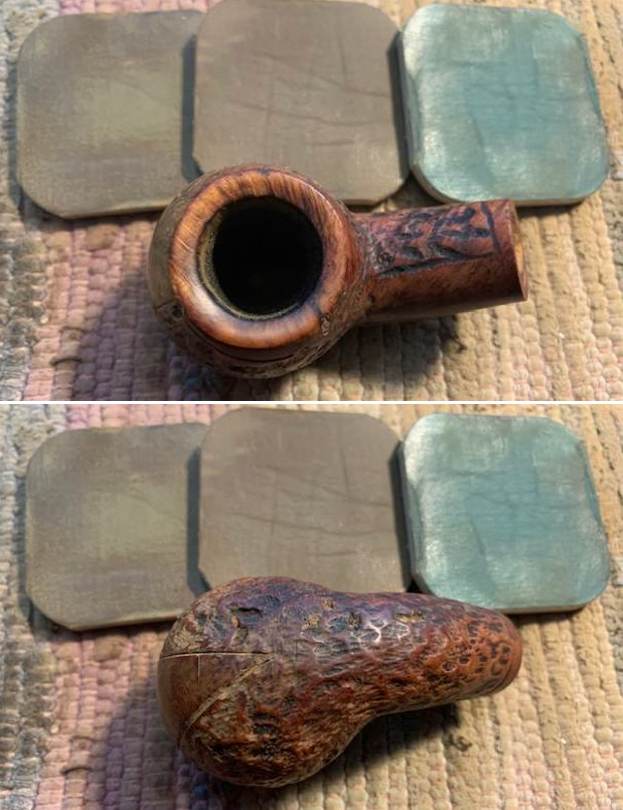

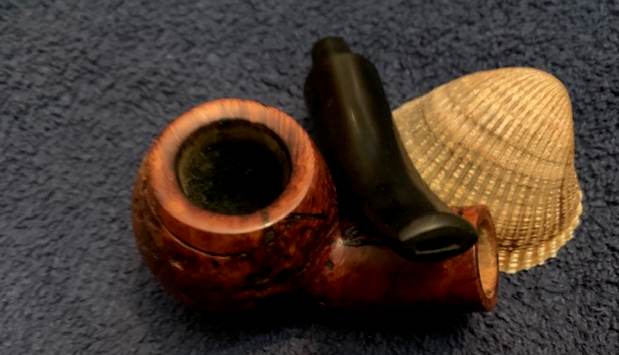
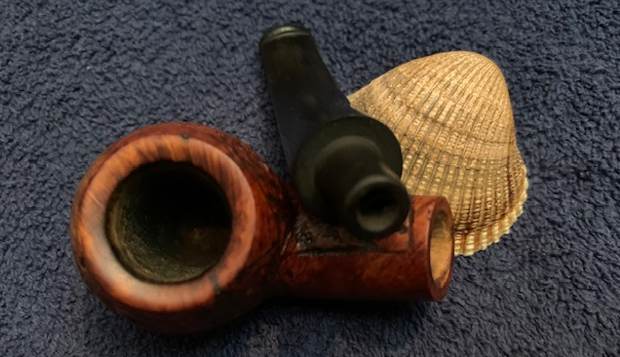
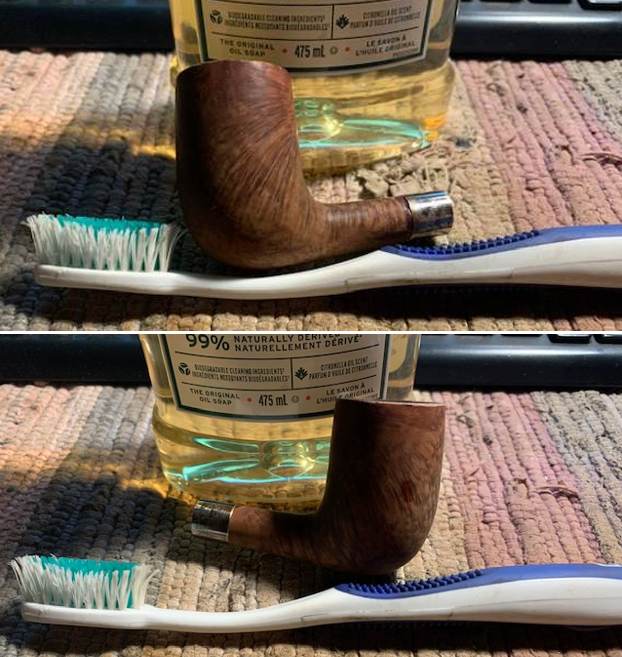
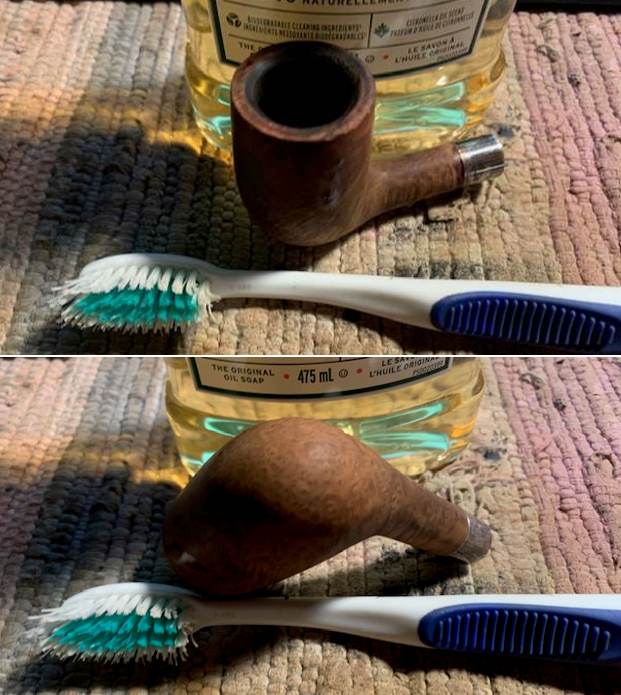
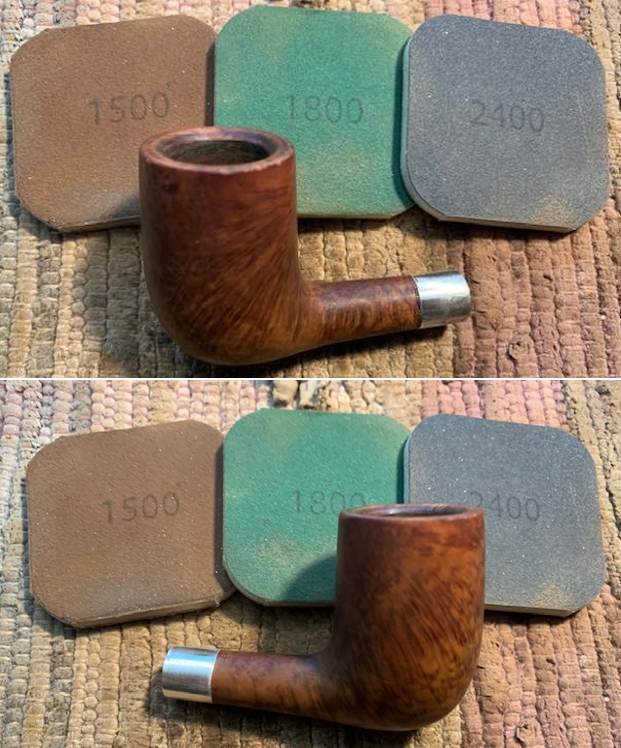
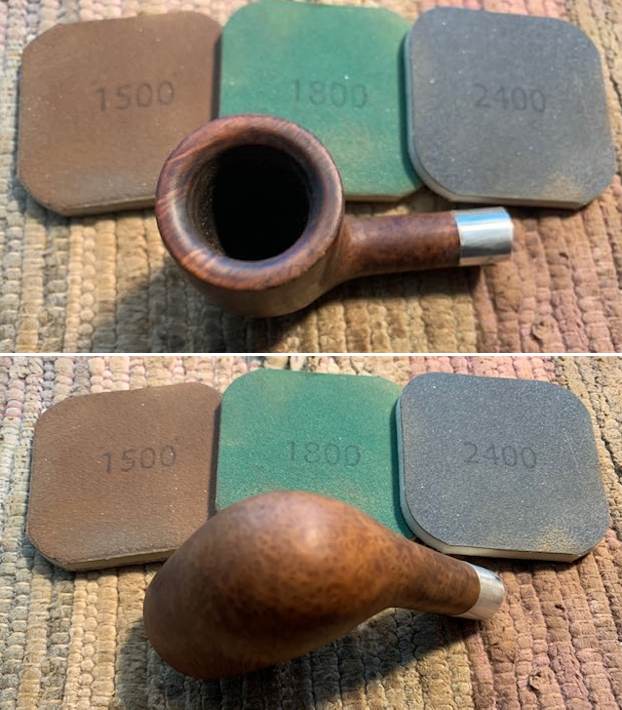
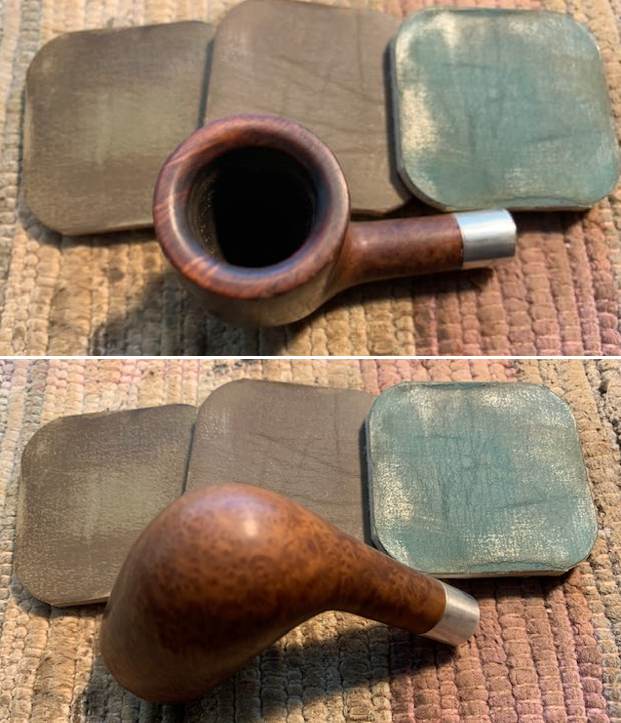
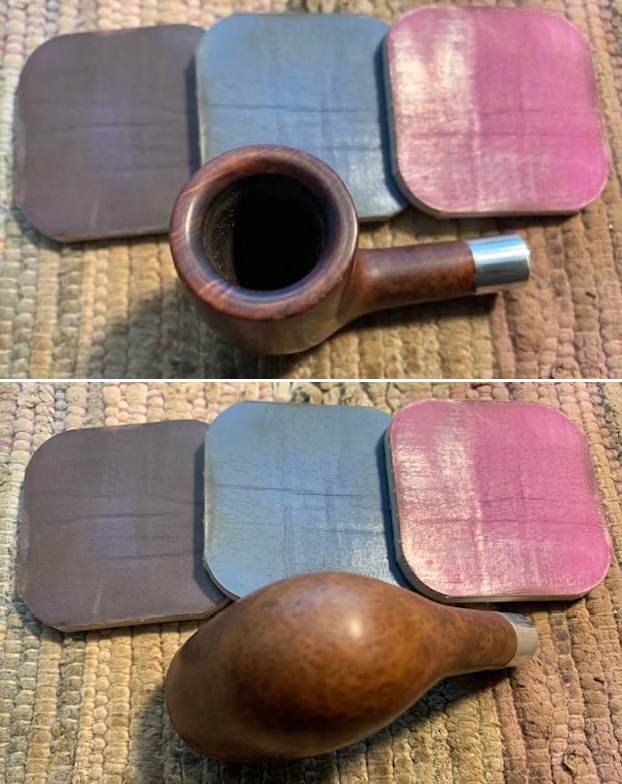
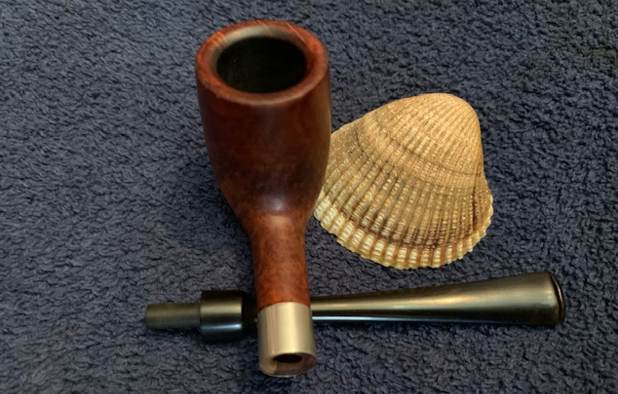
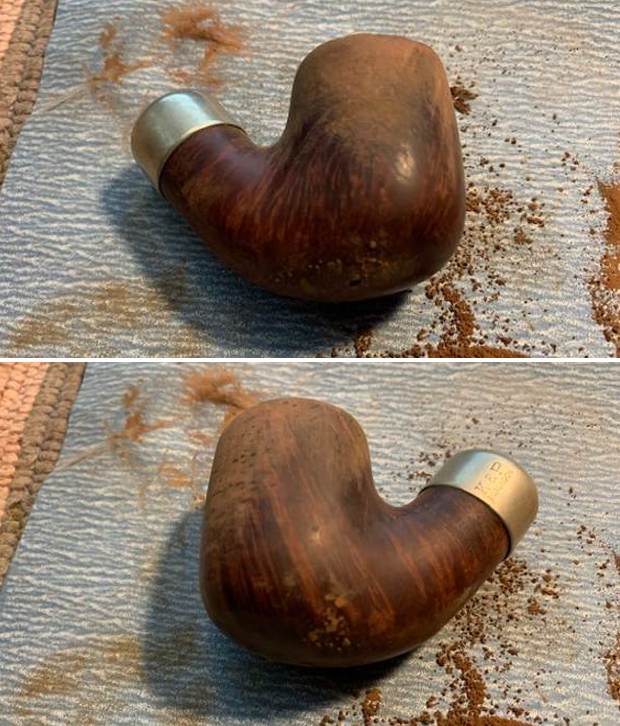
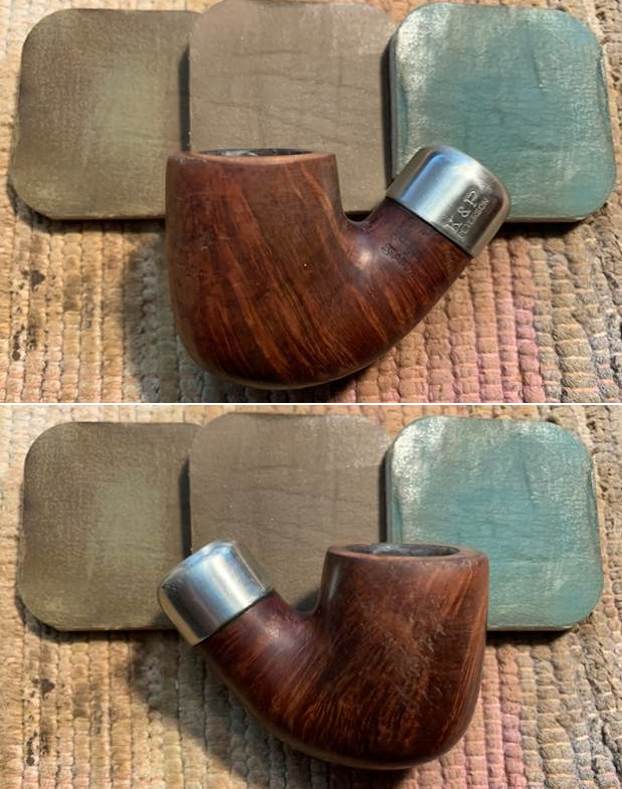
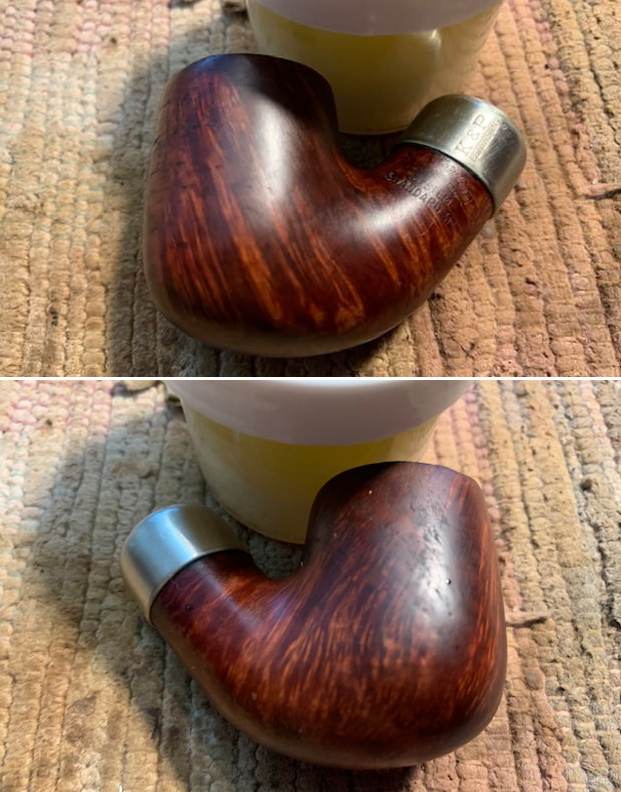
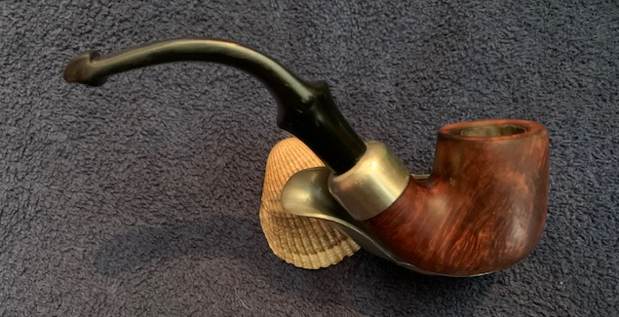
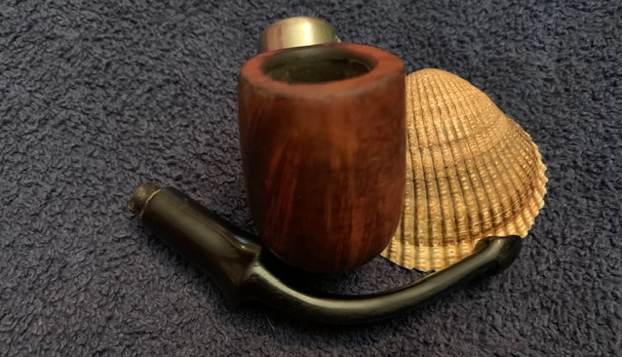
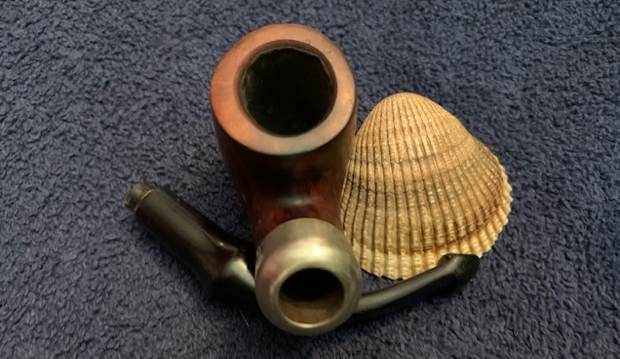
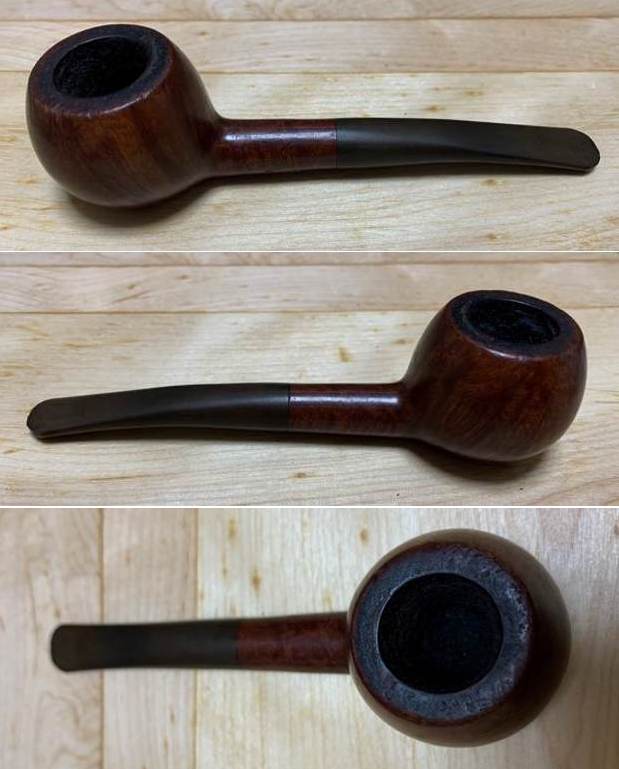
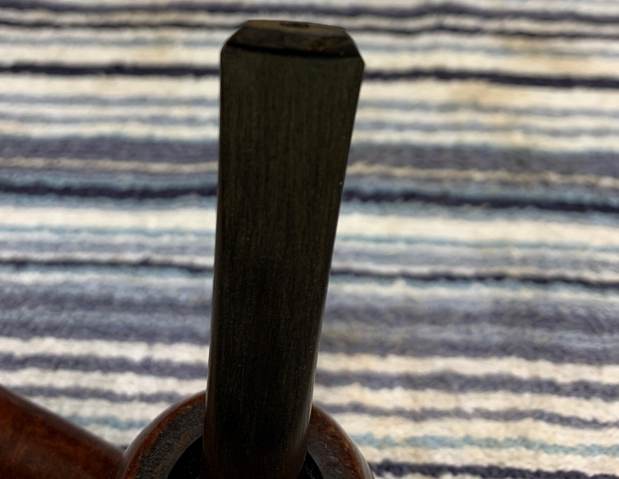
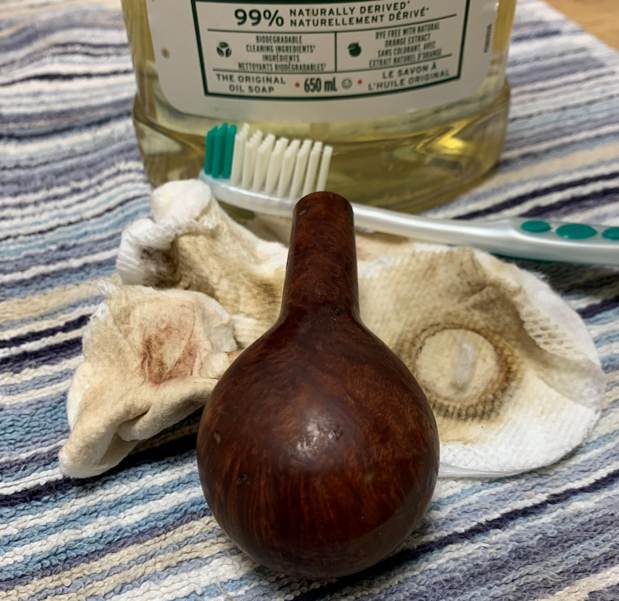
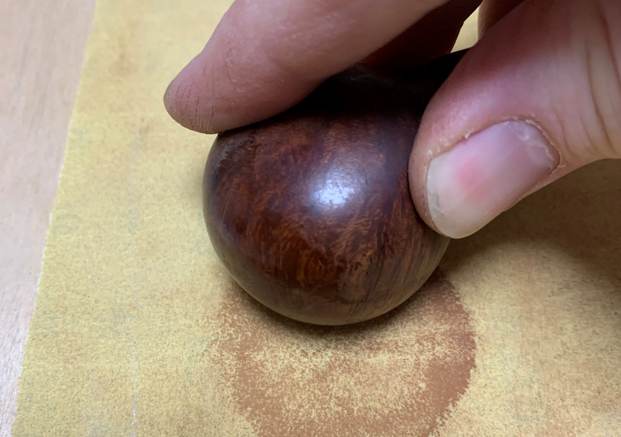
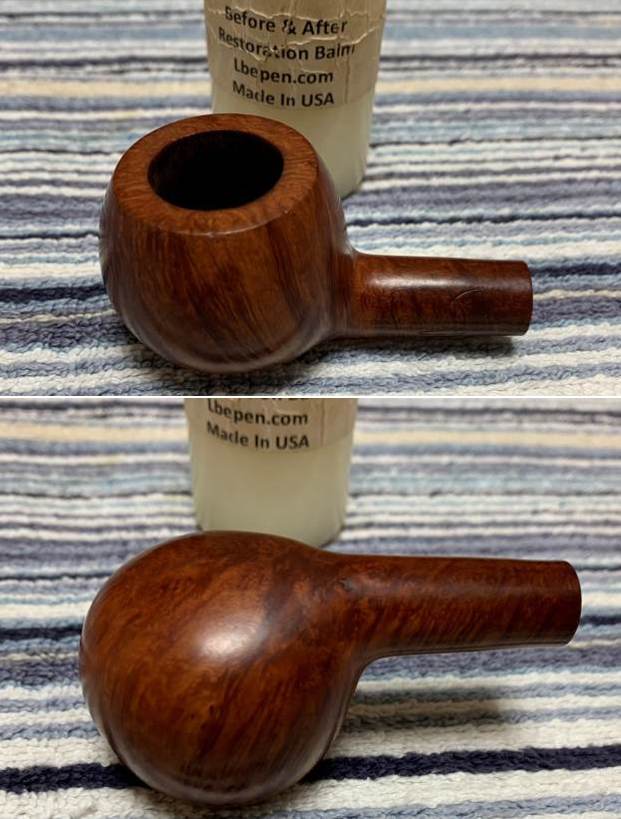
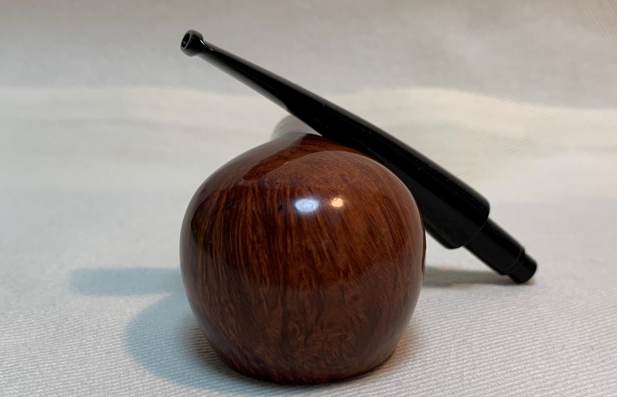
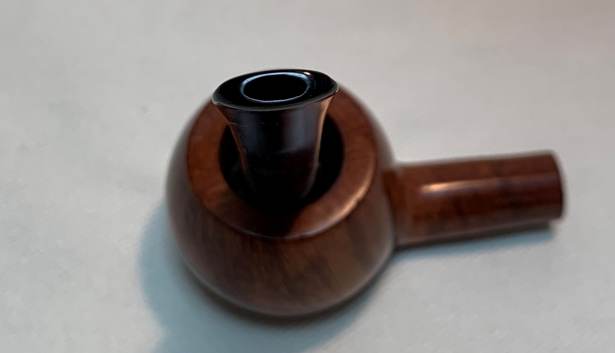
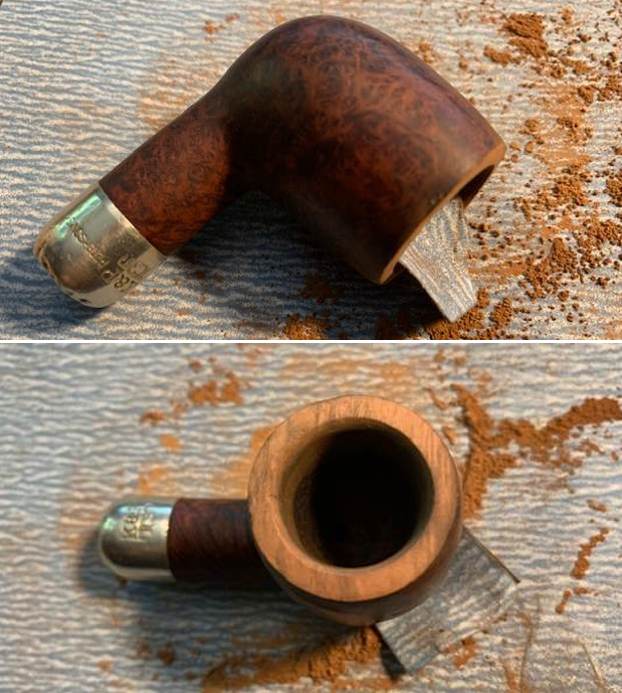
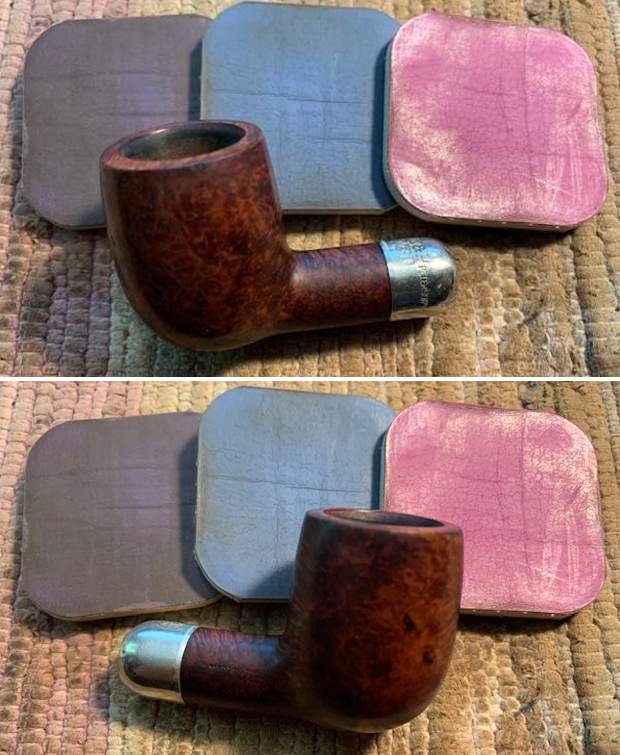
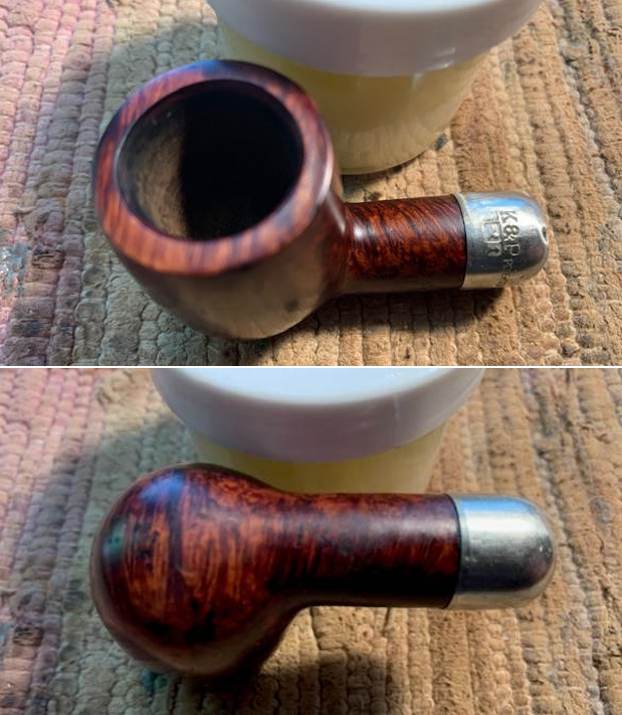
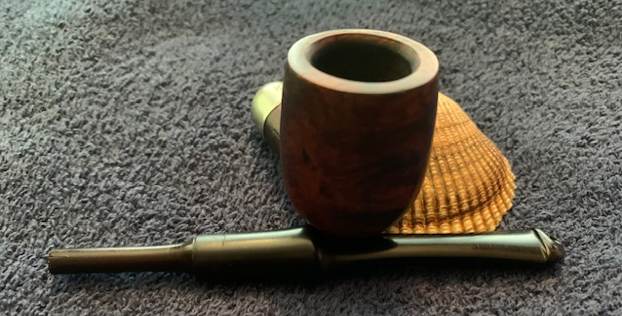
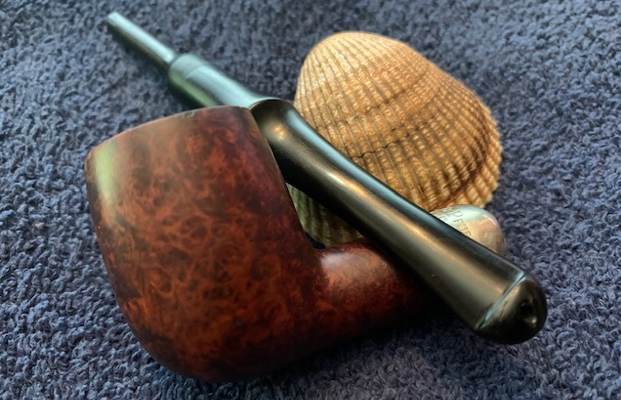
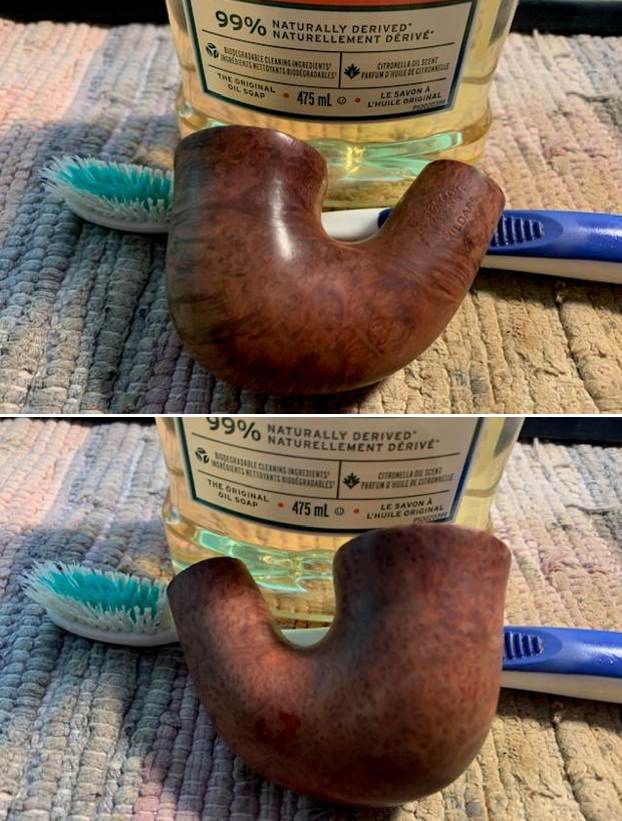
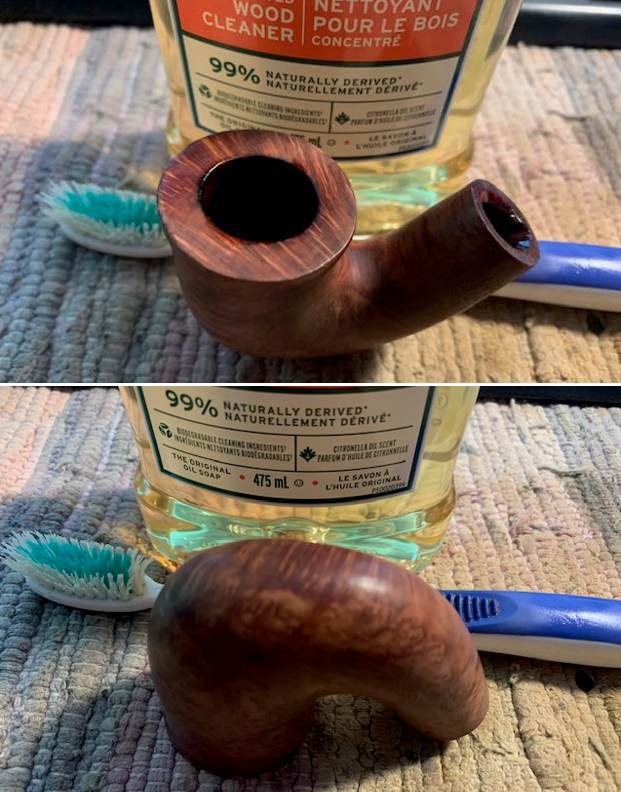
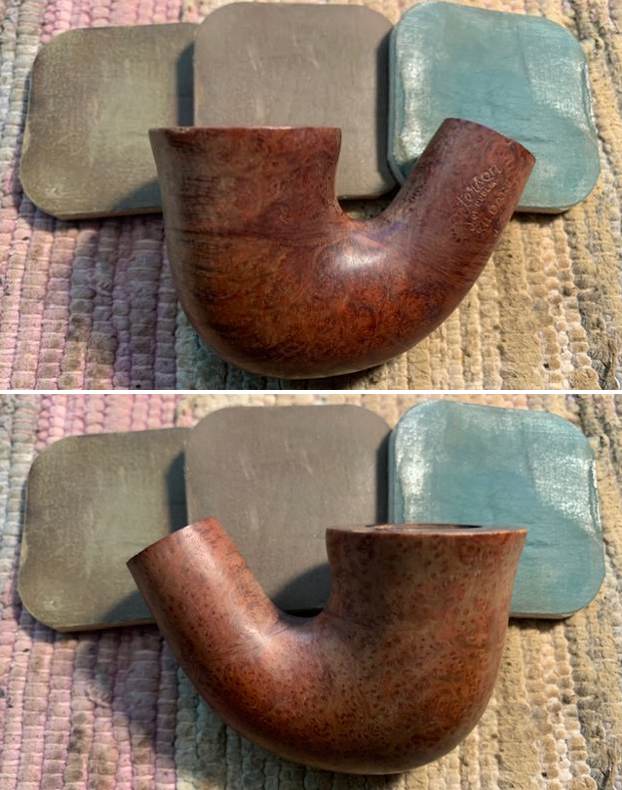
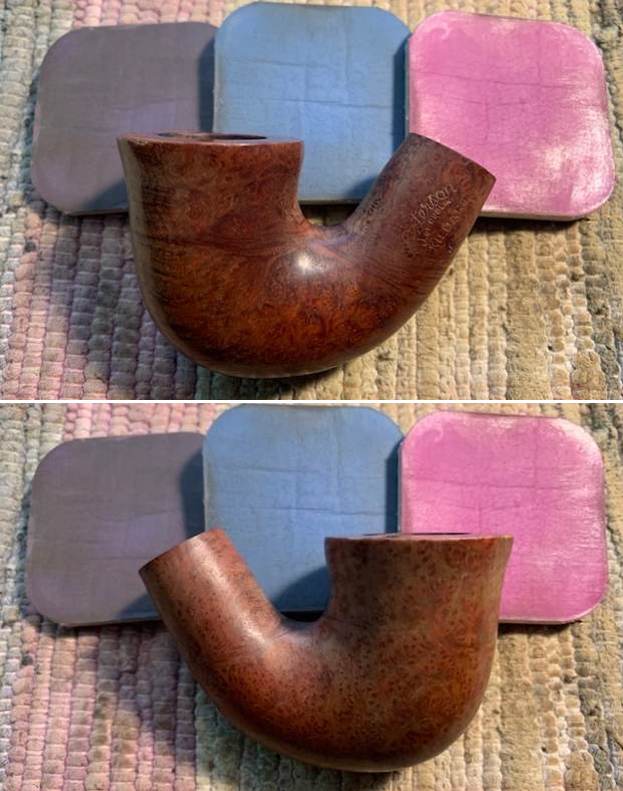
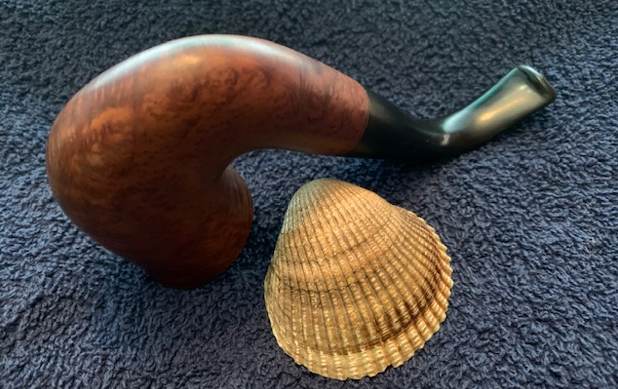
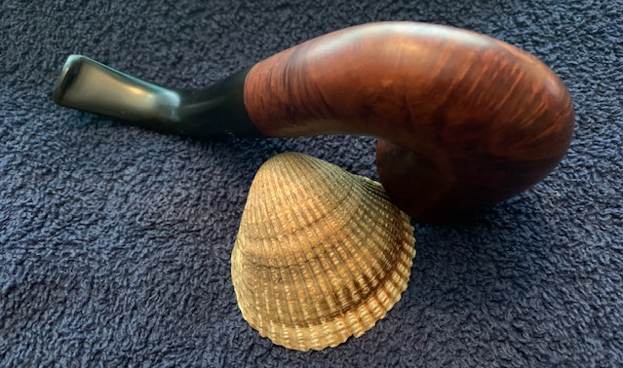
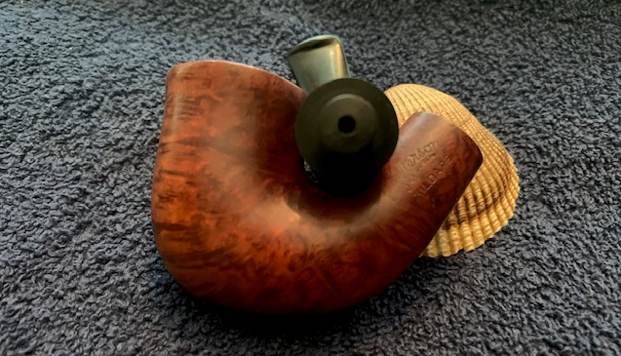
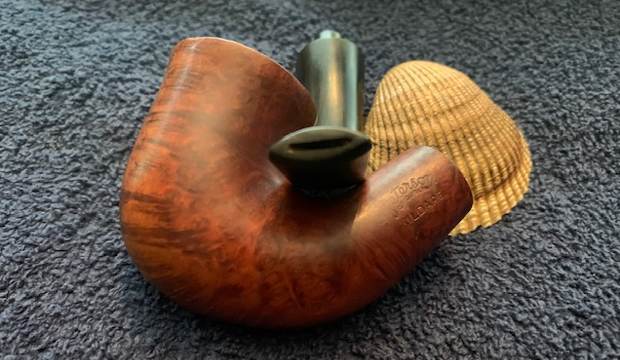
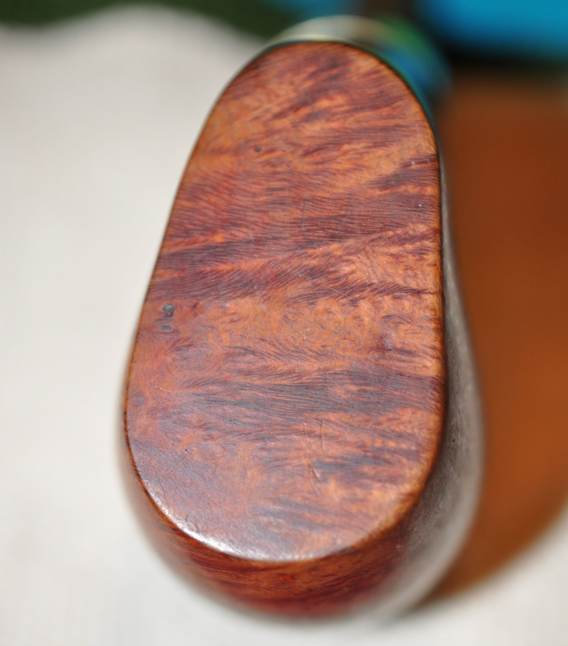
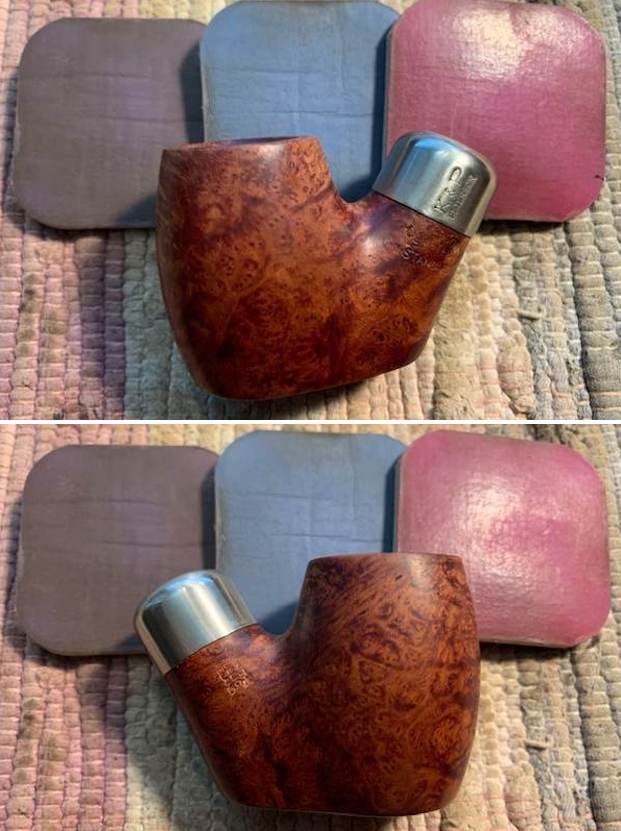
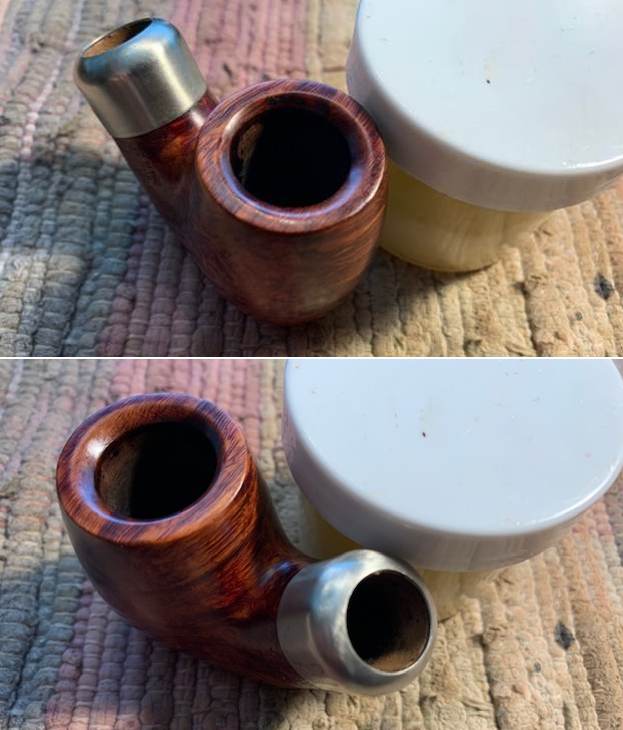
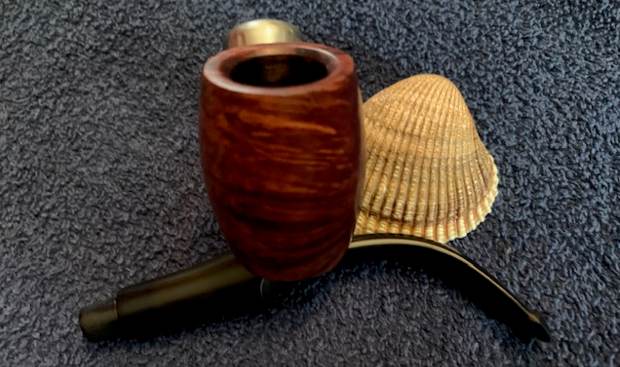
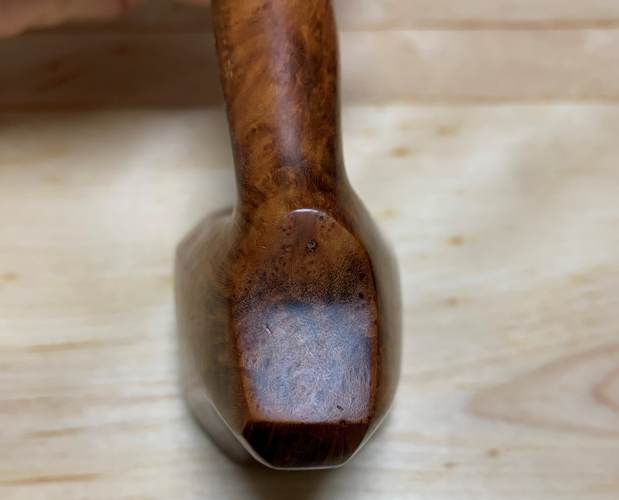
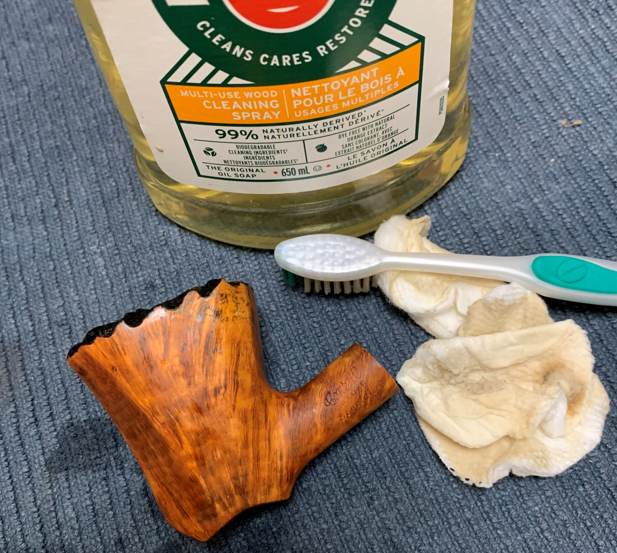
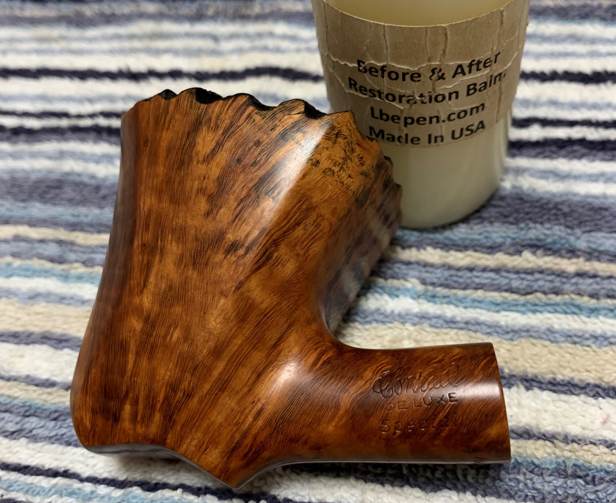
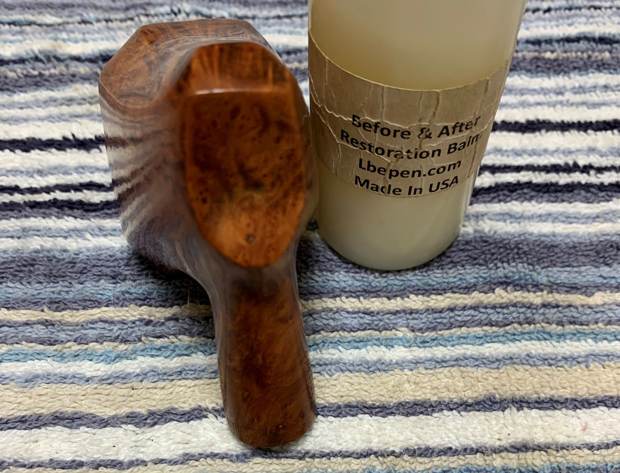
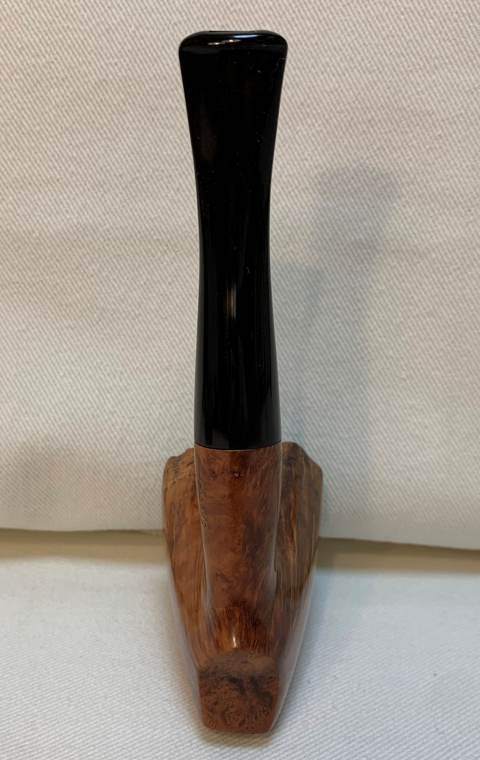
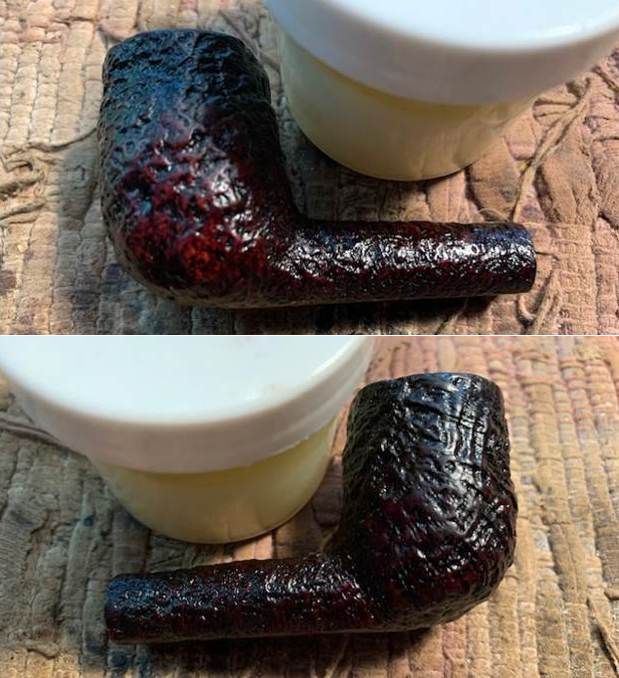
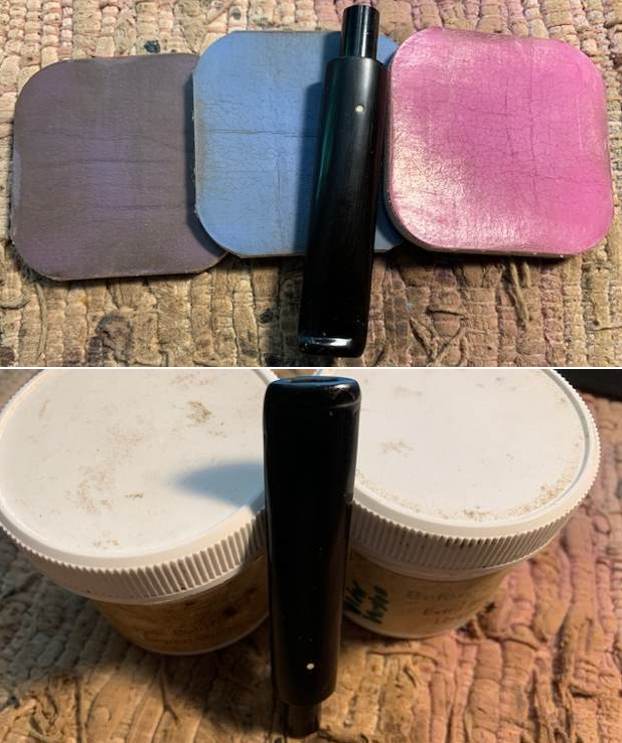
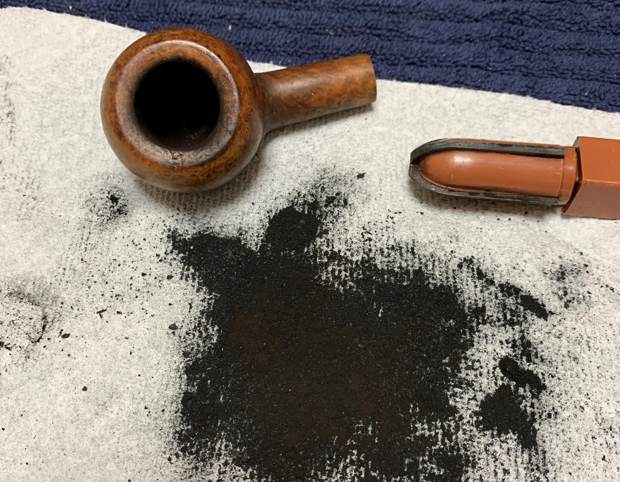
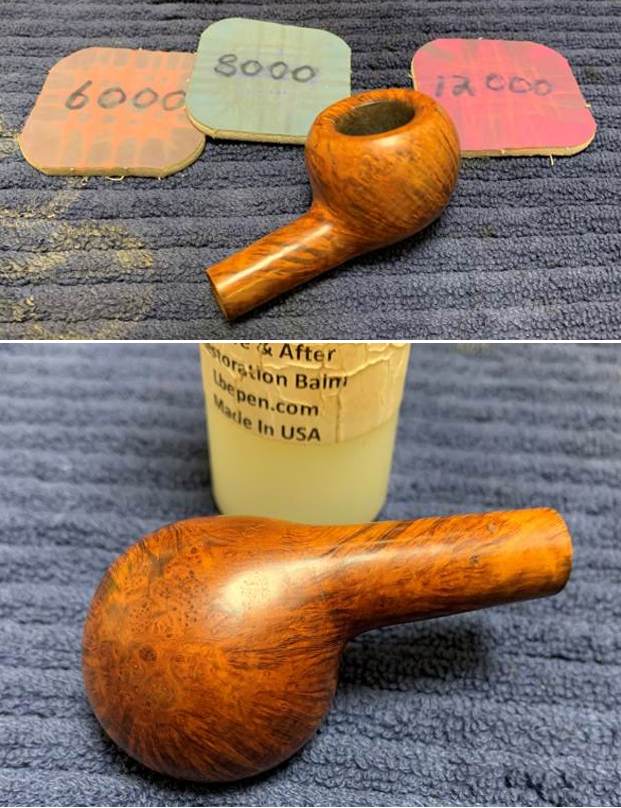
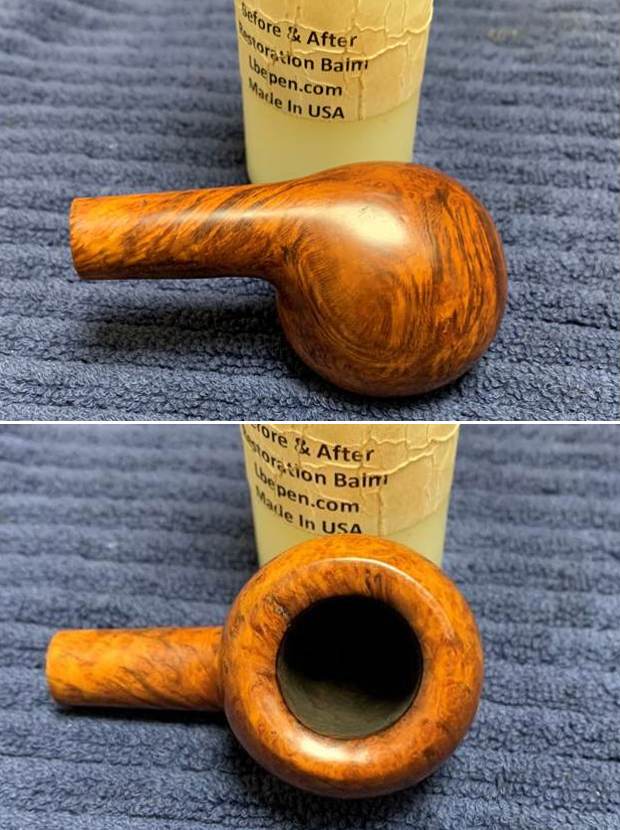
 I rubbed the bowl and shank down with Before & After Restoration Balm to deep clean the finish on the bowl and shank. The product works to clean, enliven and protect the briar. I worked it into the finish with my fingers. After it sat for 15 minutes I wiped it off with a soft cloth. The briar really came alive with a rich shine. I took some photos of the bowl at this point to mark the progress in the restoration. It is a beautiful bowl.
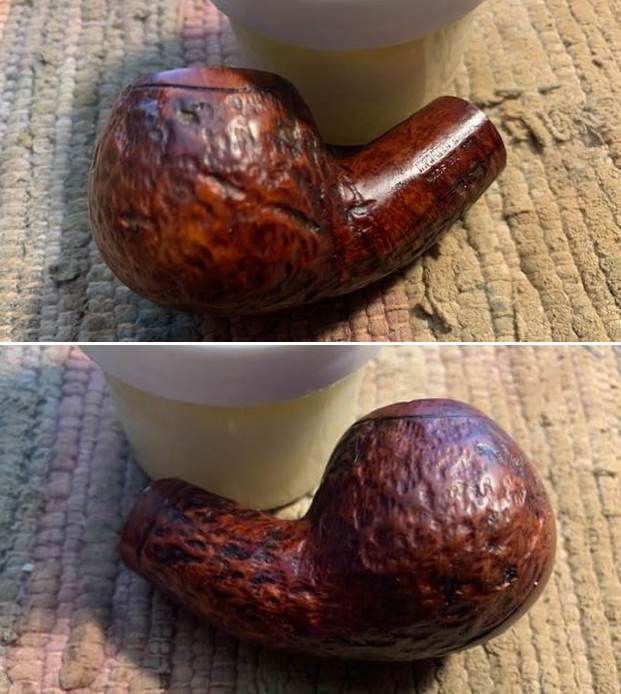
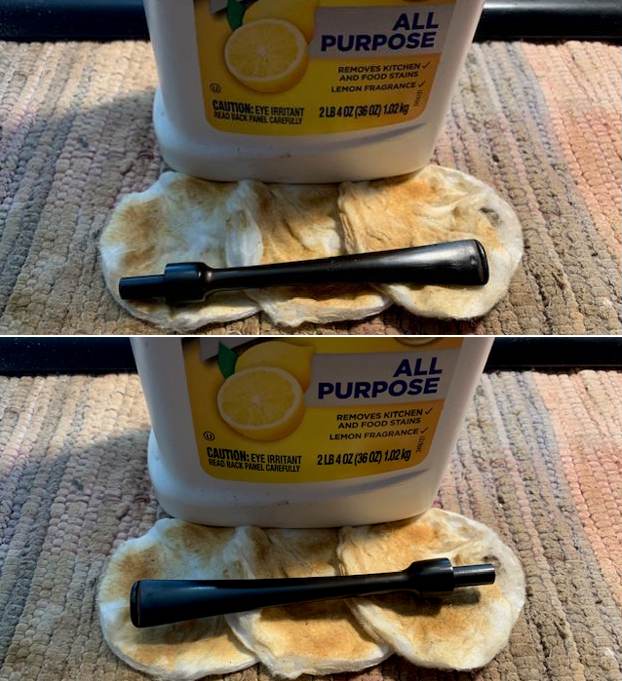
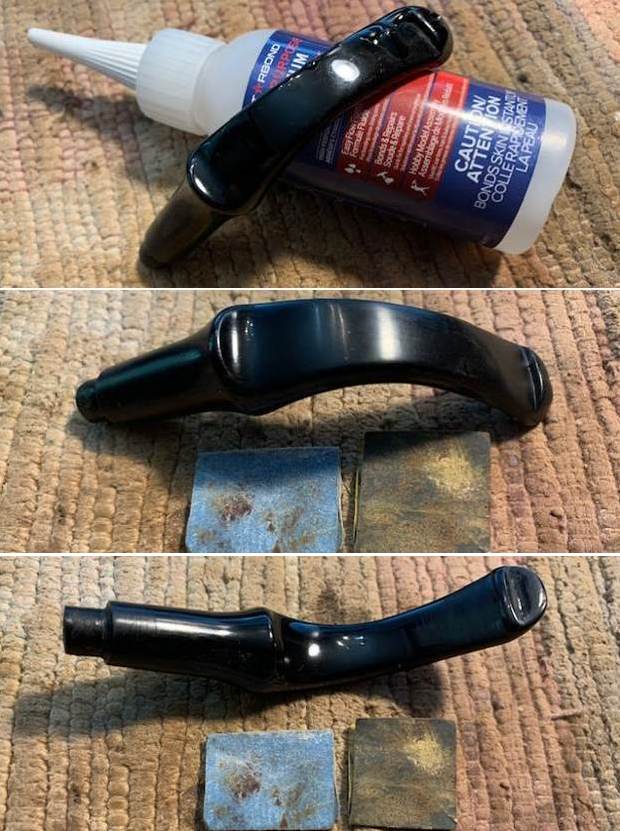
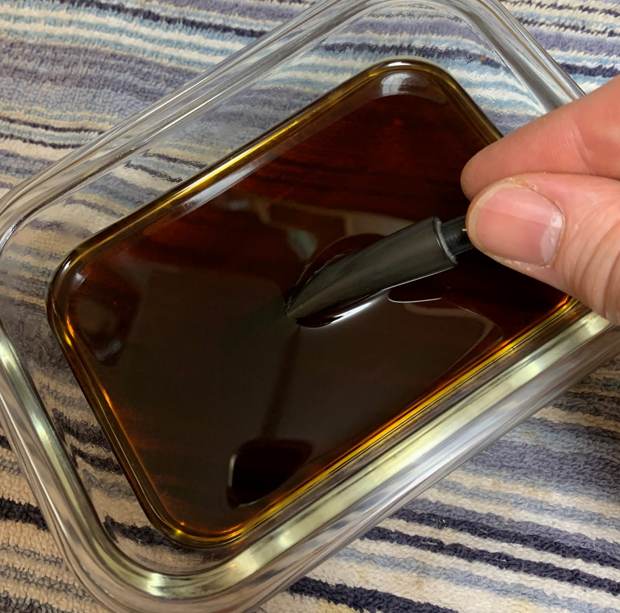
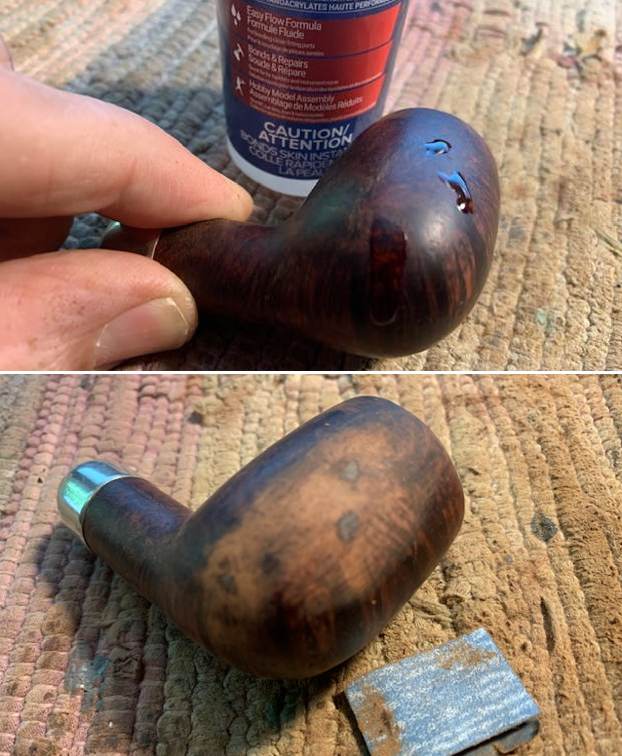
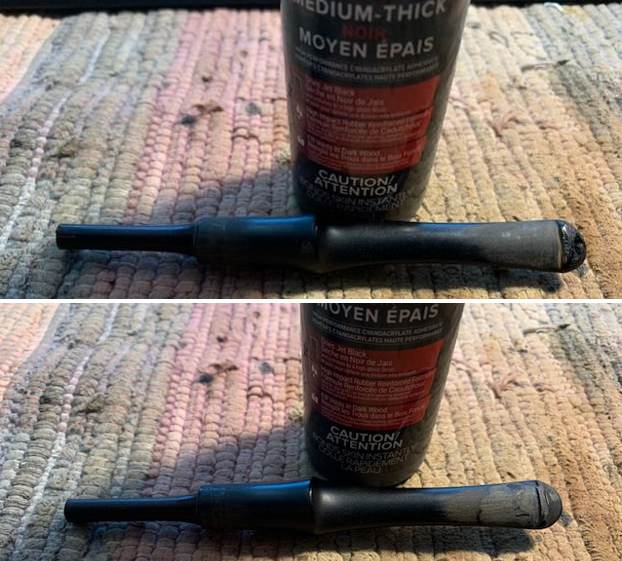
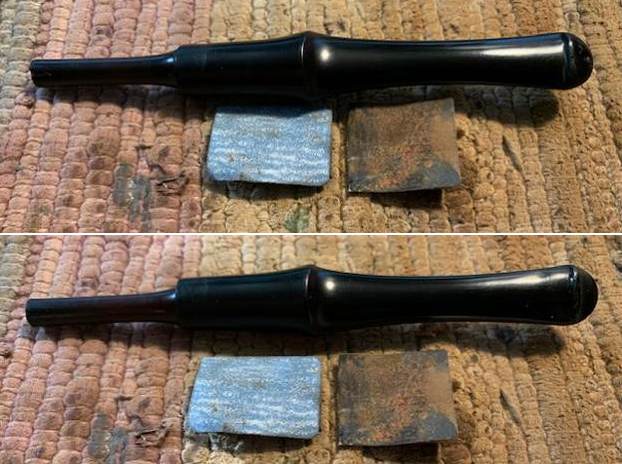
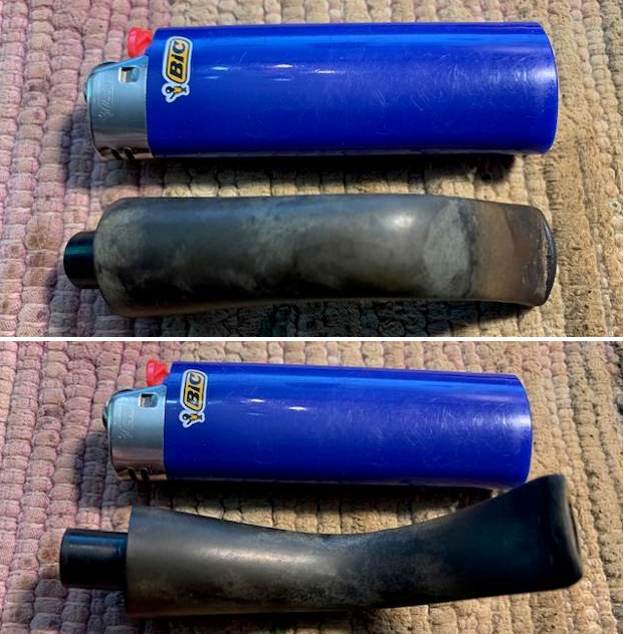
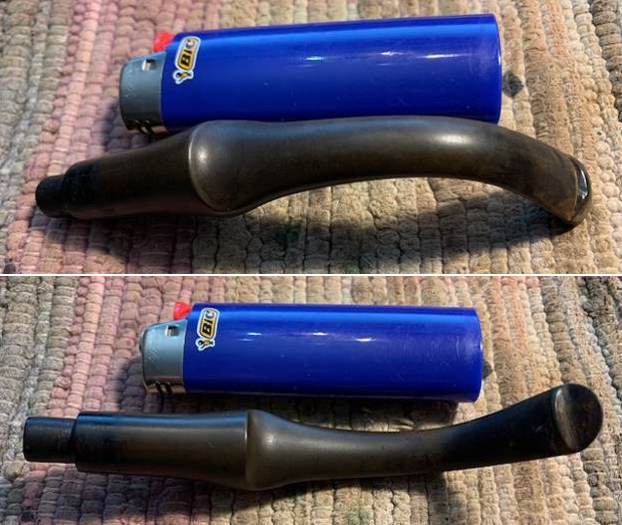
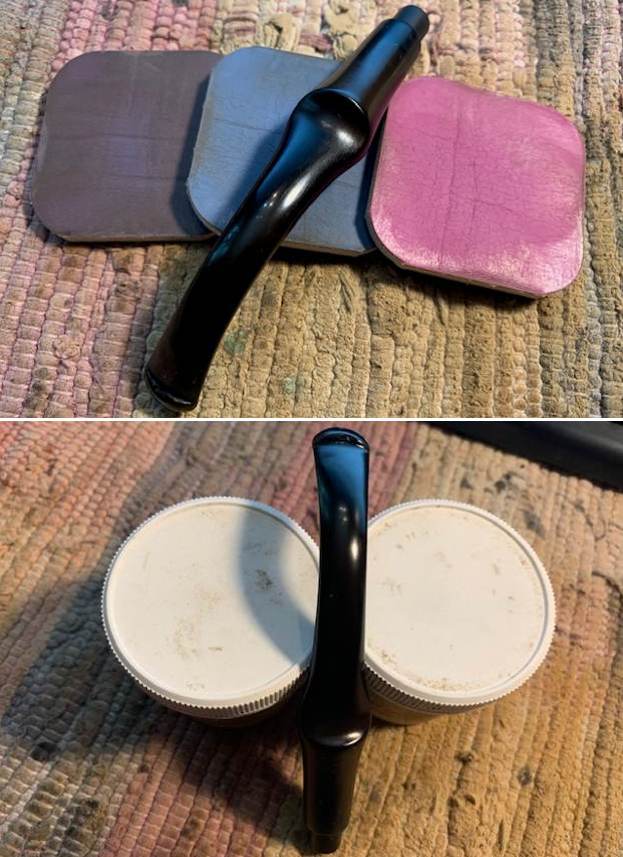
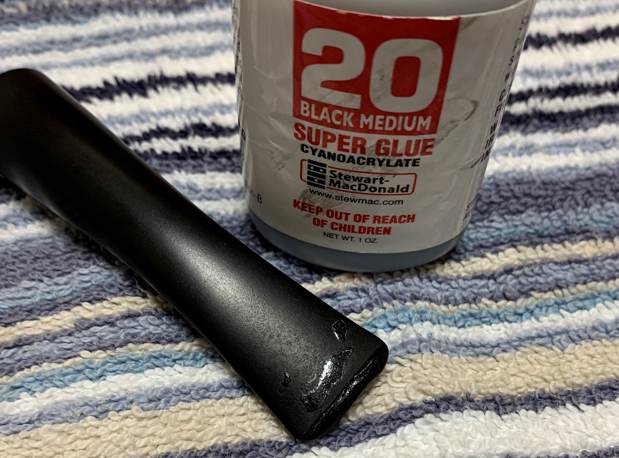
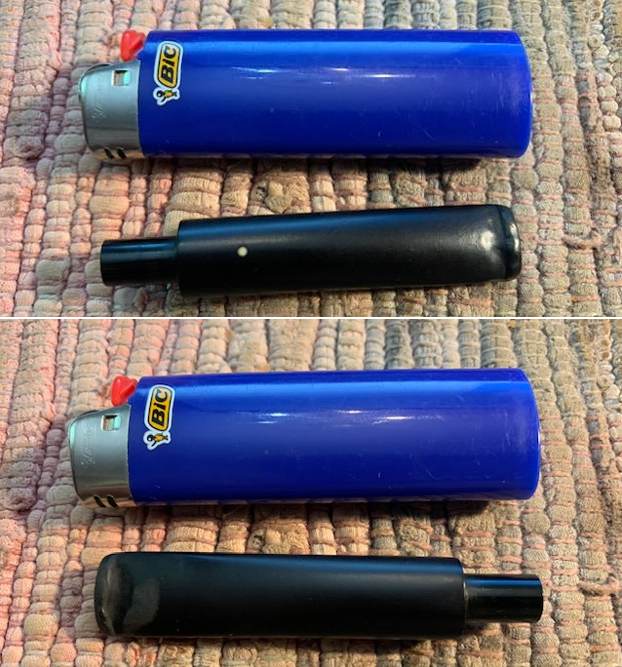
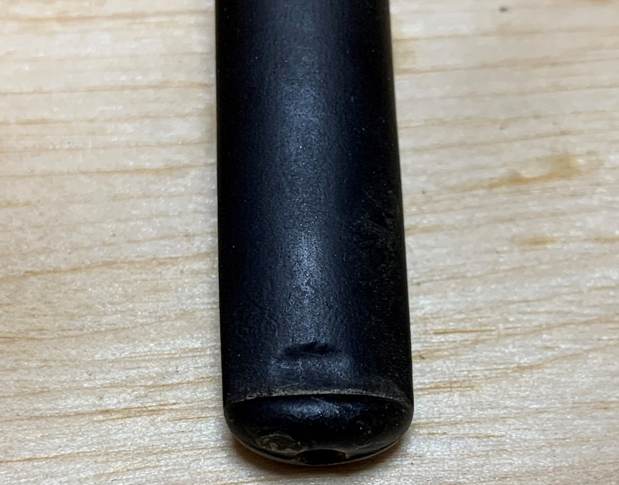
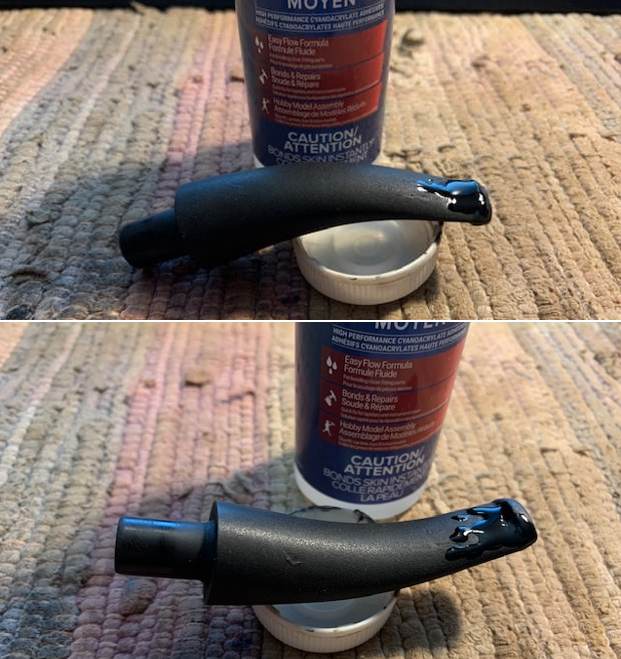
 I “painted” the surface of the stem with the flame of a Bic lighter to lift the tooth marks. I was able to lift them a bit and then filled in those that remained with clear CA Glue. Once it cured I used a small file to recut the edge and flatten the repairs. I sanded the surface with 220 grit sandpaper and started polishing it with 400 grit wet dry sandpaper.
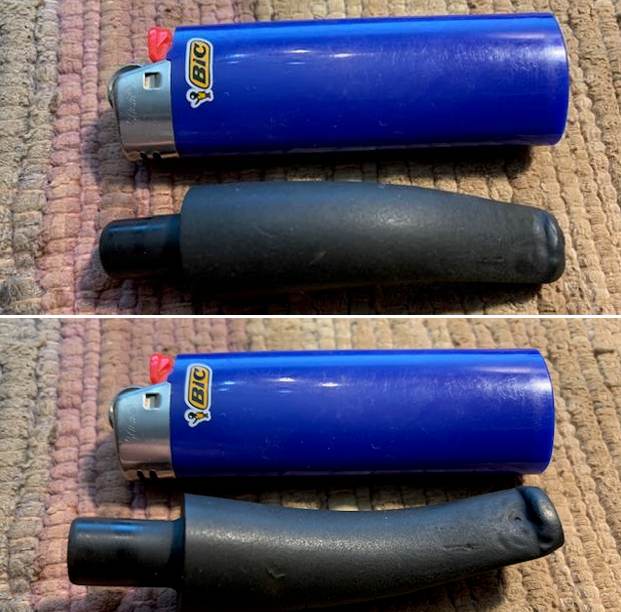

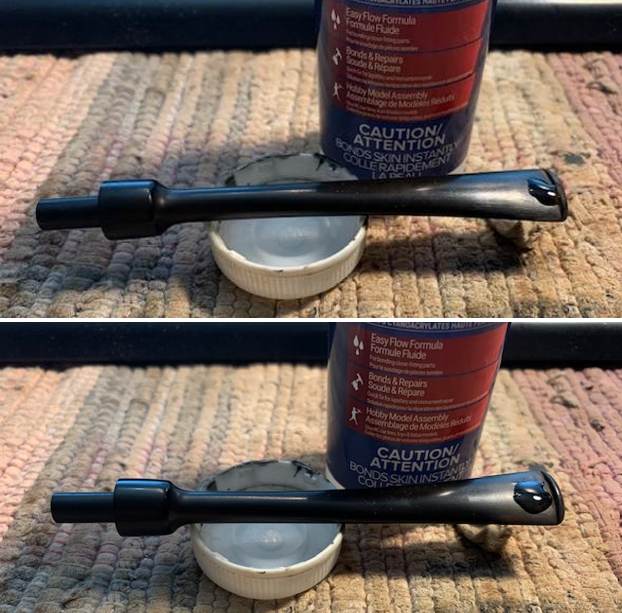
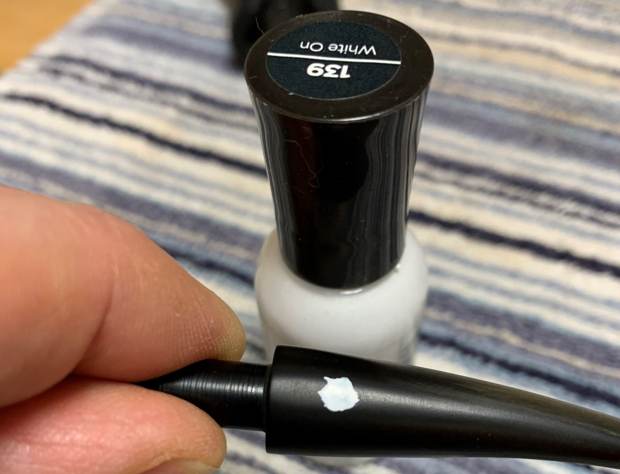
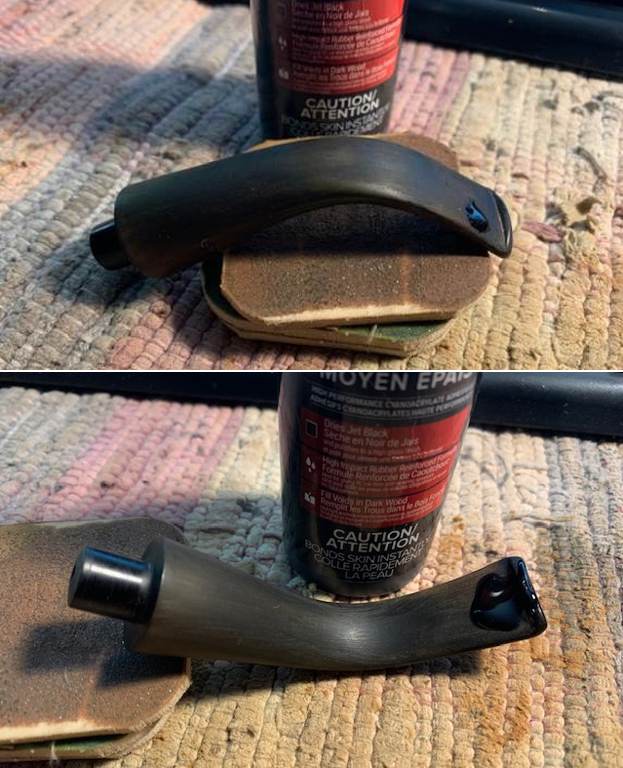
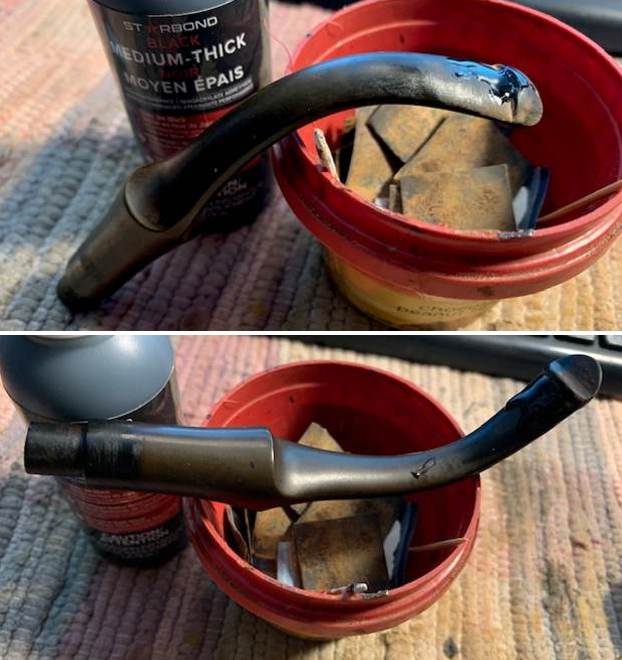
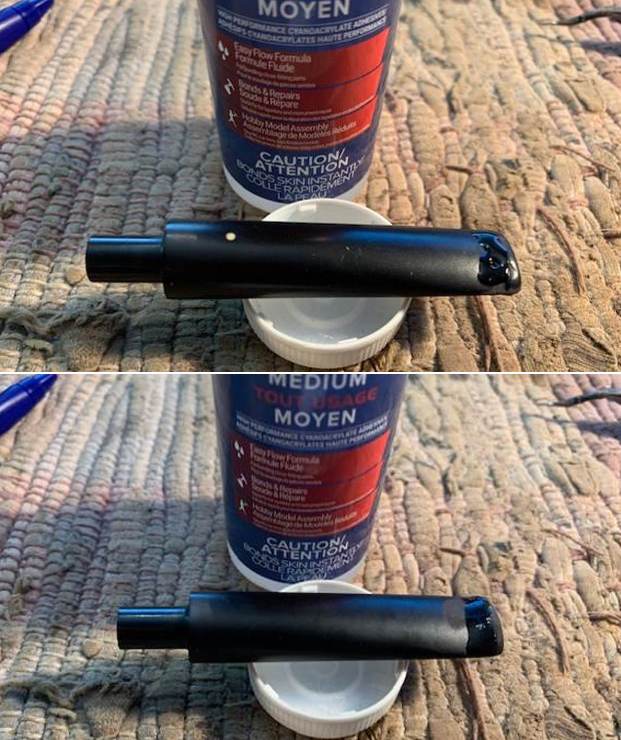
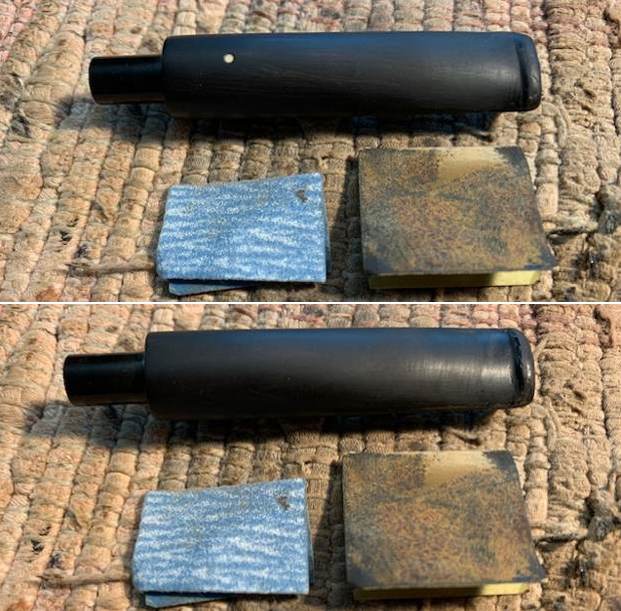
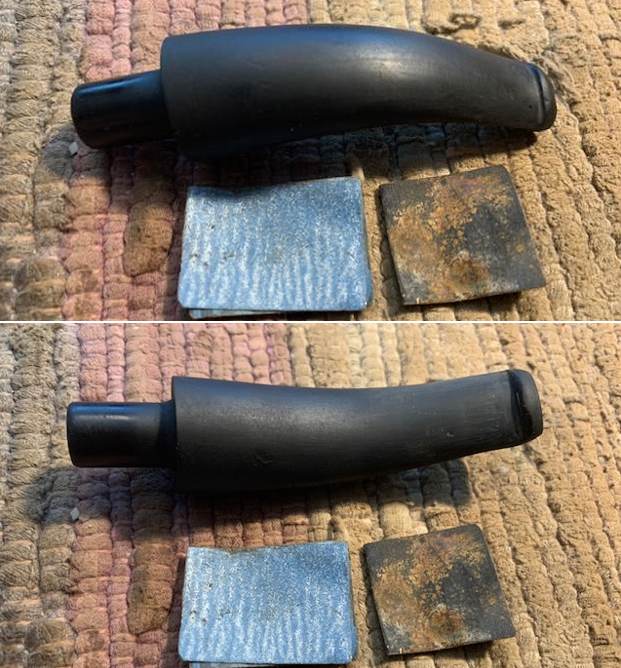 I filled in some gouges and marks on the right side of the stem surface with clear CA glue. Once the repairs cured I sanded them with 220 grit sandpaper to blend them into the surface.
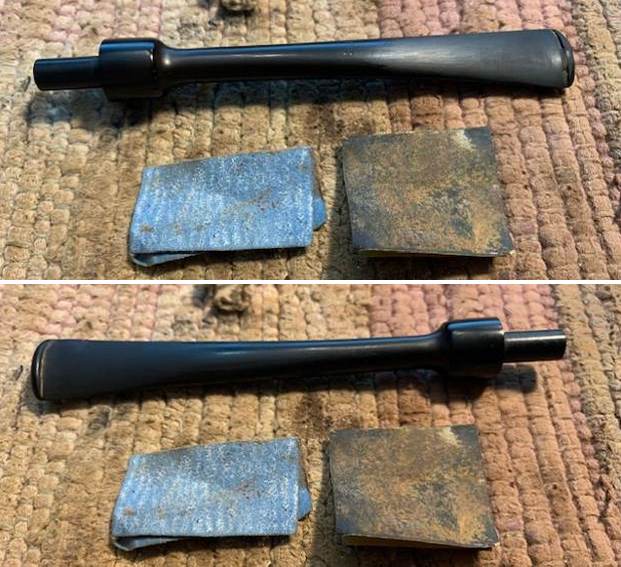
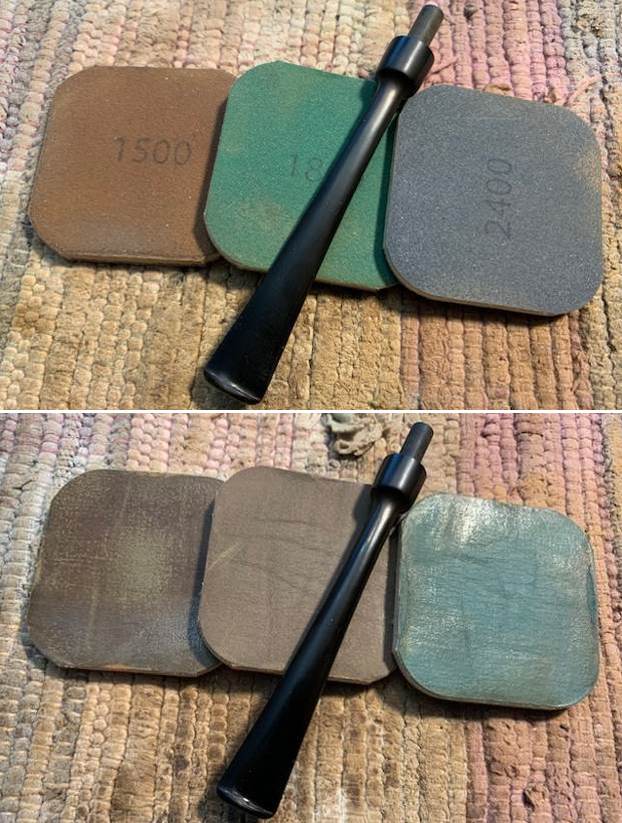
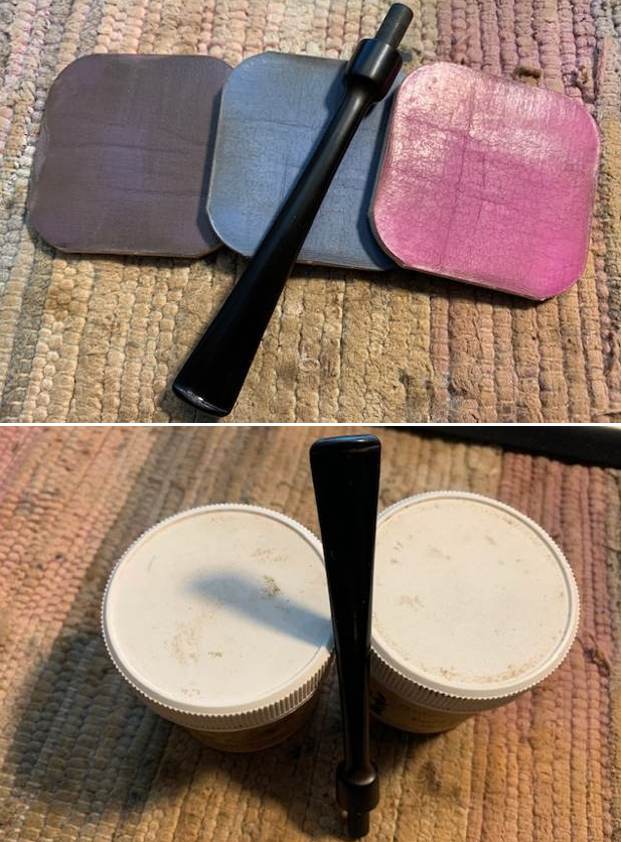
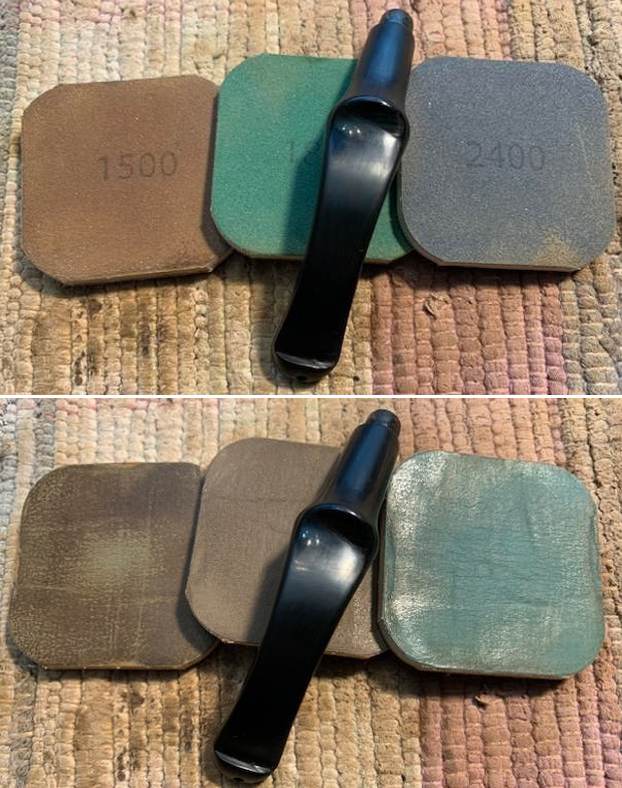
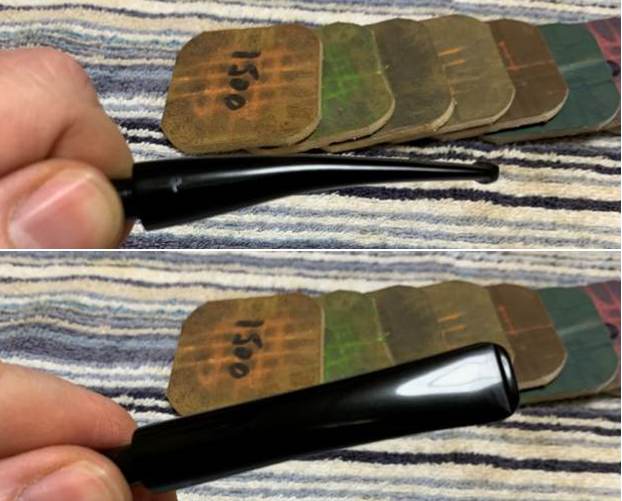
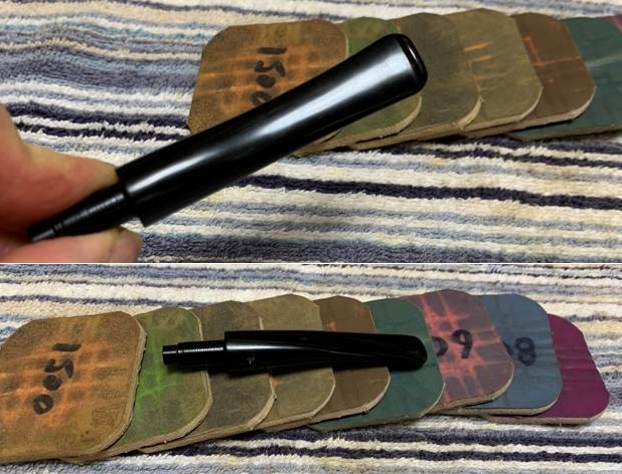
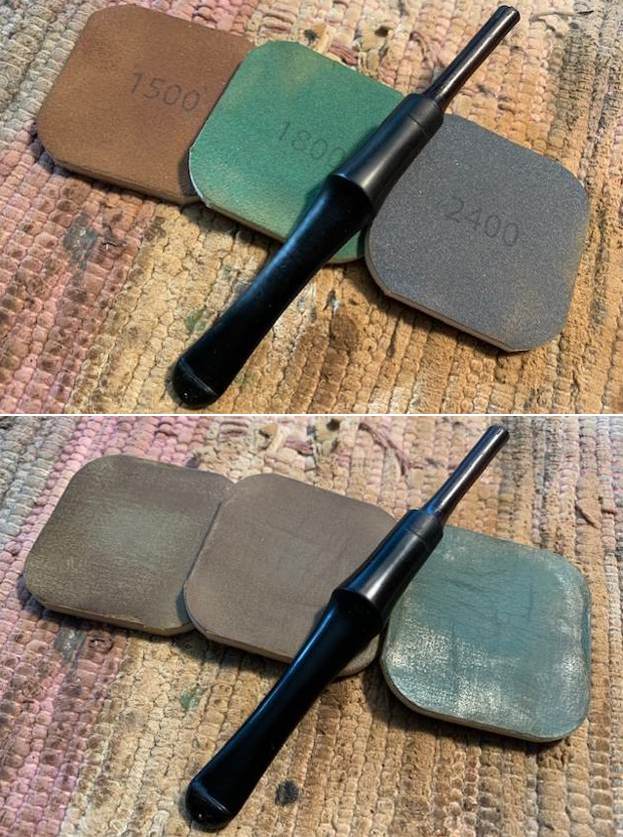
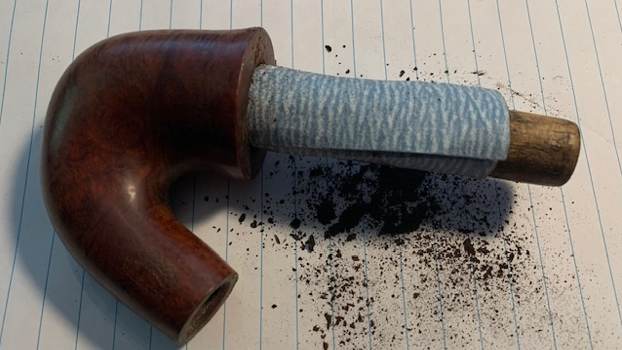
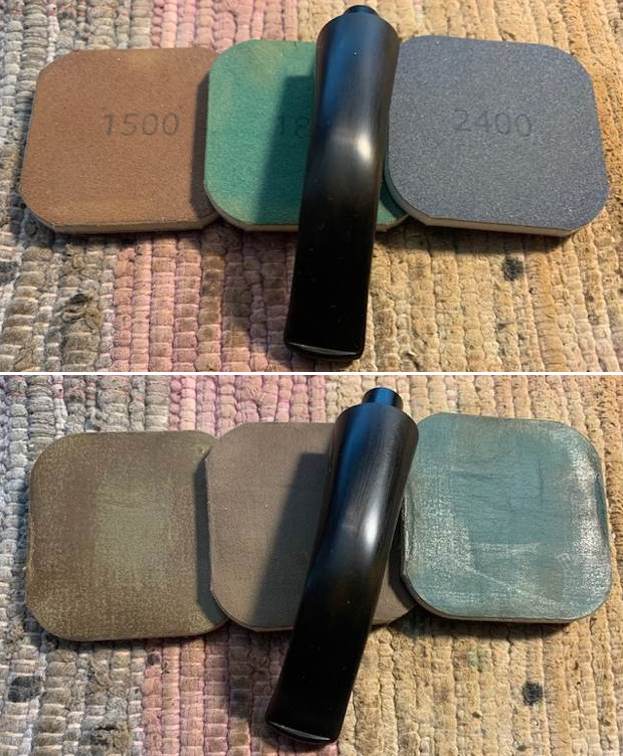
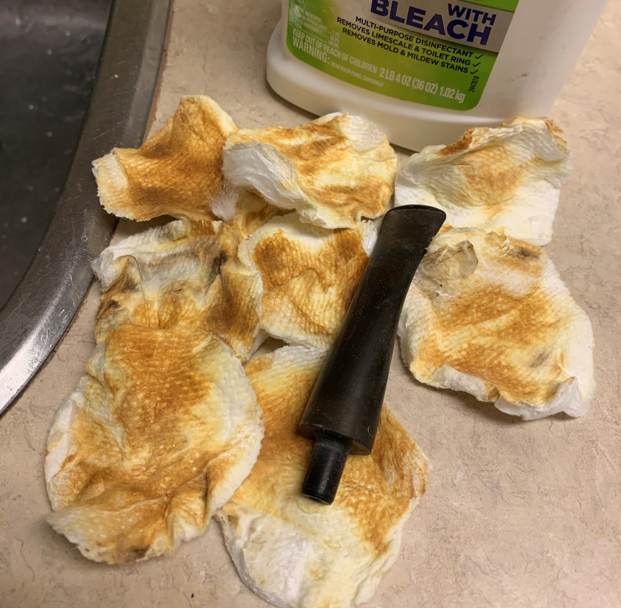
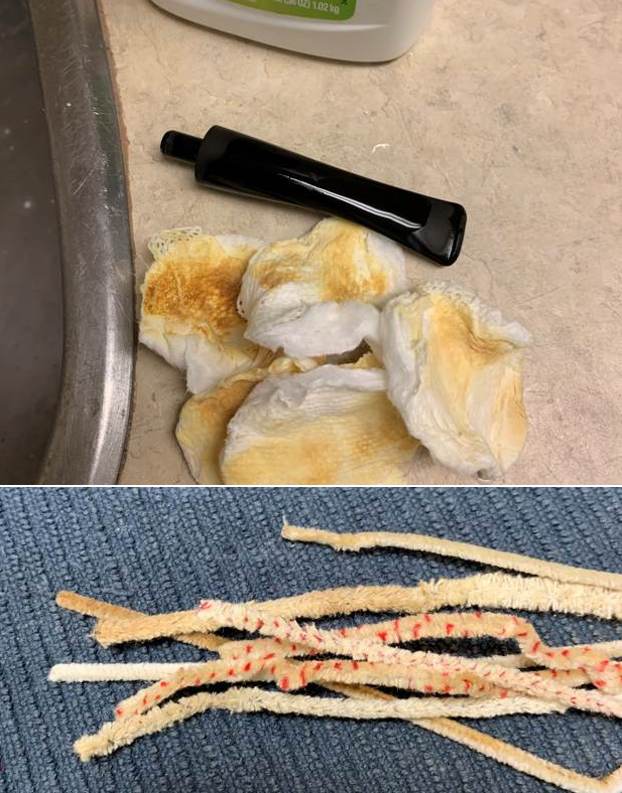
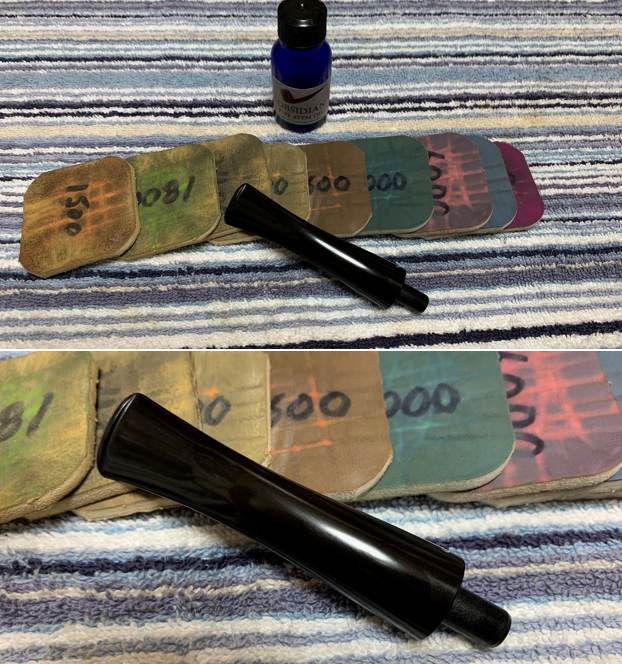
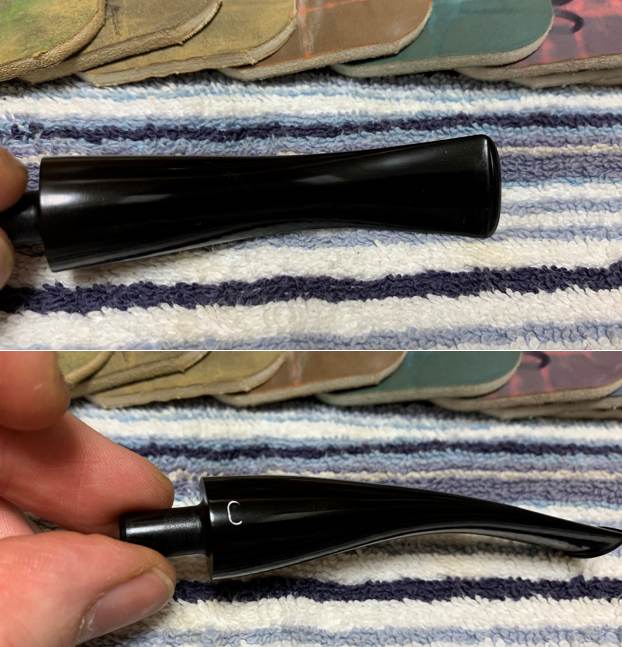
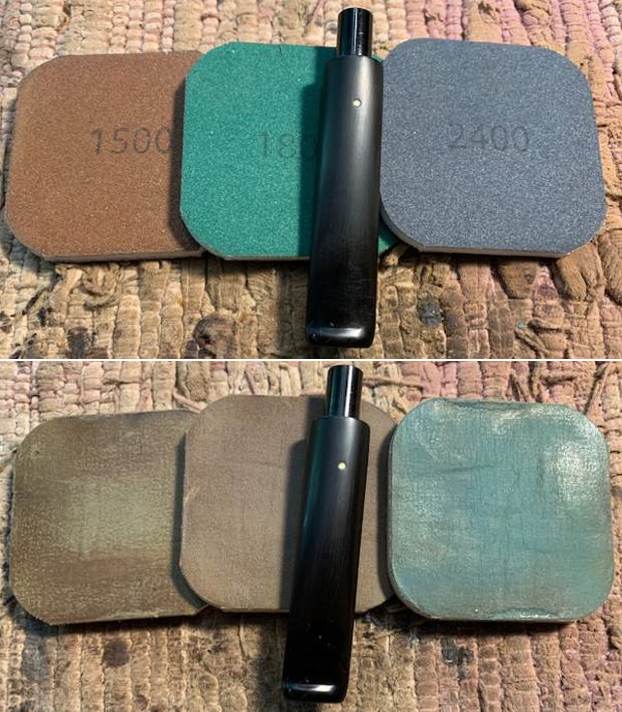
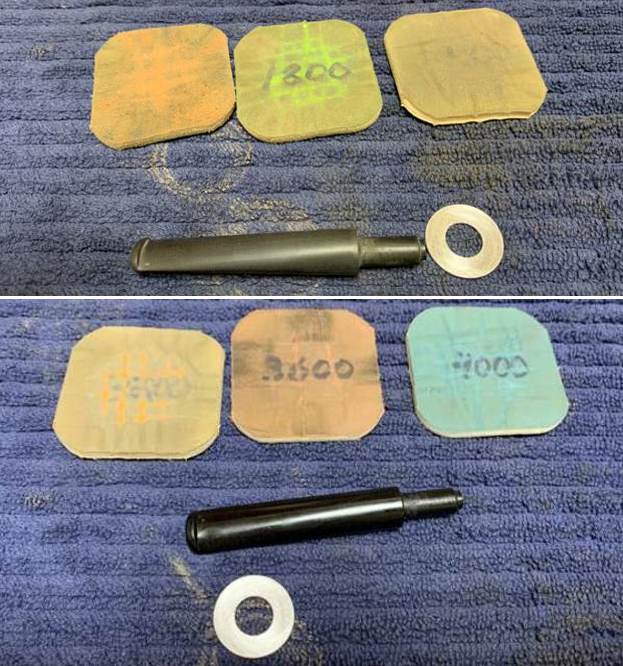
 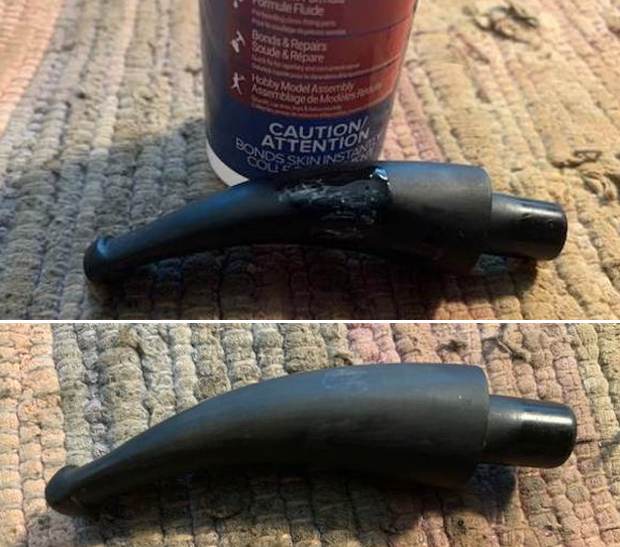 I polished the stem with micromesh sanding pads – dry sanding with 1500-12000 grit pads. I wiped the stem down after each pad with Obsidian Oil to remove the sanding dust. I used the Before & After Pipe Polish to remove the small minute scratches left in the hard rubber. I finished by wiping the stem down with a final coat of Obsidian Oil and set it aside to dry.
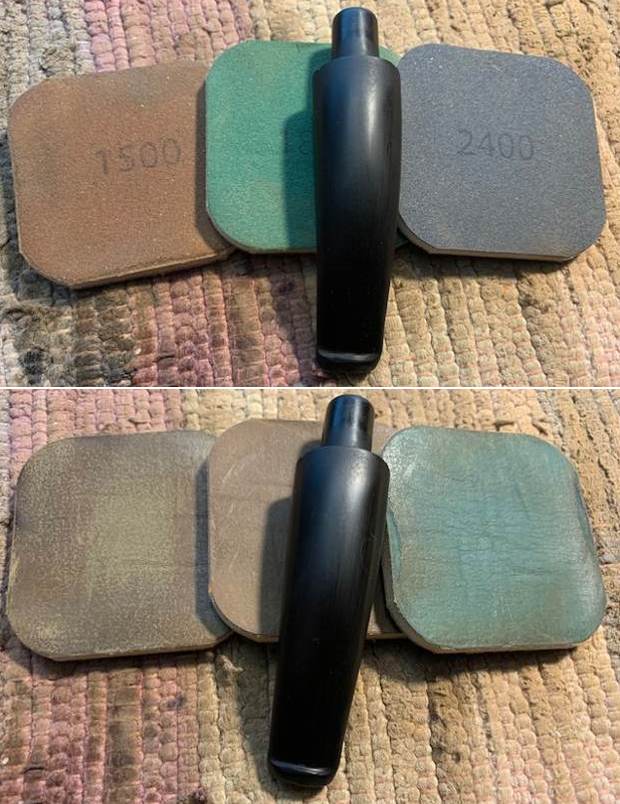
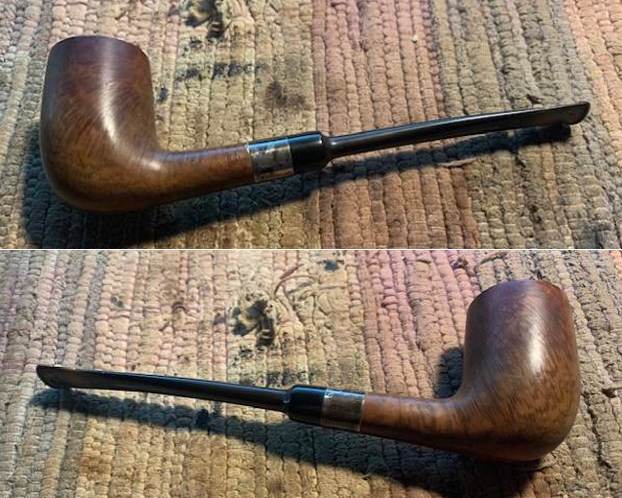
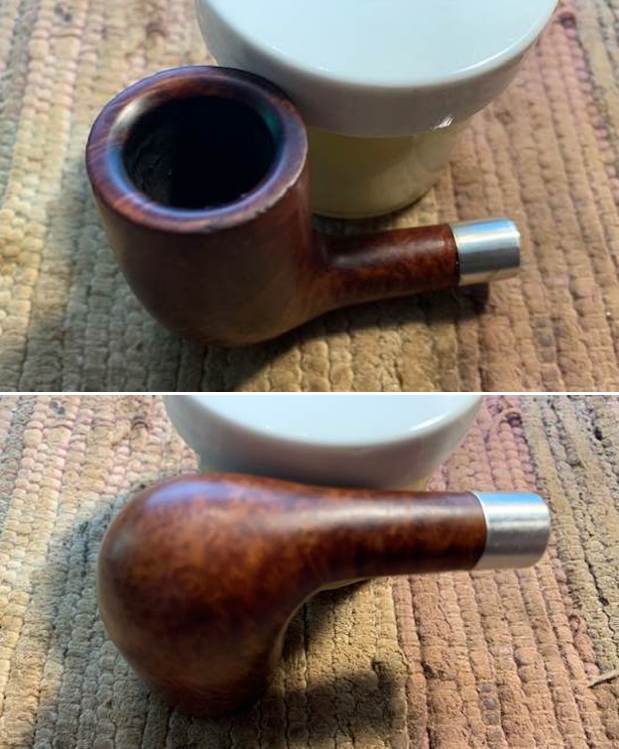
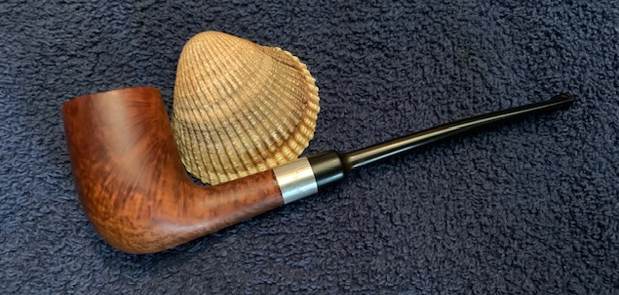
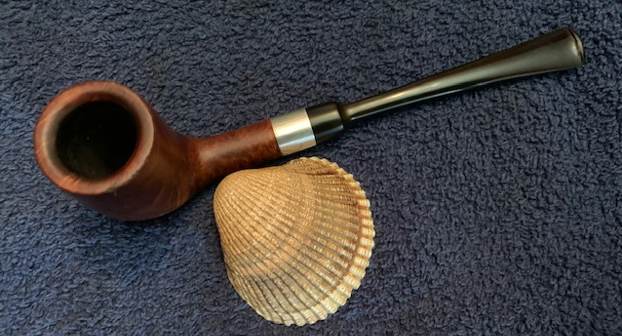
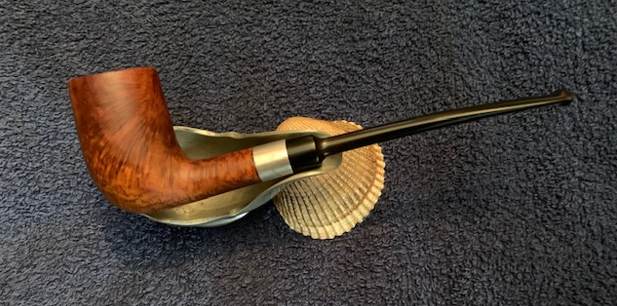
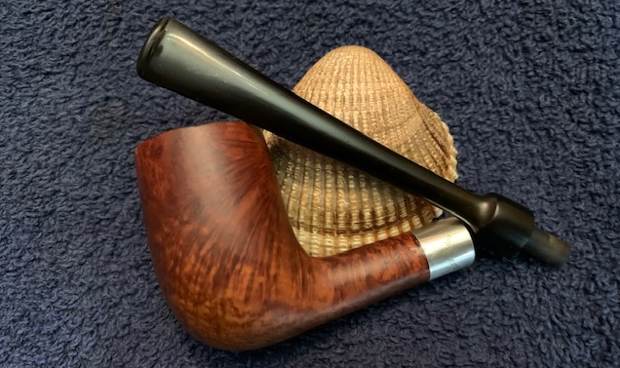
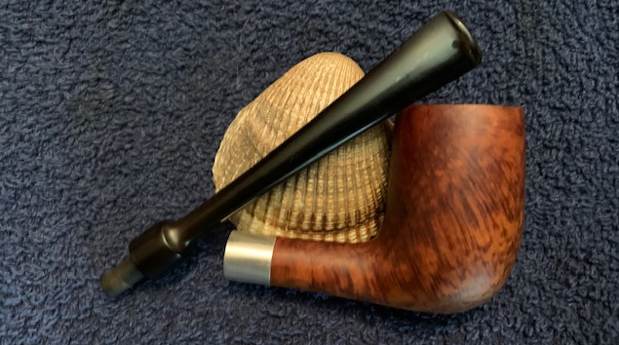
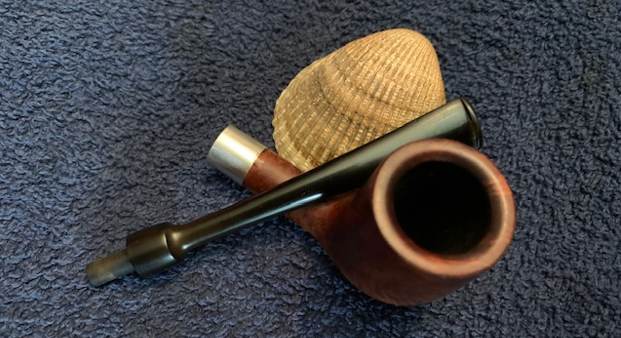
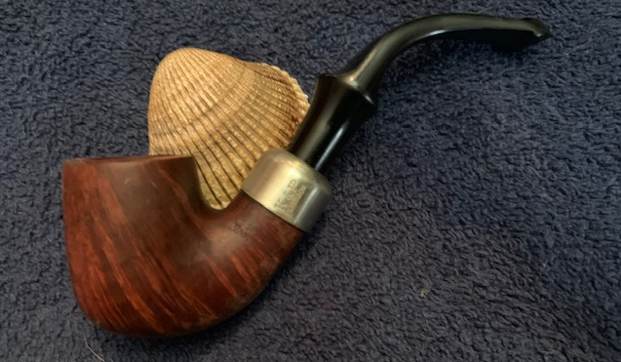
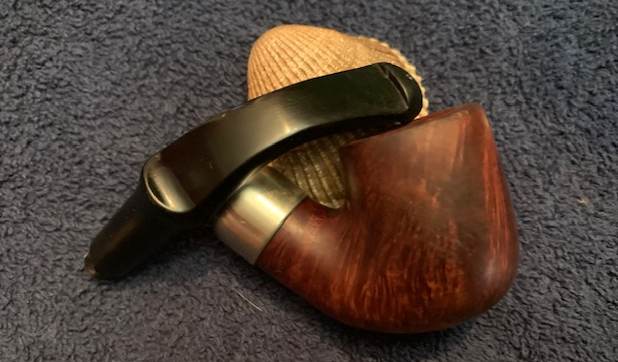
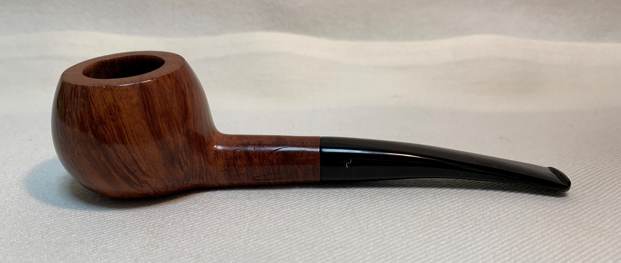
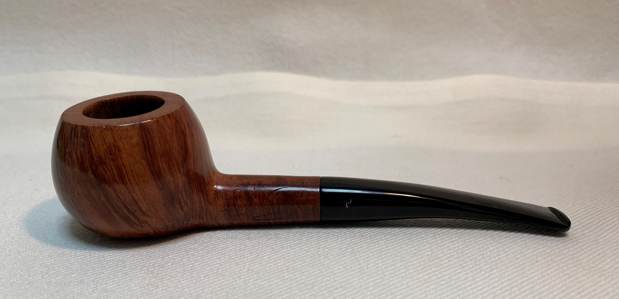
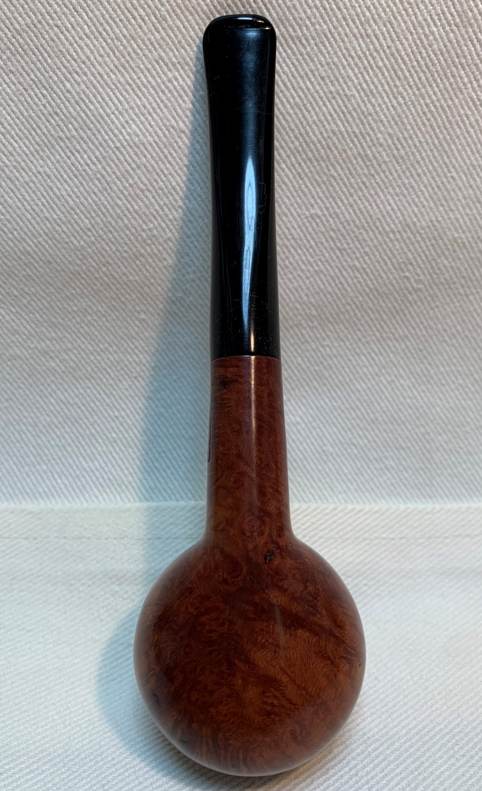
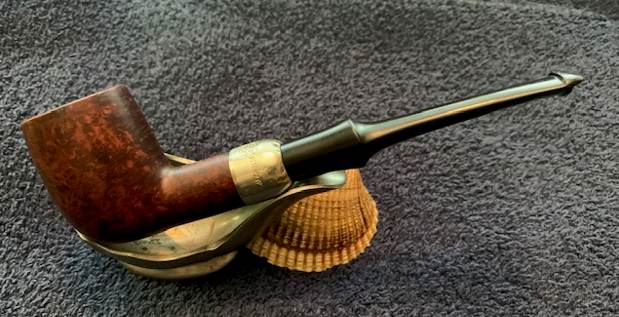
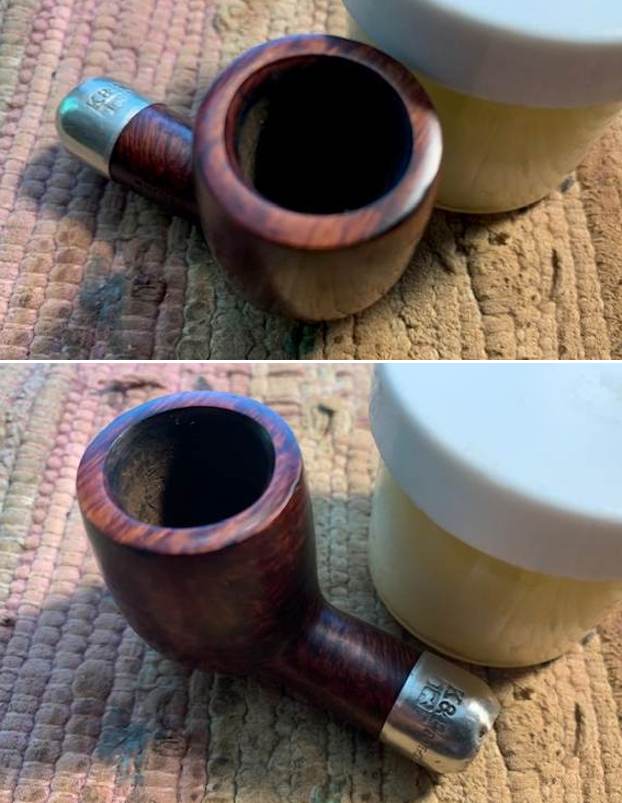
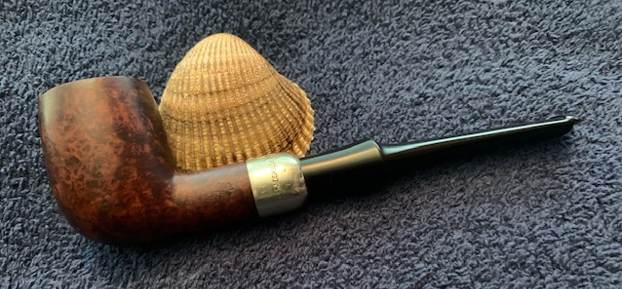
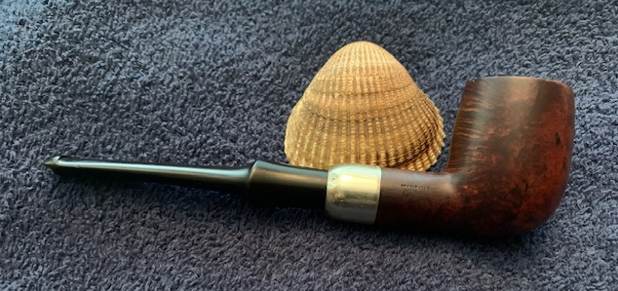
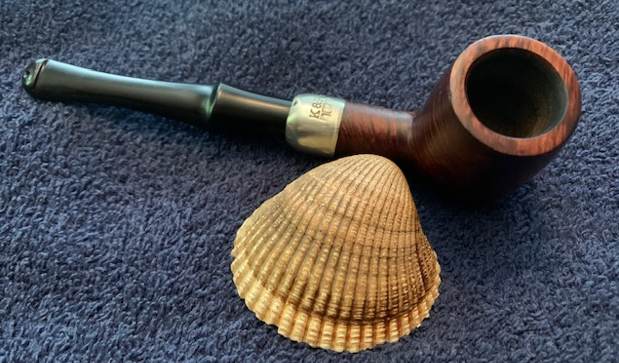
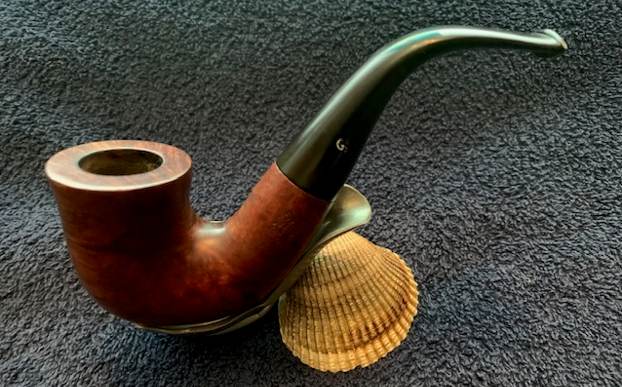
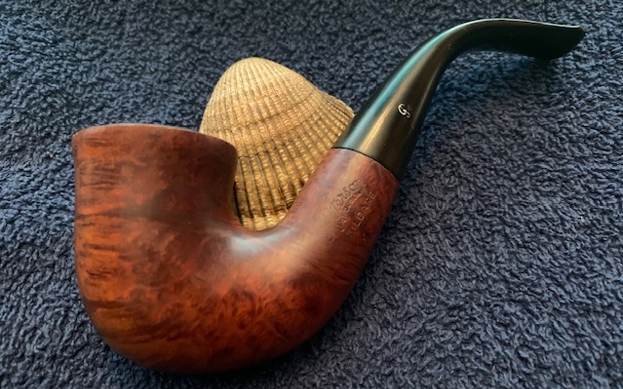
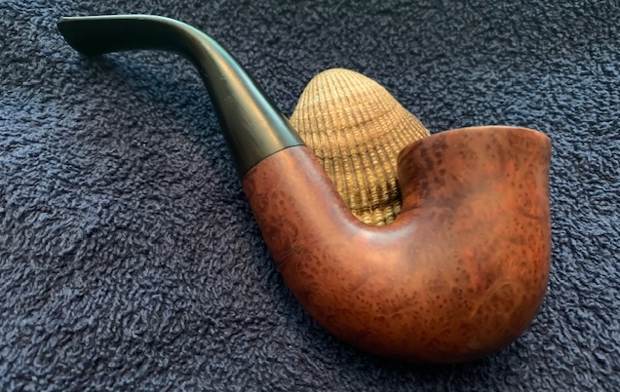
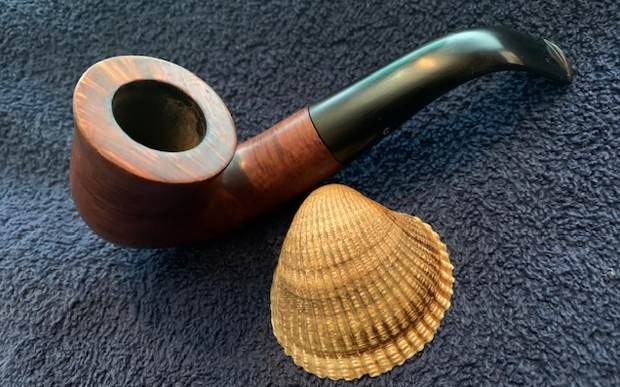
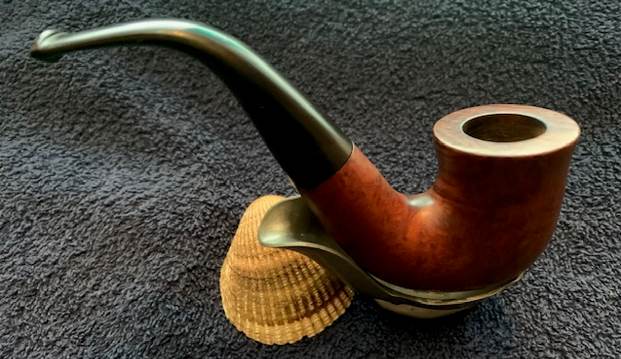
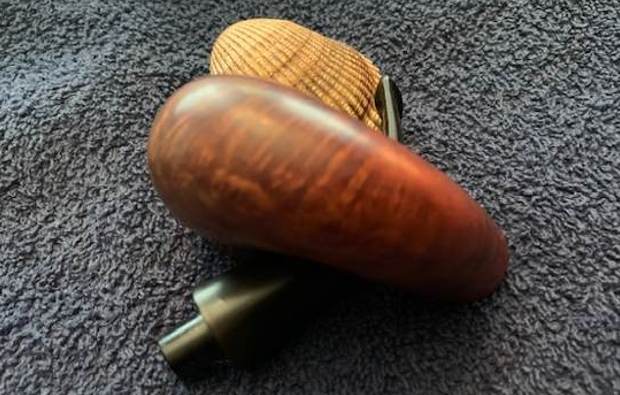
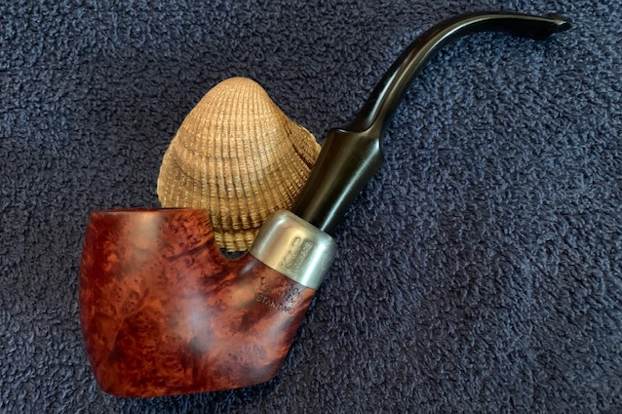
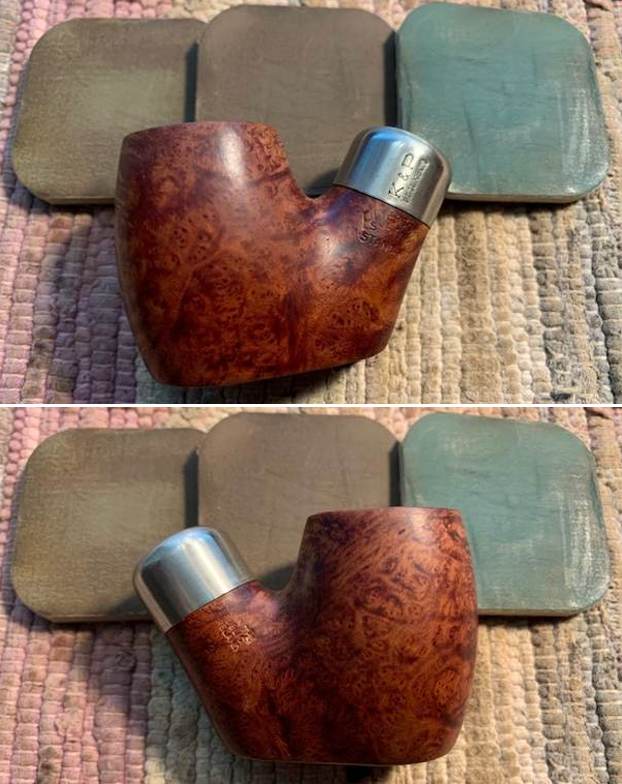
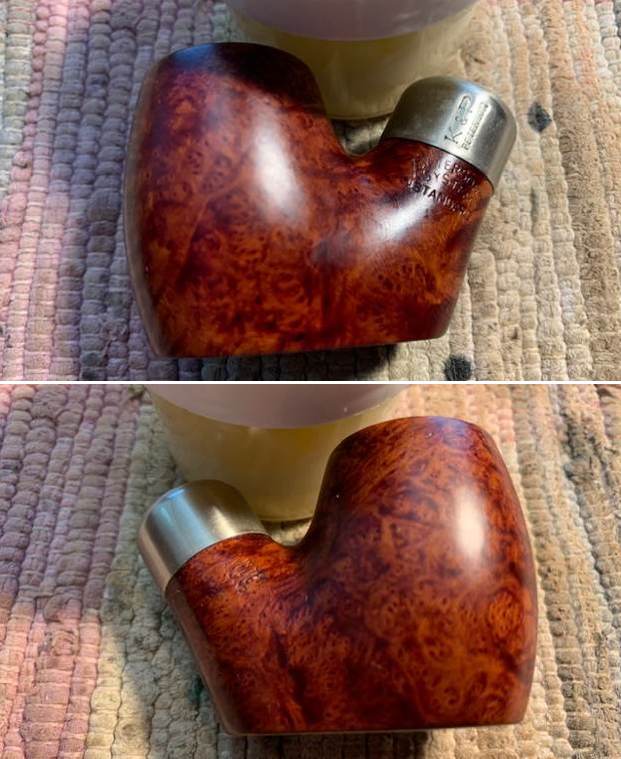
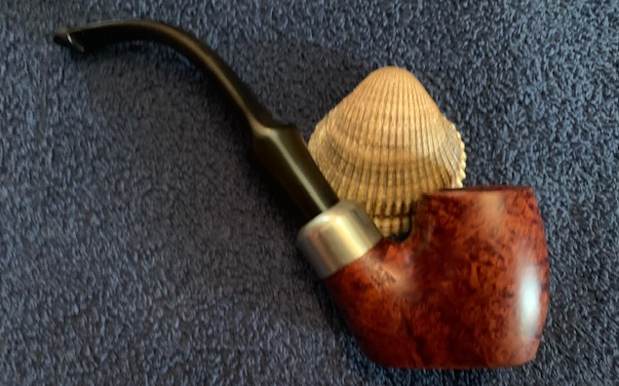
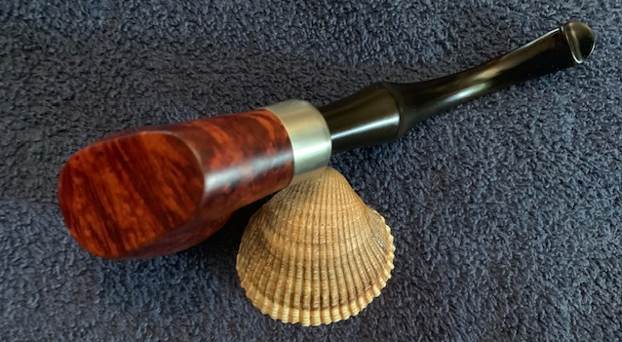
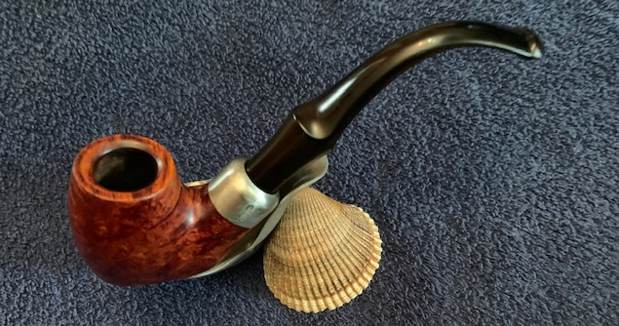
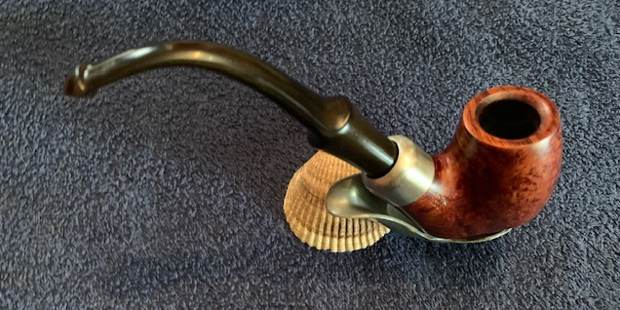
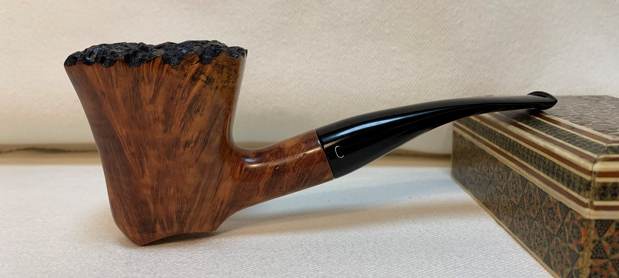
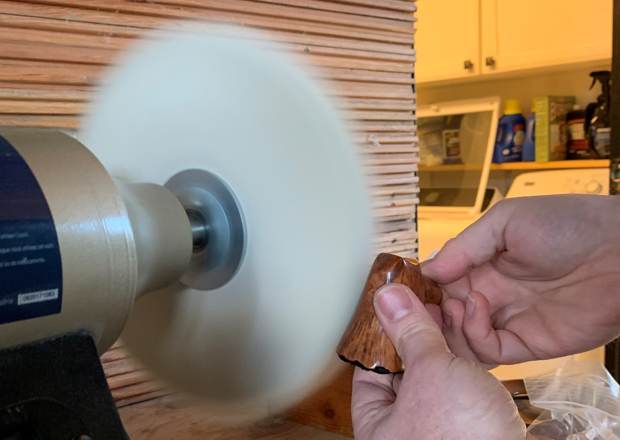
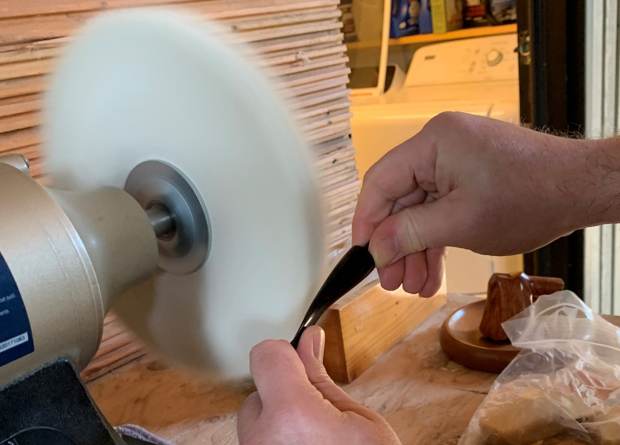
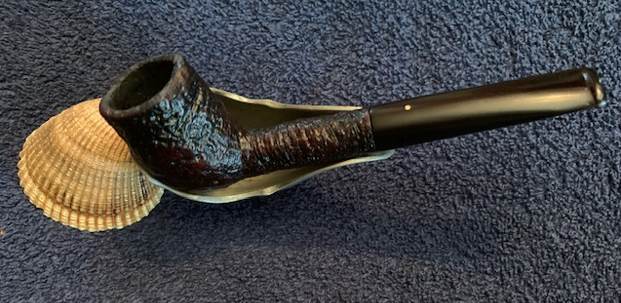
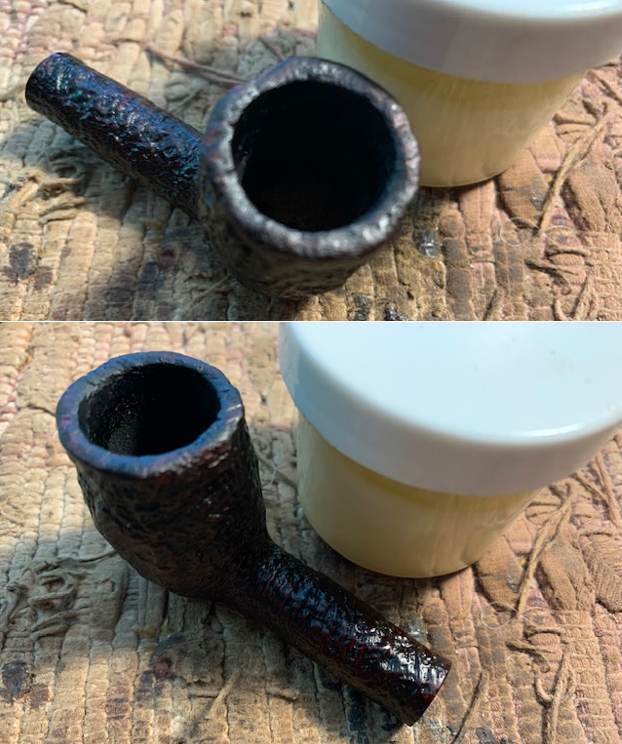
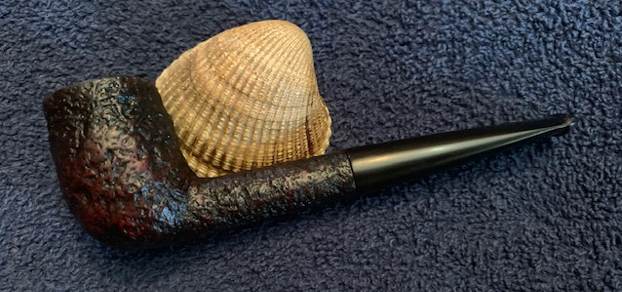
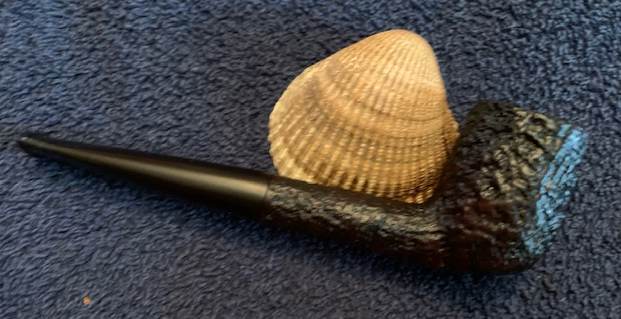
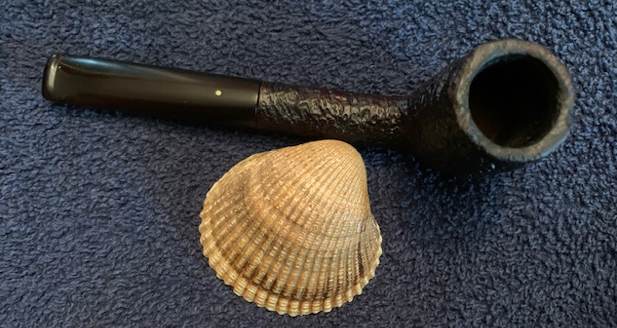
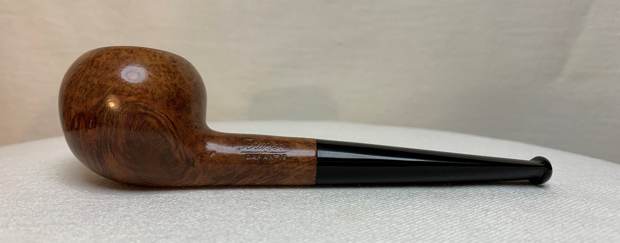
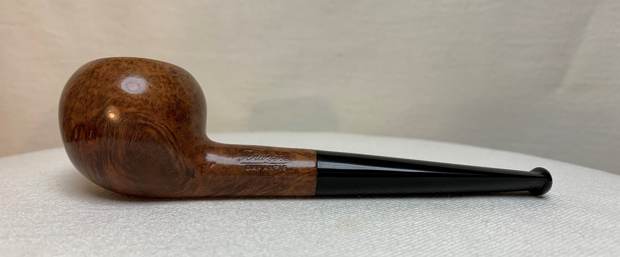
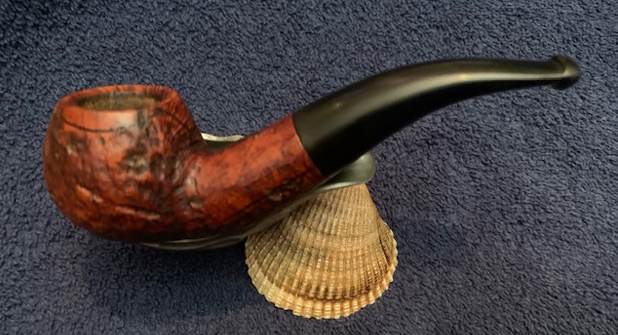
 As usual at this point in the restoration process I am excited to be on the homestretch. I look forward to the final look when it is put back together, polished and waxed. I put the bowl and stem back together. I polished the bowl and stem with Blue Diamond to polish out the scratches in the briar and the hard rubber. I gave the bowl and the stem multiple coats of carnauba wax. I buffed the pipe with a clean buffing pad to raise the shine. I hand buffed it with a microfiber cloth to deepen the shine. The pipe polished up pretty nicely. The grain really pops with the wax and polish. The shiny black hard rubber stem is a beautiful contrast to the browns of the bowl and thick shank. This Italian Made Imported Briar Bent Apple was another fun pipe to work on. It really is a quite stunning piece of briar whose shape follows the flow of the grain on the briar. The pipe is comfortable pipe to hold in the hand. The finished pipe is shown in the photos below. The dimensions of the pipe are Length: 5 inches, Height: 1 ½ inches, Outside diameter of the bowl: 1 1/8 inches, Chamber diameter: ¾ of an inch. The weight of the pipe is 1.73 ounces/49 grams. I will be putting this pipe in the Italian Pipemakers section of the rebornpipes store if you wish to add it to your collection. Thanks for reading this blog and my reflections on the pipe while I worked on it.